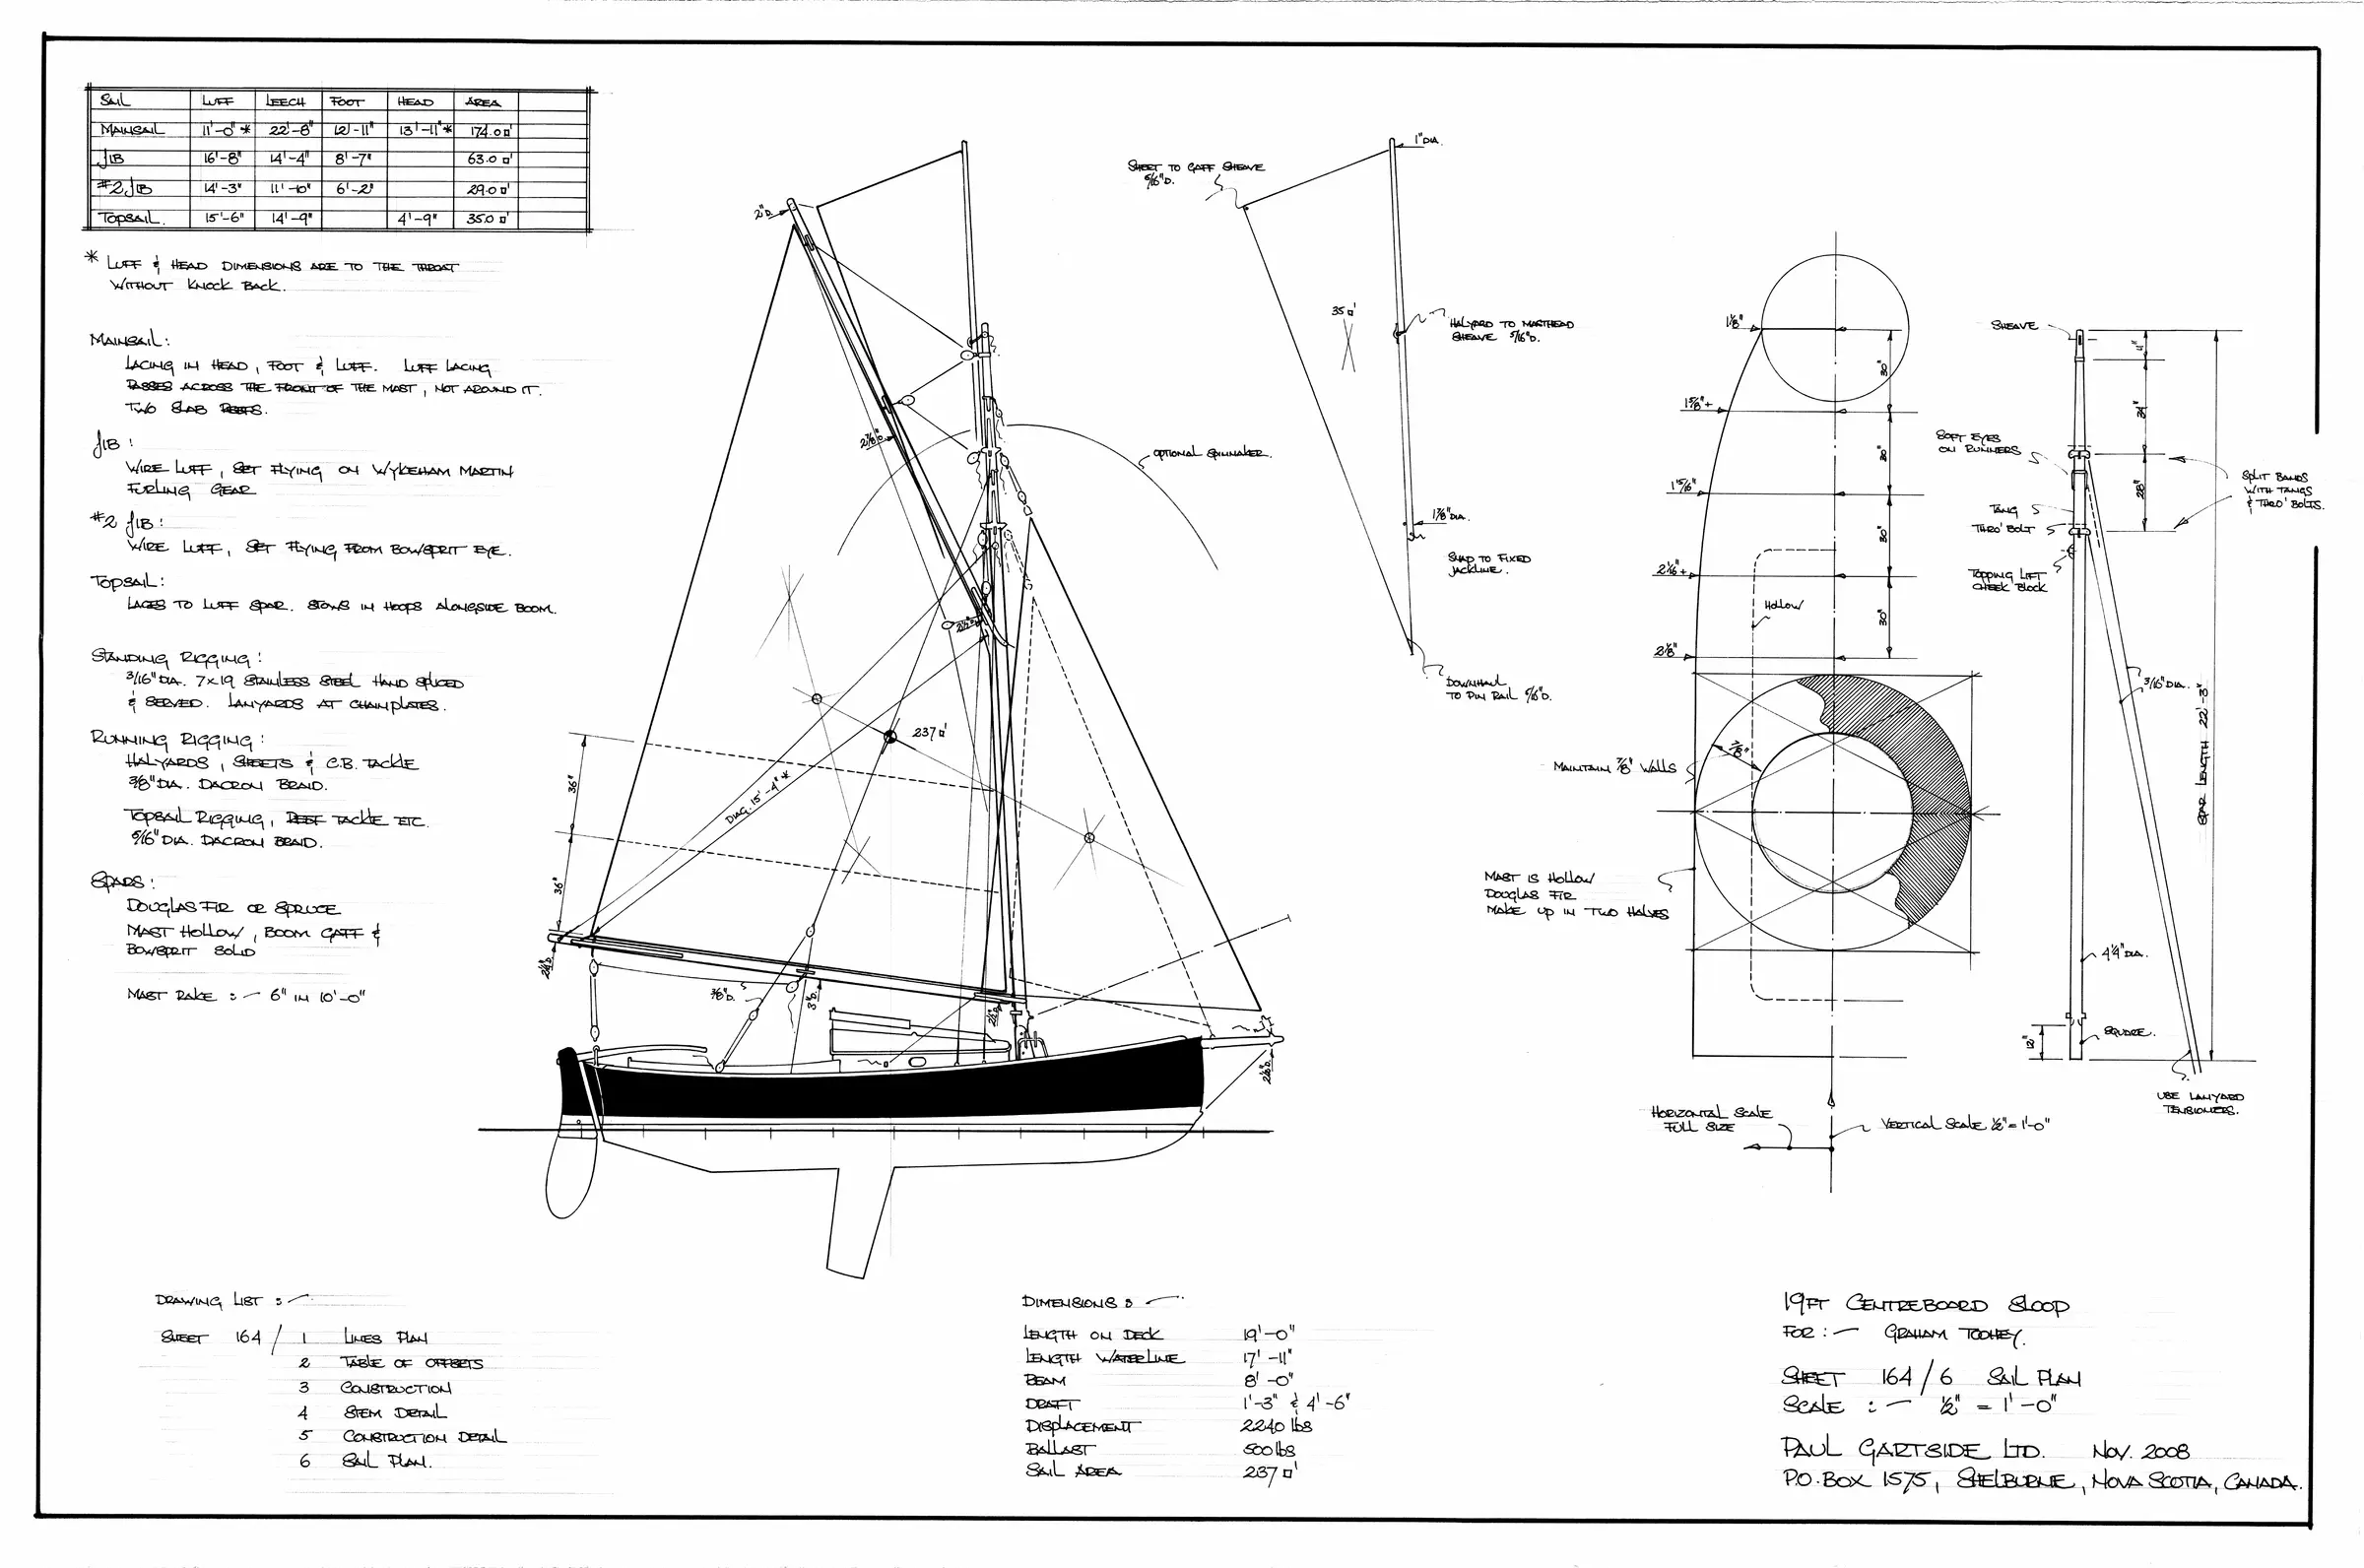
19' Gaff Sloop Centreboarder, based on a design by Paul Gartside14 entries,
39 photosBack to the log
The book is laid out for the paper chosen above, and the print dialog will follow it,
so pick the paper here rather than there. Turn background graphics on
so the cover photograph prints, and leave margins at their default. The page numbers
and the chapter running heads are drawn by the browser into the page margins, so they
exist only on paper: check the print preview rather than this screen for them, and turn
Headers and footers off there so Chrome's own furniture does not crowd
them out. Chrome and Edge print them, Safari and Firefox print the same book without
them.
new build
19' Gaff Sloop Centreboarder, based on a design by Paul Gartside
Spartan II
Dale Simonson · 2026
A build log
19' Gaff Sloop Centreboarder, based on a design by Paul Gartside
Spartan II
kept by Dale Simonson, Victoria, BC
2026
The boat
Spartan II
Designer
Paul Gartside
Length overall
19′ 0″ (5.79 m)
Beam
8′ 0″ (2.44 m)
Hull
wood
Construction
strip planked
Started
1 January 2026
Built by
Dale Simonson
Built at
Victoria, BC
A much bigger boat for us... for the last 14 years, since I built and launched her, we've been cruising on our 12' Welsford Scamp LUNA. This is going to be fun!
What it took
By the numbers
53
Hours at the boat
4 months
From first day to last
14
Days written up
39
Photographs
736
Words written
The work
Contents
01Planning & Research
Dec 2025 · 8h
02Hull Panels
Feb 2026 · 7h
03Rig & Spars
Feb 2026 · 23h
04Plans & Lofting
Mar 2026 · 16h
Chapter 01
Planning & Research
Choosing the design, sourcing plans or a kit, budgeting, lining up materials.
2 days8 hoursfrom December 2025
21 Dec 2025Planning & Research3.5 h
Choosing Boat to Build, and Estimating Bill of Materials
My good friend Arnt proposed we build a boat for my wife and I in his shop. We selected Paul Gartside's design #164 "Spartan II" so I purchased the study plans, and started estimating a bill of materials.
26 Jan 2026Planning & Research4 h
Received the Plans
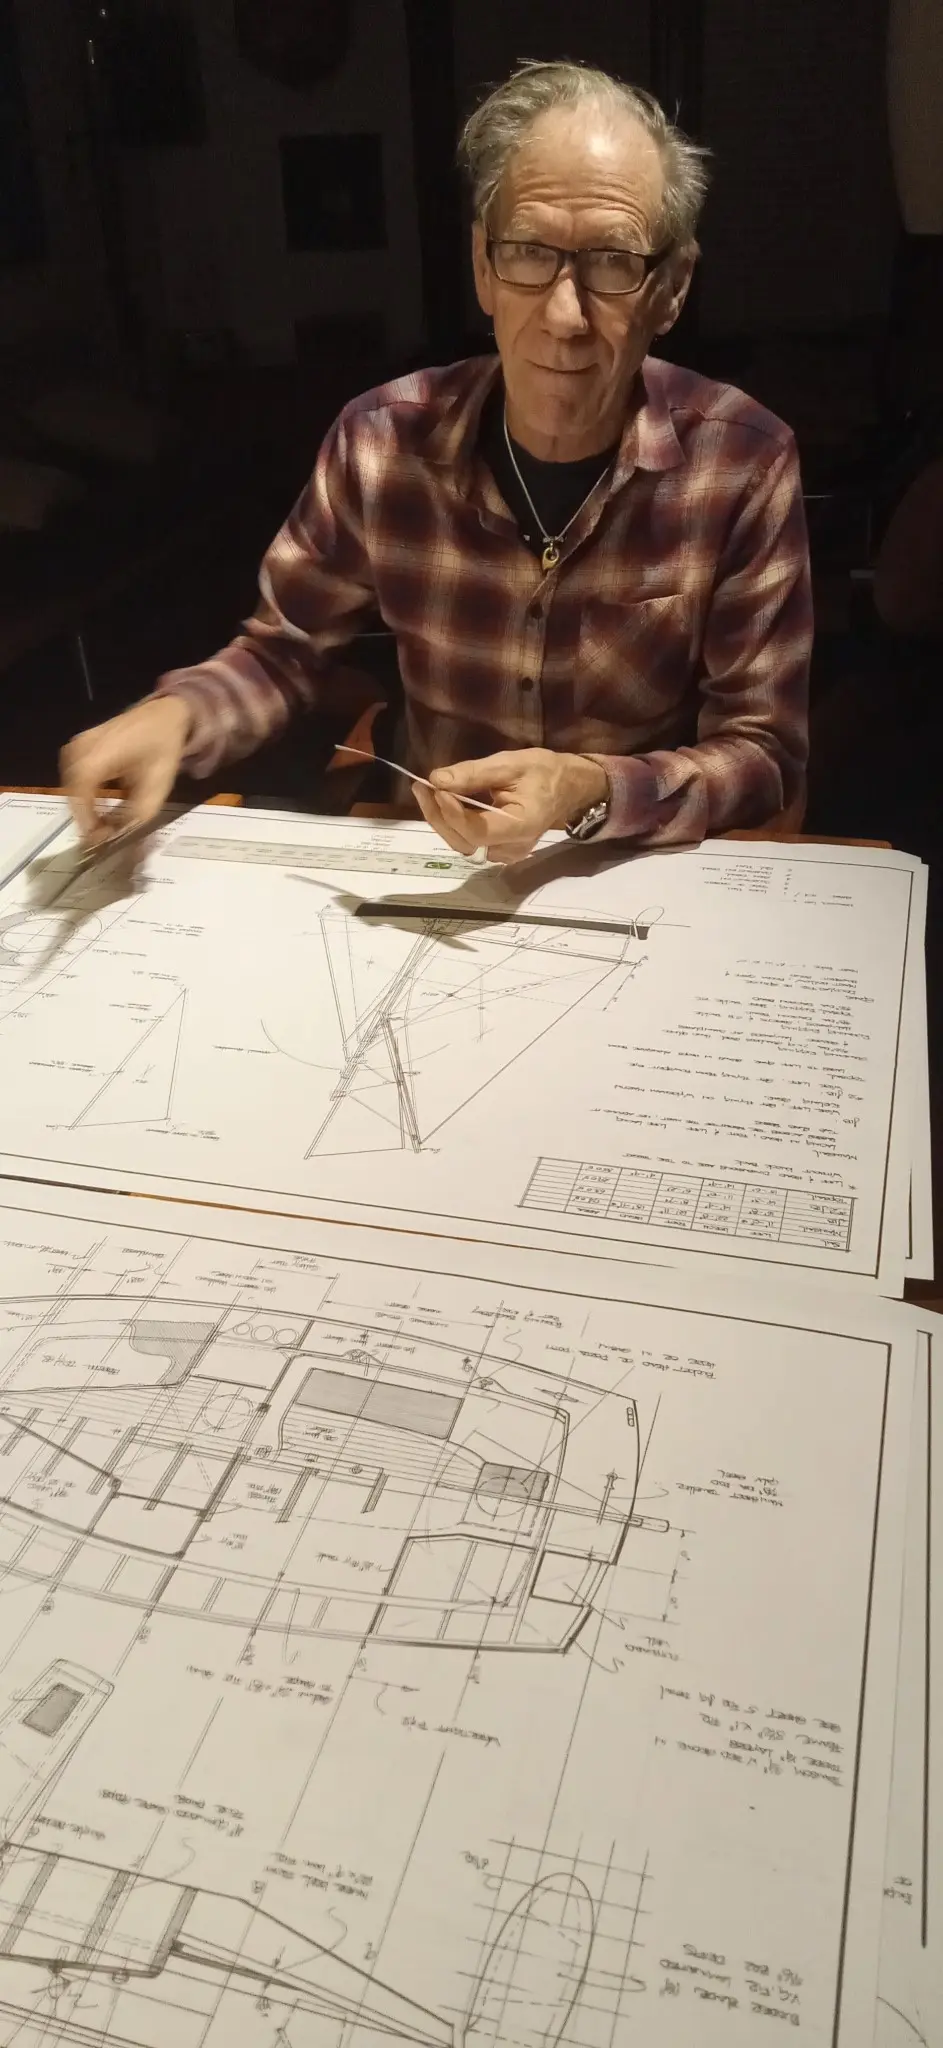
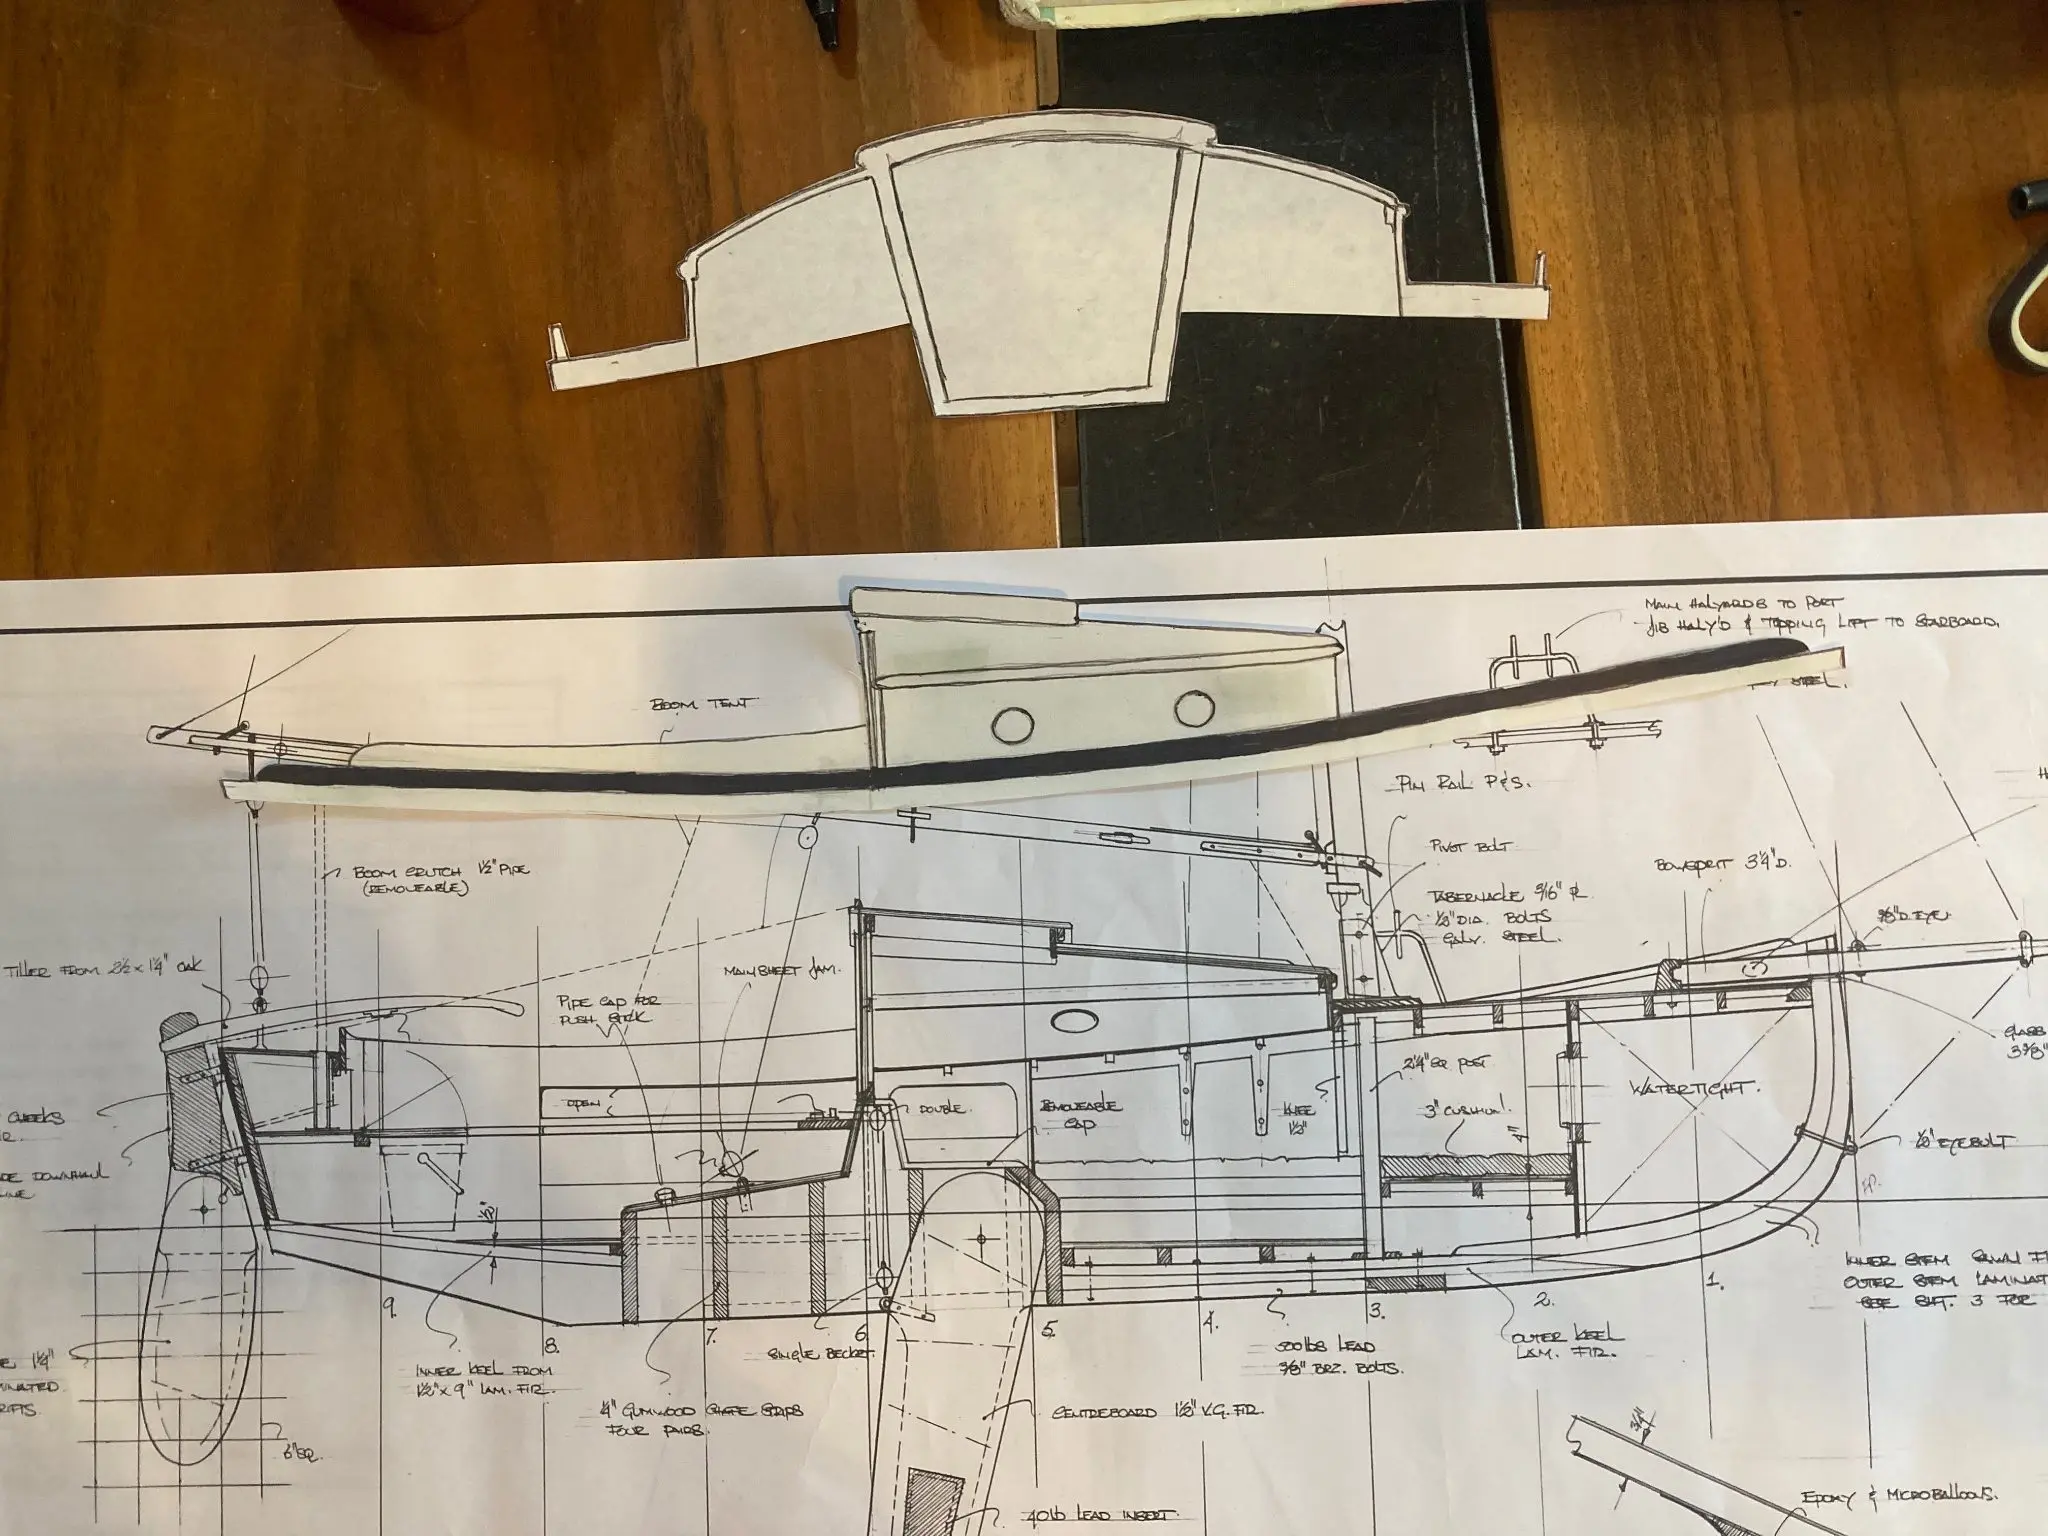
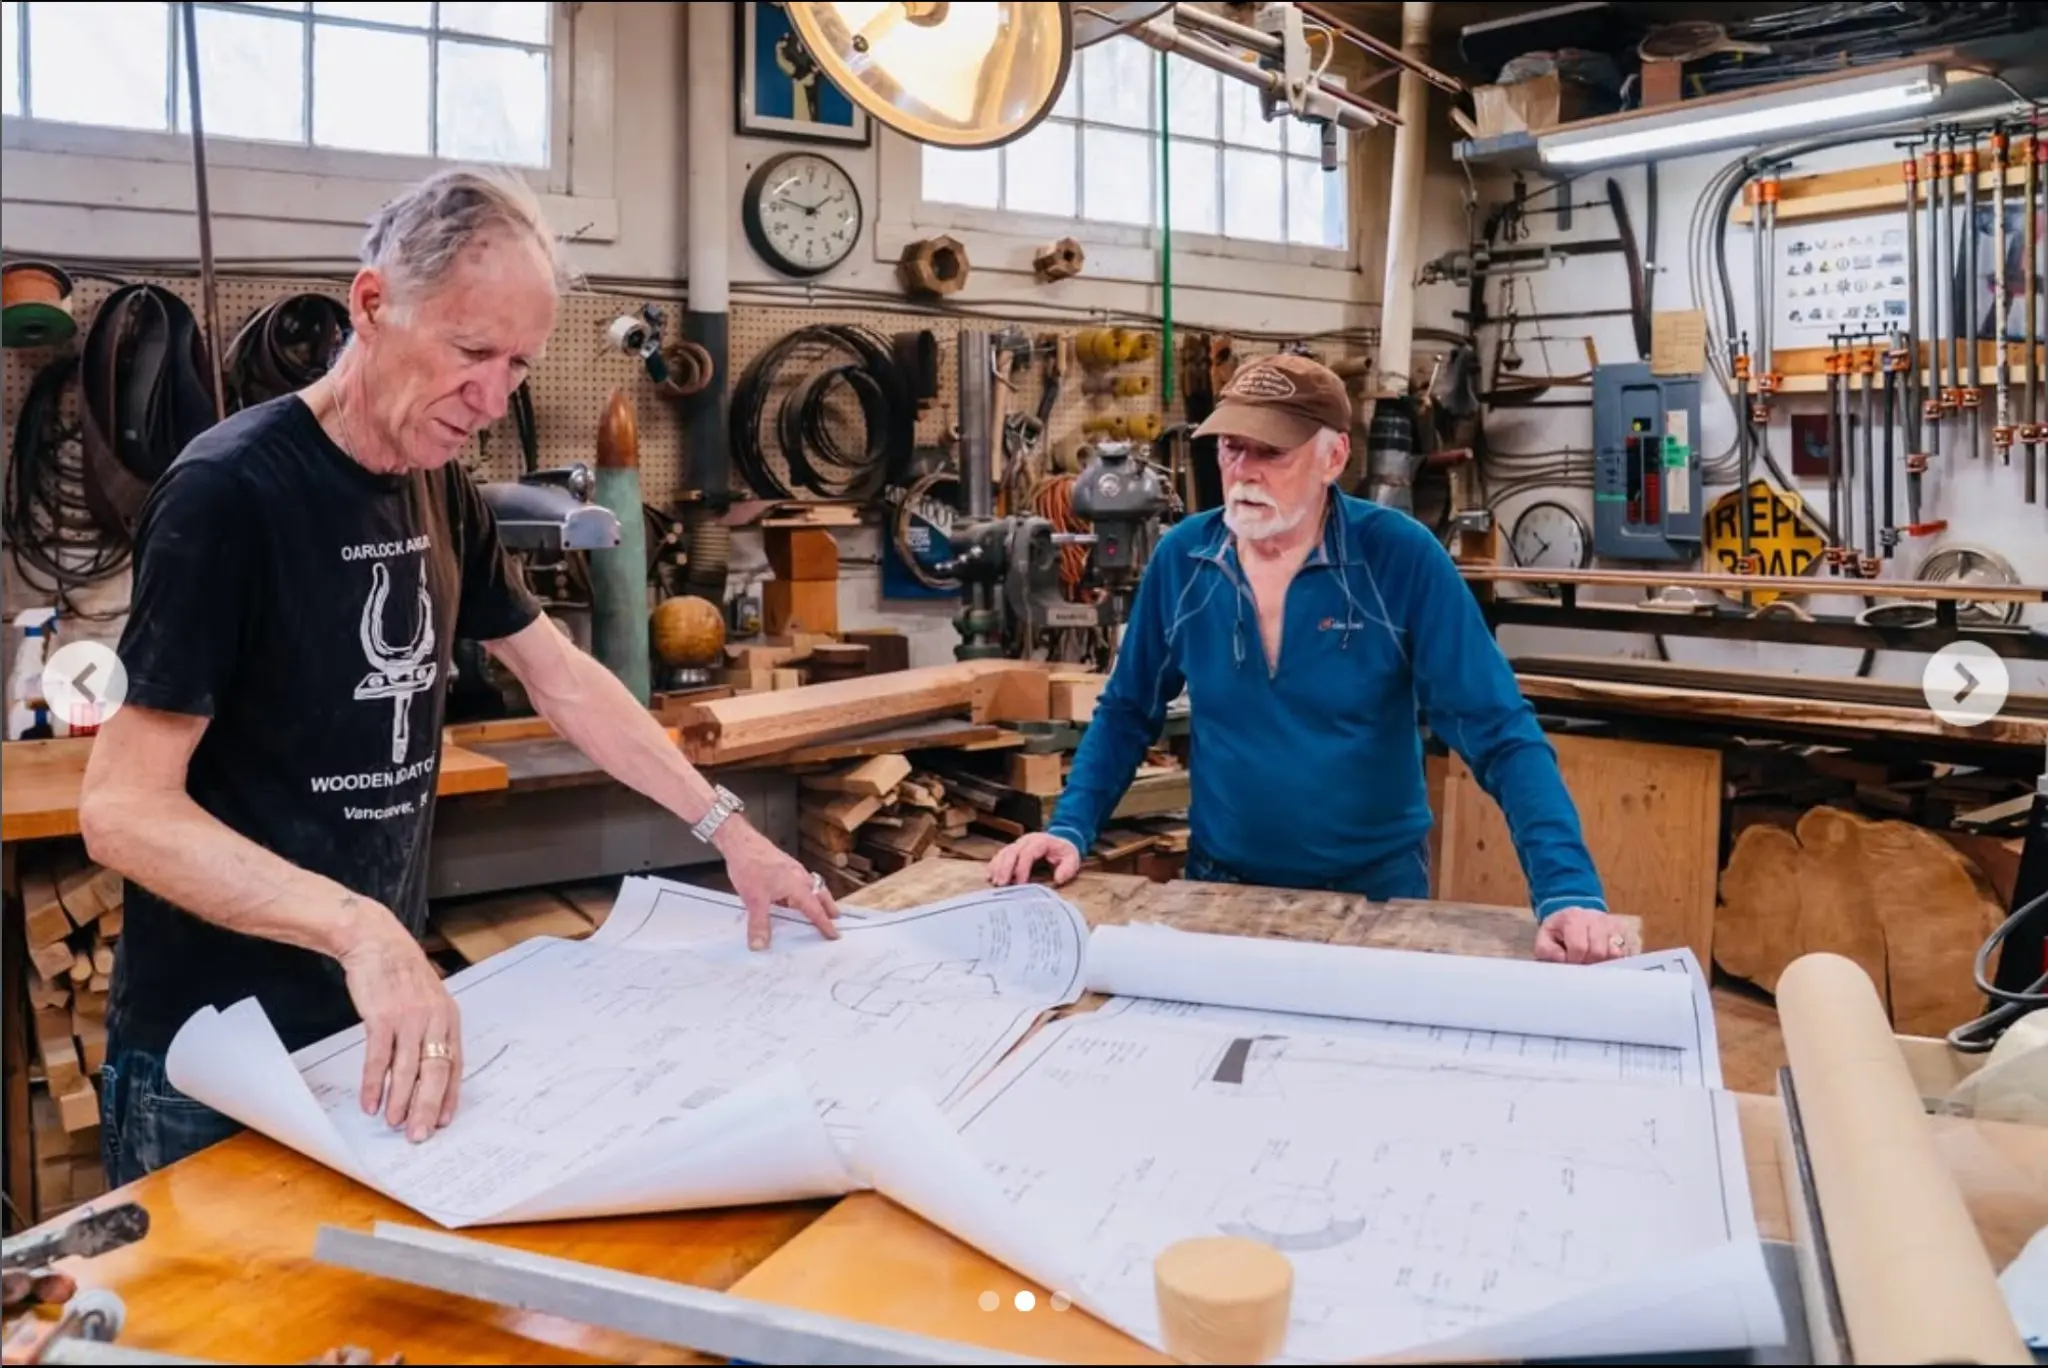
Ordered the plans, had them printed, and immediately started thinking about things we might change a bit! For instance: the cabin height could be a bit taller so we can sit up on the bunks!
Photo 1 Photo 2
Chapter 02
Hull Panels
Scarfing plywood, cutting panels, milling strips or planking stock.
1 day7 hoursfrom February 2026
24 Feb 2026Hull Panels7 h
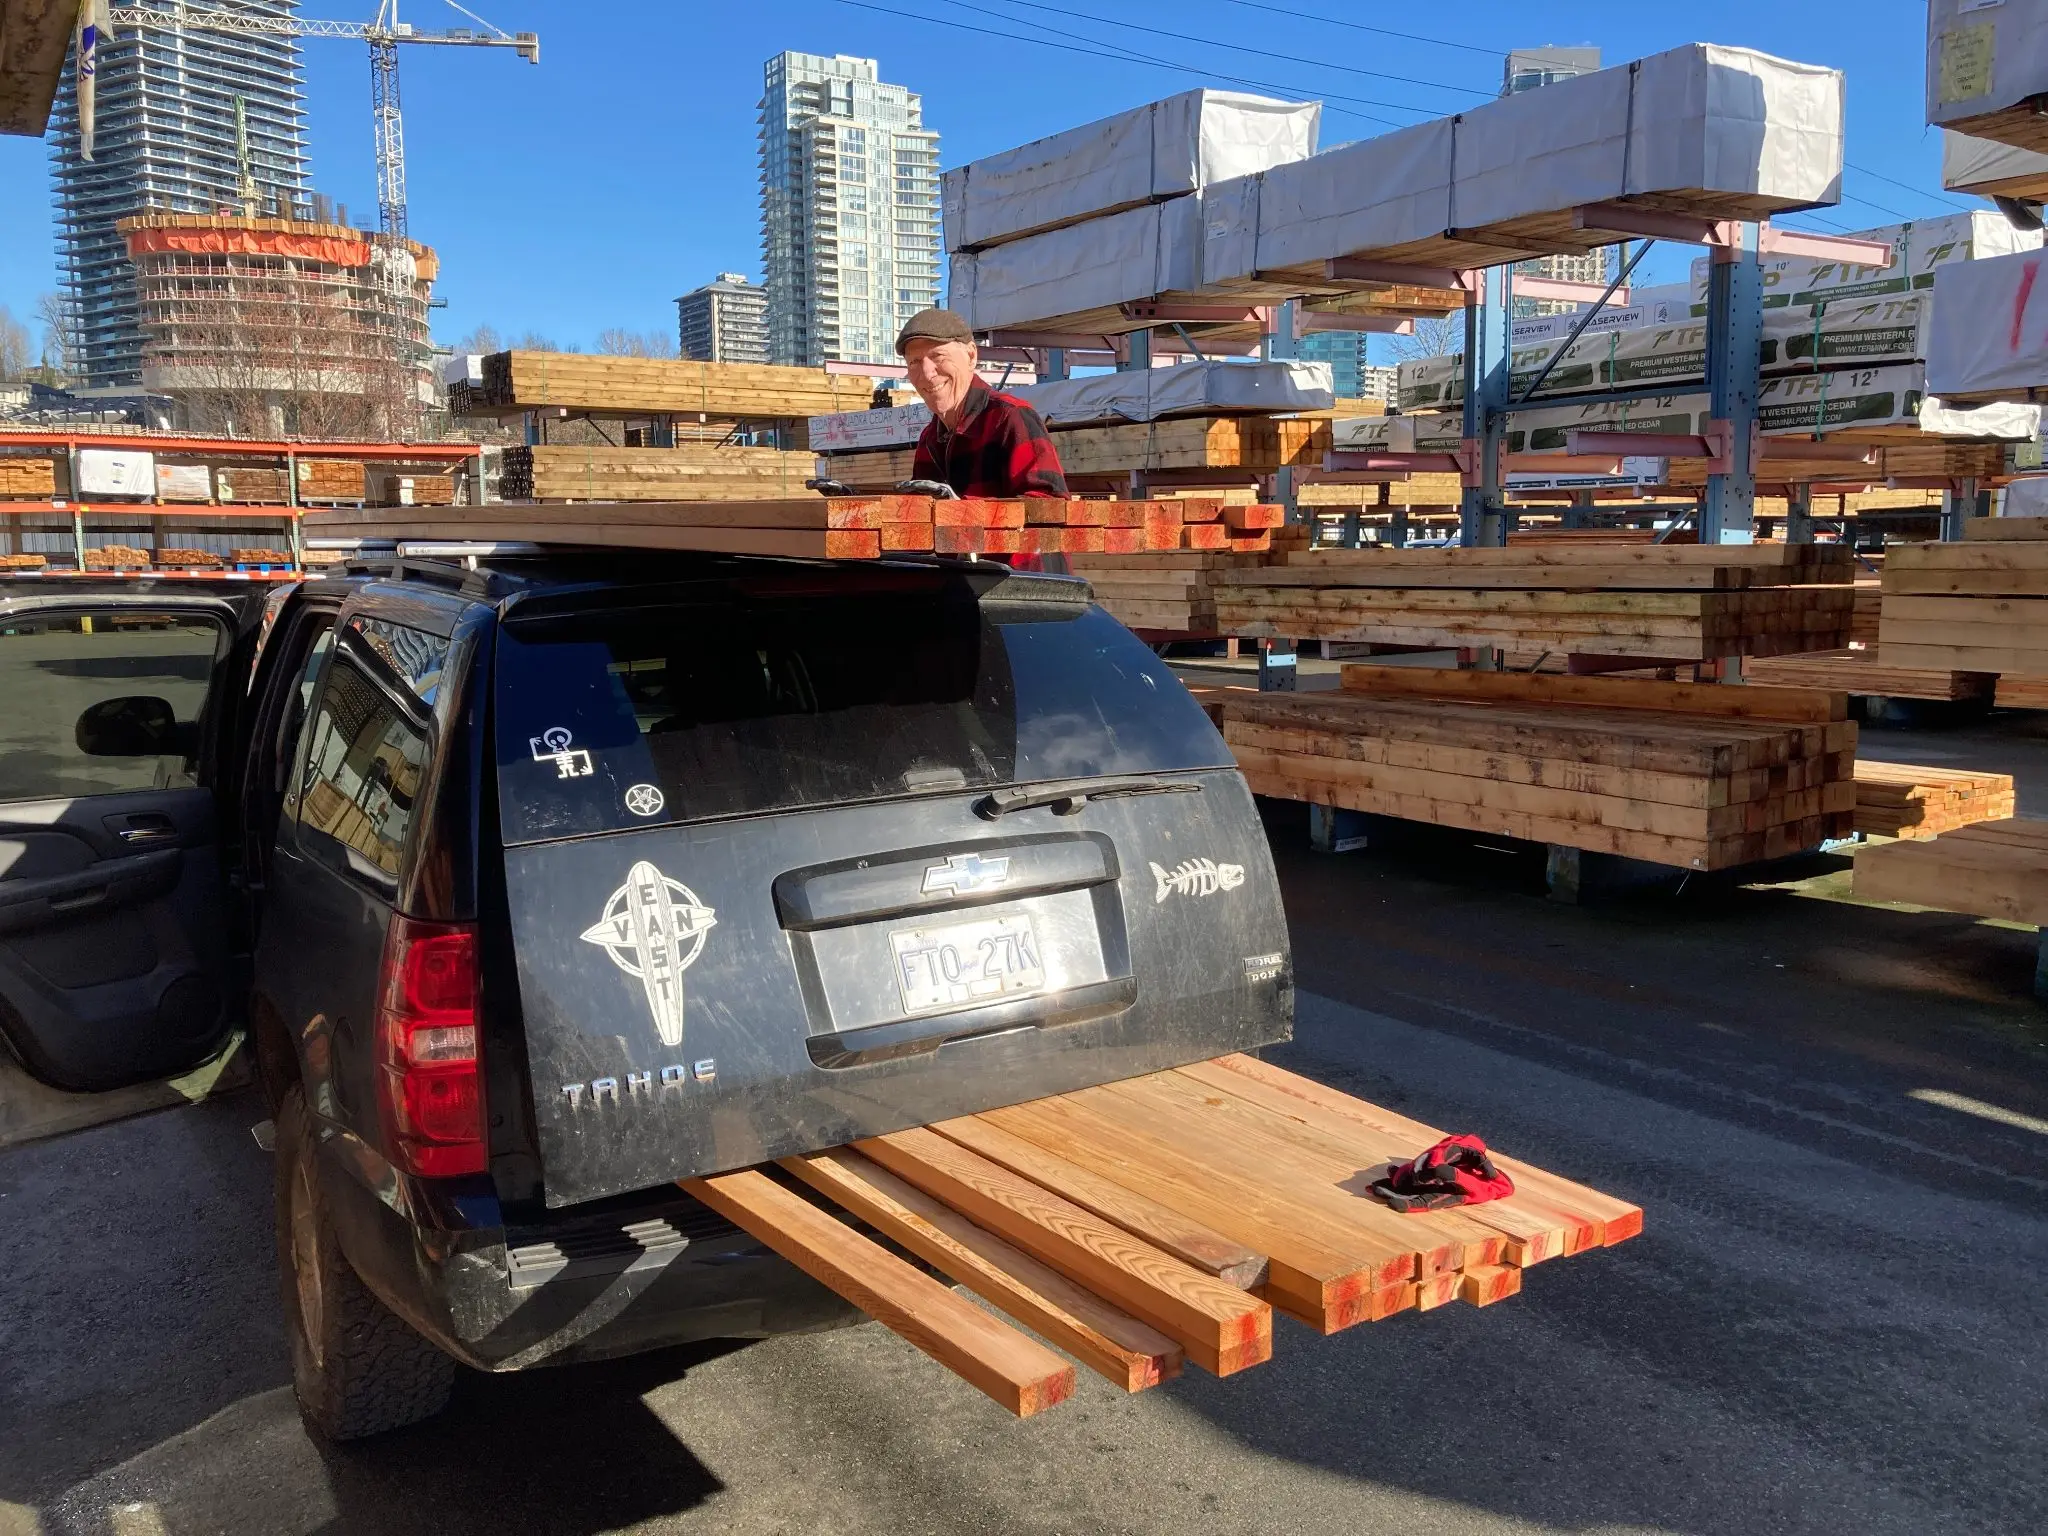
Purchase and rip cedar for strip-built hull
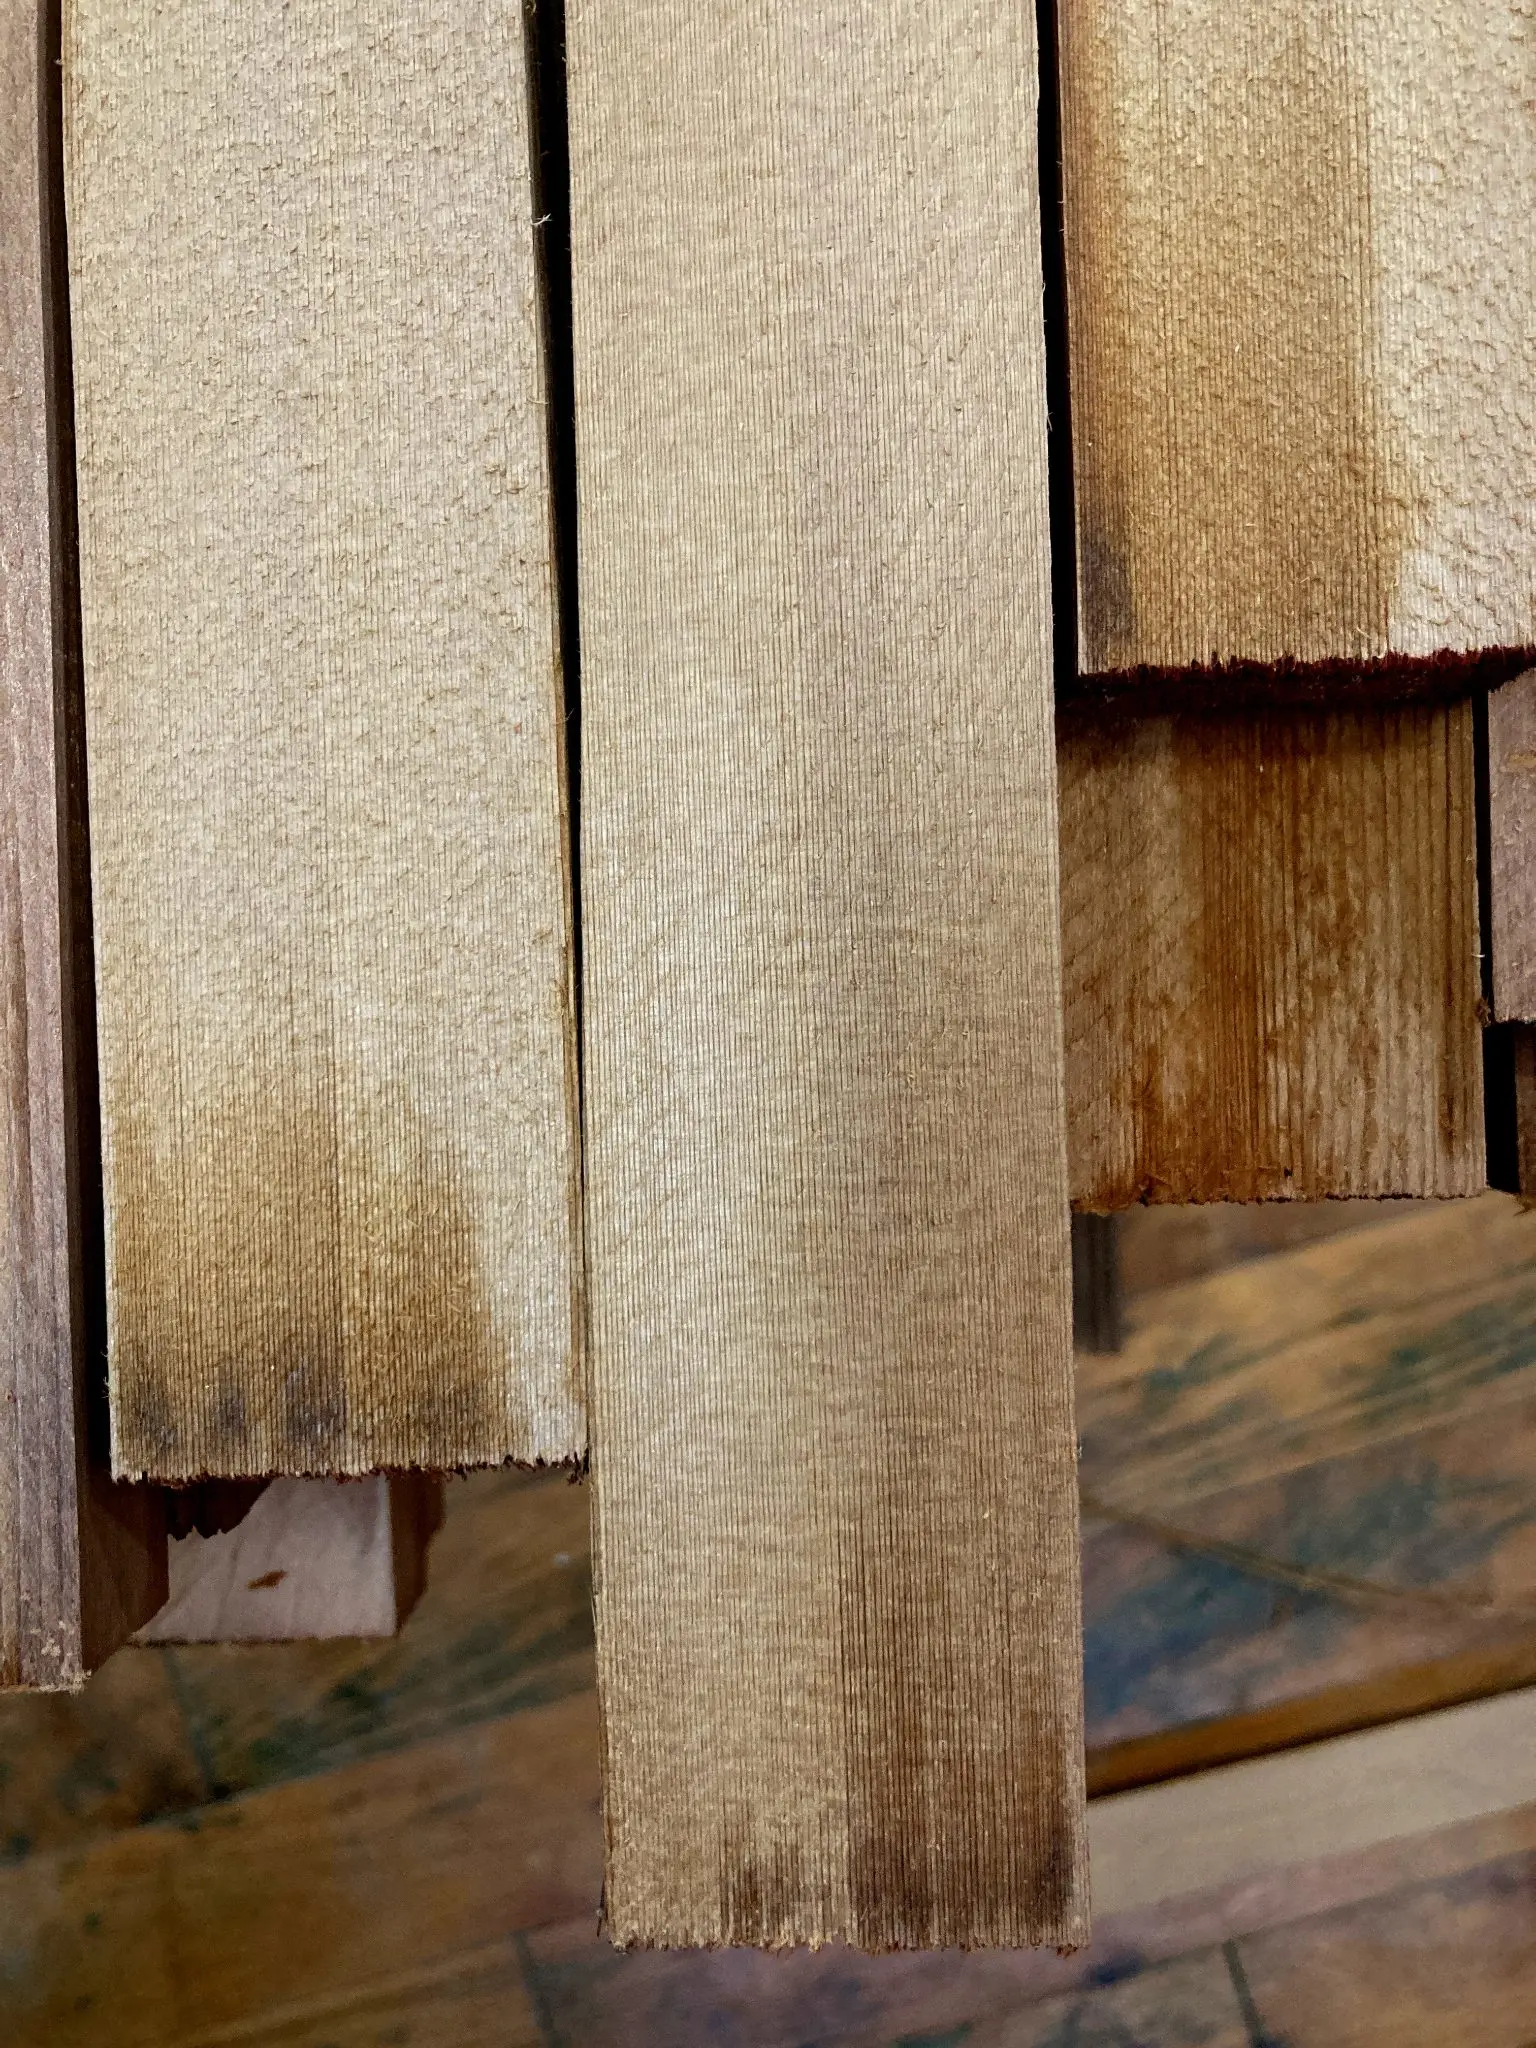
The design calls for strip-building, 3/4" by 1-1/4" Western Red Cedar, glassed inside and out. We found some very tight-grained 2x4 green material at a local building supply, and purchased 17 10-footers and 17 12-footers. They'll have to be scarfed to achieve our desired length, a little over 21 feet. Totally stunning wood... there isn't much of this stuff left in our forests, so, worth every penny of their ridiculously expensive price!
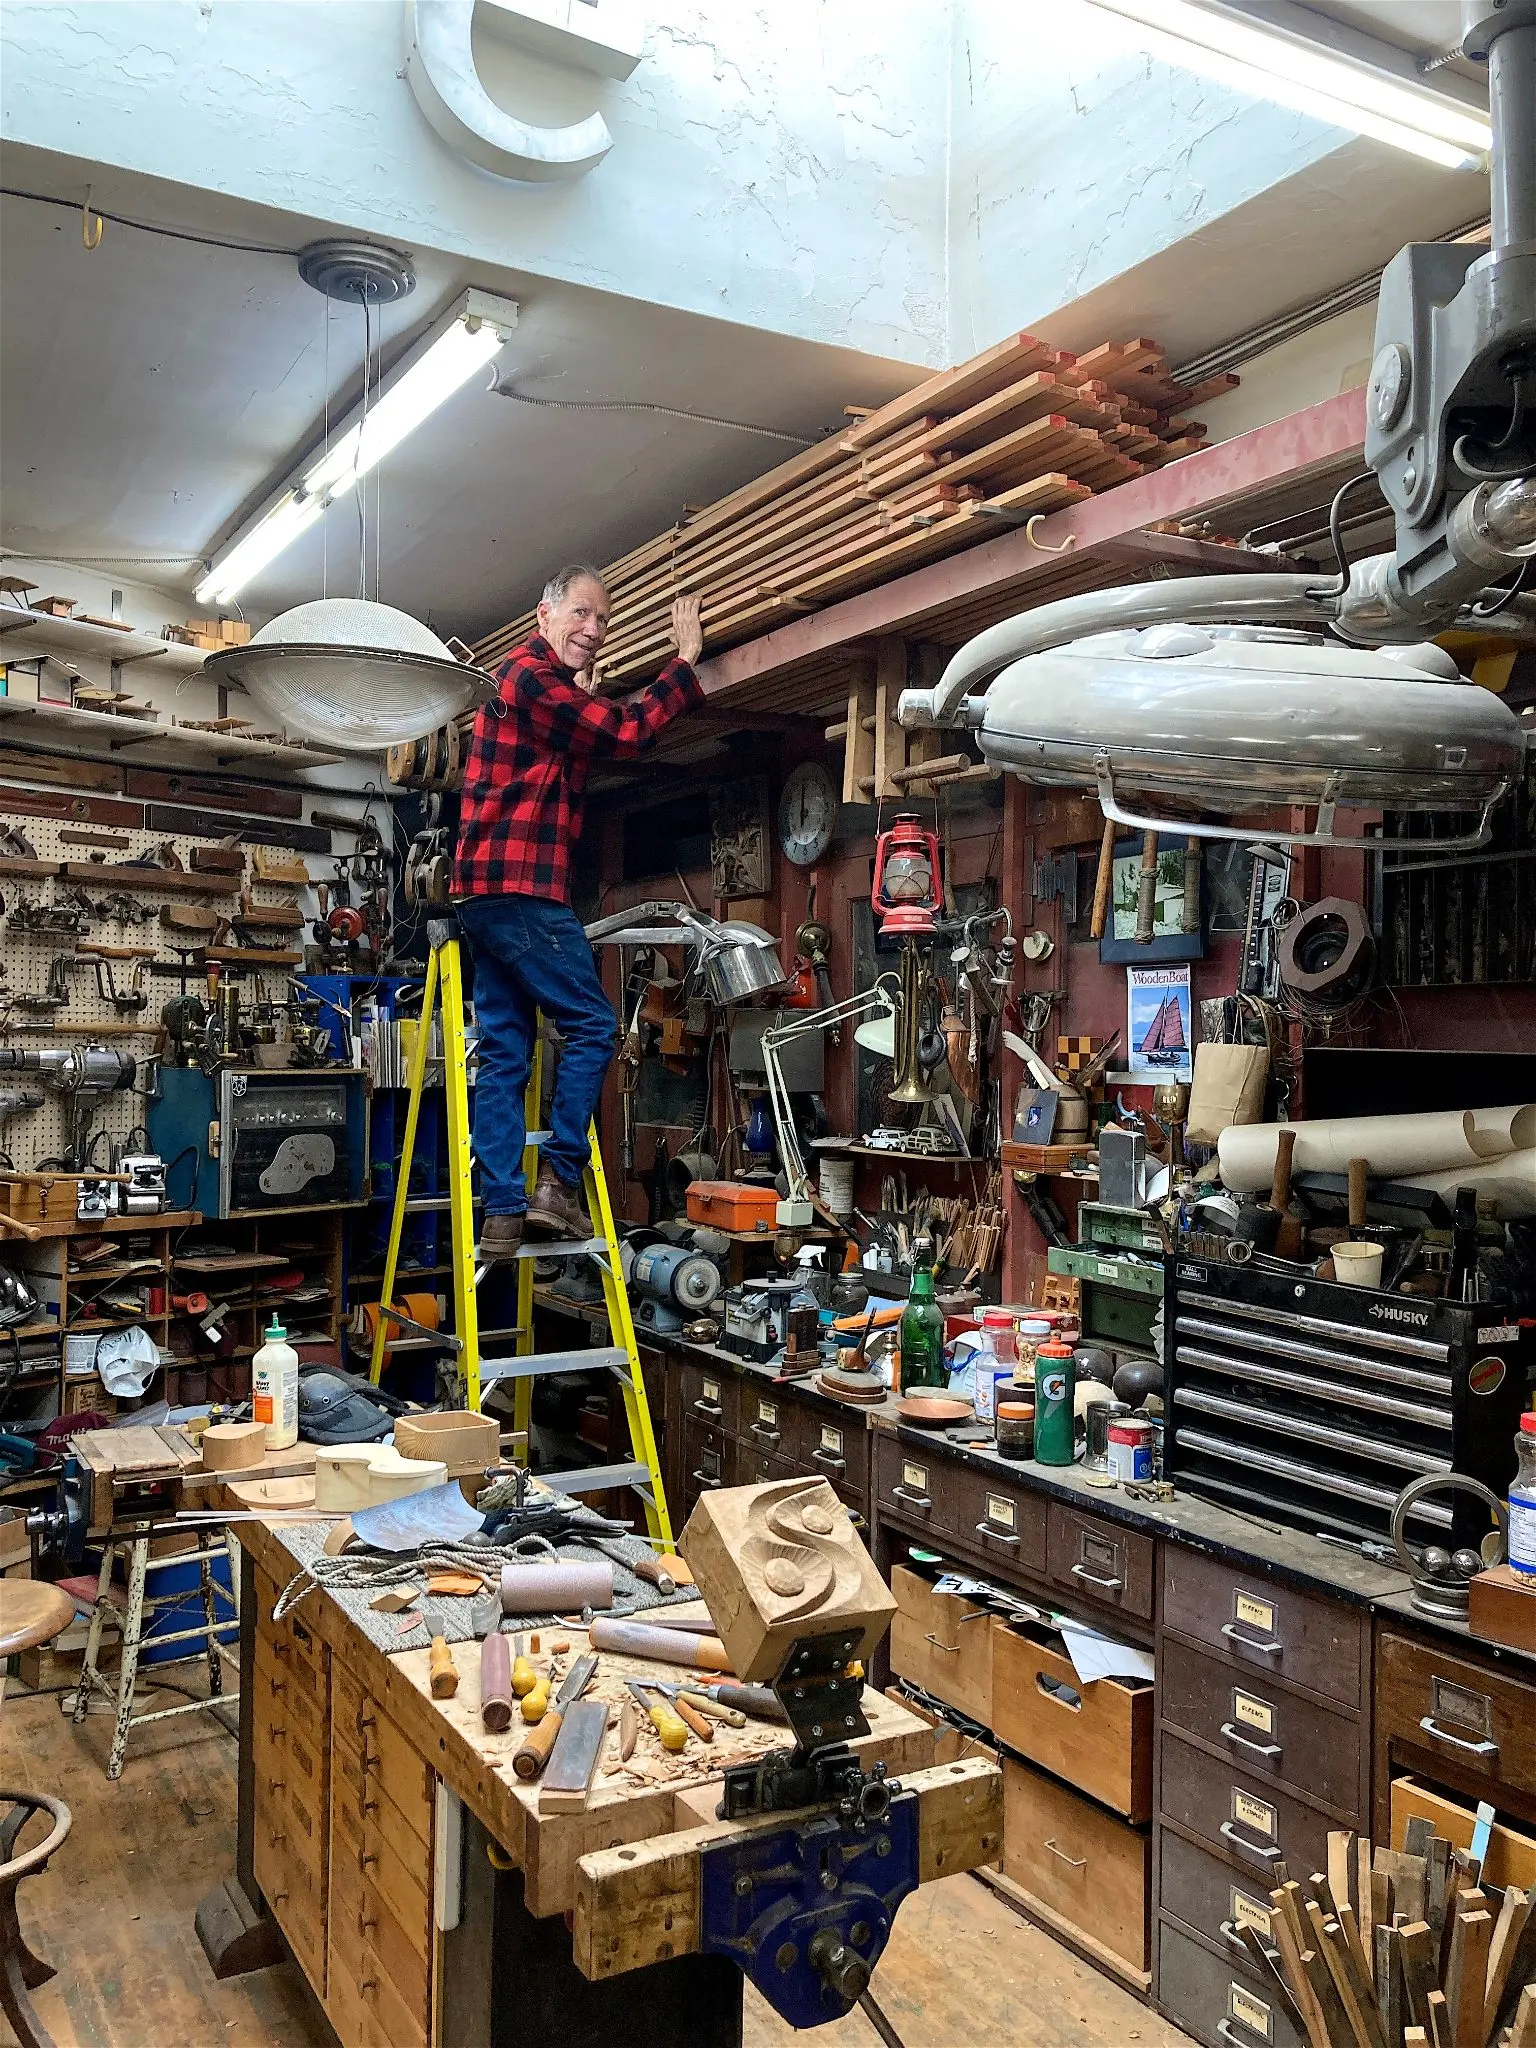
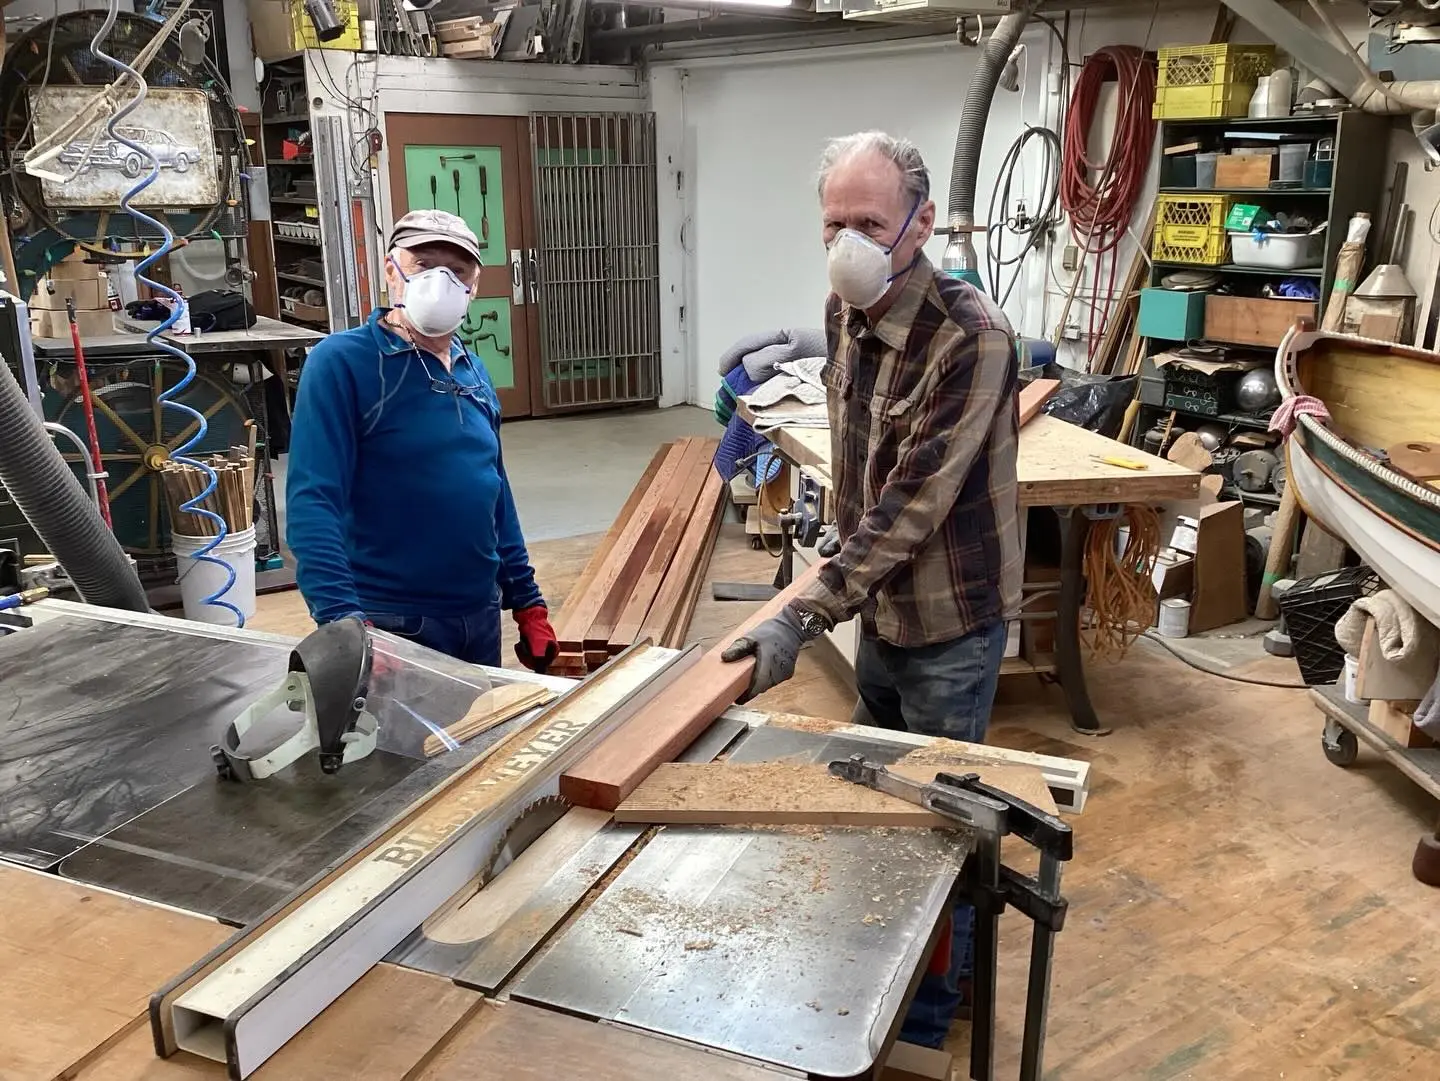
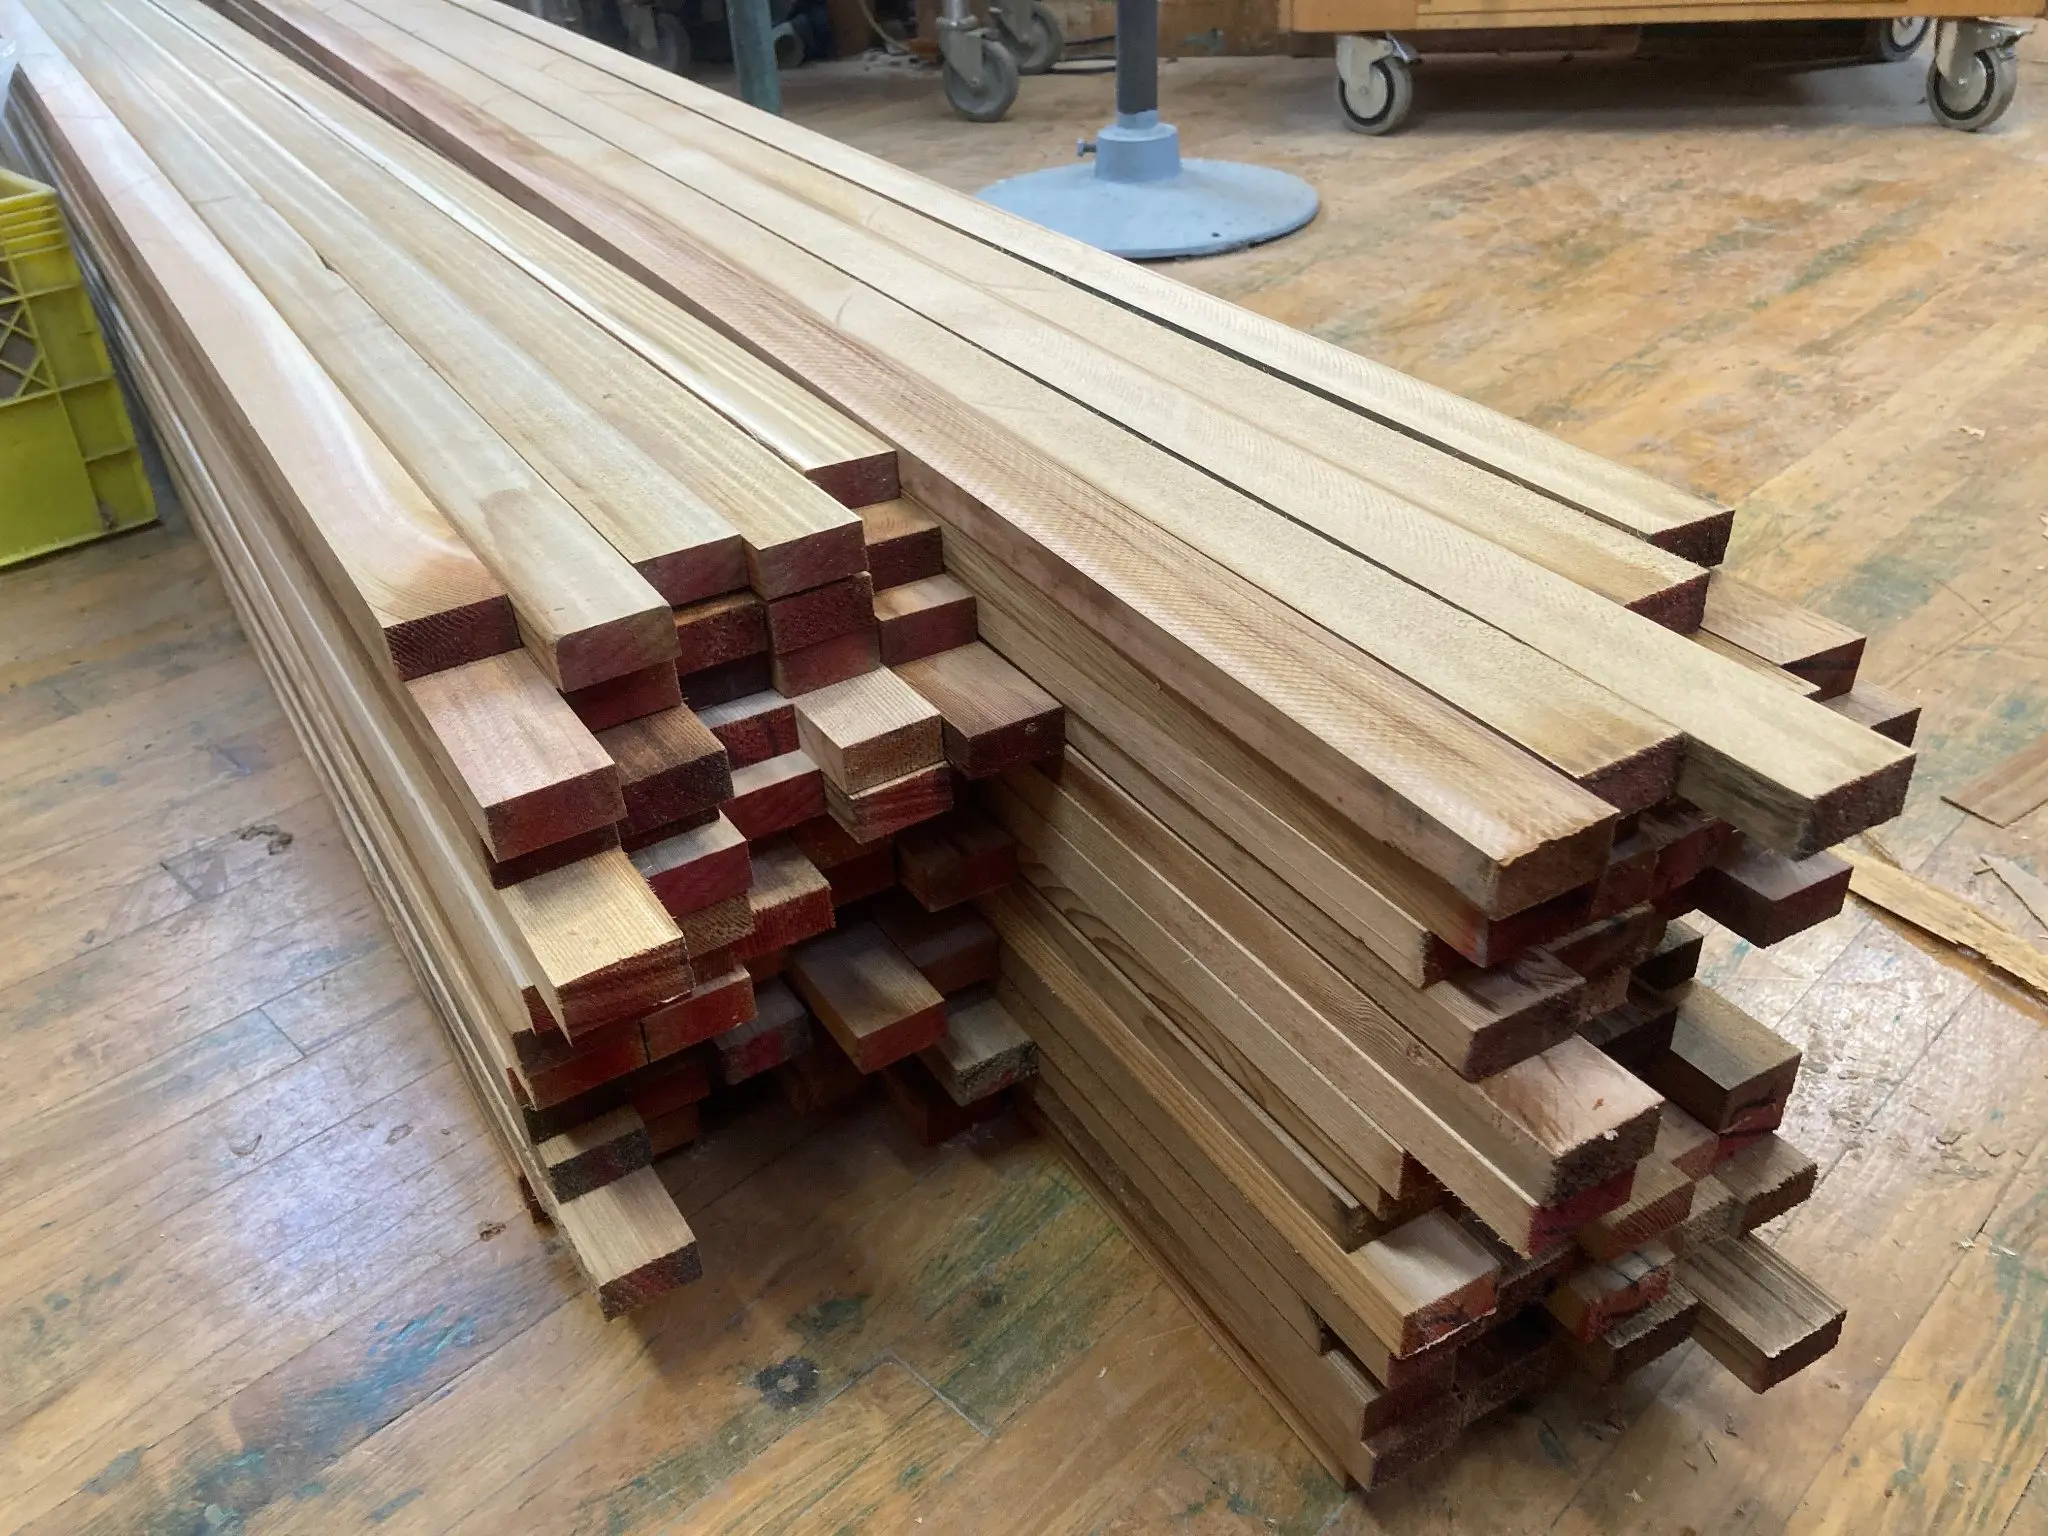
Ripped it down to 3/4 by 1-1/2" ...a bit wider than the plans, but a much better cut out of the material. We'll see how difficult it is at the turn of the bilge, and perhaps have to rip a few in half at the sharpest turn. Then stickered and stacked them up in the shop rafters to air dry.
Photo 1 Photo 2 Photo 3 Photo 4 Photo 5
Chapter 03
Rig & Spars
Mast, boom, standing and running rigging, sails.
8 days23 hoursfrom February 2026
25 Feb 2026Rig & Spars3 h
Recycling a Mast
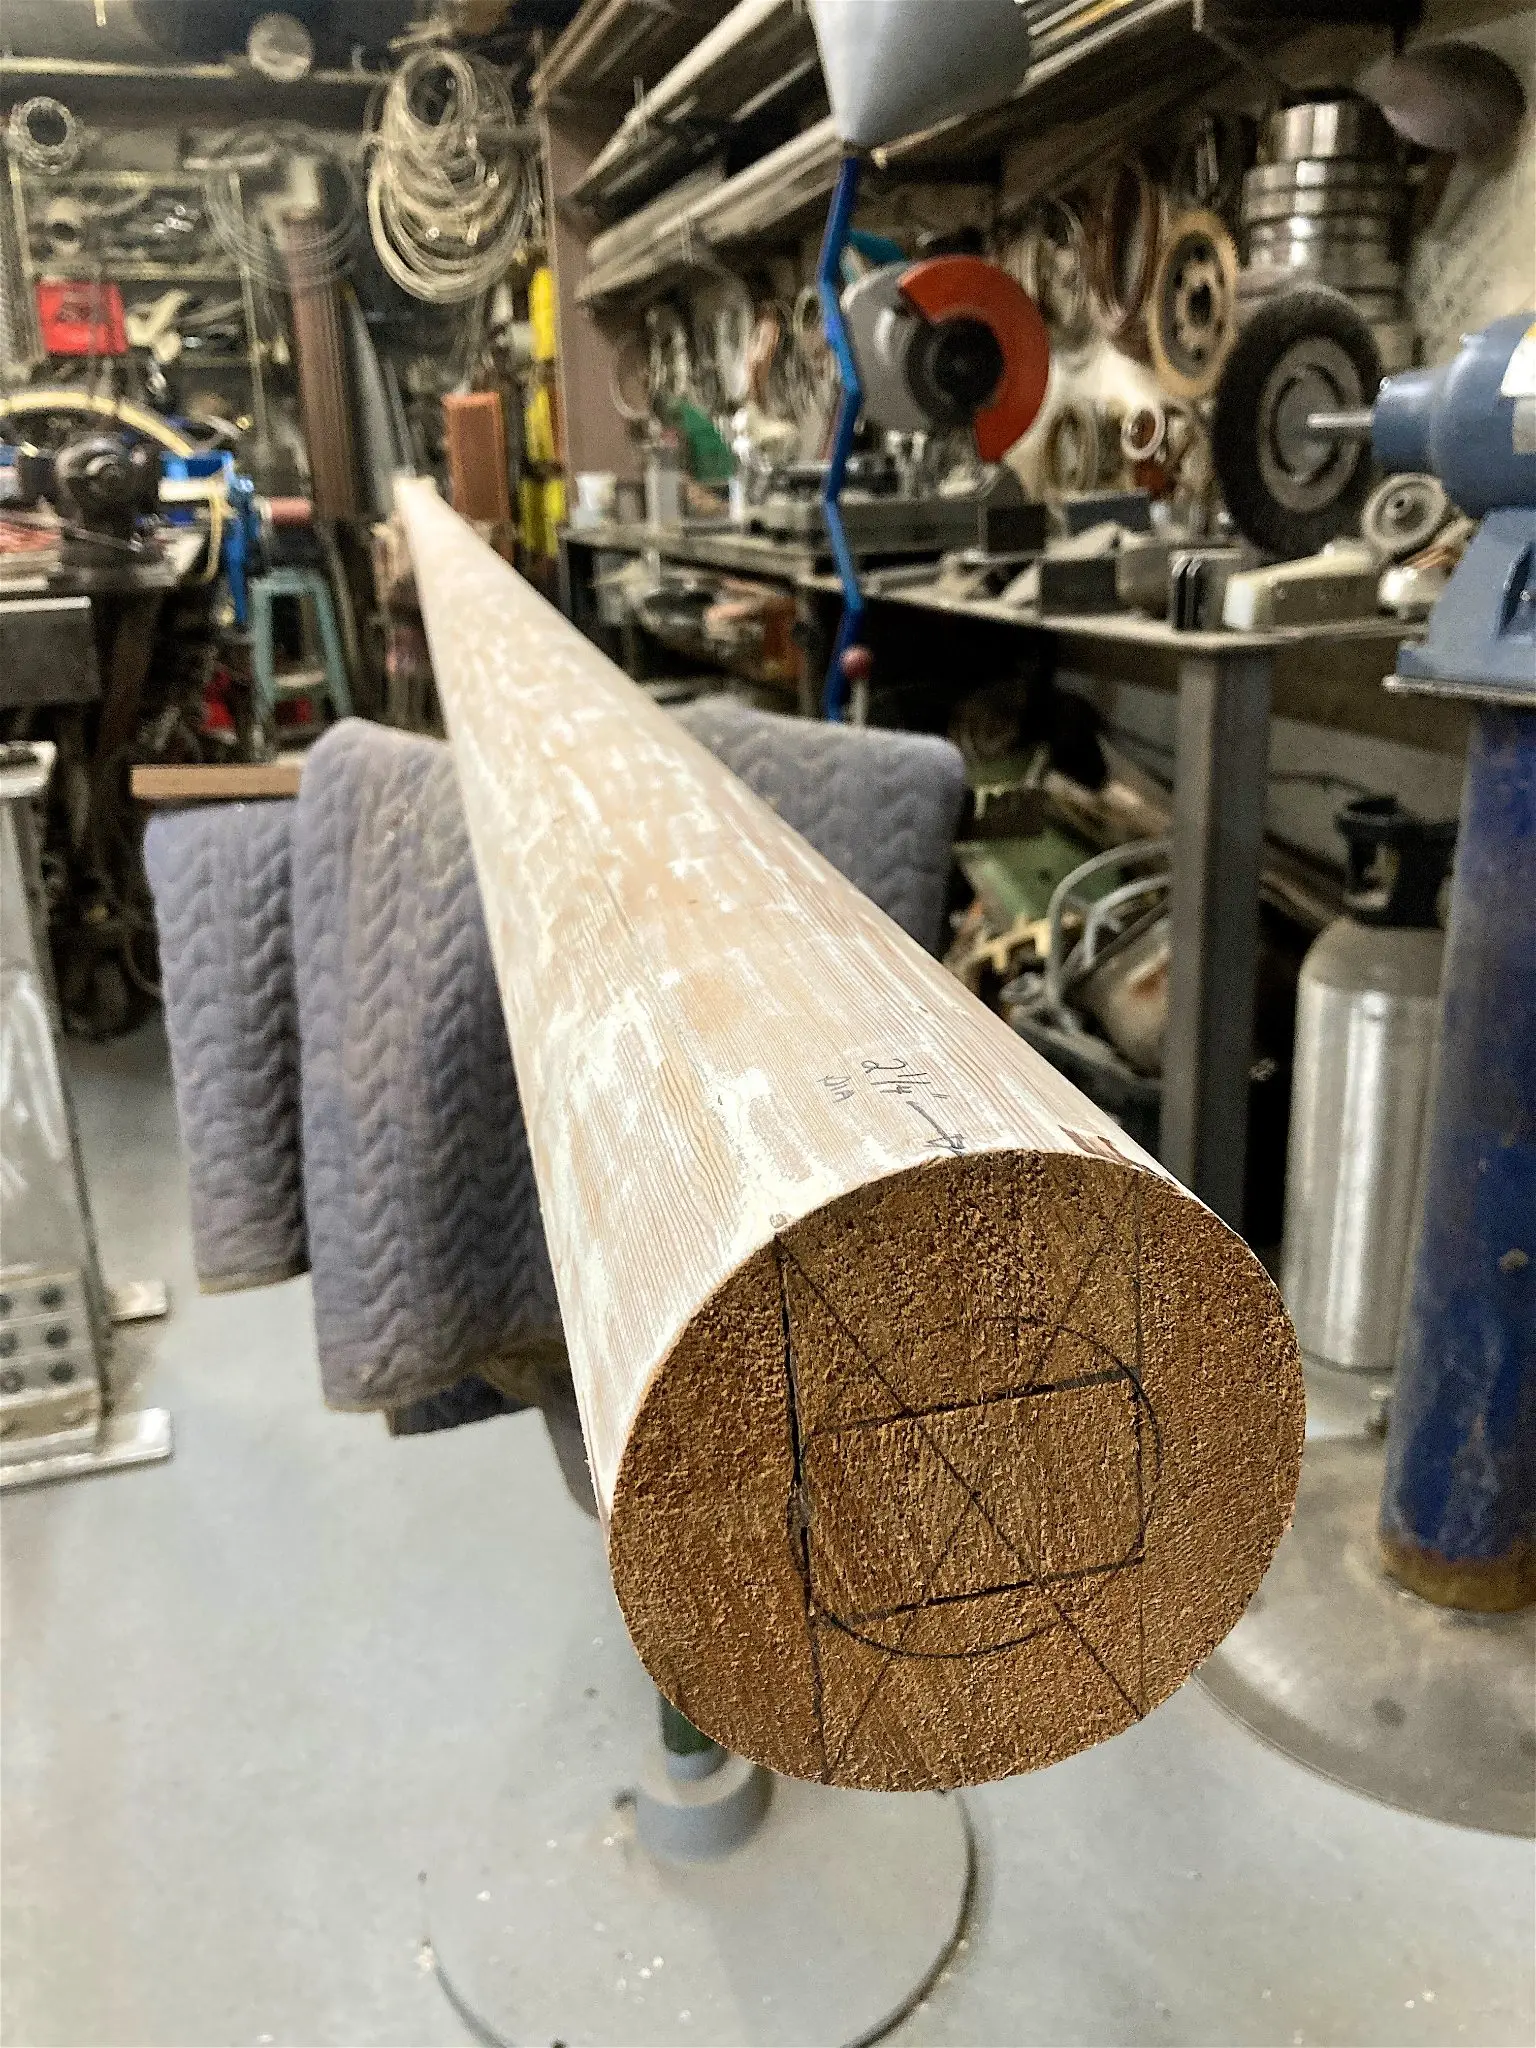
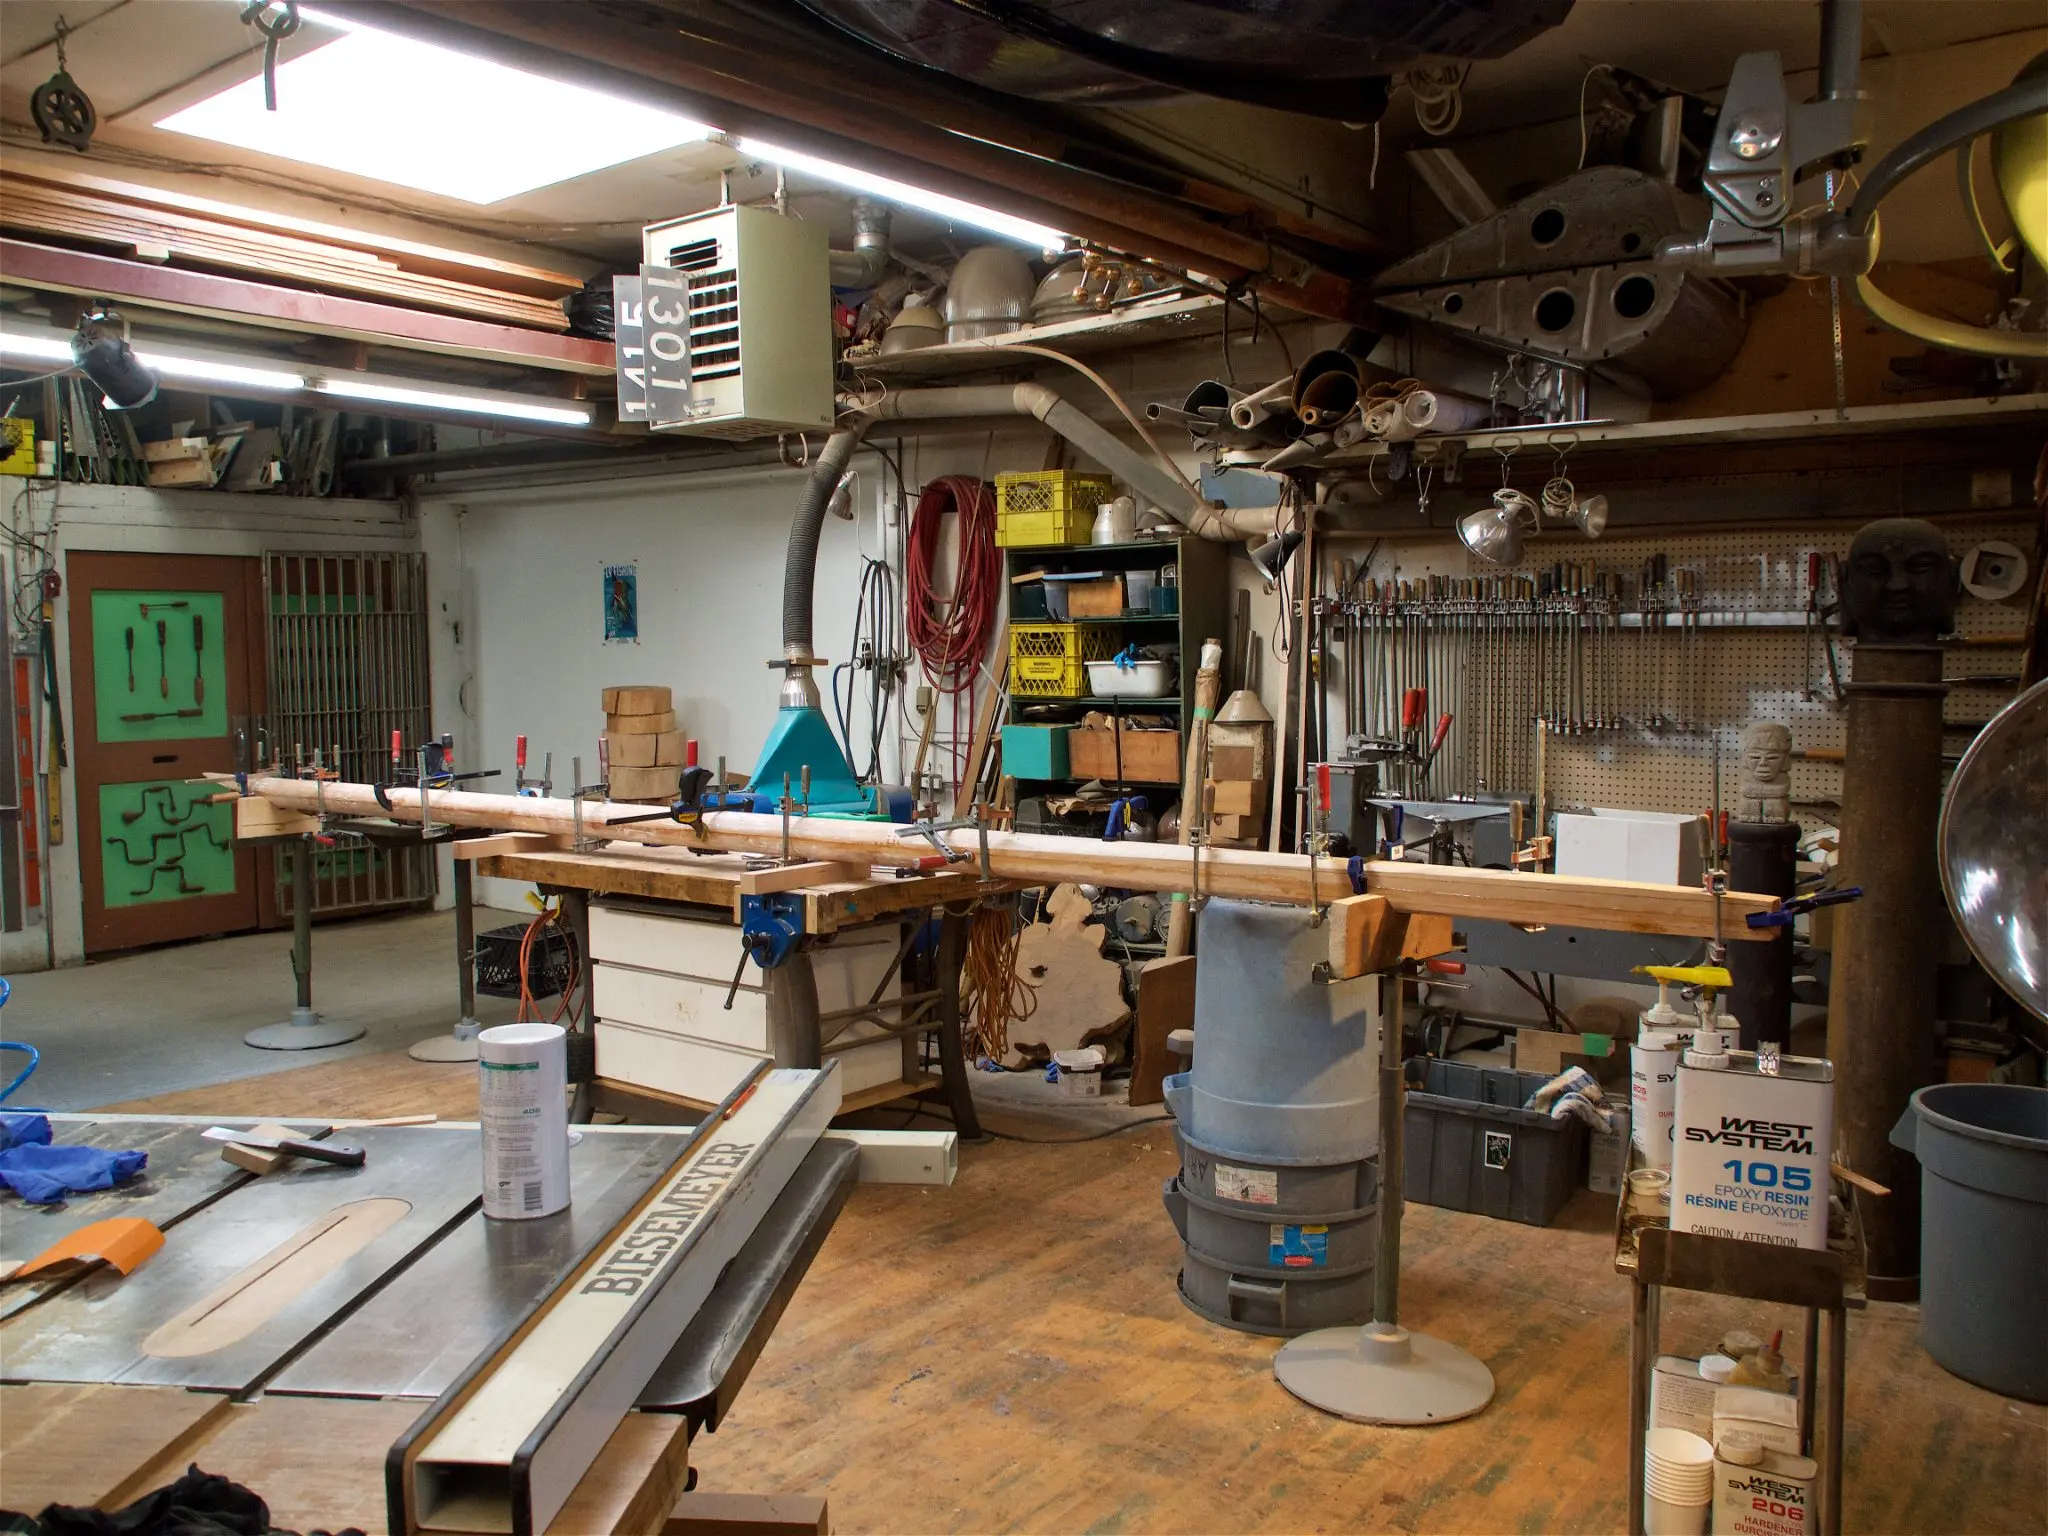
When Arnt bought his 23' gaff cutter ANJA, it had a solid fir mast that was smaller in diameter than designed in the plans. Finding it much too flexible, he build a new one, and hung this one up in rafters of his shop. We took it down and scraped off all the paint to see if it would work for our new boat.
26 Feb 2026Rig & Spars6 h
Split the old mast down the centre and hollow it out
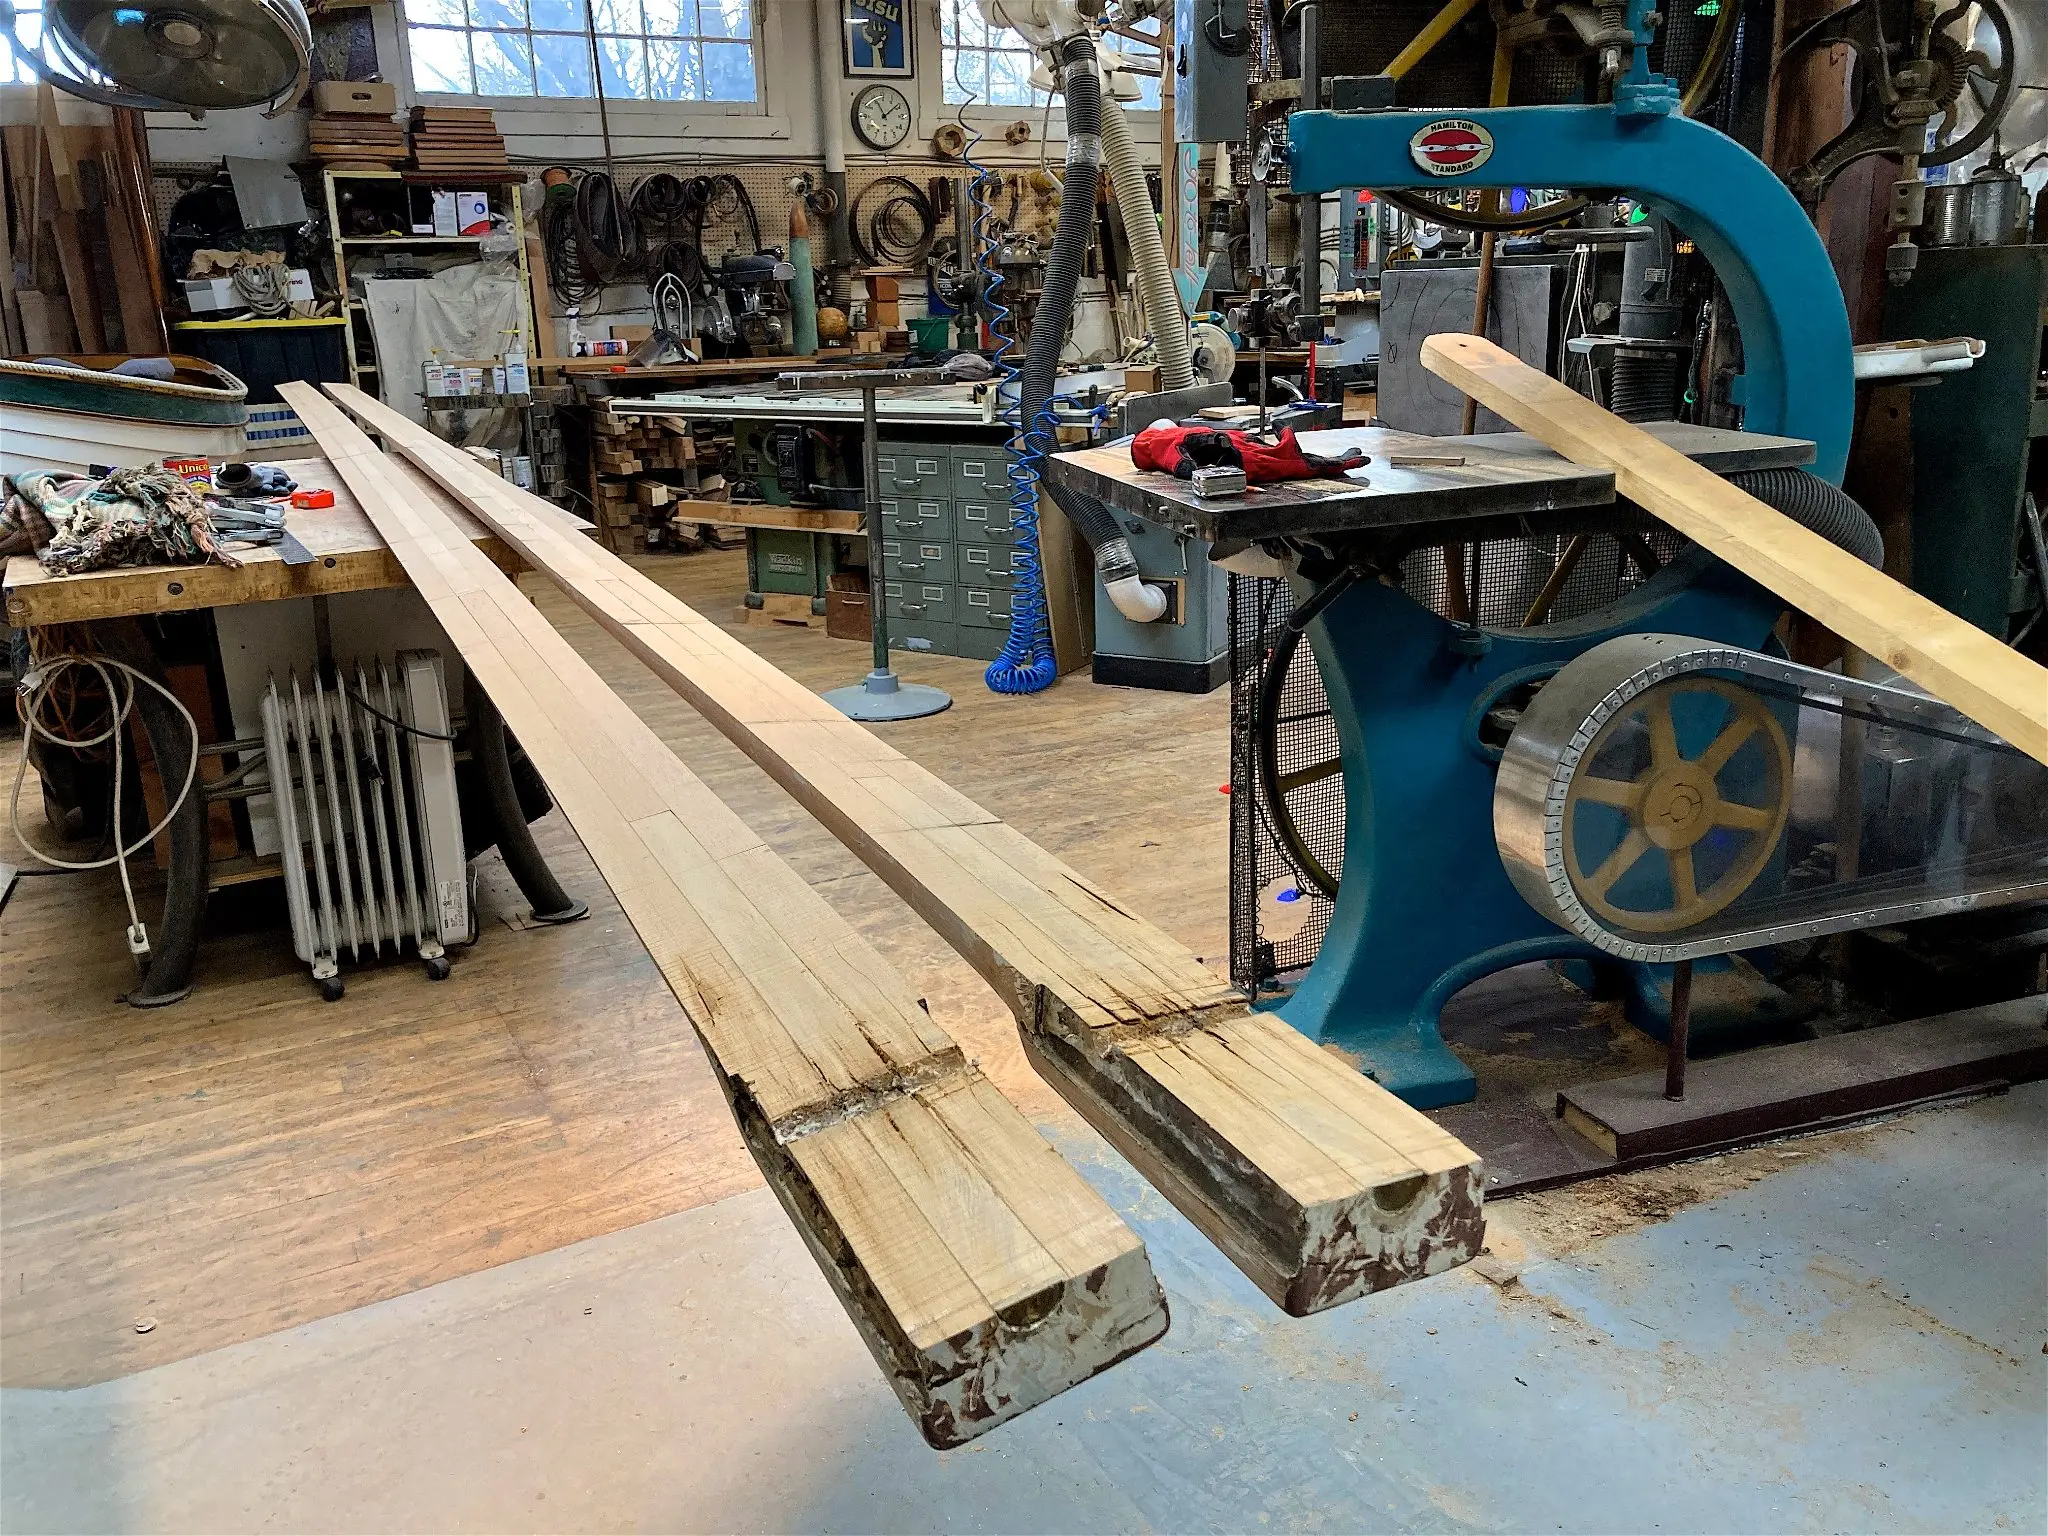
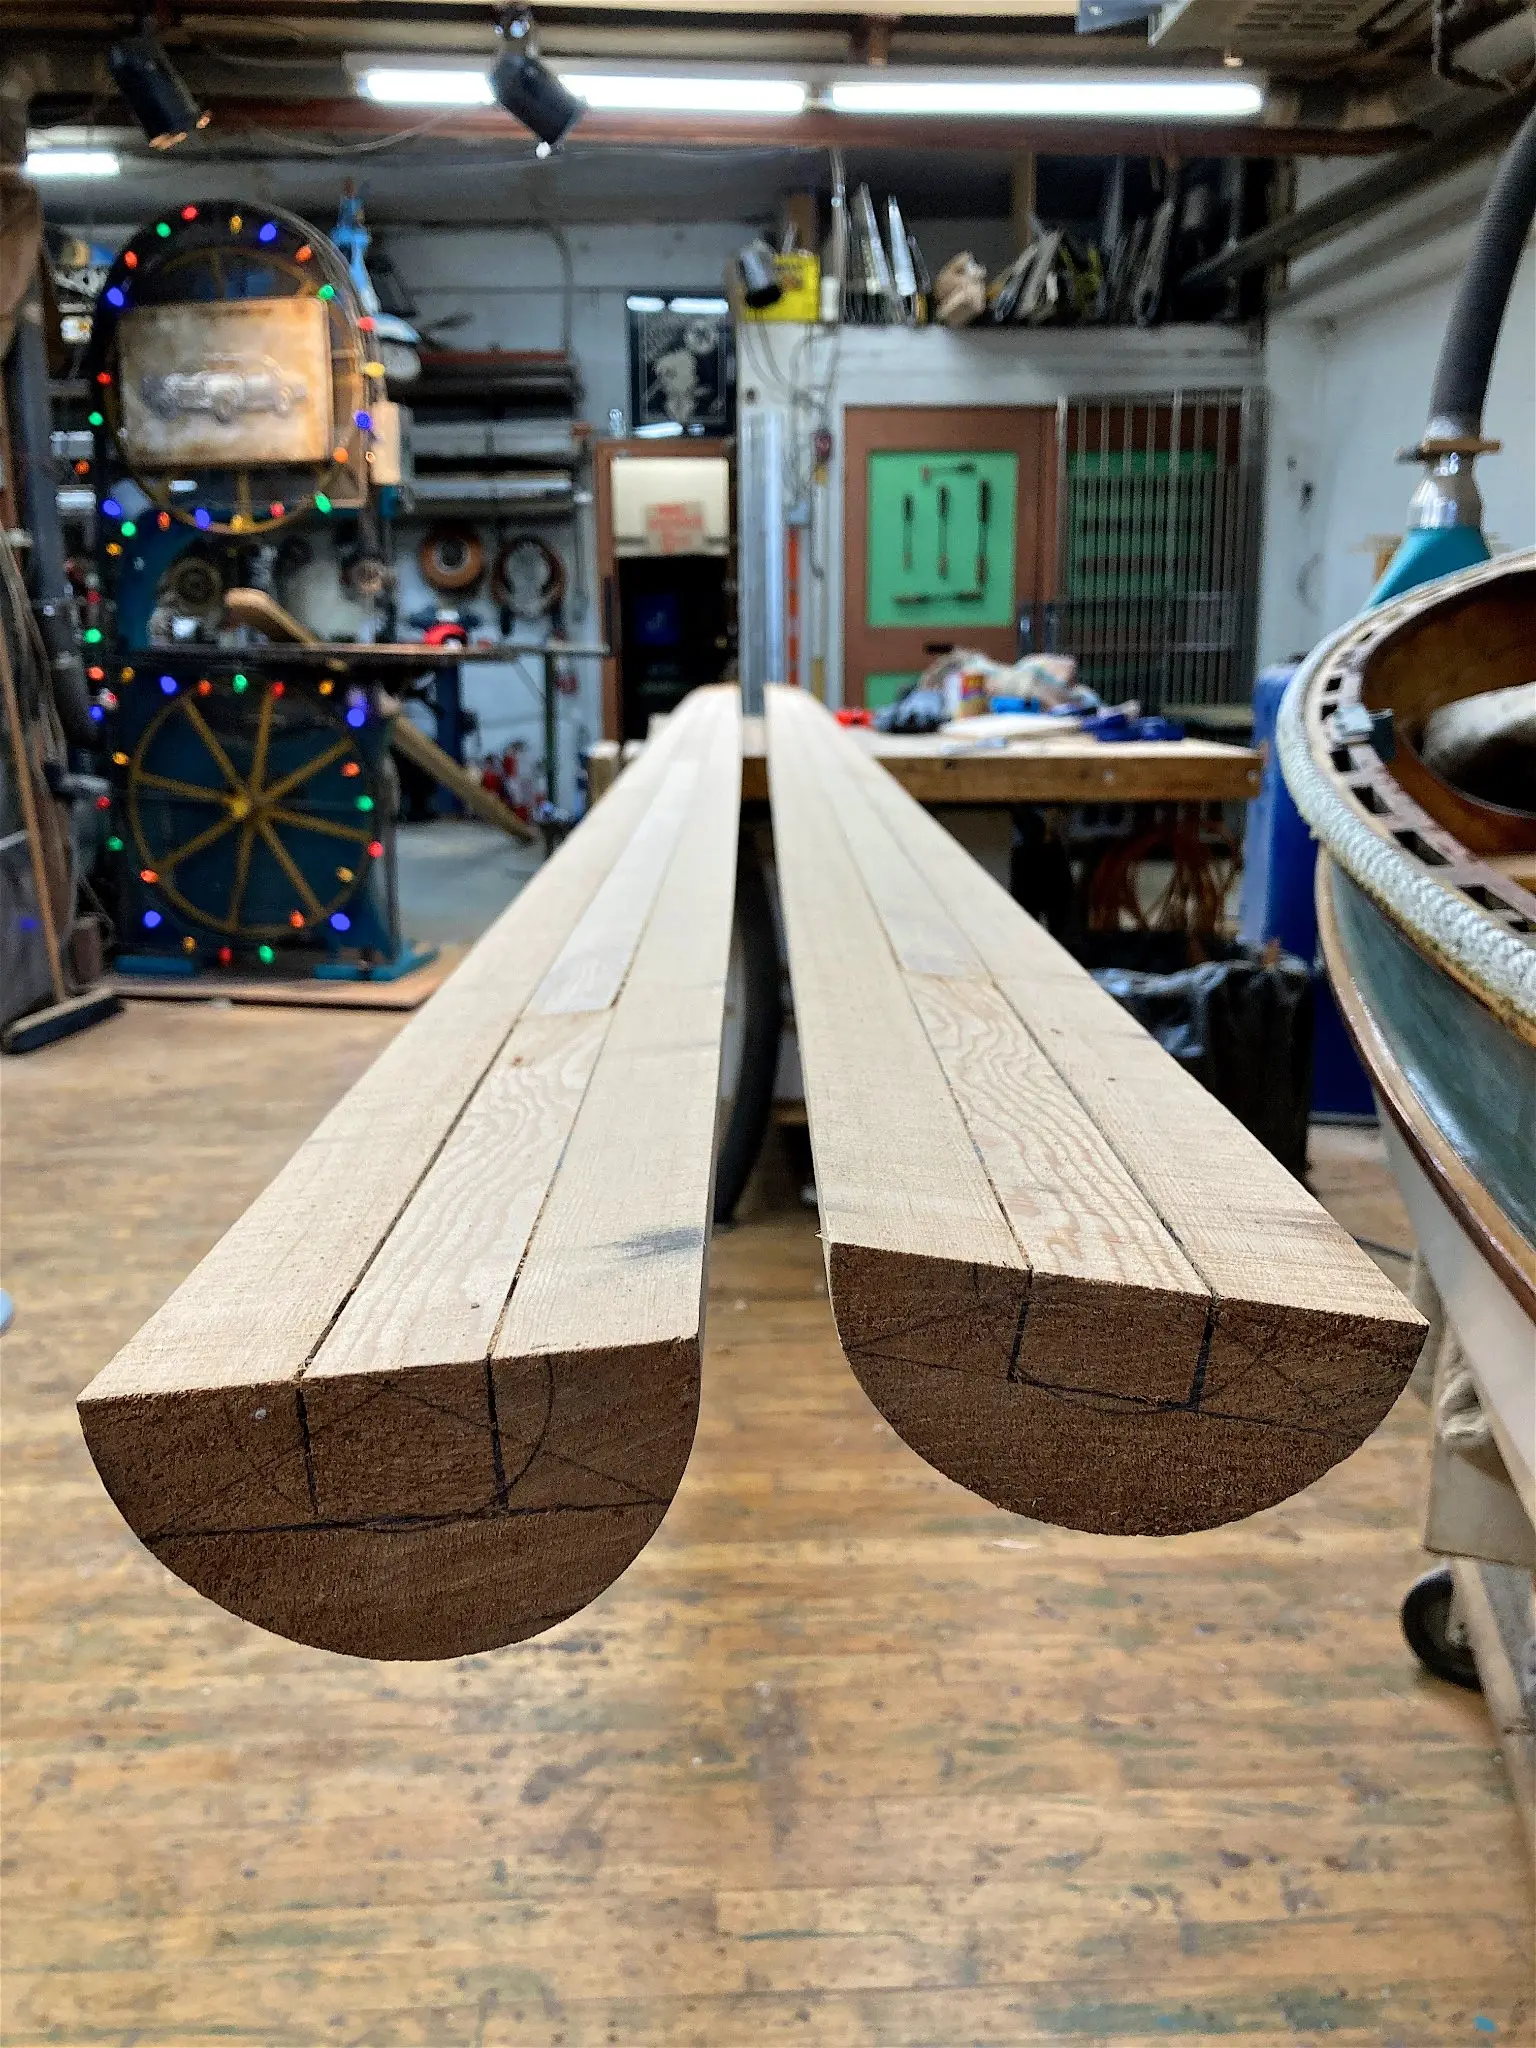
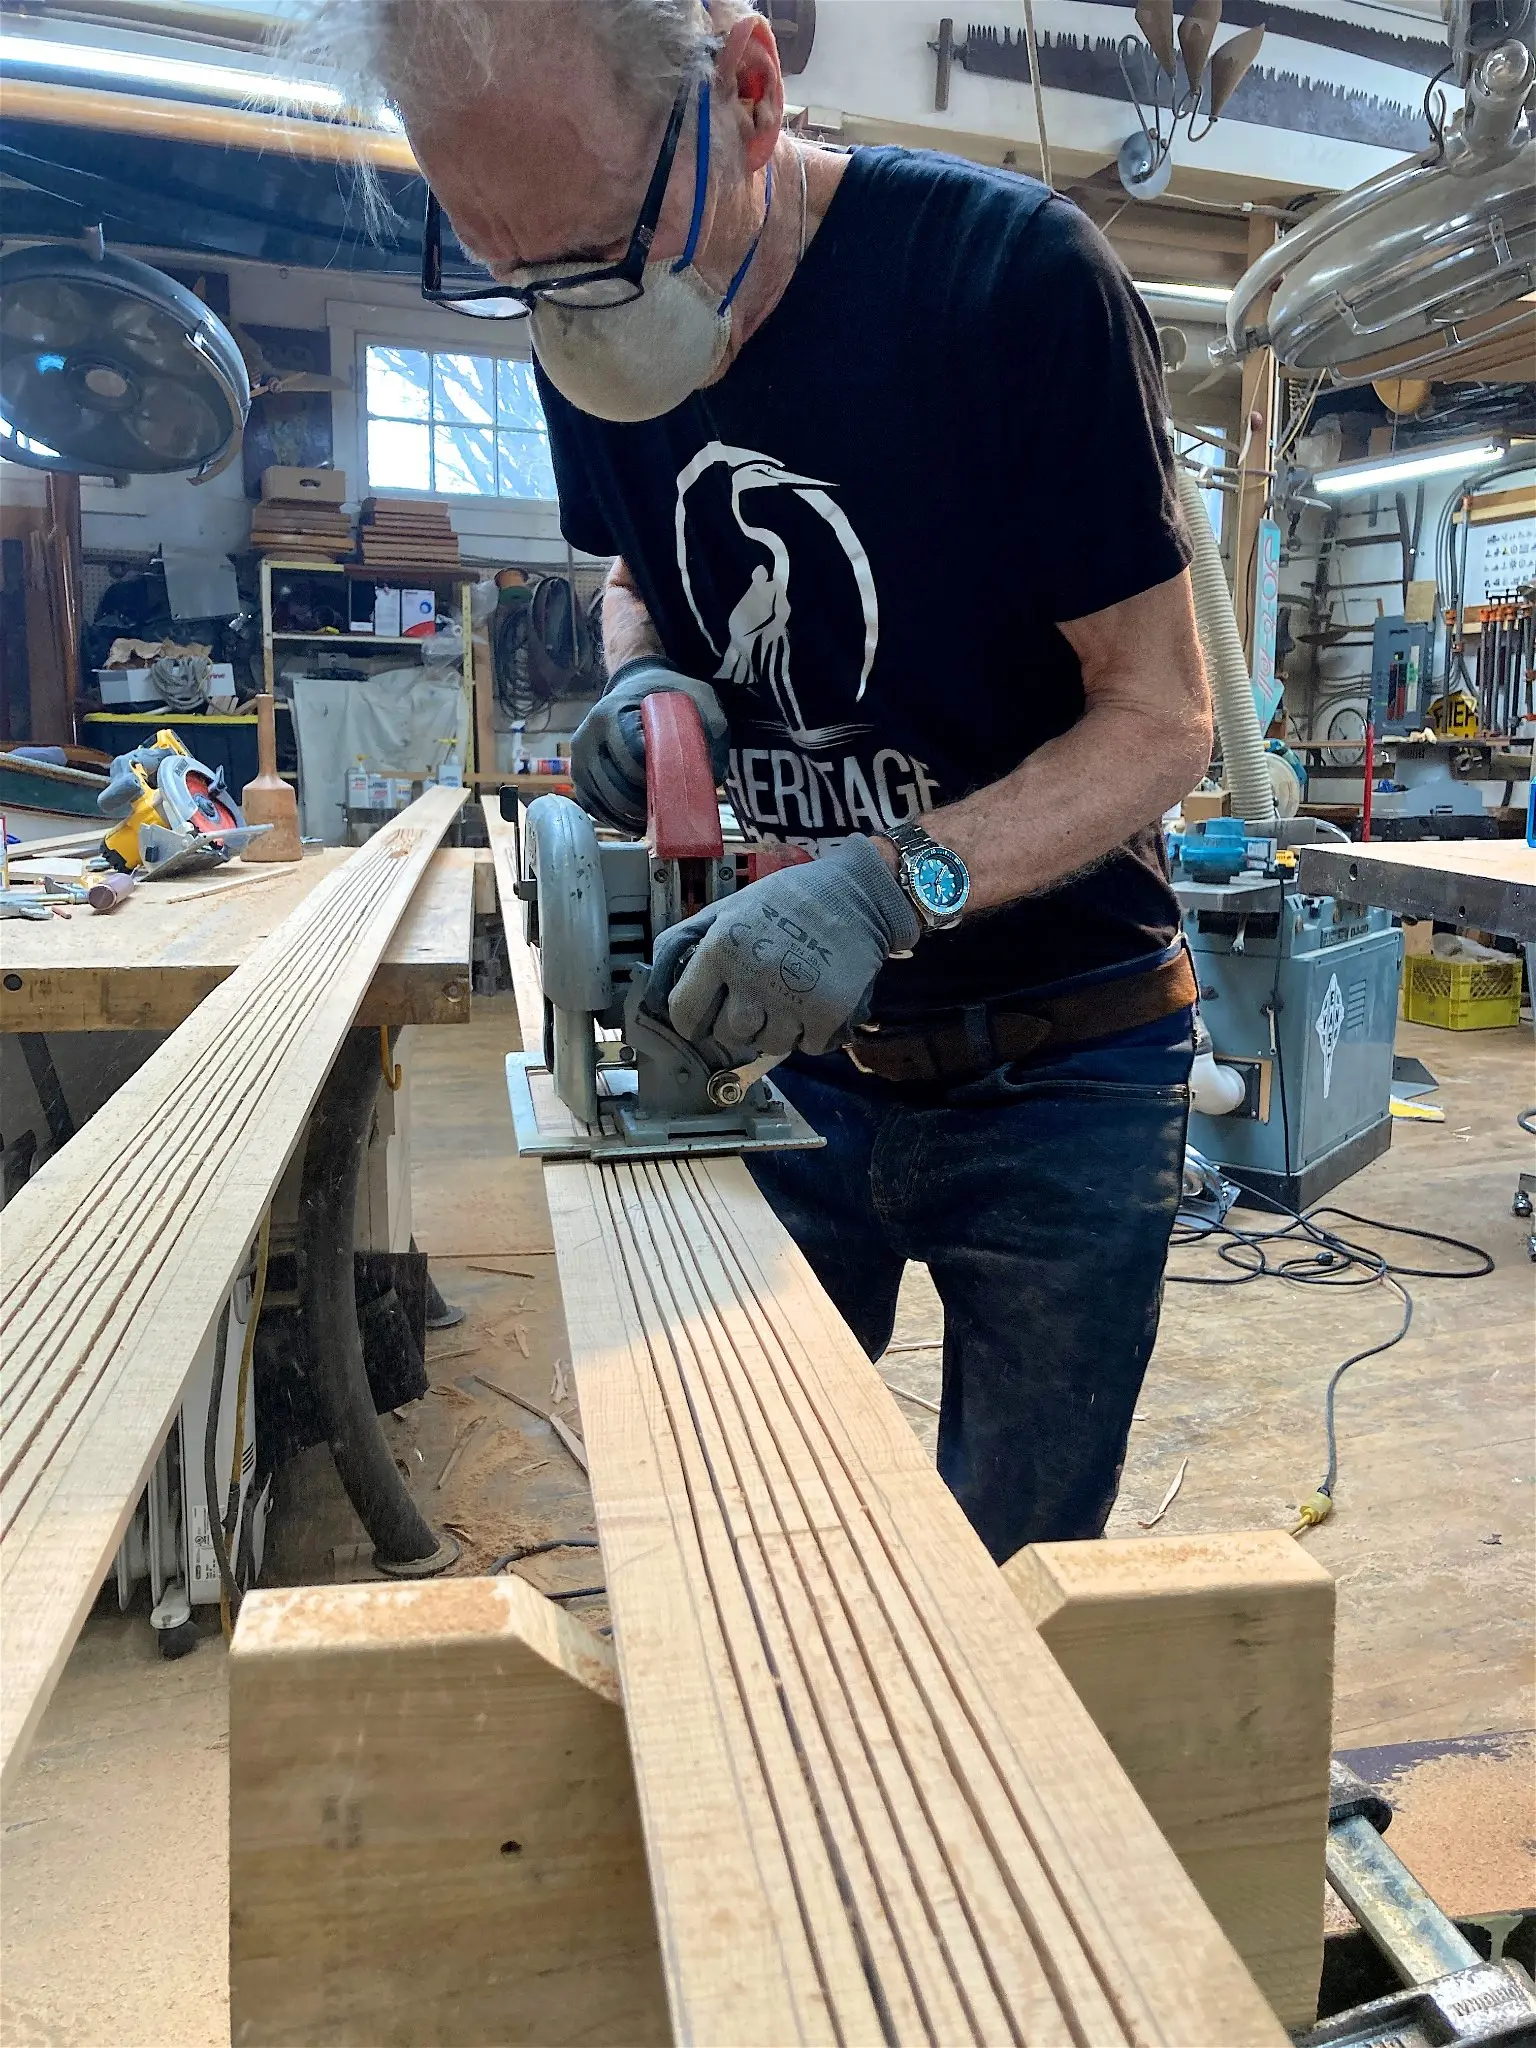
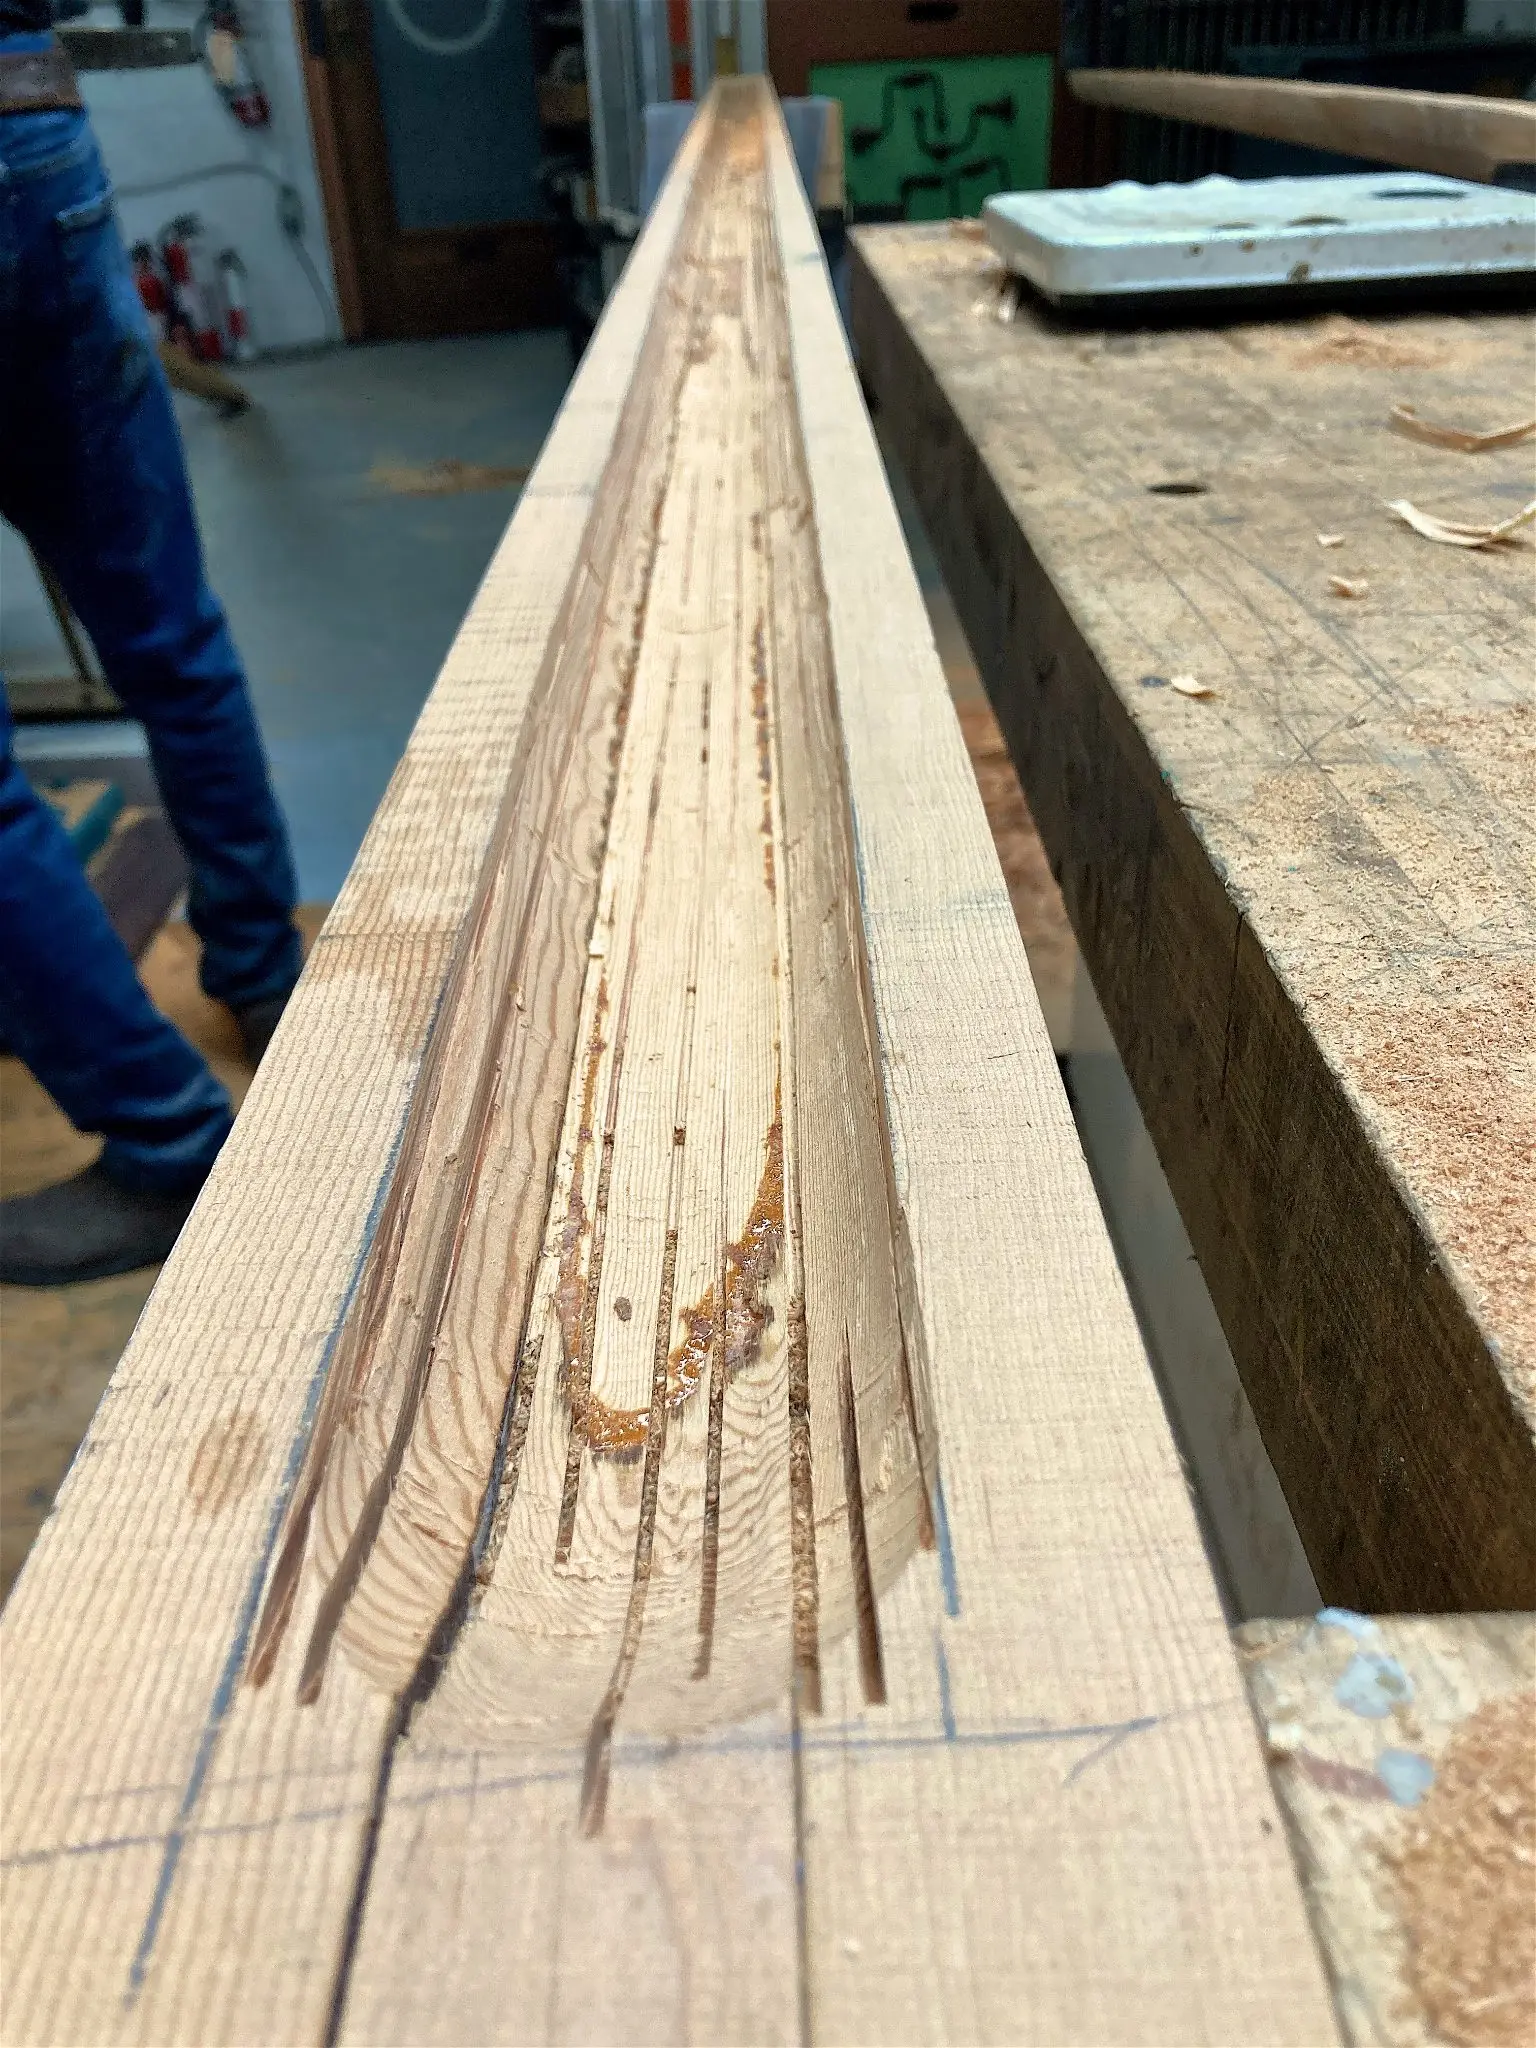
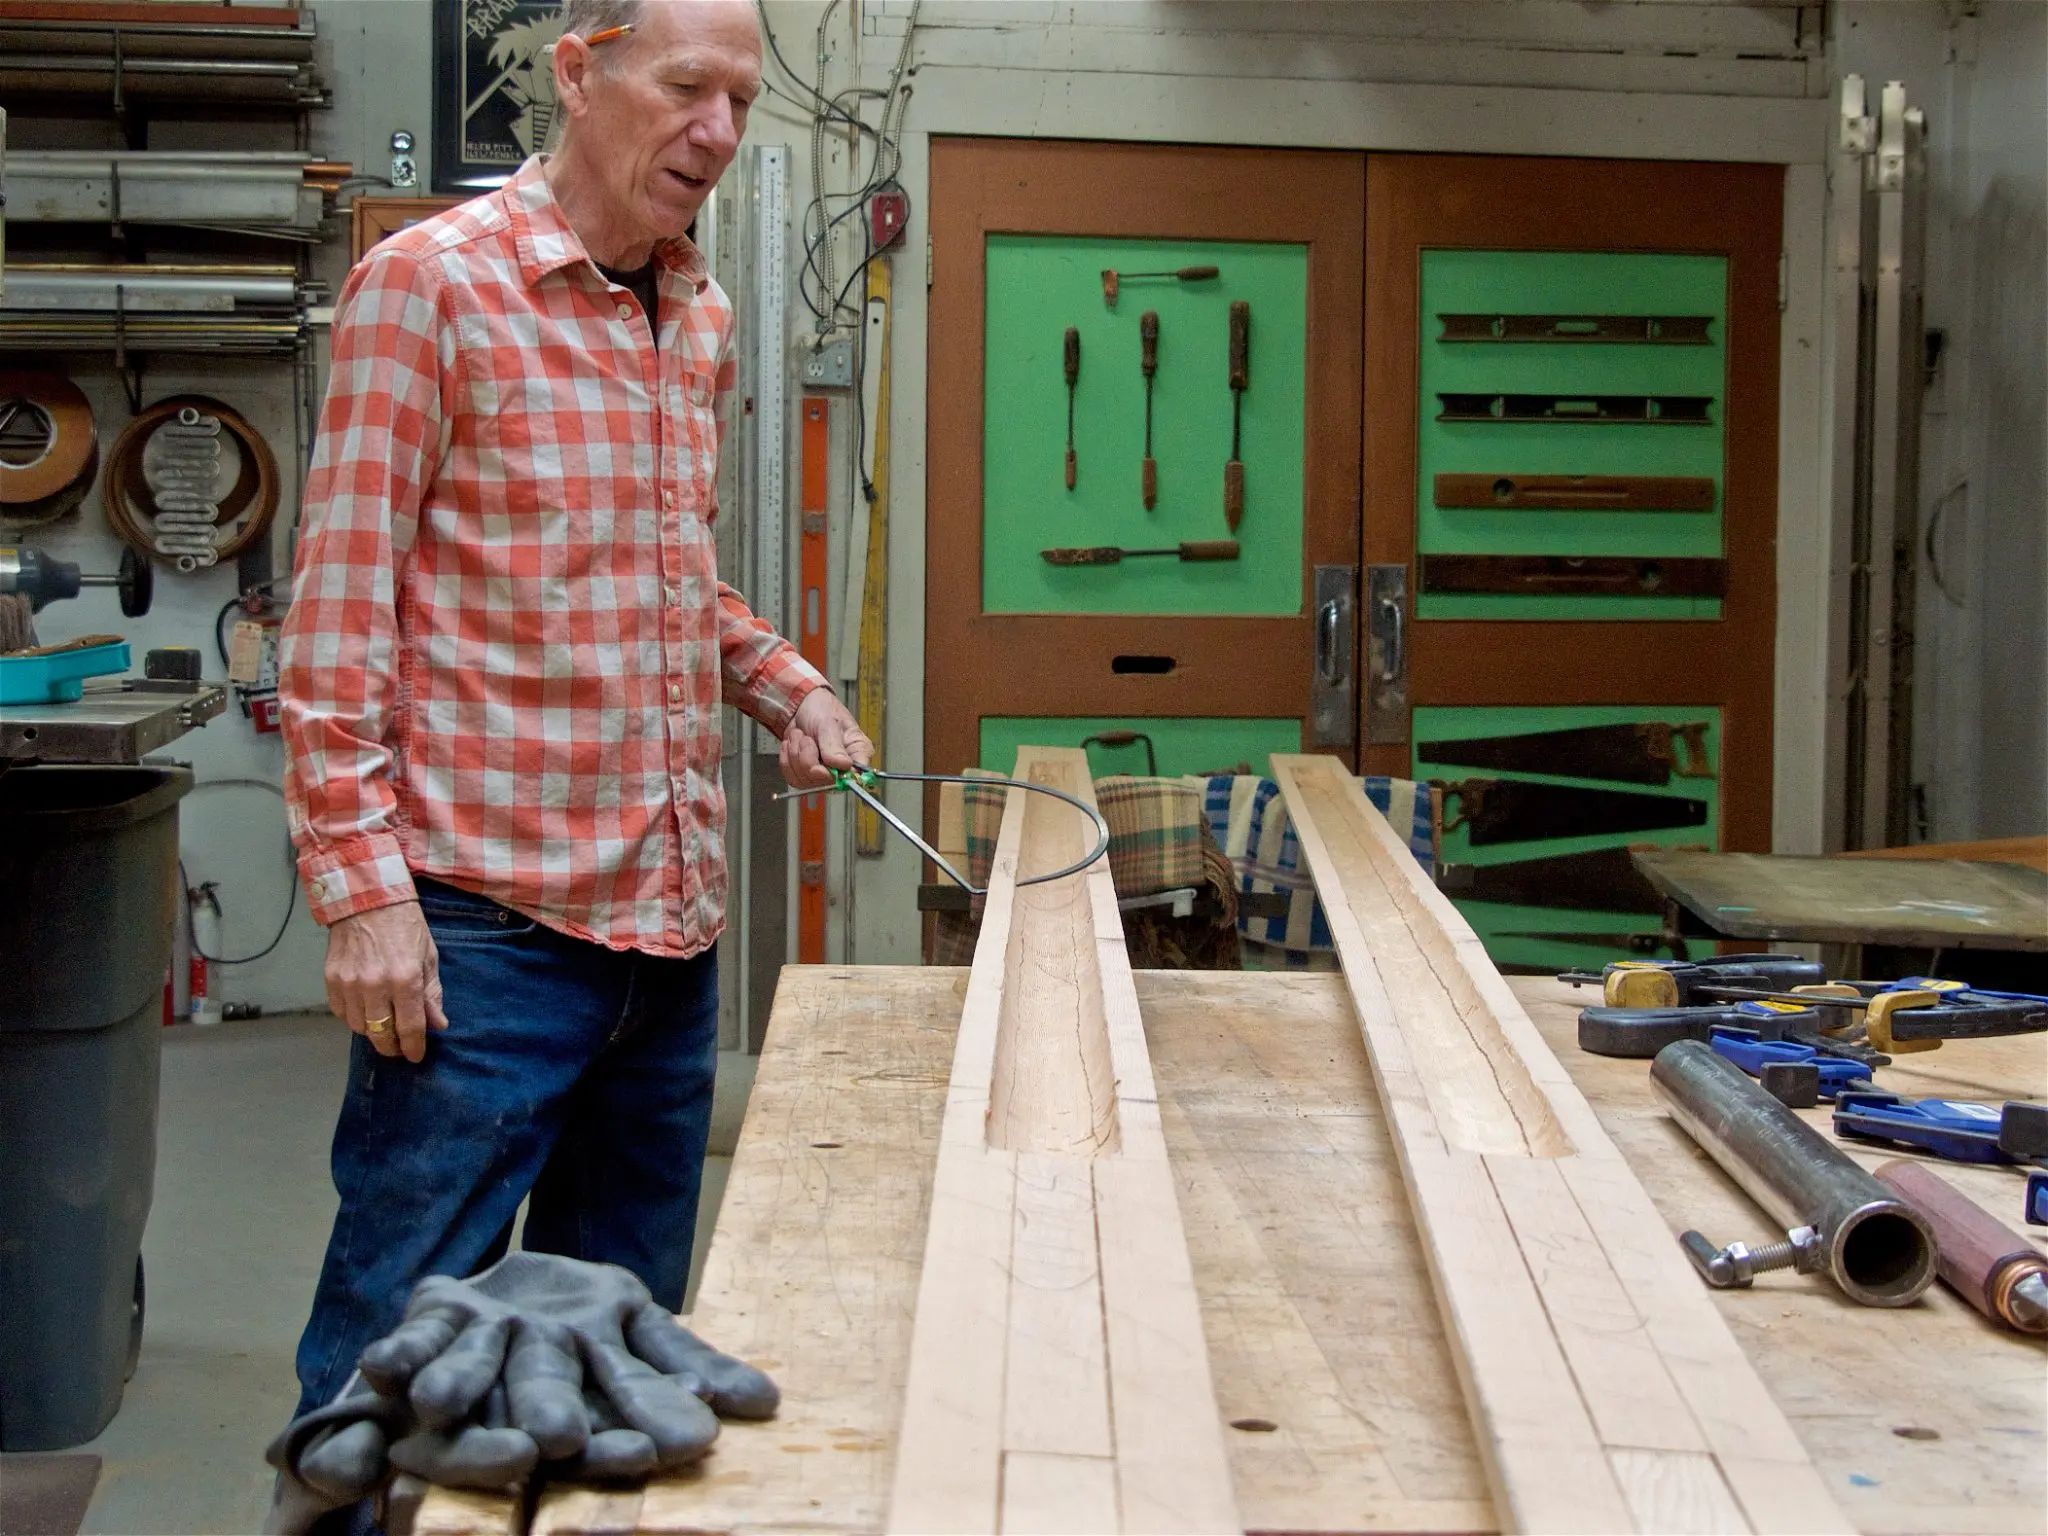
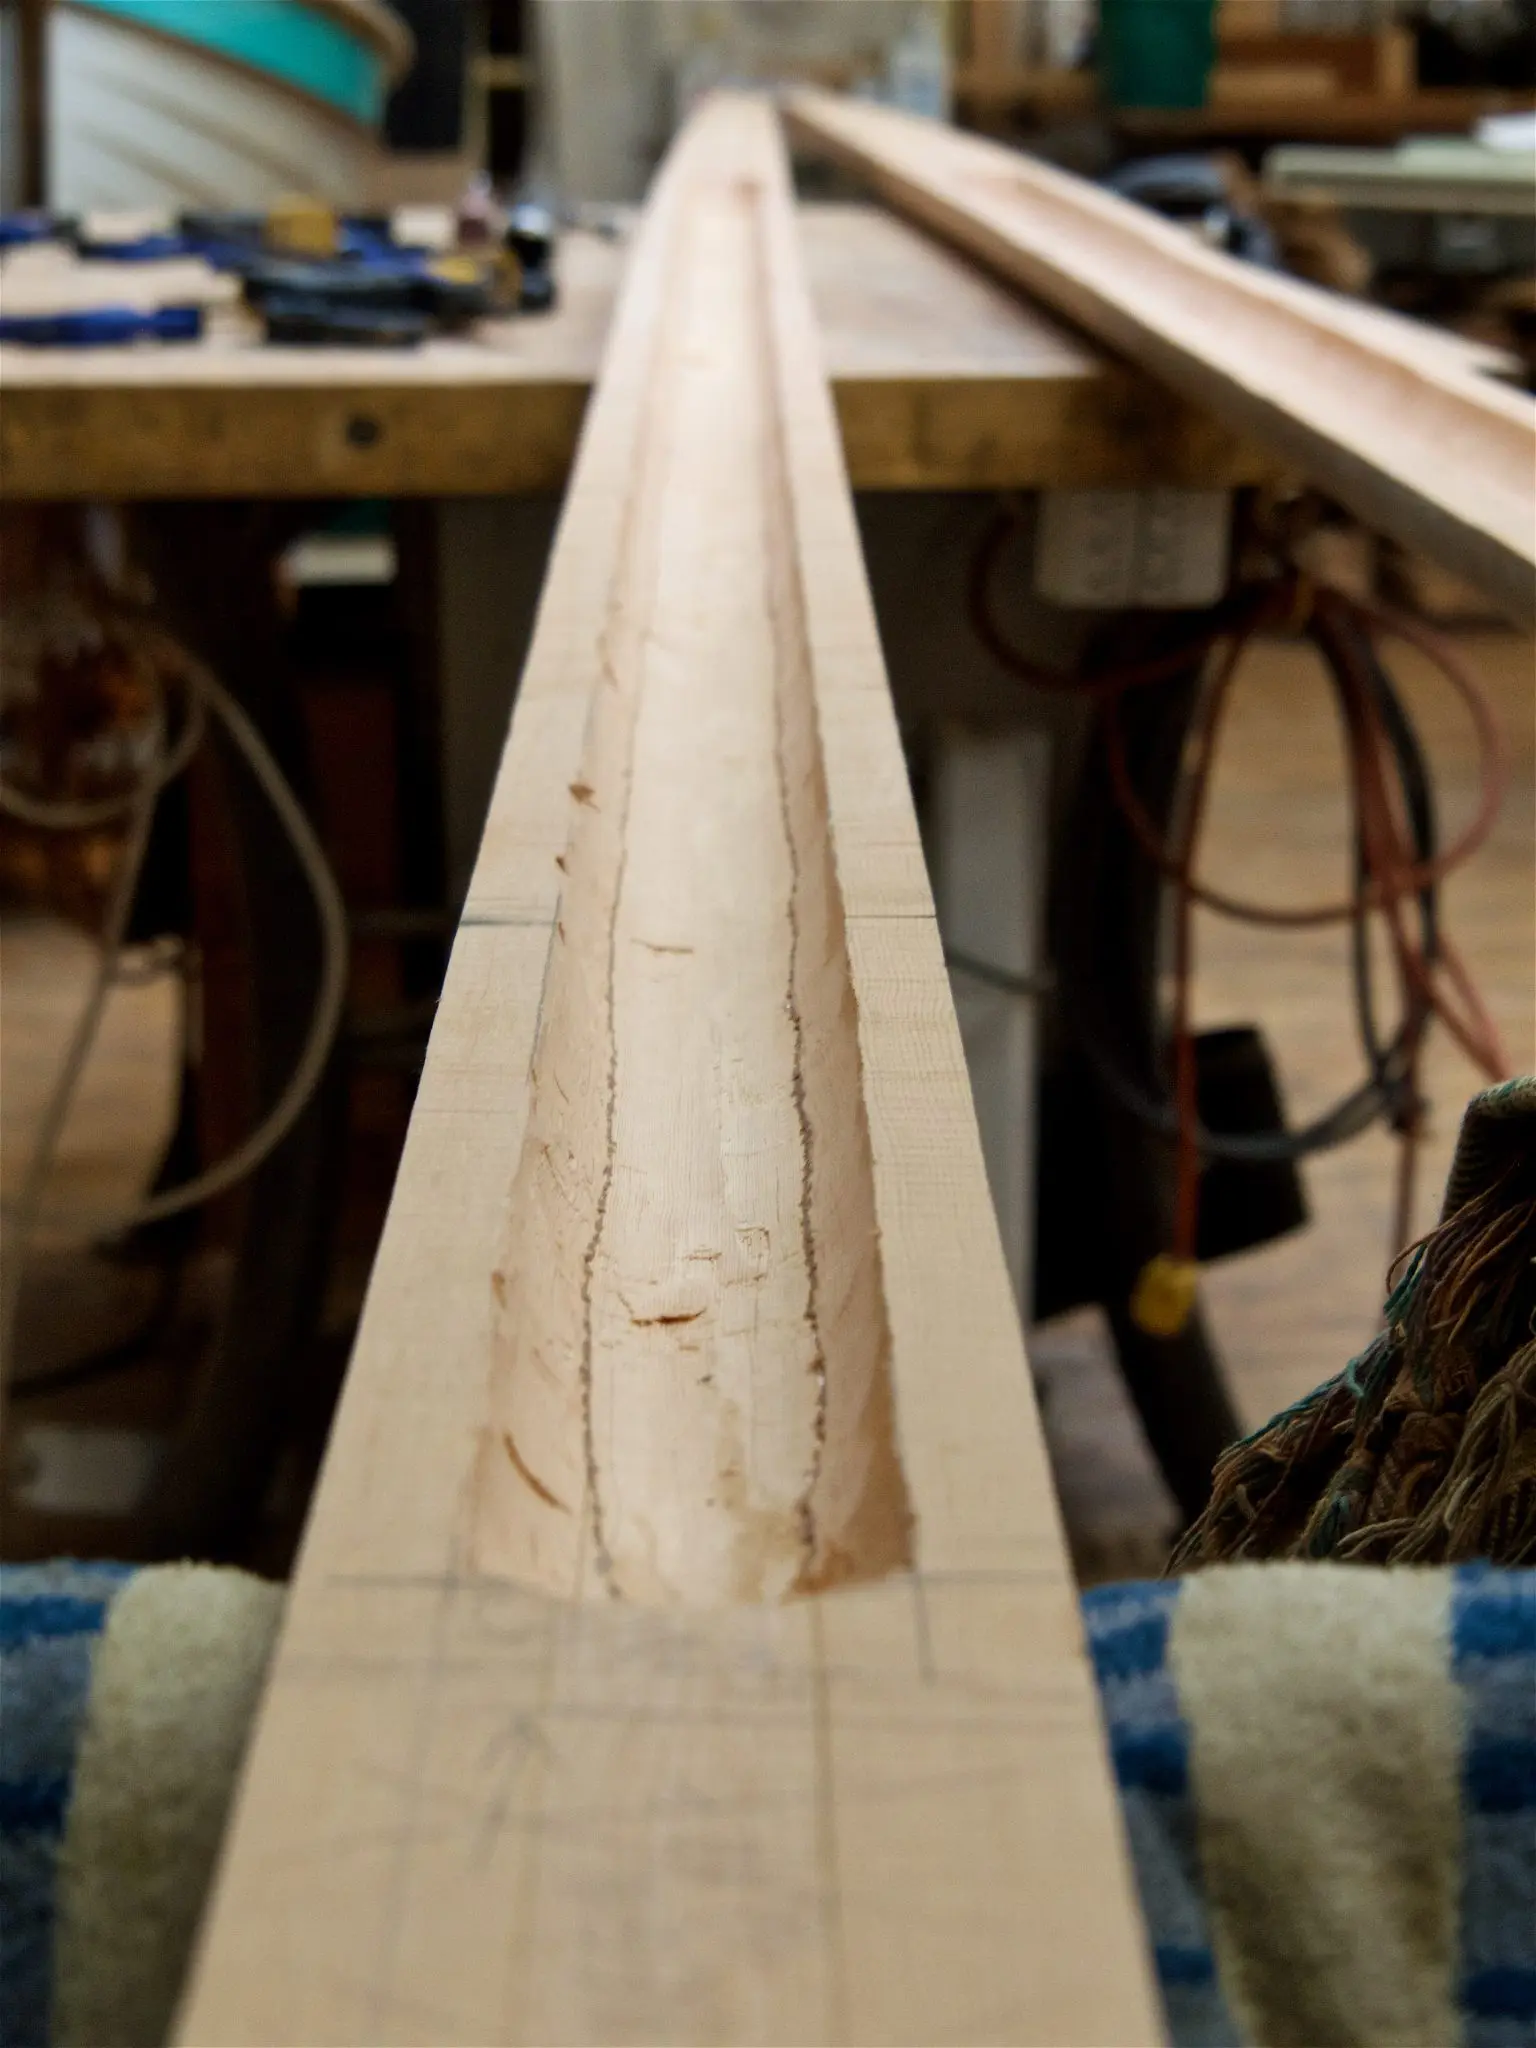
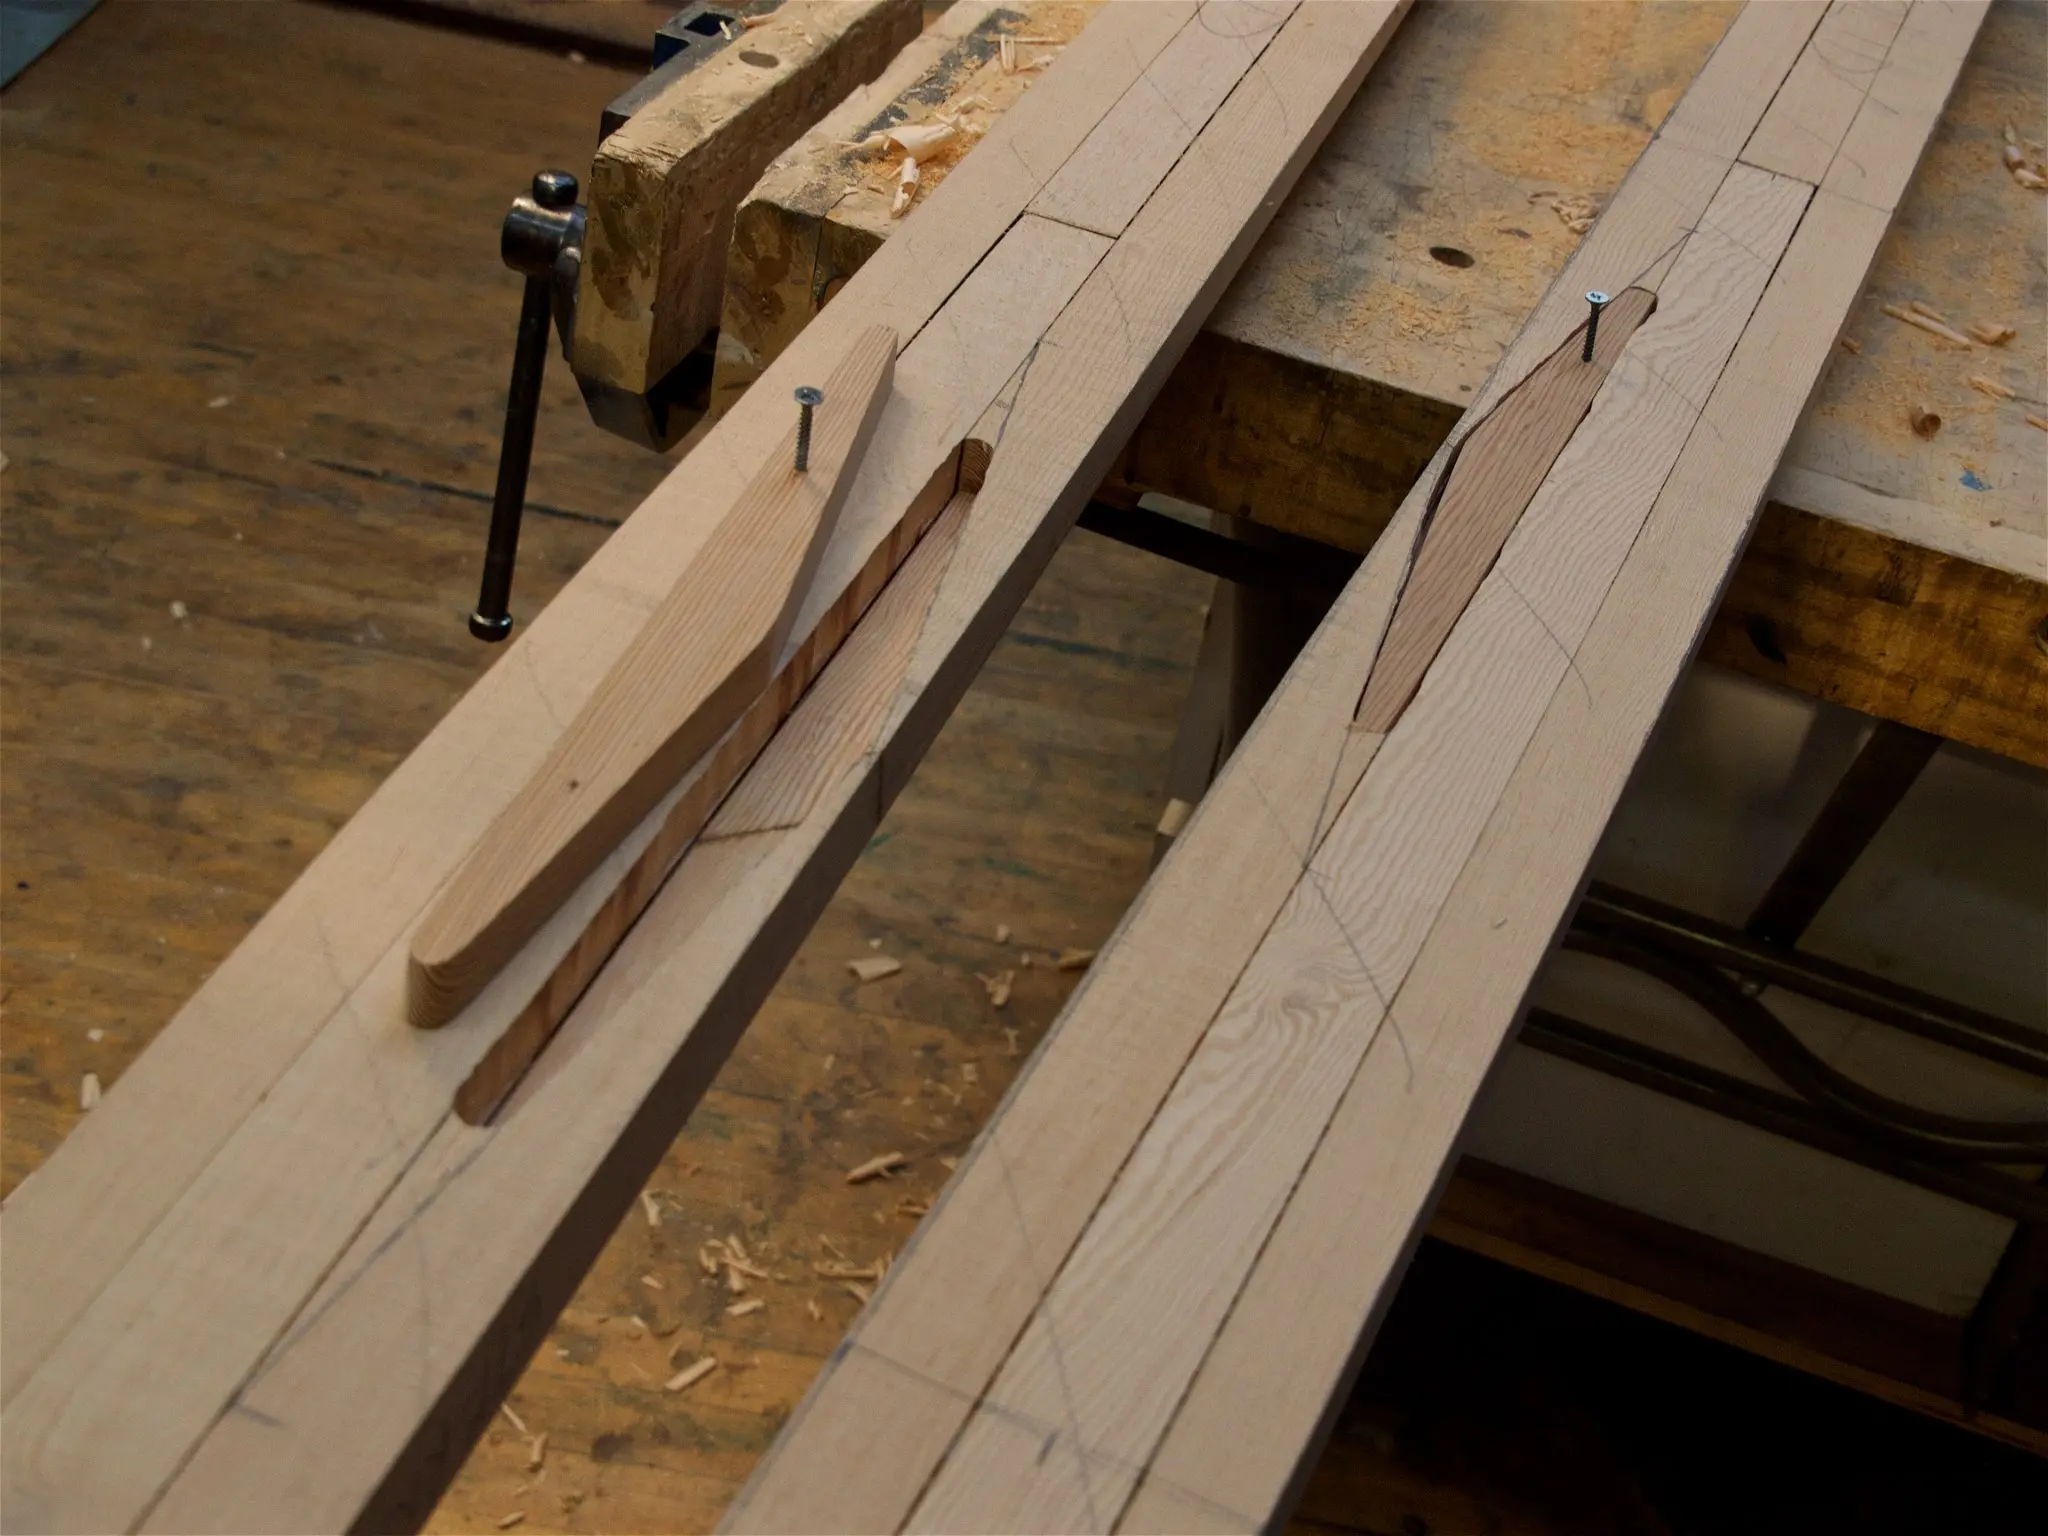
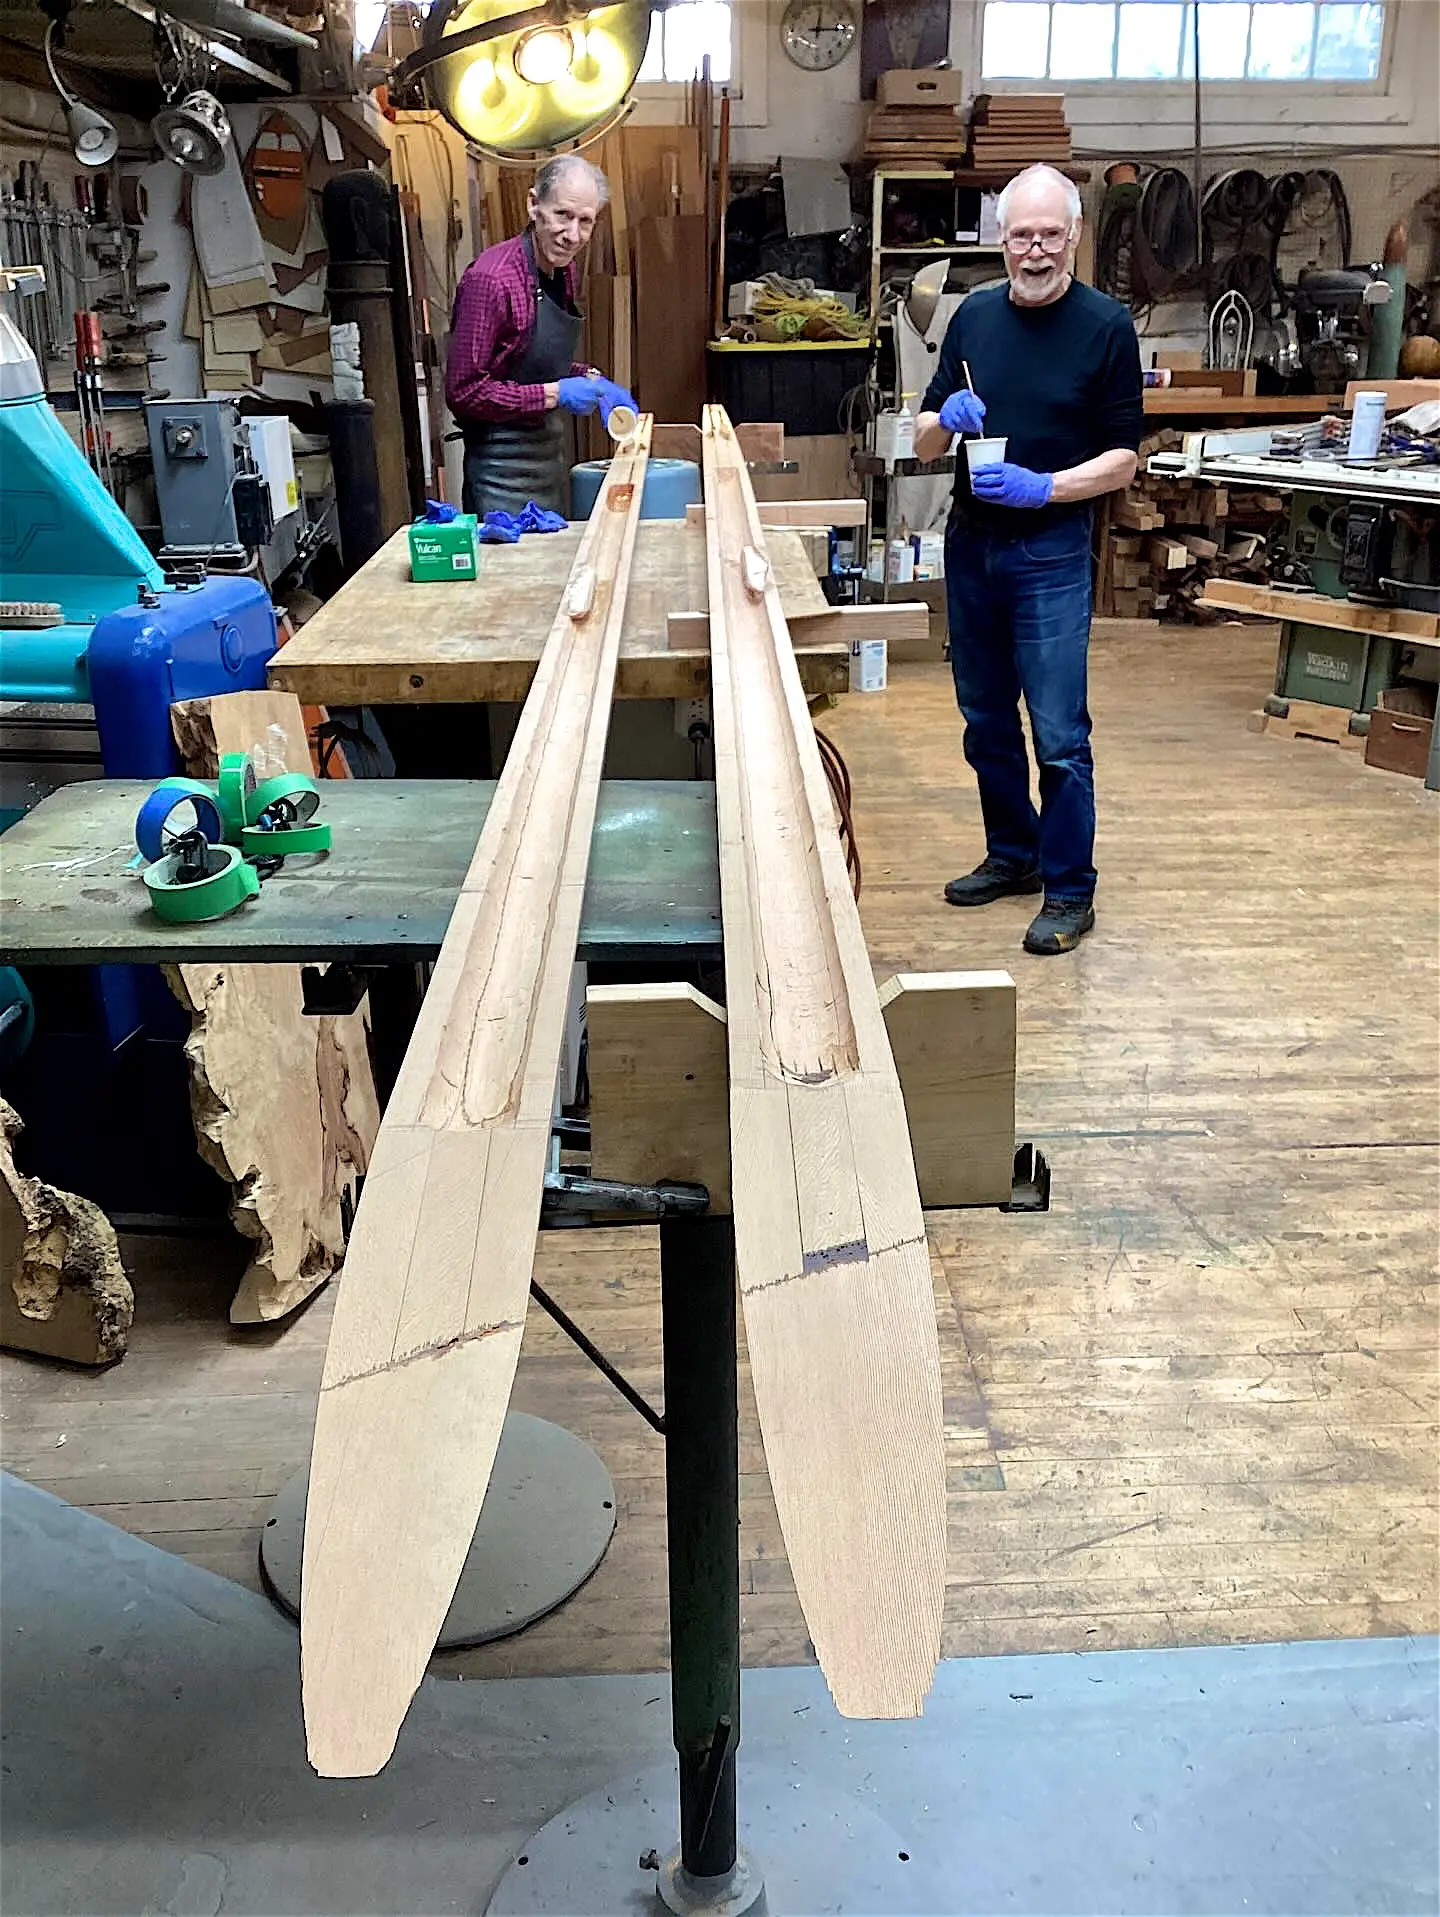
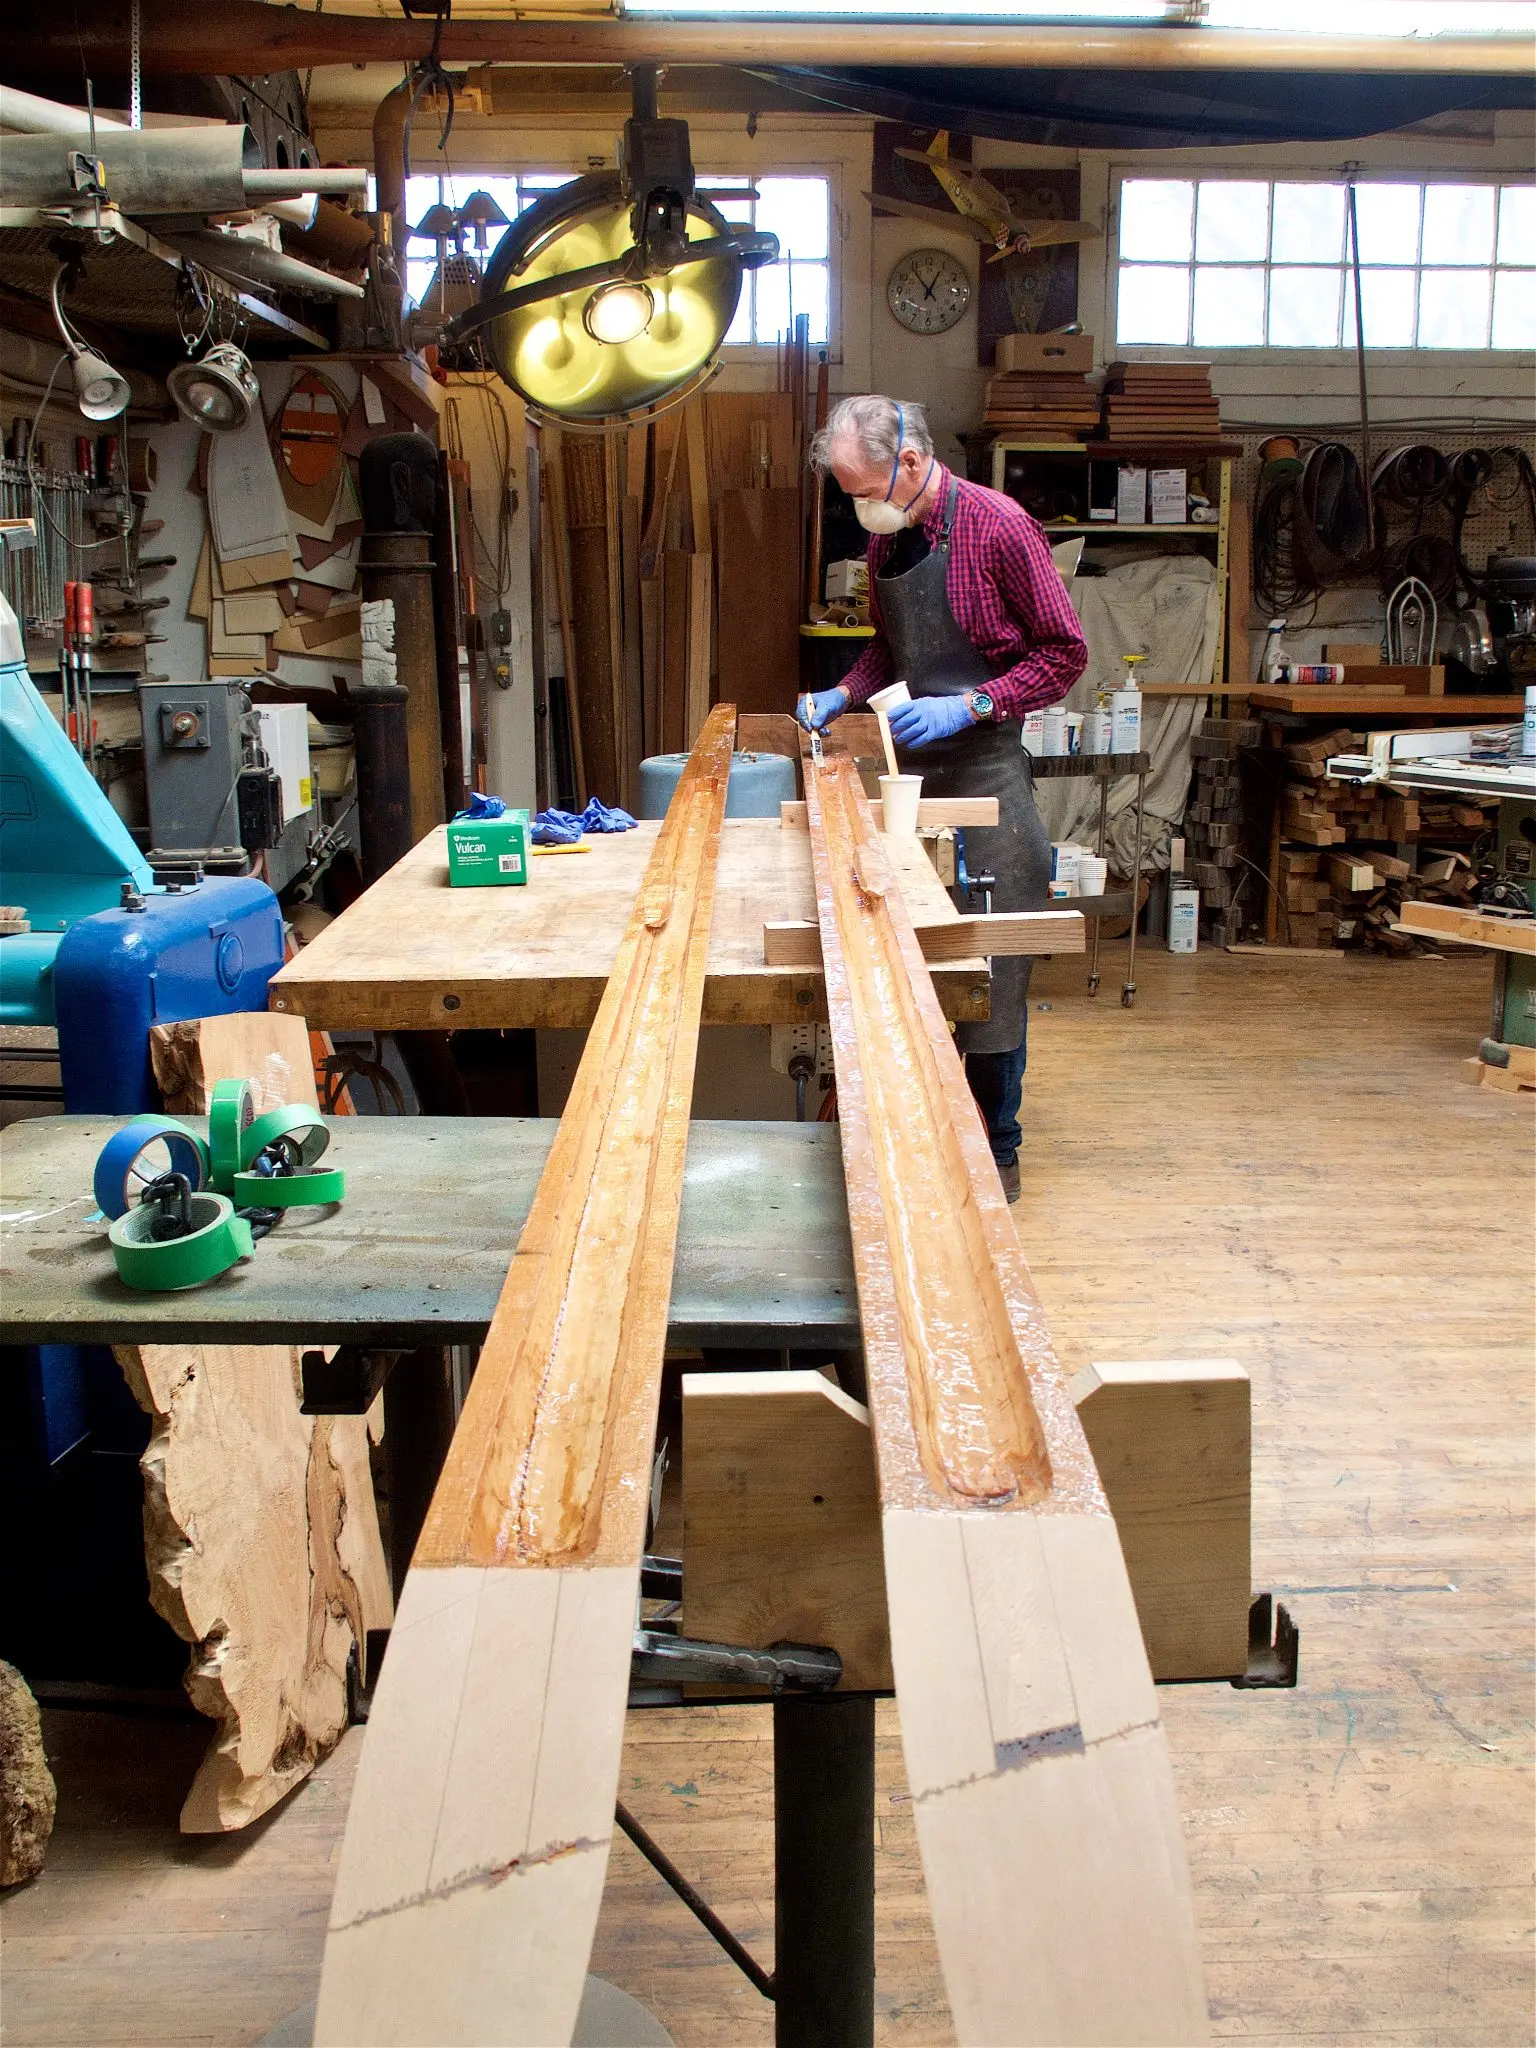
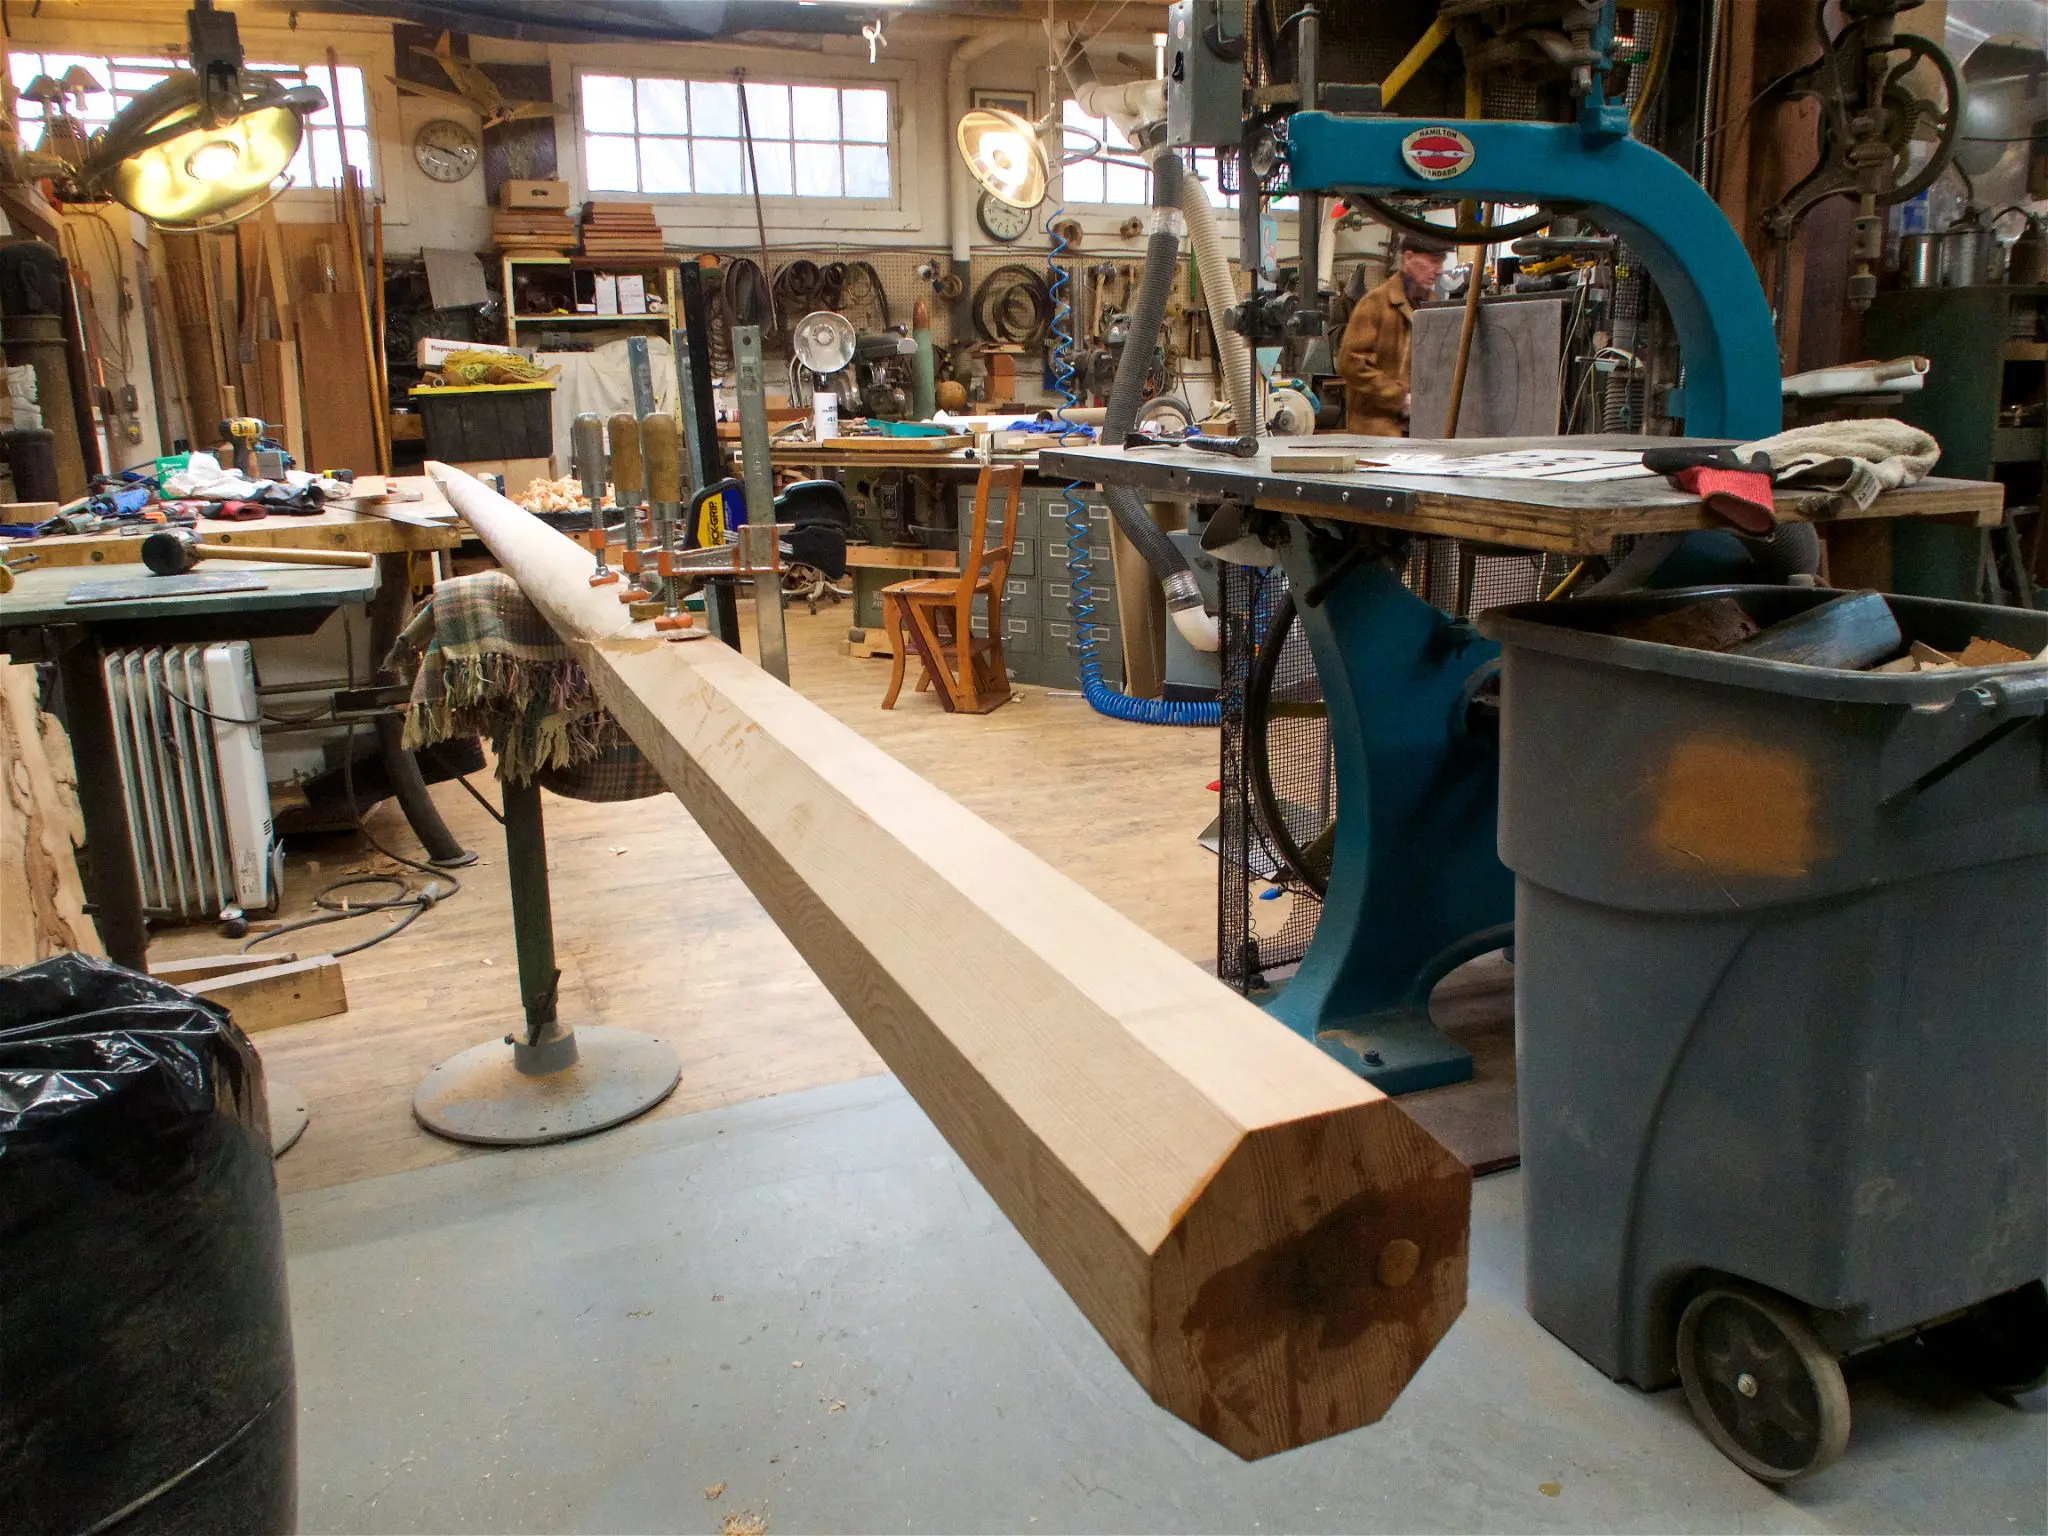
After stripping the paint off it looked like it might be ok. However, it seemed to be made up of many pieces, so we ripped it down the centre on the bandsaw to see what the structure was. There was some rot in the bottom where the tabernacle hinge bolt went through, but the scarfs looked fairly good if we put in a couple of dutchman repairs into the few spots we didn't like. The plans for this boat call for a hollow mast of Douglas fir, so this might be just the ticket!
Photo 1 Photo 2 Photo 3 Photo 4 Photo 5
11 Mar 2026Rig & Spars5 h
Mast, continued: hollowing, repairing scarfs, and cut scarf on the bottom
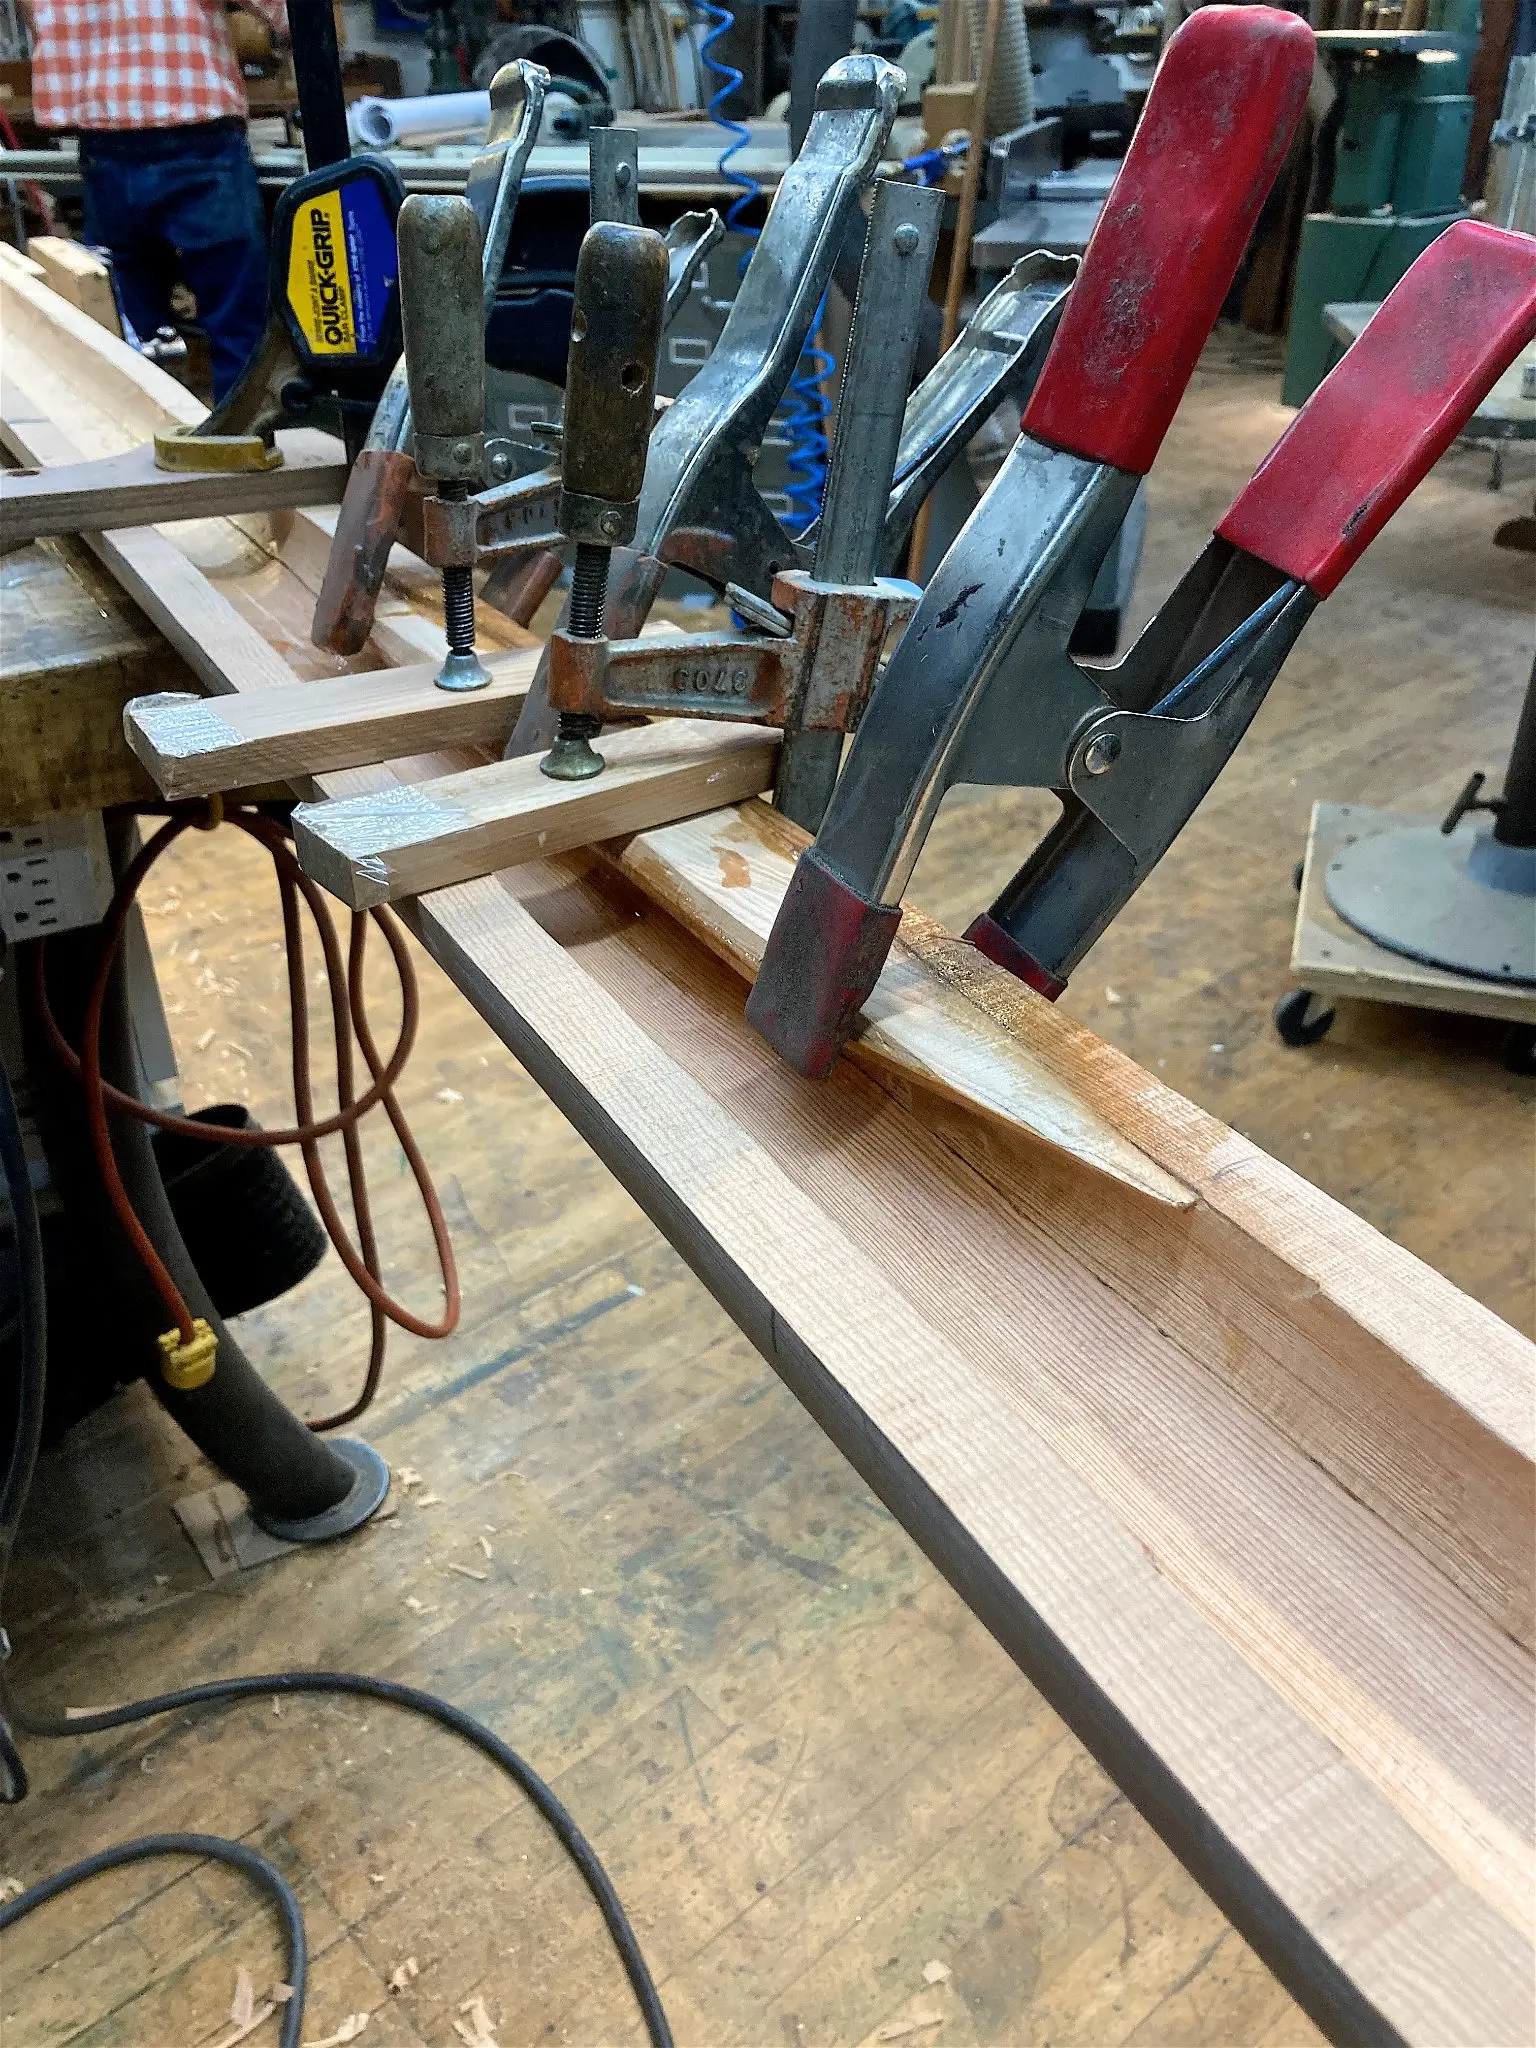
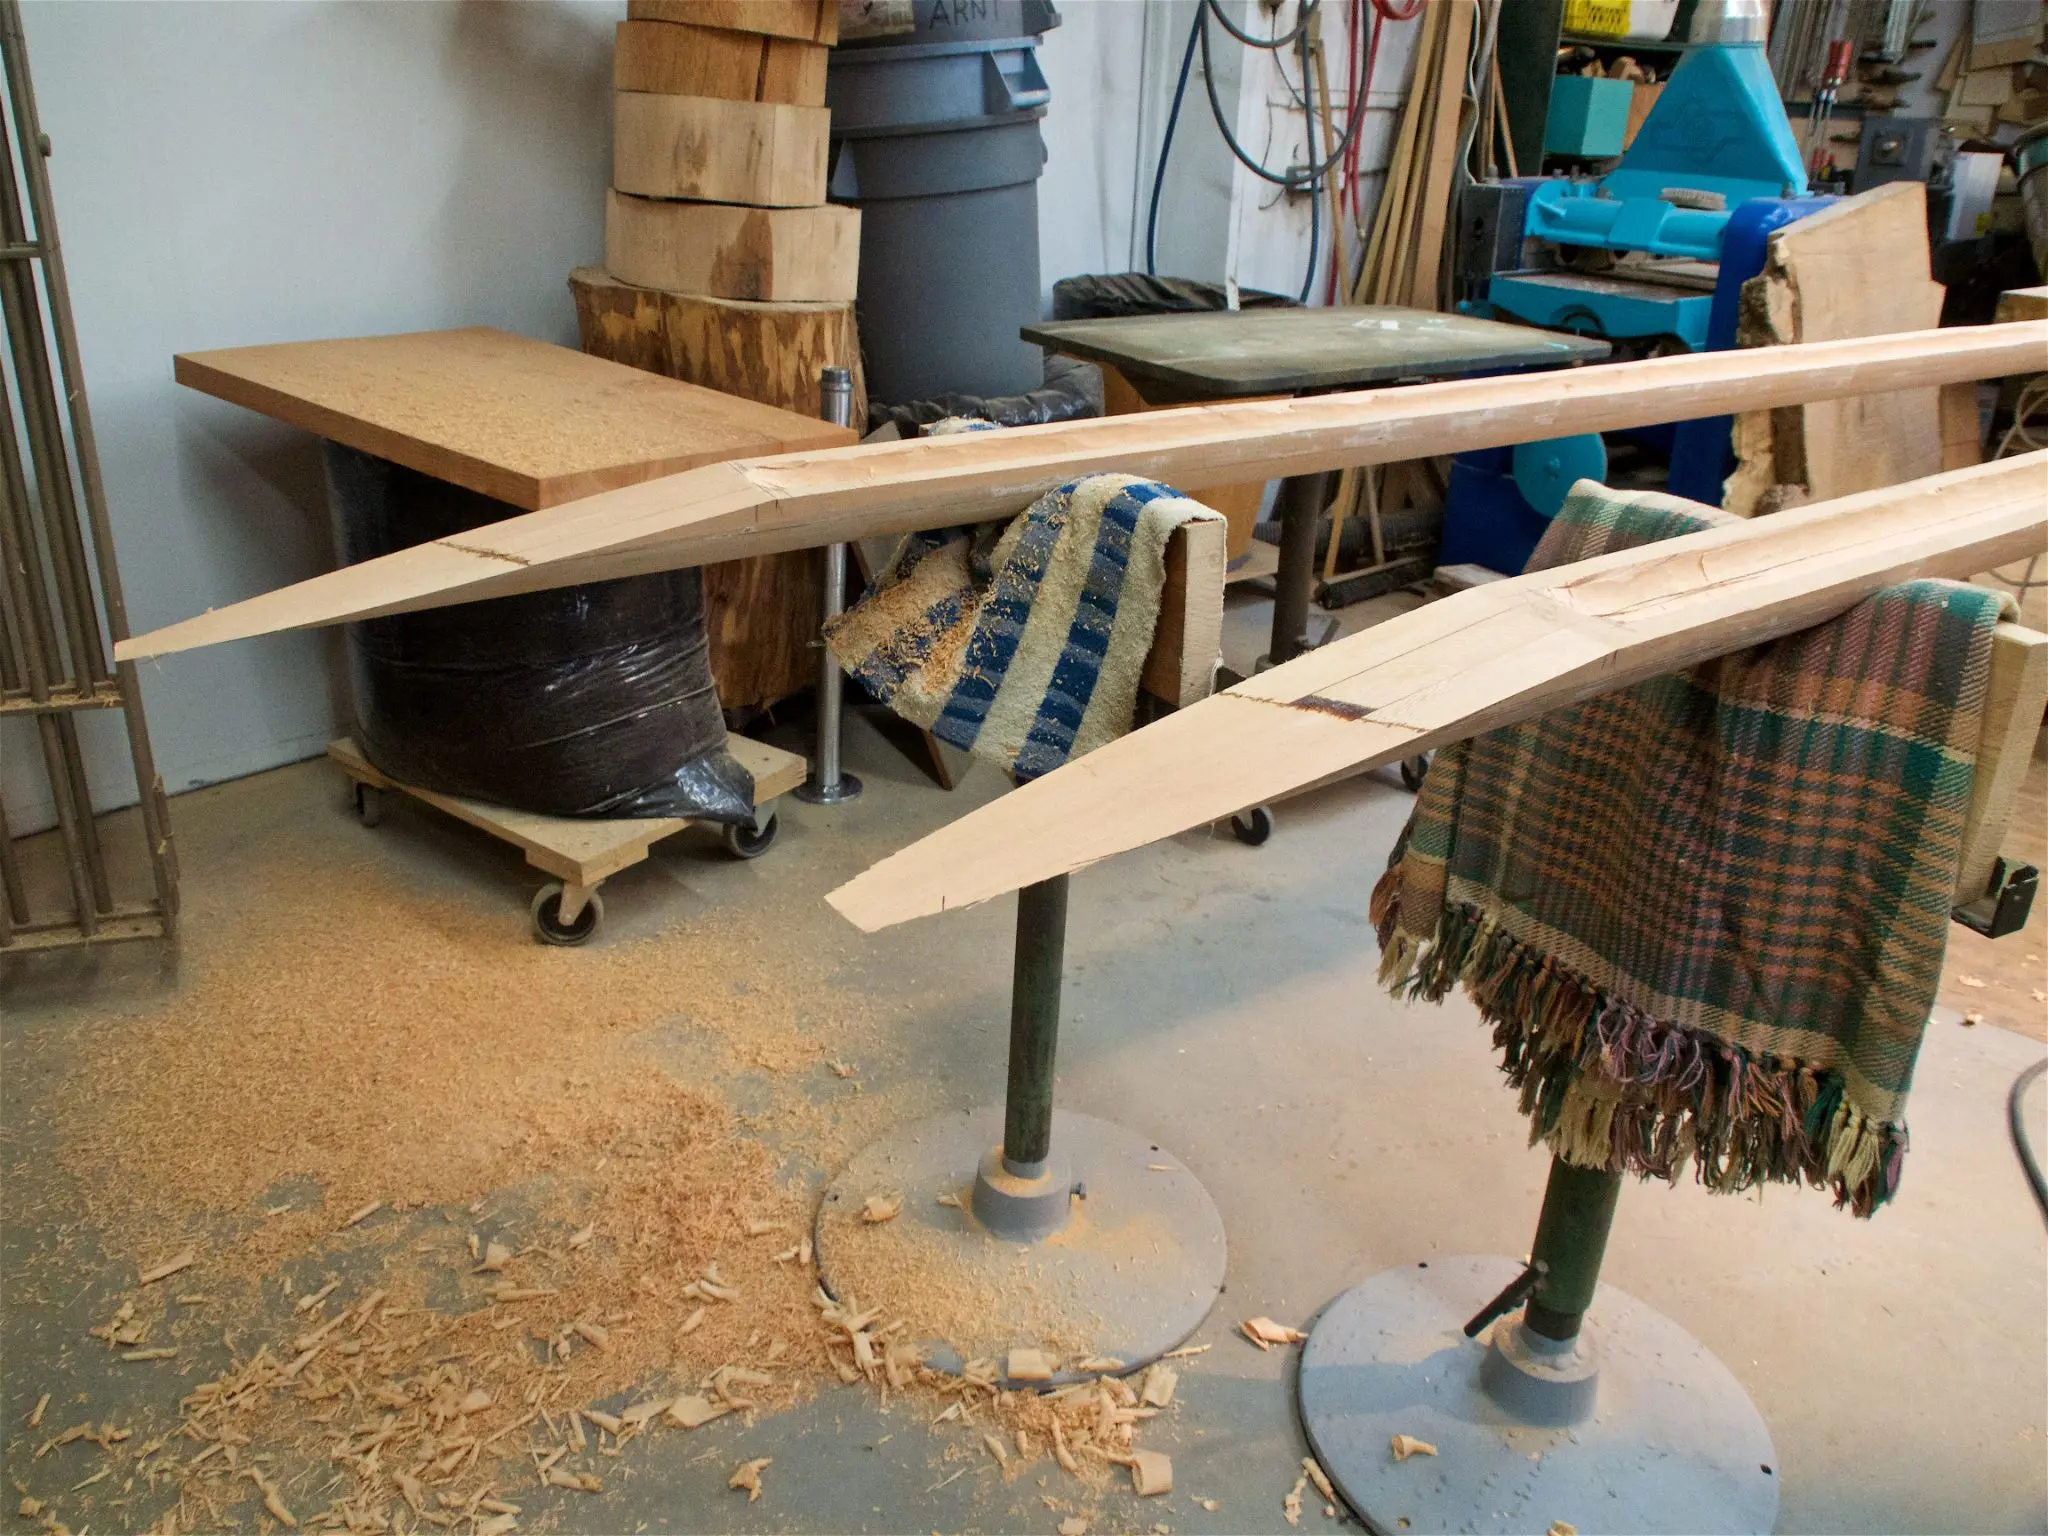
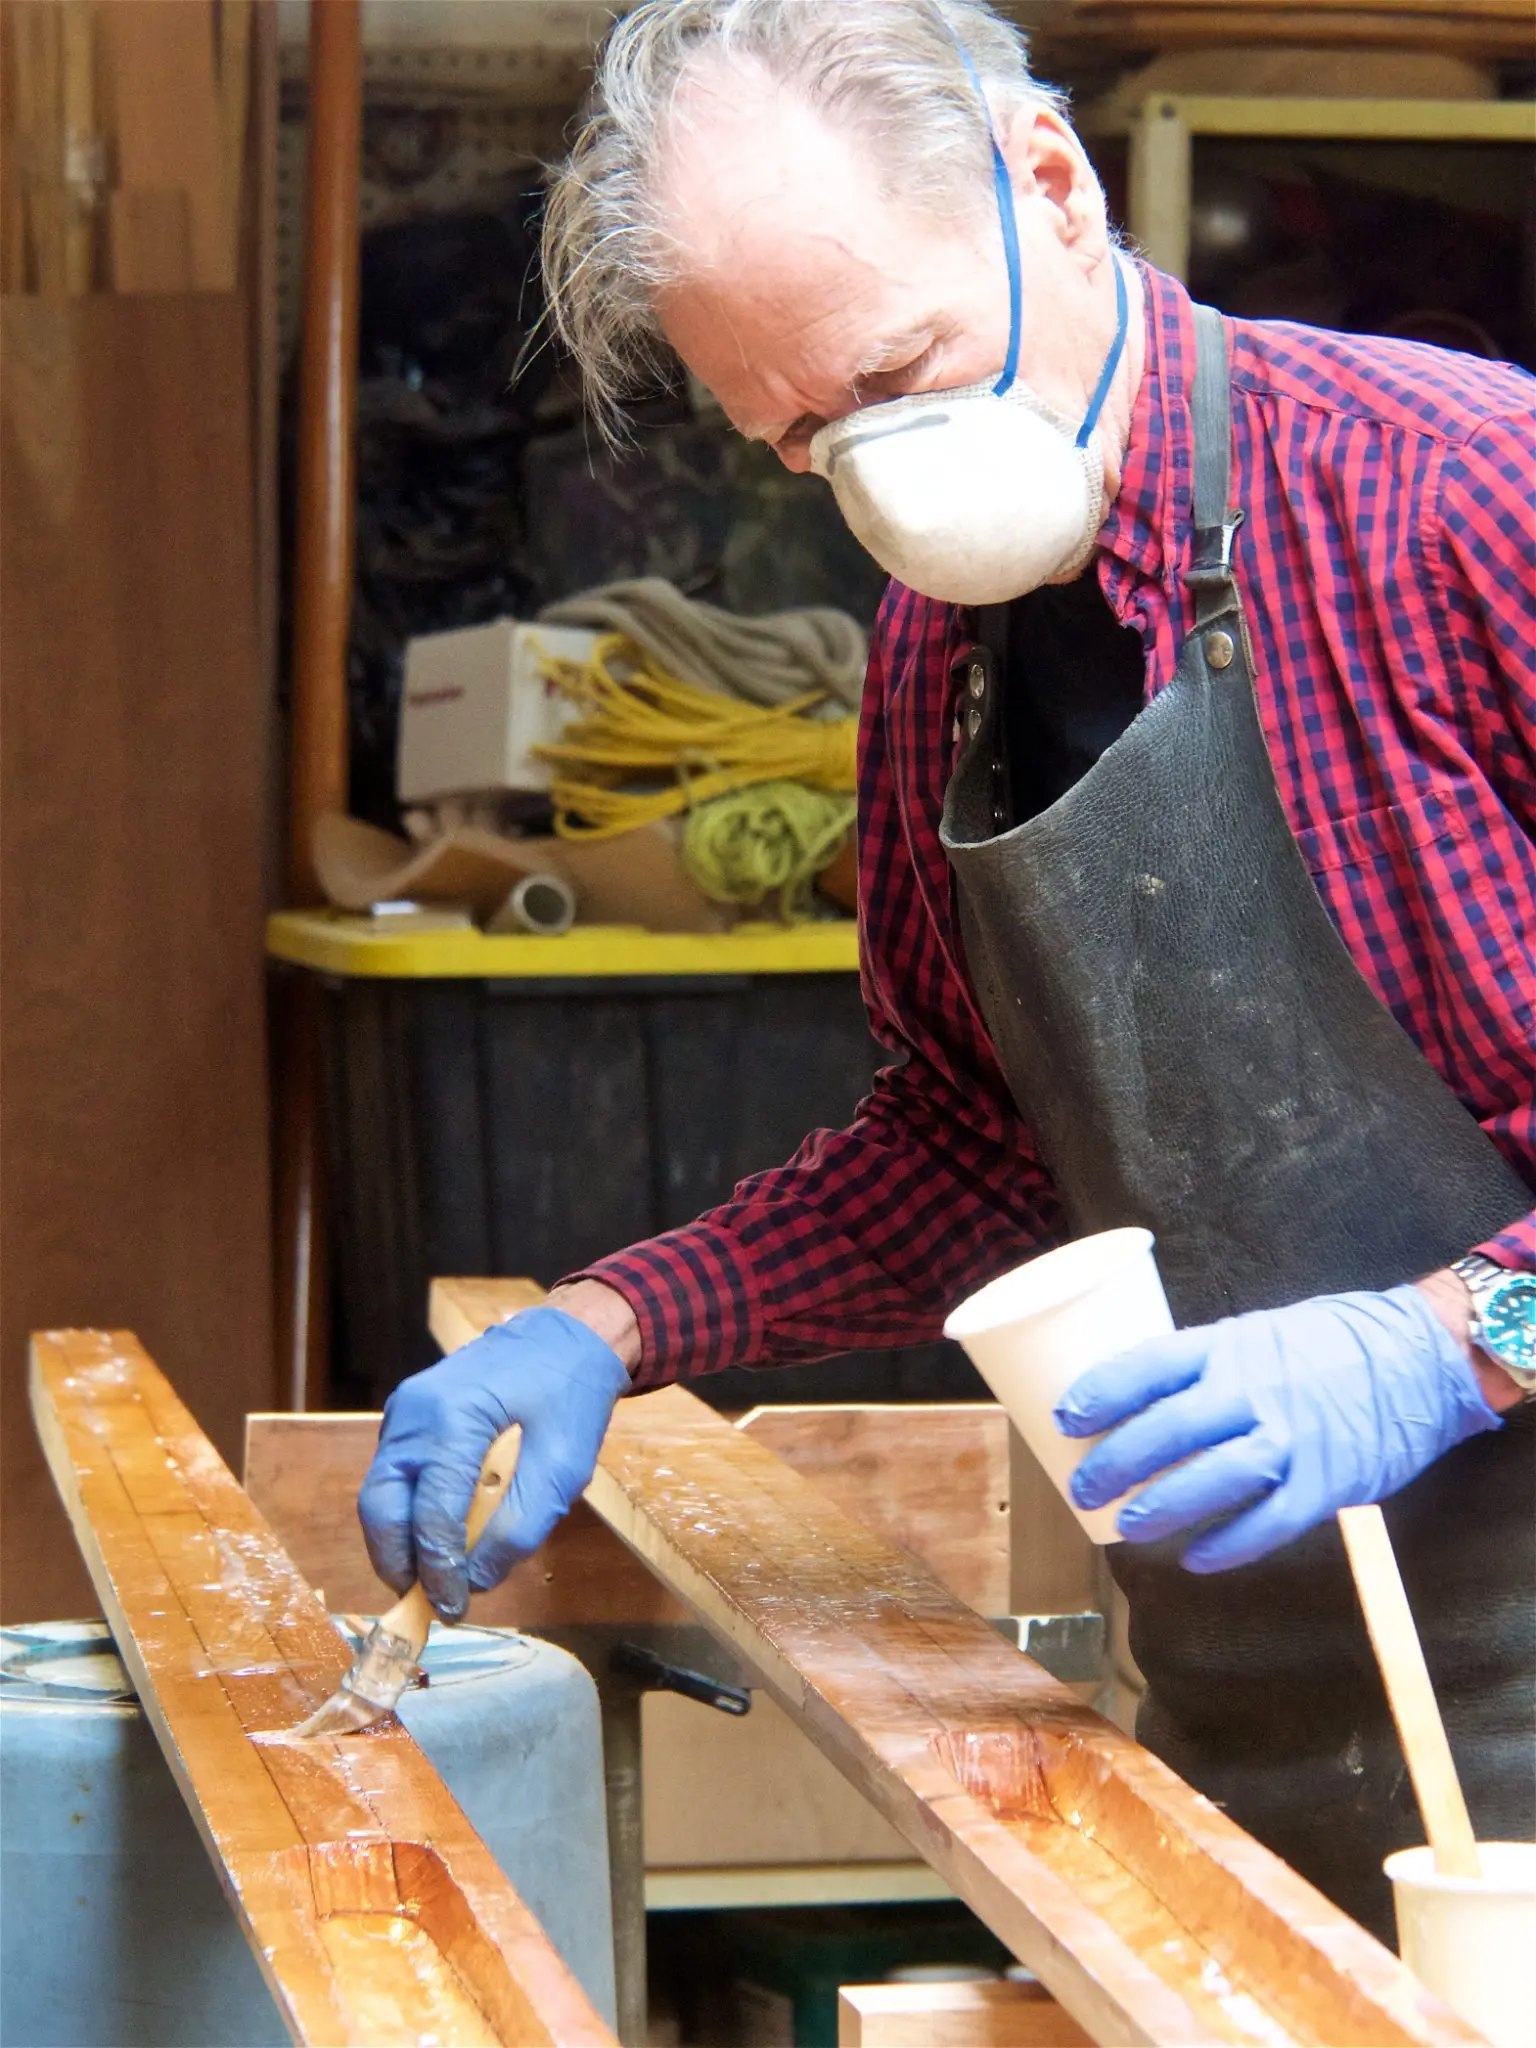
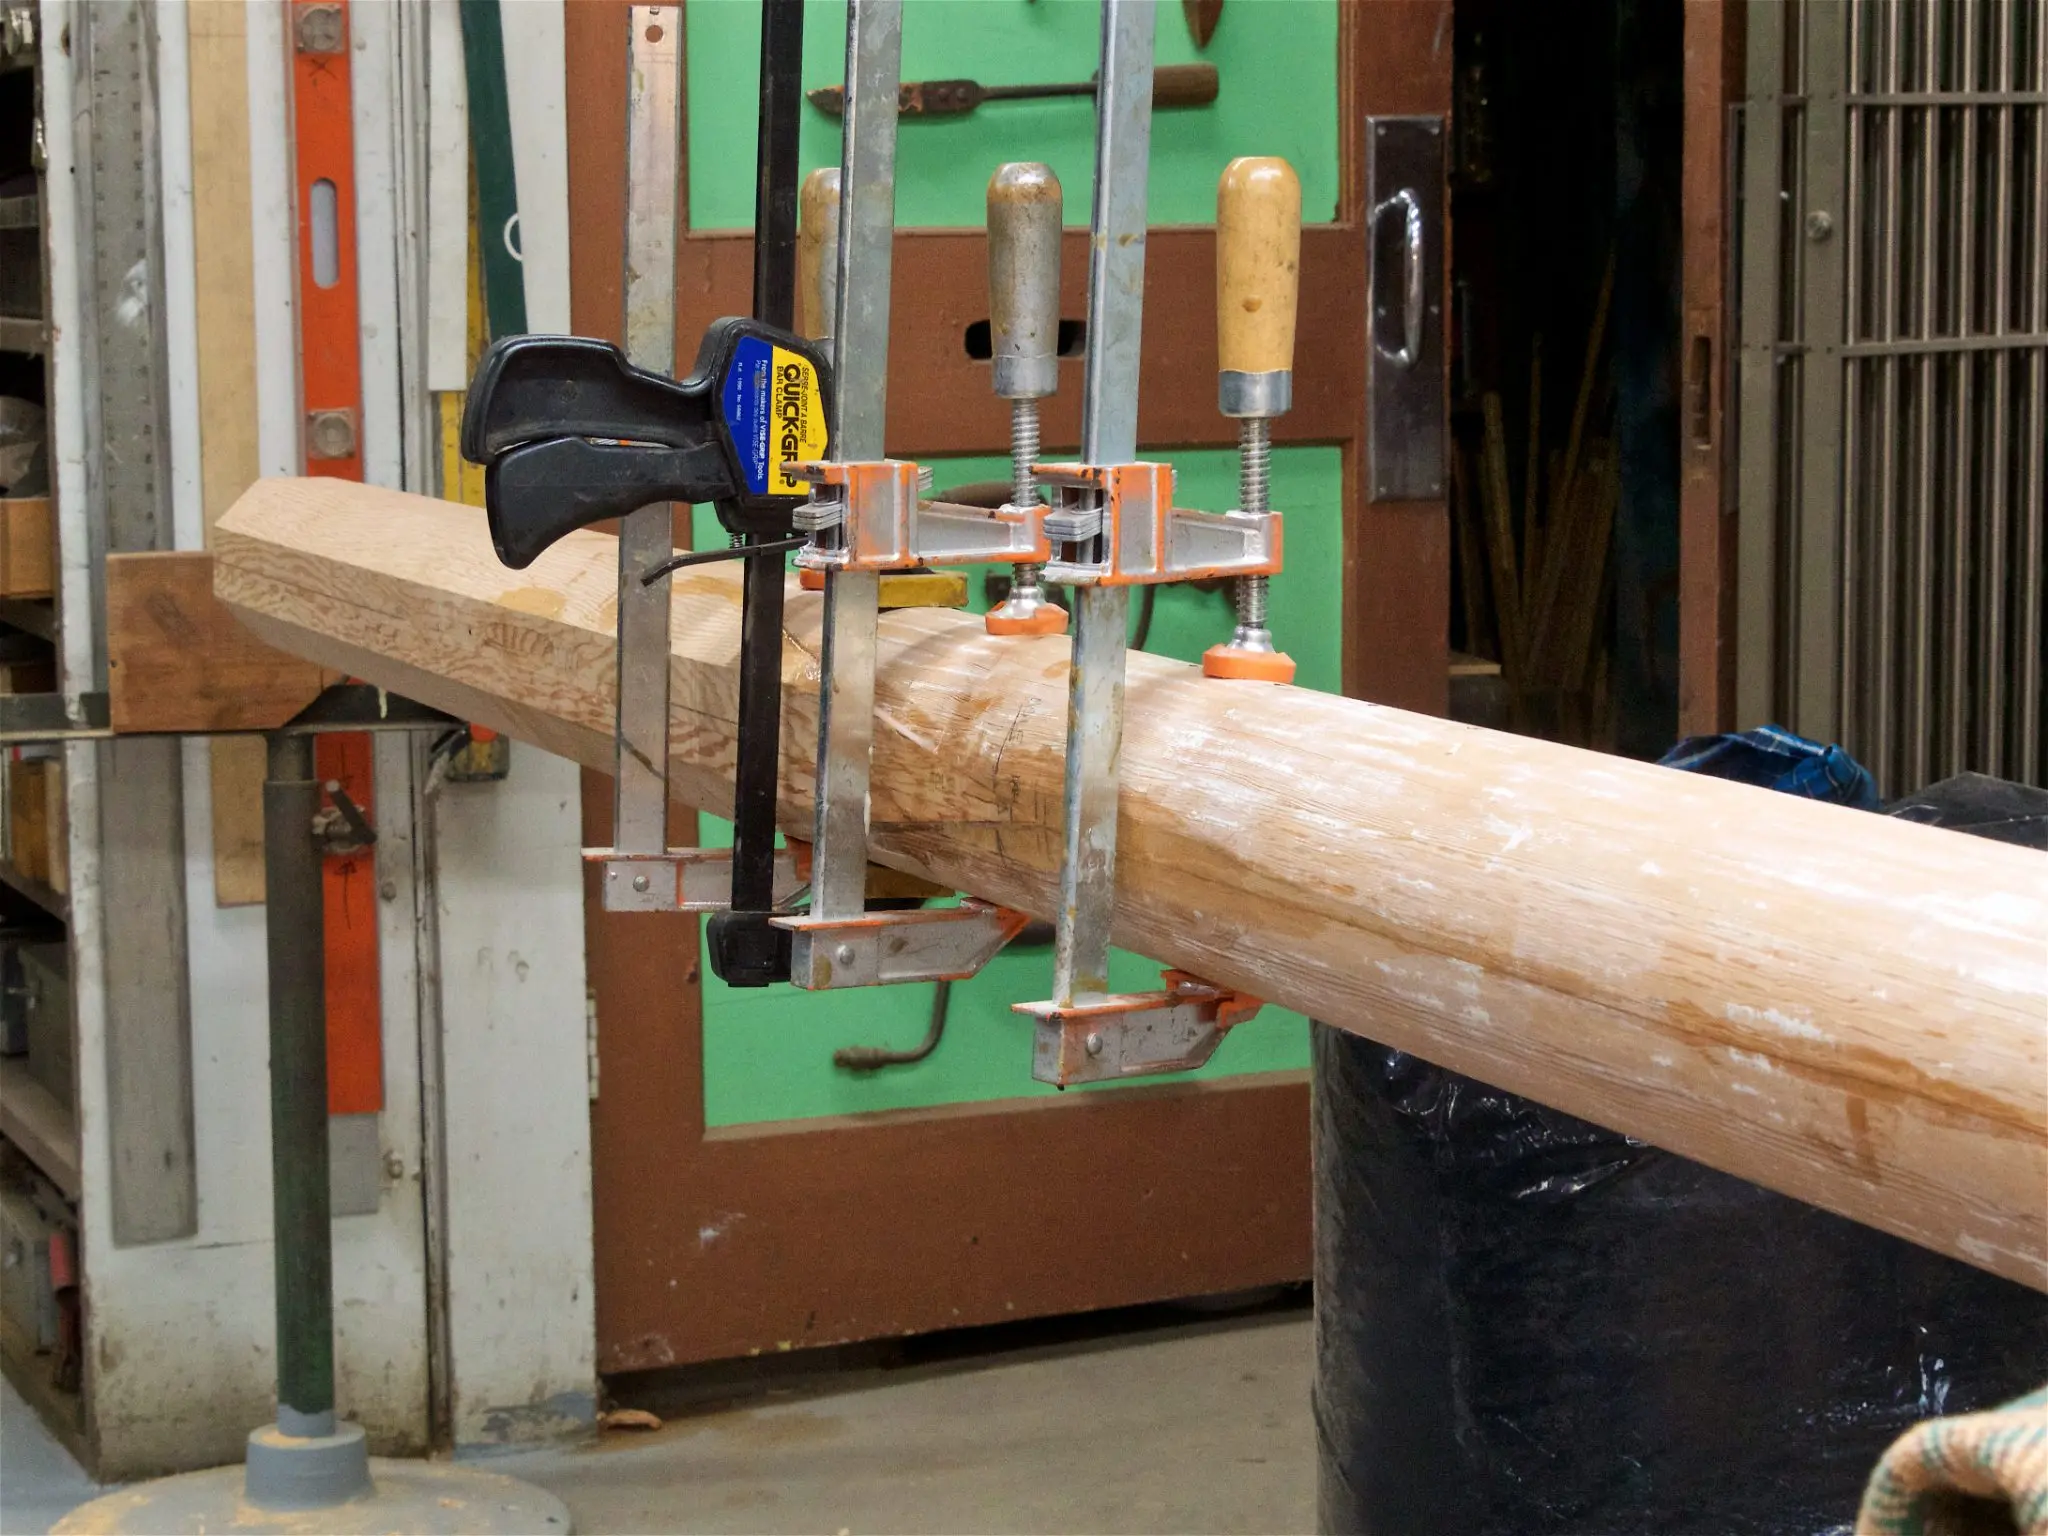
Once we achieved the desired sidewall dimensions for the hollowed section, we routed out and epoxied in a few dutchmans to the iffy spots of the original build. And, we cut the rotten bottom off and put in a nice long 12:1 scarf to receive a new butt end.
Photo 1 Photo 2 Photo 3 Photo 4 Photo 5
12 Mar 2026Rig & Spars3 h
New mast base
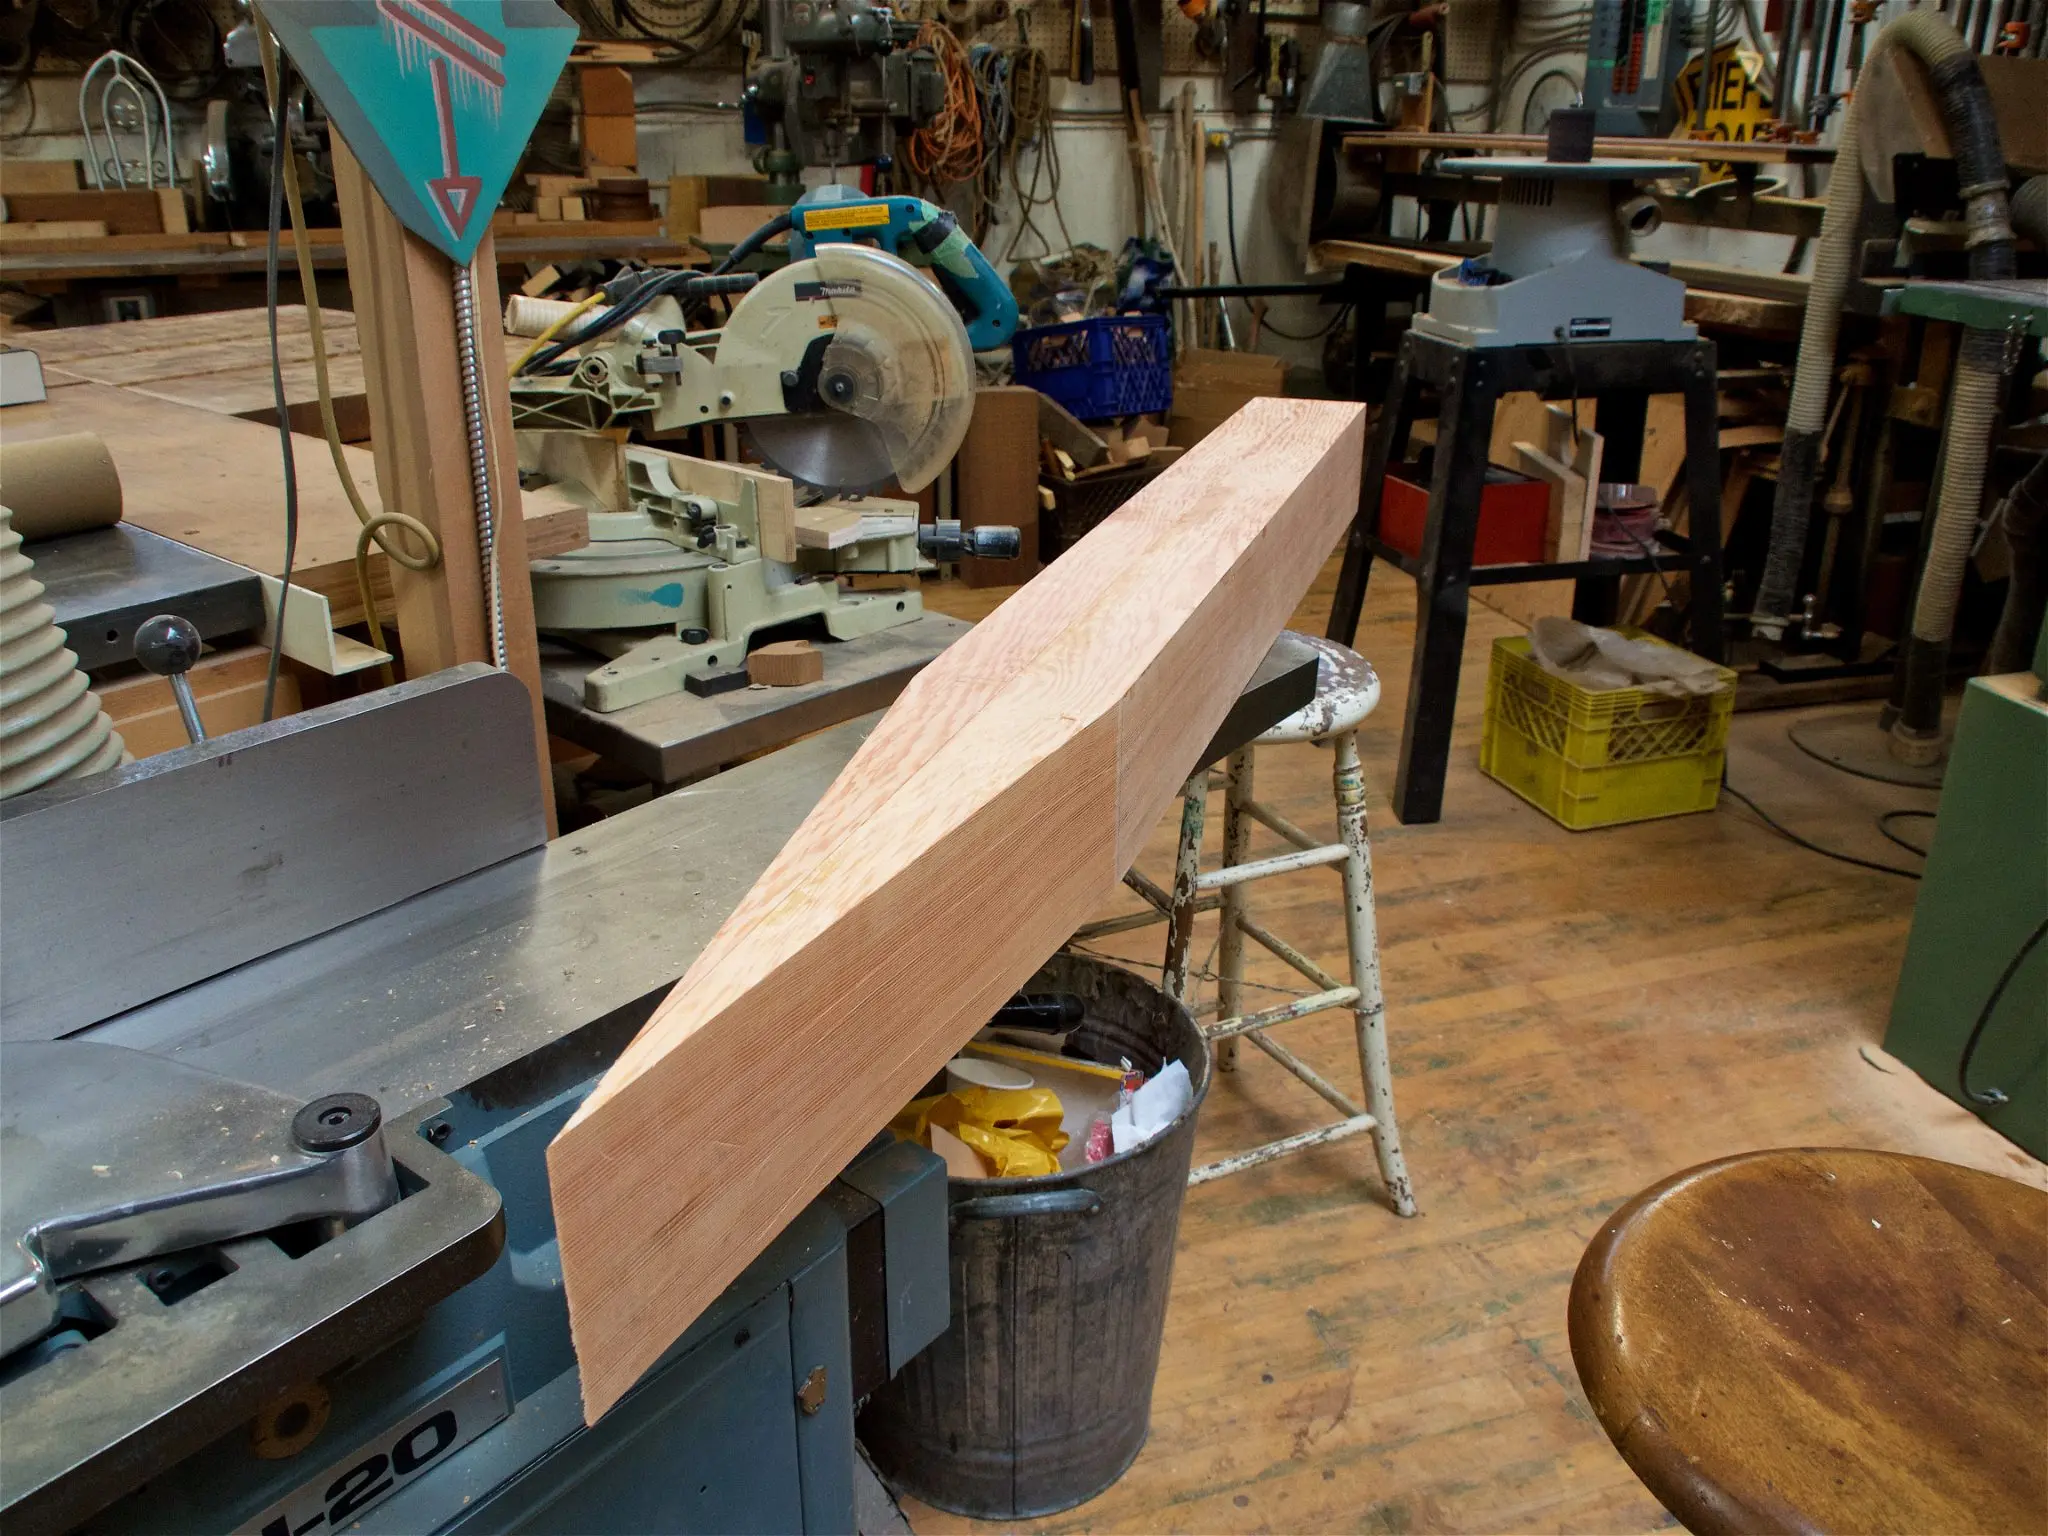
Arnt had been wondering what to do with this old chunk of fir... it's now going to be the base of our mast. It's a bit heavier than ideal, hoping it doesn't ruin the righting moment too much.
13 Mar 2026Rig & Spars1.5 h
Glue up top of mast
You'll note there are no wires in the mast... I've decided to keep the boat systems as basic as can be, I'll hoist an anchor light when I need one, and judge the wind strength and direction by analog means.
Photo 1 Photo 2 Photo 3 Photo 4 Photo 5
15 Mar 2026Rig & Spars1 h
Glue in base of mast
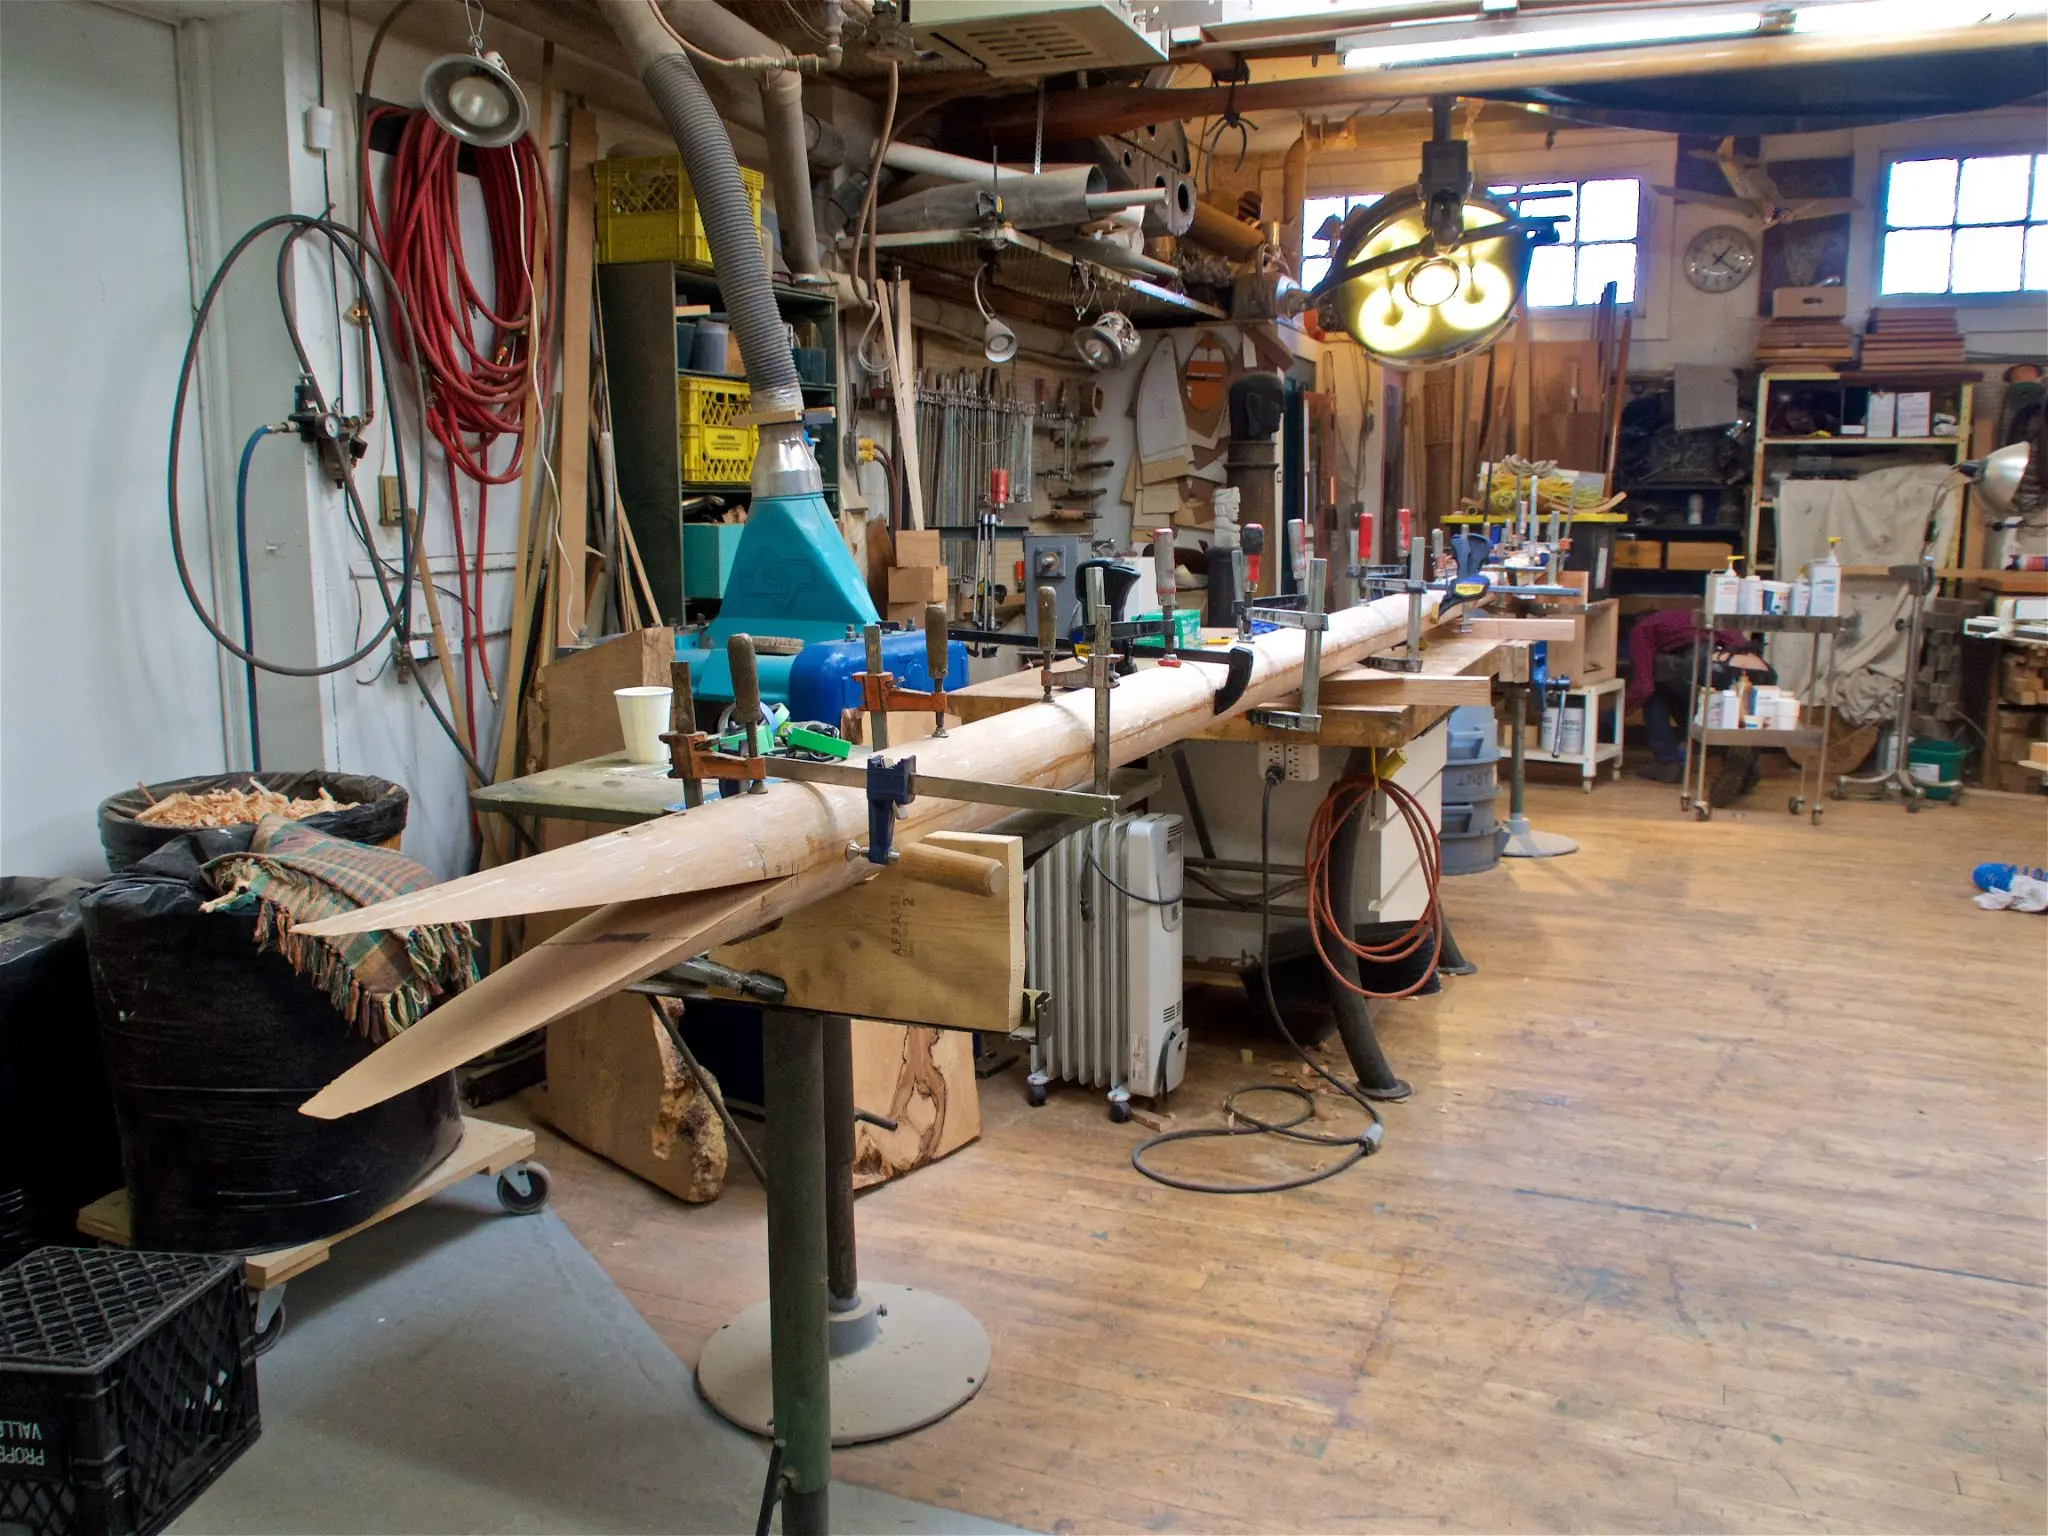
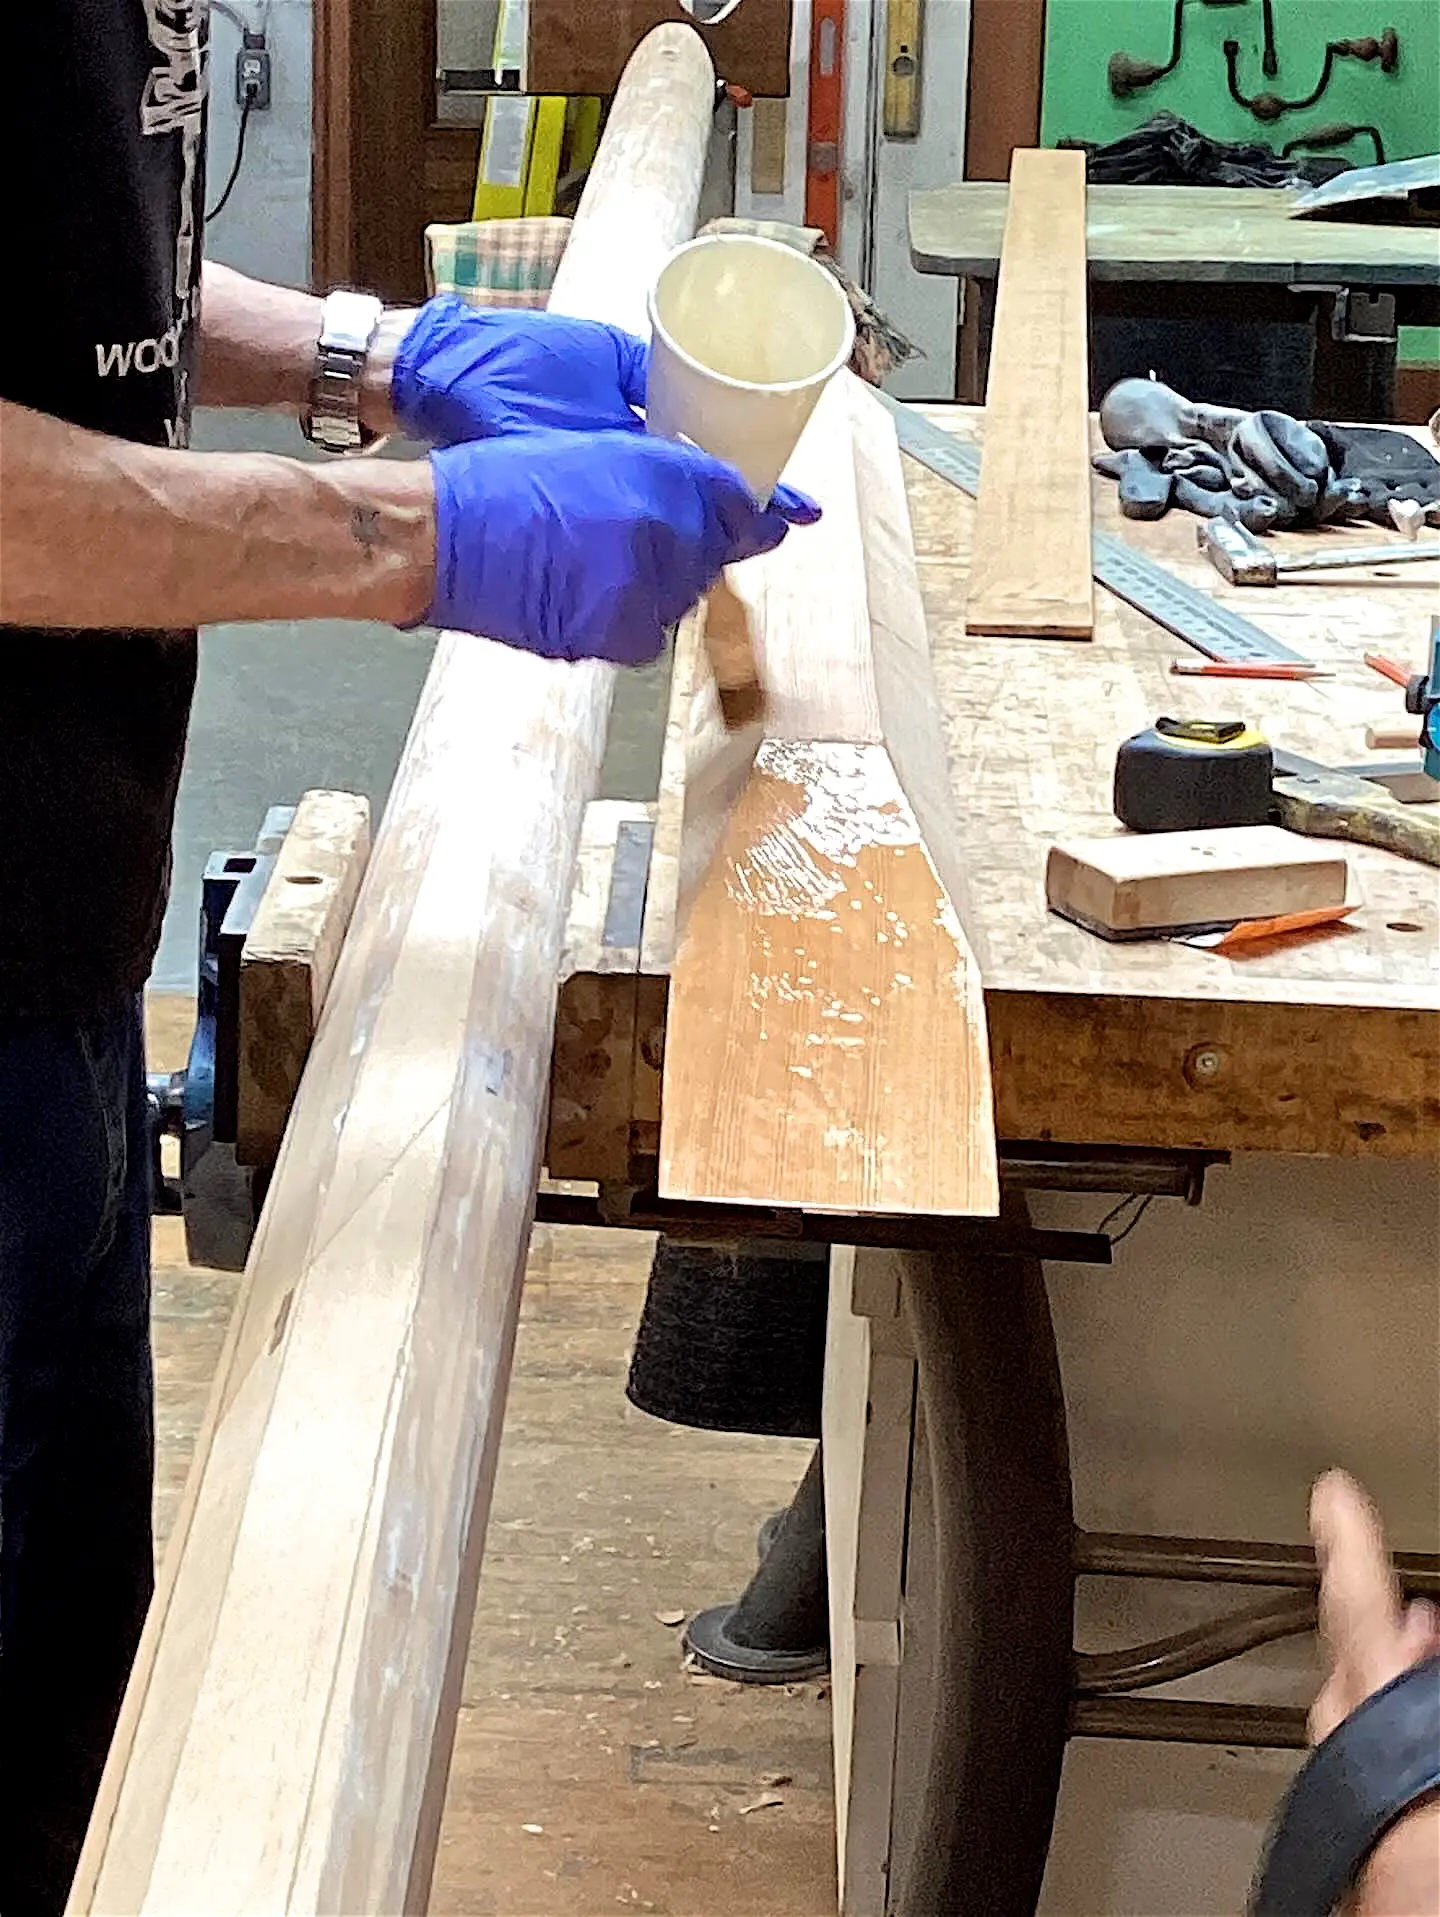
As per our regular practice, we use West System epoxy... wet out all surfaces with neat; then add appropriate thickener, in this case #406 Colloidal Silica. Not too much clamping pressure so it doesn't squeeze everything out!
Photo 1 Photo 2 Photo 3 Photo 4
18 Mar 2026Rig & Spars2 h
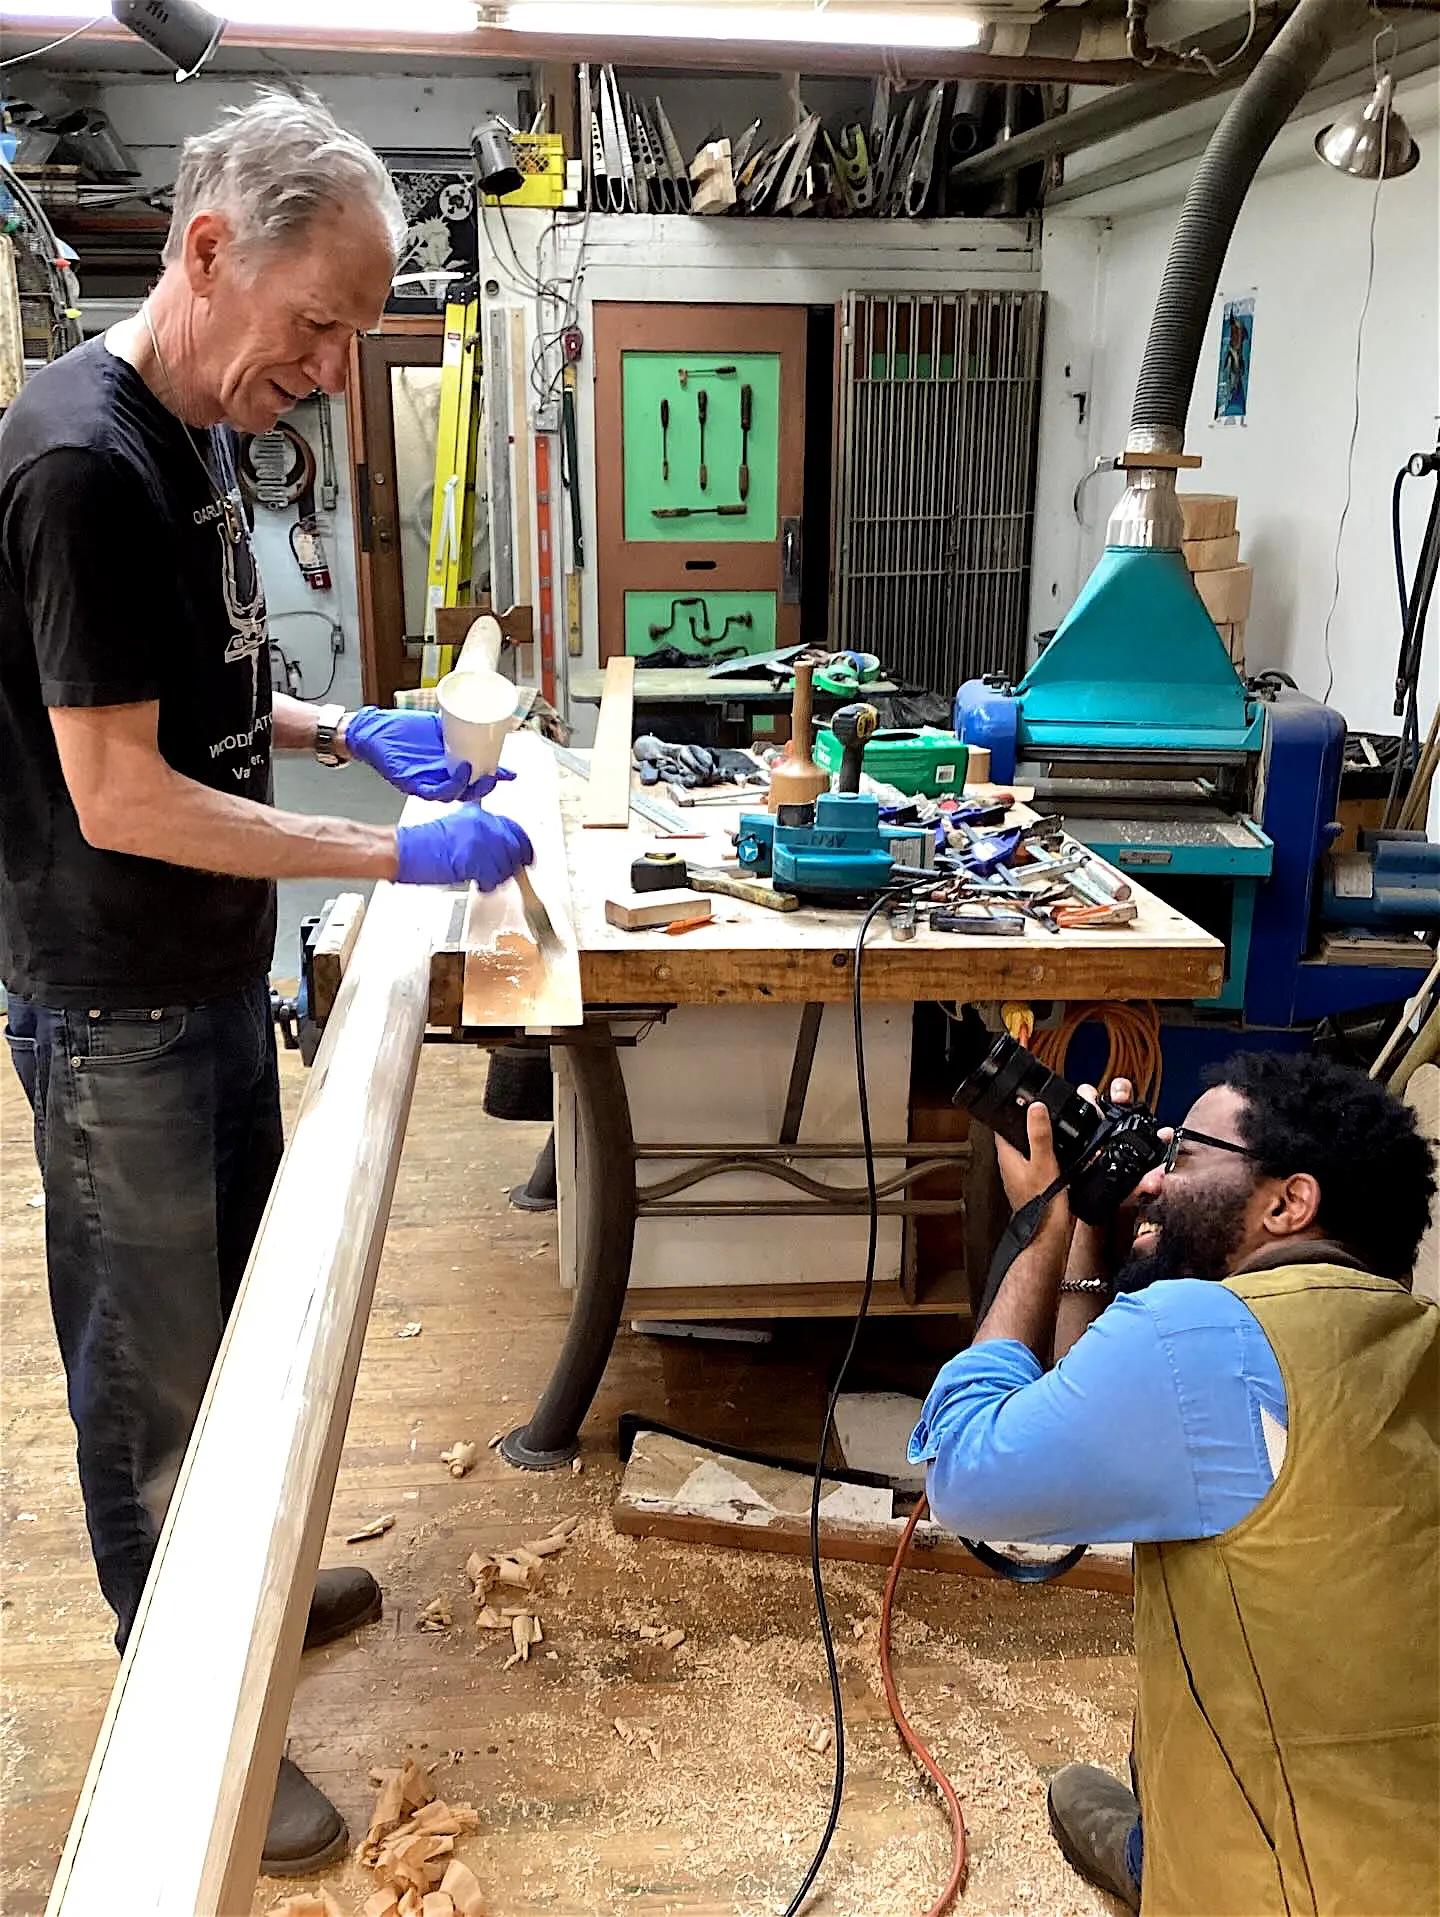
Photojournalist drops in
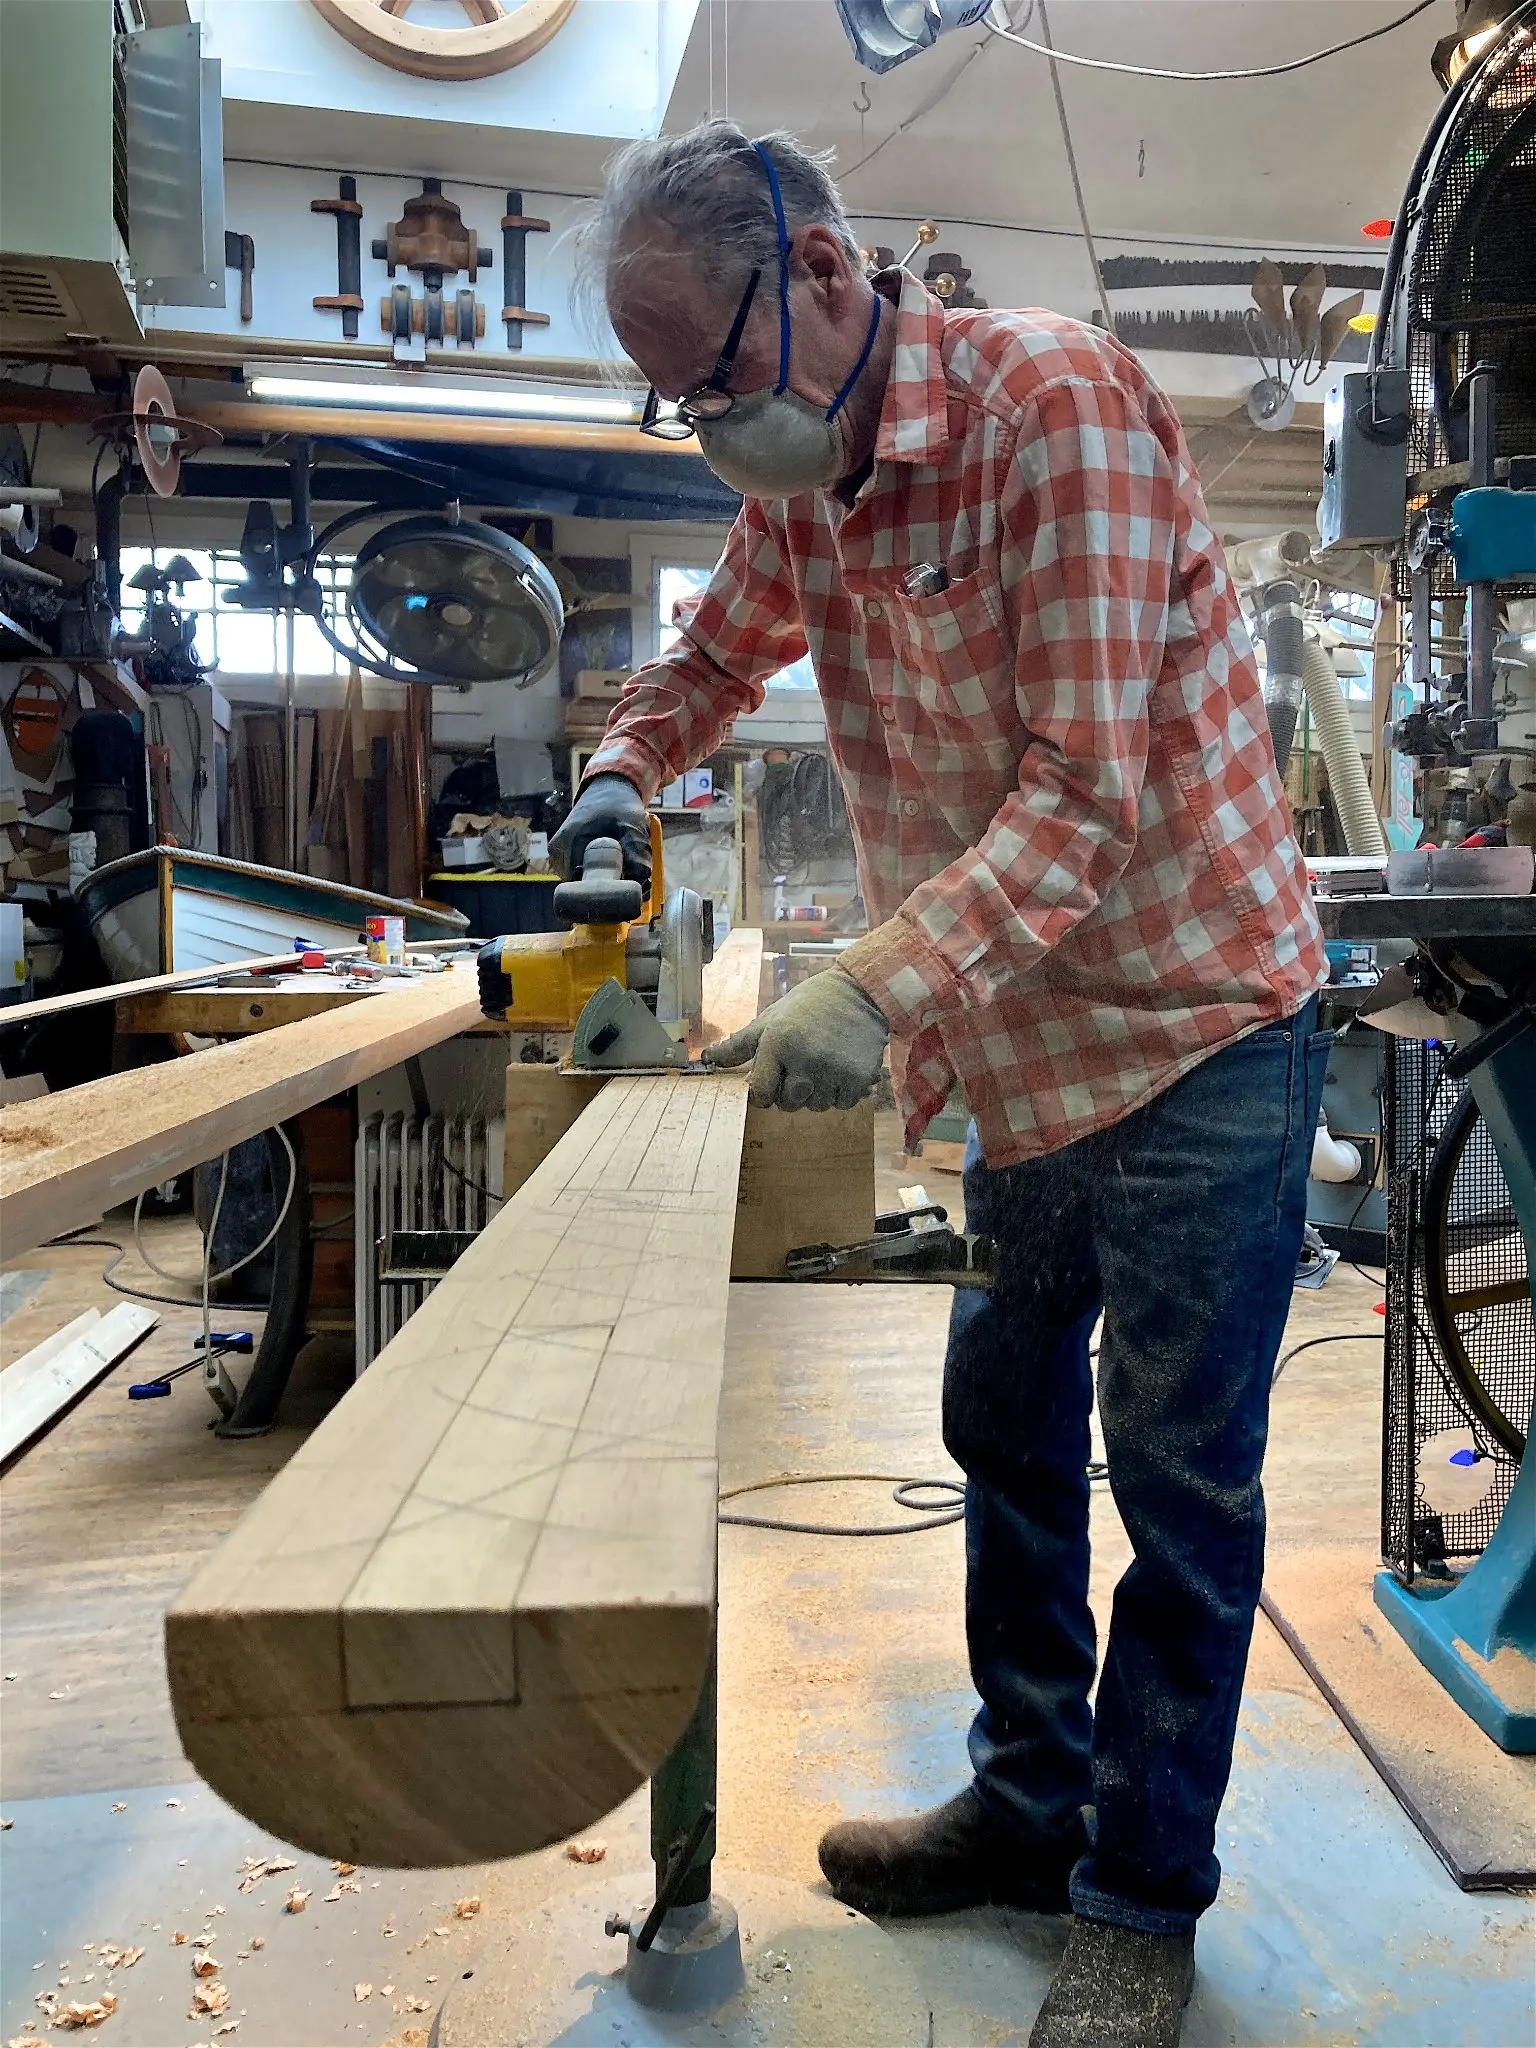
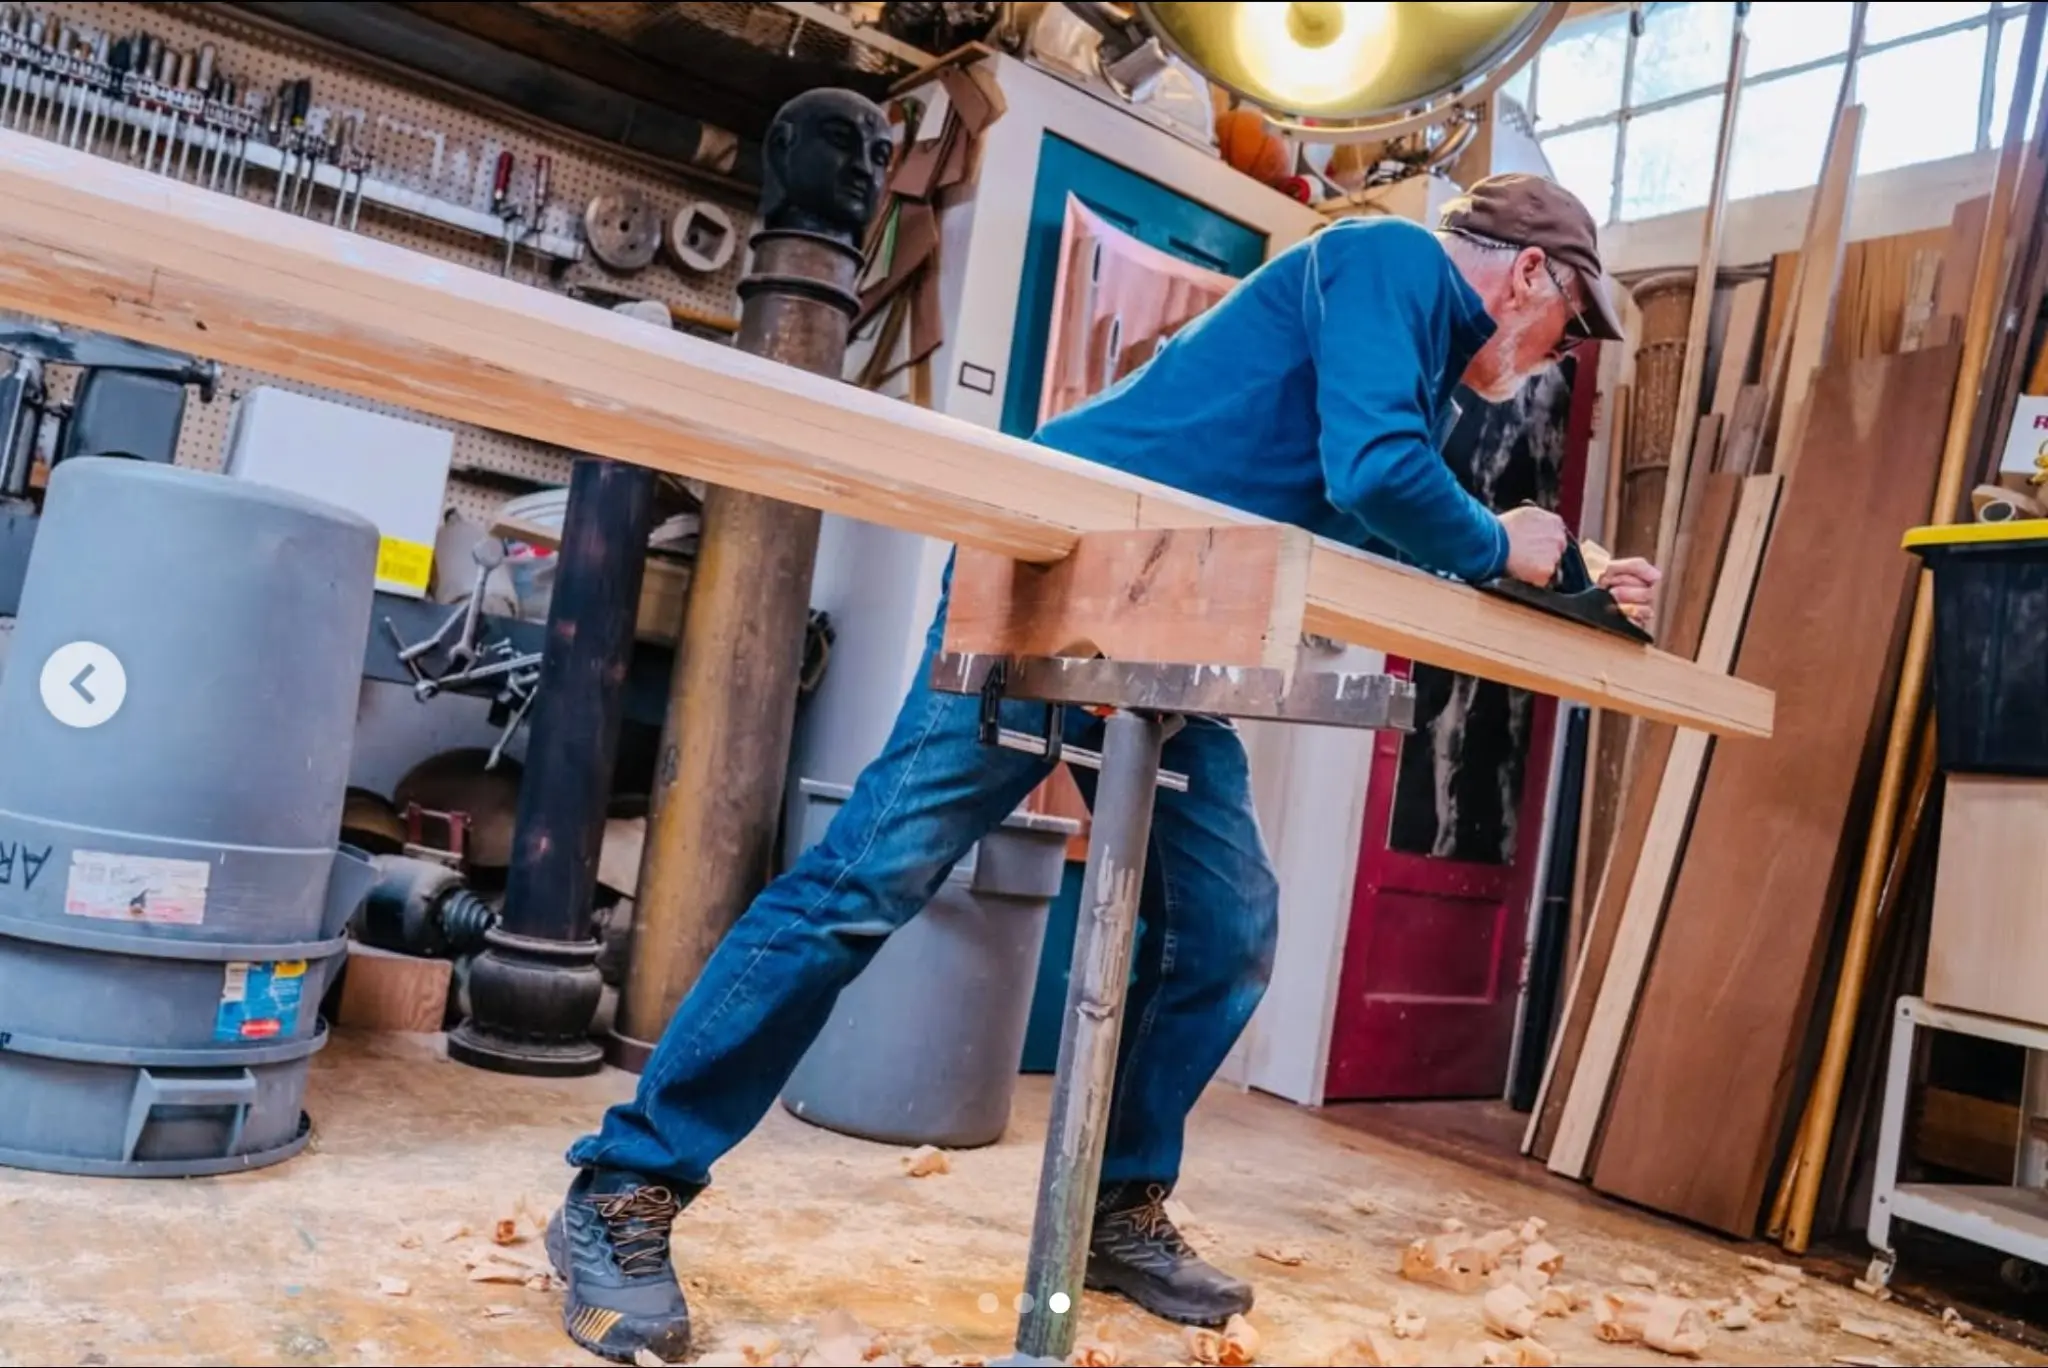
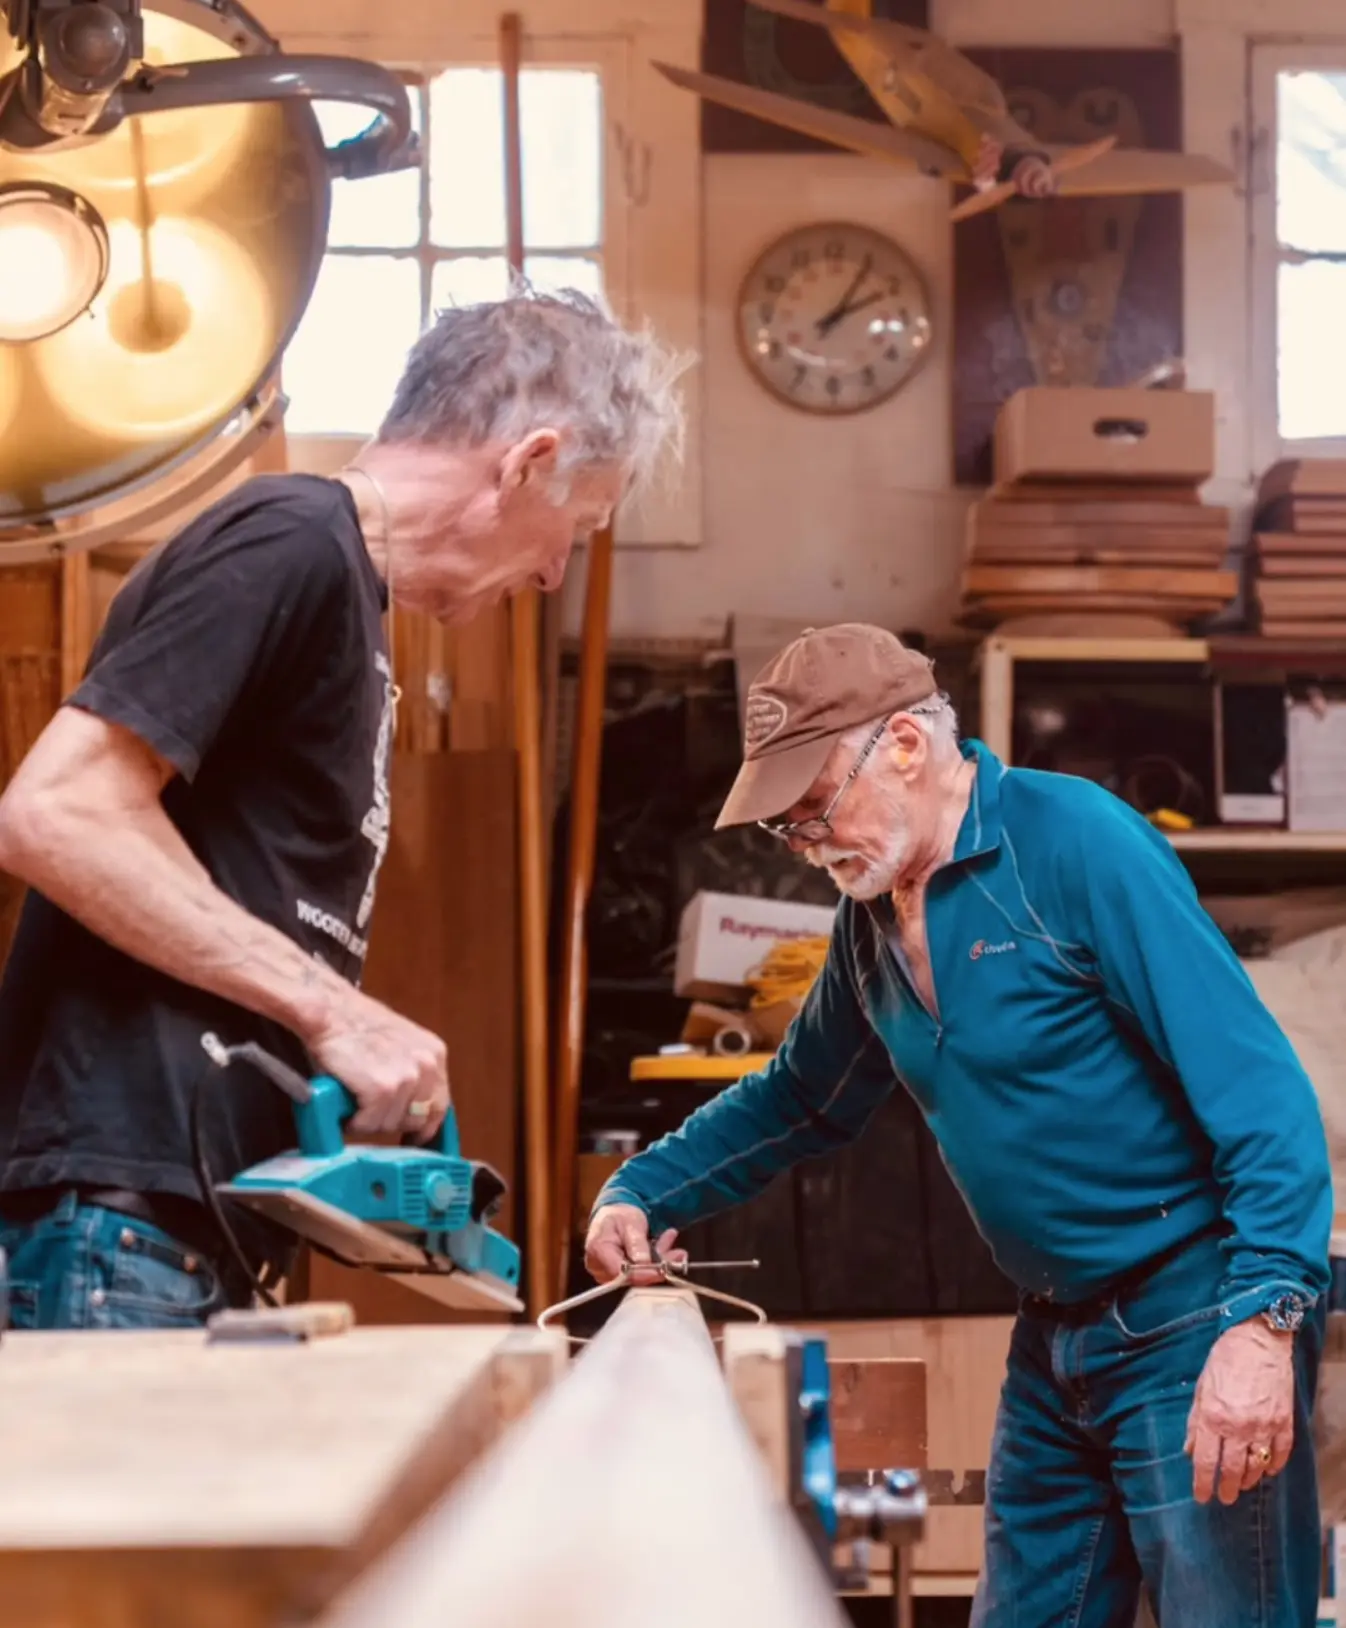
Photos by William C. Weaver IV... William dropped by to get a few shots of the build, and found us planing the mast down to approximate final dimensions (before rounding).
Photo 1 Photo 2 Photo 3 Photo 4
30 Mar 2026Rig & Spars1 h
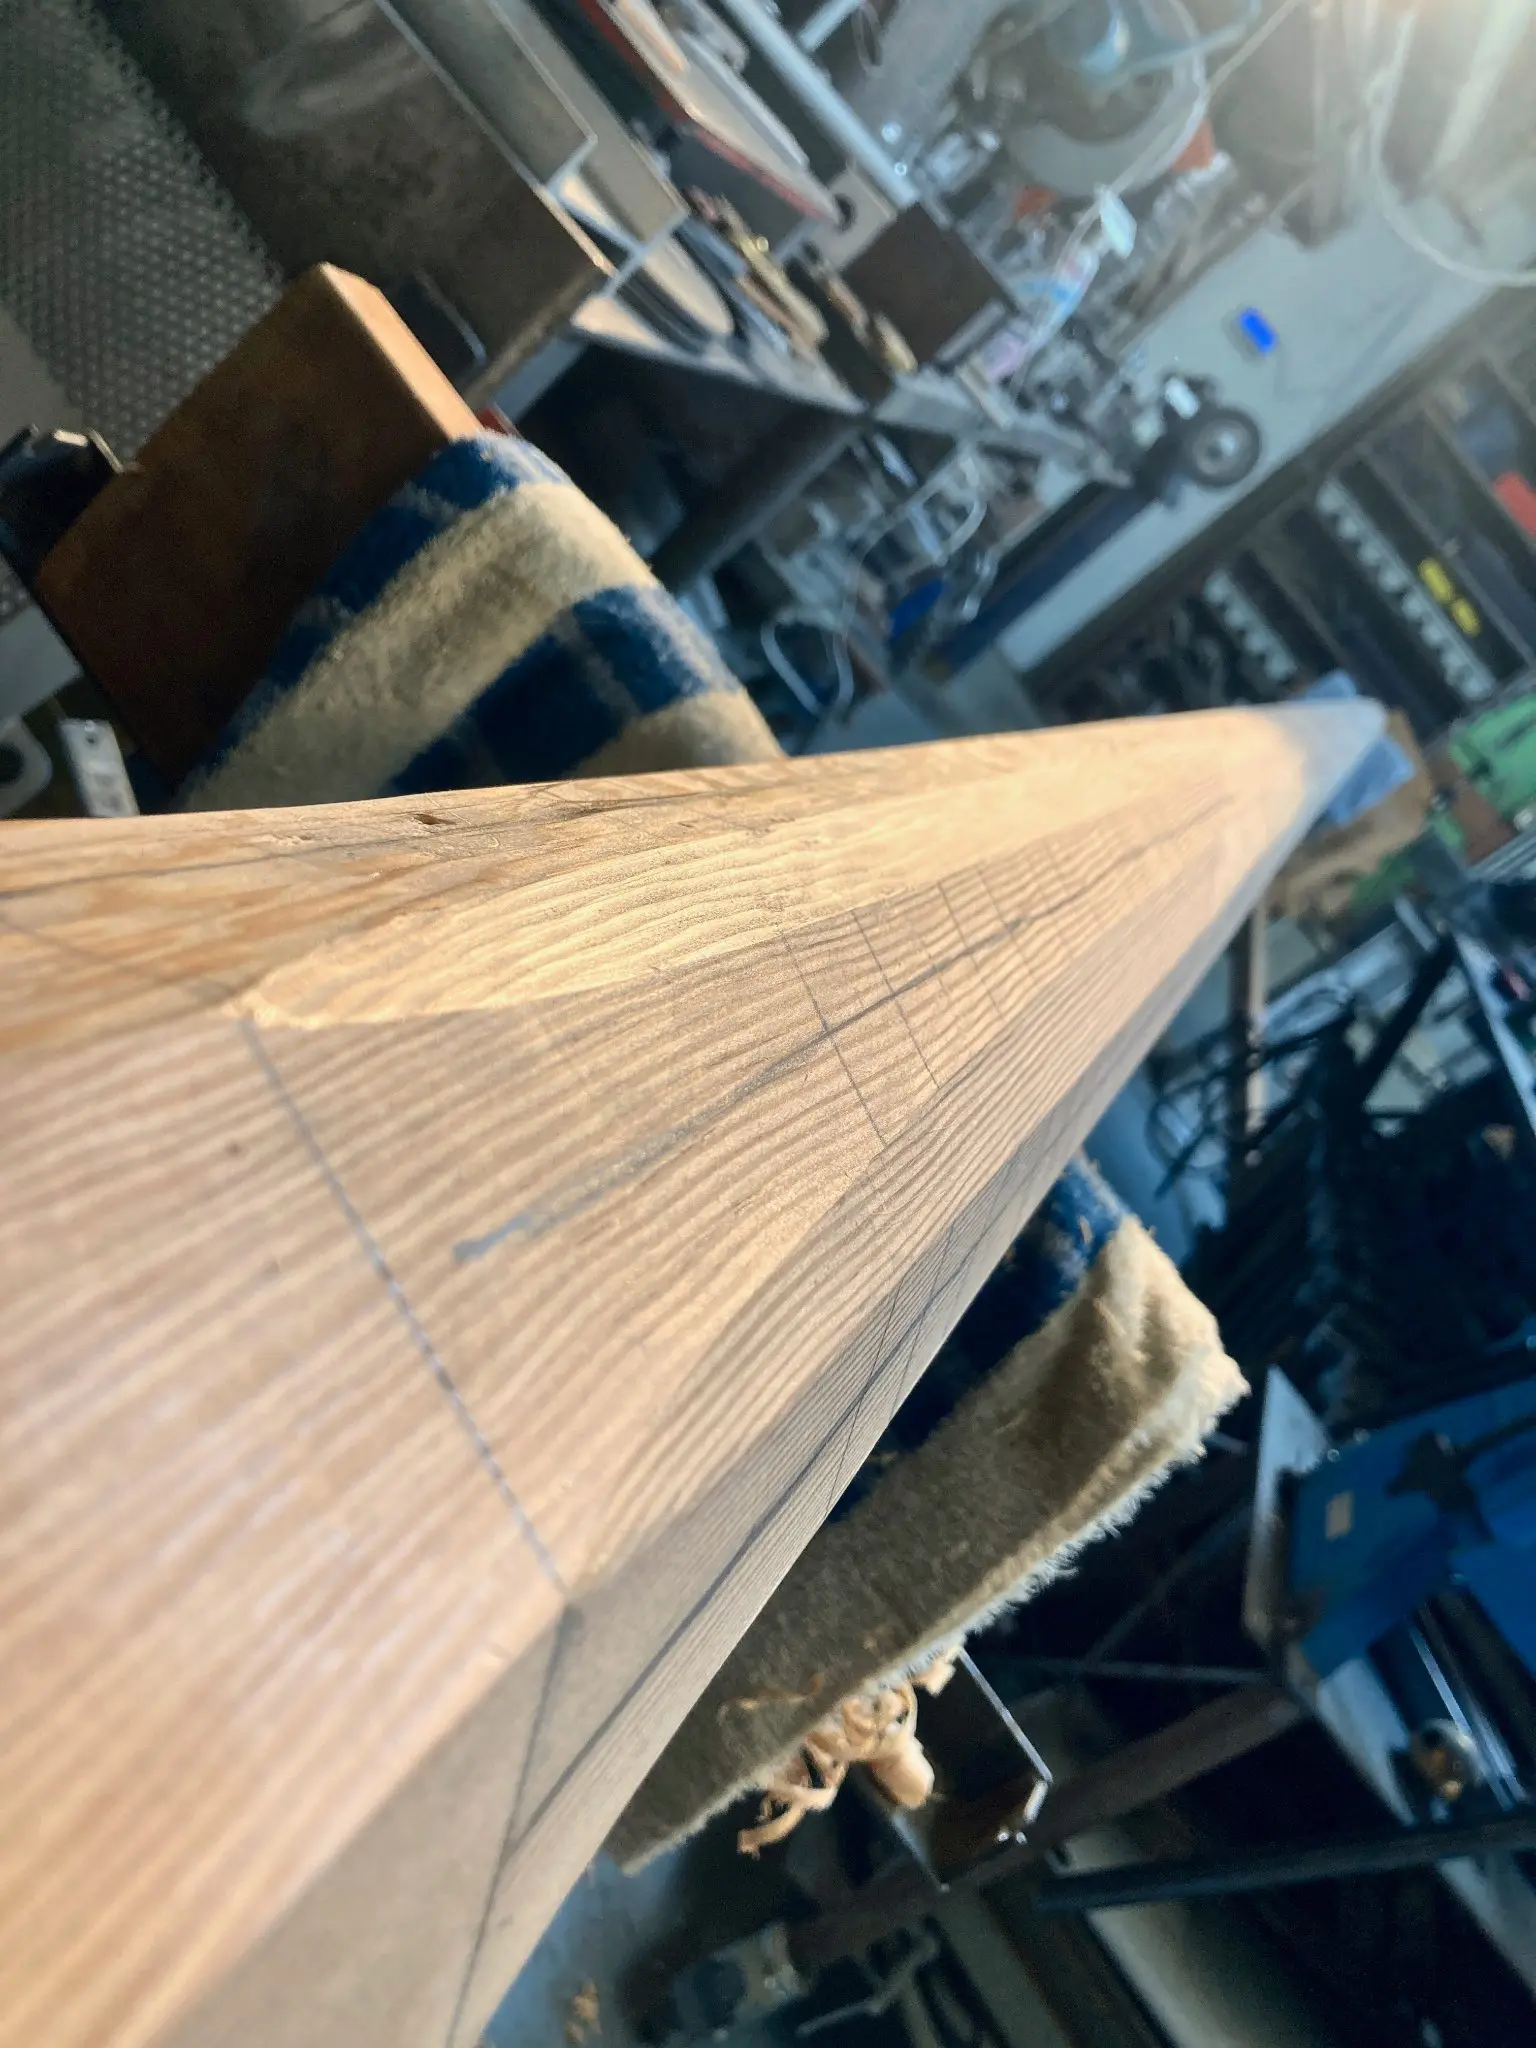
Rounding mast
While waiting for the paint on the lofting plywood to dry, we spent about a hour rounding the mast. The area in the photo is where it will transition from the 8 sided base to round. Just starting that job, there will be more to do on it, later. But now, lunch, then to get on with the lofting (if the paint is dry).
Chapter 04
Plans & Lofting
Reading the drawings, lofting full-size, making patterns and templates.
3 days16 hoursfrom March 2026
31 Mar 2026Plans & Lofting5.5 h
Lofting
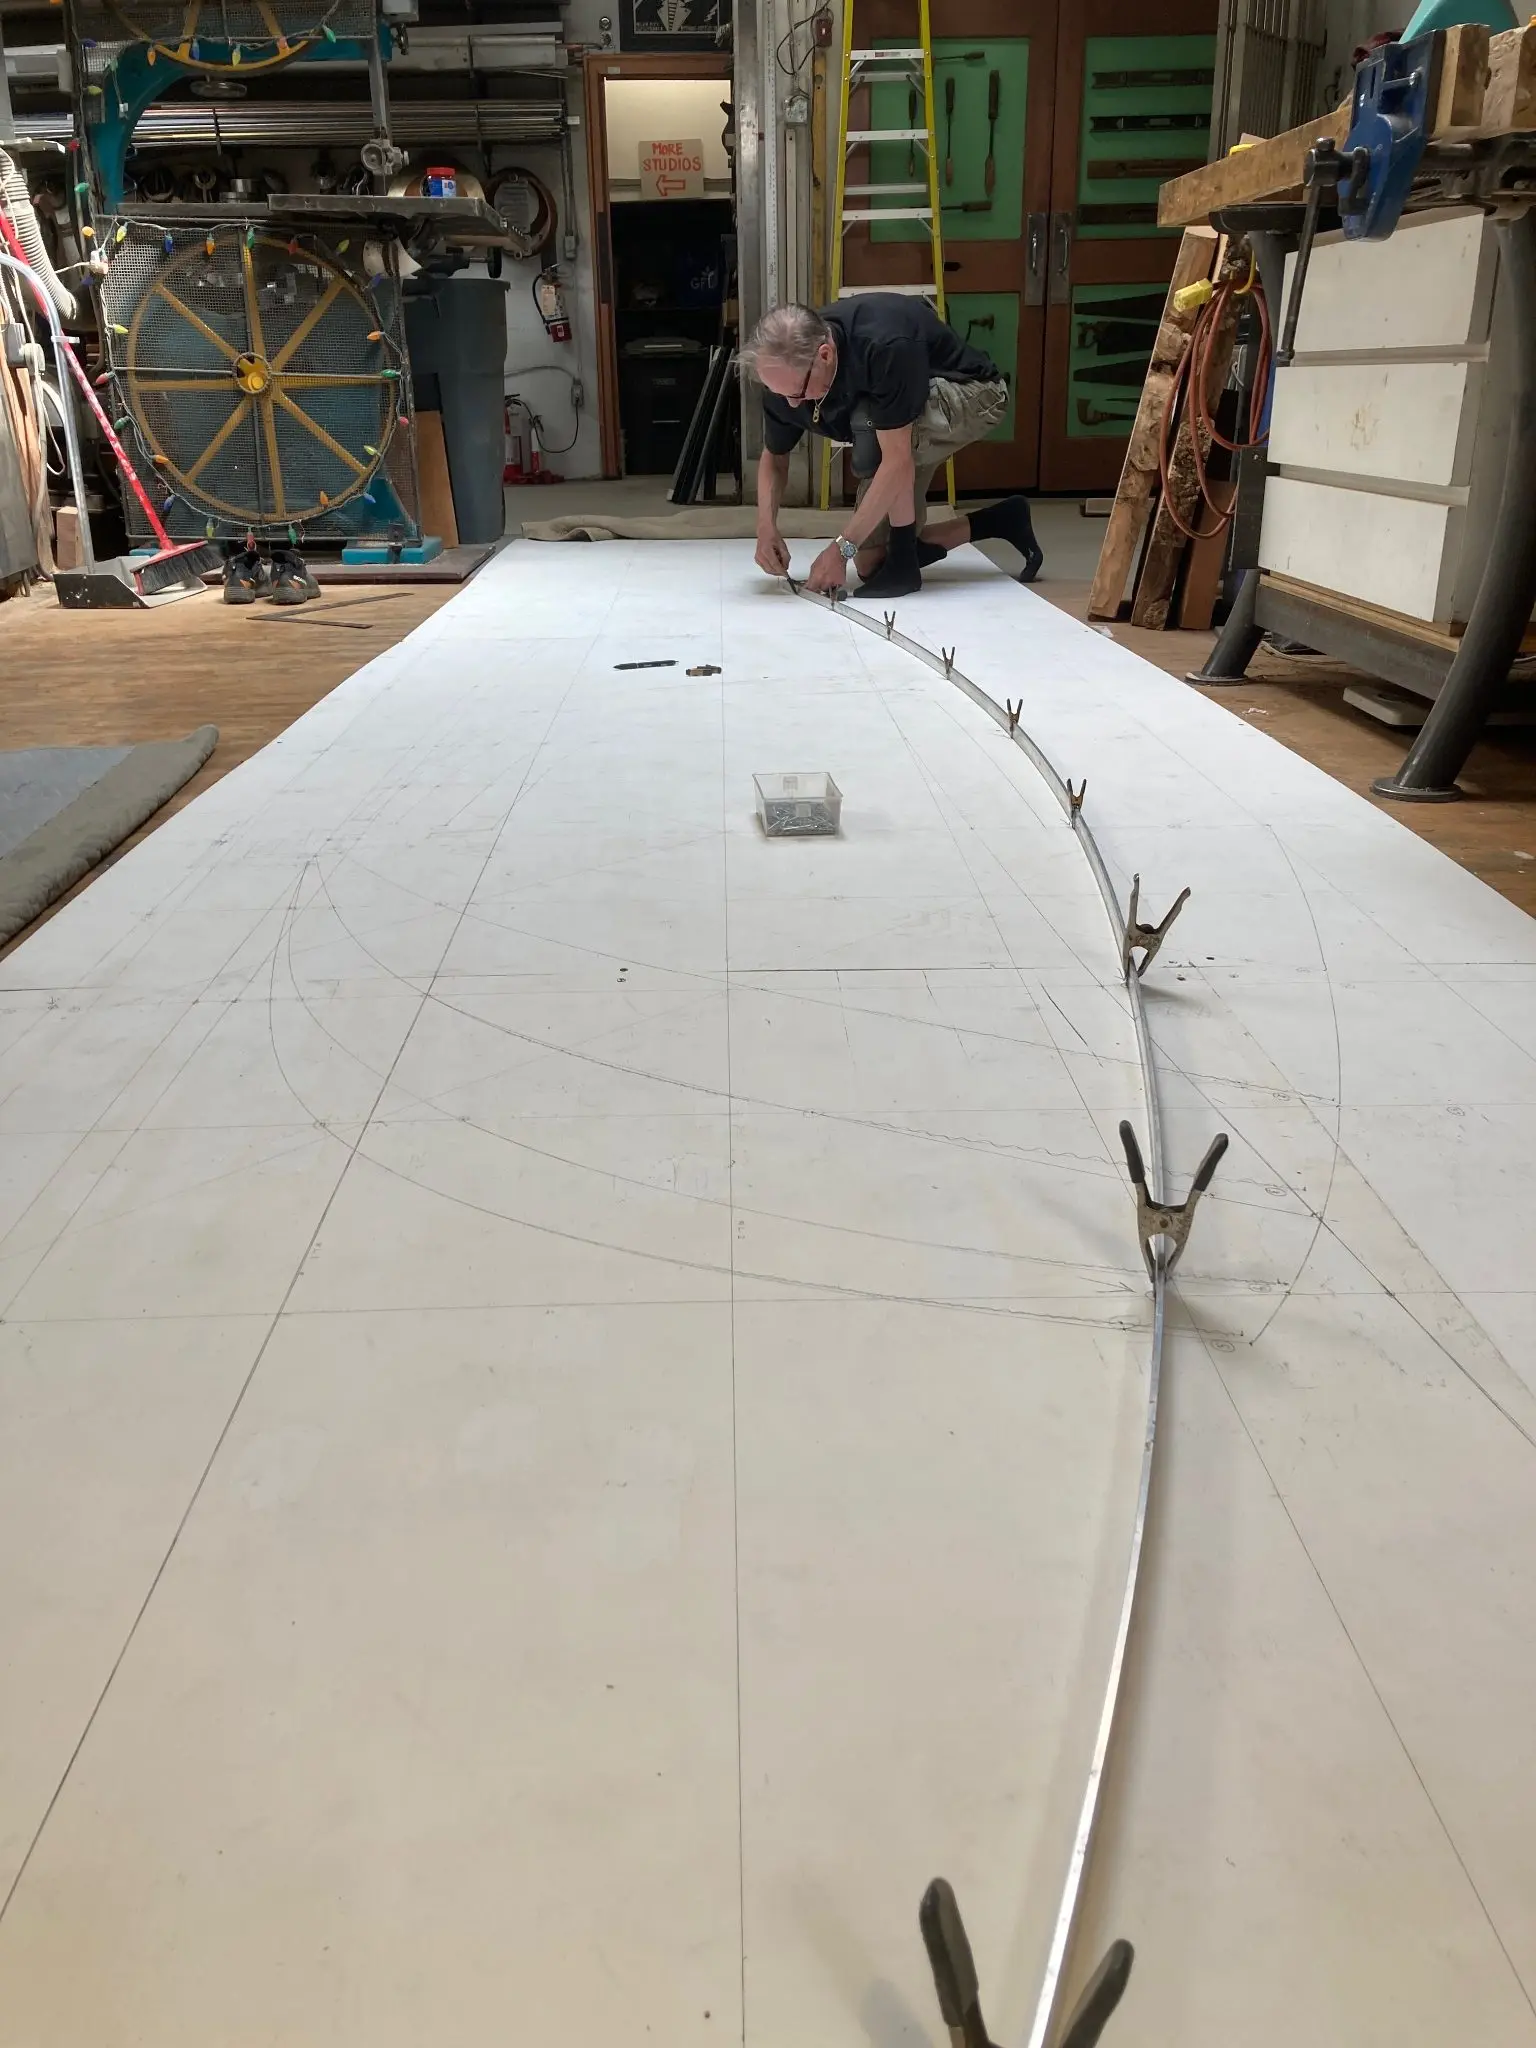
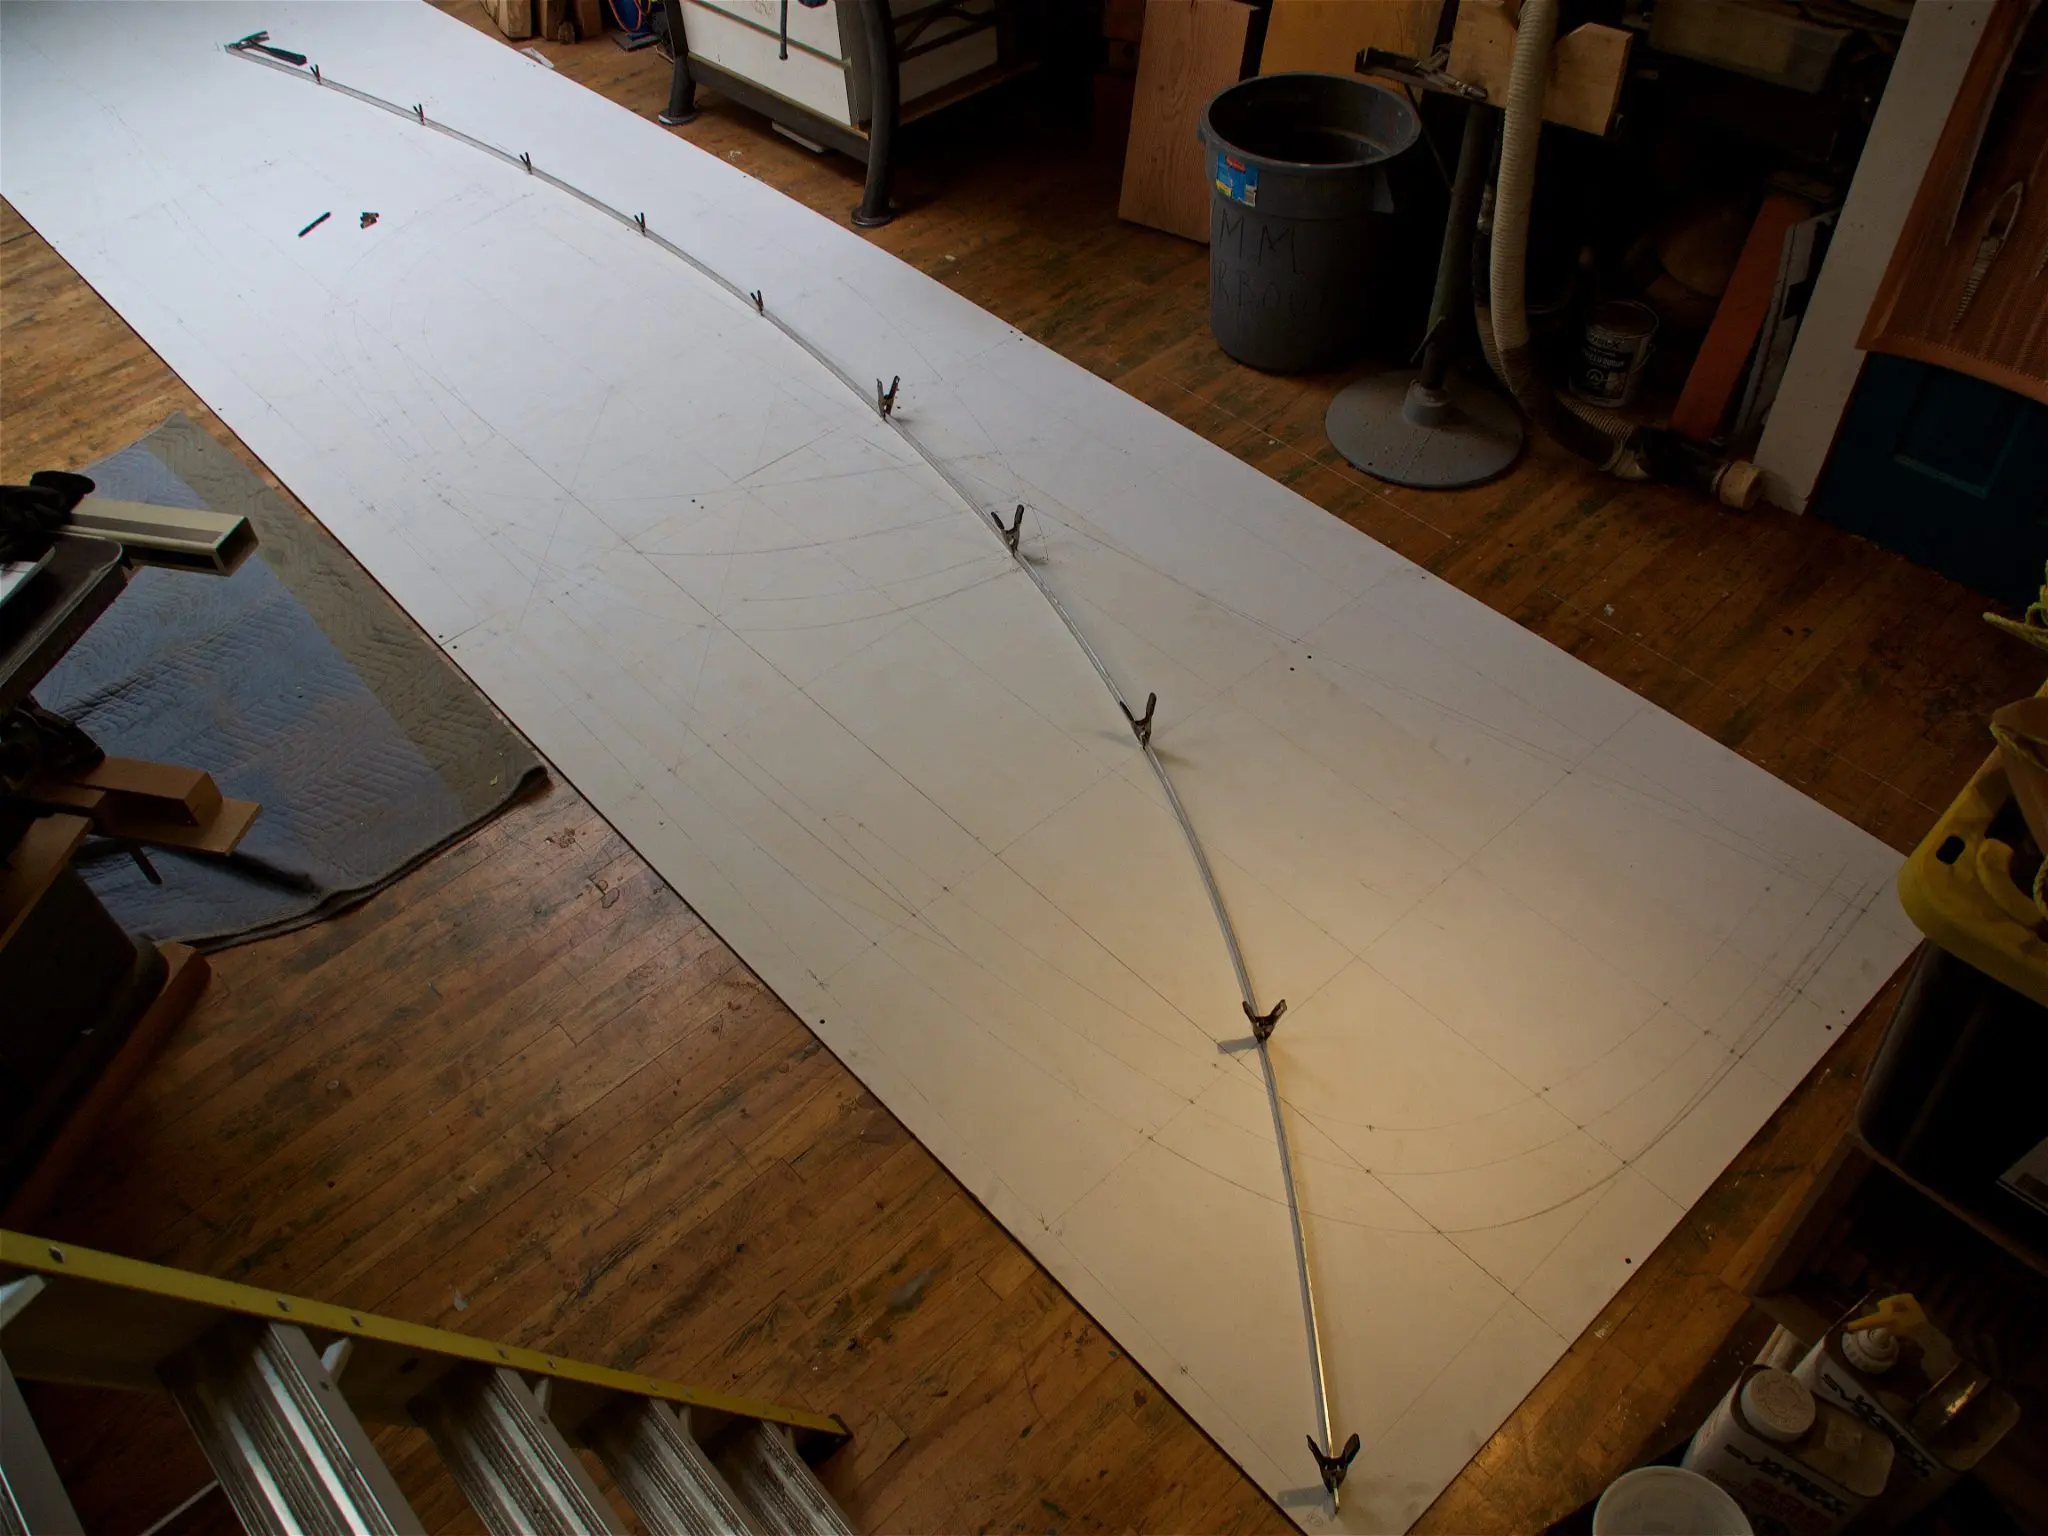
Laid plywood on shop floor, painted it flat white, laid out a baseline, waterlines, stations, and started to draw the lines at full size.
Video: https://player.vimeo.com/video/1245289966
20 Apr 2026Plans & Lofting3 h
Lofting, continued
Lofted the halfbreadths, and checked the bodyplan against them. We forgot that the halfbreadths gave valuable information to the bodyplan, so had to make some adjustments to virtually every station. Obviously need more practice lofting!
Photo 1 Photo 2
21 Apr 2026Plans & Lofting7 h
Lifting patterns
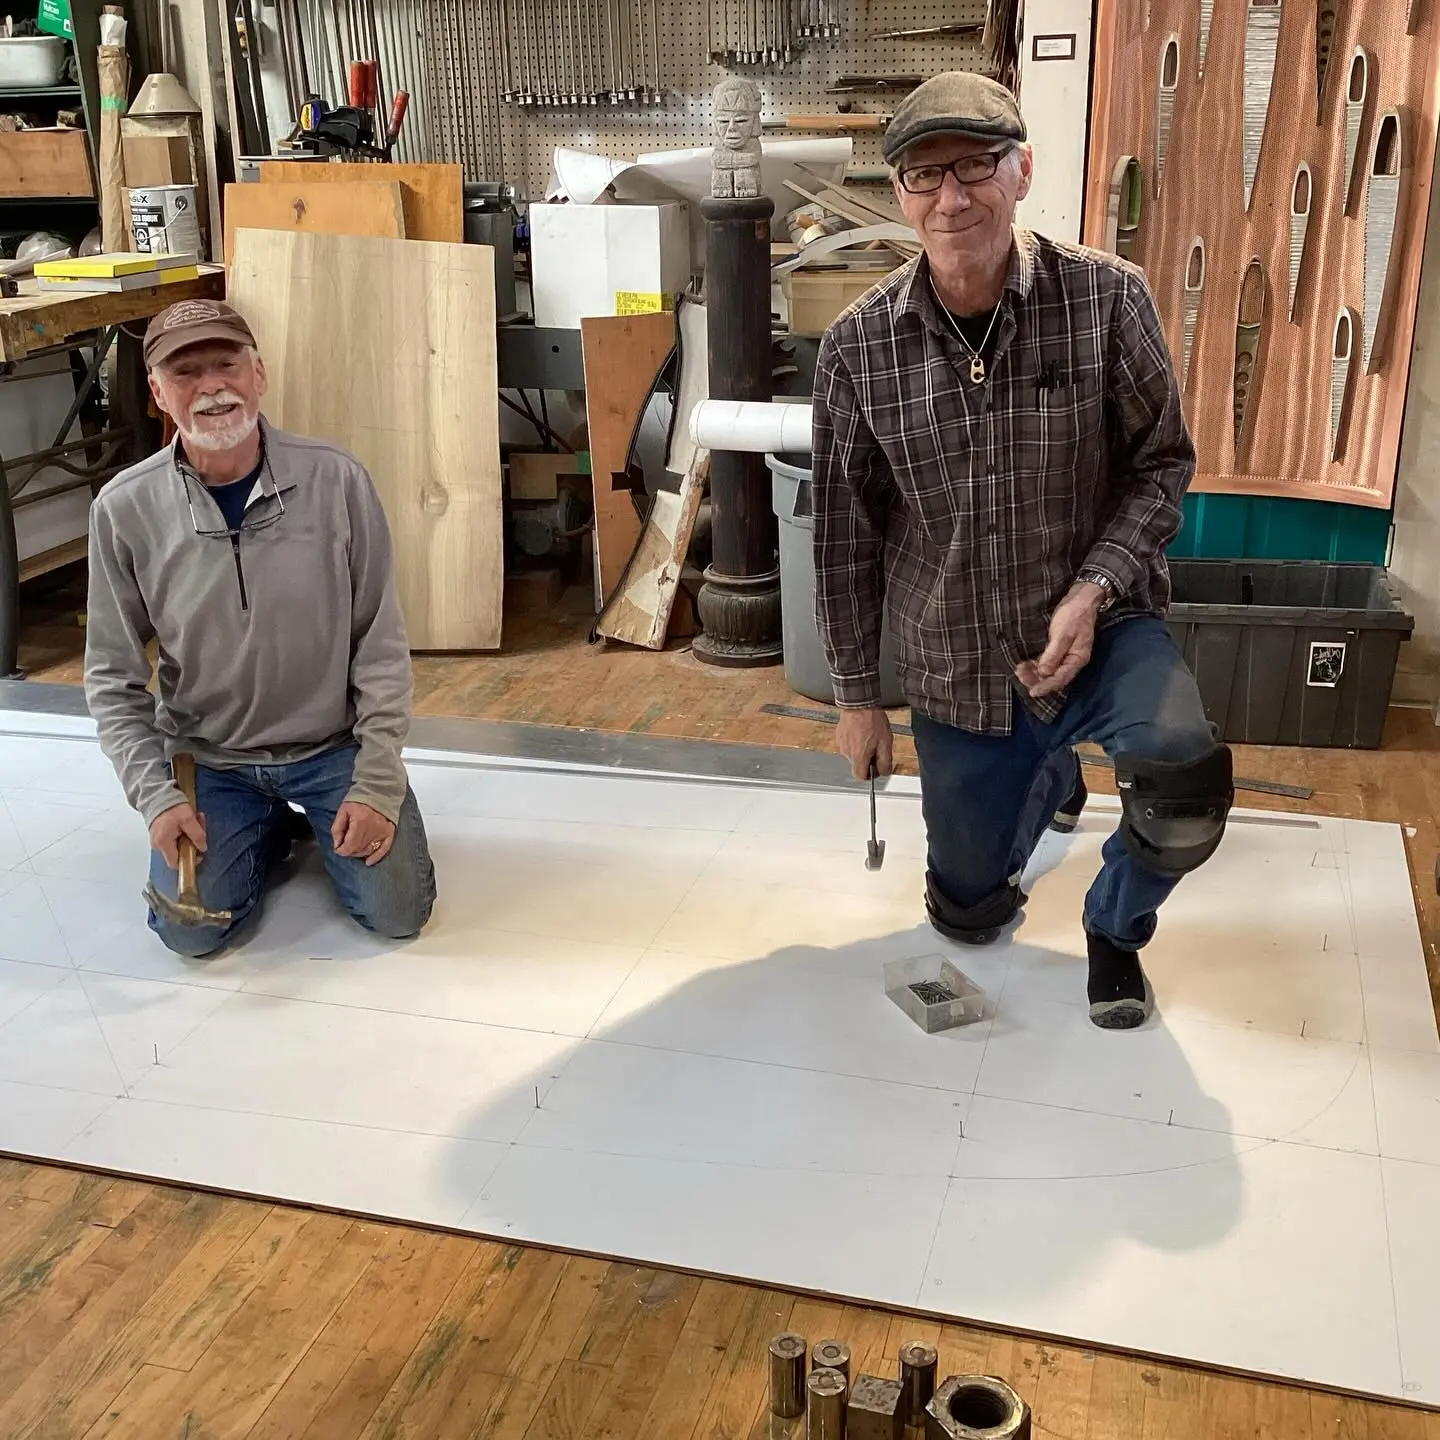
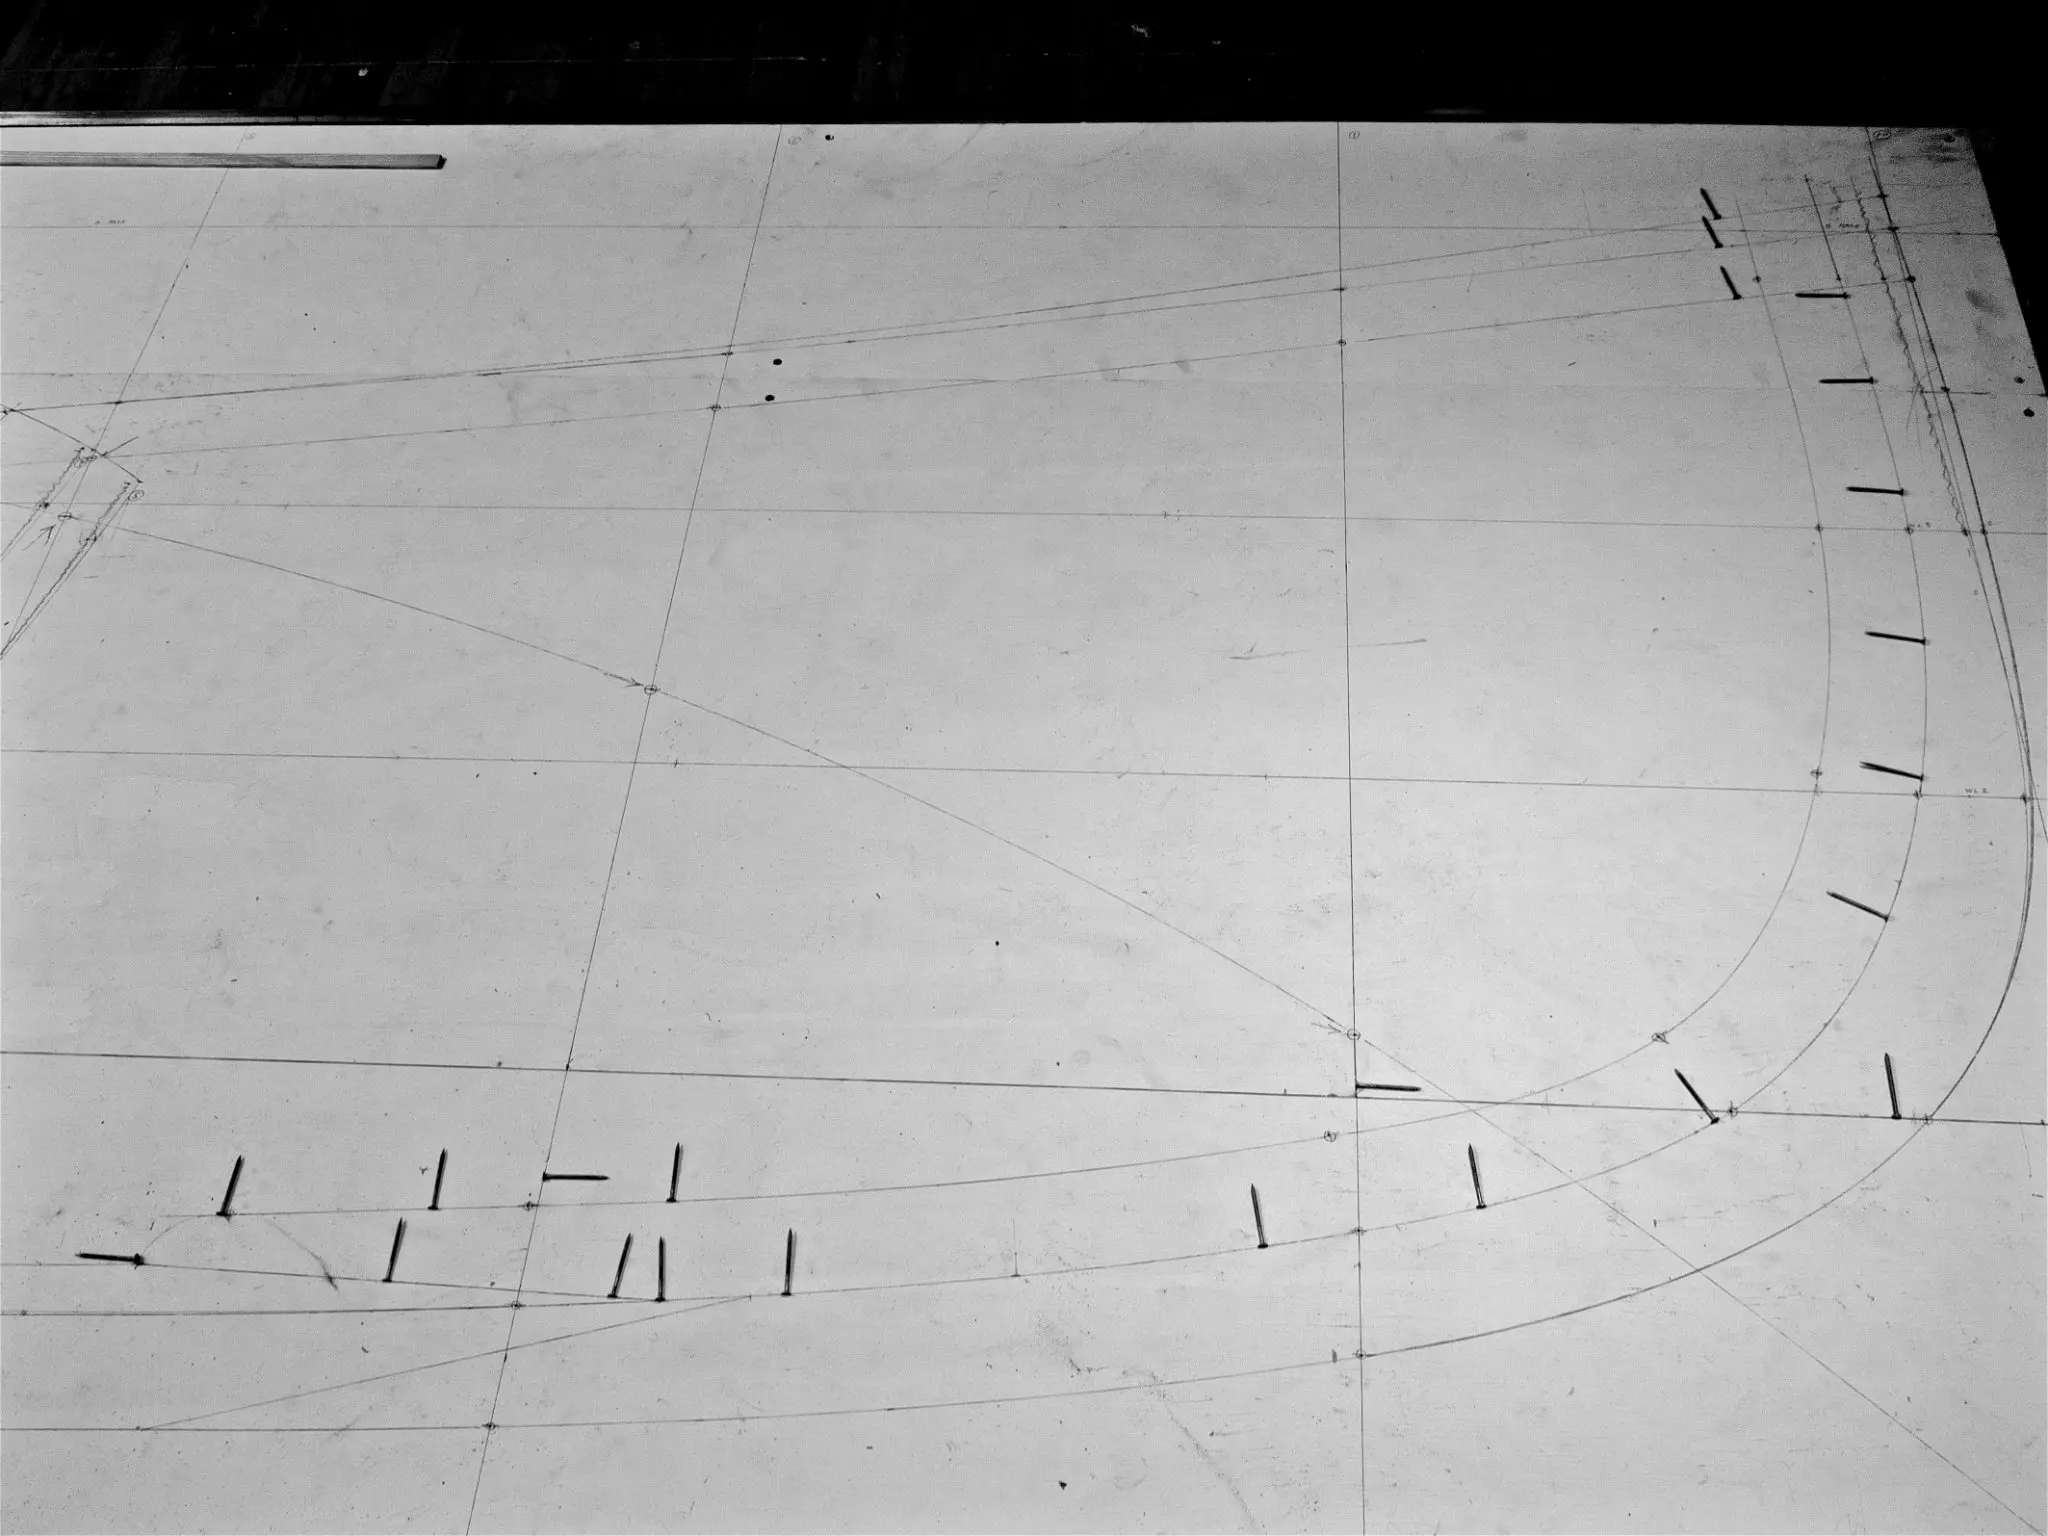
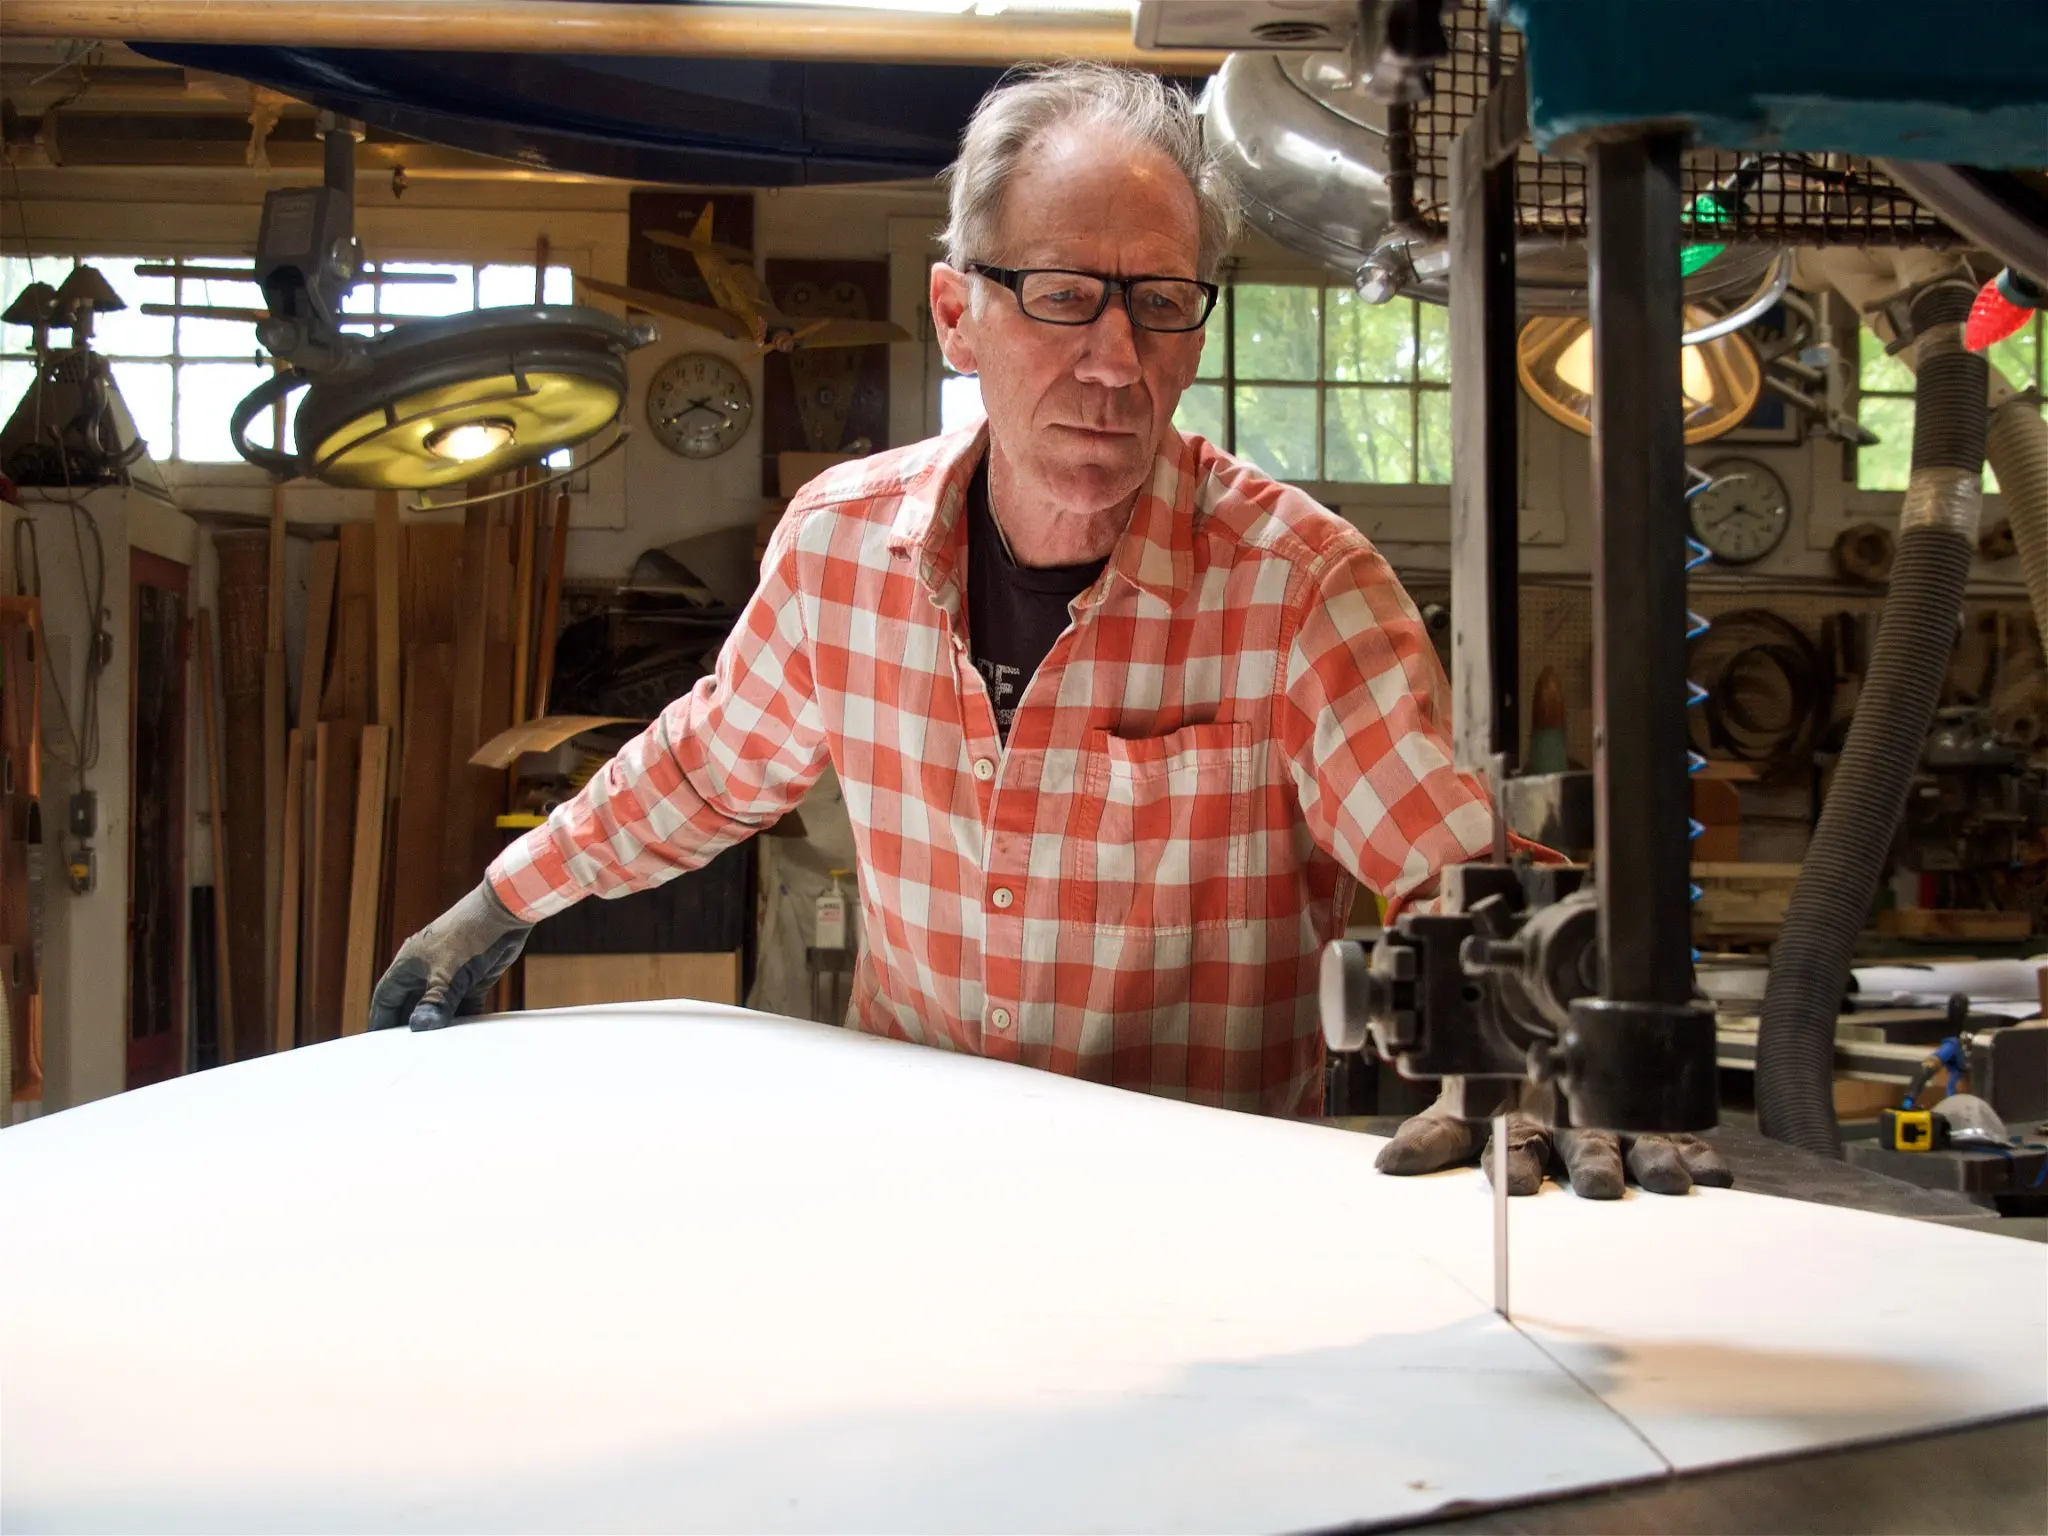
More lofting, and then lifting patterns from the lines. We placed nails, sideways, with their heads on on the line we wanted to lift. Then we put doorskin ply over top of those nails, and stomped on them. Lifted the doorskin, put finishing nails into the impressions the nailheads created, put battens around them, drew the lines, and cut the doorskins out on the bandsaw.
Photo 1 Photo 2
Video: https://player.vimeo.com/video/1245604089
boatbuildlog.com
19' Gaff Sloop Centreboarder, based on a design by Paul Gartside
14 entries,
39 photographs,
written down as the work was done.
The words and photographs in this log belong to Dale Simonson.