The book is laid out for the paper chosen above, and the print dialog will follow it,
so pick the paper here rather than there. Turn background graphics on
so the cover photograph prints, and leave margins at their default. The page numbers
and the chapter running heads are drawn by the browser into the page margins, so they
exist only on paper: check the print preview rather than this screen for them, and turn
Headers and footers off there so Chrome's own furniture does not crowd
them out. Chrome and Edge print them, Safari and Firefox print the same book without
them.
new build
Eland 36
Eland 36
Andrew Donald · 2026
A build log
Eland 36
Eland 36
kept by Andrew Donald
2026
The boat
Eland 36
Designer
Dudley Dix
Plans from
Dudley Dix Yacht Design
Length overall
36′ 5″ (11.11 m)
Beam
12′ 6″ (3.81 m)
Hull
plywood
Construction
lapstrake plywood
Started
1 April 2026
Built by
Andrew Donald
Fourth build under a carport. Just started cutting out frames
What it took
By the numbers
5.5 months
From first day to last
12
Days written up
17
Photographs
1,163
Words written
The work
Contents
01Planning & Research
Apr 2026
02Strongback & Molds
Apr 2026
03Shop & Tooling
Apr 2026
04Hull Panels
May 2026
Chapter 01
Planning & Research
Choosing the design, sourcing plans or a kit, budgeting, lining up materials.
3 daysfrom April 2026
1 Apr 2026Planning & Research
Starting an Eland 36: 1.35 tonnes of ply in the shed
Well .. those that know me know that I’m building an Oughtred Grey Seal 22’ and getting towards finished, so thinking ahead to the next challenge, what else but a new build you might say.
What The ……. This guys nearly 65 and starting something he’ll never finish. Go big or go home I say.
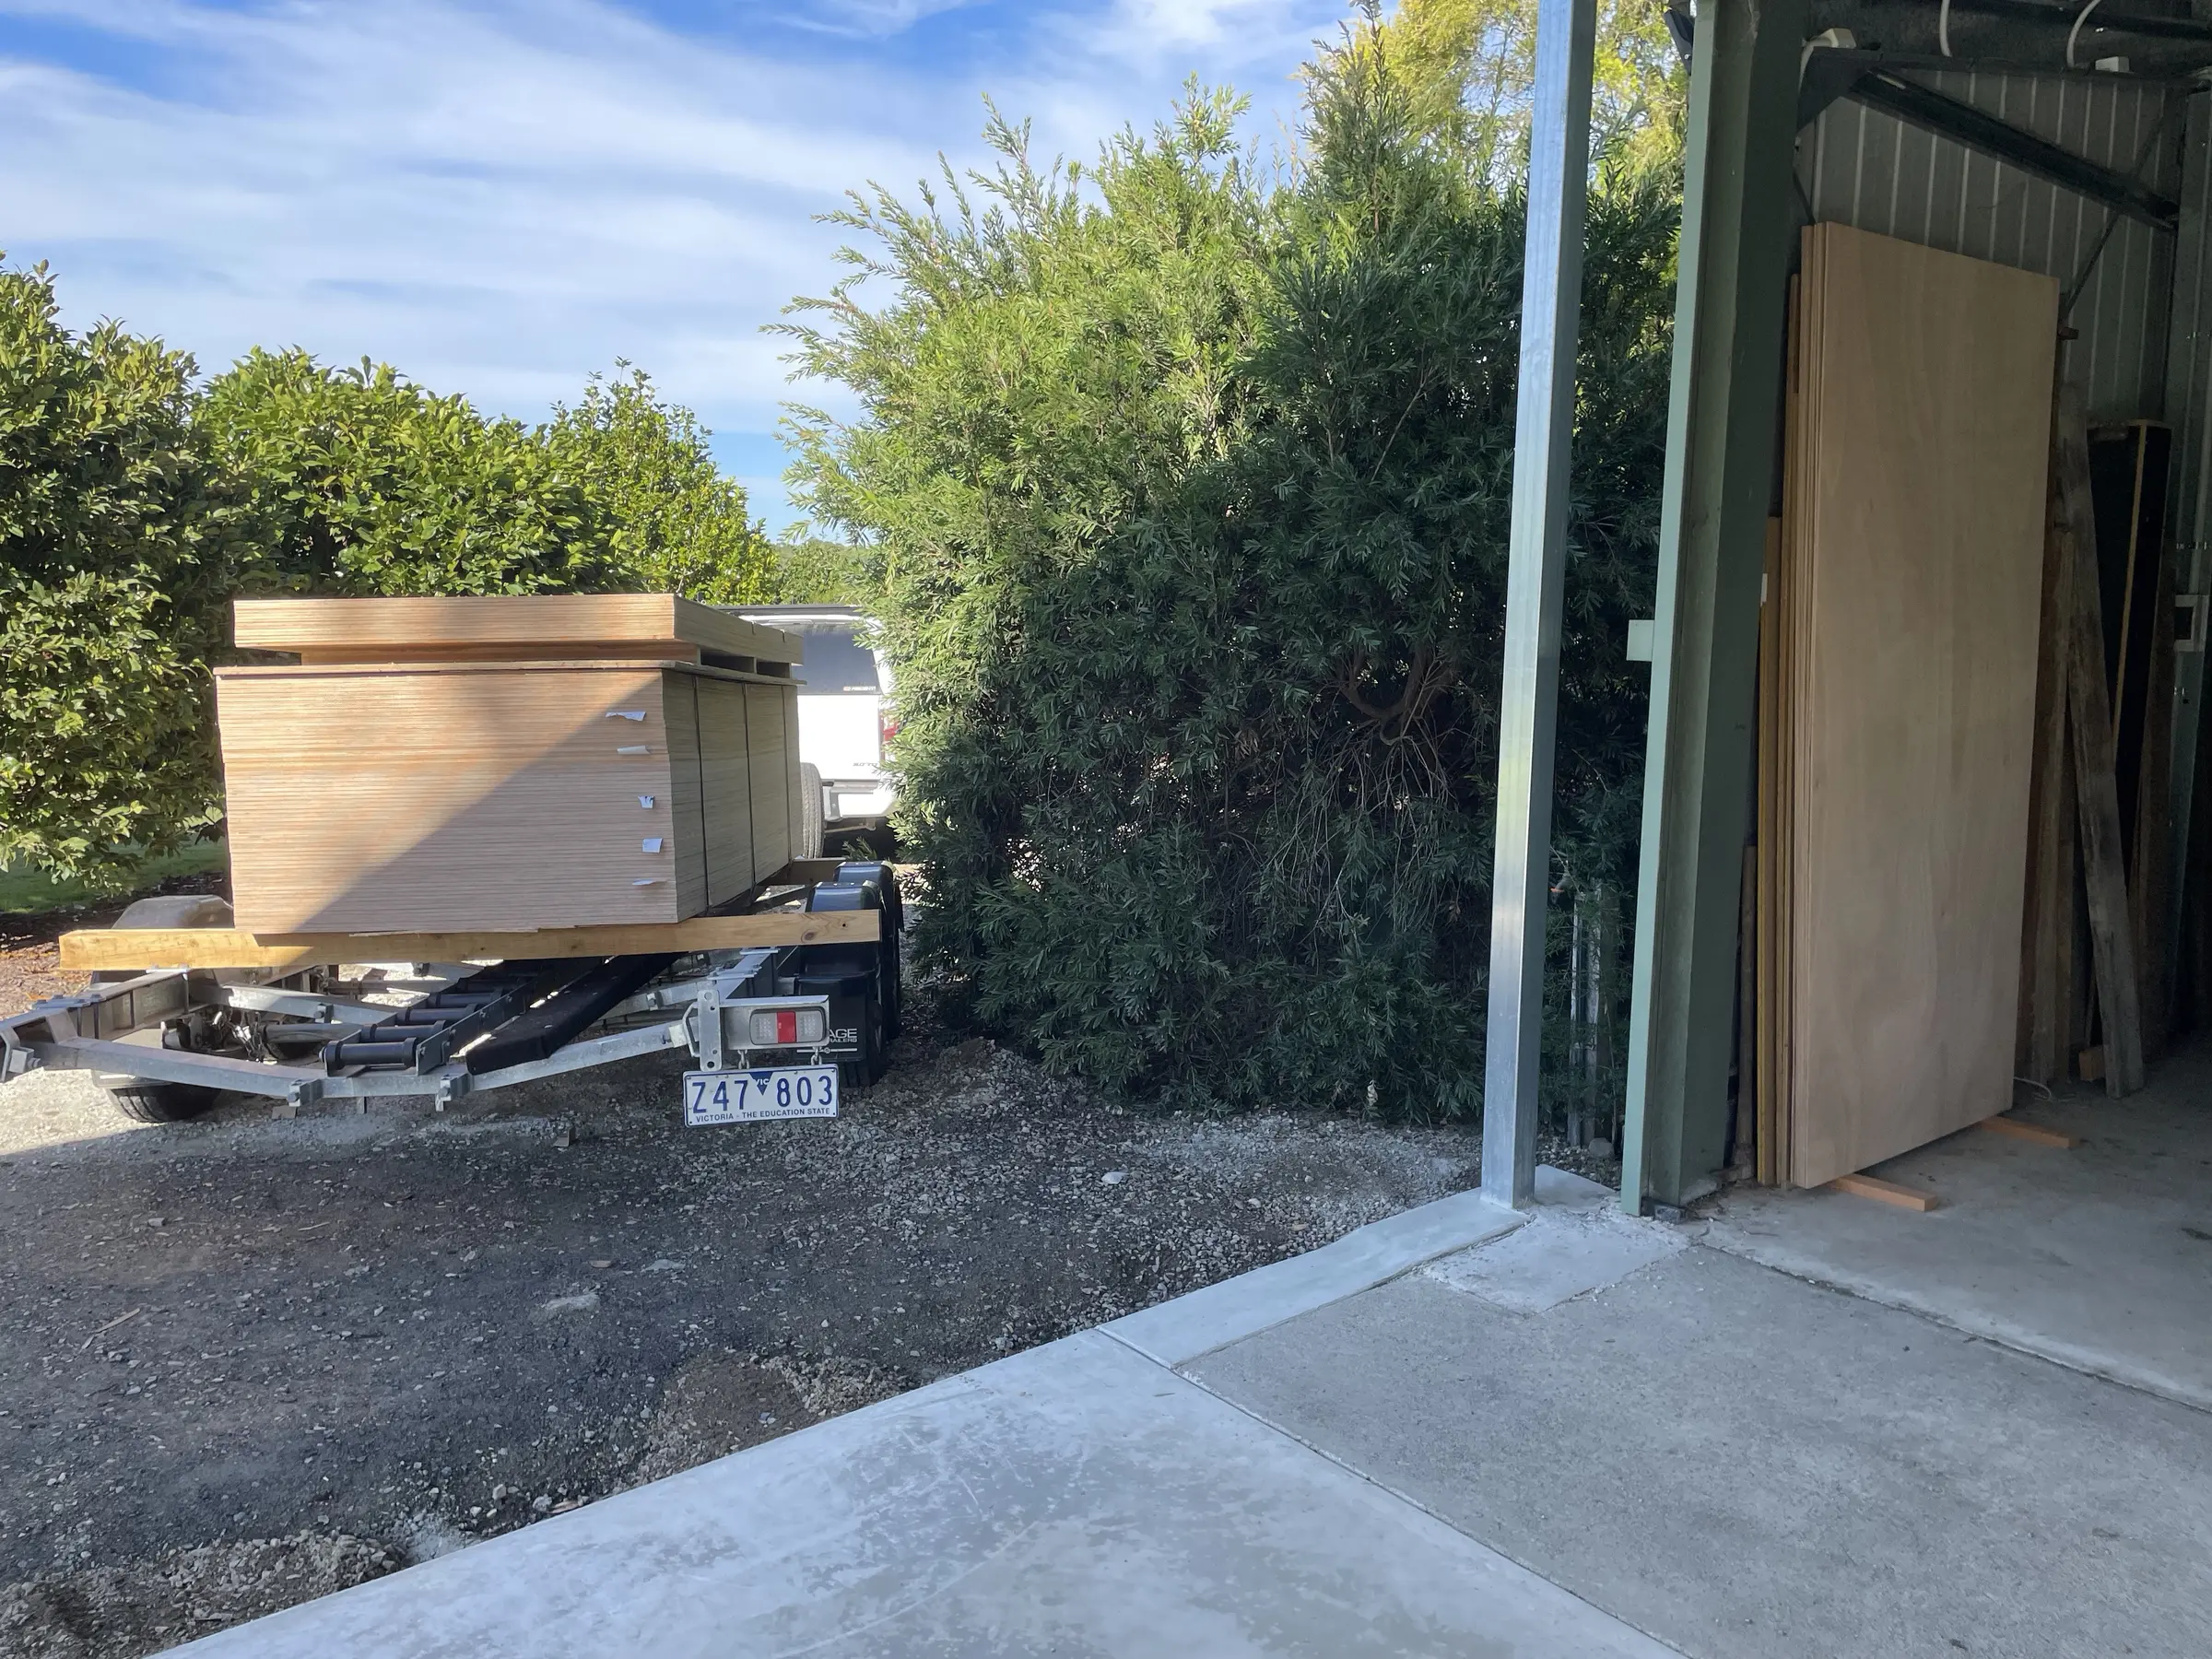
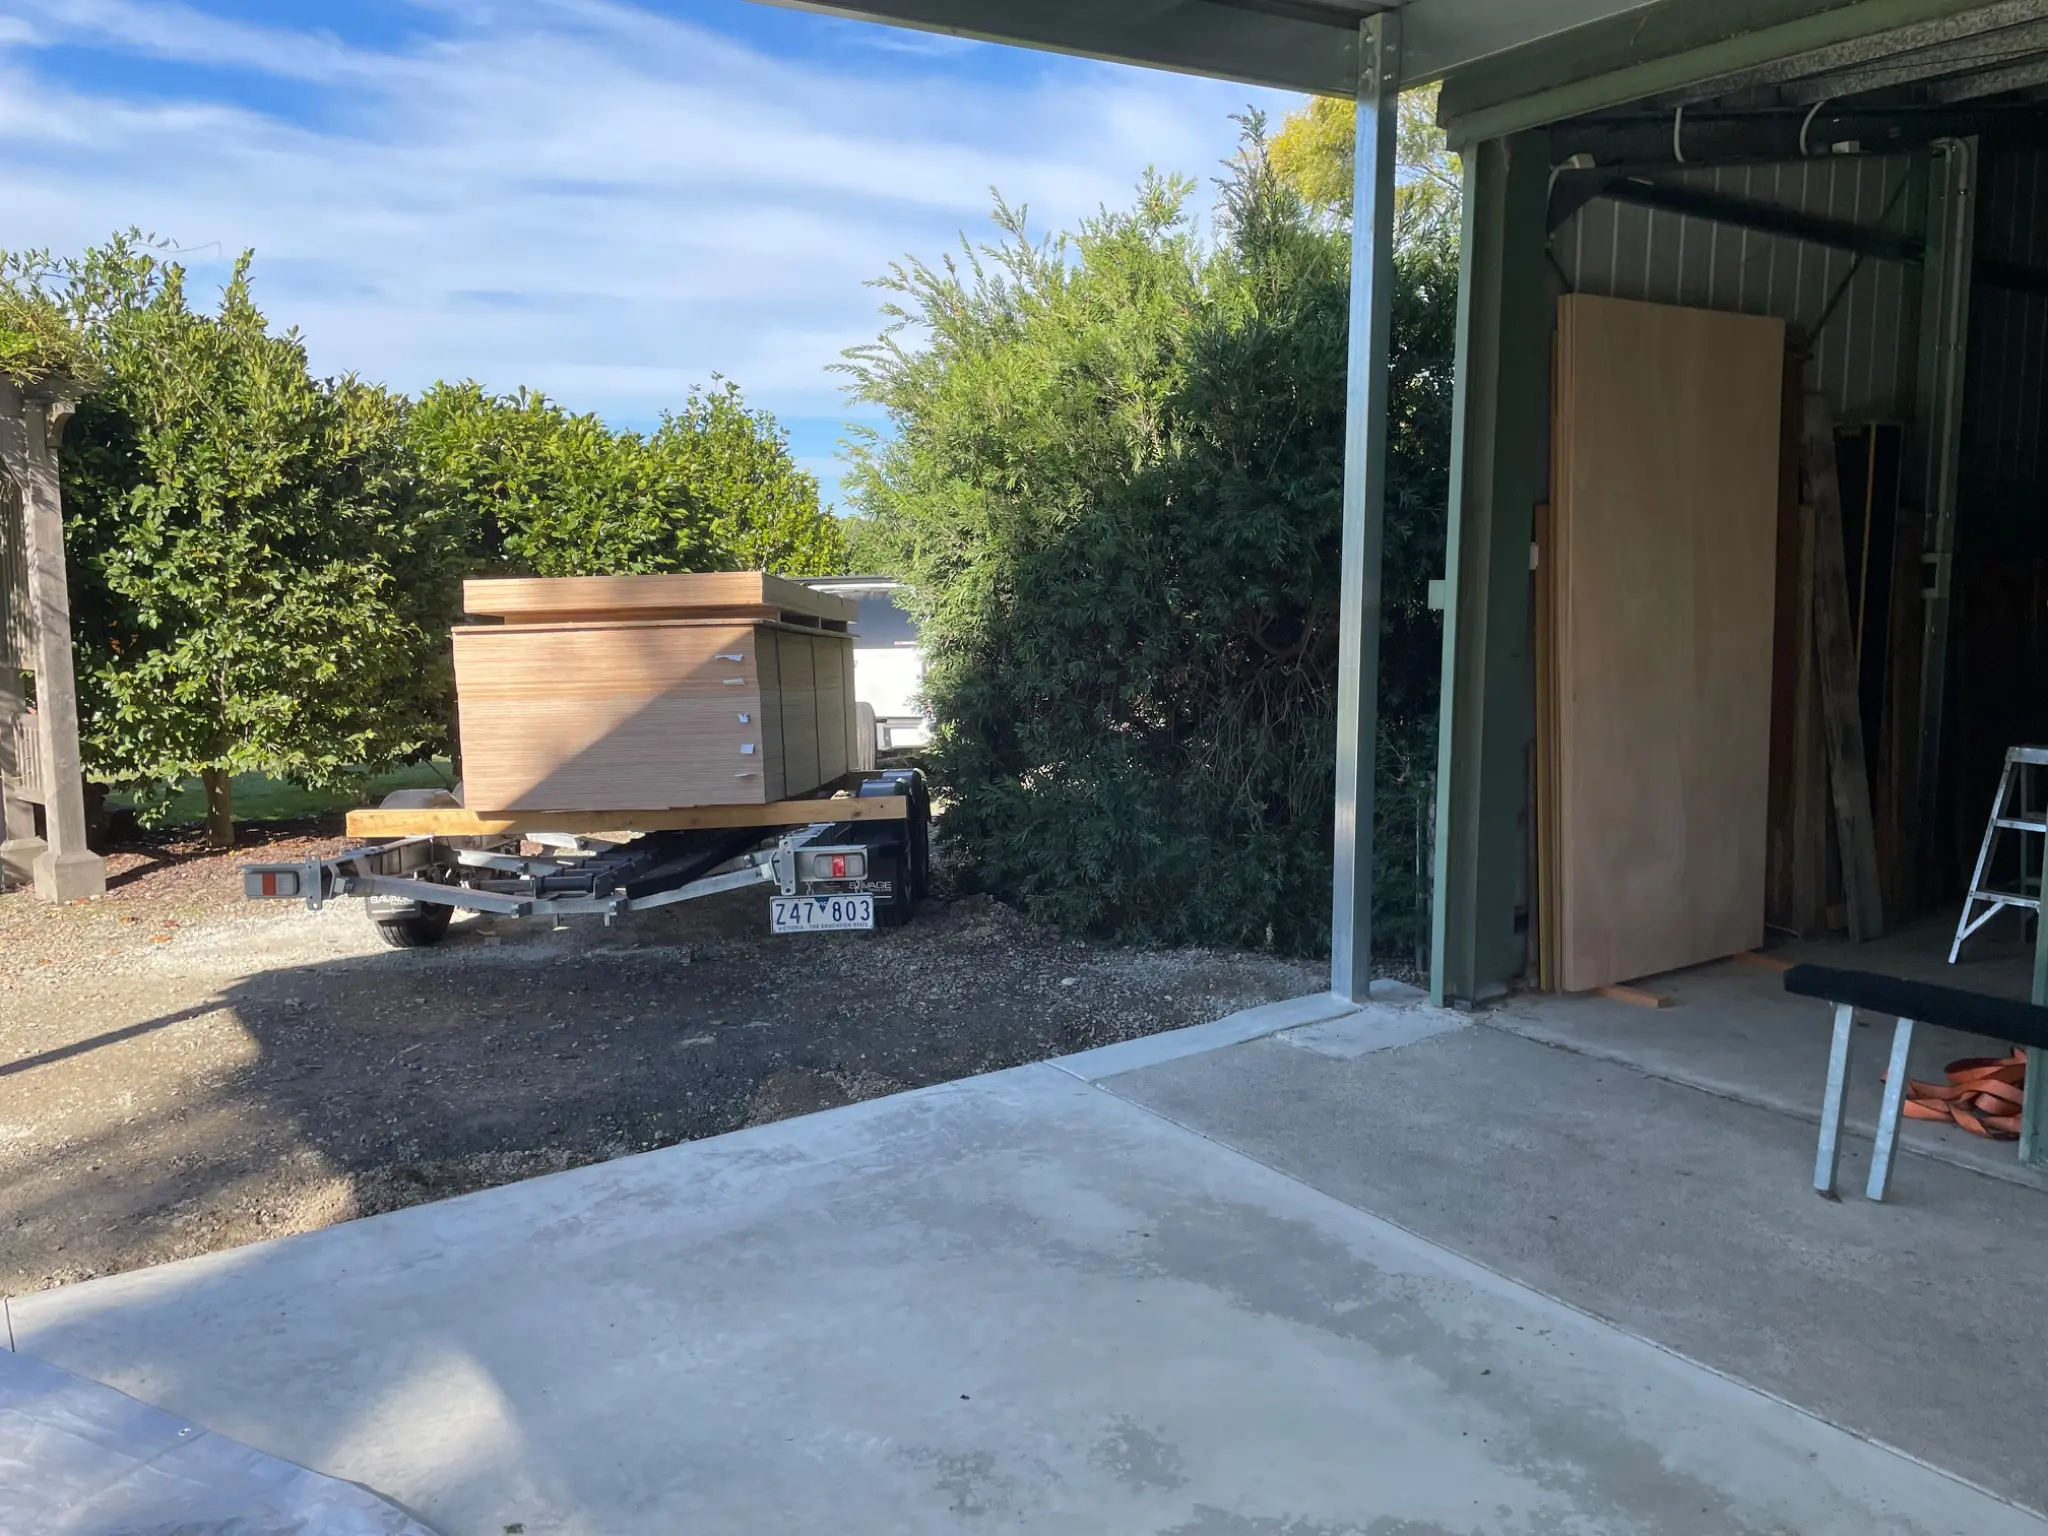
Ive bought about 1.35 tonnes of ply and stashed it in the shed
theres 8 sheets of 1/4”, 12 sheets of 3/8” and 60 sheets of 1/2” and 24 sheets of the 1/2” get converted to the frames/transom and 3 sheets for the rudder just for starters. I’m thinking about 14 sheets just for the garboards too! Not to mention the other 3 planks each side.
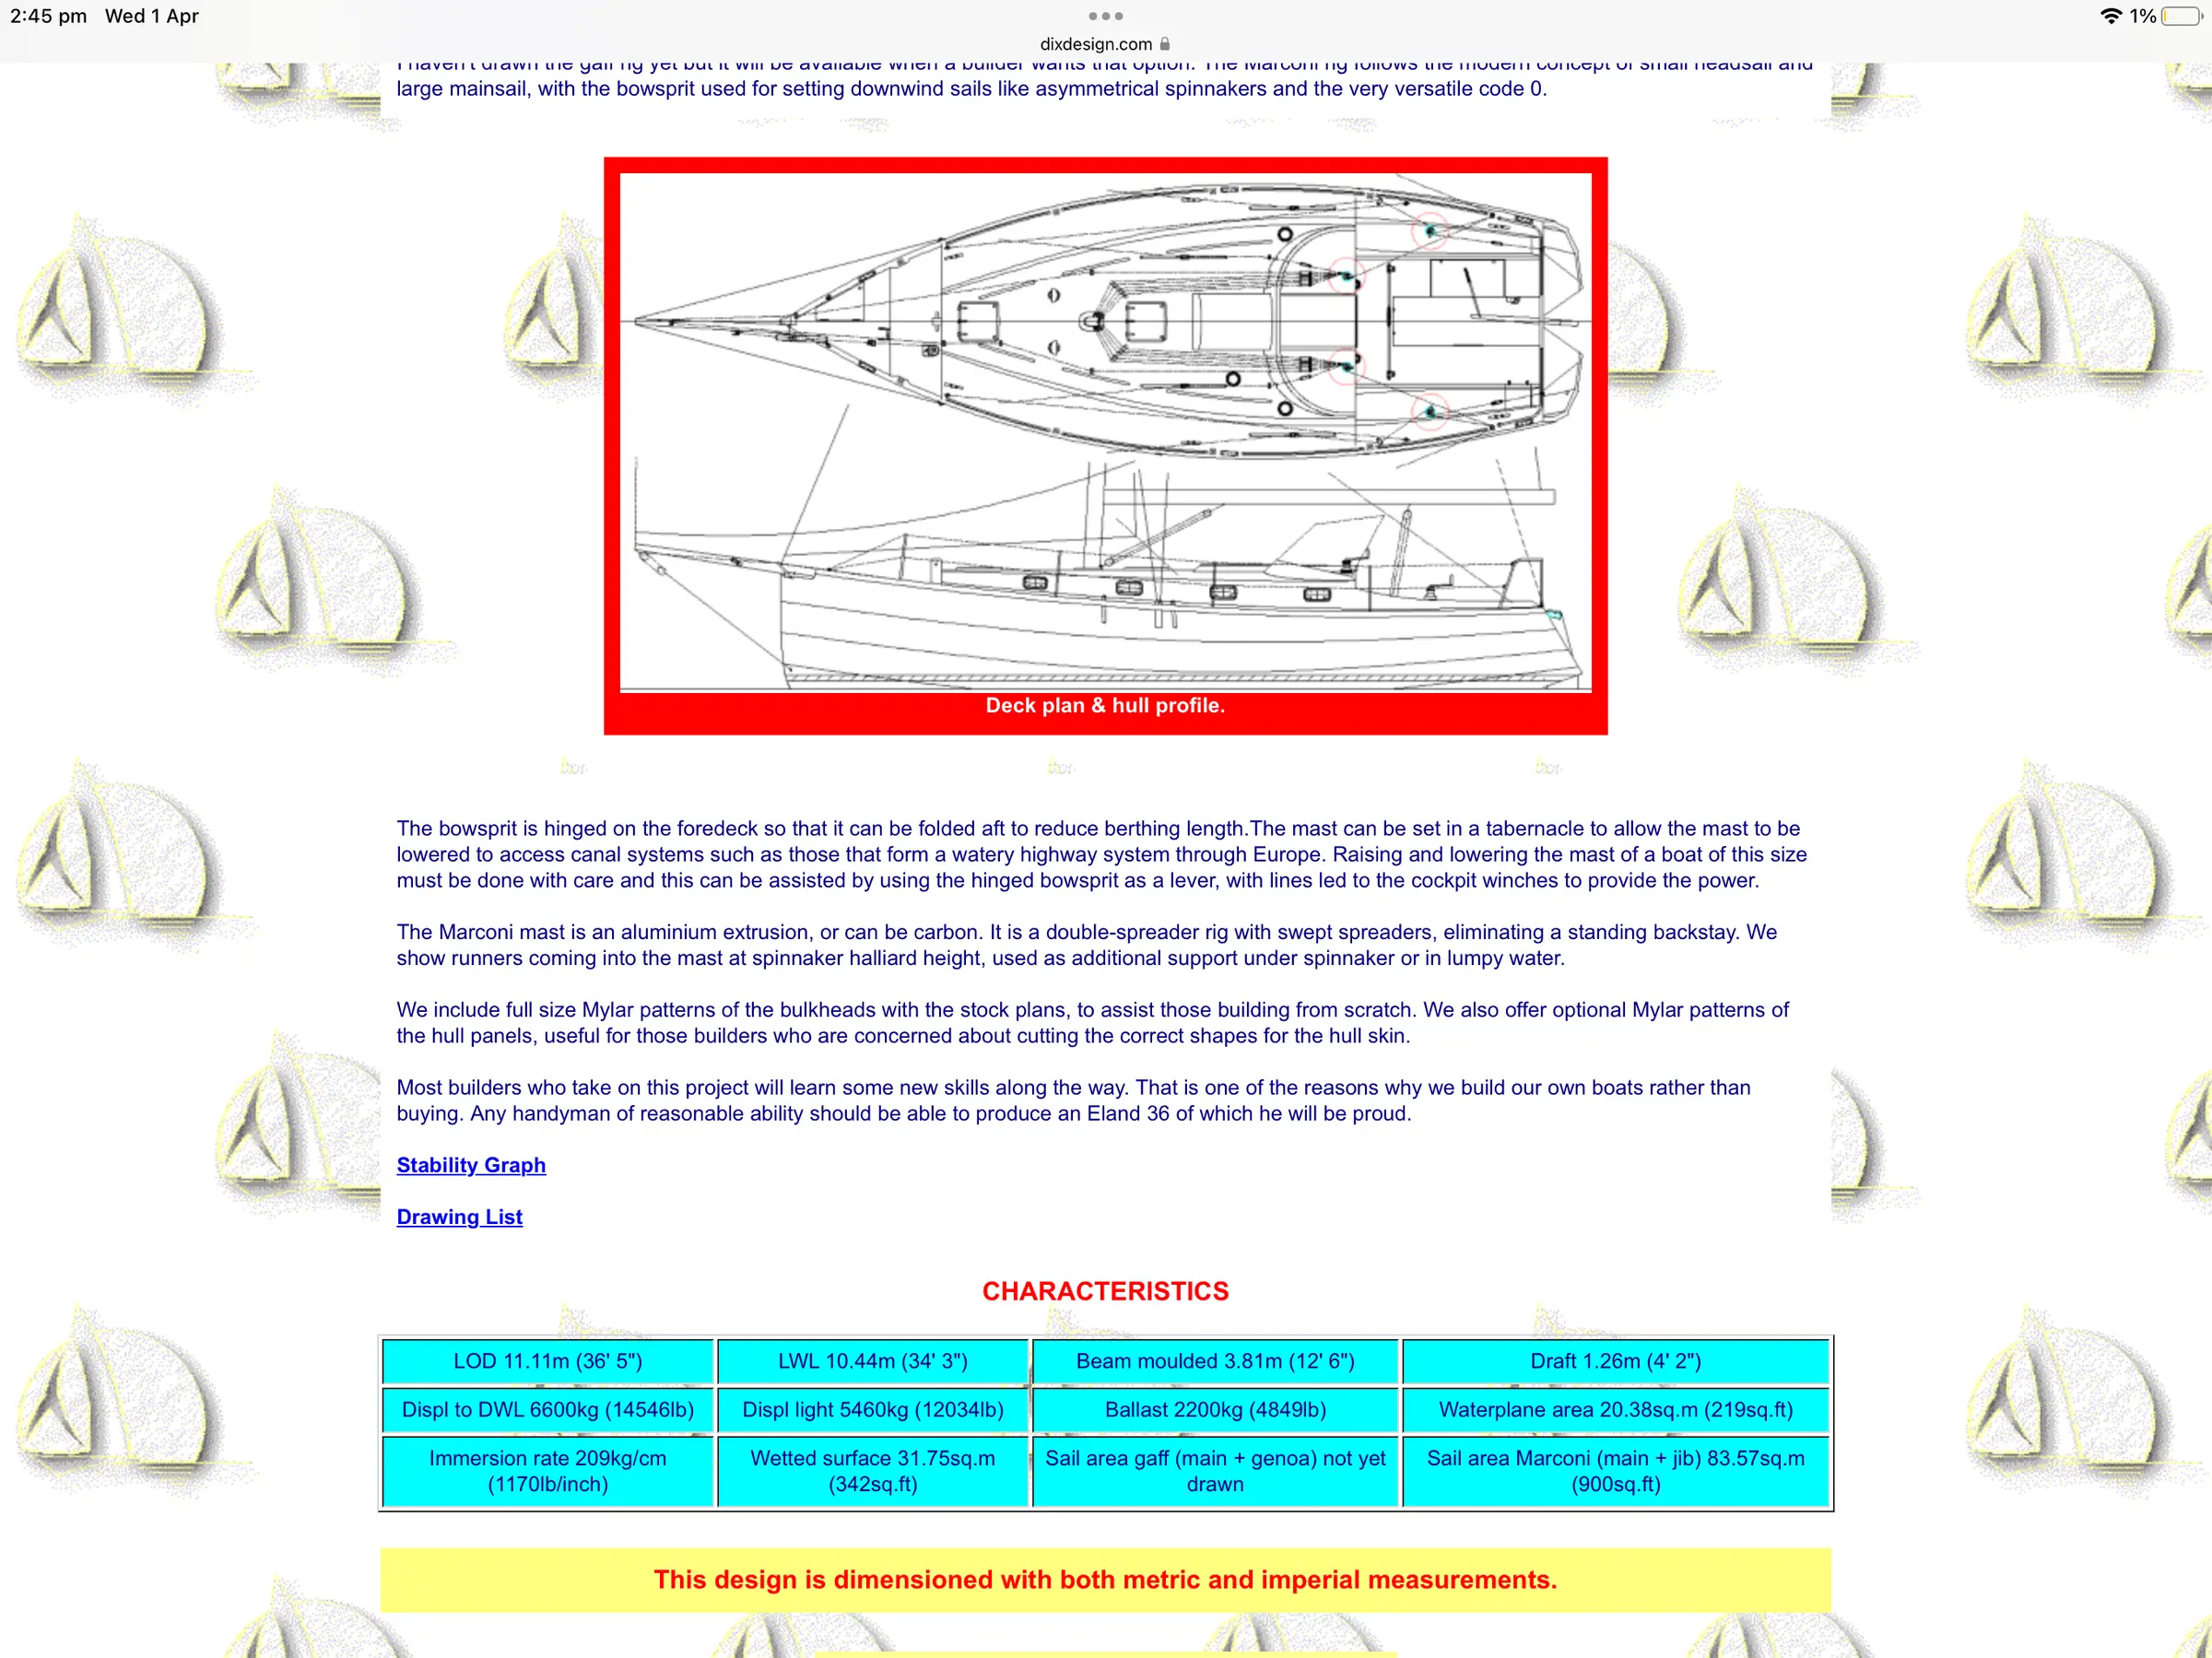
some specs for you
Those that are following RANIII in Sweden have seen Johan’s Shaper Origin, a hand held CNC router.
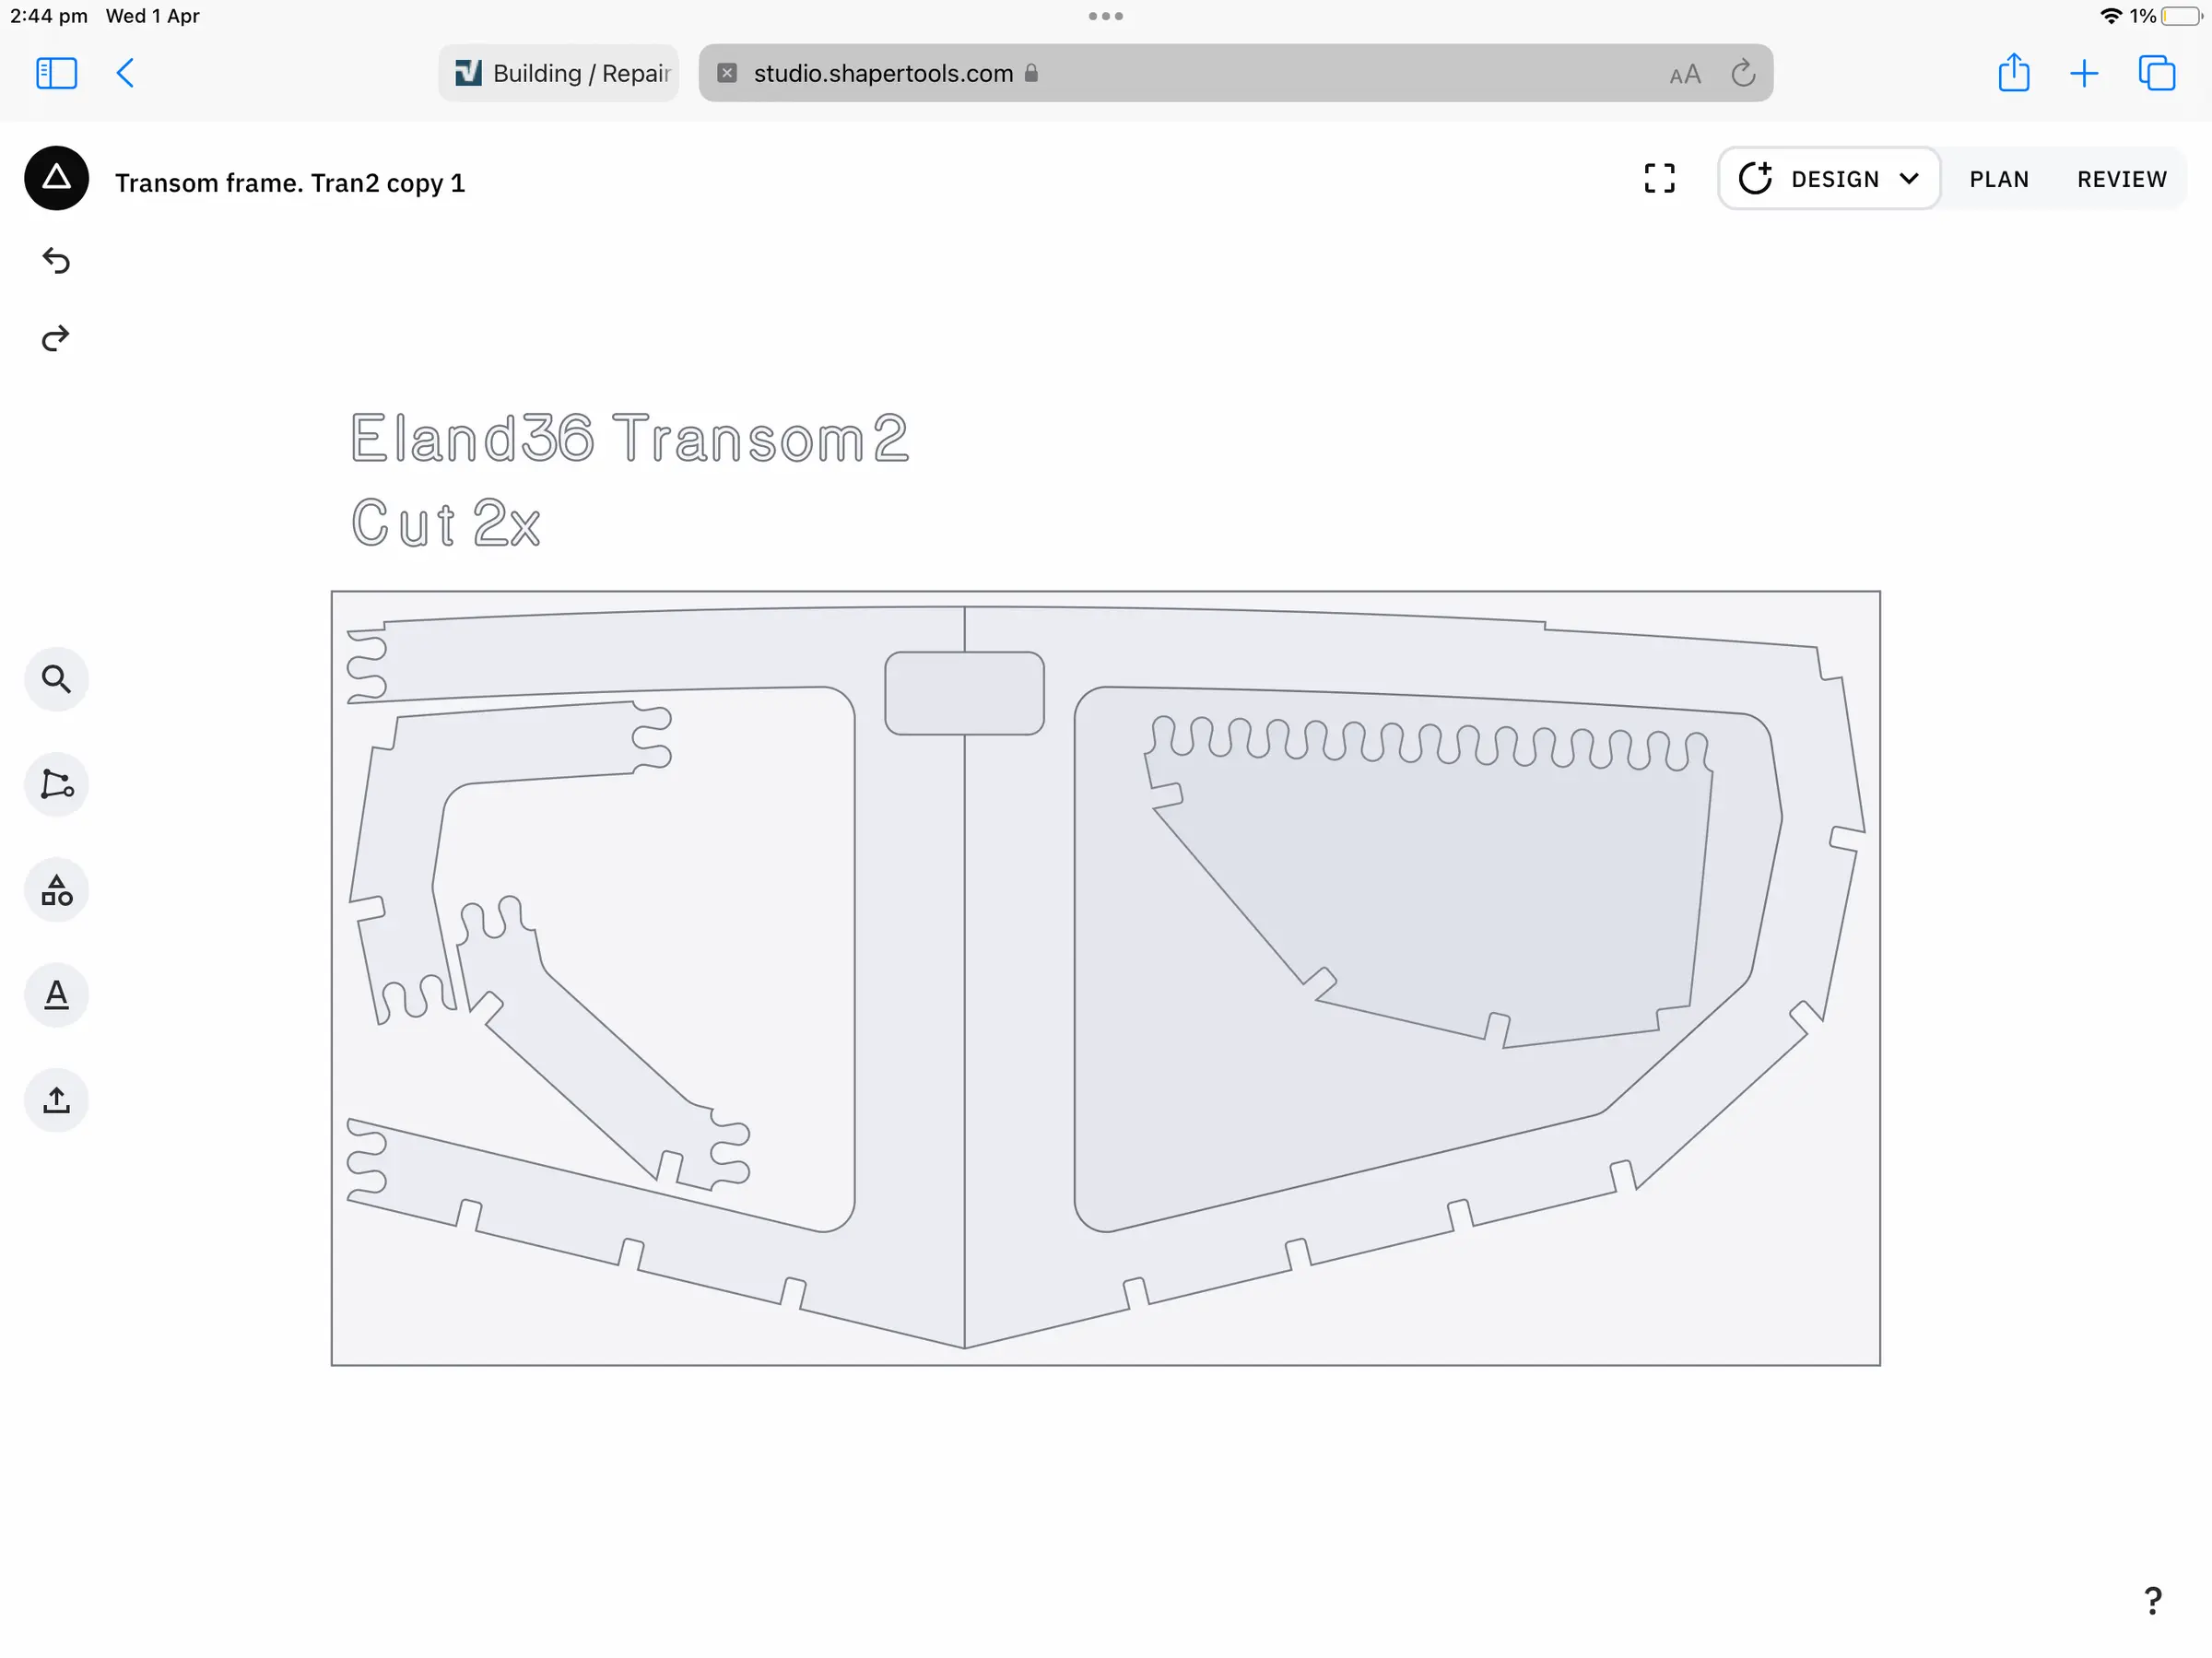
which will help me cut these
Thats a full sheet of ply so once those puzzle joints are glued to gether I’ll have one of the four layers of transom, prob about 9’ wide.
Now I’ll be a bit slow starting (see opening sentence) but I was itching to get a thread happening, so hold on …..
Photo 1 Photo 2 Photo 3 Photo 4 Photo 5
2 Apr 2026Planning & Research
Frame files and full-size Mylar plank patterns
He does , that sample I showed above is one of twenty four files he sold me for all the frames and bulkheads. There’s also full size Mylar patterns of planks.
thanks for all the words of encouragement and it’s nice to know I’m not the only mad one.
Chapter 02
Strongback & Molds
Building the strongback or ladder frame and setting up station molds.
7 daysfrom April 2026
14 Apr 2026Strongback & Molds
A bit of a milestone today, after much teething troubles.
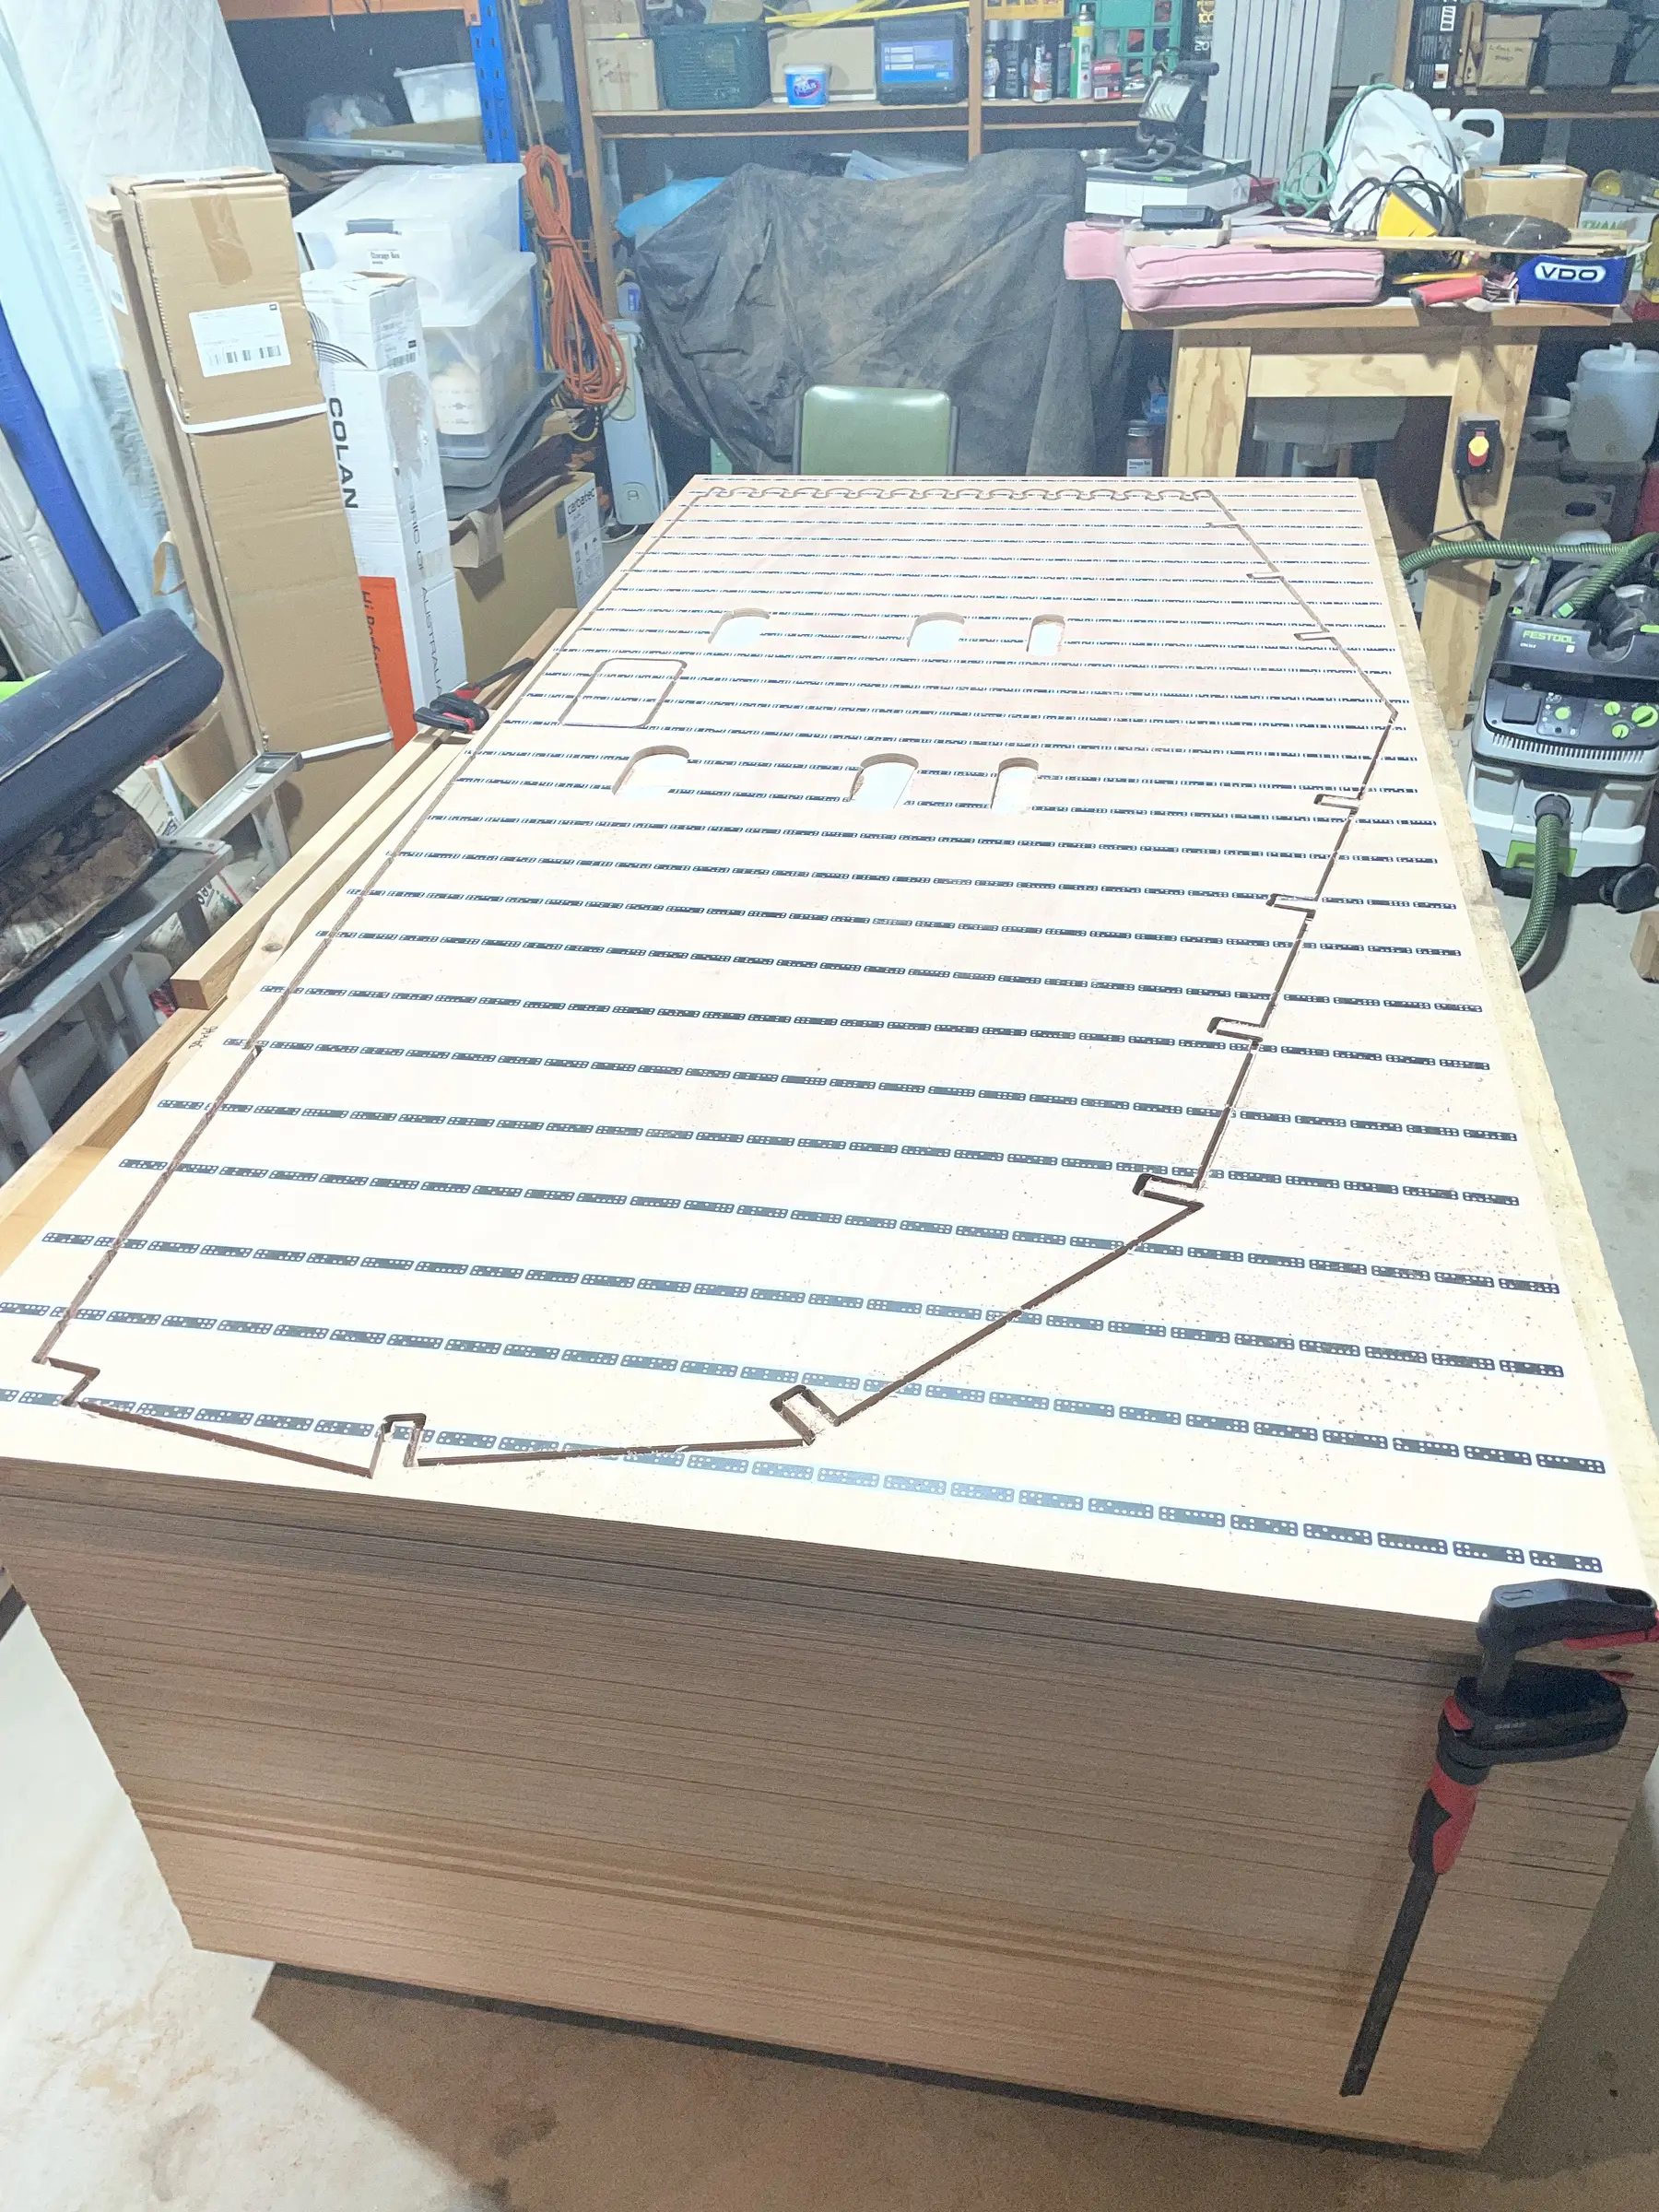
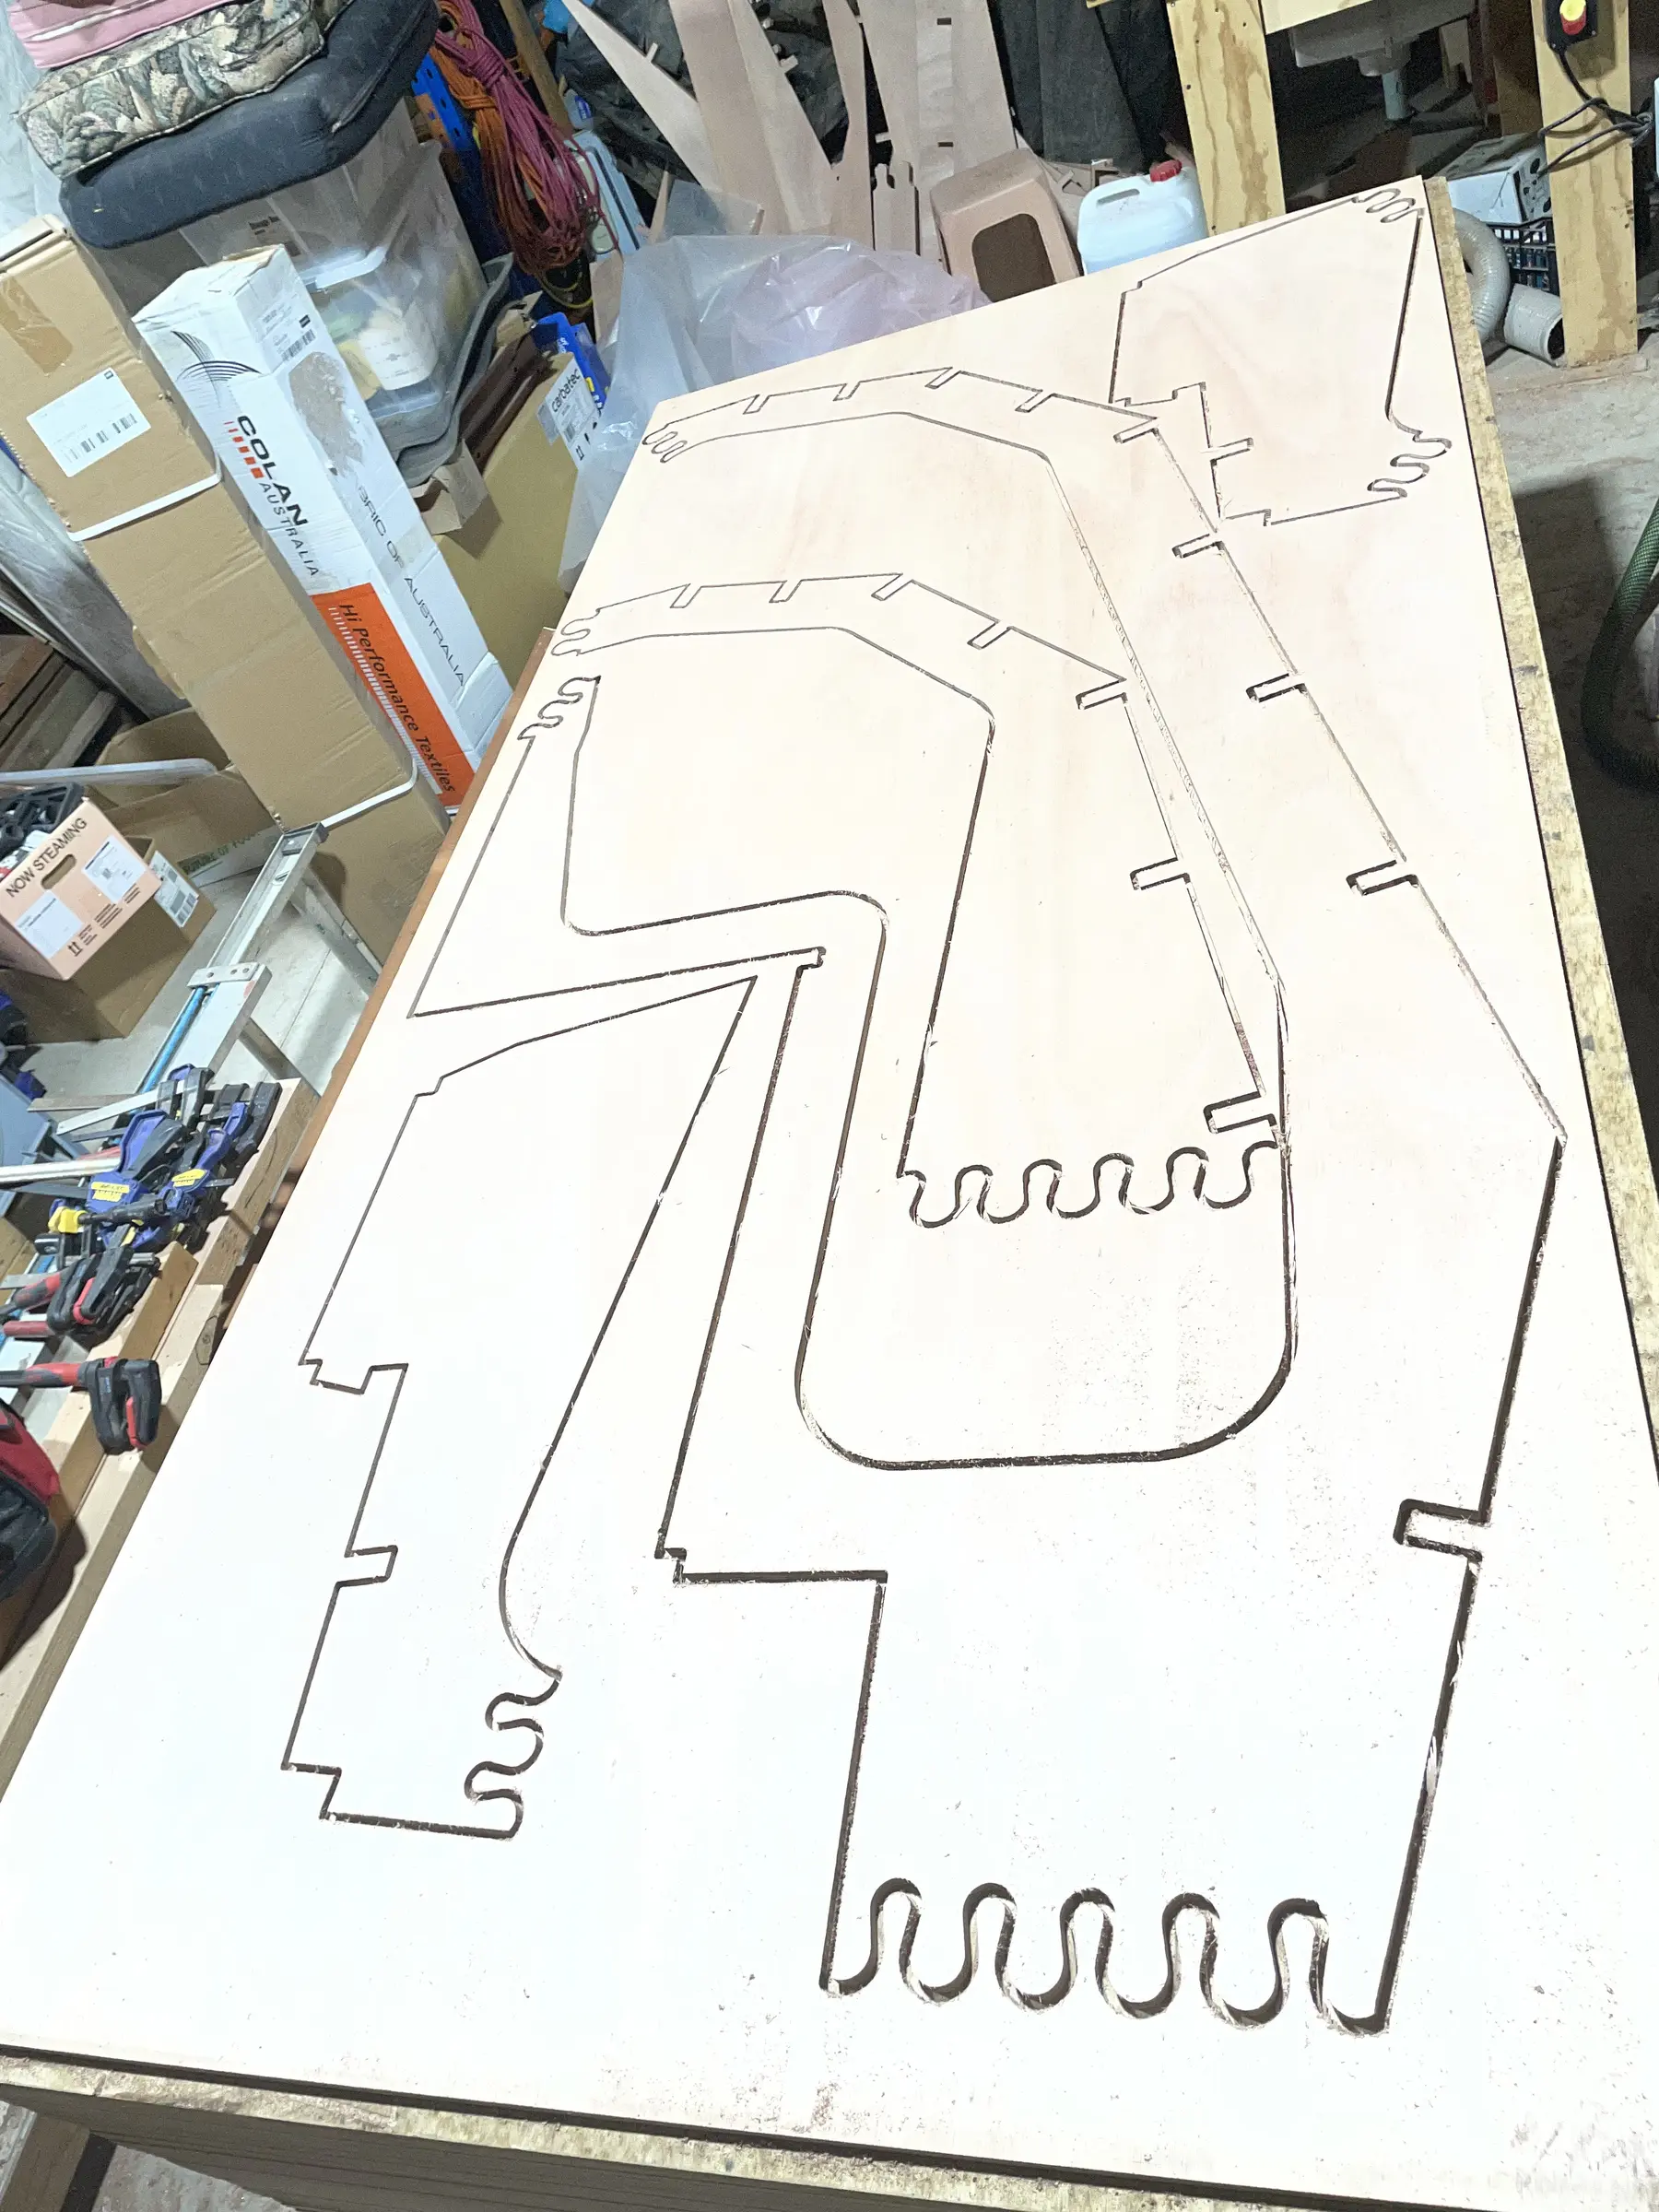
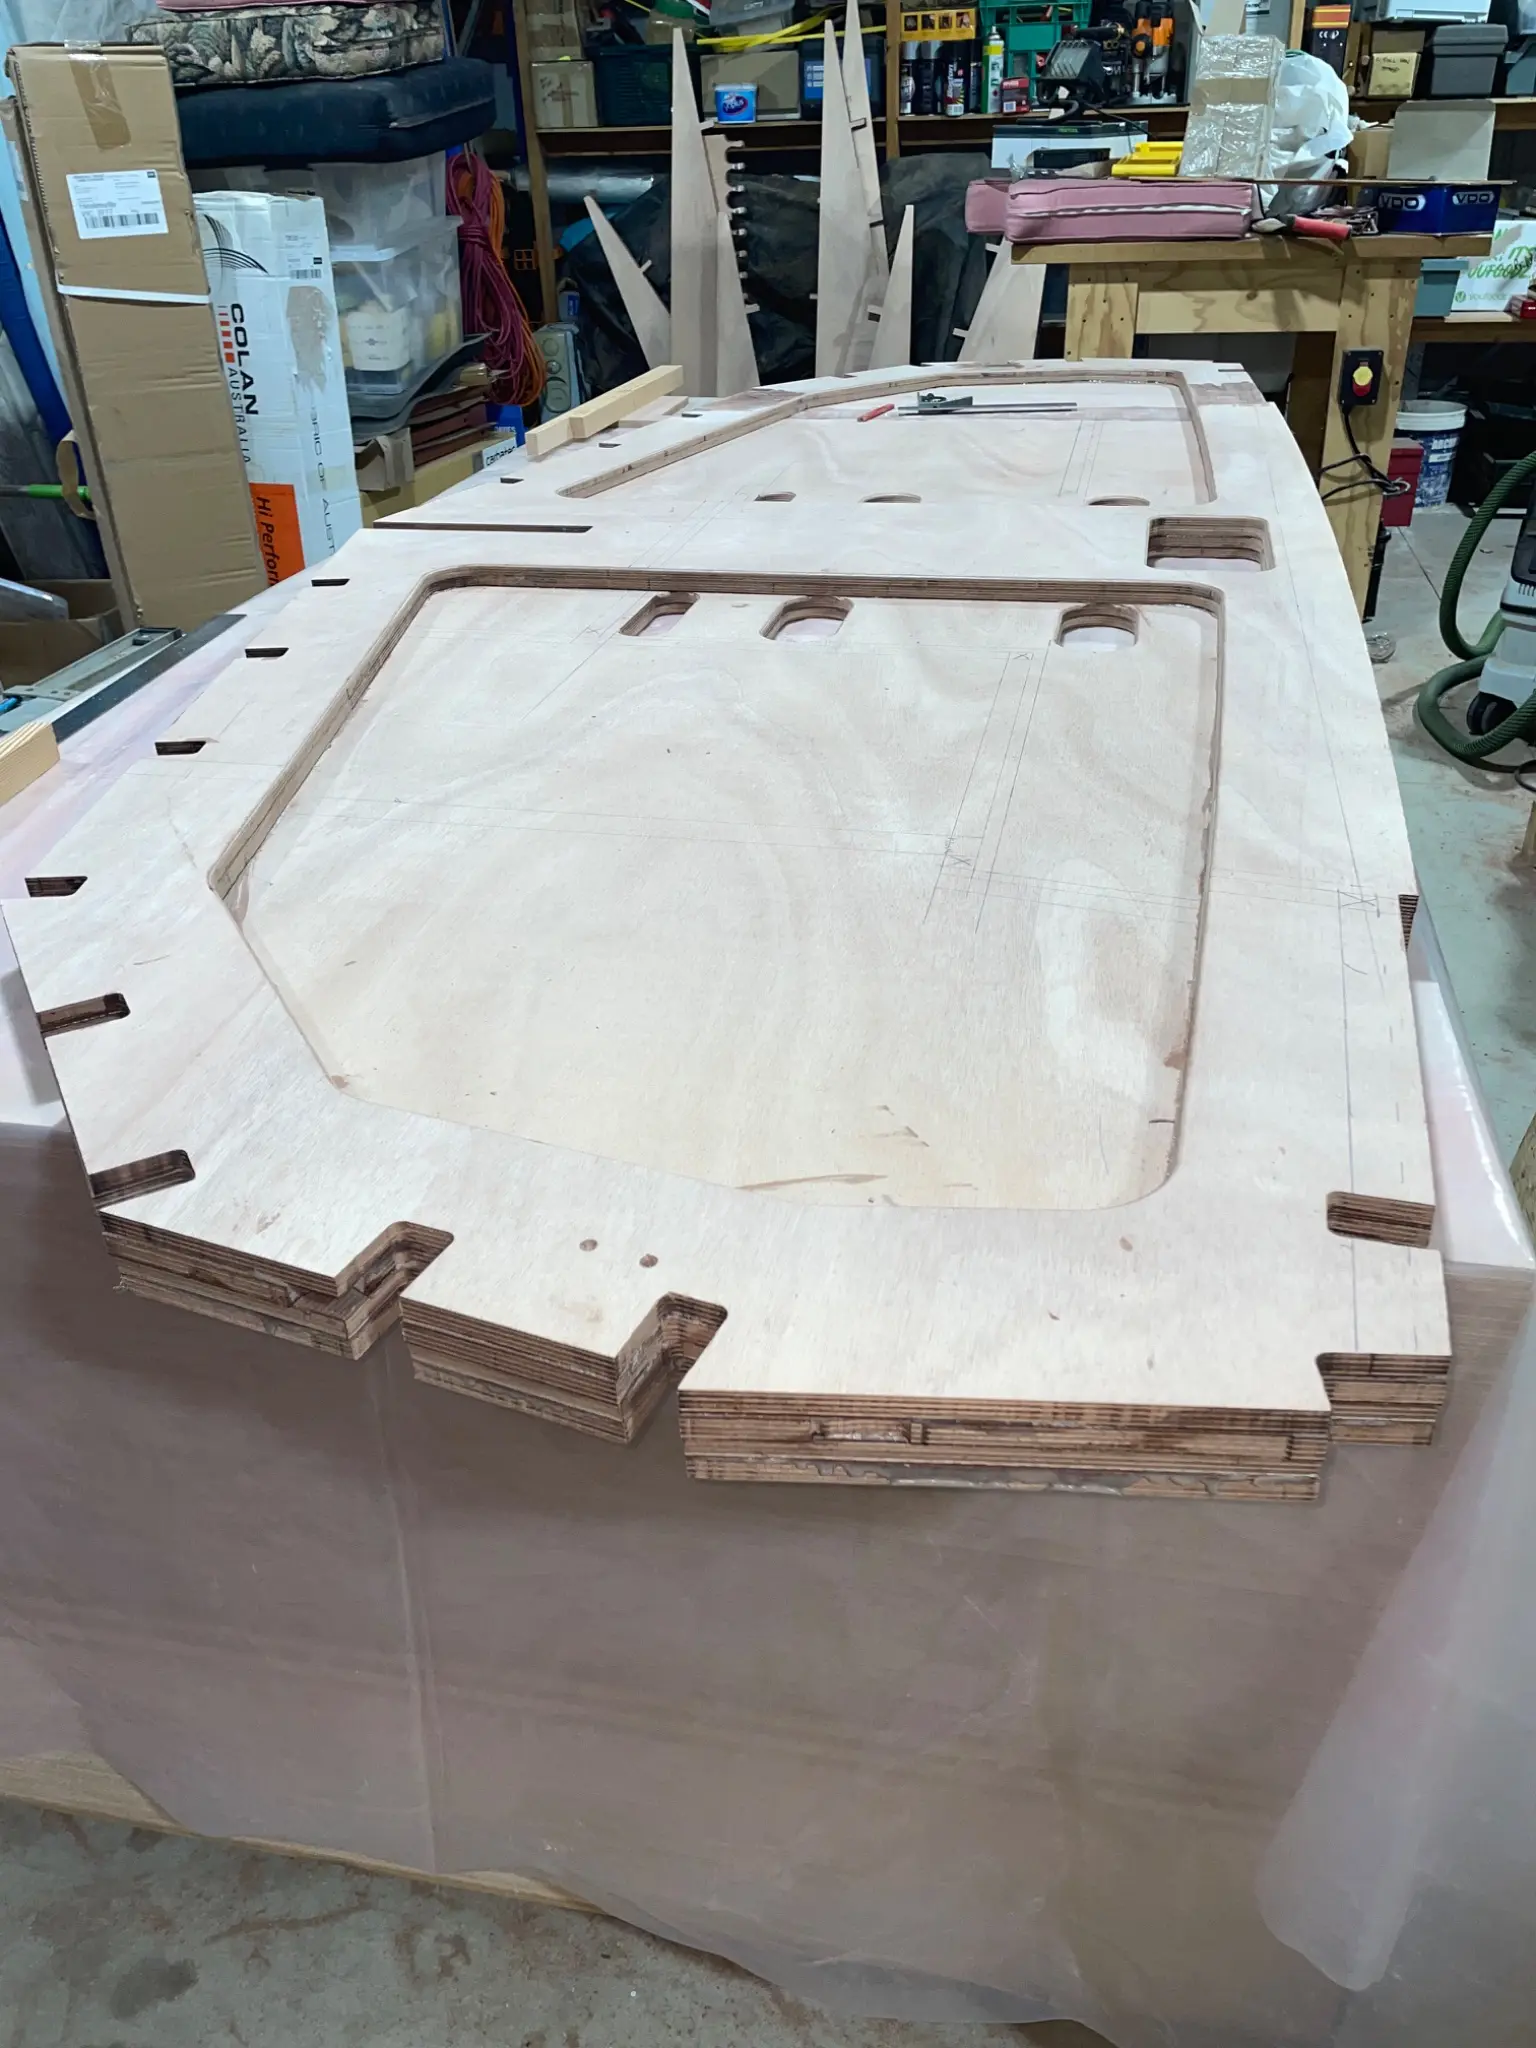
A bit of a milestone today, after much teething troubles. Got the first of 24 ply sheets cutout that makeup the frames. A lot of these consist of multiple pieces spread across at least two sheets and they are joined with jigsaw “teeth” and epoxy.
this is part of transom outer (two layers 12mm ply ) and then two layers of the ‘frame’ that is shown in #1 so all up it’s 48mm thick.
the holes near centre are from left, a tiller hole , four step holes to climb aboard from swim platform, and on the right are cockpit drains.
Chapter 03
Shop & Tooling
Clearing space, building benches and jigs, buying or borrowing the tools the build needs.
1 dayfrom April 2026
17 Apr 2026Shop & Tooling
How the Shaper Origin locates itself
Rich, sorry missed your question -
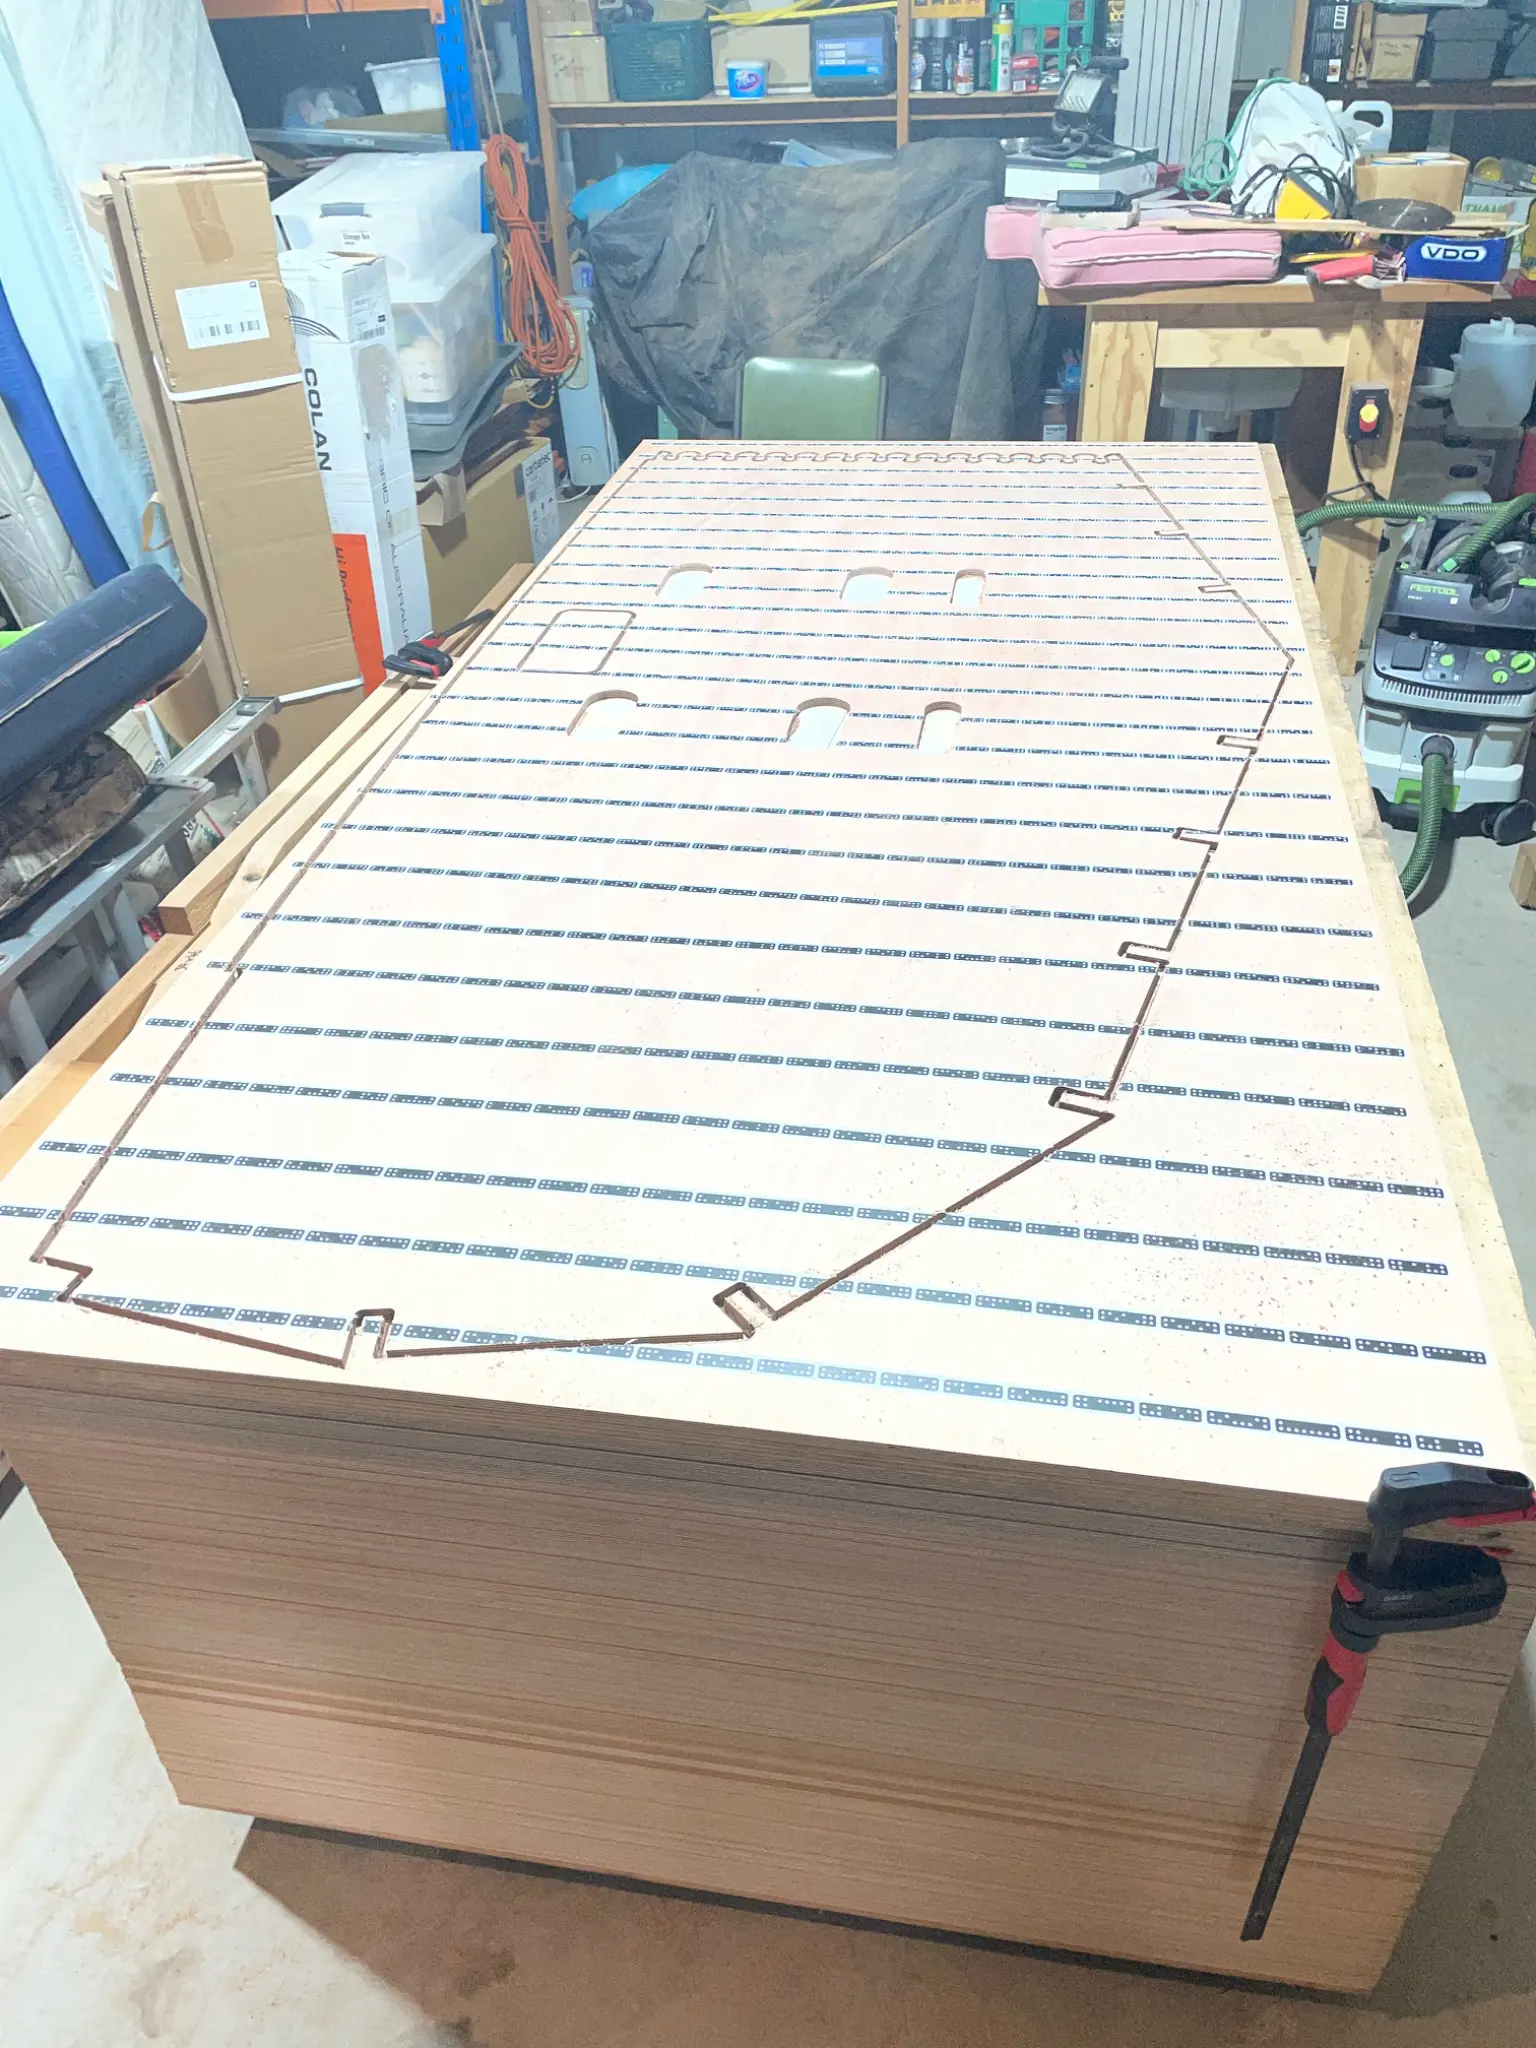
Router locates ( has an onboard camera) itself with the stick on domino tape (each domino is different) see my pic in #19 .Then the shape file gets loaded into memory of machine and you set some parameters (such as bit size, z axis zero, grid etc ) then it gets guided around outline of object which comes up on screen of machine. It has a 750watt small router that is free to move inside a 1/2” circle on screen, so as you jerkily make your way around outline it will correct to exactly follow image. Hope this is clear - ish
Chapter 04
Hull Panels
Scarfing plywood, cutting panels, milling strips or planking stock.
1 dayfrom May 2026
18 May 2026Hull Panels
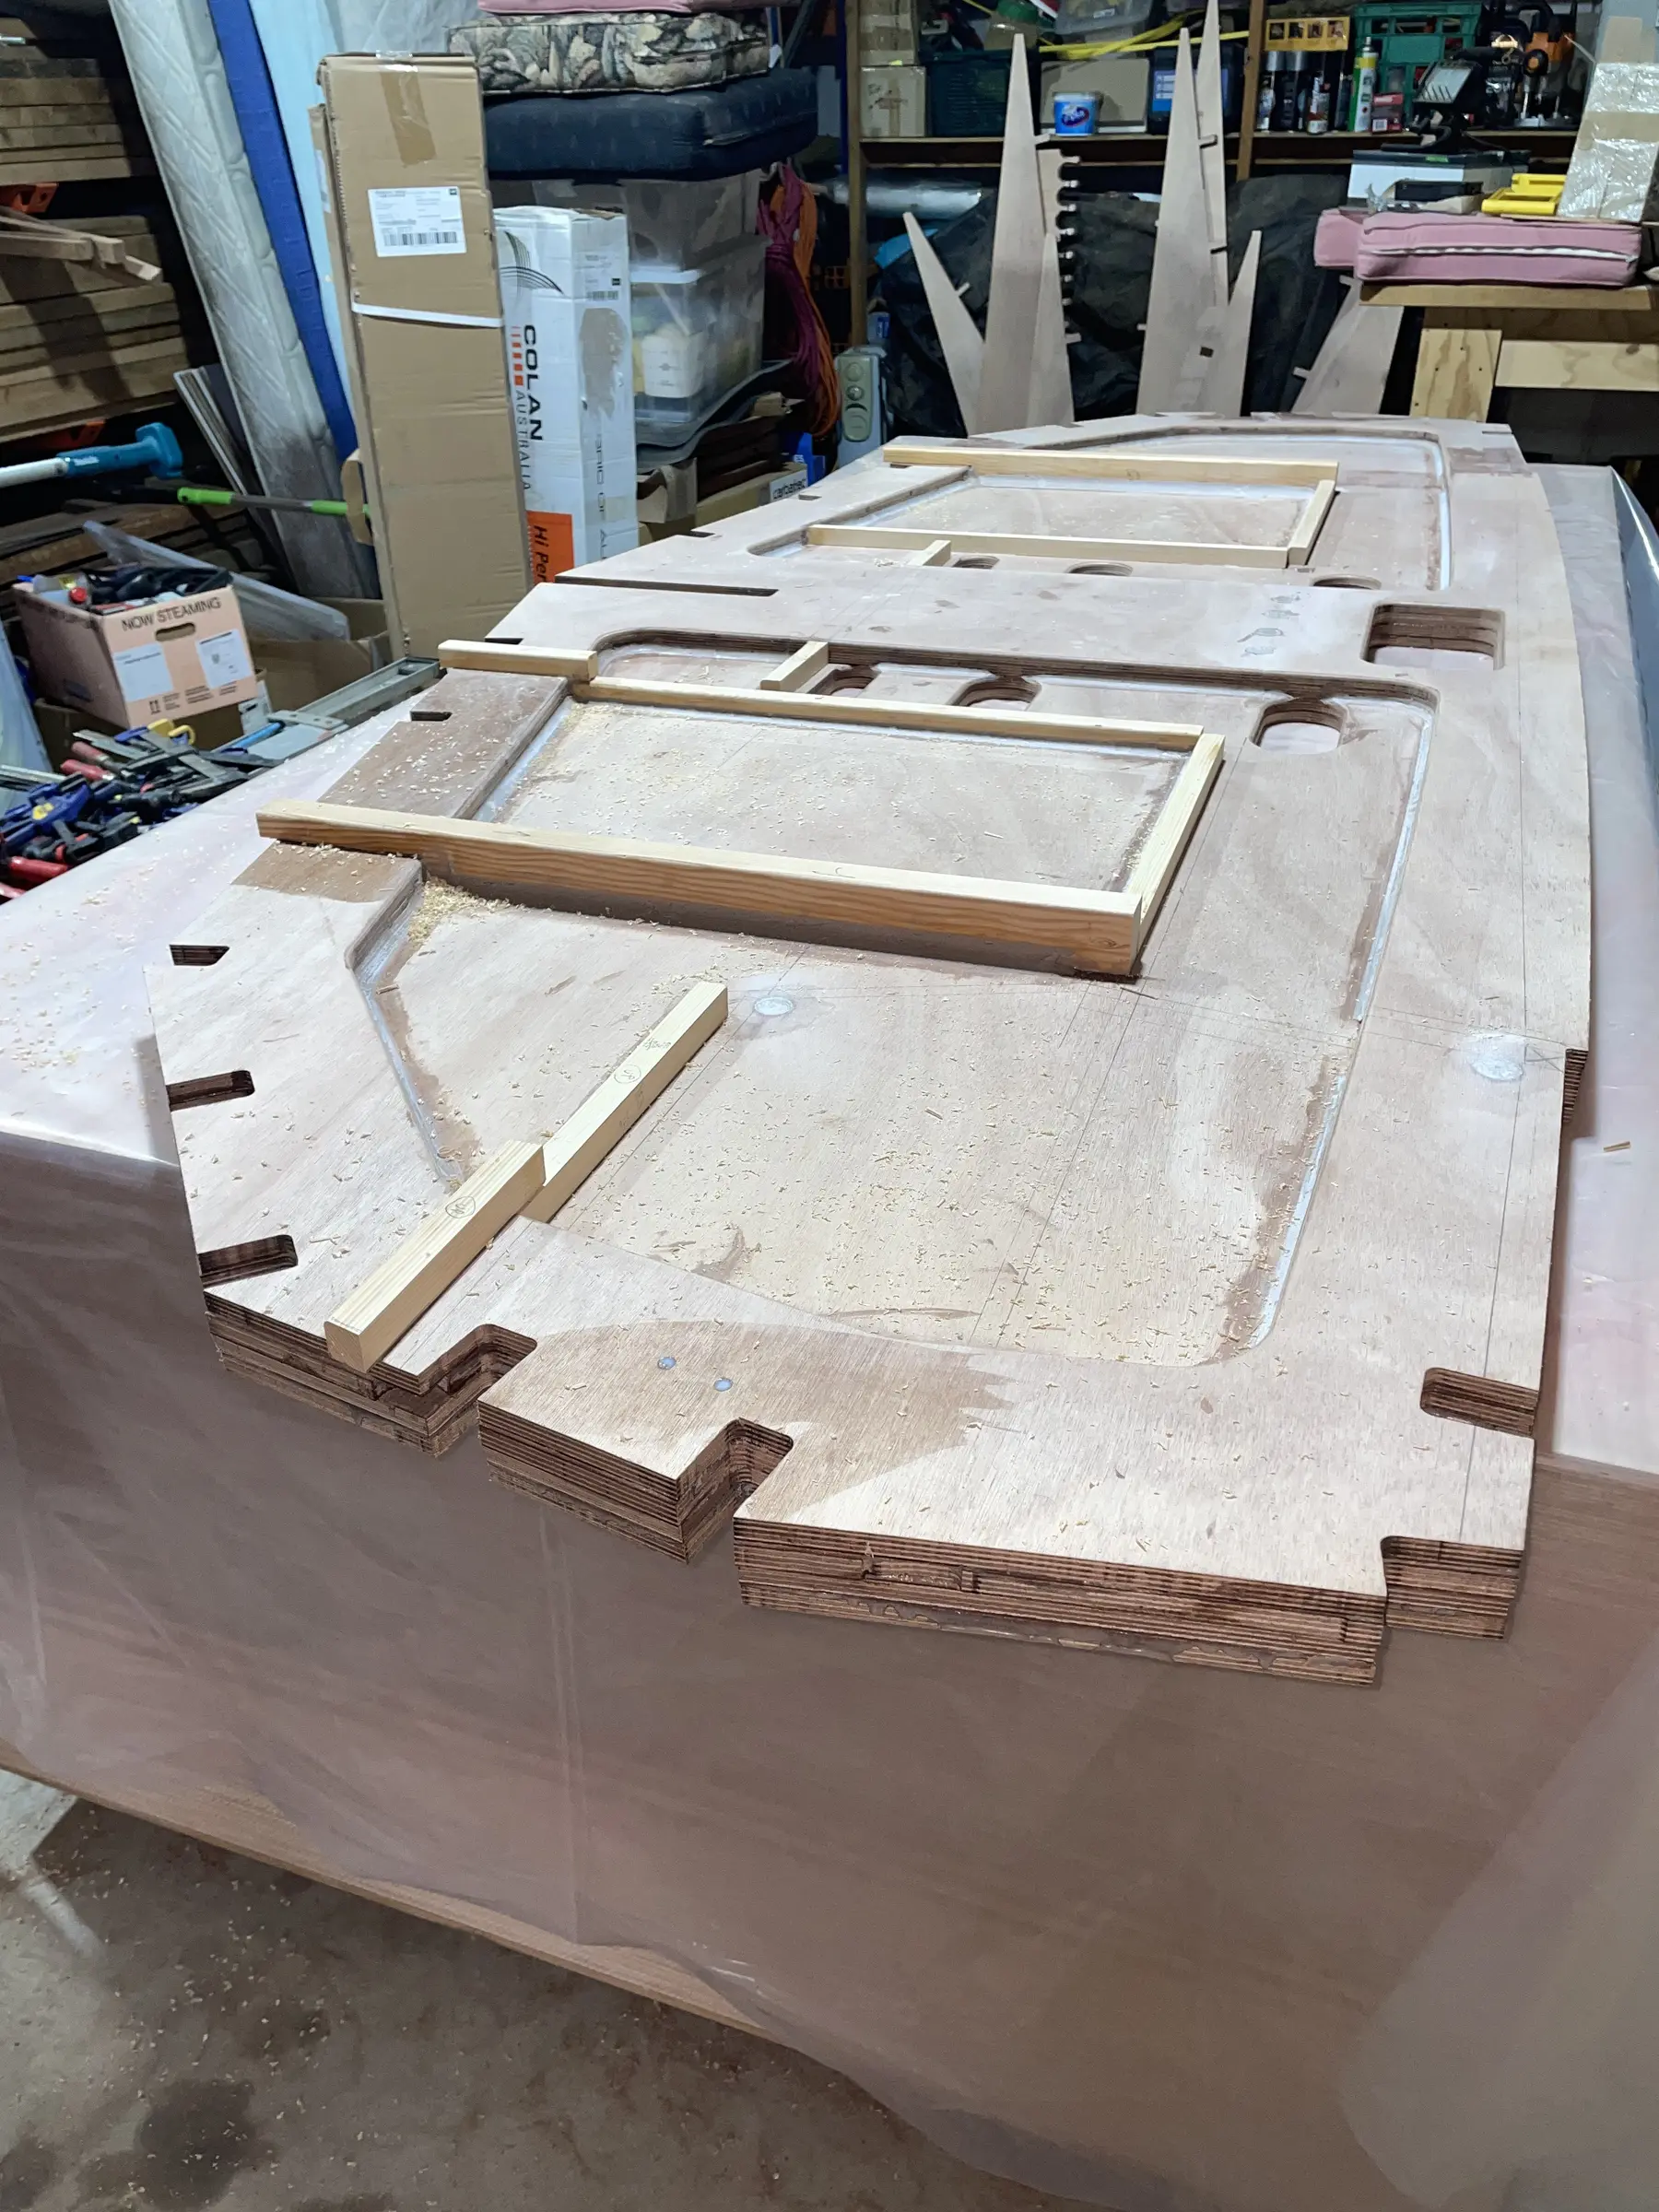
So I’ve been making the transom recently which consists of two layers of 1/2” ply and...
So I’ve been making the transom recently which consists of two layers of 1/2” ply and two more layers for the “frame” . Glued/filleted on the cleats for cockpit seats, transom stiffeners and propane locker, you’ll also notice a few holes for tiller, cockpit drains and steps from aft swim platform to climb on/off boat. Still got the epoxy coating to go but it’s a bit cold here. This boat has a lot of stringers running the length of hull and that’s what all the notches are for.
29 May 2026Planning & Research
The plywood: Mourikis marine okoume
It’s marine occume from a company in Greece called Mourikis. So far it’s been excellent, no voids or knots to speak of and it’s nice and flat.
Mr FG I got my lot from Marine Timbers (they are the importers) here in Melbourne but it can also be sourced from any of the Boatcraft Pacific agents. BTW it’s Andrew.
30 May 2026Strongback & Molds
Cutting a frame from a full sheet with the Shaper
As long as the tapes are about 3 or 4 inches apart (75 to 100 mm) and roughly parellel, then the next step is crucial in the process, and that is to scan the whole workpiece, with its tapes on, with the router’s cameras and it stores the scan in memory. Every domino on the tape is different so it knows exactly where it is by creating a map and uses it a bit like a gps. It’s uncanny how accurate it is down to thousandth of an inch. When you are routing you need to be sure that the camera has a good view of dominoes even down to brushing away sawdust etc. When routing you are obviously going to cut through some of the tapes so then those dominoes are no longer valid but as long as others are in view.
Camera is on board router. Actually router is a bit clumsy description. Bit like comparing an axe to a circular saw. The camera has a window of view about 12 x 15 inches. Yes workpiece must be exactly planar. Can be any shape you want as long as it’s flat and has domino tape on. Device becomes a little unsure of position sometimes and it has clarity display on-screen. Sometimes you need to stop and blow away sawdust or “add to scan” by adding more tape then rescan. But that’s not too often.
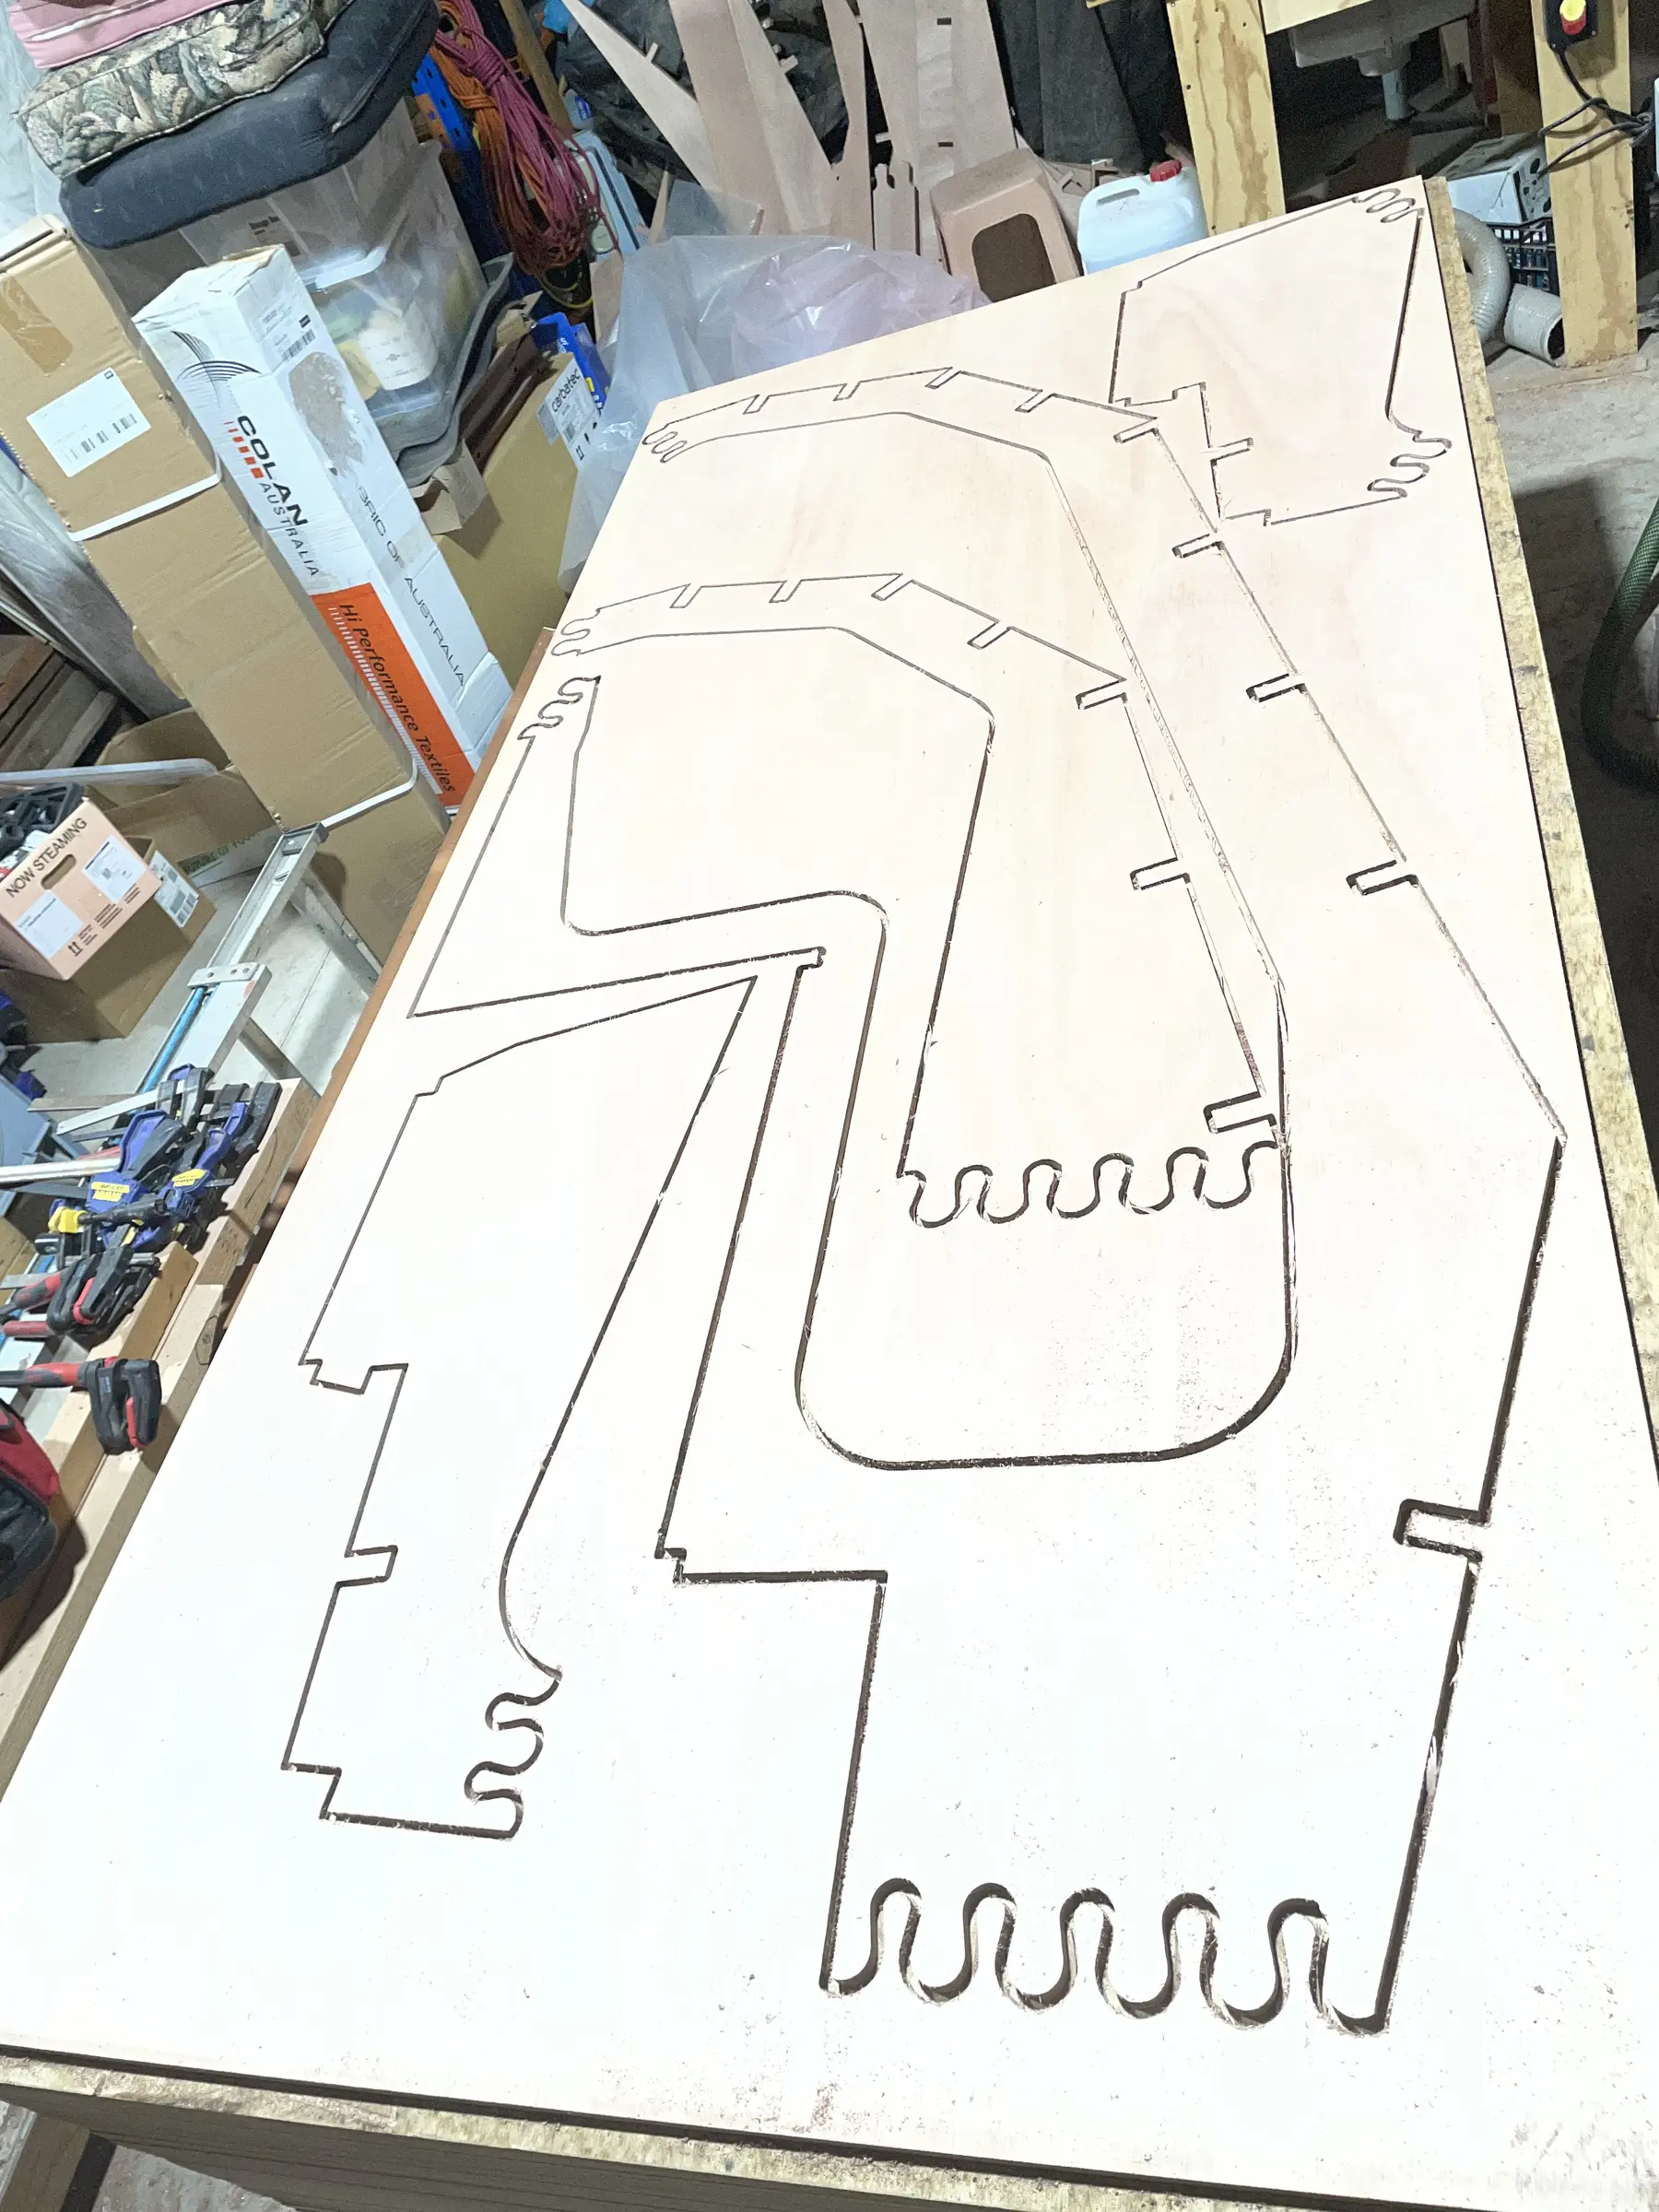
This is a full ply sheet I did the other day of the next frame. Took about 3 or 4 hours from setting up ply to finished. I don’t how long it would take doing with tracing pattern, cutting with a jigsaw and sanding/planing to the line but I’d reckon it’d be measured in days and no where near as accurate. These pieces all get arranged/glued into the frame which is about 11 feet by five.
Photo 1 Photo 2
4 Sep 2026Strongback & Molds
Cutting all the frames
Hi Cheese, , it’s slowed down a little. I’m currently cutting all the frames which is just more of the same over and over. So rather than posting each frame I’ll wait ‘til I’ve got something a bit more interesting to show. It could be a few months at current pace. Thanks for looking in though.
6 Sep 2026Strongback & Molds
Cutting and assembling frames
Purchased a stack of ply and douglas fir with epoxy etc to make a start. But it’ll be slow at first because I have to finish last build as well.
Photo 1 Photo 2
7 Sep 2026Strongback & Molds
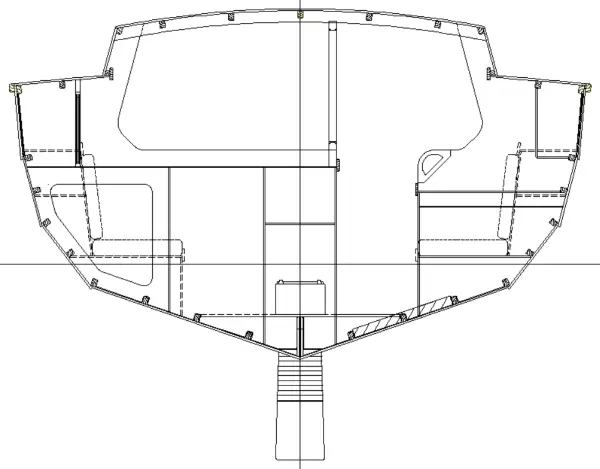
I’ve started building all the frames starting with the transom and working forwards (Dudley Dix recommends setting up from frame 0.5 first) so once I get the shelter setup and building stocks I can start from the first frame. Some of the frames are actually bulkheads and have various pieces of trim glued on. Cleats, door trim and hand-holds etc.
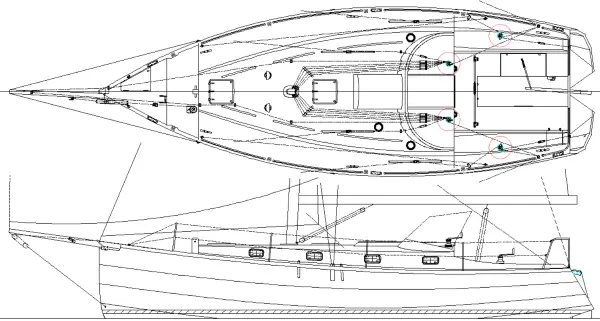
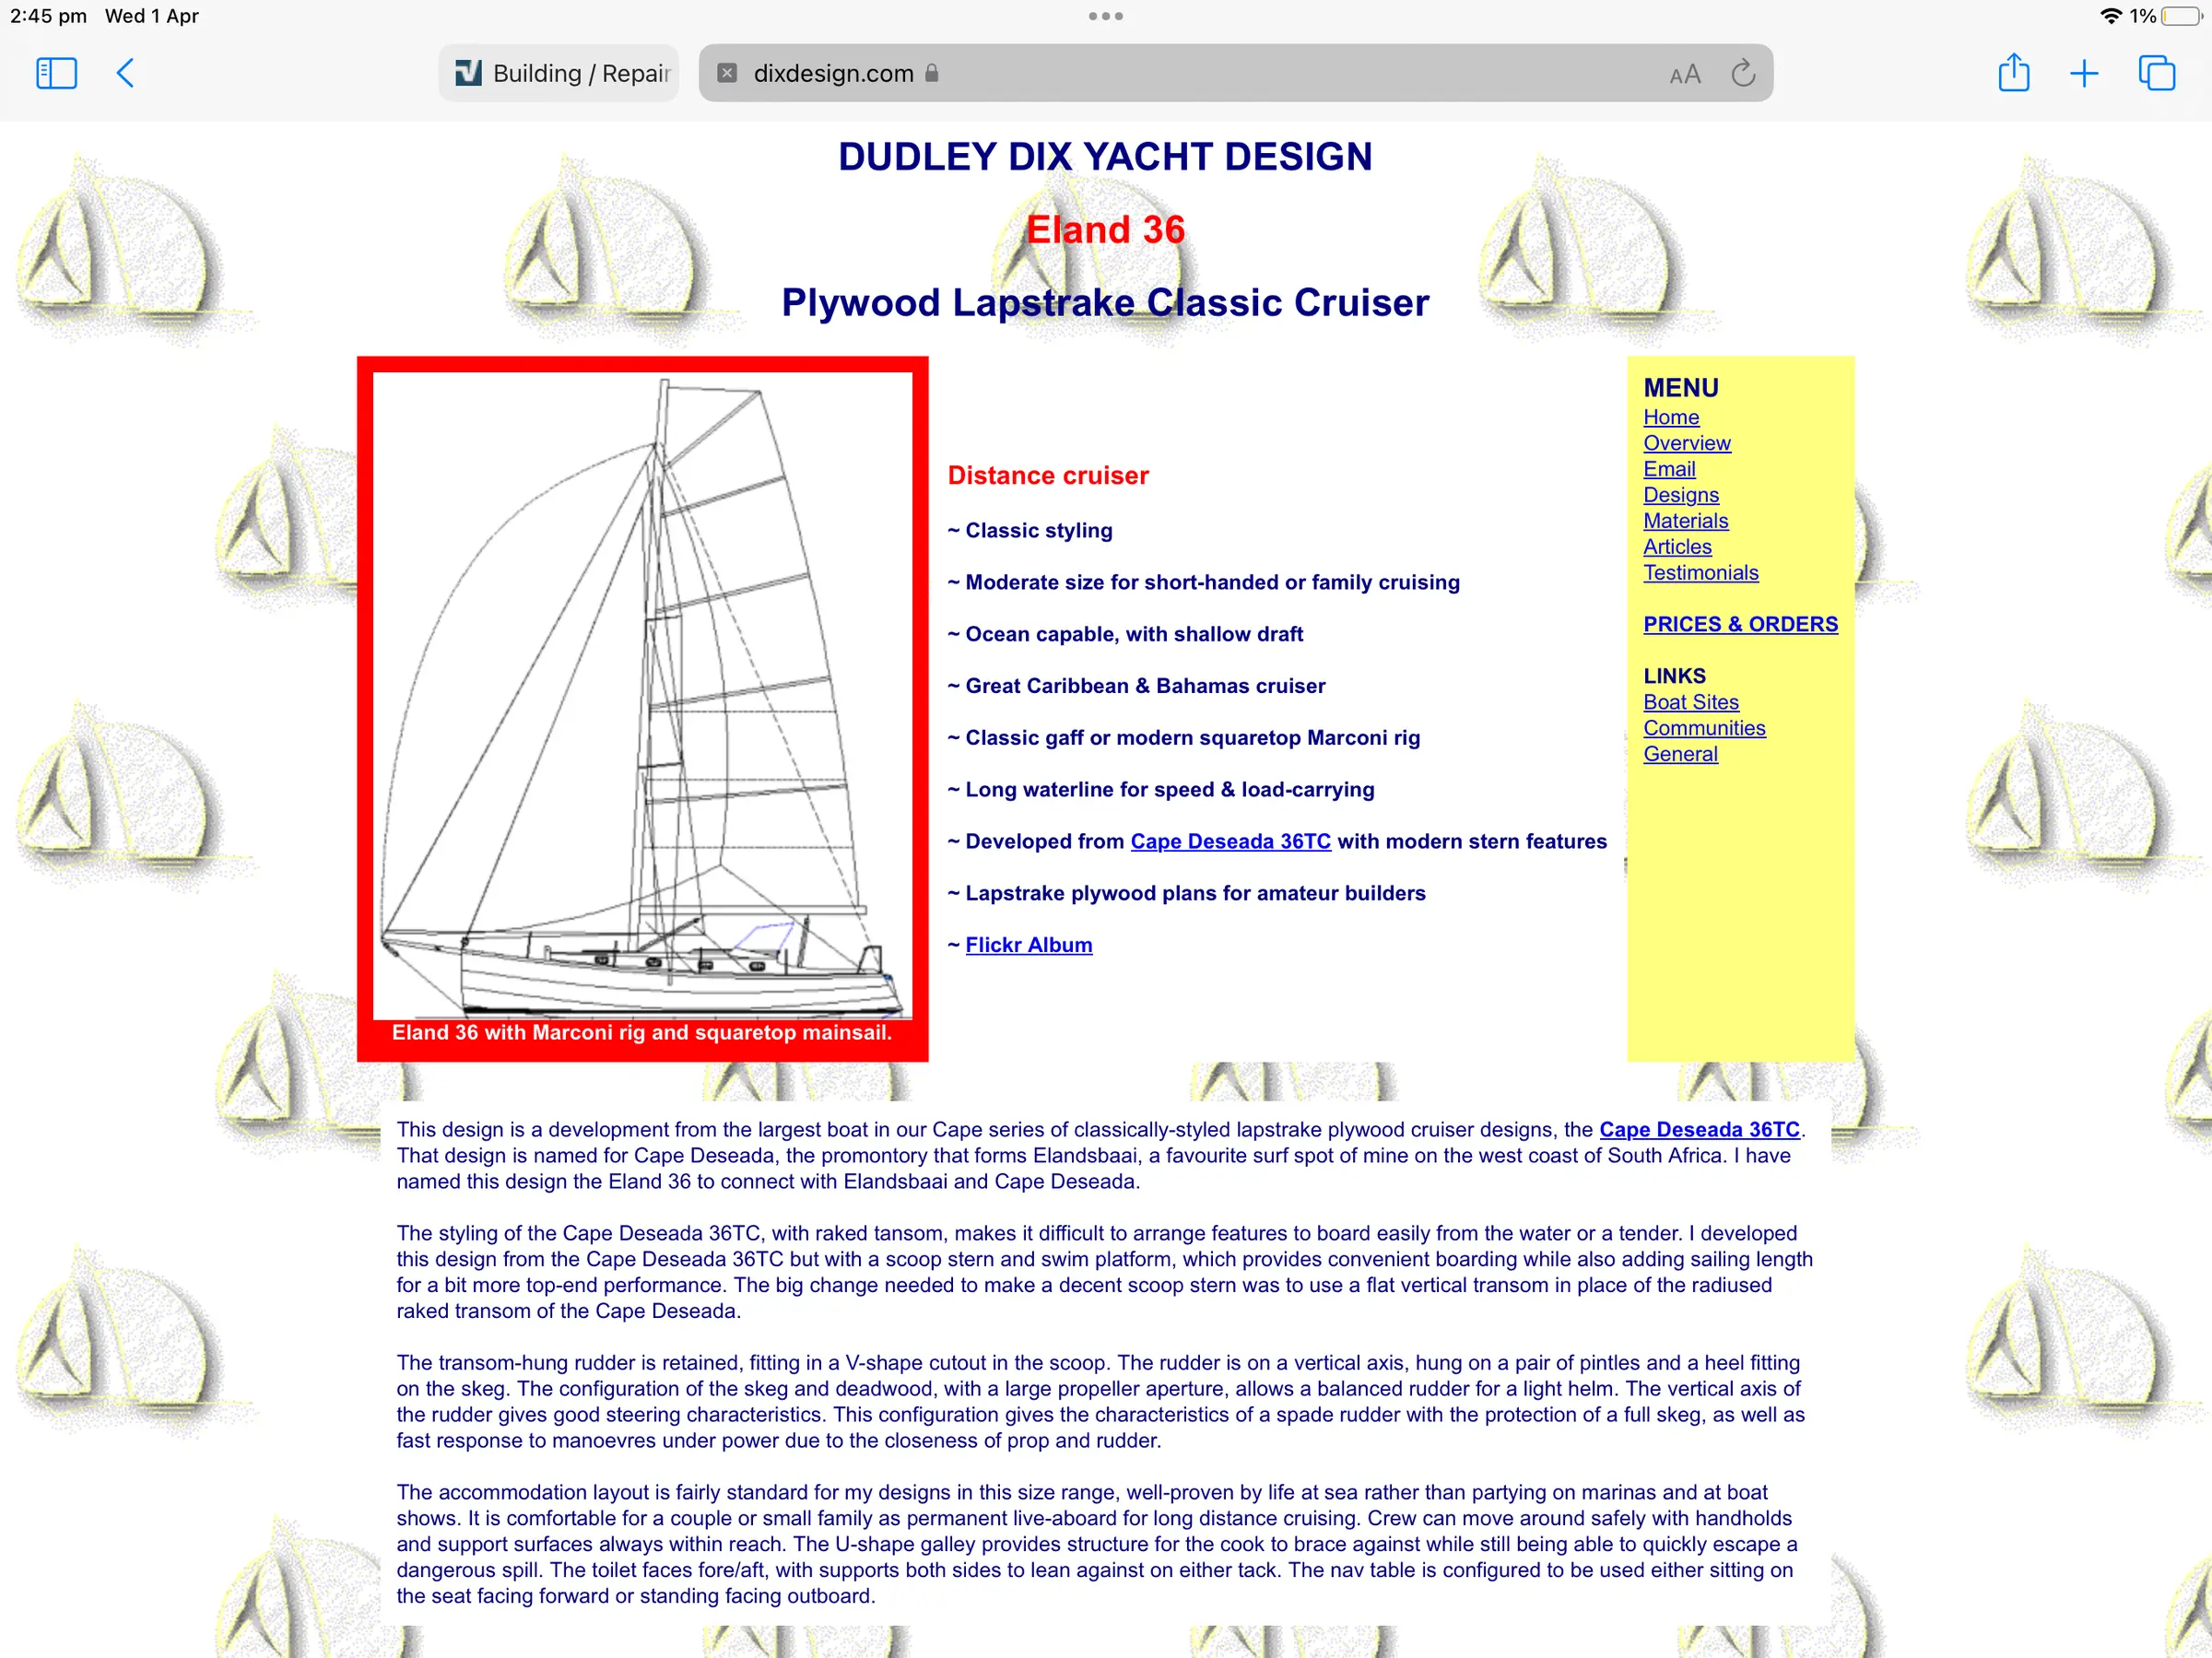
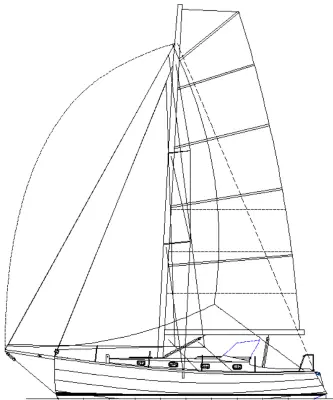
I’ve added some of the drawings from Dudley’s website here.
Photo 1 Photo 2 Photo 3
7 Sep 2026Strongback & Molds
I found a picture of the transom which has two layers of 1/2” and another two layers making up the frame. It’s about 3’6” high and 9’ wide. Beam of the boat is approx 12’ 6”. .
15 Sep 2026Strongback & Molds
Cabin top beams
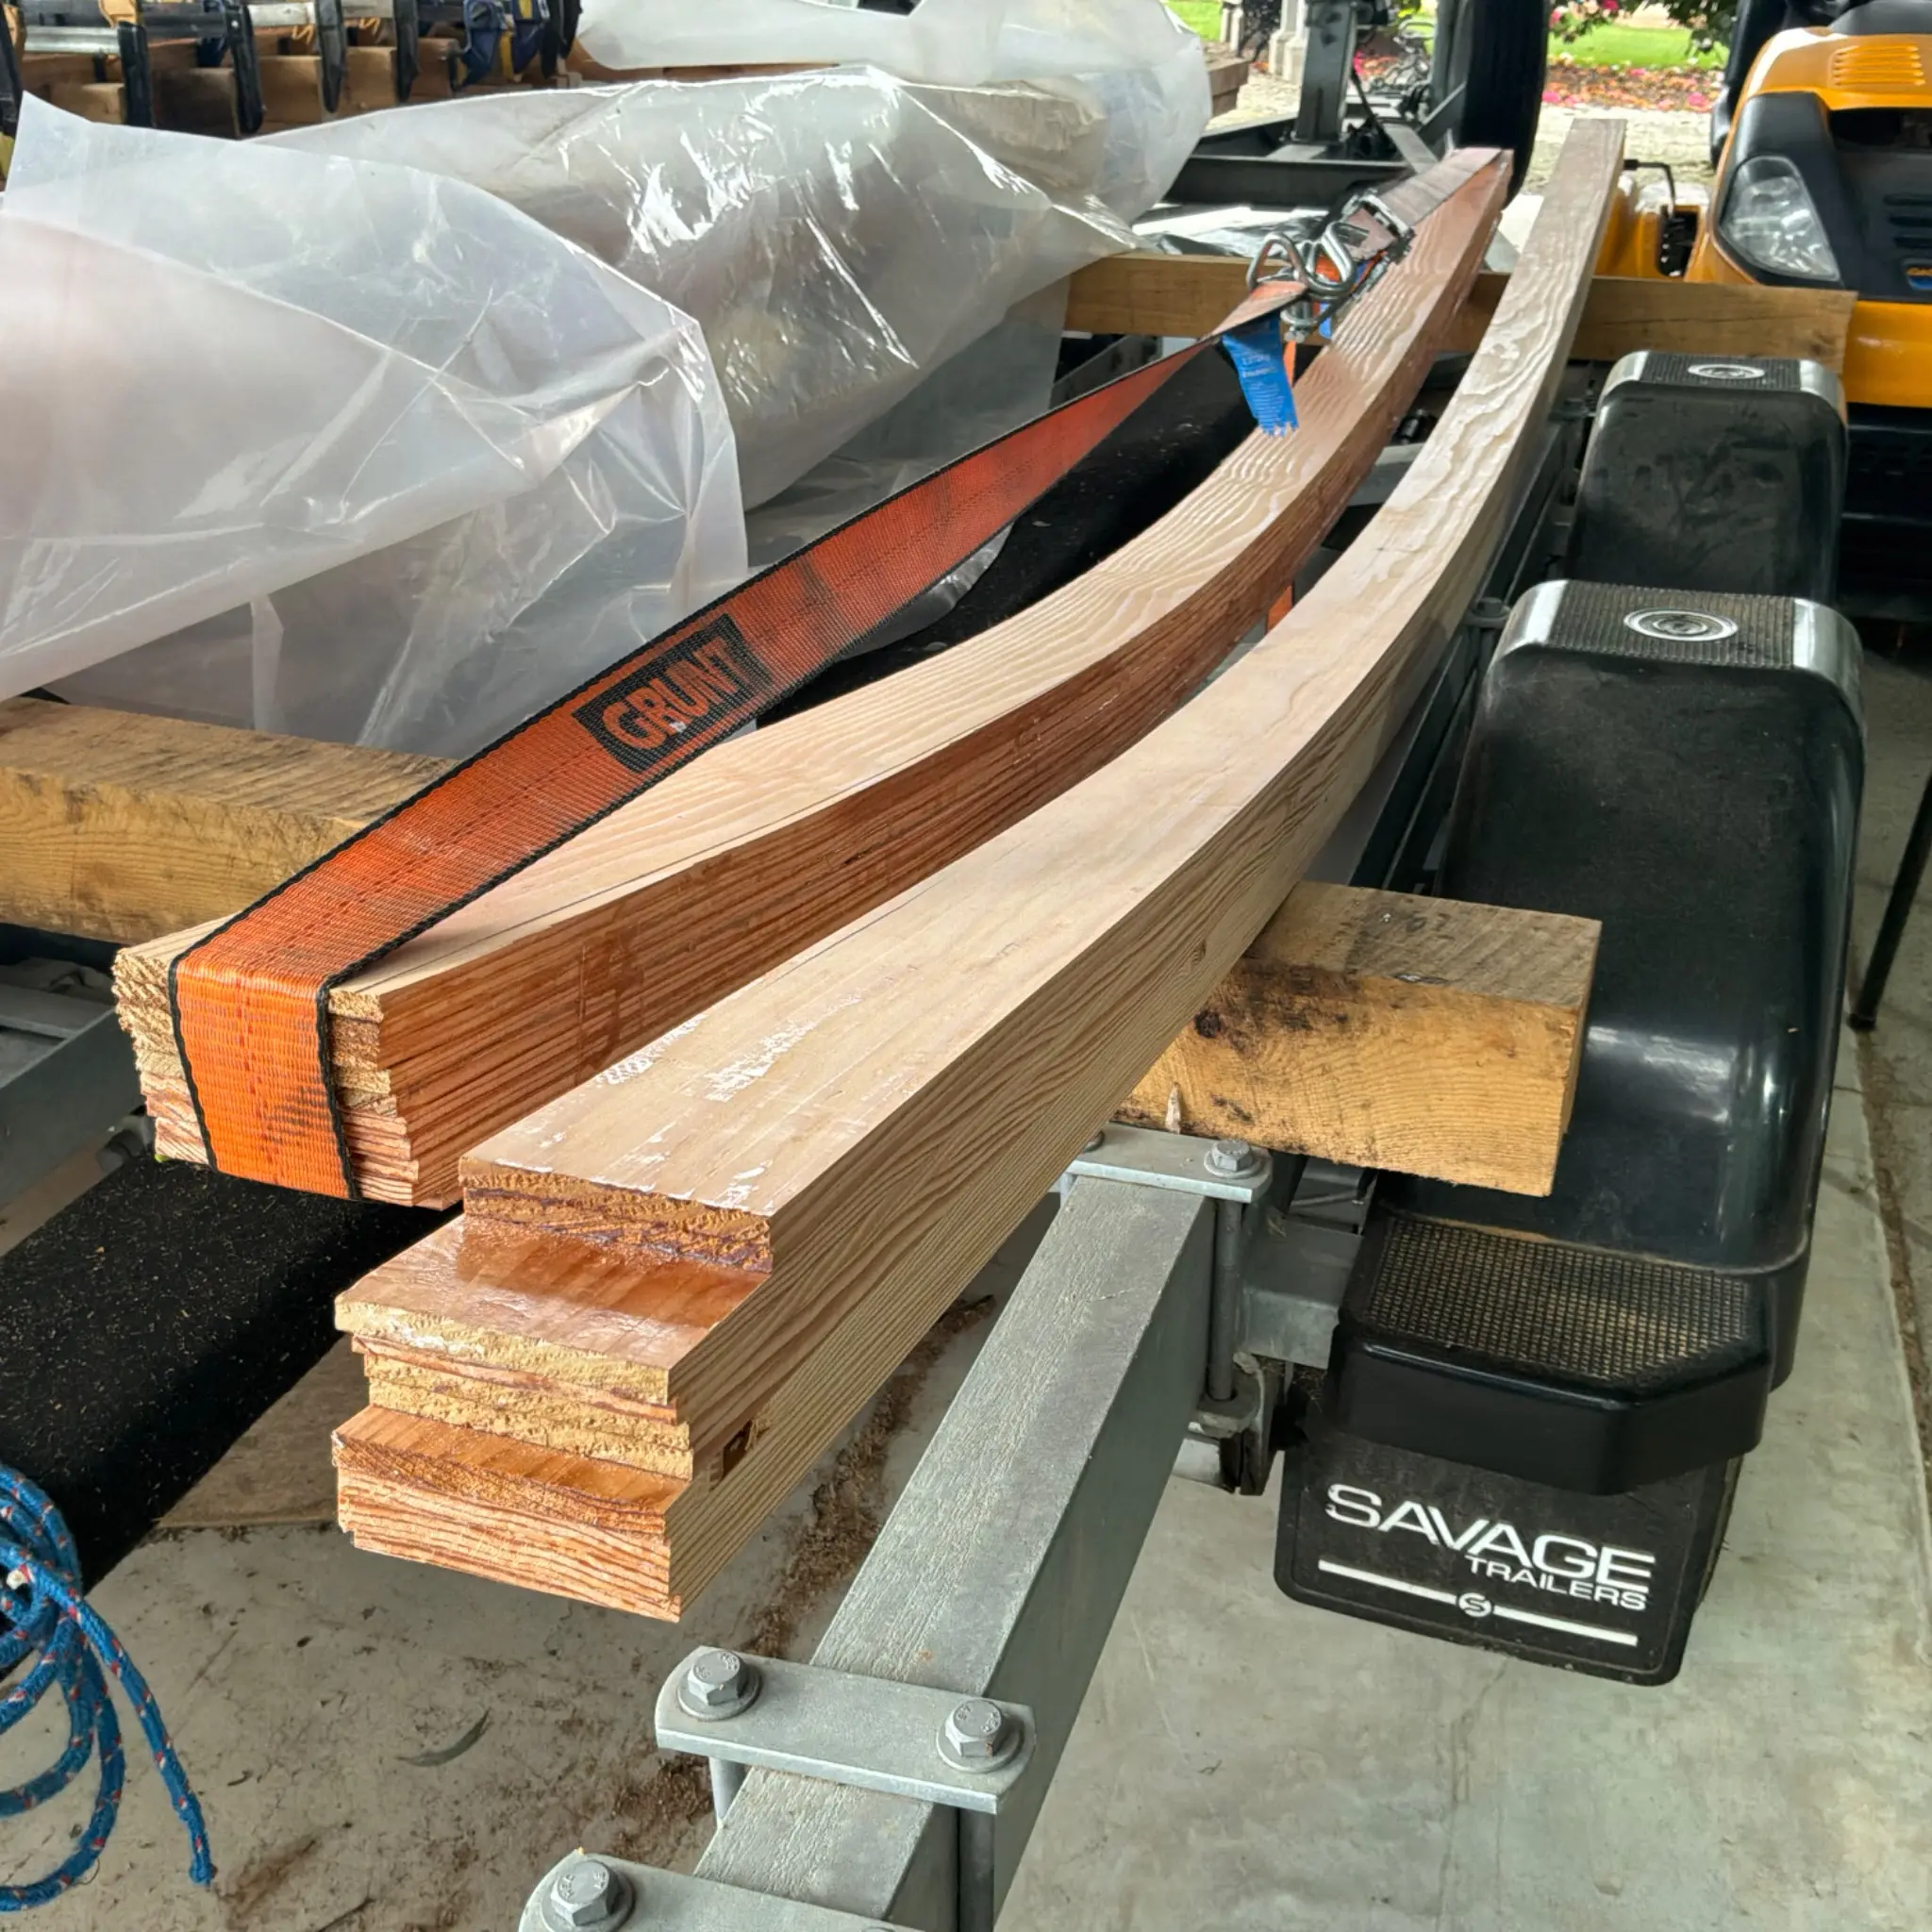
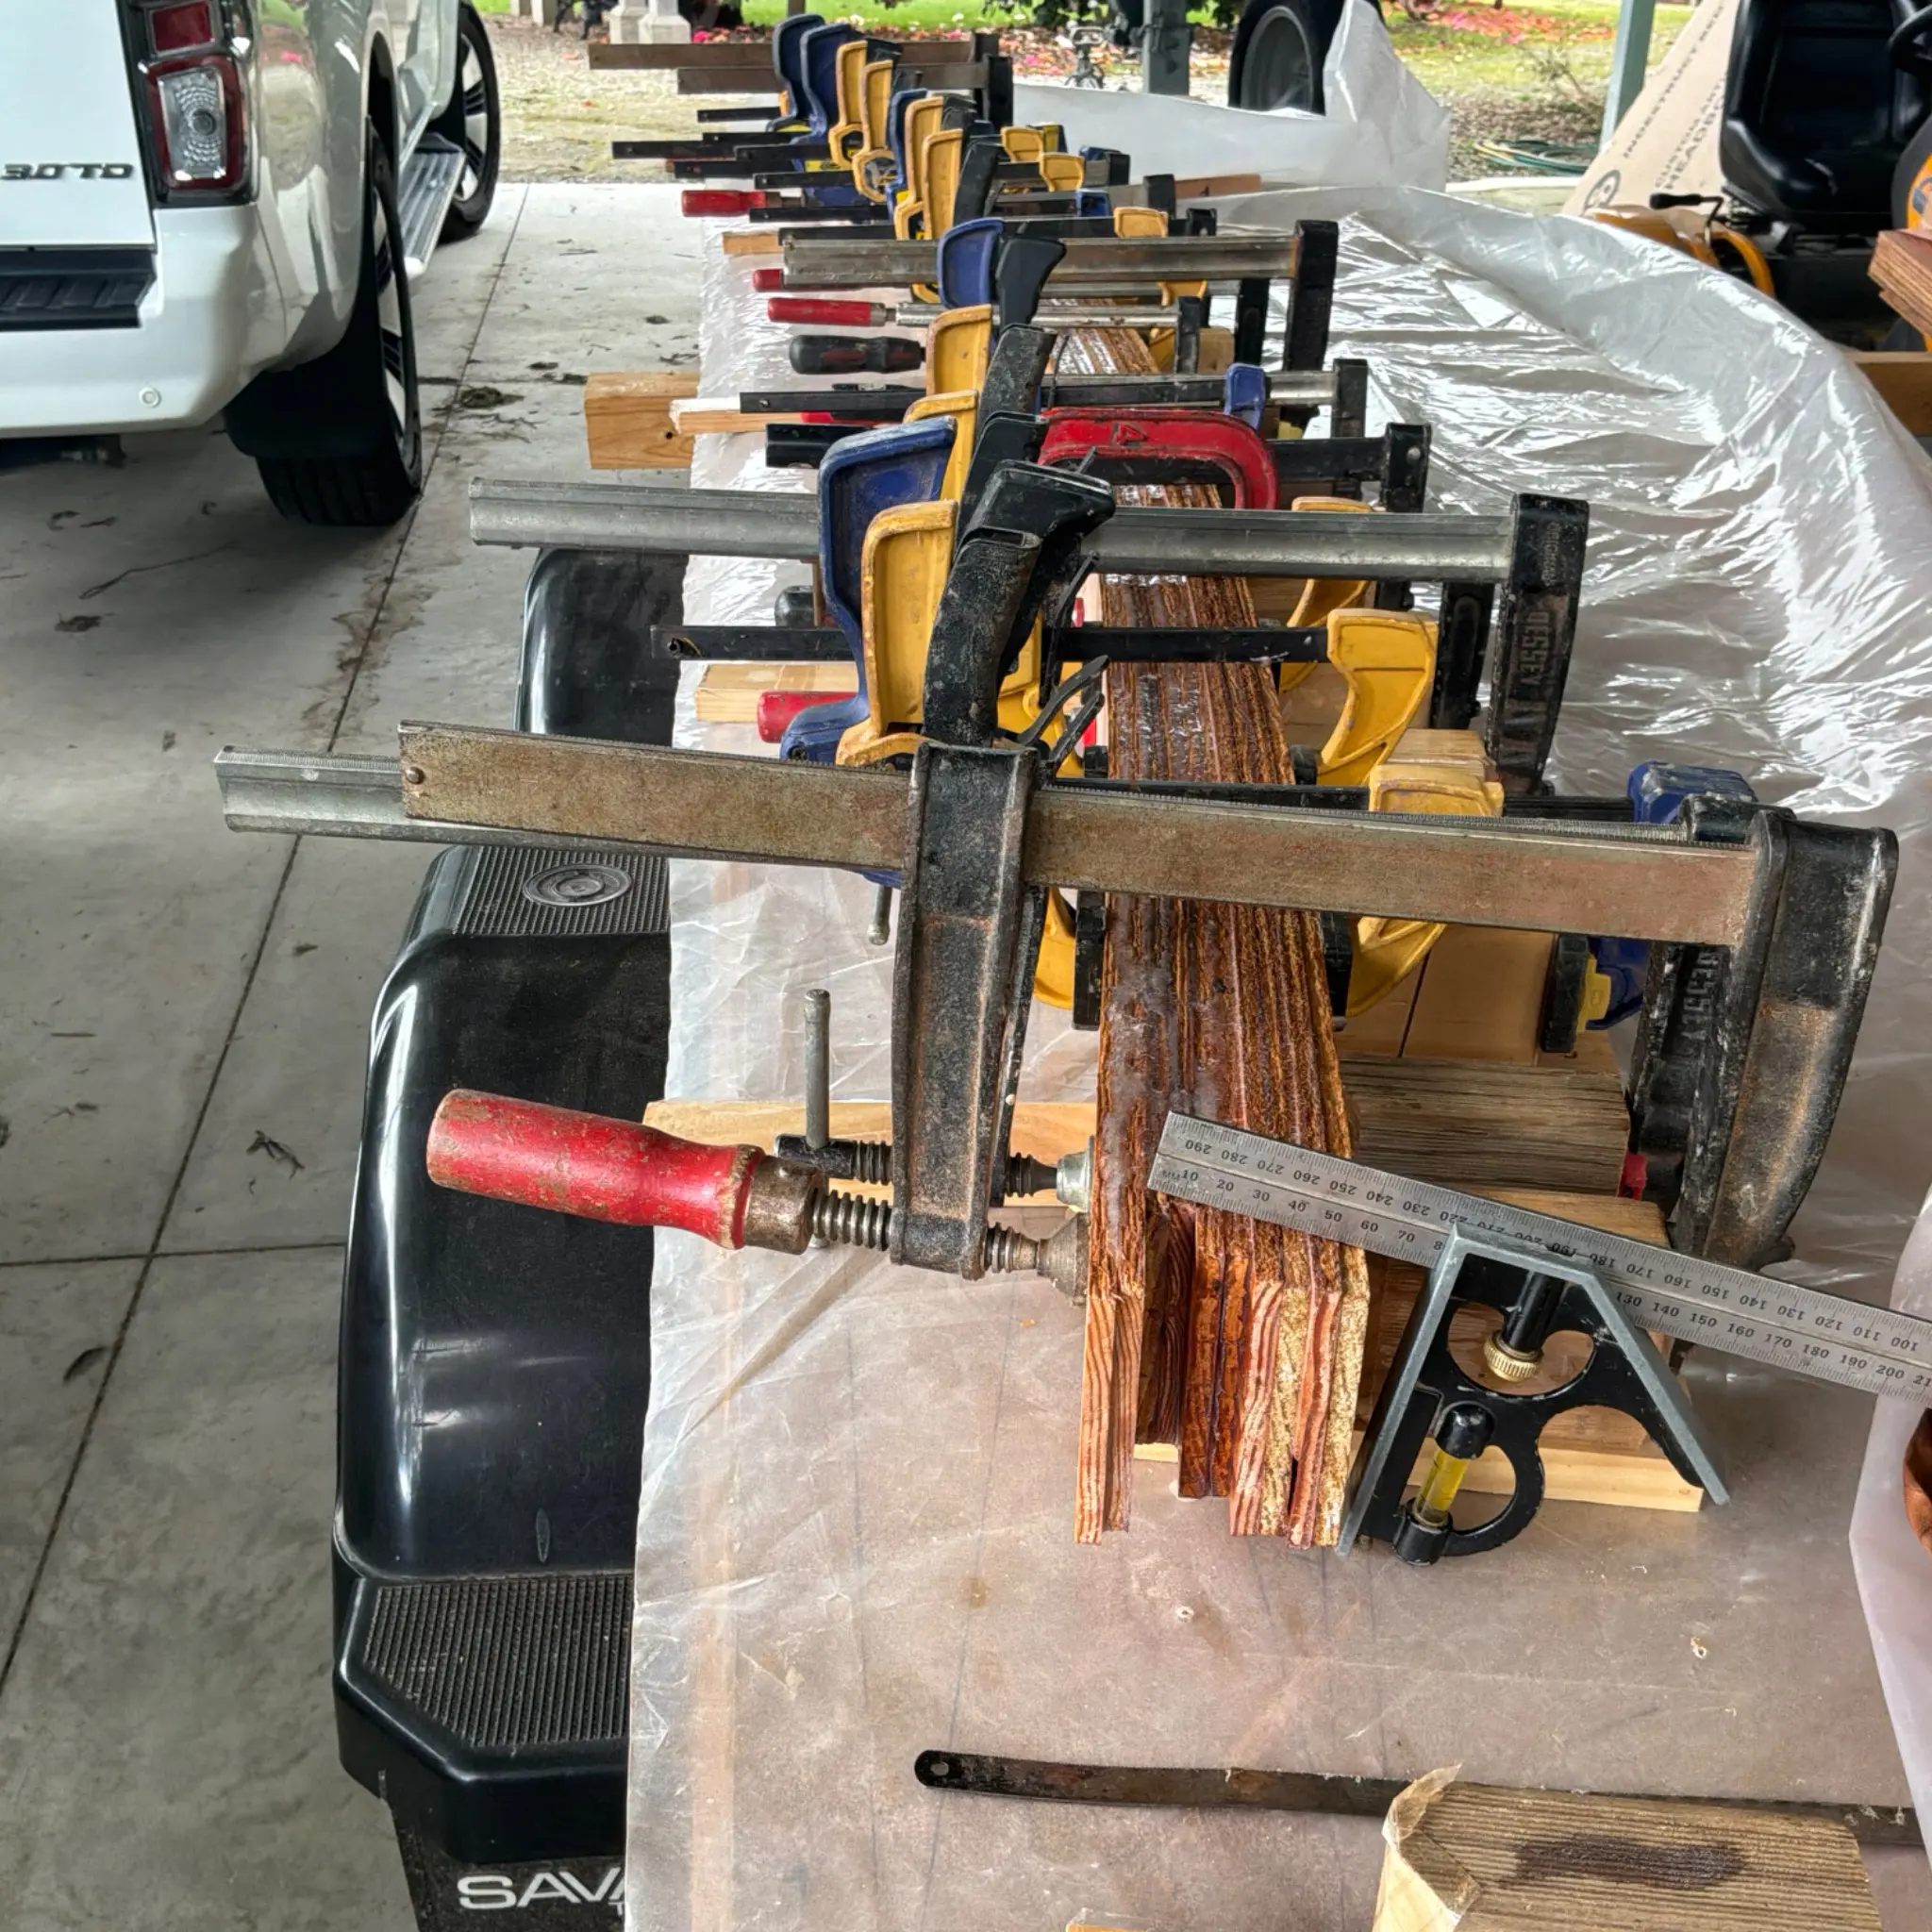
I’ve been making the 3 laminated beams required for this boat’s cabin top. Each one is 75mm square, 10 laminates of 7.5mm. I left them on jig for a few days, then put a ratchet strap on each for a few more days to avoid creep. It’s still fairly cool here coming into spring. Long one is 3 metres, then 2.8 and 2.6.
Photo 1 Photo 2
Dave Ahrens
Good job Andrew. What did you use to laminate with thickened epoxy?
Andrew Donald
Hi Dave , first prime coat of neat epoxy then I thickened it a bit and rolled it on with a 4” mohair roller.
boatbuildlog.com
Eland 36
12 entries,
17 photographs,
written down as the work was done.
The words and photographs in this log belong to Andrew Donald.

Good job Andrew. What did you use to laminate with thickened epoxy?
Hi Dave , first prime coat of neat epoxy then I thickened it a bit and rolled it on with a 4” mohair roller.