The book is laid out for the paper chosen above, and the print dialog will follow it,
so pick the paper here rather than there. Turn background graphics on
so the cover photograph prints, and leave margins at their default. The page numbers
and the chapter running heads are drawn by the browser into the page margins, so they
exist only on paper: check the print preview rather than this screen for them, and turn
Headers and footers off there so Chrome's own furniture does not crowd
them out. Chrome and Edge print them, Safari and Firefox print the same book without
them.
new build
Glen L Tiny Titan Hydroplane
Tiny Titan
Matt · 2026
A build log
Glen L Tiny Titan Hydroplane
Tiny Titan
kept by Matt, Texas
2026
The boat
Tiny Titan
- Designer
- Glen-L Marine
- Length overall
- 8′ 2″ (2.49 m)
- Beam
- 4′ 5″ (1.35 m)
- Construction
- plywood on frame
- Started
- 19 August 2026
- Built by
- Matt
- Built at
- Texas
Building a small hydroplane for the kids to learn some basic boating skills on a fun boat!
What it took
By the numbers
| Went into the boat |
$1,522.00 |
| Tool or consumable |
$429.00 |
| Total | $1,951.00 |
The work
Contents
-
01
Plans & Lofting
Aug 2026 · 1h
-
02
Shop & Tooling
Aug 2026 · 5h
-
03
Hull Panels
Aug 2026 · 12h
-
04
Hull Exterior
Aug 2026 · 11h
-
05
Fairing & Sanding
Aug 2026 · 15h
-
06
Stitch & Assembly
Sep 2026 · 4h
-
07
Deck & Coamings
Sep 2026 · 2h
-
08
Rig & Spars
Sep 2026 · 1h
-
09
Systems
Sep 2026 · 2h
-
10
Glassing & Epoxy
Sep 2026 · 1h
Chapter 01
Plans & Lofting
Reading the drawings, lofting full-size, making patterns and templates.
1 day
1 hours from August 2026
19 Aug 2026
Plans & Lofting 1 h
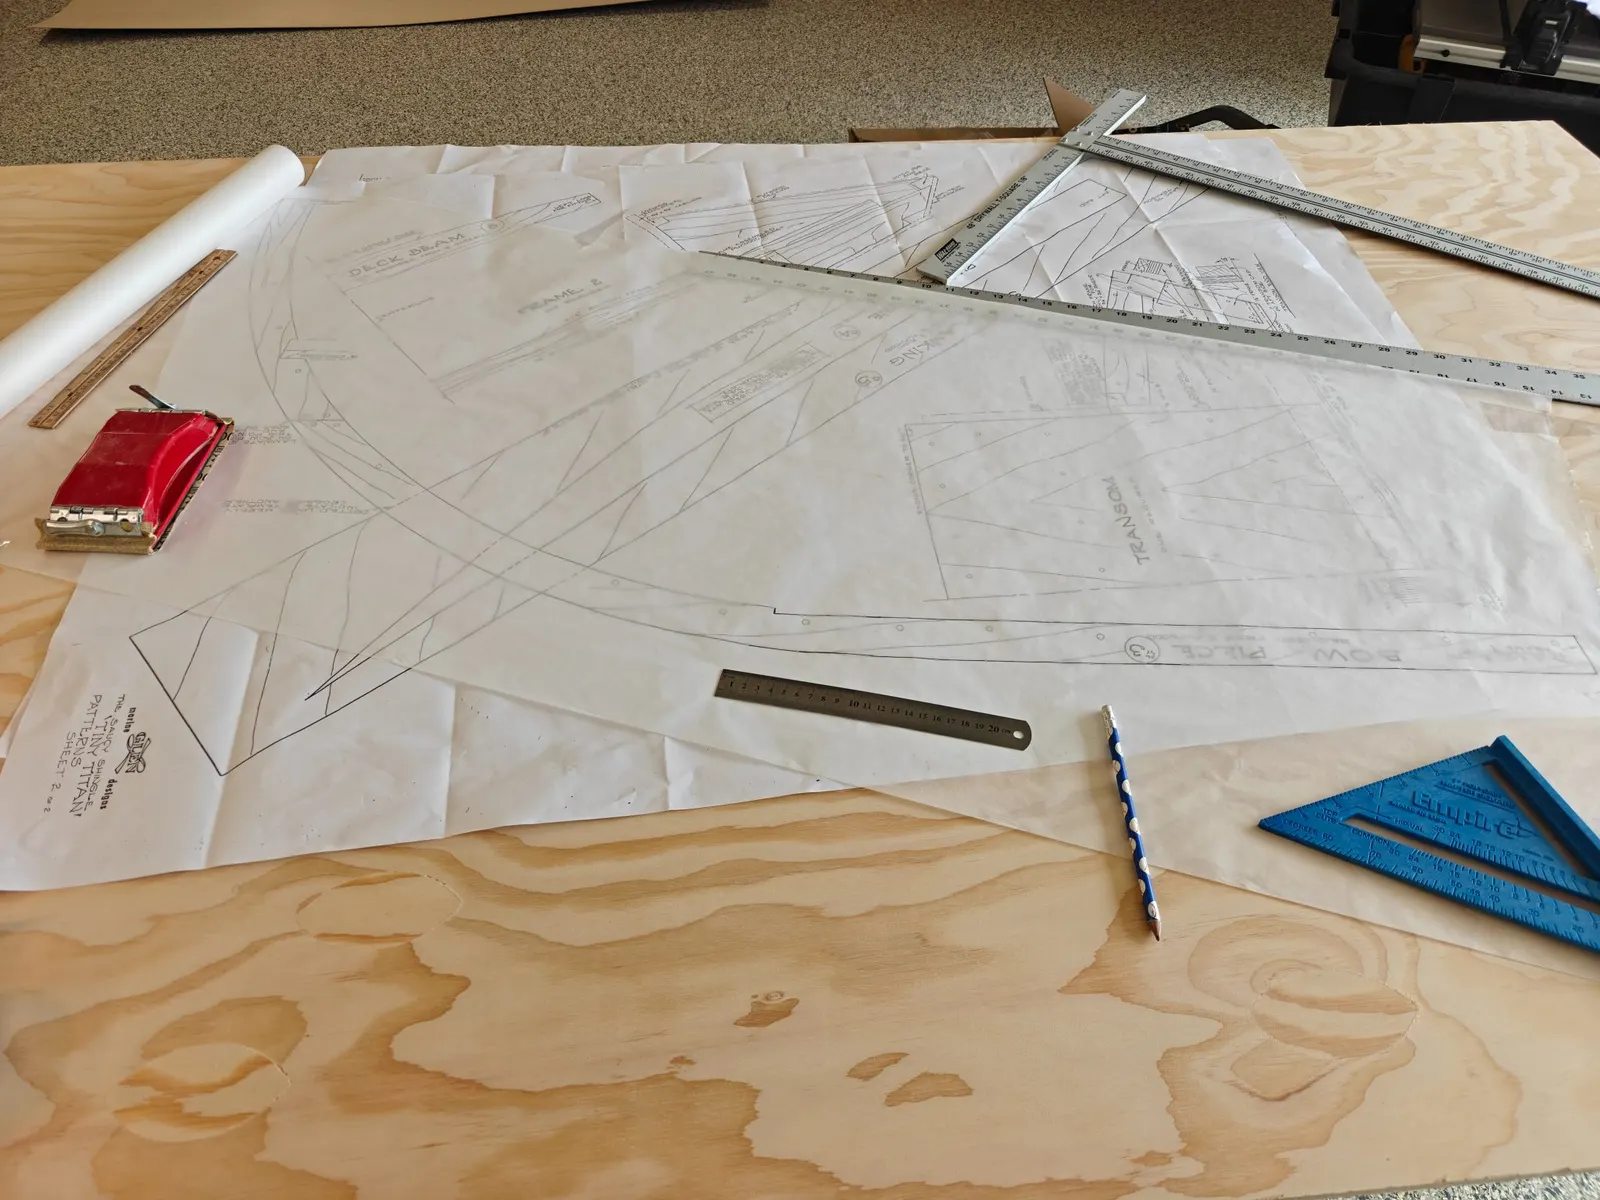
Tracing plans
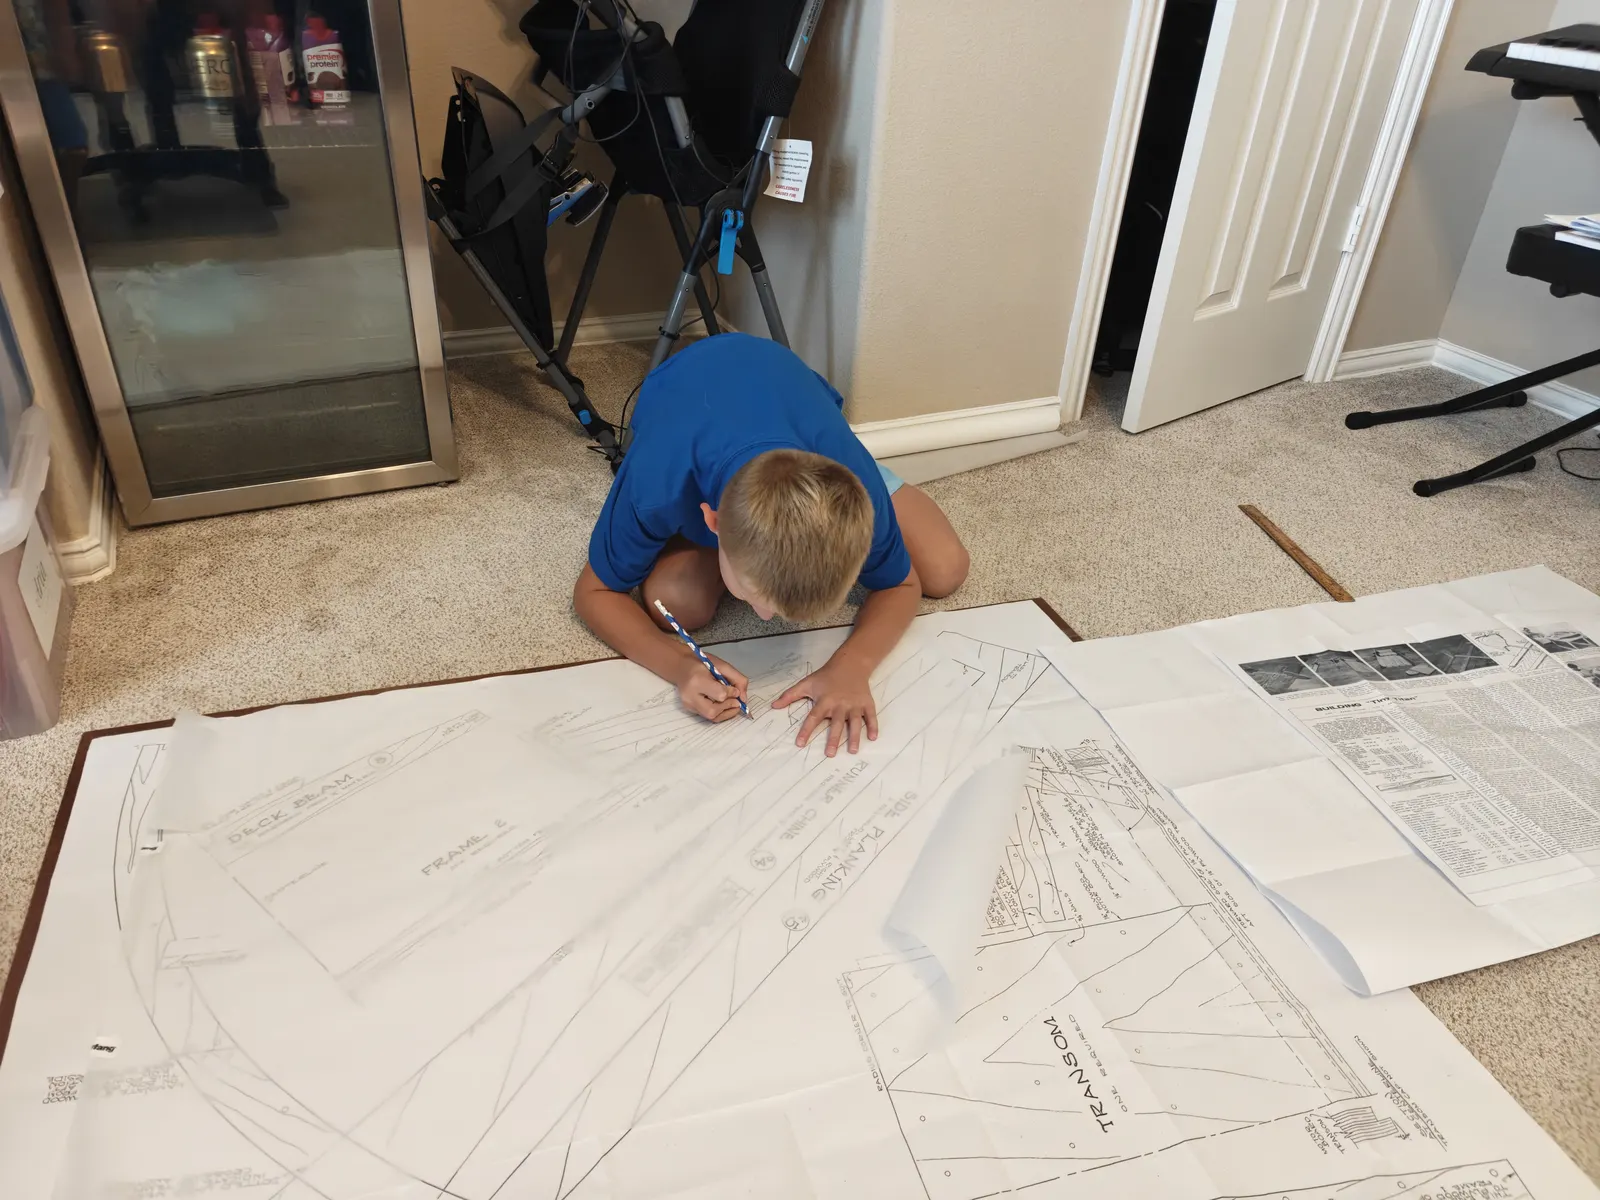
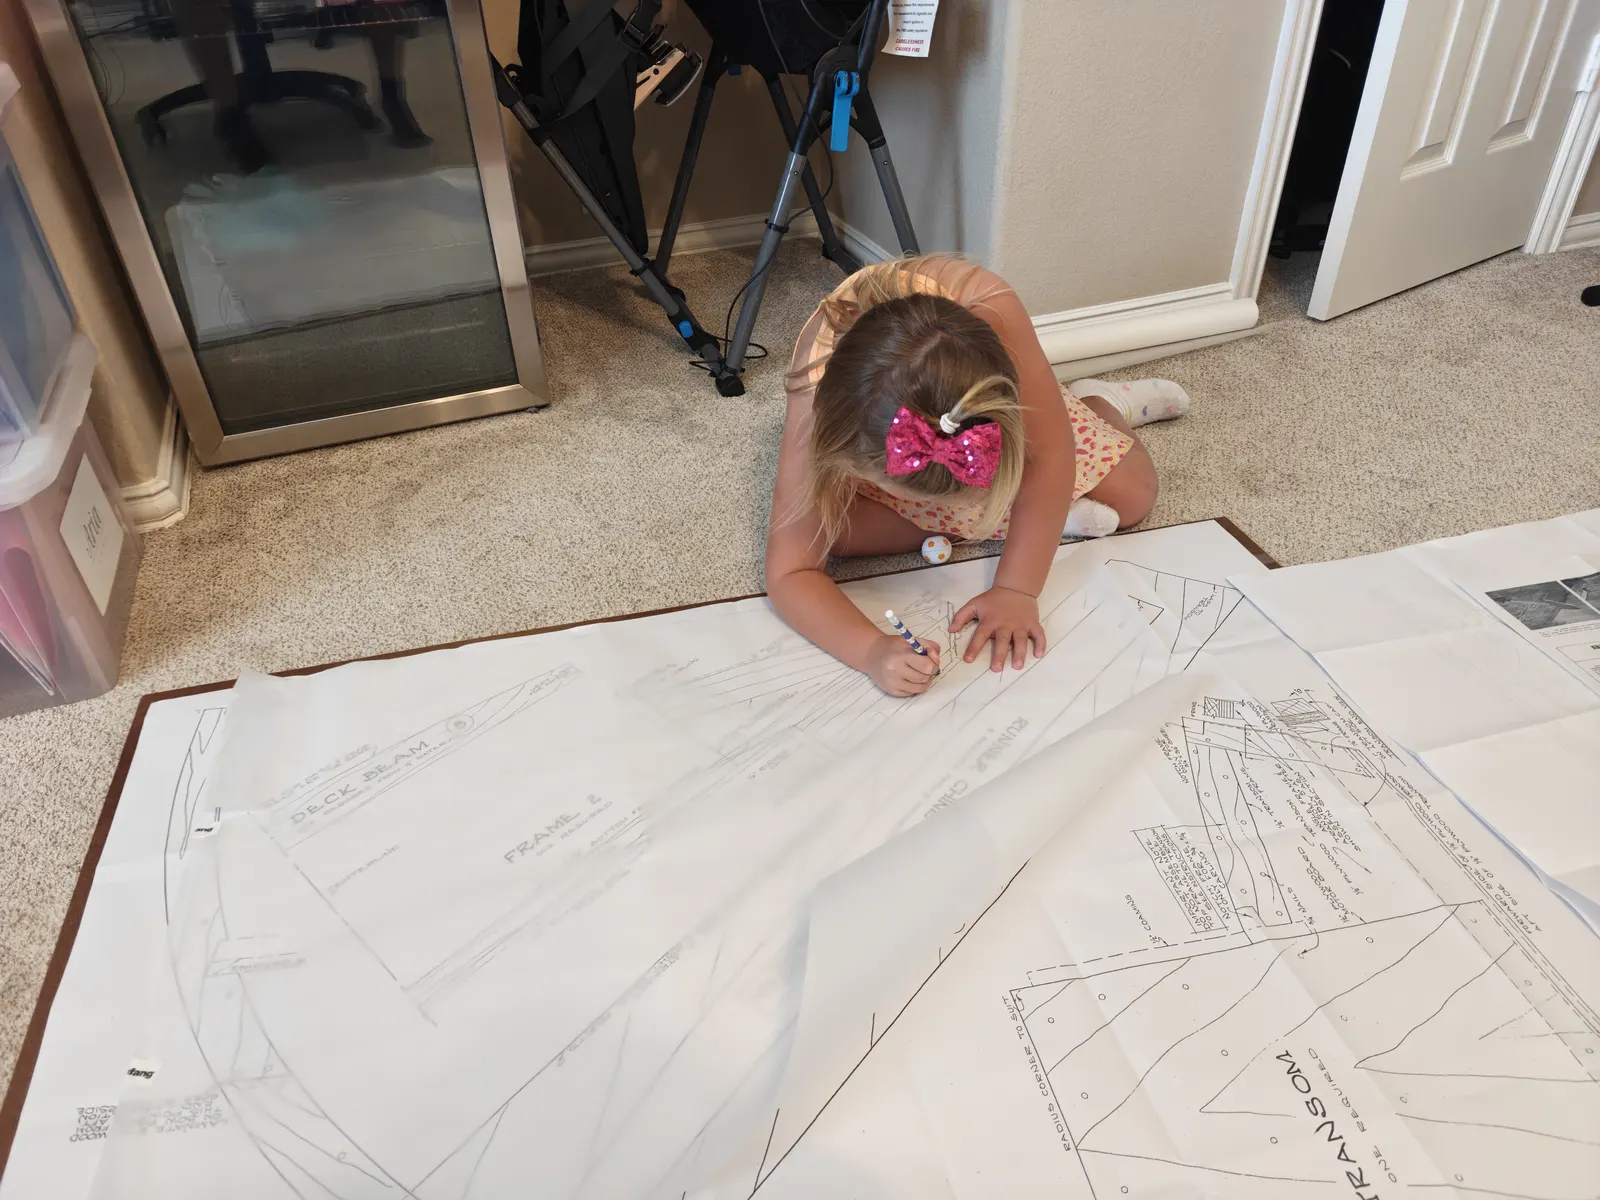
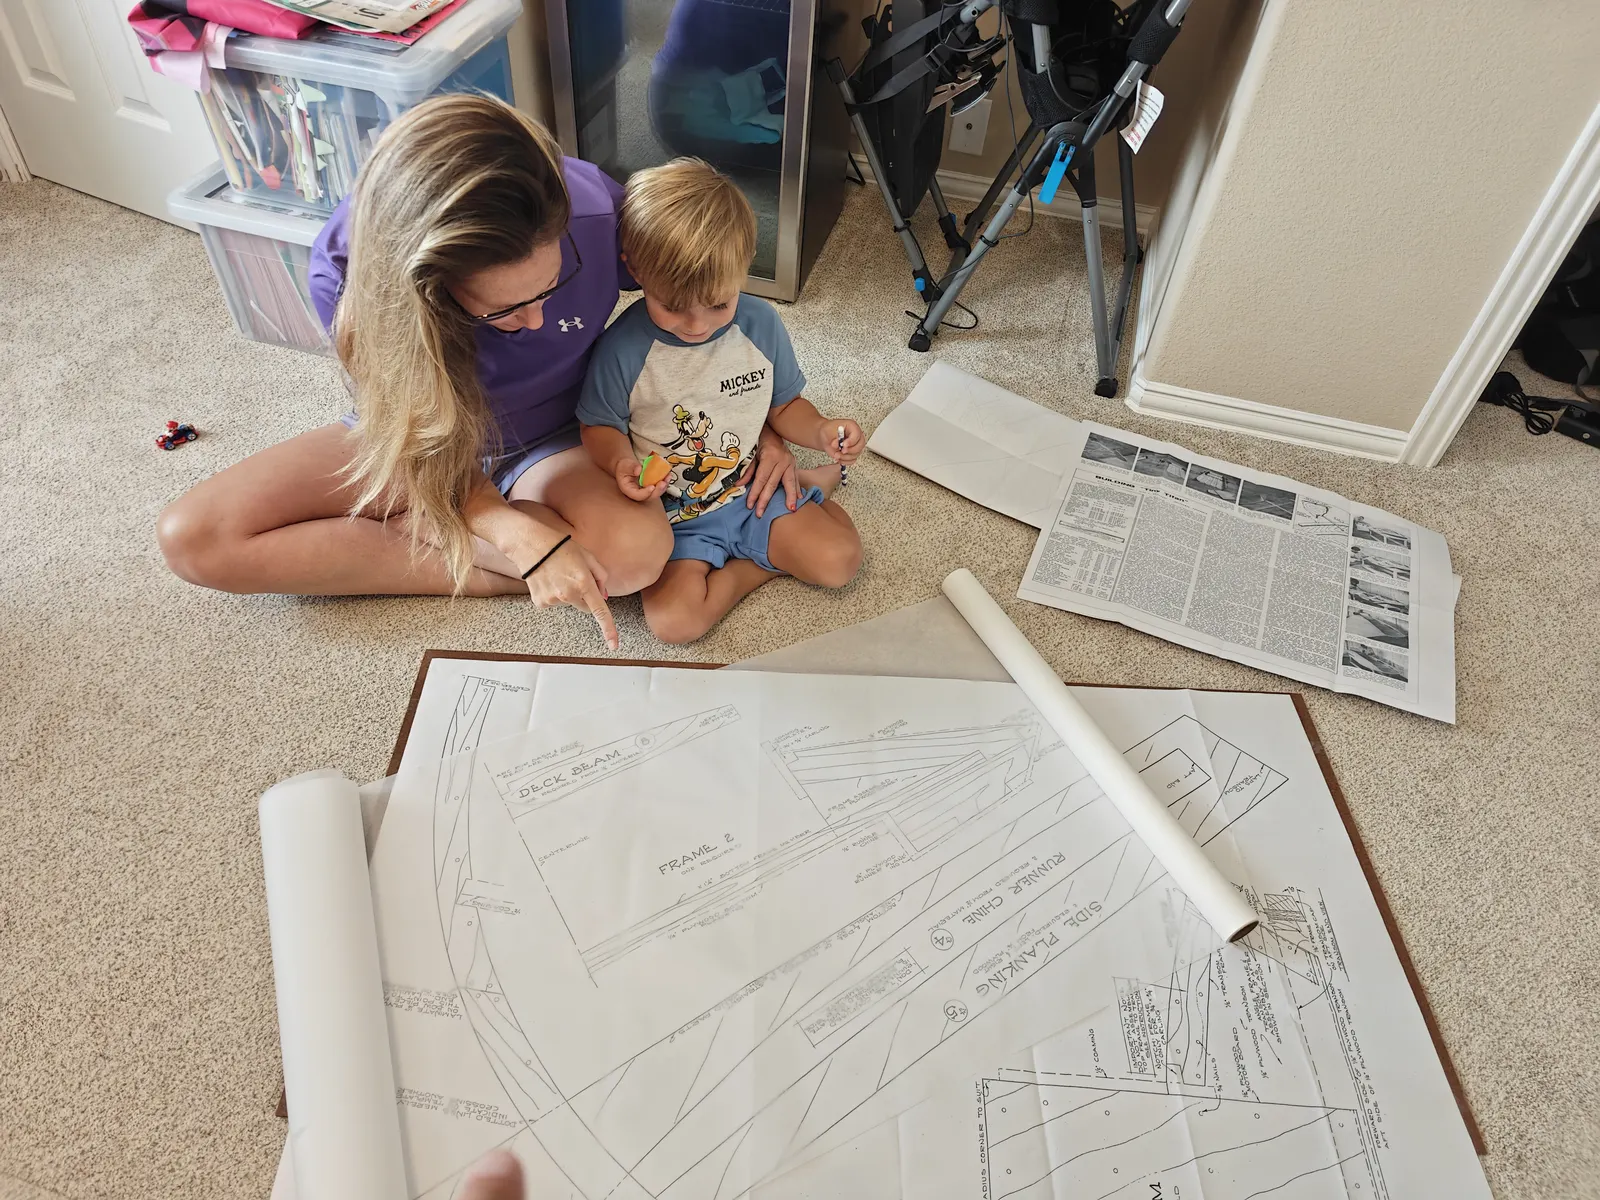
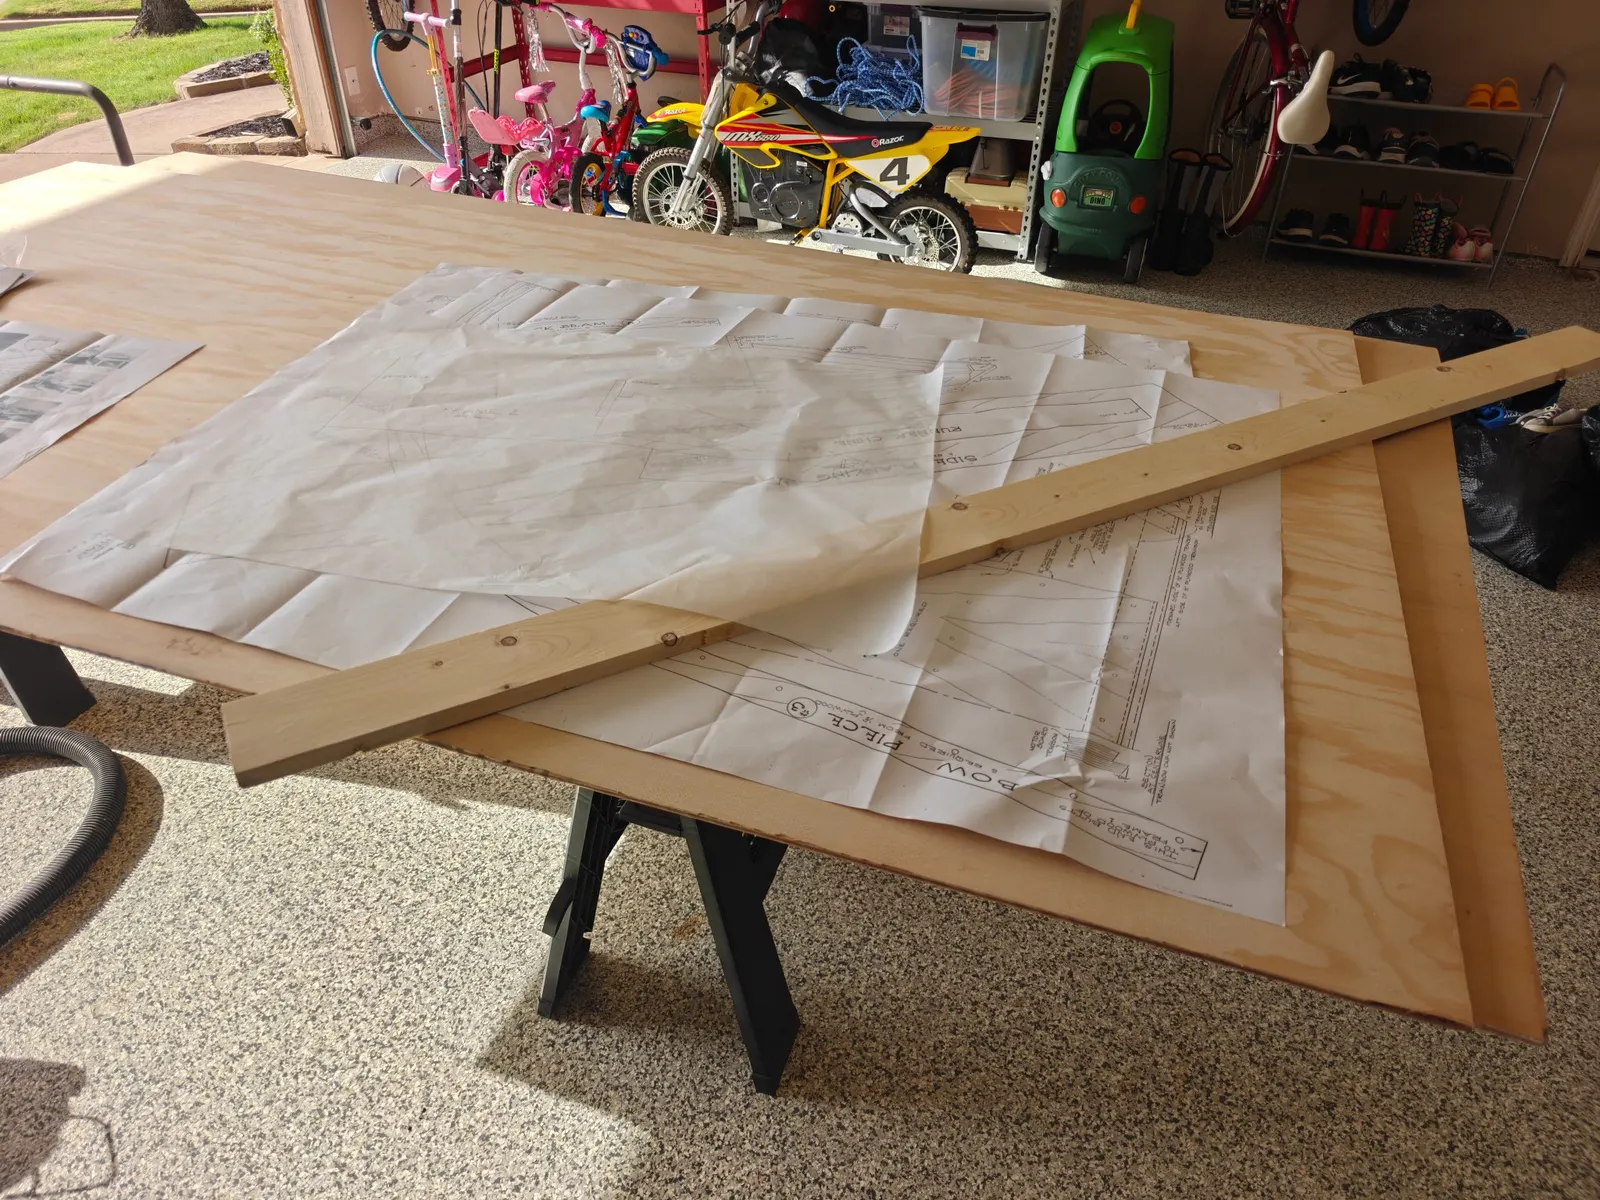
Just received the plans and the family is eager to start tracing (even though Dad doesn't quite know how to build a Glen l boat yet.
I'm going to do my best to document the build so others can see how to build this boat and potentially other glen ls in the future
Chapter 02
Shop & Tooling
Clearing space, building benches and jigs, buying or borrowing the tools the build needs.
3 days
5 hours from August 2026
21 Aug 2026
Shop & Tooling 2 h
Buying the plywood
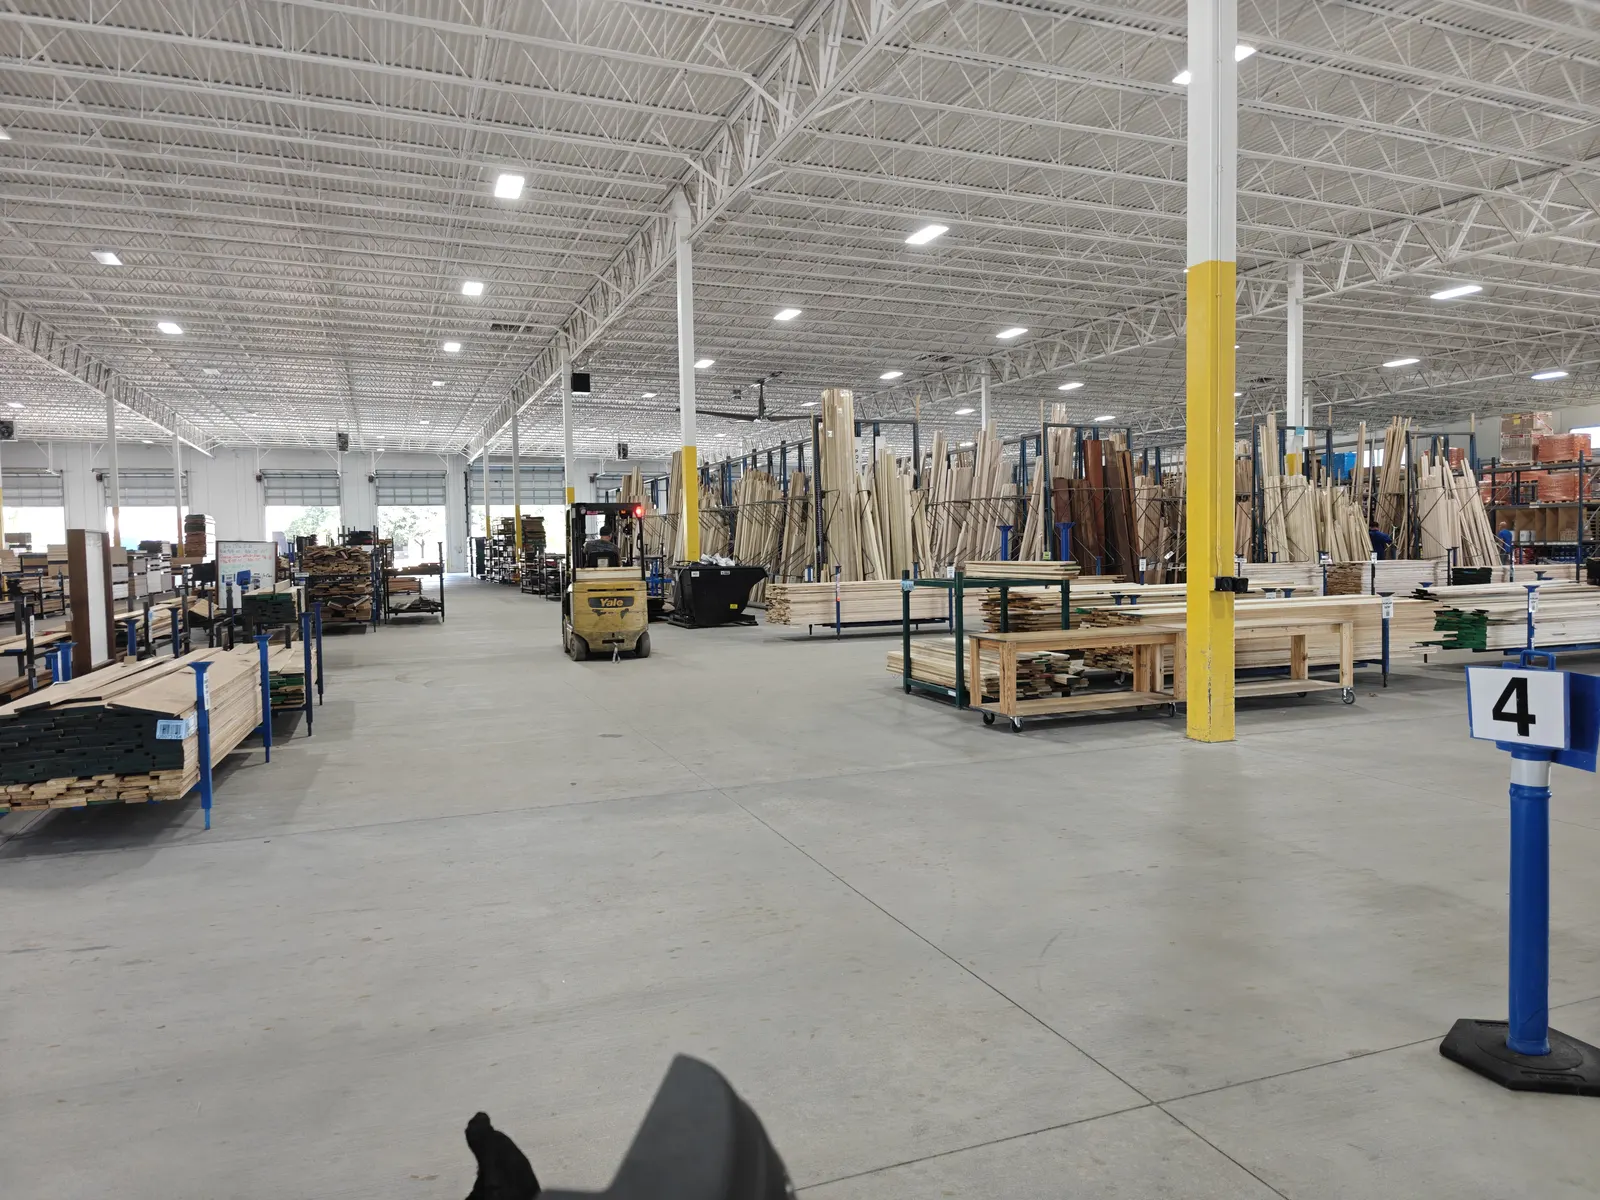
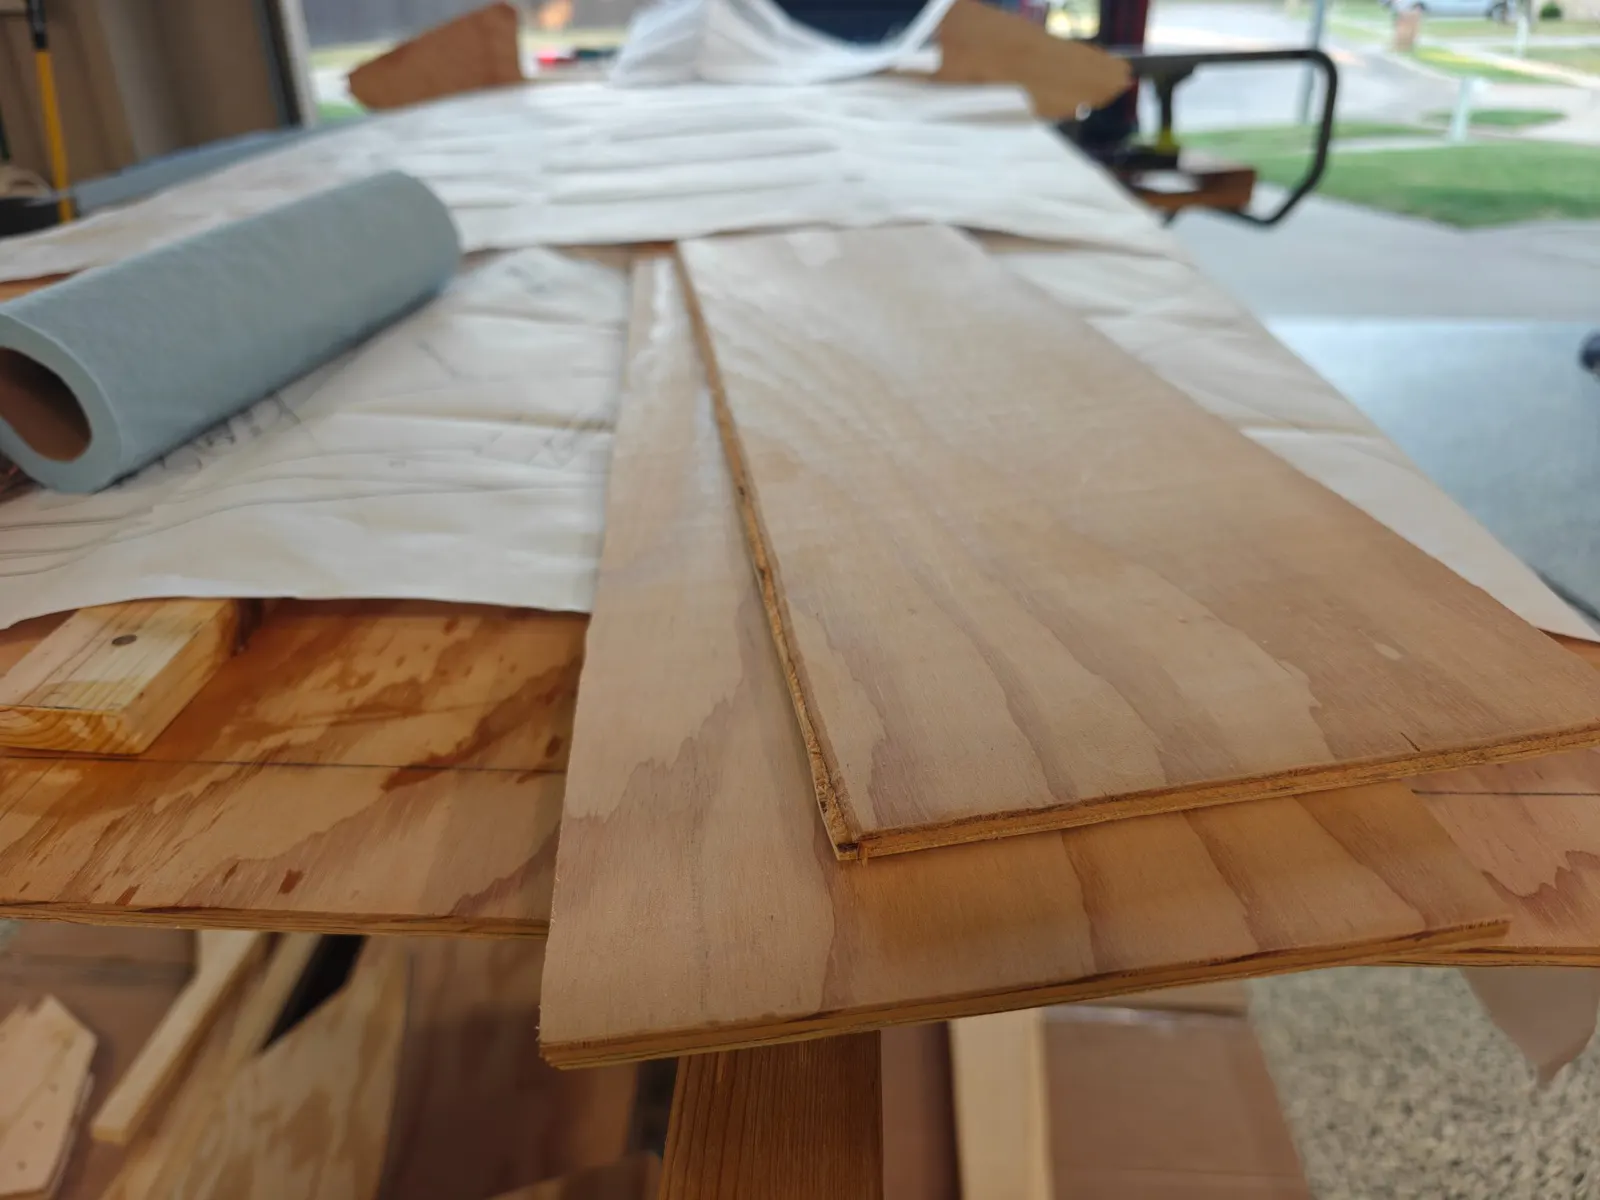
Picked up the plywood today. I grabbed mostly marine grade fir, but I could only find the 1/8 in in Birch.
21 Aug 2026
Shop & Tooling 2 h
Planer
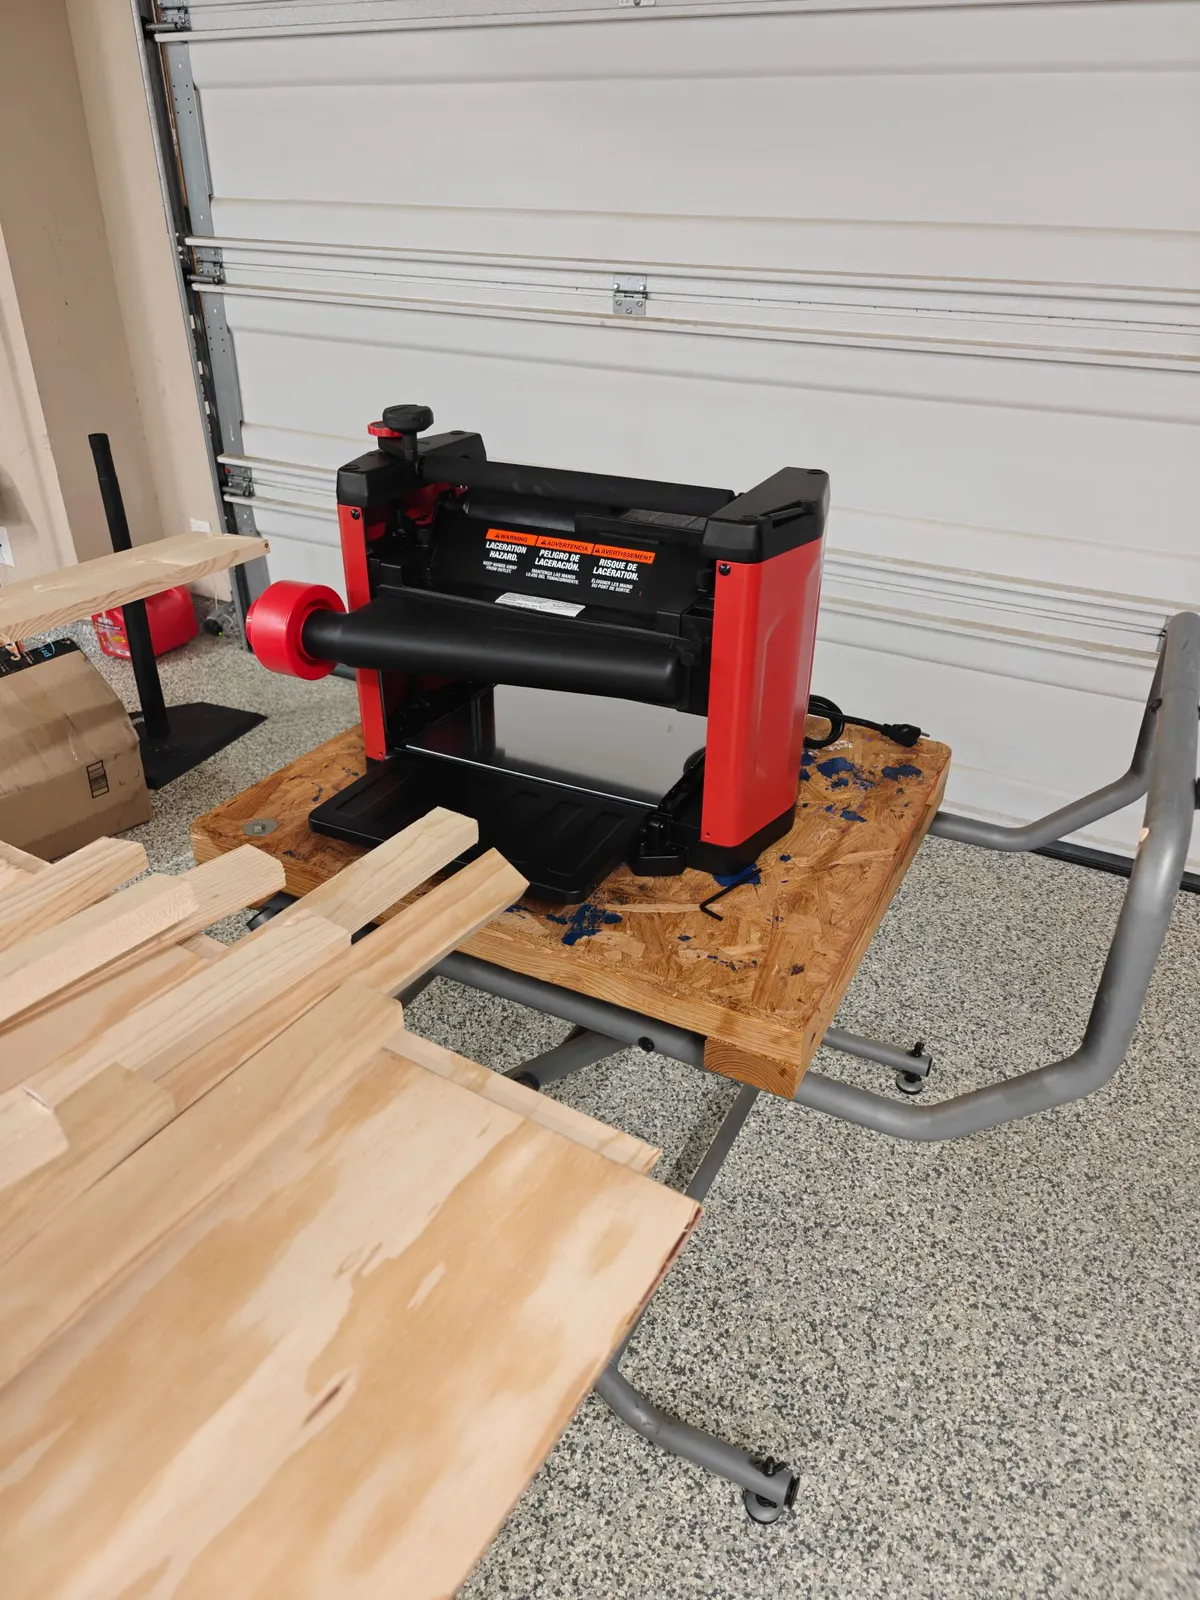
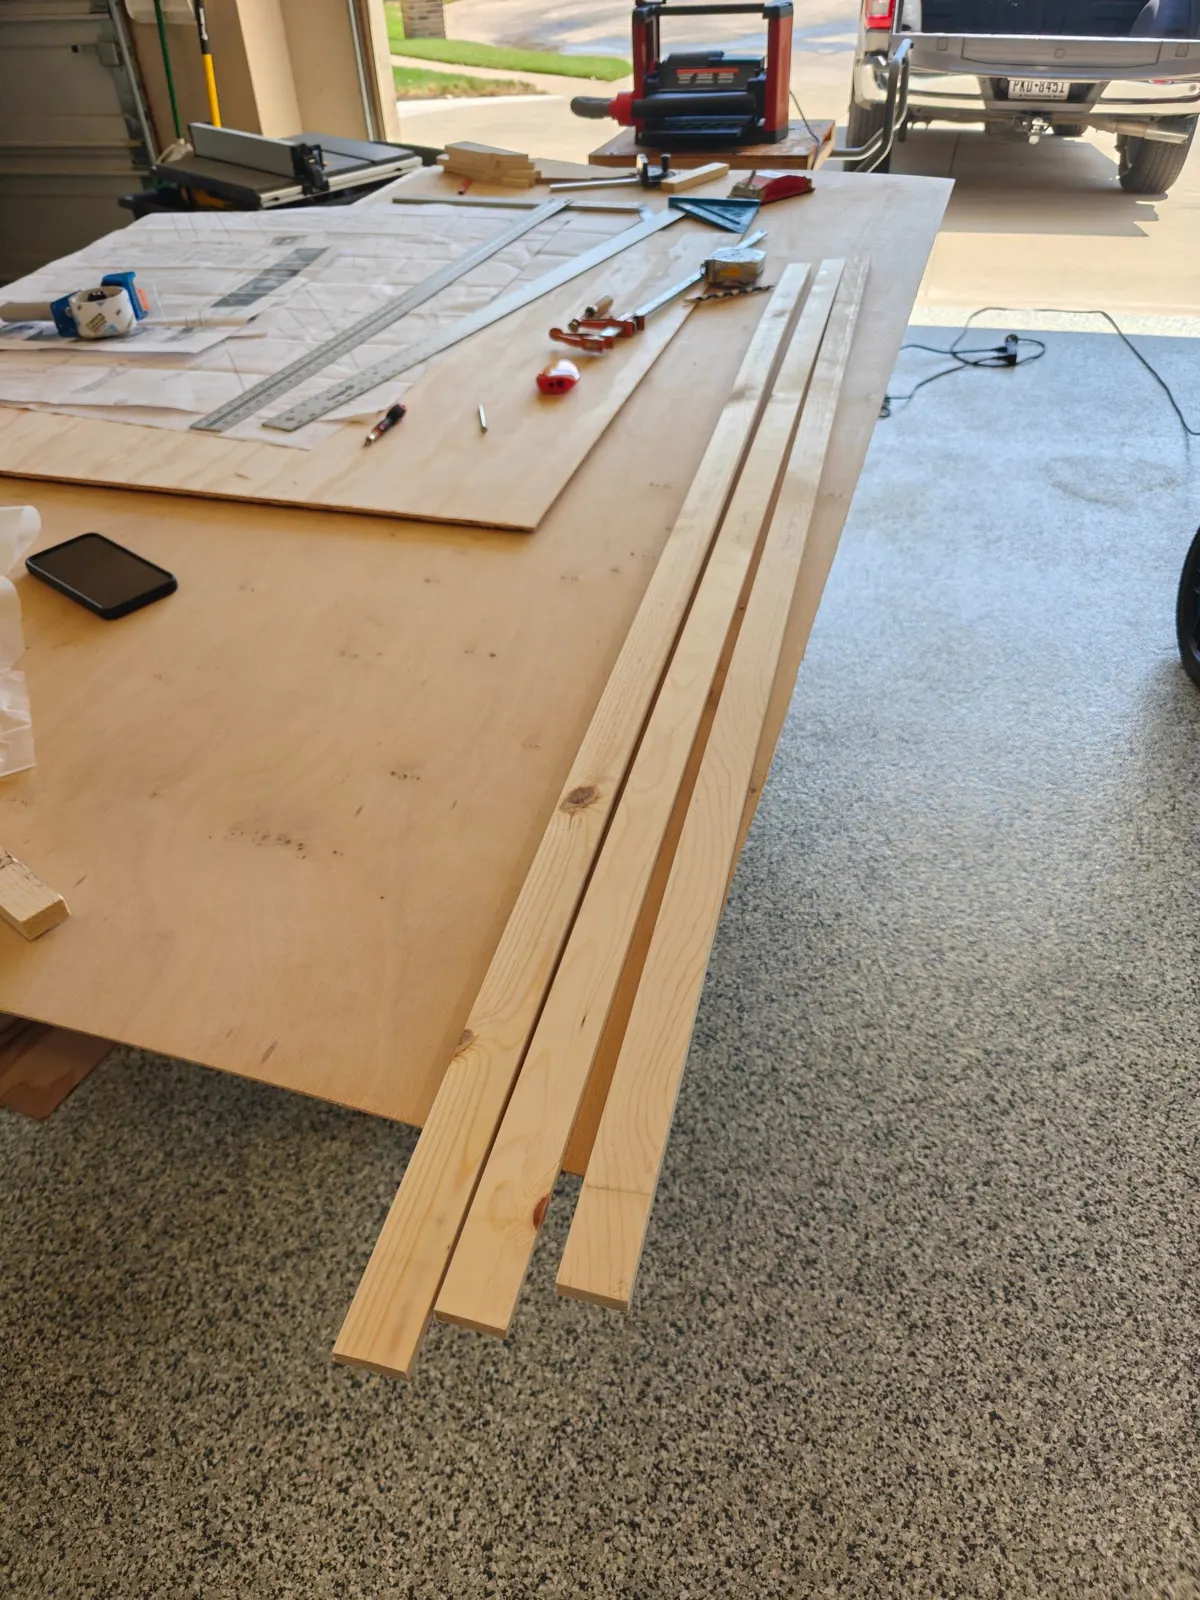
I had to buy a new tool because these plans call for somewhat non-standard dimensional lumber, all these one half inch are very very hard to find.
Chapter 03
Hull Panels
Scarfing plywood, cutting panels, milling strips or planking stock.
6 days
12 hours from August 2026
22 Aug 2026
Hull Panels 3 h
Prepping and cutting
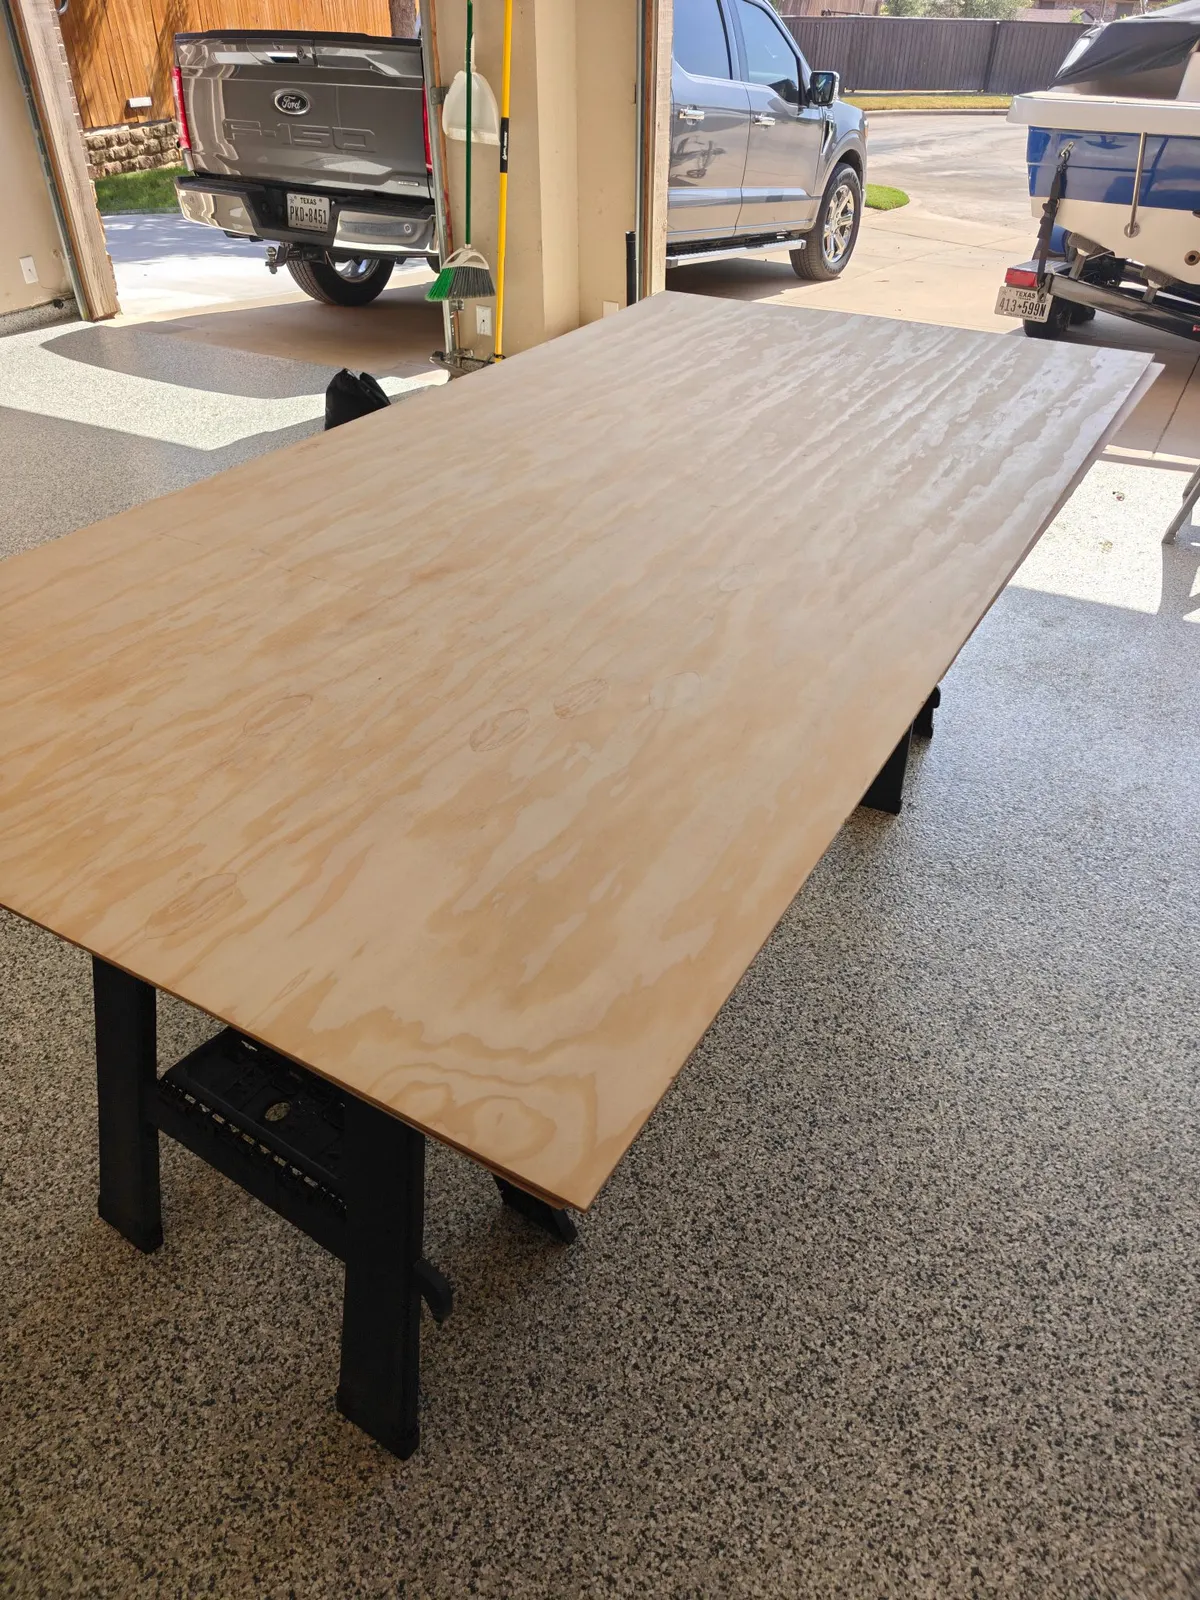
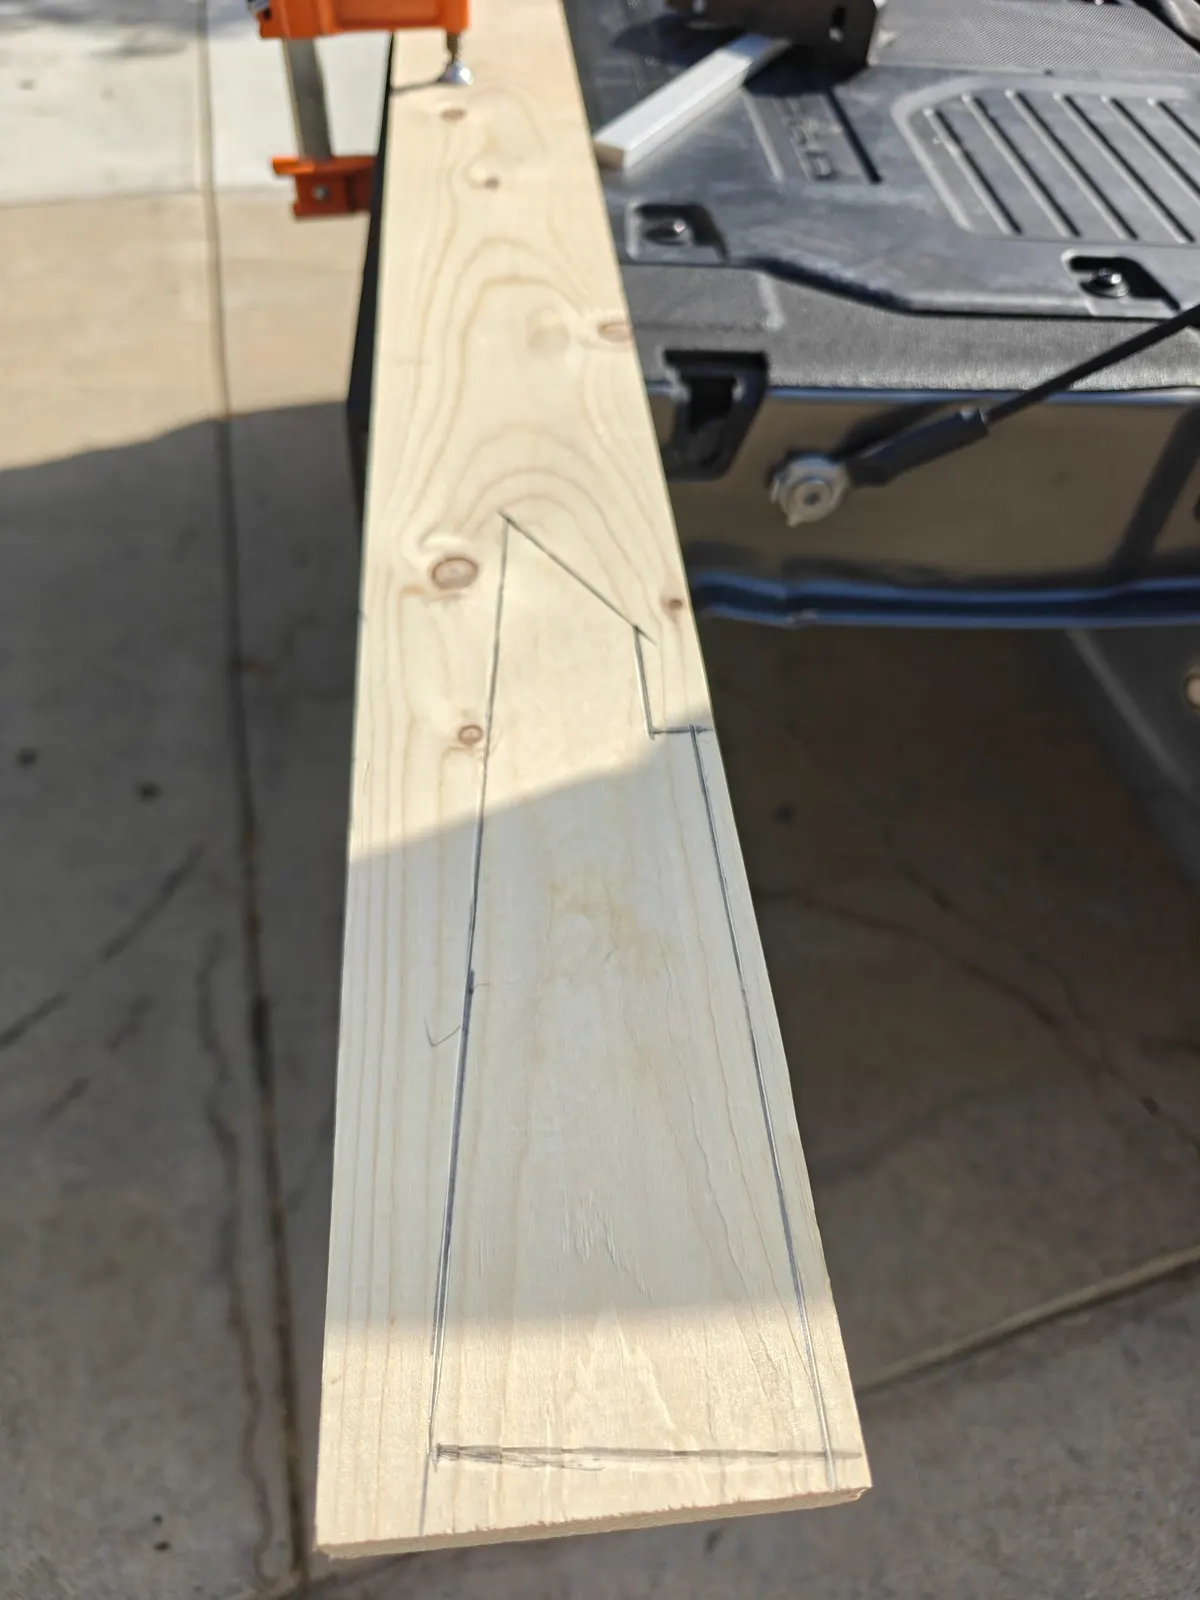
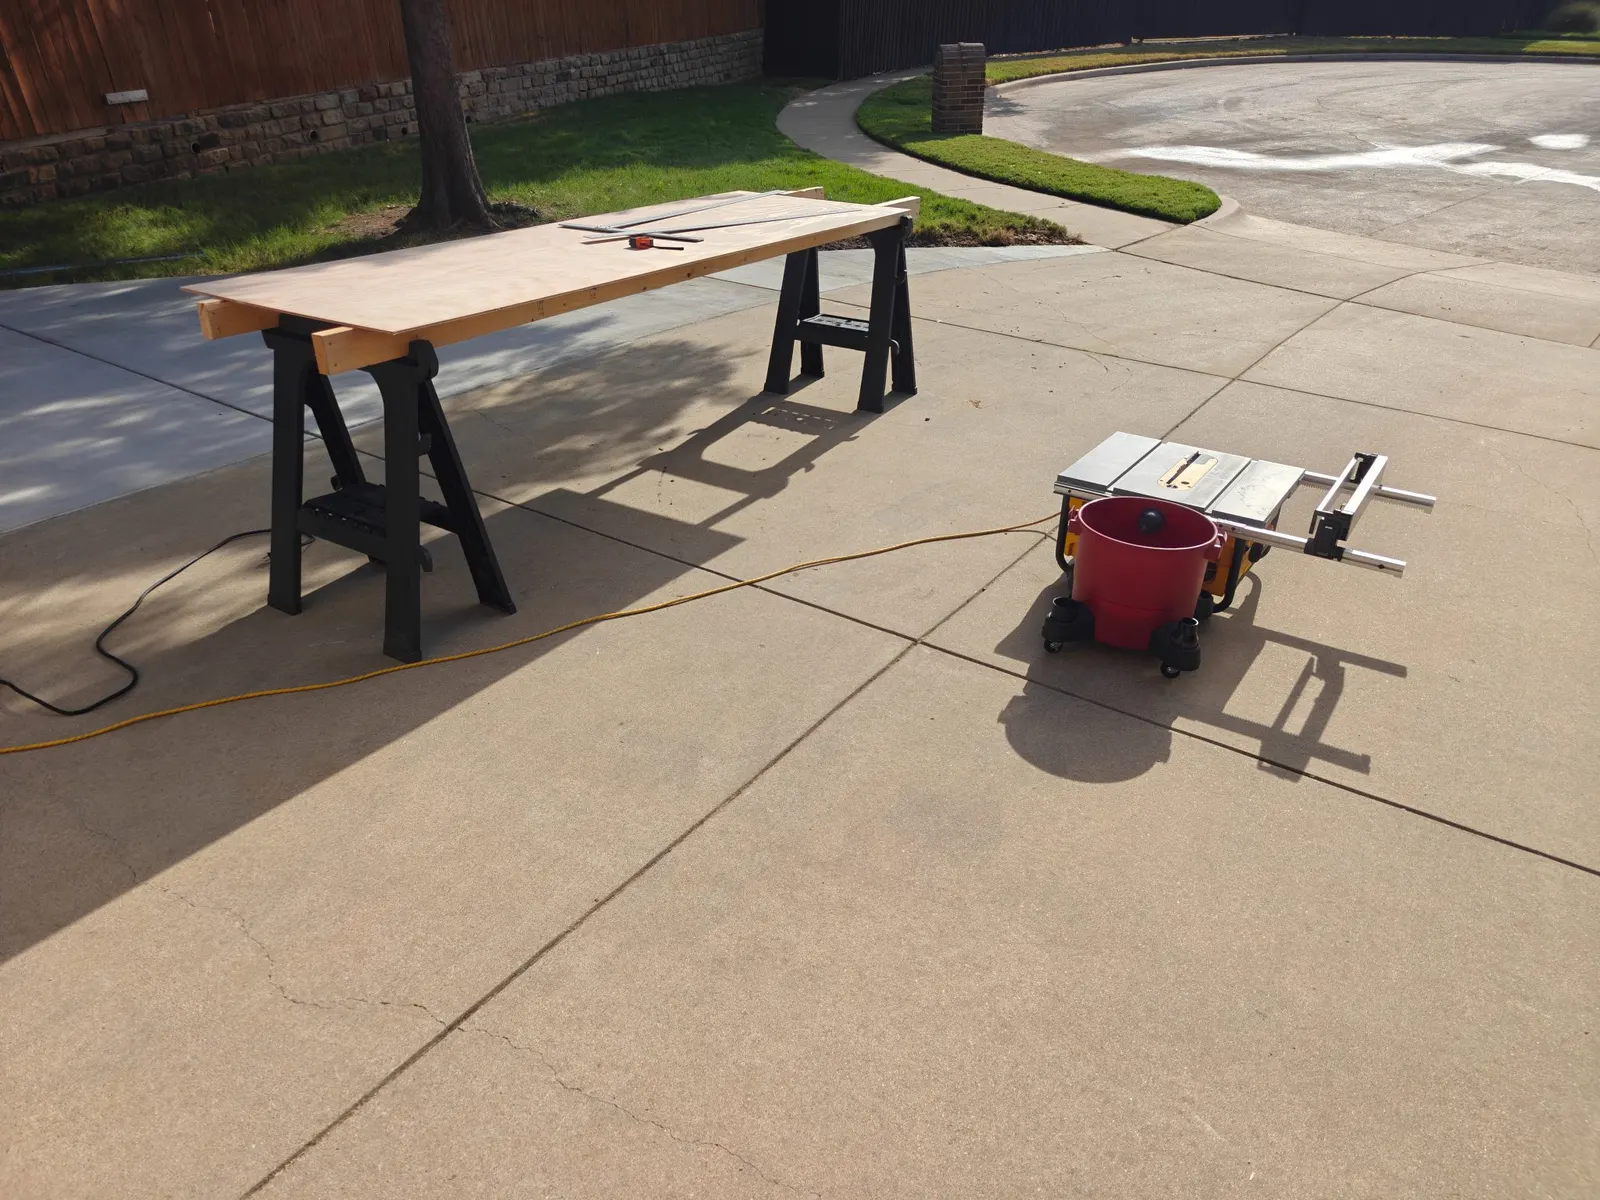
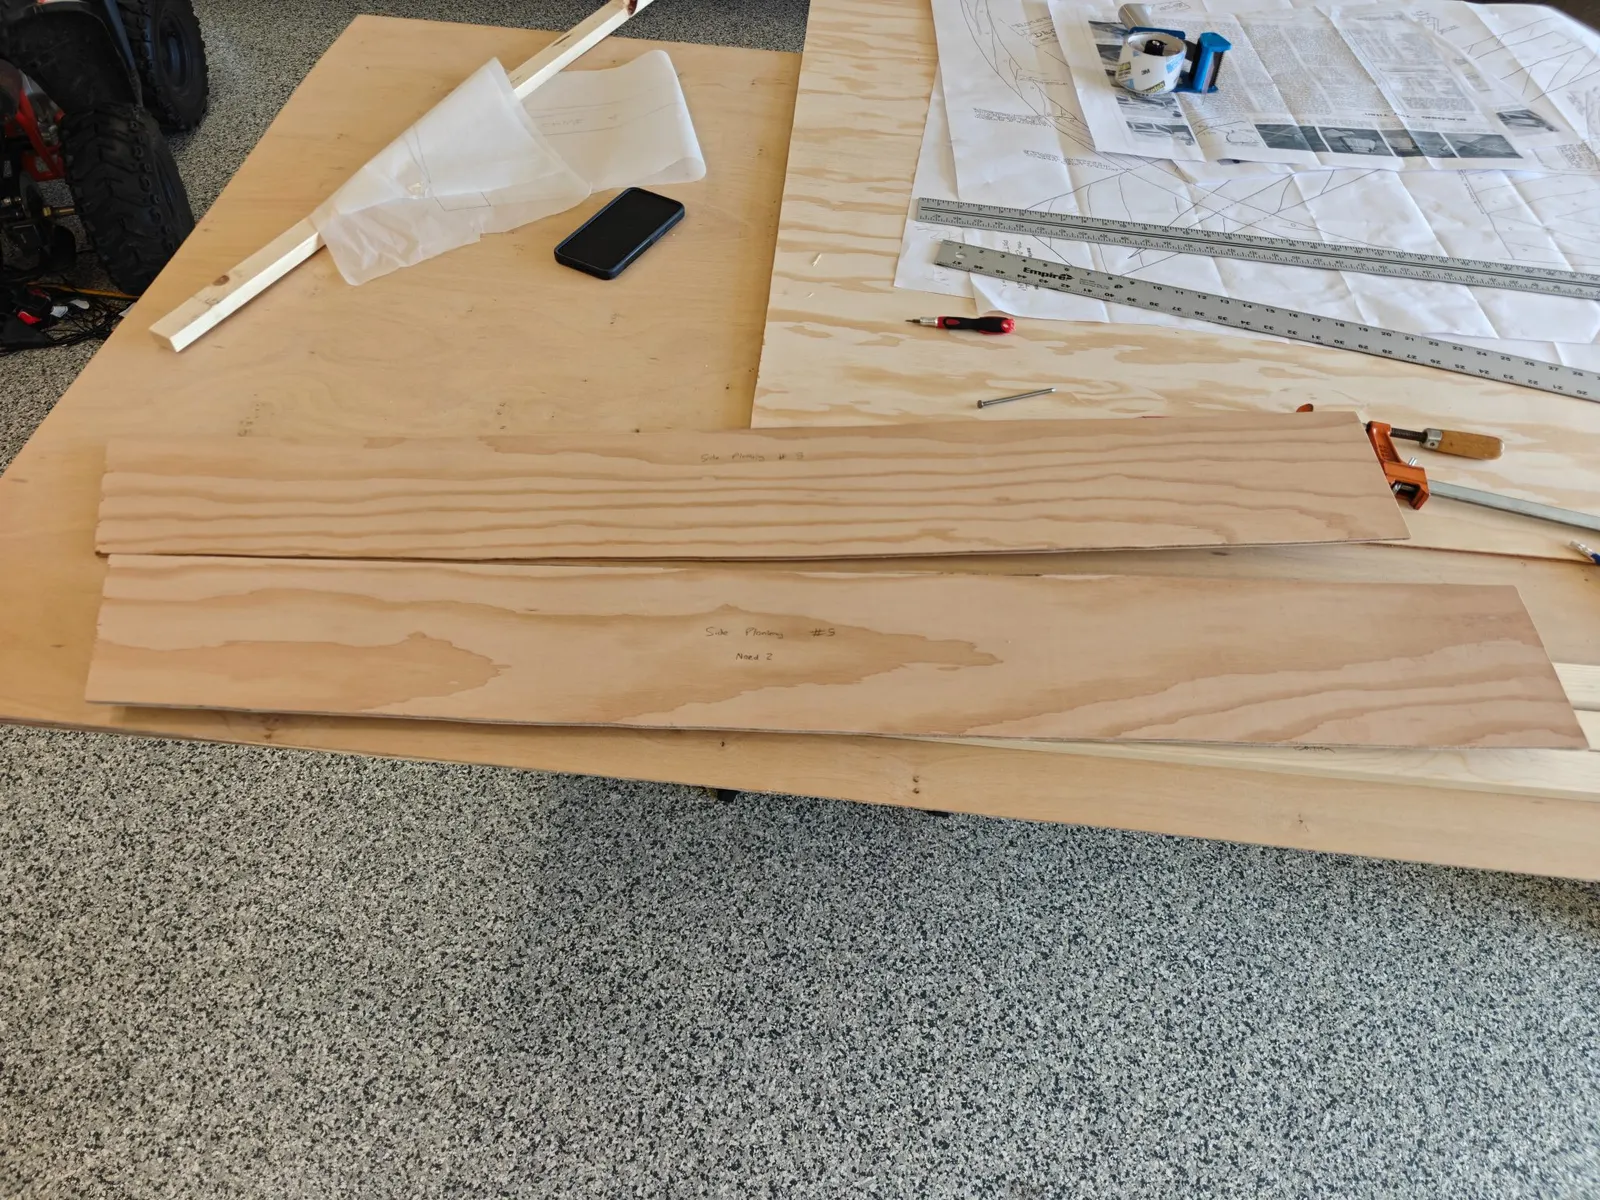
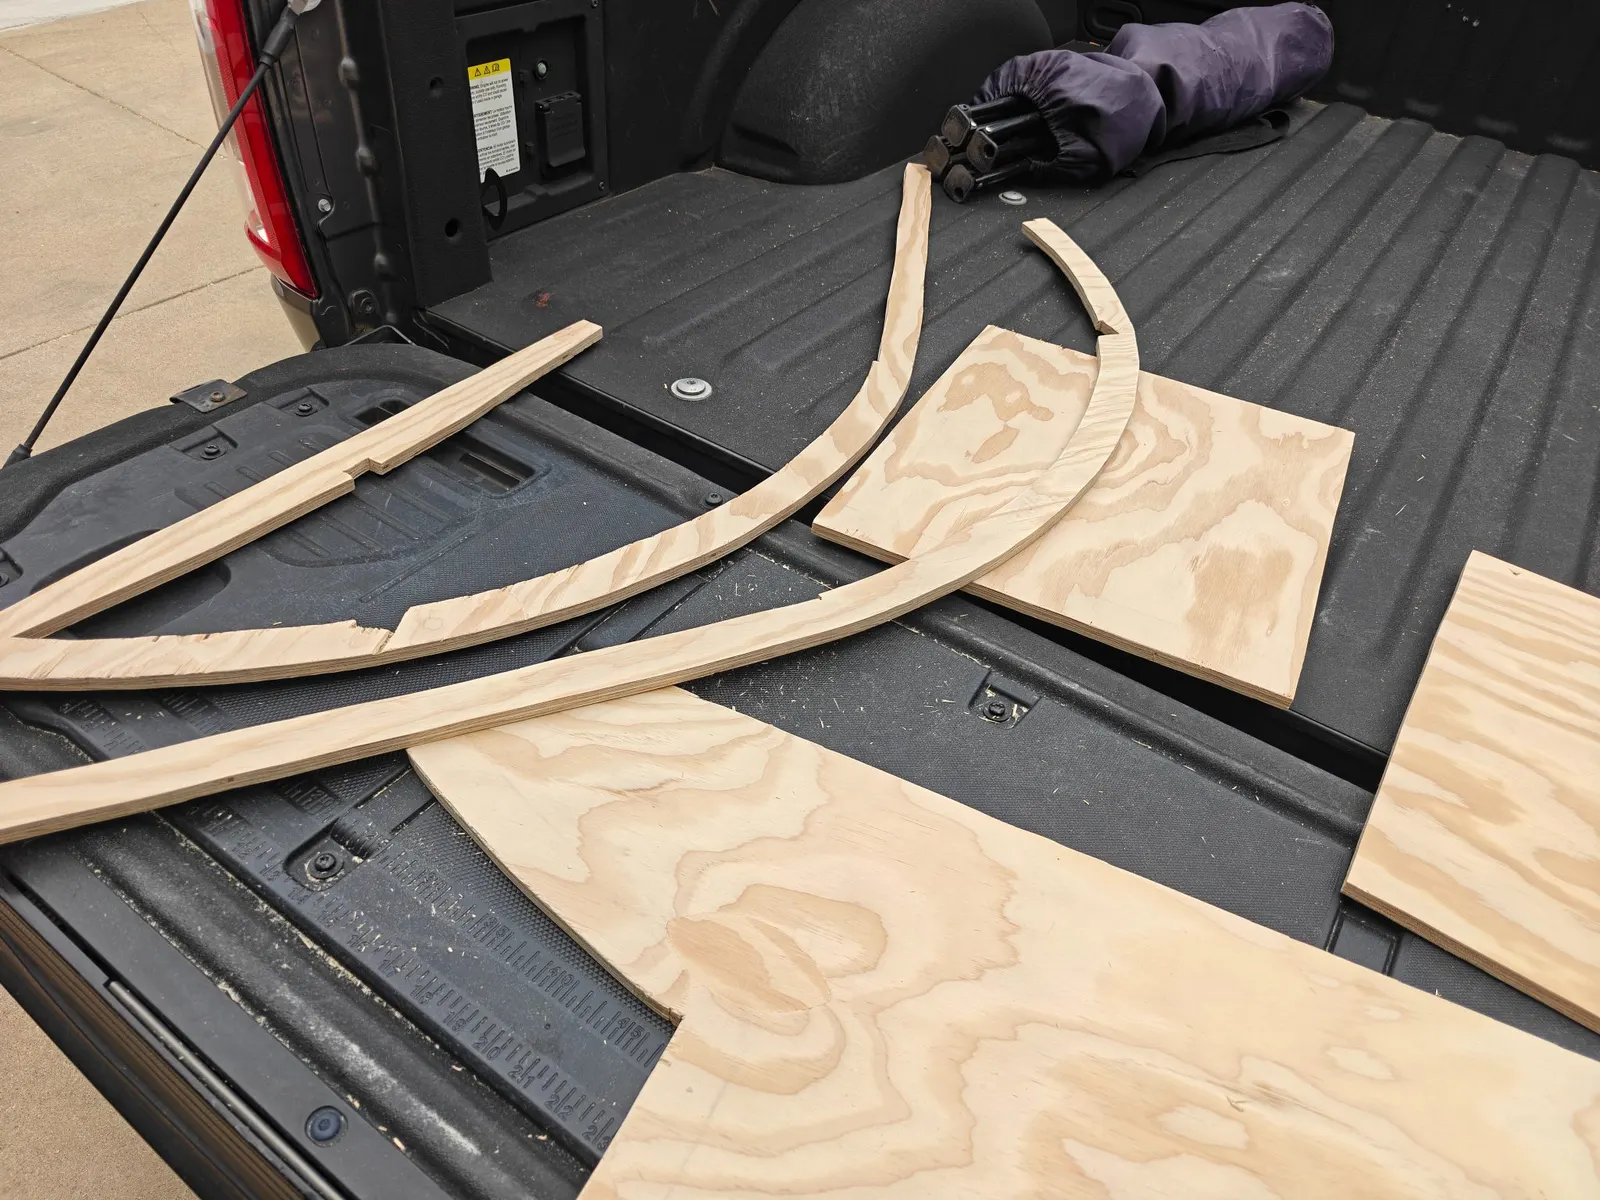
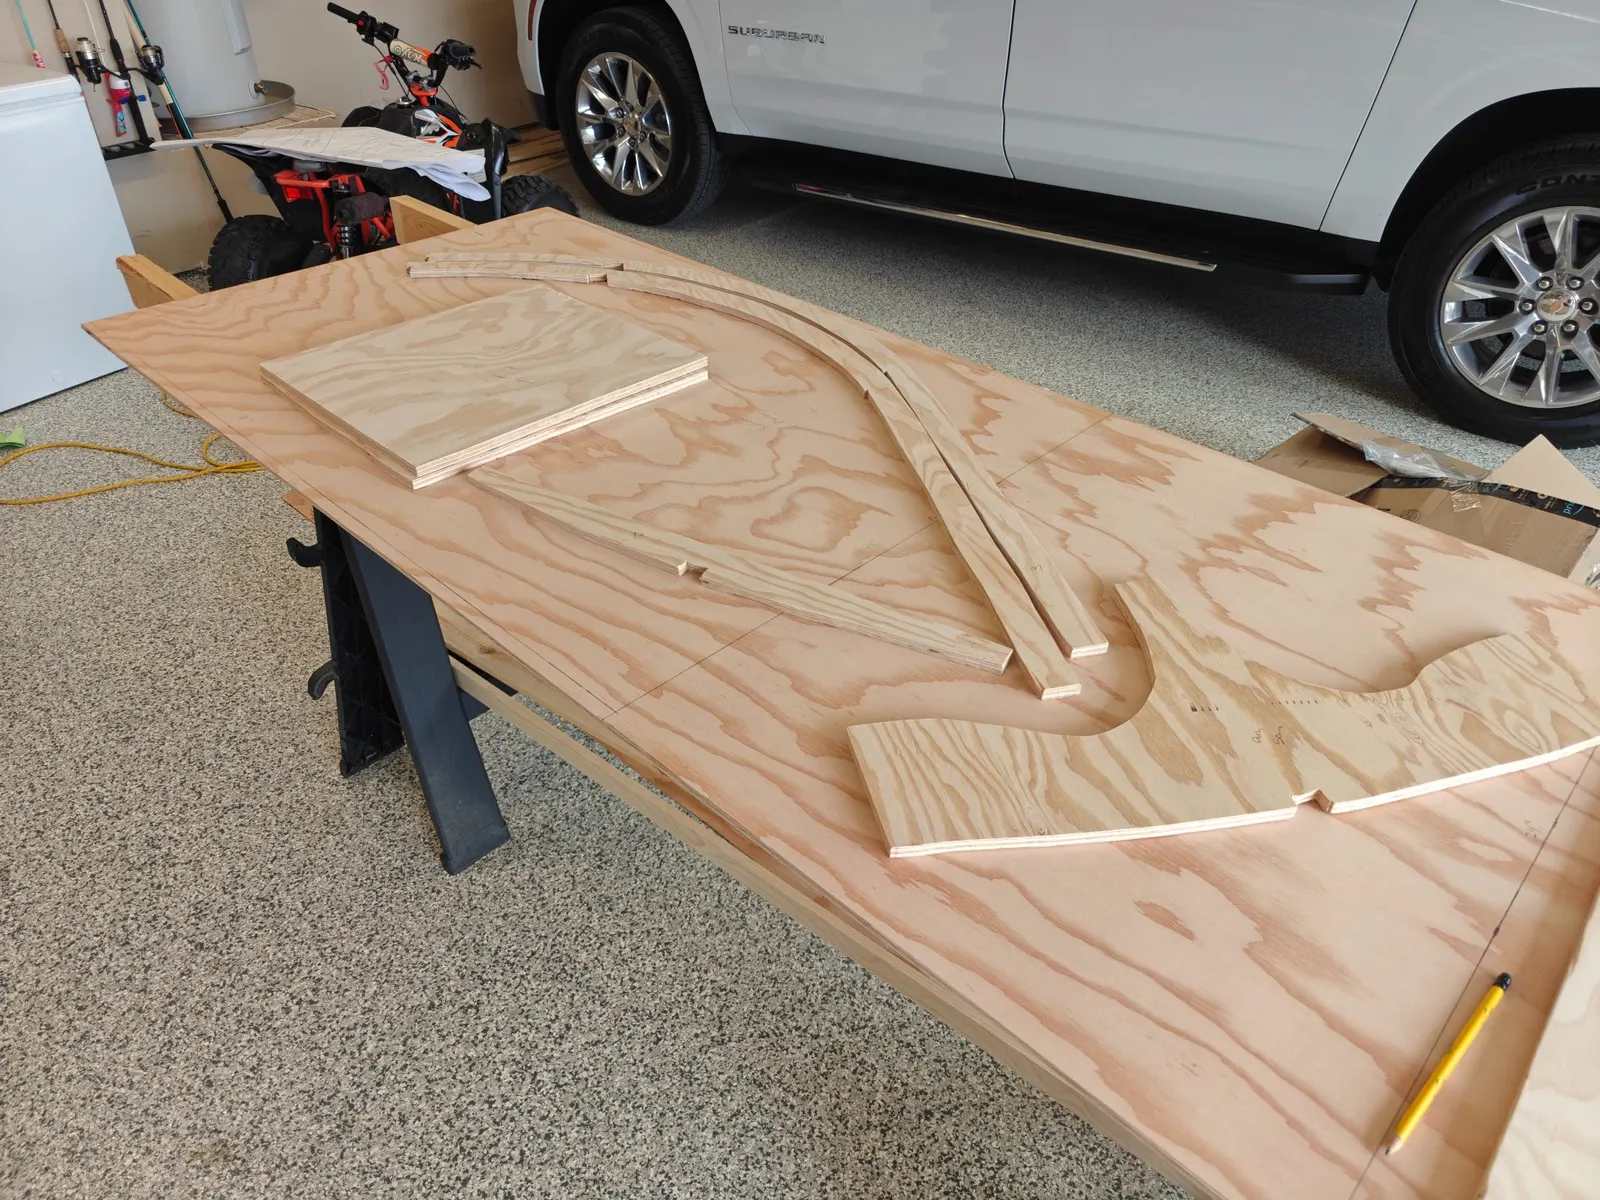
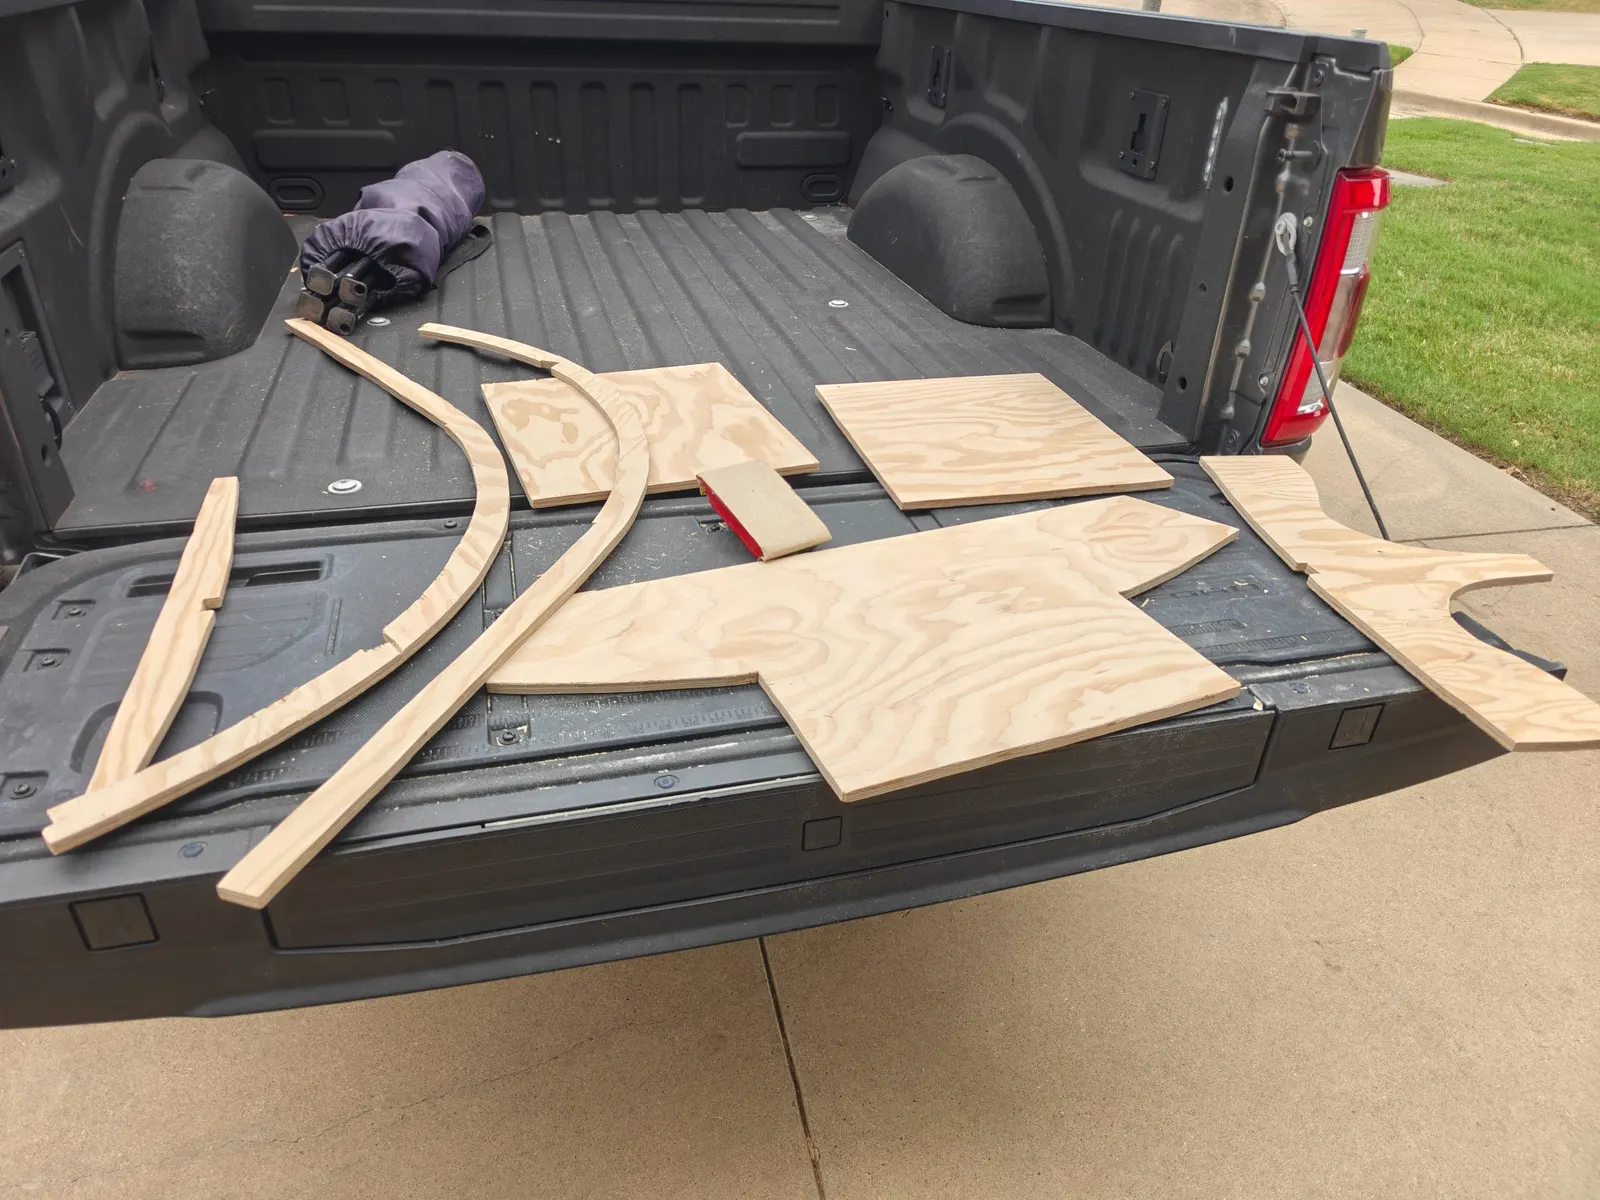
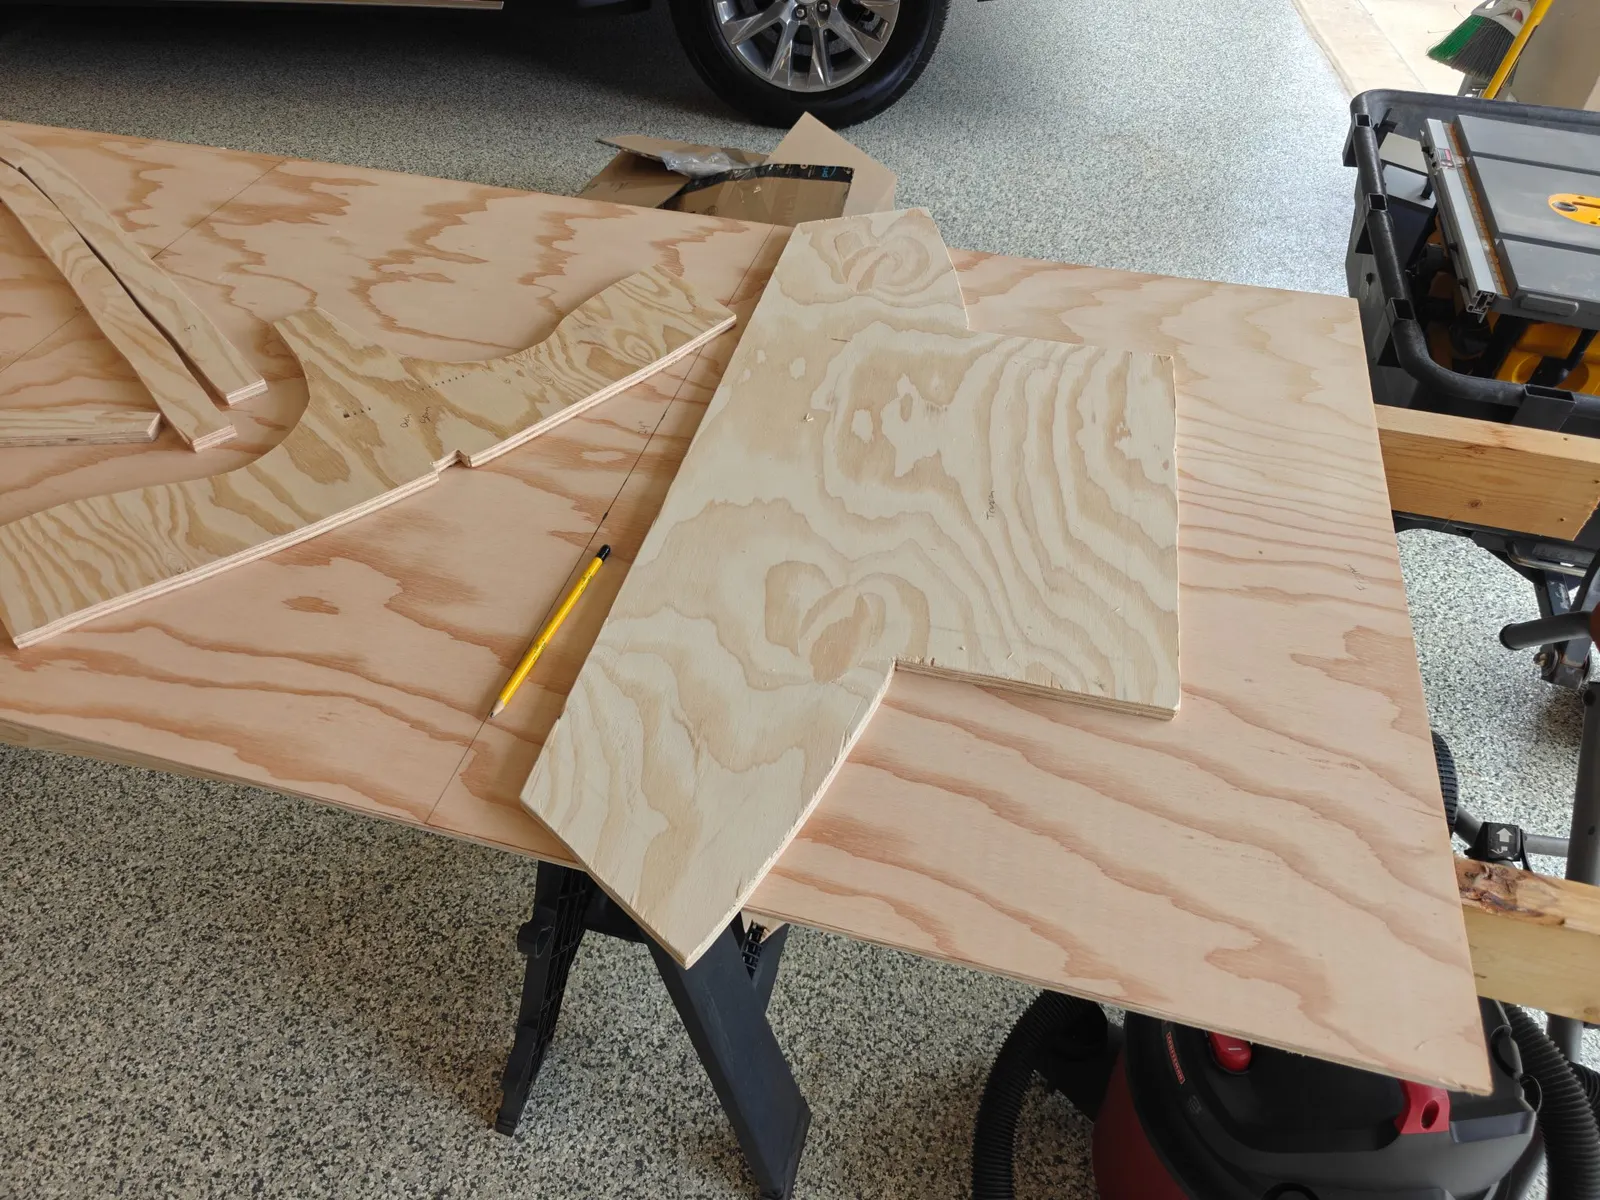
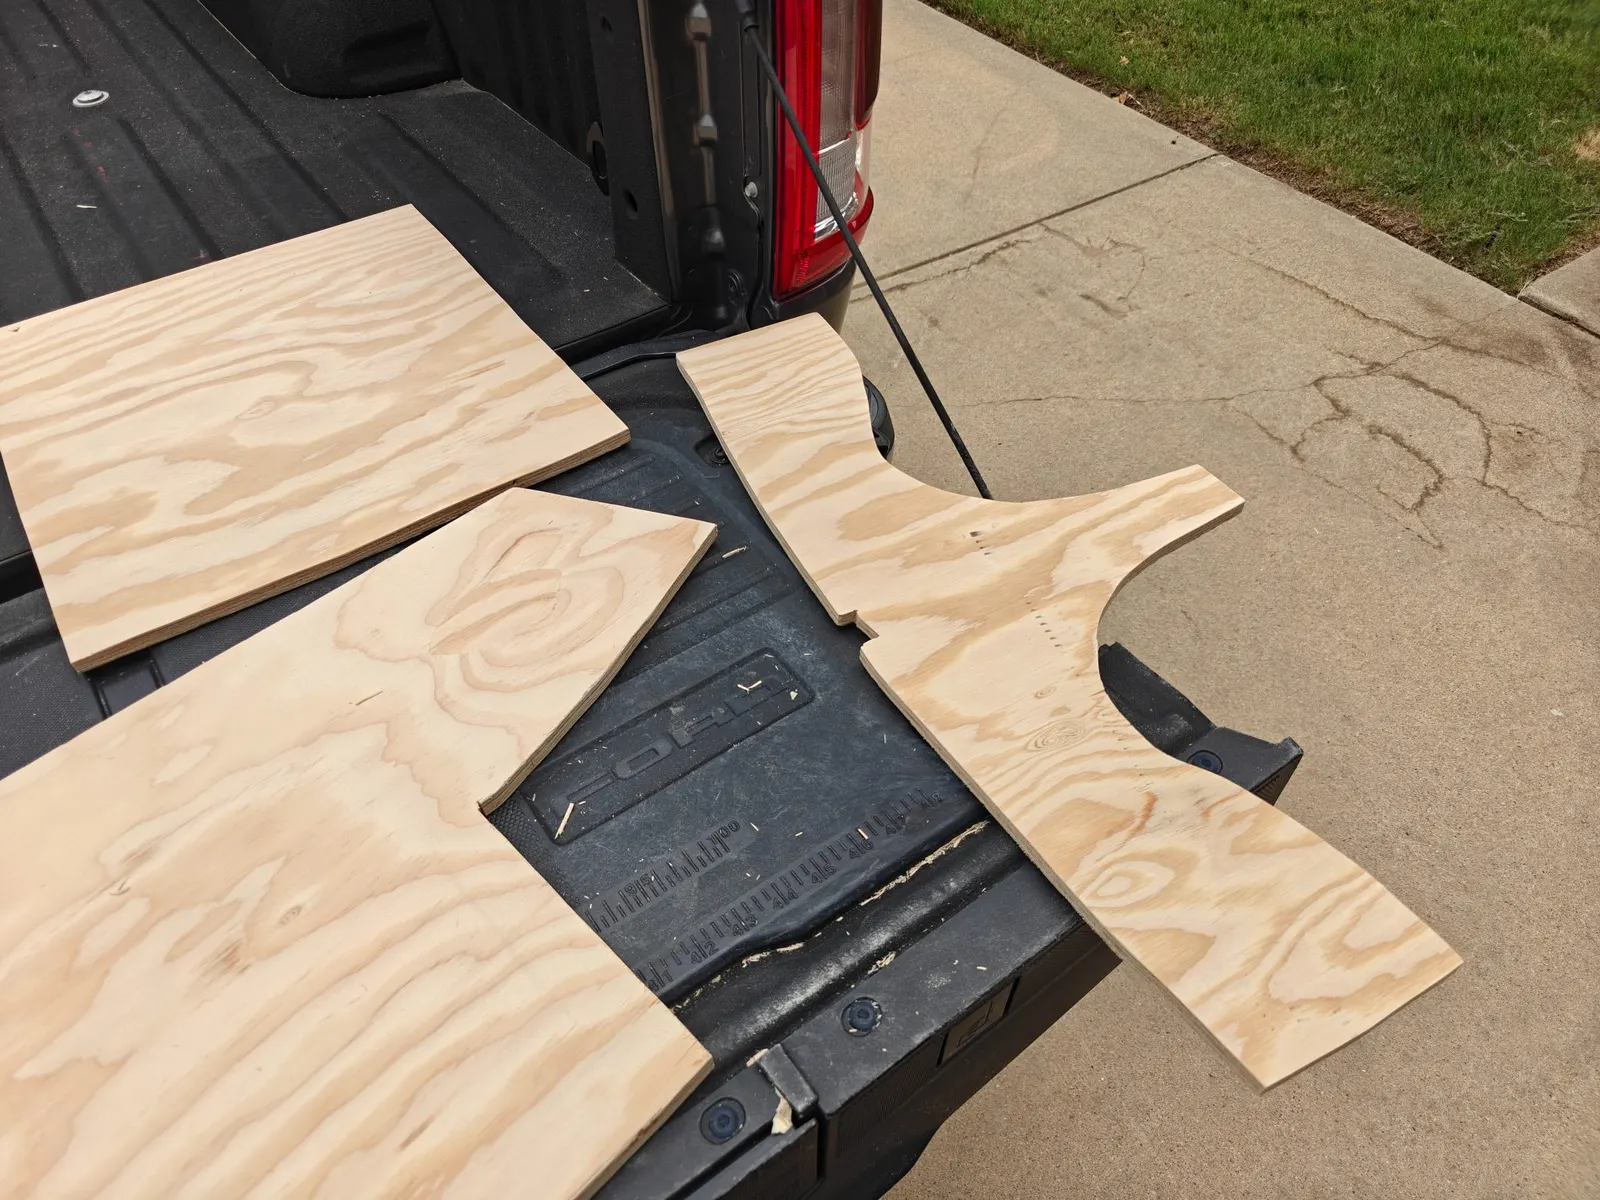
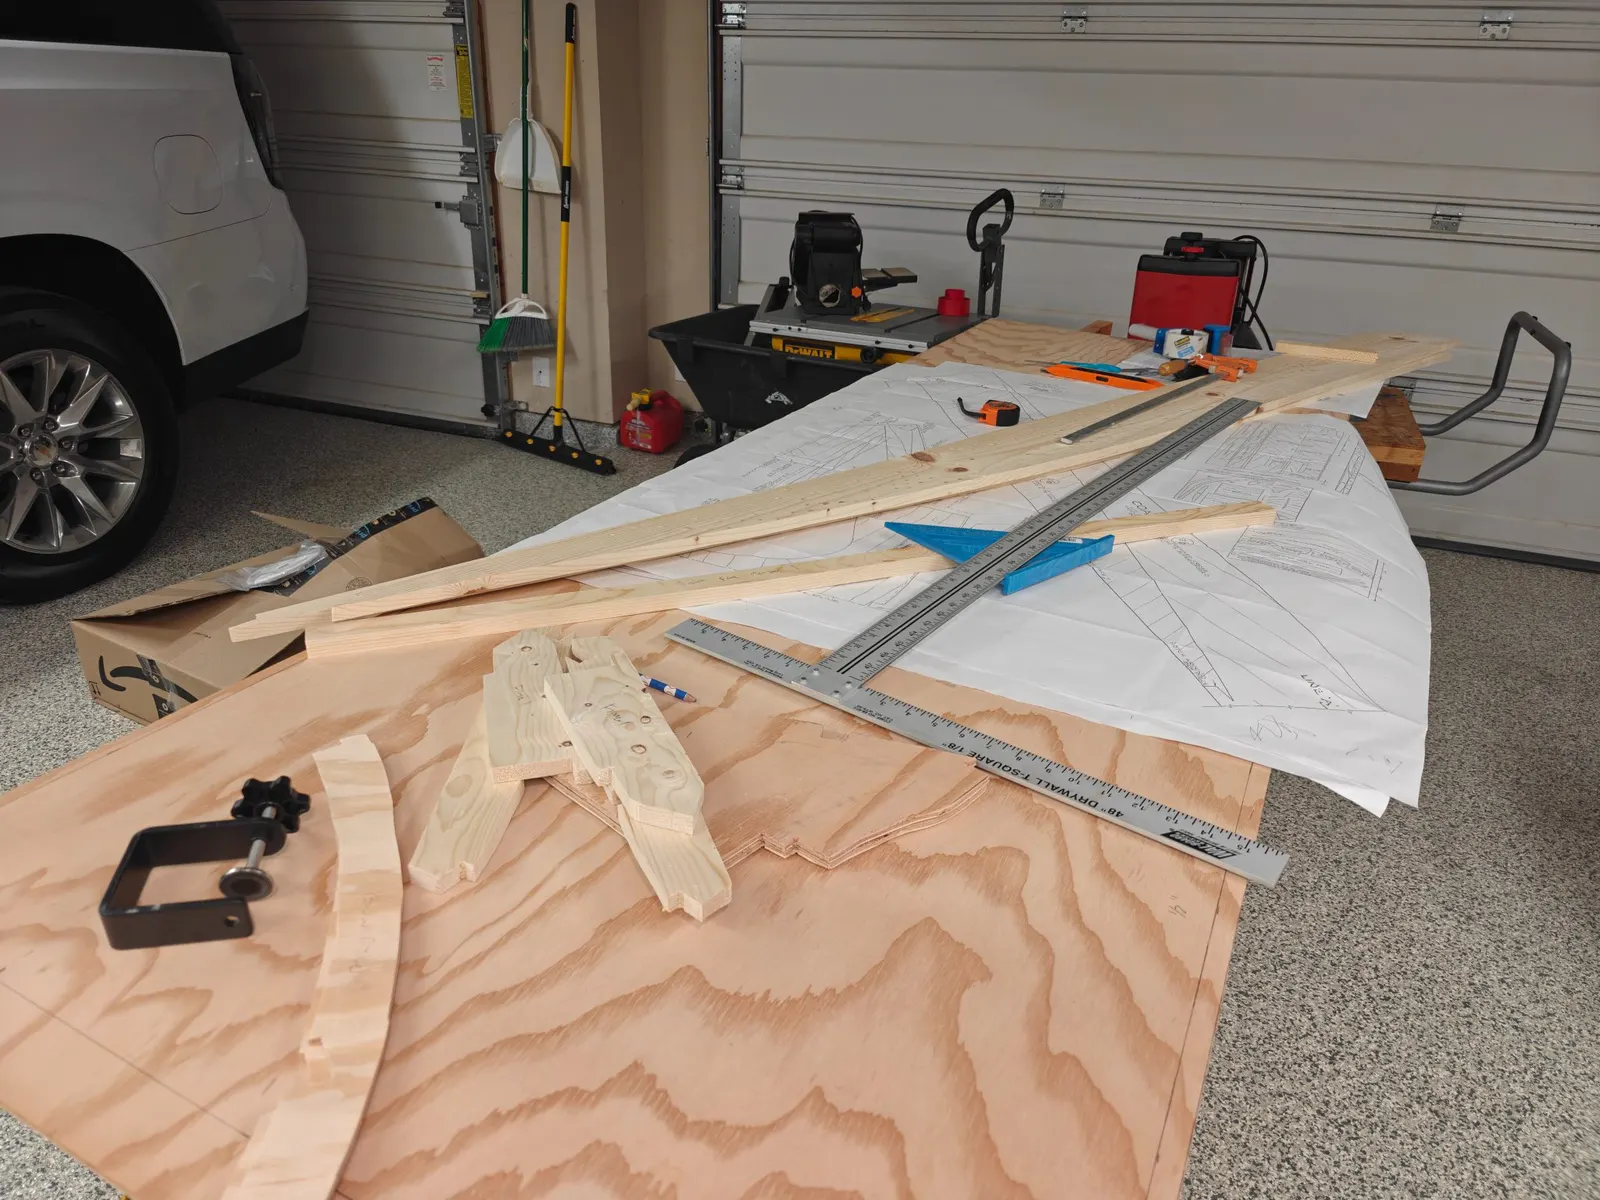
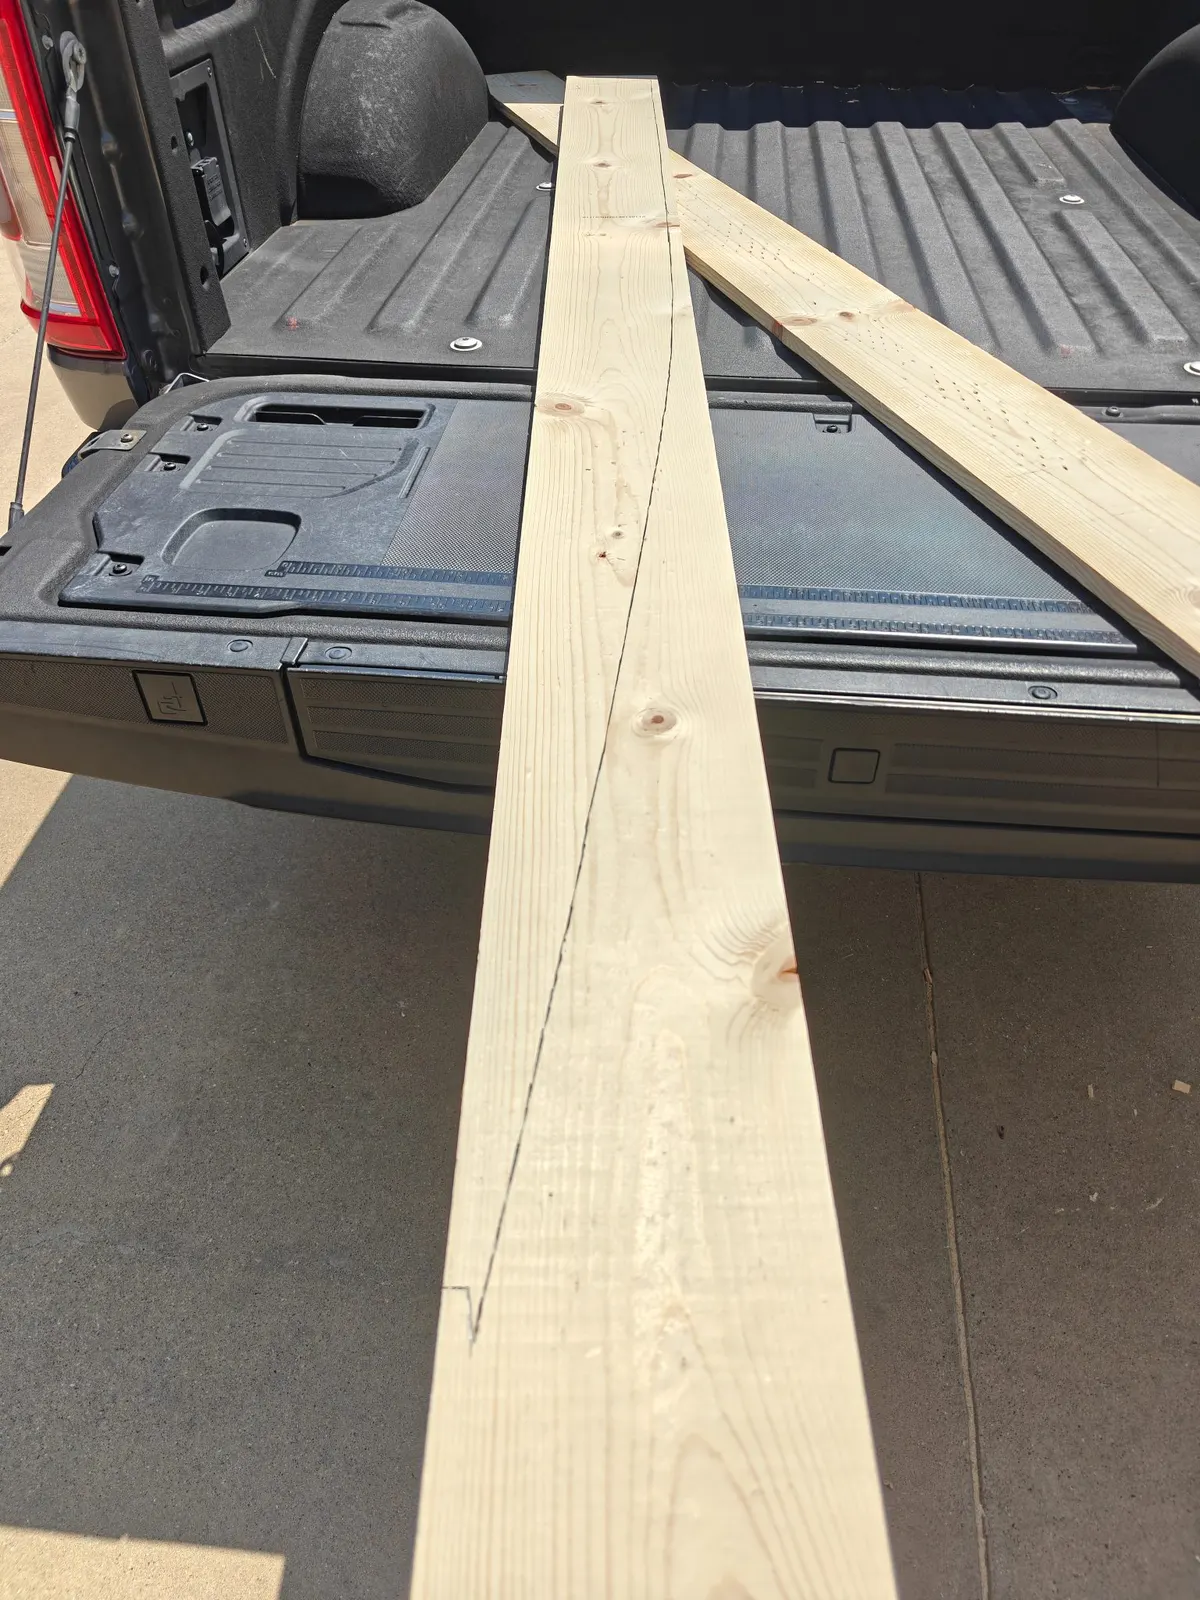
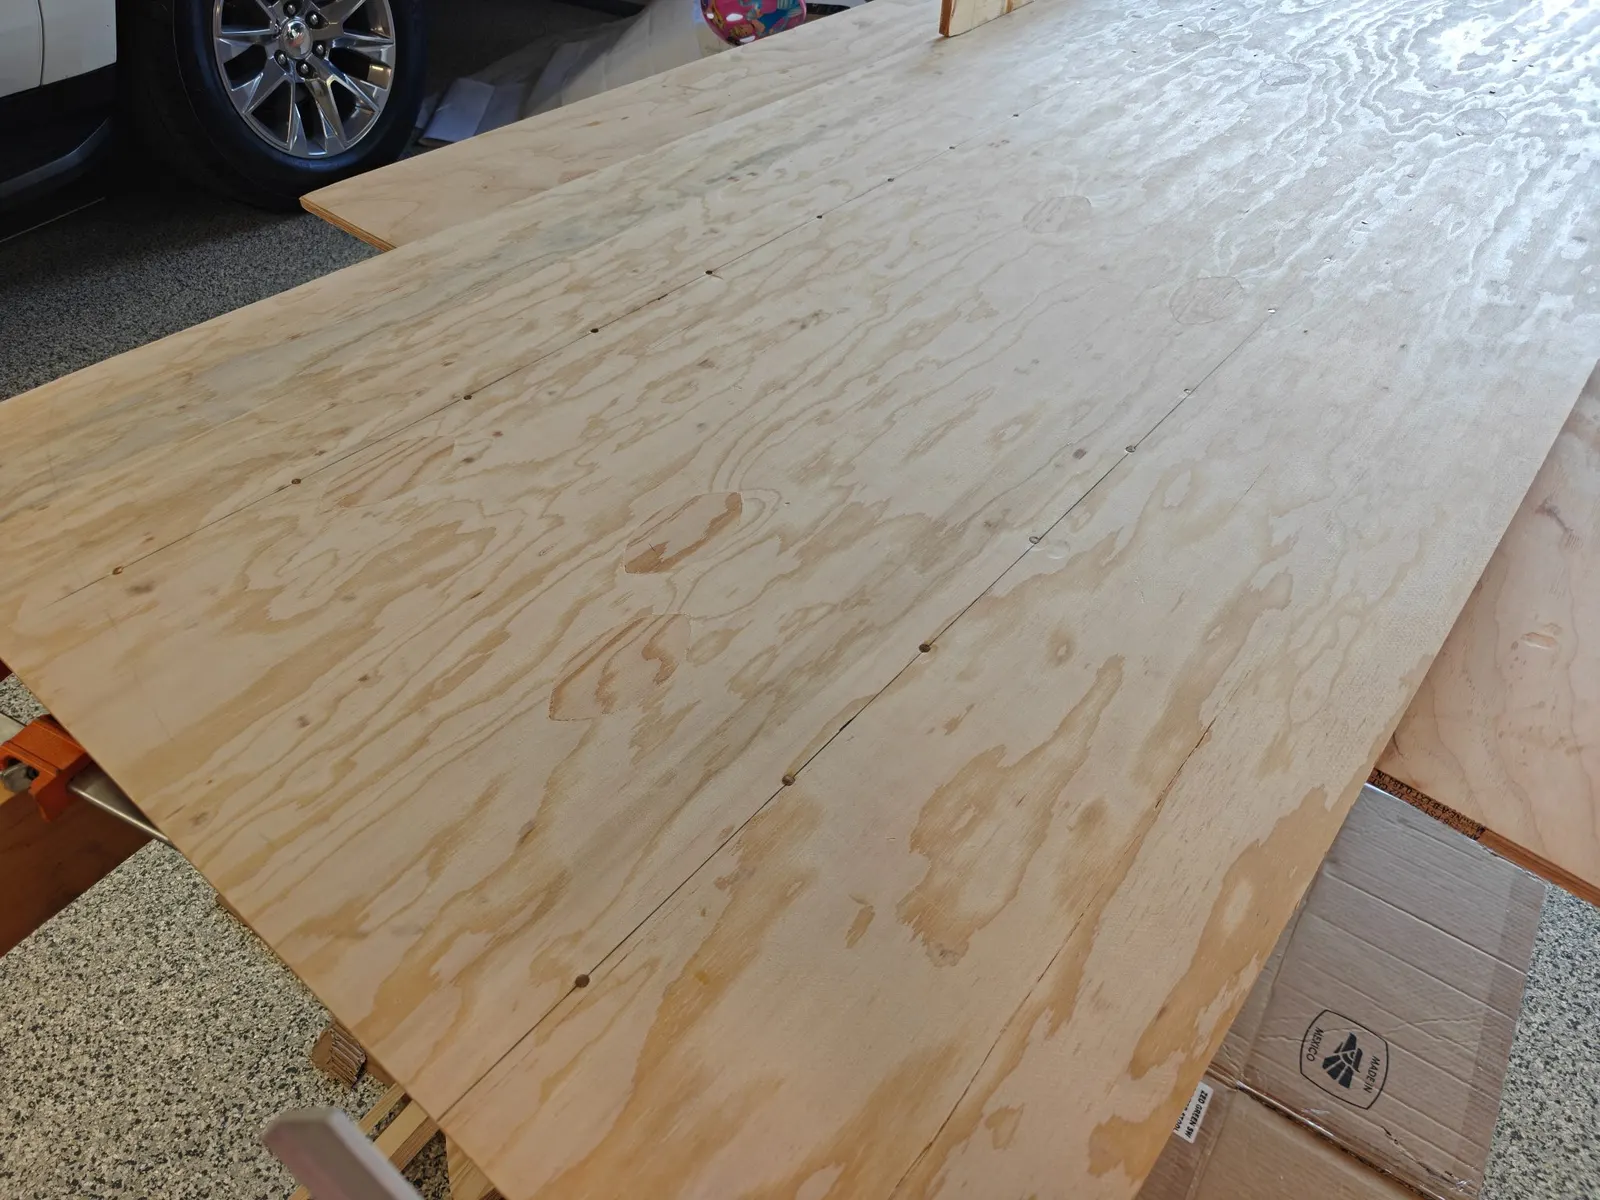
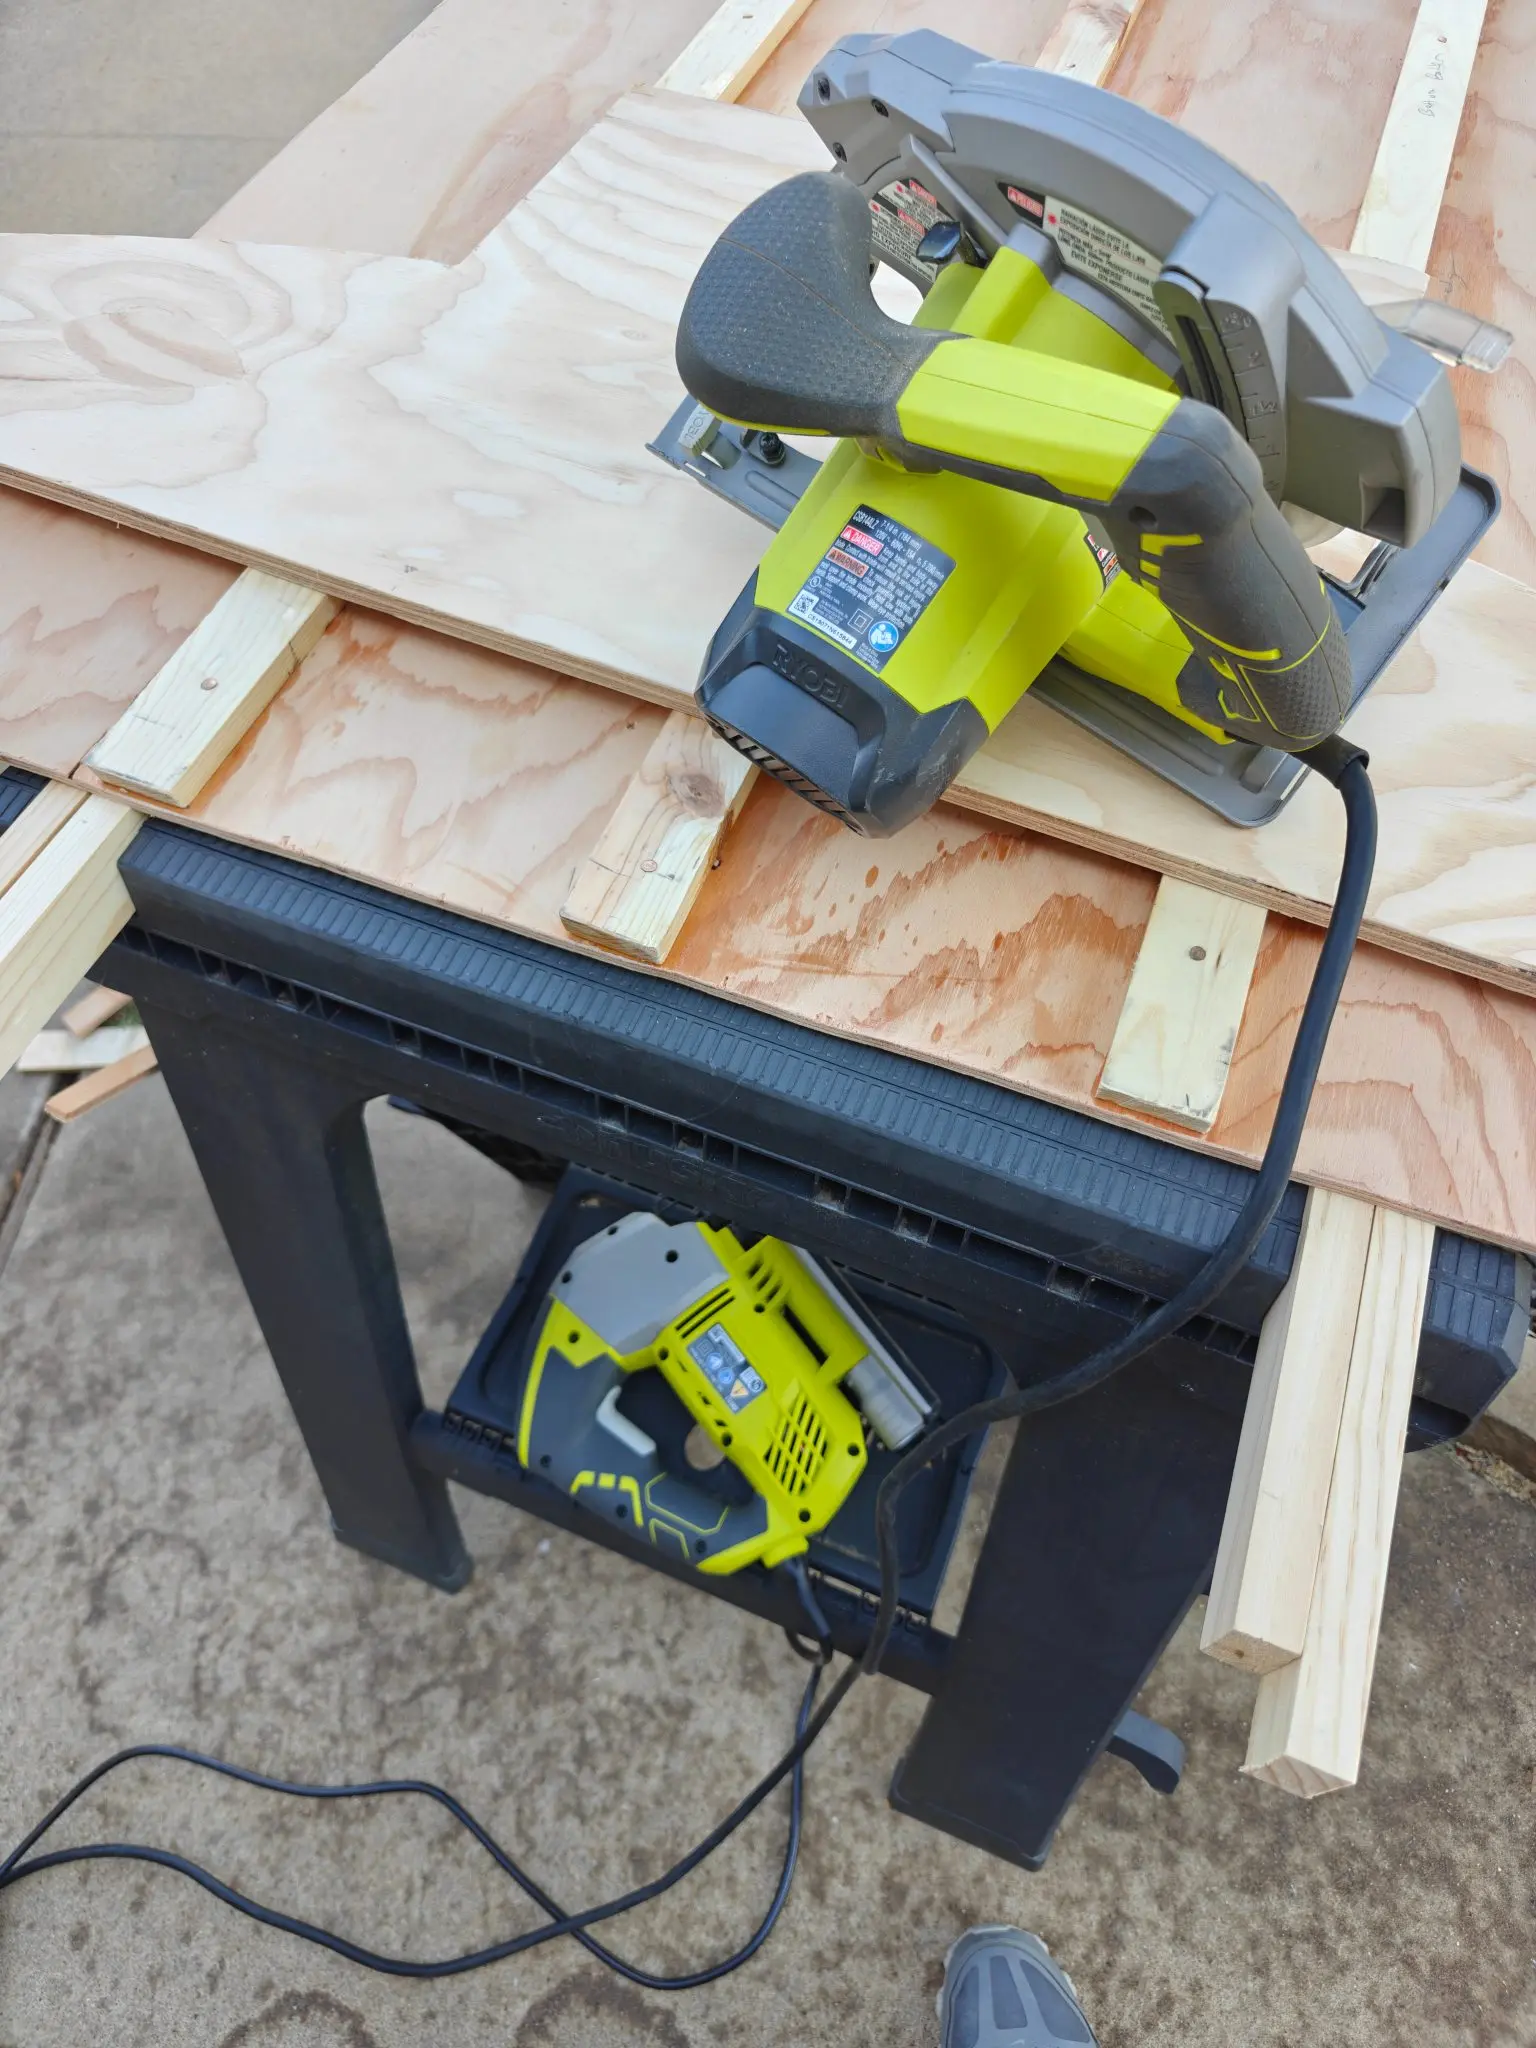
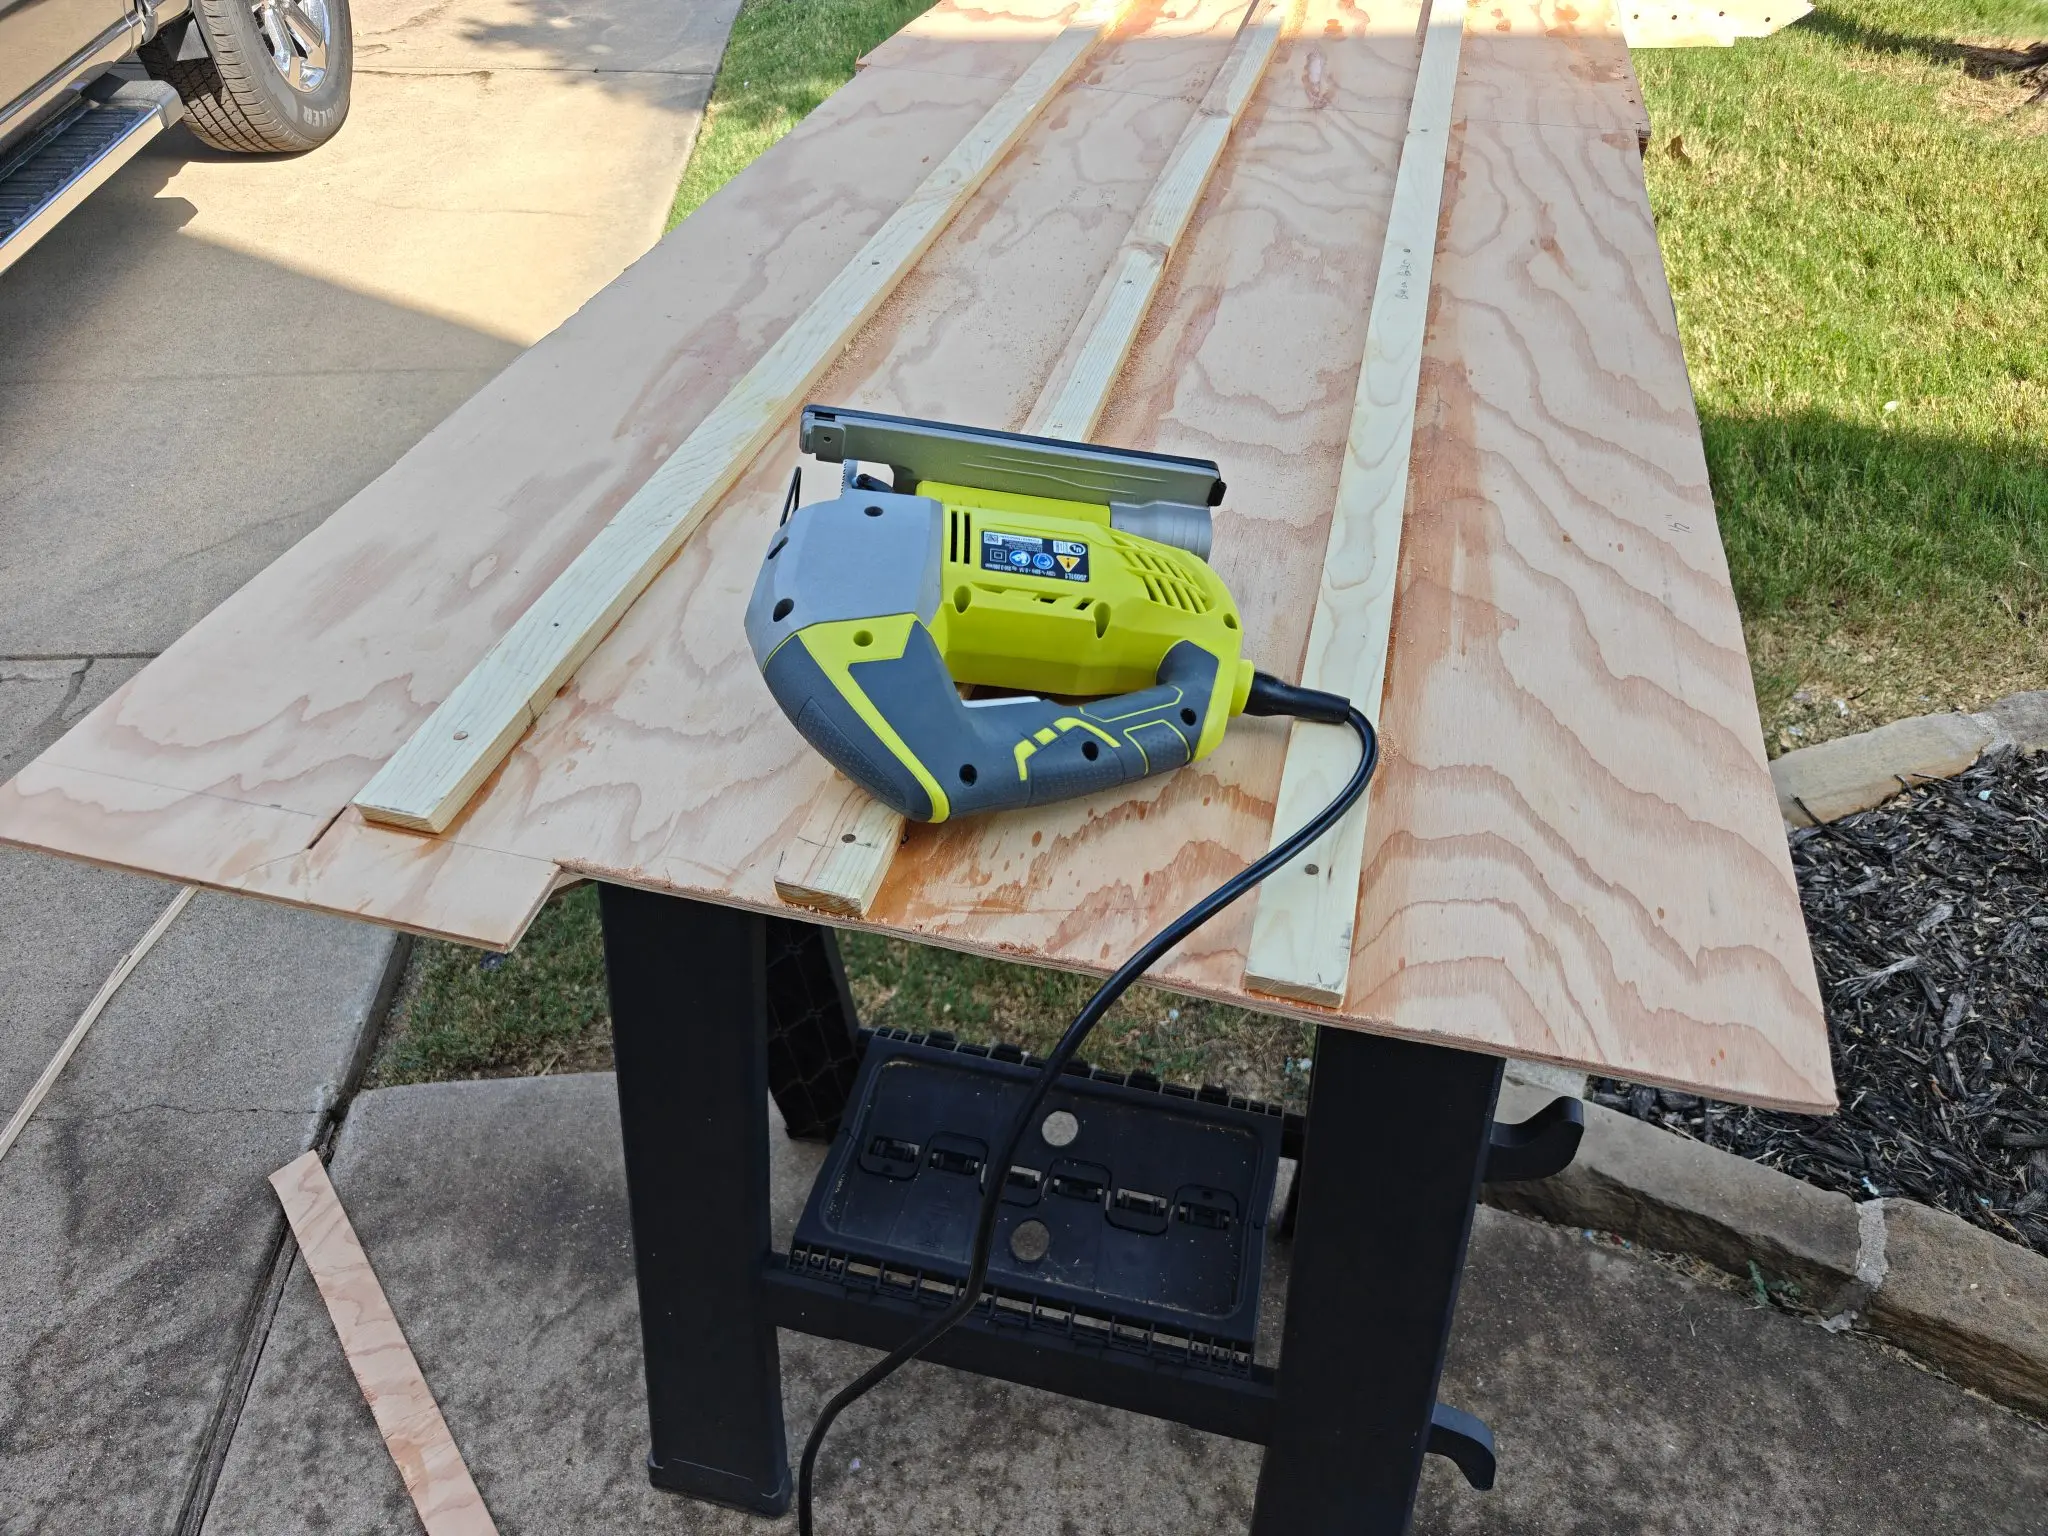
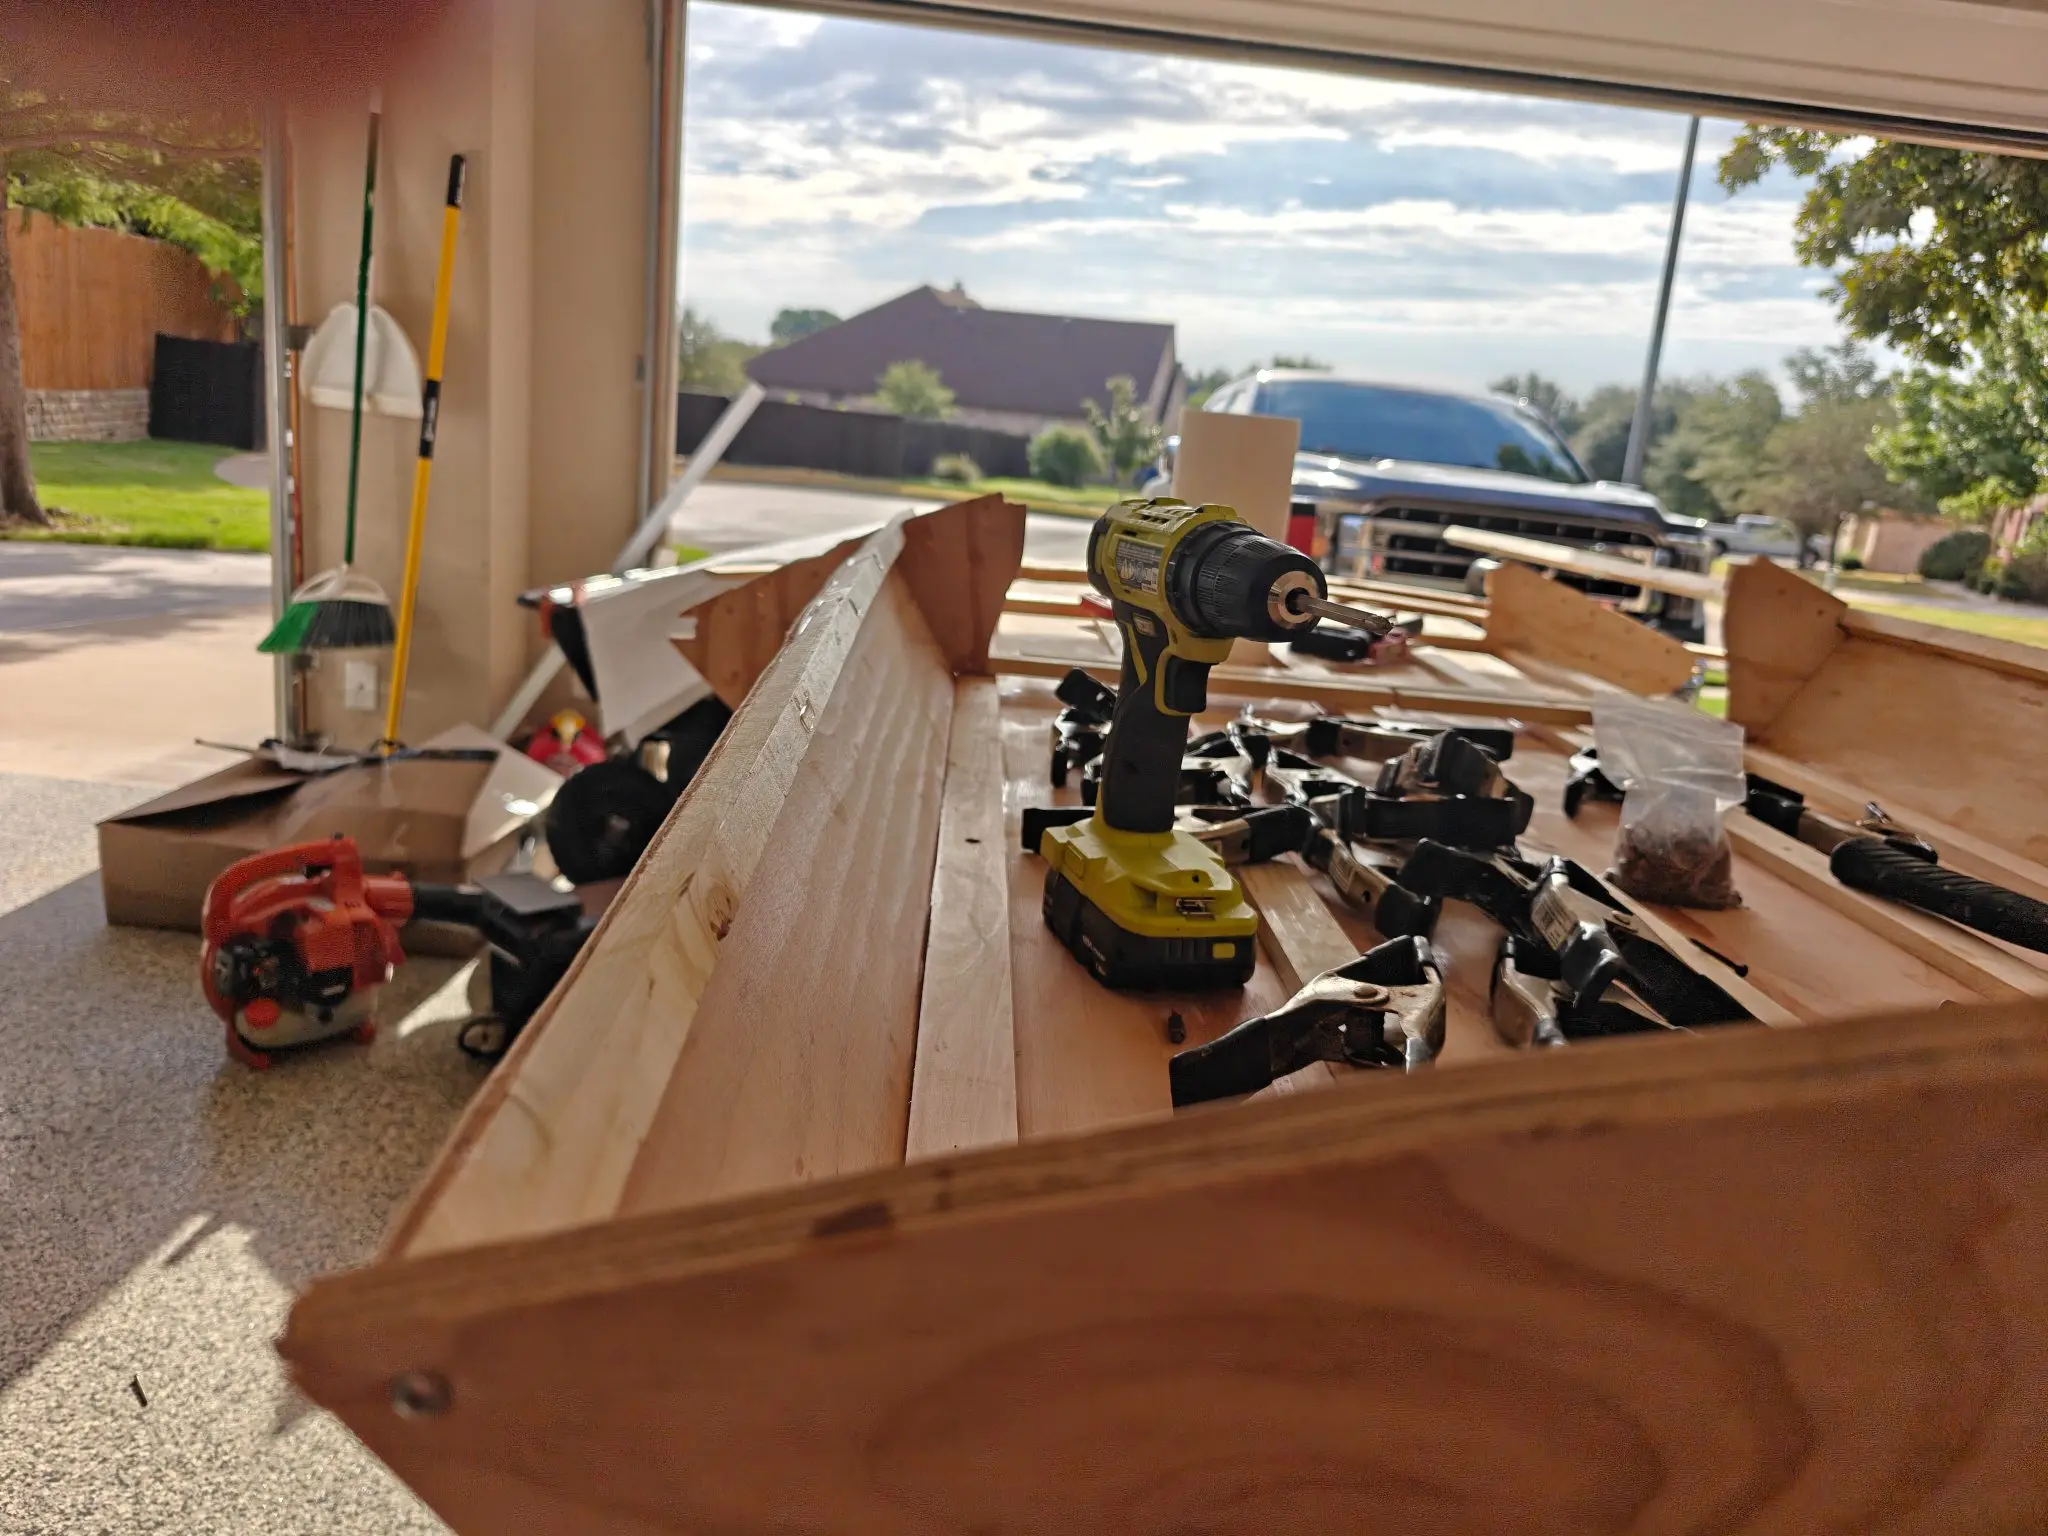
Today I started to get the garage ready and started to prep for cutting out the frame. I cut the bottom plank using the table saw, and the frame timber by using the jigsaw.
I didn't get a lot done because I spent time reorganizing the garage and bringing some of the heavy tools in from the shed.
It is also 105° here in Dallas Texas area so I've decided I'm going to install a couple fans.
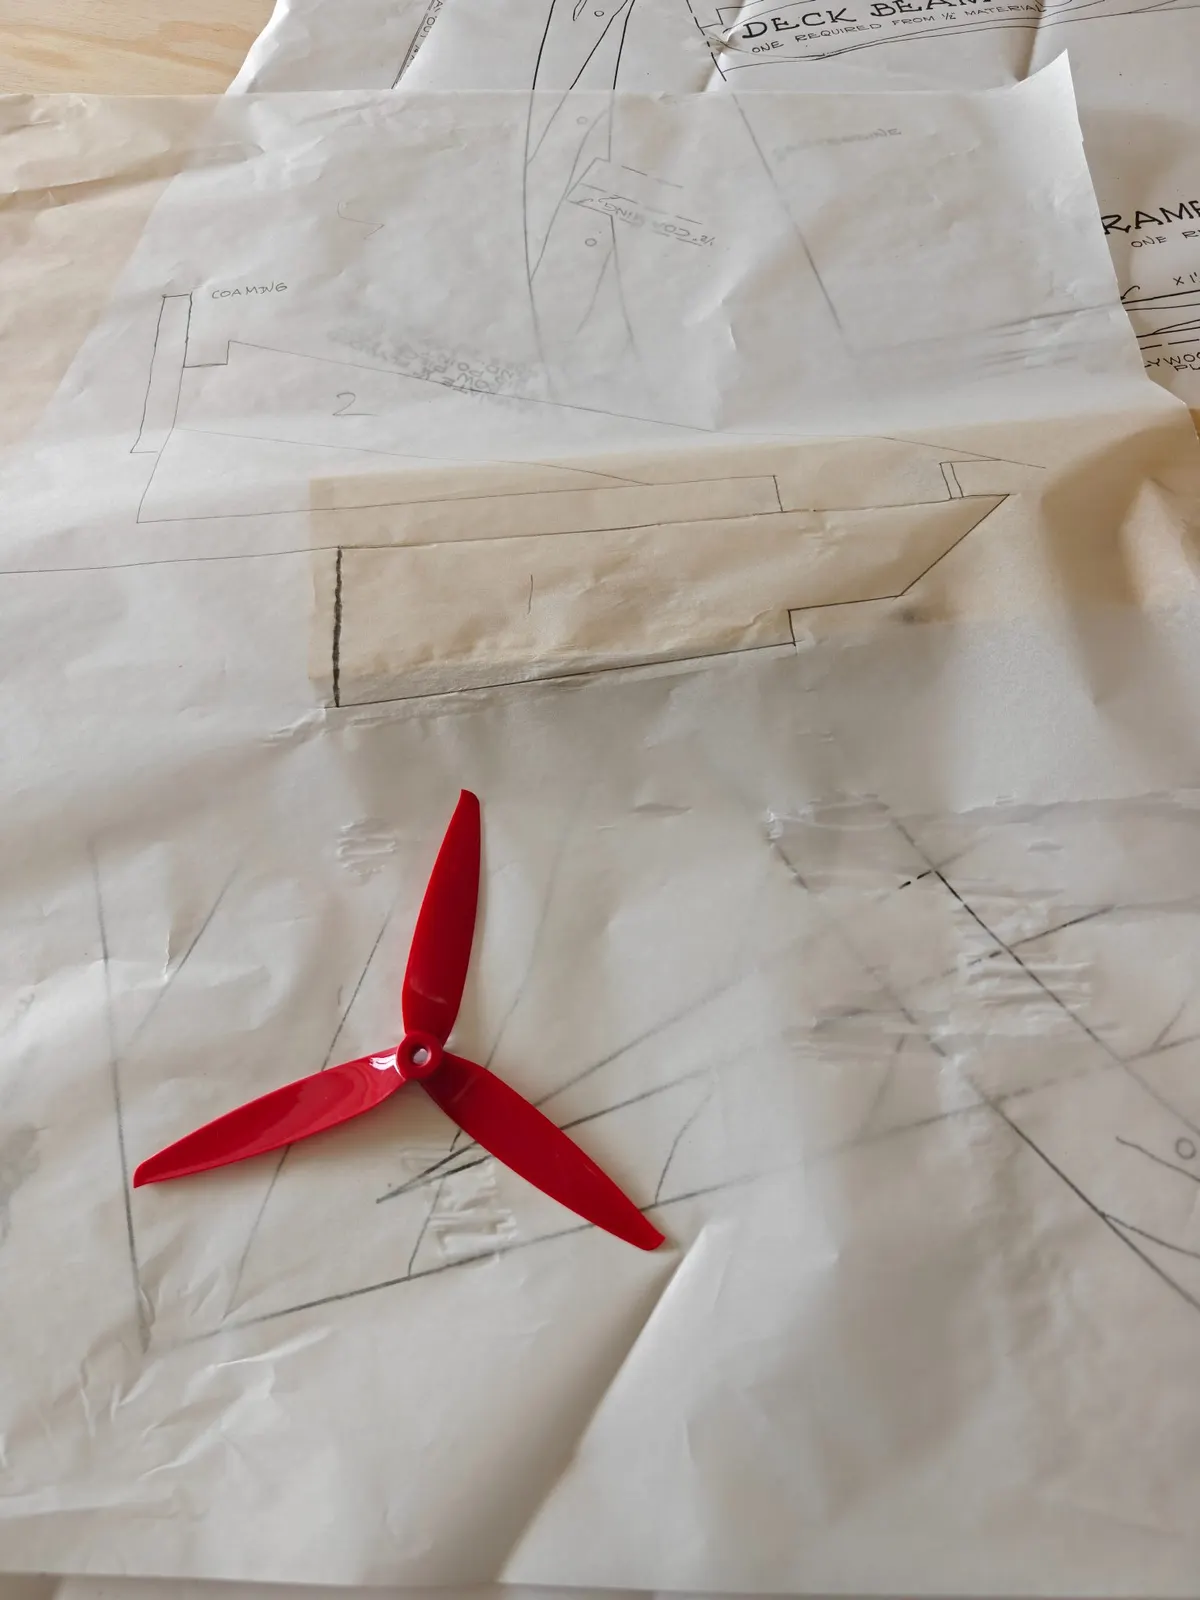
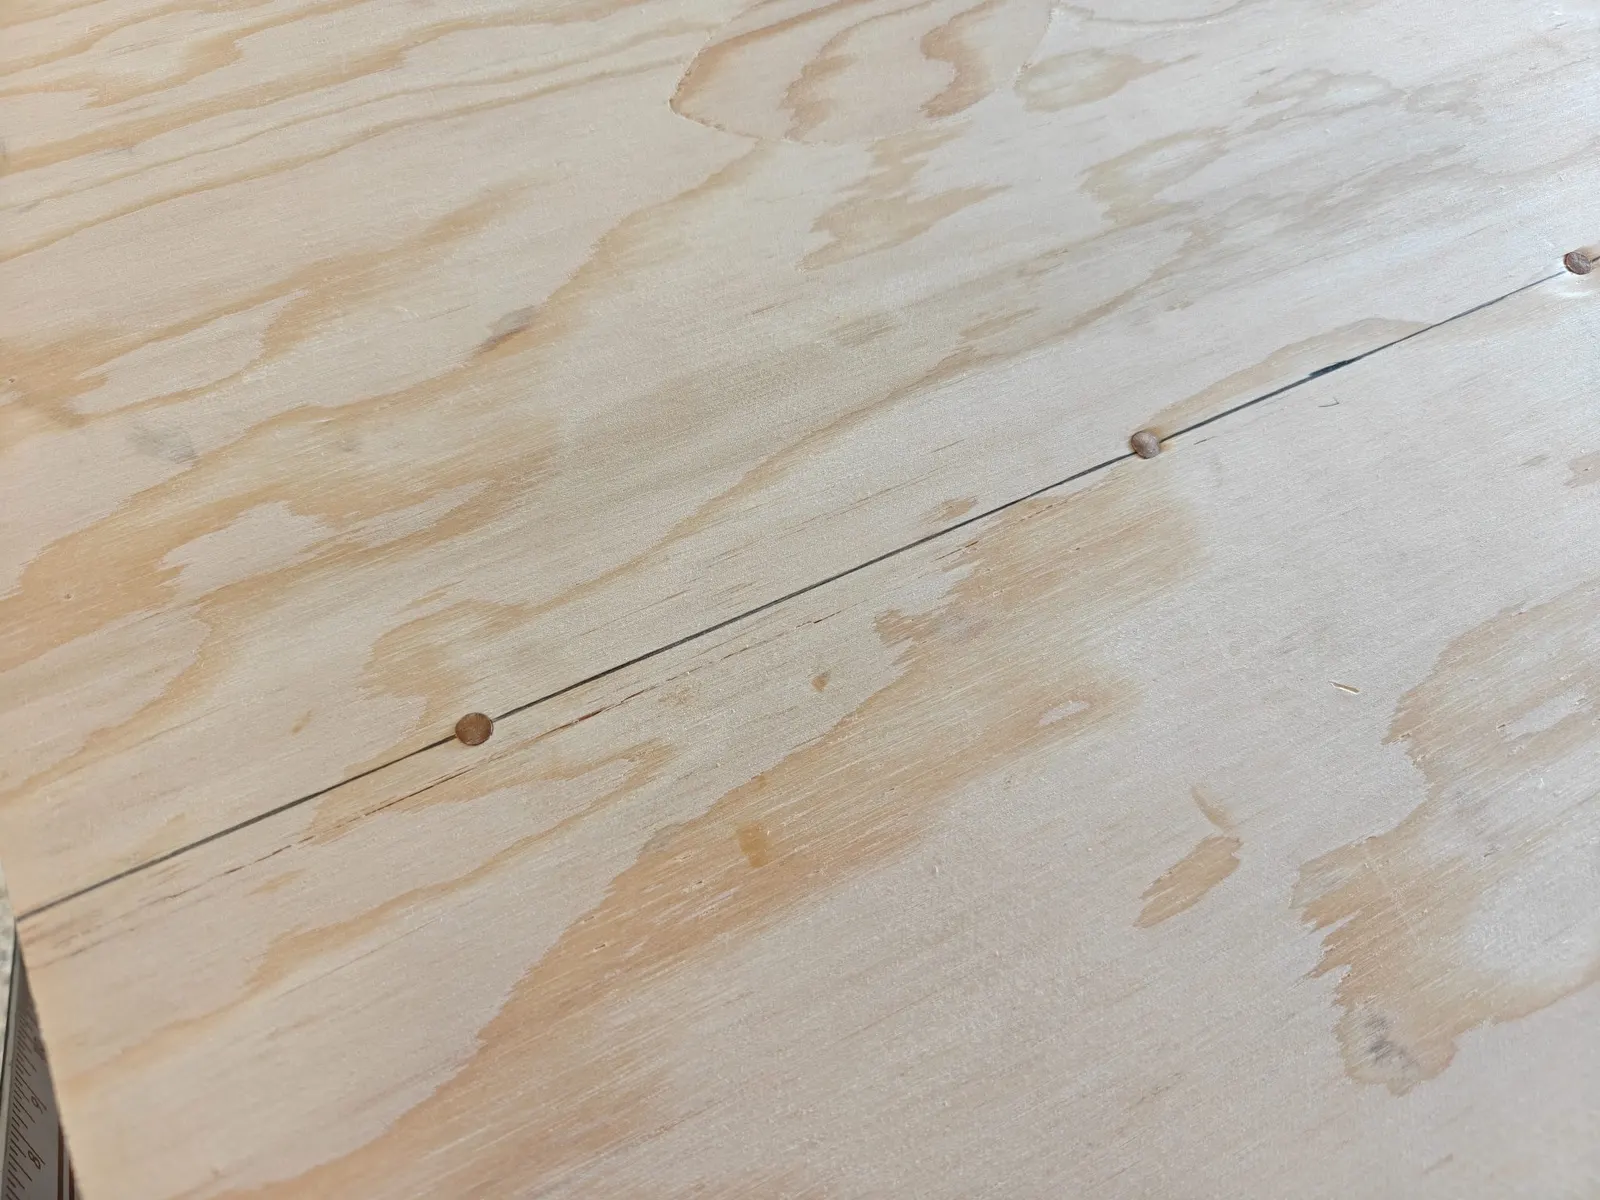
I use this little RC propeller to trace the lines from the tracing paper to the lumber it actually worked pretty well.
23 Aug 2026
Hull Panels 2 h
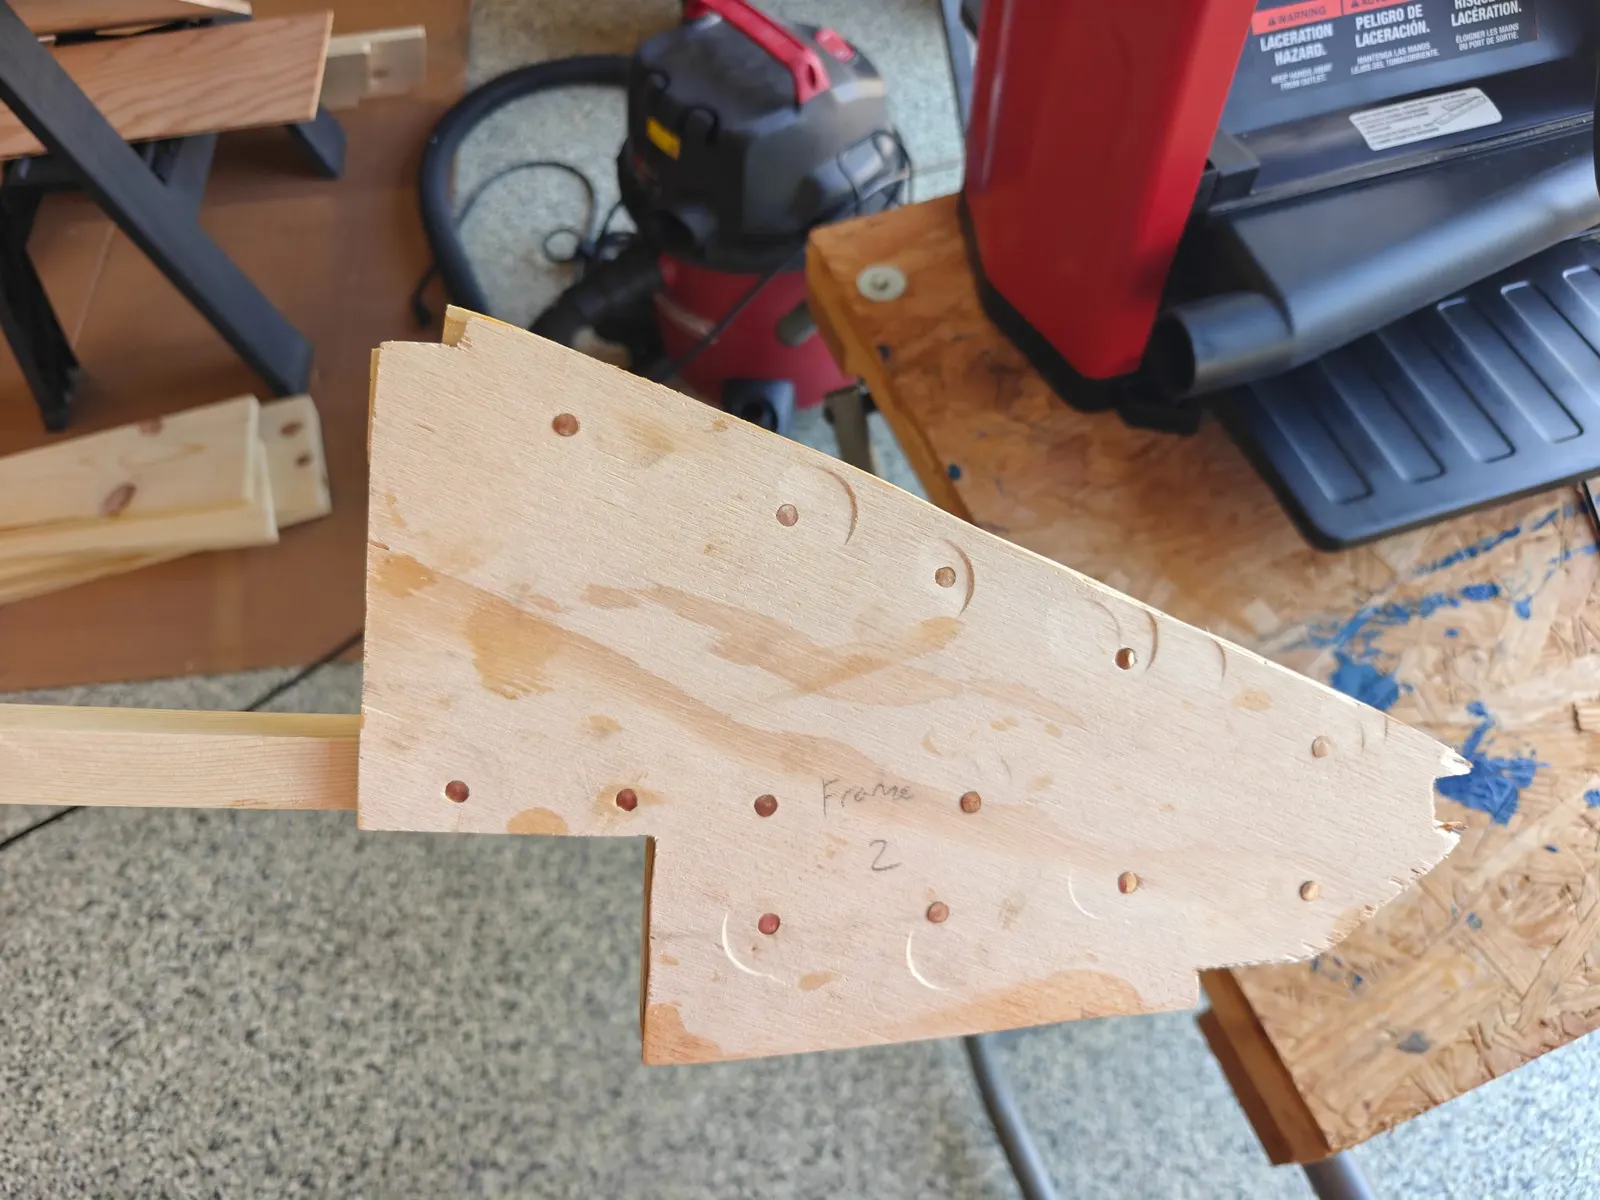
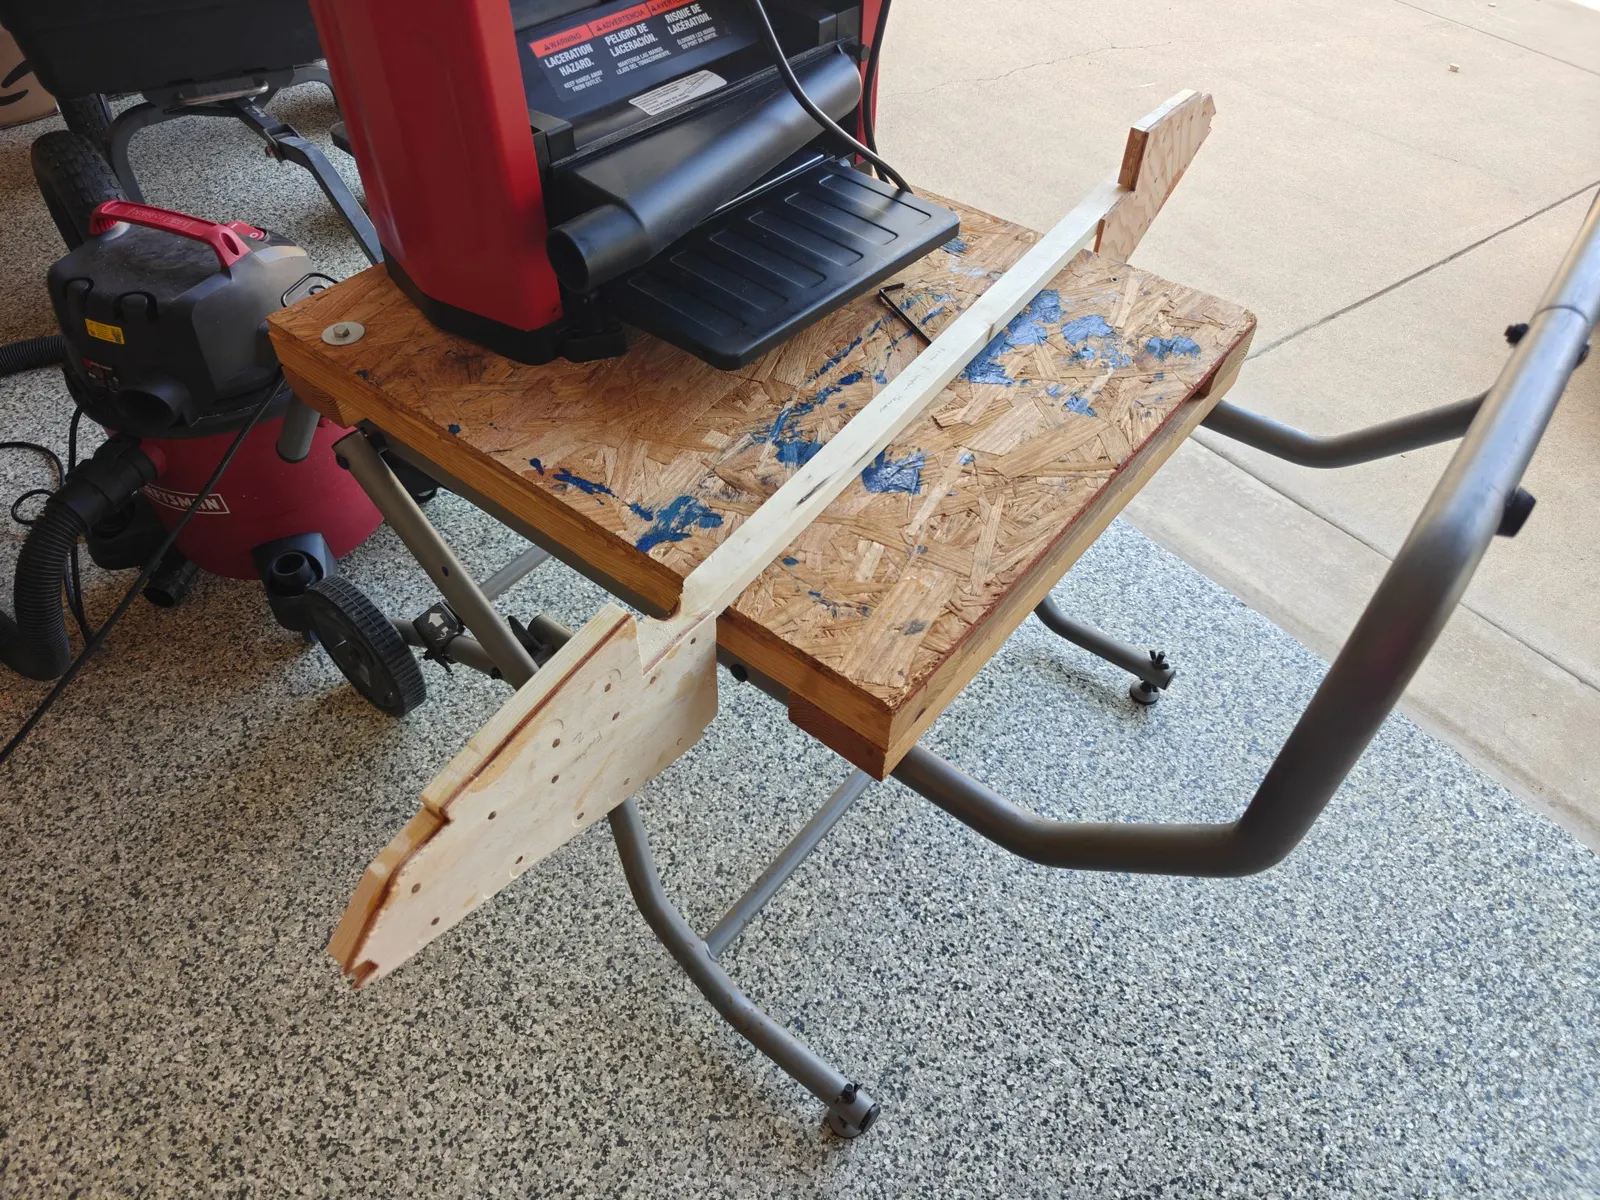
Finished frame #2
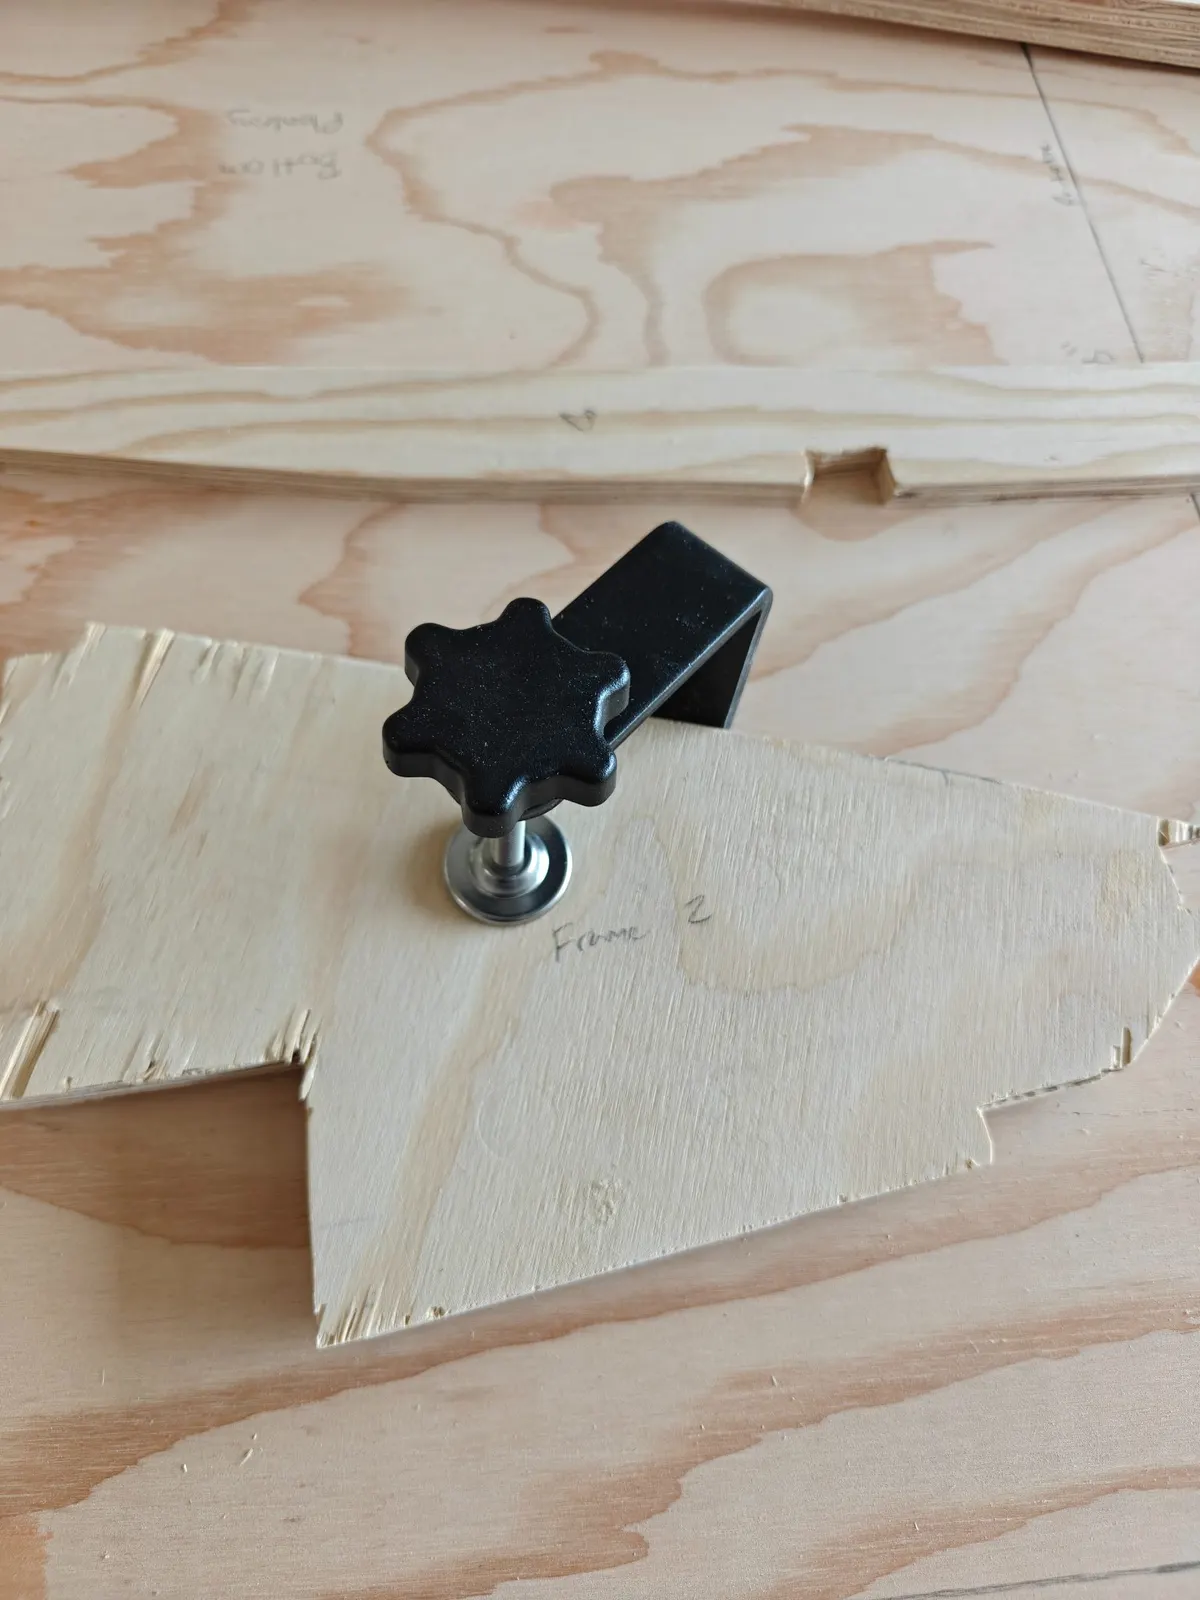
Okay so I have cut out all the pieces for frame #2. The bottom member or crossmember I accidentally planed that down to 1/2 in and so things were not fitting correctly so I scrapped that wood and recut a new piece as that particular piece needs to be 3/4" thick, which was the actual thickness of the wood that I bought so I did not need to plane anything.
I've got to say, this would be a tough job without a planer. Unless you are lucky enough to get the wood in the correct dimensions, you might need to purchase a planer. It saves so much time being able to get it down to the 1/2" that you need.
Overall I would say that the gussets are cut very close to the plan and the overlap is very close, lumber frame is lacking a little bit, but with glue and nails the entire frame should be very strong.
24 Aug 2026
Hull Panels 2 h
Cutting out more pieces
Morning Progress
Cut out a few more pieces:
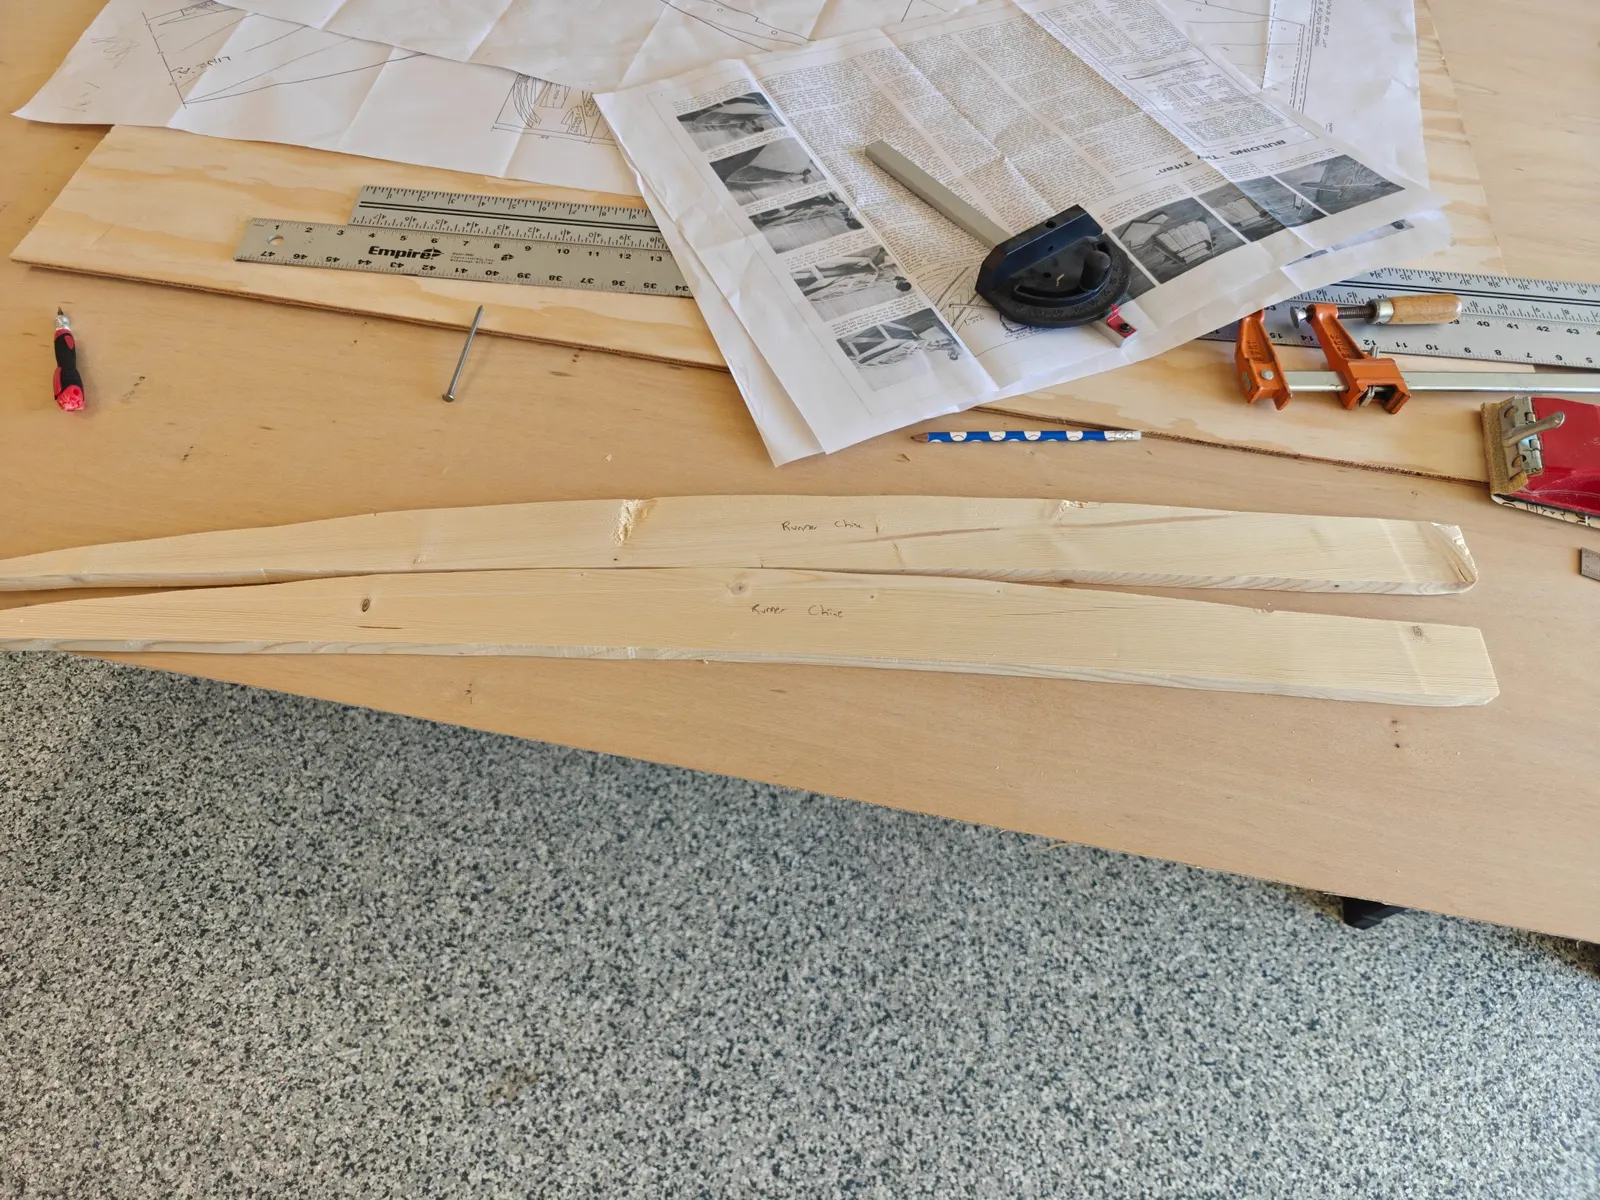
- Side planking
- Runner chine
- Bottom battens
Note on the bottom battens: I bought 1x2 timber at the store but forgot it's not actually 2 inches — it's more like 1¾ in. I ended up planing everything down to ½ in, so the final dimension is ½ x ¾ in instead of the original spec. Should still be plenty strong.
Current Status
- Waiting on bronze nails to ship from Glen-L before I can start assembling anything
- Honestly feeling pretty lost on the build right now — I've stared at the plans for a long time, looked at pictures online, and I'm still not totally sure where some pieces go
- Can't seem to find the template for the runner planking
Plan for the Rest of the Week
Since there's not much else to do until the nails arrive, I'll probably just focus on cutting out all the remaining pieces.
Chapter 04
Hull Exterior
Turning over, keel and skeg, rubrails, exterior structure.
3 days
11 hours from August 2026
25 Aug 2026
Hull Exterior 3 h
Cutting out more pieces
Cutting the 1/2-Inch Plywood Pieces
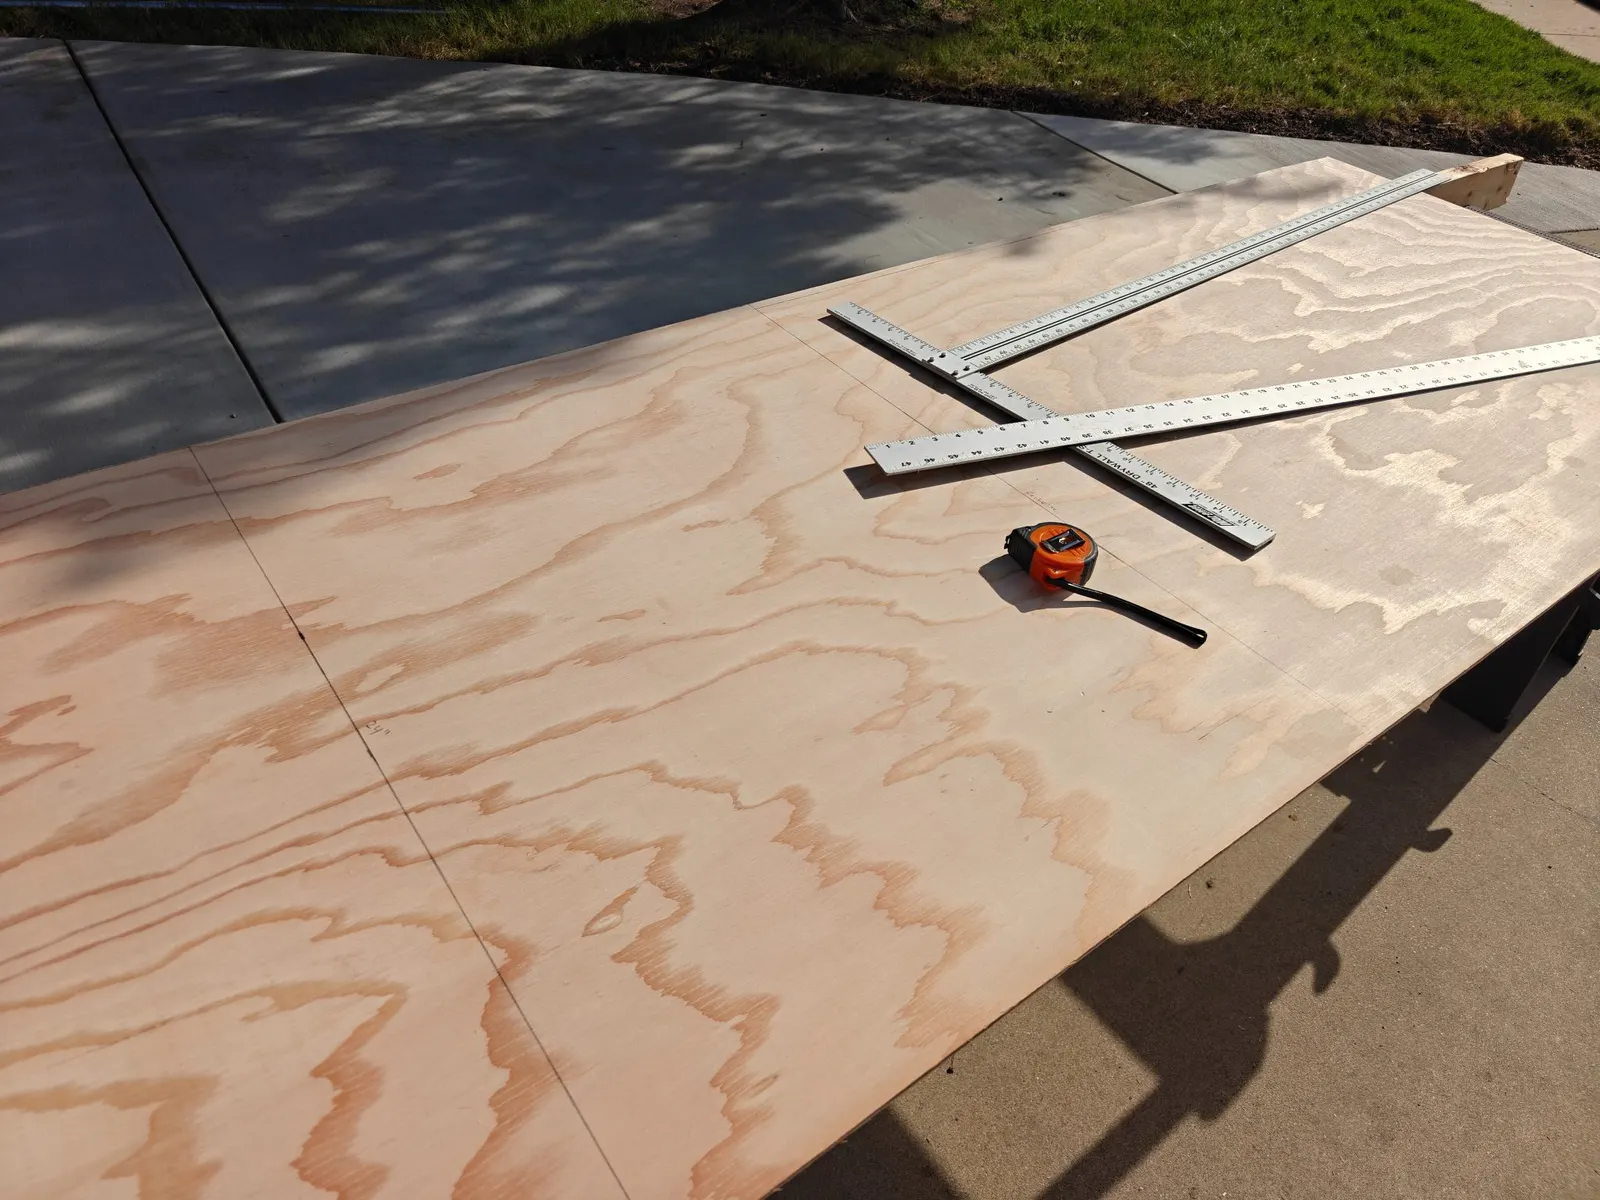
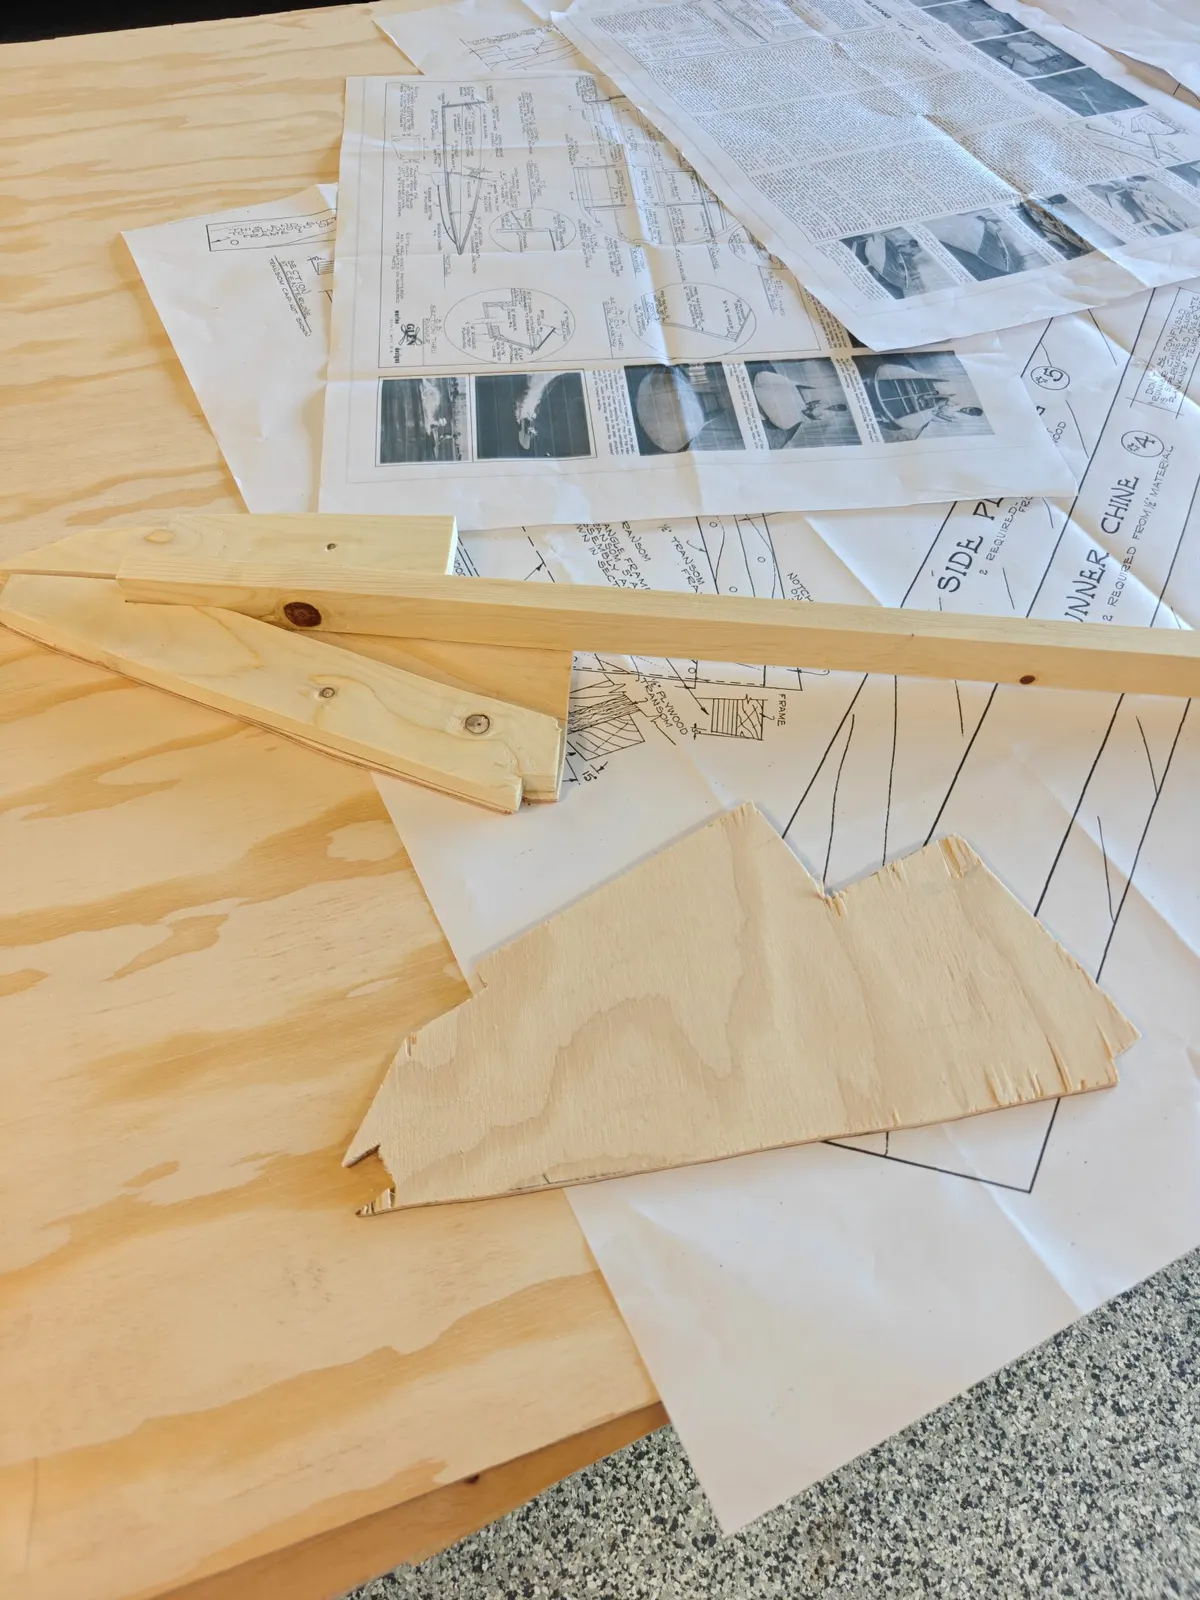
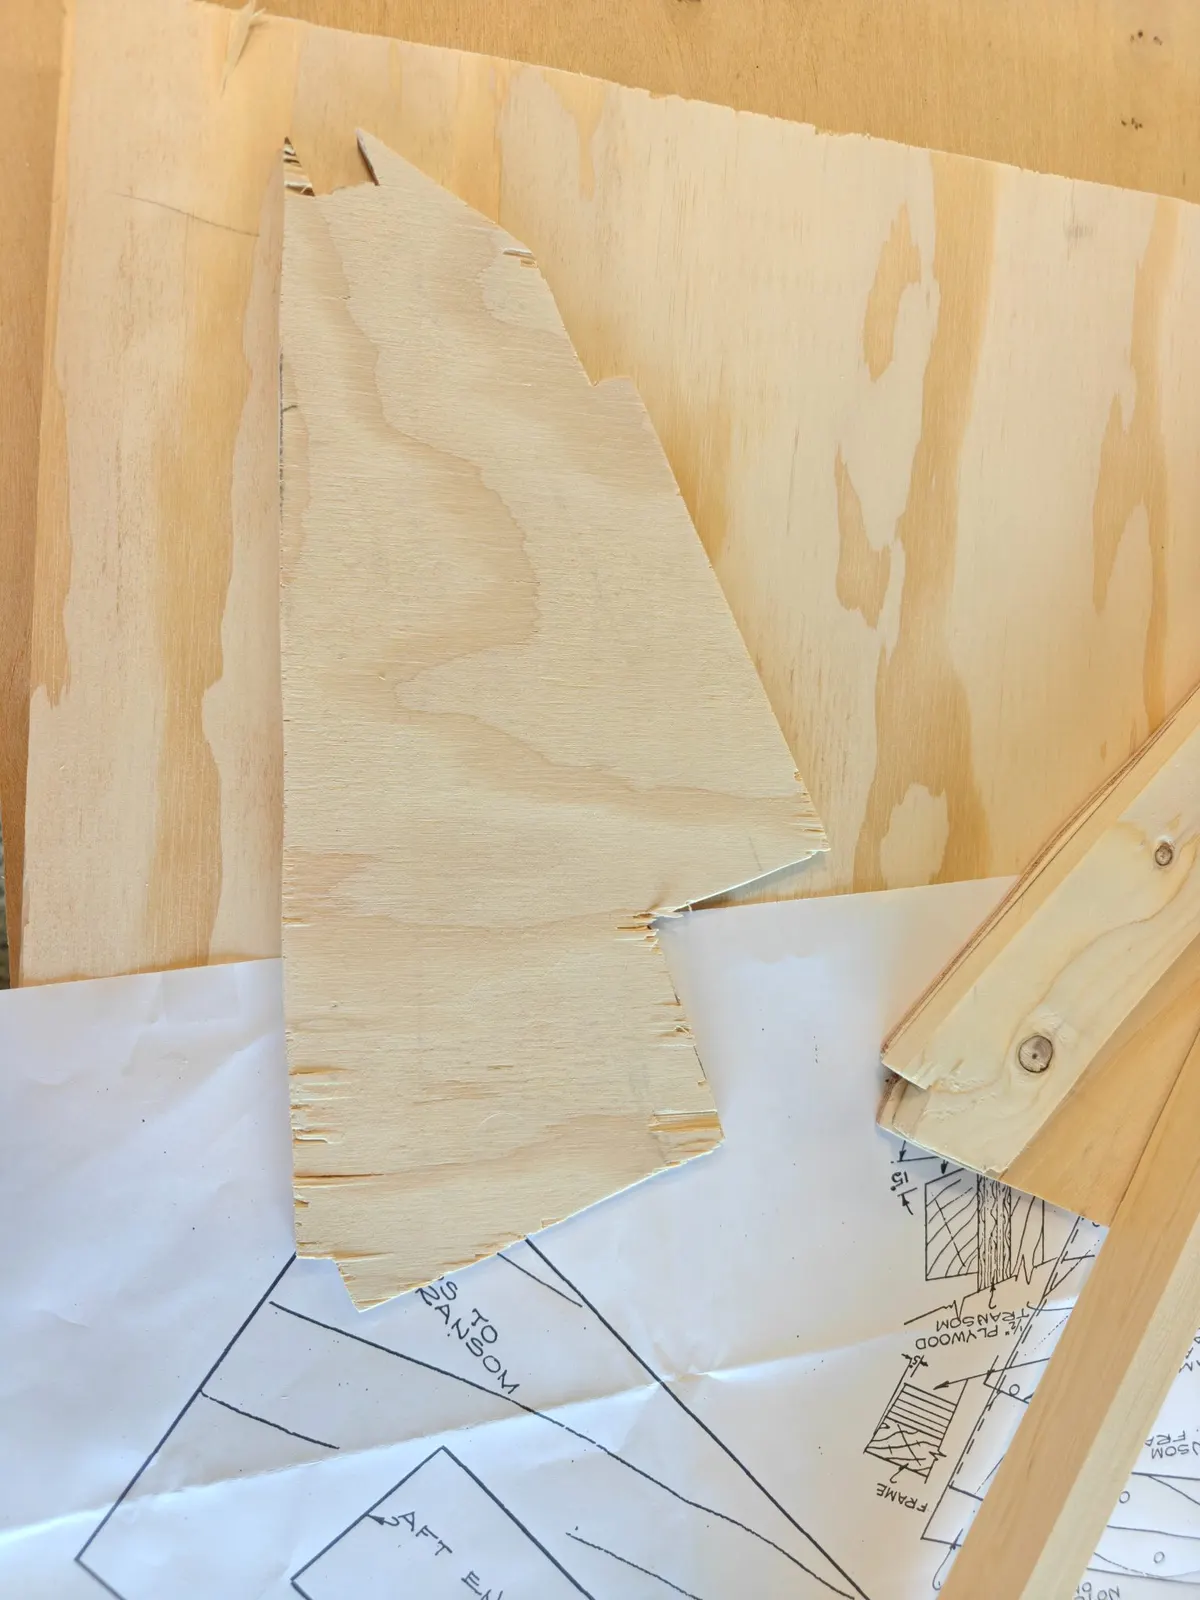
I spent a couple of hours today cutting out all of the 1/2-inch plywood pieces. There really wasn't anything too complicated about this step, other than making sure to use a steady hand with the jigsaw and stay as close to the lines as possible.
I went back and forth between using a pencil and a knife to transfer the outlines through the transparent paper and onto the plywood. I'm still not sure which method I prefer. Both seem to work, so I've been switching between them depending on the piece.
One thing that is important is to pay close attention to the plans where they show the template layout over the full sheet of plywood. Some of the individual templates only show half of a part, even though the finished piece needs to be full size.
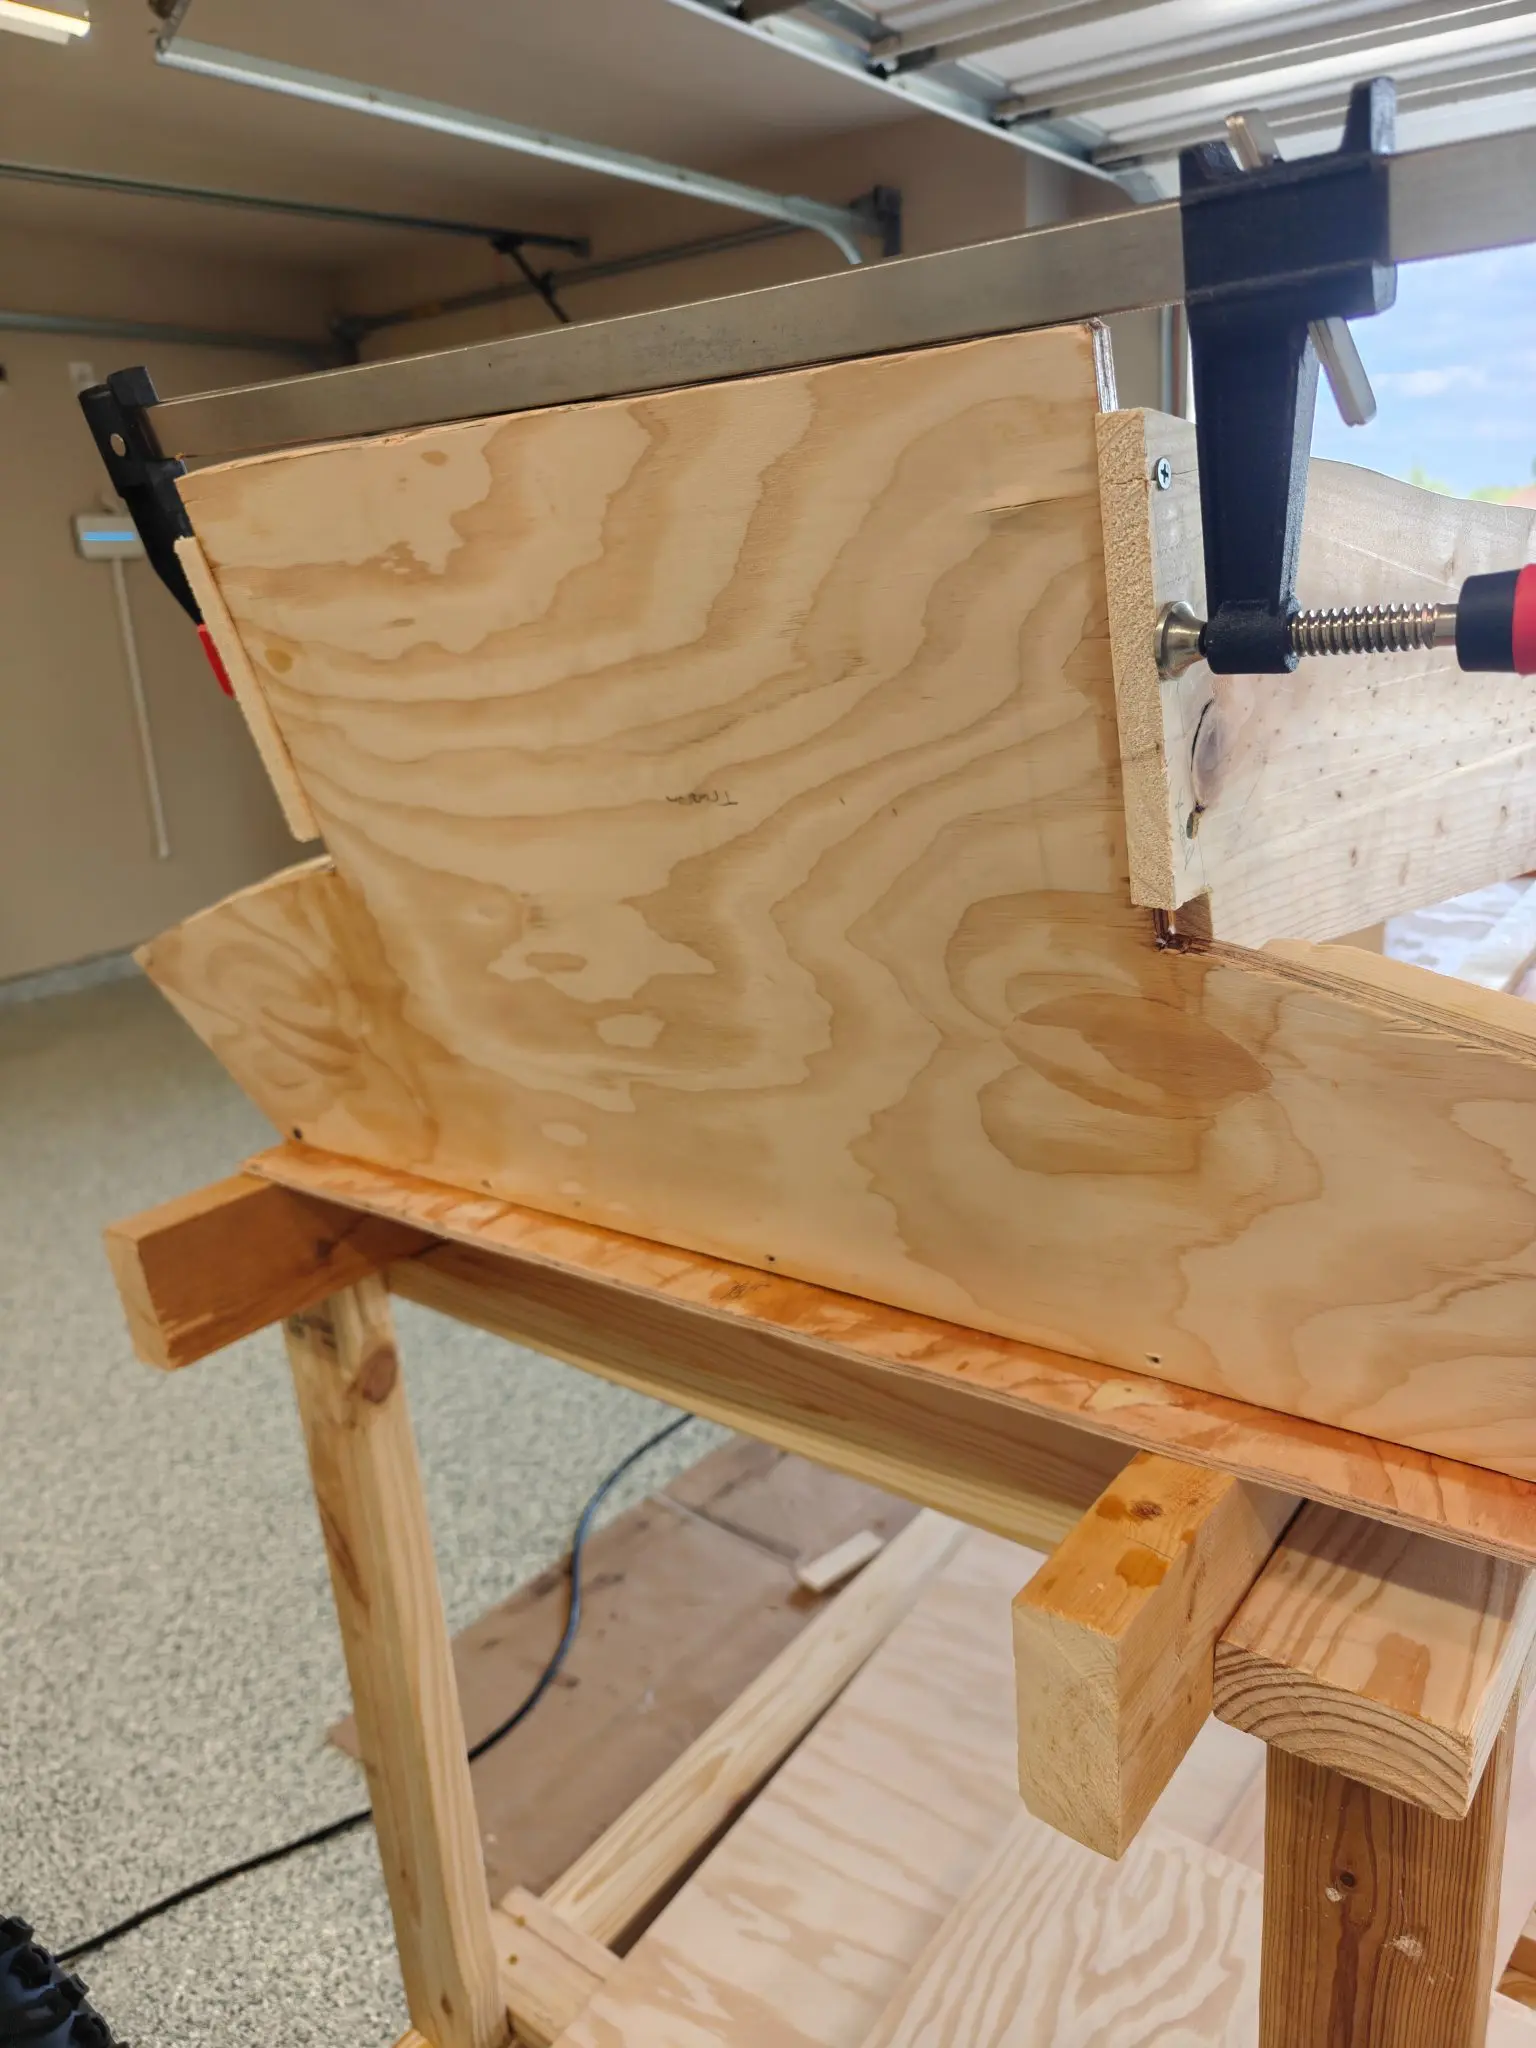
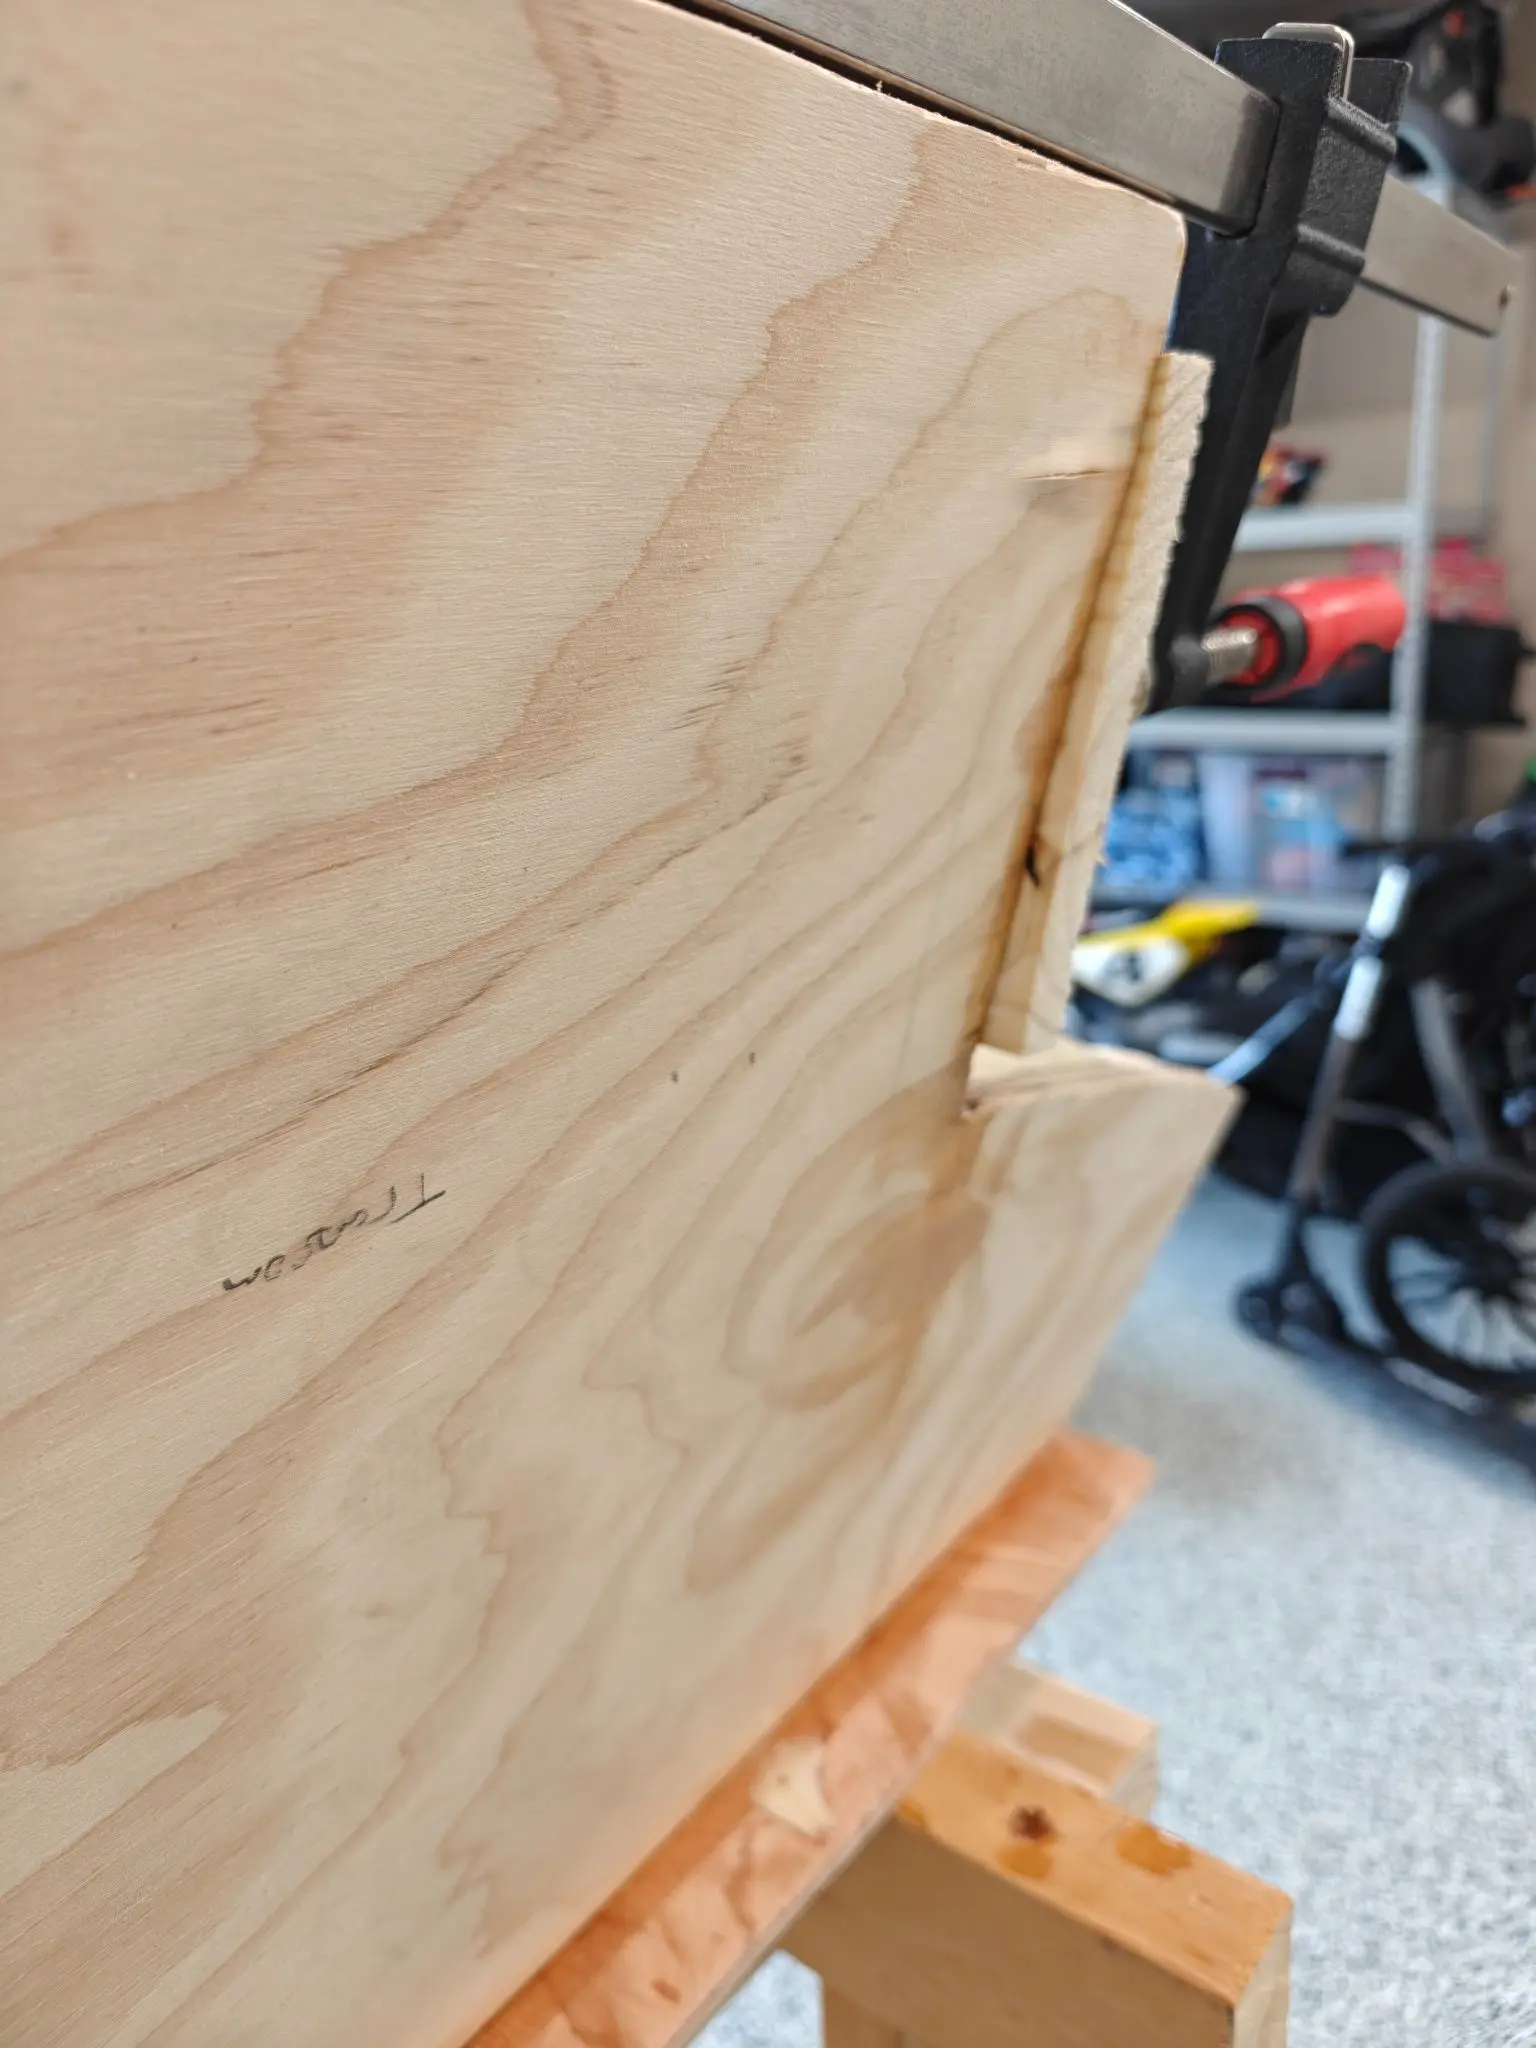
For example, the transom template is only shown as one half of the transom. However, when you look at the plywood layout in the plans, you can see that the transom is actually one full piece.
That means when transferring the template to the plywood, you need to trace the template once, flip it over, and trace the other half so that you end up with the complete part.
It's a small detail, but definitely something worth checking before making any cuts.
Chapter 05
Fairing & Sanding
The long one. Fairing compound, longboards, and the sanding nobody photographs enough.
8 days
15 hours from August 2026
26 Aug 2026
Fairing & Sanding 2 h
Fairing
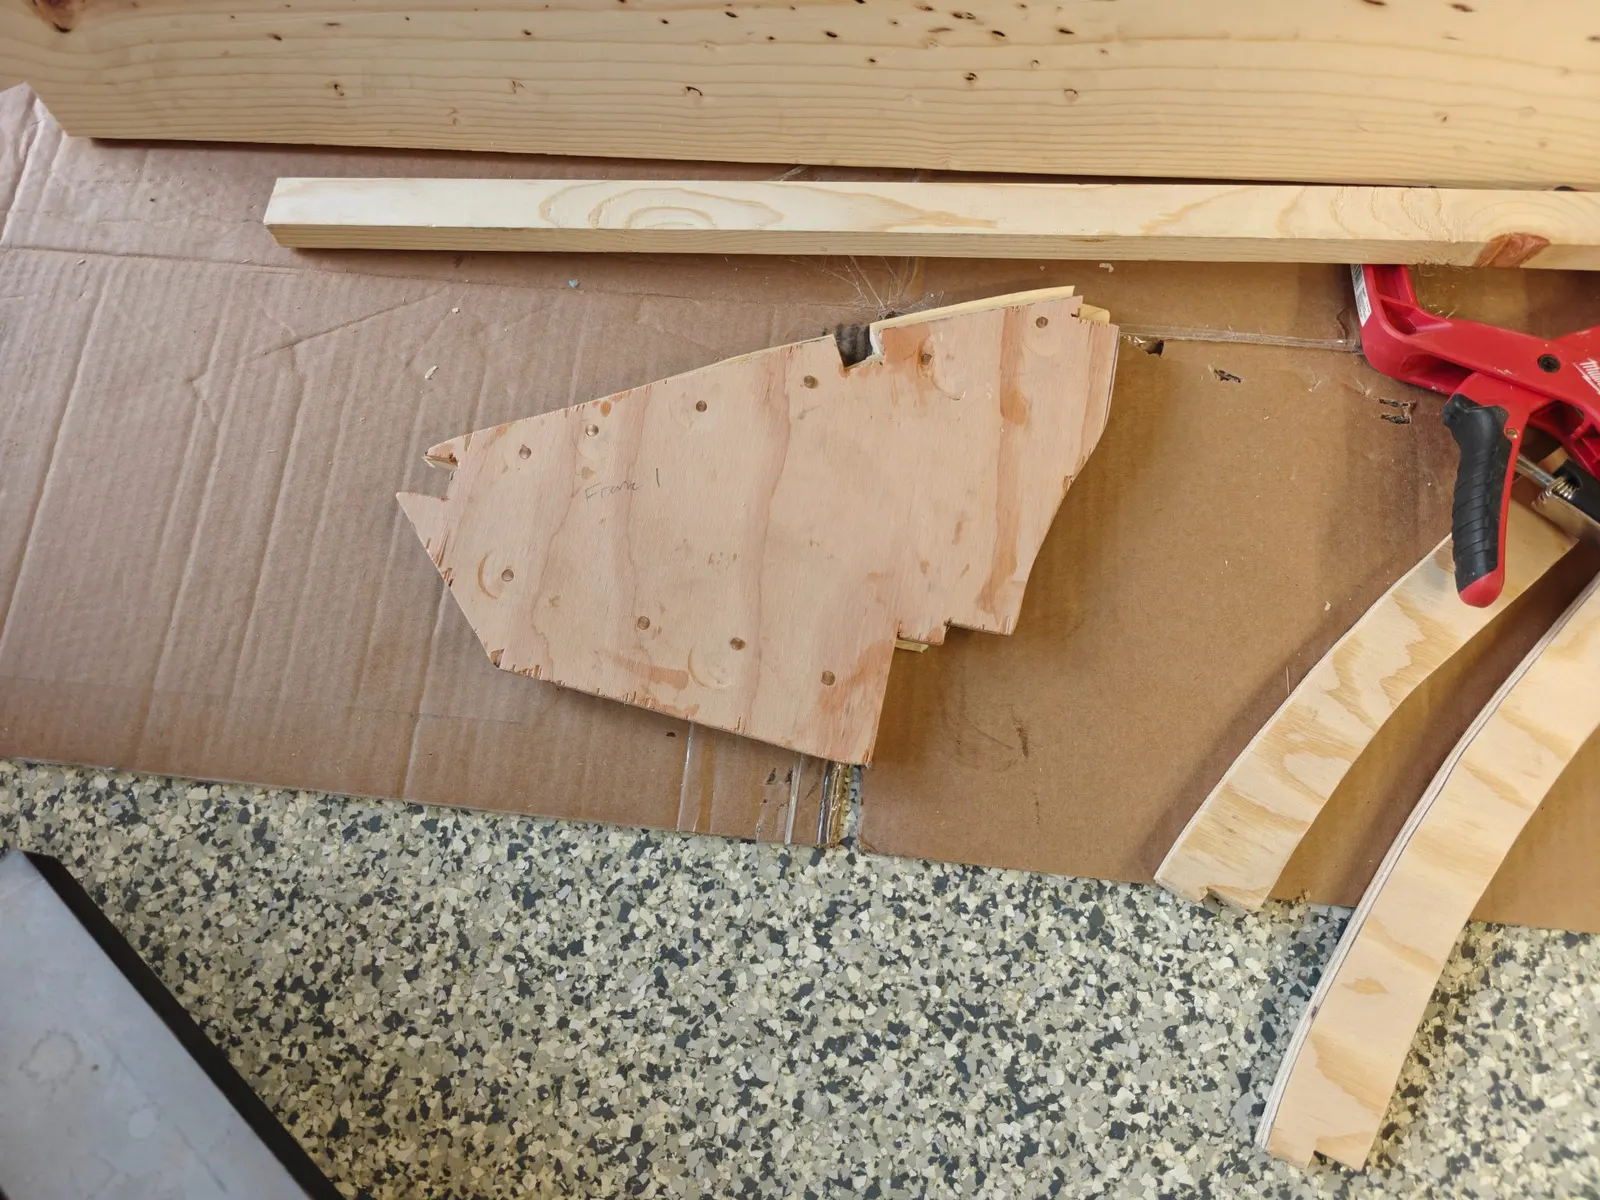
I only put a couple hours in today but I used the time to sand down all of the edges of all the duplicate parts so that I have pretty much mirror images. I also cut out the parts for frame number one but I did not get to plane it yet so I have not posted those pictures.
27 Aug 2026
Fairing & Sanding 2 h
Last few pieces
Today I finished tracing and cutting the comings and planing them down to the required 1/2".
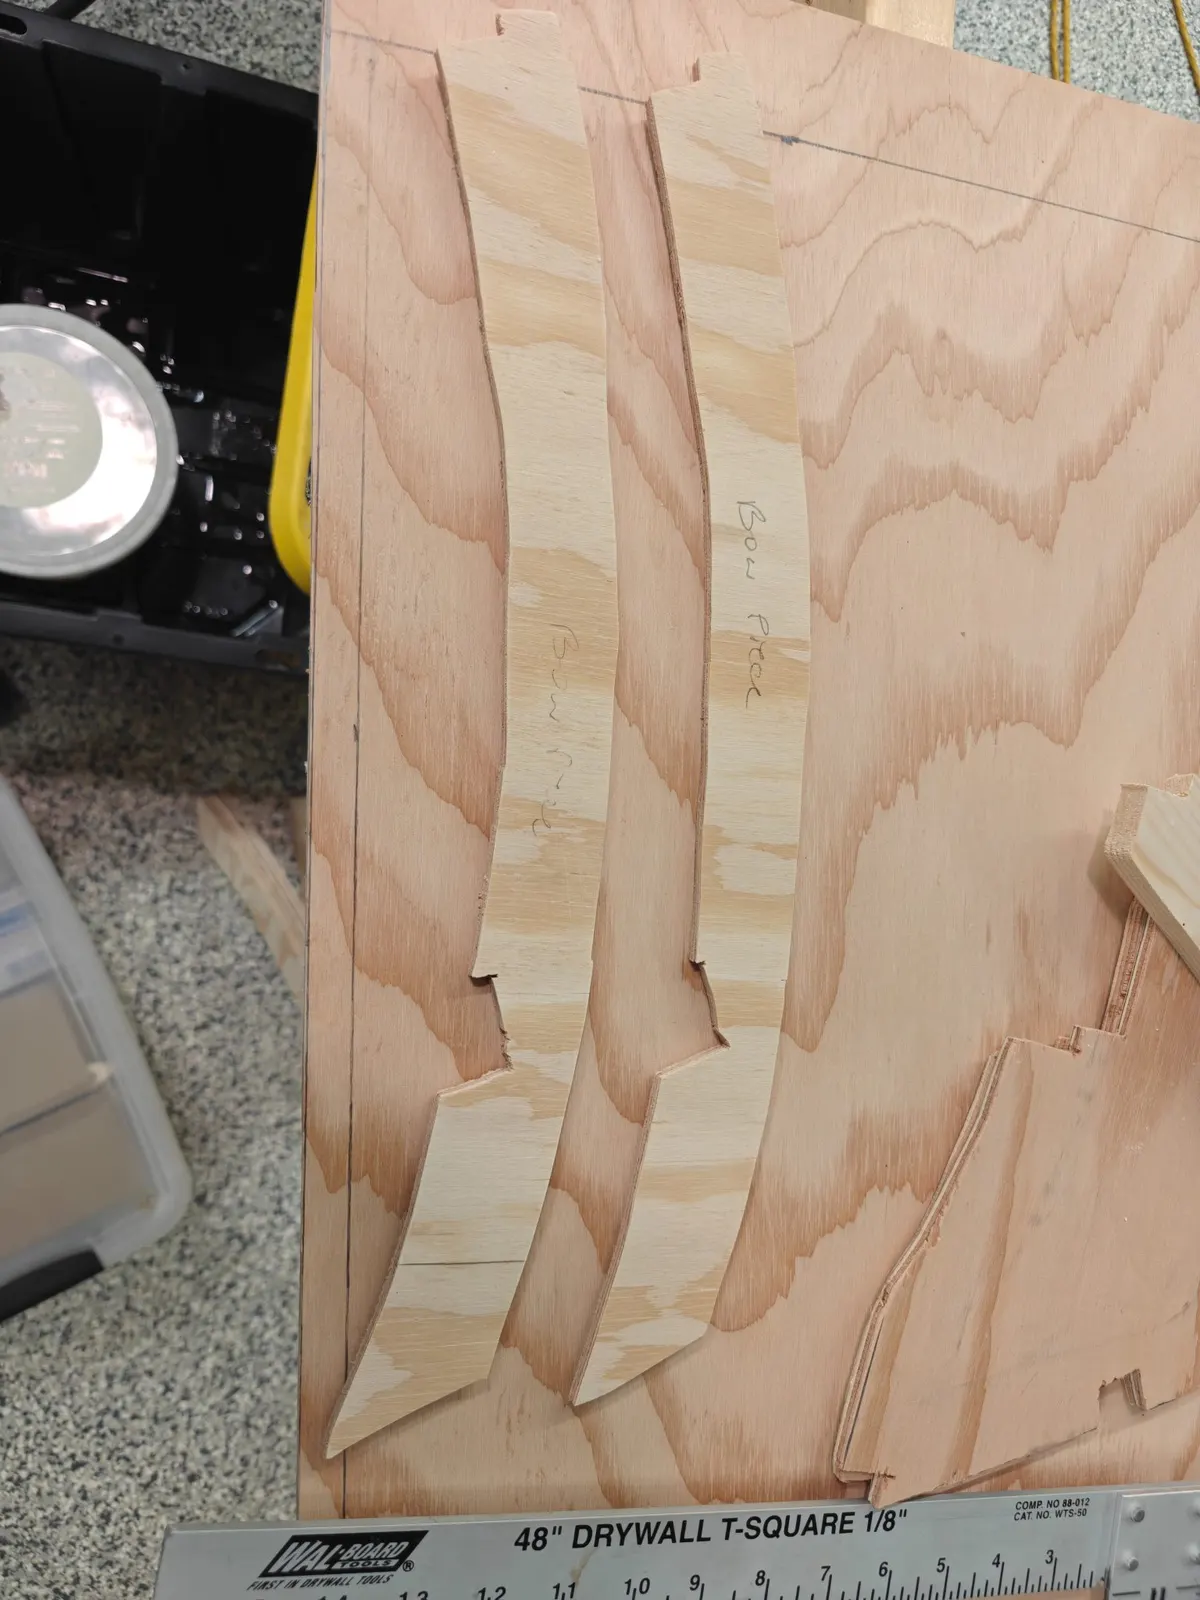
I also noticed that a small piece on each of the bow sections requires a one quarter inch piece as well so I cut those out.
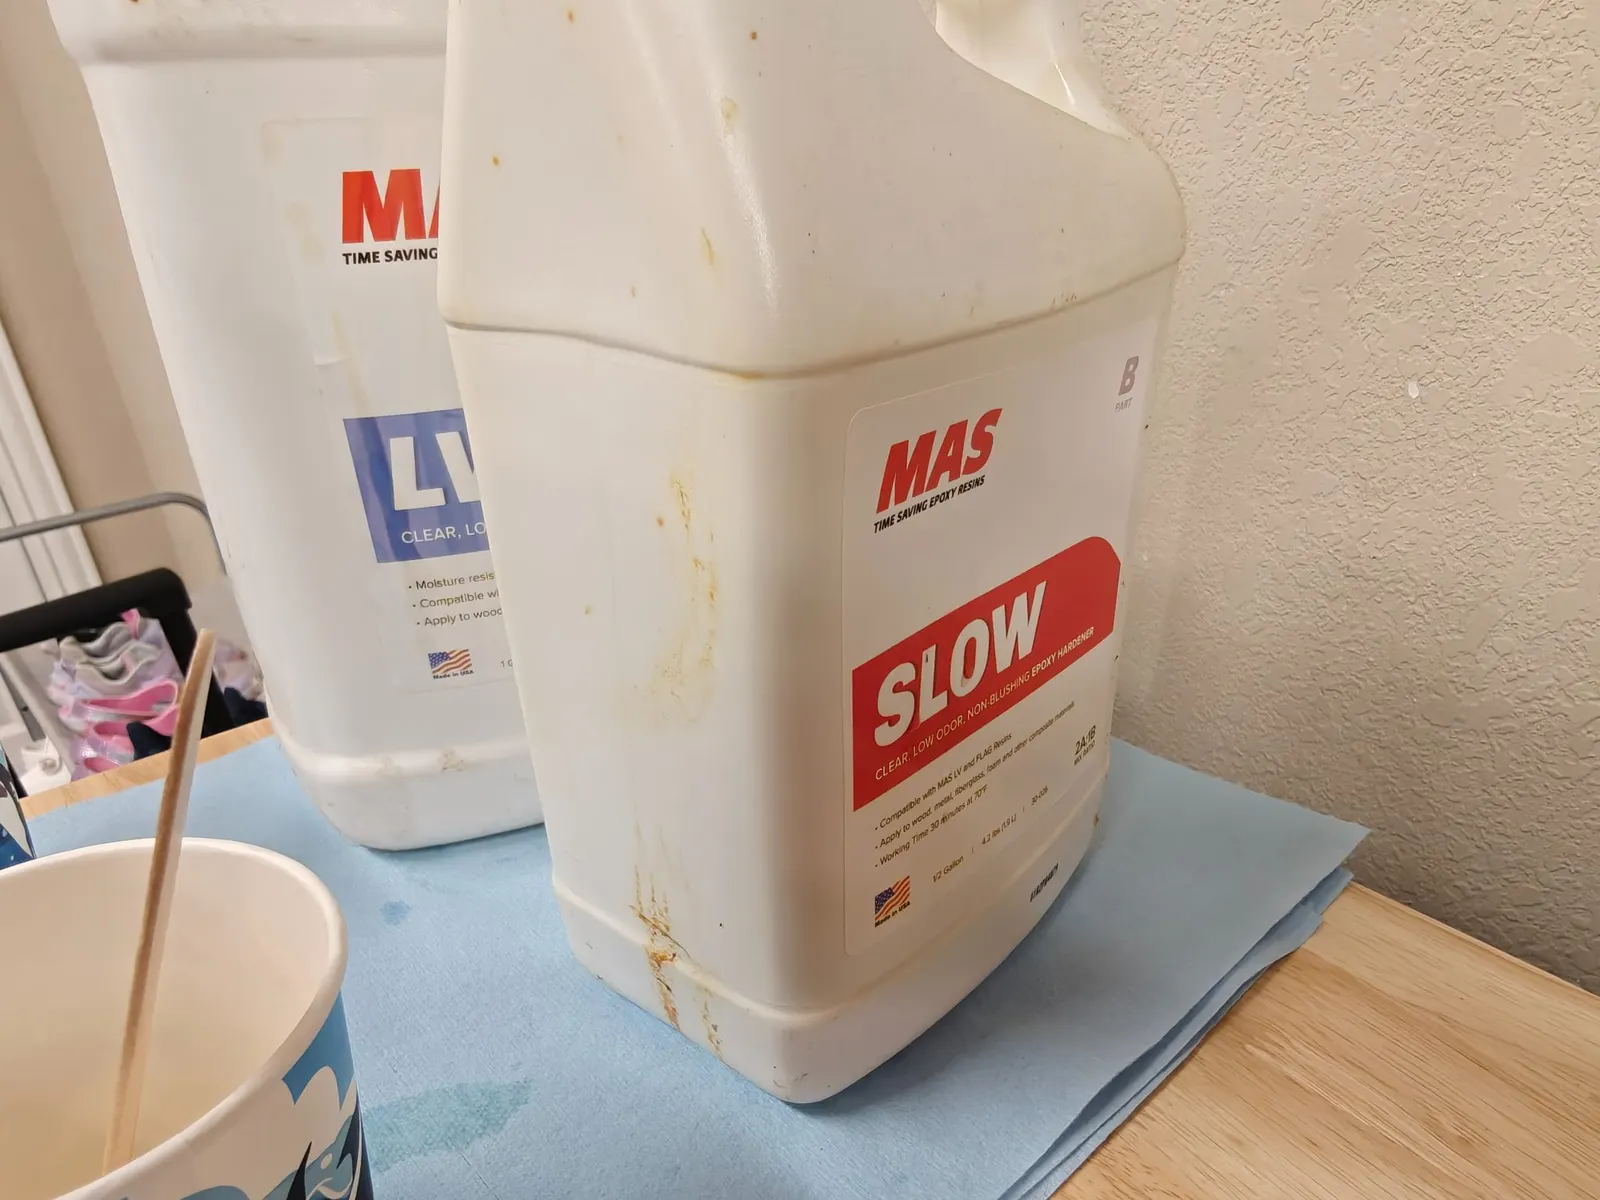
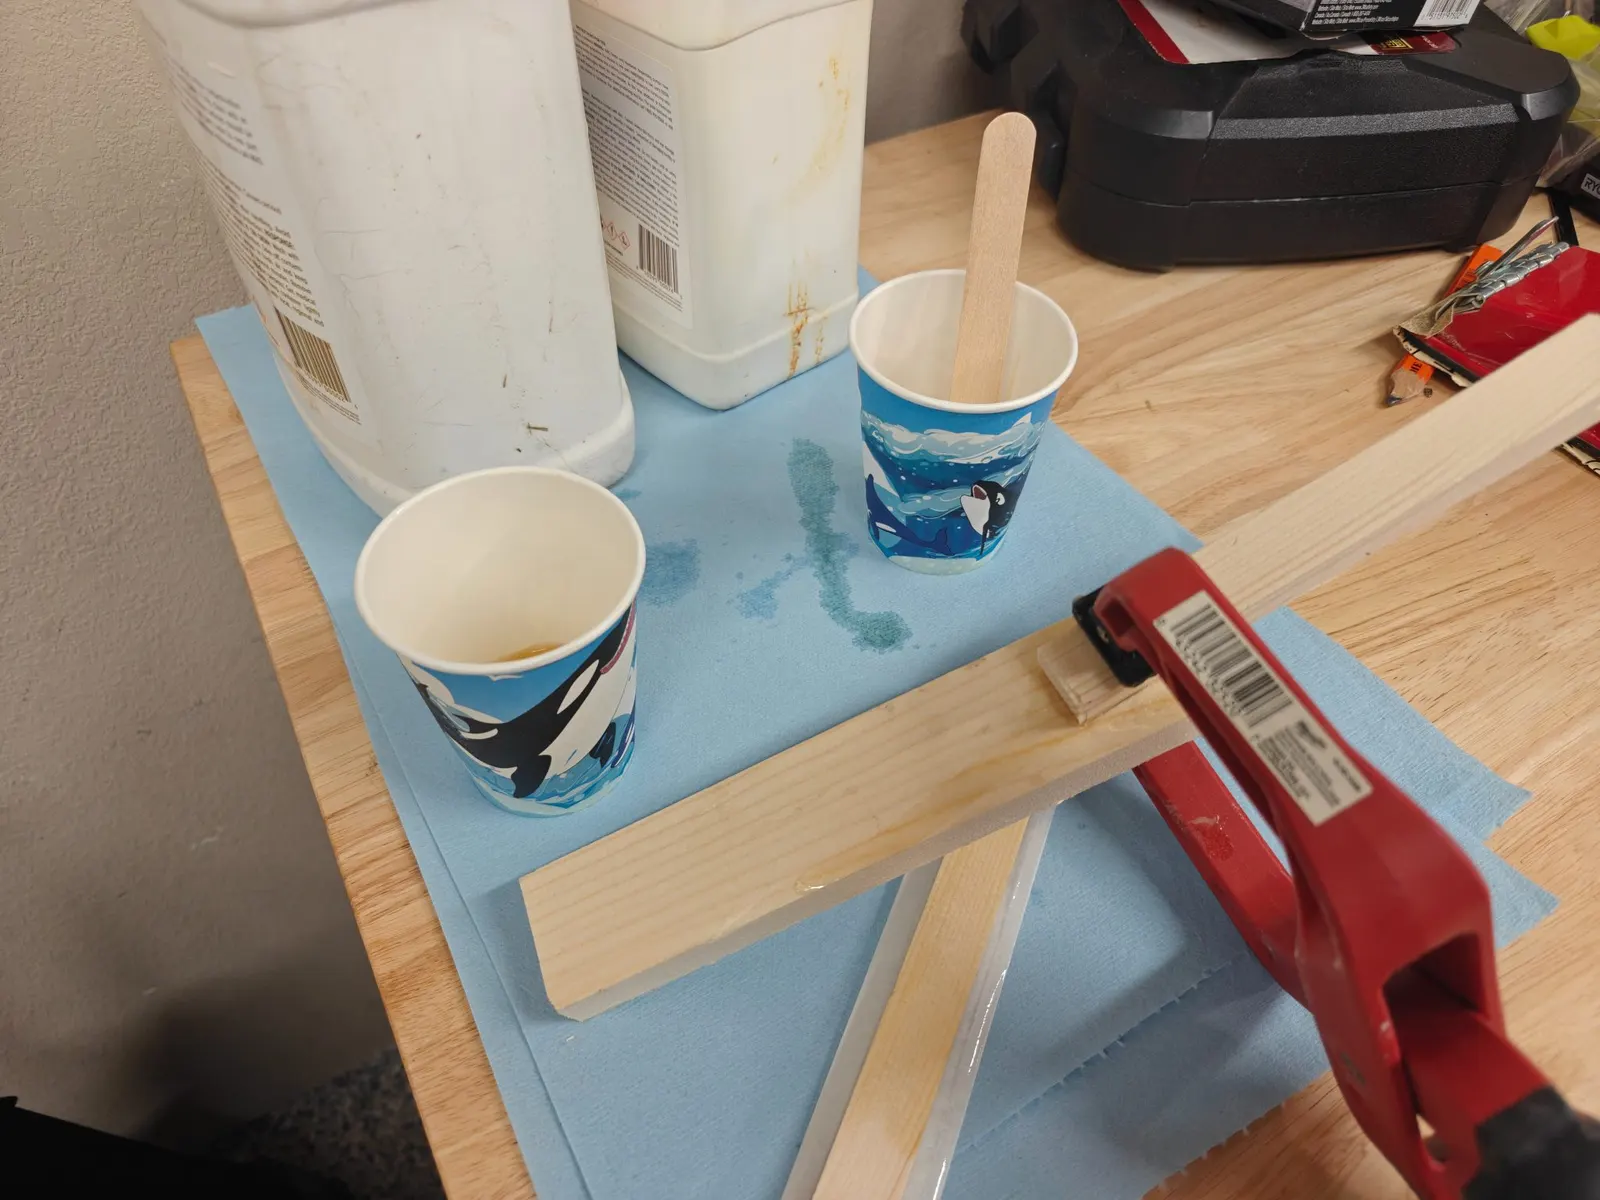
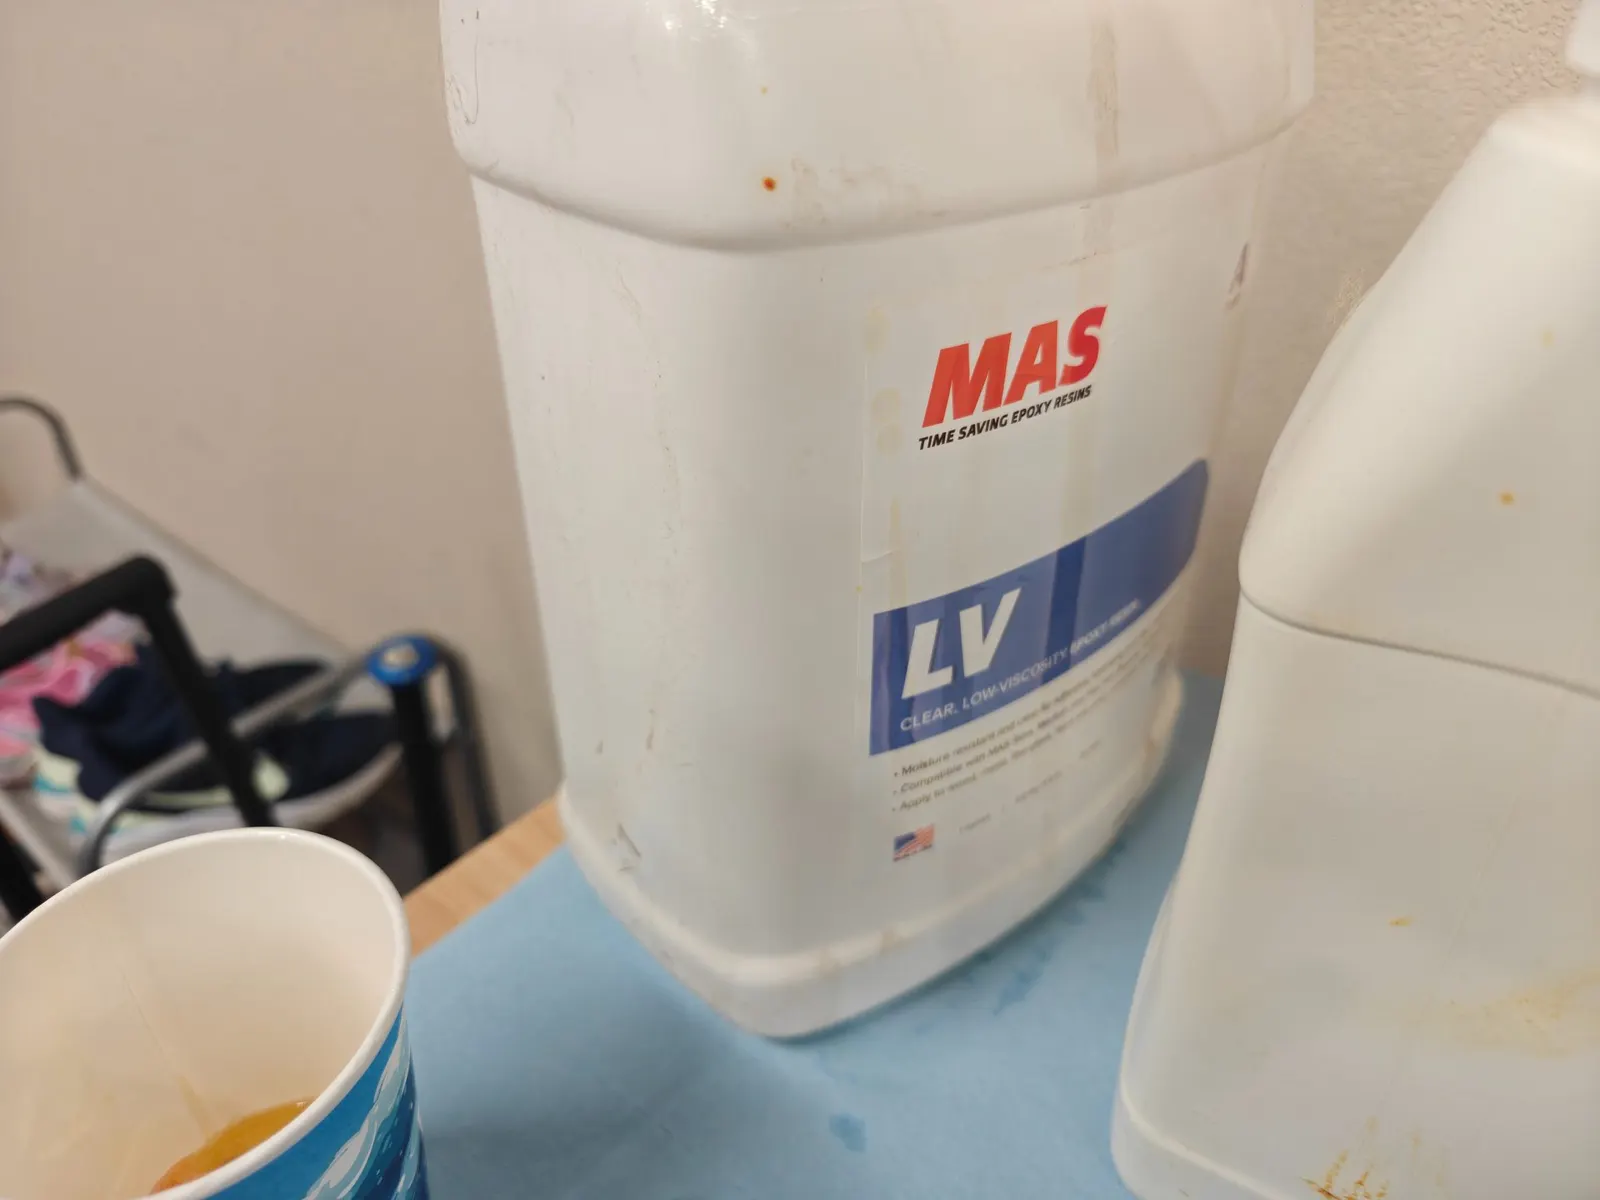
And lastly I got out my old epoxy from my last boat and did a test run, so far it looks like it's working pretty well with our hot temperatures here it was hard in less than 30 minutes and tomorrow I will check the strength of the two wood pieces that I put together.
28 Aug 2026
Hull Exterior 4 h
Starting to epoxy some of the frames and battens
Day's Progress: Frames and Bottom Mounting
Today's goal was to build the frames and start mounting everything onto the bottom planking.
Runner Chines
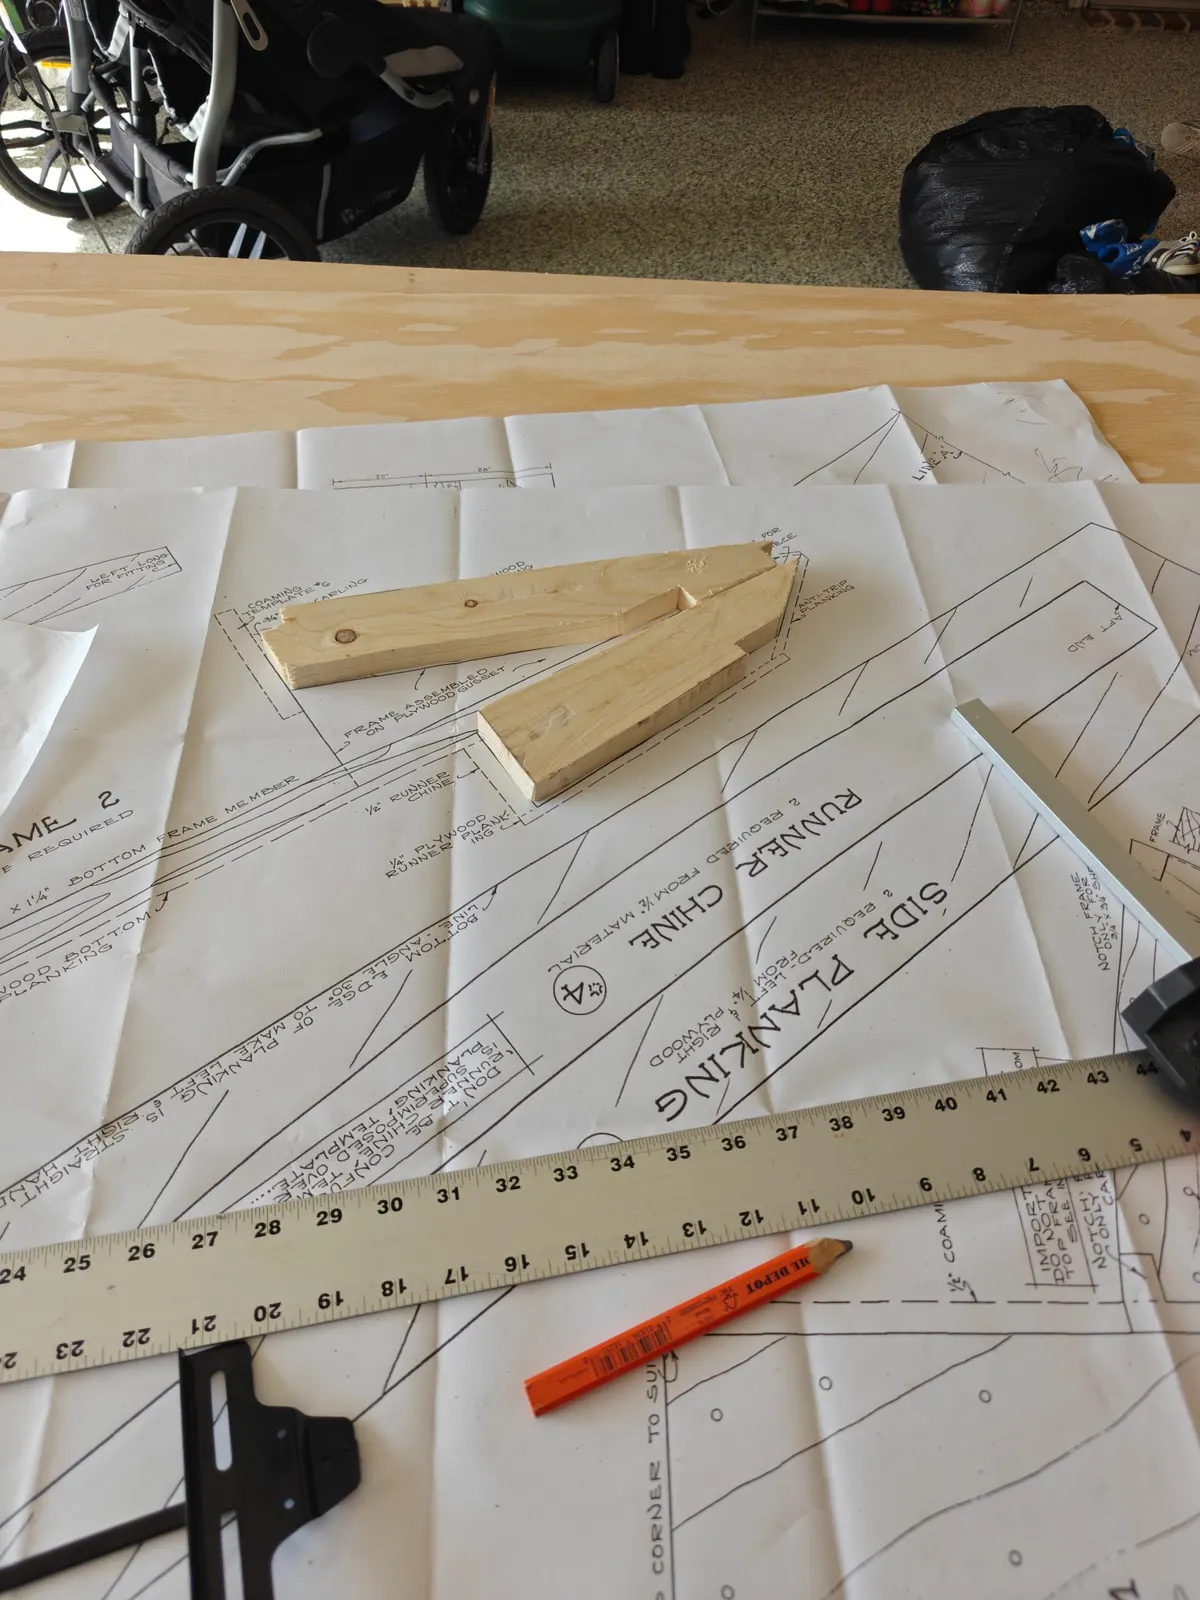
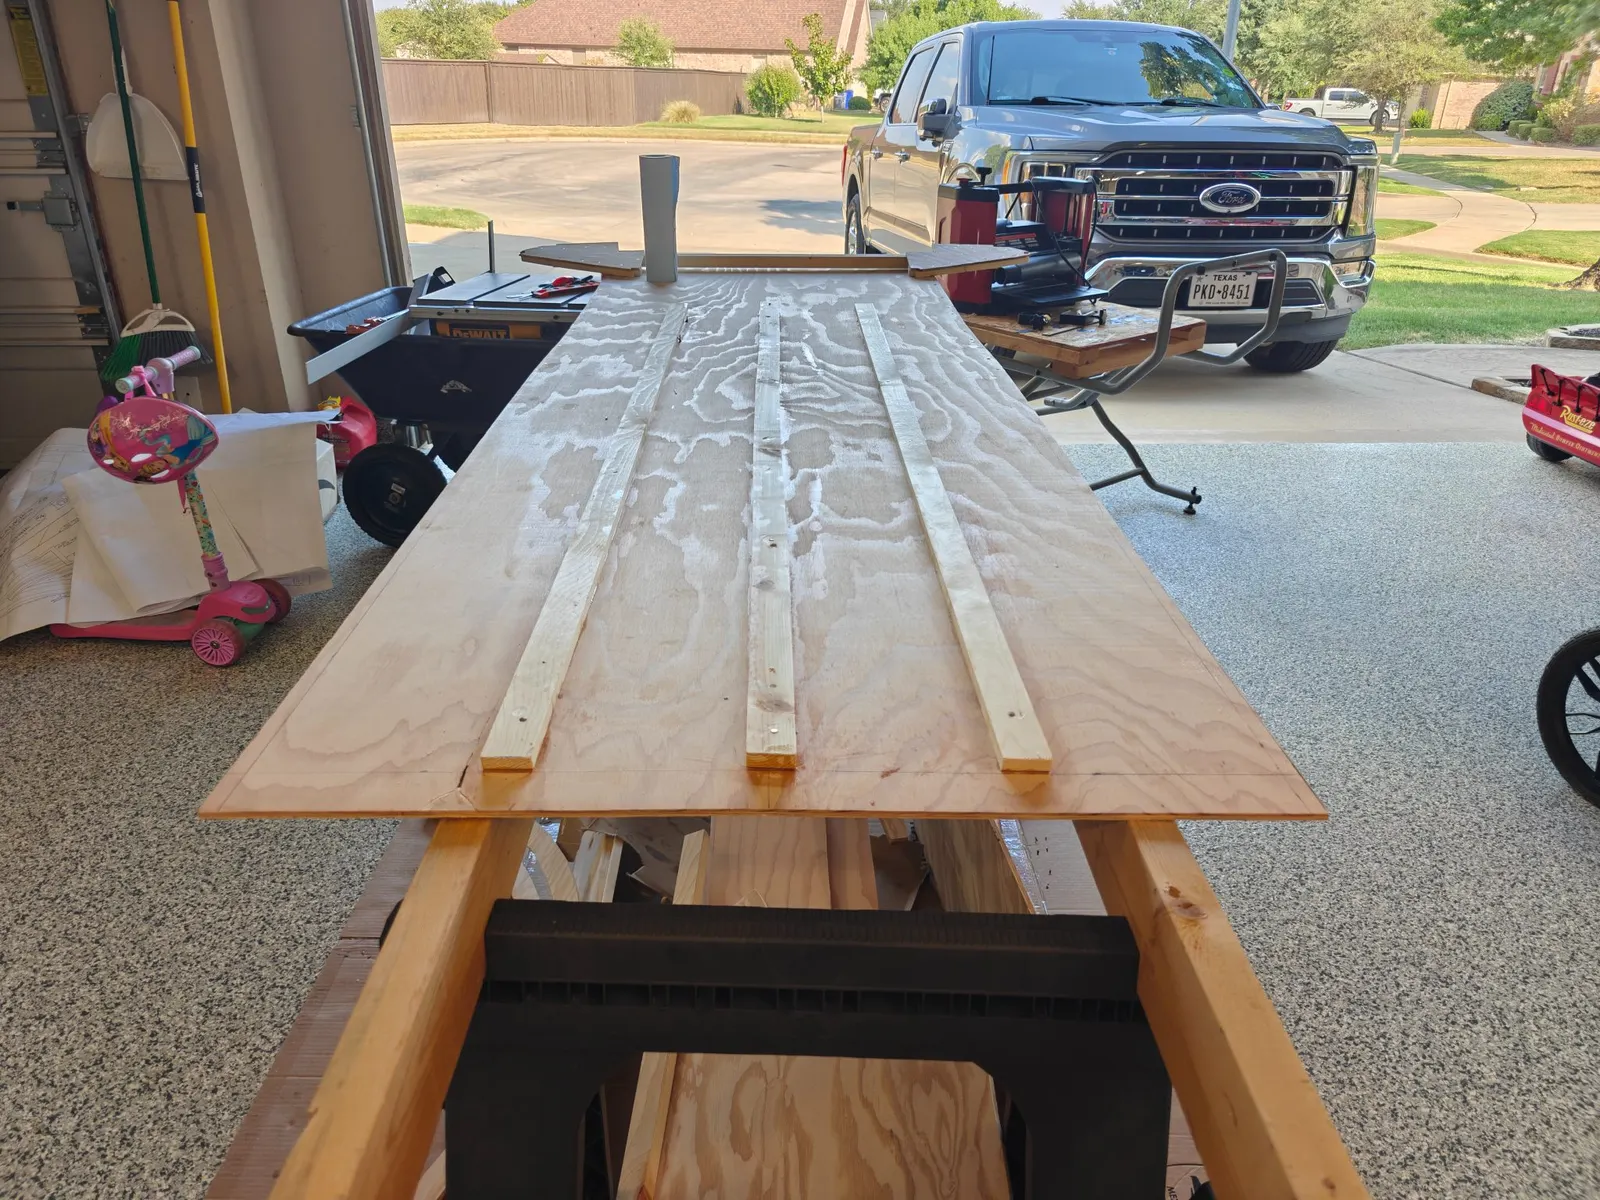
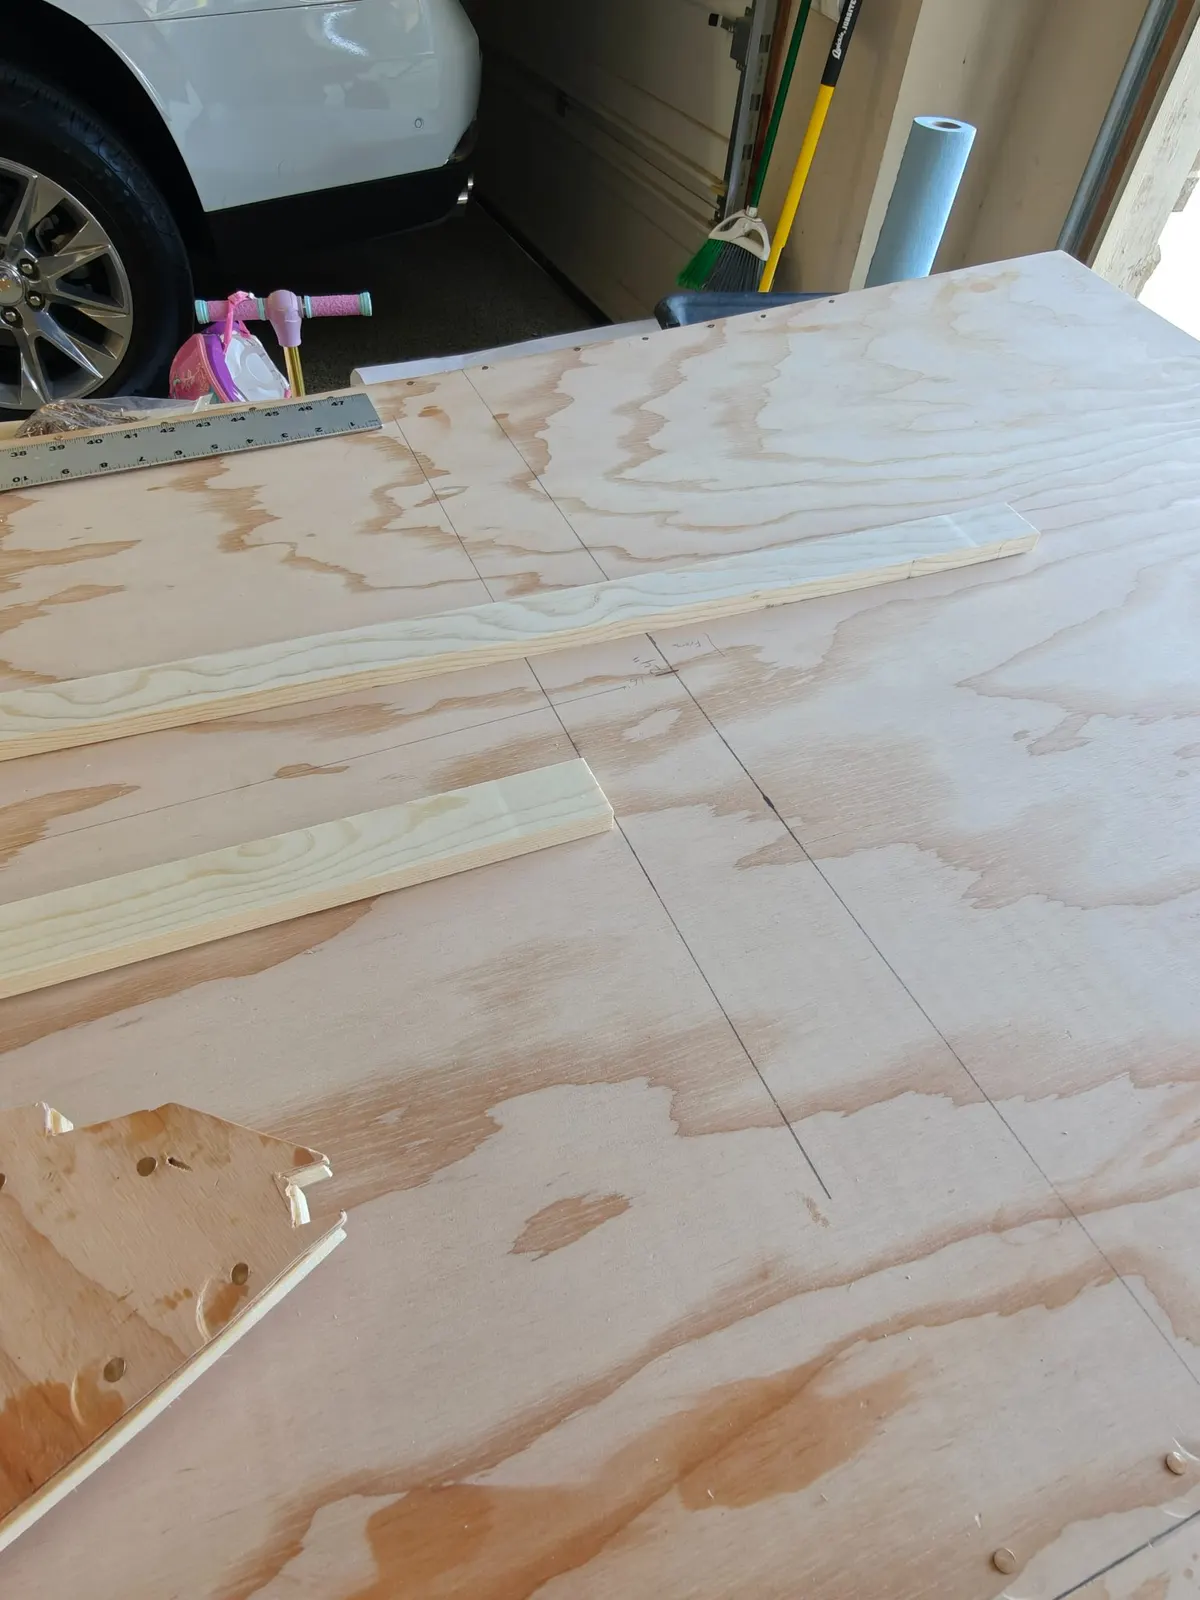
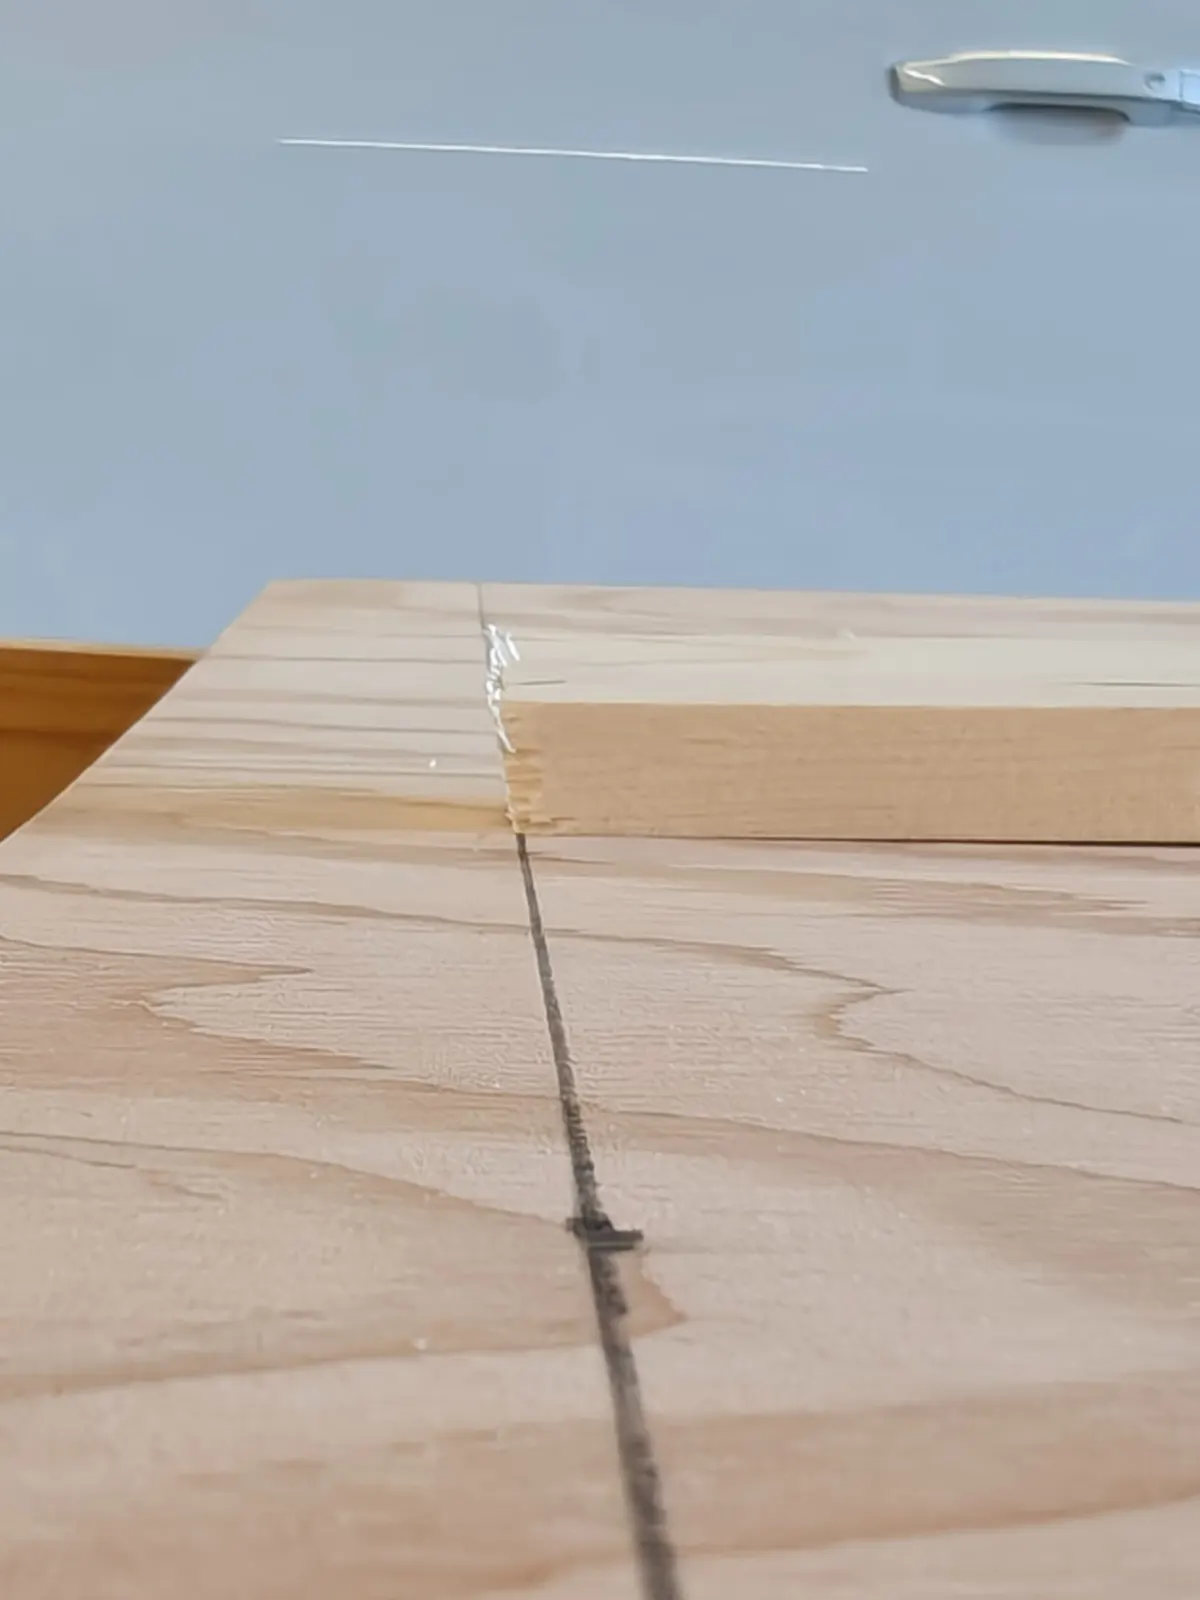
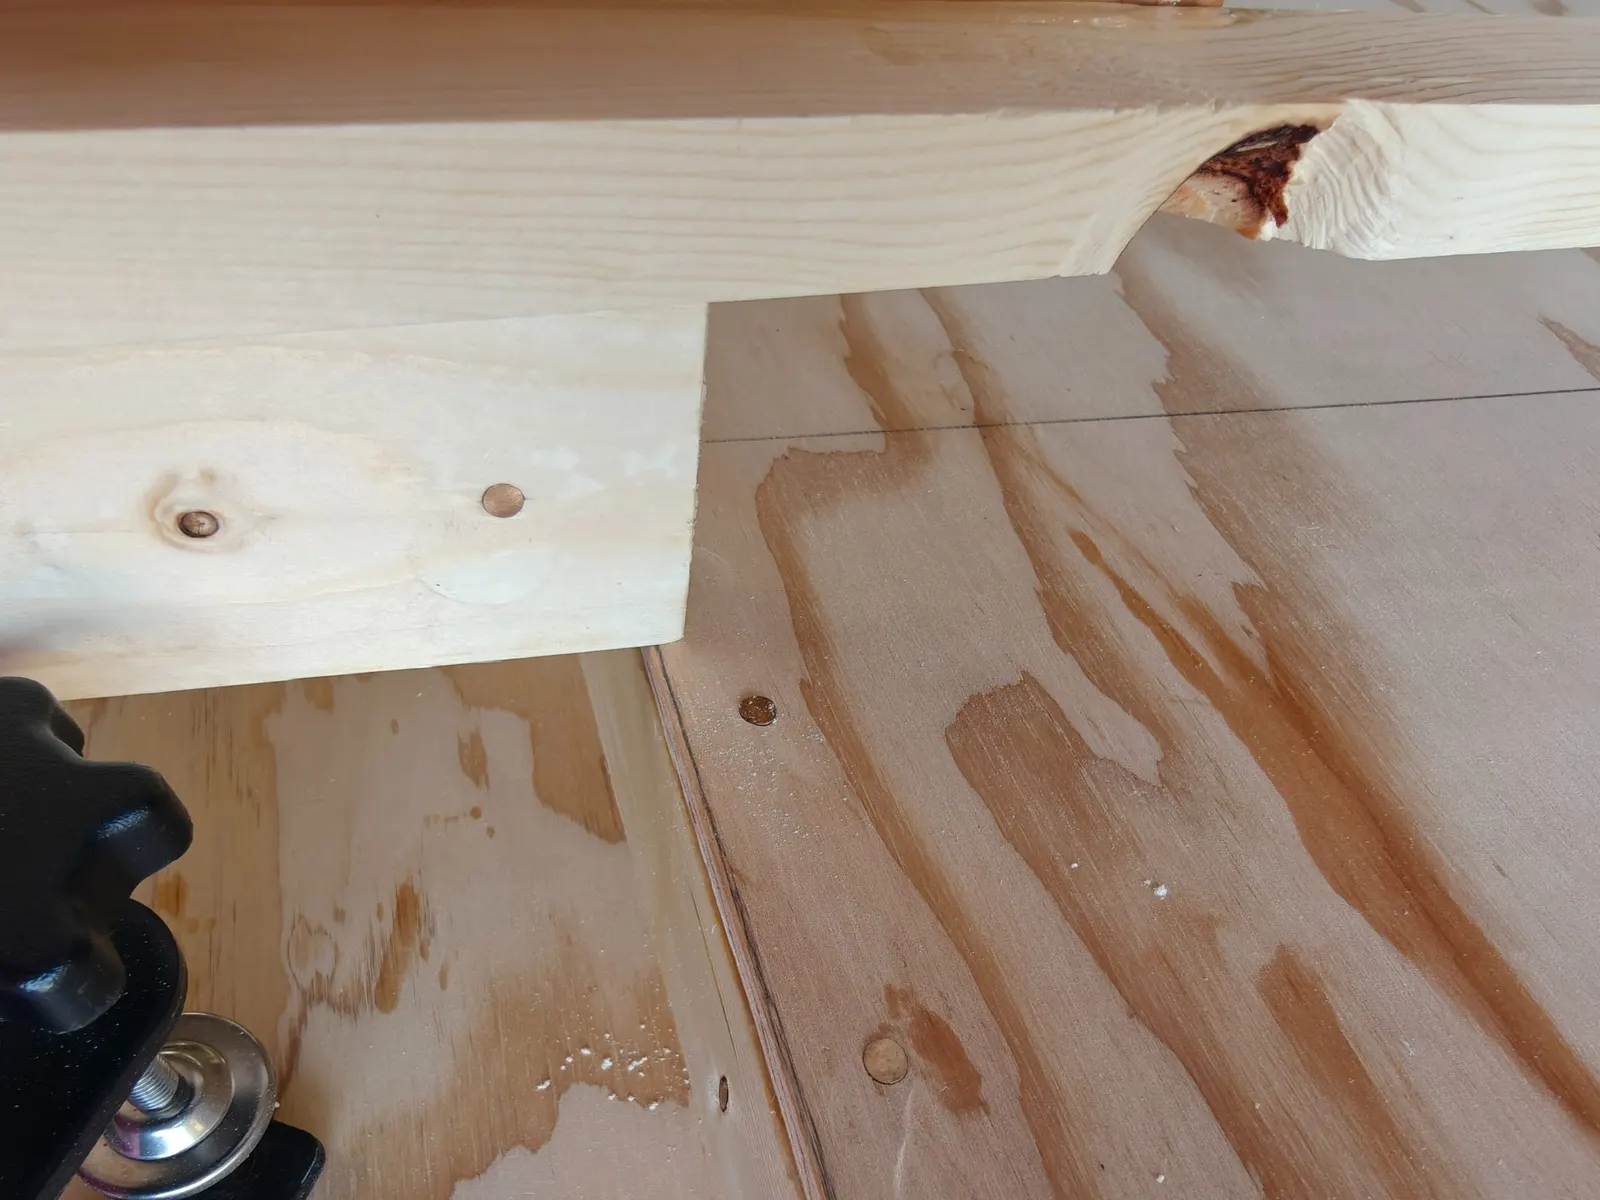
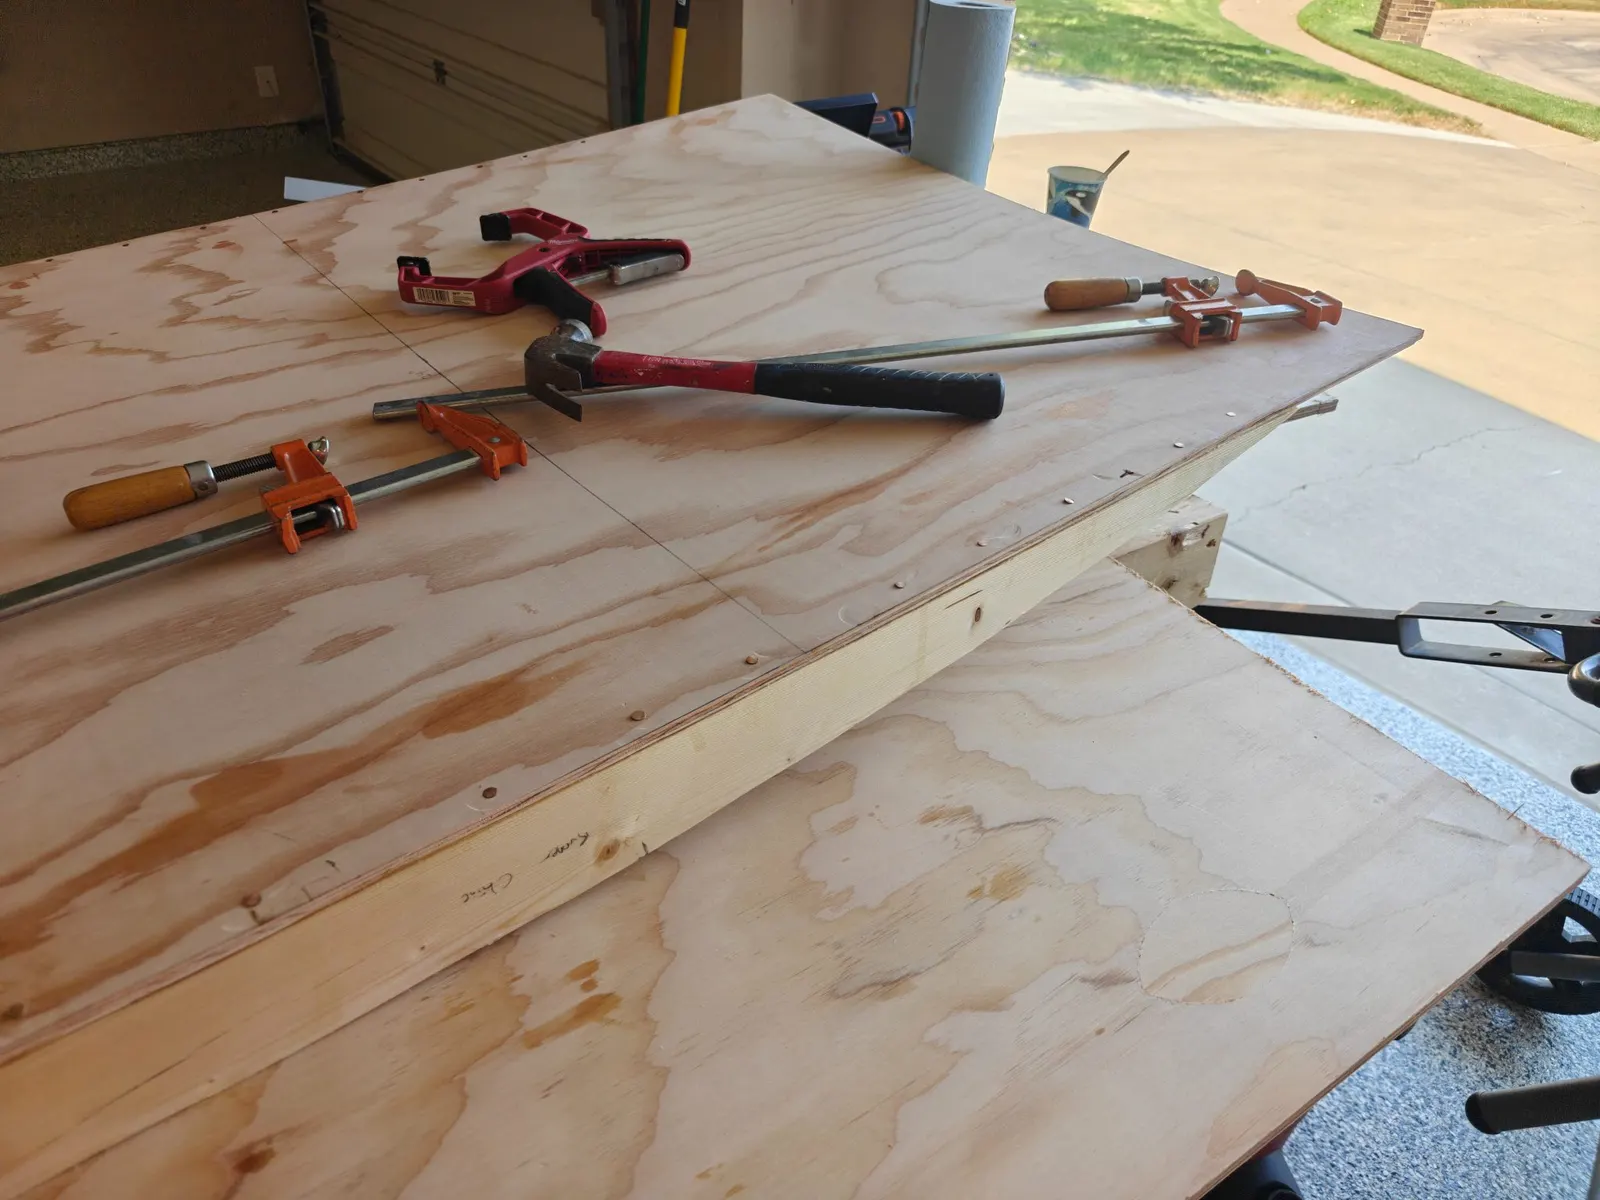
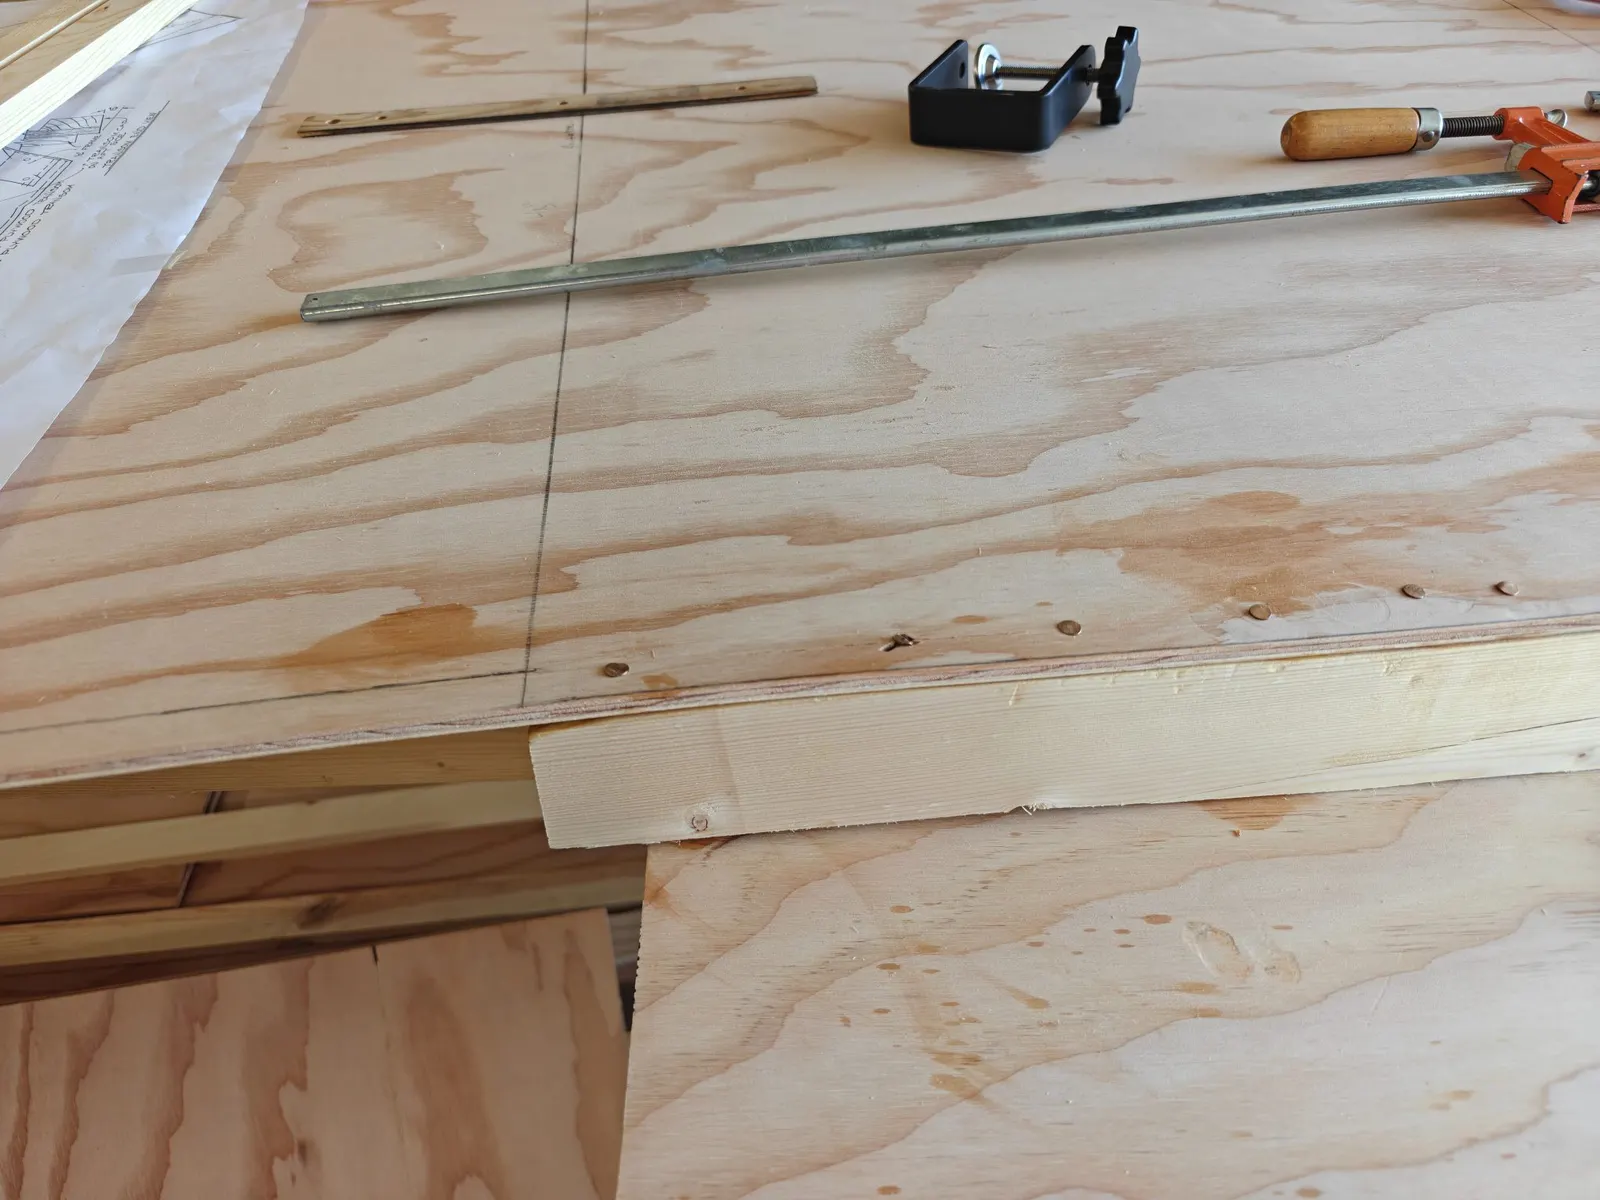
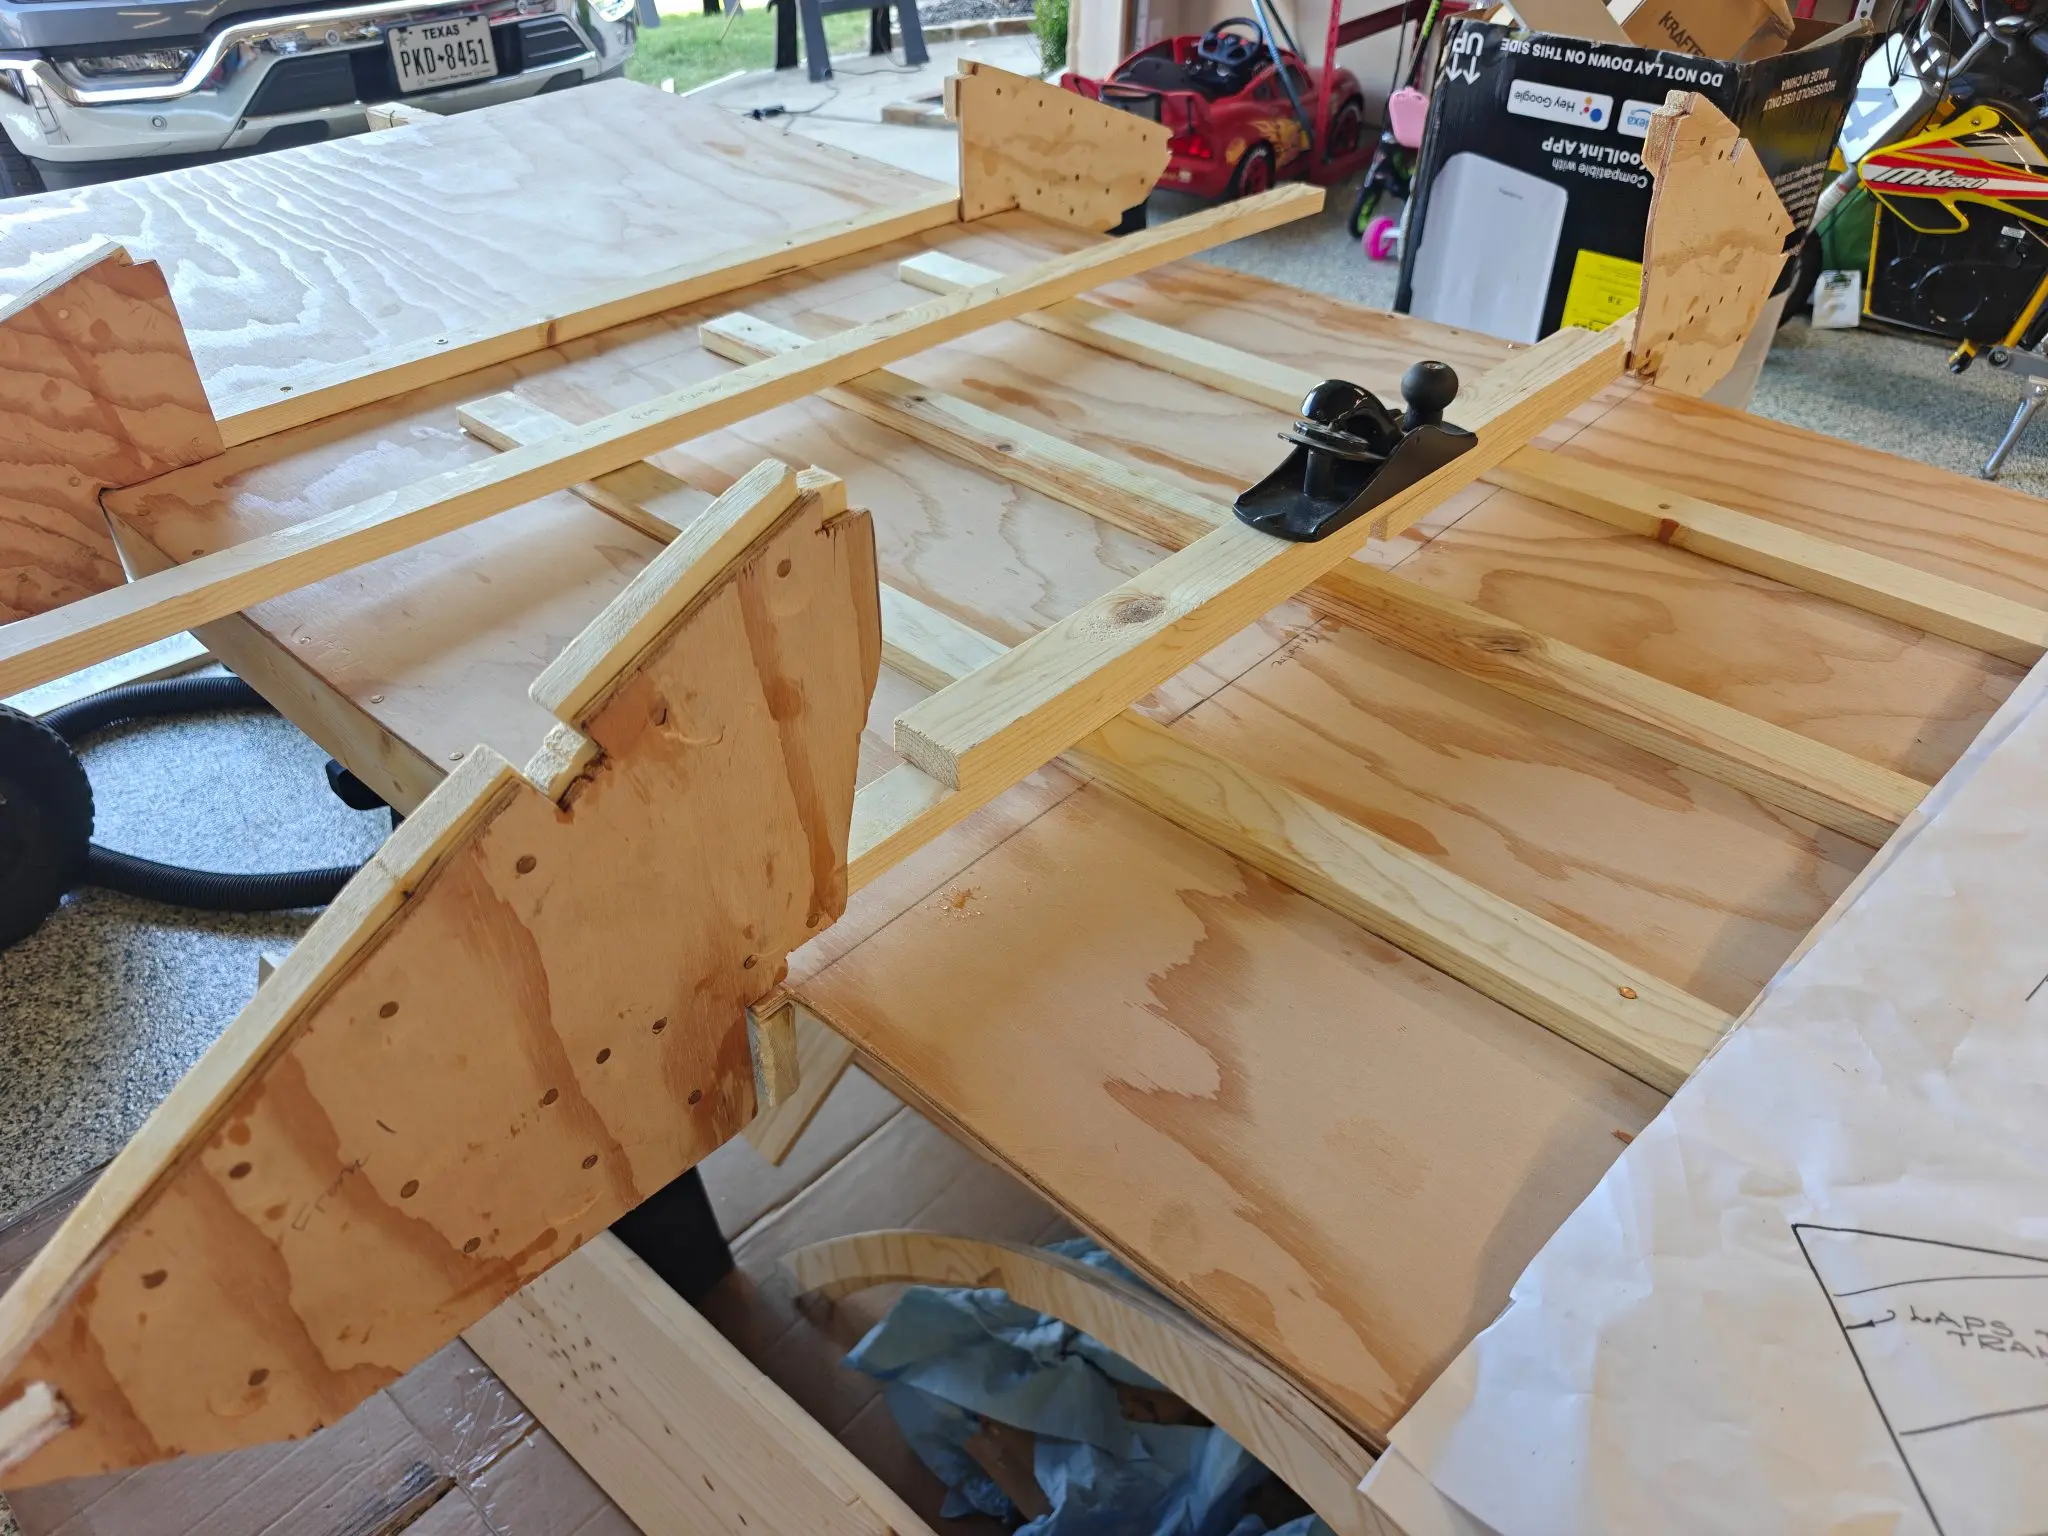
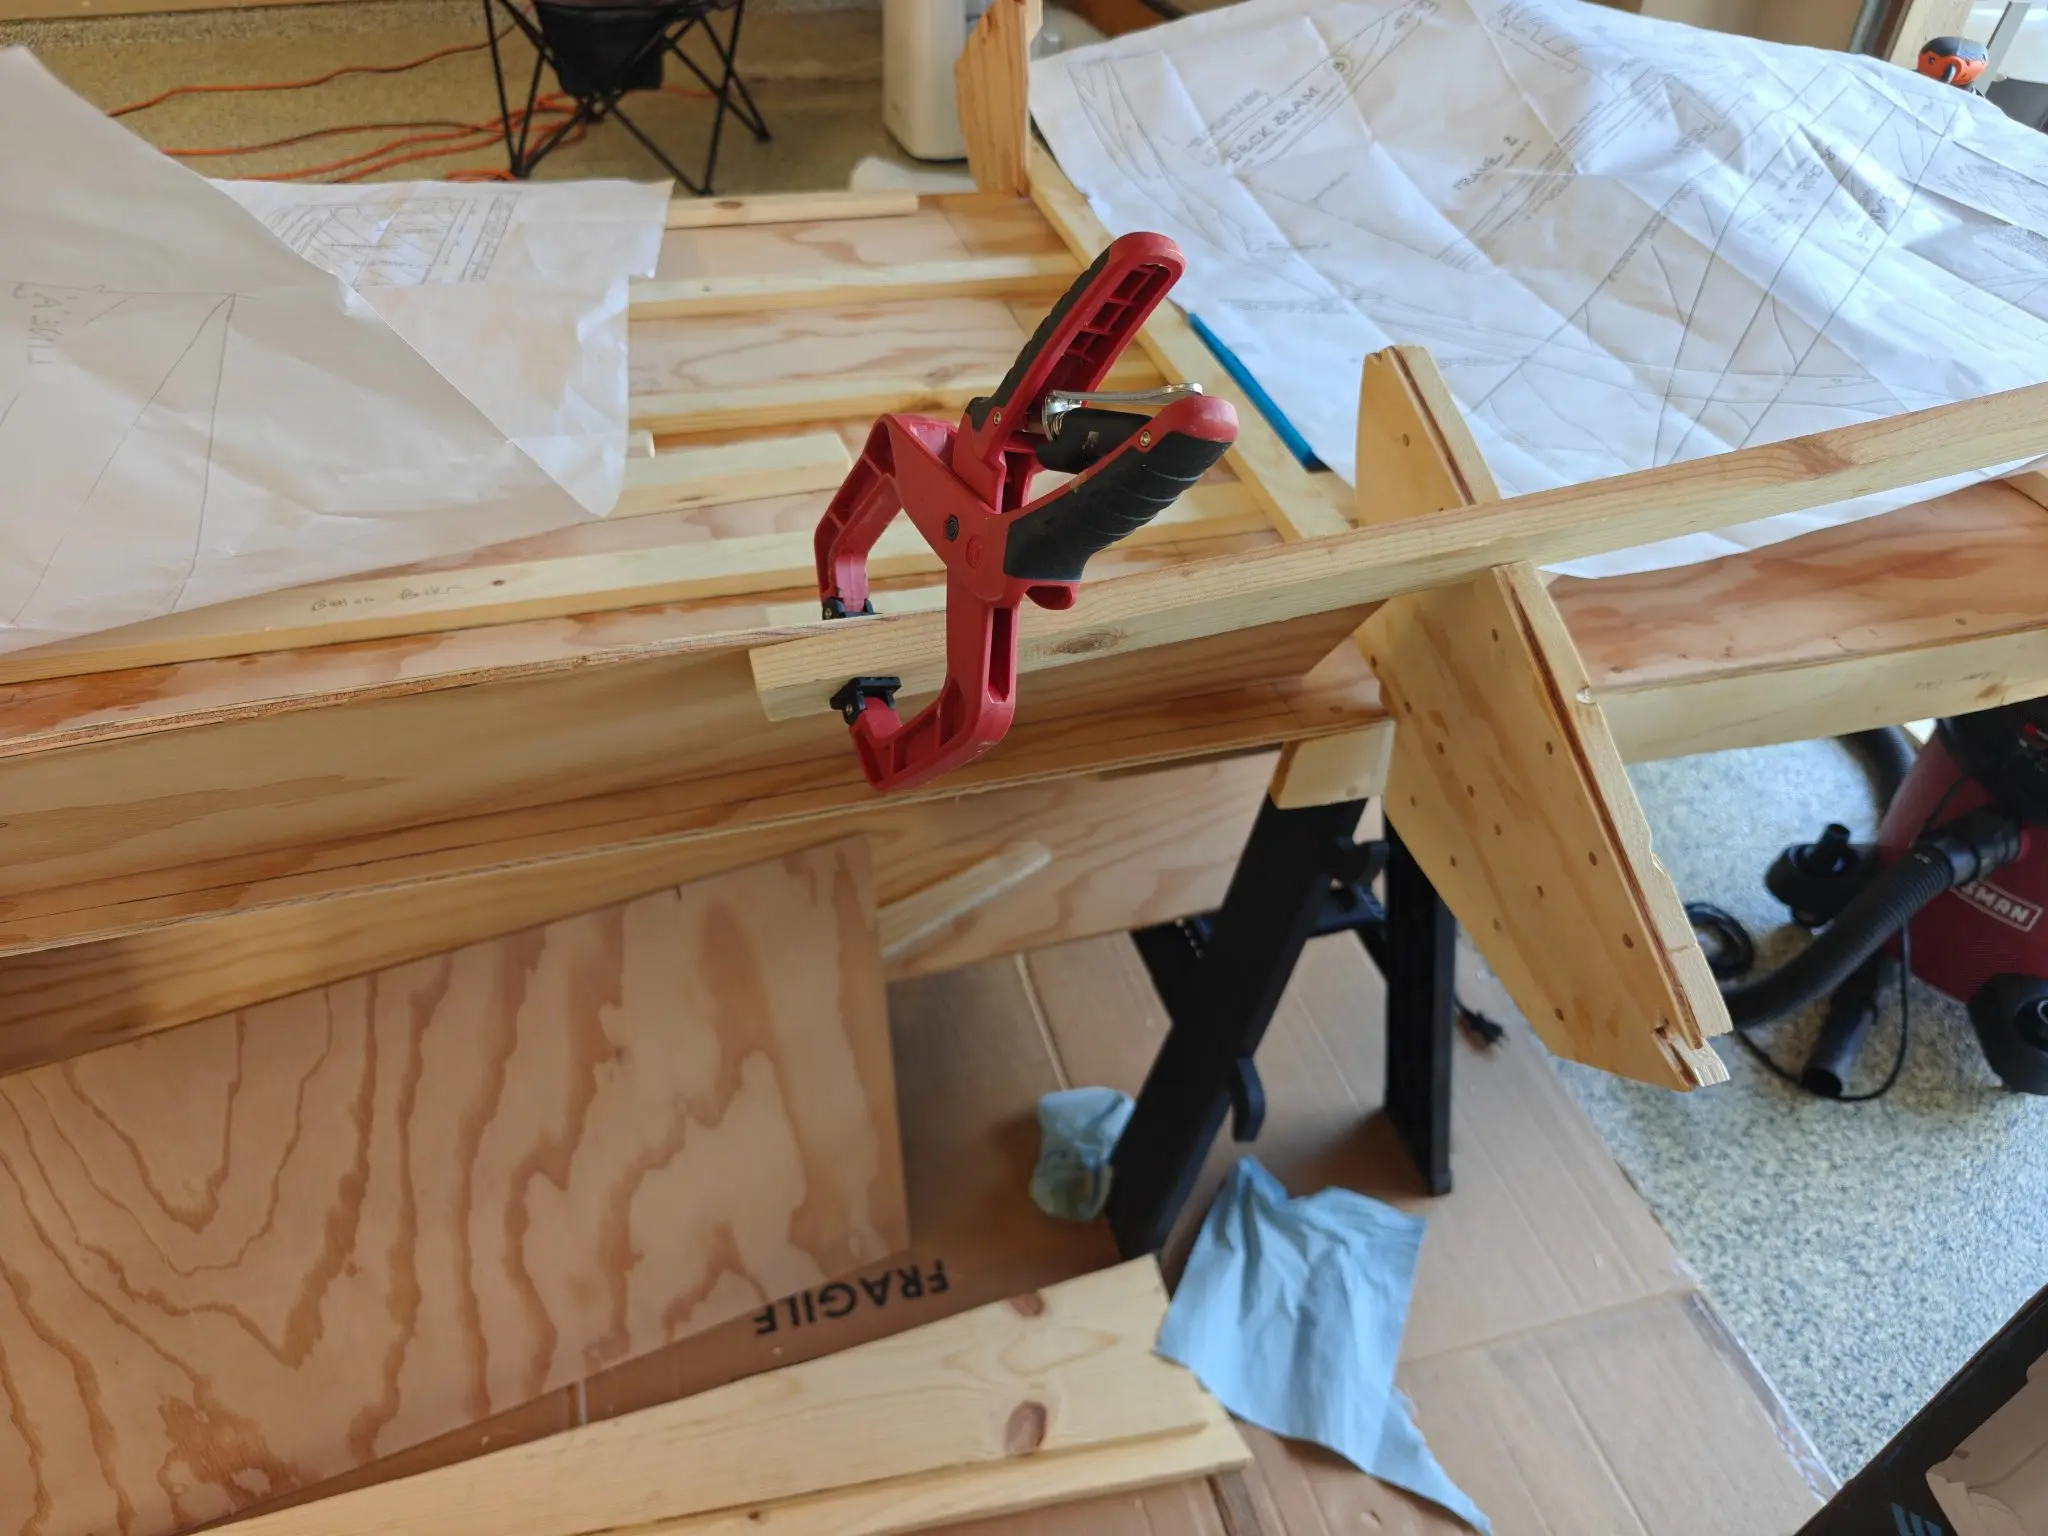
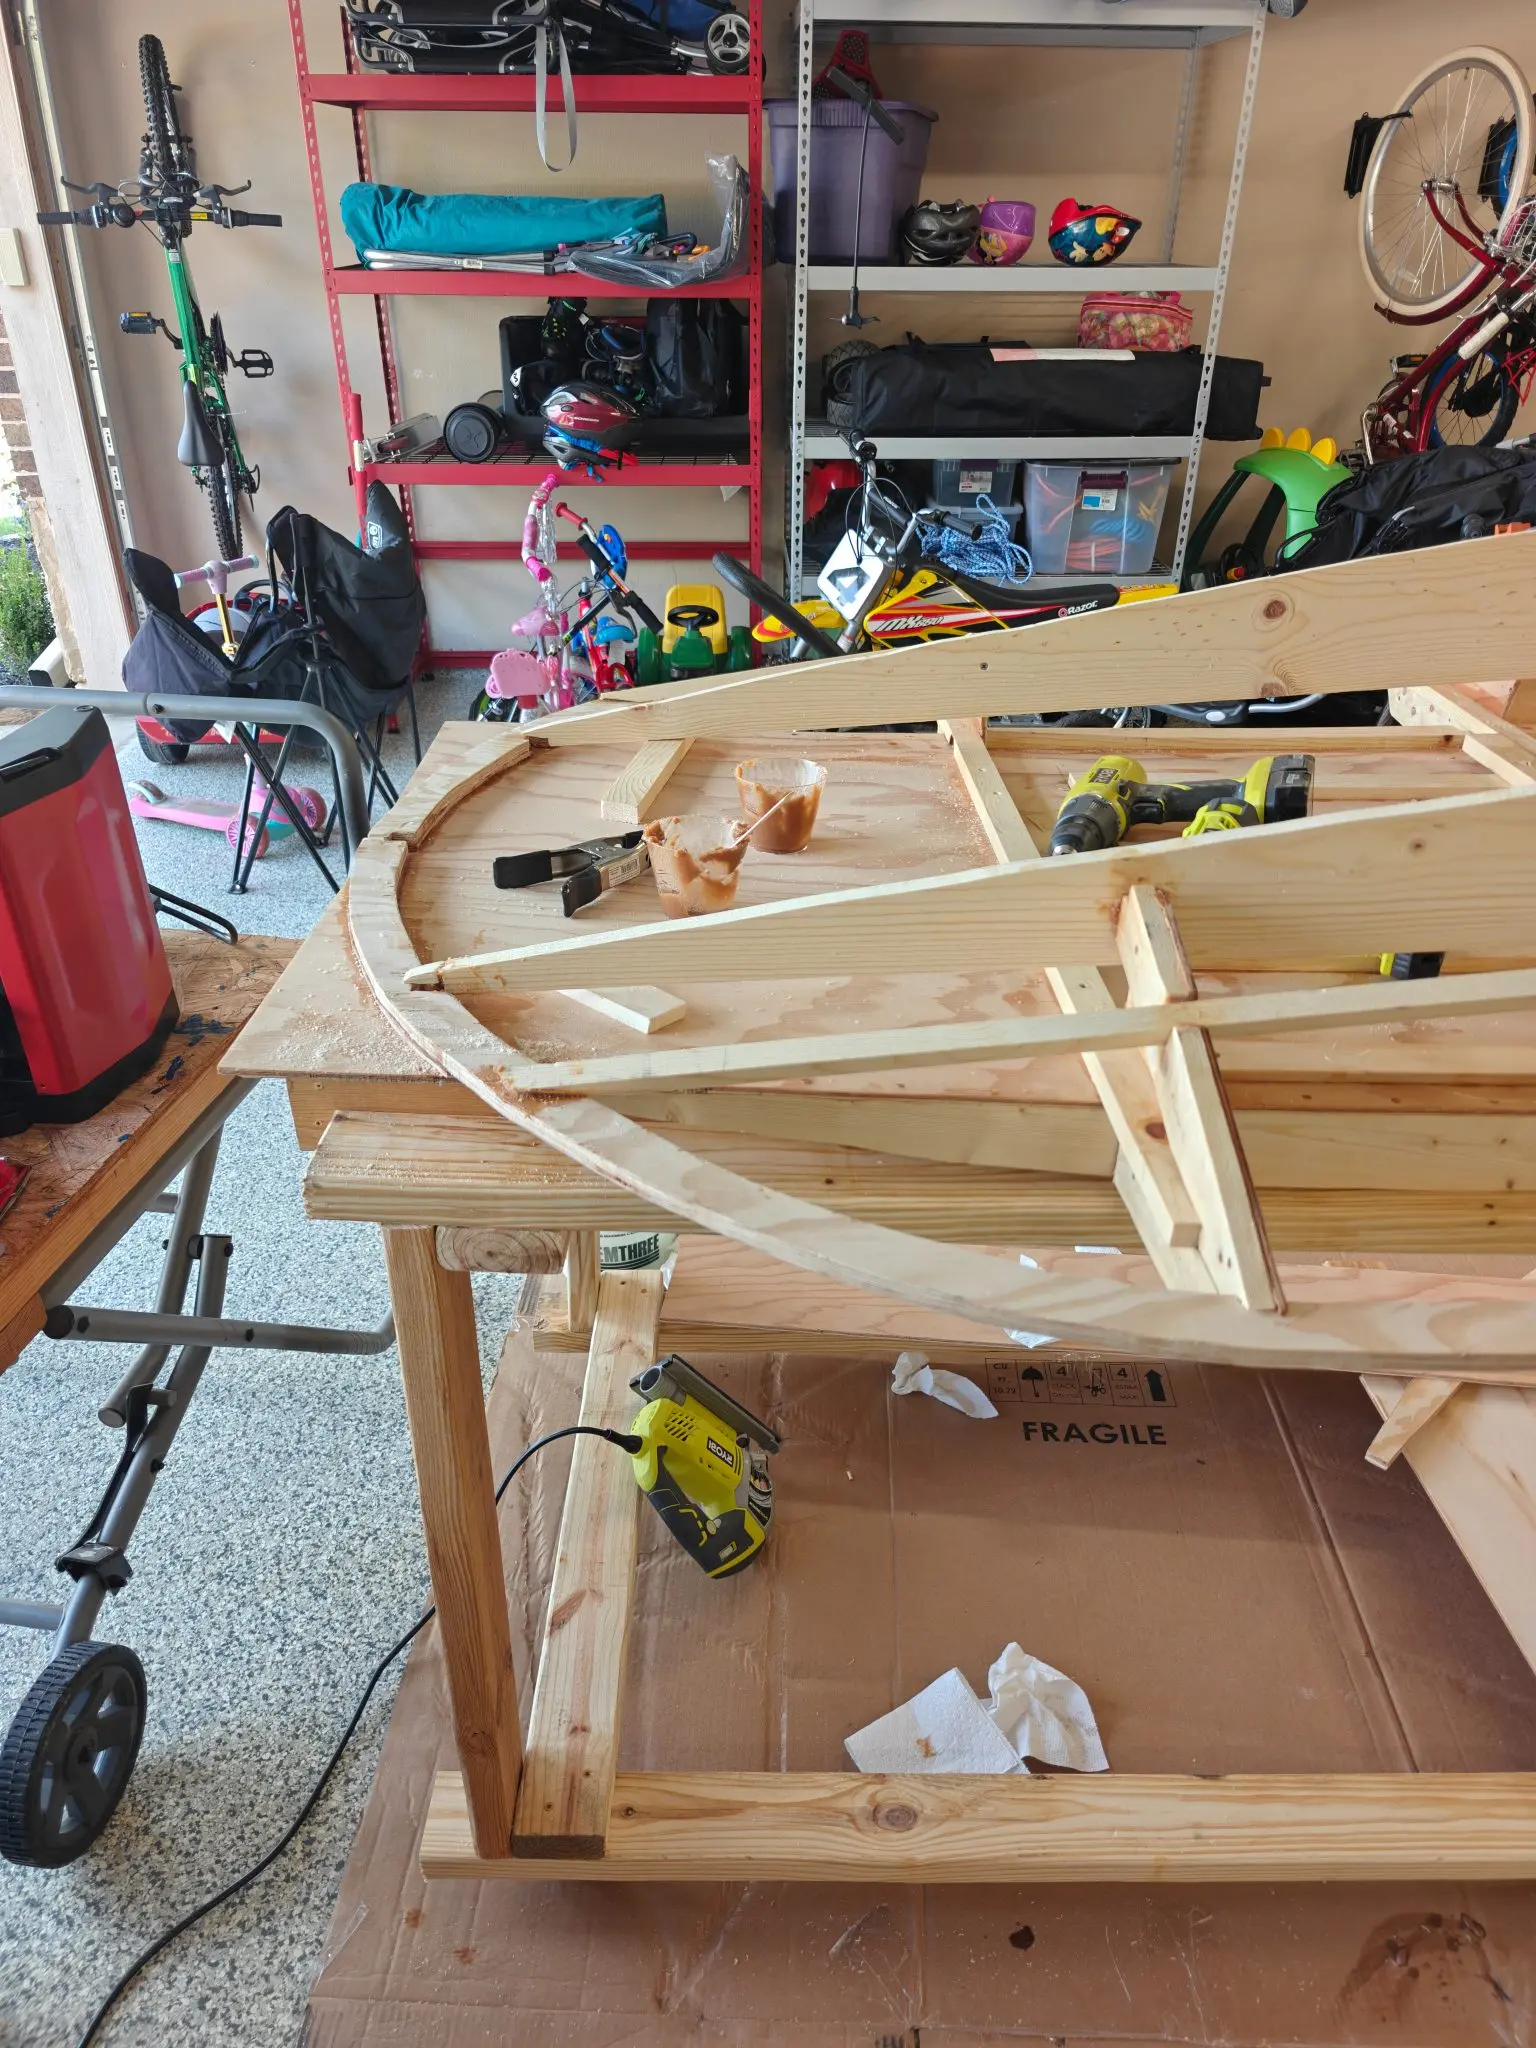
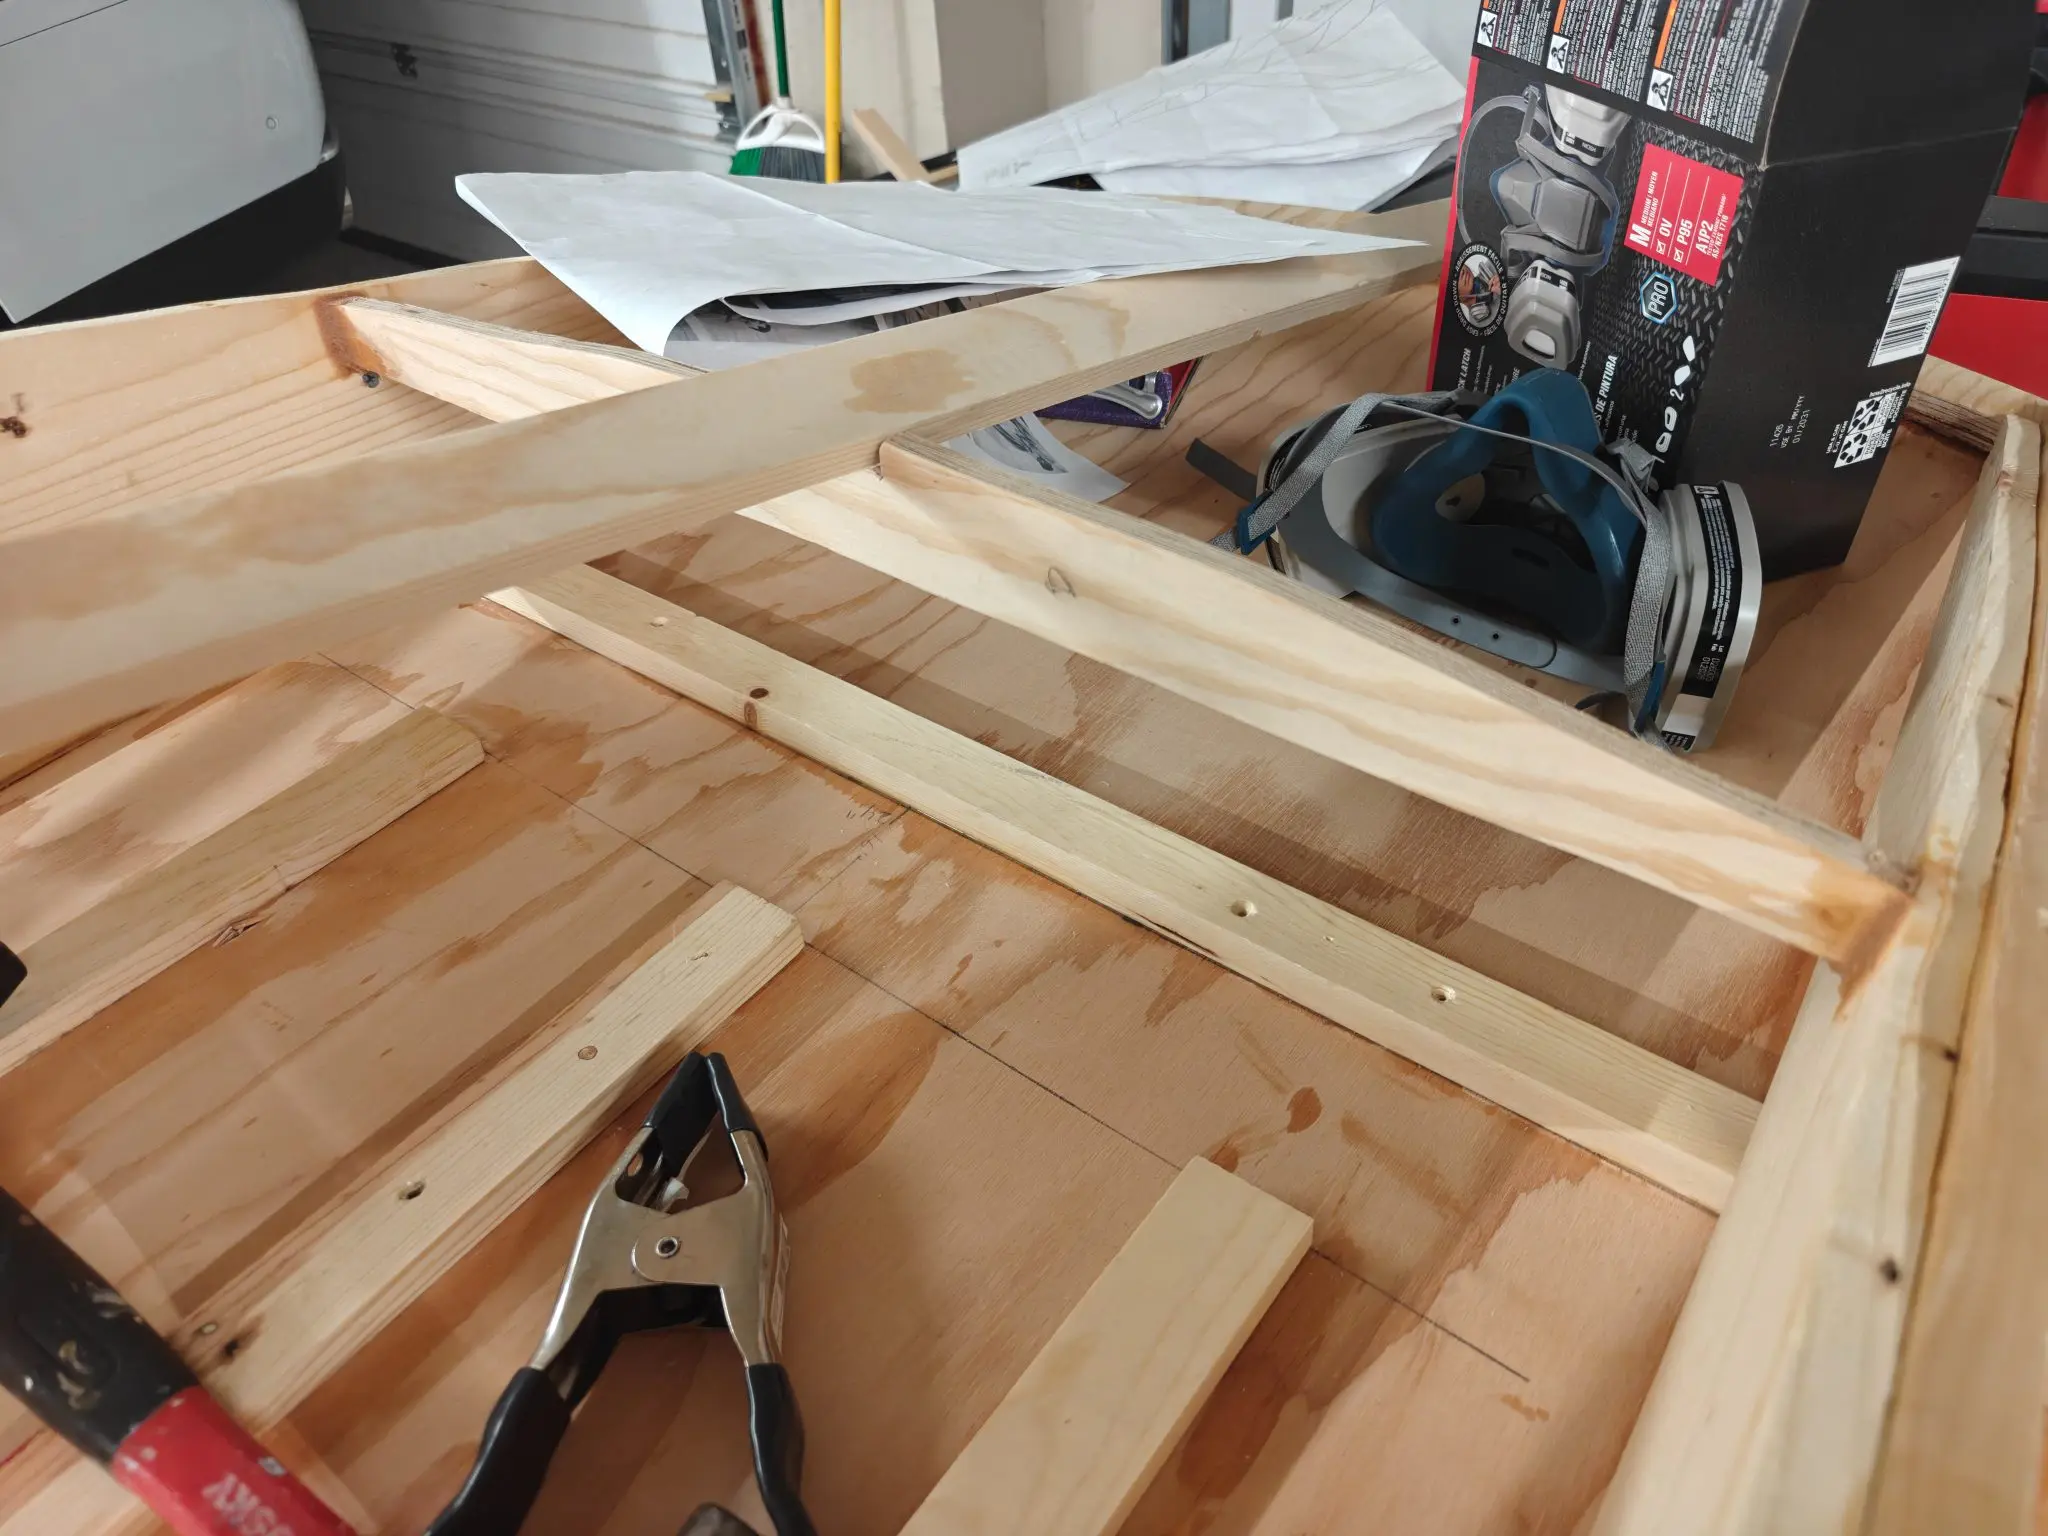
I started by getting the runner chines mounted on the bottom. This wasn't too difficult, though I wasn't 100% clear on the plans. The instructions say to mount the runner chines from frame number one forward on both sides of the outer edges but the line drawn on the plans is actually for the aft piece of frame one, which is where I placed the back of the runner chine (see photos). I wasn't sure if I was supposed to add the width of the actual frame to that measurement.
Frame Number Two
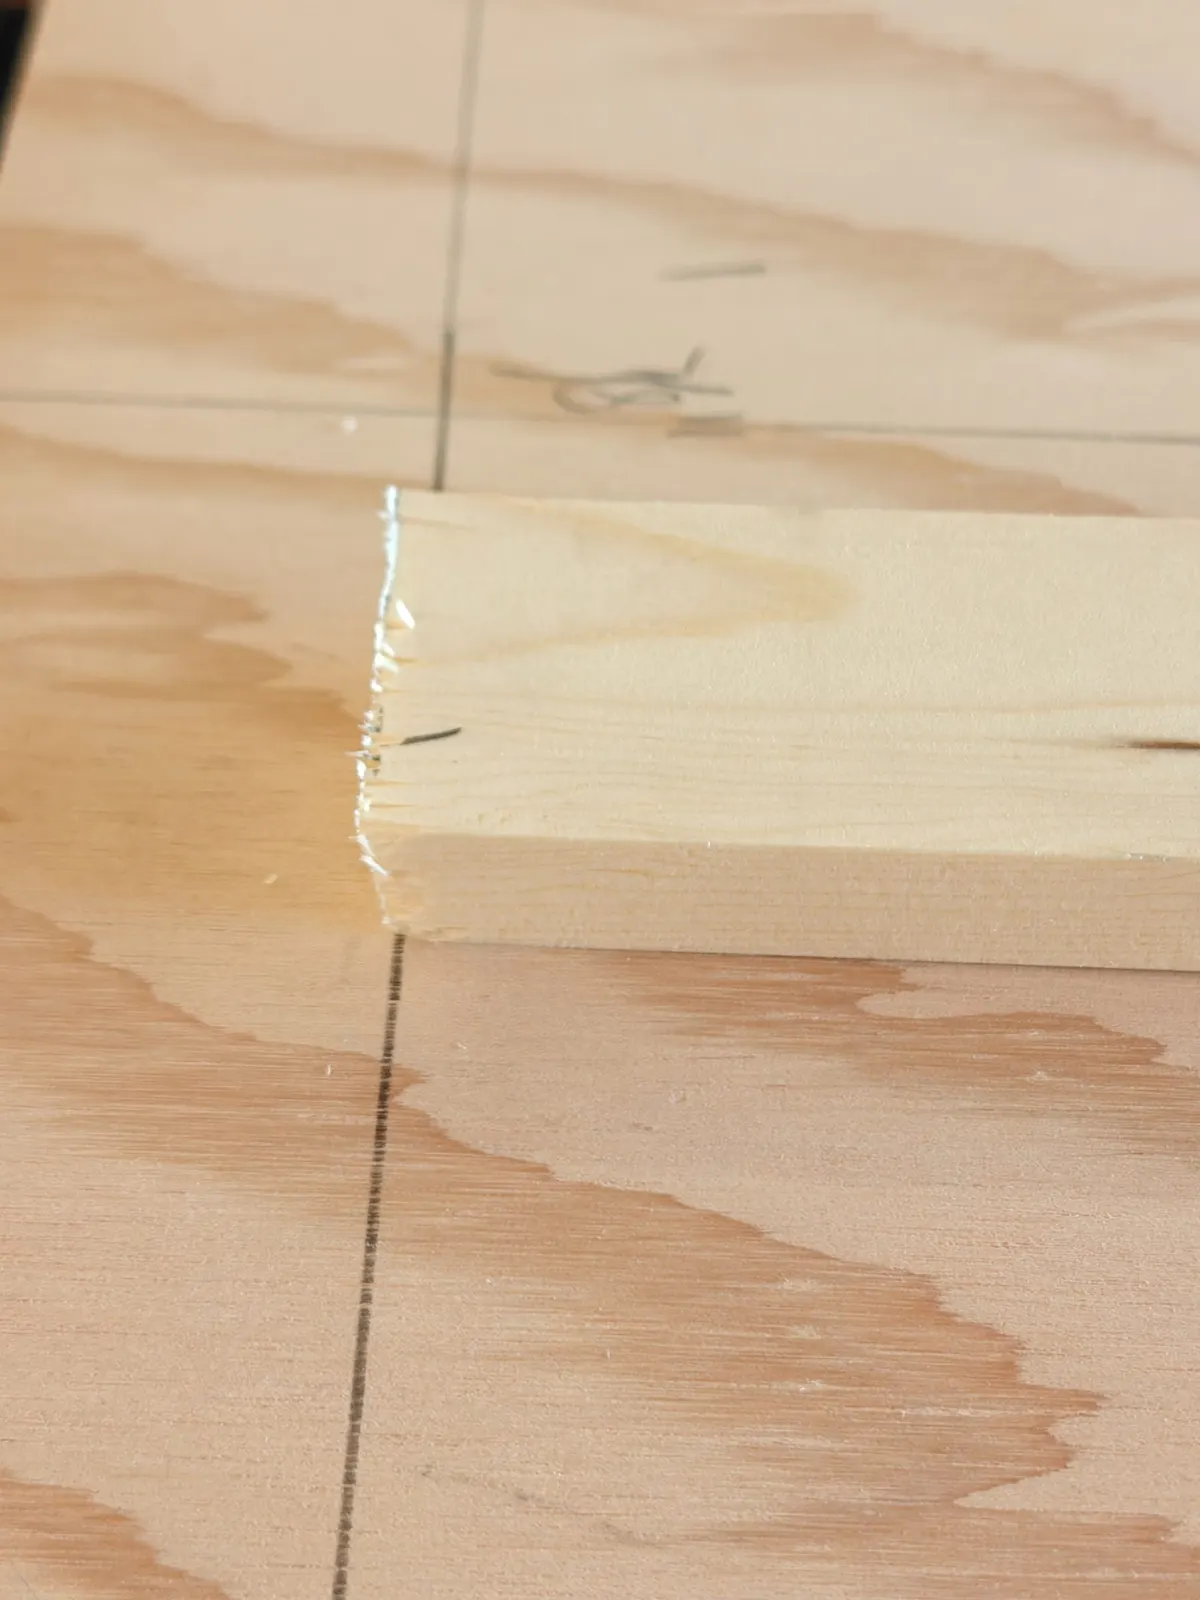
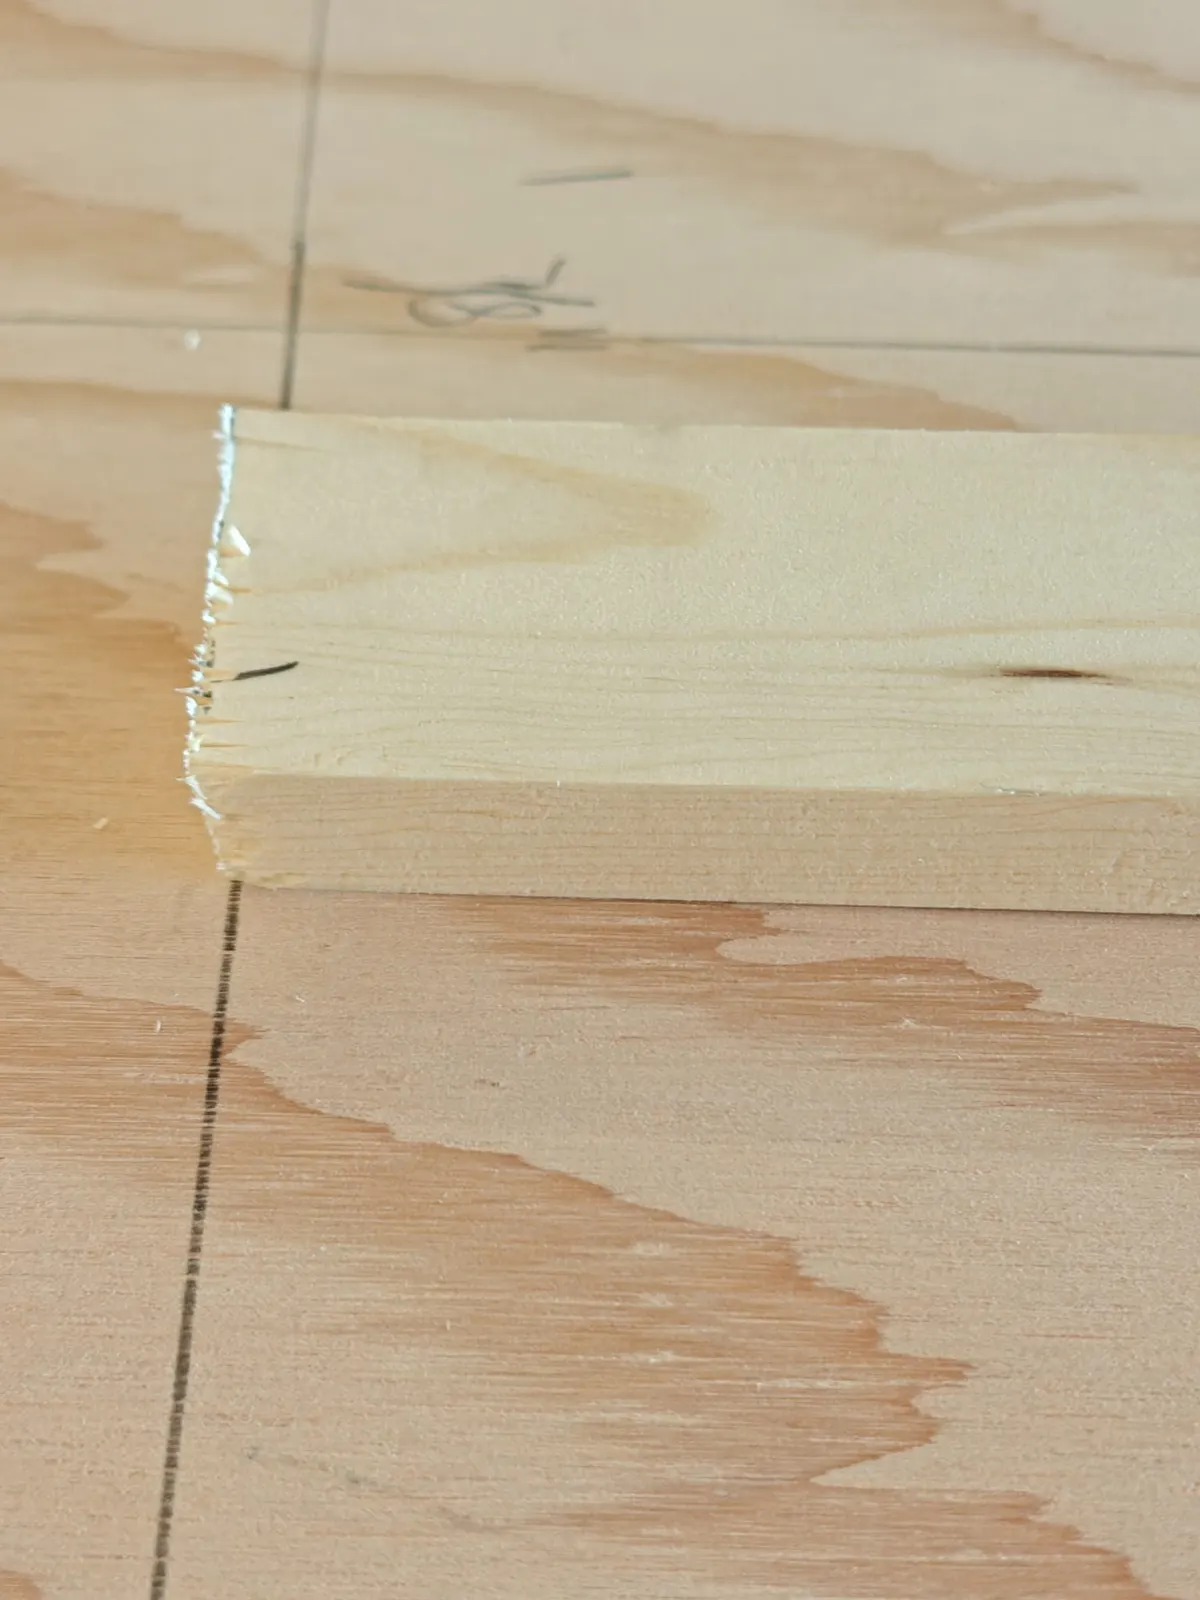
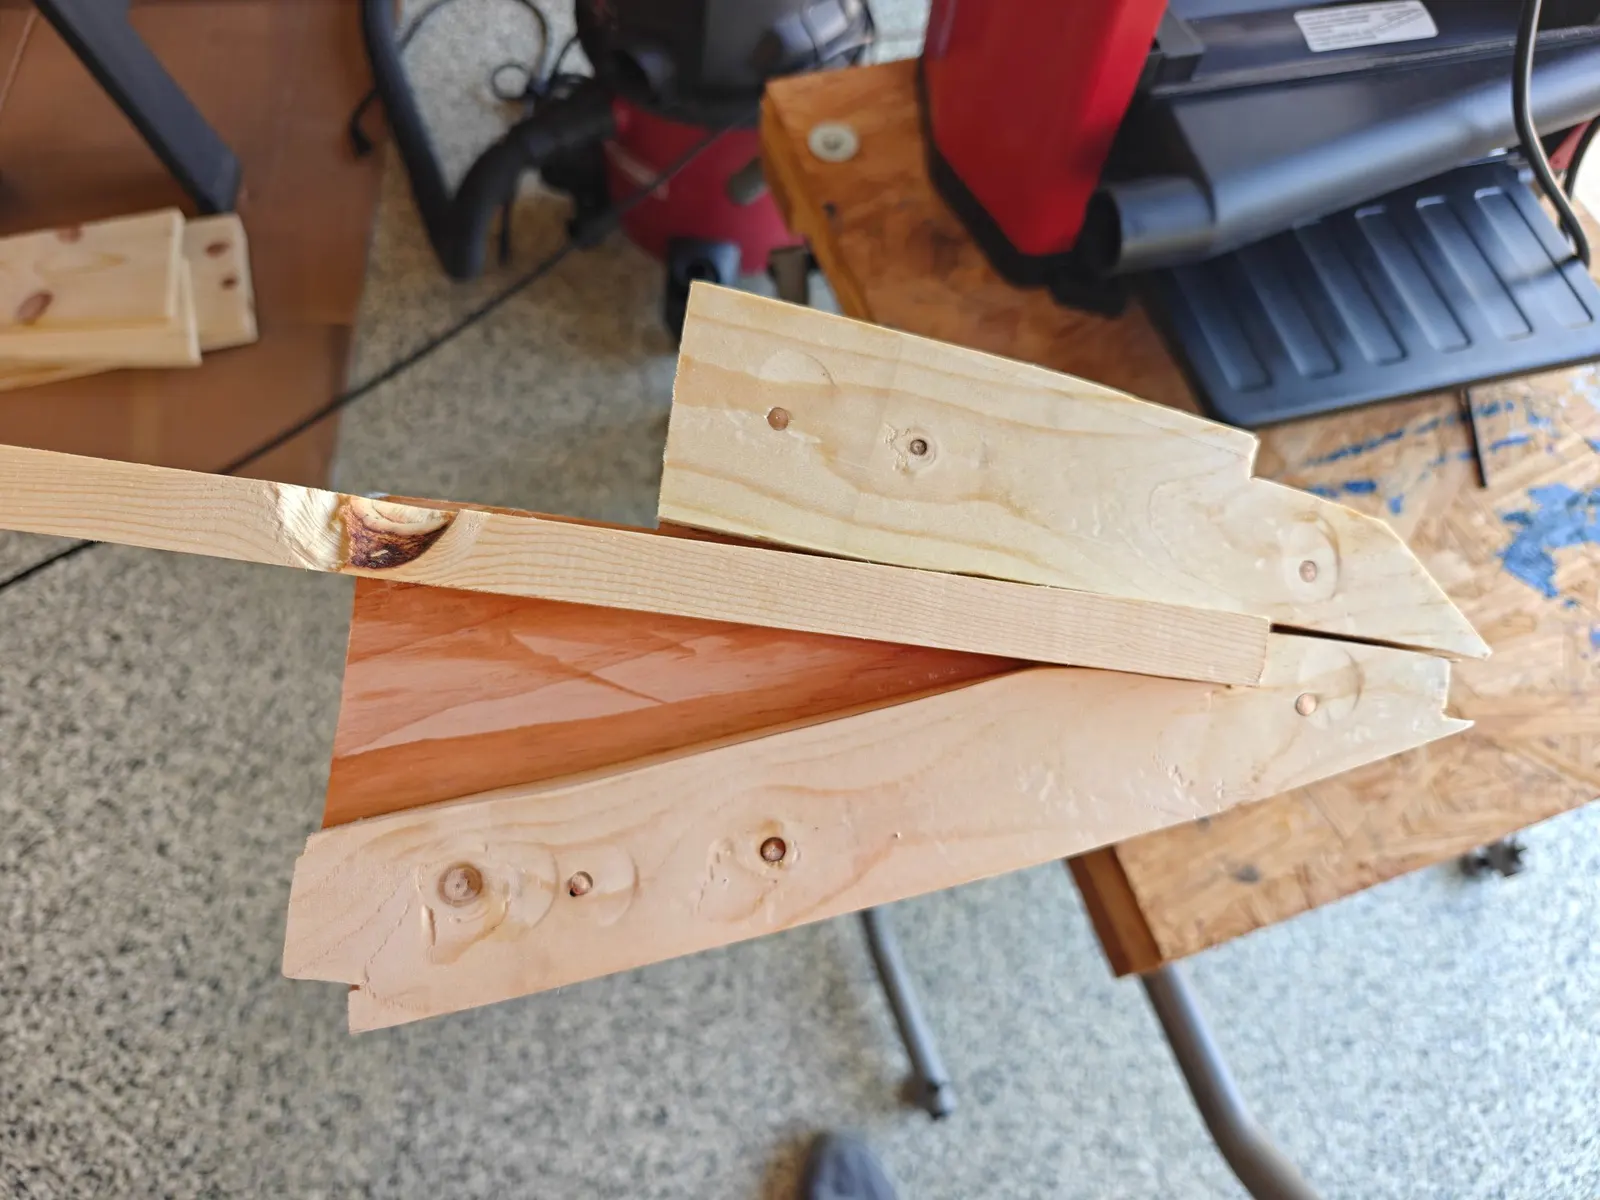
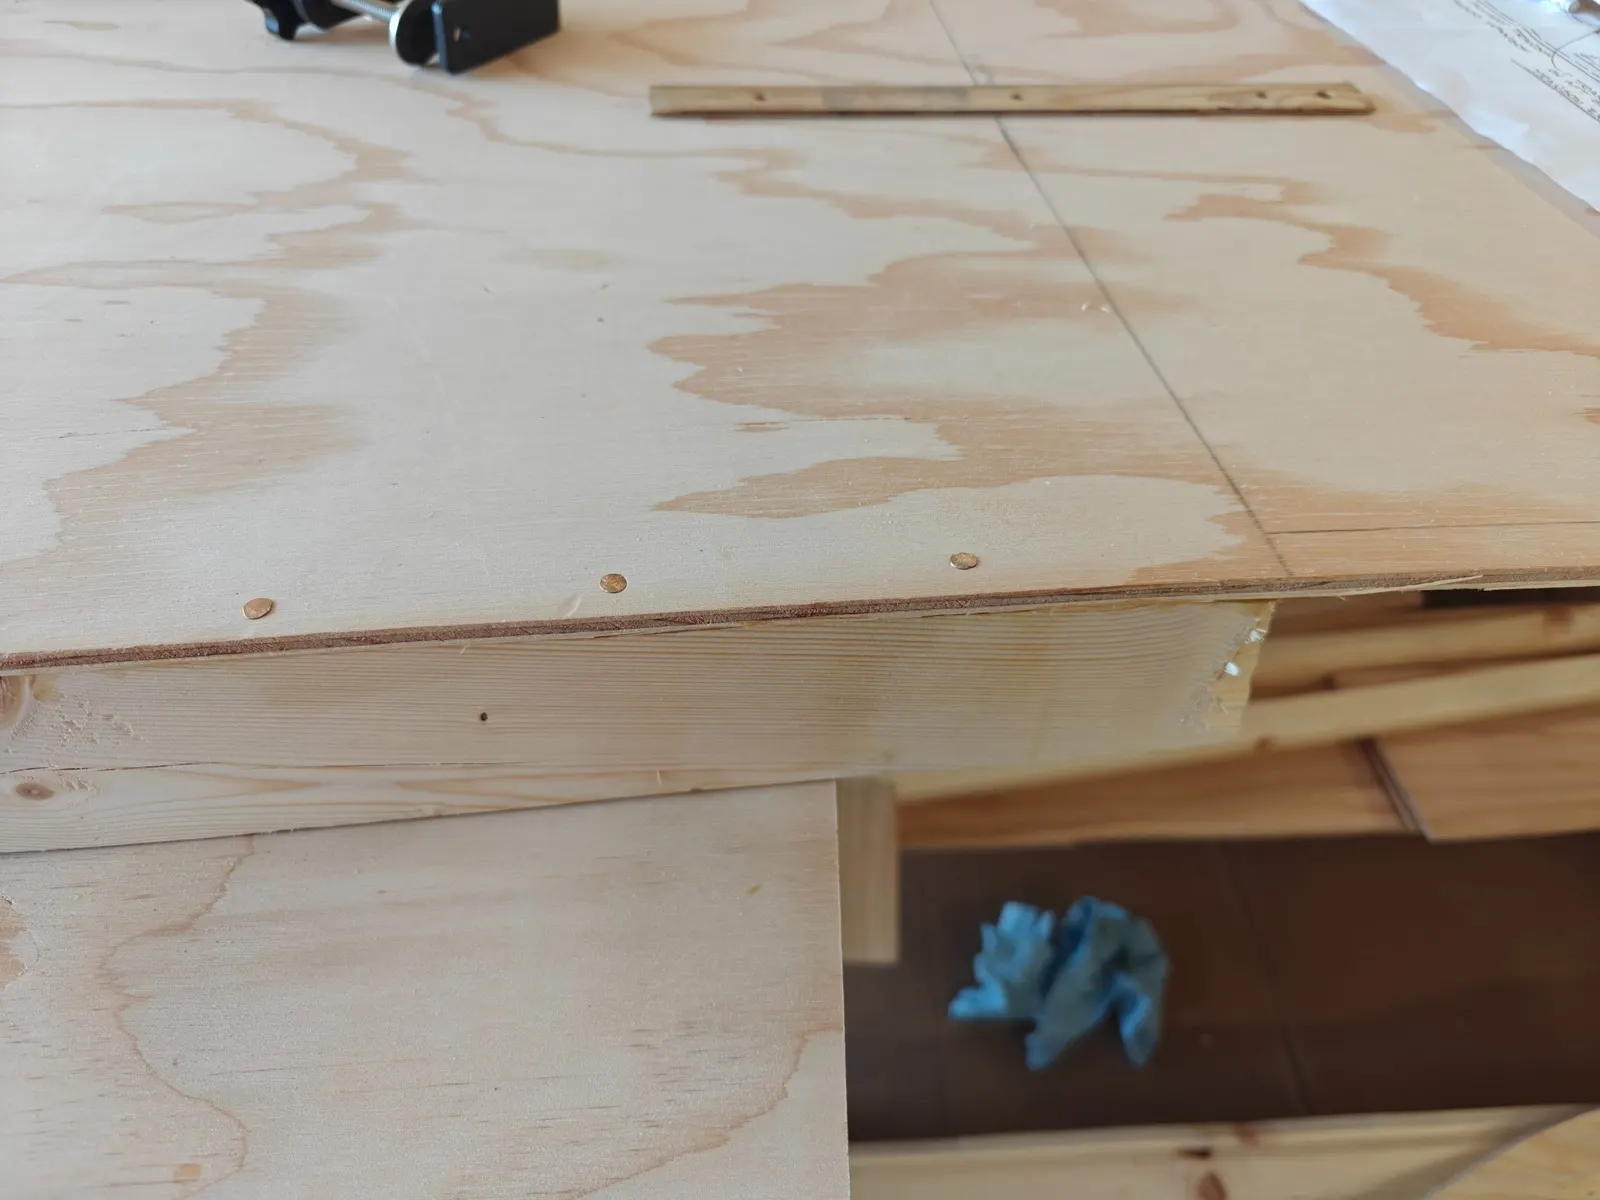
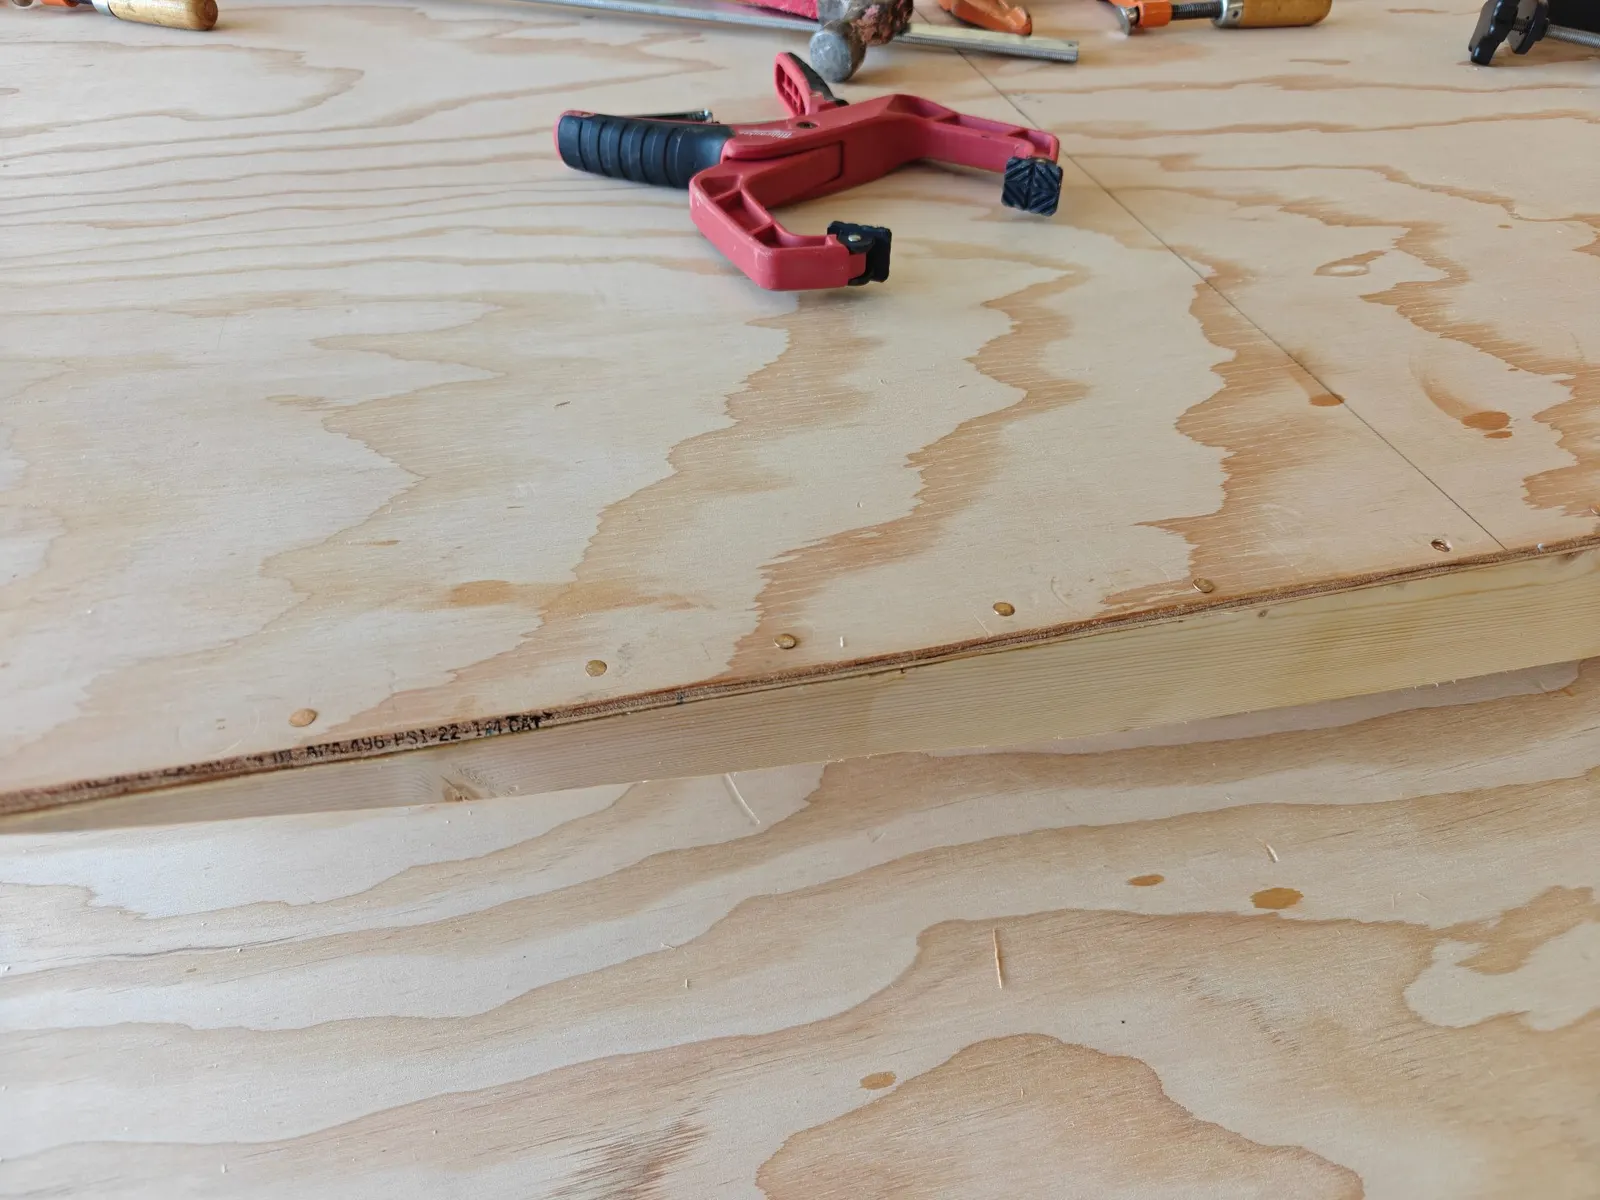
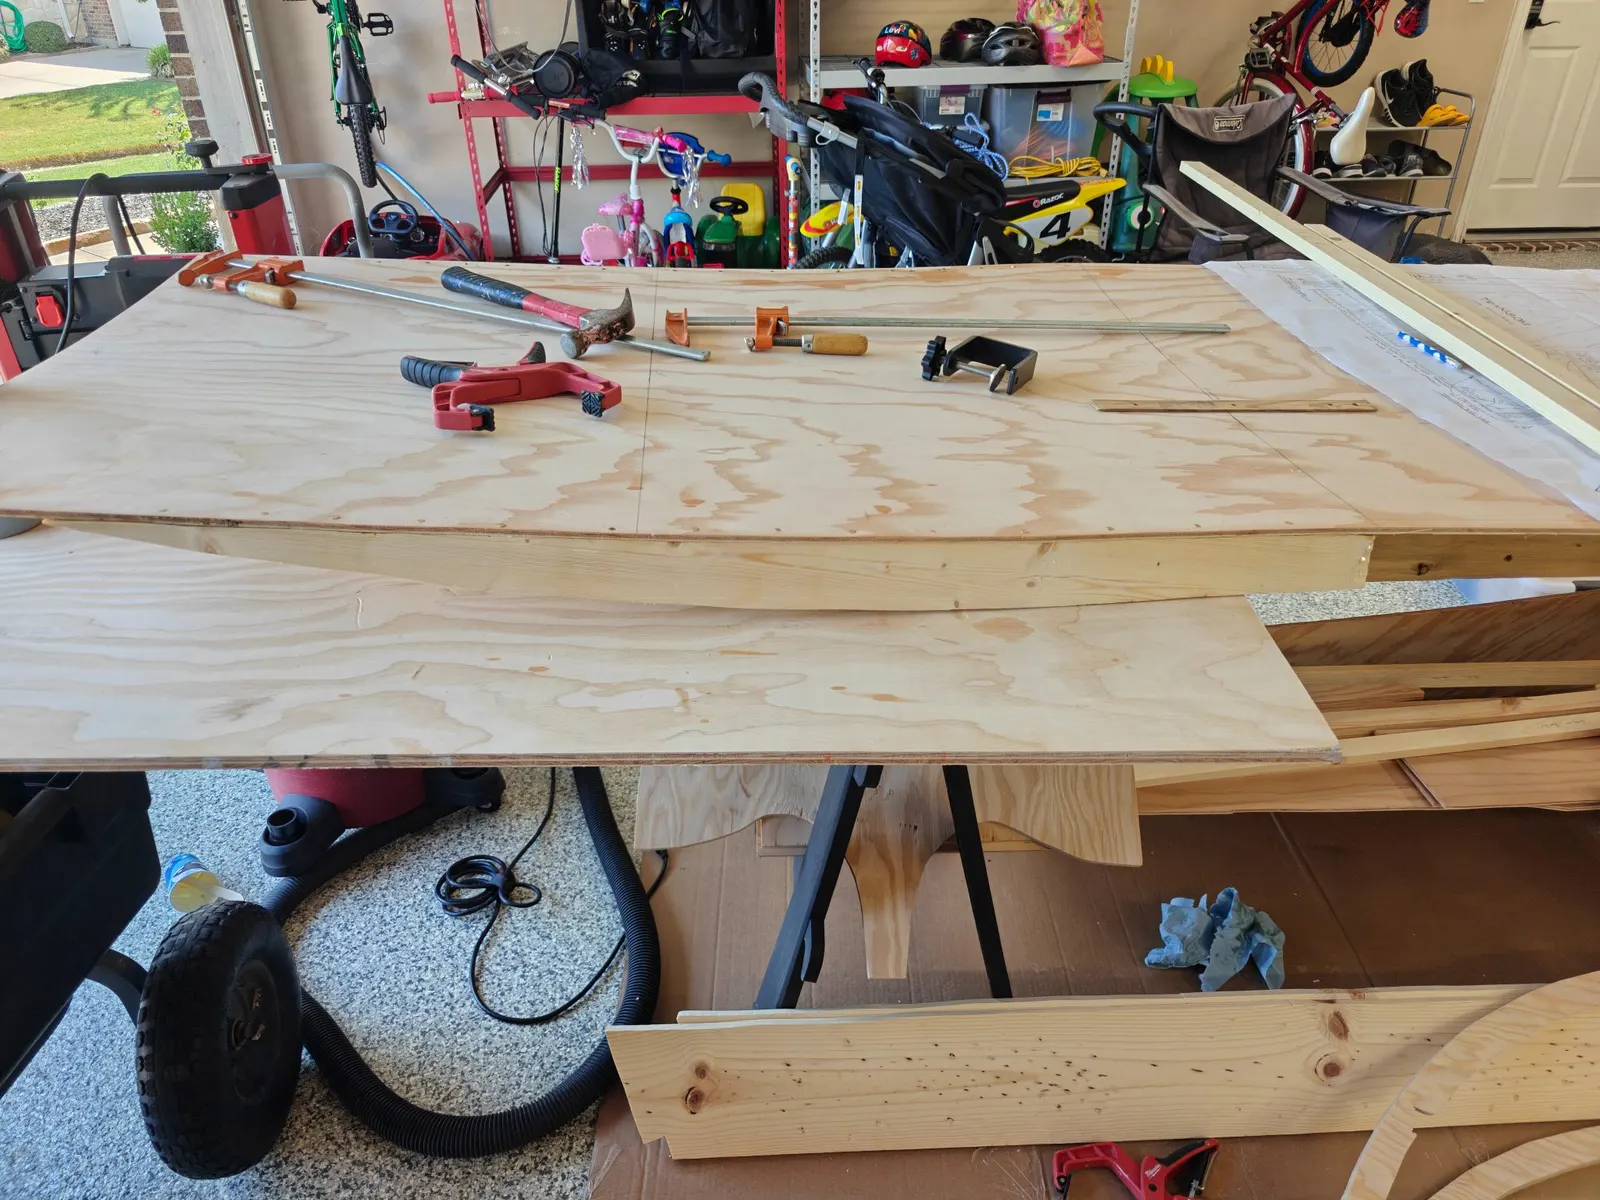
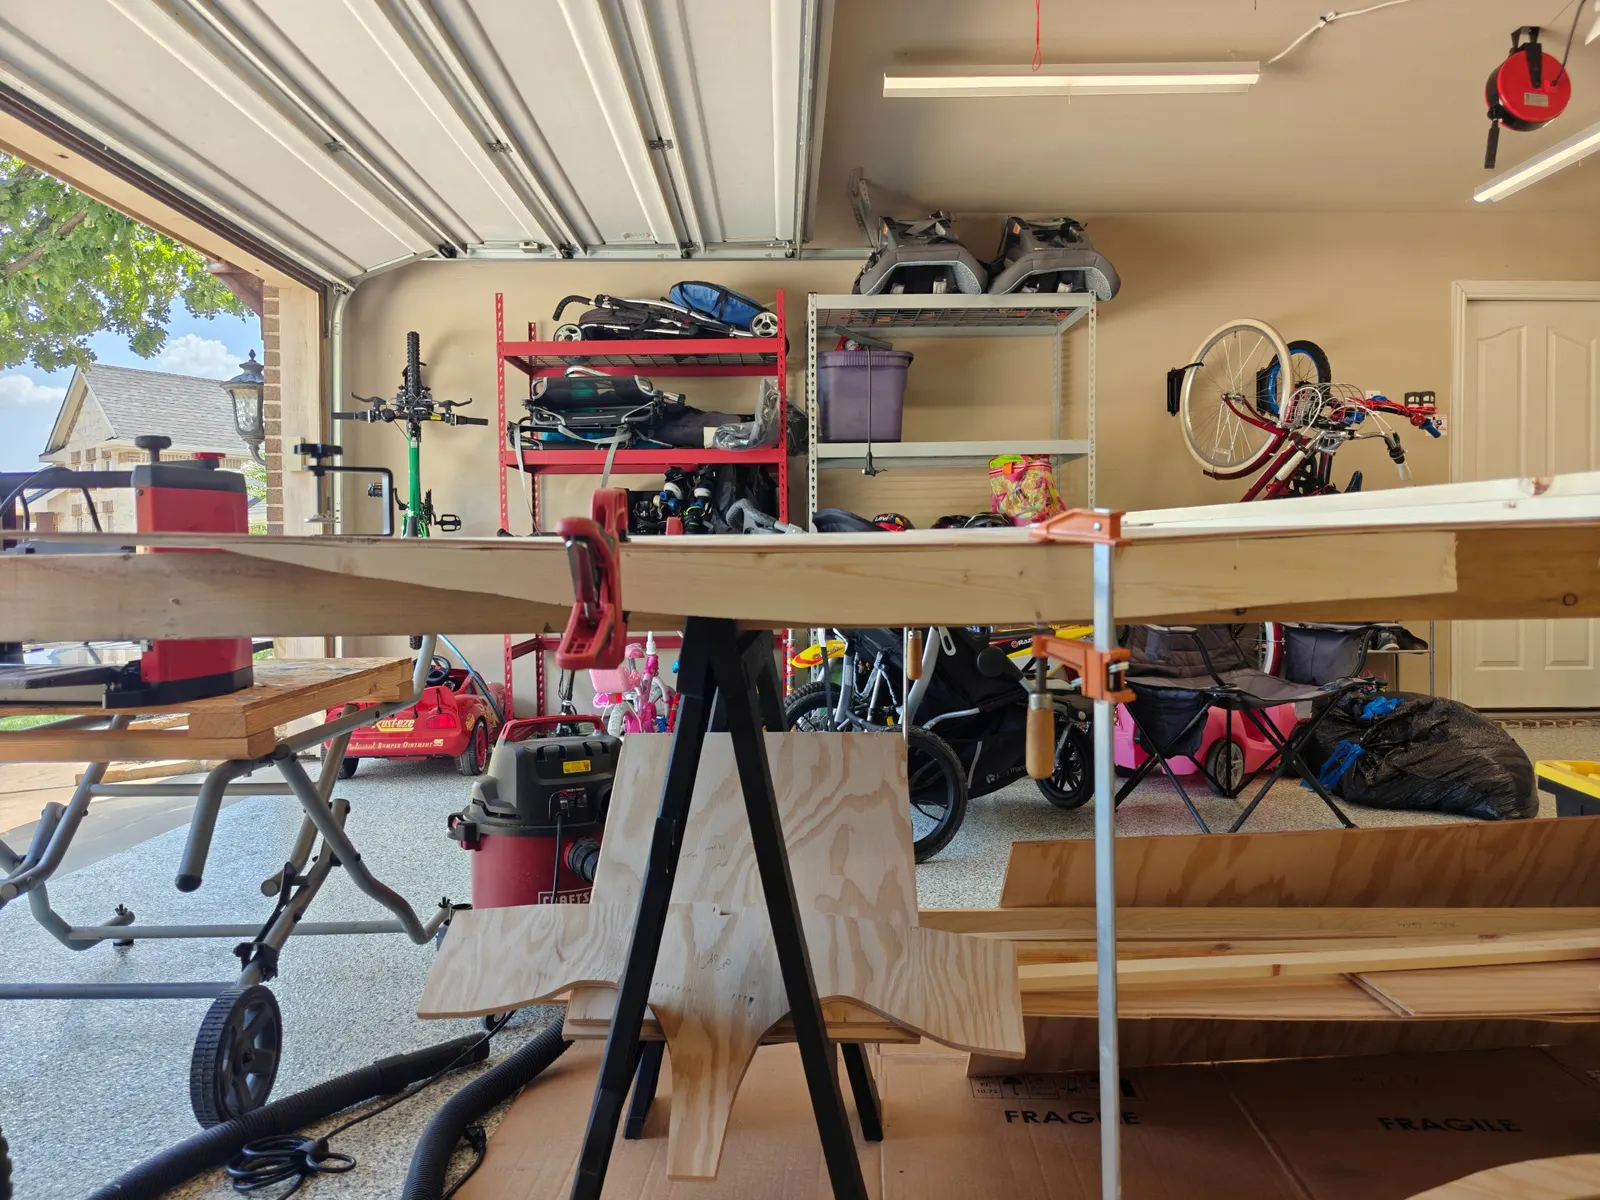
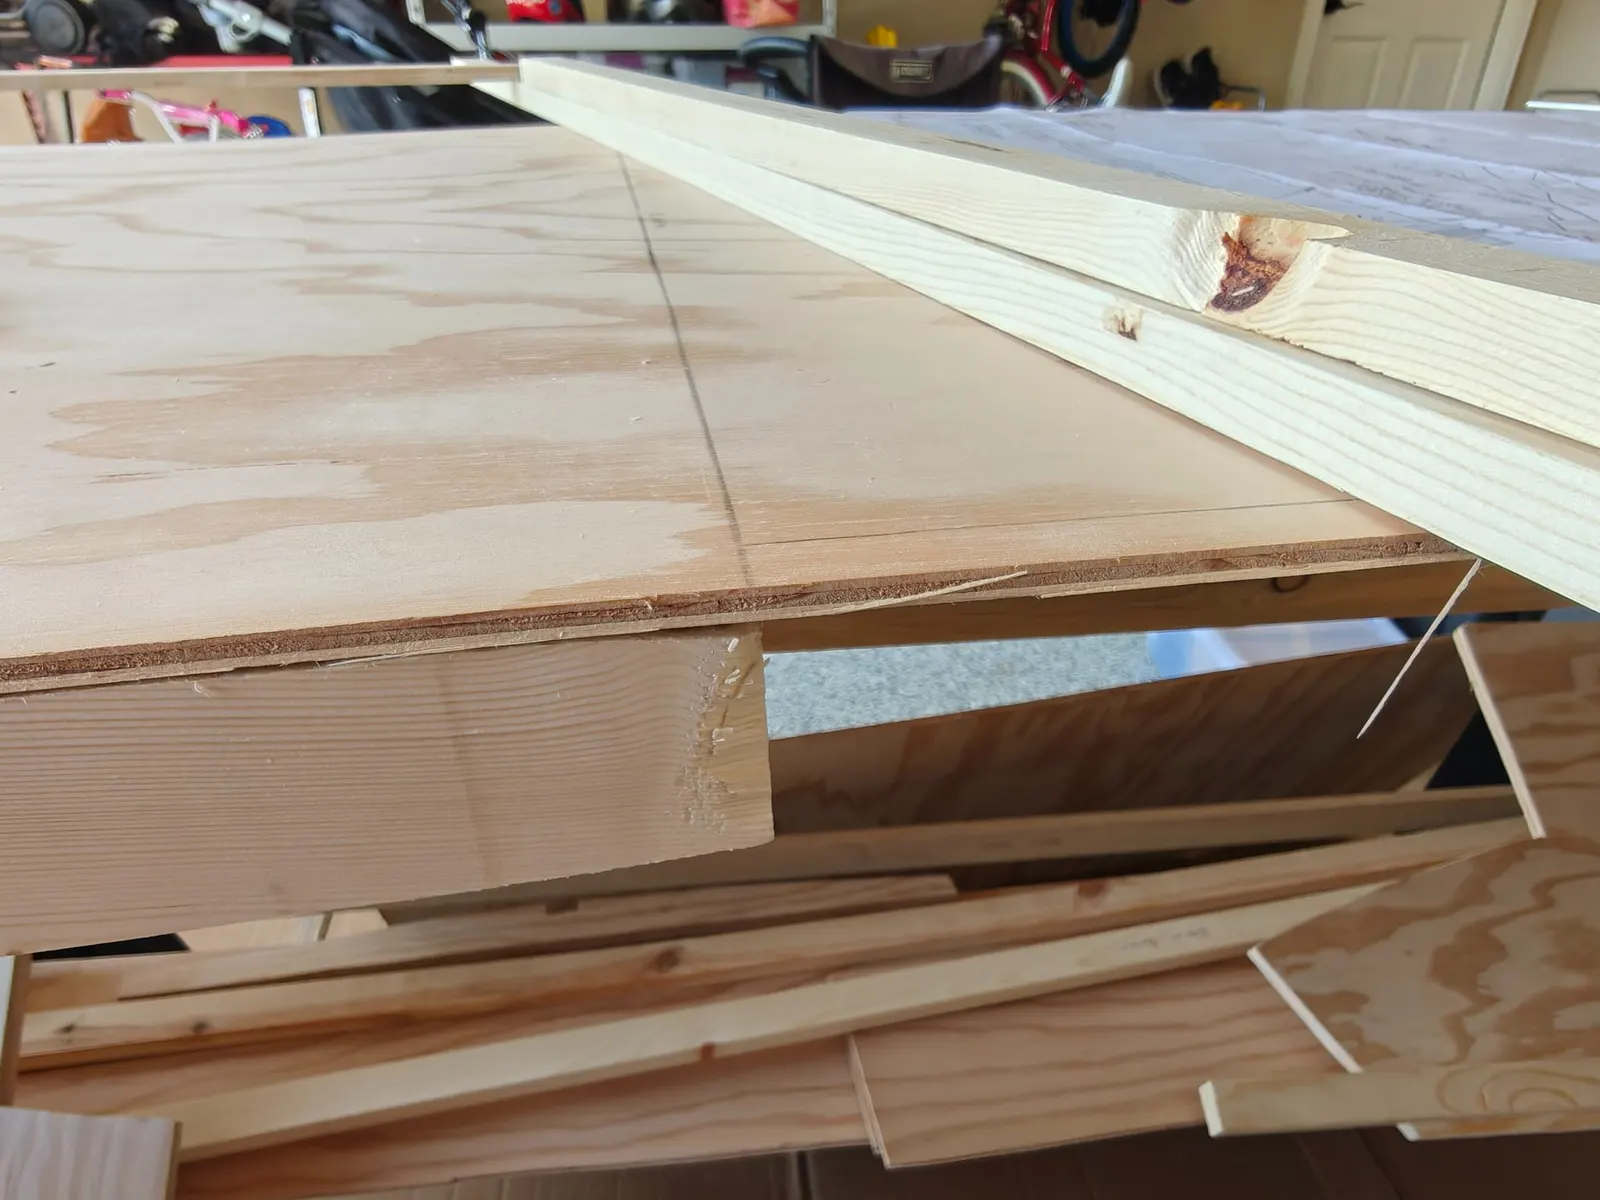
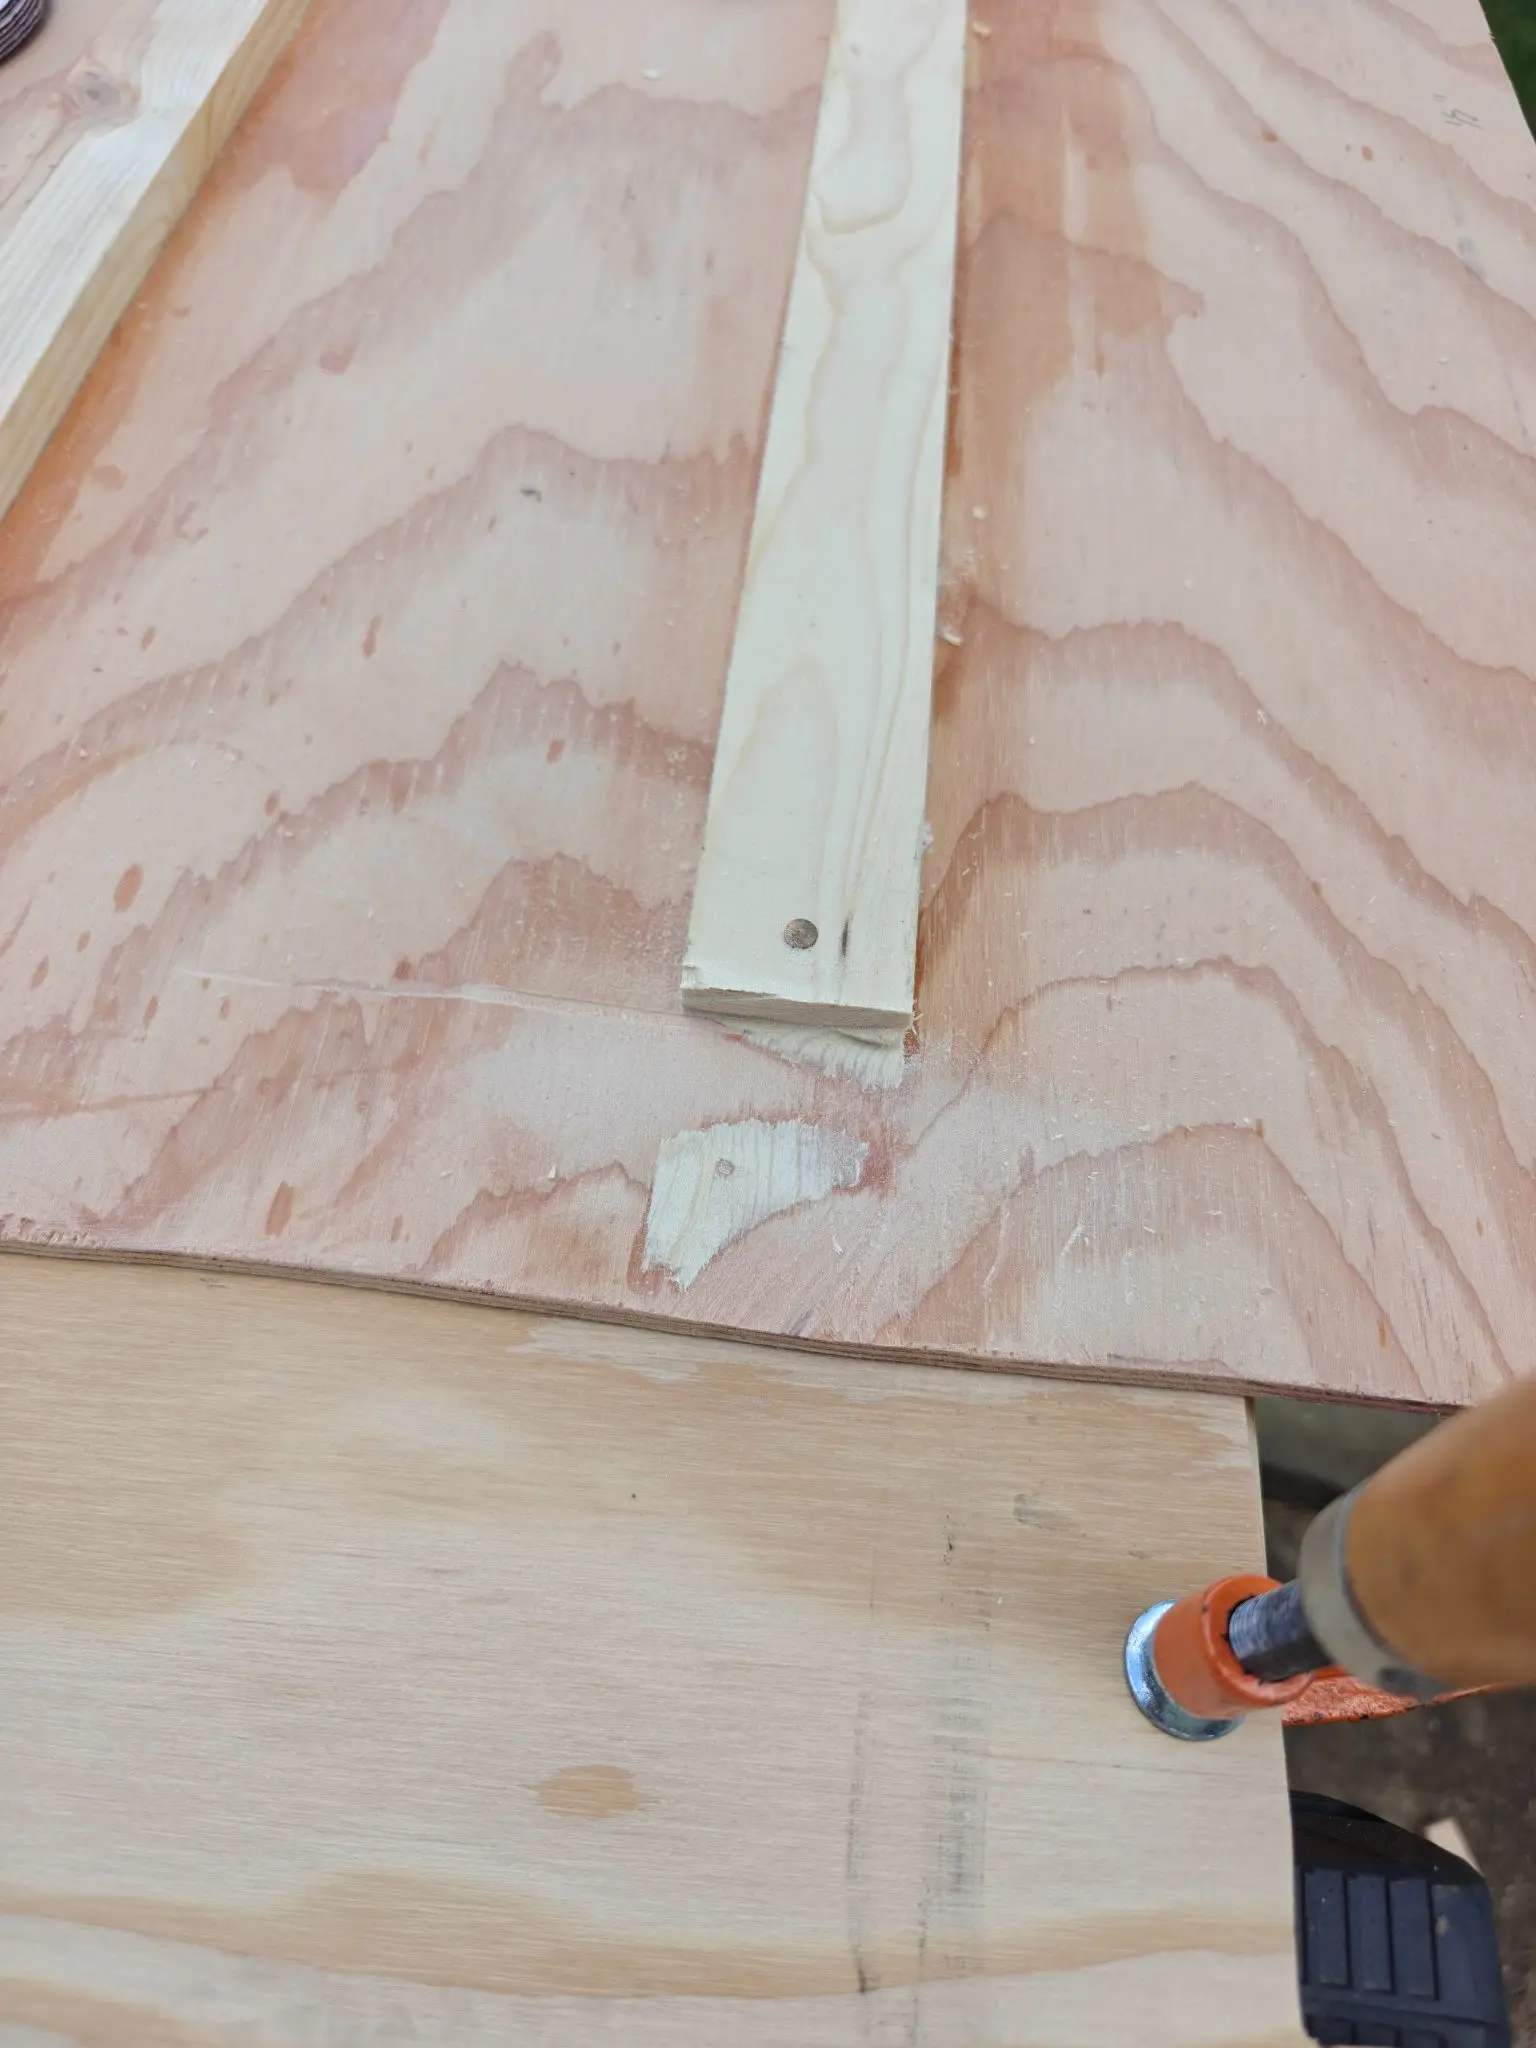
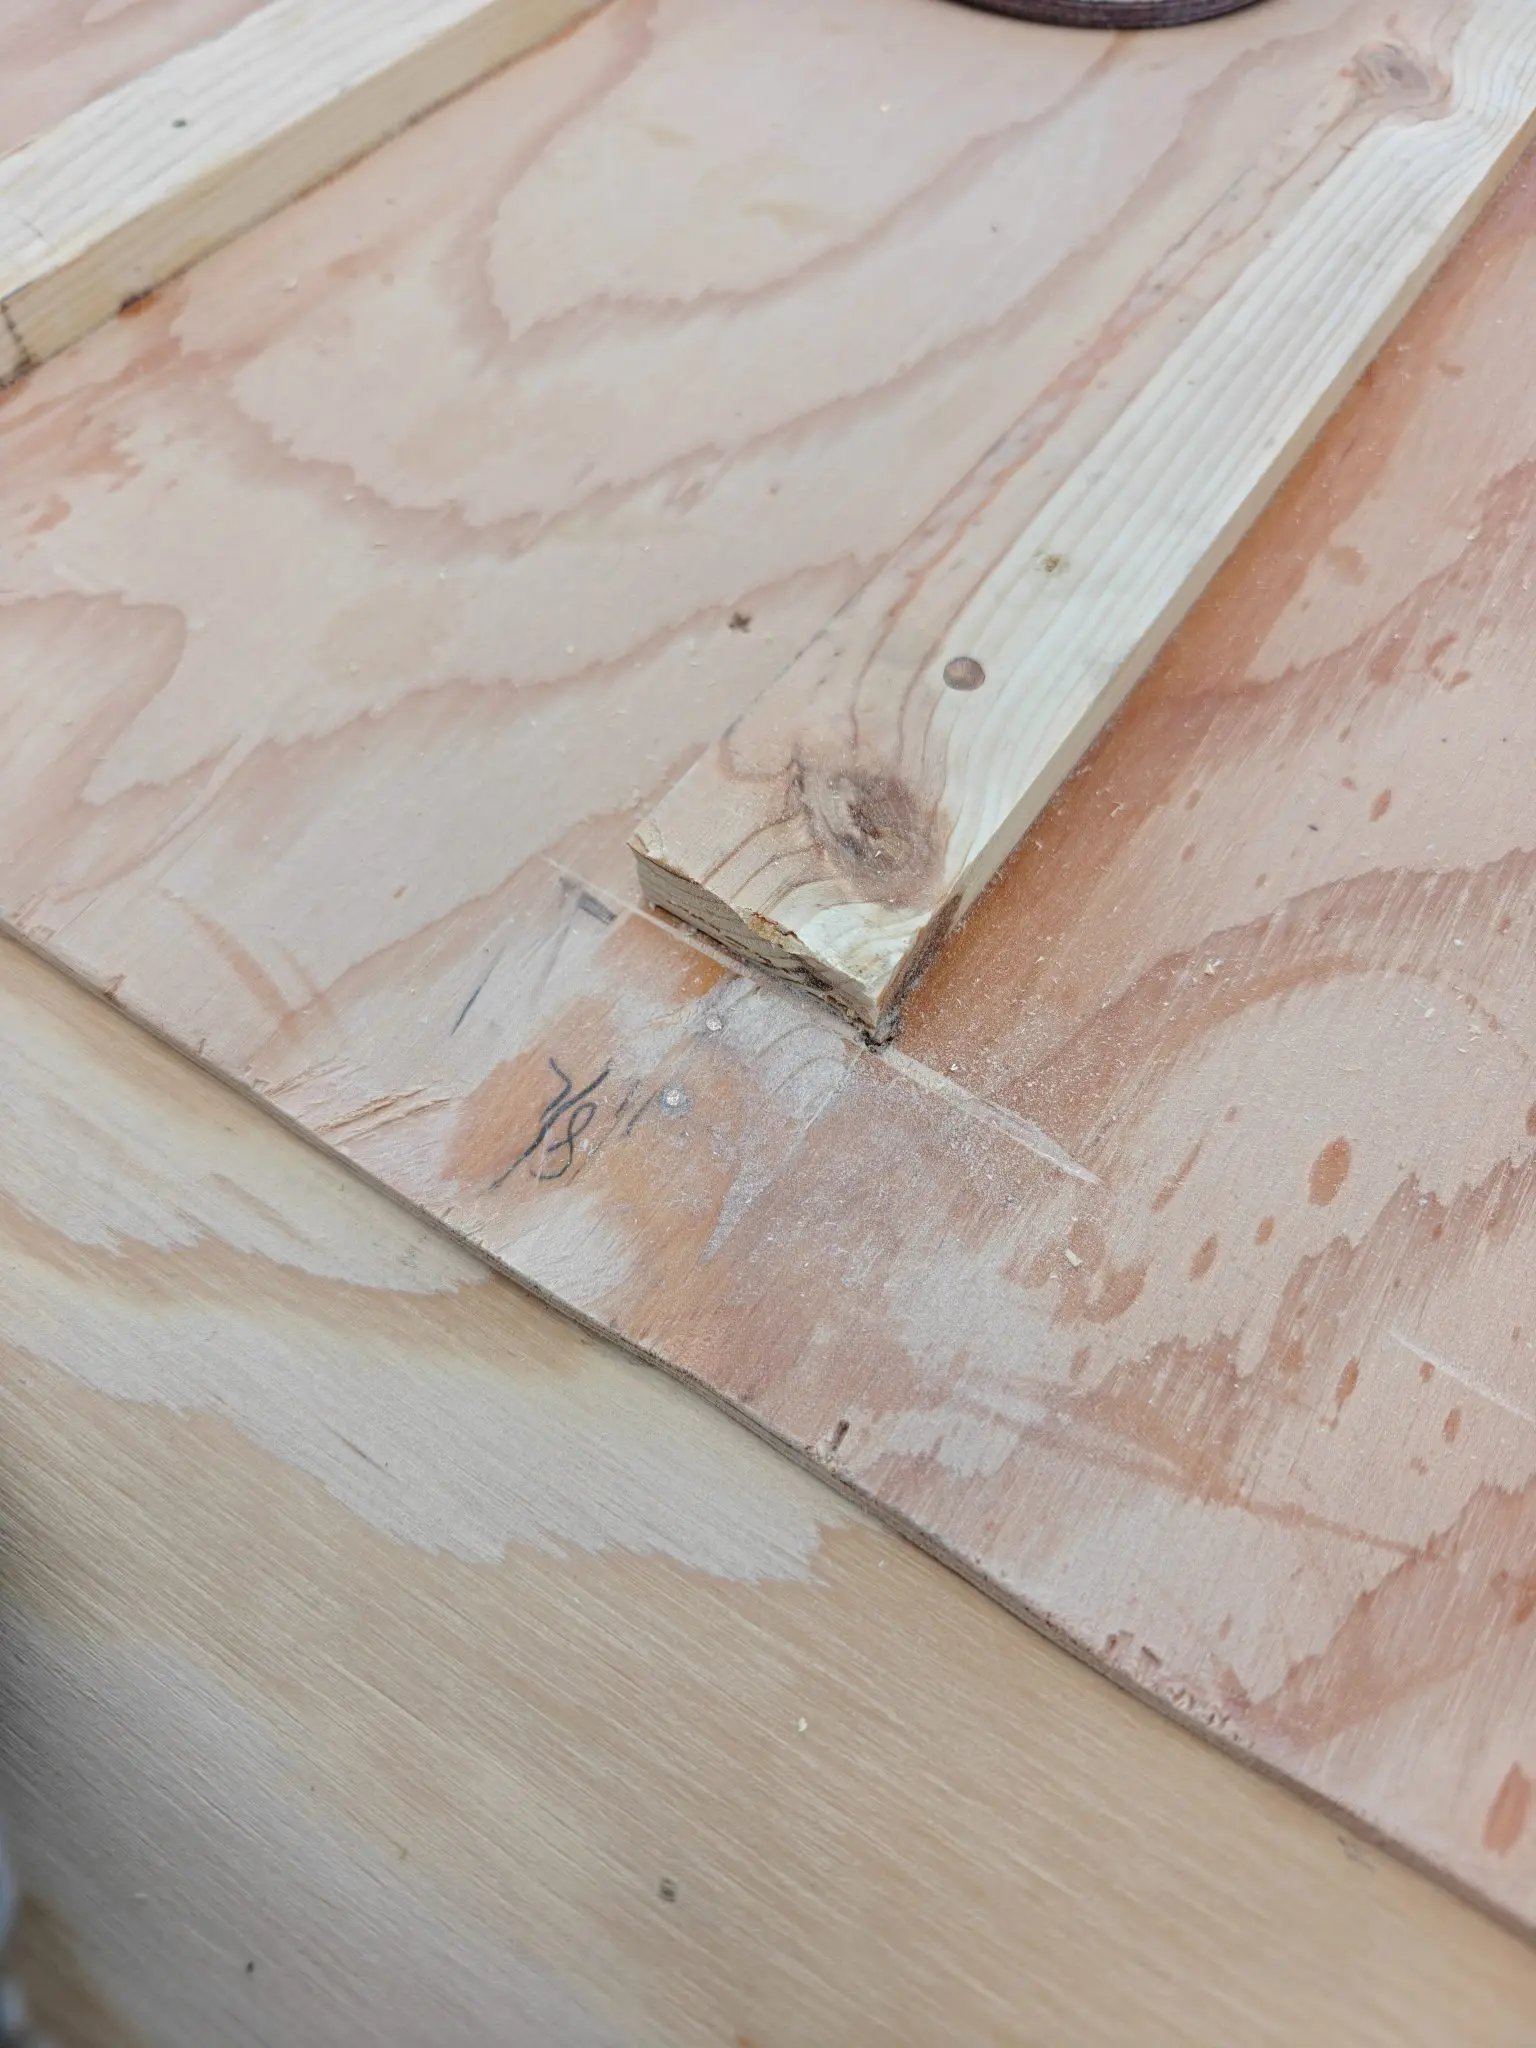
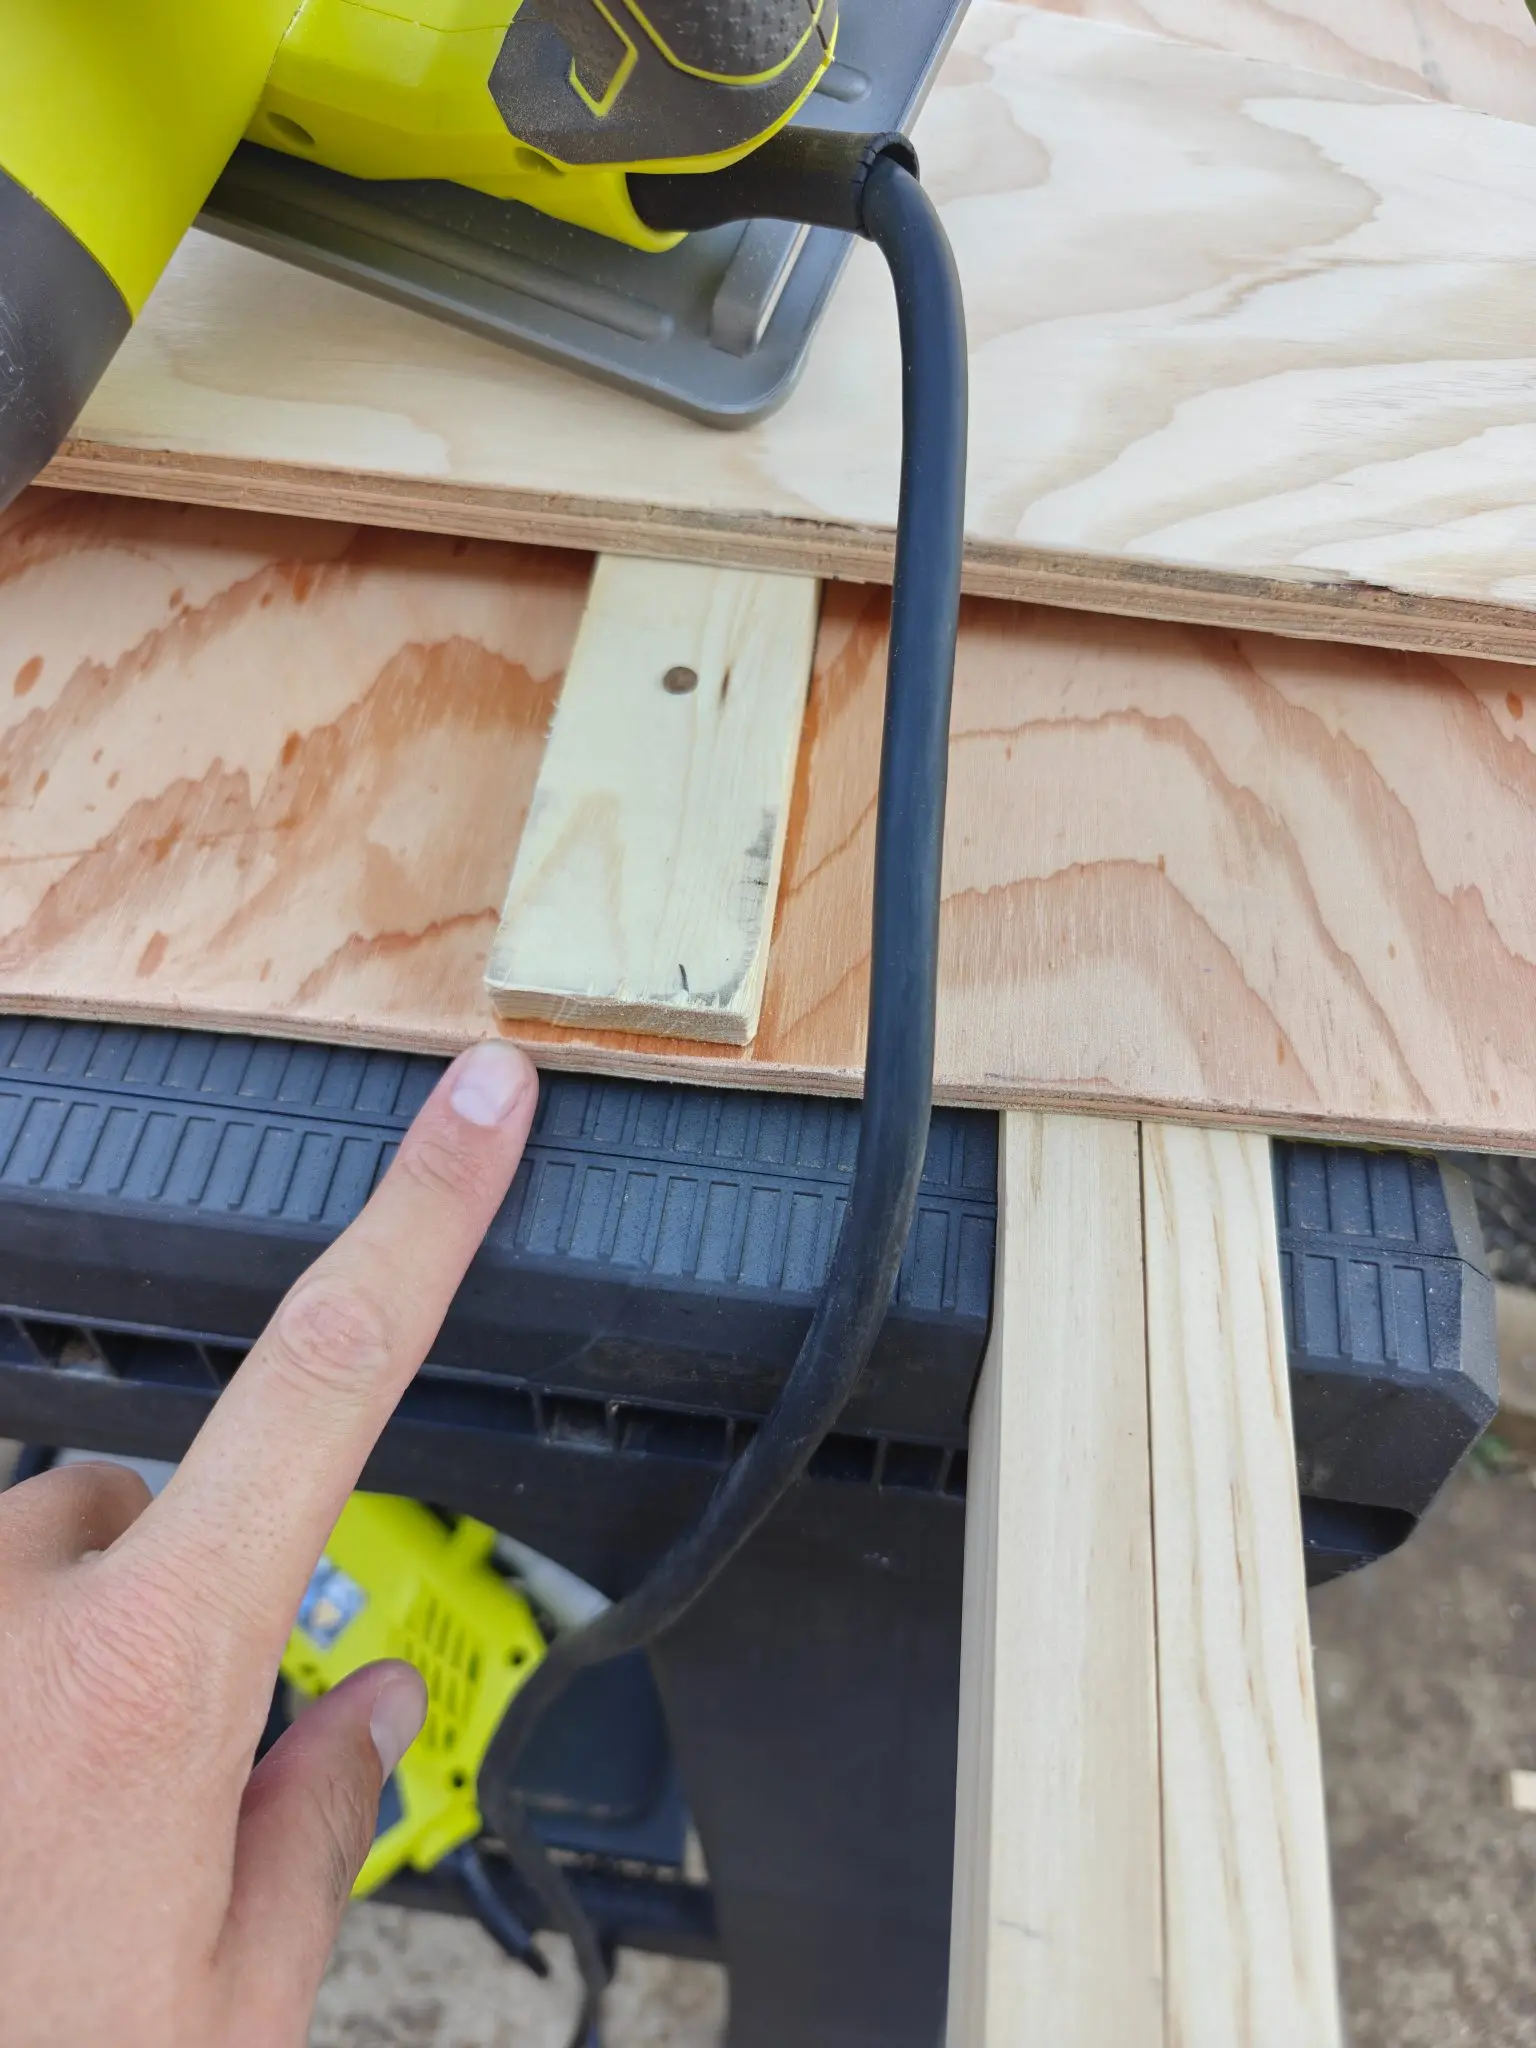
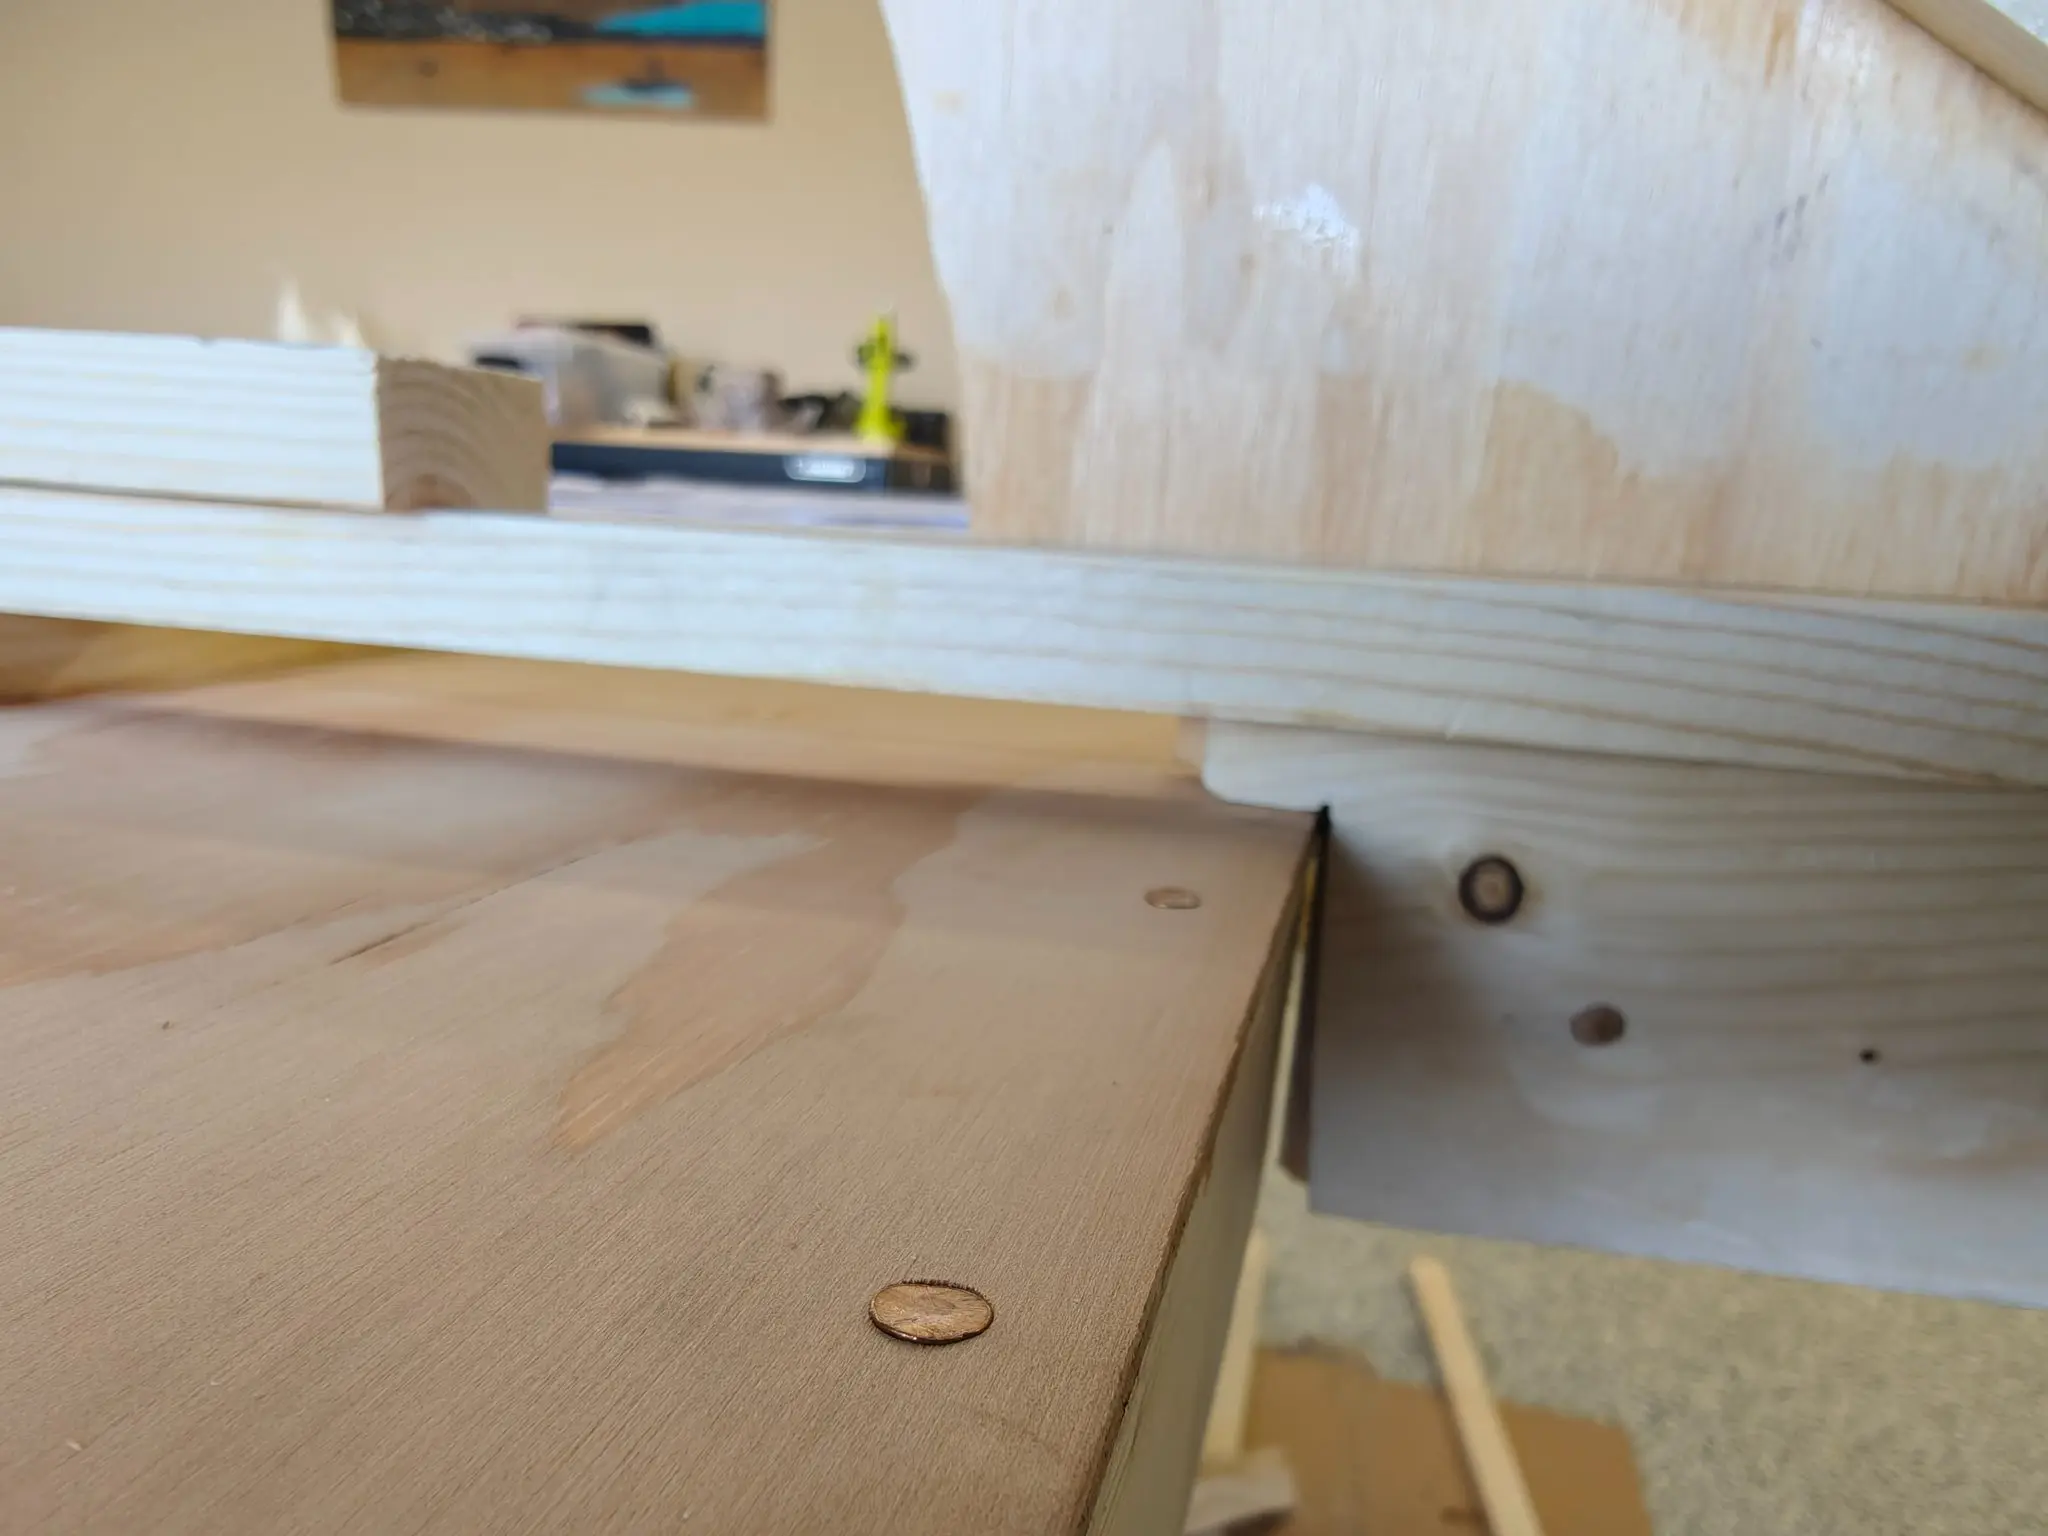
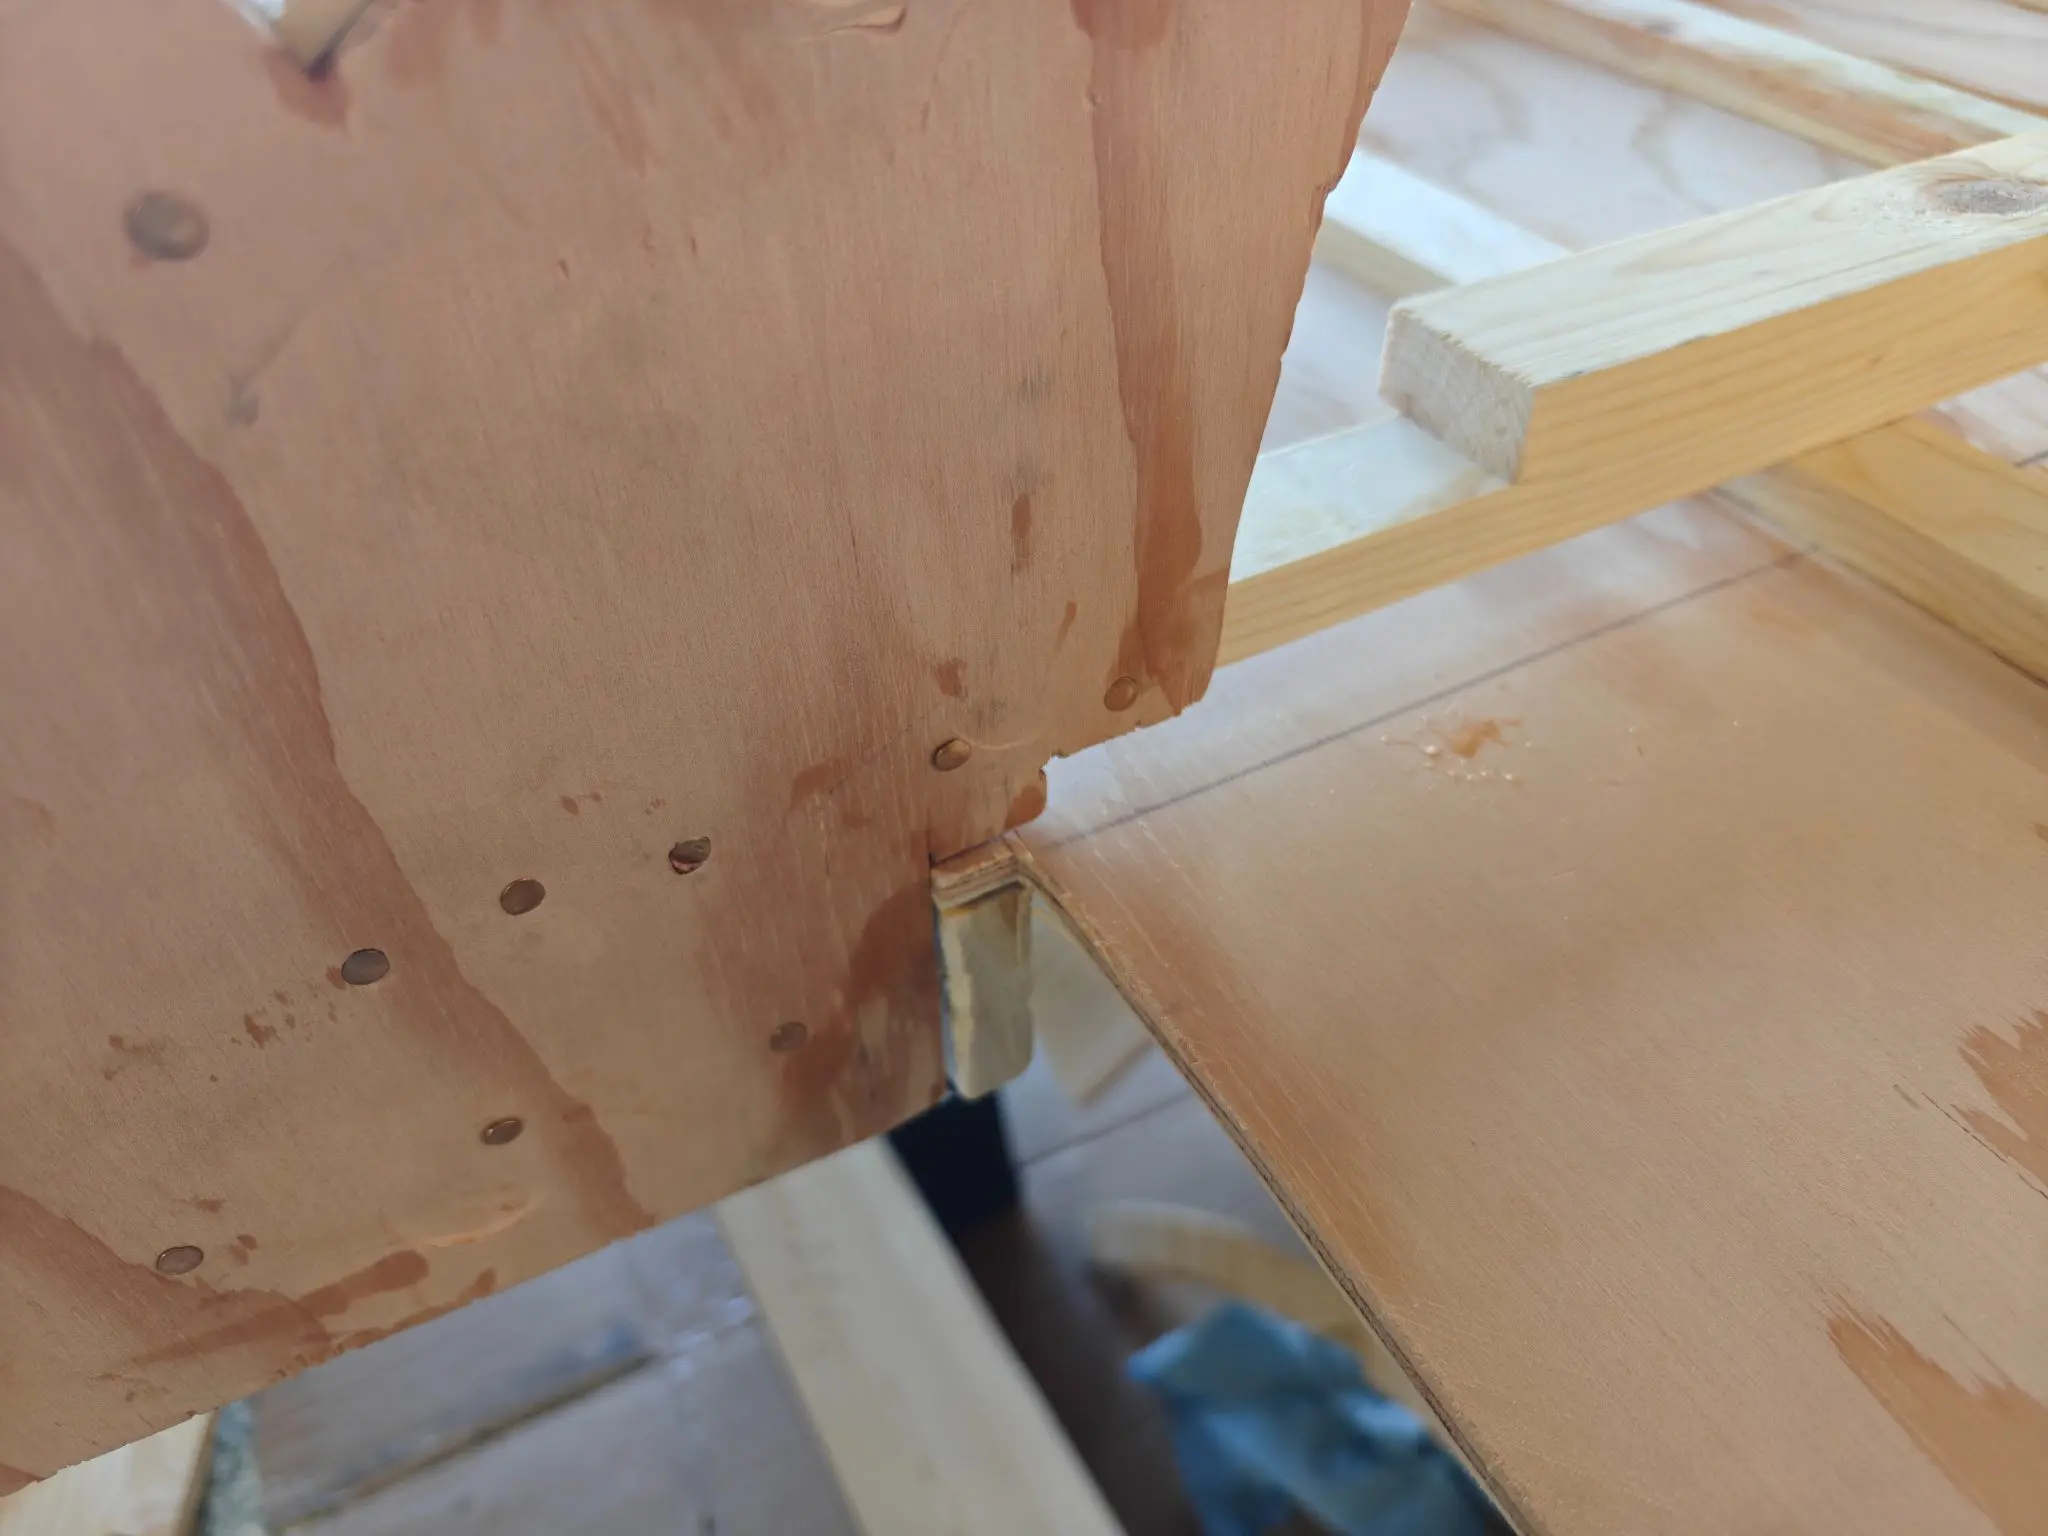
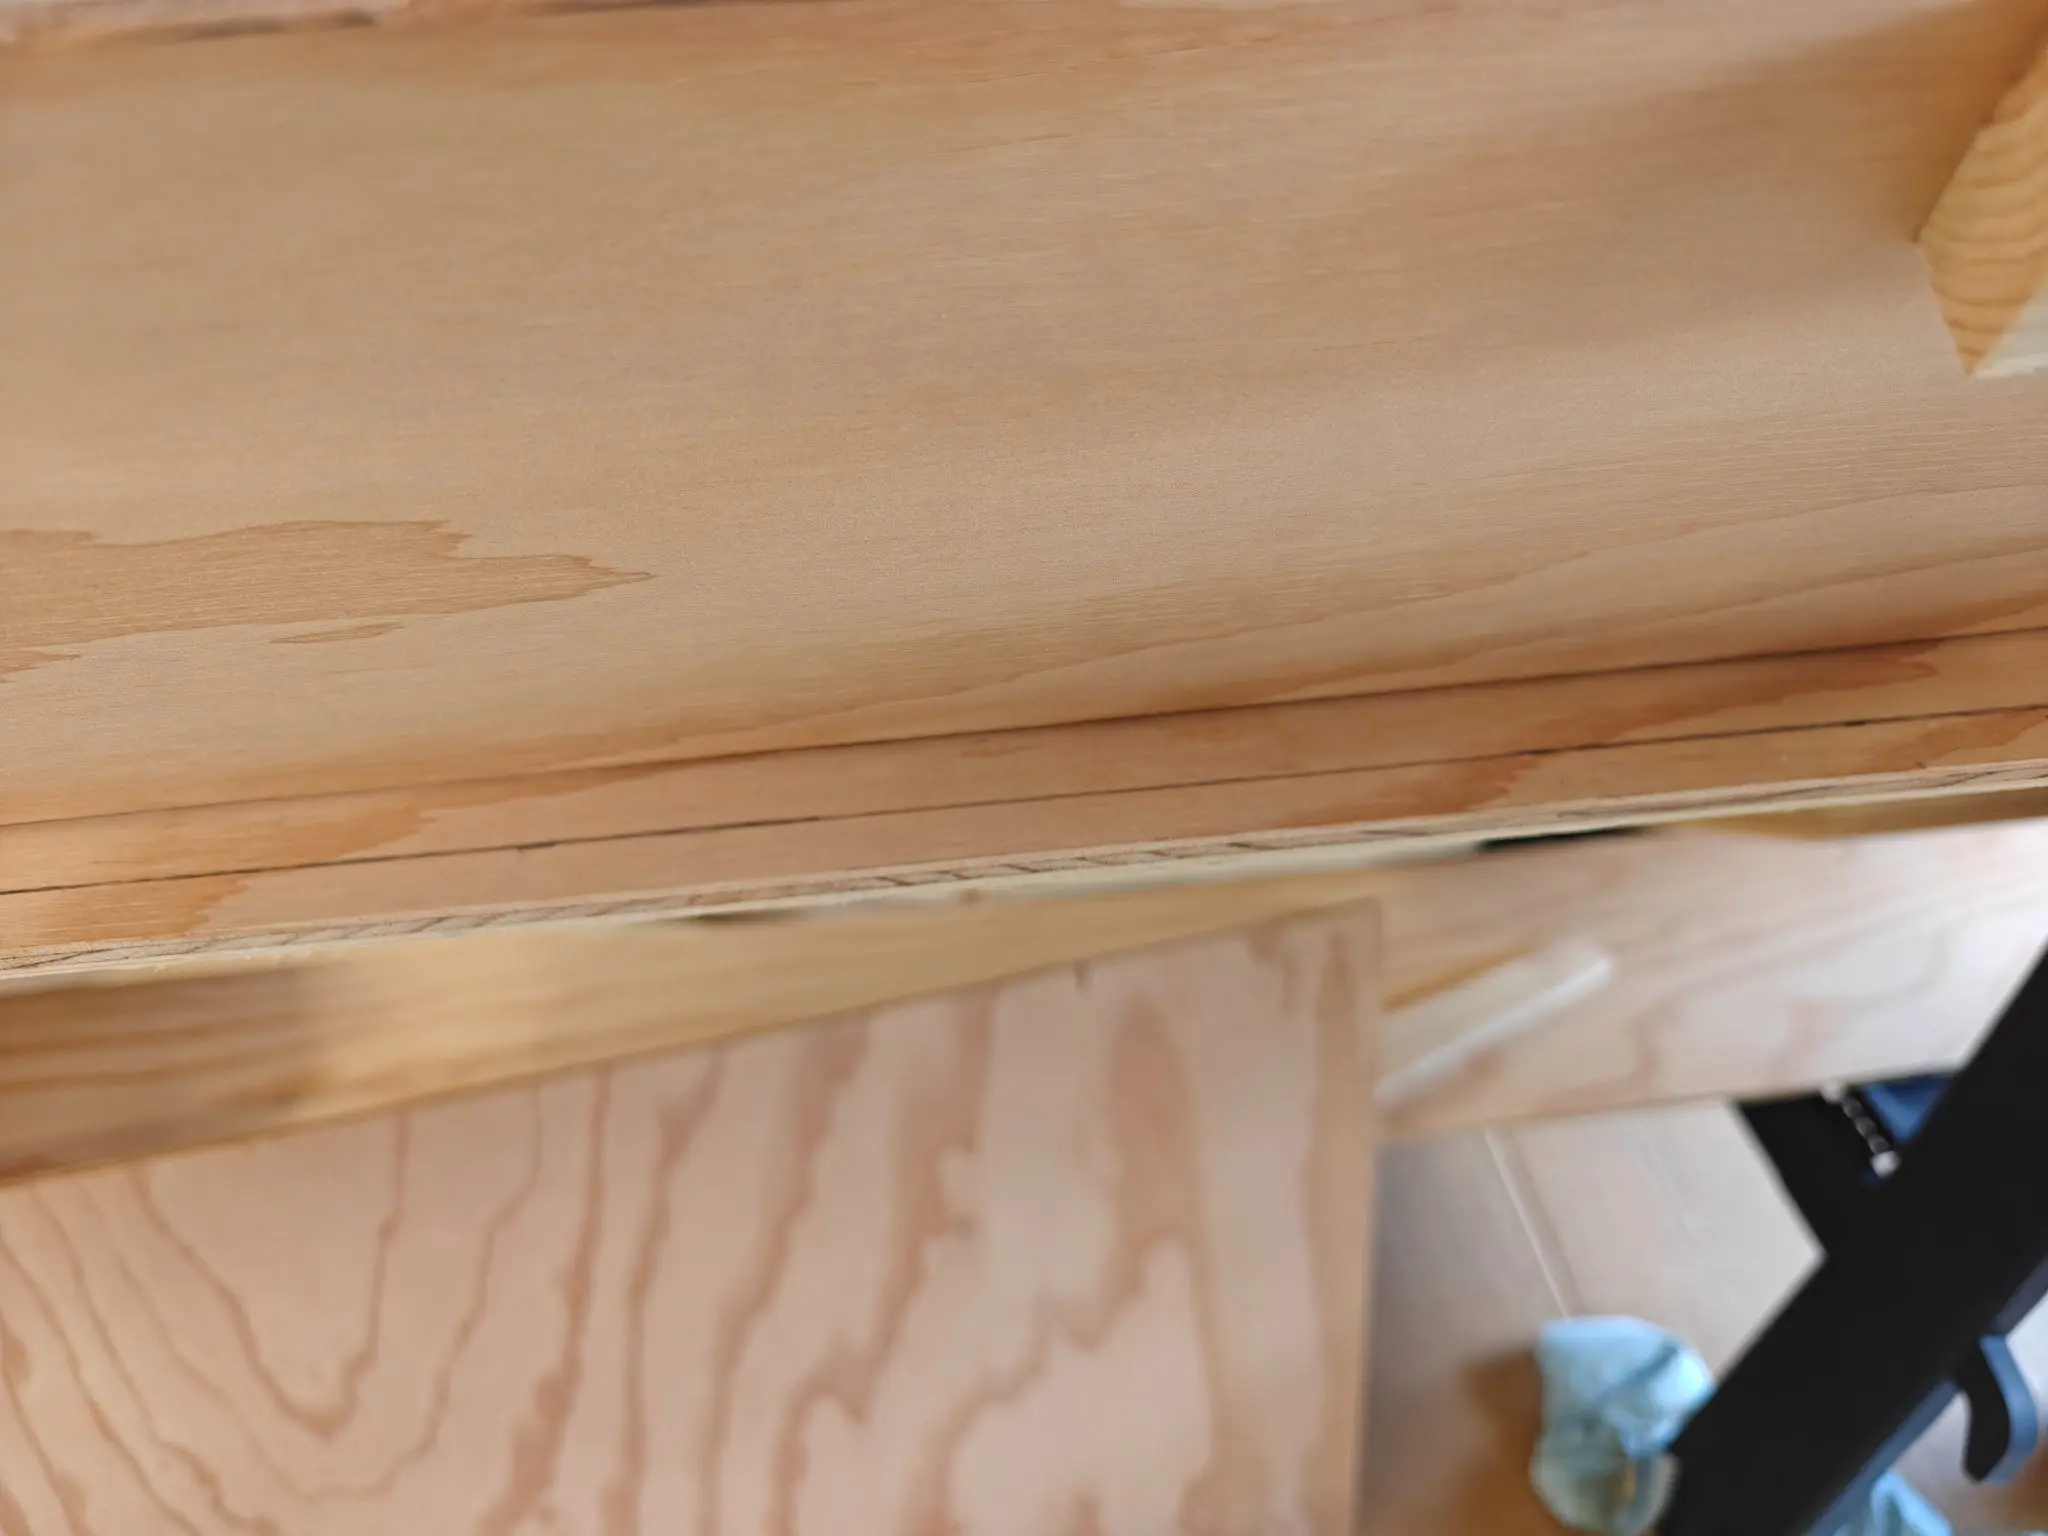
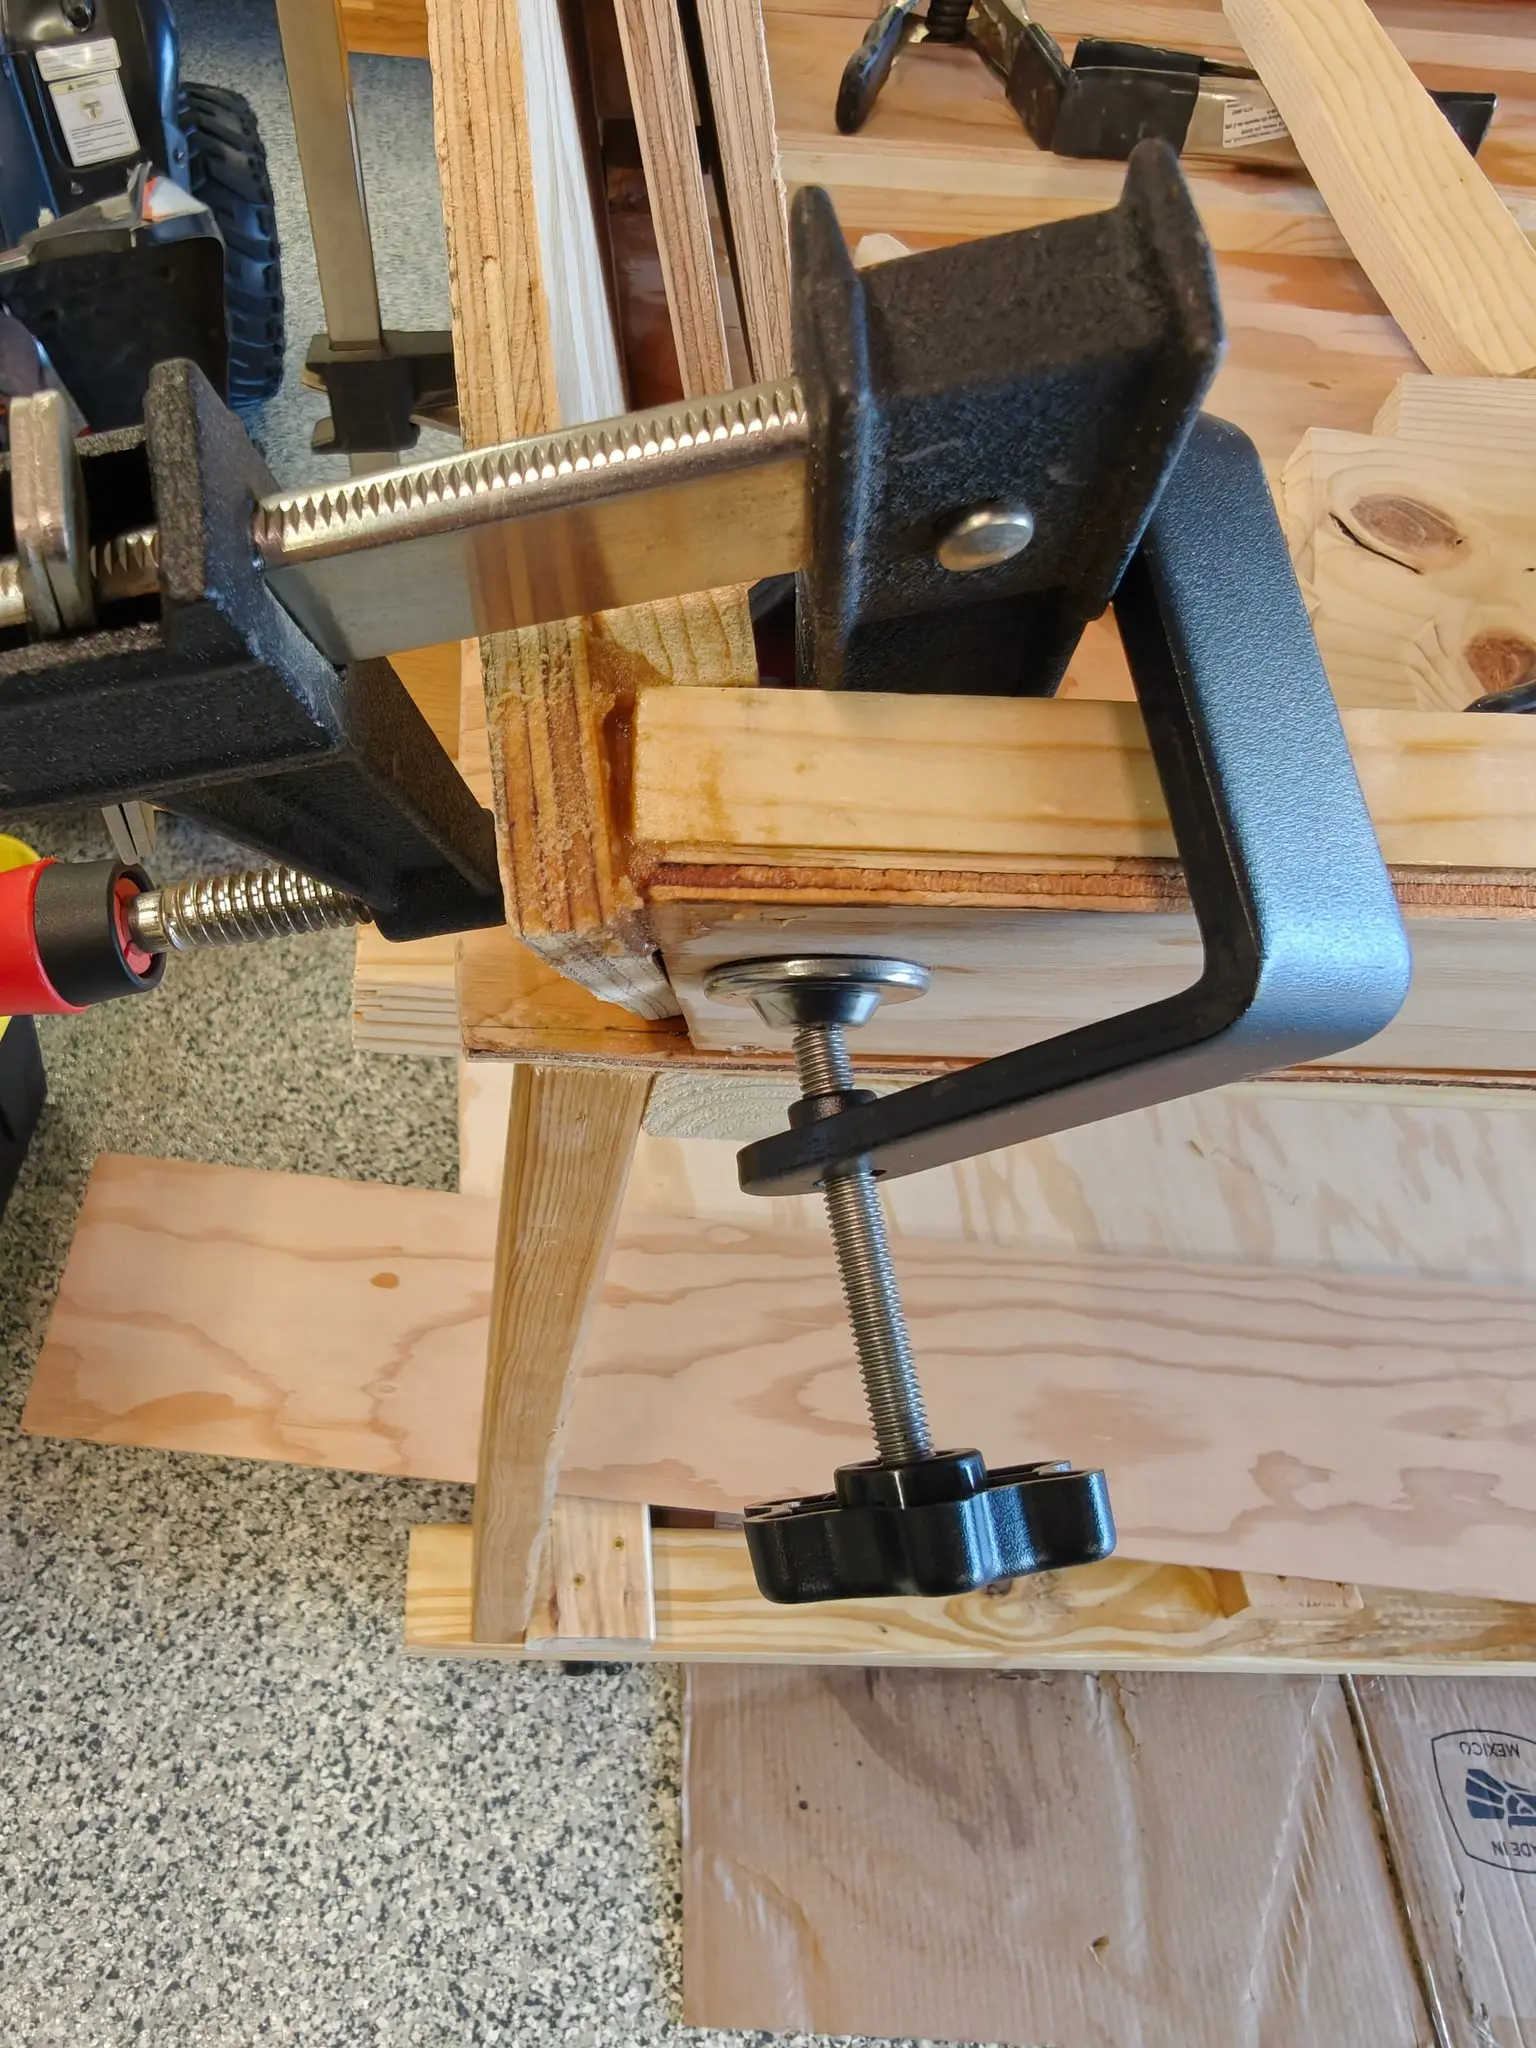
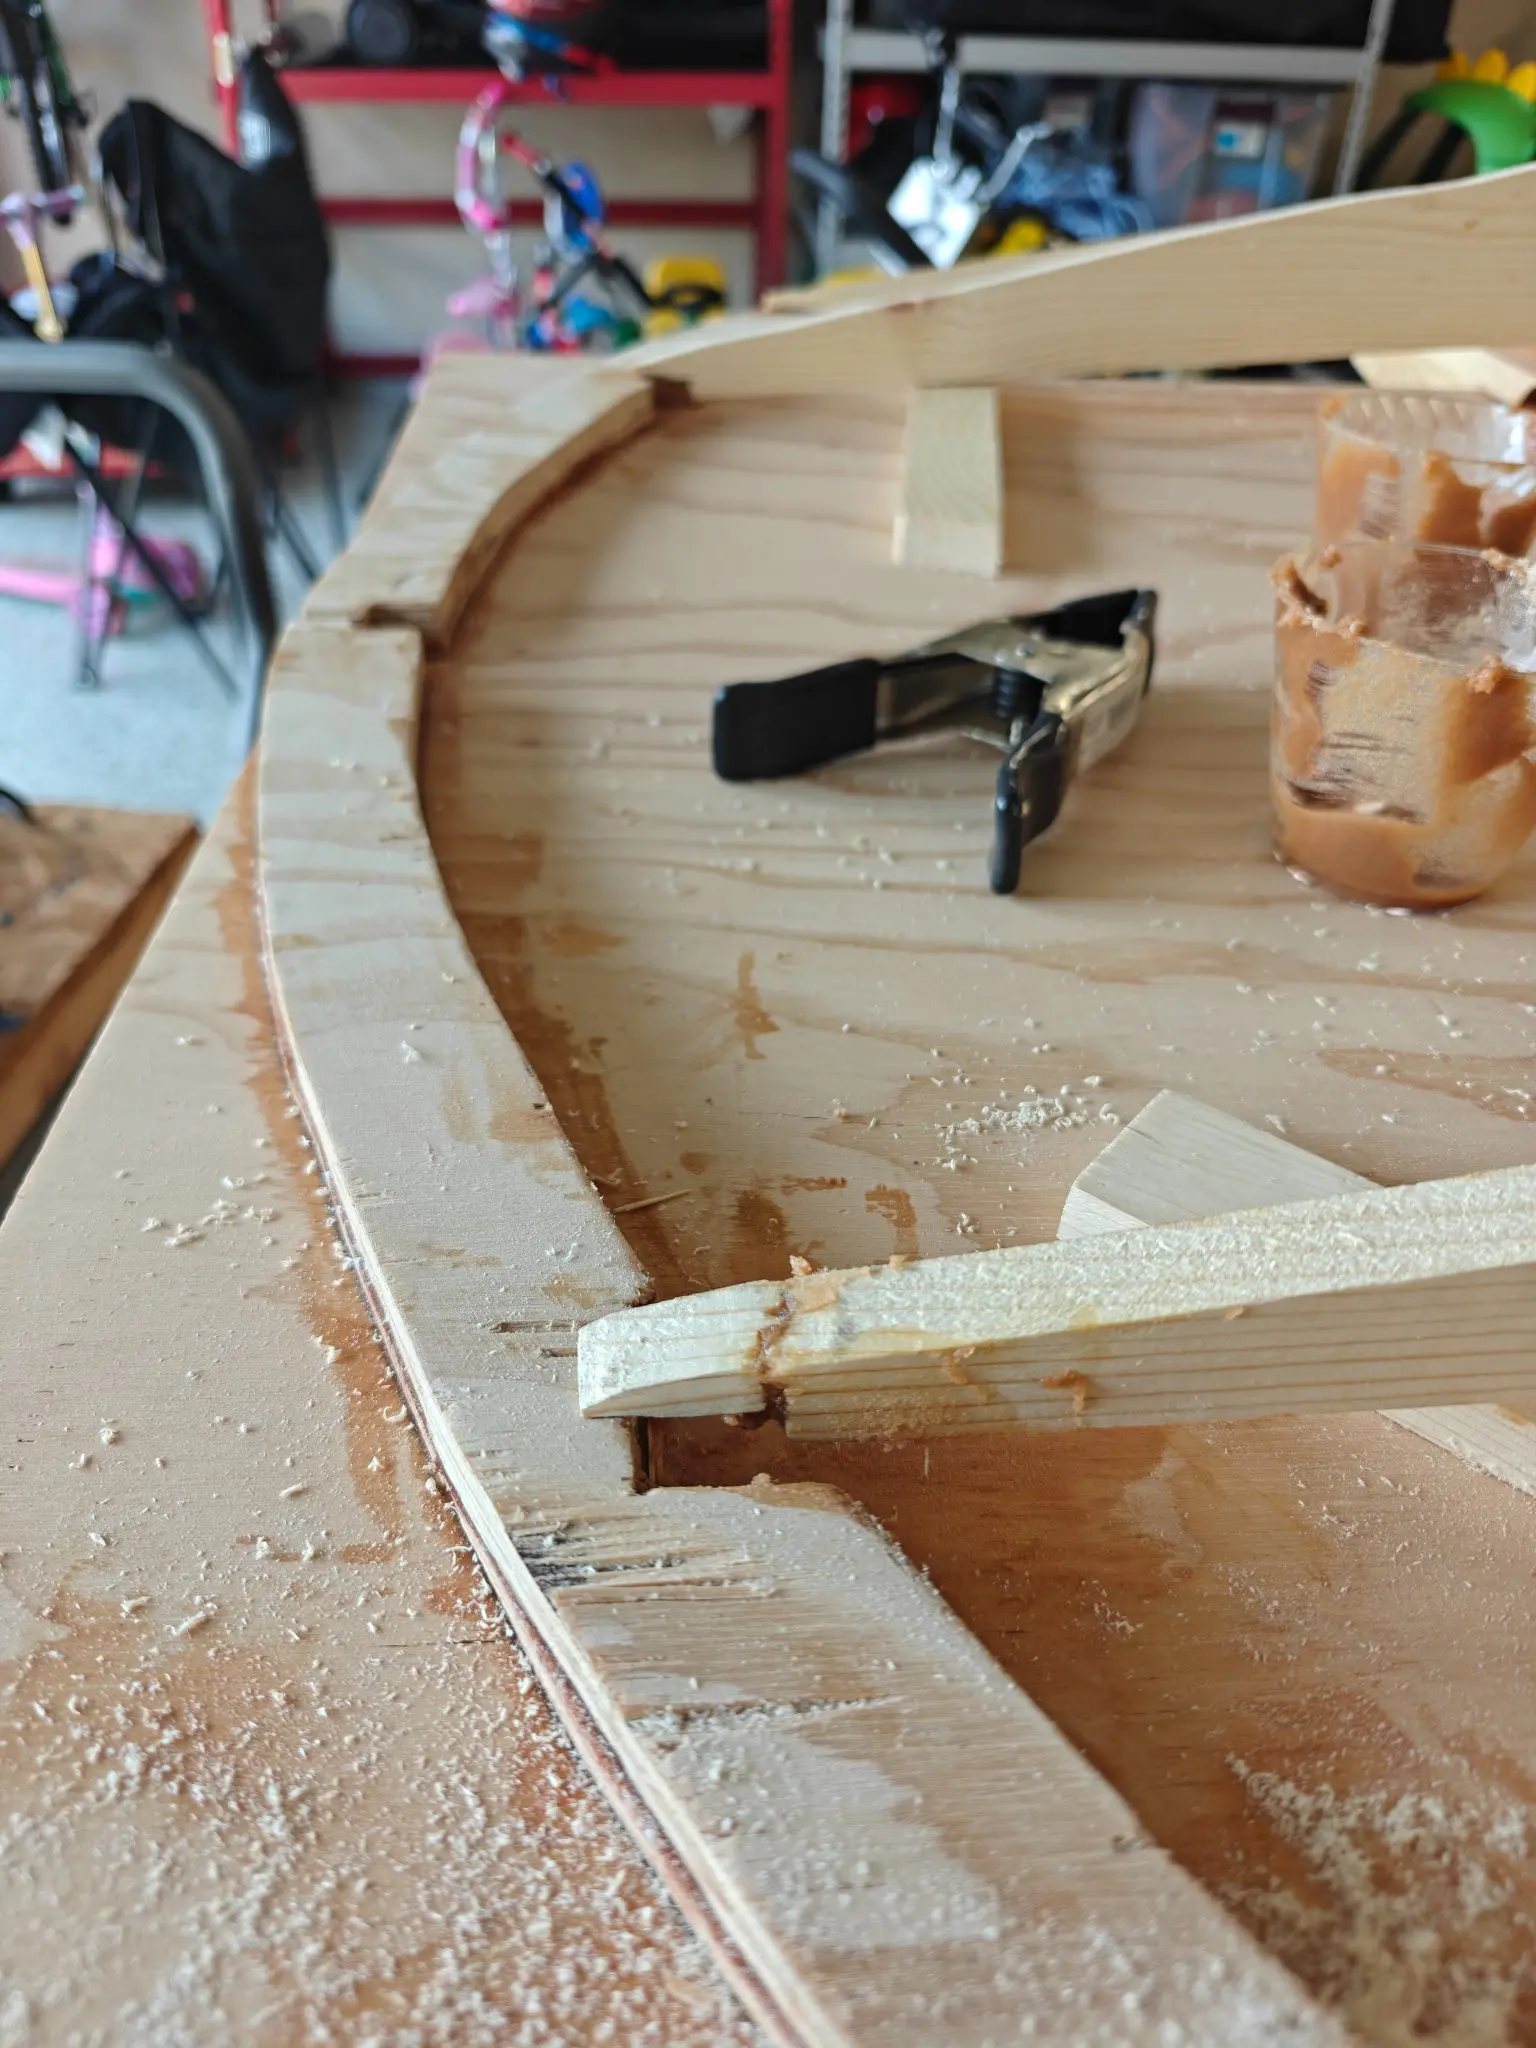
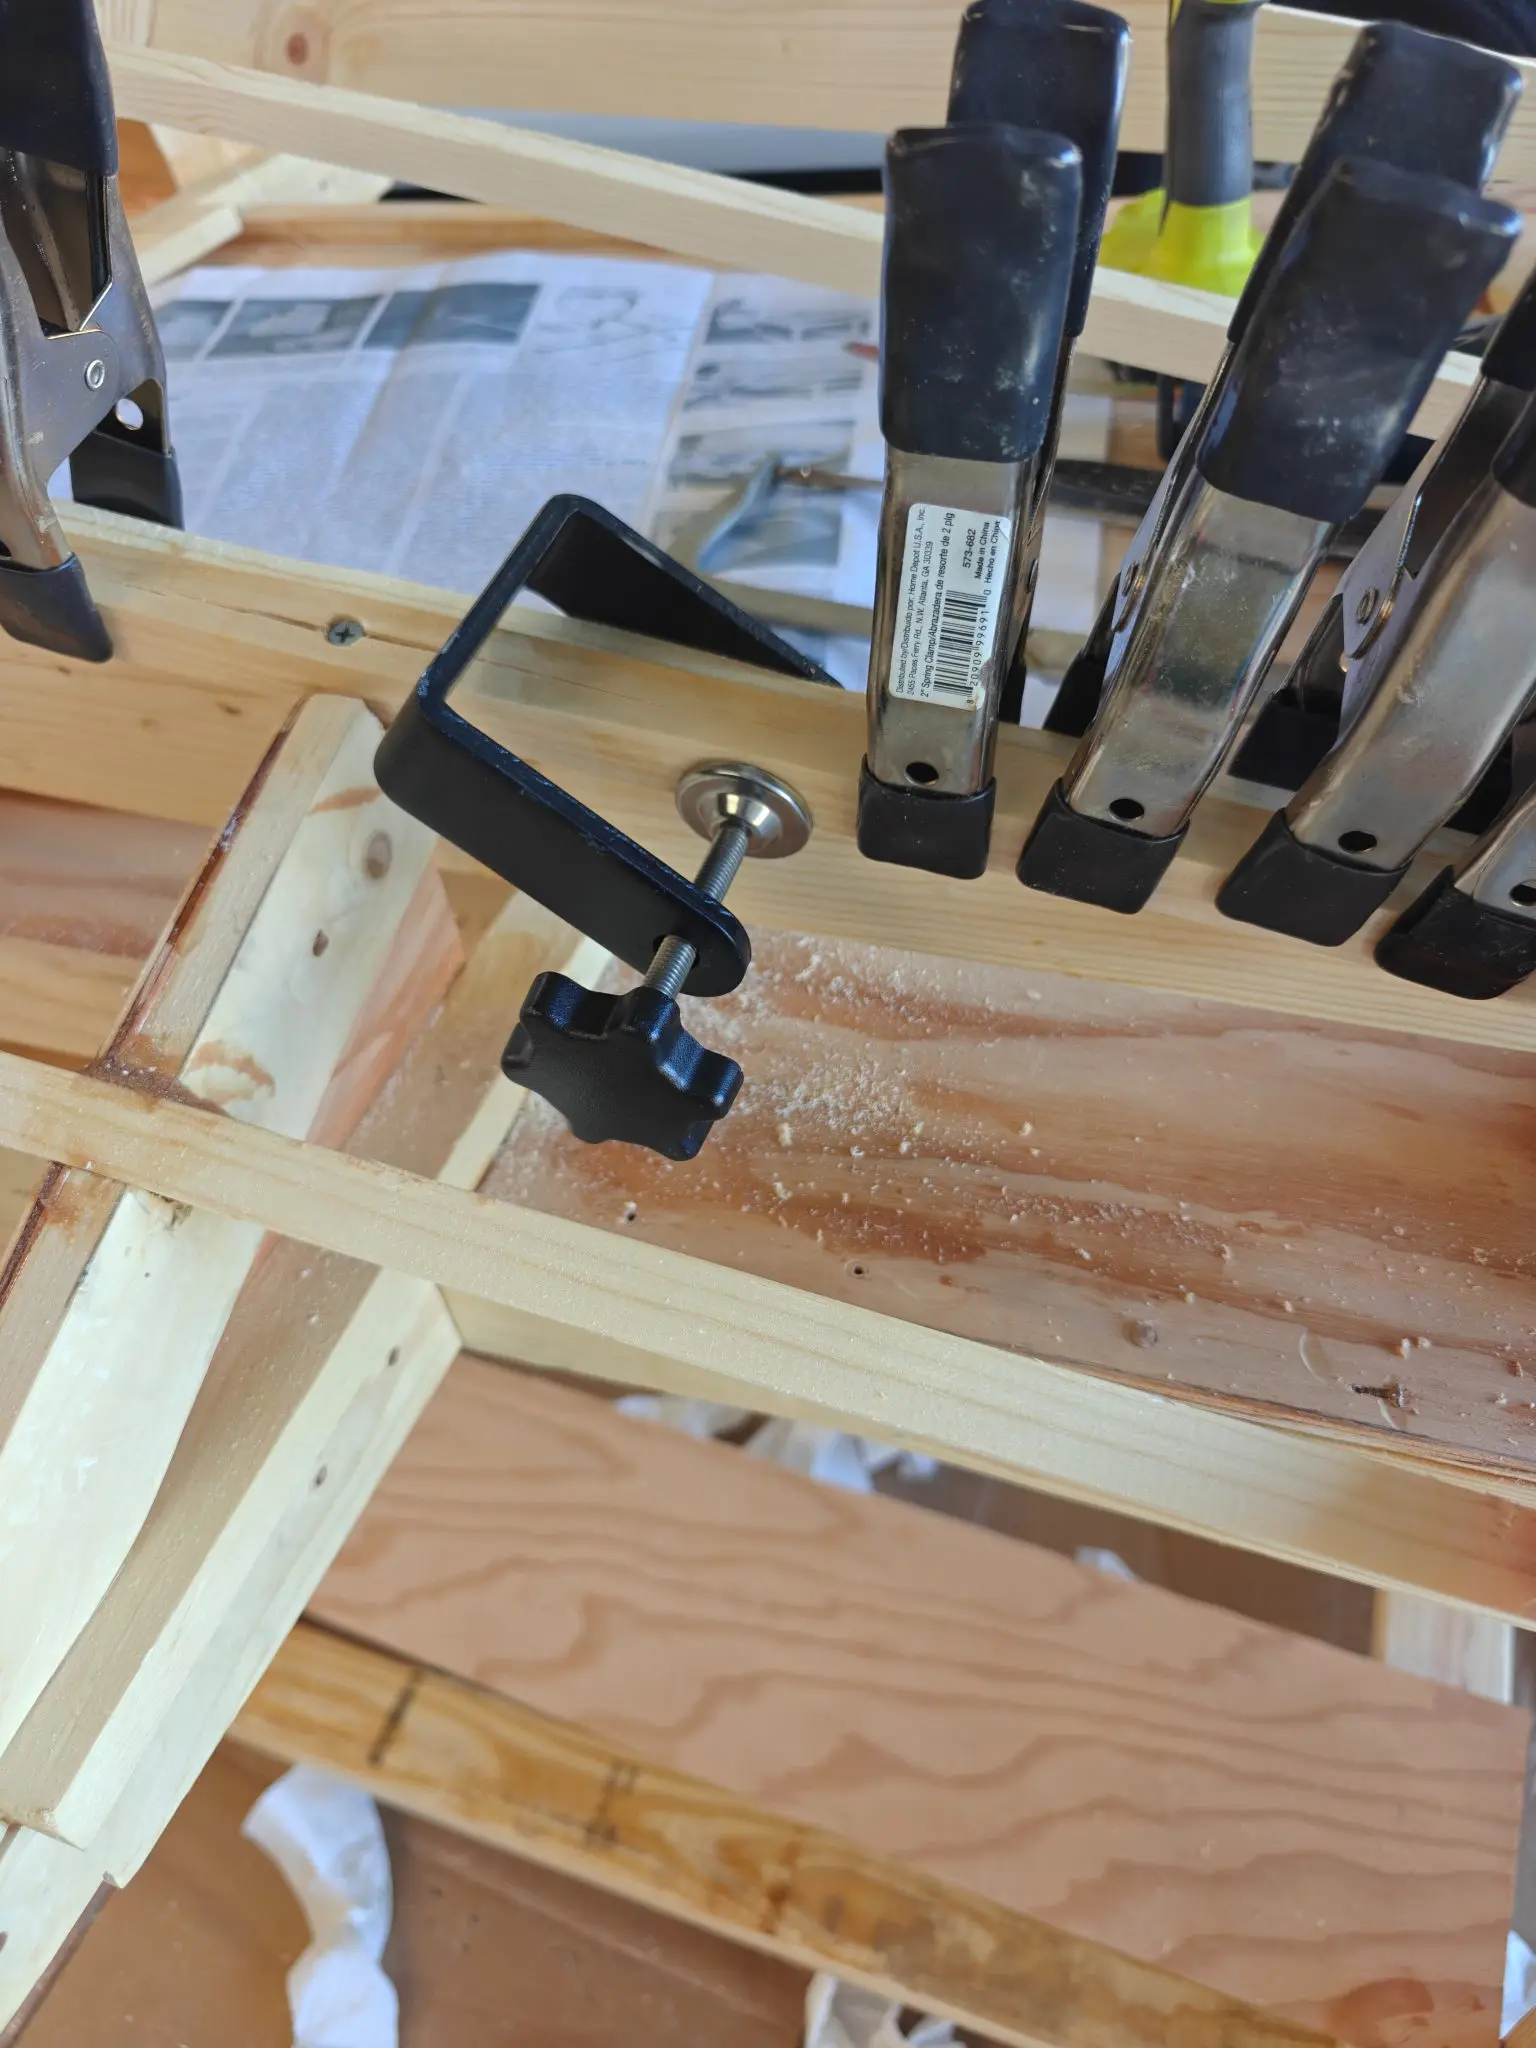
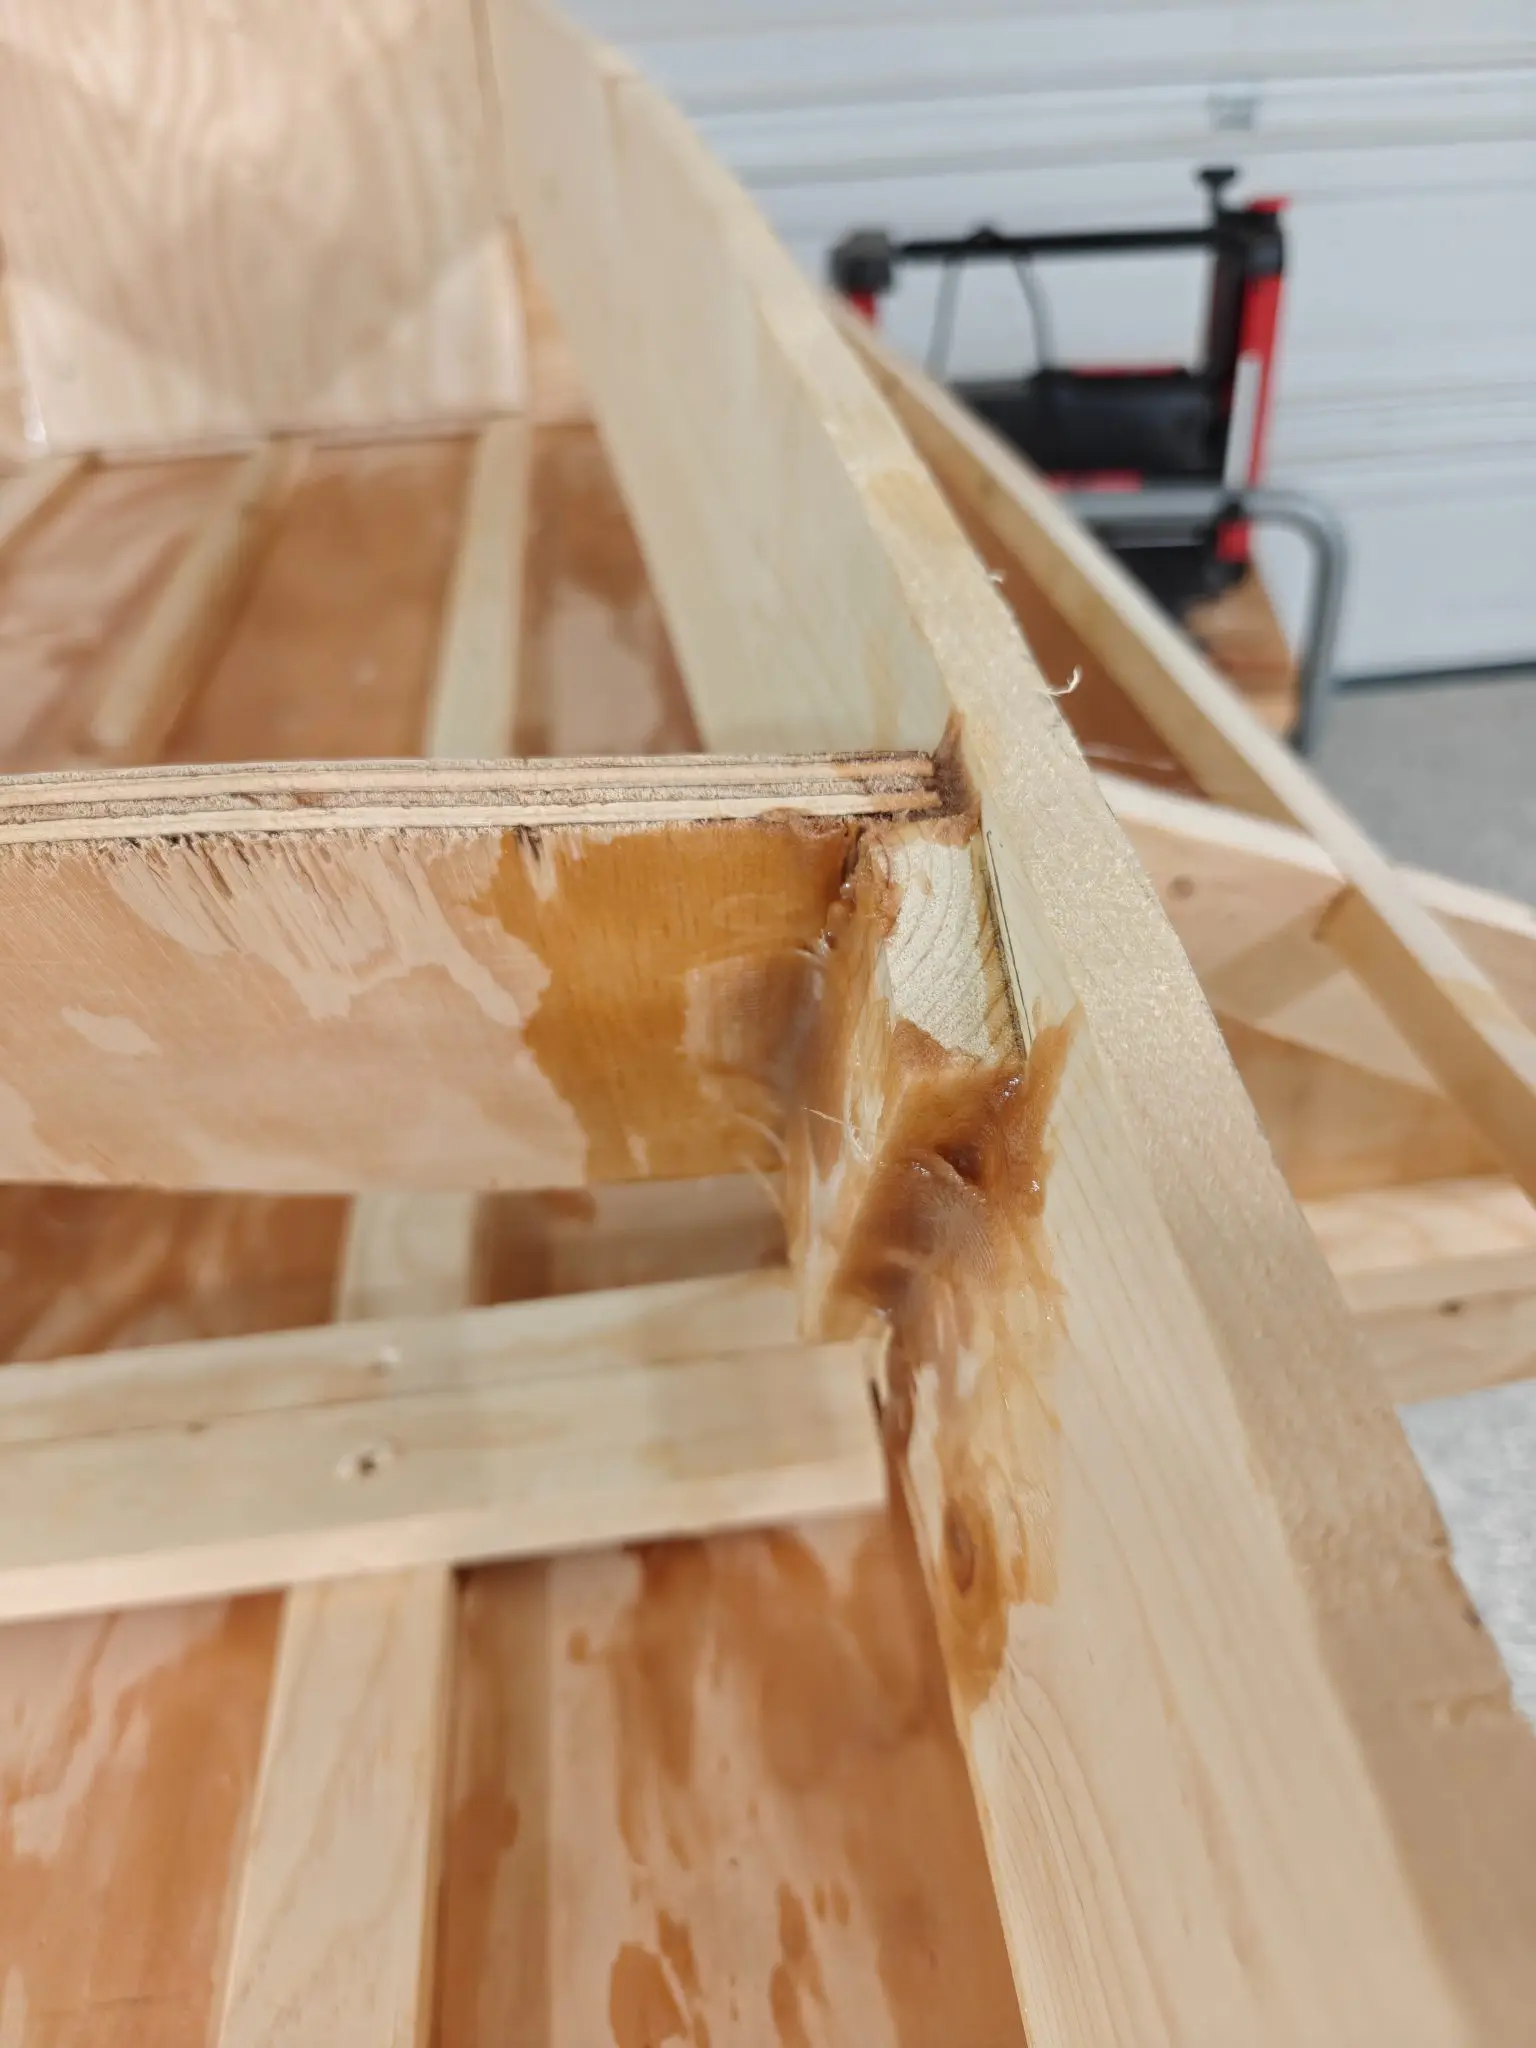
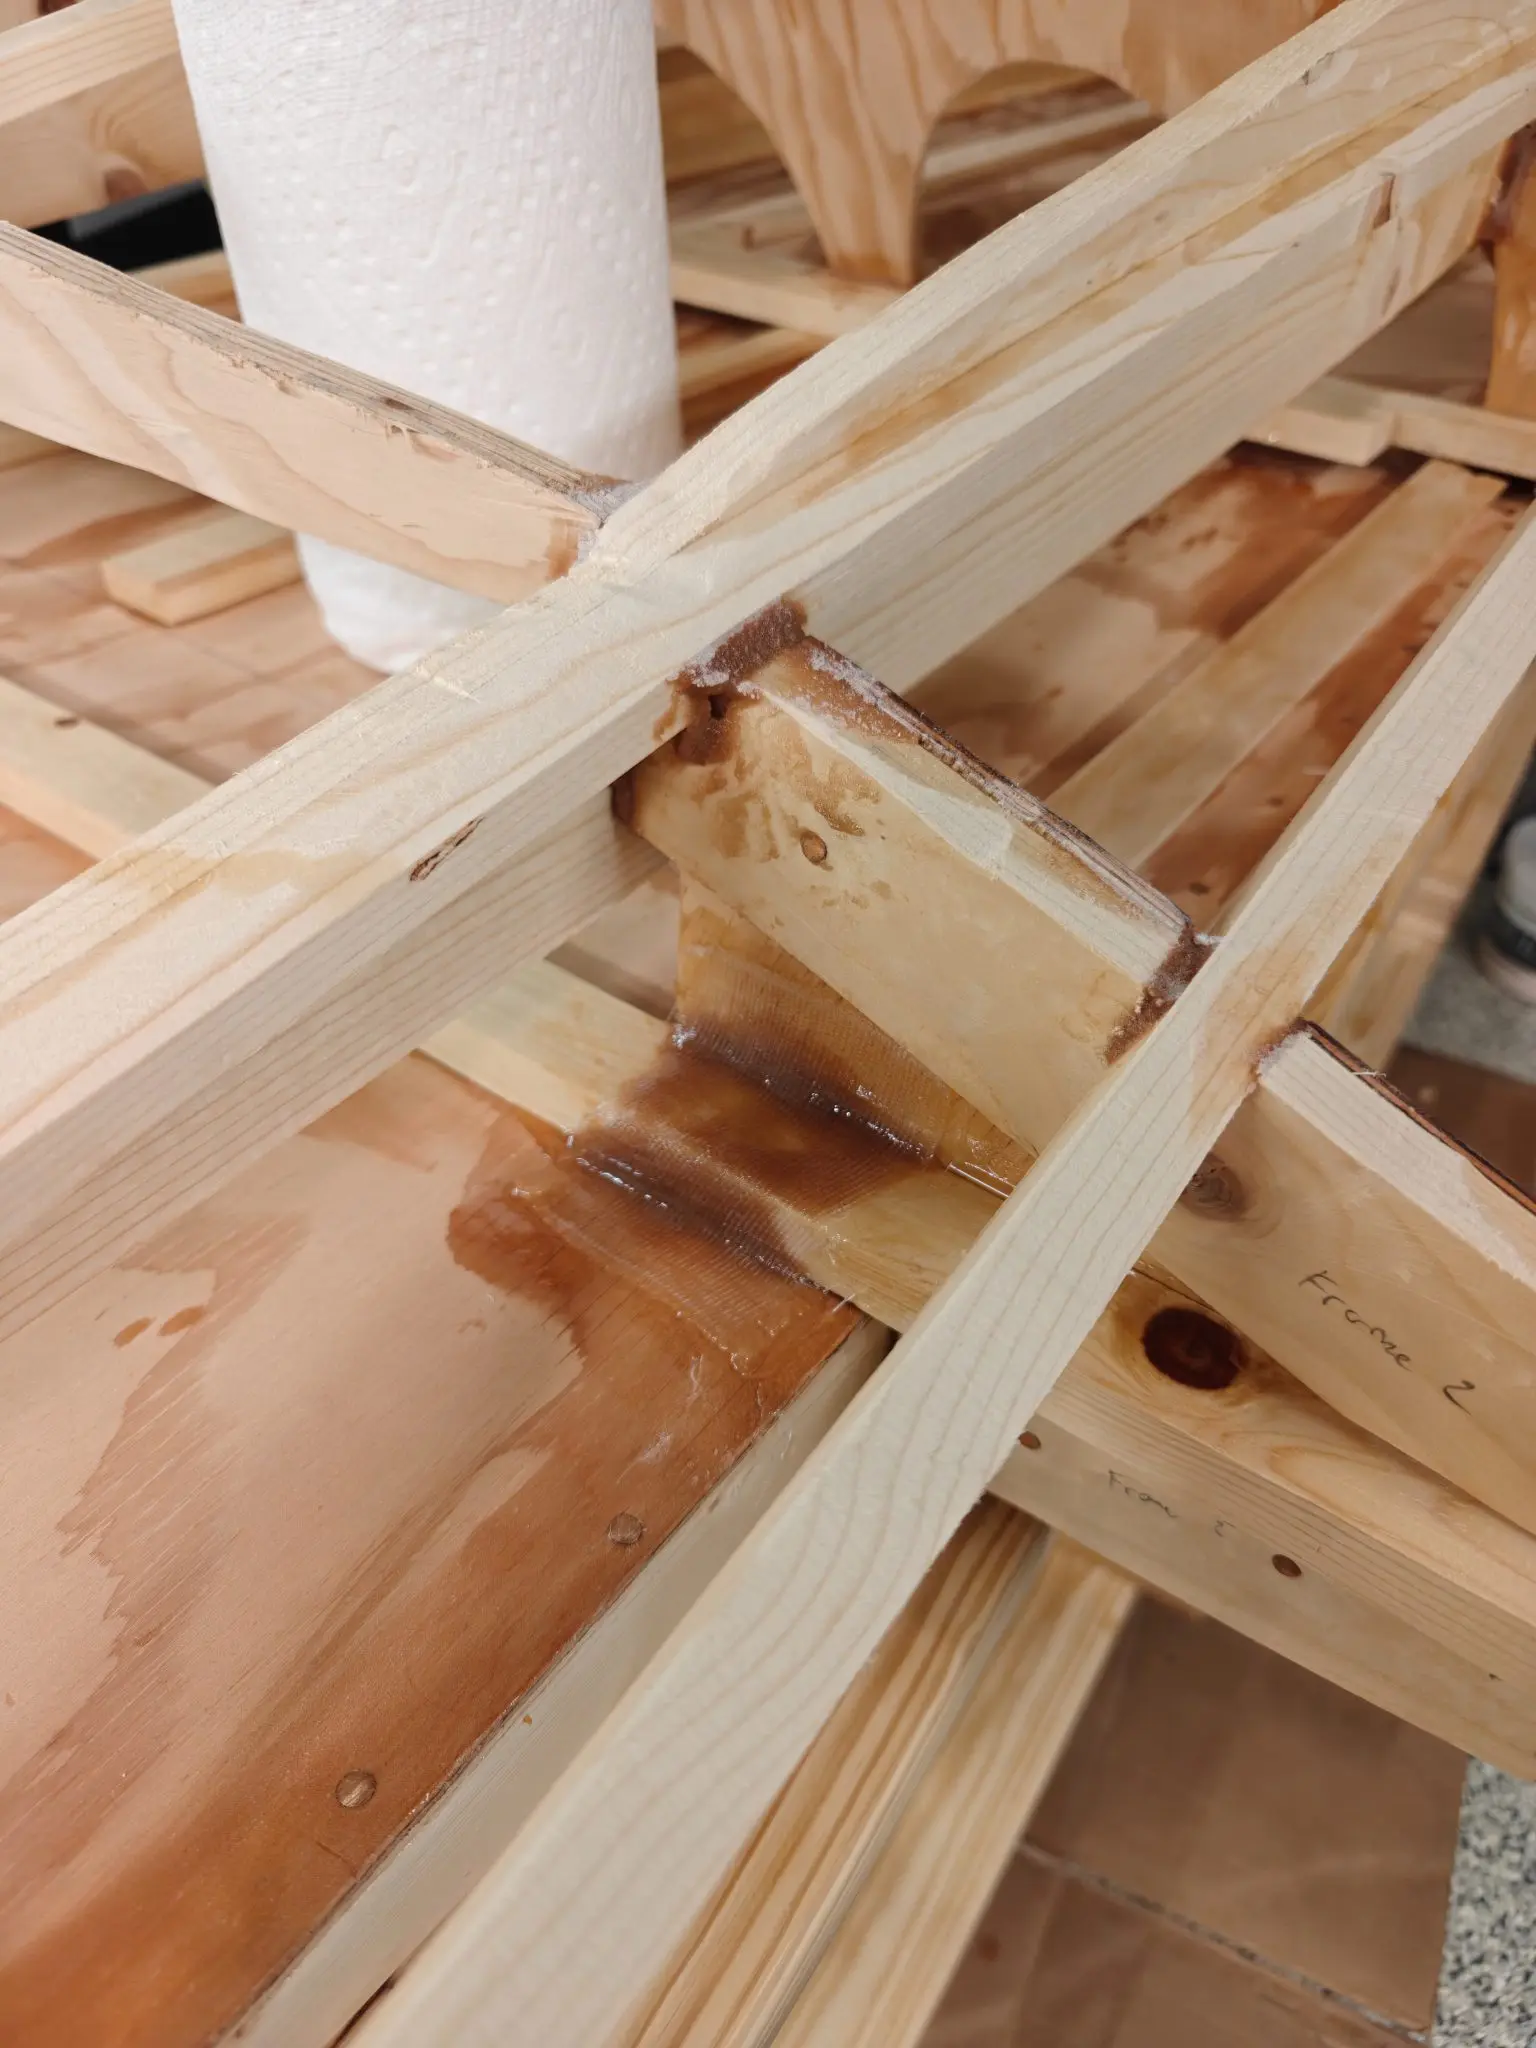
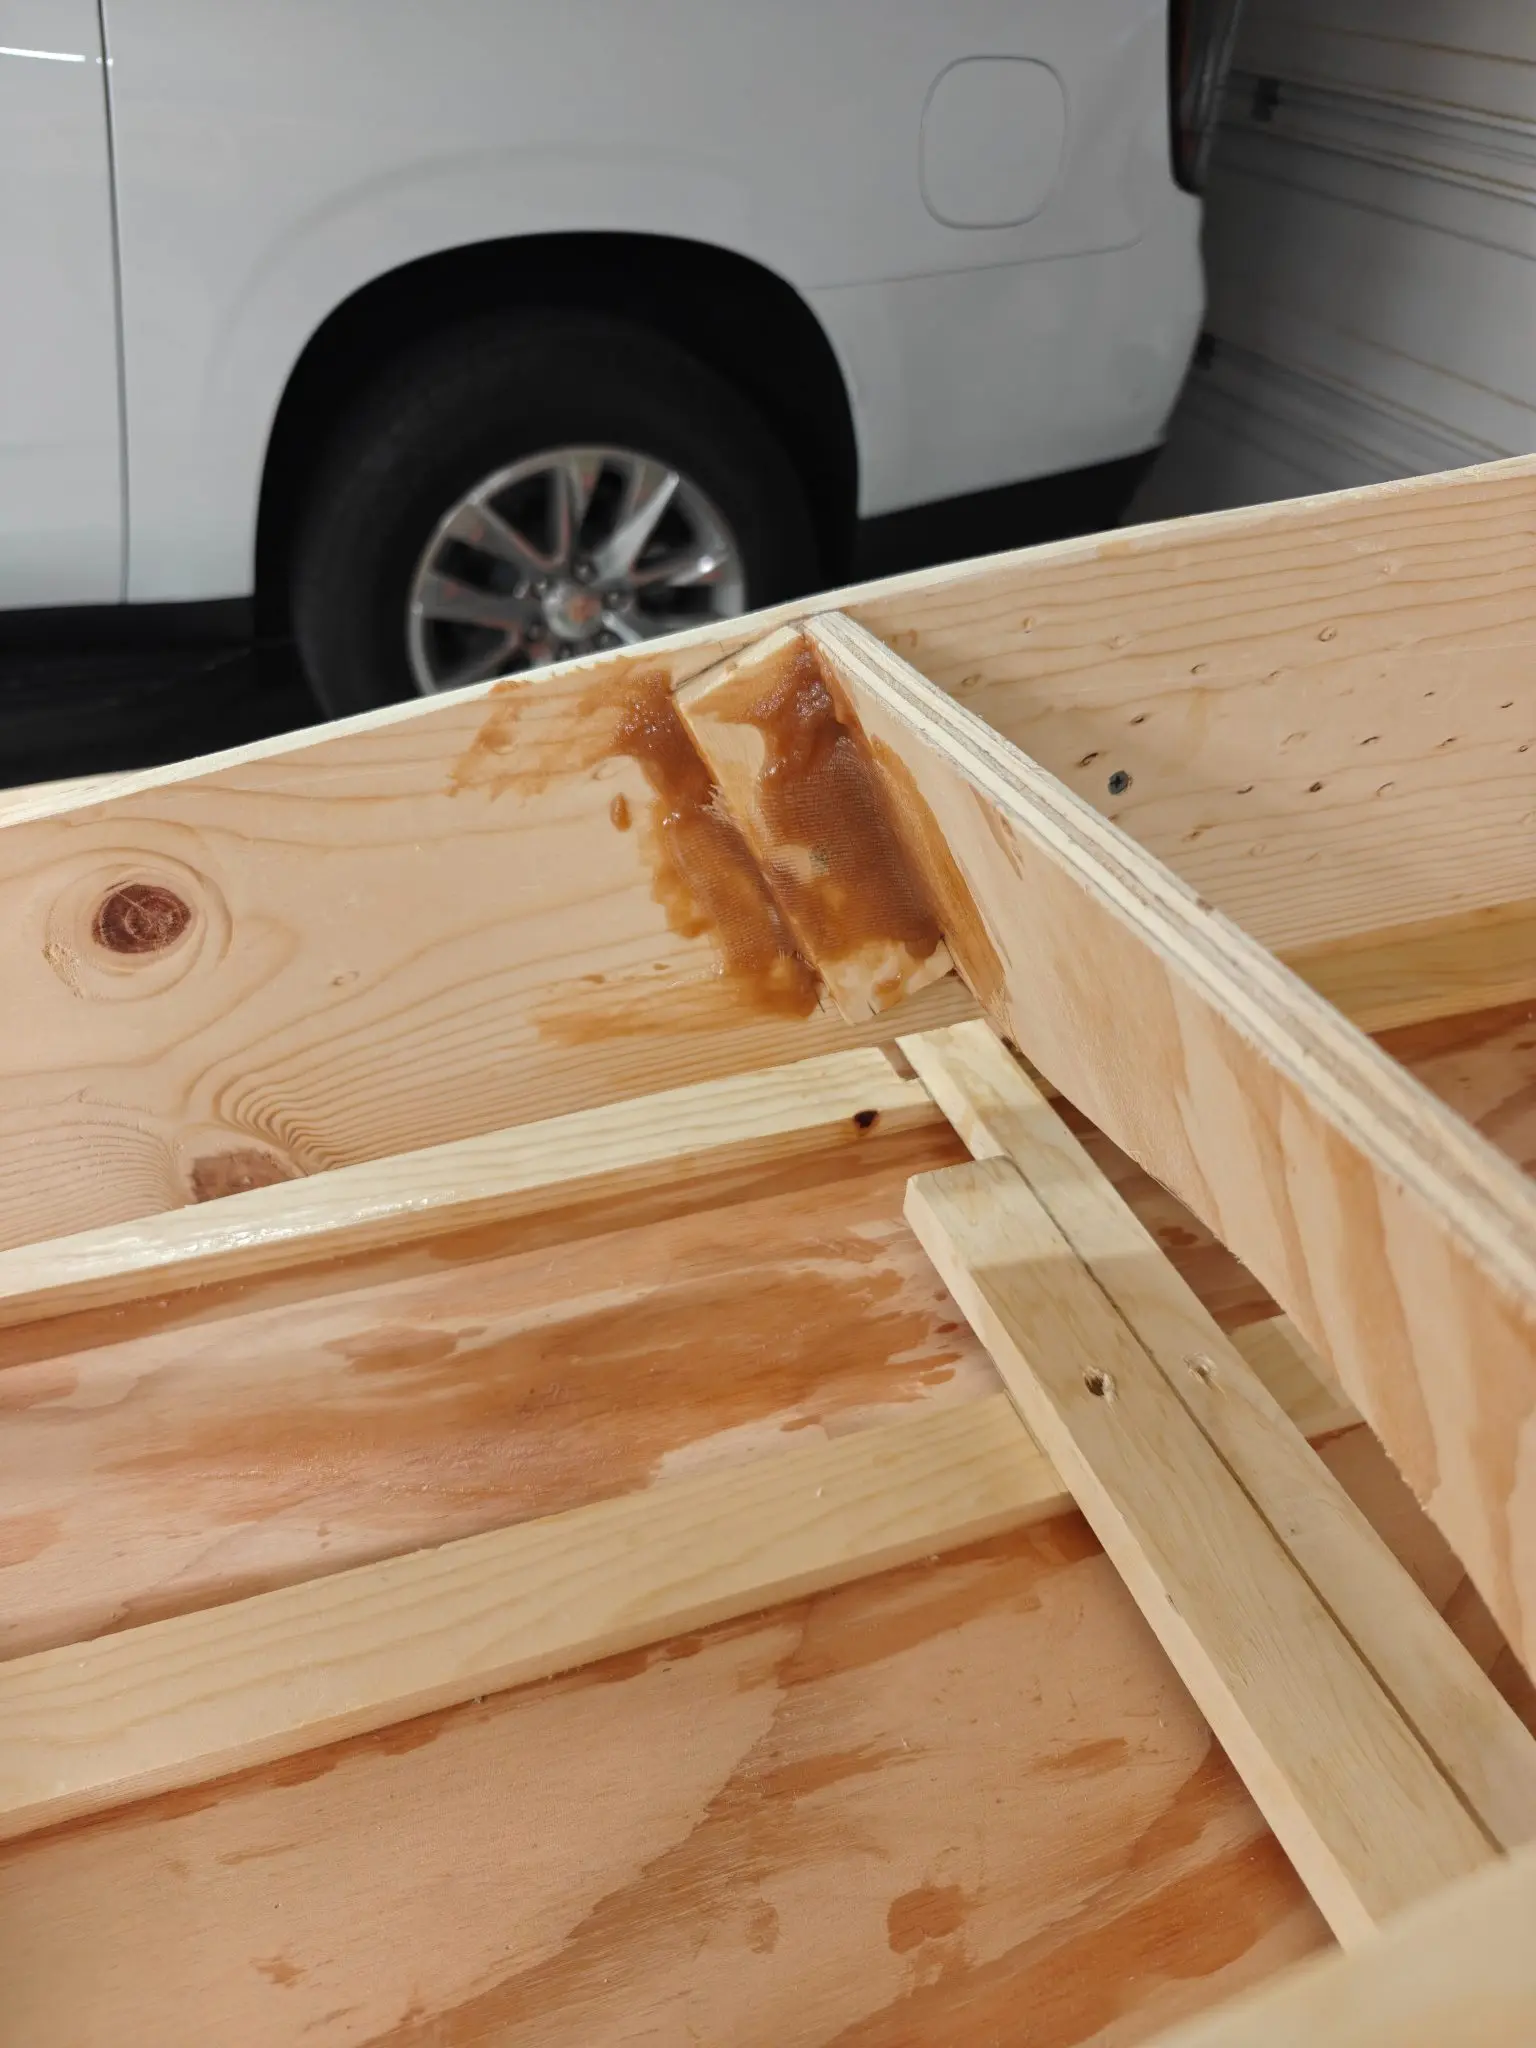
Everything else was pretty straightforward. Building frame number two was easy. The only issue was with the bottom frame member I glued and tacked it into place with nails, but it's about 1/8" or less too short to fit over the bottom planking (see photos). Tomorrow, after everything dries, I'll plane down the frame so it fits properly.
Bottom Battens
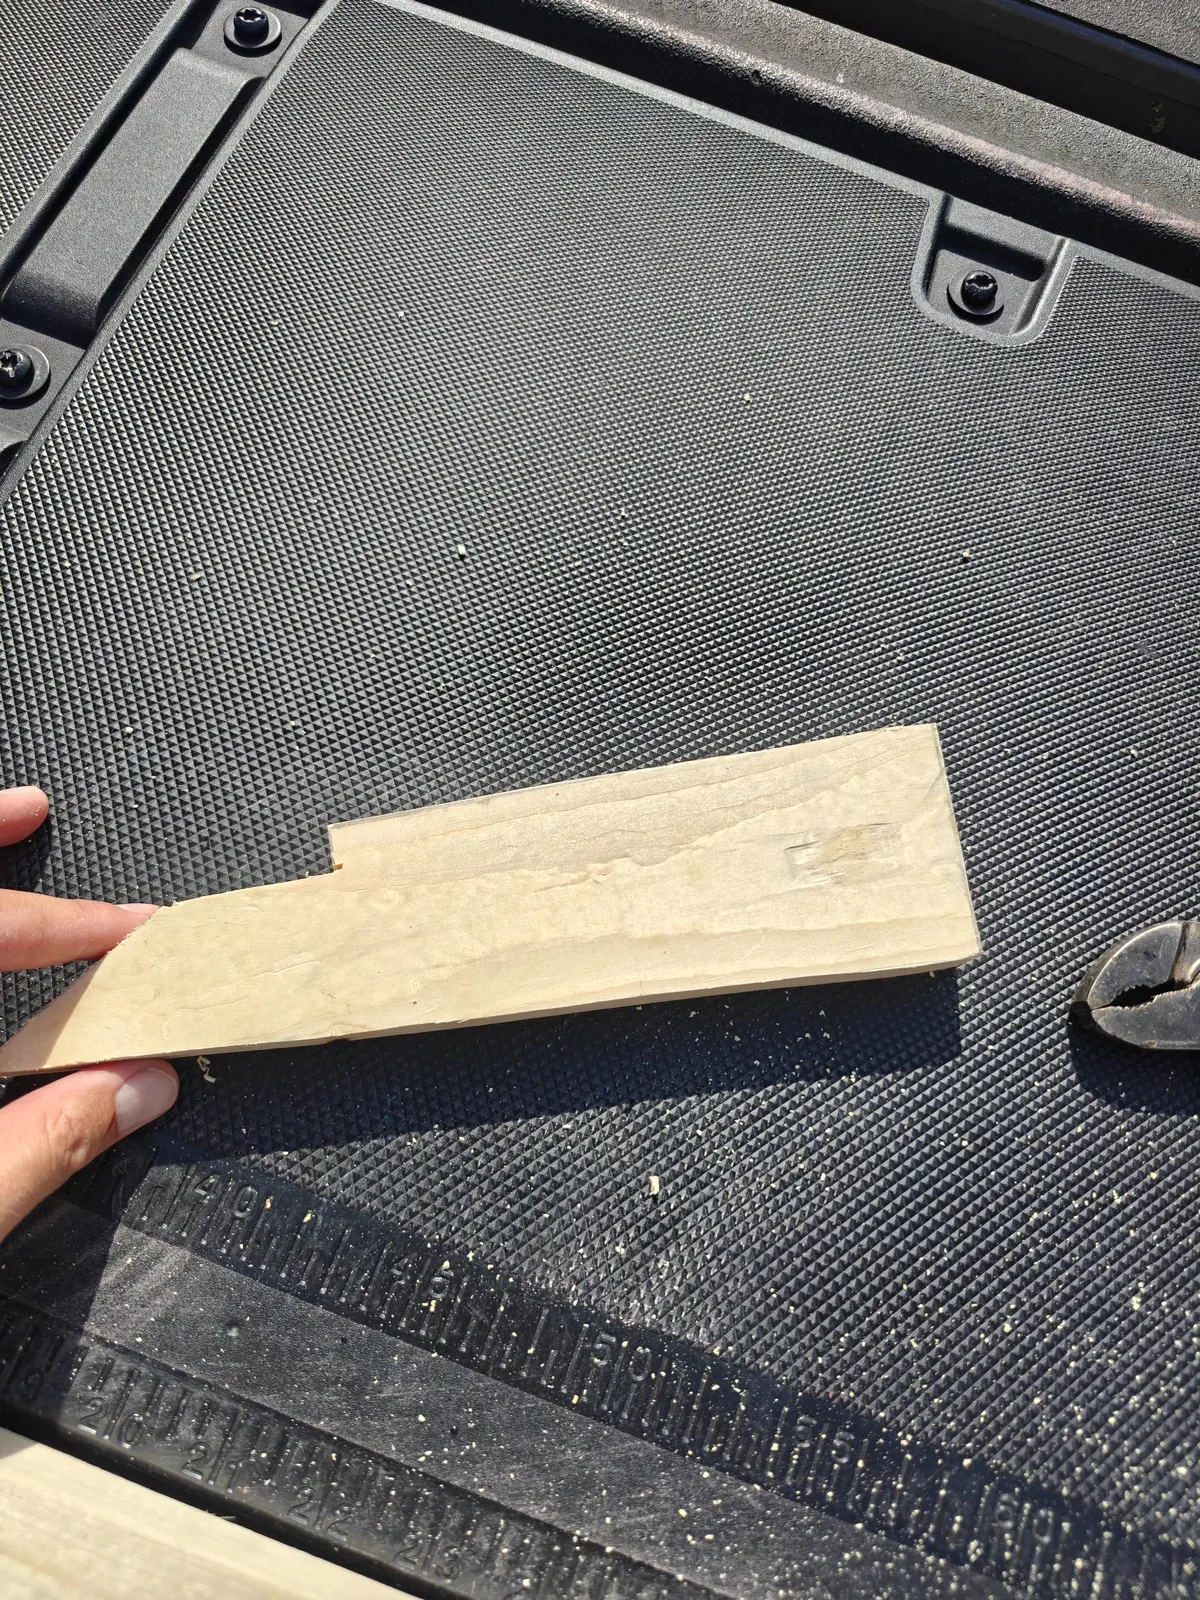
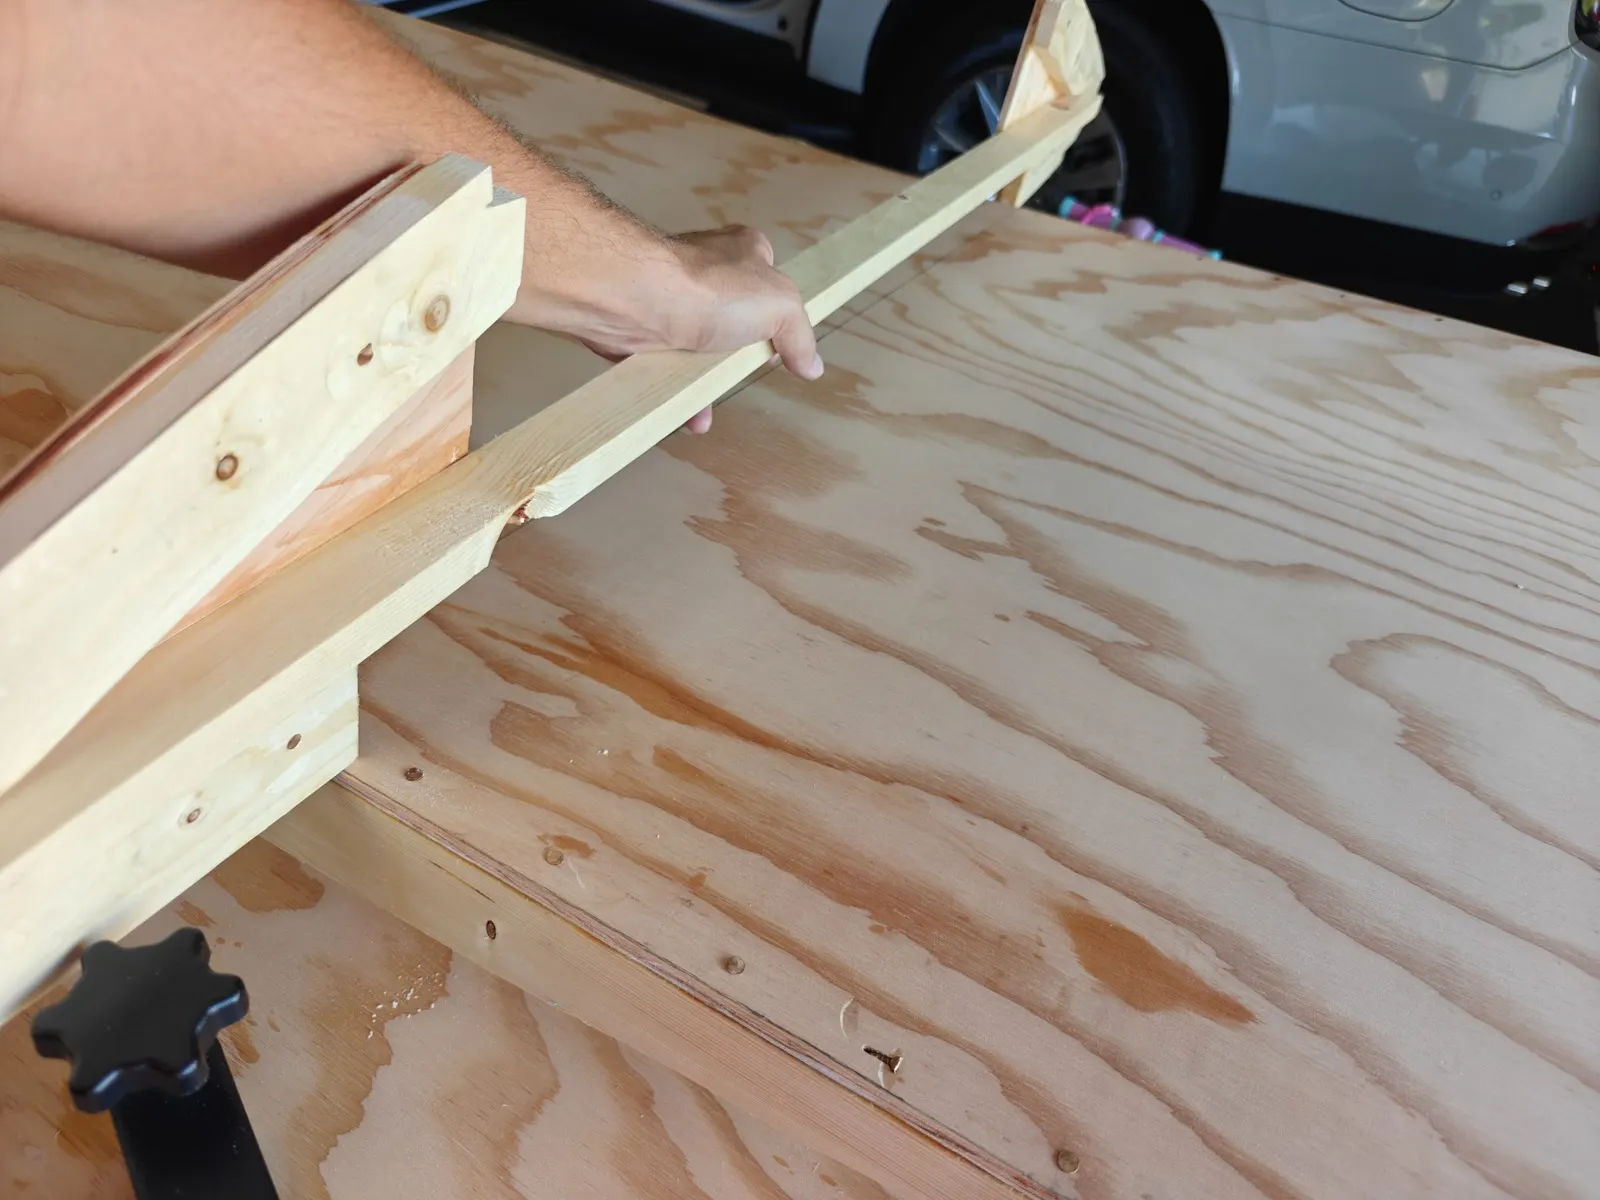
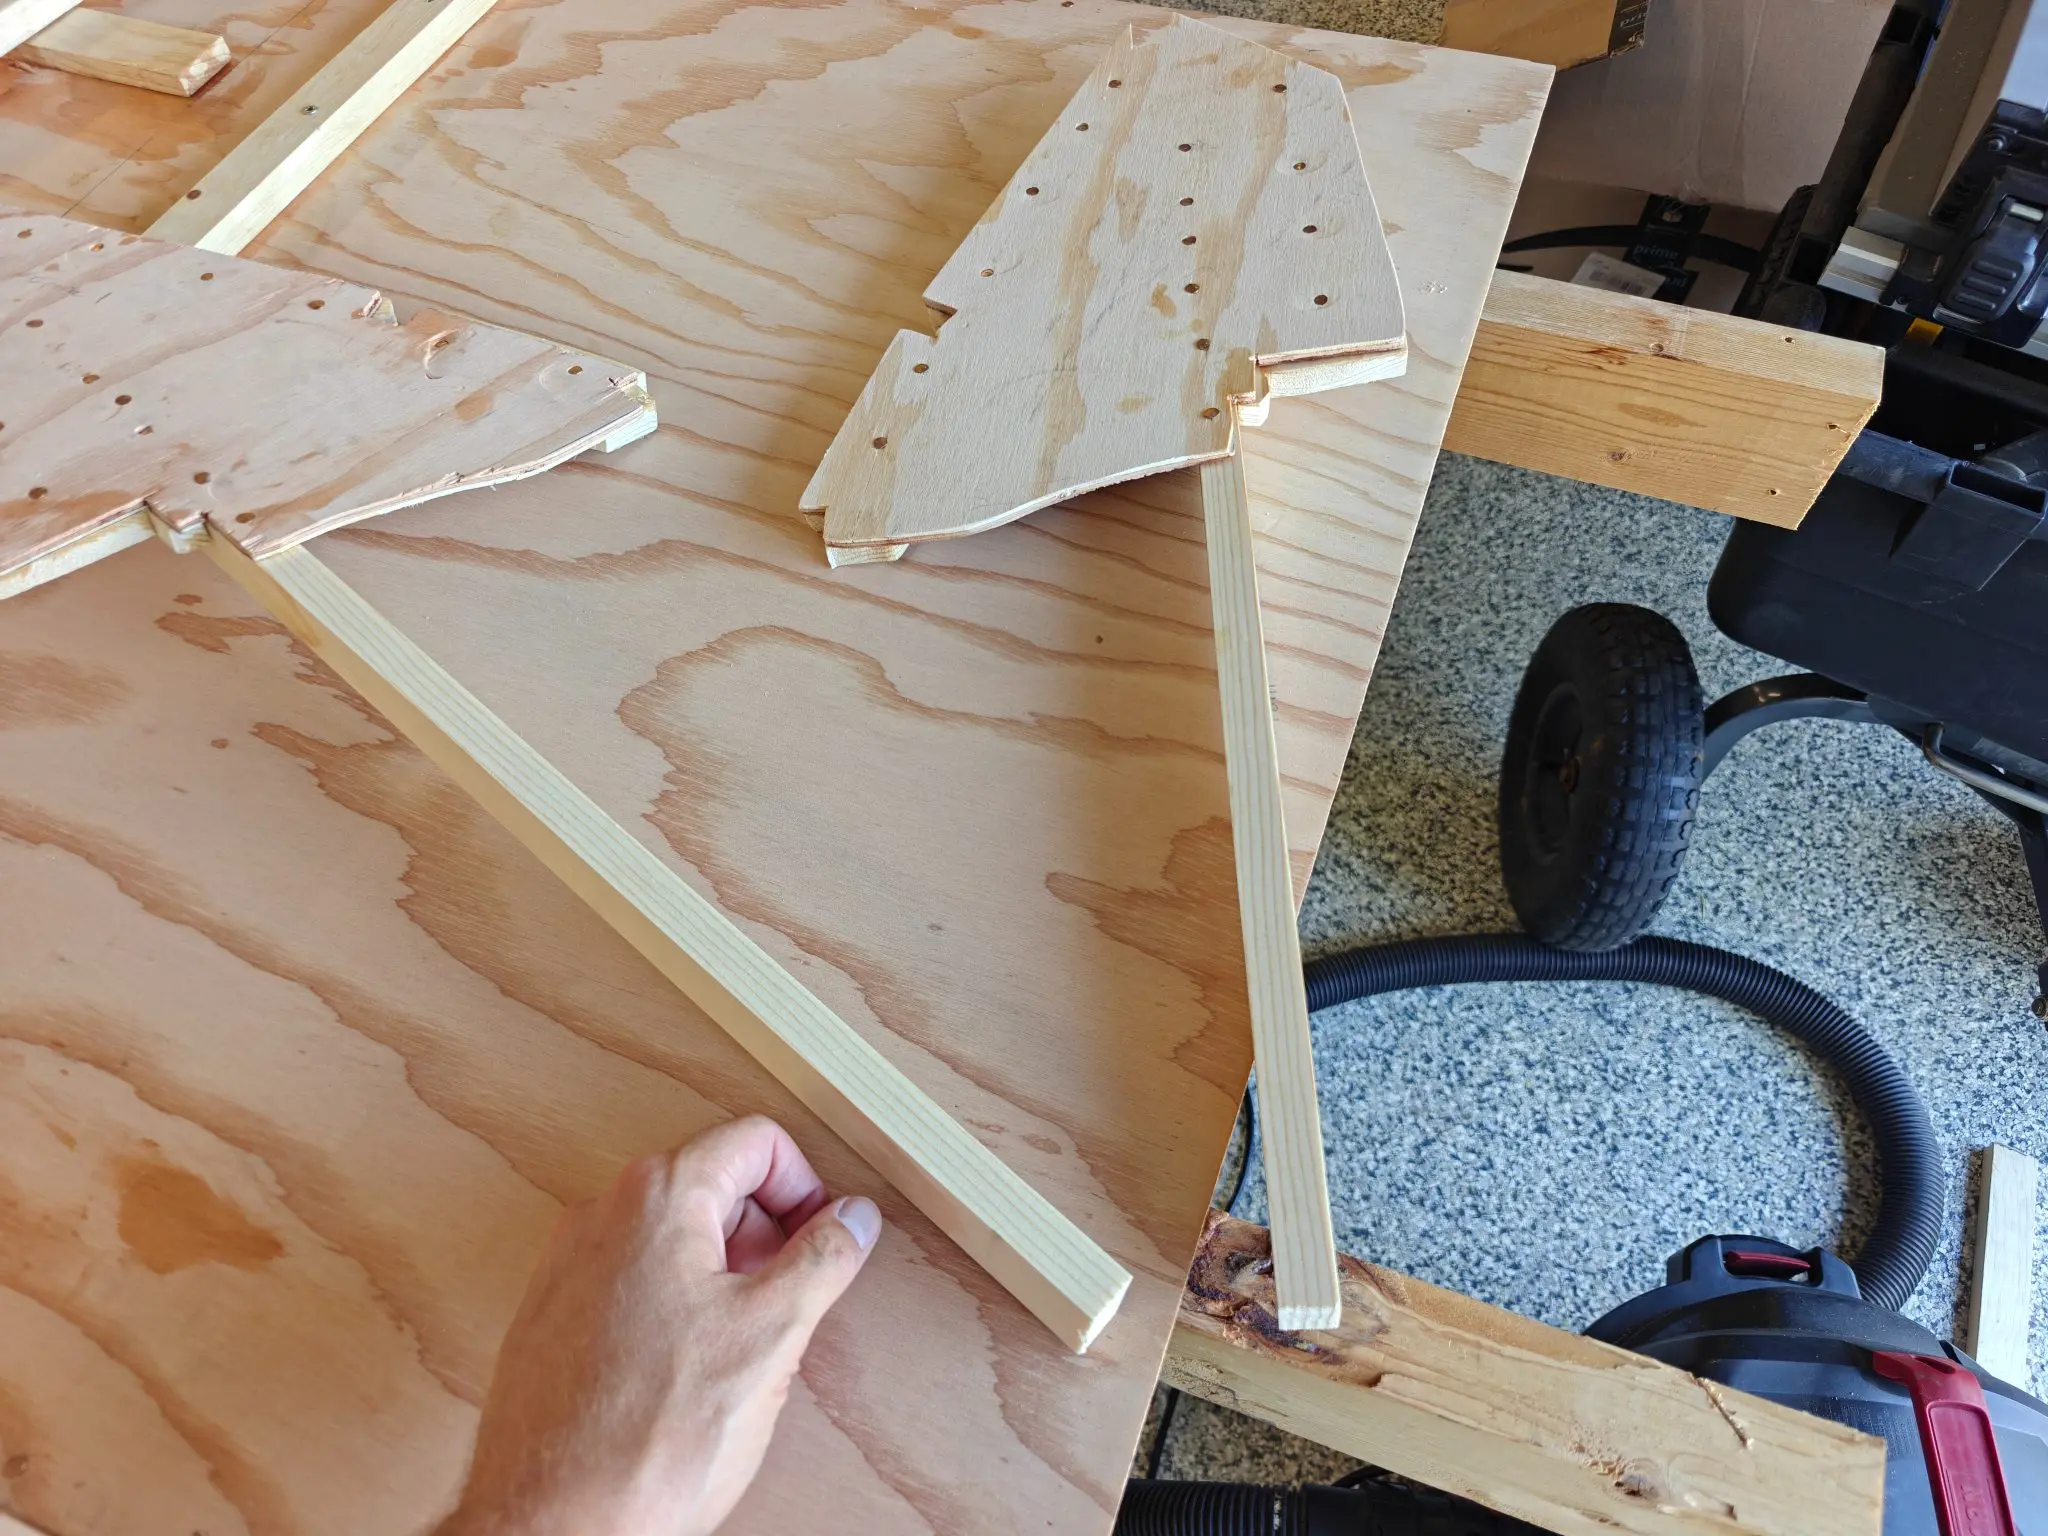
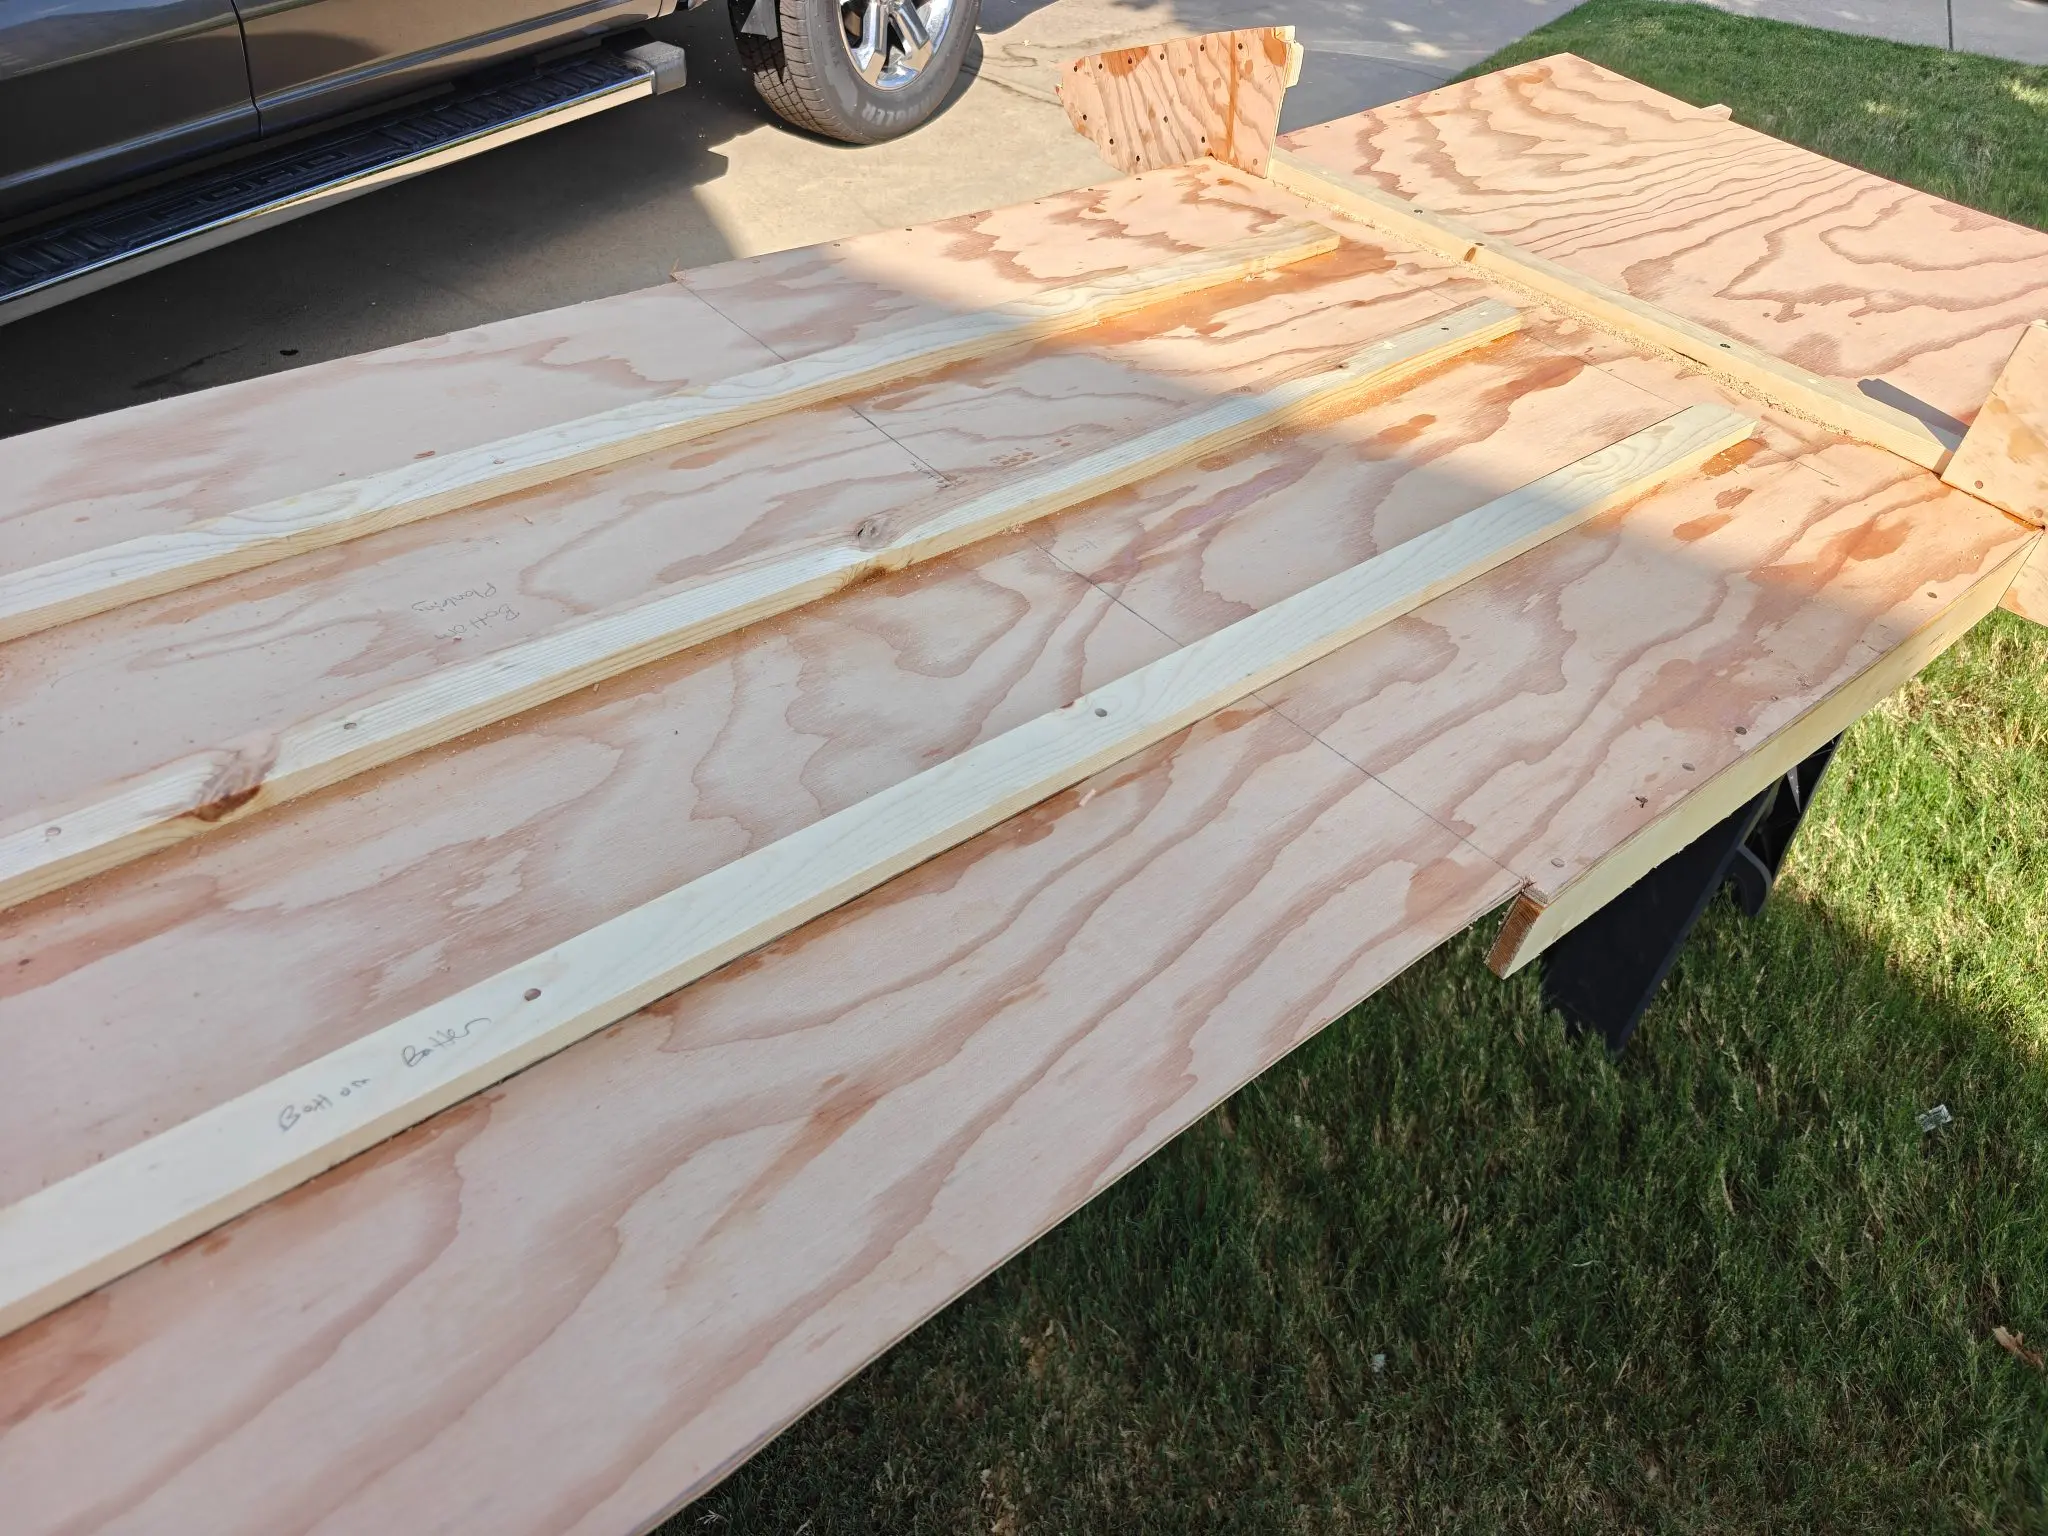
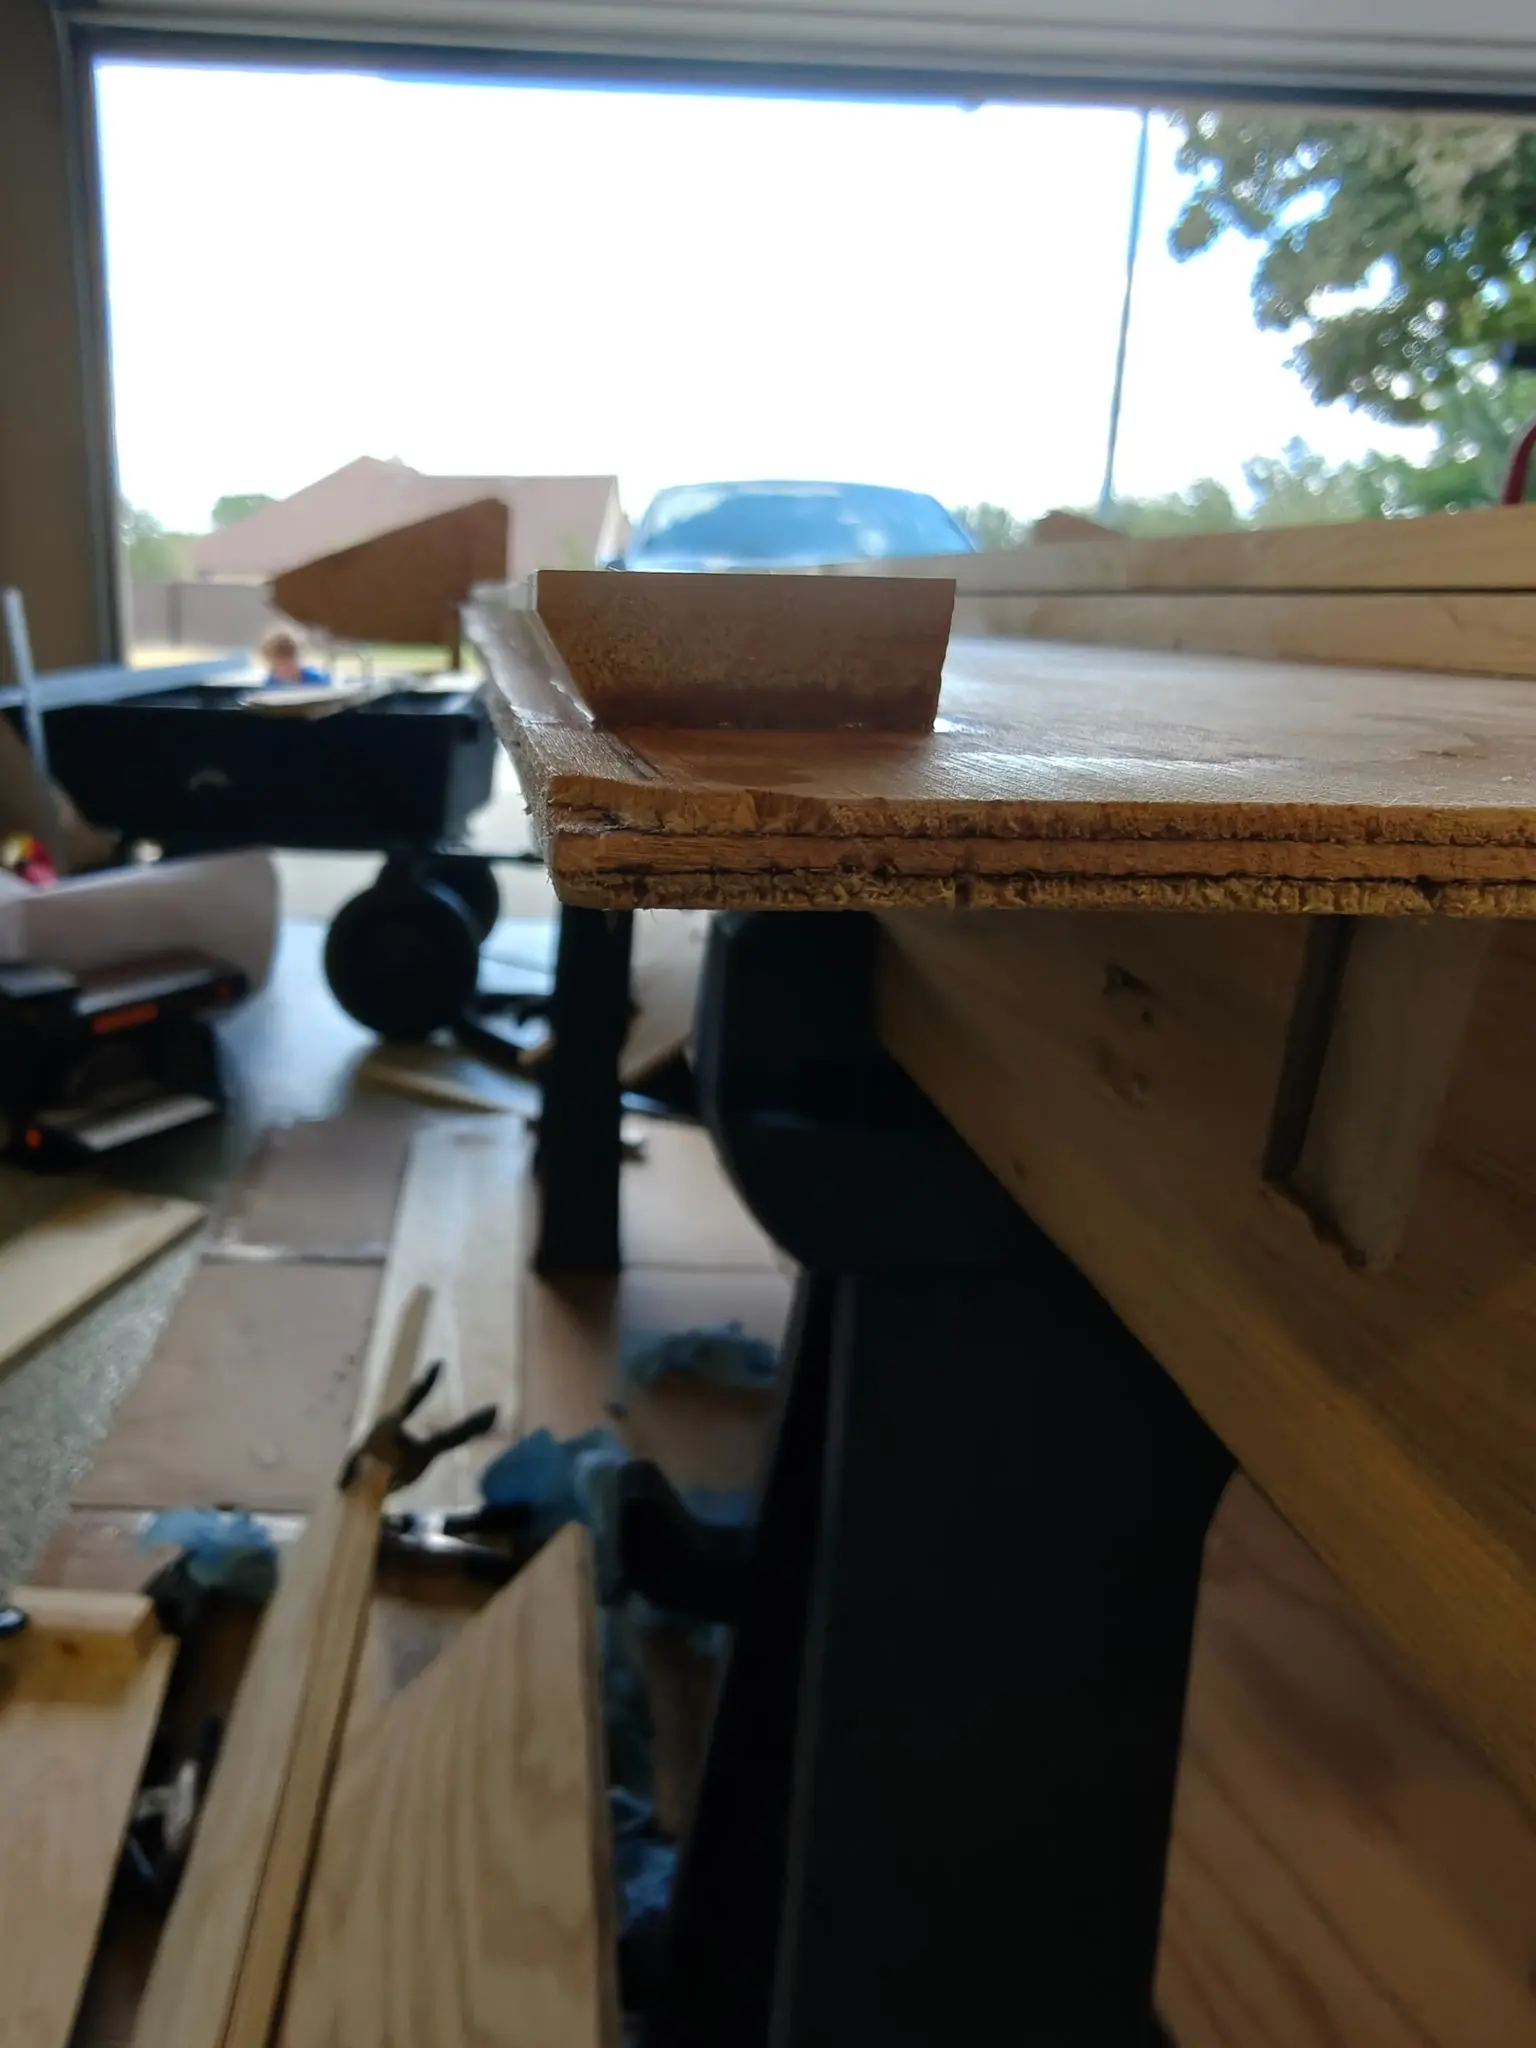
I had originally cut the bottom battens to 6 ft, based on what I saw on the plans, but the actual length needed is around 67 in, with a 15° wedge cut into the aft side (longer portion facing up see photos).
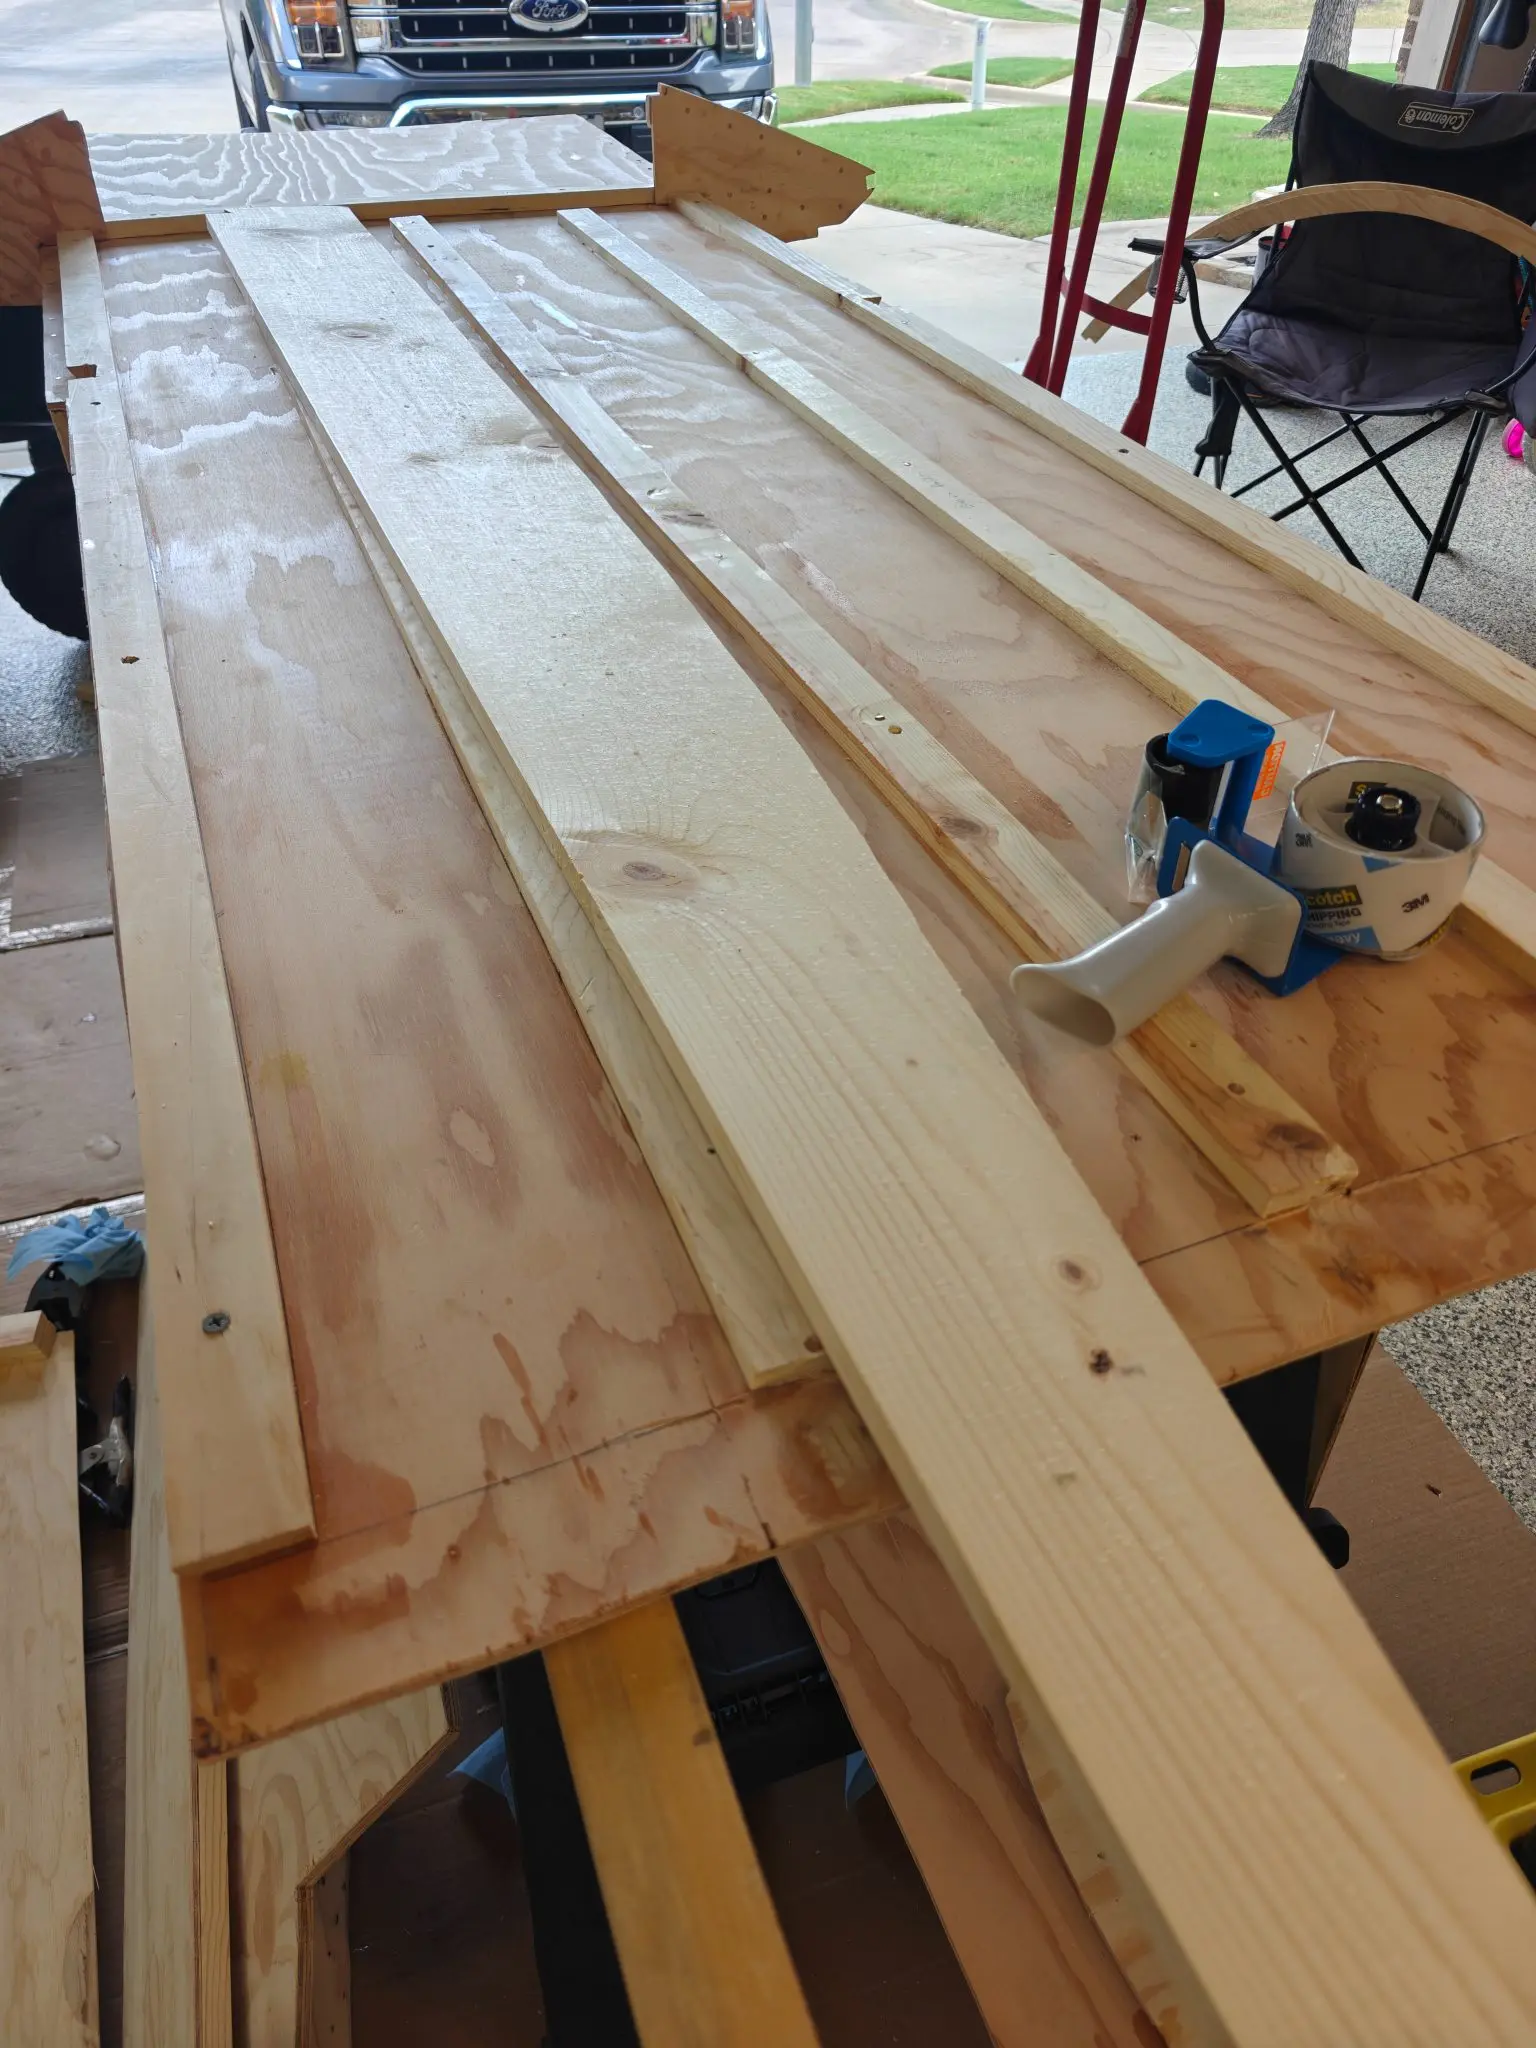
As for epoxying and securing the bottom battens, this was a bit of a challenge. If I could do it over again, here's what I'd do differently: after applying the epoxy and setting the batten while the boat is facing up, I'd use two or three screws to secure it into the bottom panel from the top first. Then, once it's secured from the top, flip the boat over and nail it from there.
29 Aug 2026
Fairing & Sanding 1 h
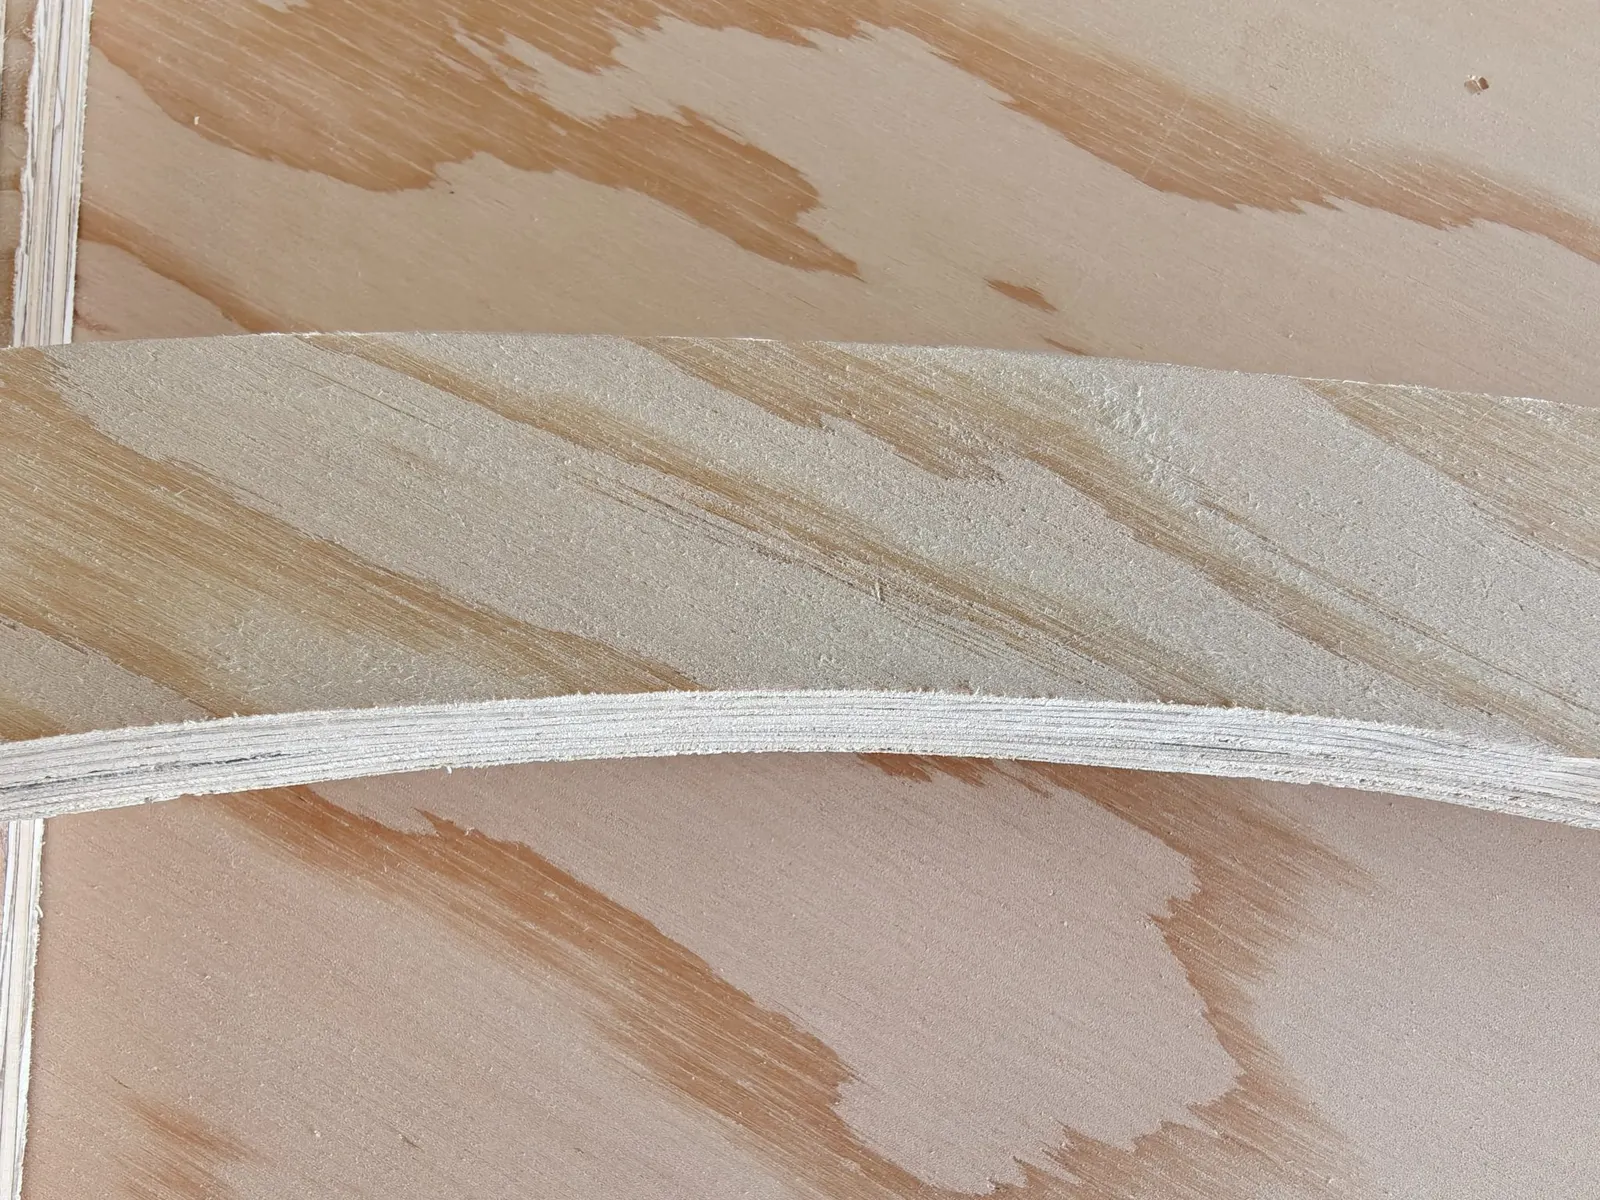
I only had a short amount of time today to build so I put together the pieces for frame one and I beveled the 30° on the side planks. I honestly could not find a good way to get the 30°, I thought about the table saw I ended up using a skill saw but I found it was not the best option. I ended up pulling out a block plane and eyeballing it
4 Sep 2026
Fairing & Sanding 4 h
4 Sep 2026
Hull Exterior 4 h
I accidentally shortened the boat by 2 in
It was a frustrating day. I'm still very much at the point where I'm trying to understand the plans, and the photos in the manual are many years old, low resolution, and hard to read. The best thing has been going online and looking at other people's builds. Photos help, but descriptions and step-by-step notes are much more useful.
What I got done today
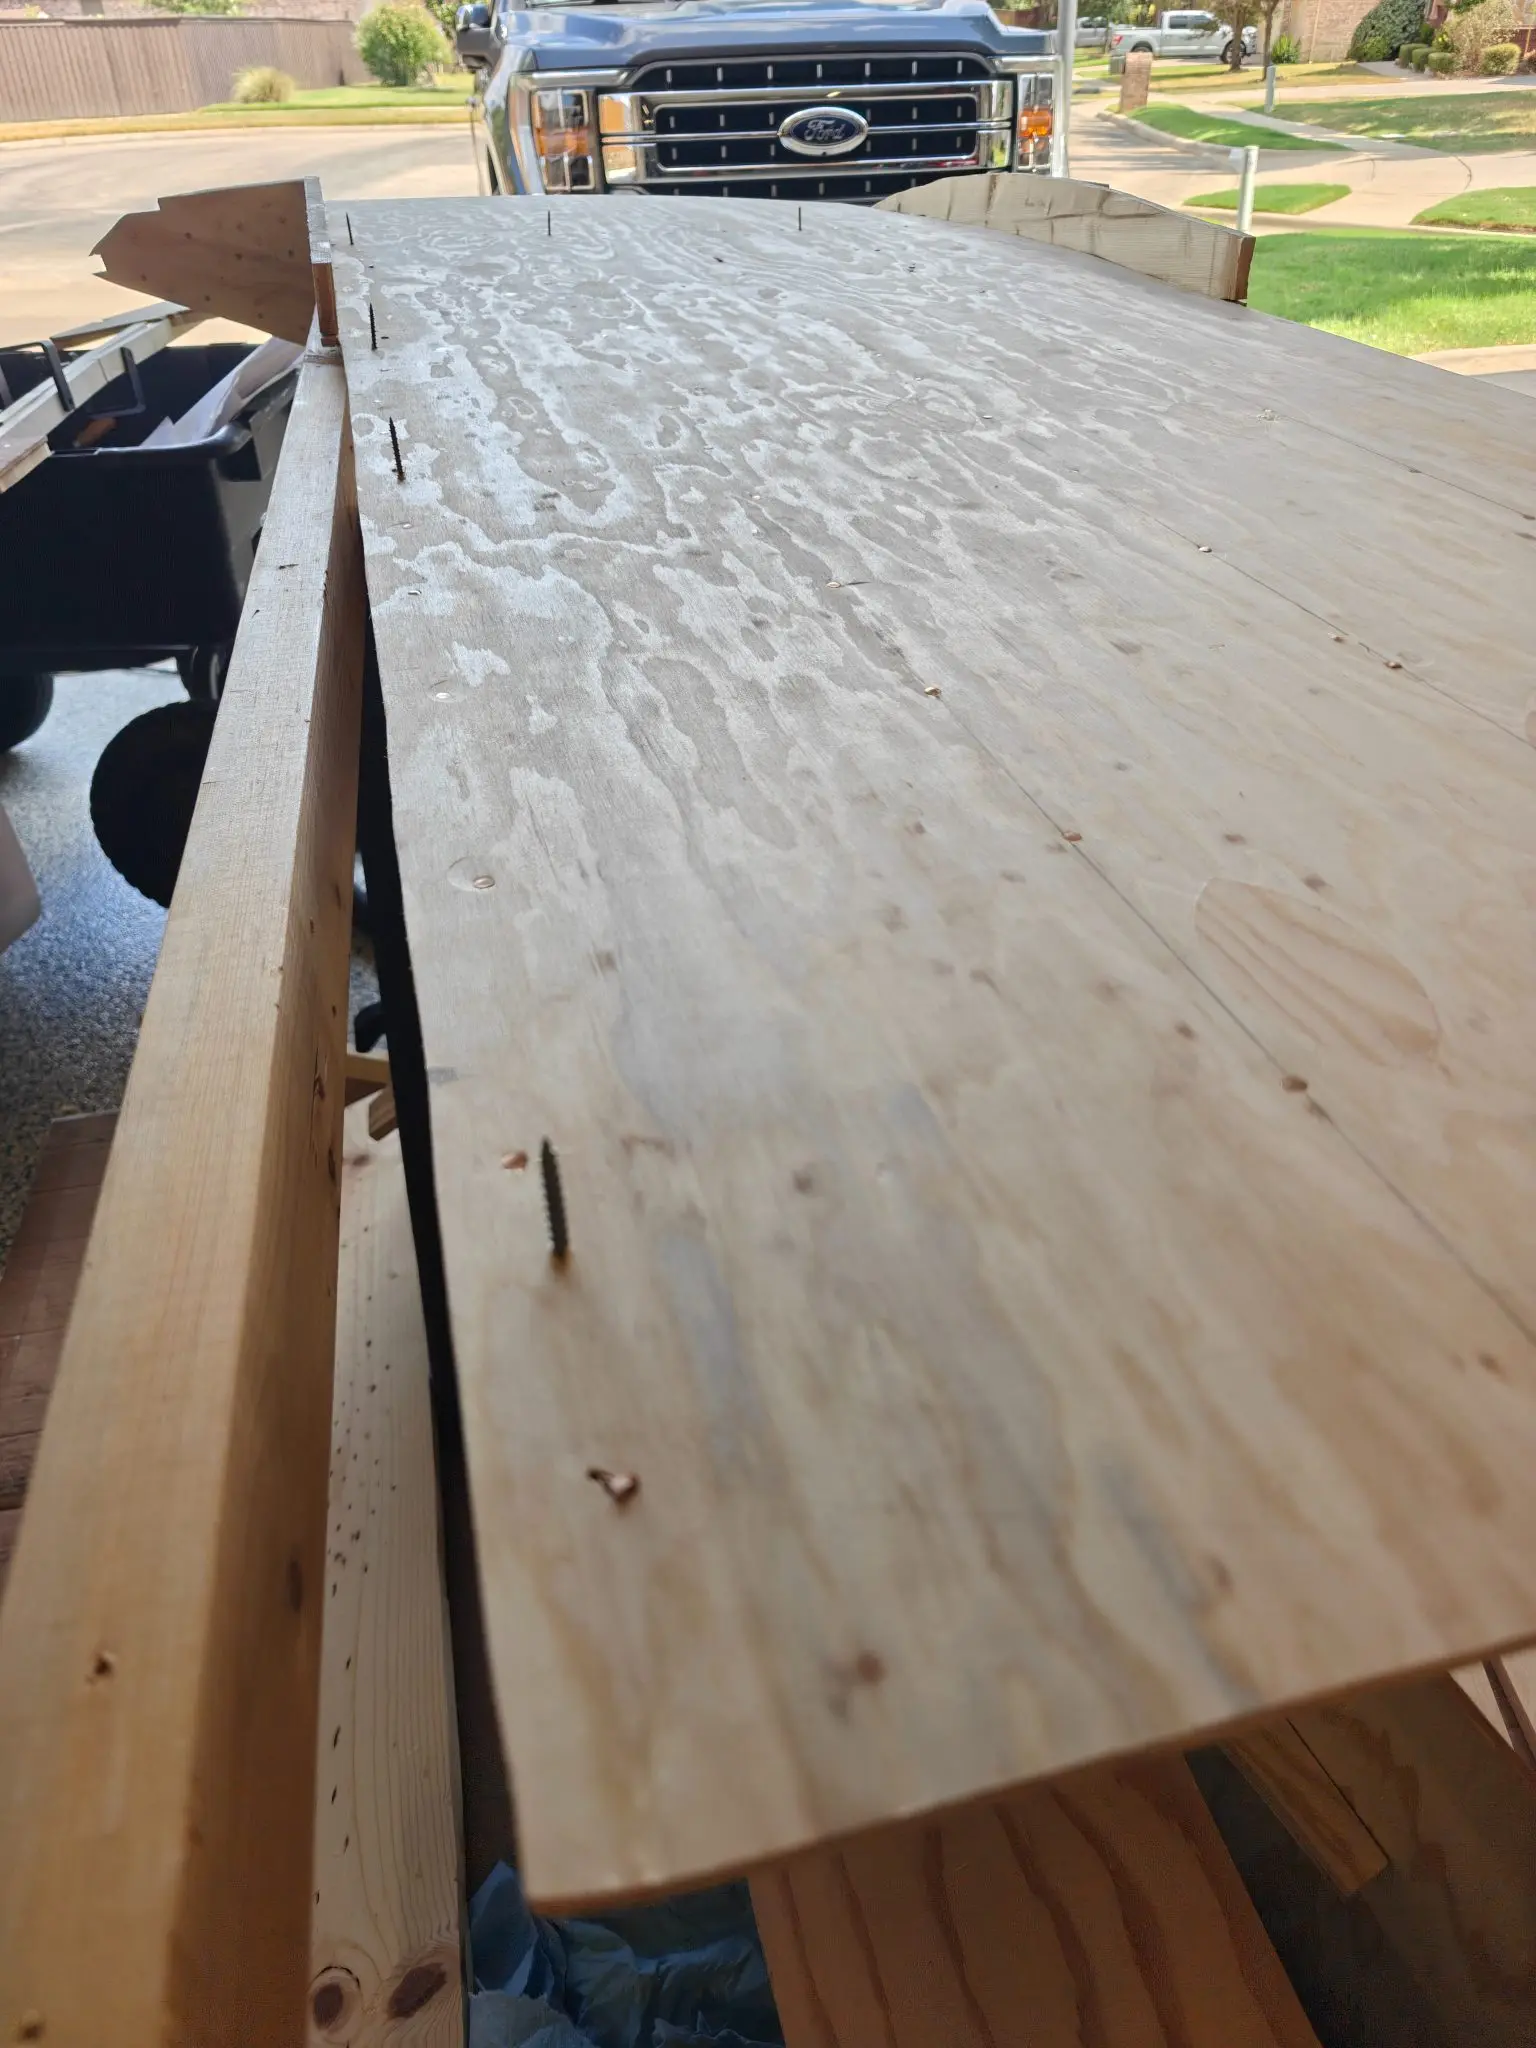
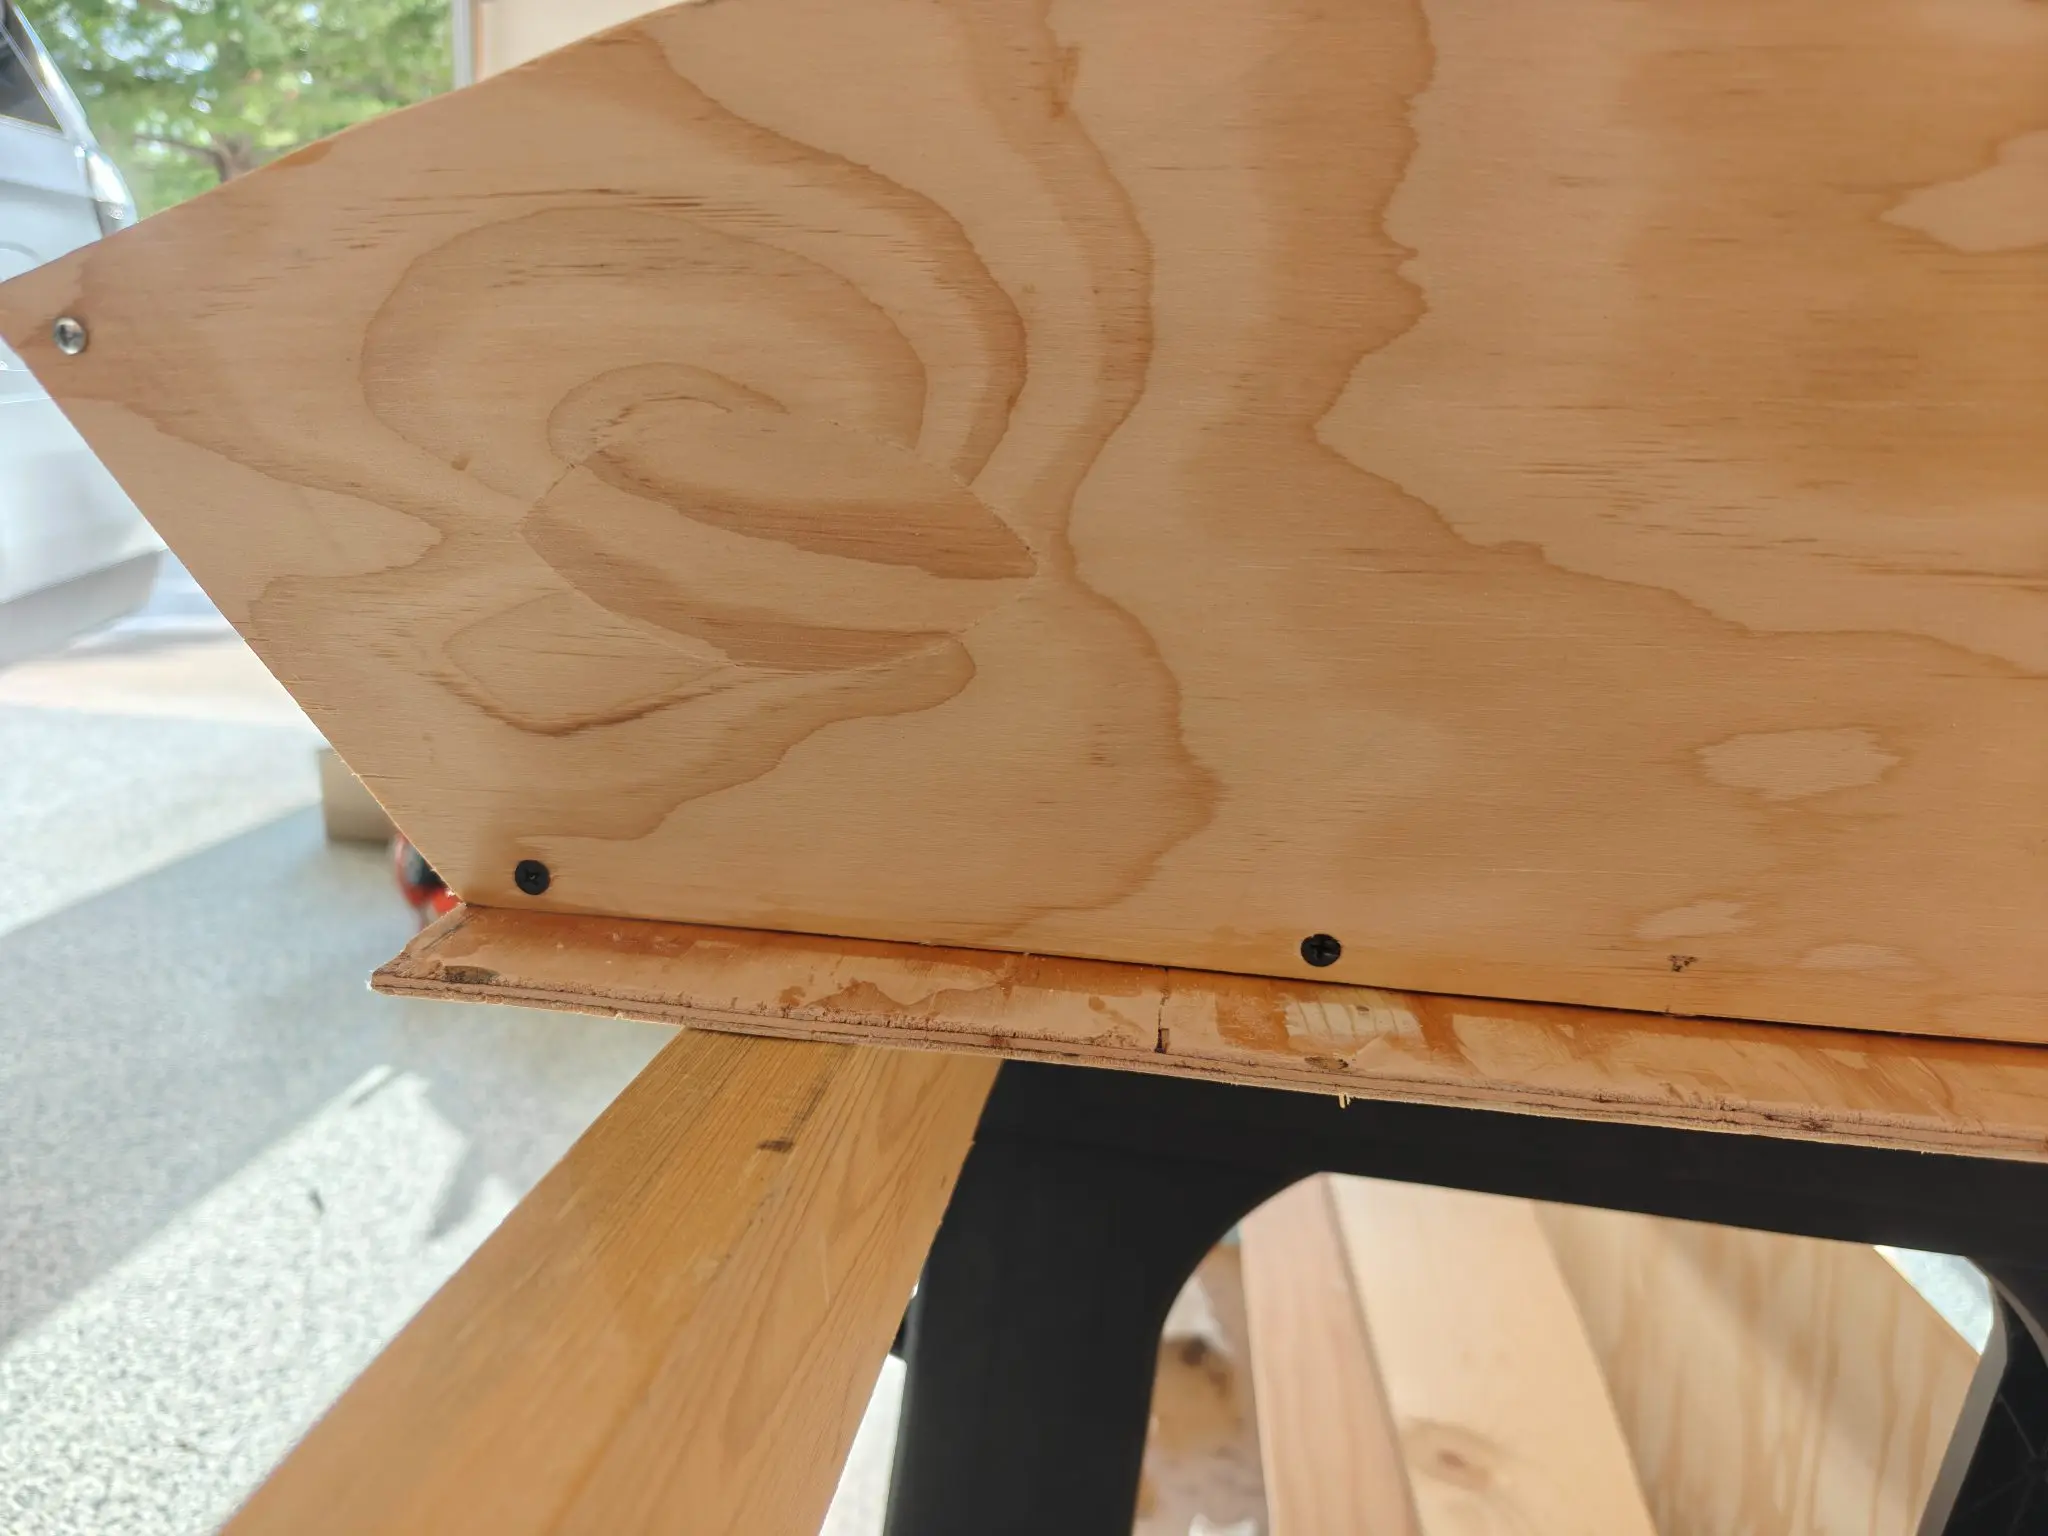
Bottom planking cutback. I realized I'd forgotten to cut the sides of the bottom hull panel after frame 2. From frame 2 all the way back to the transom, you're supposed to trim off about a half inch on each side. Not a big deal, I was able to do that pretty easily even with everything already in place.
Transom mark mix-up. While working on the bottom hull, I looked back at the plans and saw the transom end of the bottom plate marked at 1-7/8". I assumed that meant I was supposed to cut it off there. Turns out that's wrong. That line just marks where the transom meets the side panels; it's not a cut line.
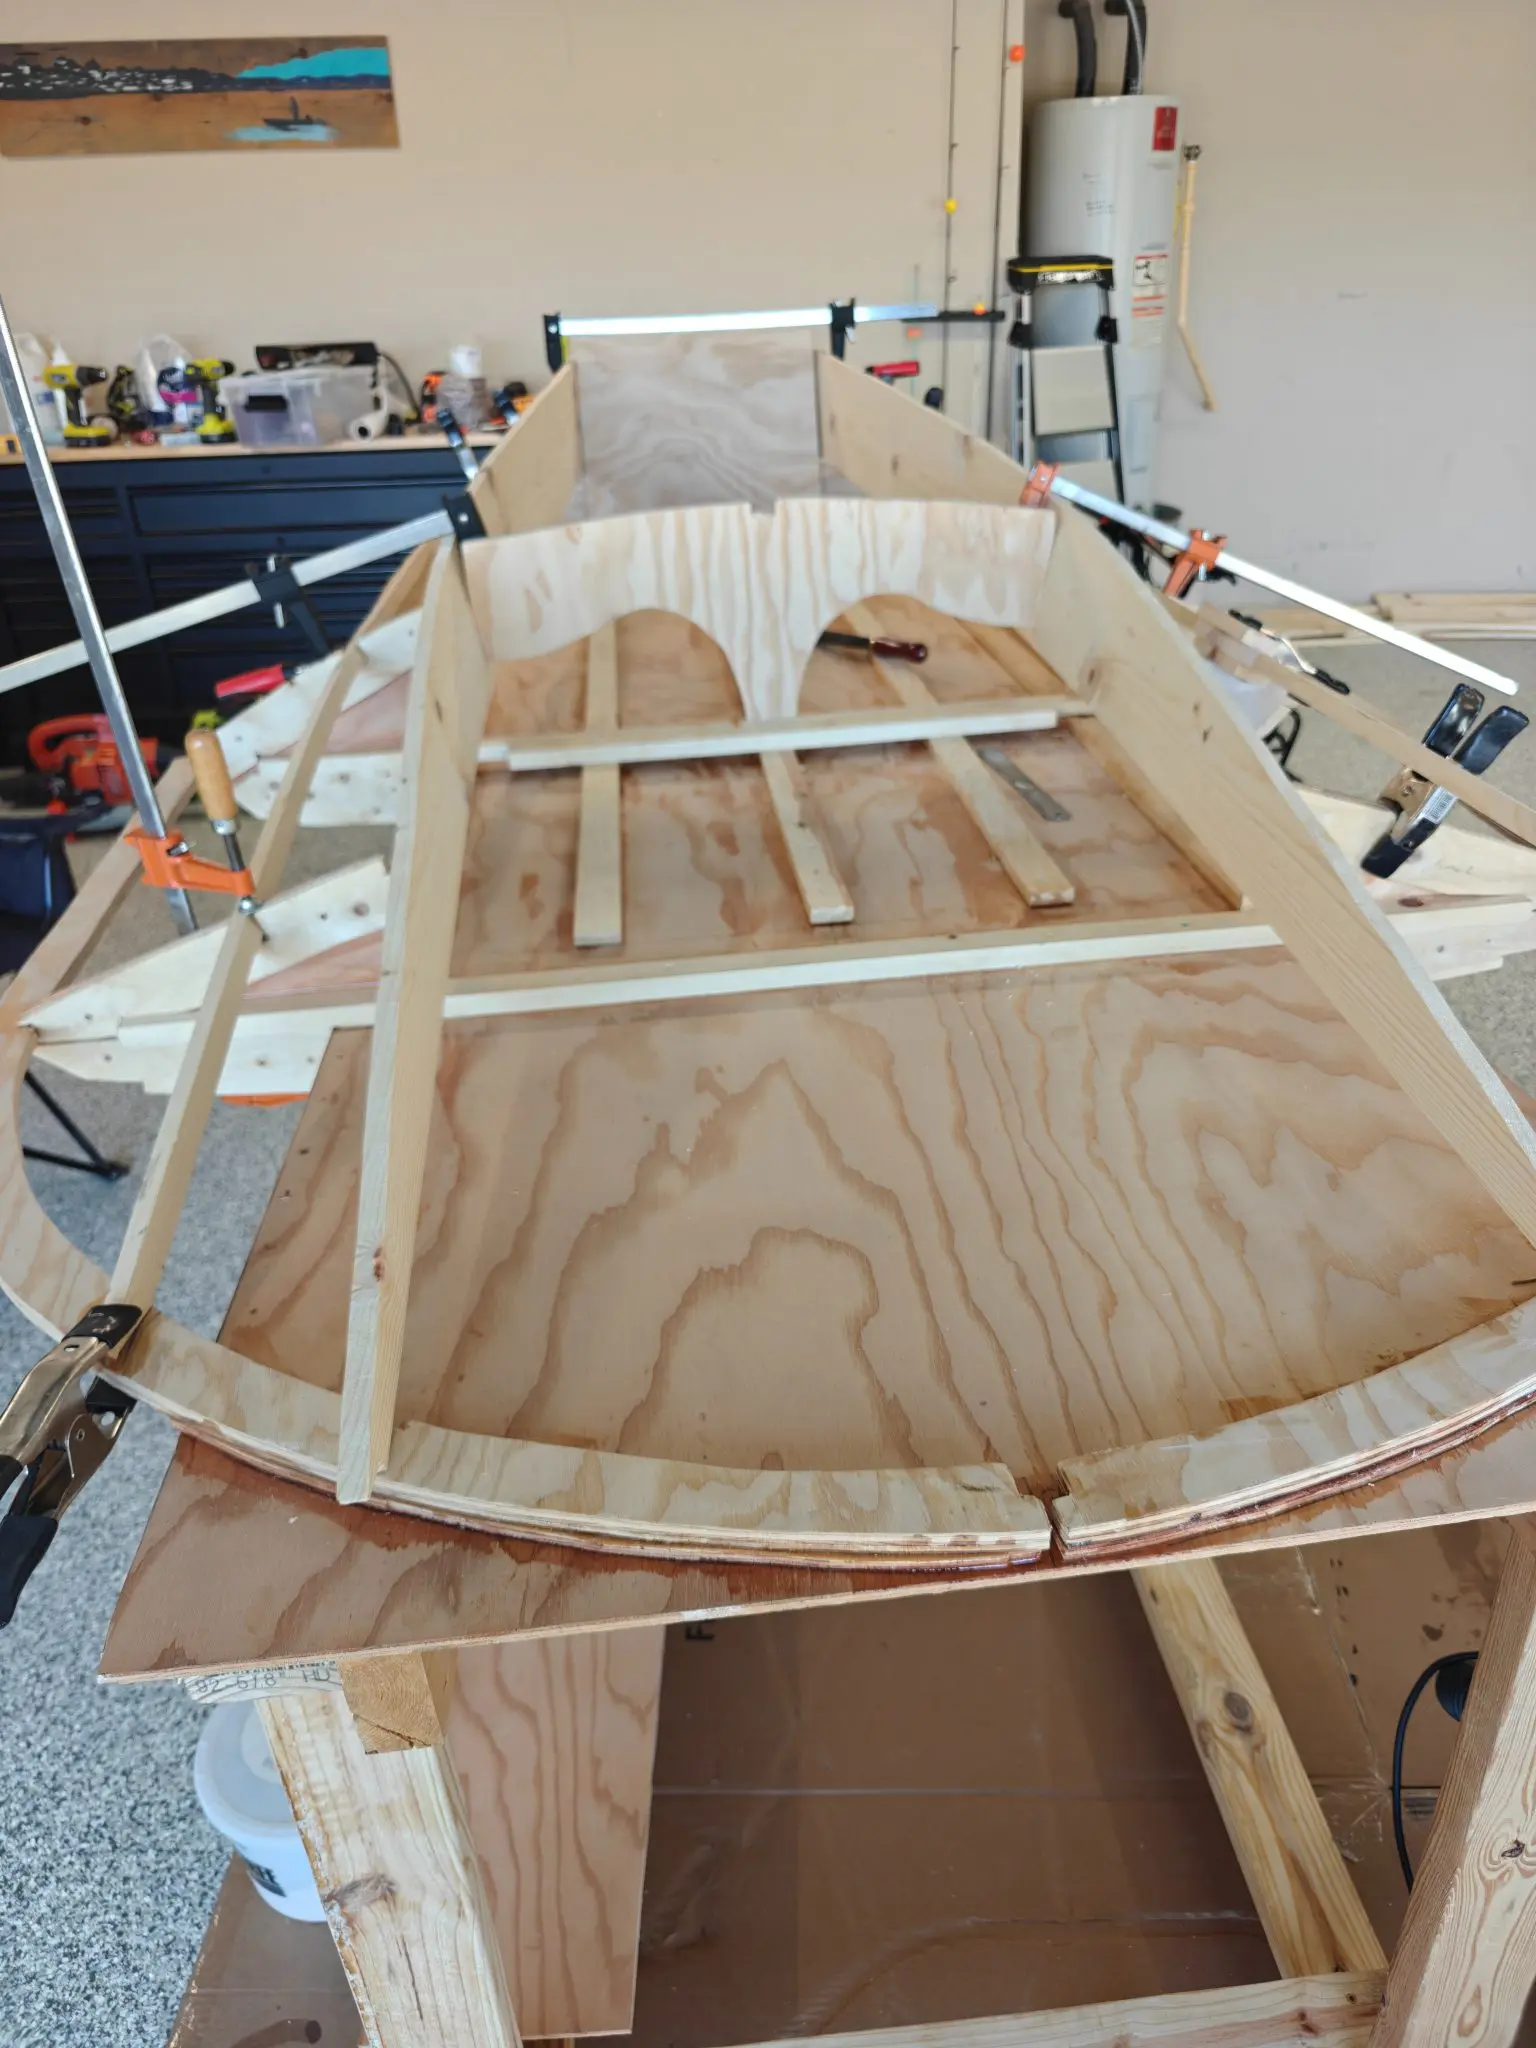
Since I'd already cut it two inches short, I had to cut the side panels two inches shorter too, to match. Net result: the whole boat will end up about two inches shorter than spec. Nothing to be done about it at this point.
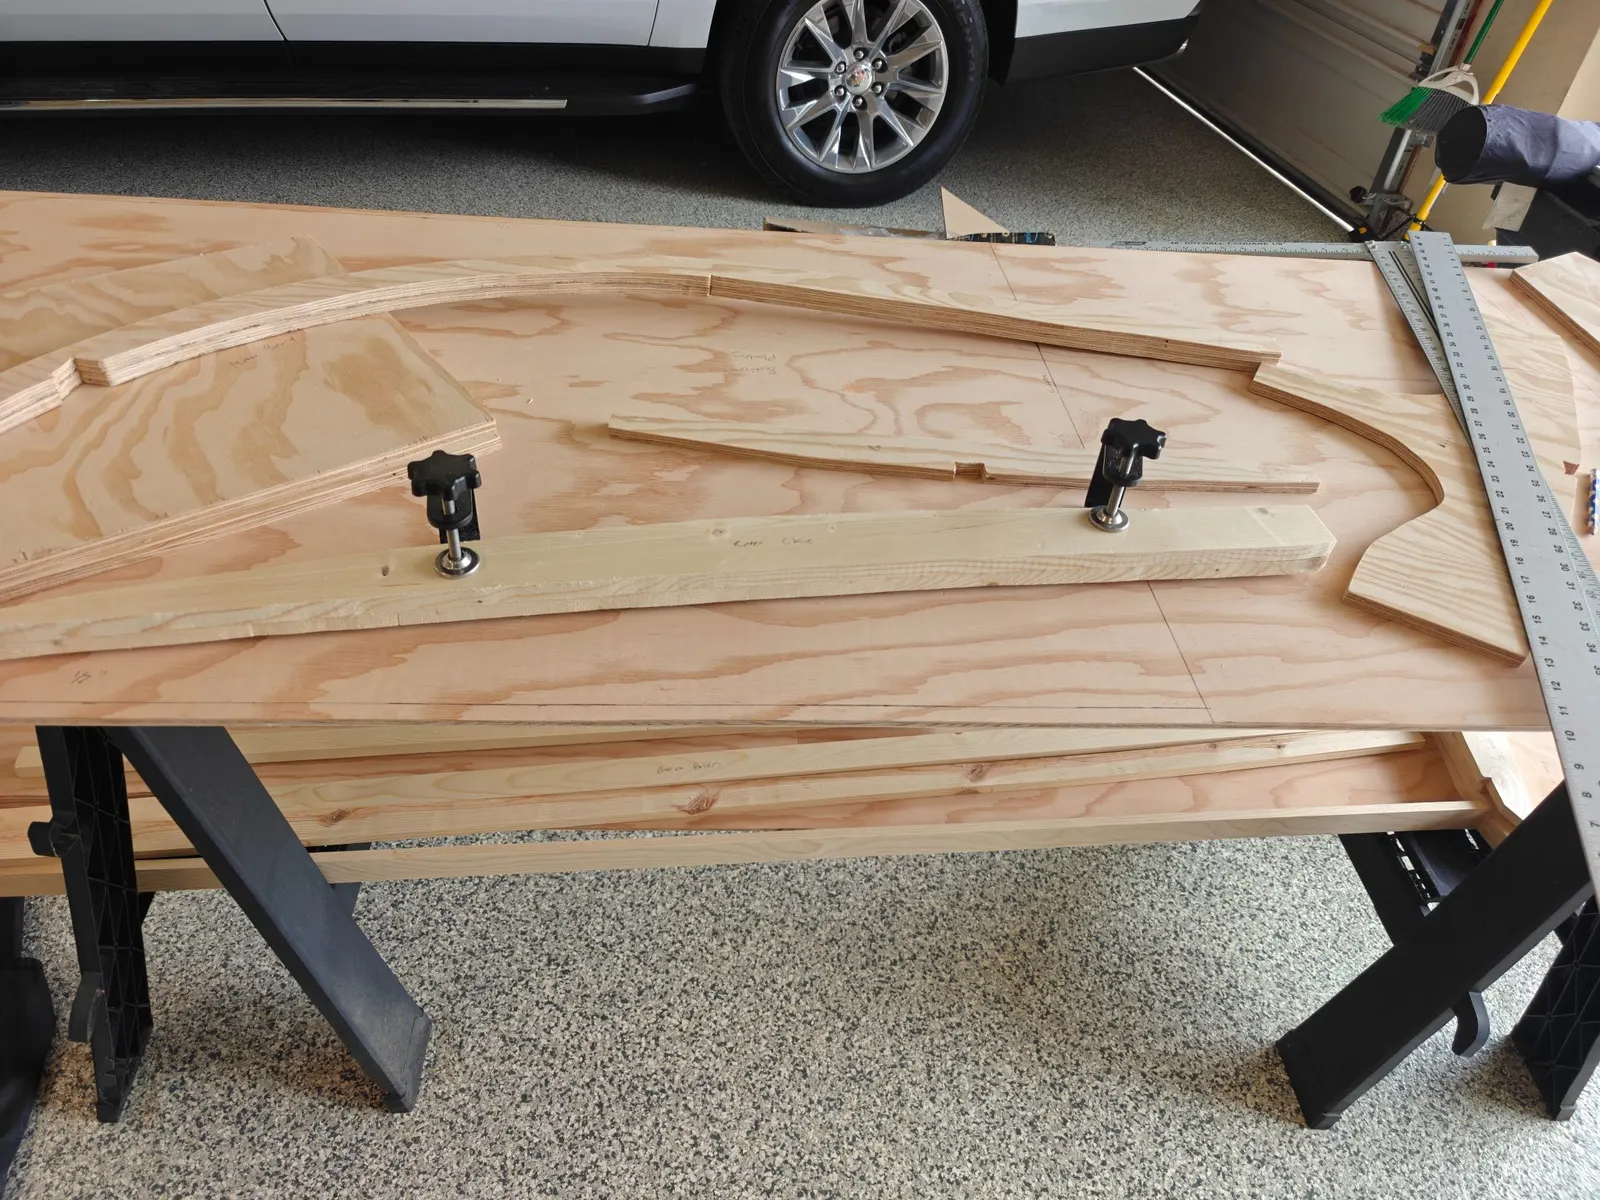
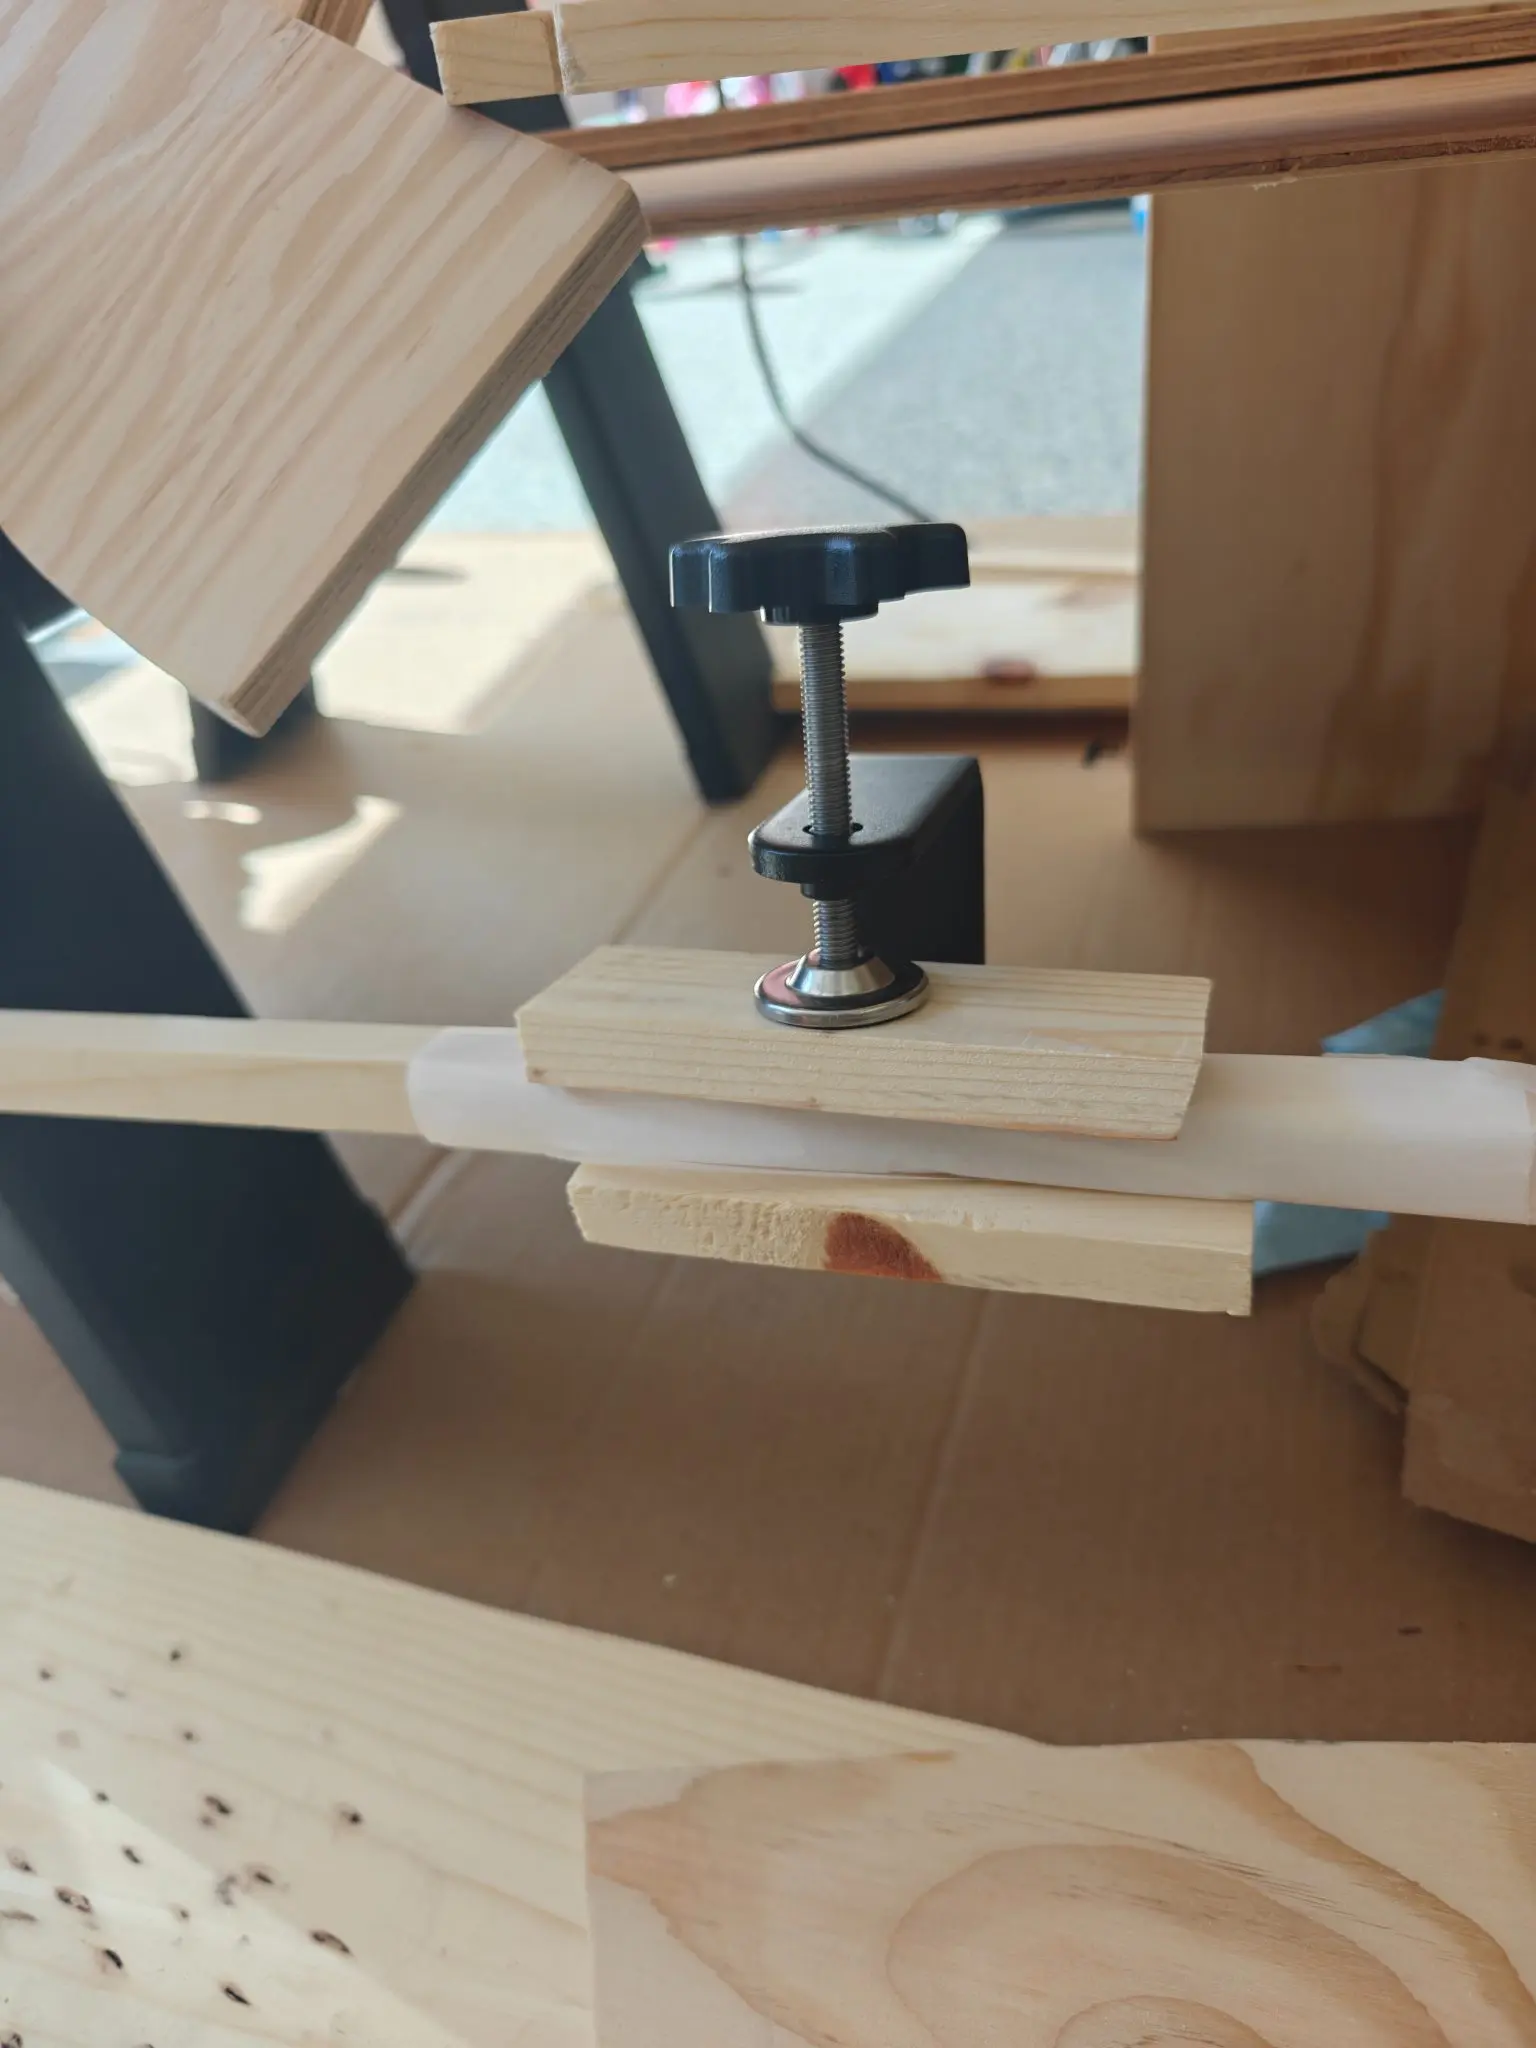
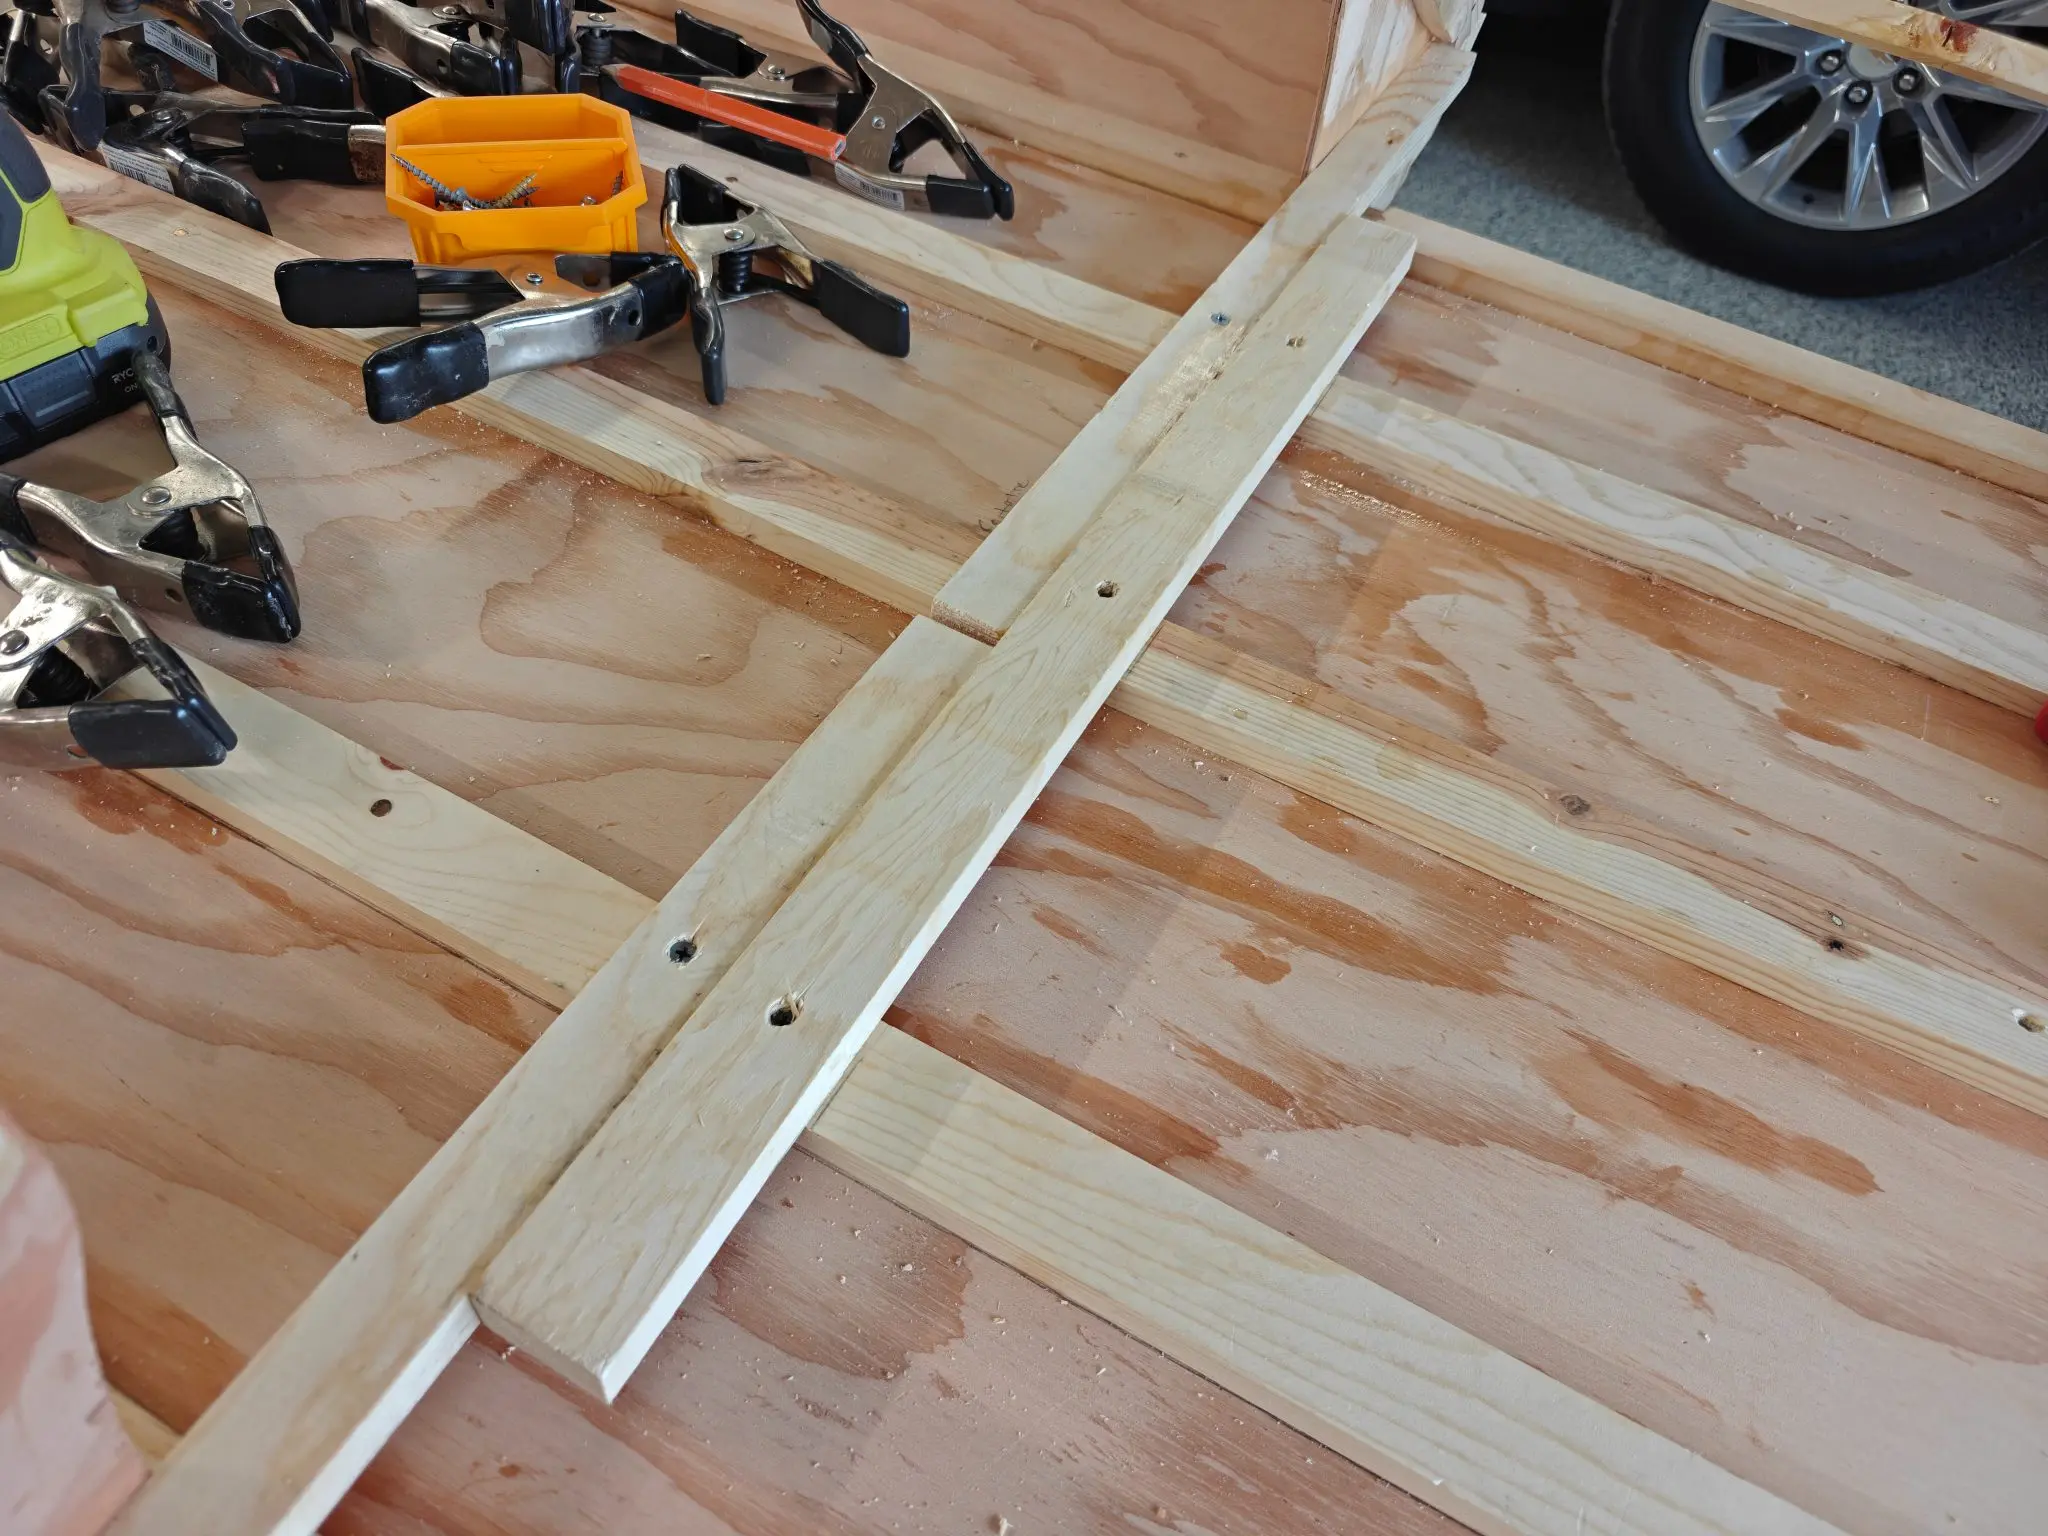
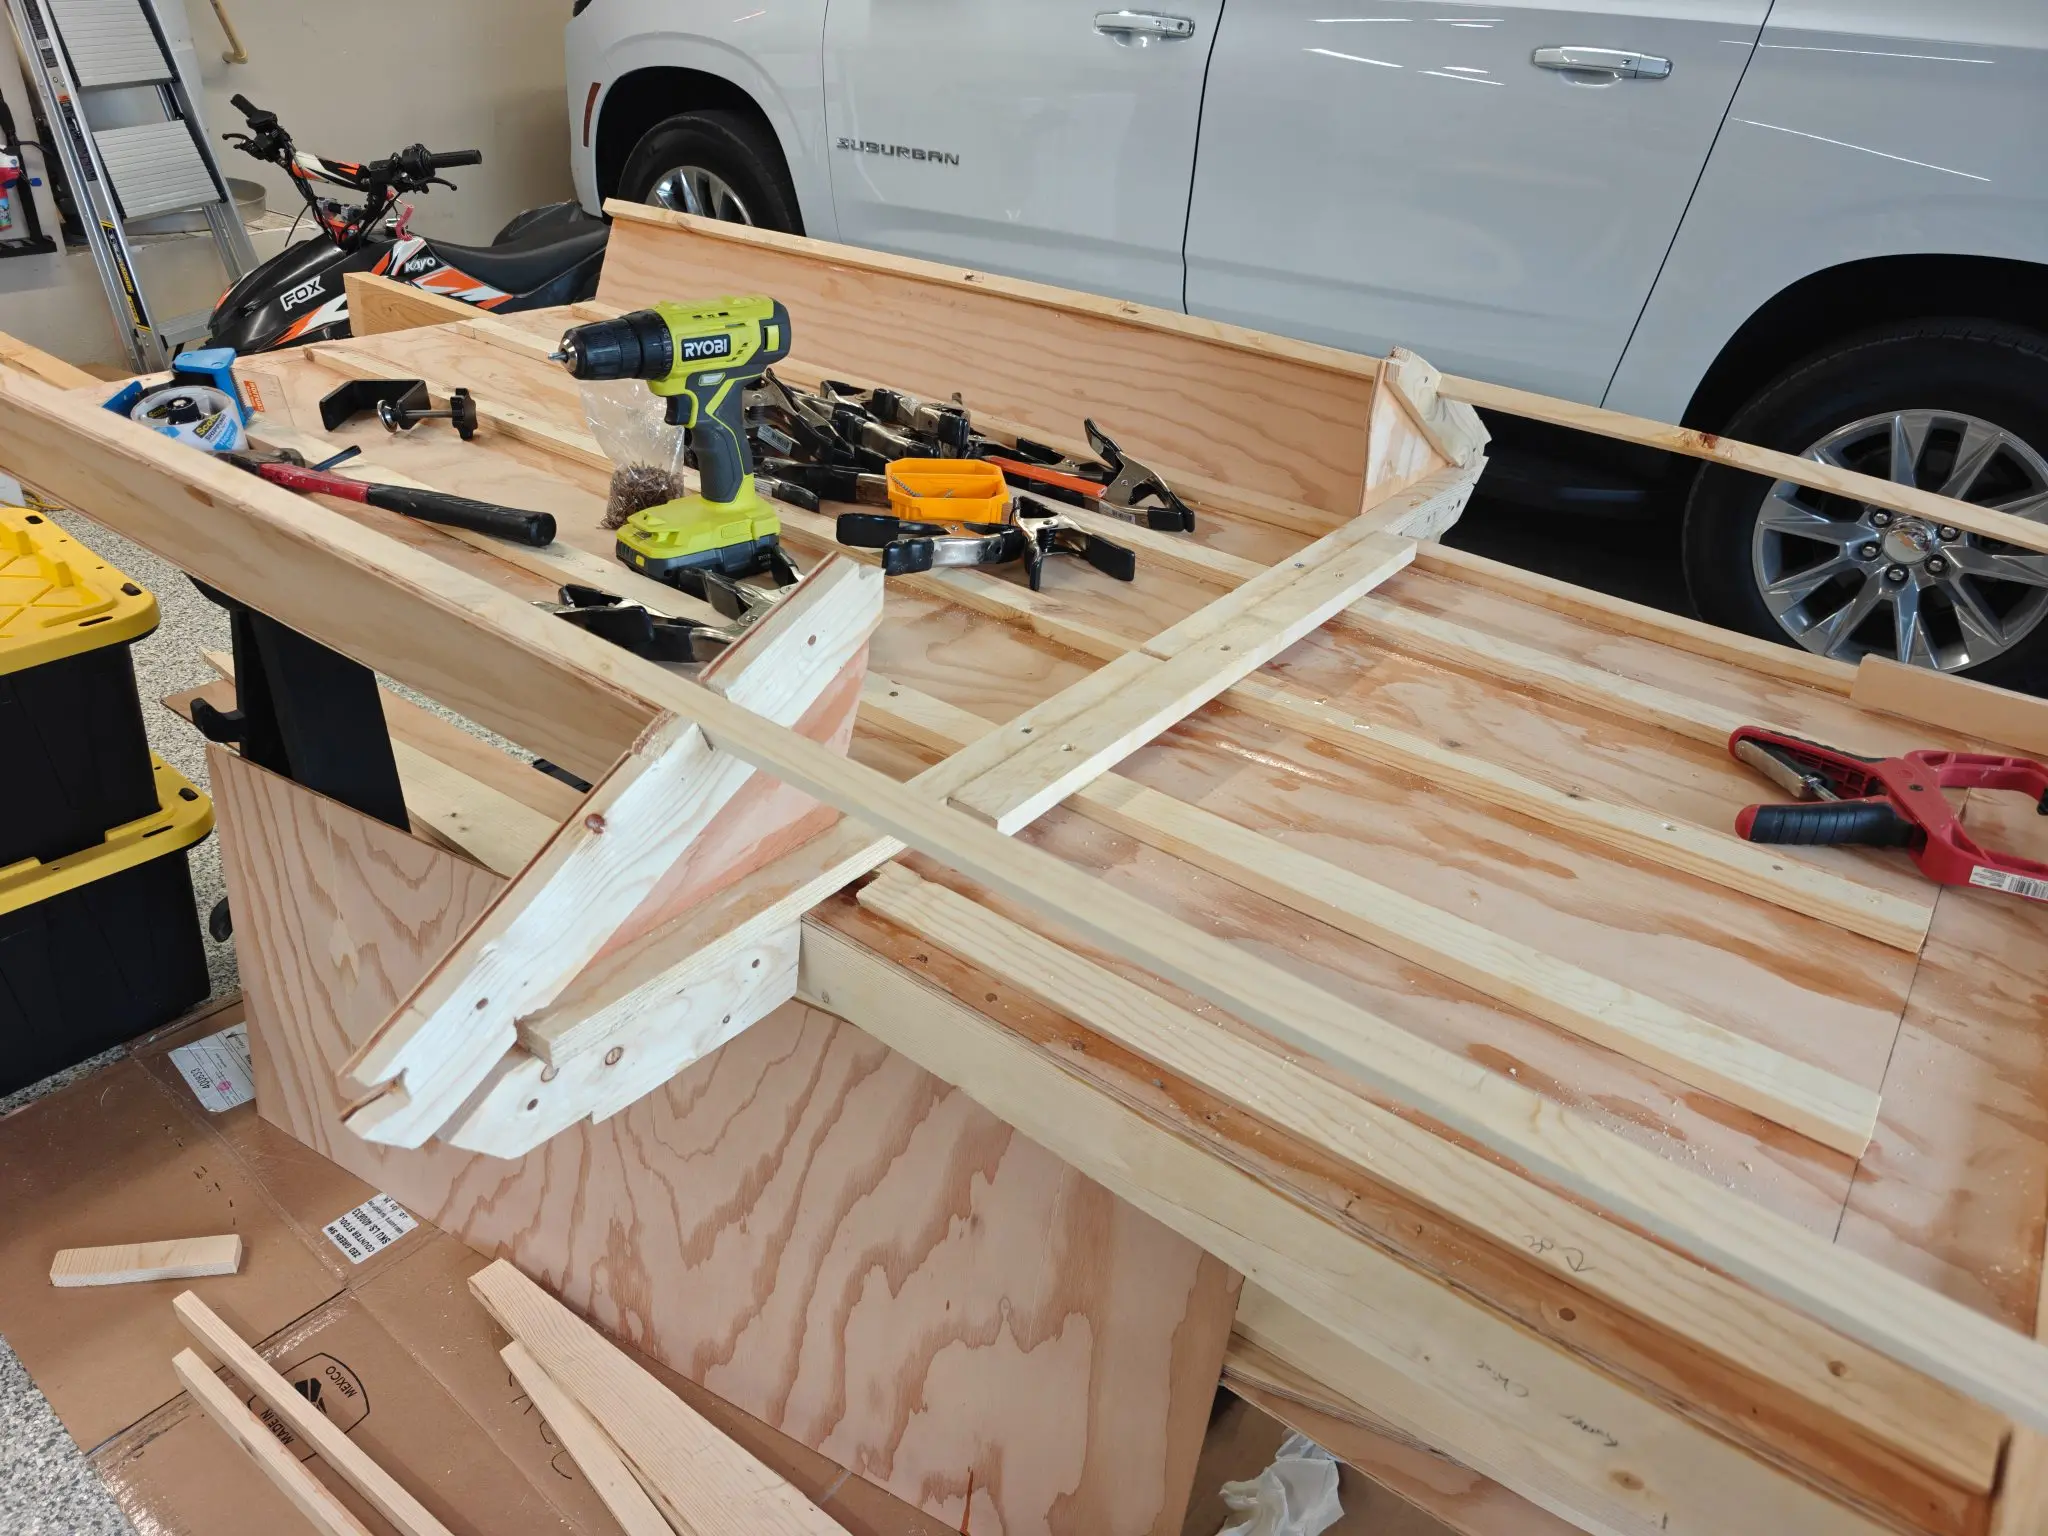
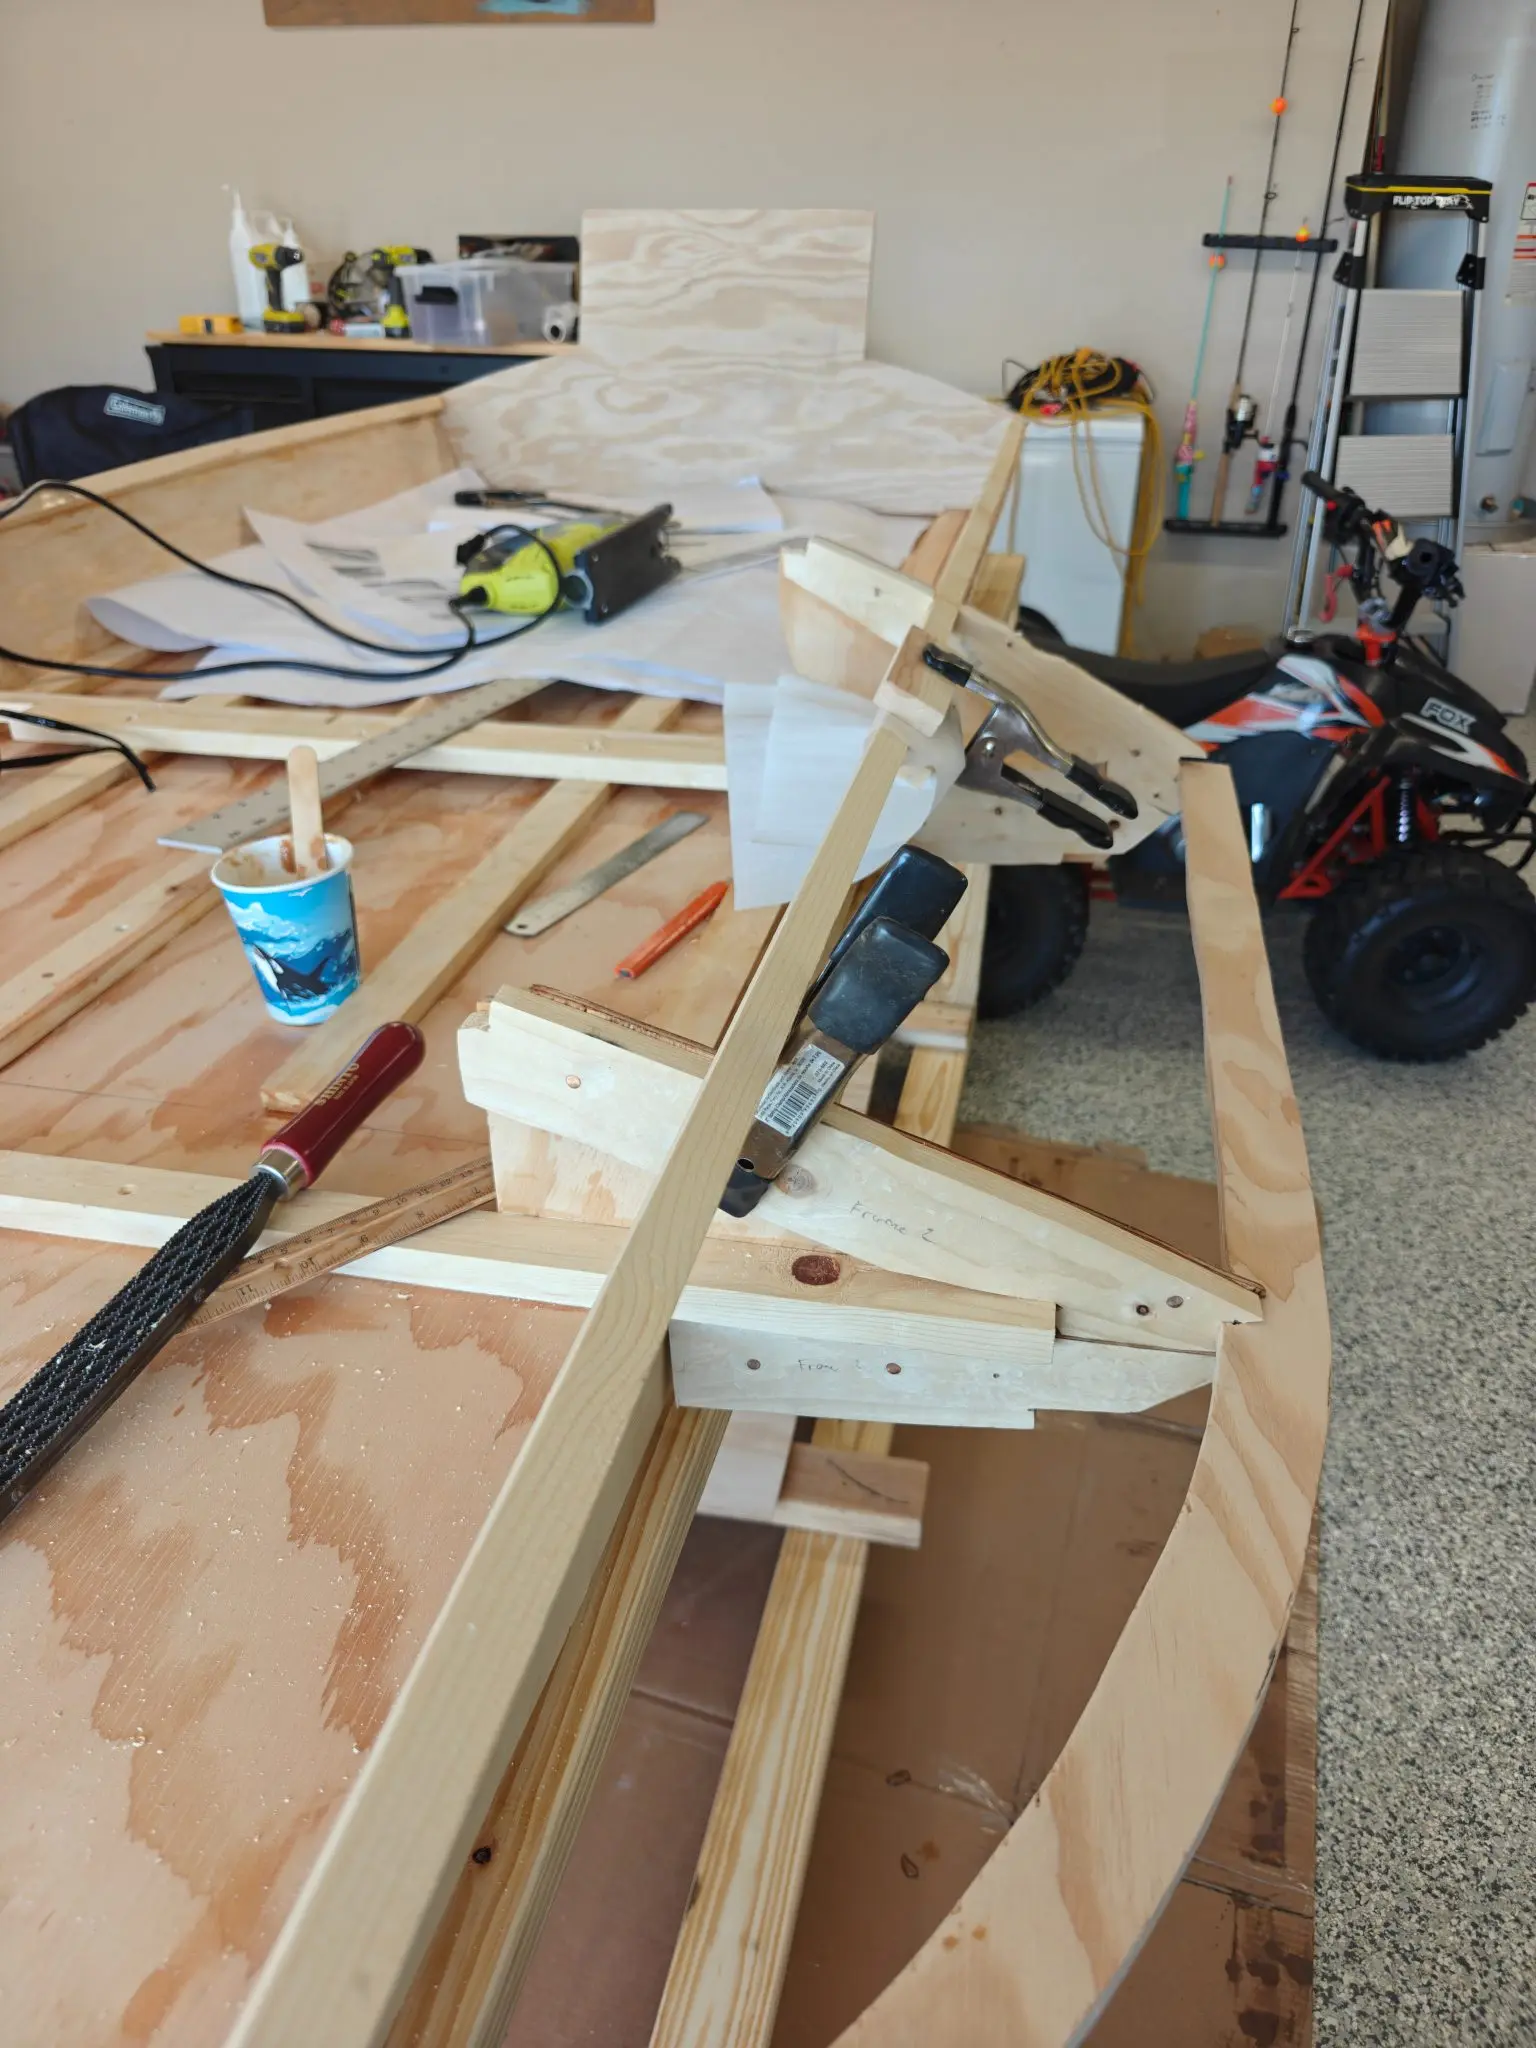
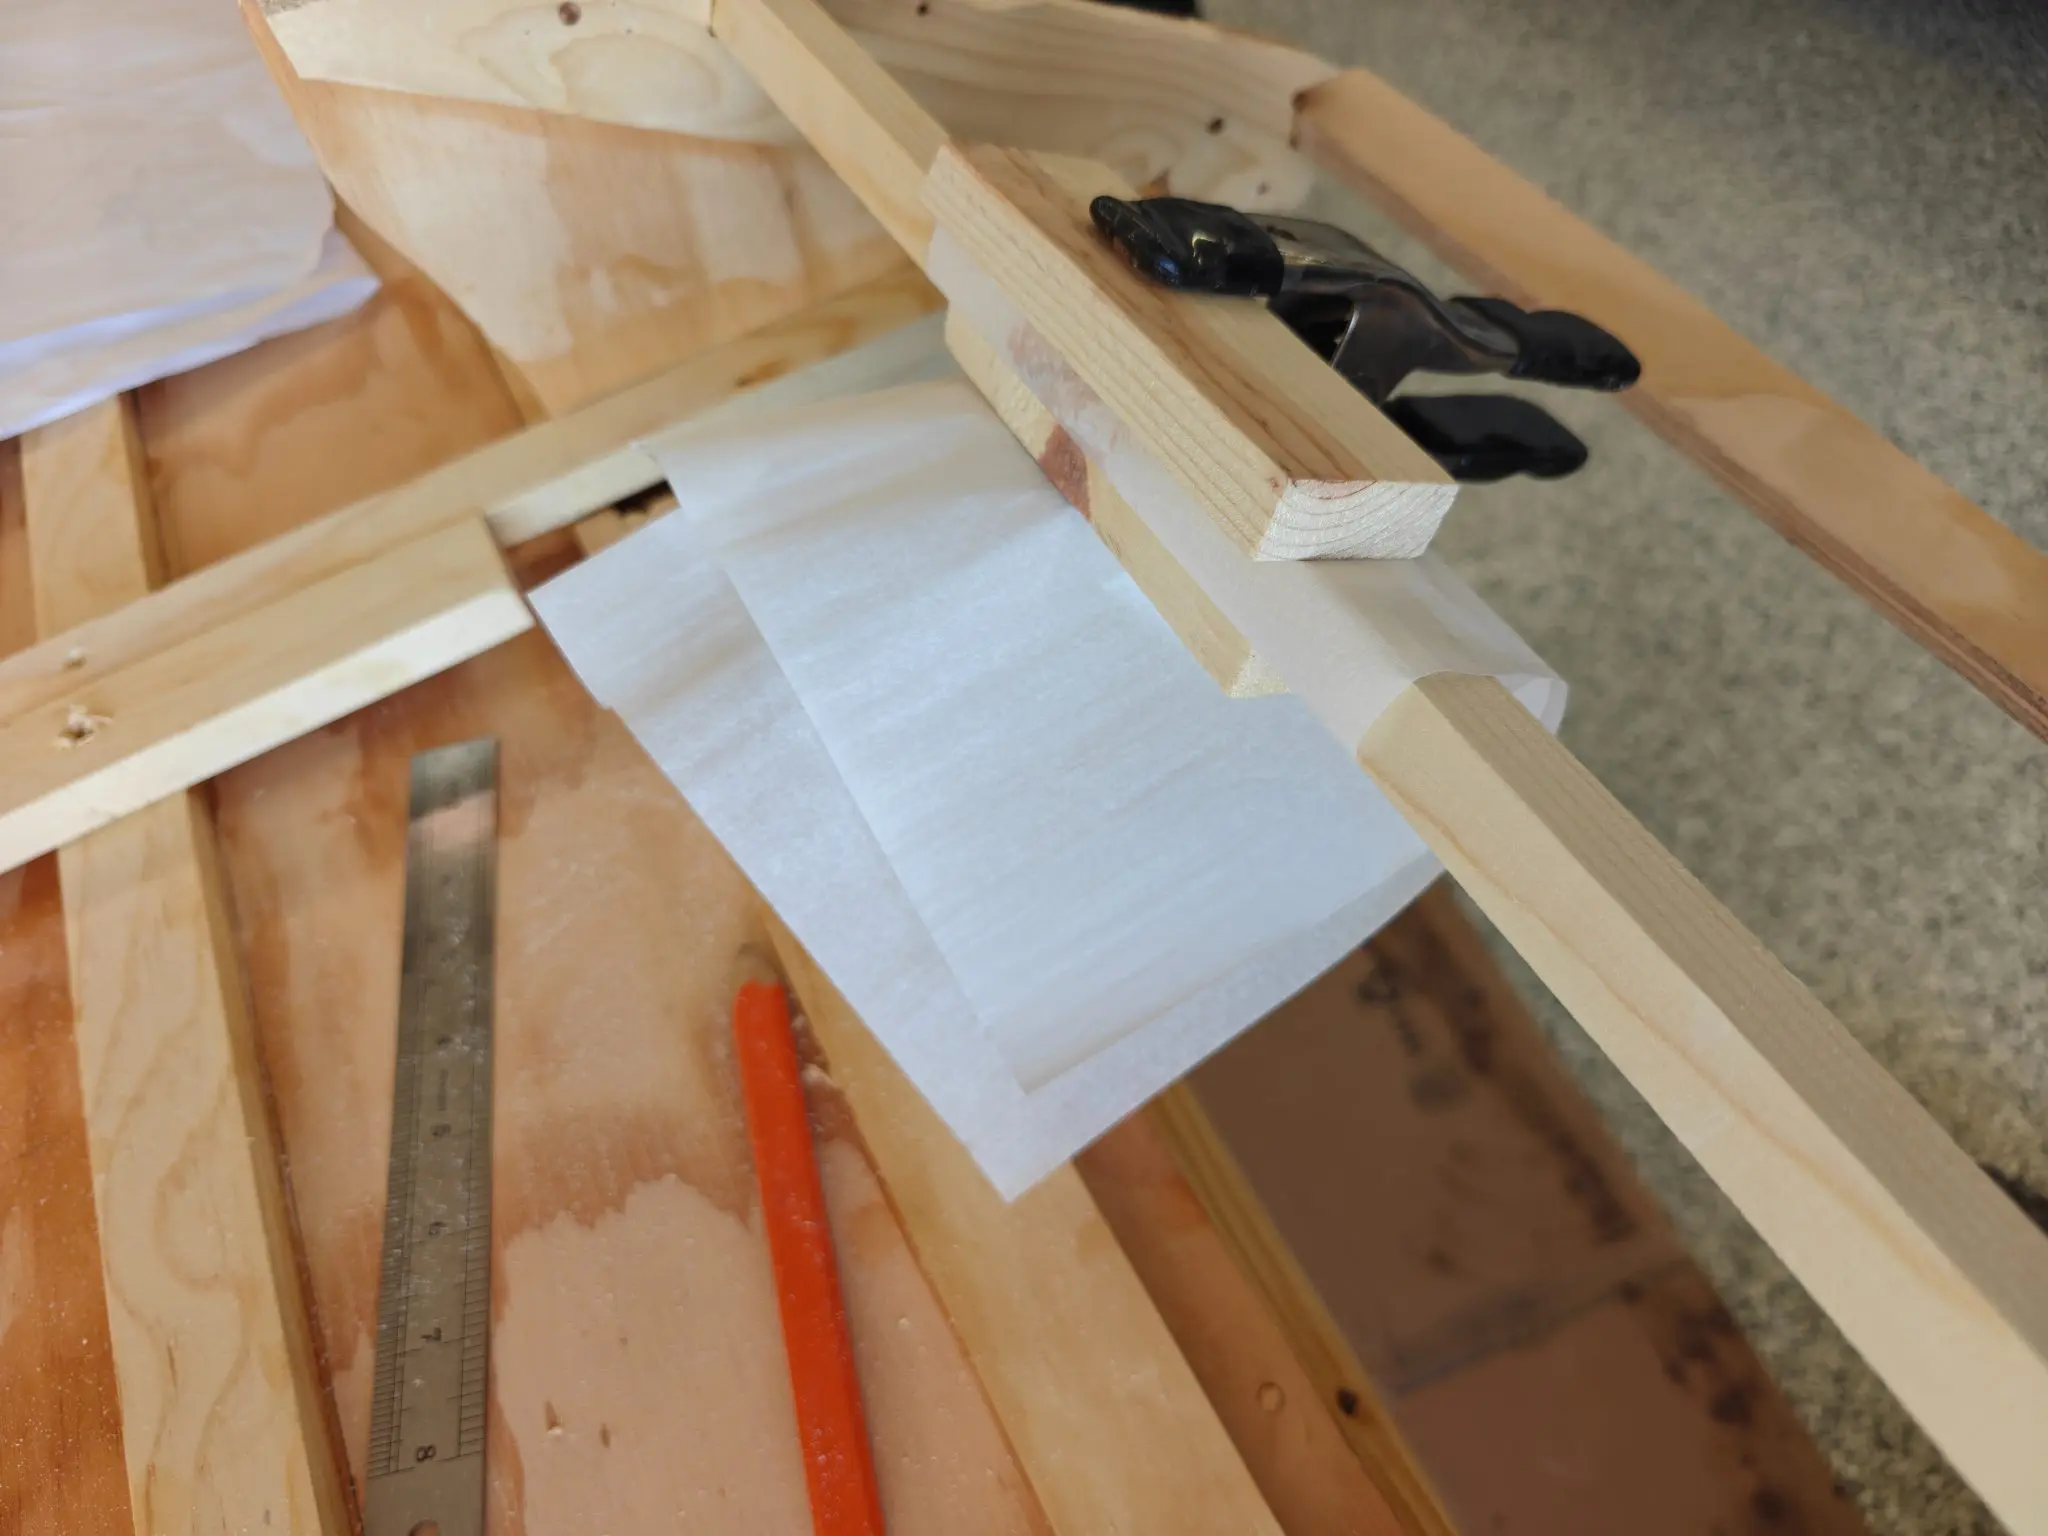
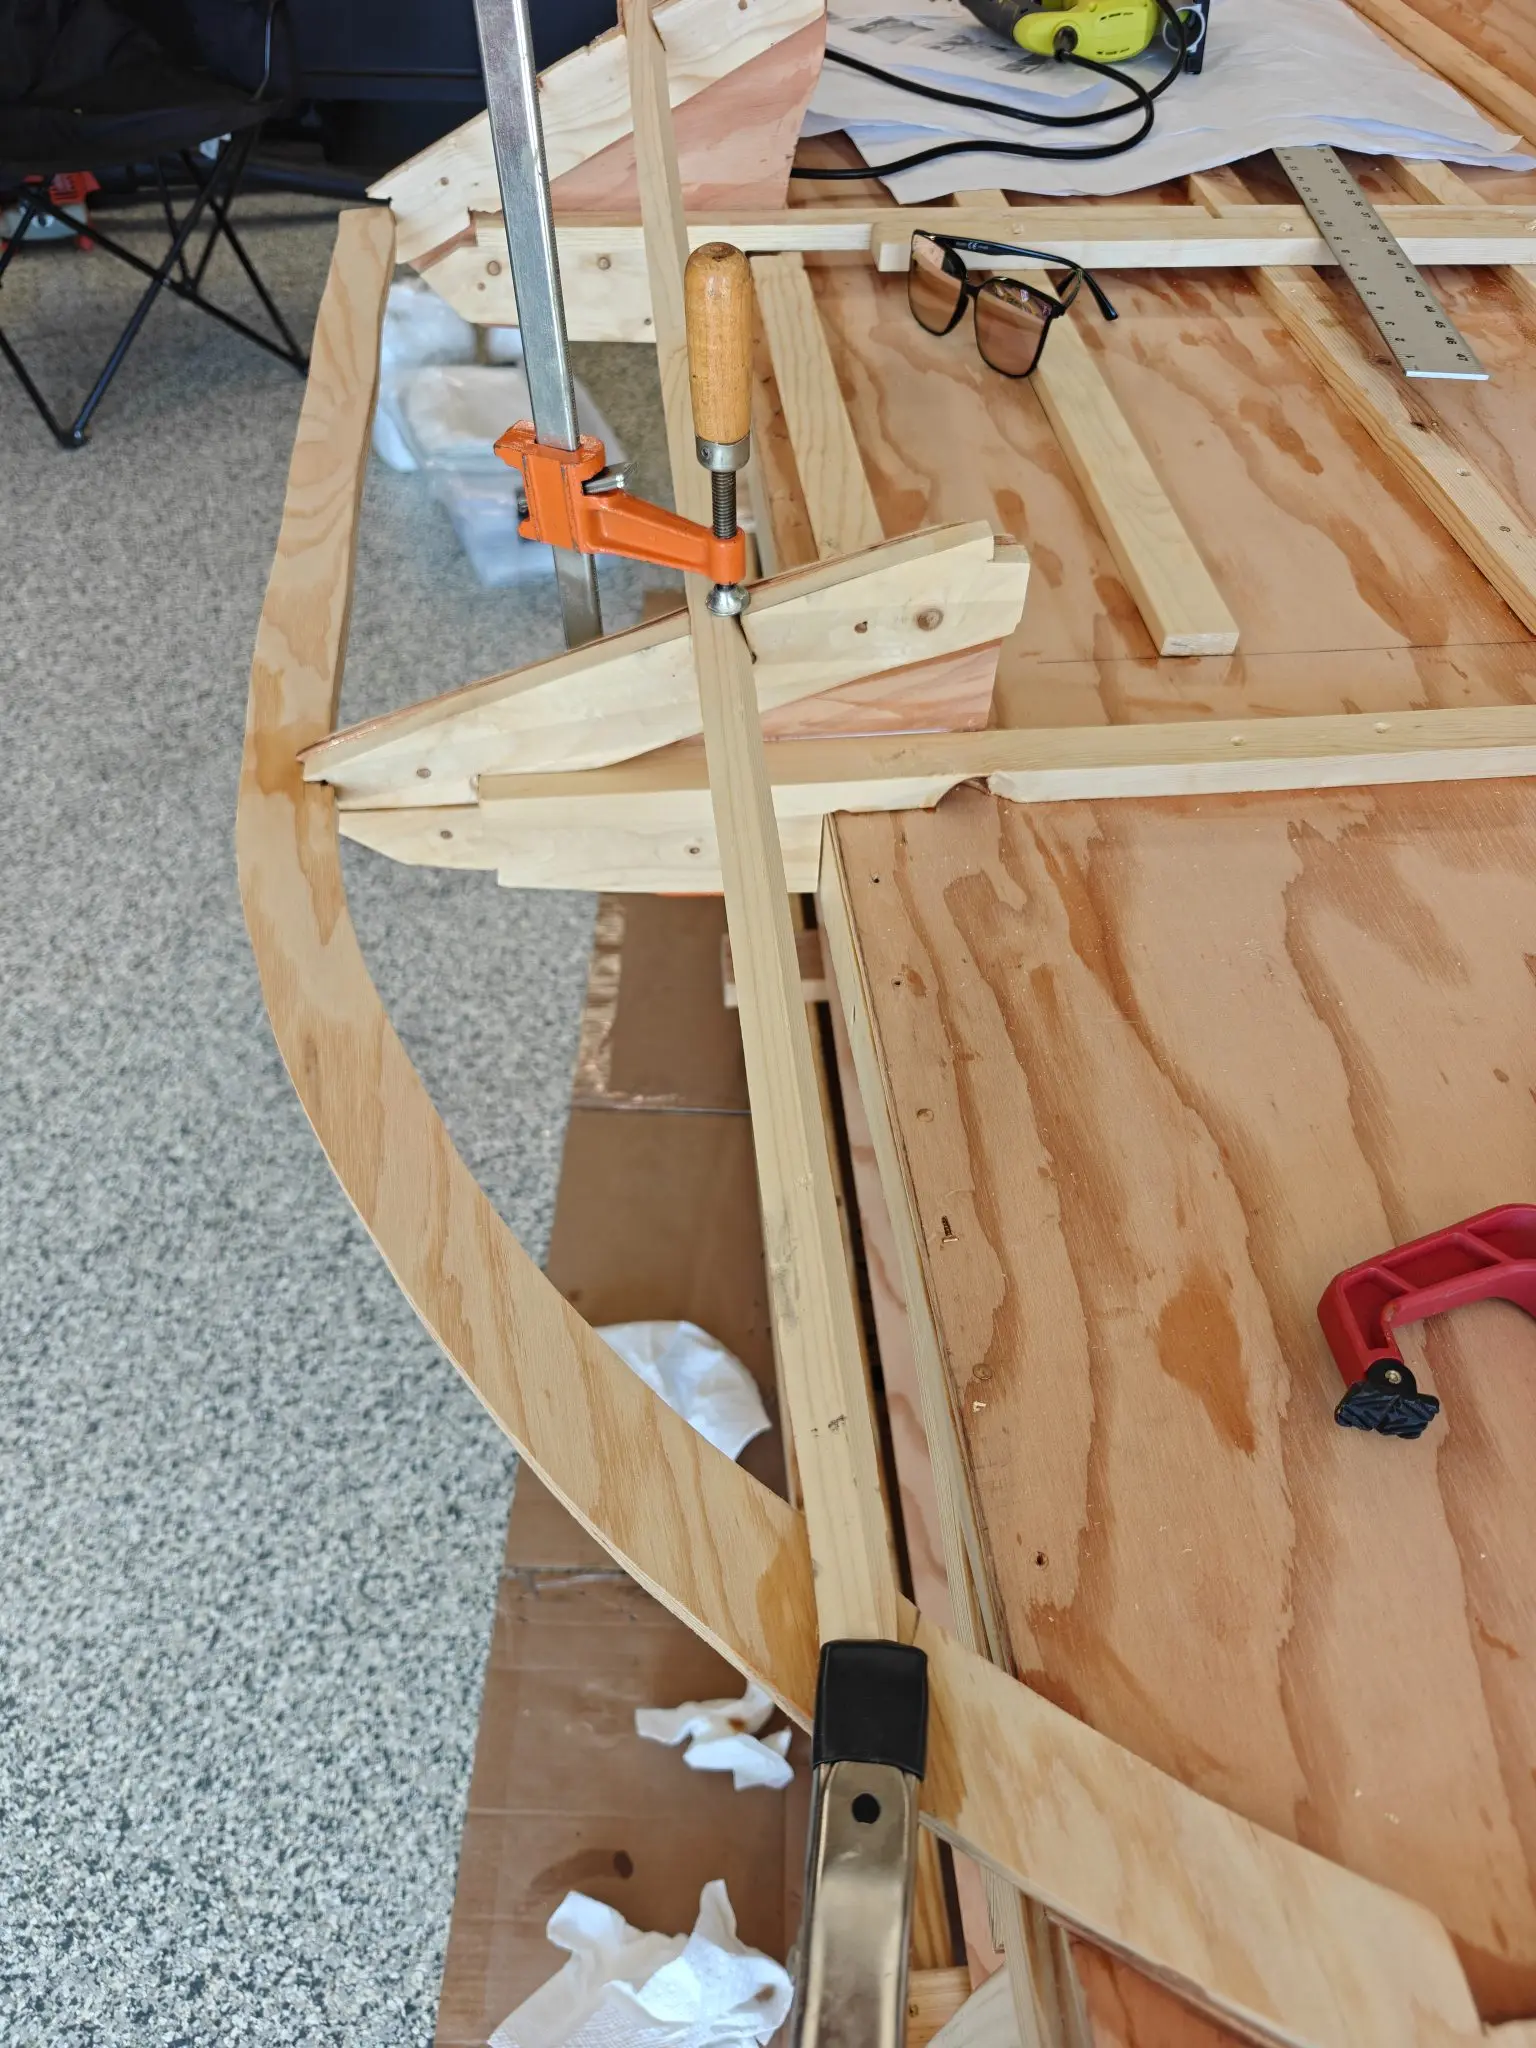
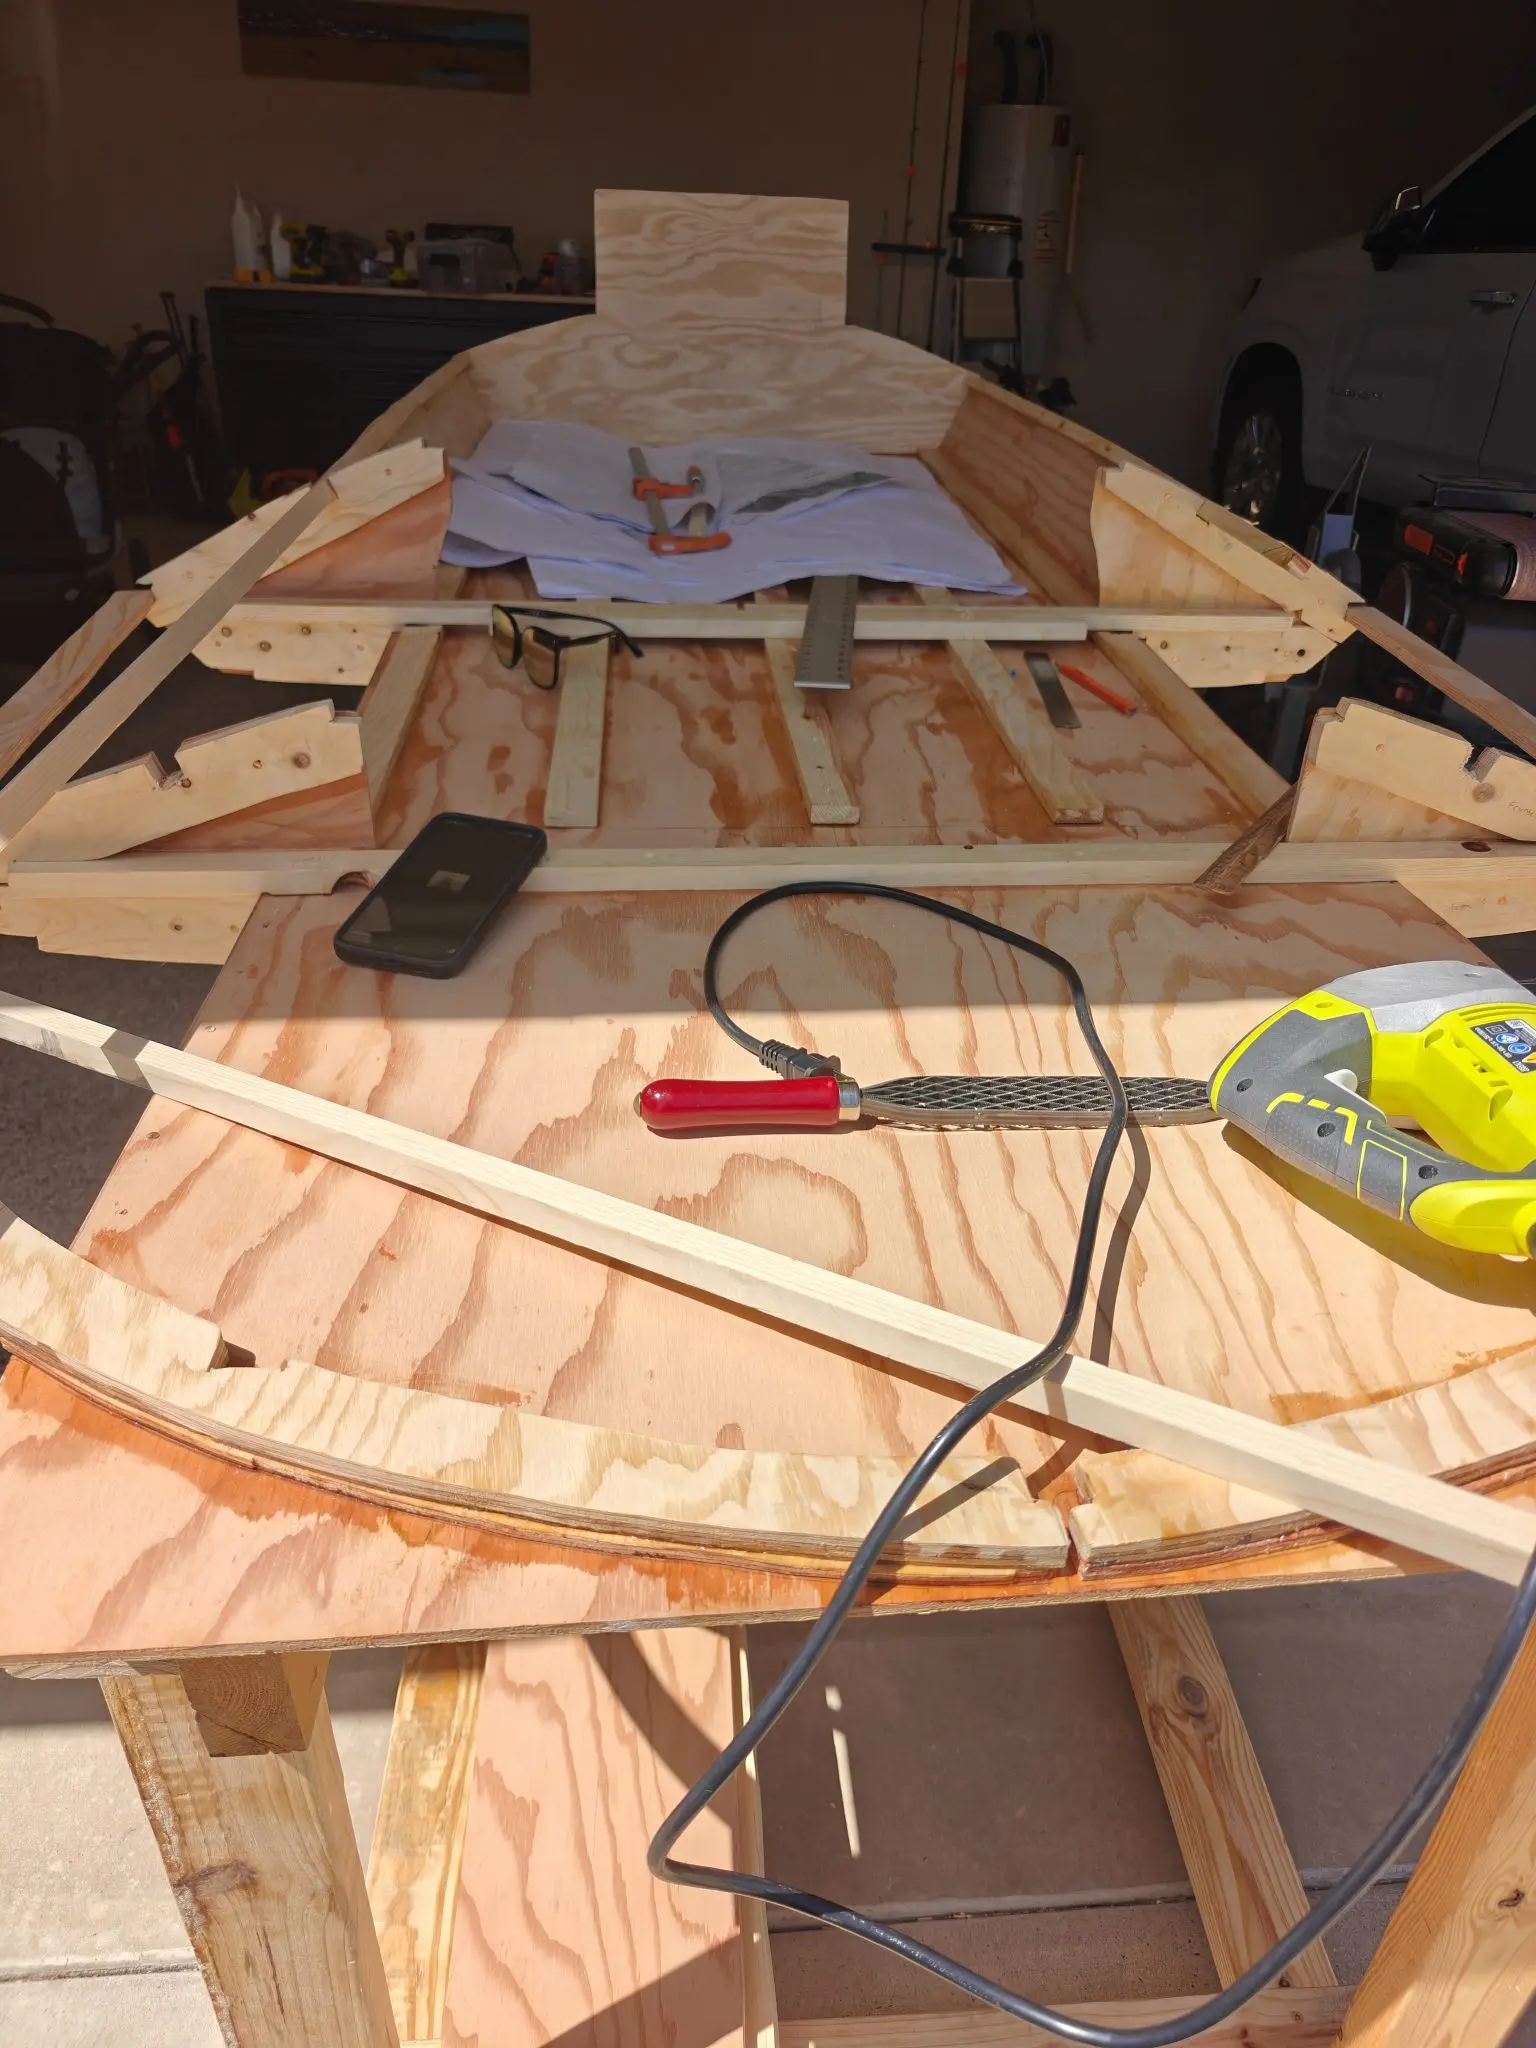
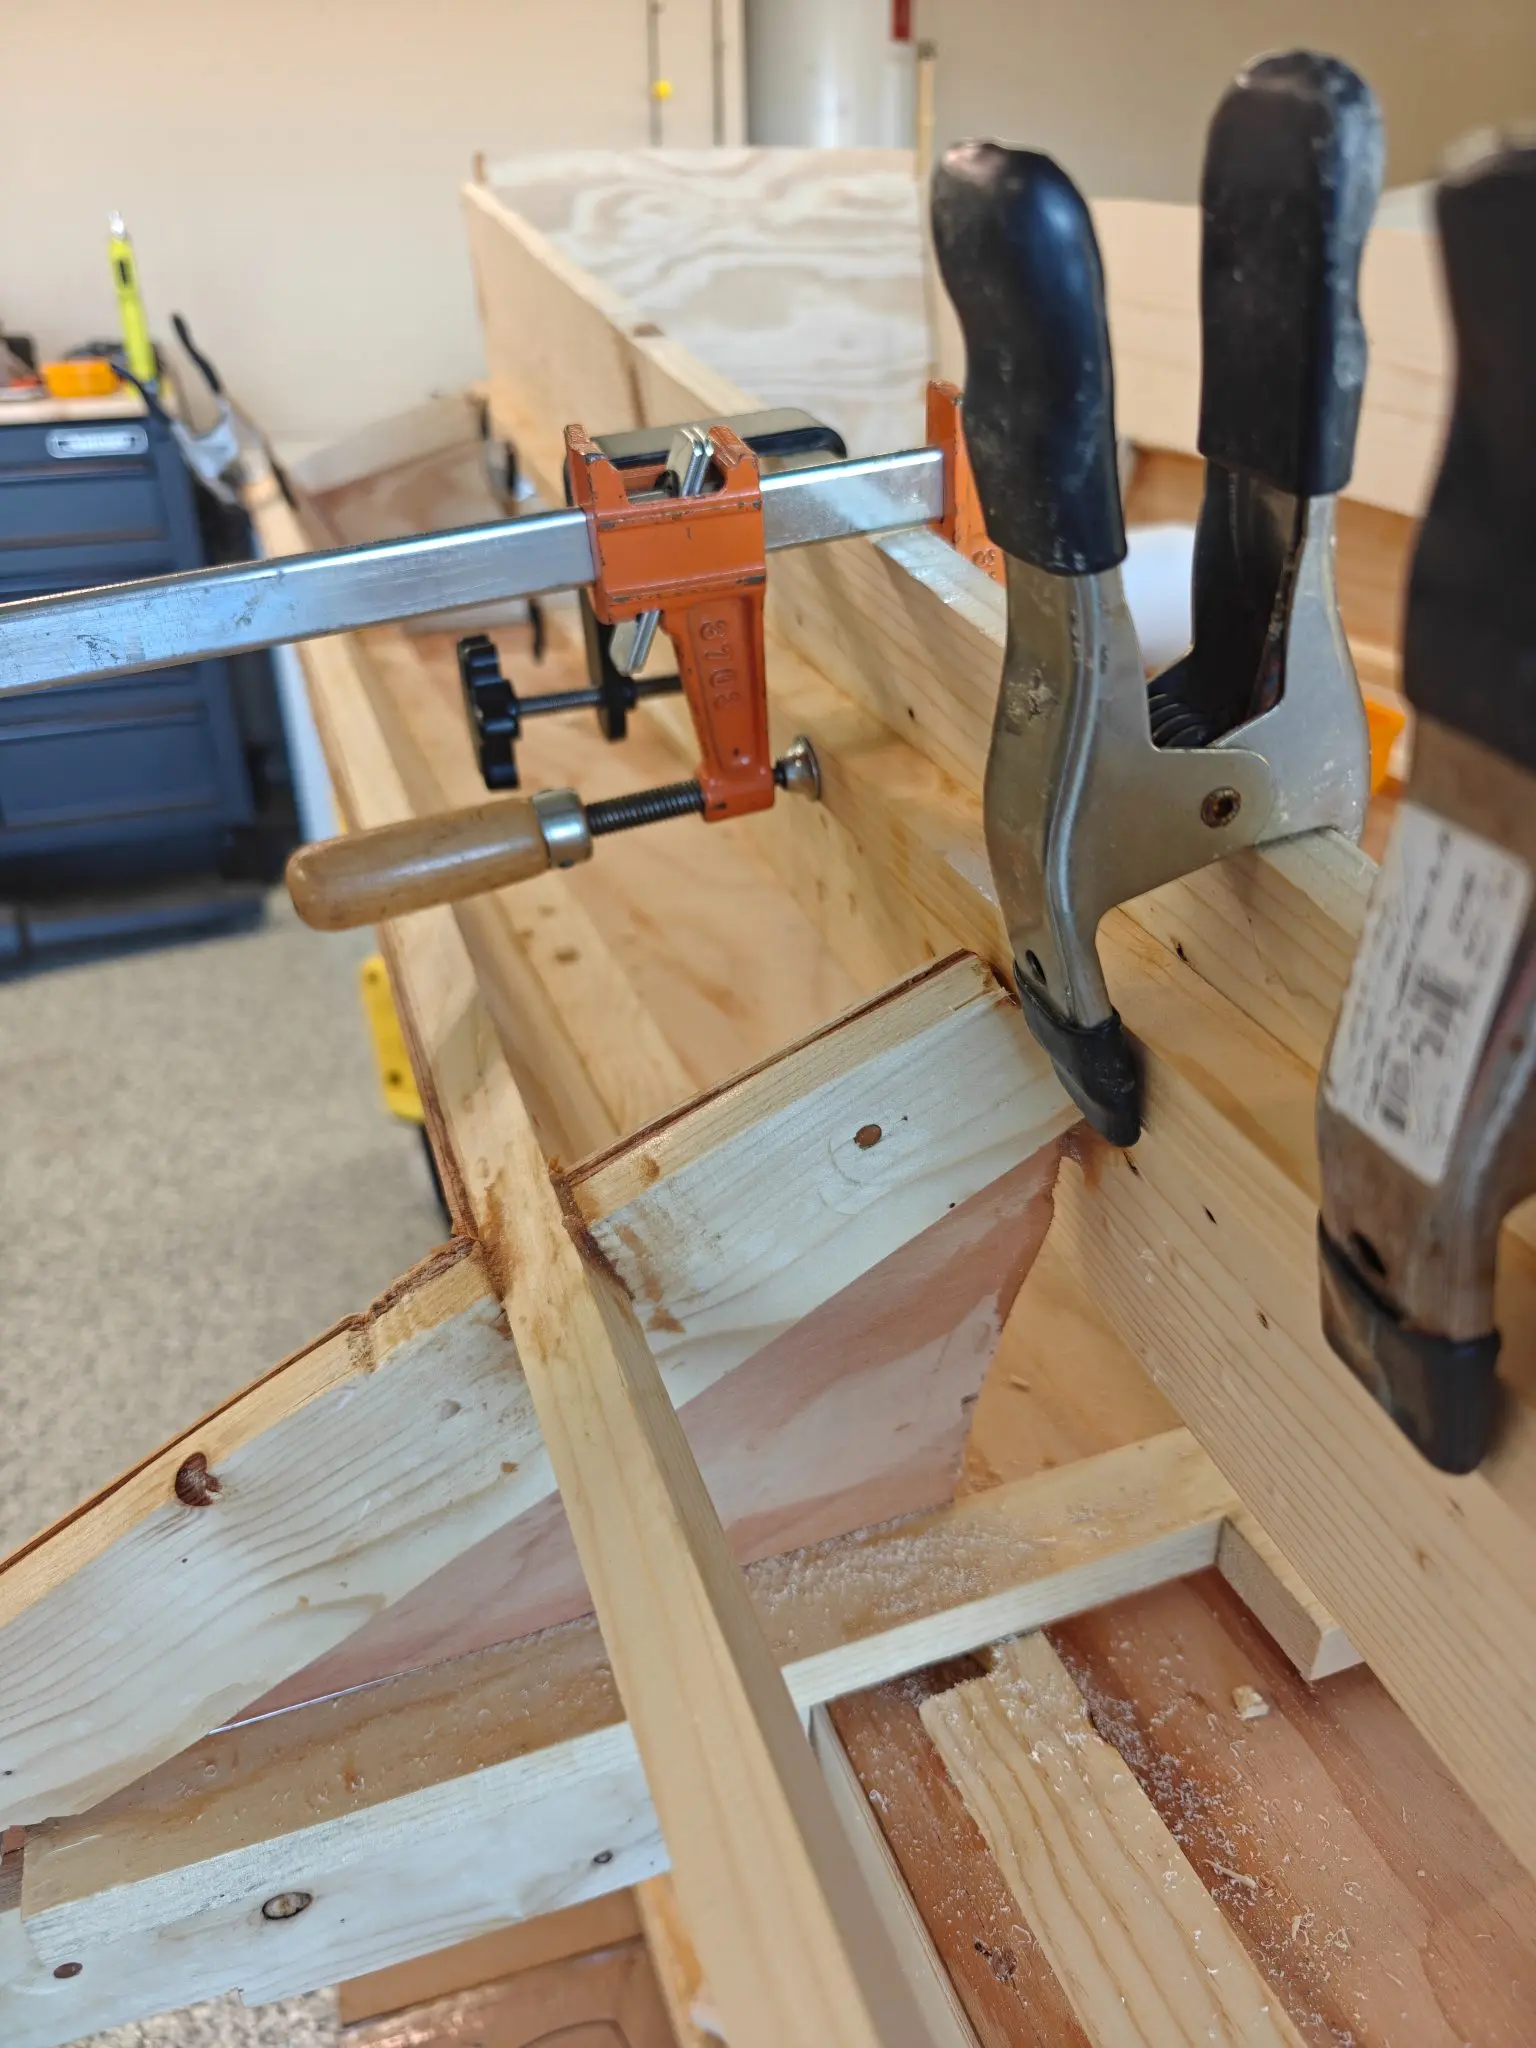
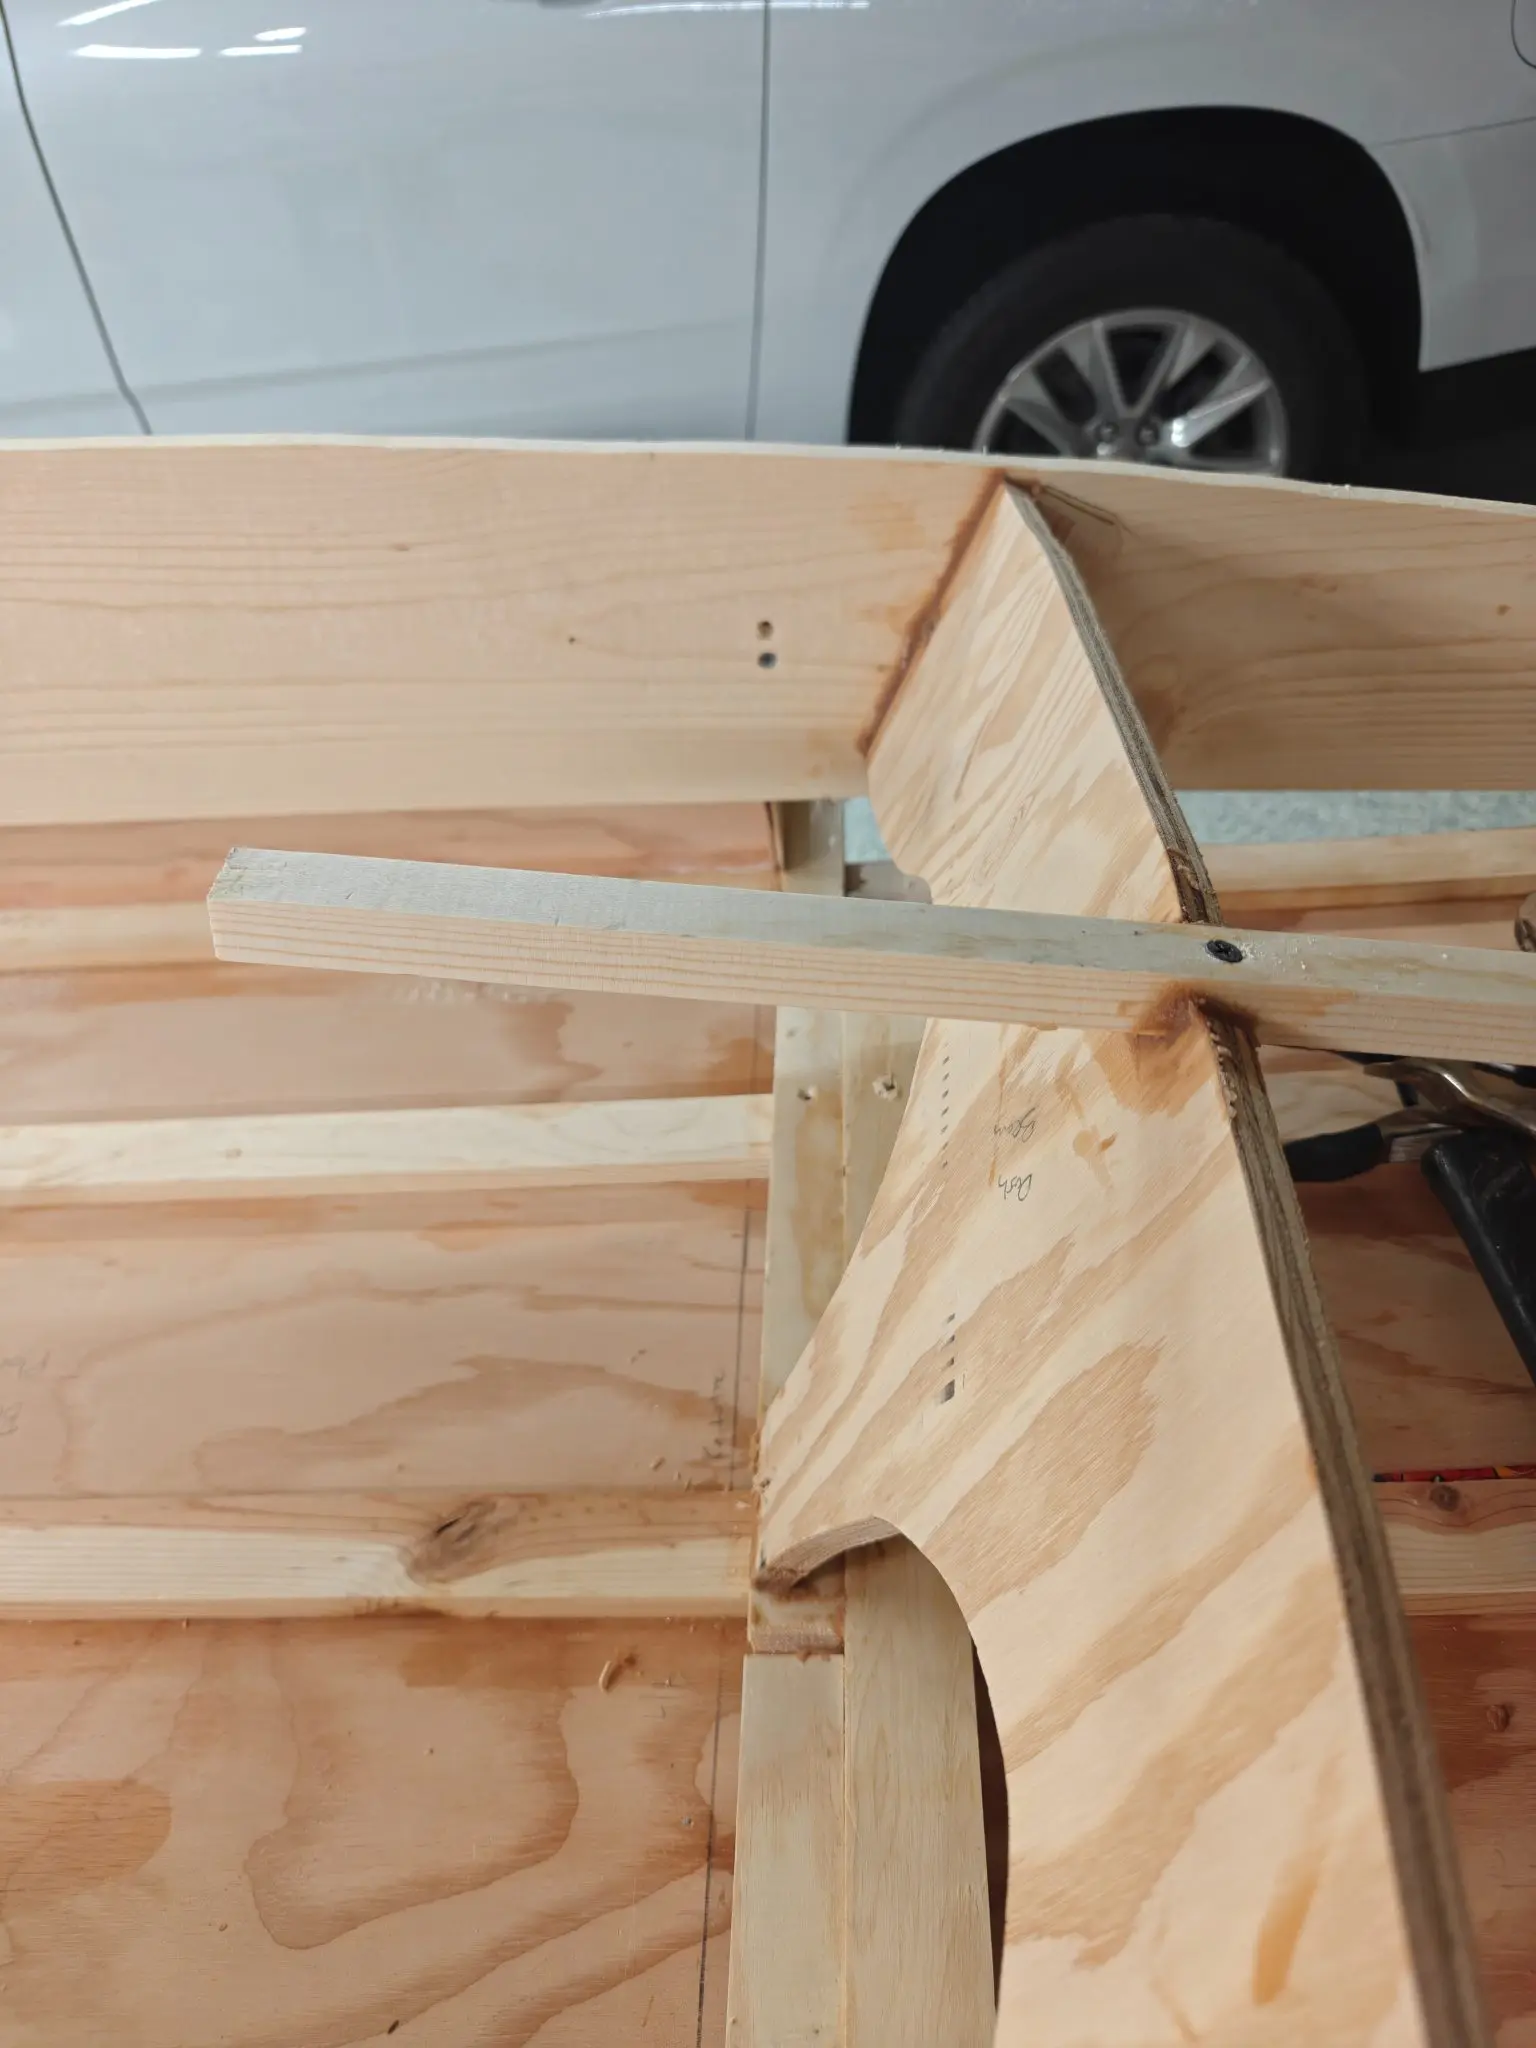
Frame 1 fit issue. Frame 1 wasn't sitting correctly, so I cut a new batten for it. The original one I'd sized turned out too short. The new batten was too long so I ended up cutting that batten in half and clamping the pieces together for now. I'll nail it properly once everything is in final position.
Bottom battens. Cutting the bottom plank back that 1-7/8" also meant trimming all three bottom battens back about two inches. That got messy with the old nails and glue, but after sanding it down, it looks decent.
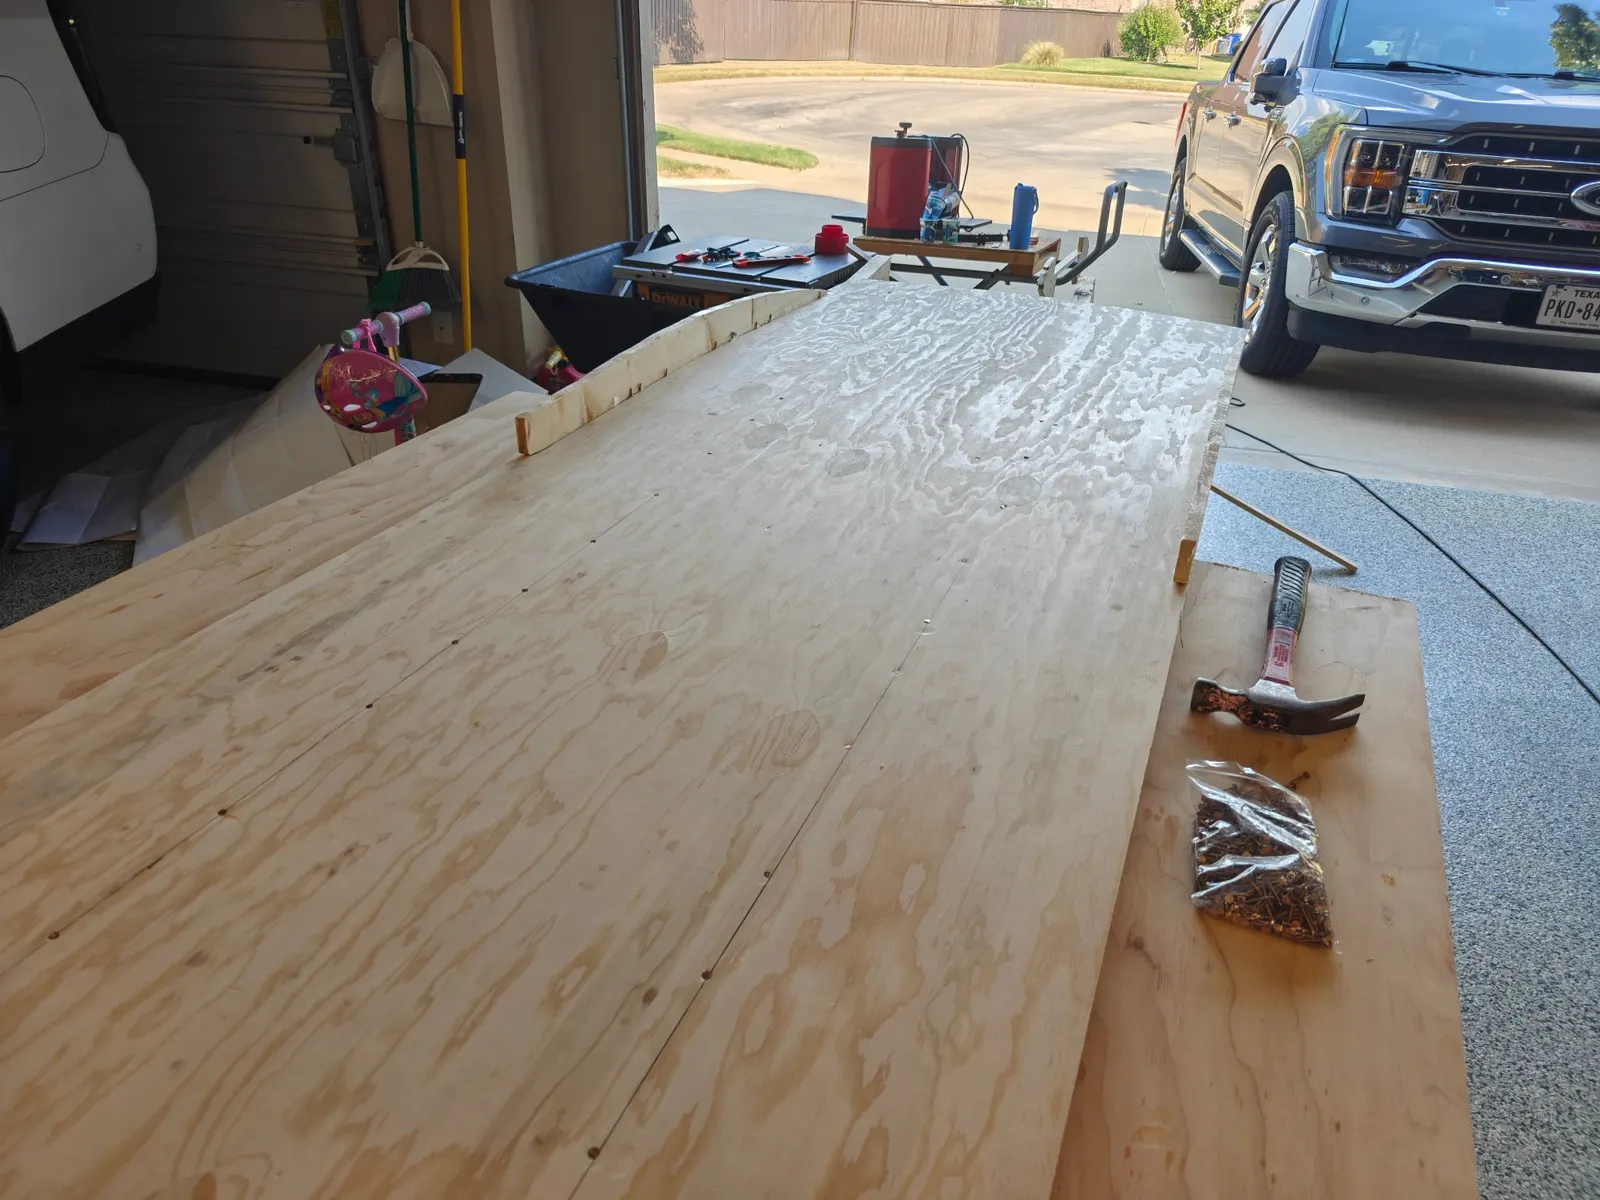
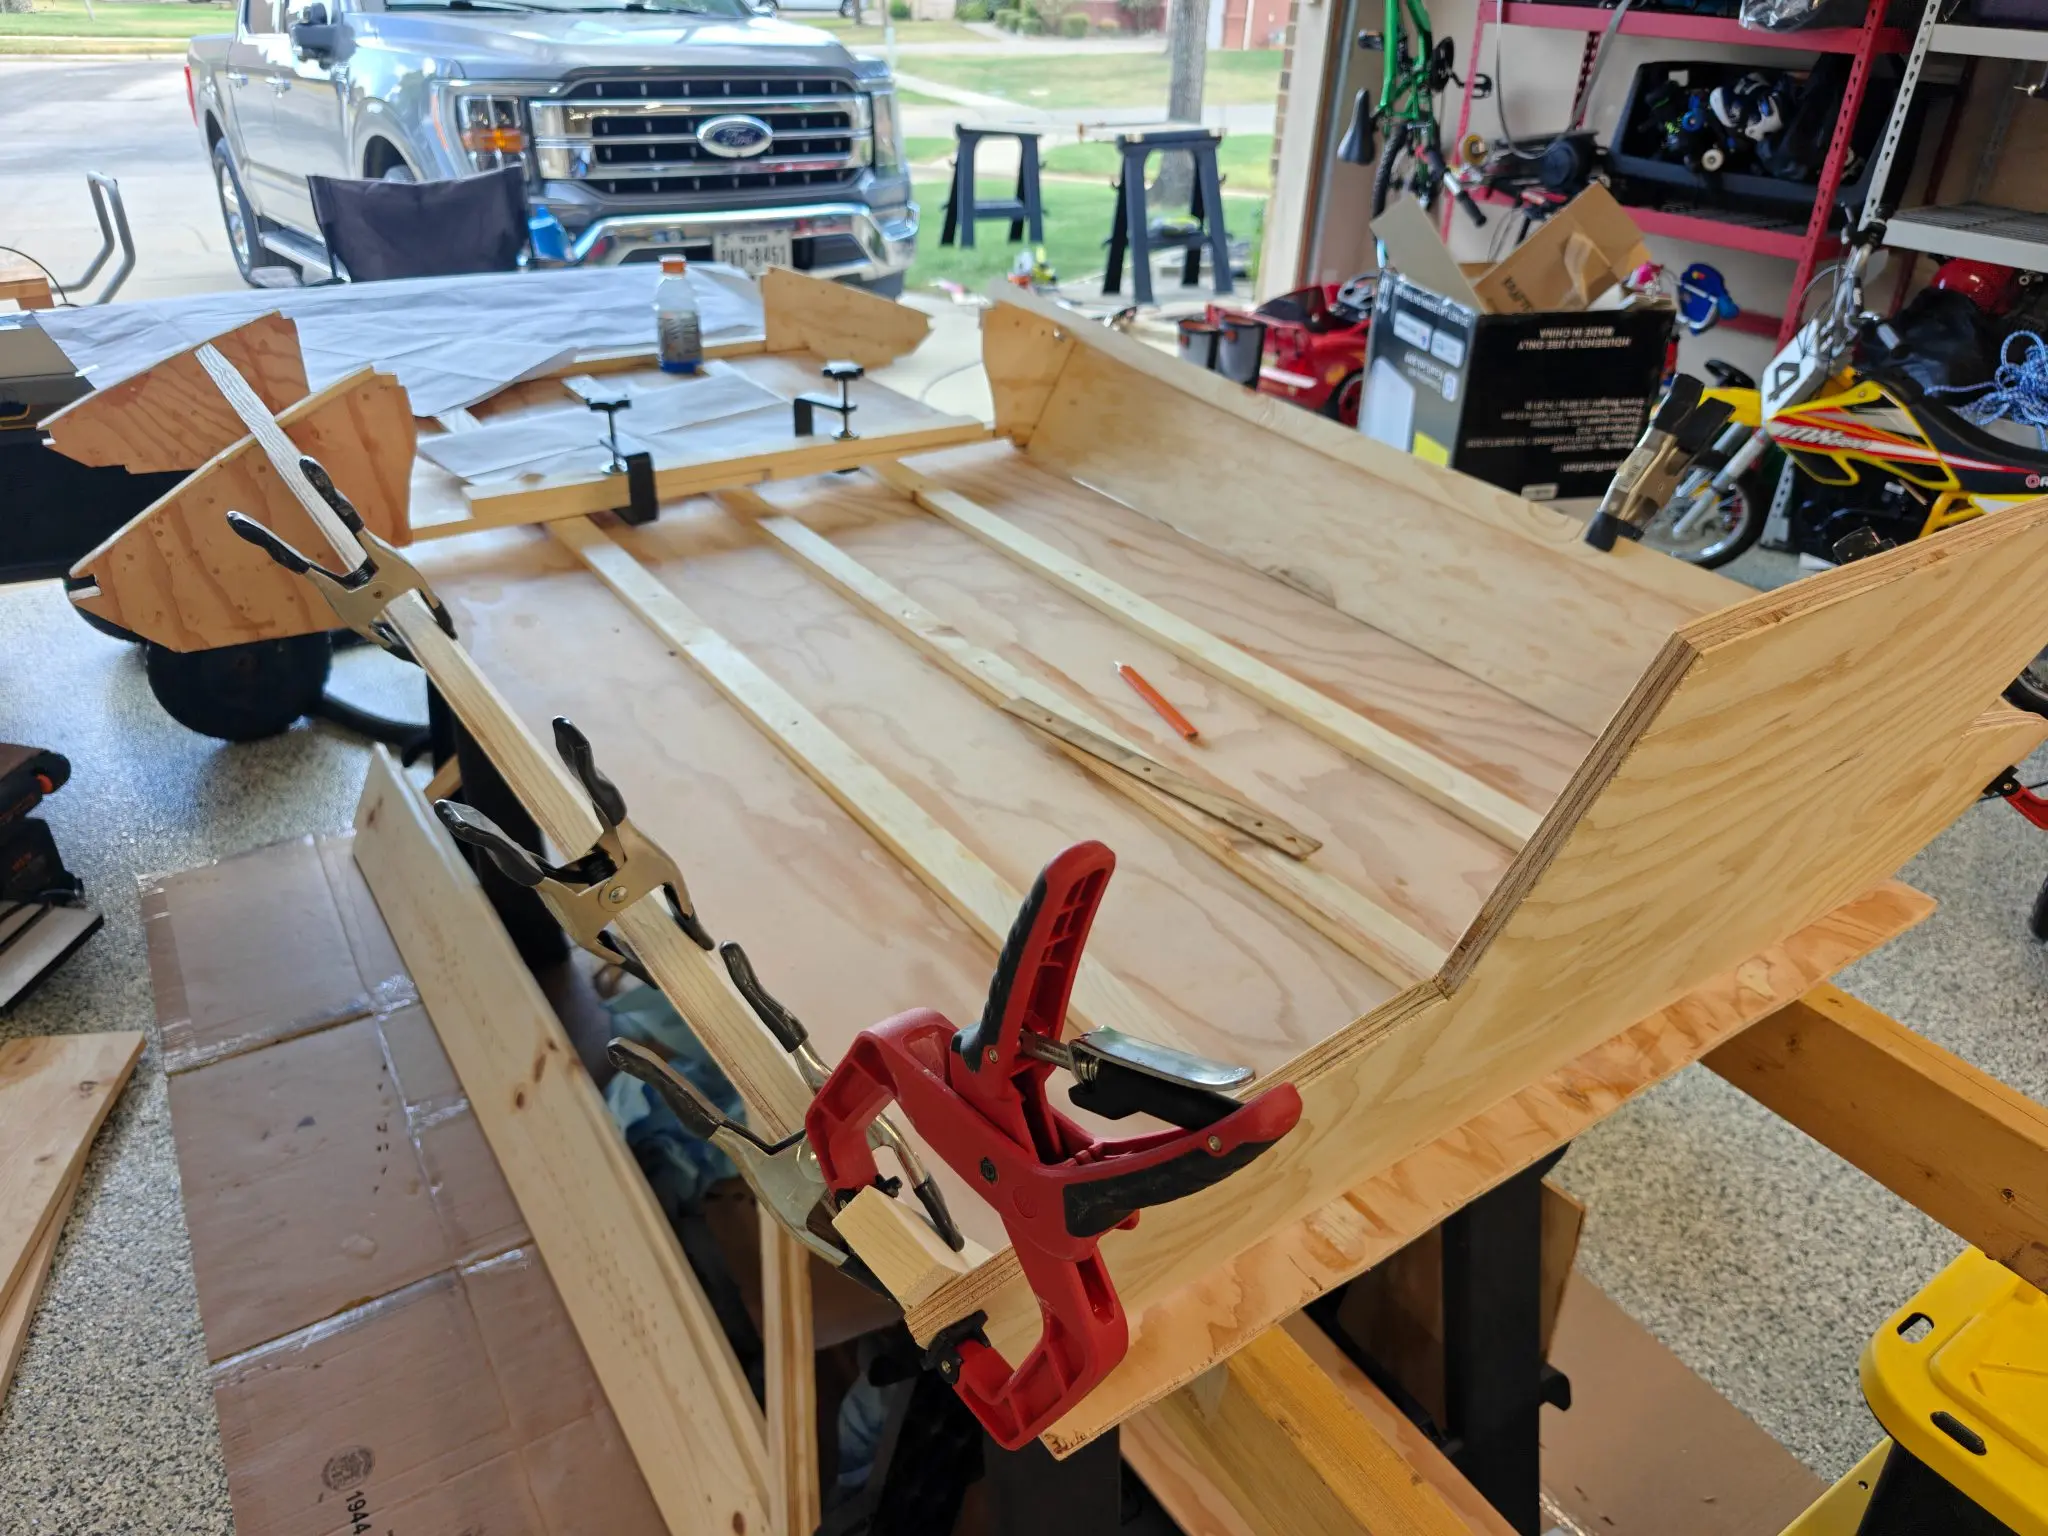
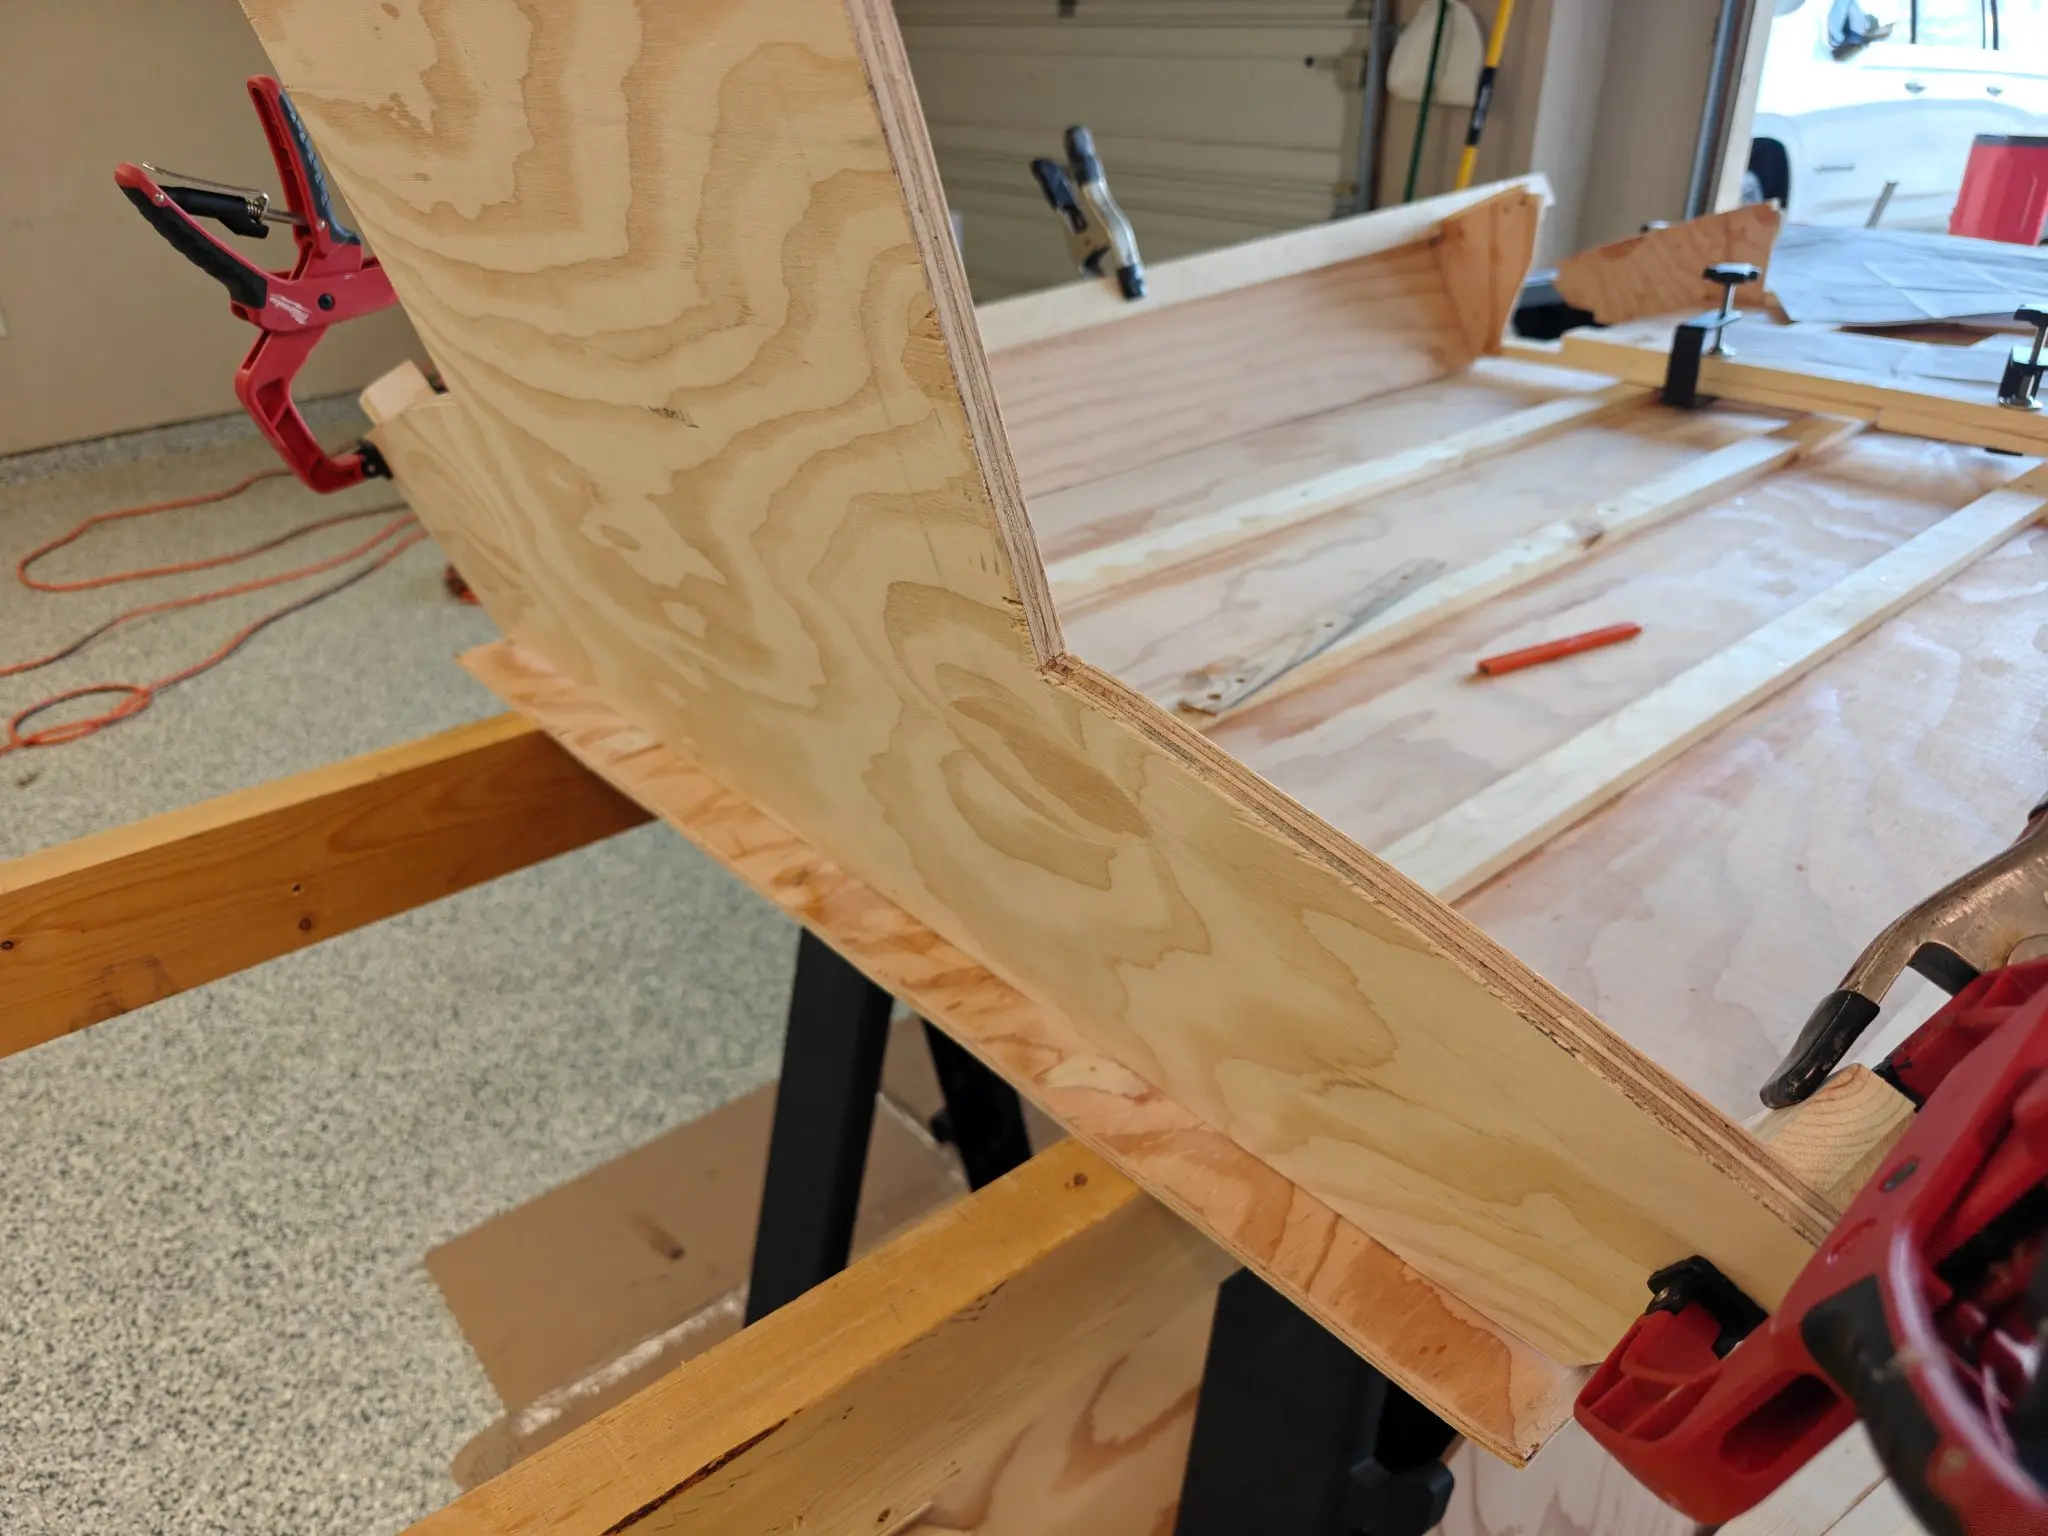
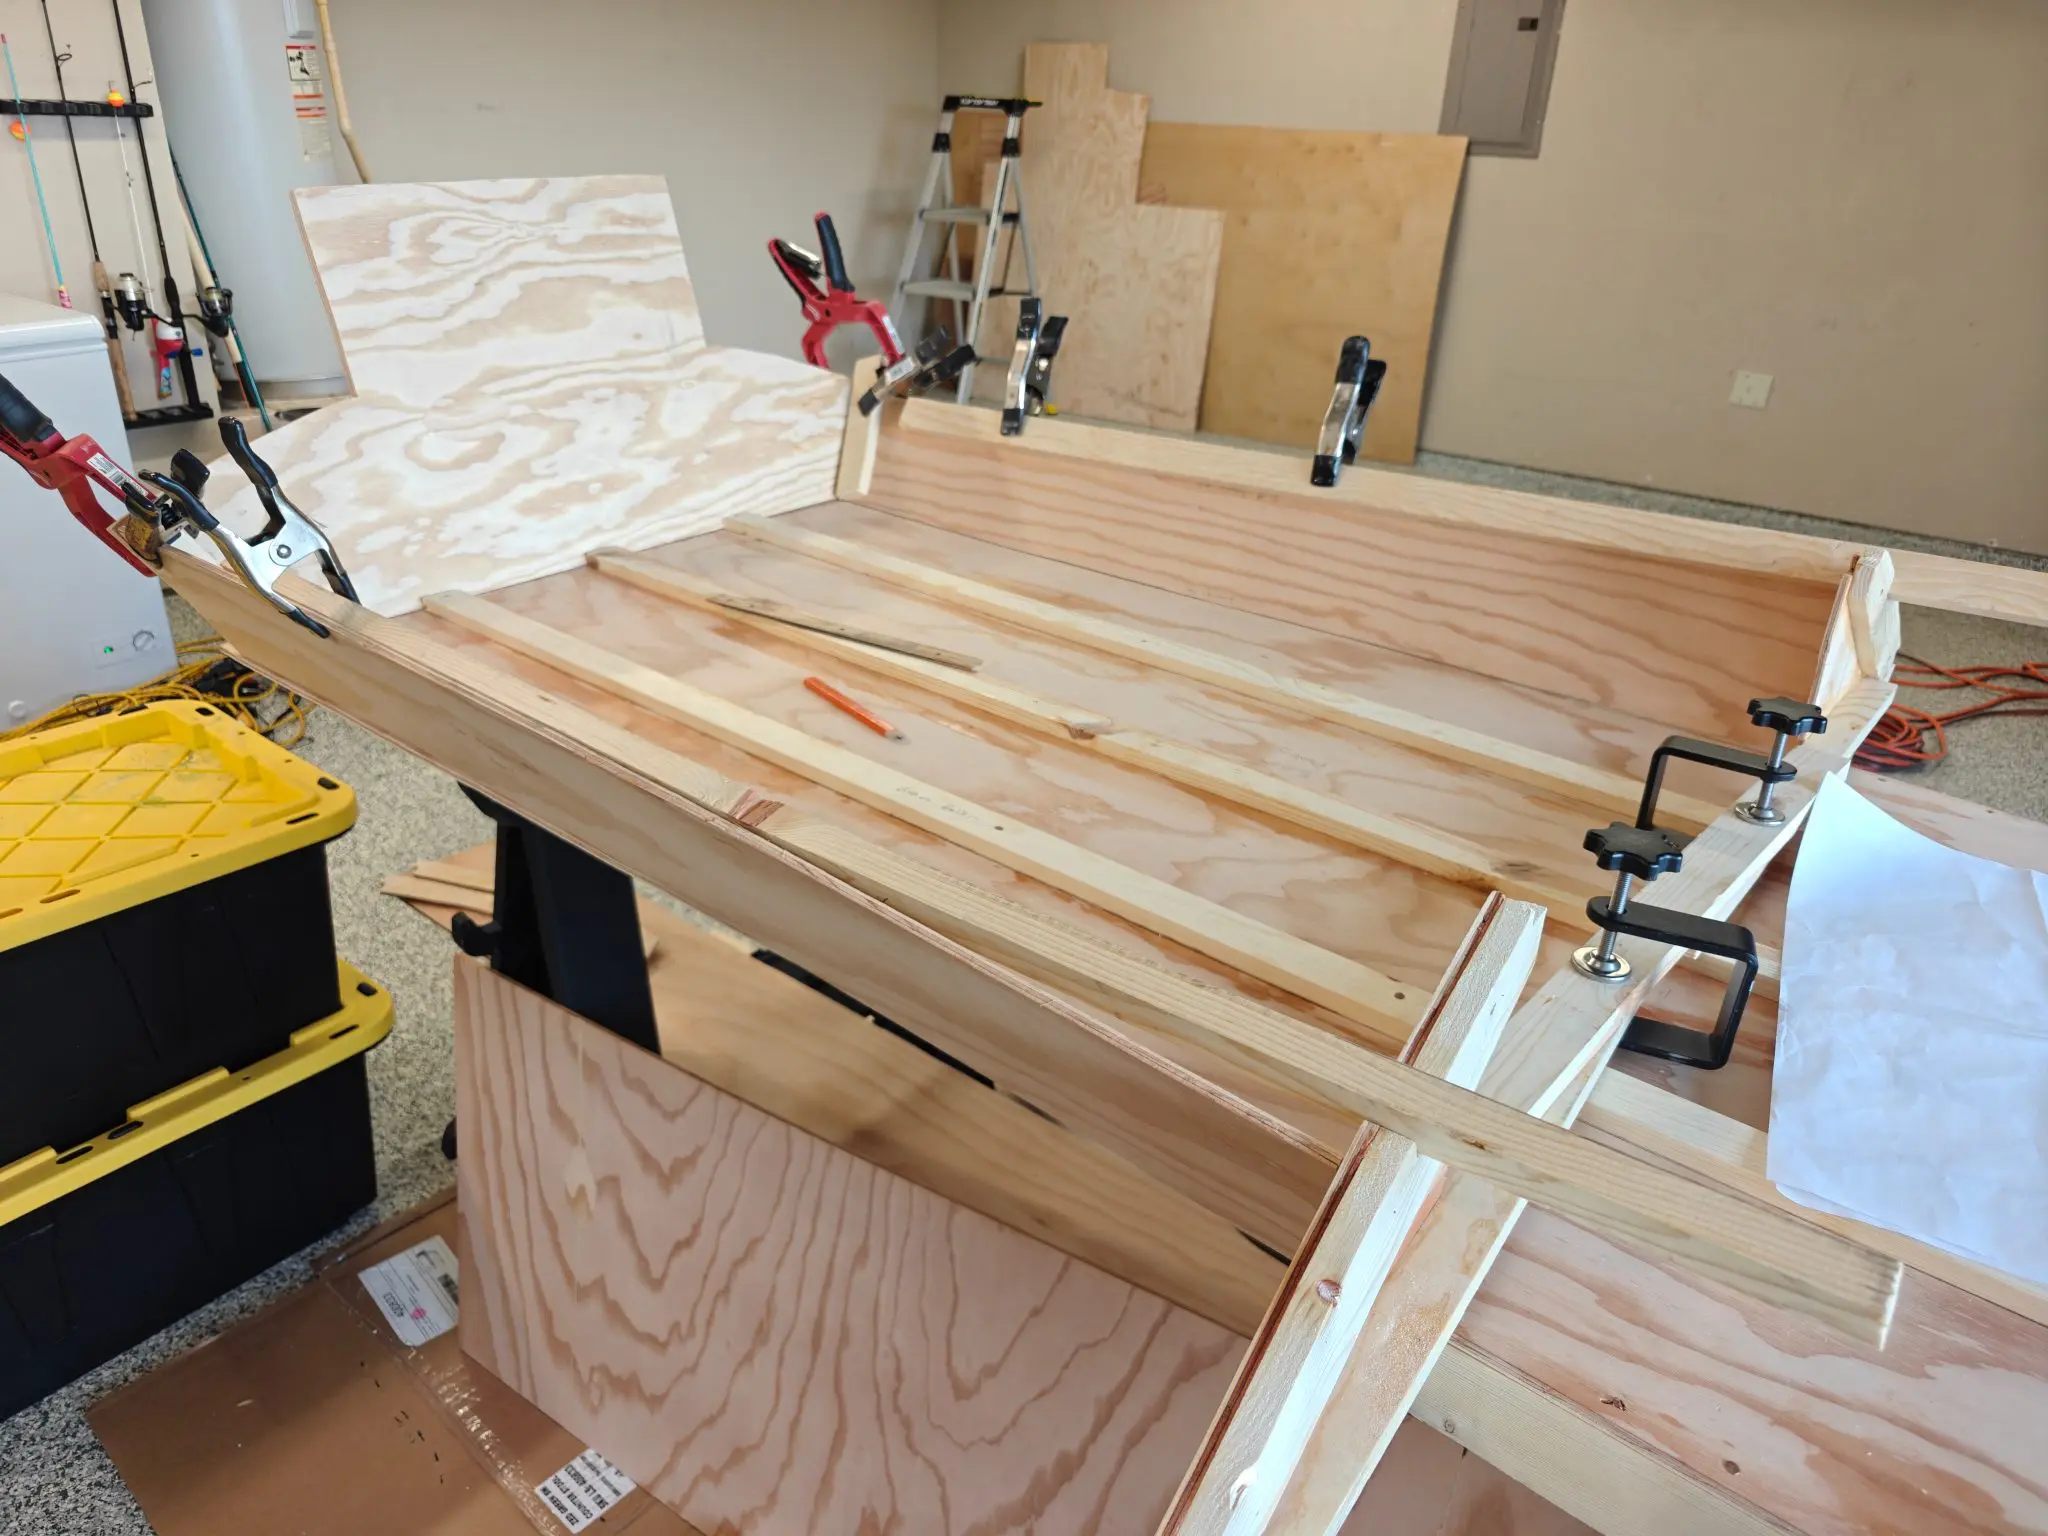
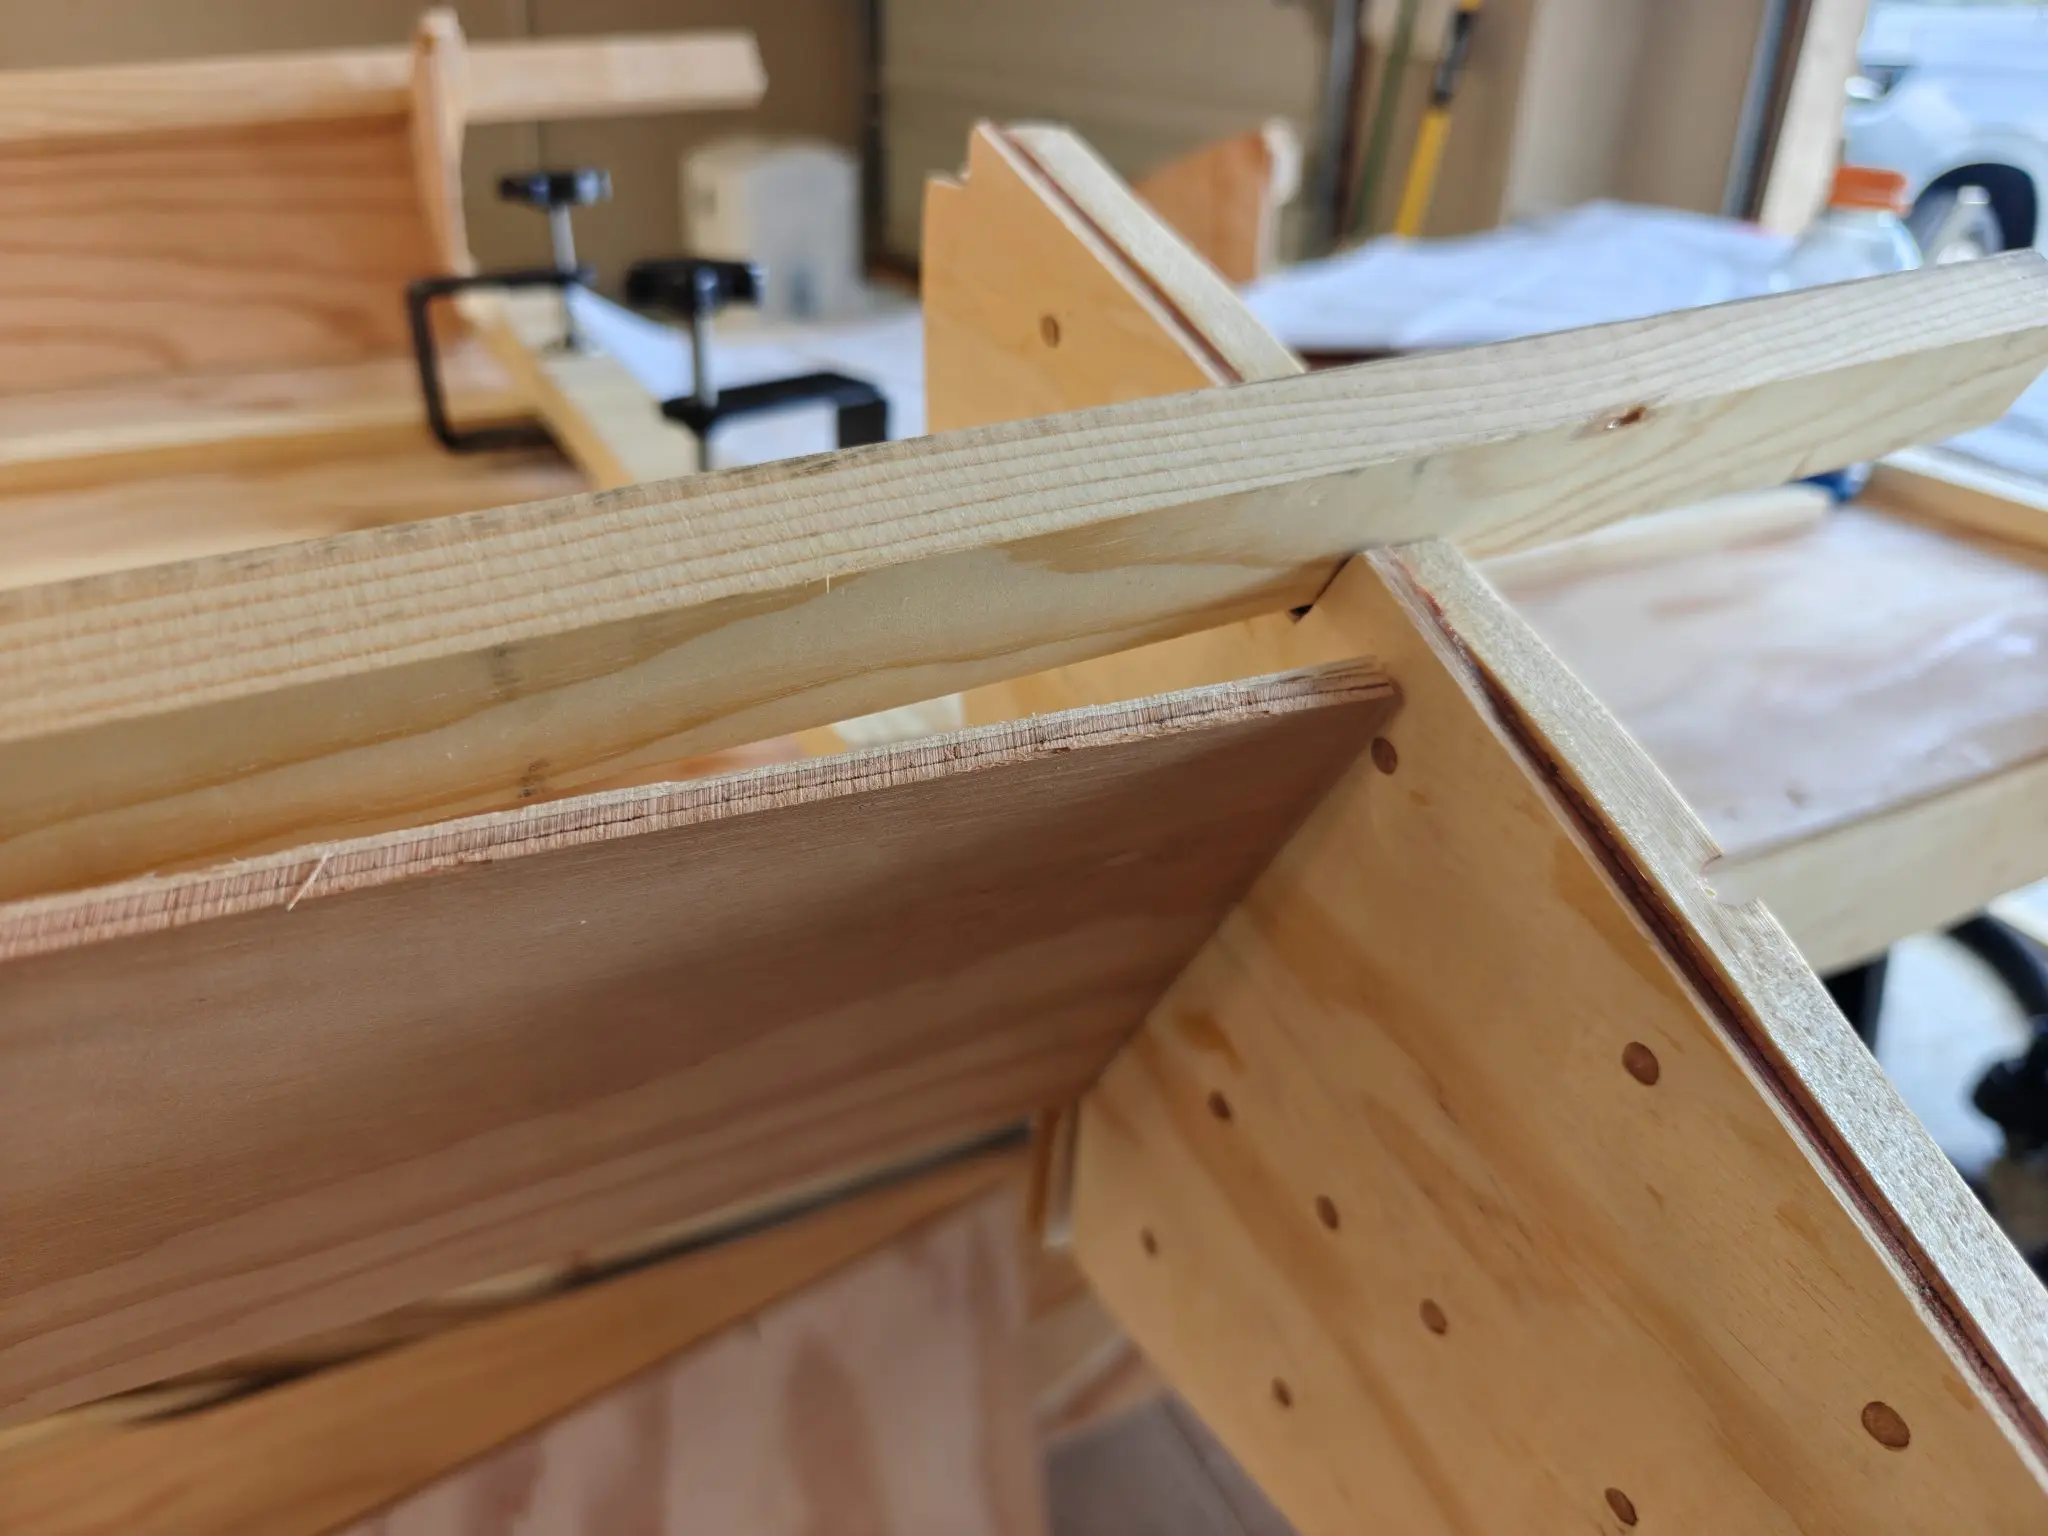
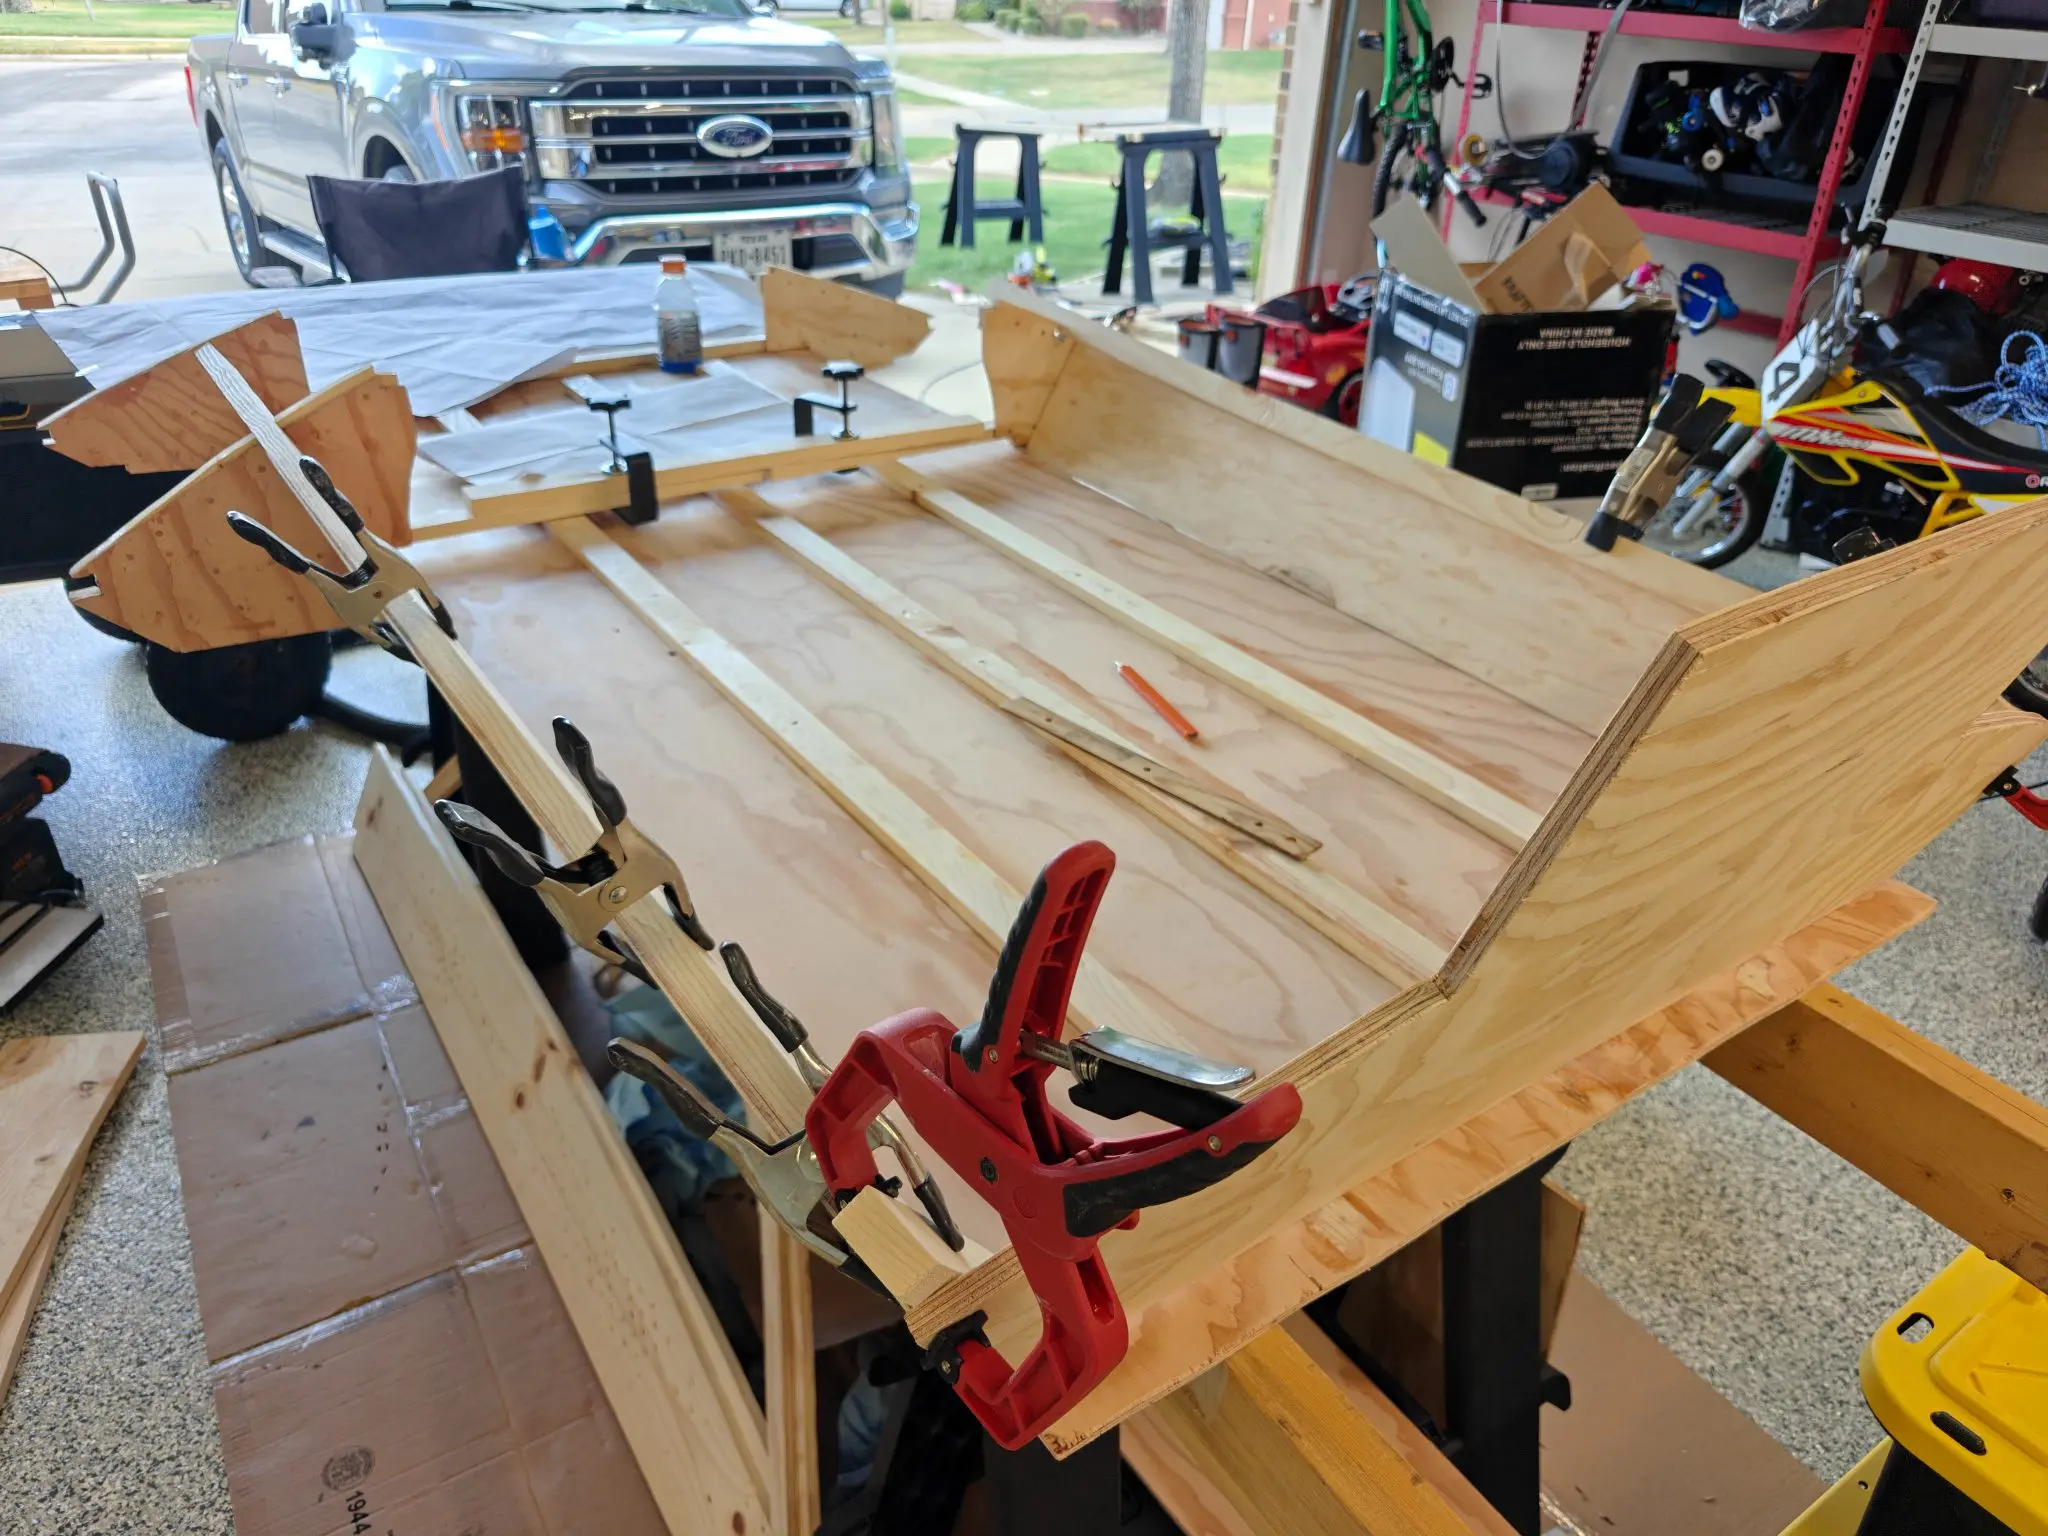
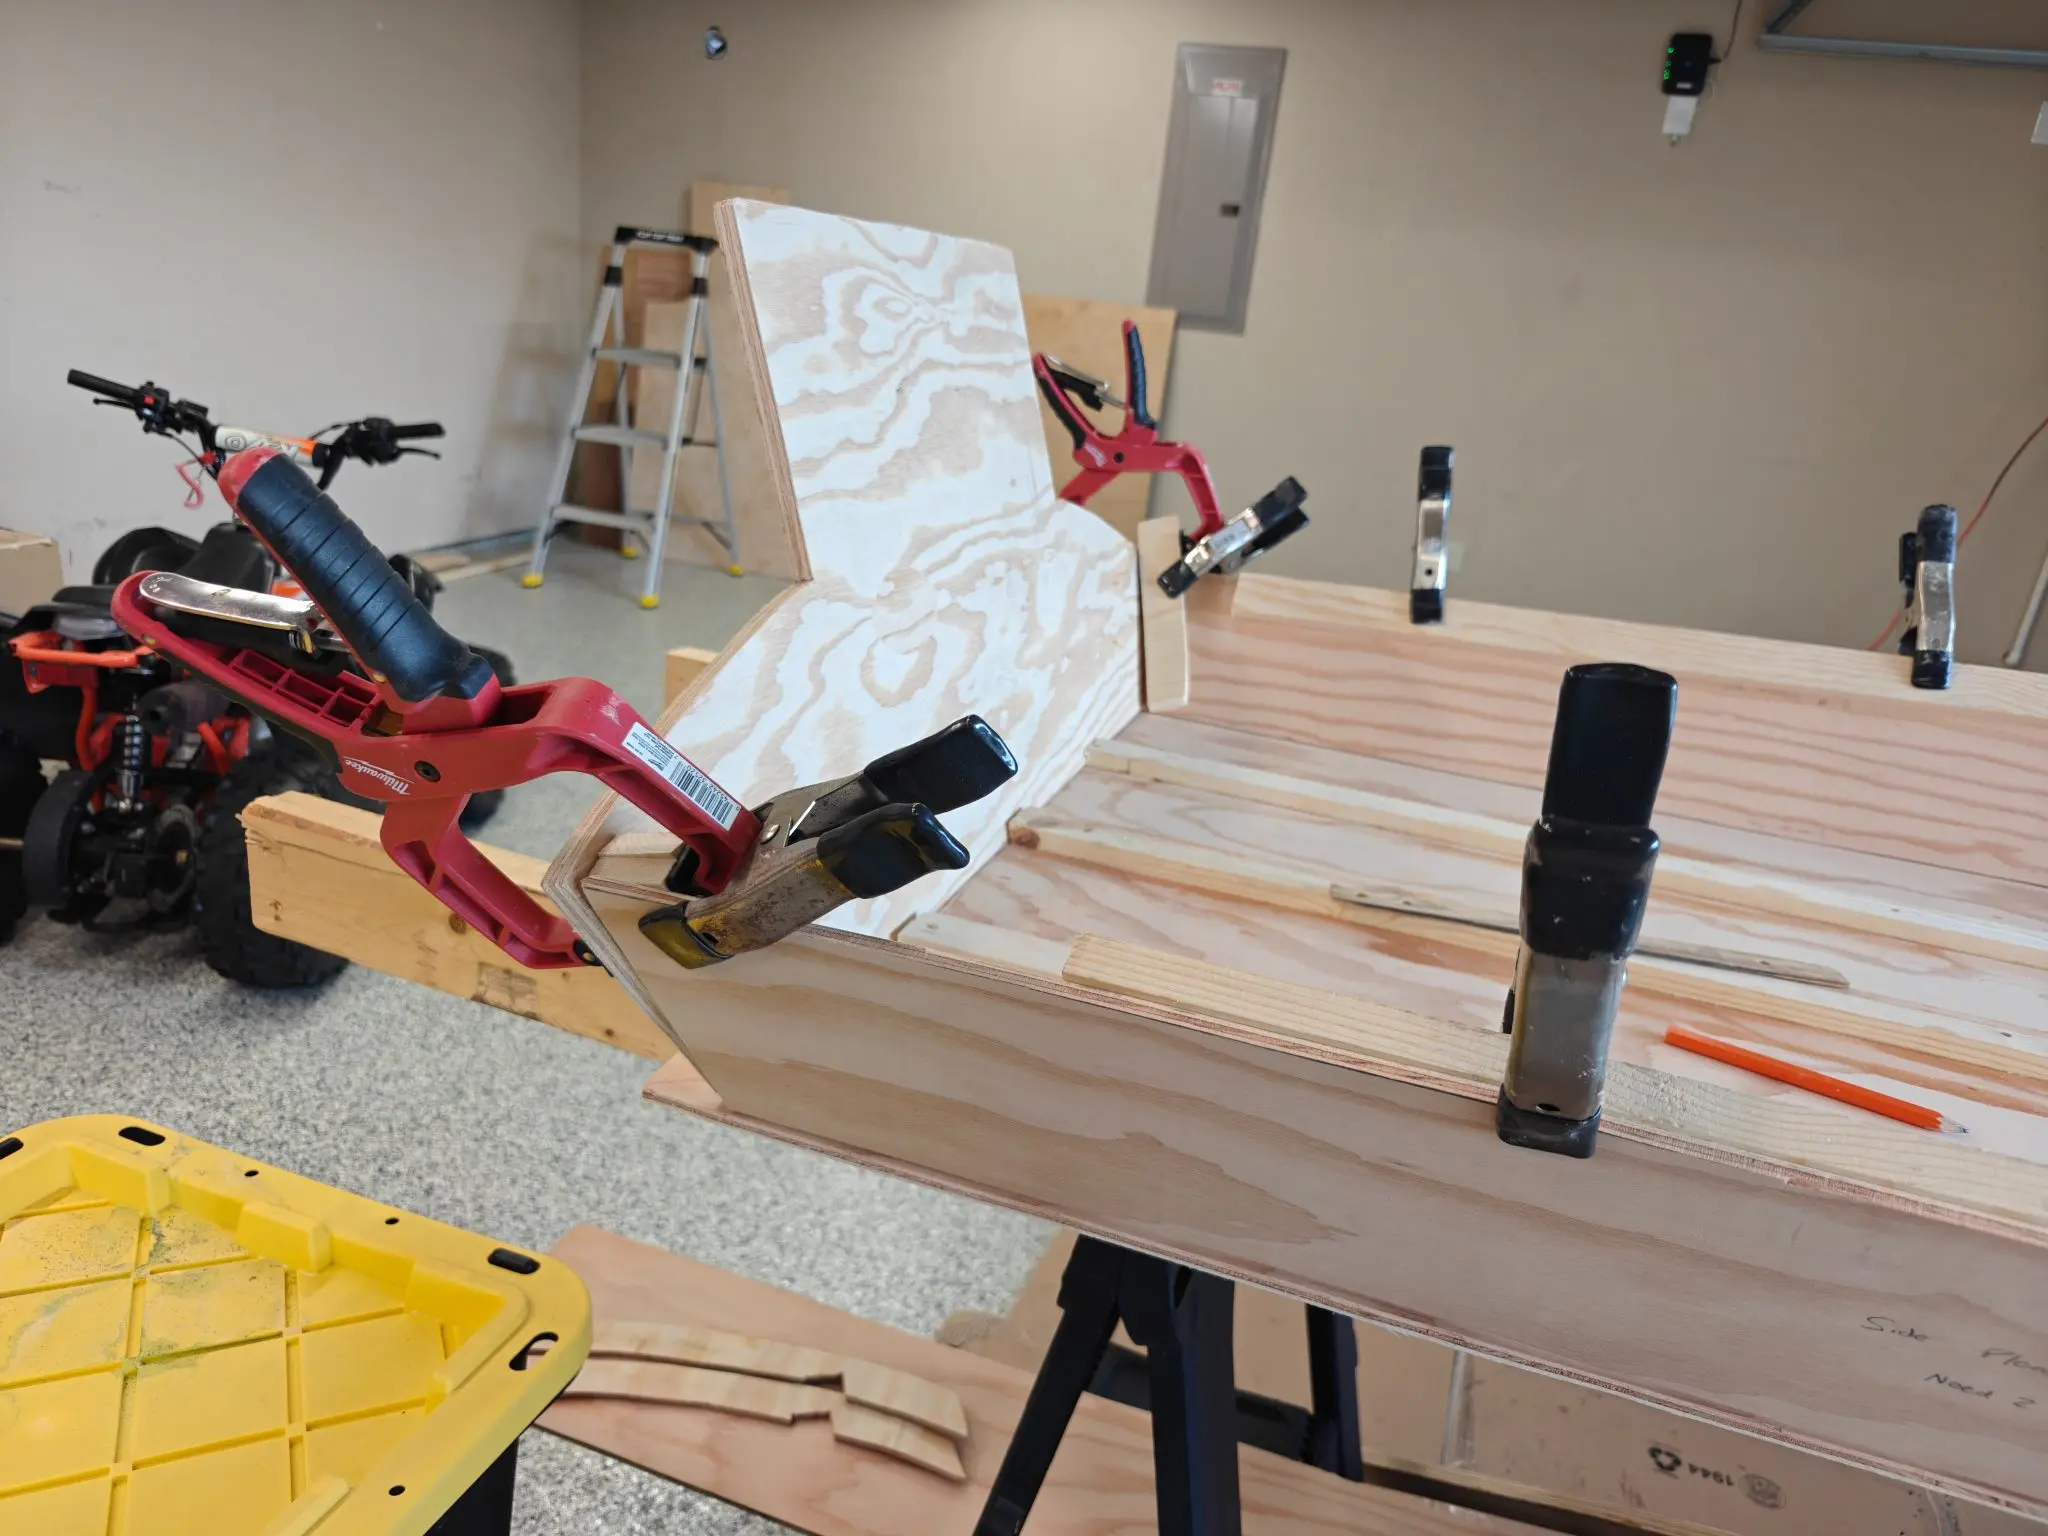
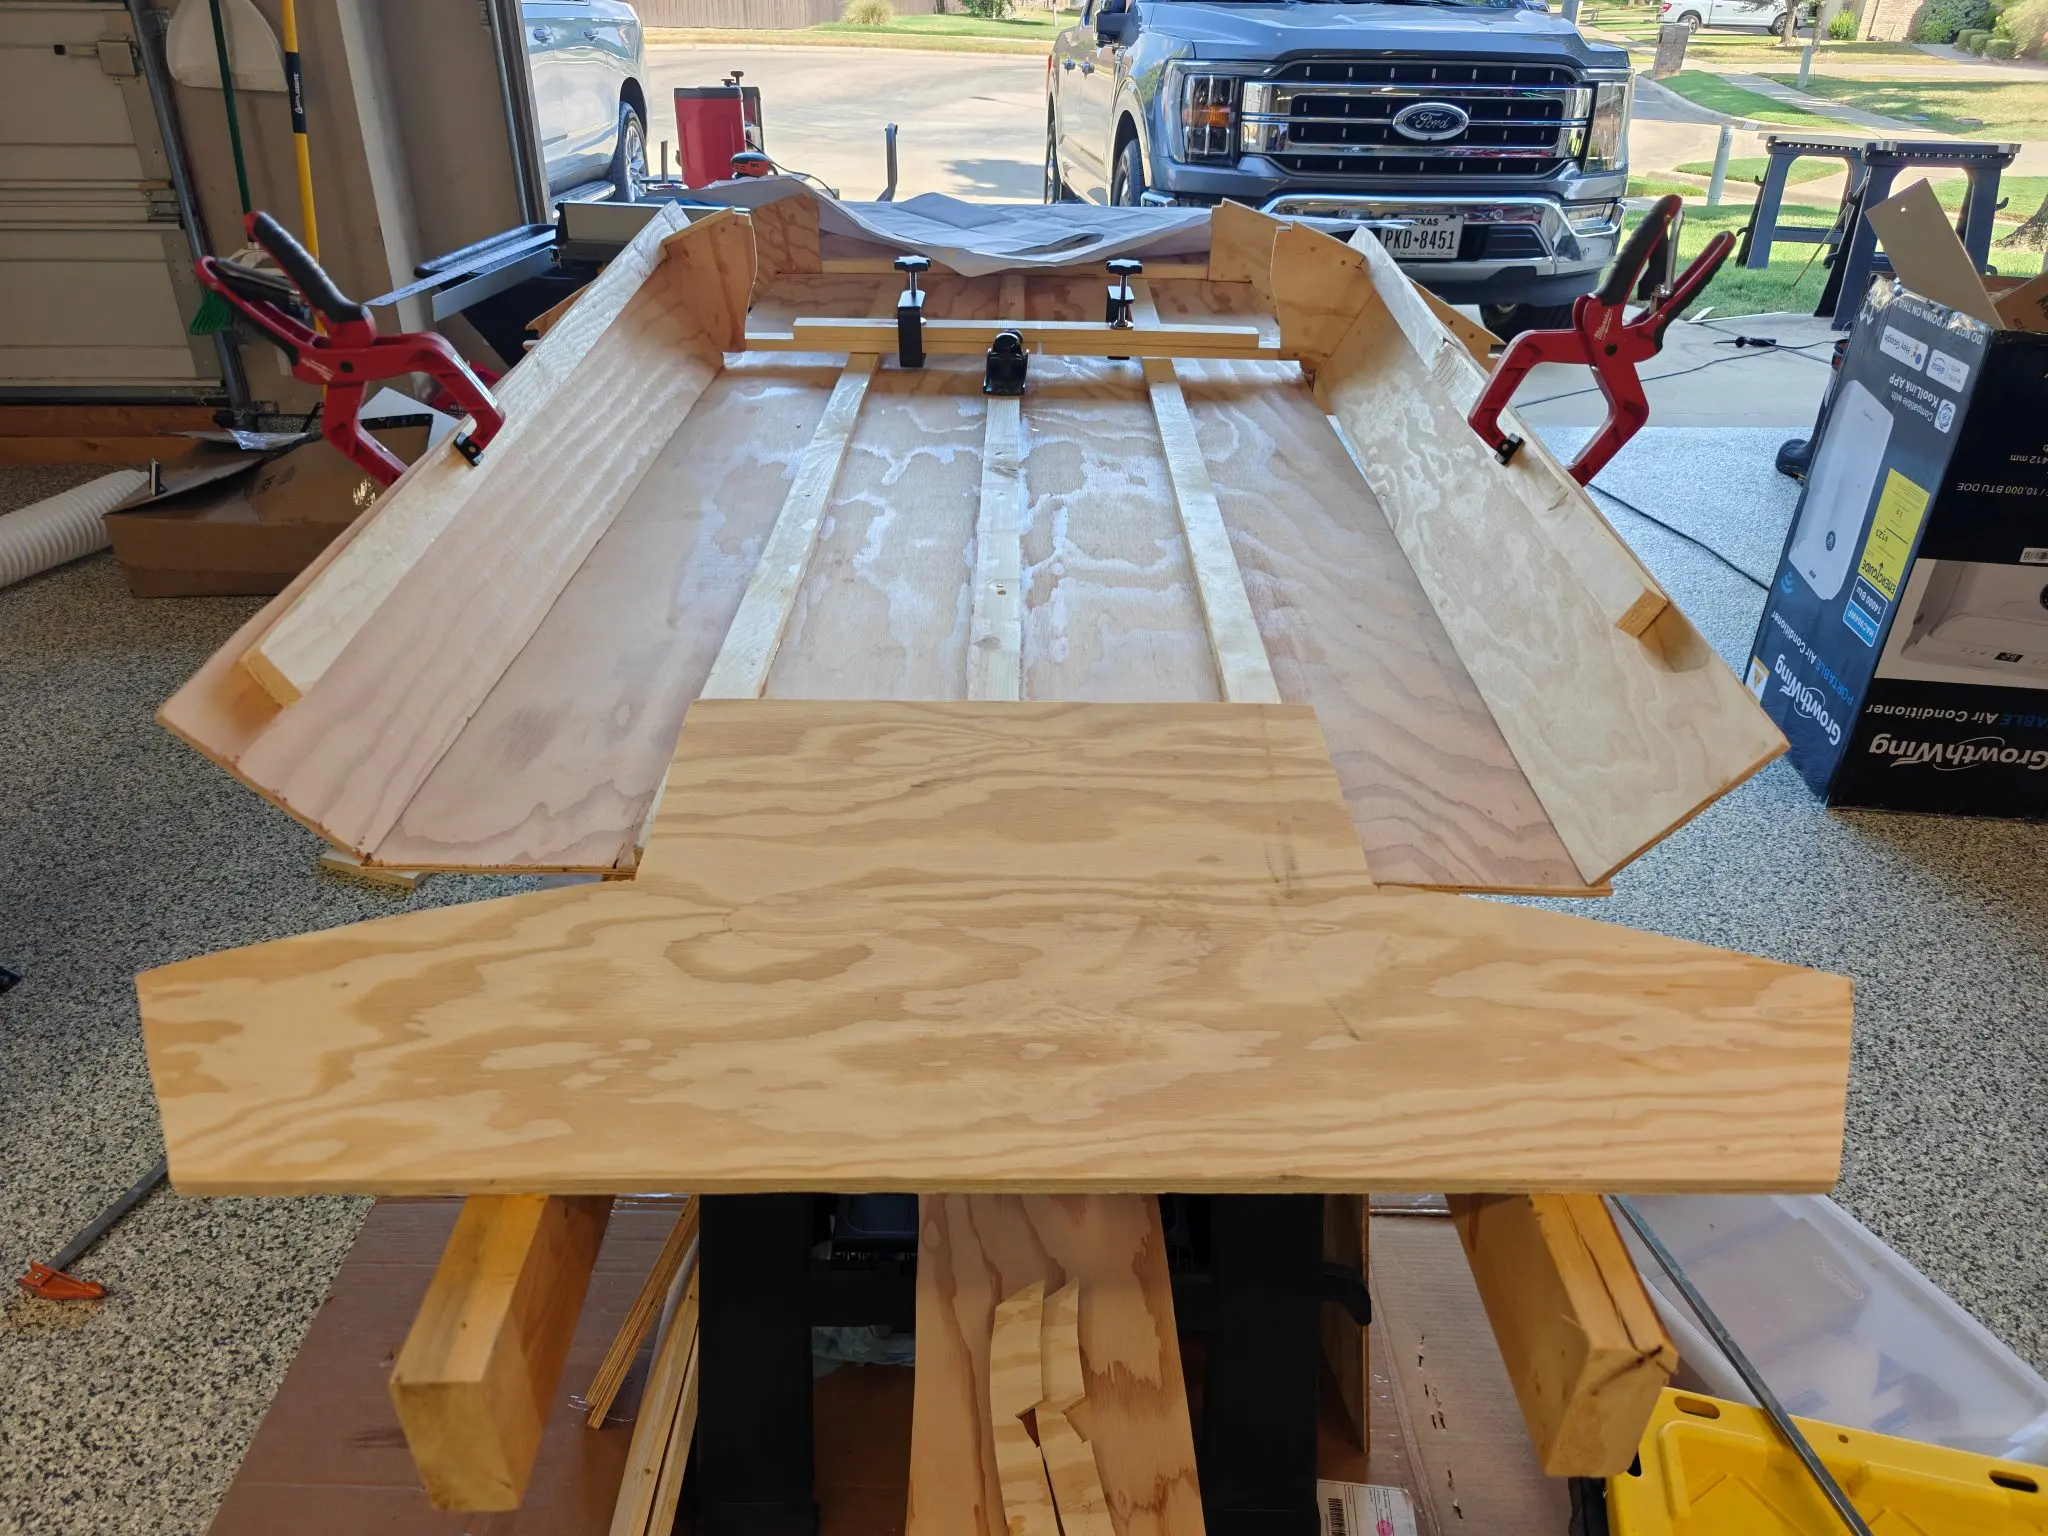
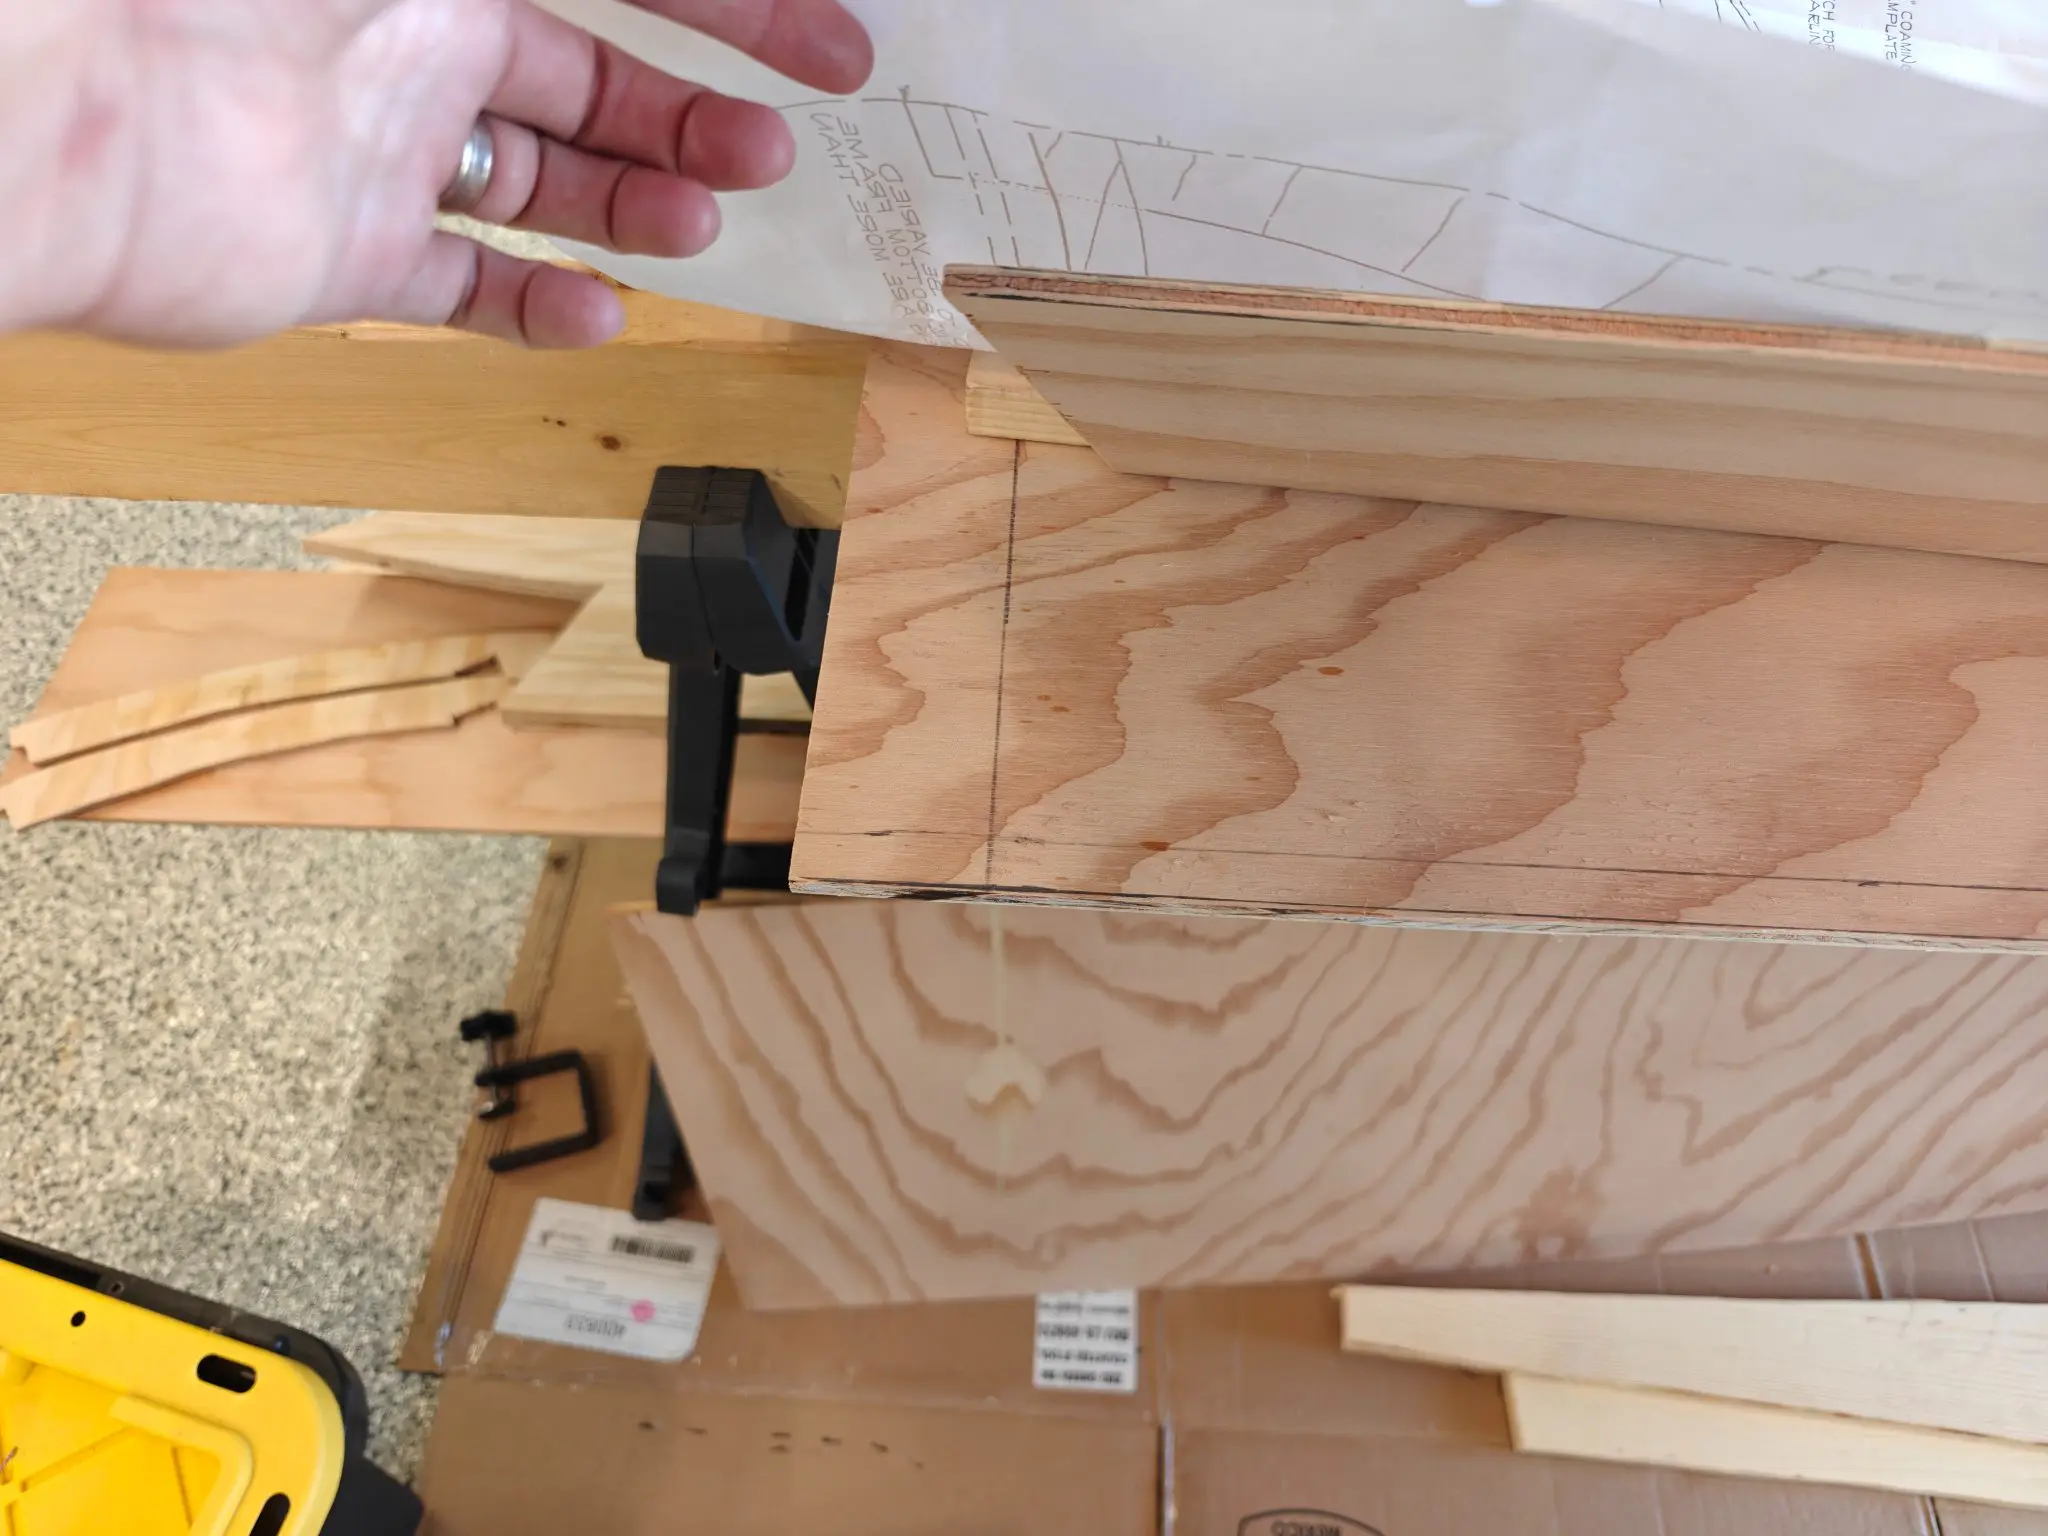
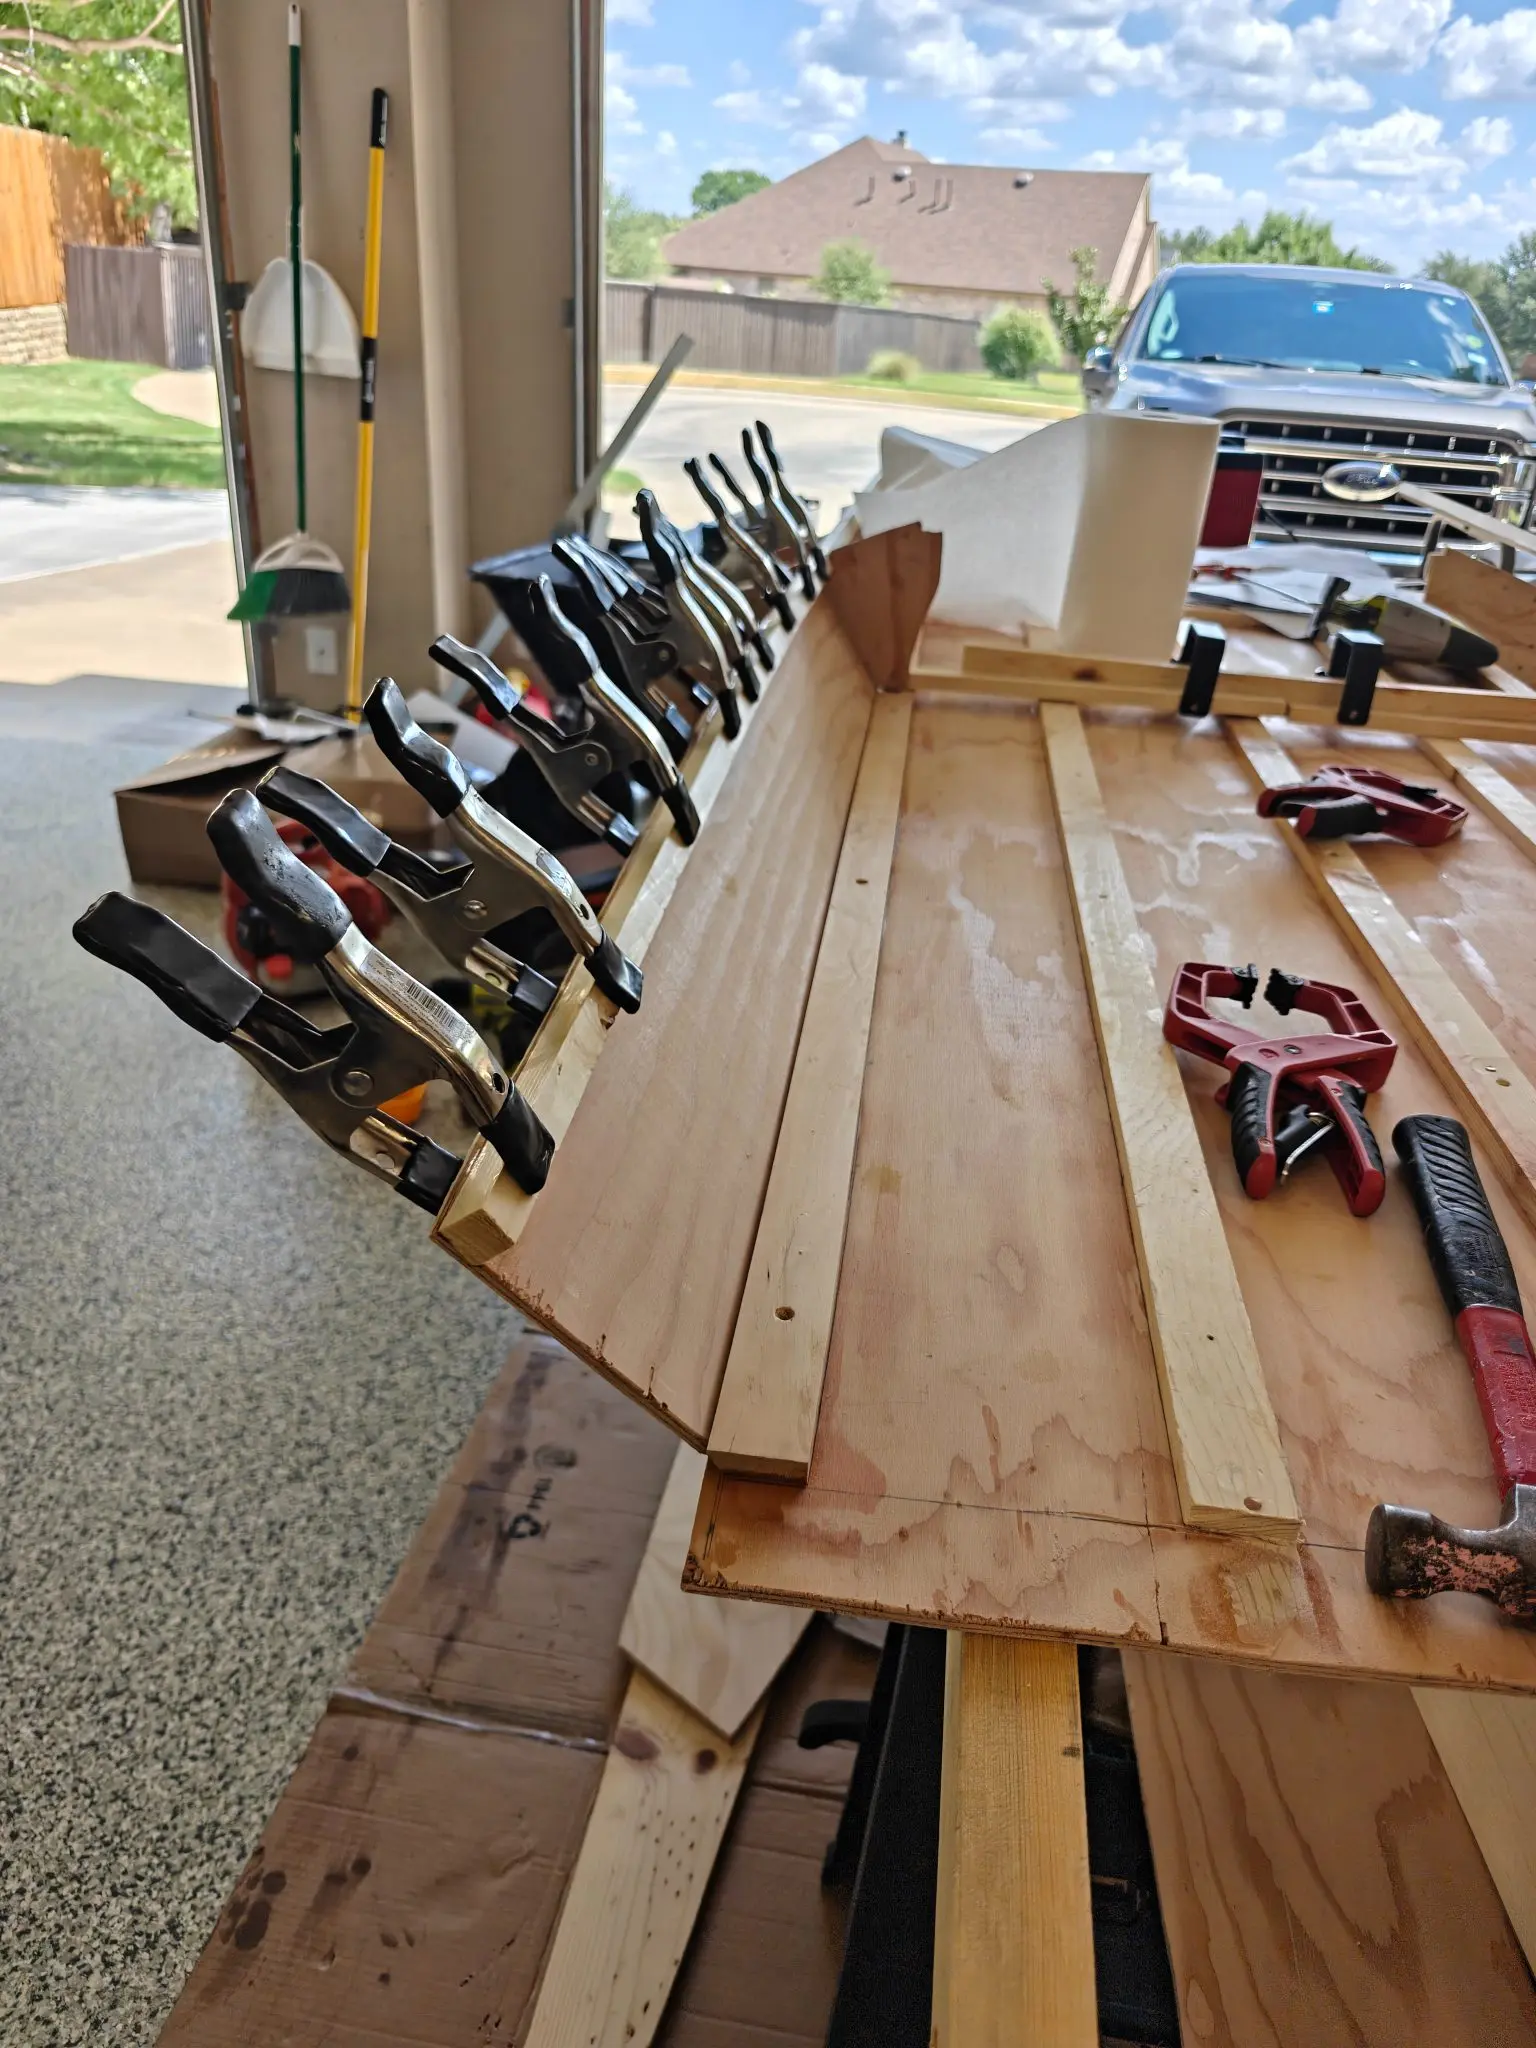
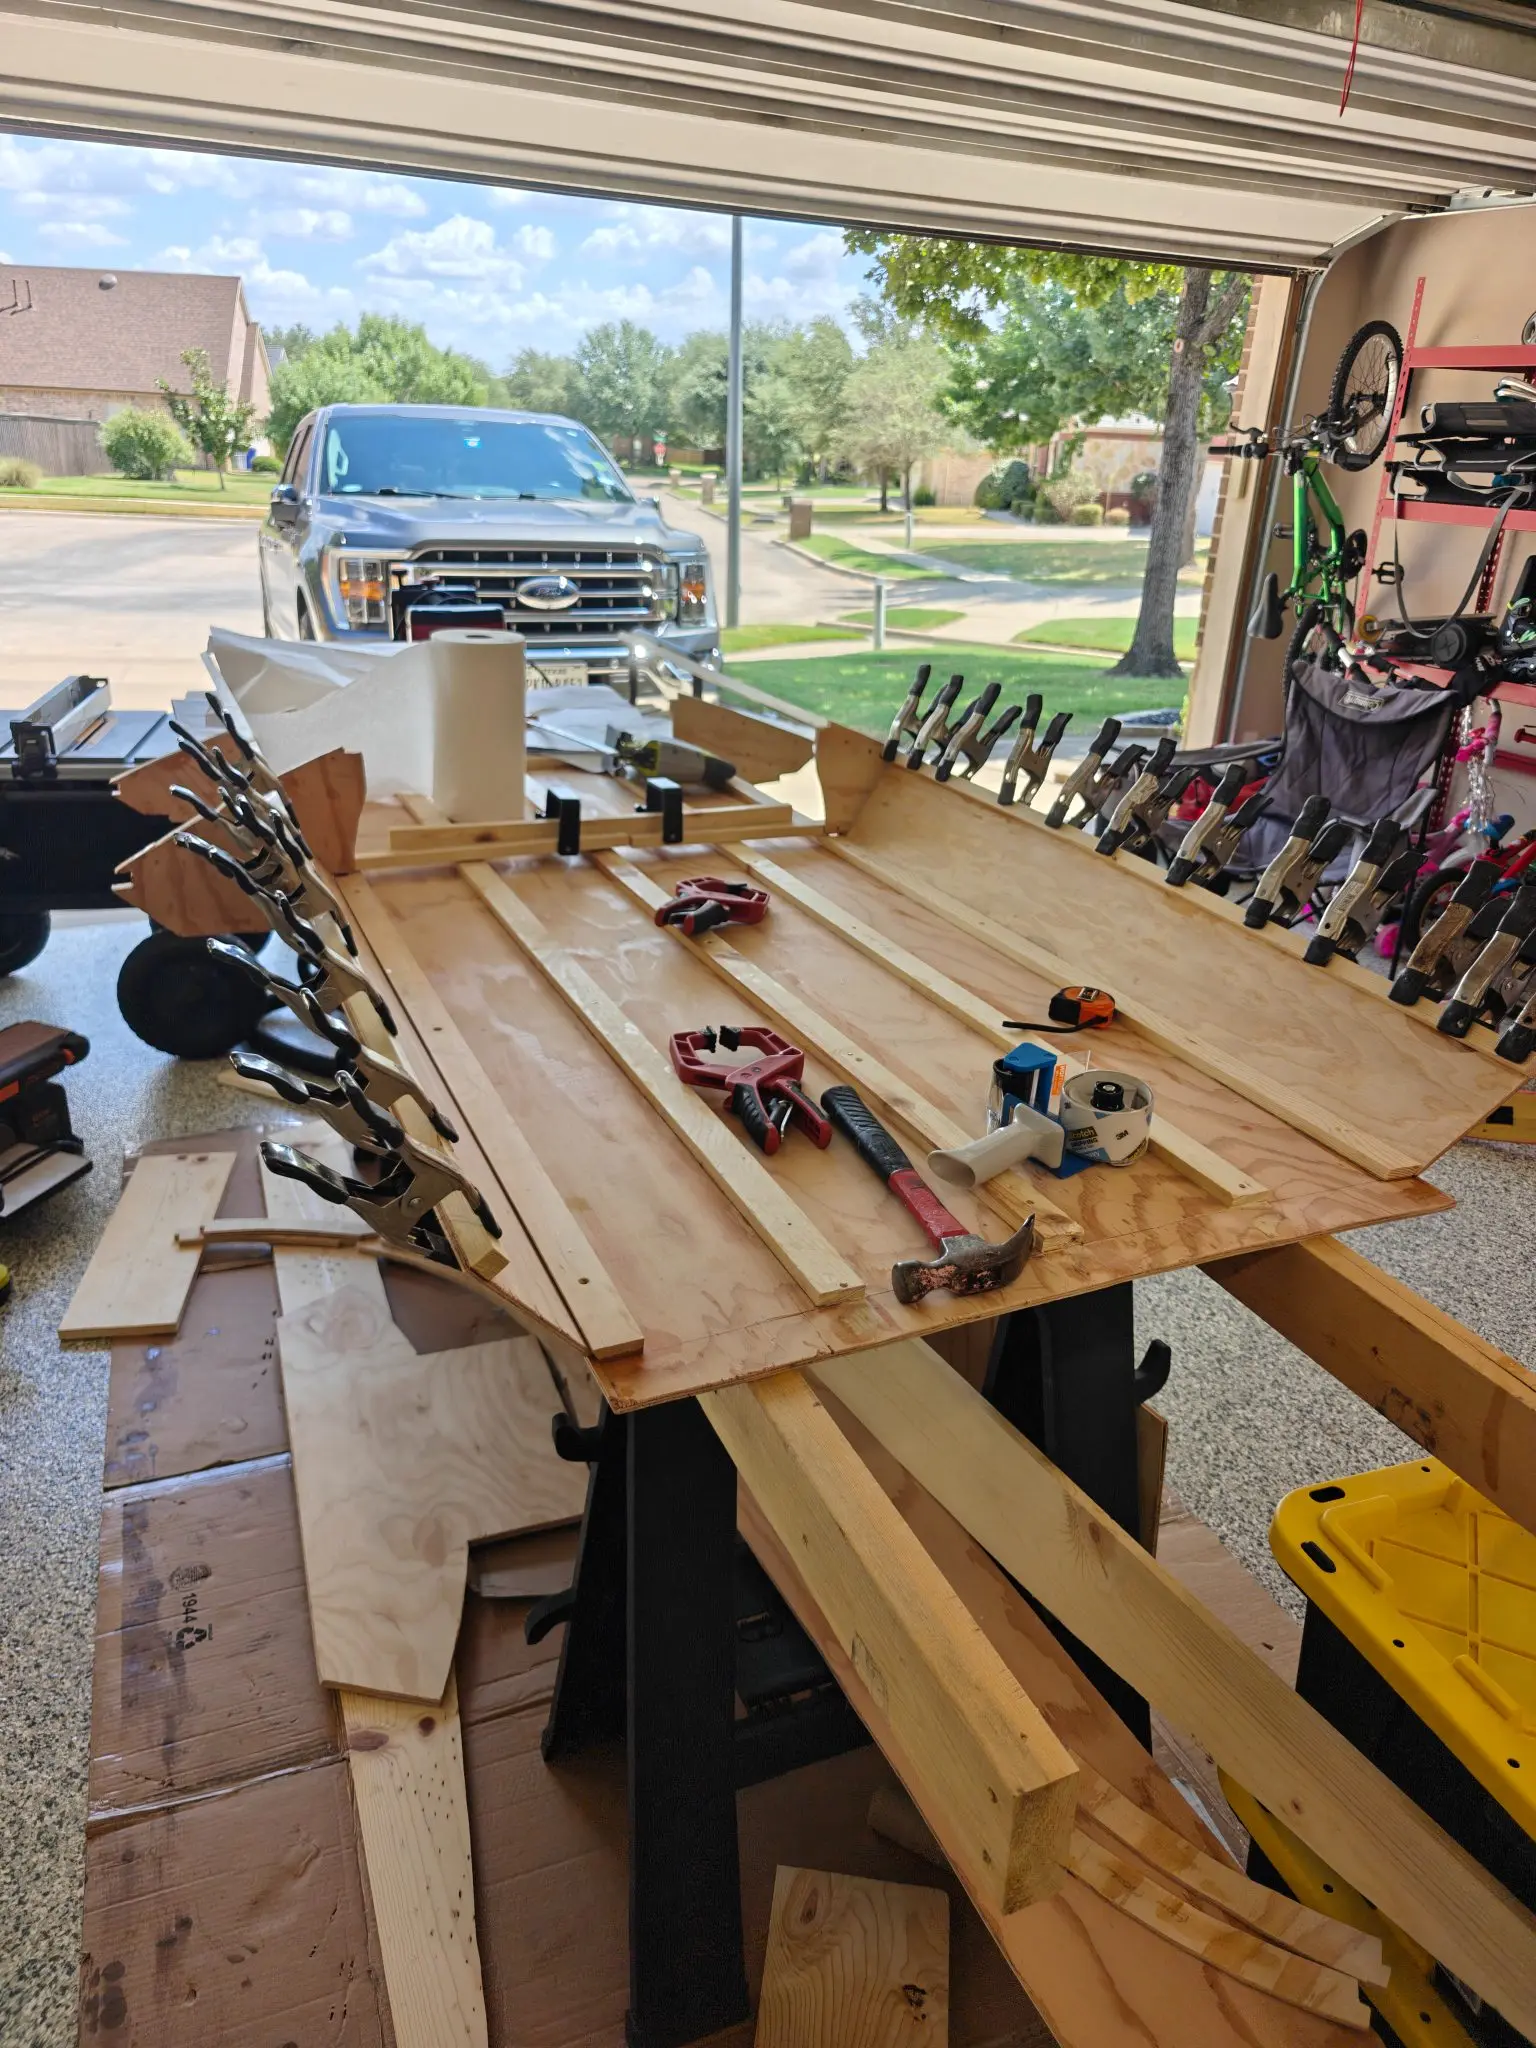
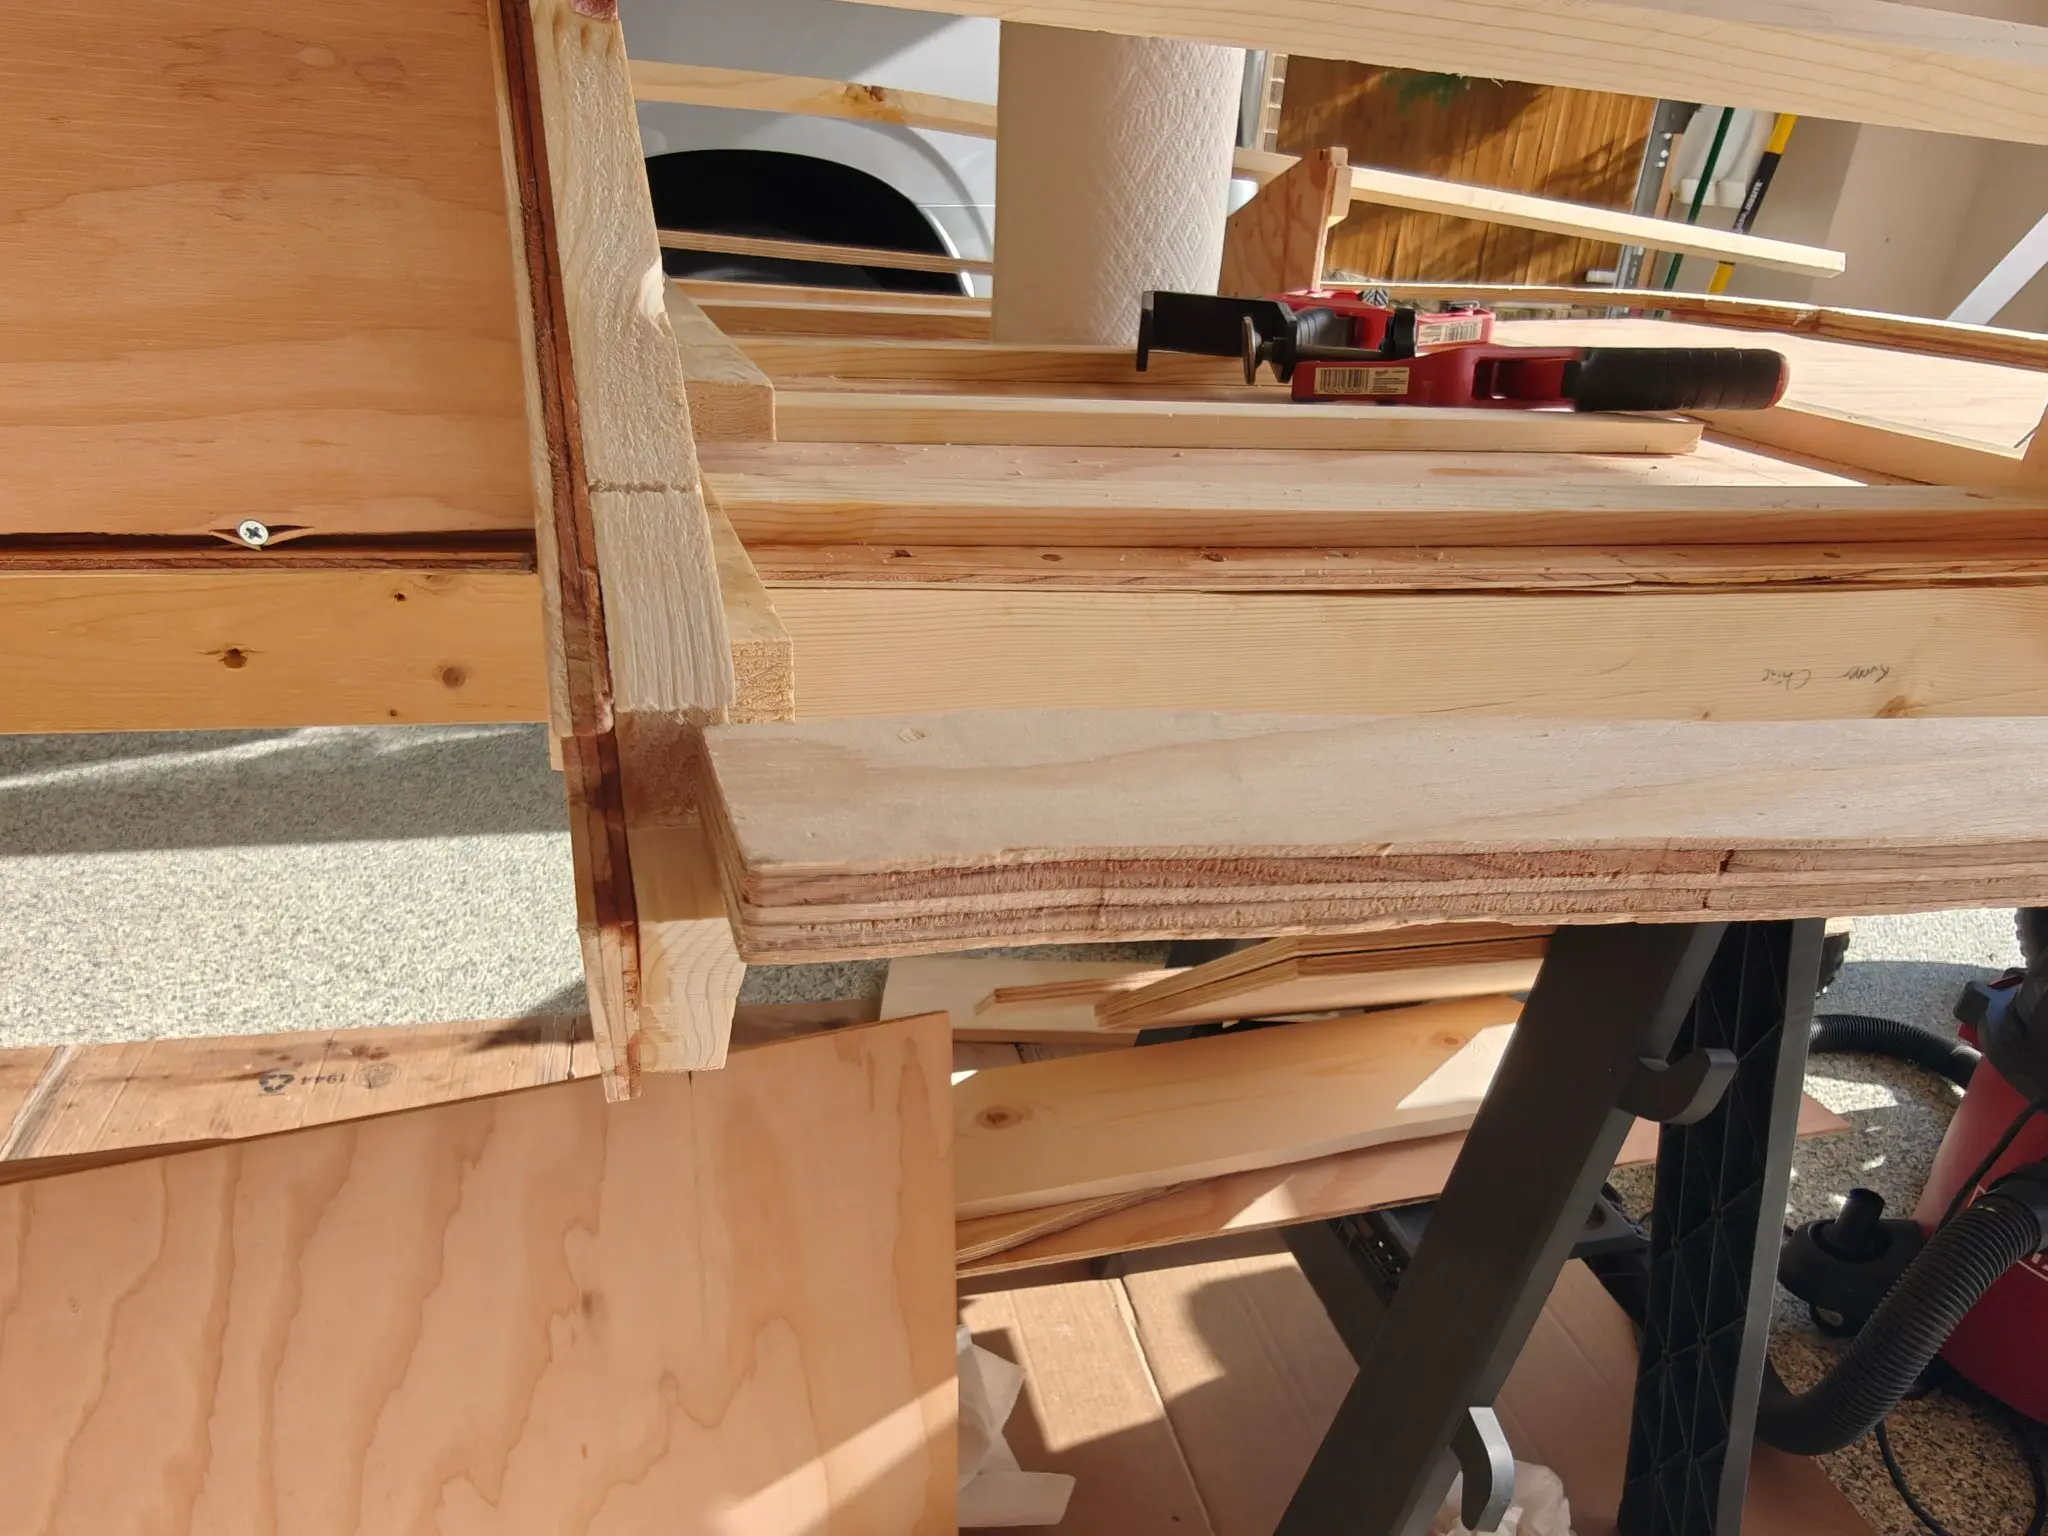
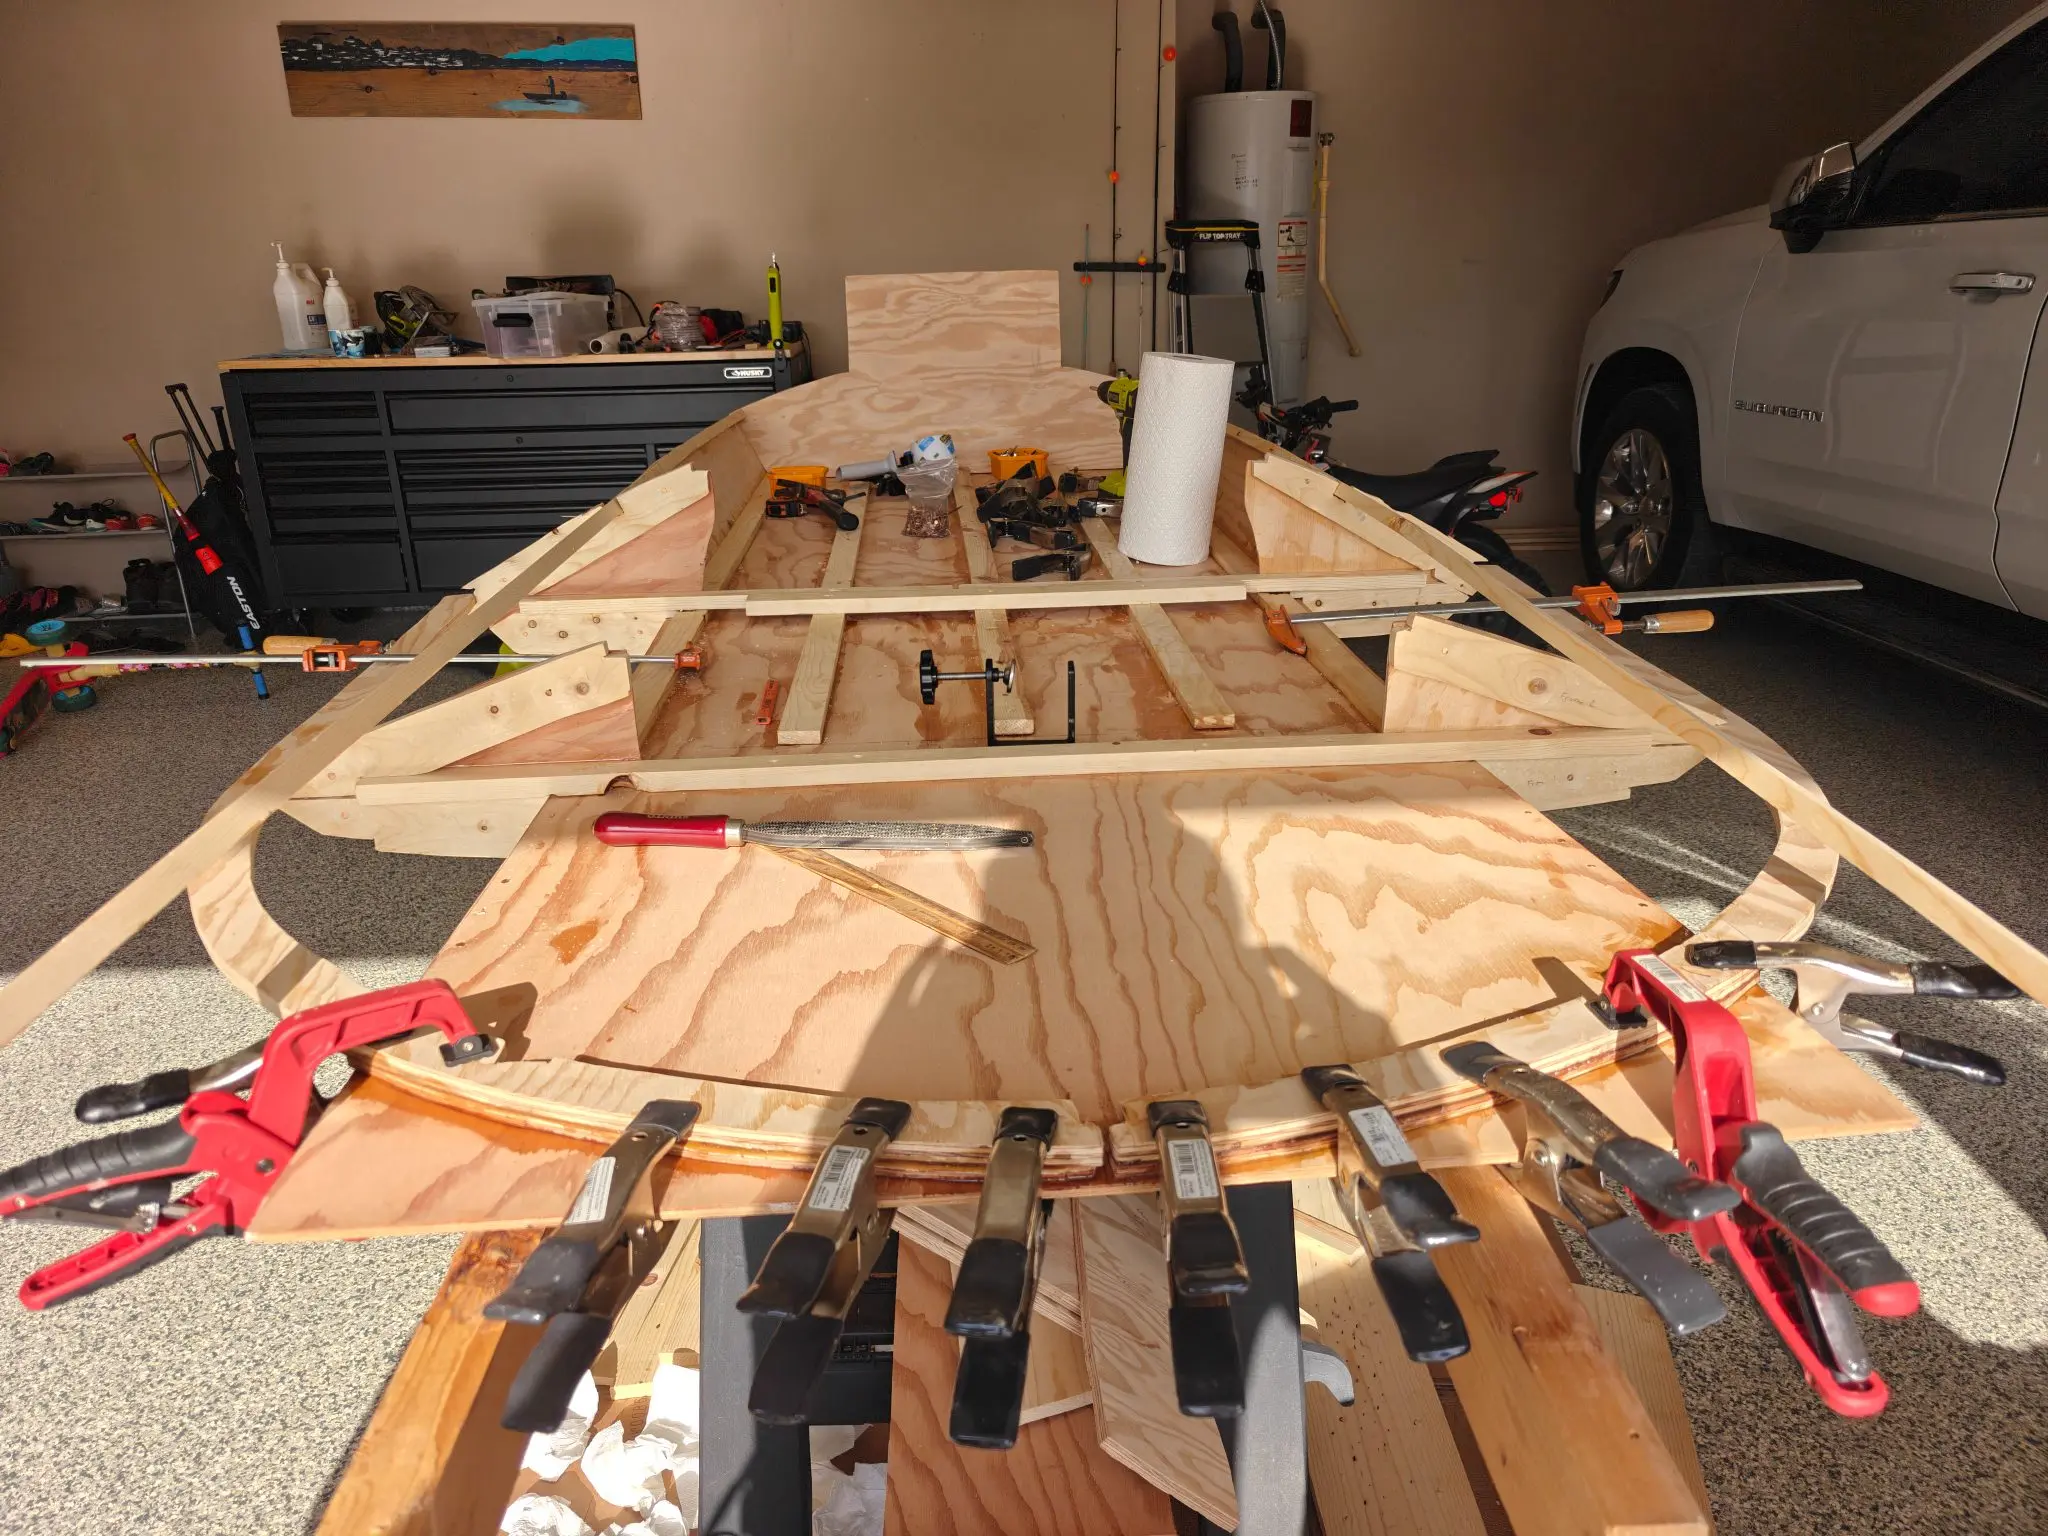
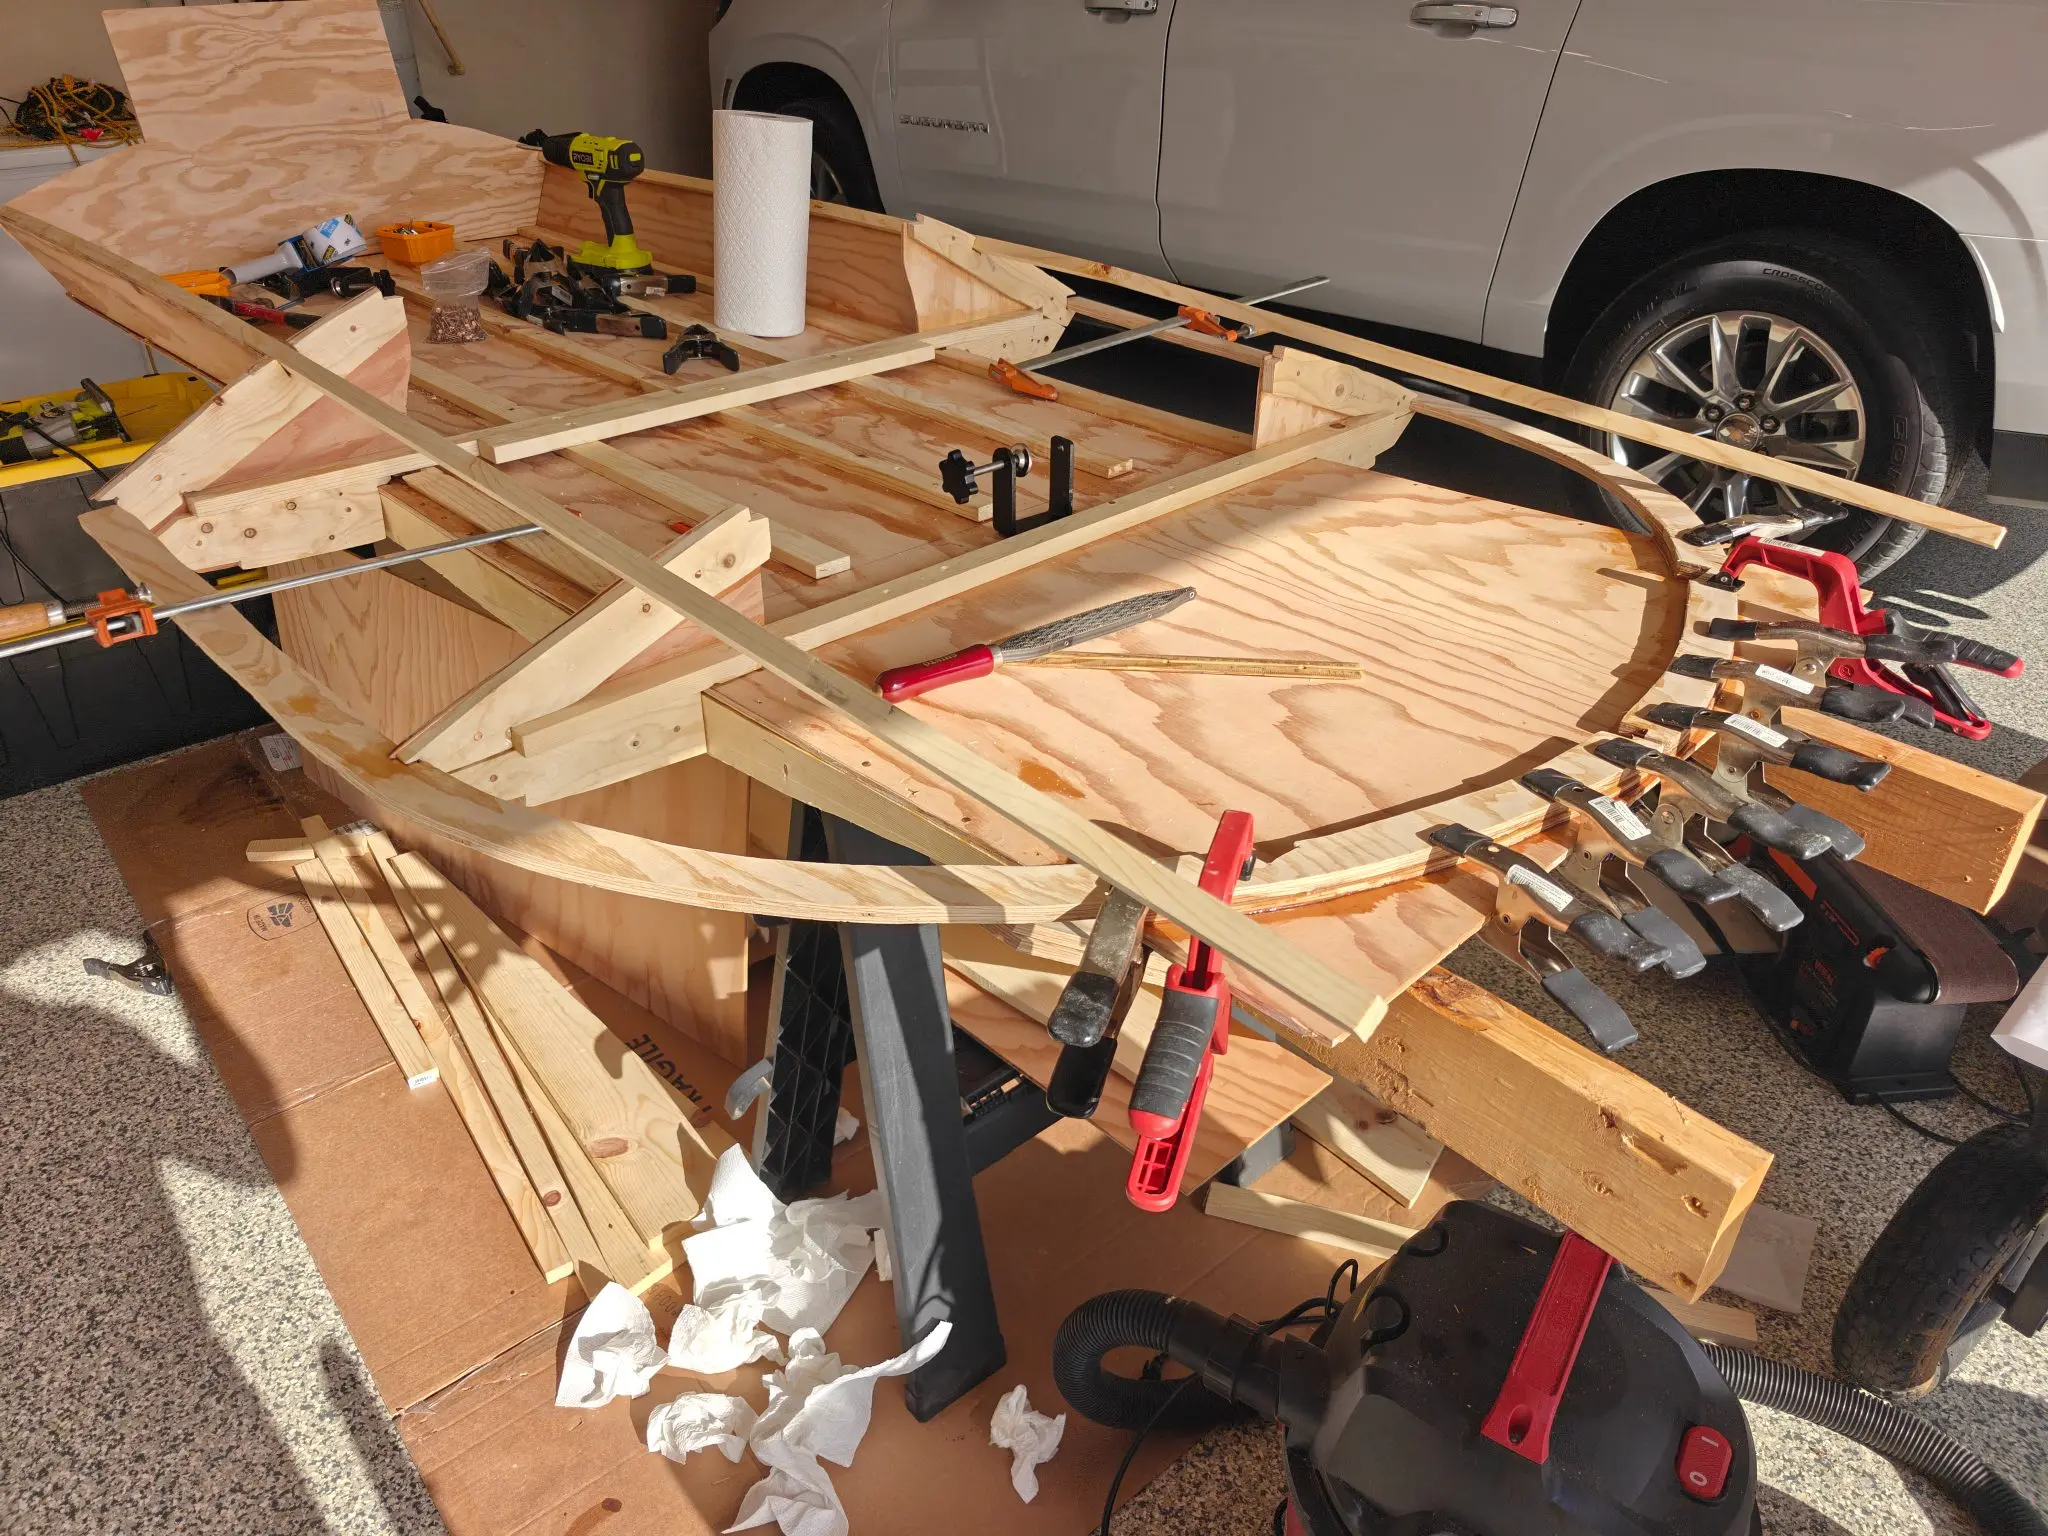
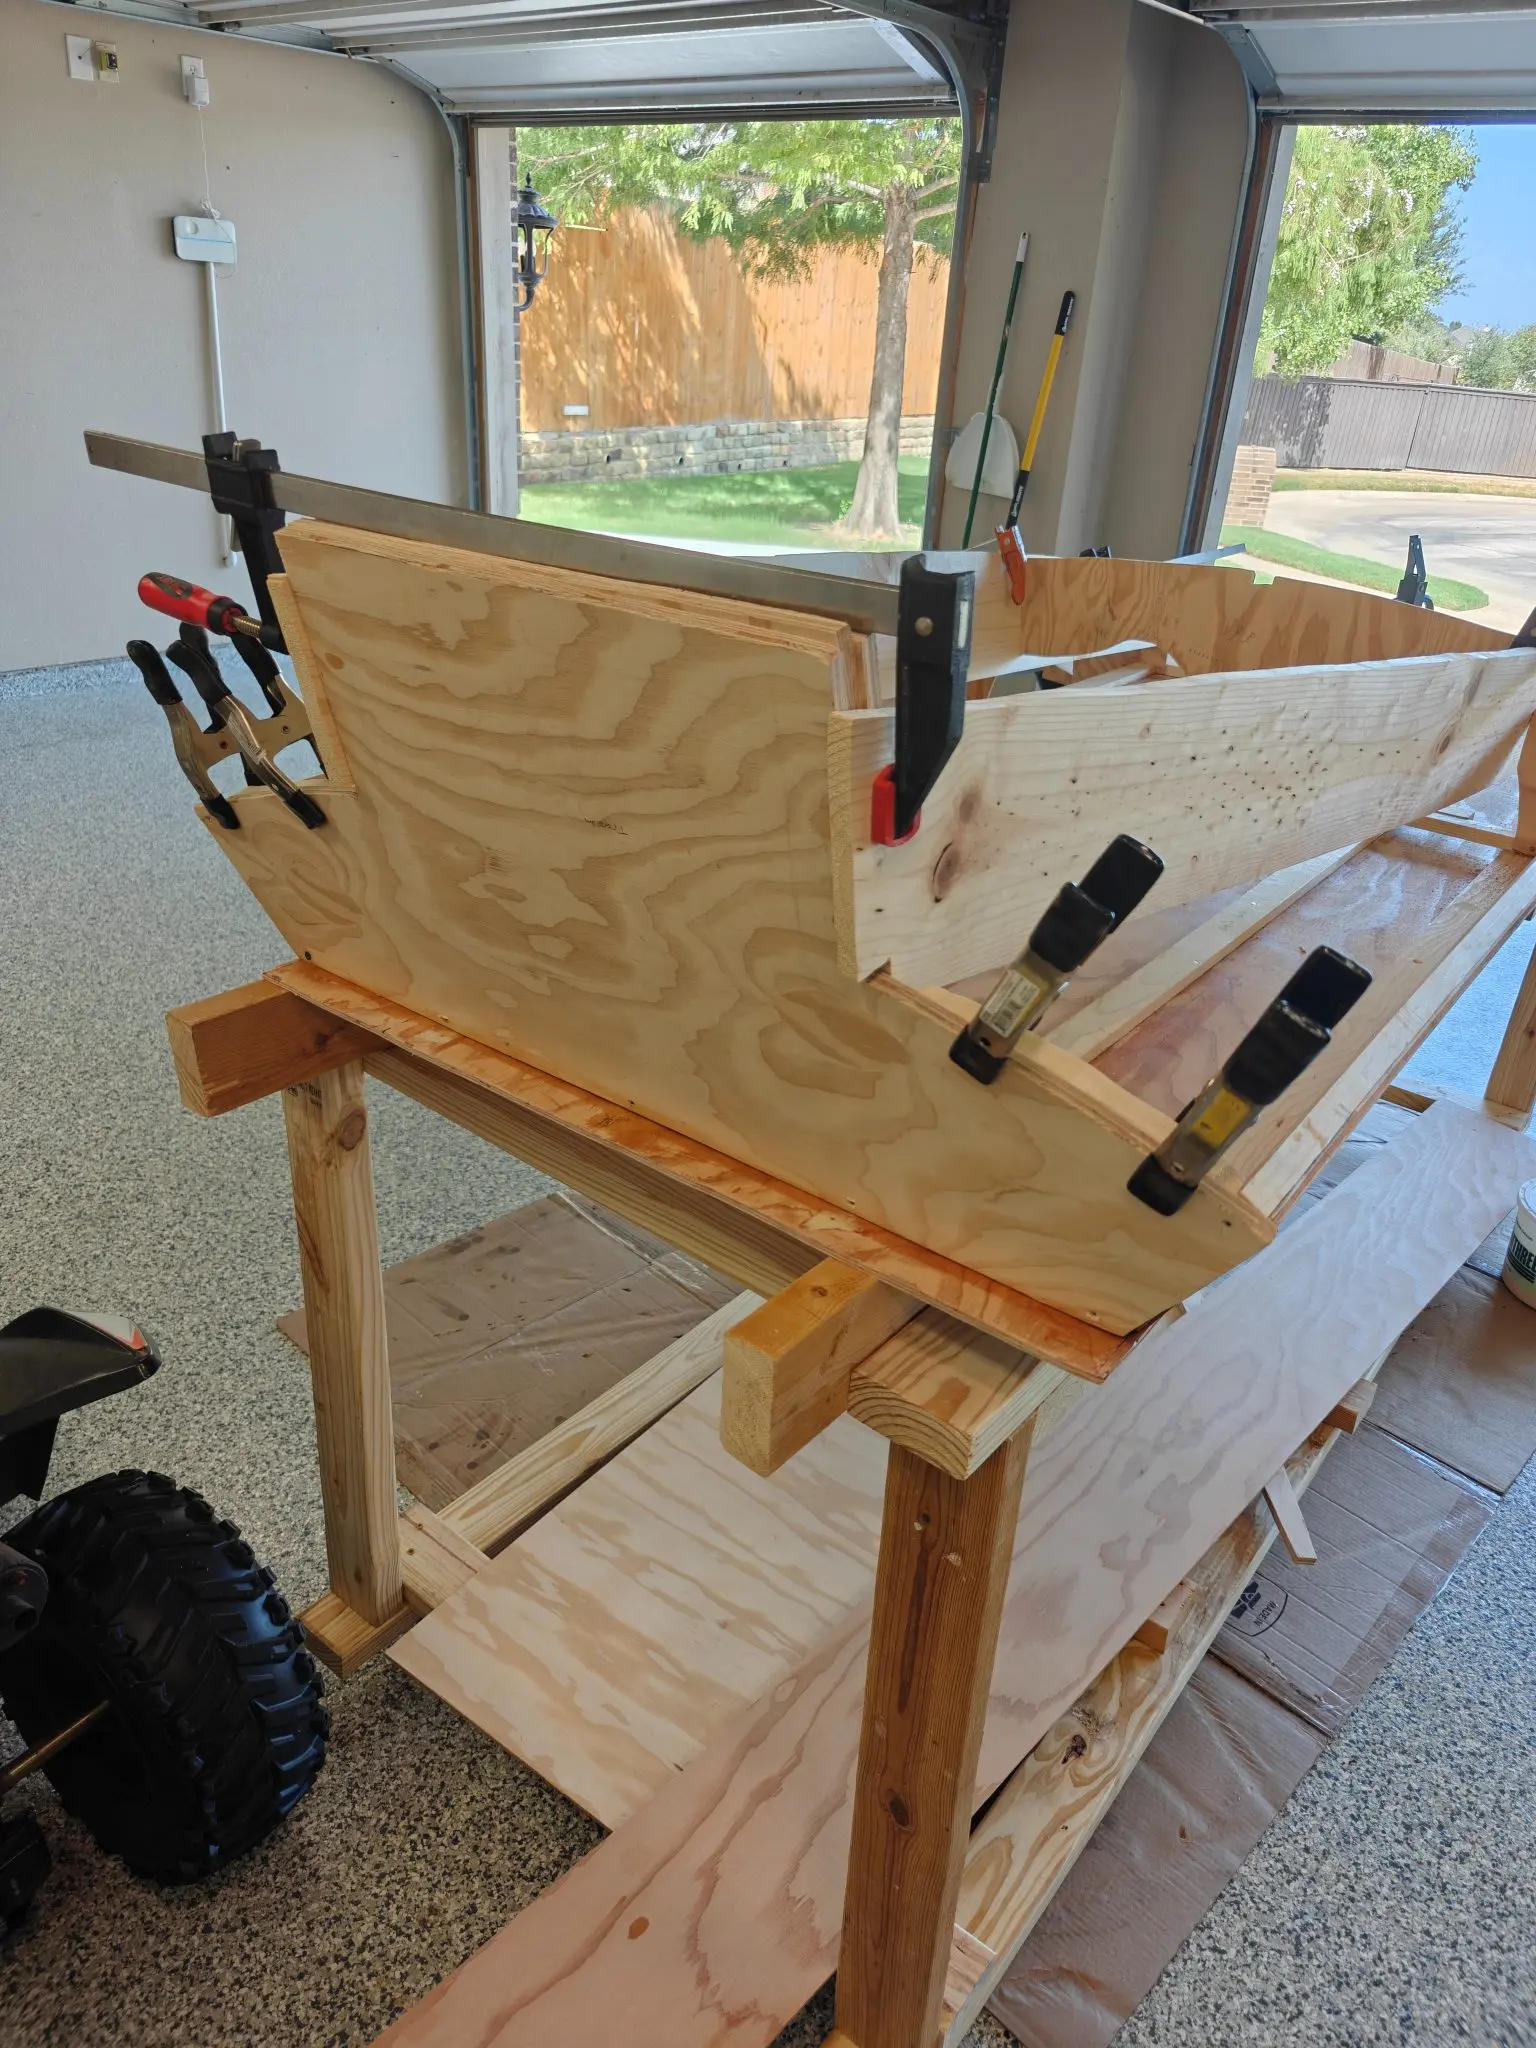
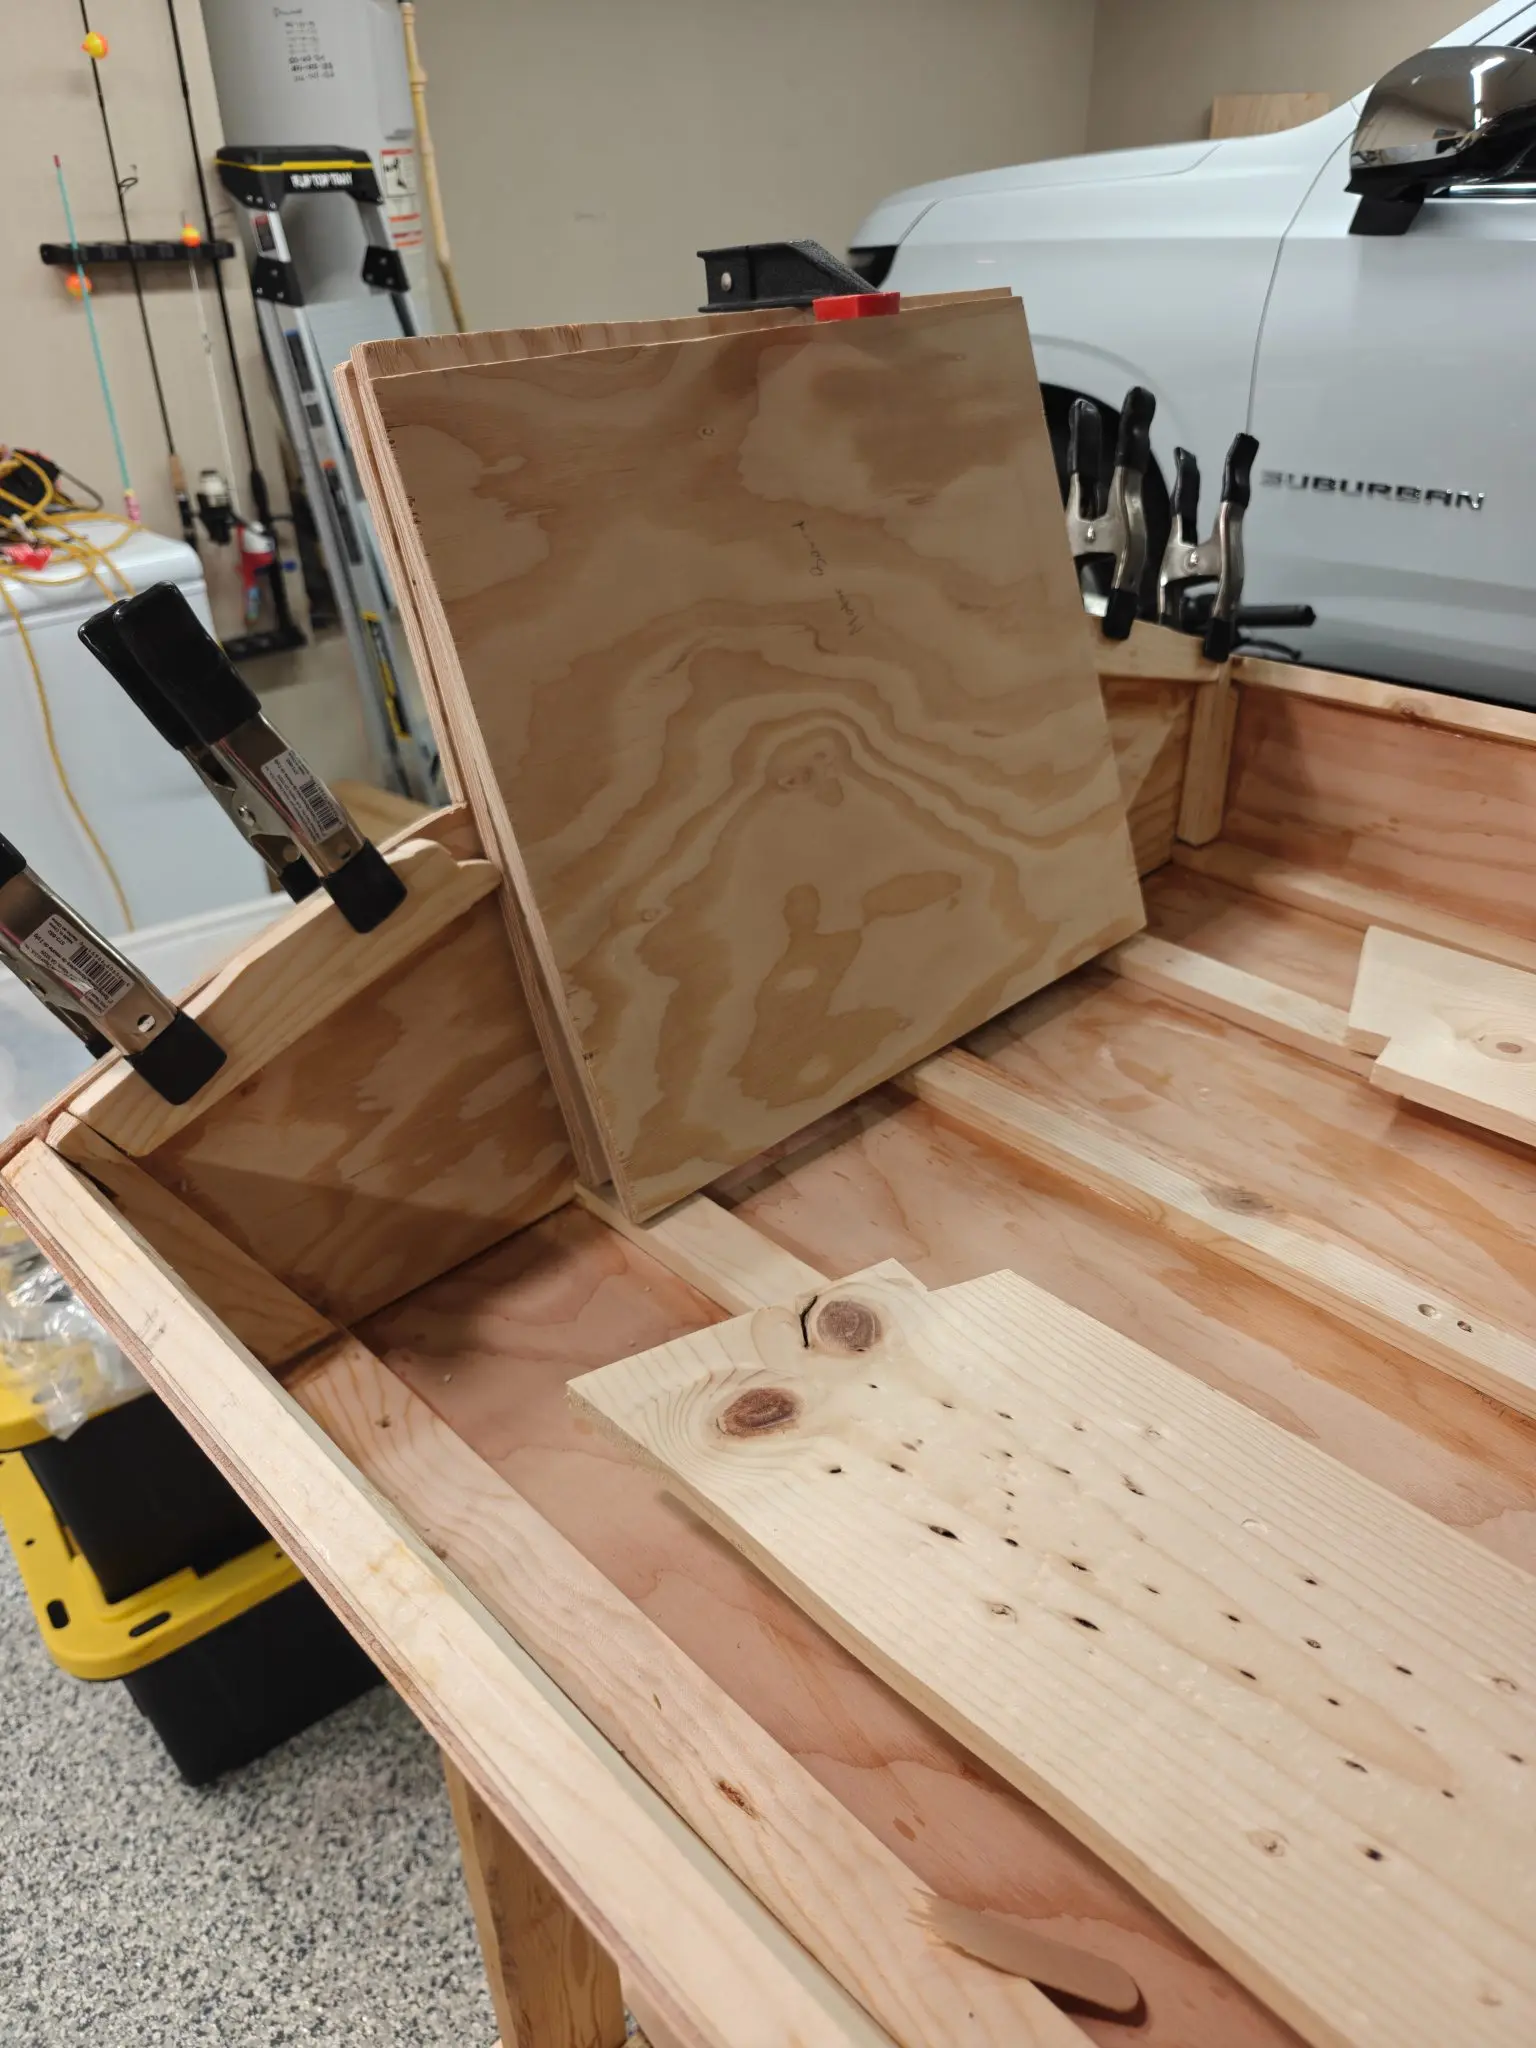
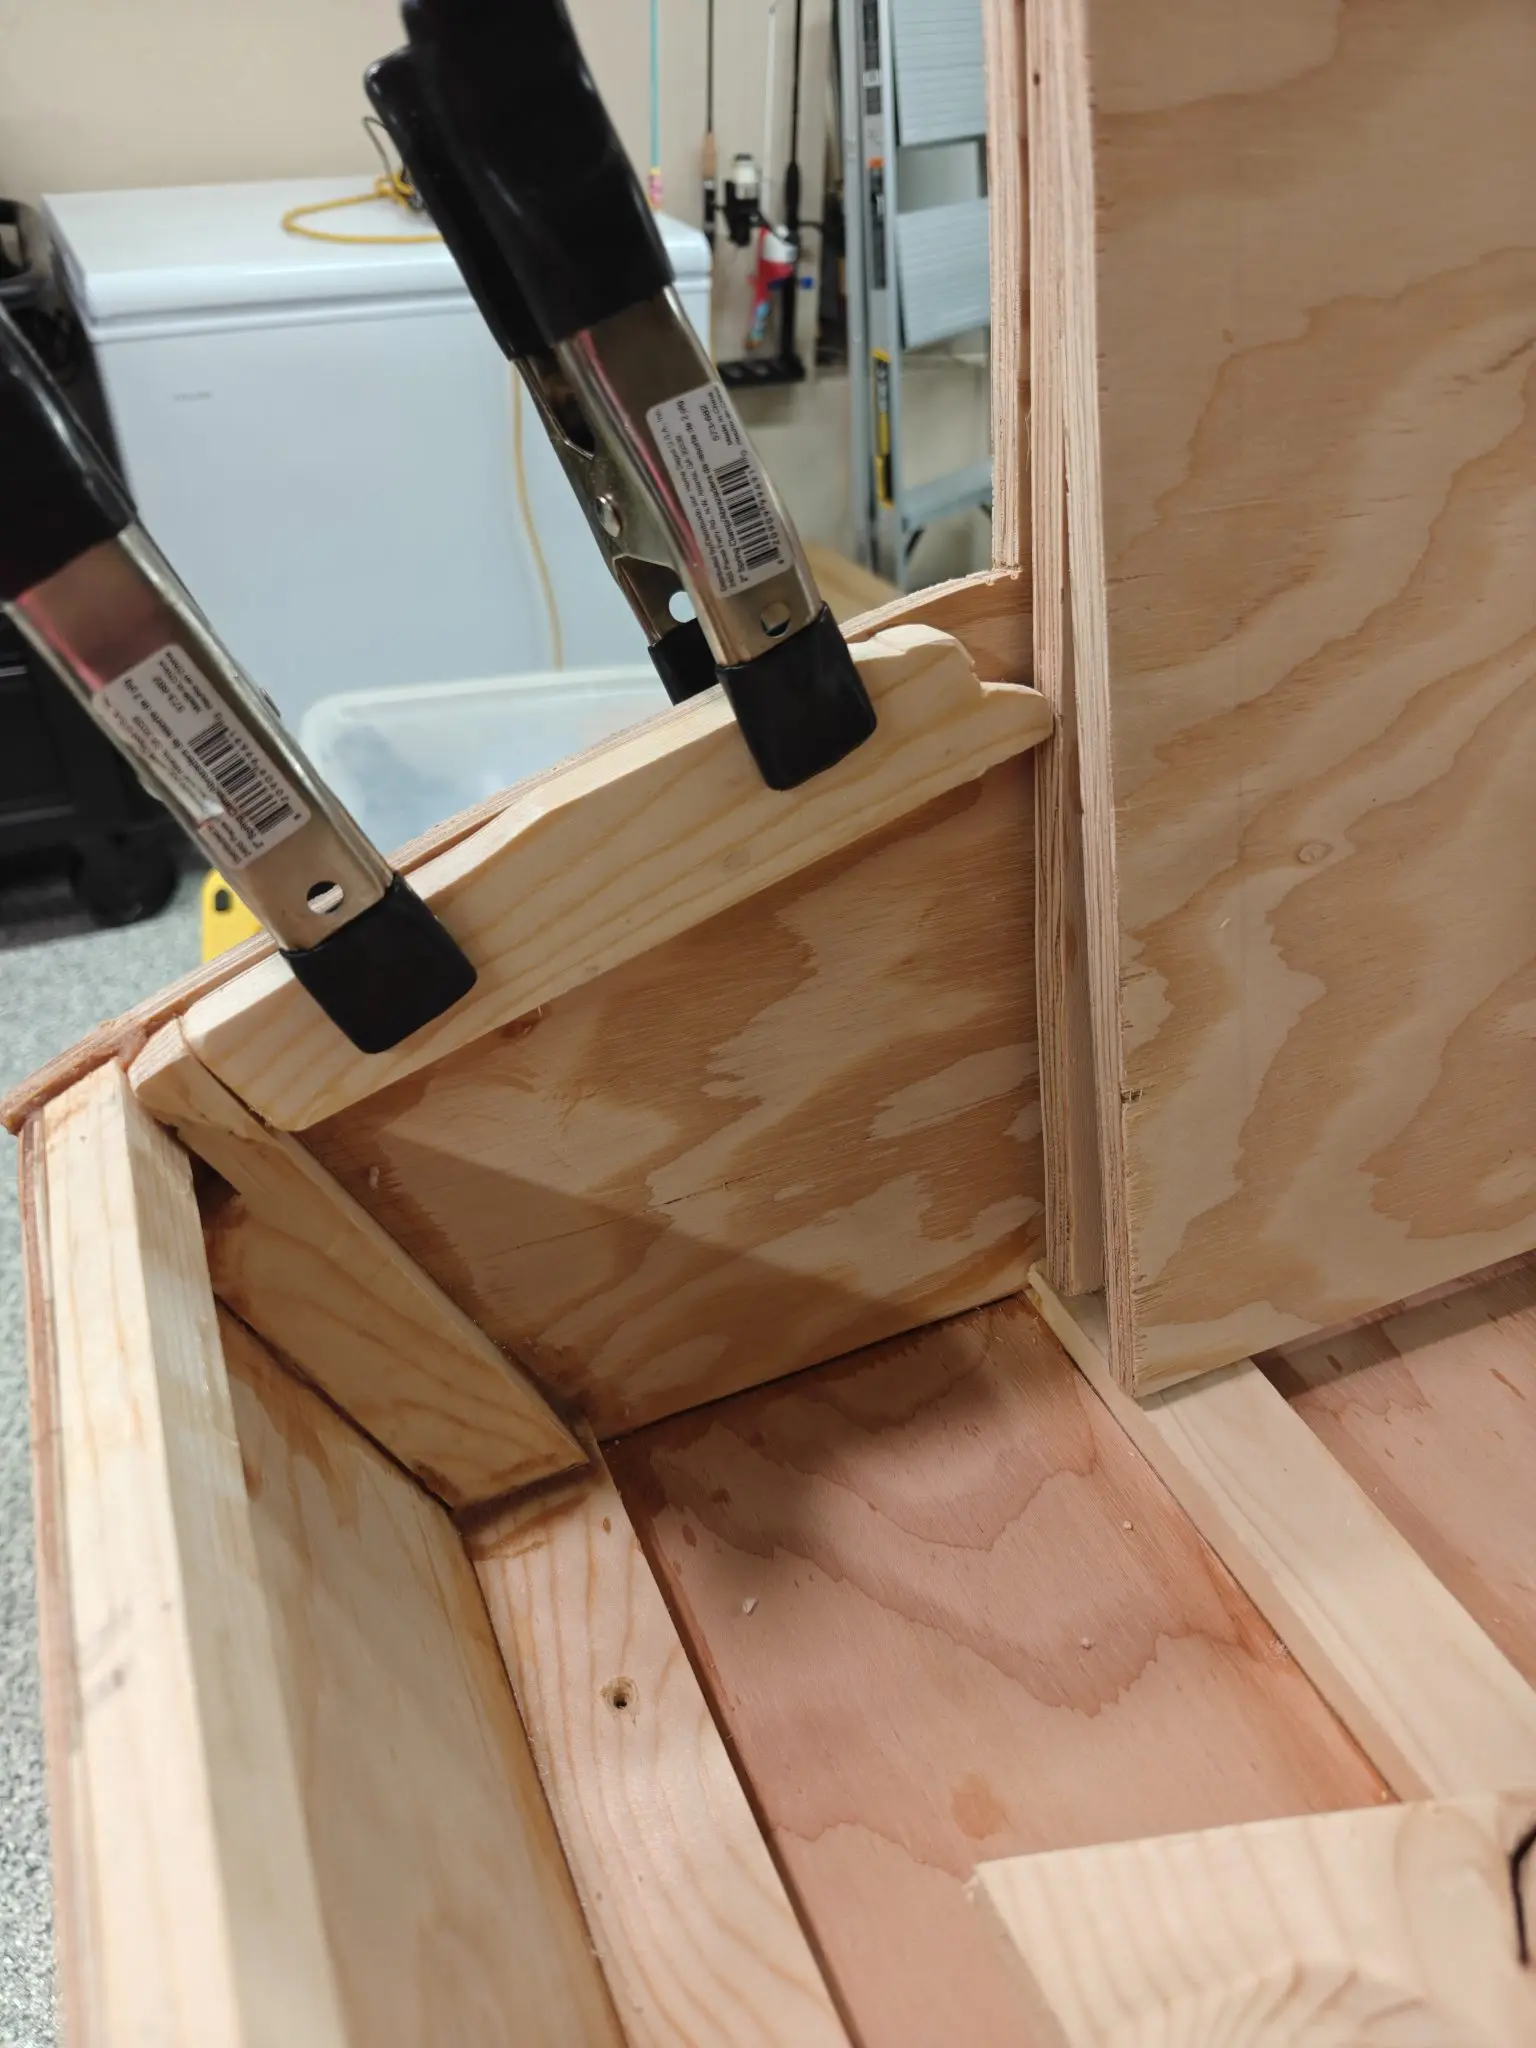
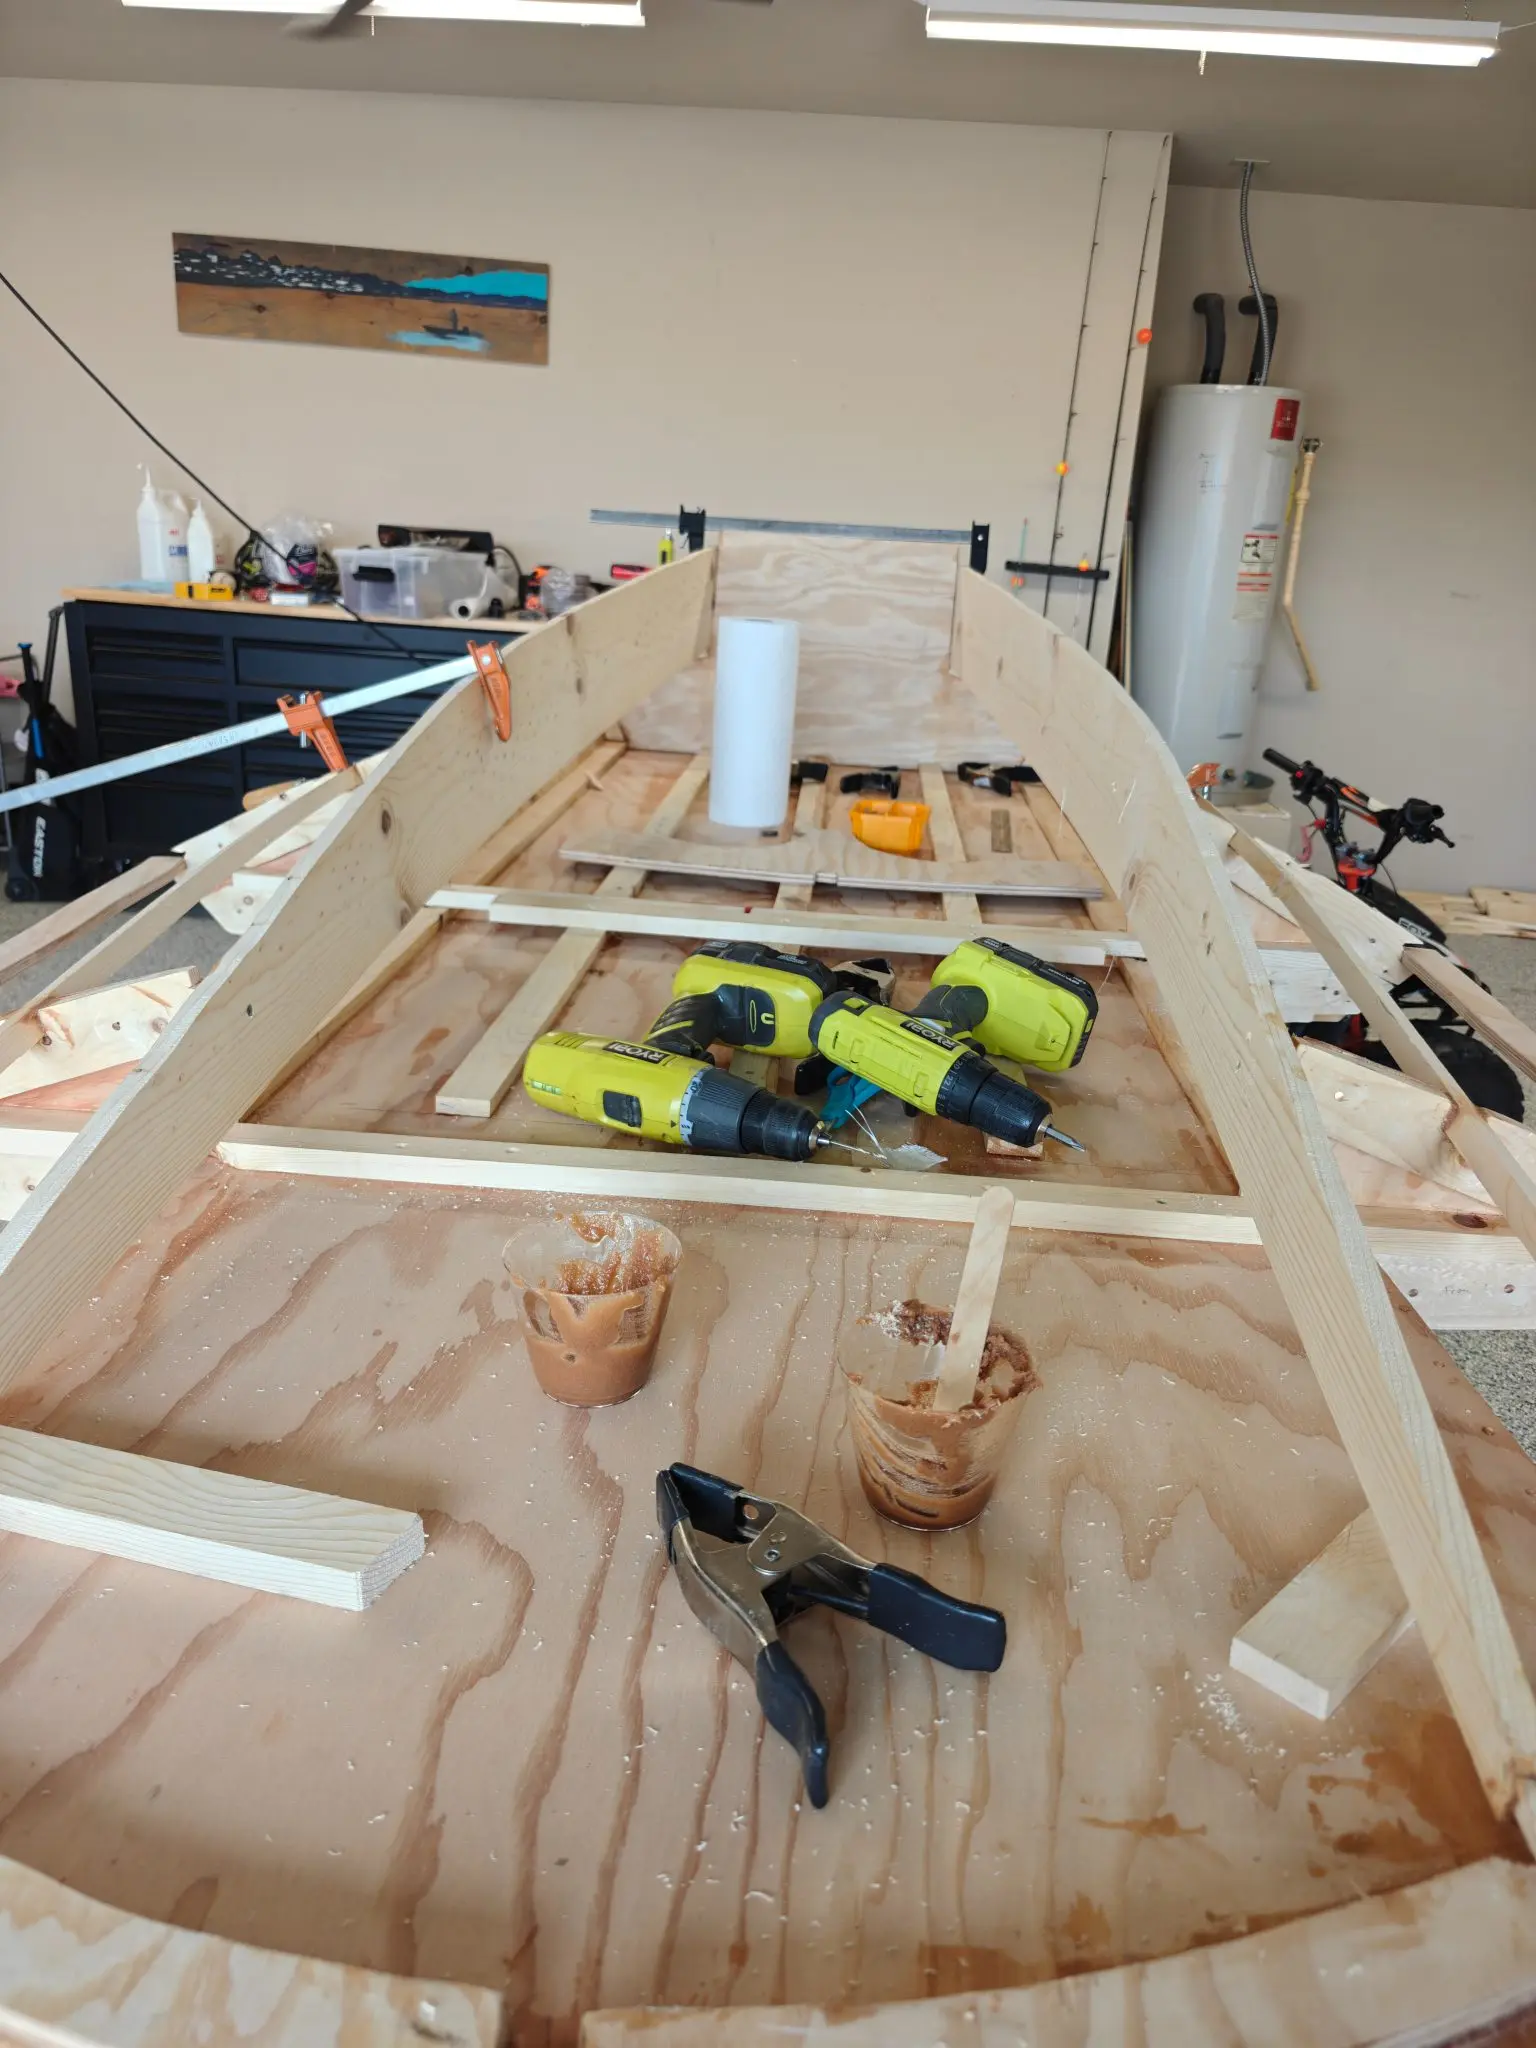
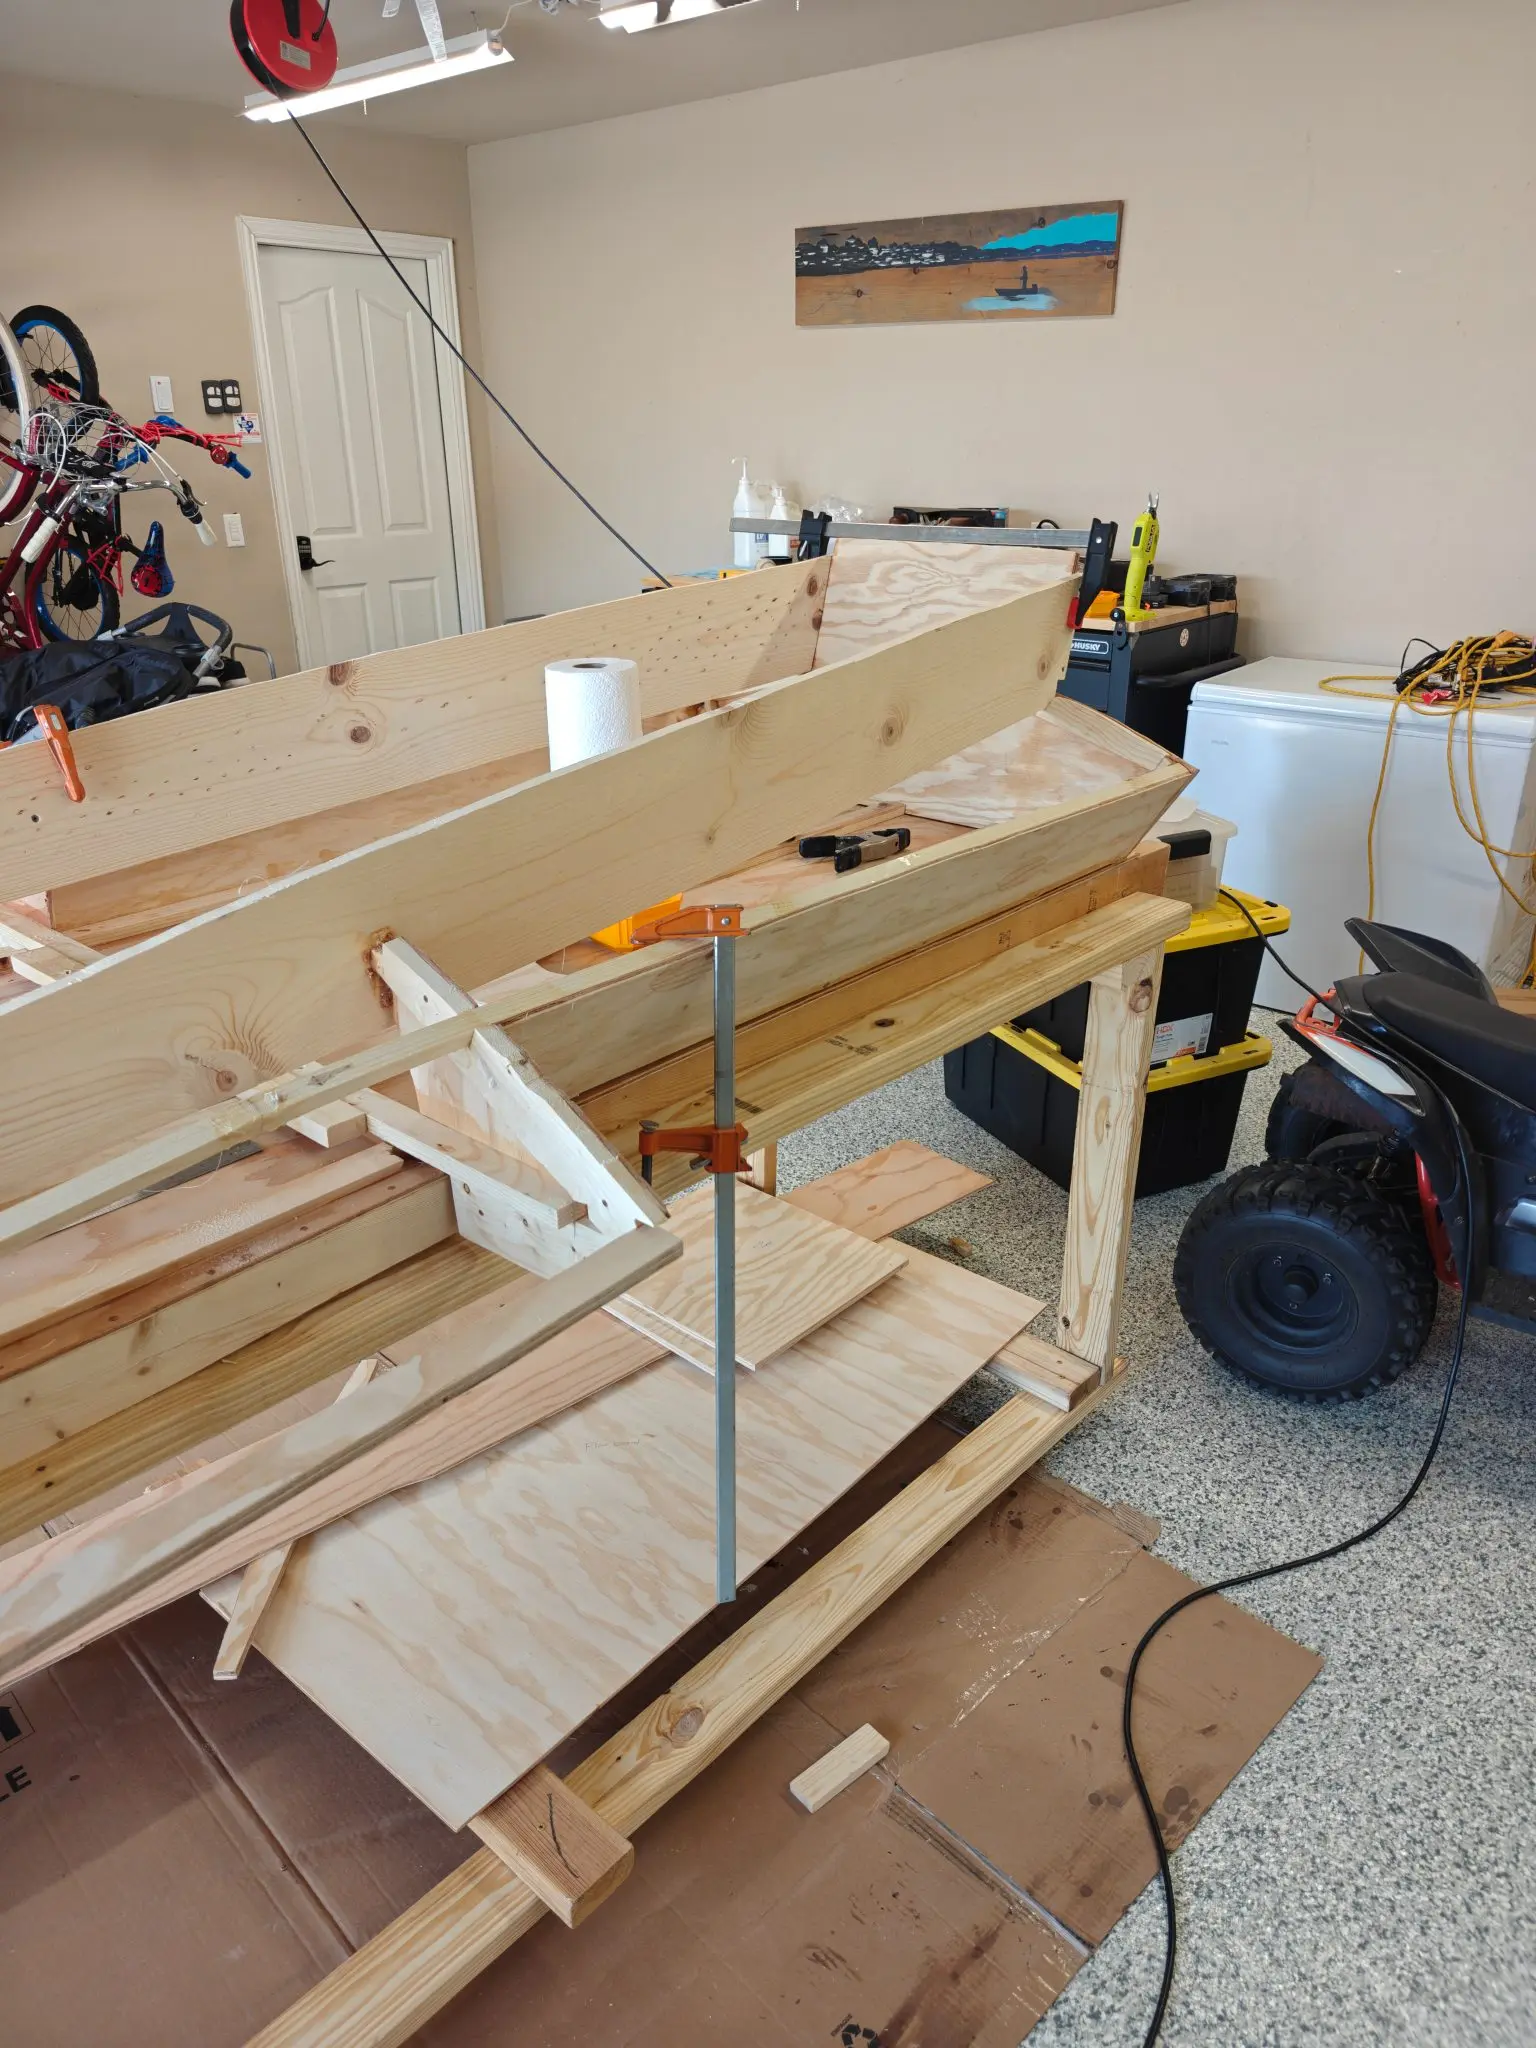
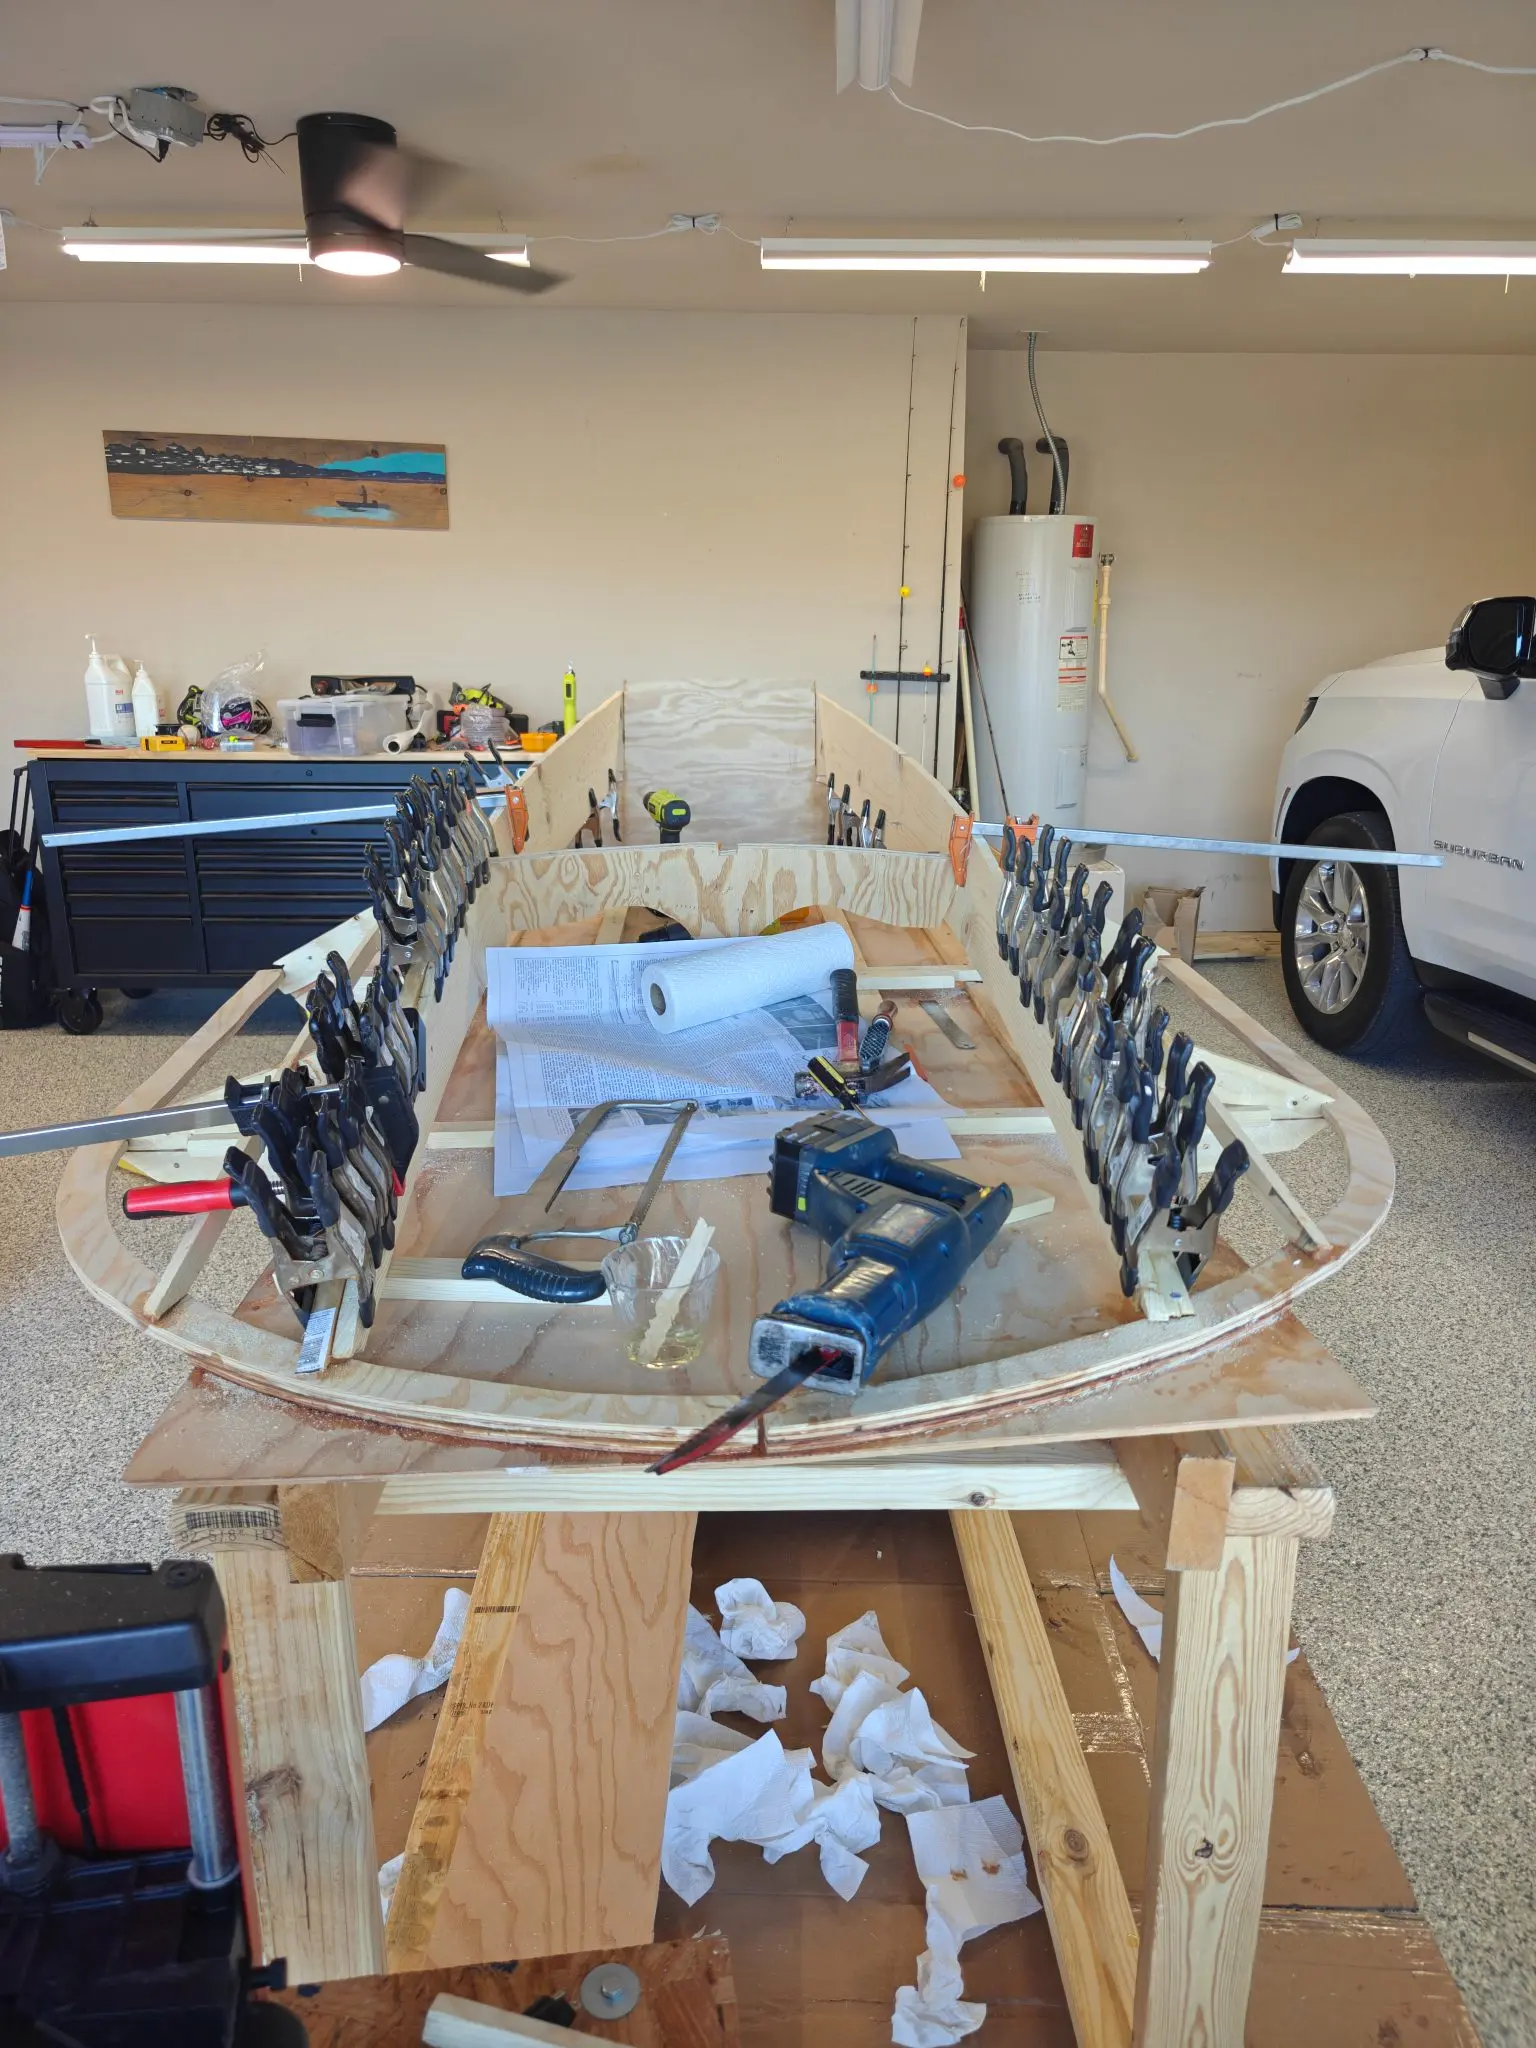
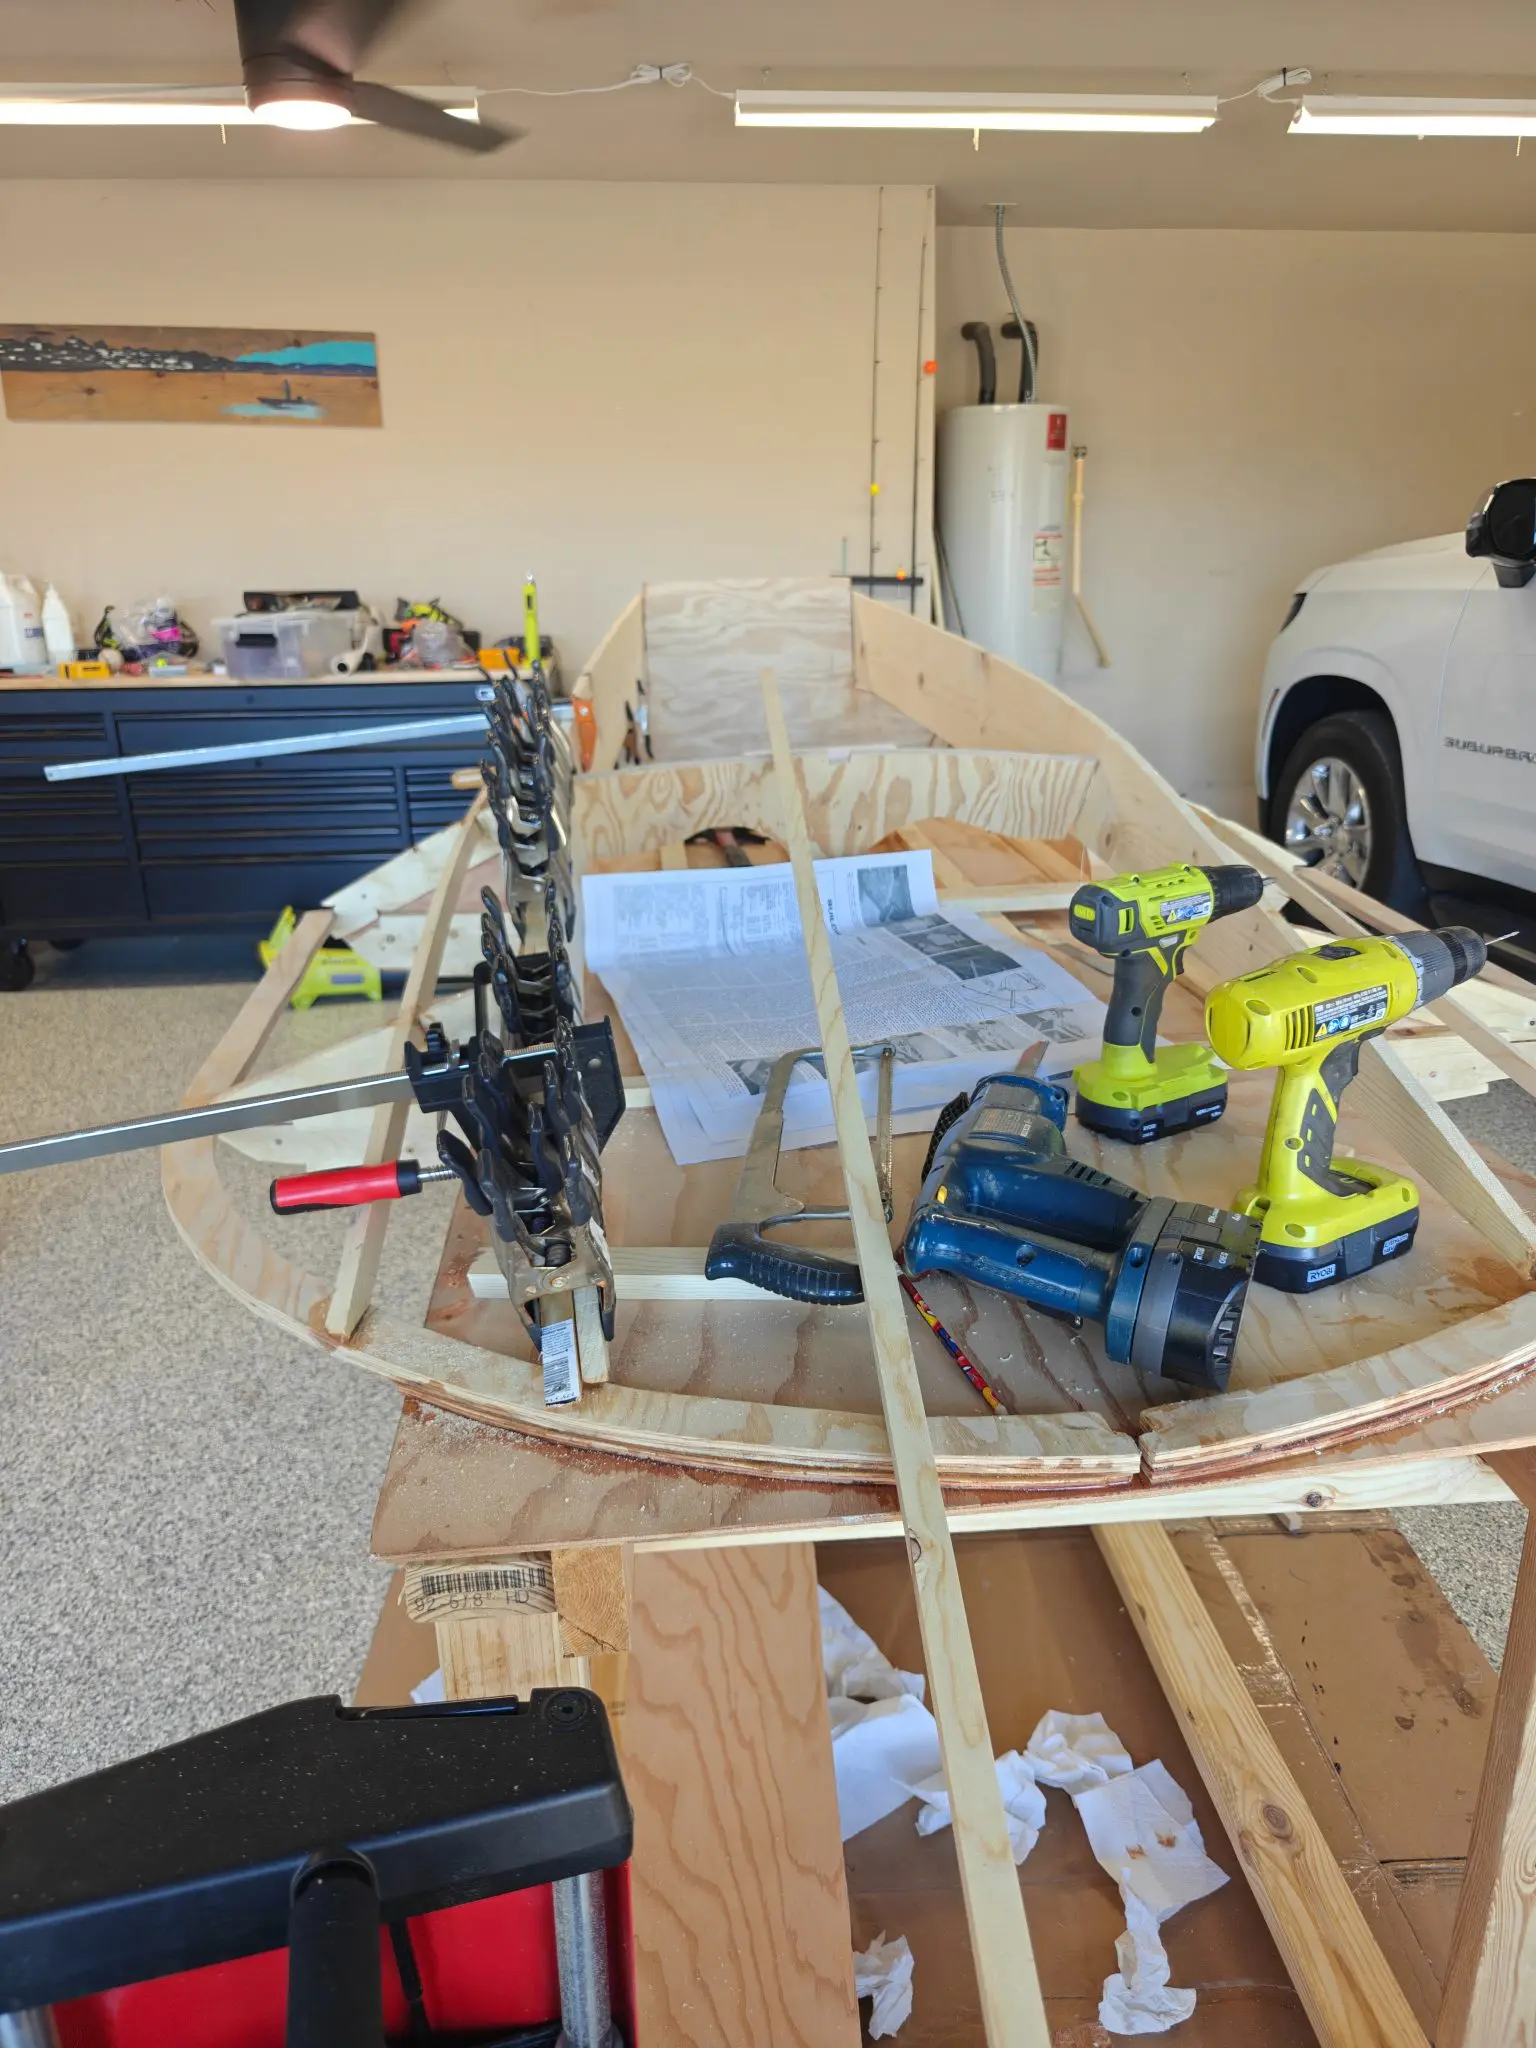
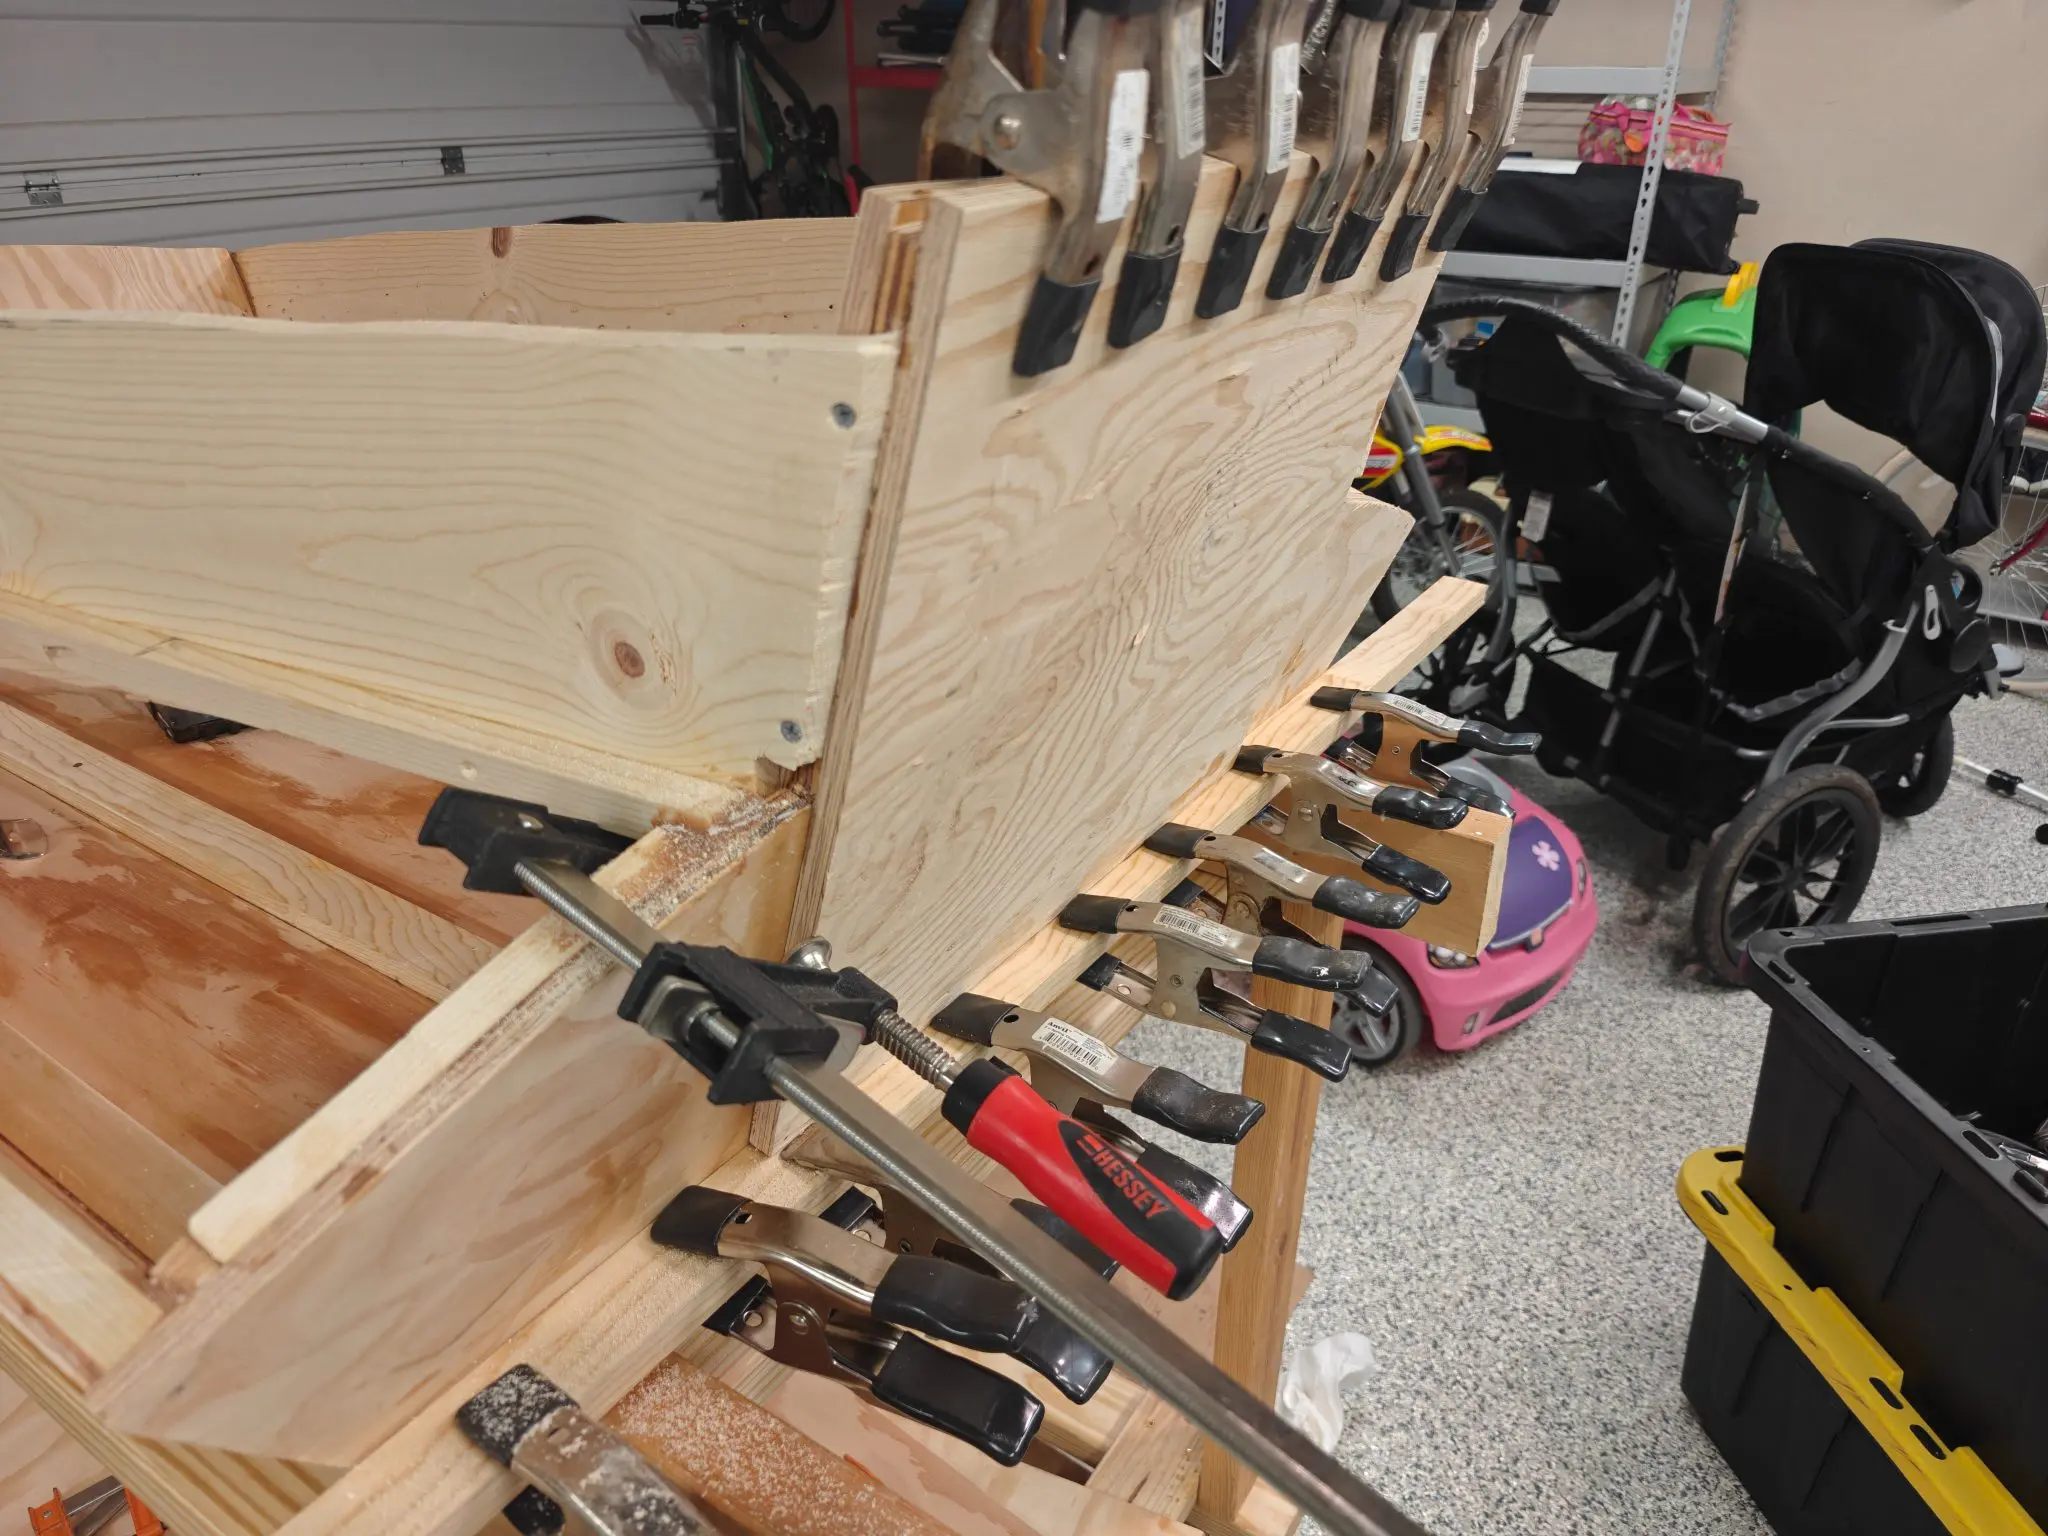
Dry fit. Laid out the side panels and connected them to frame 1 and the transom just to check the fit. Nothing glued yet, everything's just held with clamps (see photo).
8 Sep 2026
Hull Panels 2 h
Mounting the chines
I think at this point in the build I'm just getting comfortable over the fact that I've probably made mistakes and nothing seems to fit perfectly.
I have stare at the plans countless times and I still don't understand how some of the pieces are off in some cases about an inch. I know the one mistake I made which was cutting the AFT side too short by 2 in, that one was on me. But the rest I would expect should all be within reason.
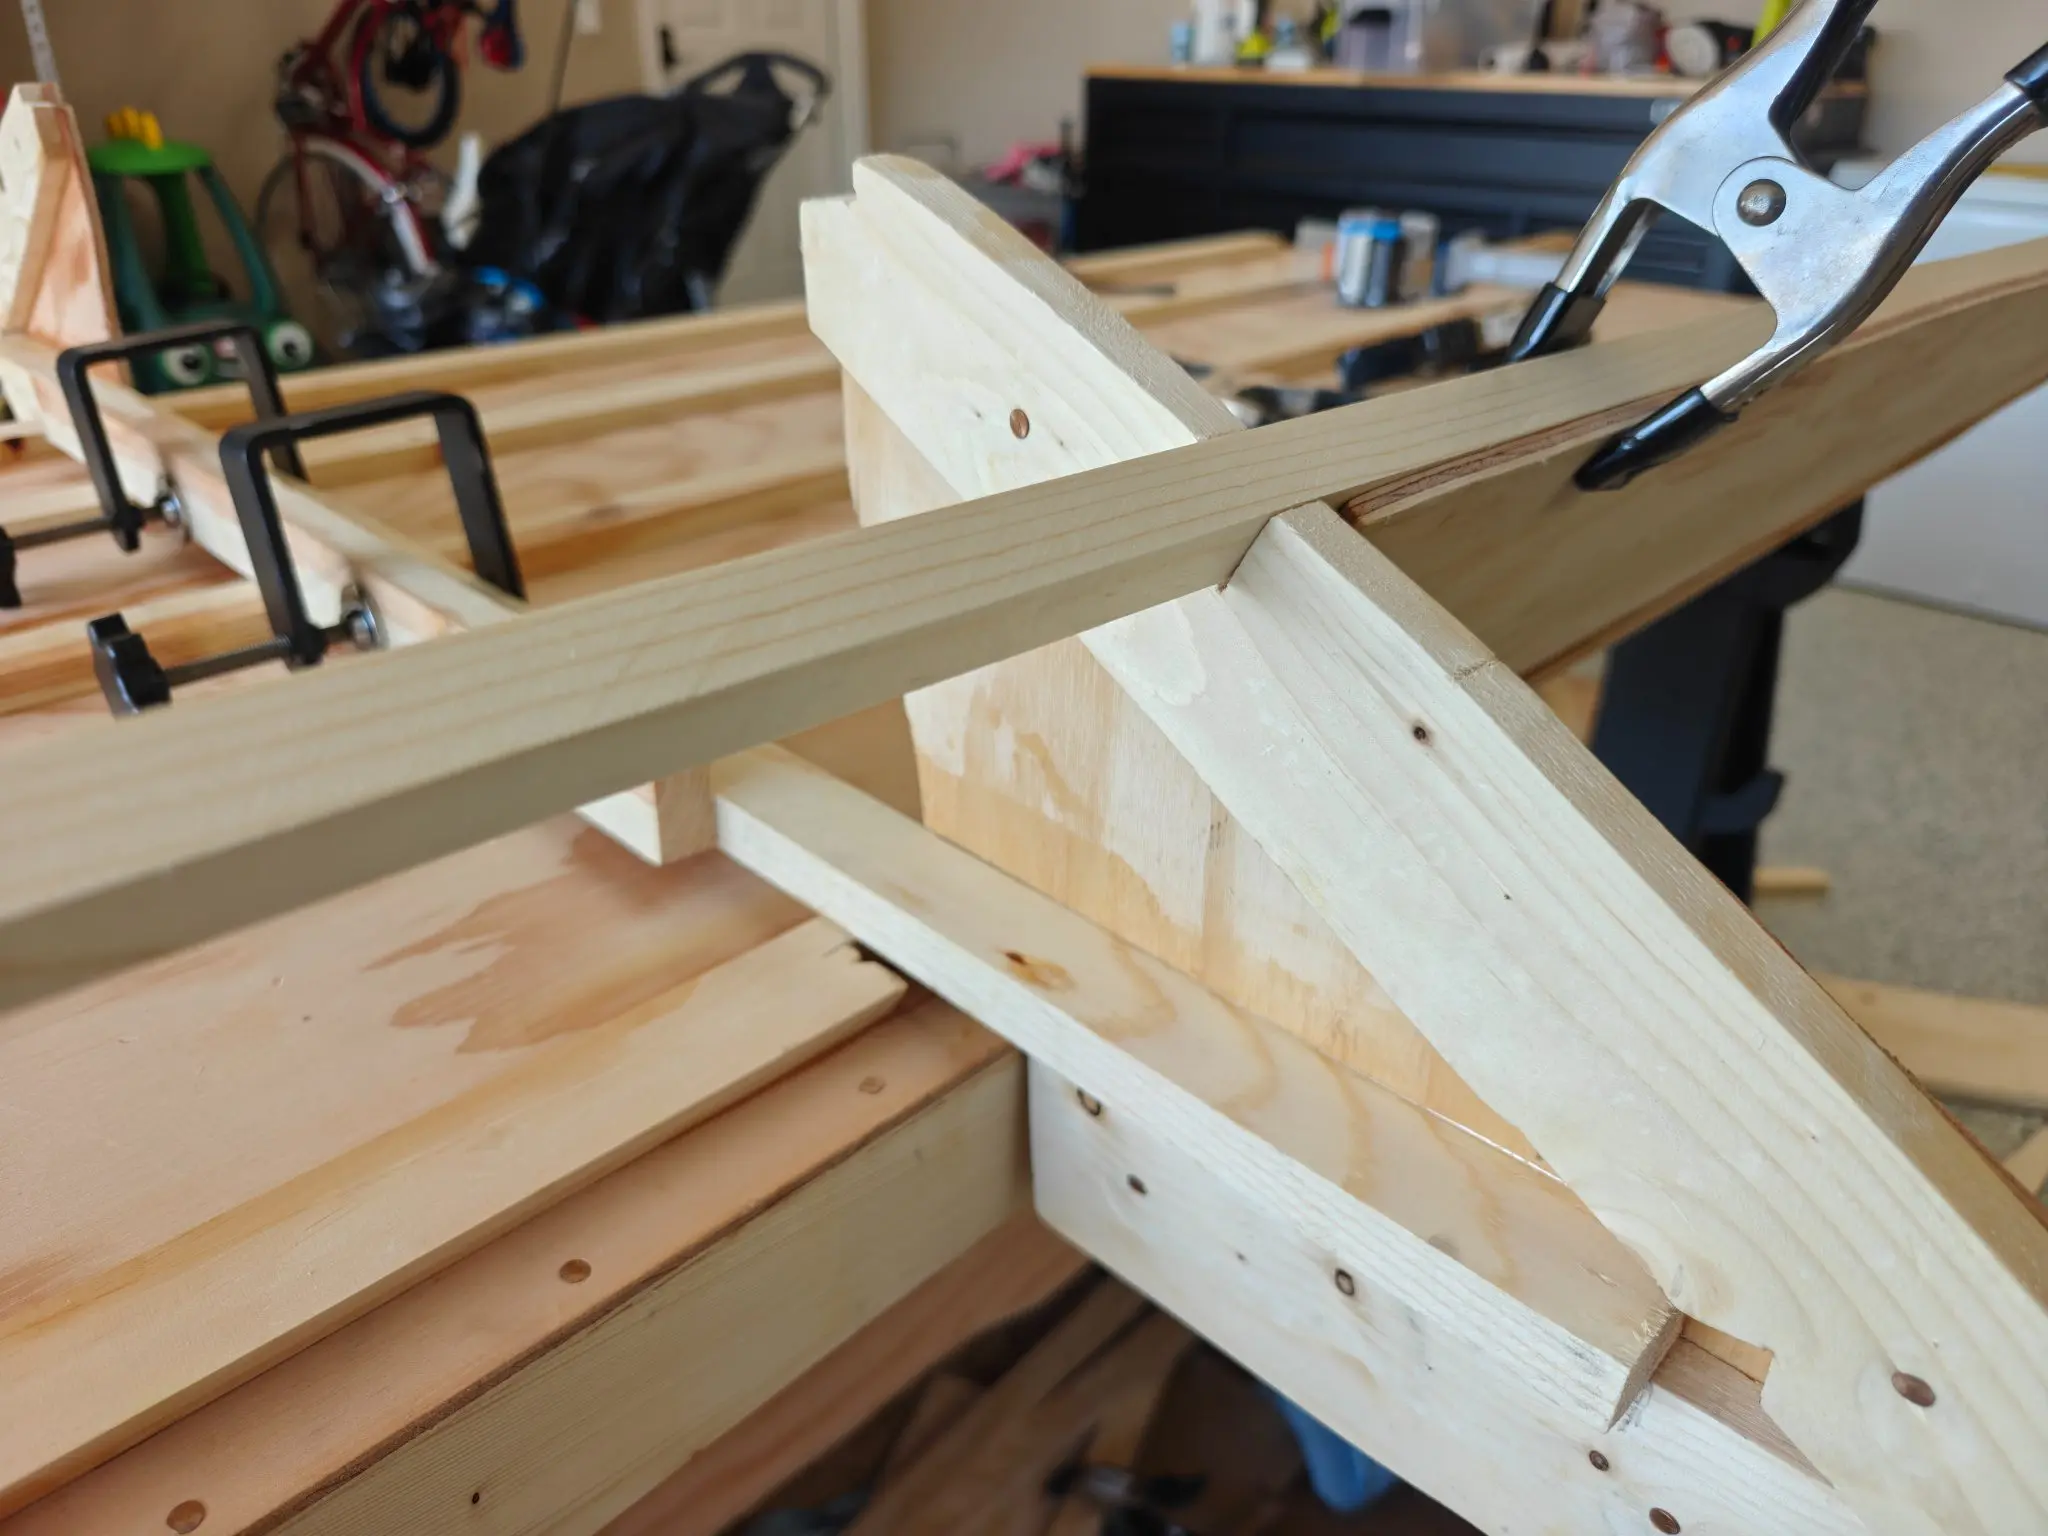
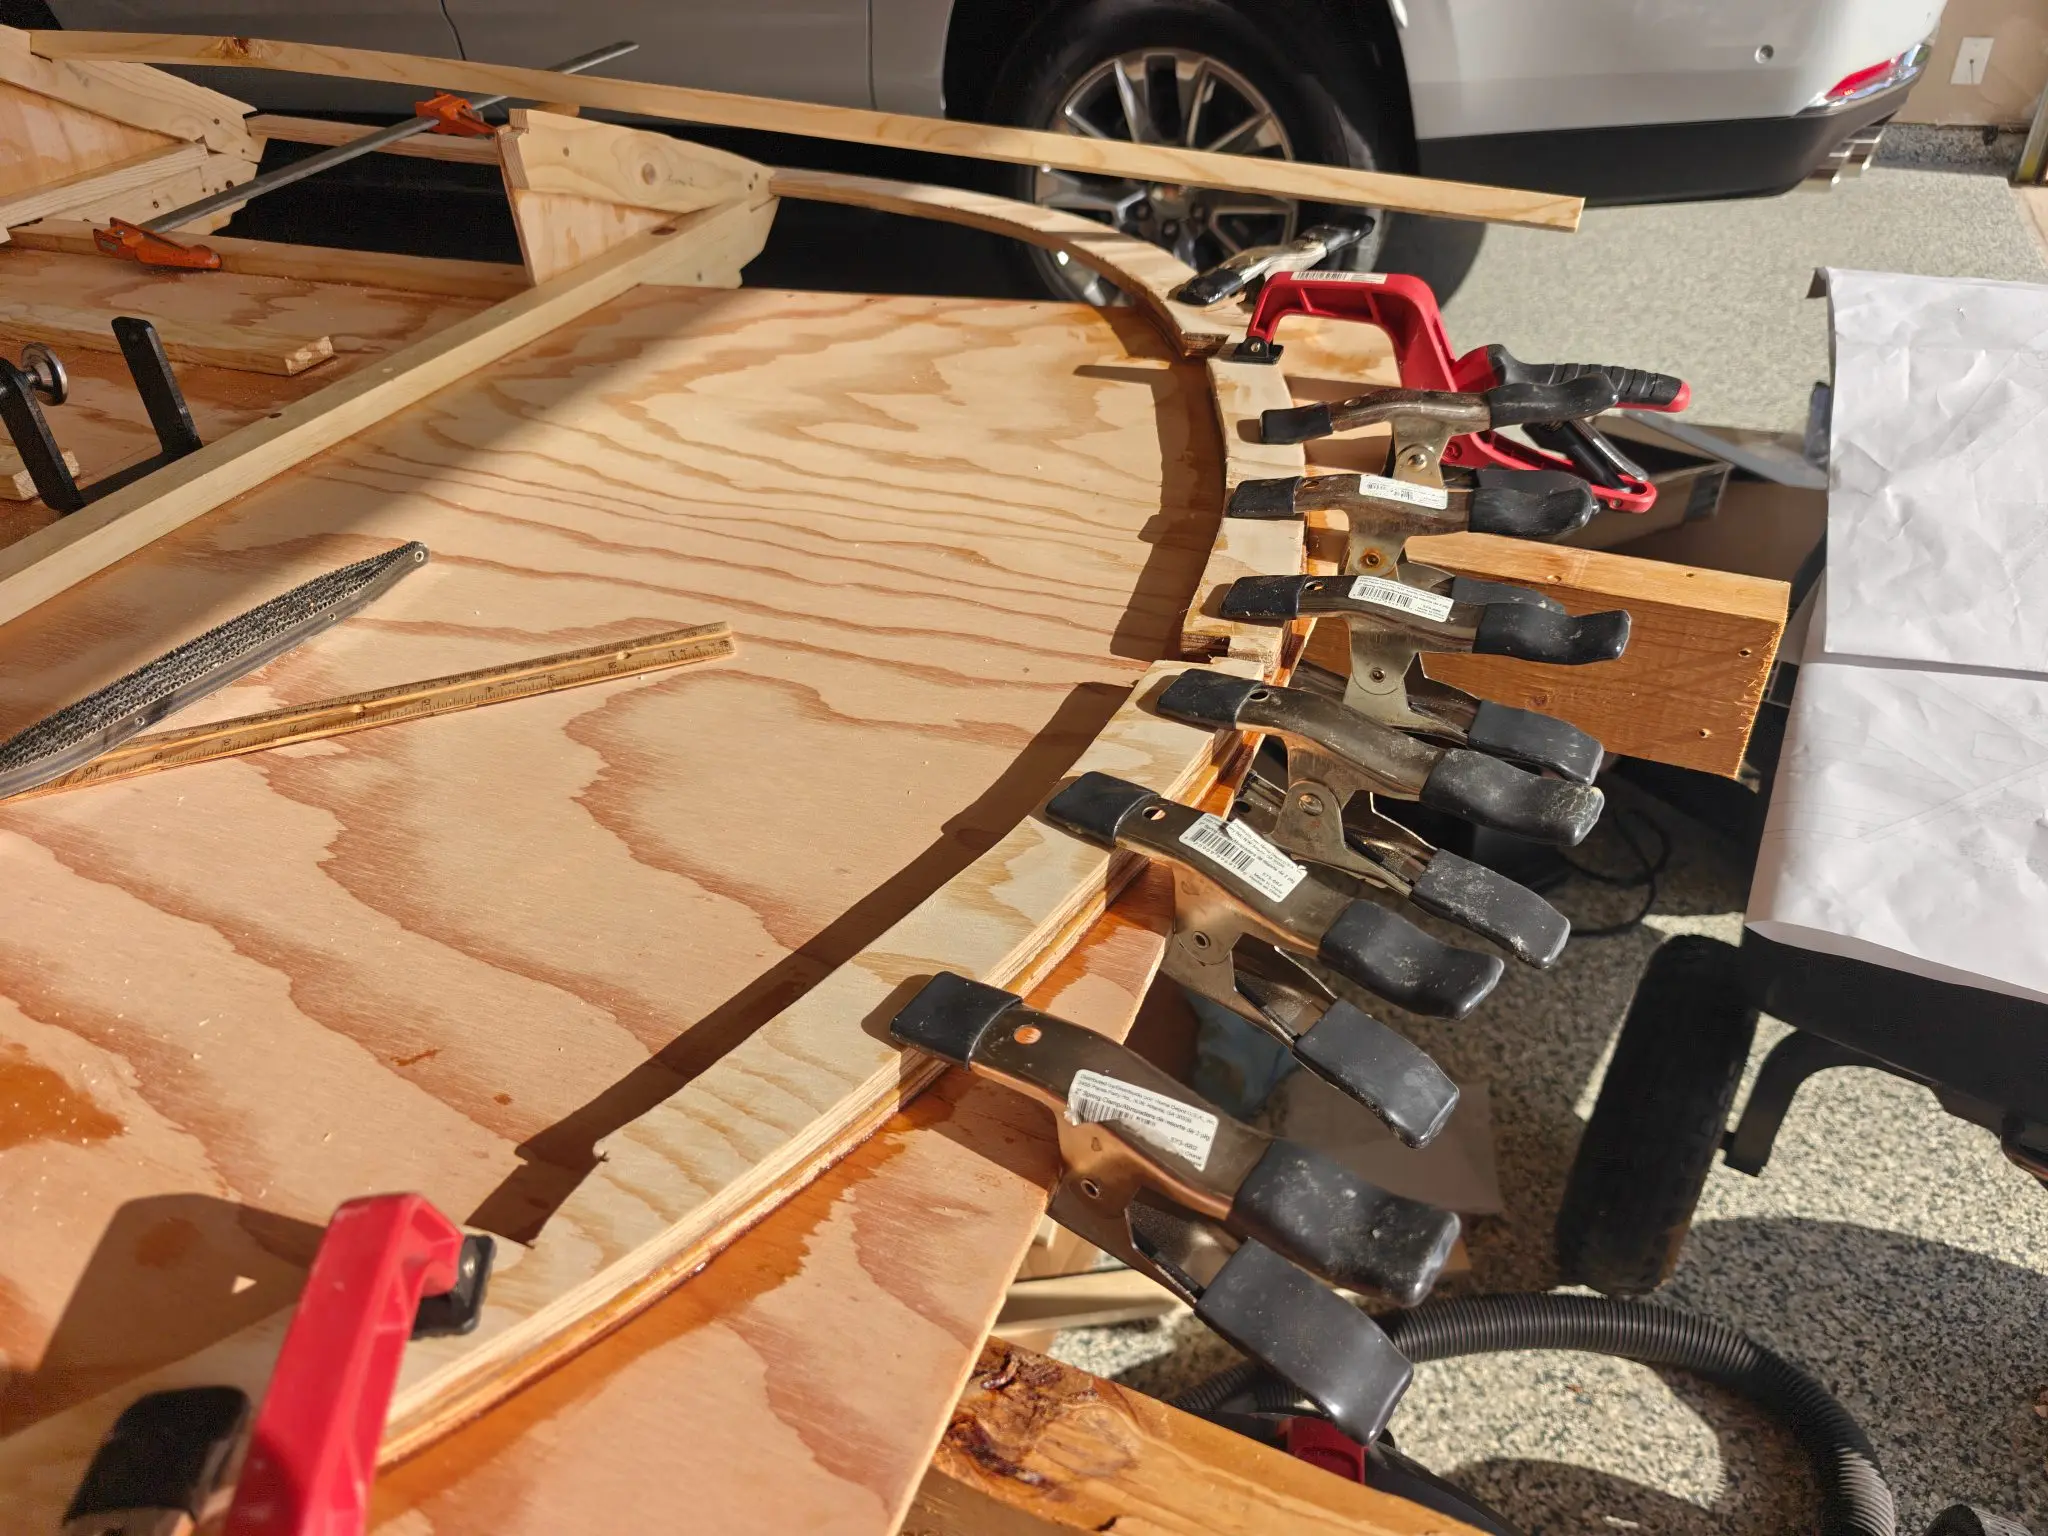
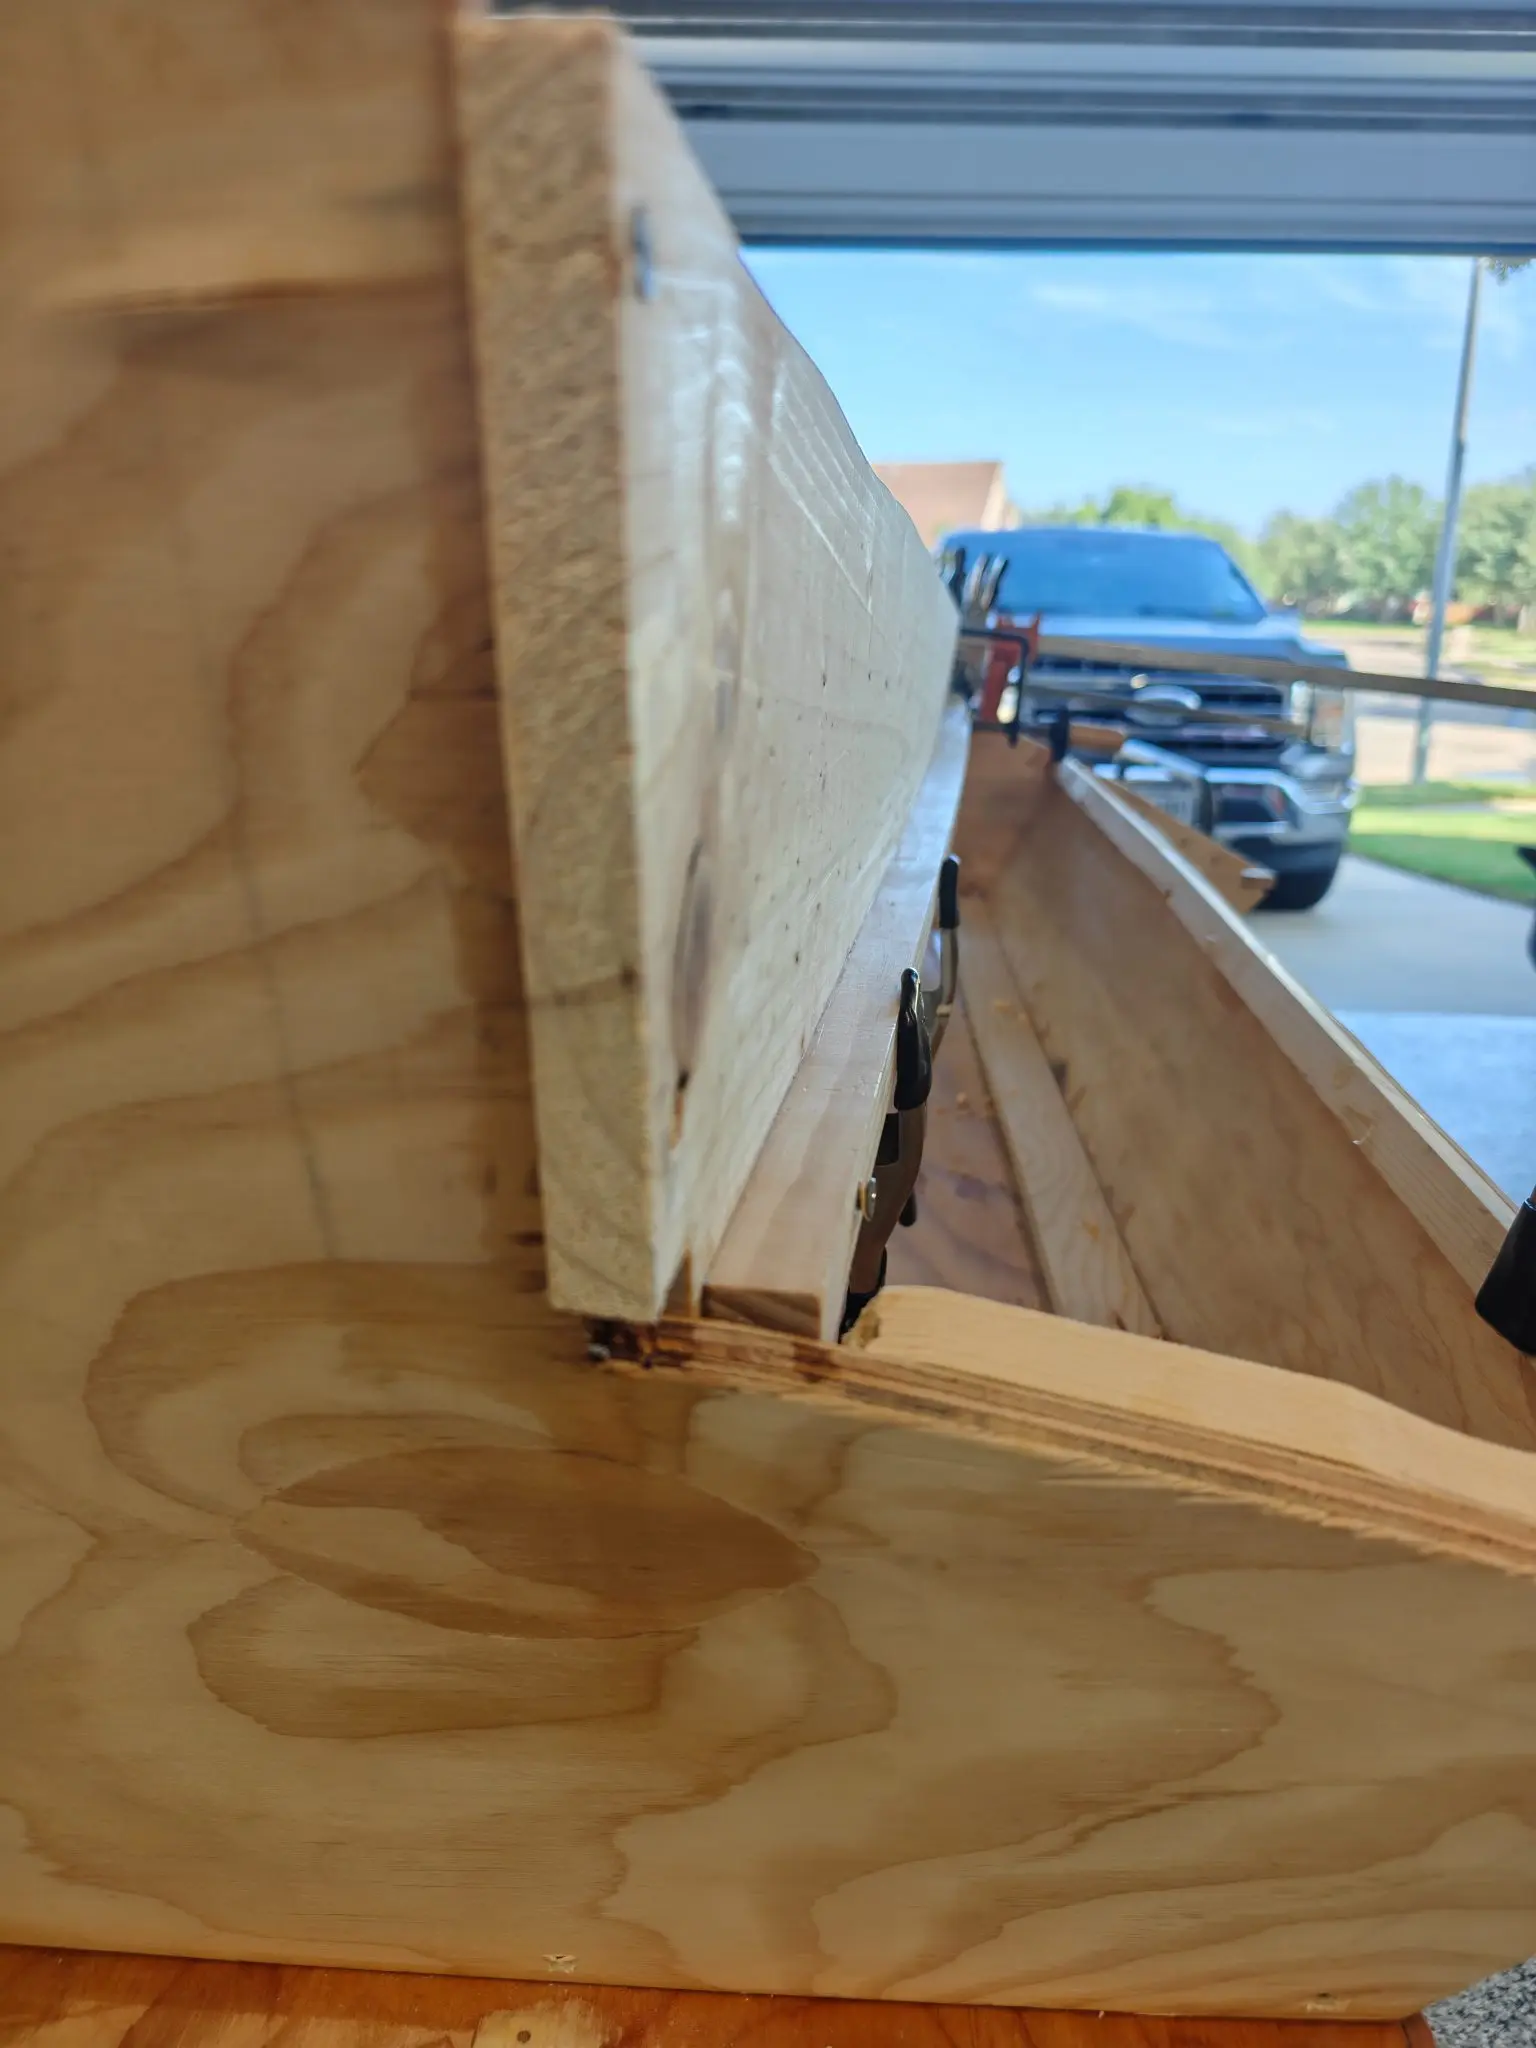
Anyway, today I glued on the chines. Technically the plans say to put the chines on the side planking and then mount it to frame one and then mount everything to the boat, but I really wanted to make sure I had a straight line for the side planking and so I did it this way.
I don't know if the plans call for fiberglass taping the joints inside, but I'm probably going to end up doing that just to make sure everything is super strong. I don't like the small gaps, even though I know they will be covered with fillets, seeing as how this is going to be a boat for my kiddos, I want this as strong as a brick.
And also I stepped on the coaming, so you can see my Band-Aid there.
9 Sep 2026
Hull Panels 1.5 h
Sheer clamps
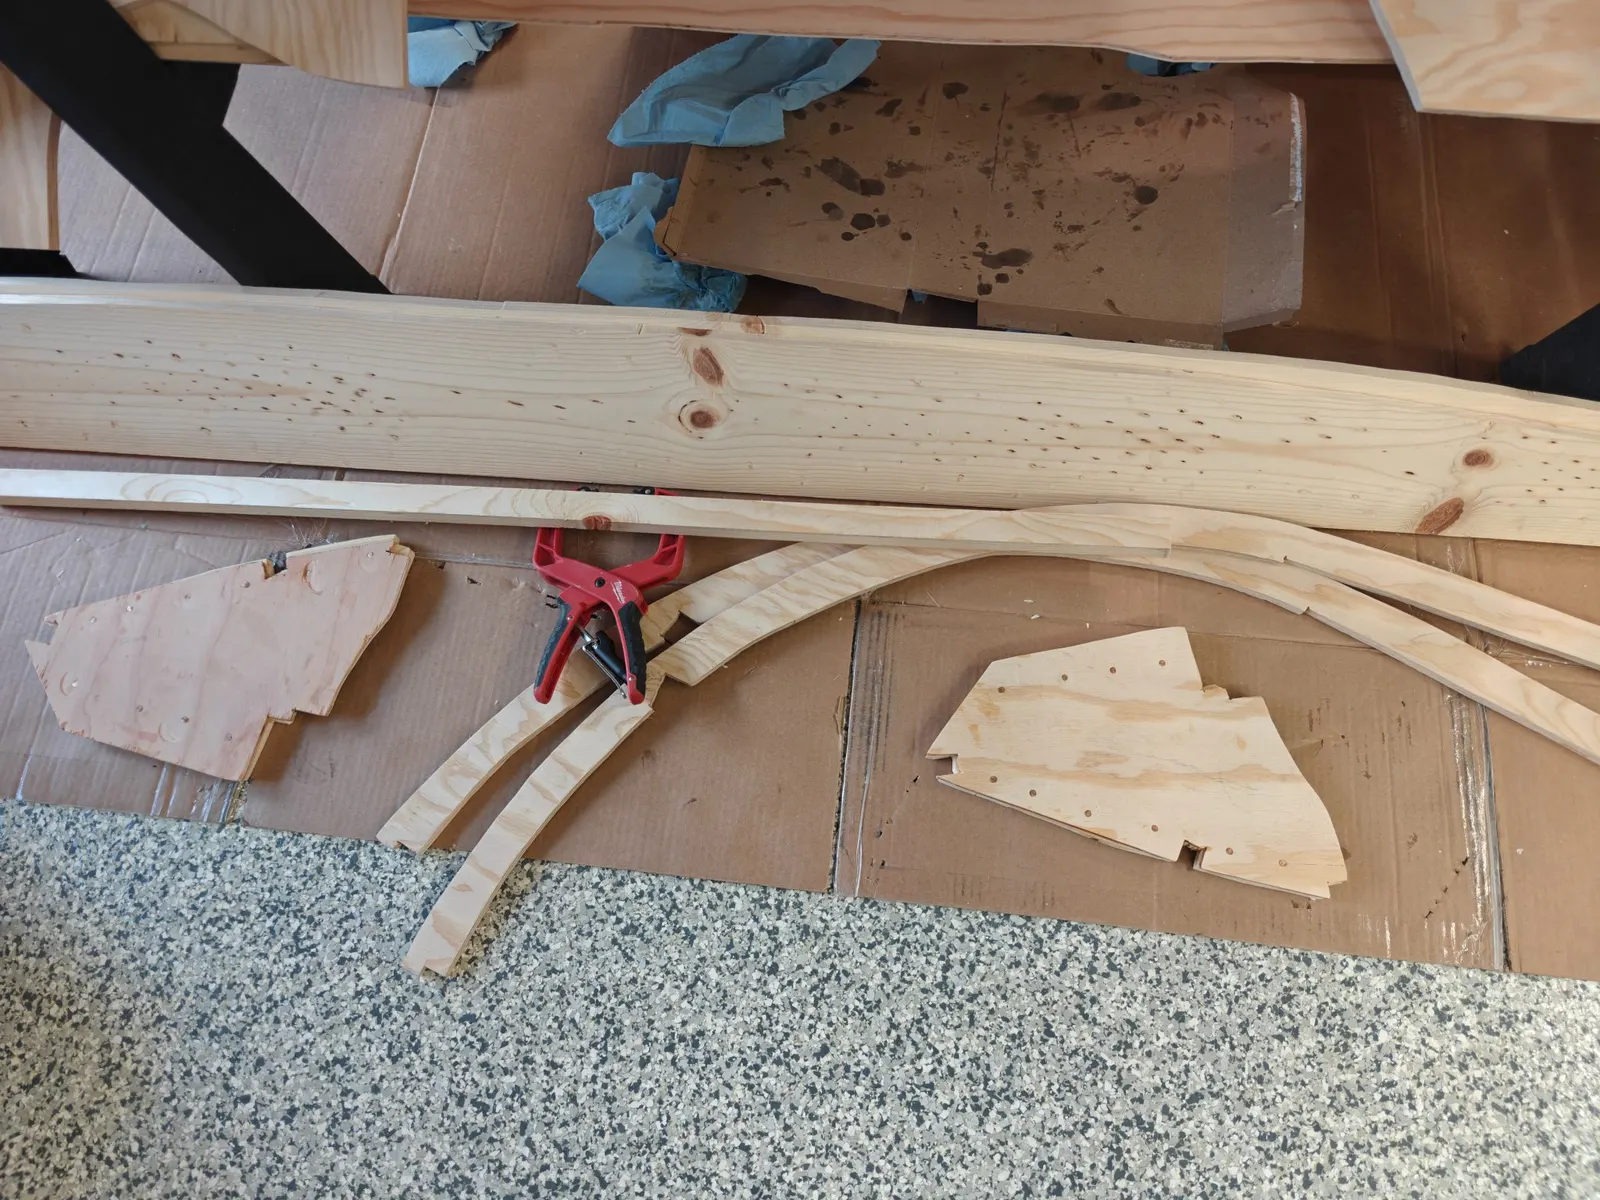
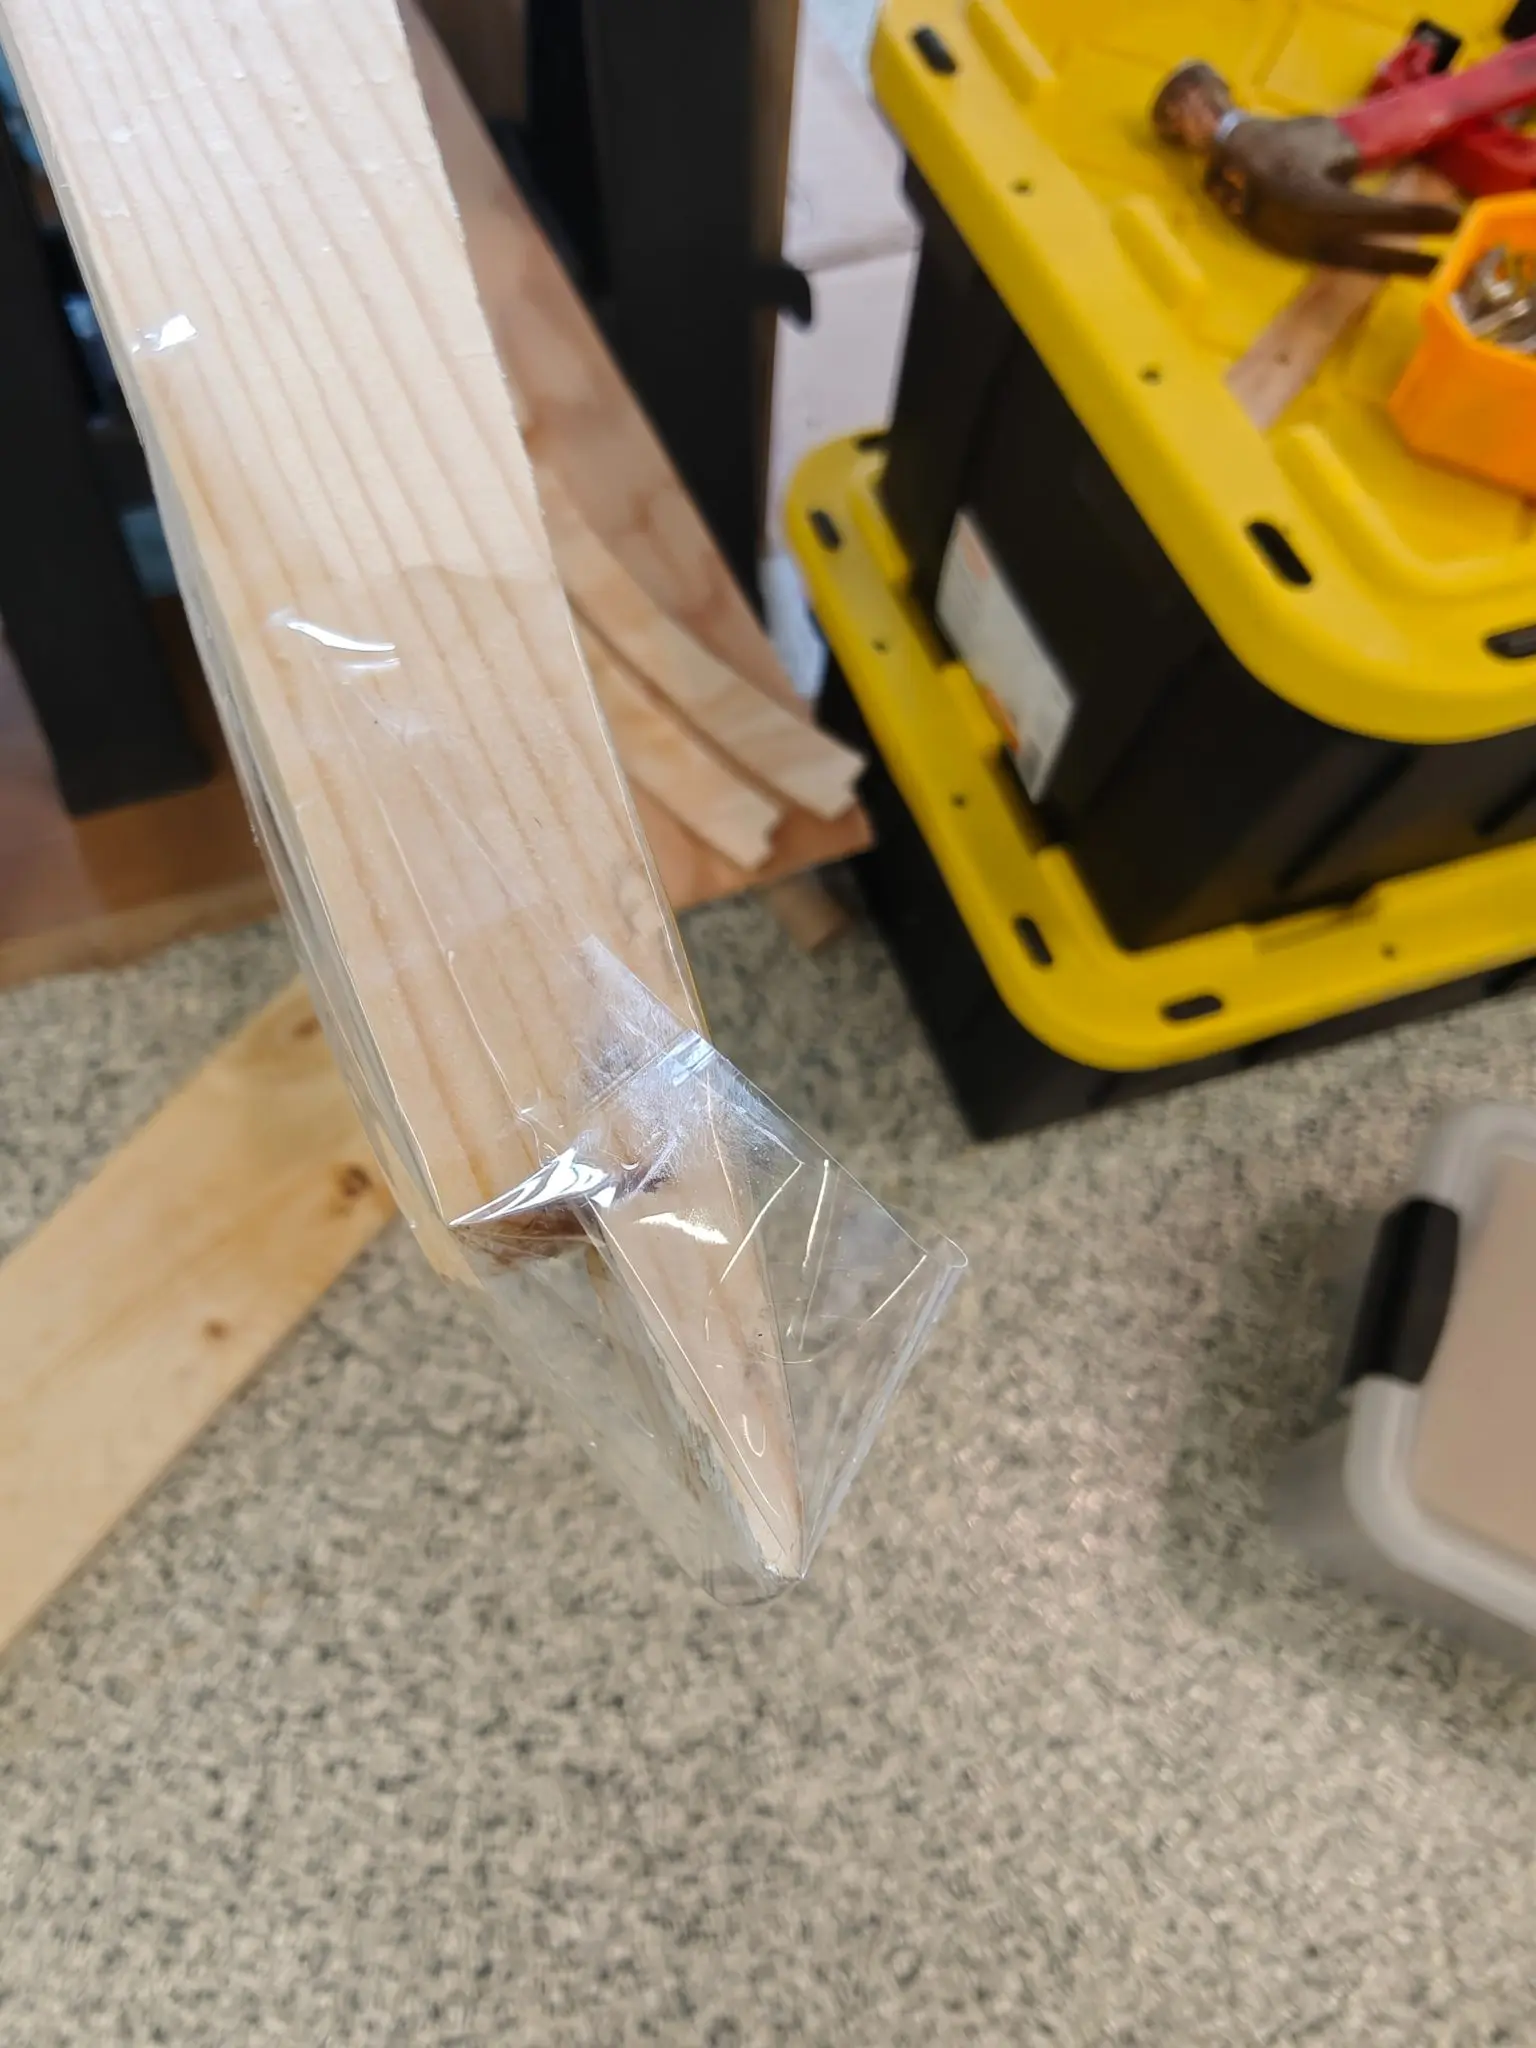
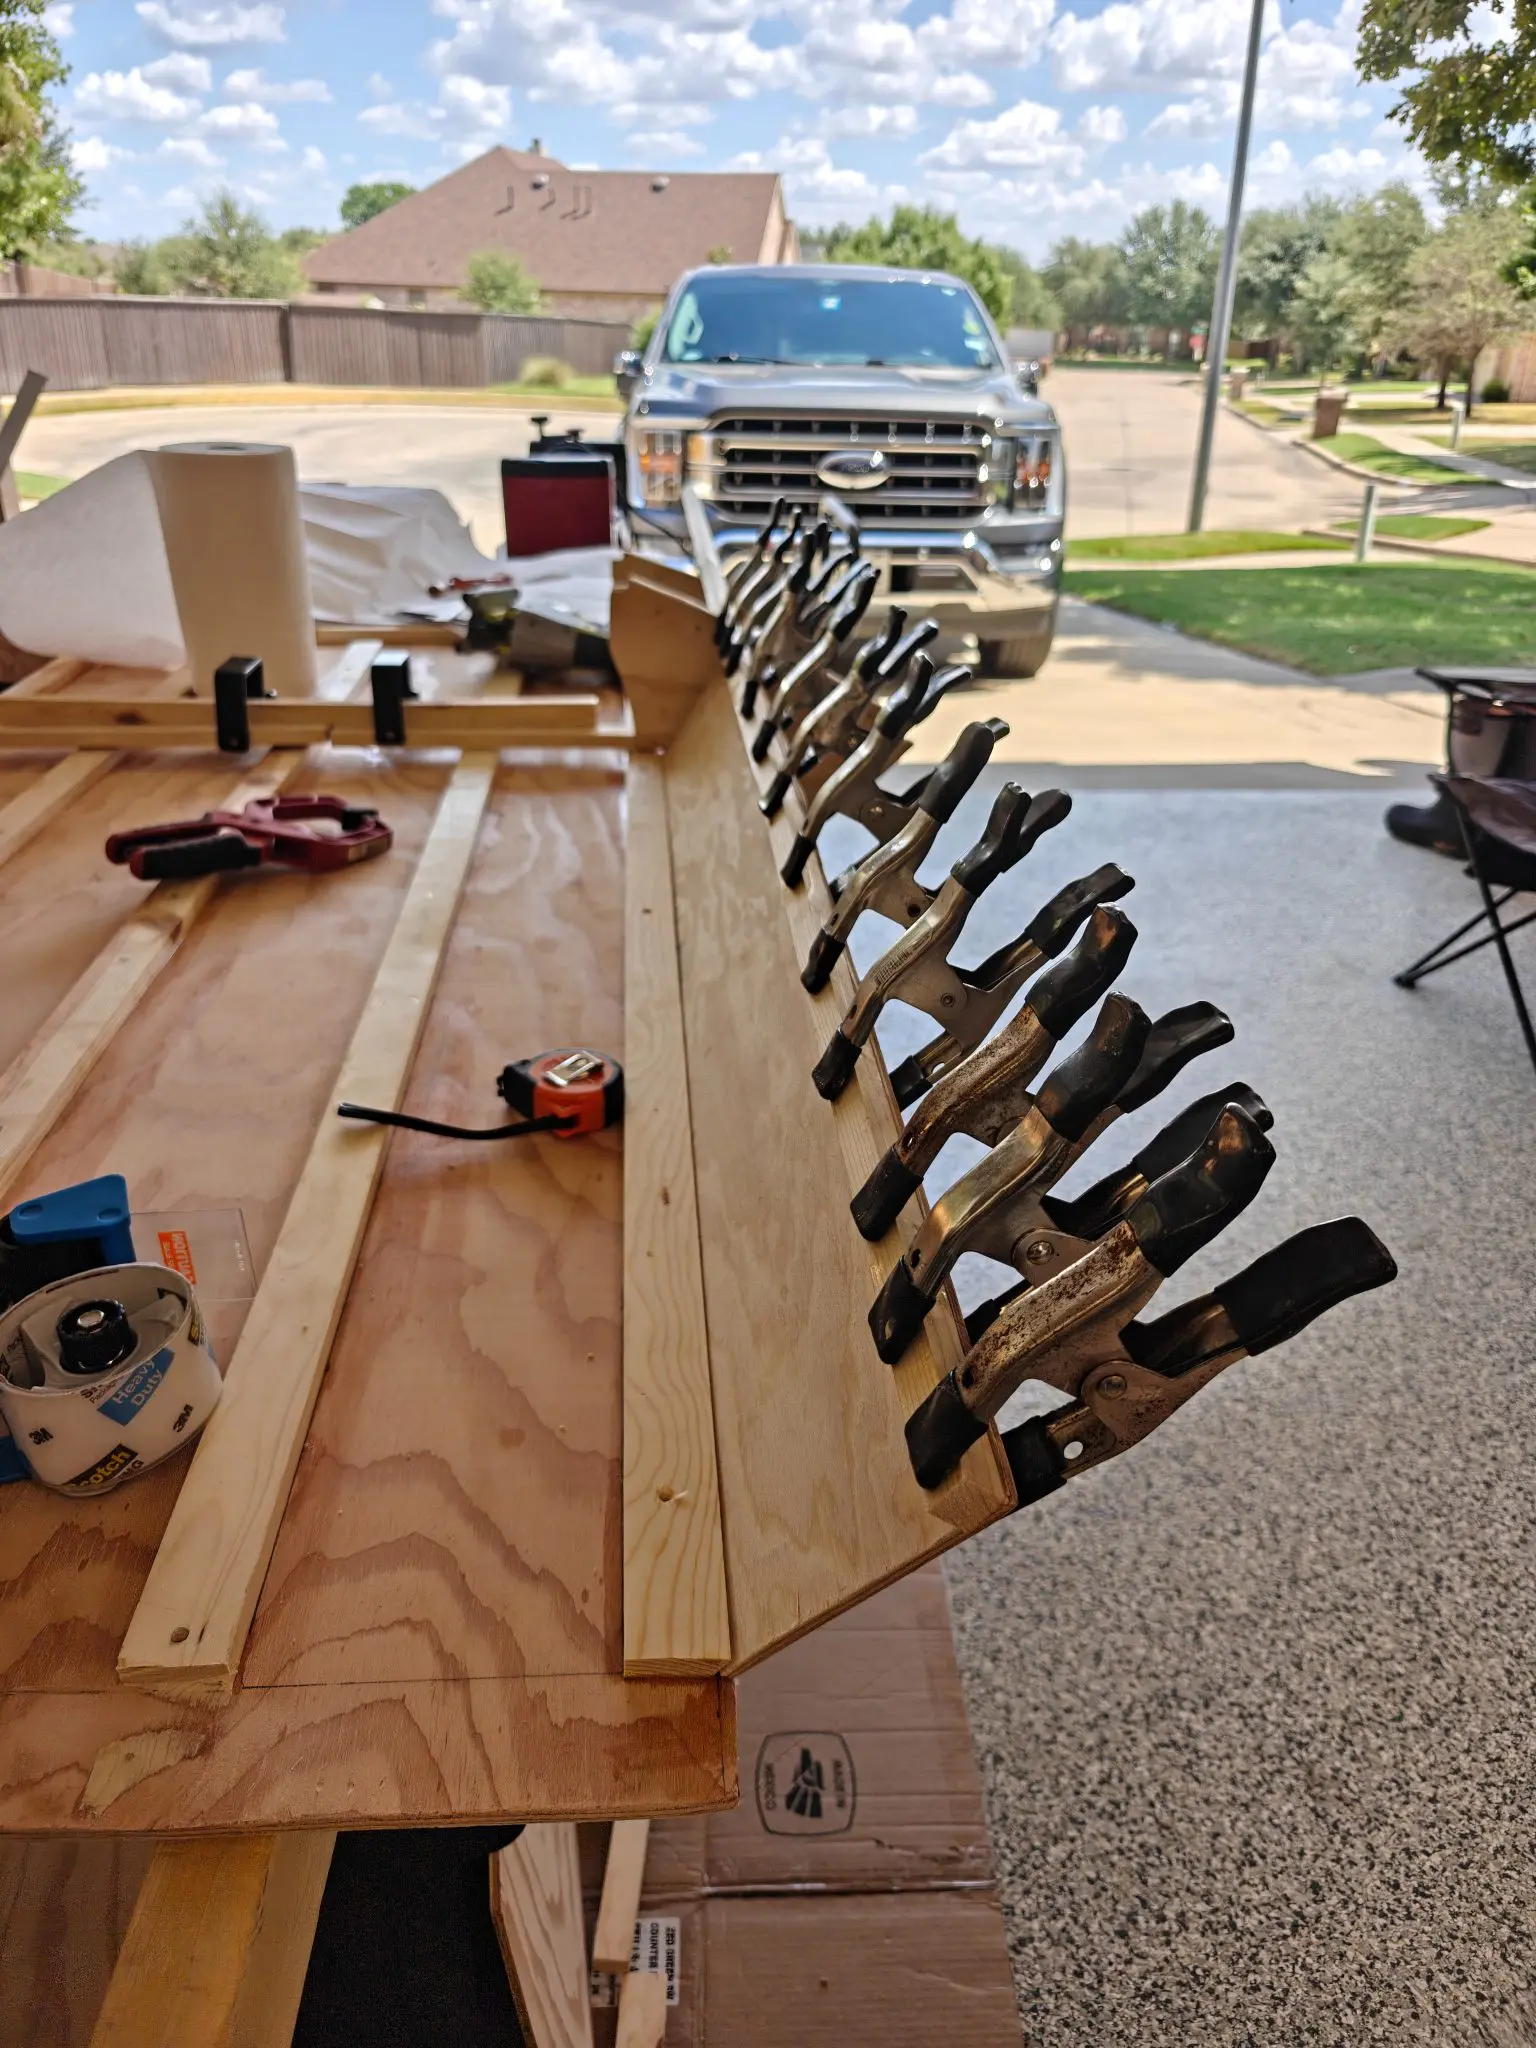
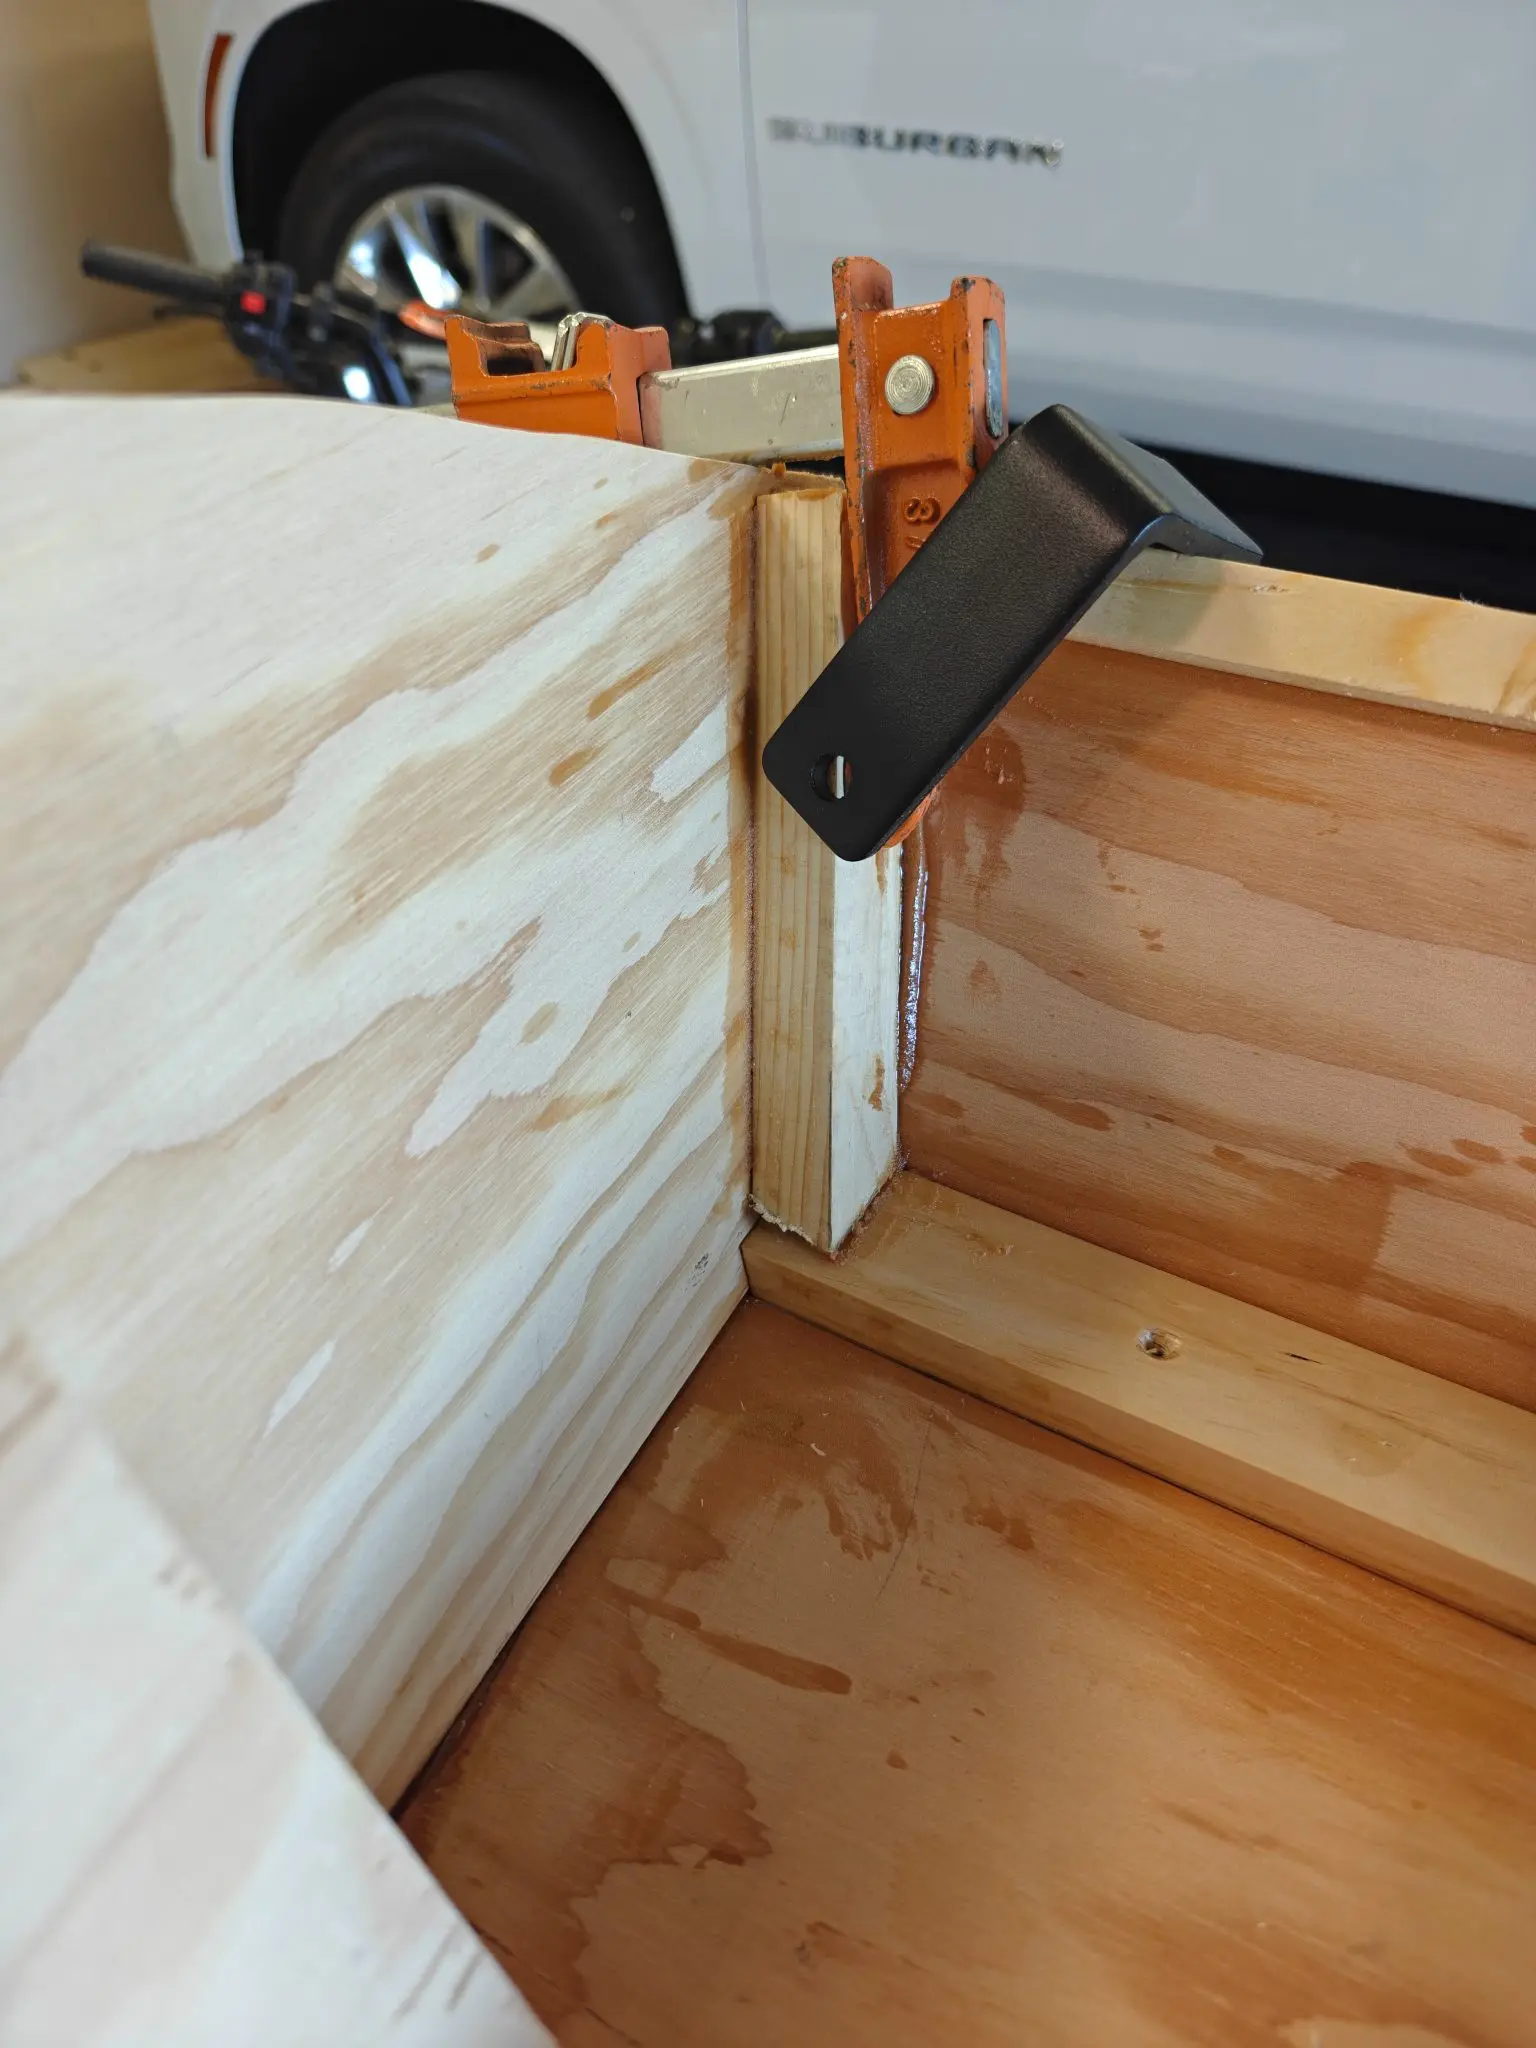
Today I put on the sheer clamps and mounted them to the side panel. The sheer clamps are 3/4 in by 3/4 in so I basically took a 1x2 and cut it right down the middle. I also had to cut out a little bit more in those grooves so that the plywood would correctly set on the bottom panel, it does not have to be perfect as this is what fillets are for. Anyway, so all I really did today was glue the sheer clamp and tomorrow I think I will finish mounting the sheer clamp to frame number one and frame number one to the actual boat.
10 Sep 2026
Hull Panels 1 h
I spent a few minutes this morning just clamping on the bow pieces. There is about a one foot section of the bowel that gets an additional one quarter inch plywood. Pretty straightforward.
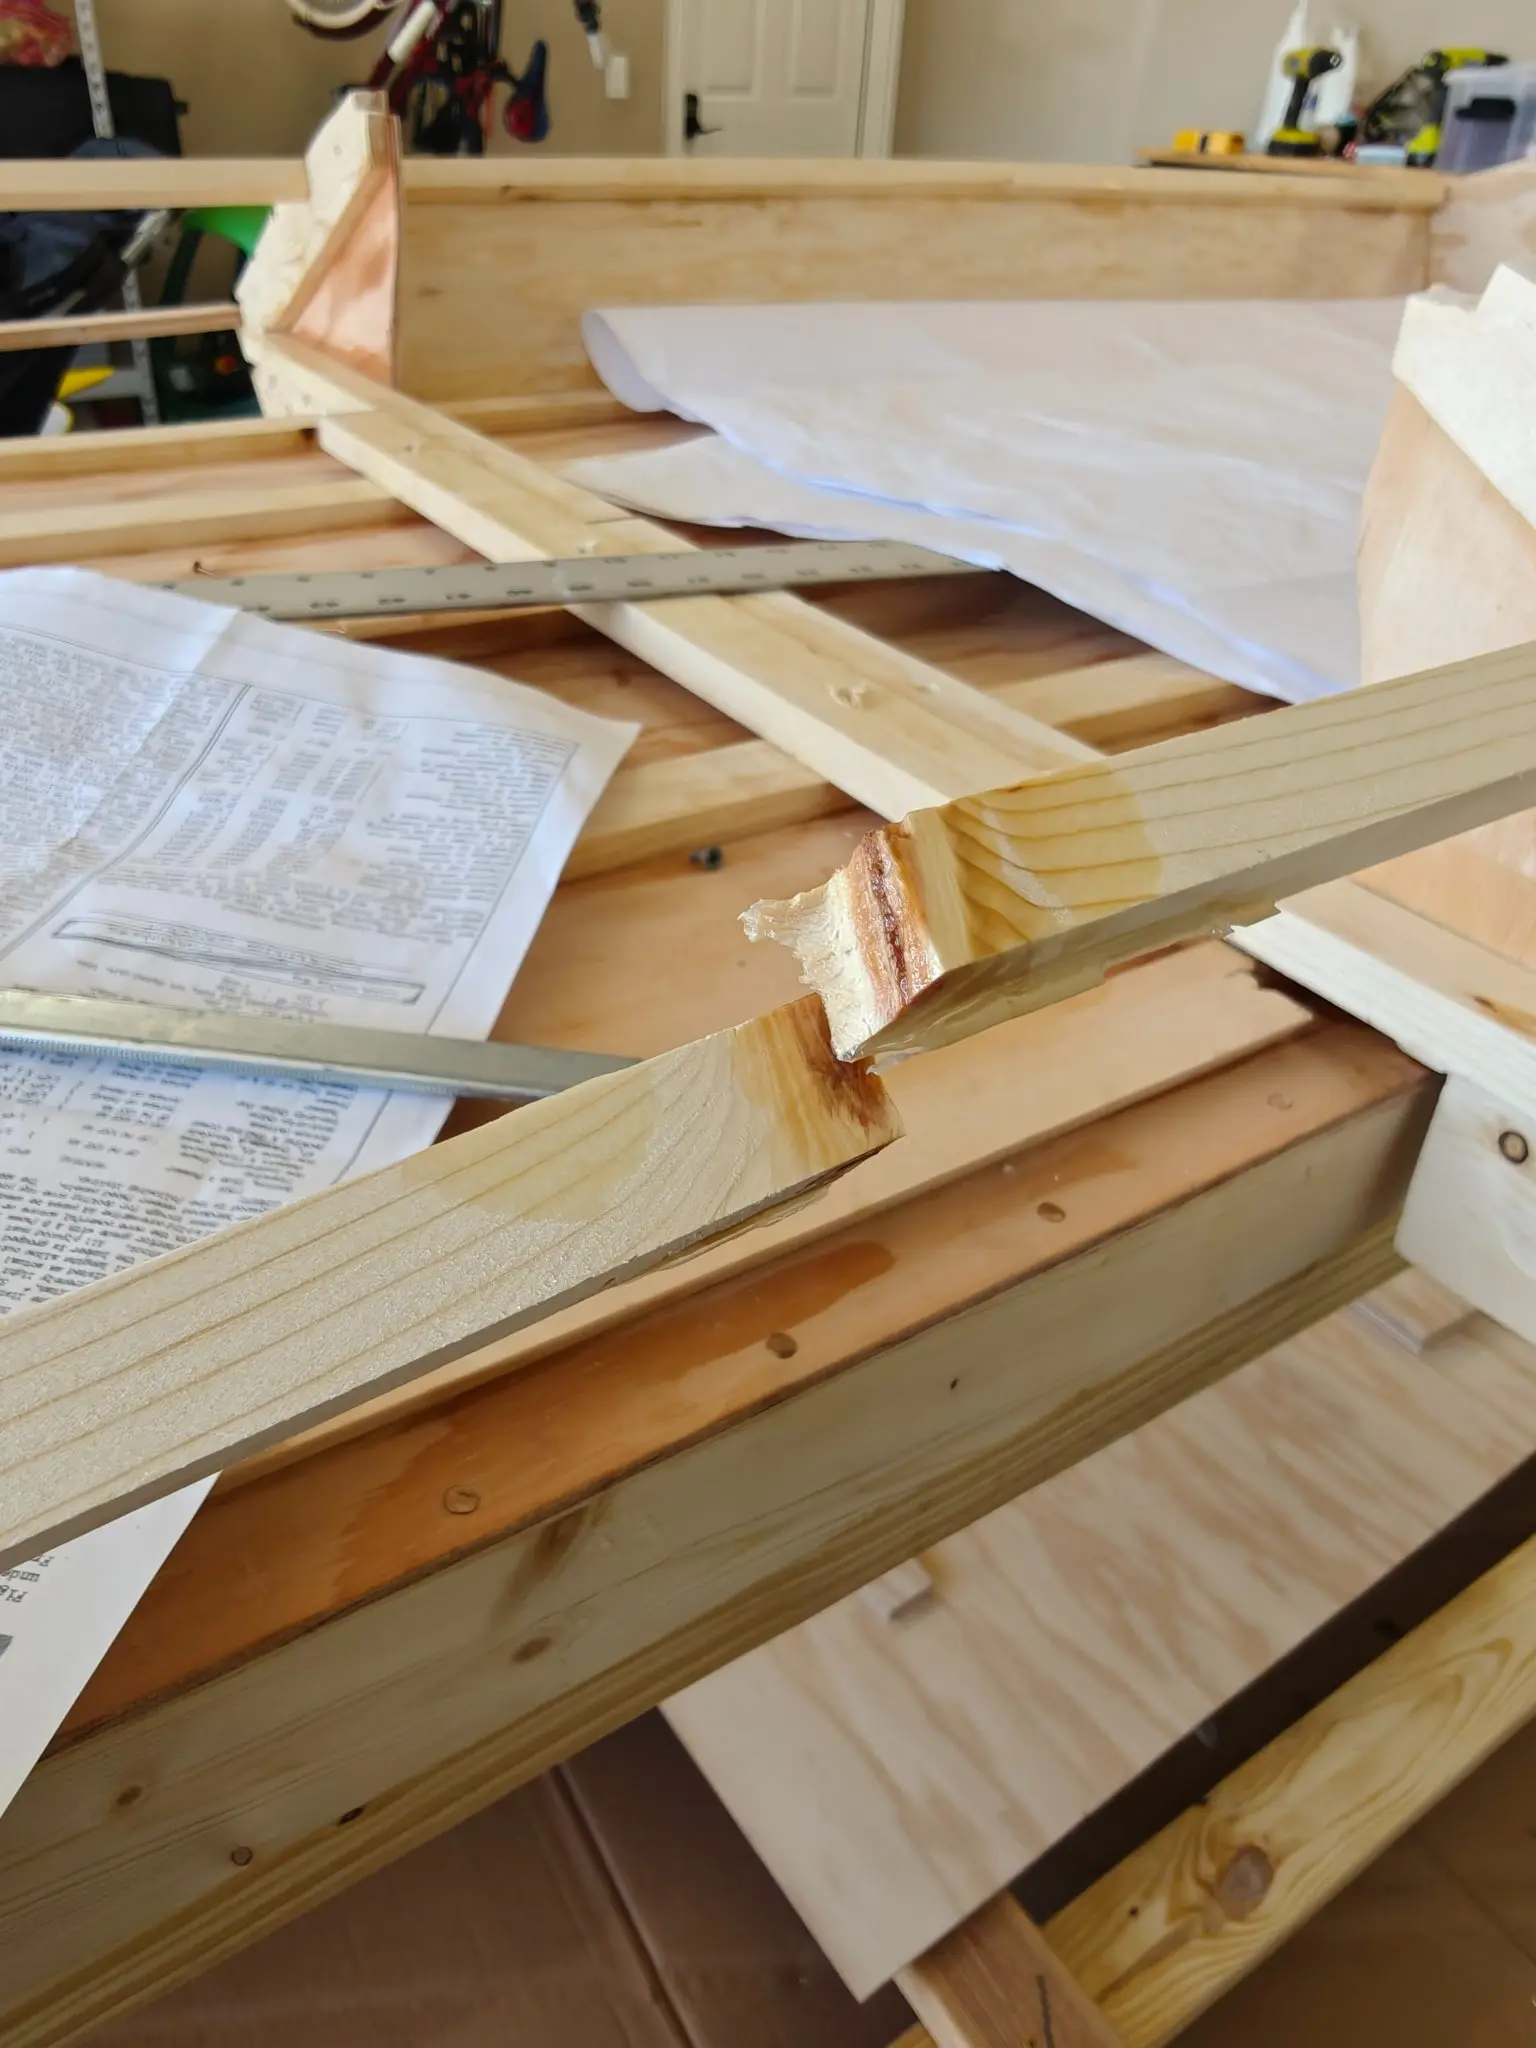
Oh and I accidentally broke the sheer clamp, so you can see the Band-Aid I've got going on here.
Update: because it's so hot here in Texas everything blues within an hour and it's strong within 4 hours. I came back in later tonight and I glued and nailed frame number one in place. Because I had the measurements wrong on the batten I had to fix to it another piece and glue that together, that's why it looks like that.
Chapter 06
Stitch & Assembly
Wiring or clamping the hull together and getting it fair and true before glue.
3 days
4 hours from September 2026
11 Sep 2026
Stitch & Assembly 1 h
Got the frame together
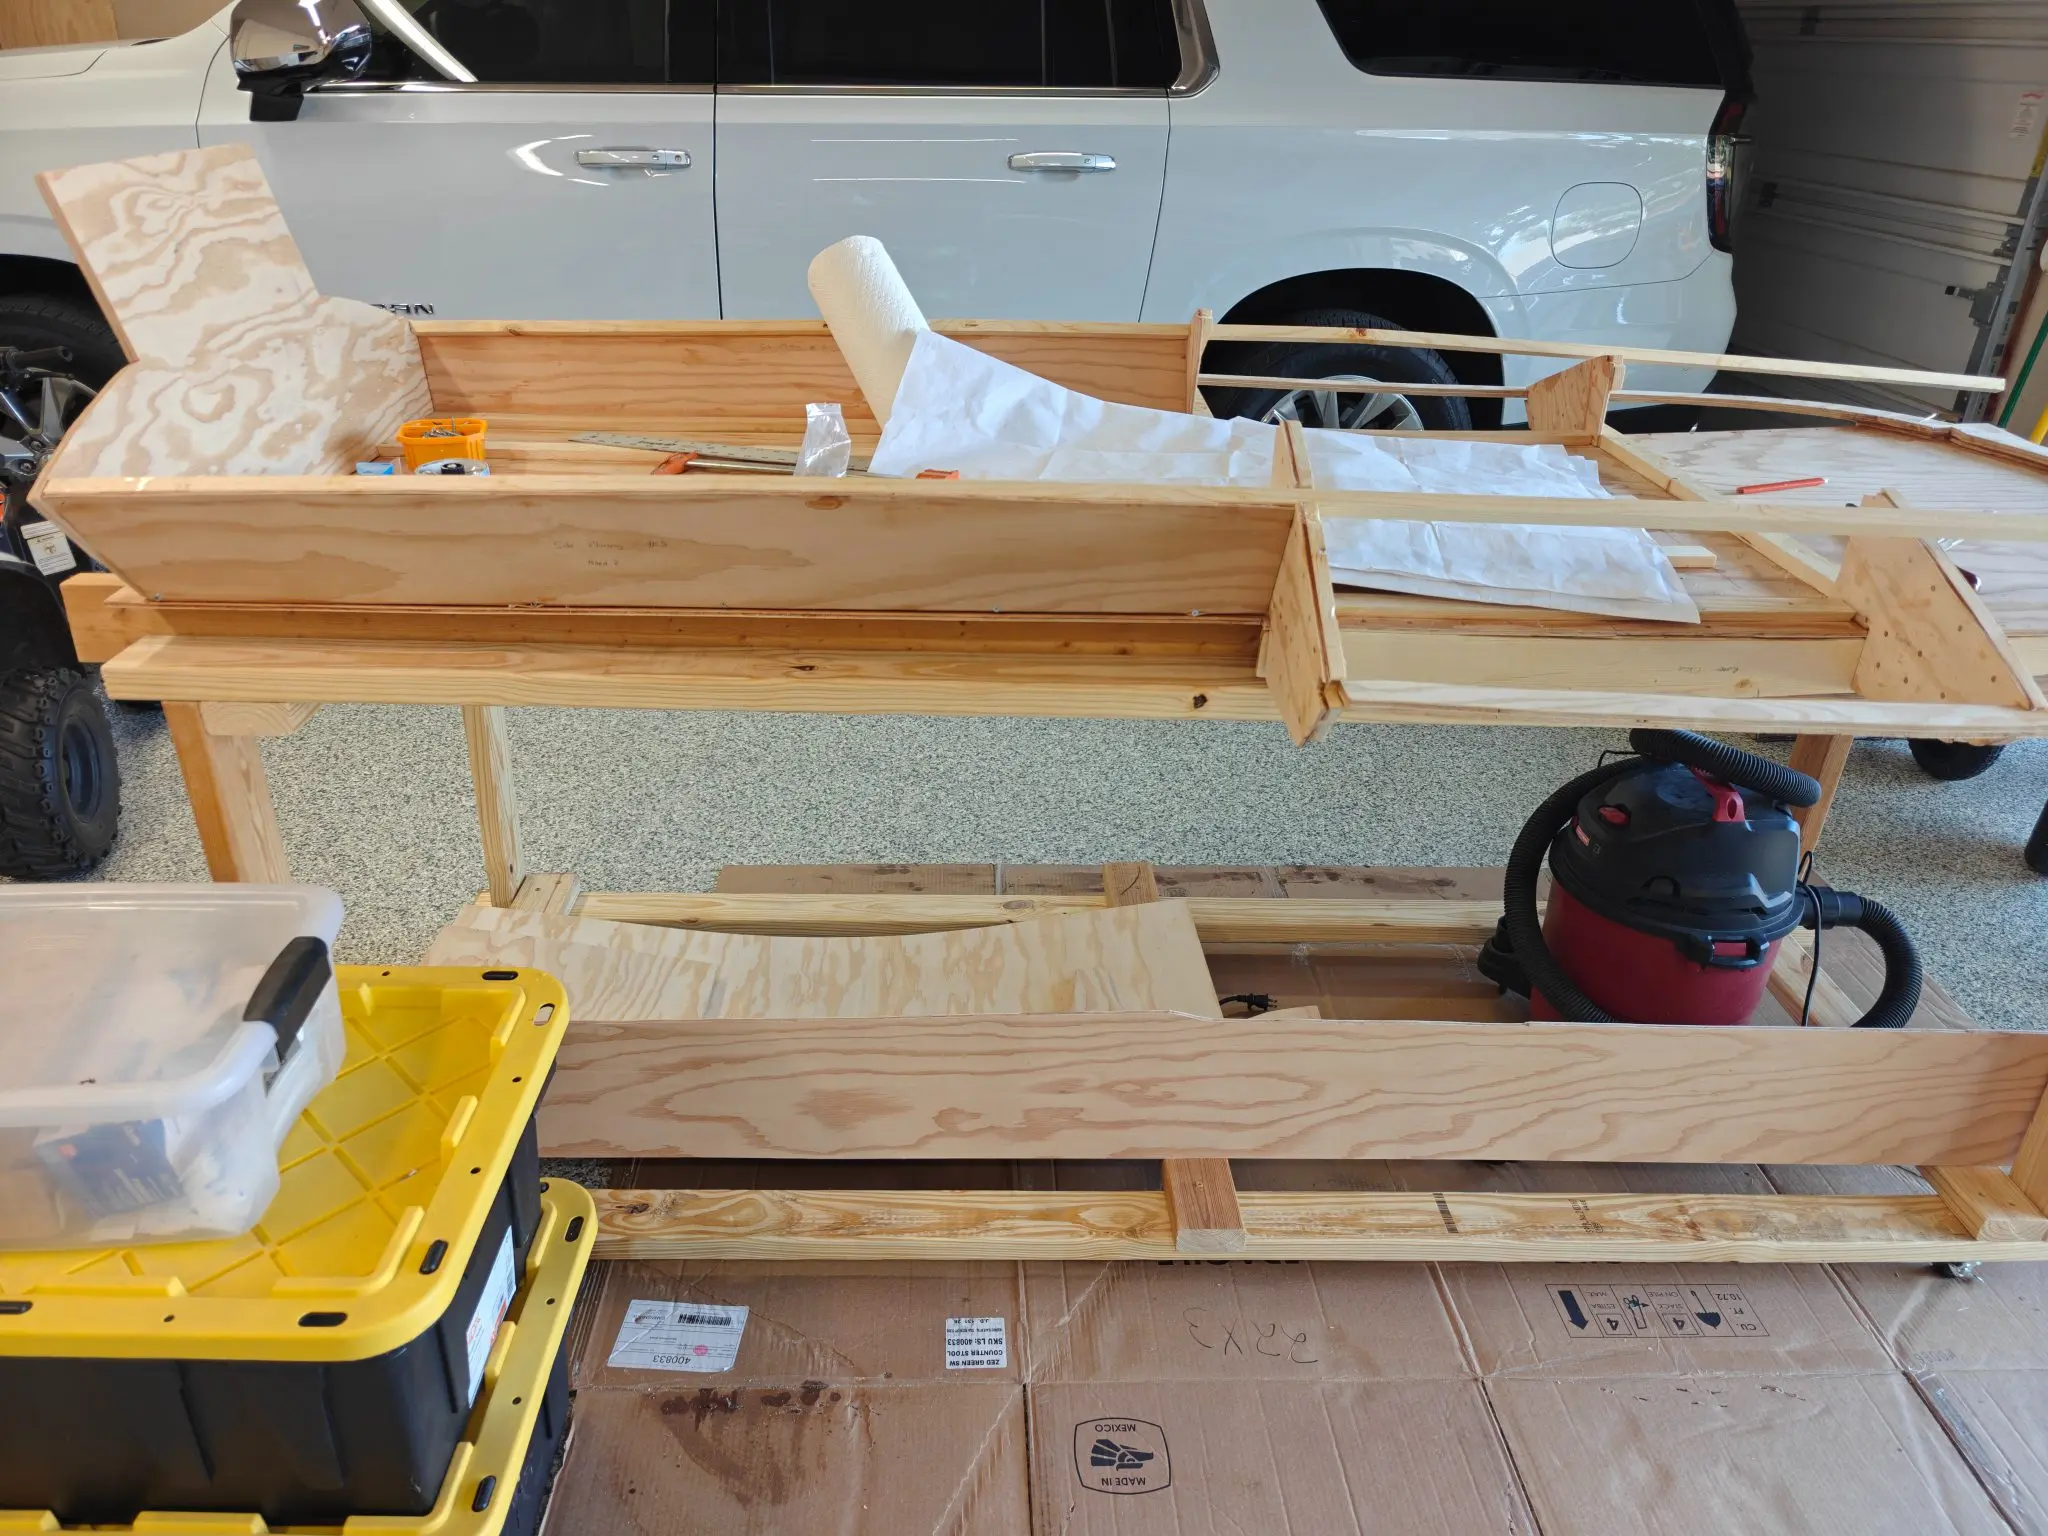
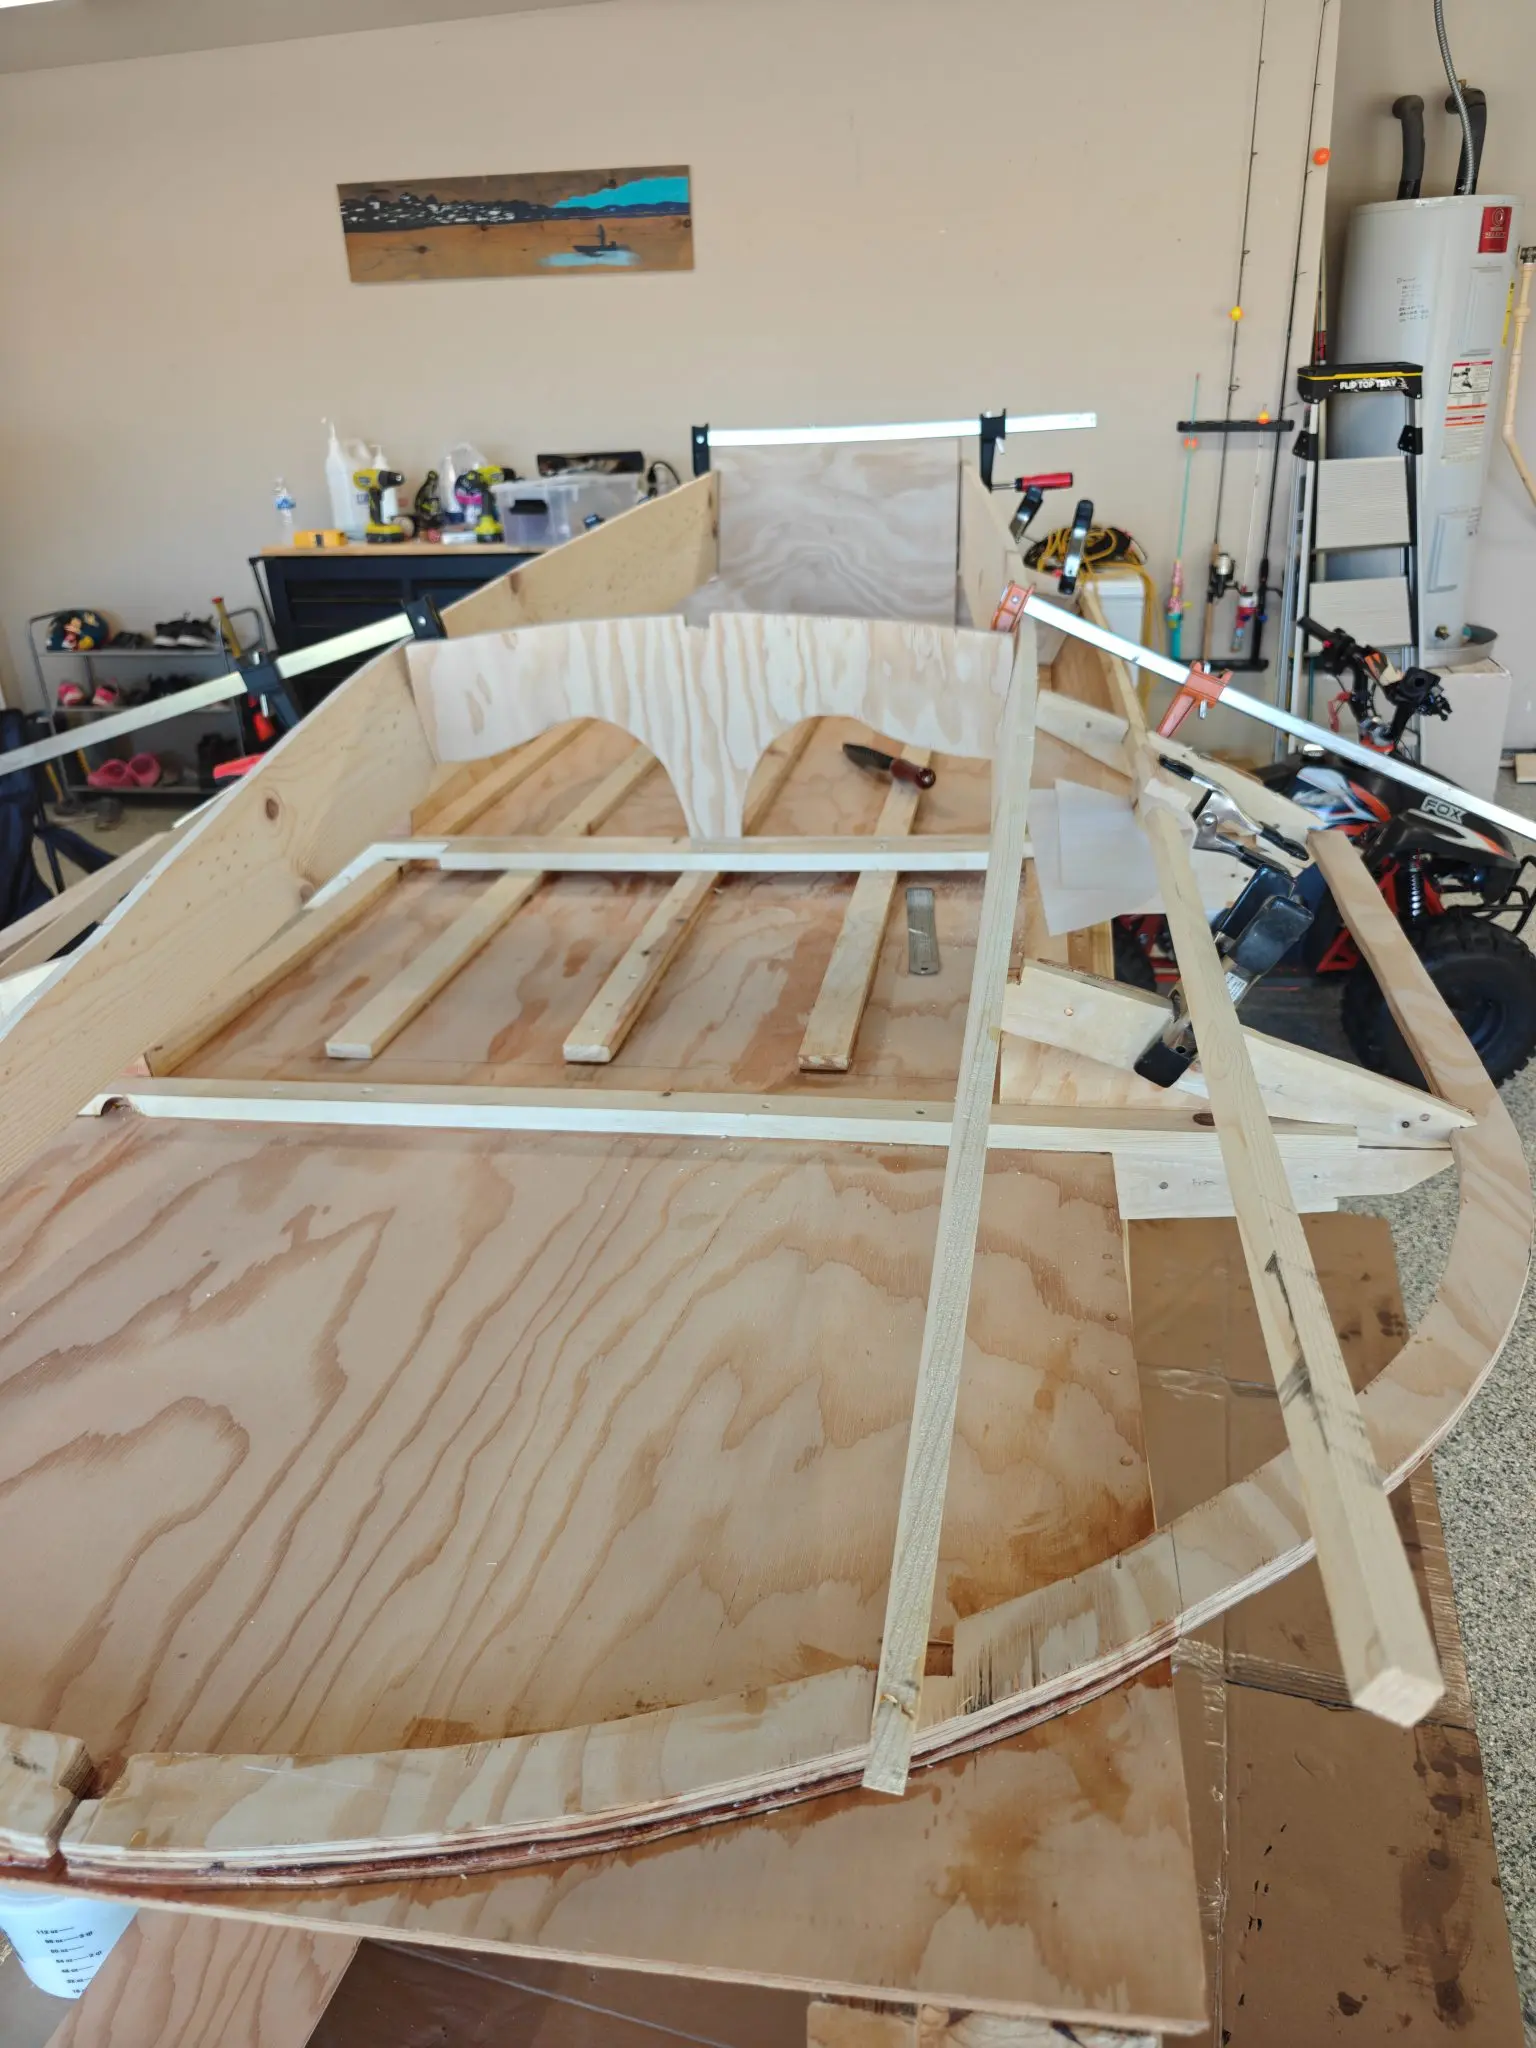
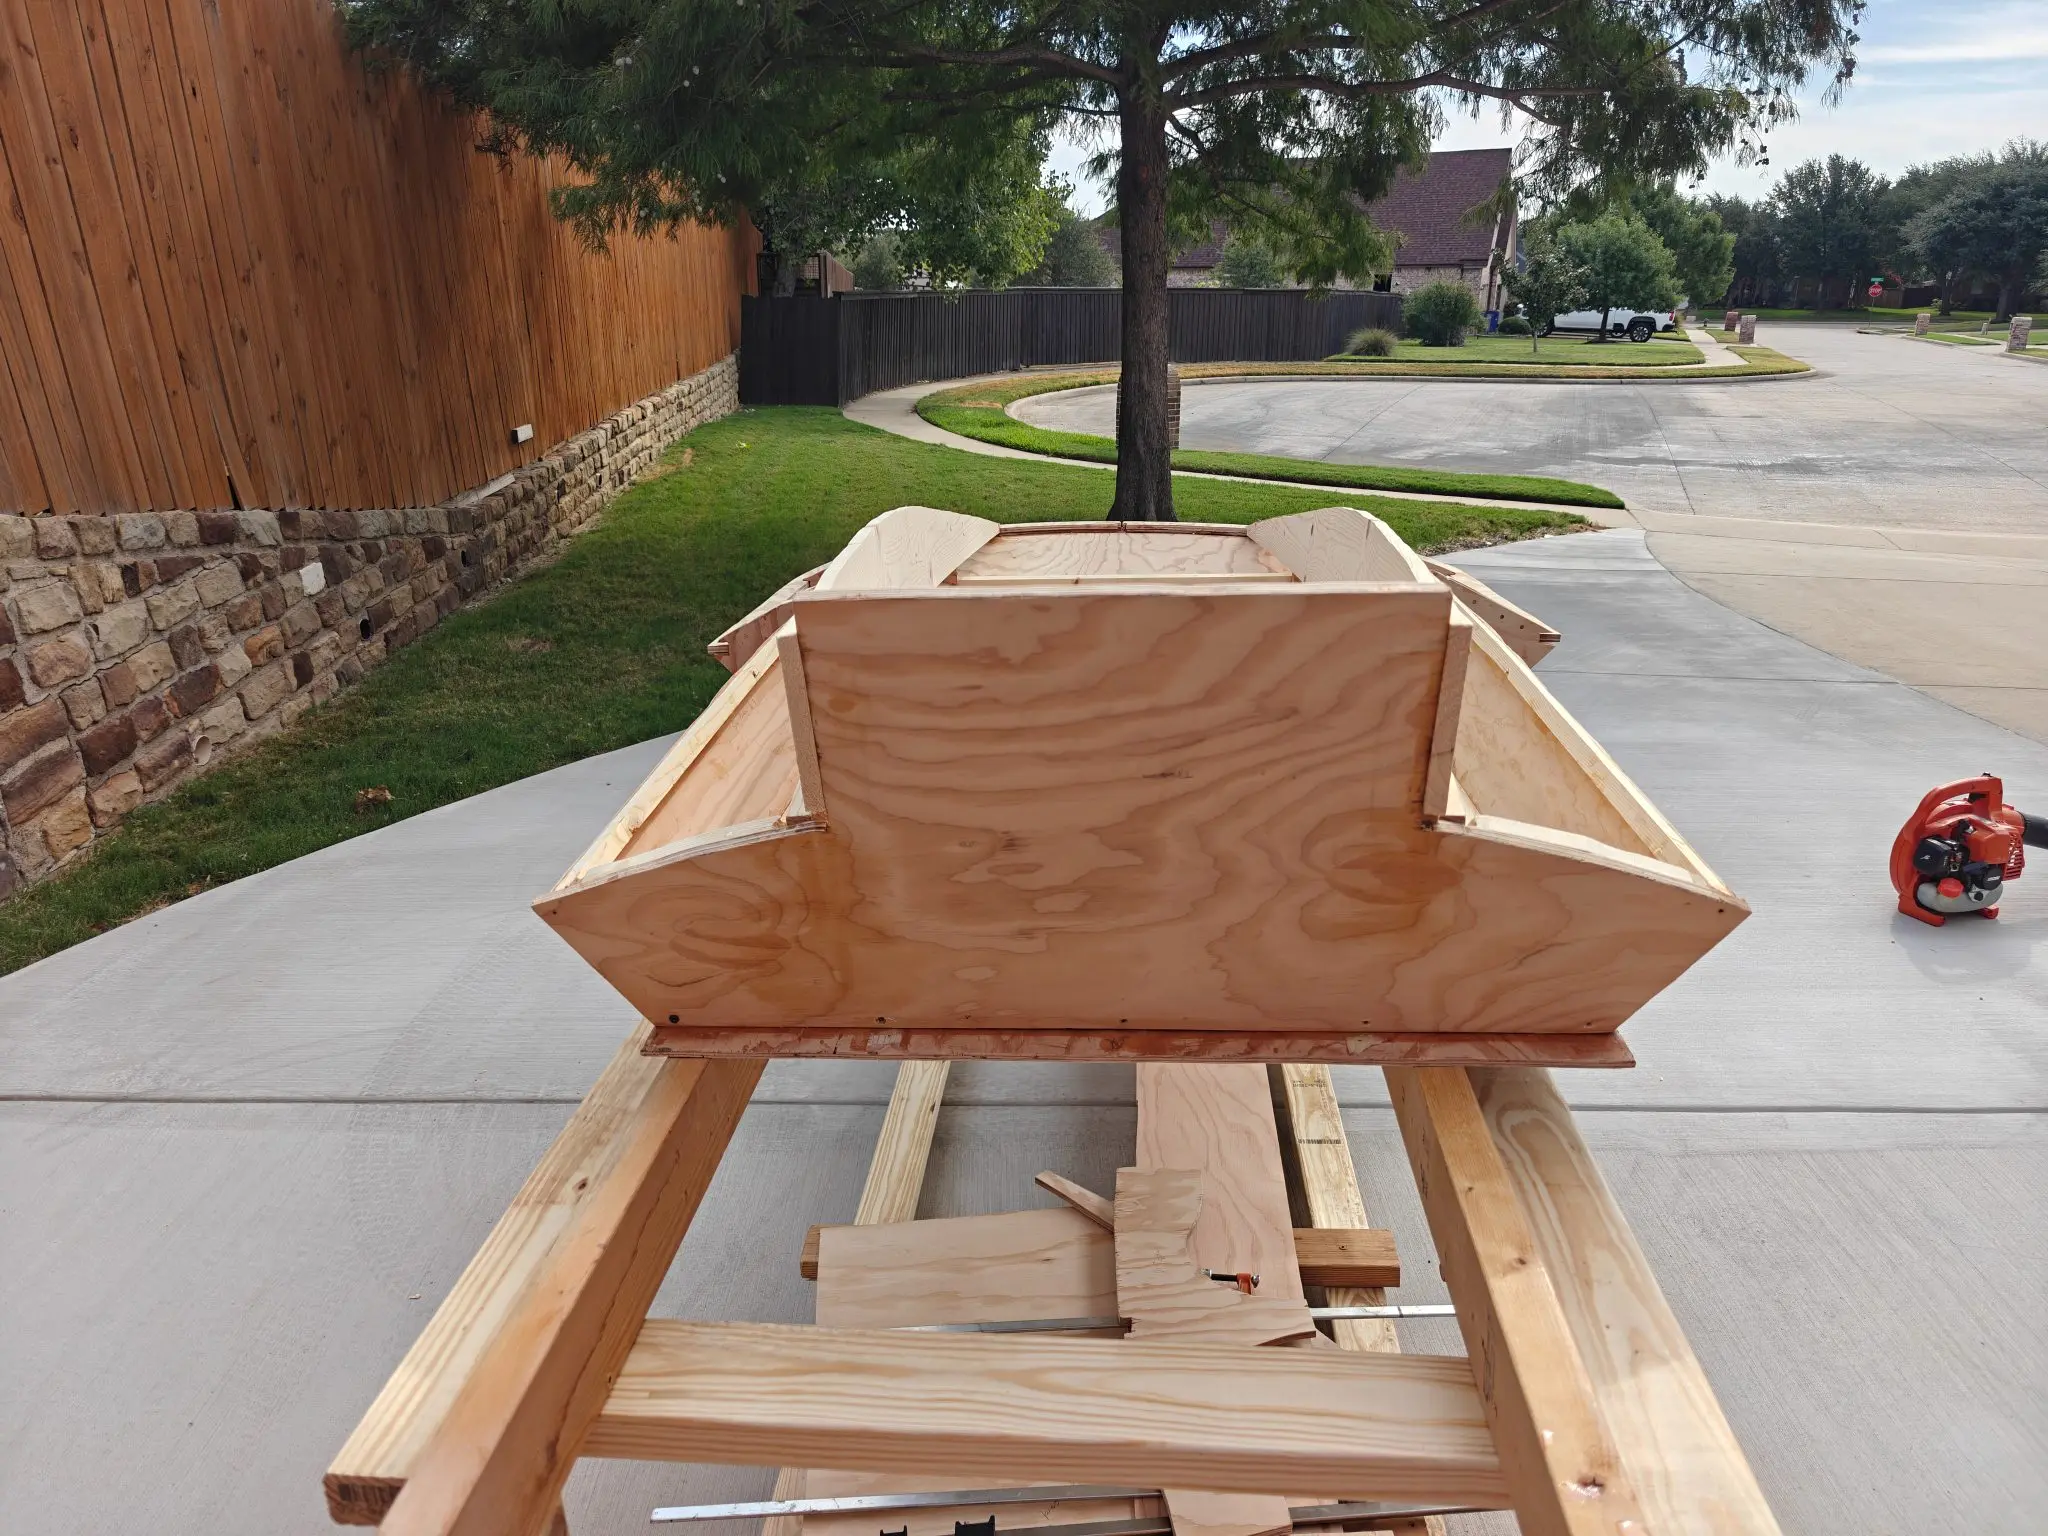
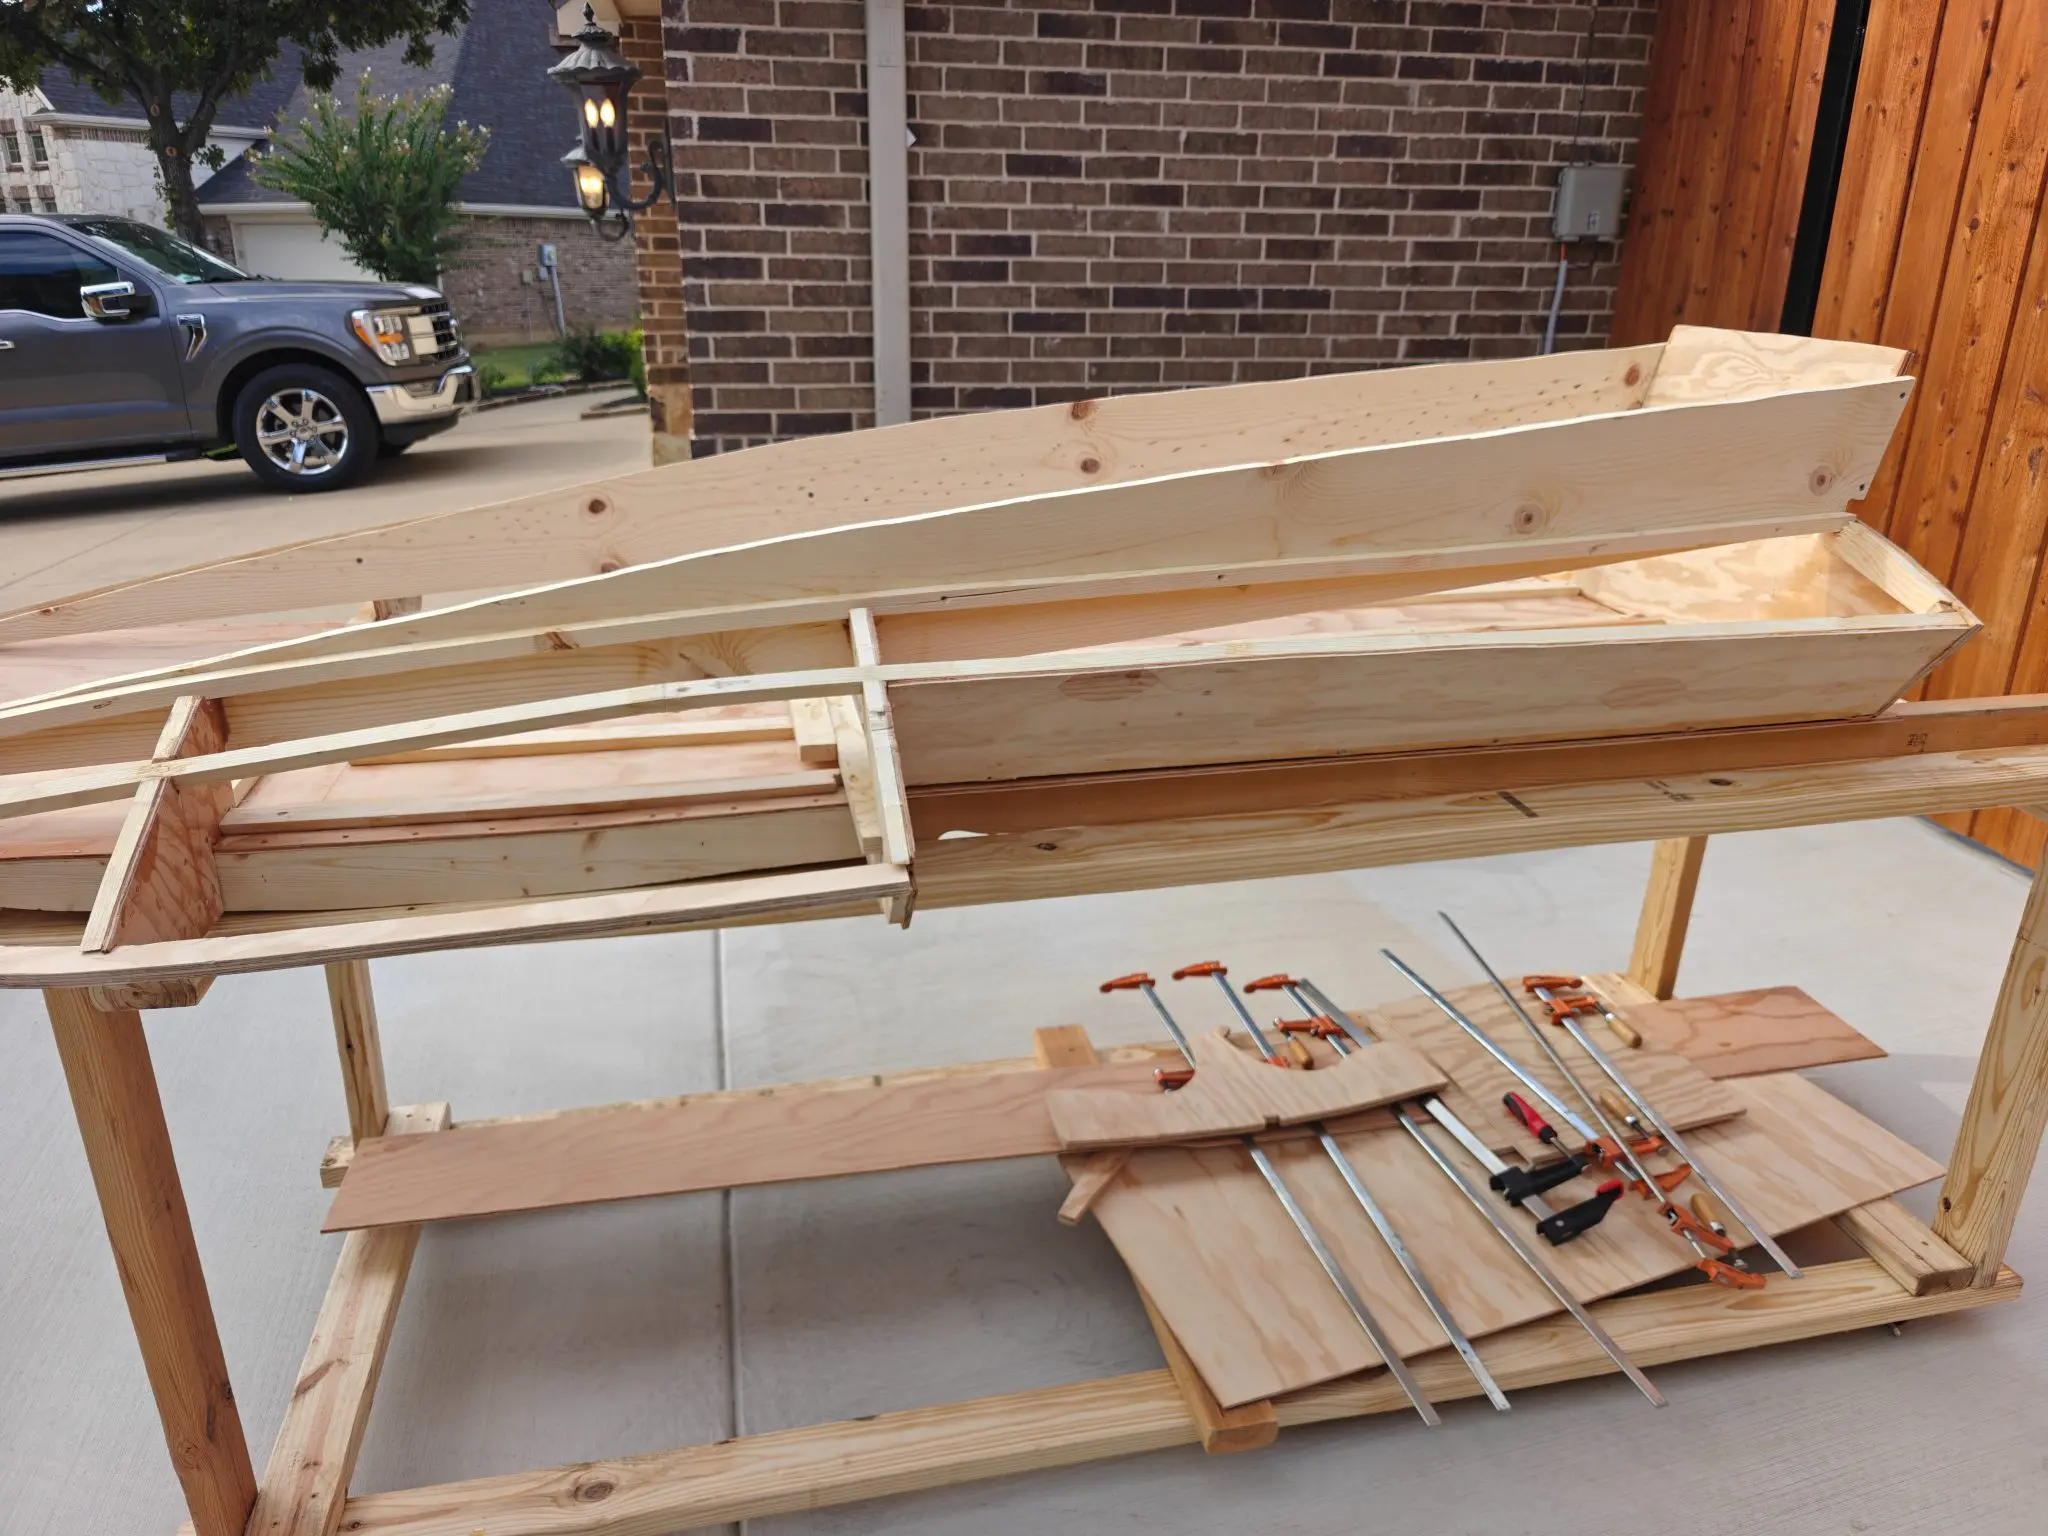
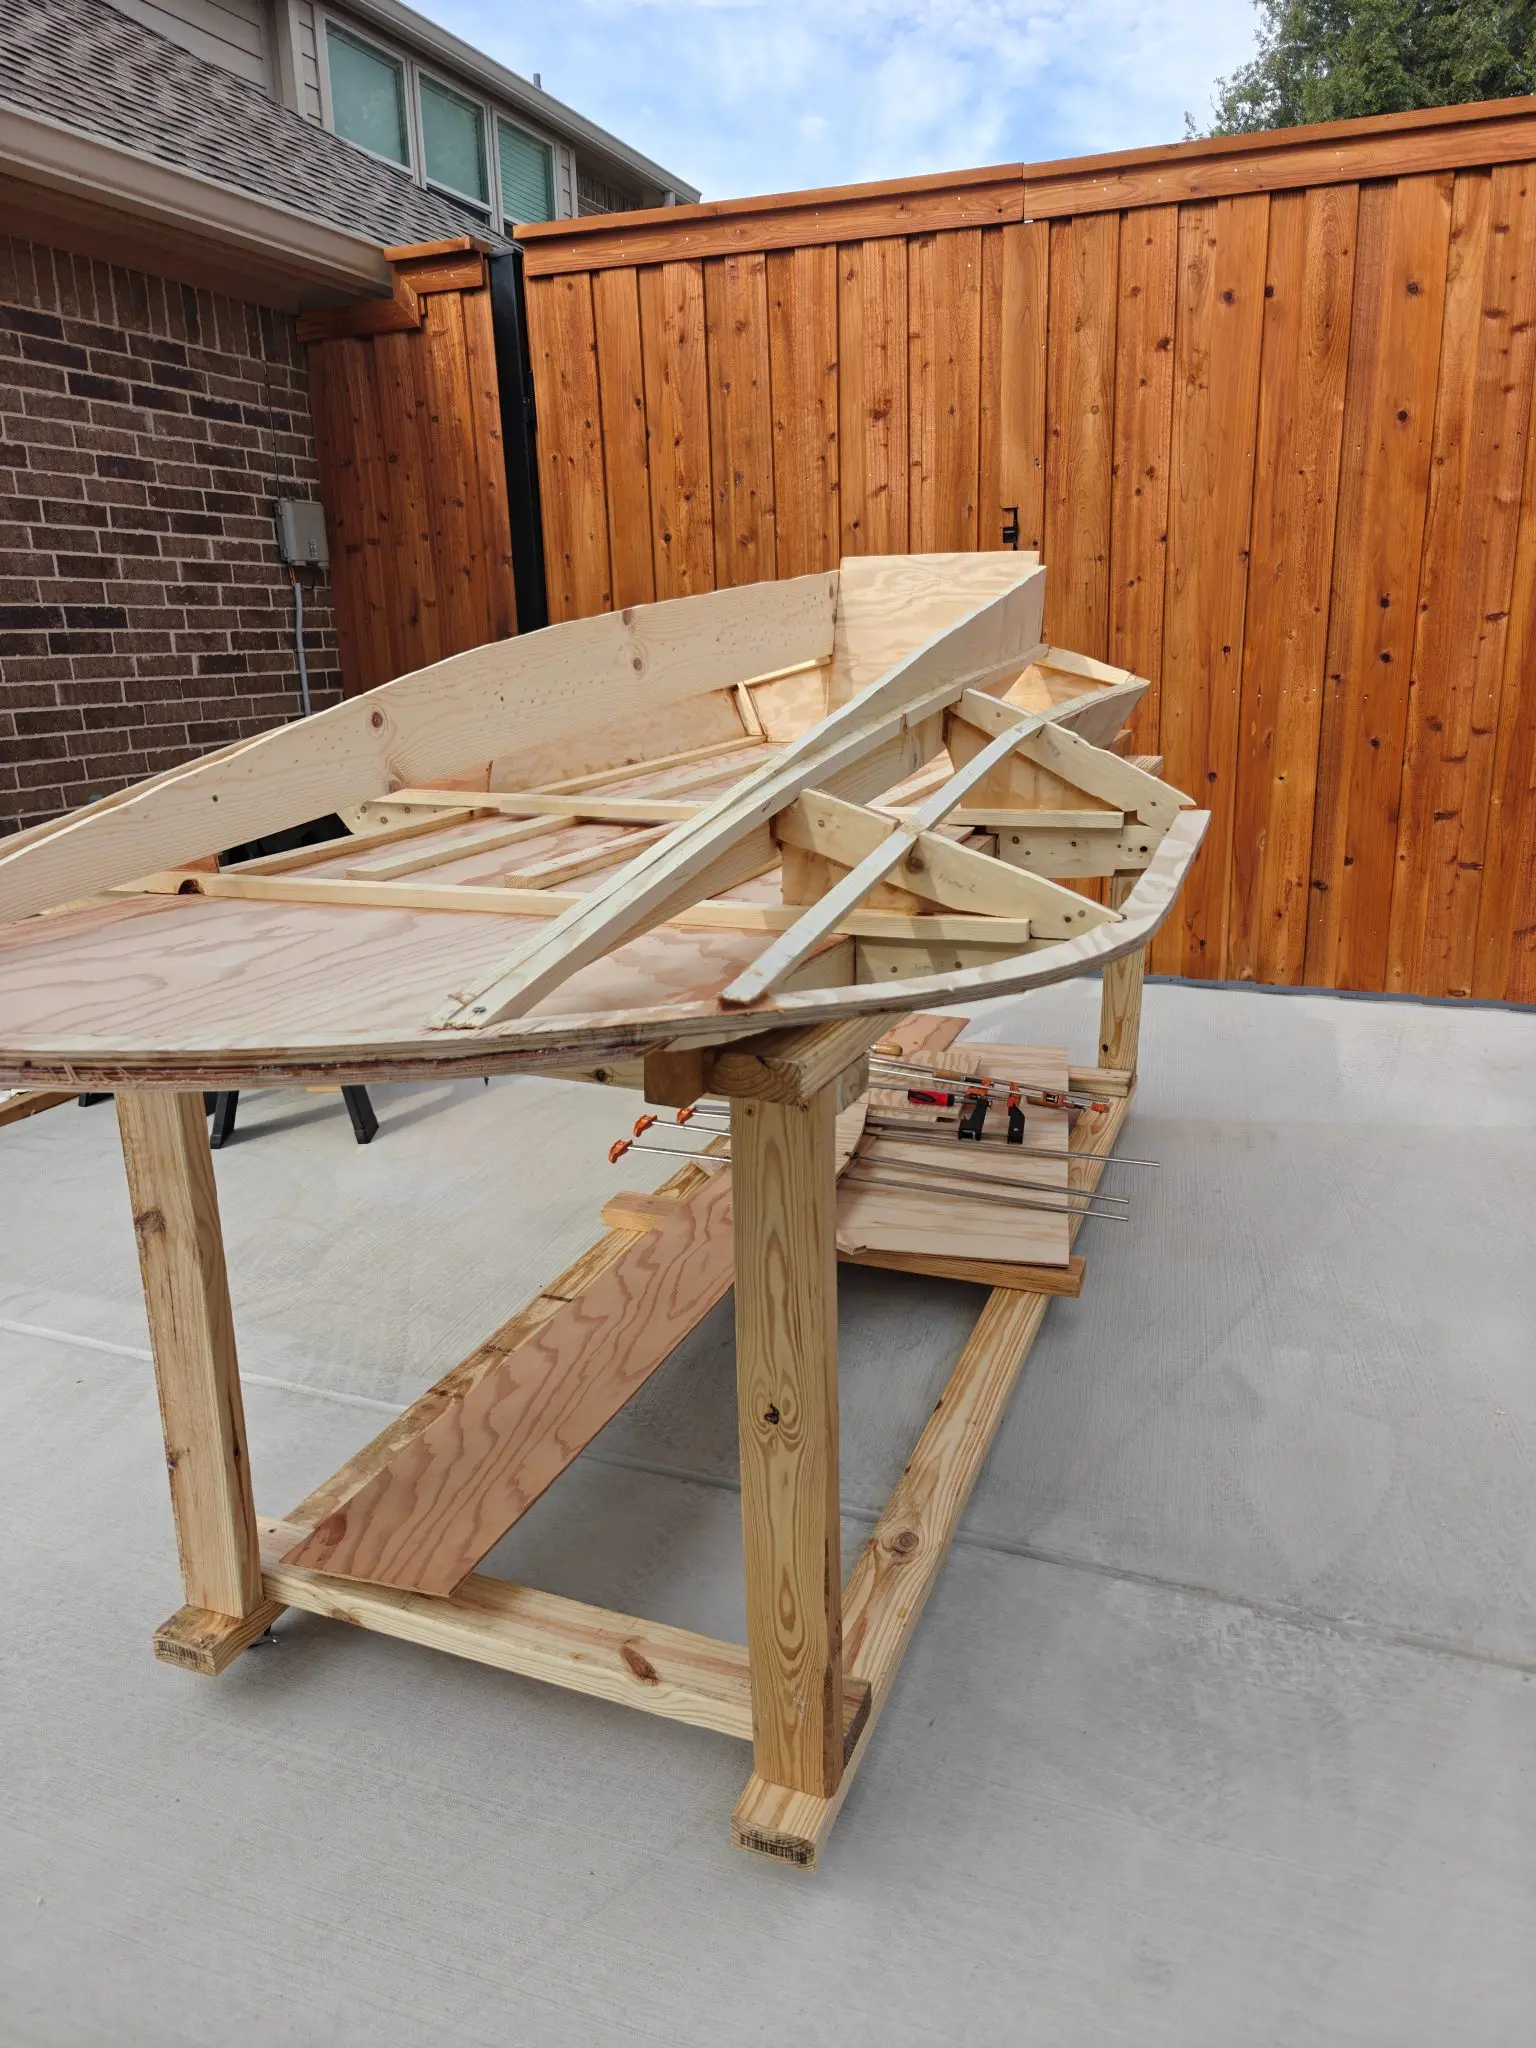
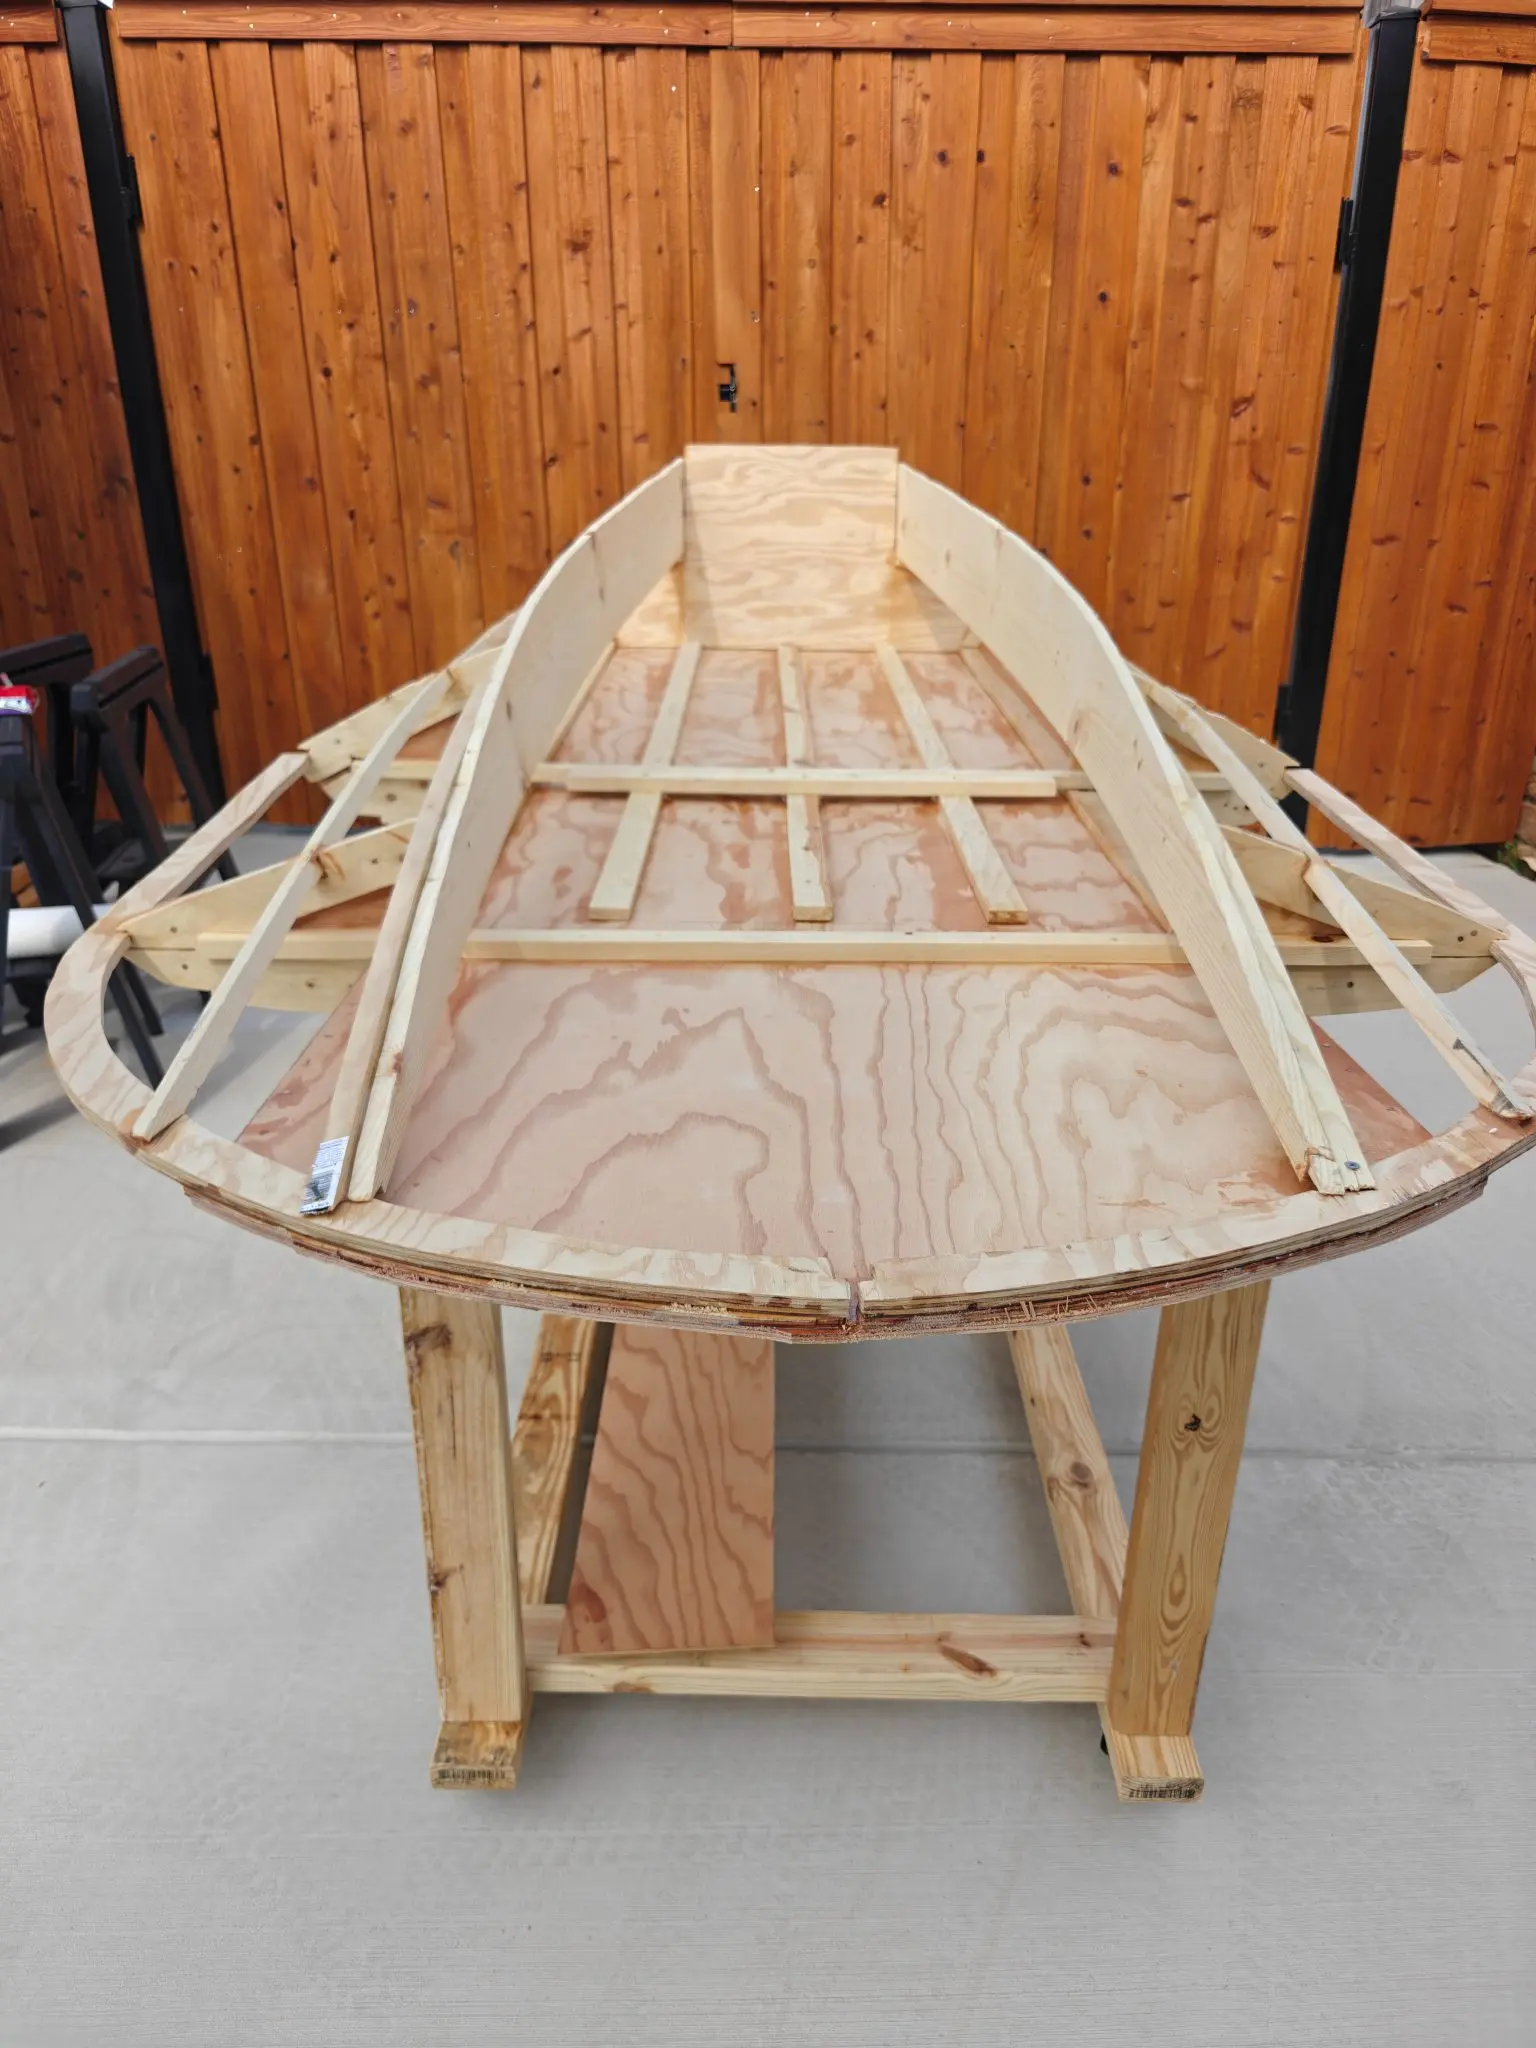
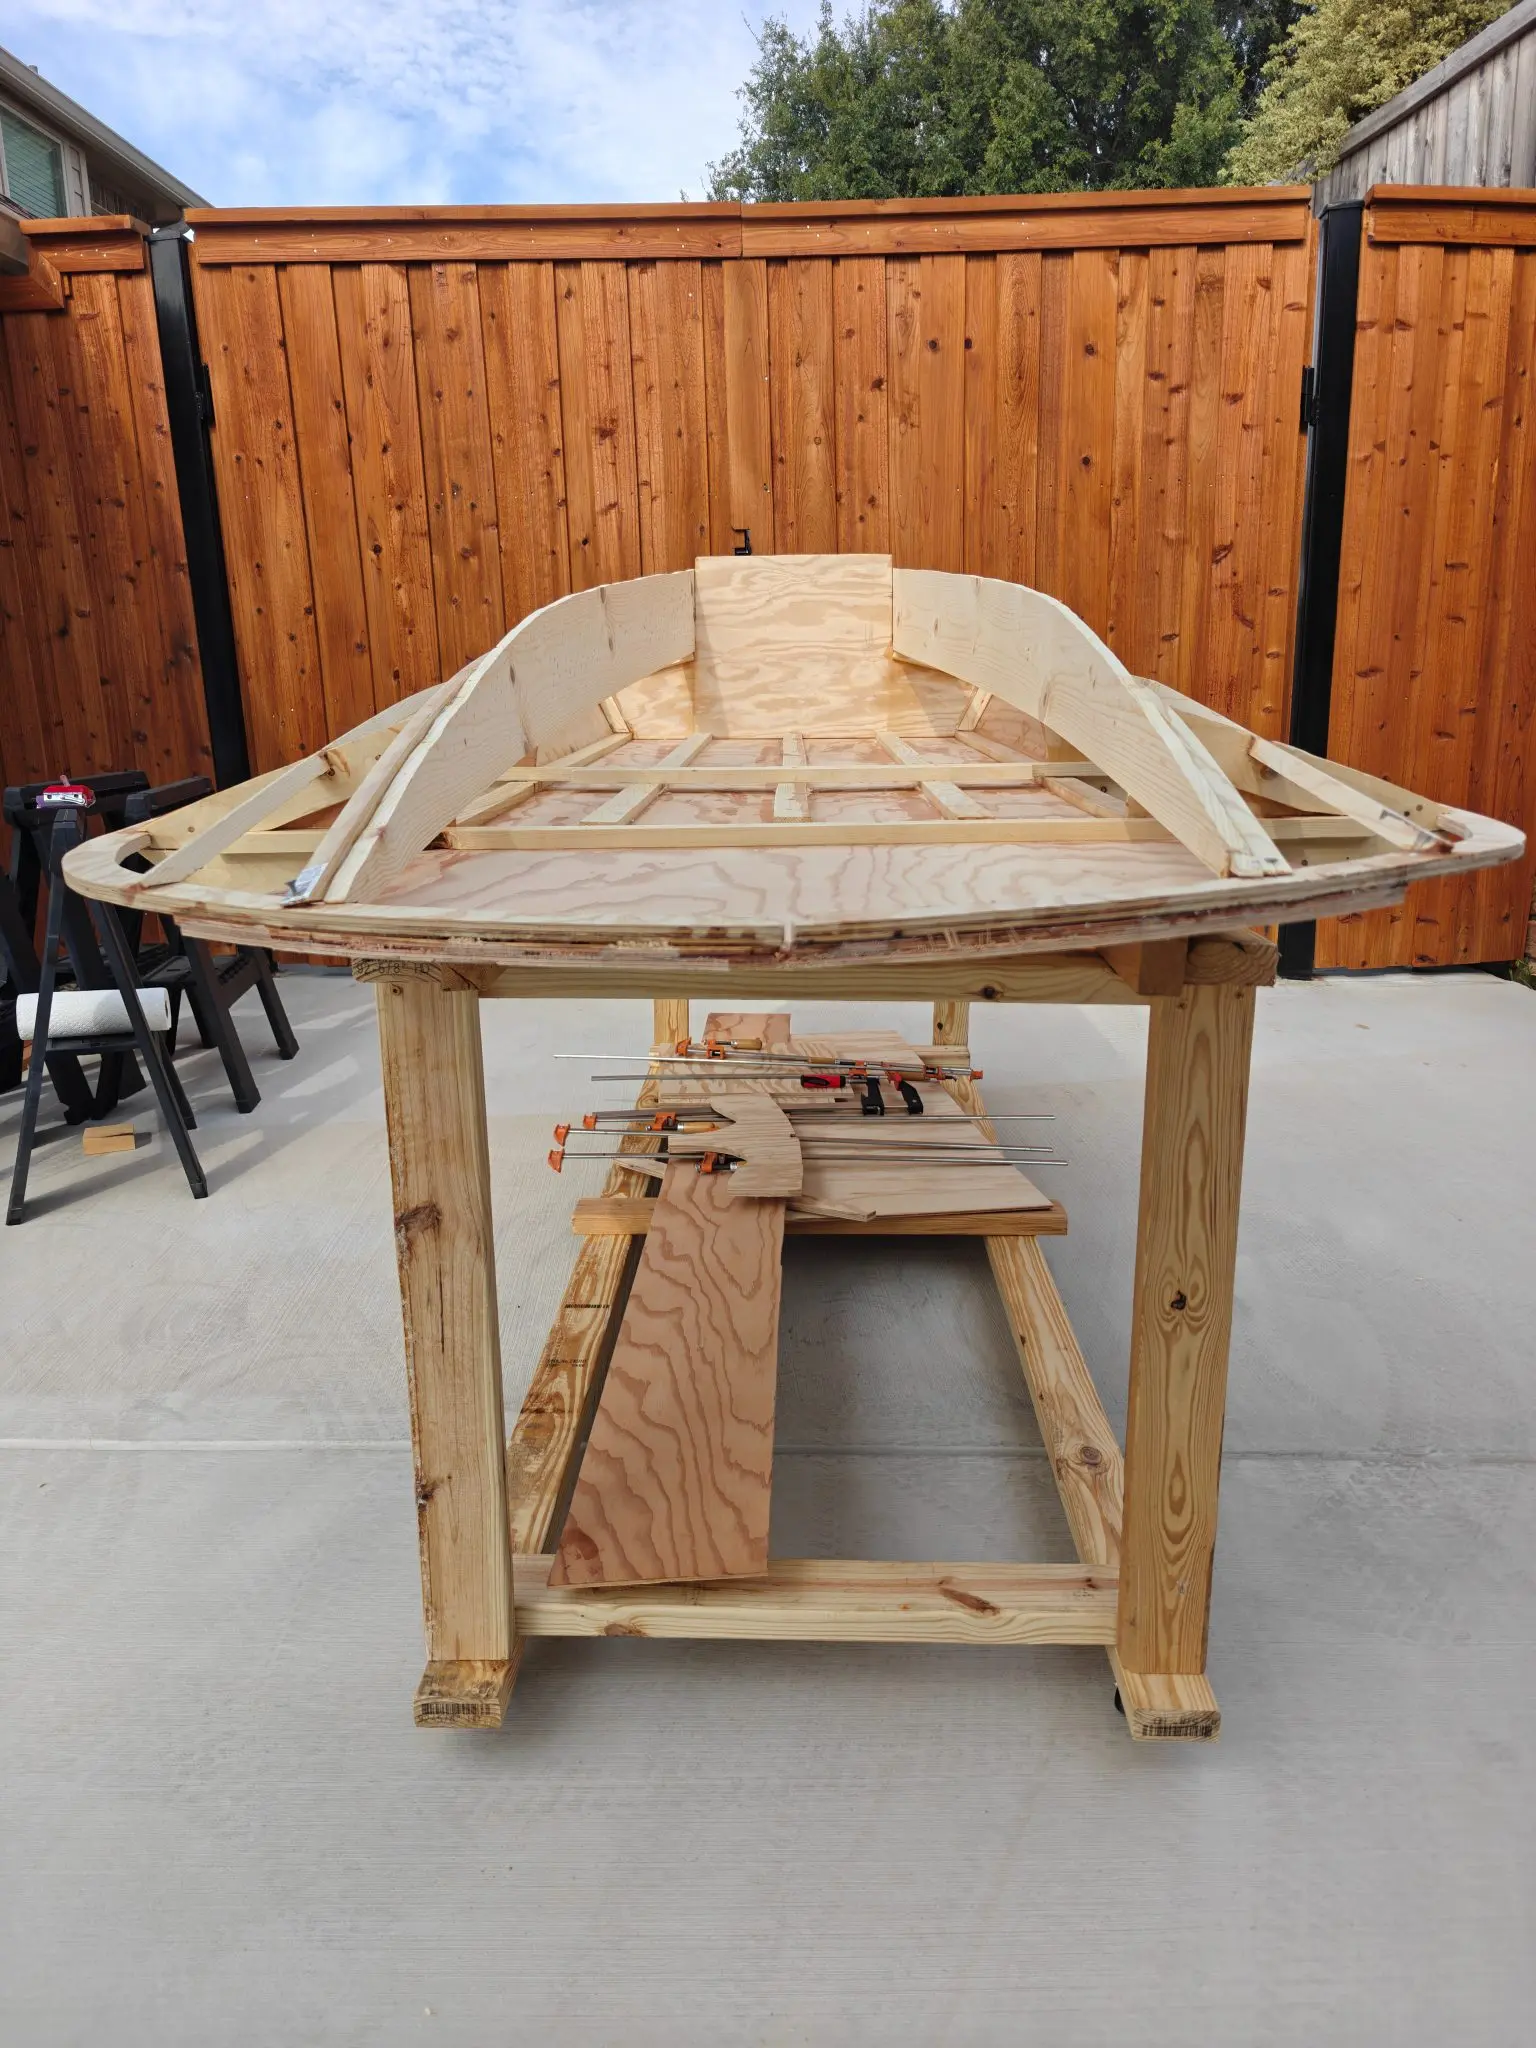
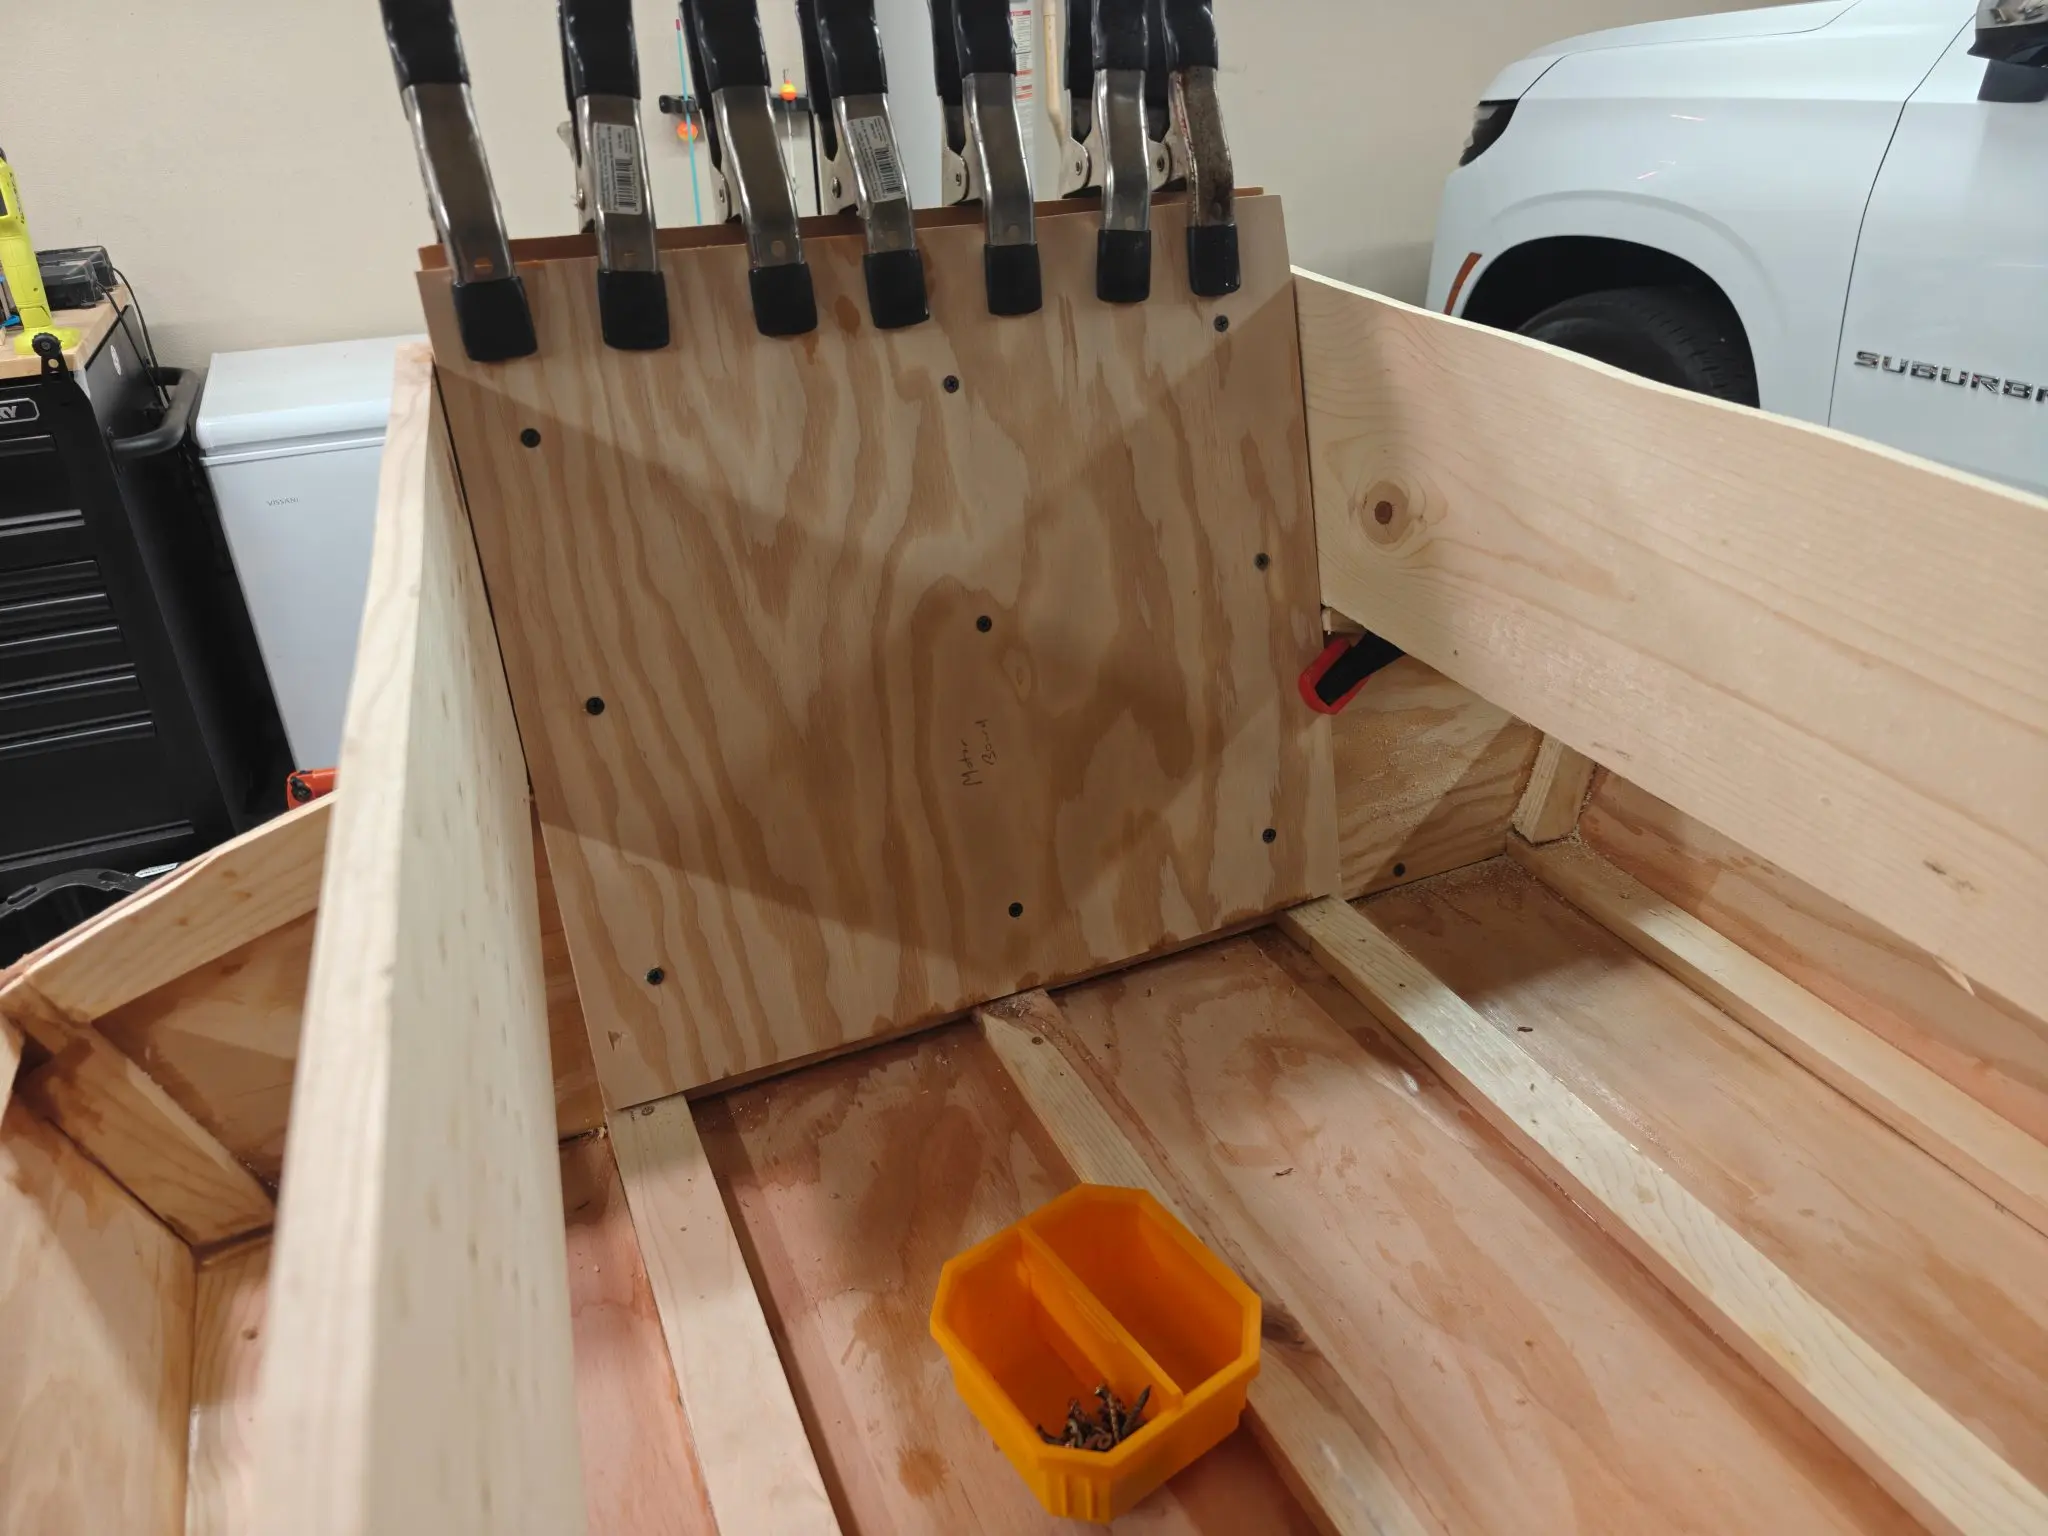
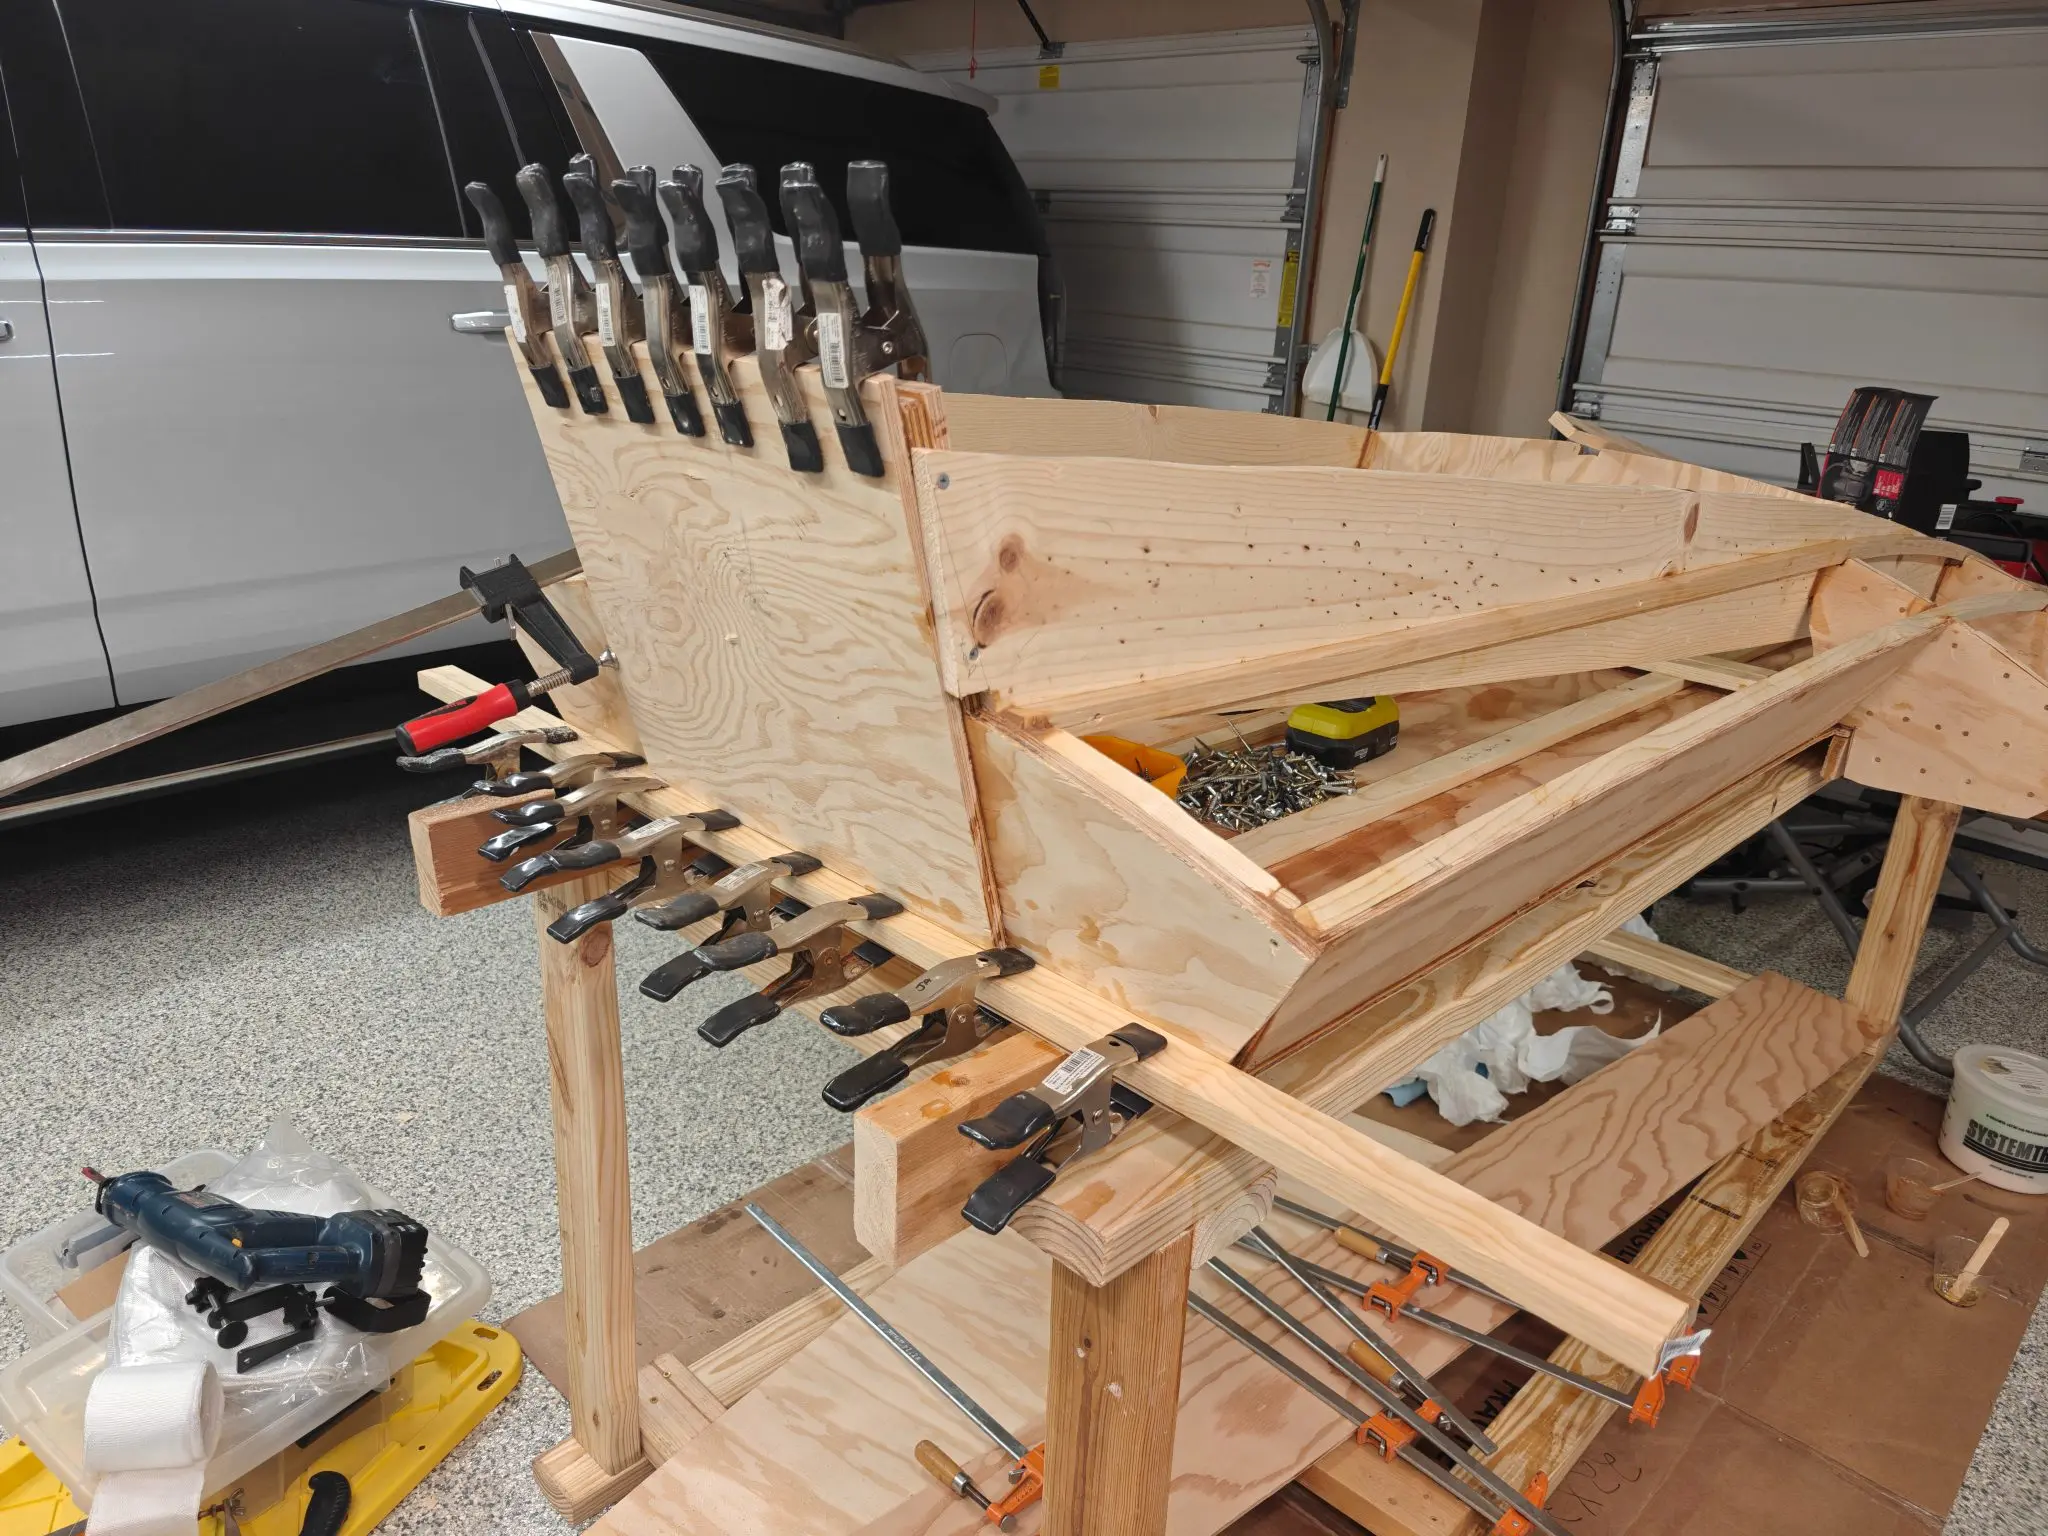
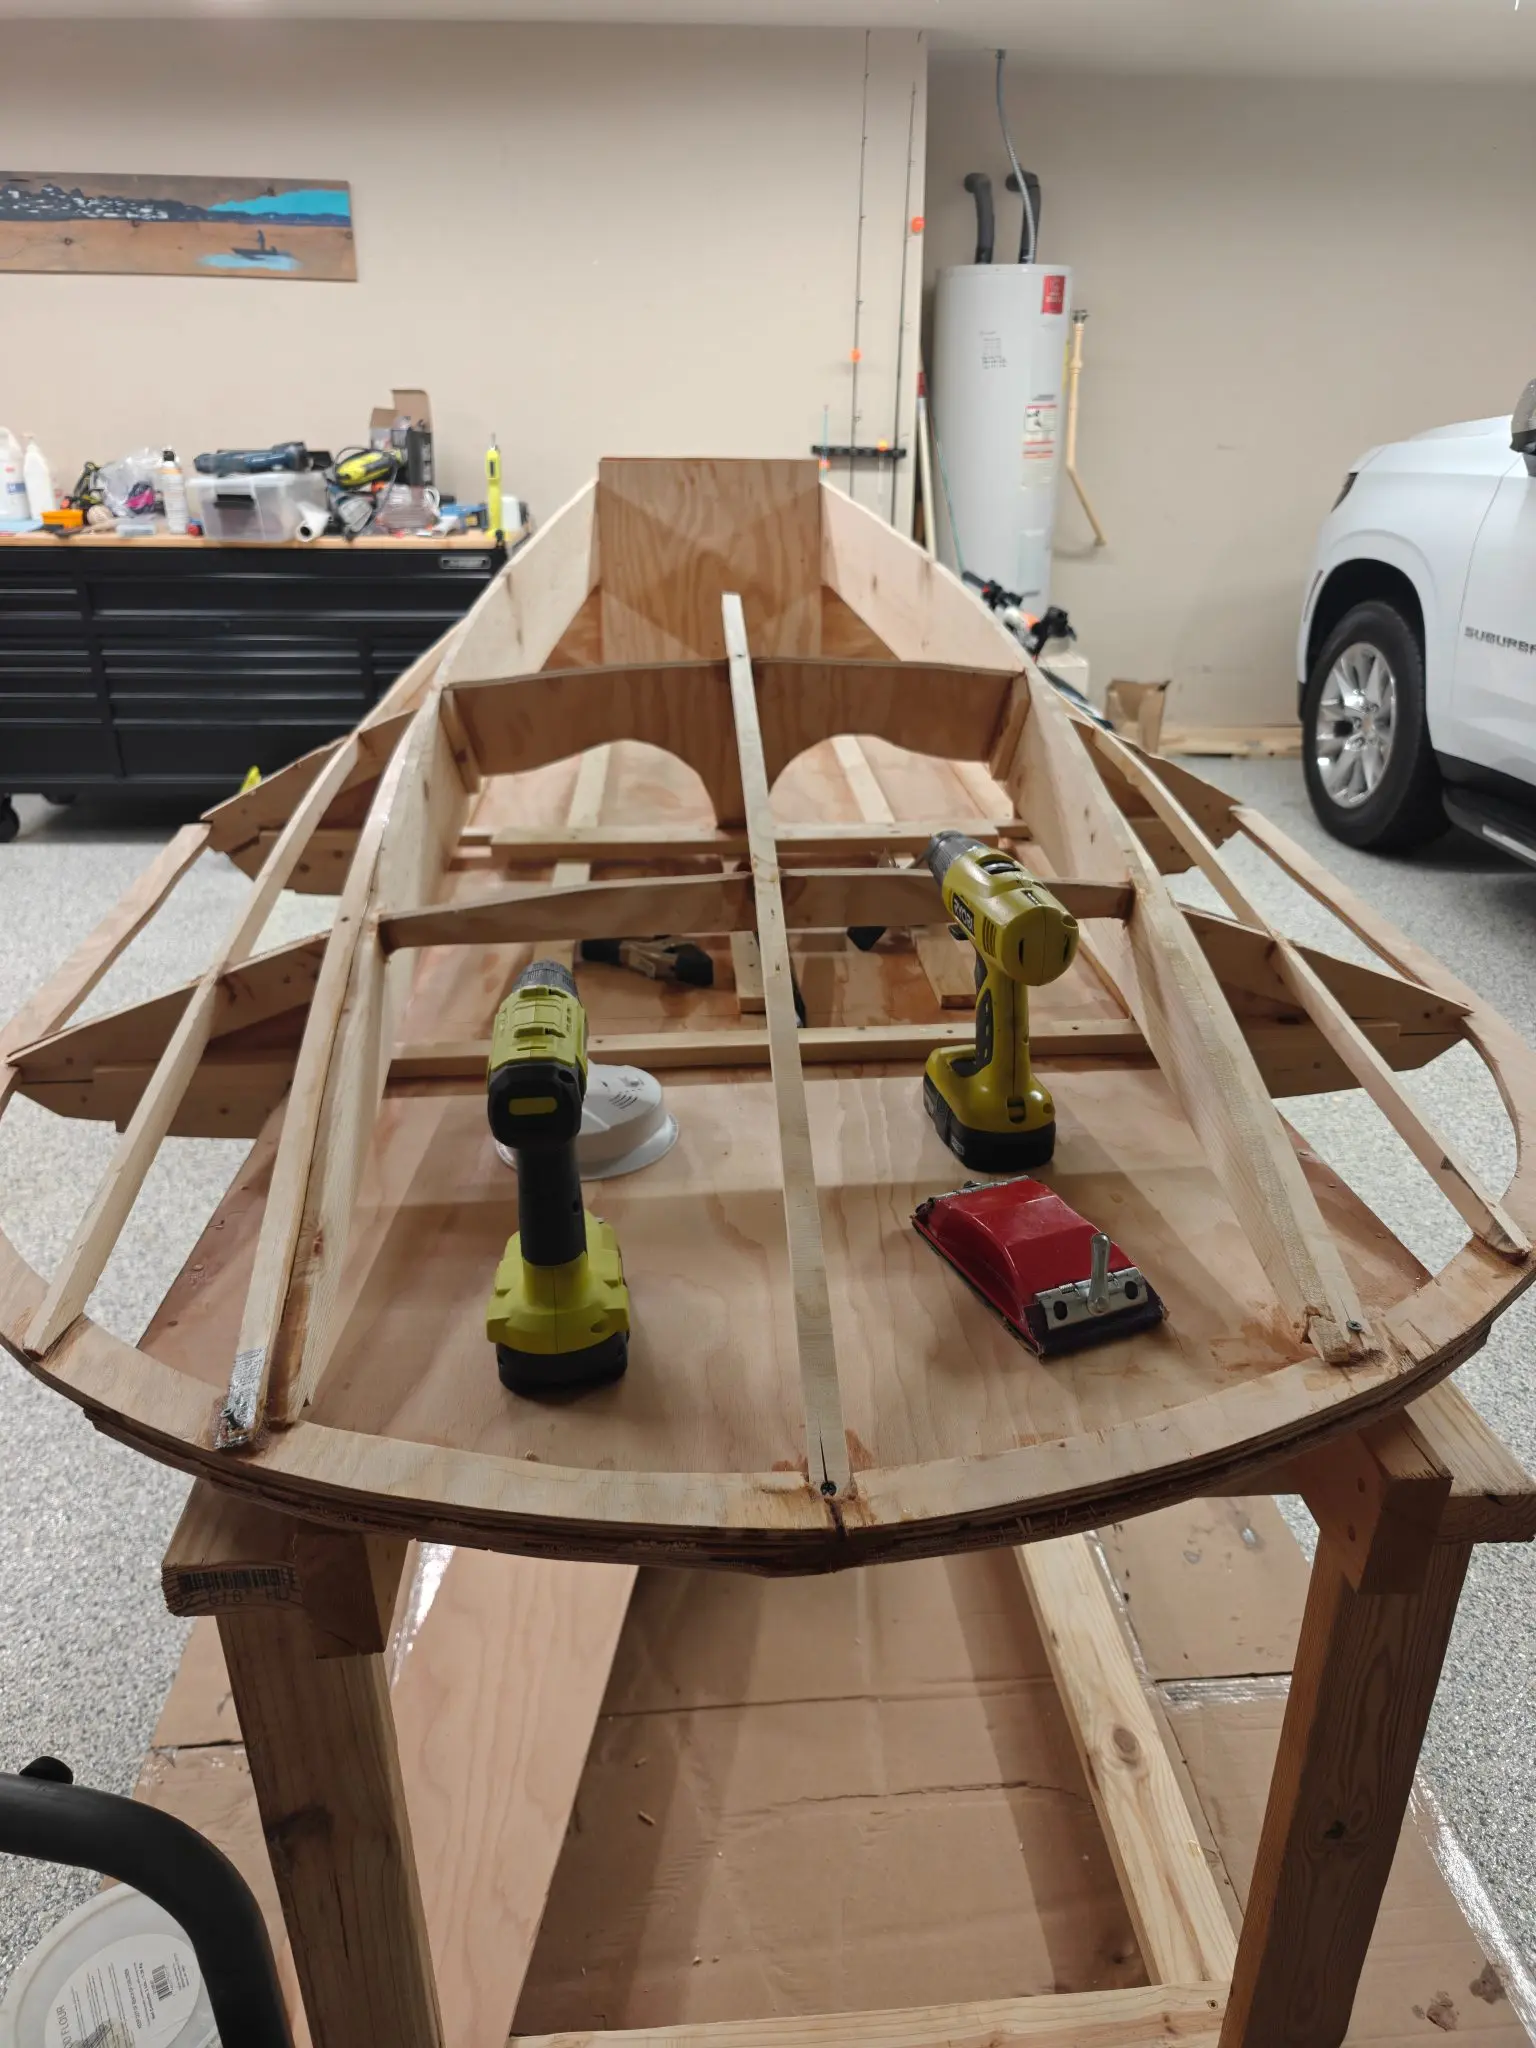
It is definitely starting to look like a boat now. Today I glued and mounted the side planks and the transom as well as the sheer clamp to frame one. I also went ahead and glued and mounted the bow piece.
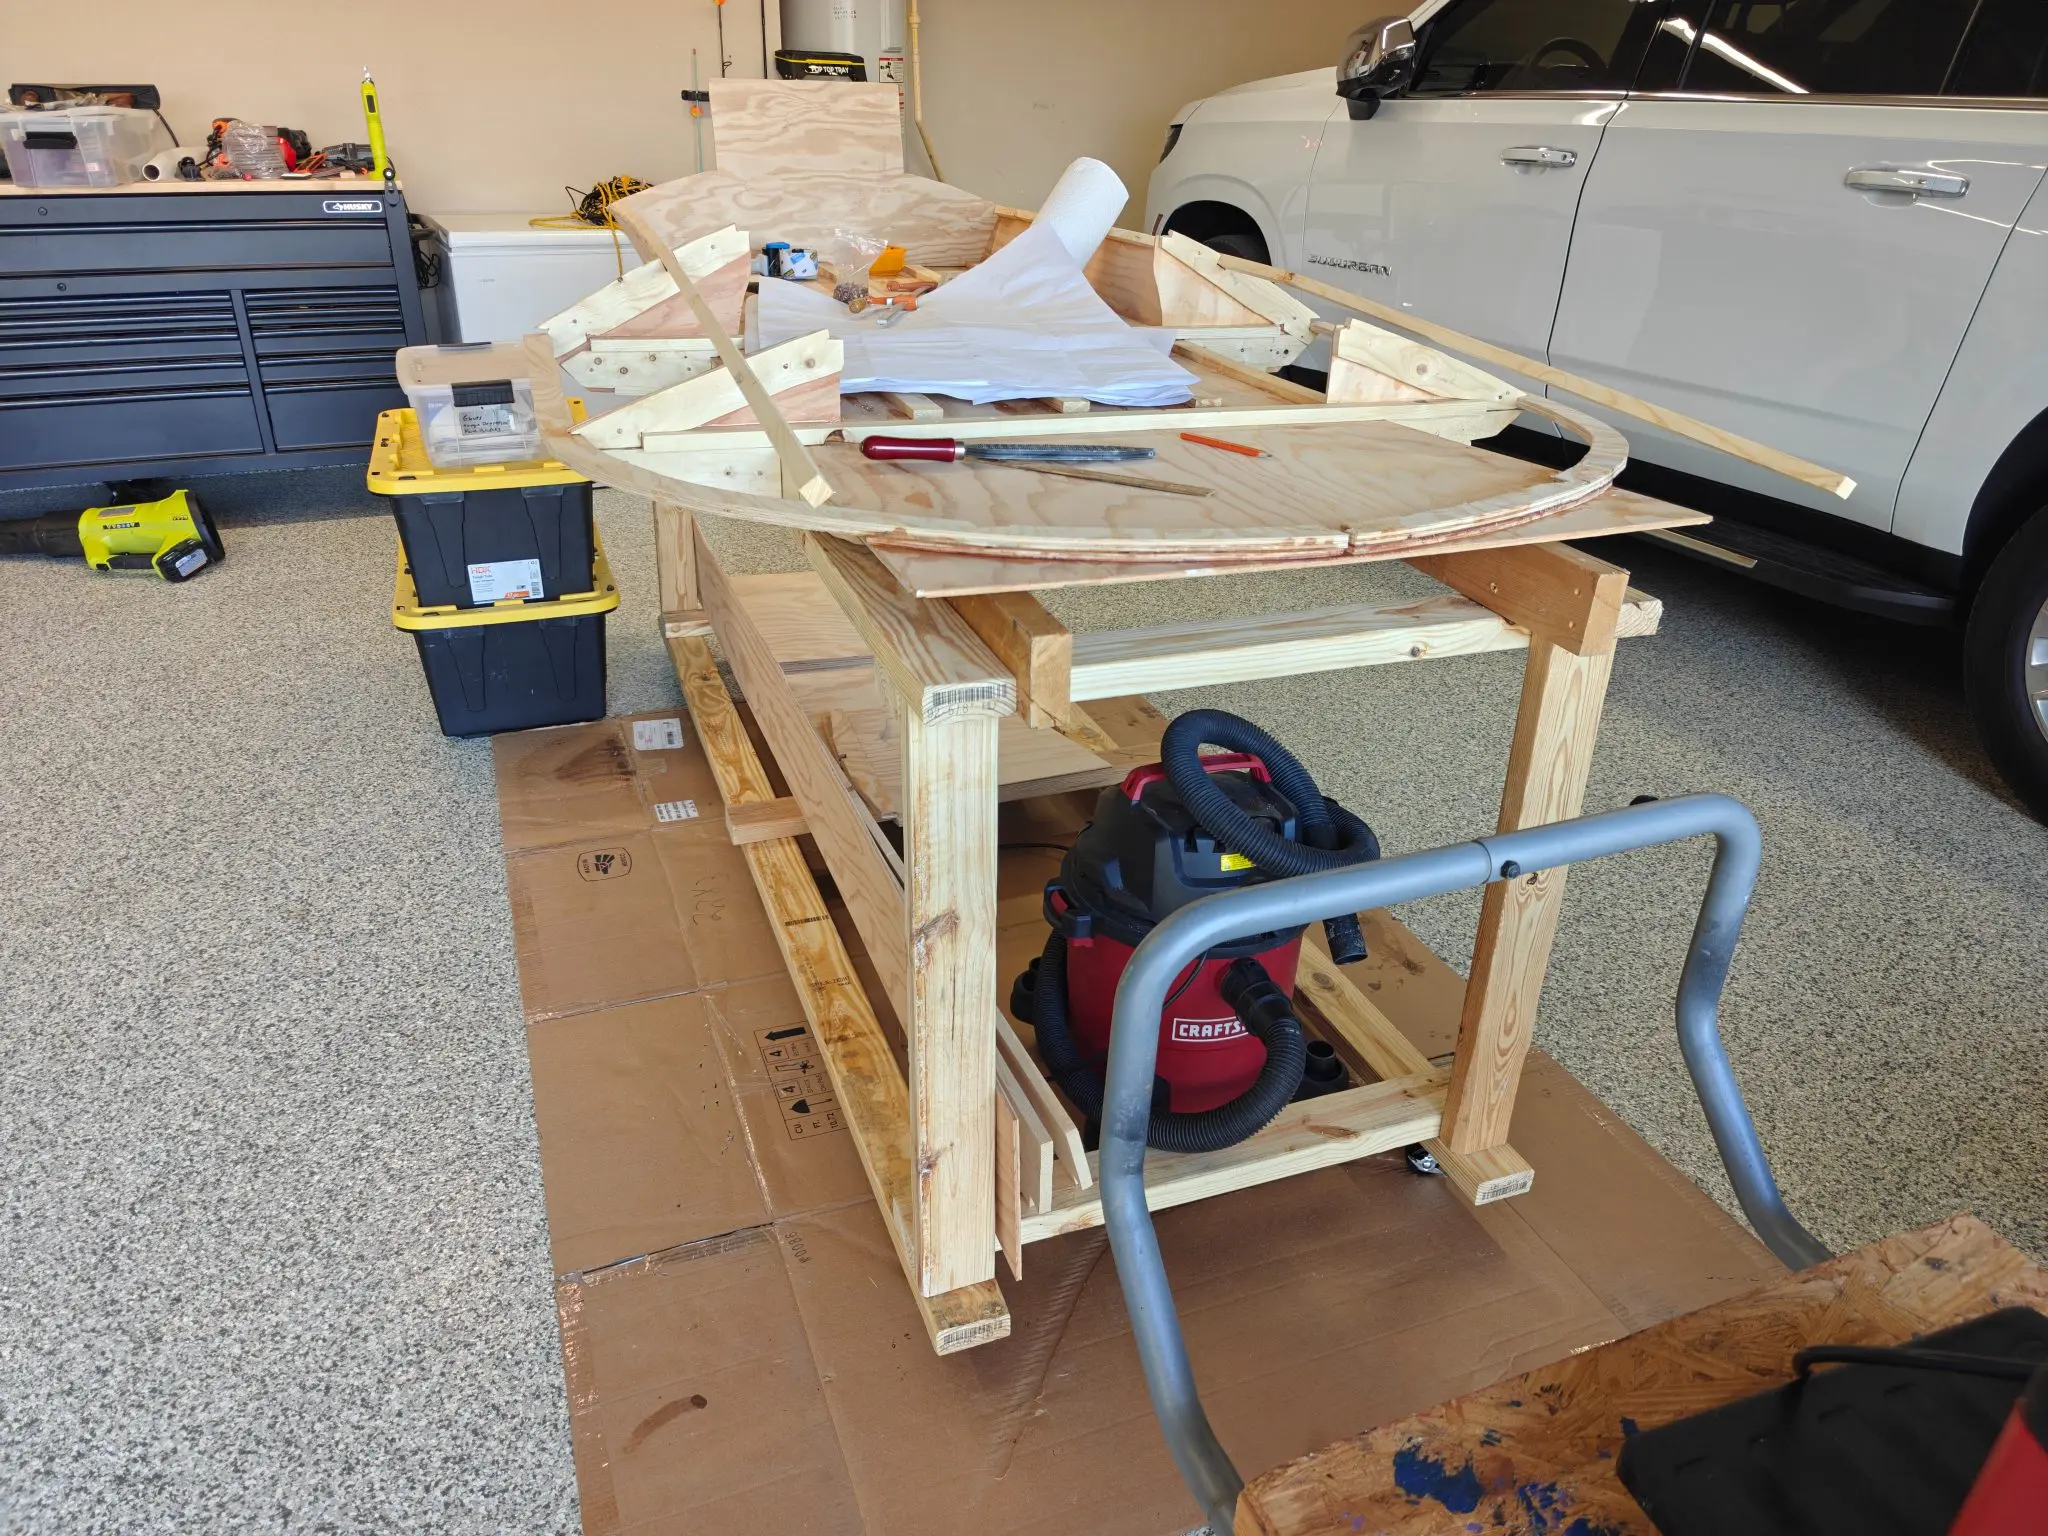
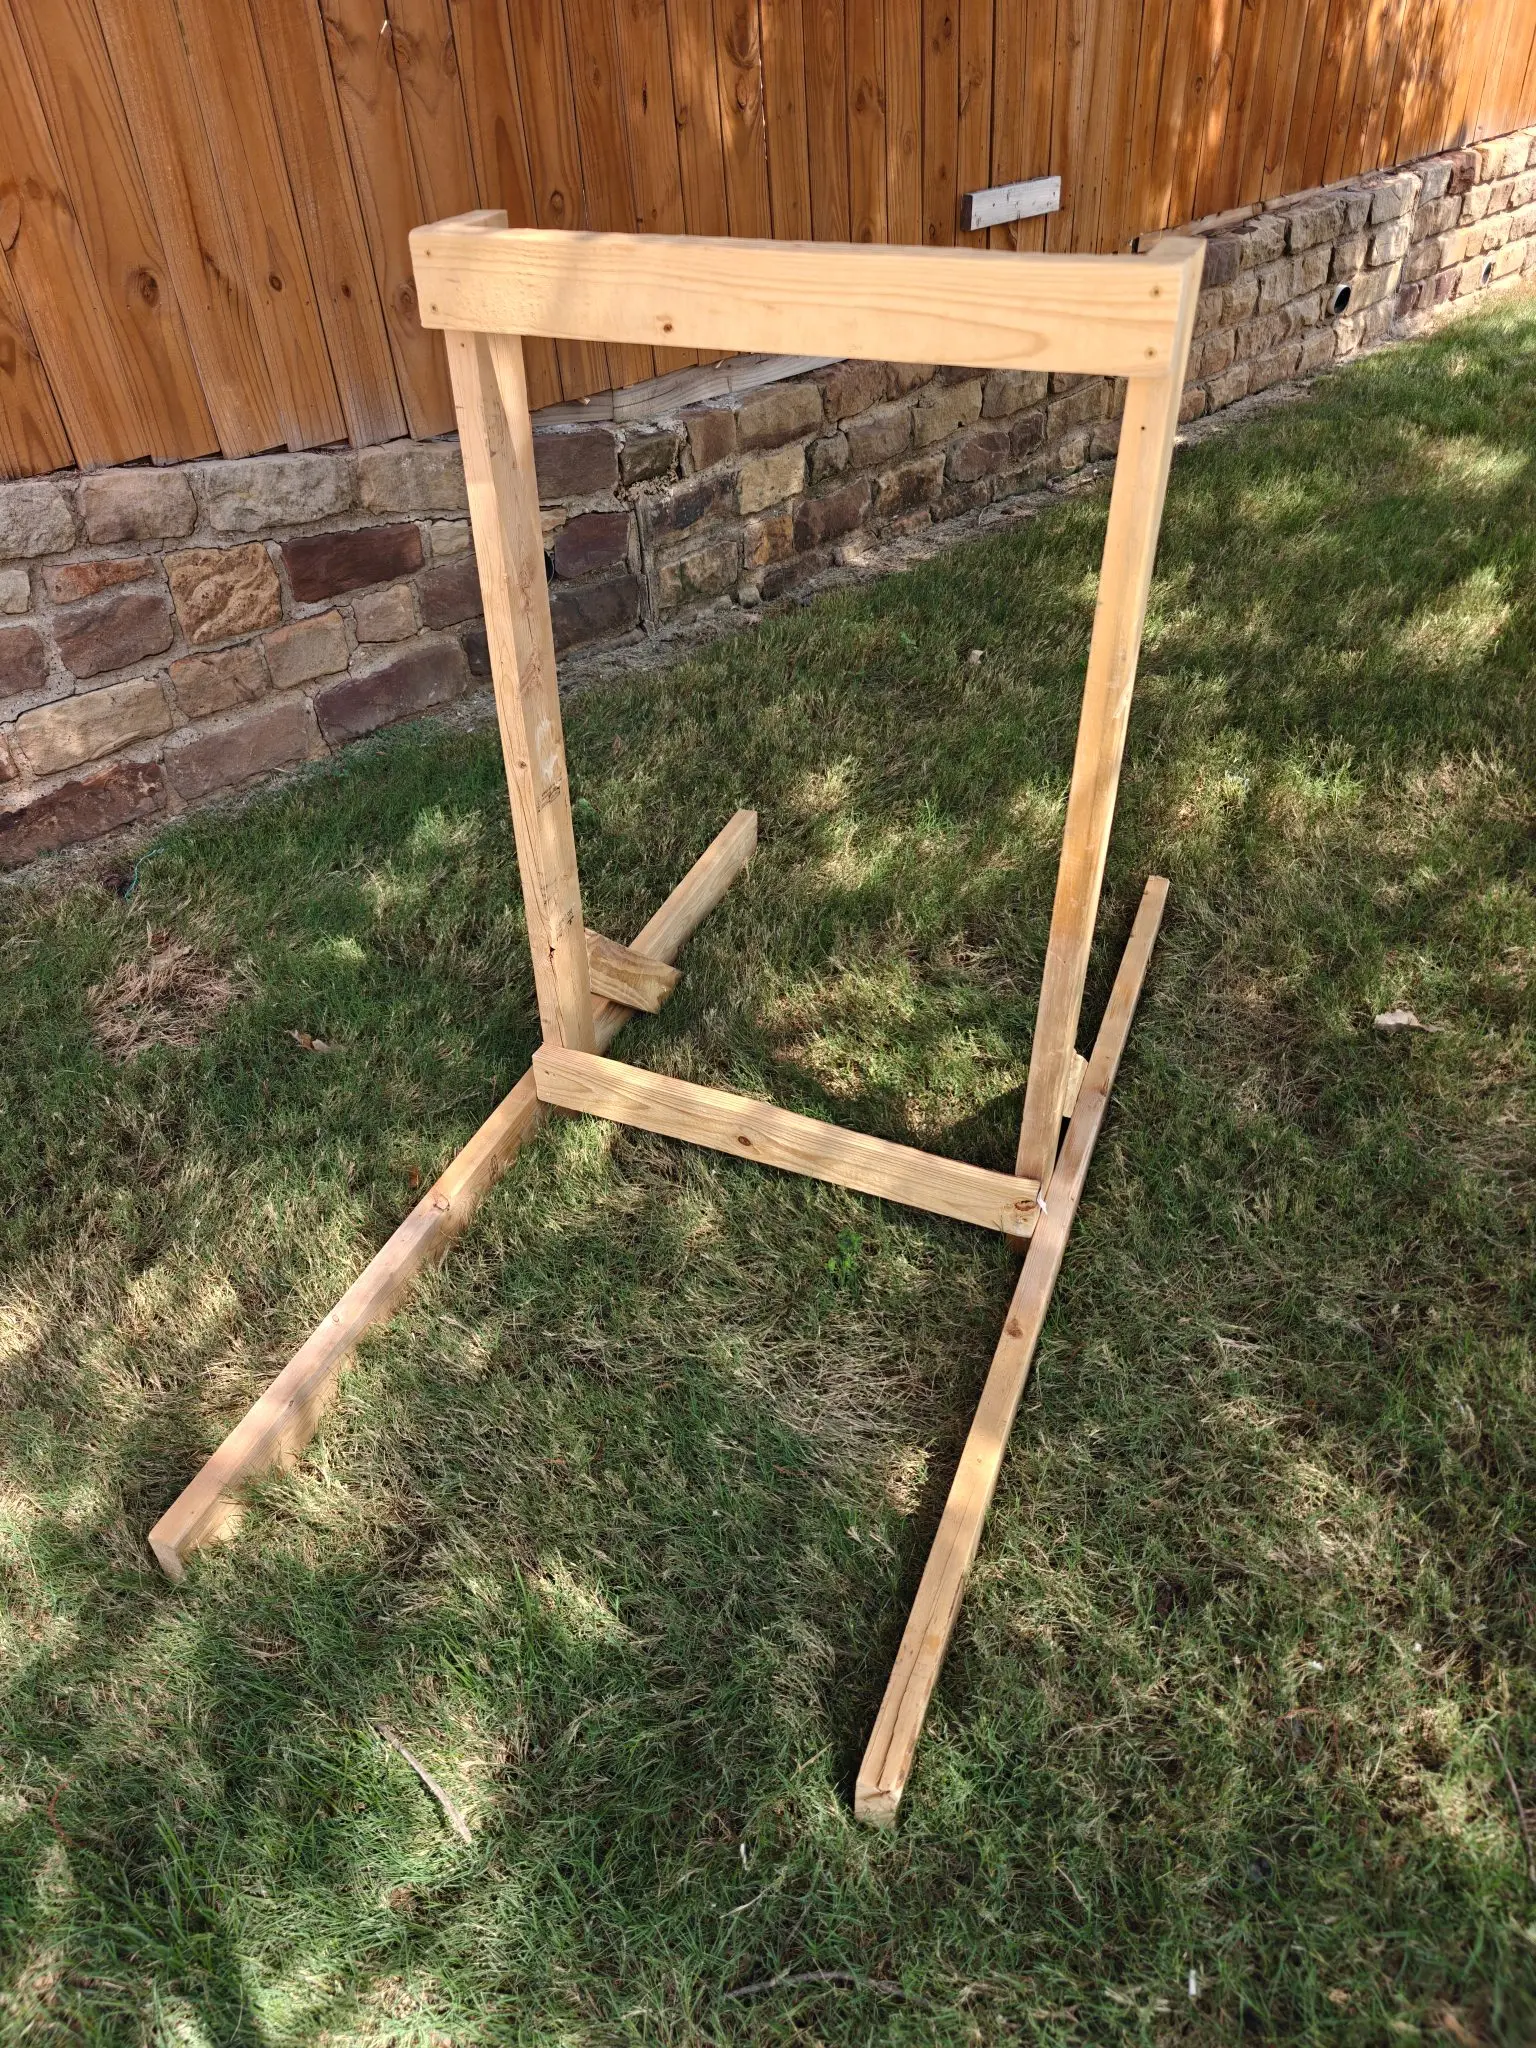
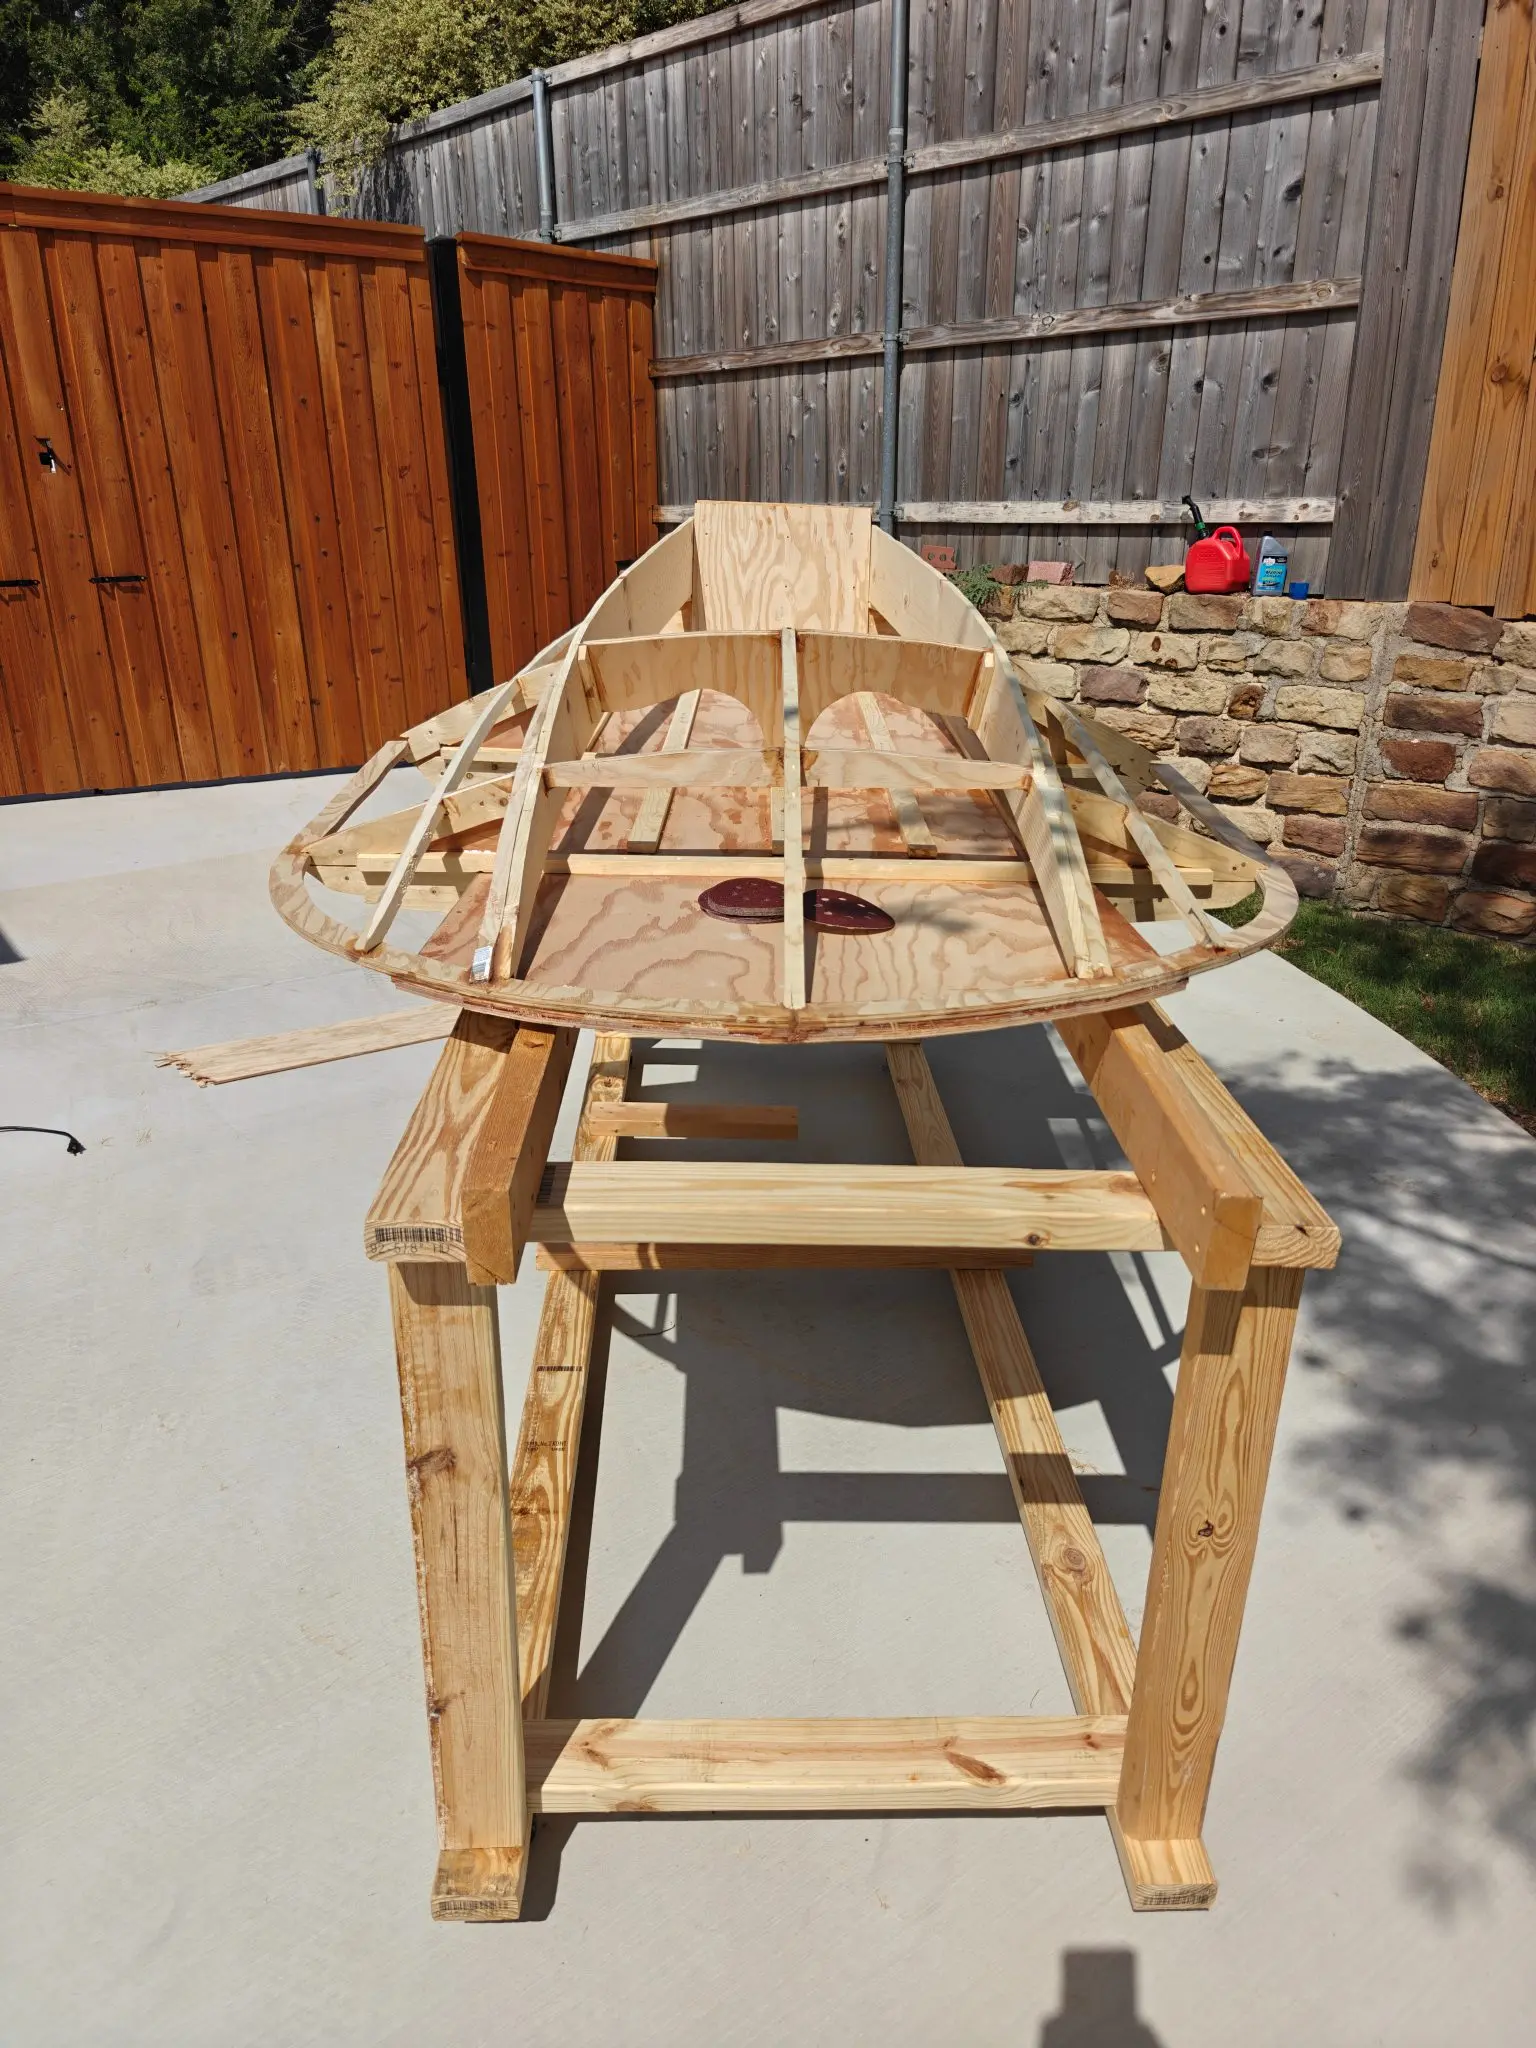
I'm at the point now where it's going to get heavy enough where I would like to have some casters so I will probably go to Home Depot later today and get a bunch of 2x4 so I can build a mobile sawhorse.
11 Sep 2026
Shop & Tooling 1 h
Upgraded my workbench by making it a custom fit for the boat and added casters. I think this is a necessary step because I don't like to do any sanding or cutting in the garage and from this point forward the boat is going to be too heavy and fragile to be lifting it back and forth to my outdoor sawhorse.
15 Sep 2026
Stitch & Assembly 2 h
Another Break, Another Fix
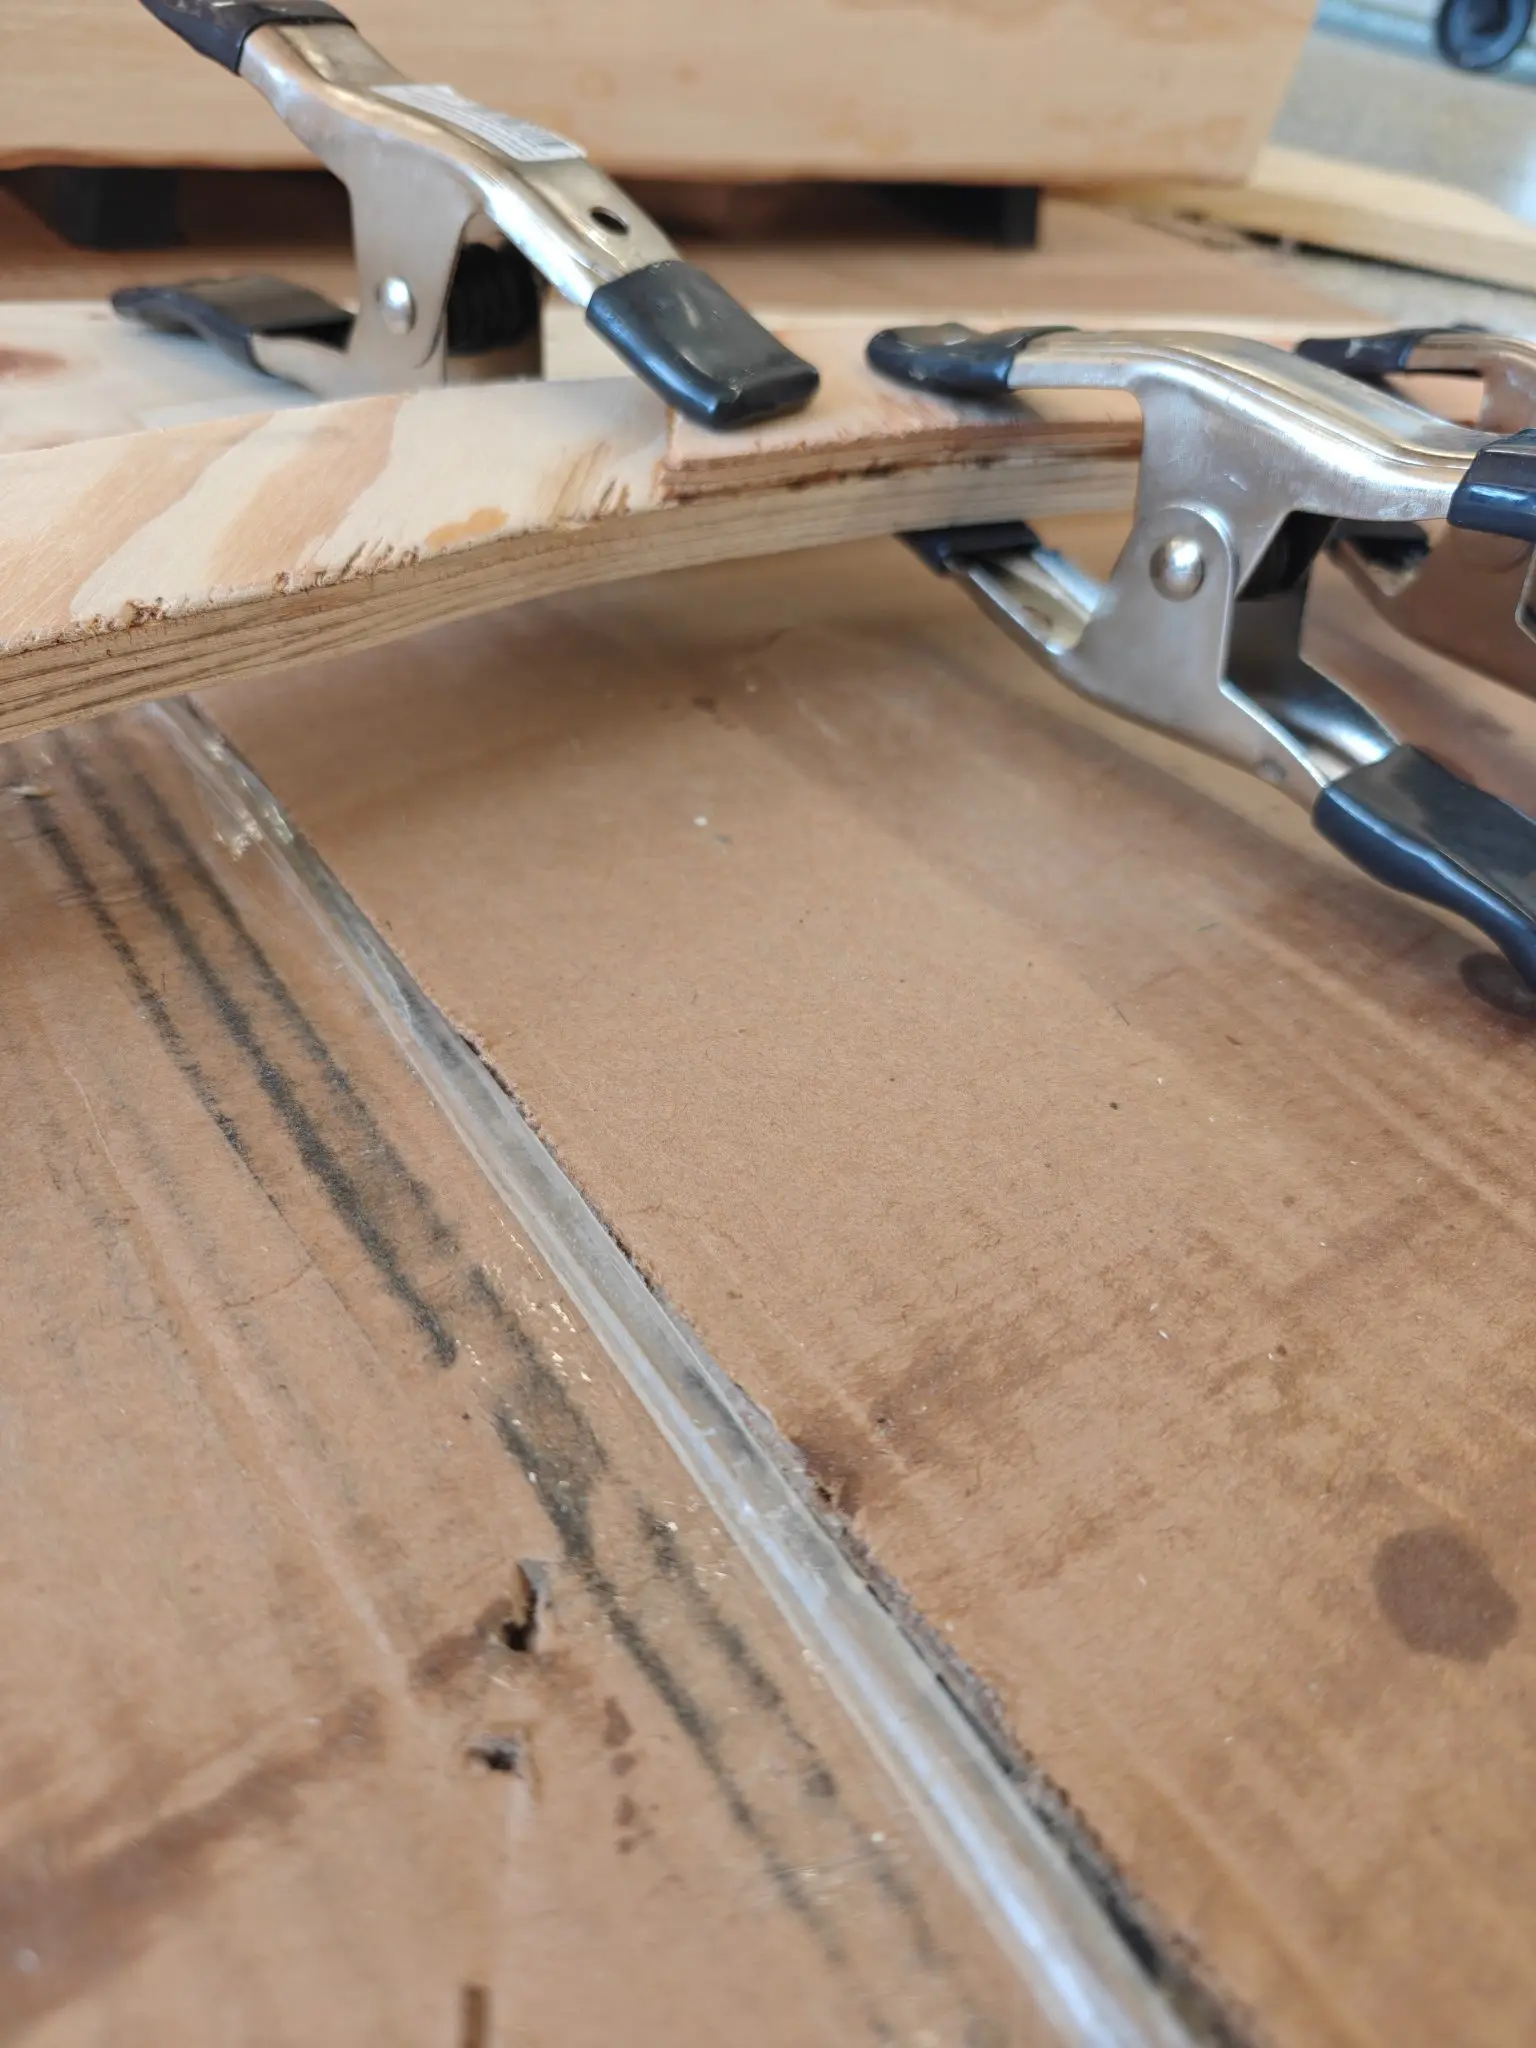
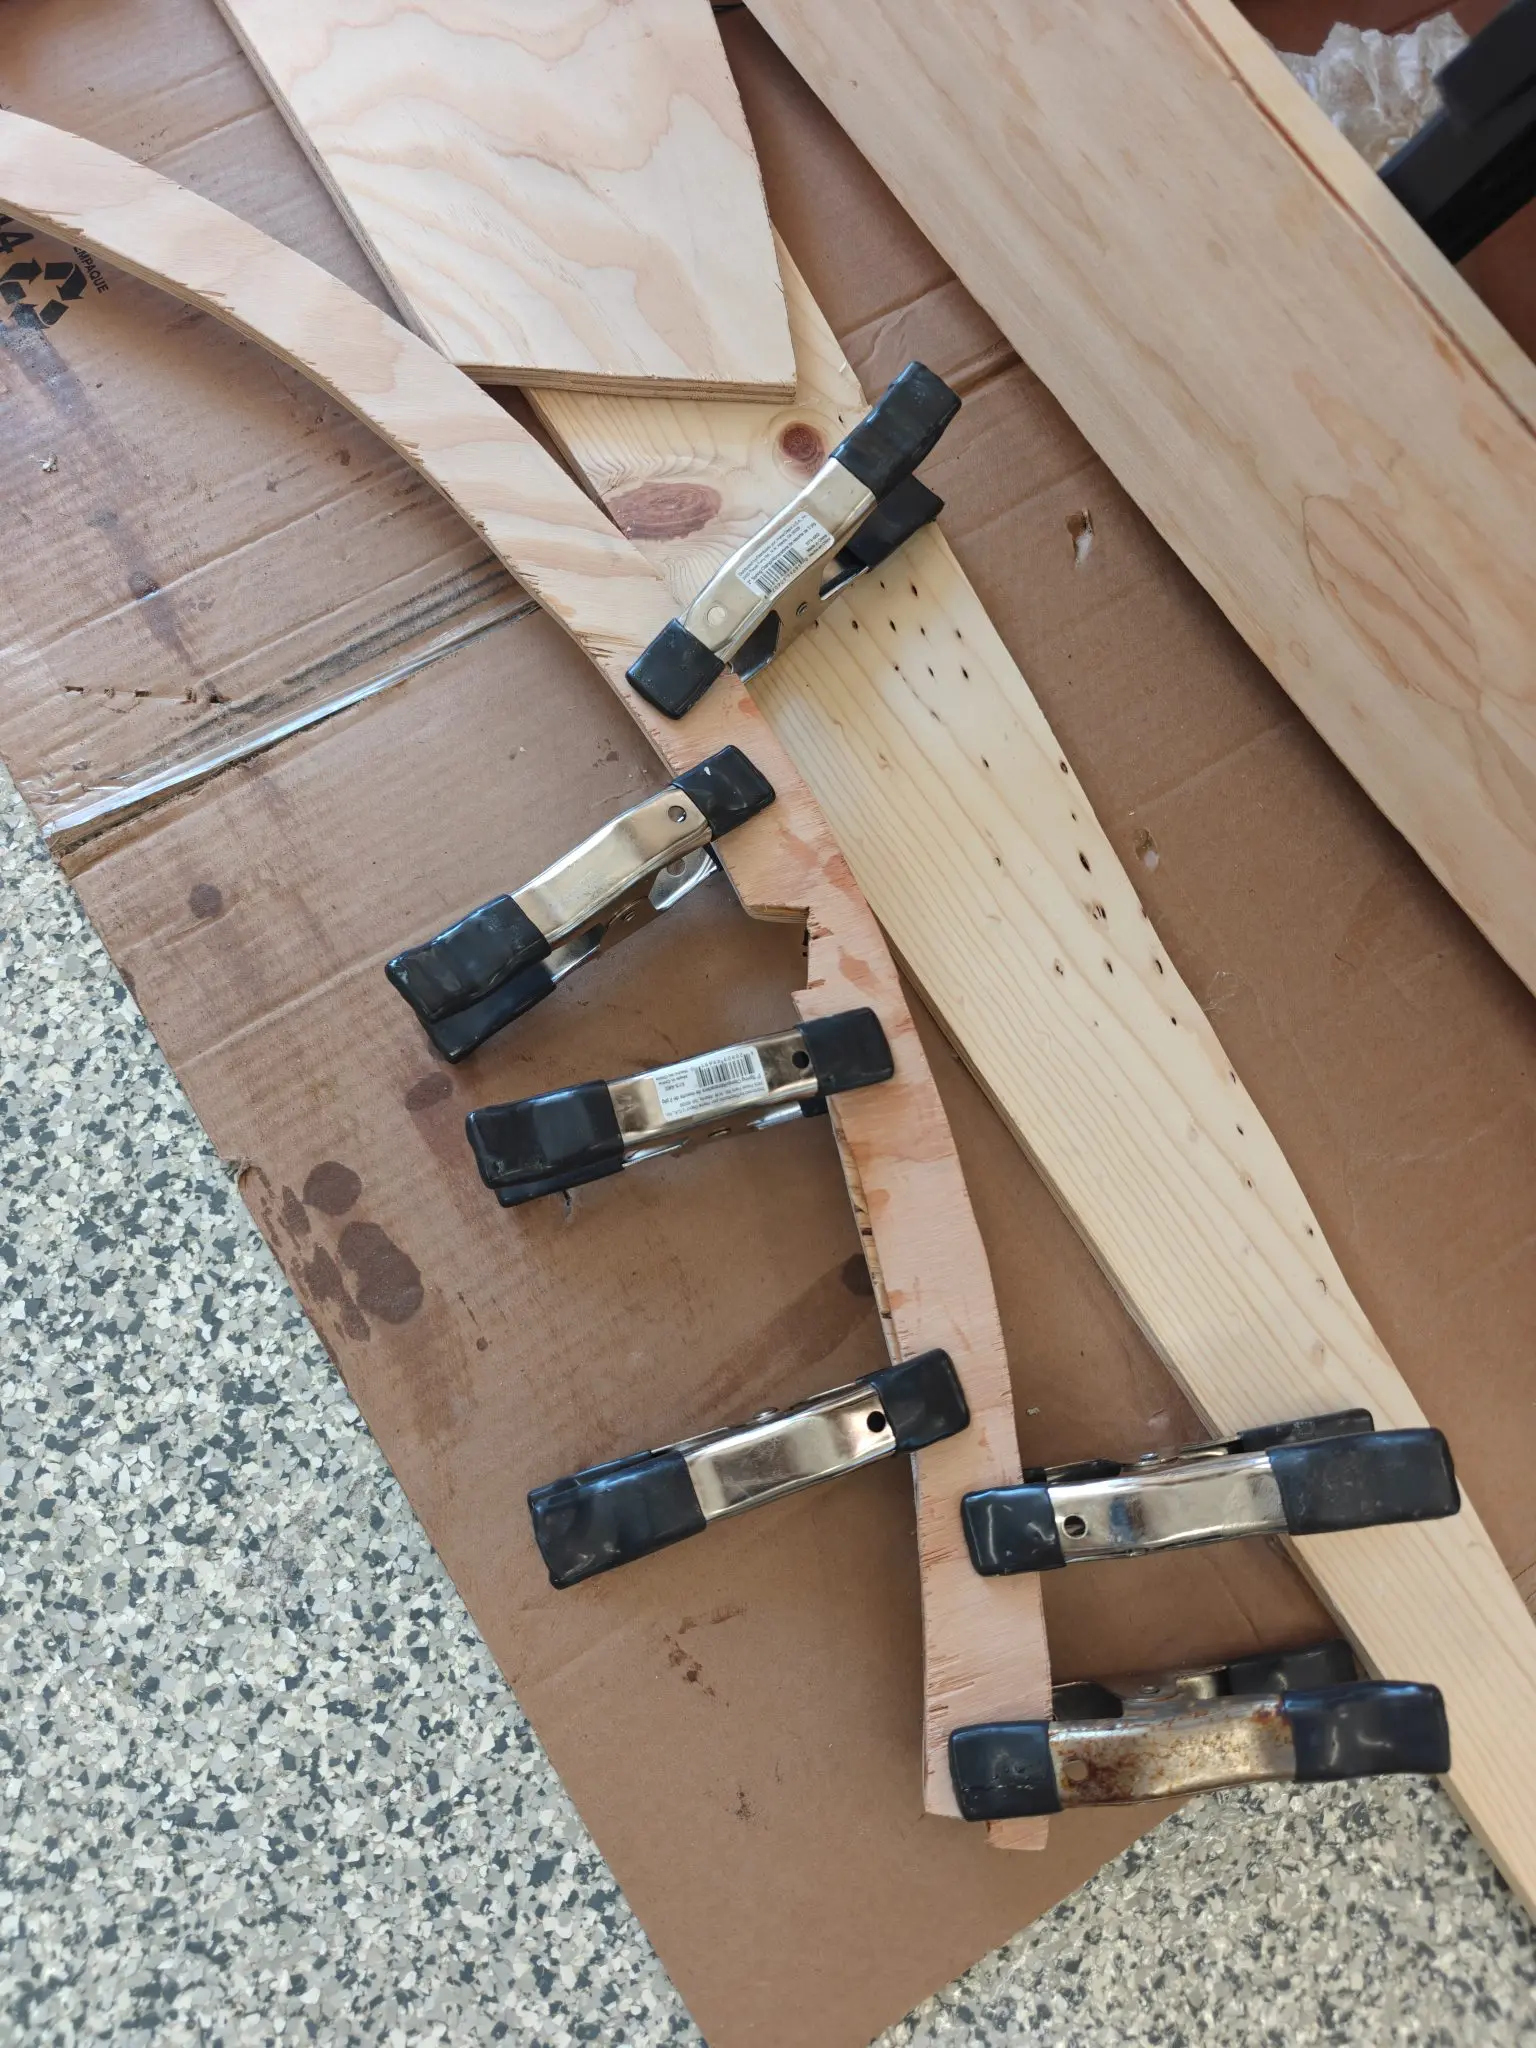
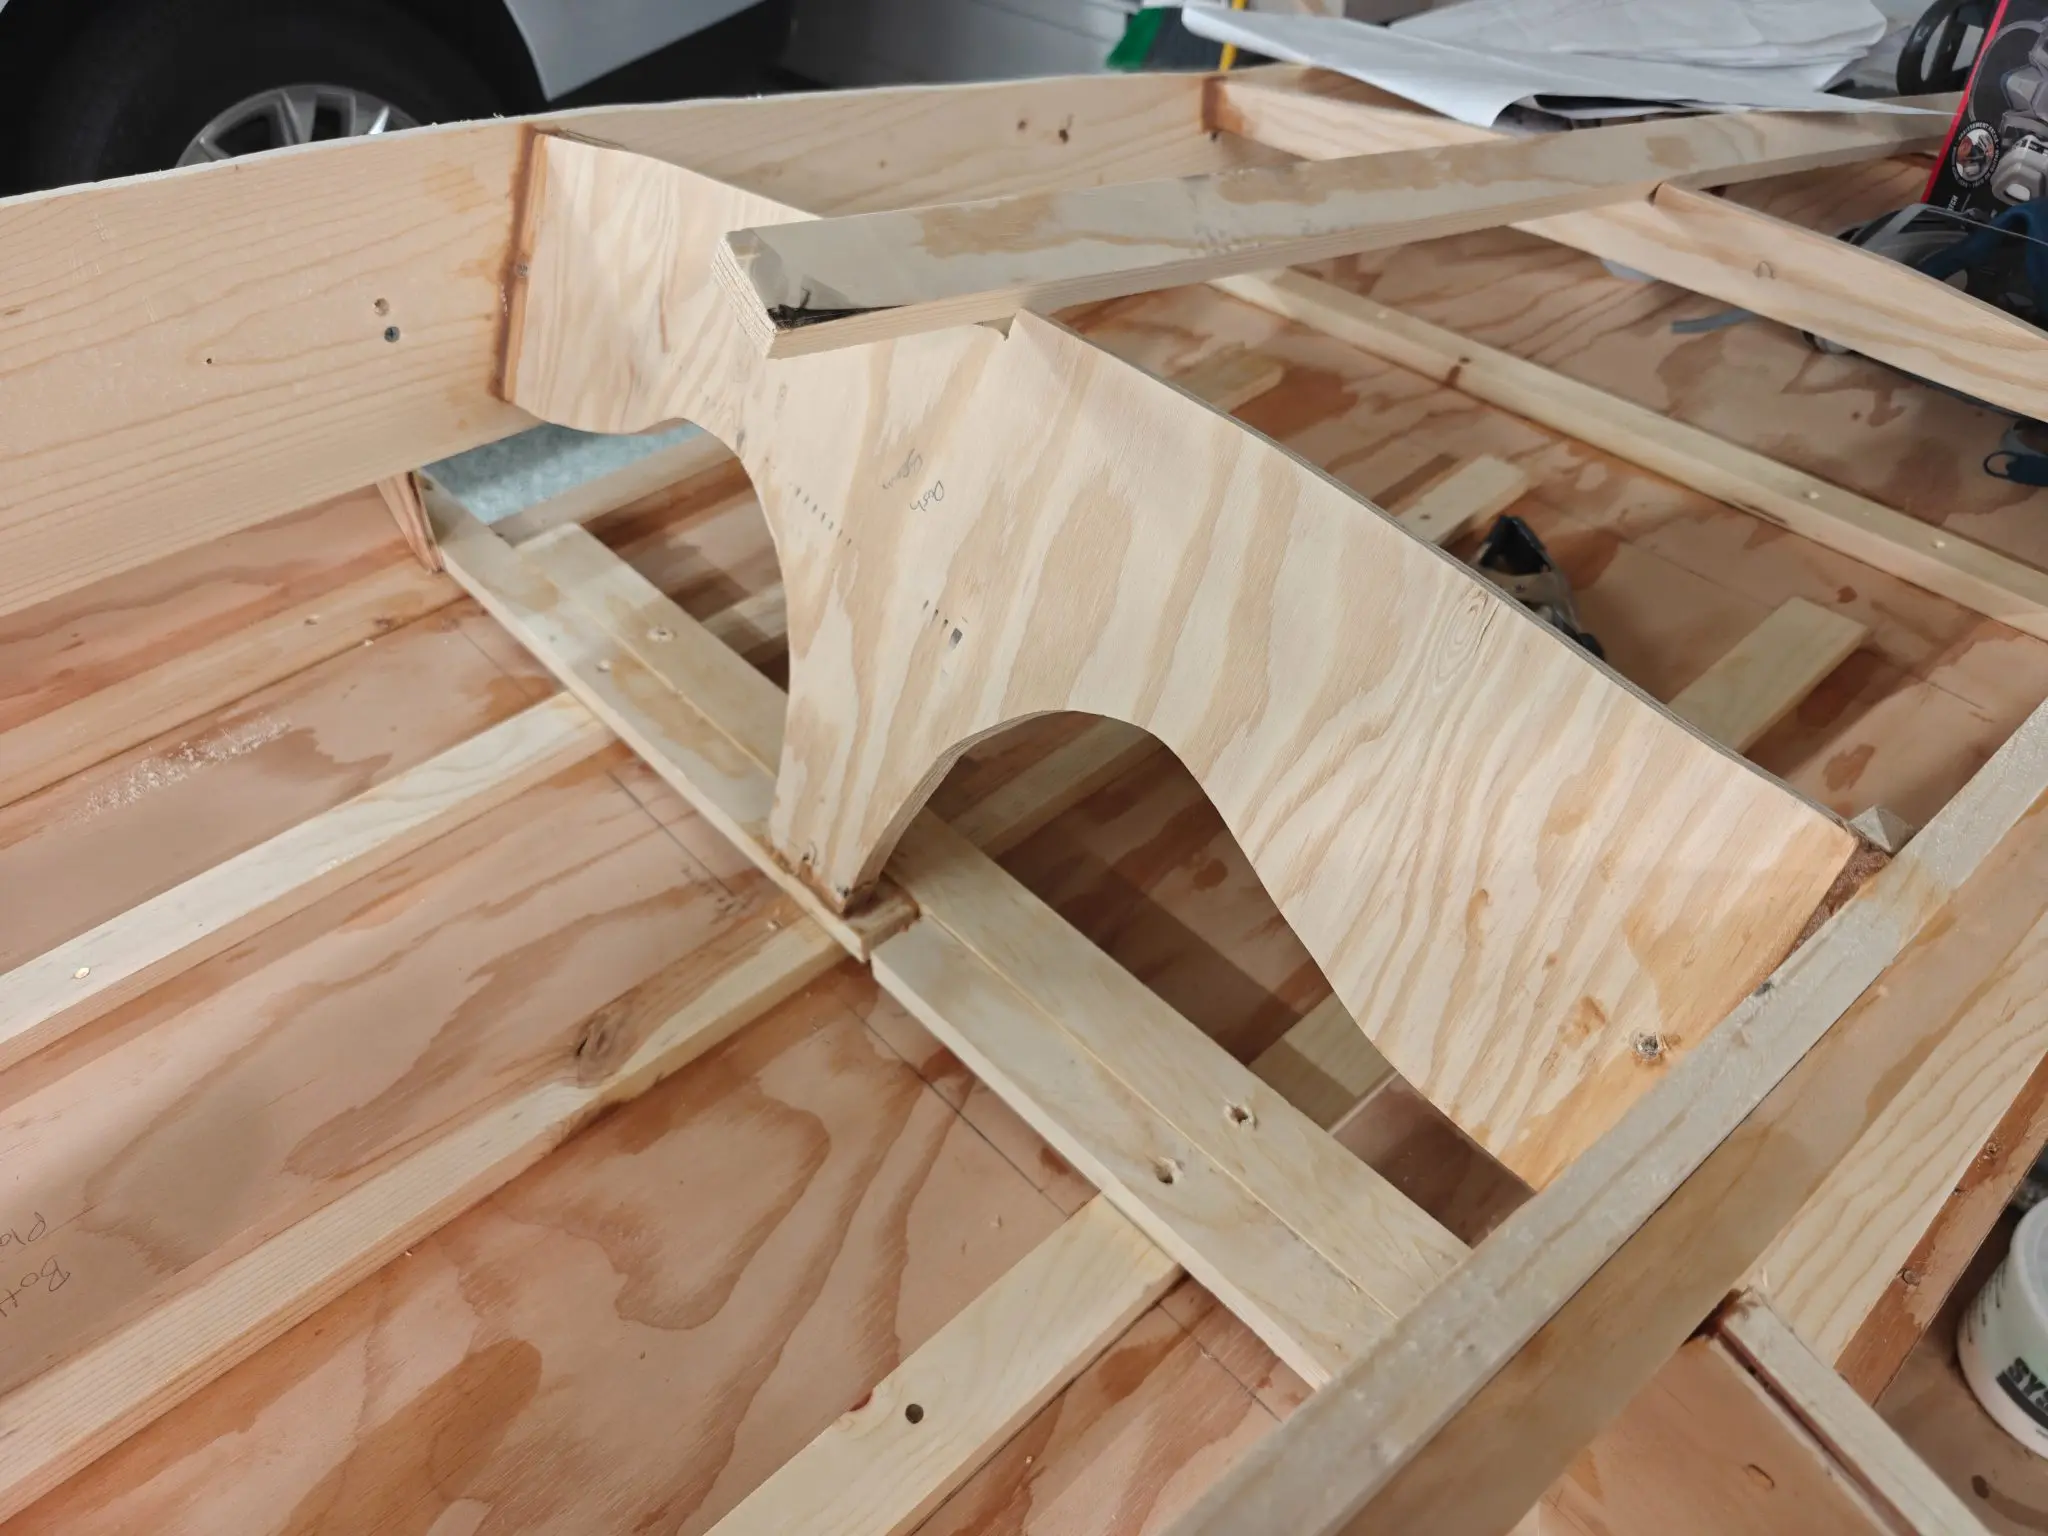
Well, I broke another piece. Honestly, I kind of expected this one to break. I had broken it a while back and just put a Band-Aid on it, but this time it needed a proper fix: a scarf joint.
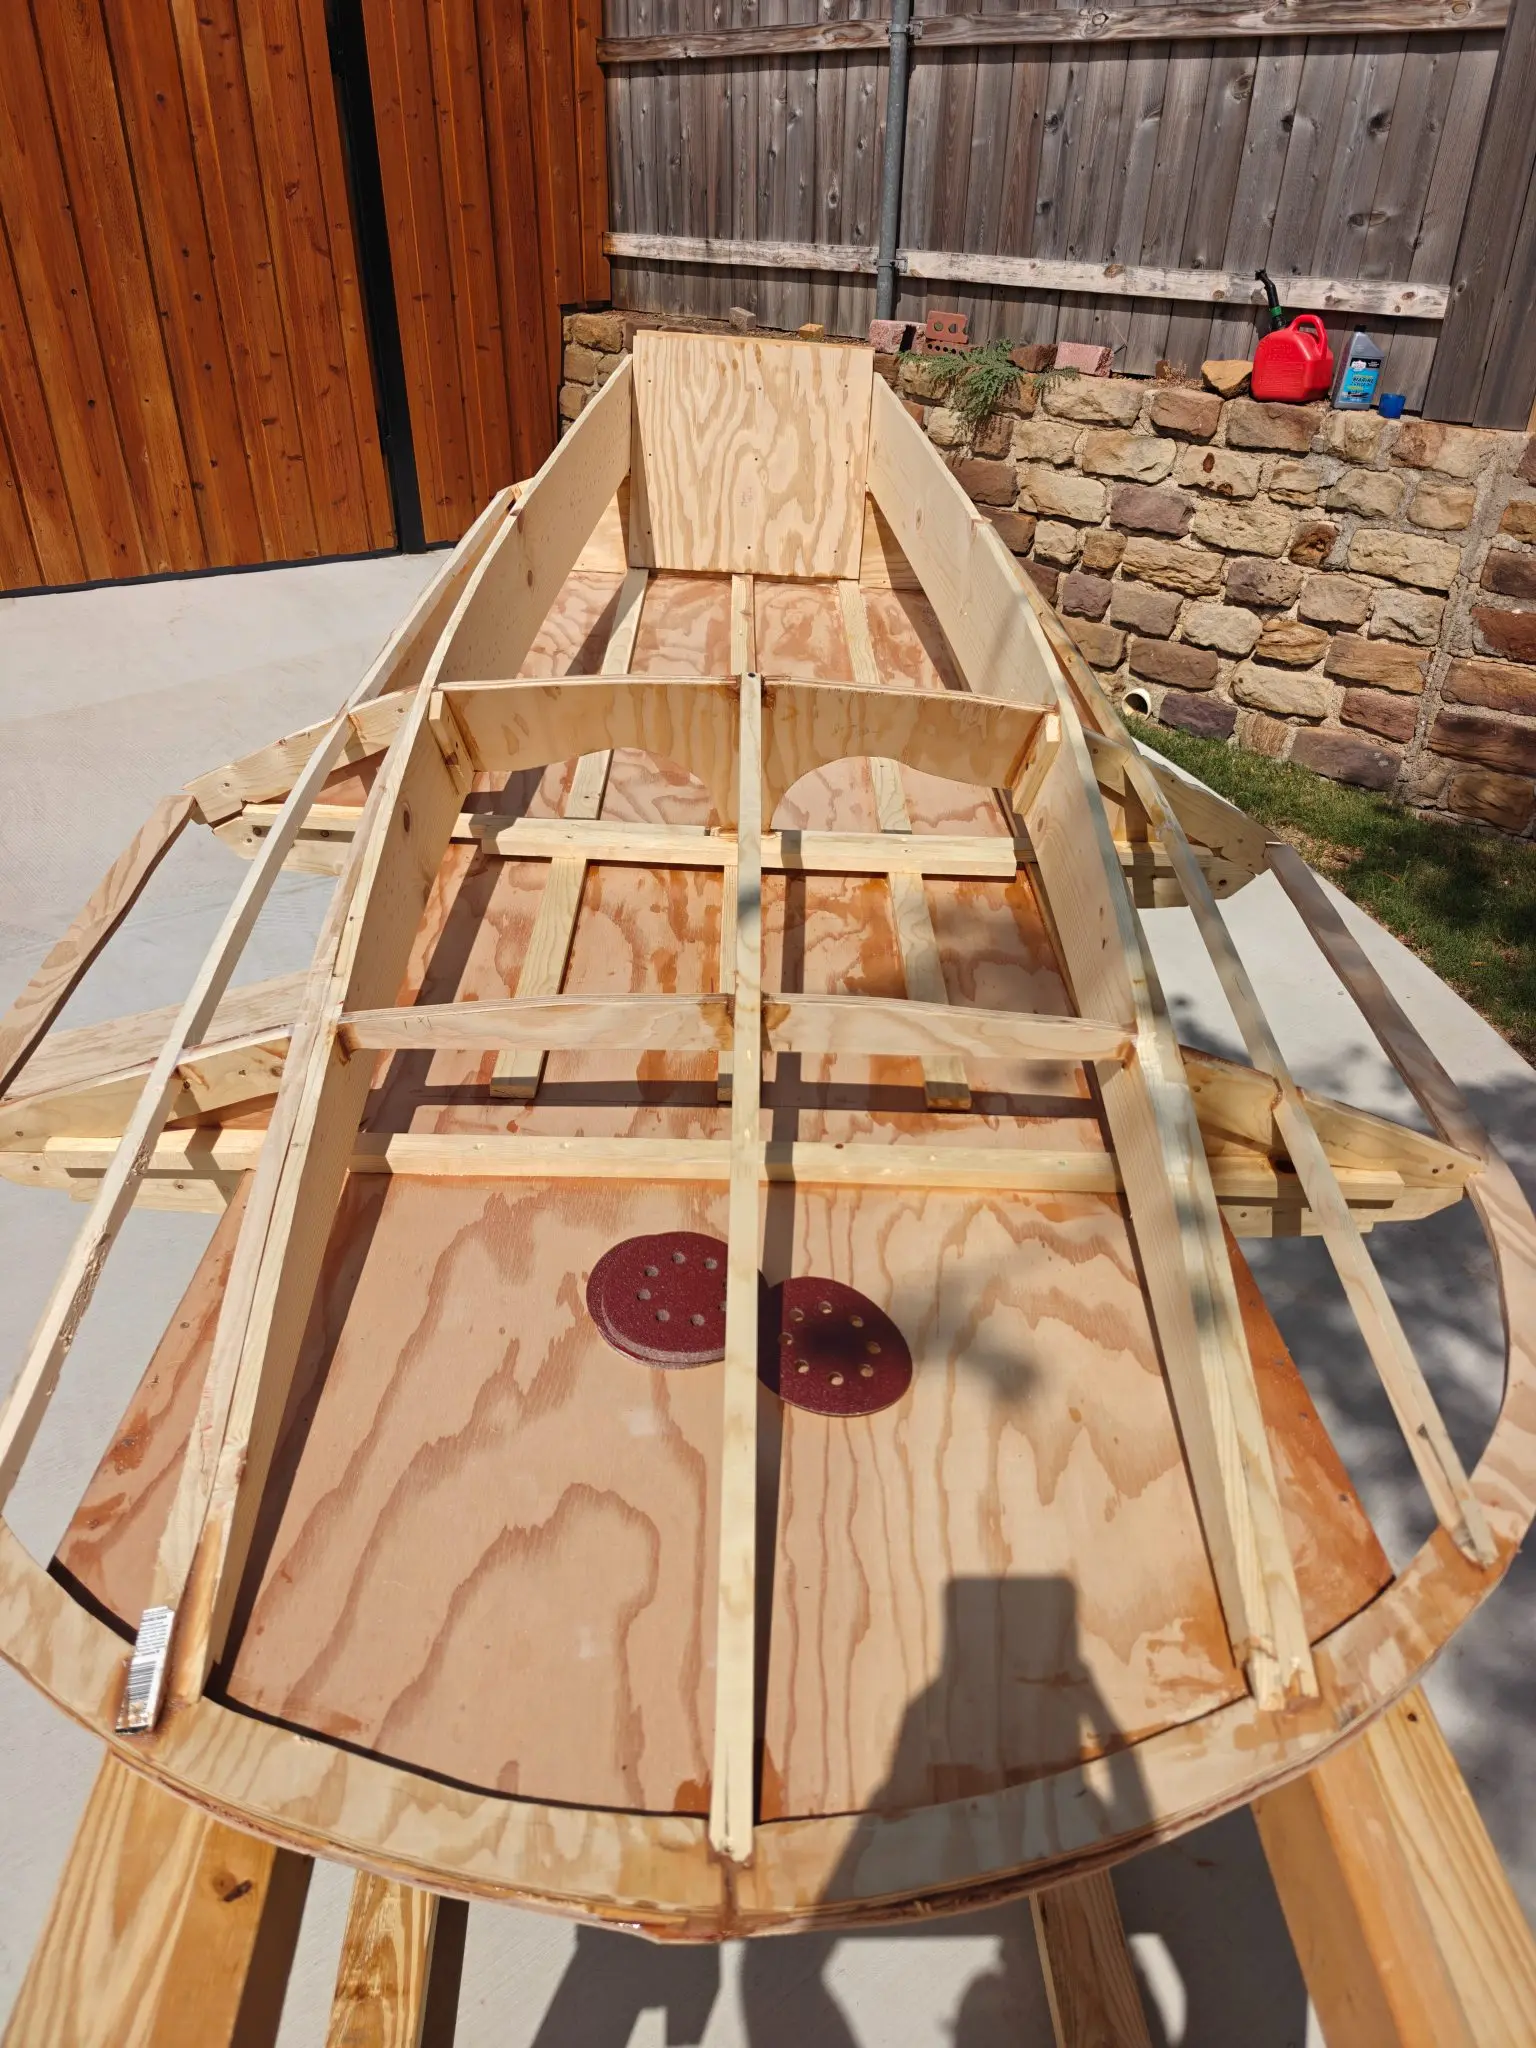
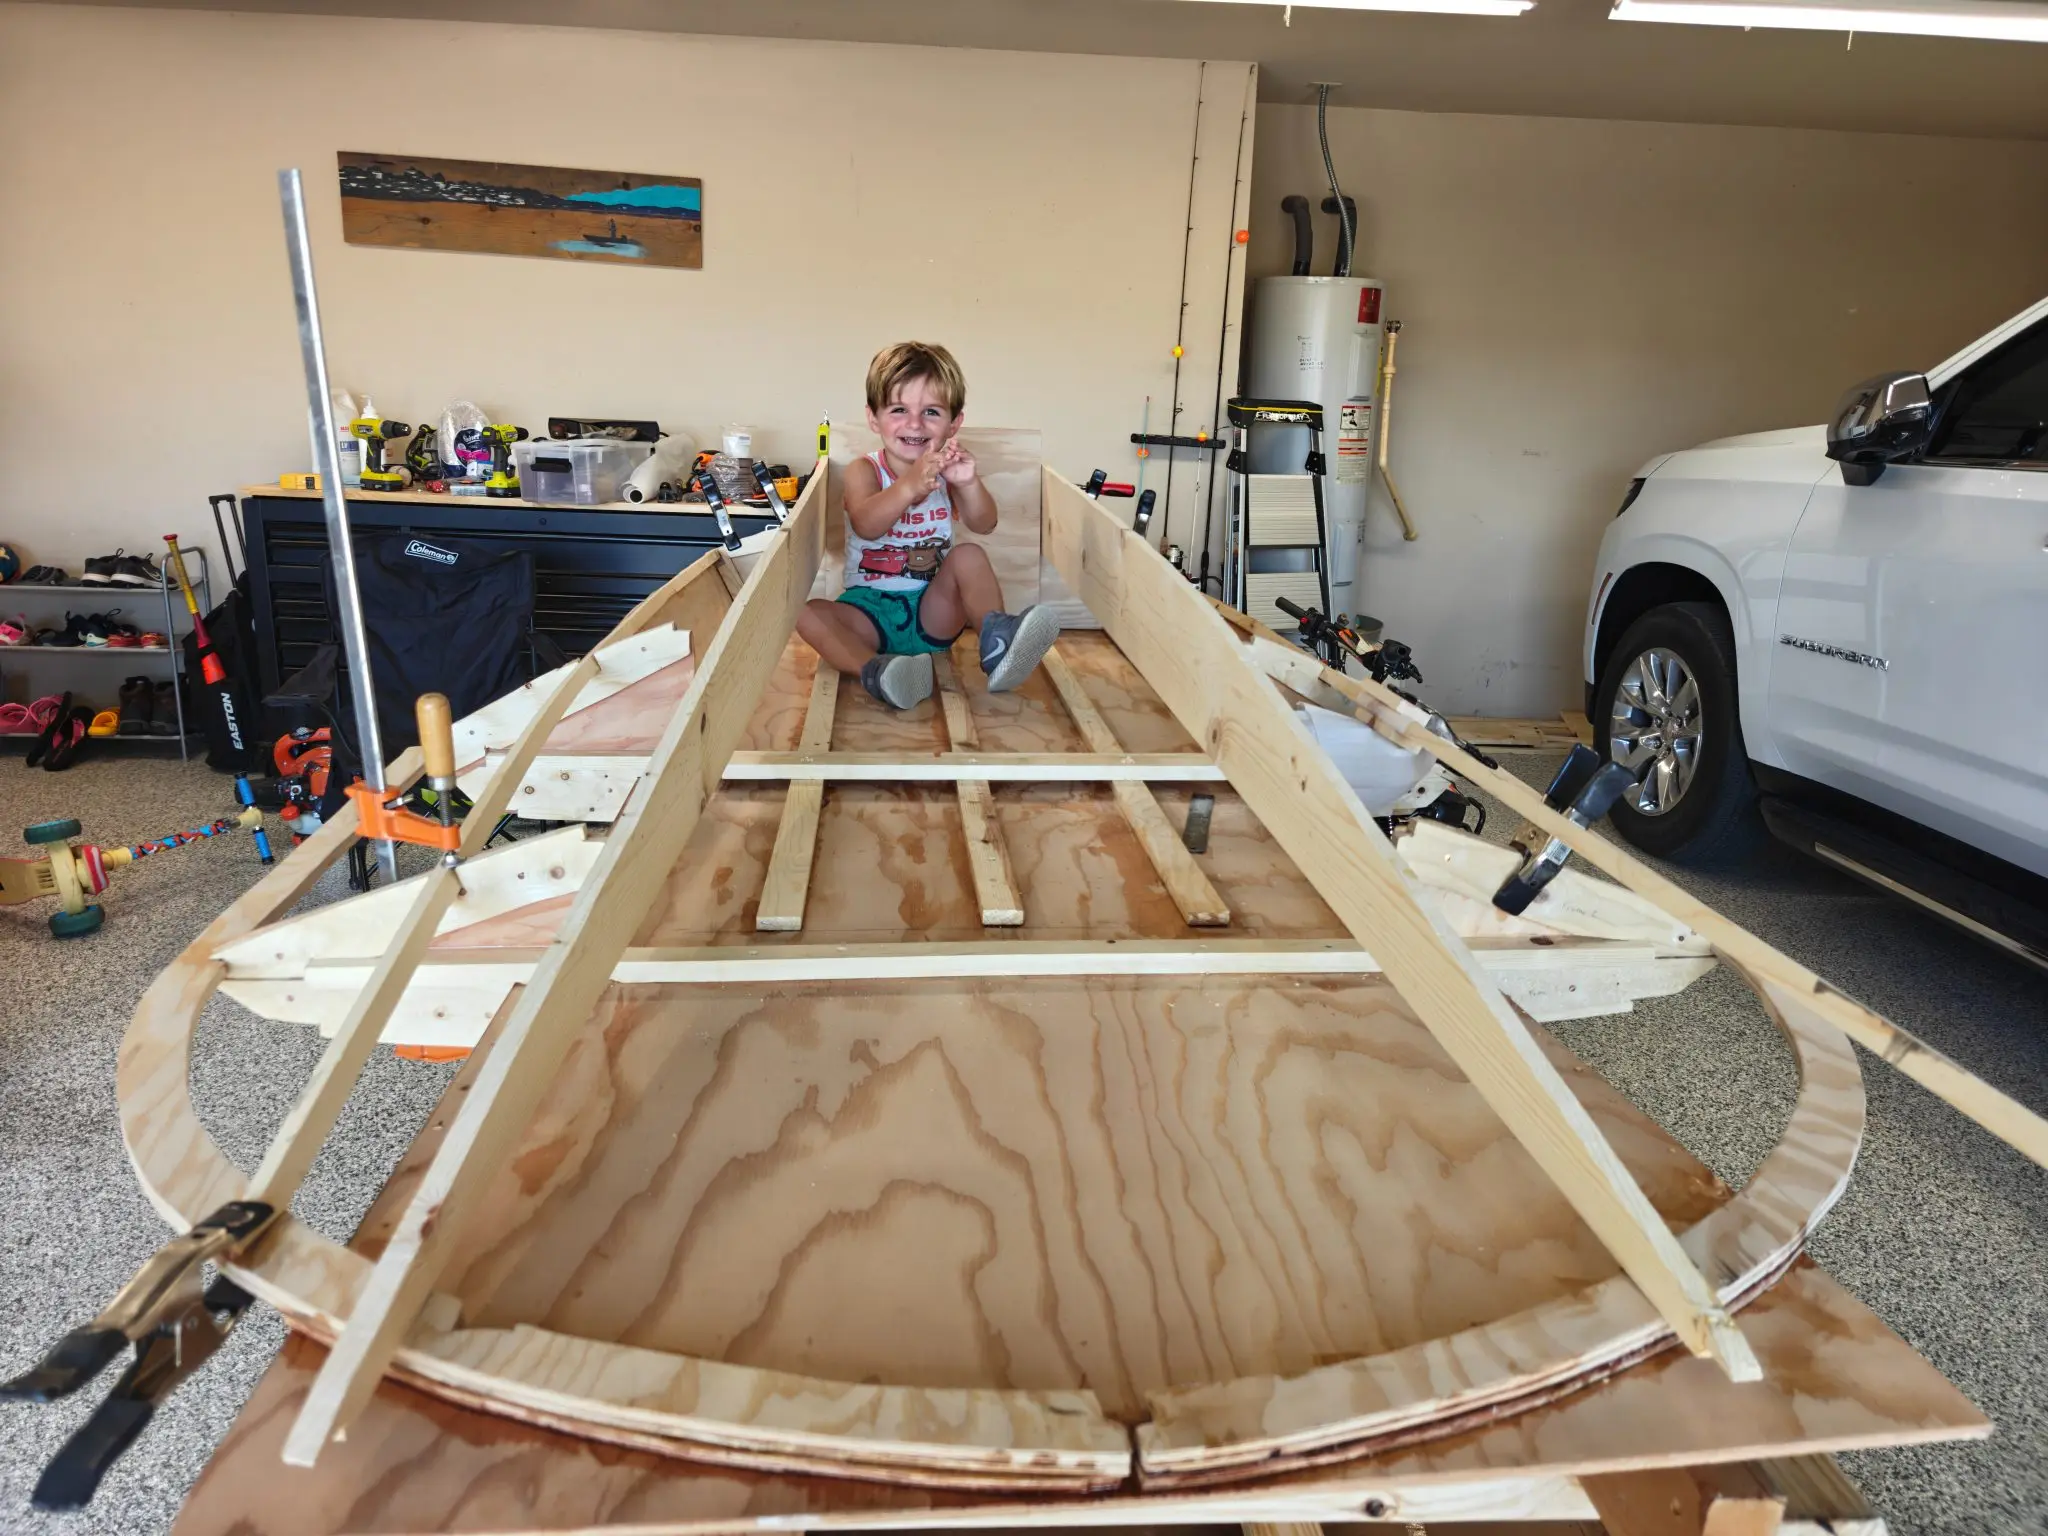
Today I spent quite a bit of time dry fitting everything on the boat, including the coaming, the transom frame, the engine boards, and the dashboard panel. Nothing fits perfectly. I know I've complained about this in almost every post, but nothing fits perfectly. Everything is a quarter inch off, and in some cases up to half an inch off. It's frustrating, since I've put a lot of time into getting here and it just doesn't feel right.
For my next boat (cough, cough, the Squirt, cough, cough), I think I'll cut the pieces in different phases, a little bigger than needed, and trim them down to fit. For this boat, though, the damage is done. I don't plan on recutting most of the pieces at this point.
I've also decided to fiberglass tape a lot of the interior pieces. The plans don't call for it, but I'll feel a lot safer knowing everything is glassed so nothing comes loose down the road. It shouldn't add much weight, maybe a few pounds, and I'm not taping everything. But I'll definitely be taping the blocks to the exterior frame, the side panels, the bottom battens, and a few other components. It'll probably take a few days, but I want it done before I start on the paneling.
On a happy note, my son said it's starting to look like a boat, so I let him hop in for a picture.
16 Sep 2026
Stitch & Assembly 0.5 h
Glued on some more of the transom frame
Chapter 07
Deck & Coamings
Decking, hatches, coamings, cockpit rim.
2 days
2 hours from September 2026
18 Sep 2026
Deck & Coamings 1 h
Finished mounting a few more pieces. Lots of wood flour to fill these gaps
19 Sep 2026
Deck & Coamings 1 h
More glue and more clamping.
I fitted the carling on both sides of the coaming and glued in place. Lots of clamps and a few temporary screws for this step.
20 Sep 2026
Fairing & Sanding 0.5 h
I didn't do much today other than removing all the clamps and lightly sanding and cleaning the interior. I still have the dash and one more piece to mount before I start to Glass tape the inside. Then I have hours of sanding before I can get to the top deck.
22 Sep 2026
Fairing & Sanding 2 h
I got the two transom boards on, one goes behind the transom and the other goes in front of it in the cockpit area. I put a ton of epoxy on both sides and then held them together while I glued the other one and then once I had both of them together I drilled six screws through them as well as a bunch of clamps. Before I did any of this though I put on the transom block as shown in the drawings I will cut it later. I was feeling lazy tonight.
Also as you can see I have mounted the dash. Now when I was fitting this a week or so back I ended up cutting it about 2 in short right in the middle where it touches the bottom of frame one. This ended up being a mistake and had I kept the original inch and a half or 2 in it would have fit perfectly.
I also glued on the bow cap or whatever it's called.
I also had a little bit of time so I went back through and put epoxy fill it wherever I could to close some of the gaps. You have to be careful with the stuff as it is very heavy and extremely difficult to sand, so I would only put it in areas where you want to add strength, or where you are meeting a more rounded spot for glass taping.
Chapter 08
Rig & Spars
Mast, boom, standing and running rigging, sails.
1 day
1 hours from September 2026
23 Sep 2026
Rig & Spars 0.5 h
Today I planed and put in the bow batten. I had some extra thicken epoxy so I filled in some of the outside holes.
I think that's just about all the parts that have to get mounted for the structure, so whenever I get some time I need a good 2-hour block, I'm going to go outside and do a really good sanding to even out all the surfaces and get rid of all the extra gunk. I'm also going to use that time to add in some fiberglass on the inside into the joints and edges in which I think will need it the most. This boat is meant to go fast and take a beating and I don't want any wood pieces snapping if I can avoid it. So a little glass here and there will just help and it won't add that much weight.
Chapter 09
Systems
Electrical, plumbing, fuel, steering, pumps, nav lights.
1 day
2 hours from September 2026
24 Sep 2026
Systems 1.5 h
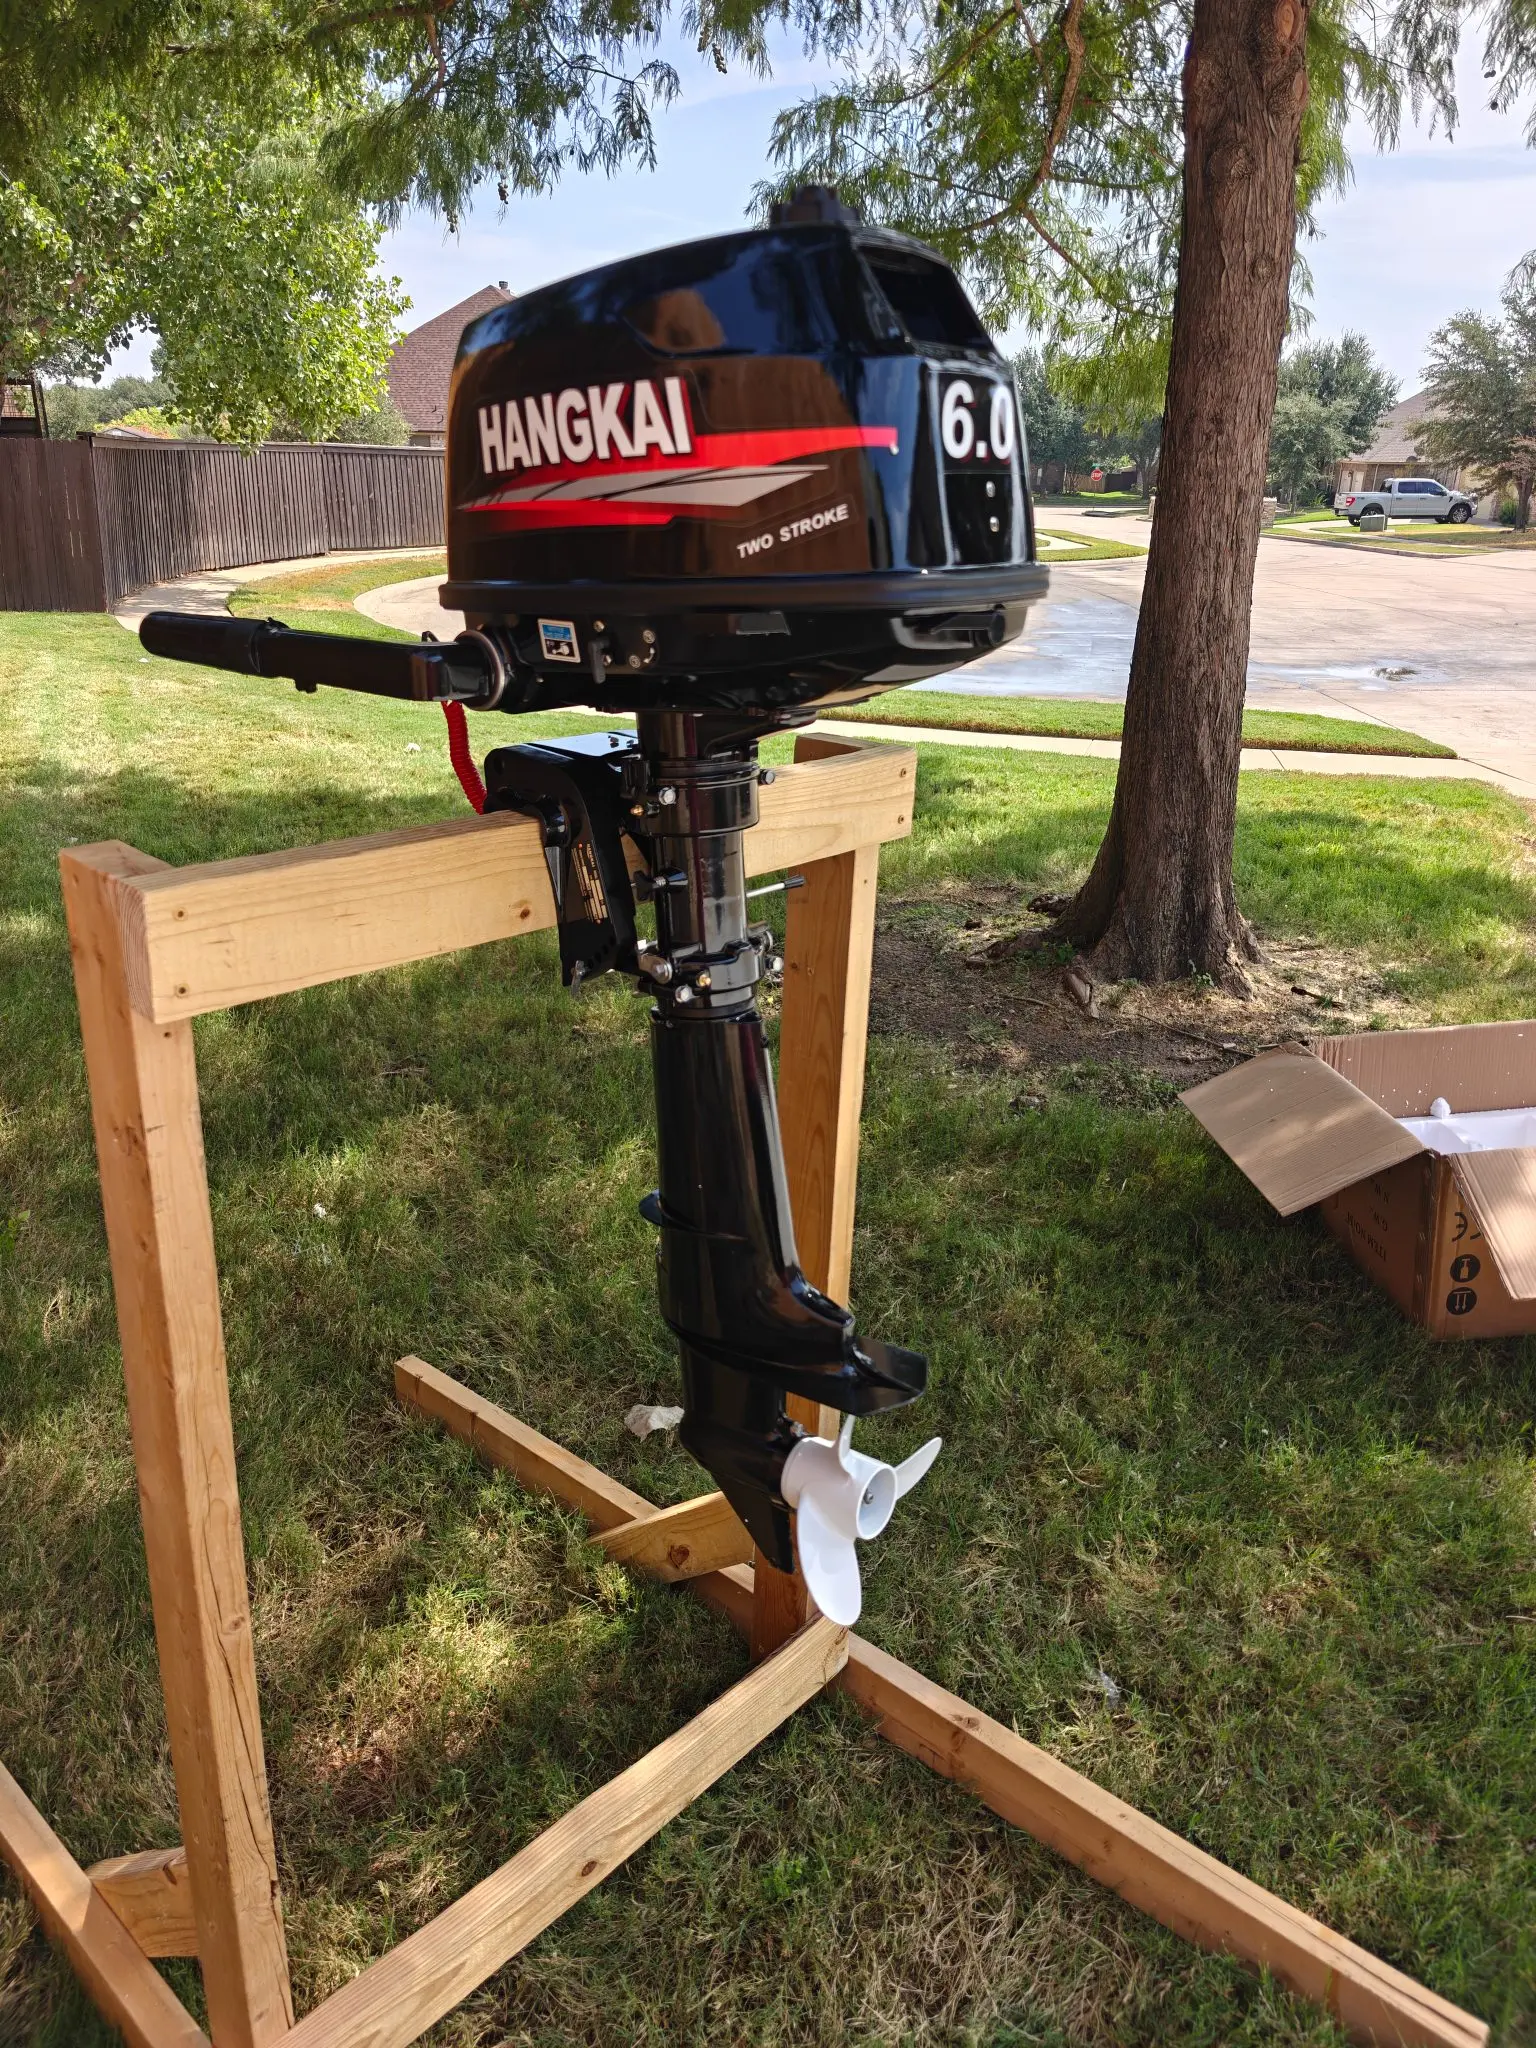
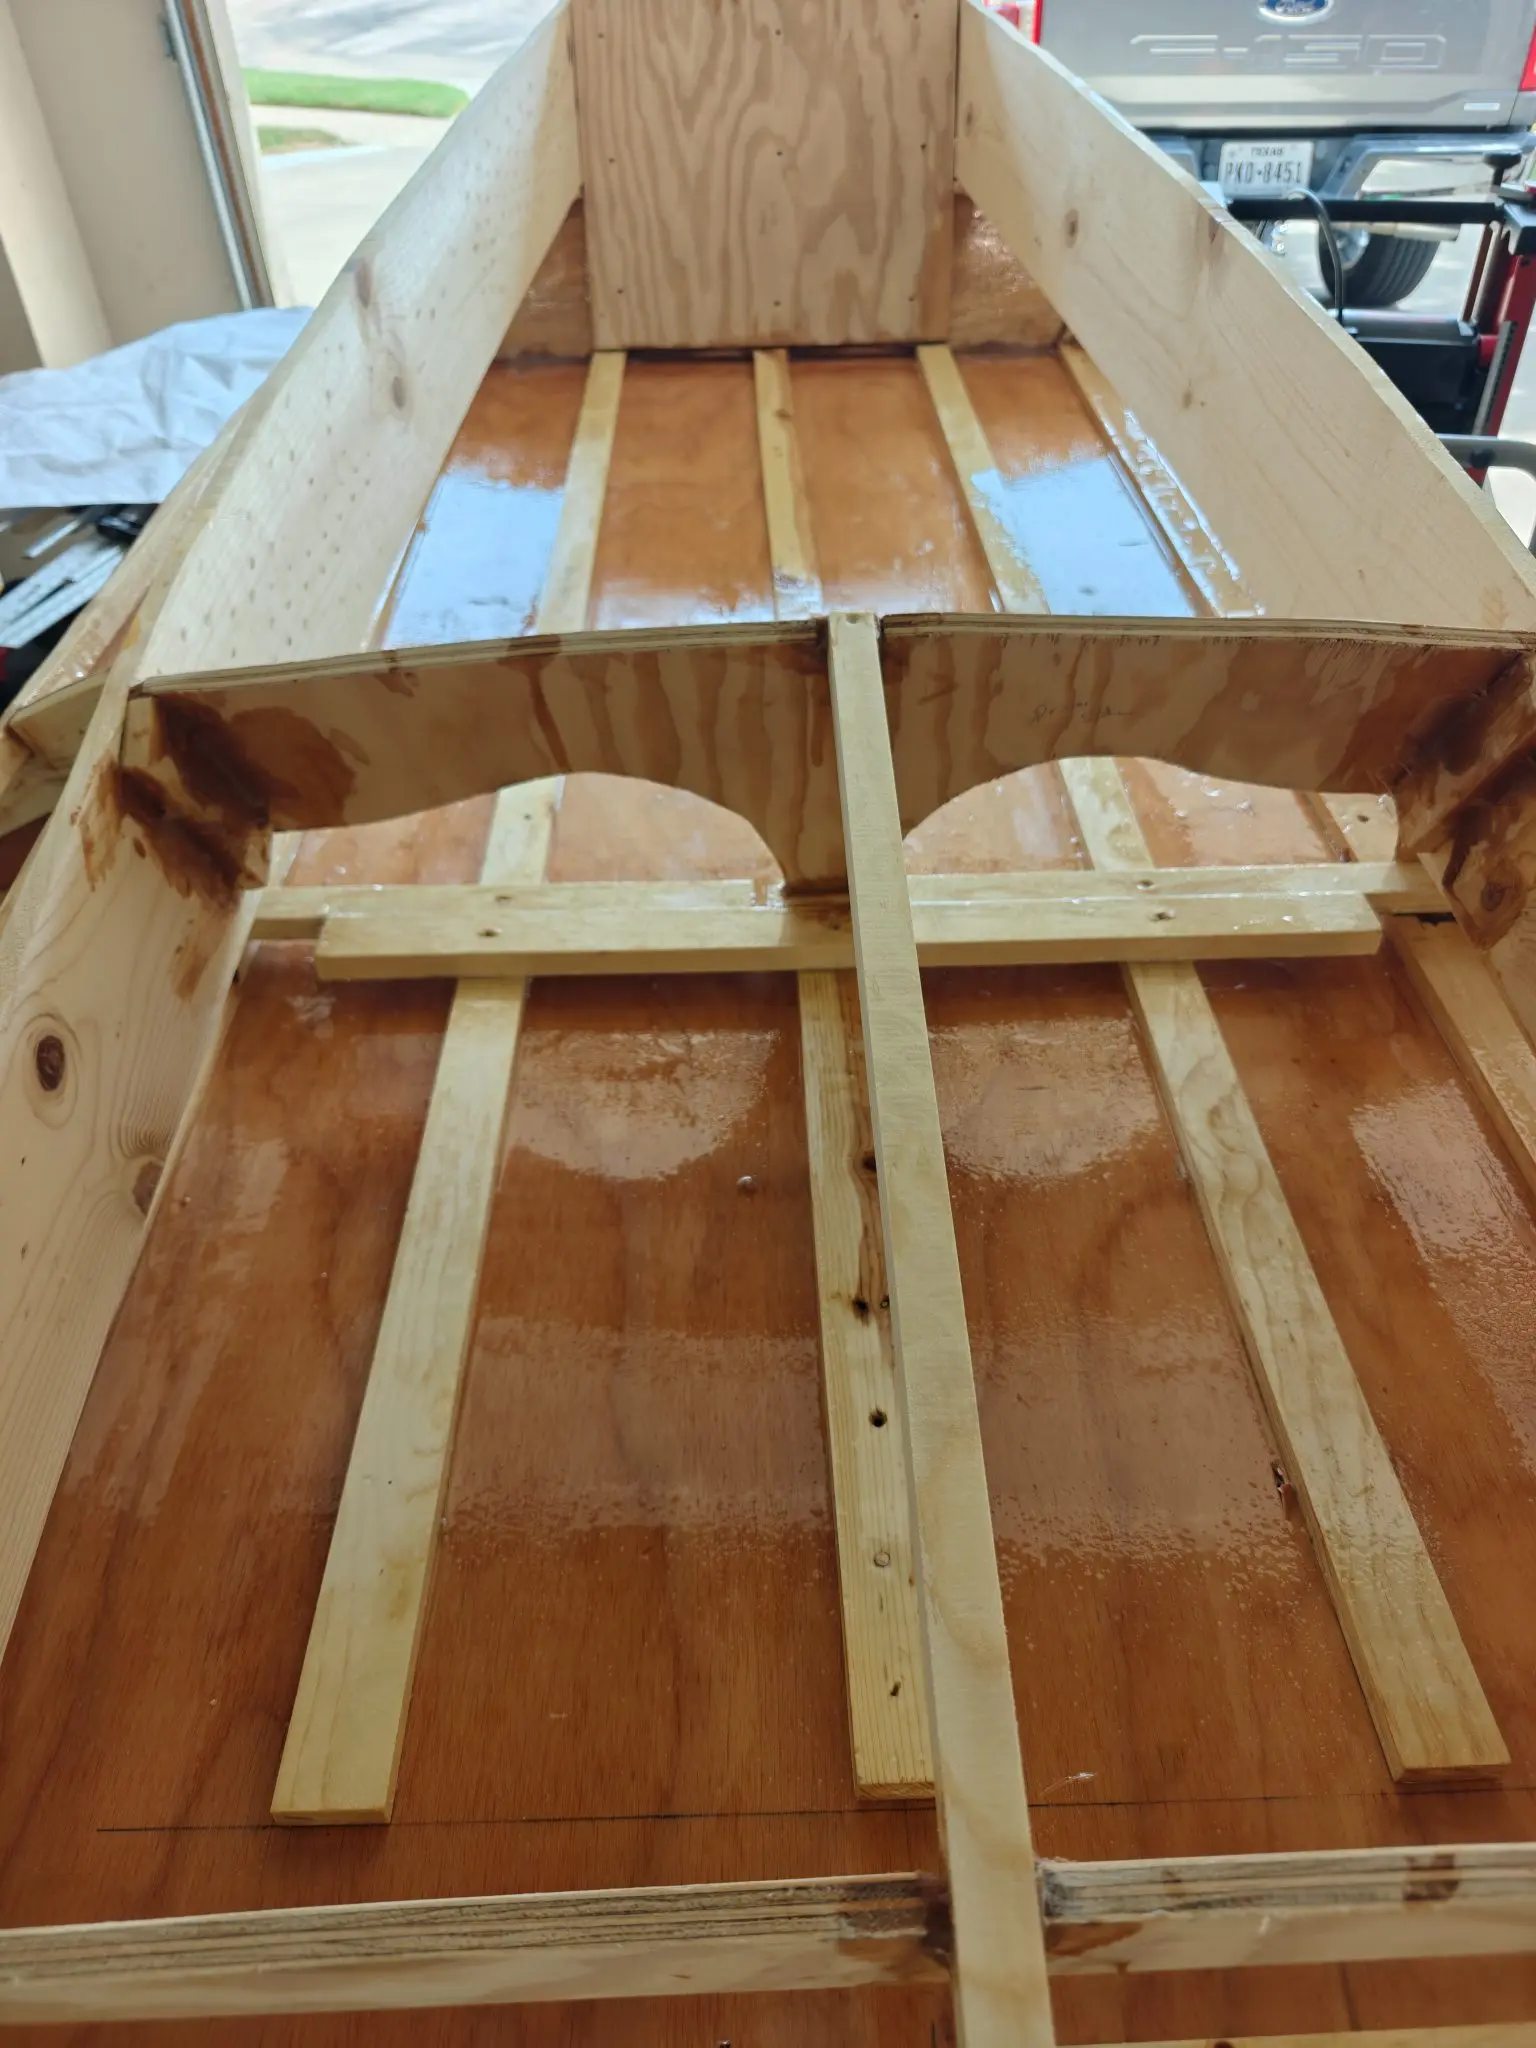
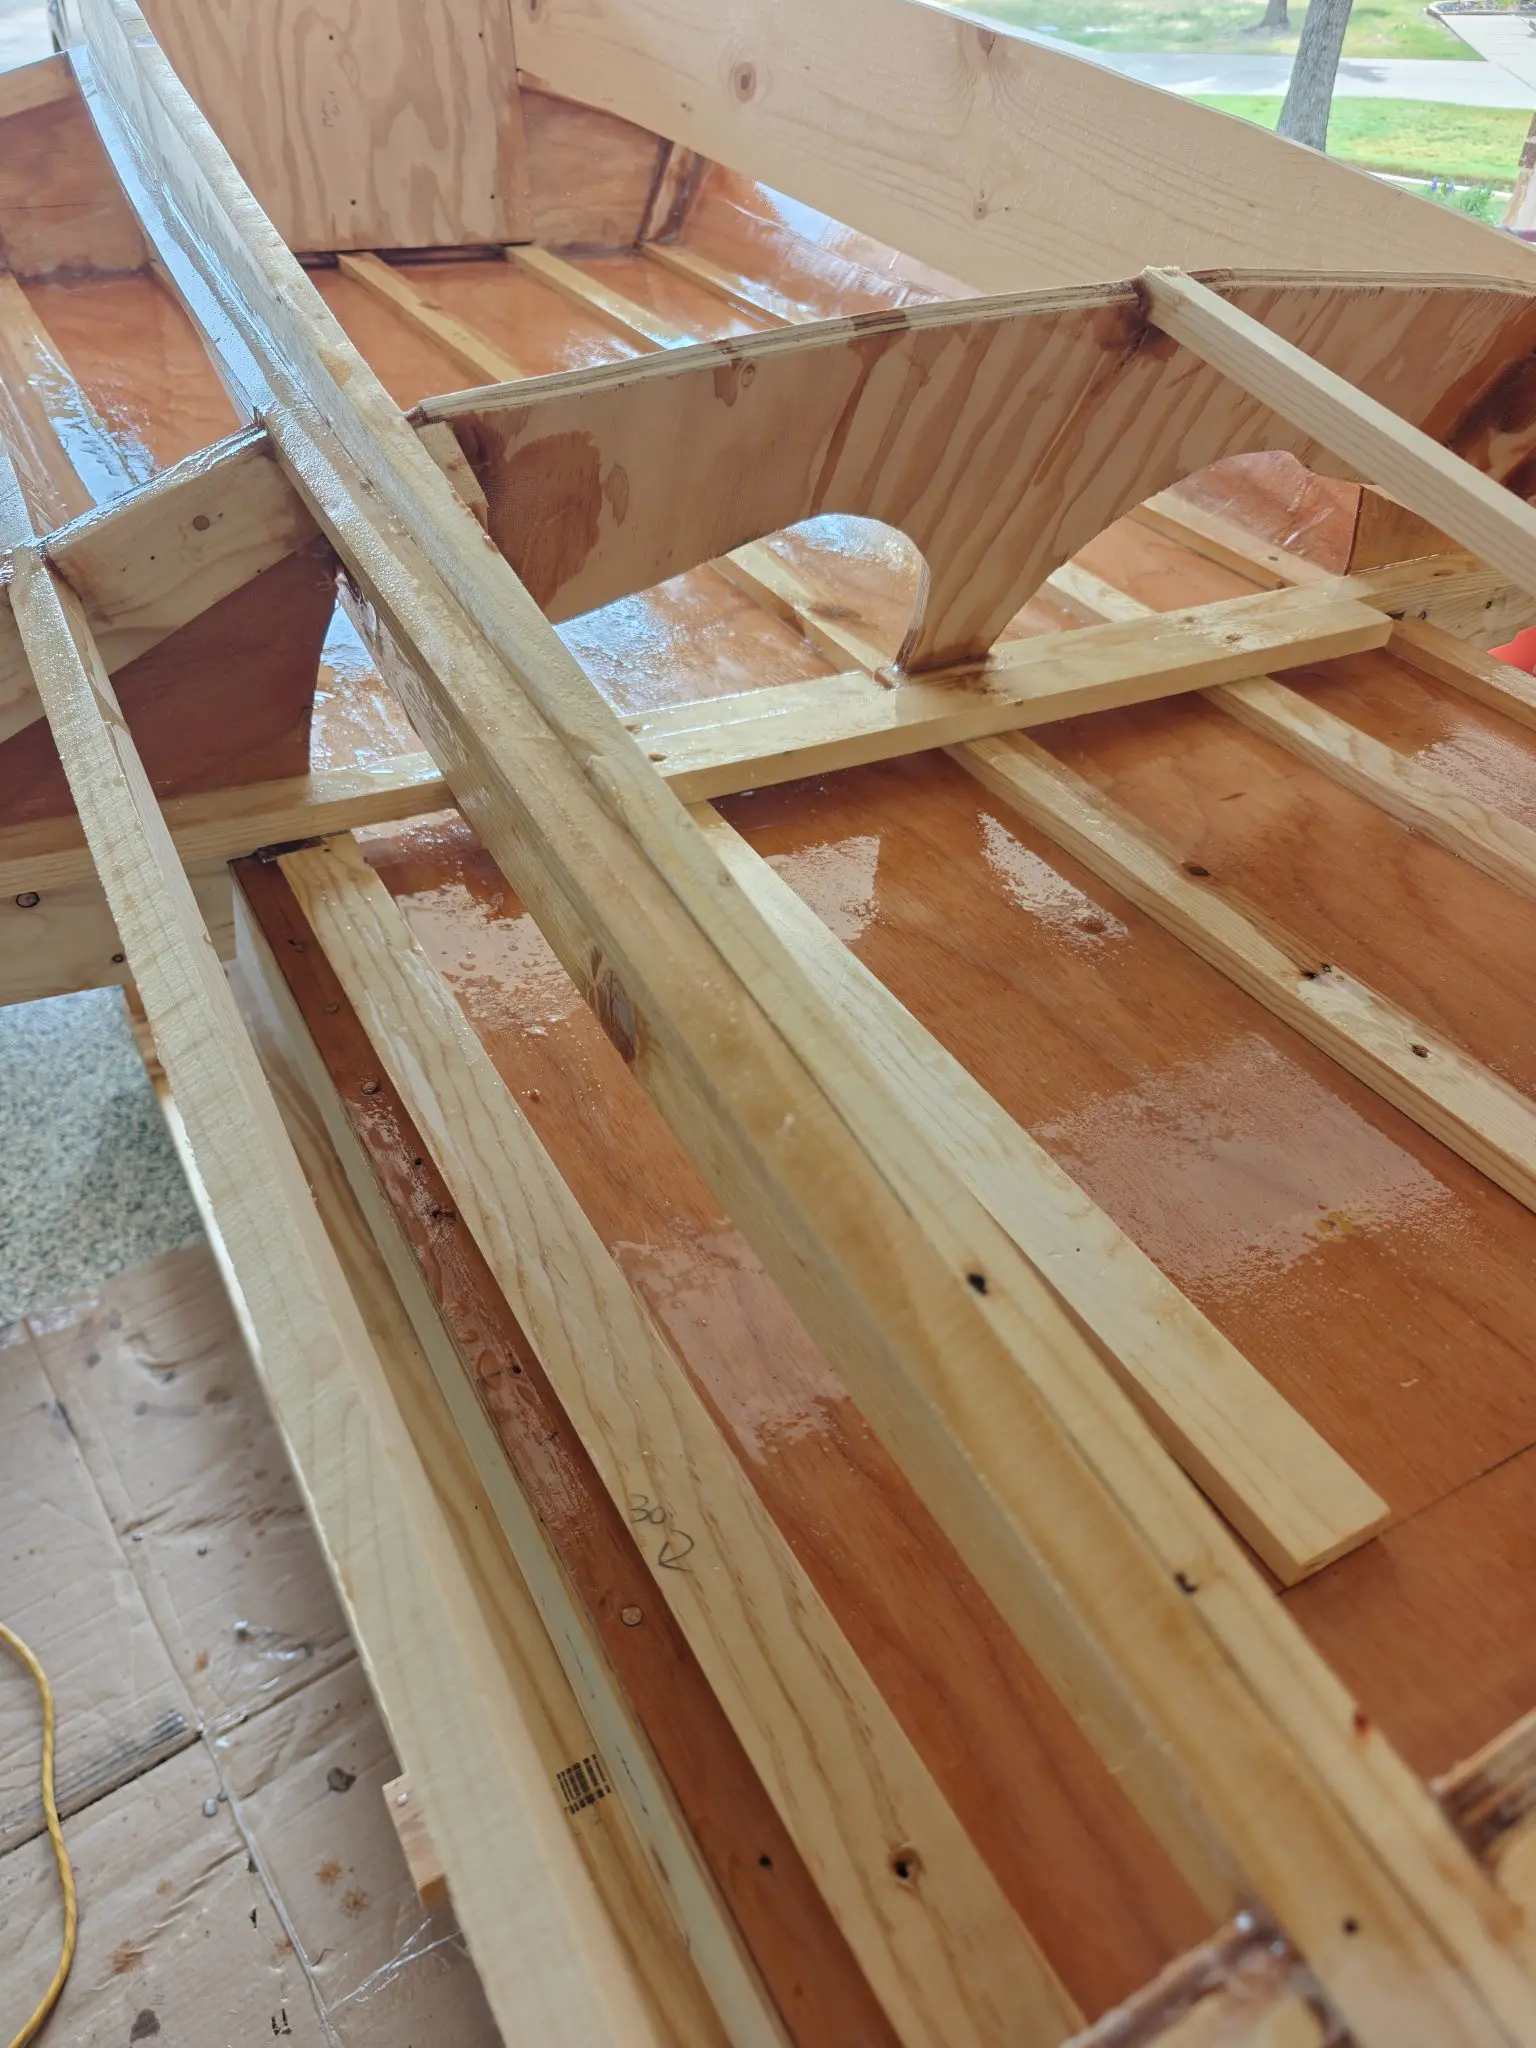
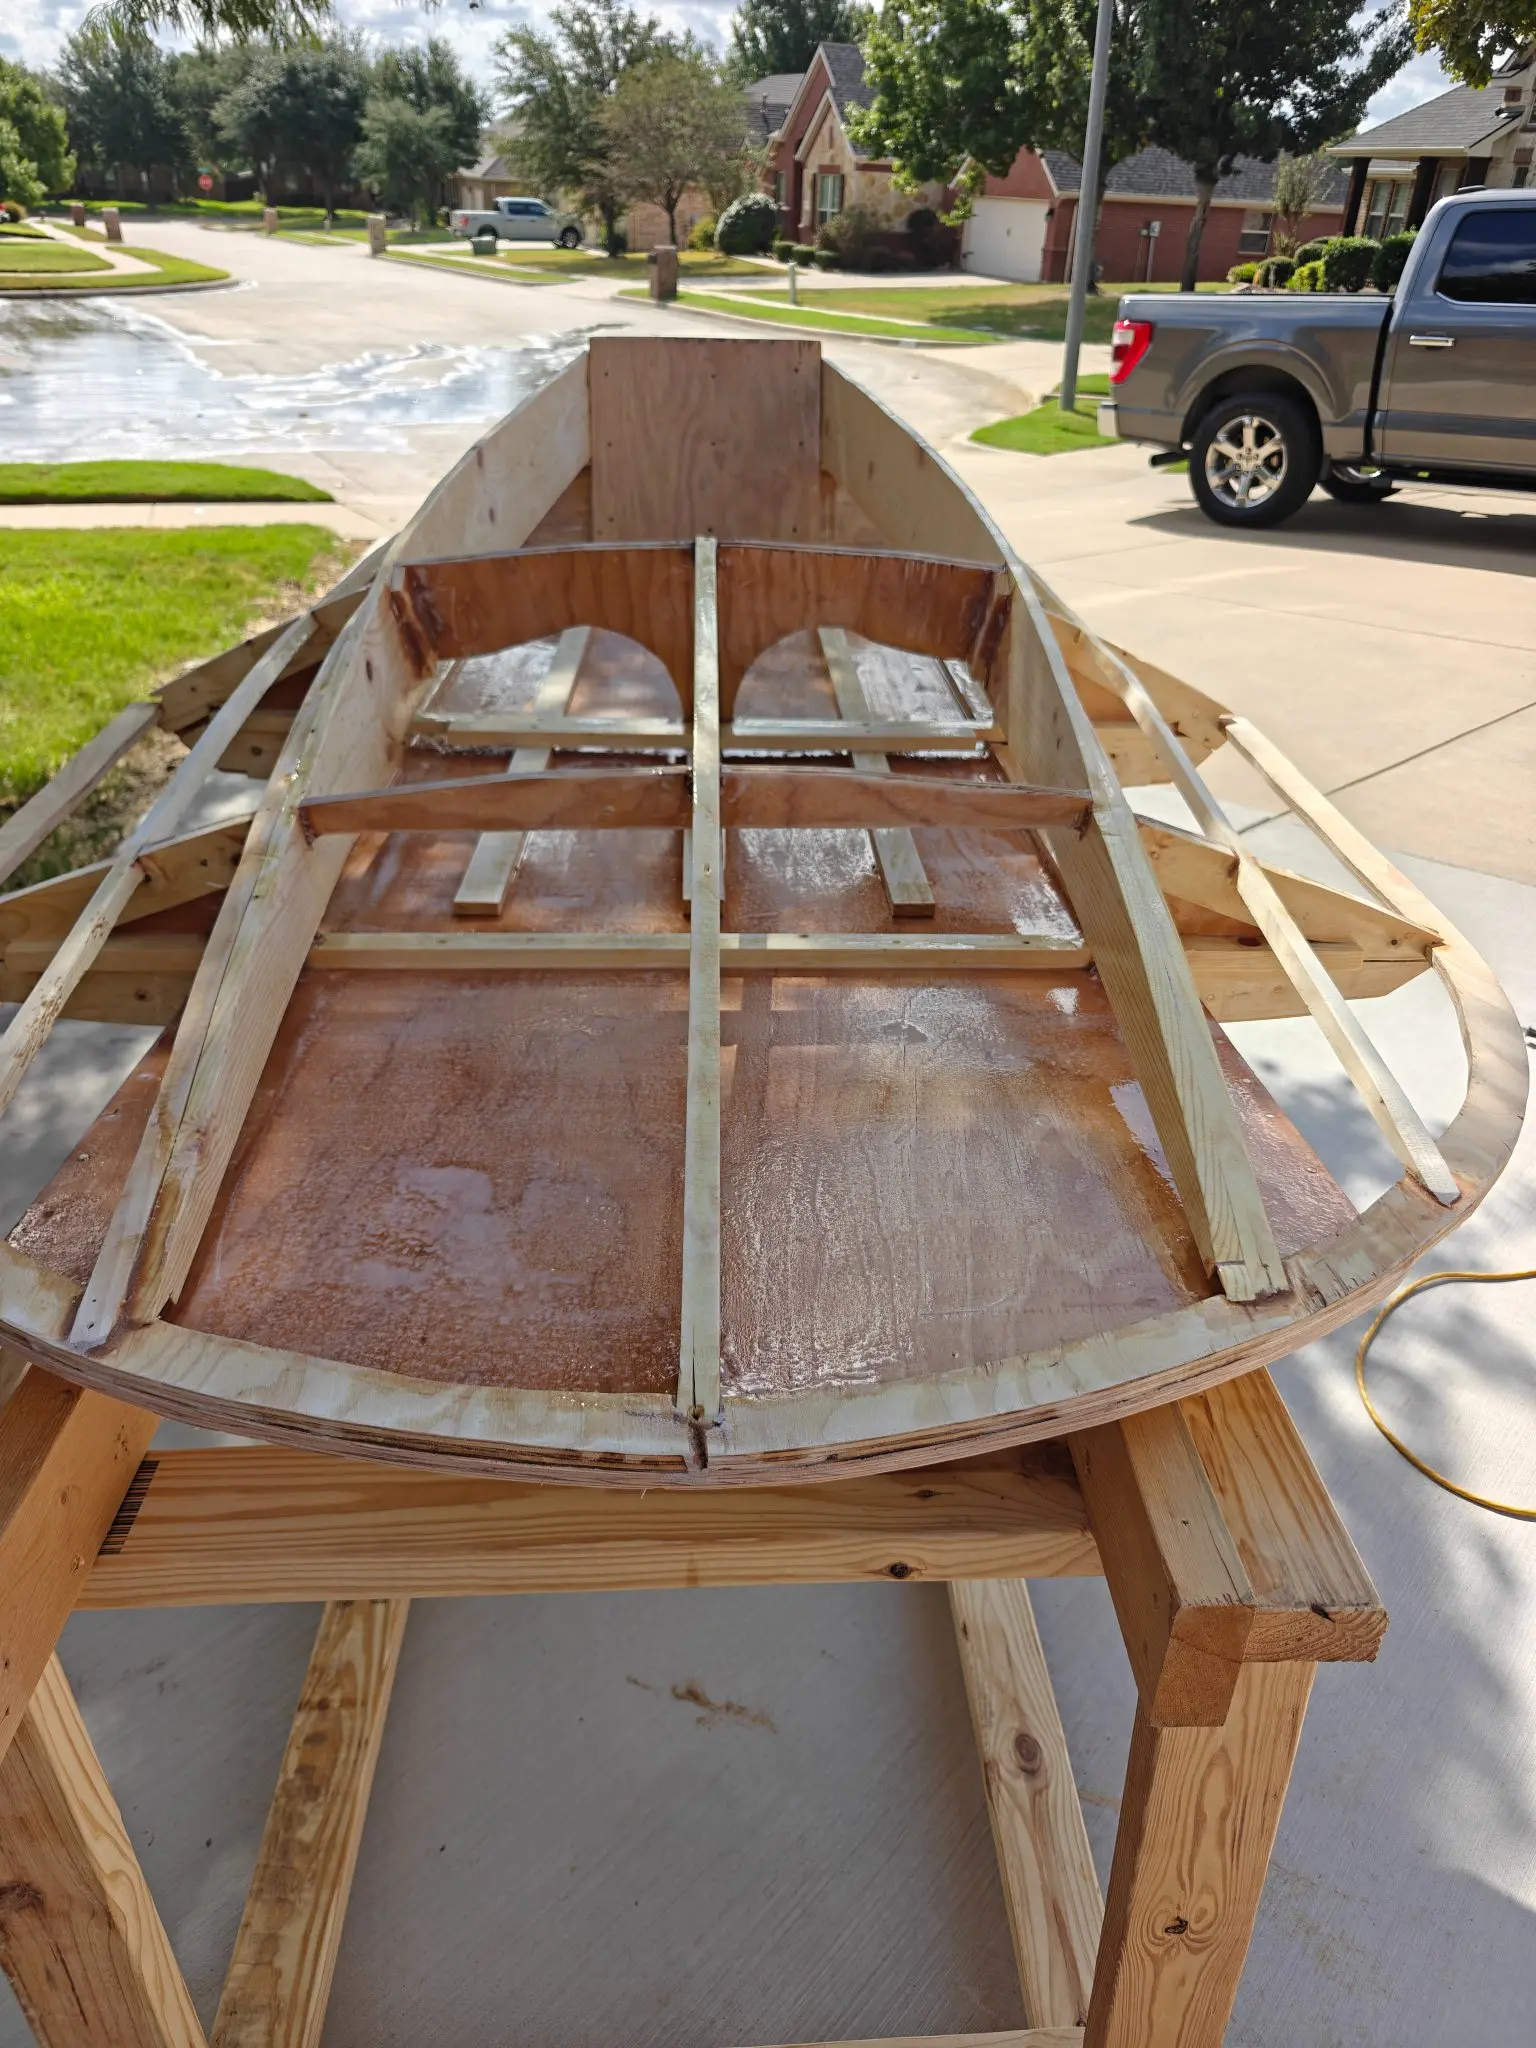
I got the new Mercury 2 stroke outboard in today, and im very excited about it. Haha just kidding, its a Hangkai. Honestly, I have seen pretty good reviews for this brand, so I will give it a chance. They say its a clone of the Tohatsu M5B.
I built the motor stand with some wood I had laying around and fired up the outboard, it started with just a few pulls. I have been running it for about an hour and it seems like it's running fine. I had to adjust the idle, other than that seems like a decent engine.
Video: https://www.youtube-nocookie.com/embed/fbVVw-YGFiU
25 Sep 2026
Fairing & Sanding 2 h
Build Log: Power Tools and First Fiberglass
Sanding Day
Today I finally started using some of the power tools.
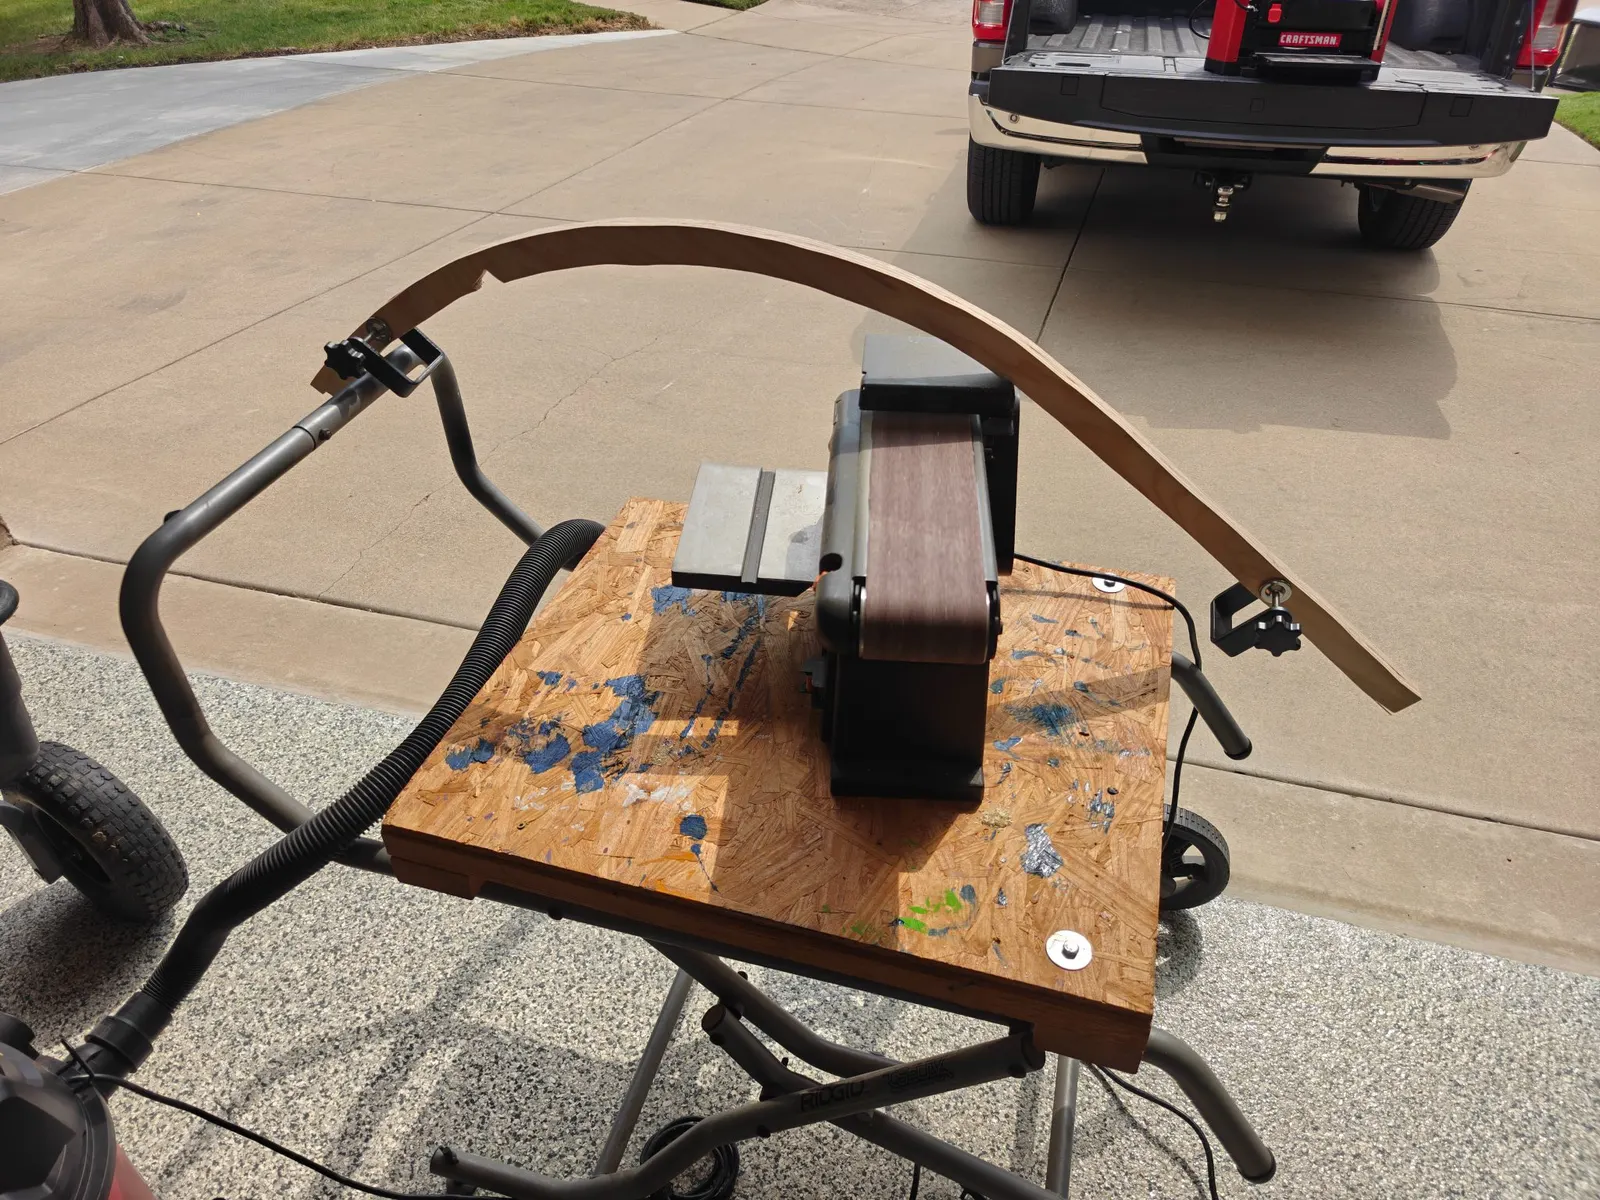
I took the boat outside and used the belt sander to knock off a lot of the rough edges. I evened up the coamings on both sides and did my best to even up the transom, since there was about a quarter inch gap on one side.
My 5" orbital sander was acting weird, so I tossed it and went and bought a DeWalt. This one should last me 20 to 30 years. I also picked up a bunch of 50 and 80 grit paper for both the orbital and the belt sander. I knew I had to move a lot of wood, and that's the lowest grit I feel comfortable with.
Fiberglass Taping
Once I felt pretty good about the sanding, I blew everything out, cleaned up the inside, and brought the boat back into the garage to start on some of the fiberglass taping.
Here's what got glassed today:
- Side panels from the transom to the dashboard
- Side panels to the transom
- Both frames in various places
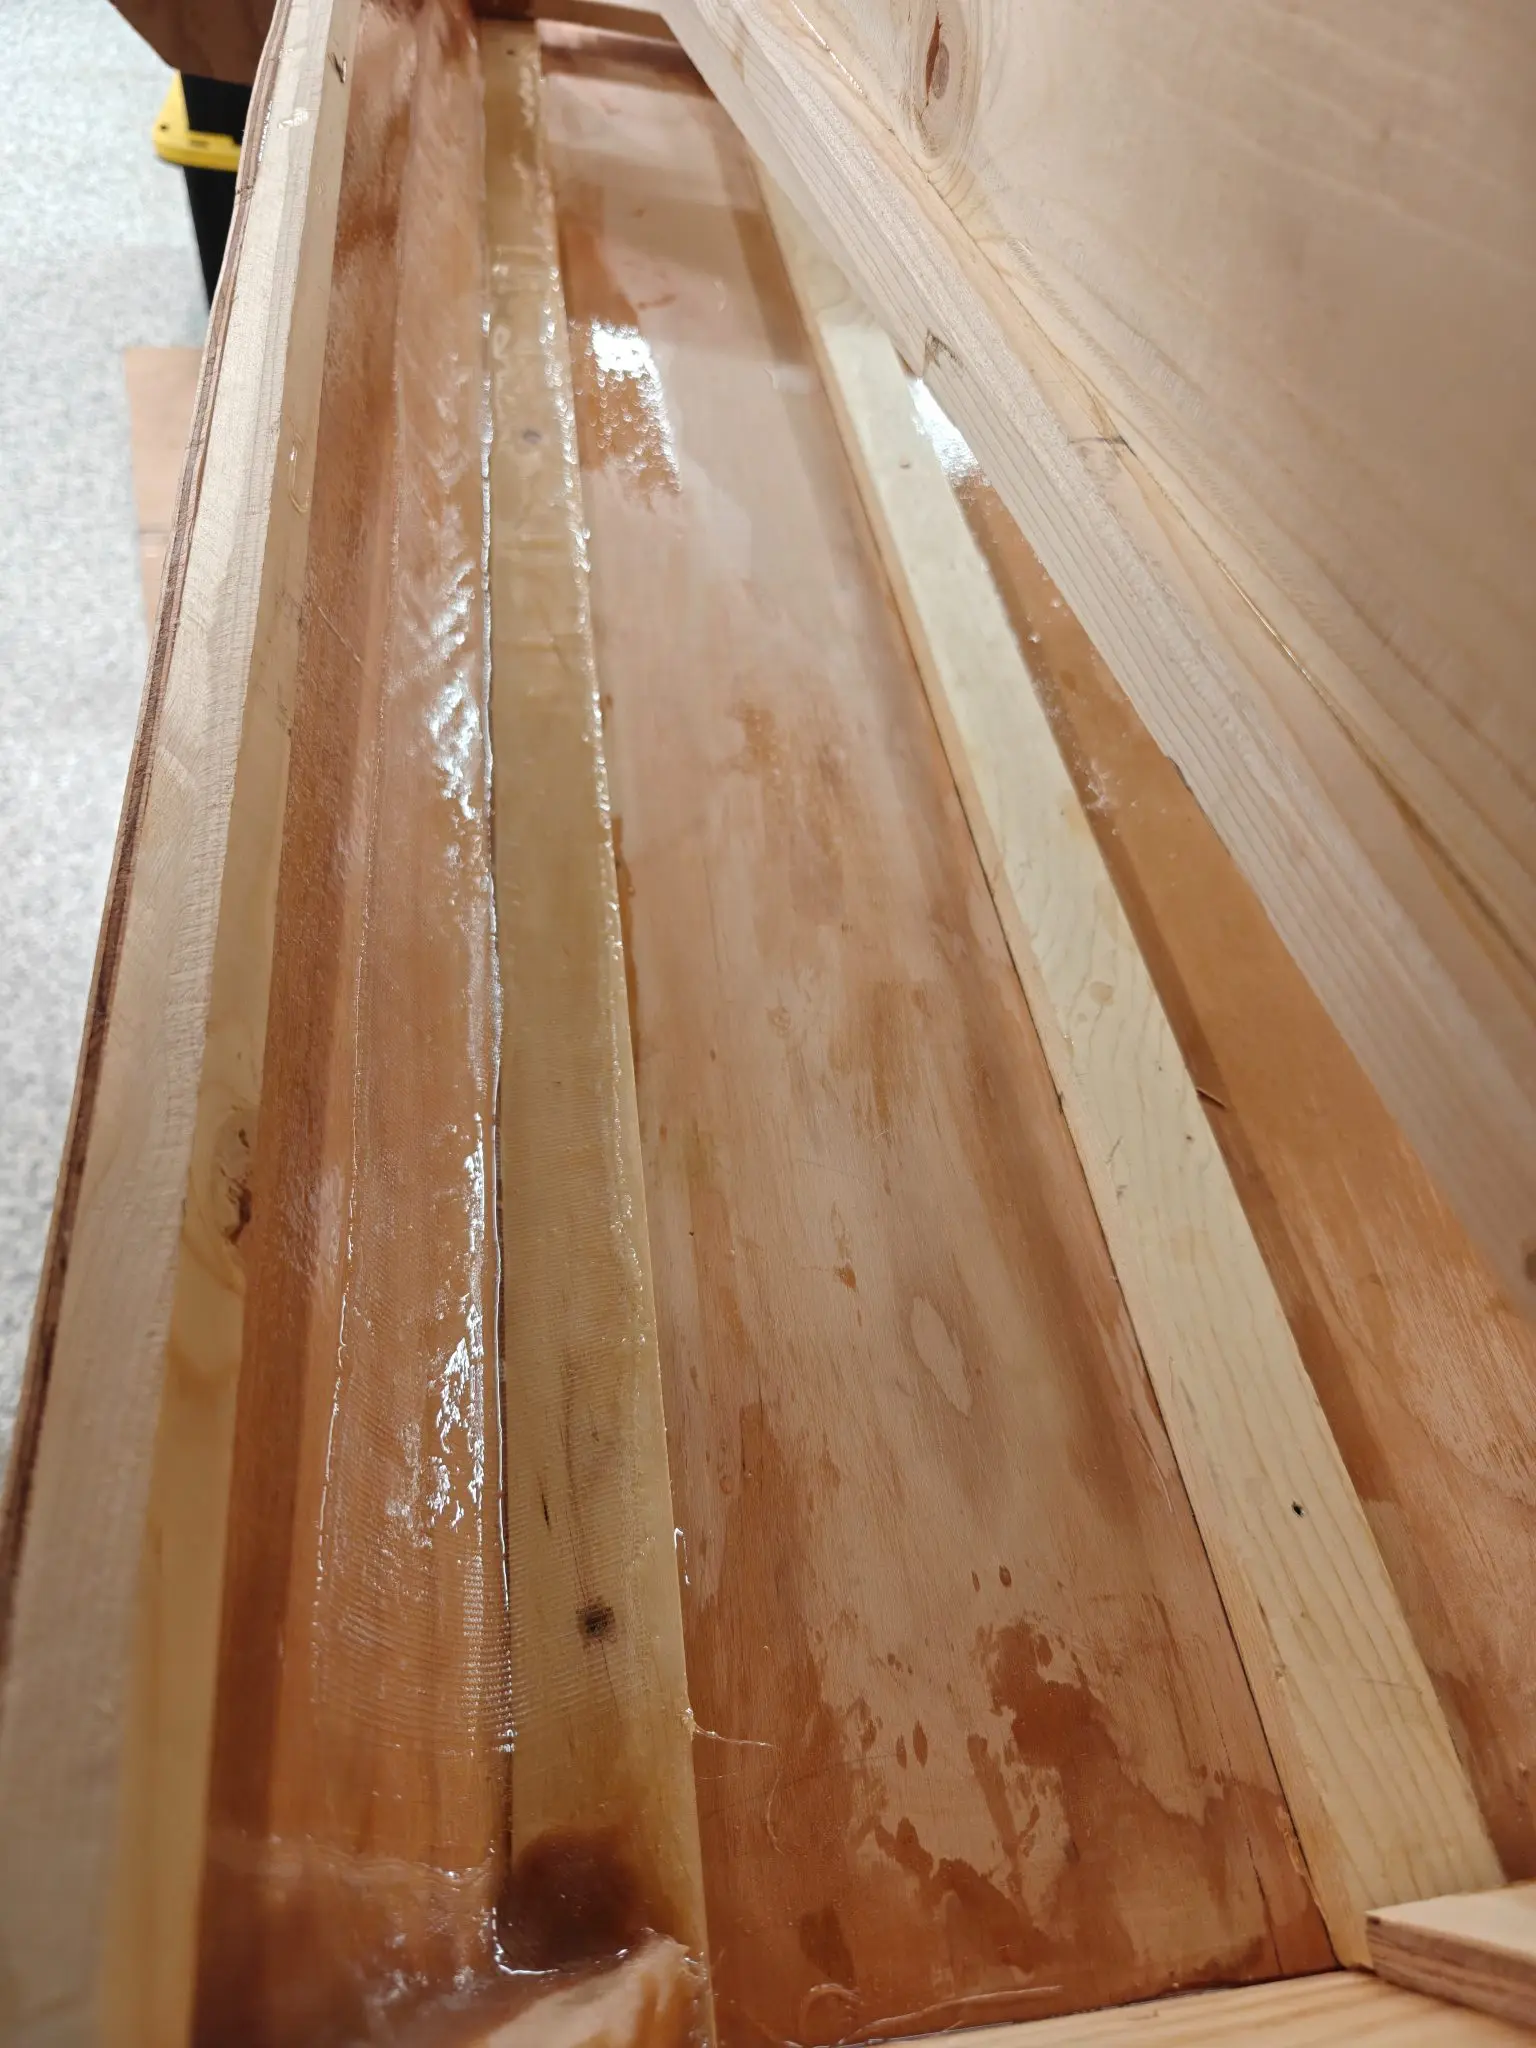
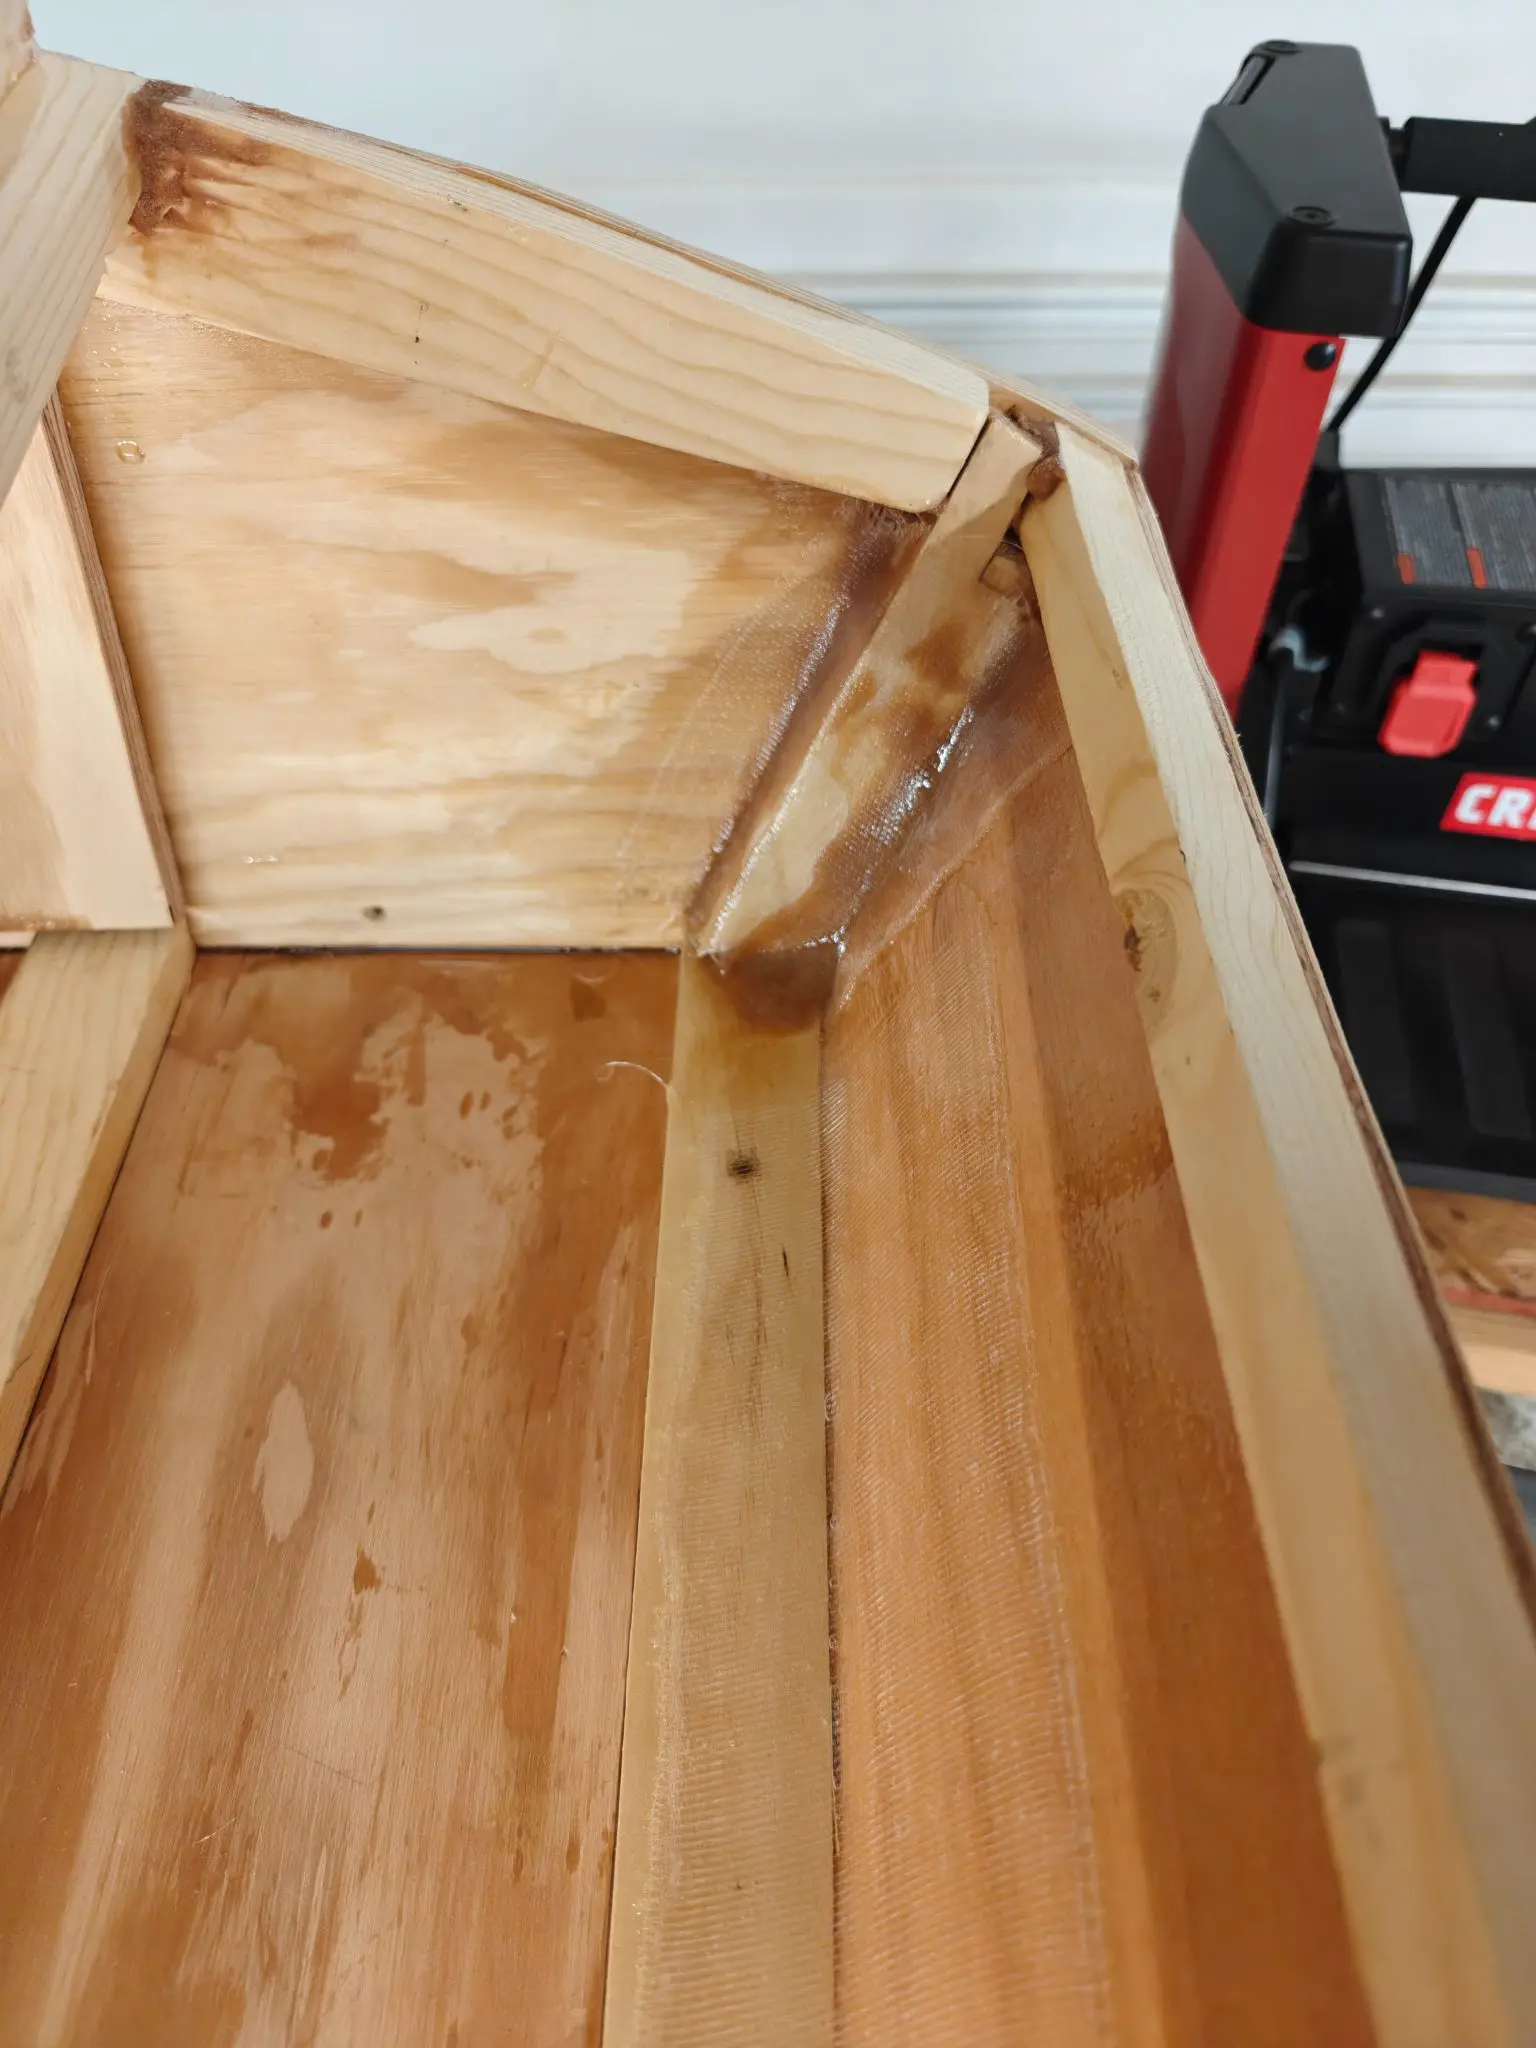
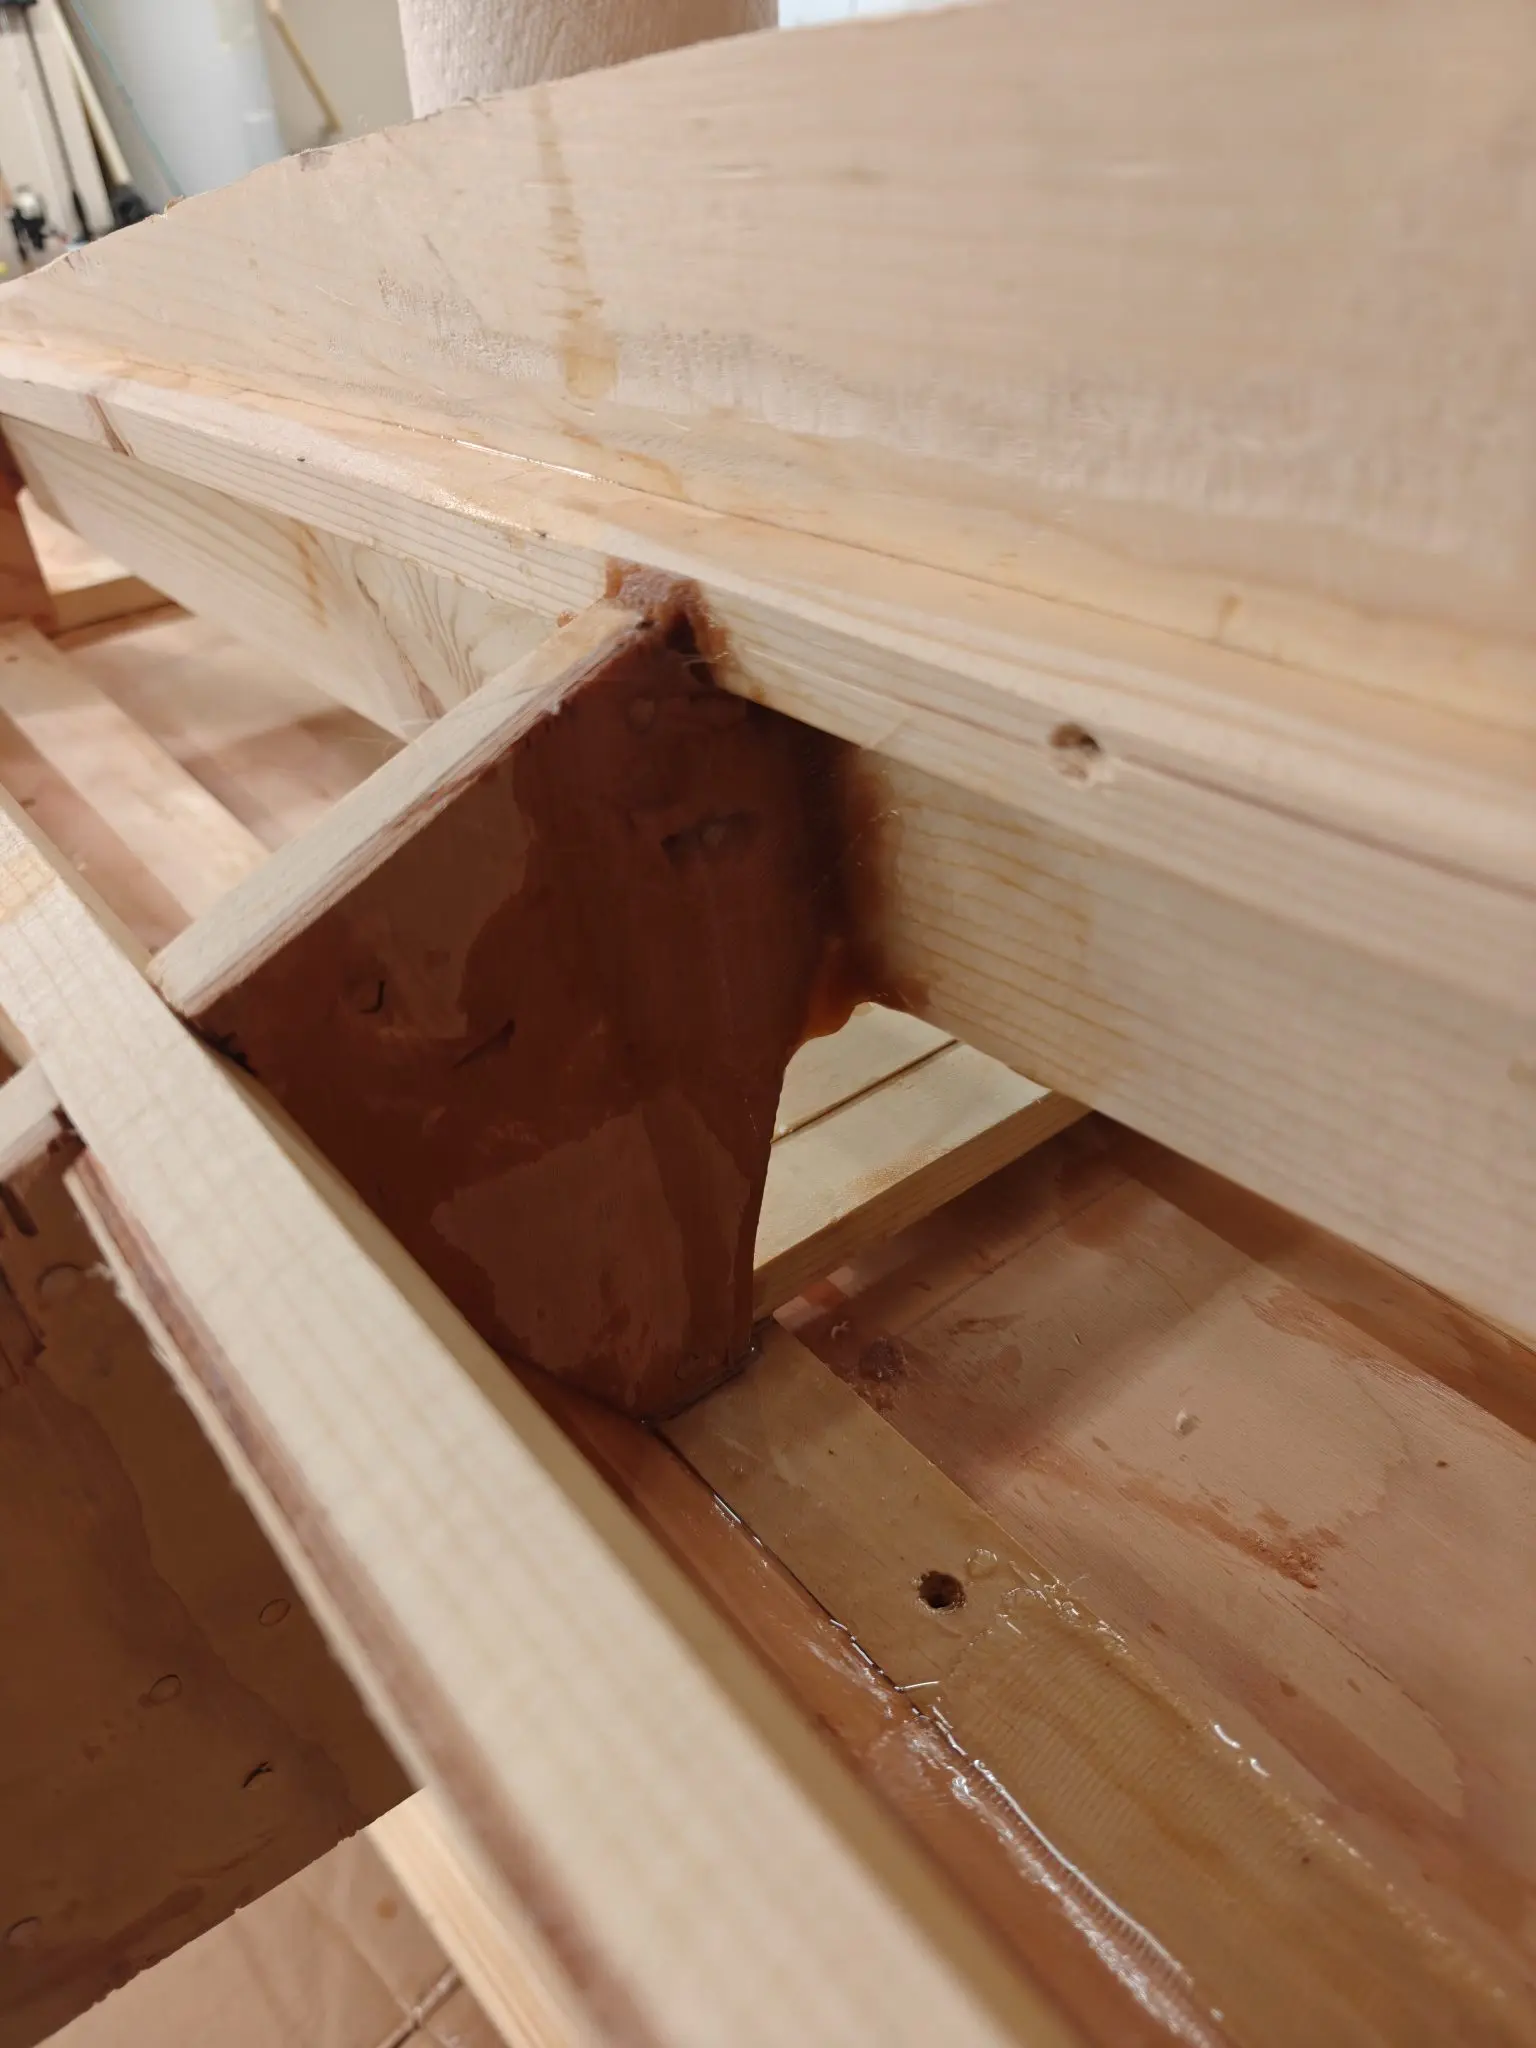
Anywhere there wasn't a nicely rounded surface, I added a very liquidy wood flour epoxy first. The idea is that glass doesn't bond well to sharp, straight edges and won't add much strength there. If you round those edges over with thickened epoxy, the glass adheres much better. This has worked on my past boats, and it looks like it's working on this one too.
Texas heat tip: Since it's still very hot here, I portioned out just the epoxy into separate cups and put them in the fridge for a couple of hours. It's an old trick we use here in Texas to buy an extra 10 to 15 minutes of working time.
What's Next
I still have 20 or 30 feet of fiberglass left, so I'll probably schedule another day to glass more joints. I have to epoxy the entire inside anyway before I start covering the boat.
Chapter 10
Glassing & Epoxy
Sheathing in cloth, wetting out, fill coats.
1 day
1 hours from September 2026
27 Sep 2026
Glassing & Epoxy 1 h
Starting to epoxy the interior, it's getting a bit hot in the garage so I'll stop for today. We have some more surfaces but probably I am about 70% done.
29 Sep 2026
Fairing & Sanding 1.5 h
I did a light sanding today in preparation for the second coat of epoxy, I will try and get it in tomorrow before the rains. If I have time I might start to try and cut the top panels as well.
The bill
What it cost
Everything else
| Boat Plans 1 |
Glen-L |
$75.00 |
| Plug in jigsaw 1 |
Ryobi |
$100.00 |
| lumber 1 |
Home Depot |
$100.00 |
| Fir AB Marine 1/4" 4x8 2 |
Plywood company |
$200.00 |
| Fir AB Marine 1/2" 4x8 1 |
Plywood company |
$137.00 |
| Birch 1/8 4x8 Plywood 1 |
Plywood company |
$35.00 |
| Craftsman planer 1 |
Craftsman |
$329.00 |
| Fasteners and Fiberglass kit 1 |
Glen-L |
$400.00 |
| 6HP 2 Stroke Hangkai Outboard Engine 1 |
Hangkai |
$575.00 |