Sand and epoxy all panels
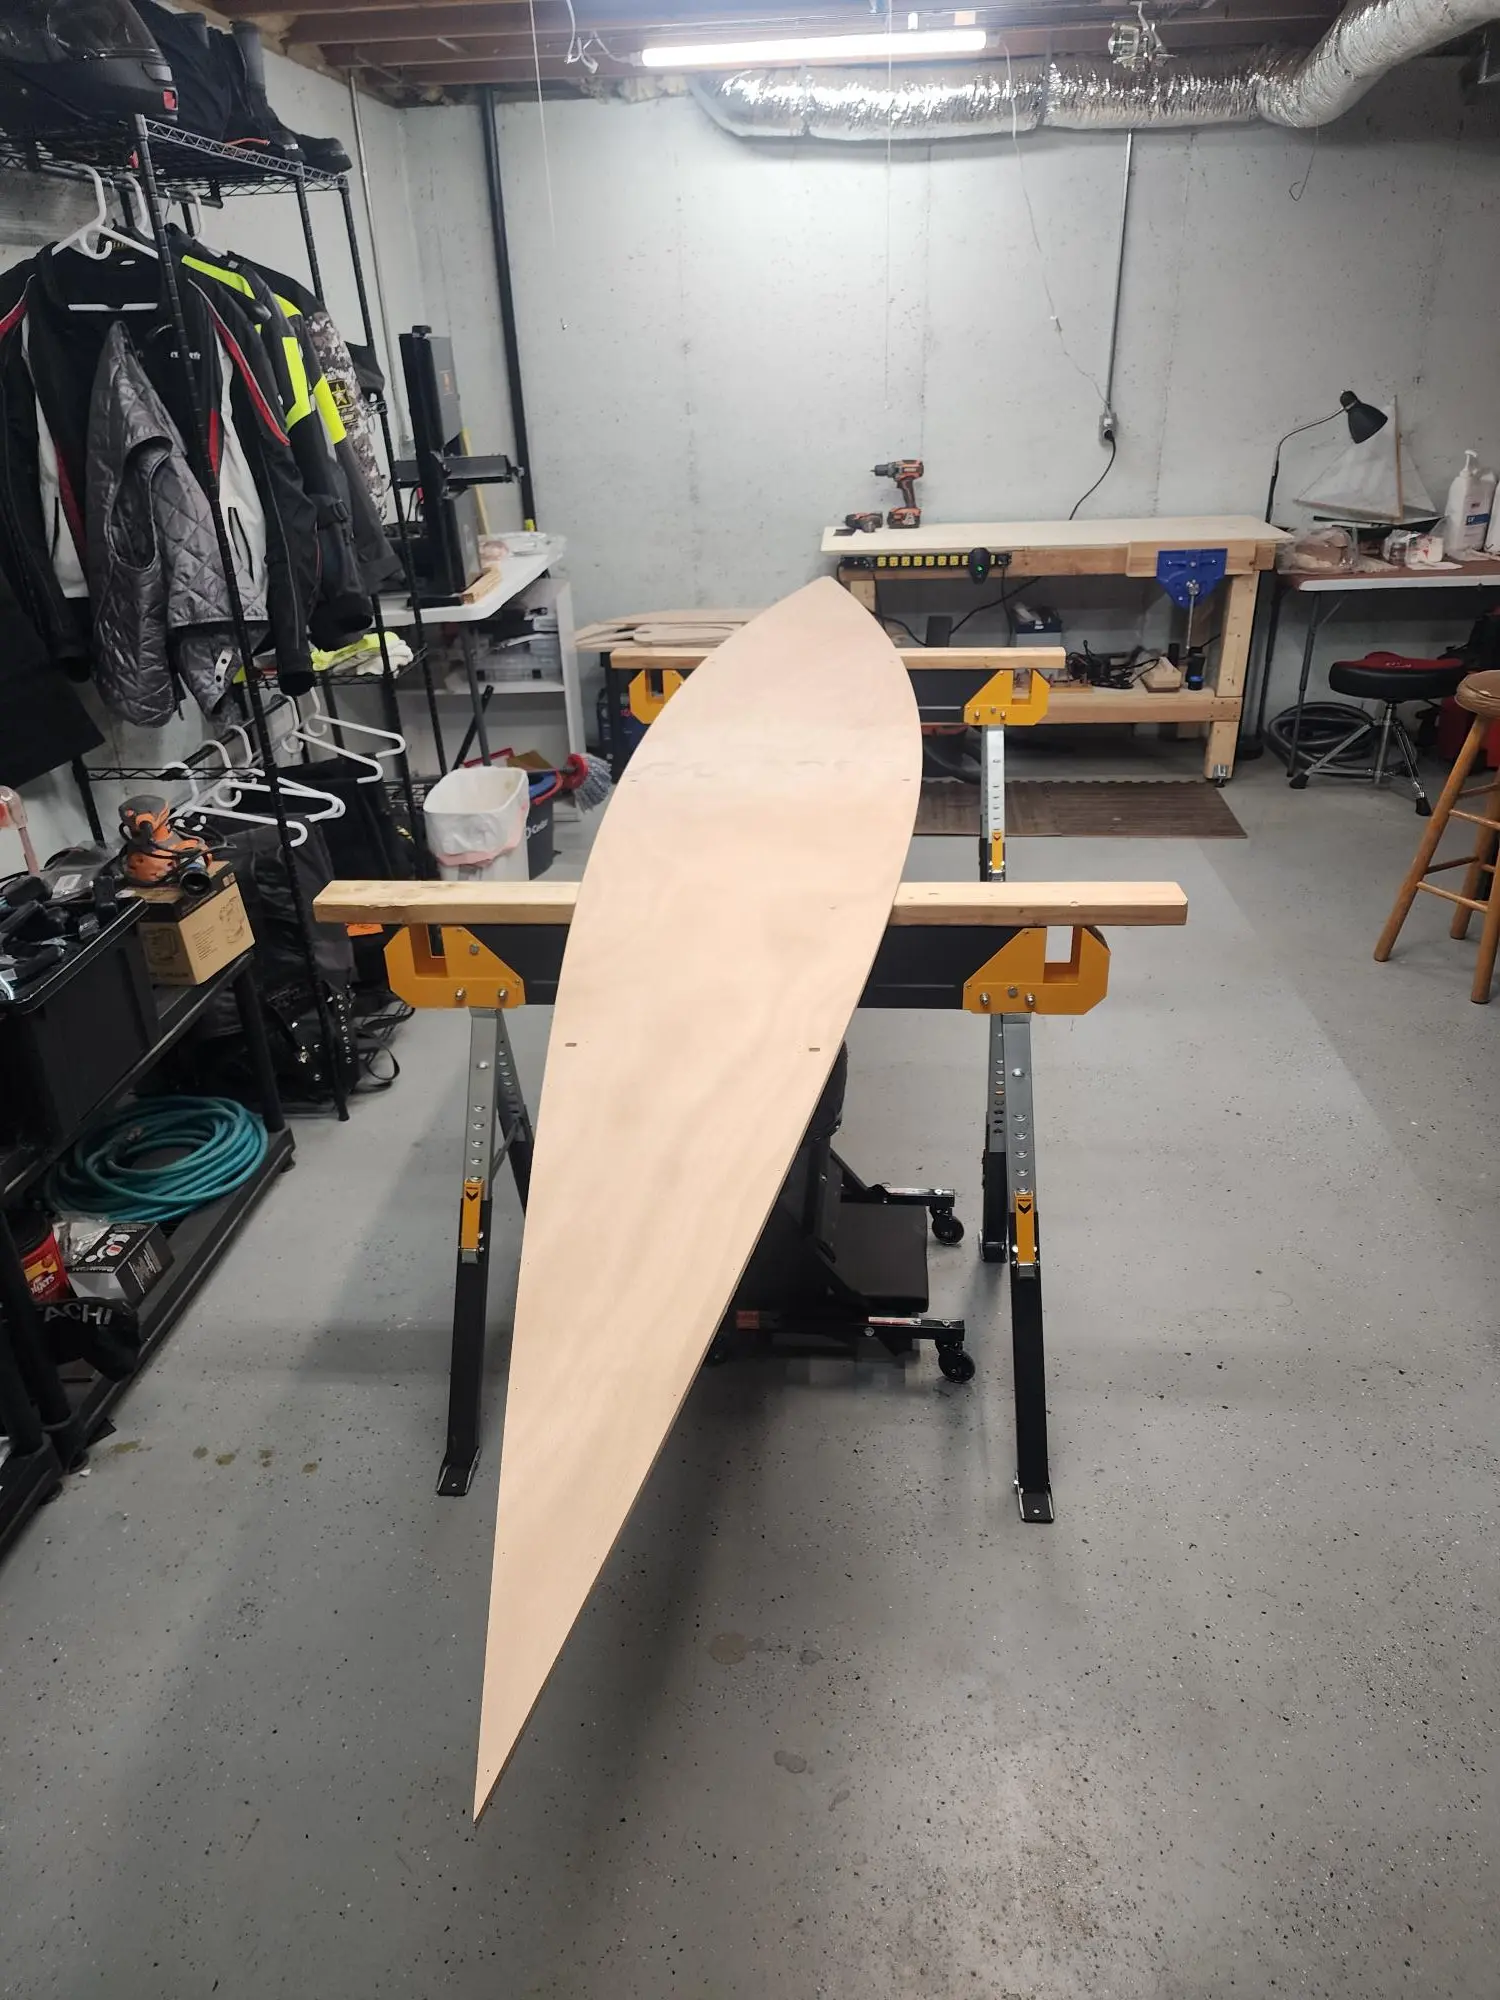
Assembled all panels. Sanded smooth prepare for assembly.
new build
Northeaster Dory
Daniel De Deker · 2026
A build log
Northeaster Dory
kept by Daniel De Deker
2026
The boat
First boat, basement built
What it took
4 builders on this site have logged a Northeaster Dory. The median is 100 hours. You took 32, 68 fewer.
The work
Chapter 01
Scarfing plywood, cutting panels, milling strips or planking stock.
Assembled all panels. Sanded smooth prepare for assembly.
Chapter 02
Wiring or clamping the hull together and getting it fair and true before glue.
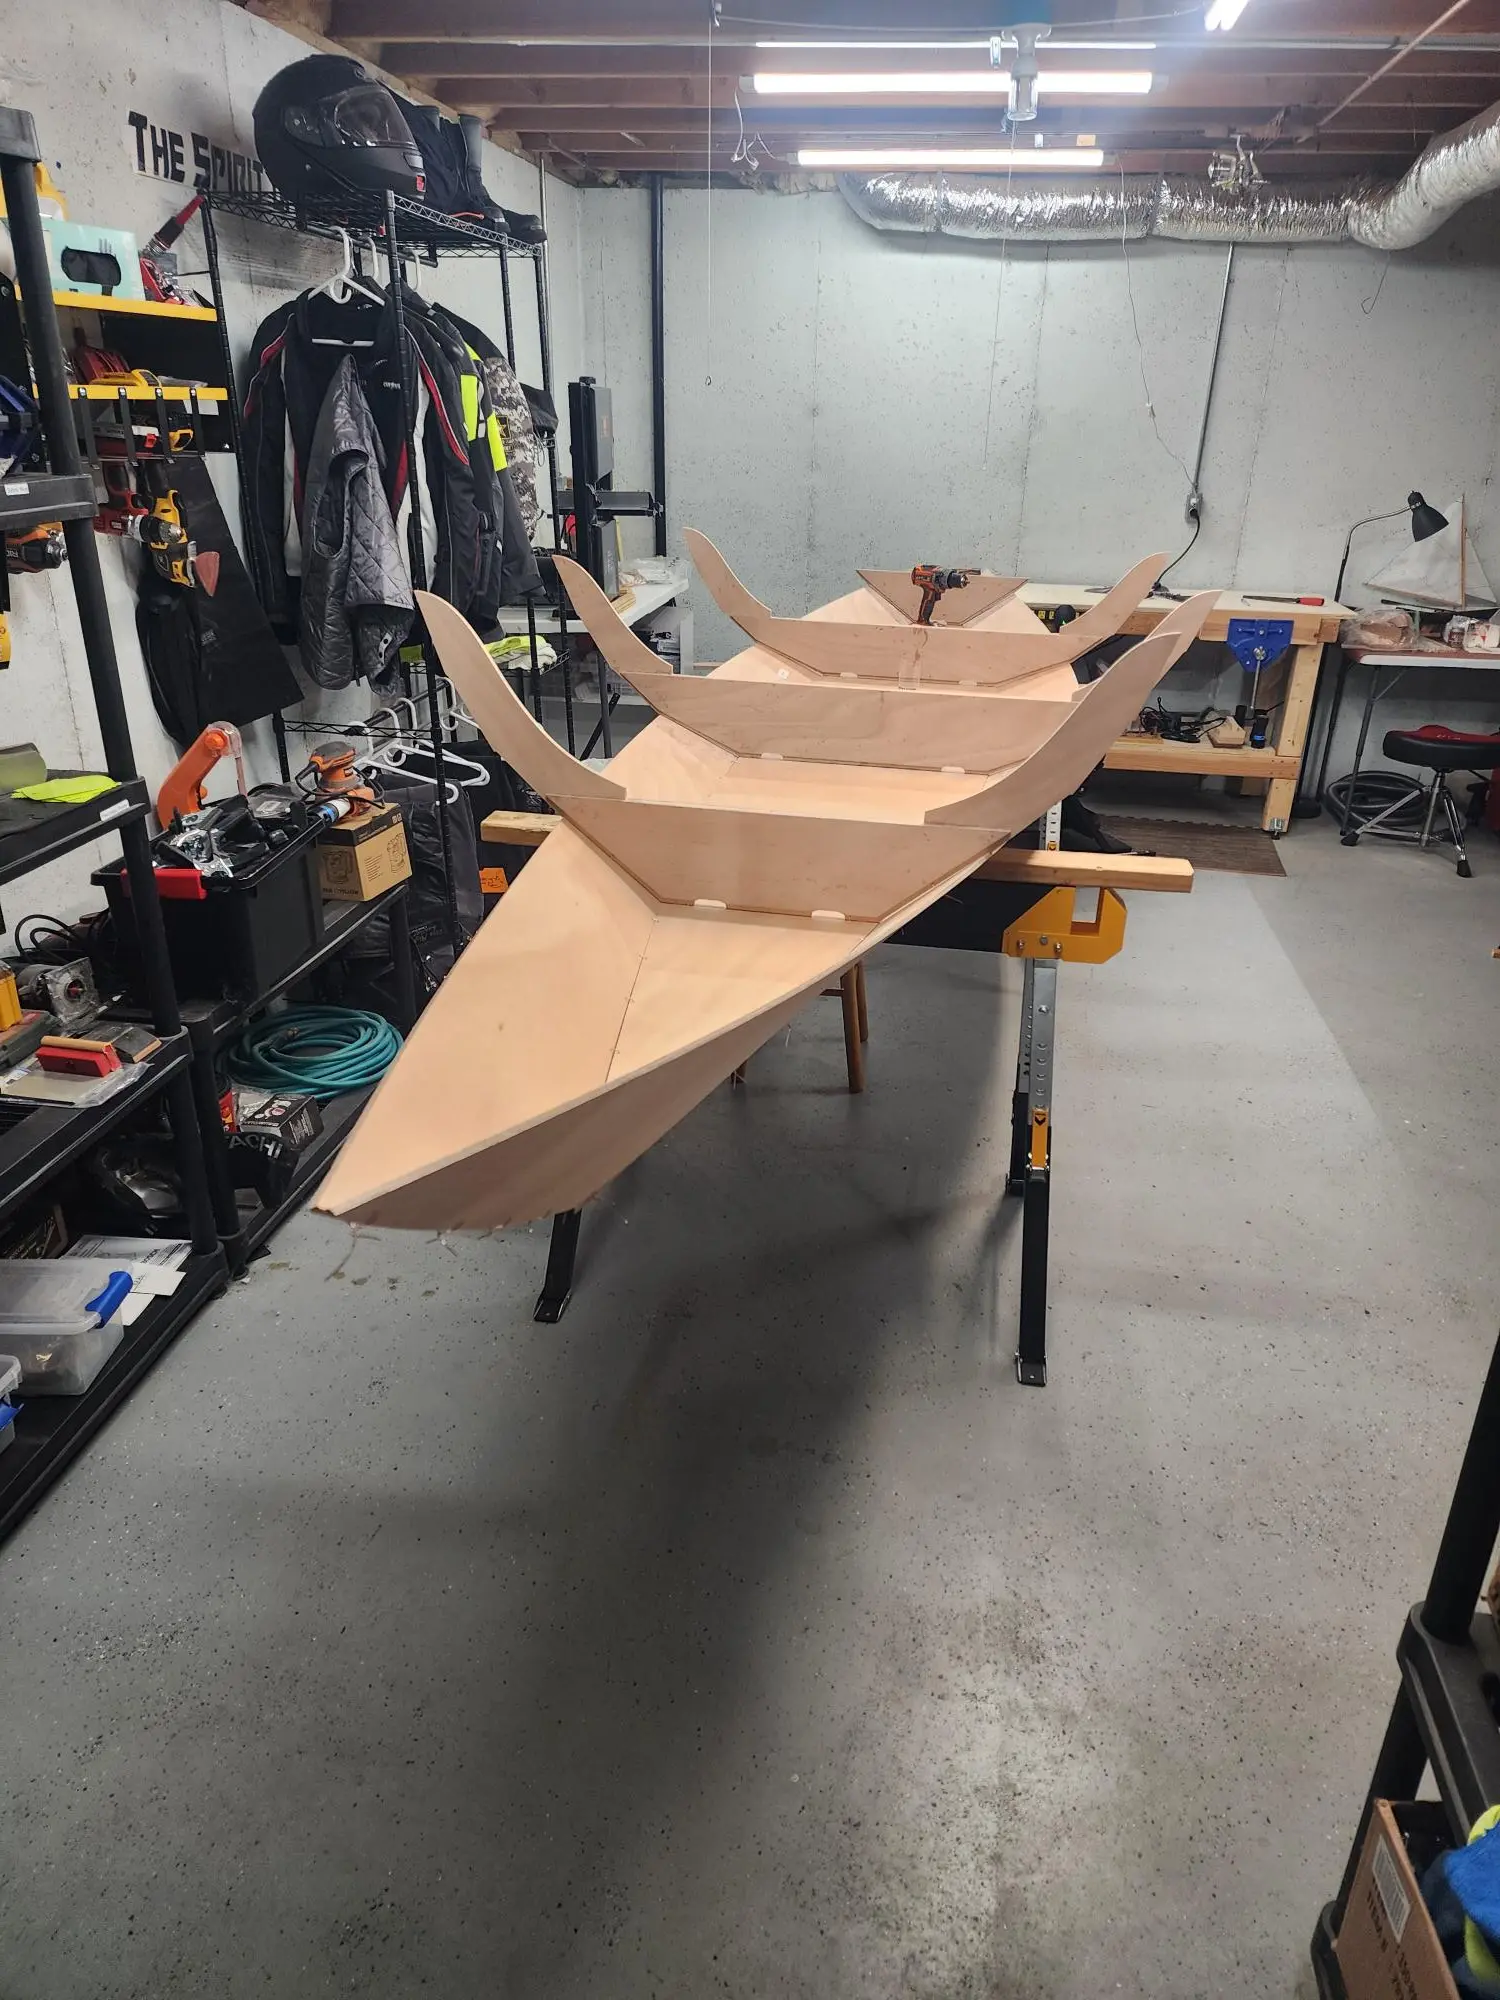
Stitch using copper wire. I slightly rounded the bottom and first panel to make them assemble easier. The transom assembly was extremely difficult. DFM wasn't really considered by CLC and I resorted to heavy .041" stainless steel aviation safety wire to get it to hold in place without the wire breaking constantly. I have no idea how others do it with the copper wire.
Photos from Saturday 24 October 2026.
Chapter 03
Epoxy fillets, taped seams, structural joints.
Fillets weren't too challenging although there wasn't much of a fillet along the bottom panel were it meets the deck panel. I would use a bigger radius fillet stick if I were to do it again. Tape was easy to apply but not so easy to remove later.
Photos from Sunday 1 November 2026.
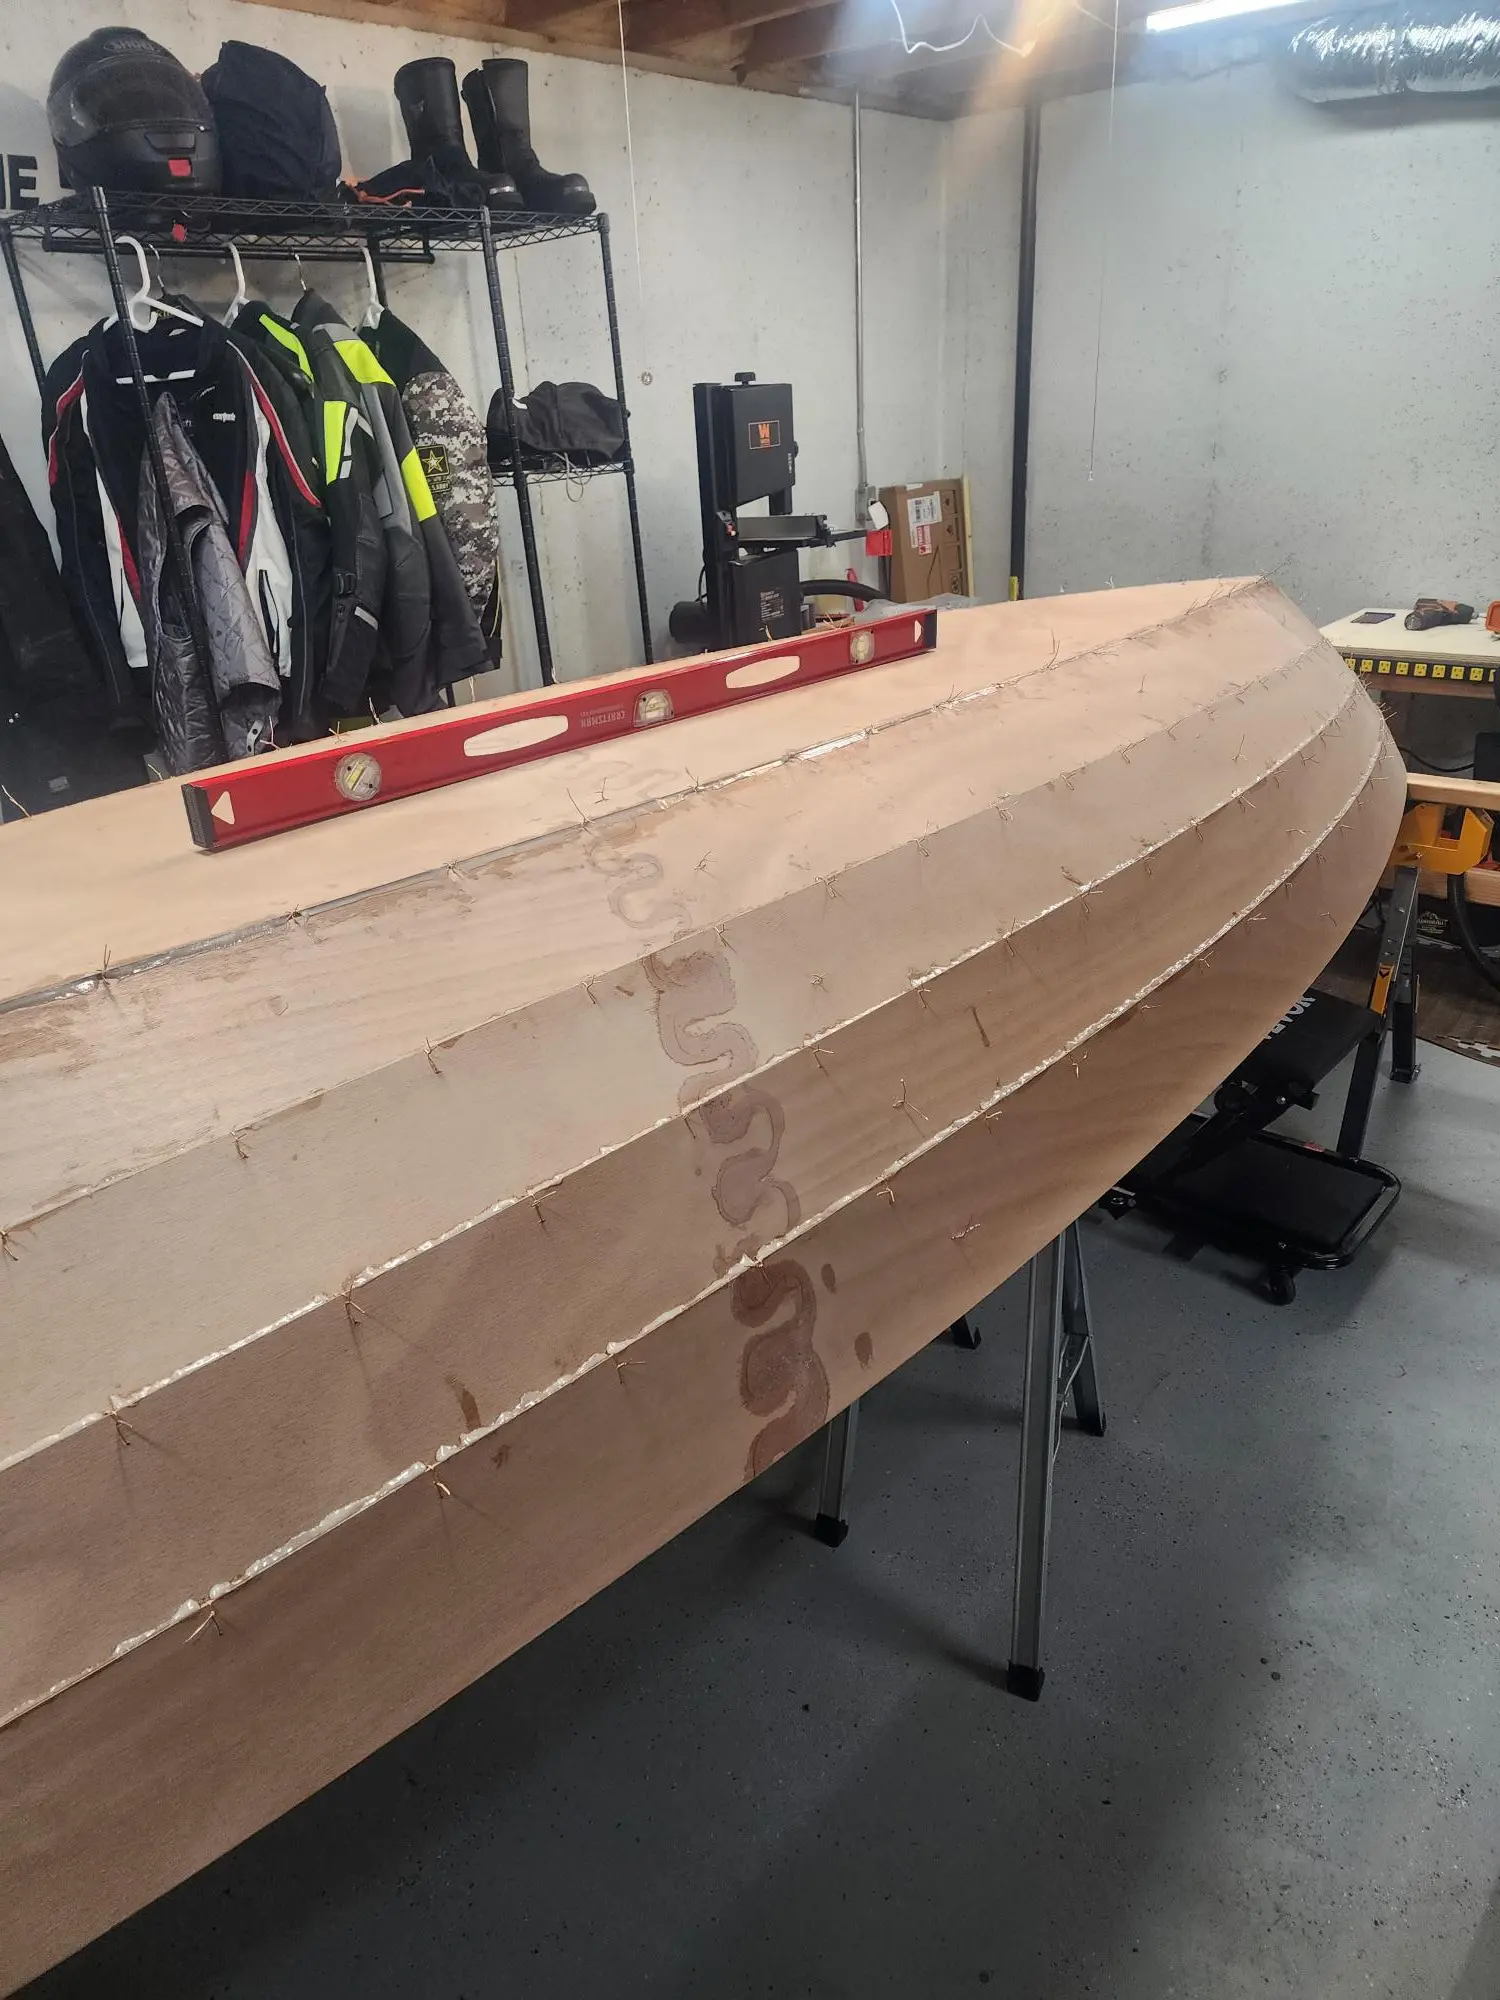
With the help of 4 people and being mindful of the stitches, we flipped the boat and I did final tightening of the stitches. I broke maybe half a dozen of them but no big deal putting new ones in. Using a lineman's pliers made it very easy to tighten them. I also installed a heavy-duty overhead boat lift and added 6 more shop lights. Then it was on to the epoxy tacks.
Tacks were challenging because I didn't have actual pastry bags yet, so it was harder to control the flow. Some were overfilled and some under. Underfilled is easy to fix since you can just add epoxy but cured overfill means learning to use the card scraper and getting riffler files which really helped later on. Once the tacks cured I was able to flip the boat by myself using just the boat lift.
Chapter 04
Sheathing in cloth, wetting out, fill coats.
Difficult step. Trimming the cloth and removing it at the joint of the 1st and 2nd panel was no fun. It took hours of scraping and careful filing with a riffler file to get the seam smooth and all of the tape off. A lot of my troubles stem from never having done this before though.
Photos from Sunday 8 November 2026.
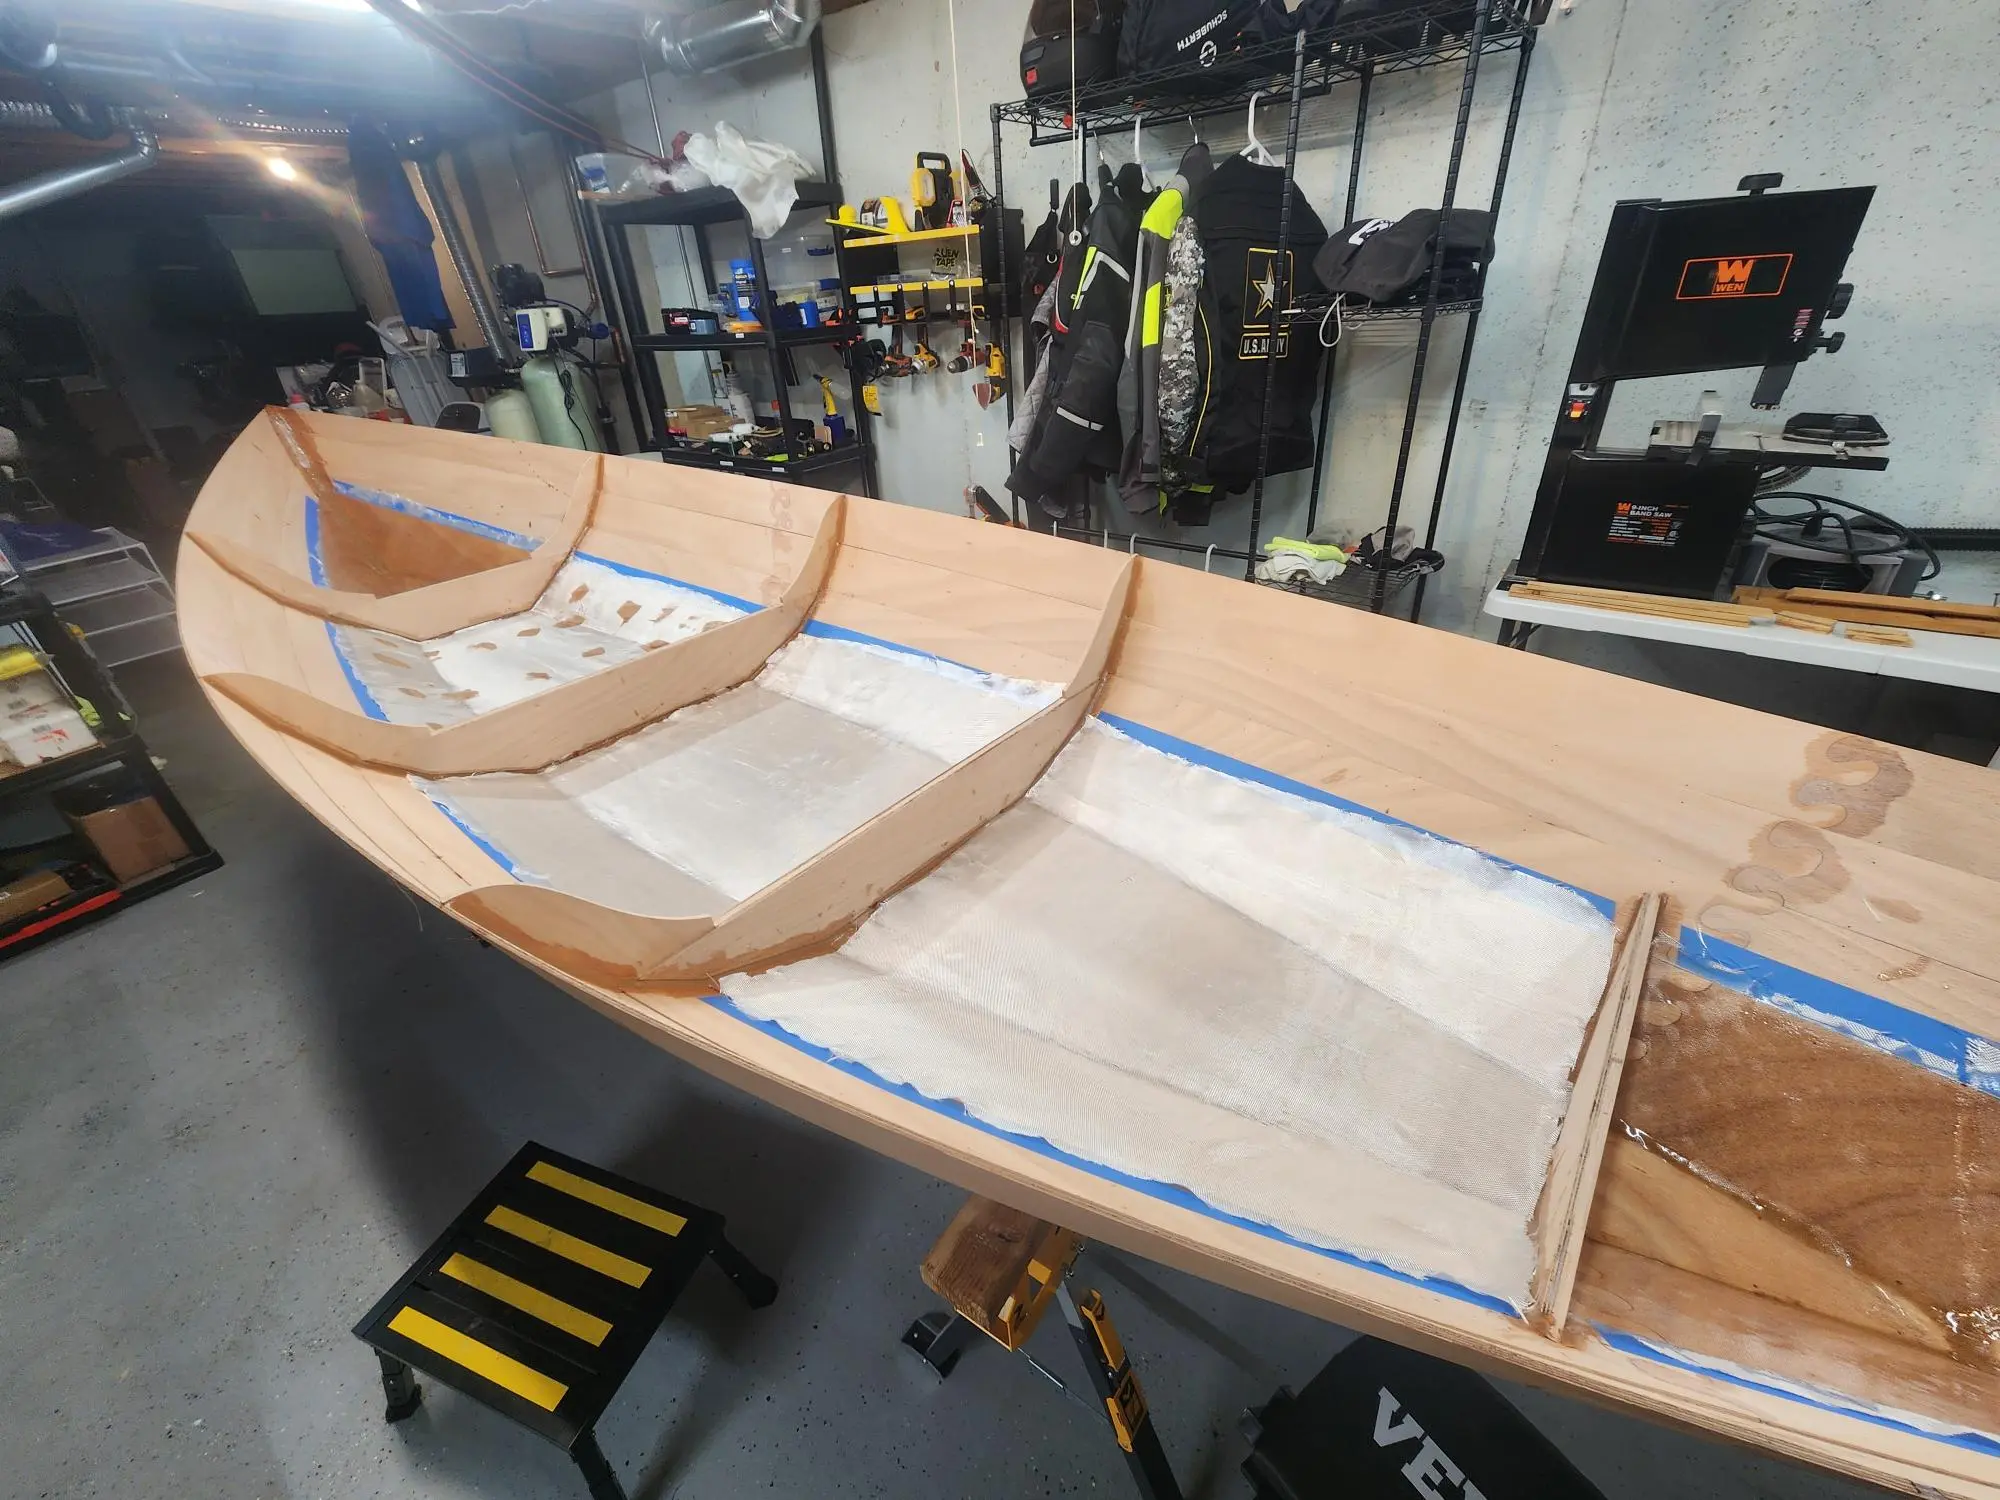
Inside tape and fiberglass. Find Jesus before trimming the cloth and trying to get the tape off afterward.
Photos from Tuesday 10 November 2026.
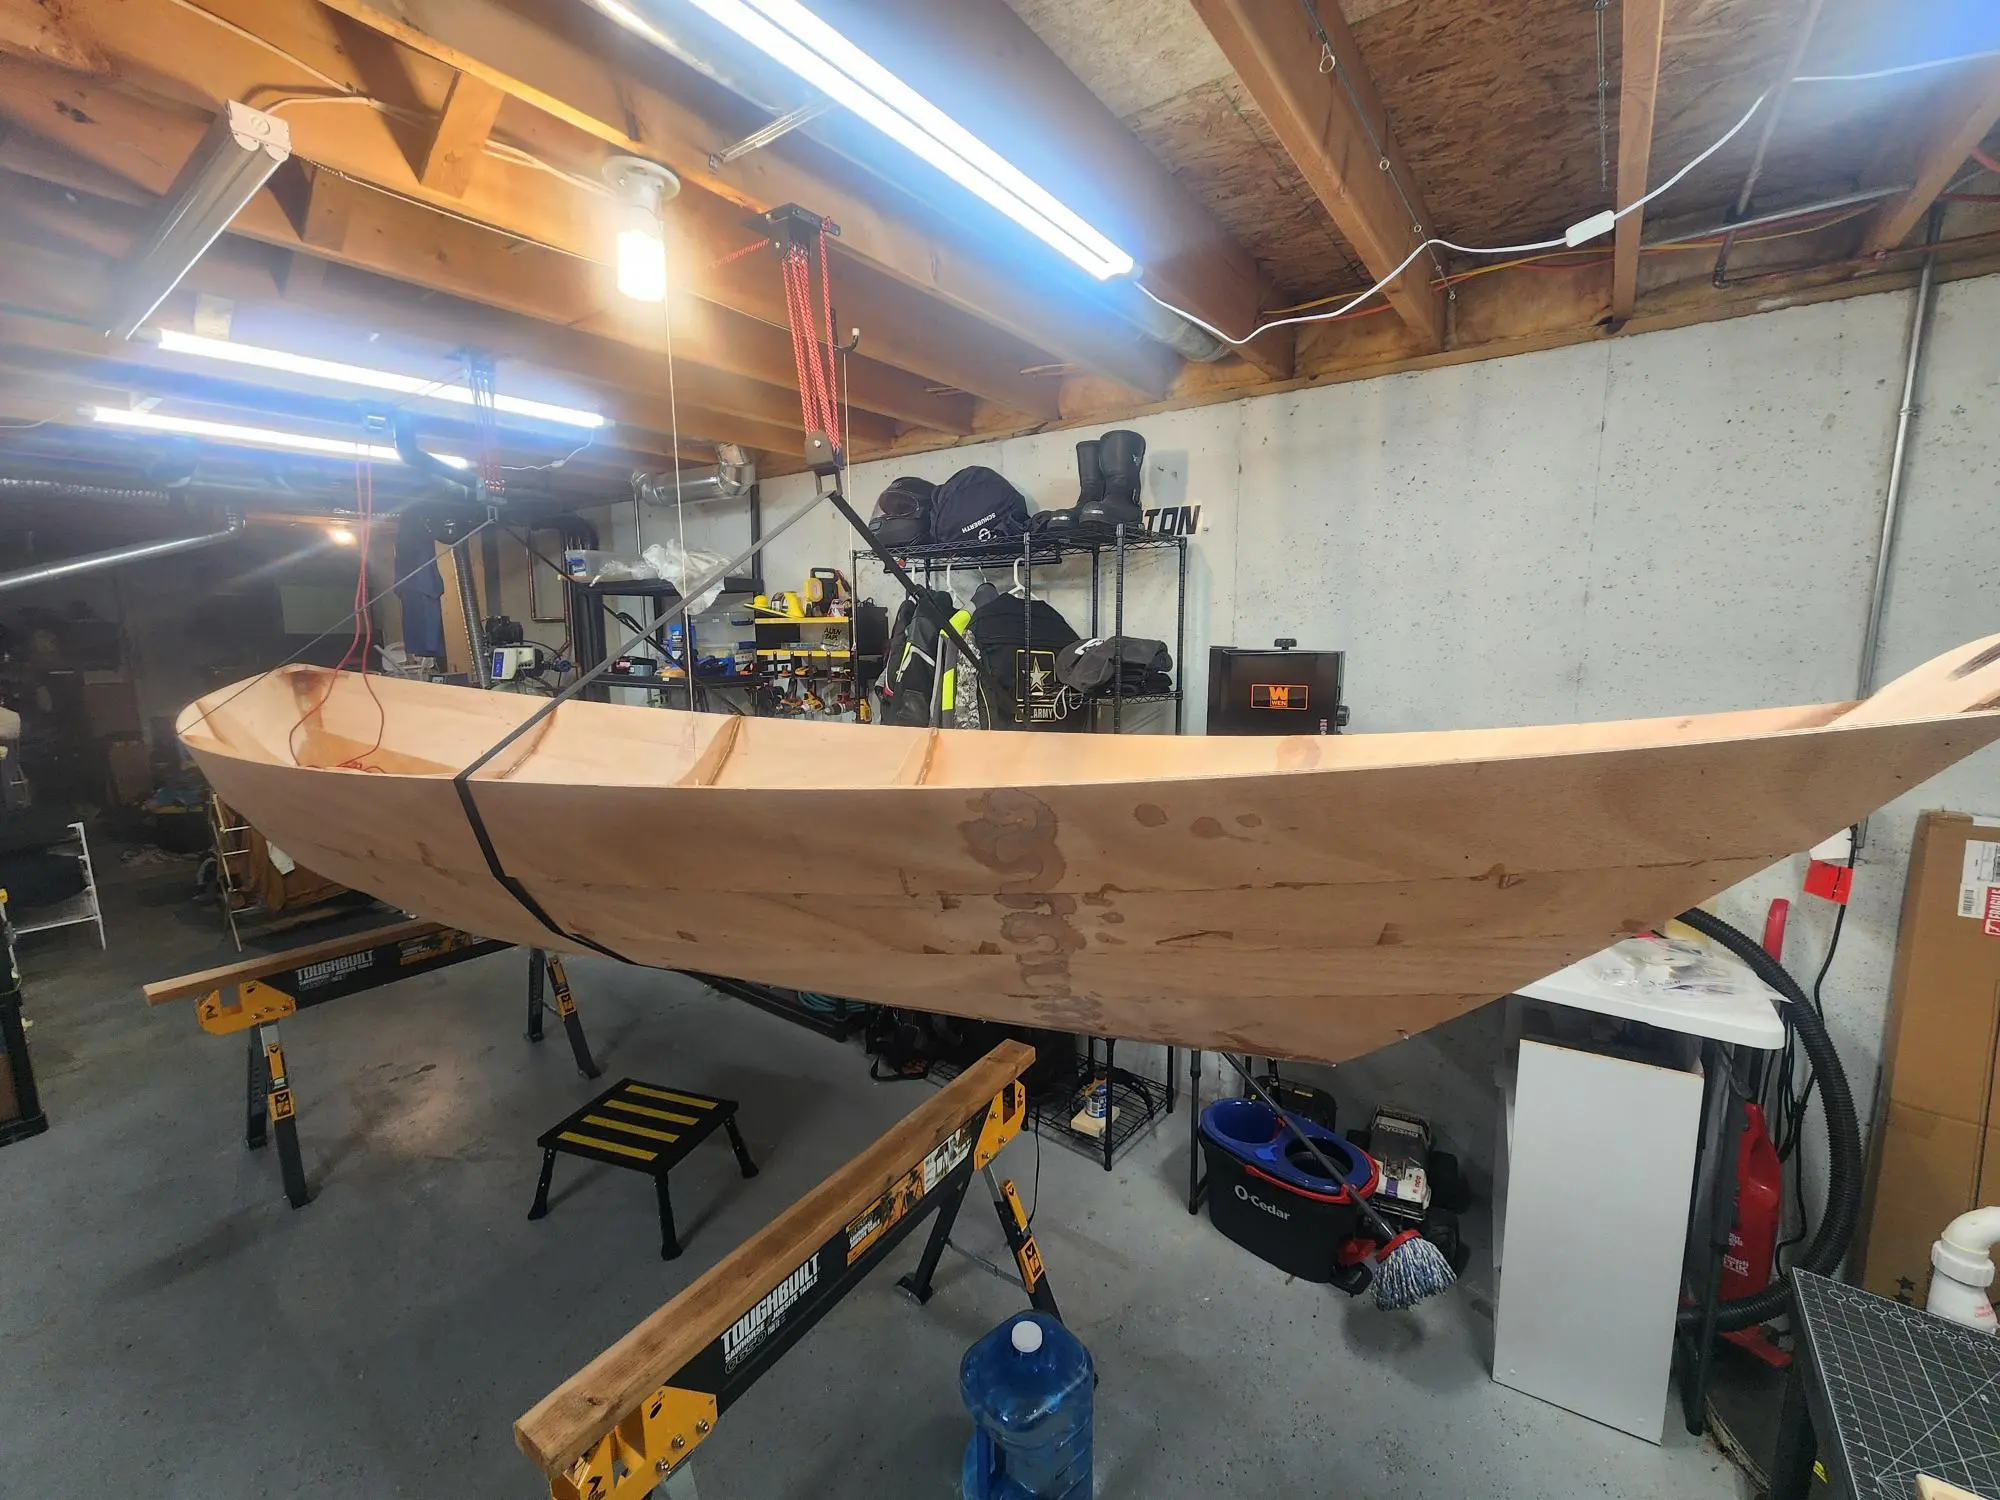
Coming along nicely!
Inside filleted and fiberglassed, I fitted the breasthook and pulled the last of the stitches. I used a bastard file at the transom to file down the bits of protruding stainless wire as these would destroy any sanding disc I might use later. Hoisted and flipped in preparation for hull work. We decided on Jeannecke for the name. My mom's nickname when she was little in Belgium. I know it will be pronounced by some as "Jean-Necky" but it's actually "Jhon-eh-Ka"
boatbuildlog.com
Jeannecke
8 entries,
6 photographs,
written down as the work was done.
The words and photographs in this log belong to Daniel De Deker.
The log itself lives at
https://boatbuildlog.com/builds/jeannecke
Printed 12 November 2026
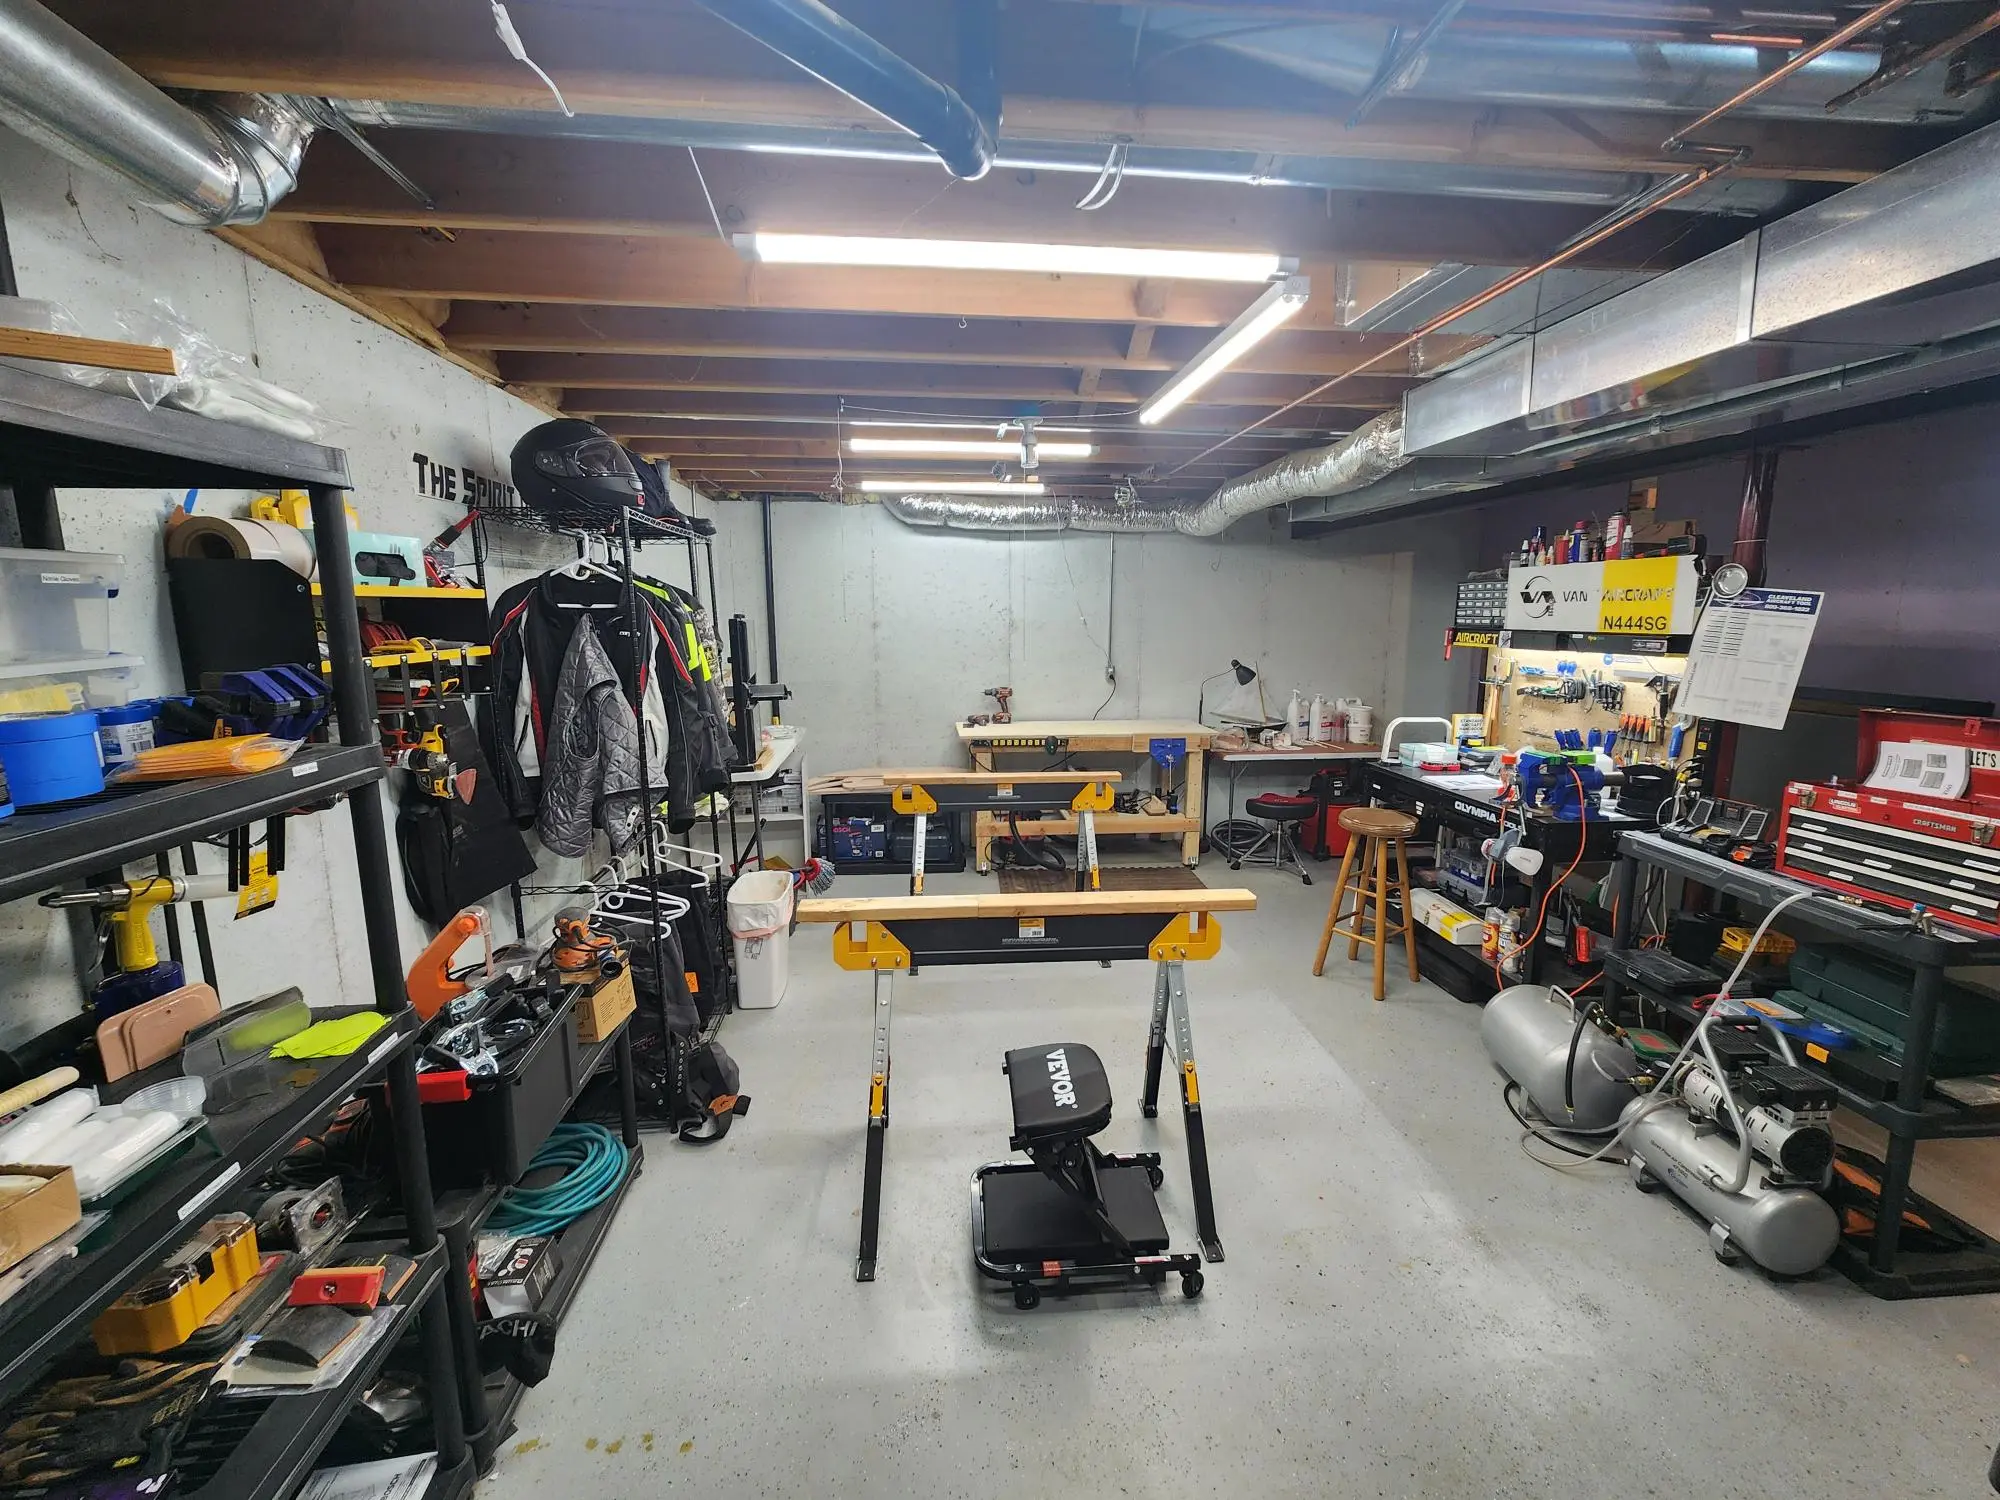
Kit delivered October 9th 2026. Converted shop from metal airplane building to wooden boat building. Some early lessons were you need 1" and 2" chip brushes and a lot of epoxy cups. Looking at the building tips on CLC's website was invaluable also. The epoxy mixing stick using a dowel and 1" screws made for a great and economical mixer with a 3/8 drill. Card scrapers are also essential in my mind. A bastard file and burnishing tool was also necessary. I got a heavy waxed canvas apron and both finger and fingerless gloves for working with wire. I also found that .041" stainless steel aviation wire was absolutely essential to fit the transom - the design from an assembly standpoint is a nightmare and I couldn't have done it with the thin copper wire in the kit. Other items I got were 2 different sanding blocks, Shinto rasp, 2 Japanese draw saws (small and large) a good quality Veritas block plane and Veritas sharpening guide, a semi-flexible board sander, pastry bags from Amazon - do NOT use the "freezer bag trick" if you're new at this, the flow is uncontrollable and you will waste a lot more epoxy. I read almost all of the building tips and joined the builders forum on CLC as well. Early posting lead to some excellent advice from experienced builders.
I was able to build the bulkheads, transom, skeg, and all panels without help. Once I started to assemble, I needed help with the port and starboard panels so my wife held them while did the stitching. We did a panel a day so it wasn't too much of a time commitment all at once for her.