Transferring plans and making router templates.
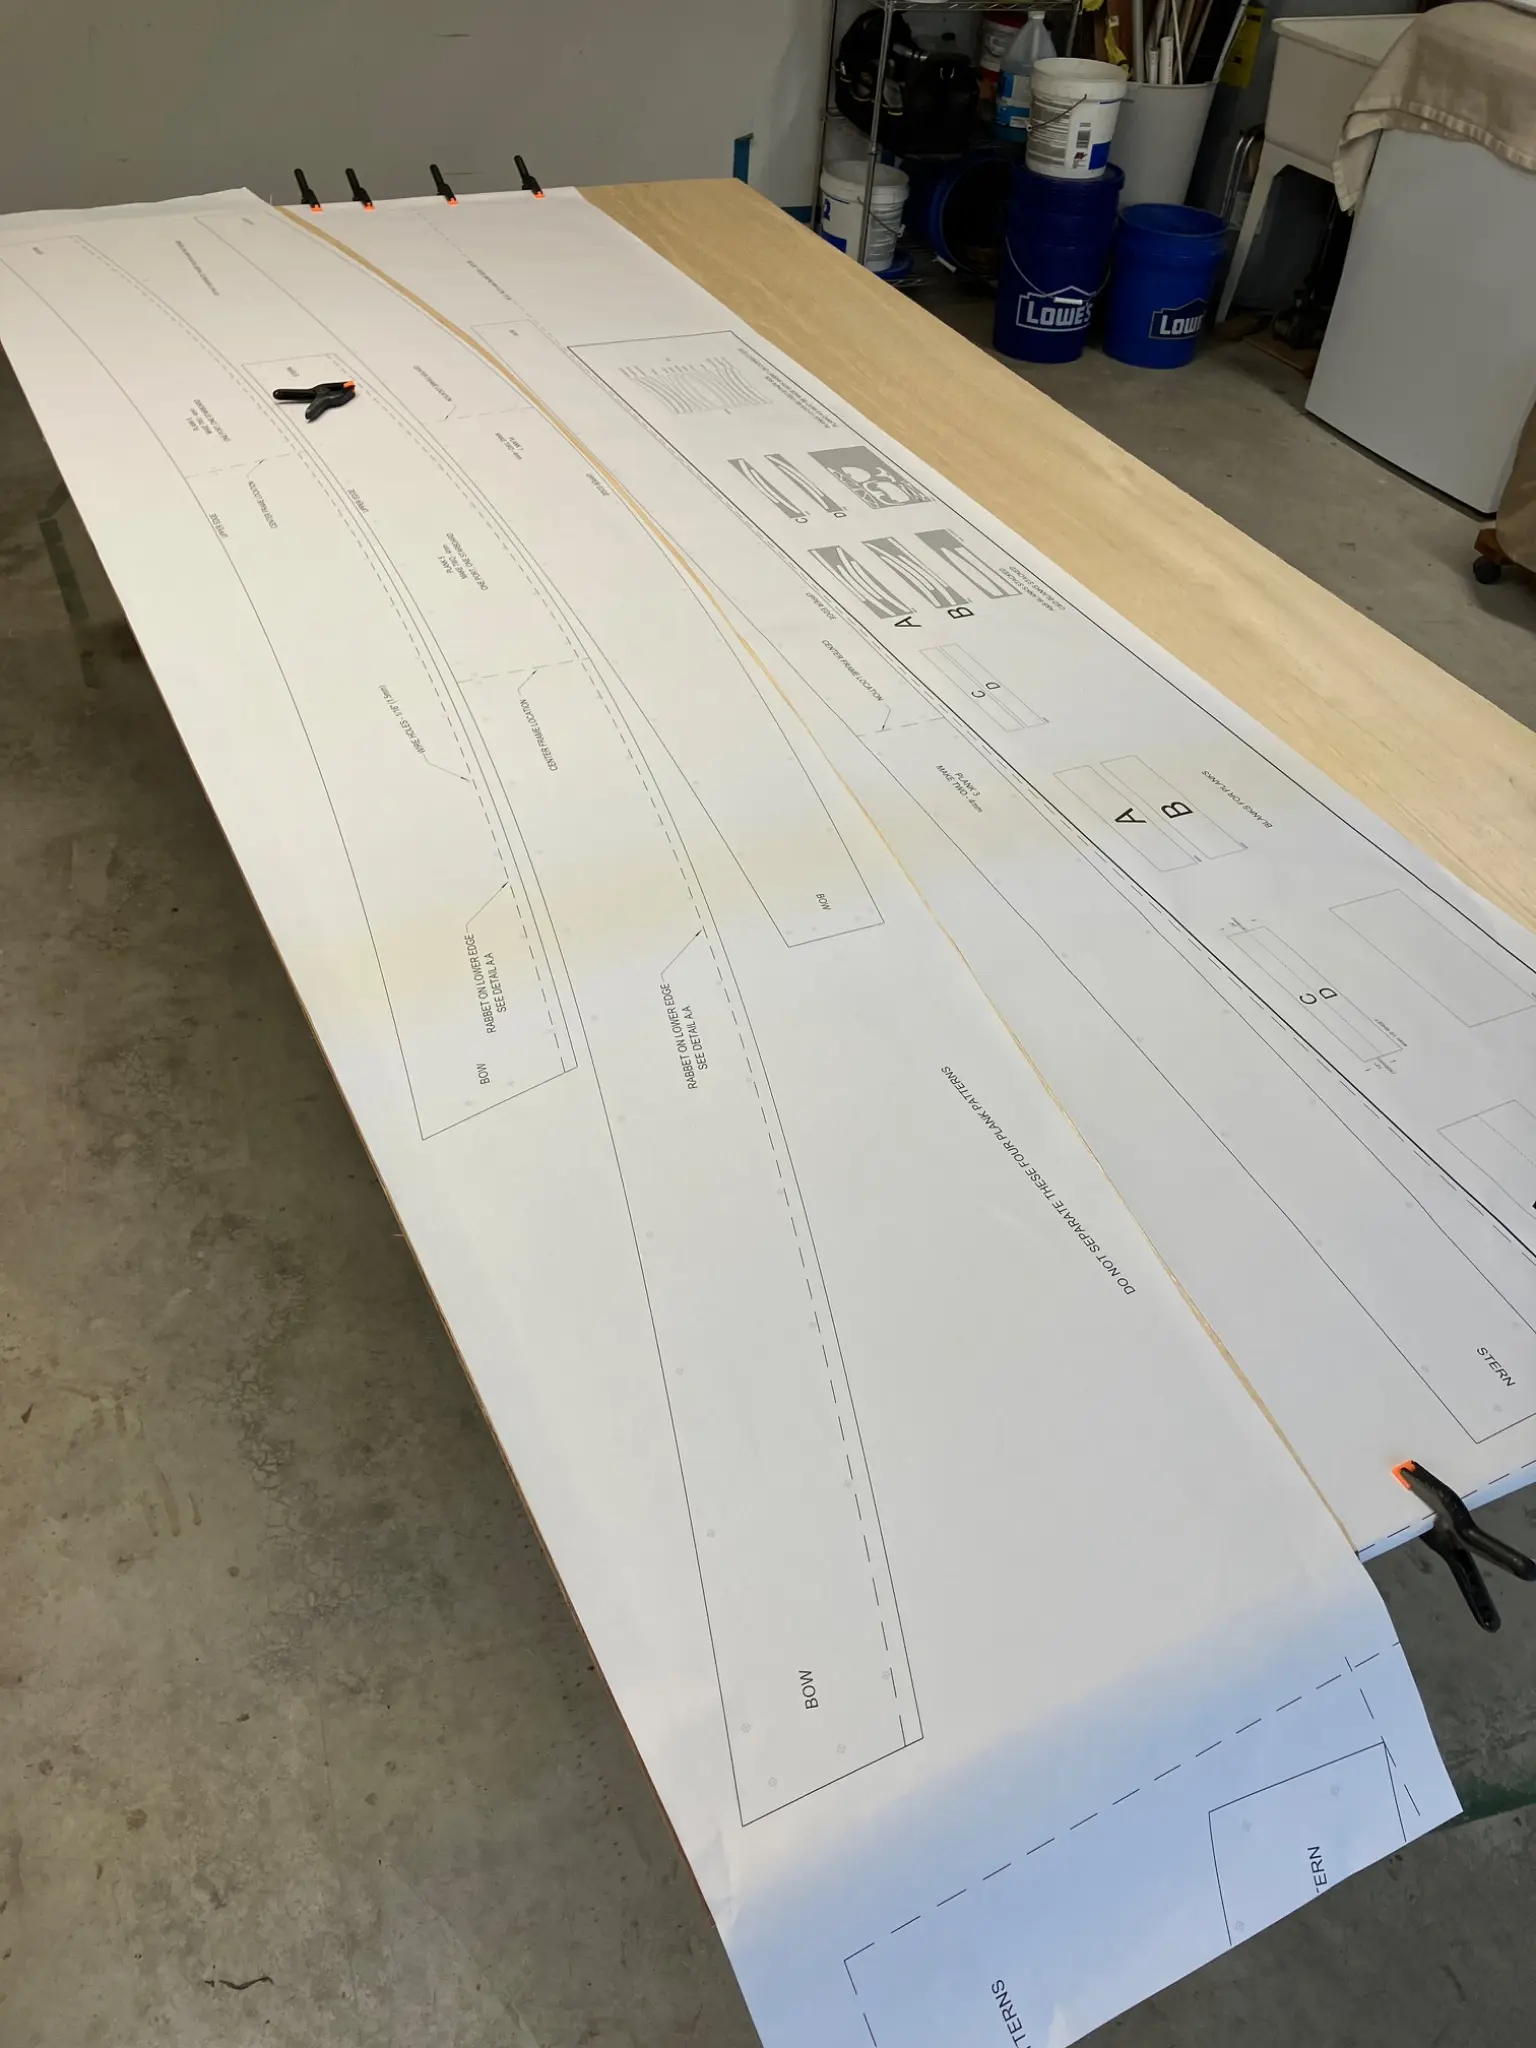
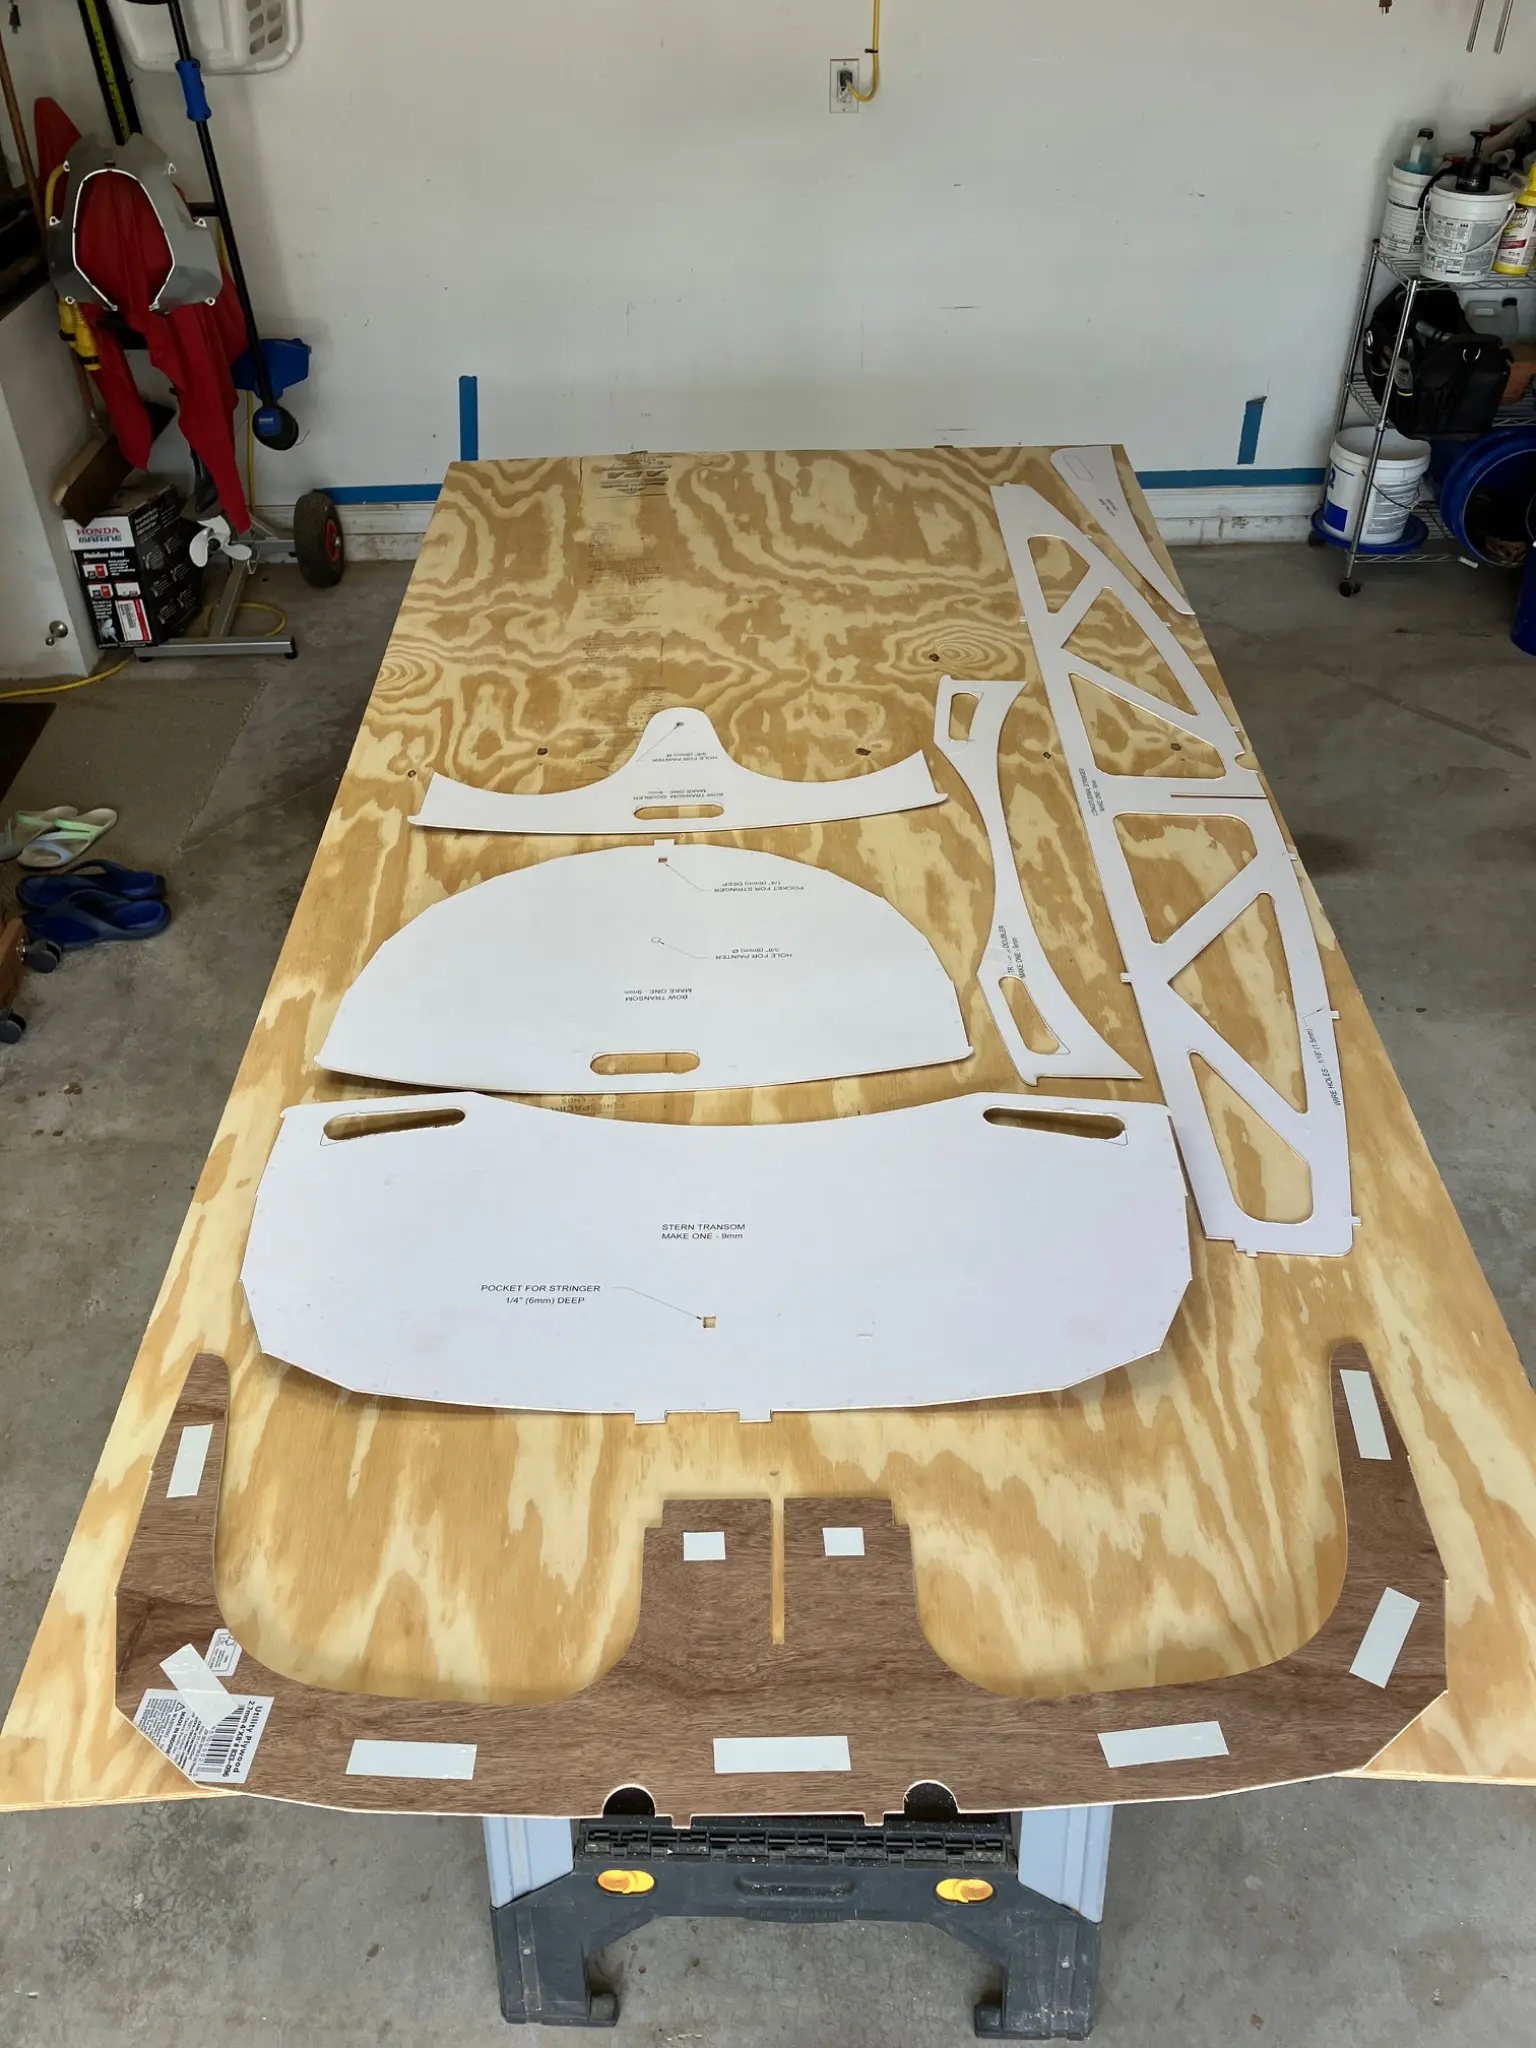
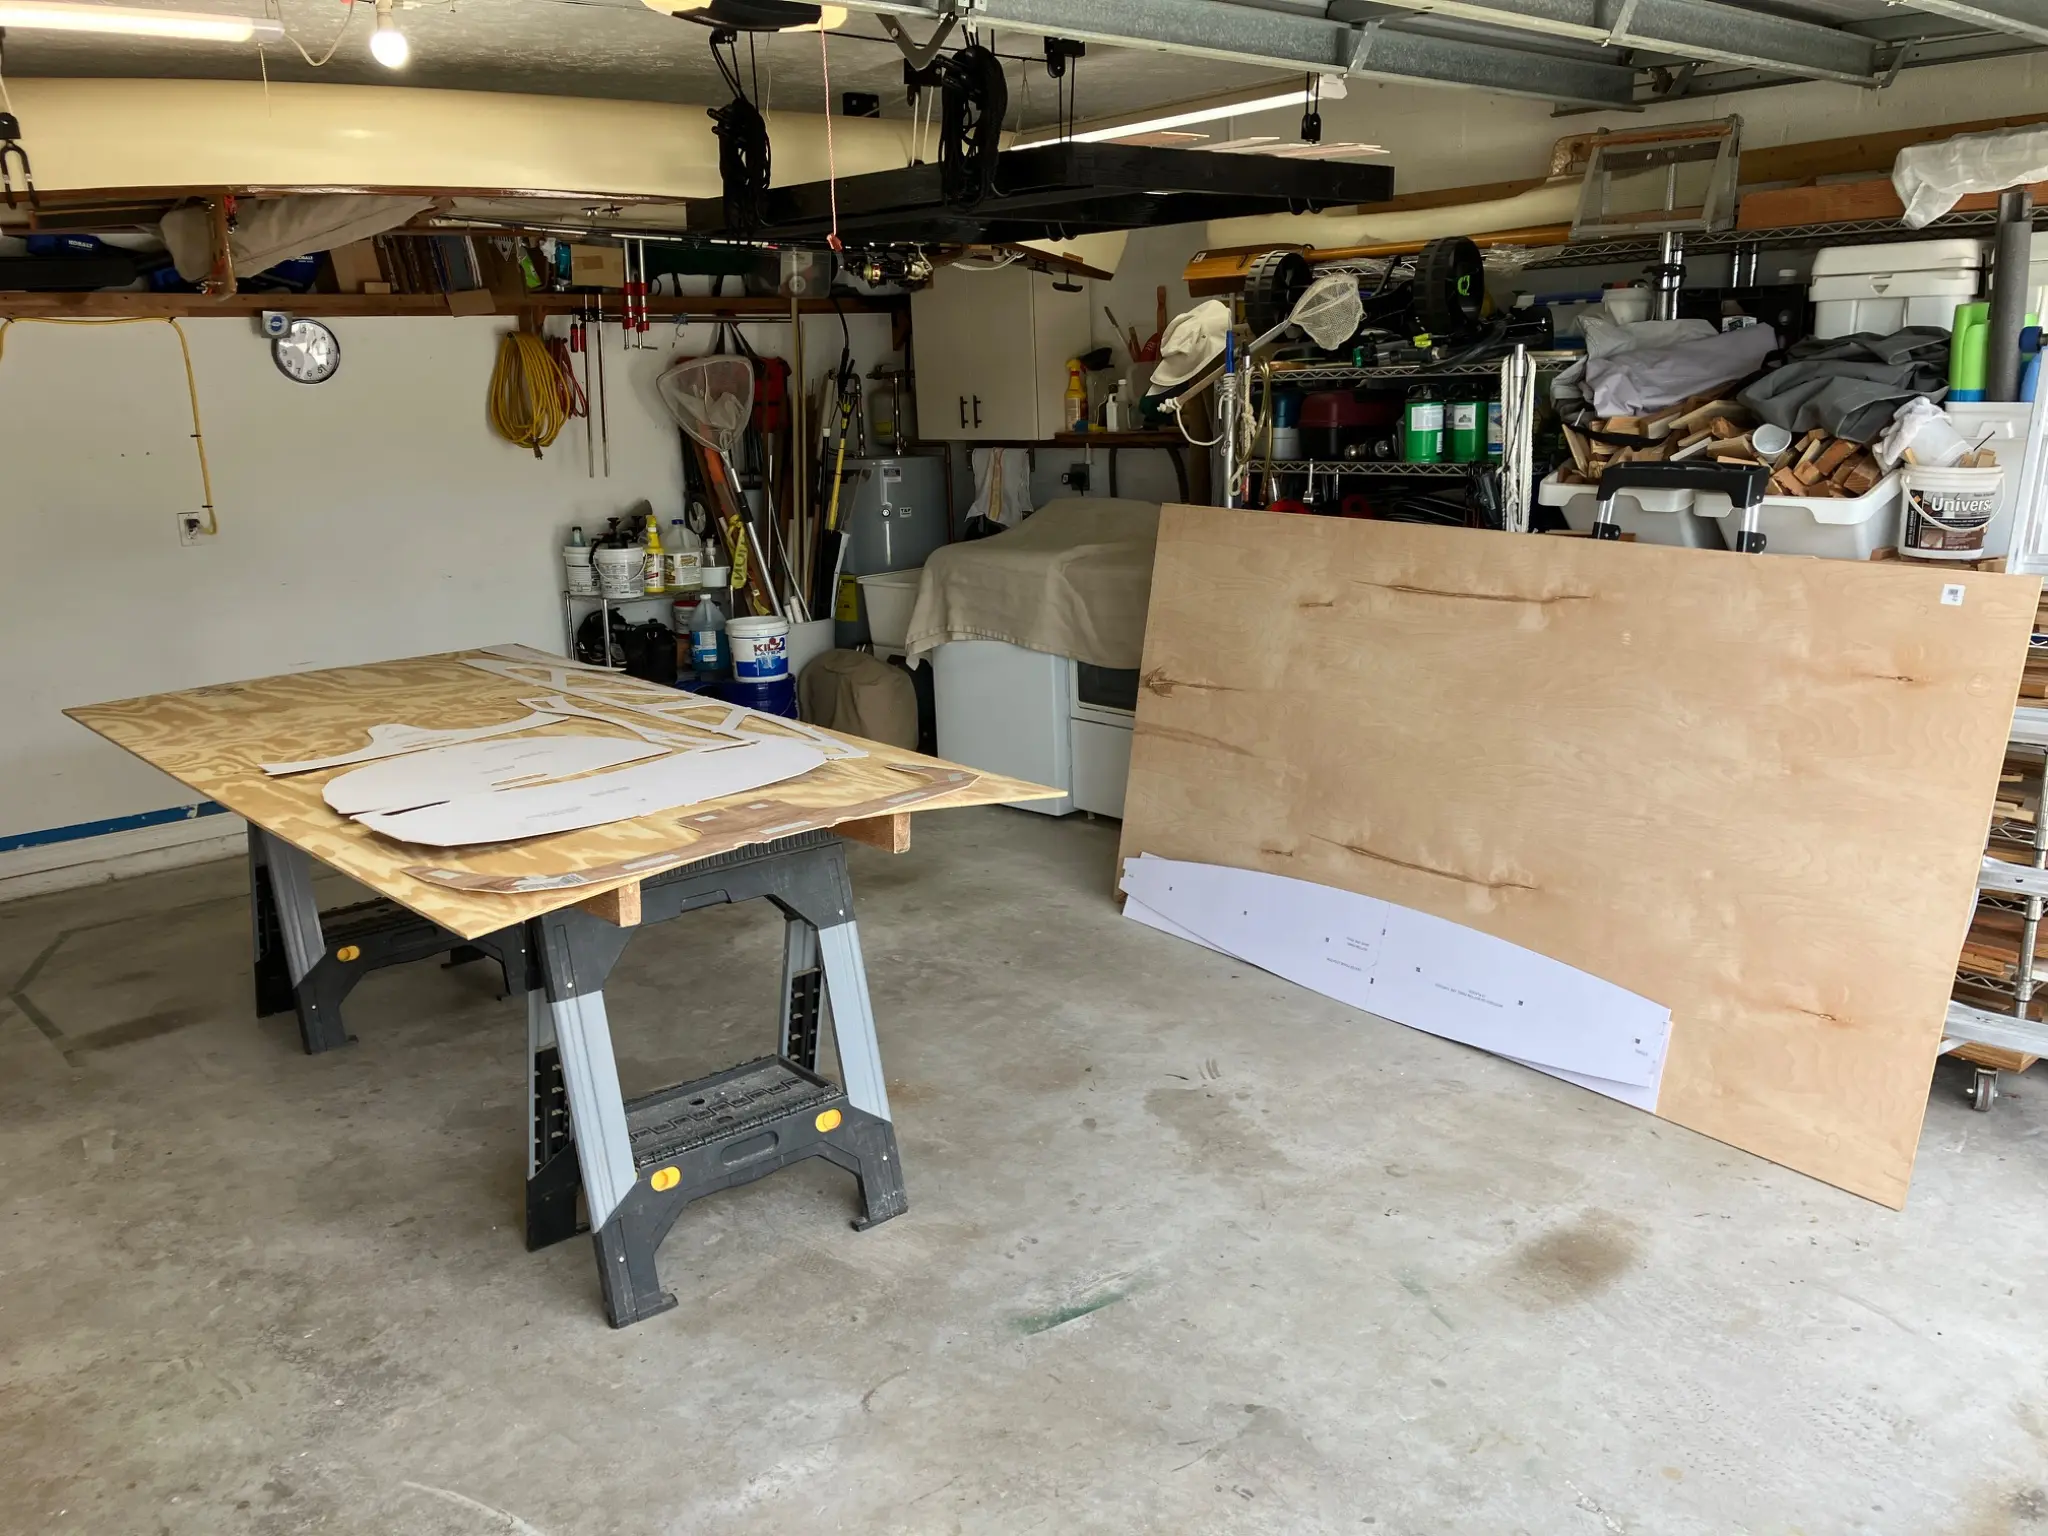
I went to an architect to have the PDF plans printed out. Then I glue them to a thin piece of plywood to make templates for the router to follow on the finish planks later on.
new build
Ultralight Dinghy
Mark Elwell · 2025 to 2026
A build log
Ultralight Dinghy
kept by Mark Elwell
2025 to 2026
The boat
I have been thinking about a dinghy for my boat. After looking around for a commercial built dinghy under 50 pounds, found that I may have to build it. So I ordered the PDF files from Chesapeake light craft to build the ultralight 6 foot dinghy. I am going to build it from scratch with no kit, maybe save a little bit of money in the process. Hopefully I can keep the weight under 45 pounds.
What it took
| Went into the boat | $534.09 |
| Tool or consumable | $313.97 |
| Total | $848.06 |
The work
Chapter 01
Reading the drawings, lofting full-size, making patterns and templates.
I went to an architect to have the PDF plans printed out. Then I glue them to a thin piece of plywood to make templates for the router to follow on the finish planks later on.
Chapter 02
Wiring or clamping the hull together and getting it fair and true before glue.
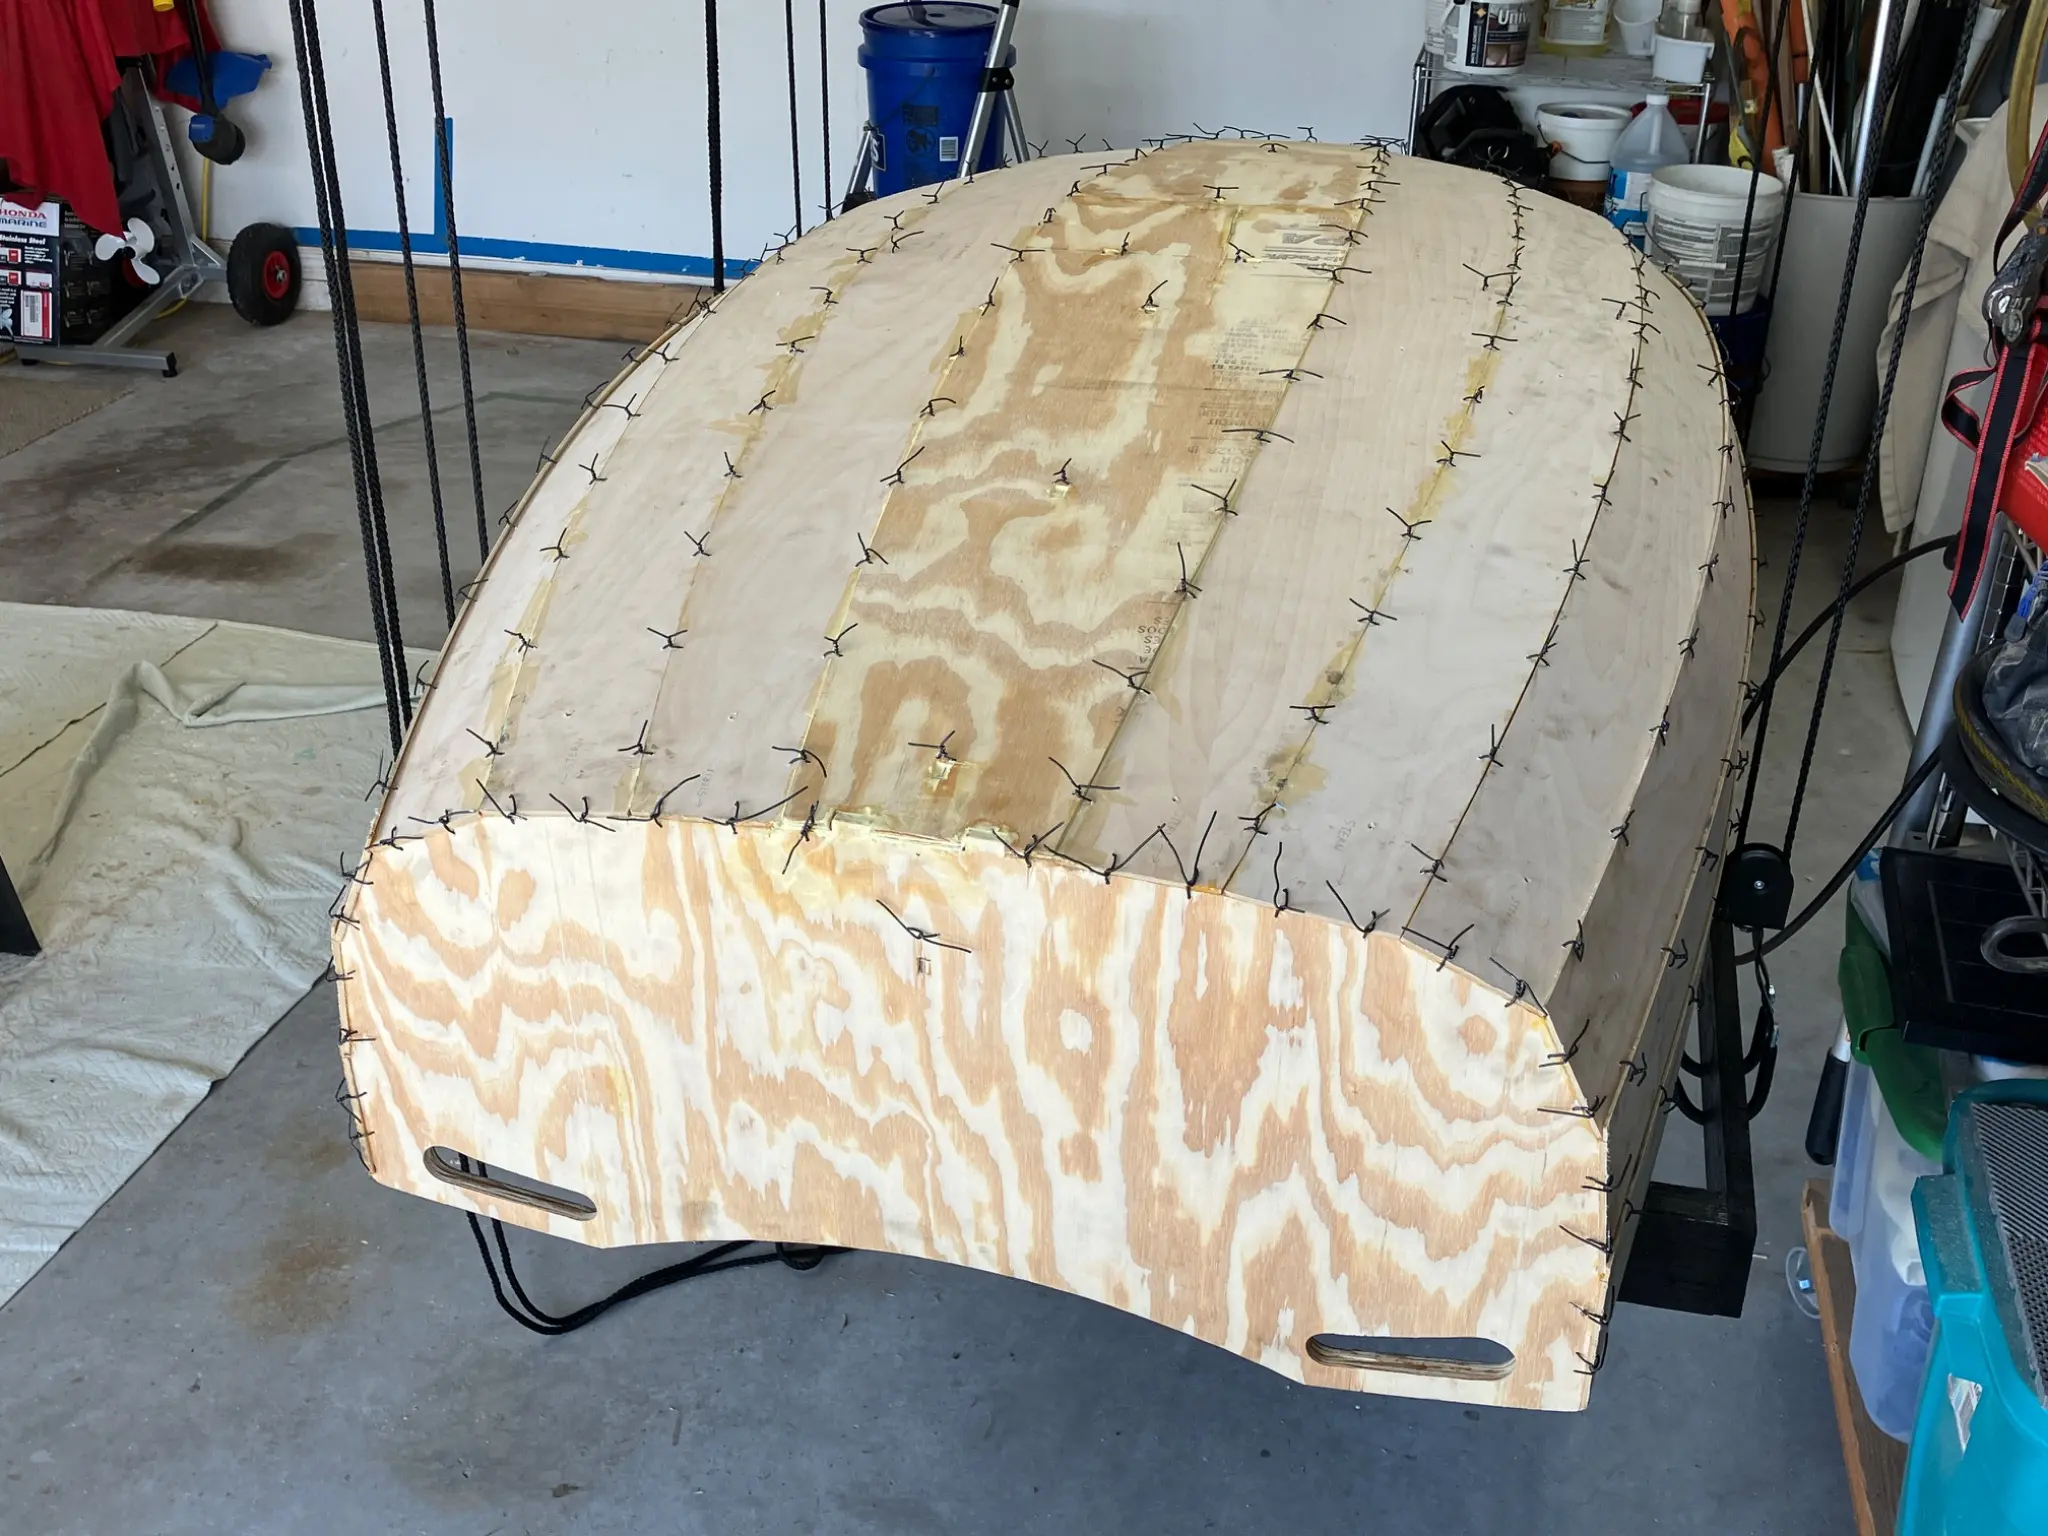
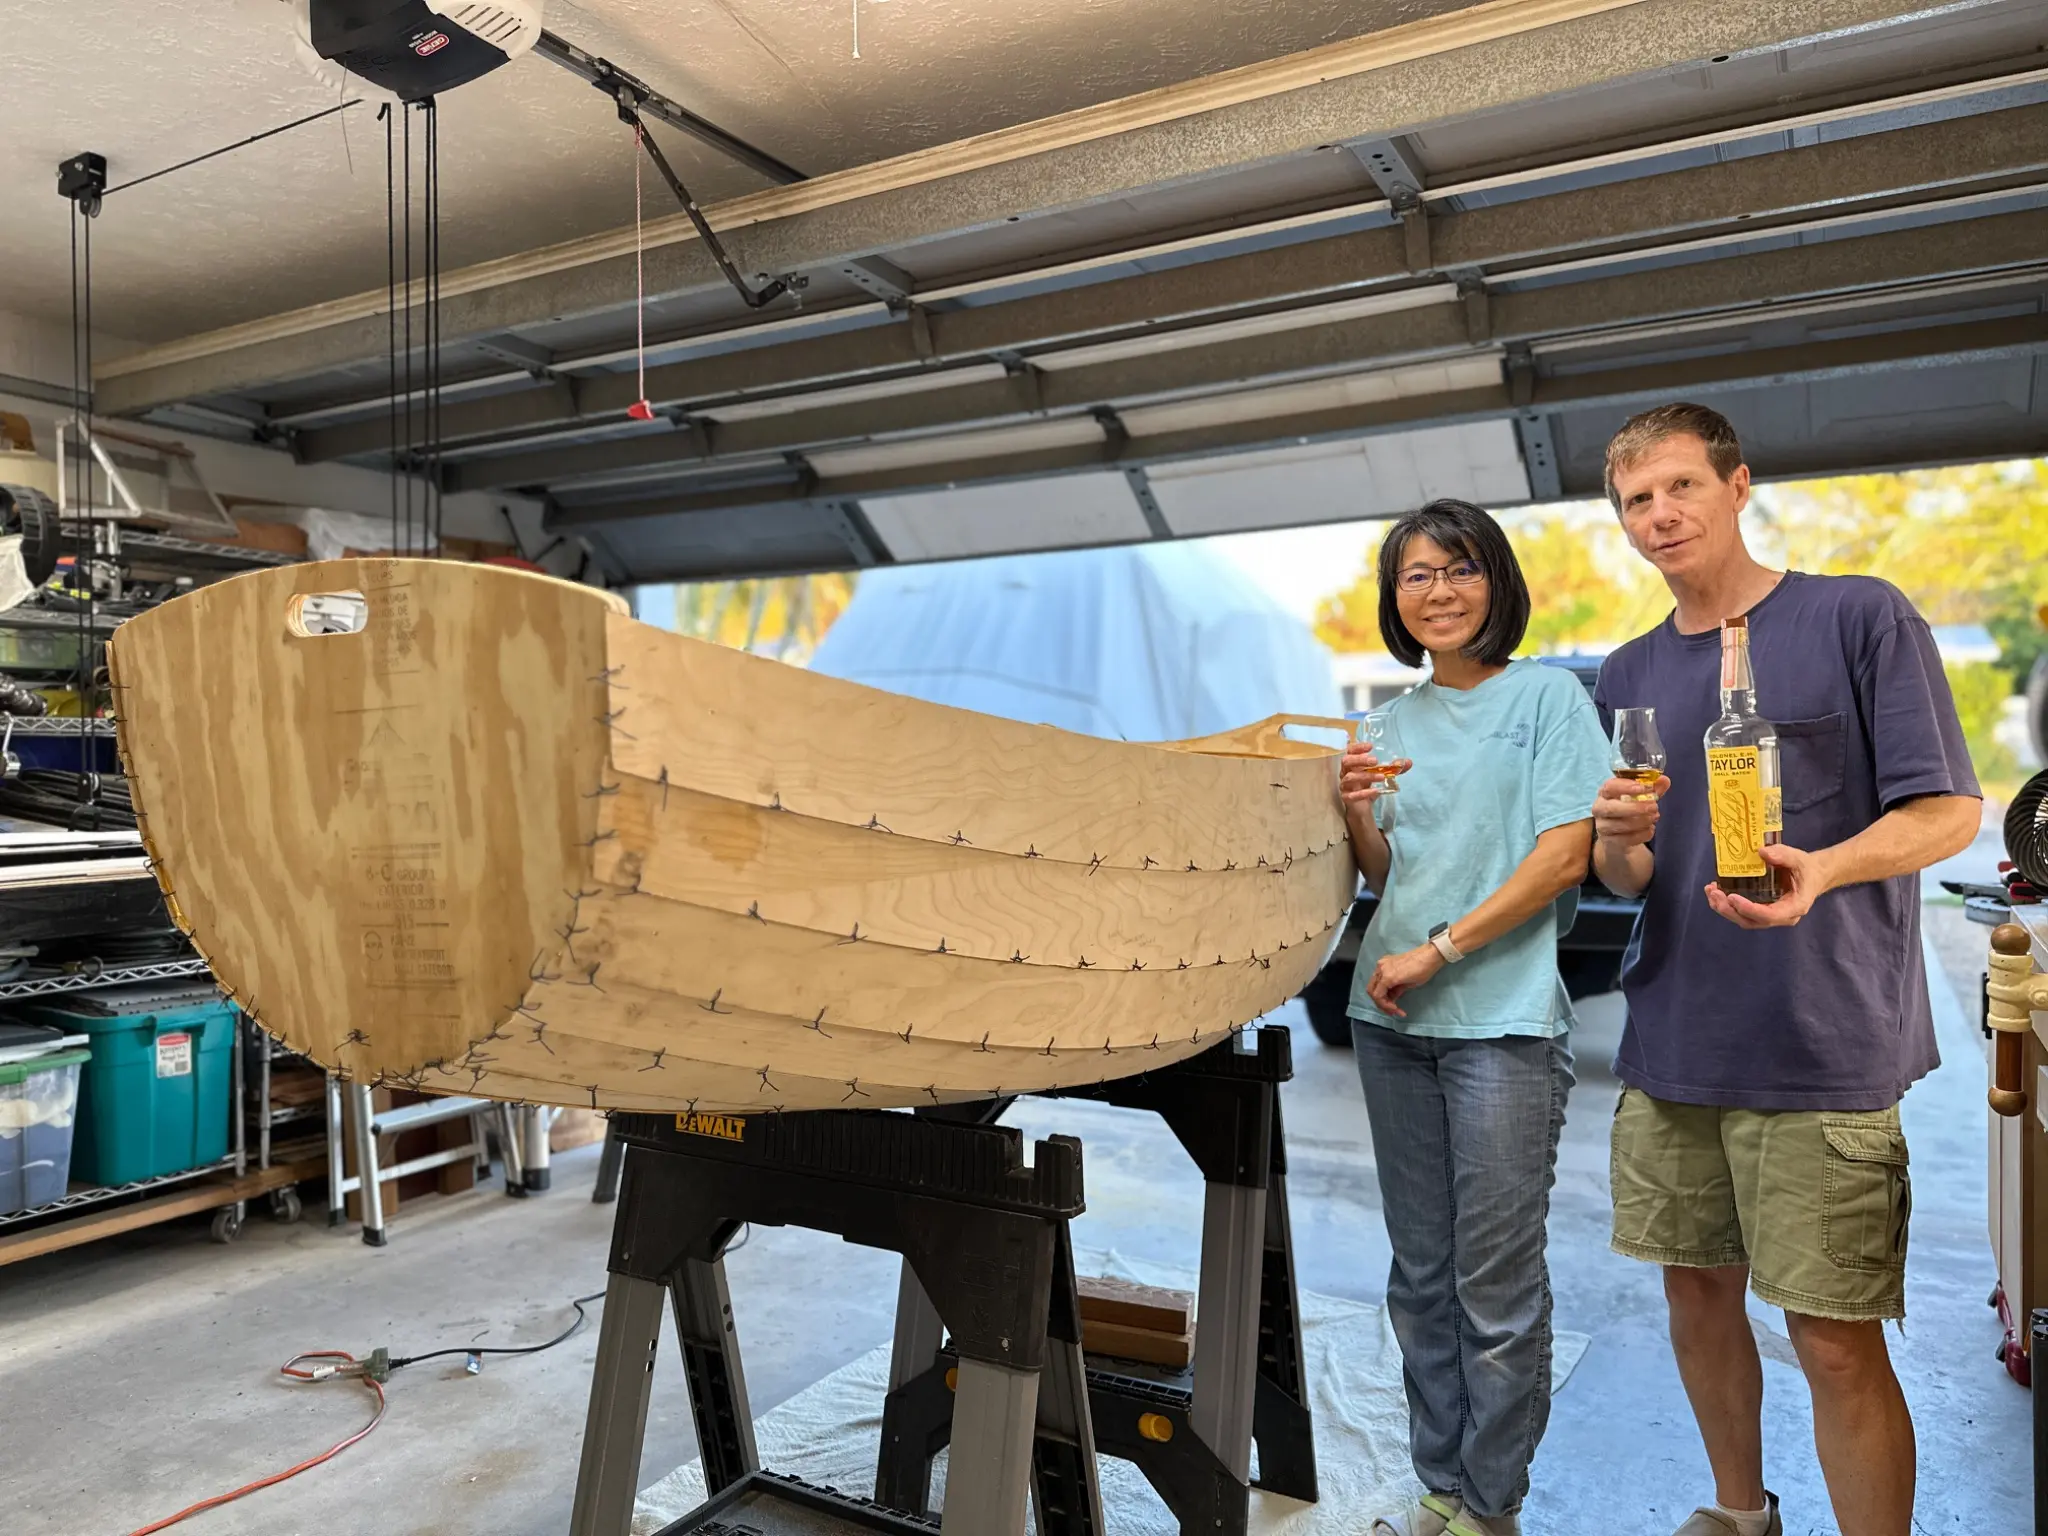
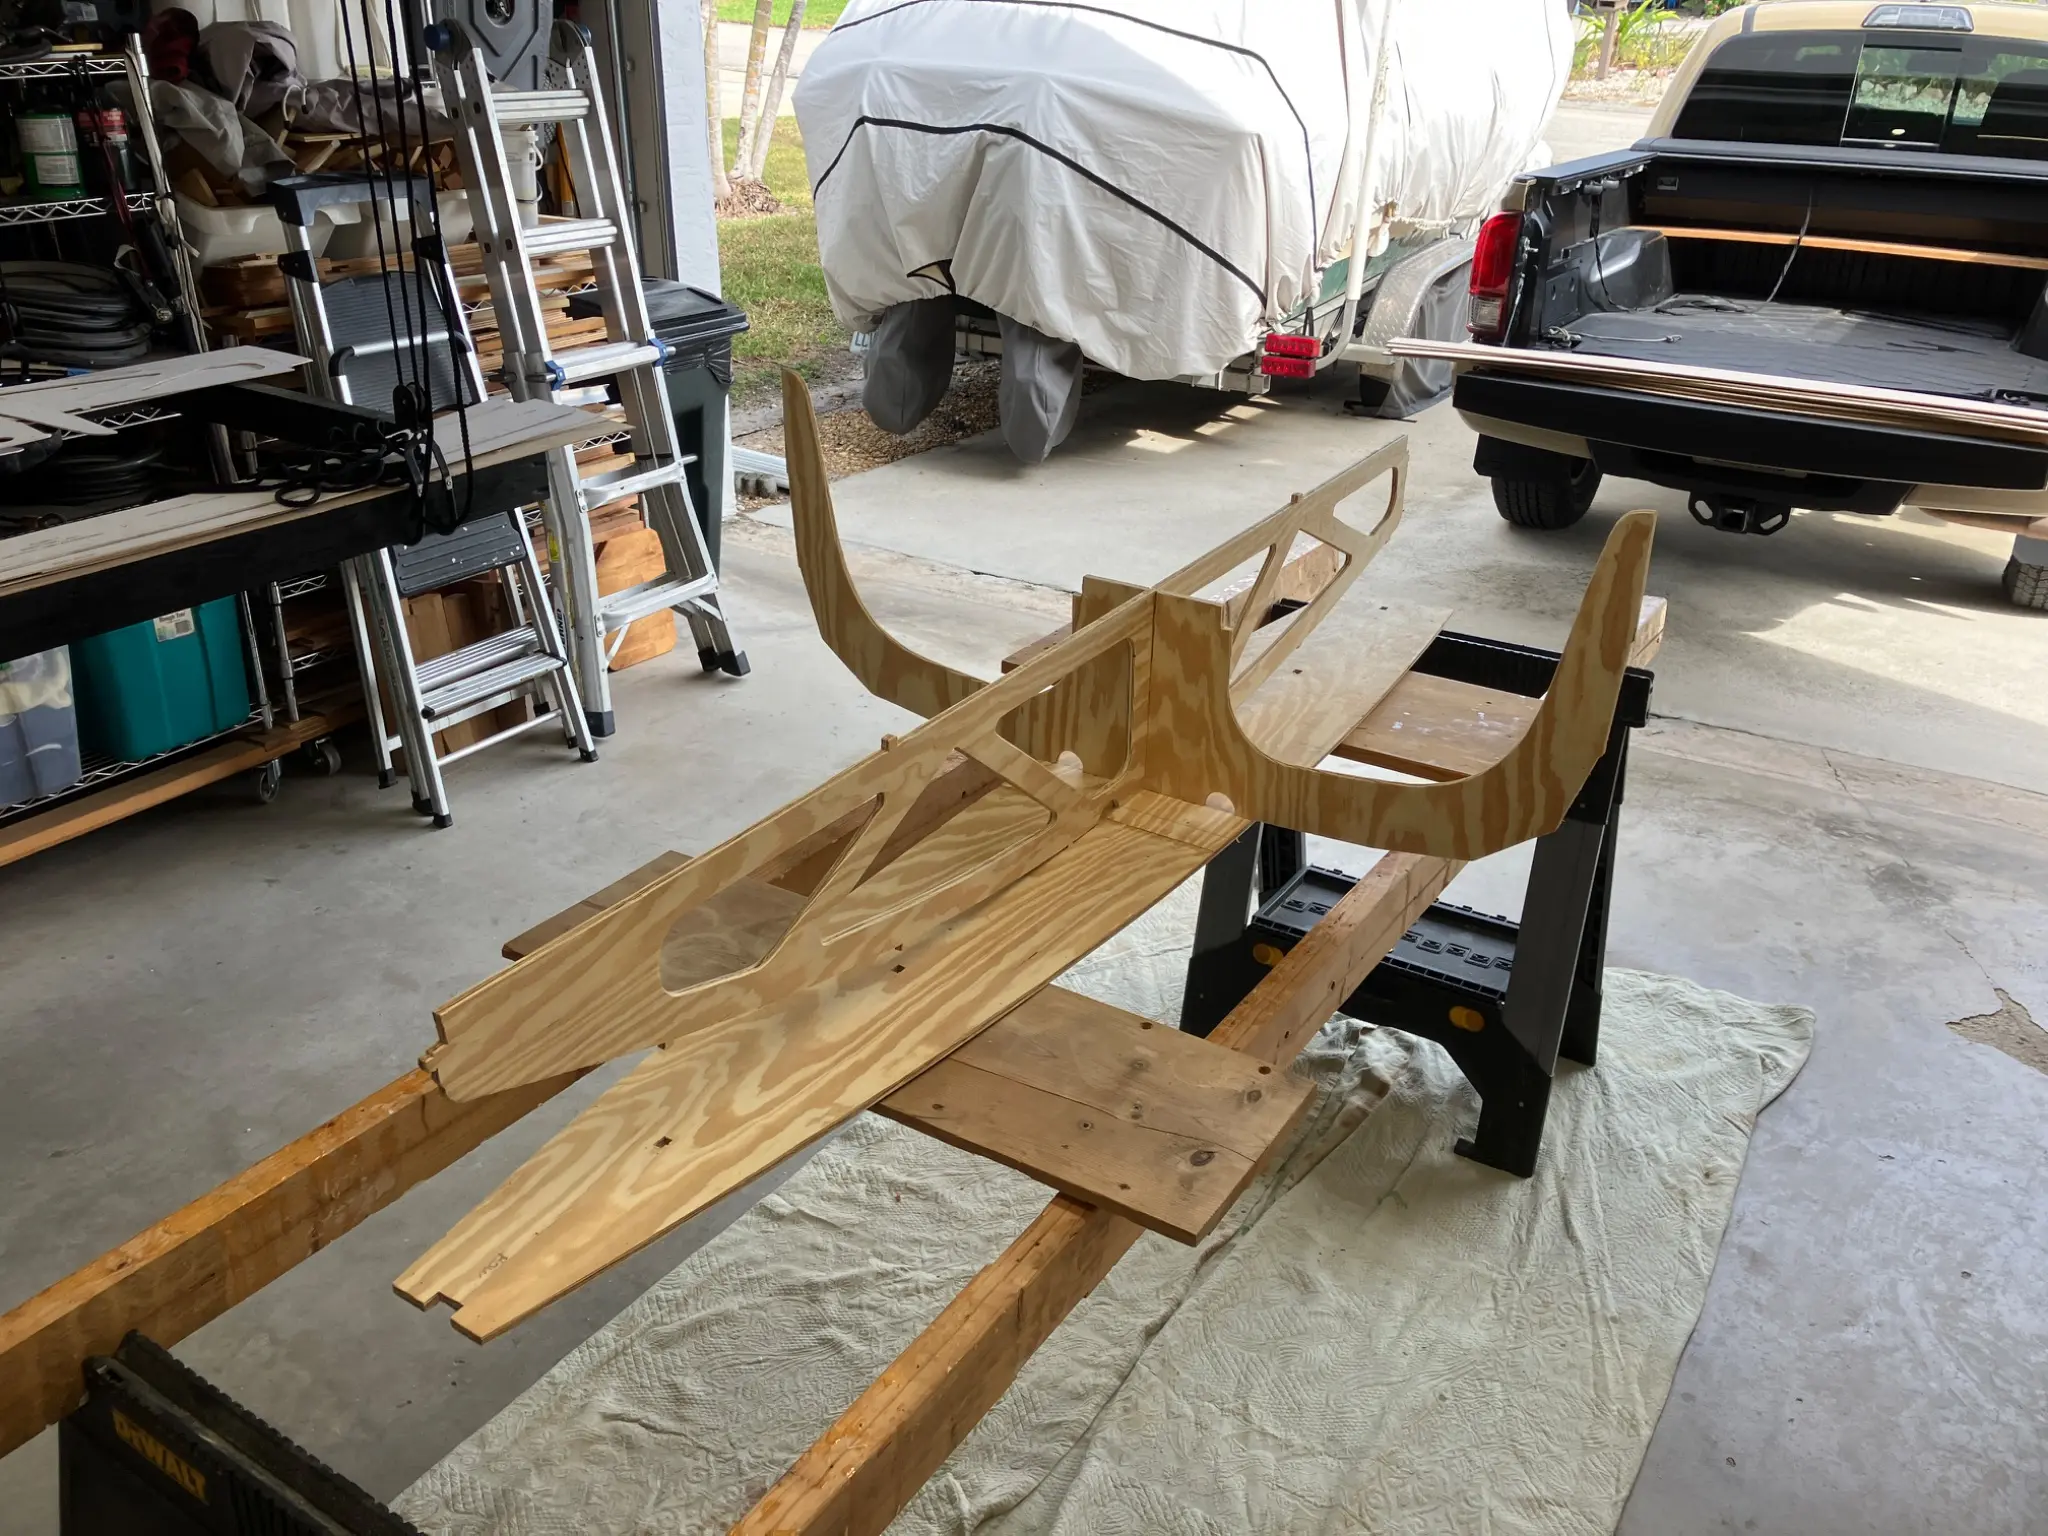
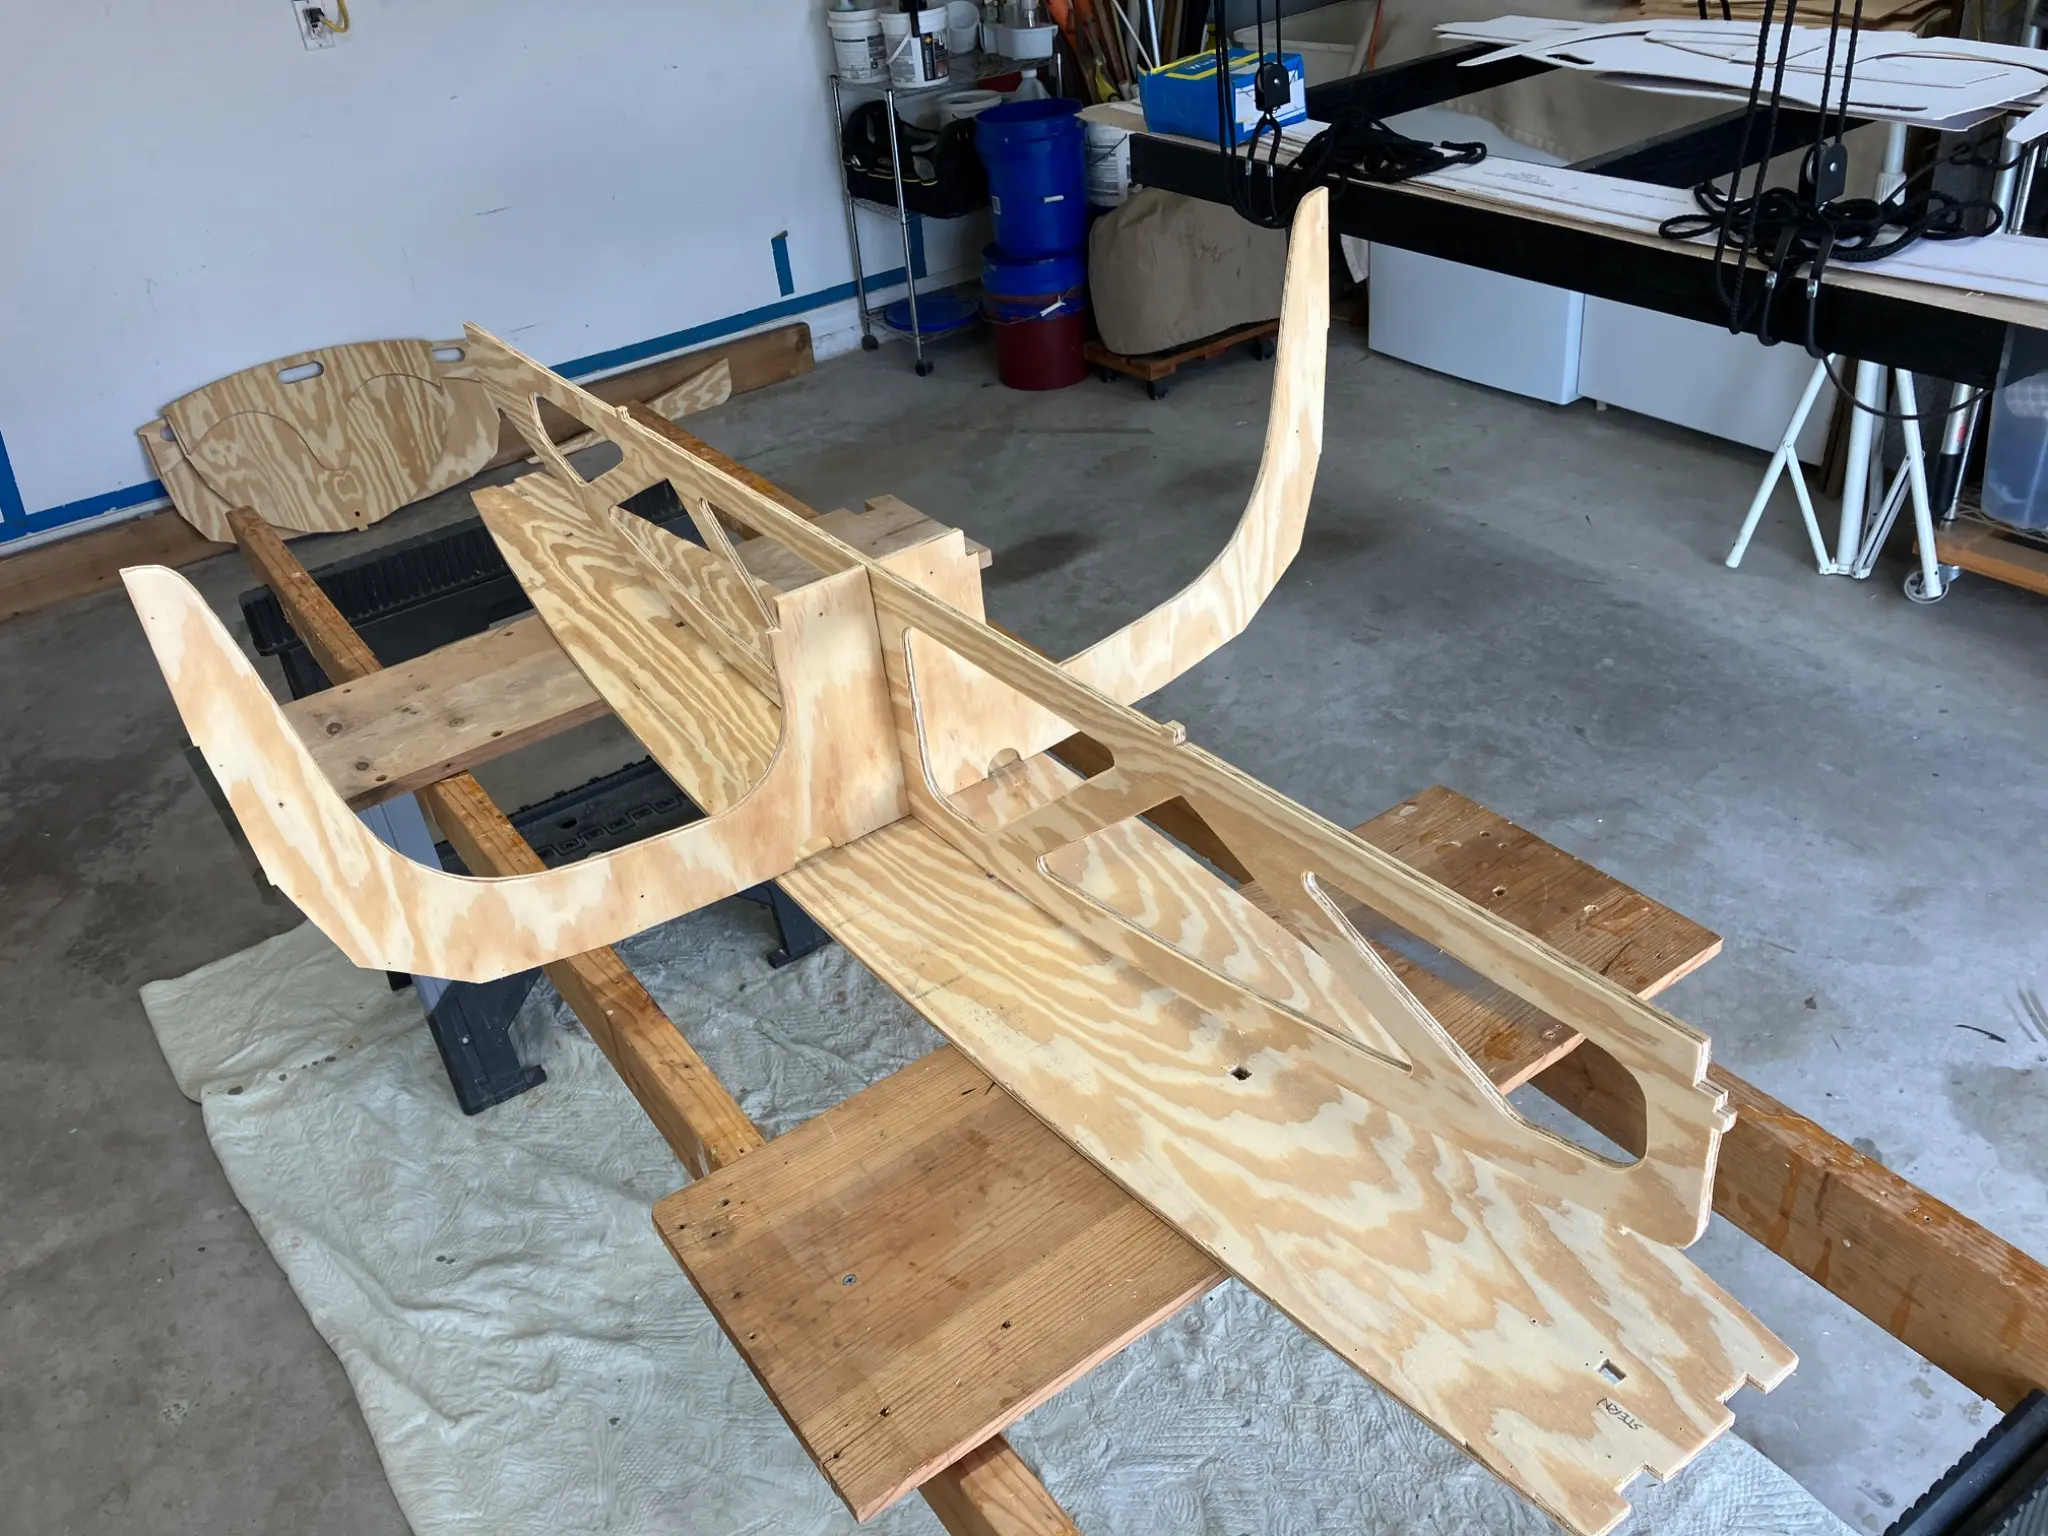
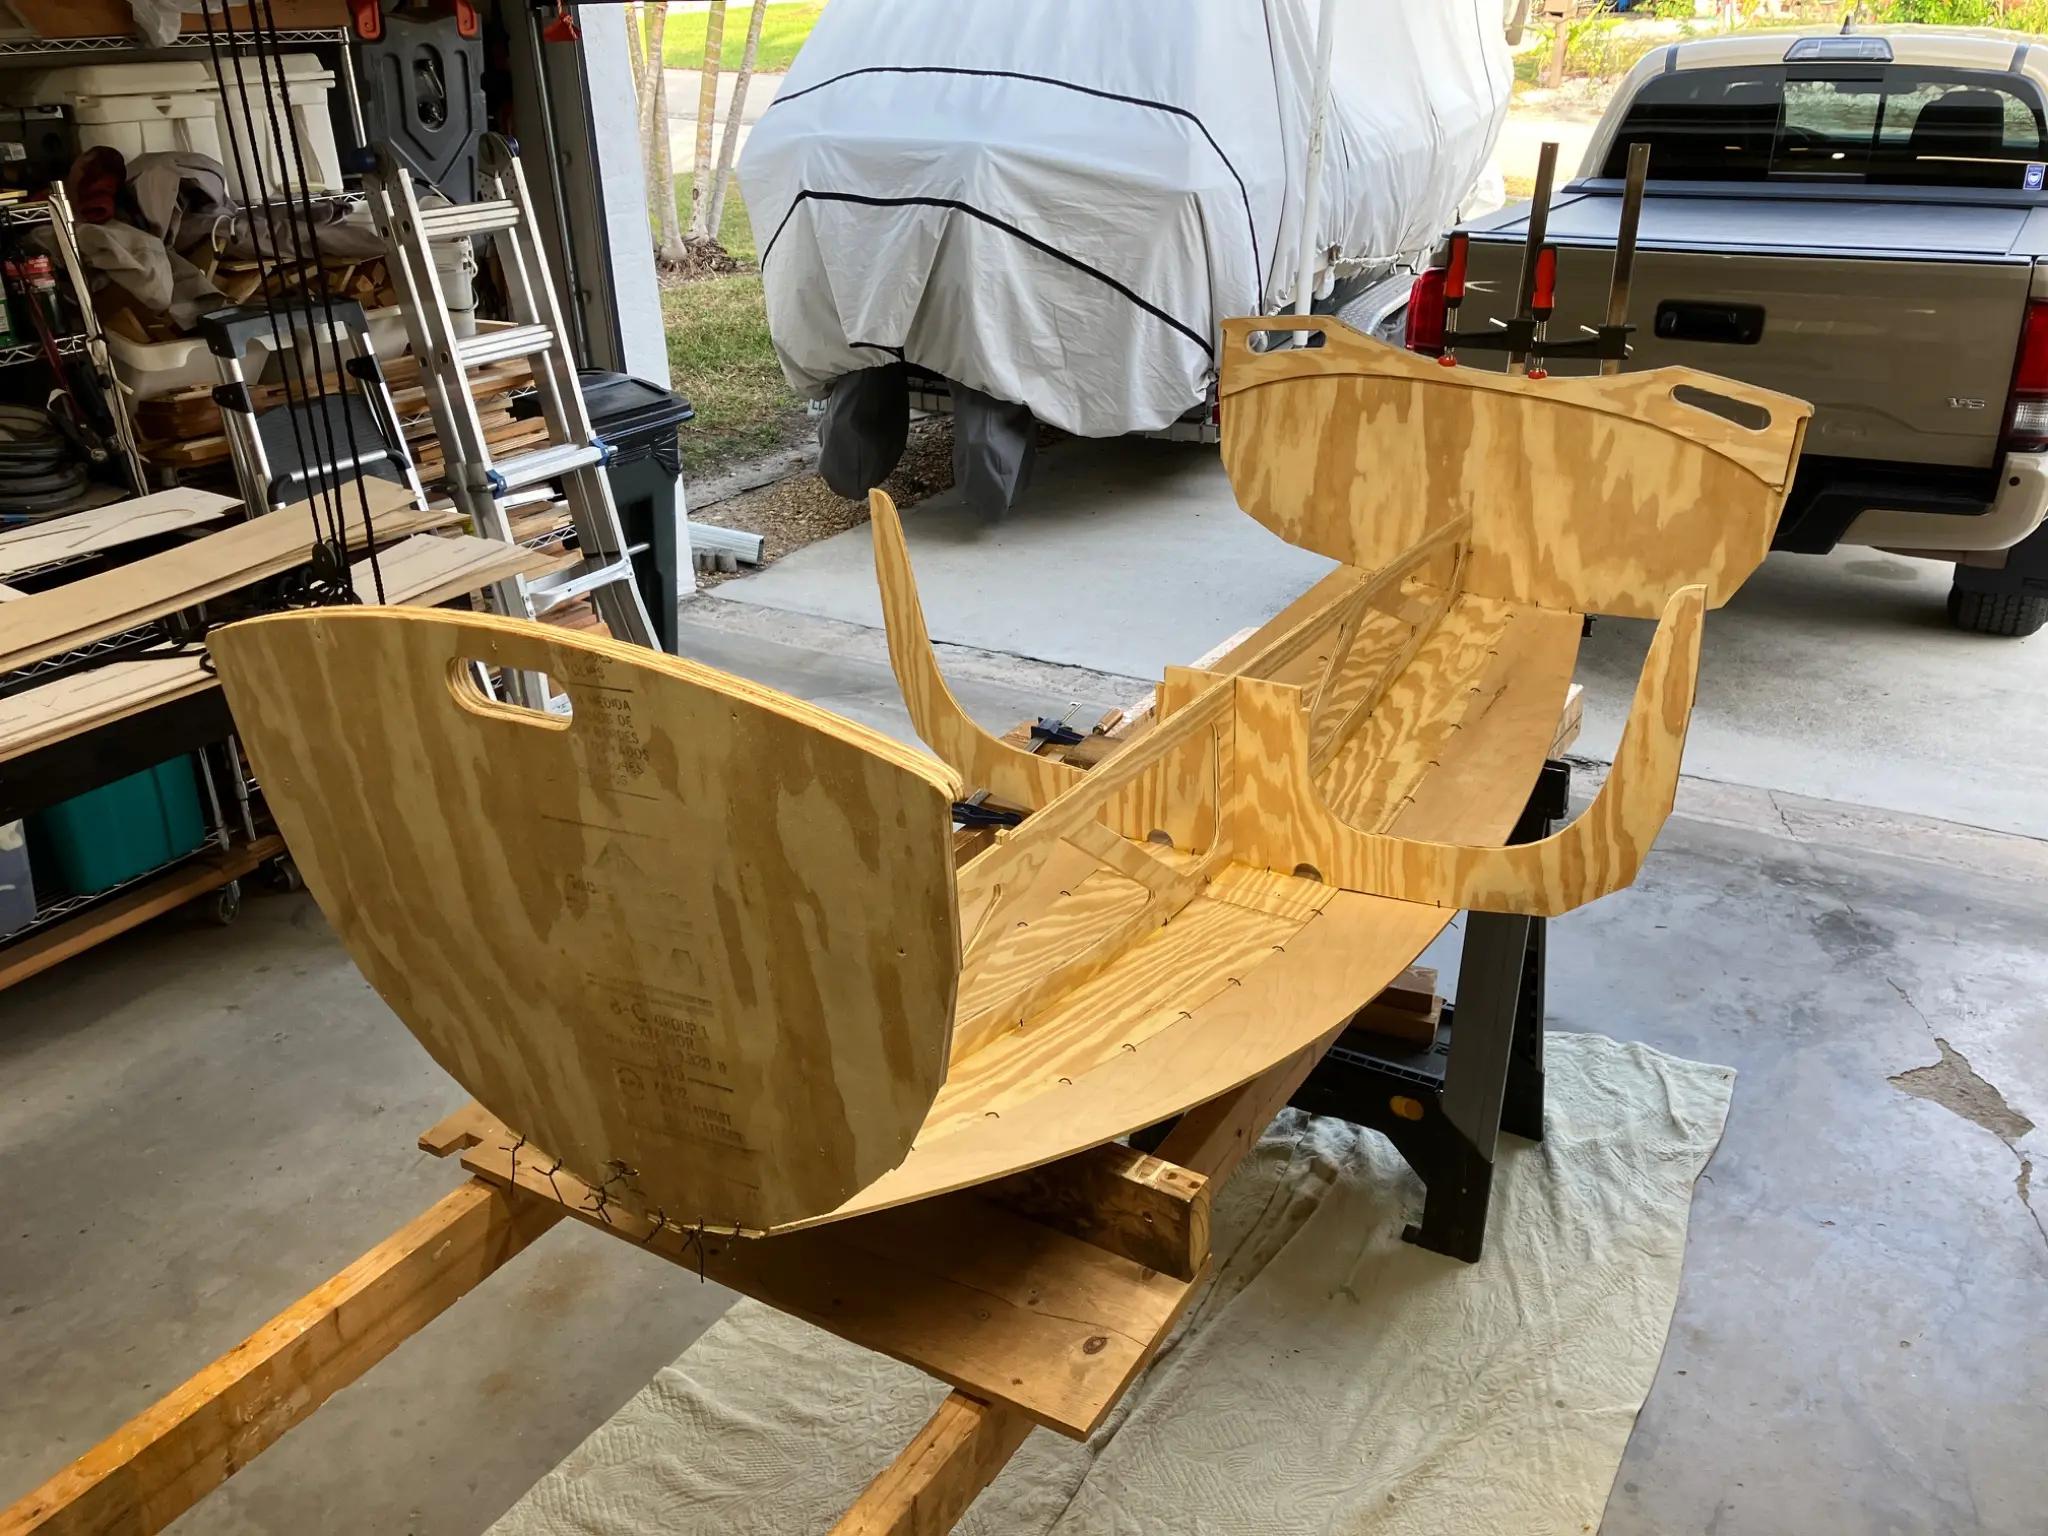
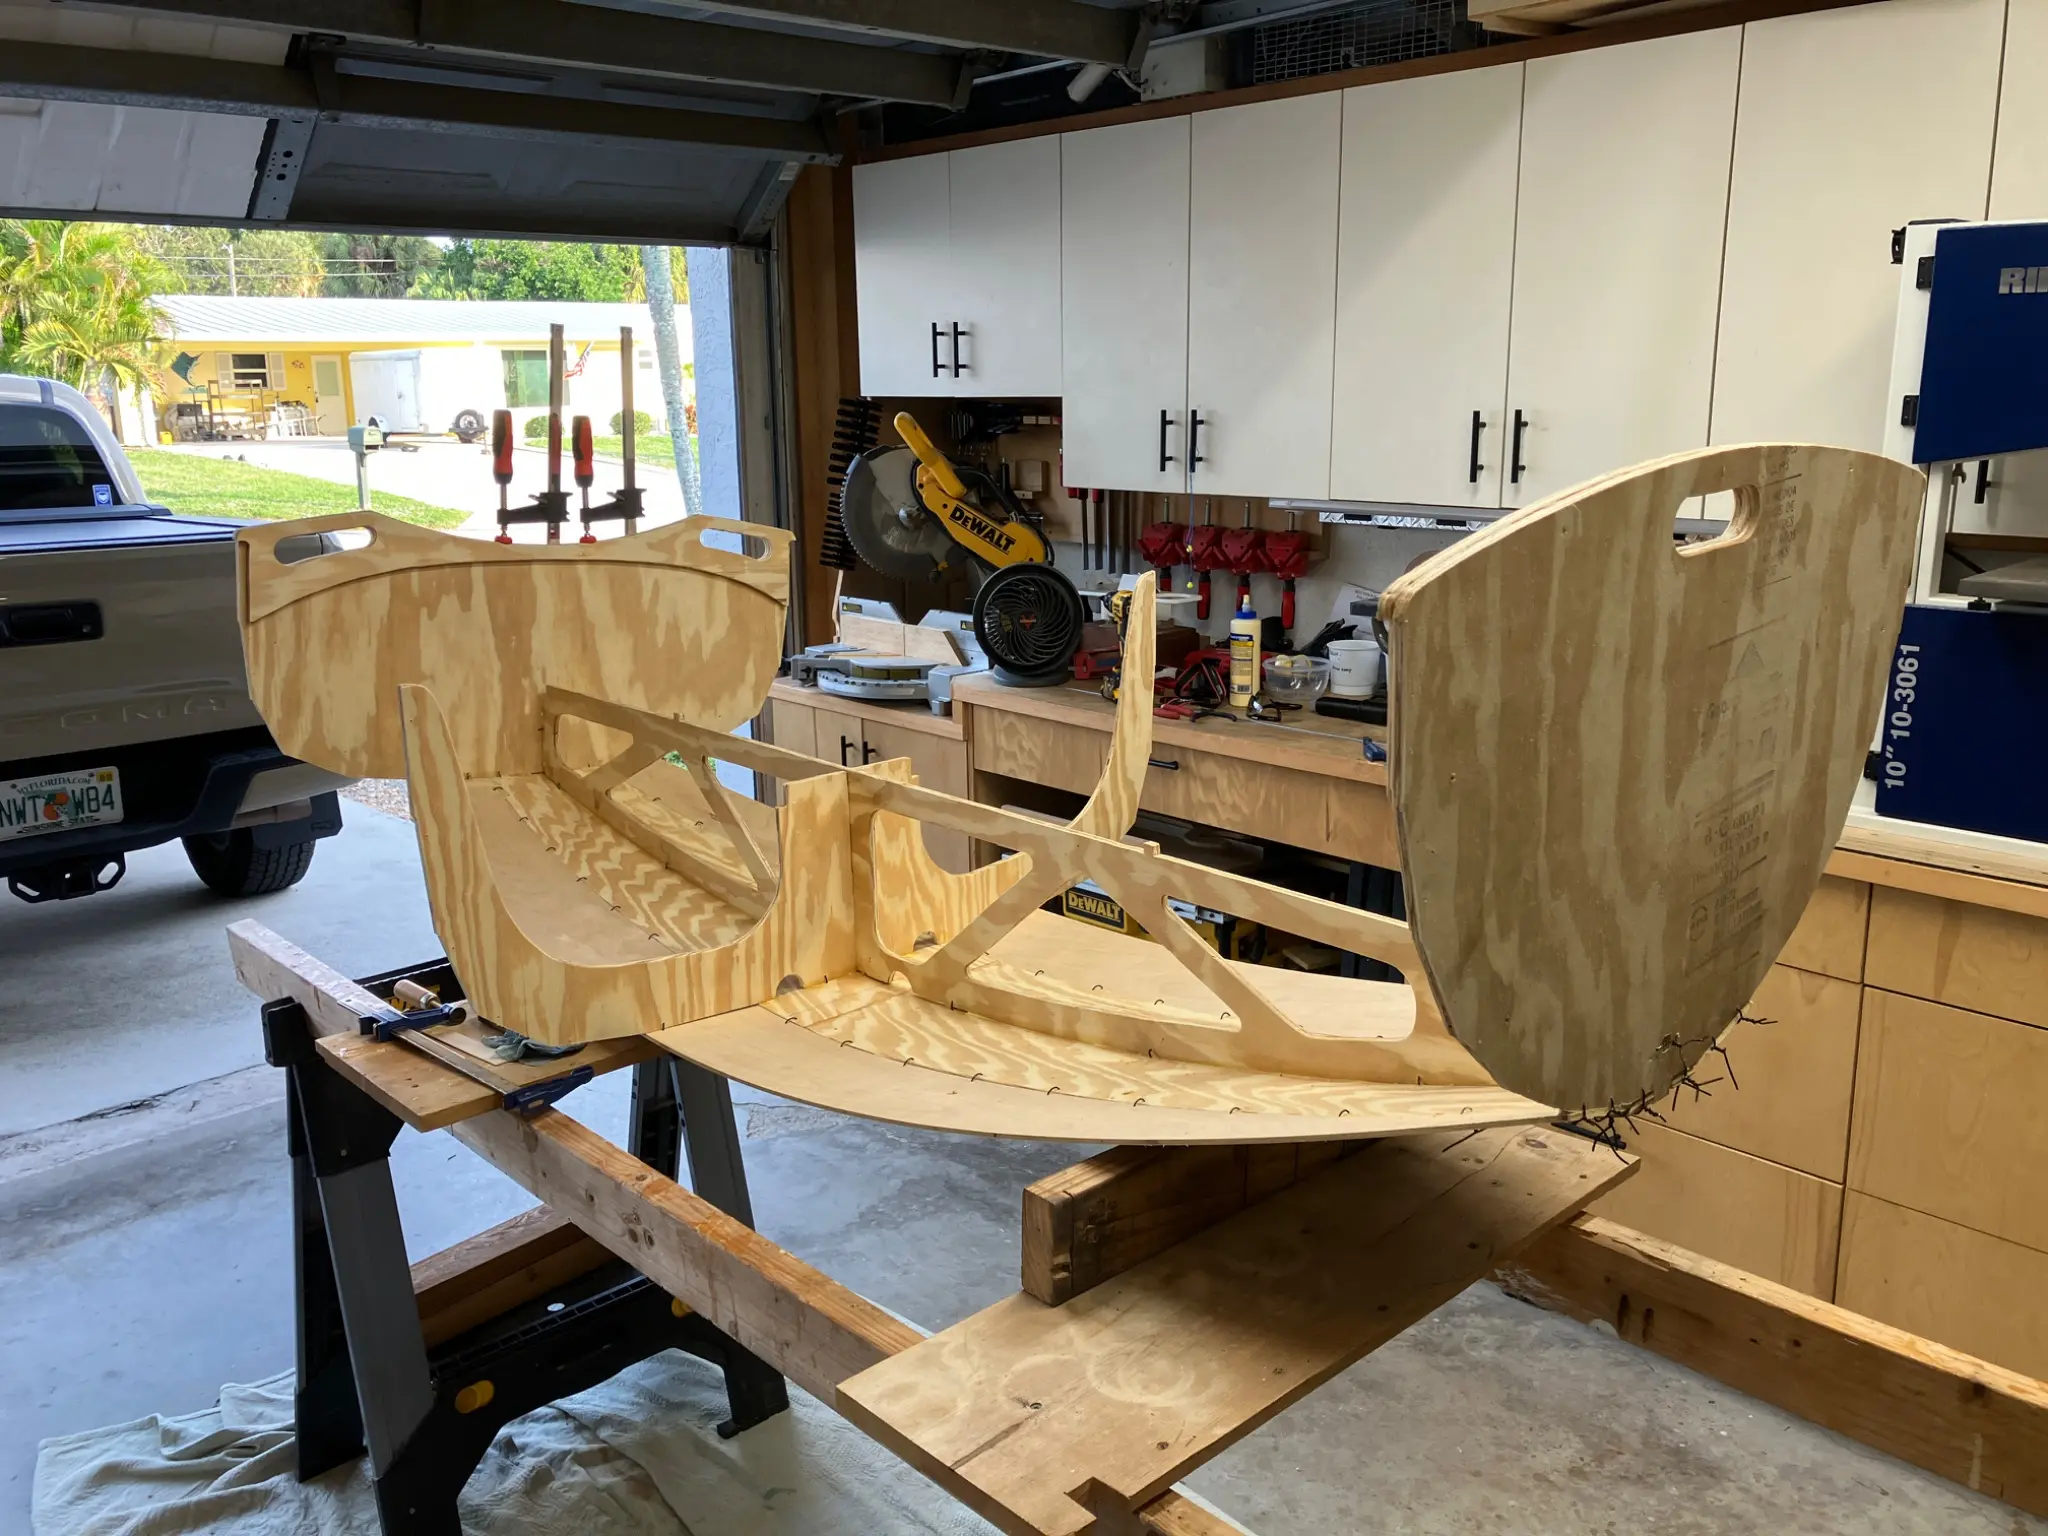
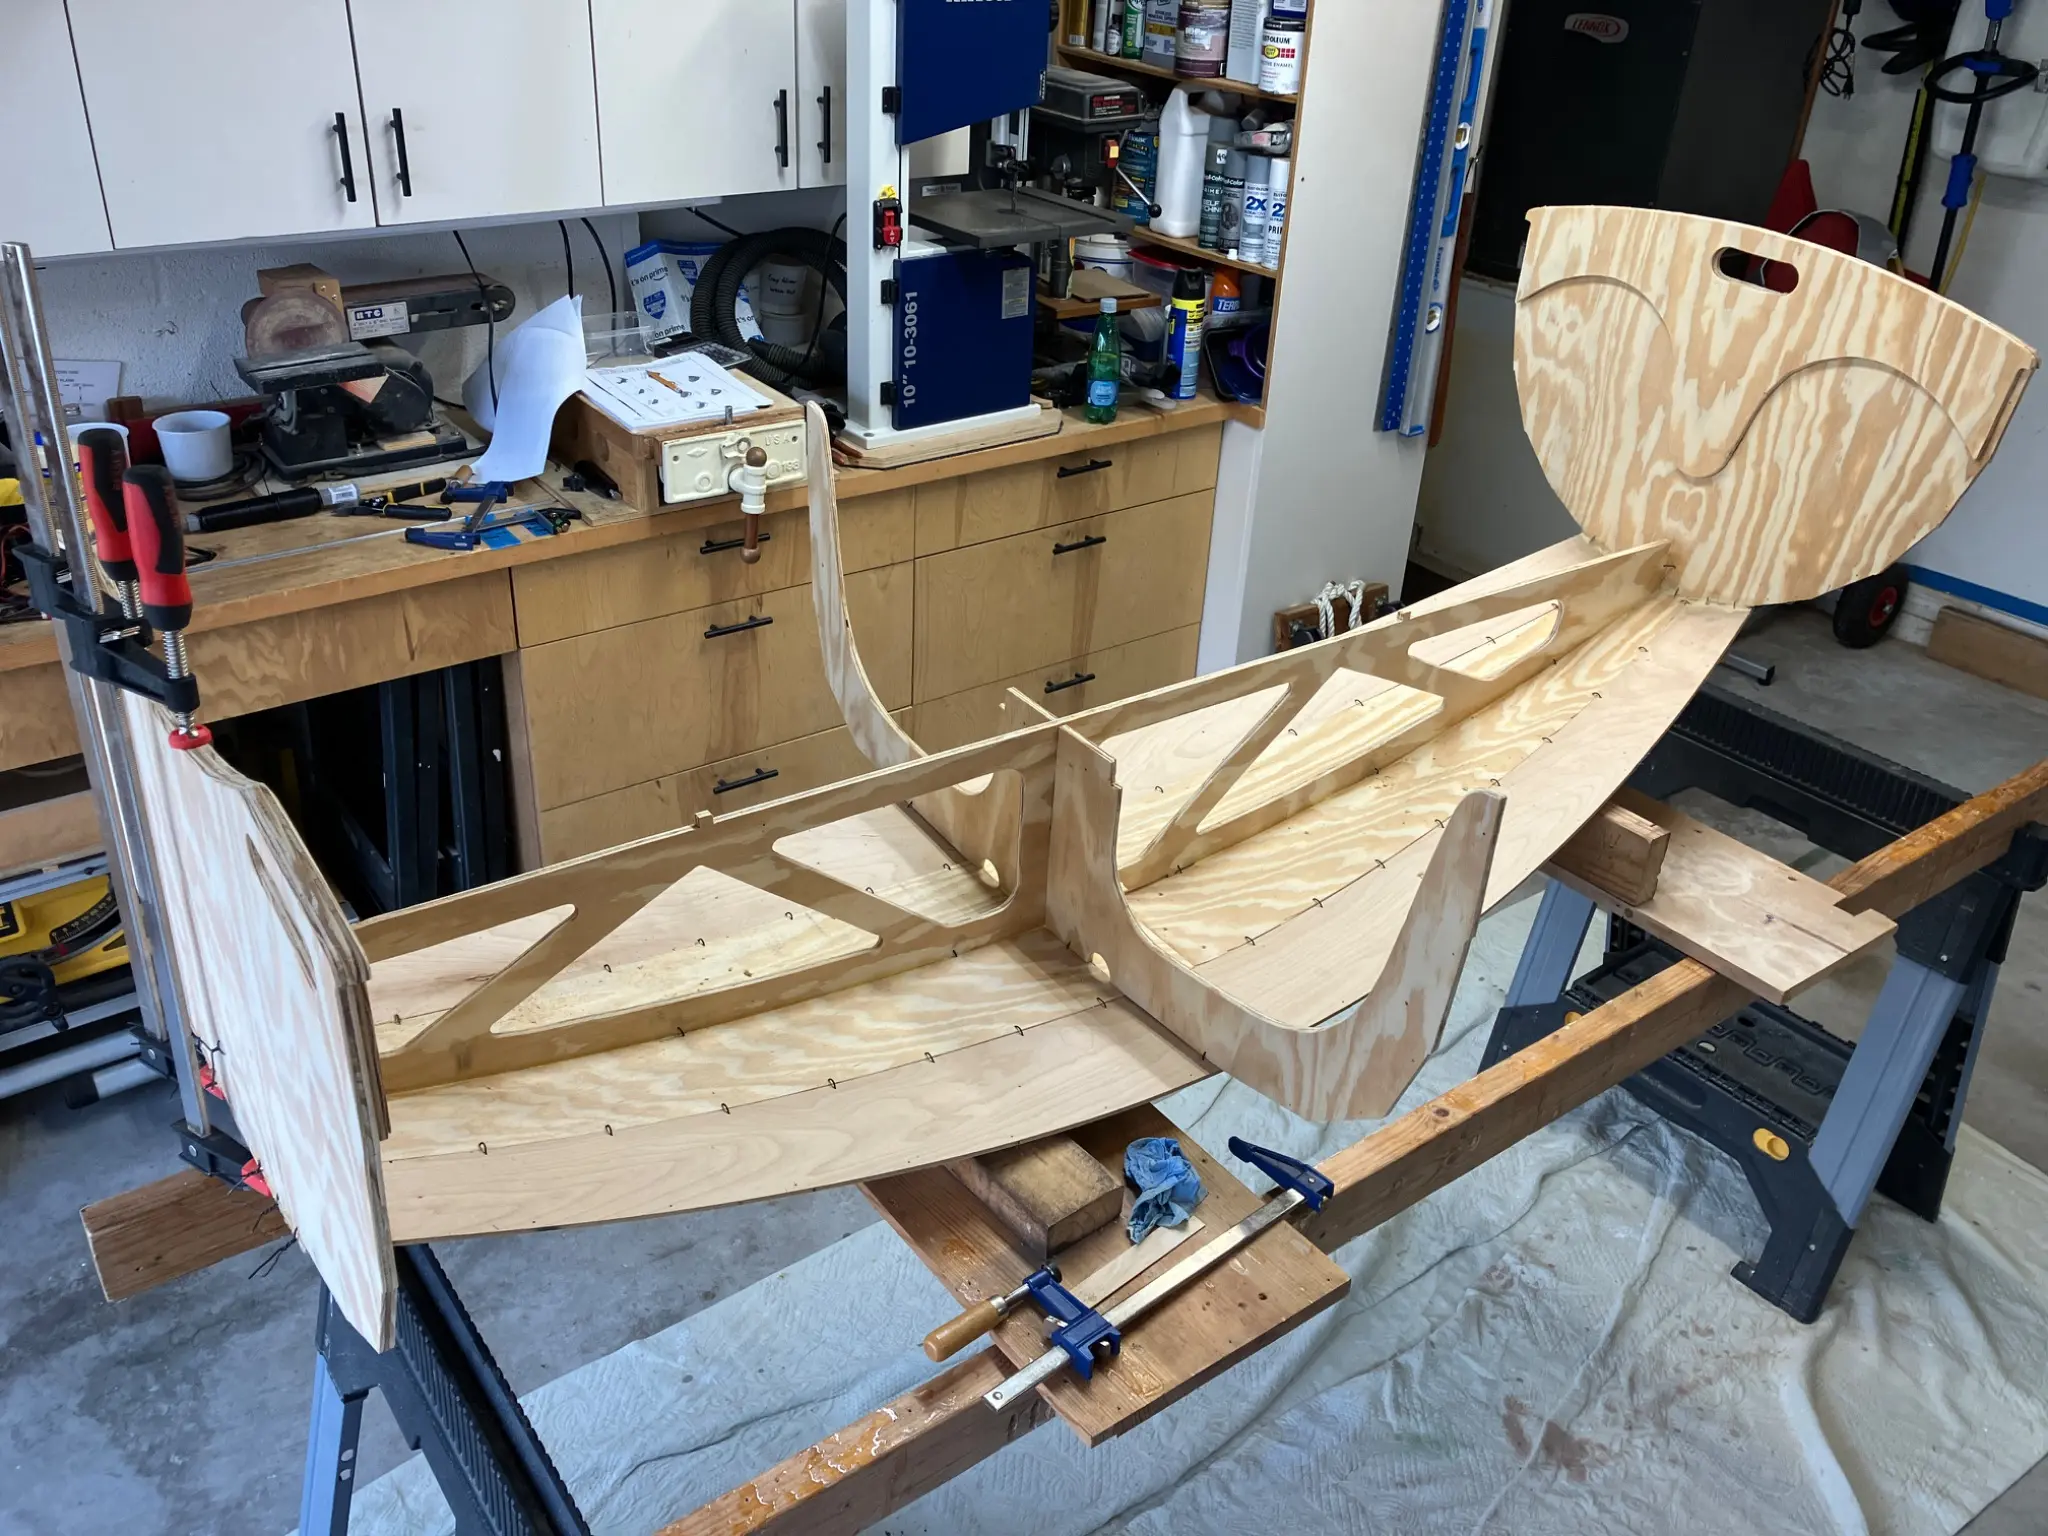
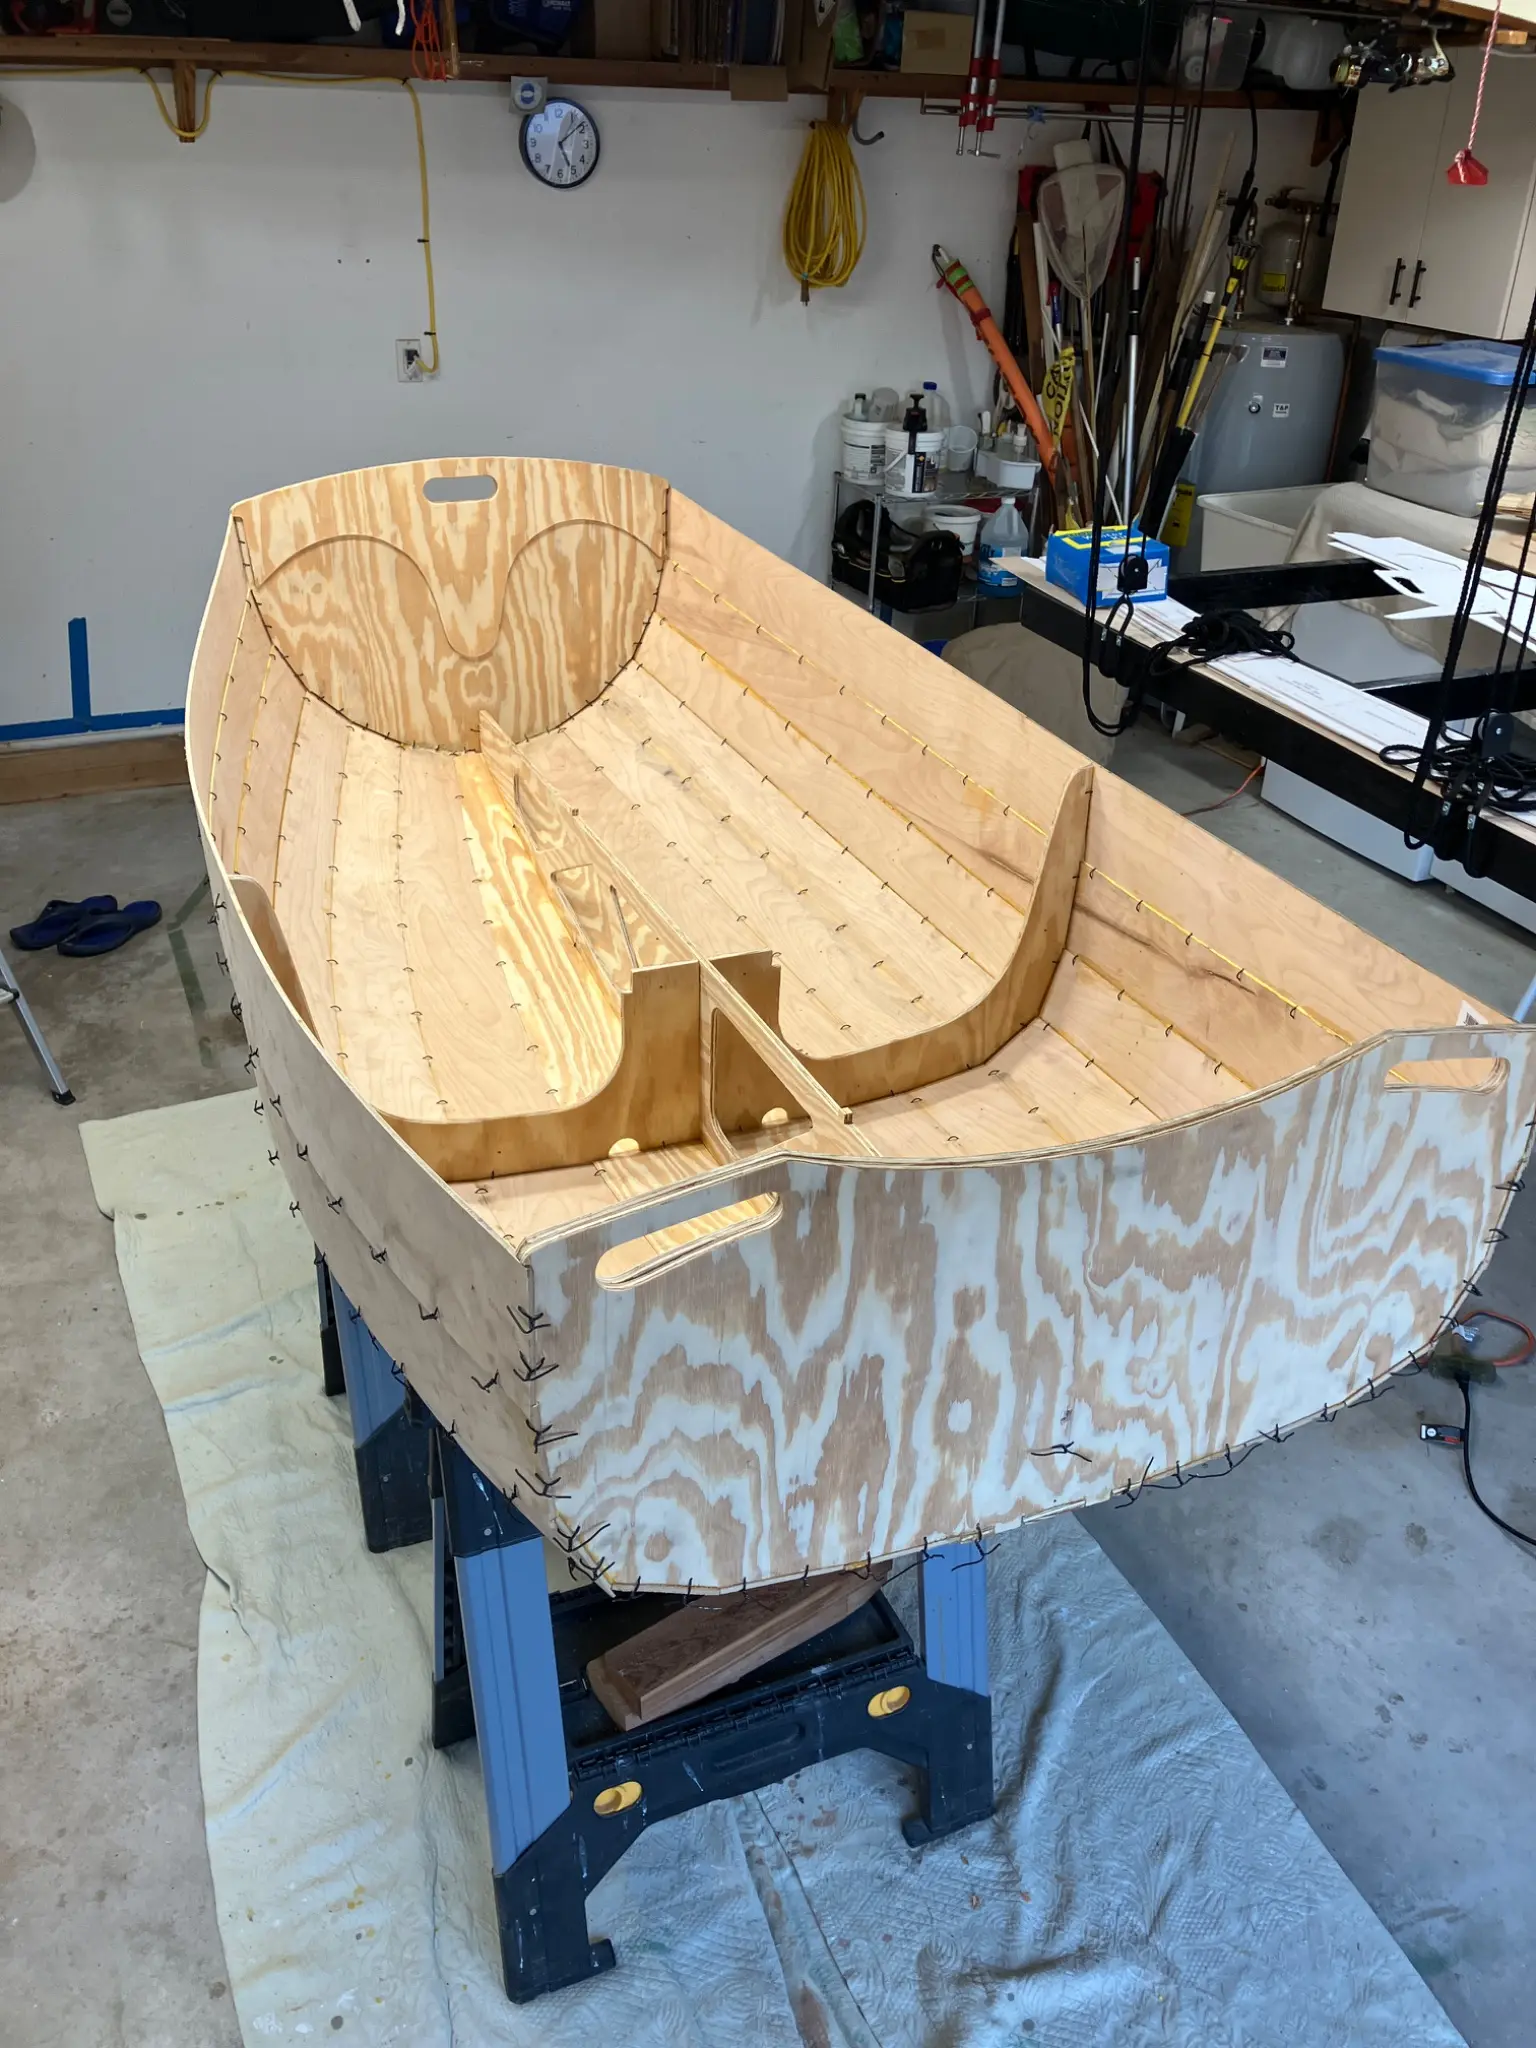
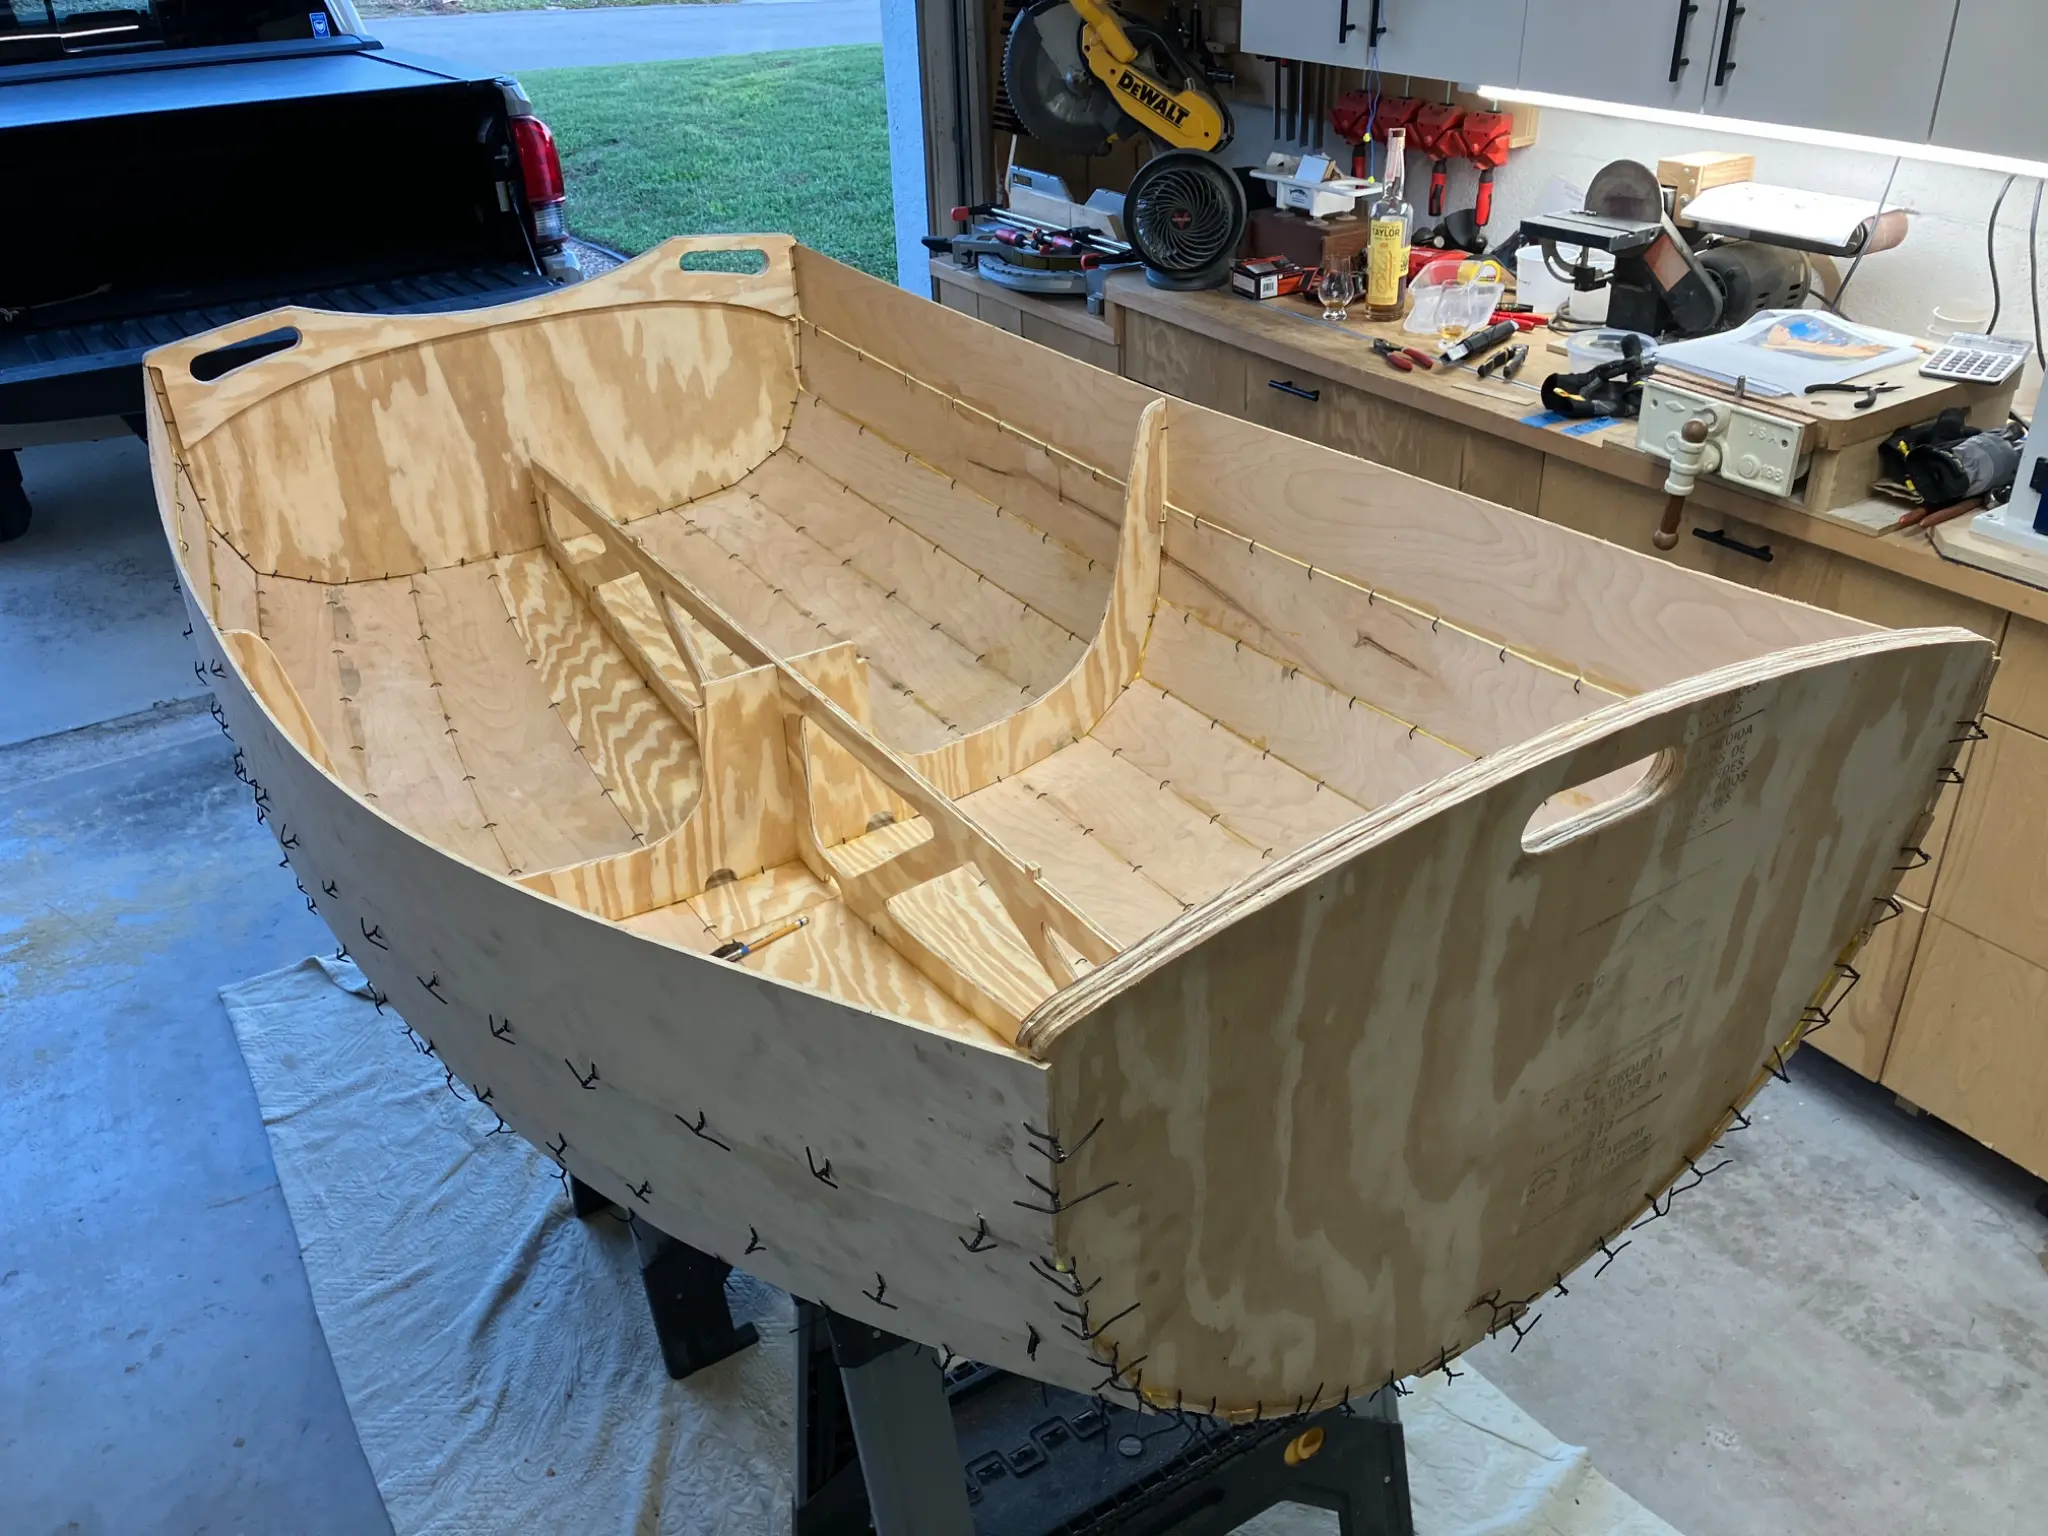
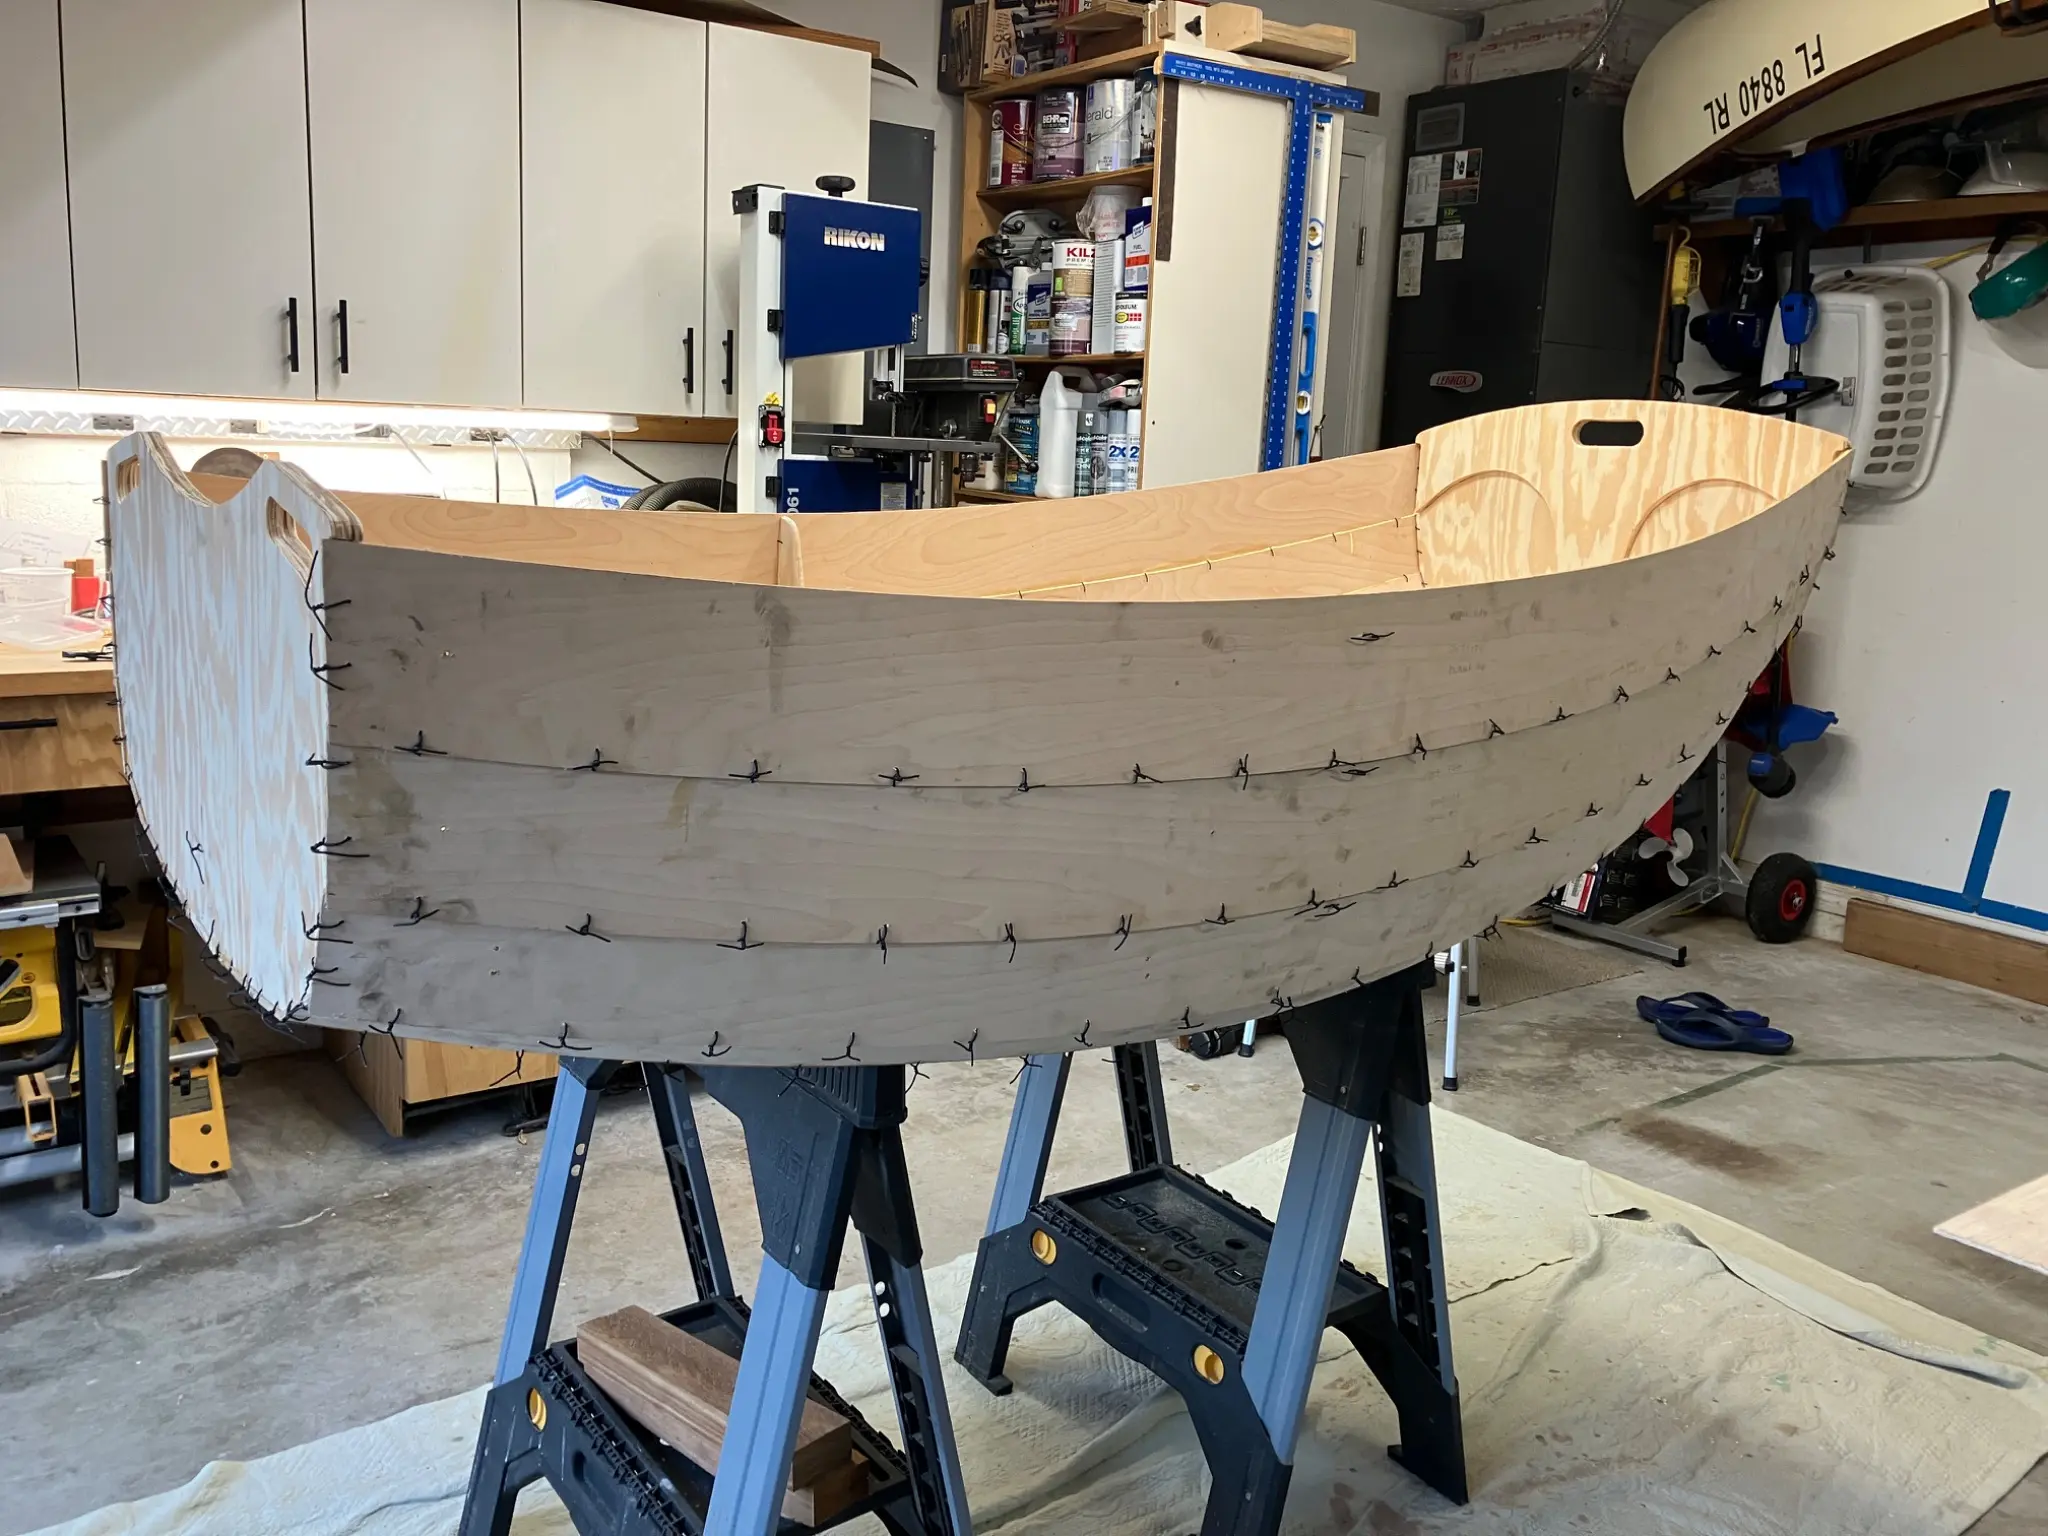
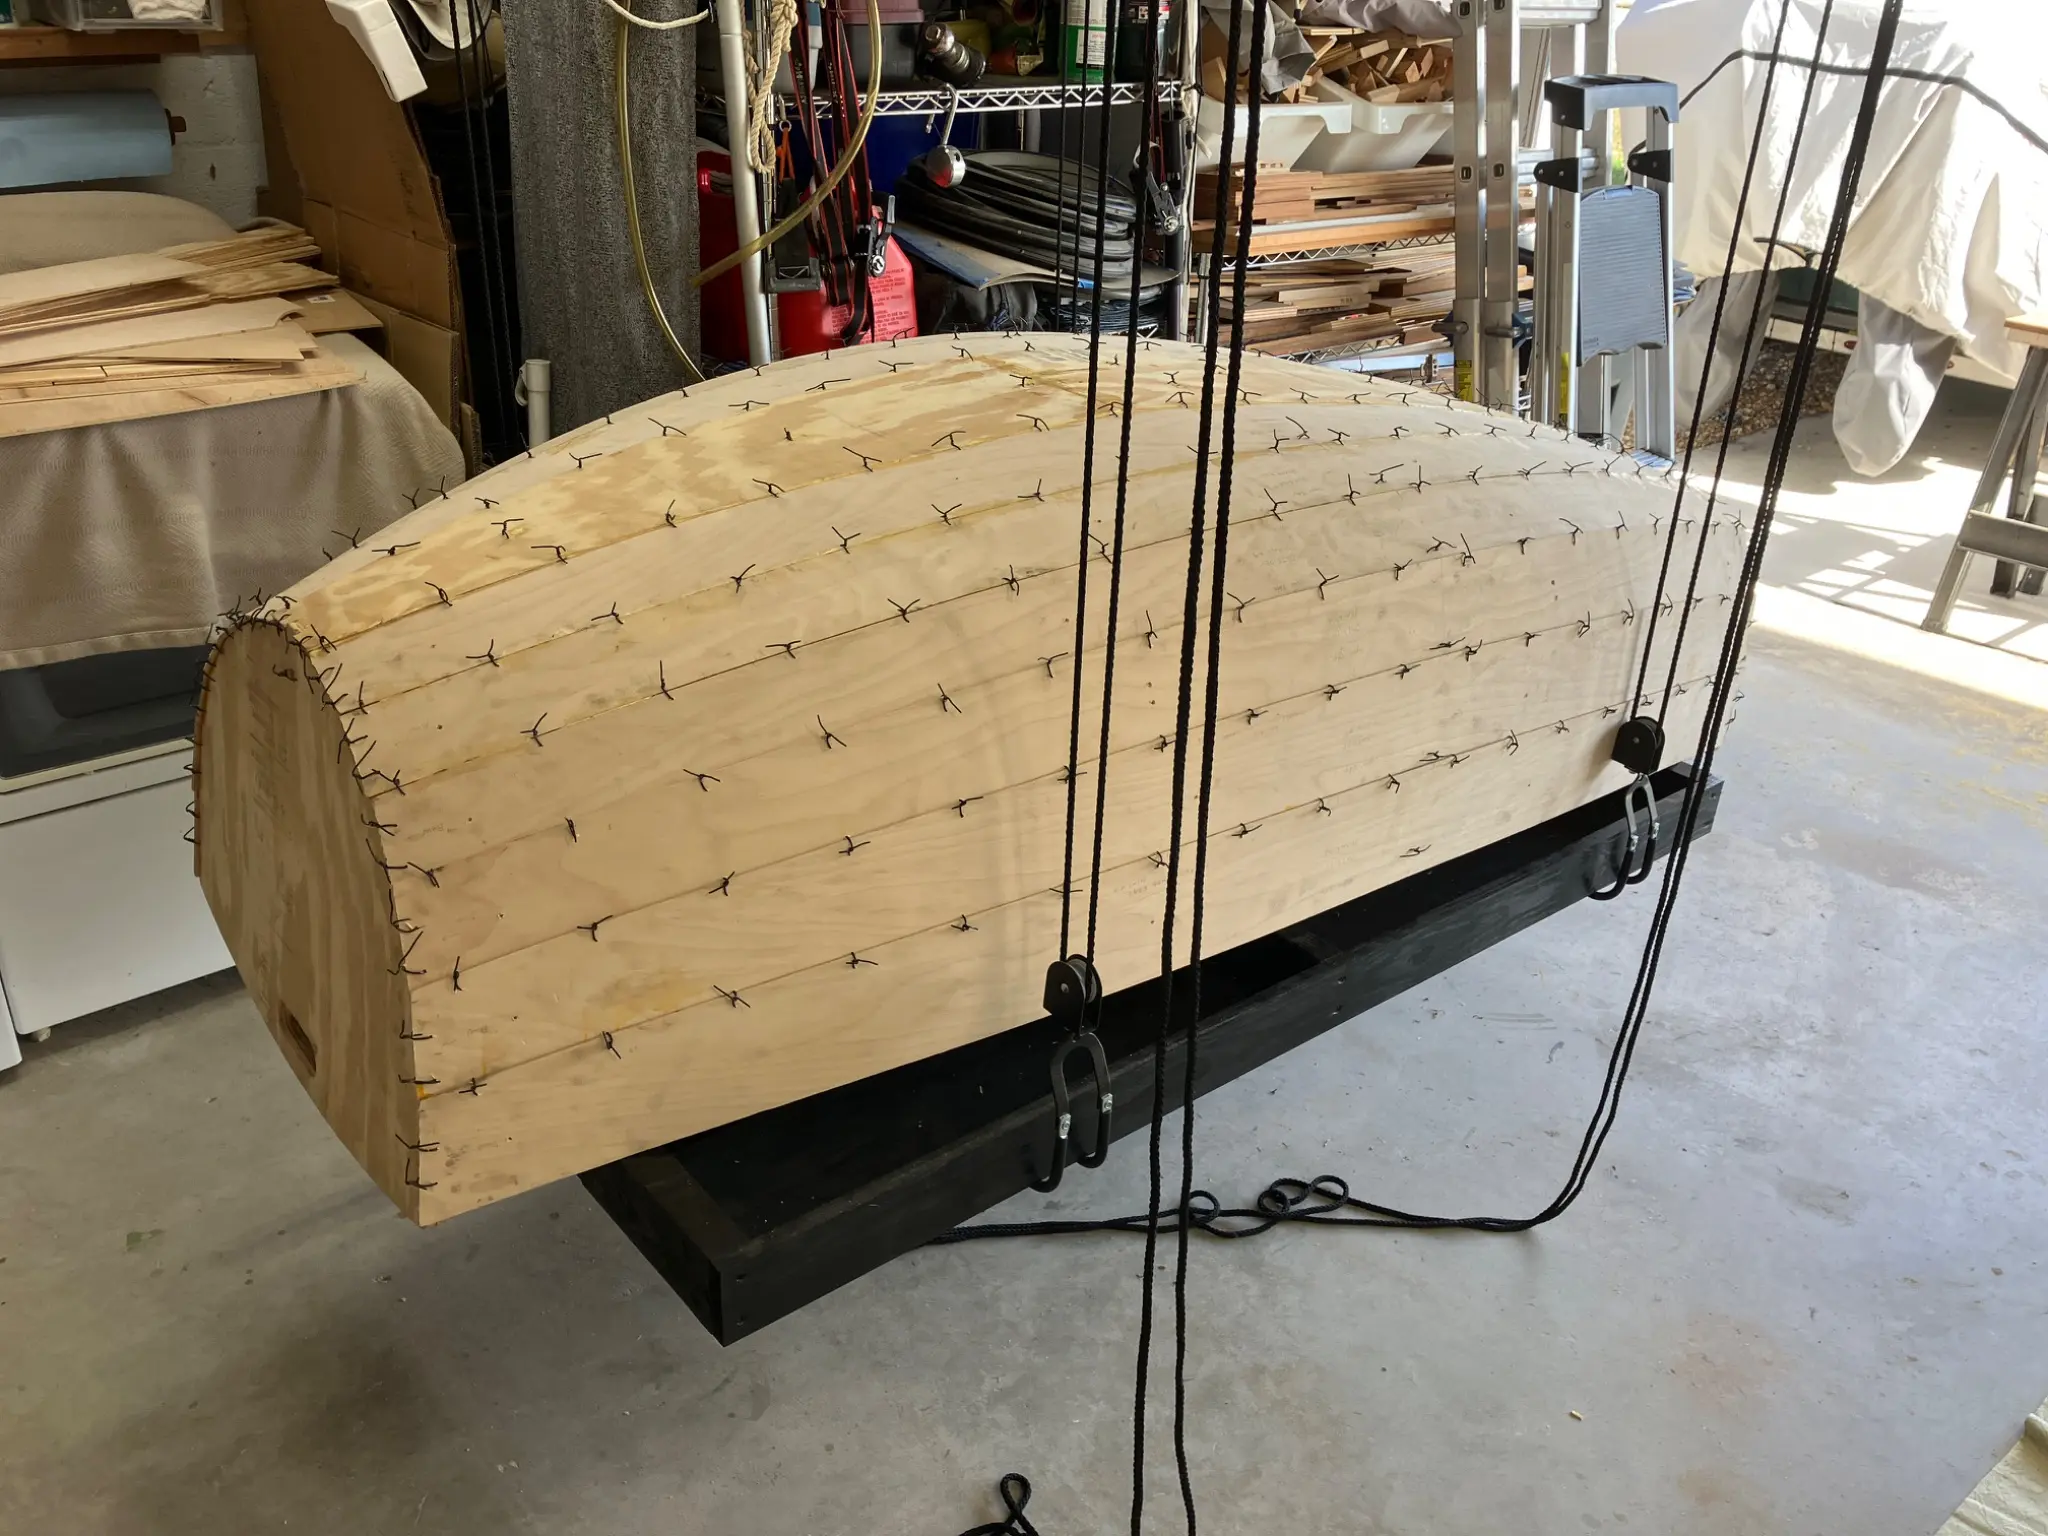
After cutting out all the parts with the router. I carefully laid out all the planks in the correct order right, left, ins, and outs. I didn't use copper wire, I used less the expensive soft steel baling wire for the plywood stitches that I got from Home Depot. I used Tight Bond 2 to glue all the planks together instead of superglue. That's what I had in the shop, so I just used what was on hand. My wife helped me hold each plank and with the stitching. Then we celebrated the last plank with a shot of whiskey!
Chapter 03
Epoxy fillets, taped seams, structural joints.
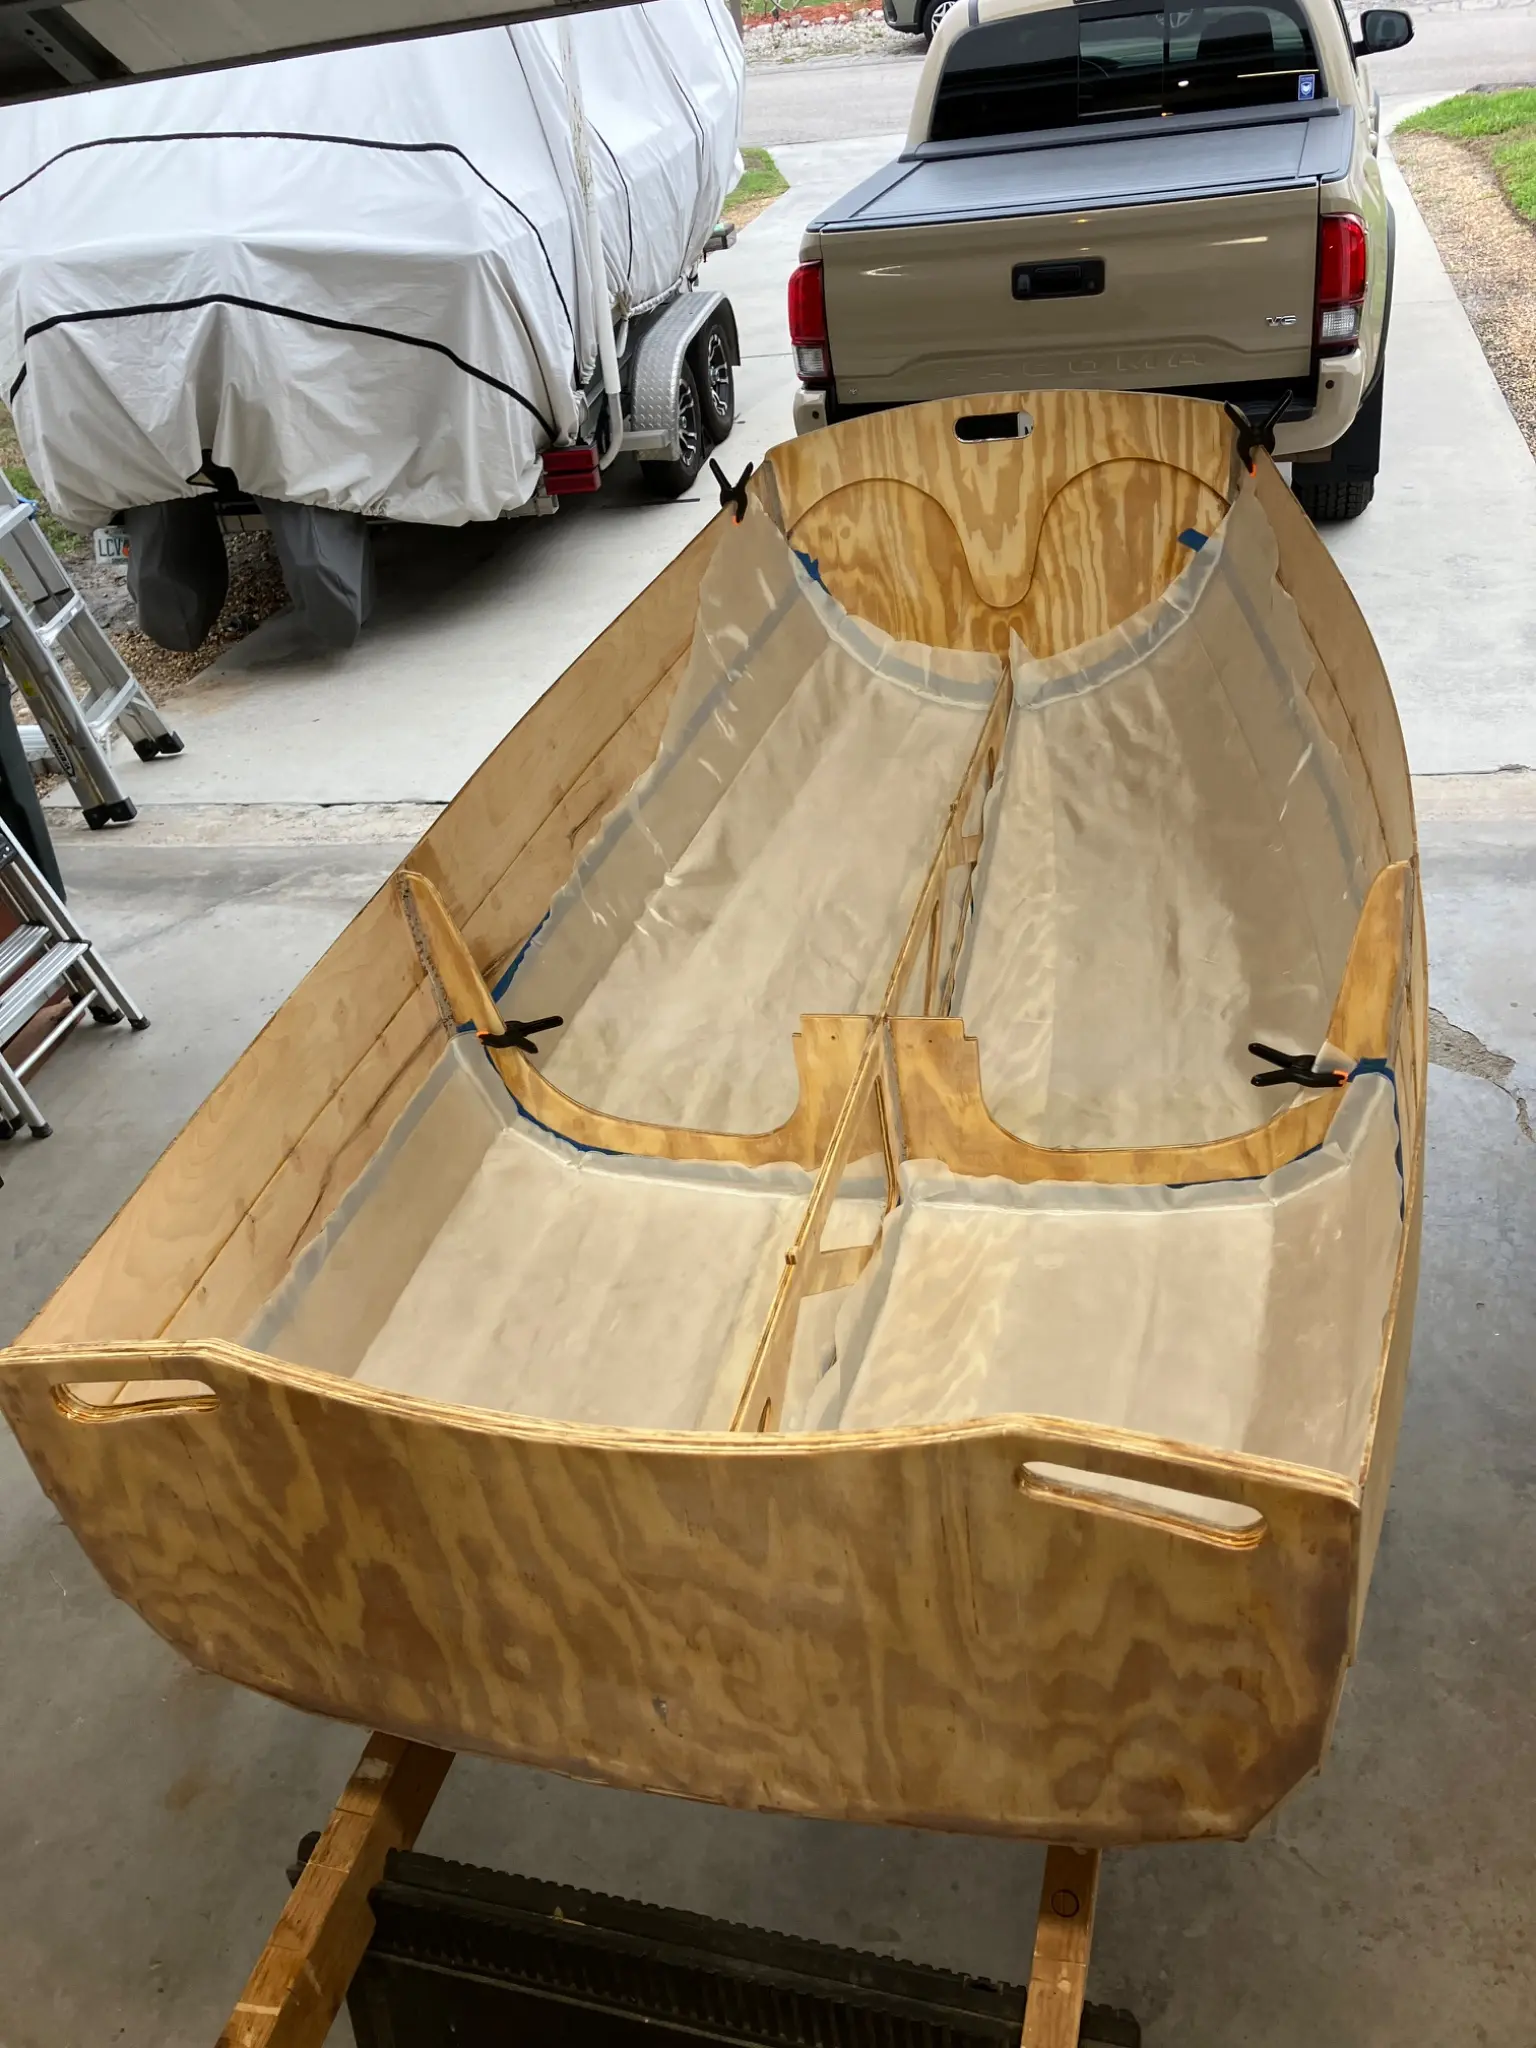
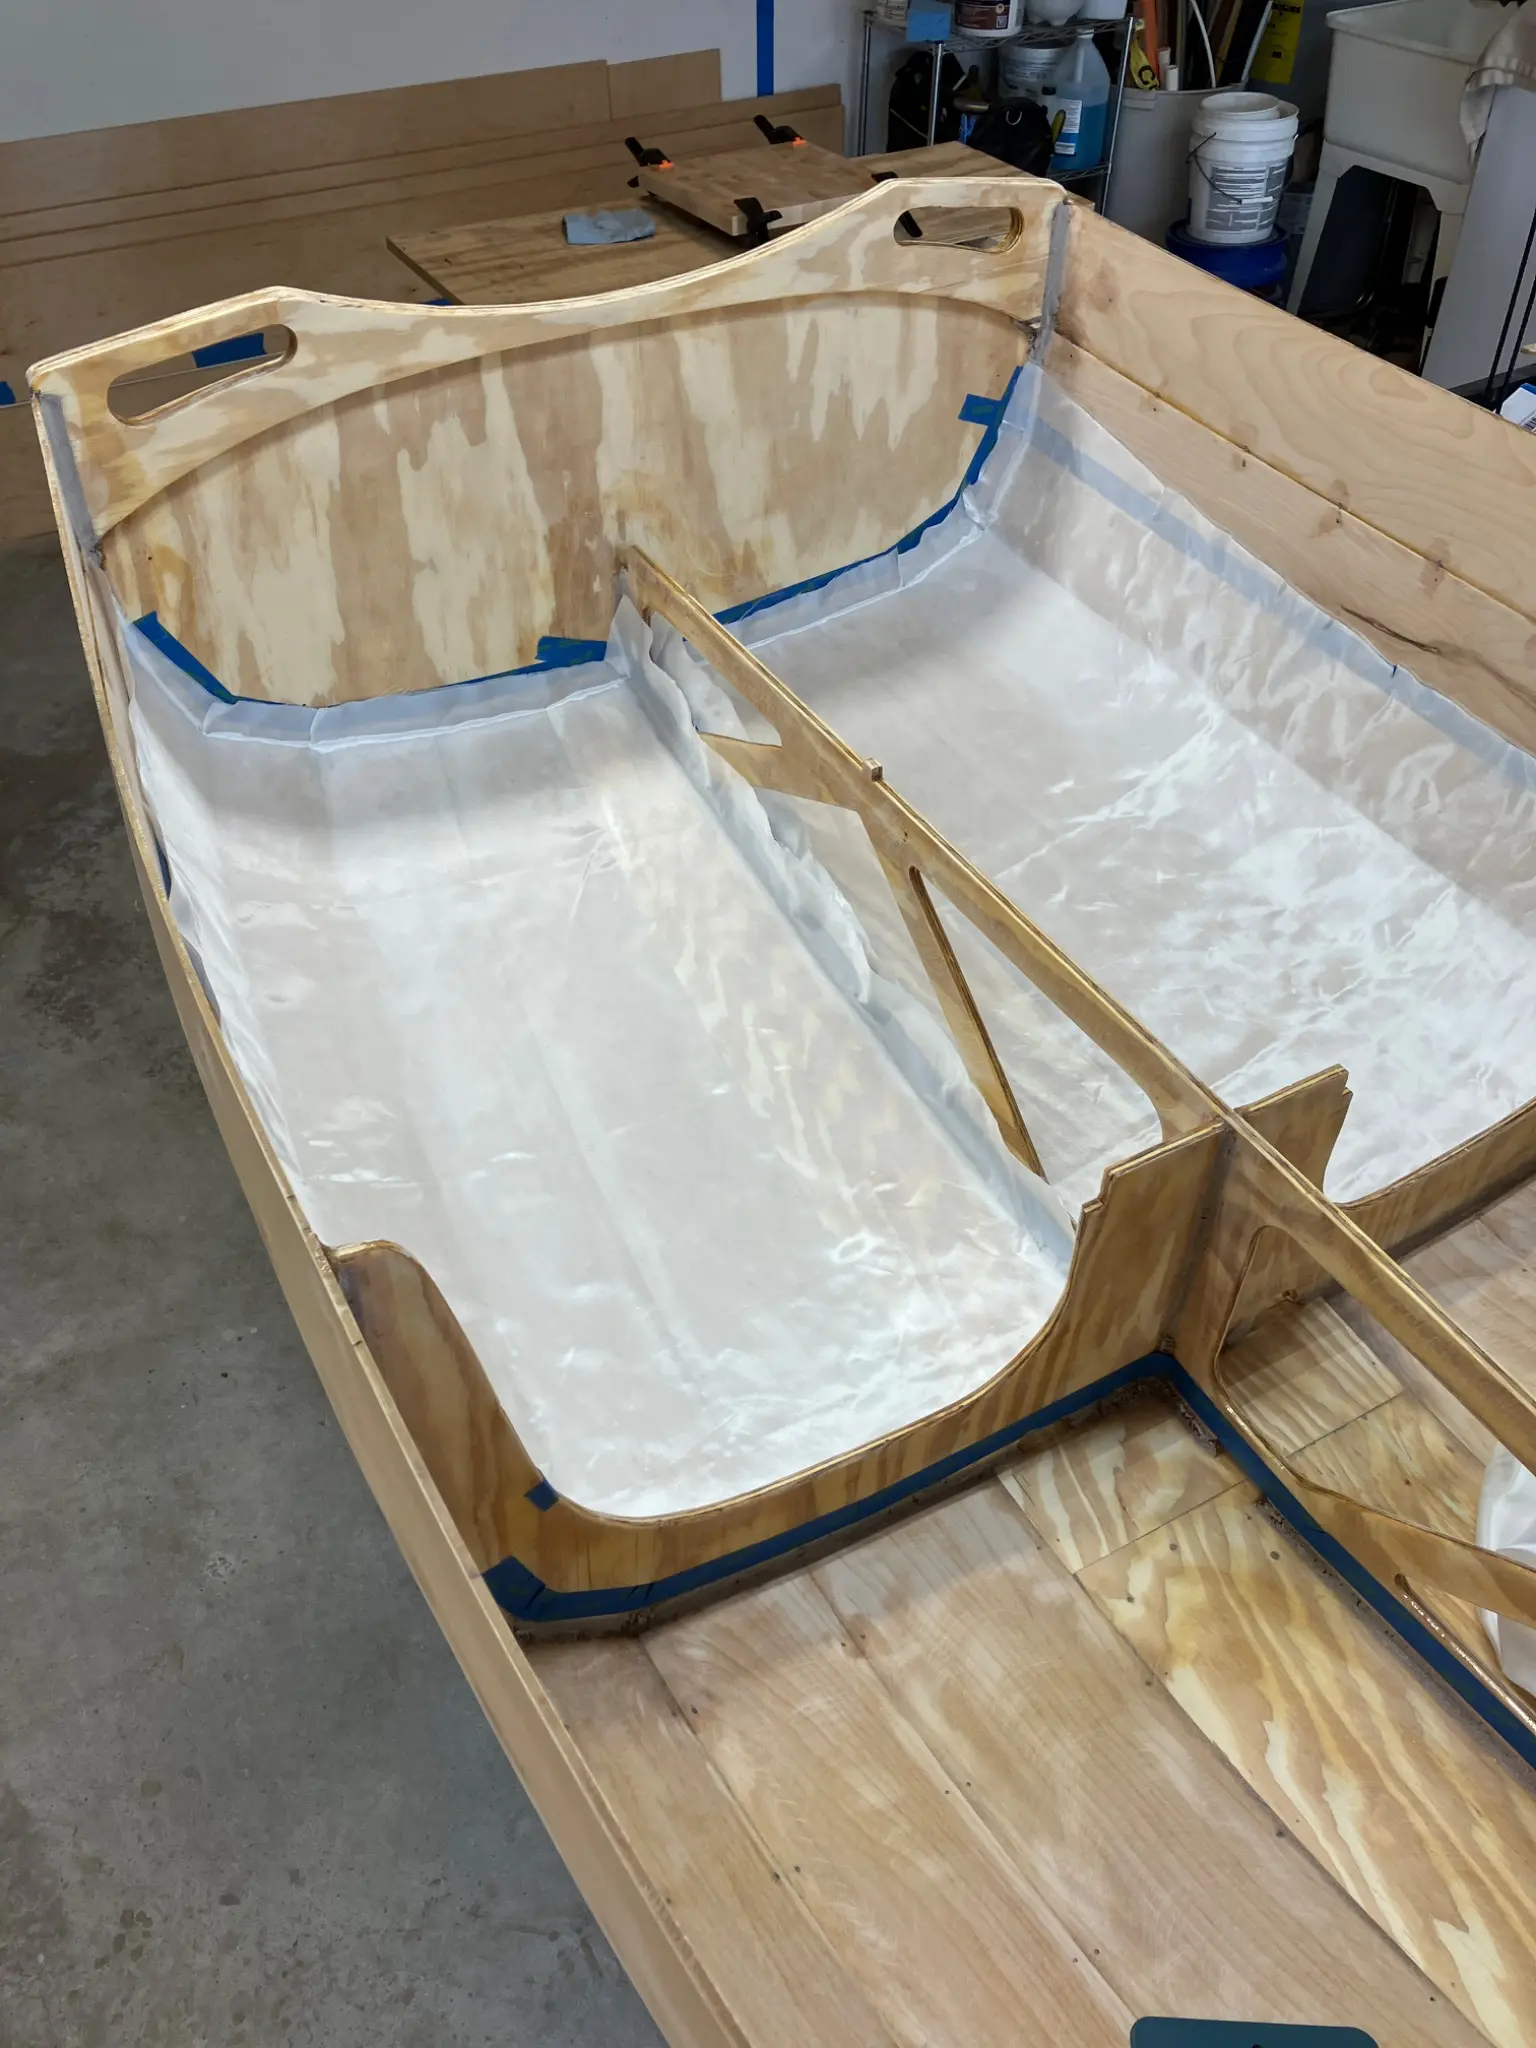
After removing all the stitches, the boat was strictly held together by wood glue only. I fill it at the inside of the planks with wood flower and resin. After grinding down the rough fillets on the inside. I laid out the 4 ounce fiberglass cloth on the inside of the boat. Taped off the areas that I didn't want to have cloth so I could cut it easier later on after the resin set up.
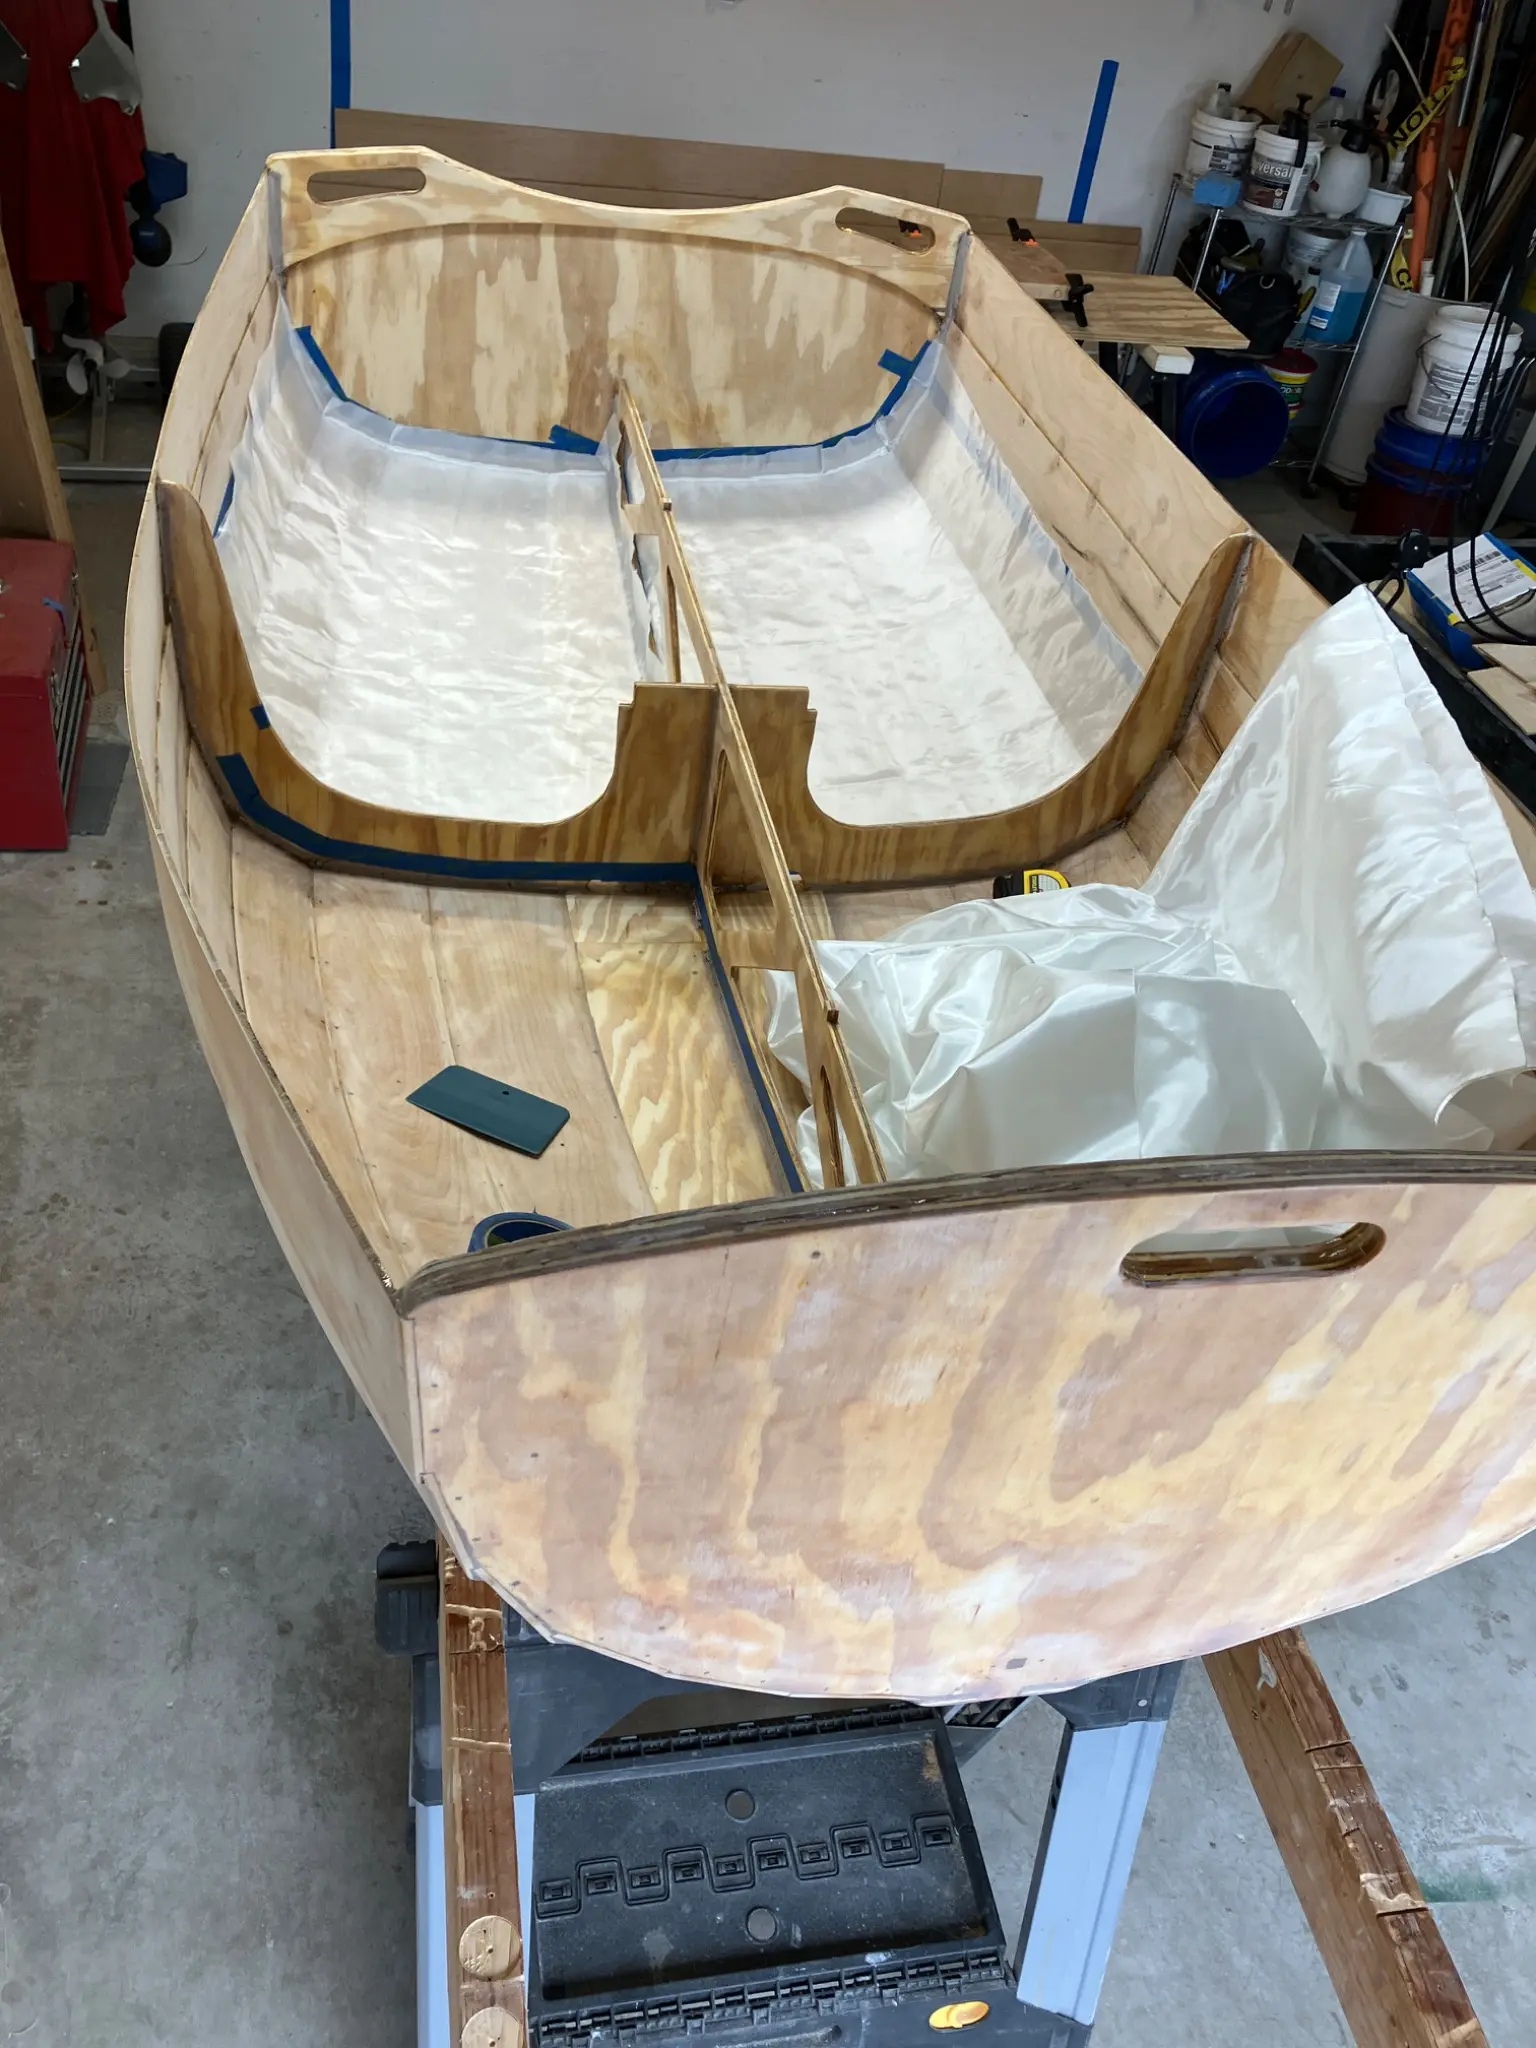
Chapter 04
Sheathing in cloth, wetting out, fill coats.
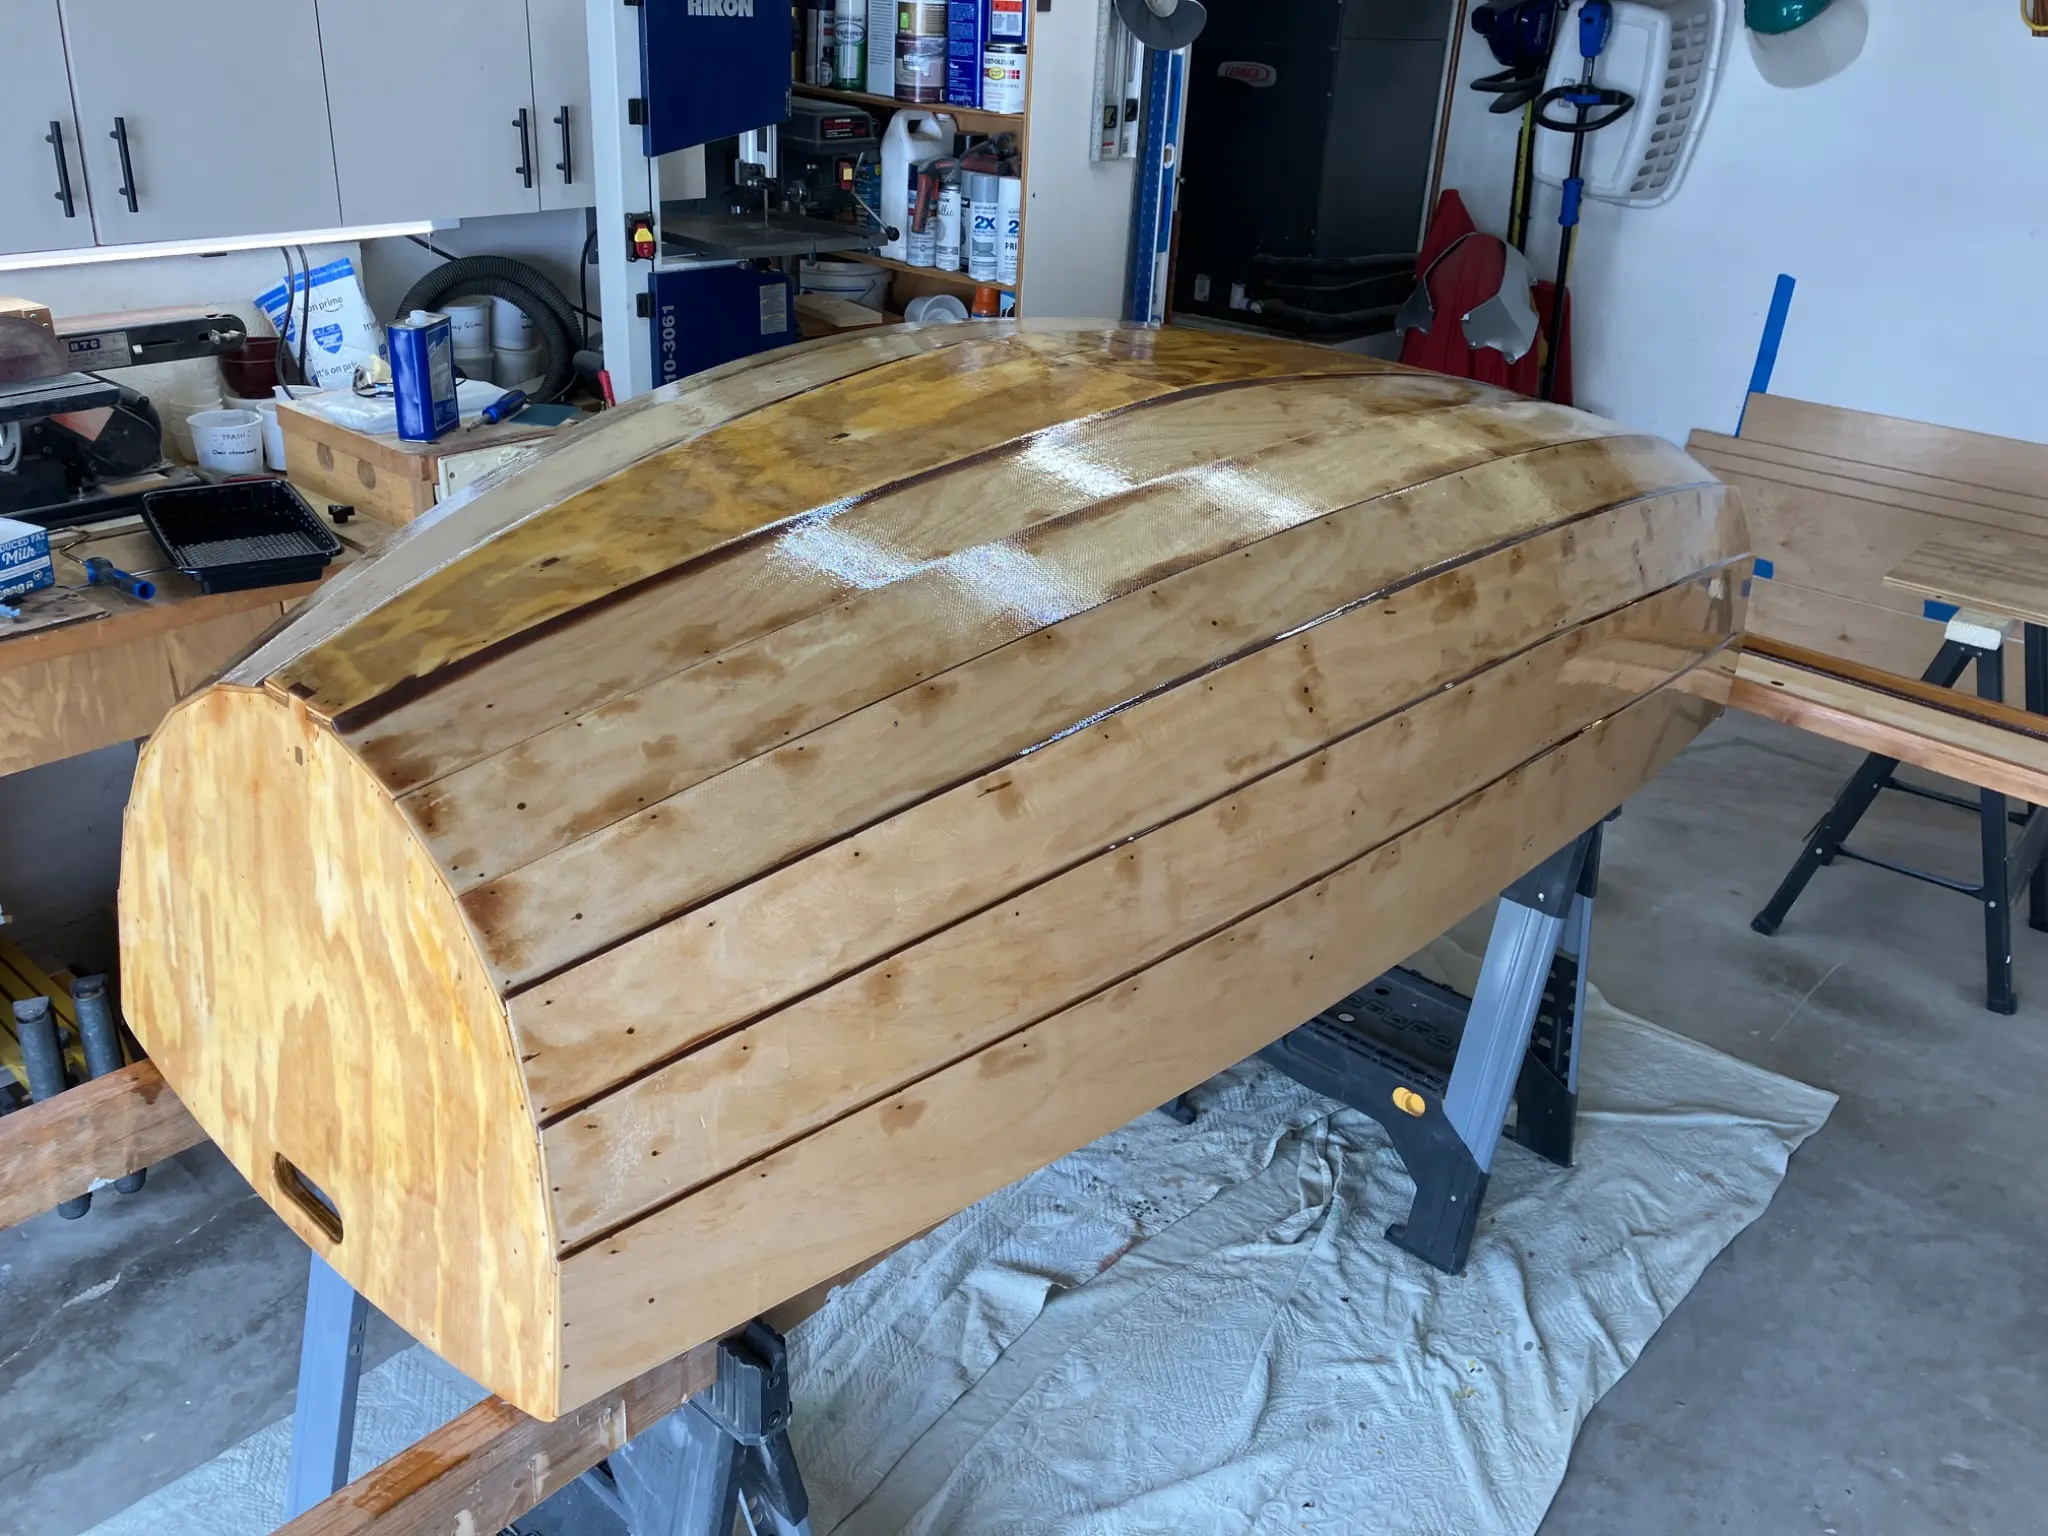
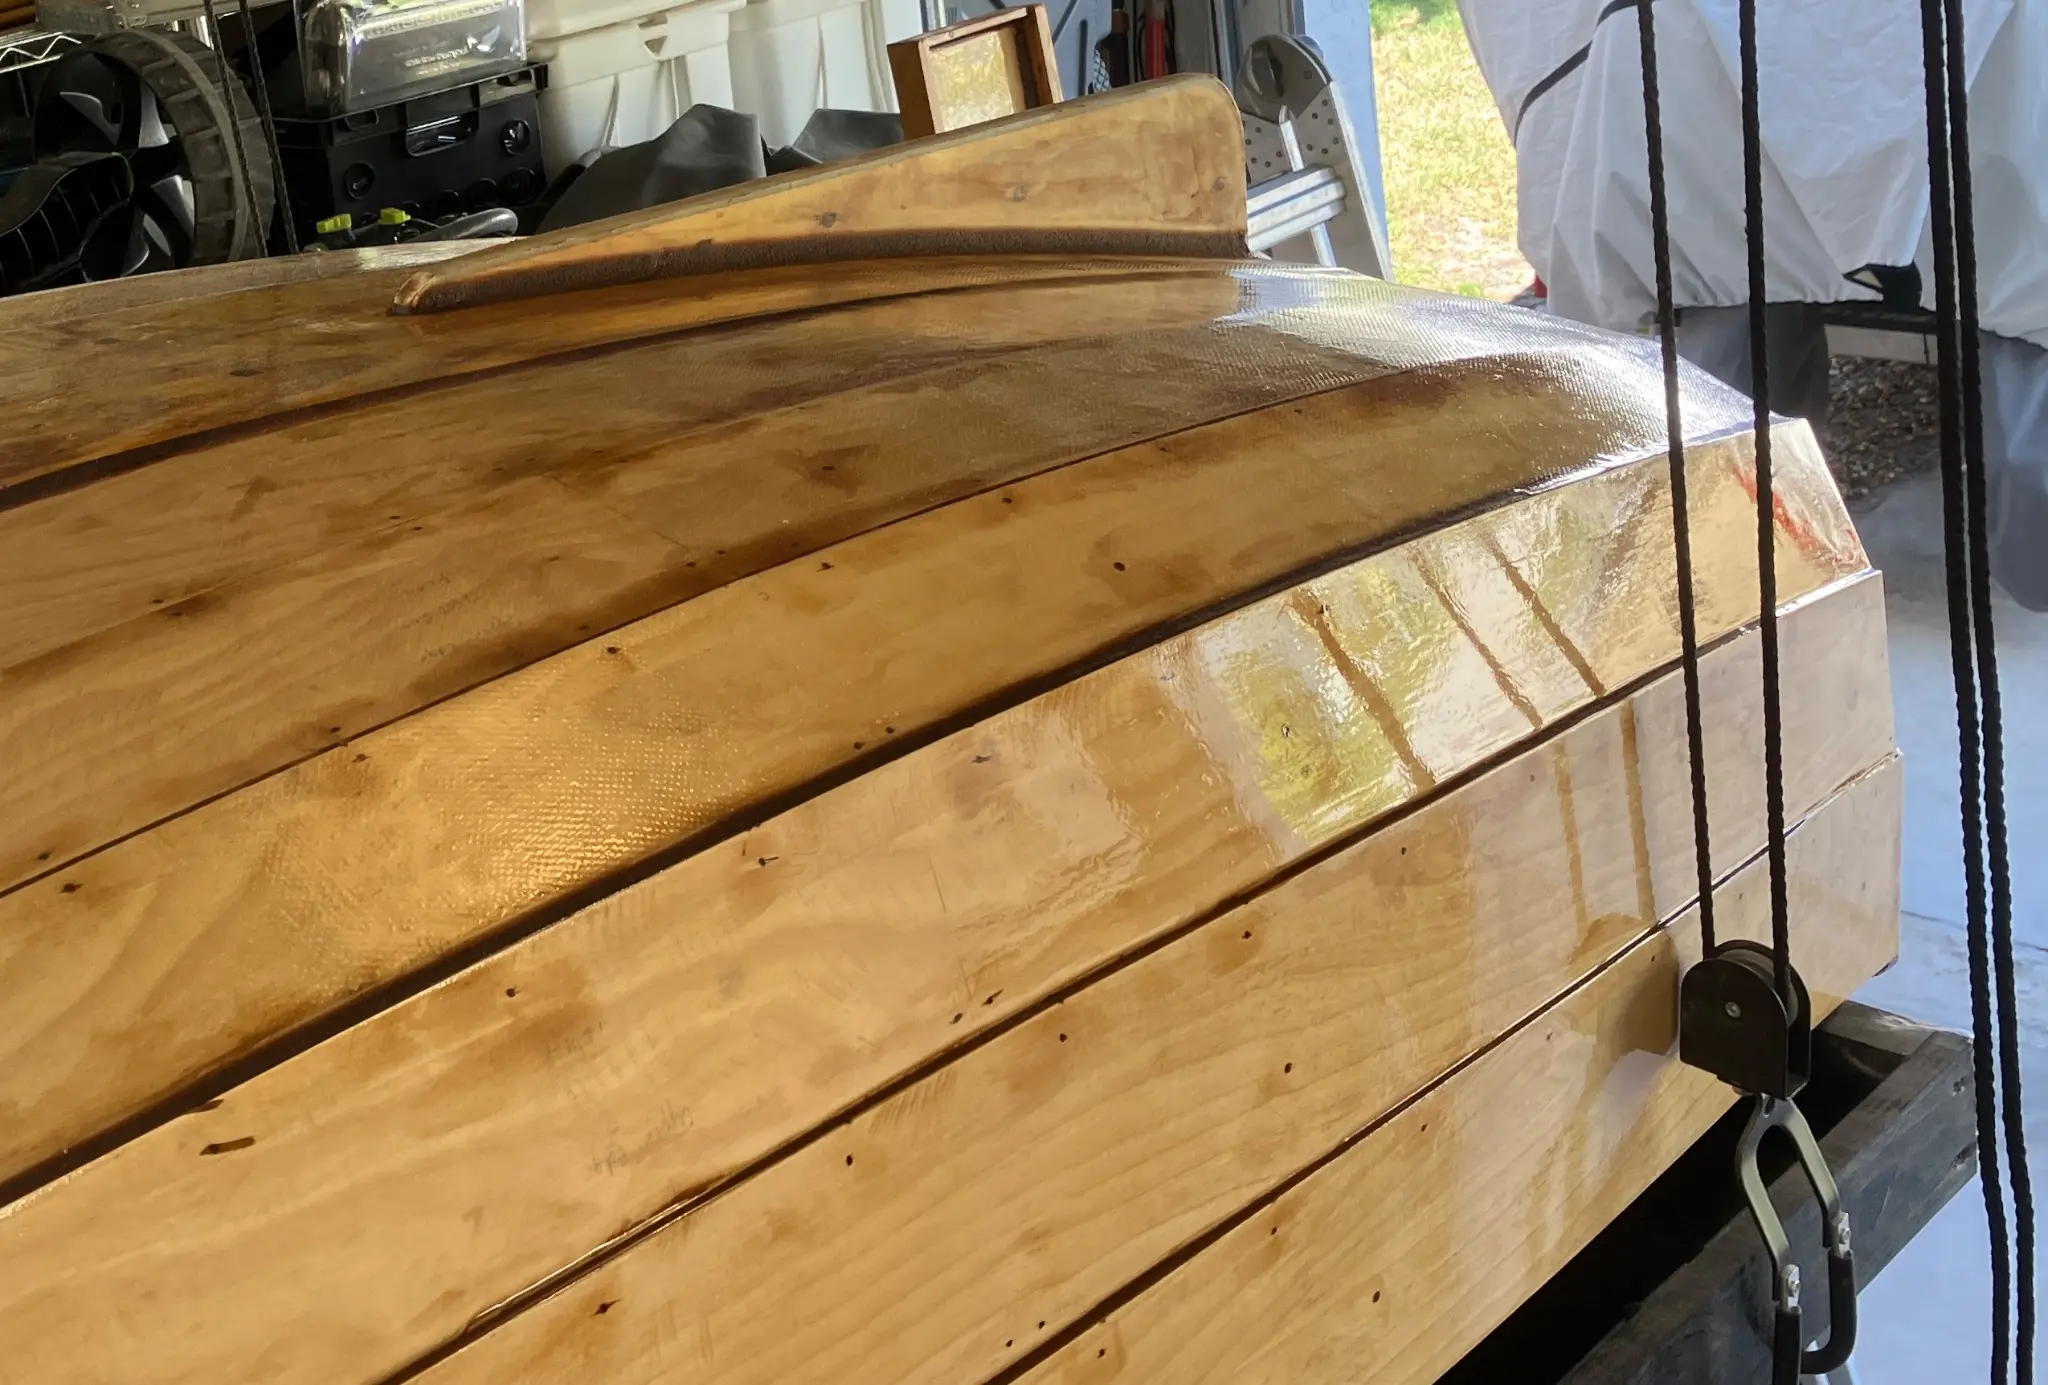
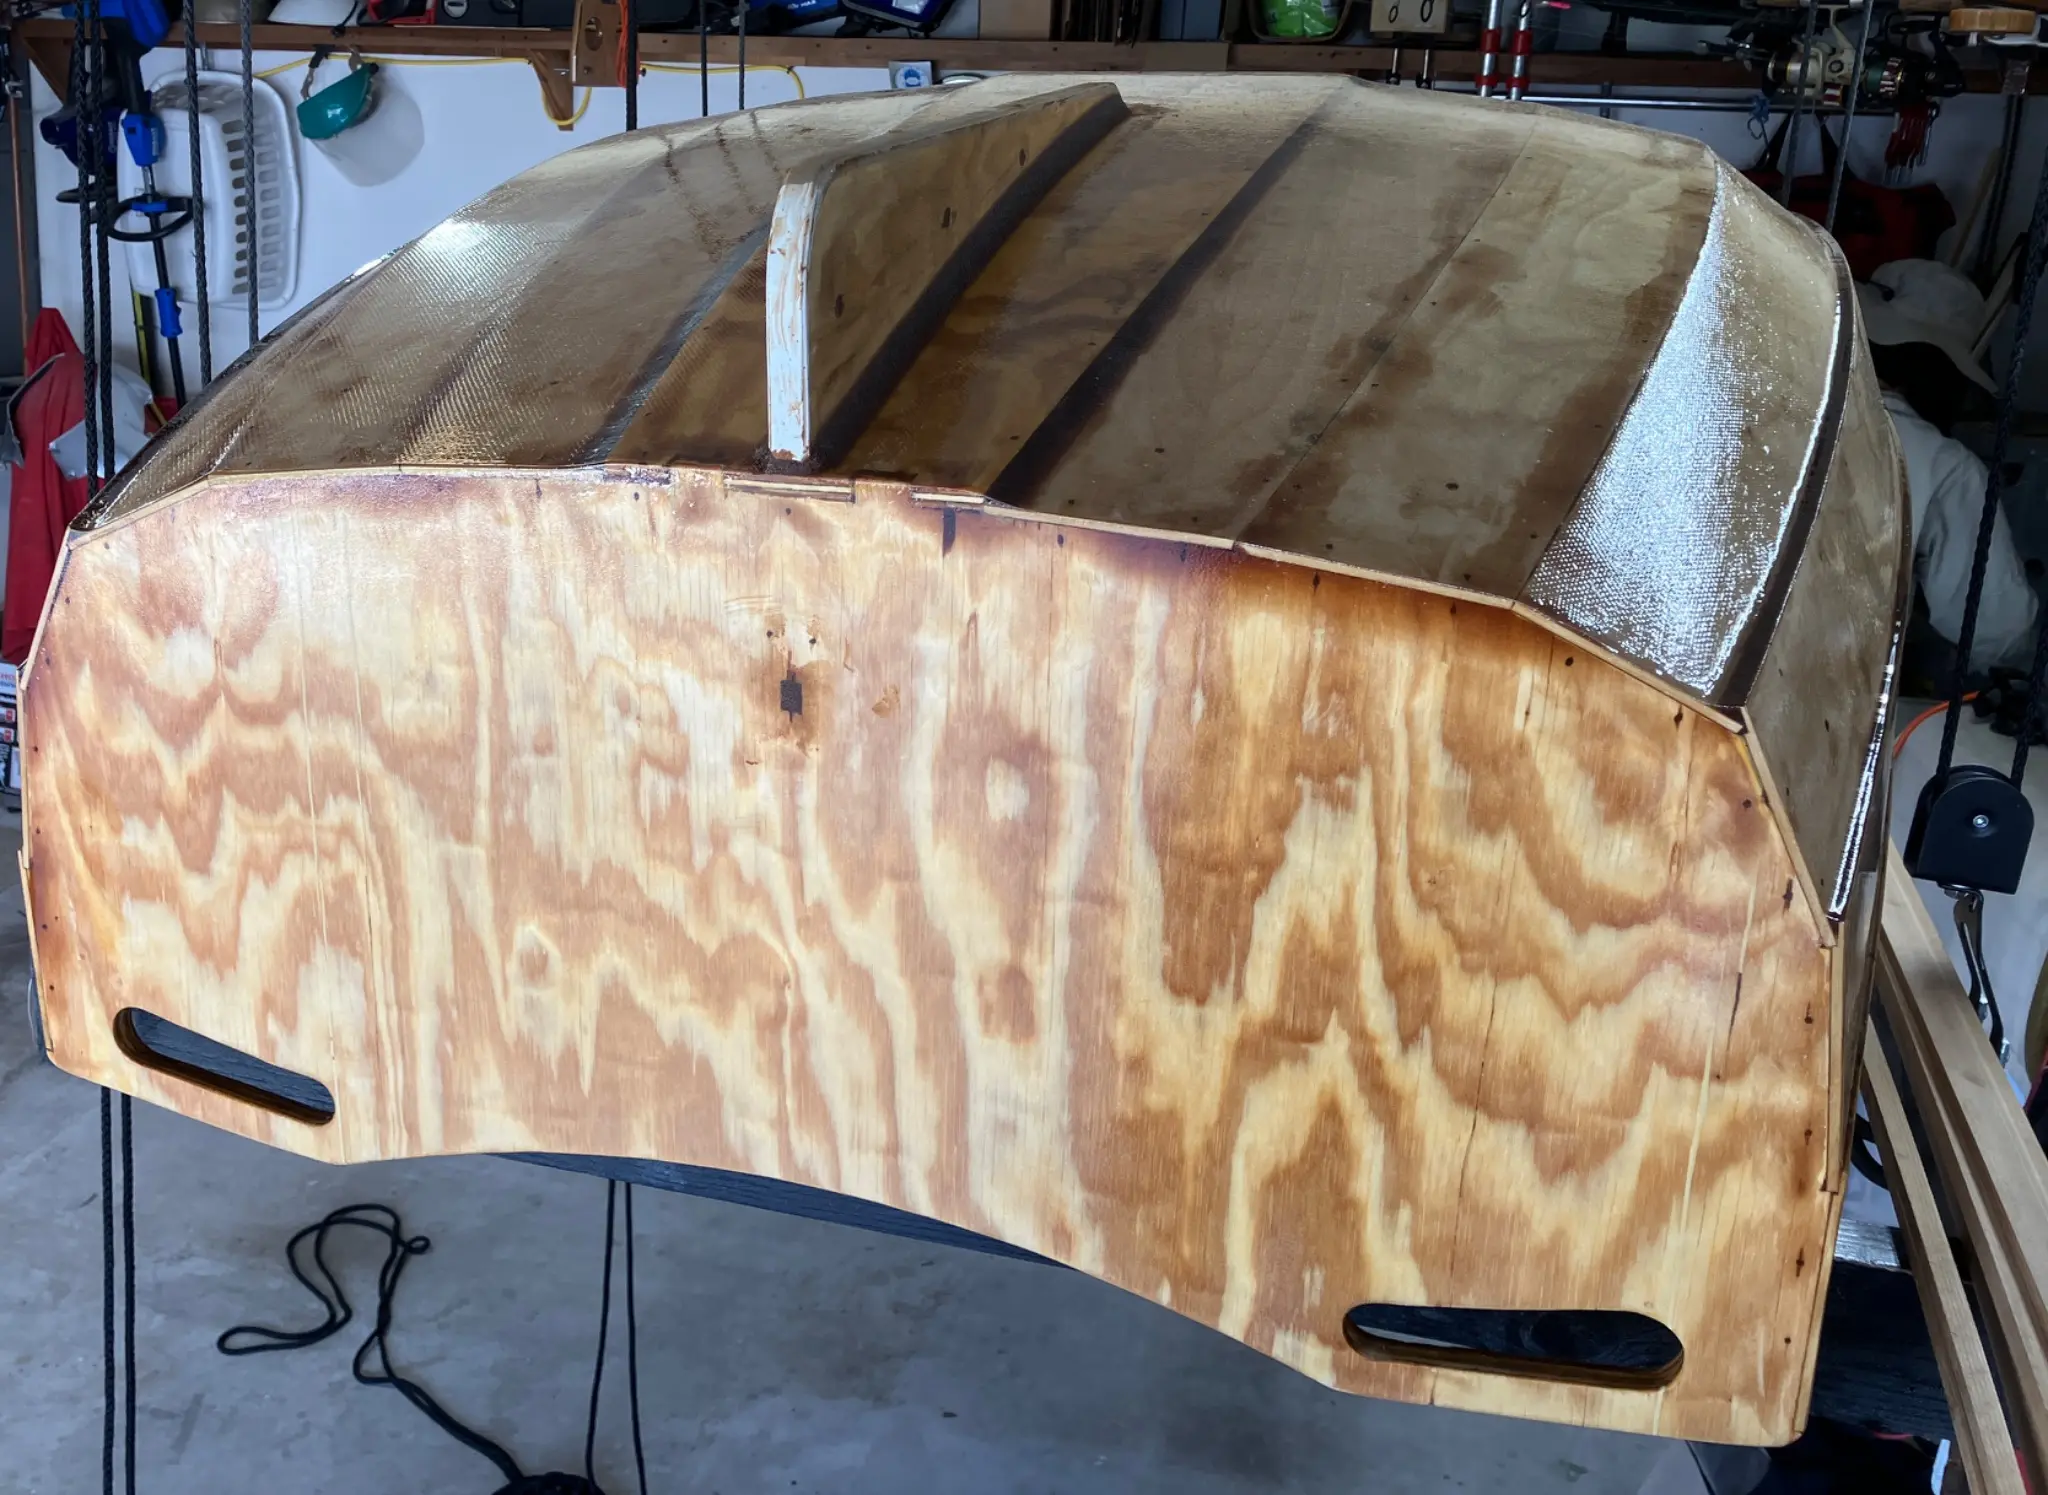
Flipped the boat over, filleted all the board joints. Installed the 6 ounce cloth to the bottom and the keel. Built out the seat, trimmed, continued filling, sanding, faring, and all the stuff you would do to build up the finish of the hull before painting.
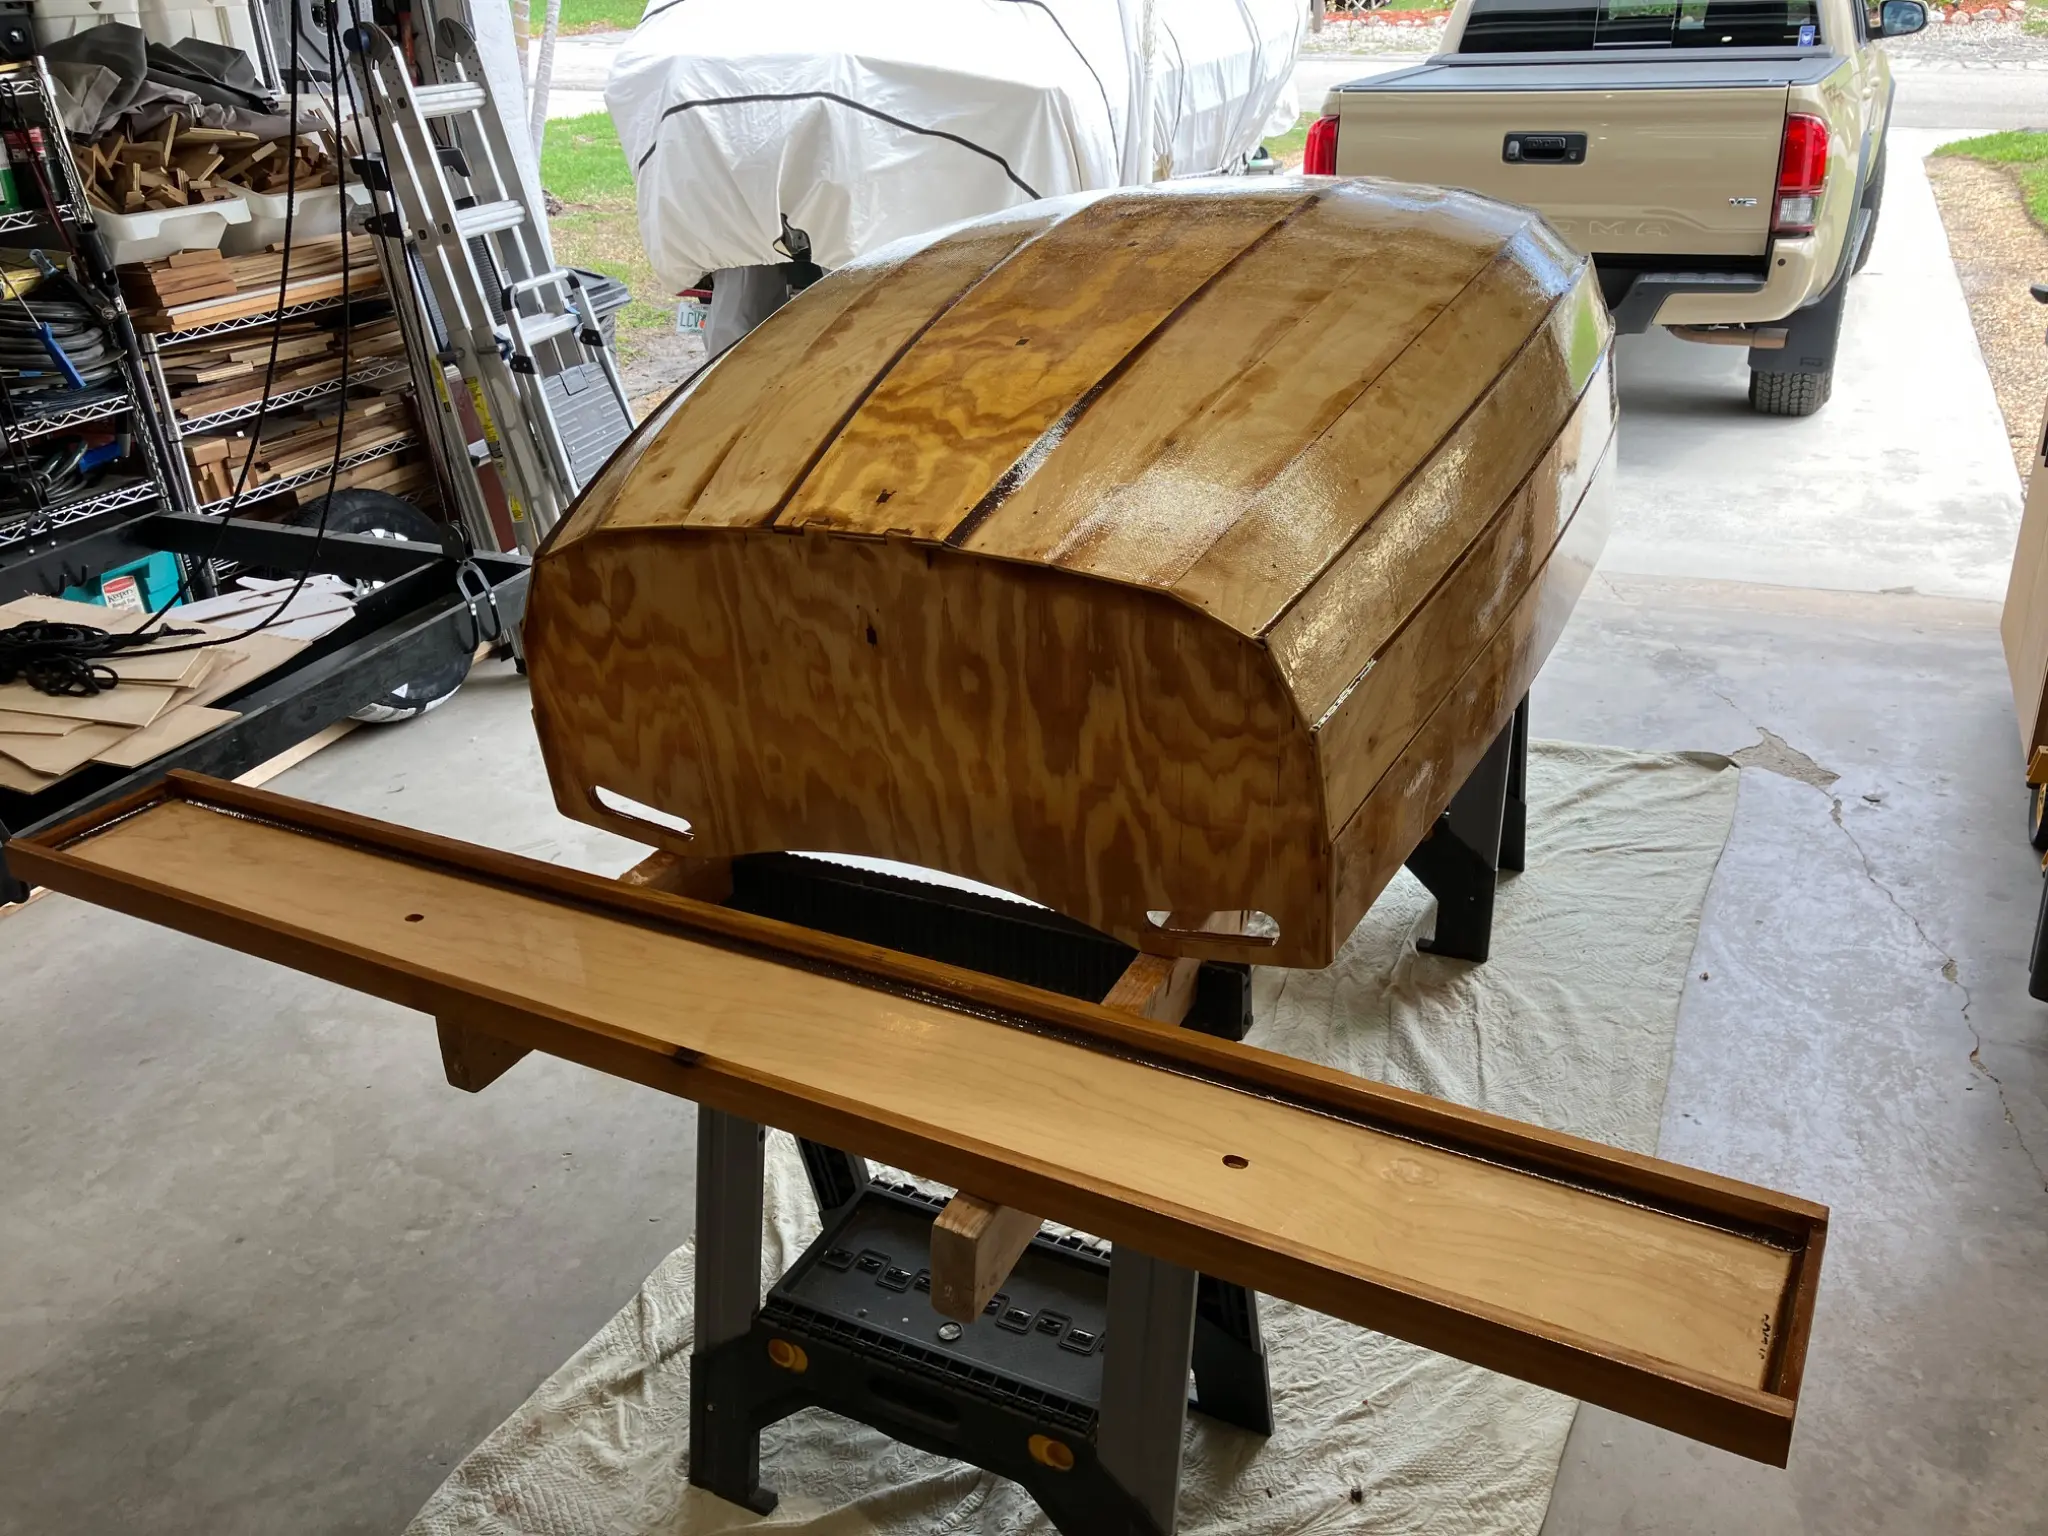
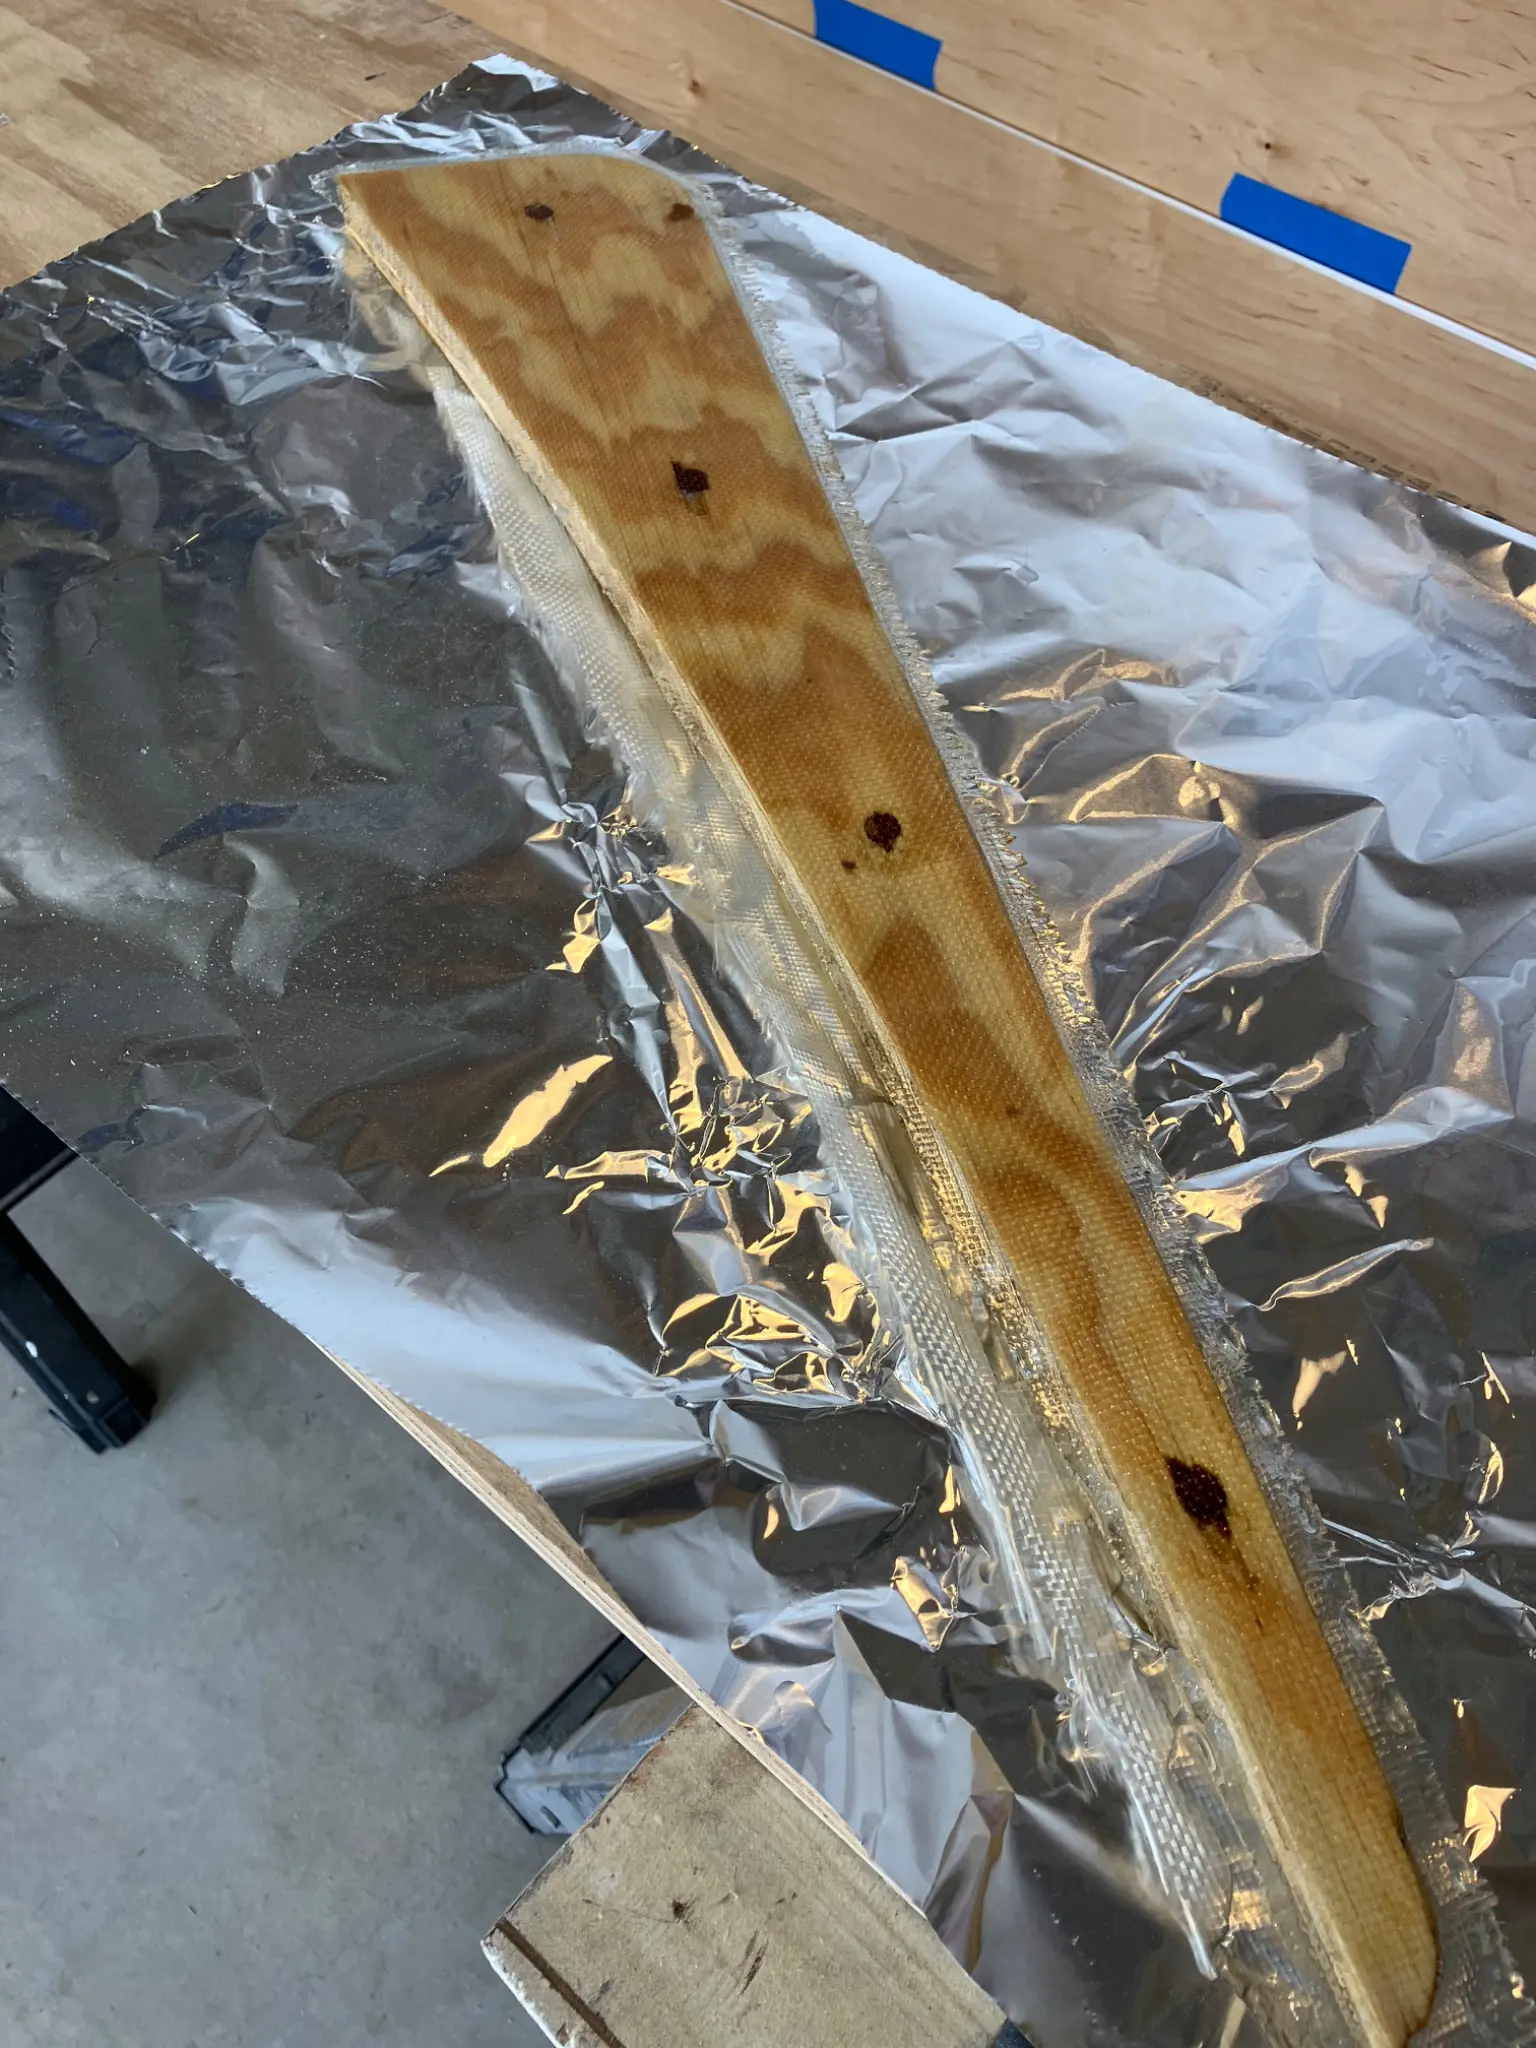
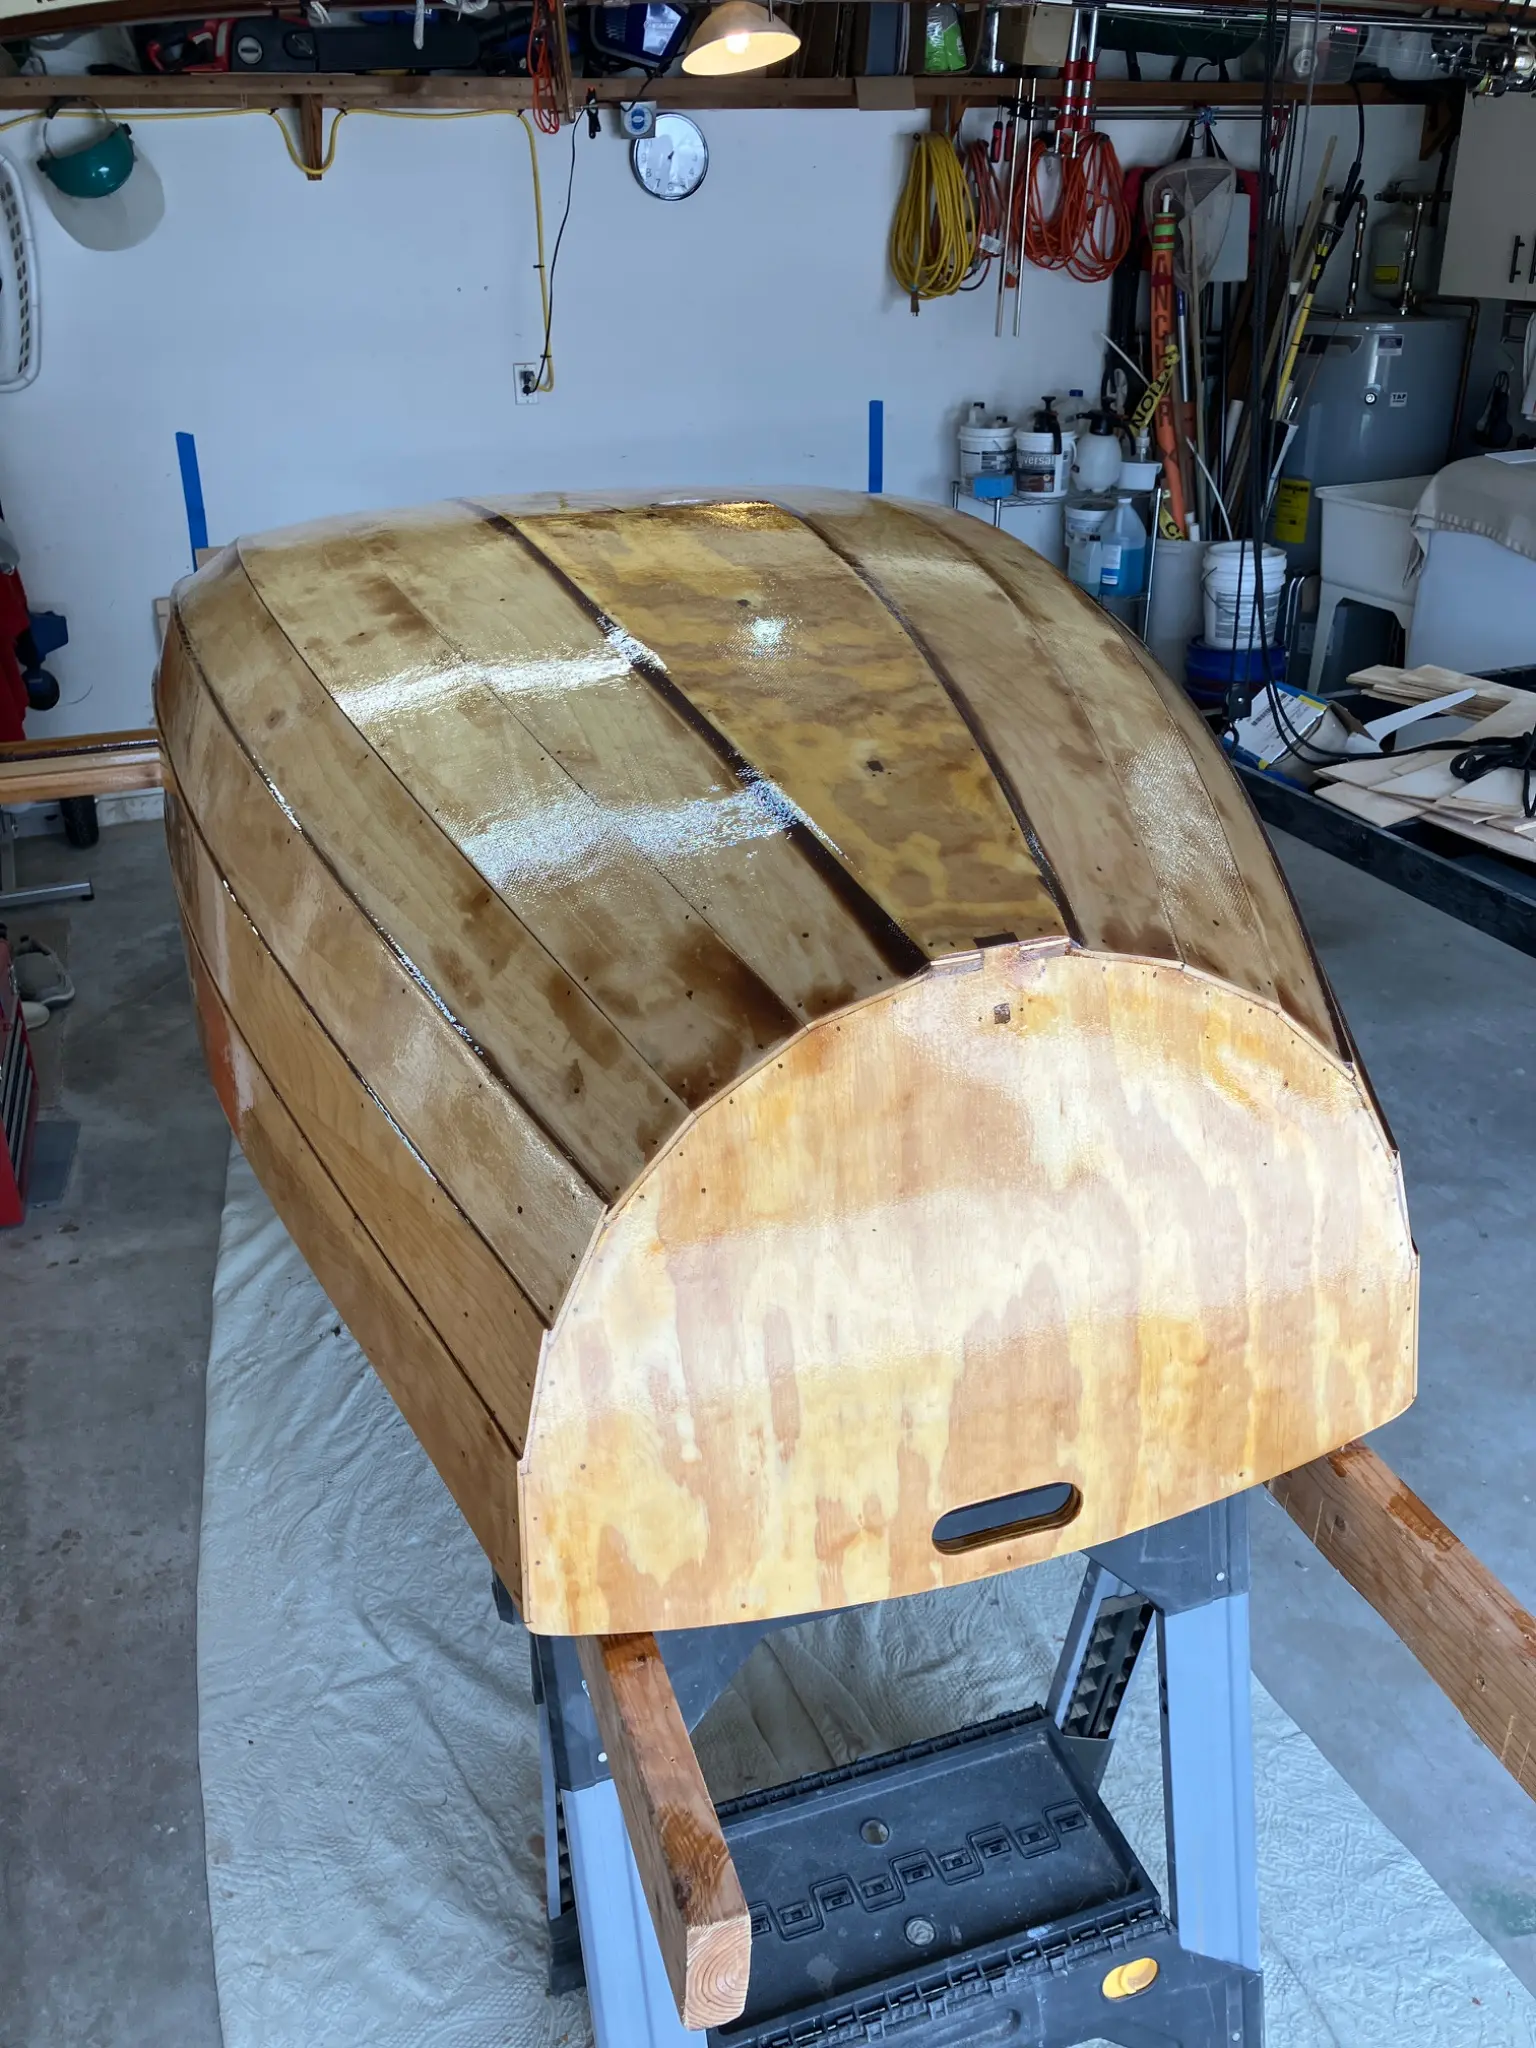
This picture displays the keel after it was installed and filleted. I didn't cut a handle in my keel. Wanted to have the best tracking when I towed behind the boat.
Chapter 05
Turning over, keel and skeg, rubrails, exterior structure.
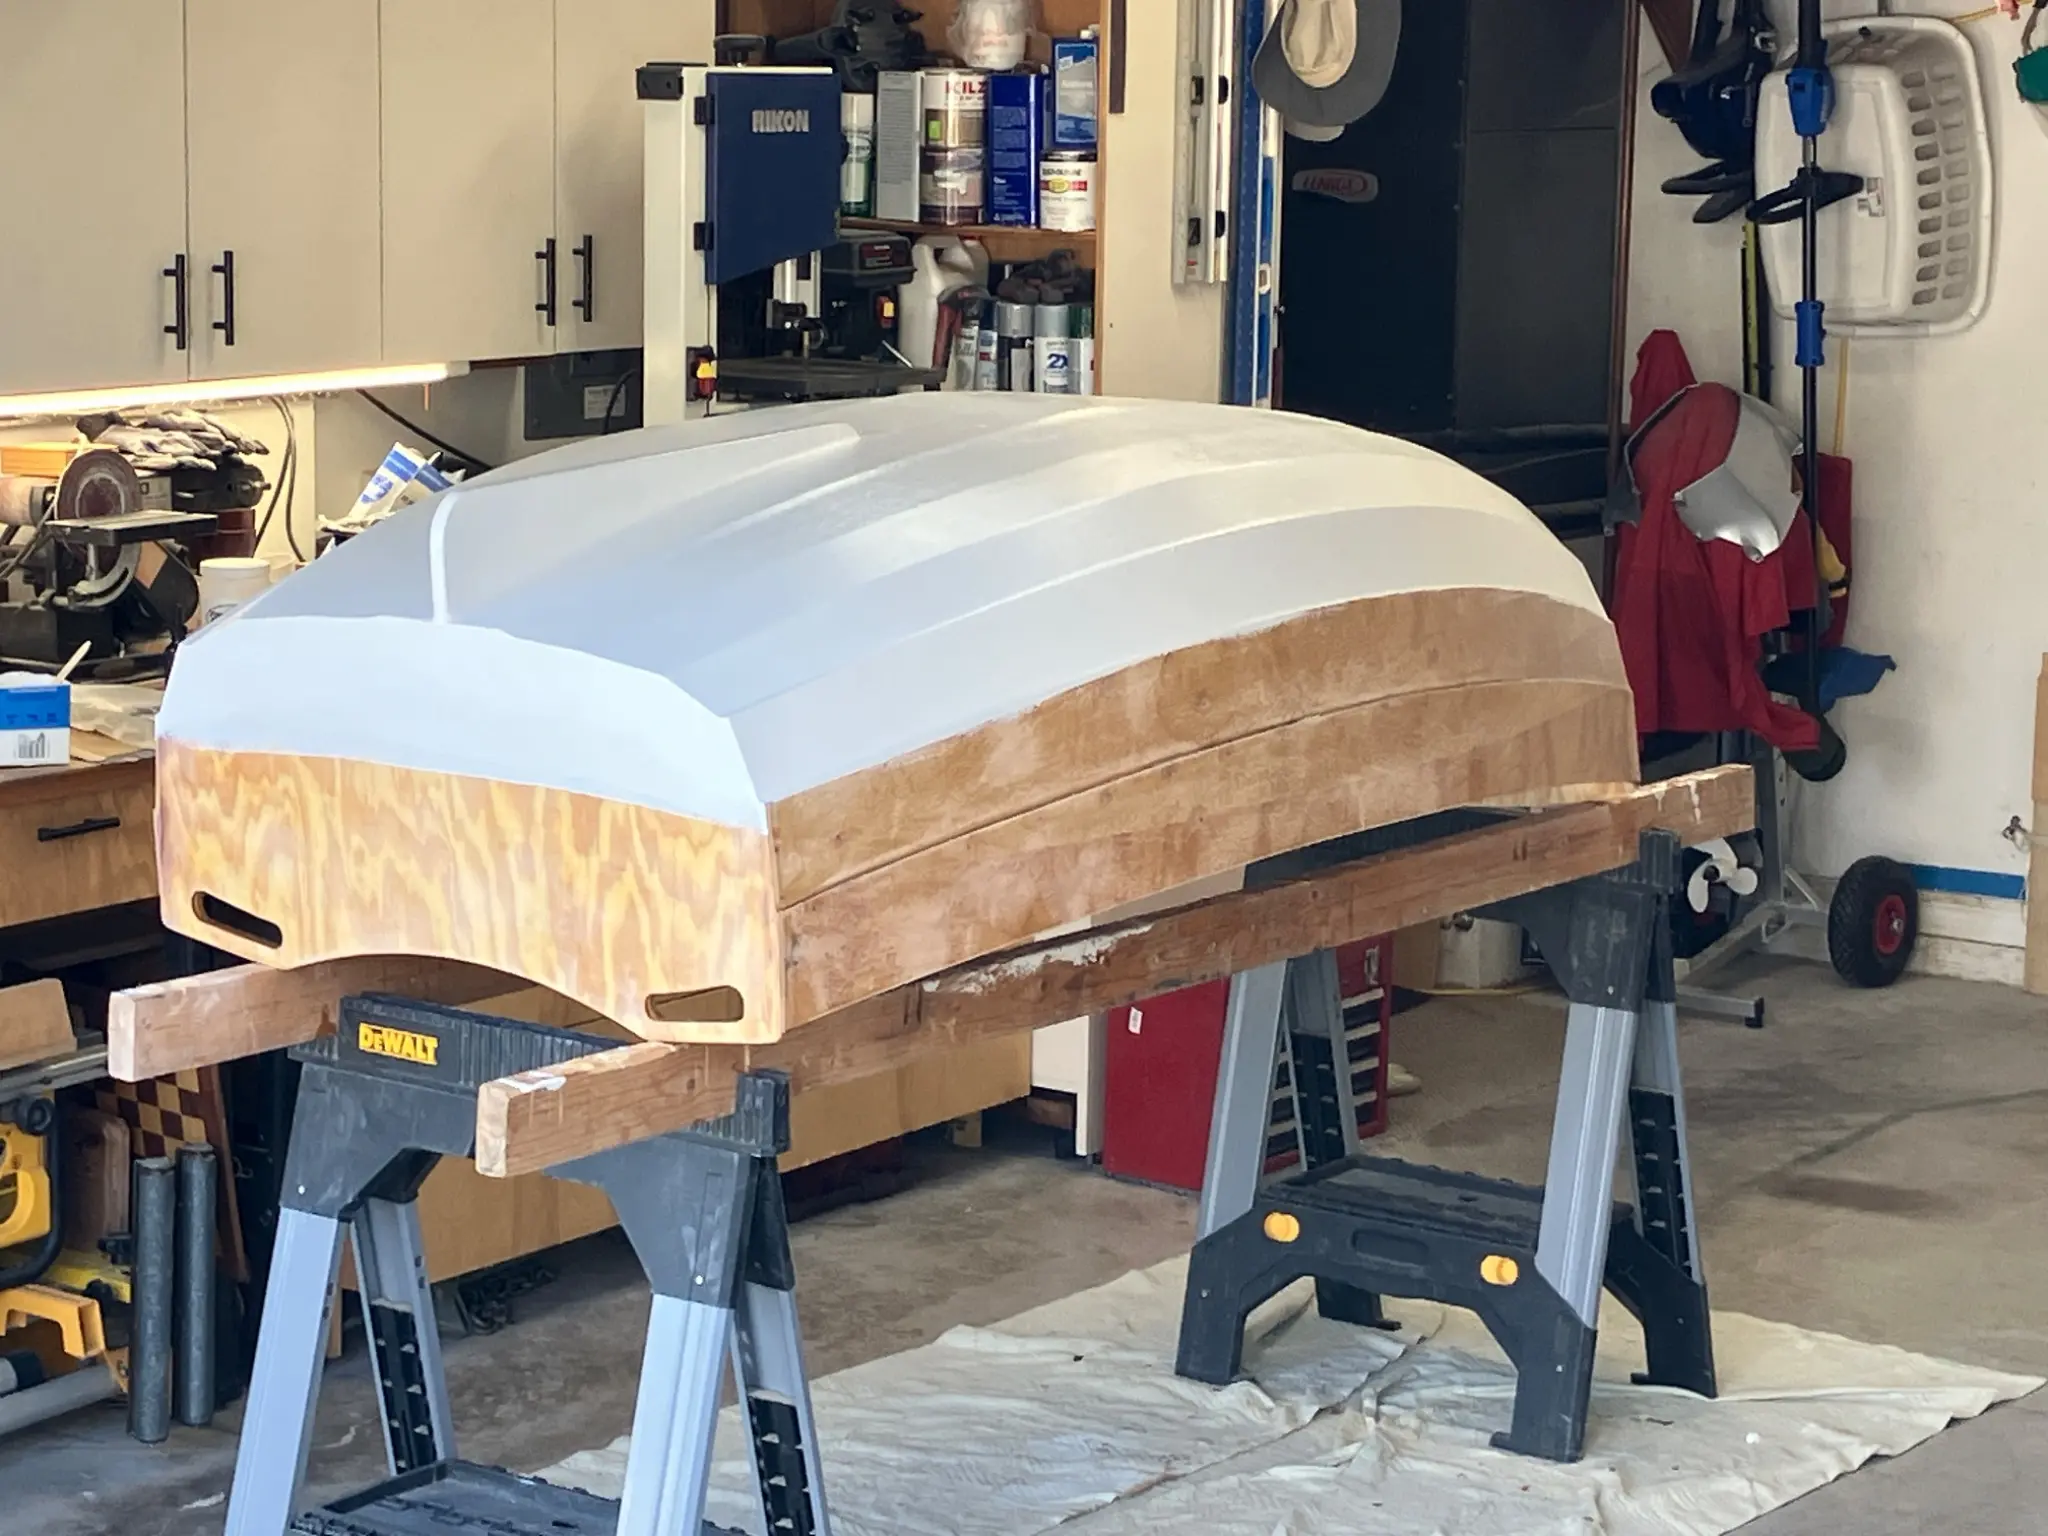
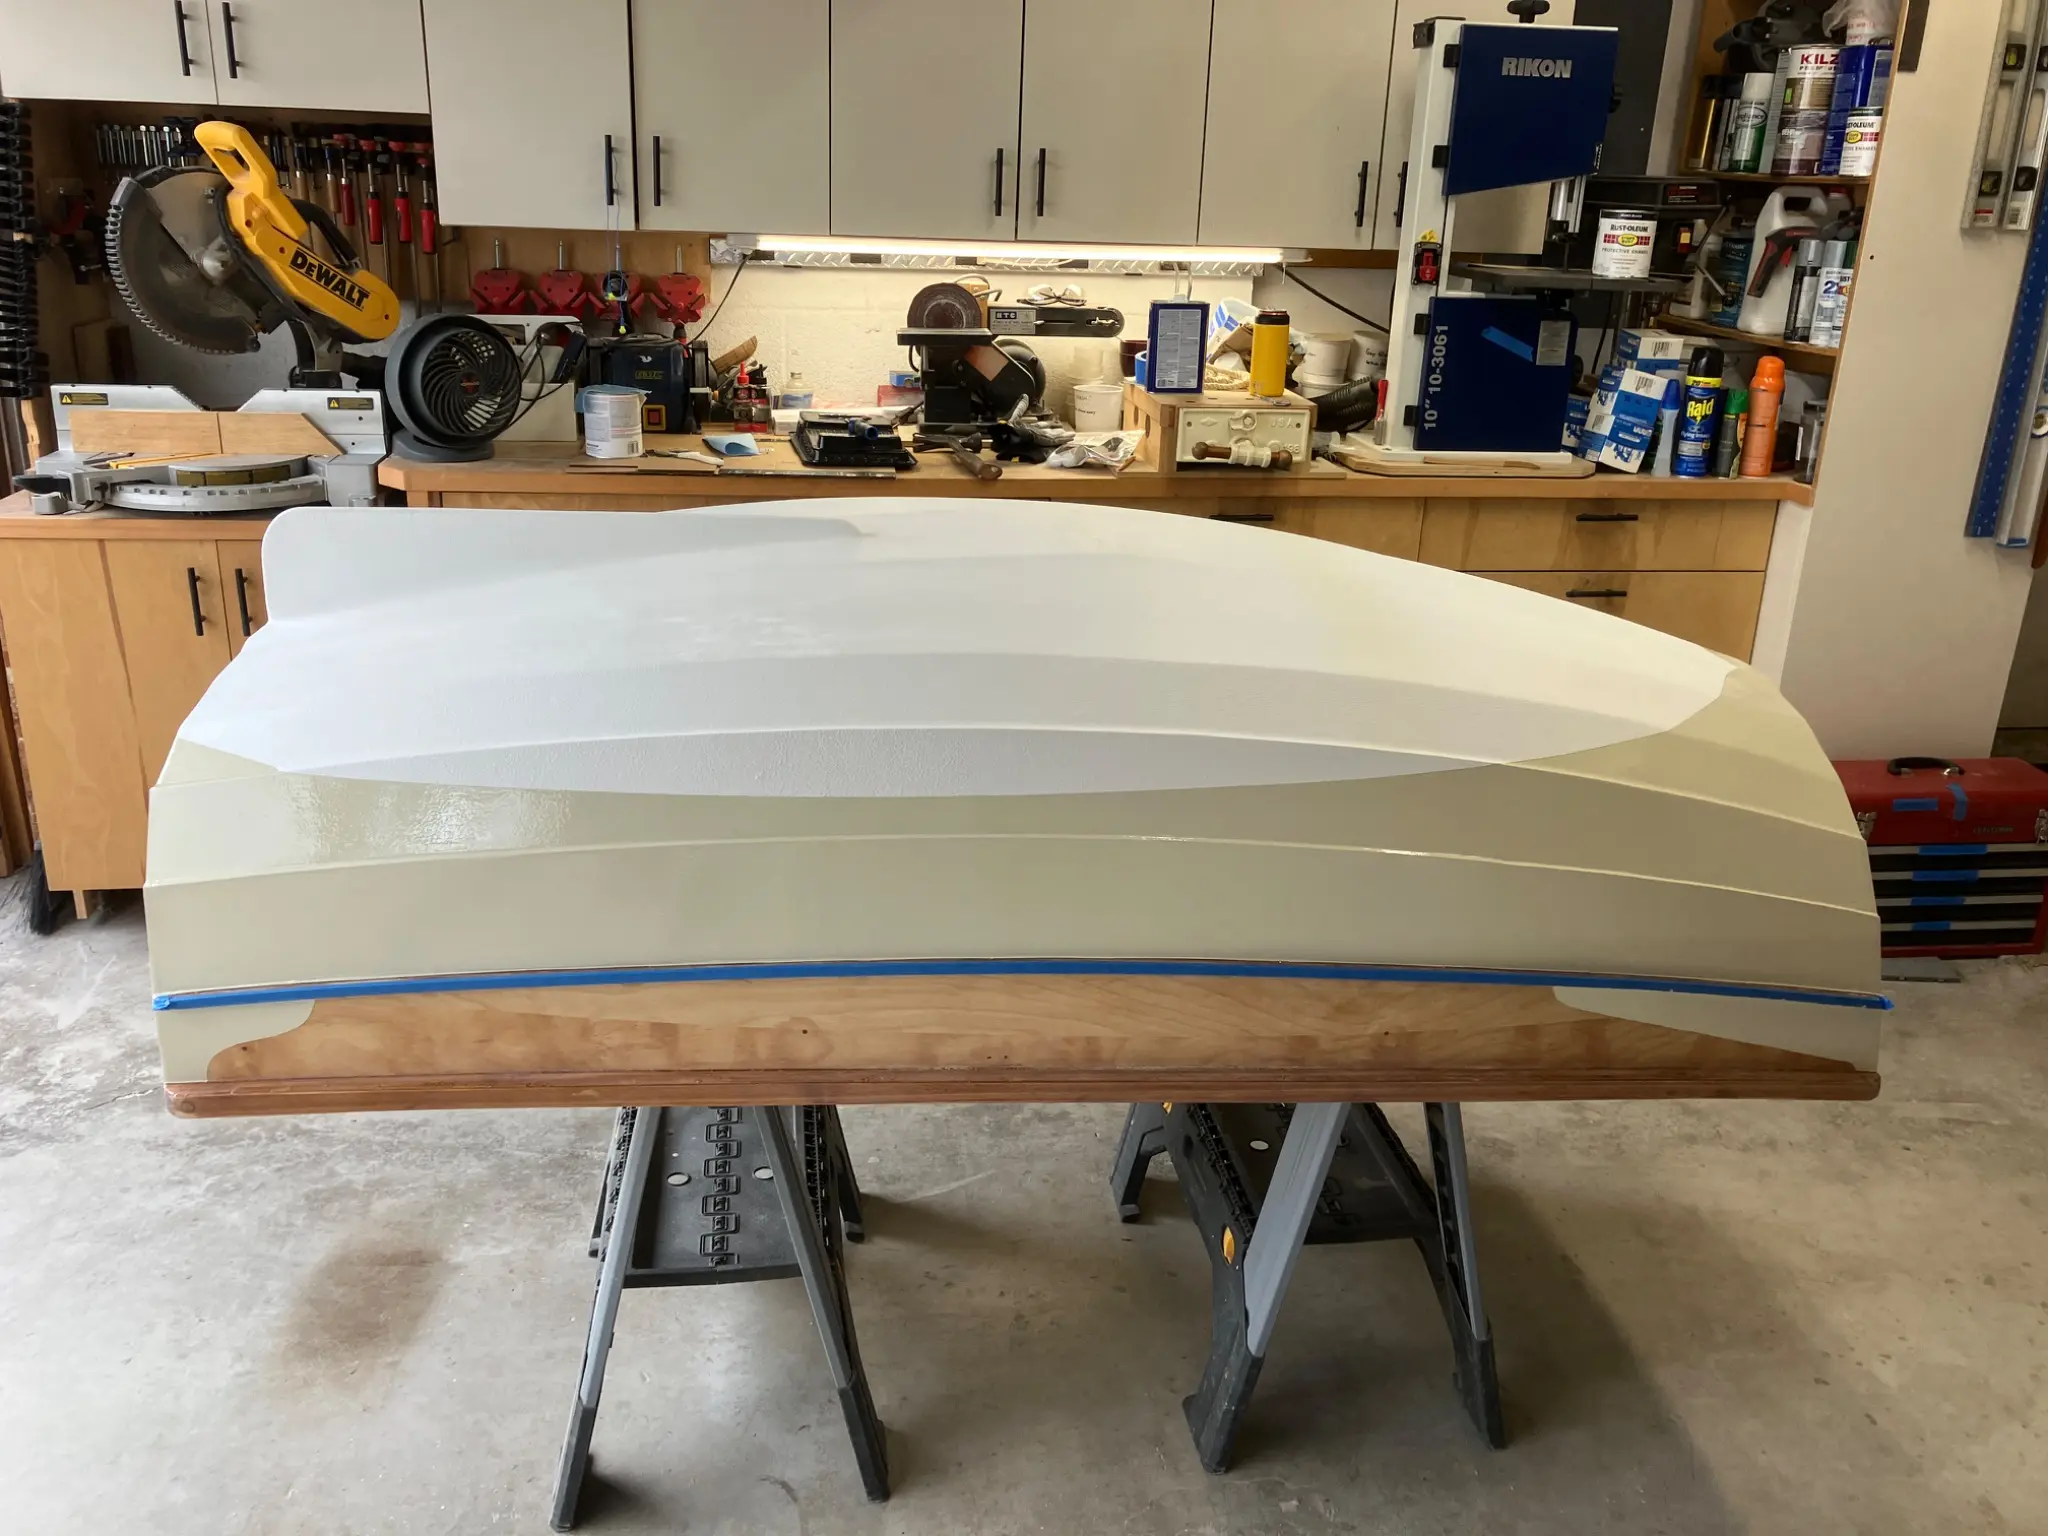
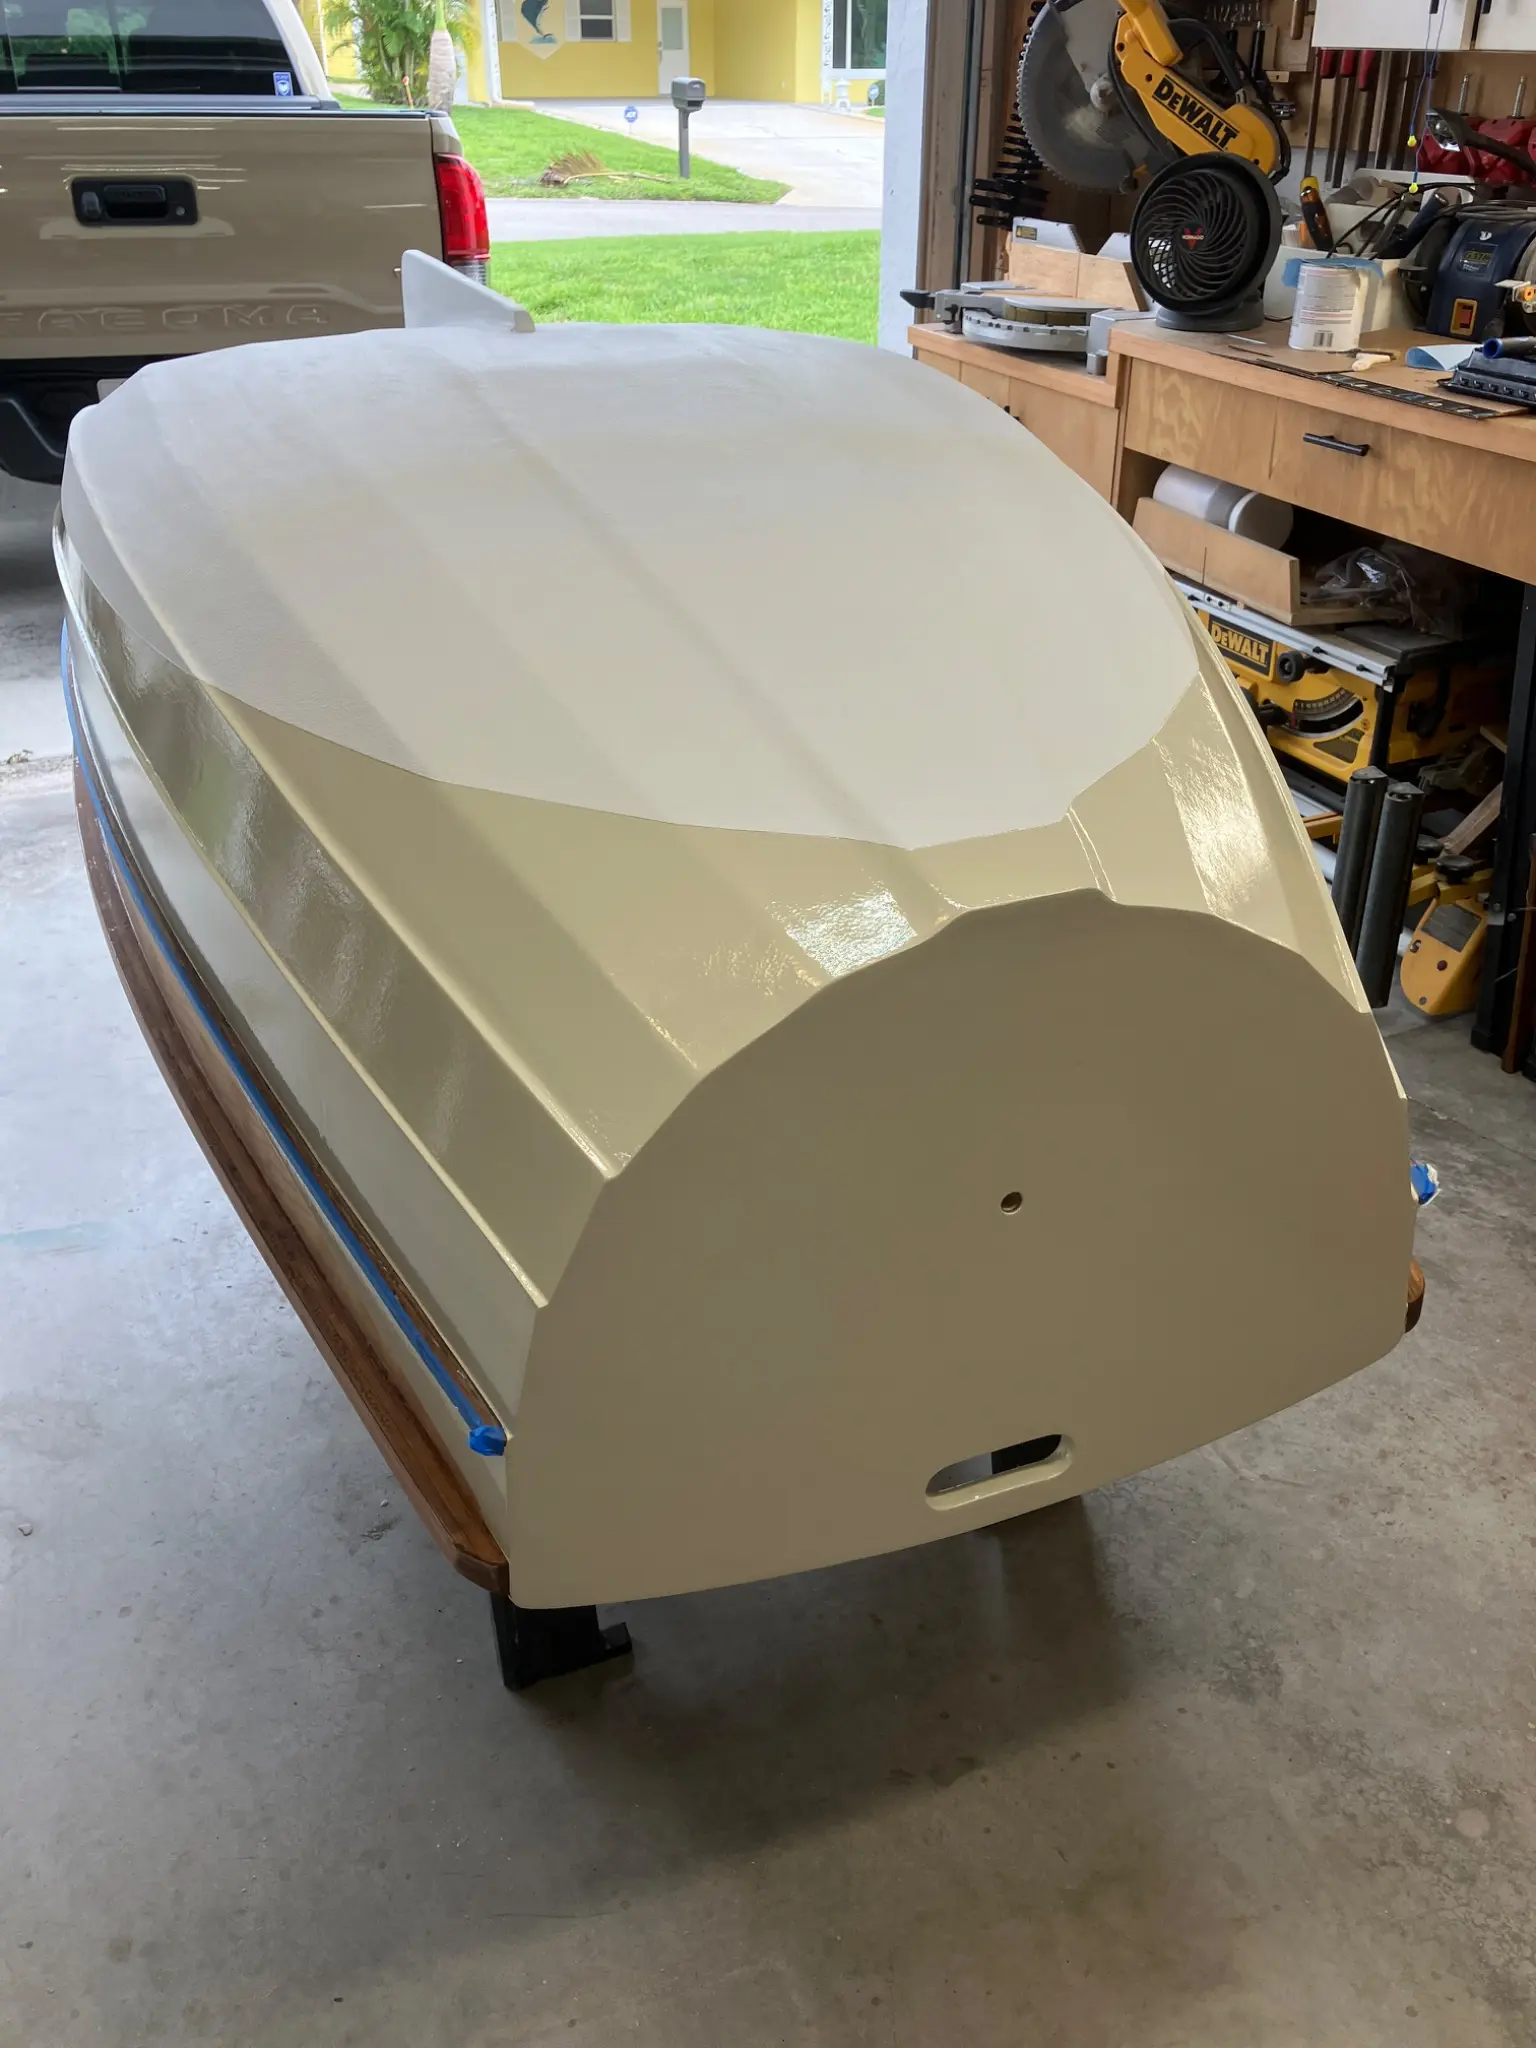
When I built this dinghy, it was meant to be used and abused. So I didn't want to have a fancy nice clean painted bottom that was gonna be high maintenance and scratch easy. So I built up the bottom with gel coat nothing fancy, just rolled it on with a high build nap roller. I was going to polish it up and make it shiny but then I thought it's gonna get scratched up anyway, so I left it the way it was. It has six coats of gel coat on the bottom. By doing this, it adds substantially to the weight of the finished boat.
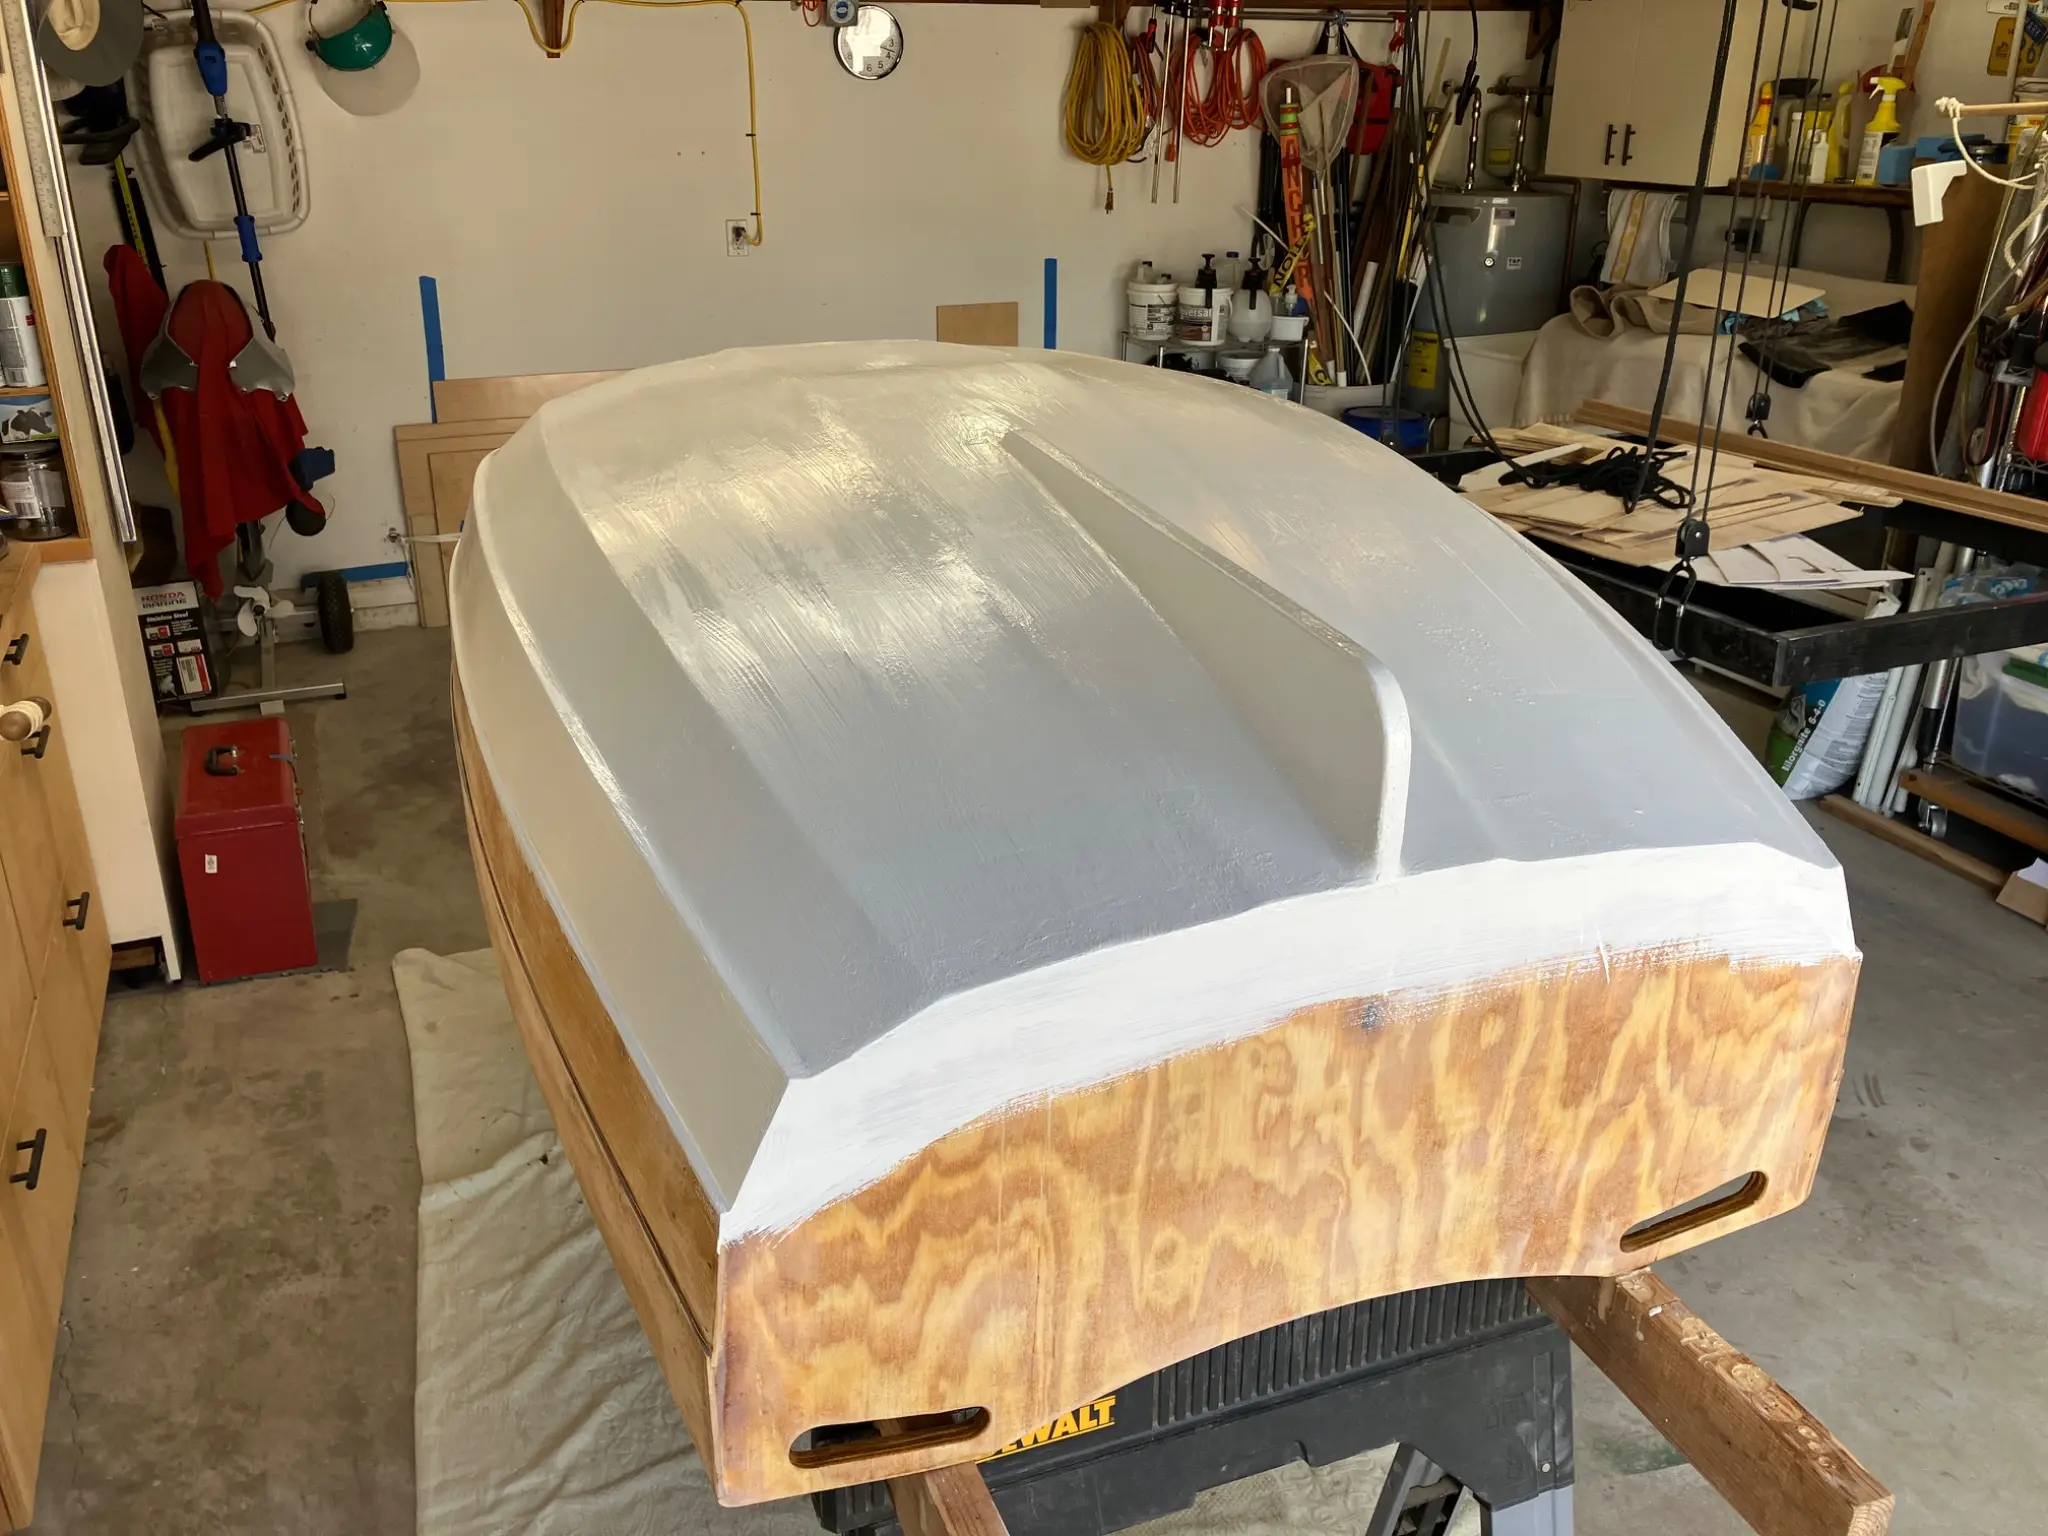
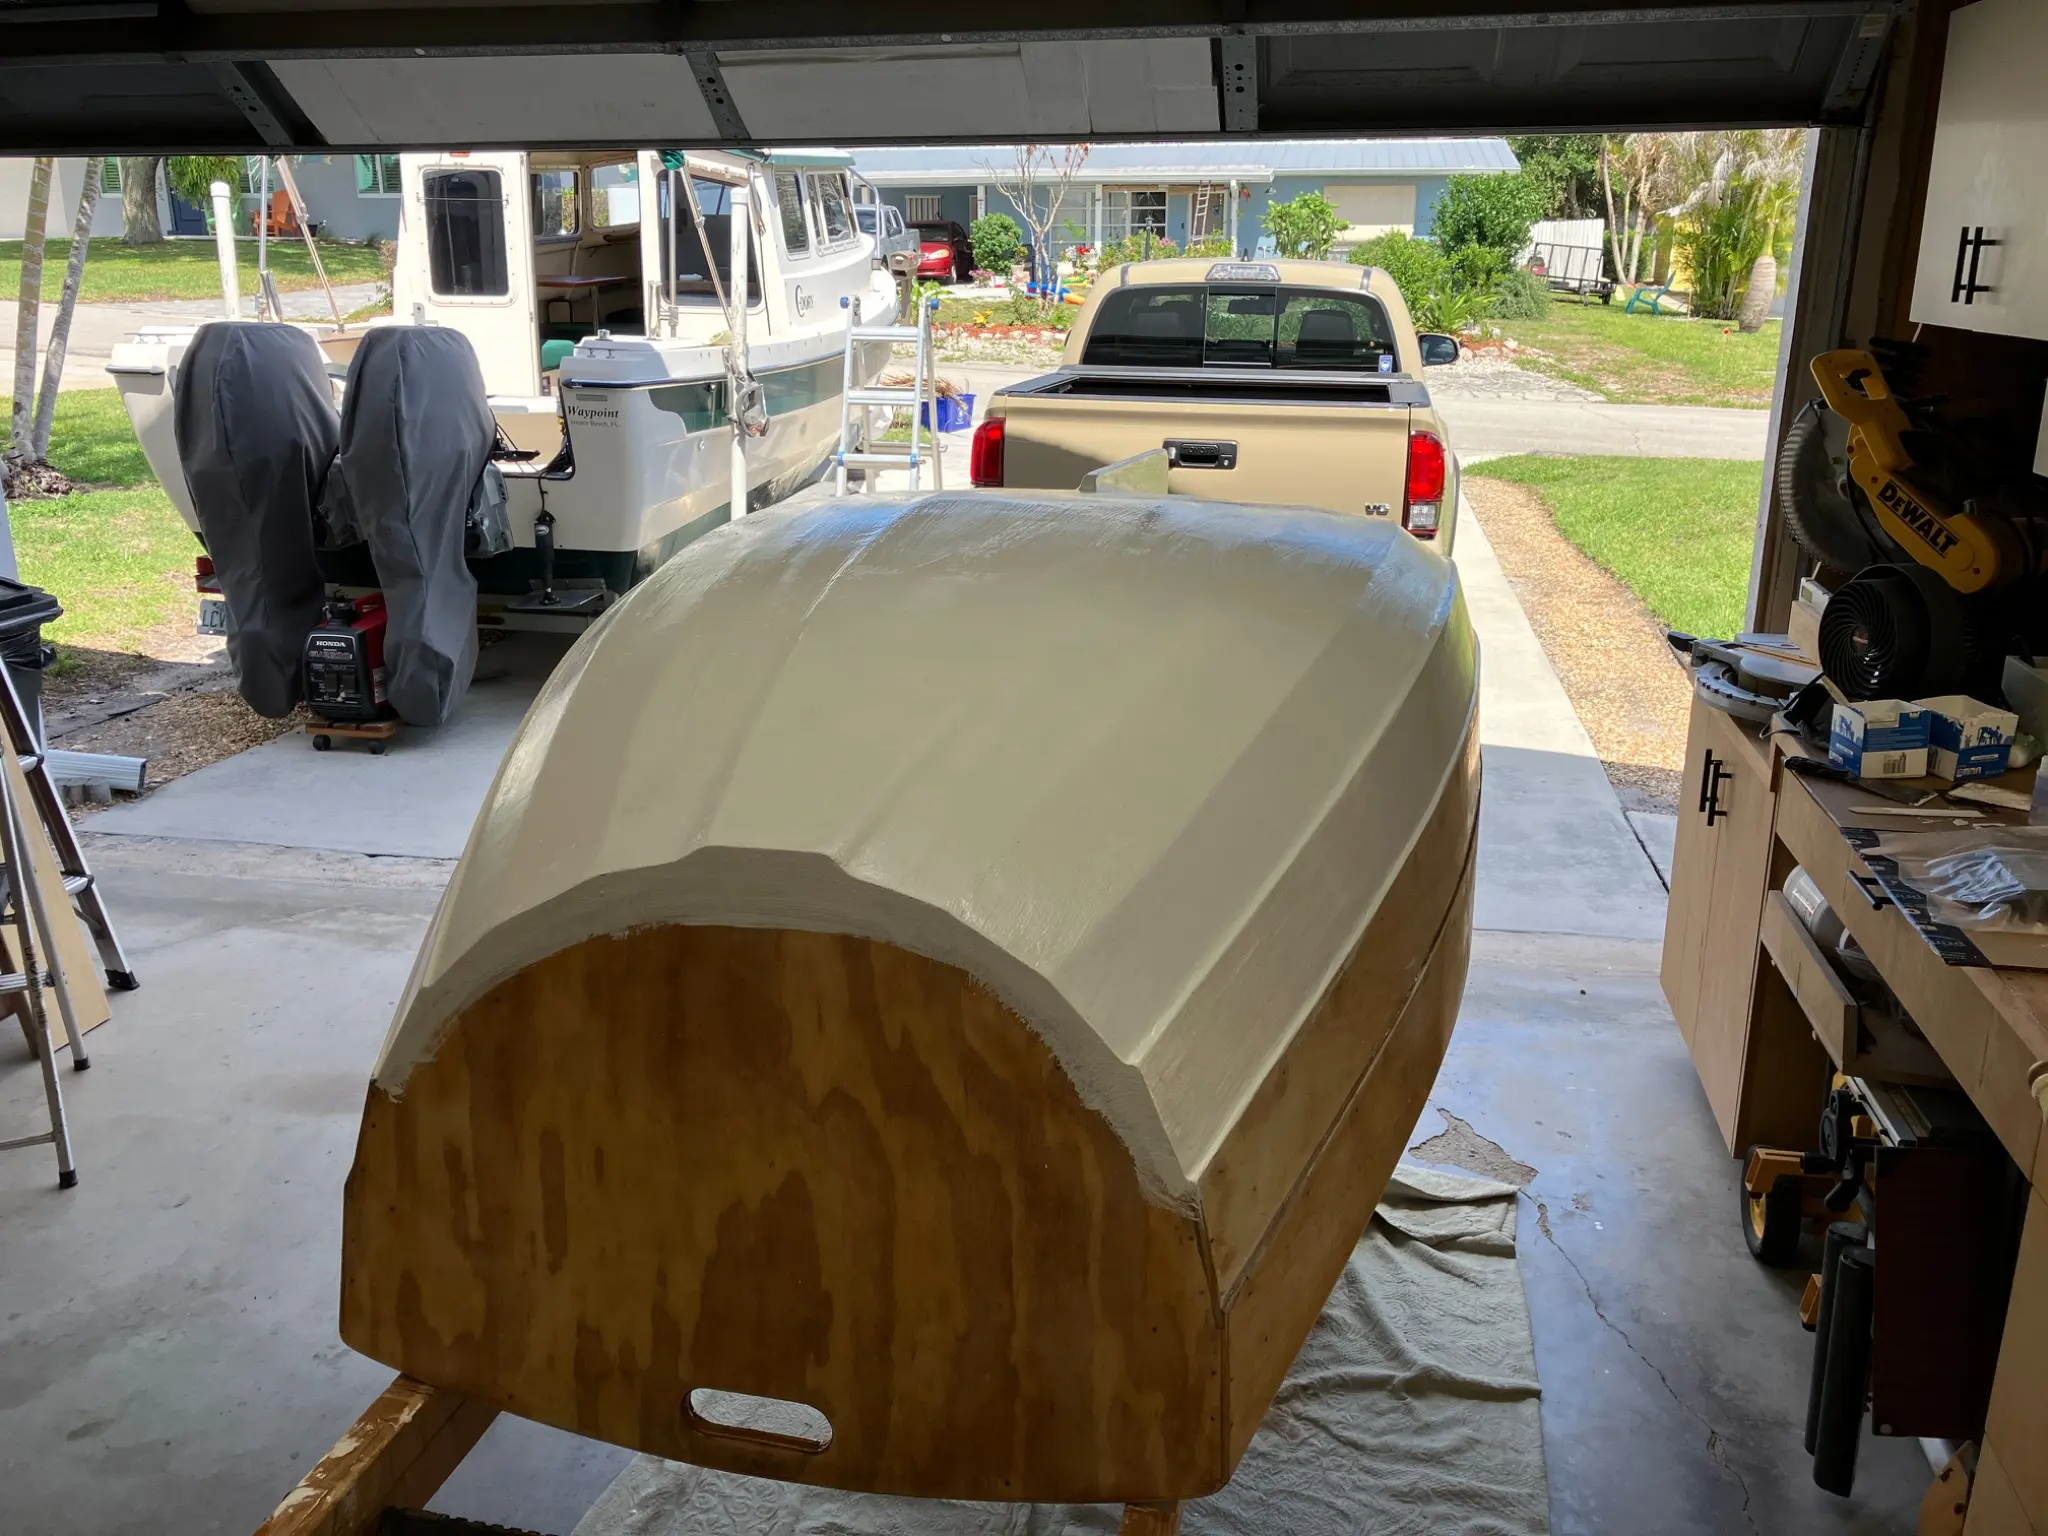
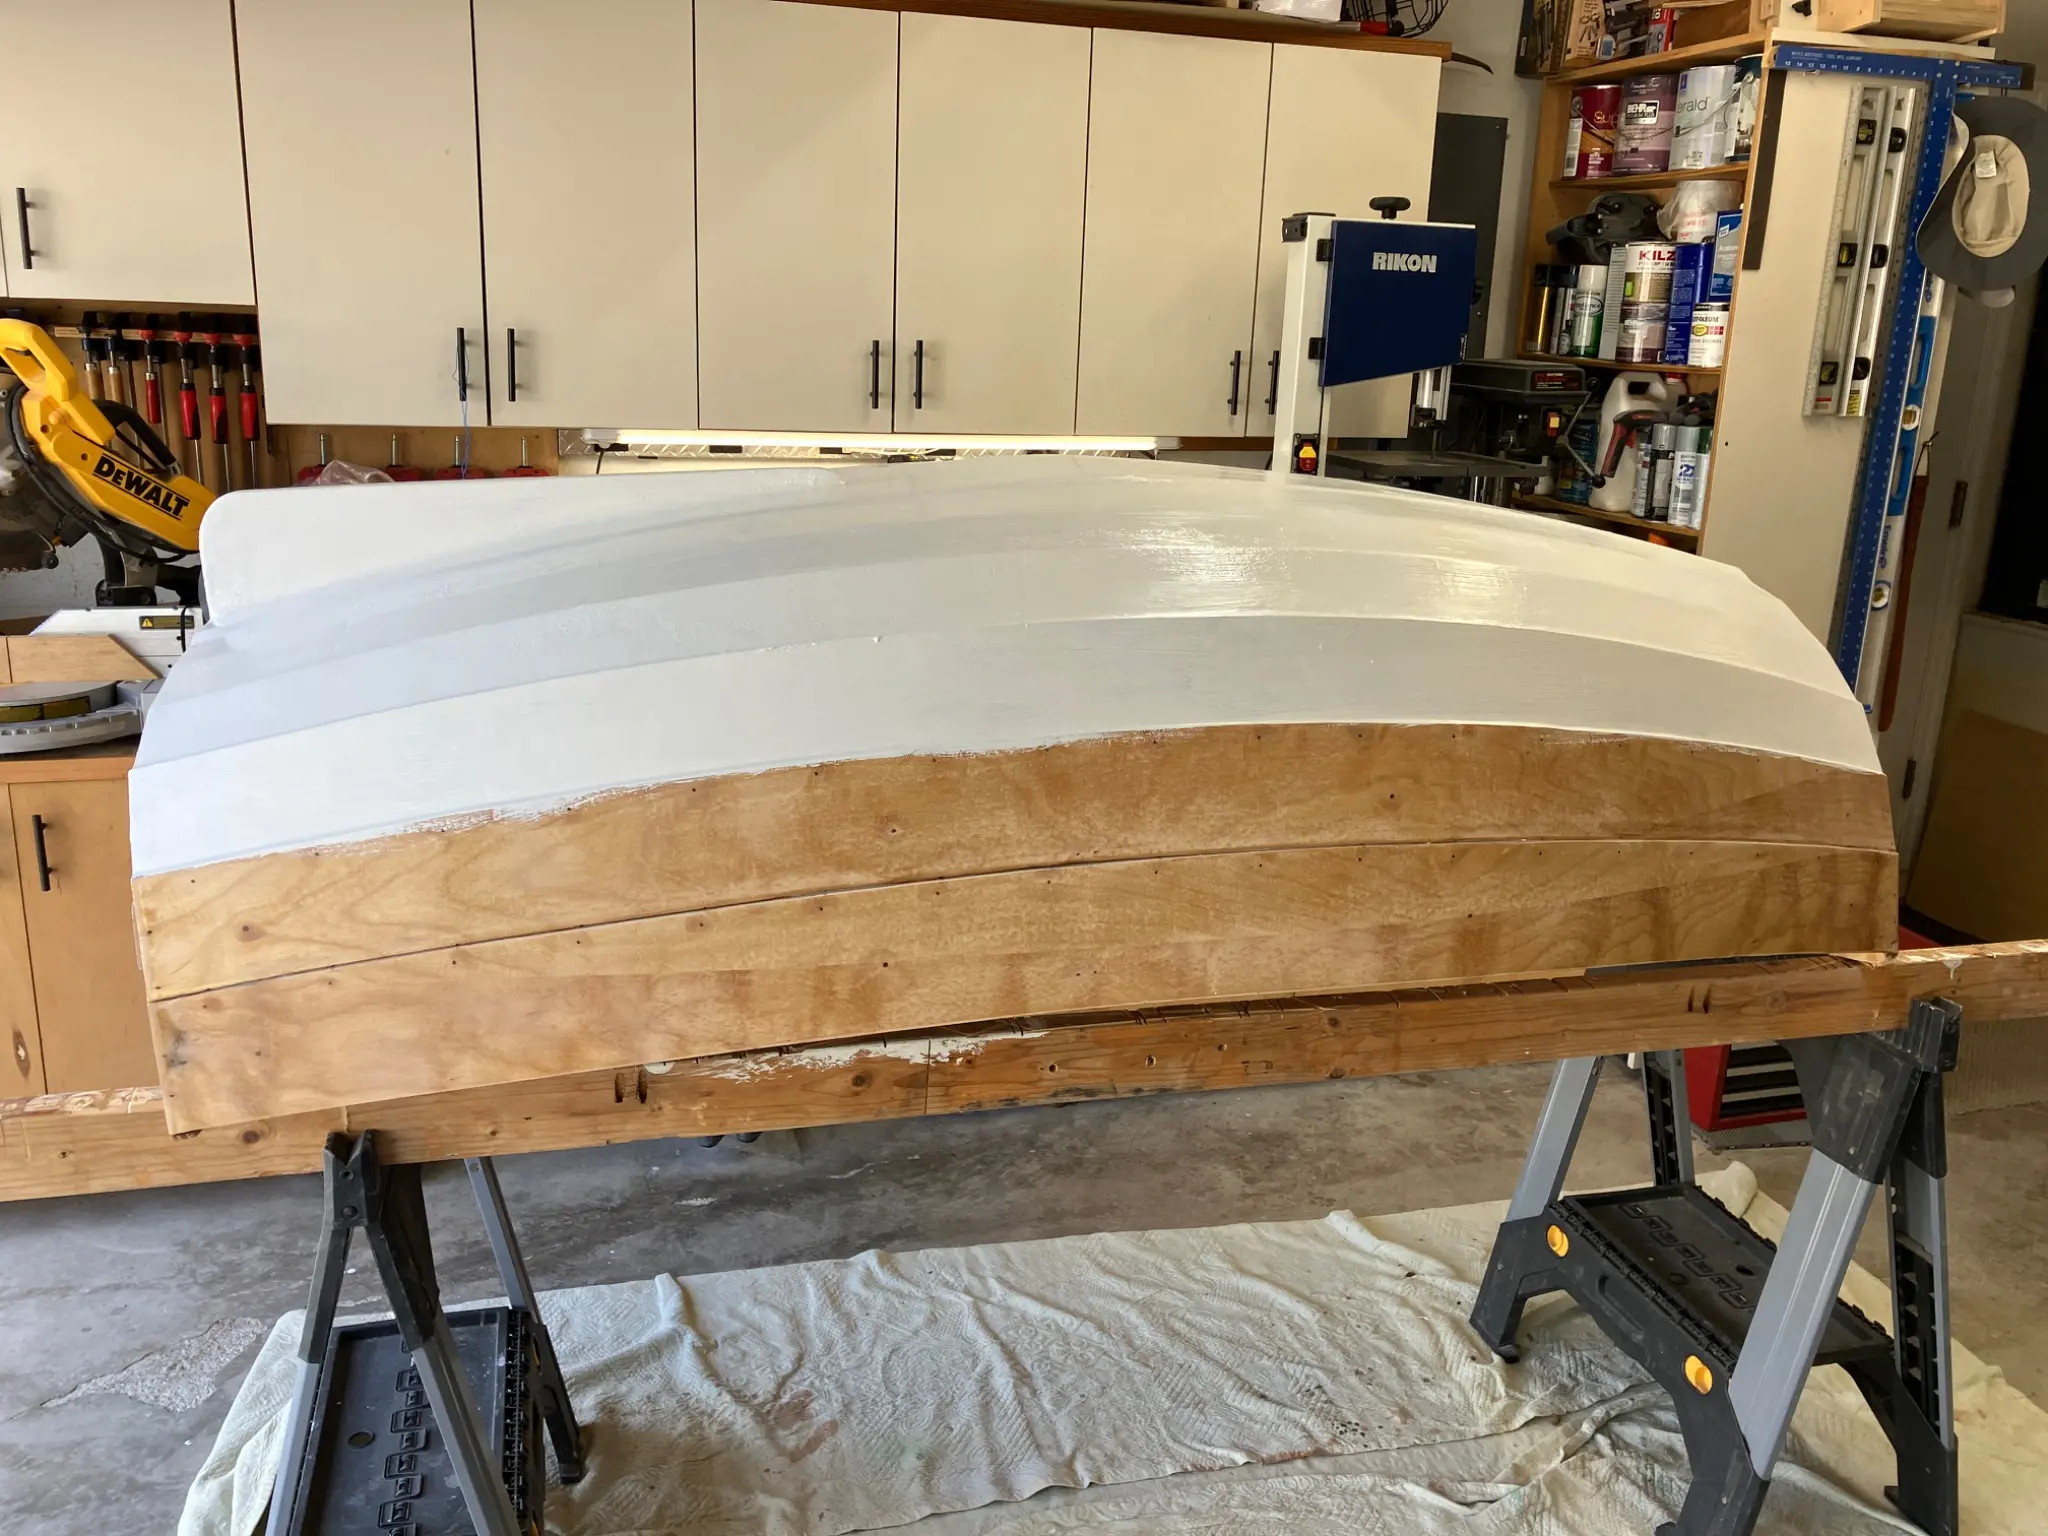
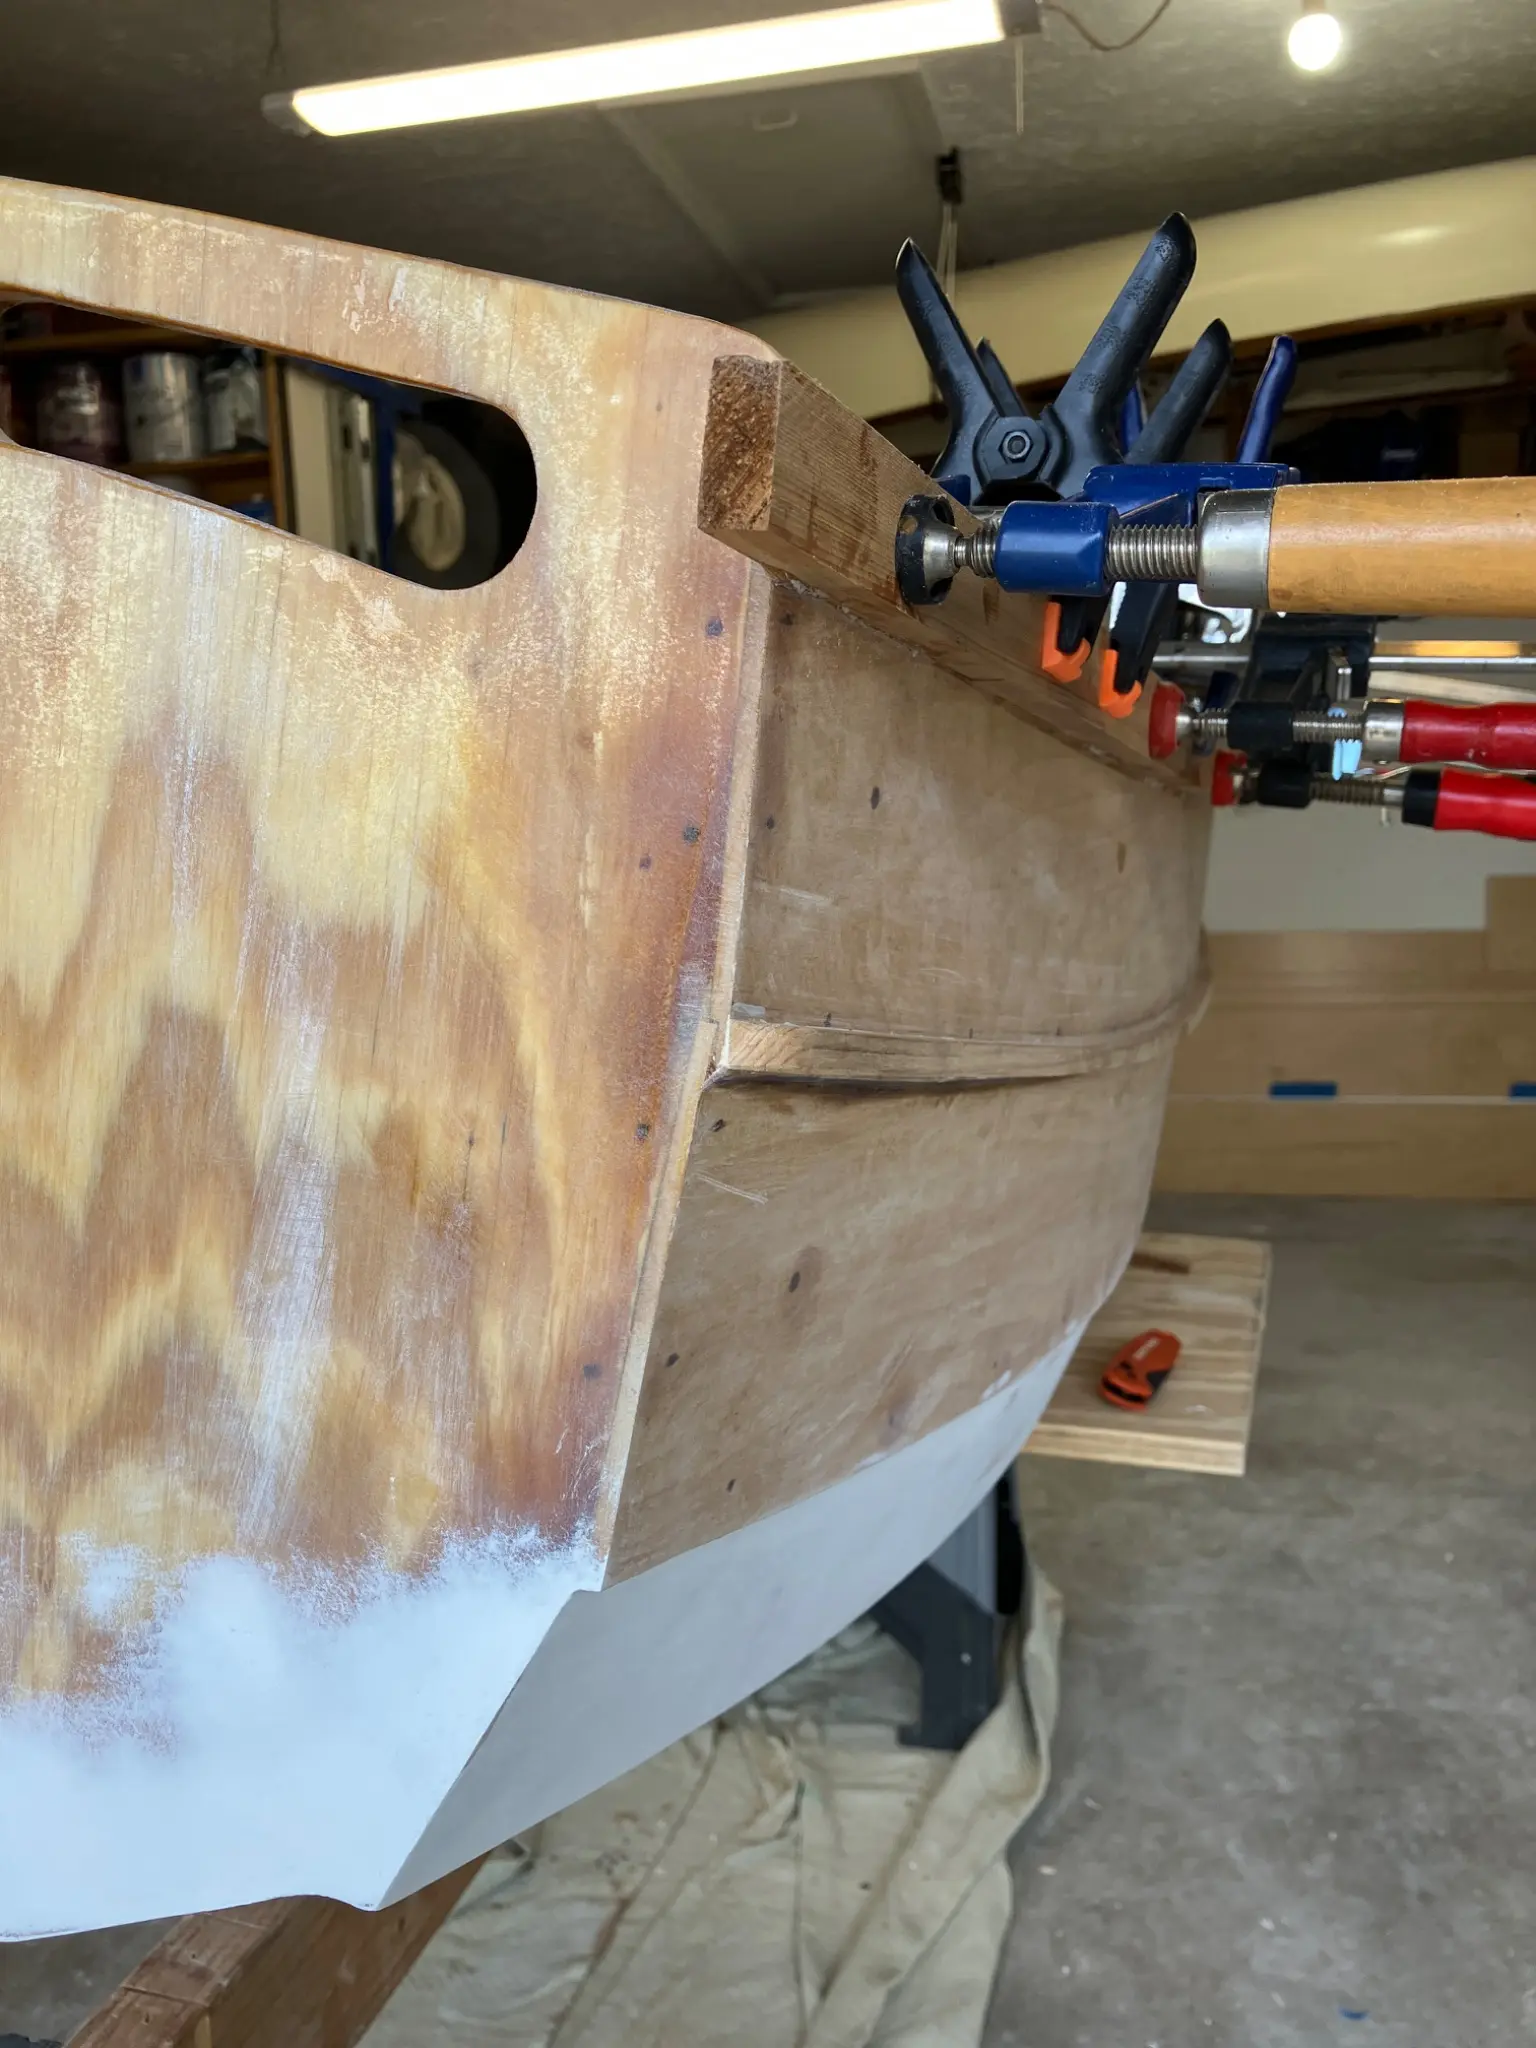
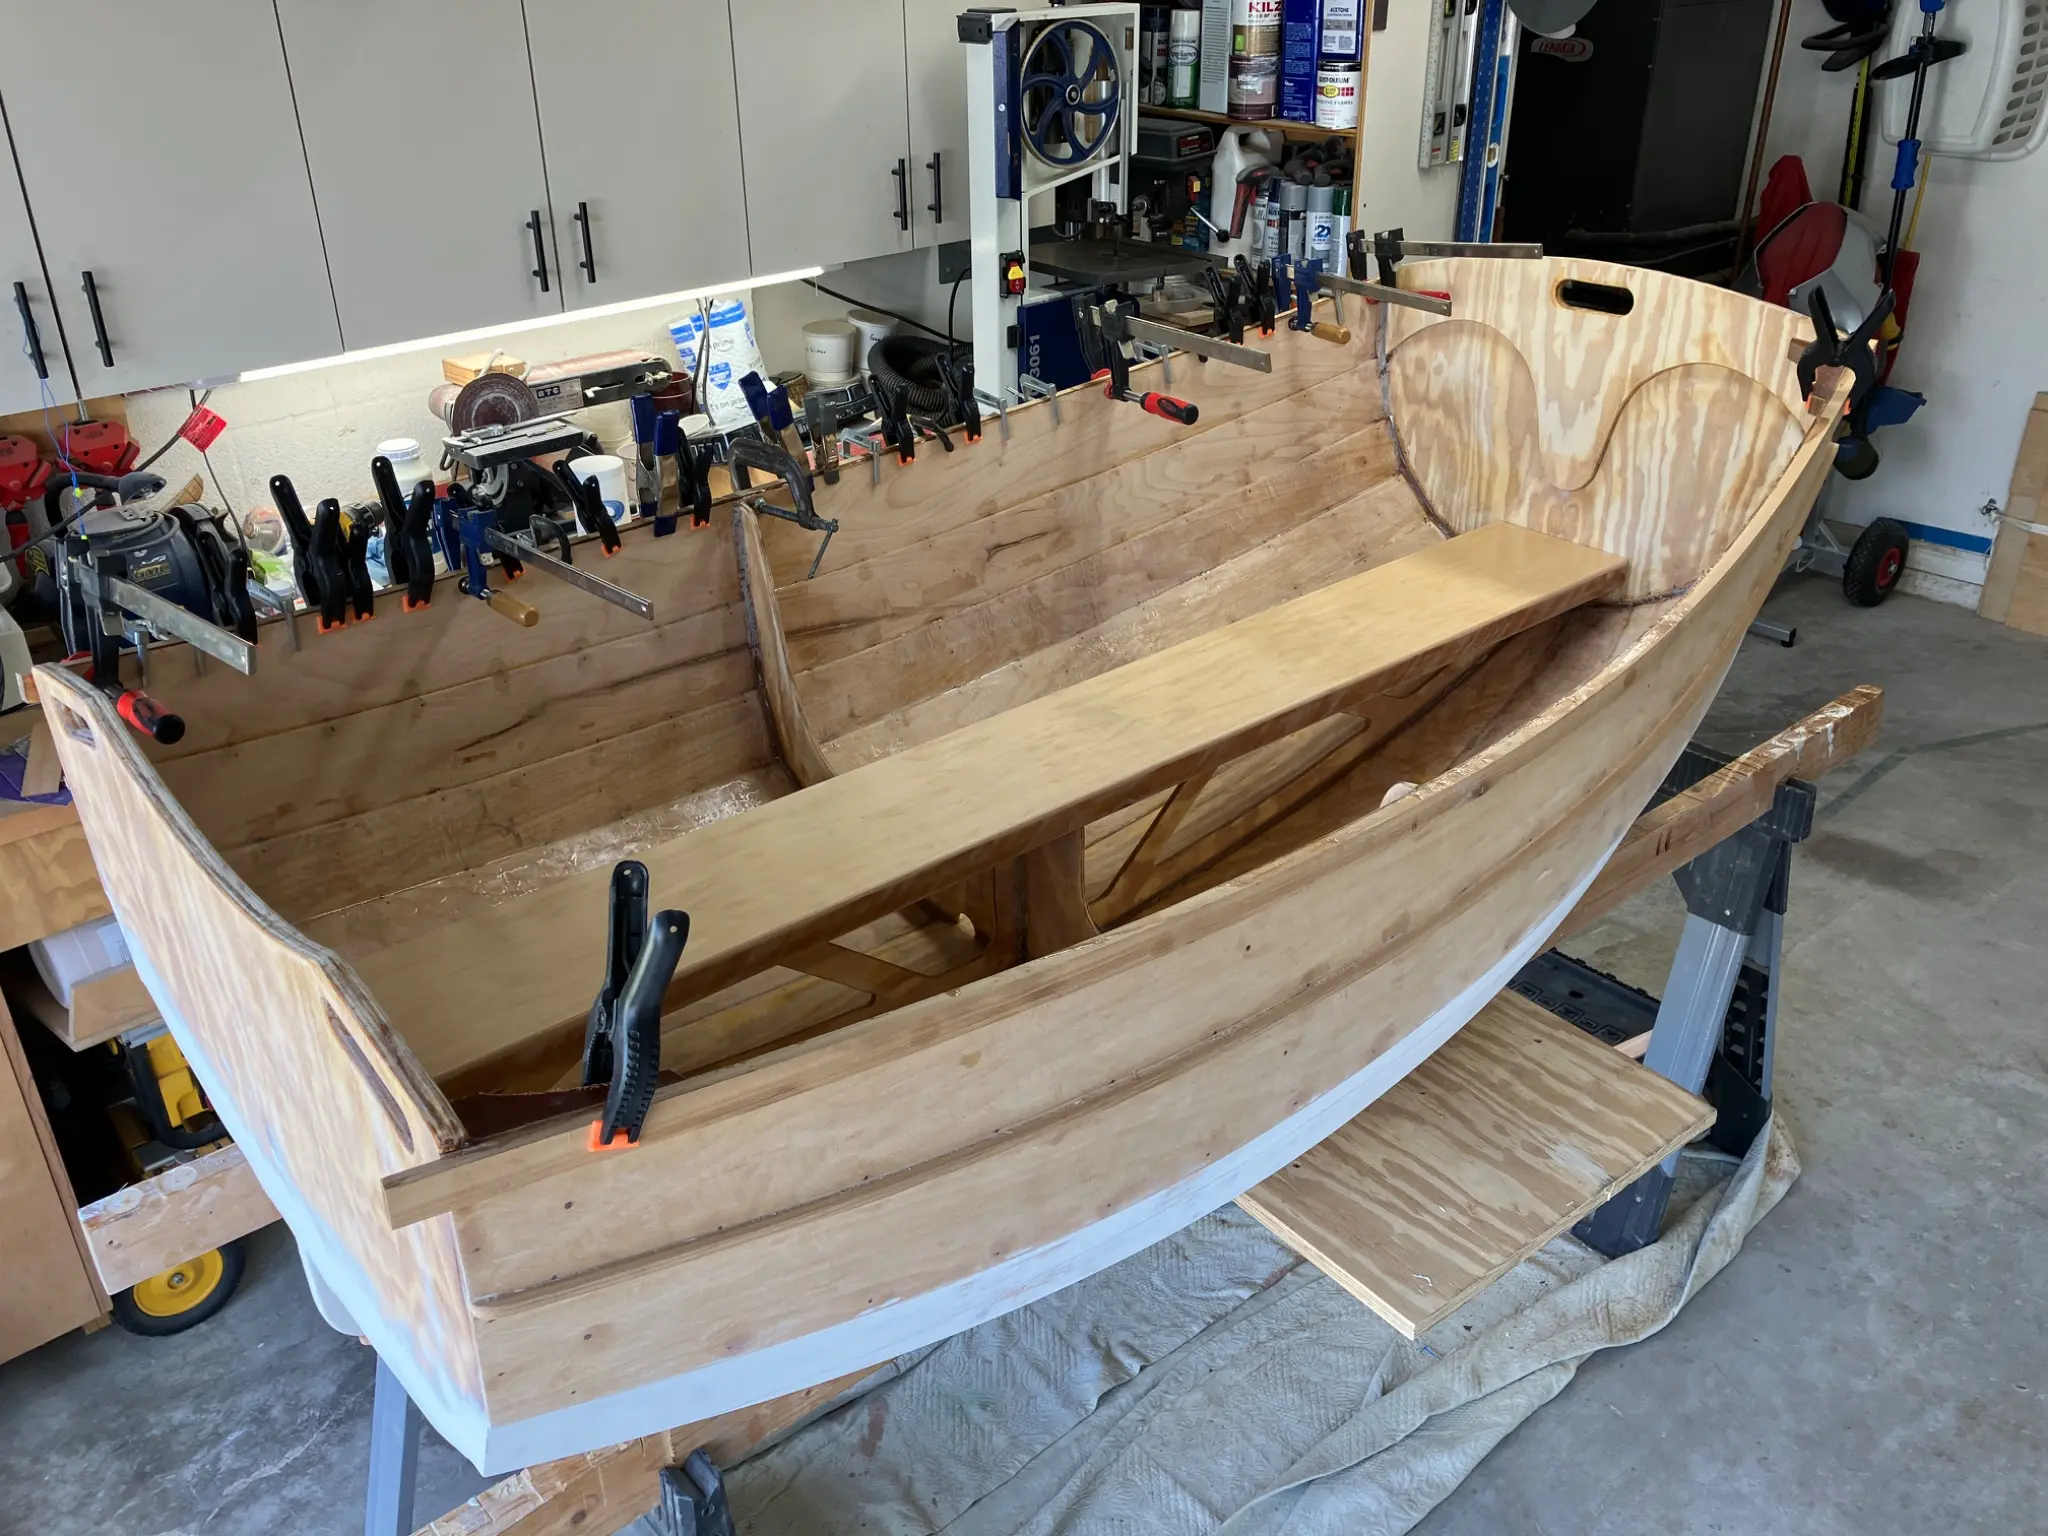
These pictures show how many clamps it takes just to put one side of the rub rails on. The boat is so small and curvy that I had to strip the rails into two pieces to make the compound bends in such a short distance of 6 ft. I used western red cedar for the rails this saves on weight and rot resistance.
Chapter 06
Bulkheads, seats, buoyancy, sole, storage.
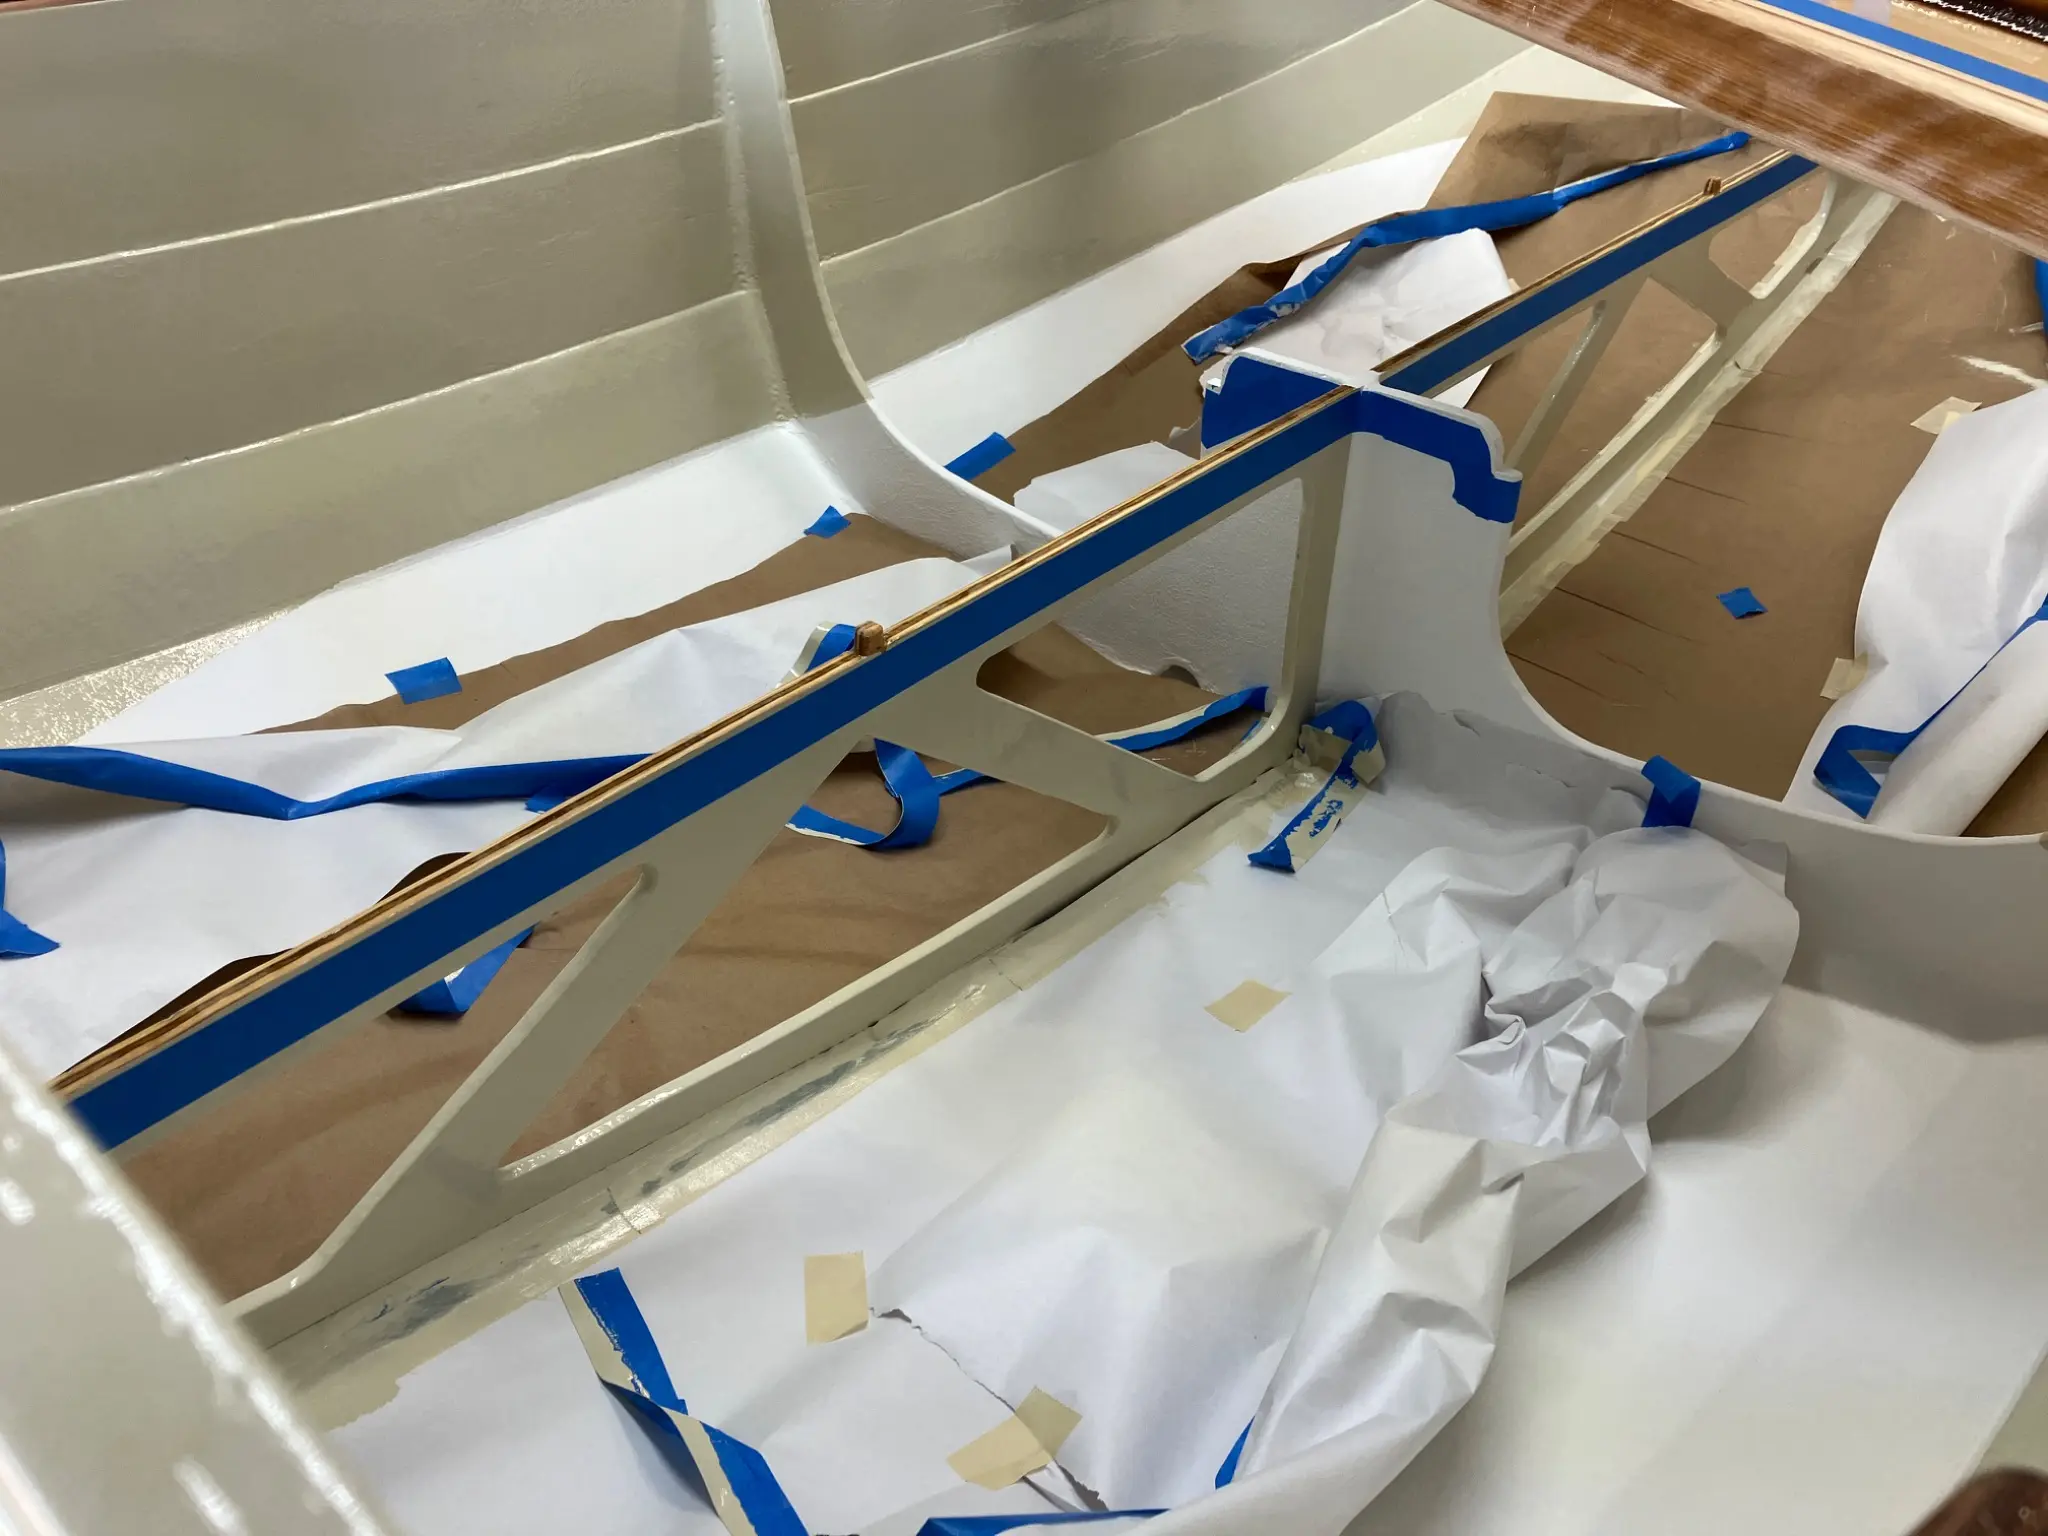
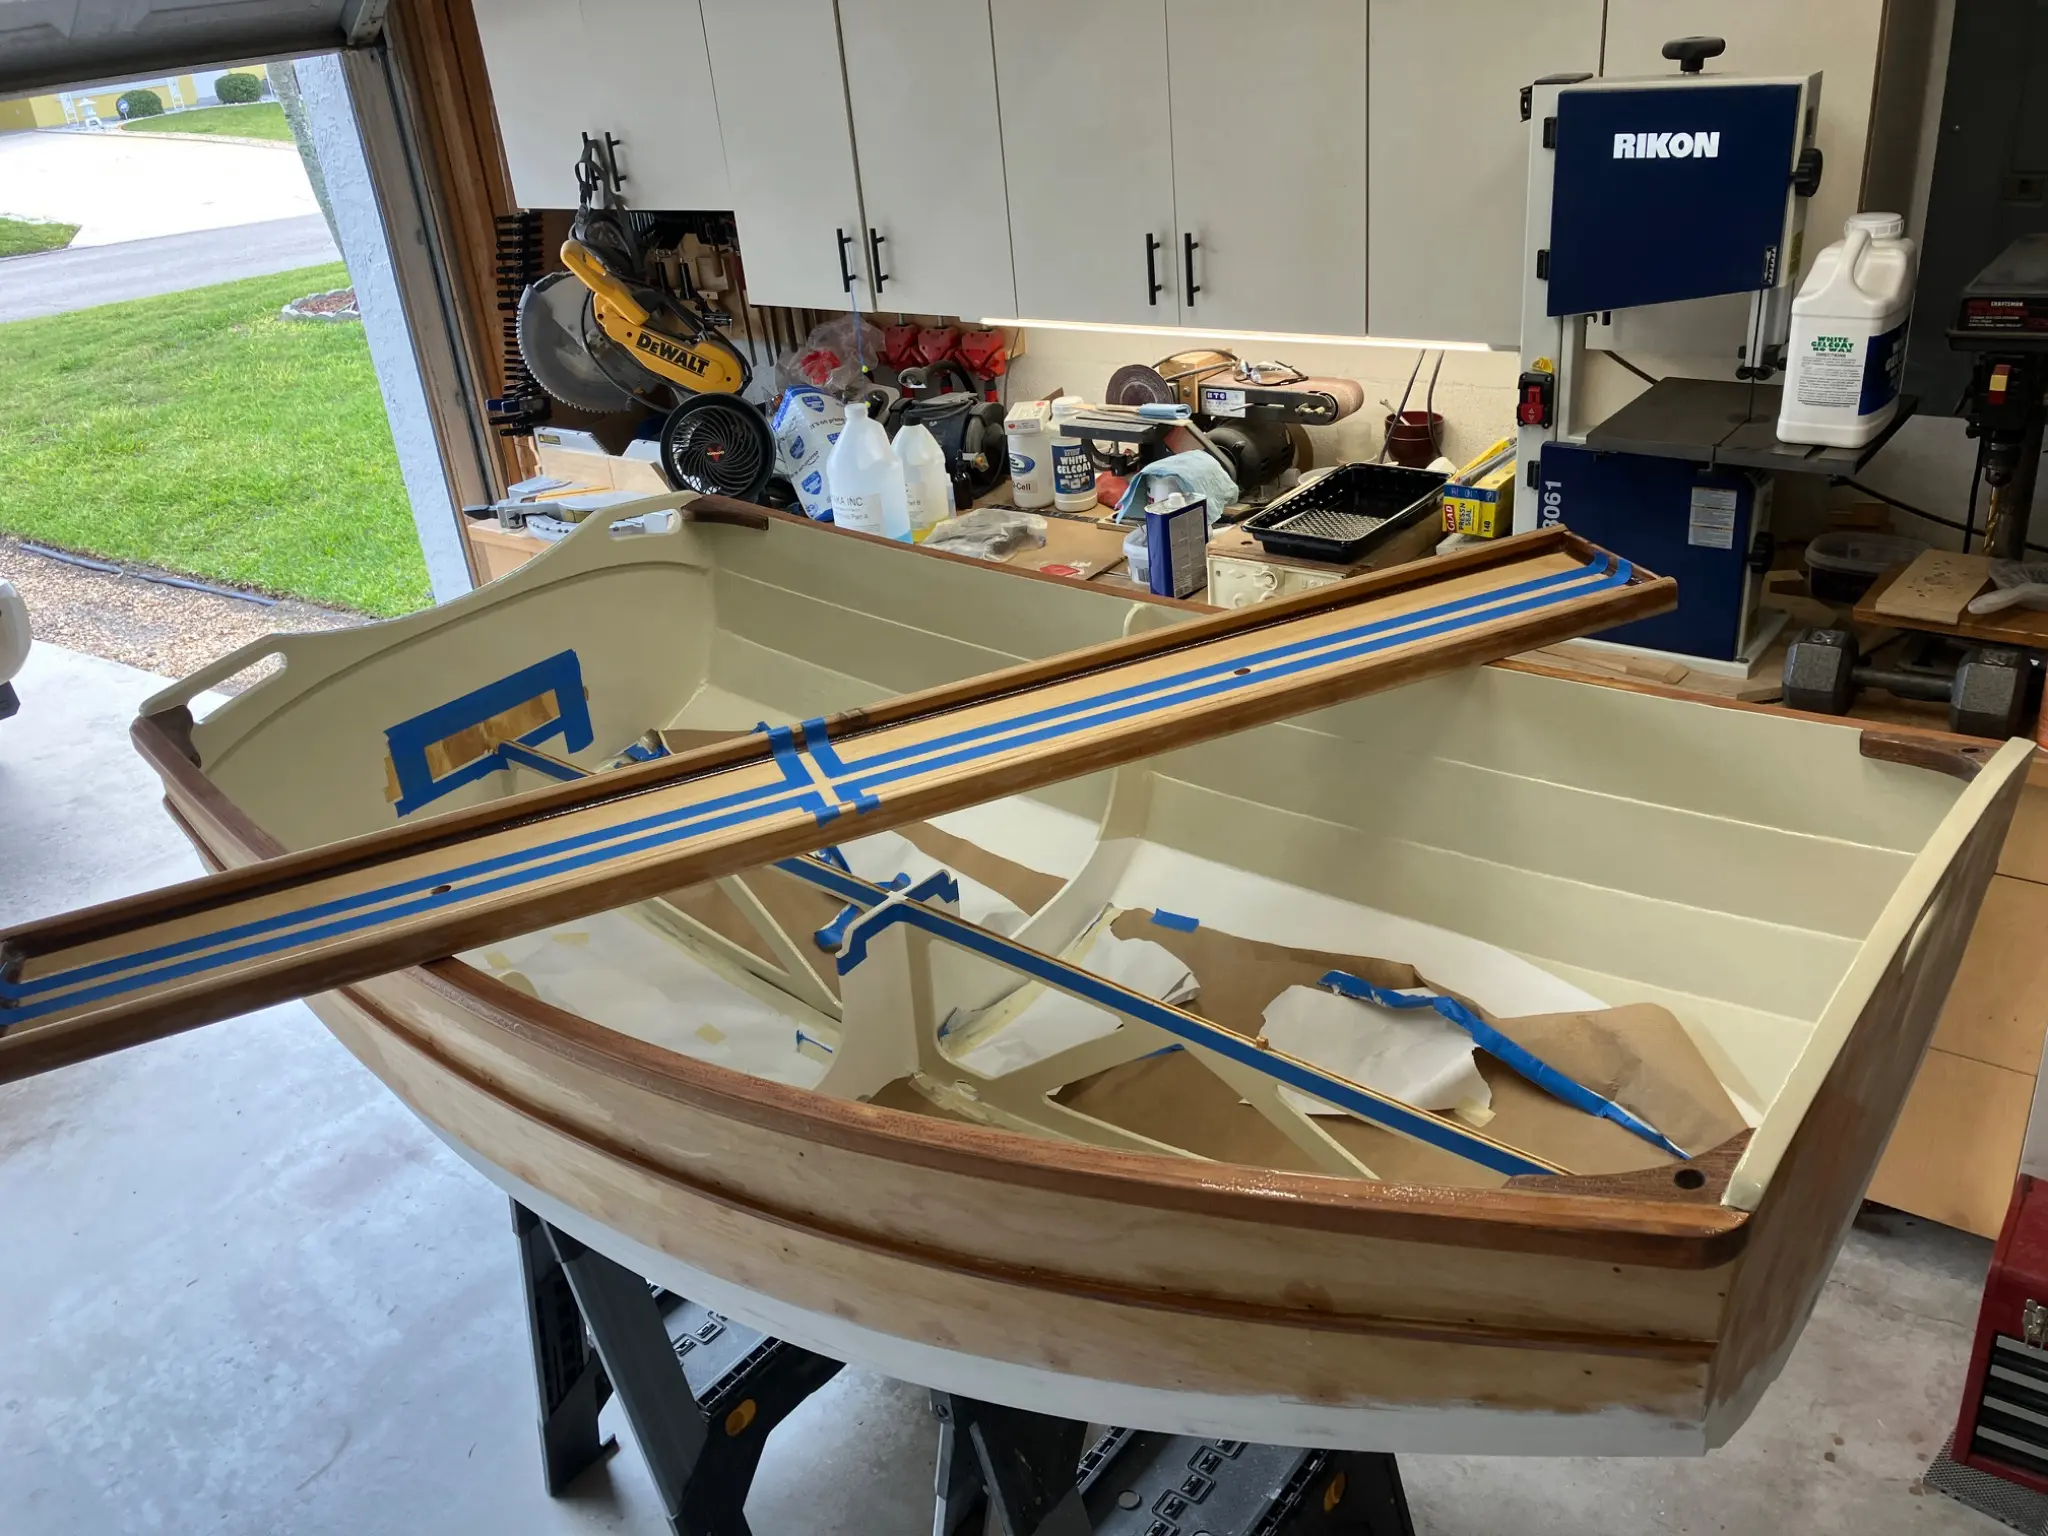
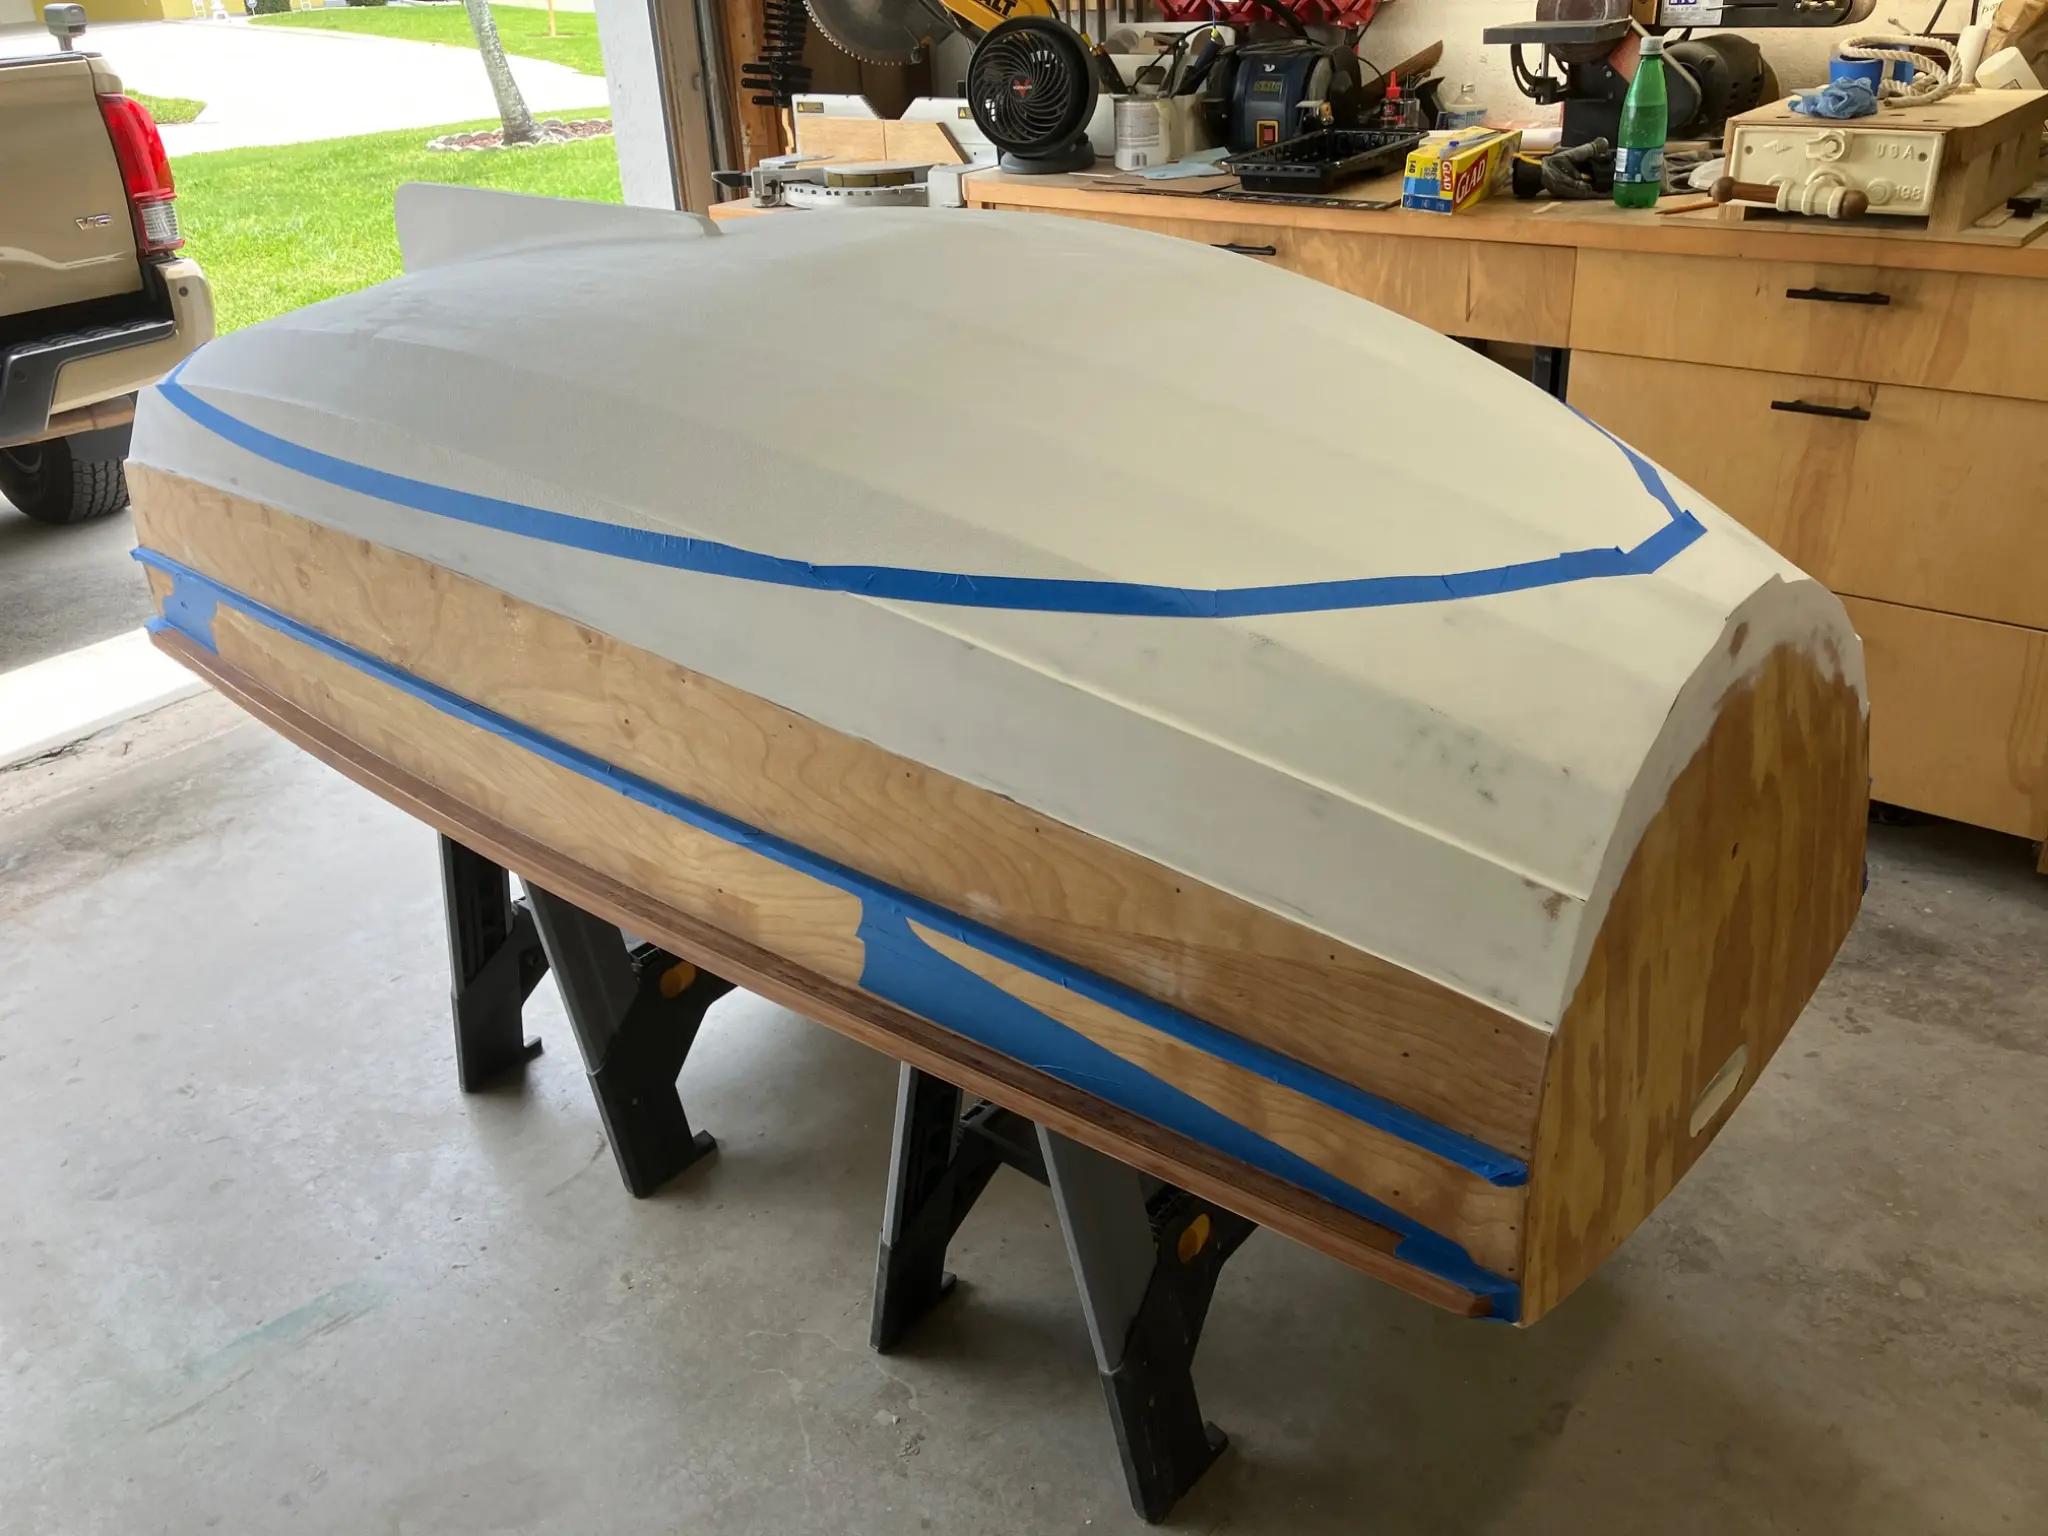
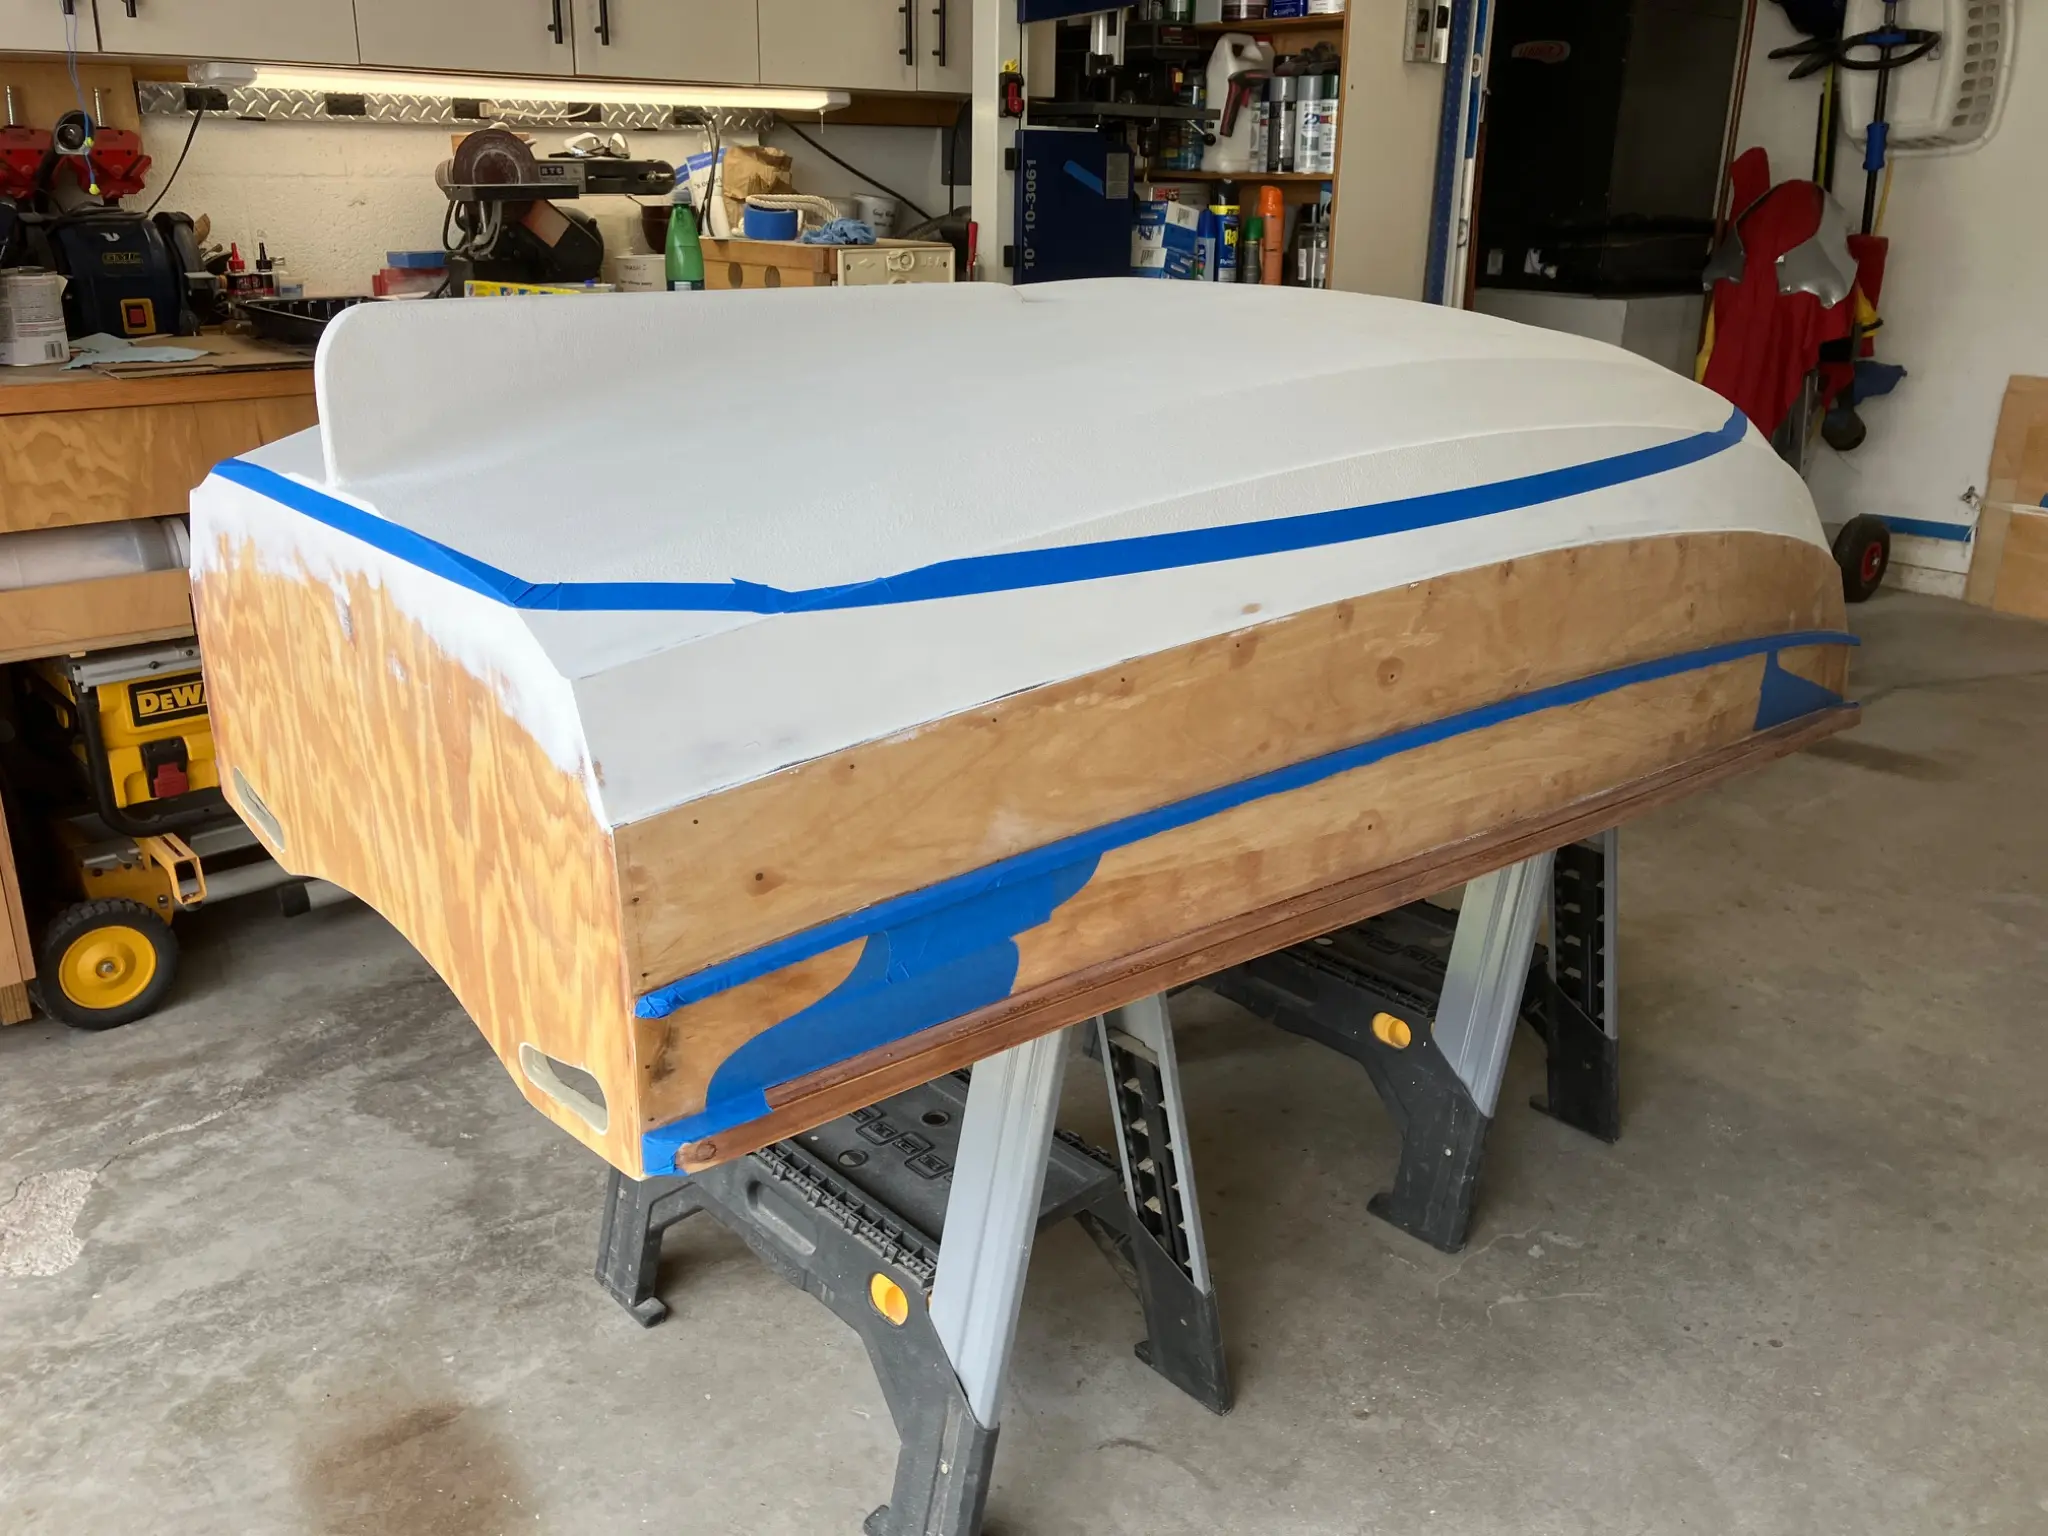
These pictures show the taping that went in for the interior paint job. A gel coat of the inside deck for more durability and scratch resistance. On the sides, I painted with almond Rust-Oleum "out of the can enamel" from Home Depot. Nothing fancy or expensive, just wanted it to work, and look good.
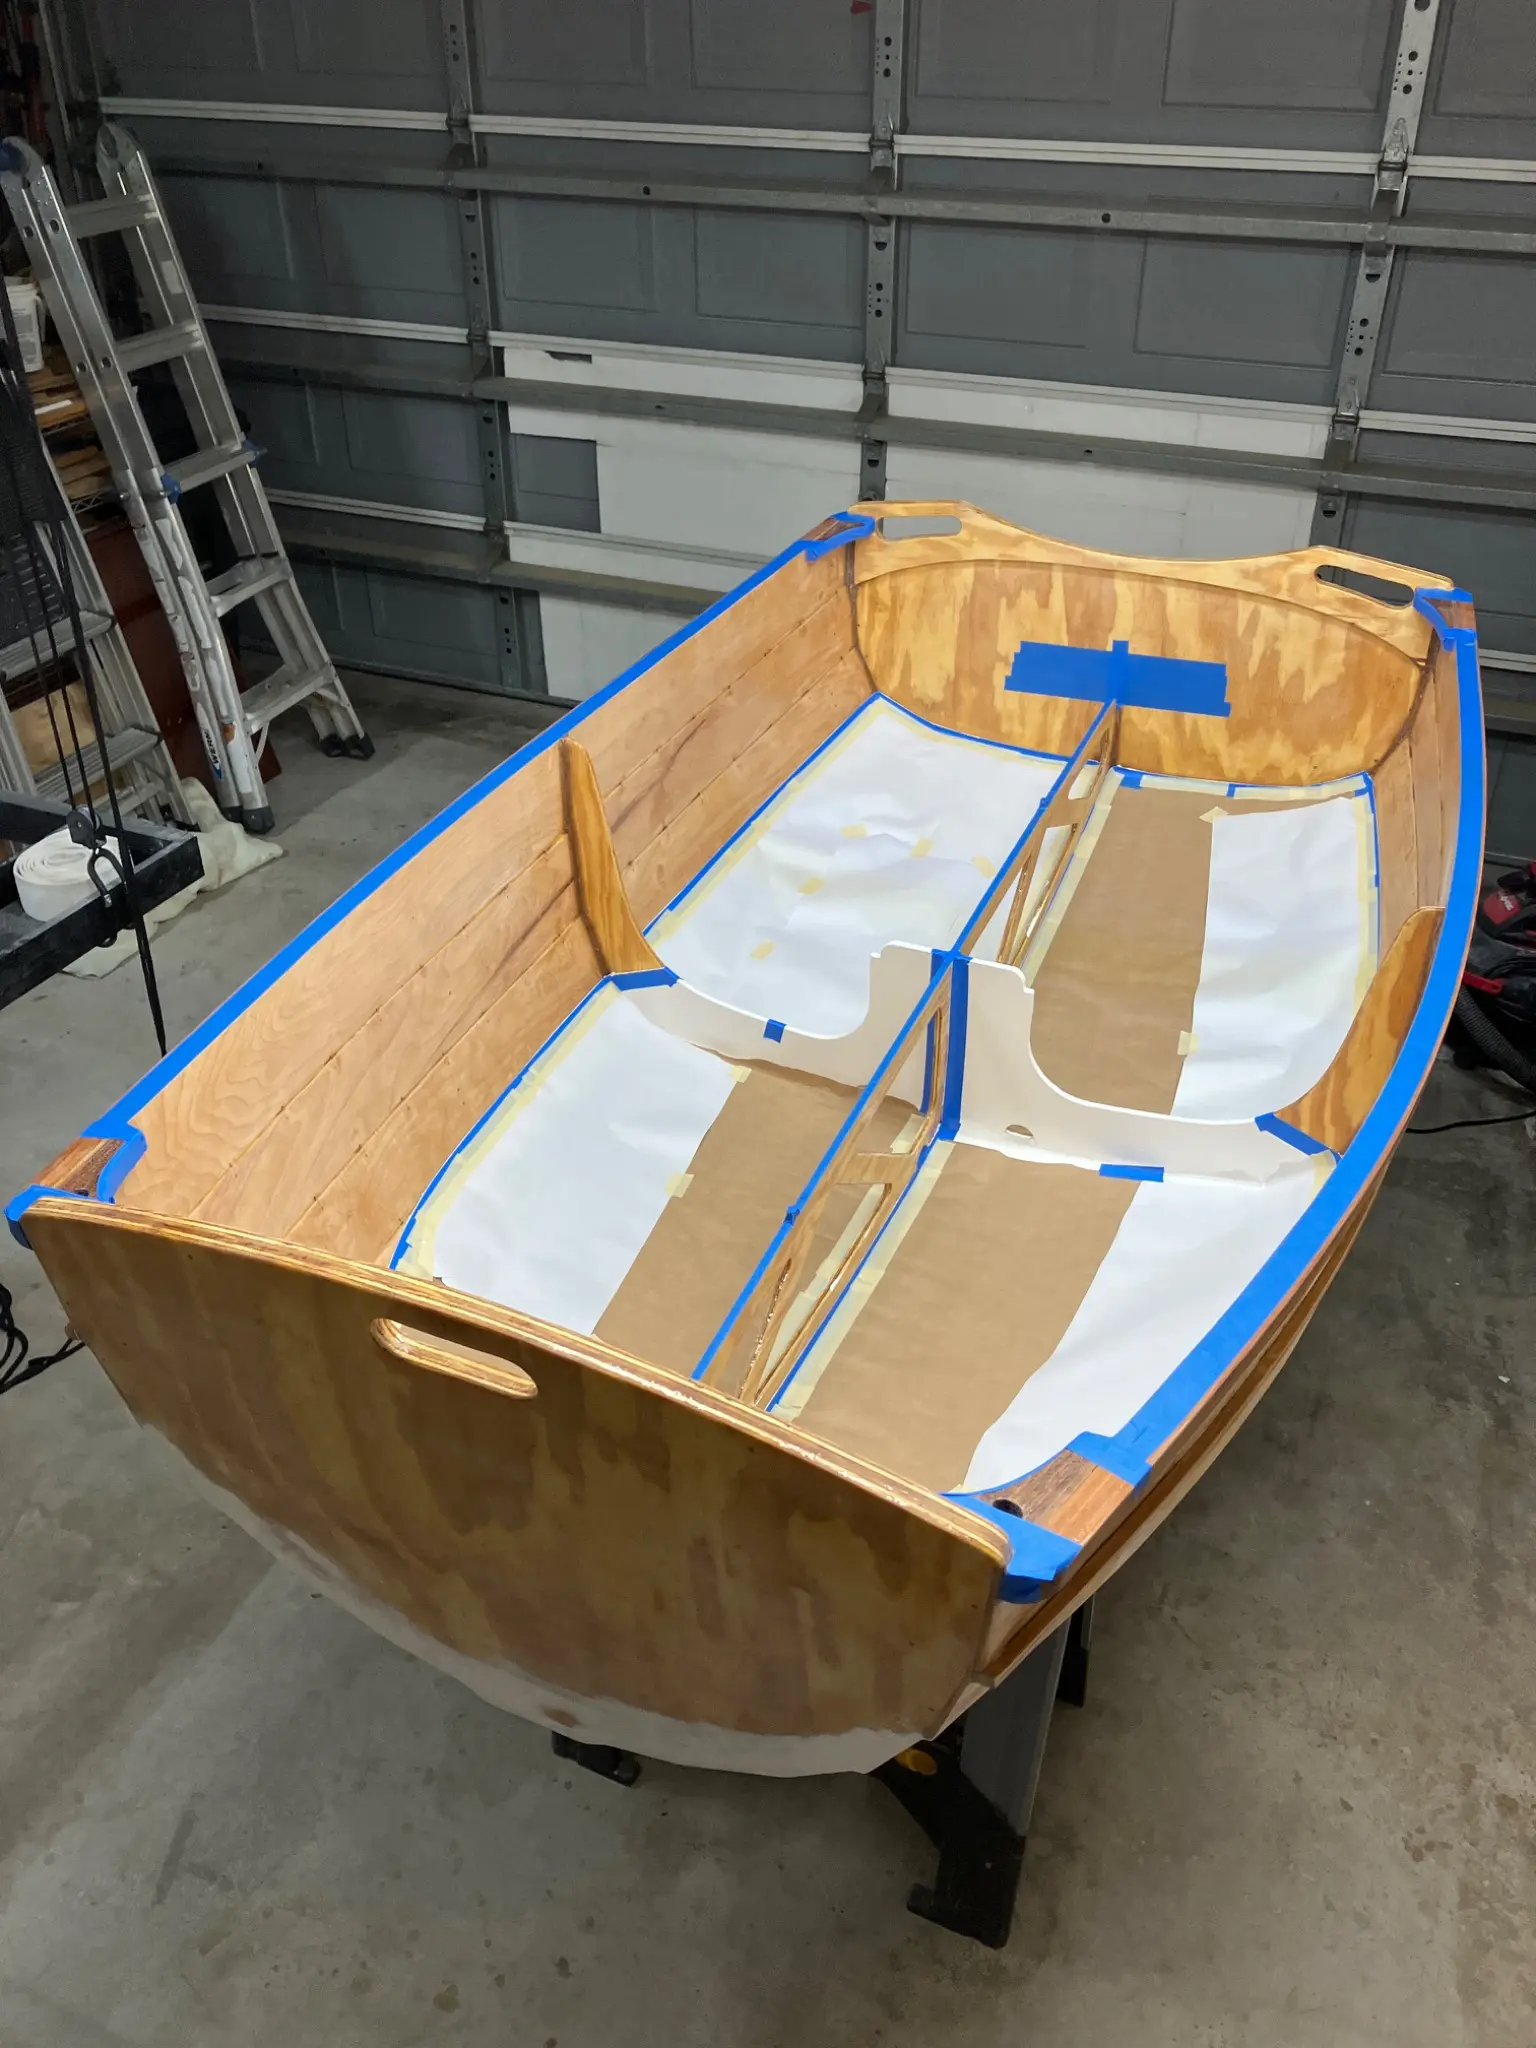
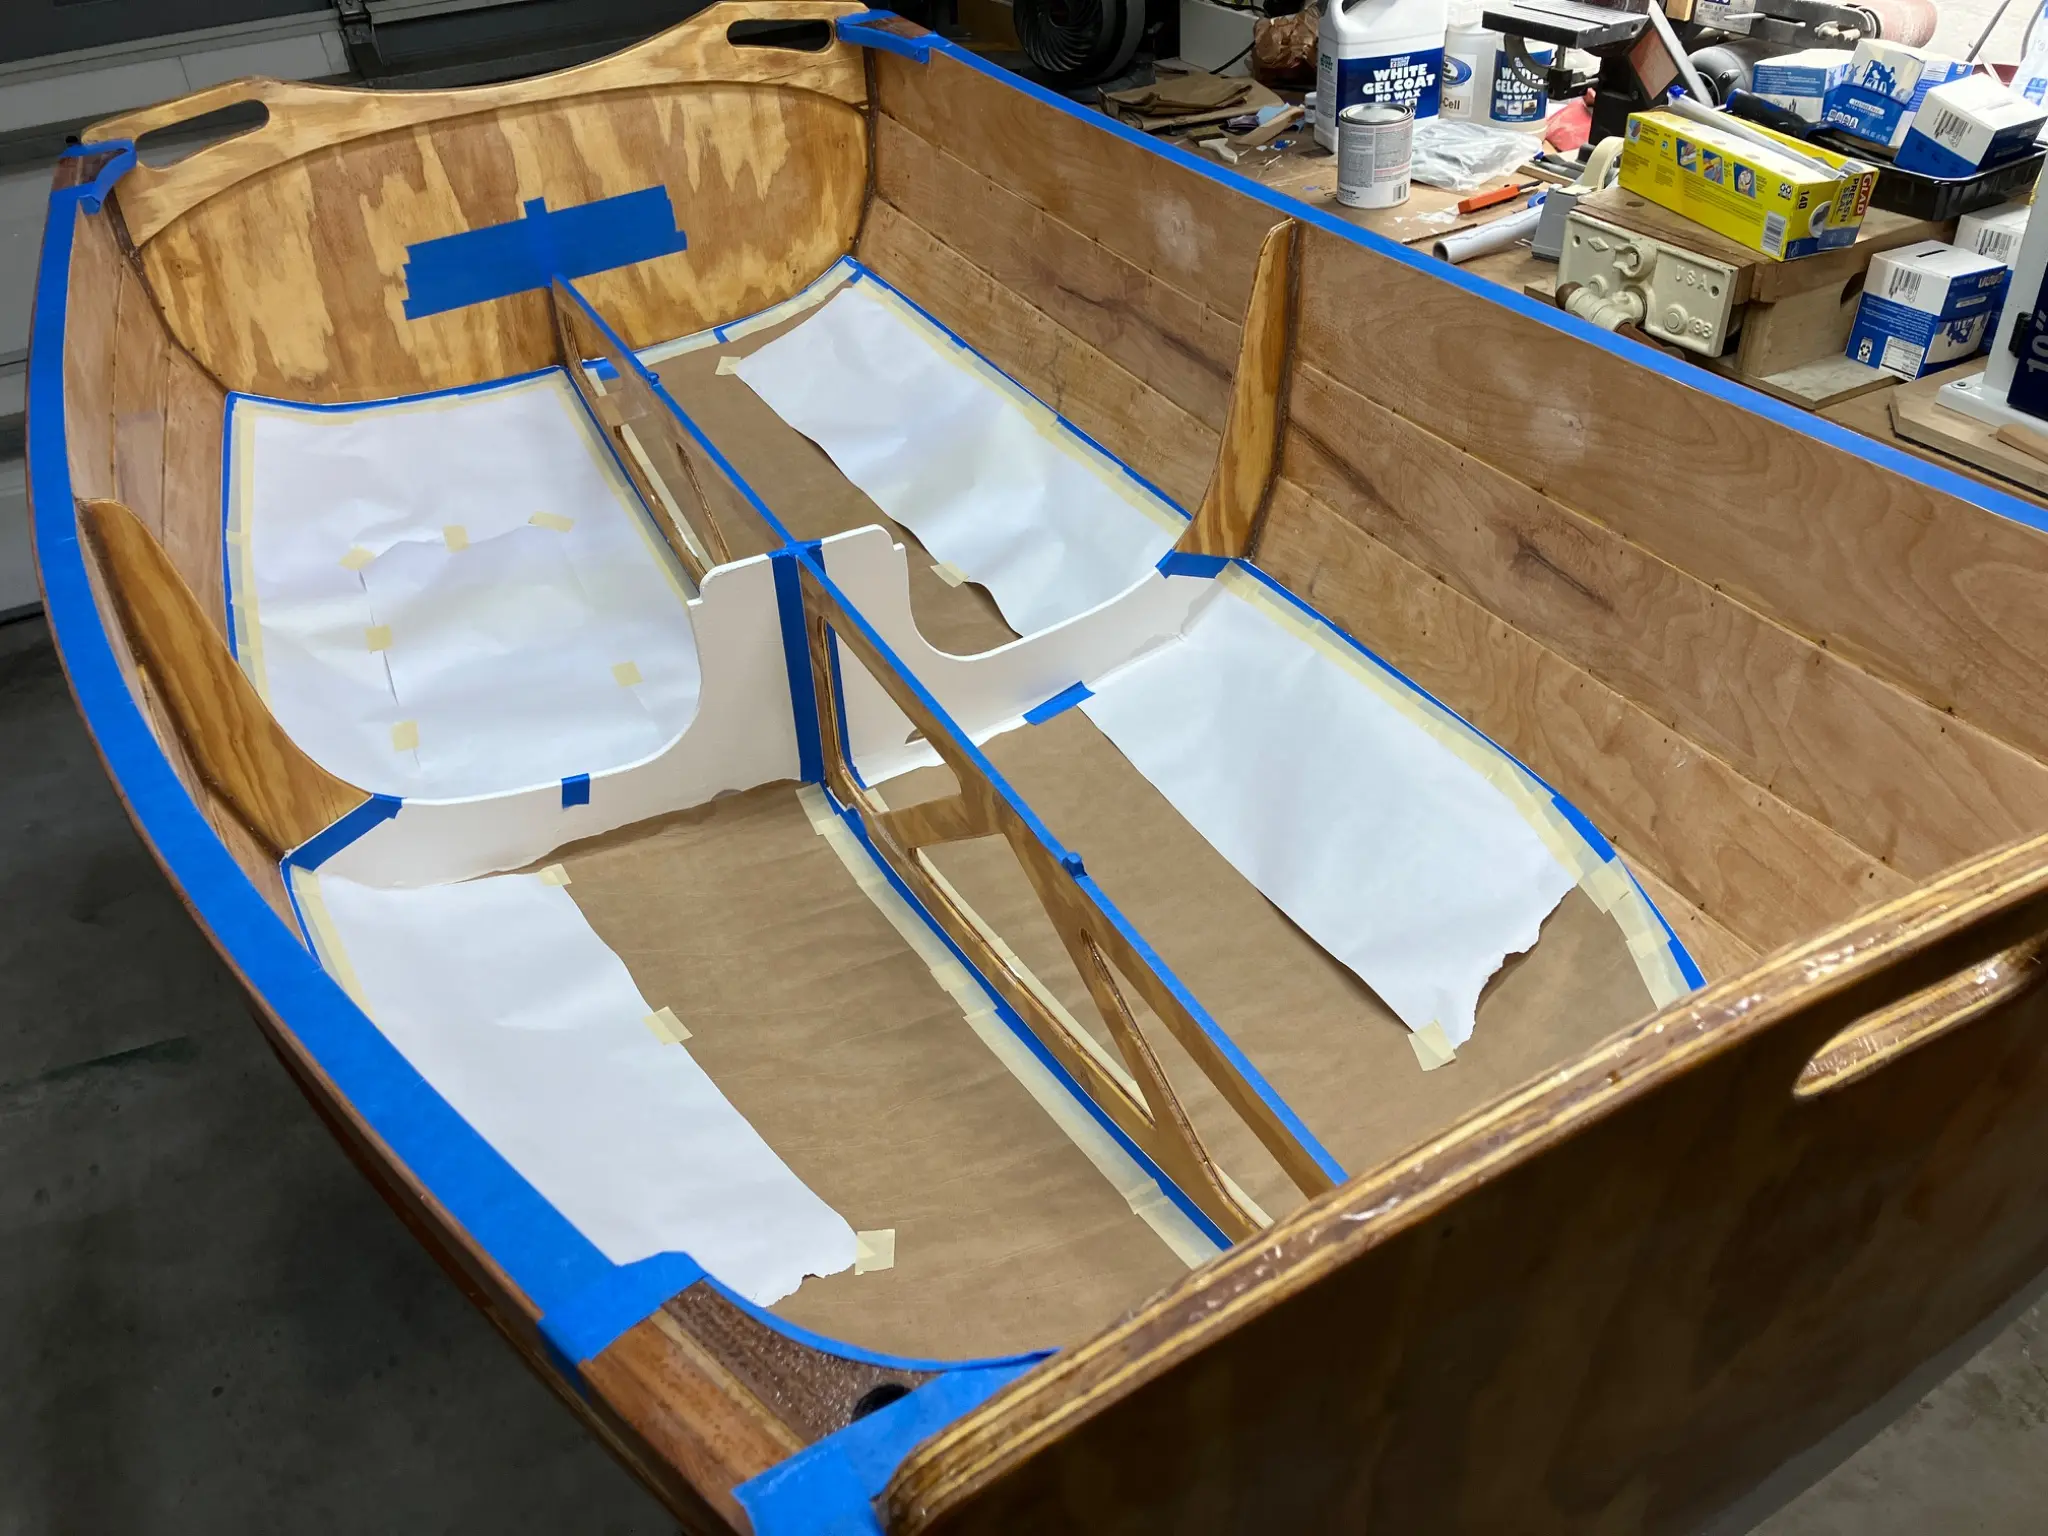
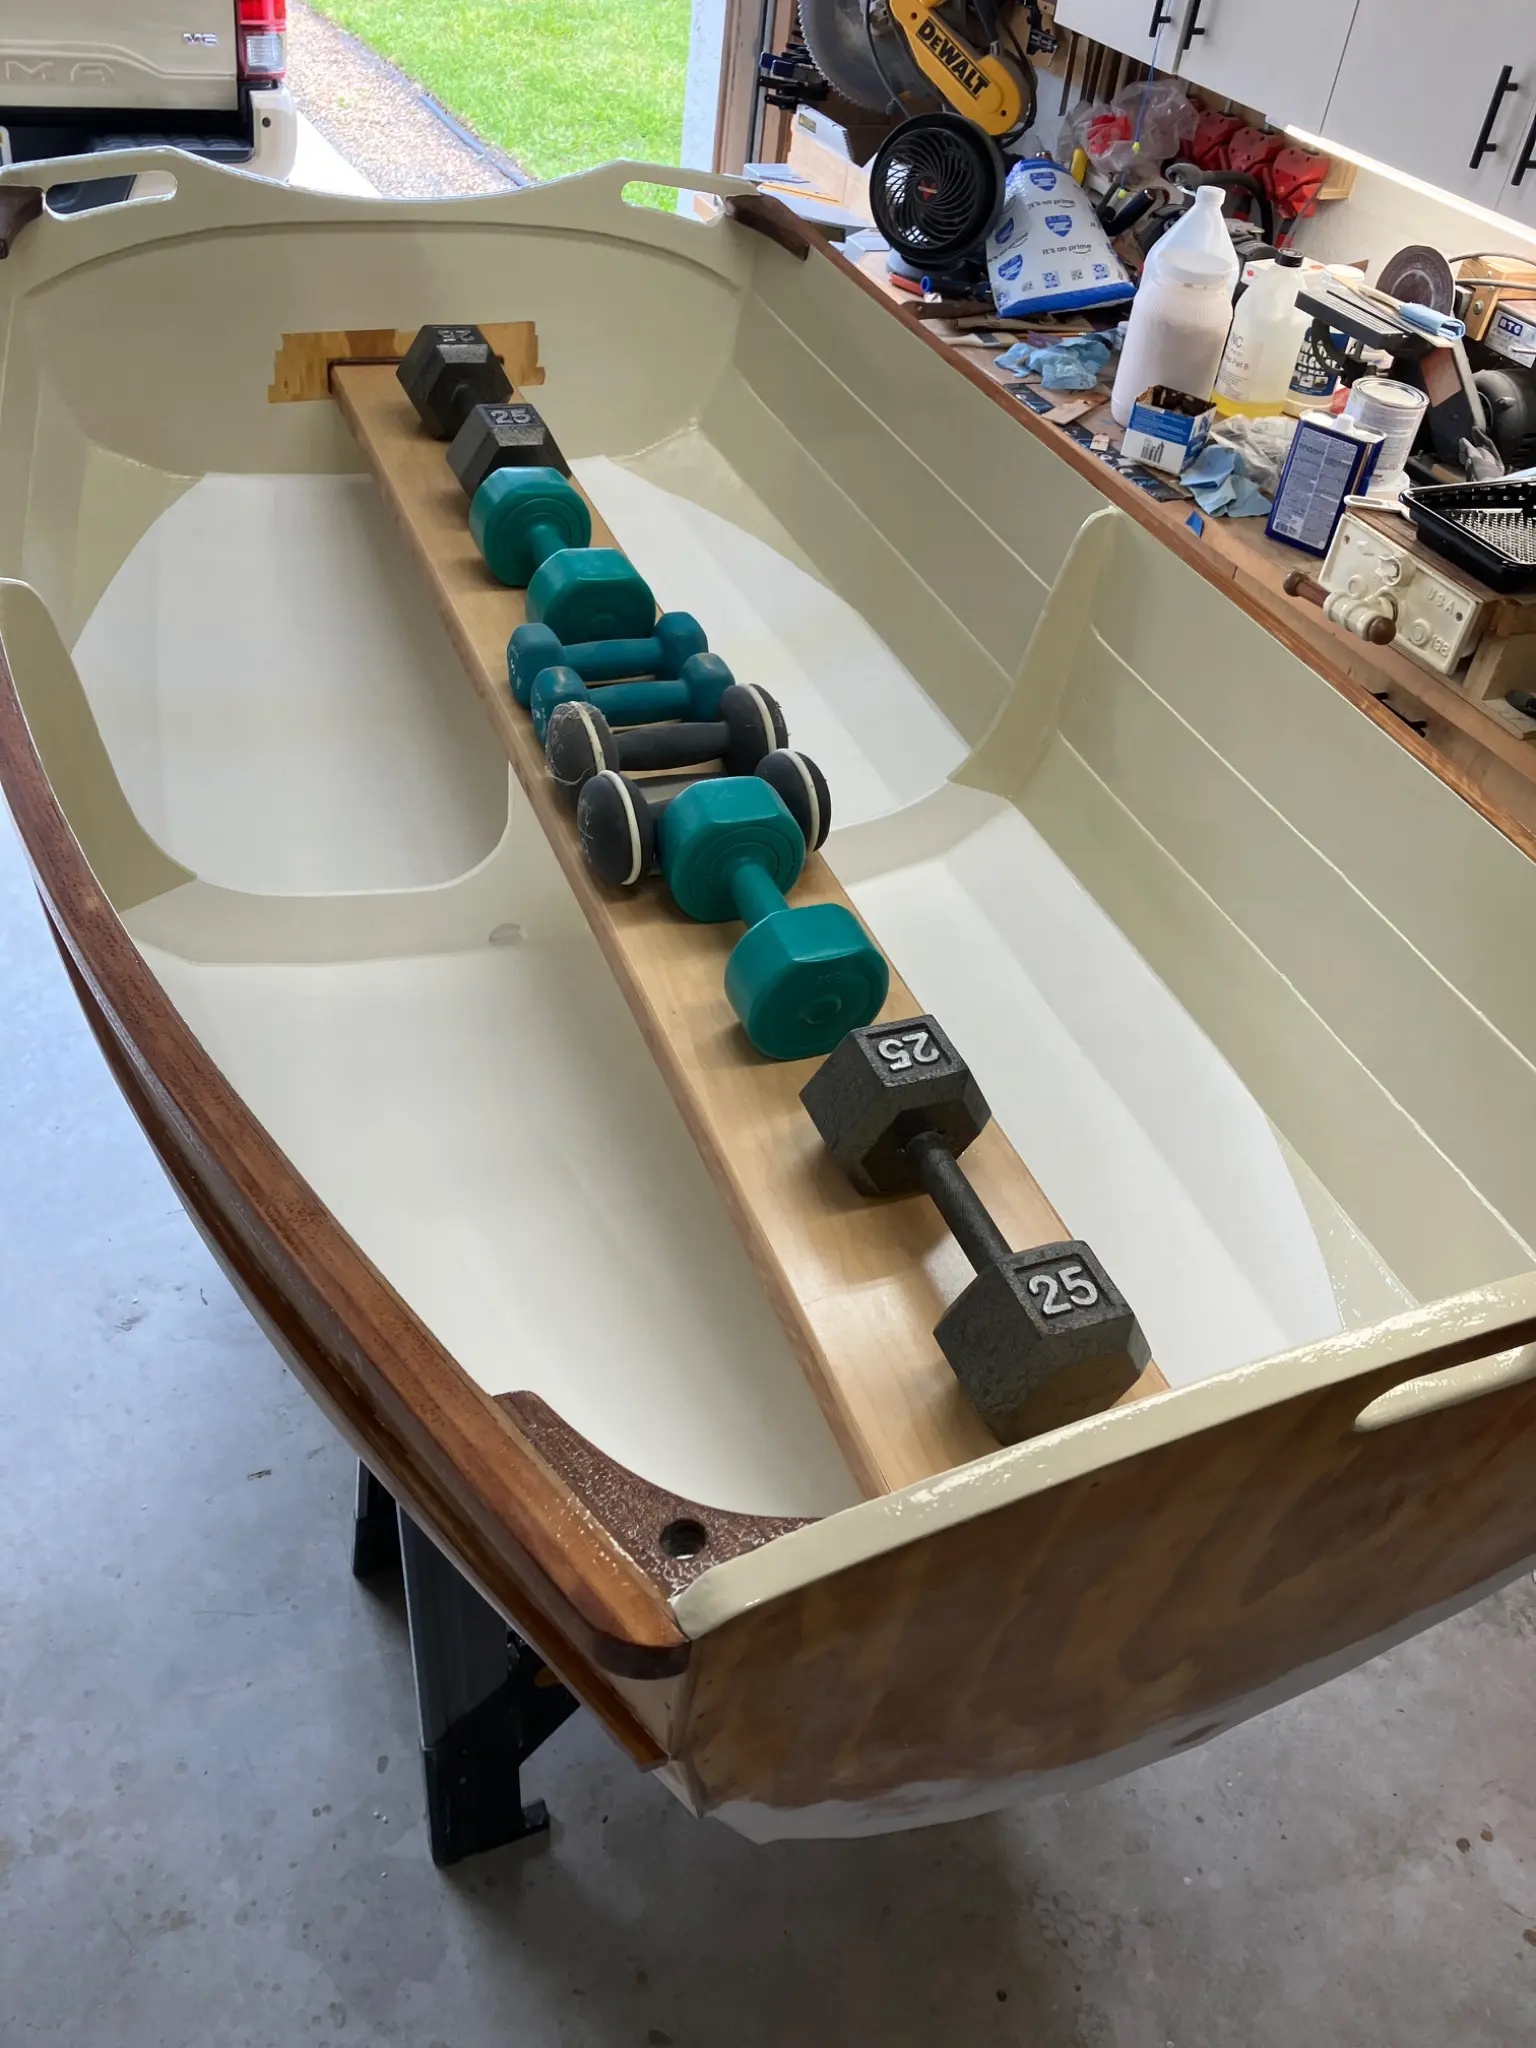
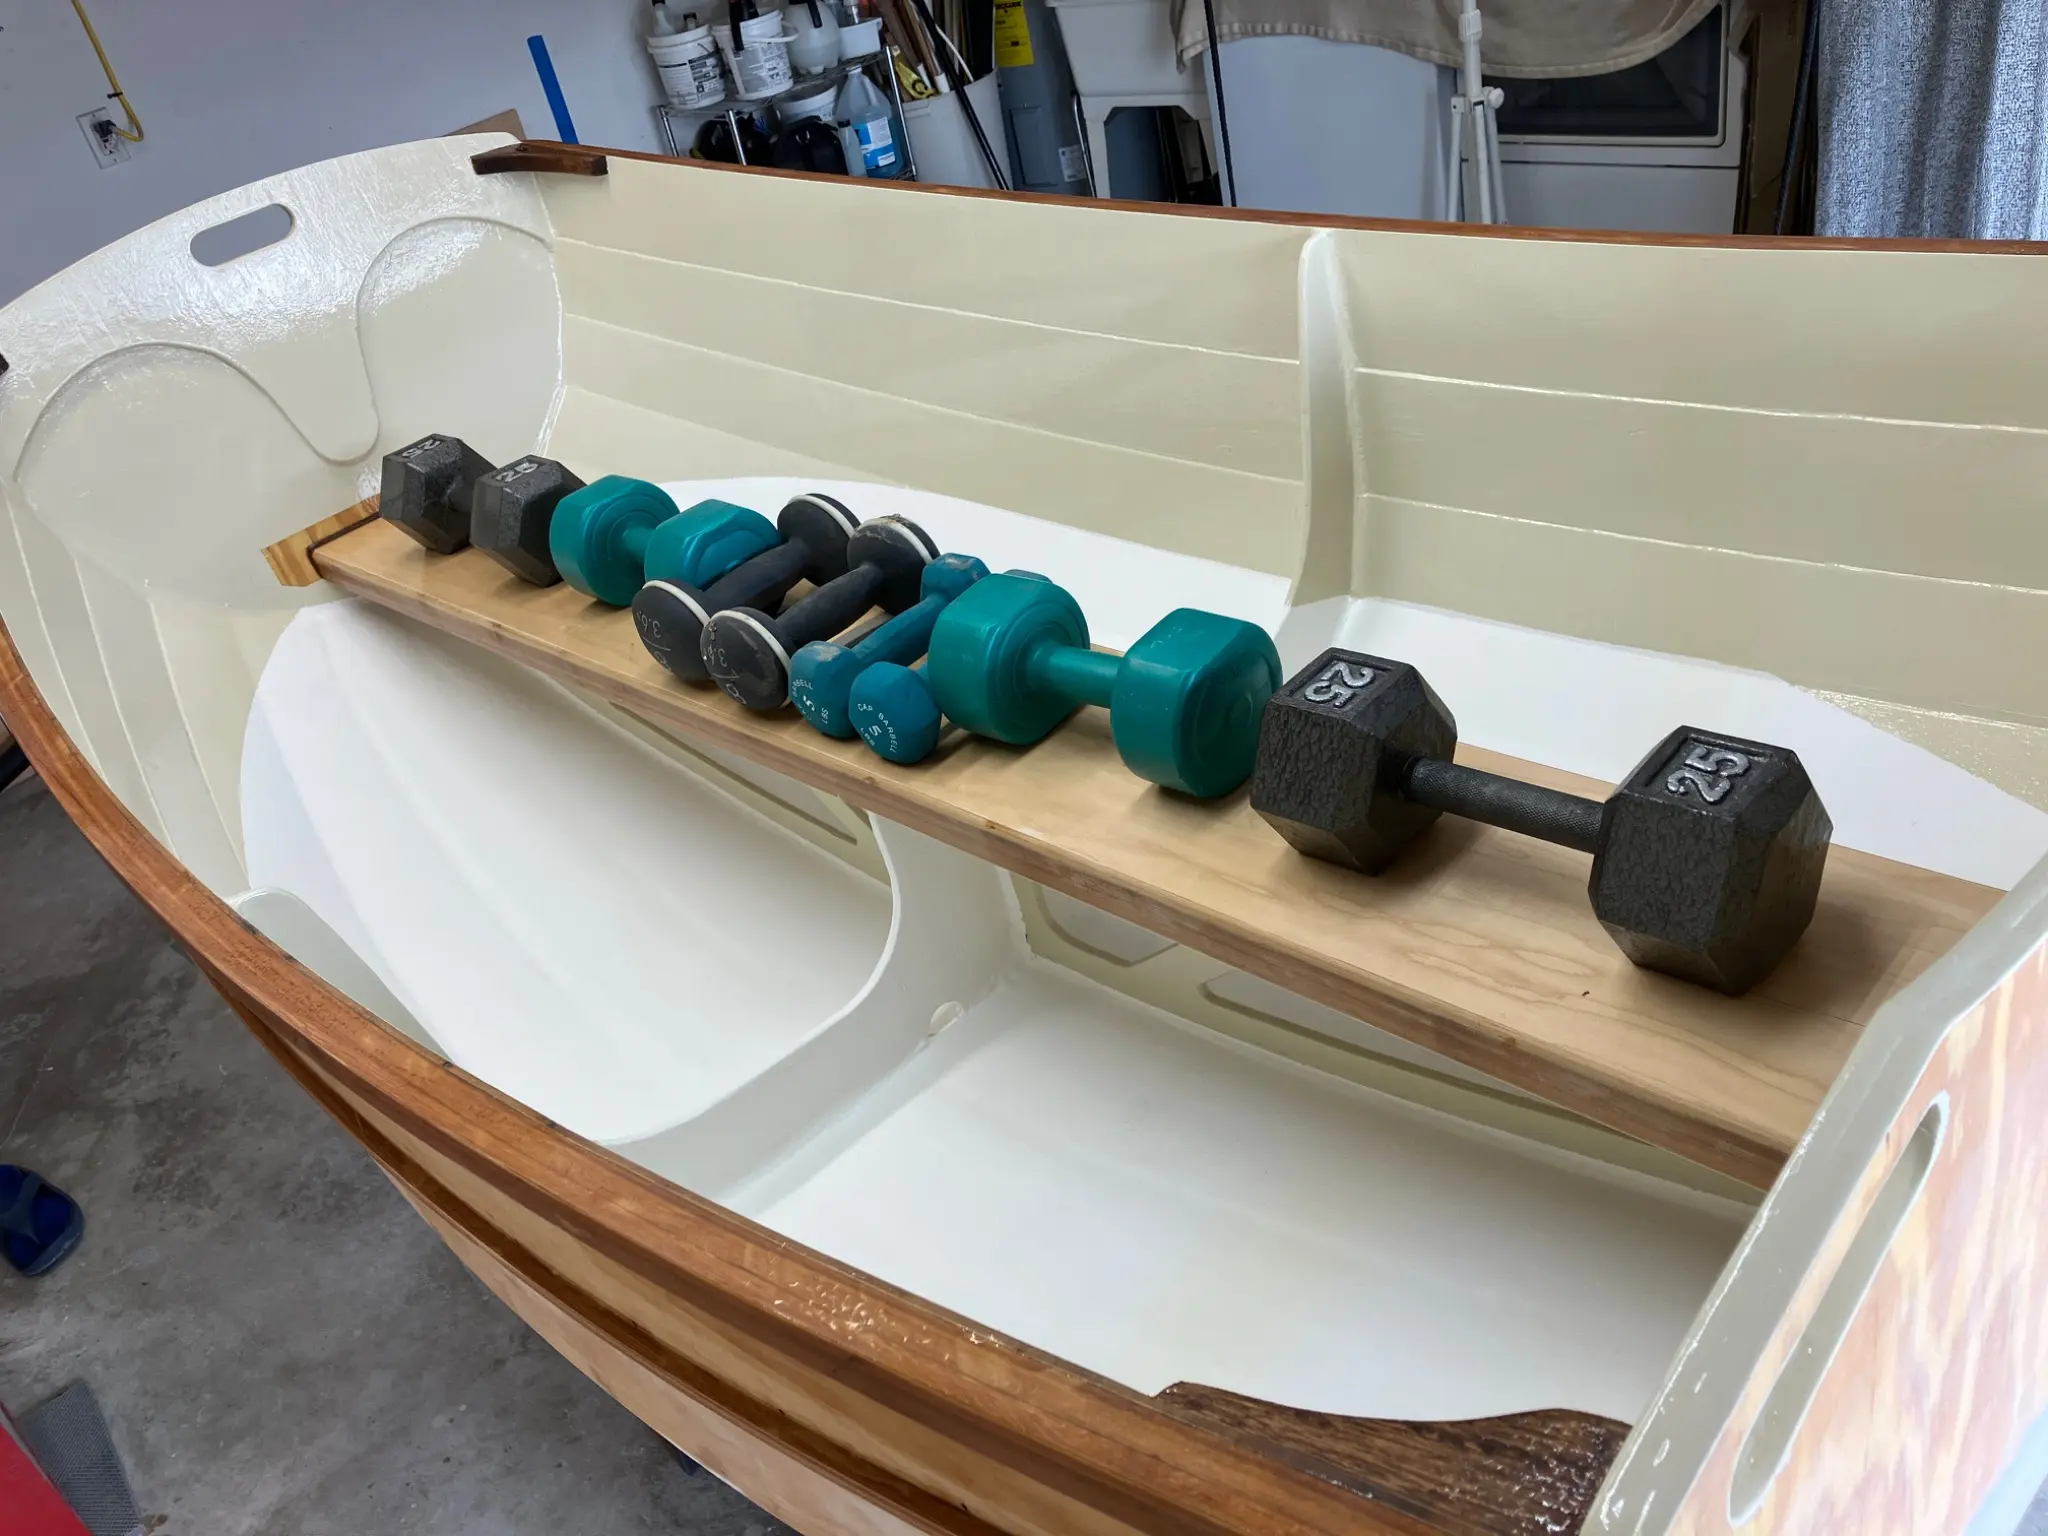
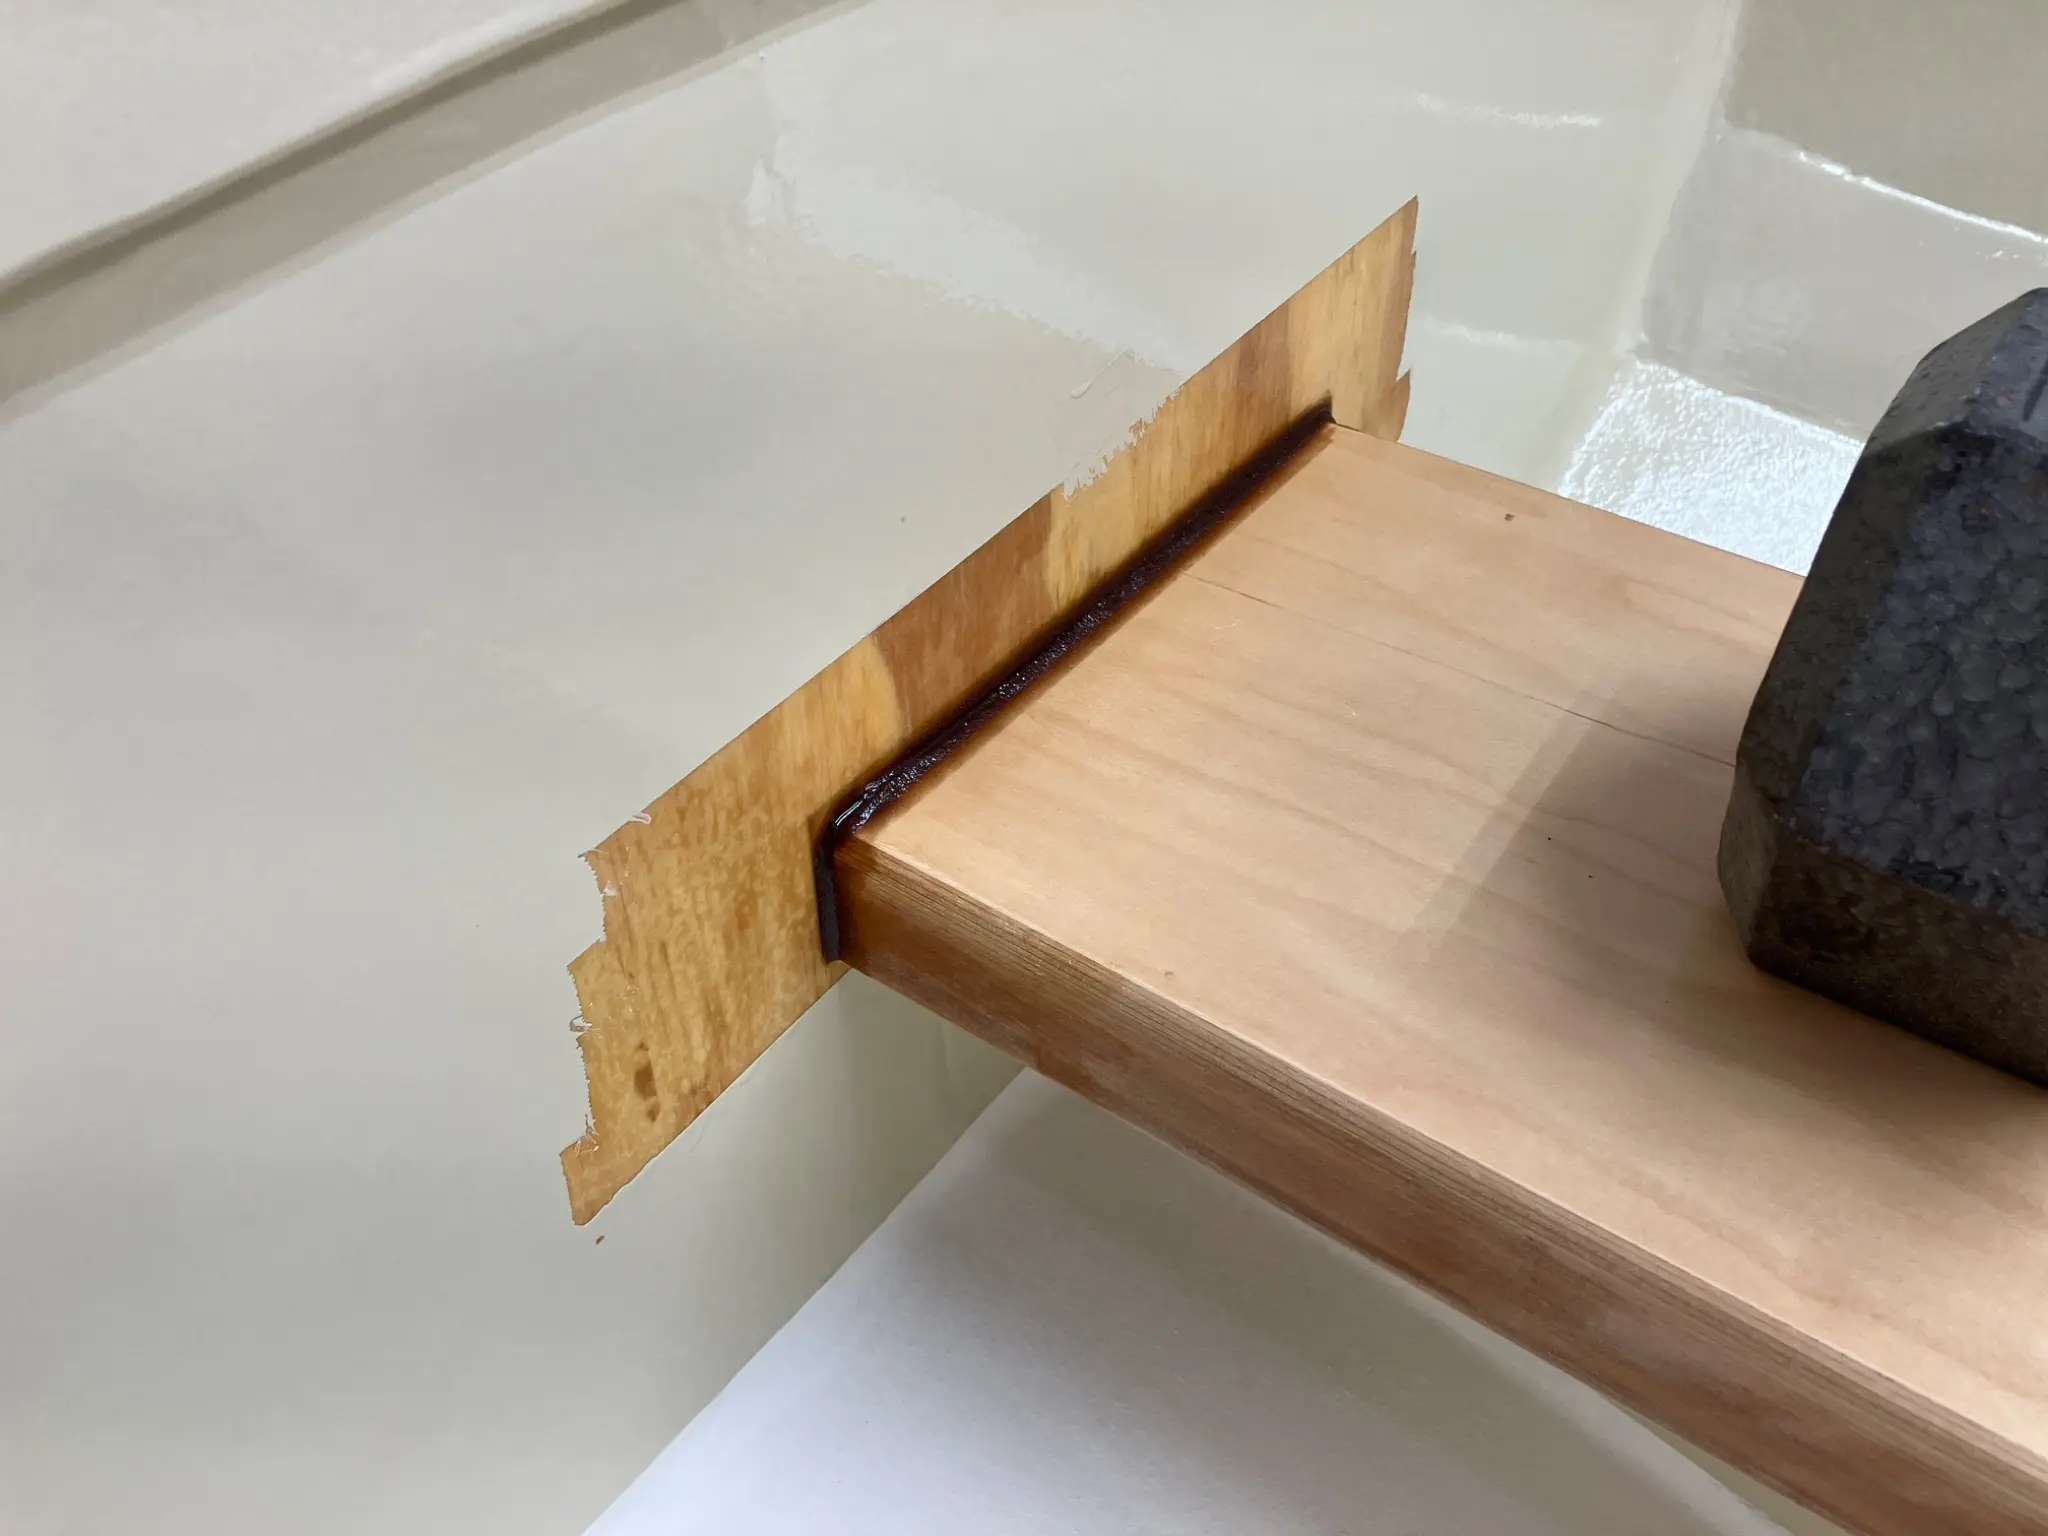
This is when I installed the bench seat. The bottom has fillets underneath to the strong back. The front and back parts are flooded to the stern bulkhead and bow bulkhead. I was able to get a workout in during this time. Notice the white gel coat in the floor for durability and ease of cleaning.
Struck a waterline, more taping for the green accent, stripe under the rub rail.
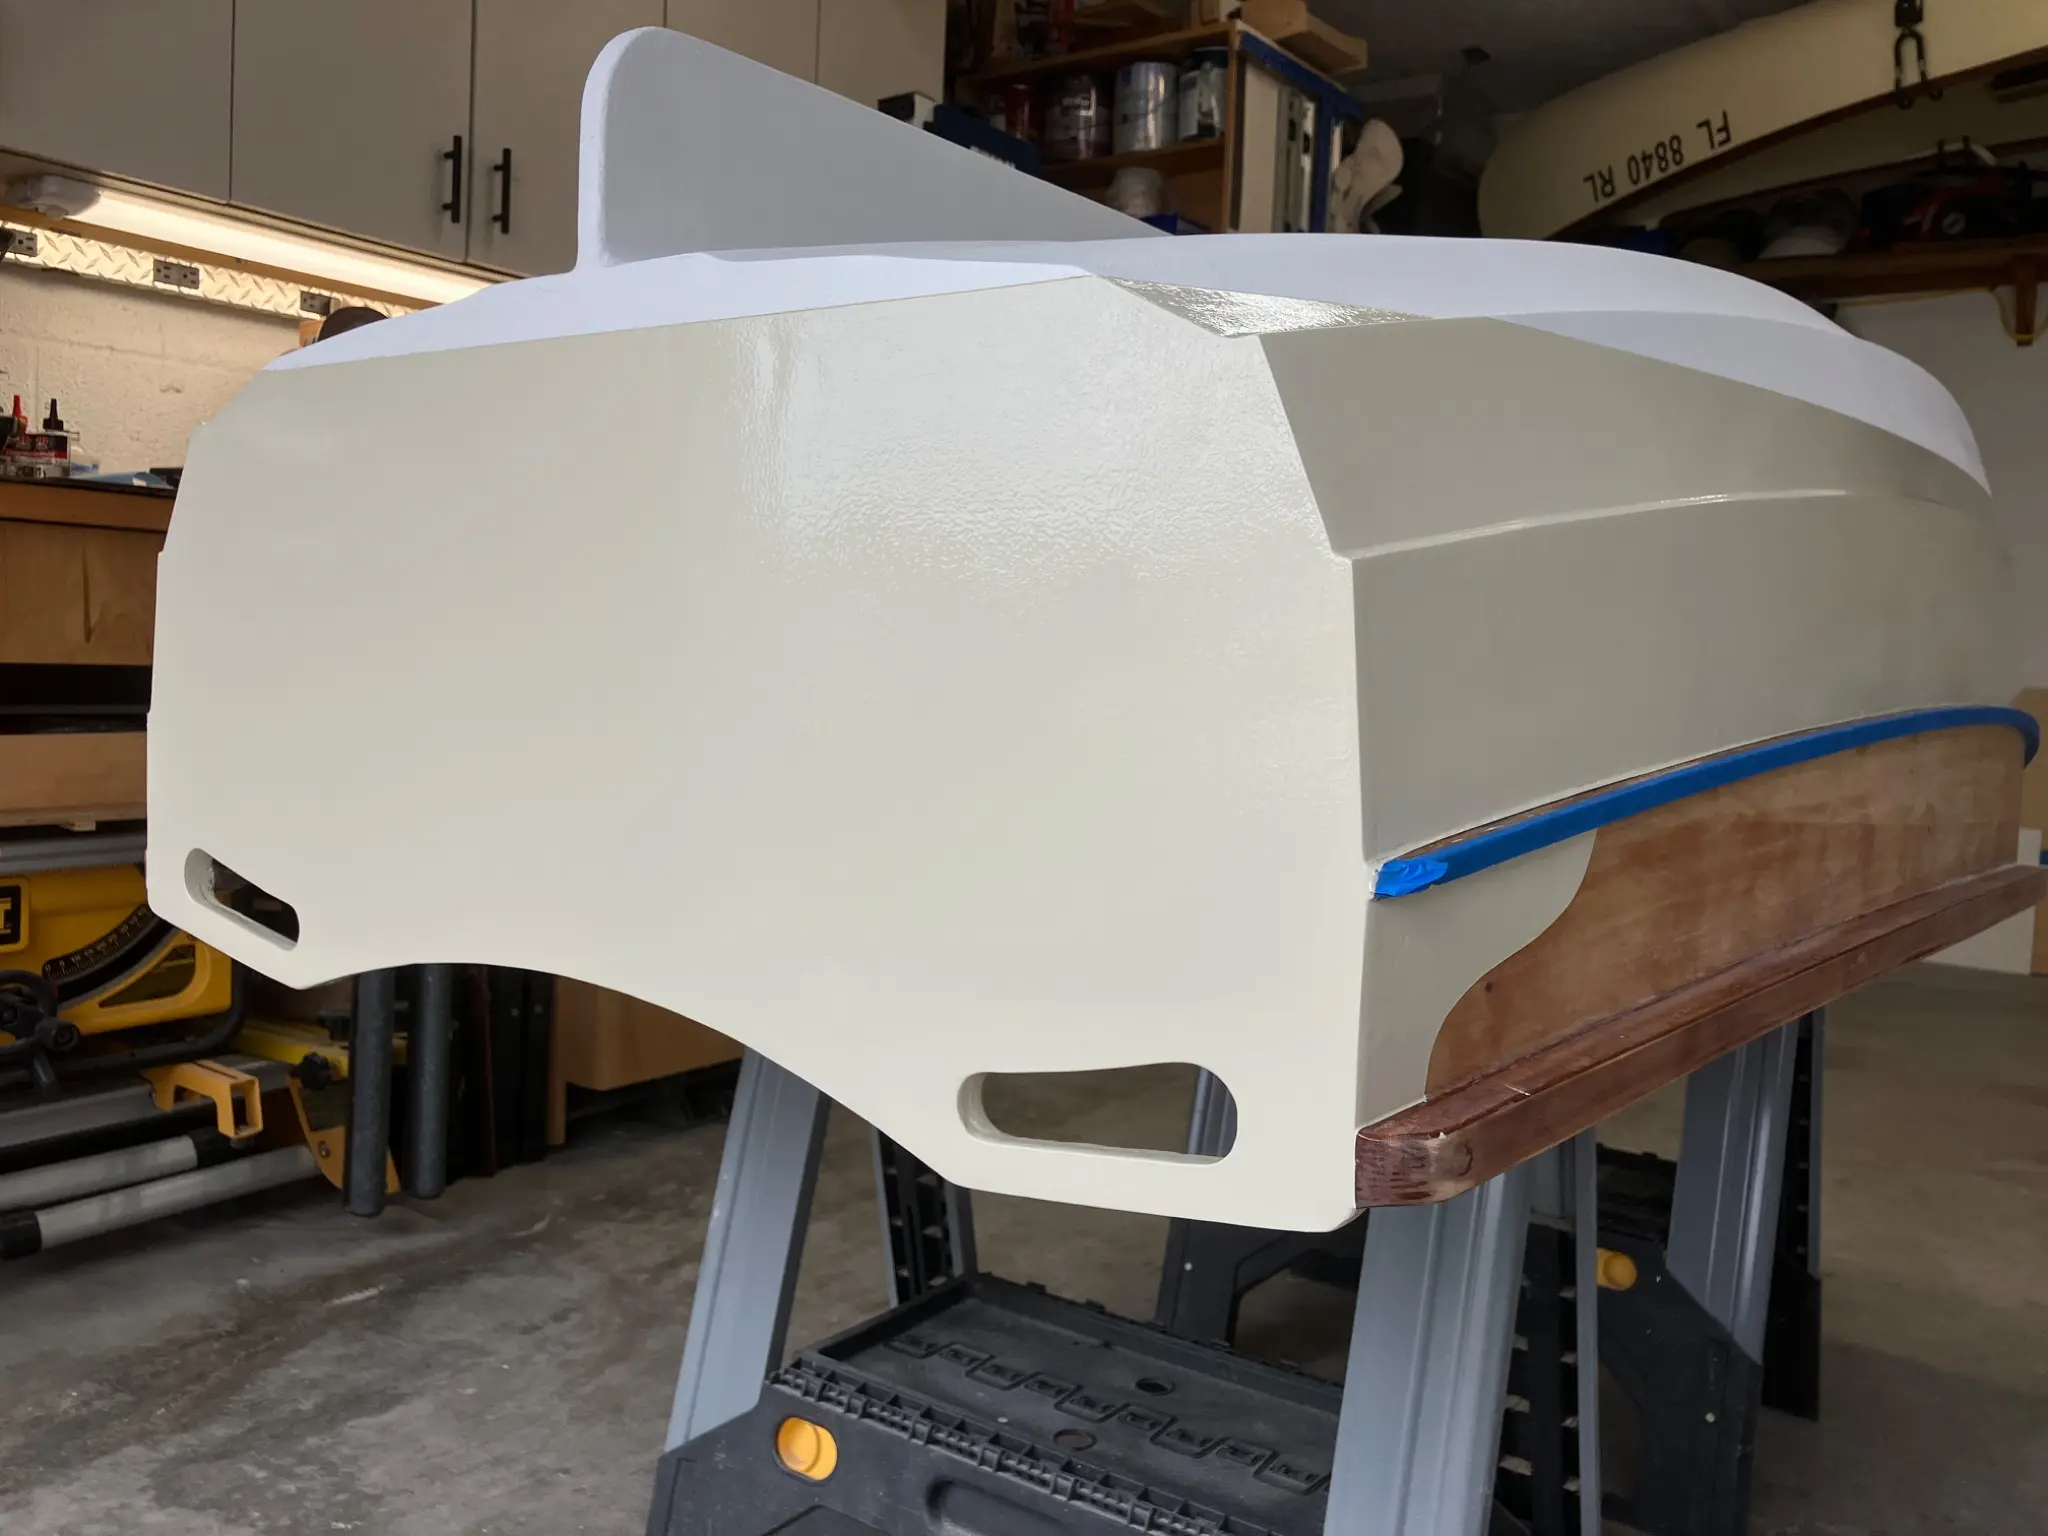
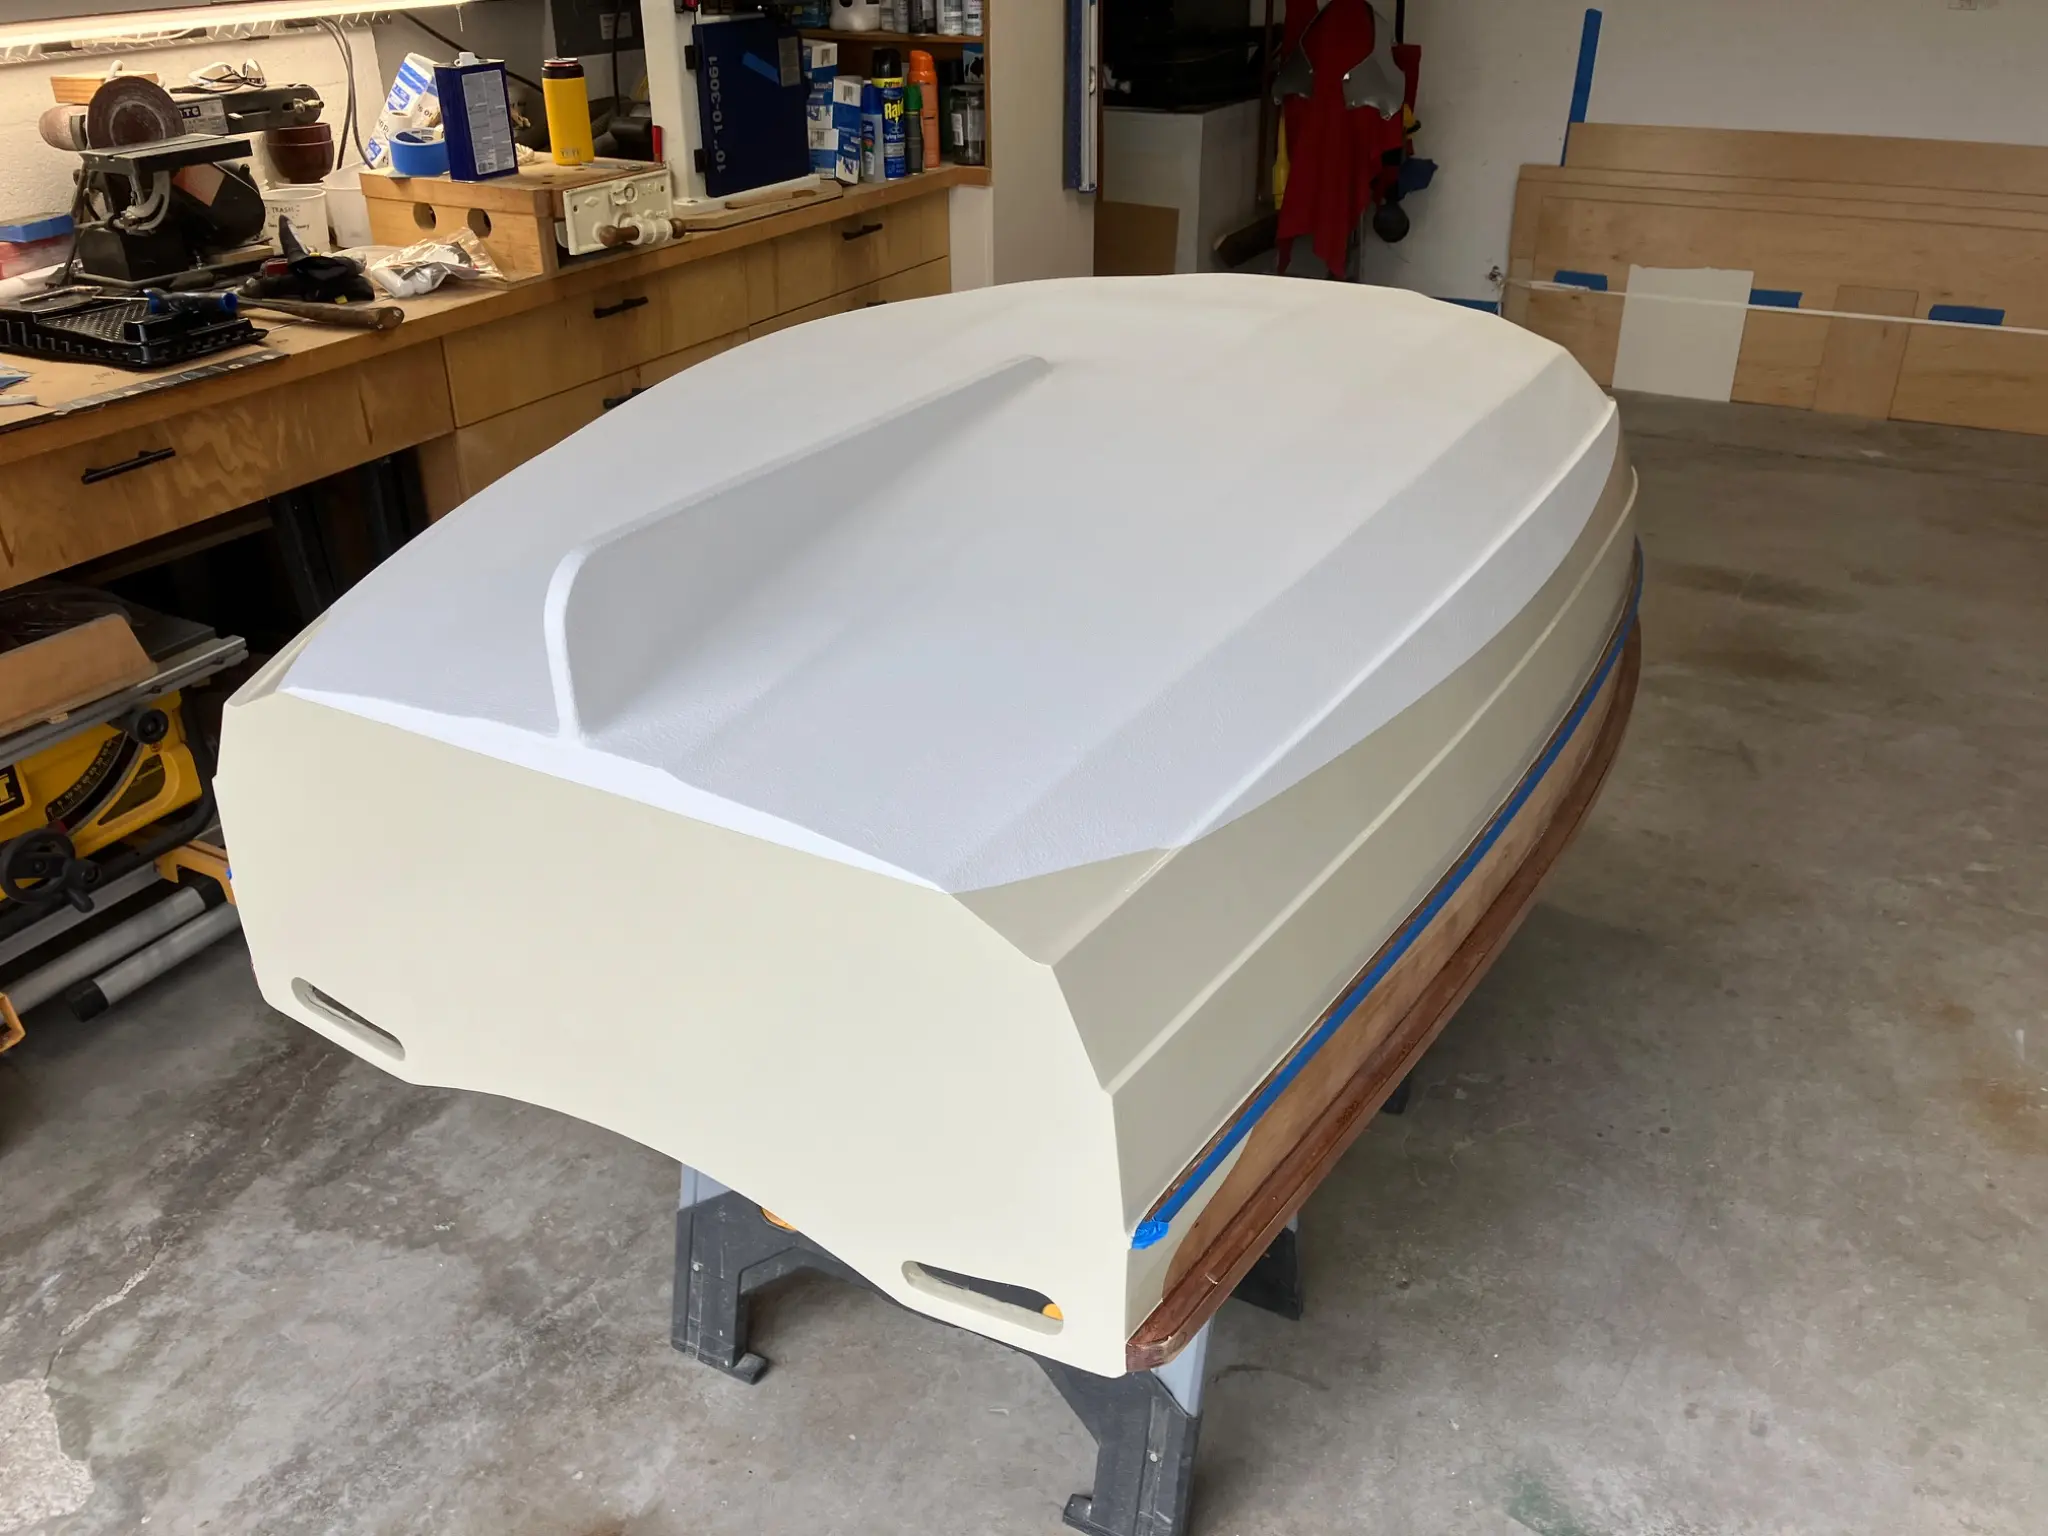
These pictures show the outside paint job almond Rust-Oleum enamel. I rolled and tipped this paint.
The bill
| Tape, paint brushes, rollers, misc. 24 | $32.00 | |
| Chesapeake light craft digital plans One PDF file download | Chesapeake light craft | $89.00 |
| Router bits 3 | Amazon | $58.56 |
| Harbor freight, Palm router 1 router | Harbor freight | $90.94 |
| 3mm door skin plywood 2 sheets | Home Depot | $30.00 |
| 1/4 " sheets of birch plywood 2 sheets | Home Depot | $160.03 |
| 16 gauge wire steel 1 roll | Home Depot | $13.47 |
| 4 ounce fiberglass cloth 3 yards | Amazon | $21.39 |
| Slow cure high UV resistant epoxy resin 1.5 gallon kit | Fiberglass supply depot, Fort Pierce, Fl. | $217.54 |
| 2" x 8" x 8' Western Cedar Plank 1 (picked up in damaged bin) half price | Lowes | $21.39 |
| 6 ounce fiberglass cloth 3 yards | Family donation to project (free) | $0.01 |
| Non-waxed white gel coat 1 gallon | Fiberglass supply depot | $76.49 |
| Rust-Oleum gloss almond enamel paint 1 quart | Home Depot | $18.62 |
| Rust-Oleum gloss hunter green. 1 Quart | Home Depot | $18.62 |
| Total spent | $848.06 |
boatbuildlog.com
-Ripple- Ultralight dinghy from scratch build
11 entries,
42 photographs,
written down as the work was done.
The words and photographs in this log belong to Mark Elwell.
The log itself lives at
https://boatbuildlog.com/builds/ripple-ultralight-dinghy-from-scratch-build
Printed 5 October 2026