The book is laid out for the paper chosen above, and the print dialog will follow it,
so pick the paper here rather than there. Turn background graphics on
so the cover photograph prints, and leave margins at their default. The page numbers
and the chapter running heads are drawn by the browser into the page margins, so they
exist only on paper: check the print preview rather than this screen for them, and turn
Headers and footers off there so Chrome's own furniture does not crowd
them out. Chrome and Edge print them, Safari and Firefox print the same book without
them.
The boat
Polliwog 8
- Designer
- Sam Devlin
- Plans from
- Devlin
- Length overall
- 7′ 6″ (2.29 m)
- Beam
- 4′ 1″ (1.25 m)
- Construction
- stitch and glue
- Started
- 9 September 2019
- Launched
- 20 February 2020
- Built by
- Matt
- Built at
- Texas
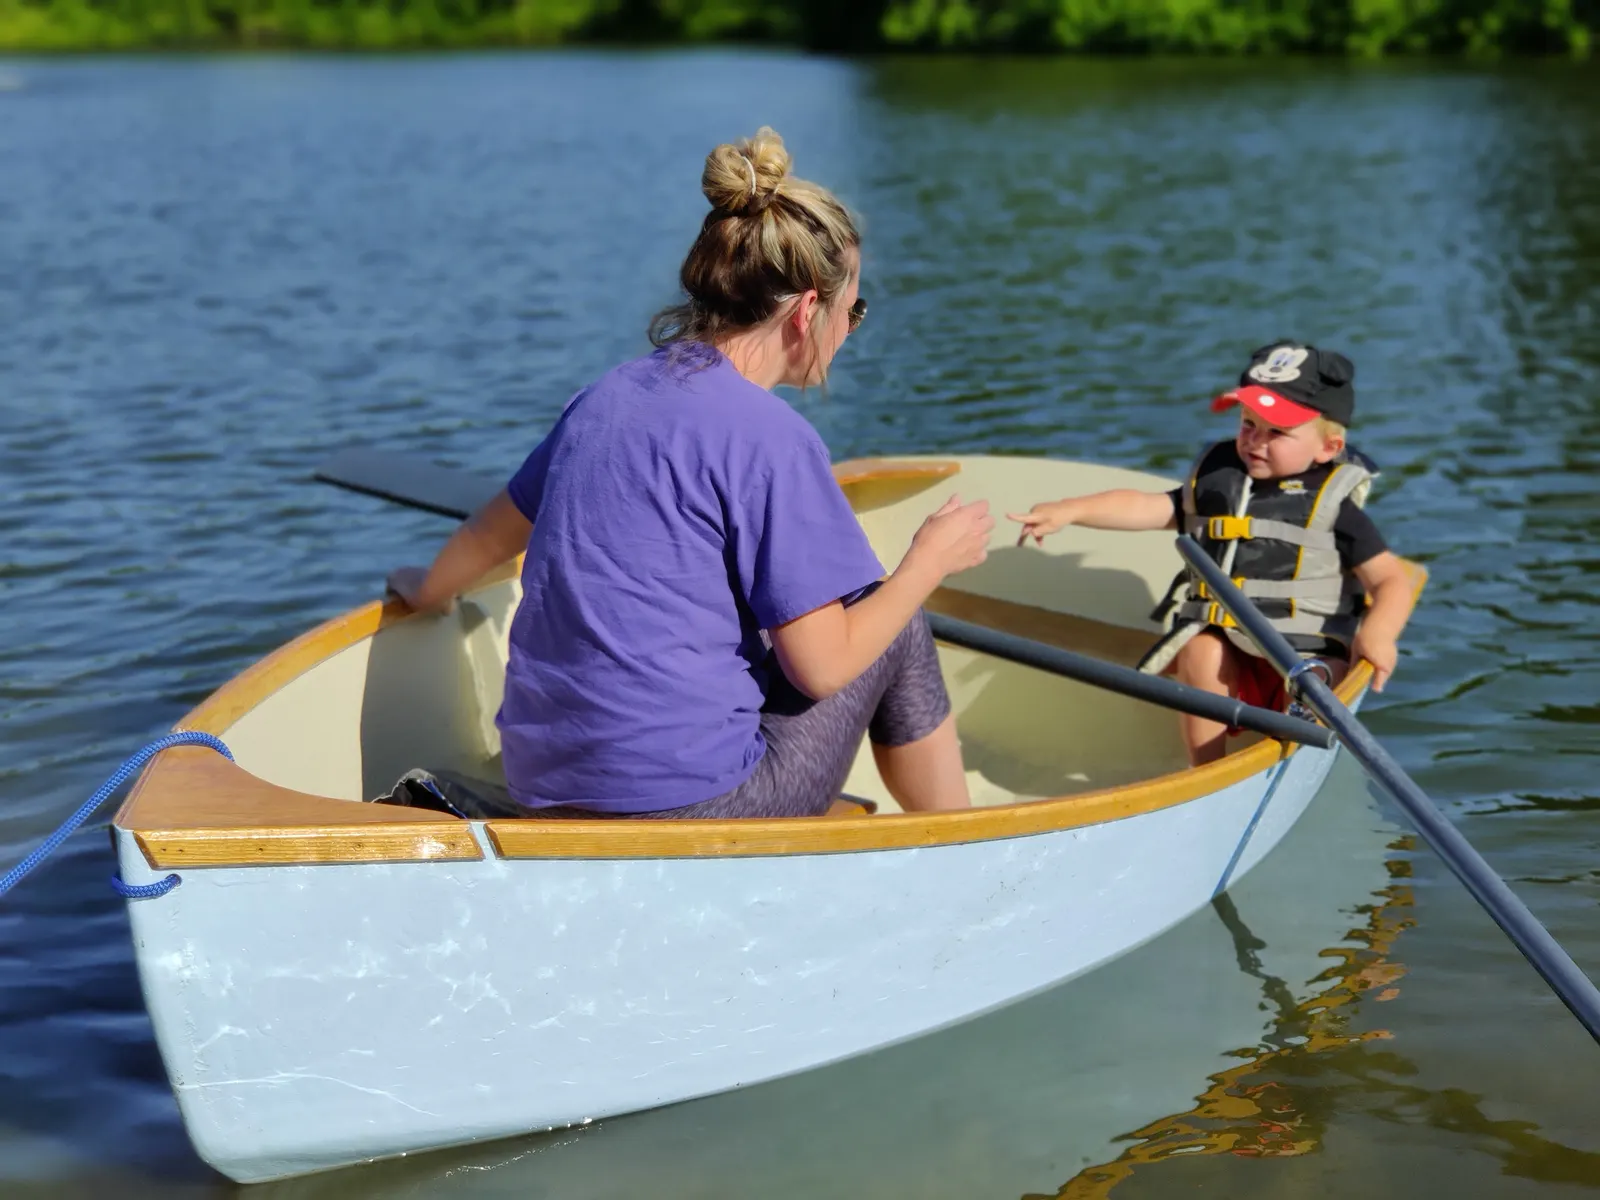
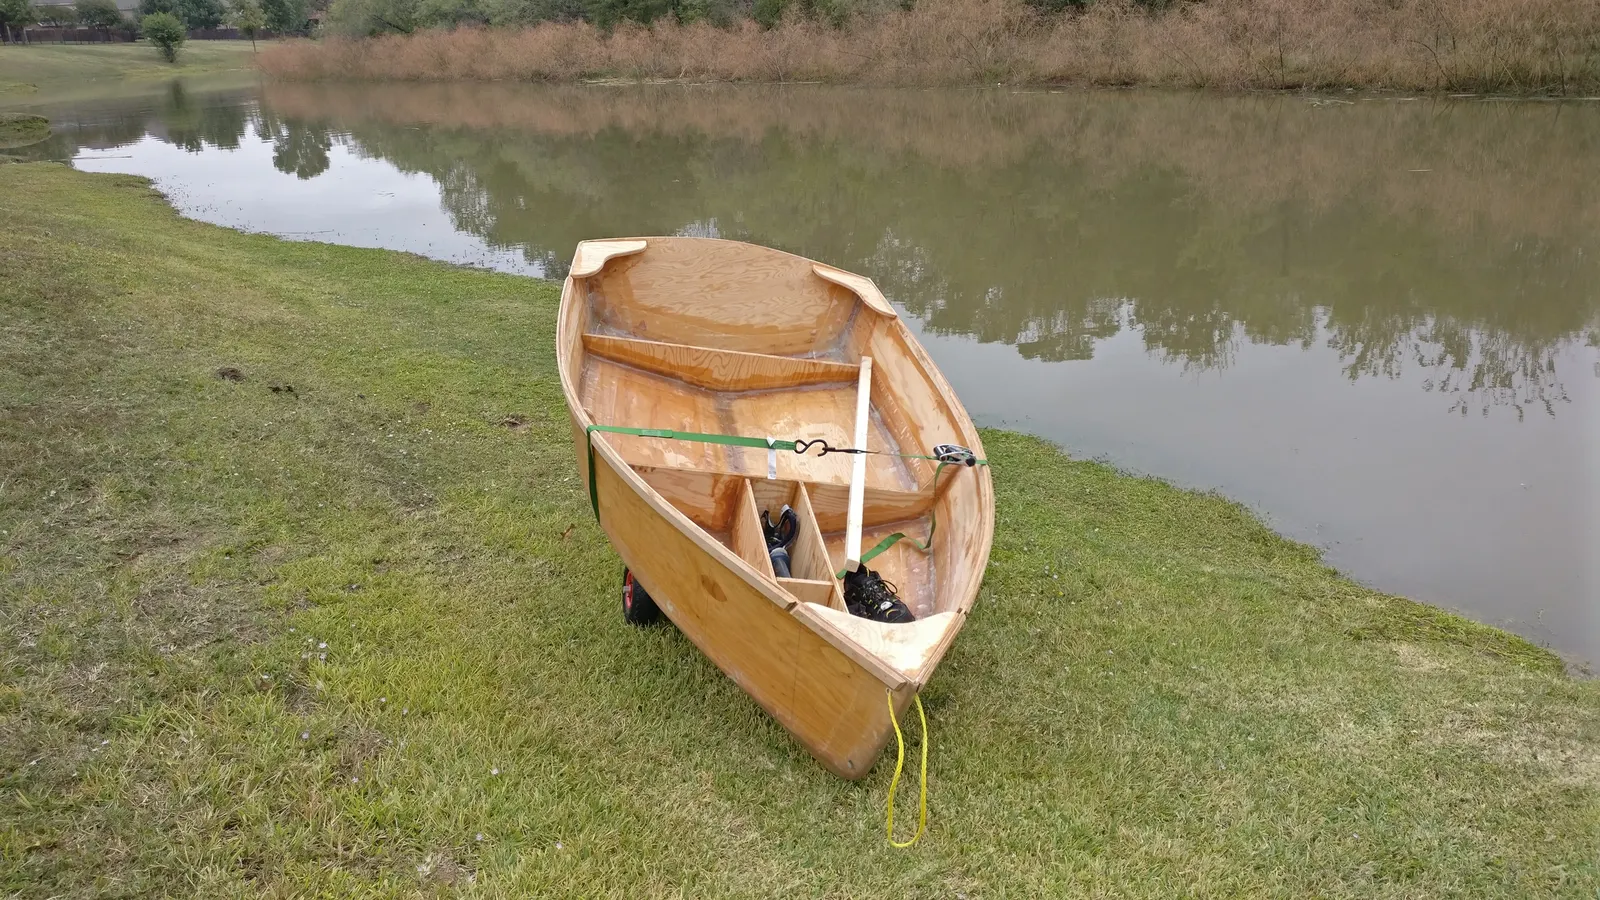
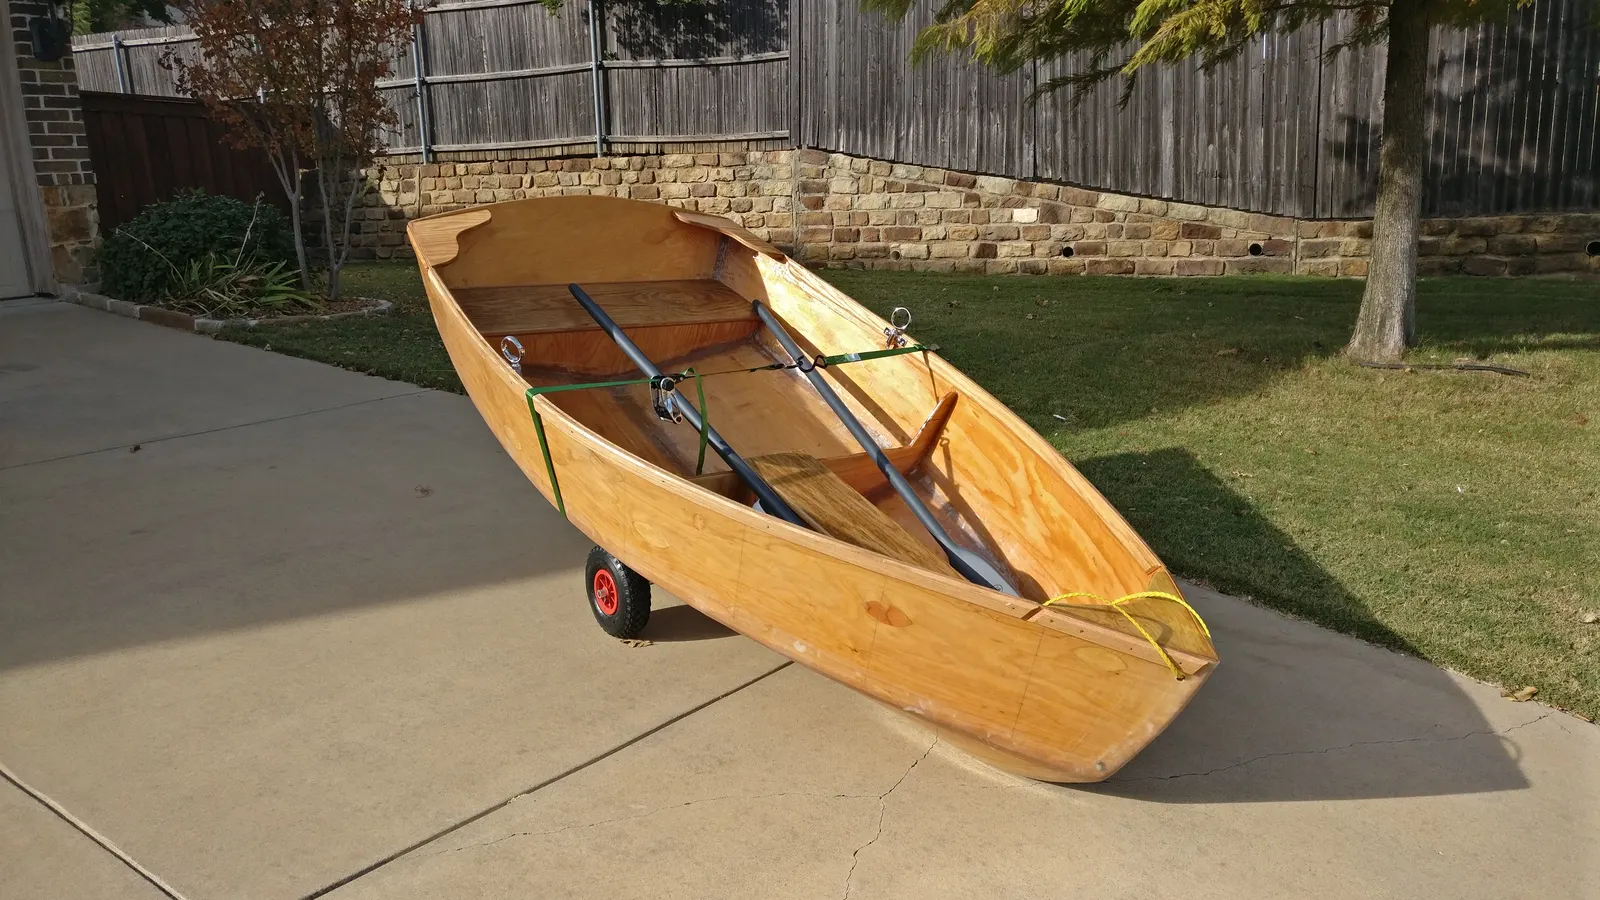
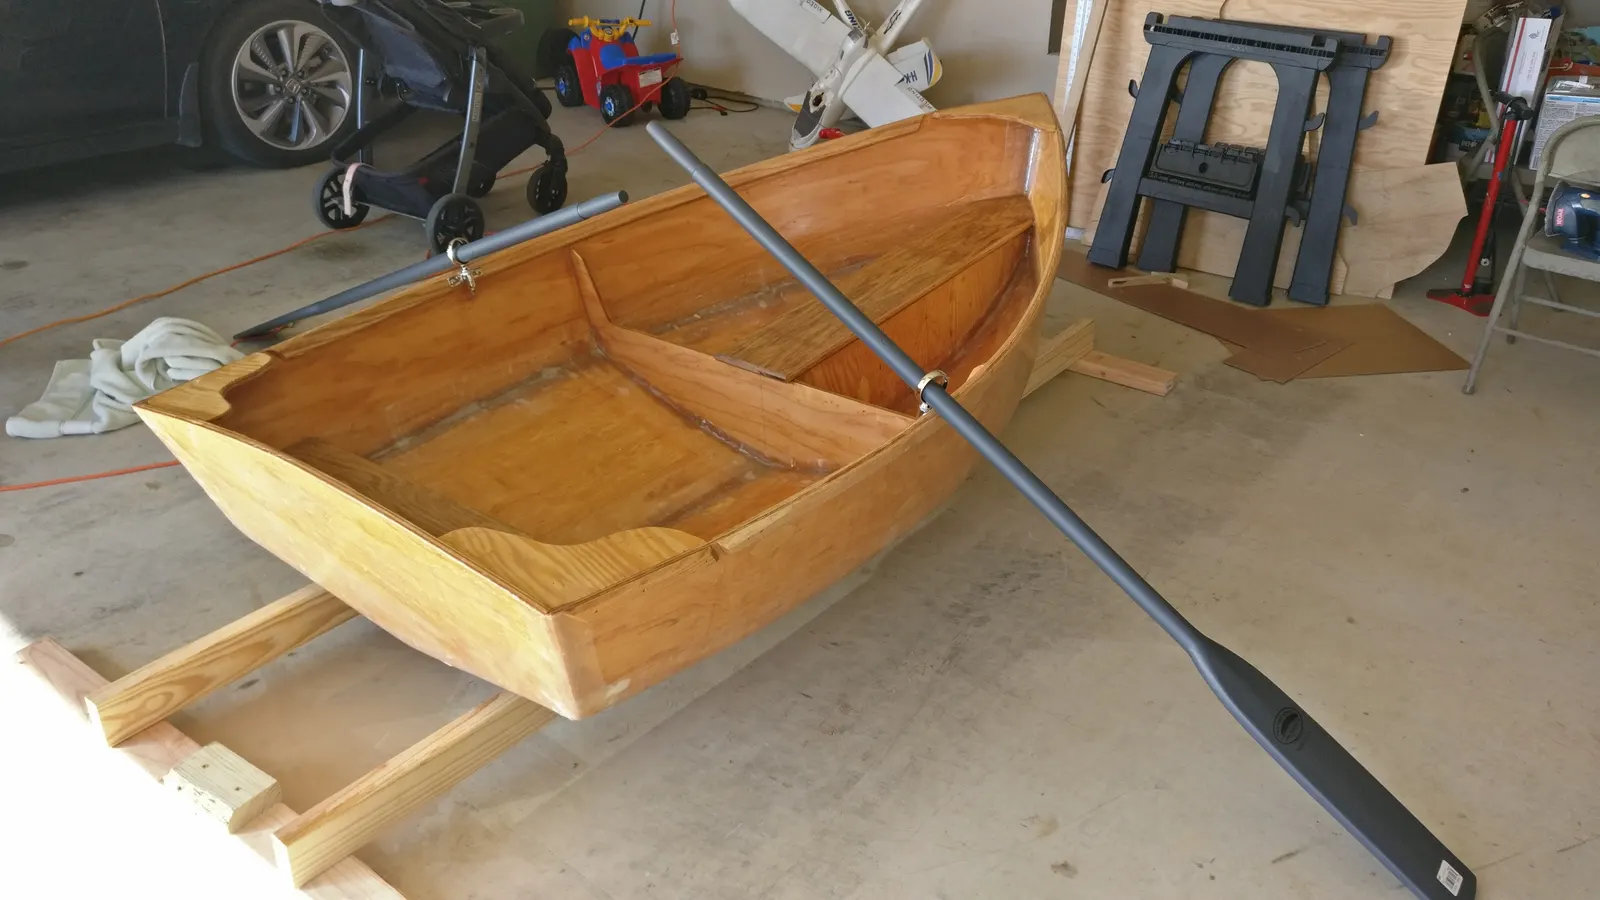
My very first boatbuild was the Polliwog, an 8' rowing boat made from just a couple sheets of marine grade plywood.
28 Sep 2019
Stitch & Assembly 10 h
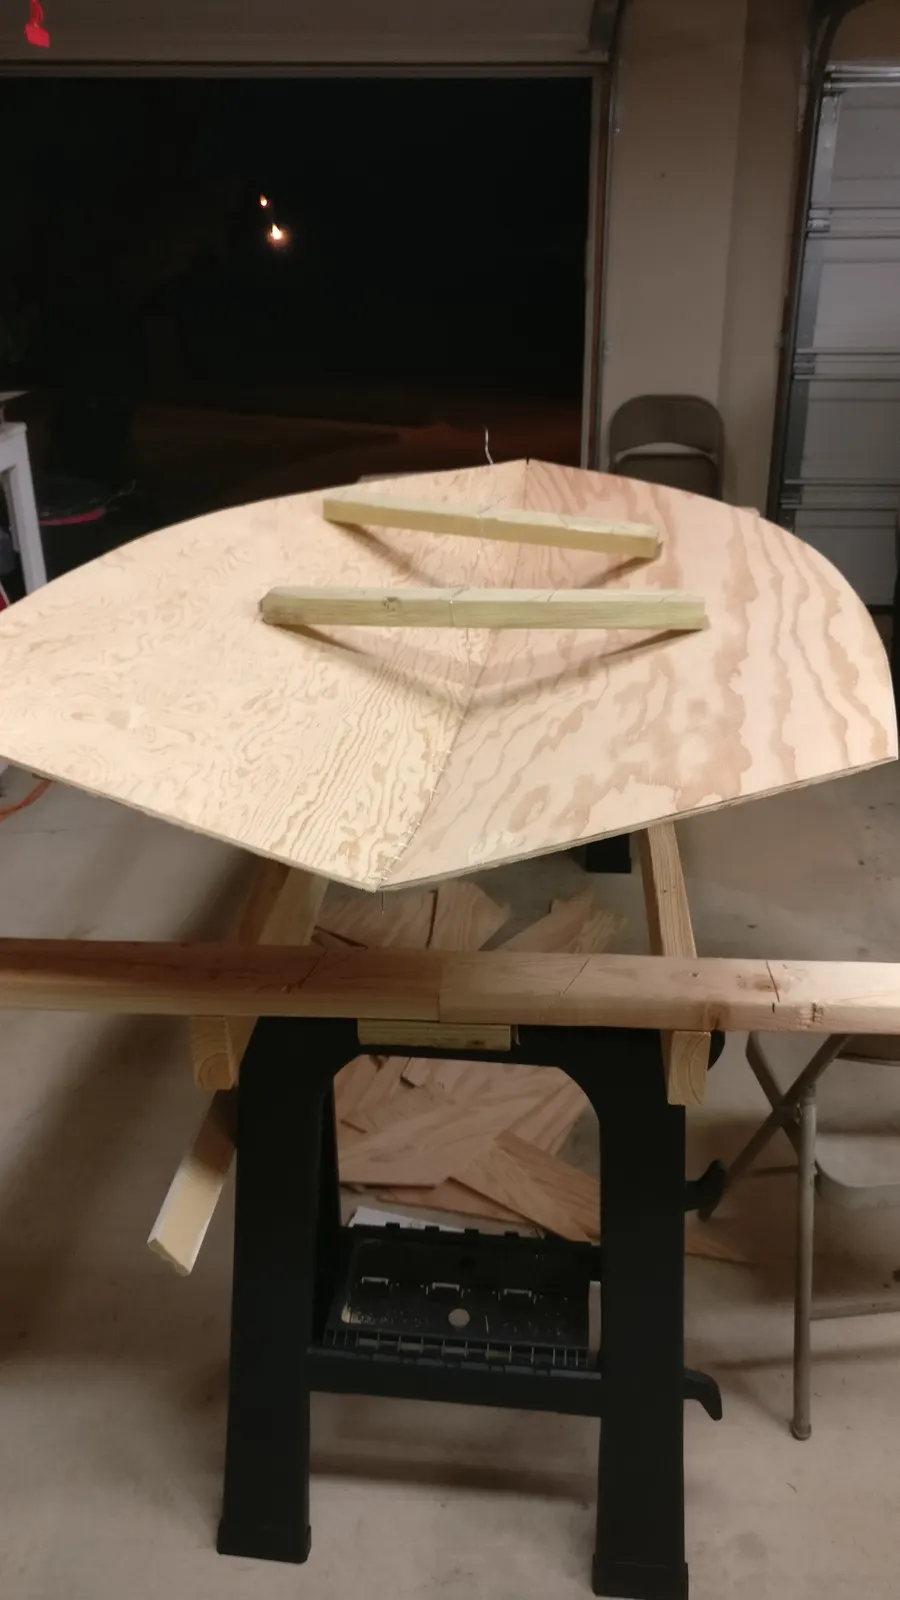
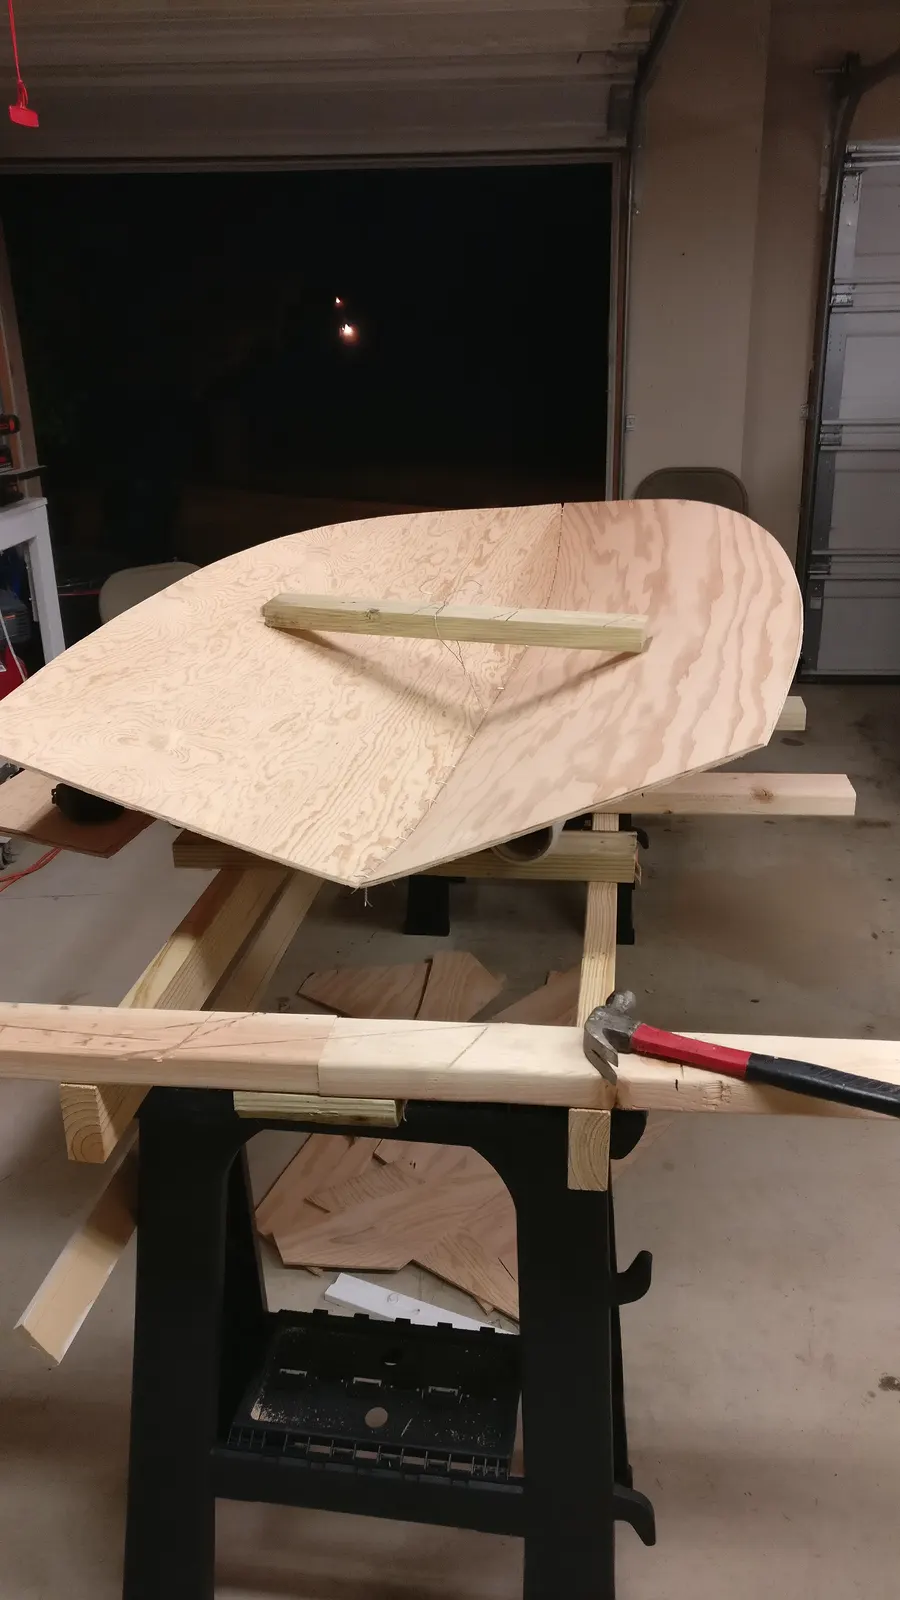
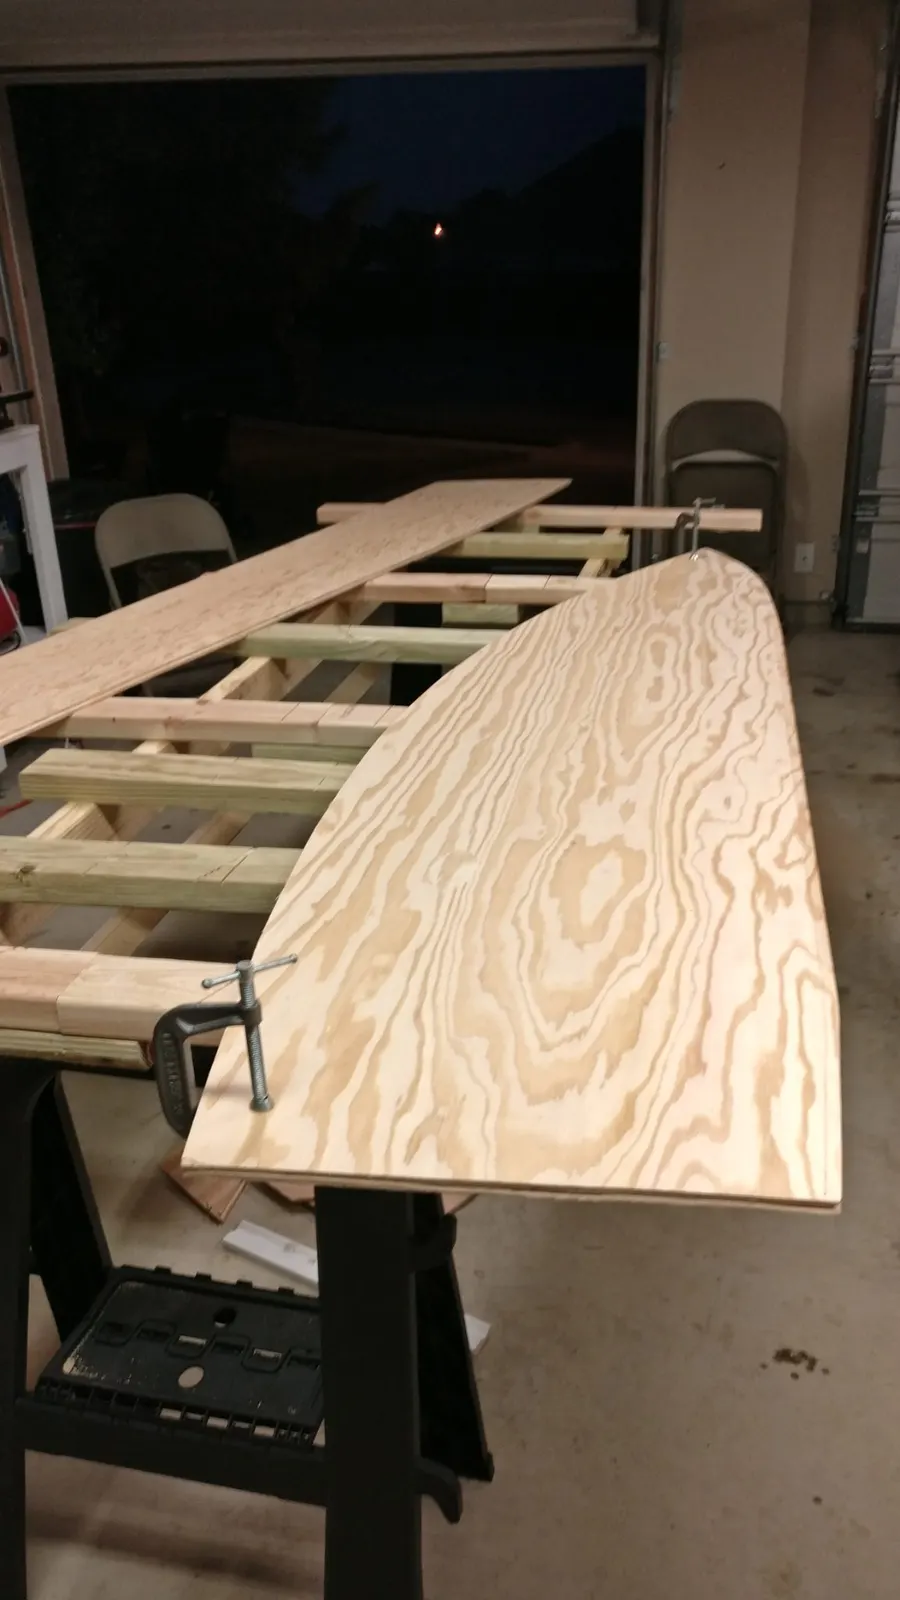
Cut and Stiched the main panels
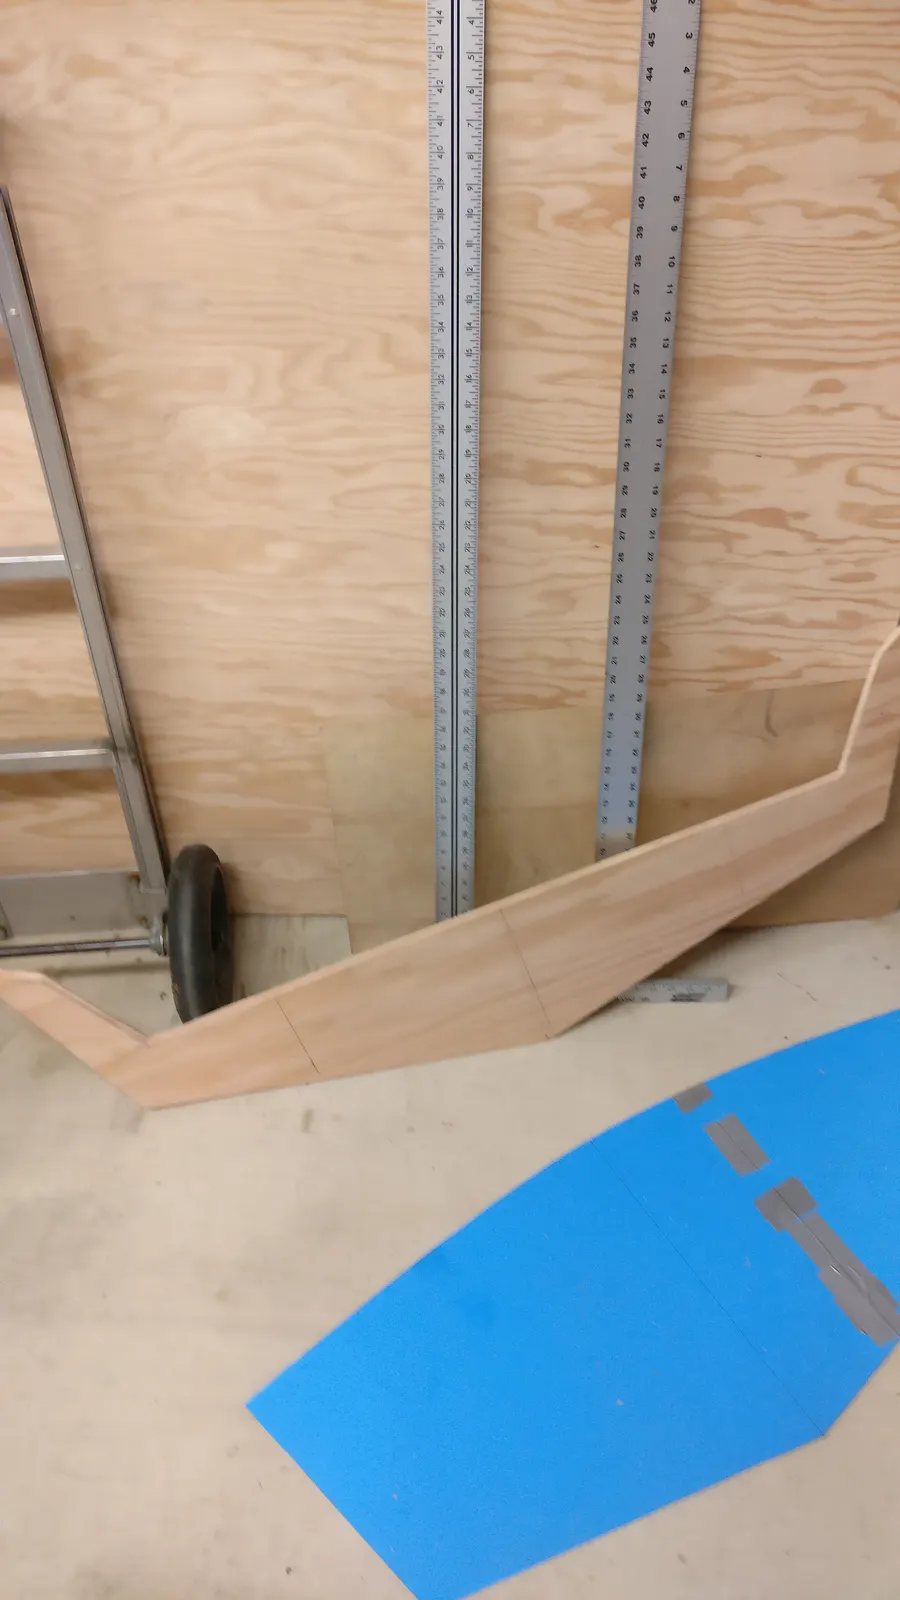
Phase 1: Lofting and Cutting the Main Panels
This was my first boat, so if you spot things that look wrong in the pictures, go easy on me. This was also my first time lofting.
Overall, I'm pretty happy with how the process went. Lofting itself was relatively easy. The most challenging part was getting a piece of wood thin enough to bend around all of the nails set into the loft. Once I finally made a good, thin batten, I held onto it for a long time, since they're so difficult to make.
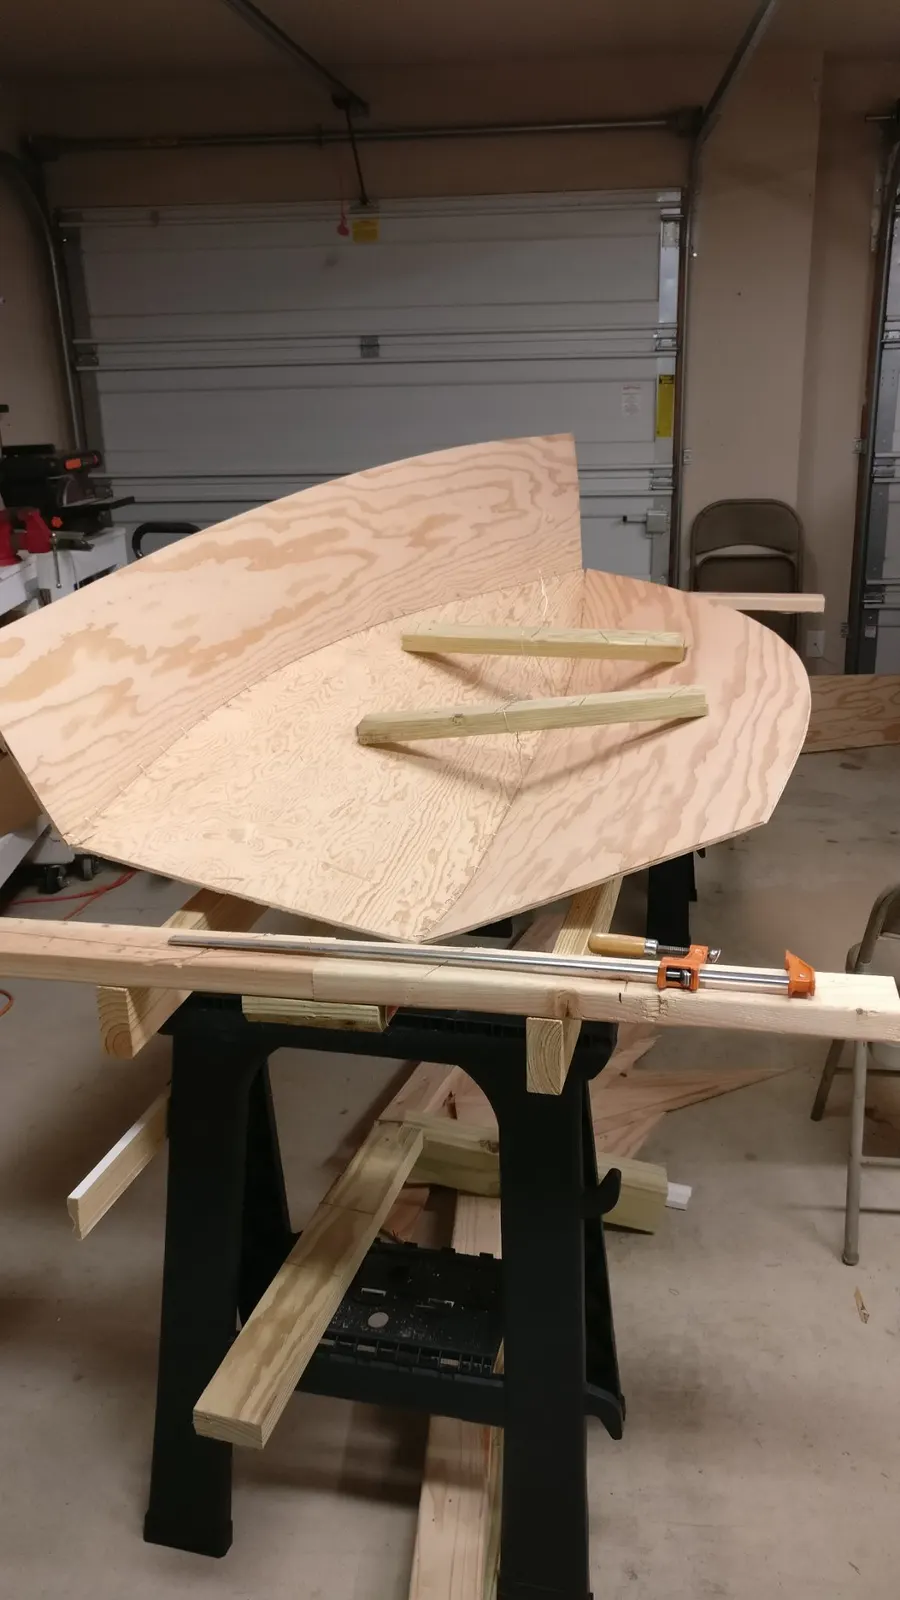
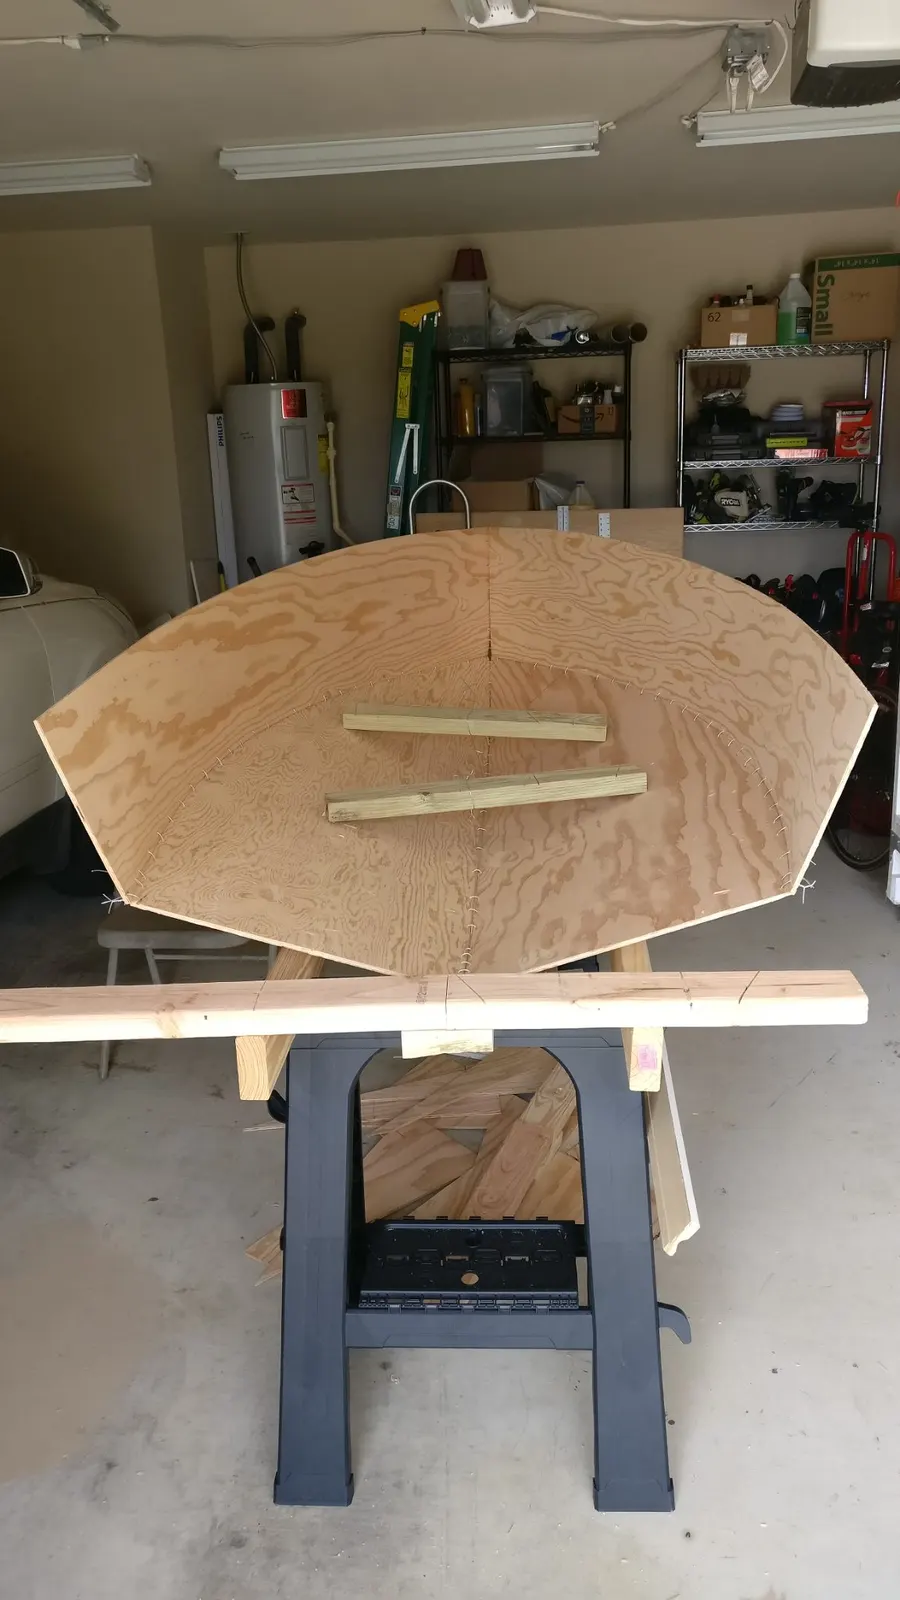
After that, I cut out the two main panels, stitched them together, and started to stretch them apart, as shown here.
13 Oct 2019
Fillets & Taping 10 h
Fillet and Fiberglass
Phase 2: Transom, Fillets, and Fiberglass
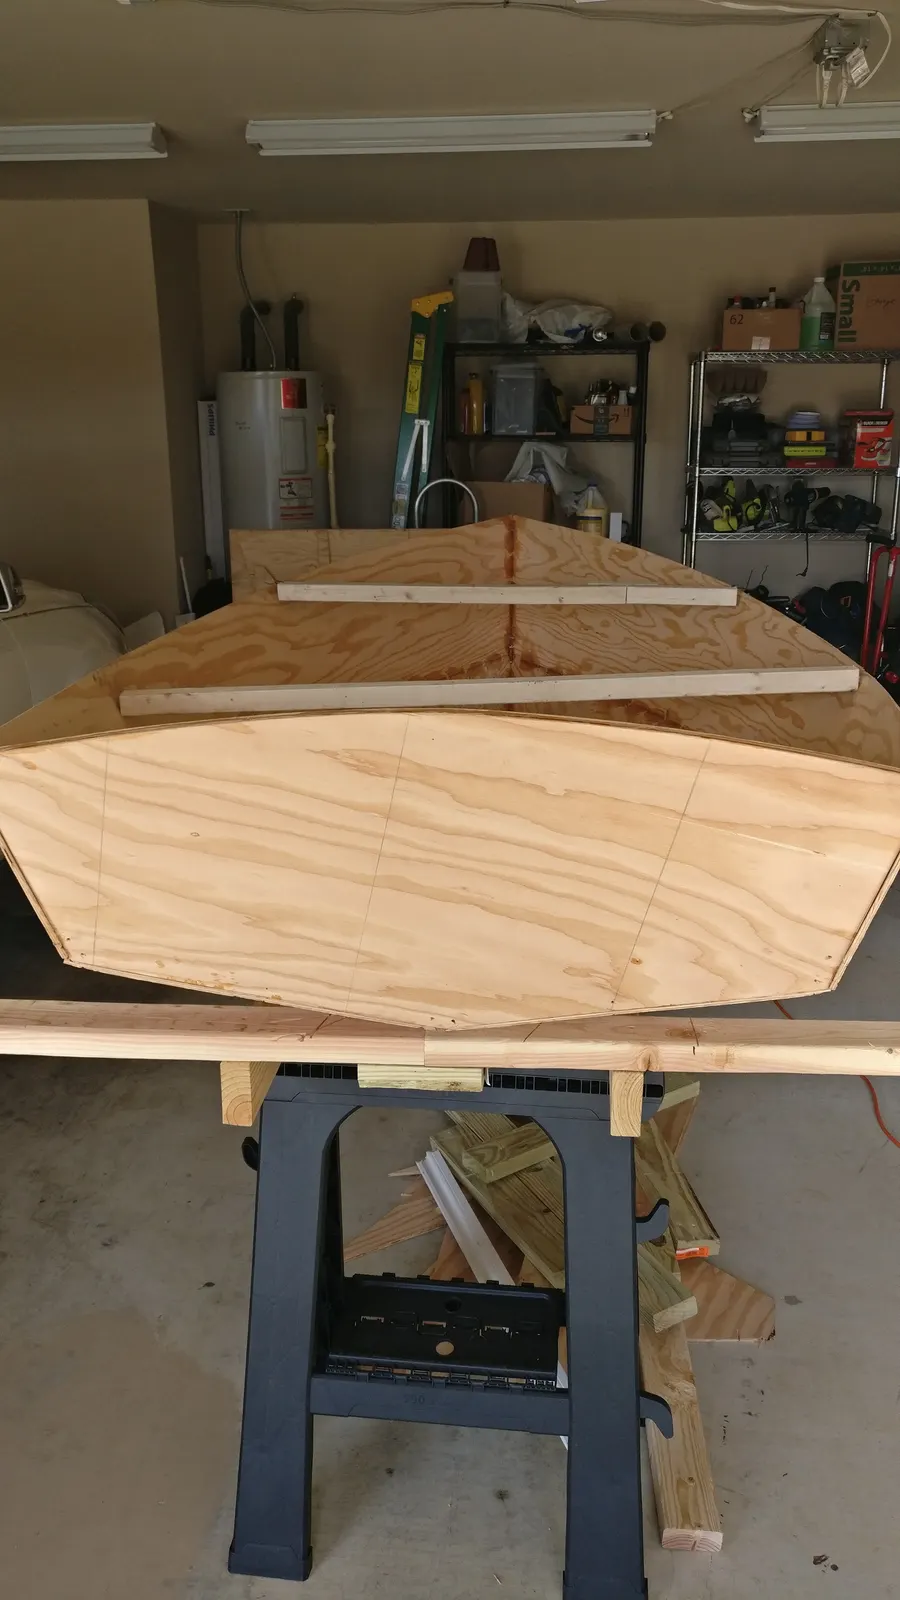
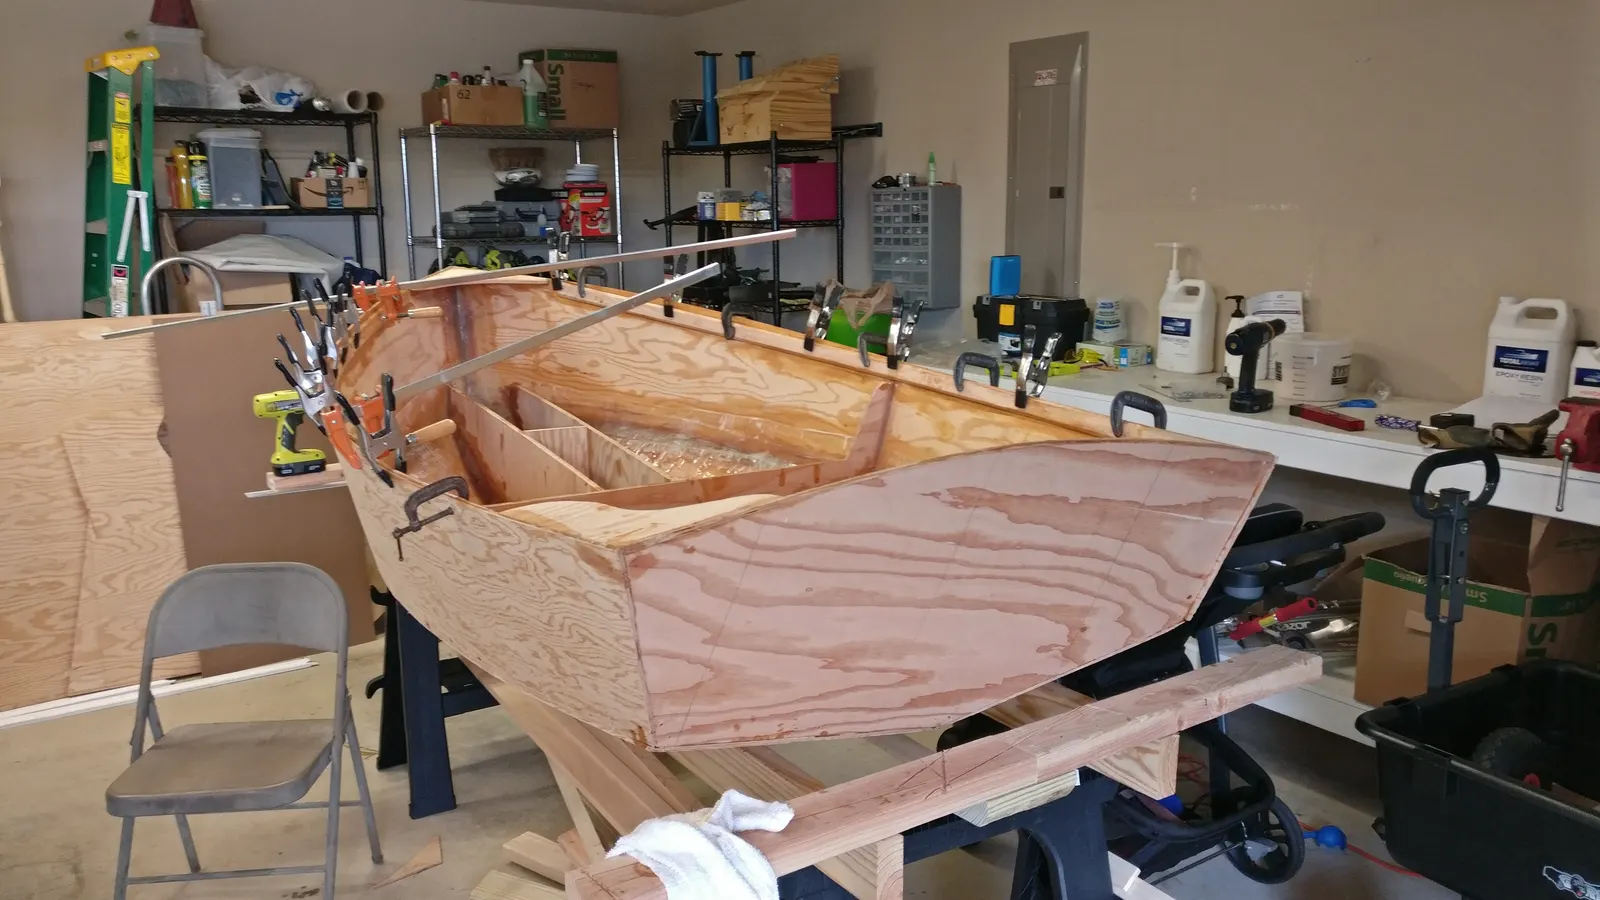
In this next step, I fit the transom, again using the stitch and glue method, running wires through to secure the transom to the hull.
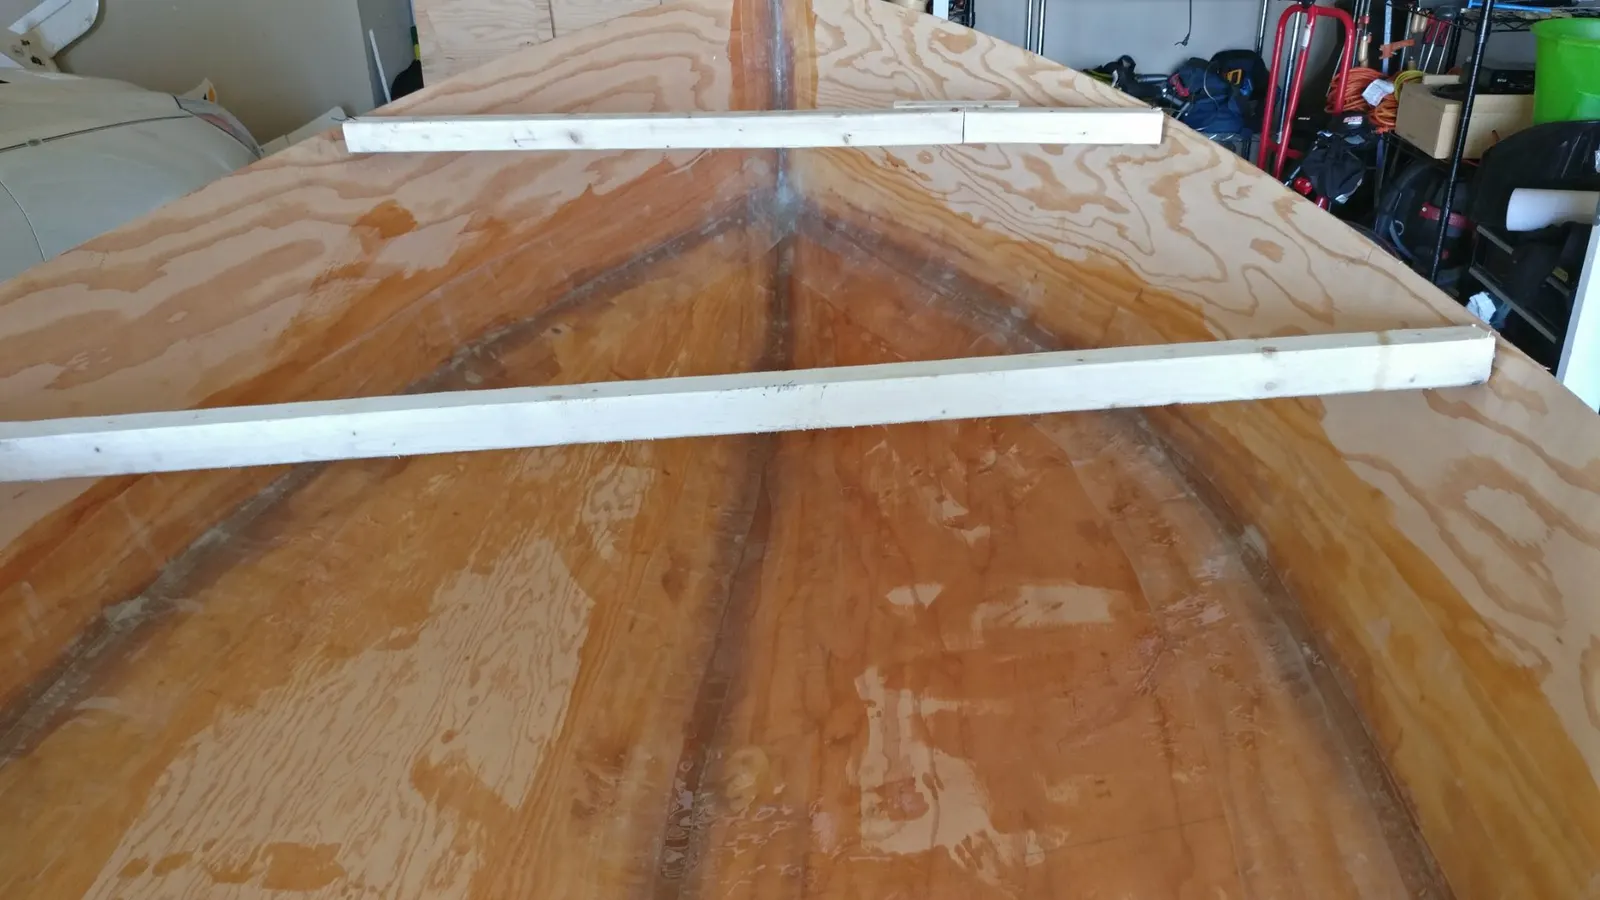
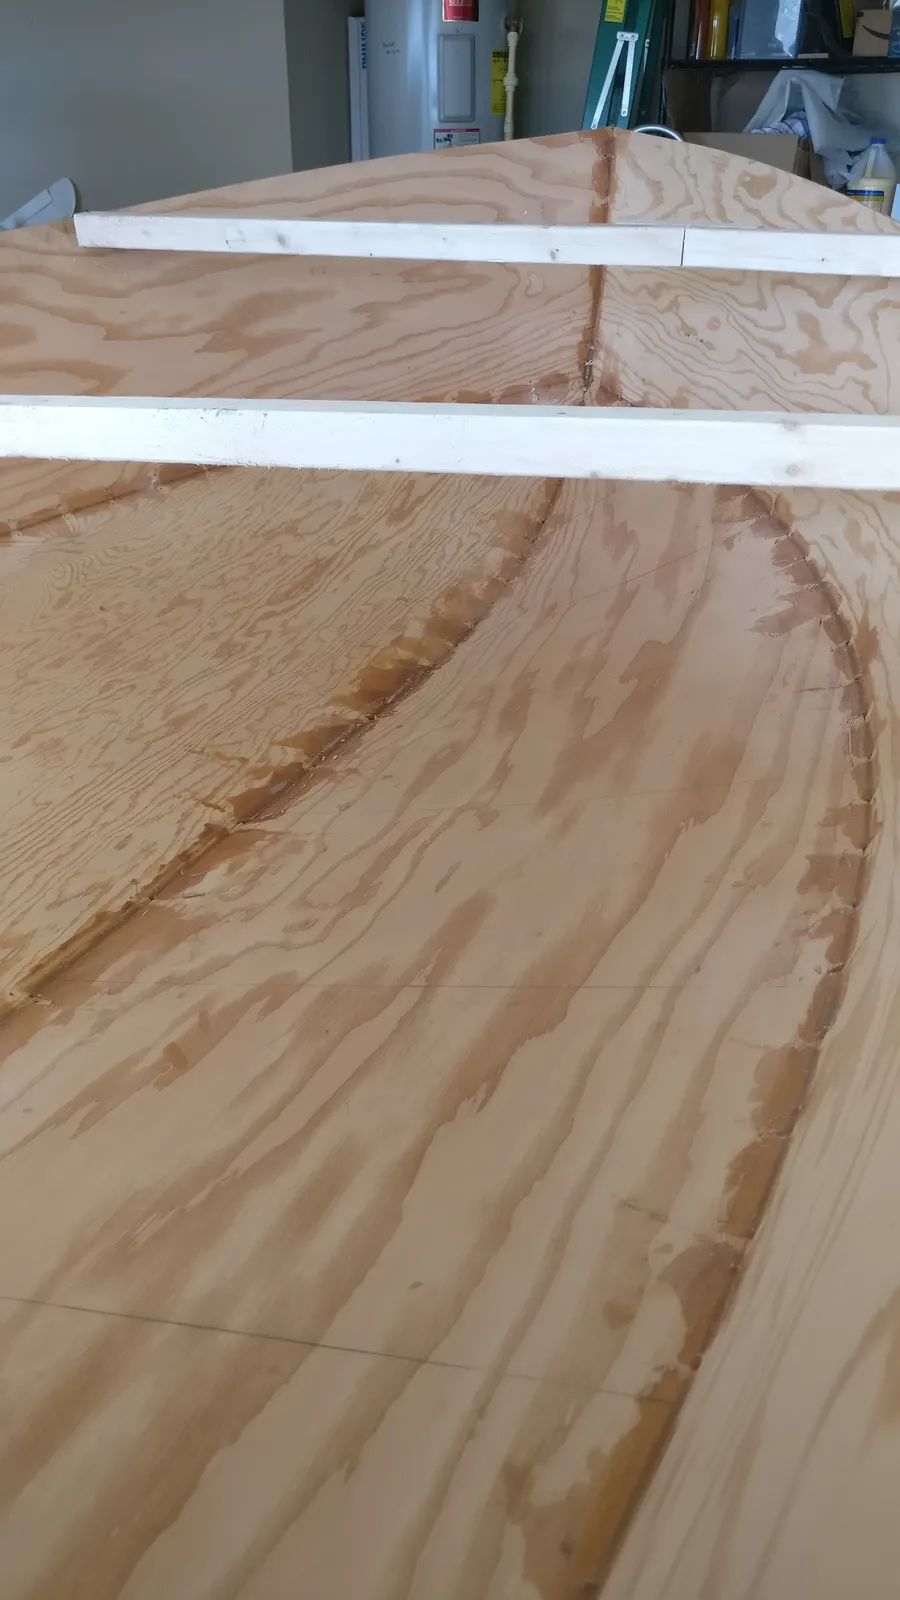
Next, I added the fillets. Small fillets go in between all of the copper wiring first. Once those cure, you can remove the copper wiring and lay down a much longer, thicker fillet in the grooves left behind.
There are two reasons for this. First, it smooths everything out for fiberglassing, since fiberglass doesn't adhere well to abrupt angles. Second, it adds strength to the boat so it doesn't break while you're moving it around and prepping for fiberglass.
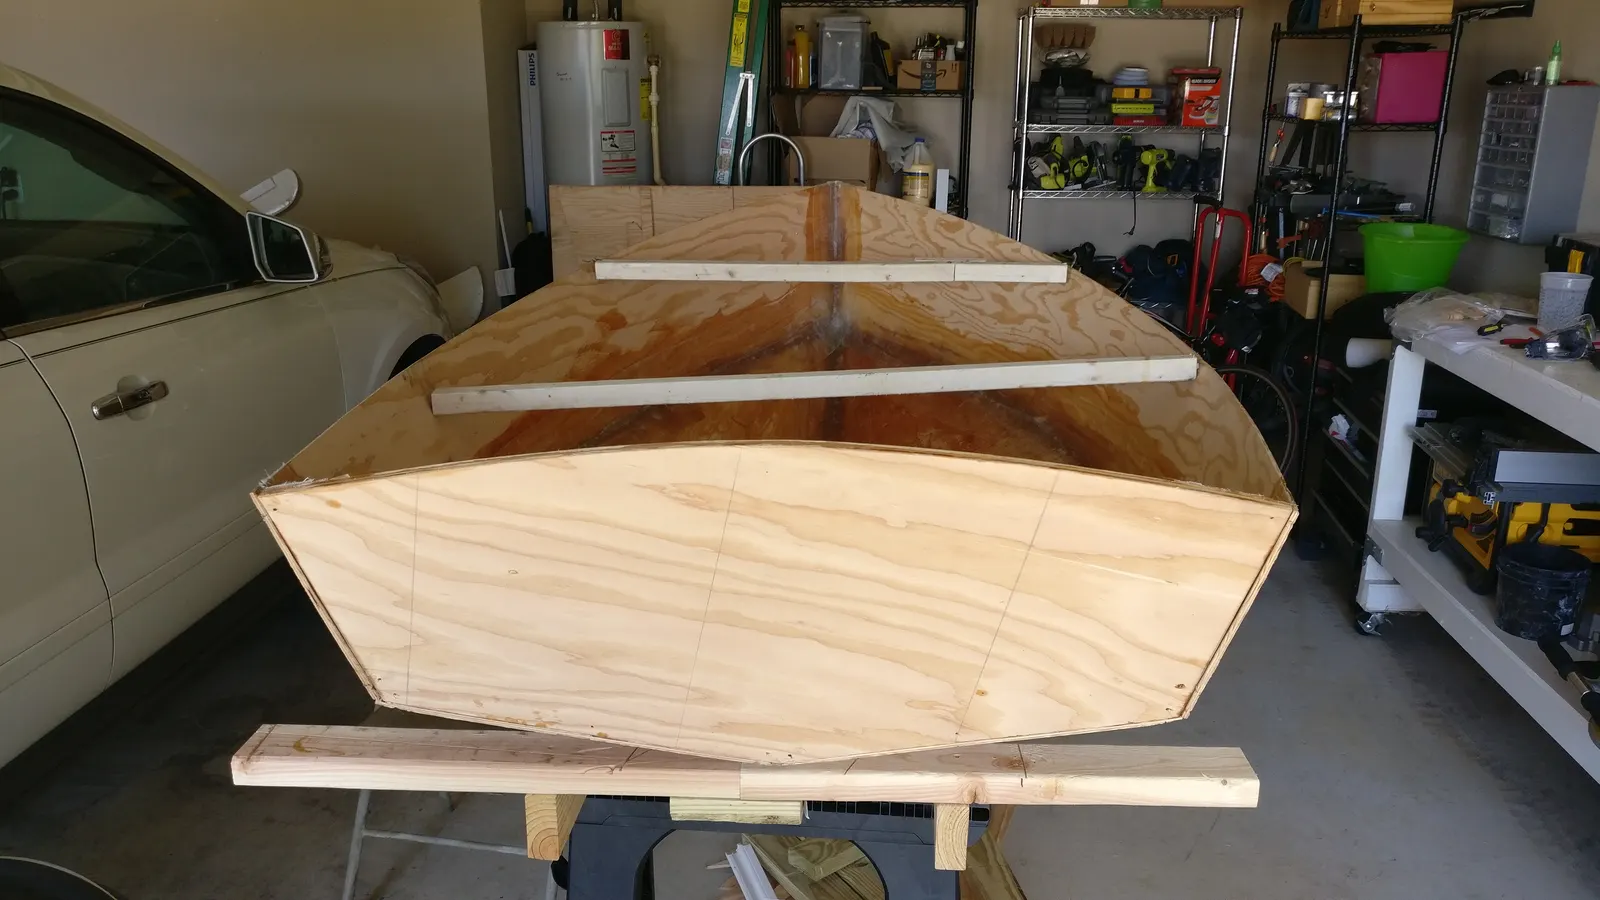
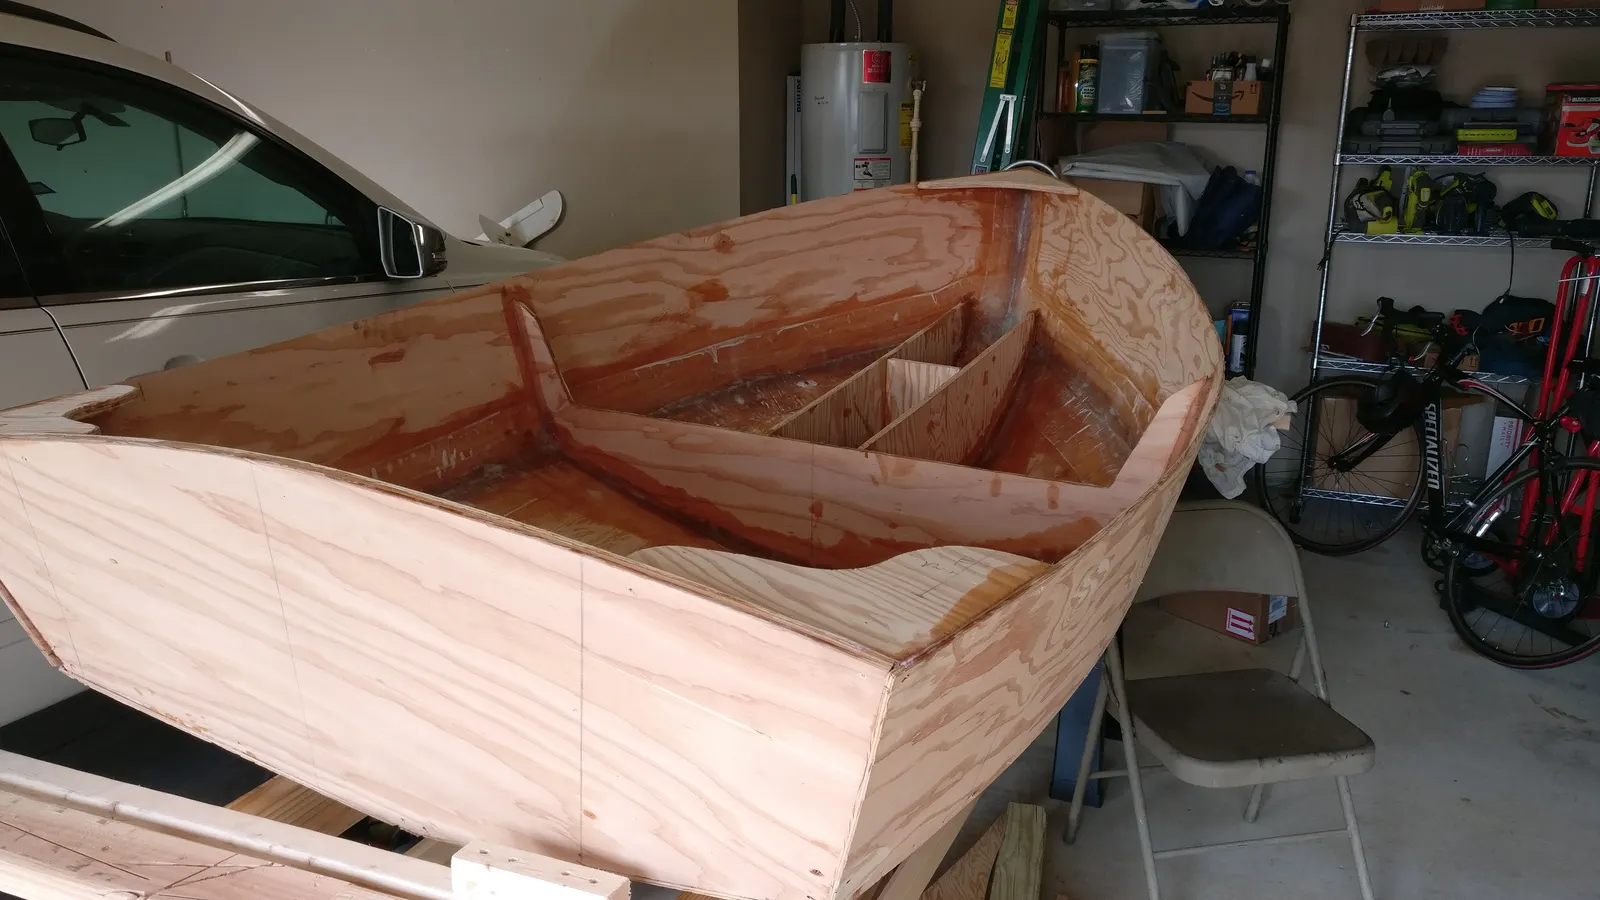
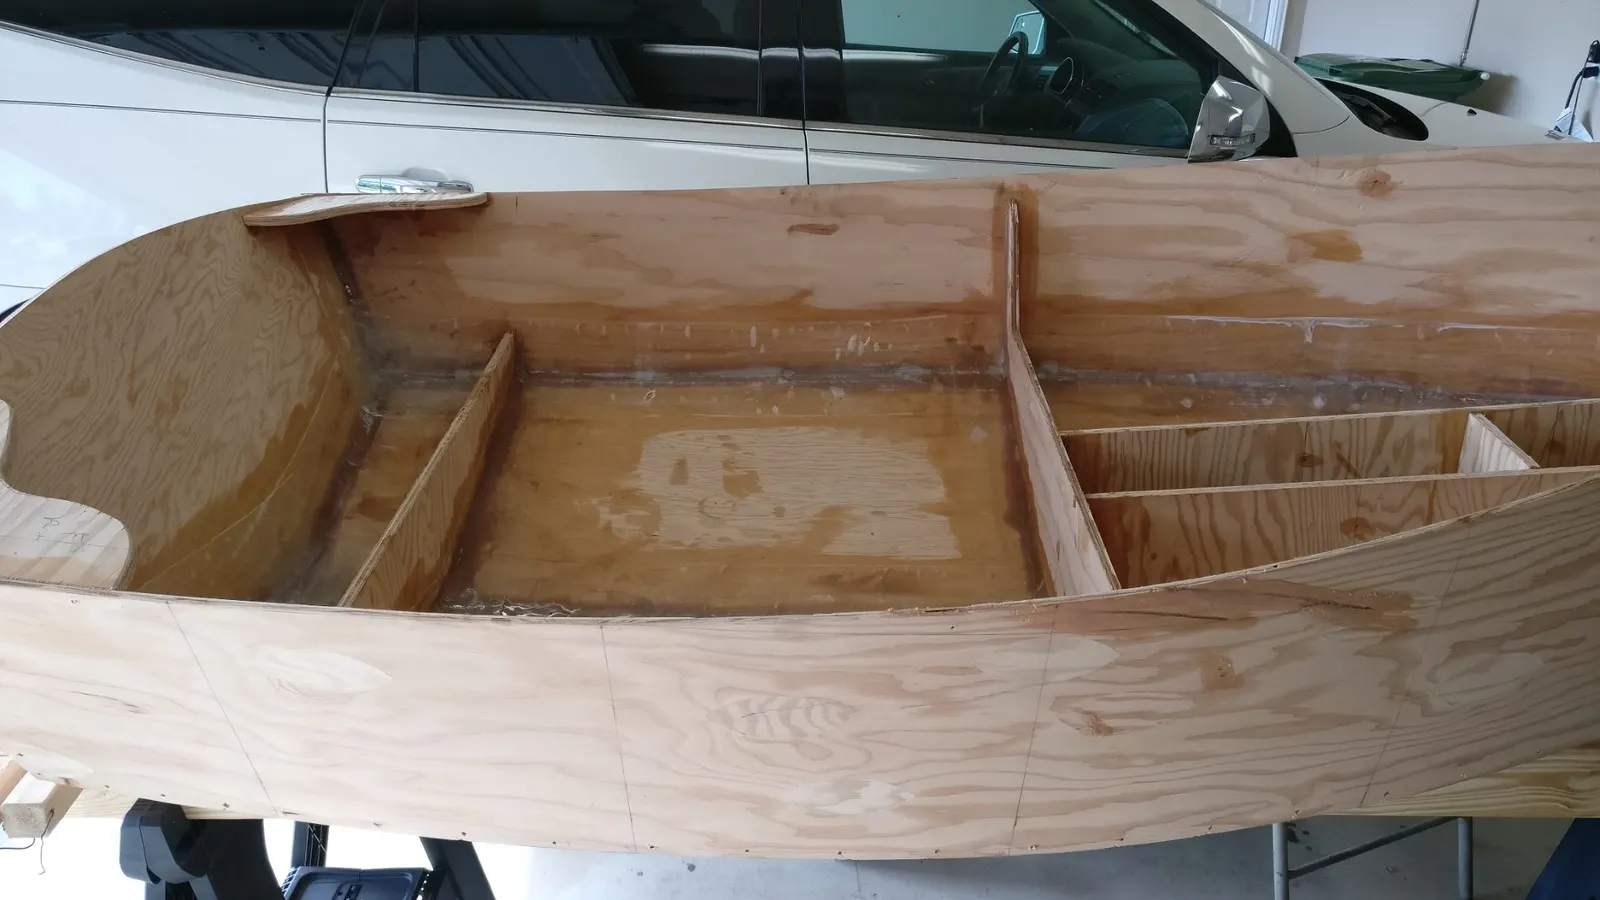
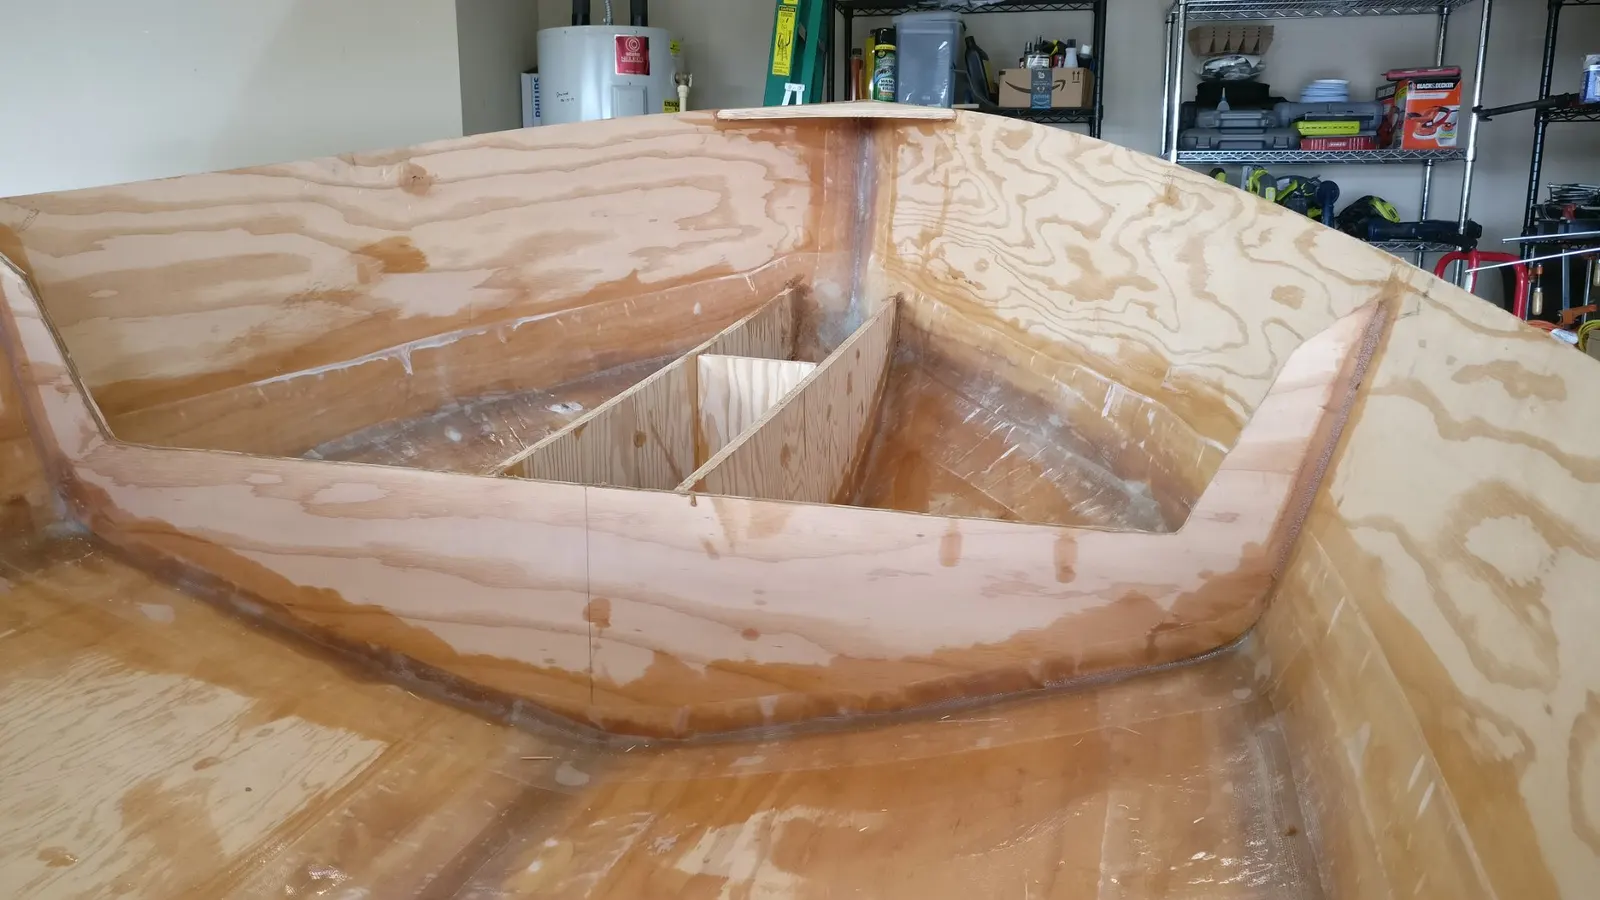
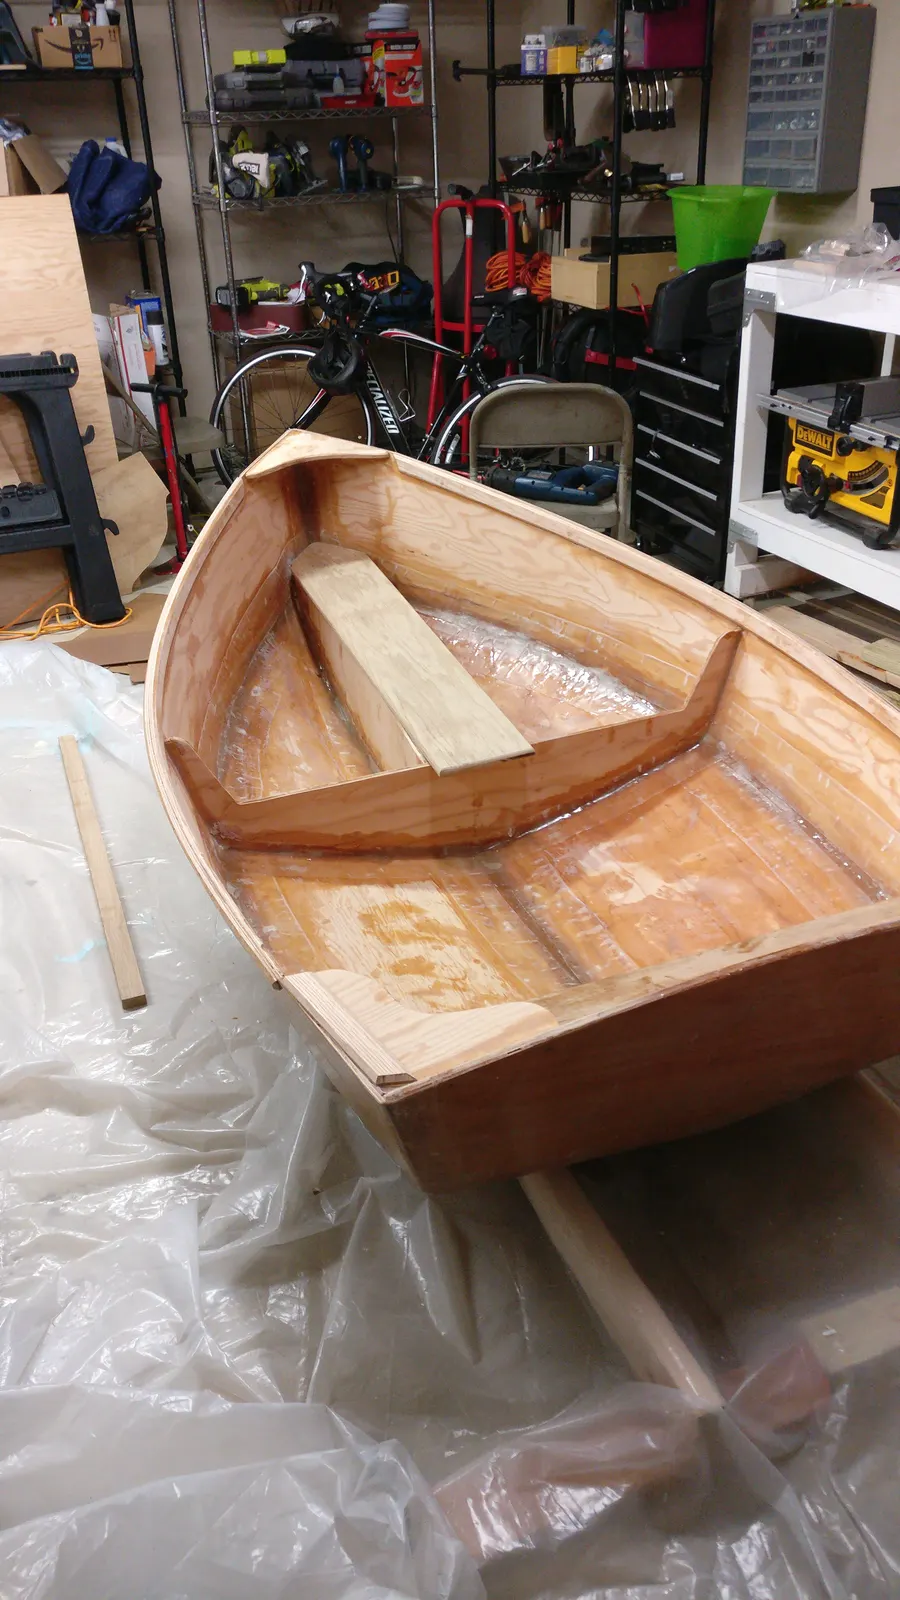
The last photo here shows the actual fiberglass work. I fiberglassed the interior, the bulkheads, and the seat to the main panels.
15 Oct 2019
Hull Exterior 3 h
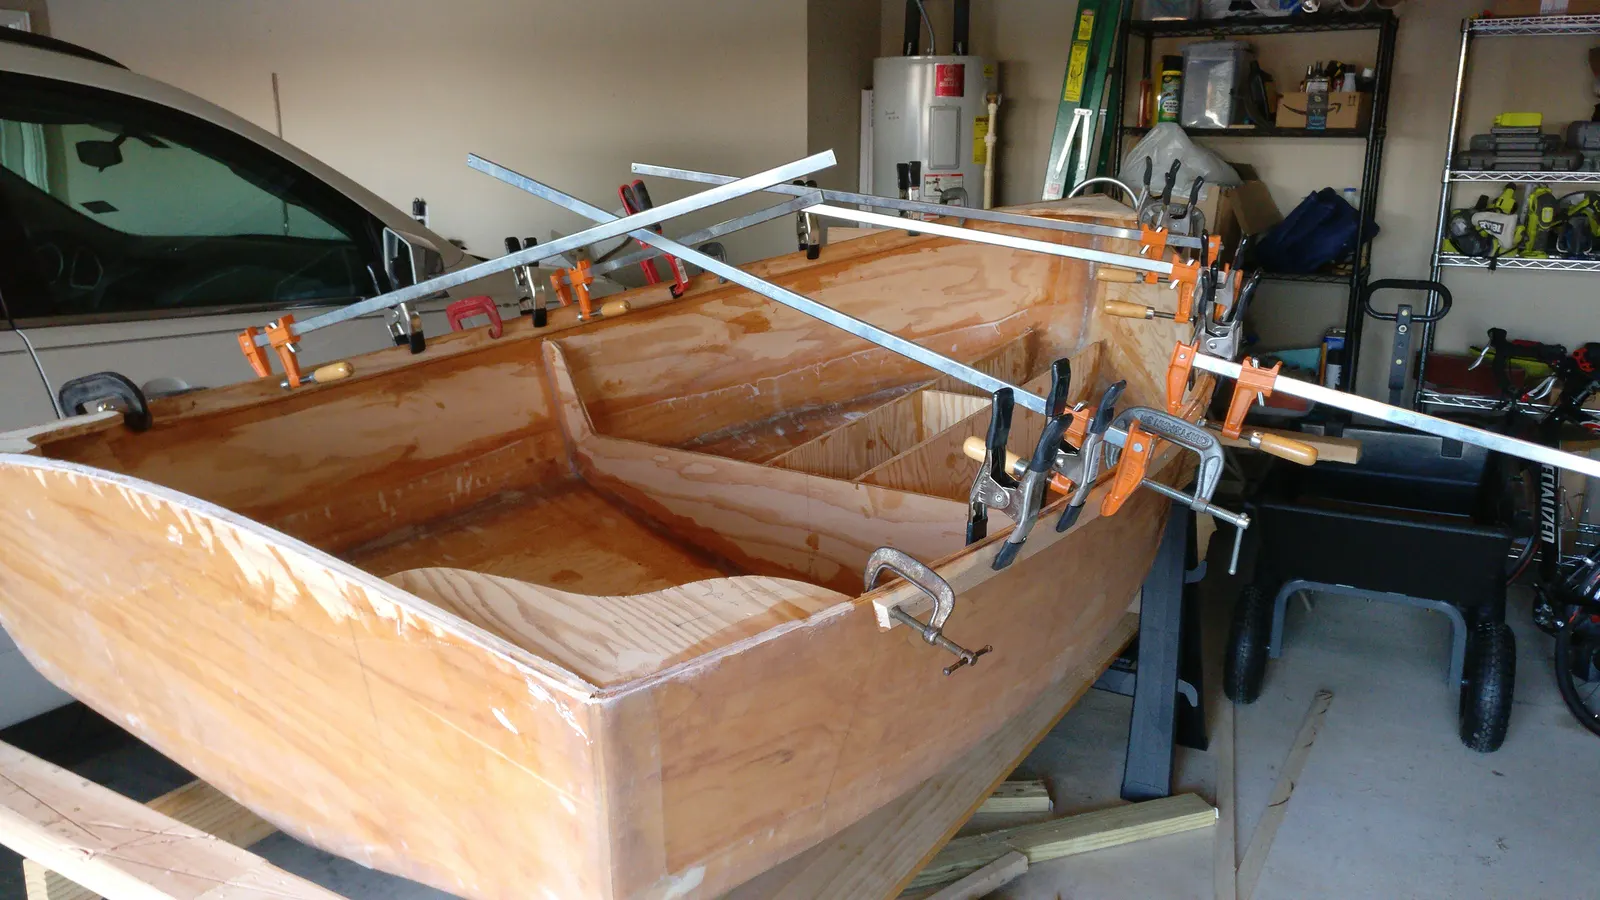
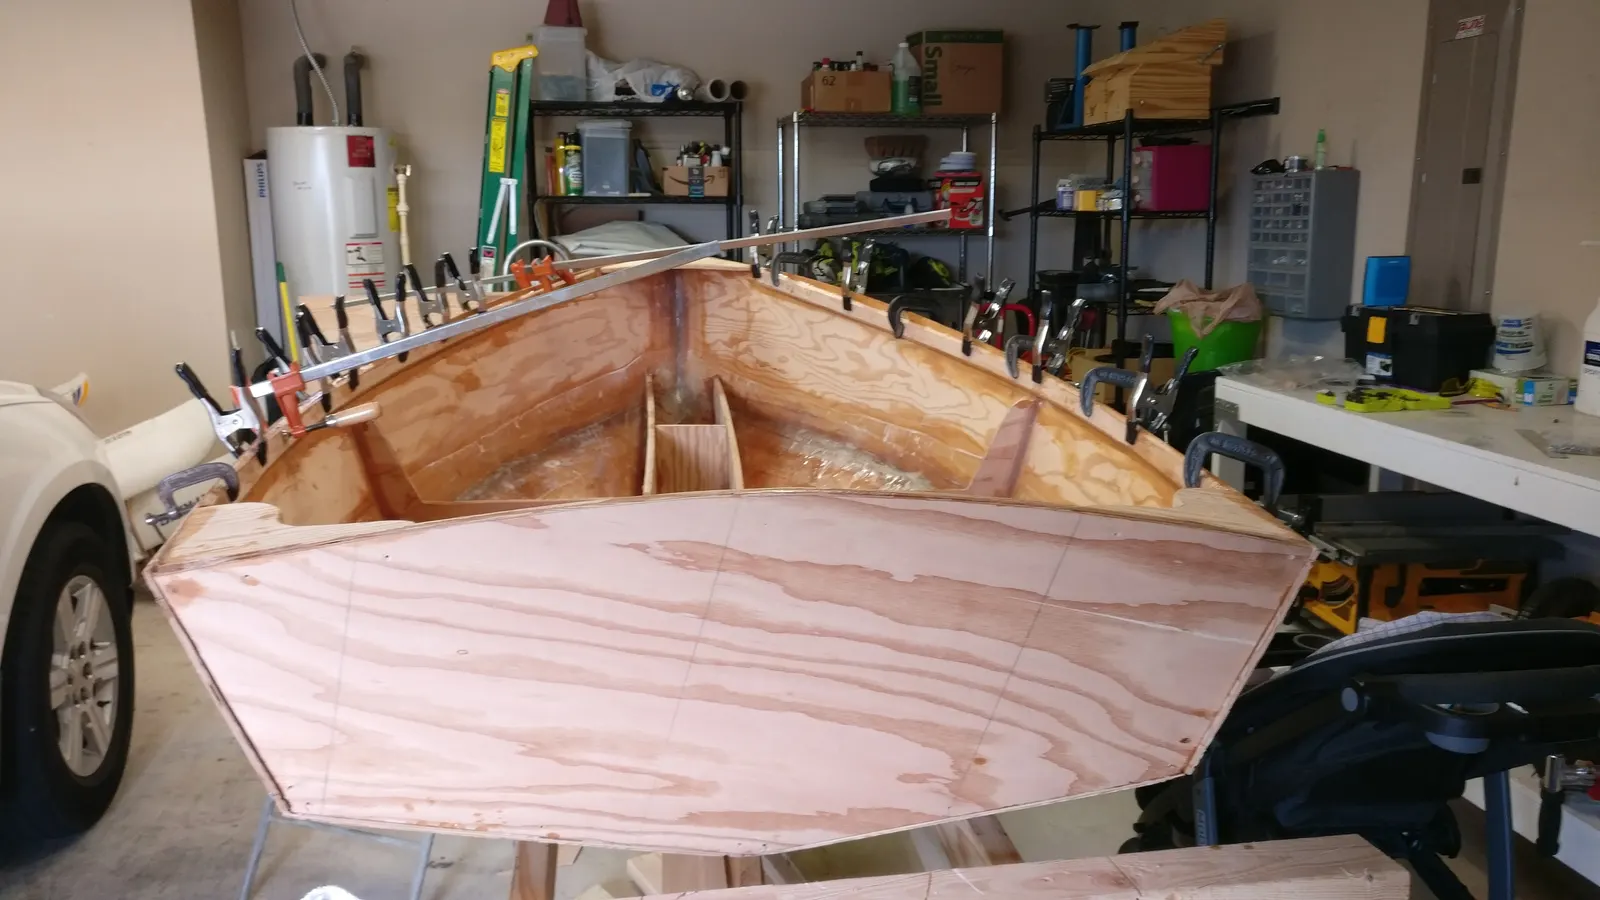
Gunwales
20 Oct 2019
Glassing & Epoxy 3 h
Fiberglassing the Exterior
Phase 3: Fiberglassing the Exterior
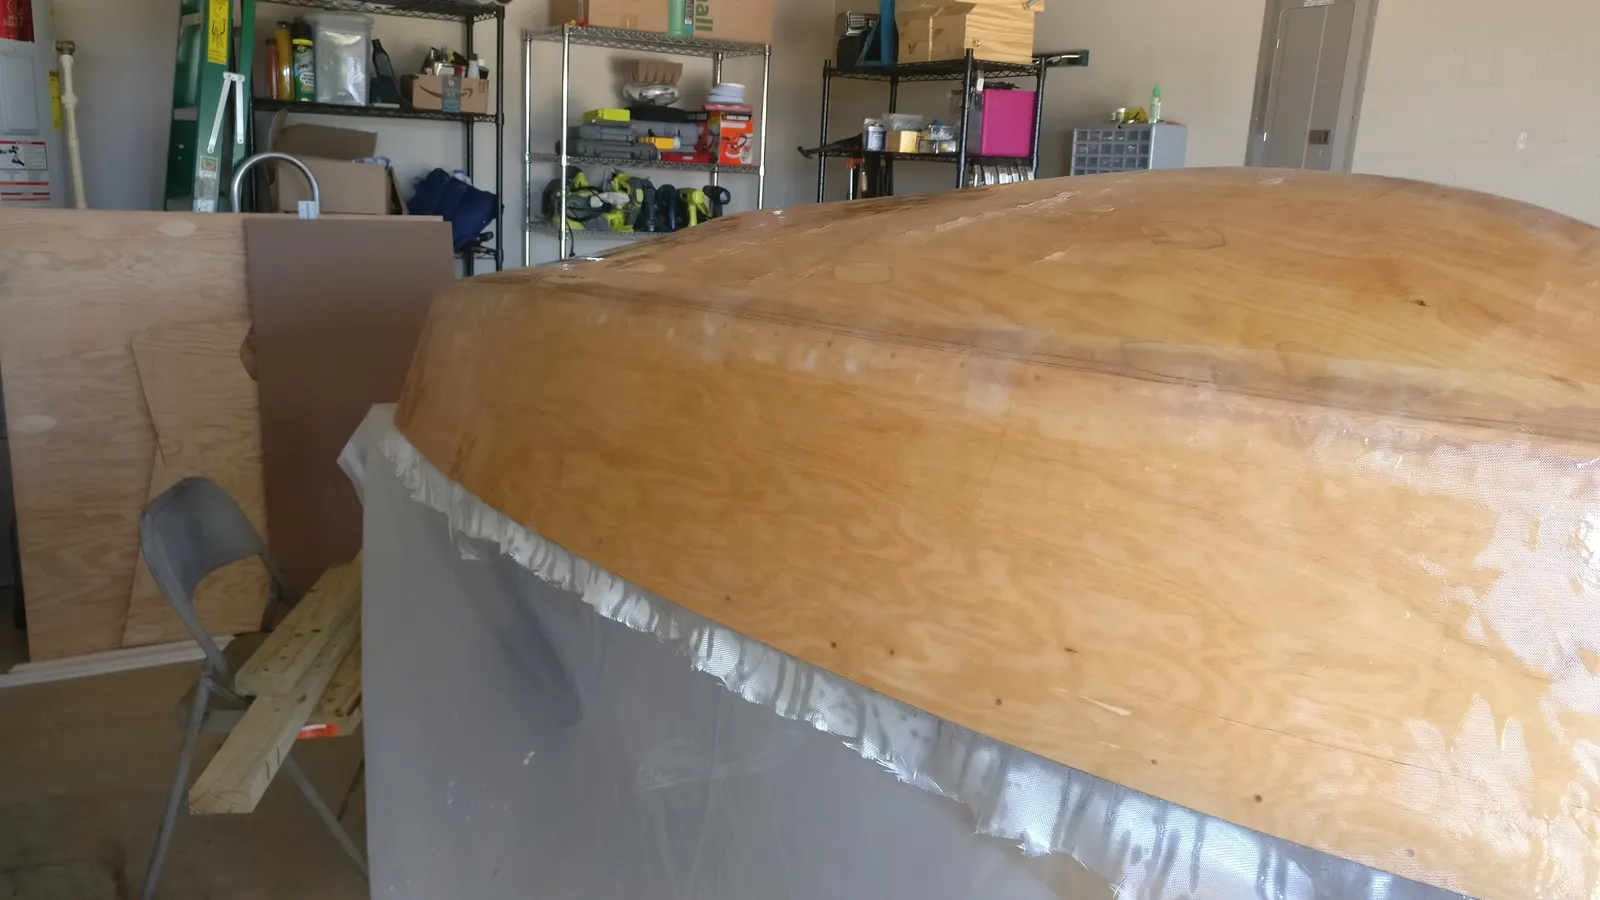
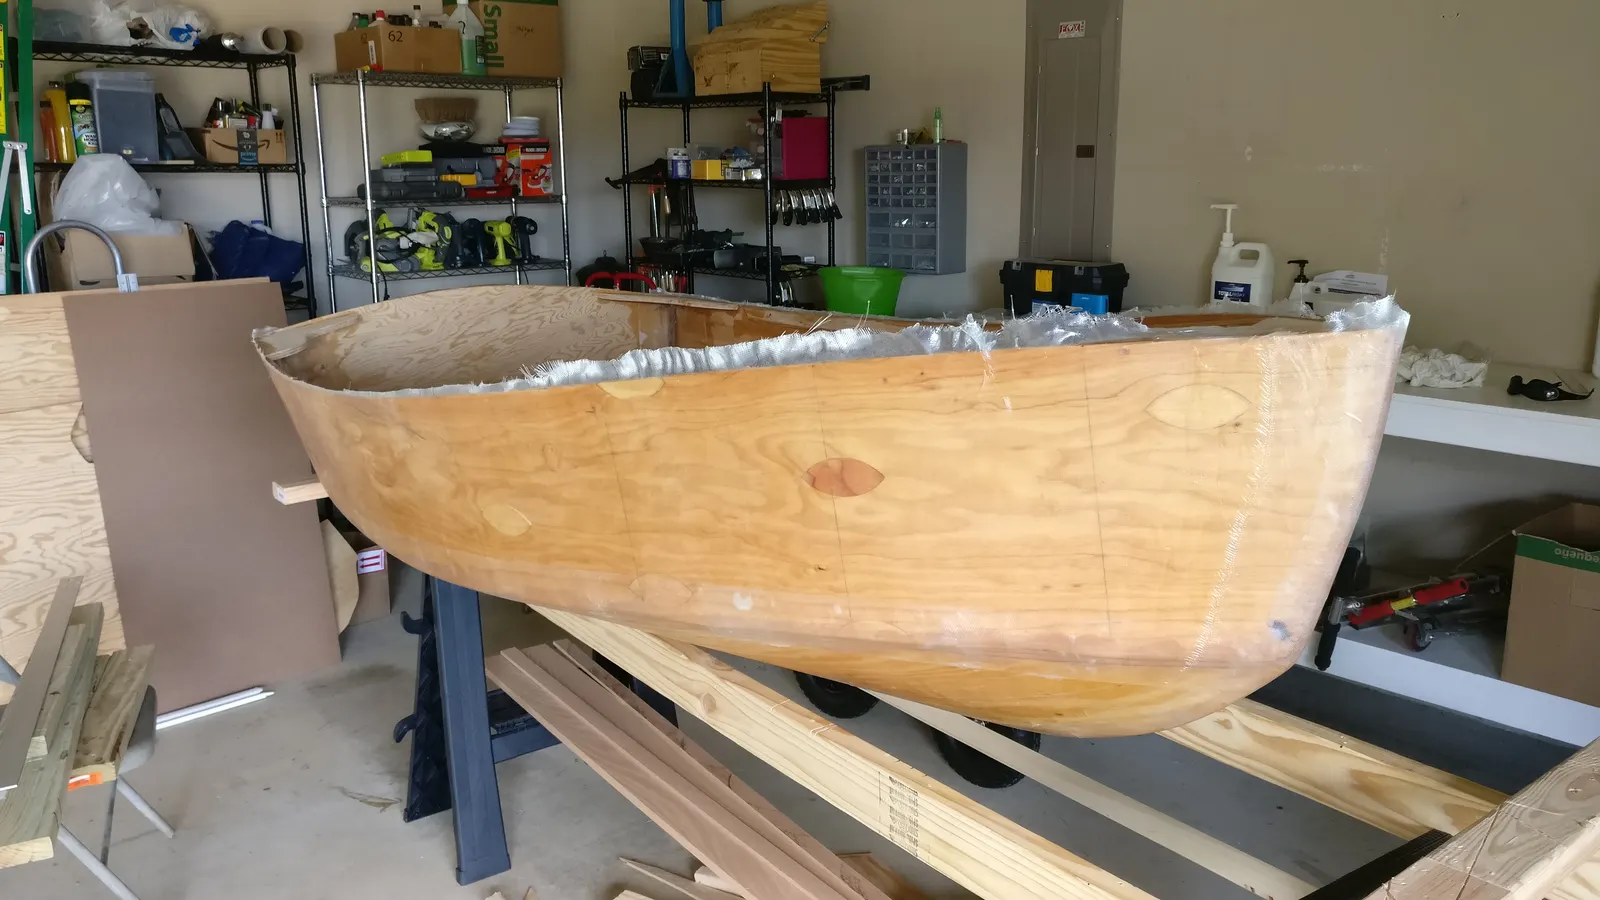
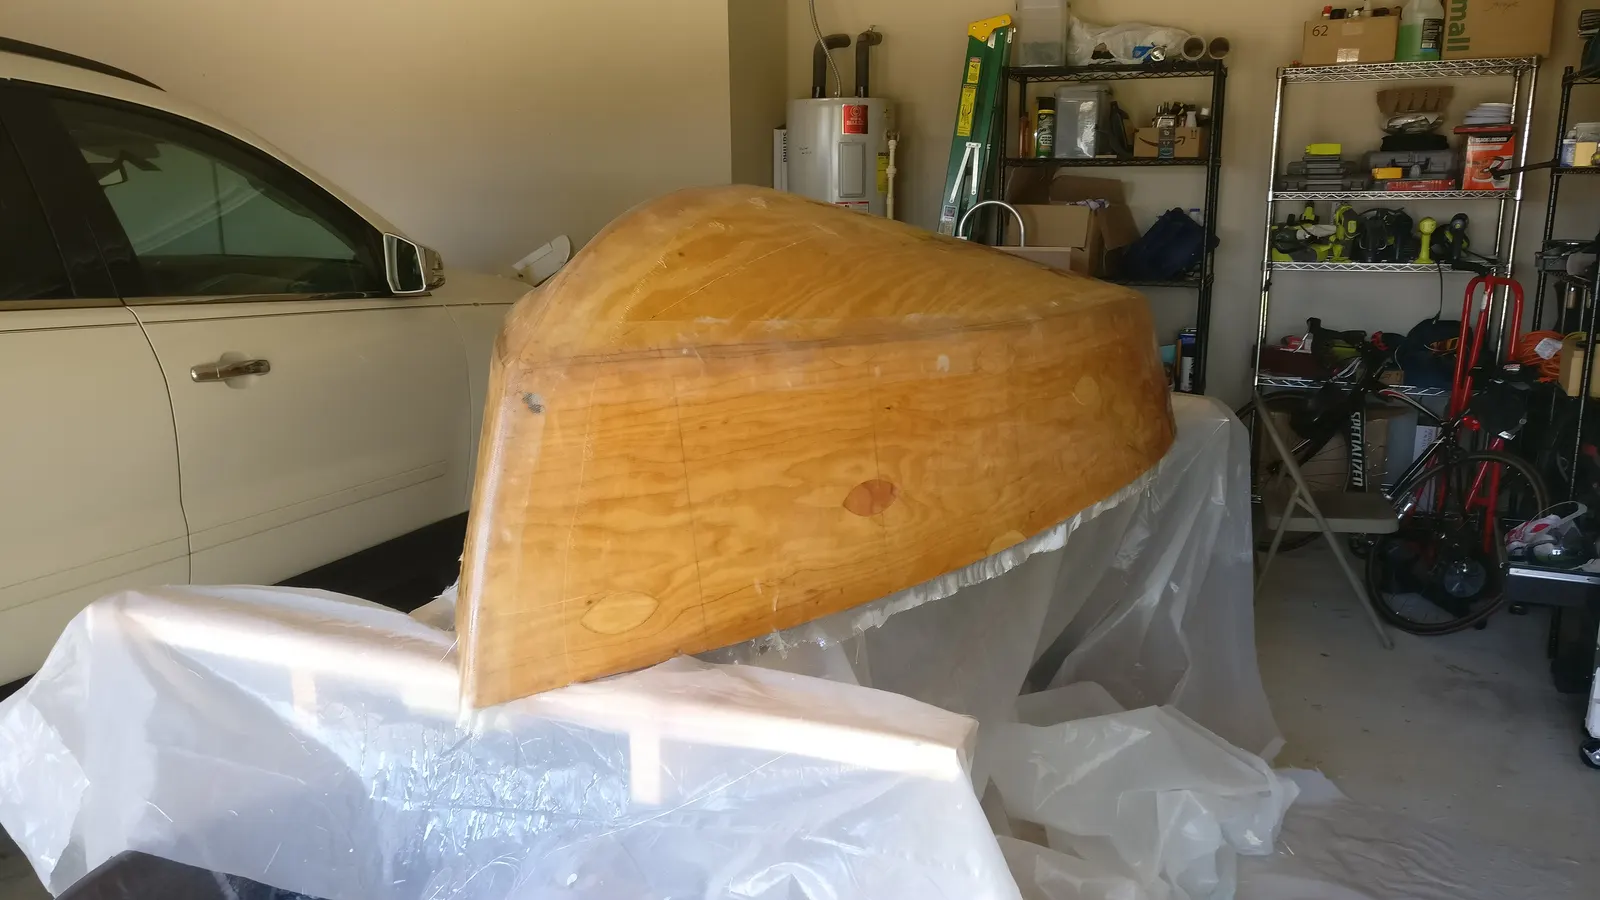
In this next step, I fiberglassed the exterior of the boat. I used a single sheet and carefully draped it around all of the sides, including the transom. As I applied the epoxy, I let the drips fall onto a plastic sheet laid out below the boat.
A couple of lessons from this first build and my first time working with epoxy:
You need way less epoxy than you'd think. And if you spot a bubble or a large pocket of epoxy and you're debating whether to fix it now or sand it out later, fix it now, before the epoxy cures. Sanding is already a difficult, time-consuming task. Don't double the work by leaving mistakes for later. Plus, if the extra epoxy is trapped below the fiberglass, you'll end up sanding straight through the fiberglass trying to smooth it out.
8 Nov 2019
Interior & Cockpit 4 h
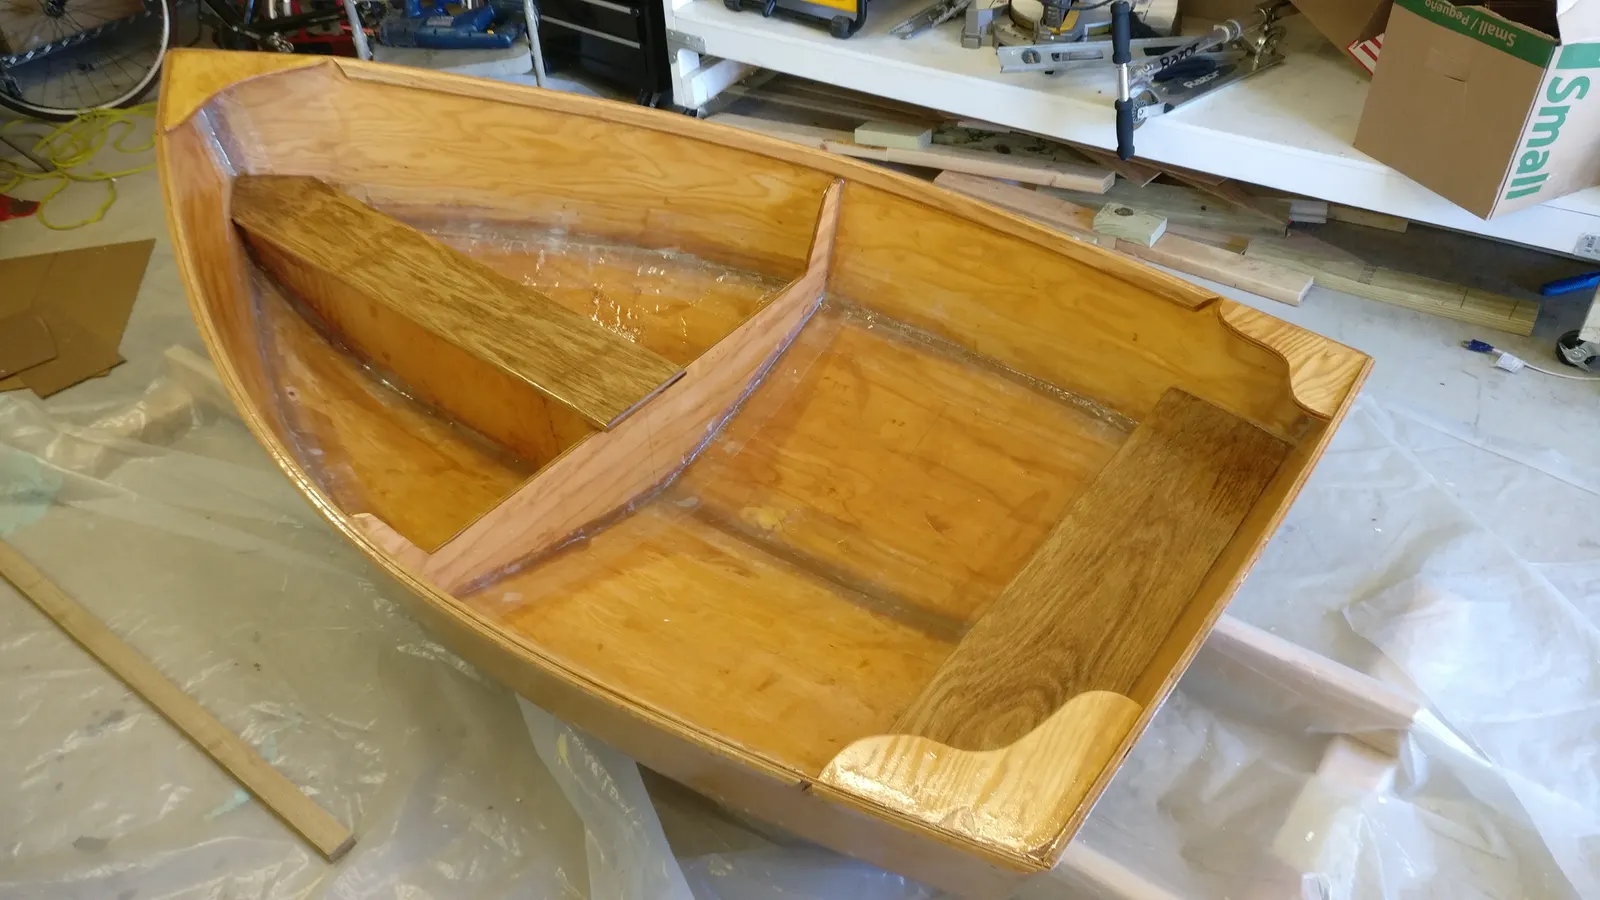
Fitting the Seat
Next step is fitting and installing the seat. I used white oak for this, and I think it turned out nicely. Measure your best, and fillet the rest :-)
8 Feb 2020
Launch Day 20 h
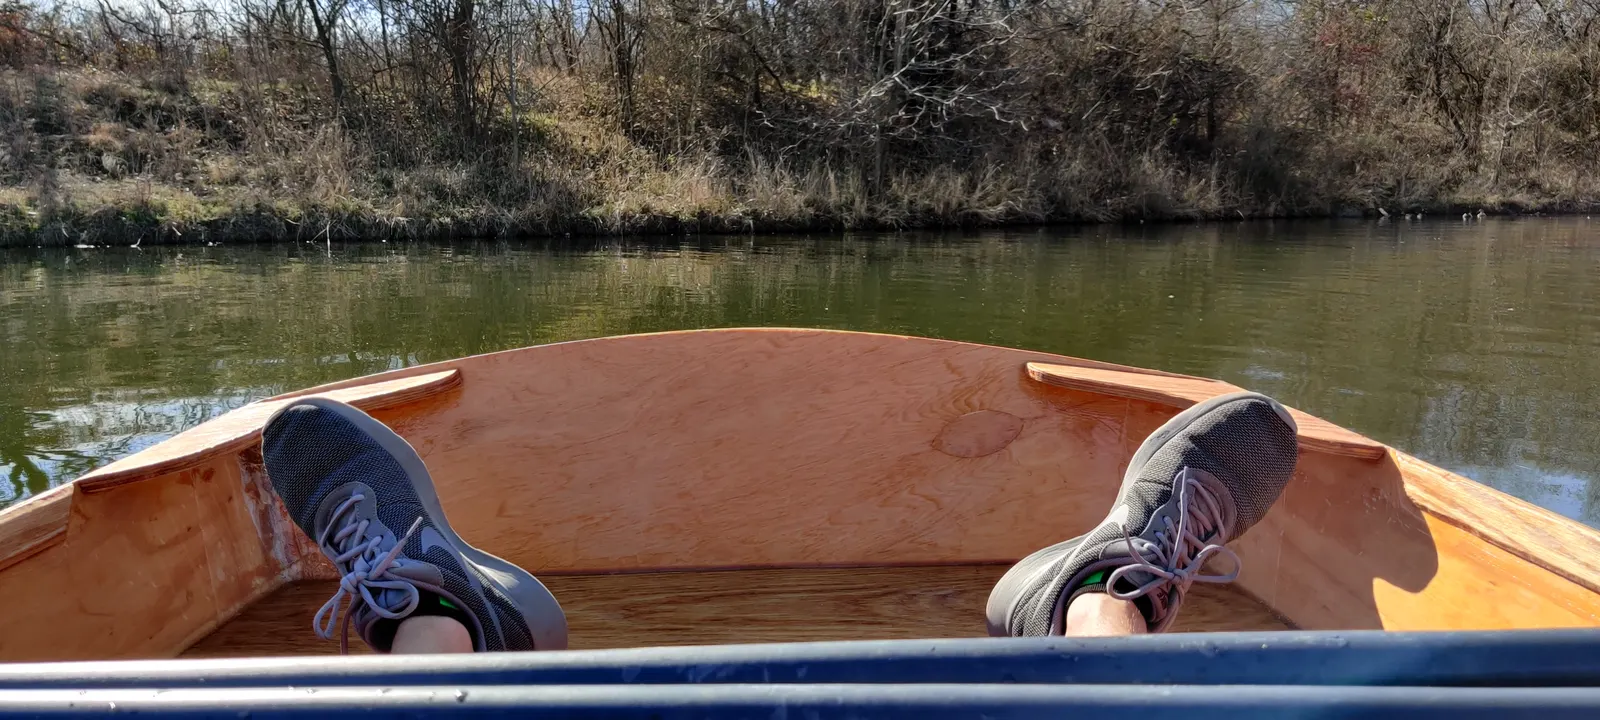
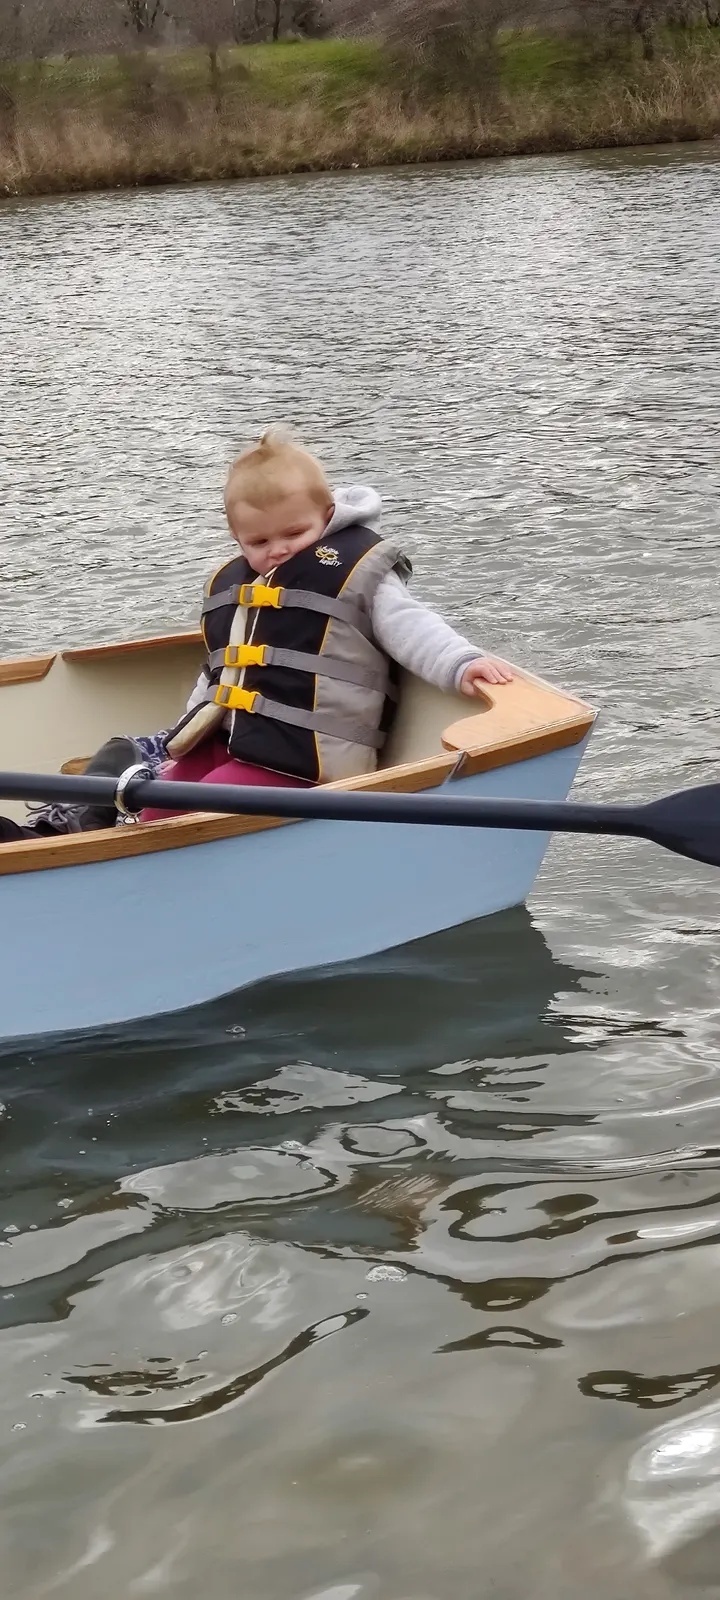
Lake Test
And then
She floated
20 February 2020
4.8 months
and 50 hours after the first day in this log.