The book is laid out for the paper chosen above, and the print dialog will follow it,
so pick the paper here rather than there. Turn background graphics on
so the cover photograph prints, and leave margins at their default. The page numbers
and the chapter running heads are drawn by the browser into the page margins, so they
exist only on paper: check the print preview rather than this screen for them, and turn
Headers and footers off there so Chrome's own furniture does not crowd
them out. Chrome and Edge print them, Safari and Firefox print the same book without
them.
new build
The Black & Tan
14 ft Rapid Robert
Joshua Feil · 2013 to 2015
A build log
The Black & Tan
14 ft Rapid Robert
kept by Joshua Feil
2013 to 2015
The boat
14 ft Rapid Robert
Designer
Roger Fletcher
Length overall
14′ 0″ (4.27 m)
Beam
5′ 6″ (1.66 m)
Hull
plywood
Construction
plywood on frame
Built by
Joshua Feil
What it took
By the numbers
37
Days written up
155
Photographs
2,773
Words written
The work
Contents
01Hull Panels
Apr 2013
02Planning & Research
Apr 2013
03Glassing & Epoxy
Apr 2013
04Interior & Cockpit
Apr 2013
05Trailer & Gear
May 2013
06Fairing & Sanding
May 2013
07Hardware & Fit-Out
May 2013
08Paint & Finish
Jul 2013
09Launch Day
Sep 2013
10Brightwork & Varnish
Sep 2013
Chapter 01
Hull Panels
Scarfing plywood, cutting panels, milling strips or planking stock.
4 daysfrom April 2013
1 Apr 2013Hull Panels
The Fun Begins
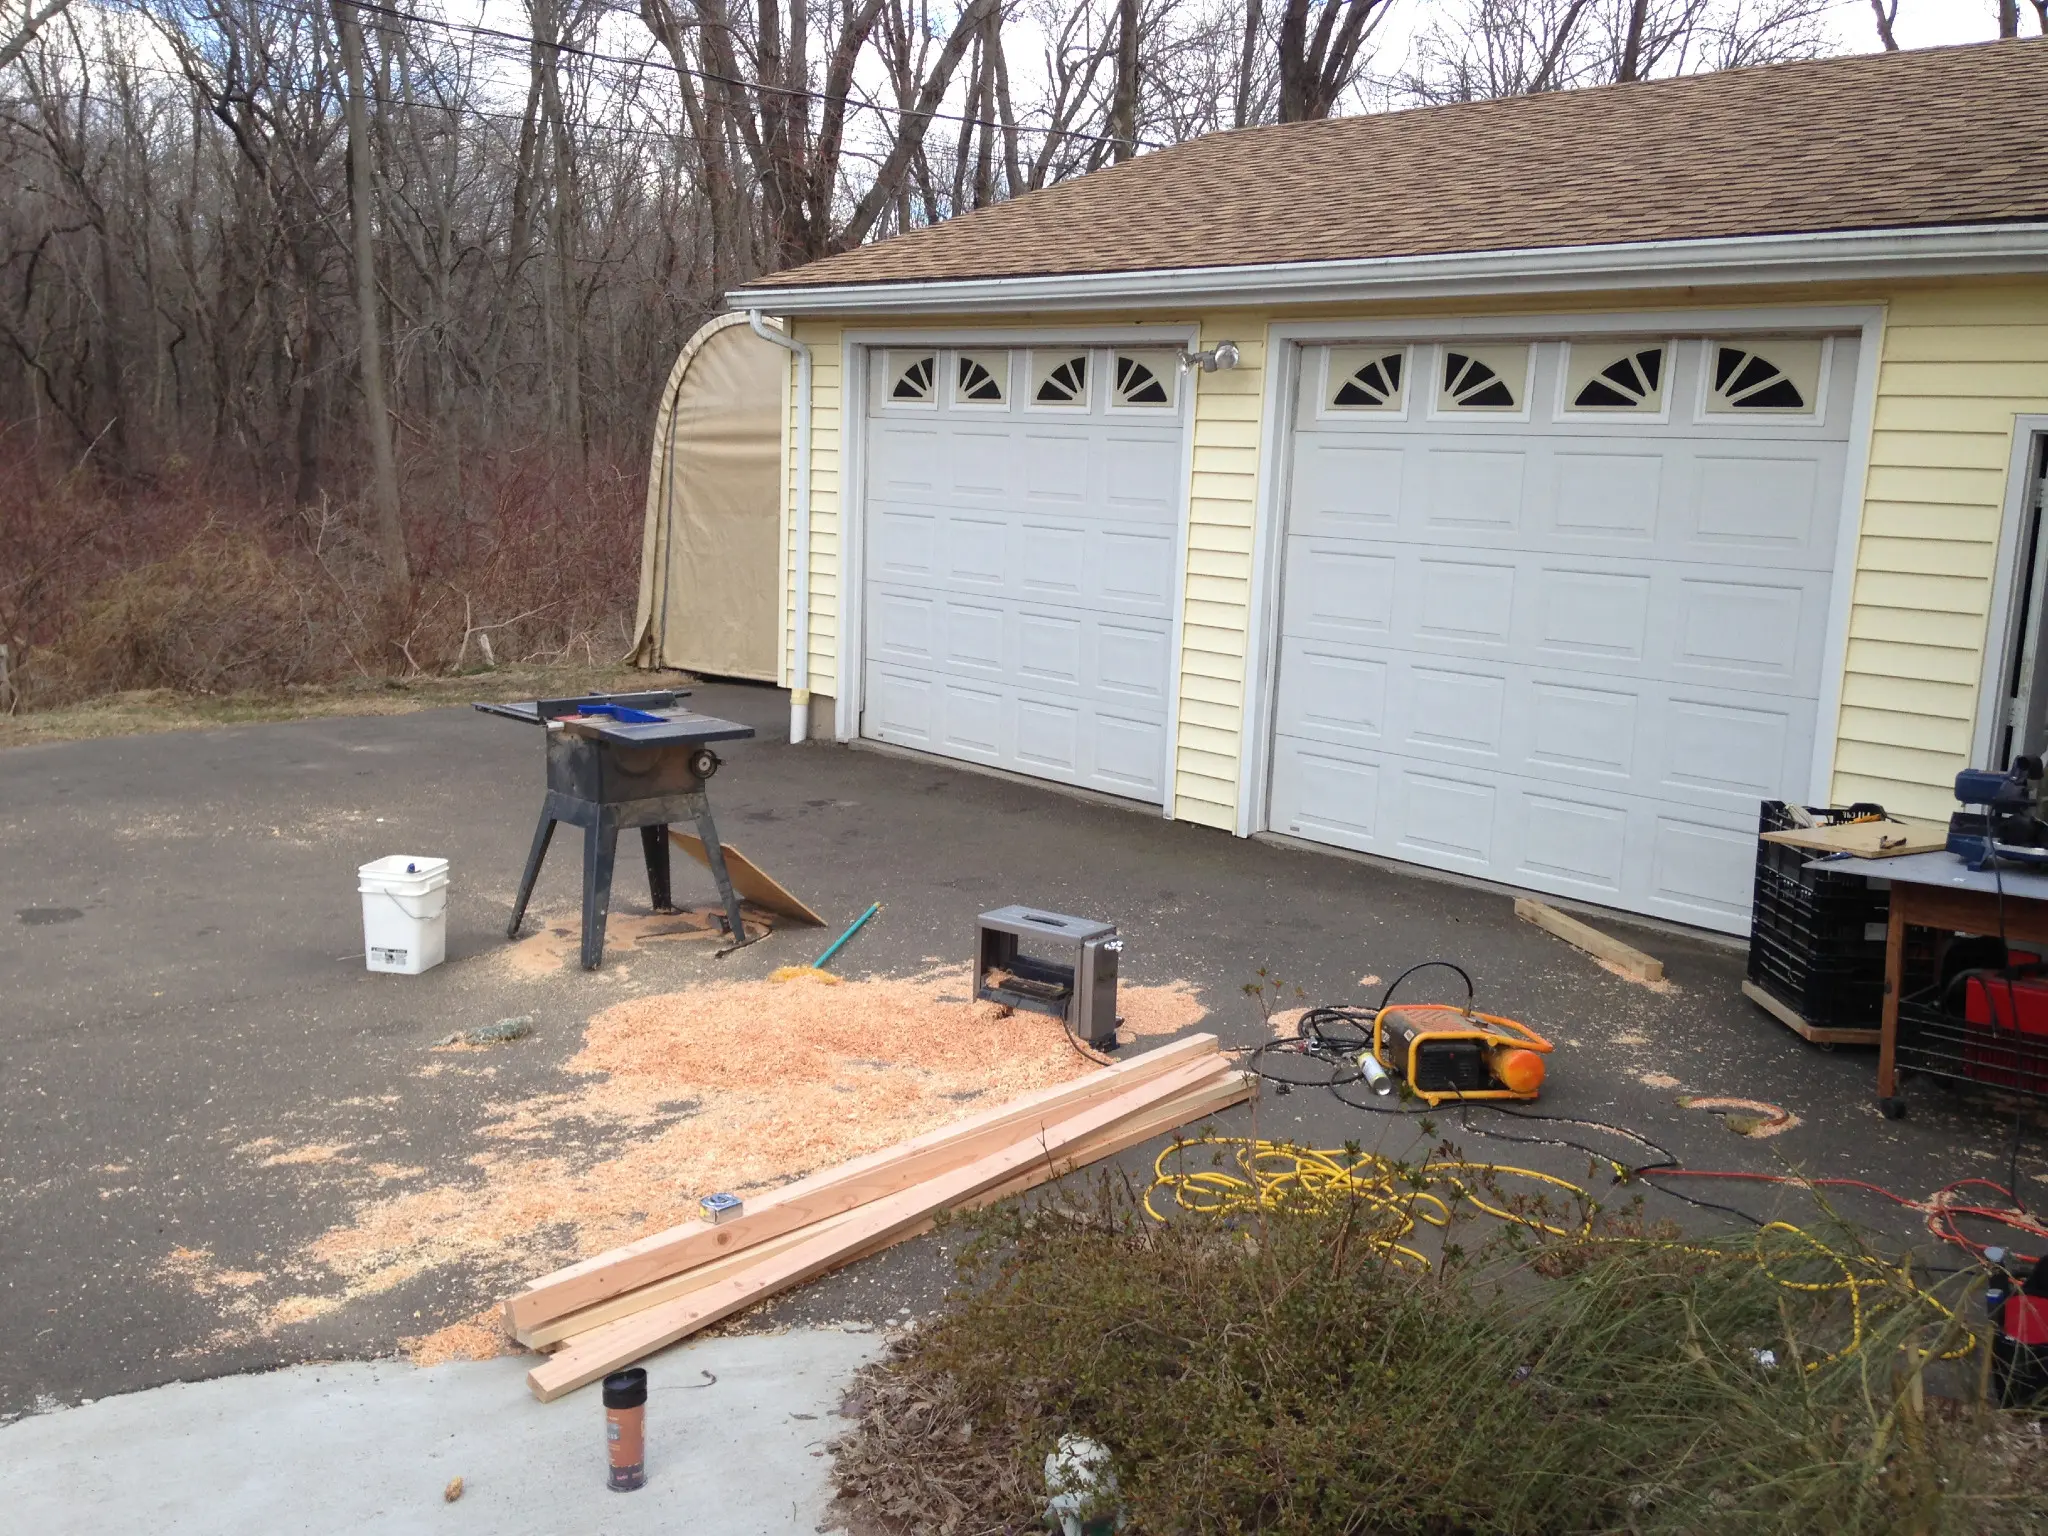
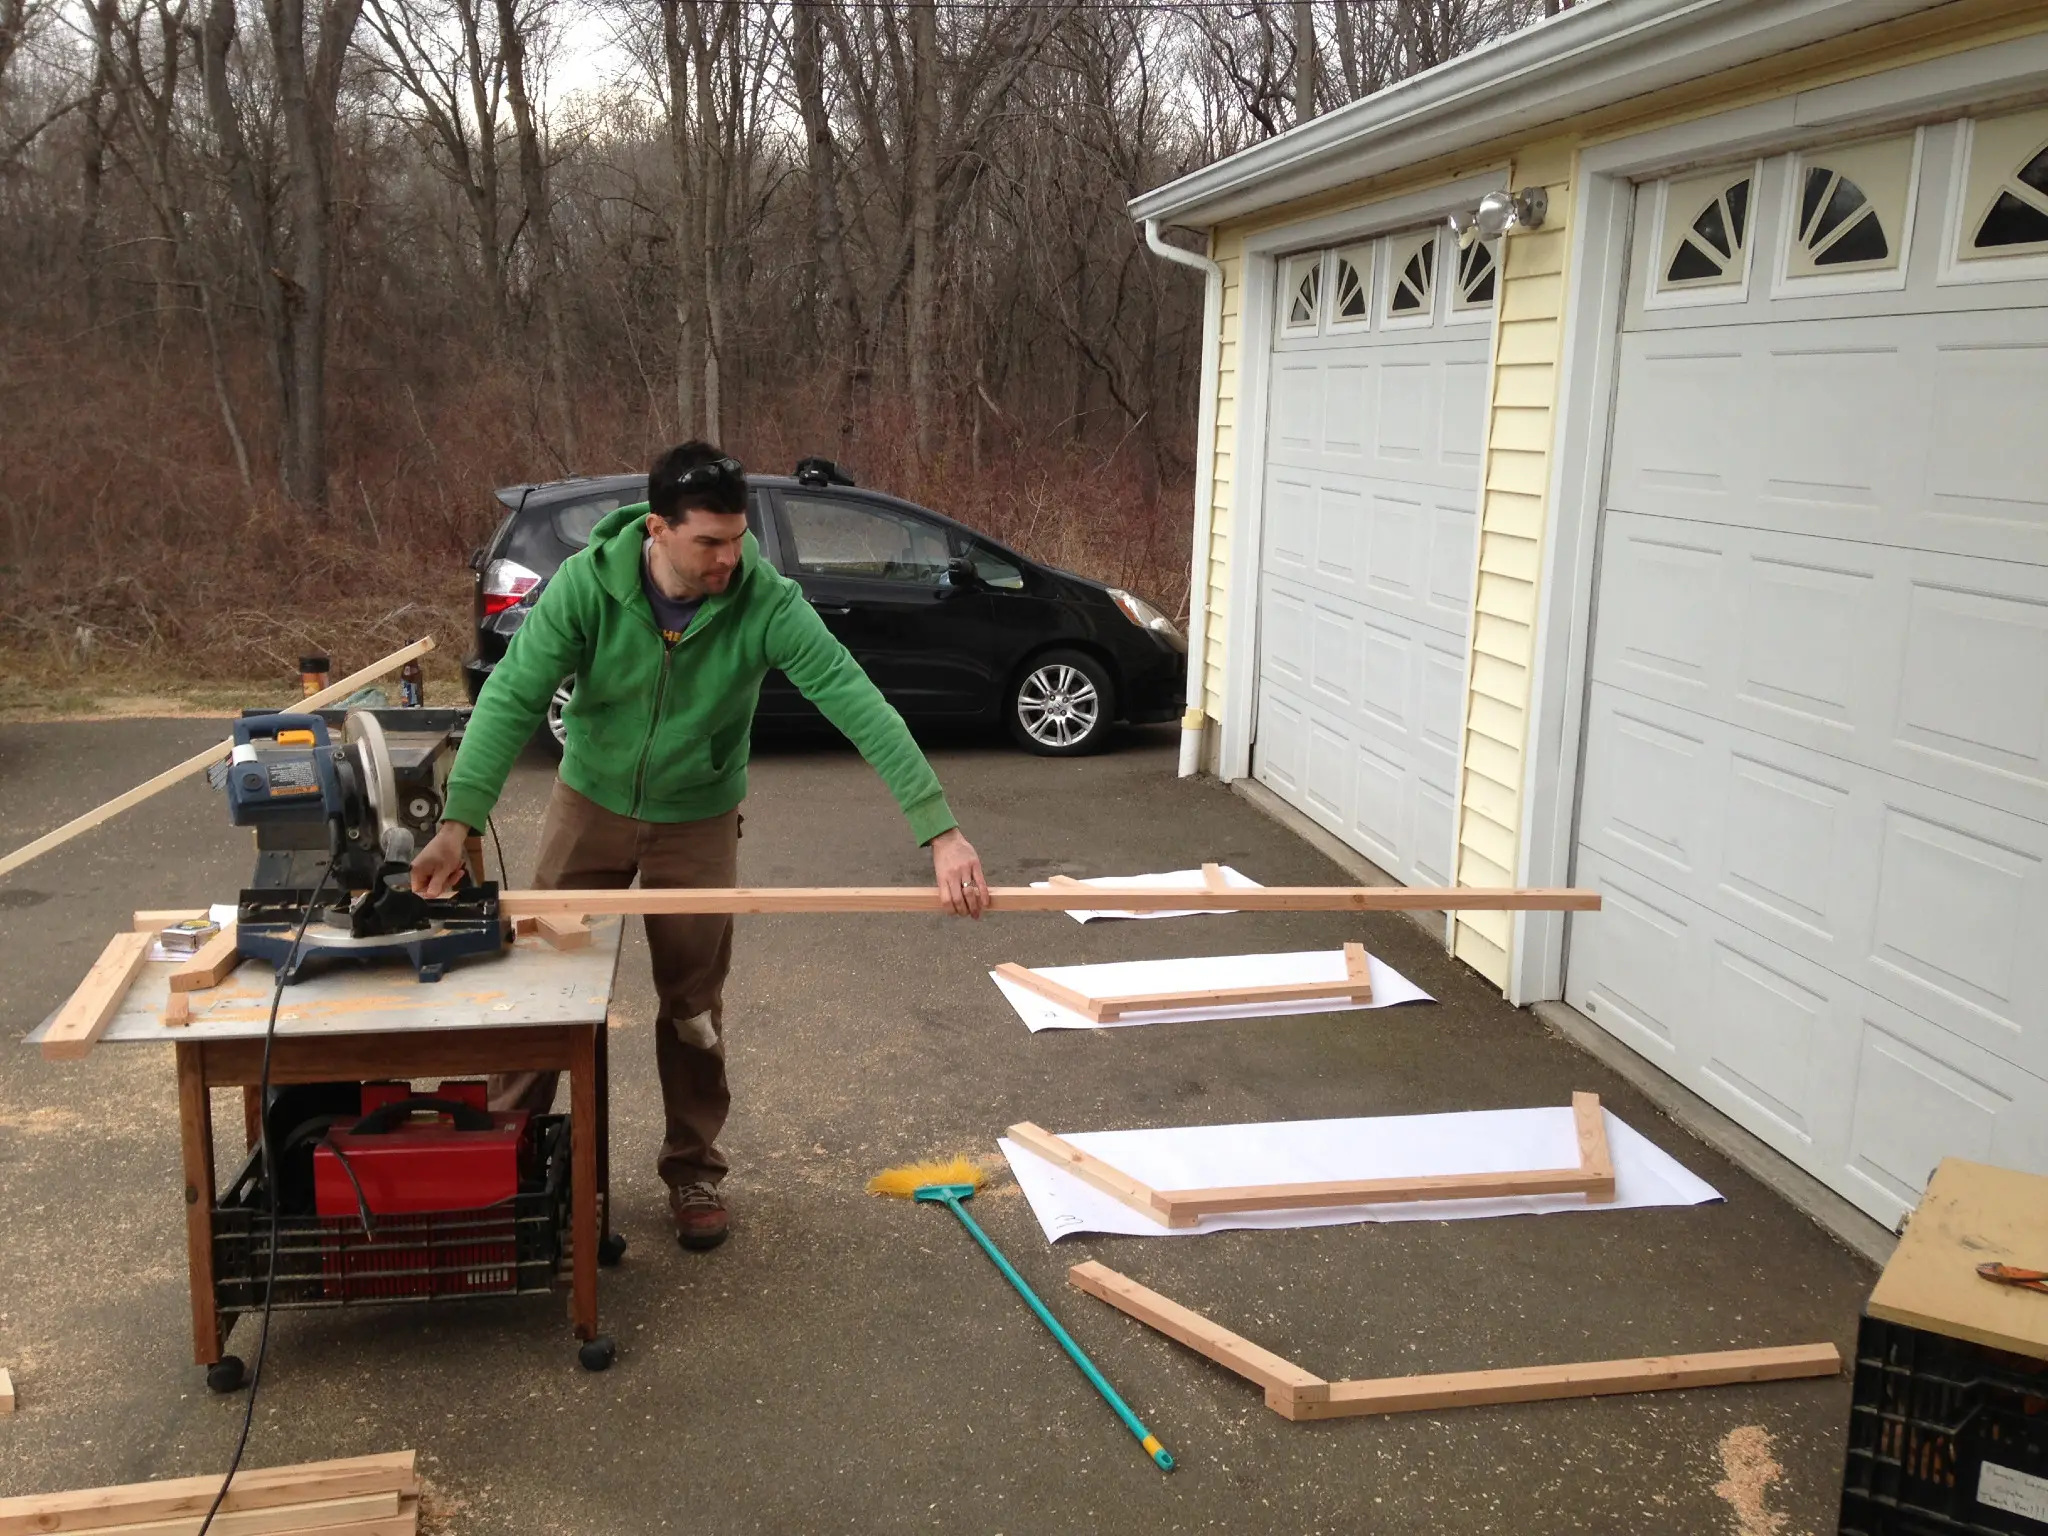
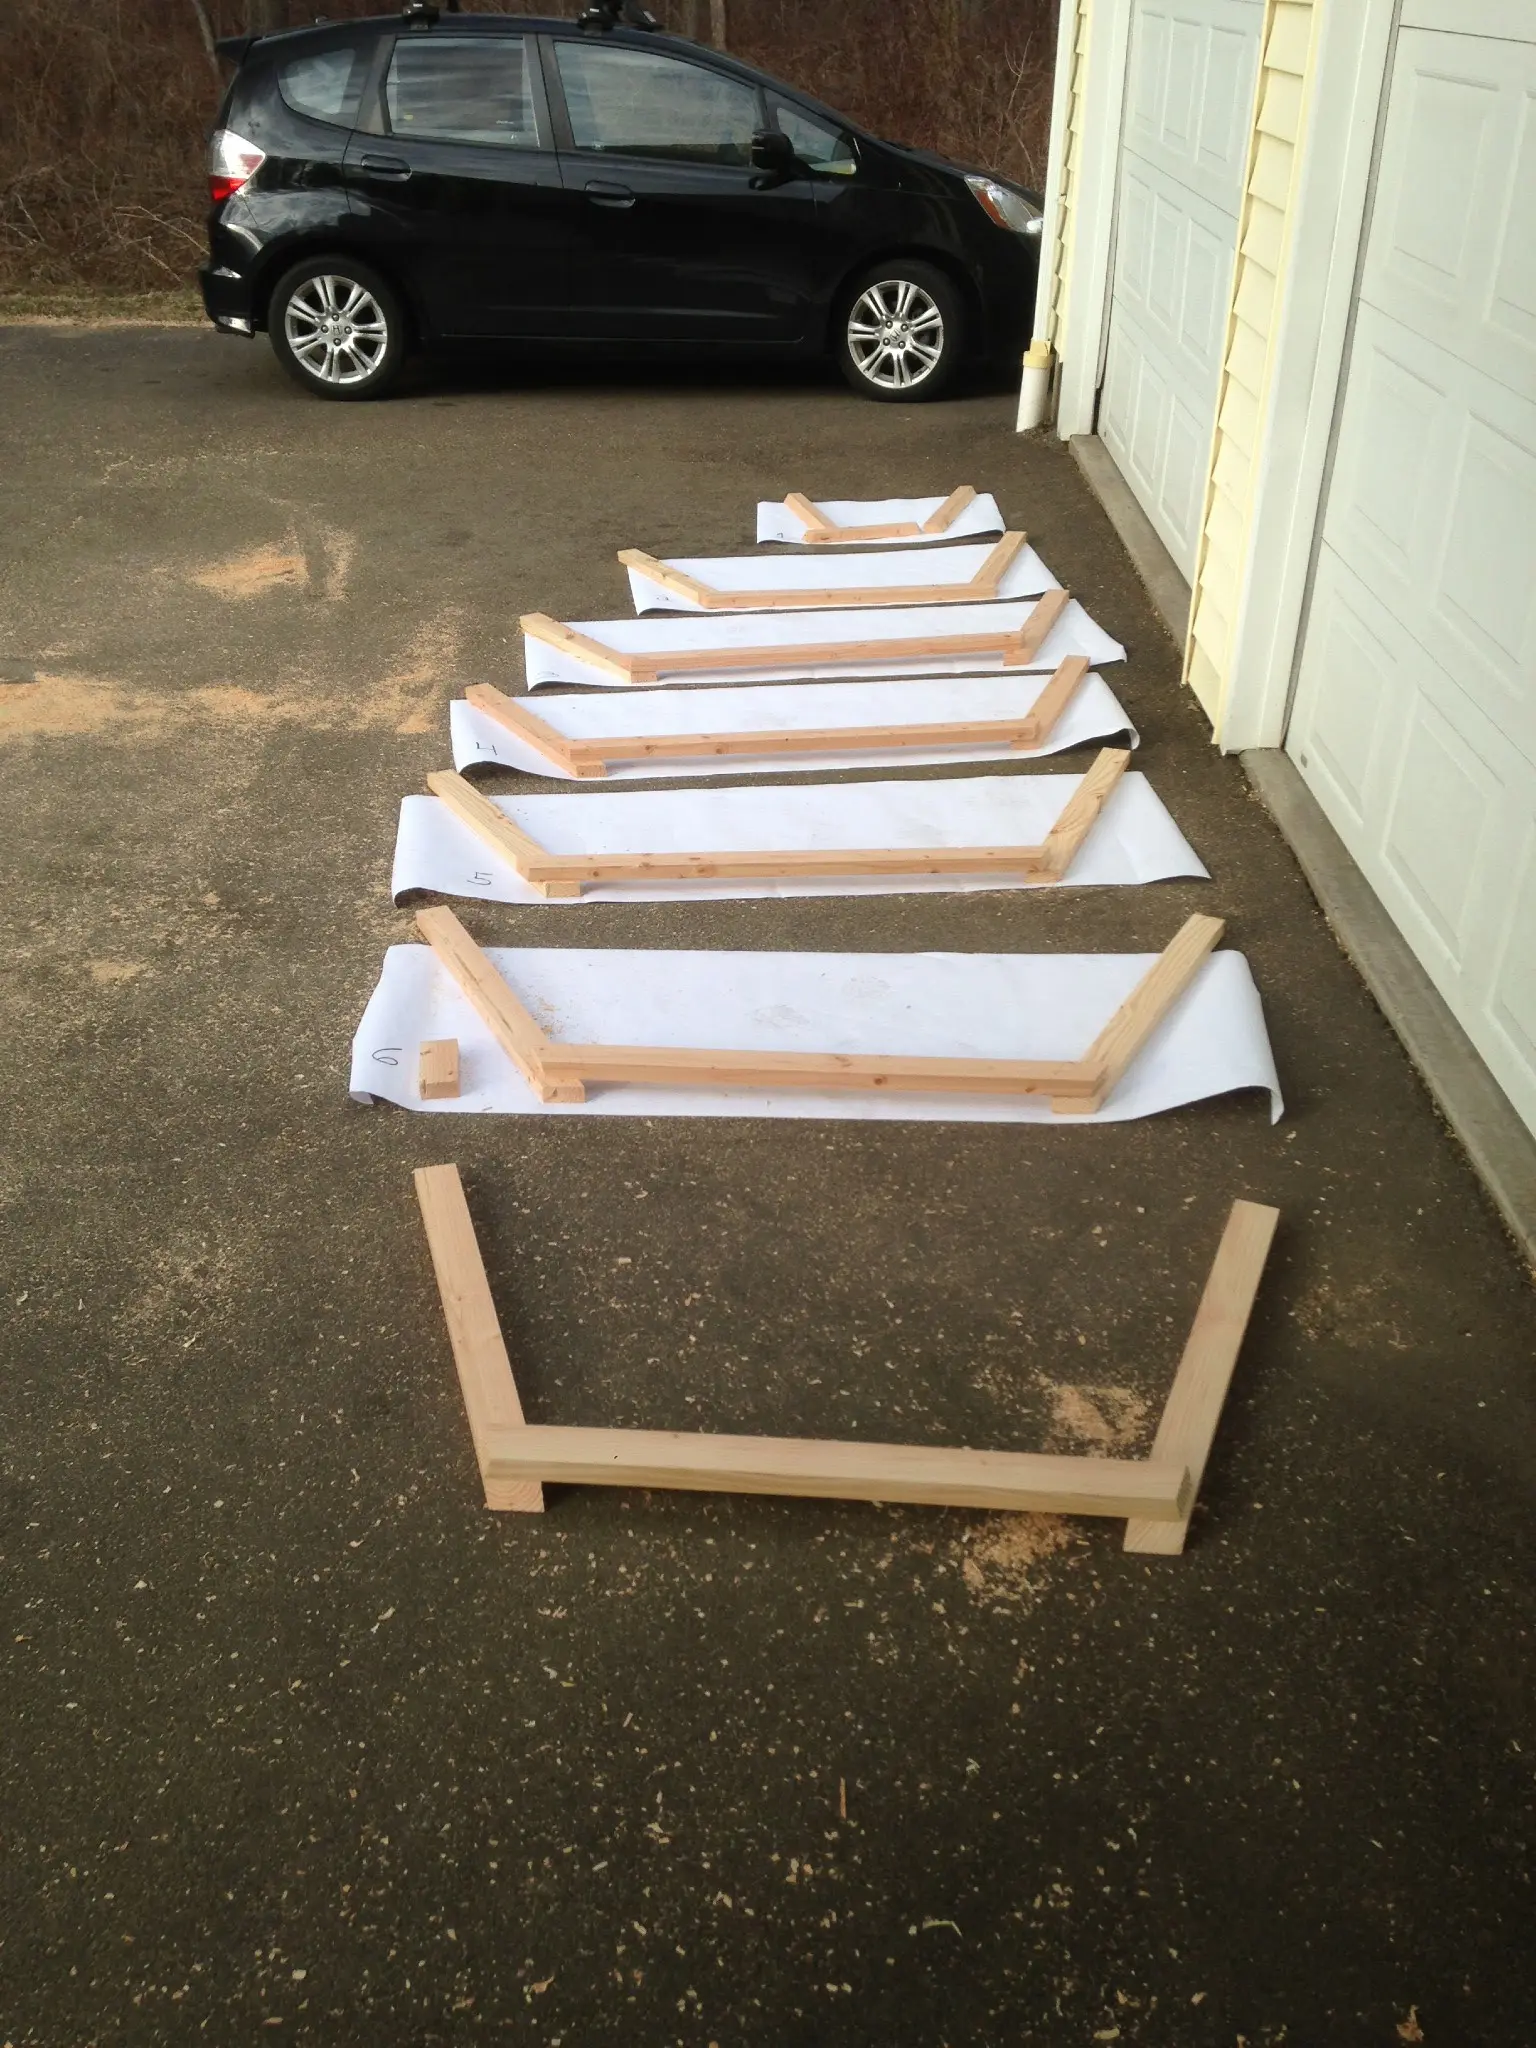
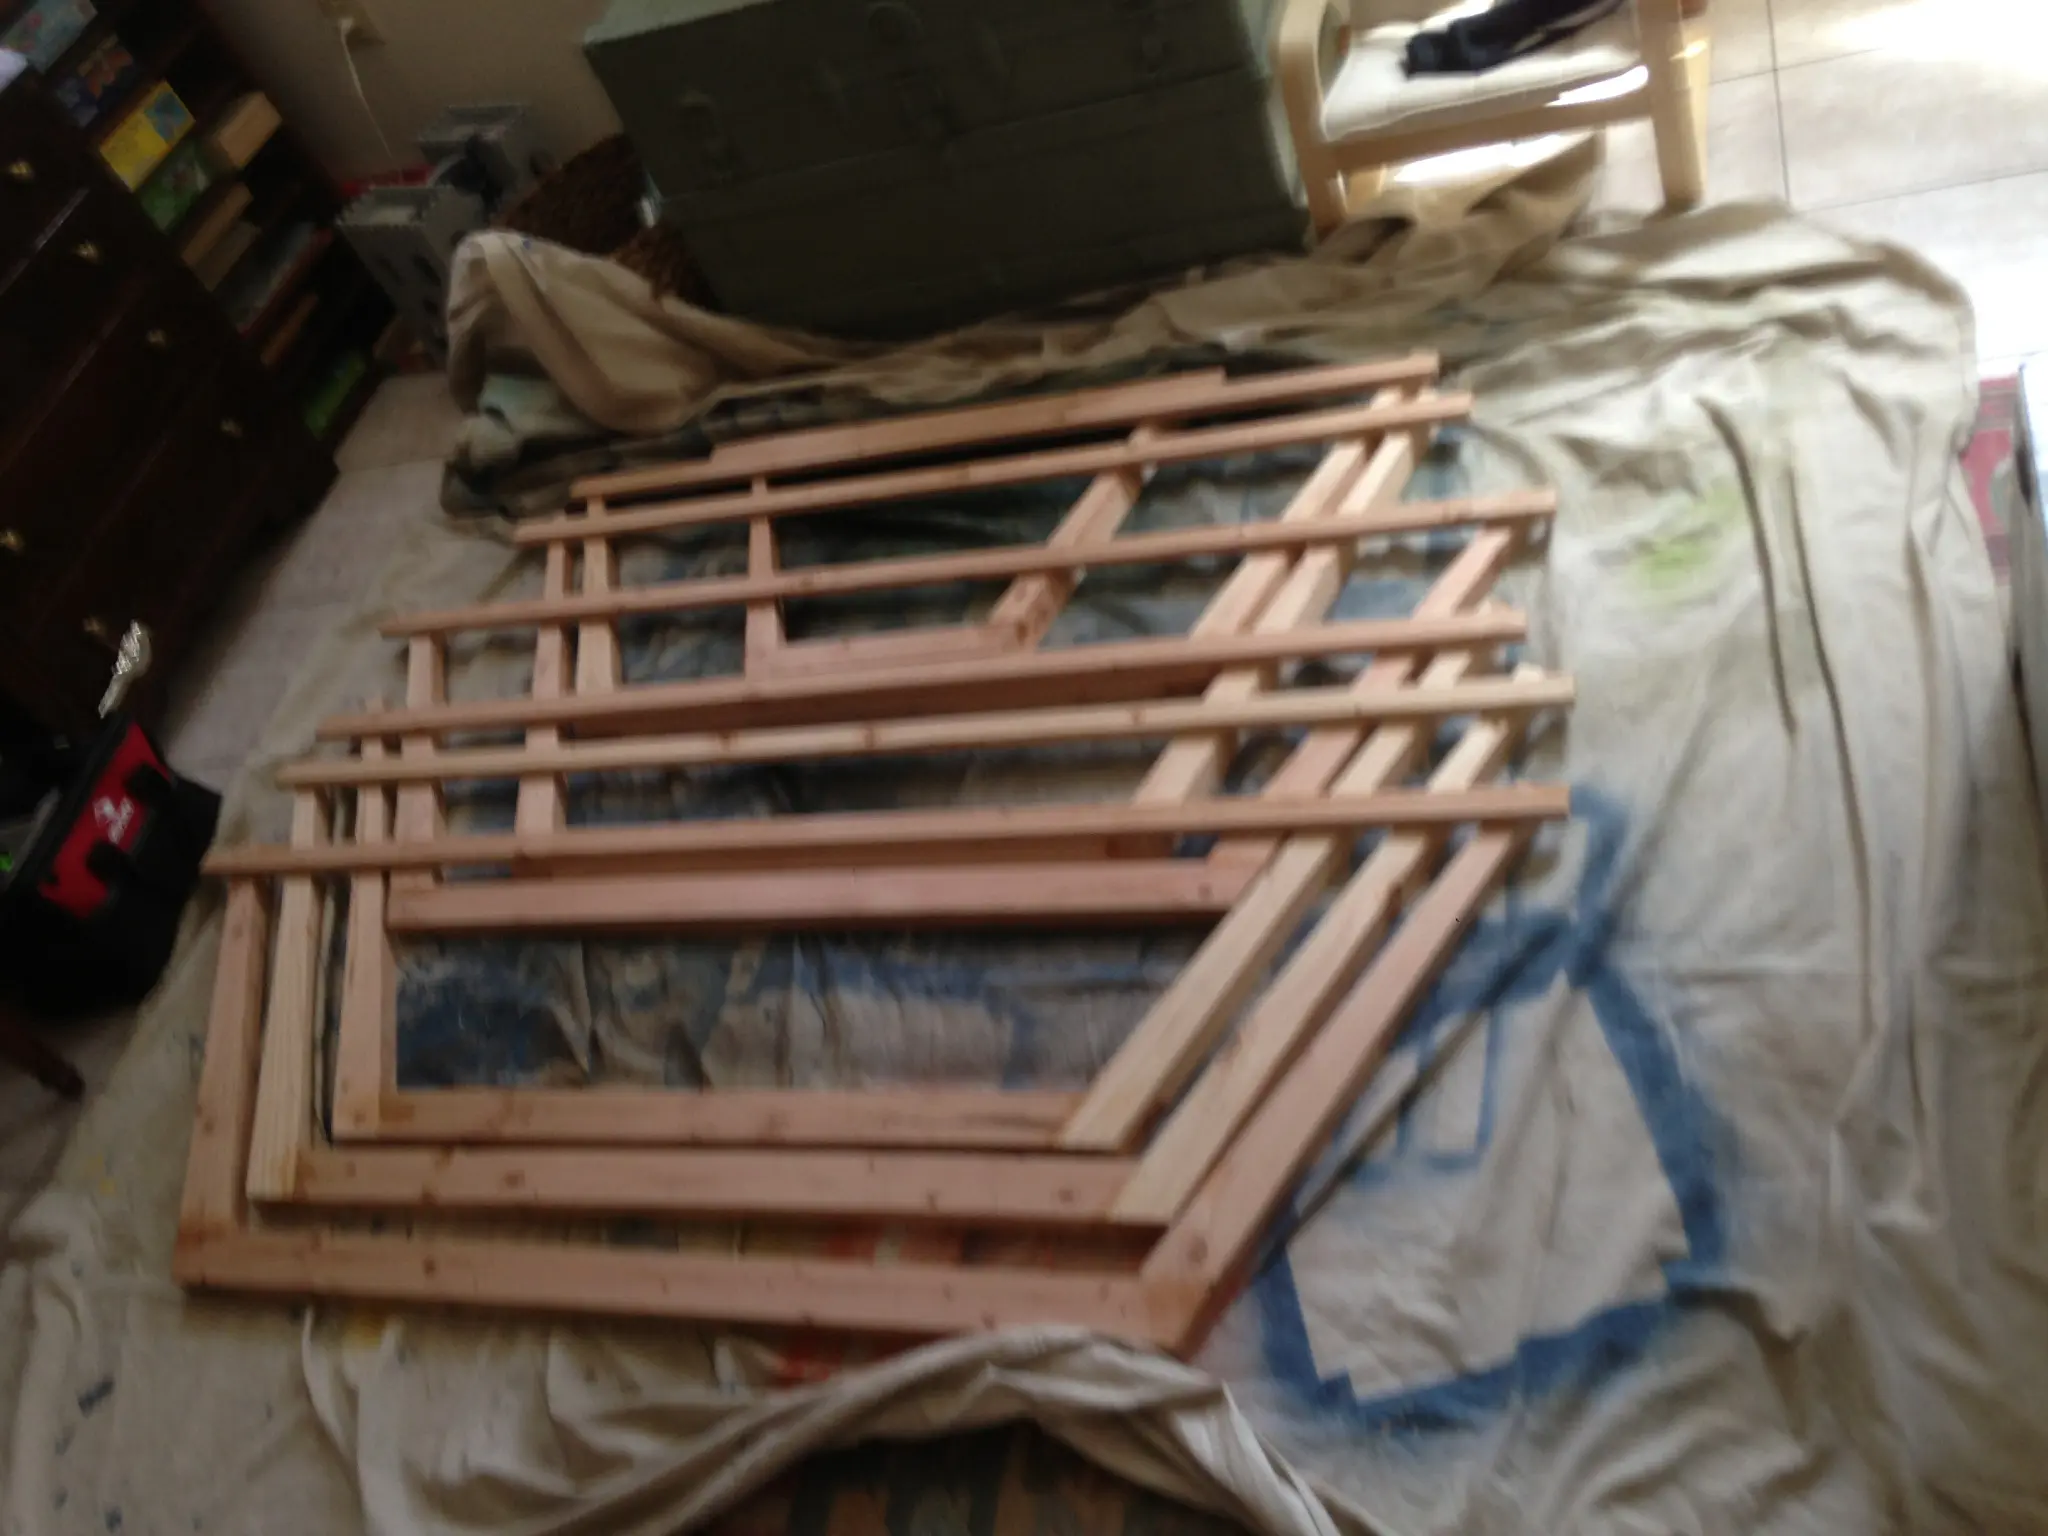
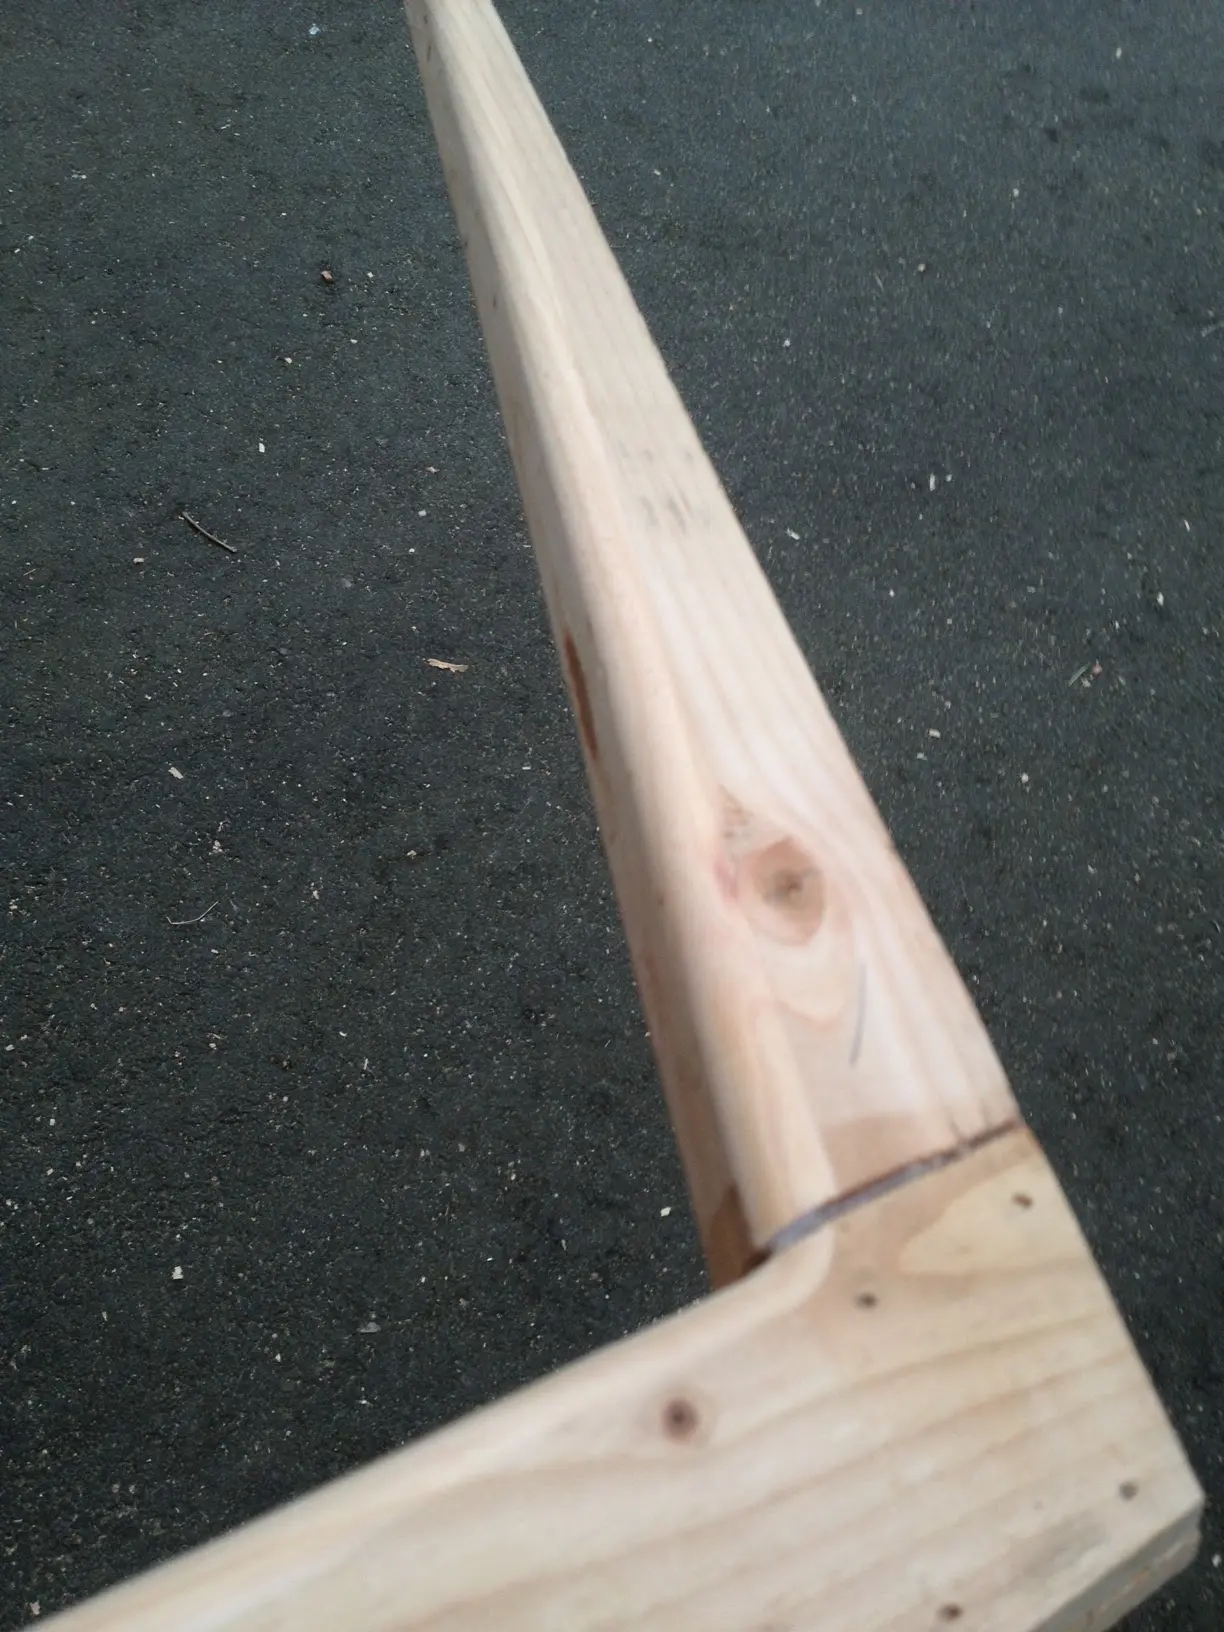
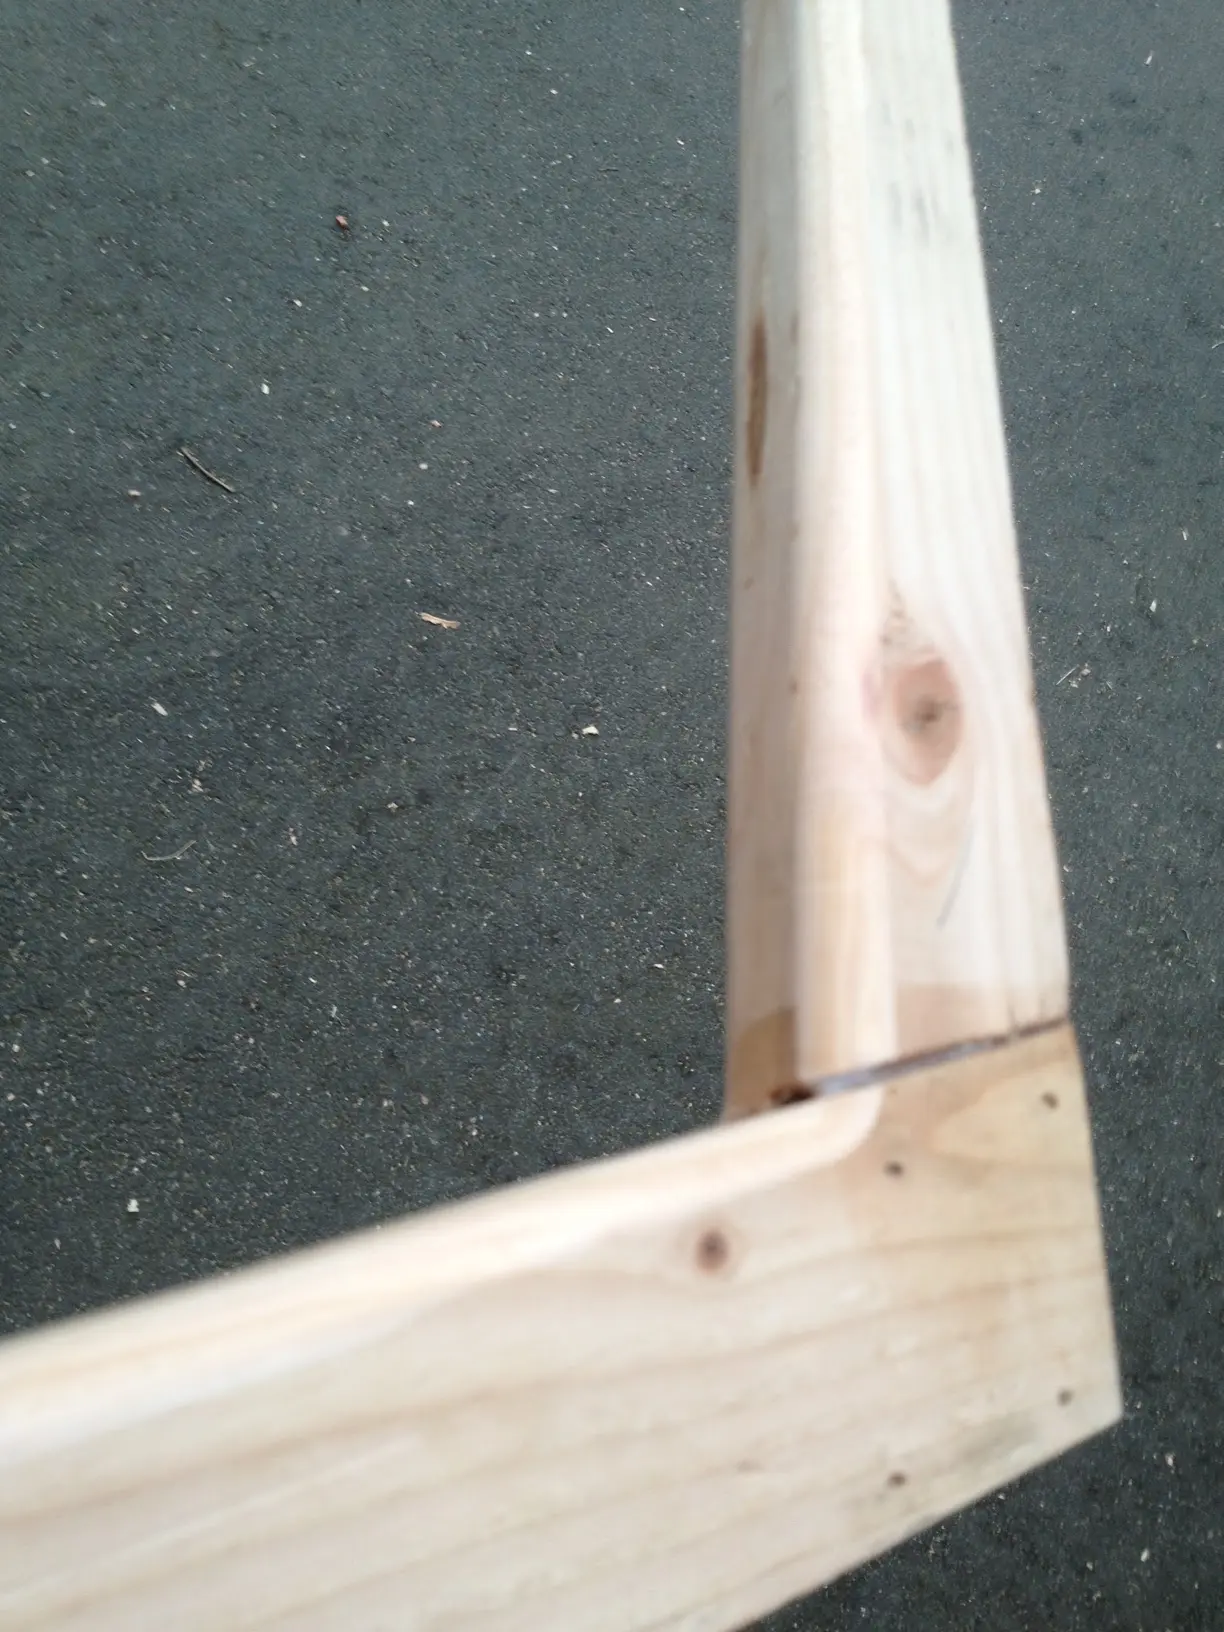
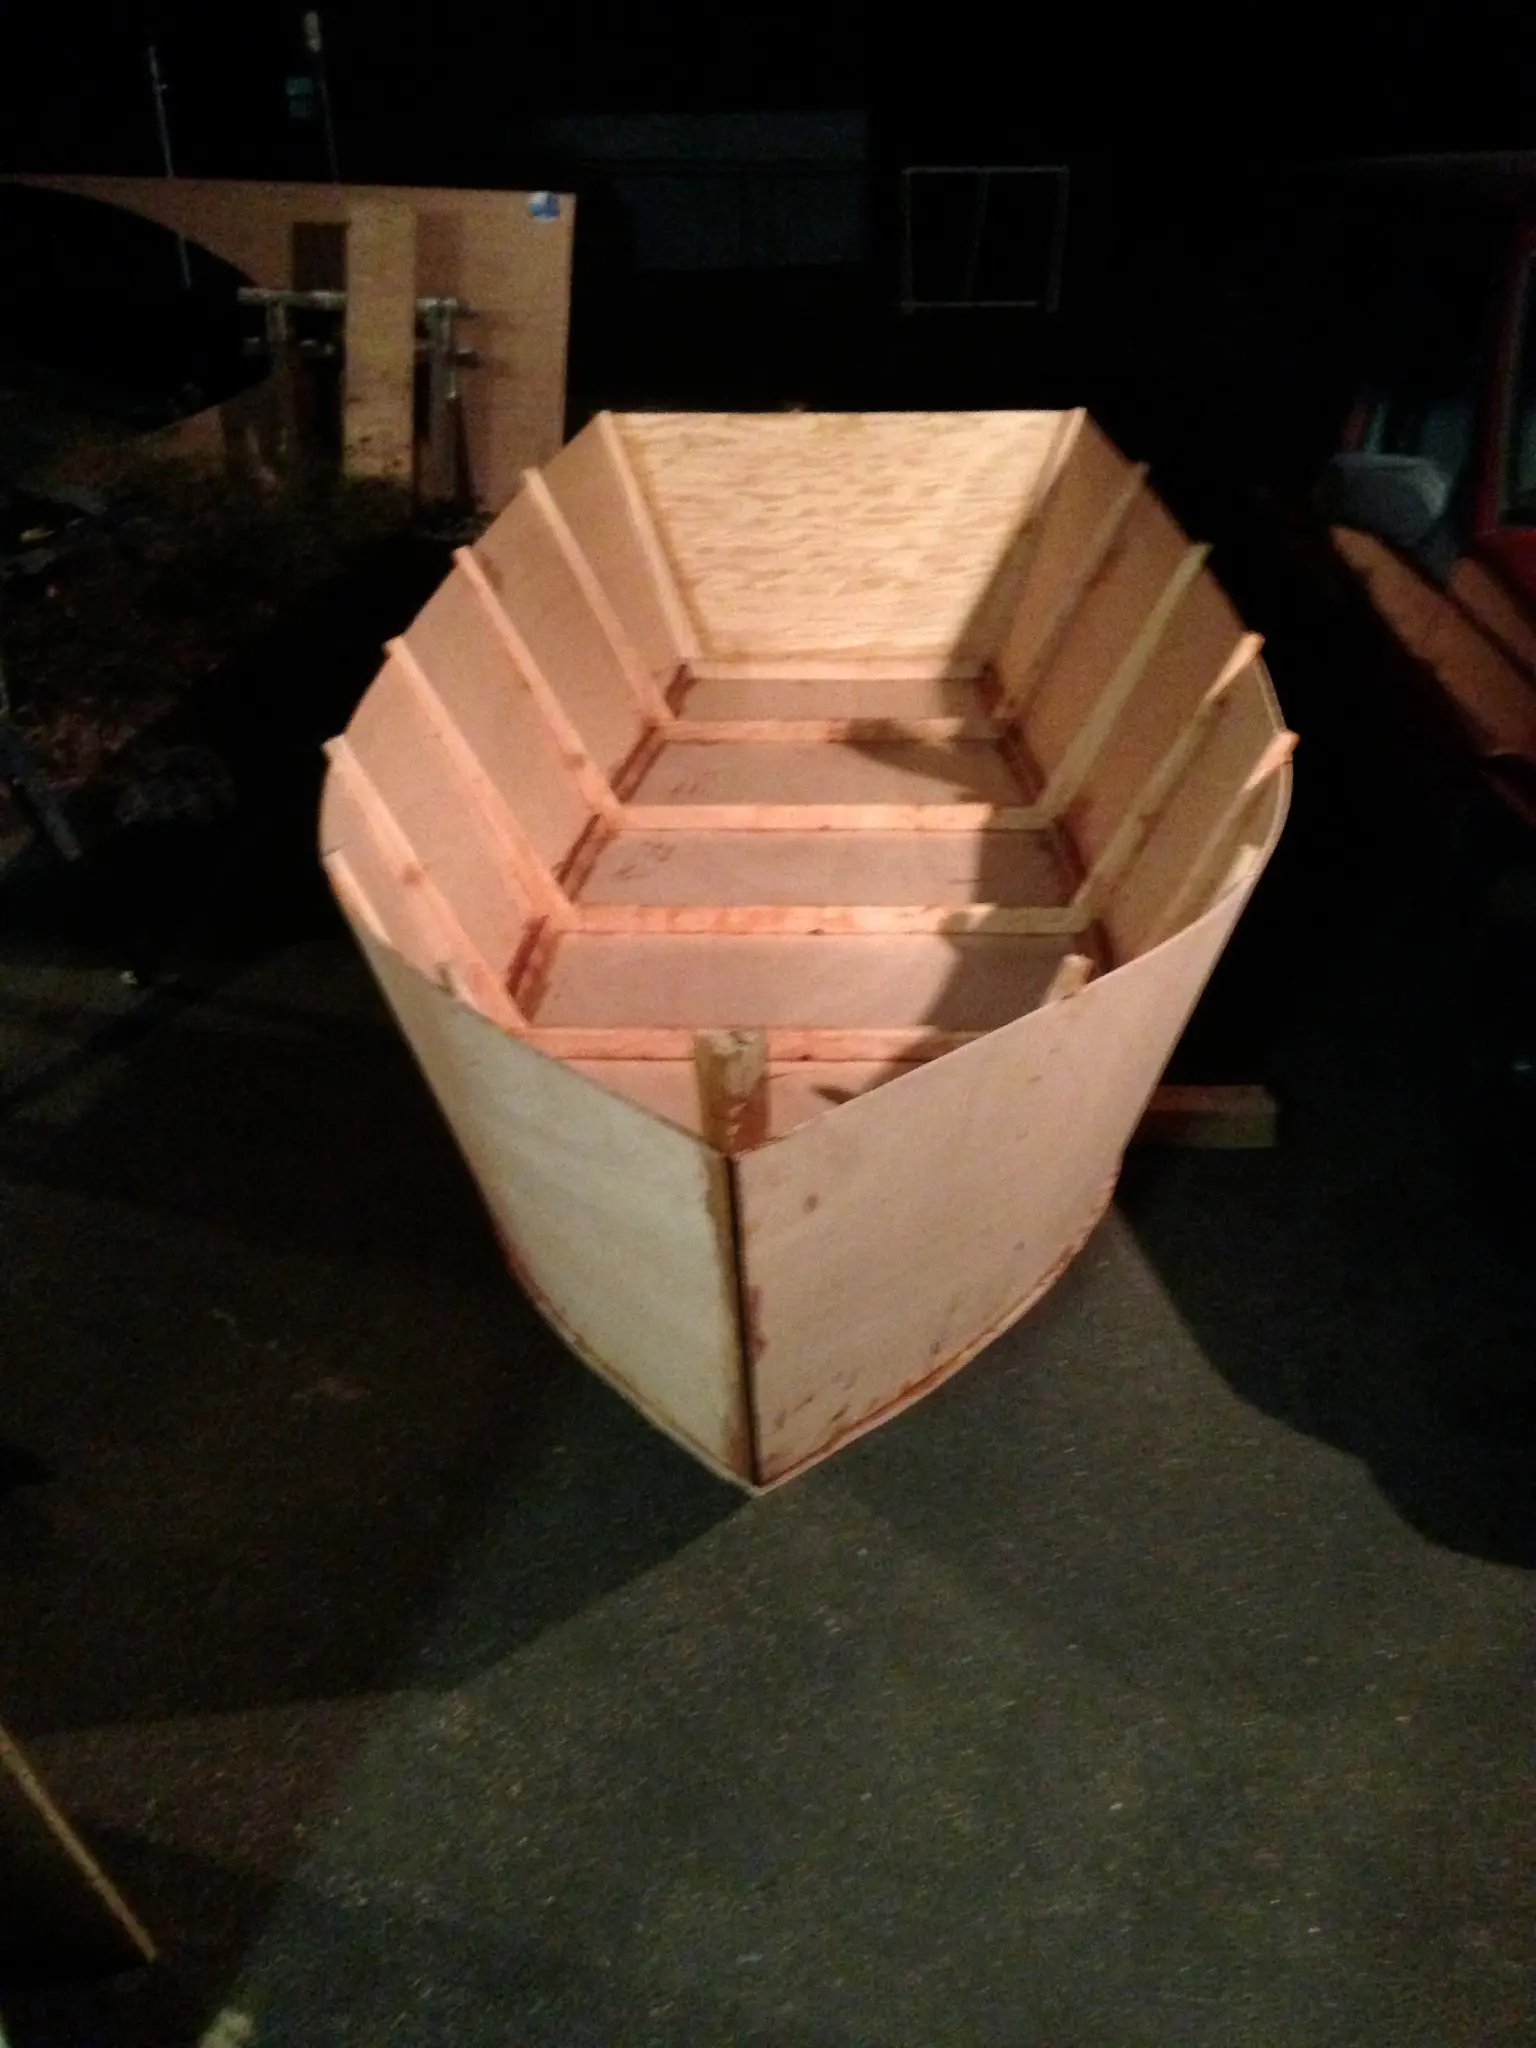
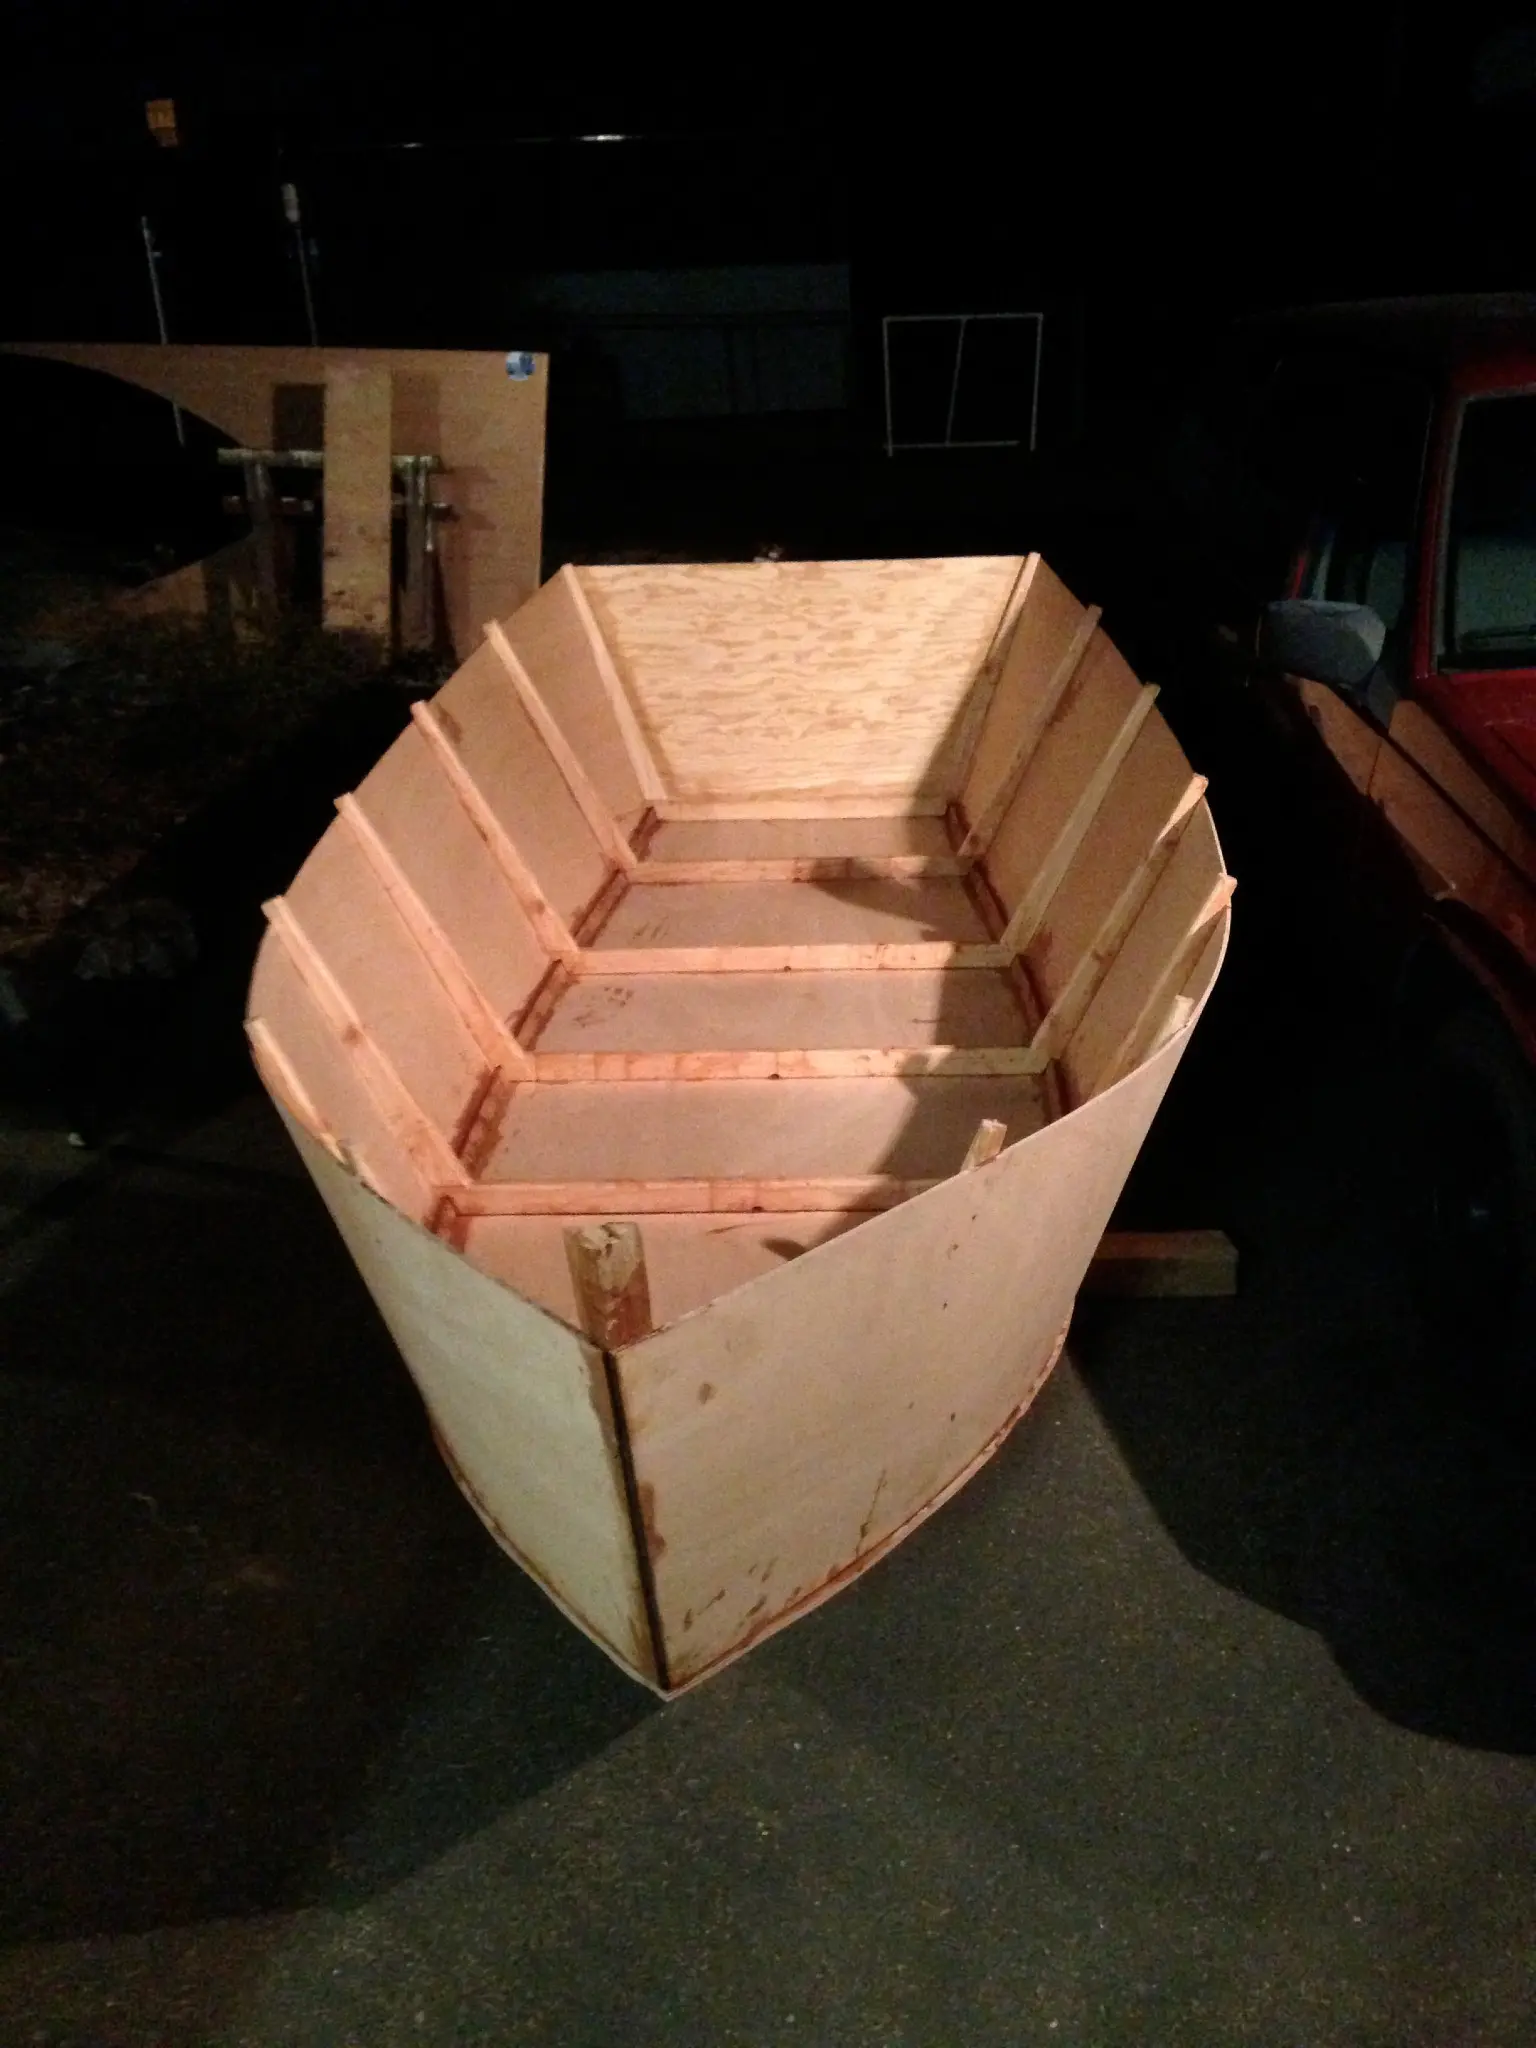
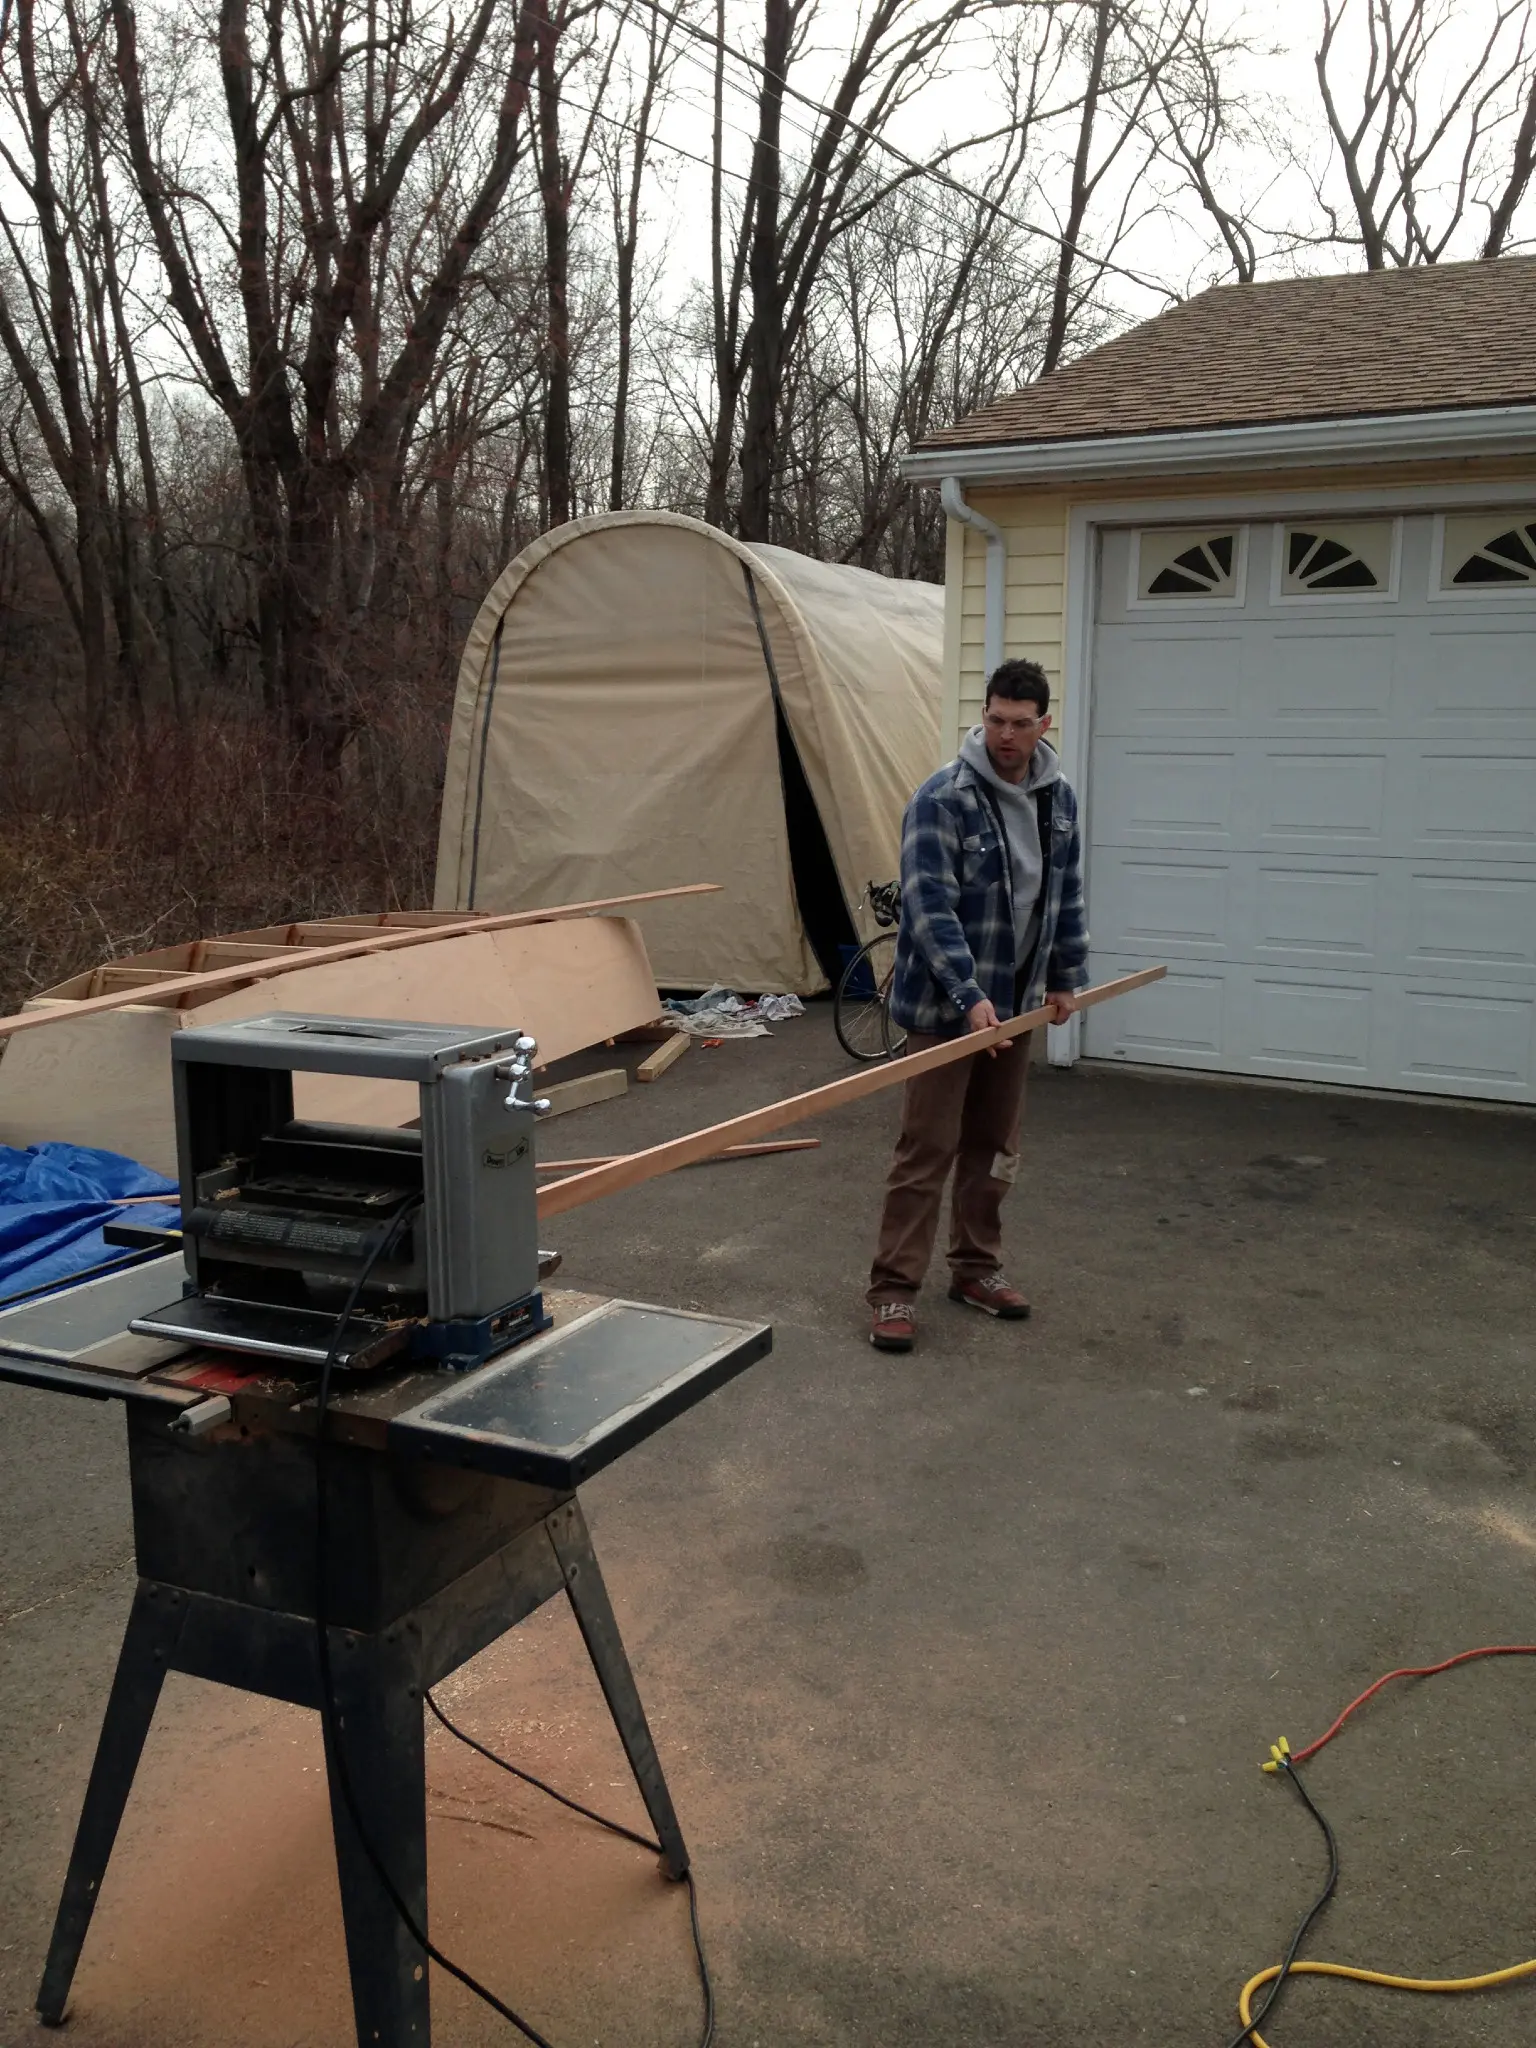
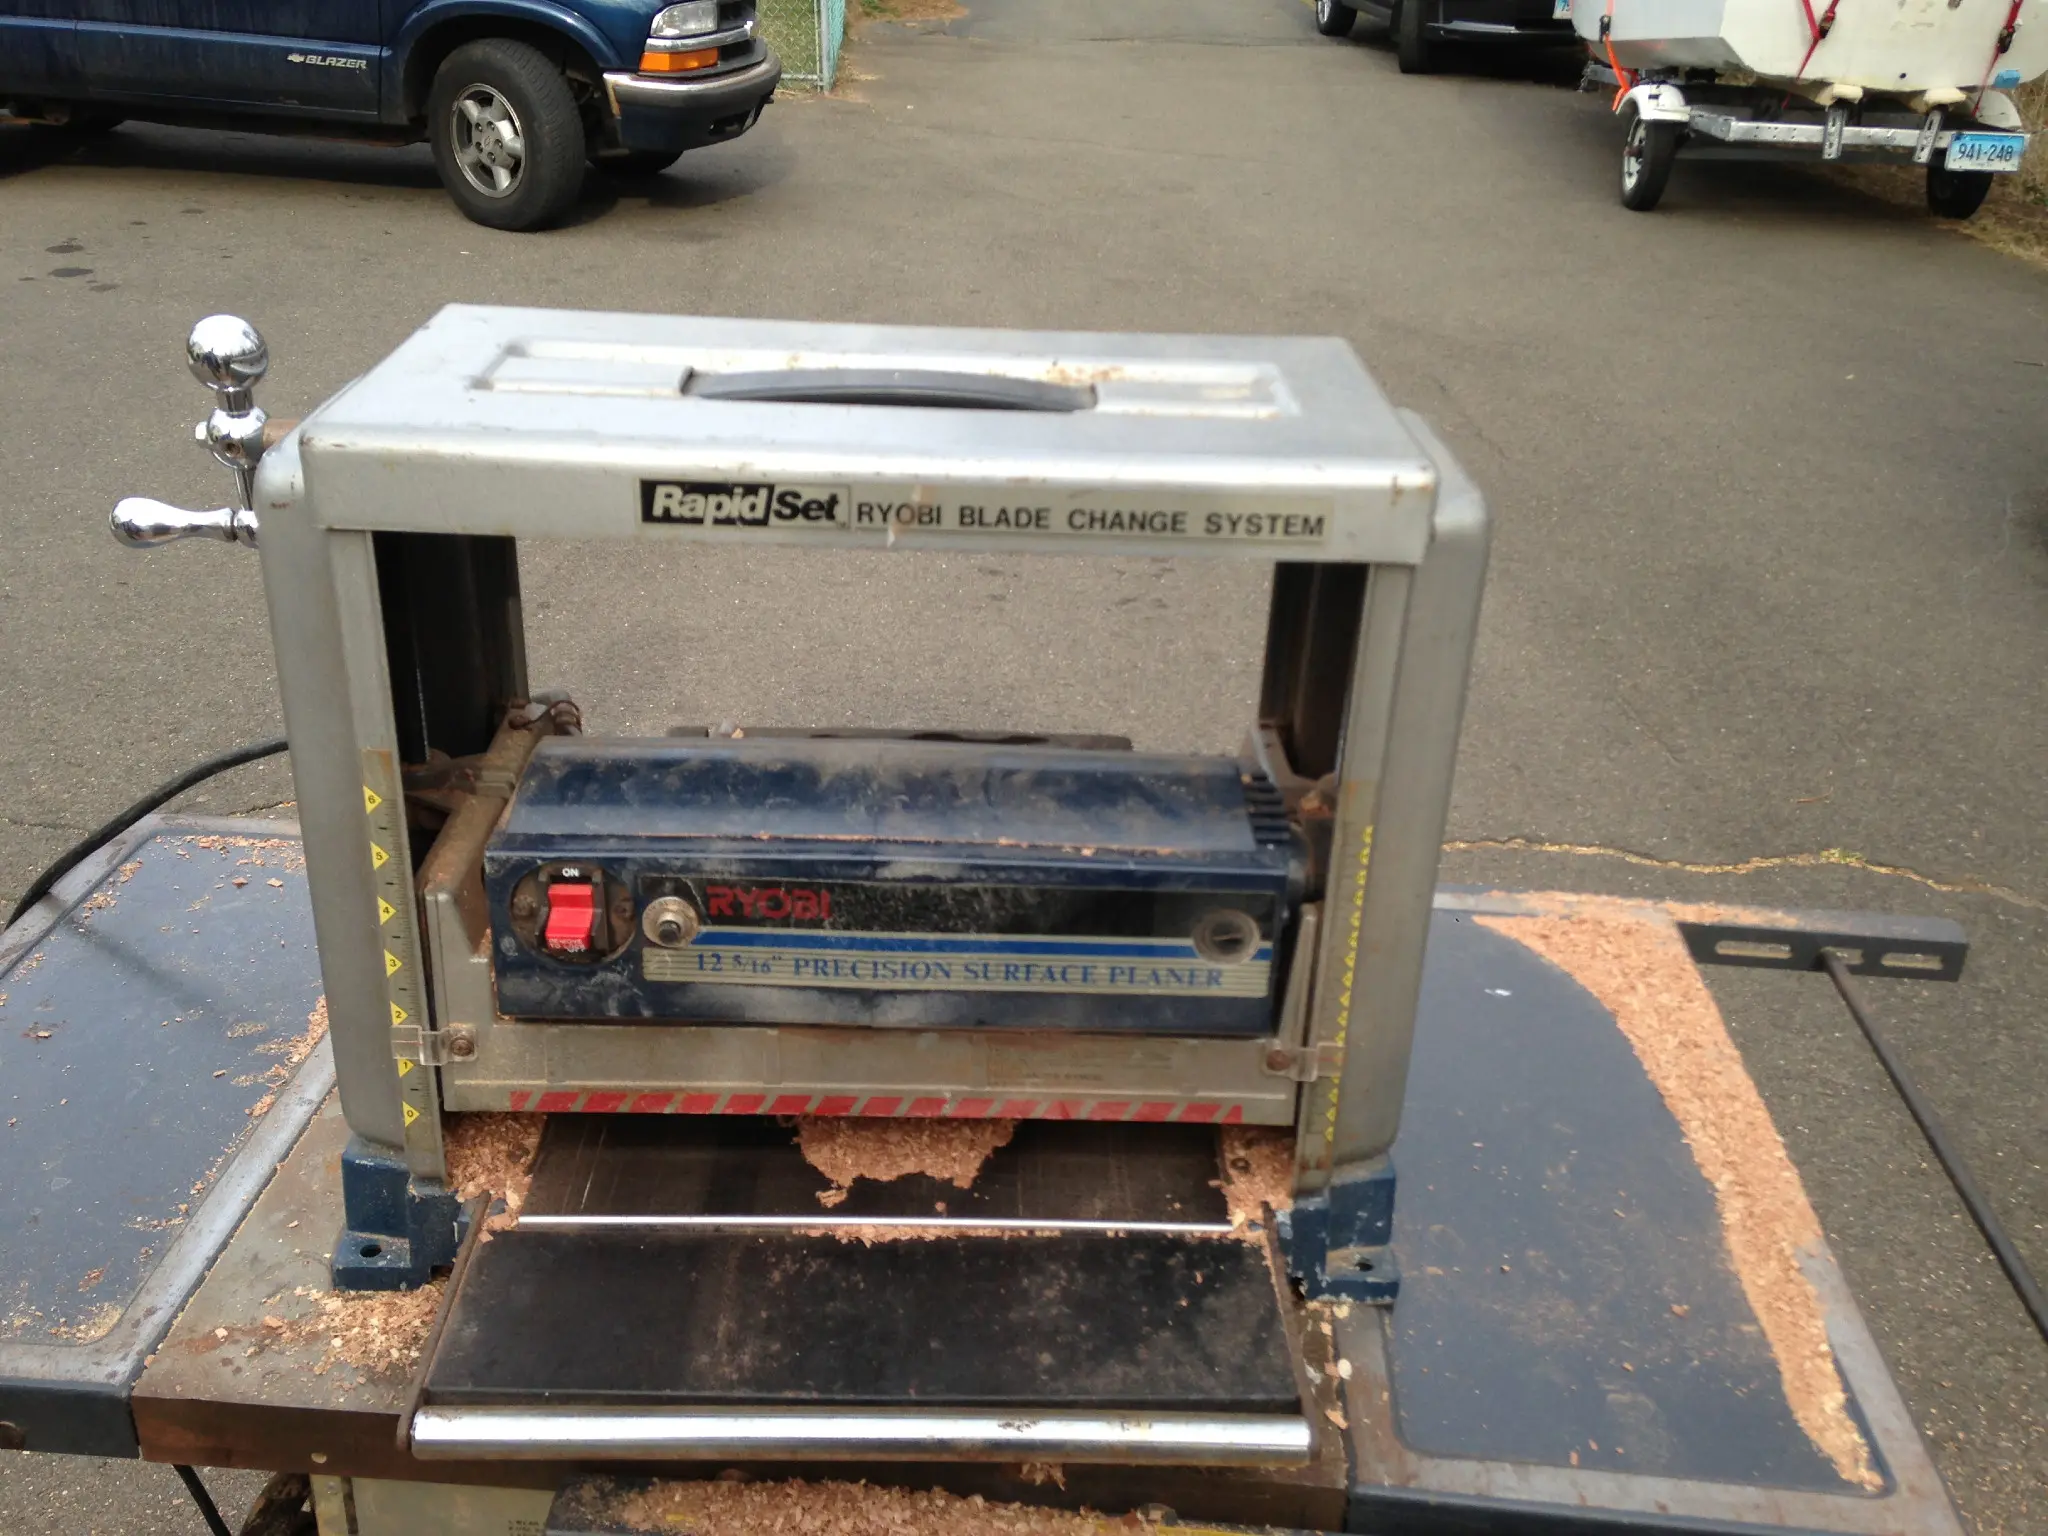
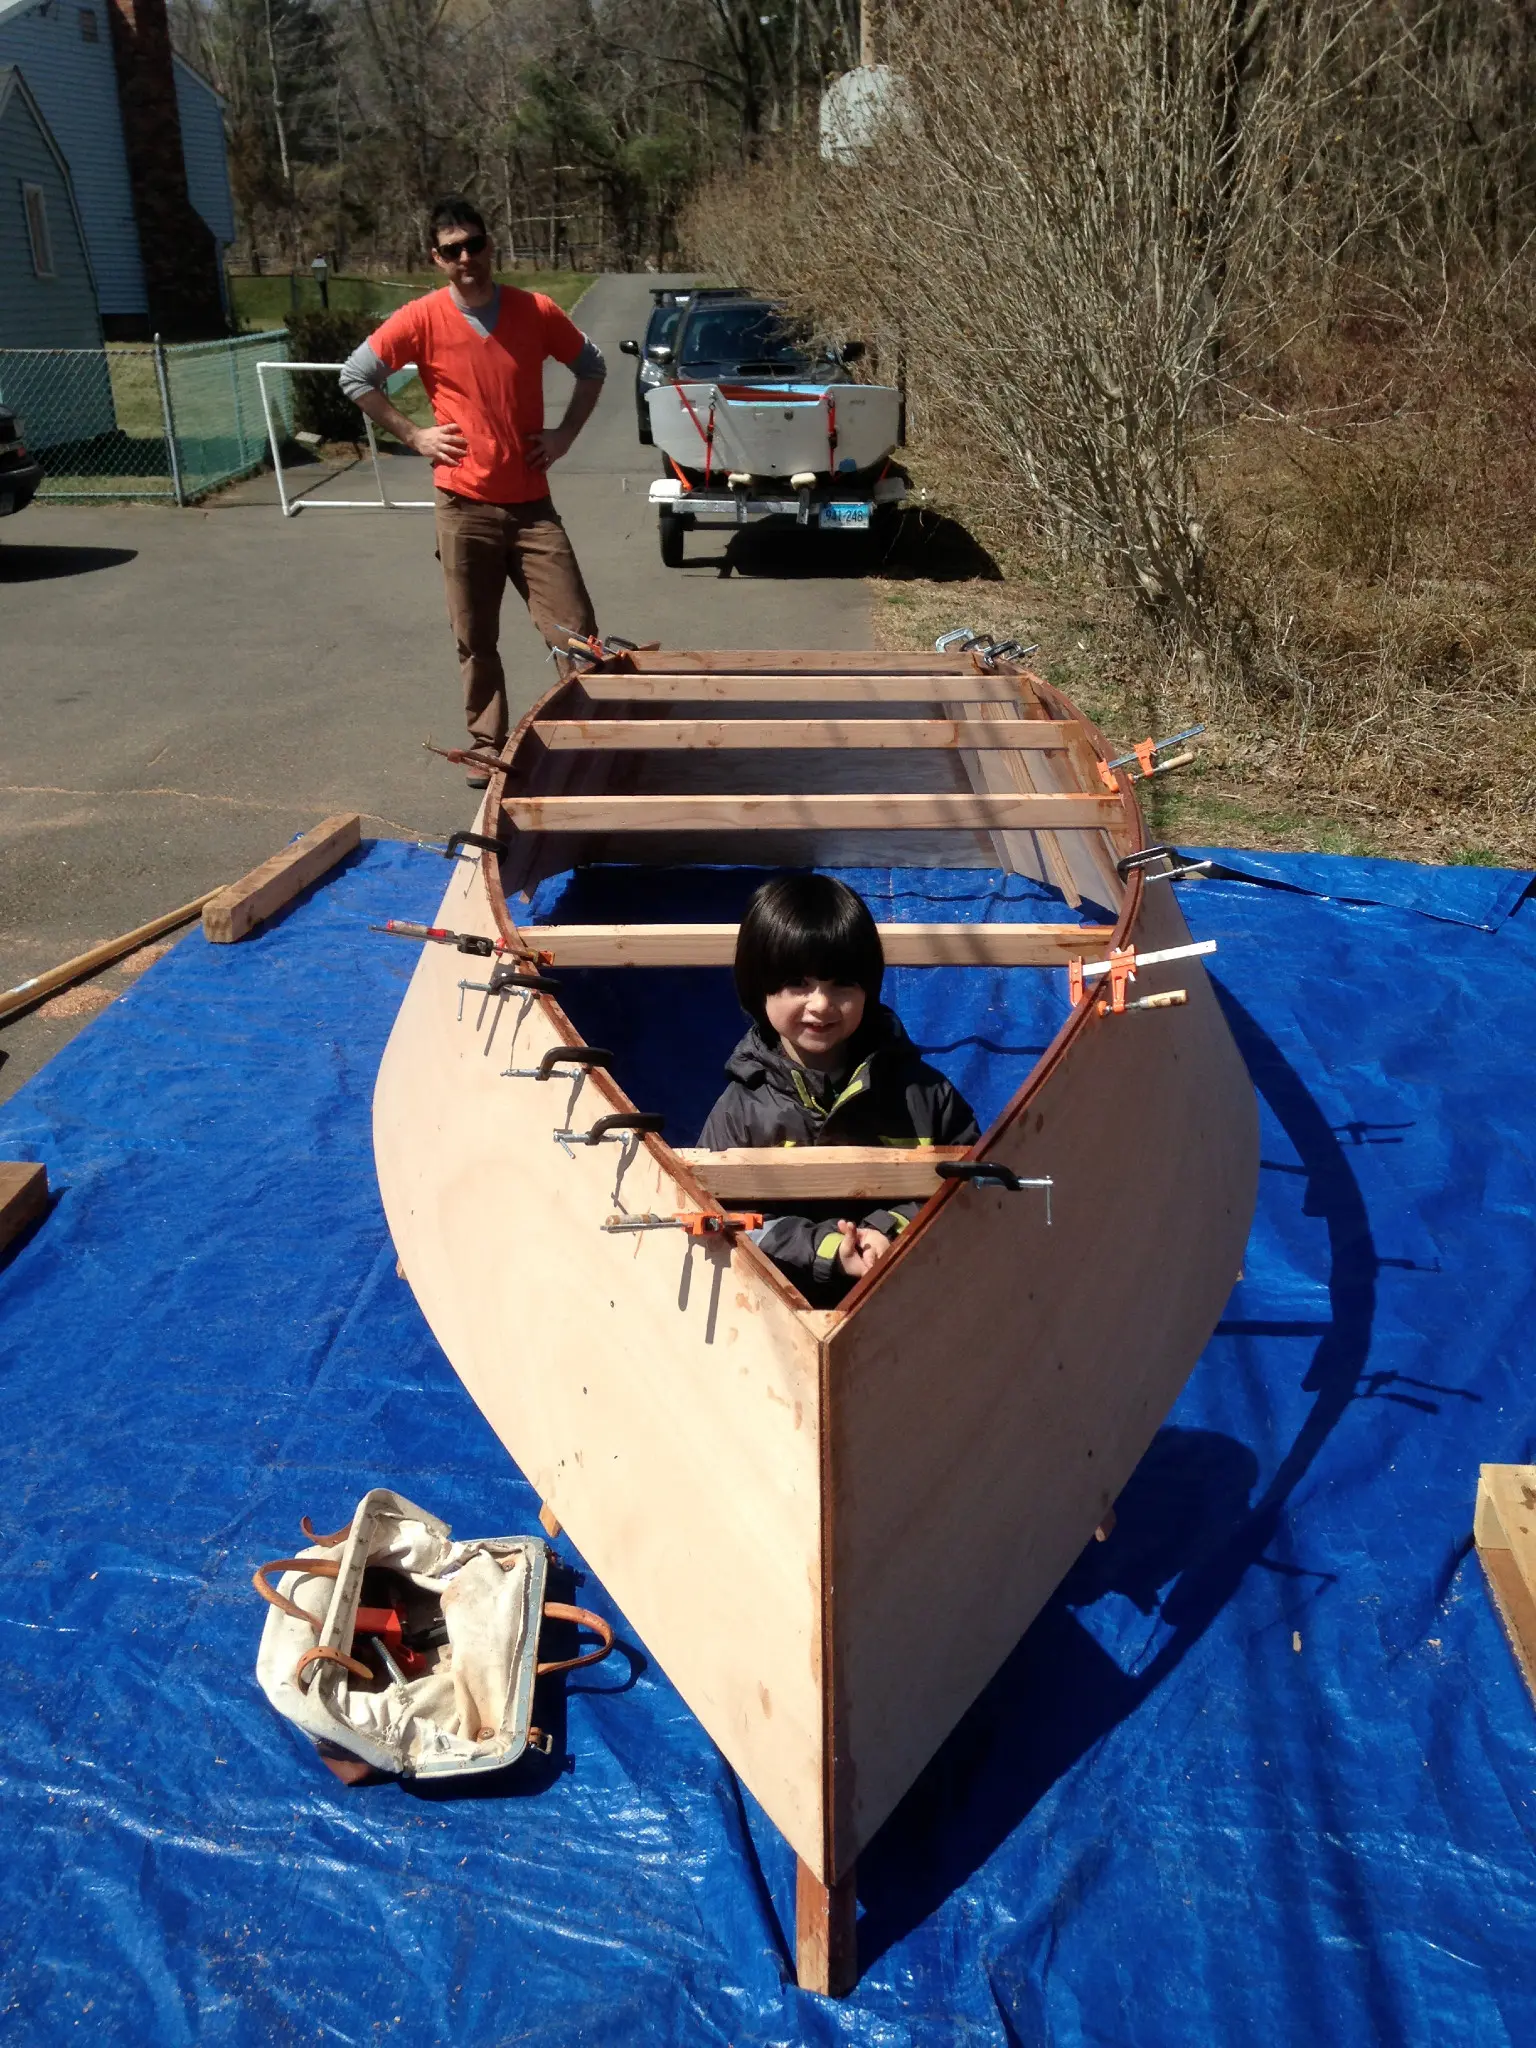
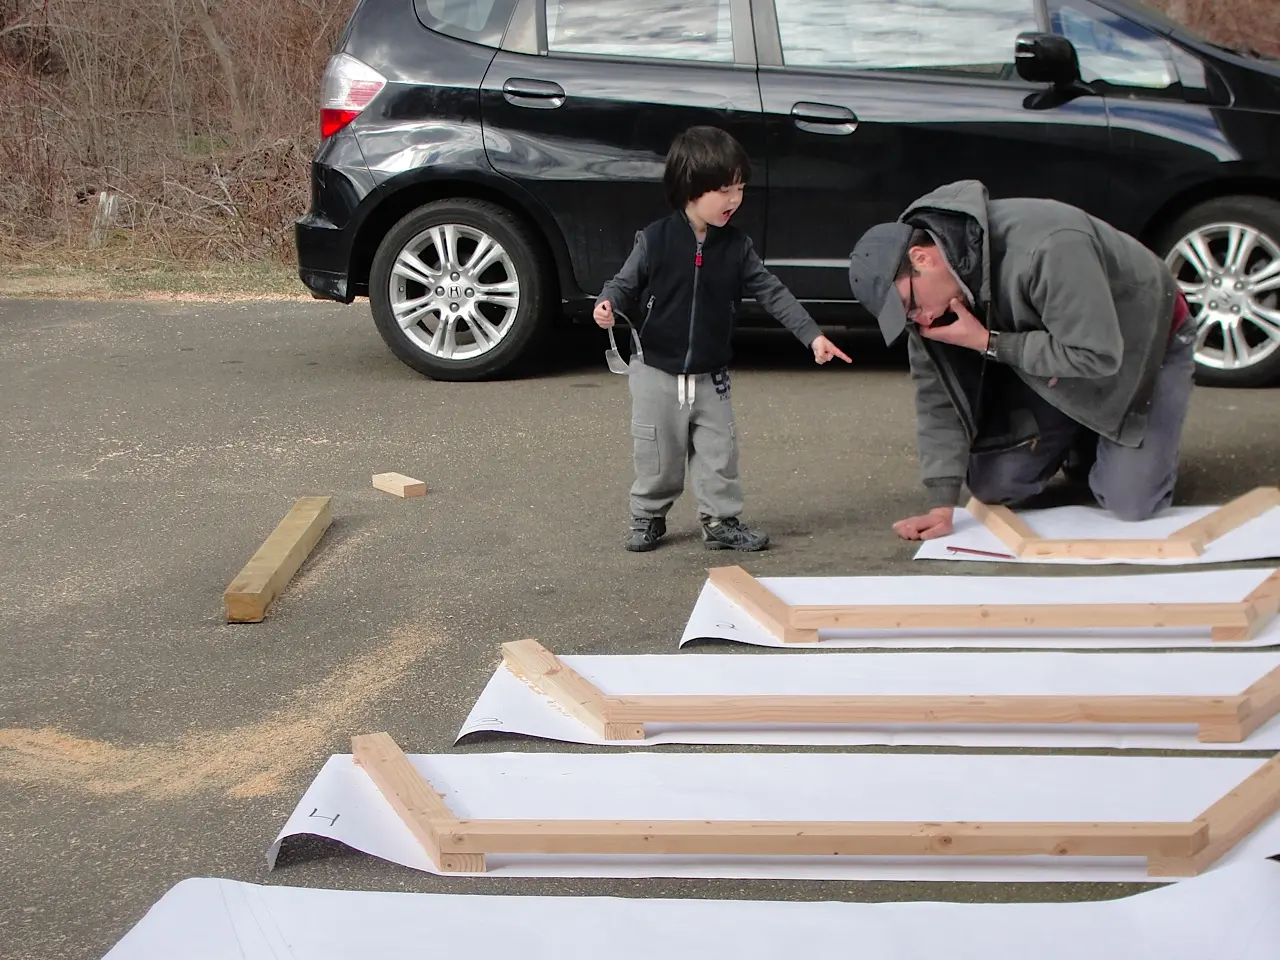
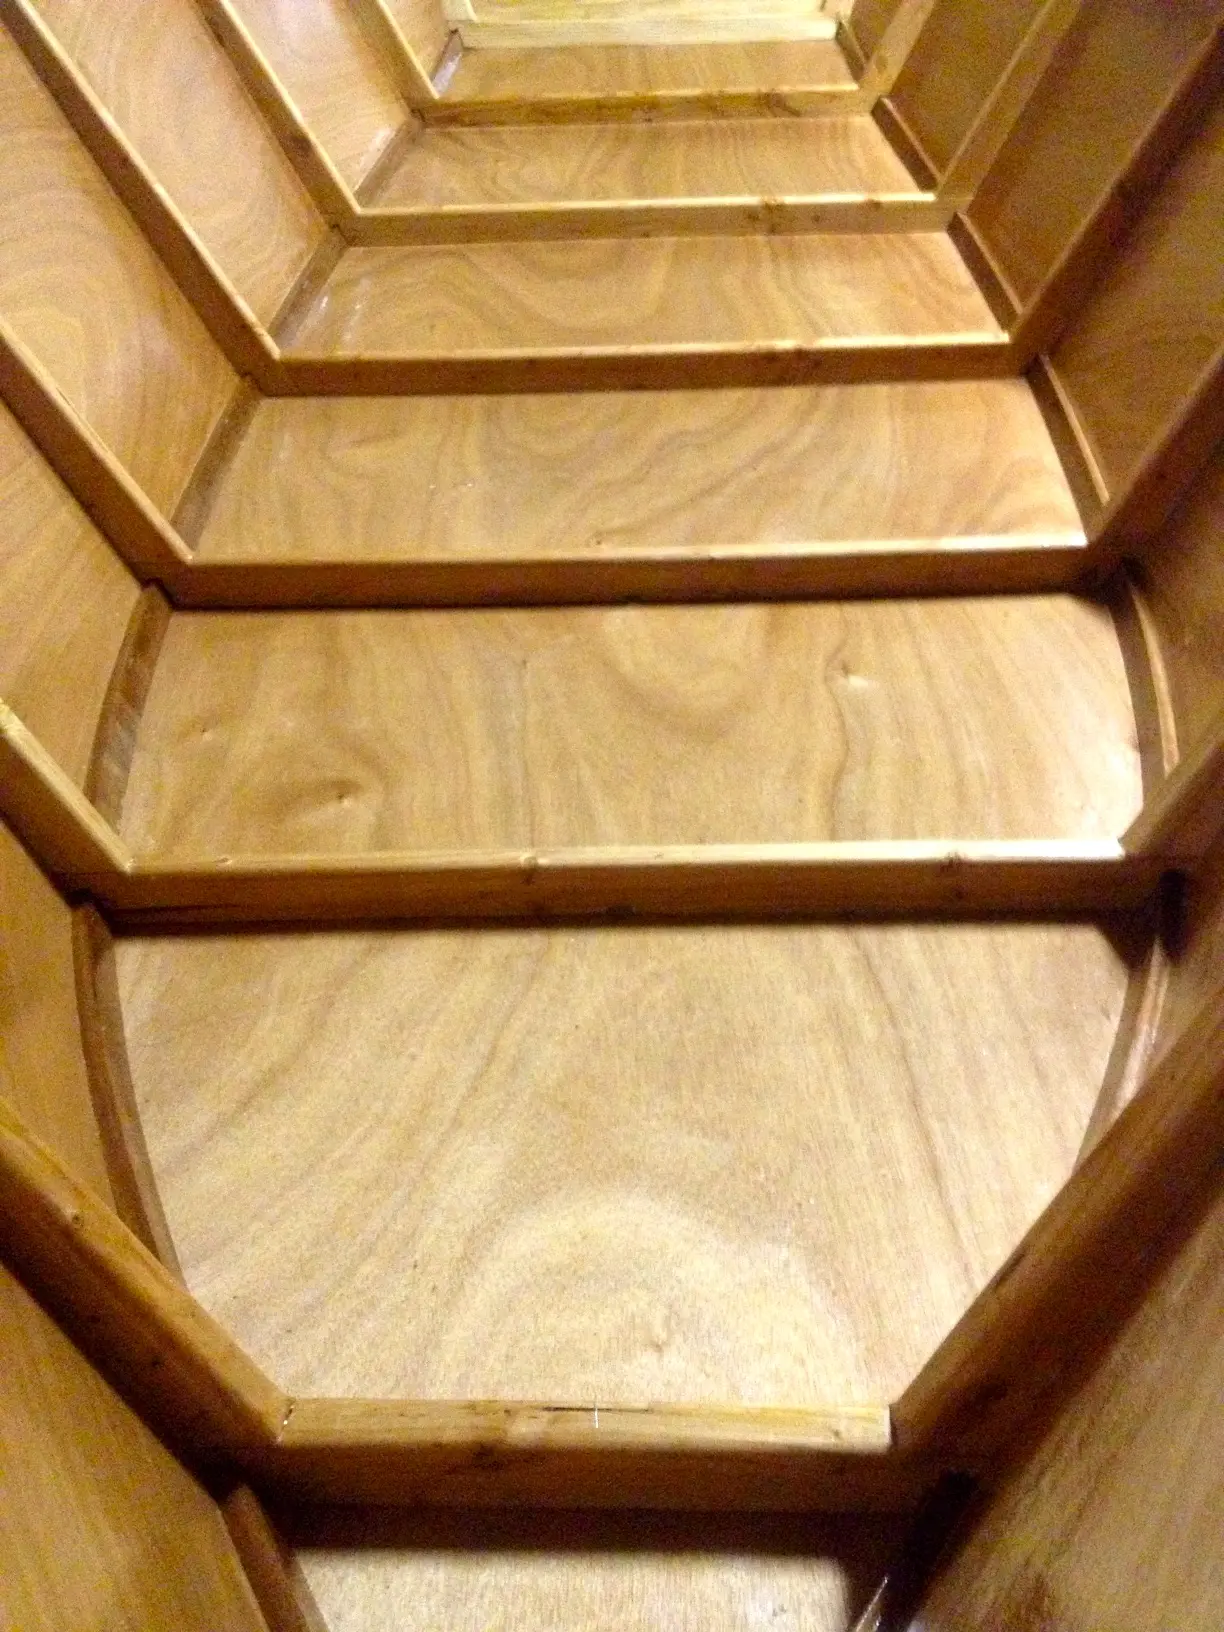
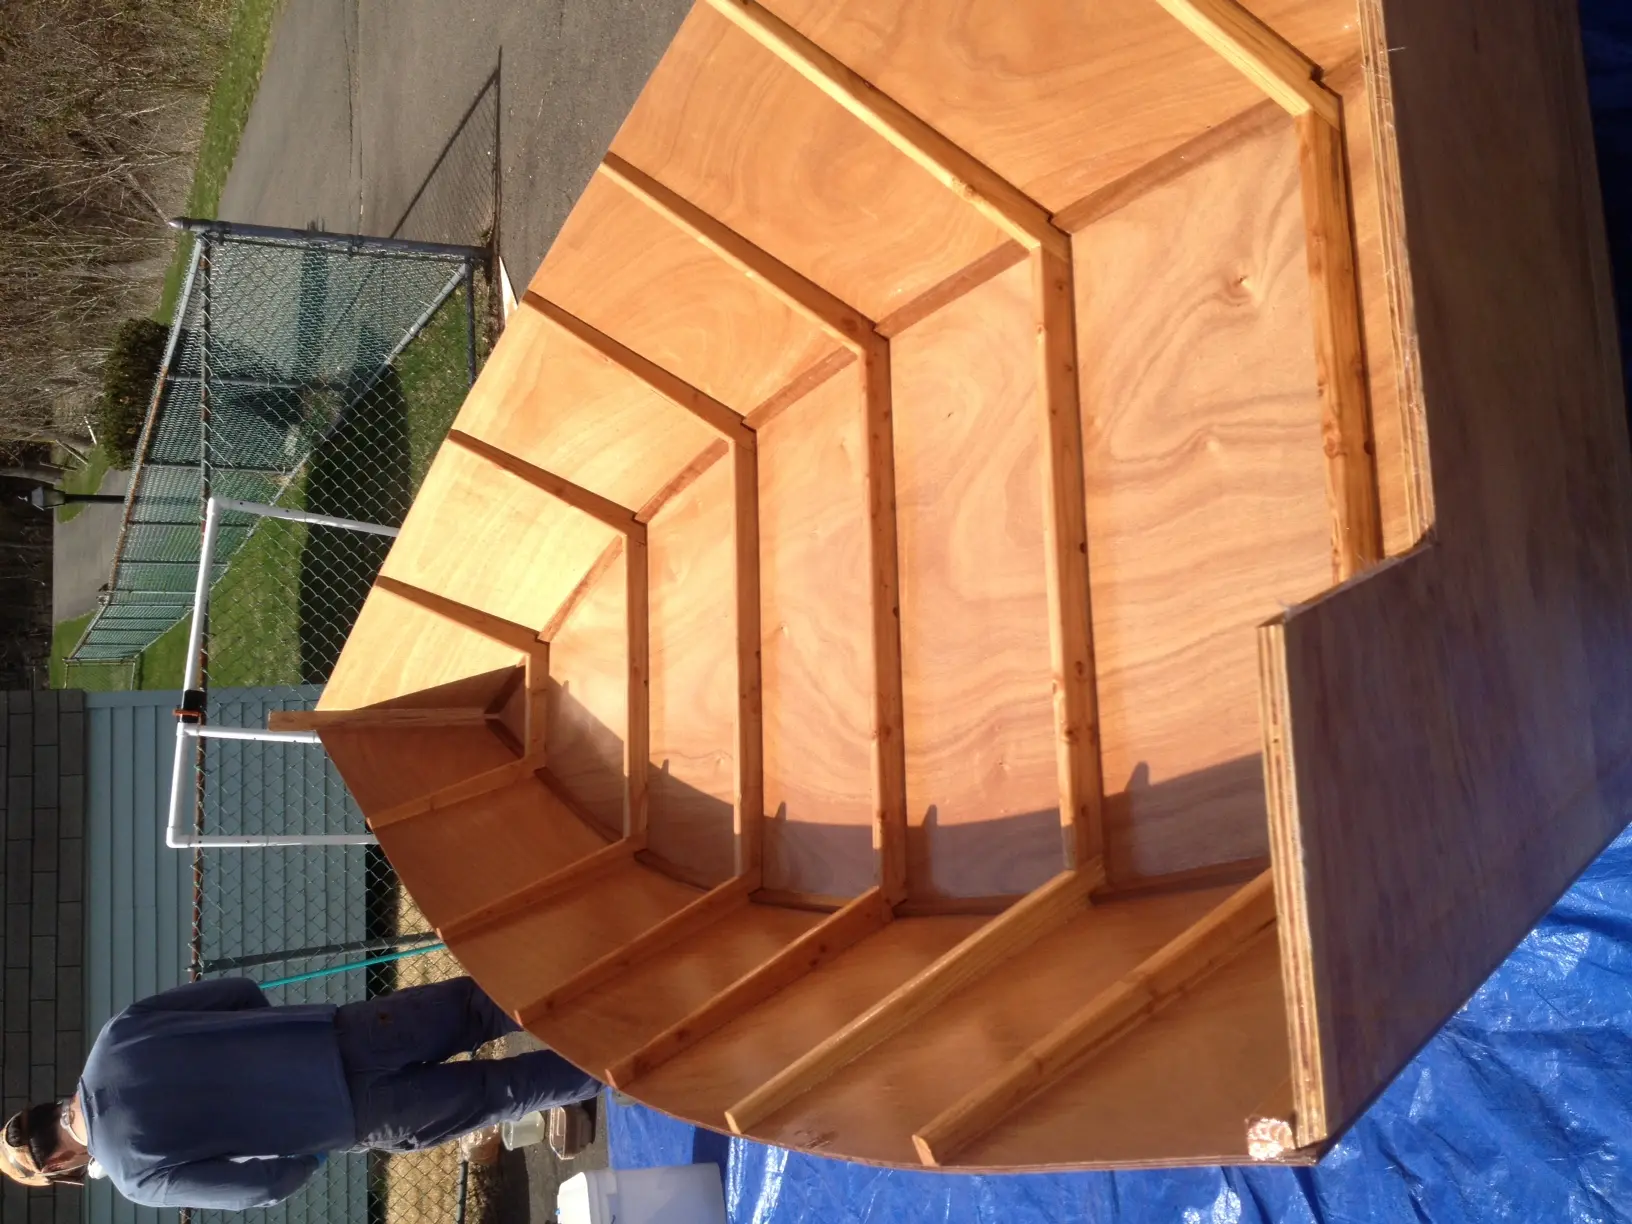
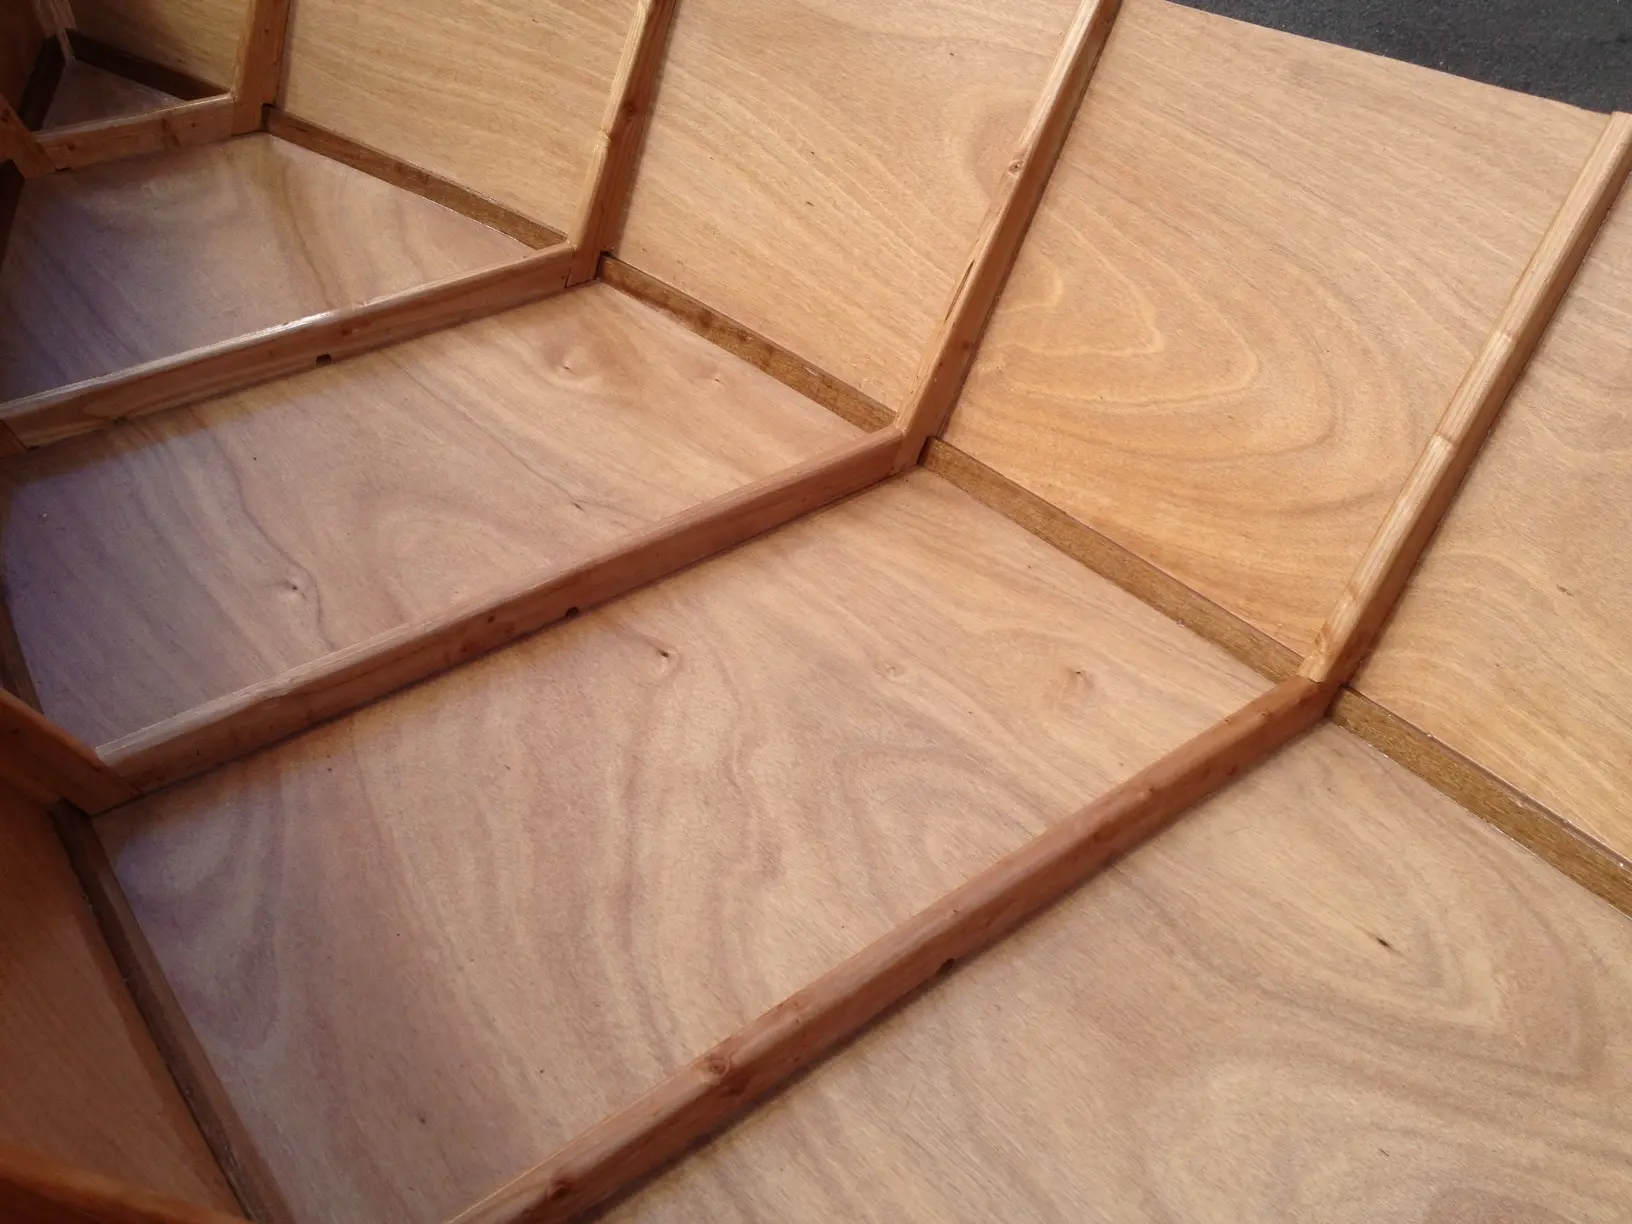
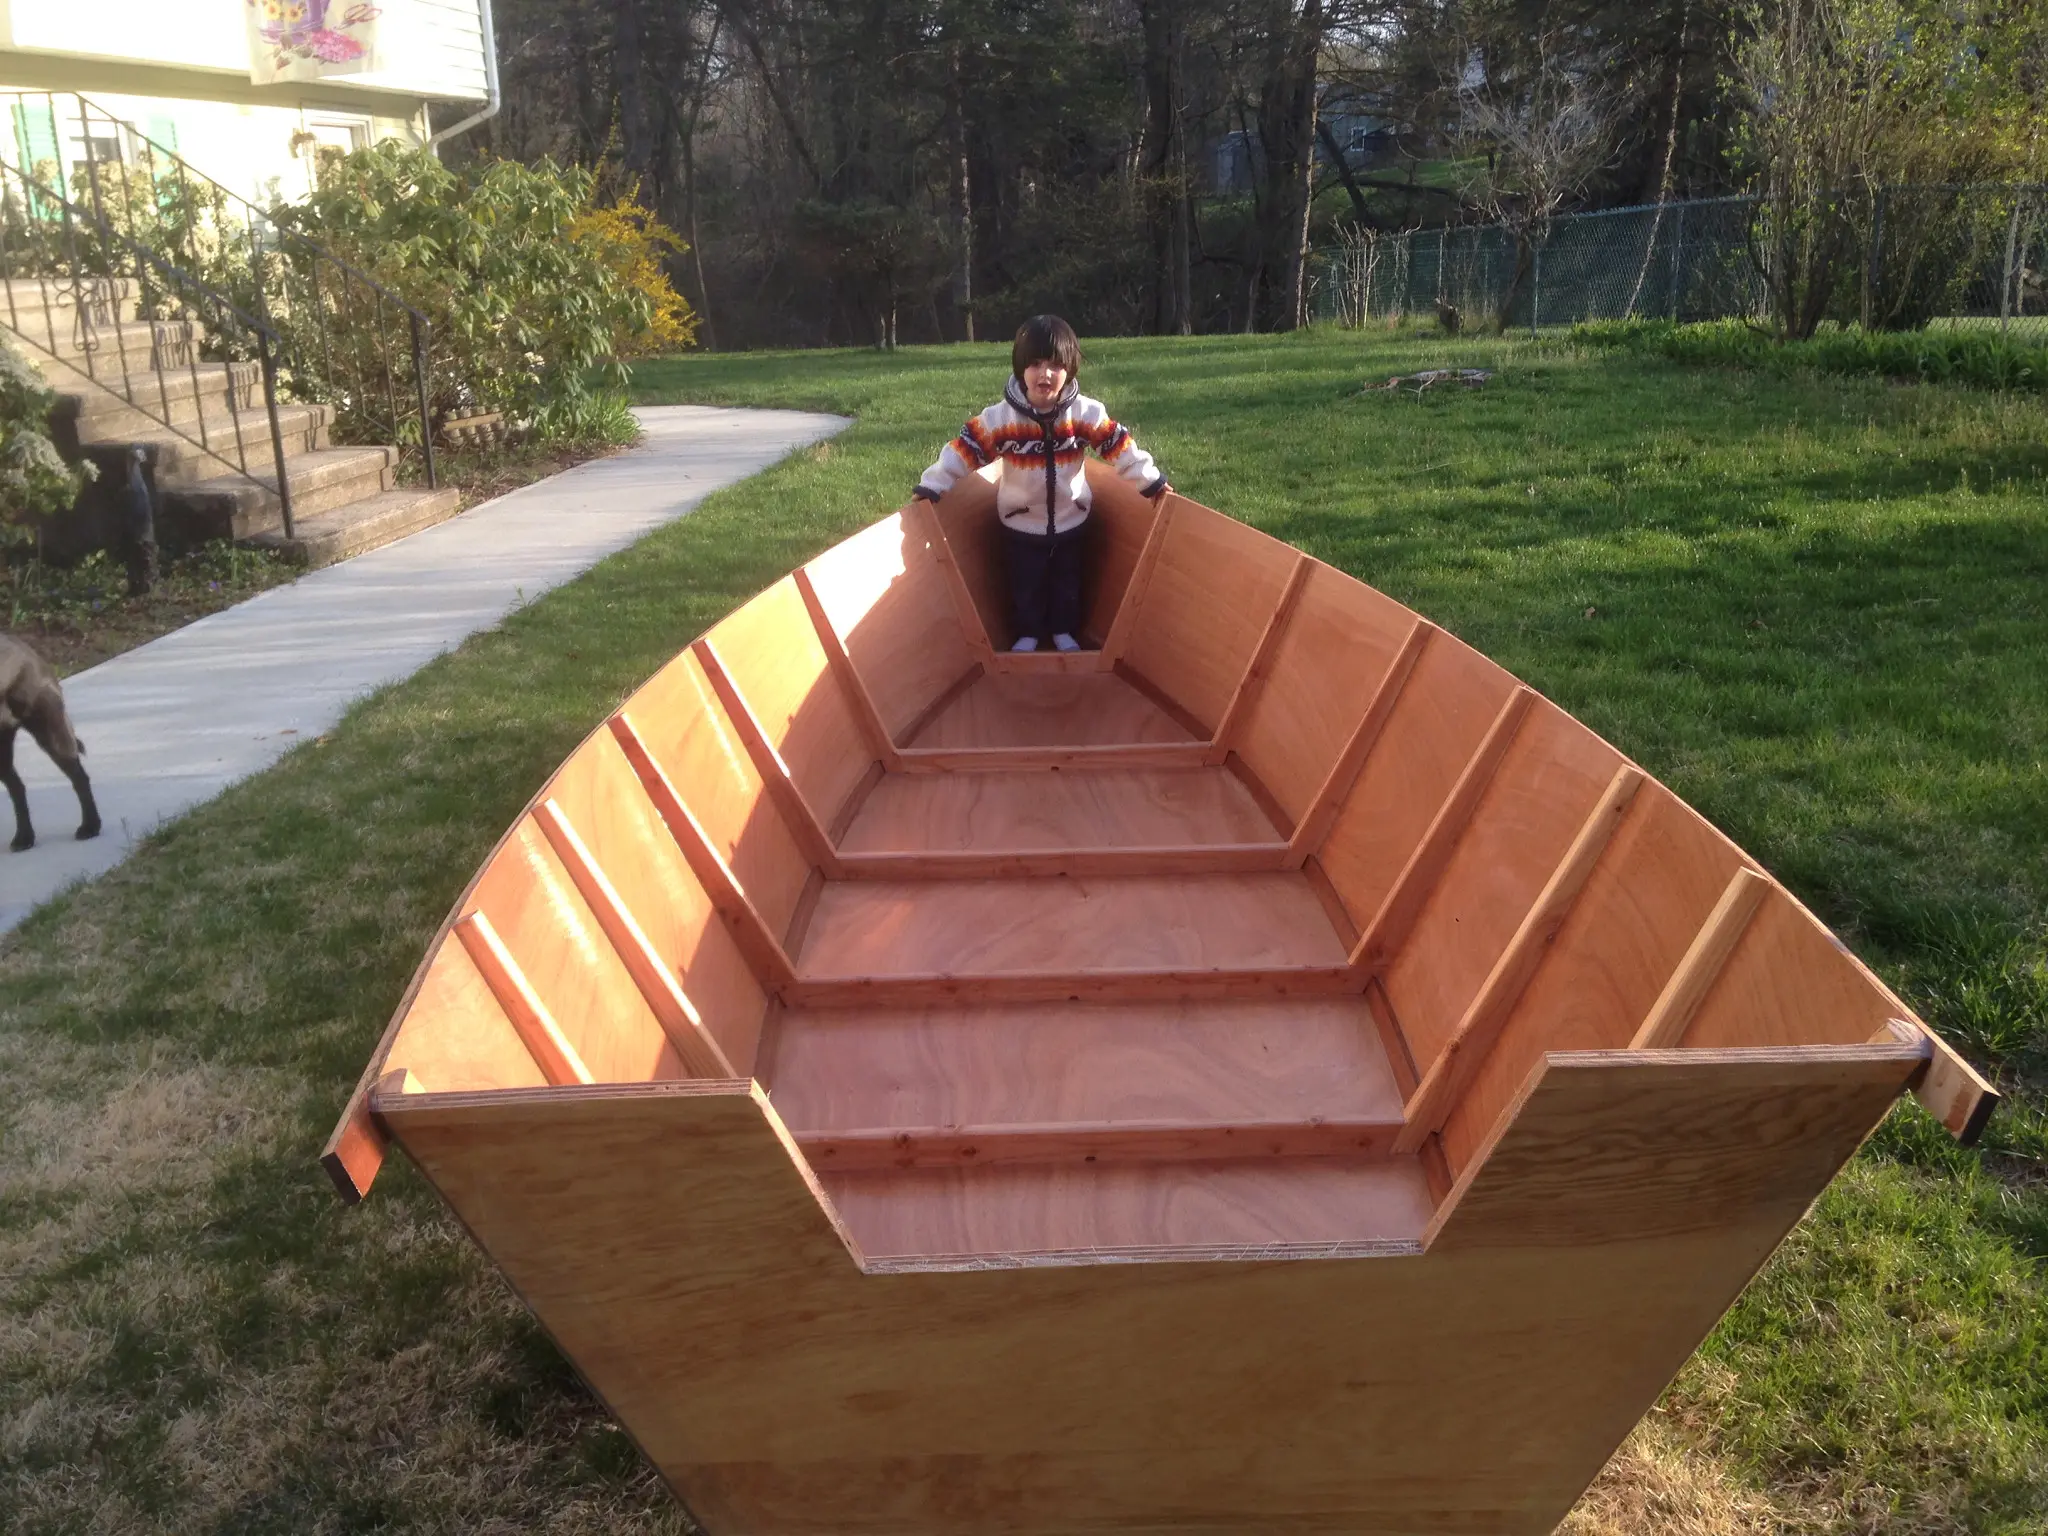
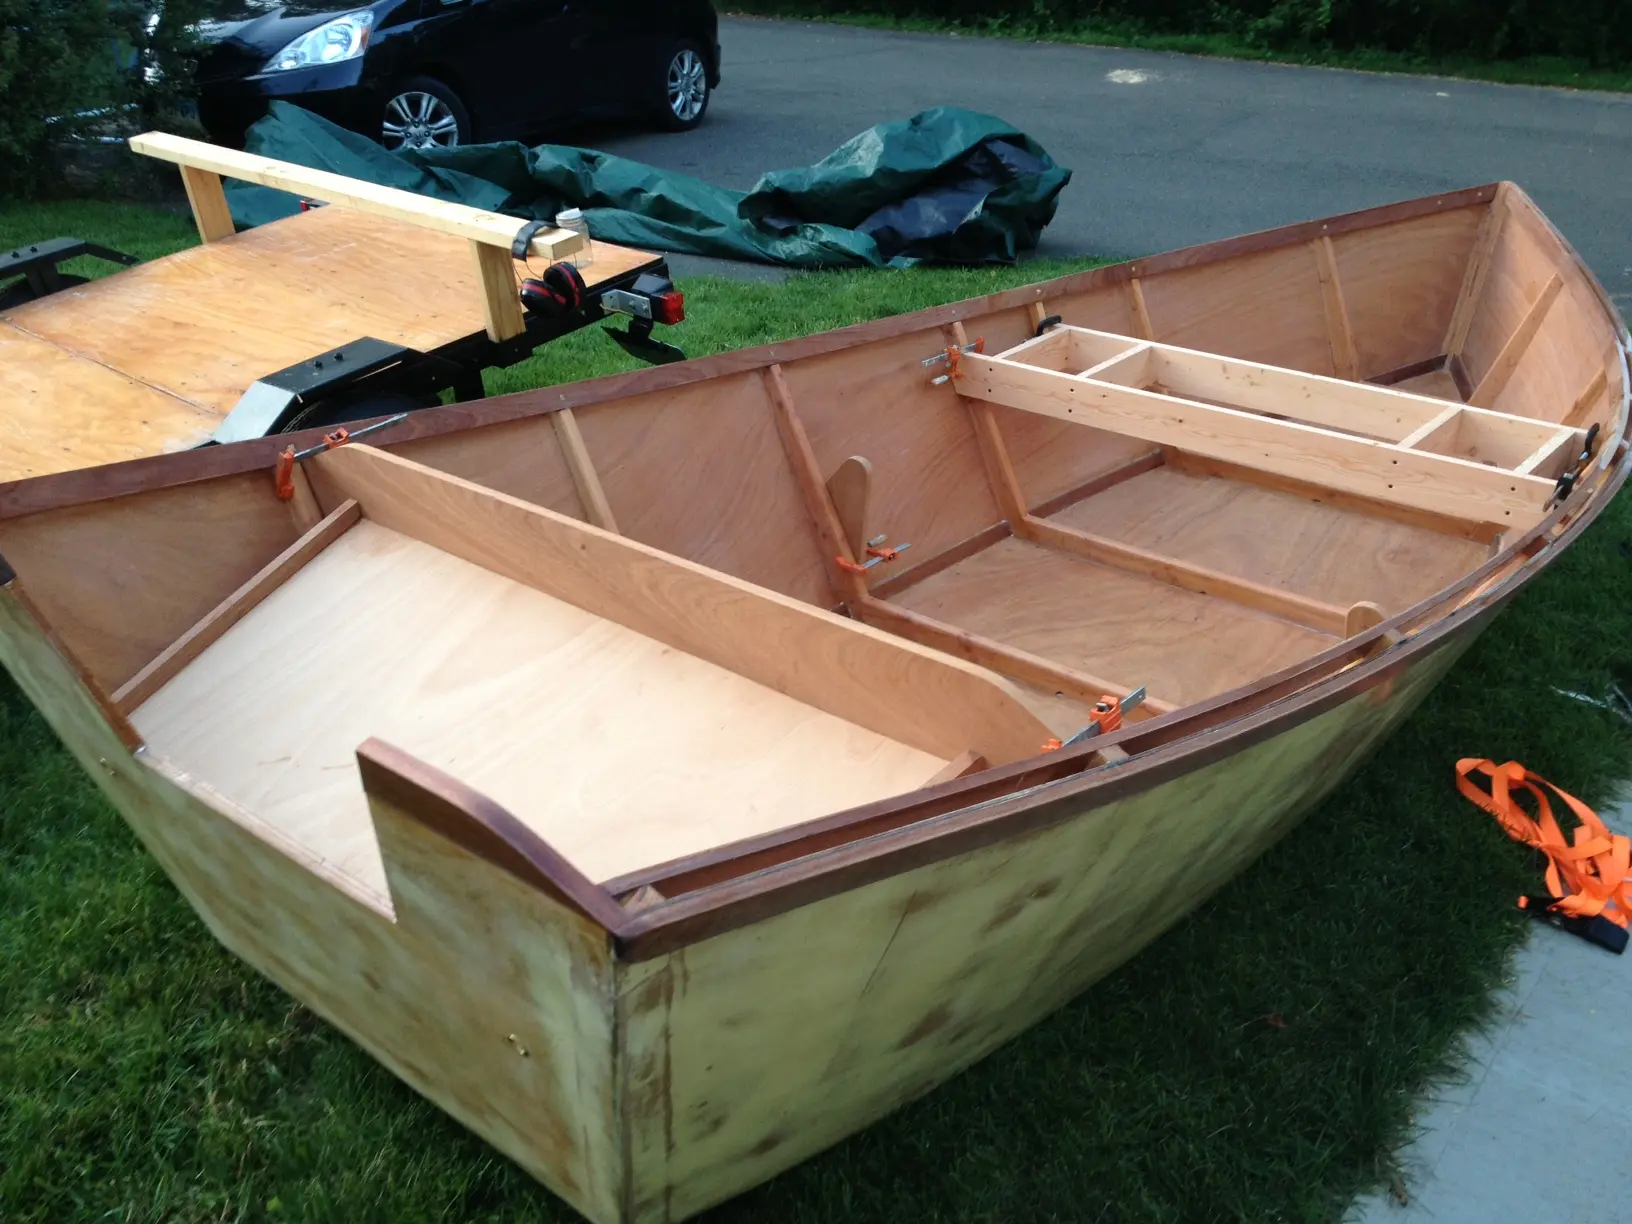
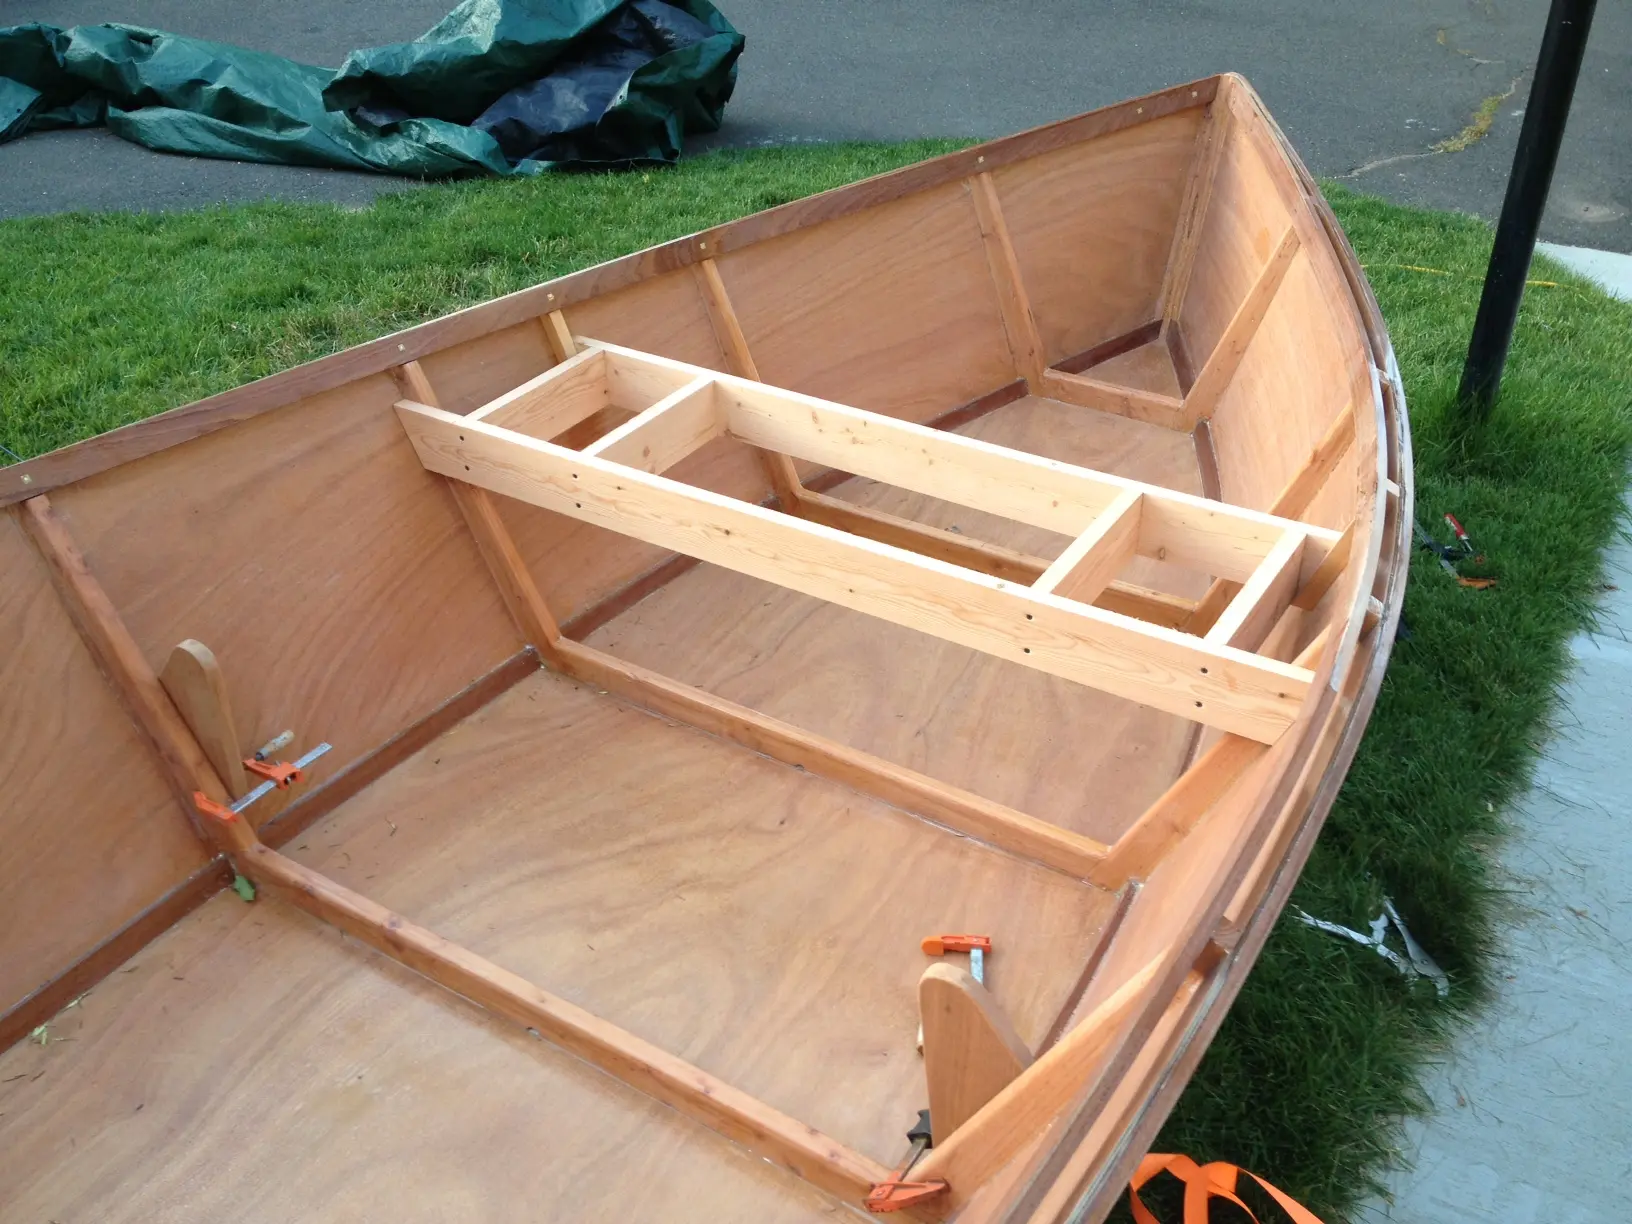
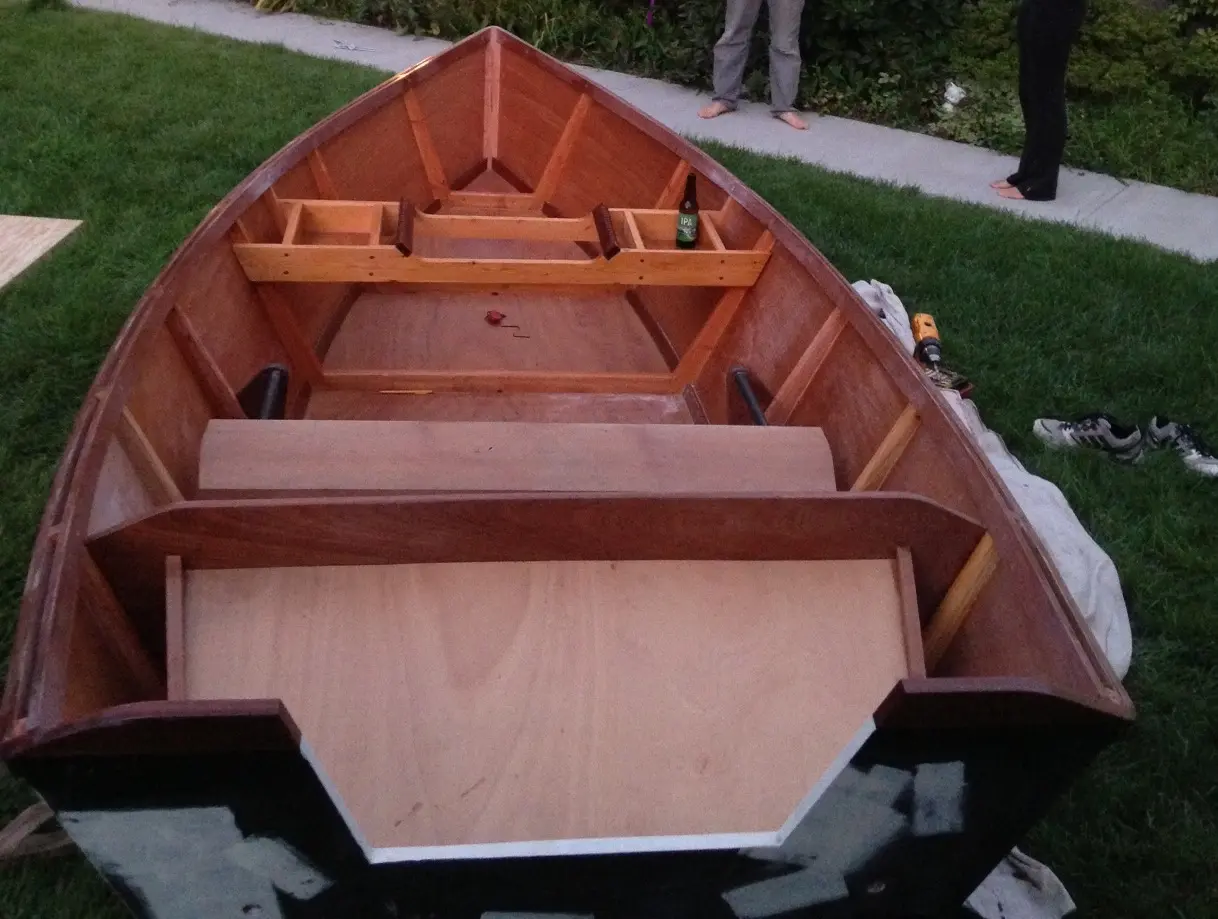
Our Project began last week when Mack's Dad, Tom, dropped by with 4 wonderful sheets of 3/8 Okoume Plywood and a nice sheet of 3/4 inch Douglas Fir for the Transom. Thanks Tom! Mack and I quickly ran out to purchase our studs for the ribs. We elected to use Douglas Fir 2x4s which we planed down to 2.5x1.25 stock. We then cut, beveled and joined the pieces to form our seven ribs, which at 1.25 inches should be plently strong. We chose to taper our ribs as they approach the gunnels to give the boat a lighter look. The ribs were joined using a 5/8 inch notch to join the floor pieces to the sidewall pieces, then glued with west system gap filling epoxy (the caulk-gun version, highly reccomended!!!!) and tacked with a finishing gun and braces to aid drying. They will be bolted with two T-nuts in each joint to add lateral strength and then re-epoxied during the final assembly process. For our first try, we were happy with the way they came out, Mack did some great work on the table saw and added a nice routered round finish to the inboard edges of the ribs. This was done over two days in Mack's driveway, total beer consumption is about 12 beers so far between the two of us, we will be keeping count along the way, but we can't guaranty that our estimates will be accurate:)!
Note: these papers are pieces by piece 1:1 scale CAD drawings which Mack drew up in his spare time using the Rivers Touch plans as a guide. We were able to eliminate a lot of guesswork and "trial by error" this way. They are incredible timesavers and came in handy many times throughout the refinement process, to quote Ferris Bueller, "they are so choice, if you have the means, we highly reccomend them. "
Braces for drying (thank you Nat for letting us use your room temp living room!)
1. Planing the Studs.
2. Mack Cutting and Beveling.
5. nice router work Mack!
Photo 1 Photo 2 Photo 3 Photo 4 Photo 5 Photo 6
Chapter 02
Planning & Research
Choosing the design, sourcing plans or a kit, budgeting, lining up materials.
5 daysfrom April 2013
1 Apr 2013Planning & Research
Welcome
Welcome to the Black & Tan blog!
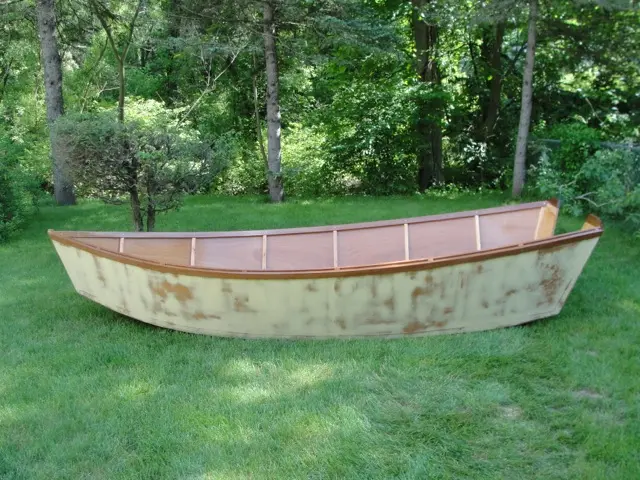
Thanks for checking out our site! We have just begun construction on a Mckenzie River Style drift boat that we have affectionately named the Black & Tan, which will be her ultimate color scheme. It is no coincidence that she shares her name with one of the greatest adult beverages of all time. We have chosen this proven design because we are confident it will serve us quite well in the waters we fish most, which include the The Housatonic and Farmington Rivers of Northern CT, The inshore waters Long Island Sound, and most recently the Great Lakes Tribs and the wonderful St. Lawrence River waterway, a place that Mack calls home. We obtained the boat plans online, similar plans are available through Rivers Touch. She will be 14 feet long with a relatively wide beam and bow rocker for safely navigating the rapids but she will also have a high and wide, slightly rockered, transom which can accomodate up to a 10hp motor should we decide to venture out into the brackish bays and estuaries of Long Island Sound. Unlike most traditional drift boats, this boat can be used both as a flat bottom motor skiff and a rowing dory. Our project has just begun, and we are full of enthusiasm. The design and finish concepts change every day, who knows what the final product will look like, but thats half the fun! We hope you enjoy our site, we will try to update it weekly if possible. Thanks for stopping by!
10 Apr 2013Hull Panels
A Hull is Born!
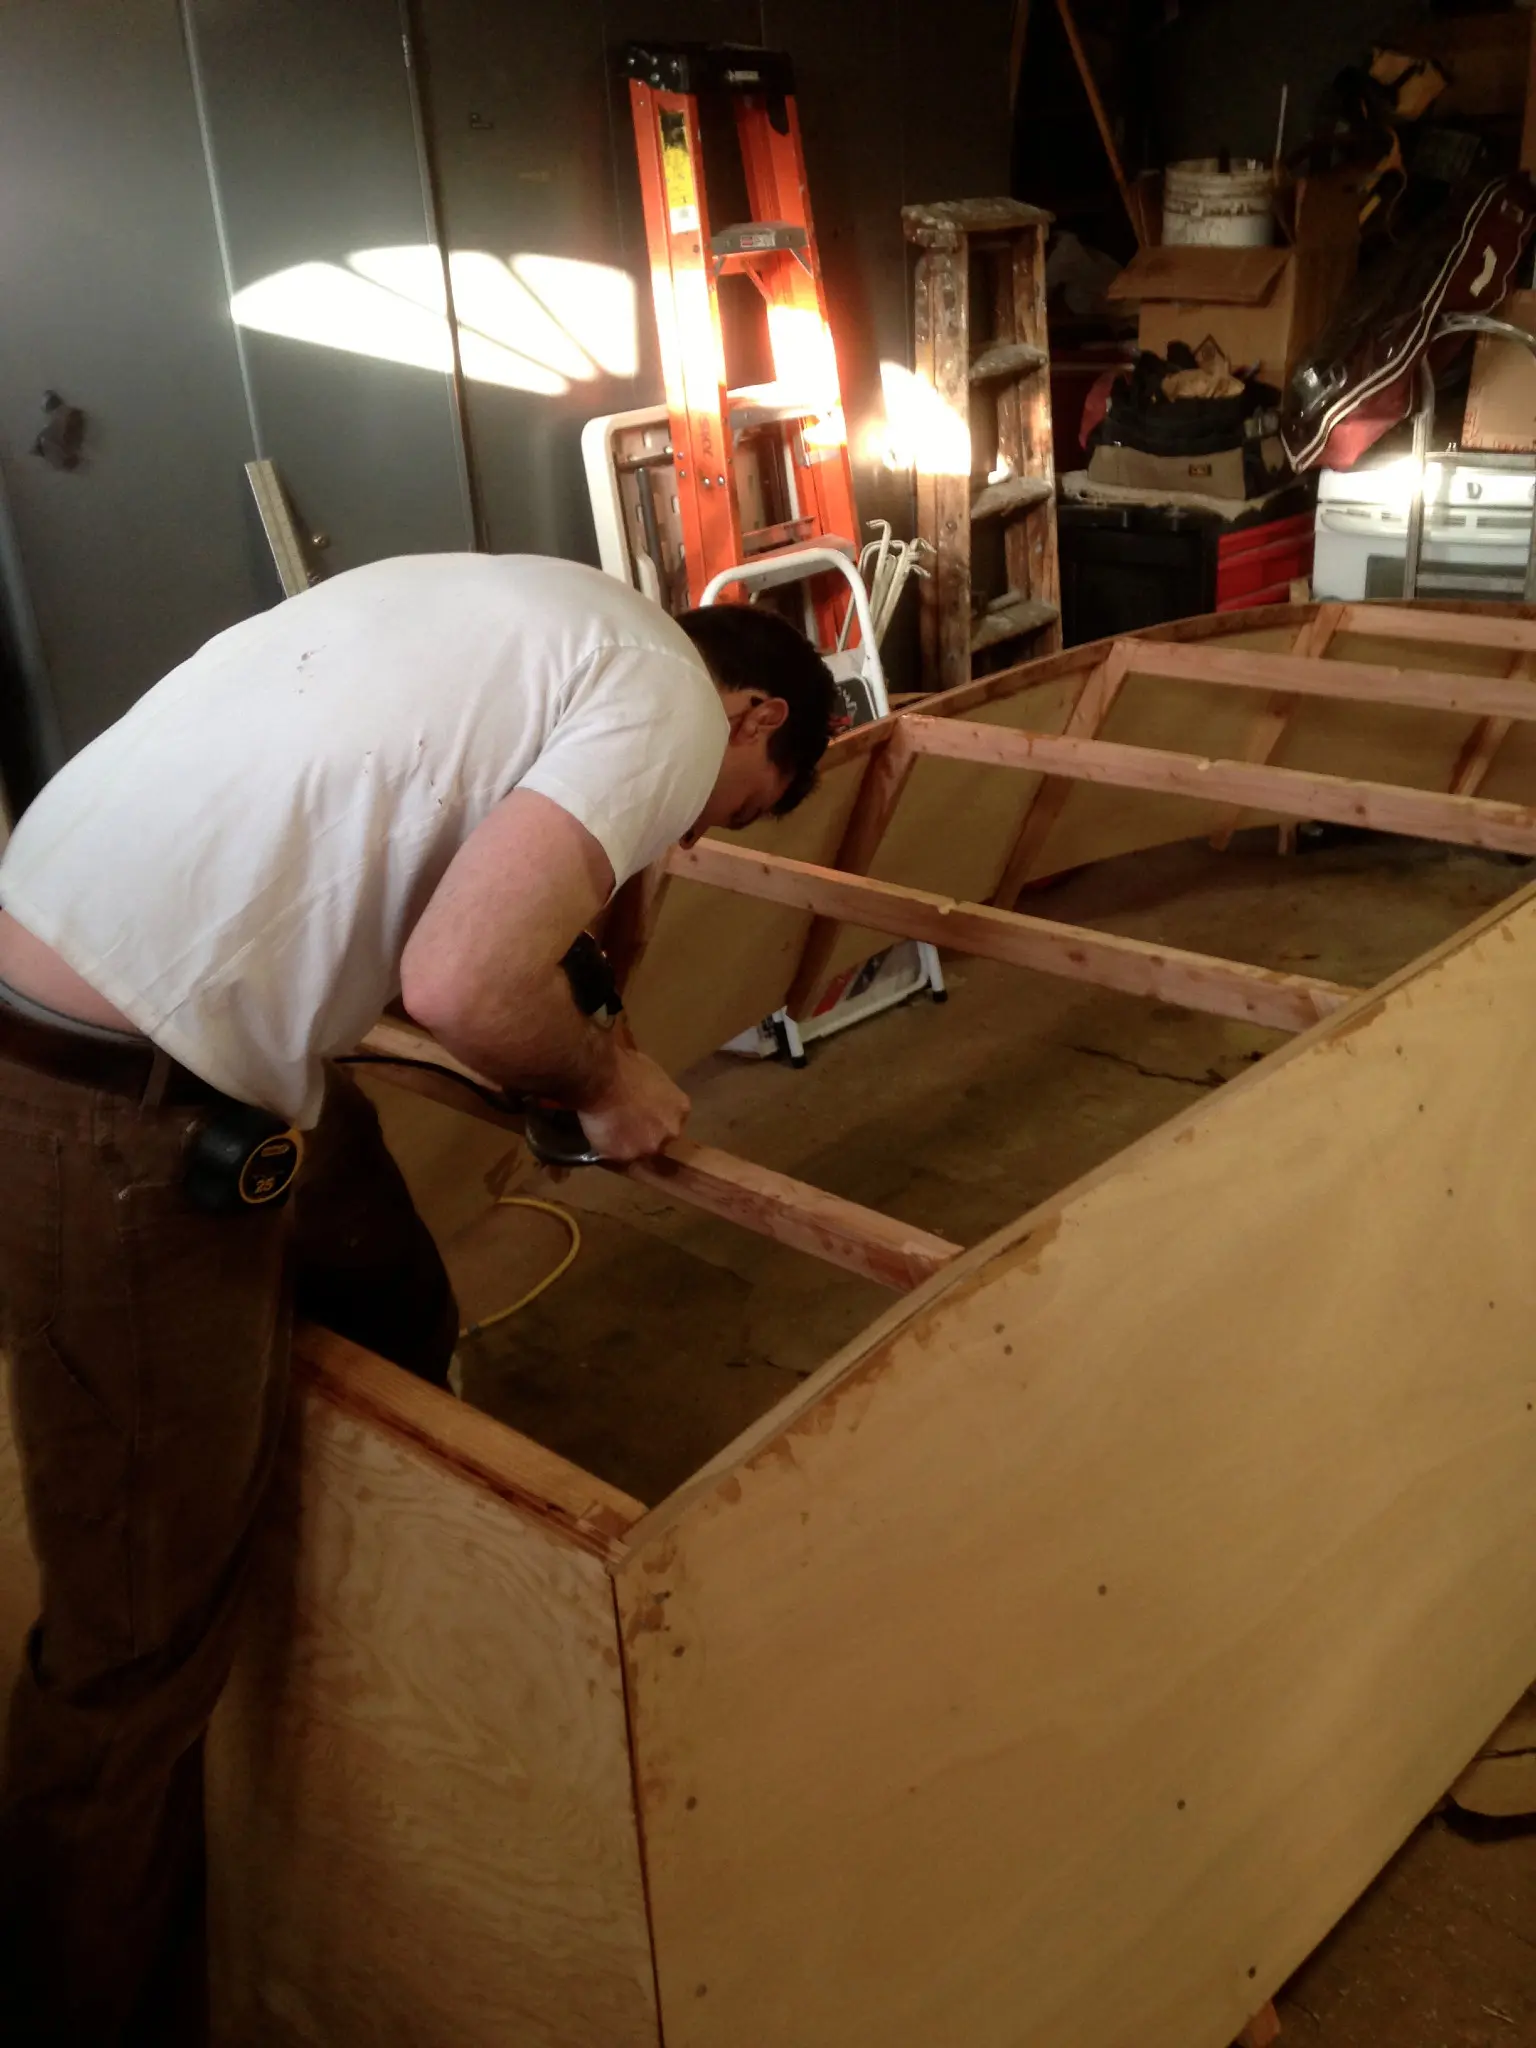
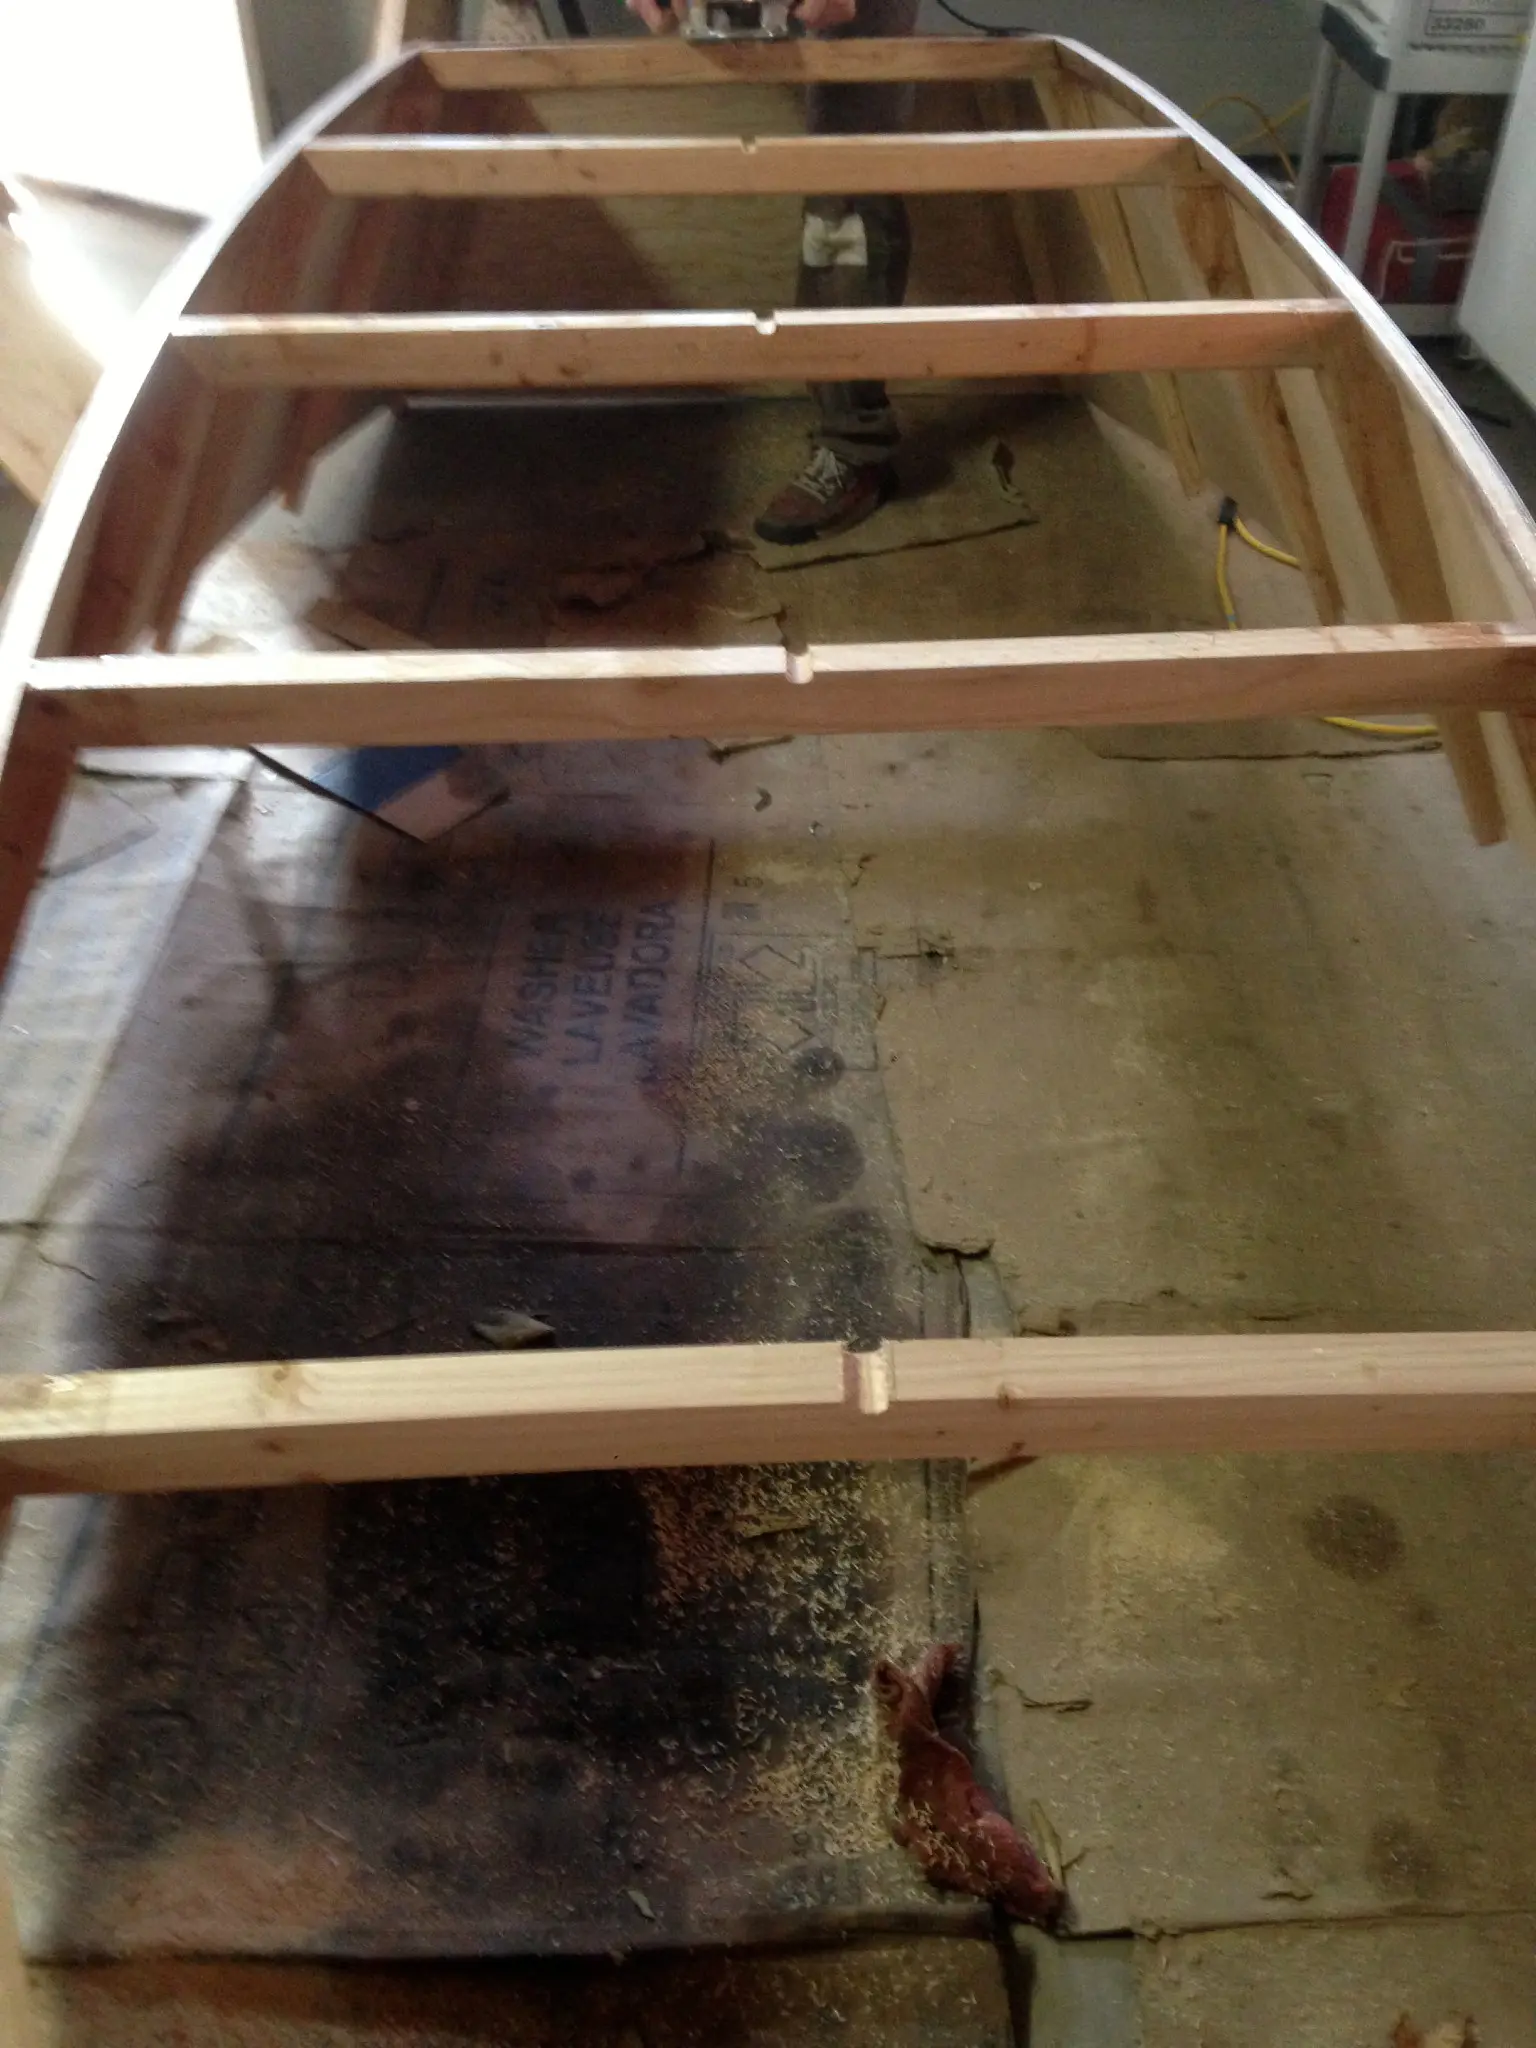
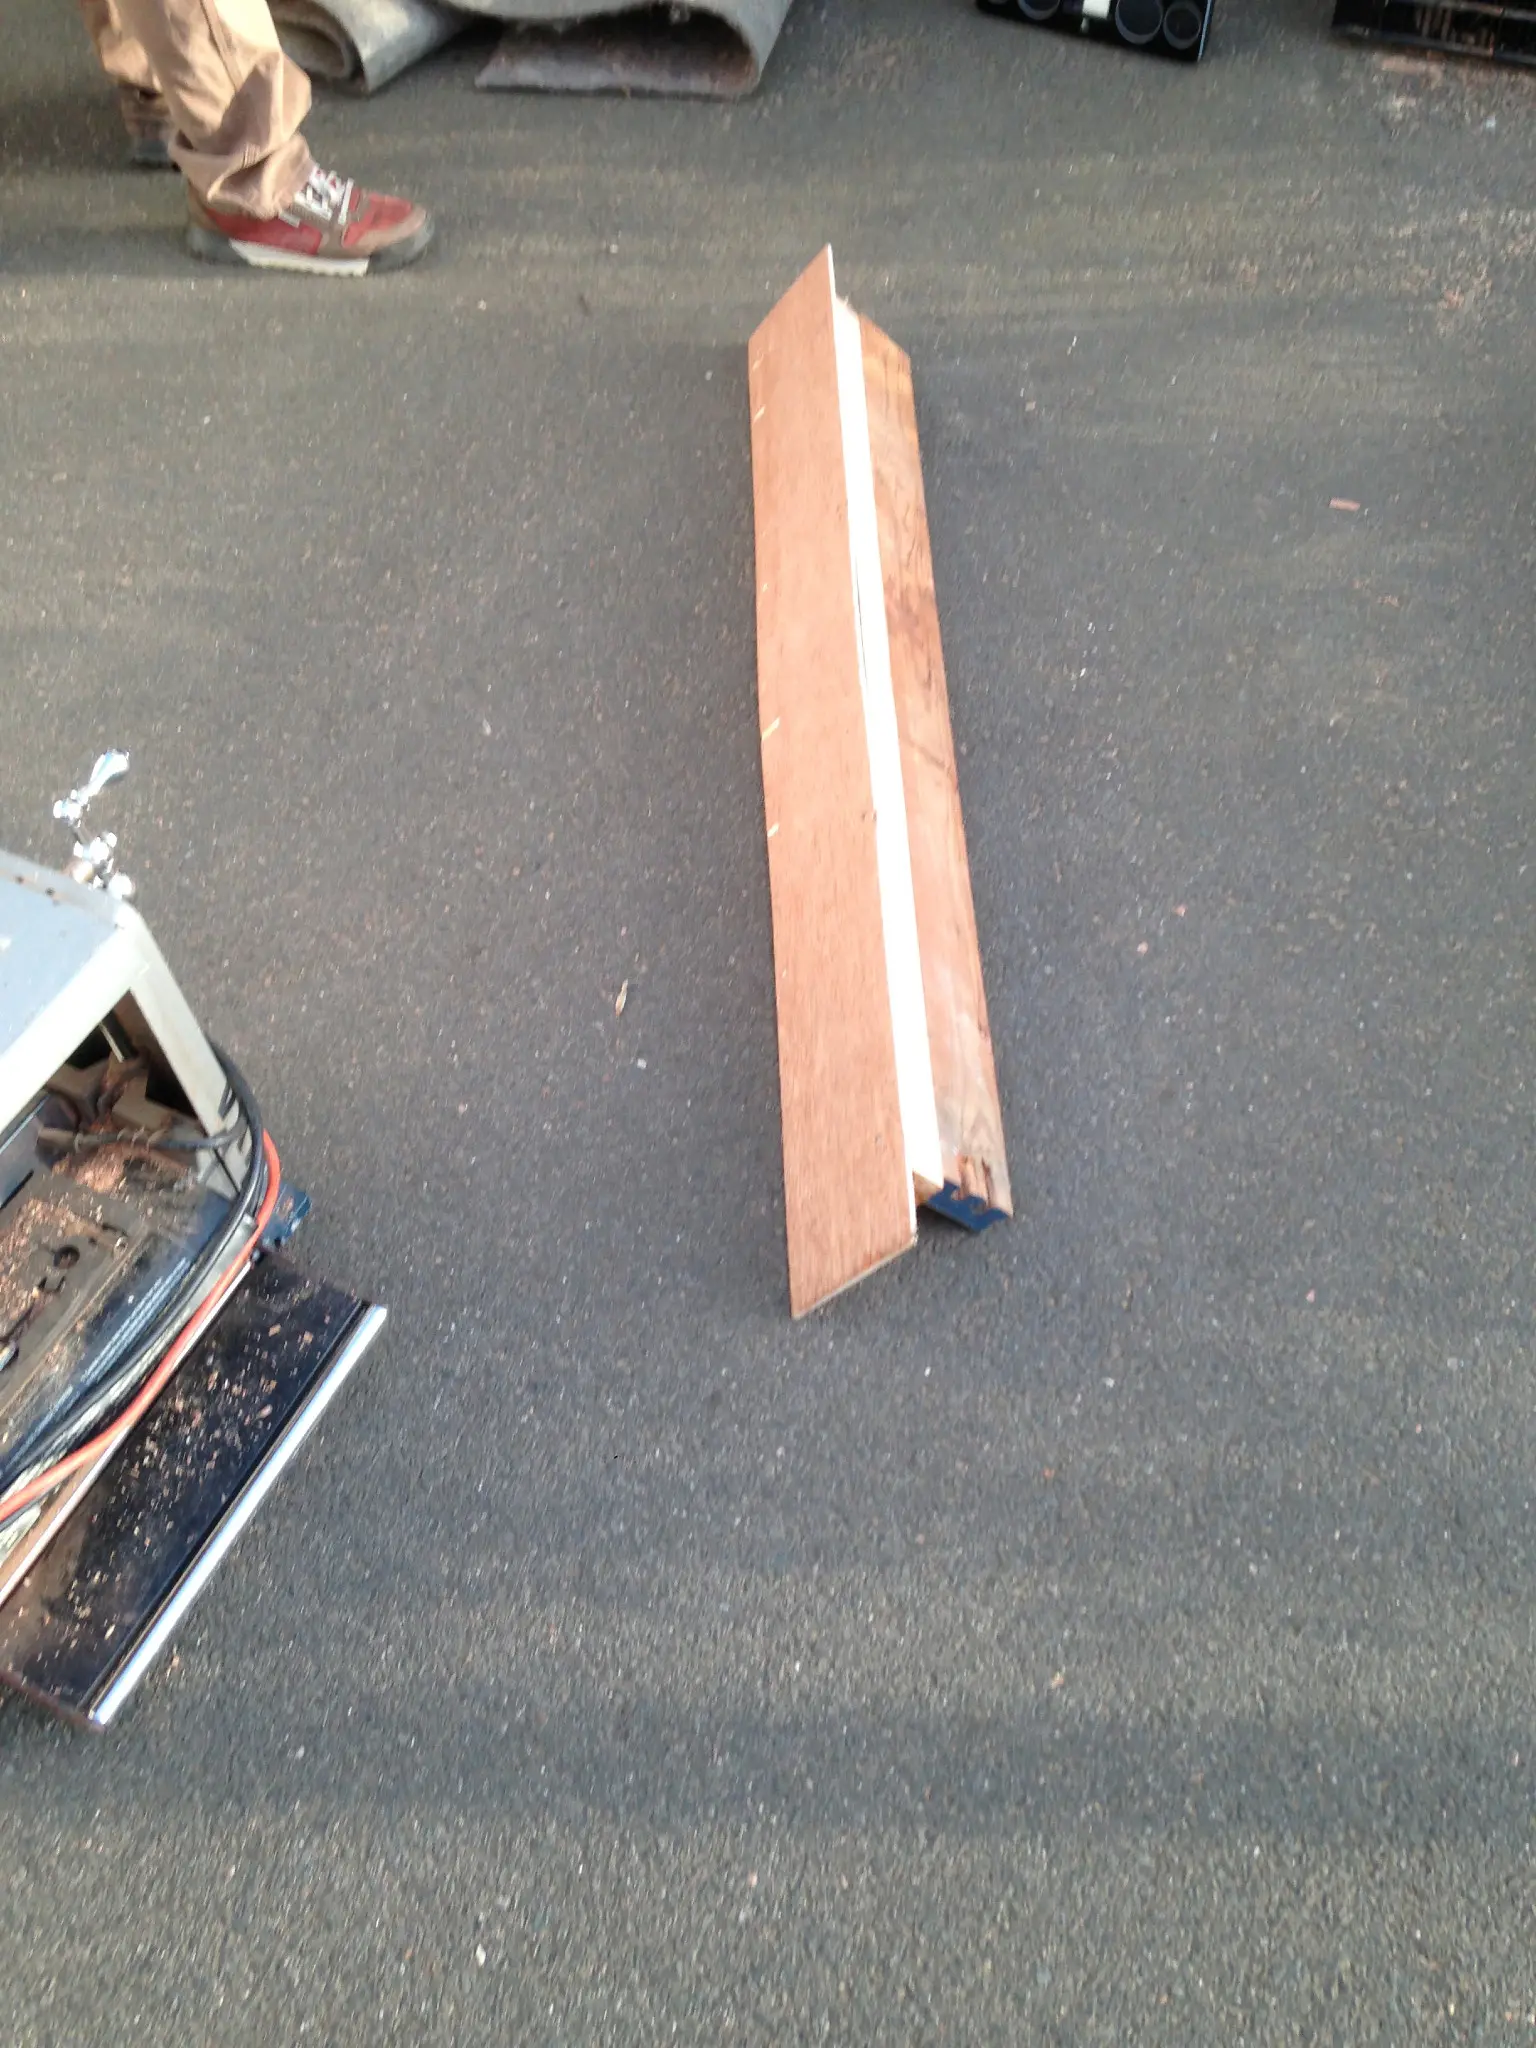
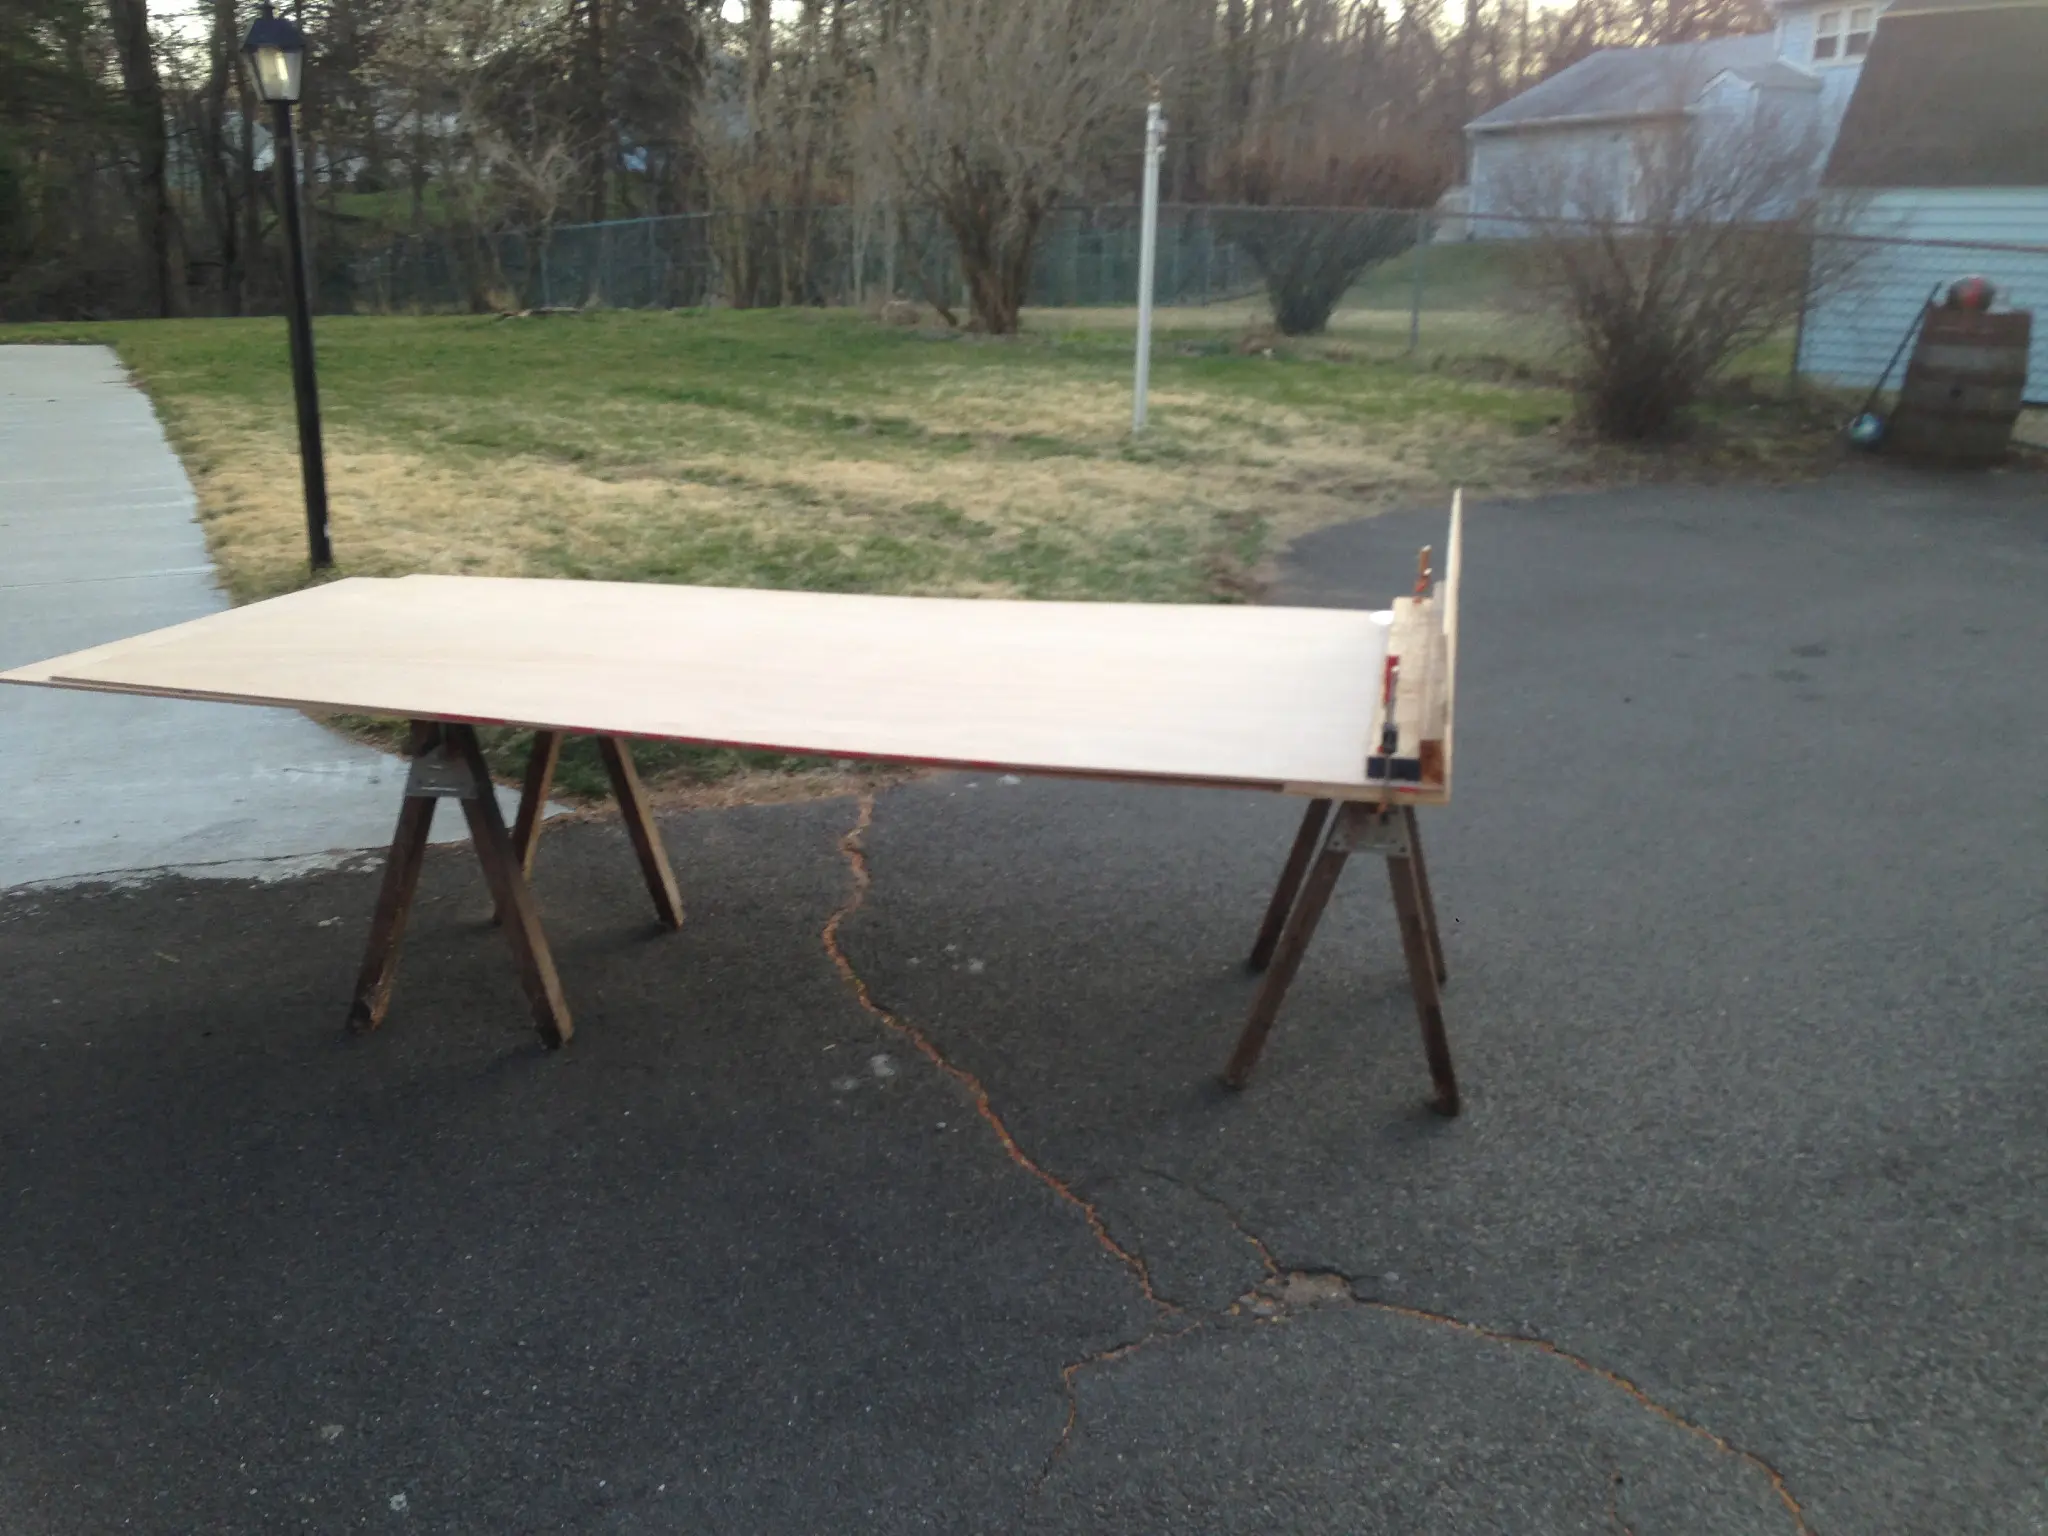
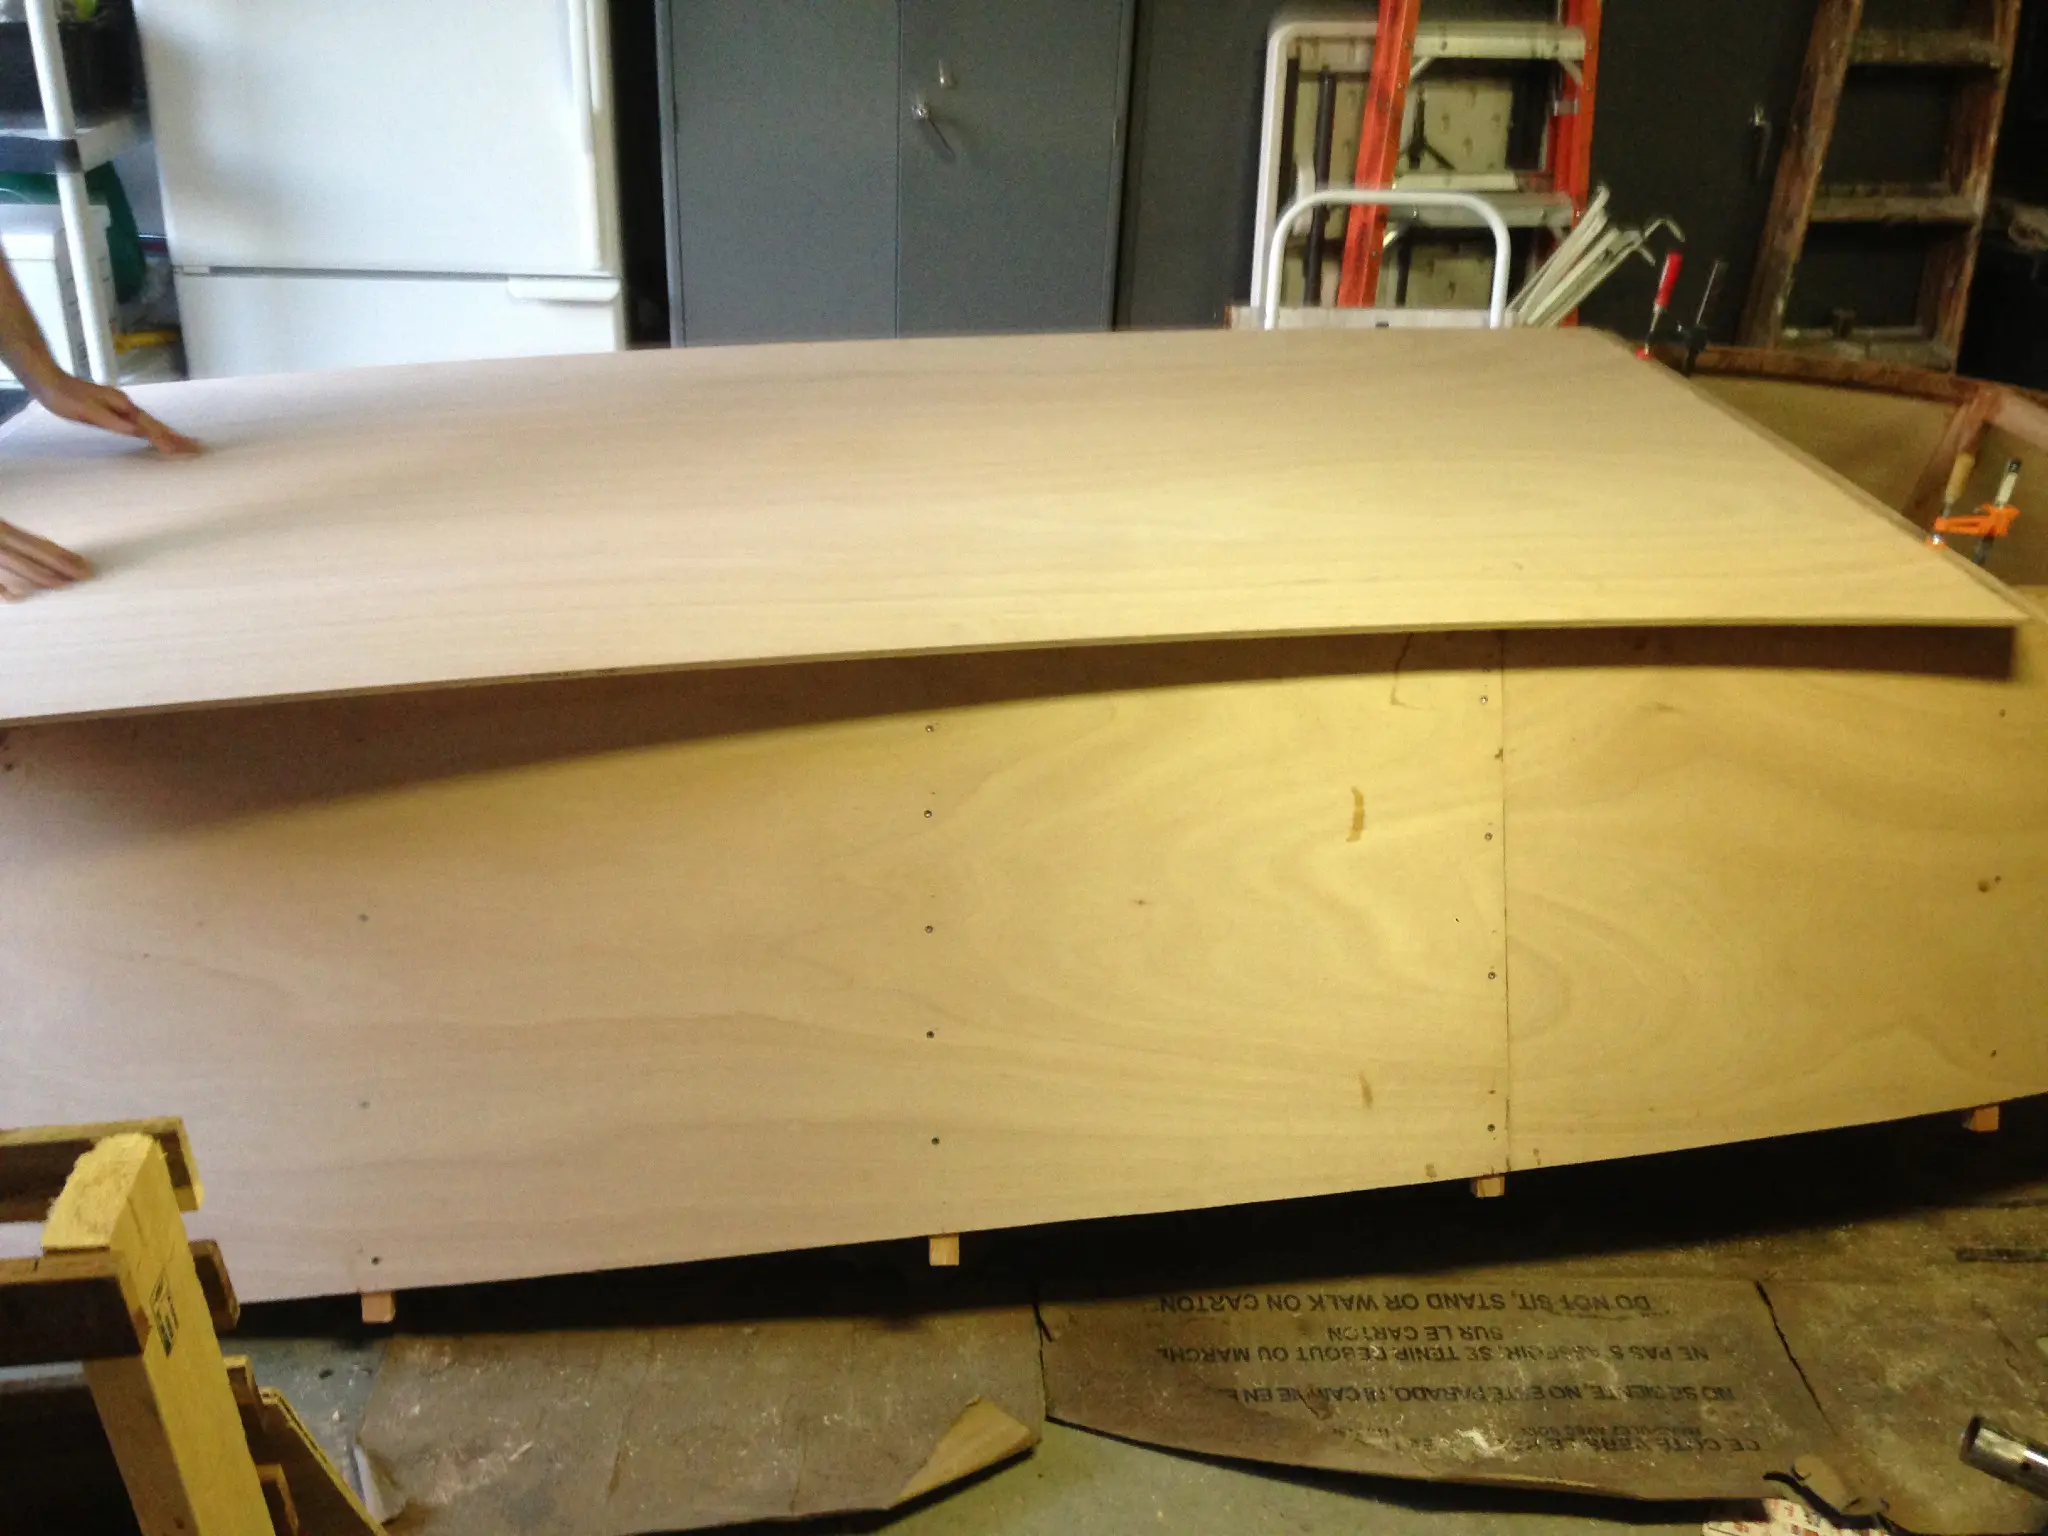
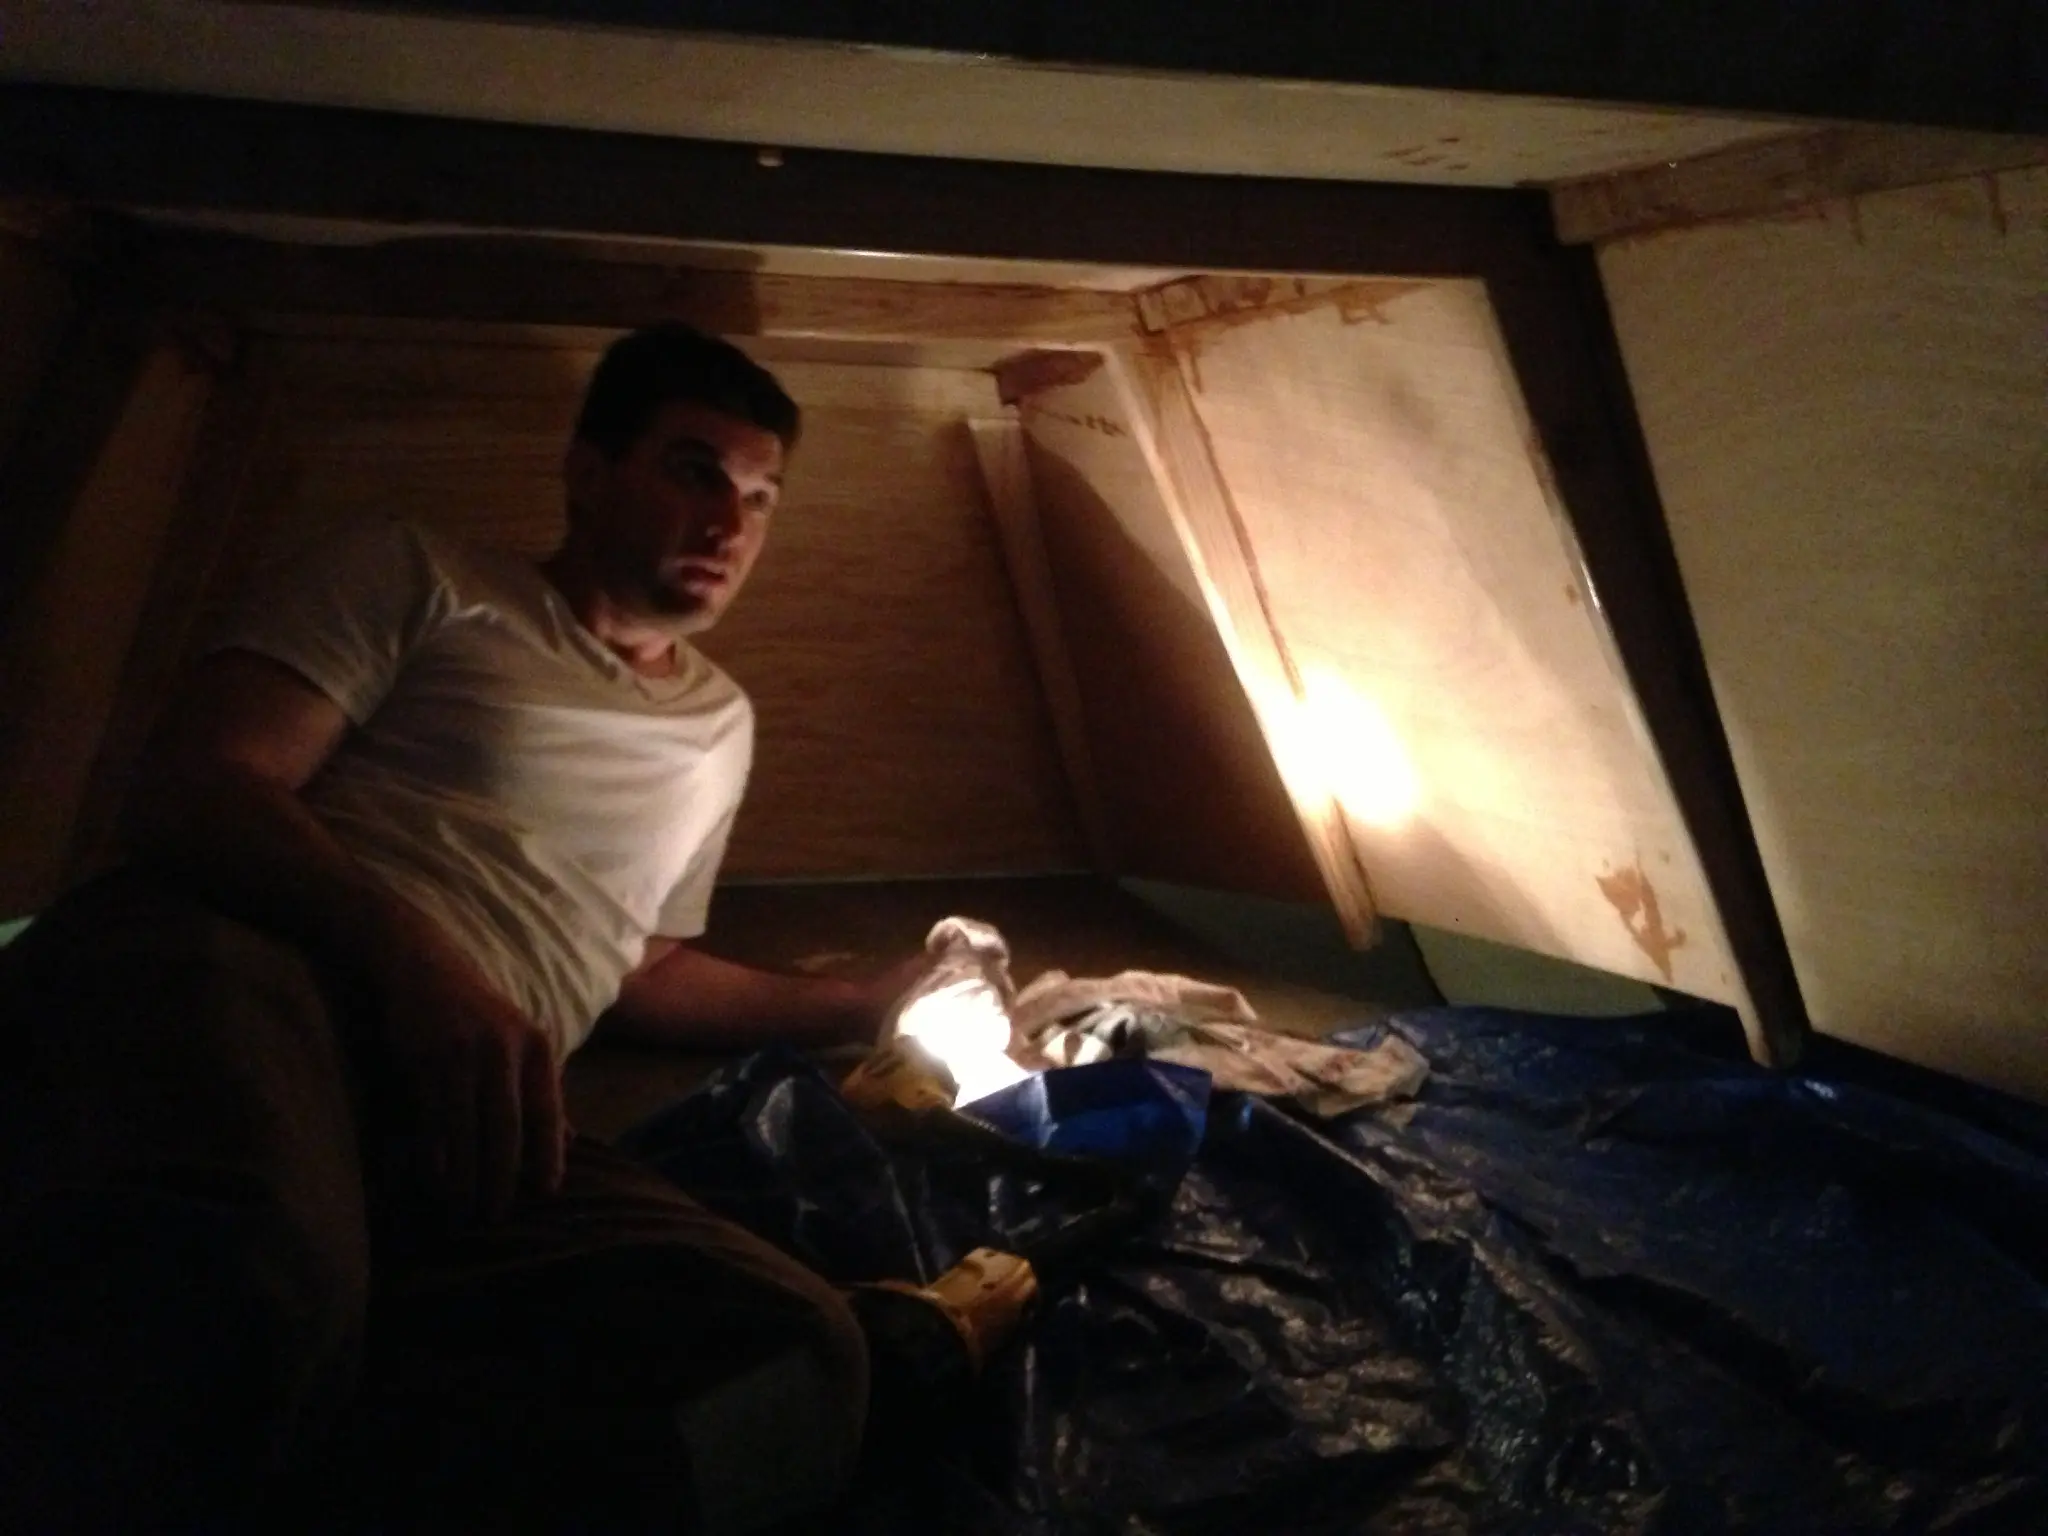
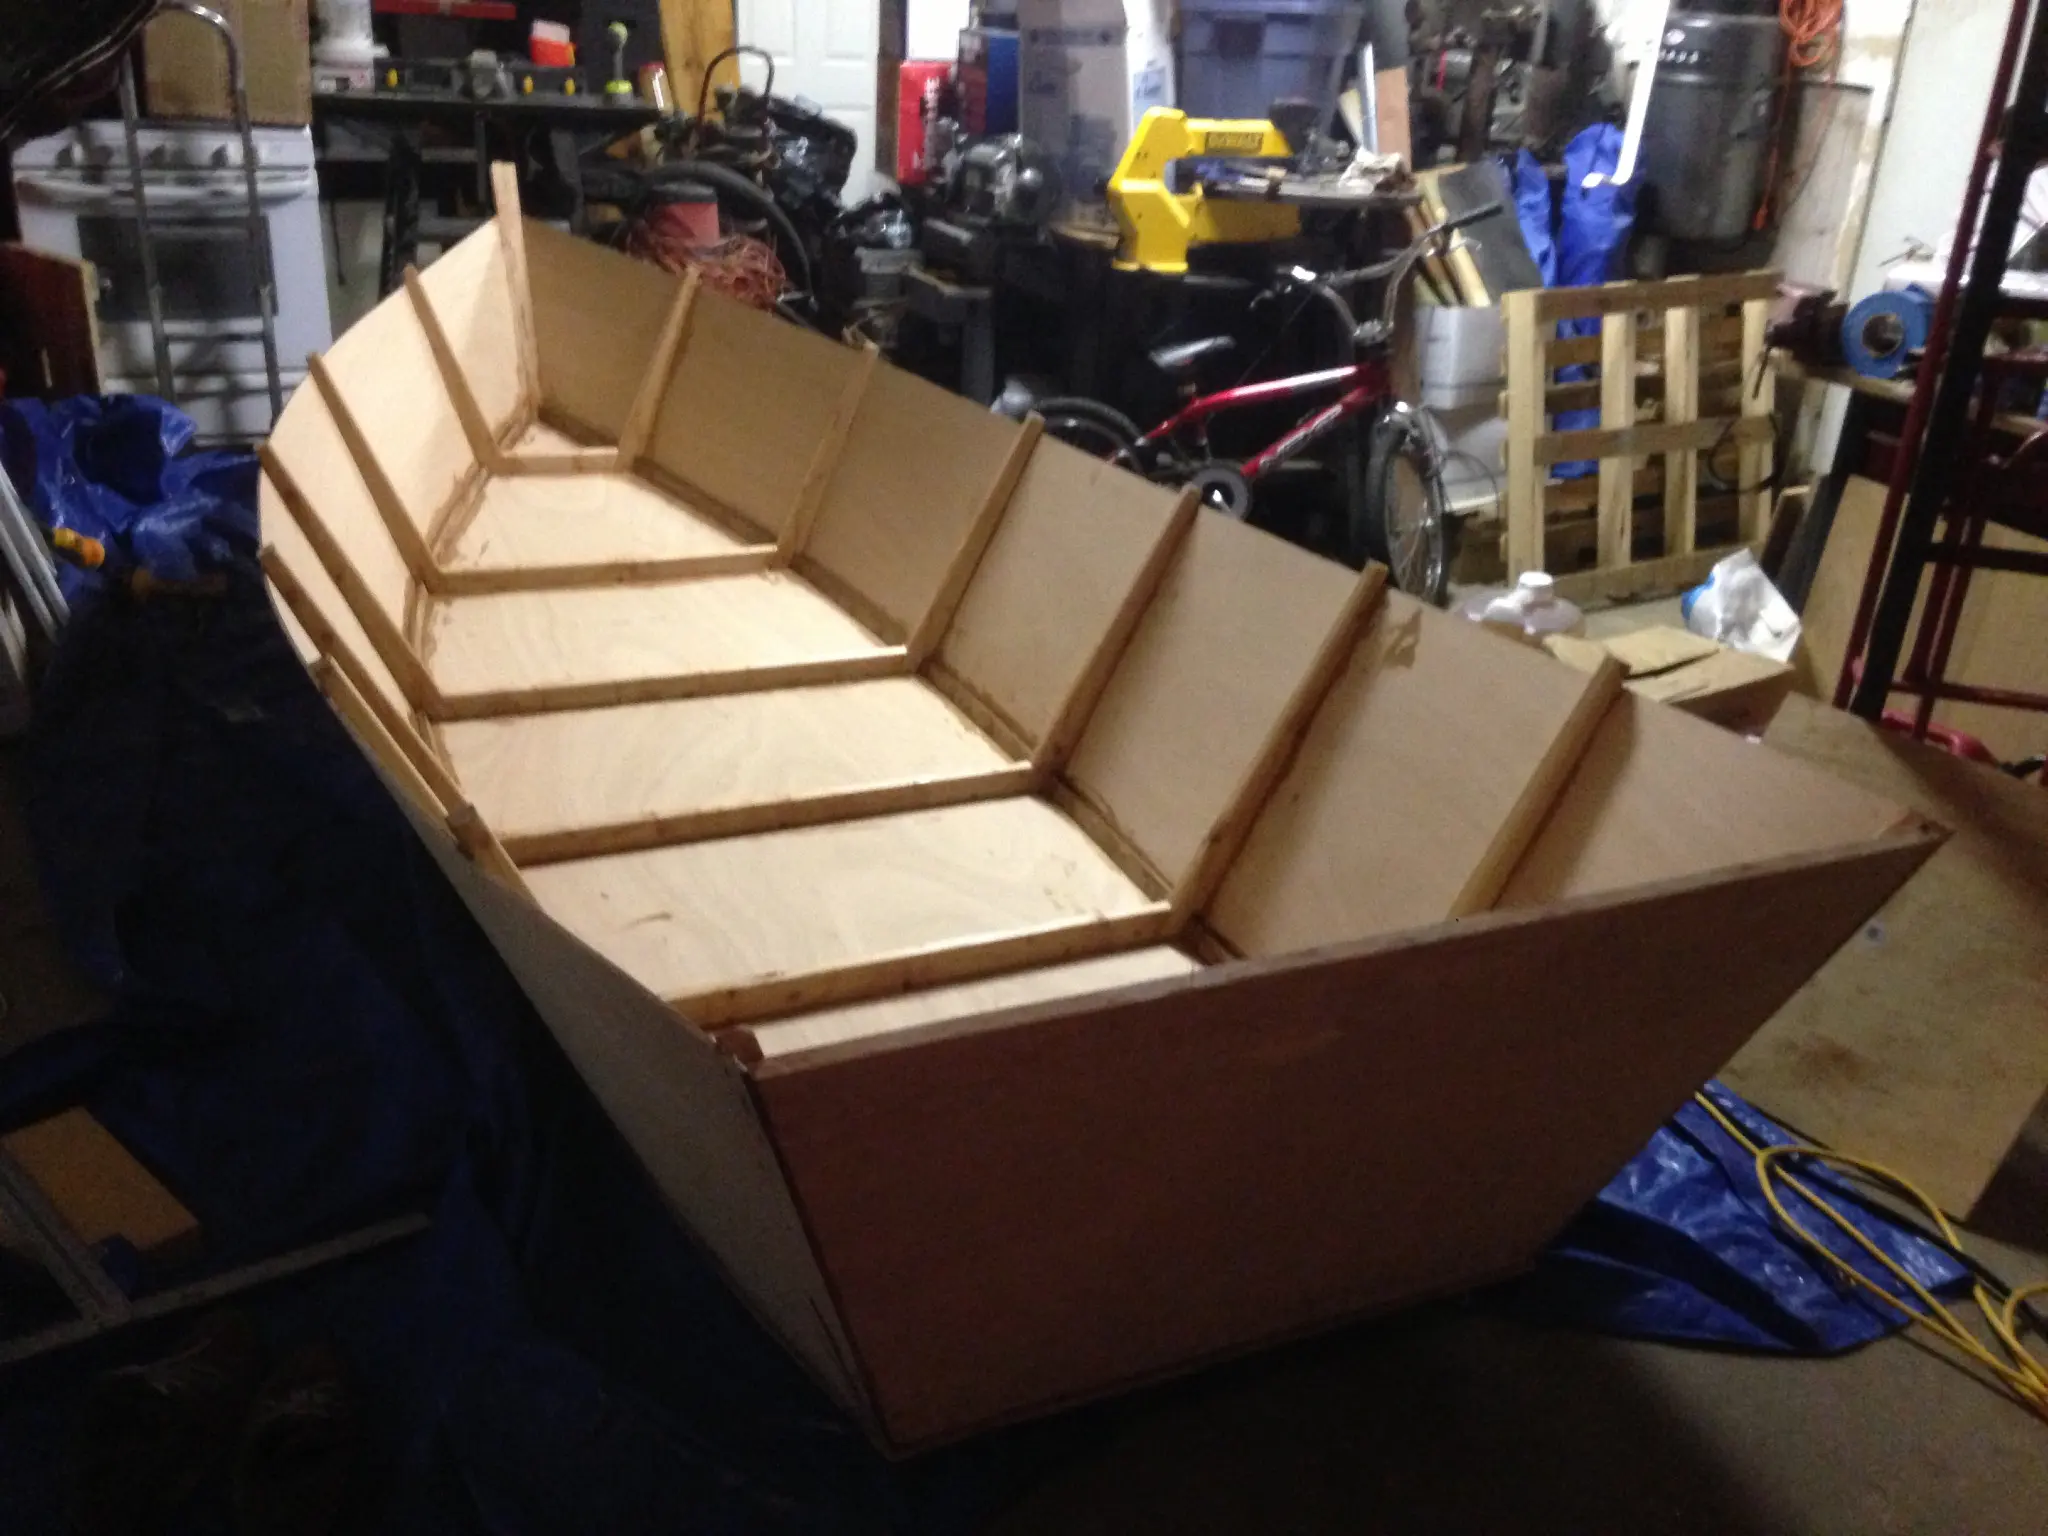
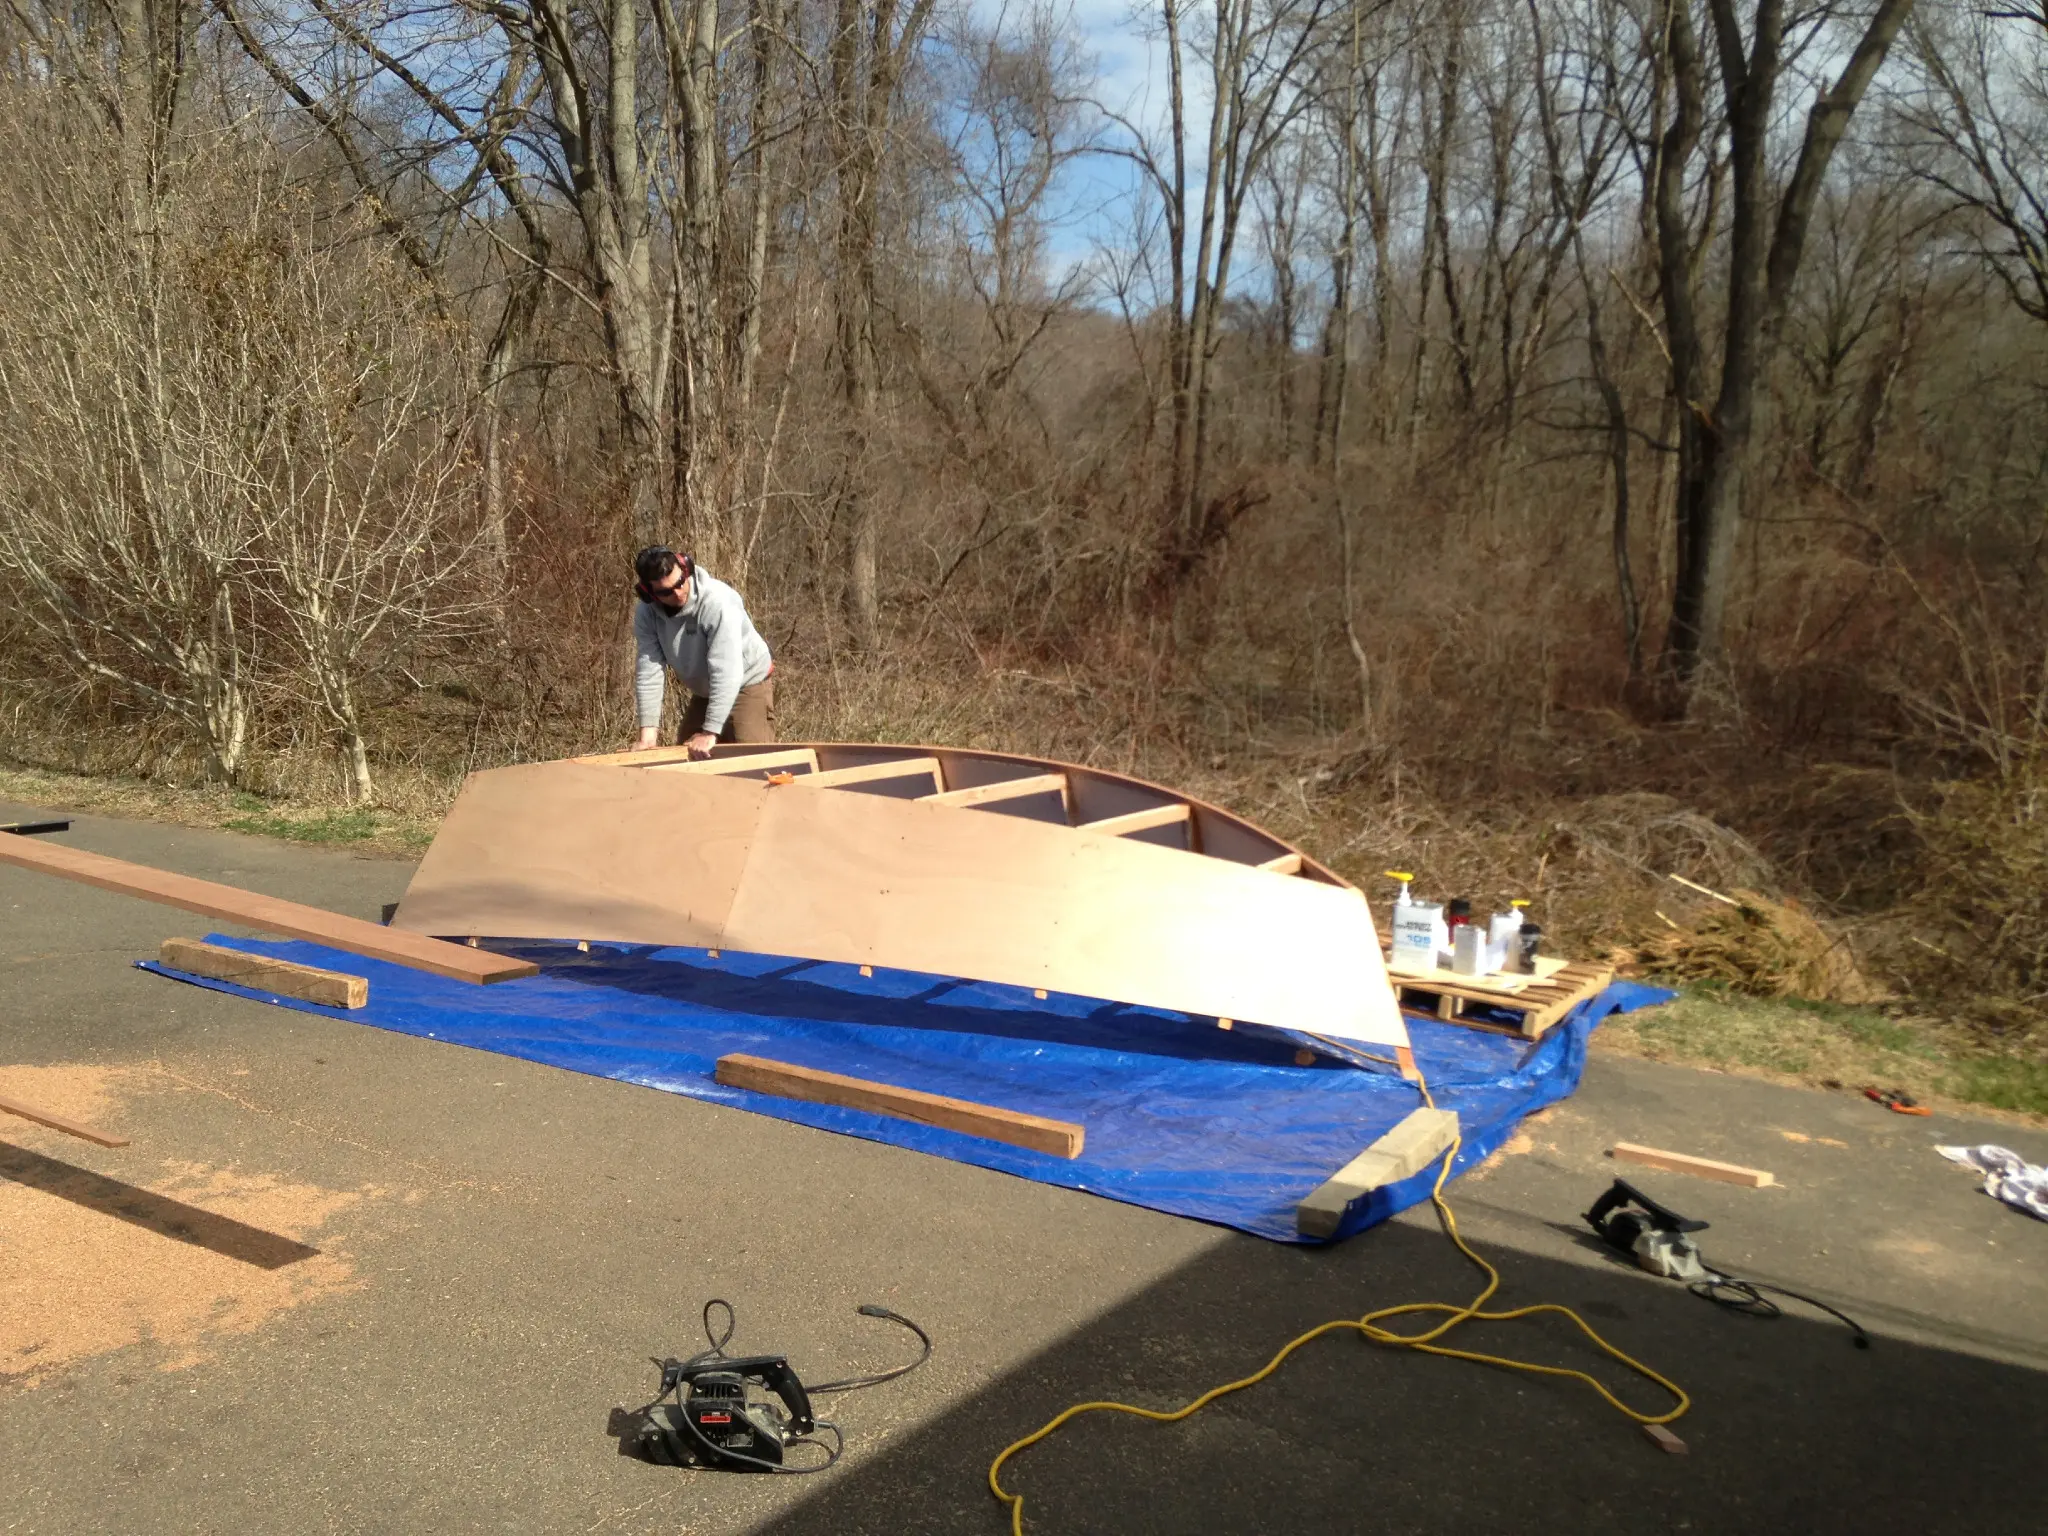
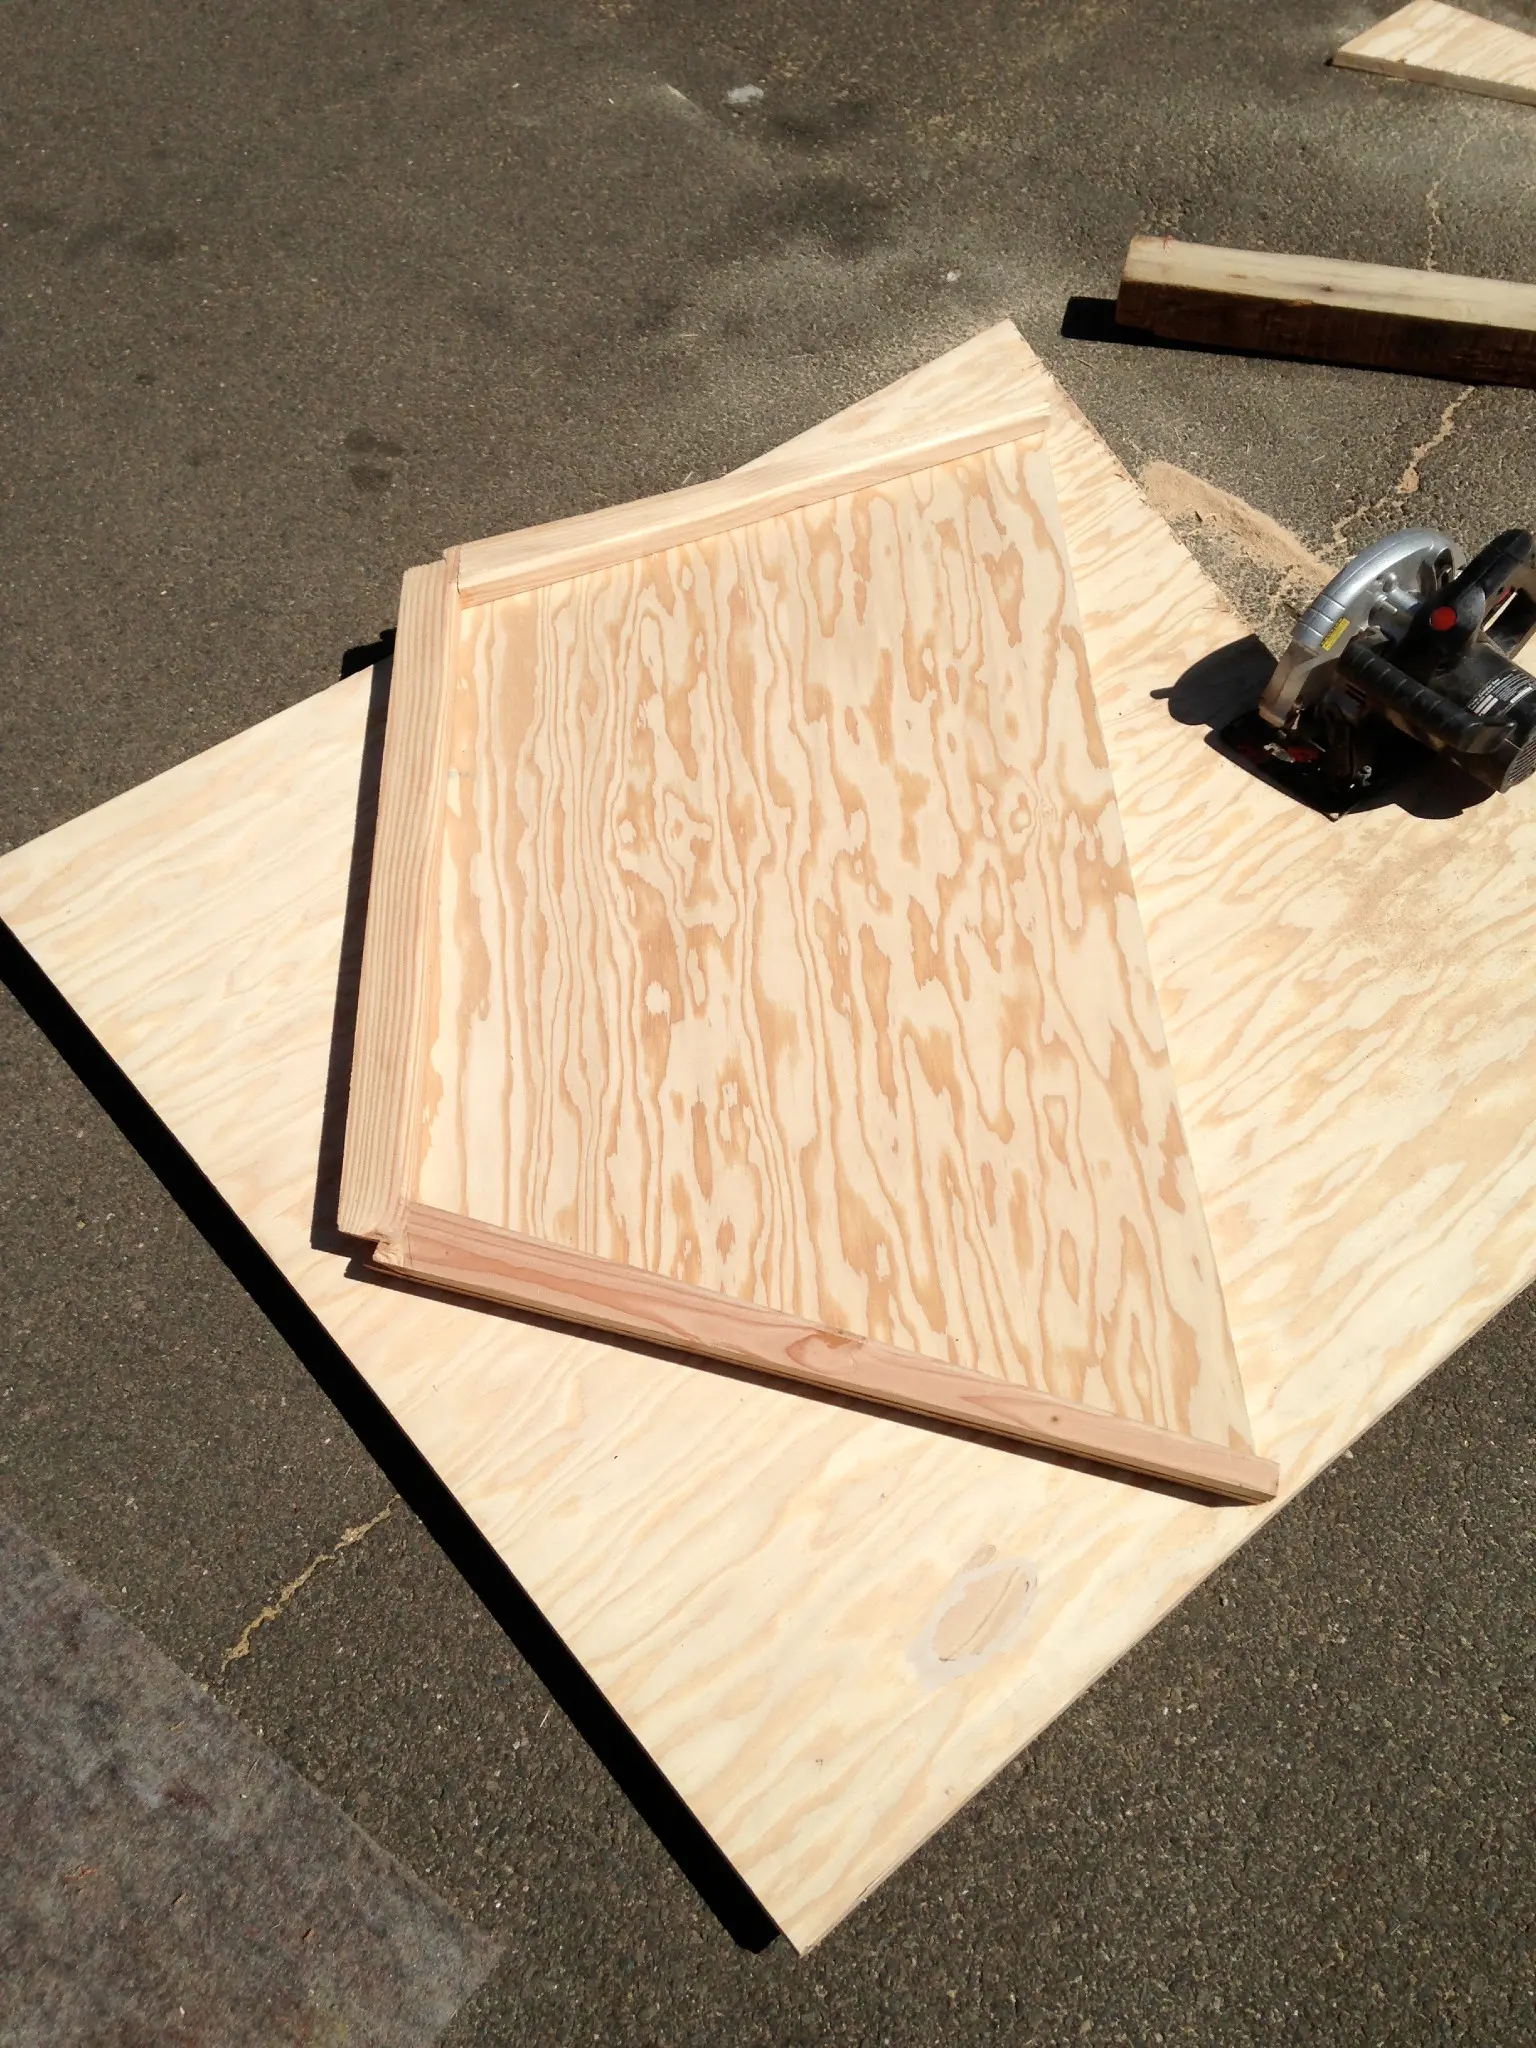
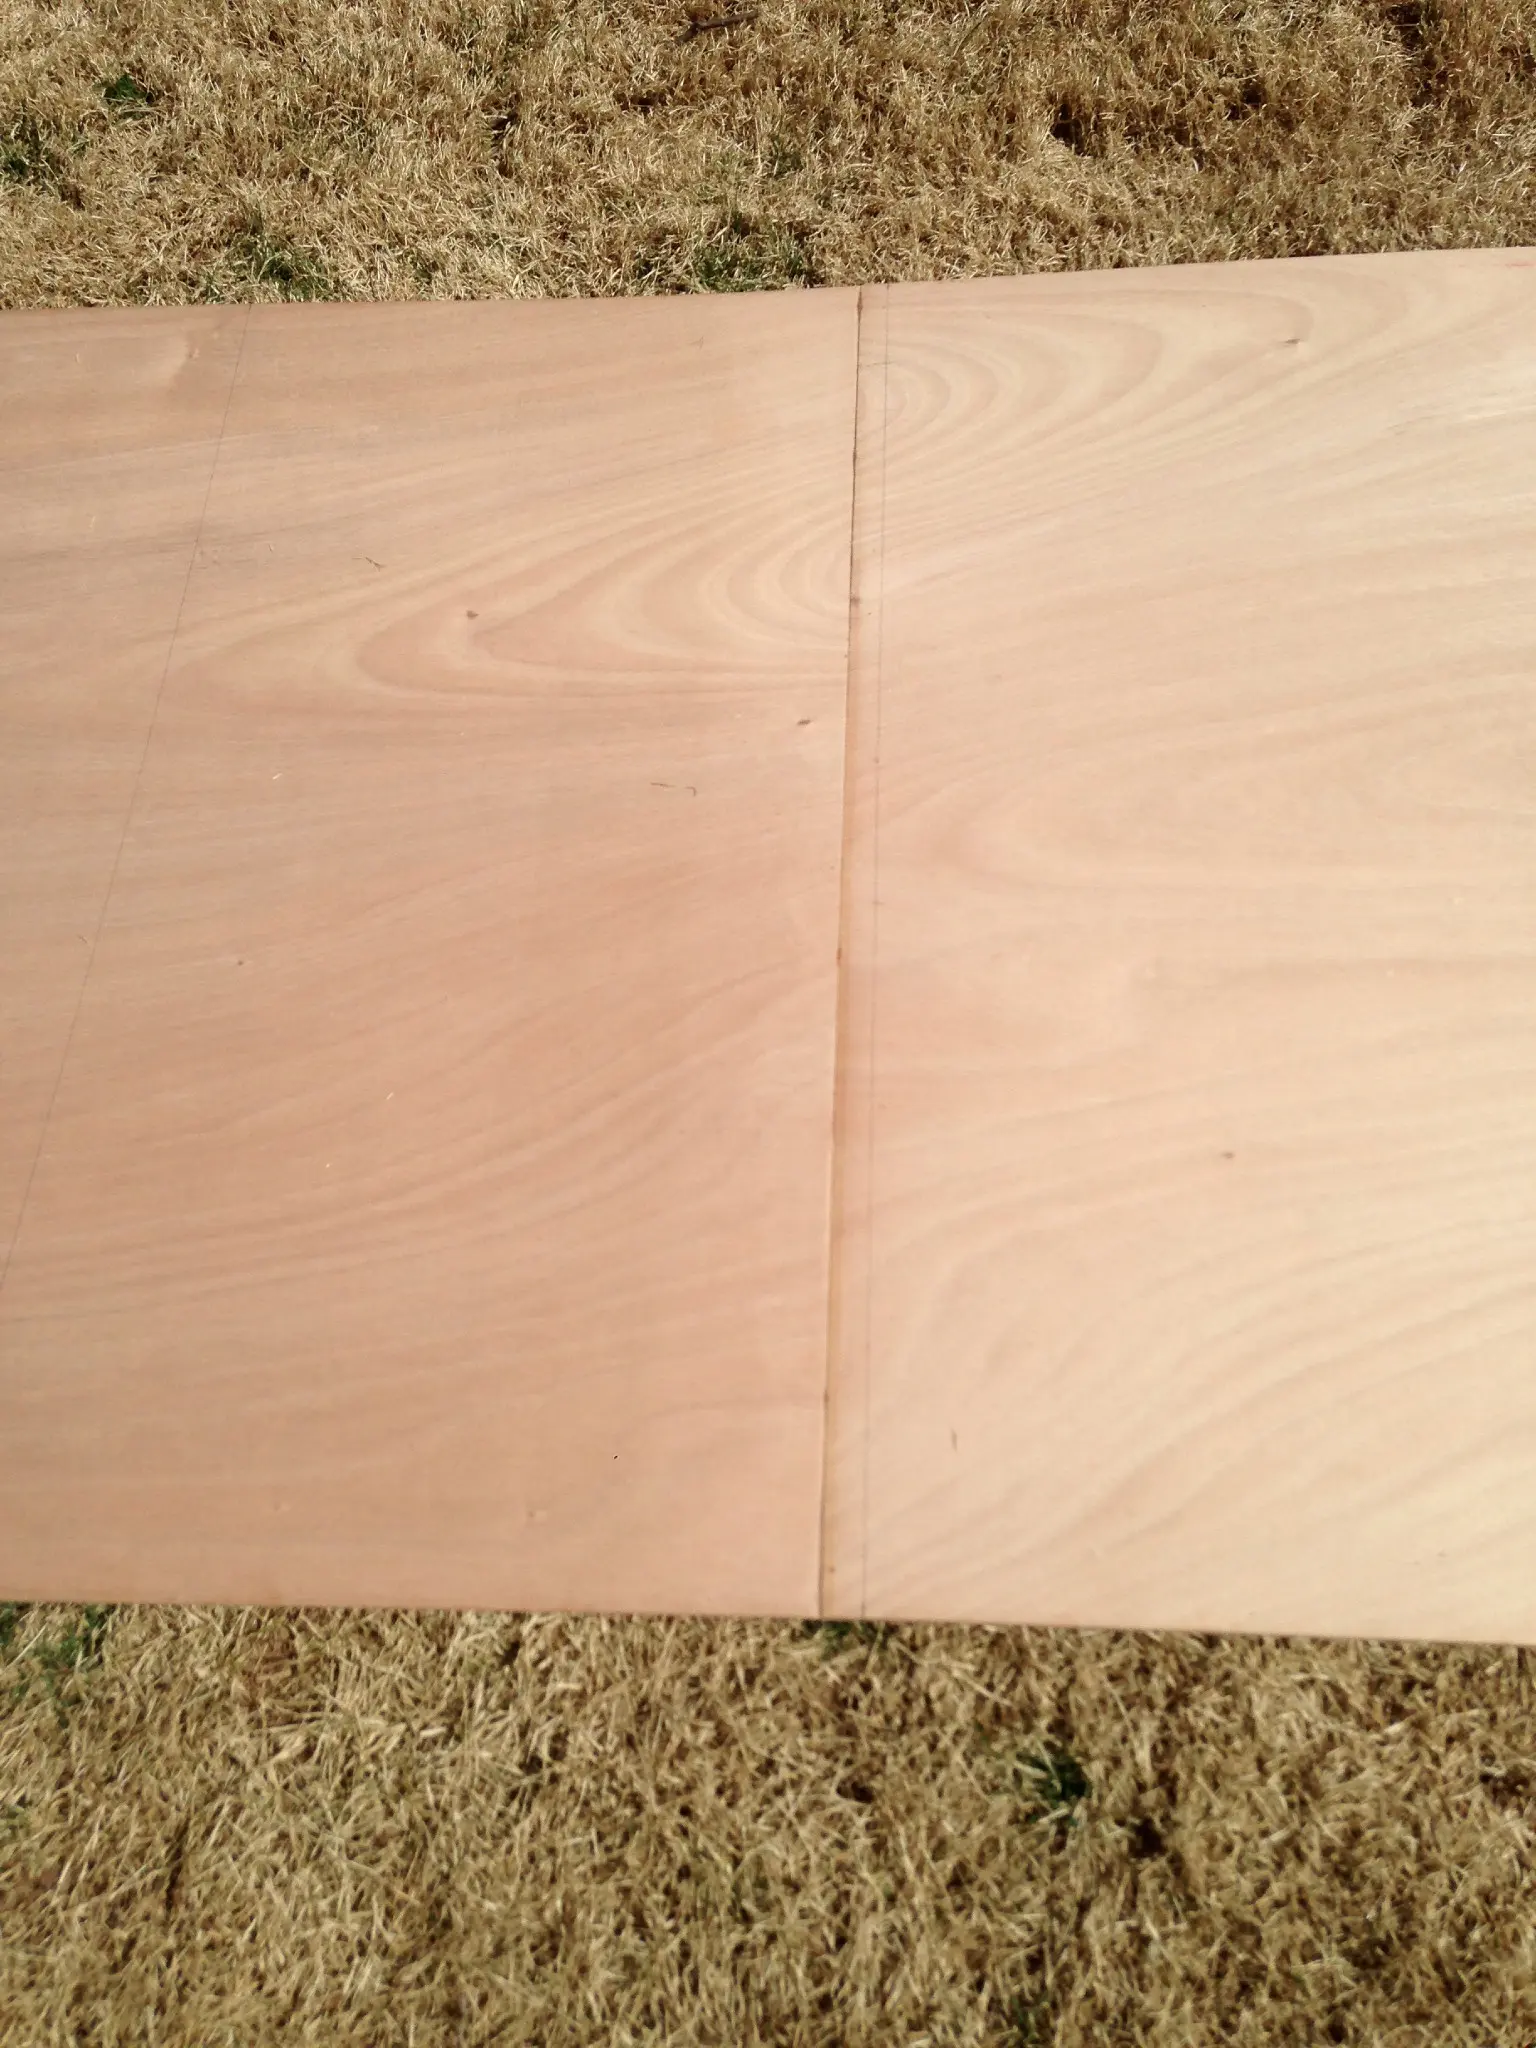
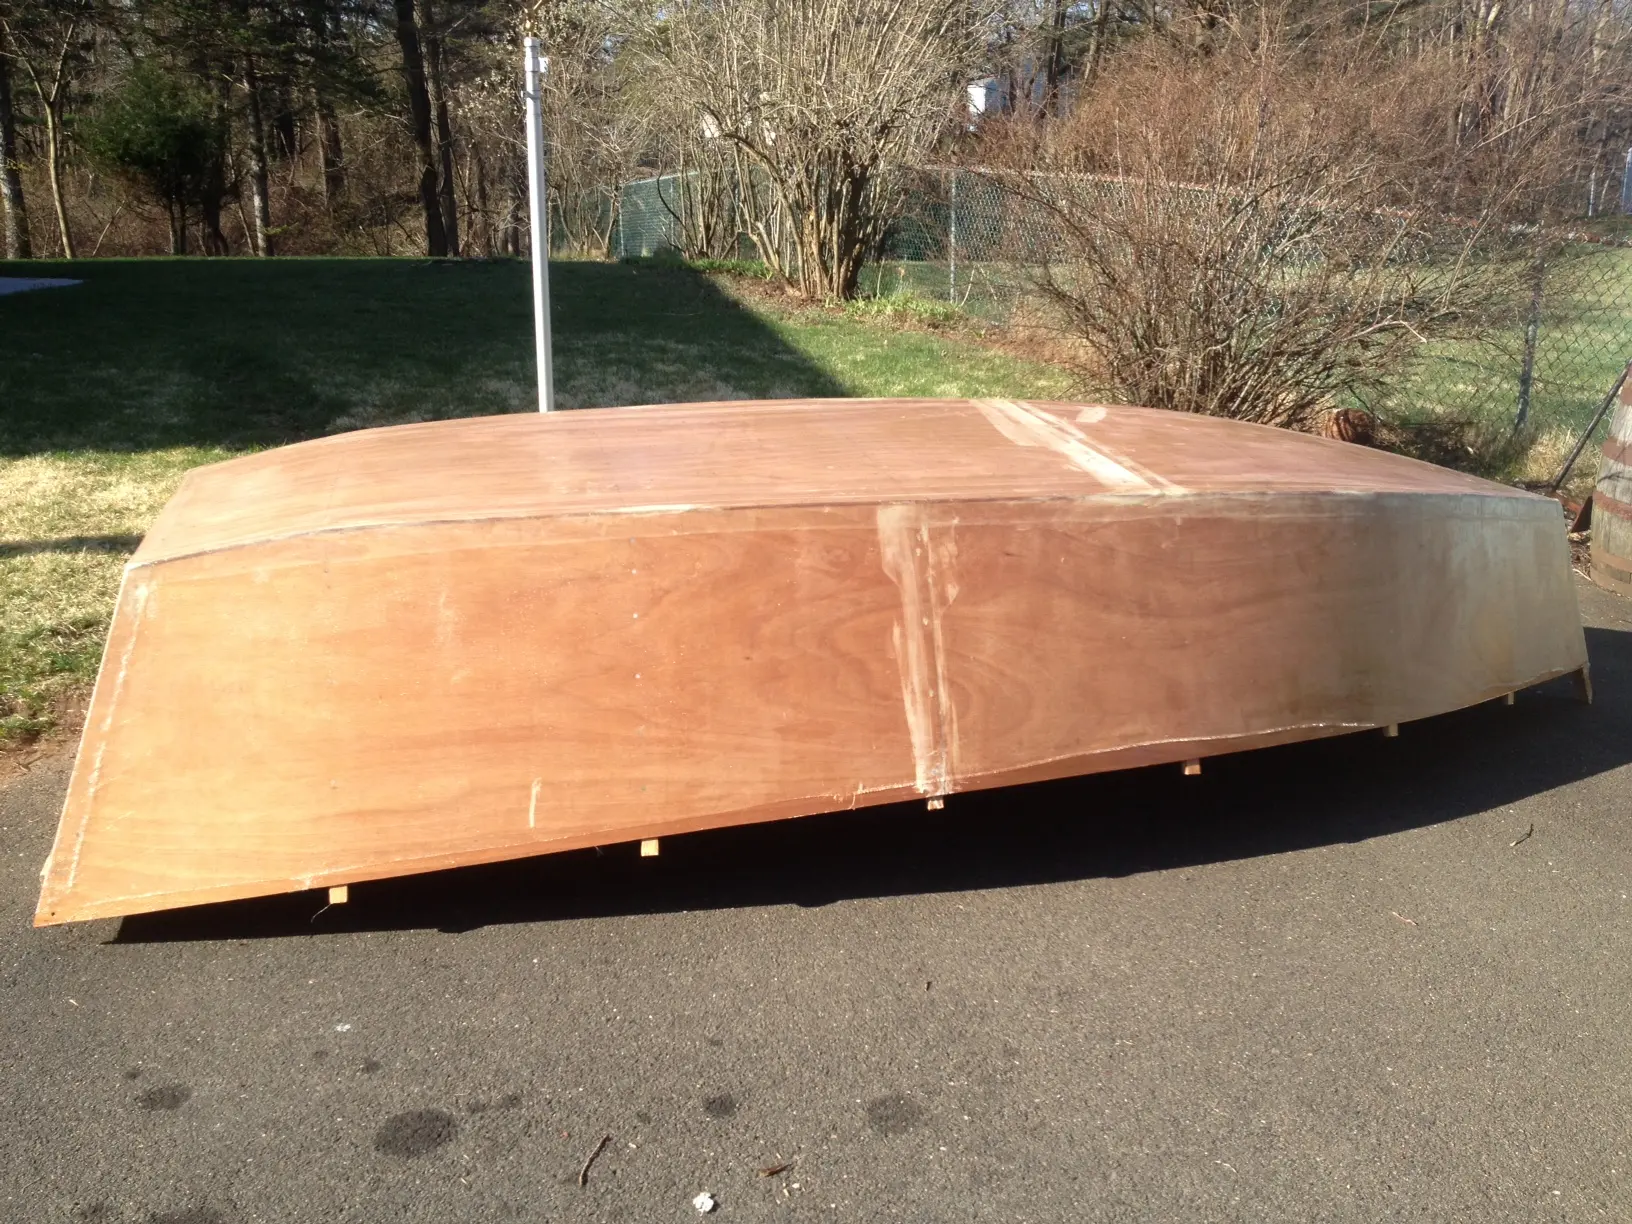
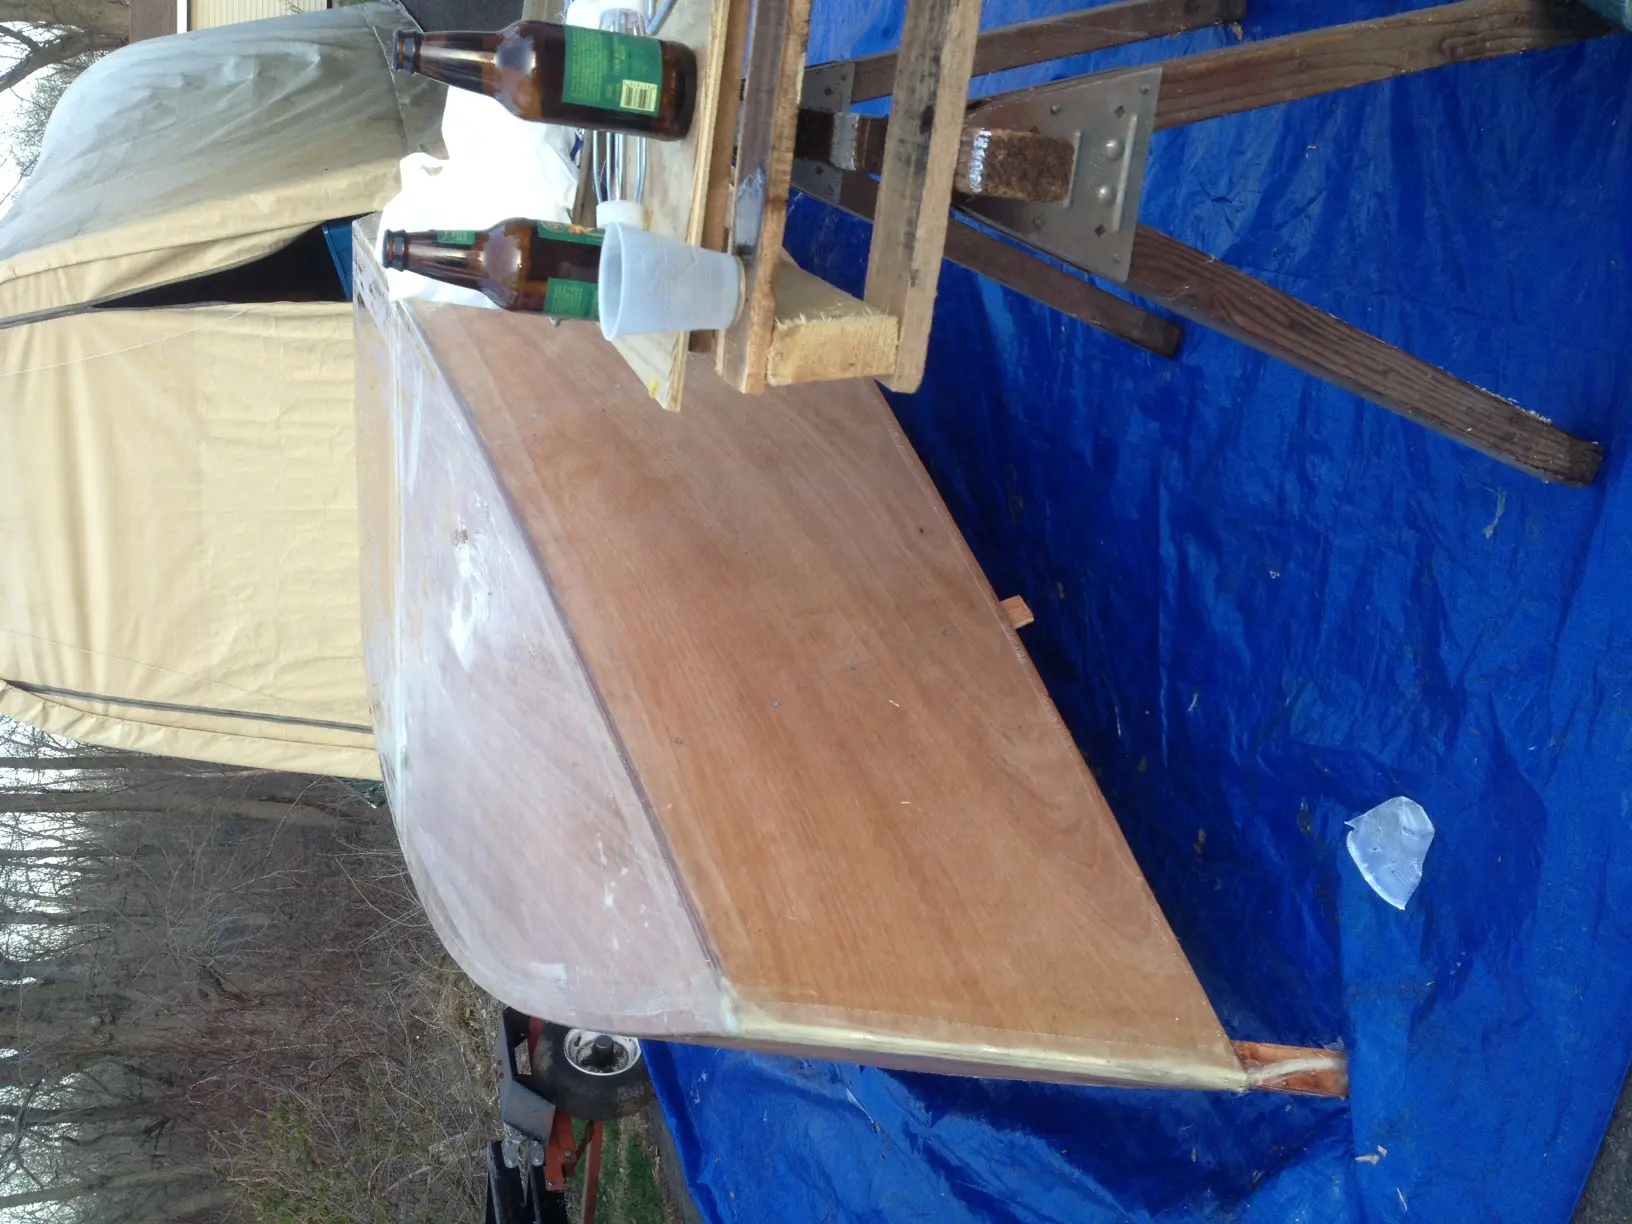
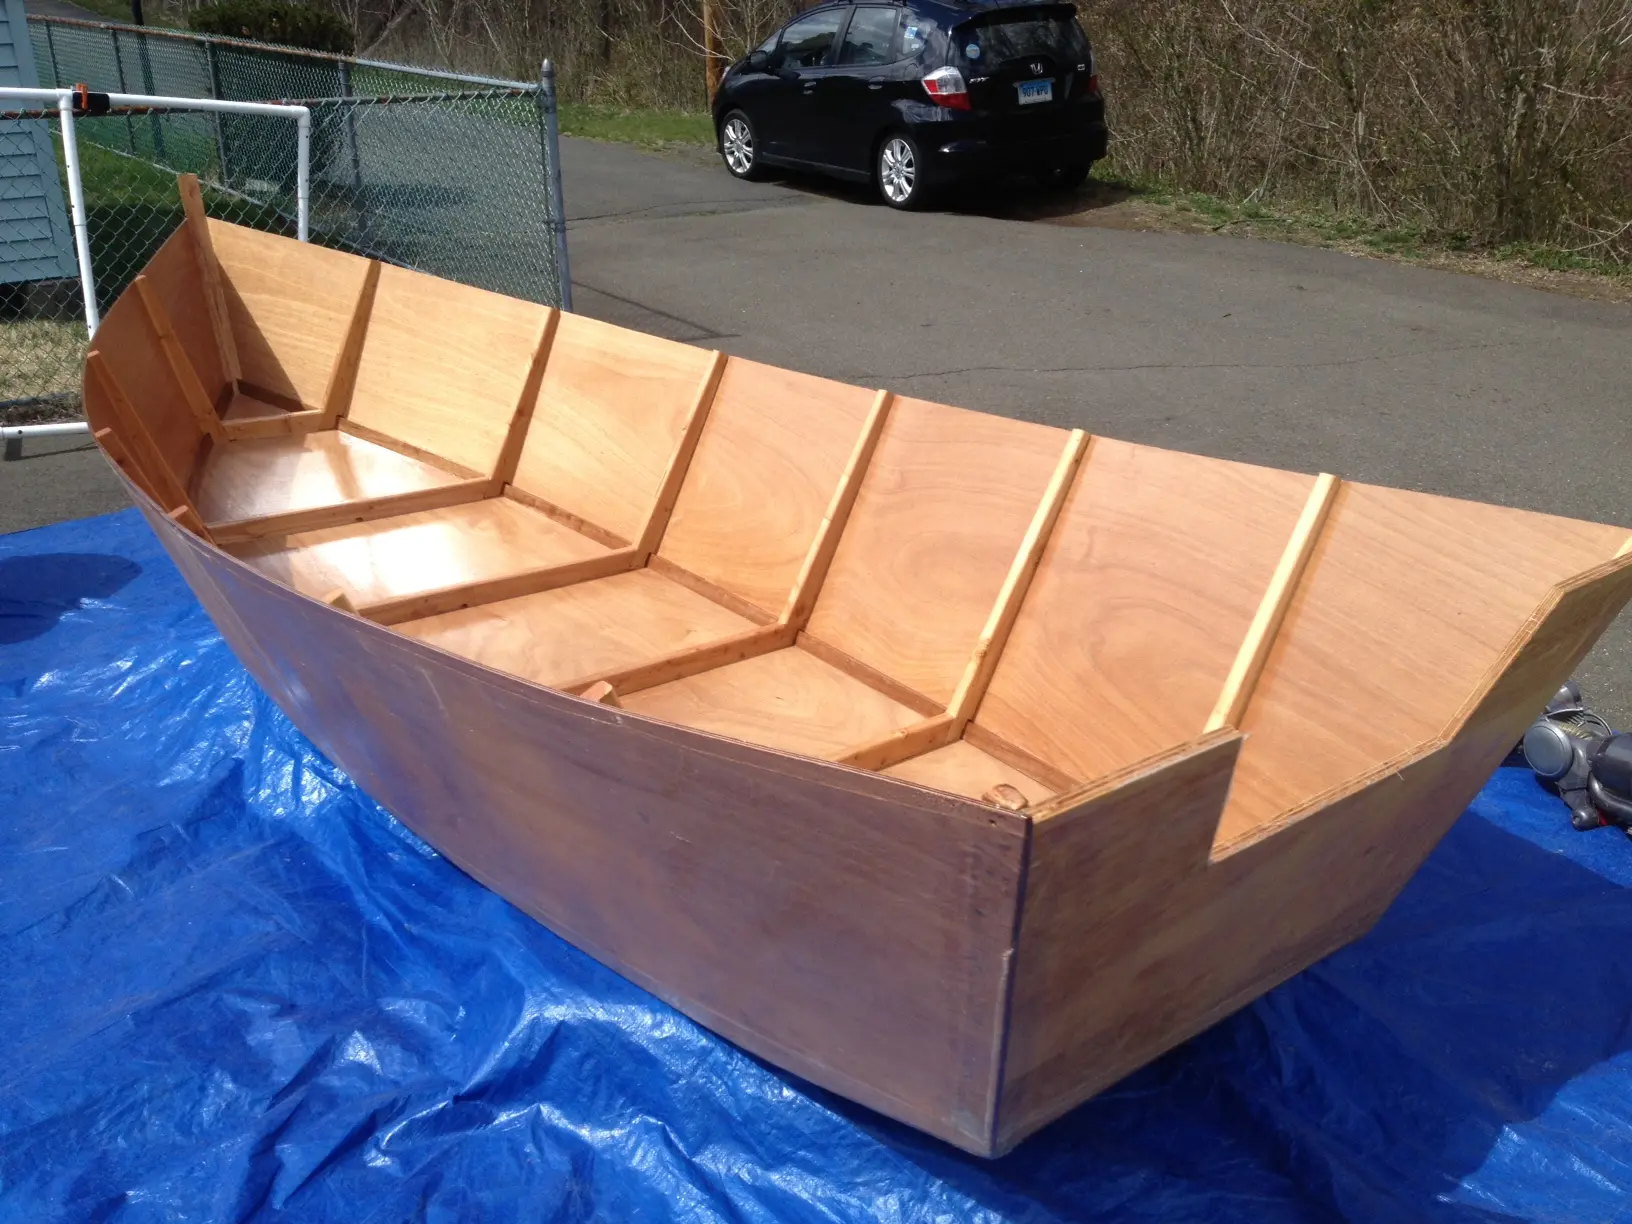
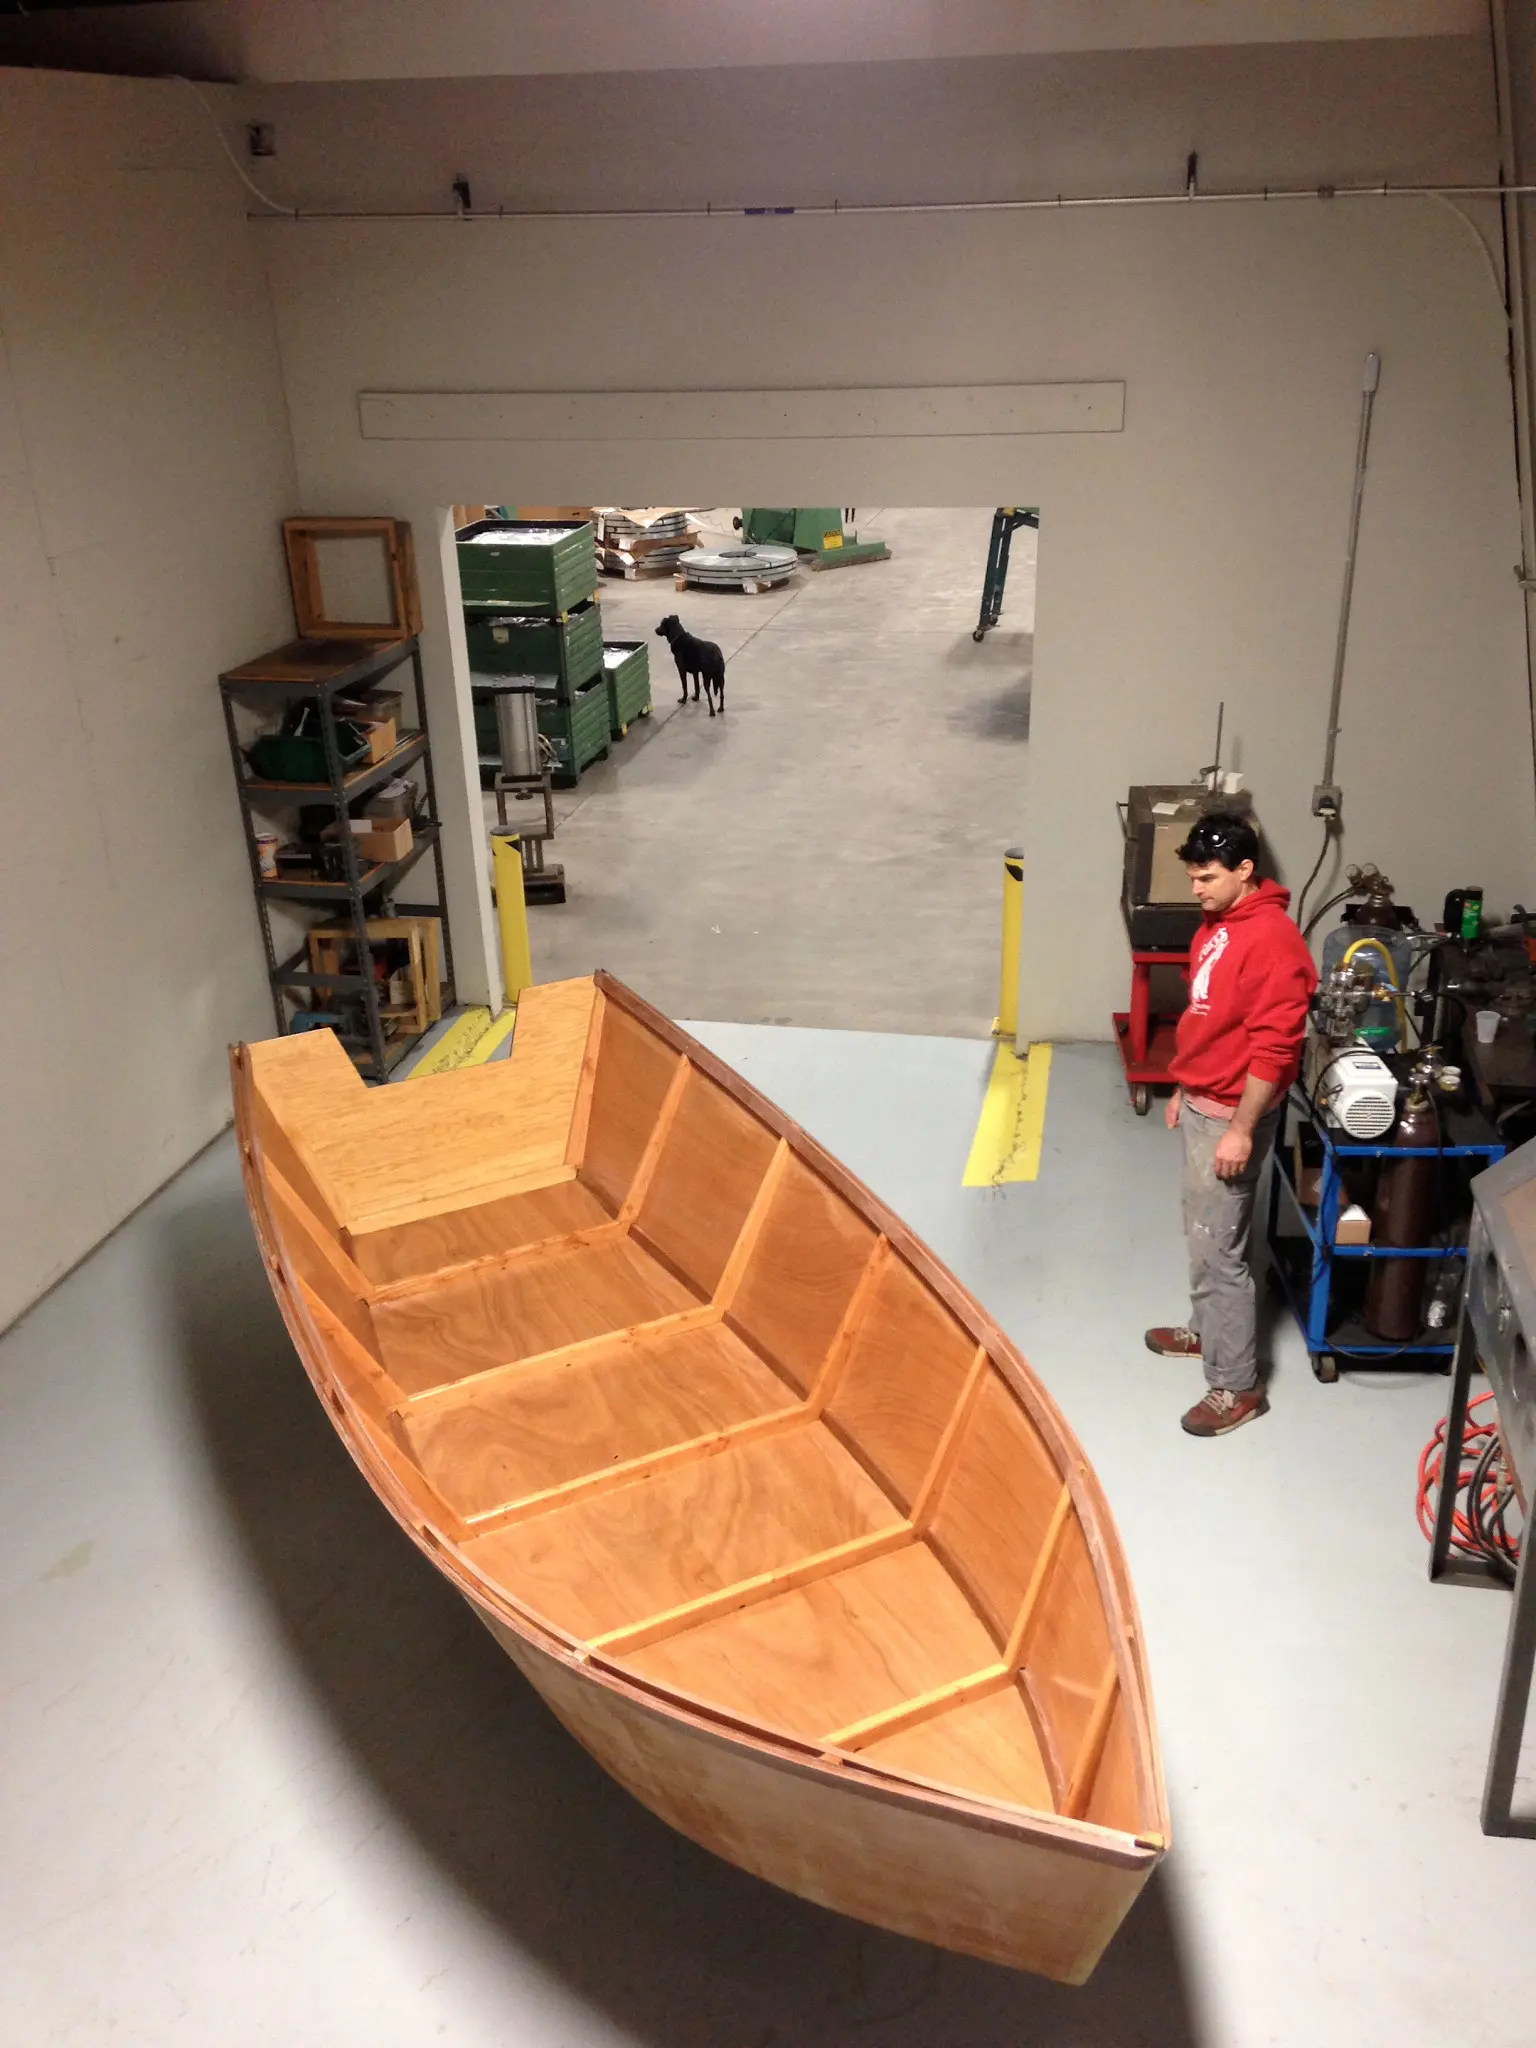
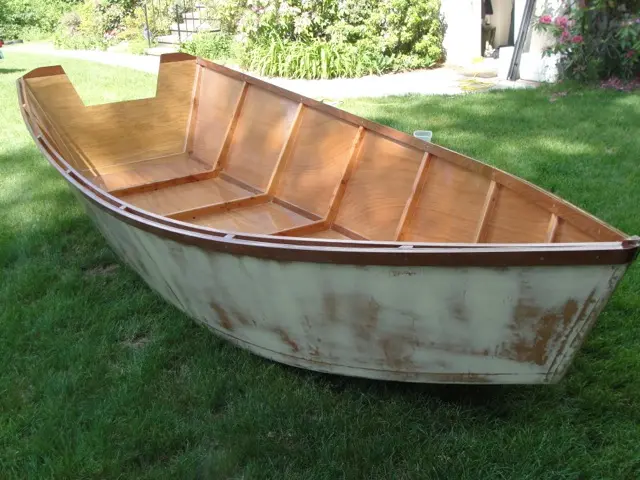
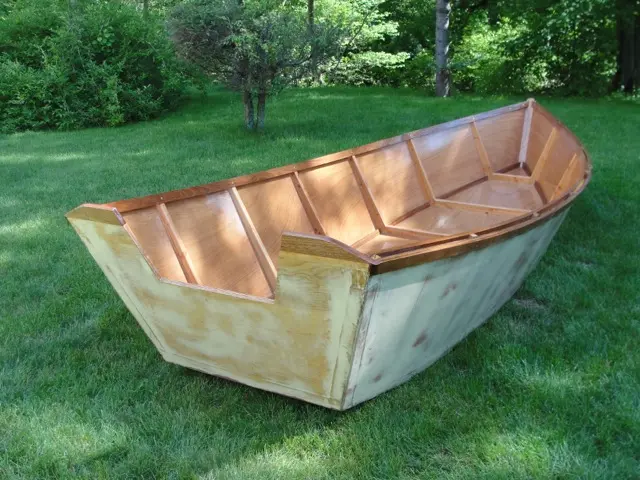
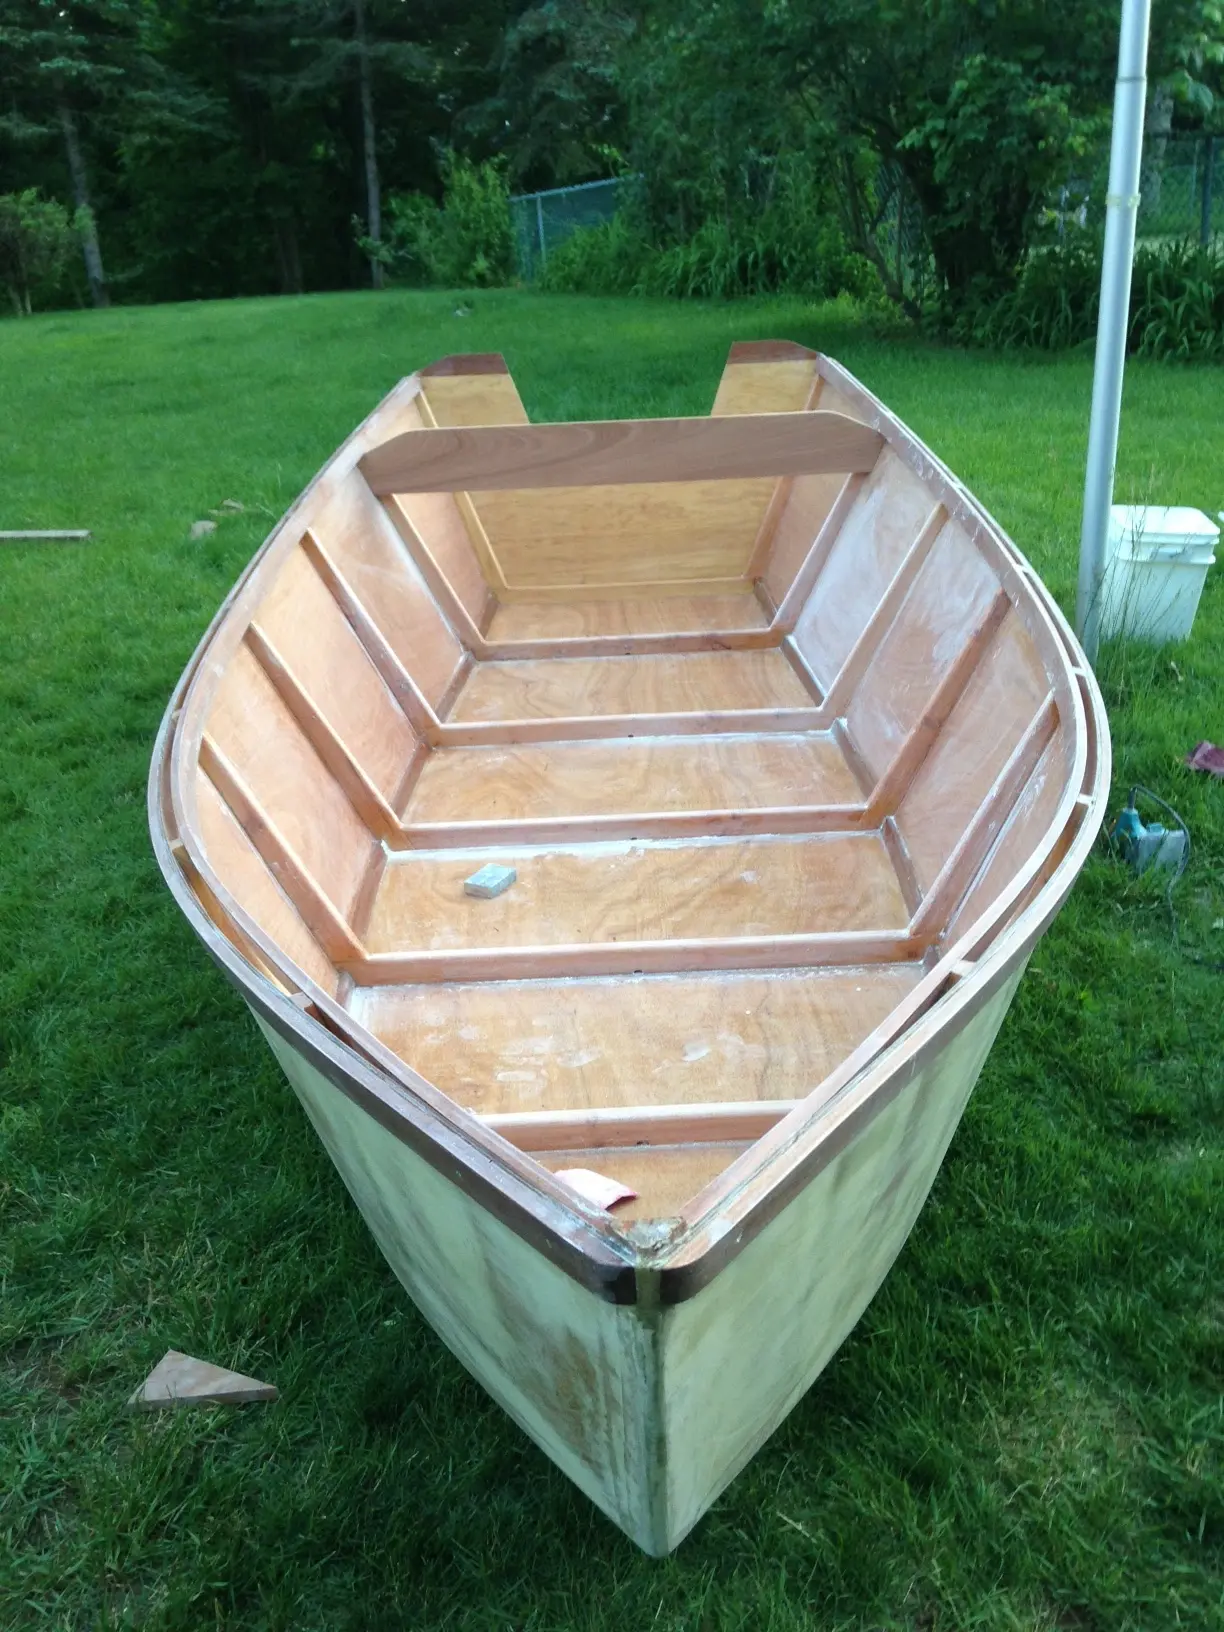
Probably the most exciting day so far, yesterday we cut and attached the floor! Before we began Mack routered out scupper holes in each of the ribs, we kept them small to limit the pace at which water can flow around the boat. Next up was the 2nd Scarf Cut. We rigged a jig for the circular saw in the driveway, it was not pretty but it got the job and done after a few attempts we had a nice cut. We decided to scarf and join the plywood on the boat rather than joining the wood, letting it cure for a day and then cutting it to fit. We were able to use one piece of plywood for the floor section from the transom to the 3rd rib, and another small piece for the rest, thereby conserving our valuable plywood. It was a nice alternative to the center joint (4th rib). Each piece was scarfed, traced out, cut and then fastened using the stainless screws and epoxy. Pre drilling holes in the chines was necessary to protect the Sapelle hardwood. Once the floor was joined, we used a flashlight to determine if there were any gaps in the seams, which there were luckily very few! Then we spent at least 20 minutes admiring the shape of our new hull!
2. routering drain holes
4. scarf jig, patent pending....
5. sidetracked!
6. scarf jig
7. look at that cut!
Week 2 continued...sure picked a bad time to stop sniffing glue!
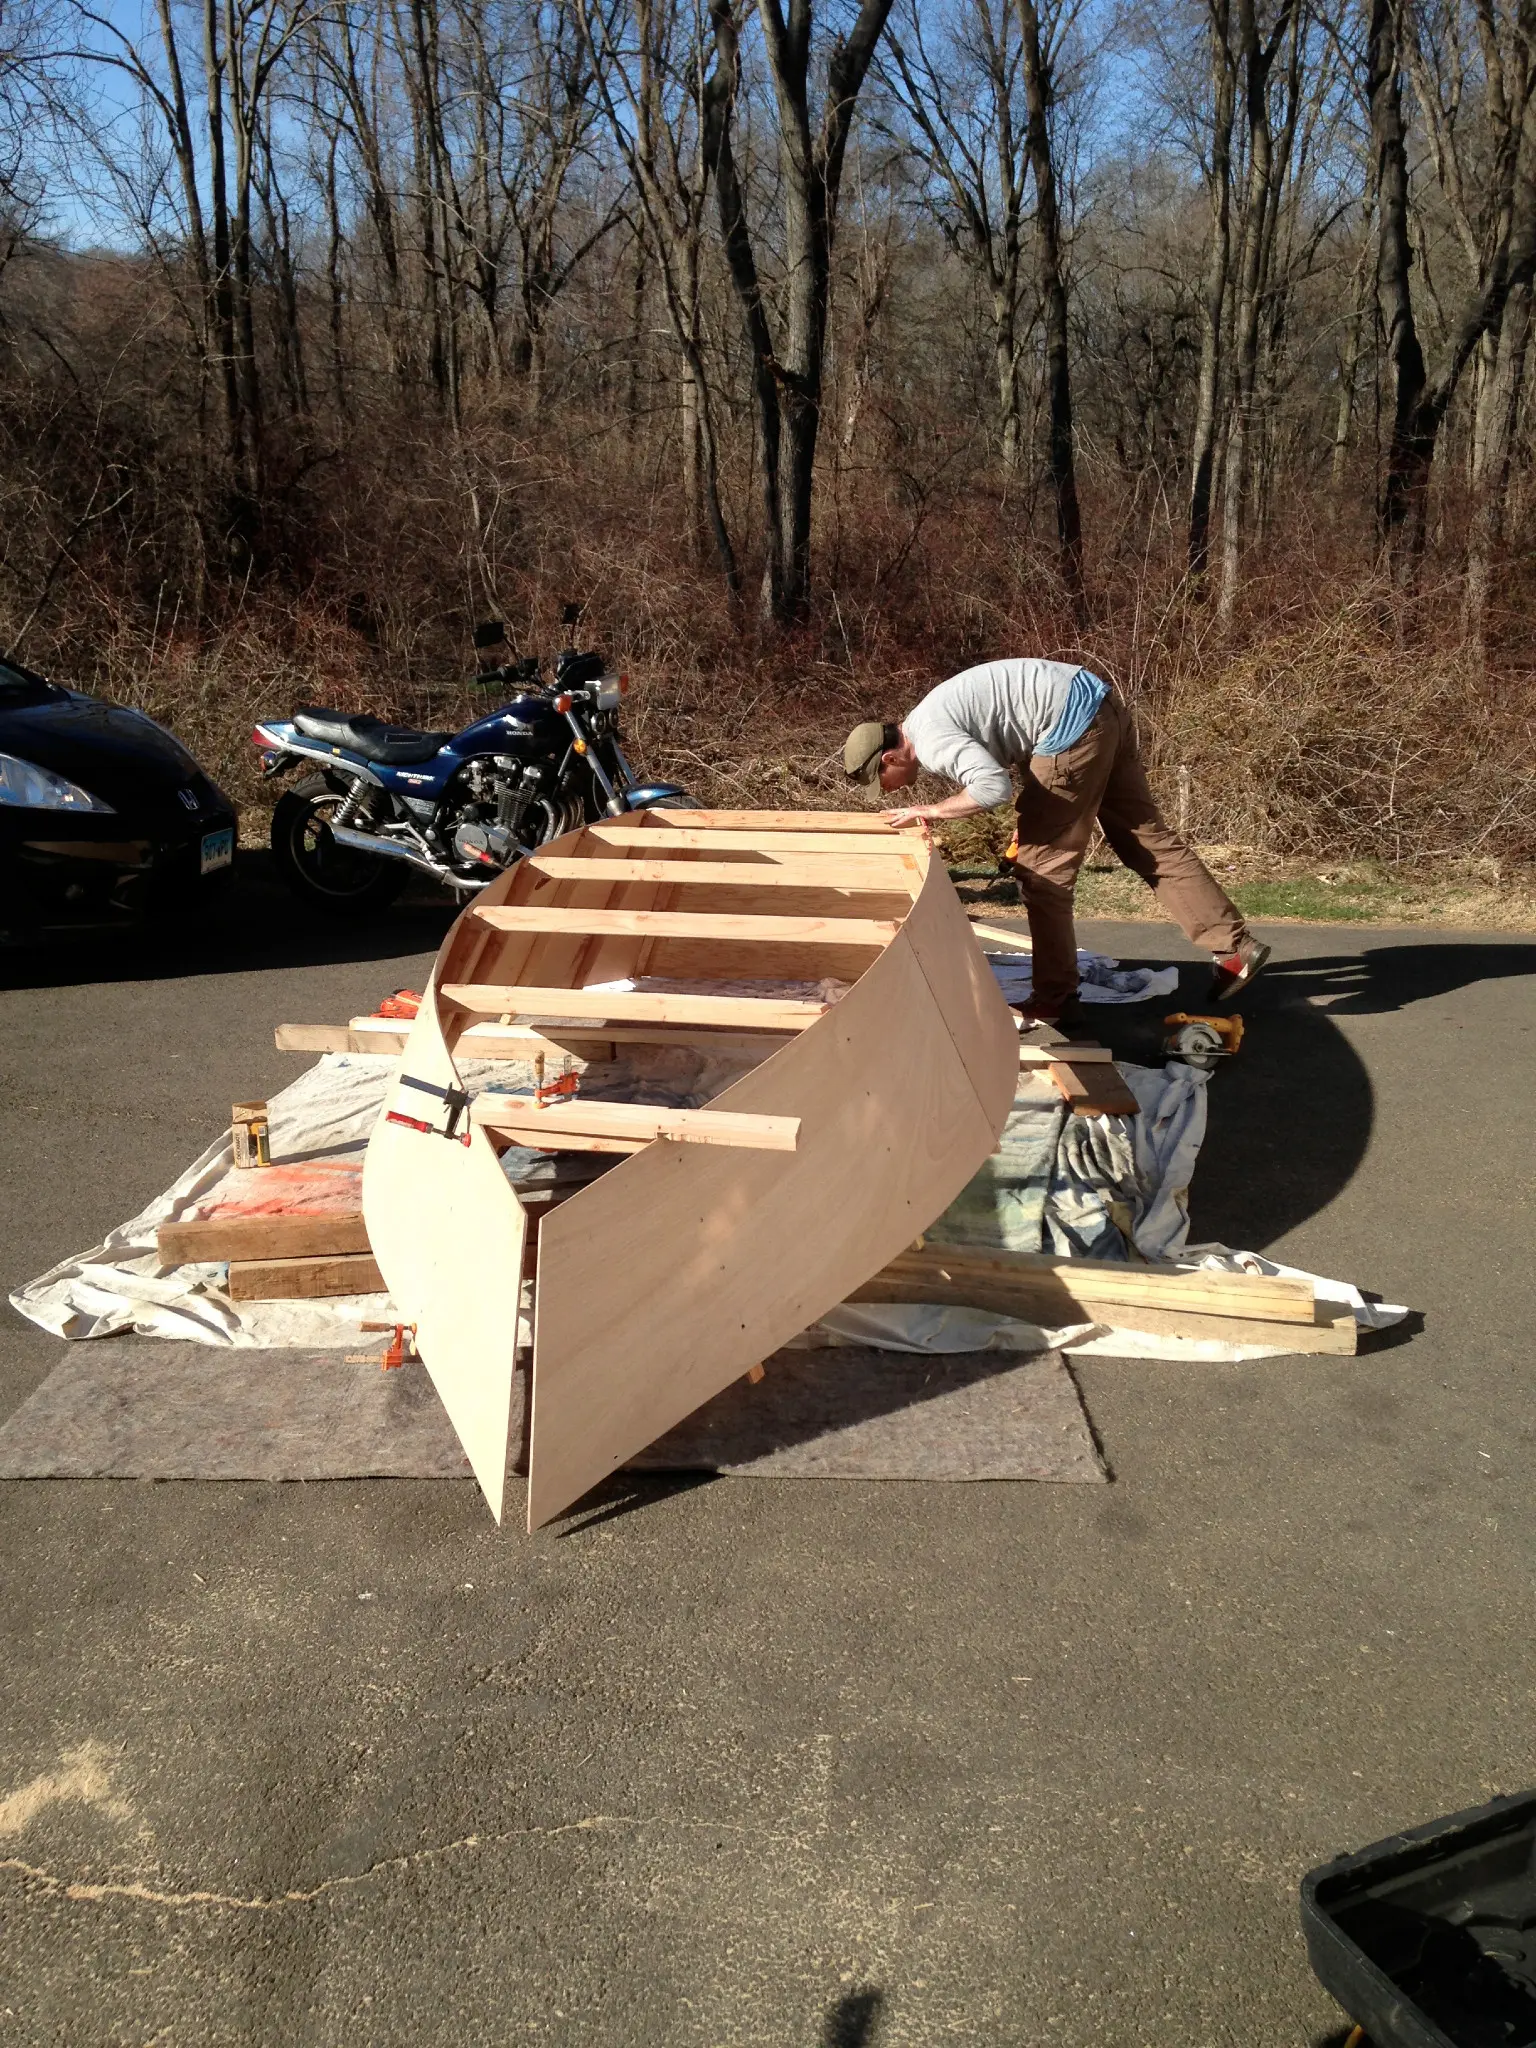
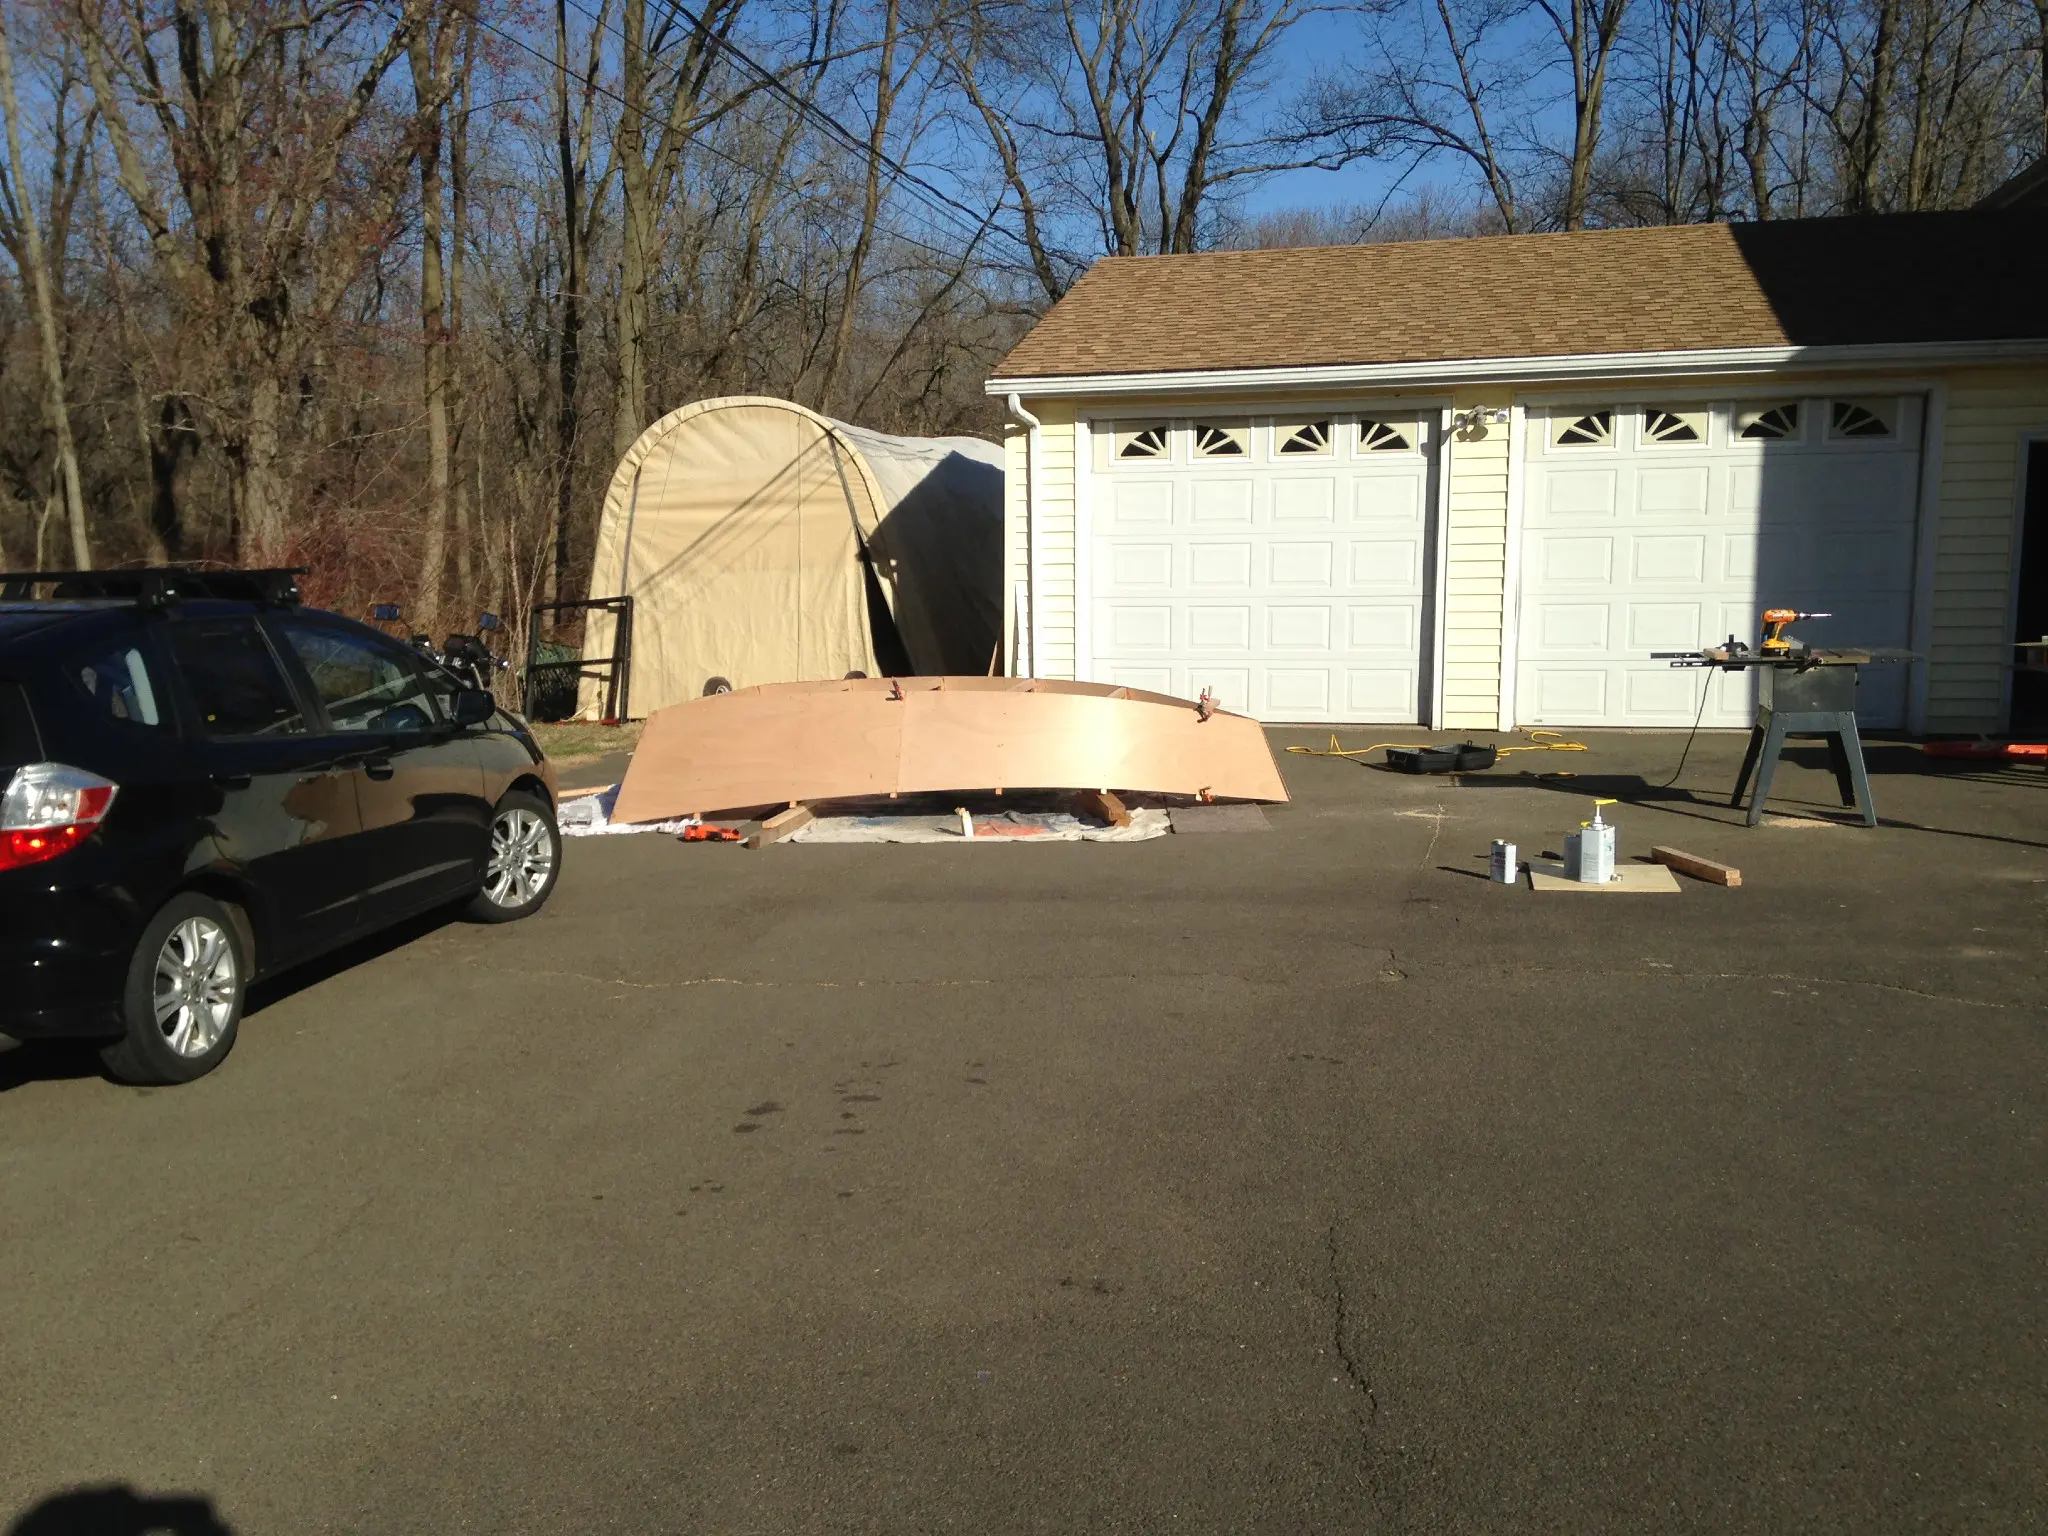
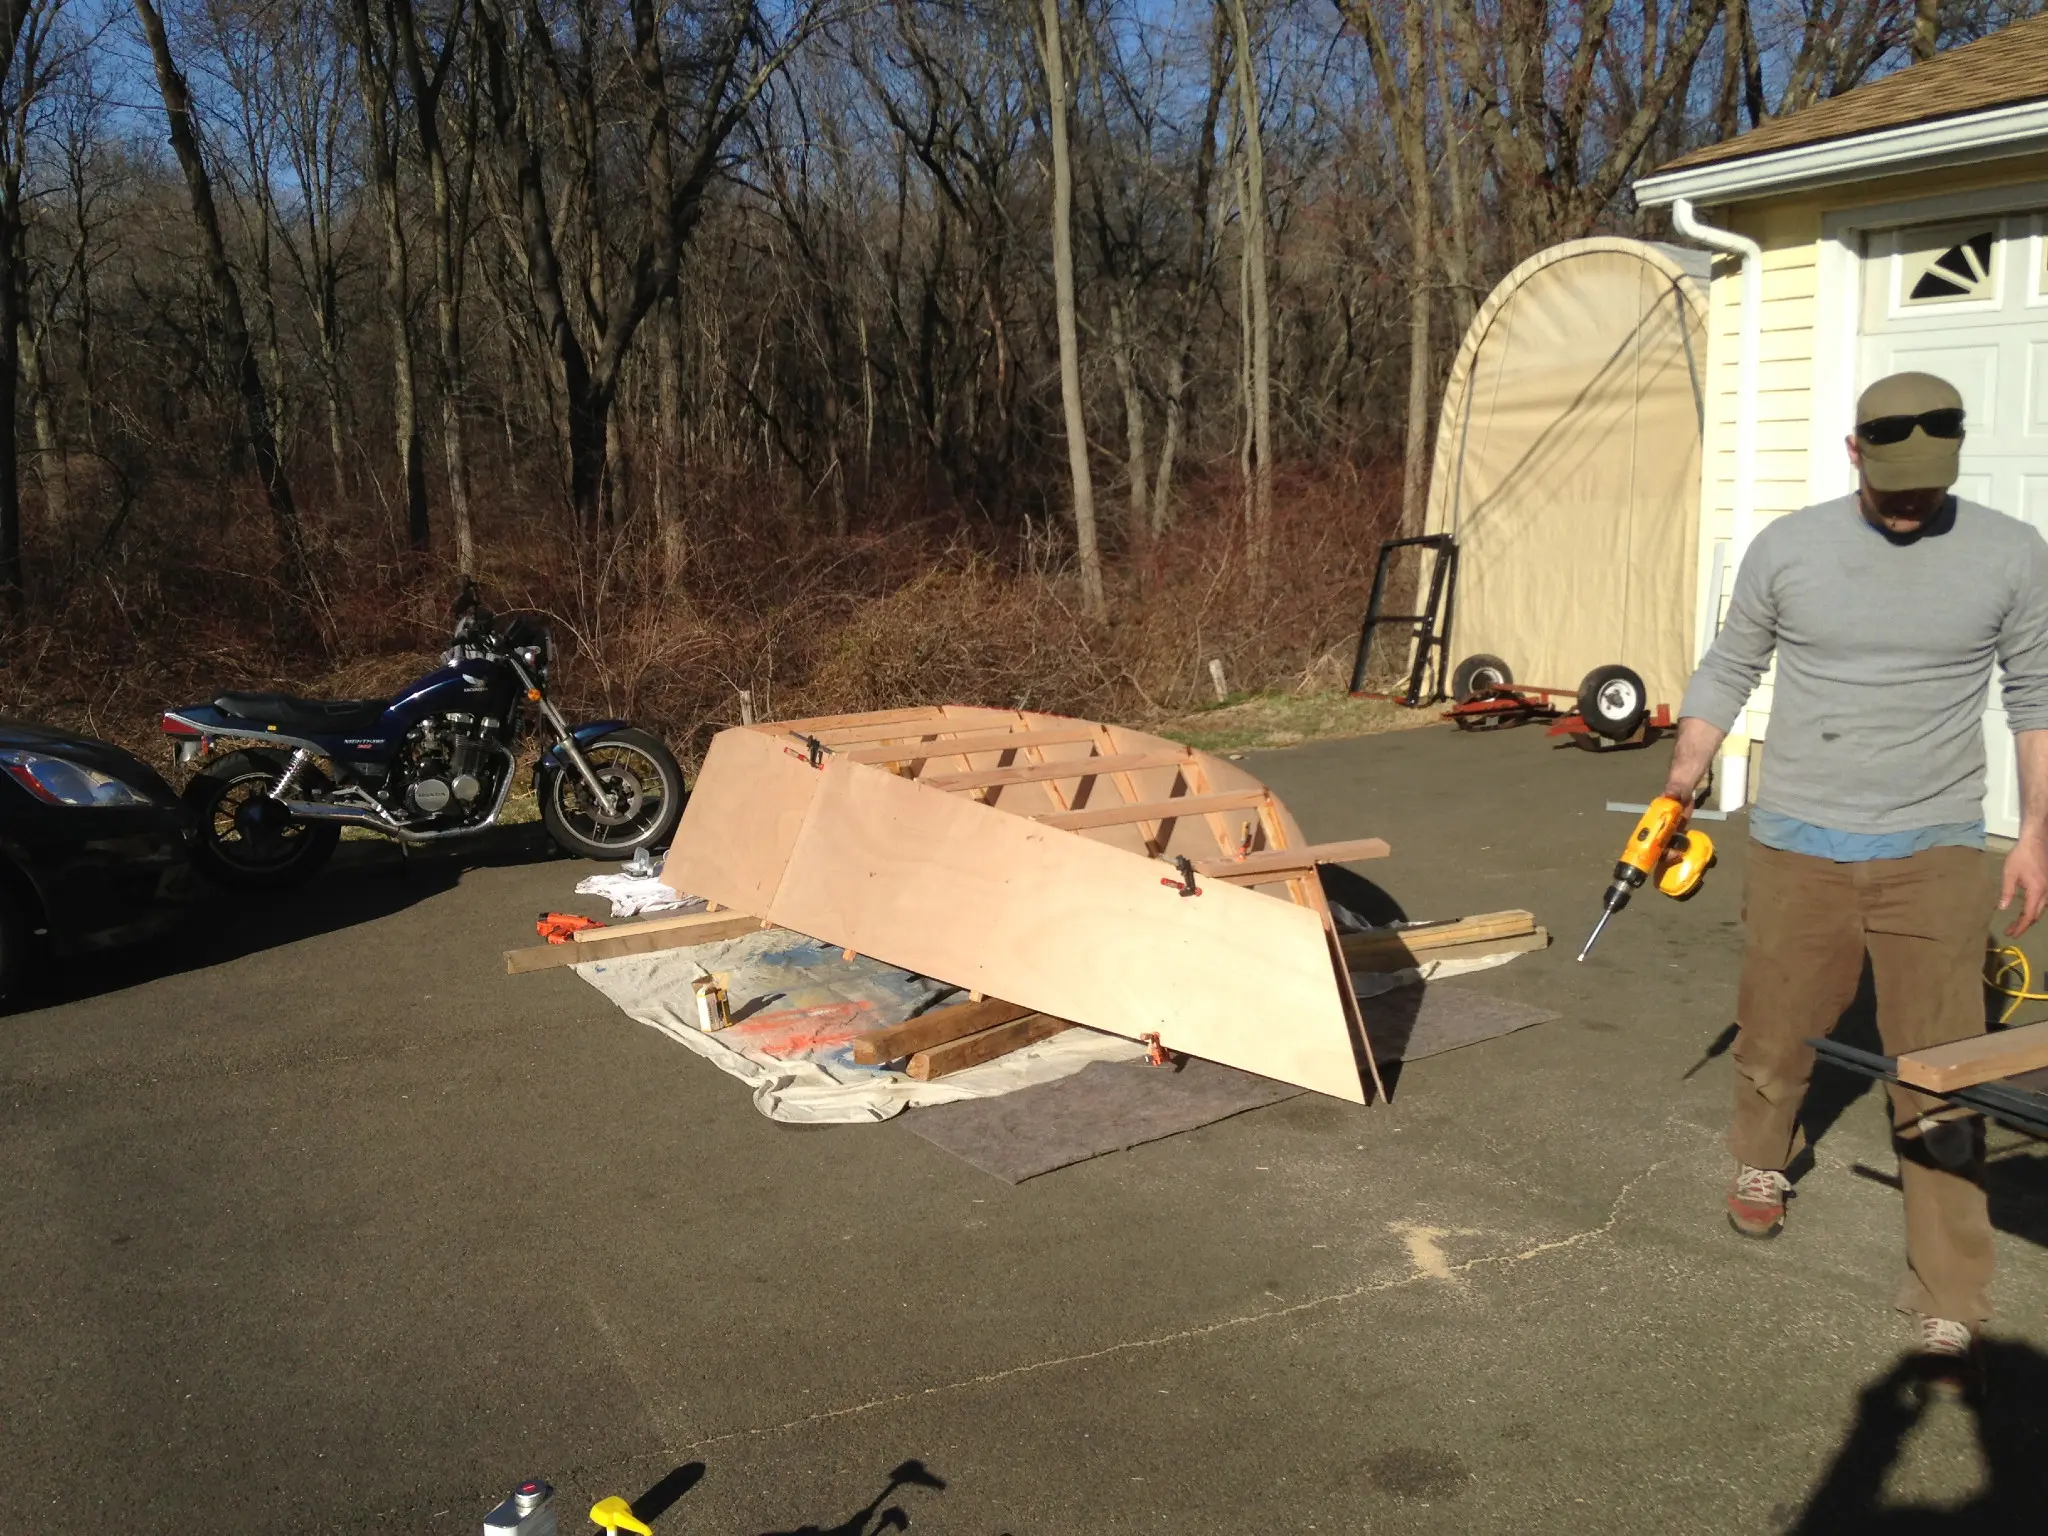
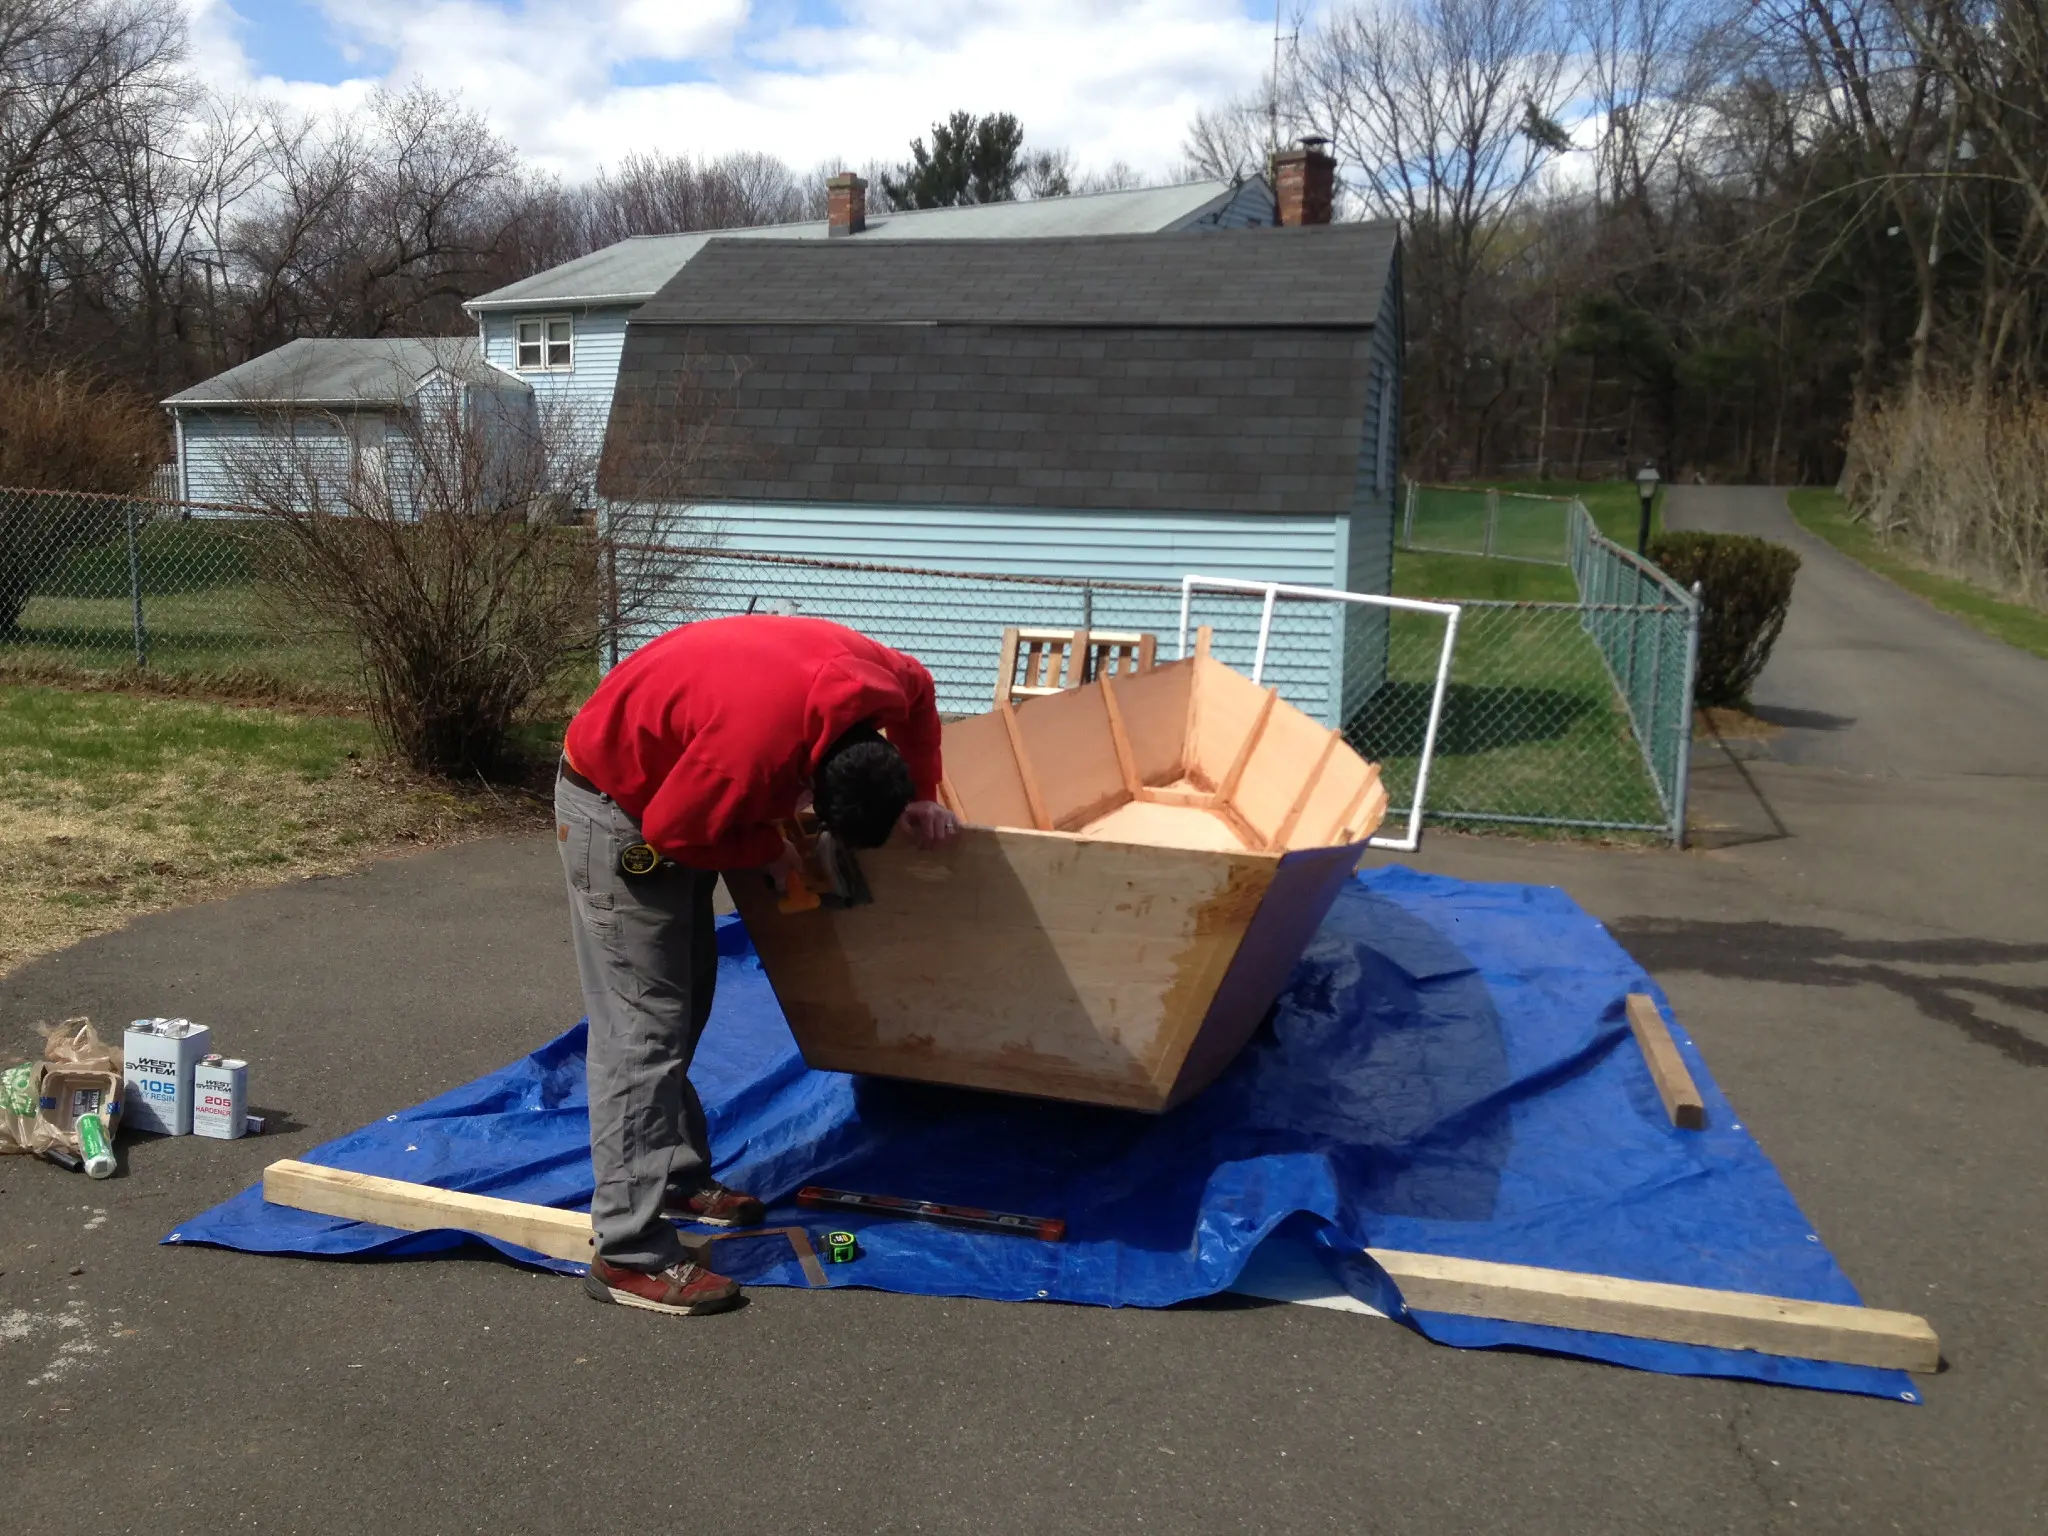
Hope you caught that "Airplane" reference, If not no worries lets move on. Alright so as you can see, the sides are cut and ready to be joined. we begain with the center rib and moved out from there, so rib 4, then 3&5, then 6&7 and lastly the stem. Each rib was slathered in West System Fast Curing Epoxy and then tacked to the walls using a nail gun for placement . Then we used 1.25in stainless screws for fastening. We clamped a piece of scrap to the bottom of the rib to ensure the bottom edge of the wall was flush with the bottom edge of the rib. I wish we had more photos of this assembly but the was not much time as we were working with the fast curing epoxy....
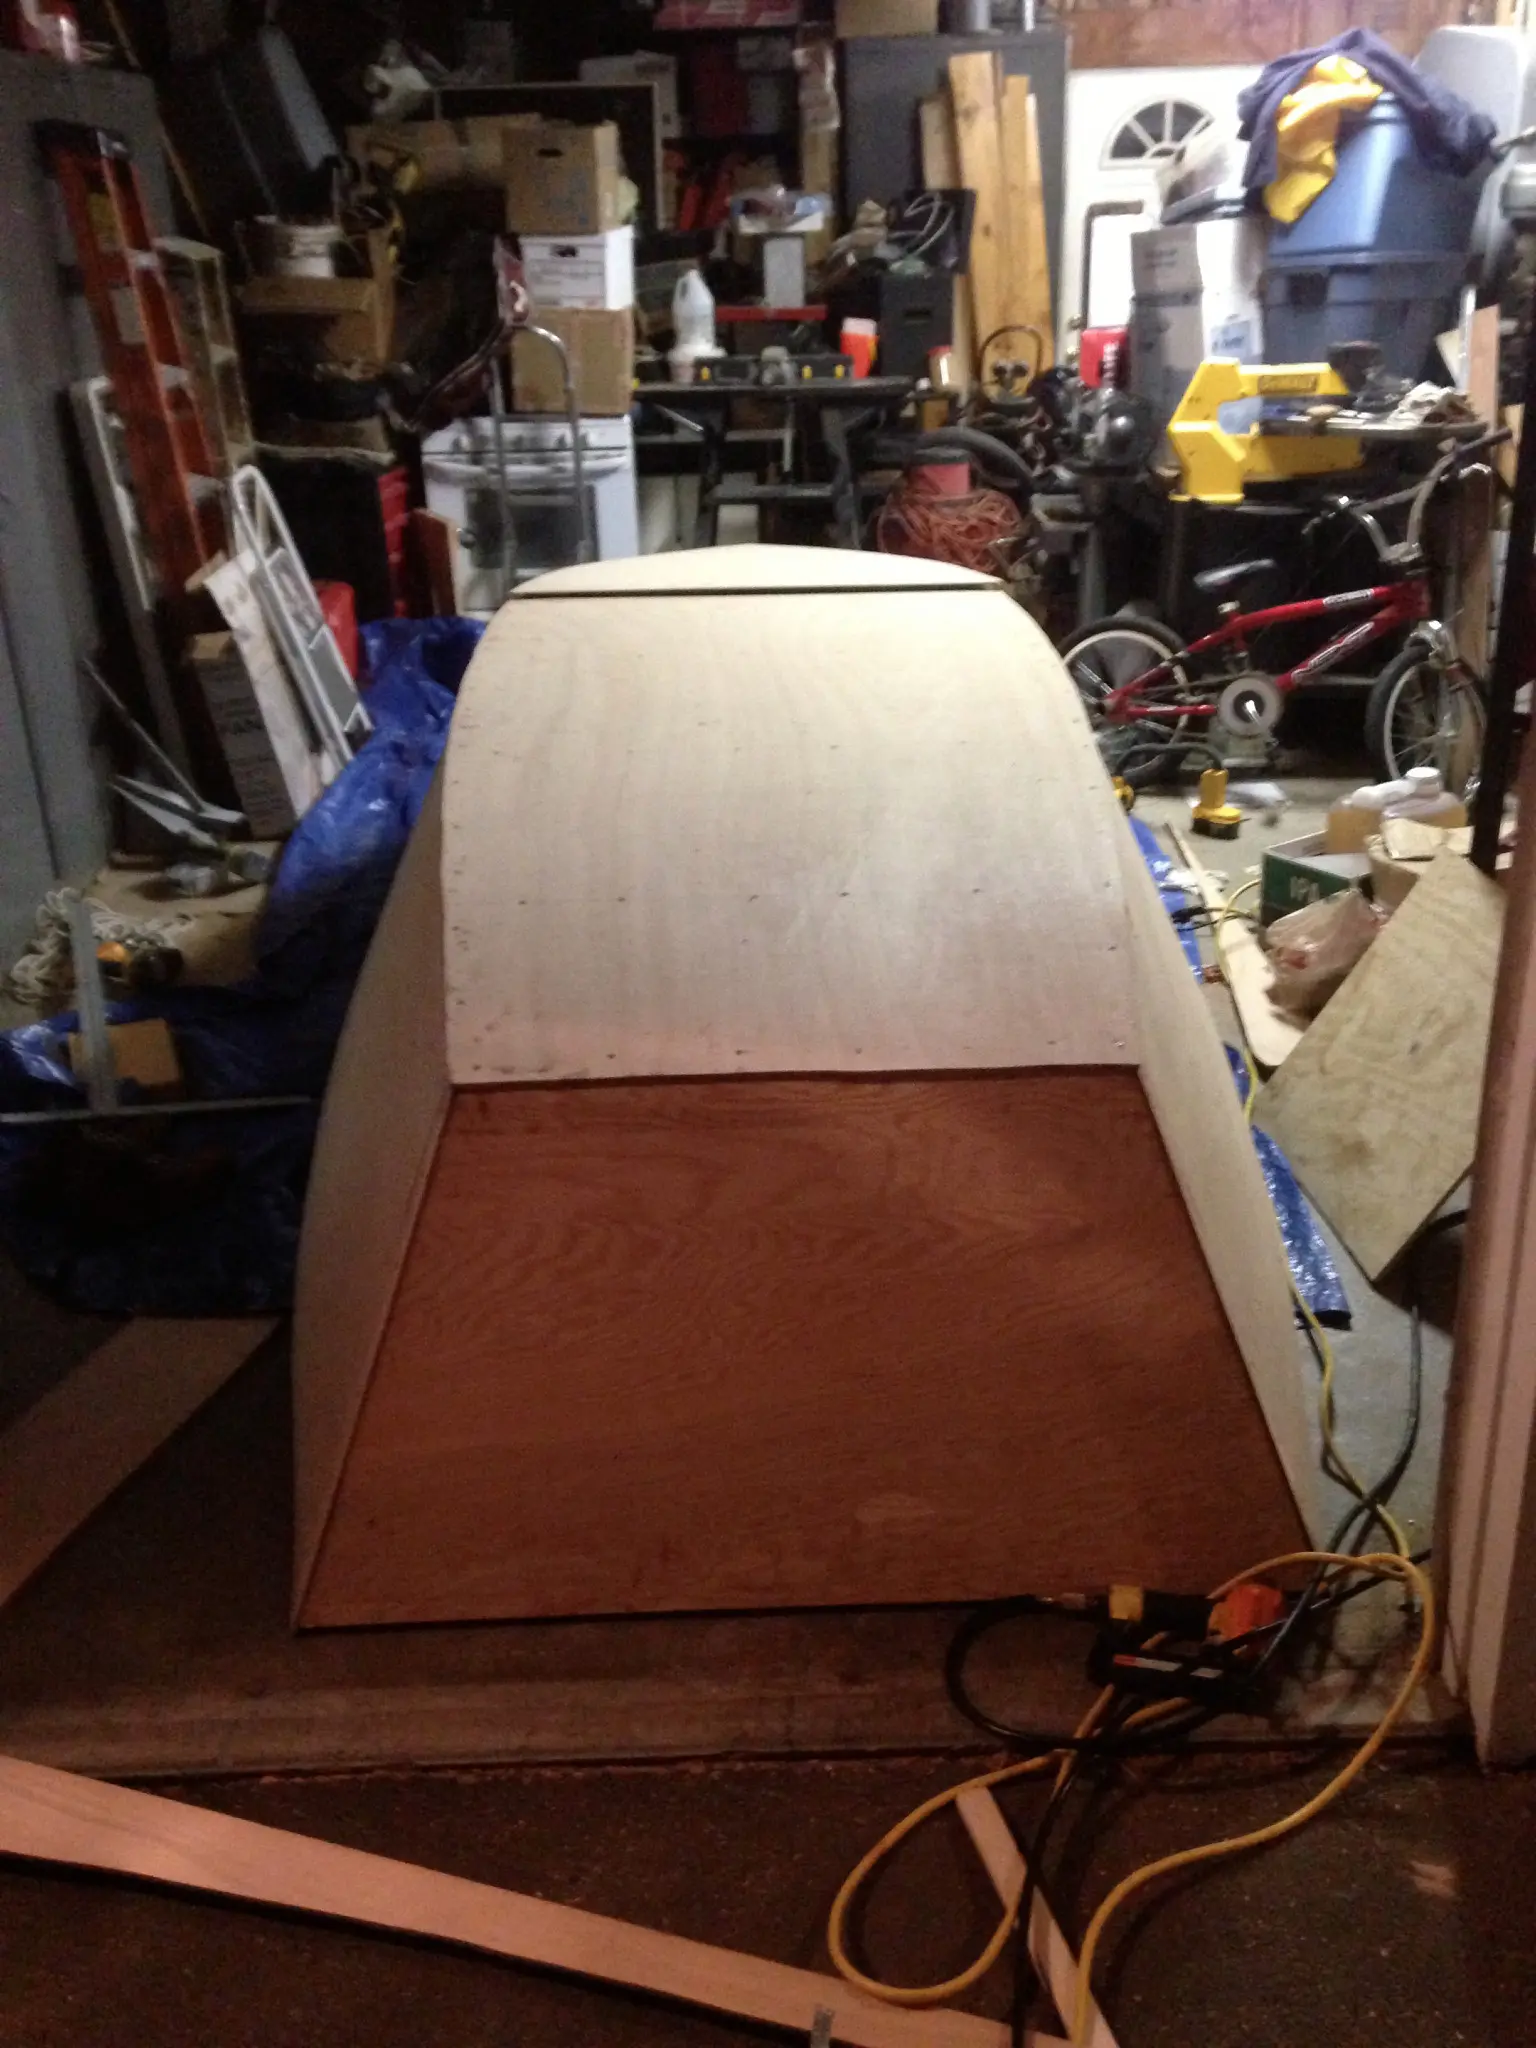
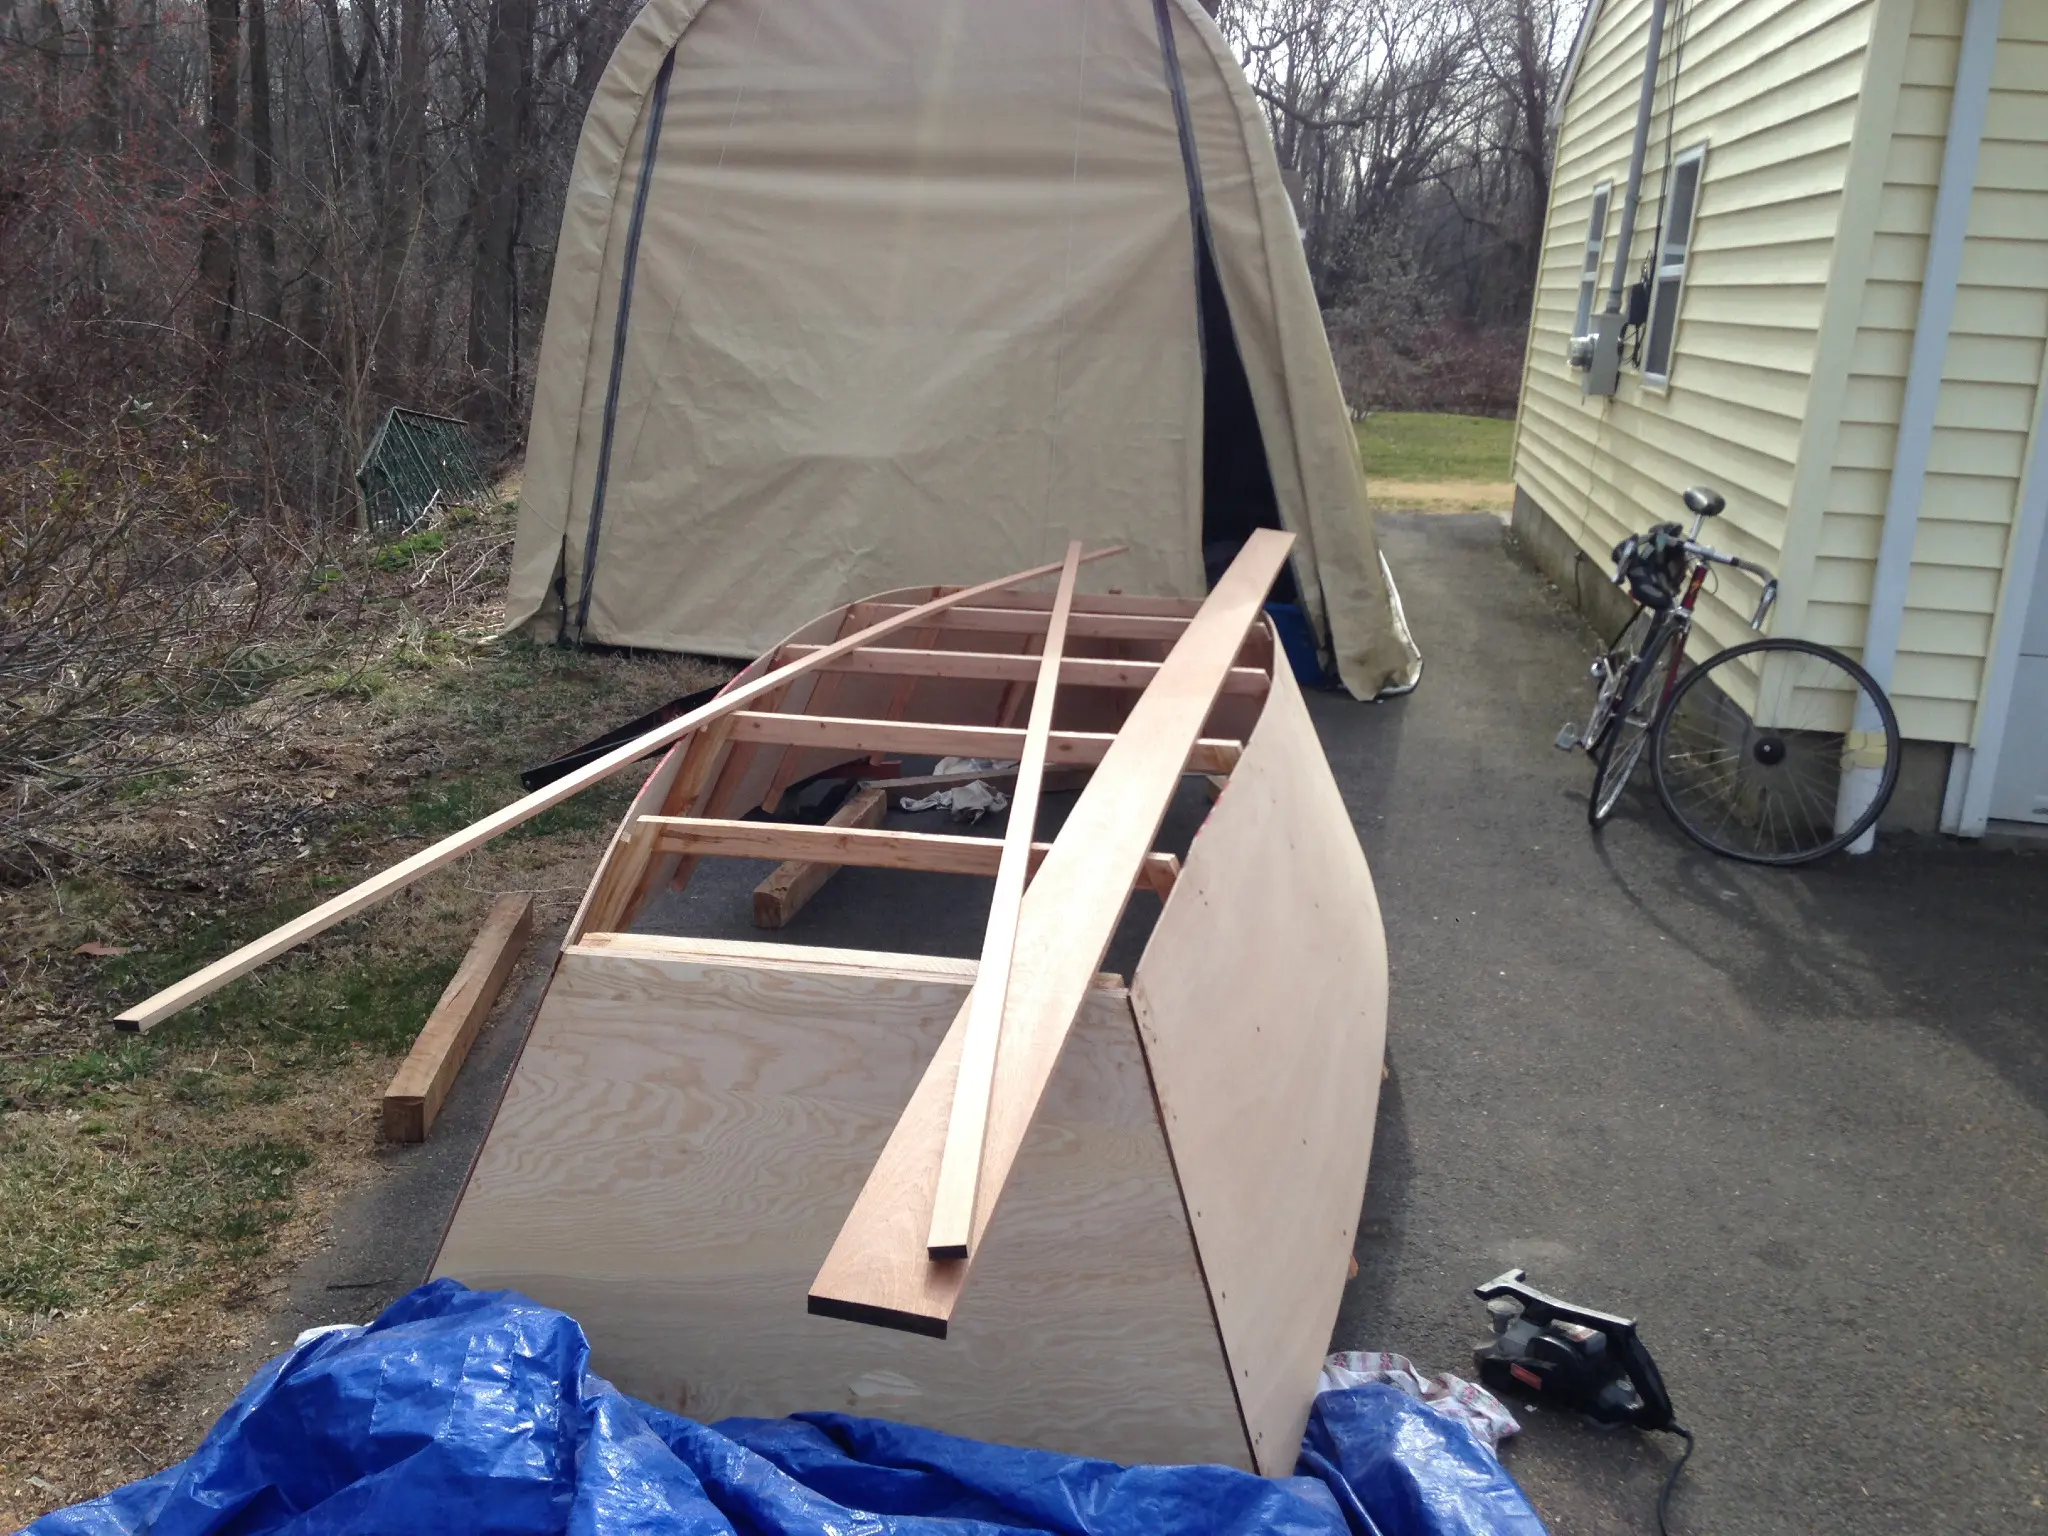
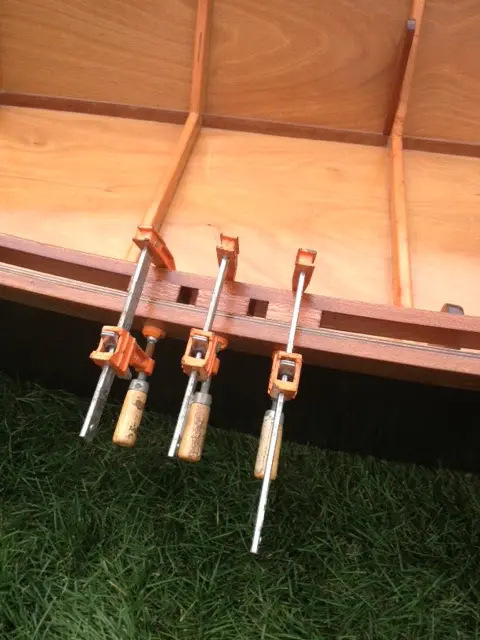
After the sides, transom and stem was joined, we let the boat sit overnight to cure. The next day we began work on the Chines. Mack found a nice deal on a 16'x8" piece of Sapelle which we cut our chines from and will eventually use for for the gunnels as well. Real Nice stuff! We ripped our 1.5 inch Chines using the table saw then planed them down fit the rib notch width ( 5/8 in). We tacked them into place and secured them using the epoxy and clamps where necessary. The strong sapelle chines did not want to make the final curve for the rise in the transom, so we let them float and then cut in trim pieces to fill the gap between the 6th rib and transom.
4. planing the chines
5. a true lifesaver, though she has been a little temperamental lately.
6. Sapelle Chines
7. fittling the chines
8. "What were gonna do in this boat Bross? " "Catch Fish!!!!"
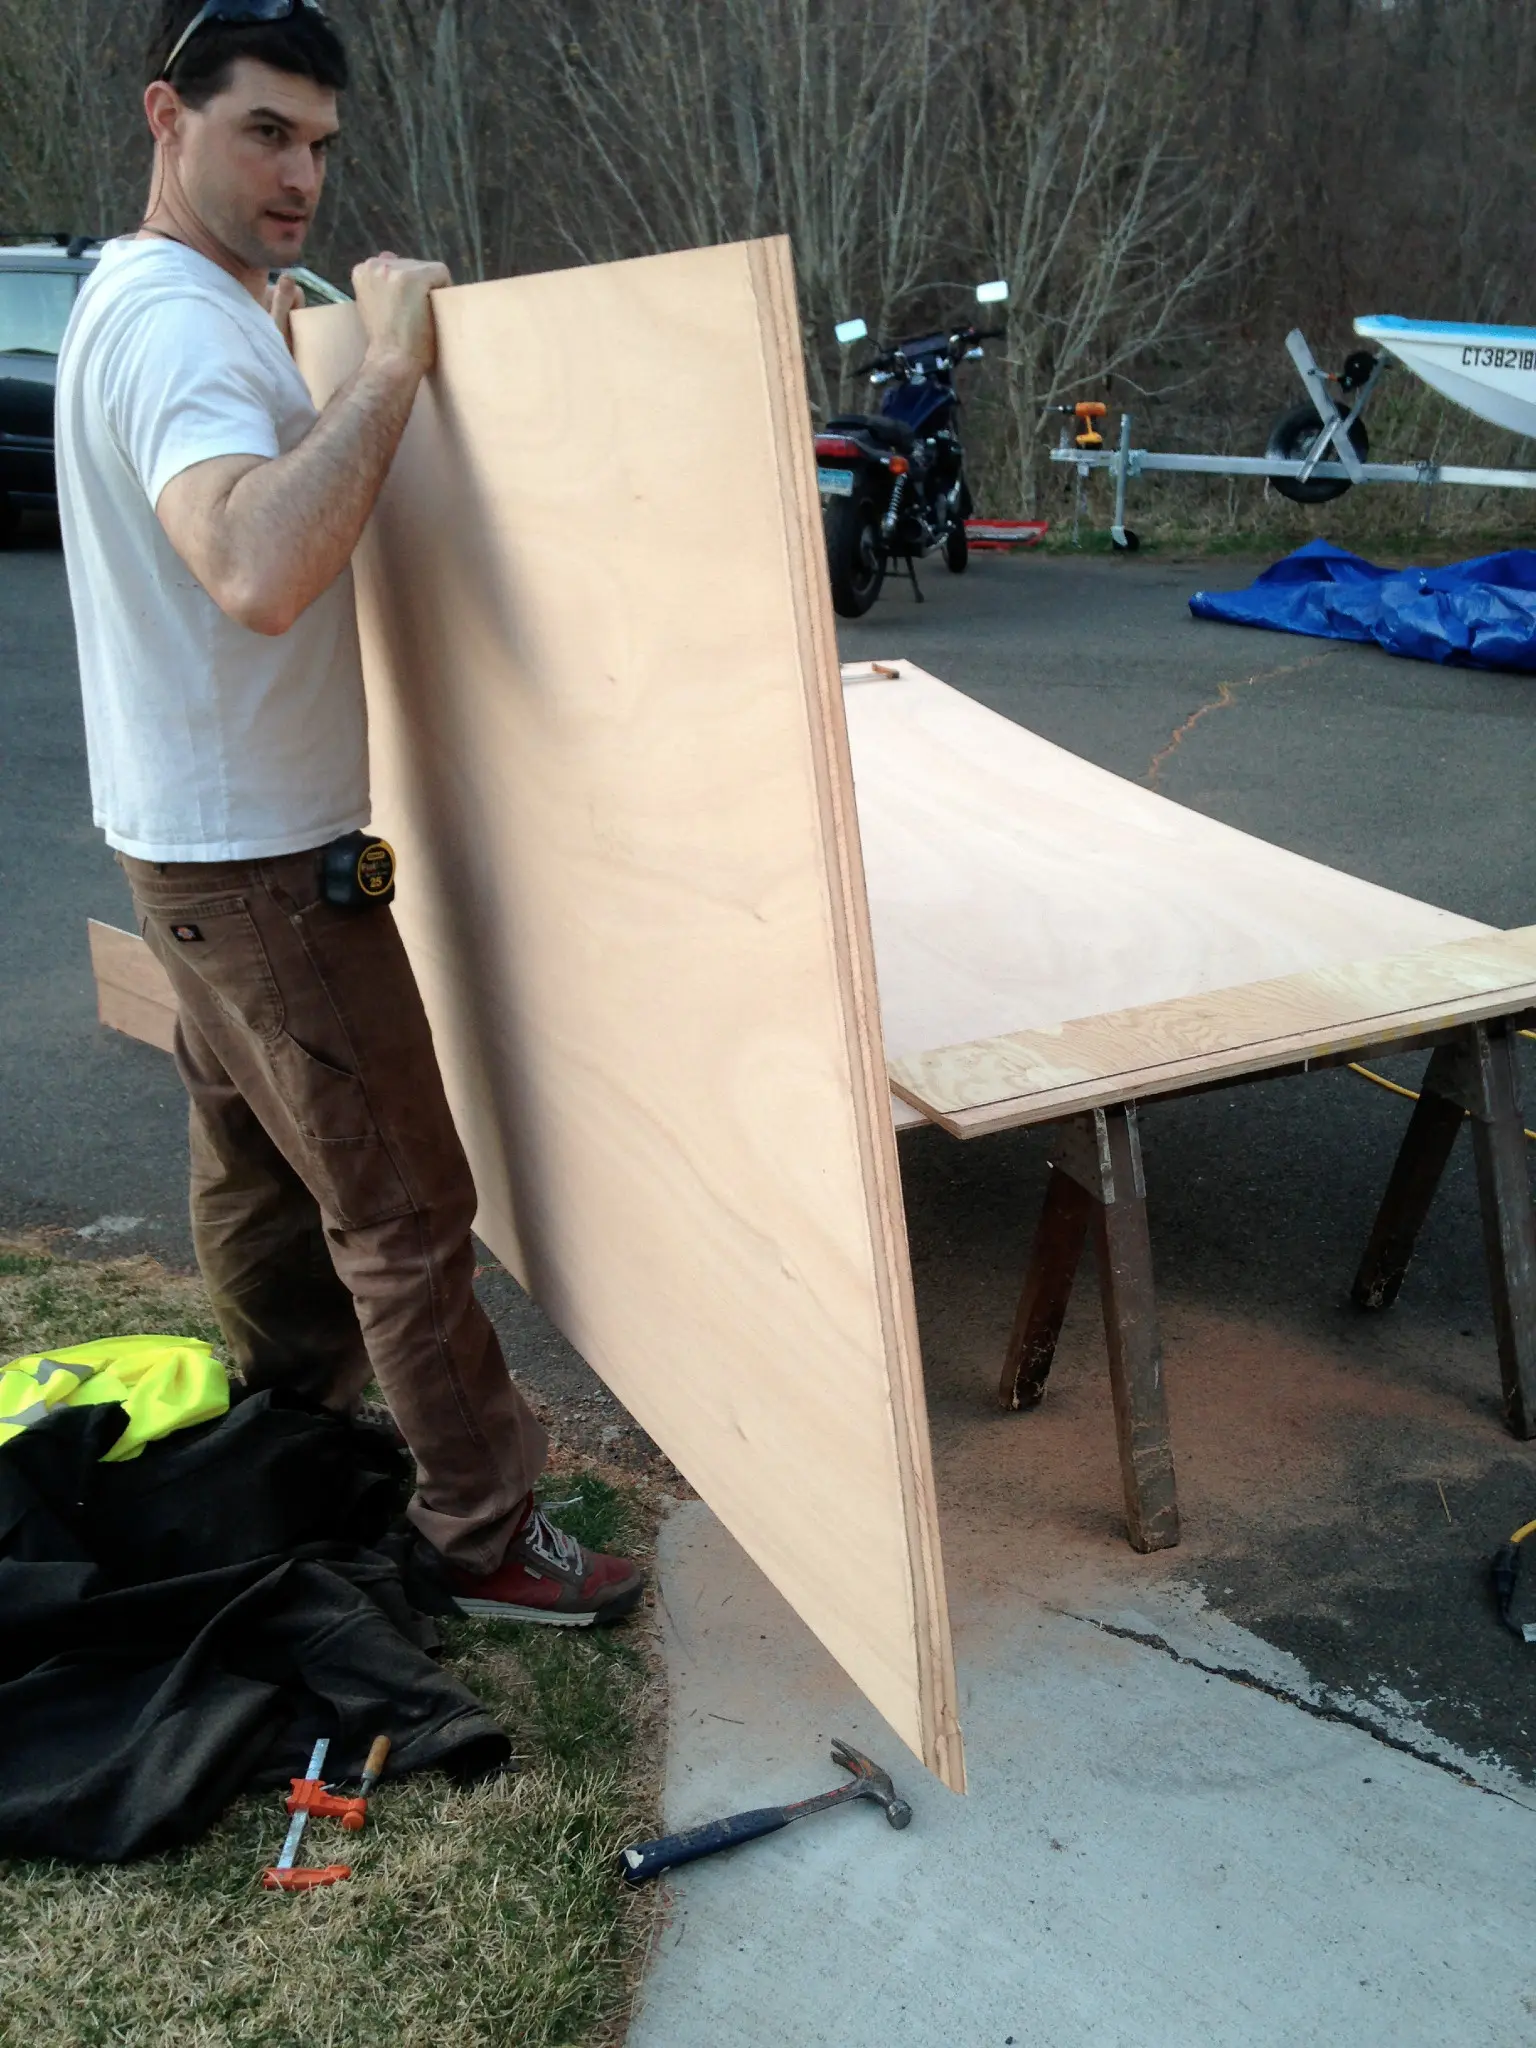
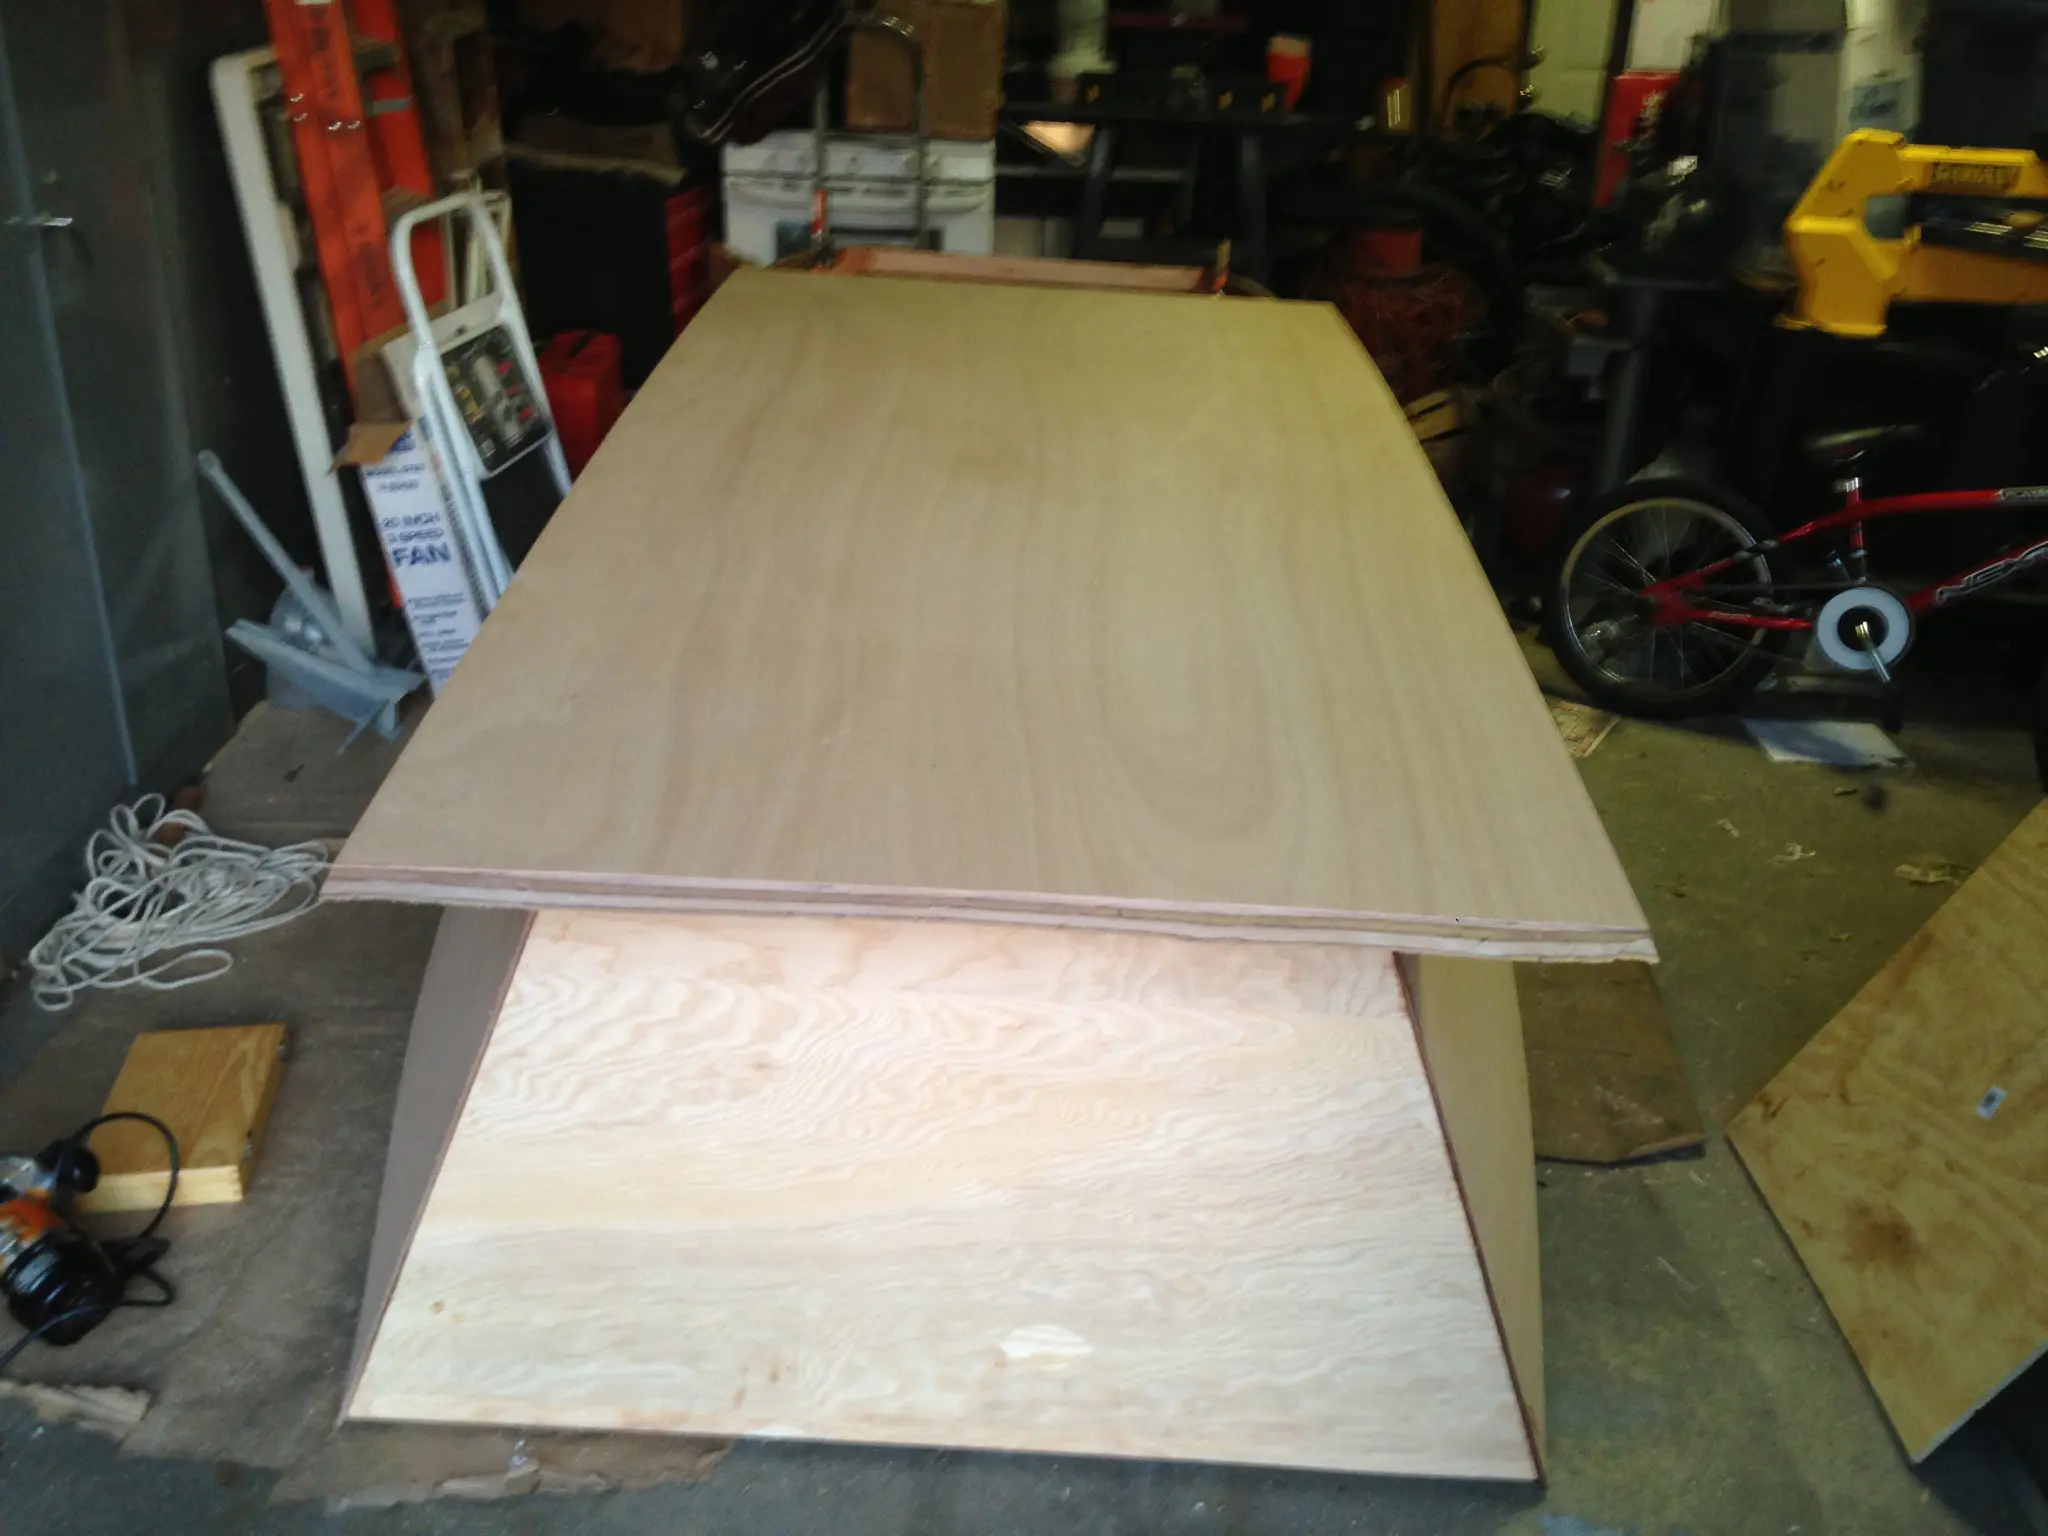
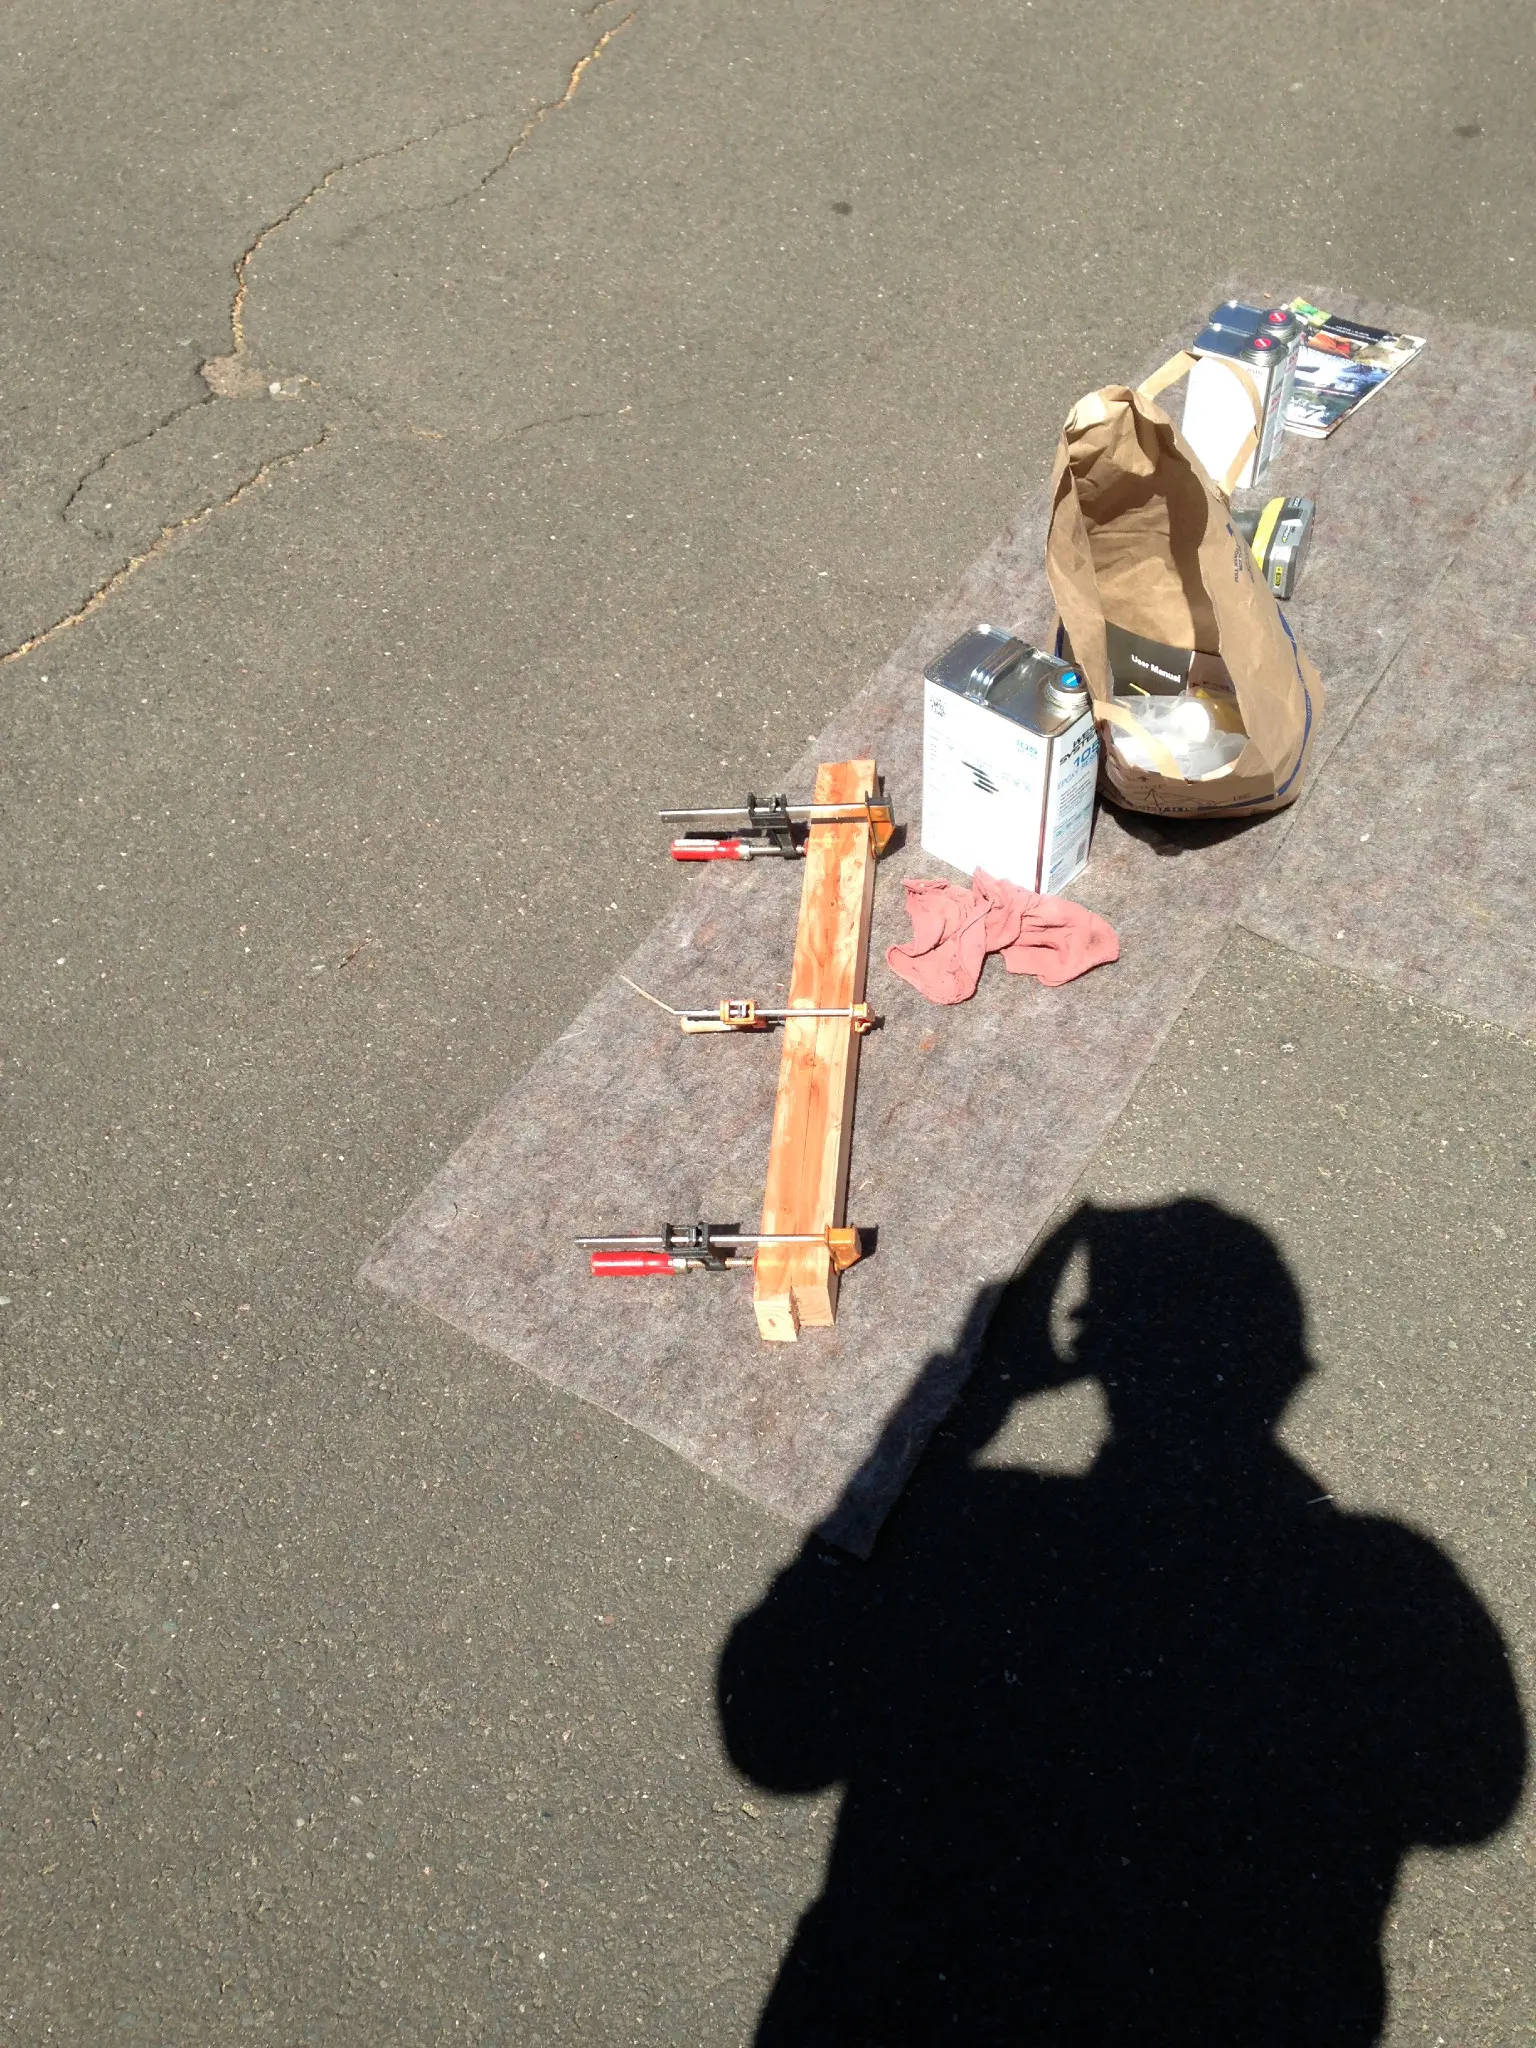
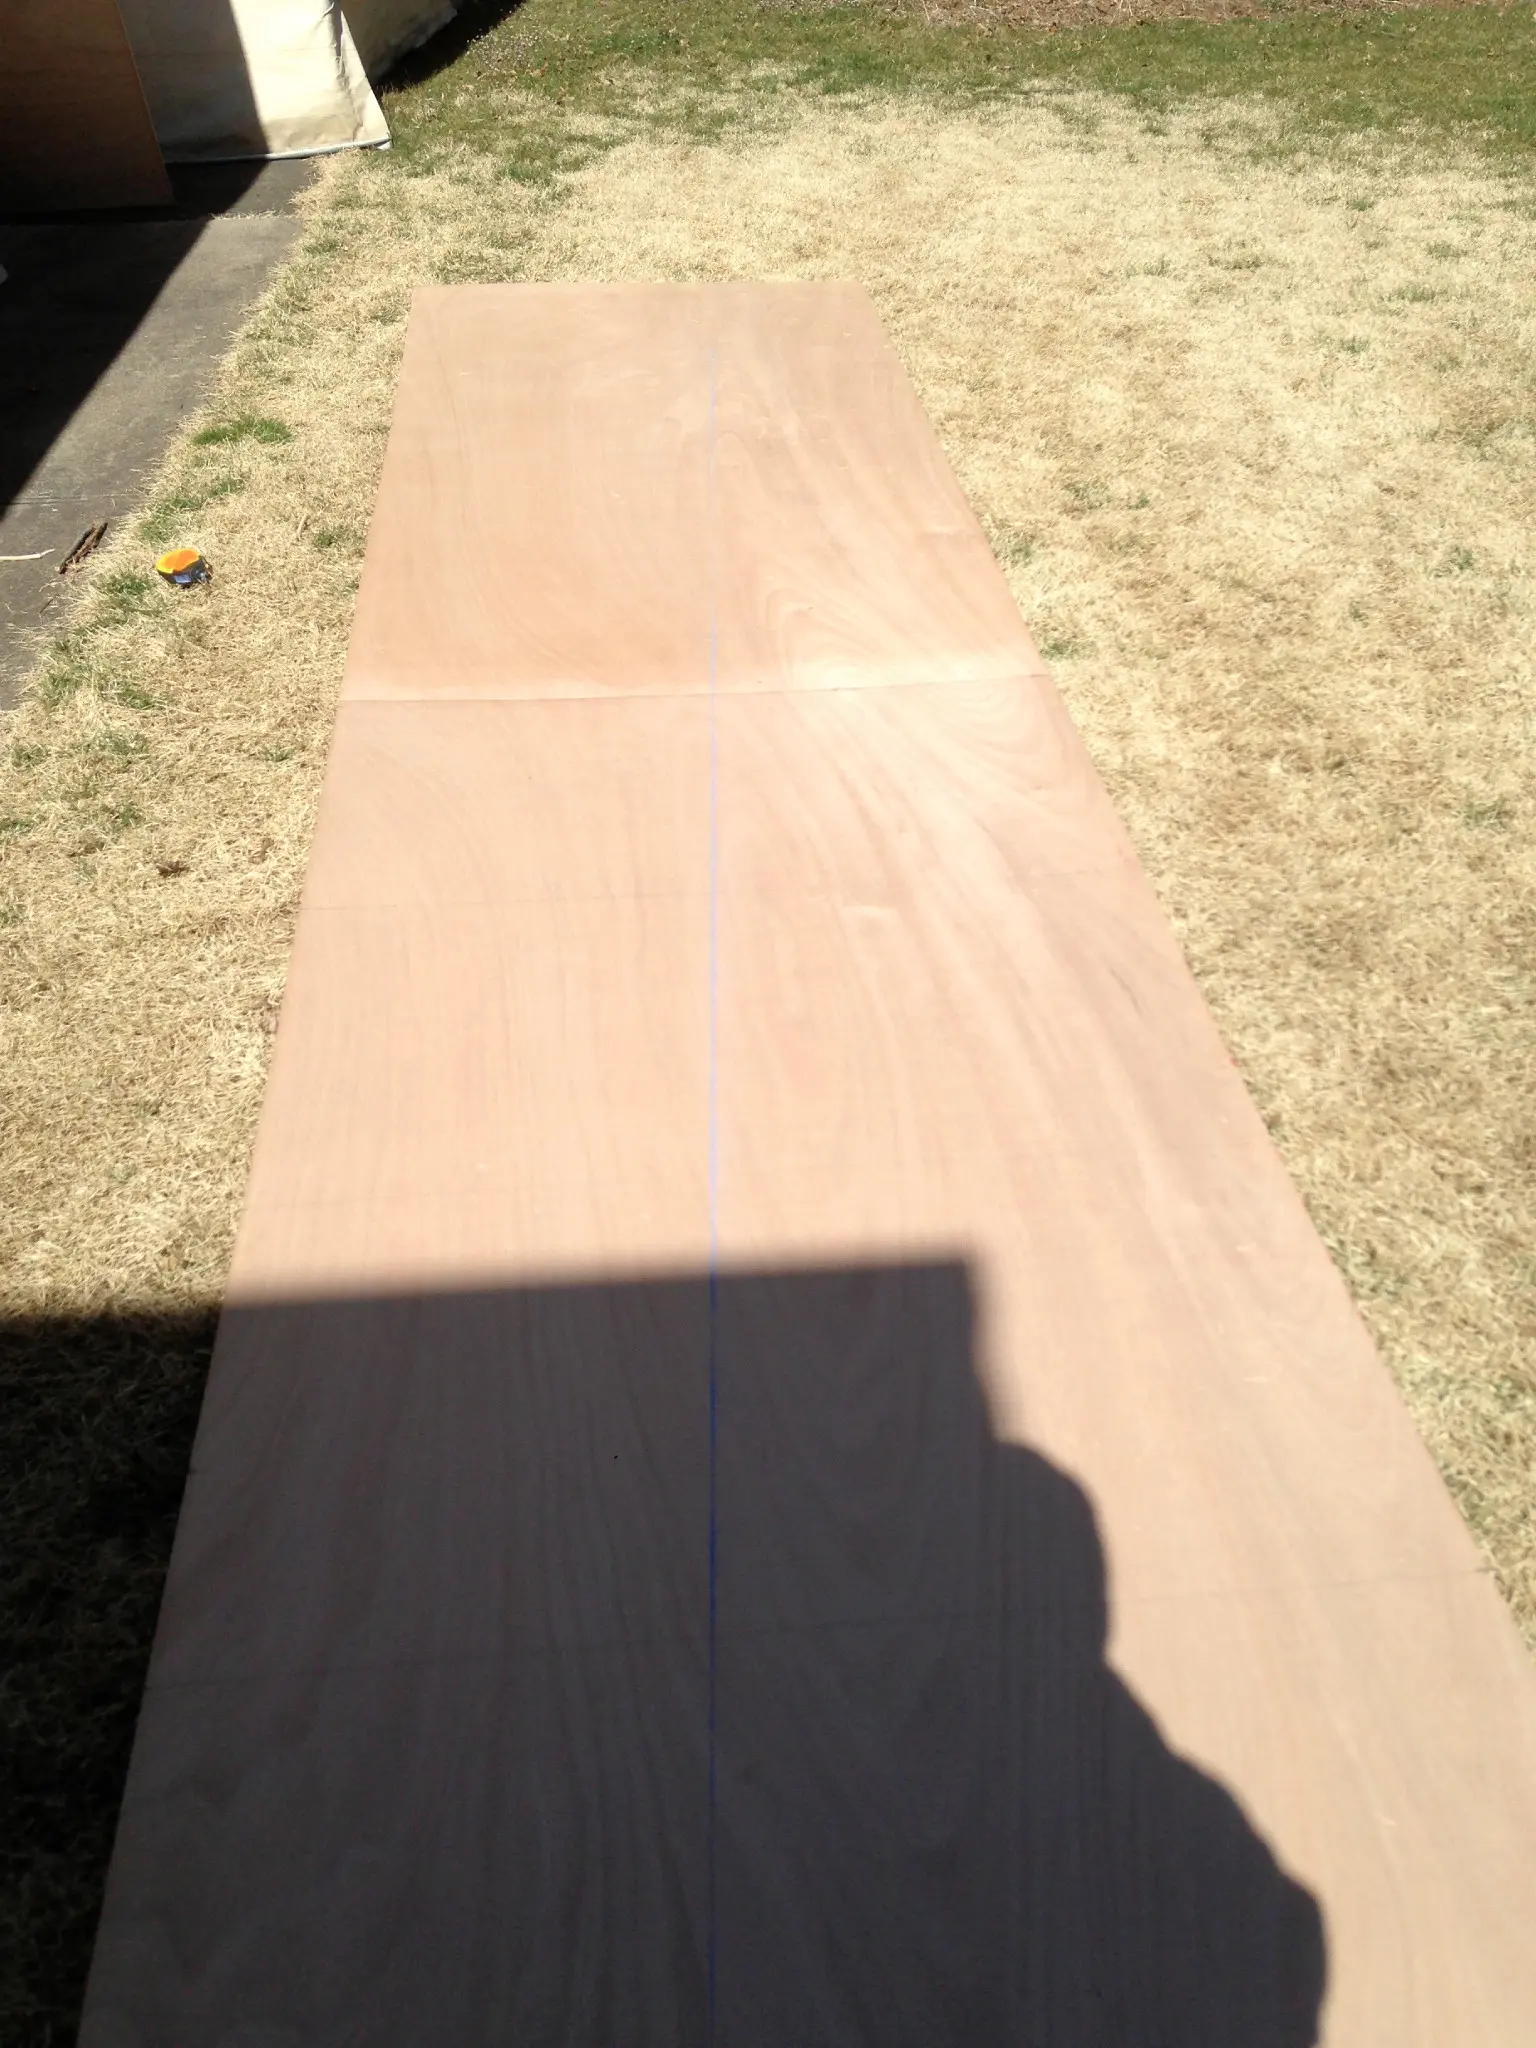
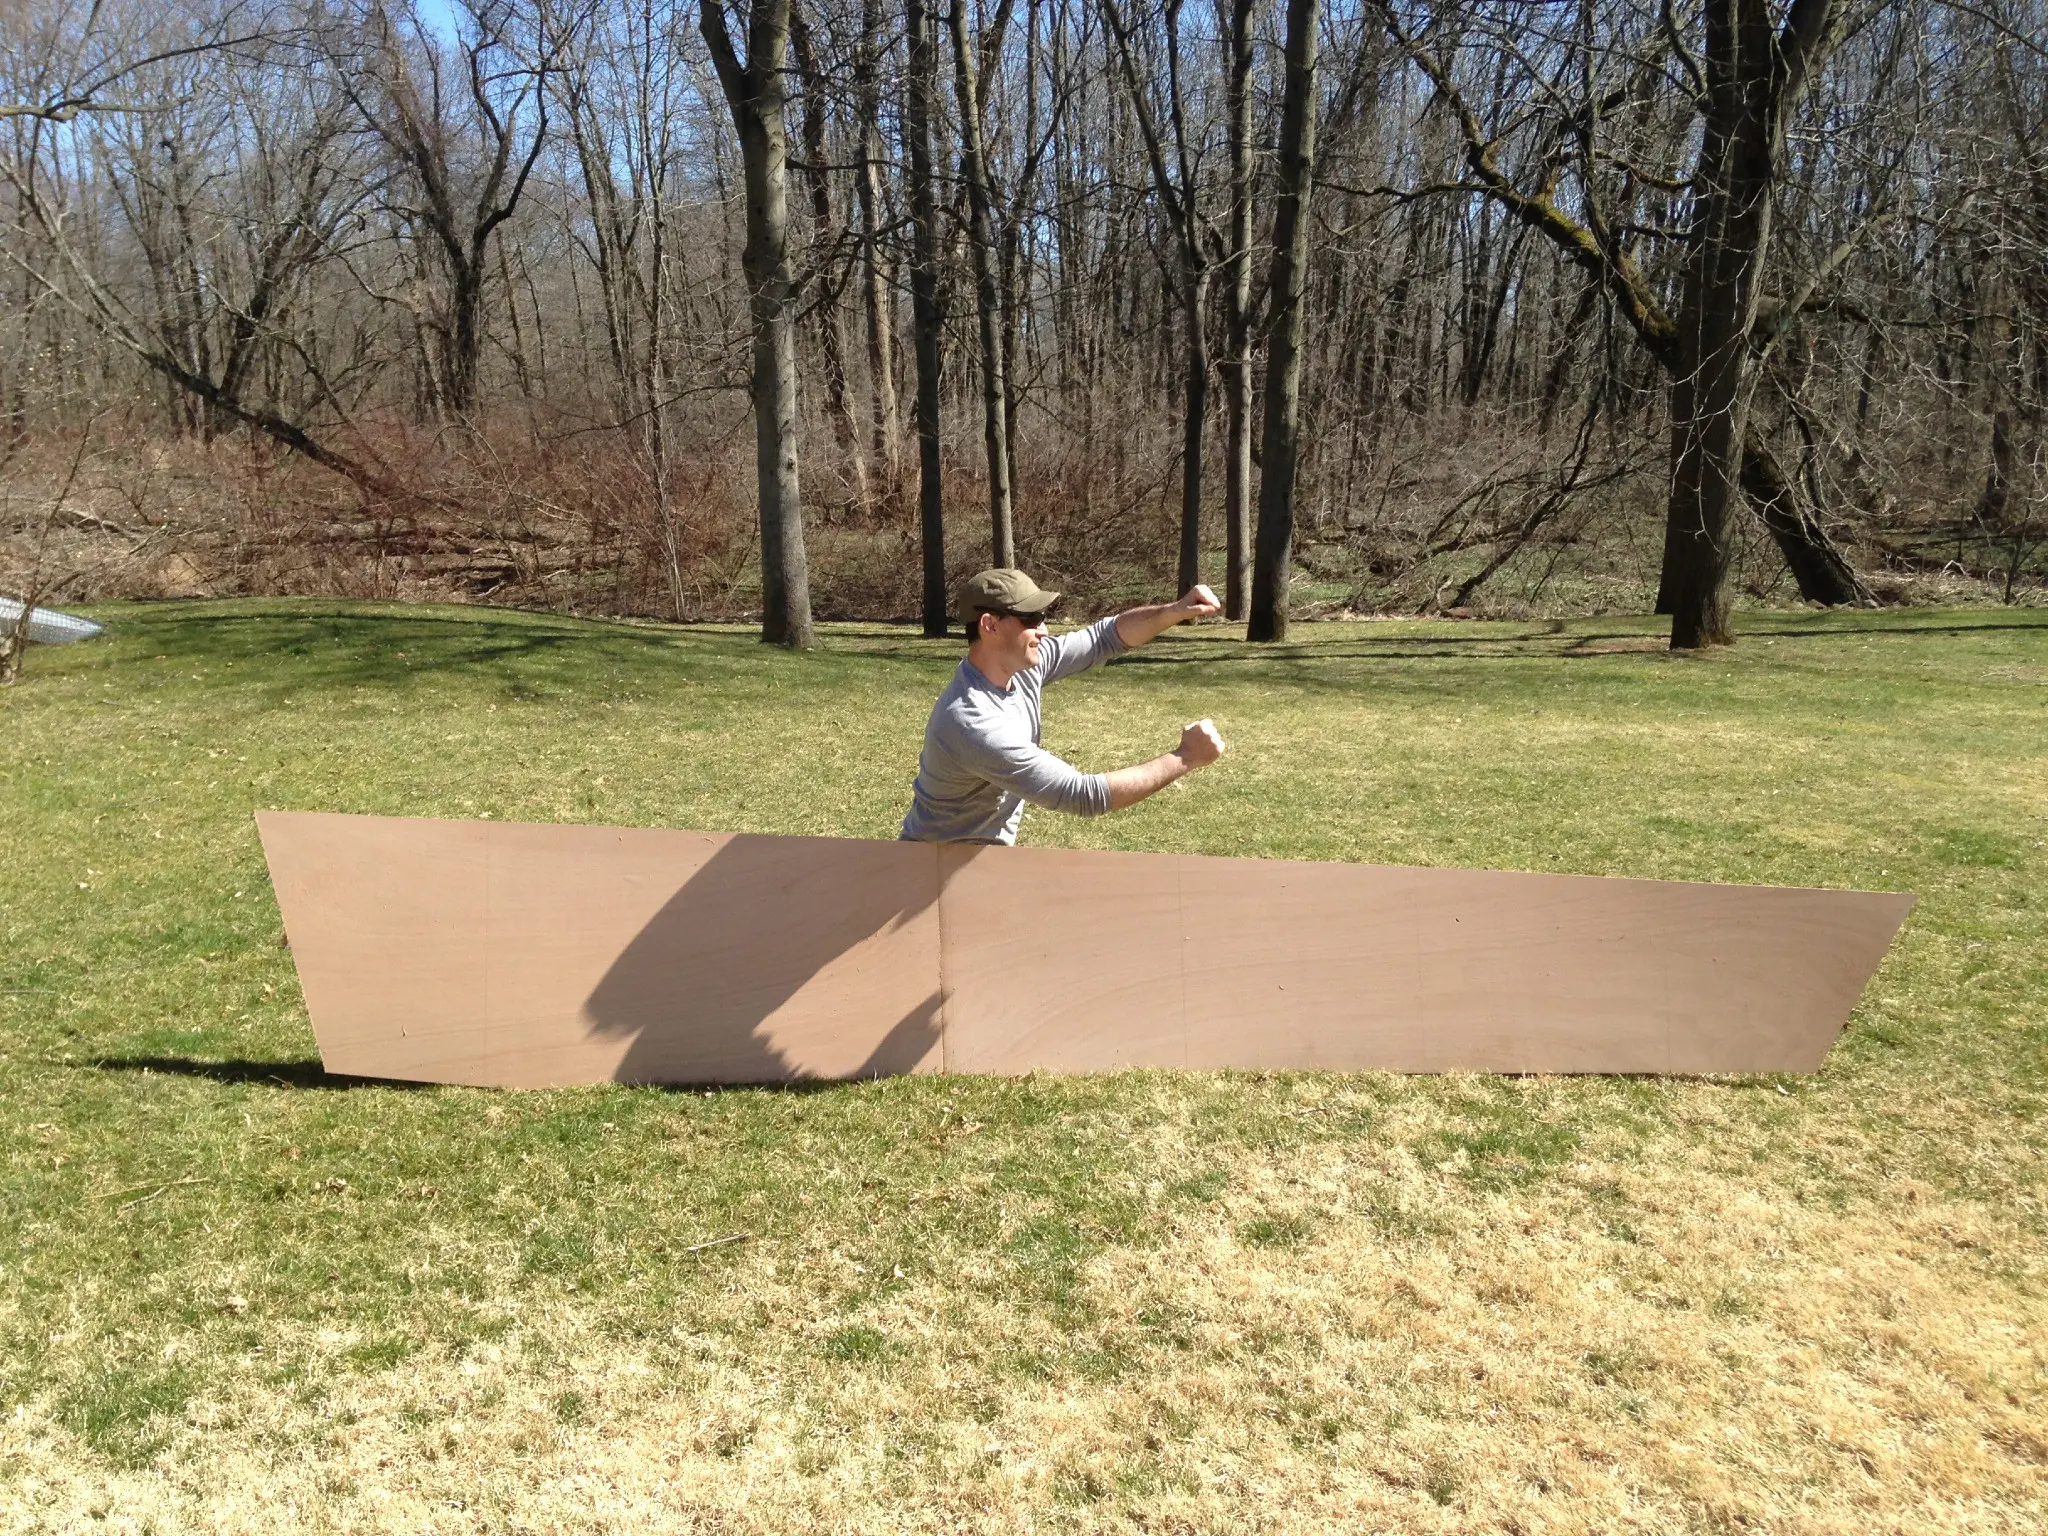
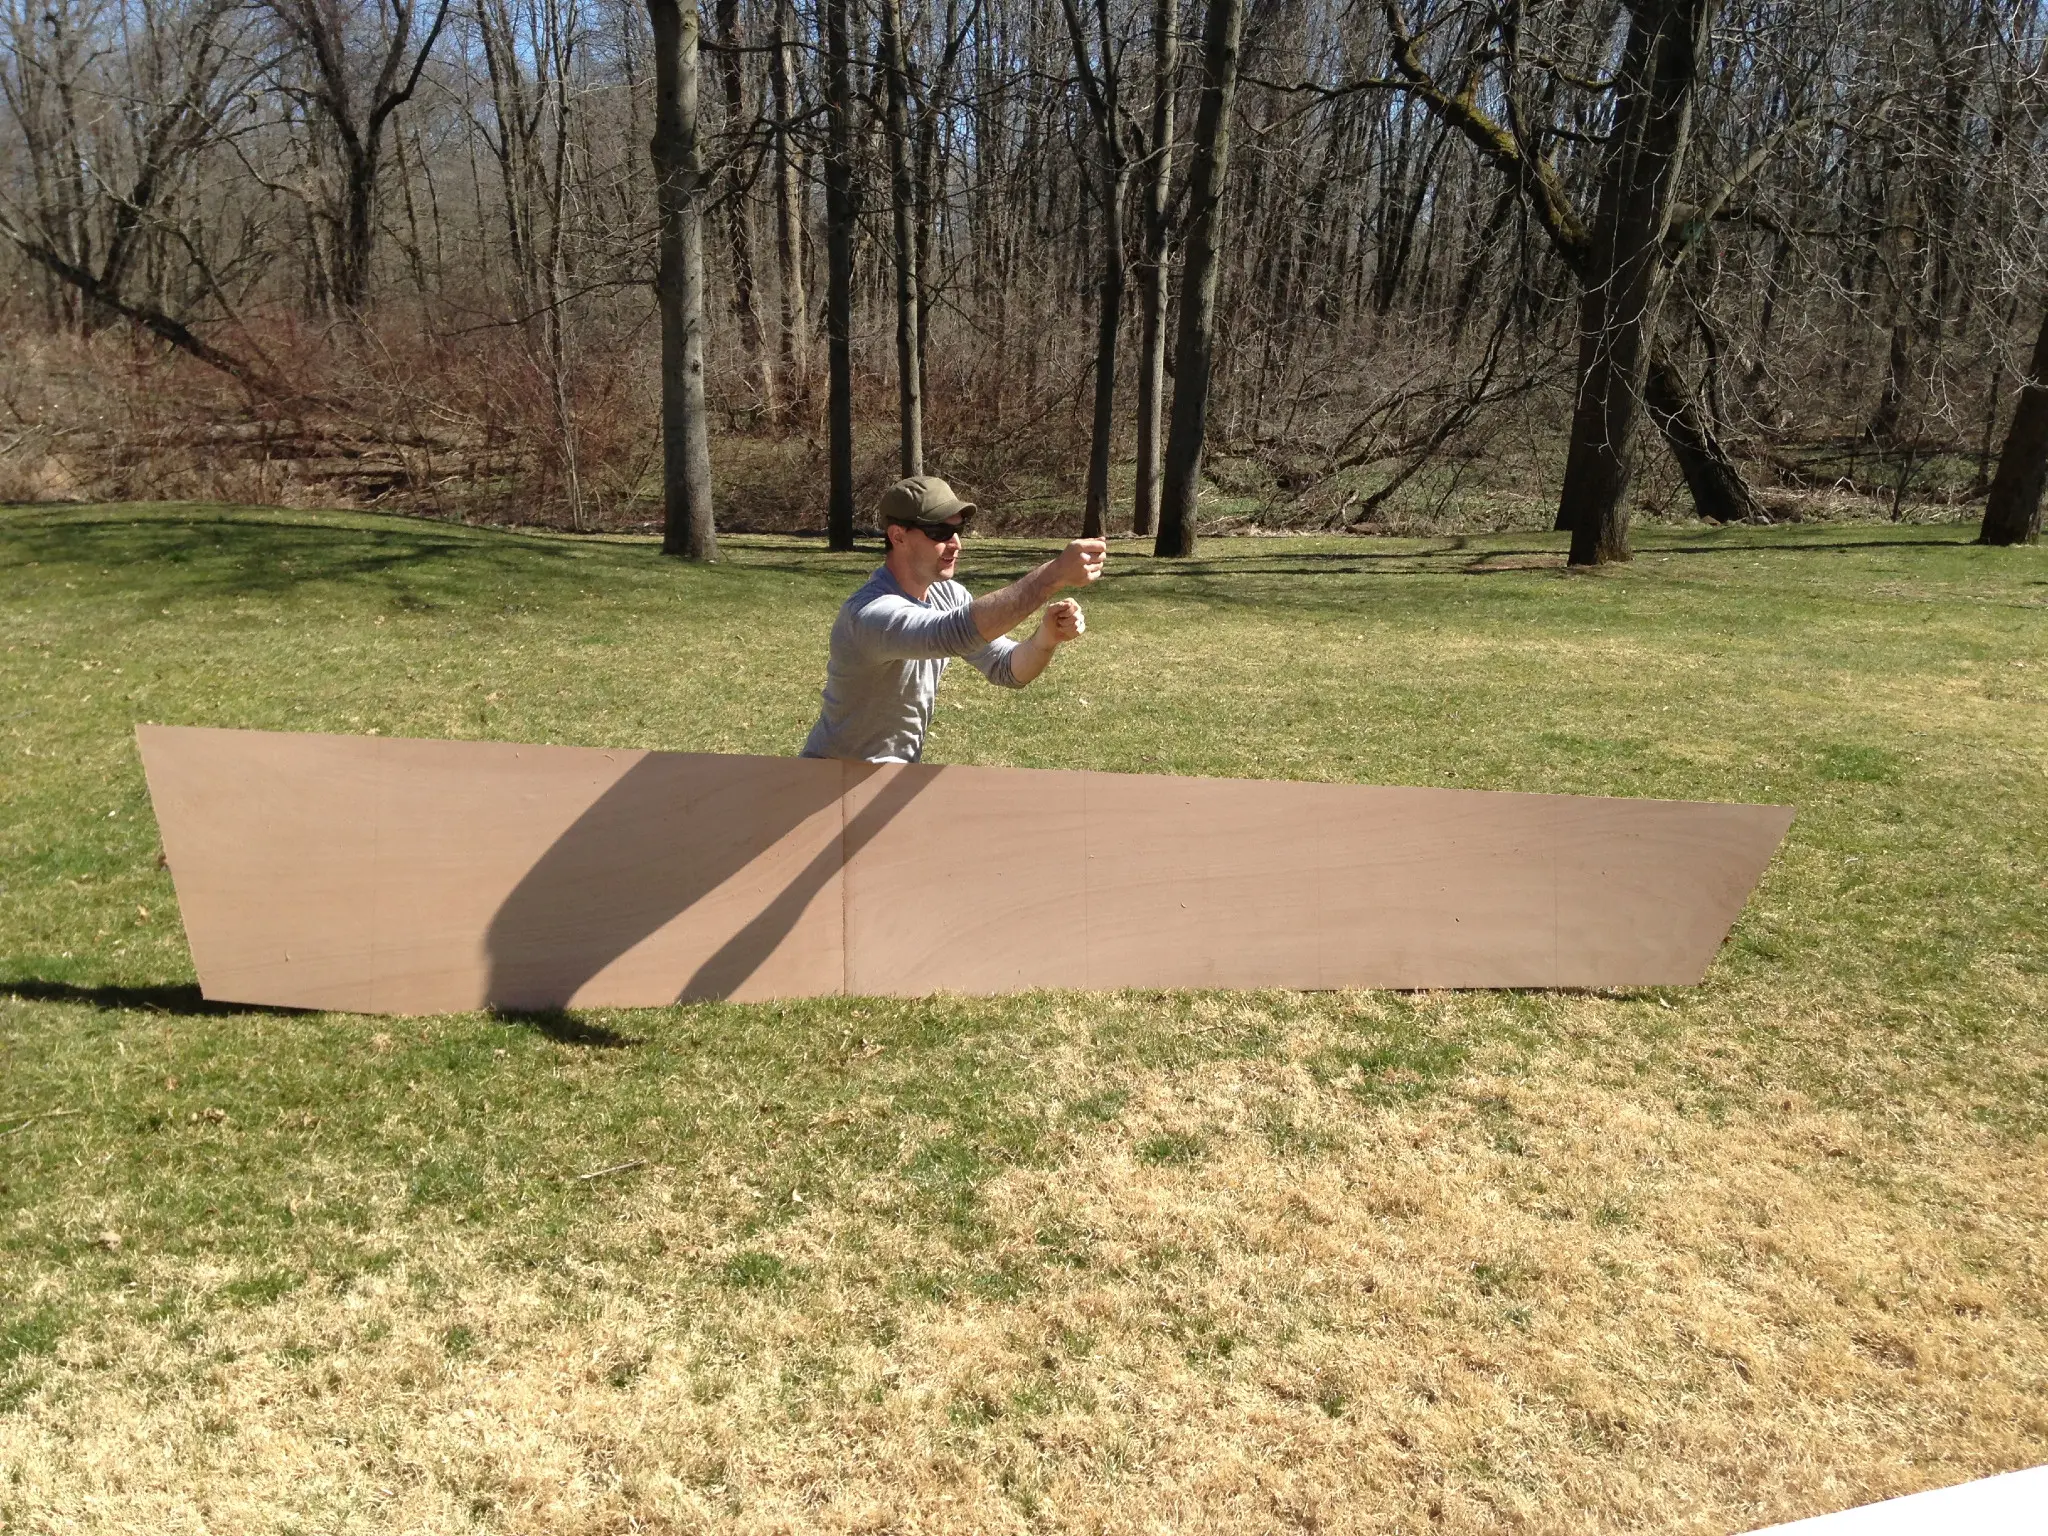
Well, a lots happened since we last left off. After the ribs cured, Mack got to work during the week on a few things to keep us moving. He notched the ribs for the Chines, made the transom cut from our 3/4 in. Fir, attached Rib 7 to the transom, and clamped and glued 2 of our leftovers planed studs together to use for the stem, saving us the need for a 4x4 piece. More importantly, Mack scarfed the two plywood sheets together for the sides at his shop, as the weather was not ideal for outdoor curing. To make the scarf cuts, He made a jig for the 7.5 in circular saw. It actually worked quite well. We transported the 16 foot piece of plywood using a borrowed flatbed from Mack's workplace, thanks to Brook and the guys at ESI. This set us up nice to break out the glue on the weekend and begin attached the sidewalls.
1. 7th Rib notched and attached to cut transom
2. SCARF one done! This is one of the hardest cuts in the process.
3. Our future stem...
4. plywood pre sidewall cut
5. ......plywood post cut
6. they bitin?
Photo 1 Photo 2 Photo 3 Photo 4 Photo 5 Photo 6
10 Apr 2013Planning & Research
A special thanks
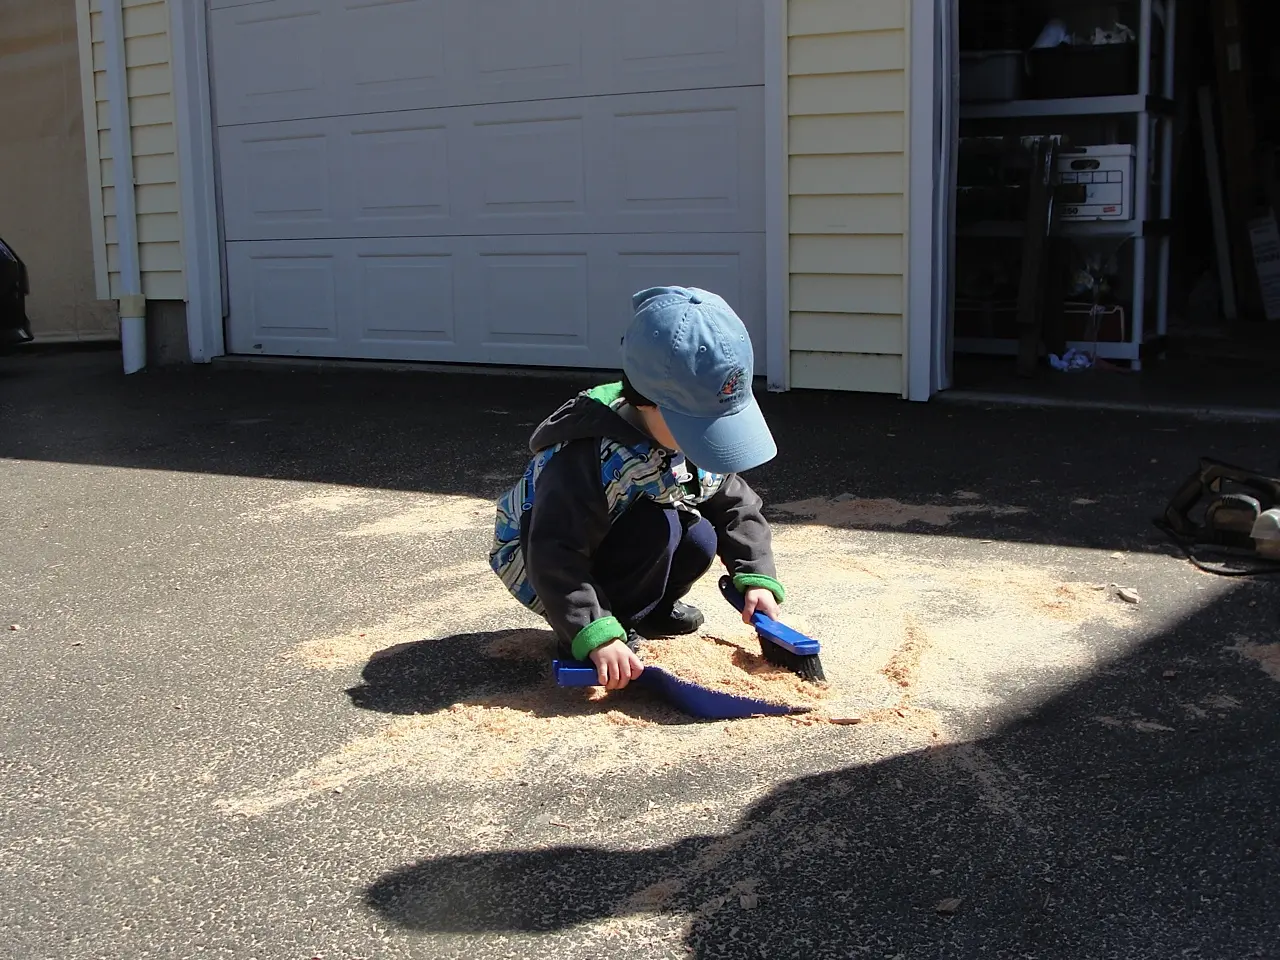
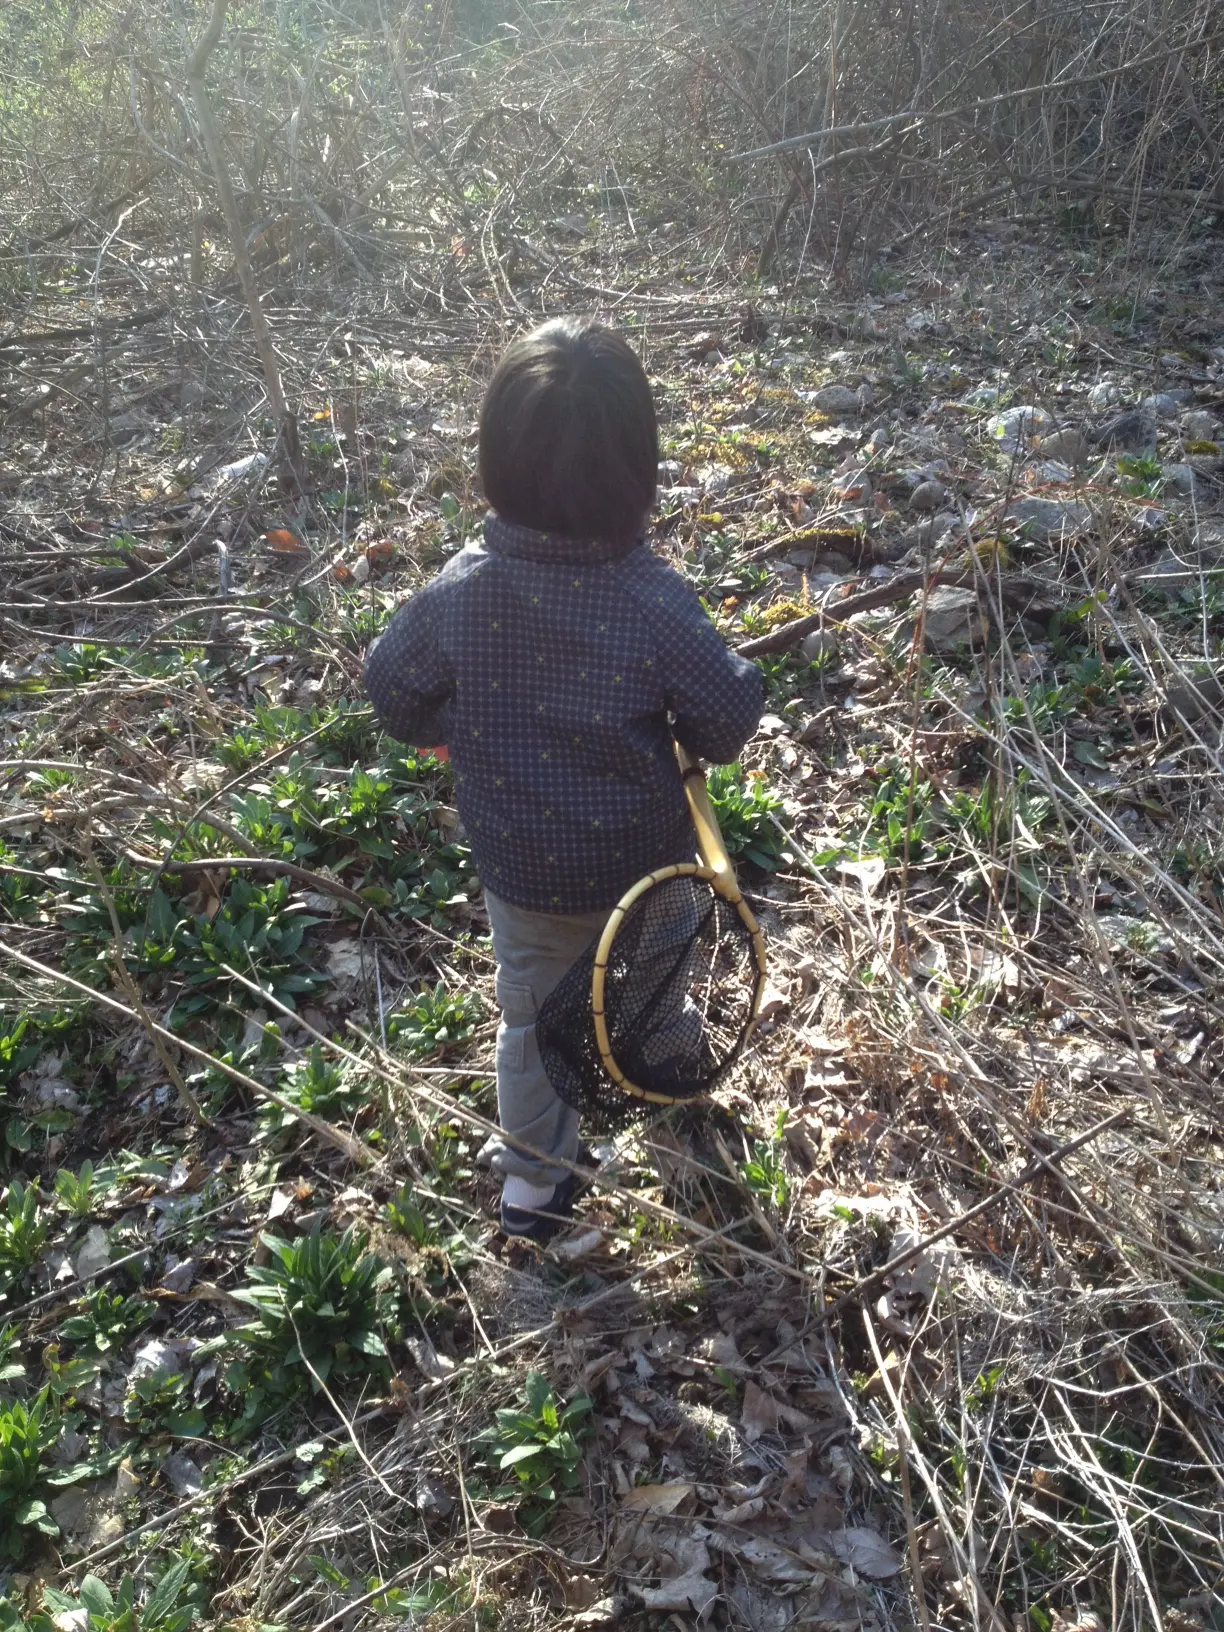
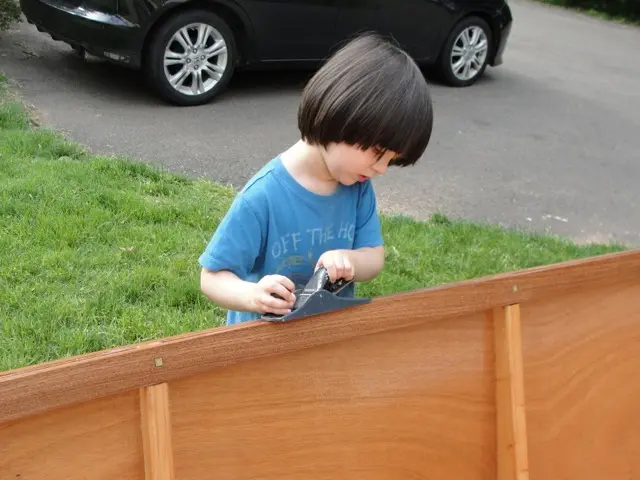
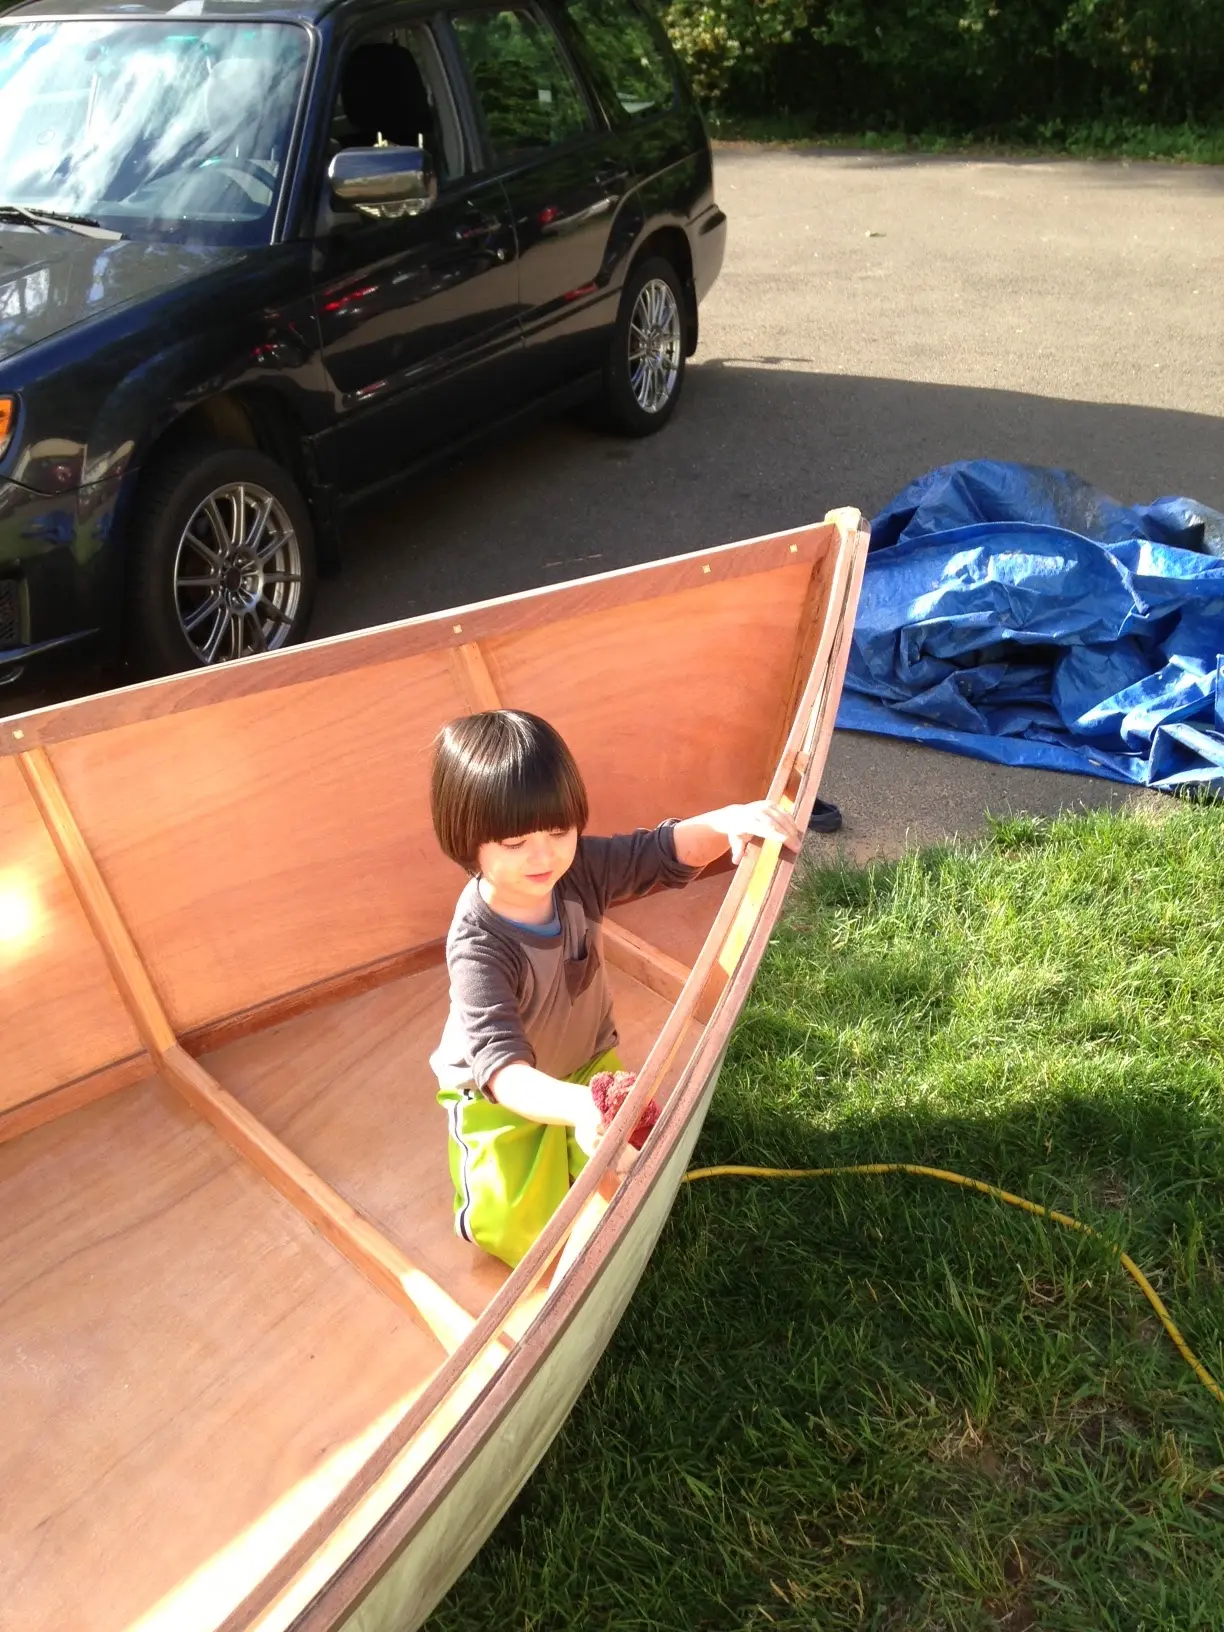
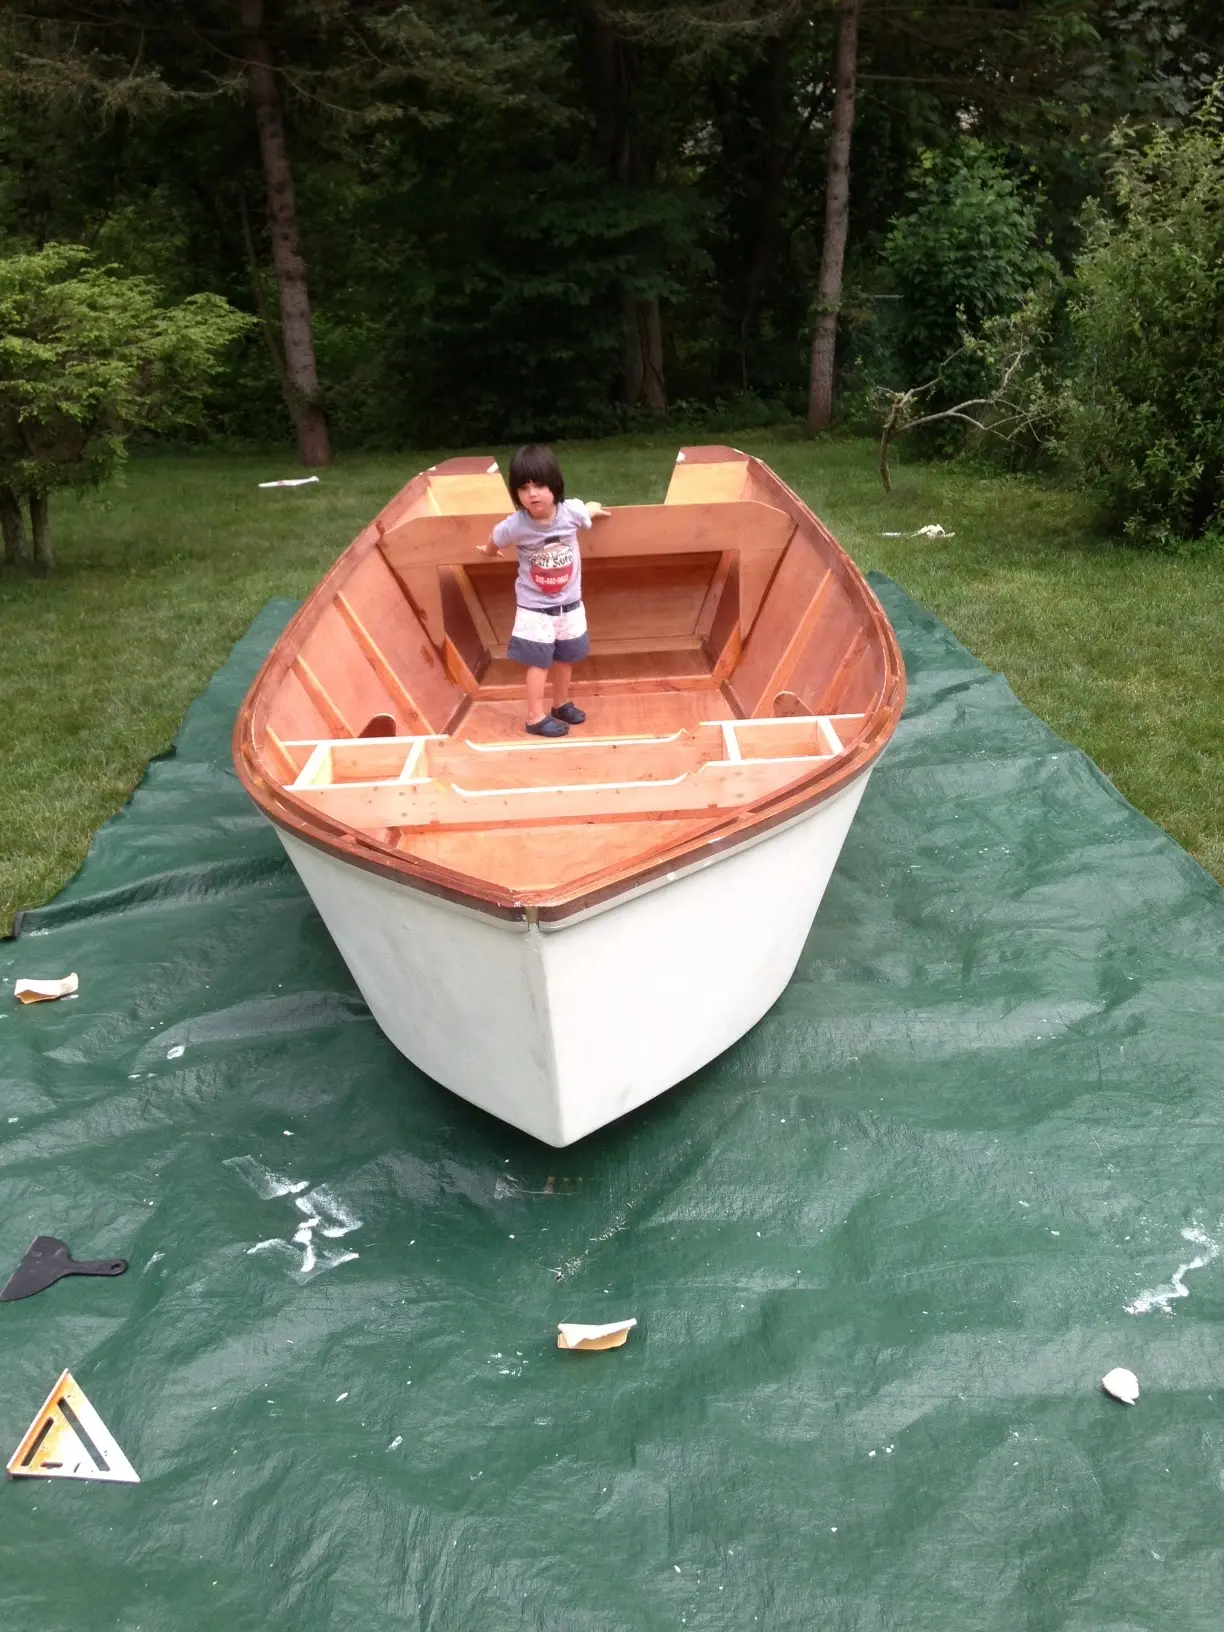
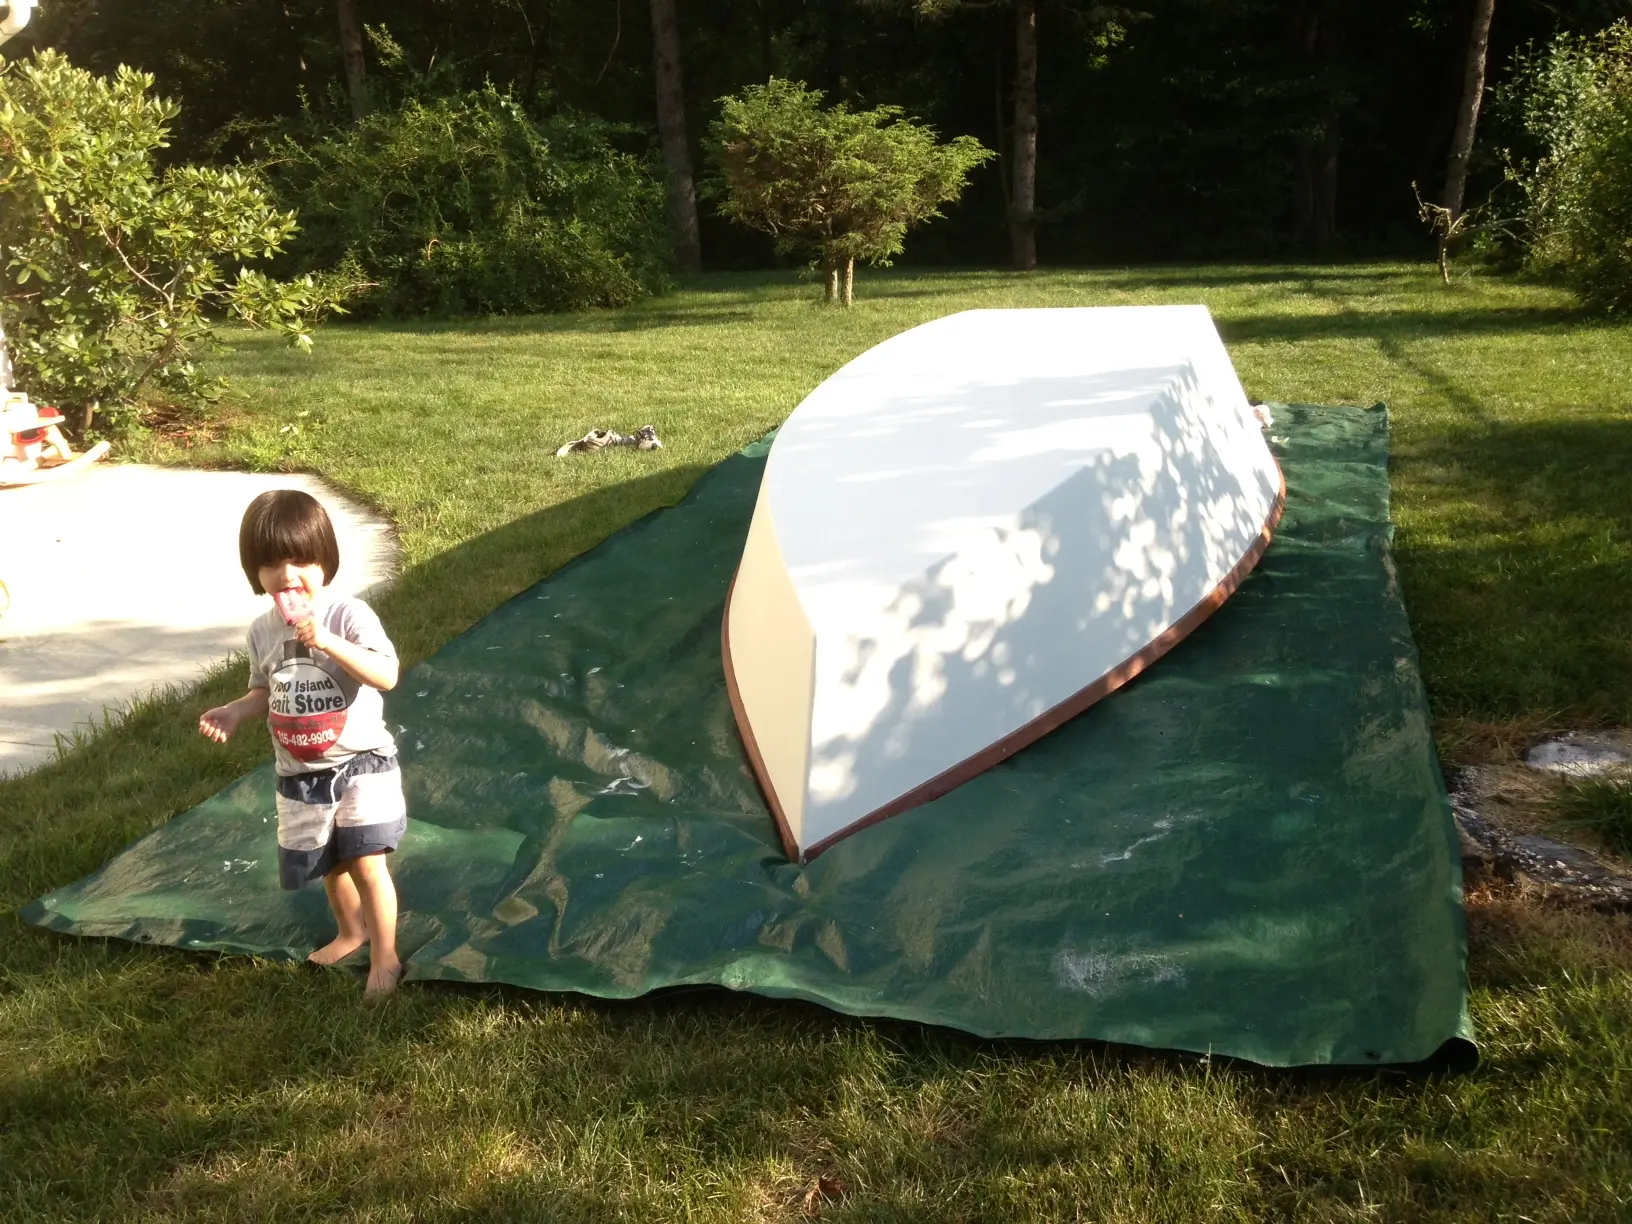
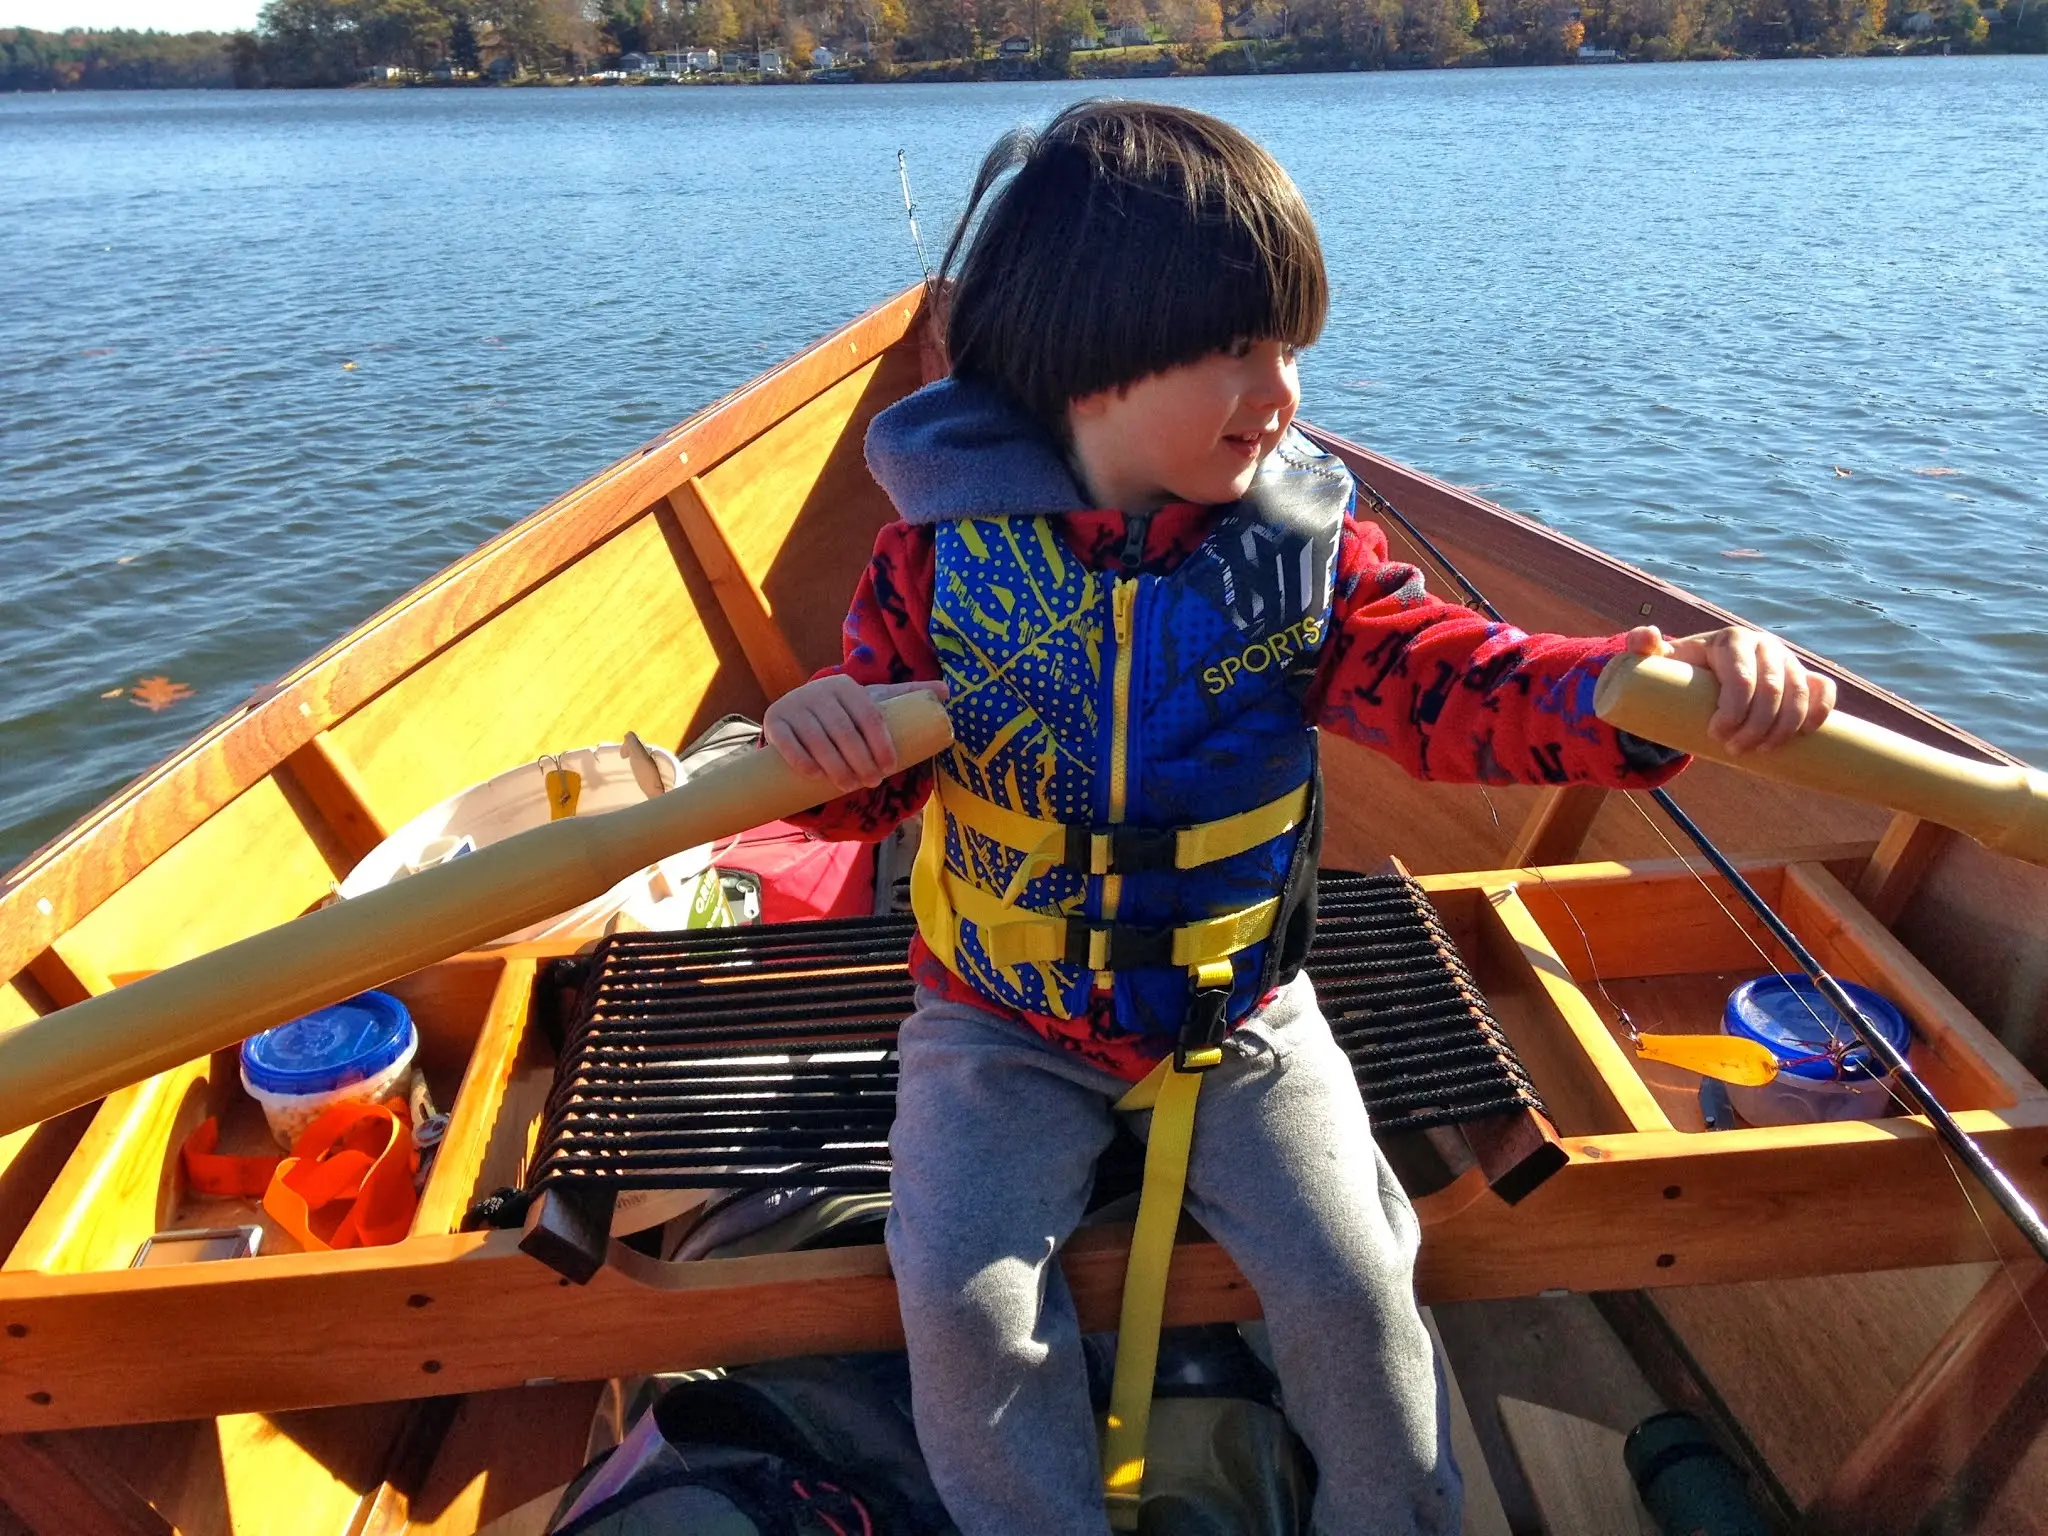
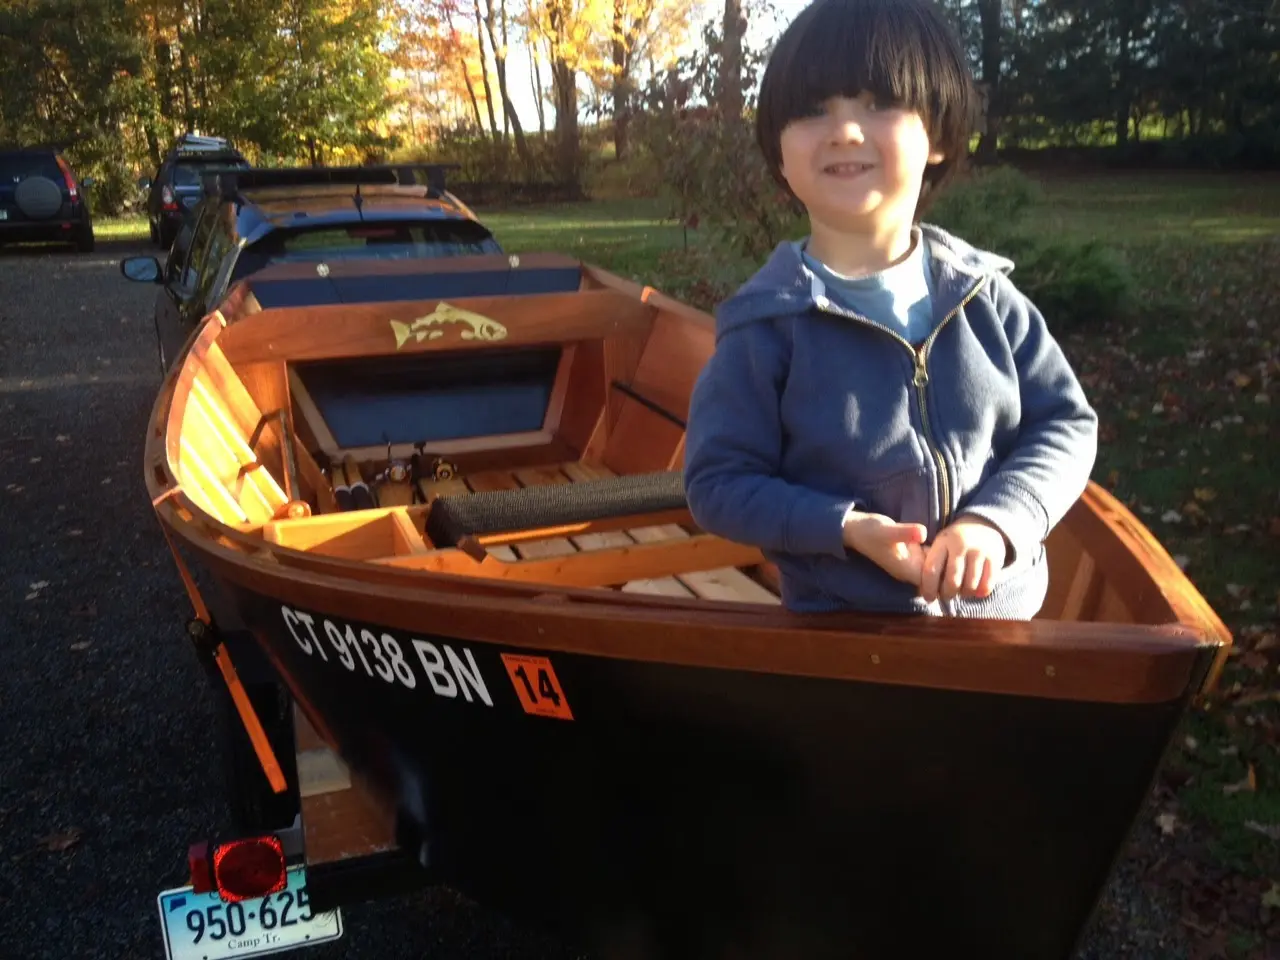
To our shop hand, Bross Mackenzie Hodges......
Before anyone calls the department of labor or child welfare, it should also be noted the Bross is also the job supervisor and can be a relentless taskmaster, we often joke that the "R" in his name is silent....yes thats a tear I'm wiping from my eye, just couldn't take the pressure.....
Photo 1 Photo 2
17 Apr 2013Planning & Research
Another Special Thanks
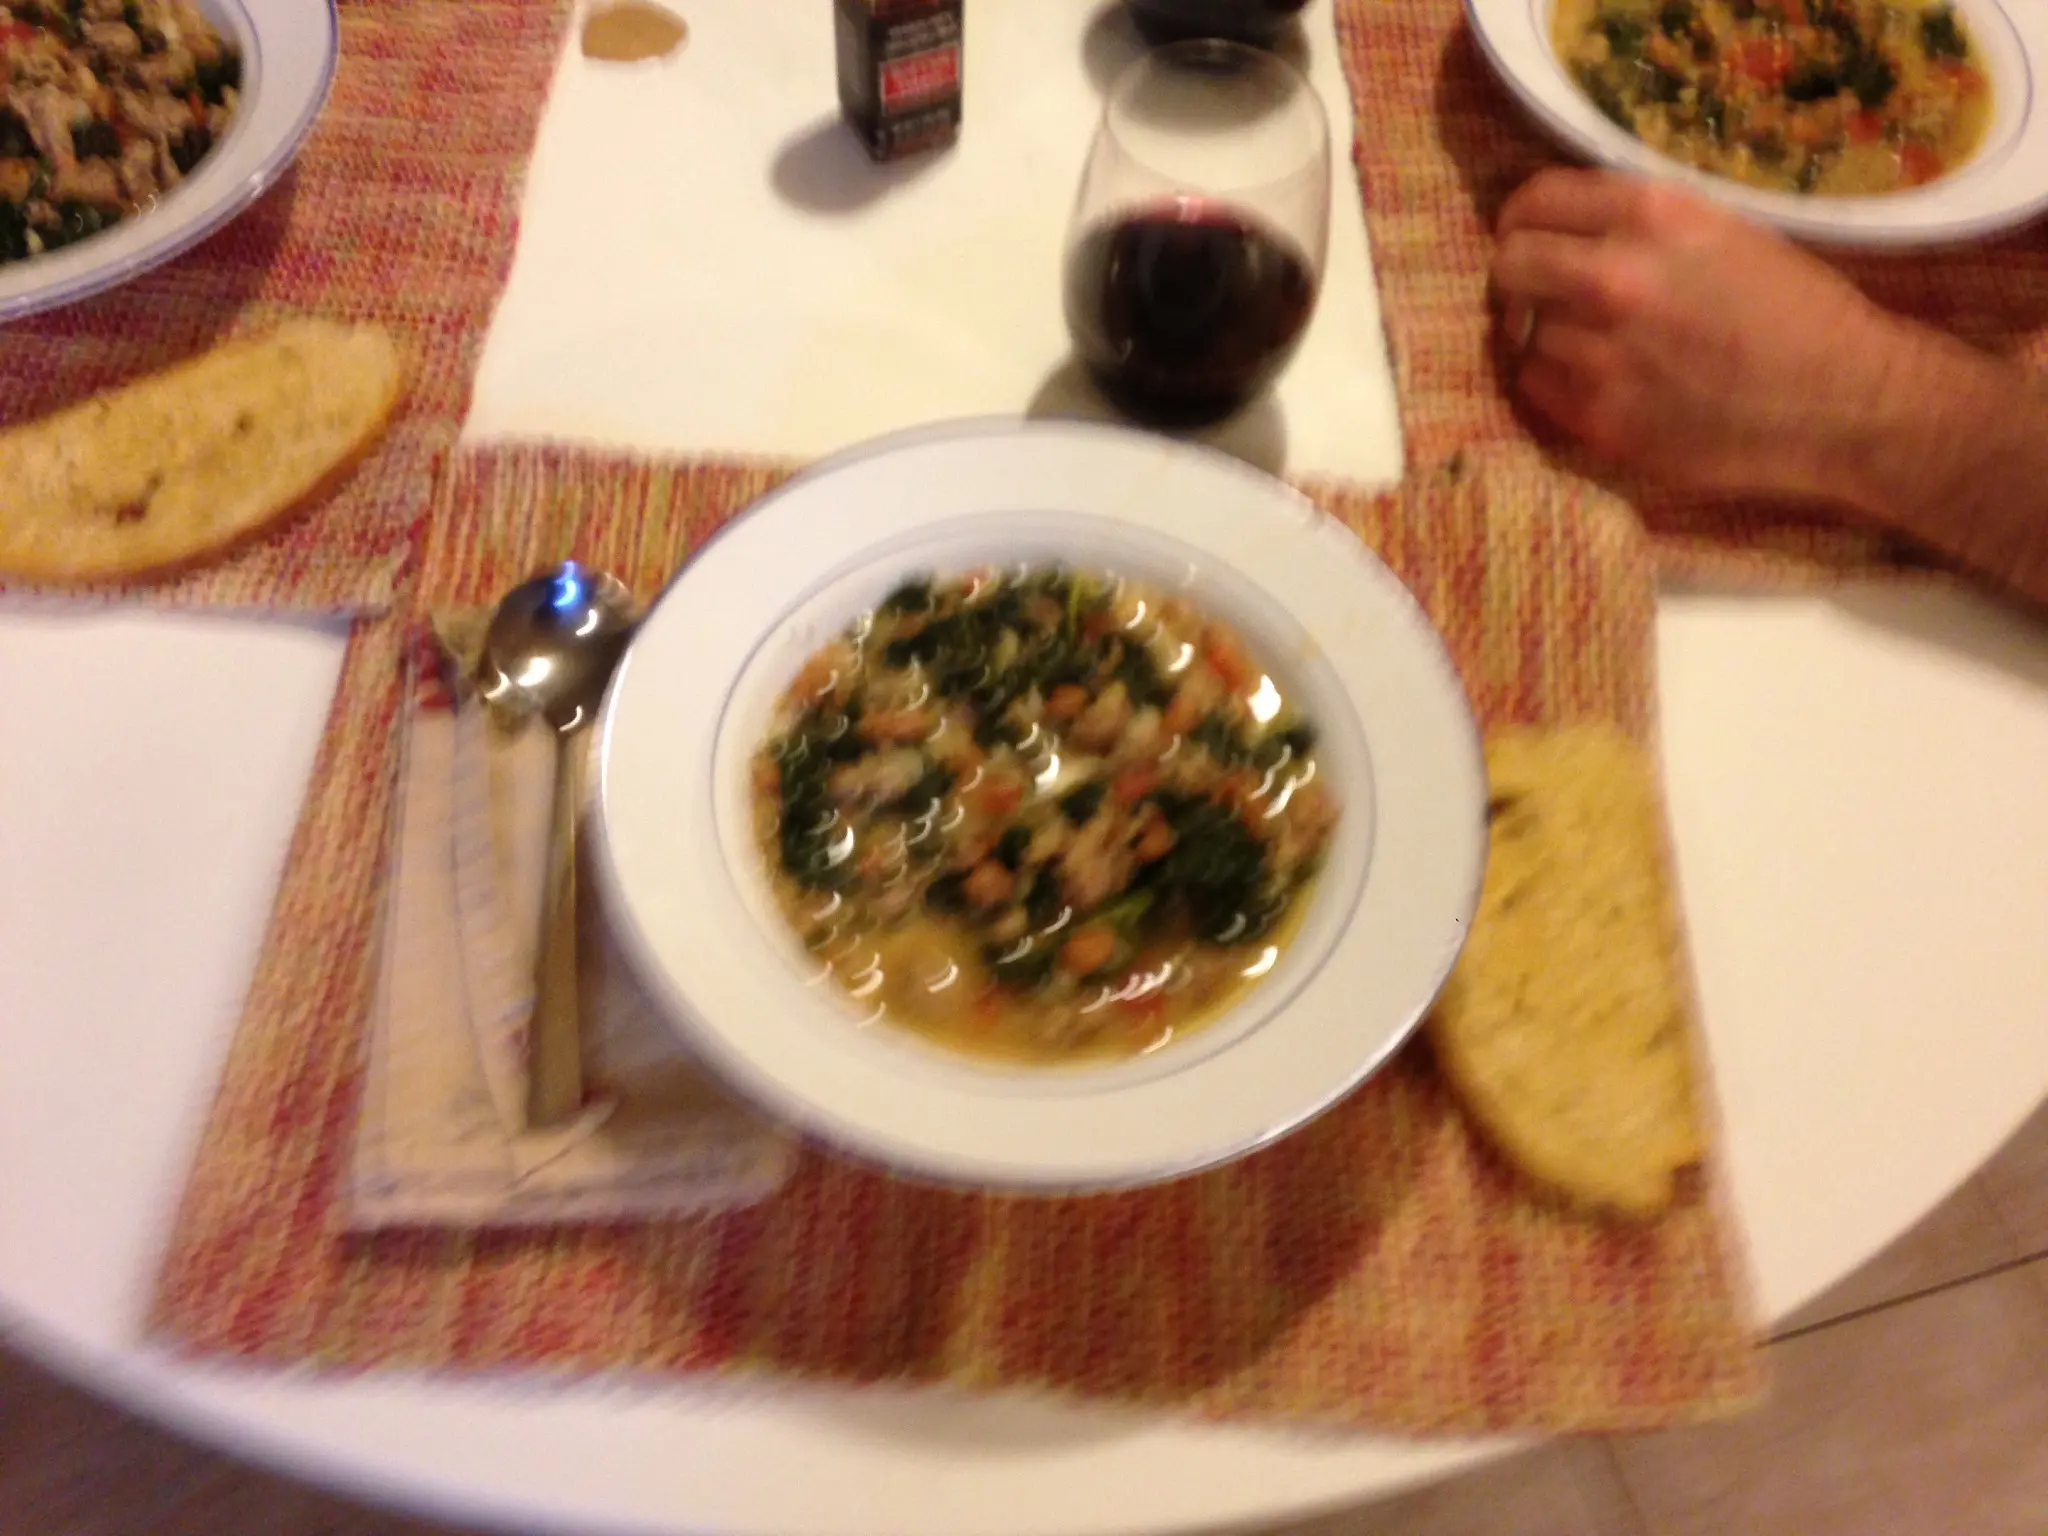
To Natalie, Mack's wife. Not only has she been supportive sharing her time, but she has been a gracious host. I camped out at Mack's last weekend to work on the boat and we had delicious meals breakfast lunch and dinner! Highlight of the weekend was a Kale, sausage and white bean soup with Cheese crostini that was absolutely delicious, i took a pic but it came out awful, but heres the recipe....Thanks Nat! sooo tasty.
Kale, Sausage and White Bean Stew from The Gourmet Cookbook
1 tsp olive oil
1 lb bulk Italian sausage (sweet and/or hot) broken into pieces (can use chicken sausage)
5 large garlic cloves, minced
1/2 tsp red pepper flakes
1 head Kale, trimmed and cut into 1 inch pieces
3 cups cooked or canned white beans (drain and rinse canned)
3 cups chicken broth
1/2 stick (4 tblsp) unsealed butter -I don't always include this
1/2 cup grated parm
2 plum tomatoes, diced- I sometimes use canned diced
2 tblsp chopped fresh parsley - I don't always include this
Heat oil in soup pot ( I love to use a Dutch oven for this soup) until hot but not smoking. Brown saus, stirring, for 7-10 minutes. Add garlic and red pepper flakes and cook stirring until garlic is softened, about 2 minutes. Add kale and cook, stirring until wilted, about 2 minutes. Add beans and cook, stirring, for 1 minute.
Add stock and bring to a gentle boil. Stir in butter, cheese, tomatoes, and half of parsley and cook, stirring until butter is melted and stew is heated through. Season with salt and pepper.
Chapter 03
Glassing & Epoxy
Sheathing in cloth, wetting out, fill coats.
1 dayfrom April 2013
17 Apr 2013Glassing & Epoxy
Glassin The Hull
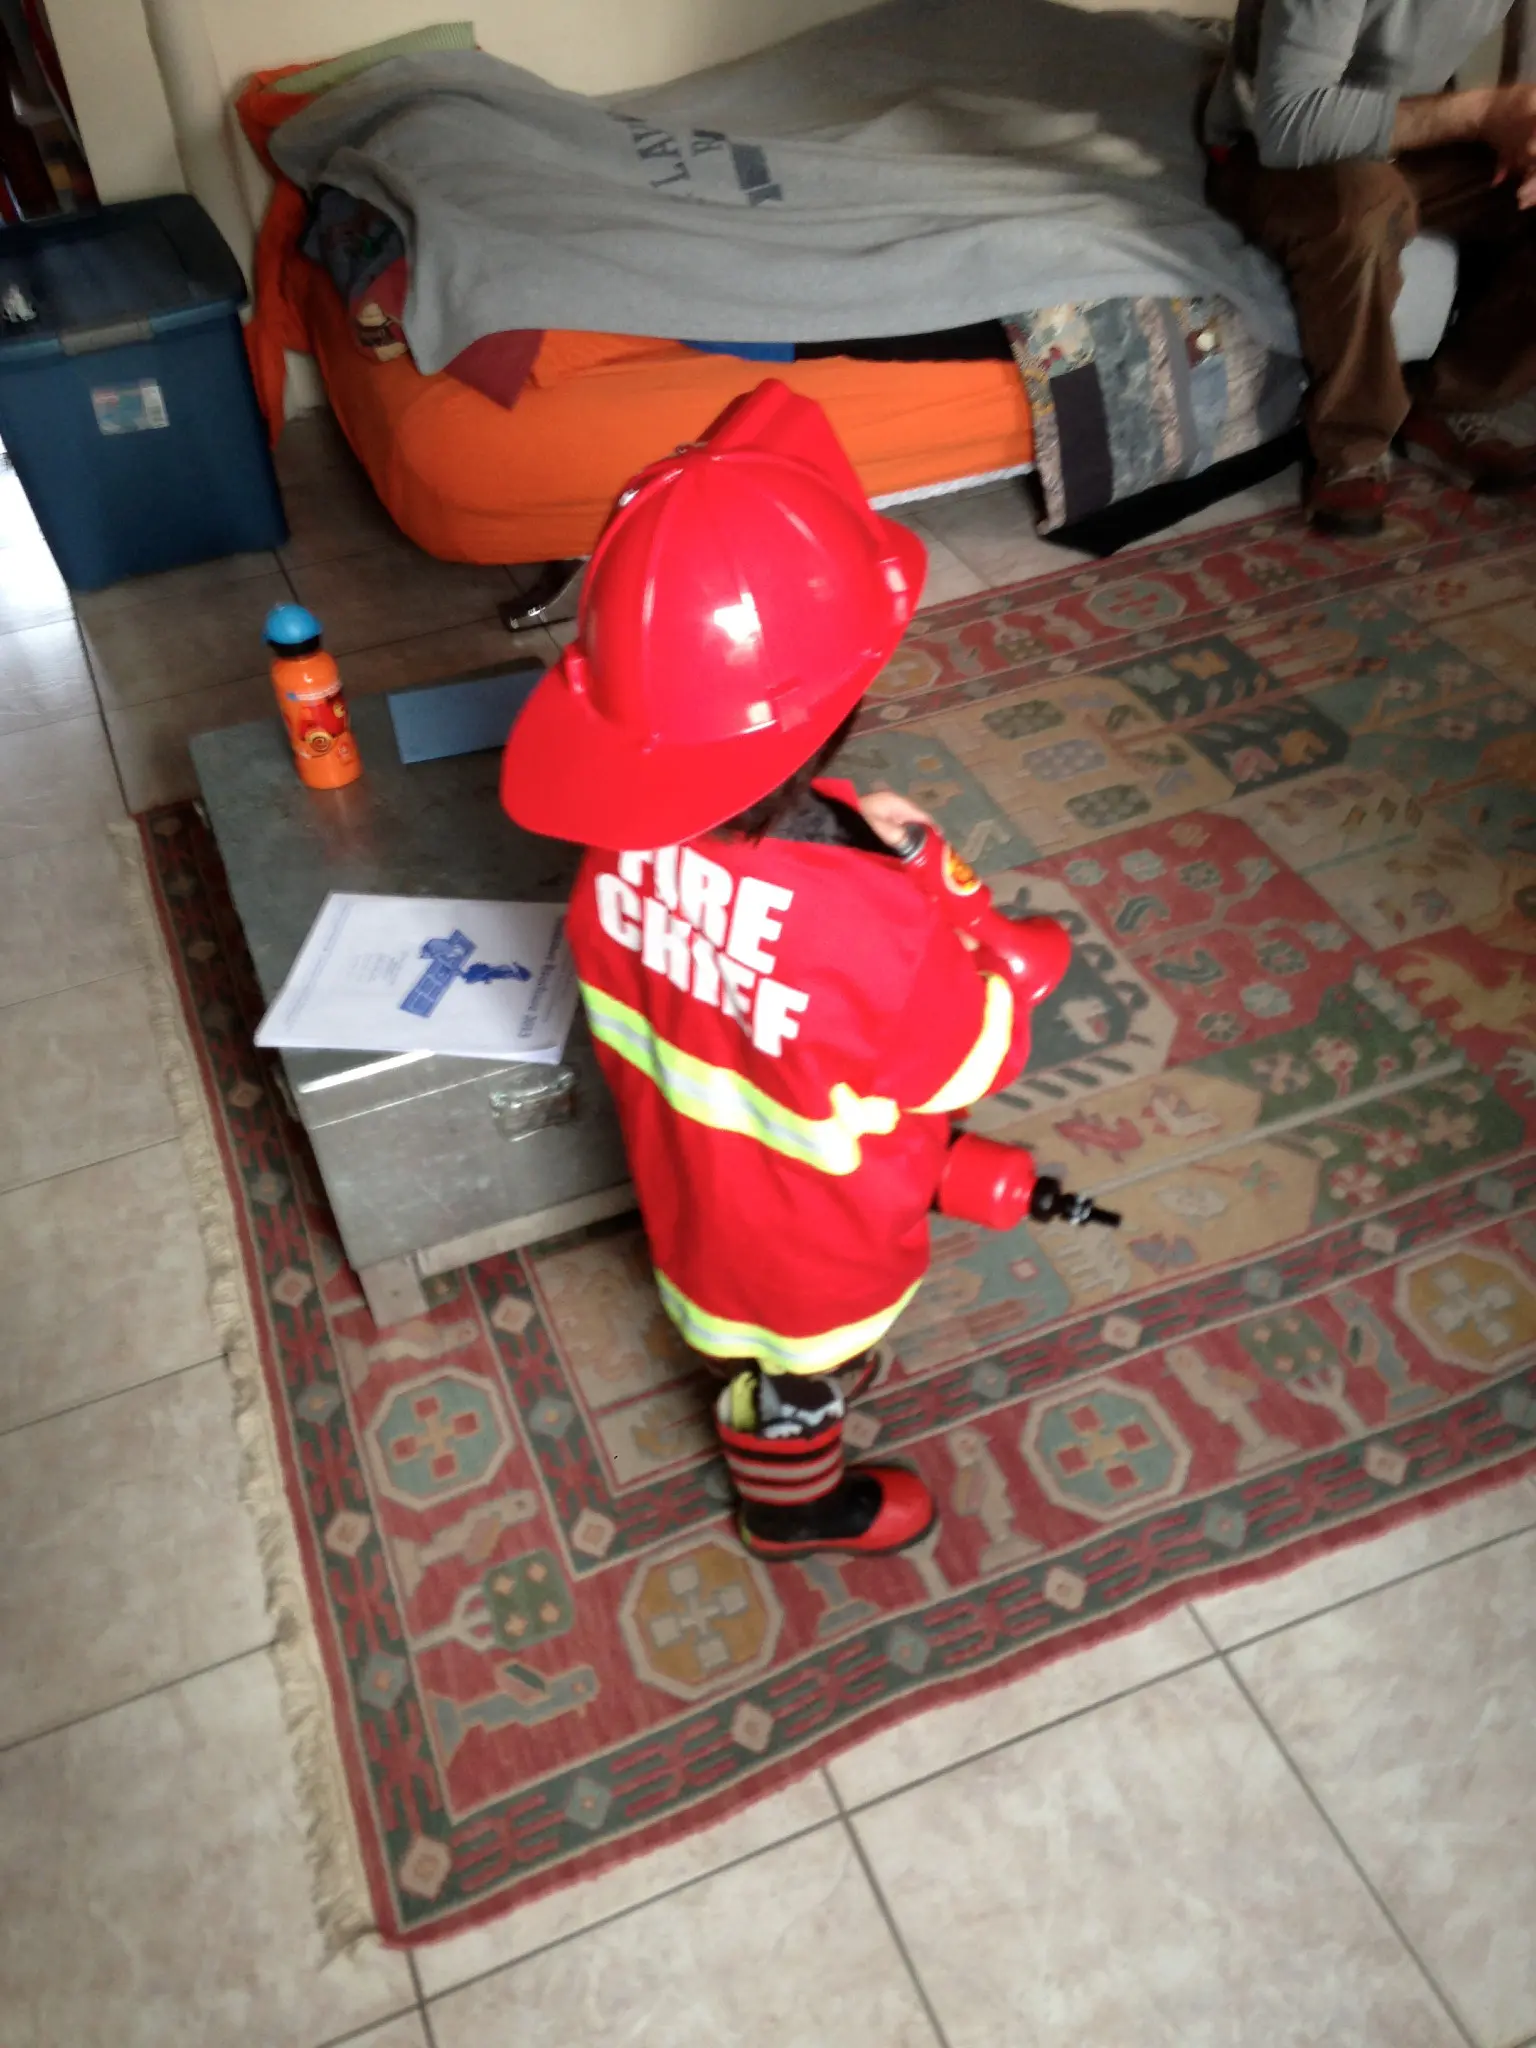
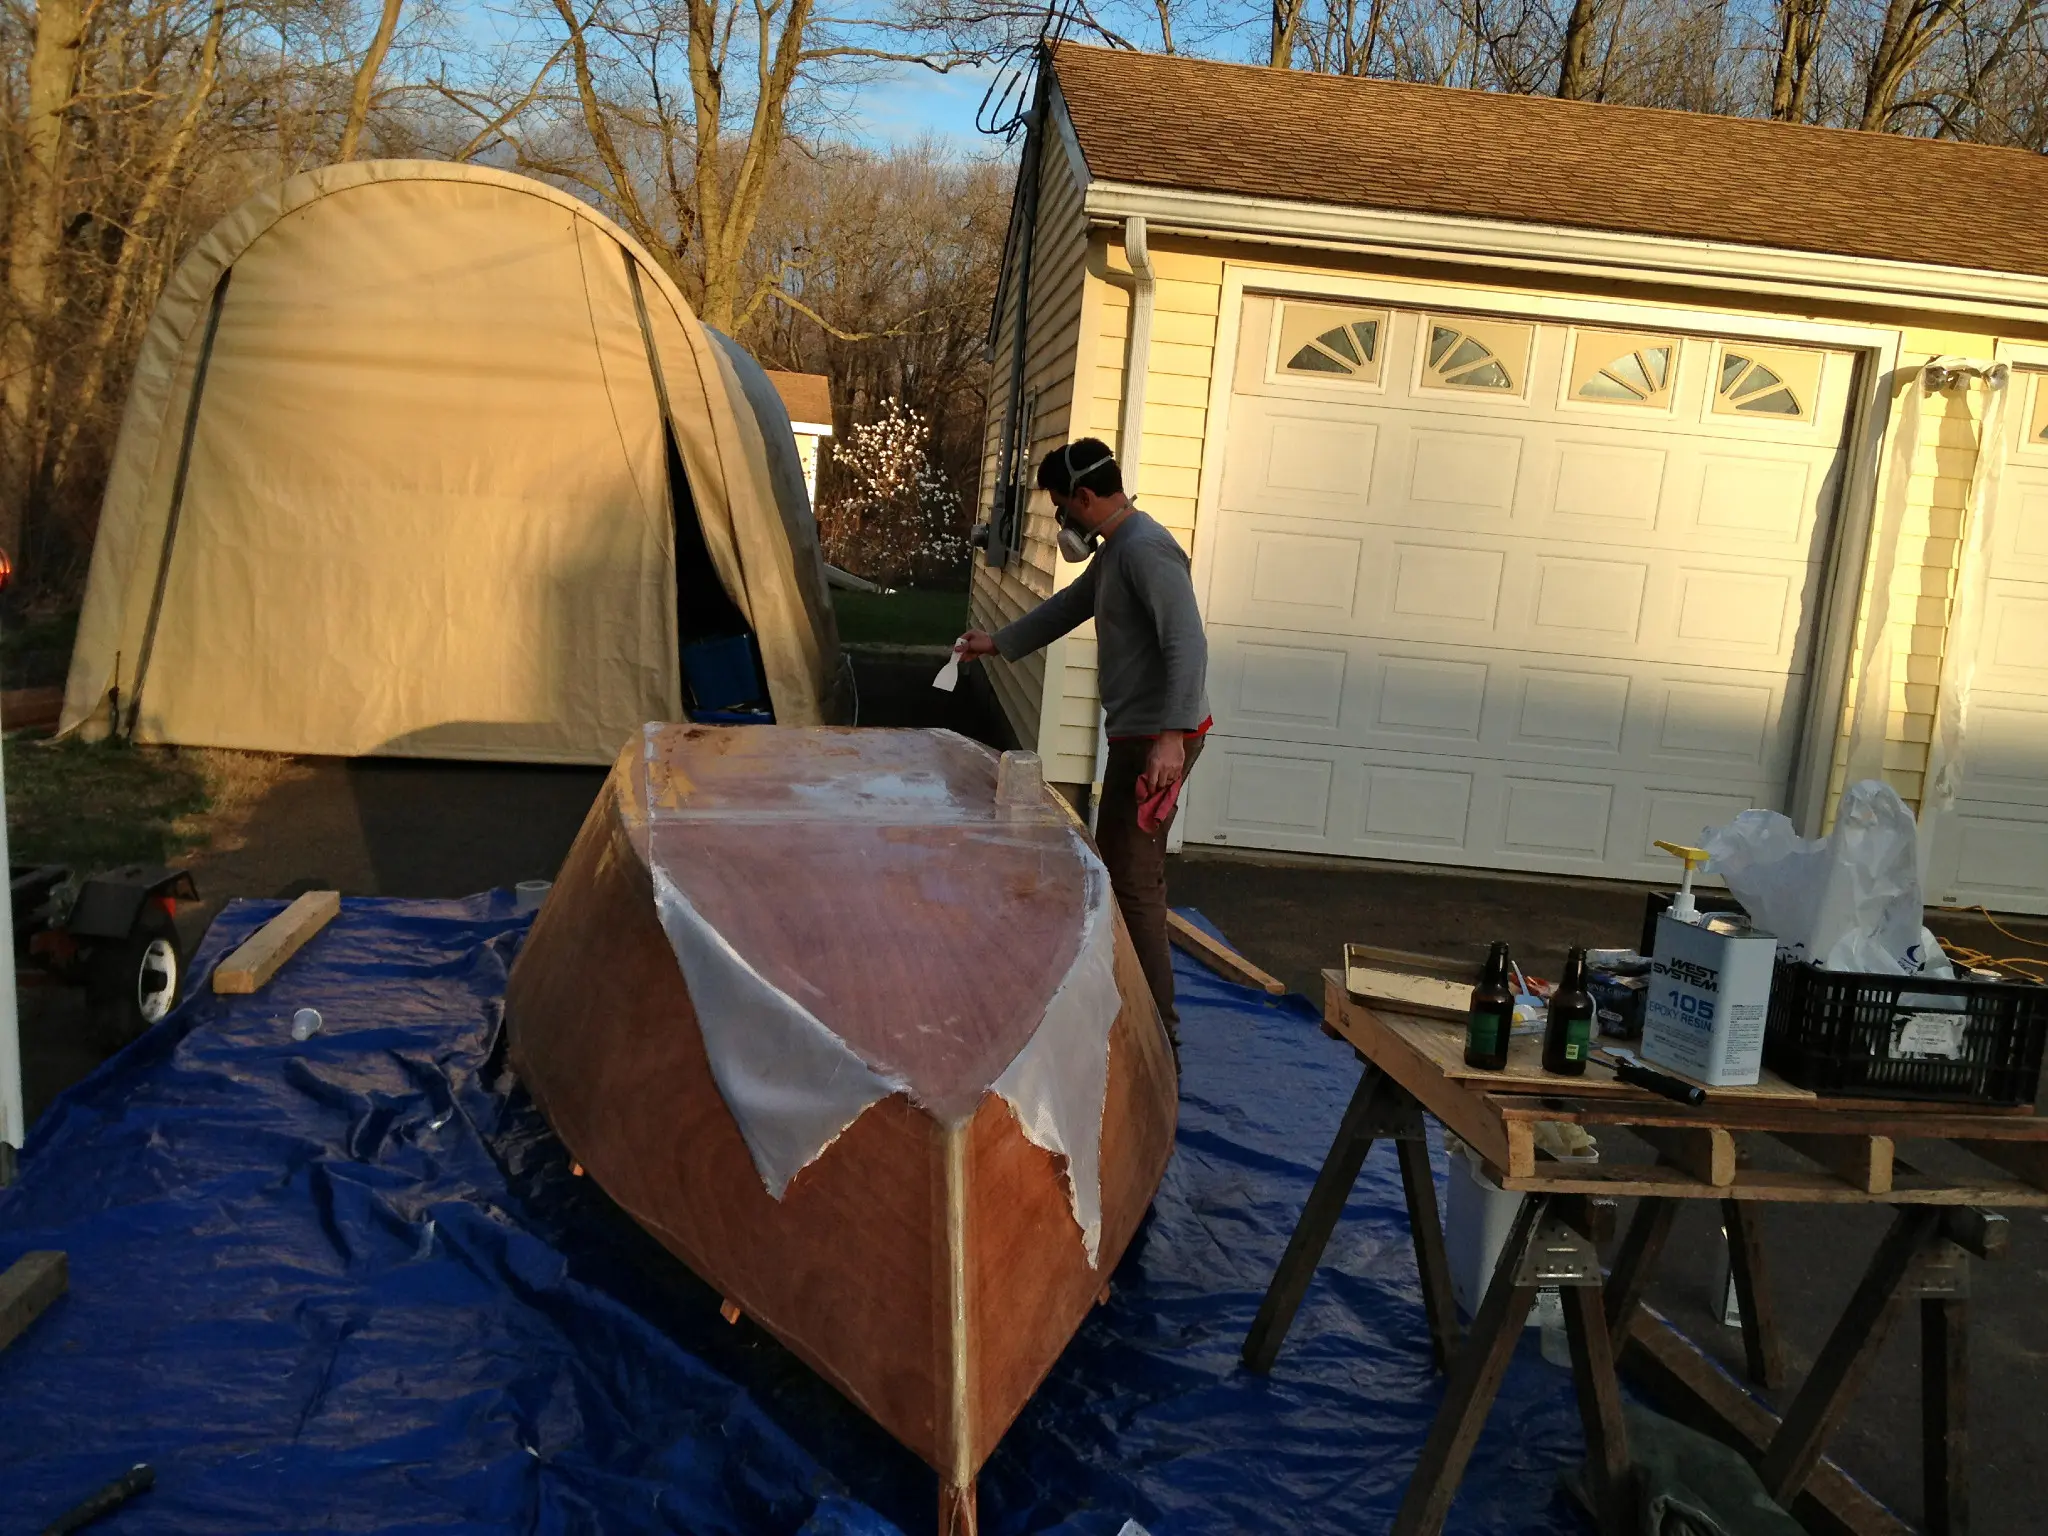
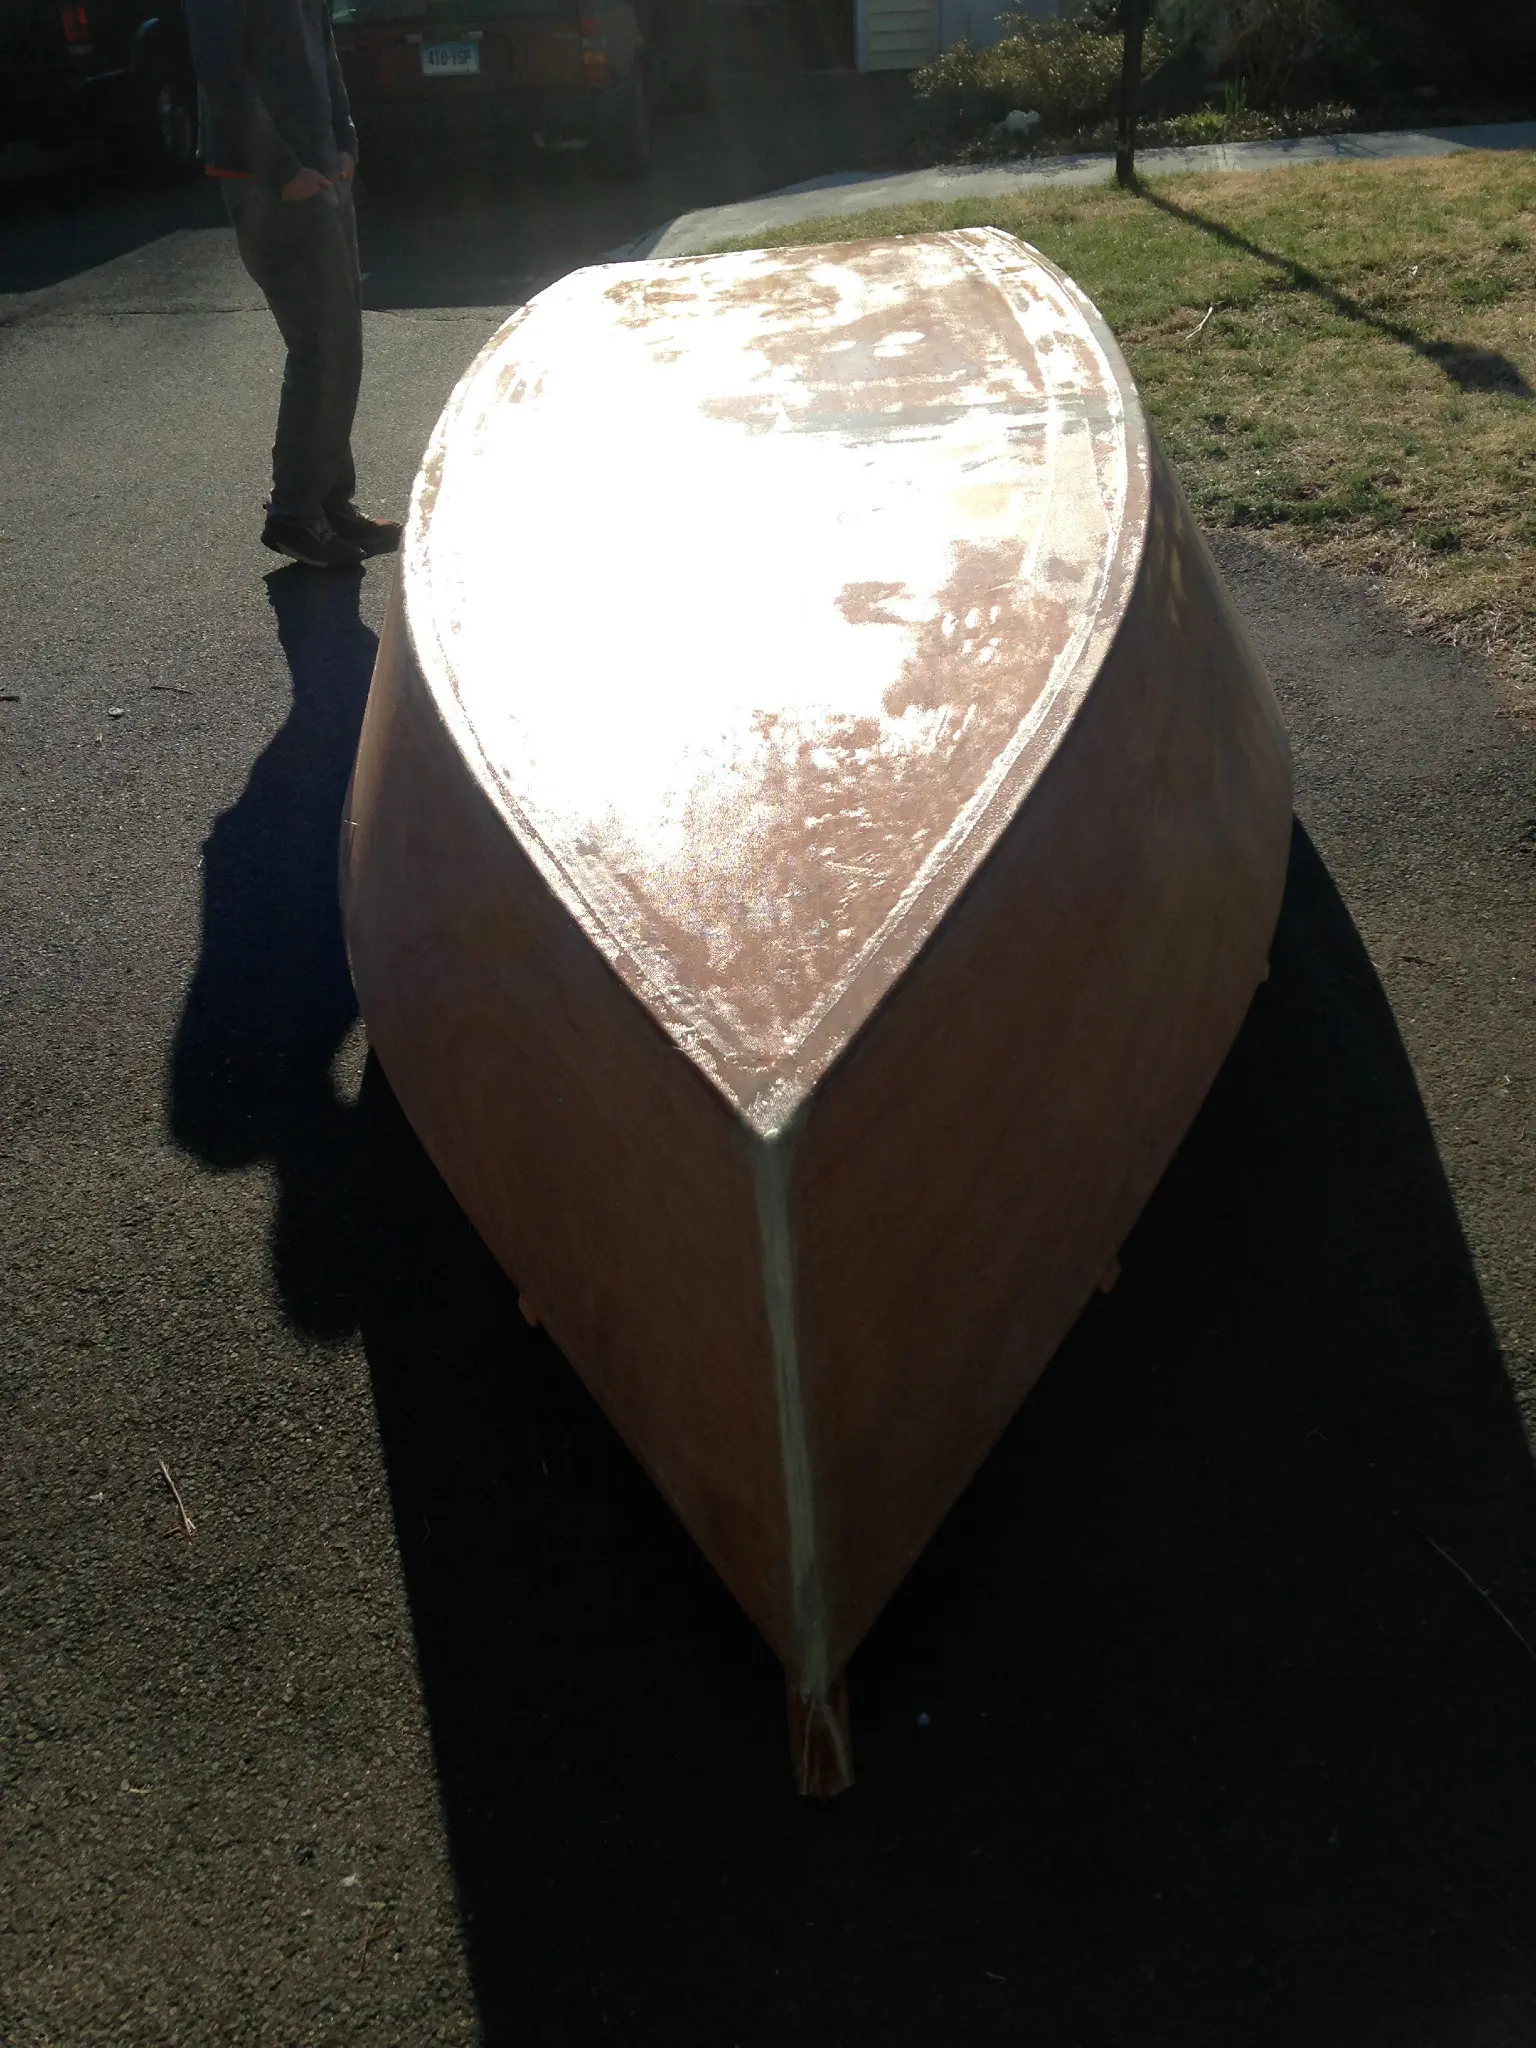
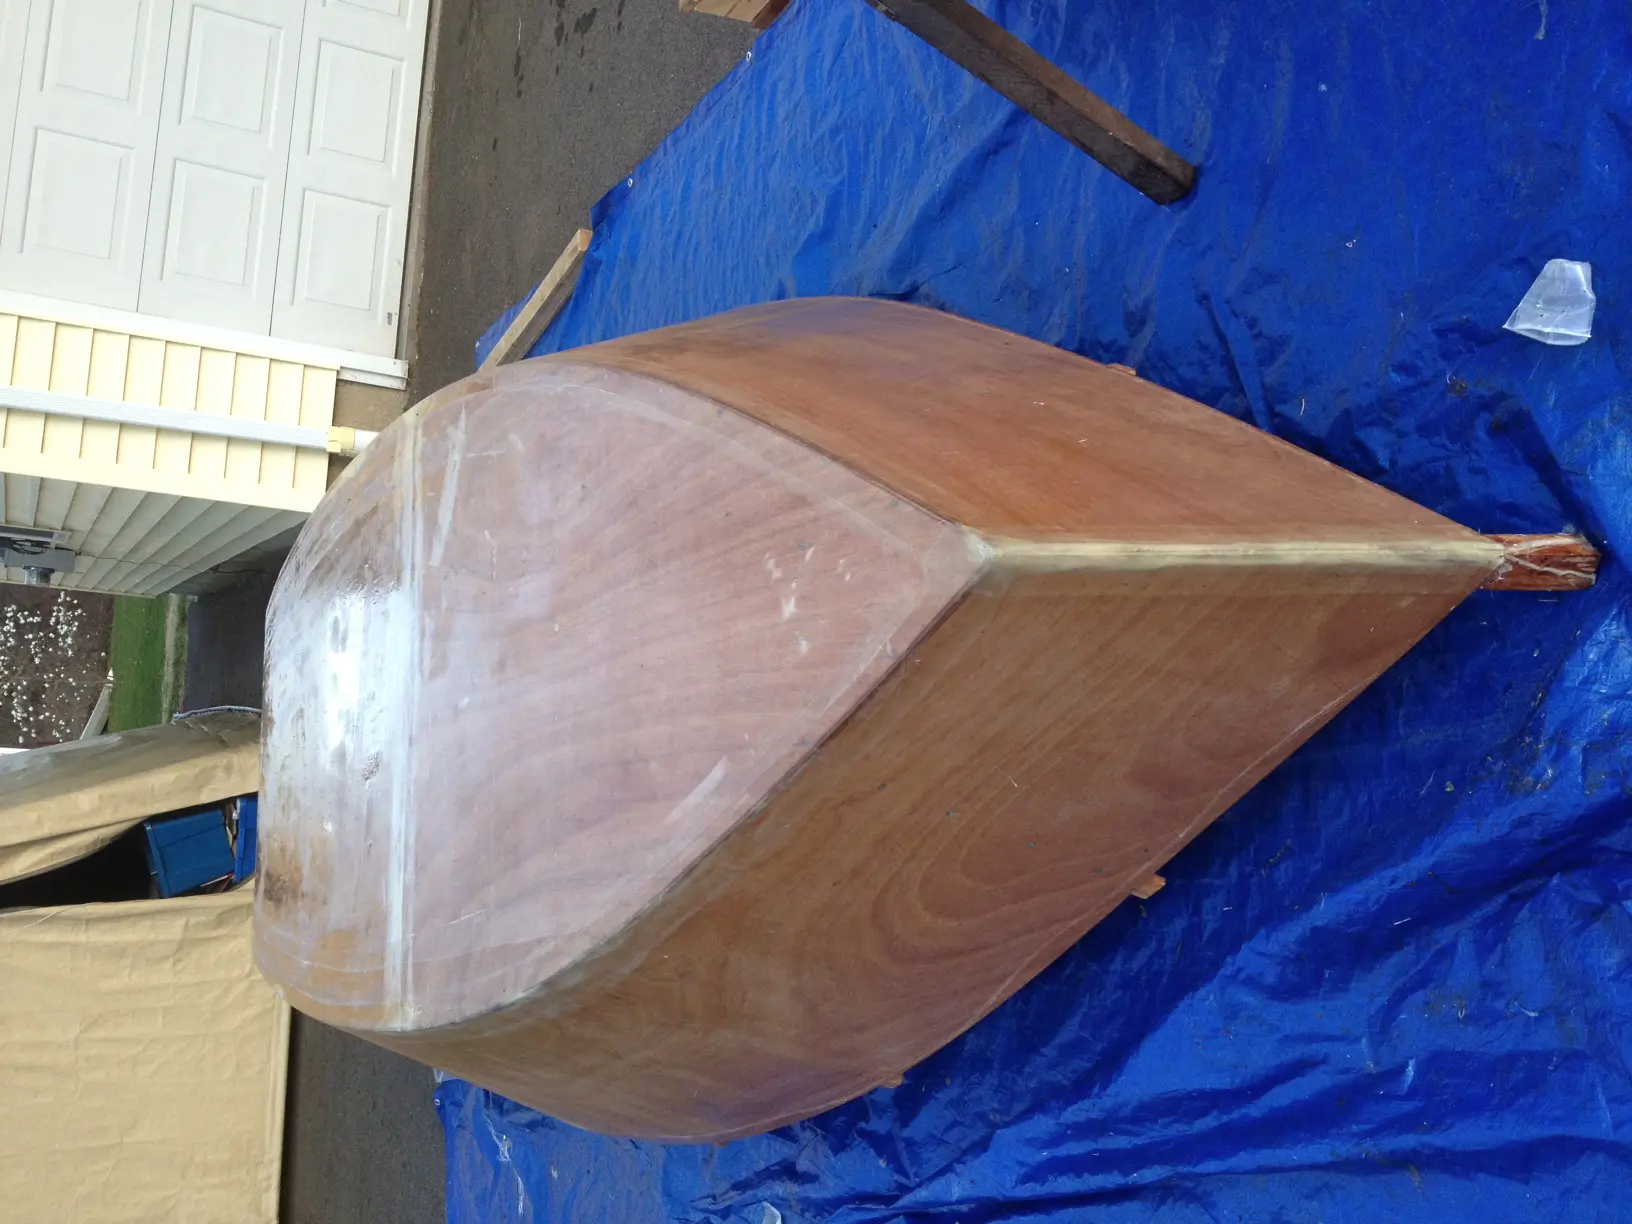
Another busy week. Its getting harder and harder to remember all the steps in our process, but last saturday we glassed the topsides and bottom. First off, all the seams were taped to ad reinforcement using 105/205 and 6 oz 4 inch fiberglass tape. Next, we started on the sides, the hull was wetted with west system 105/205 epoxy and then blanketed with 6oz fiberglass cloth. The cloth was wetted out using rollers, i mixed as Mack rolled. We taped the bottom along the corners with 4 inch tape as well in order to fill in the gap between our 38inch cloth and our 44 inch beam. Then we glassed the center of the bottom with the 38 inch cloth. The port side went flawless, starboard had some difficulties but we managed to keep our cool, and the bottom went on pretty easy although we did come down to our very last drop of epoxy at the end, talk about cuttin it close! After a short visit from the Fire Cheif we were on our way, thankfully he didn't shut us down.....
On Sunday we tackled the transom and interior. First Mack trimmed all the rib stems and then notched out the motor well. While he sanded out the interior I glassed the transom with 6oz glass fabric and we cut it to fit. Then we coated the entire interior with 105/205 epoxy using rollers and trimming and finishing with brushes. While we waited for it to cure we took Bross to the river to catch some trout....
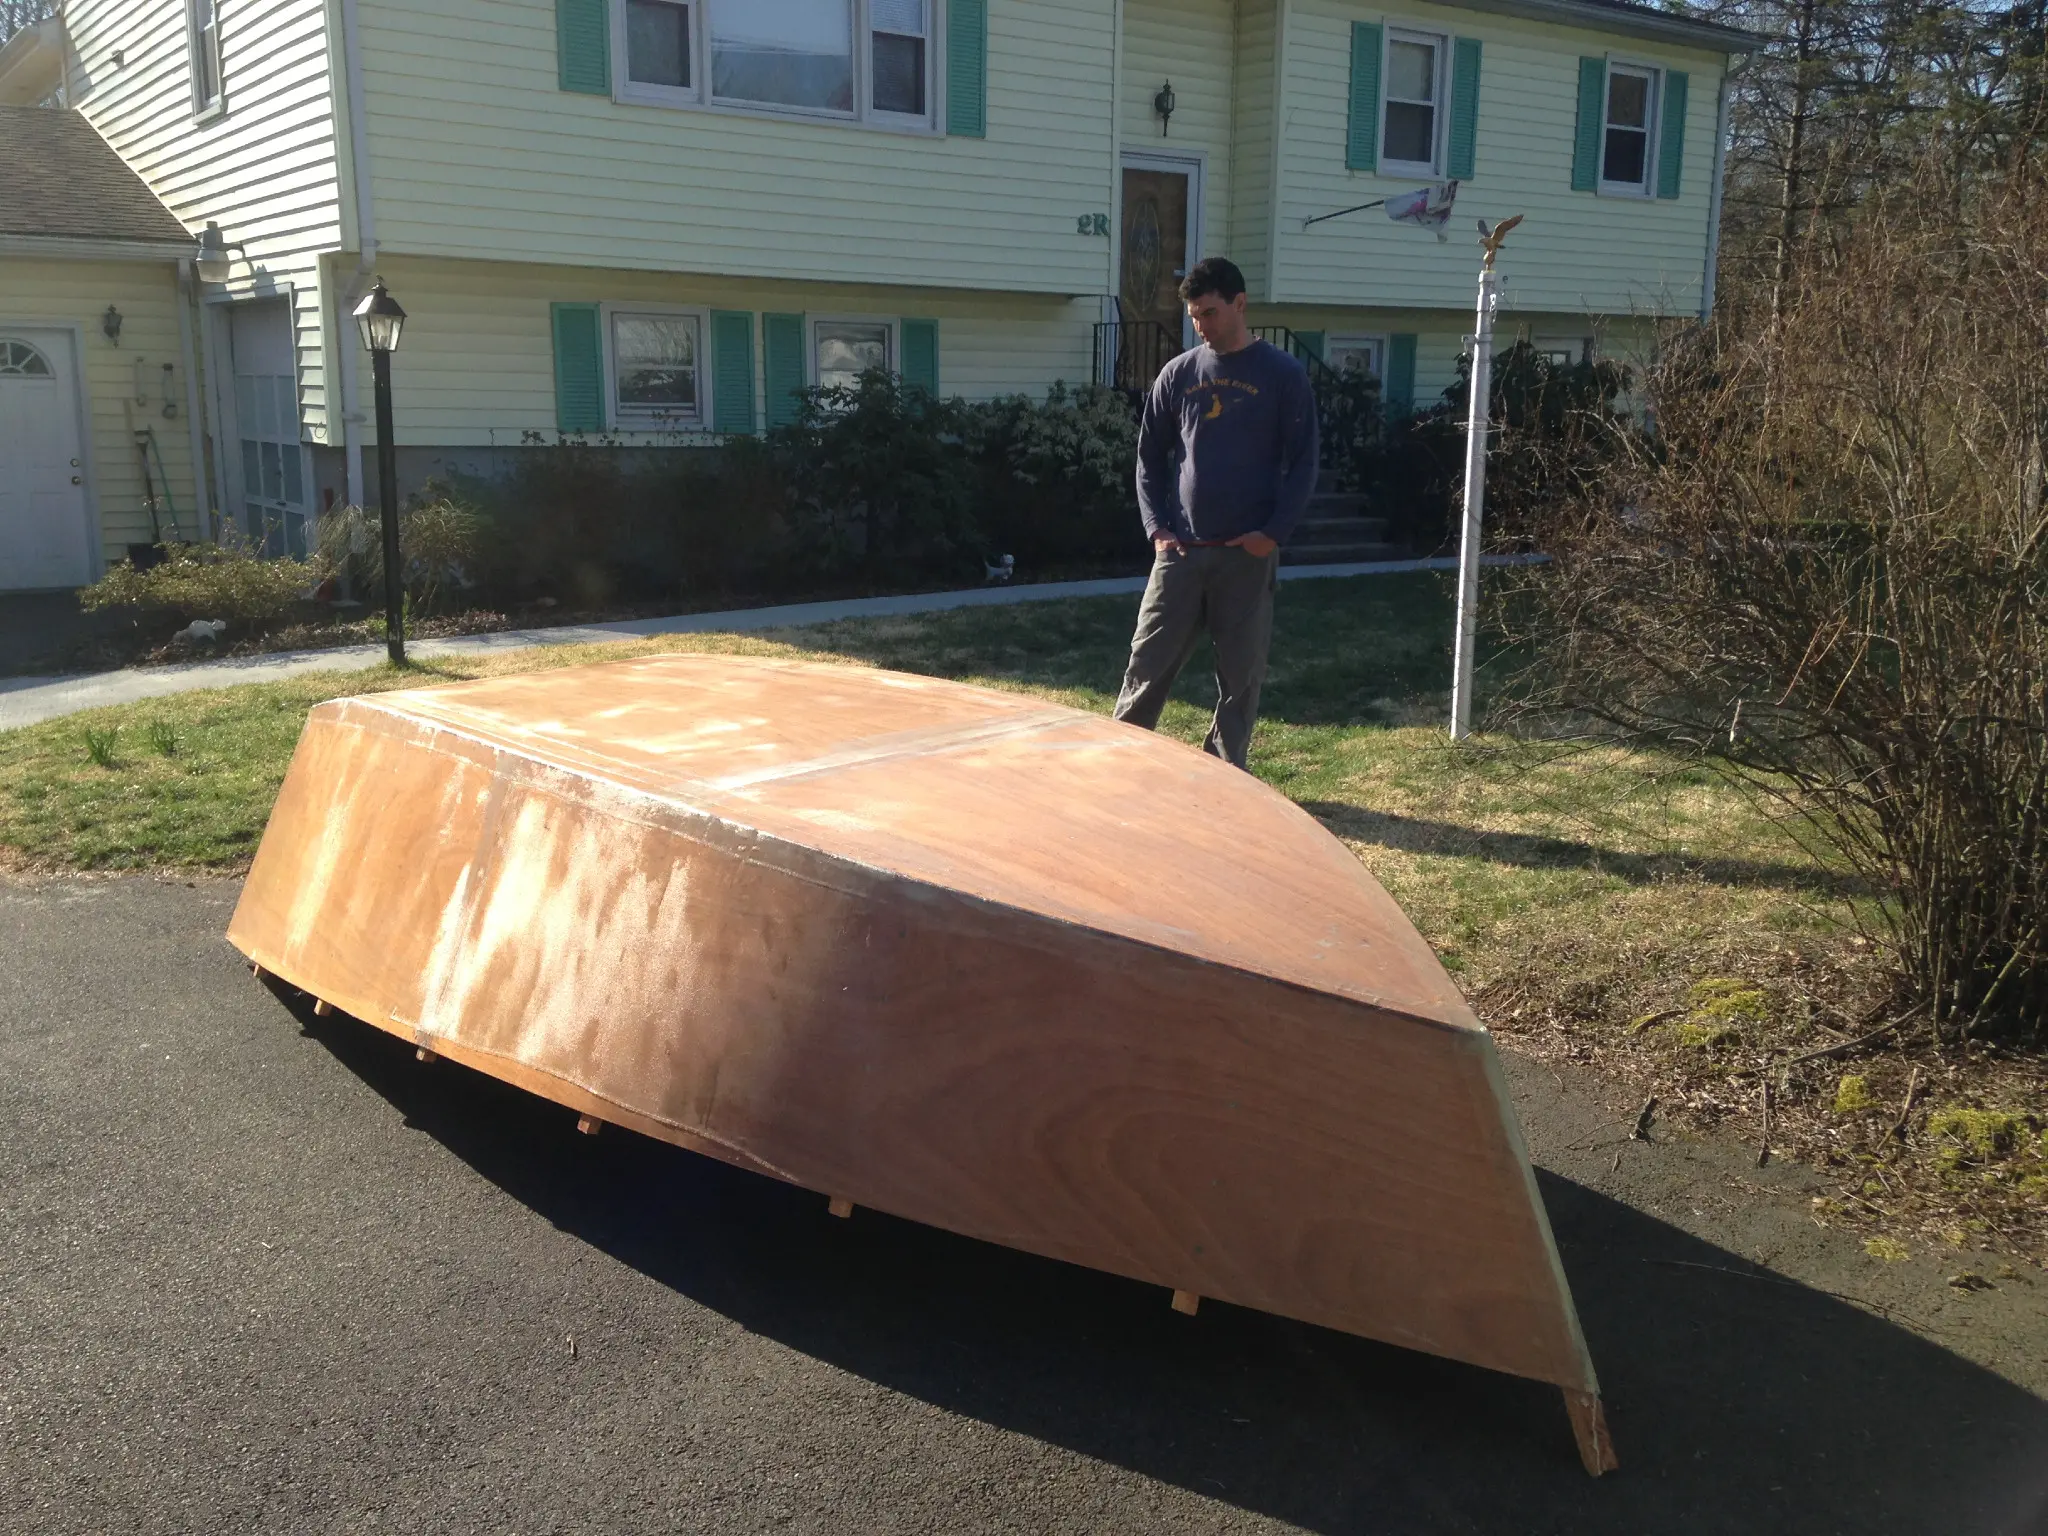
quick update, progress is slowing as we wait for good weather to finish our 2nd and 3rd coats of epoxy. at this point, the interior has had its second coat, and the exterior gunnels were cut, planed and added from leftover Sapelle stock from the interior chines.
Chapter 05
Trailer & Gear
Trailer build or rework, cradles, covers, launching gear.
1 dayfrom May 2013
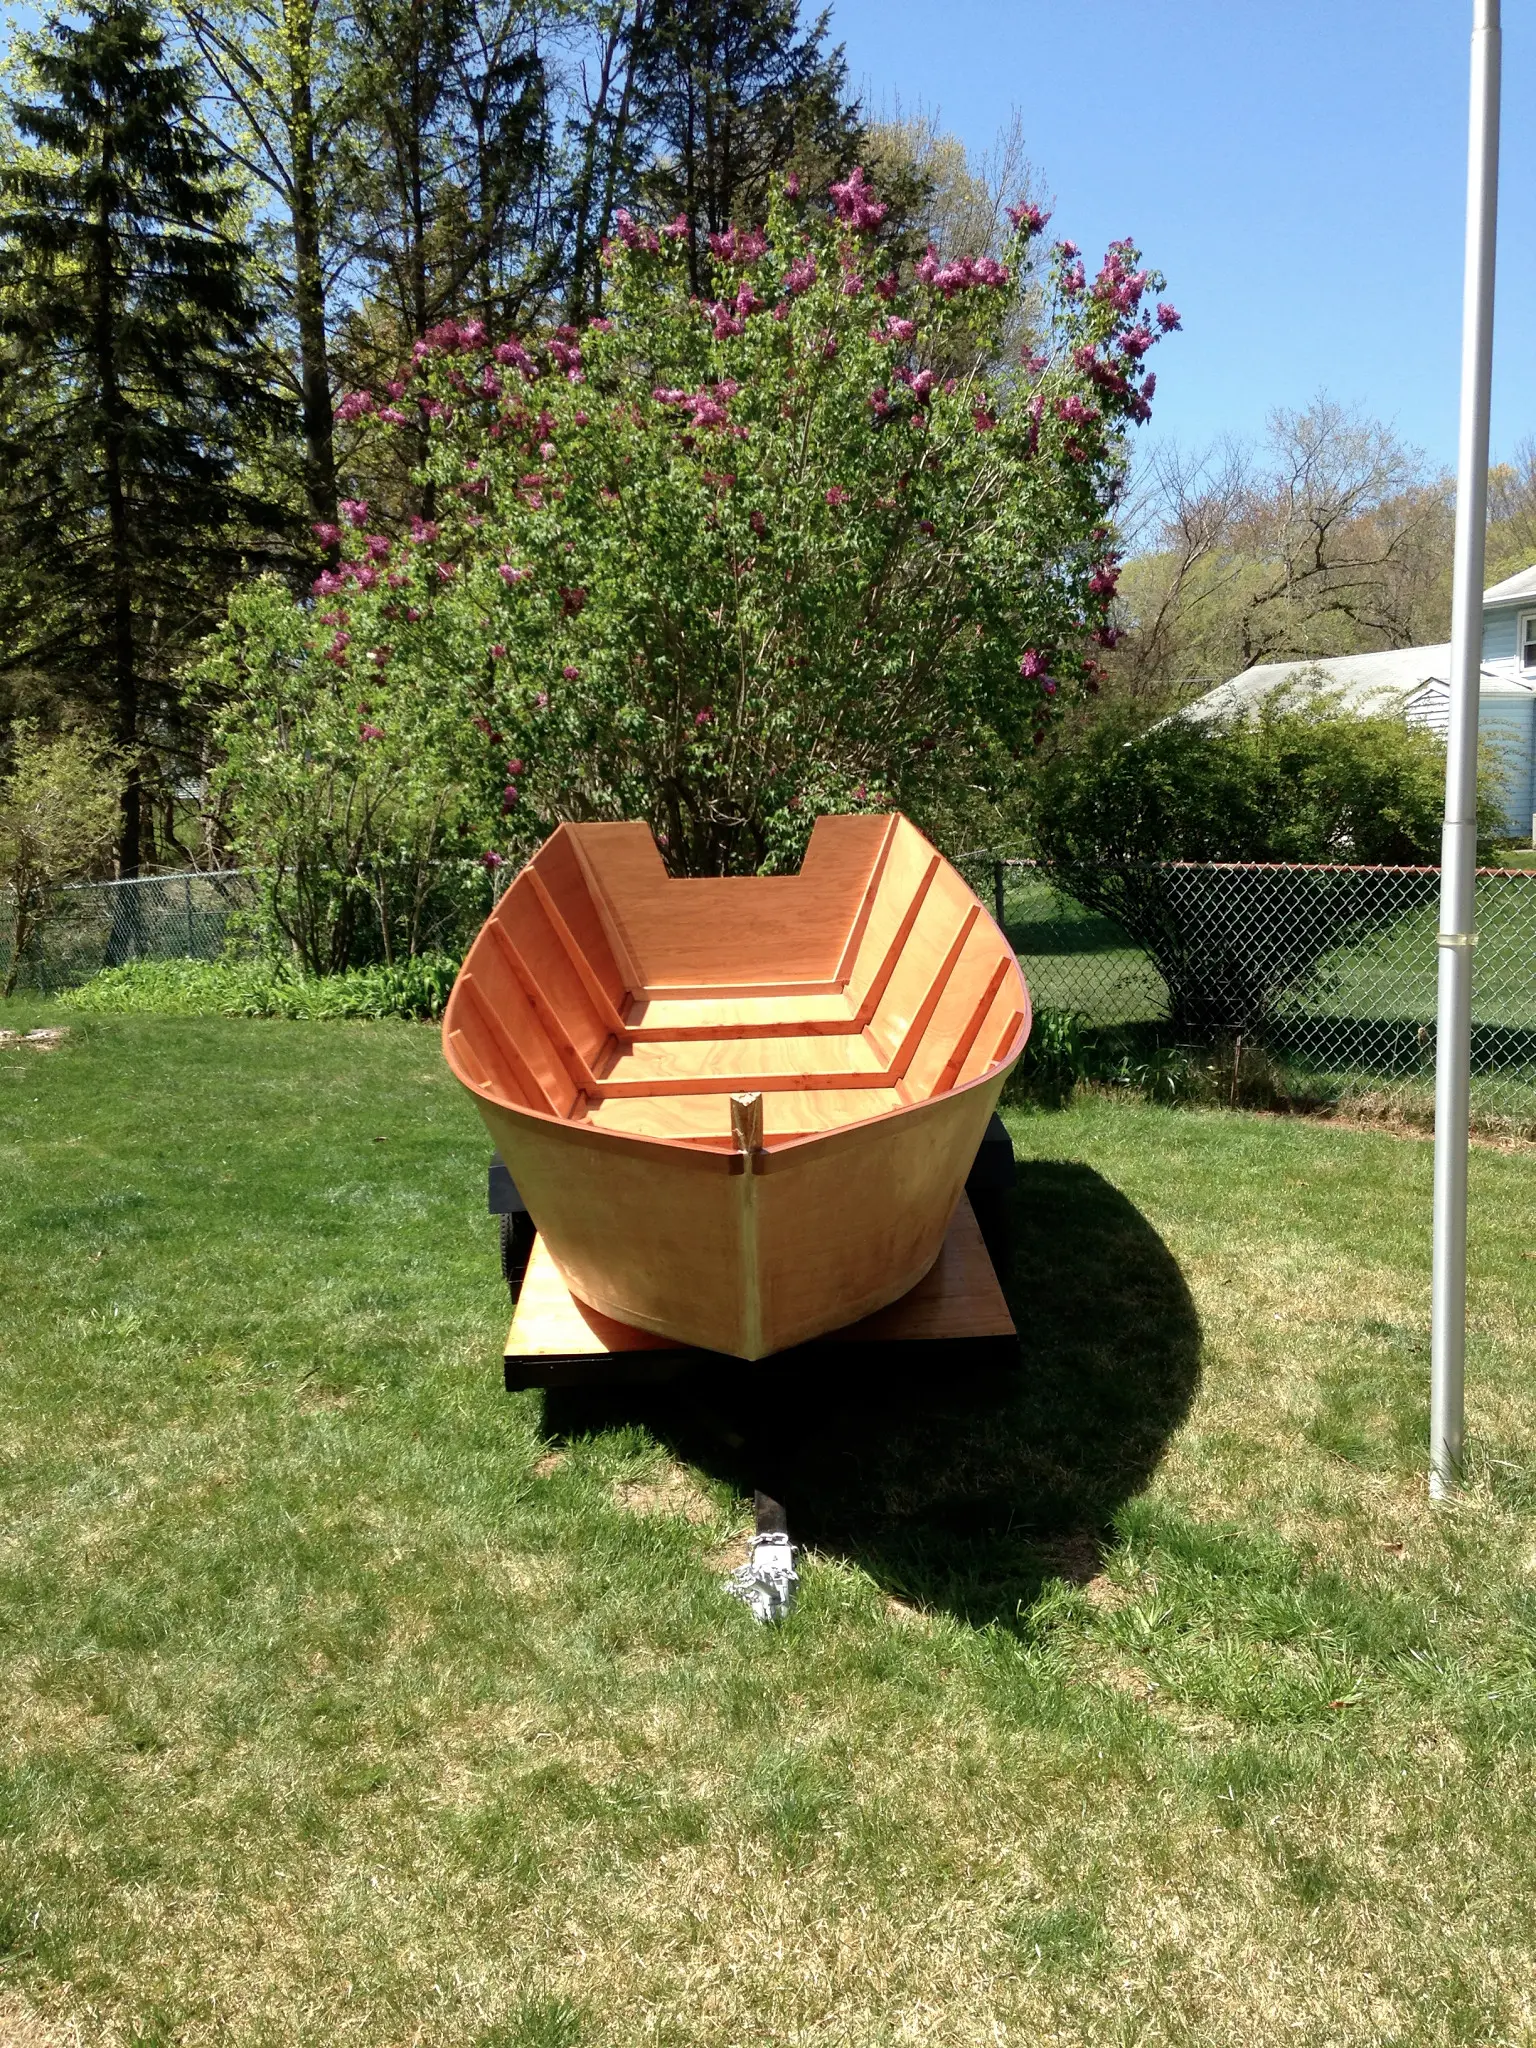
5 May 2013Trailer & Gear
slowly but surely
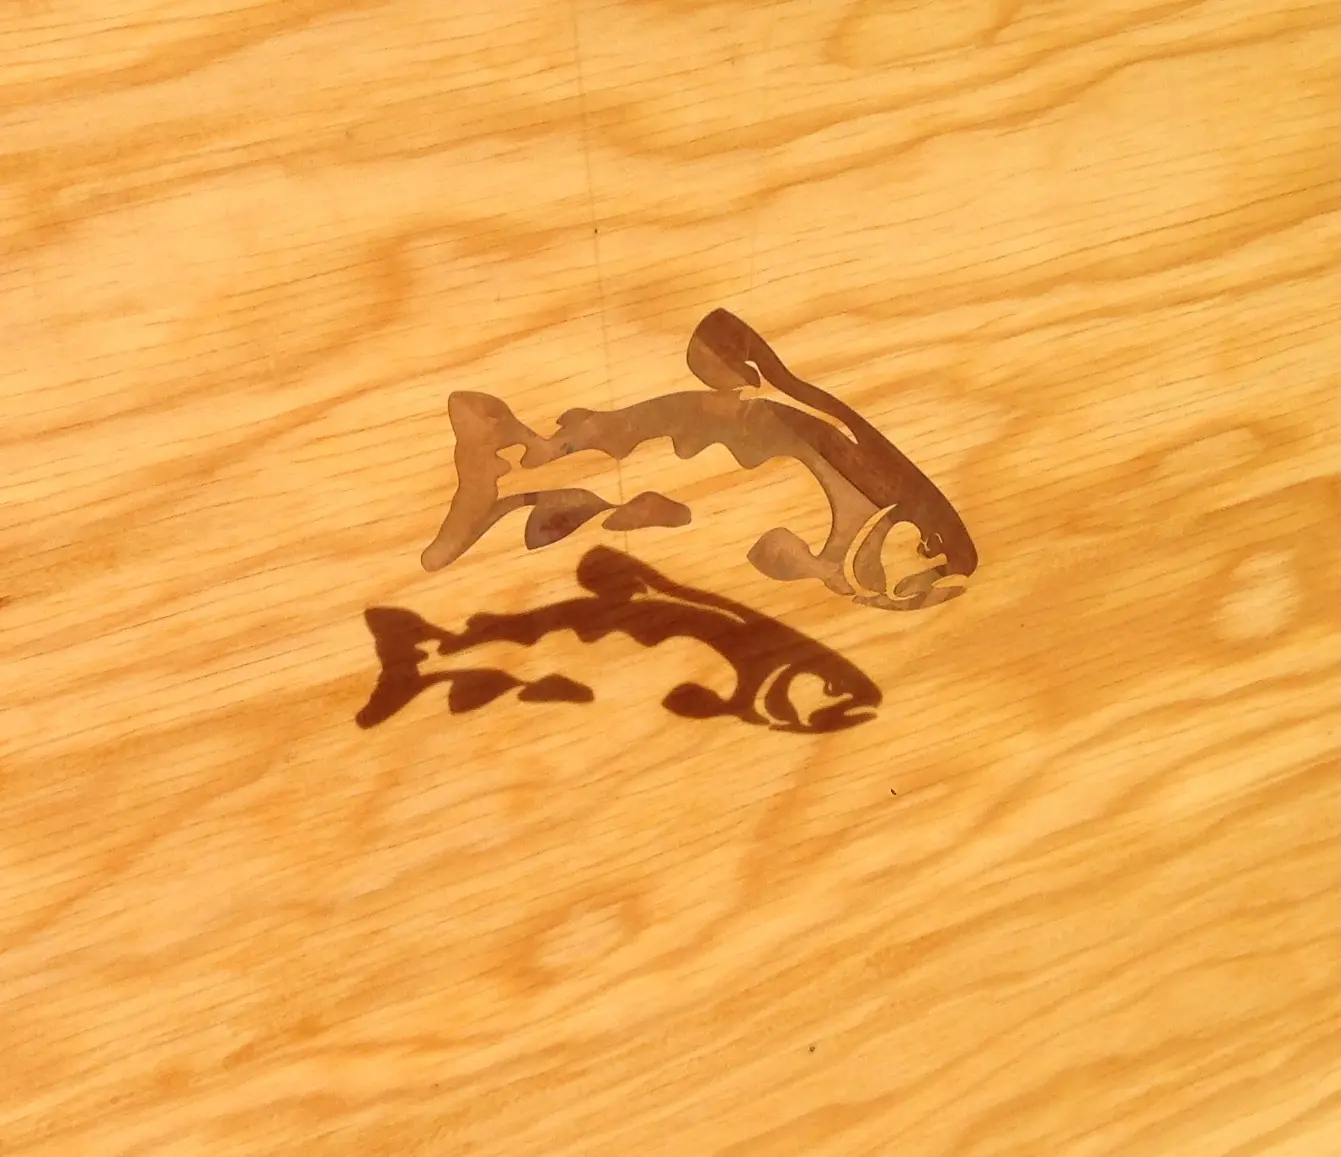
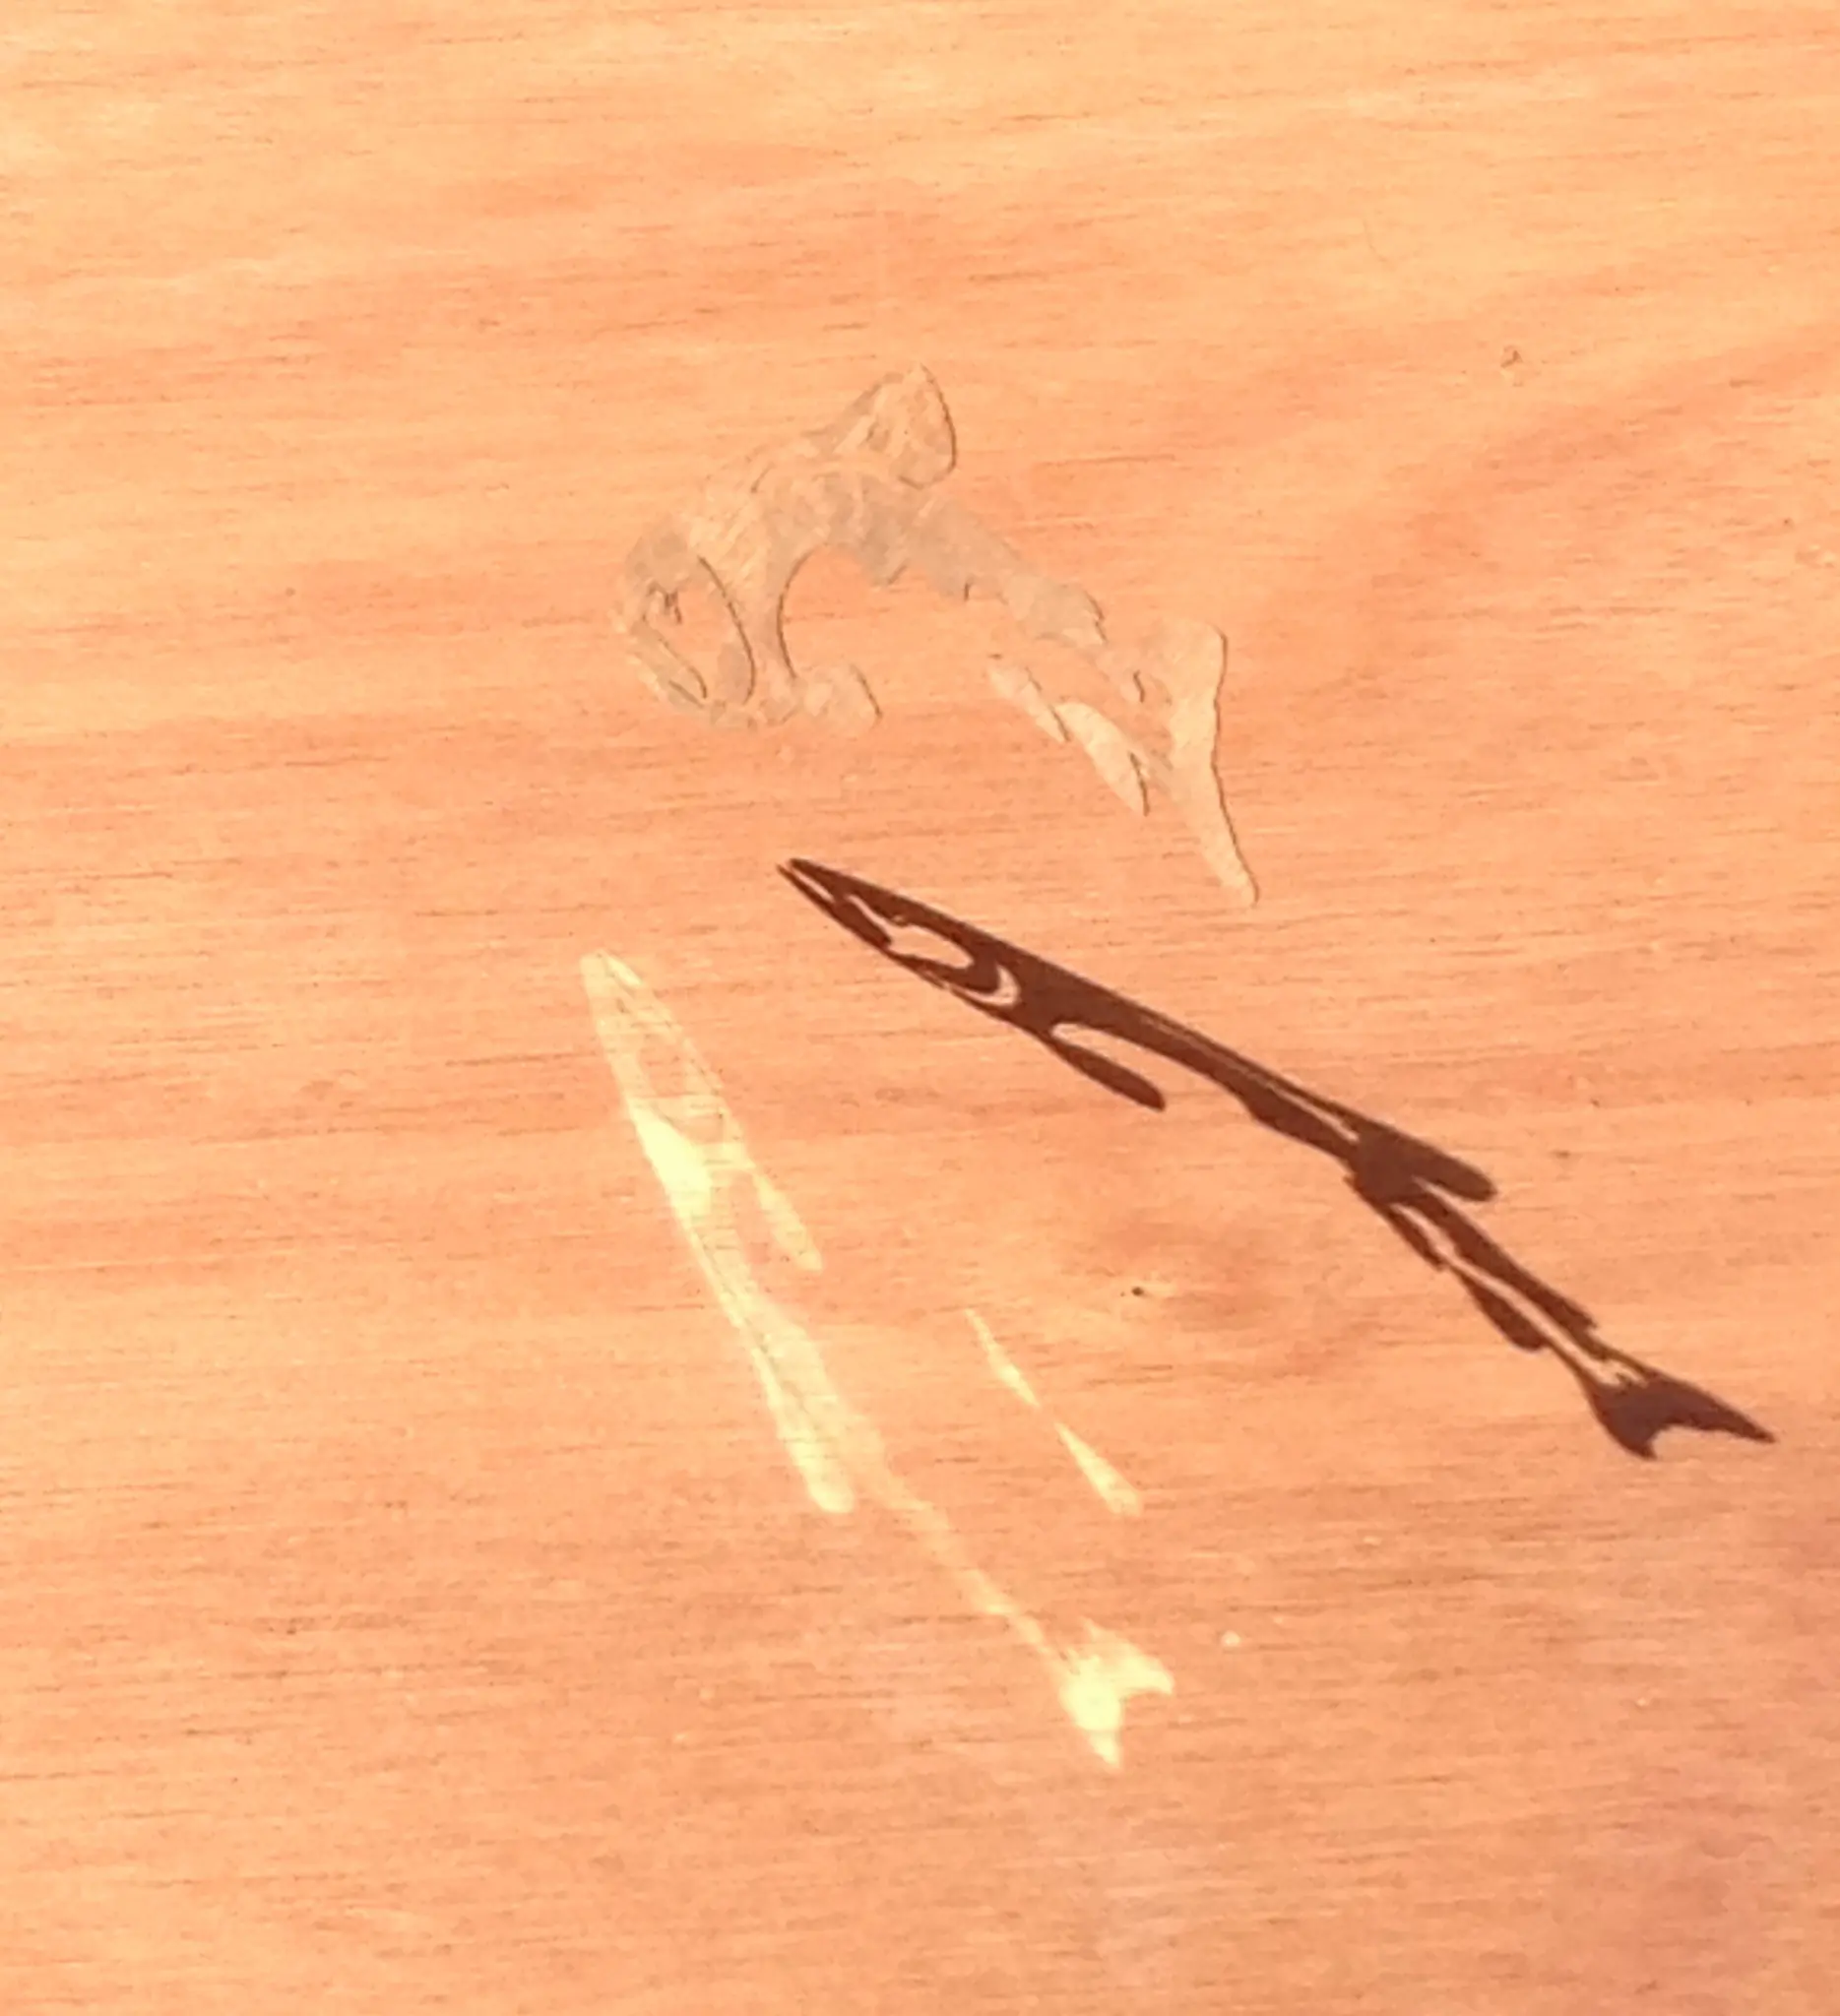
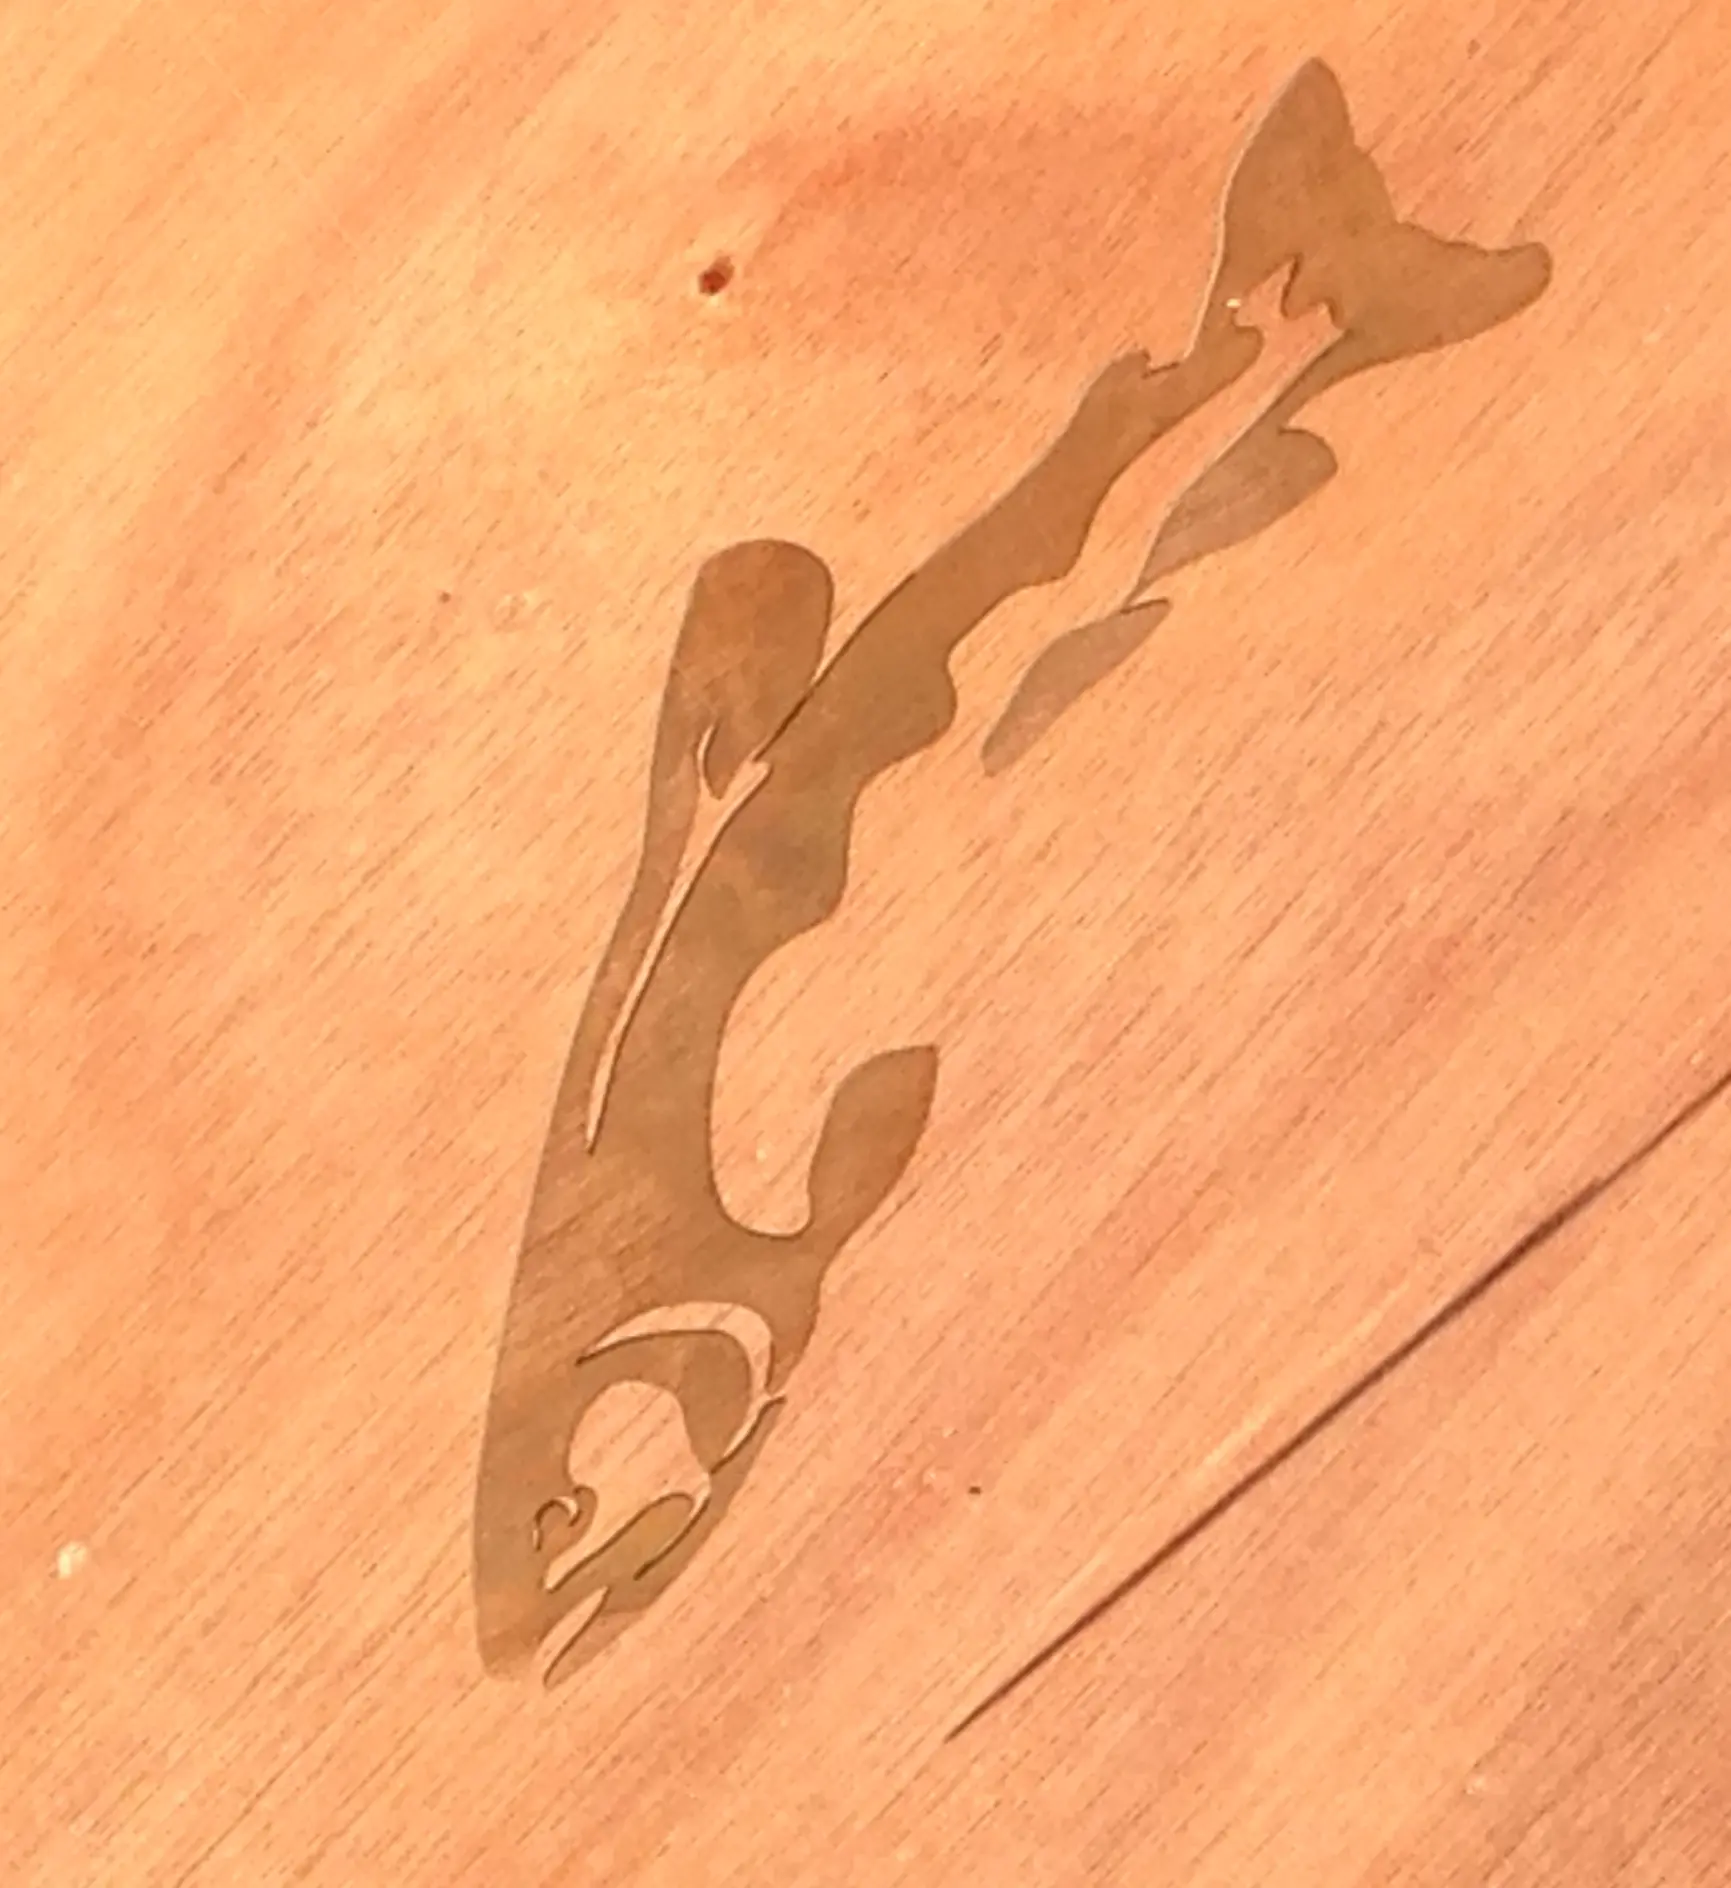
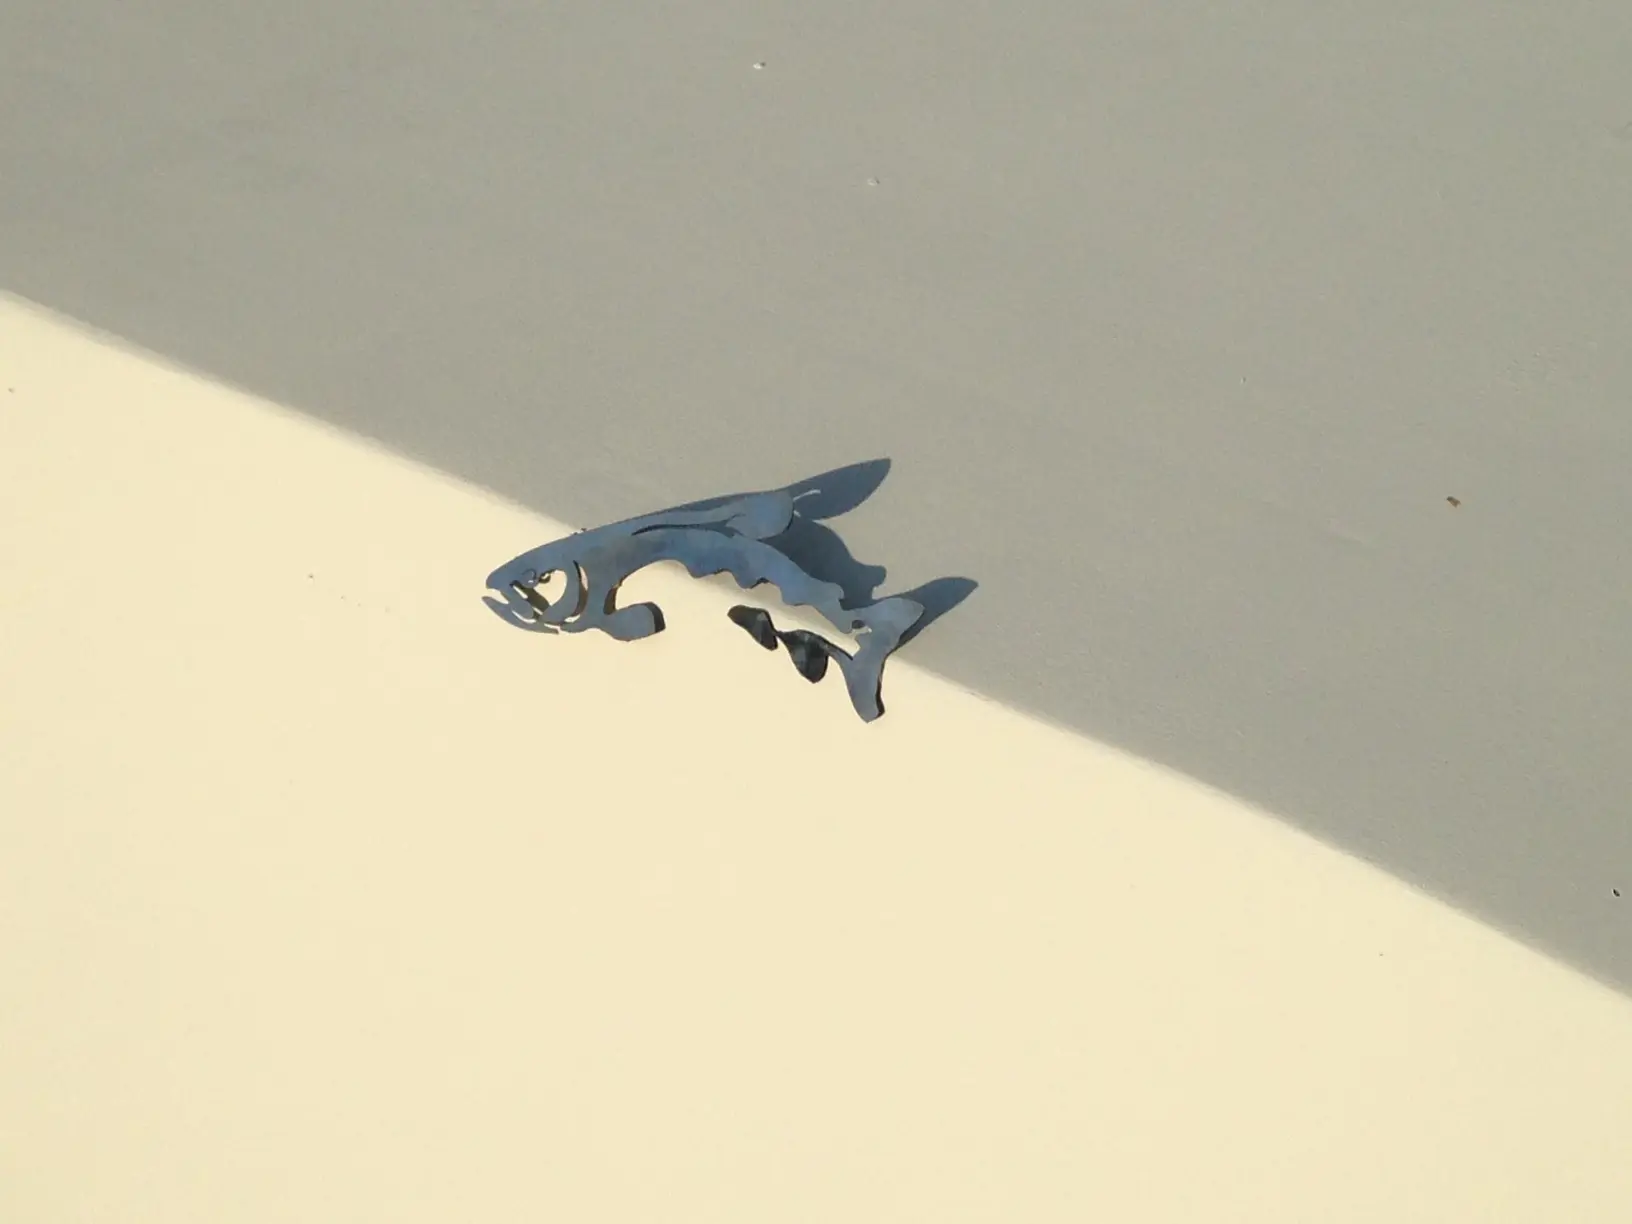
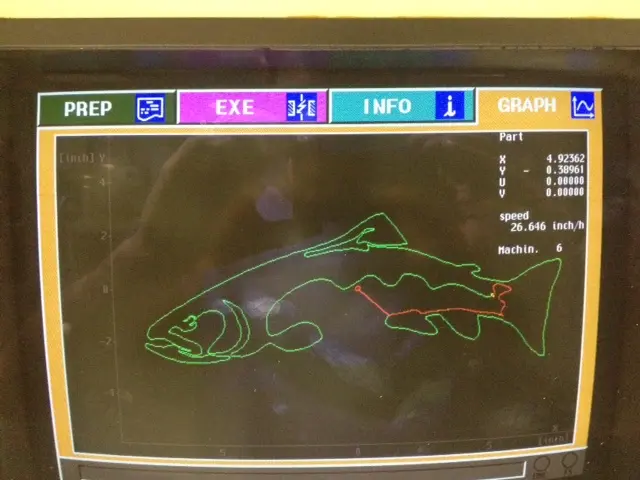
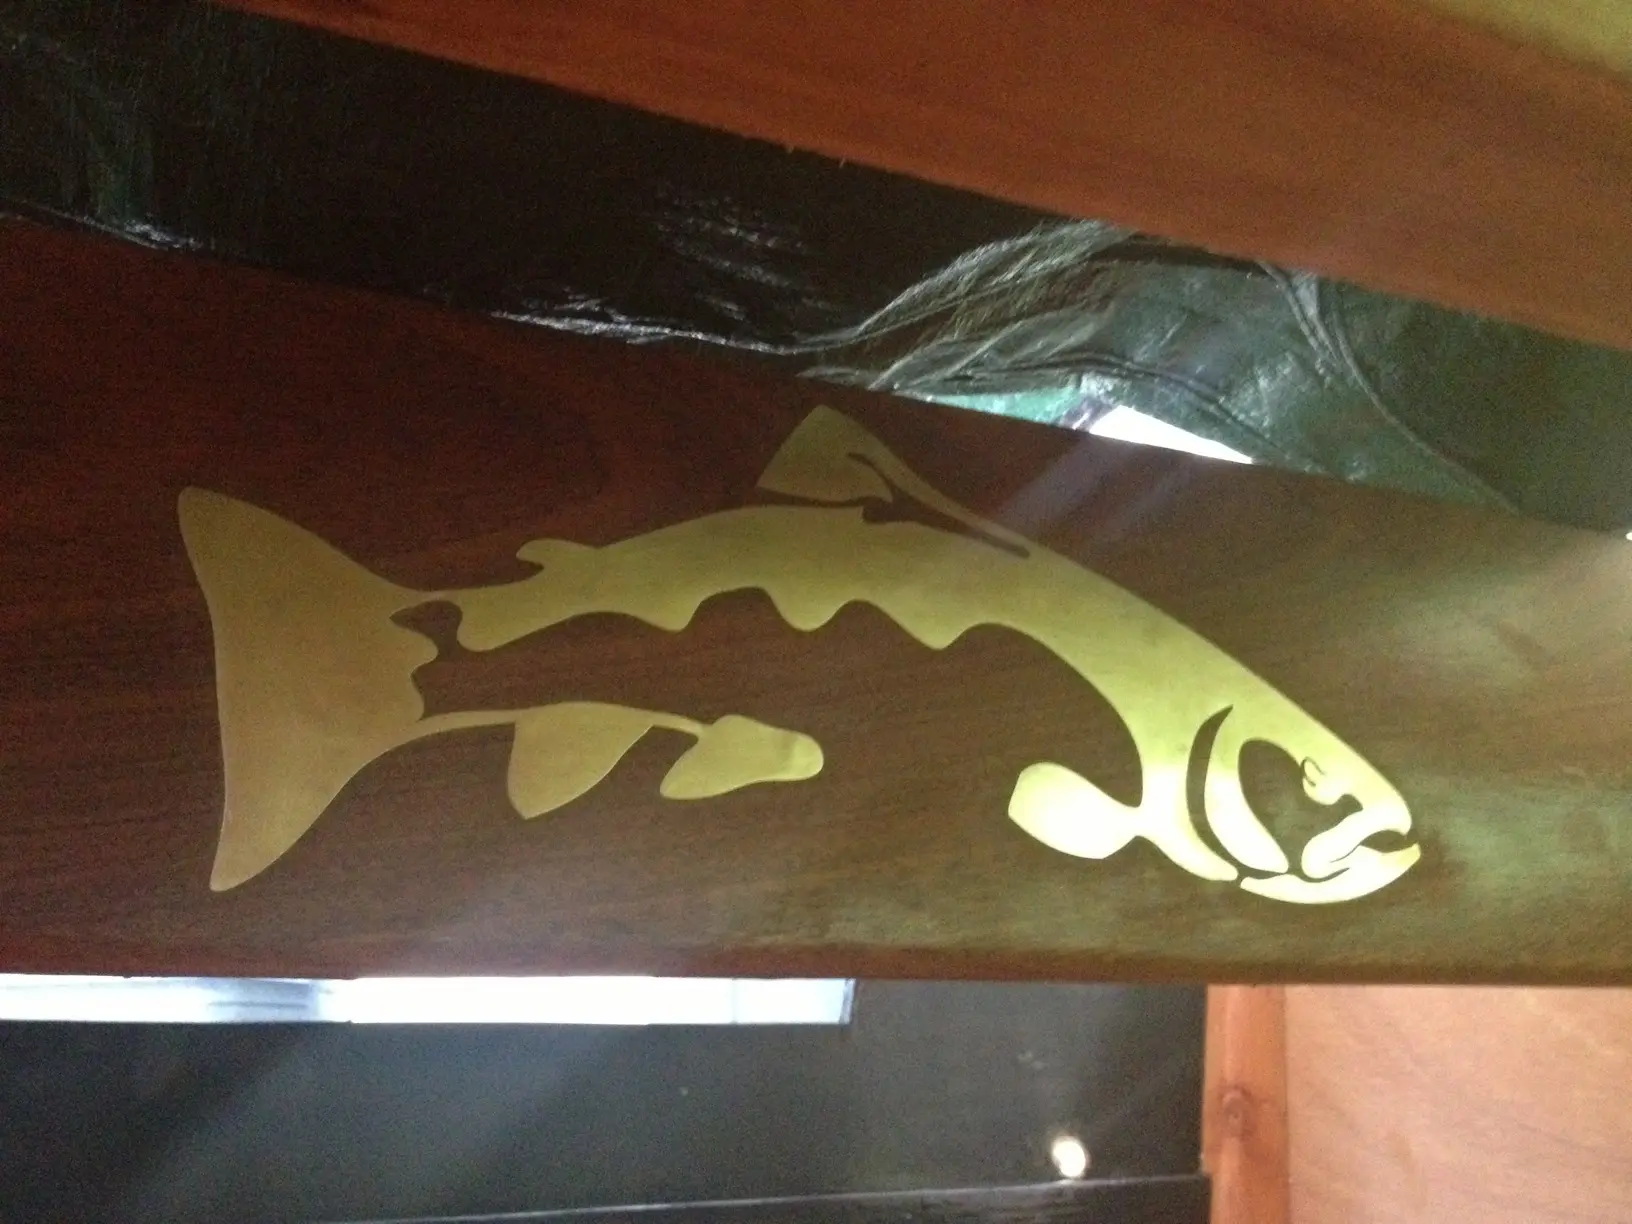
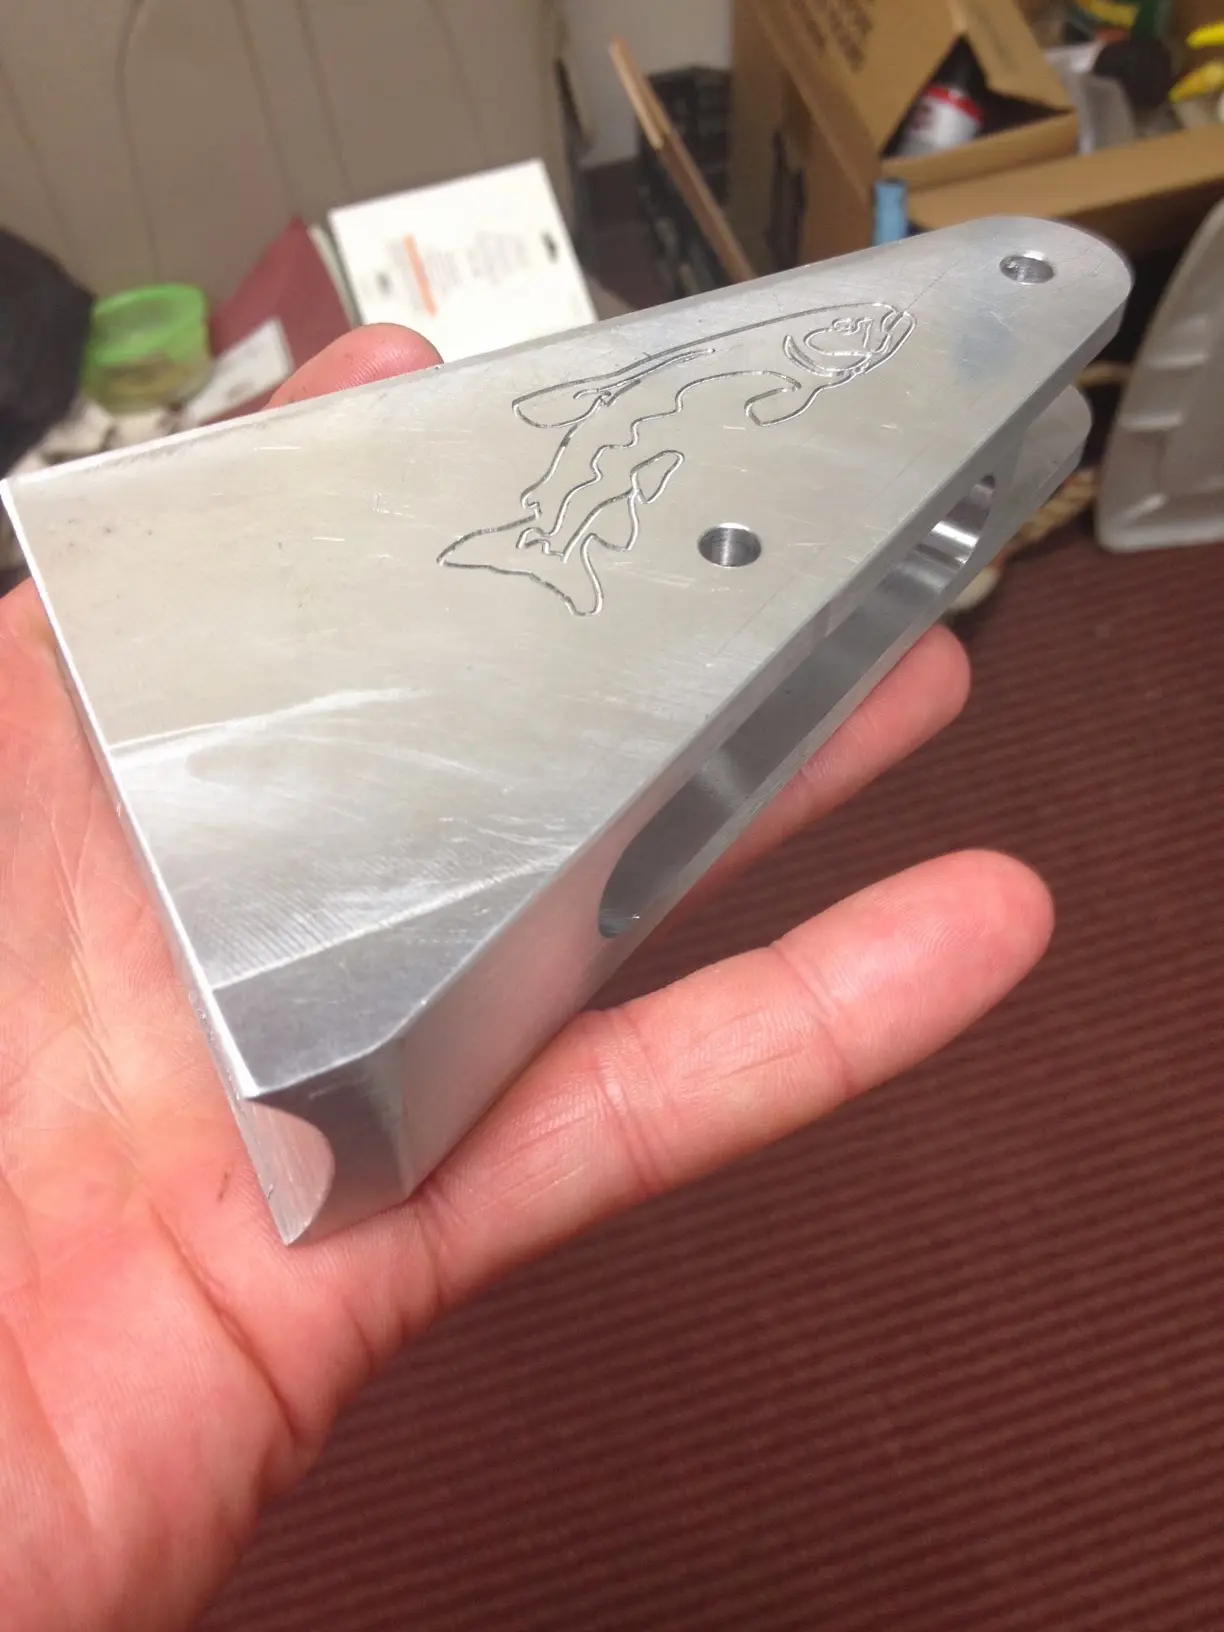
Today we worked on the trailer and gunnels a bit, nice to have her out in the sun again. Mack has also been doing some fine artwork on what will be our future inlay/brand/christmas tree ornaments/t-shirts lunchbox mugs etc.......
The long one. Fairing compound, longboards, and the sanding nobody photographs enough.
2 daysfrom May 2013
25 May 2013Fairing & Sanding
More Brain cells lost
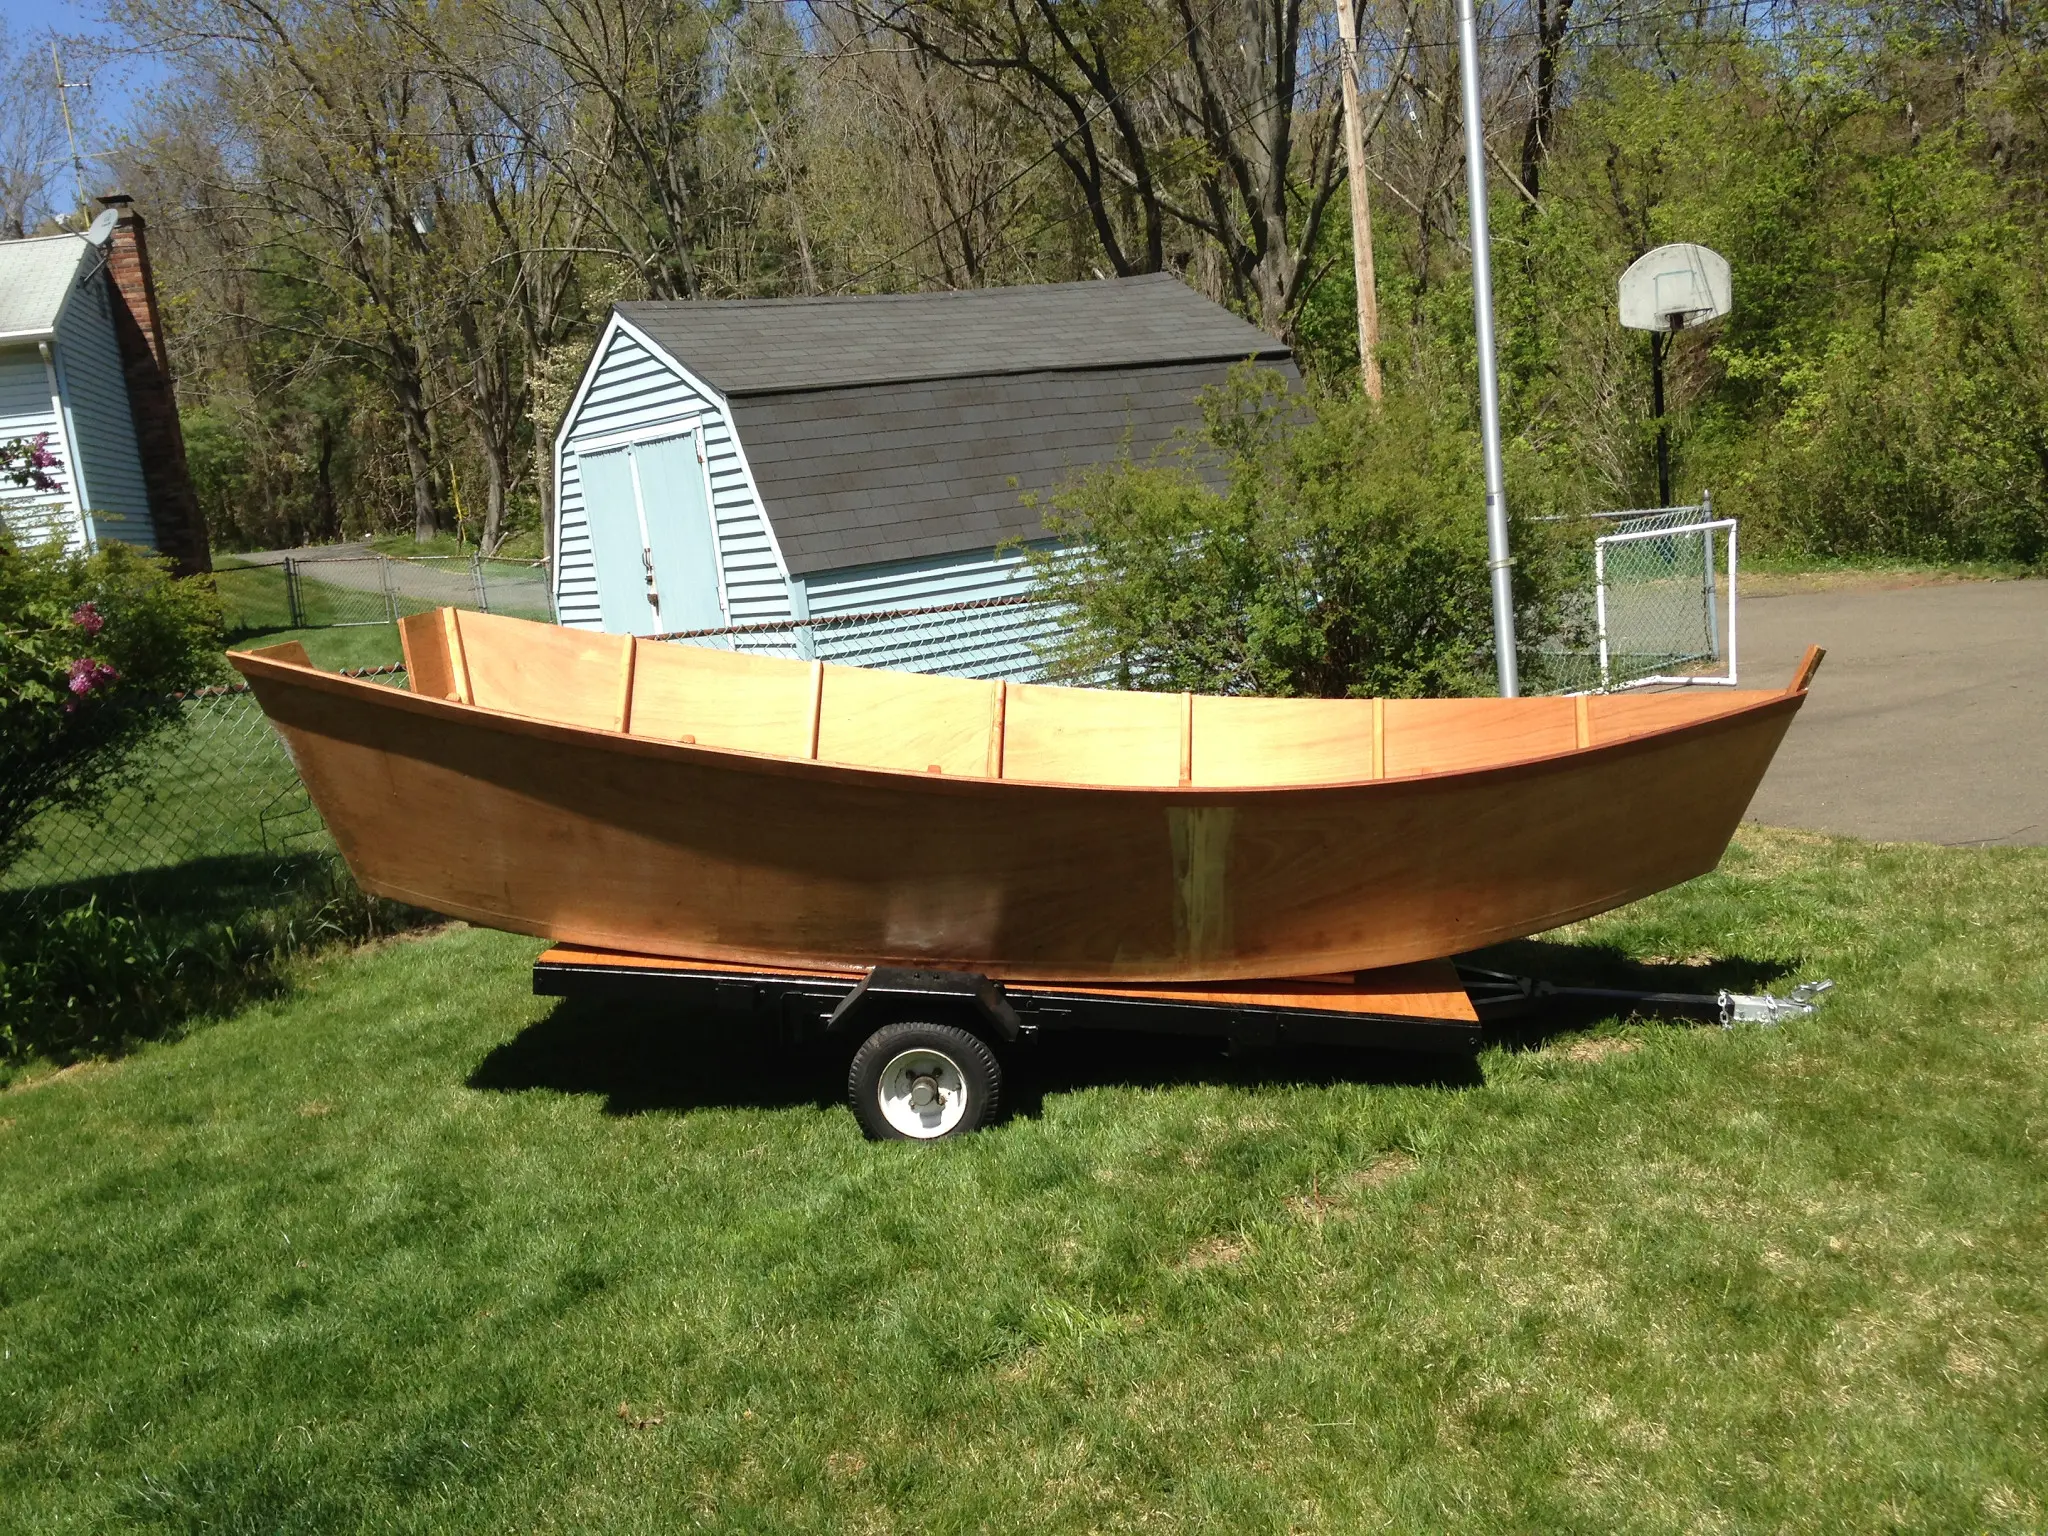
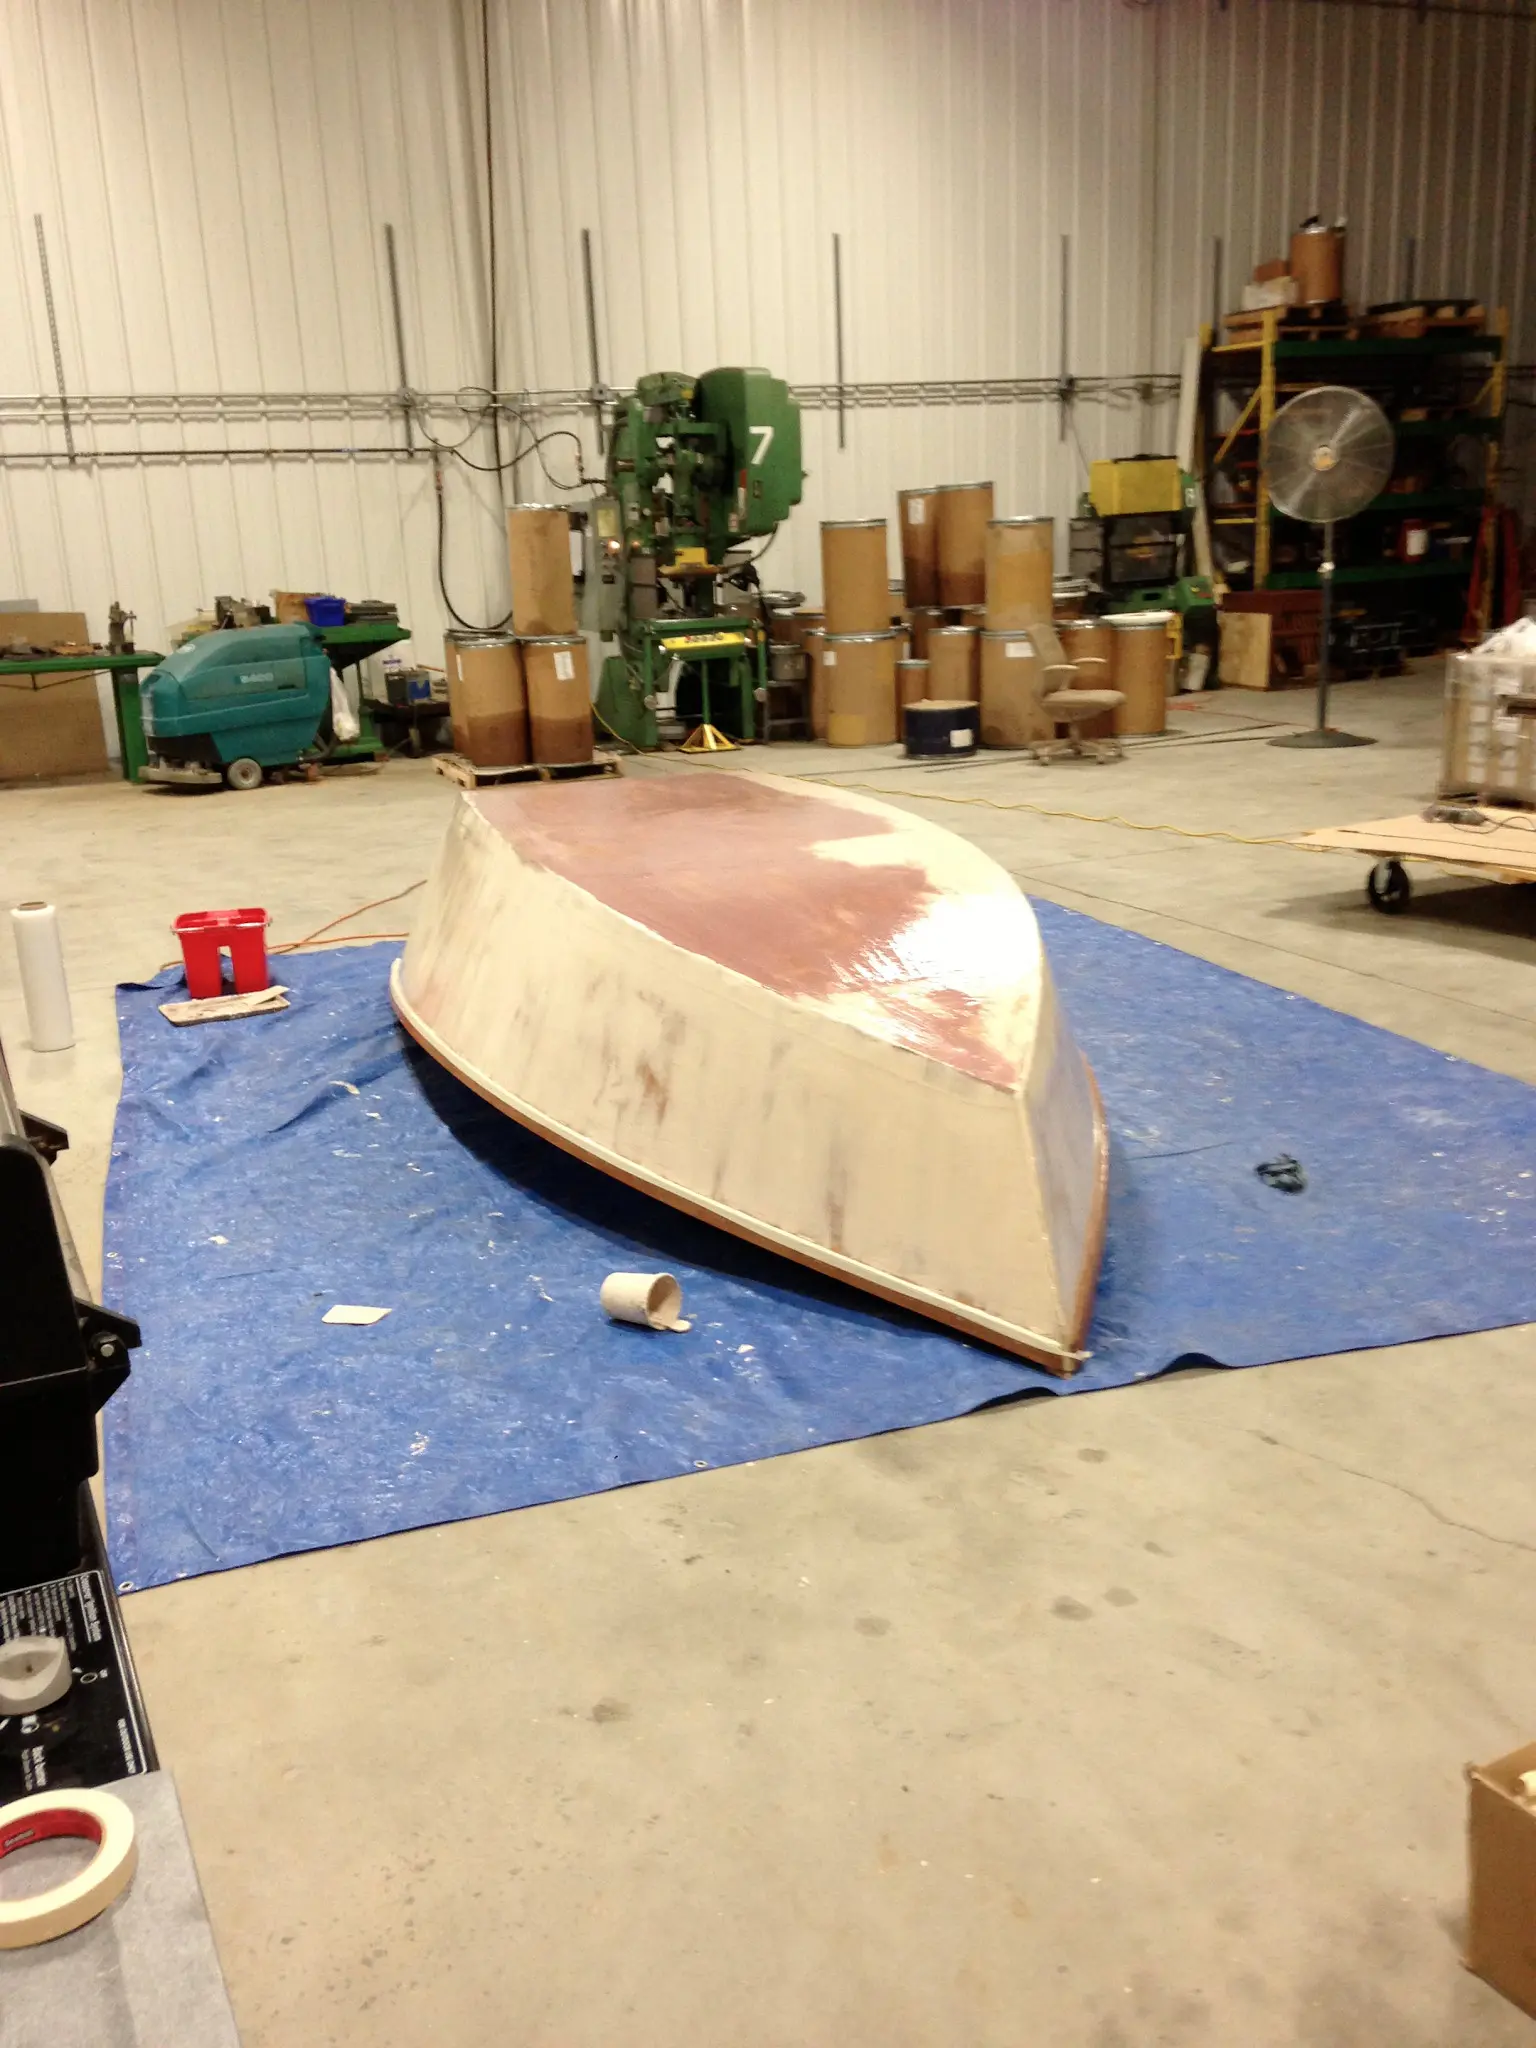
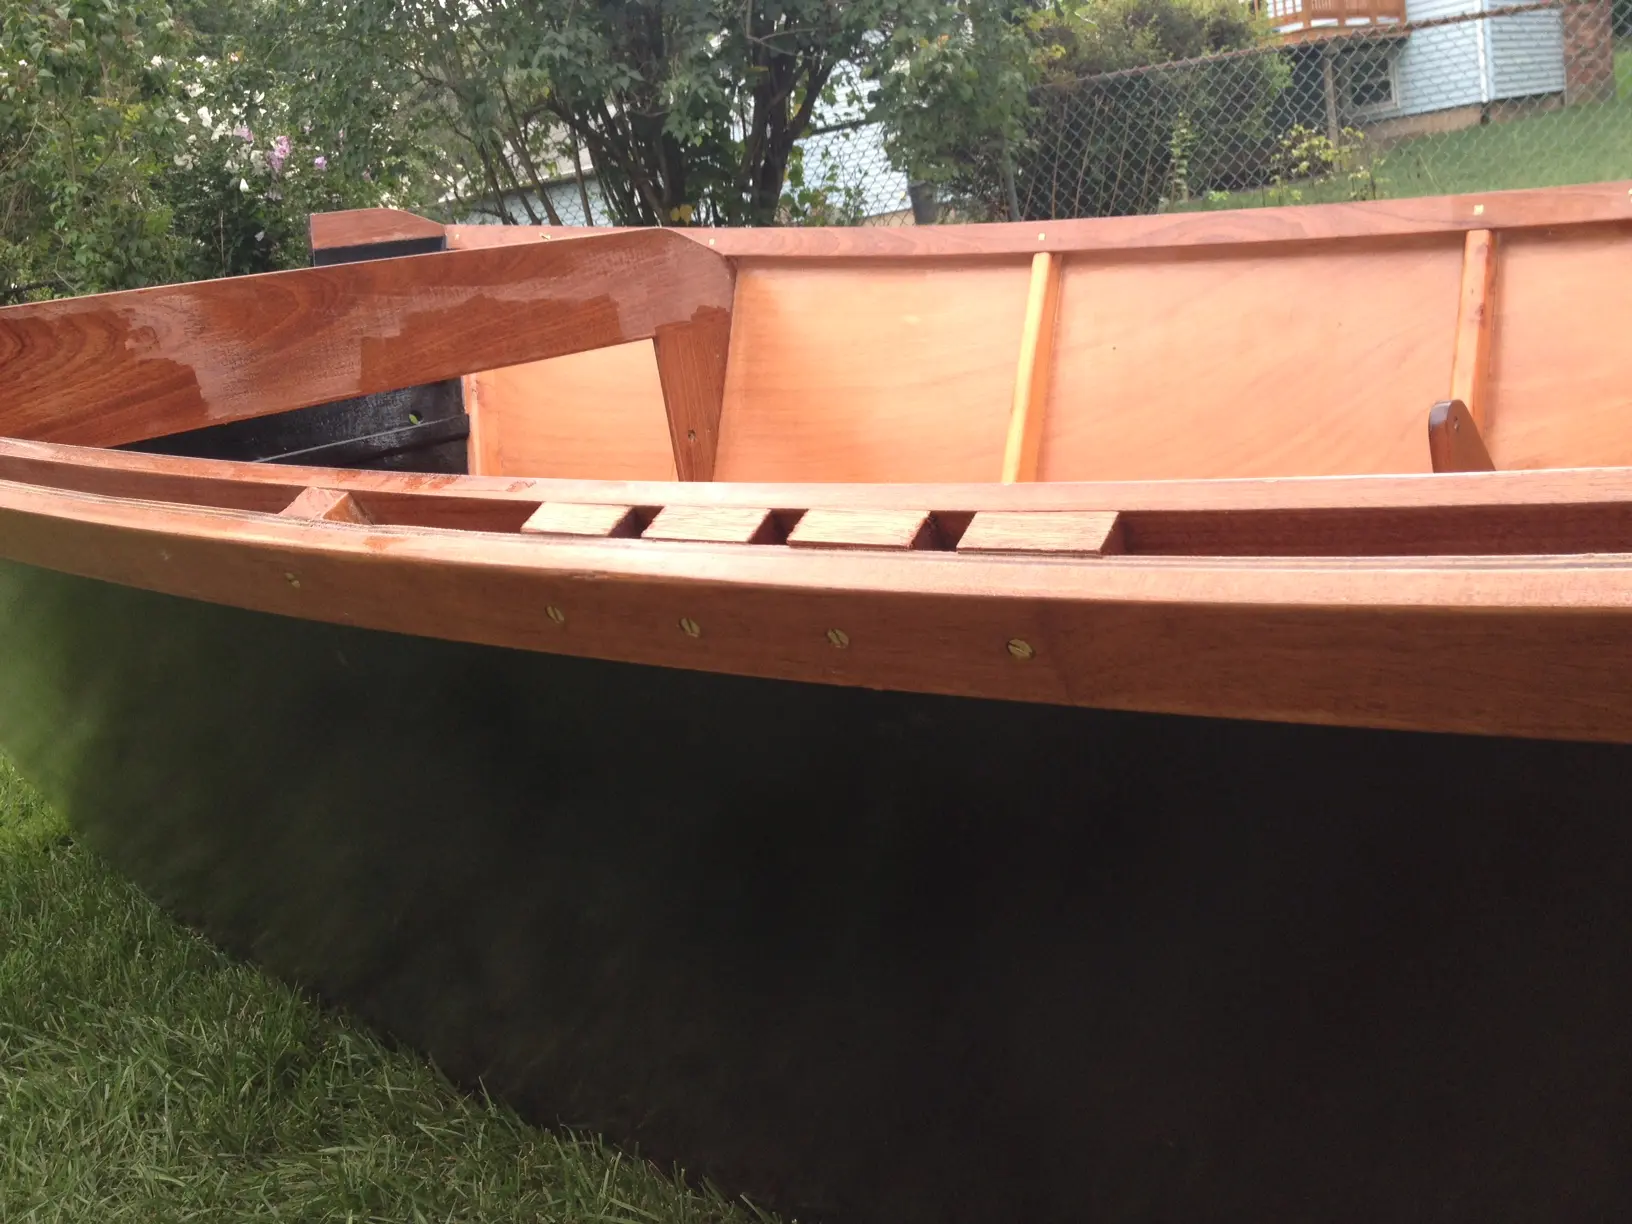
Who's counting anyway? Fairing, wasn't so fair to us. Anyhow, as you can see, Mack has installed the gunnels and secured them with epoxy and some nice brass hardware! The boat was shipped to the shop where Mack works, couldn't have asked for a better place to work on our boat, especially in this terrible but much needed rainstorm. Thanks to the guys at ESI once again, for lending us the space and the truck. Today we did some light touches to the interior, the we faired the exterior hull using west system and 407/410 filler. The hull was wetted out with epoxy, then faired with the compound. Tomorrow we will sand it level and add a final coat of epoxy before painting, which is when things should really get interesting! here are some pics and vids from today......
Photo 1 Photo 2 Photo 3
Chapter 07
Hardware & Fit-Out
Cleats, rudder and centerboard, tiller, oarlocks, deck gear.
11 daysfrom May 2013
25 May 2013Hardware & Fit-Out
nuthin but net
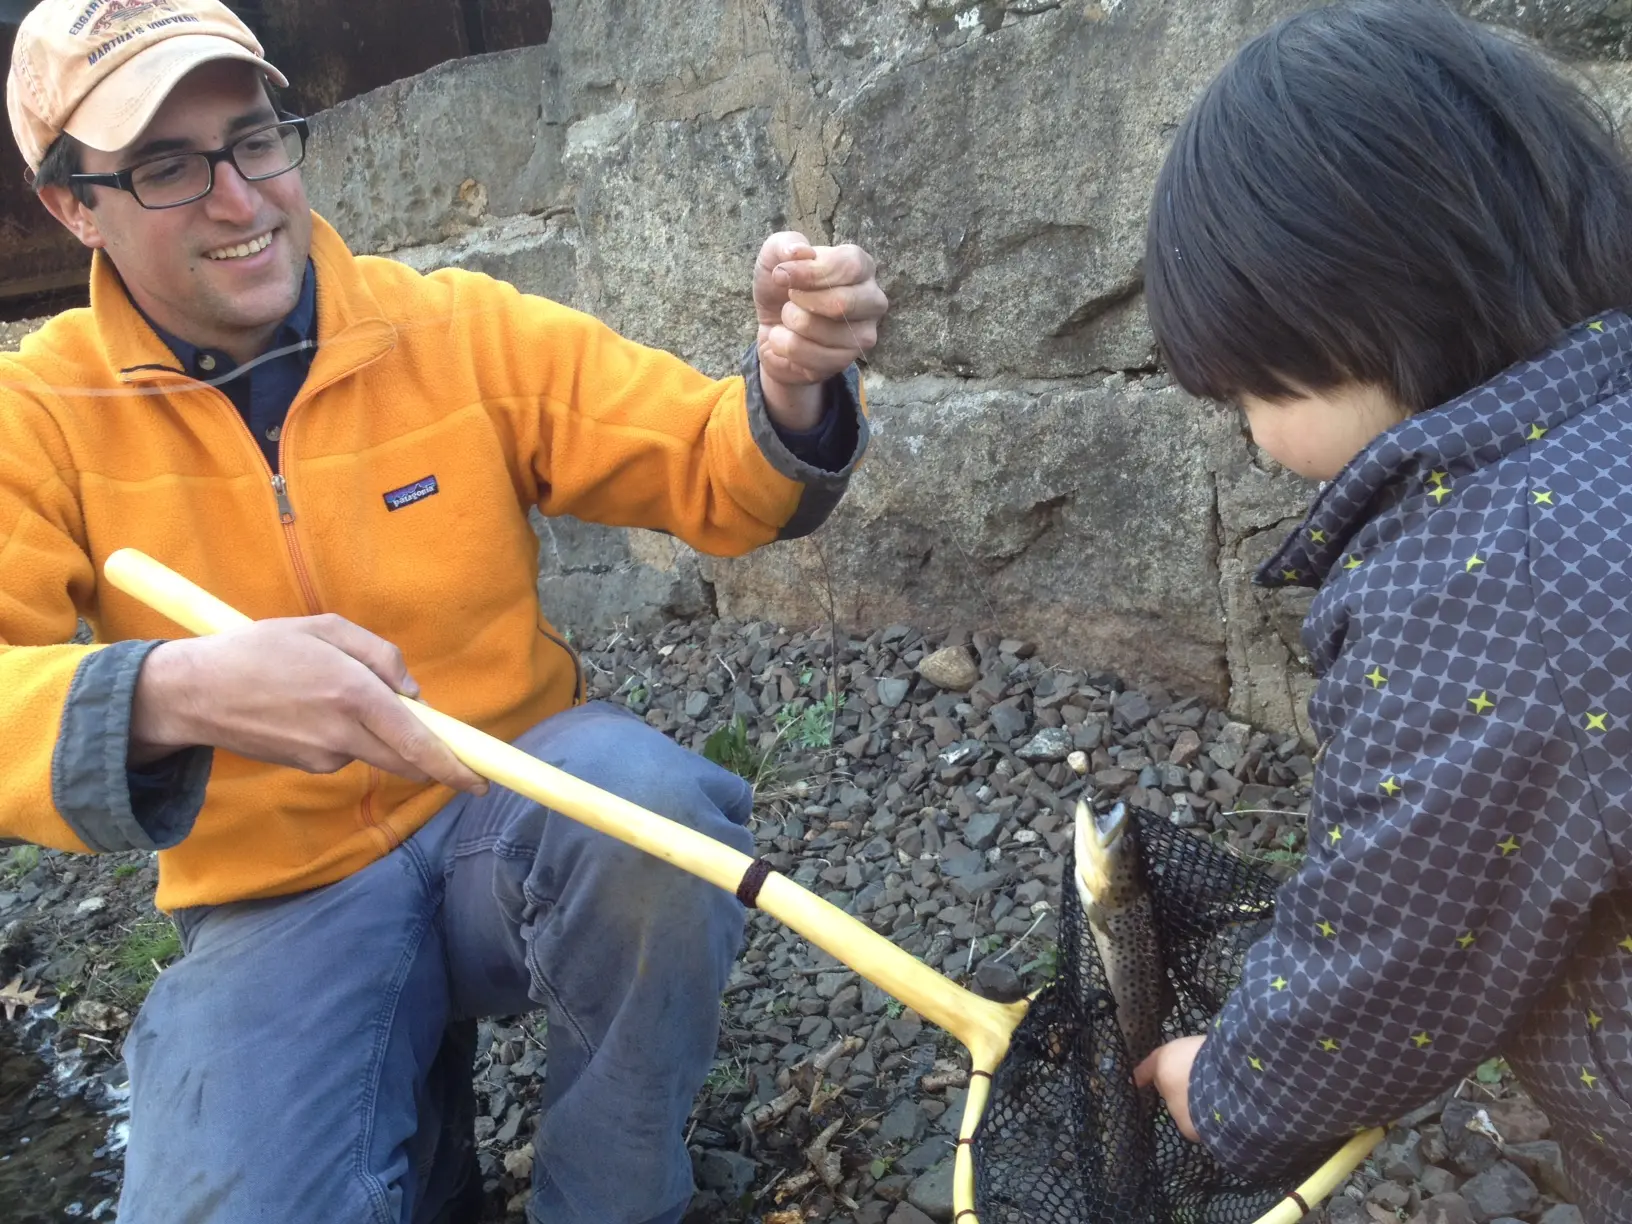
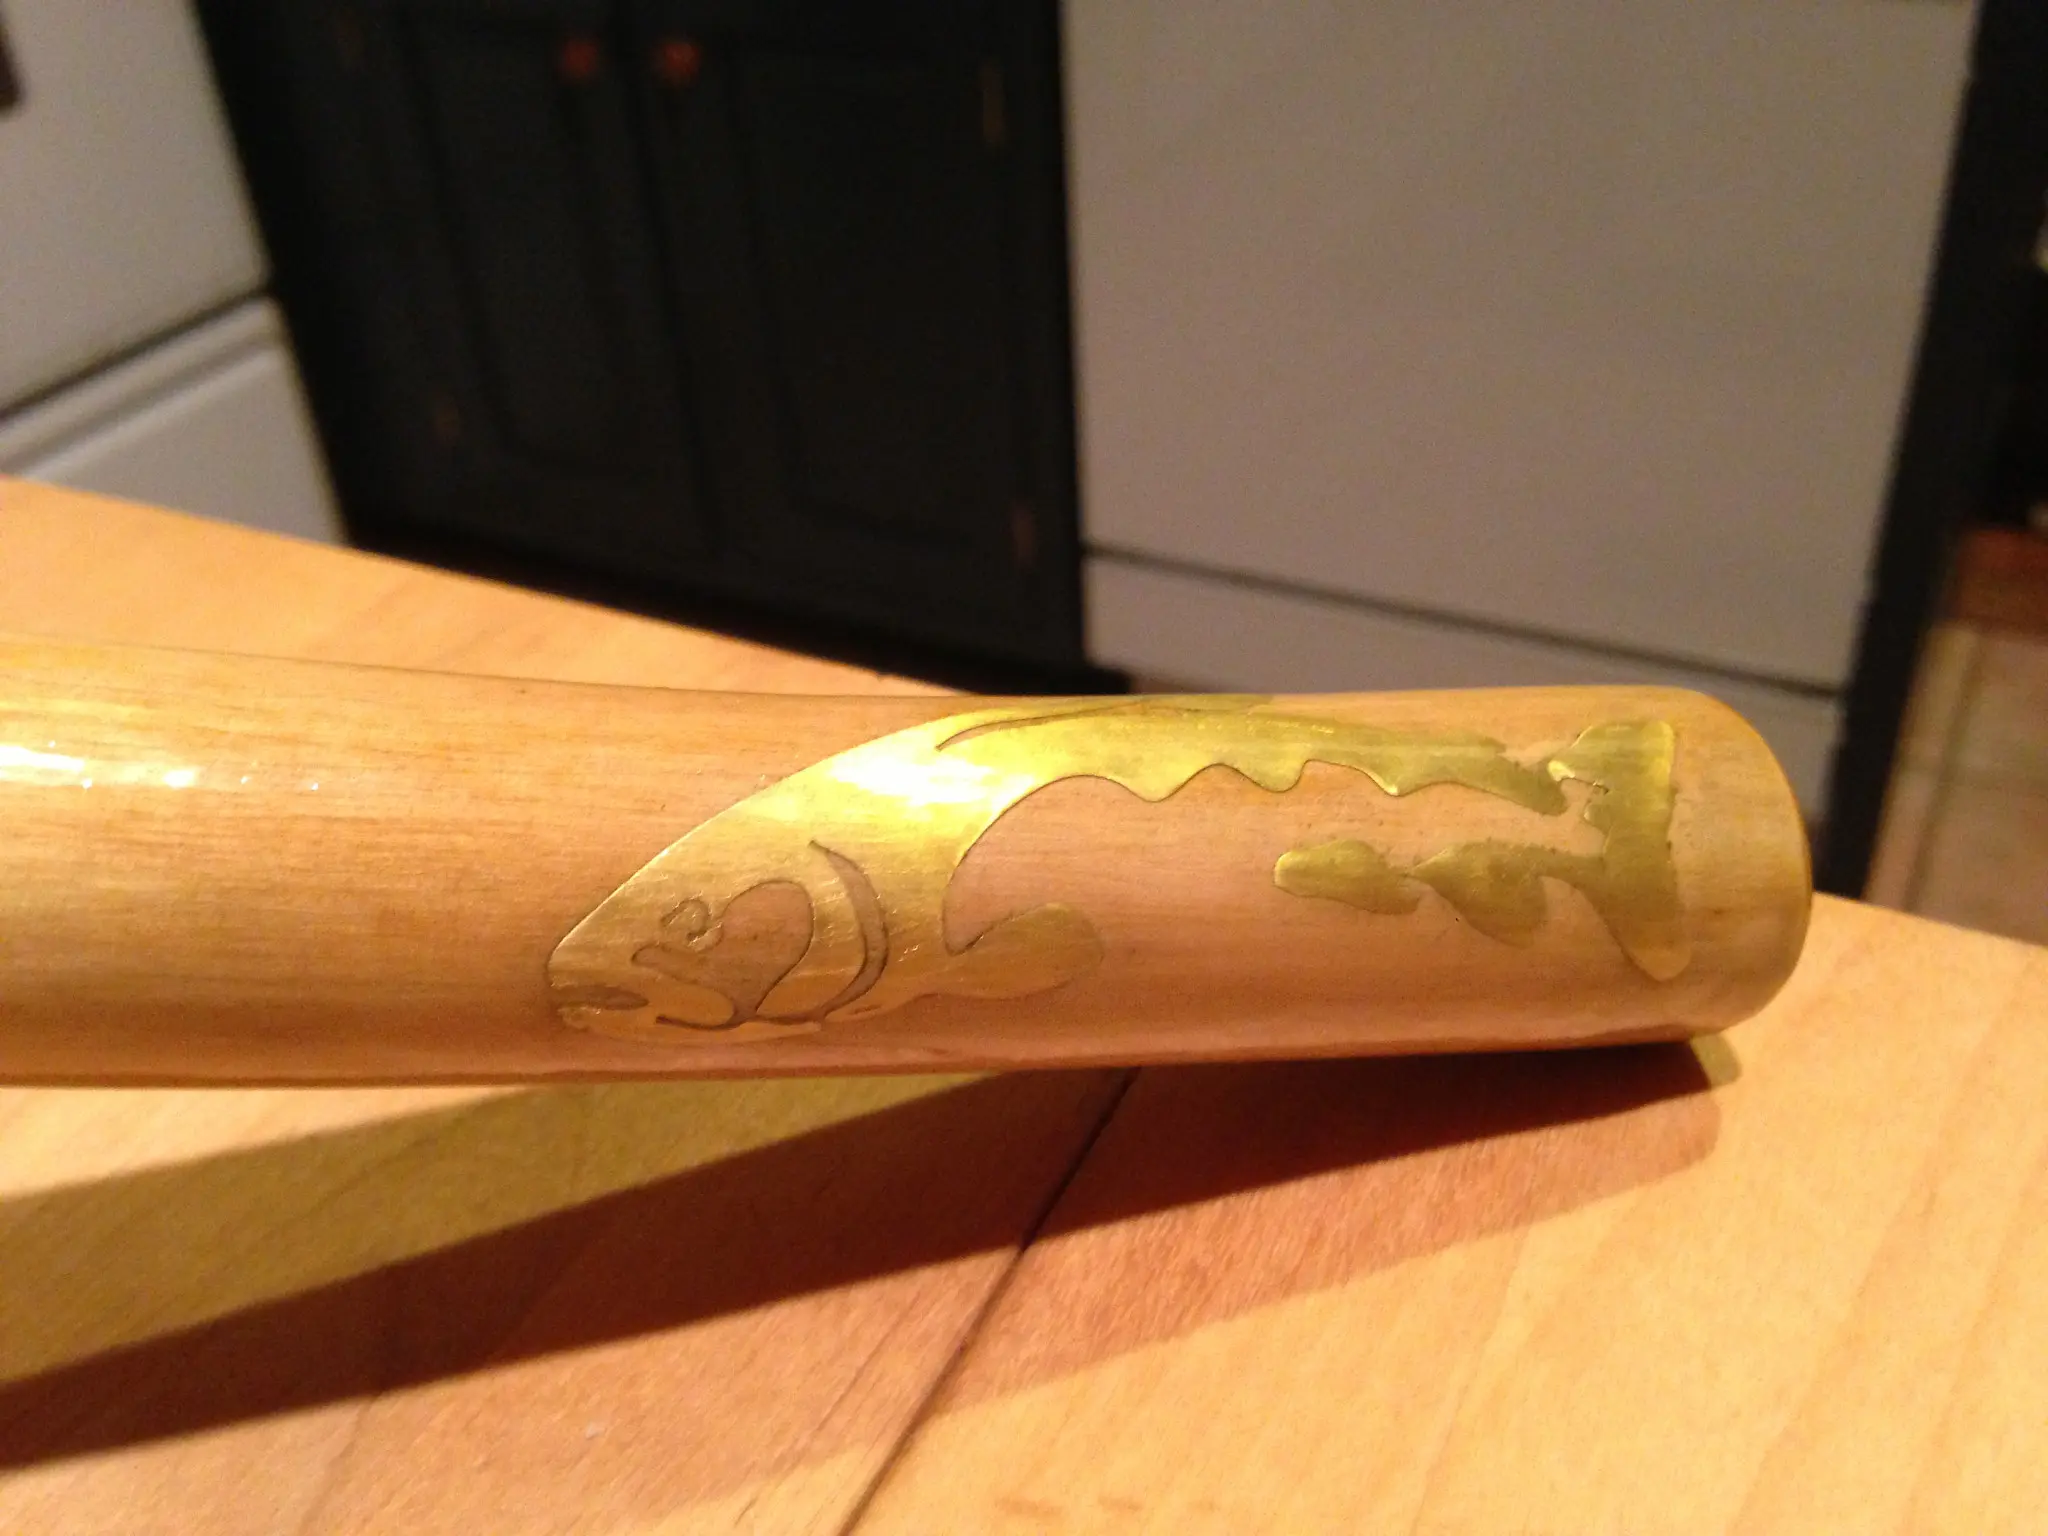
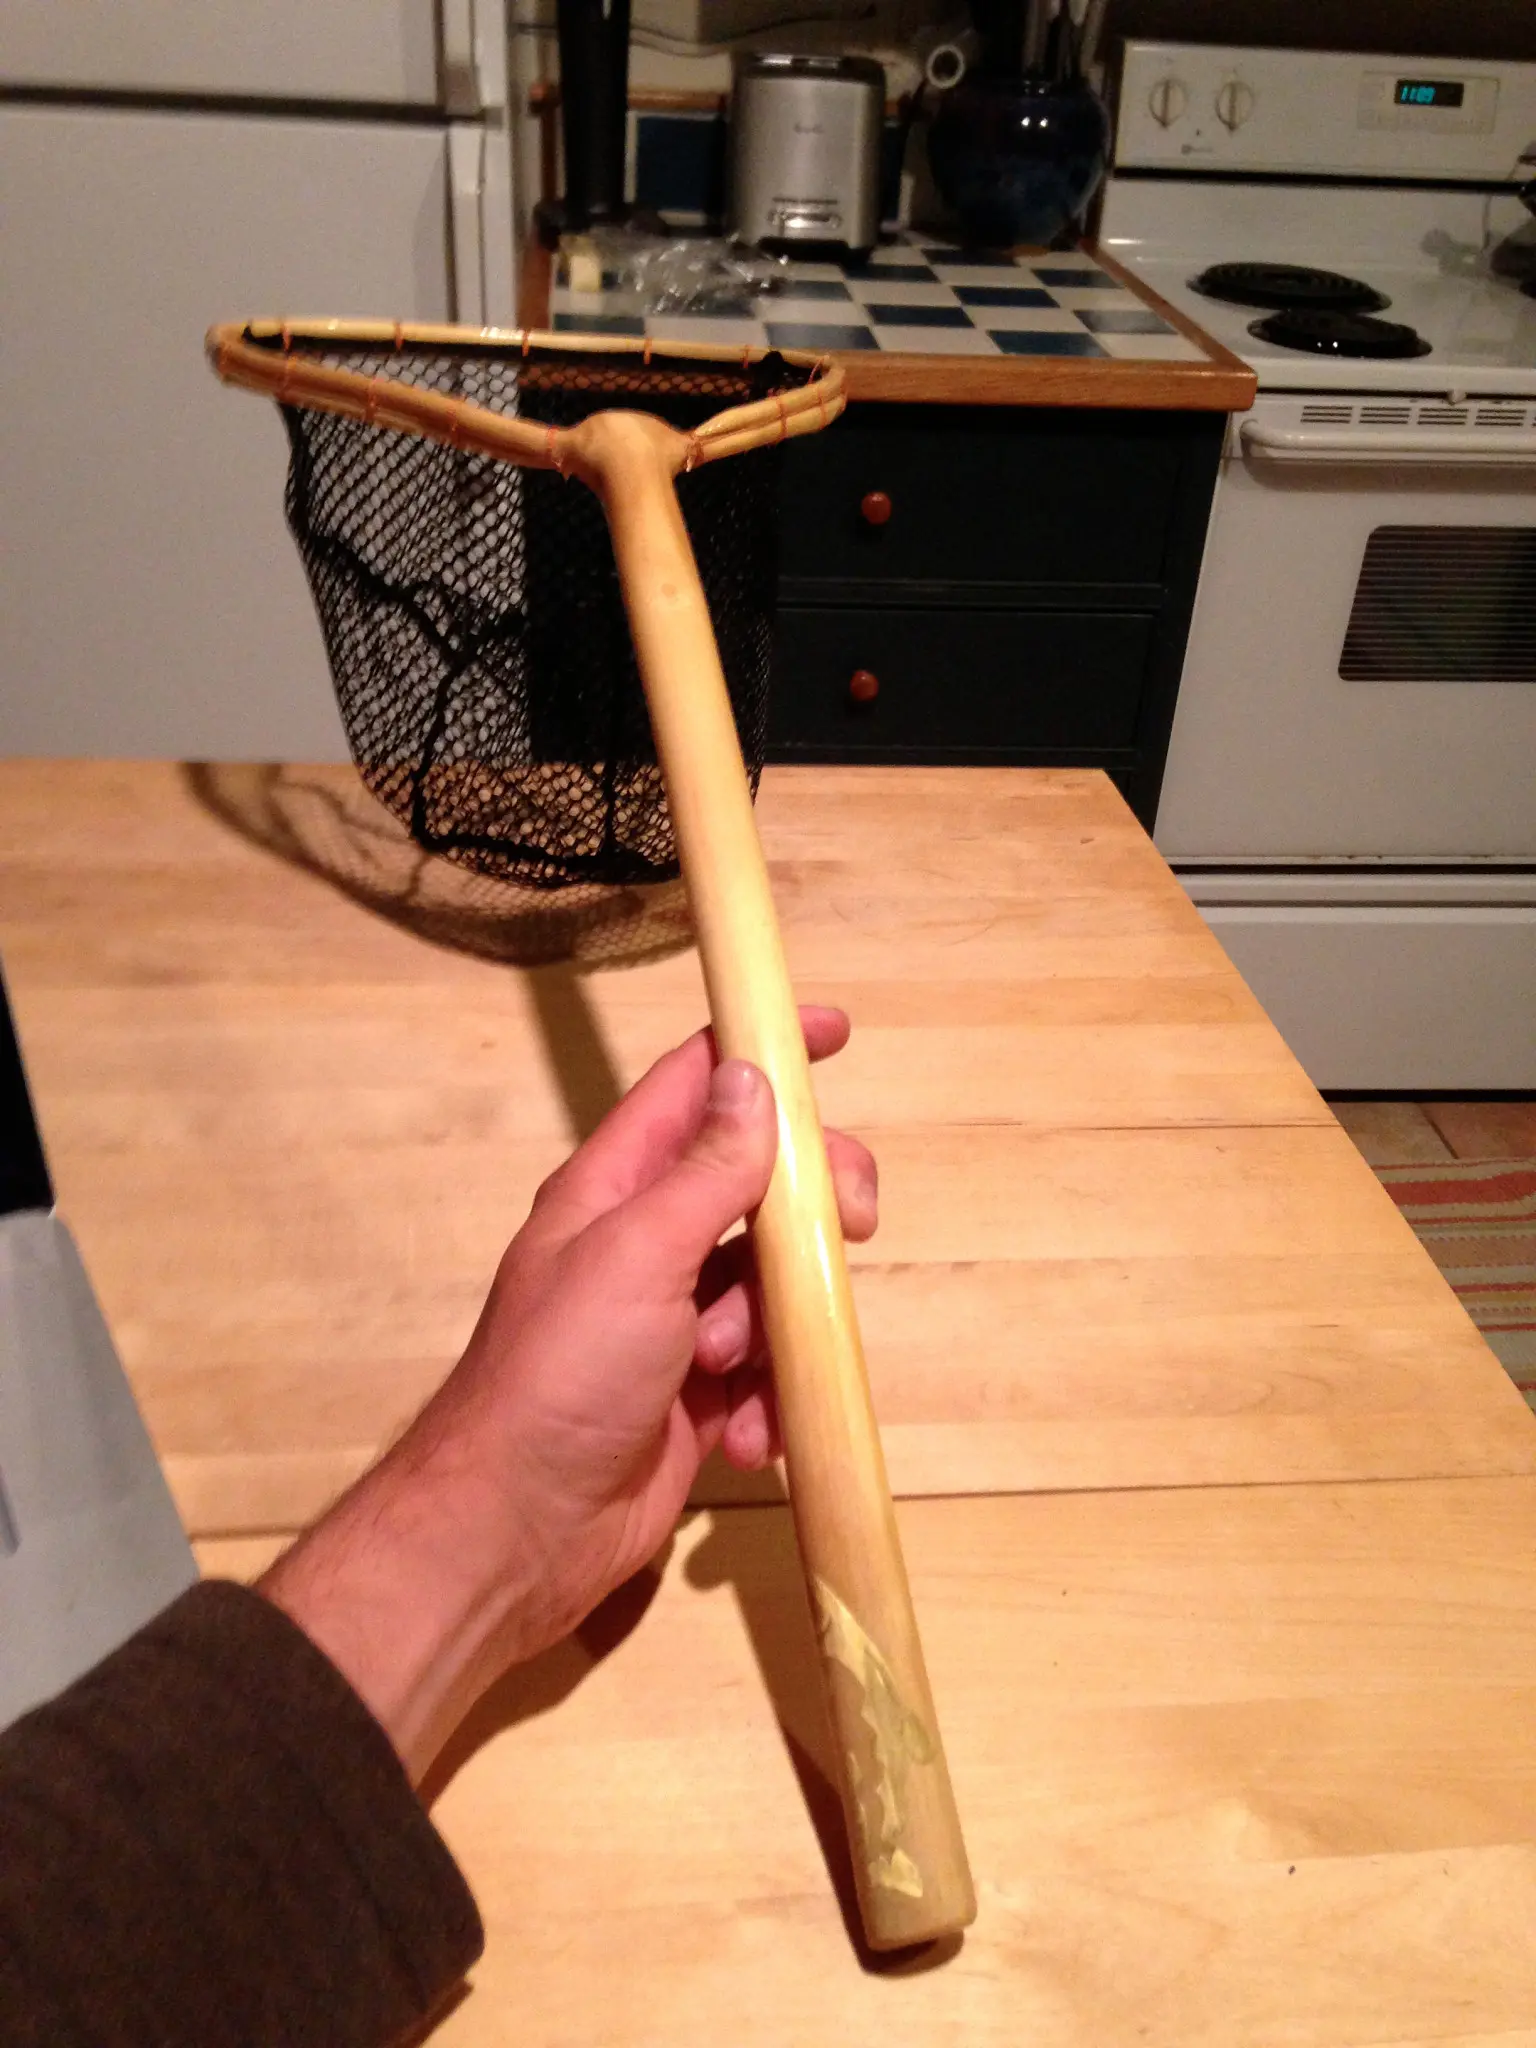
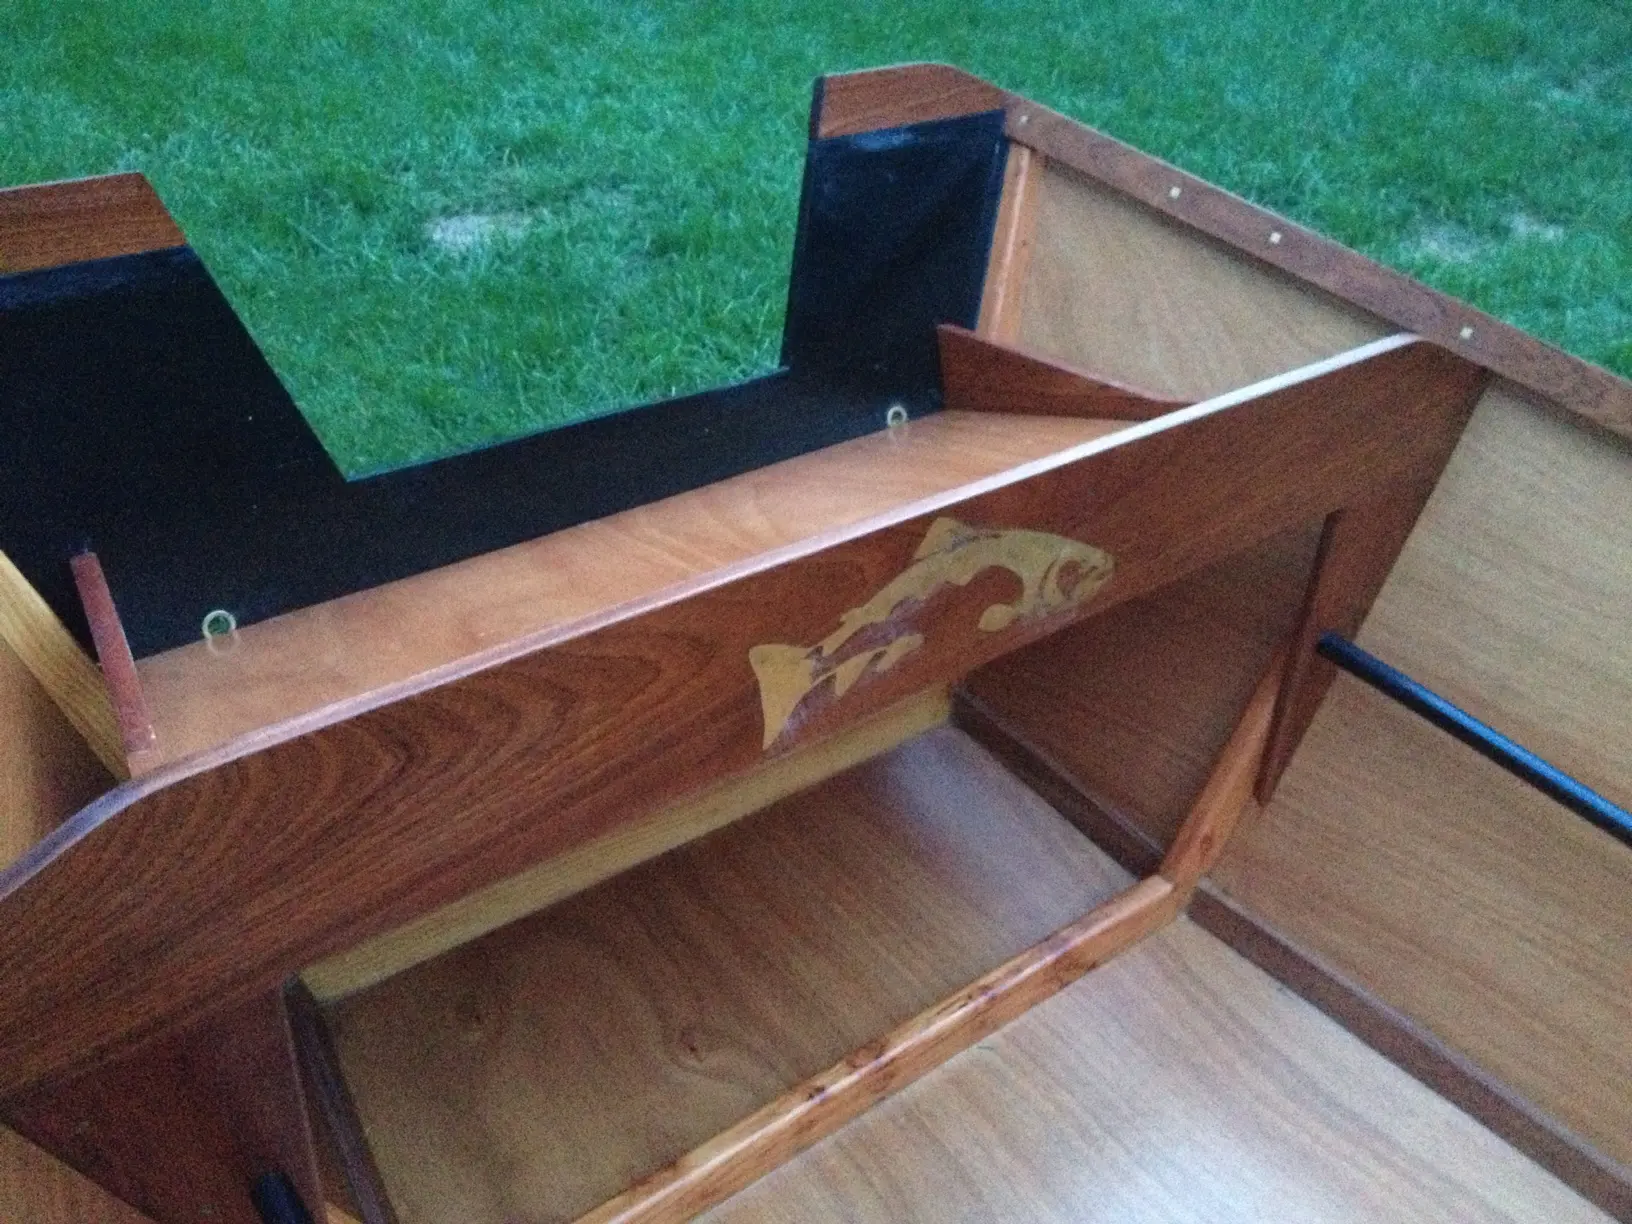
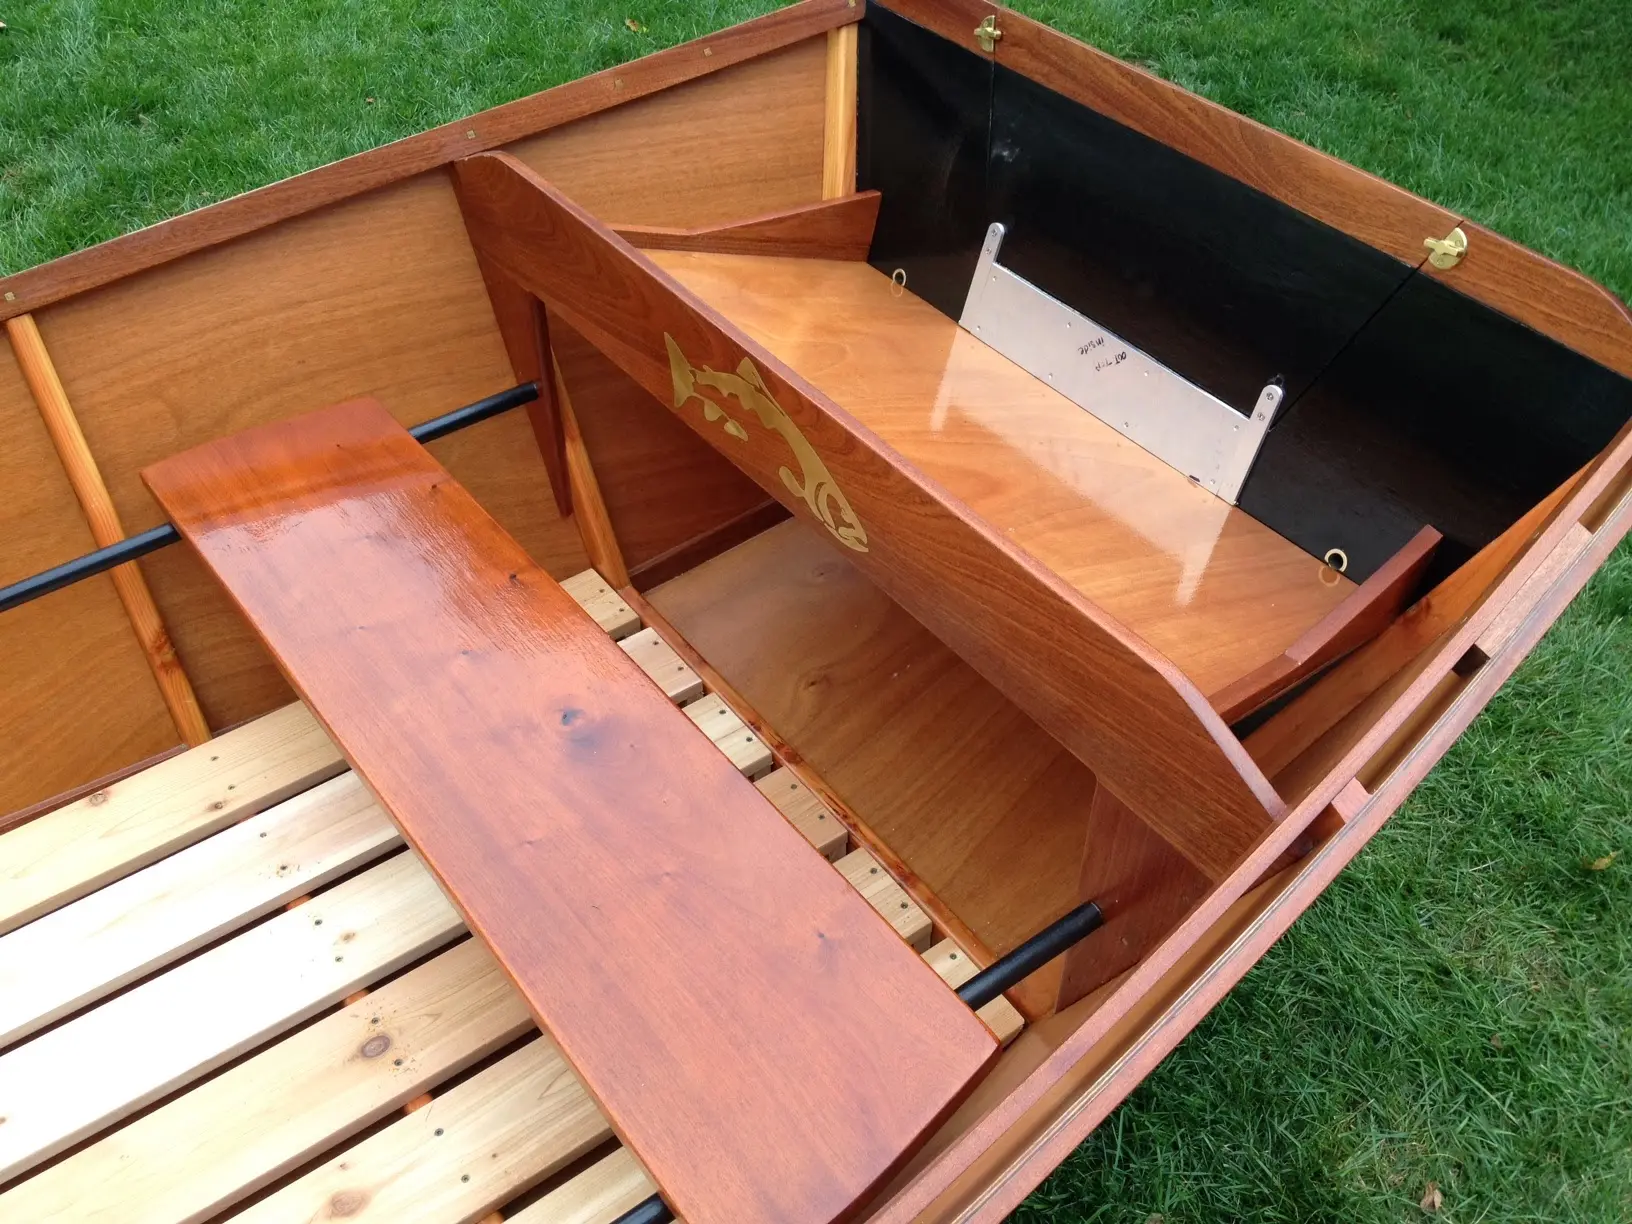
A fine handcrafted net made by TMack Hodges, 2nd edition, first with trout inlay! this logo will eventually round out our dory. This was Mack's wedding gift to me, a handcrafted trout net fashioned from a single maple branch, cant wait to put some truchas in it!
Photo 1 Photo 2
11 Jun 2013Interior & Cockpit
Transom detail
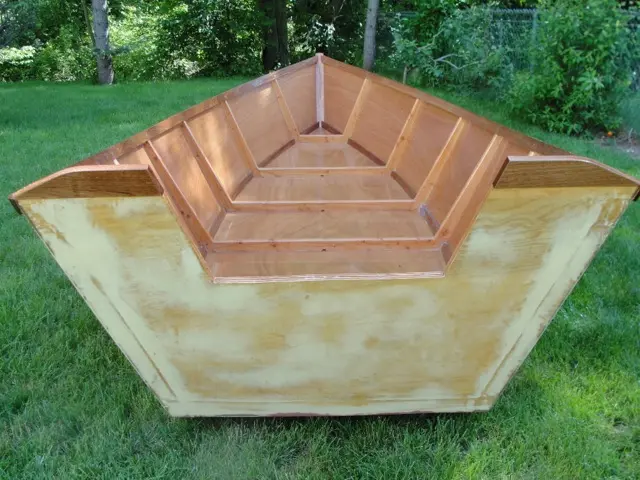
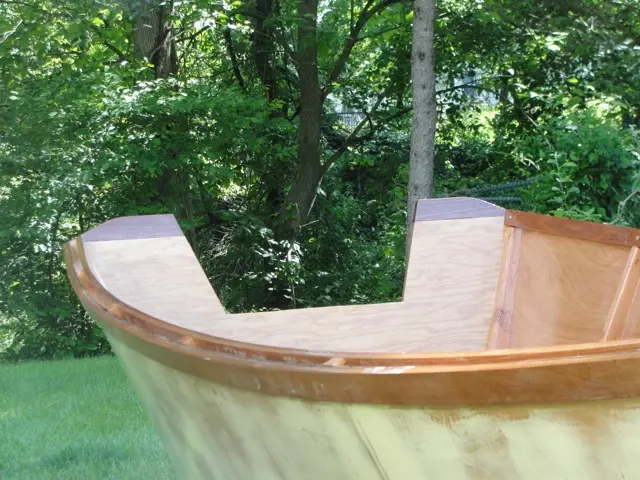
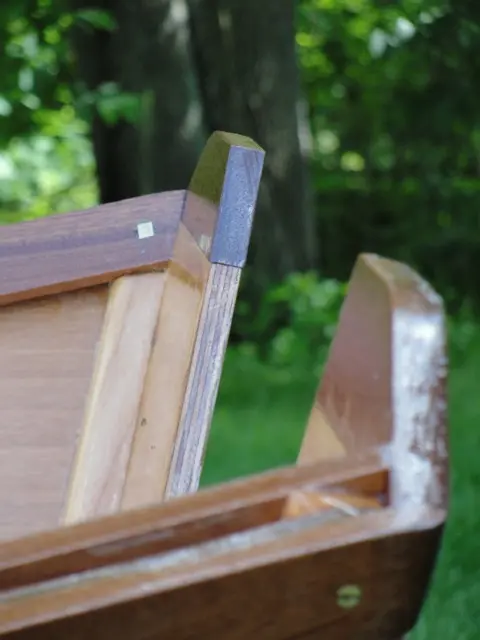
Just a few photos this week, rain has been slowing us down. We've added another coat of epoxy inside and out, and begun sanding and prep for the paint. The transom has been detailed as well with some nice sapelle, which was cut, biscuited and epoxied to the doug fir transom.
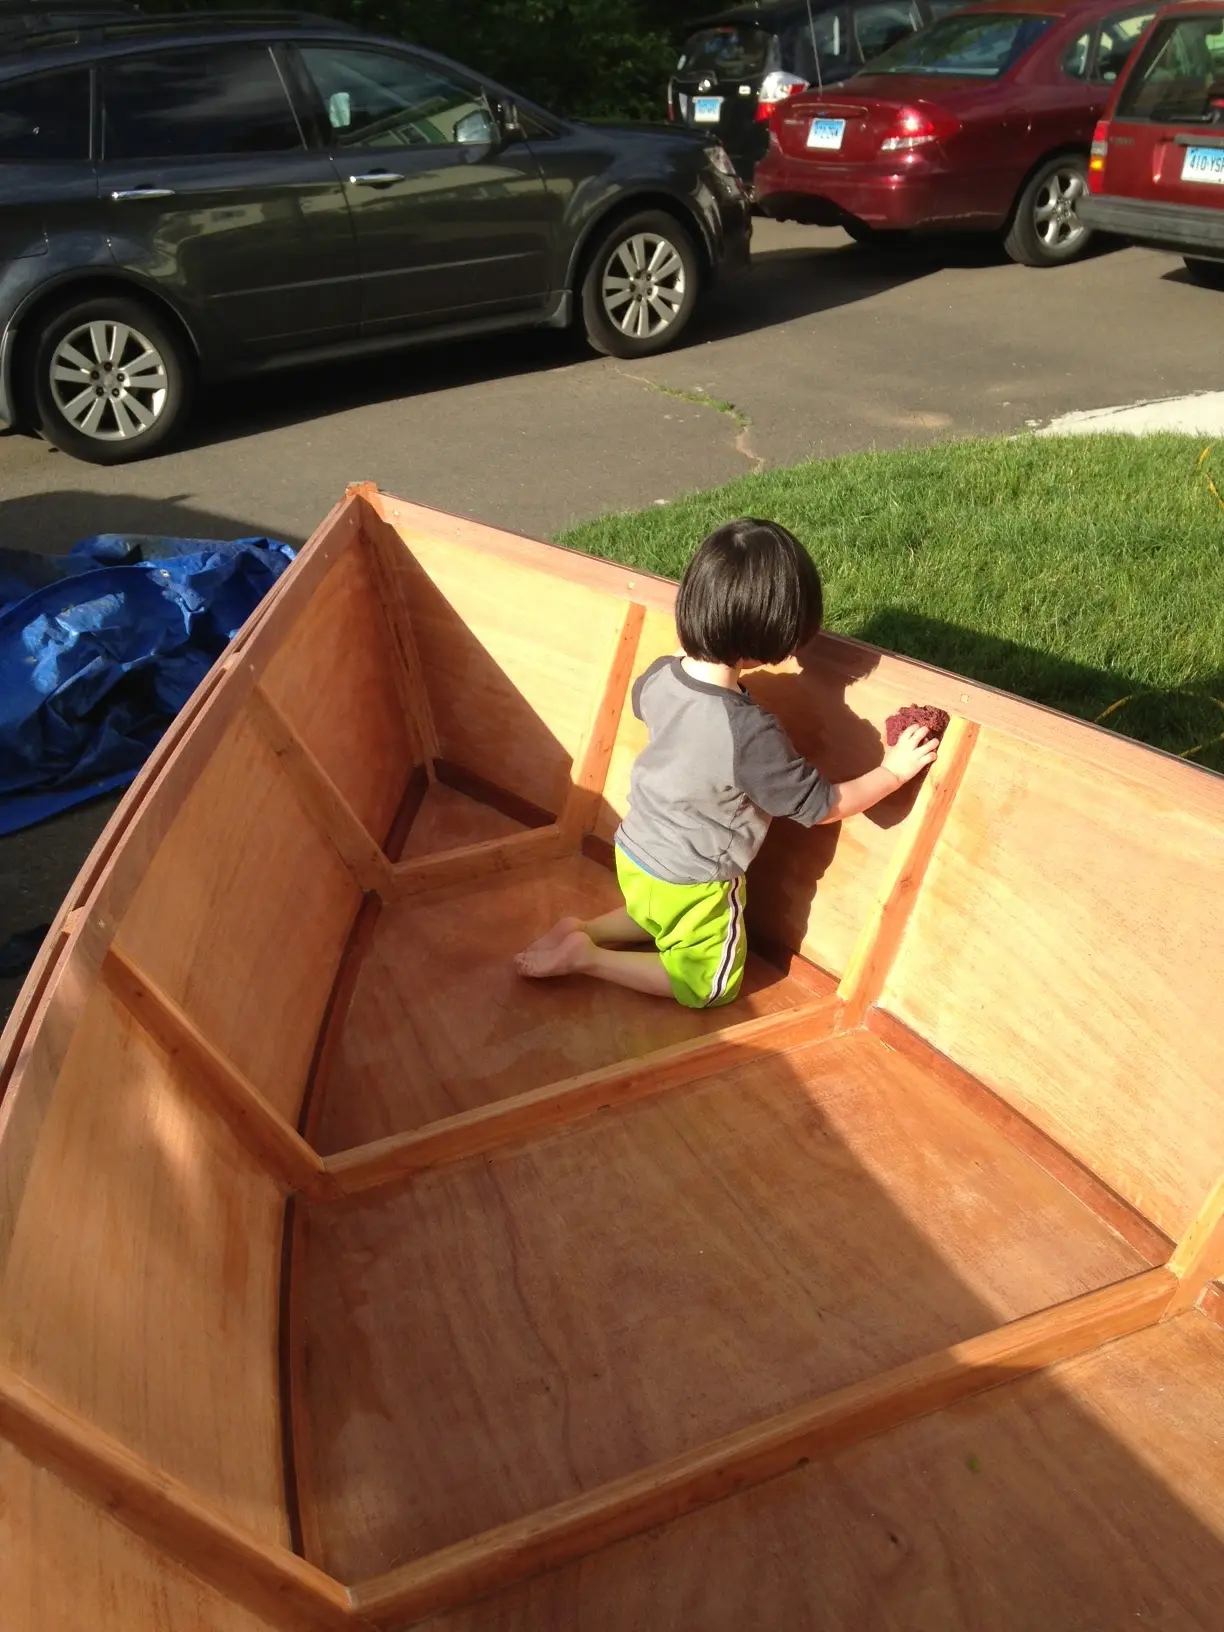
Bross is turning out to be a great helper. Today we sanded, then we sanded, after that we sanded. then we got to woodwork with the Sapelle, some nice crossbeams for the bow and stern.
Photo 1 Photo 2 Photo 3 Photo 4
27 Jun 2013Hardware & Fit-Out
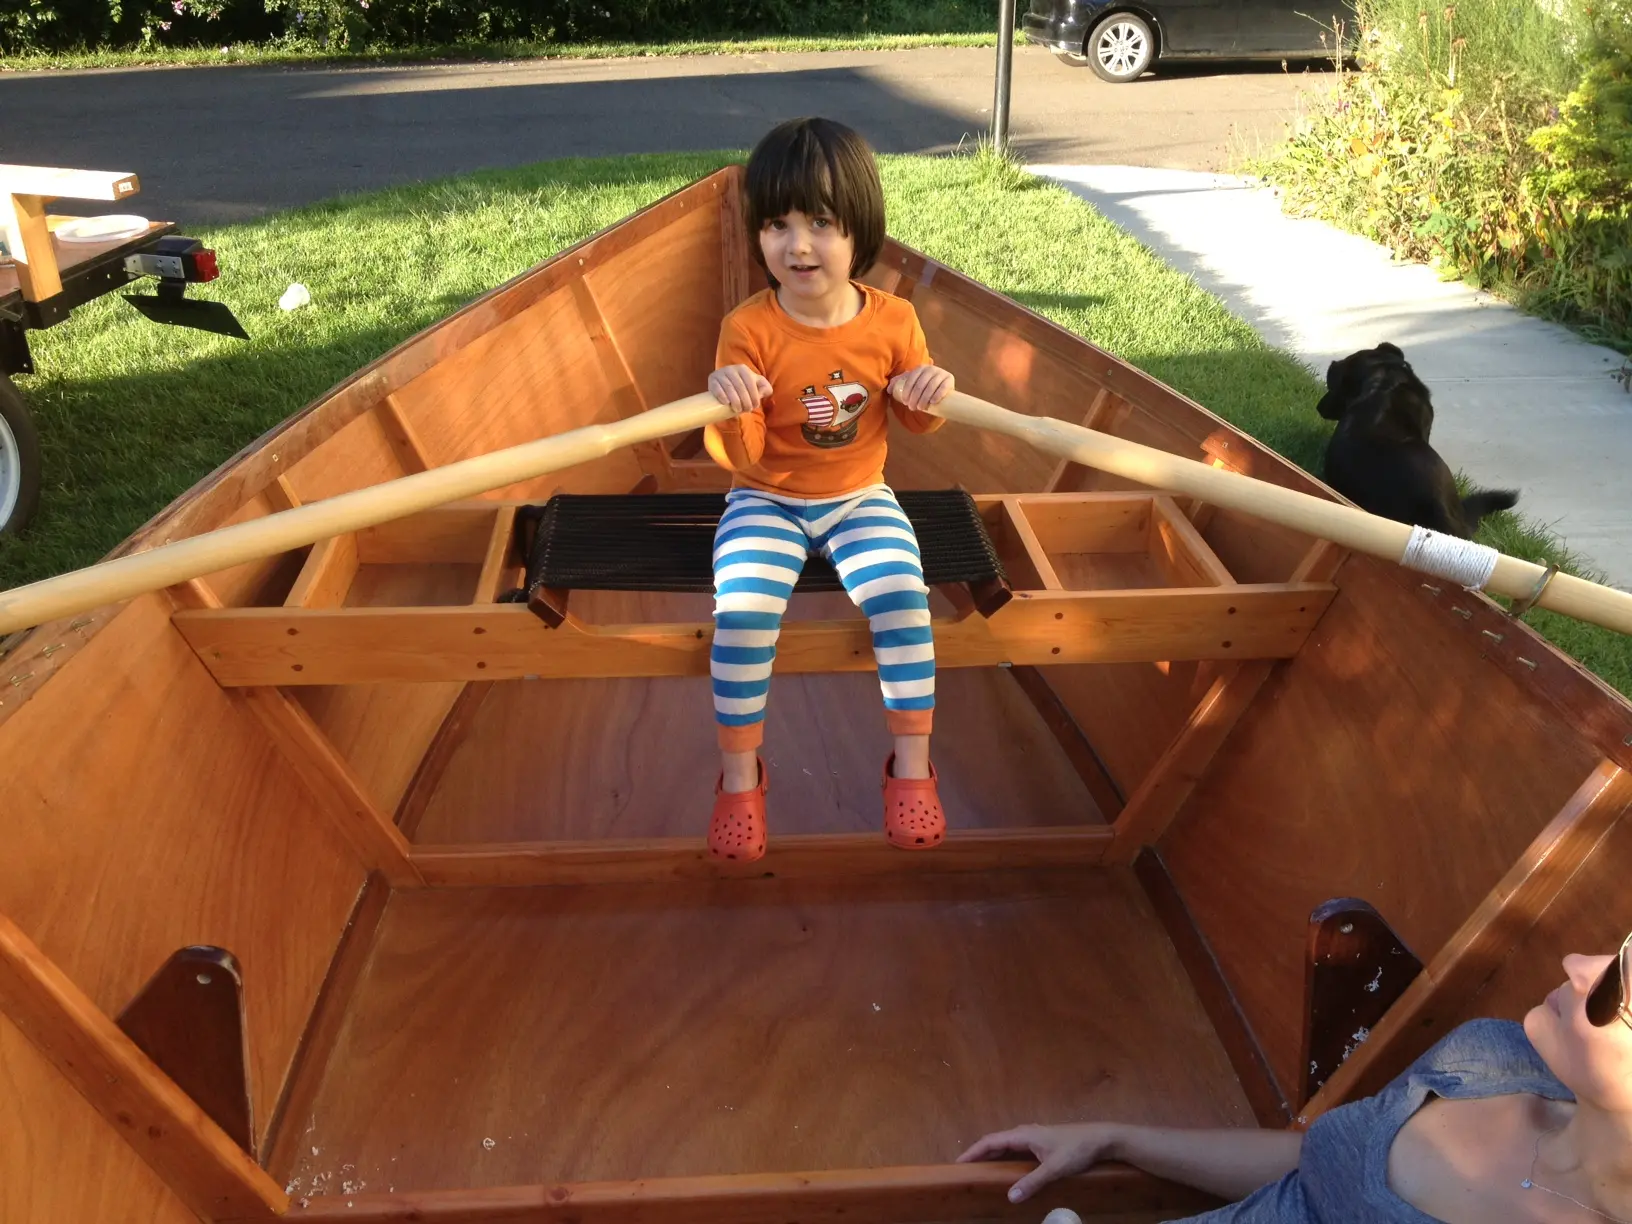
rowing seat!
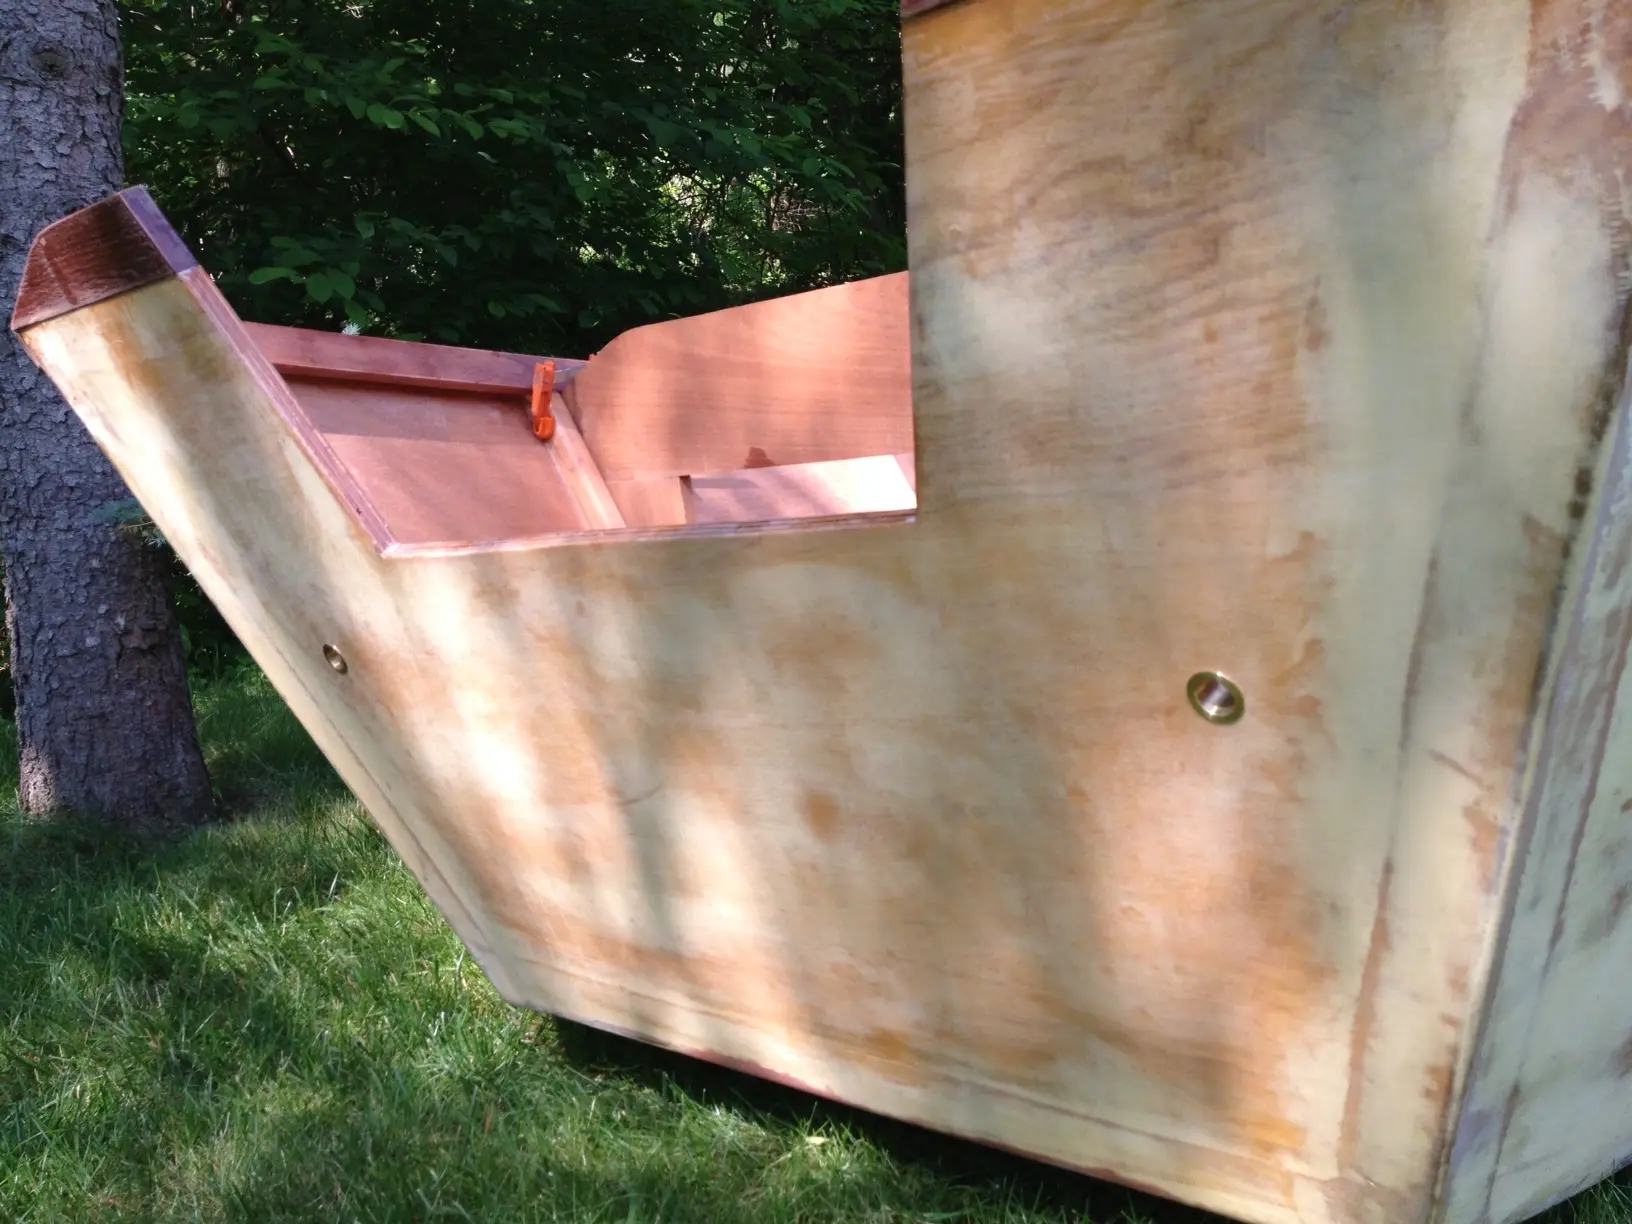
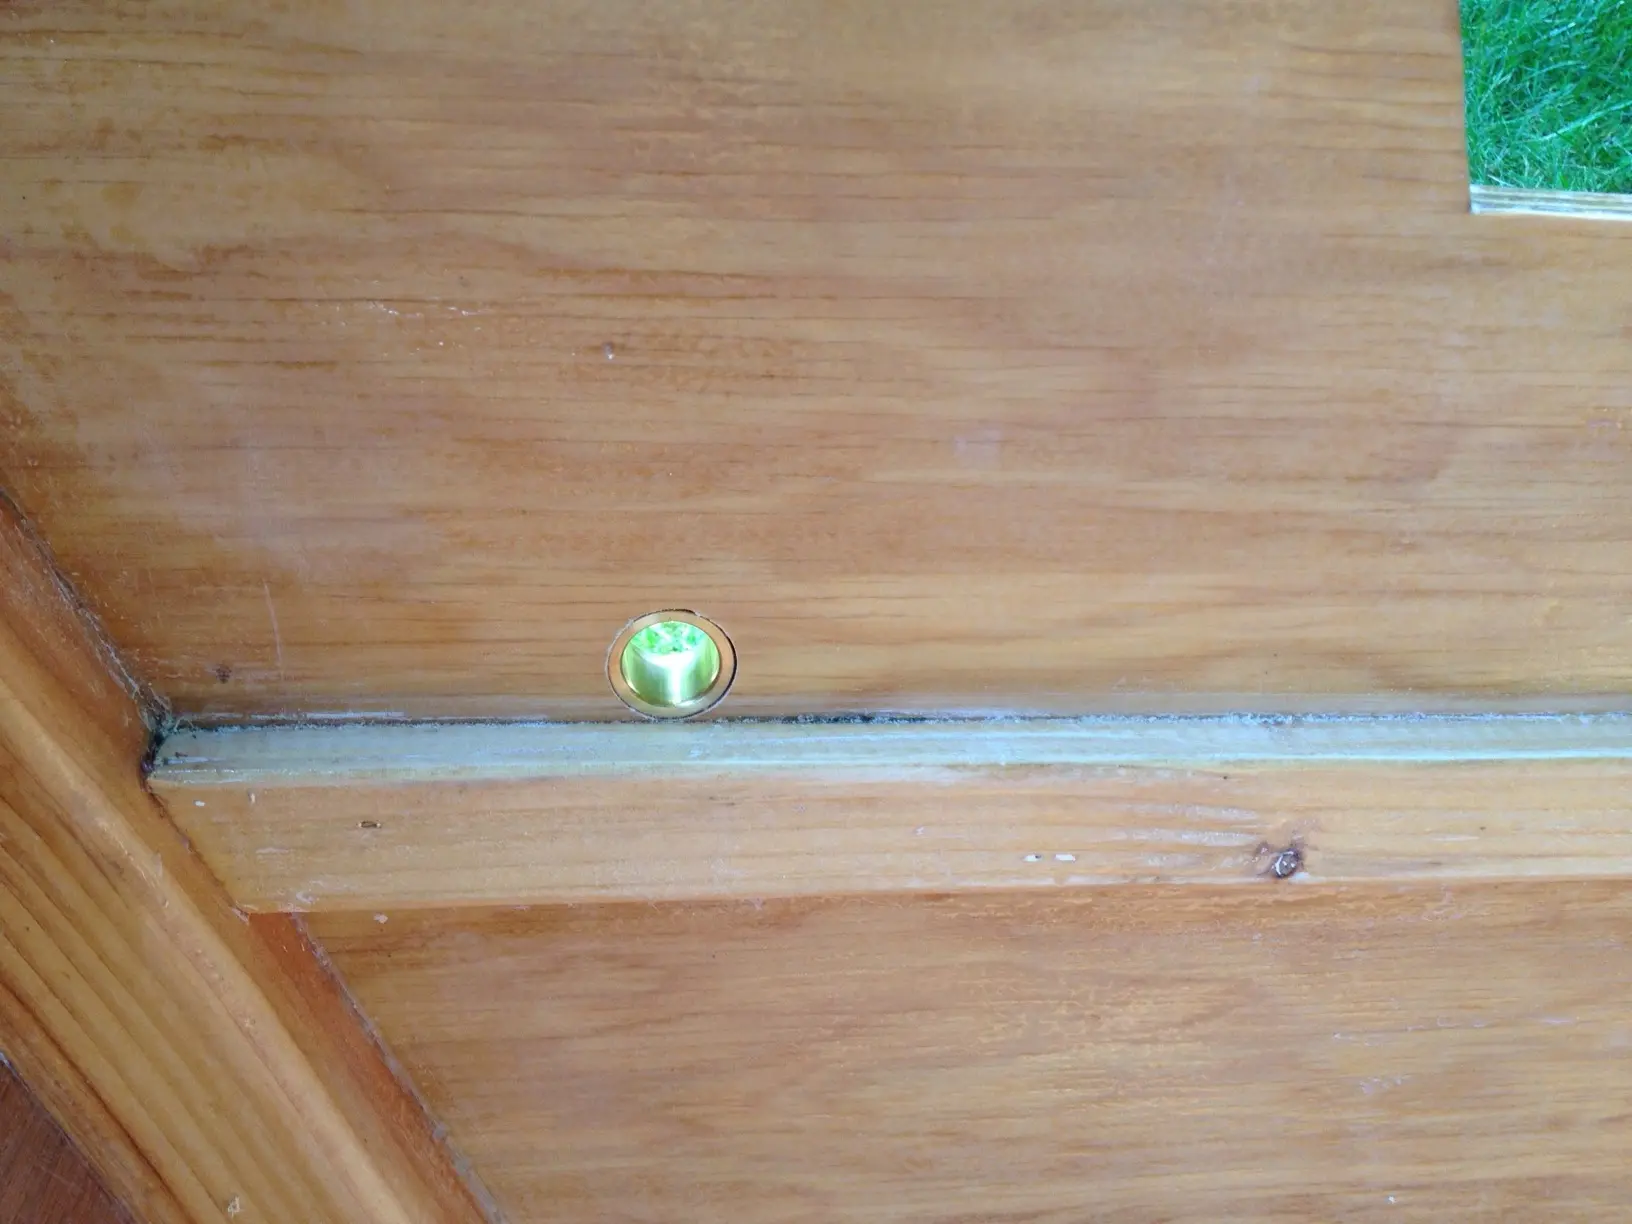
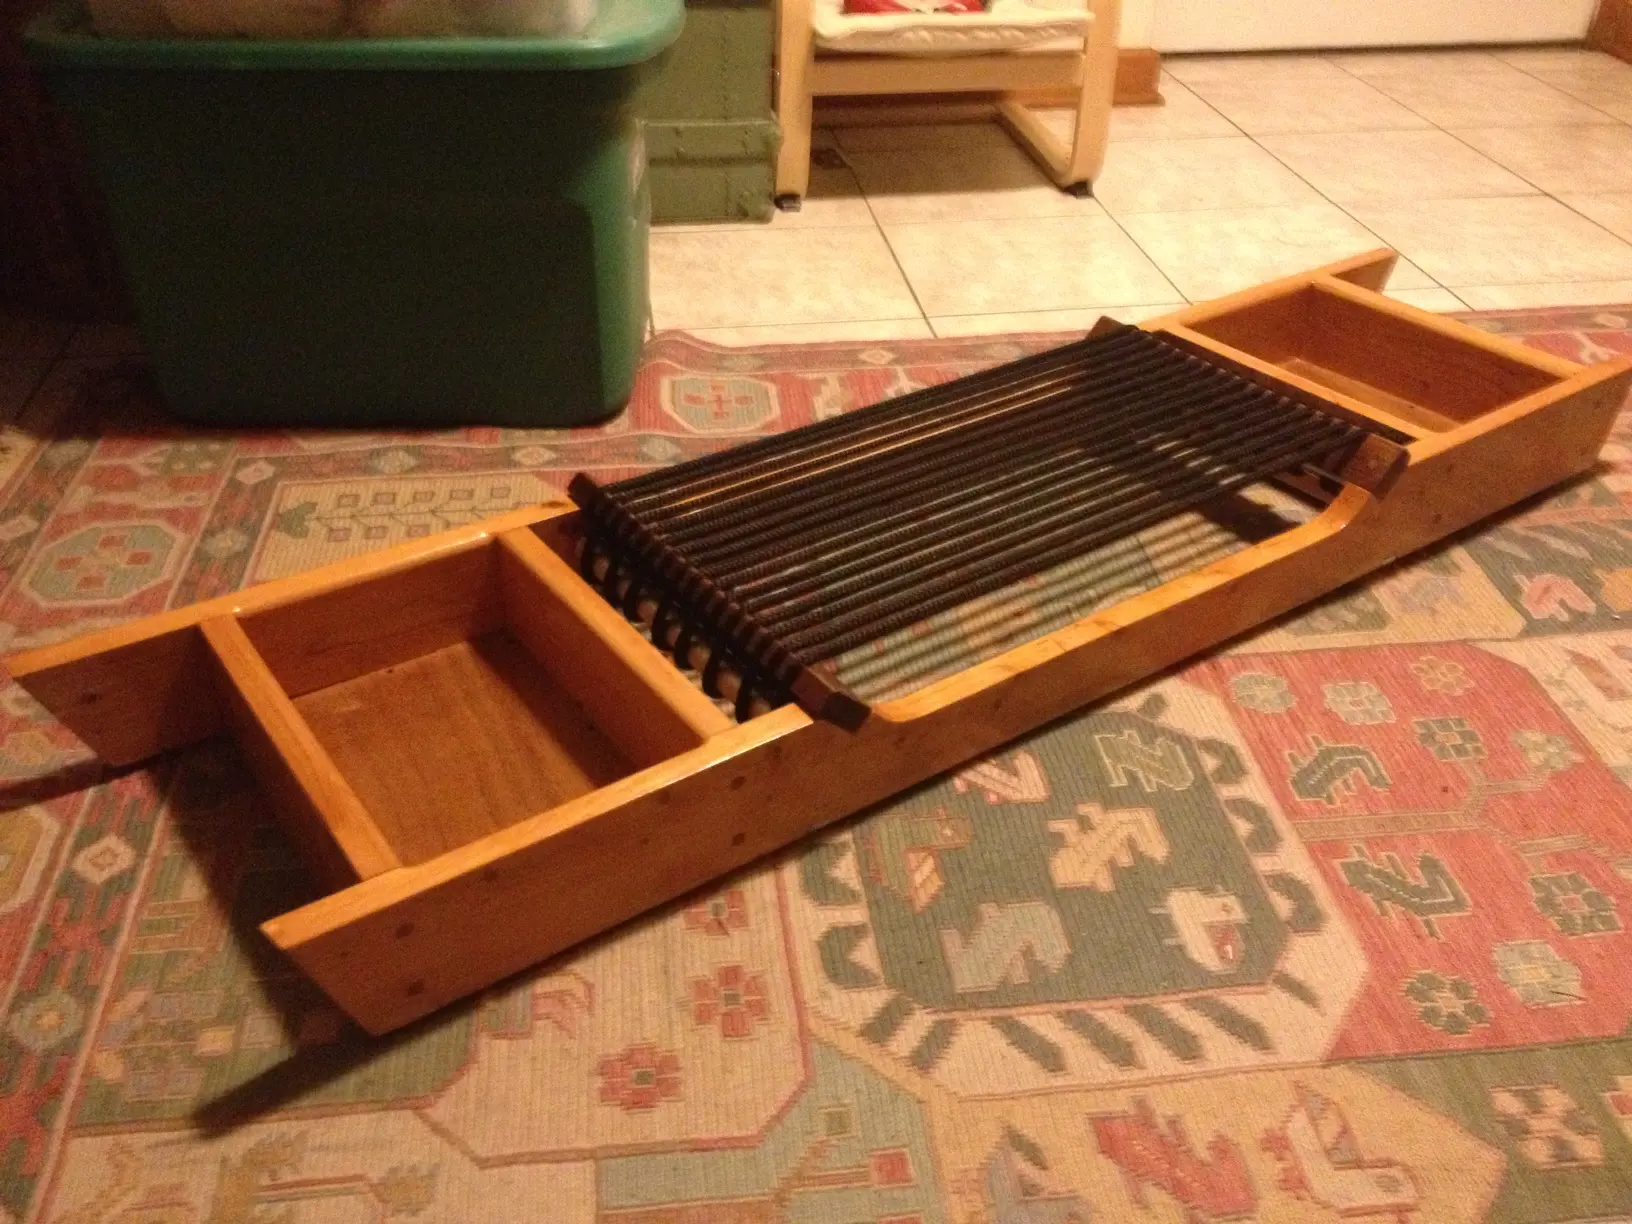
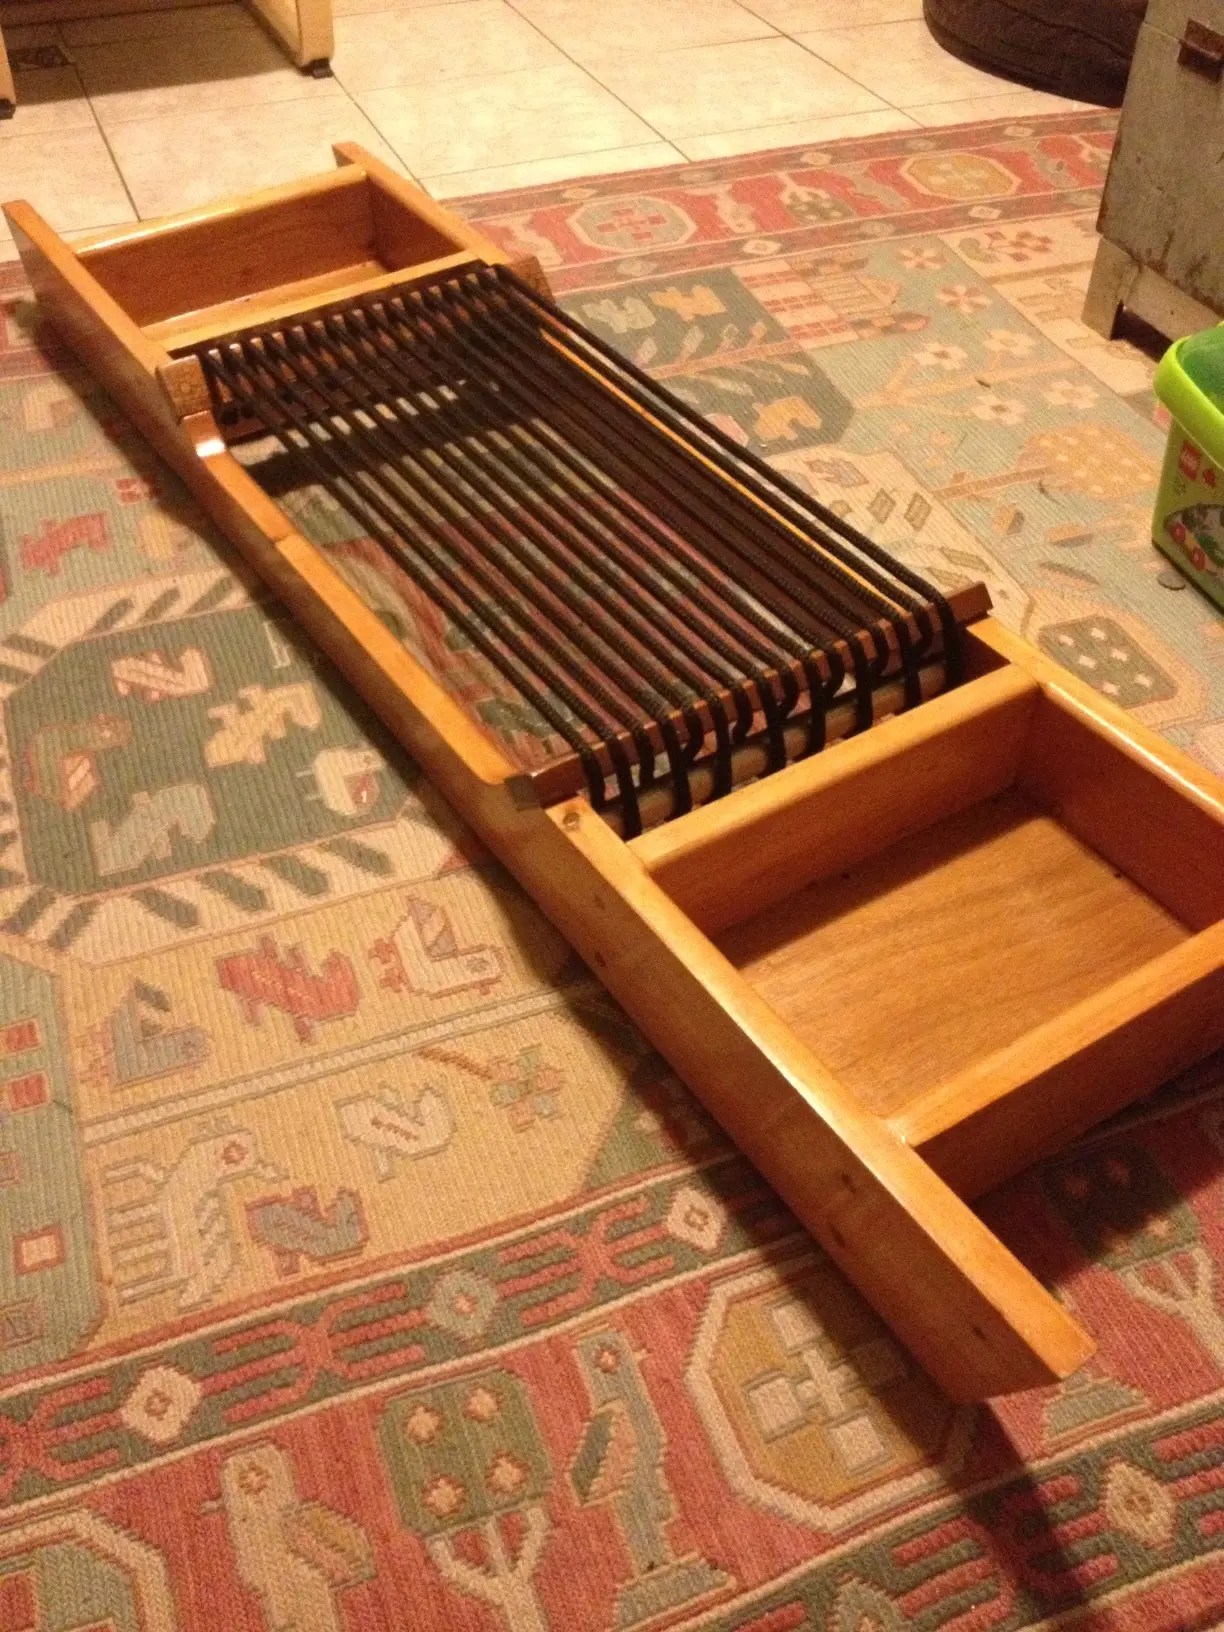
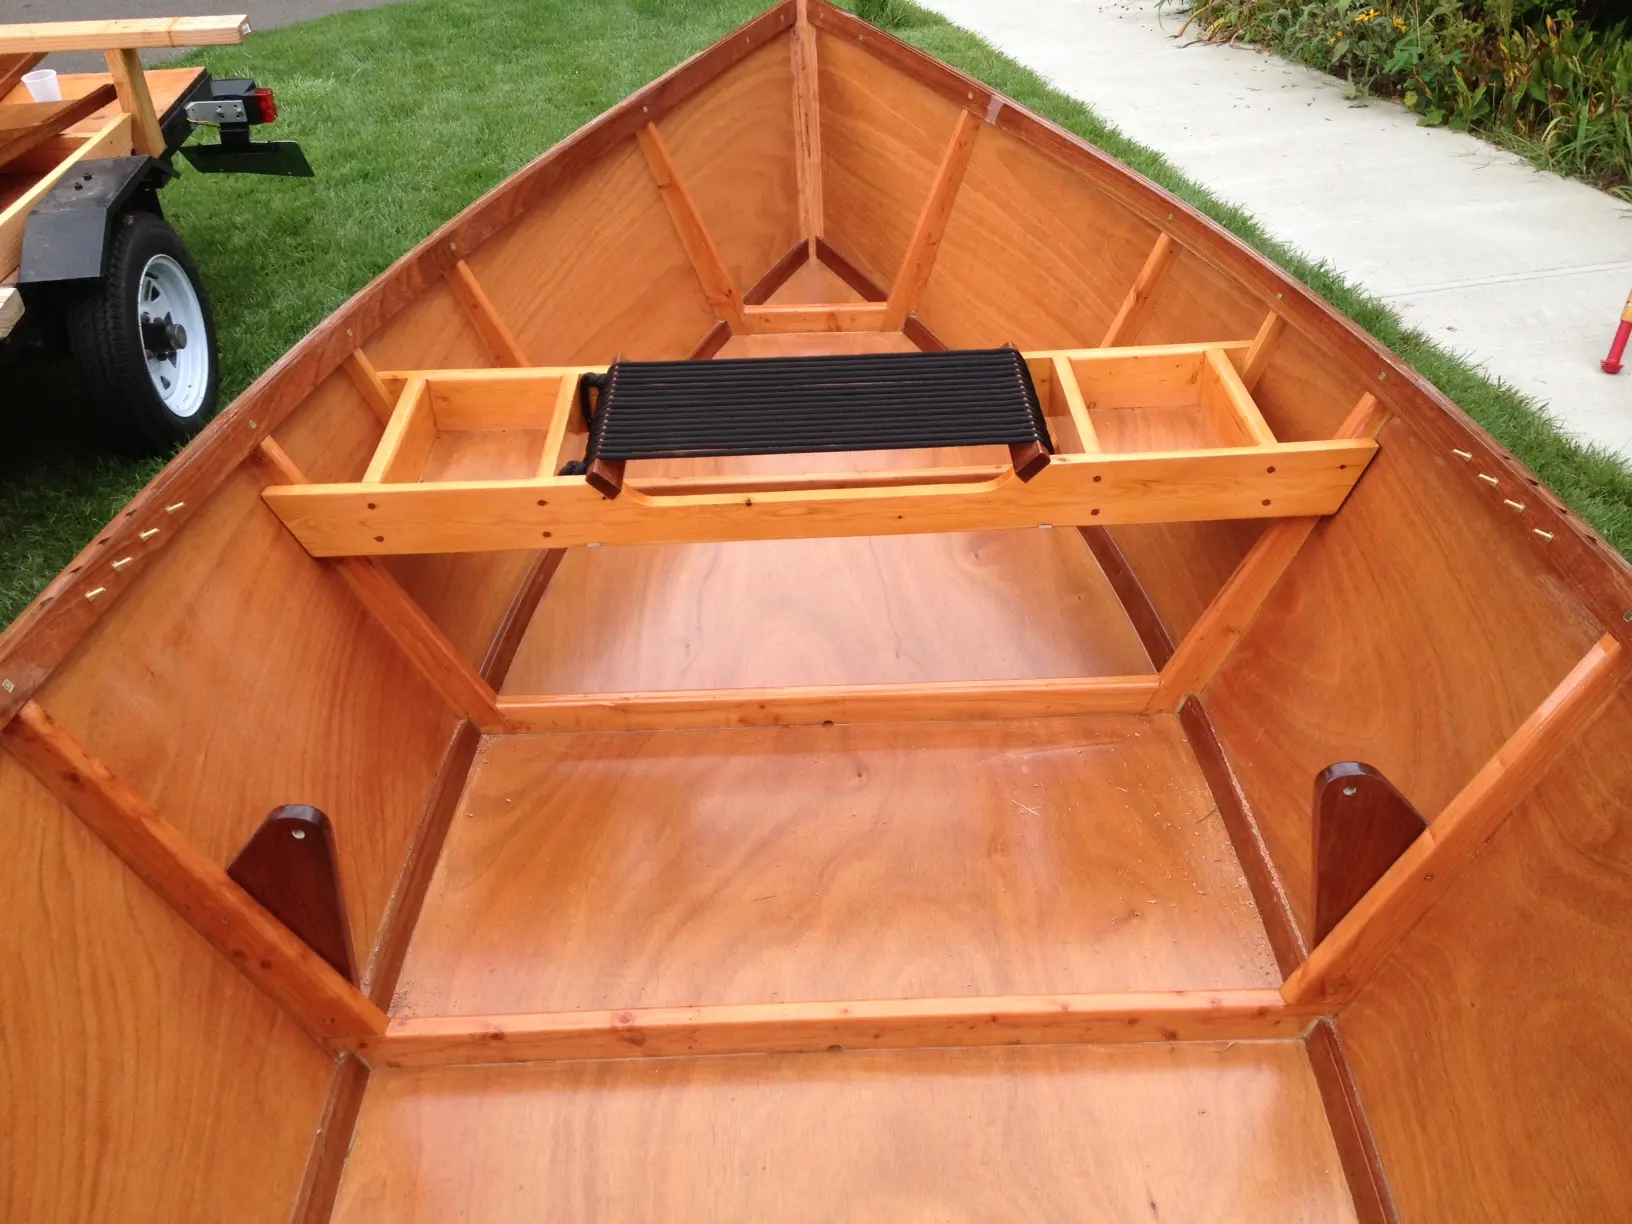
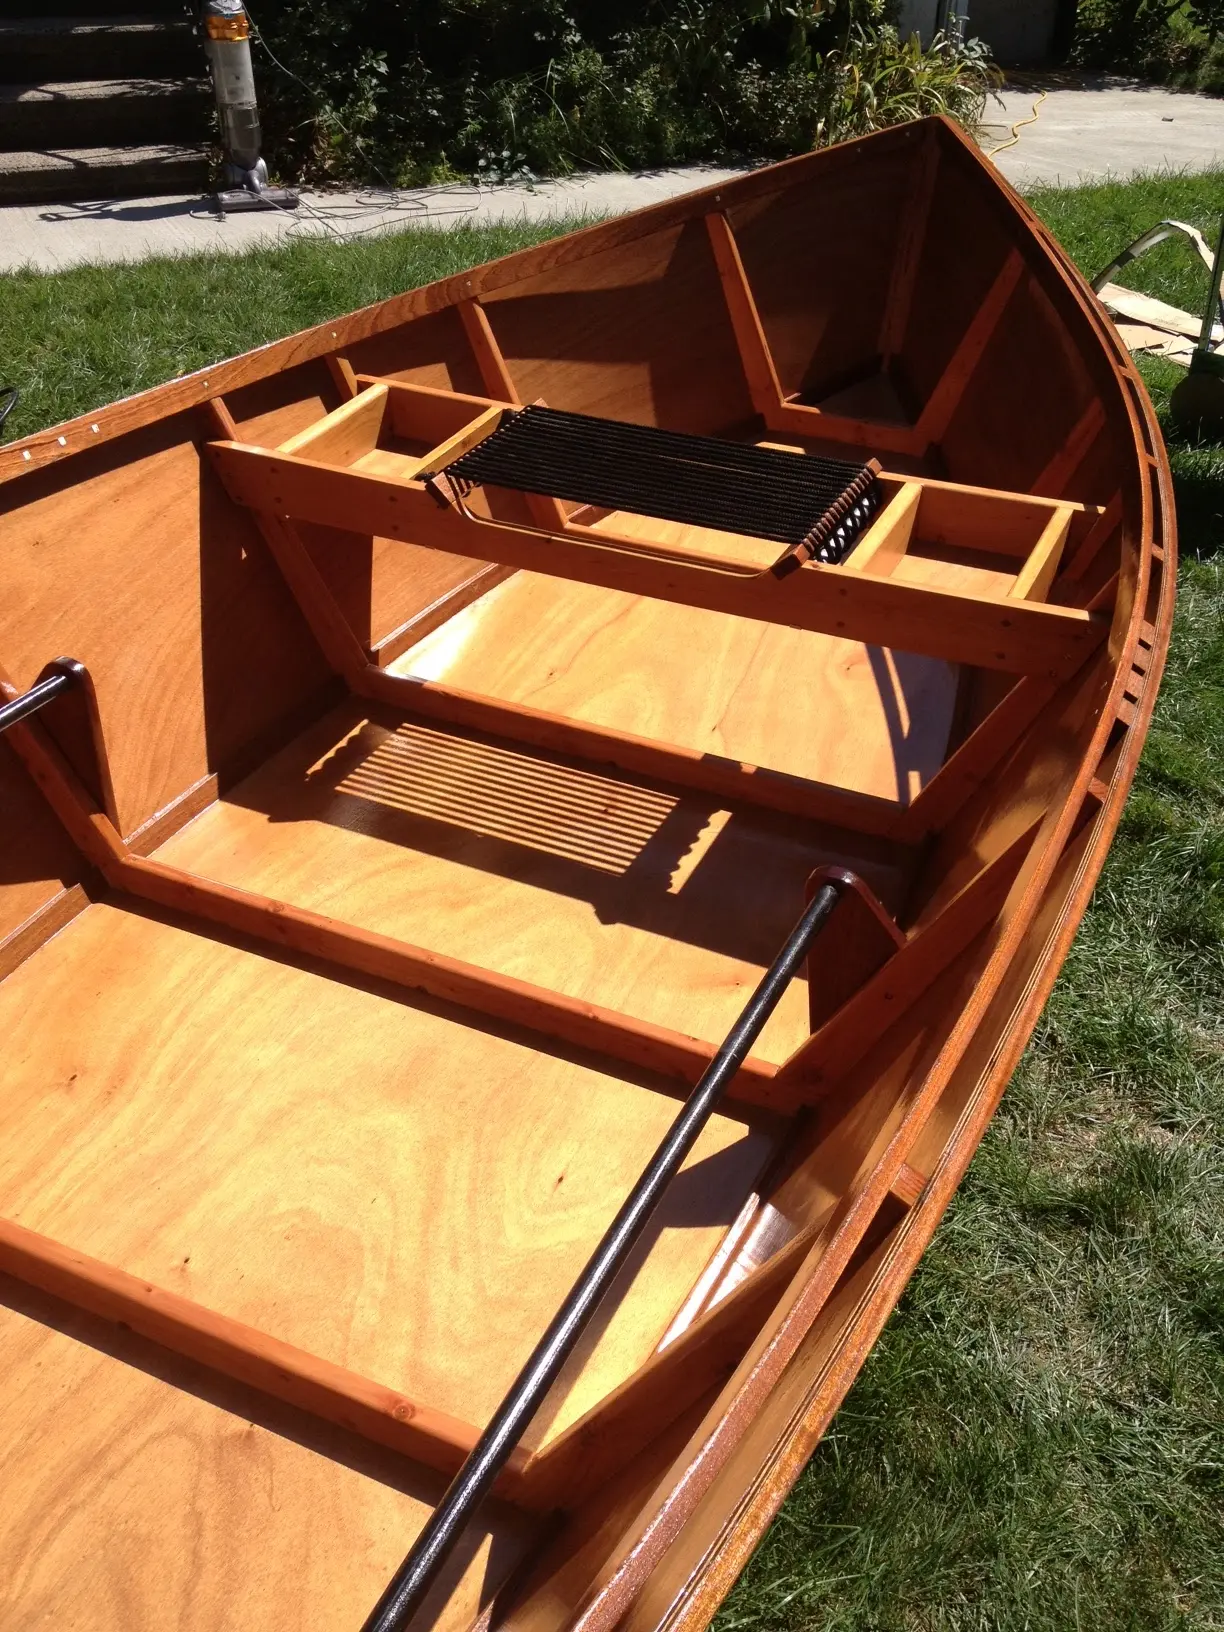
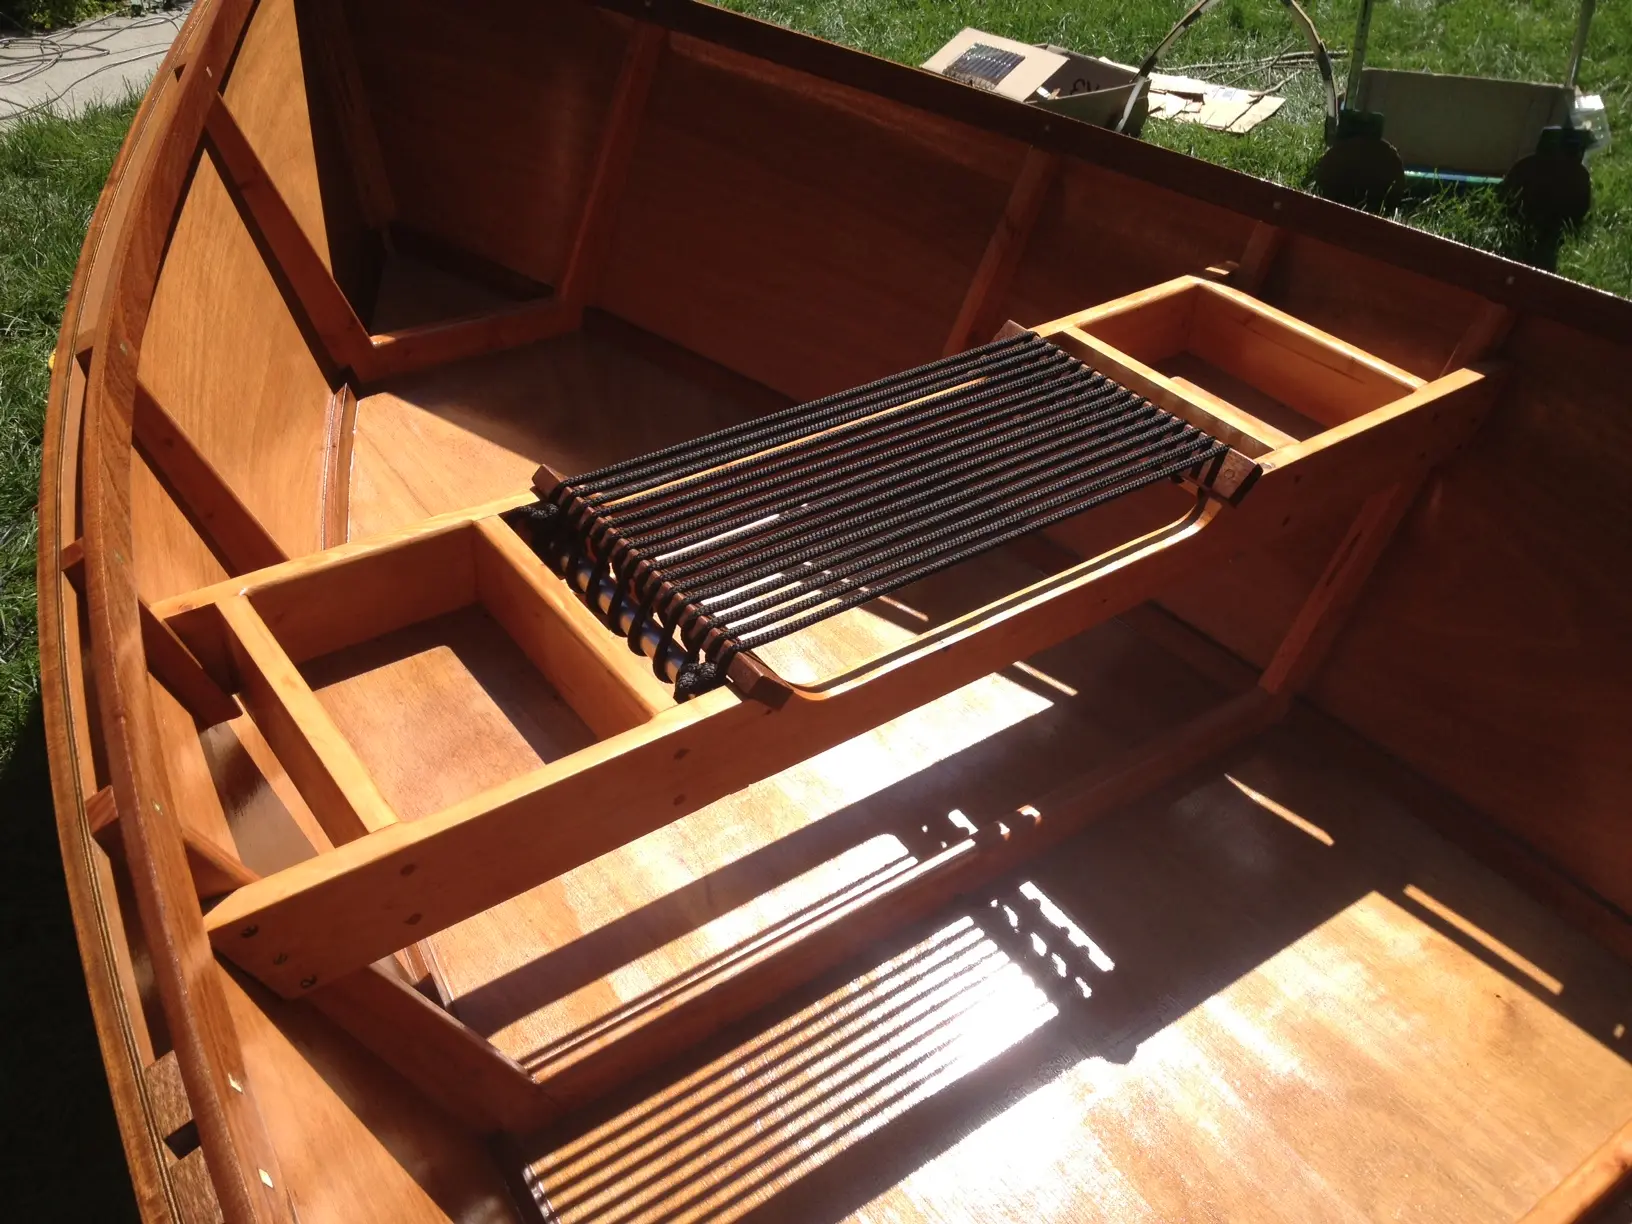
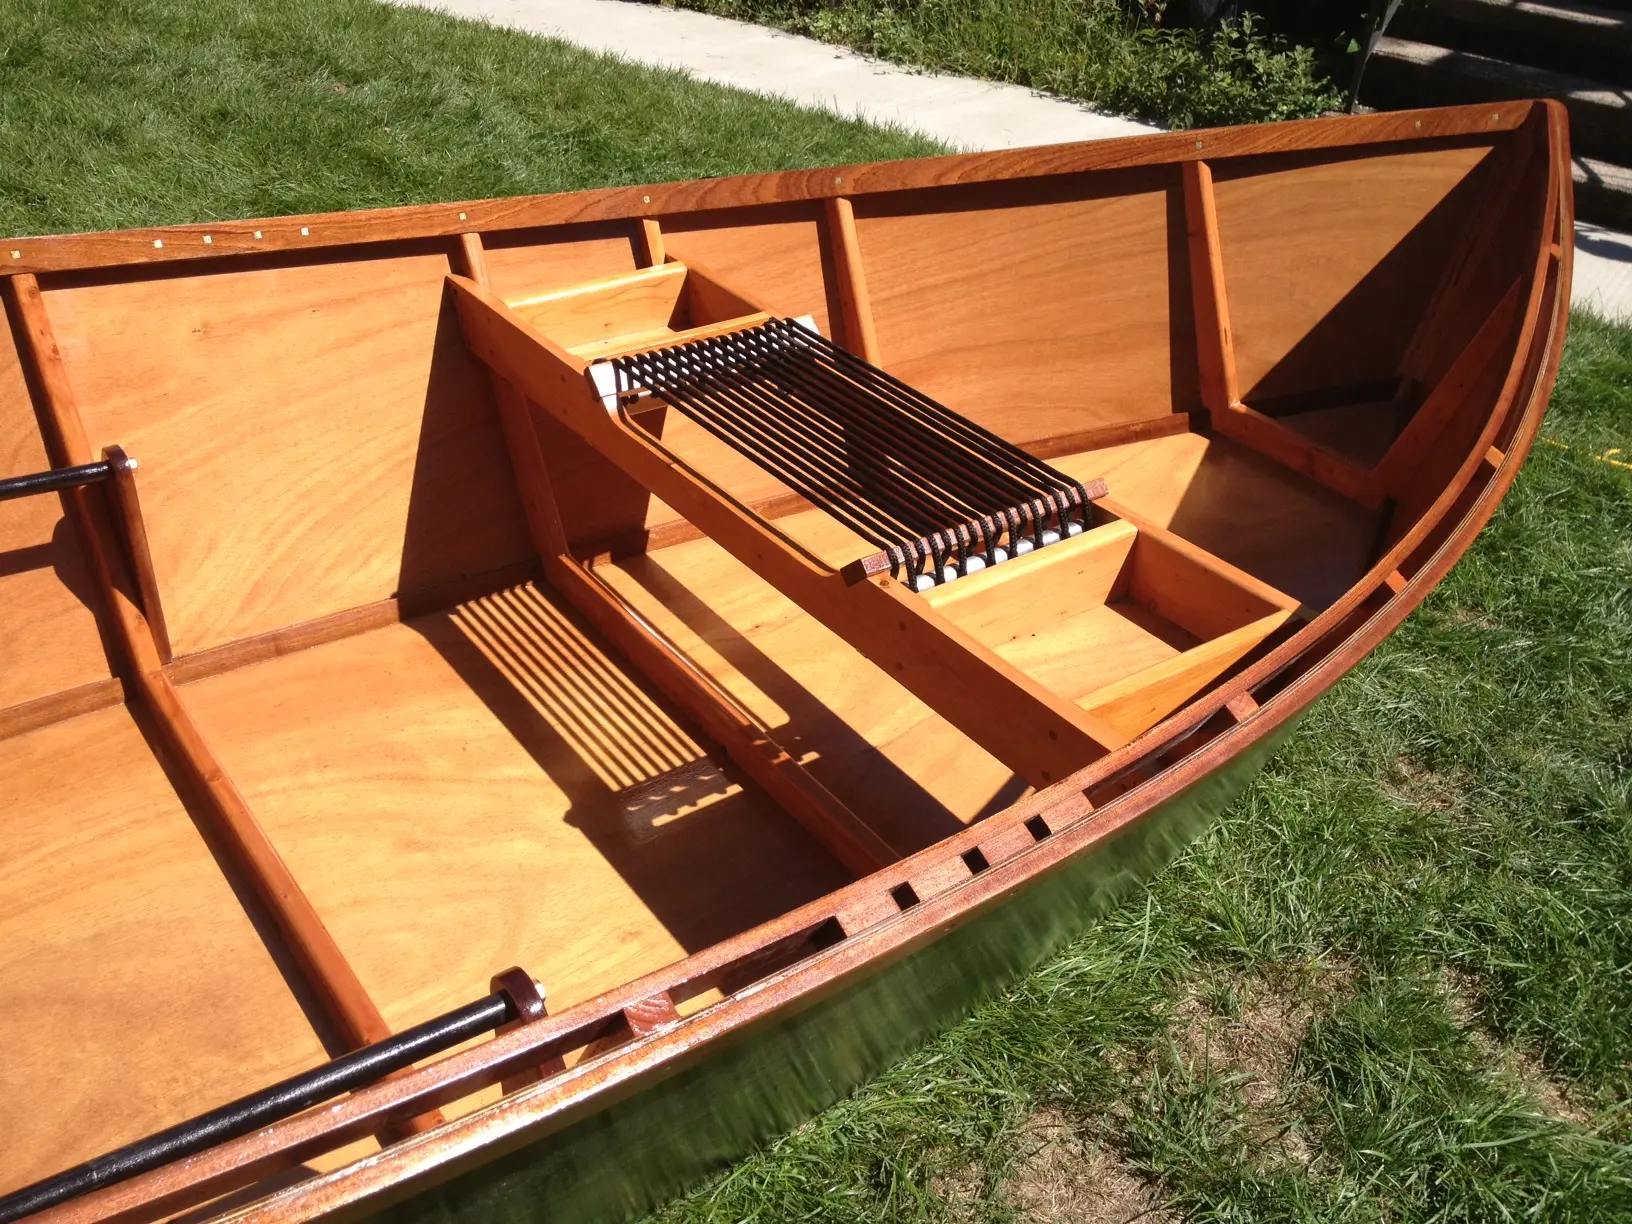
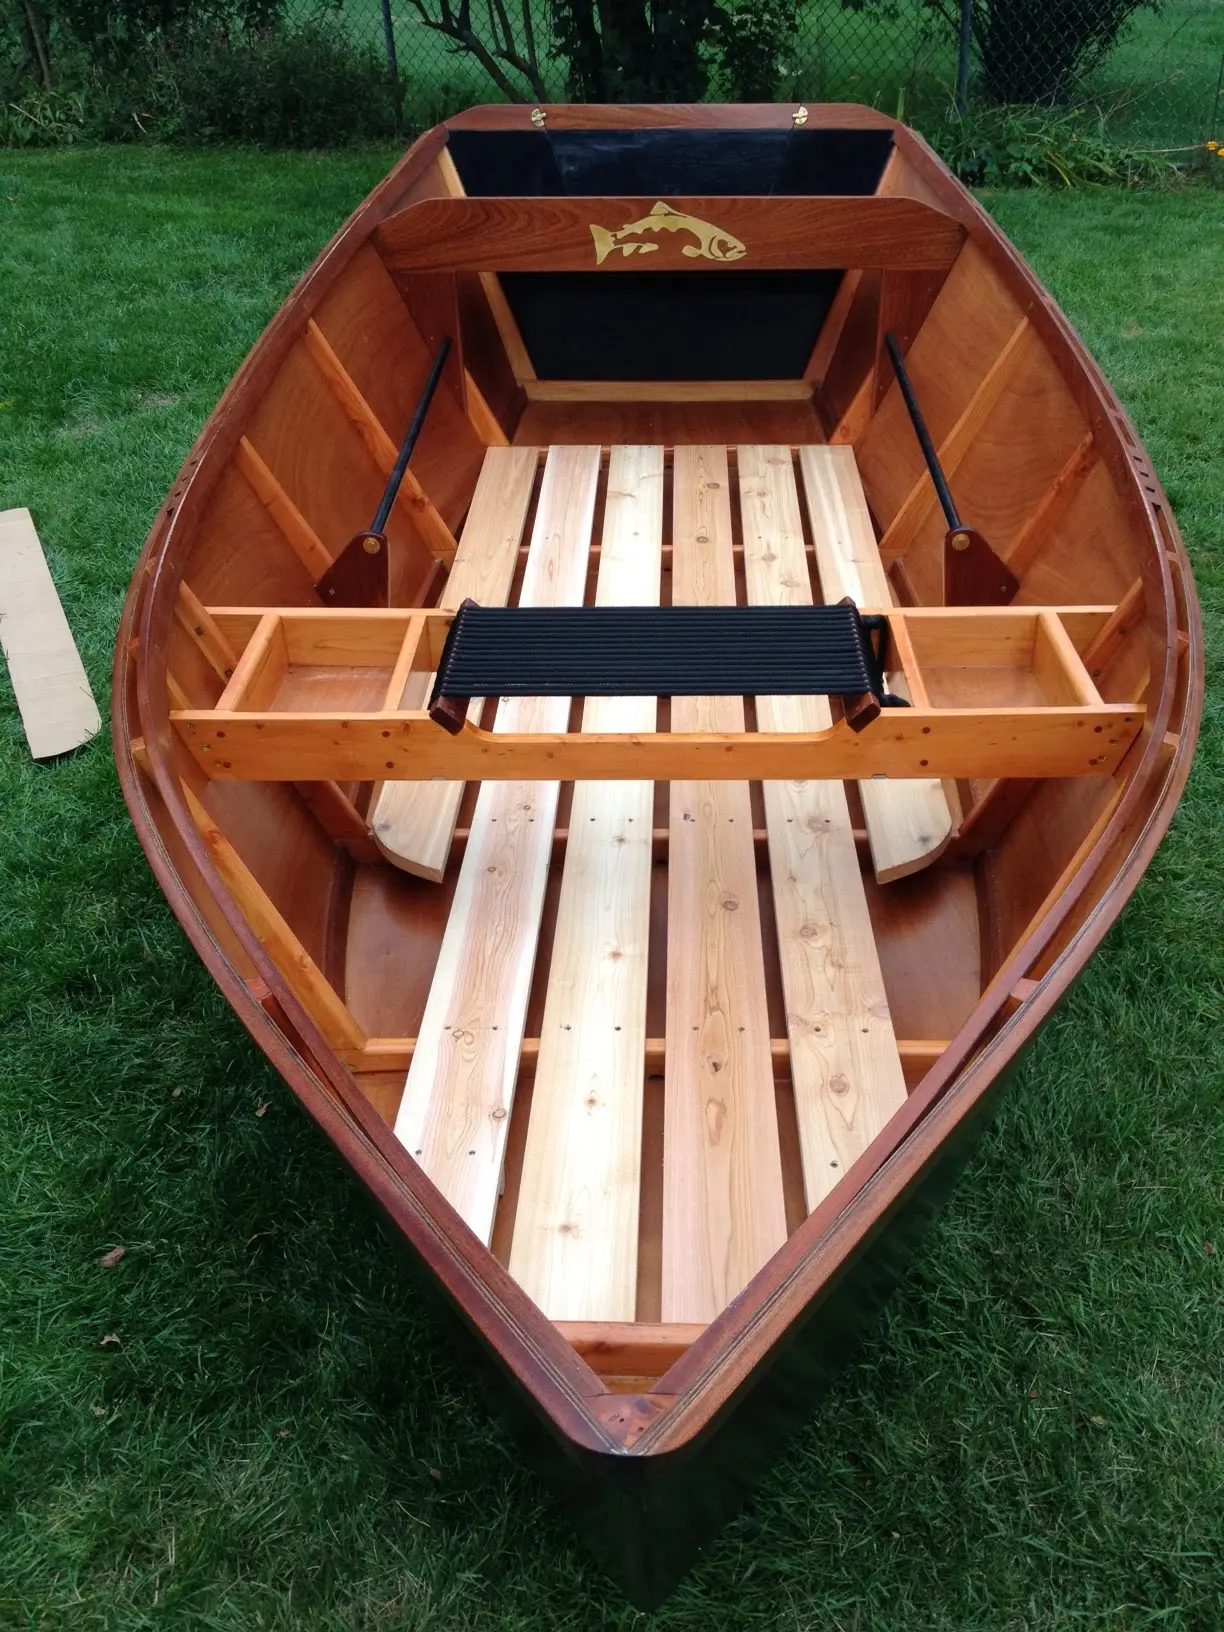
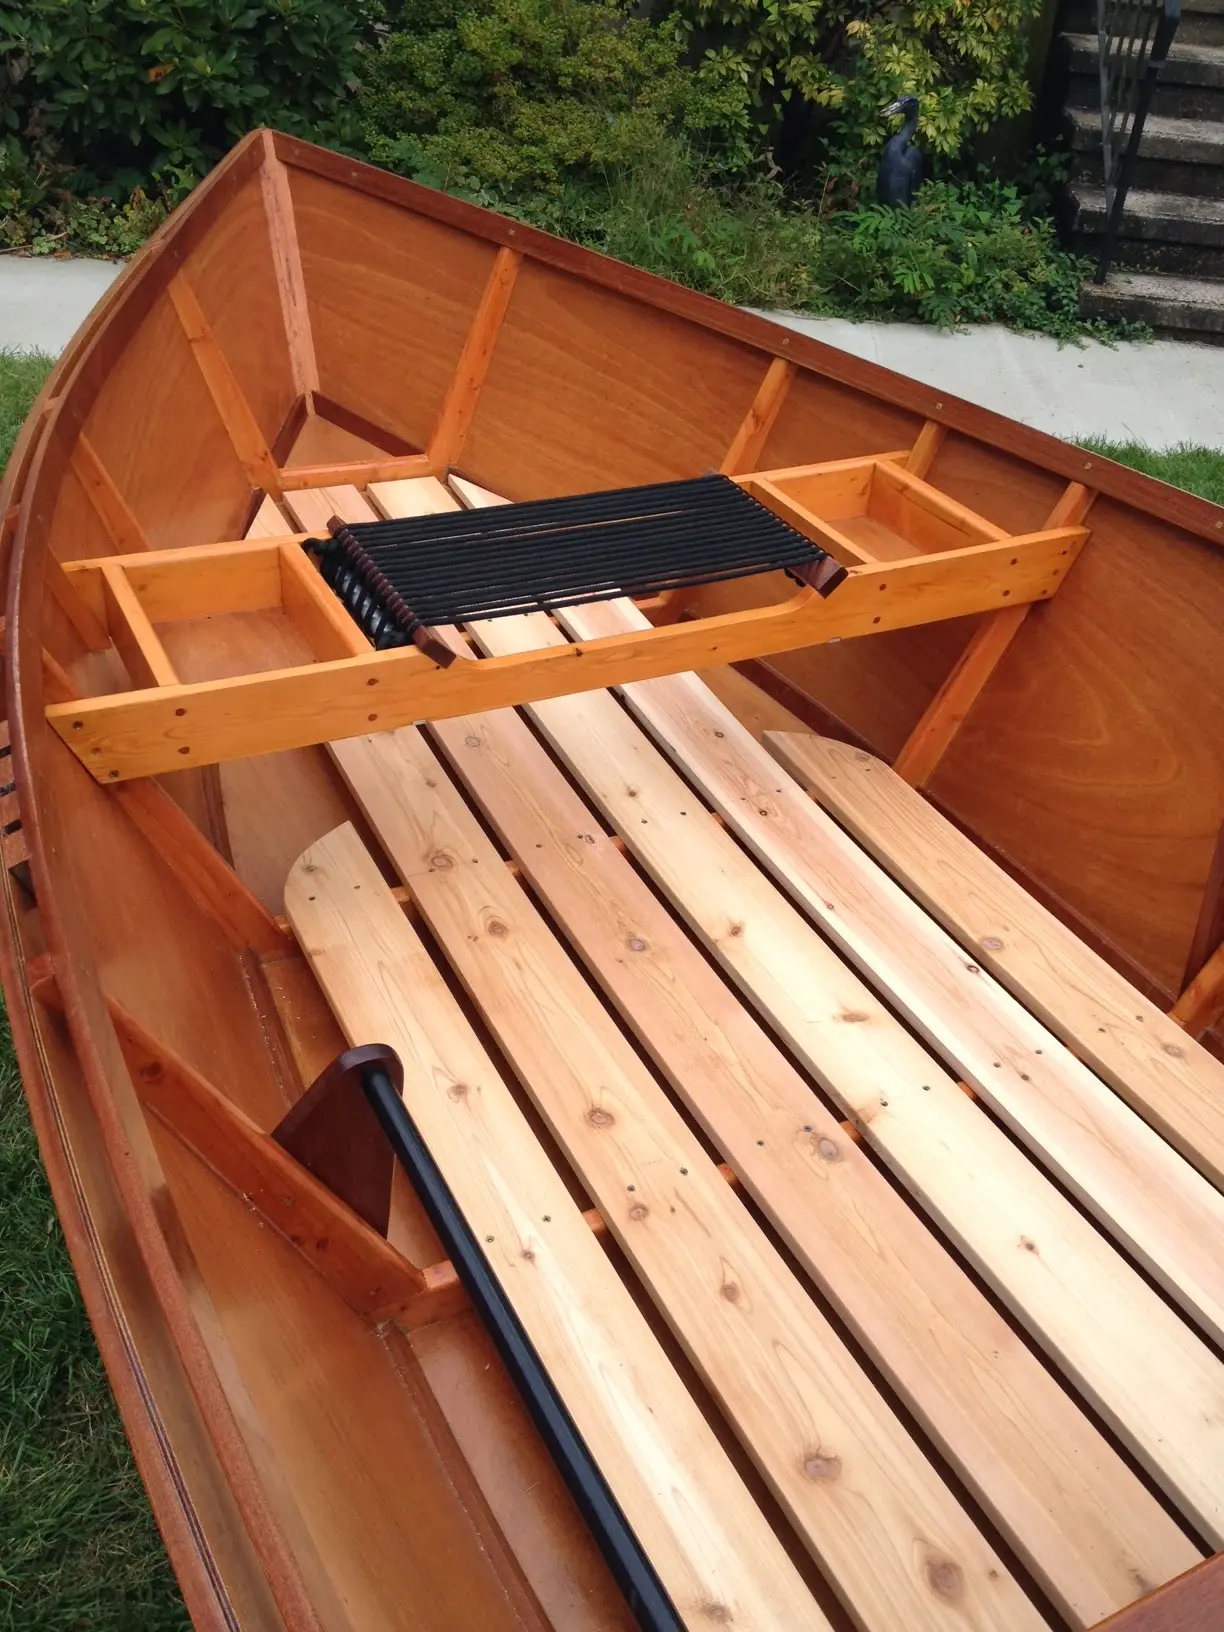
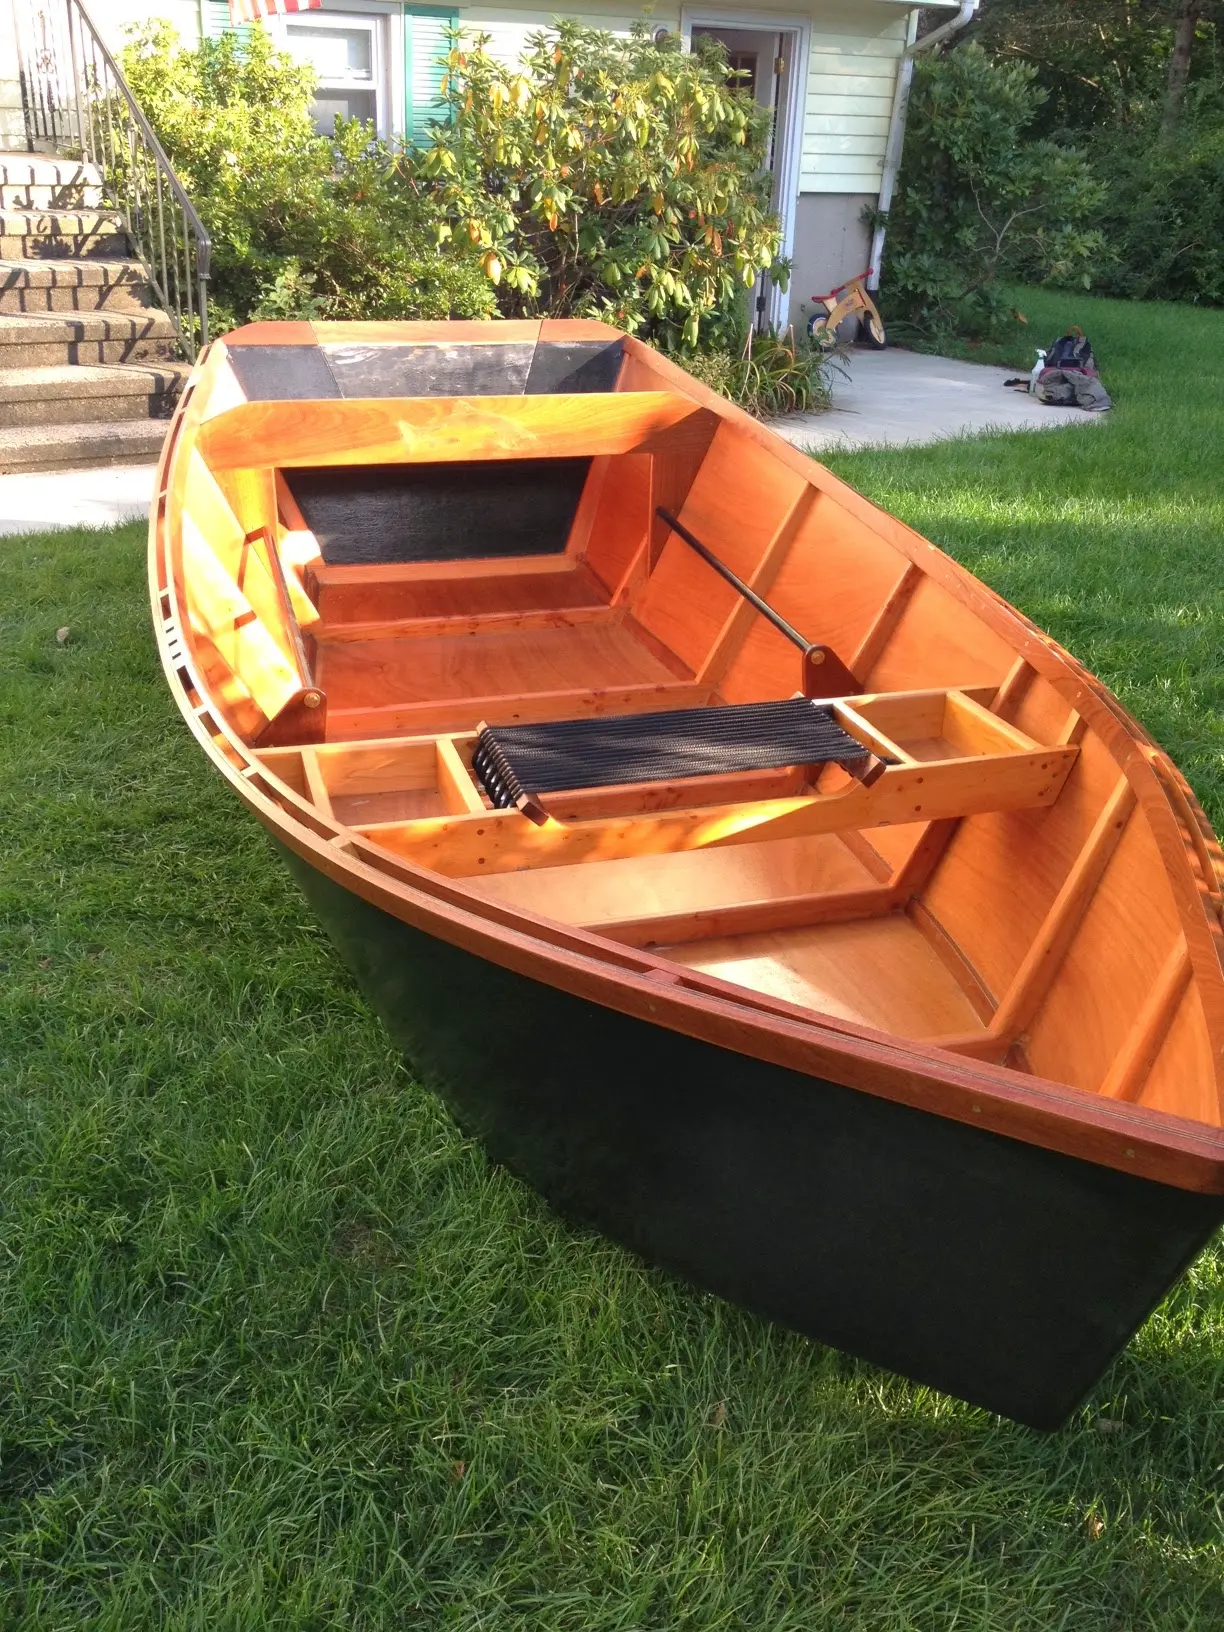
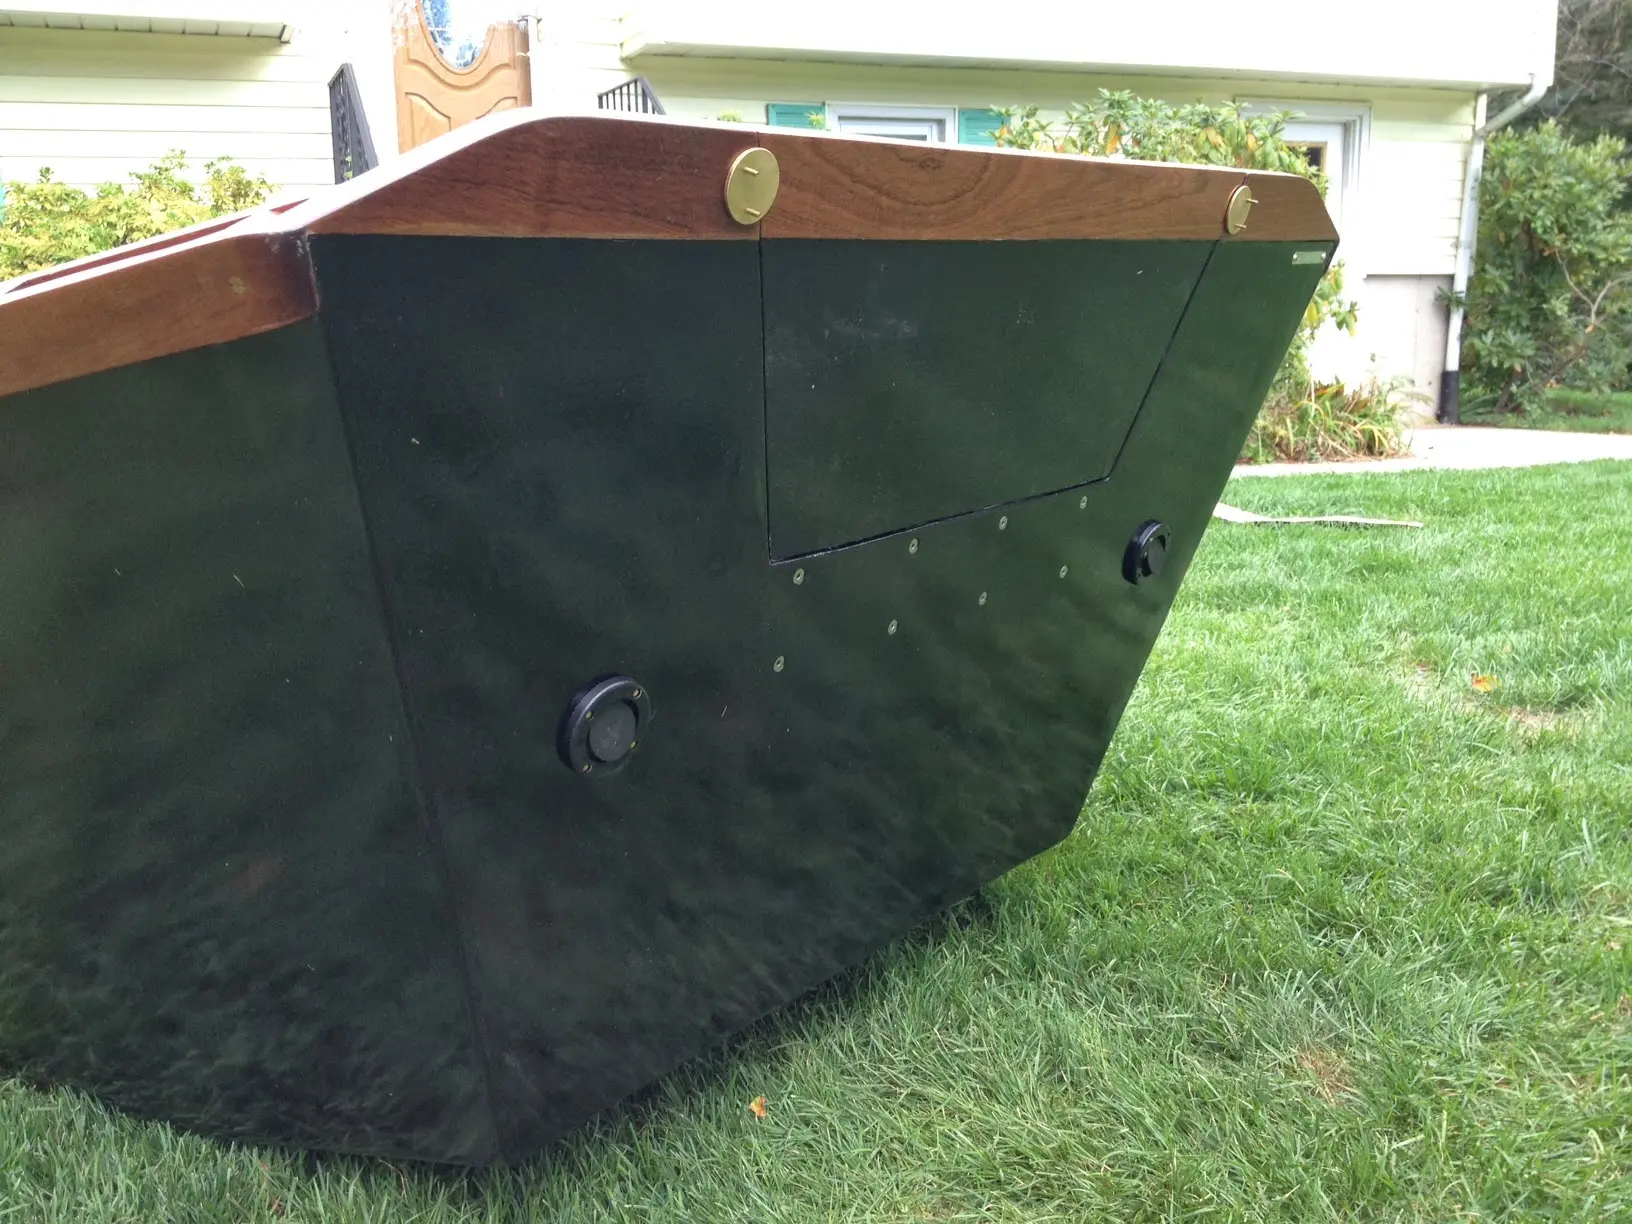
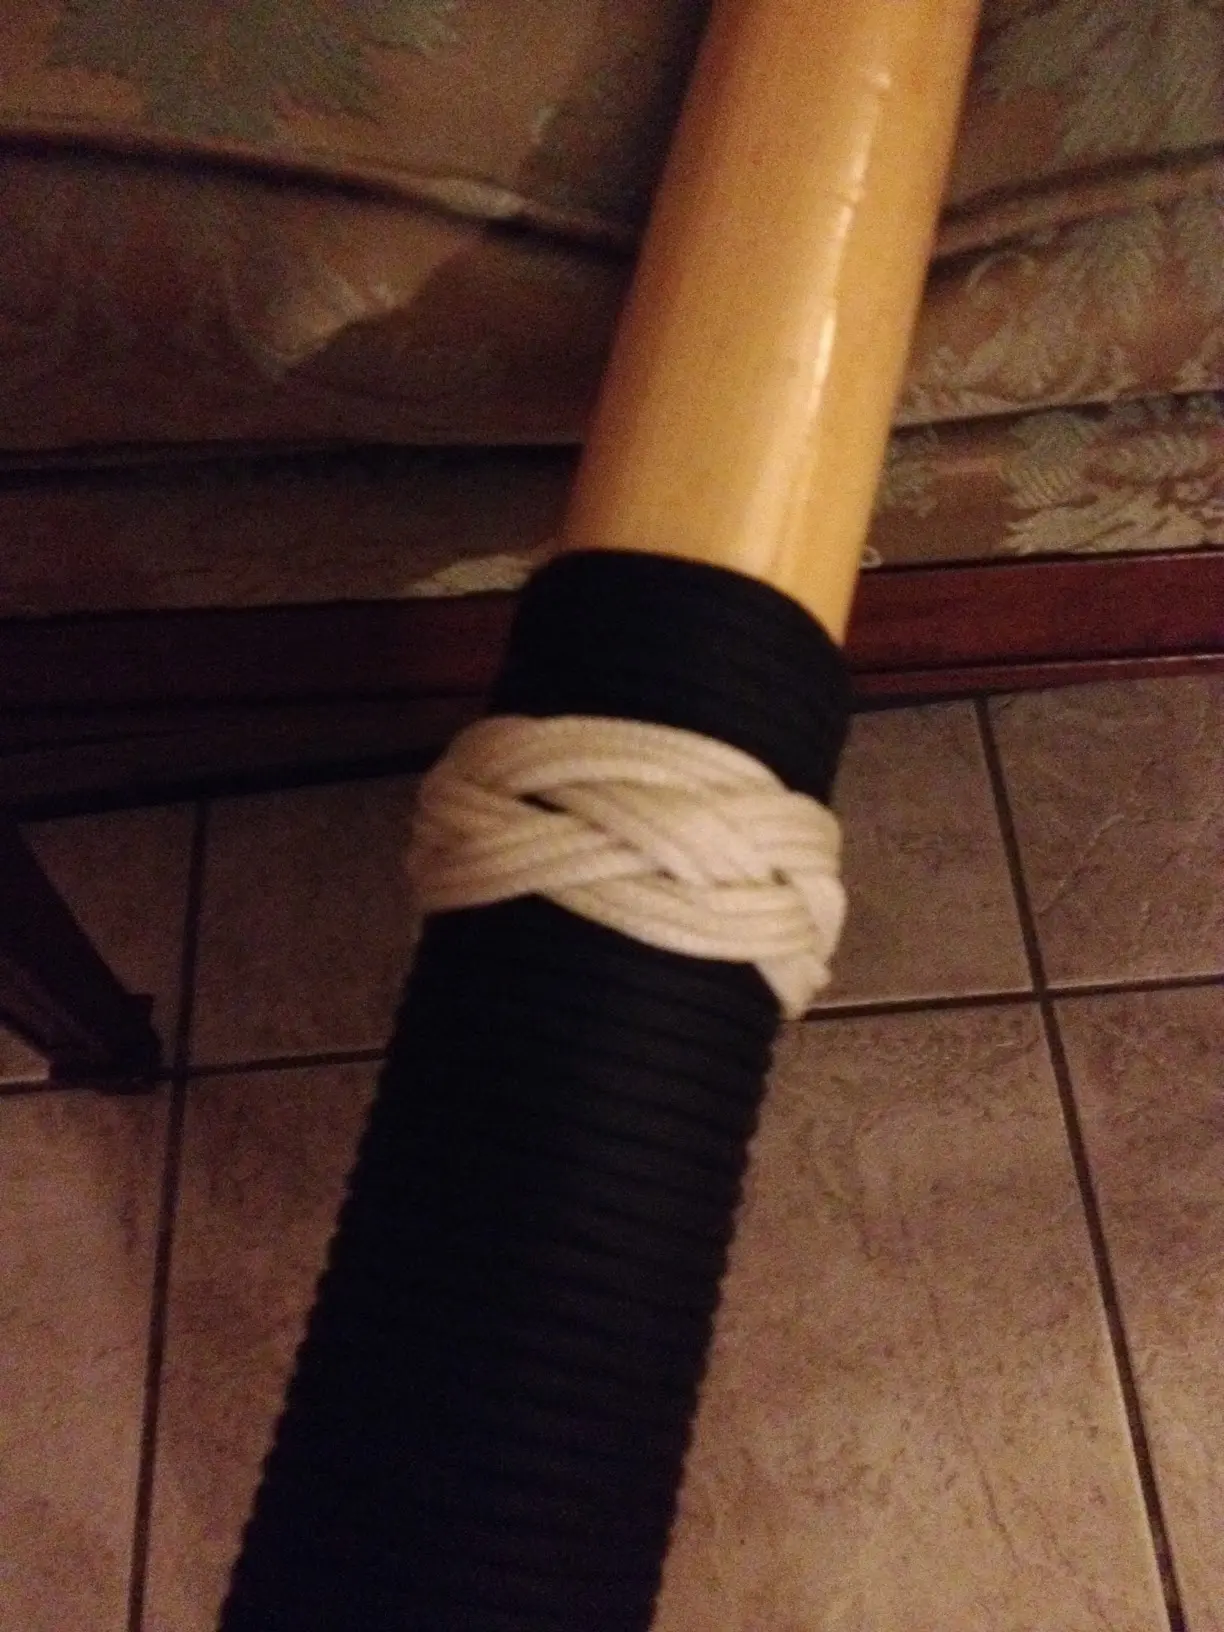
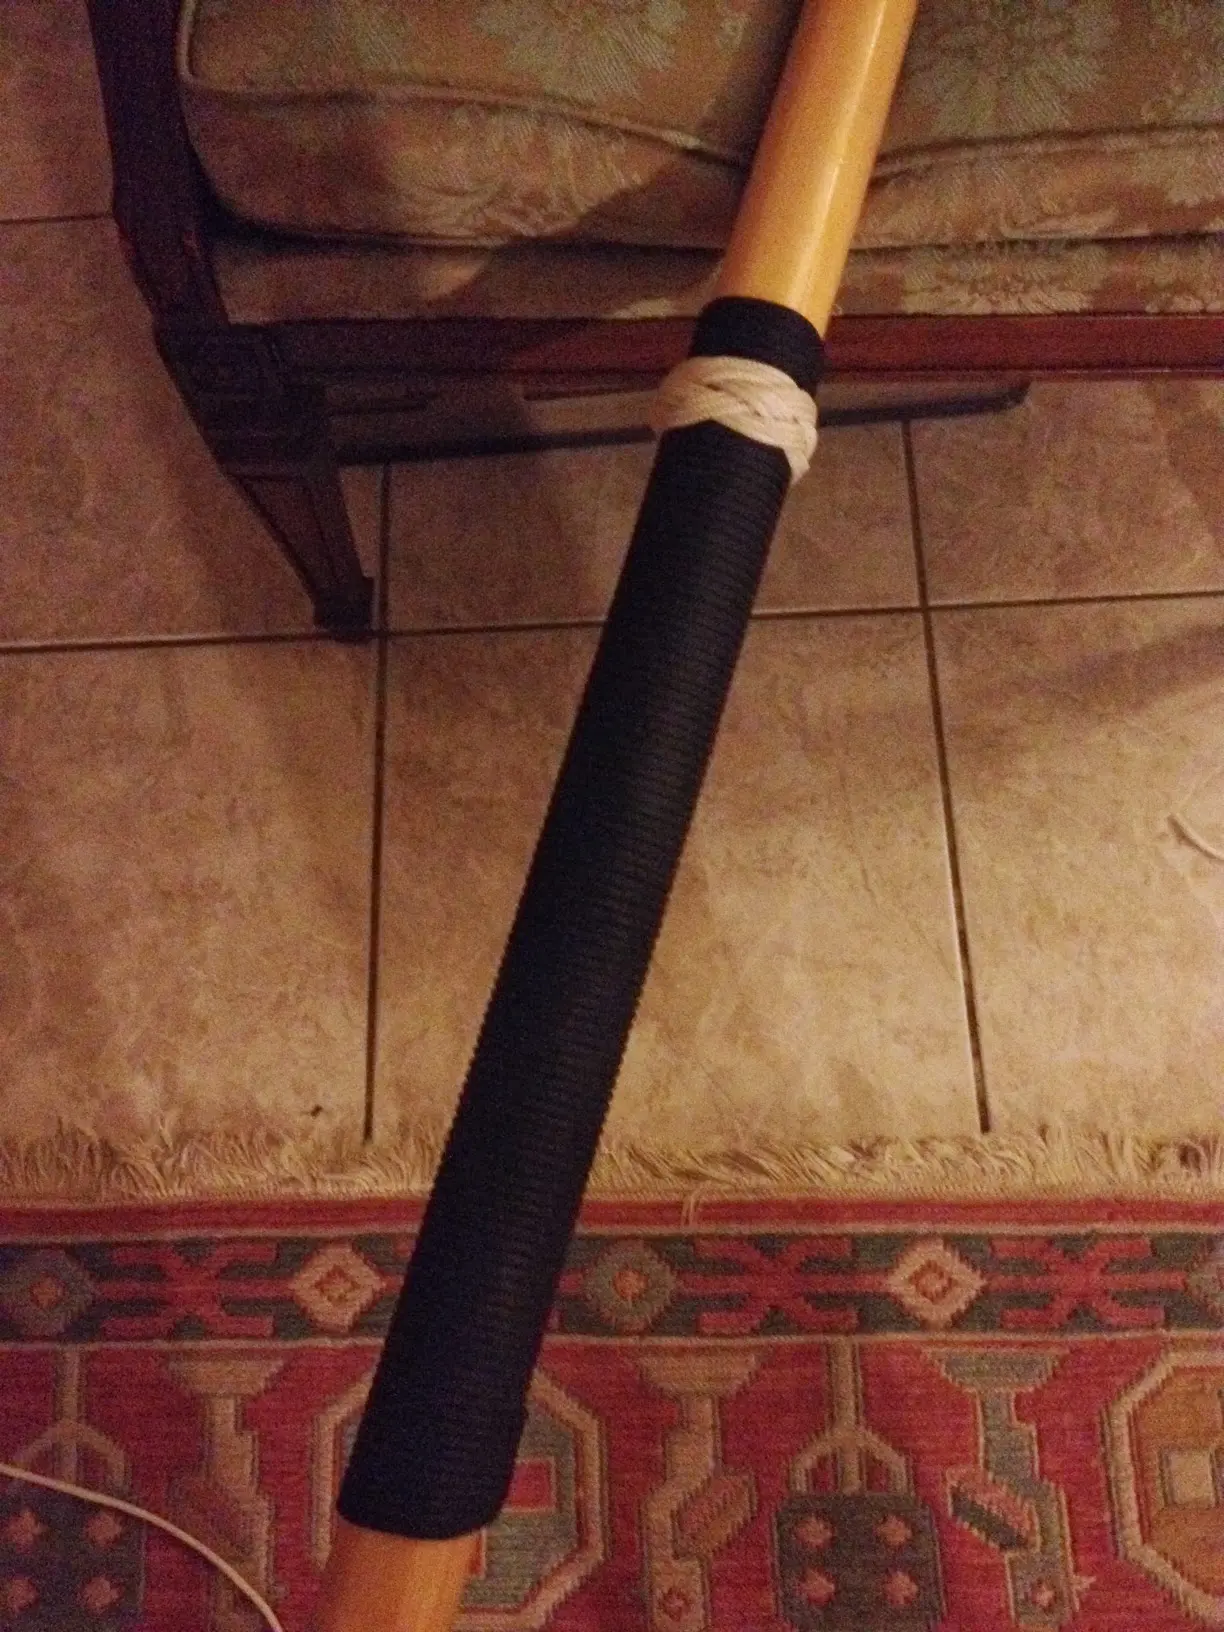
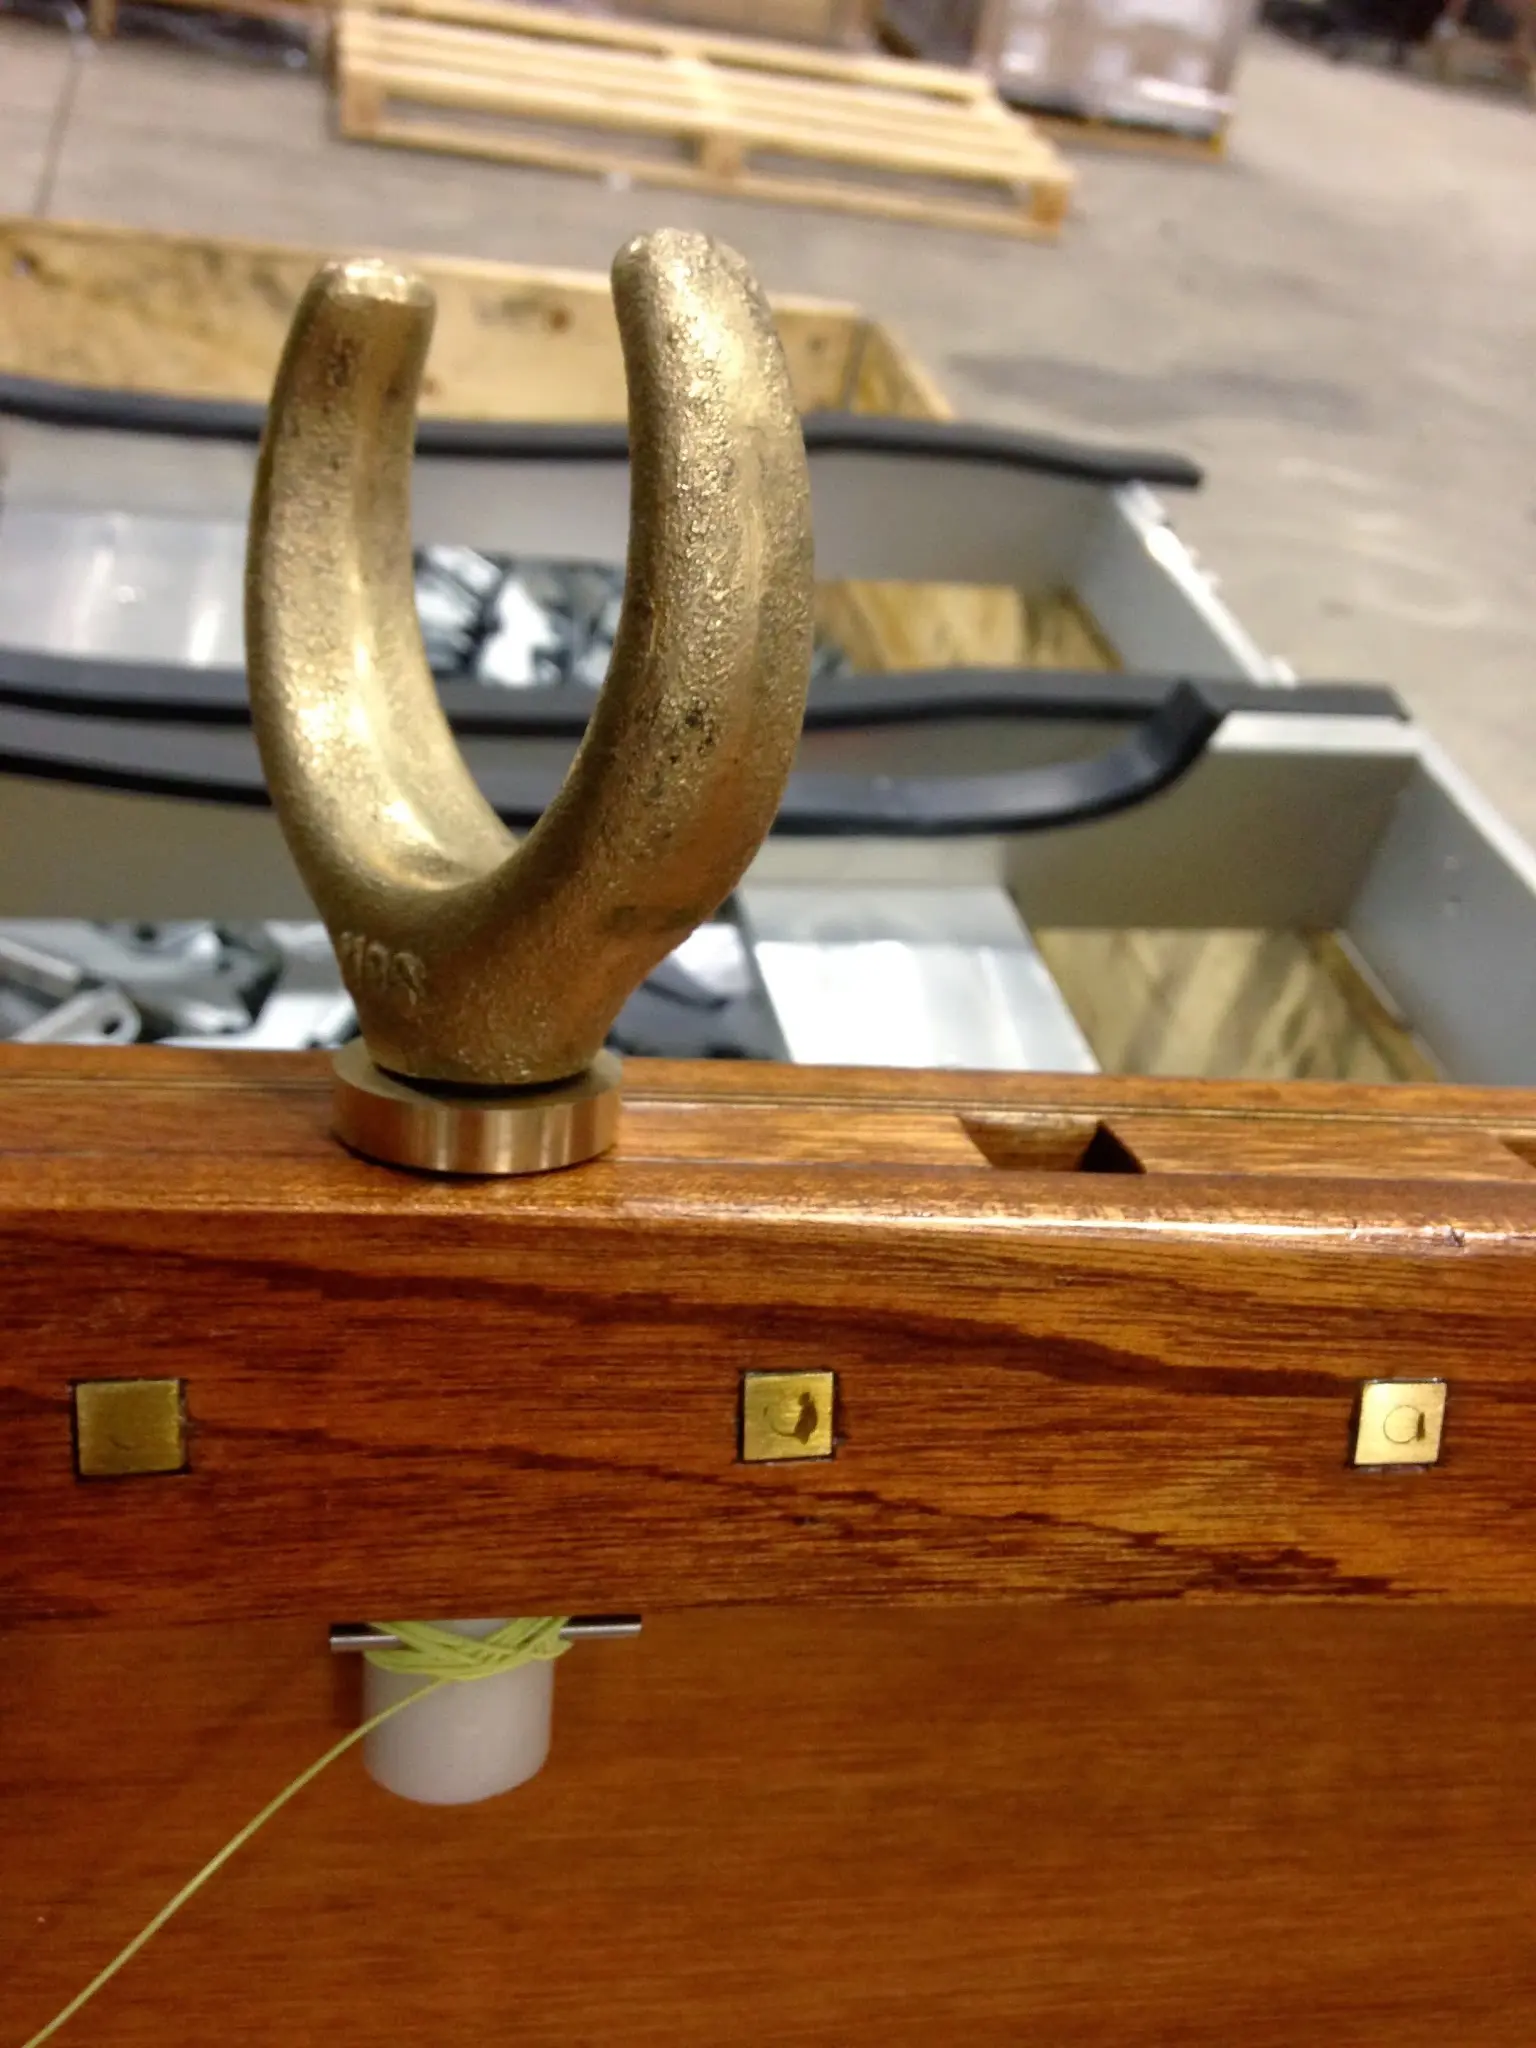
Mack did some nice work in designing a rope rowing seat this week. below are some pics. there is a similar design here. This design will be altered a bit to include a machined aluminum adjustment system which we will patent and share with those interested at a later date (just kidding) We don't have pics yet but they will be up soon. Cant wait to get some paint on this beast and get her in the water! Mack also machined some nice brass scuppers for the splash well, nice touch!
Photo 1 Photo 2 Photo 3 Photo 4
Chapter 08
Paint & Finish
Primer, topcoat, bottom paint, boot stripe, lettering.
2 daysfrom July 2013
21 Jul 2013Paint & Finish
Primer Coat
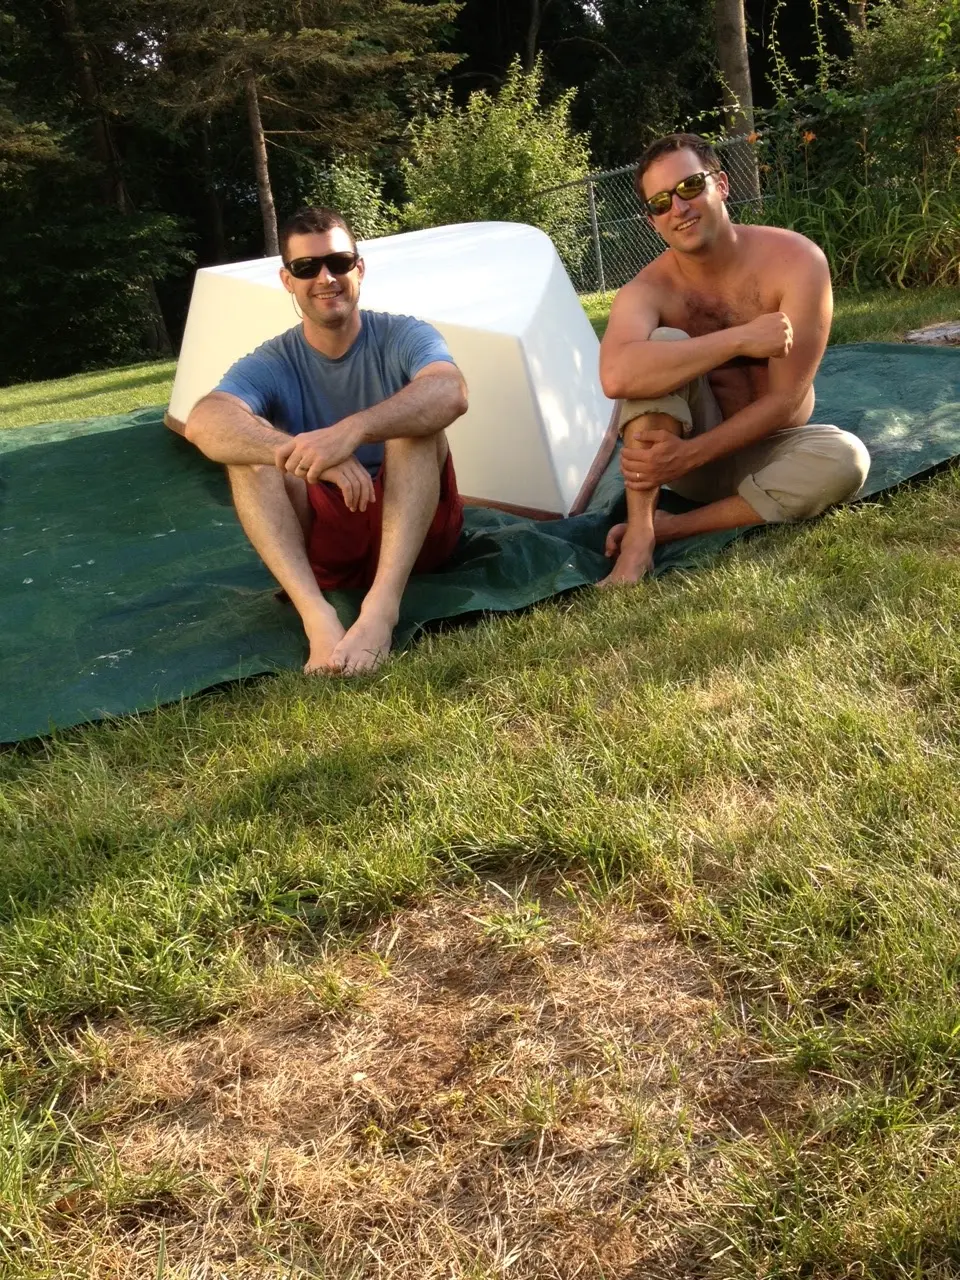
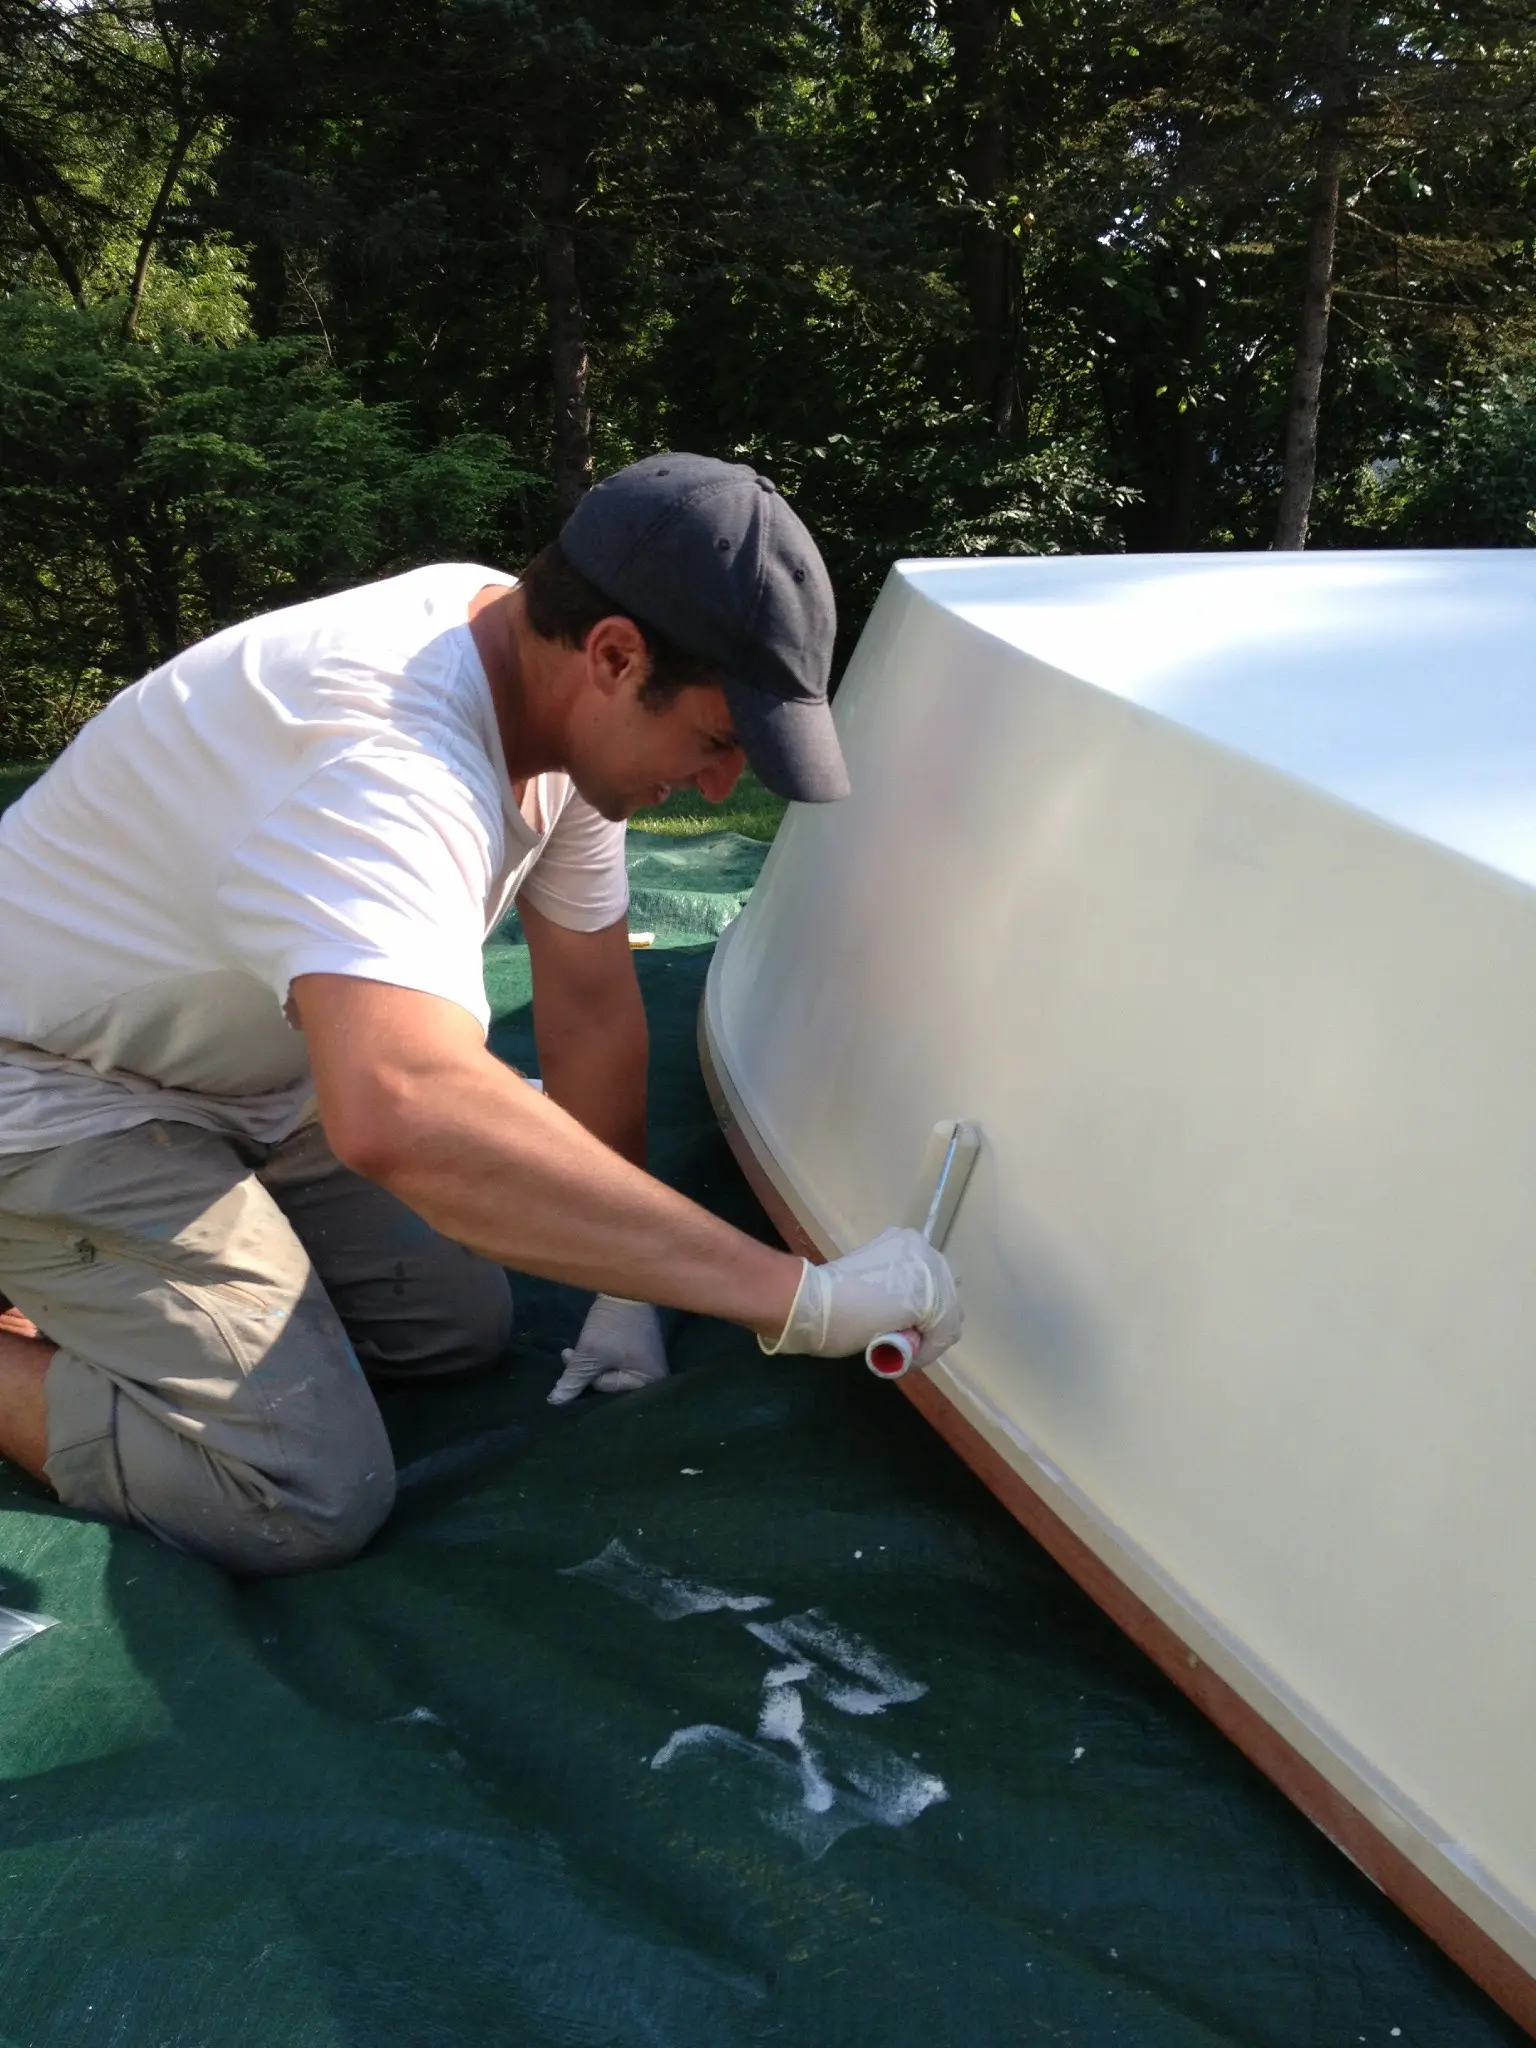
The heat has finally backed off and we took advantage of this sunny day. Got two coats of military grade epoxy based primer on and she's lookin like a real boat! Thanks to Mack's friend George for supplying the goods!
5. Photo courtesy of M. Bross Hodges
Photo 1 Photo 2 Photo 3 Photo 4 Photo 5
1 Sep 2013Planning & Research
Layla
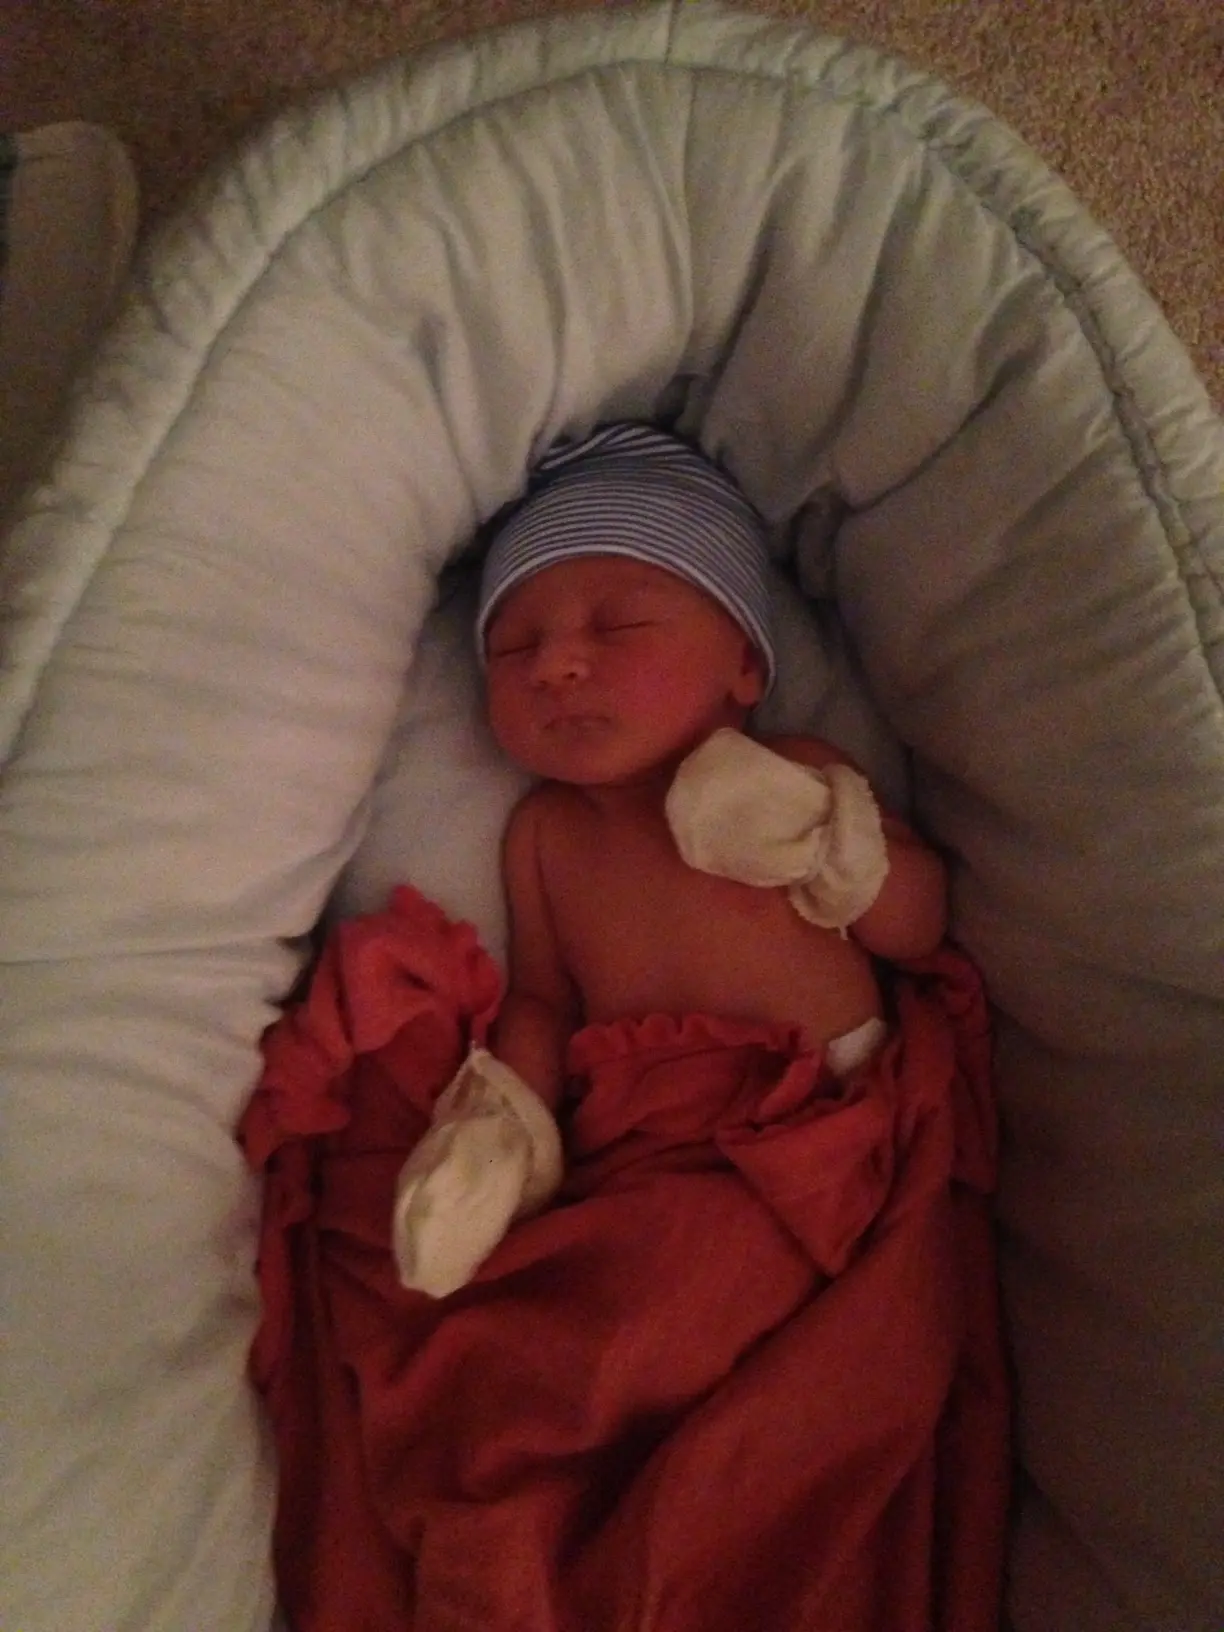
This week brought the arrival of my baby daughter, Layla, this will of course lead to some delays in the finishing of the boat, but I sure can't wait to take her out on the water!
1 Sep 2013Paint & Finish
August Update: Rowing Seat, Bench Rails, Oarlock mounts, Paint, and Varnish
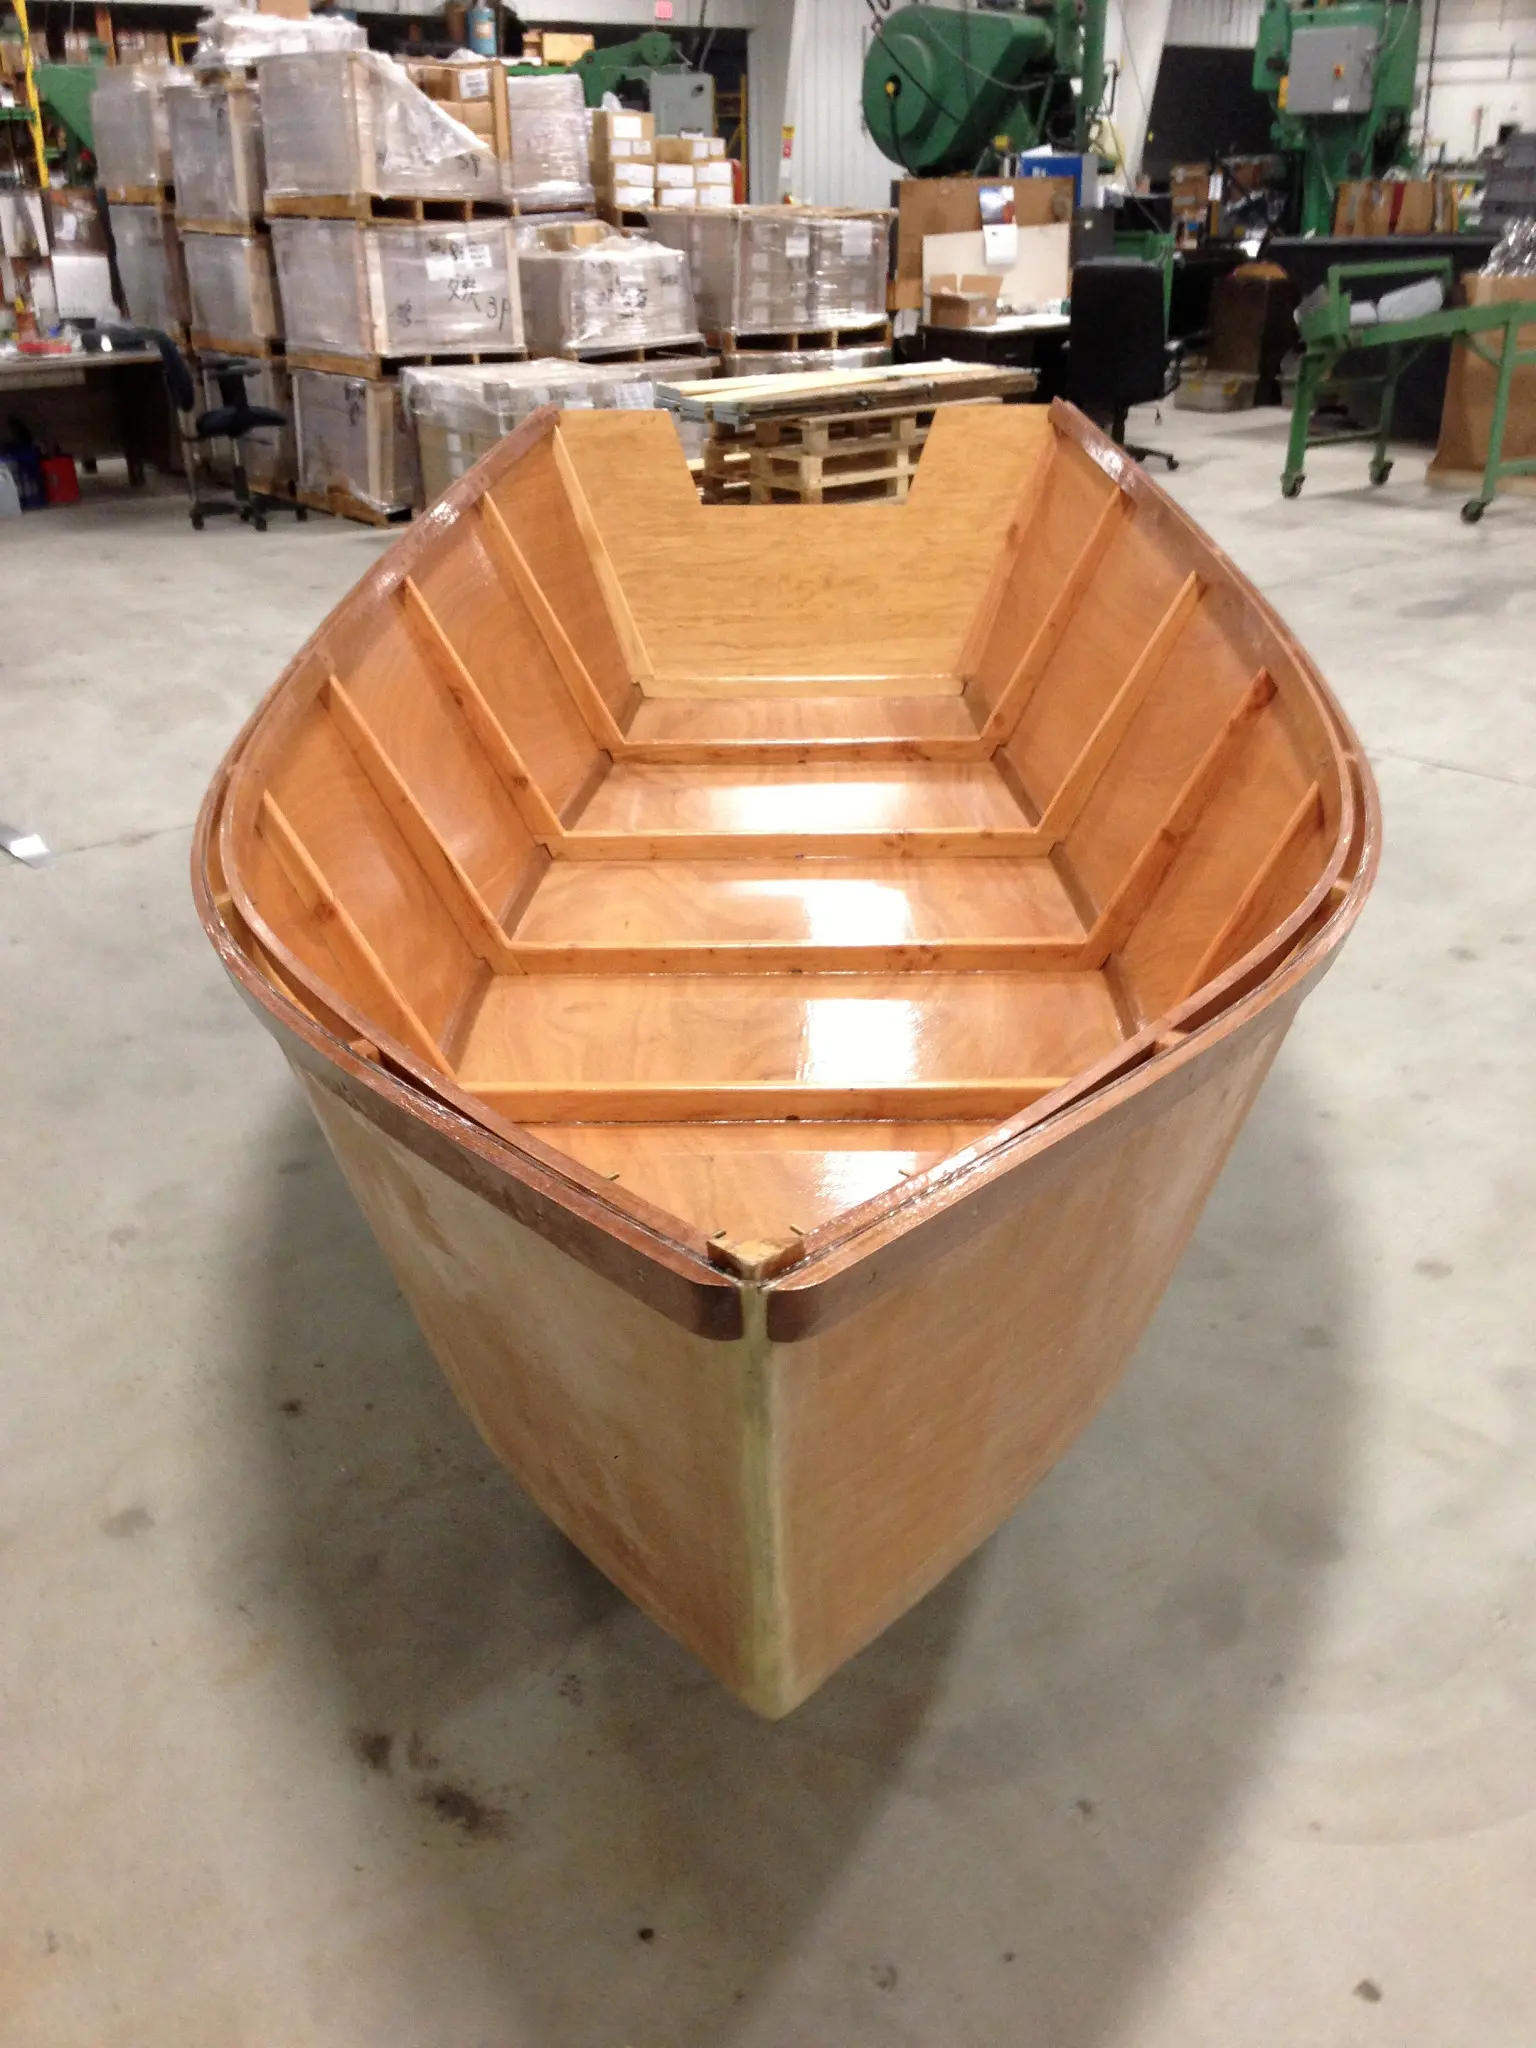
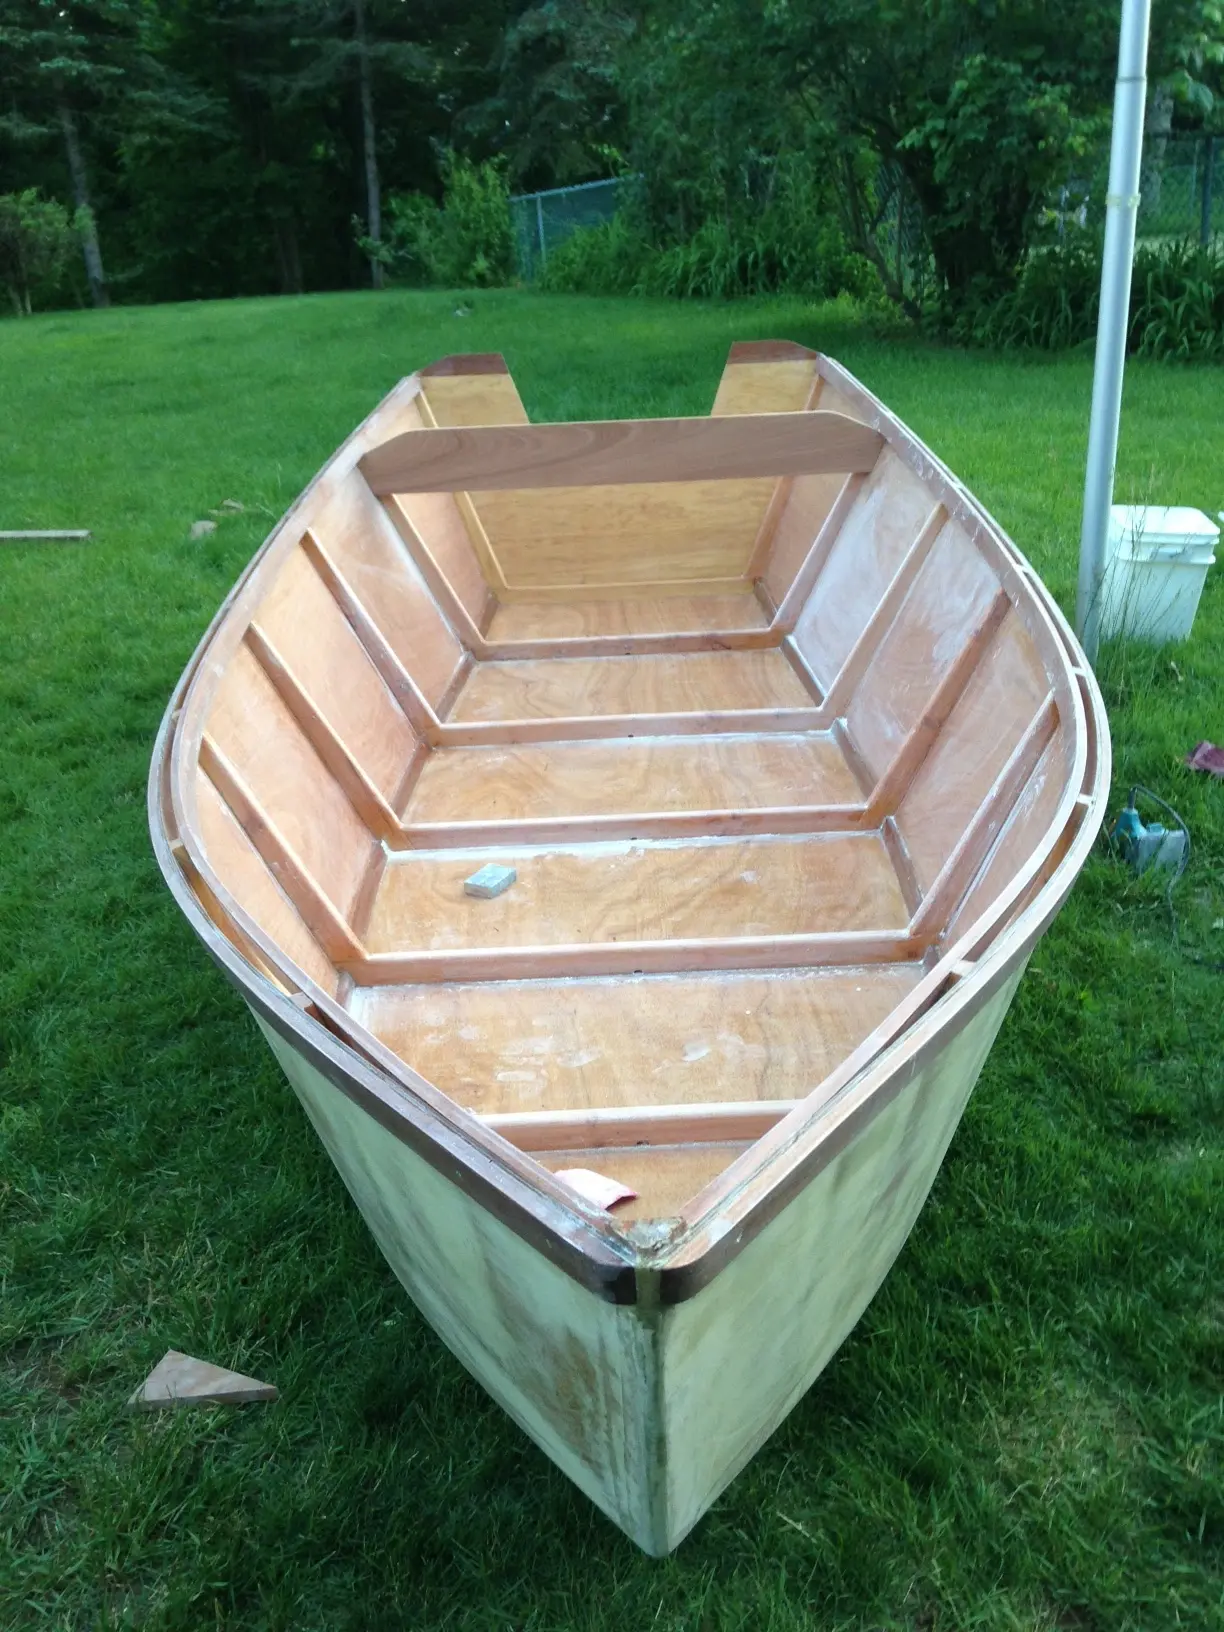
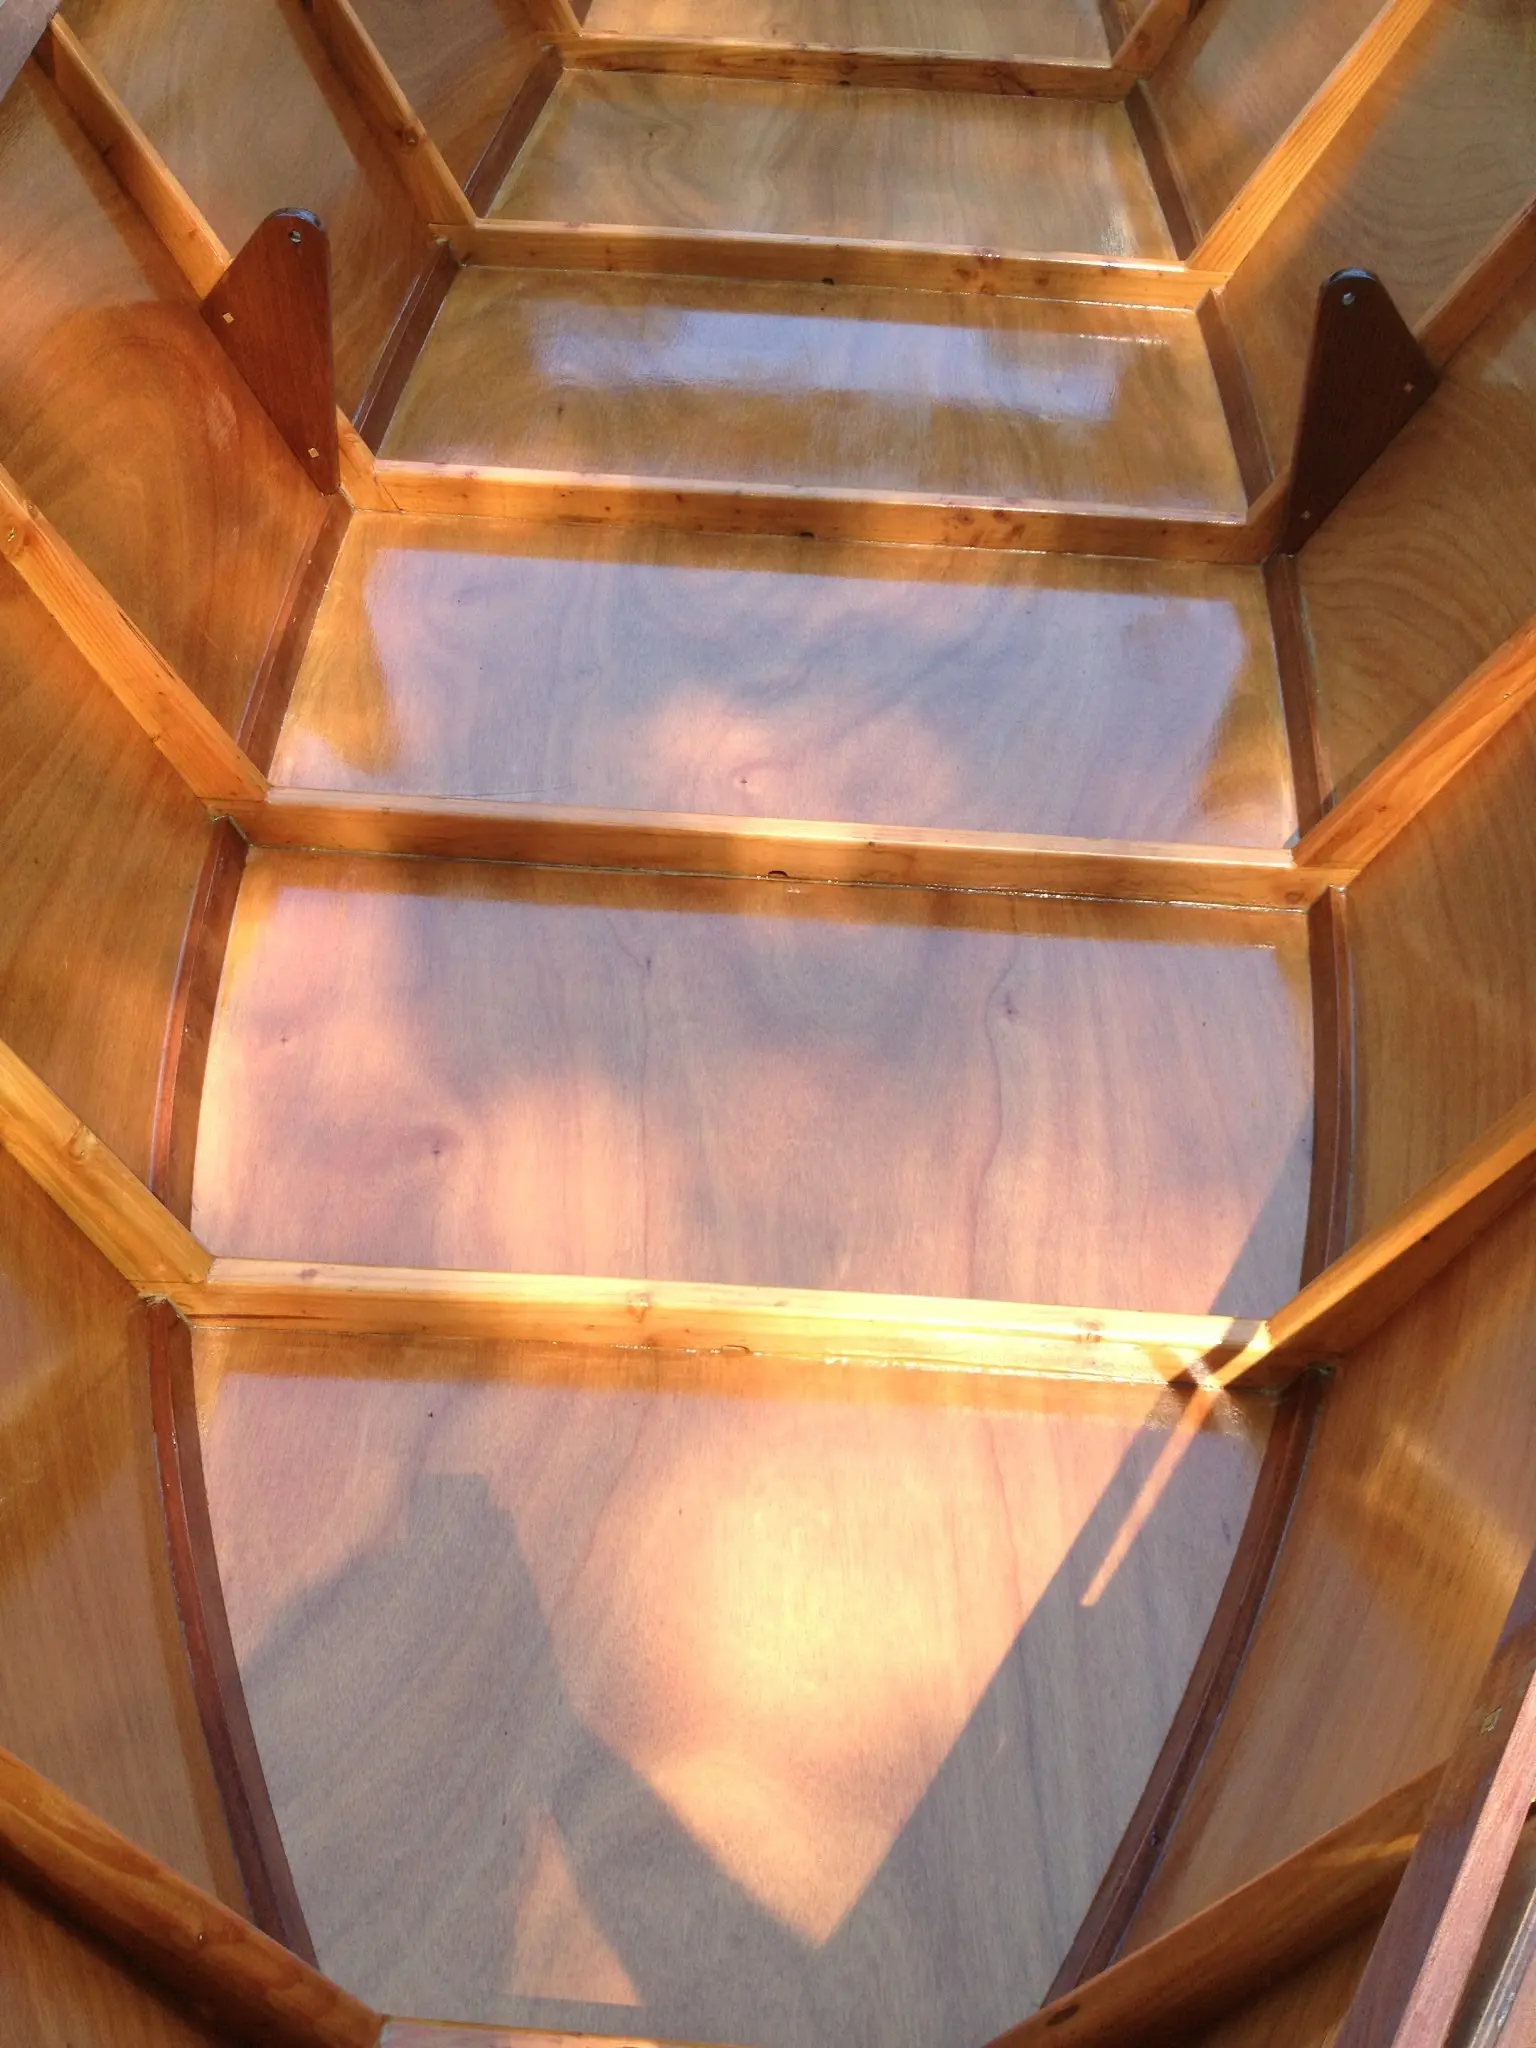
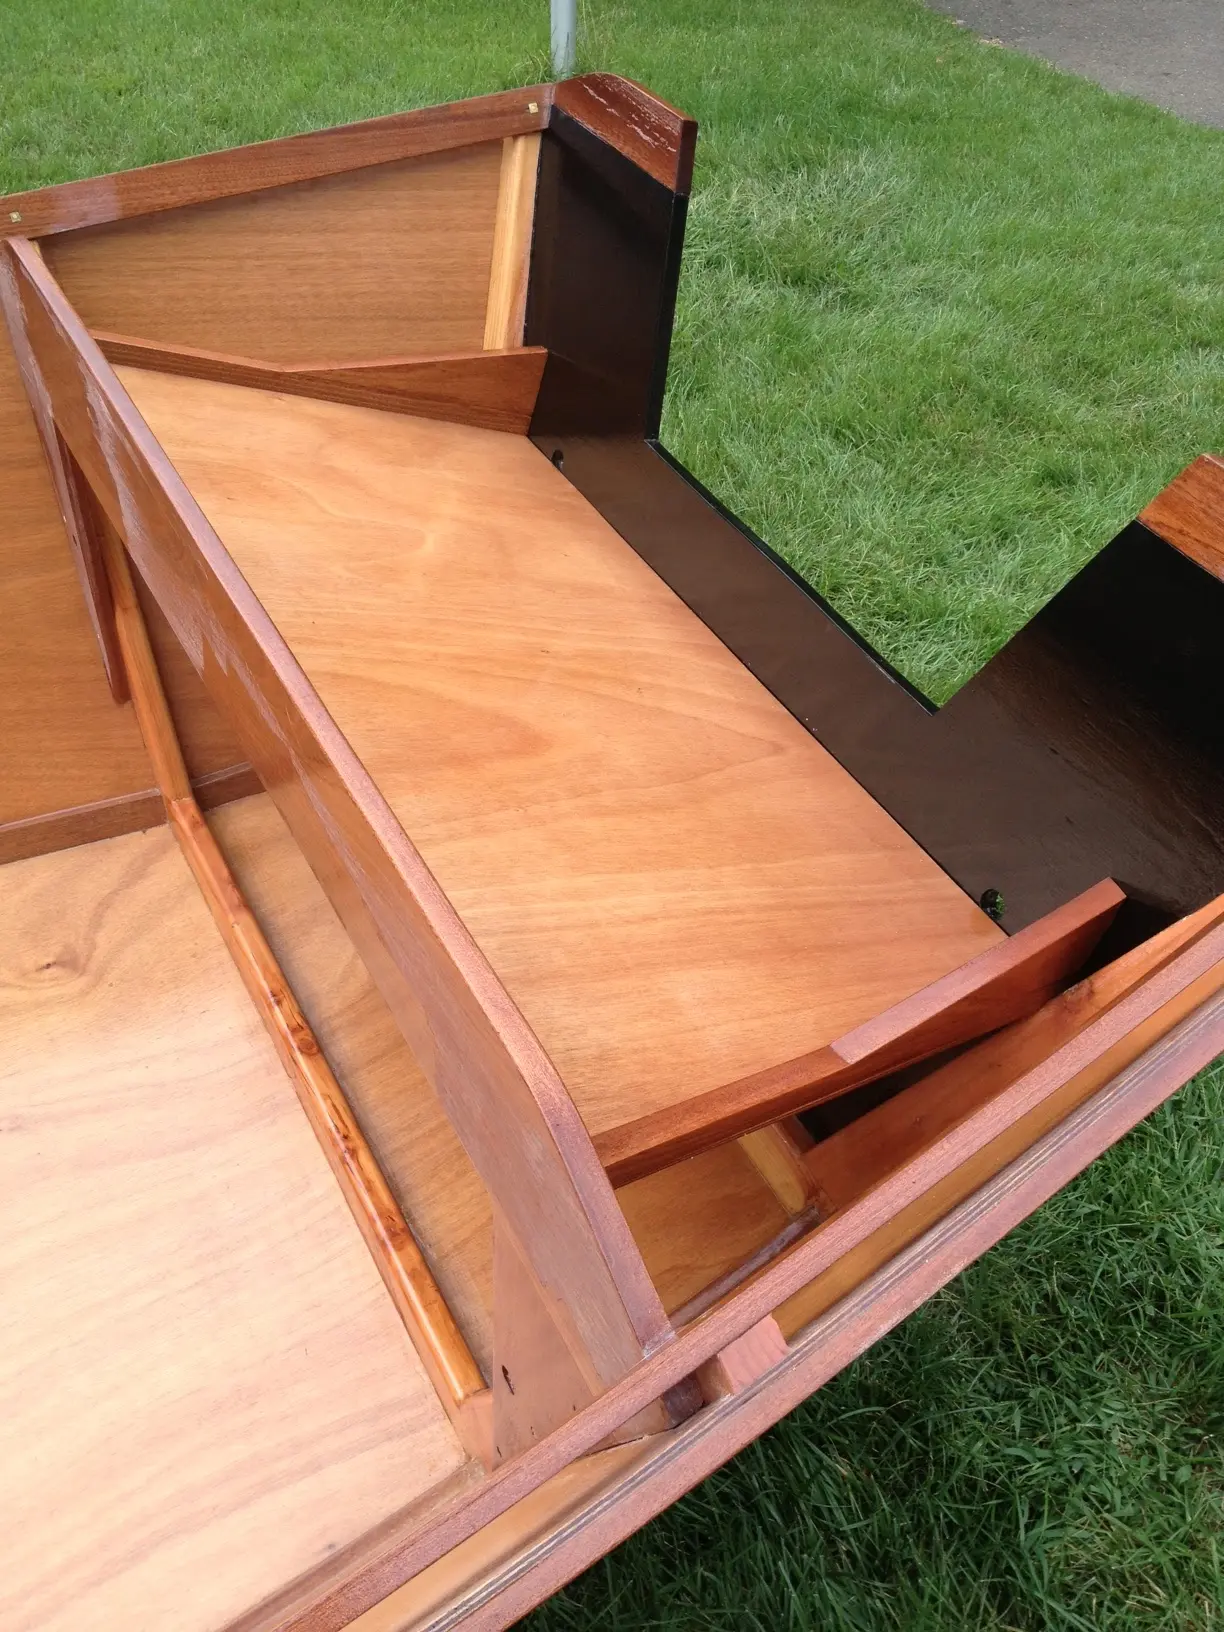
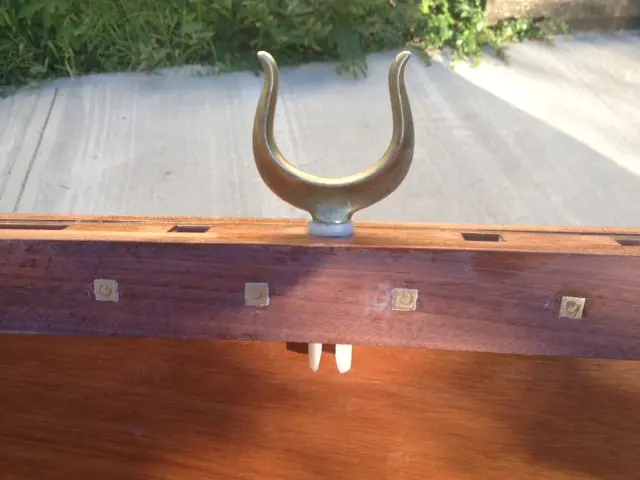
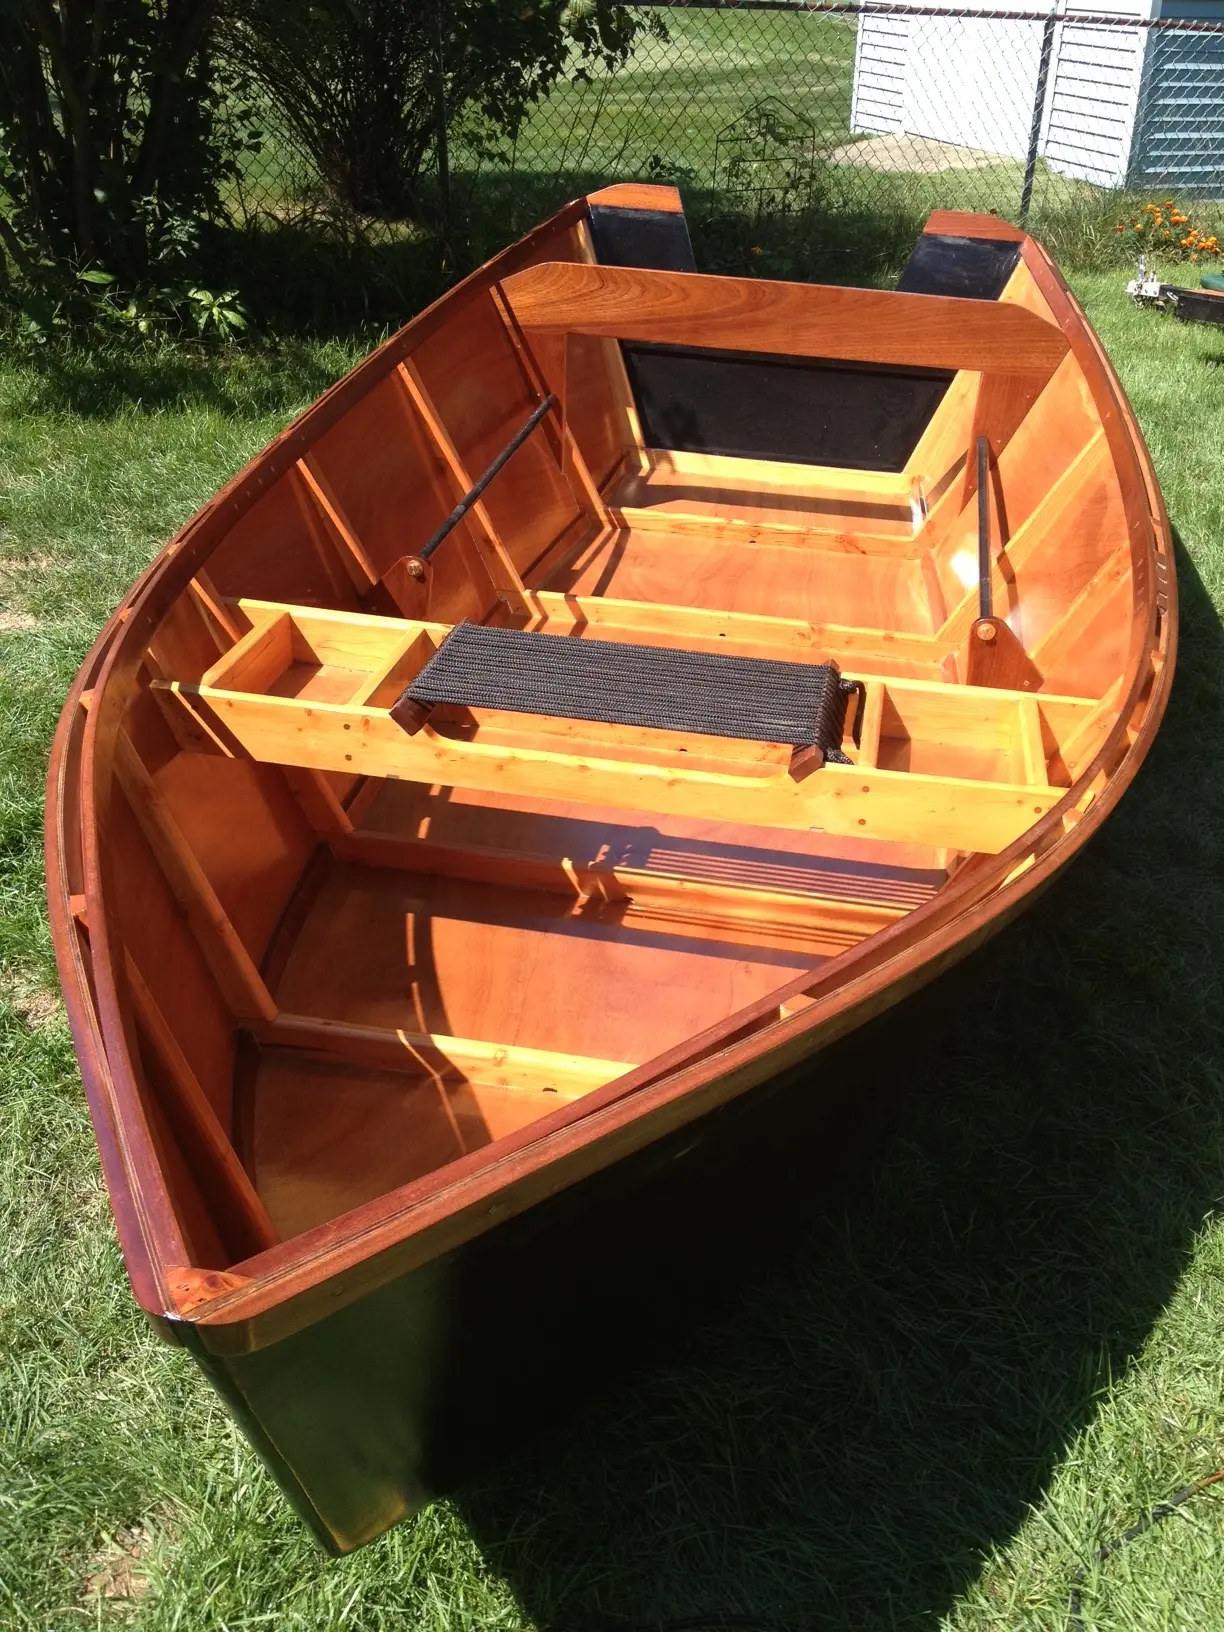
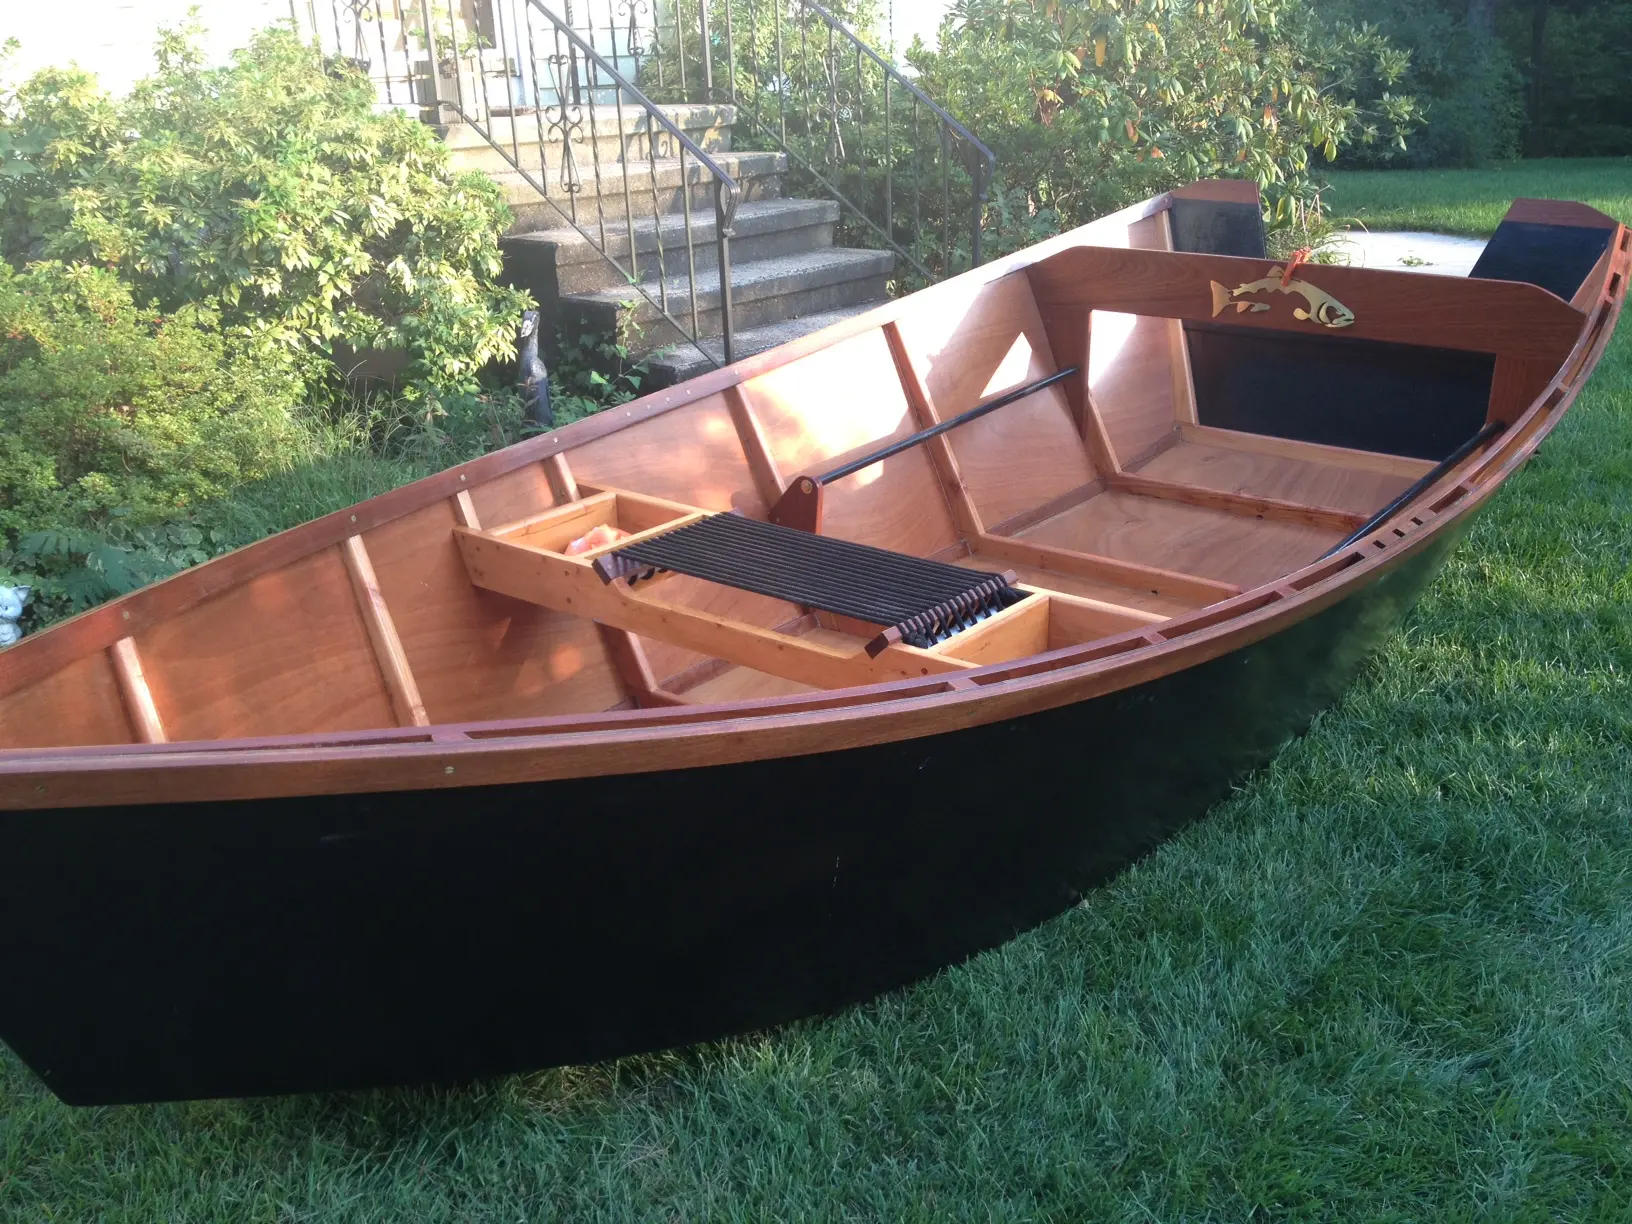
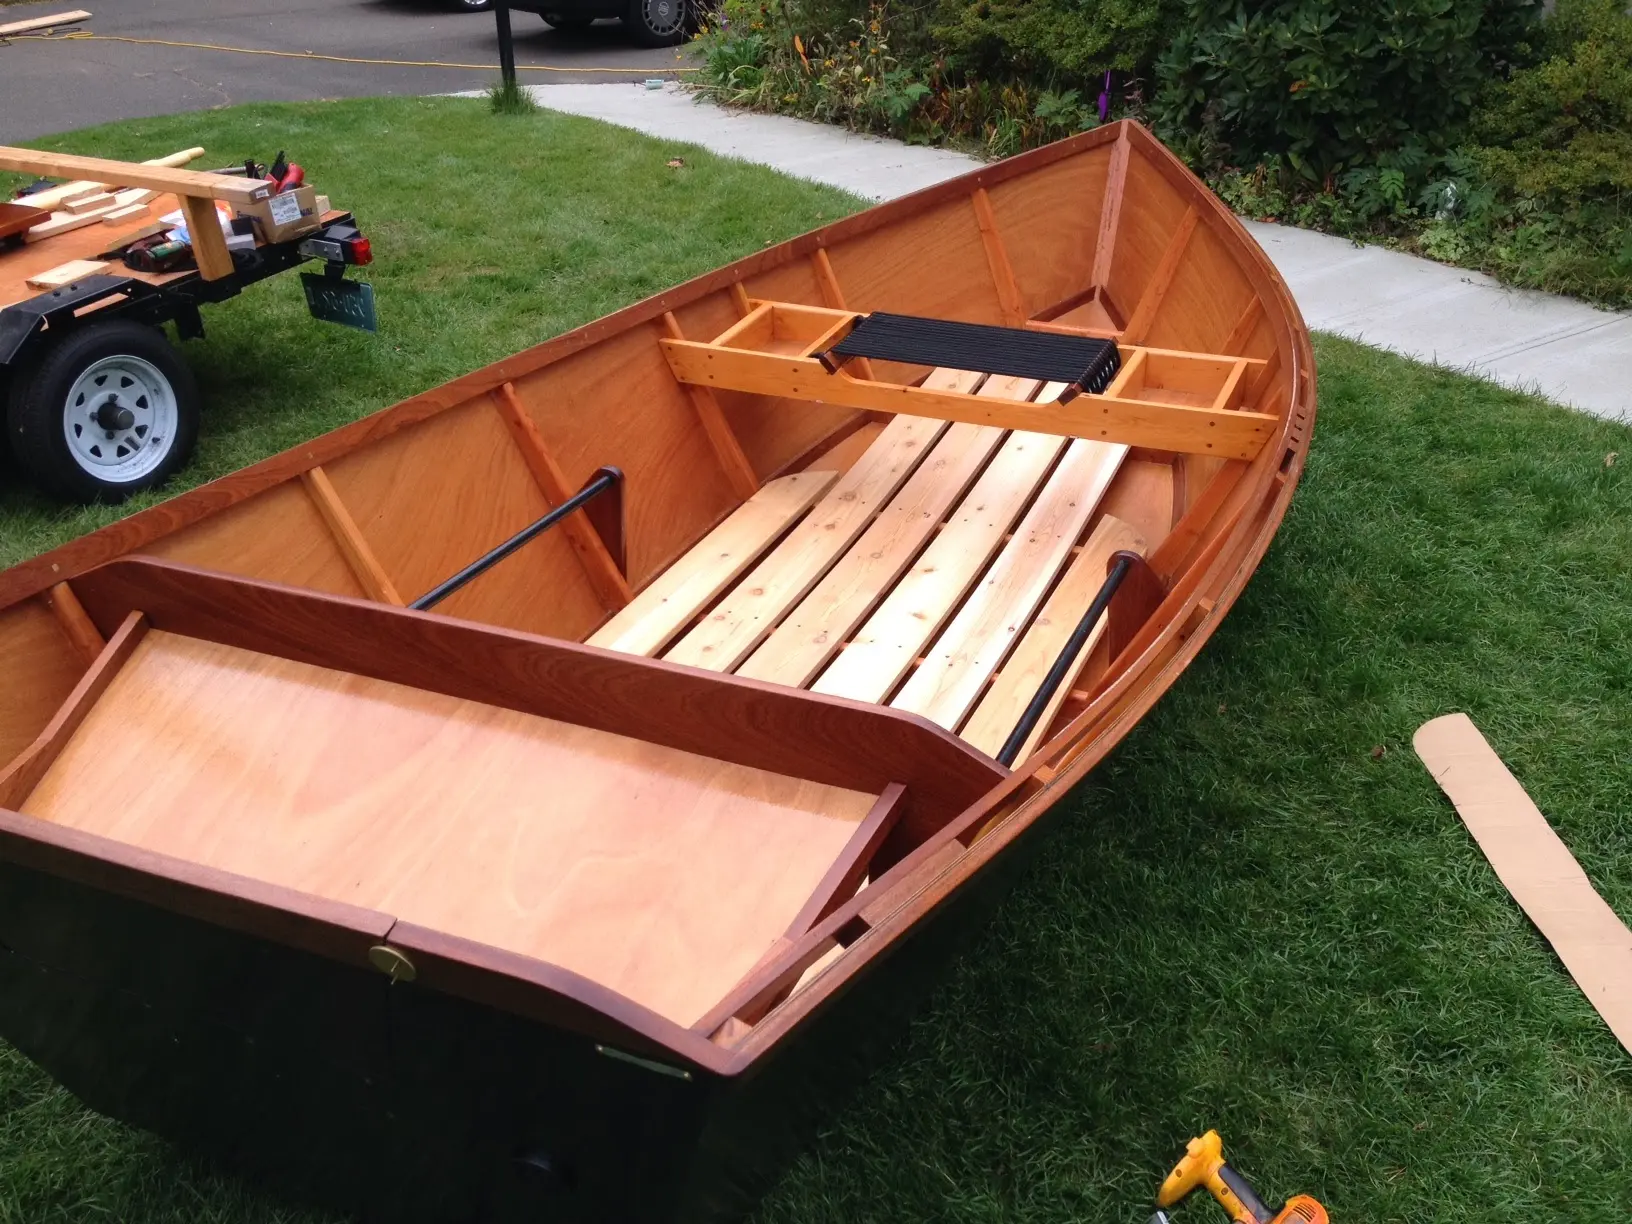
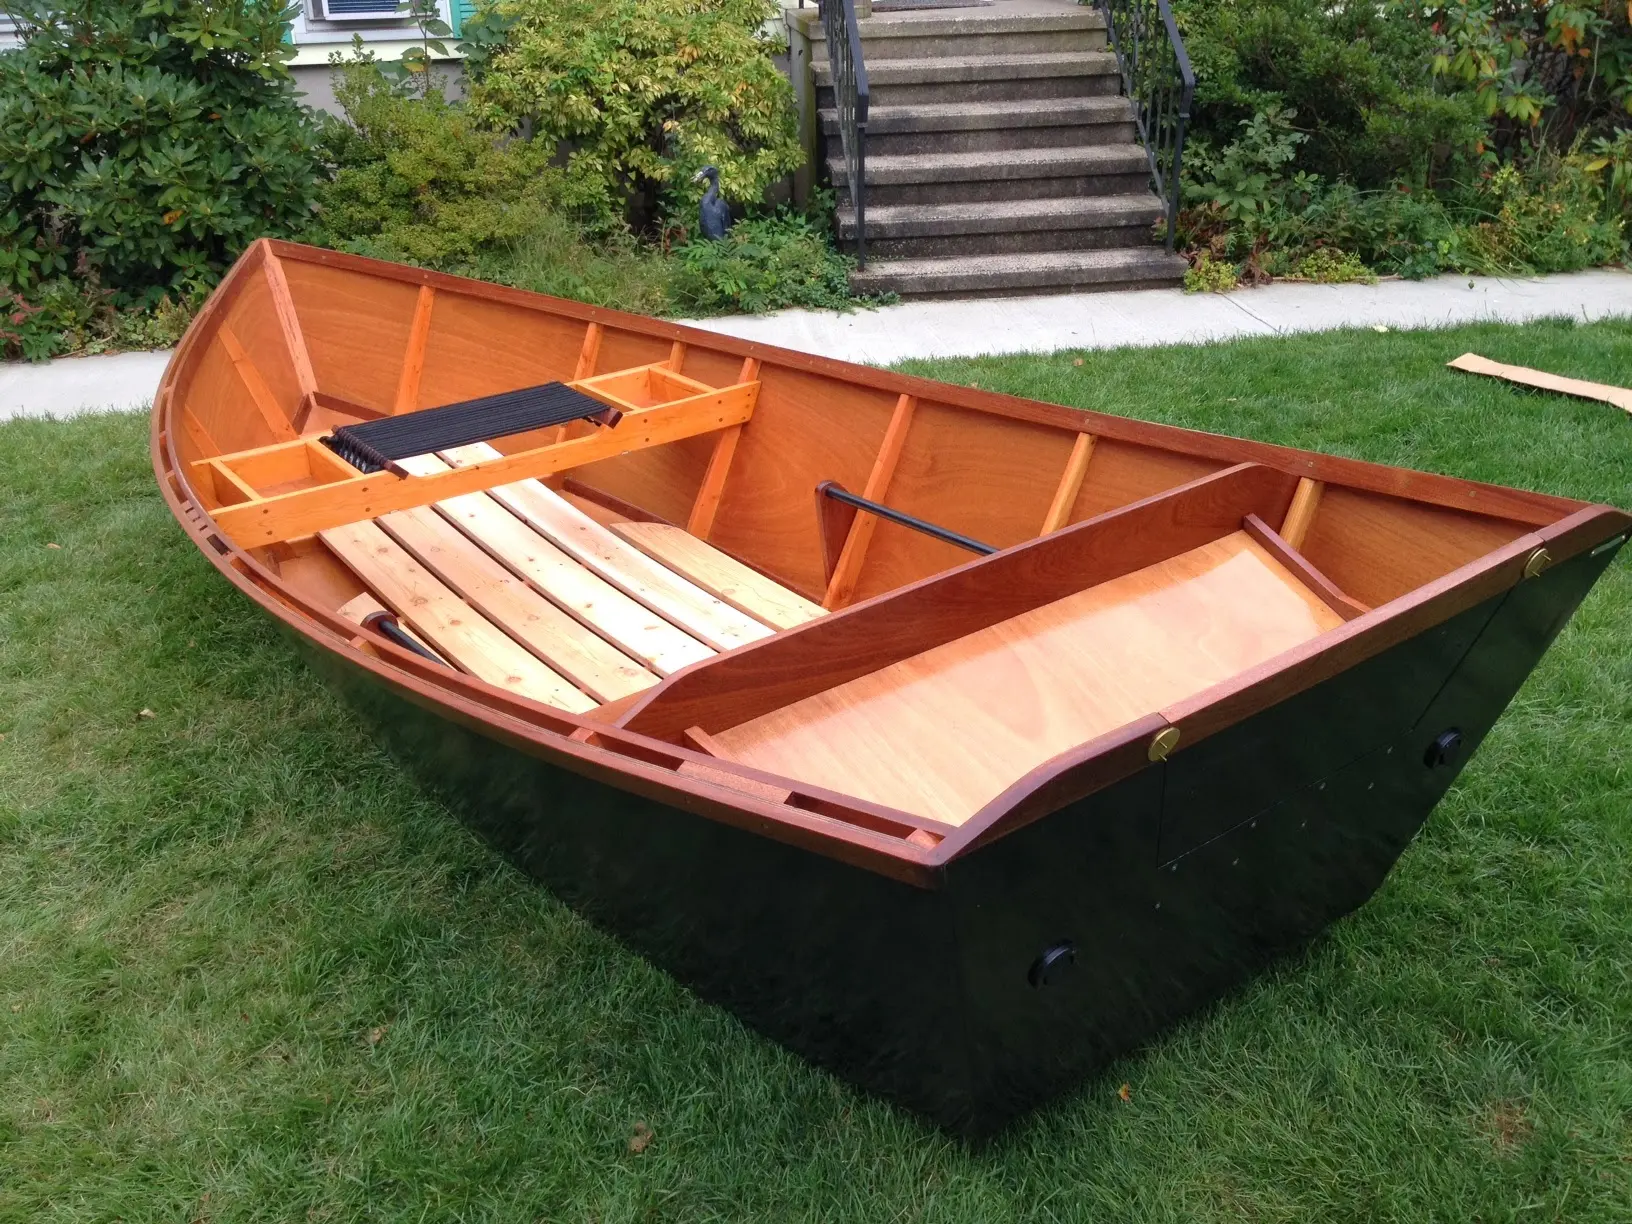
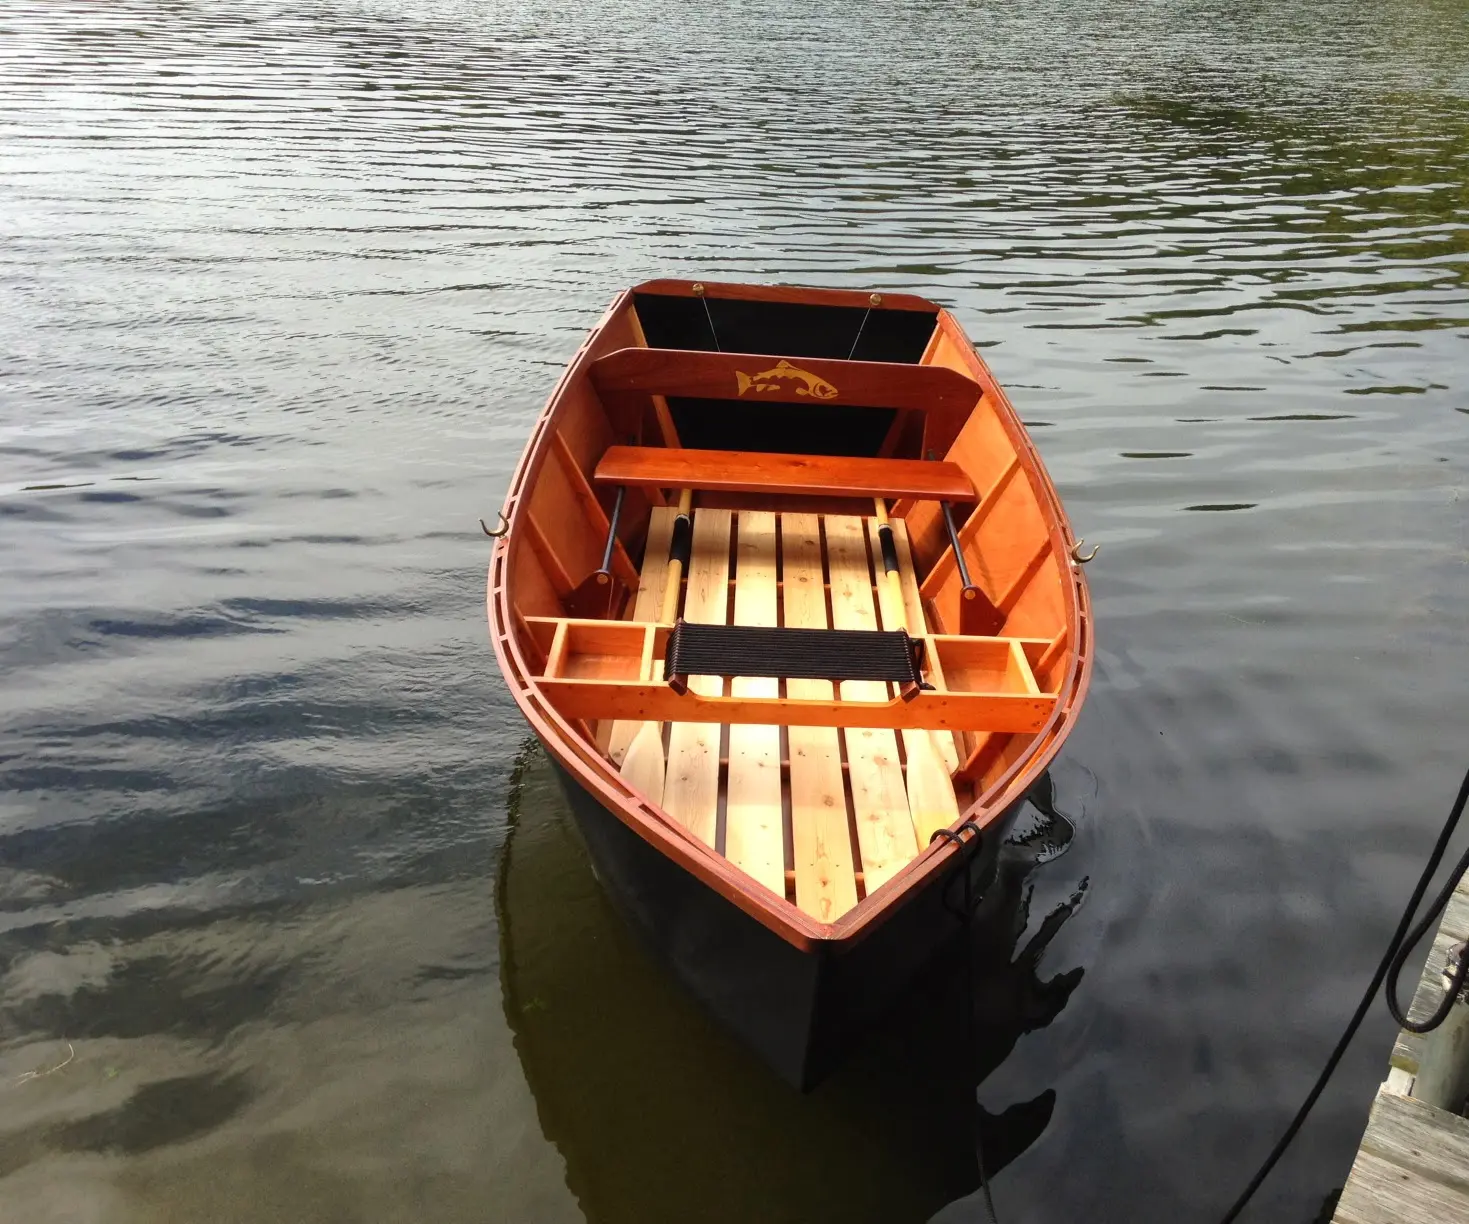
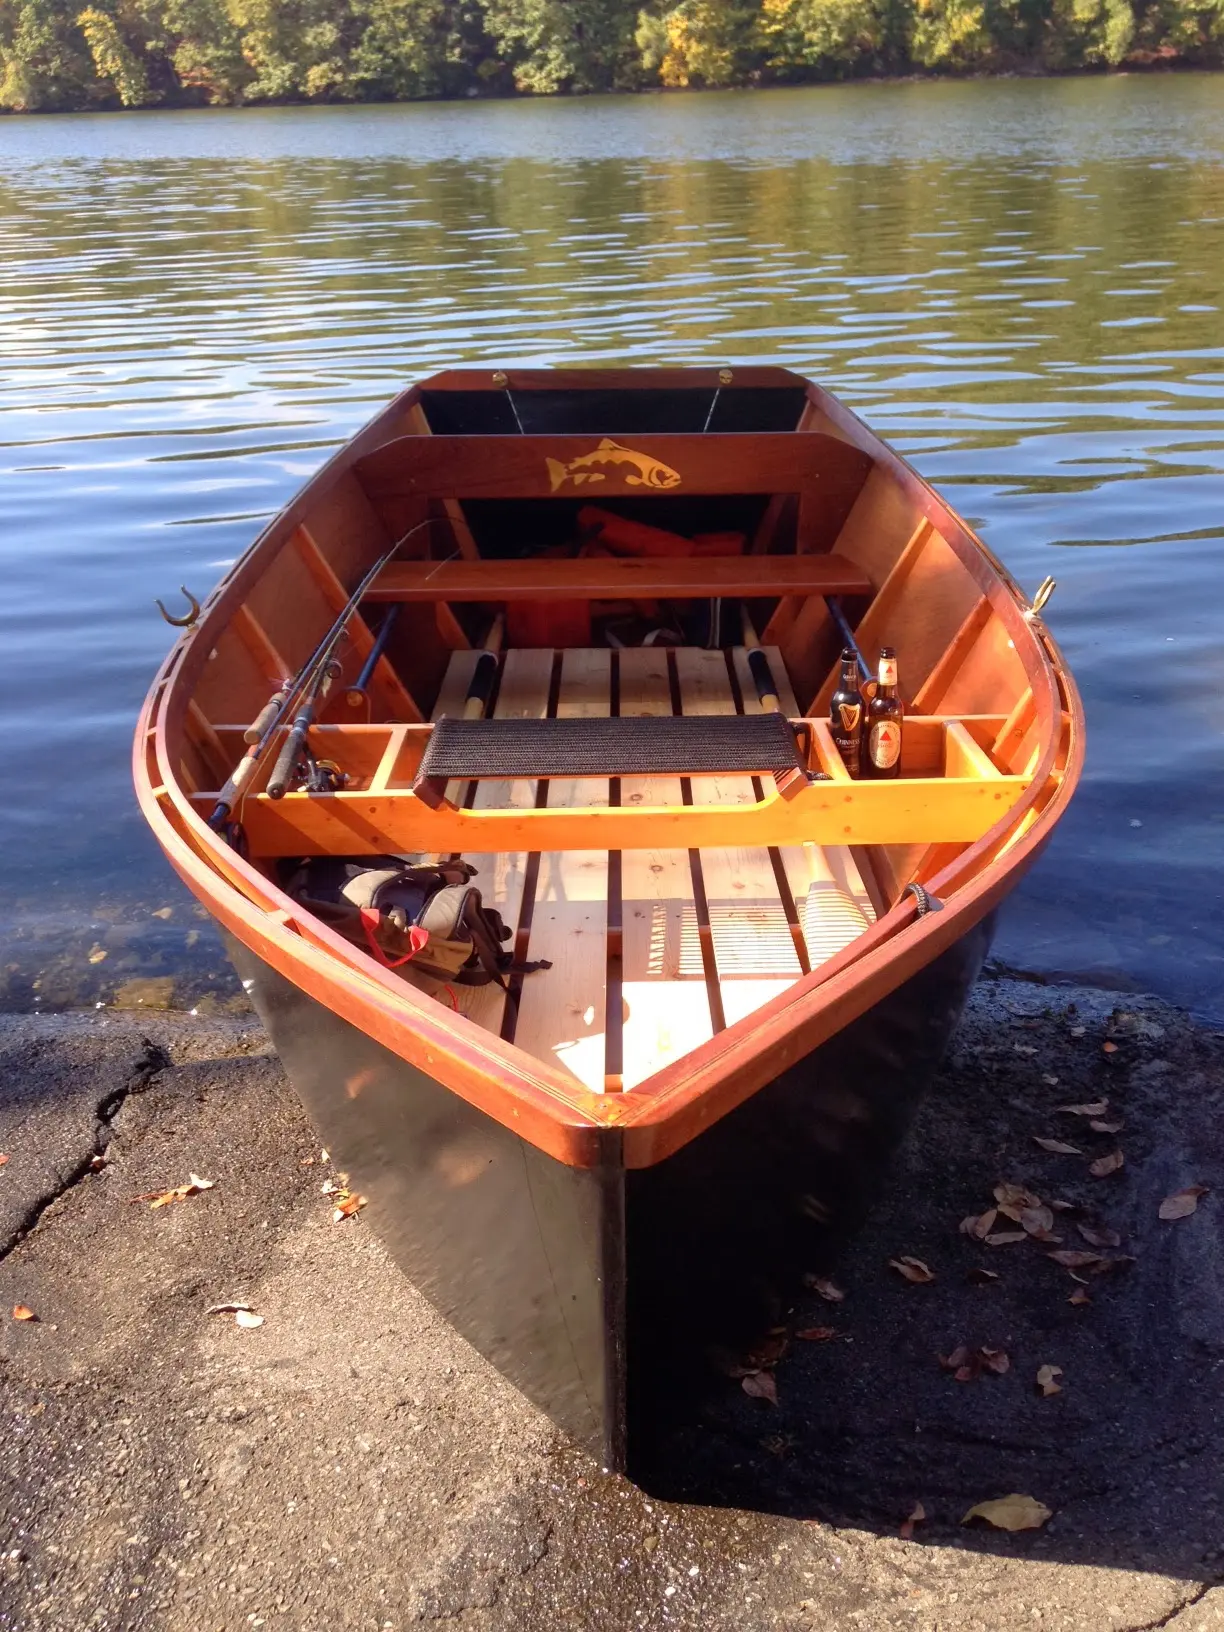
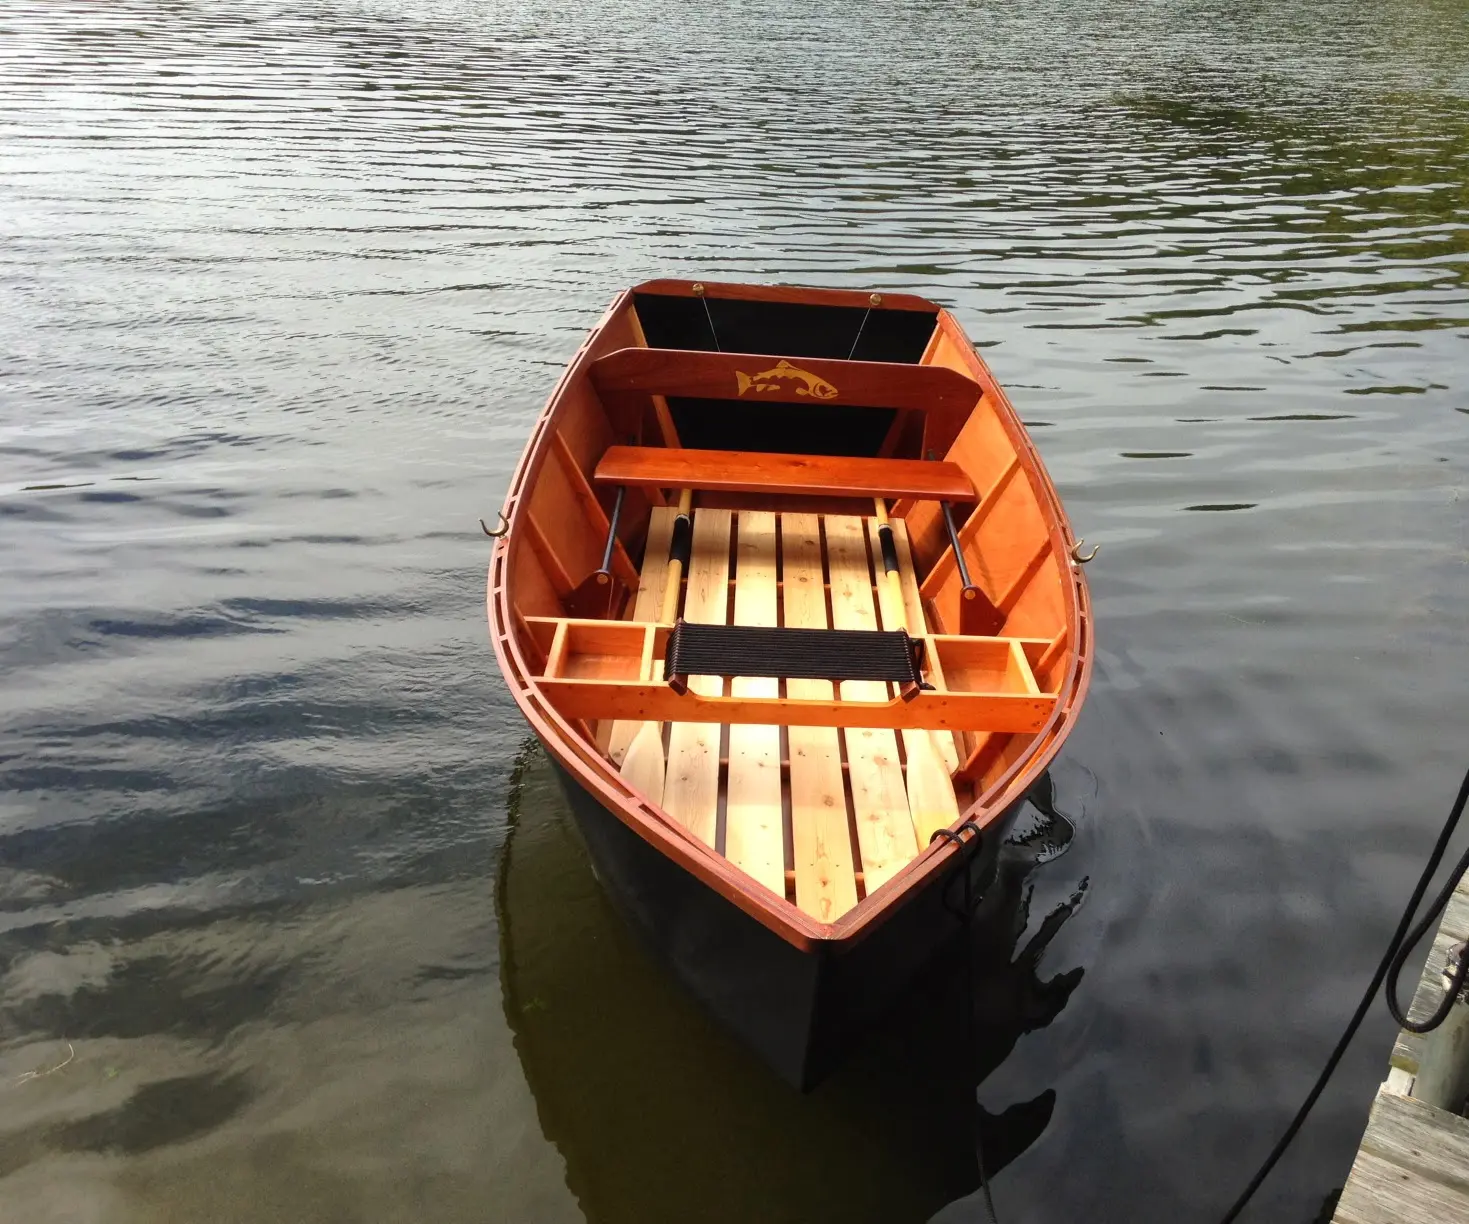
A lot of progress has been made in August, mostly in paint in Varnish, but a few hardware additions as well, and the B&T is steadily approaching her initial float! After Priming the hull we used a 2 part industrial polyurethane as a basecoat, then topped it off with a coat of Petit Brightsides. We will probably add another coat before she is splashed. The First of 3 interior coats of Spar urehthane varnish has been applied and she is looking great! when finished the interior will have 3 coats of epoxy topped with 3 coats of varnish. You will also notice the custom made rope rowing seat and aluminum rails for the passenger bench seat have been installed. The bench seat is being made from a 1.25 inch Mahogany board Mack borrowed from his family's home on the St. Lawrence River, and interestingly enough it has a legacy of its own, as it once served as the seat in a wooden boat Mack's father restored years ago. The other notable installation is the oarlock mounts, which are fashioned out of Sapelle and sandwiched into the gunnel. Another coat of paint, few more coats of varnish, some hardware for the motor well, and some floorboards and she's ready to go. Can't wait!
1. Oarlock mounts
2. rowing seat
Photo 1 Photo 2 Photo 3 Photo 4 Photo 5 Photo 6
Chapter 09
Launch Day
Splash. Post the photos.
6 daysfrom September 2013
4 Sep 2013Launch Day
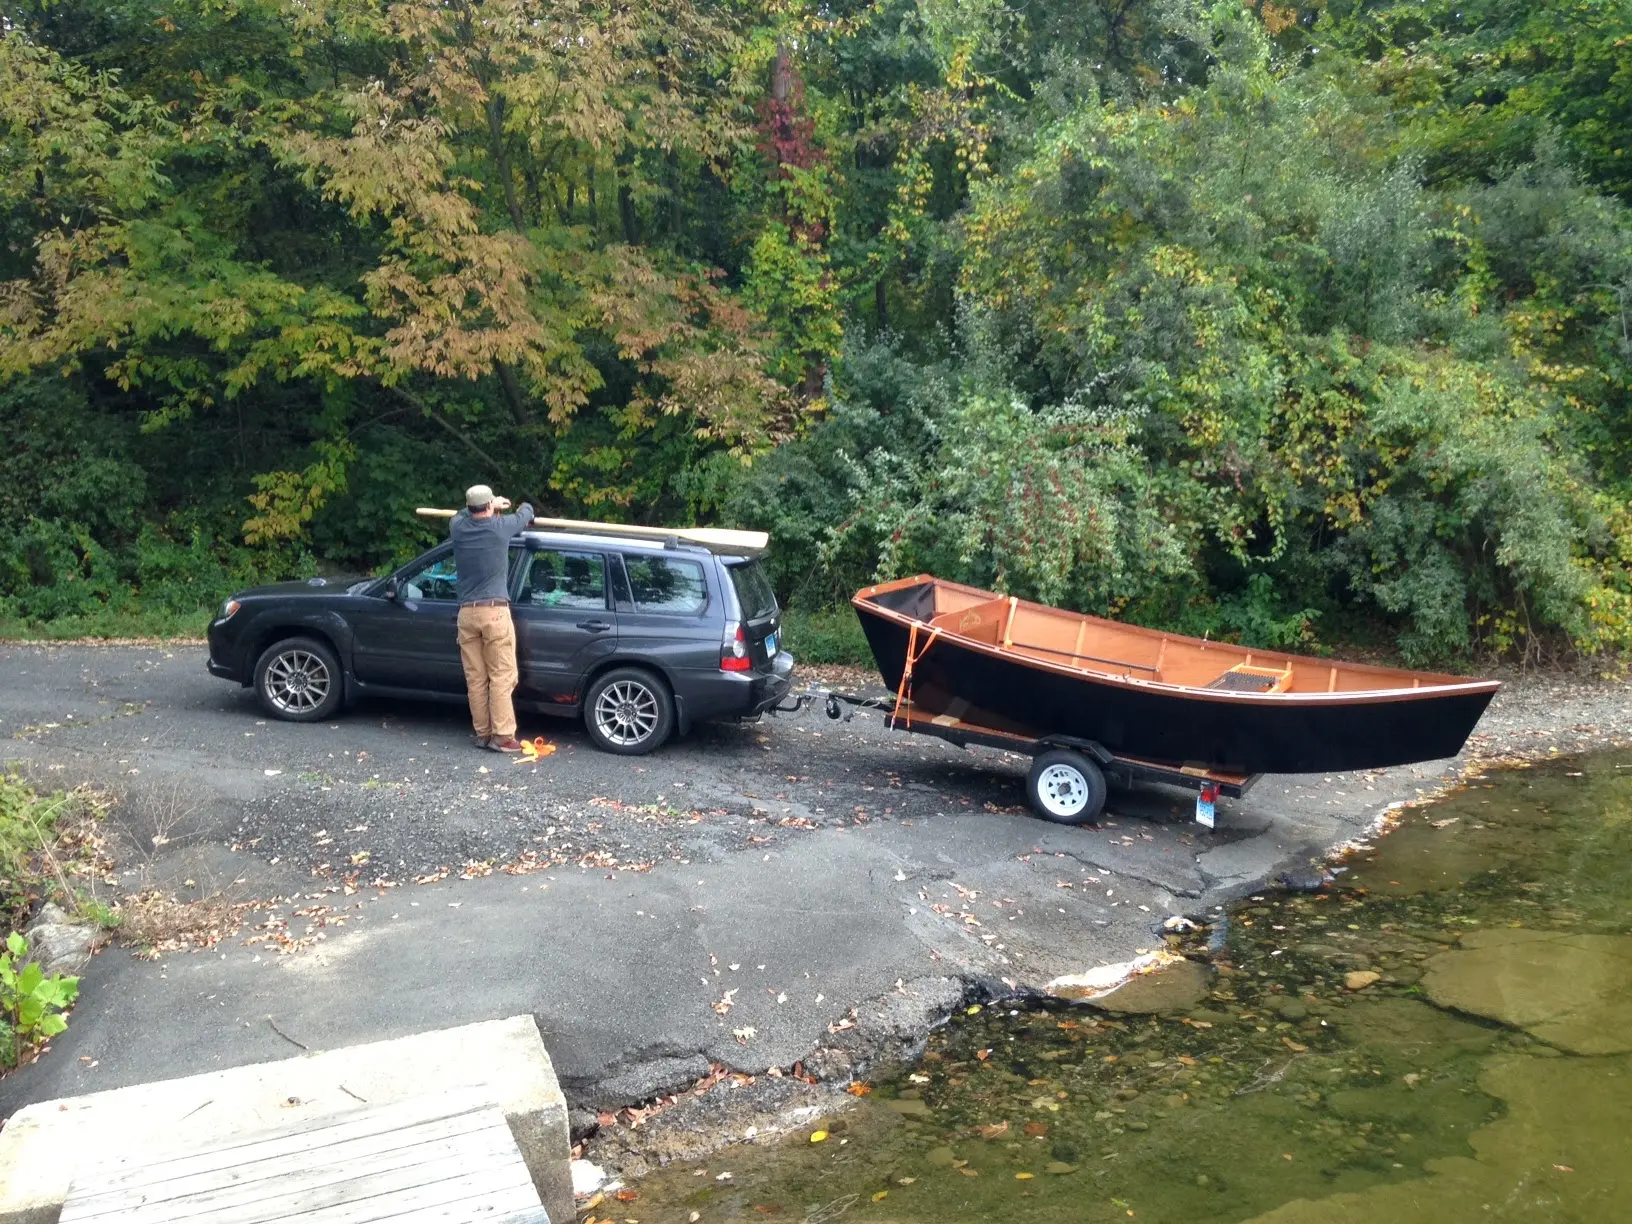
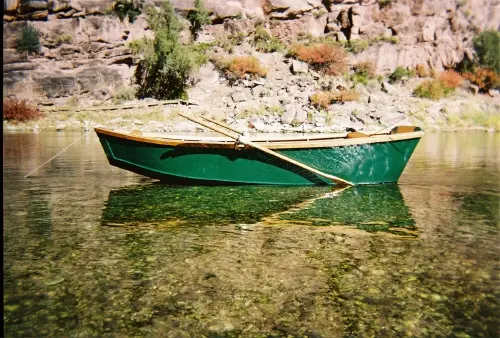
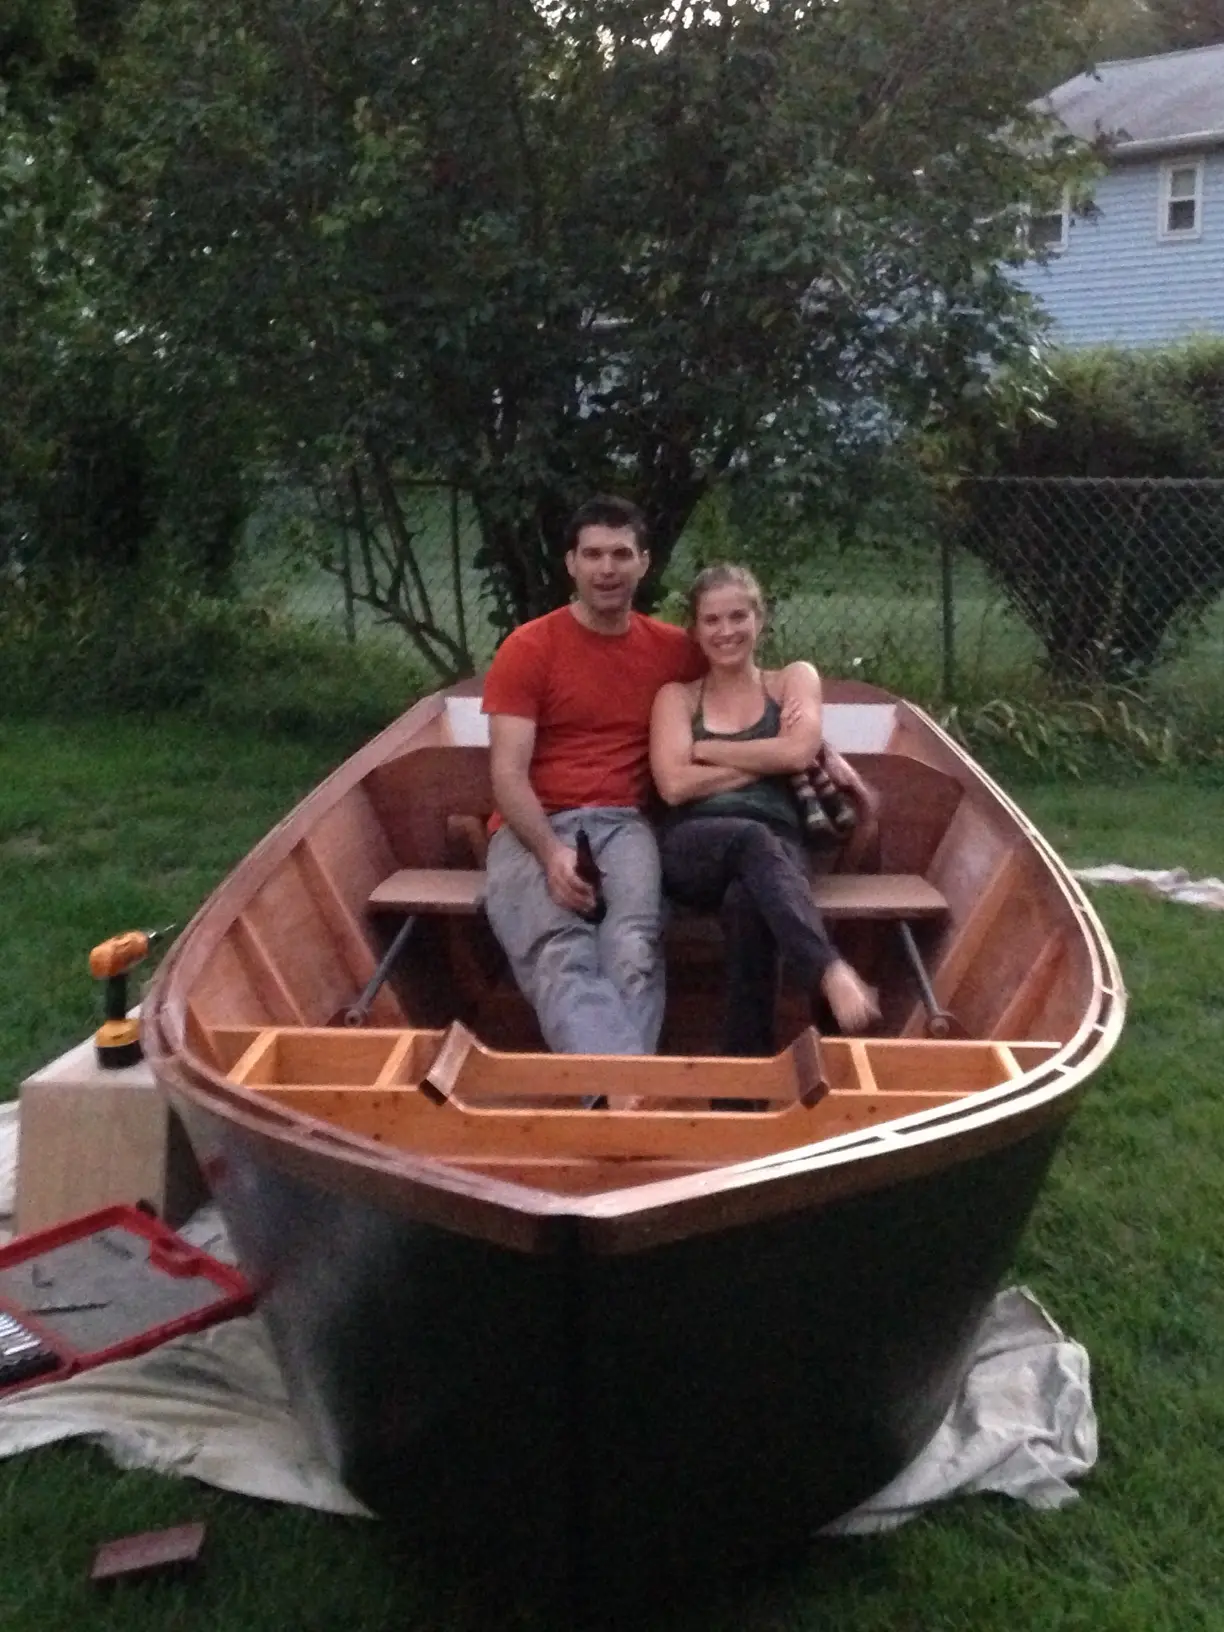
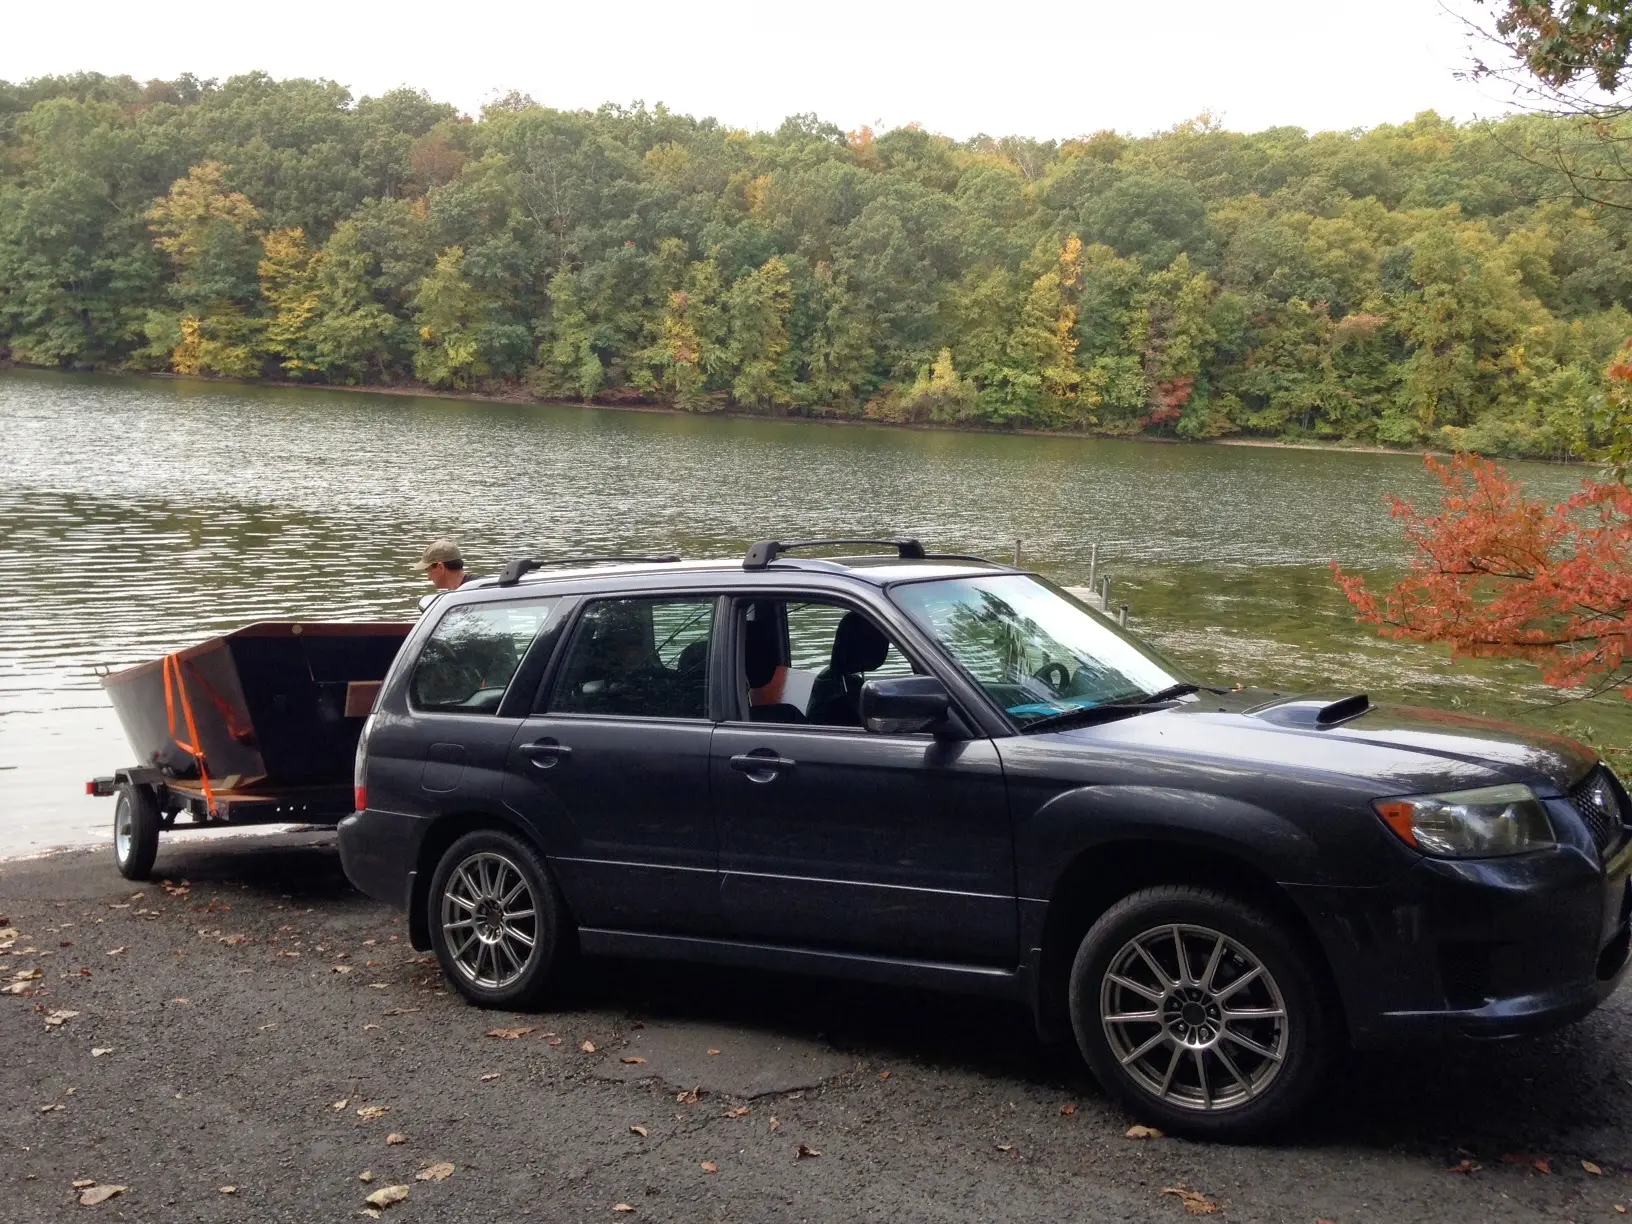
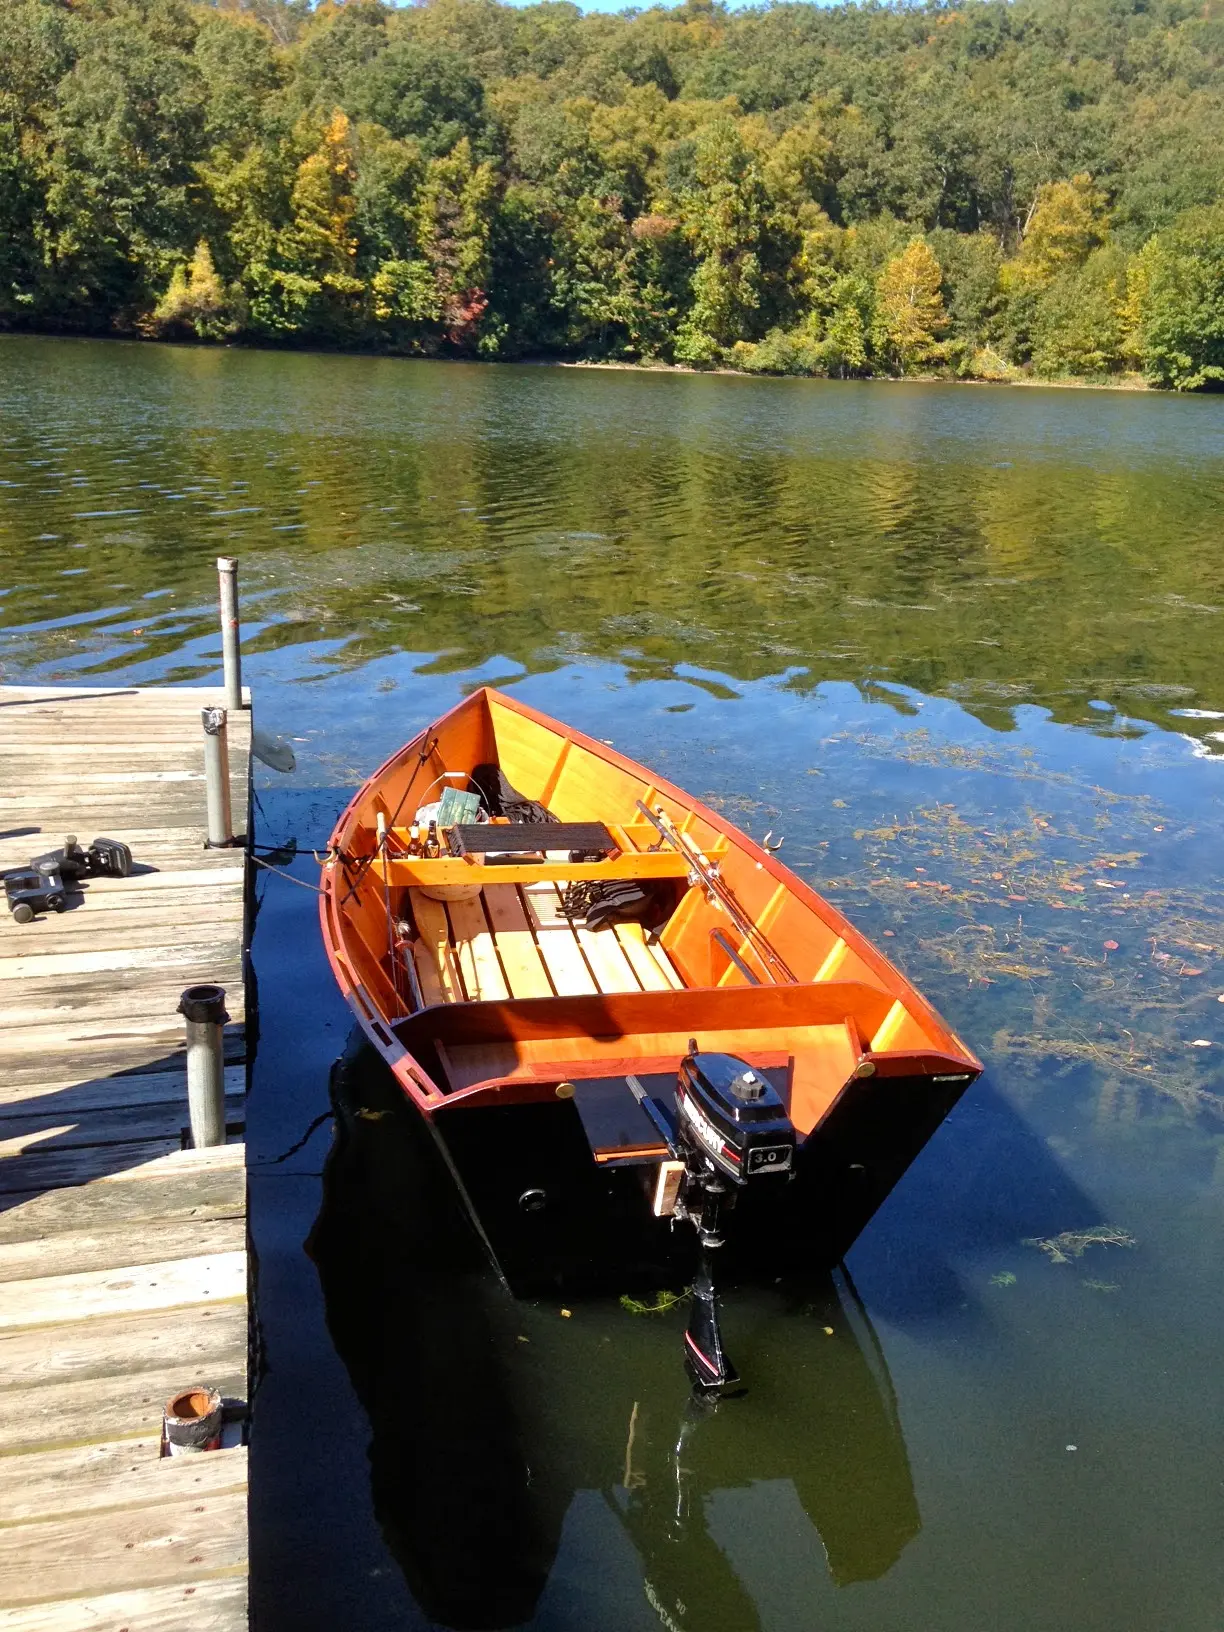
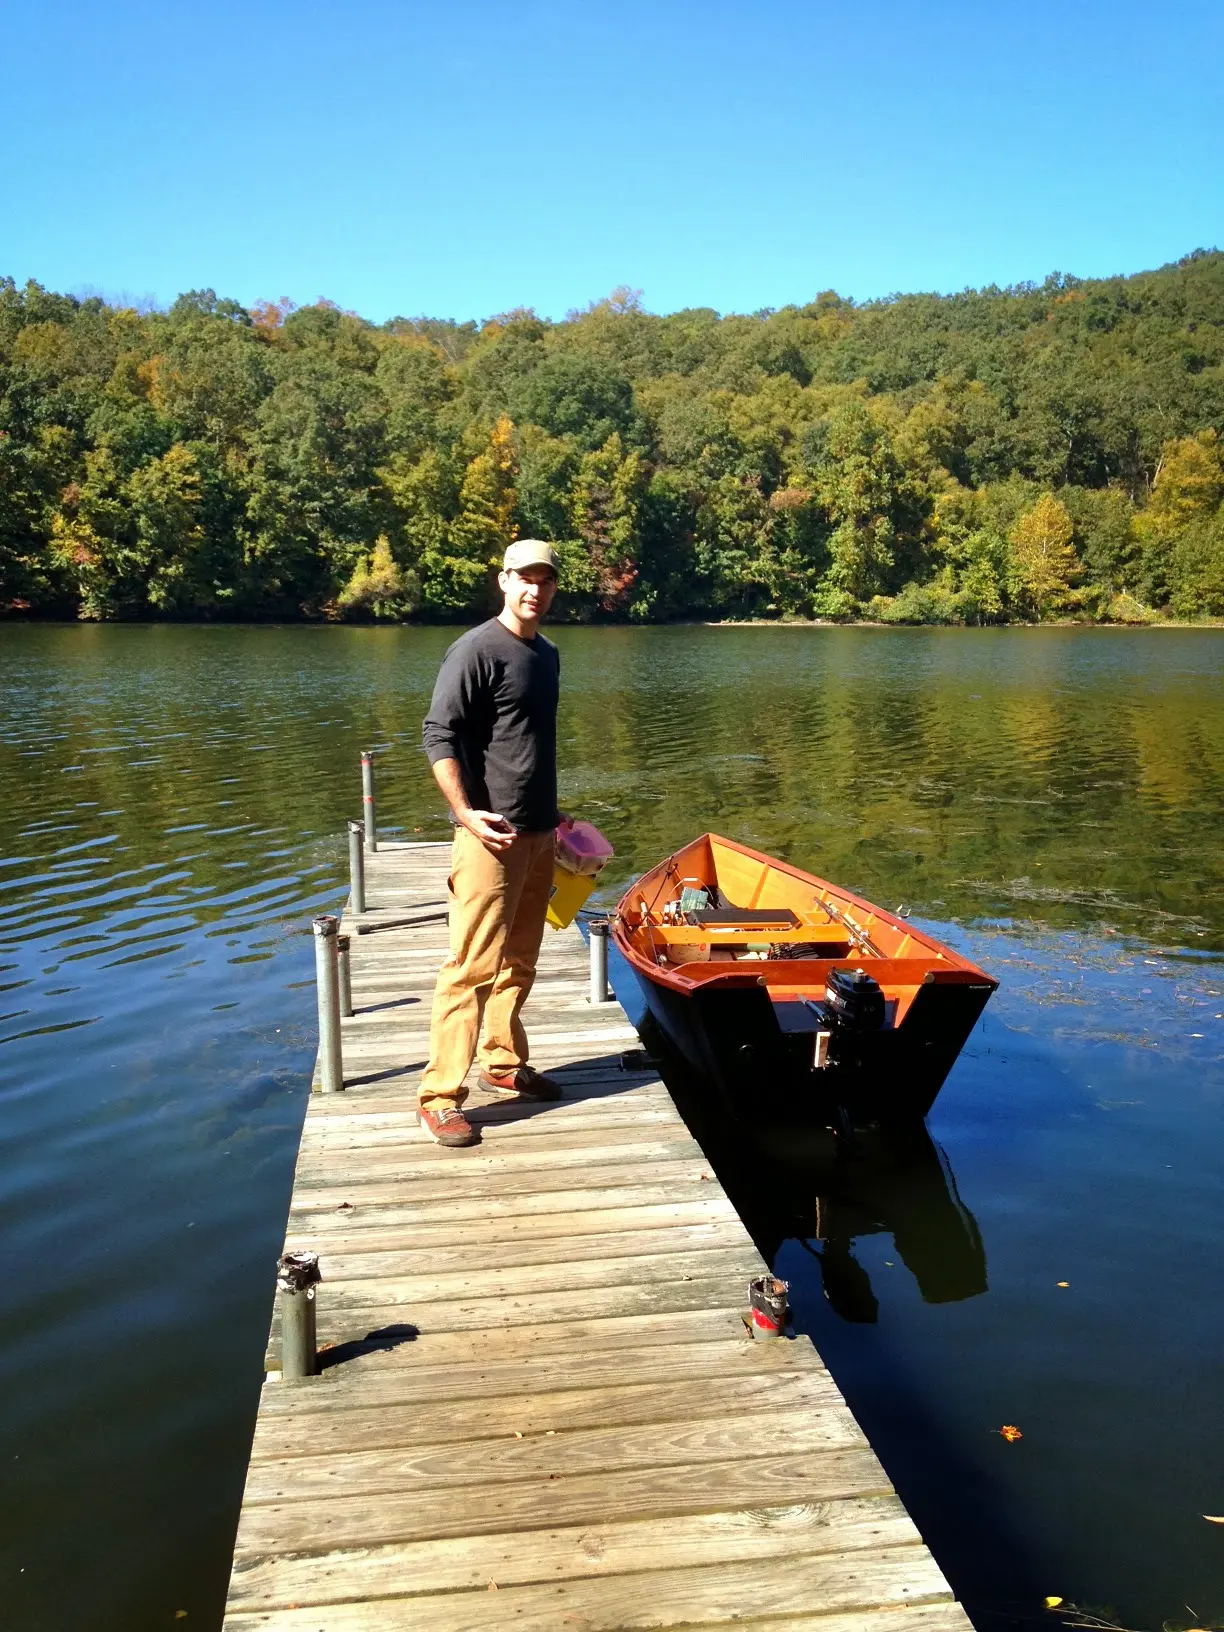
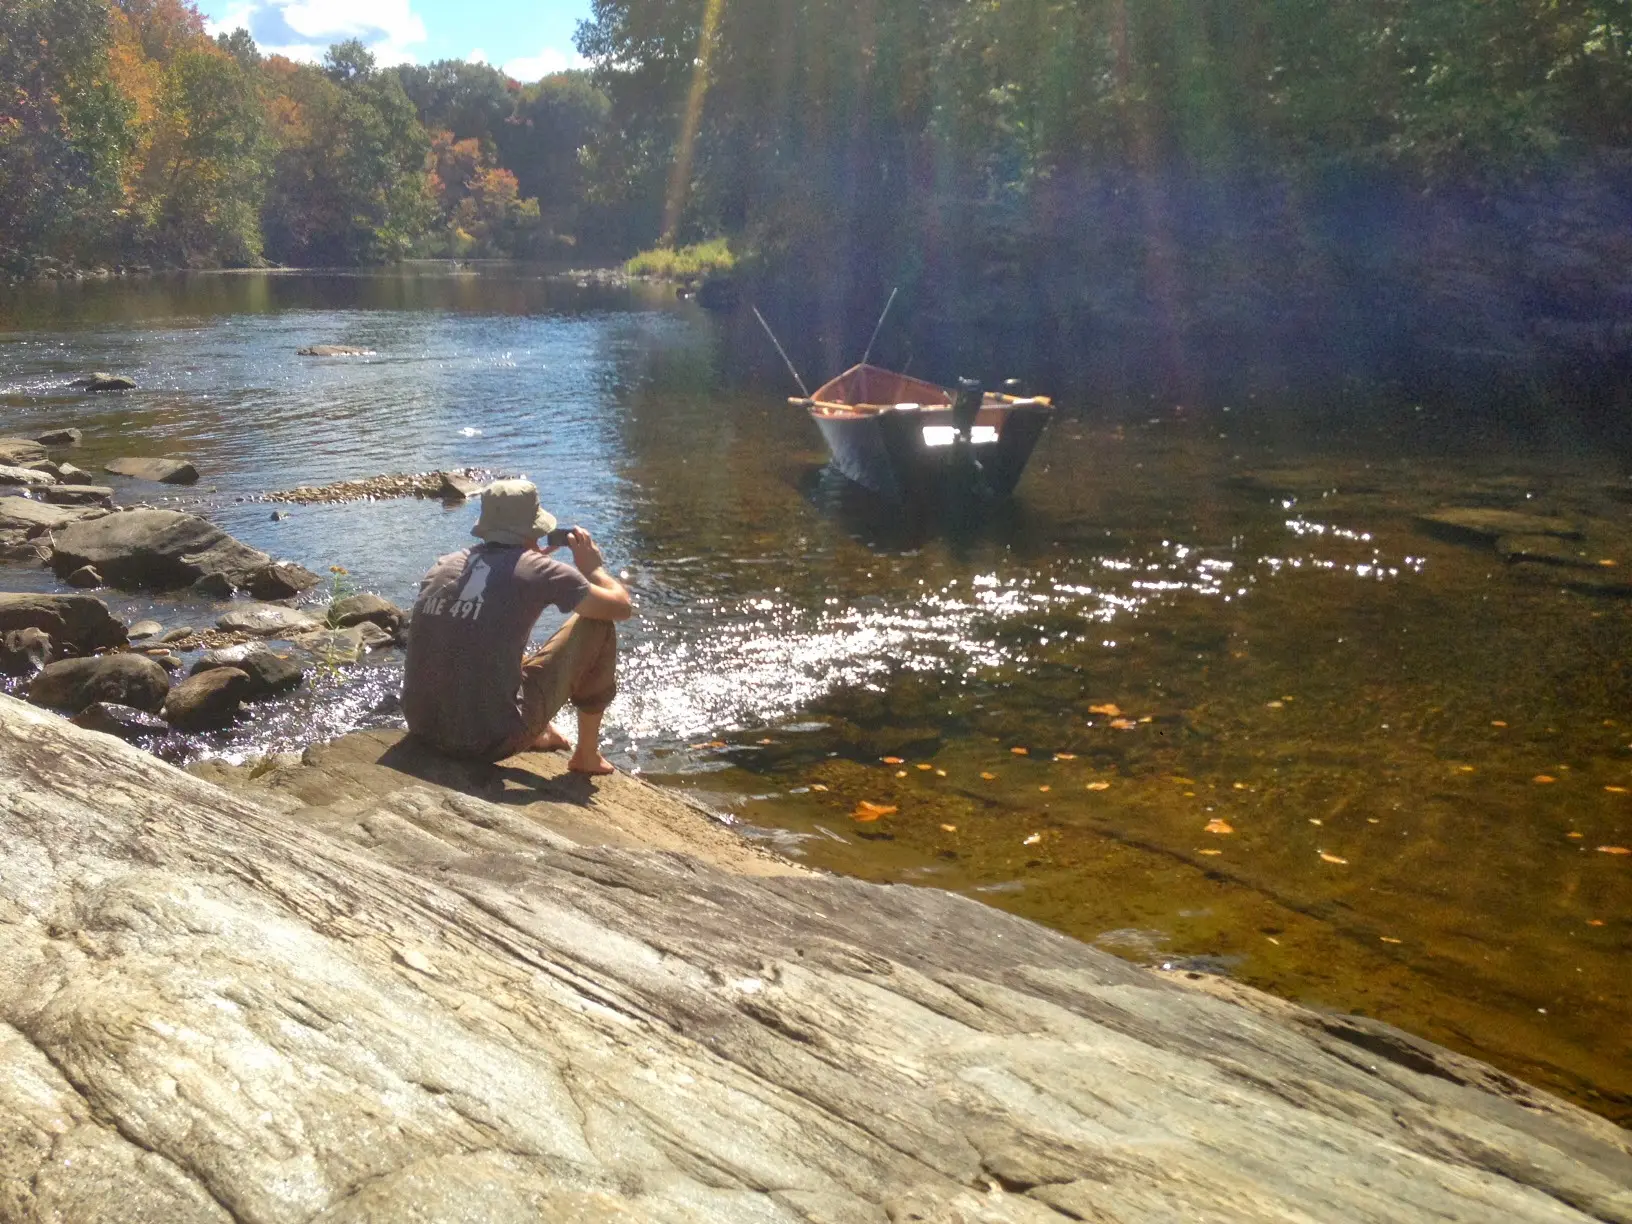
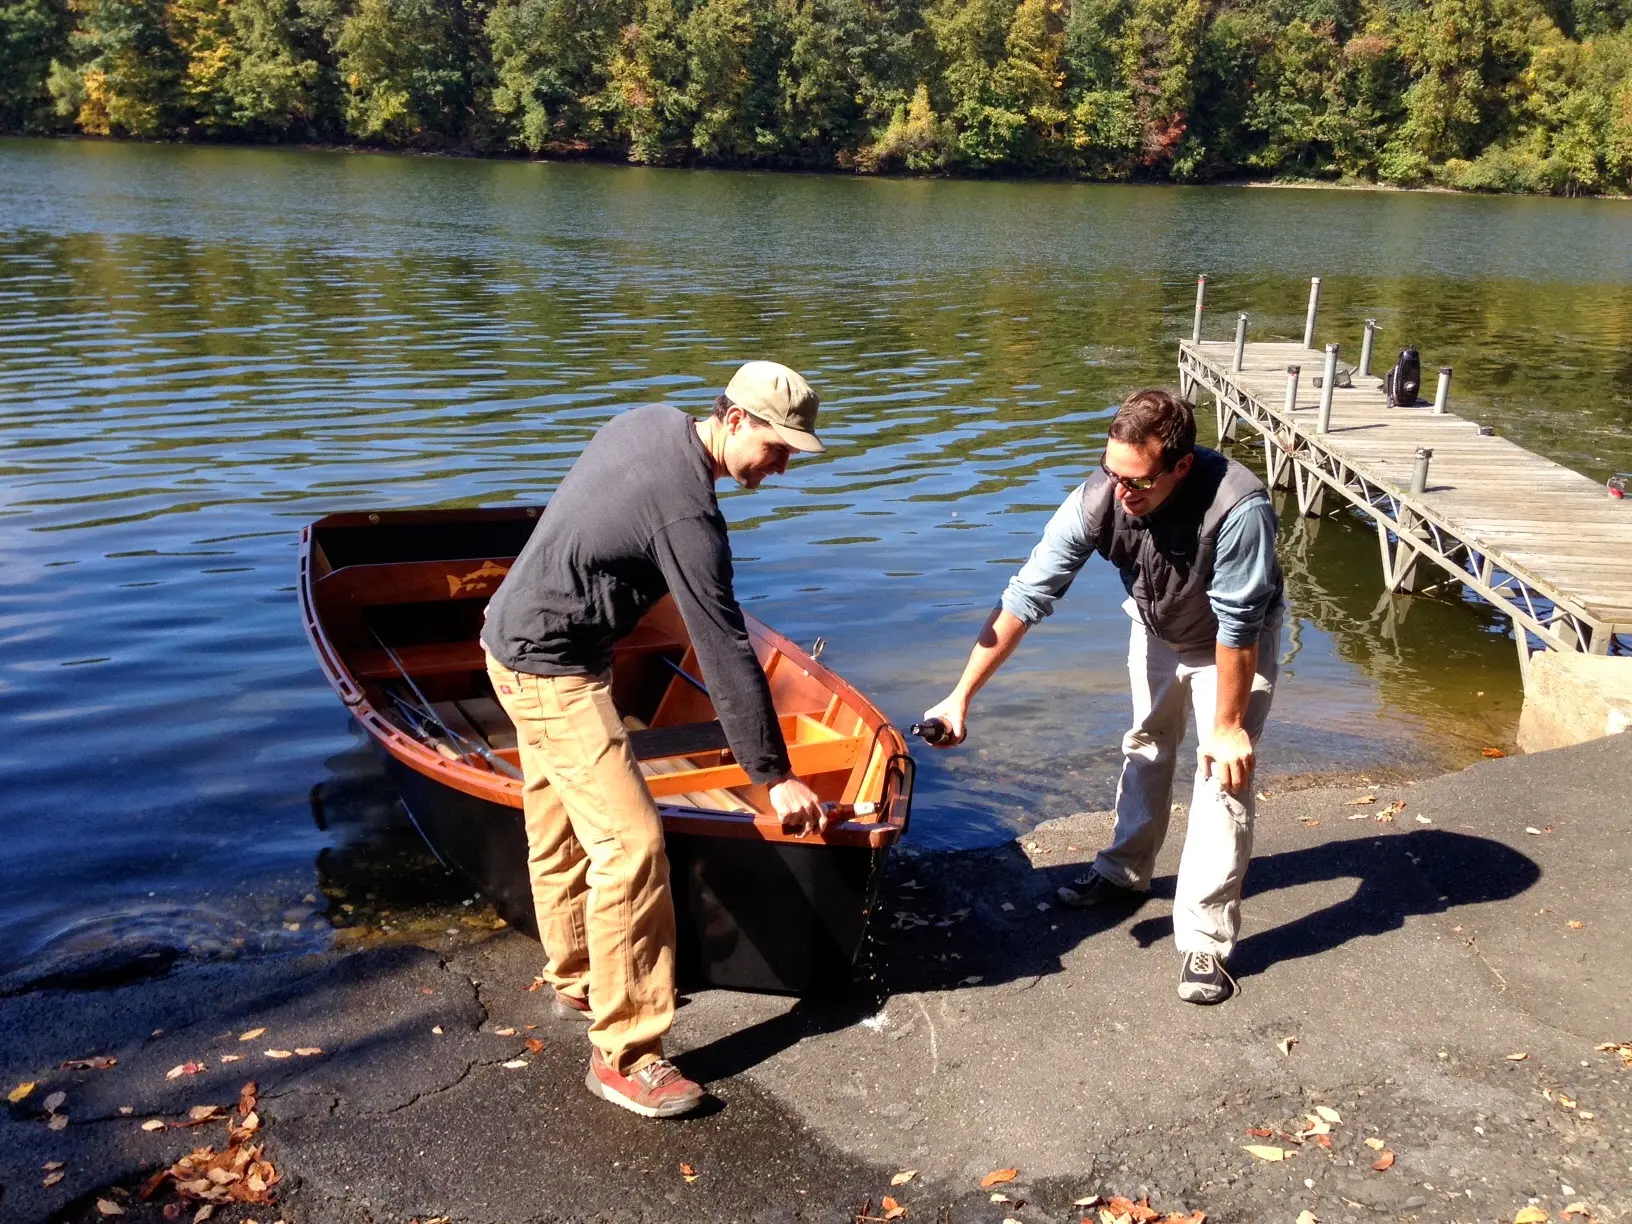
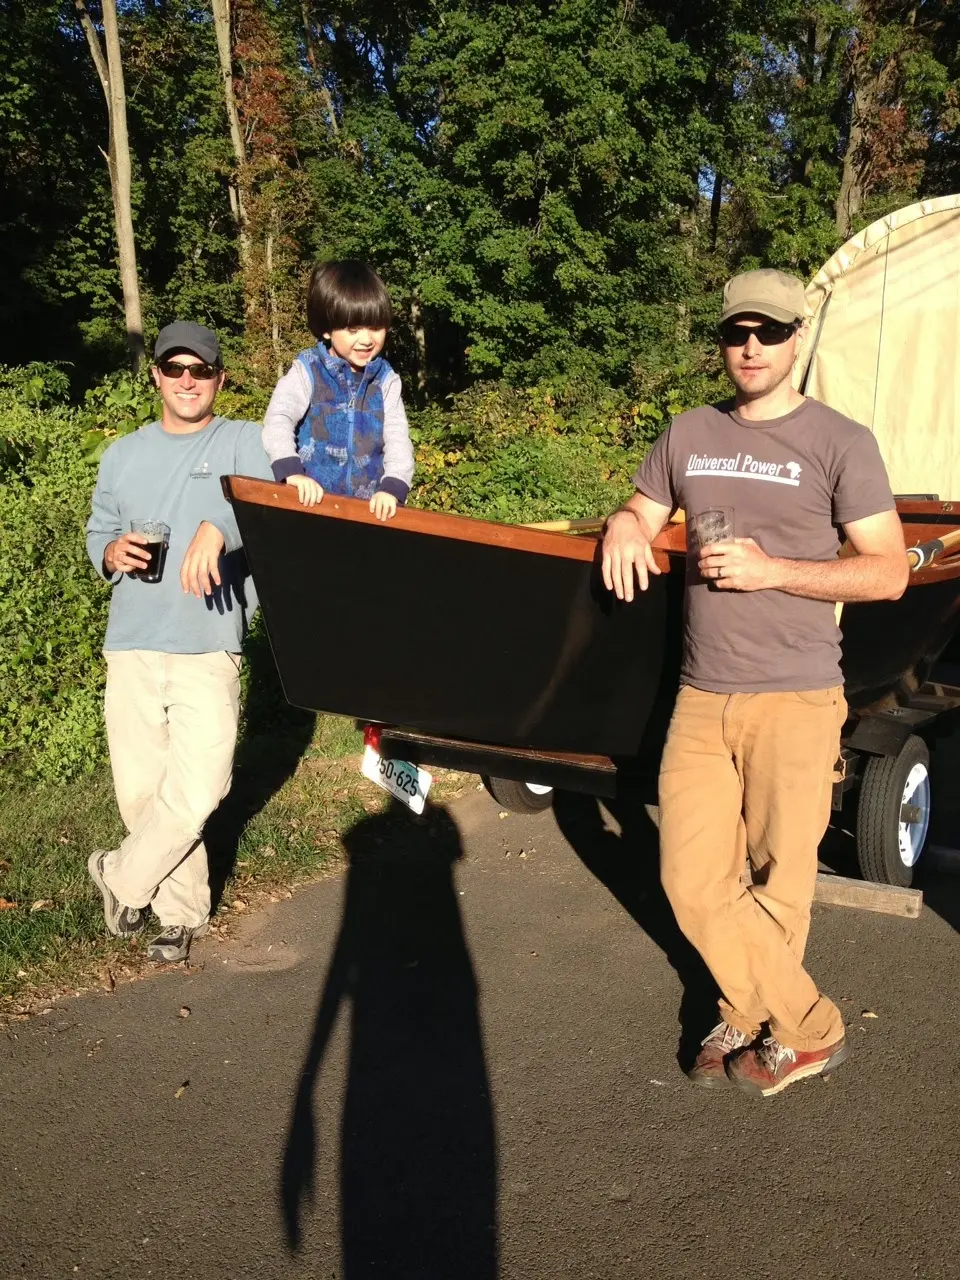
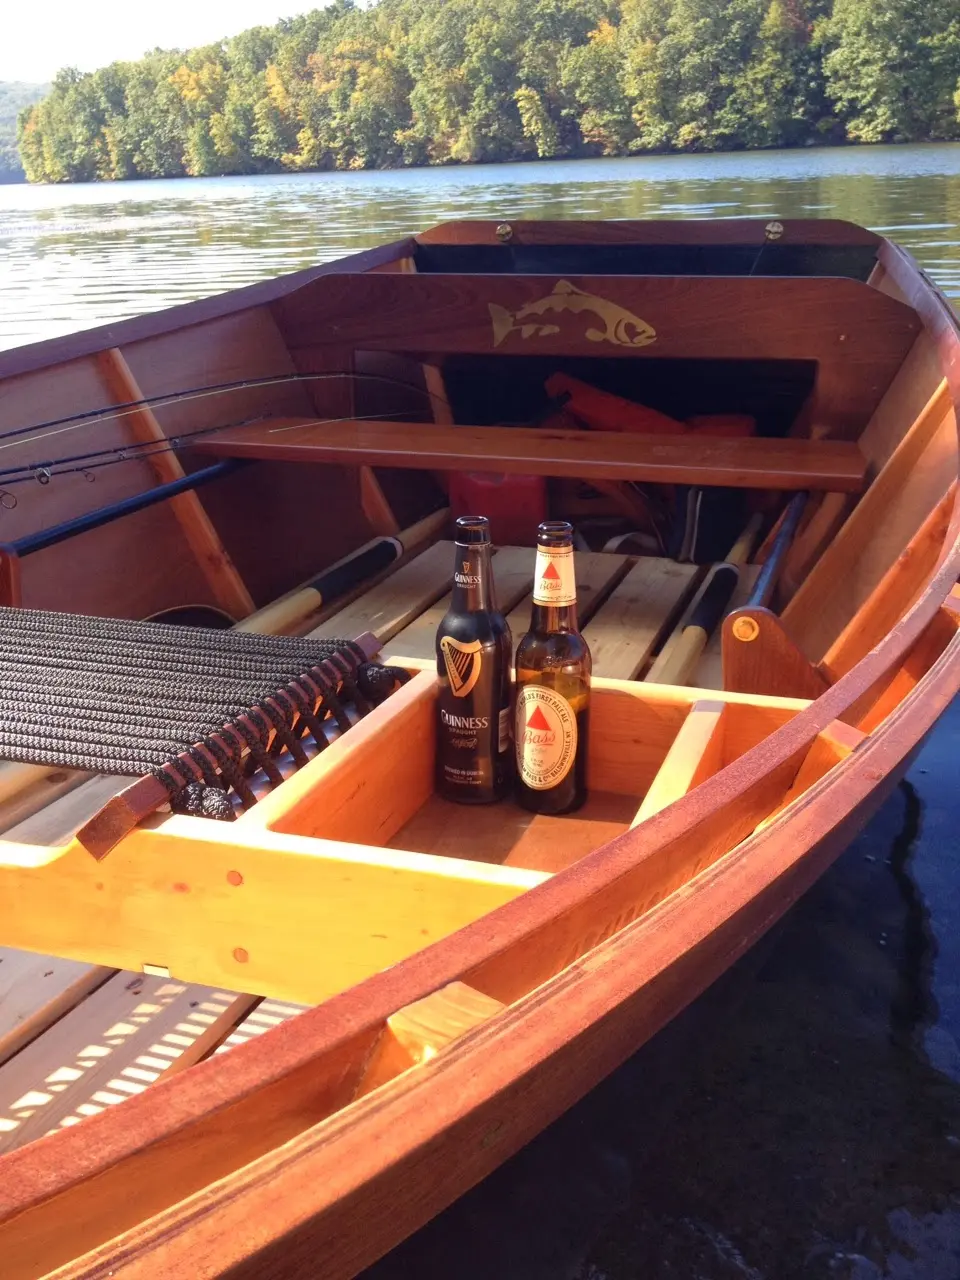
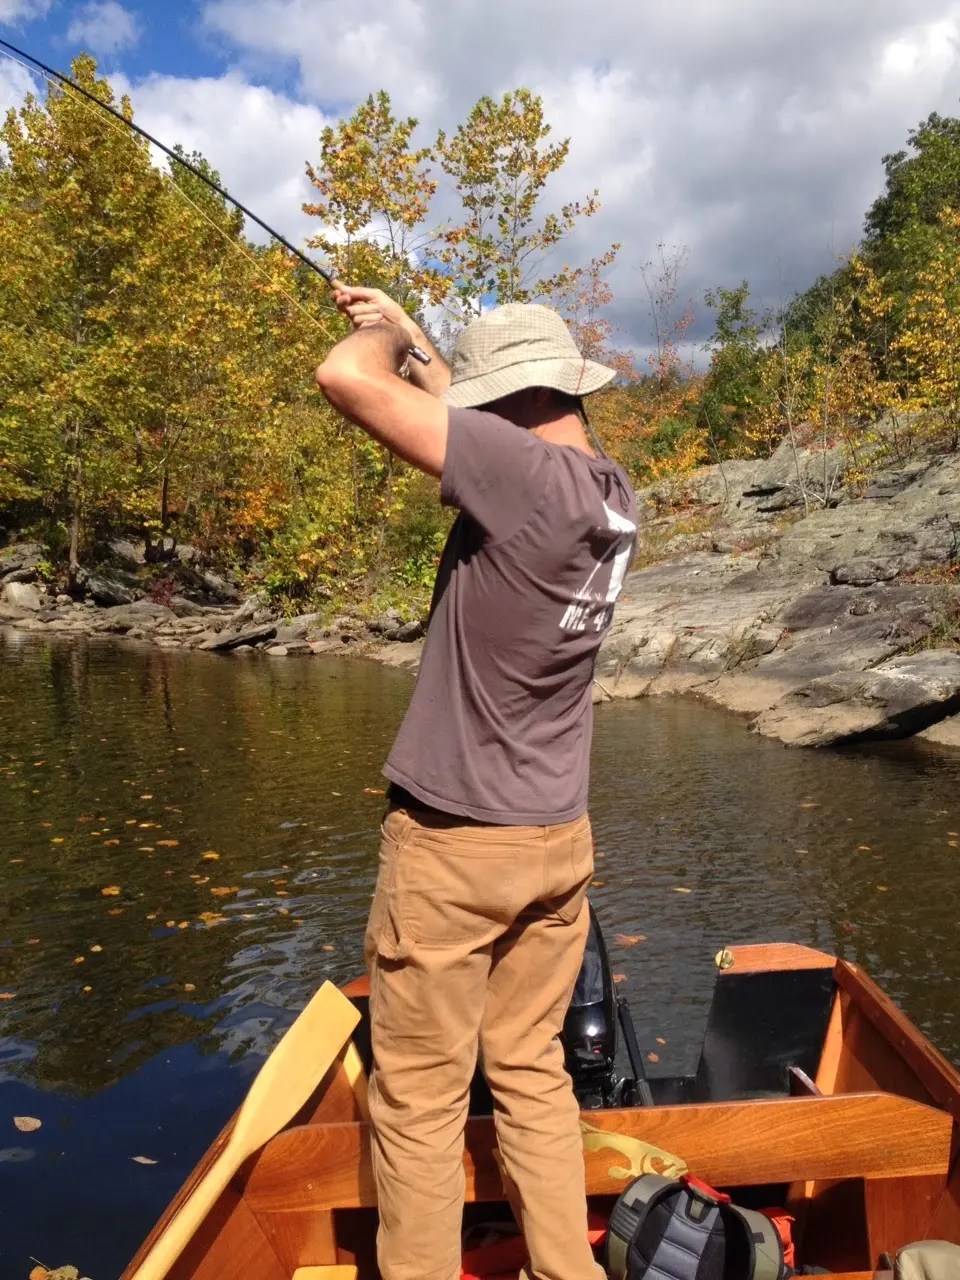
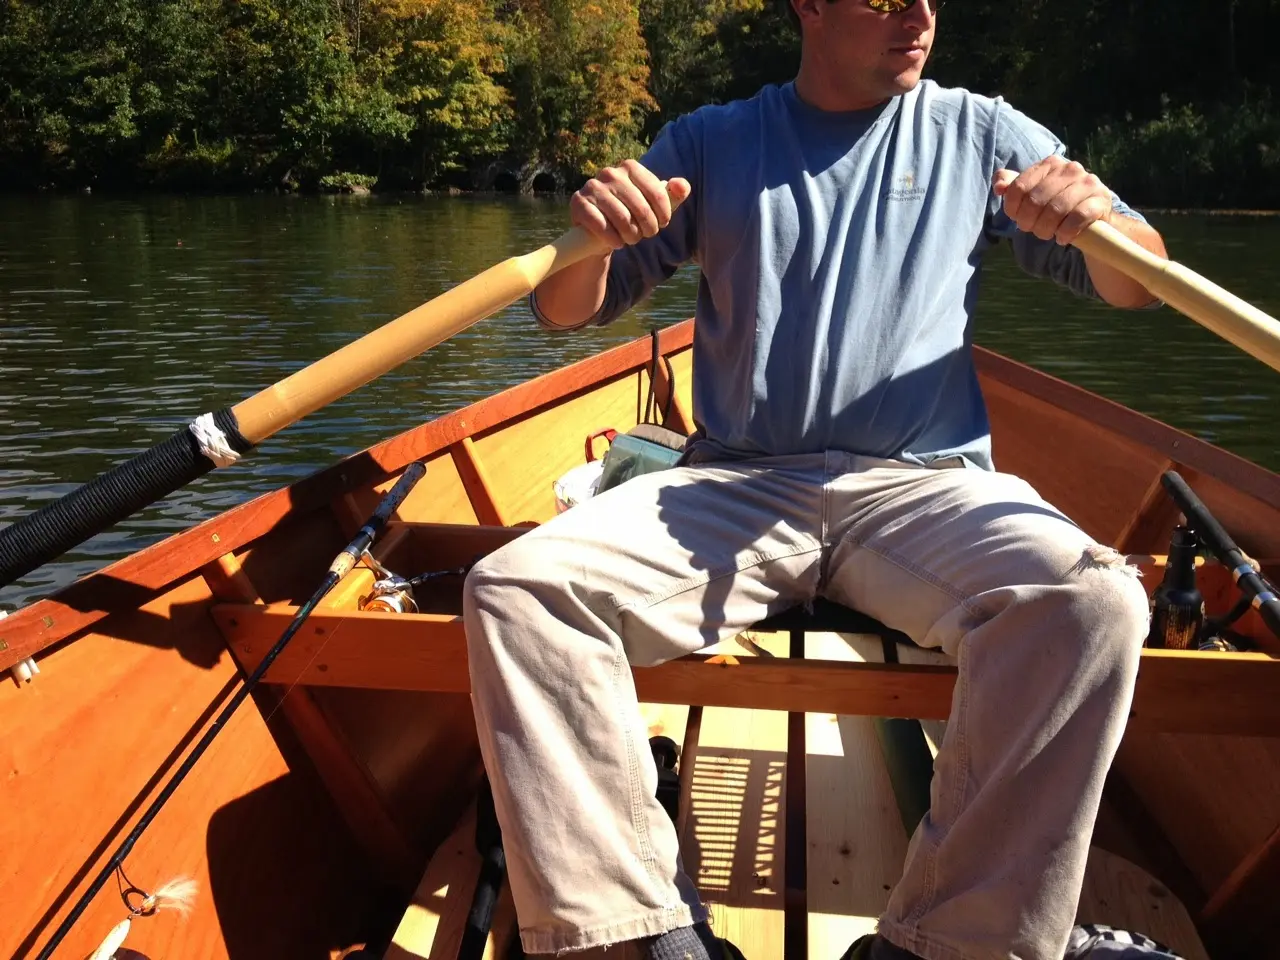
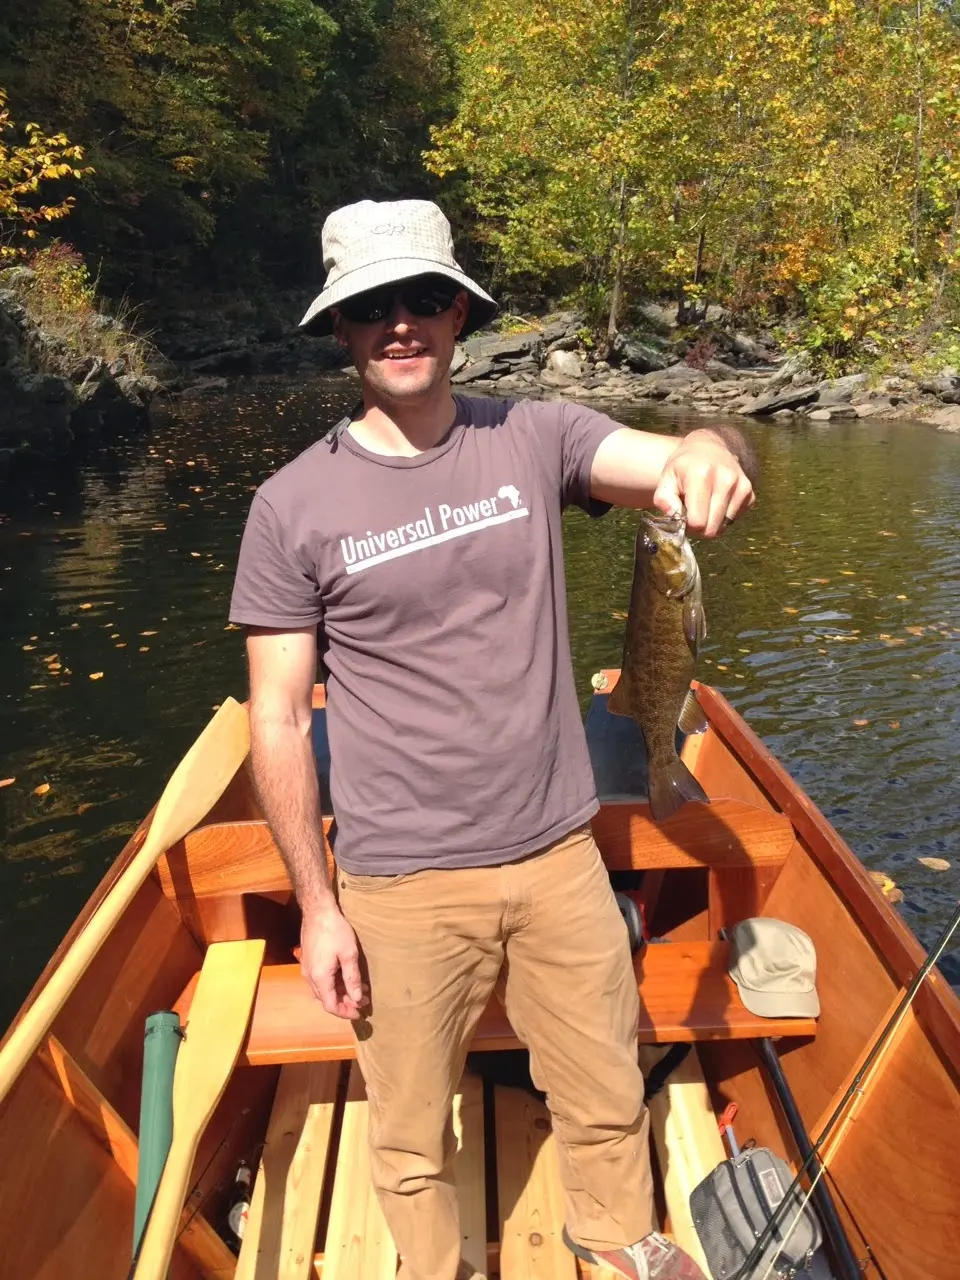
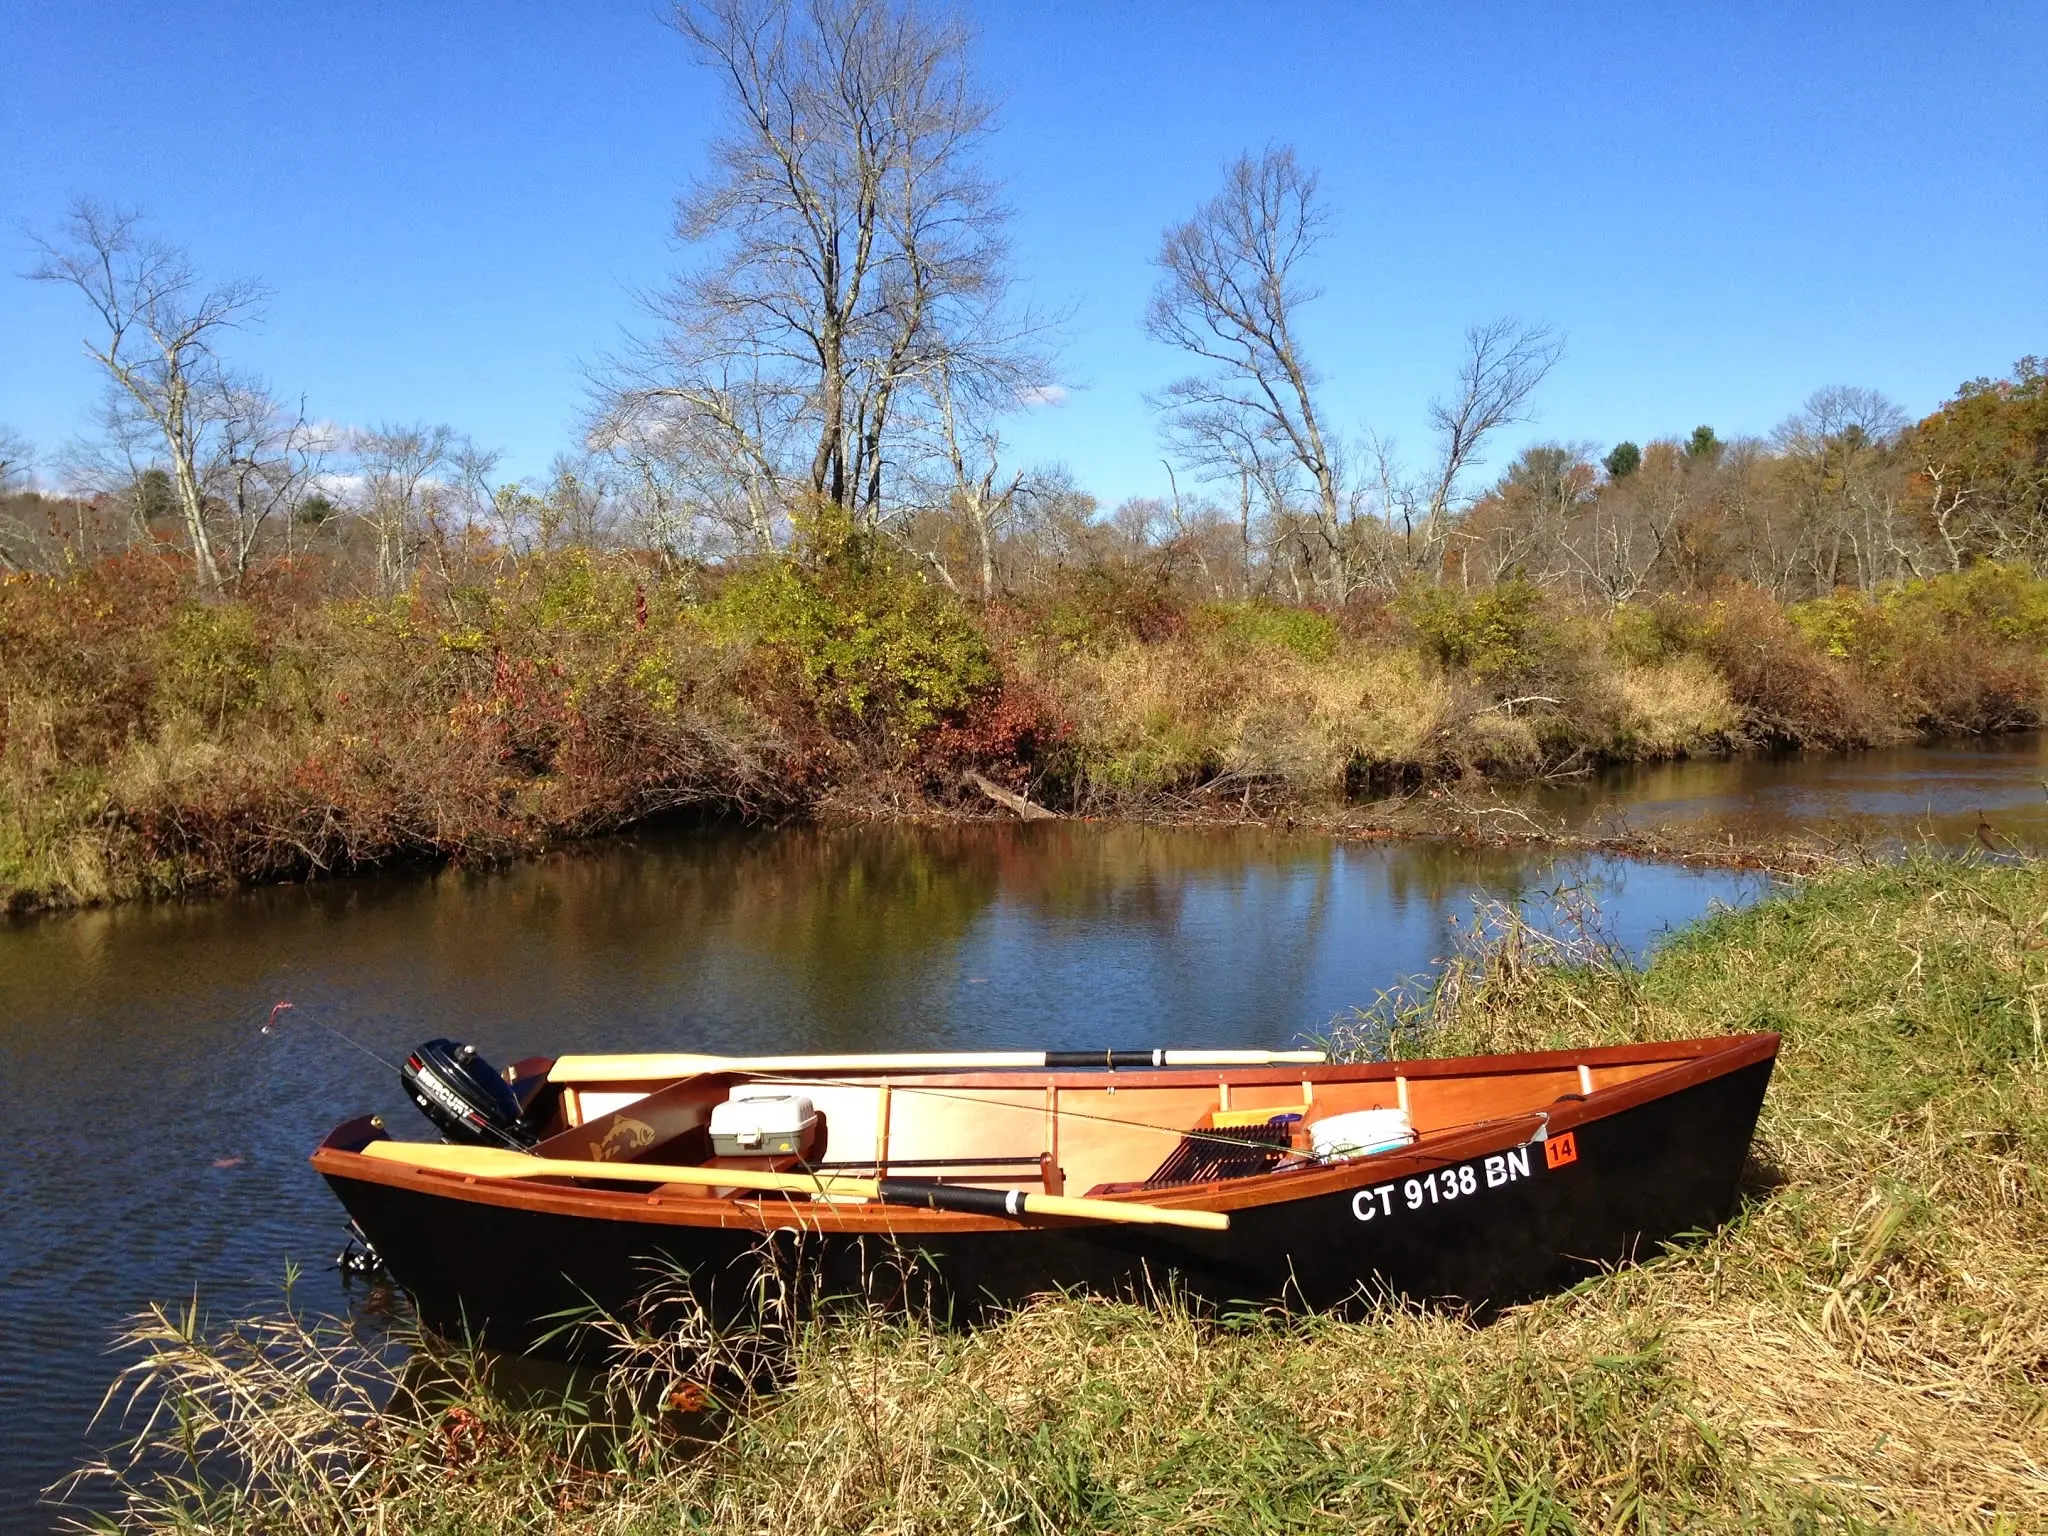
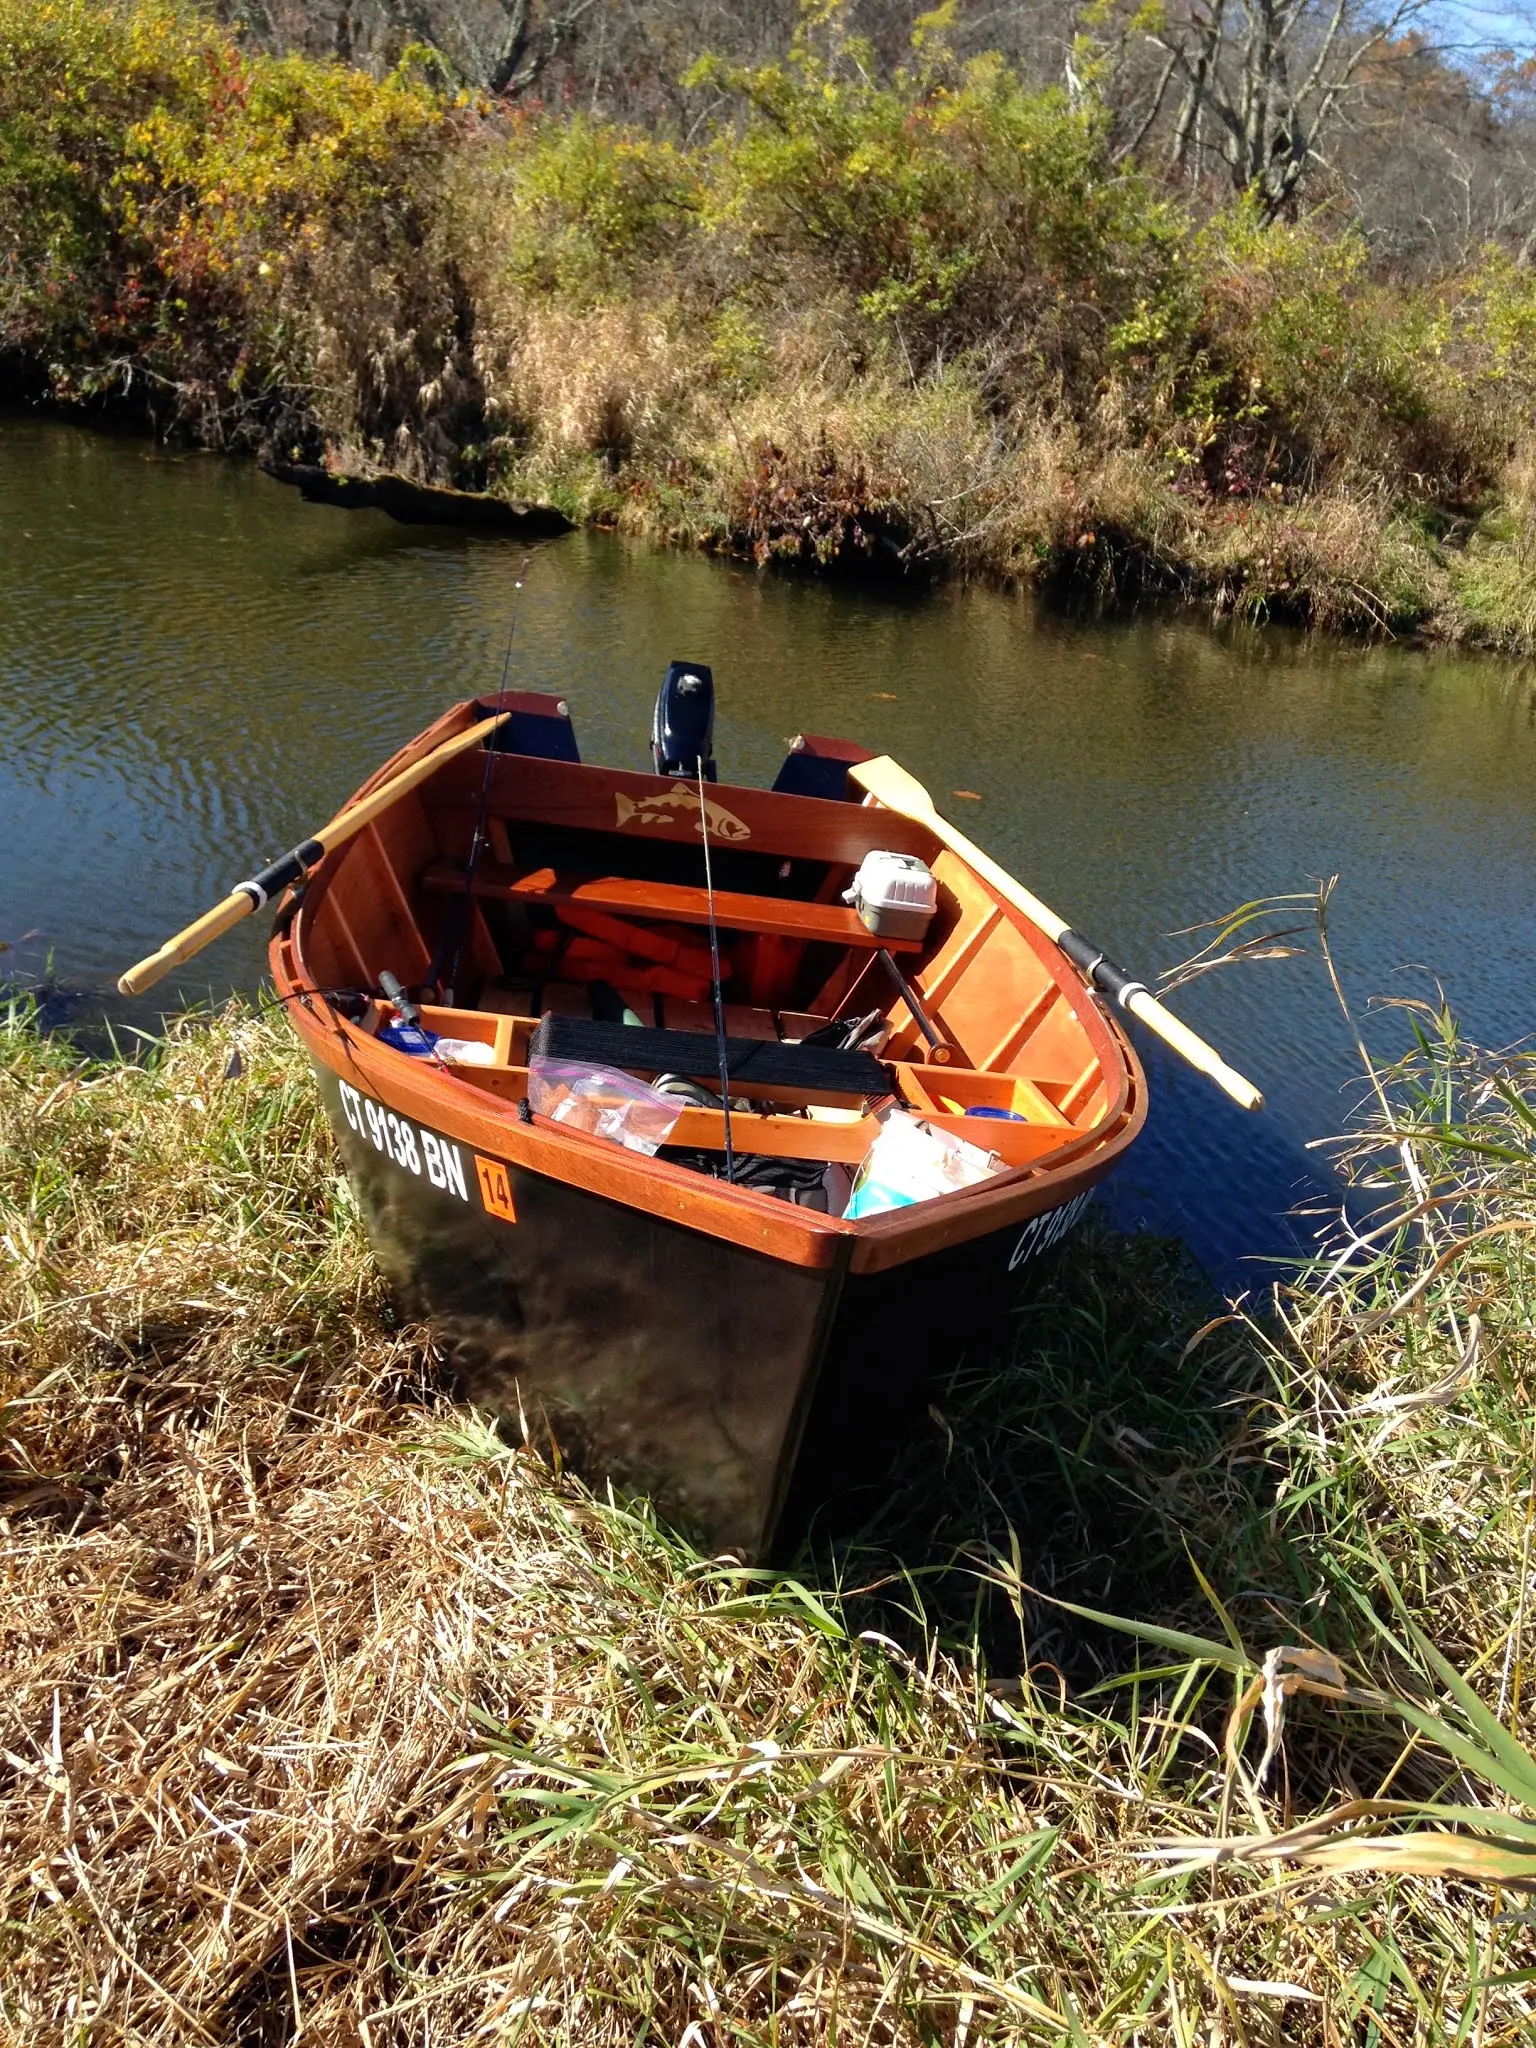
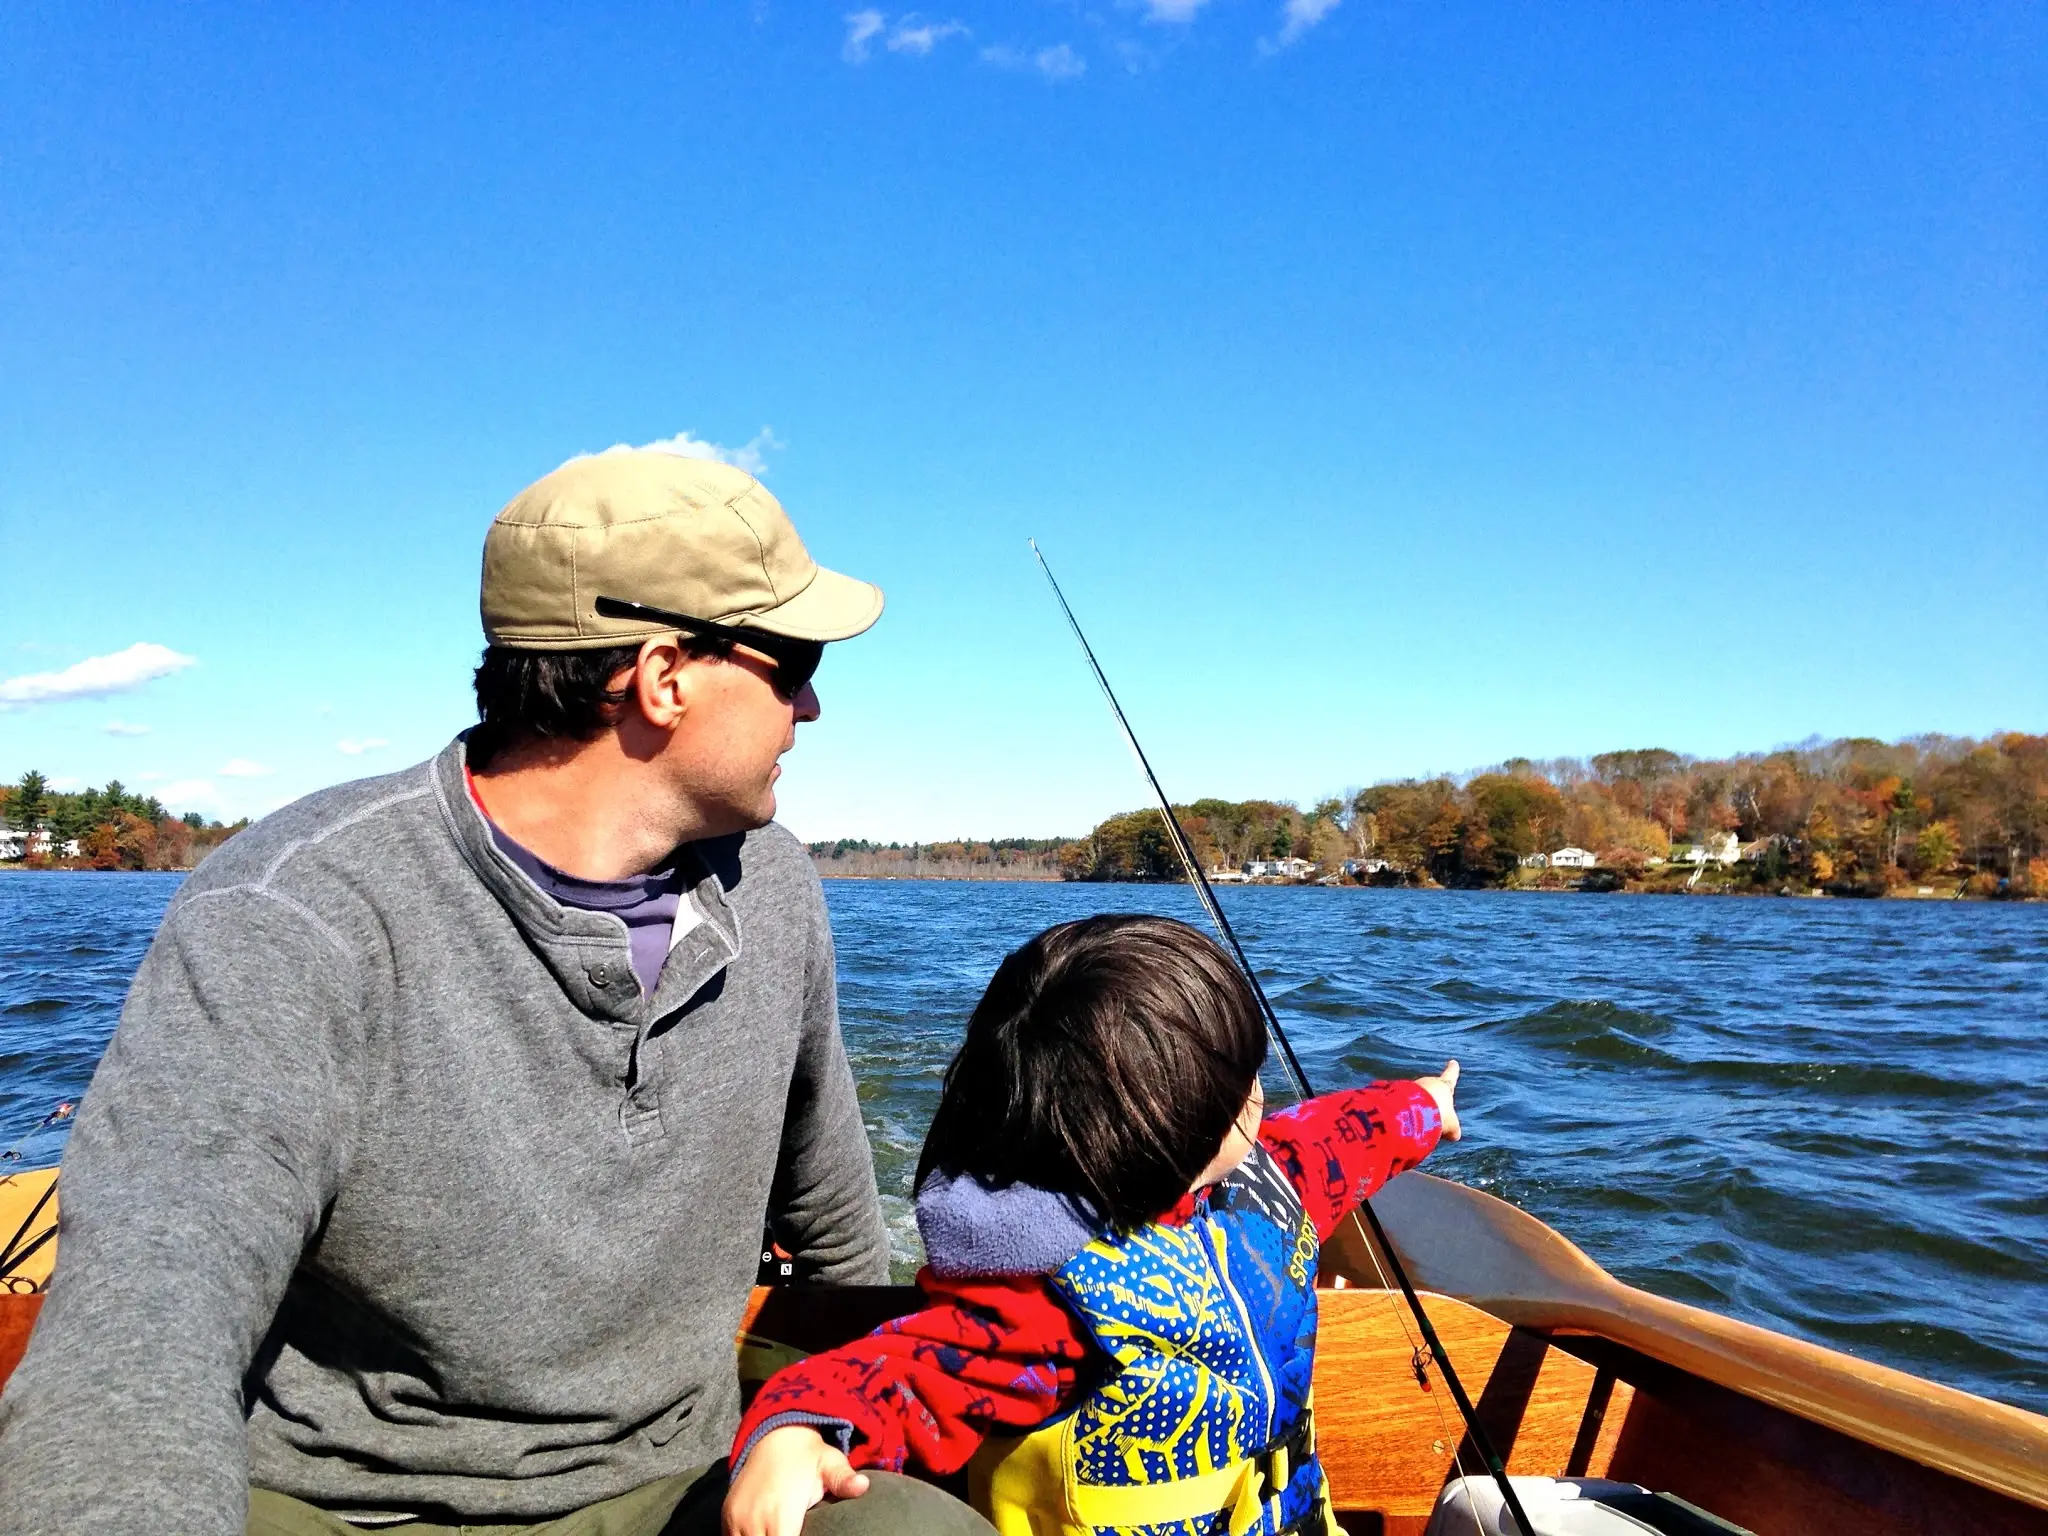
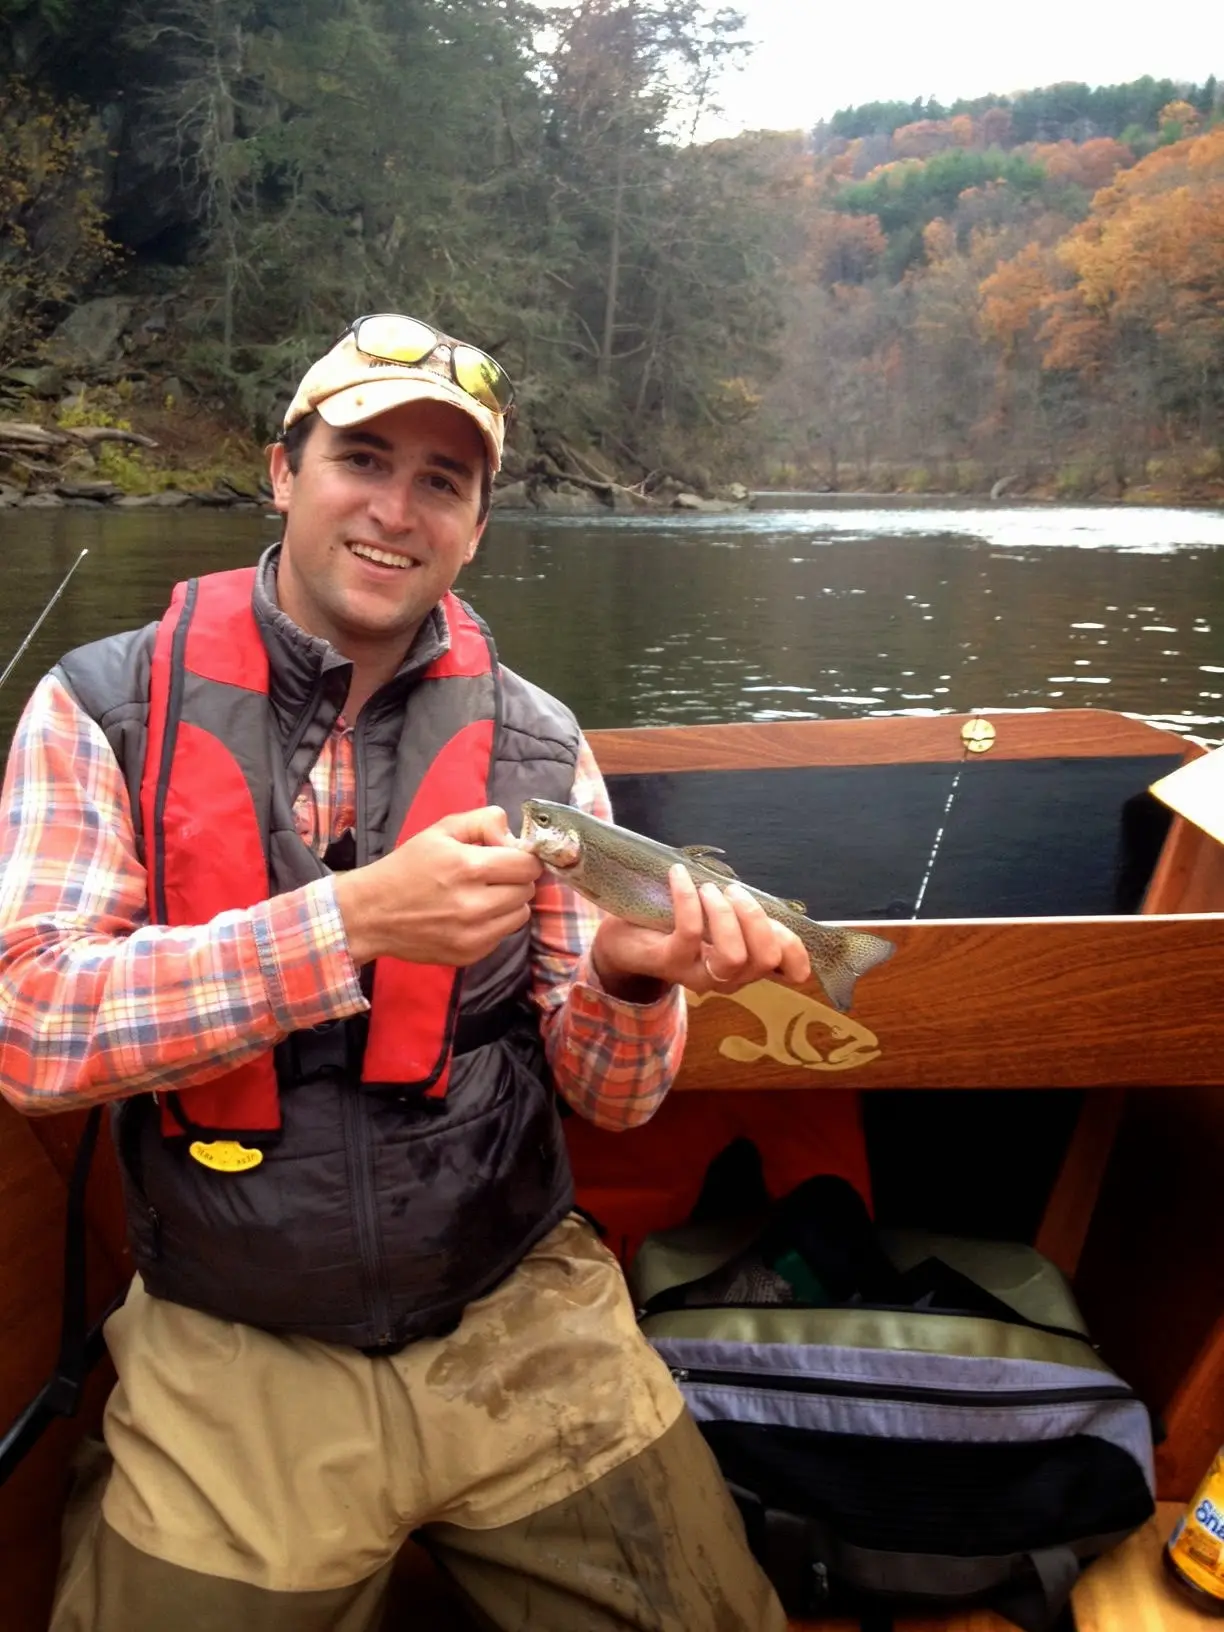
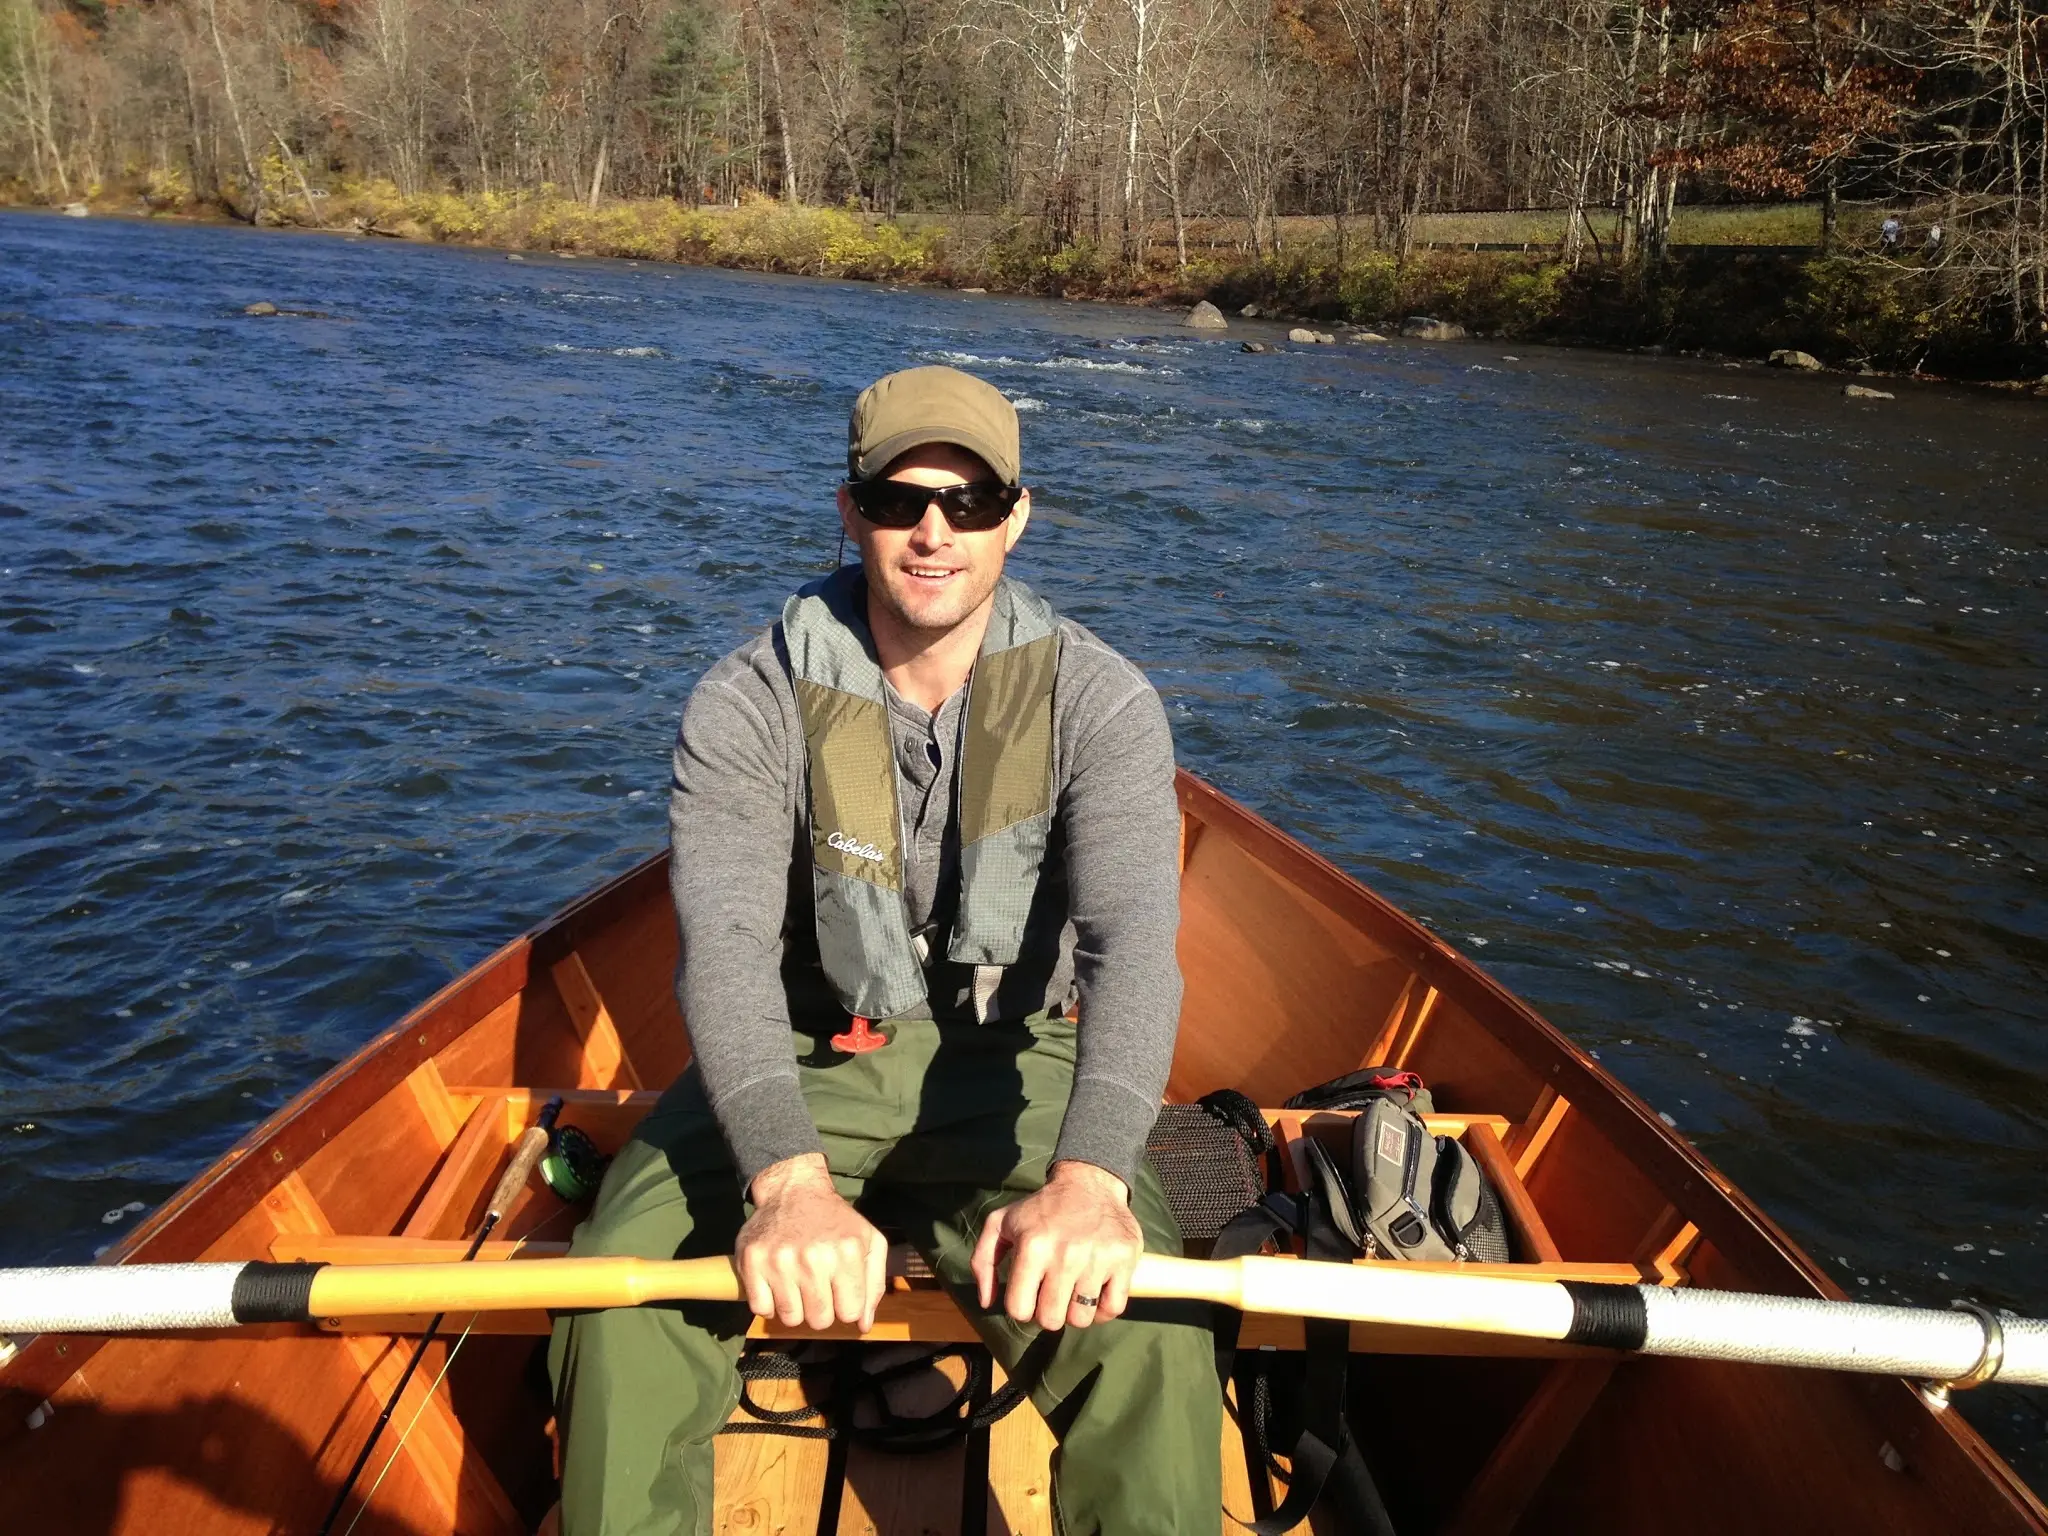
Looks like we found our guide!
Looks like we found our guide!
4 Sep 2013Hardware & Fit-Out
Rowing Seat, Spalshwell and oarlocks installed
Rowing Seat, Spalshwell and oarlocks installed.....
Photo 1 Photo 2 Photo 3
5 Sep 2013Hardware & Fit-Out
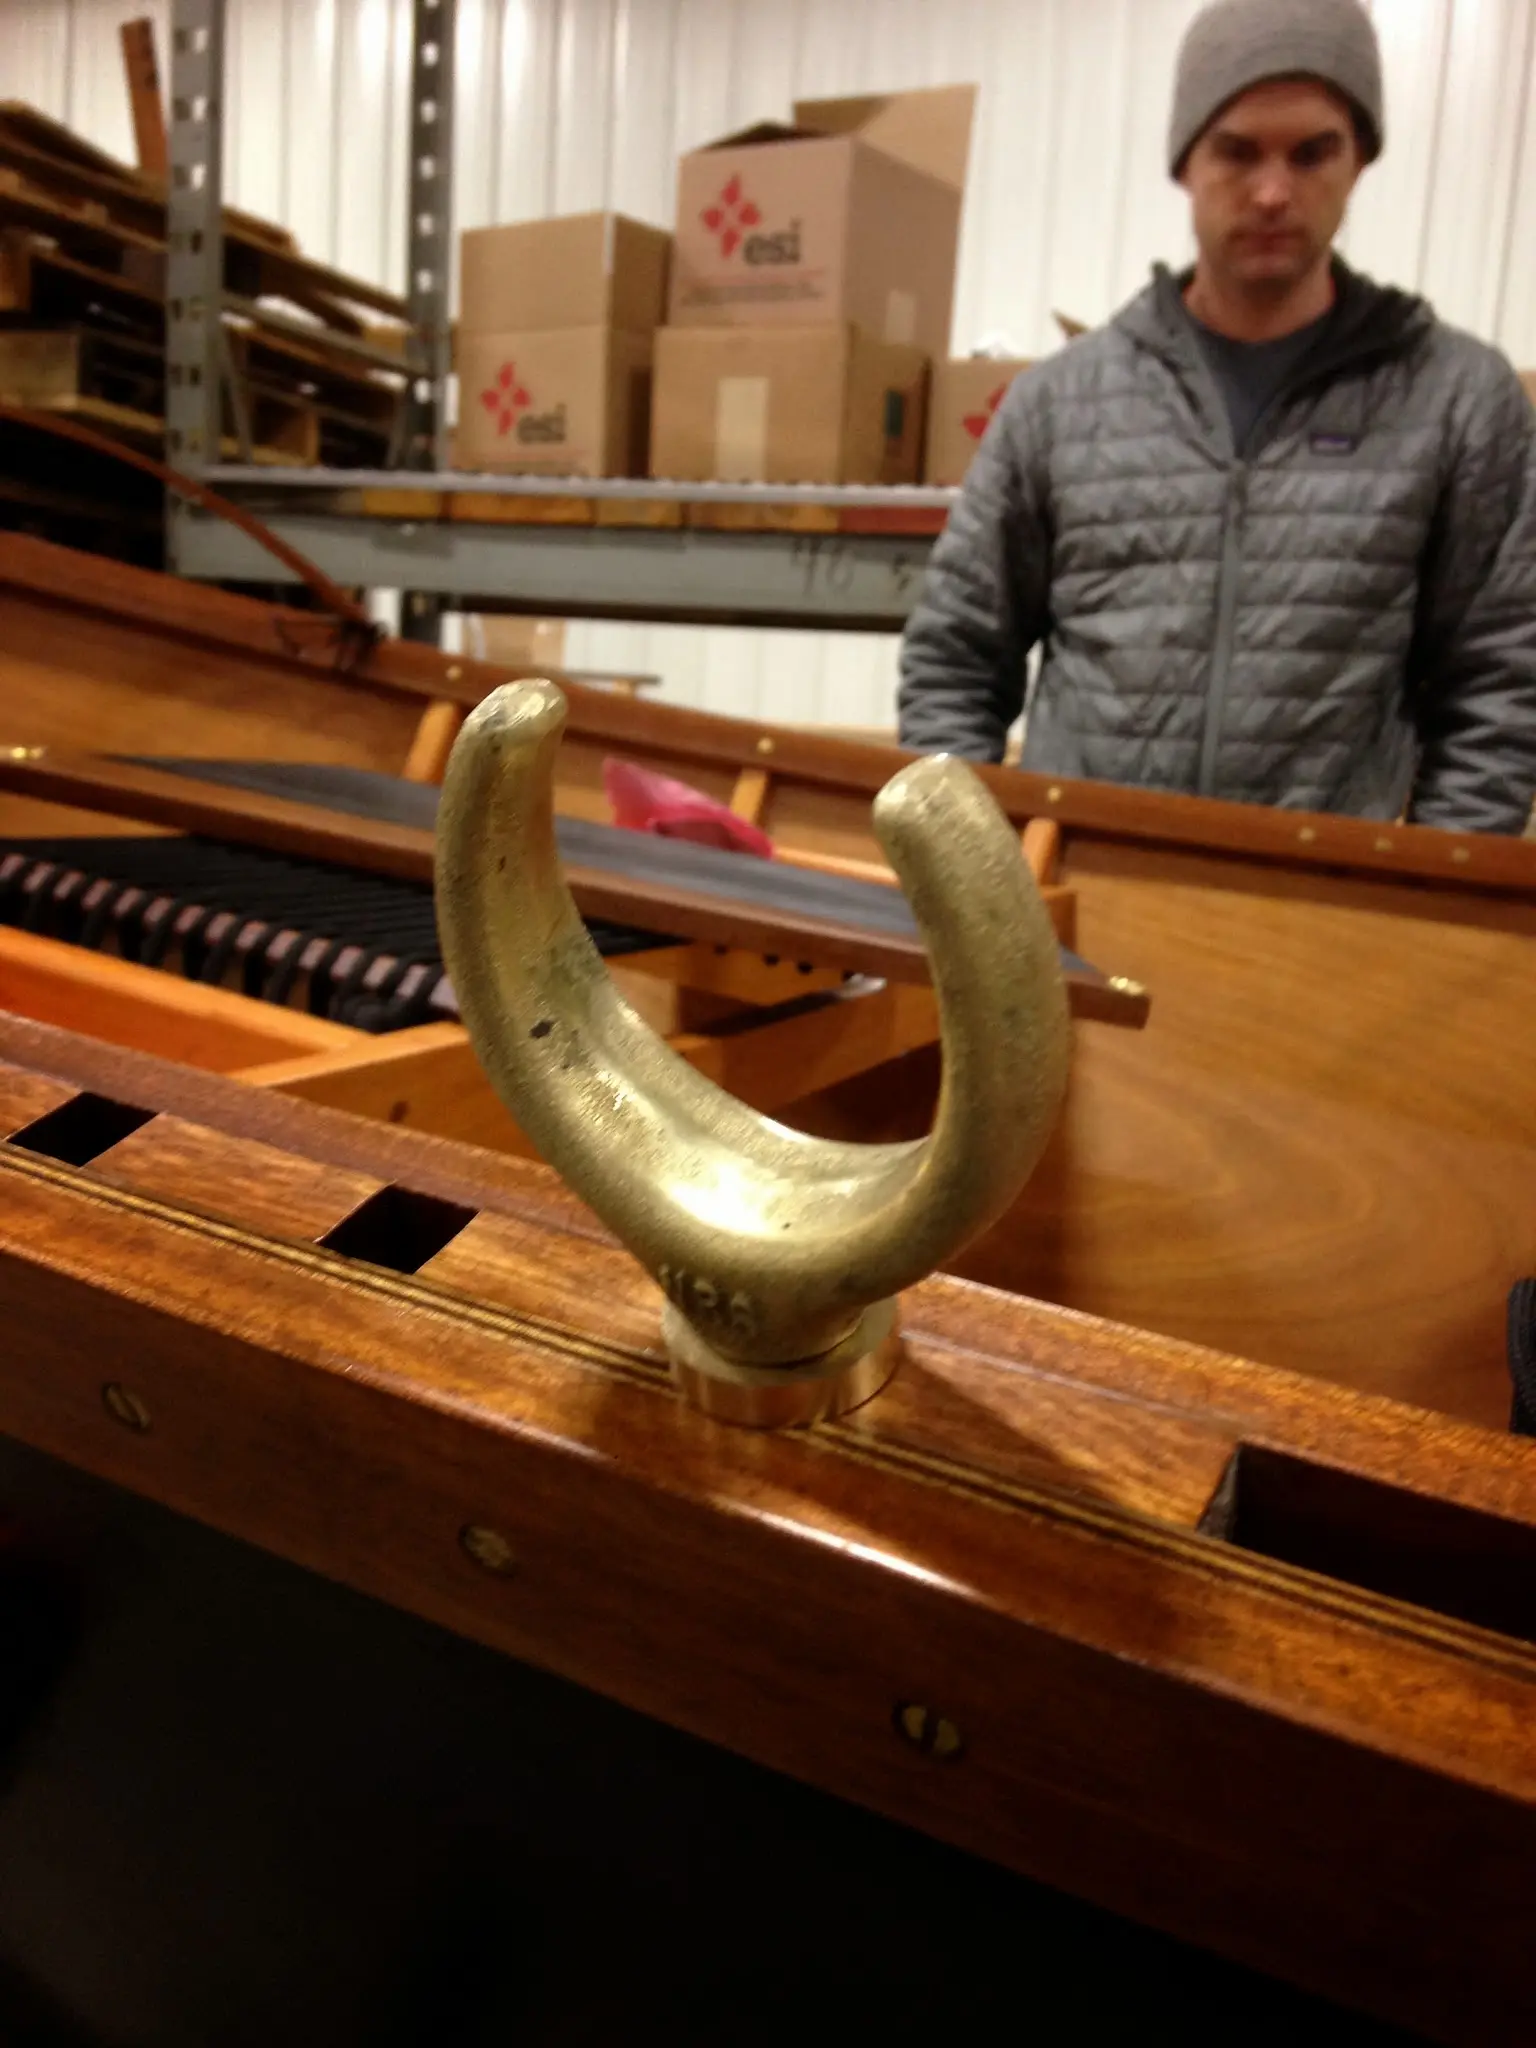
Custom made Oarlock collars
Check out these custom Delrin oarlock mounts Mack machined! Should make for quiet, drag free rowing and they can be mounted for or aft depending on the rower.
7 Sep 2013
Lookin good!!!! some more pics
Lookin good!!!! some more pics.....
Photo 1 Photo 2 Photo 3 Photo 4
13 Sep 2013Hardware & Fit-Out
Trucha de Oro
Mack has machined a nice brass centerpiece for the aft crossbeam....
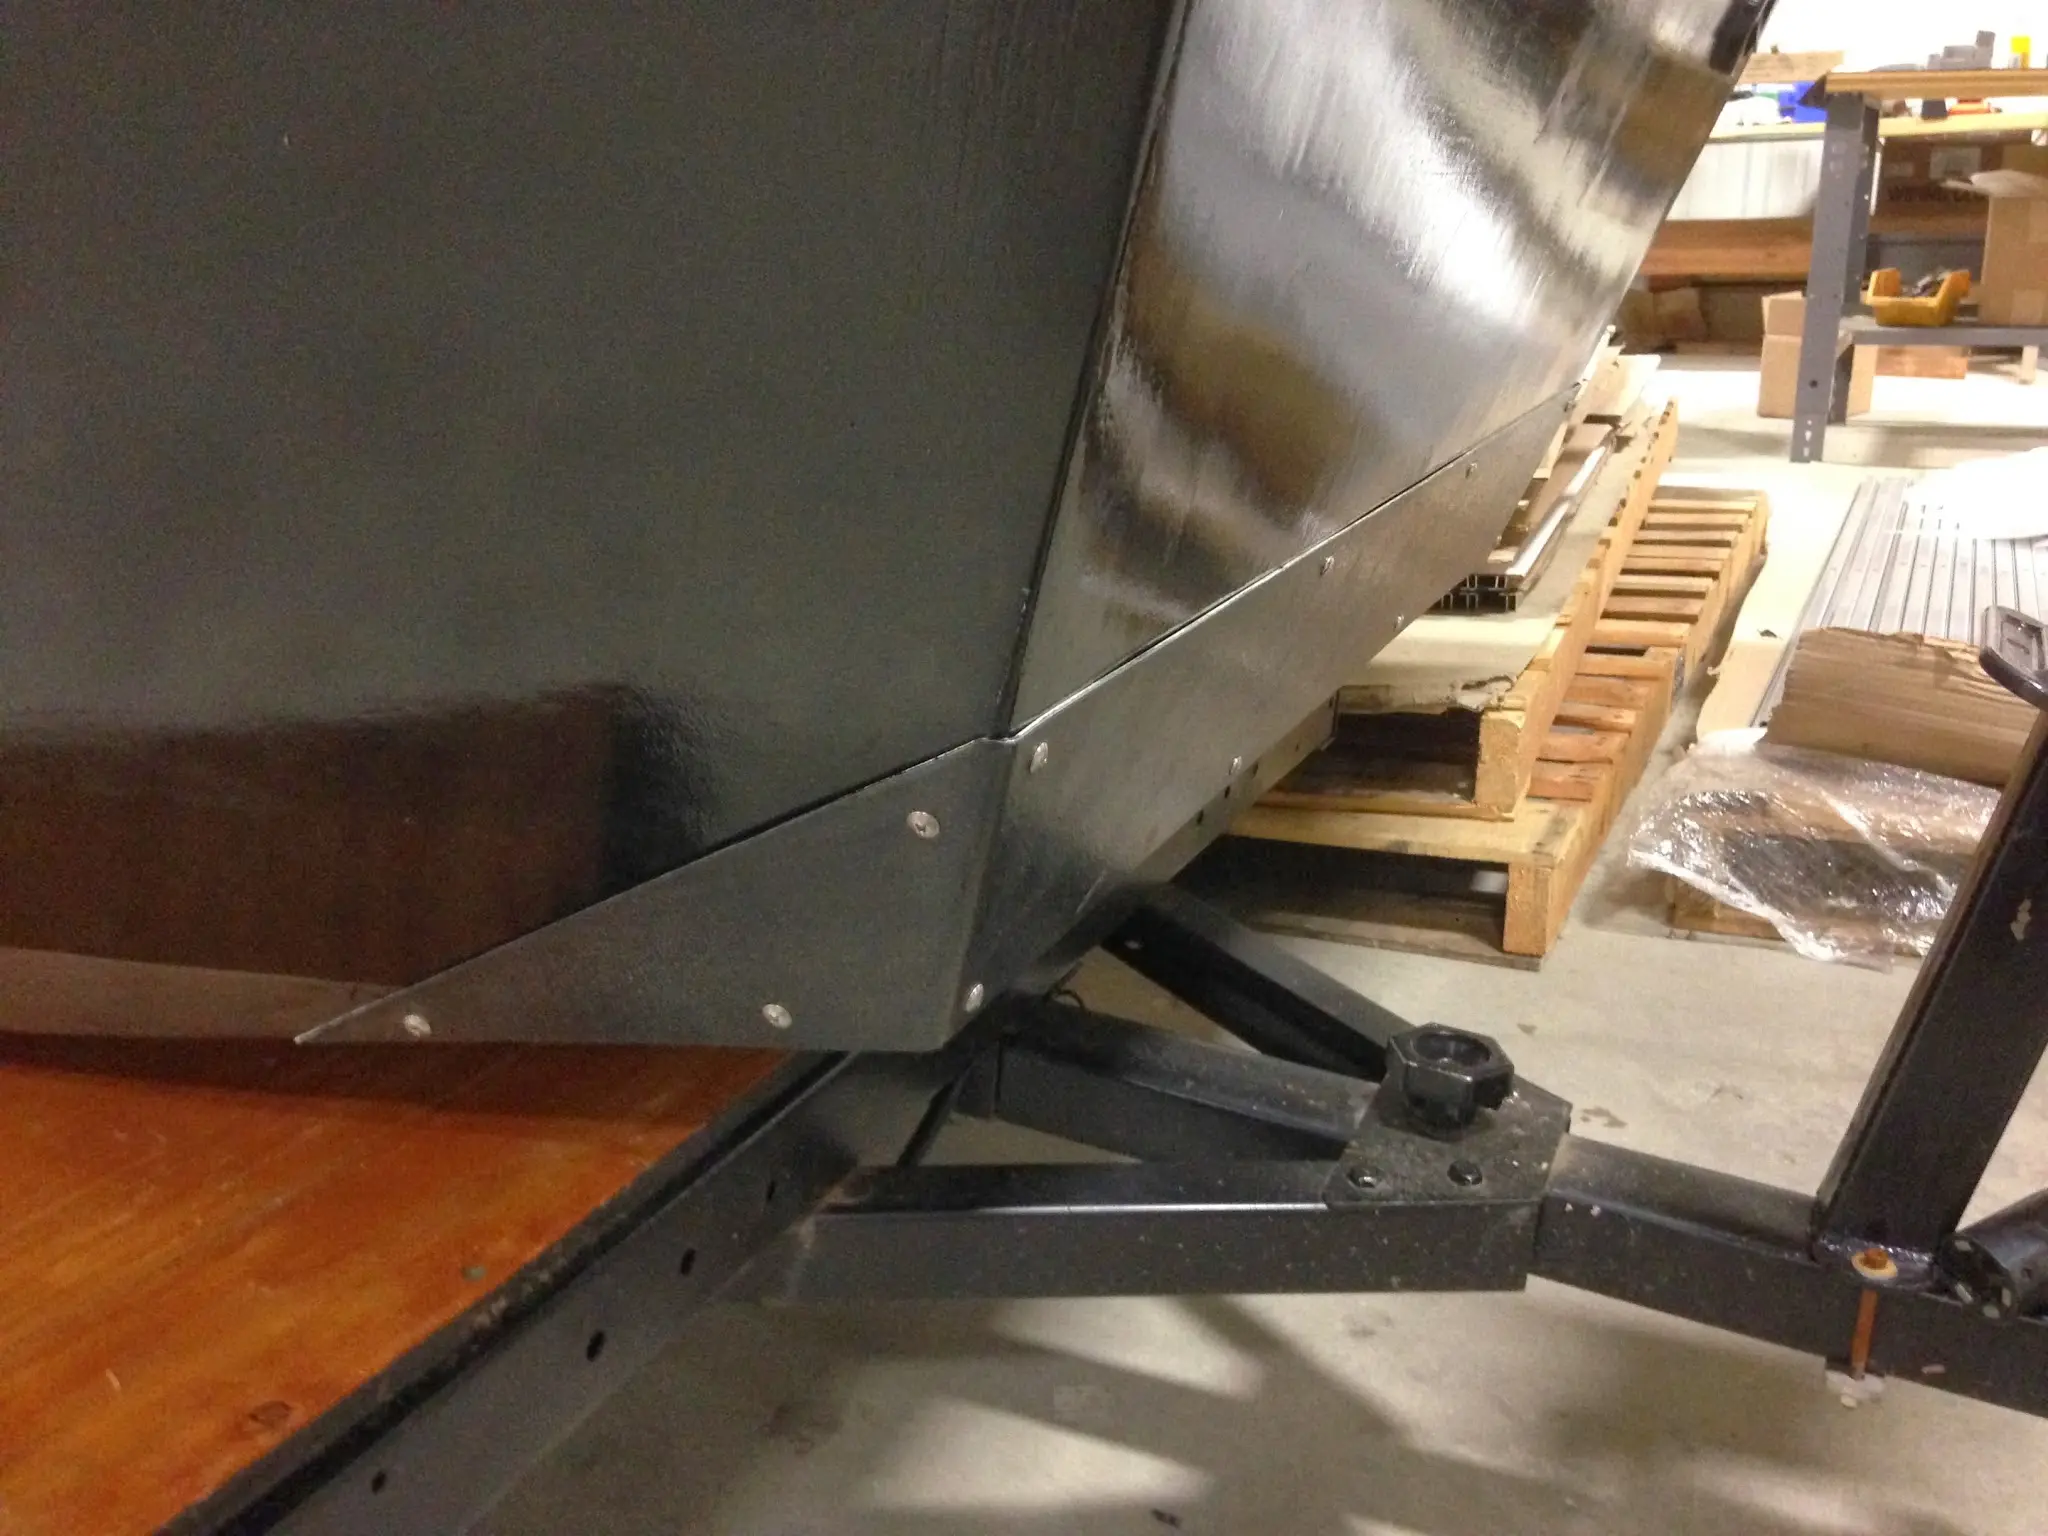
Mack has been hard at work on some armor for our fine vessel.....
Photo 1 Photo 2 Photo 3 Photo 4
28 Feb 2014Hardware & Fit-Out
anchor pulpit complete!
anchor pulpit complete!
28 Feb 2014Hardware & Fit-Out
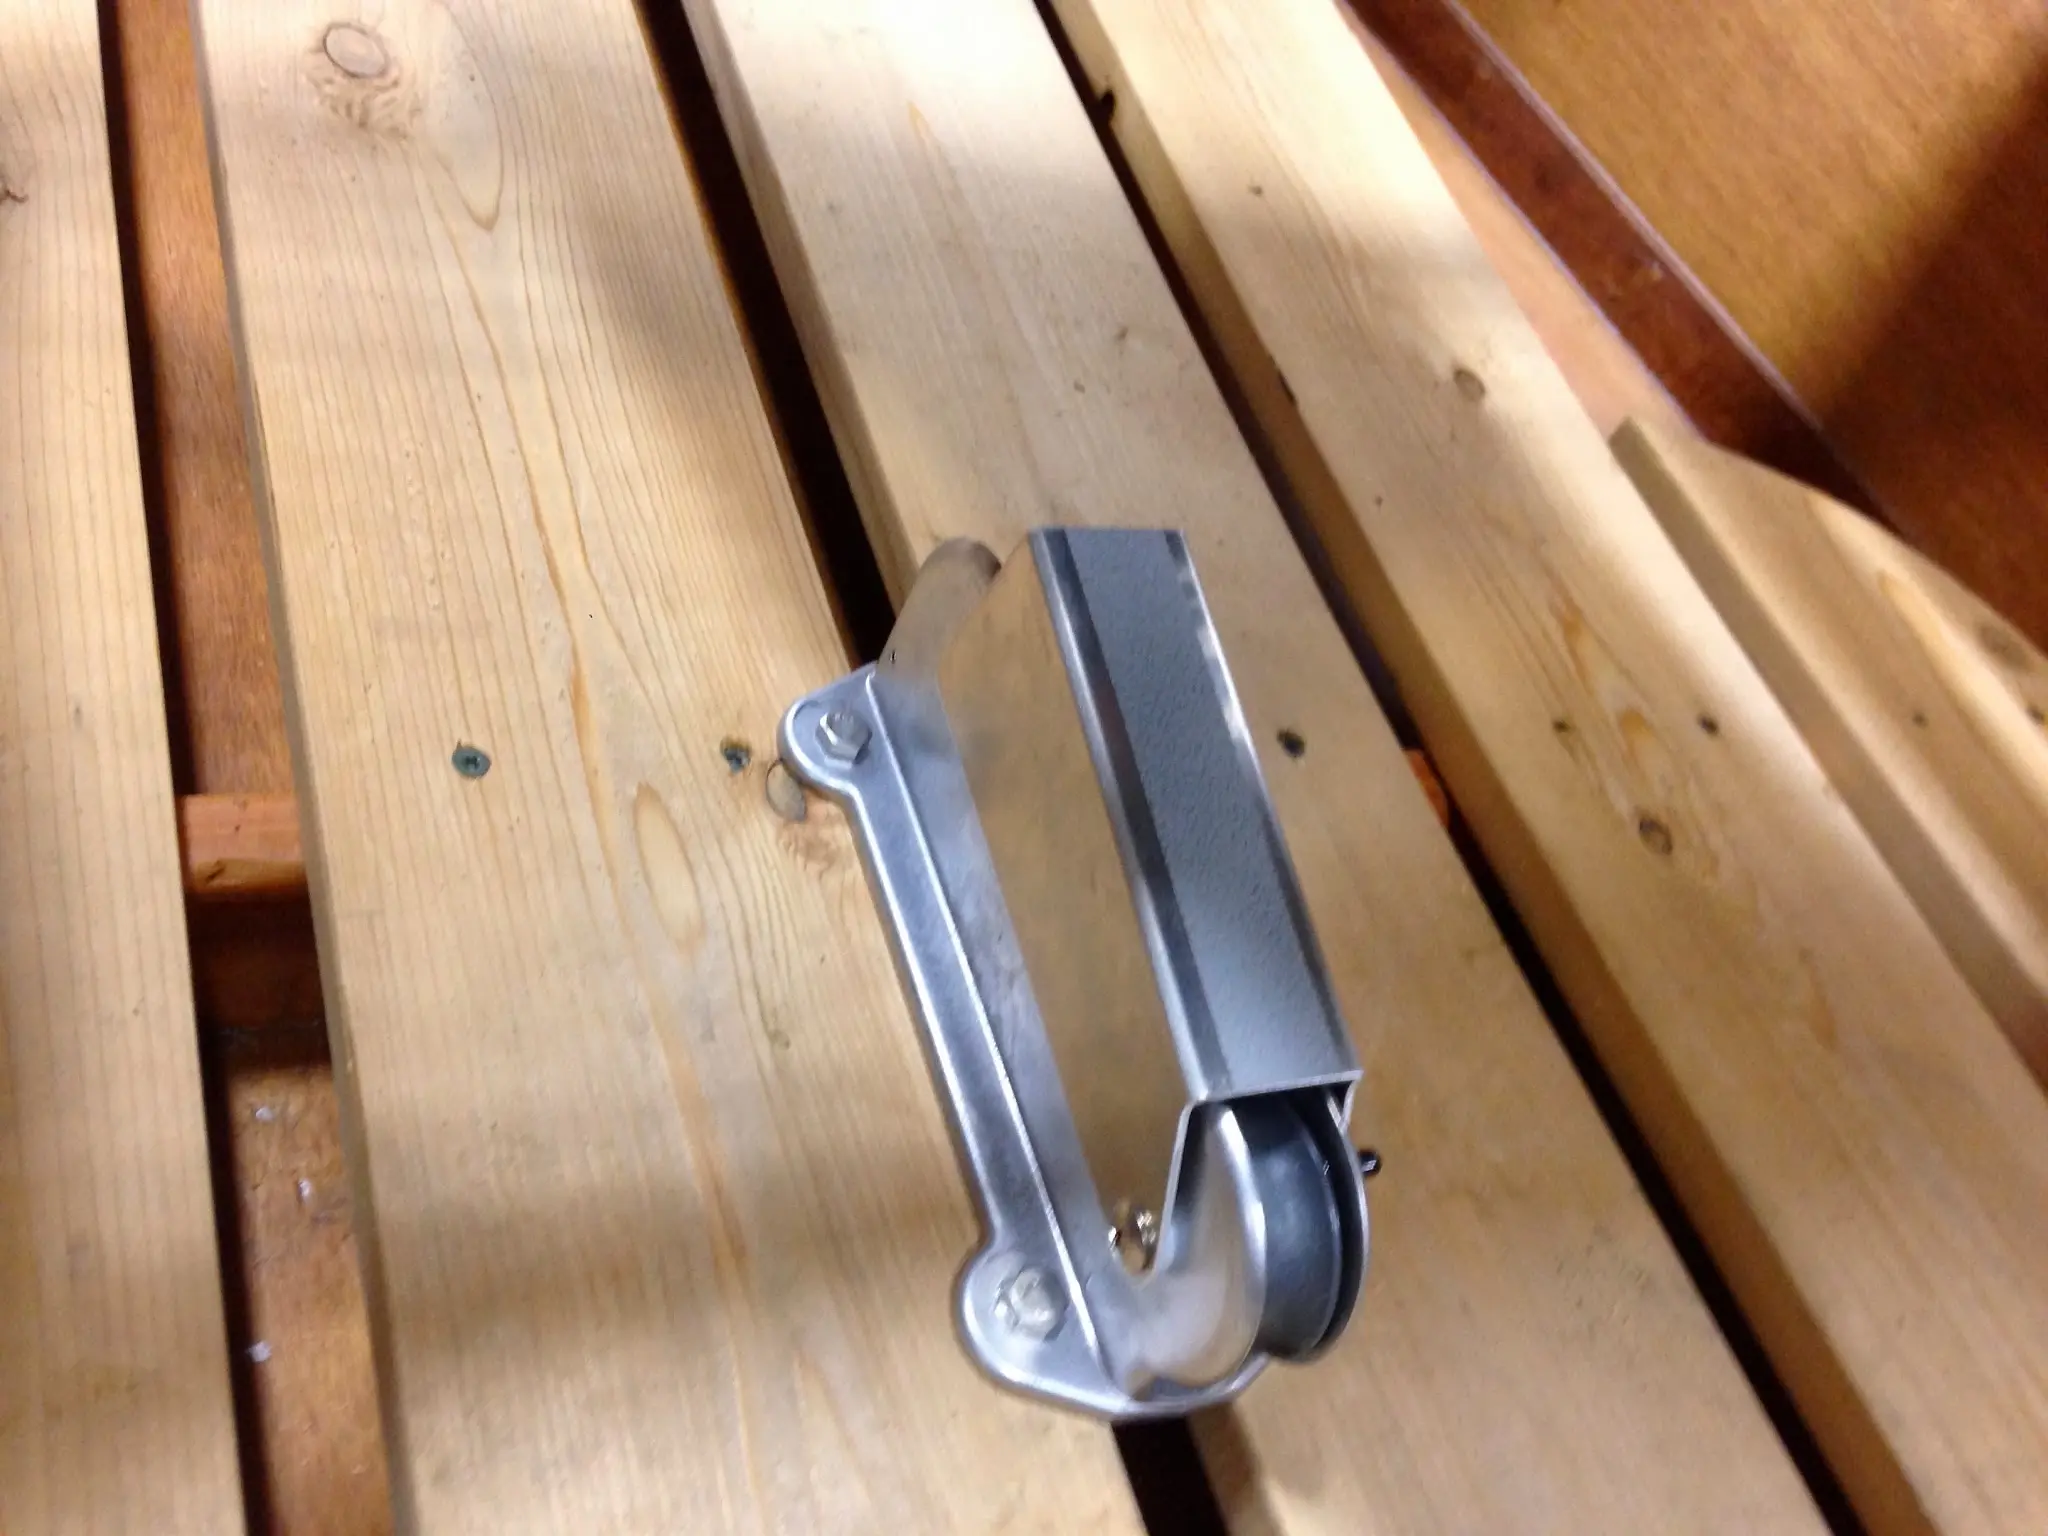
Anchor System
Check out Mack's custom designed Anchor holder, it will be mounted to the bow and operated via a foot pedal by the rower. Thanks to the folks at ESI once again for letting us use the machinery to make this rig truly unique!
28 Feb 2014Hardware & Fit-Out
Bash Guard
Bash Guard
28 Feb 2014Hardware & Fit-Out
Anchor Release pedal
Djerks foot pedal for releasing the anchor line hands free....
28 Feb 2014Hardware & Fit-Out
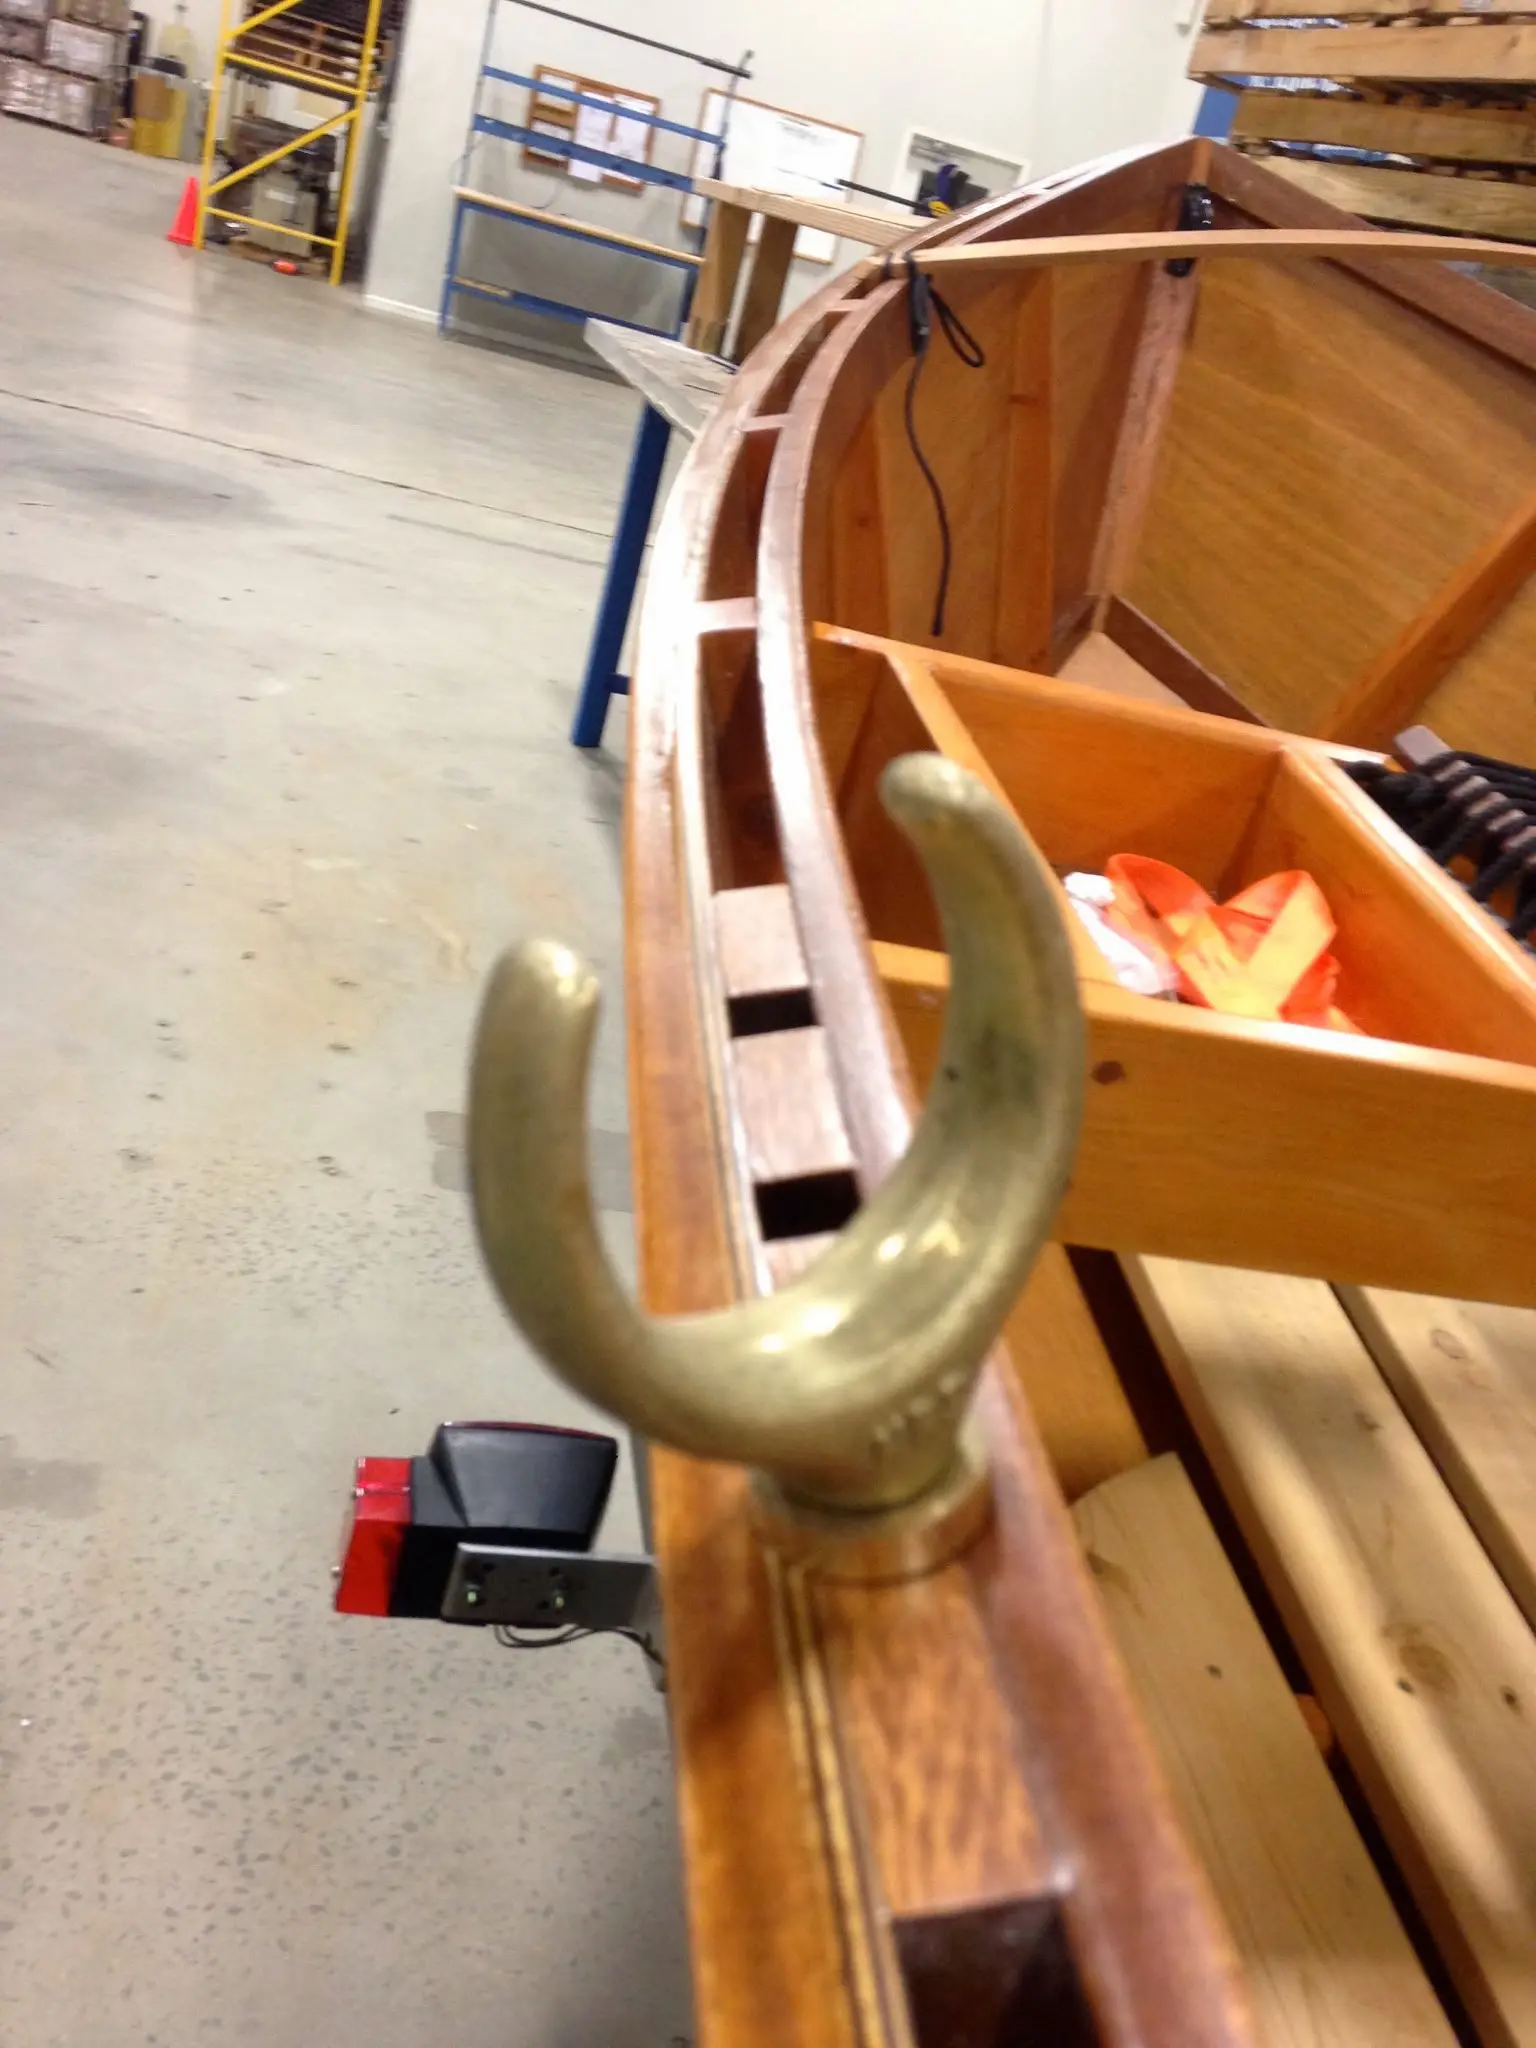
NRS Oar Locks
some new additions.....
beefed up custom fitted whitewater oarlocks
Photo 1 Photo 2 Photo 3
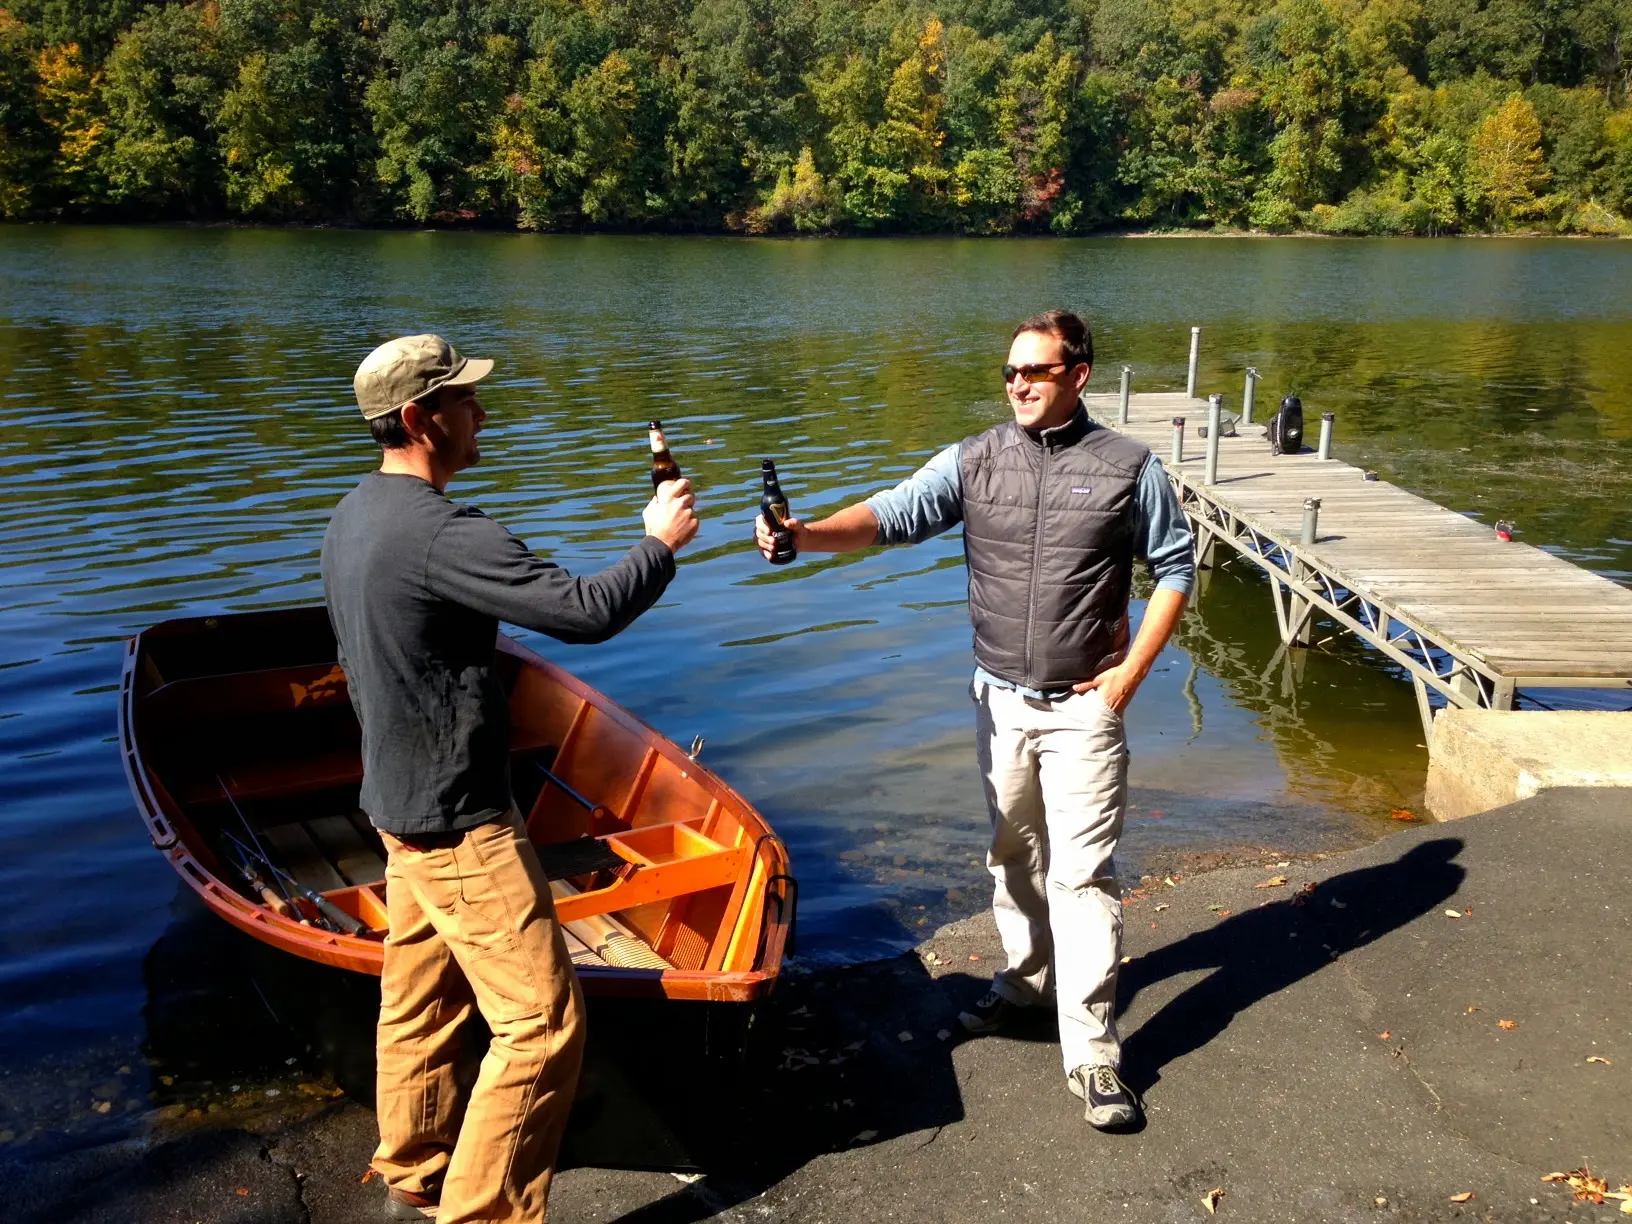
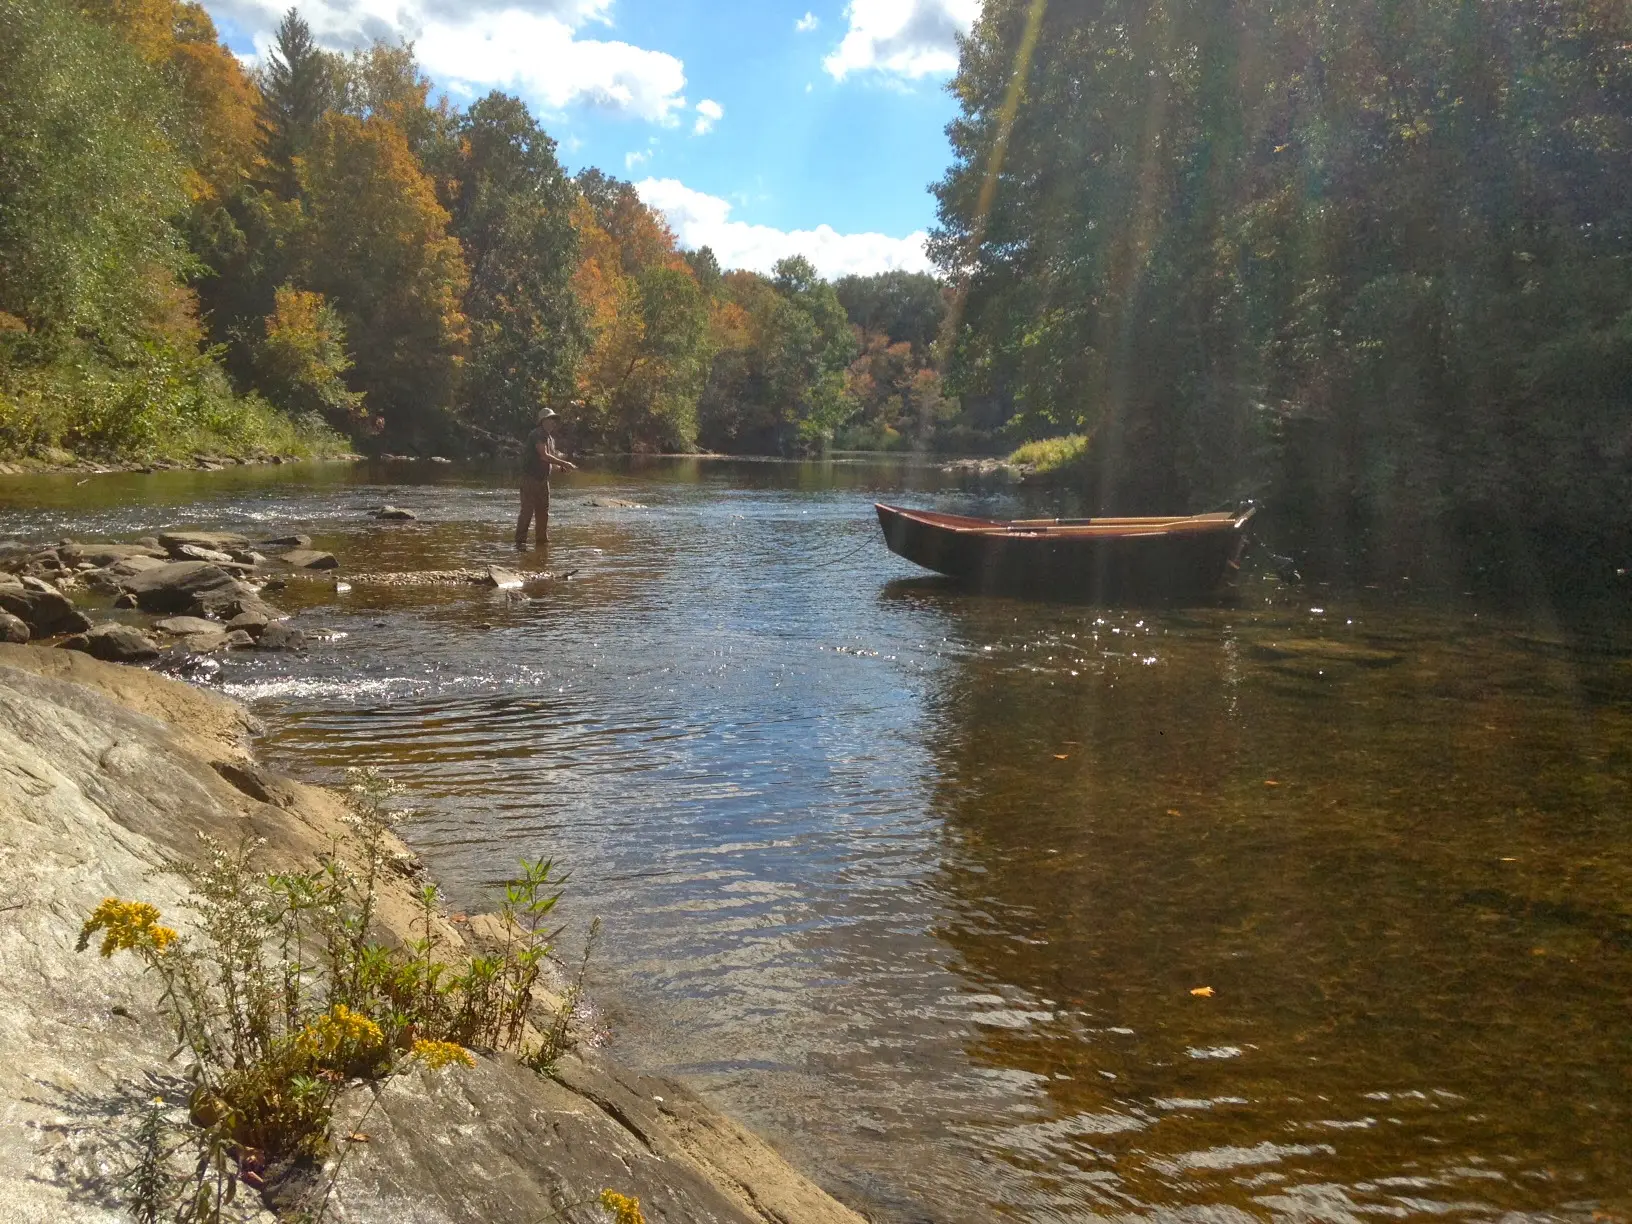
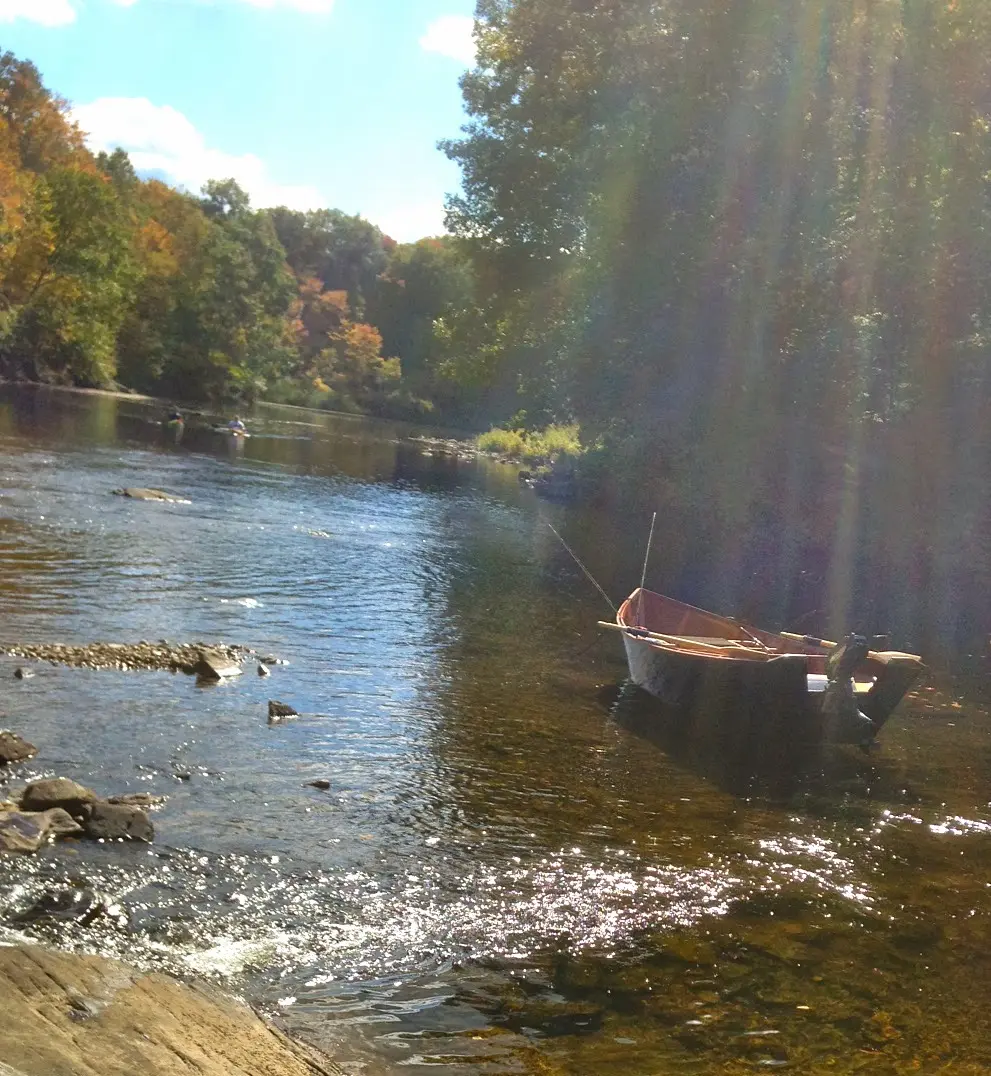
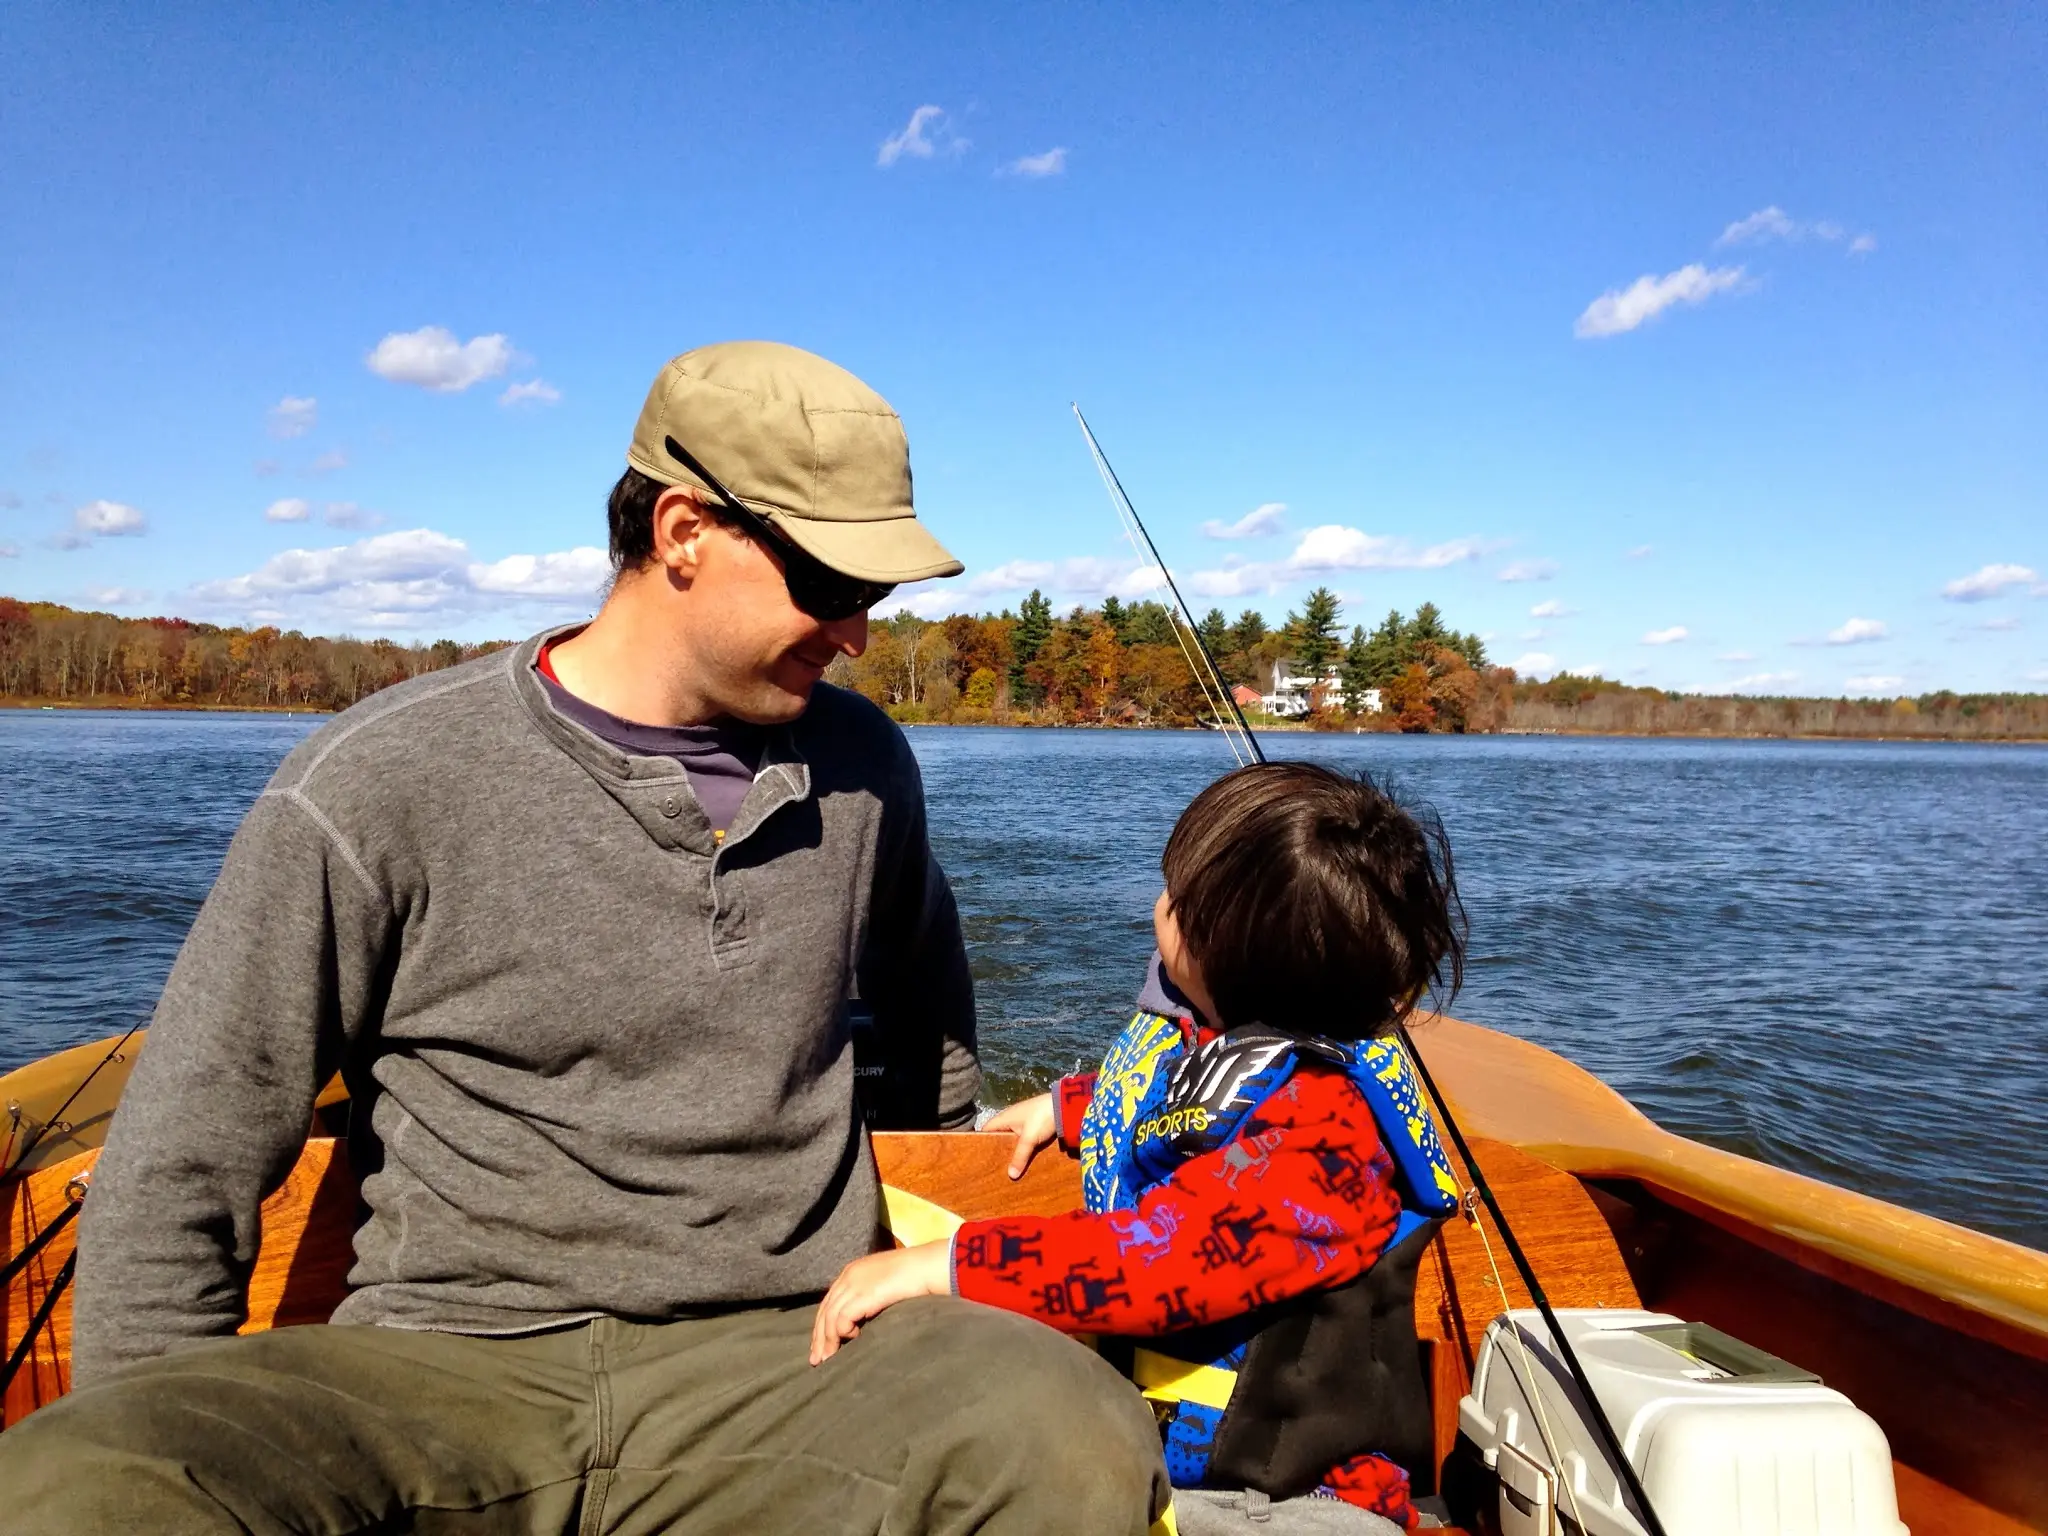
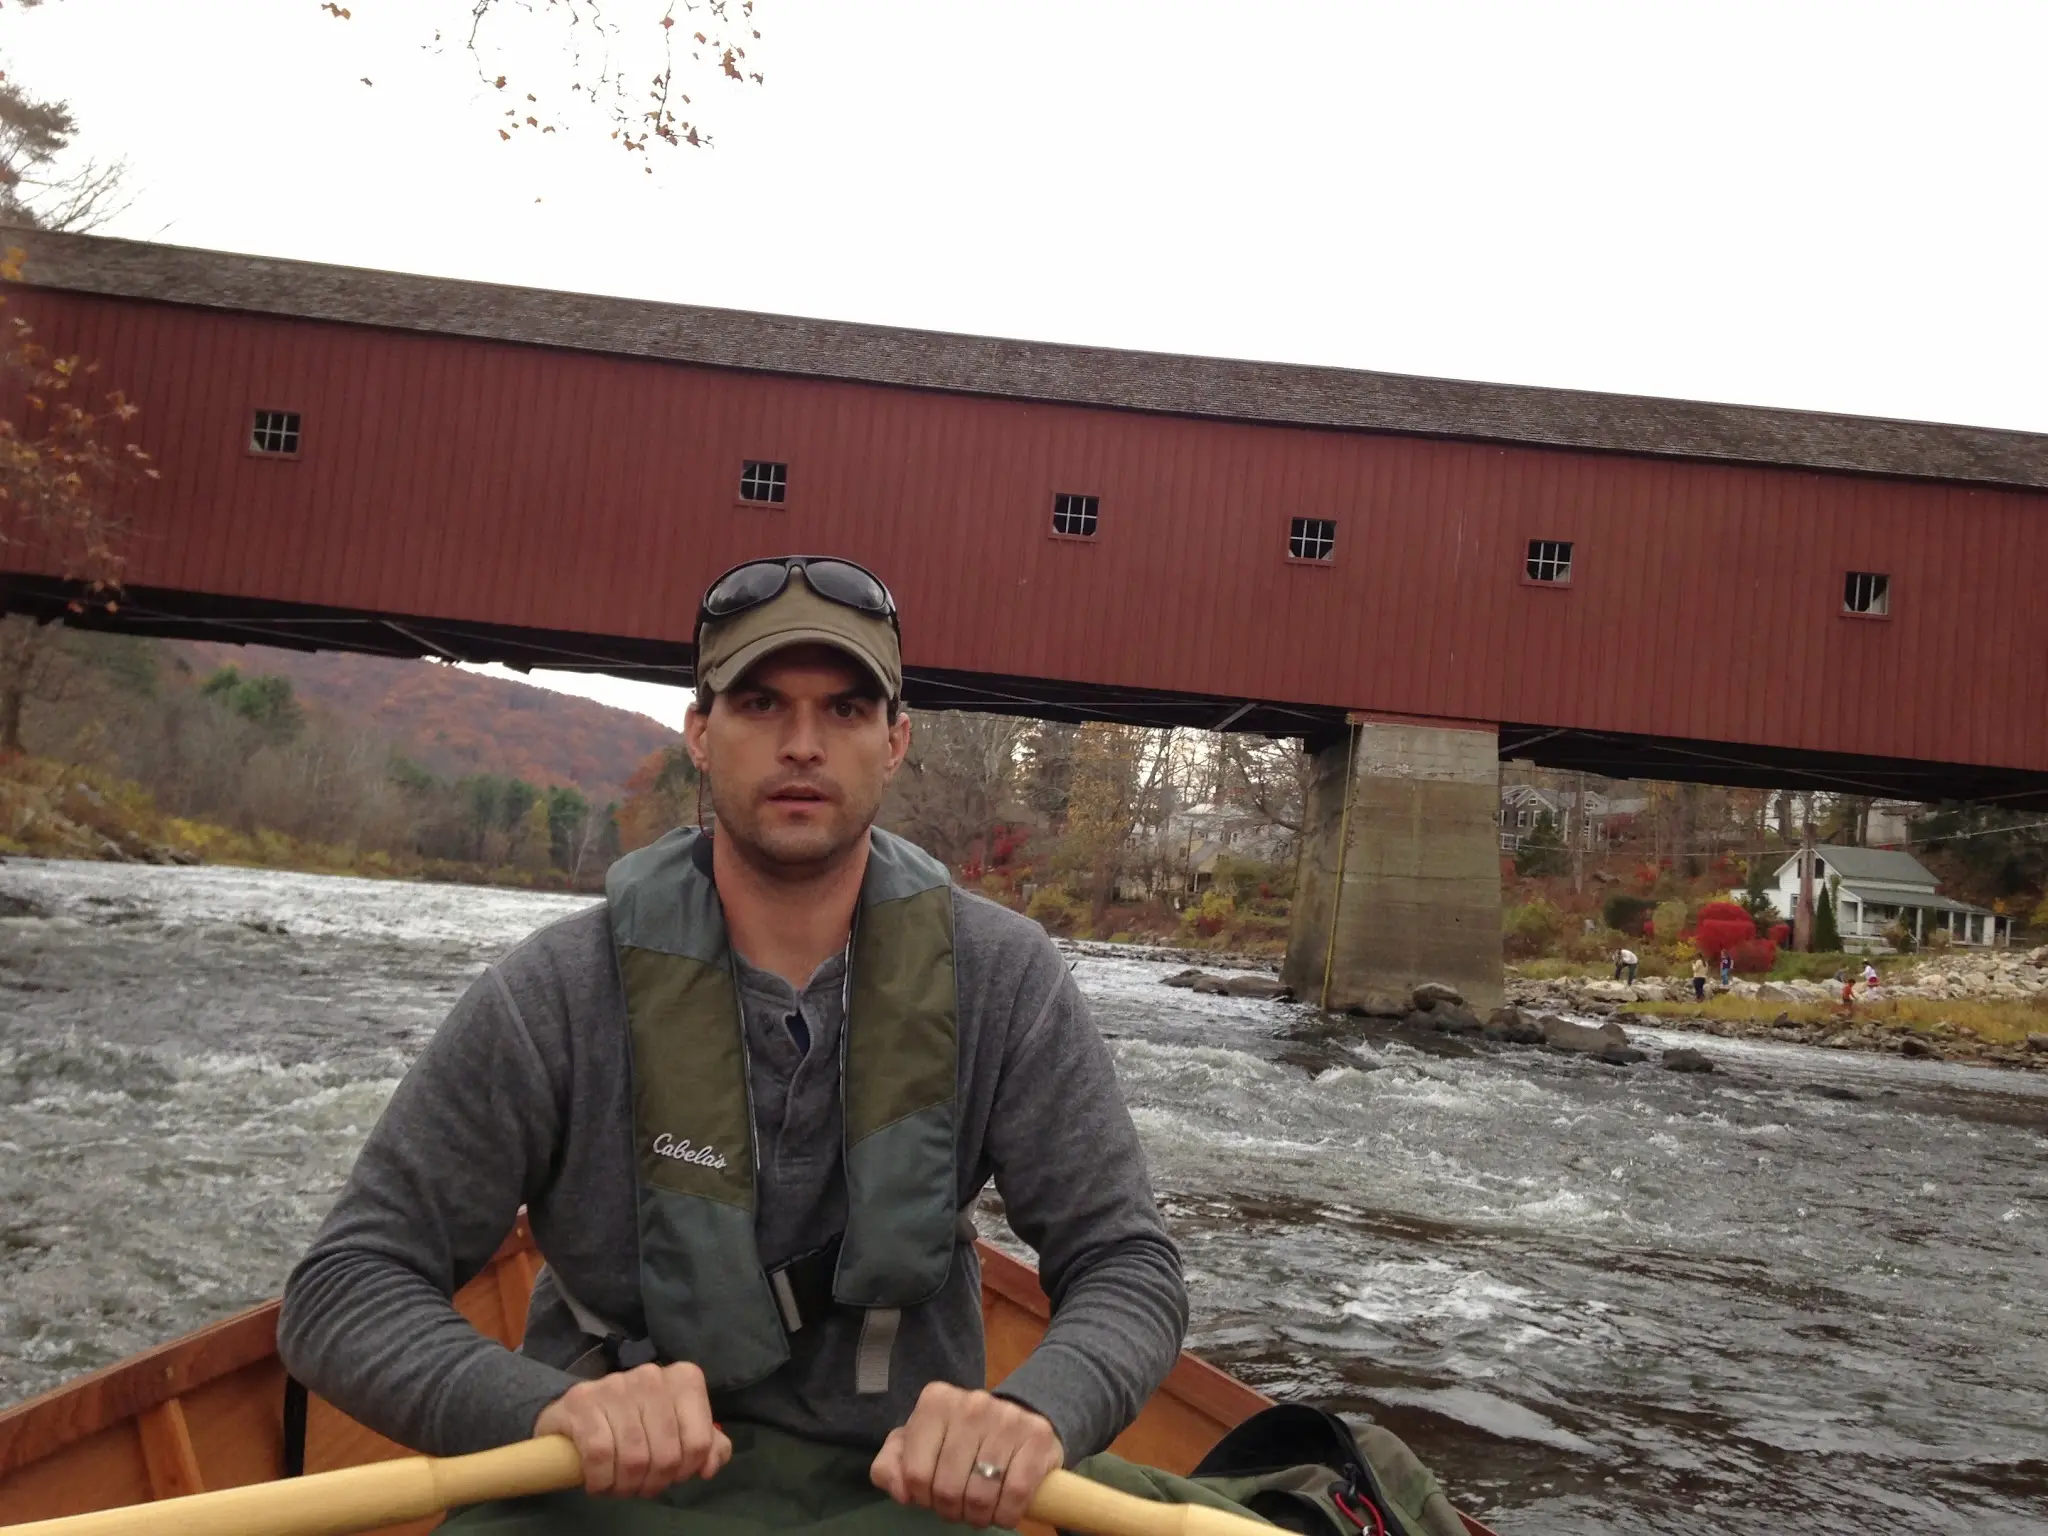
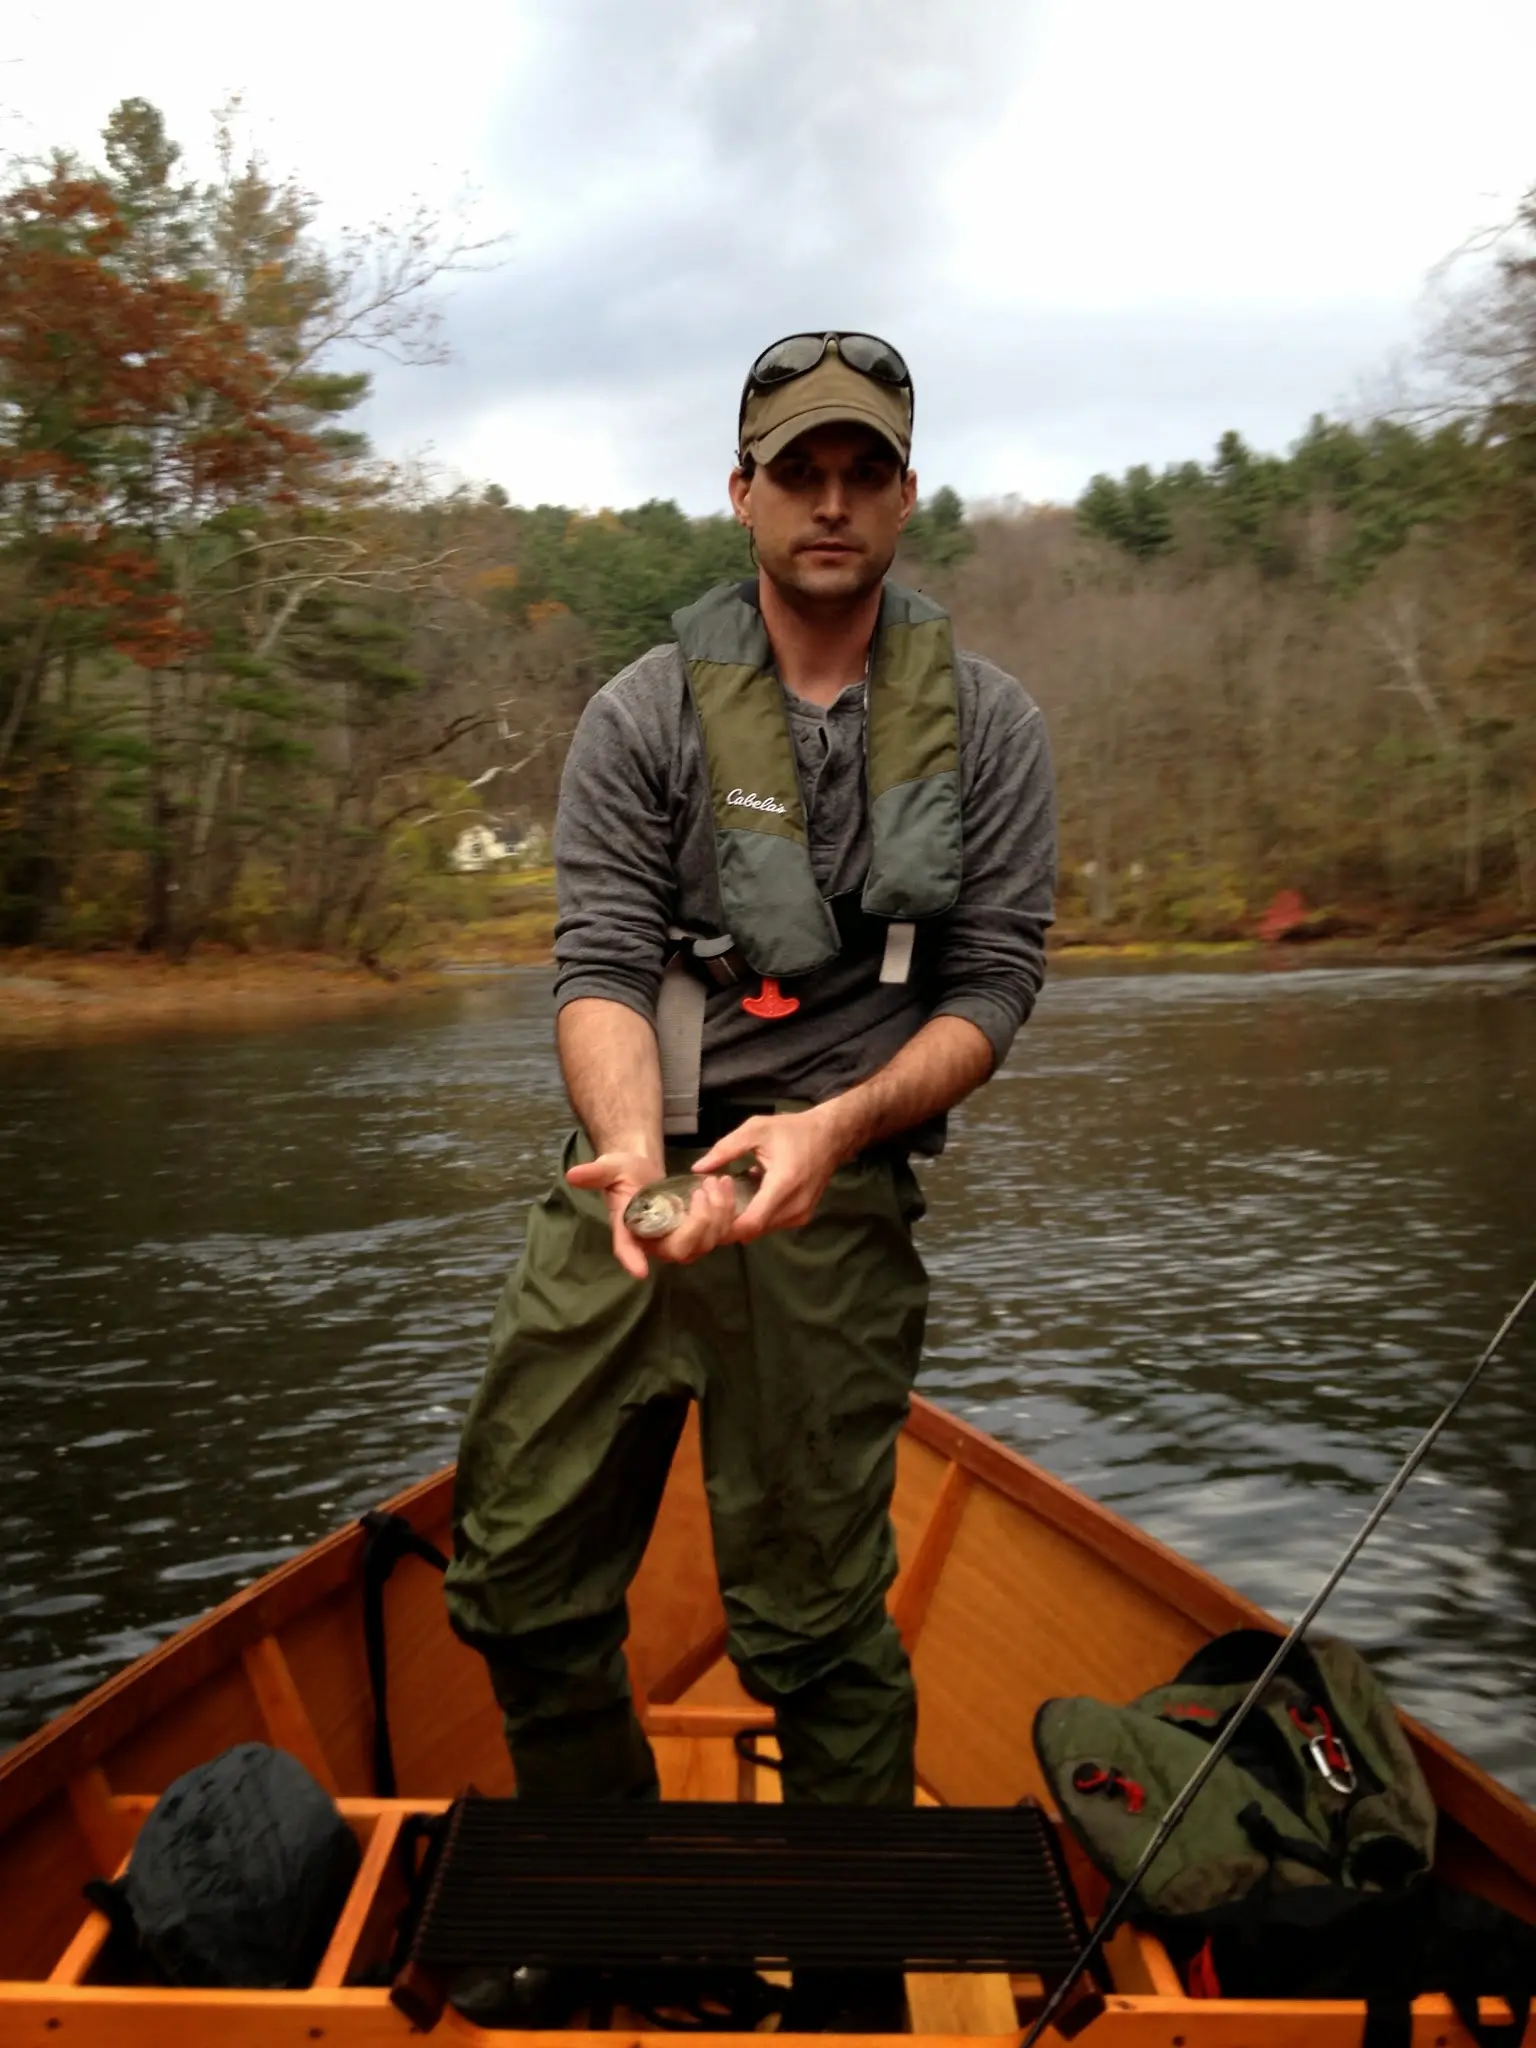
16 Sep 2015Launch Day
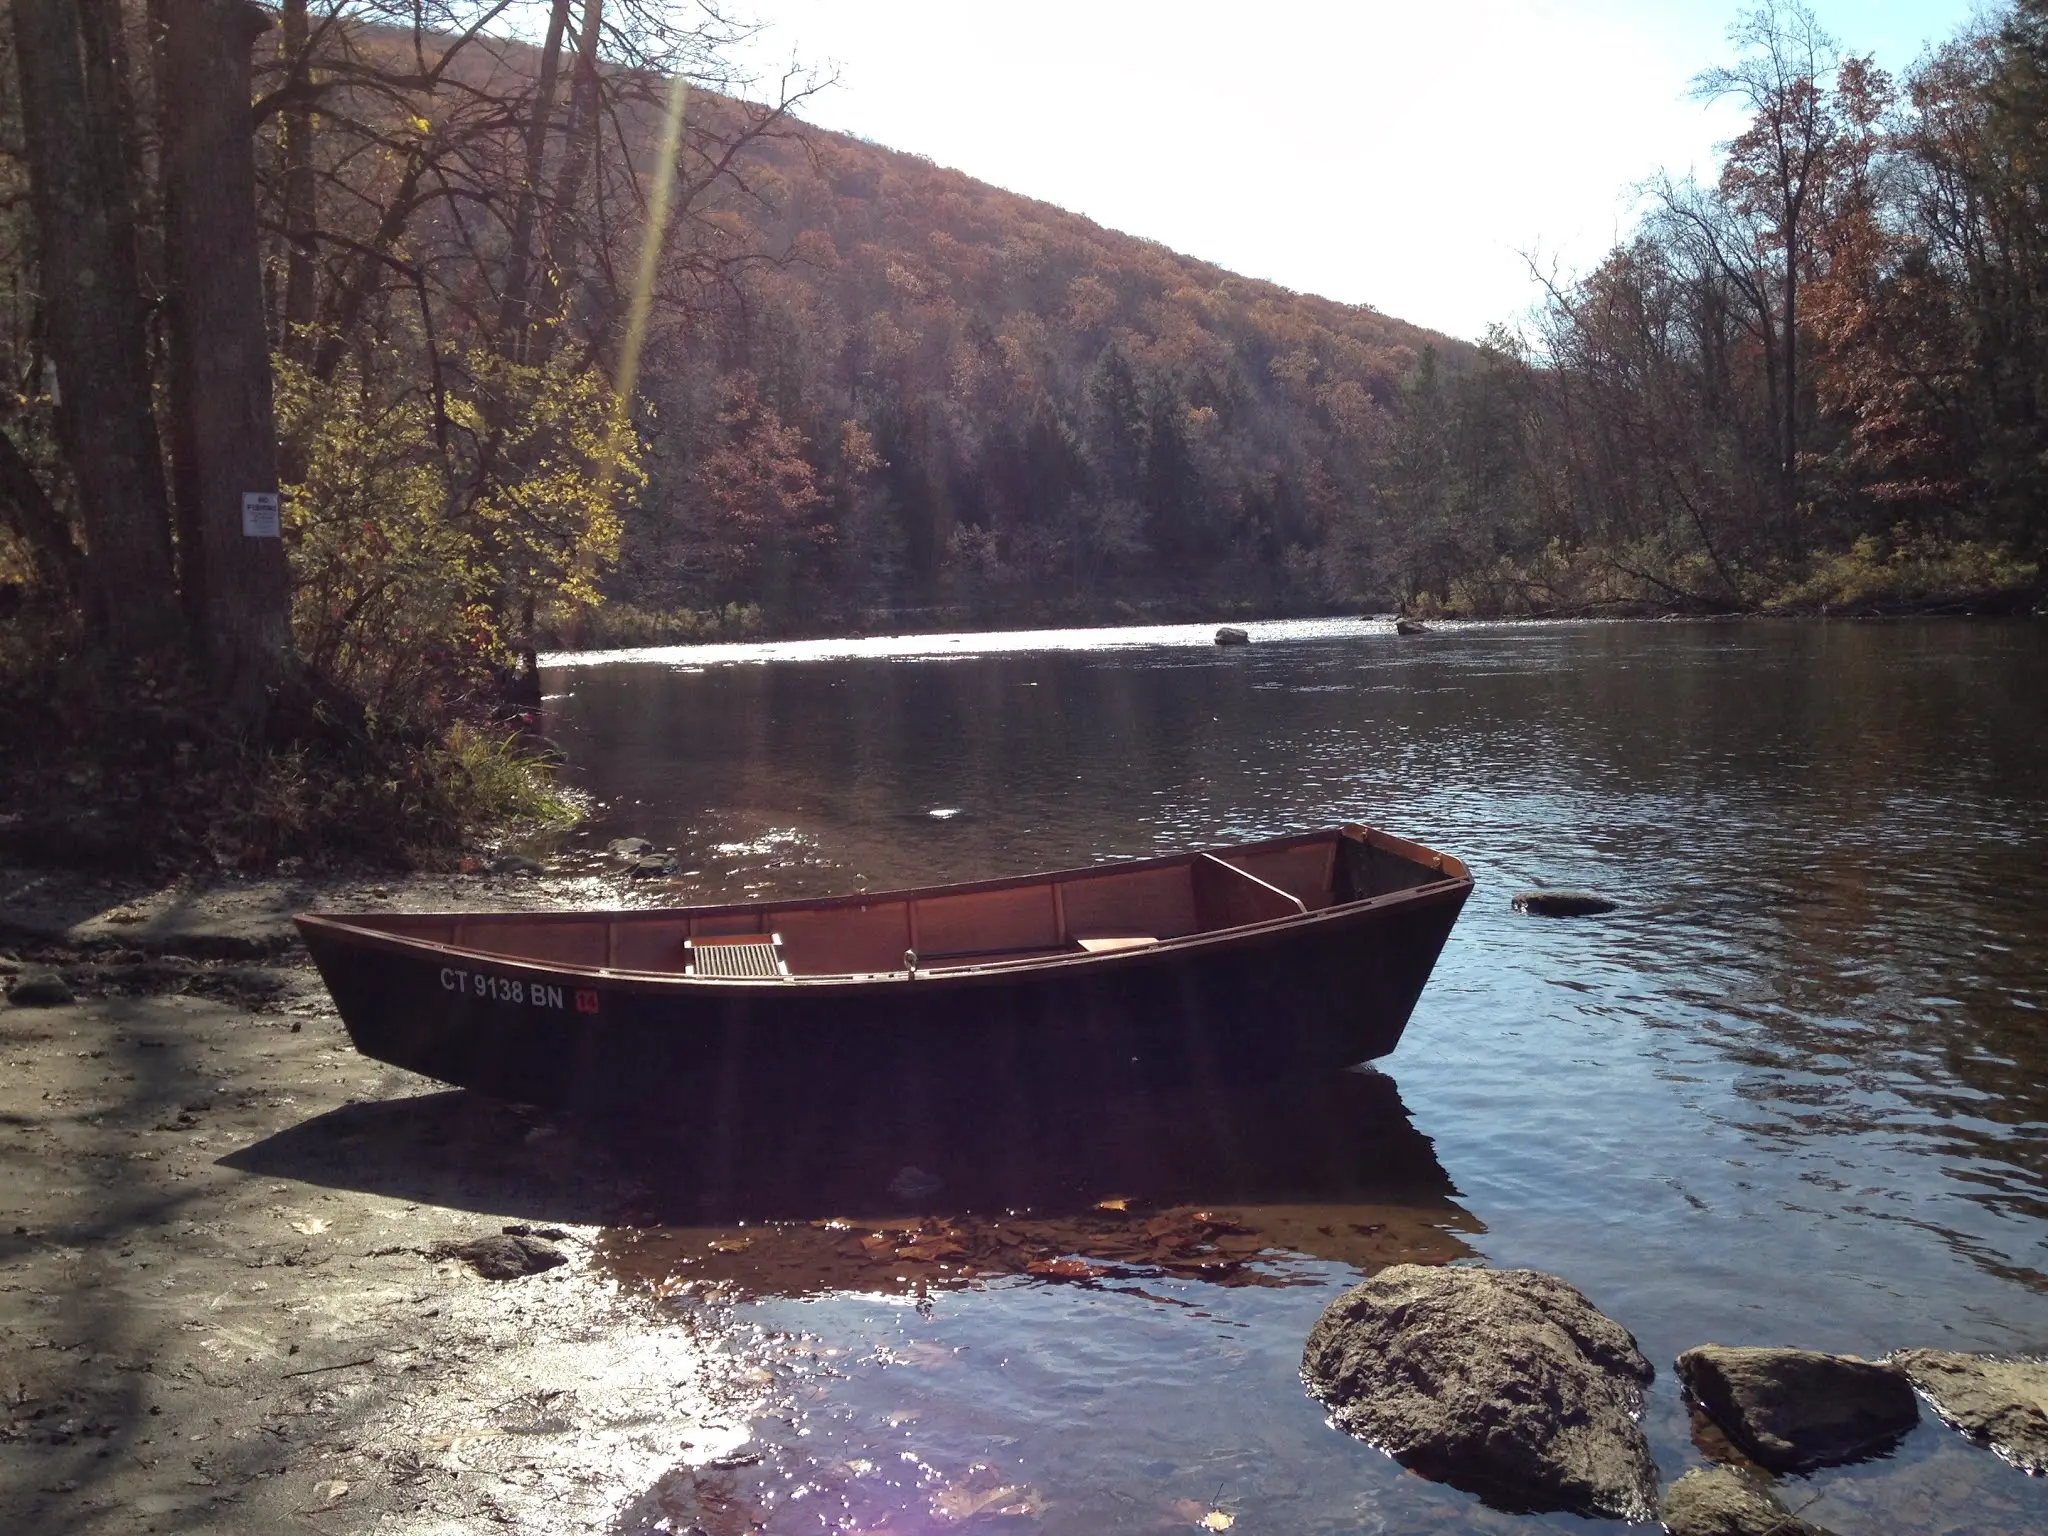
Nice Shot
Nice Shot
boatbuildlog.com
The Black & Tan
37 entries,
155 photographs,
written down as the work was done.
The words and photographs in this log belong to Joshua Feil.