Malahini project 22 entries, 75 photos Back to the log

The book is laid out for the paper chosen above, and the print dialog will follow it, so pick the paper here rather than there. Turn background graphics on so the cover photograph prints, and leave margins at their default. The page numbers and the chapter running heads are drawn by the browser into the page margins, so they exist only on paper: check the print preview rather than this screen for them, and turn Headers and footers off there so Chrome's own furniture does not crowd them out. Chrome and Edge print them, Safari and Firefox print the same book without them.

new build

Malahini project

Malahini

Scott Muschall · 2024 to 2026

A build log

Malahini project

Malahini


kept by Scott Muschall

2024 to 2026

The boat

Malahini

Designer
Glen-L Marine
Length overall
15′ 11″ (4.85 m)
Beam
6′ 7″ (2.01 m)
Construction
plywood on frame
Started
10 July 2024
Built by
Scott Muschall

2nd boat build, 1st was a cedar strip canoe, planning on a kayak build after the Malahini.

What it took

By the numbers

110
Hours at the boat
22.9 months
From first day to last
22
Days written up
75
Photographs
635
Words written

The work

Contents


4 h

The Journey Begins

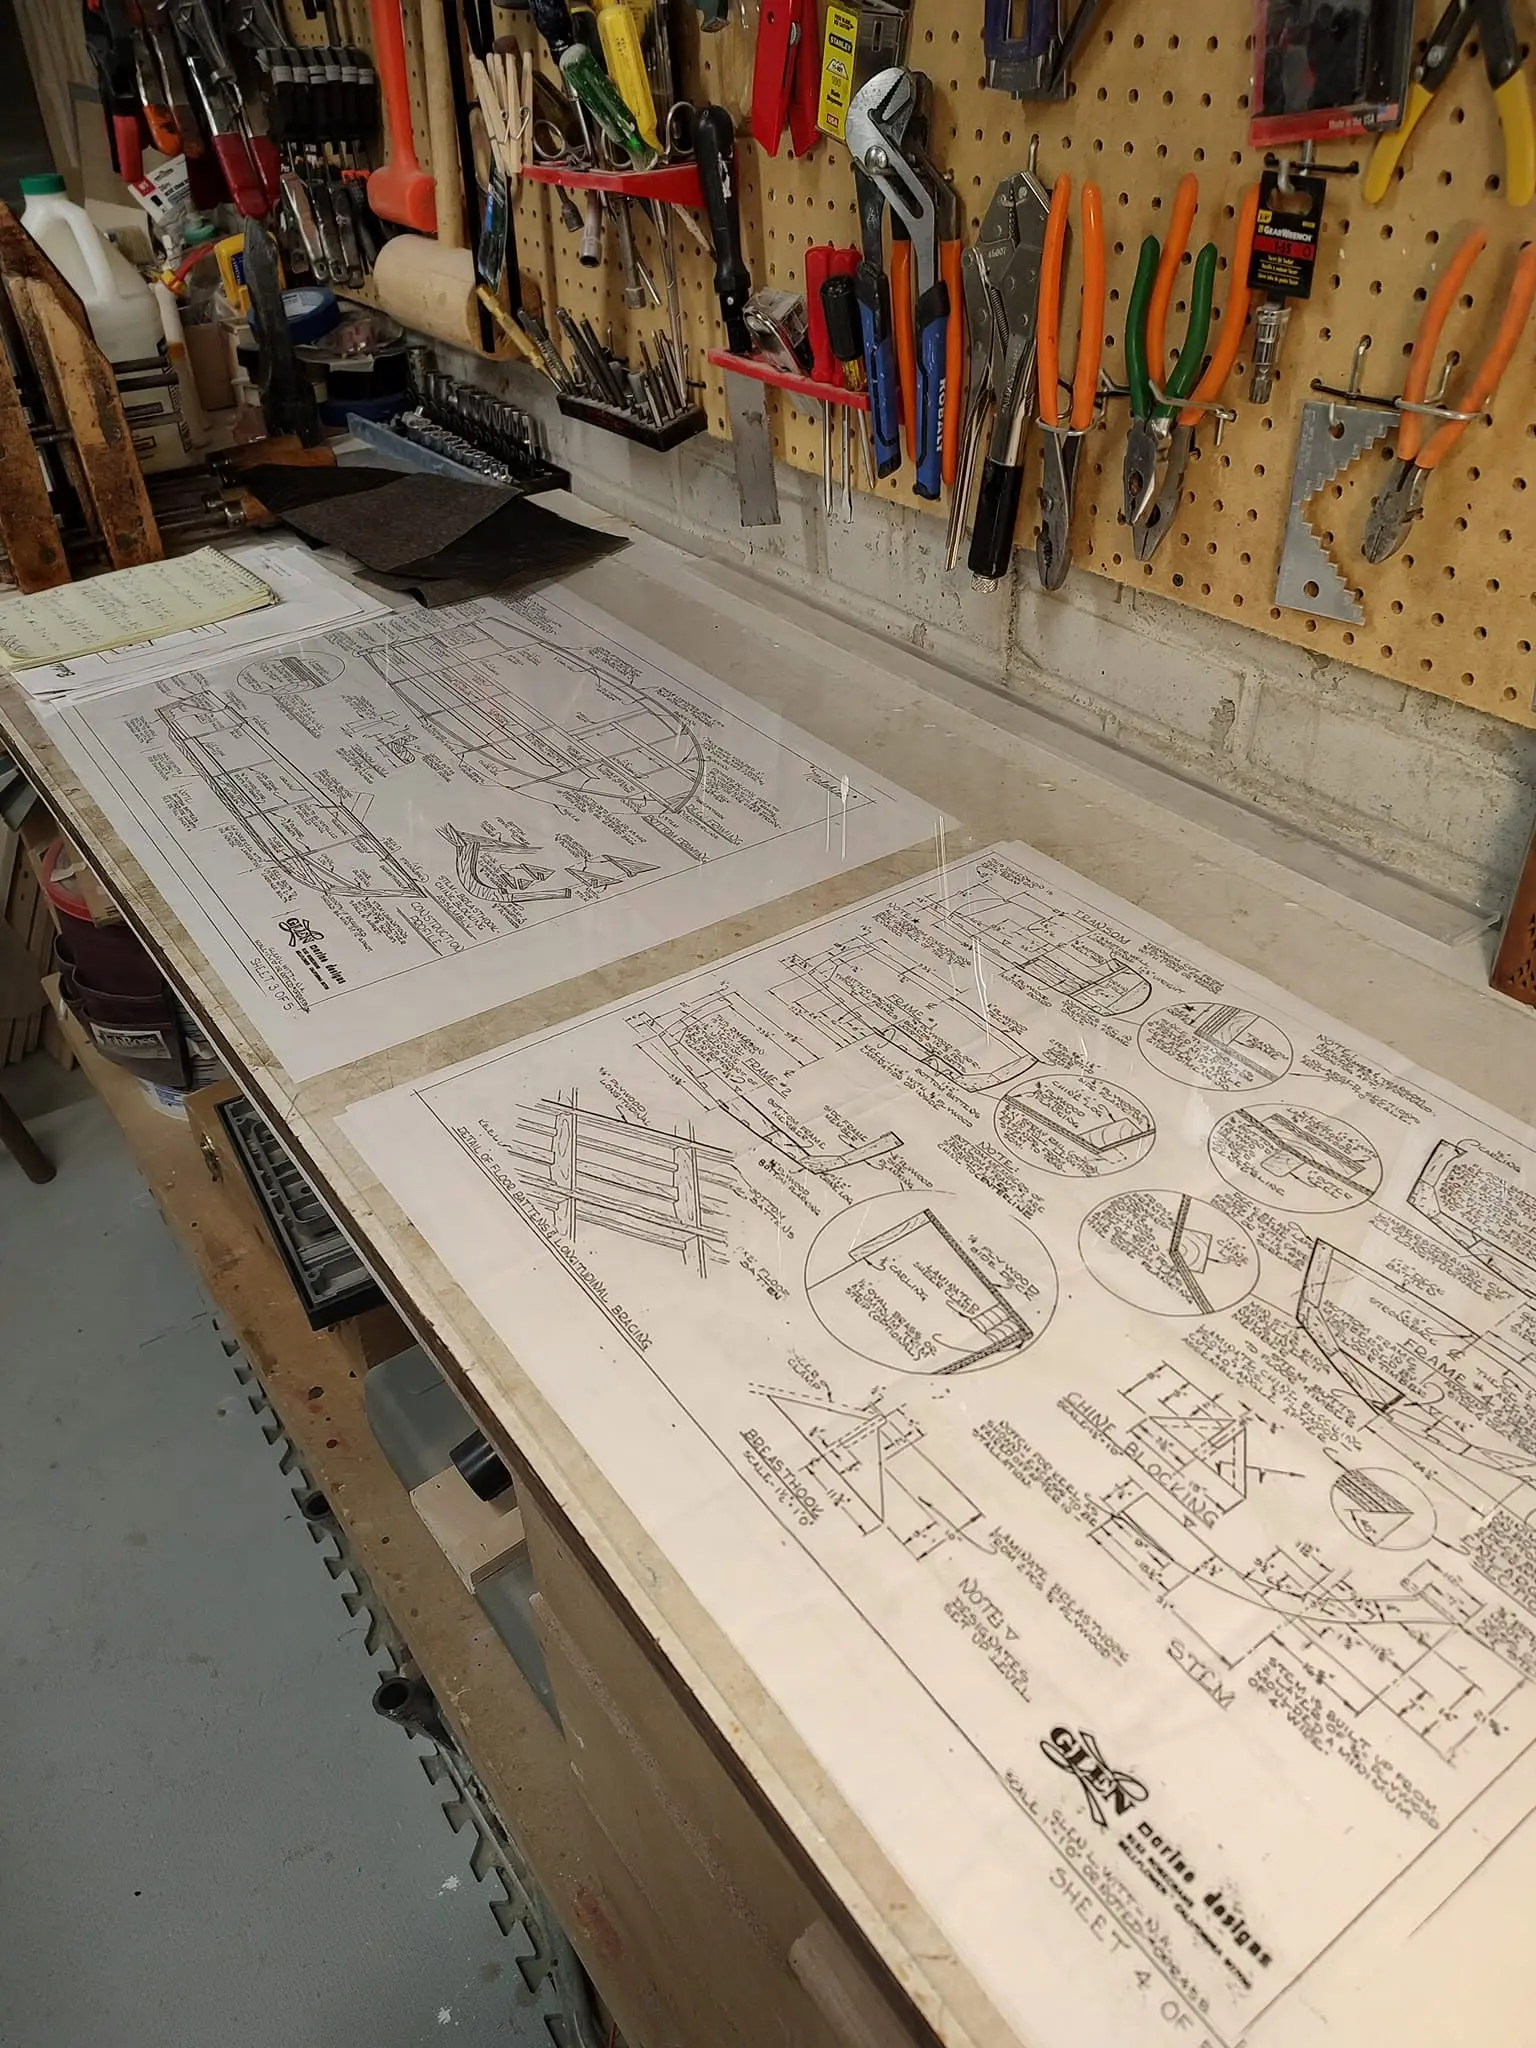
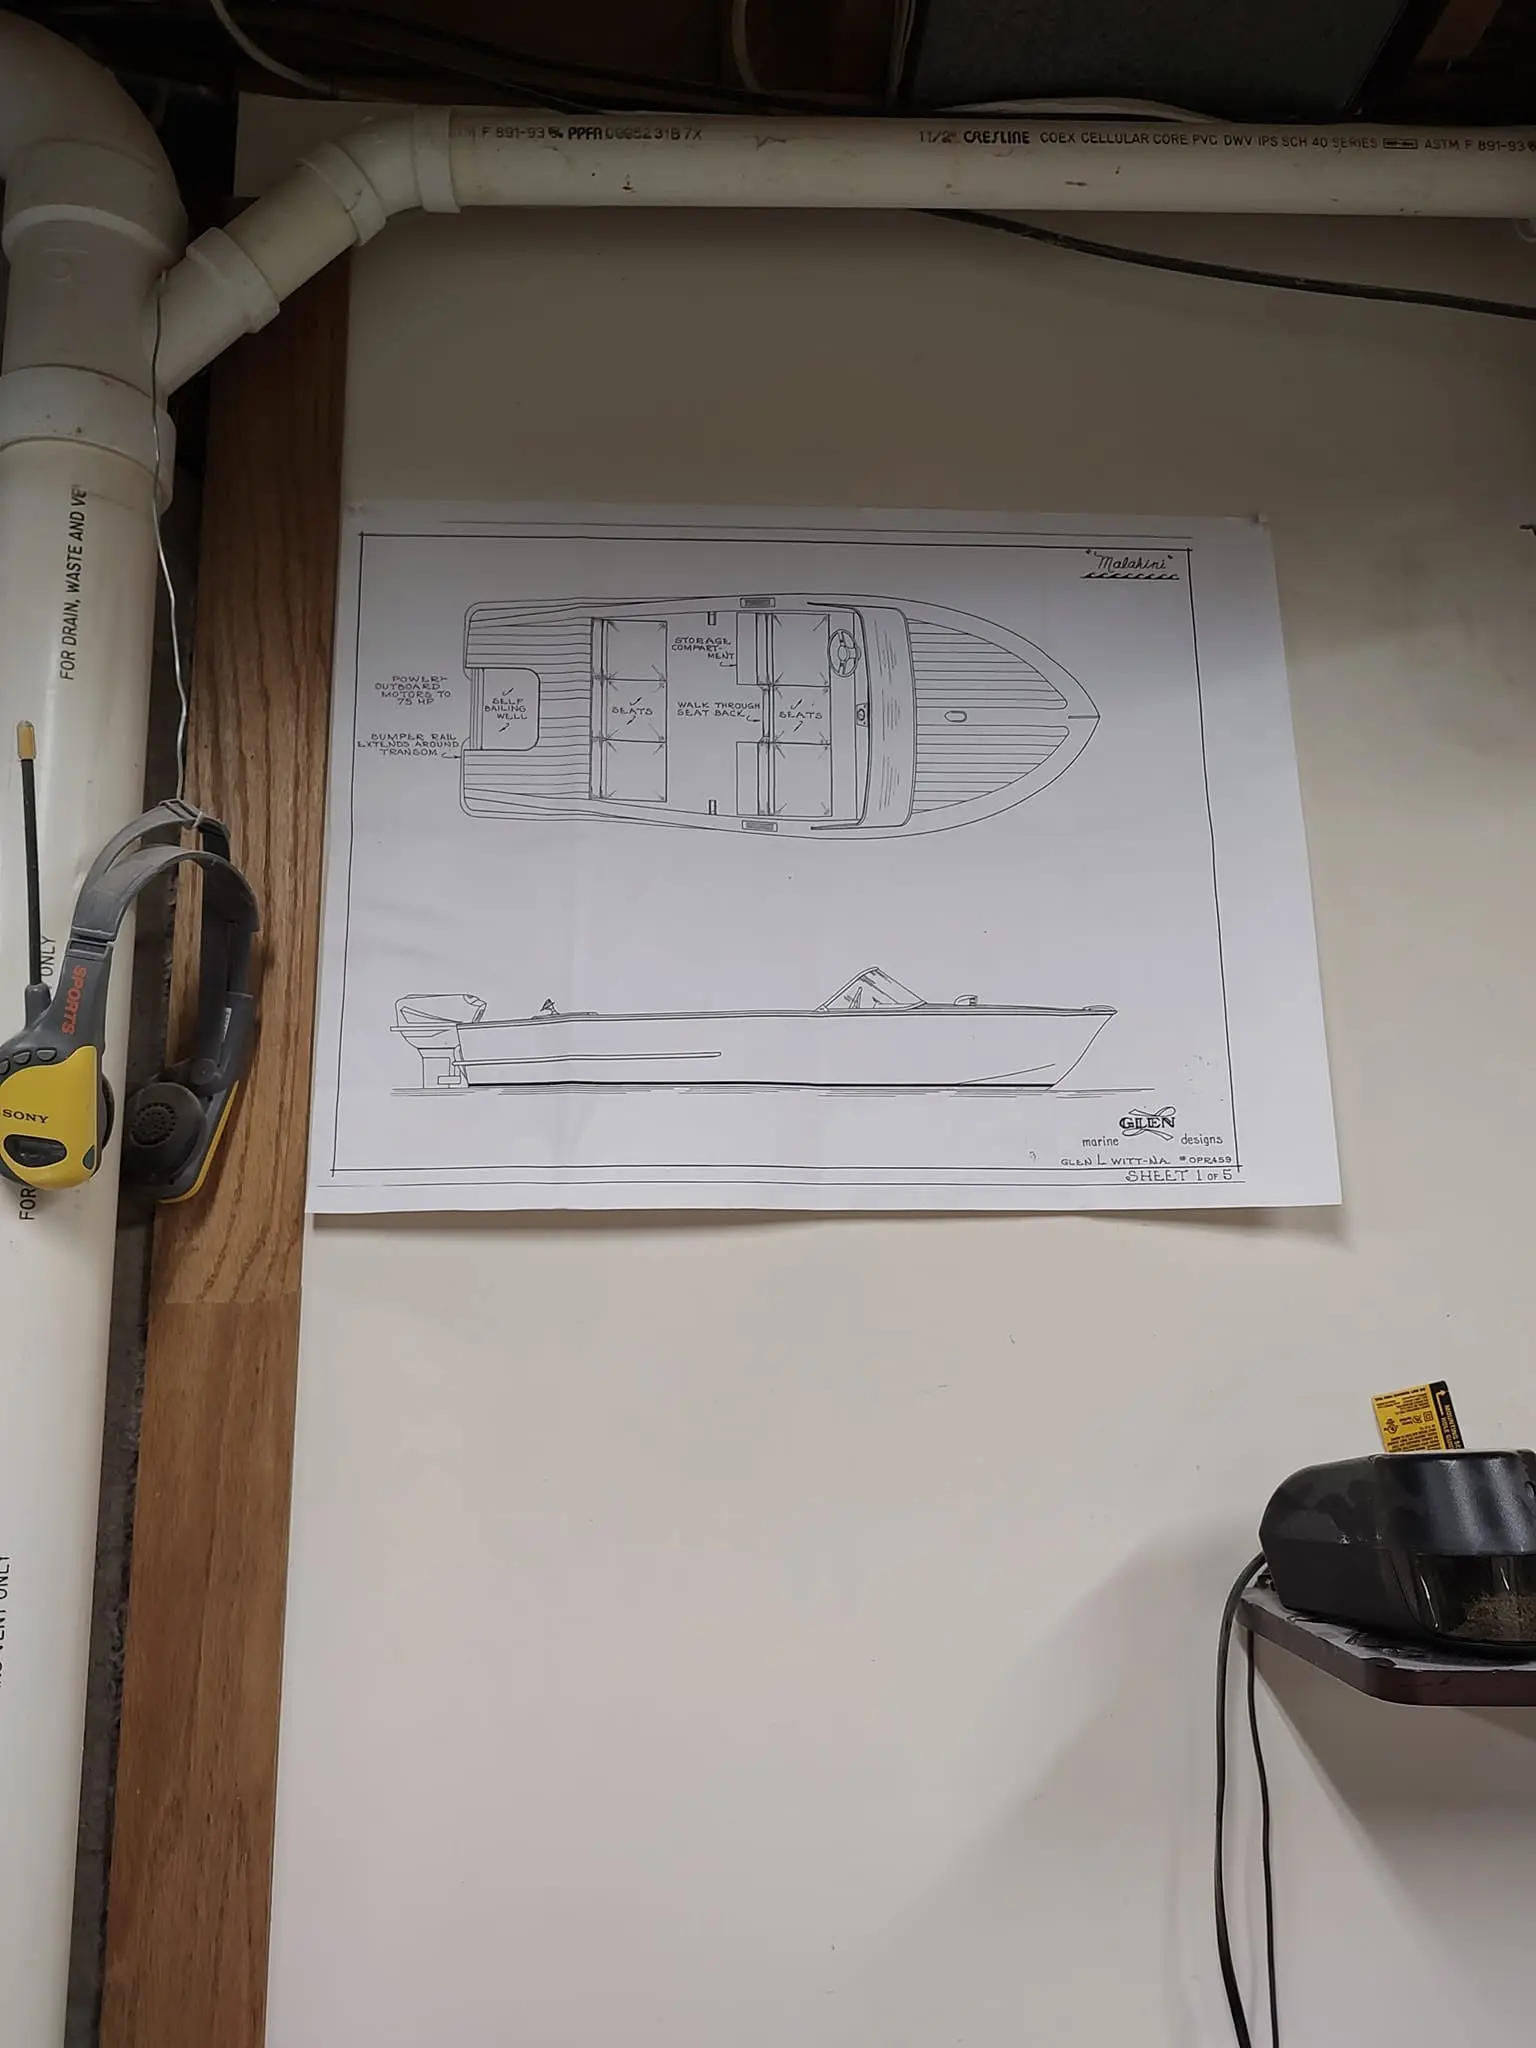
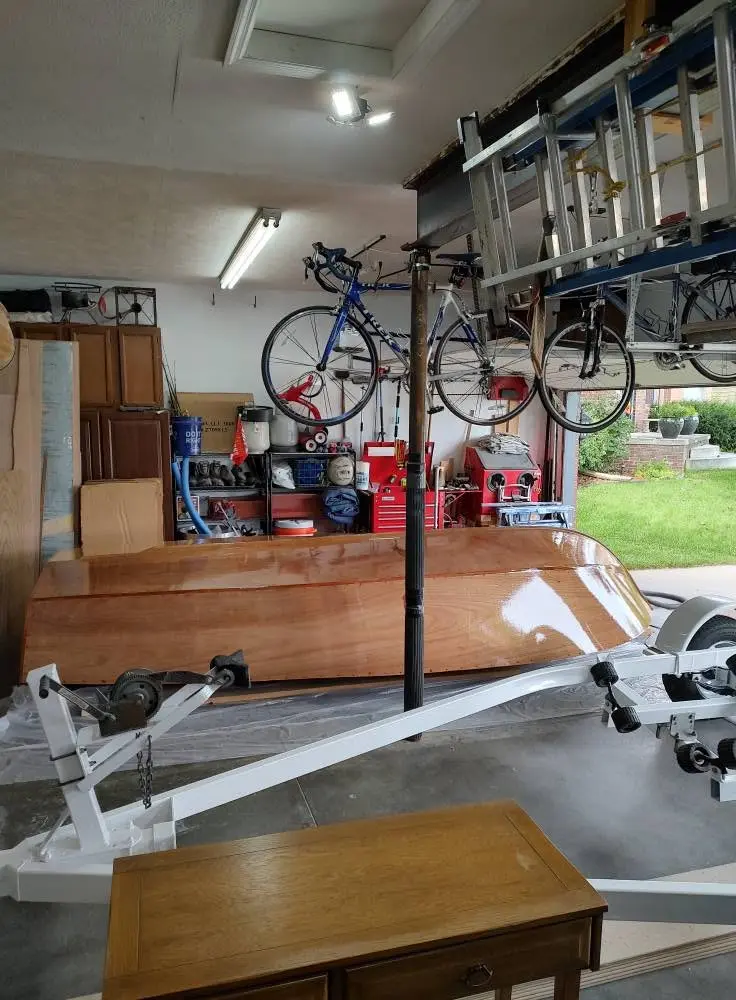
The start of the build. The plans are laid out and studied. The 1st step was to build the plywood support pieces.
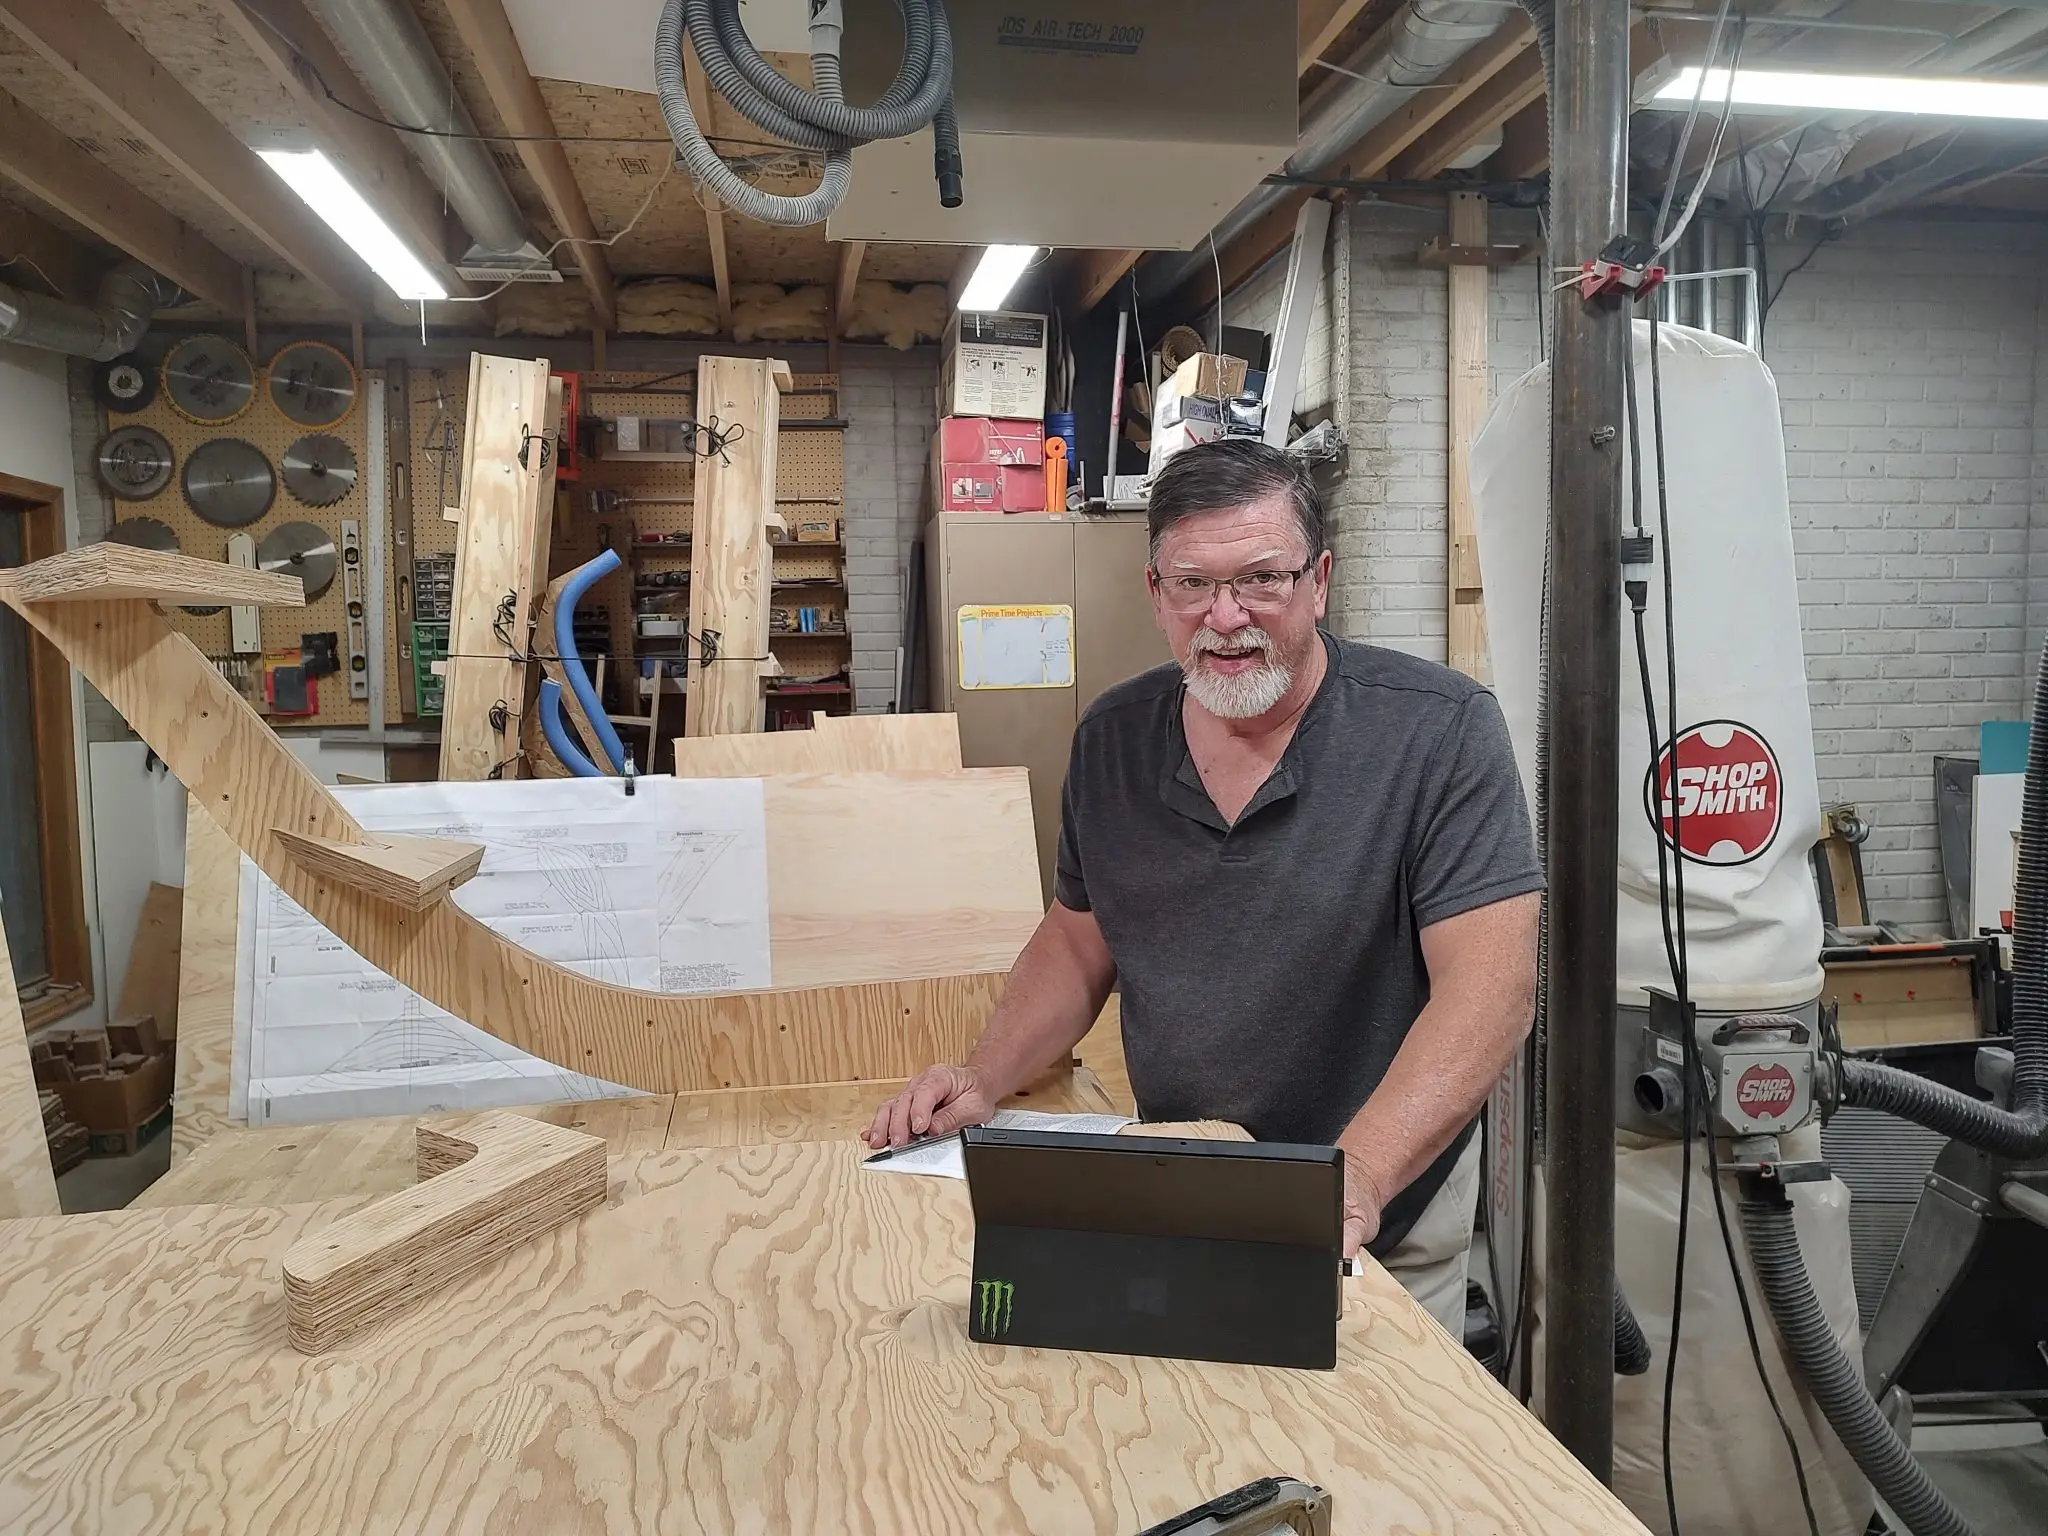
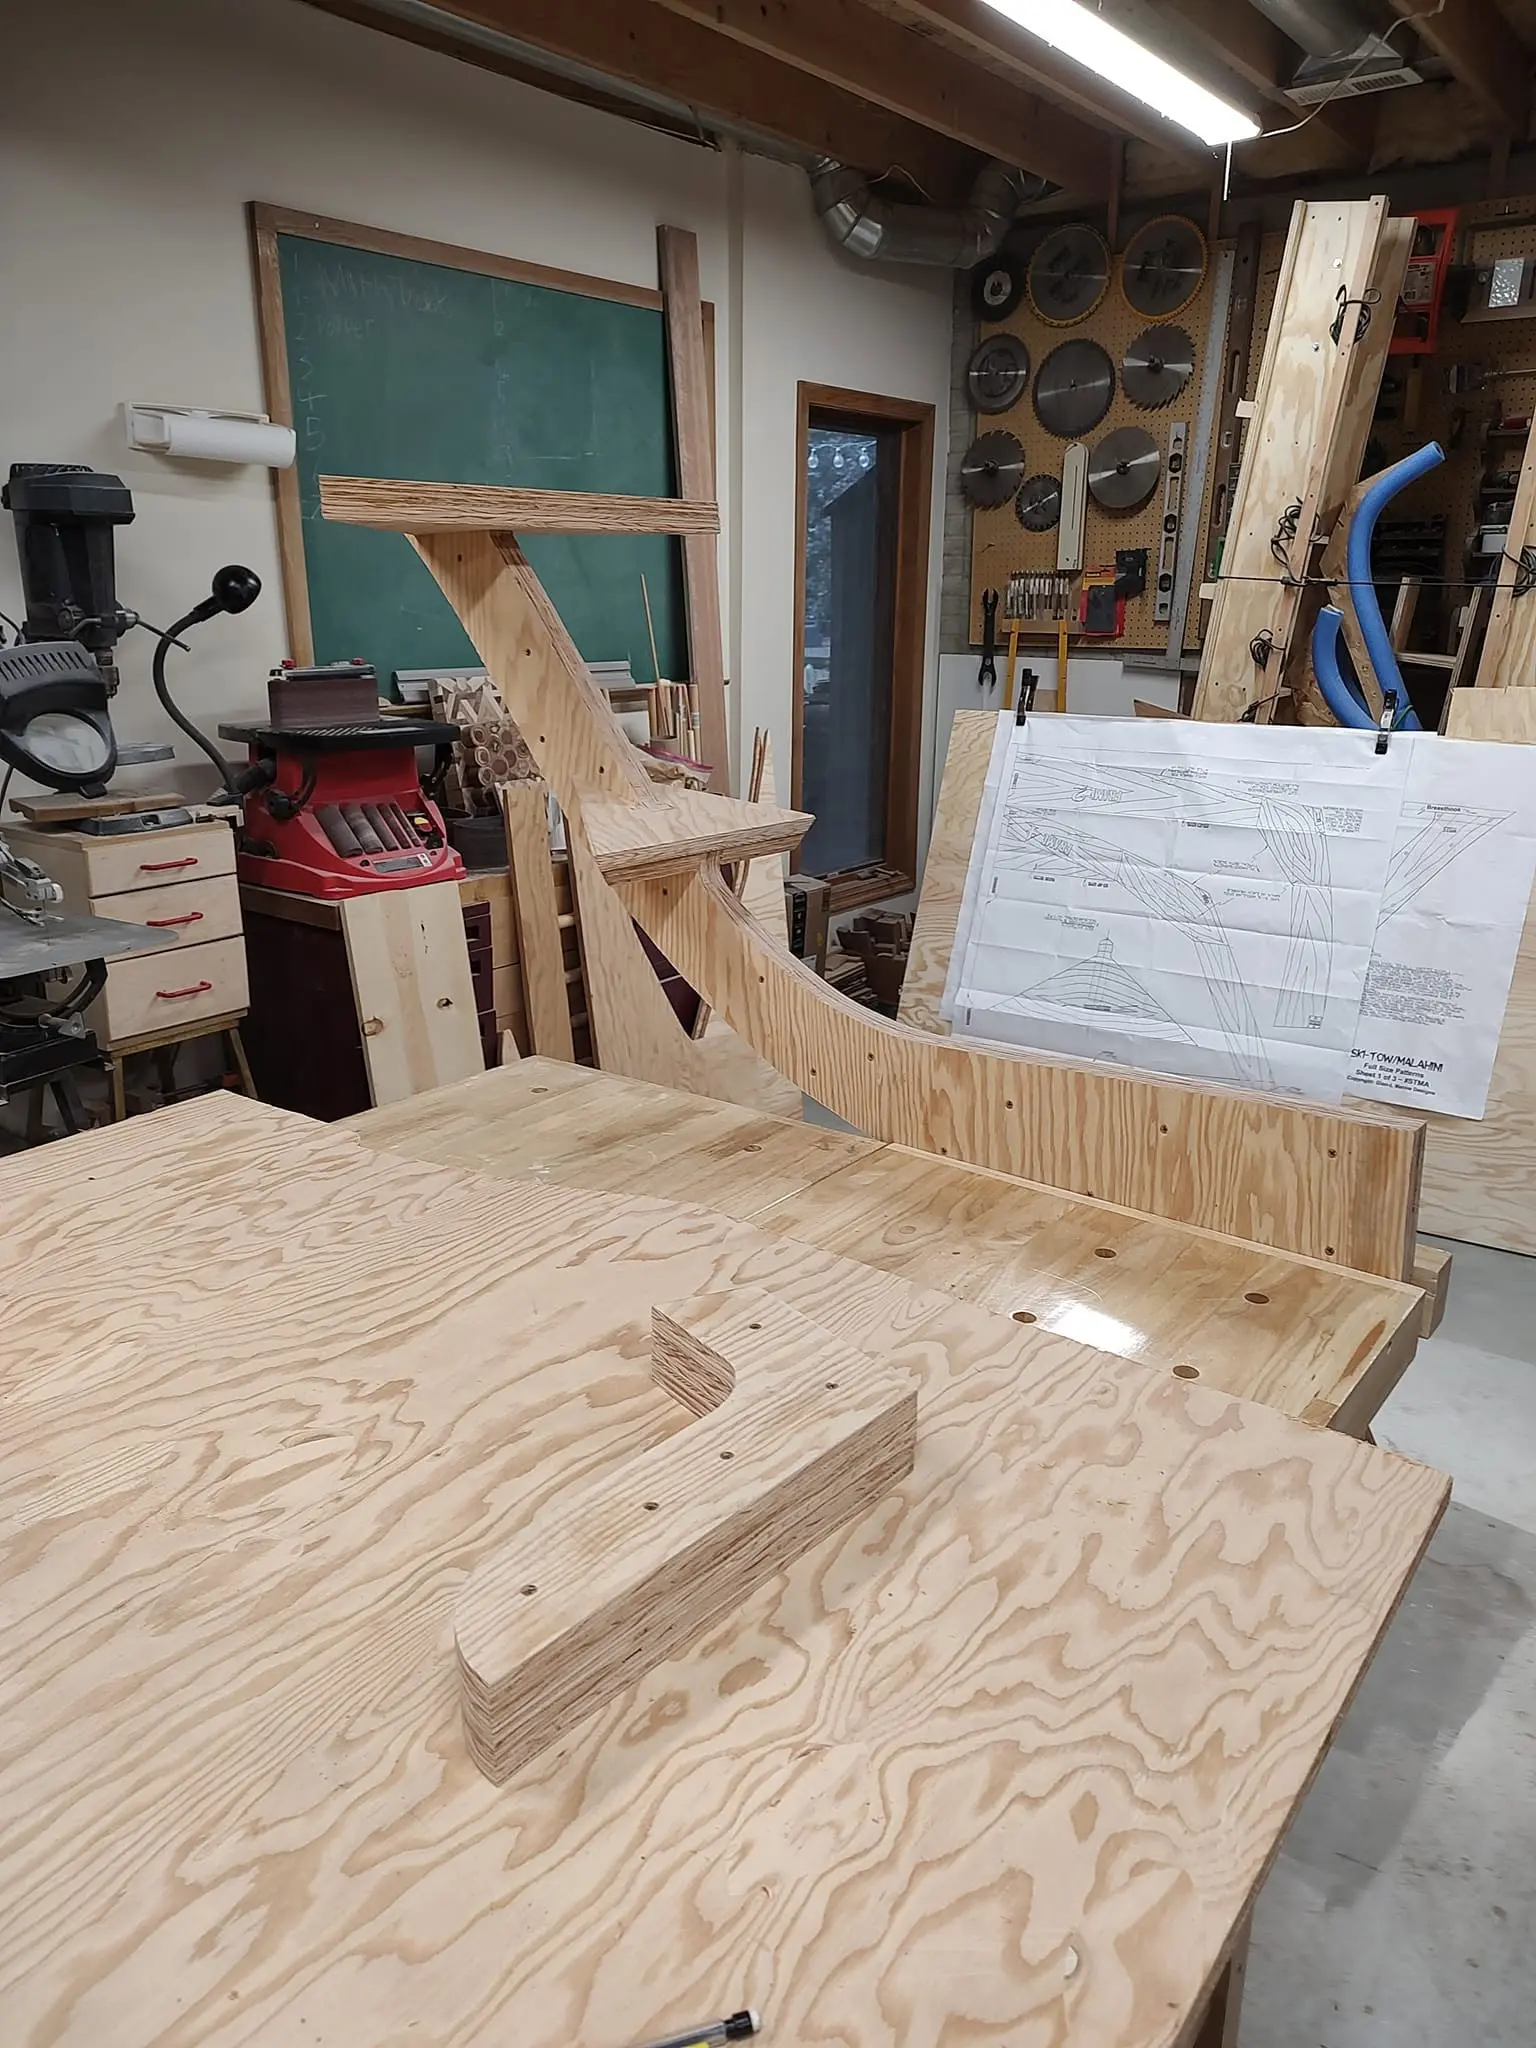
Malahini: The Journey Begins
Photo 1
Malahini: The Journey Begins
Photo 2
Malahini: The Journey Begins
Photo 3
Malahini: The Journey Begins
Photo 4

Chapter 01

Planning & Research

Choosing the design, sourcing plans or a kit, budgeting, lining up materials.
1 day 6 hours from July 2024

Planning & Research 6 h

The search for lumber

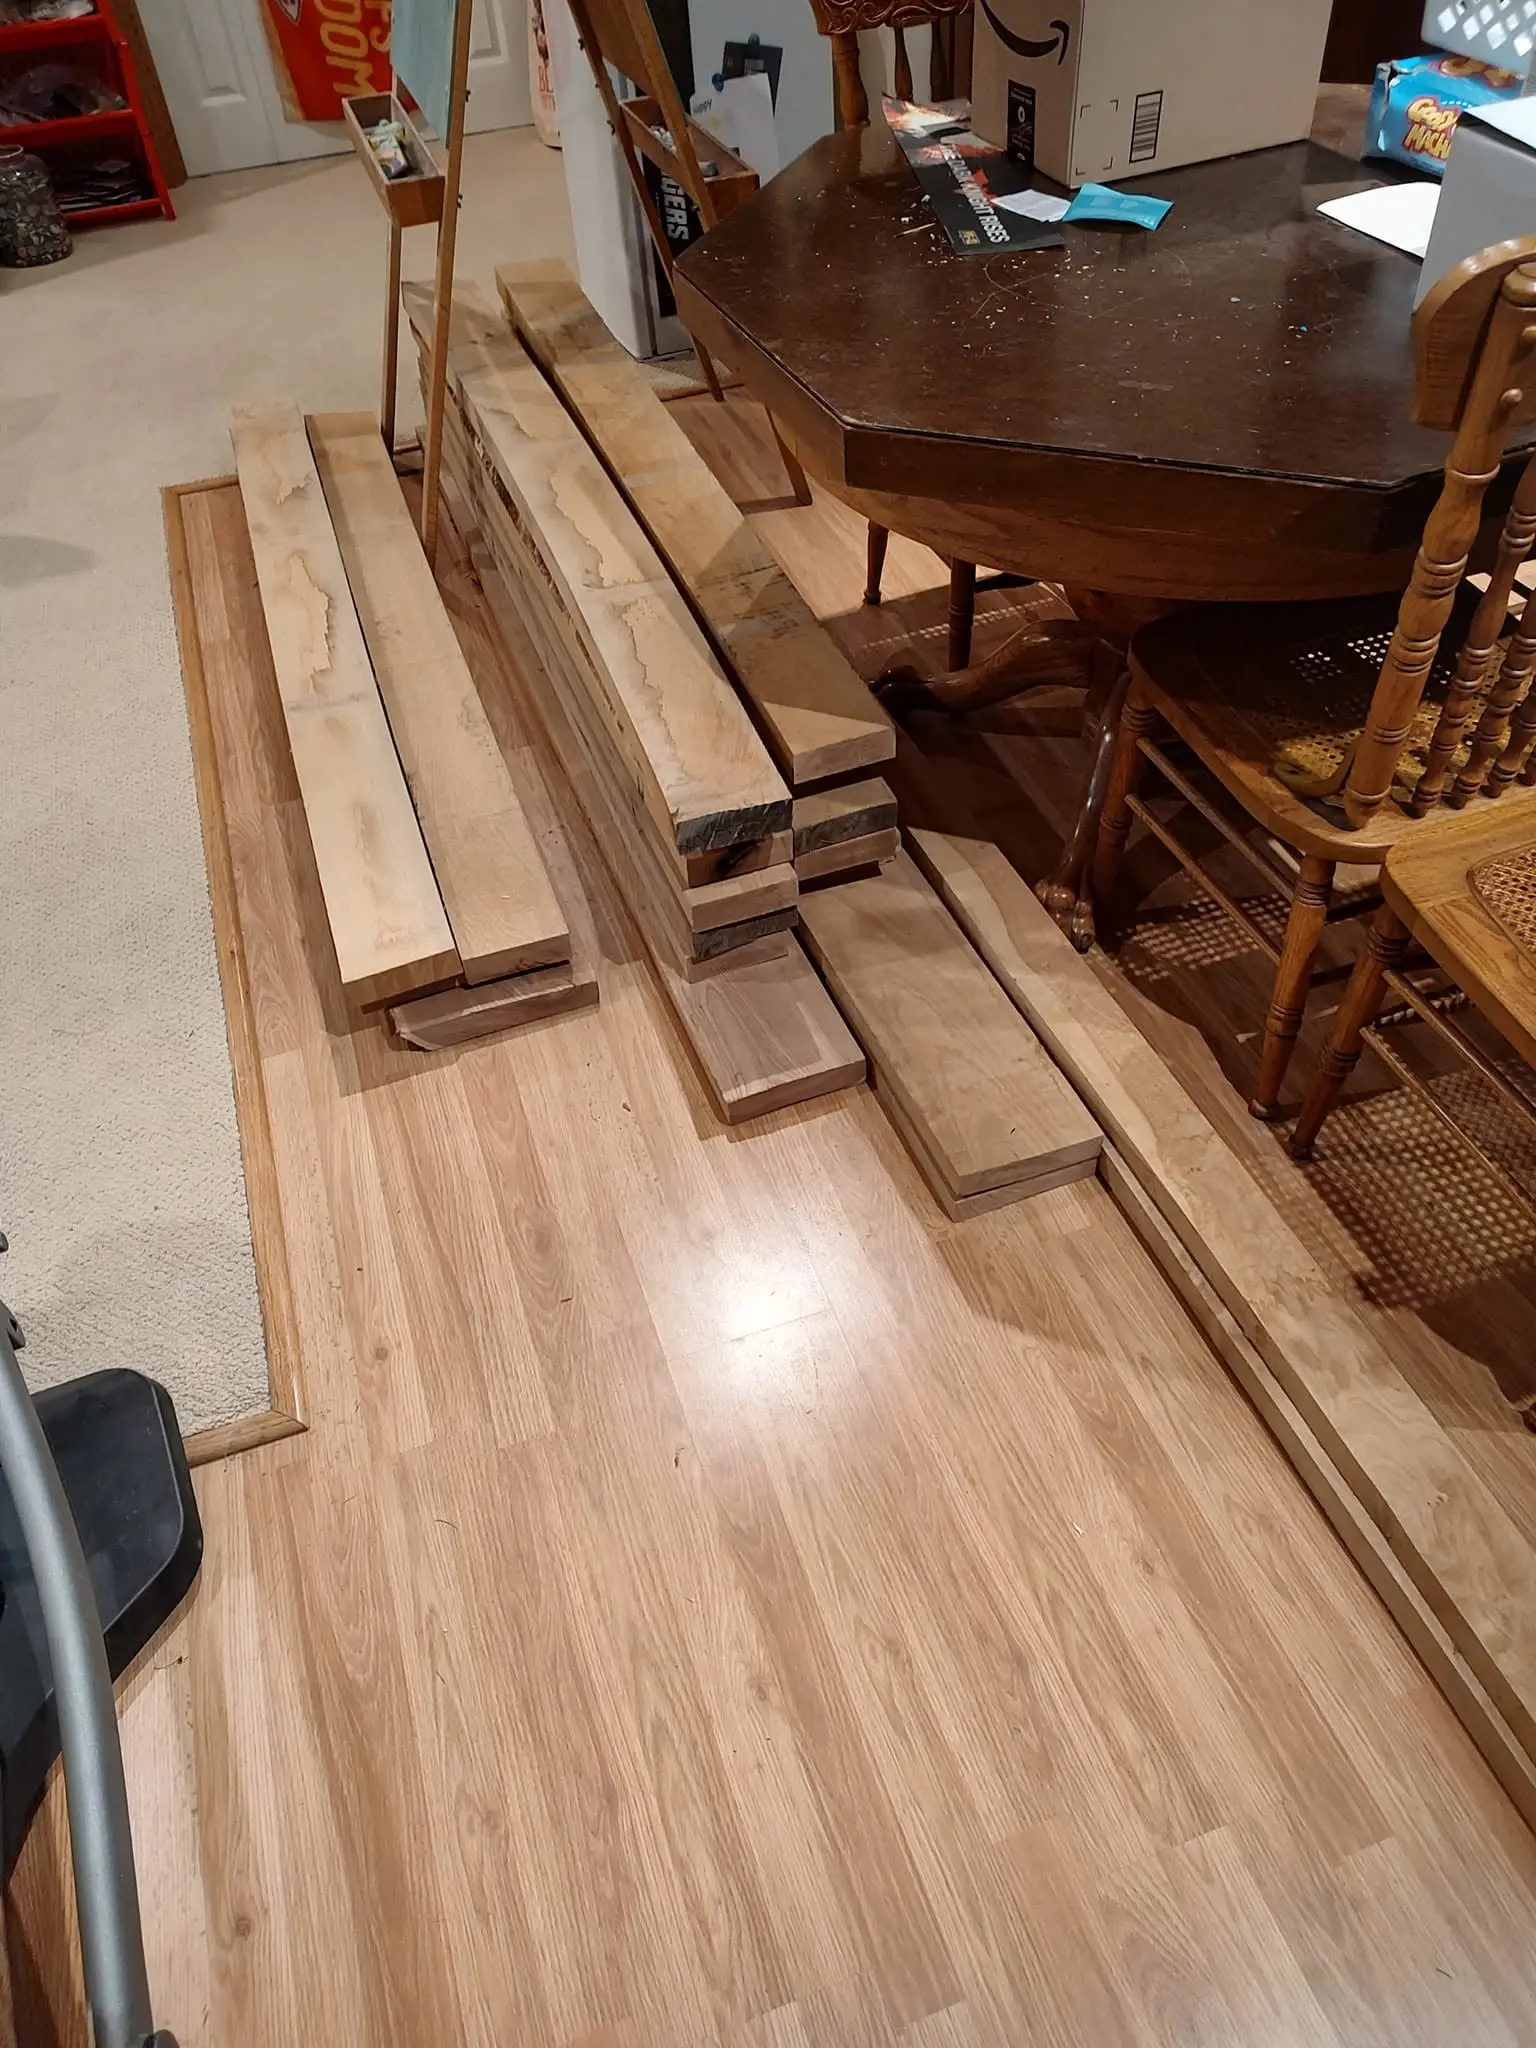
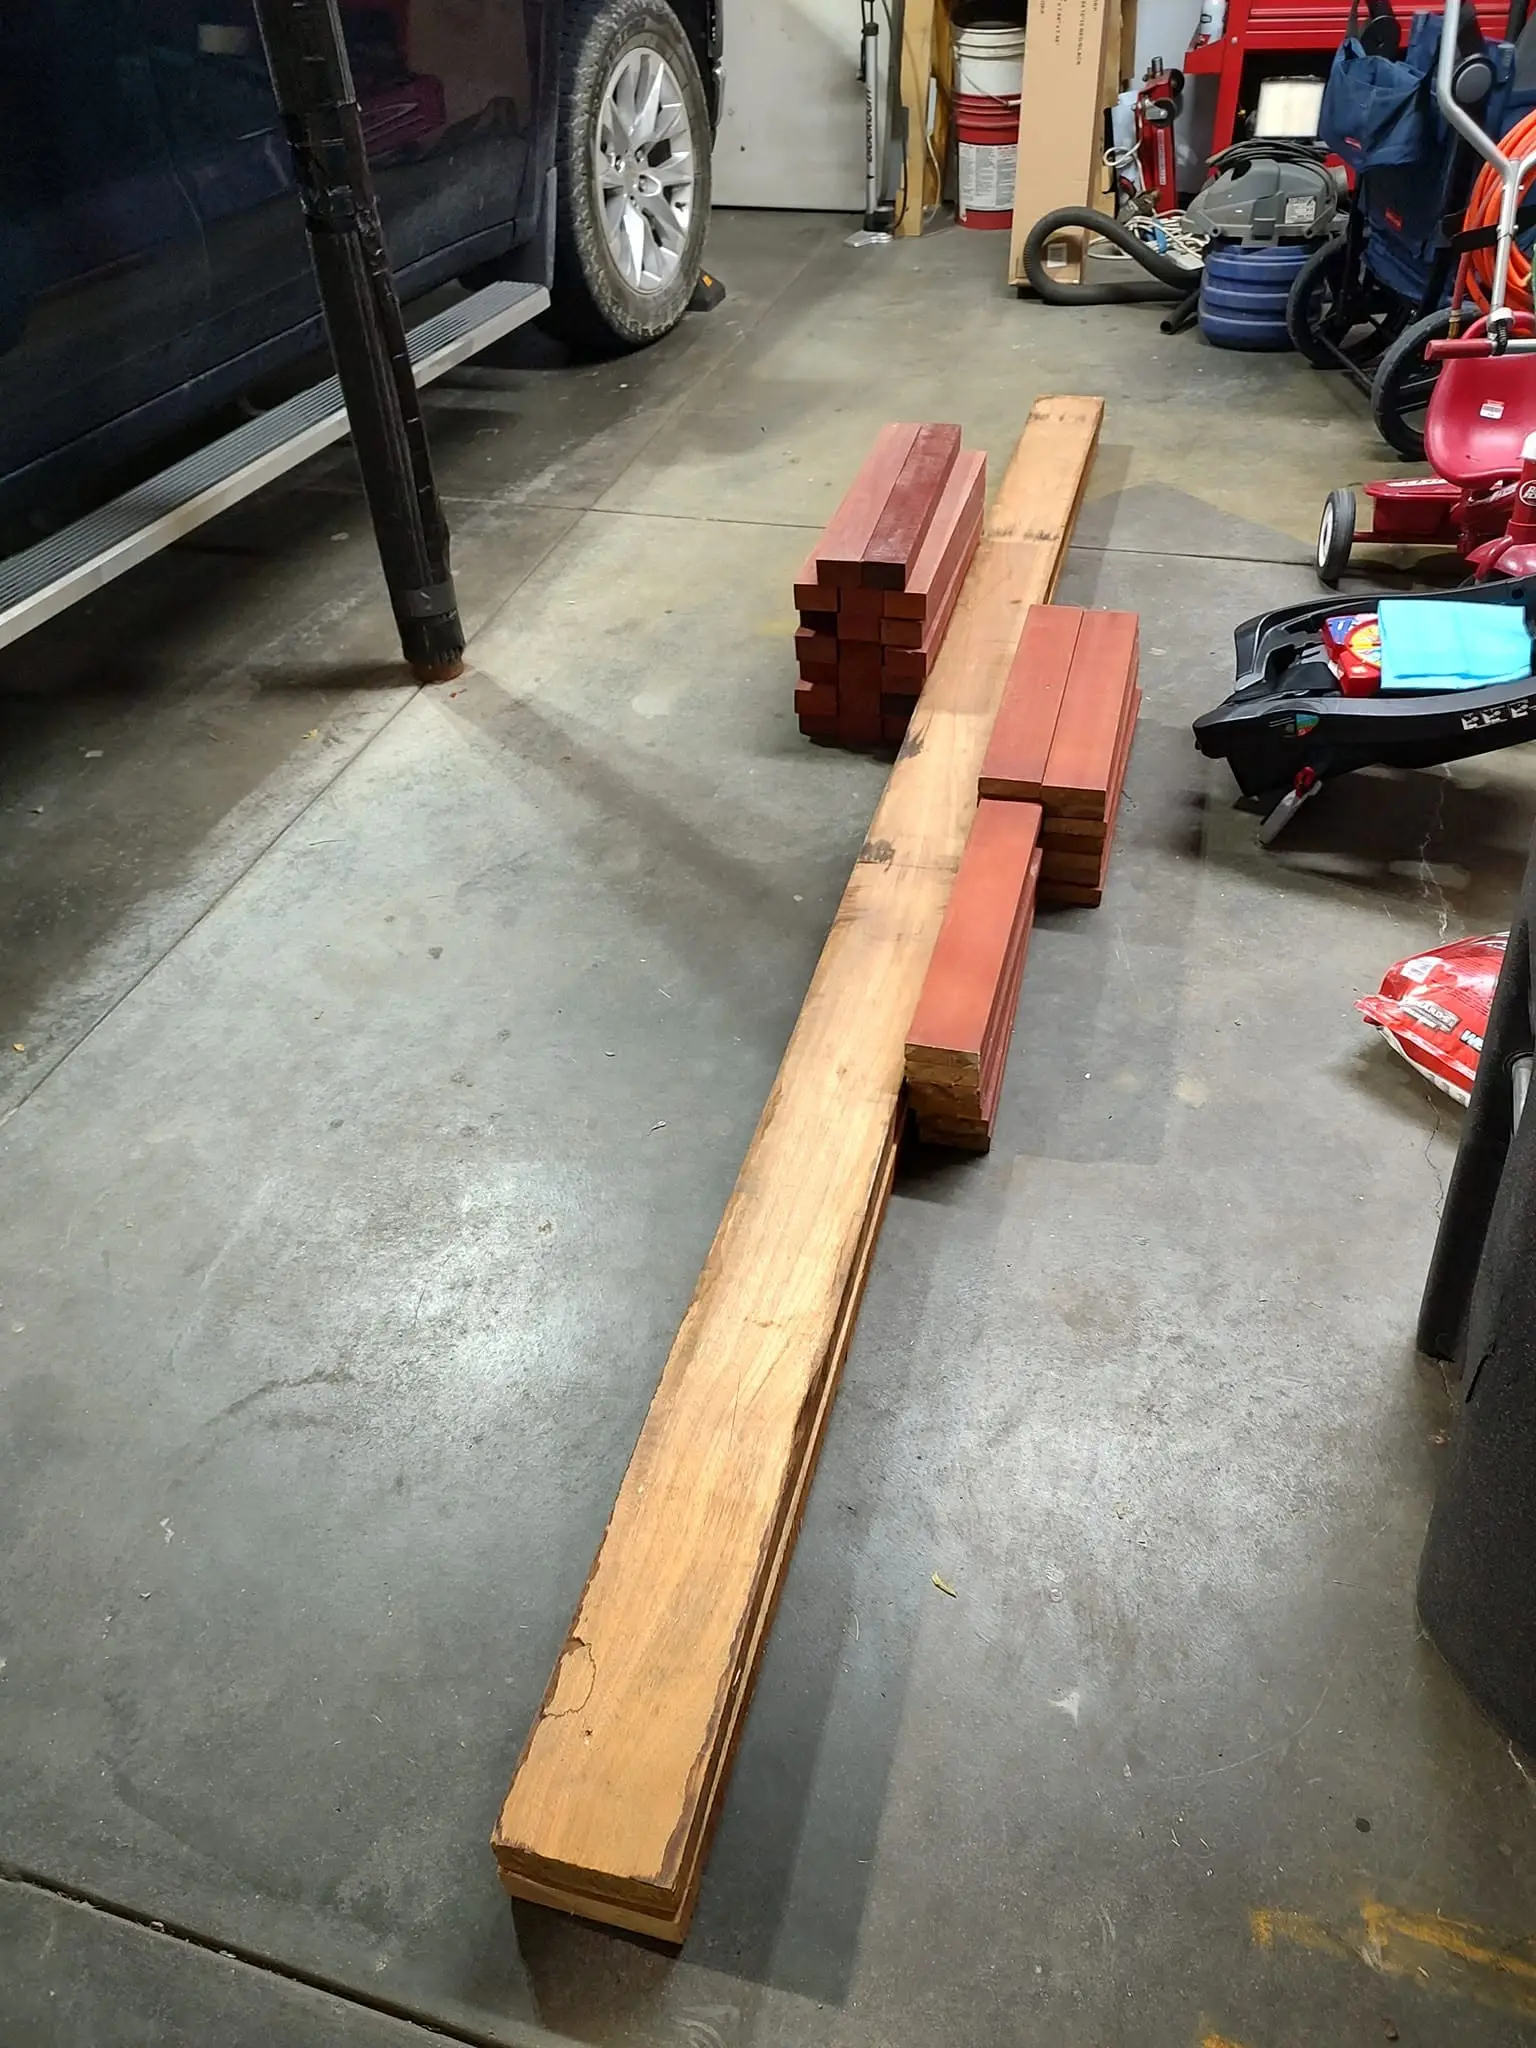
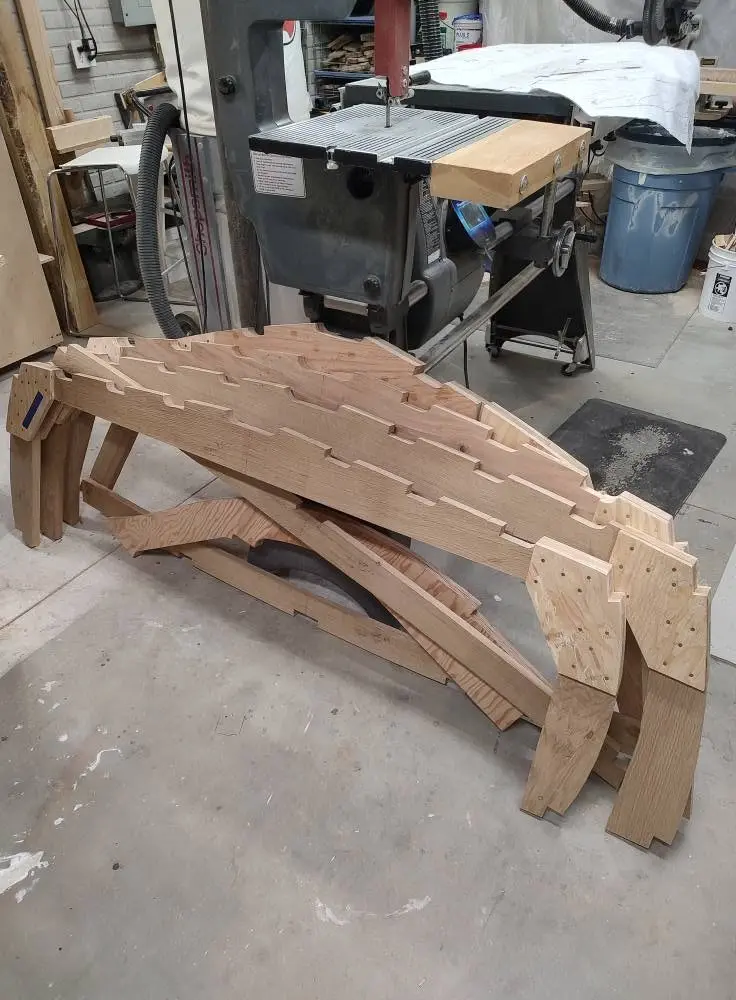
Gathering lumber was a journey in itself. It was not easy to find white oak and mahogany at an affordable price in the retail stores. So I found a man in Lincoln Nebraska that had salvage out and old library room made with mahogany. I found another man outside of Des Moines Iowa milling his own lumber to include white oak.
Malahini: The search for lumber
Photo 1
Malahini: The search for lumber
Photo 2

Chapter 02

Shop & Tooling

Clearing space, building benches and jigs, buying or borrowing the tools the build needs.
3 days 13 hours from July 2024

Shop & Tooling 6 h

Frames

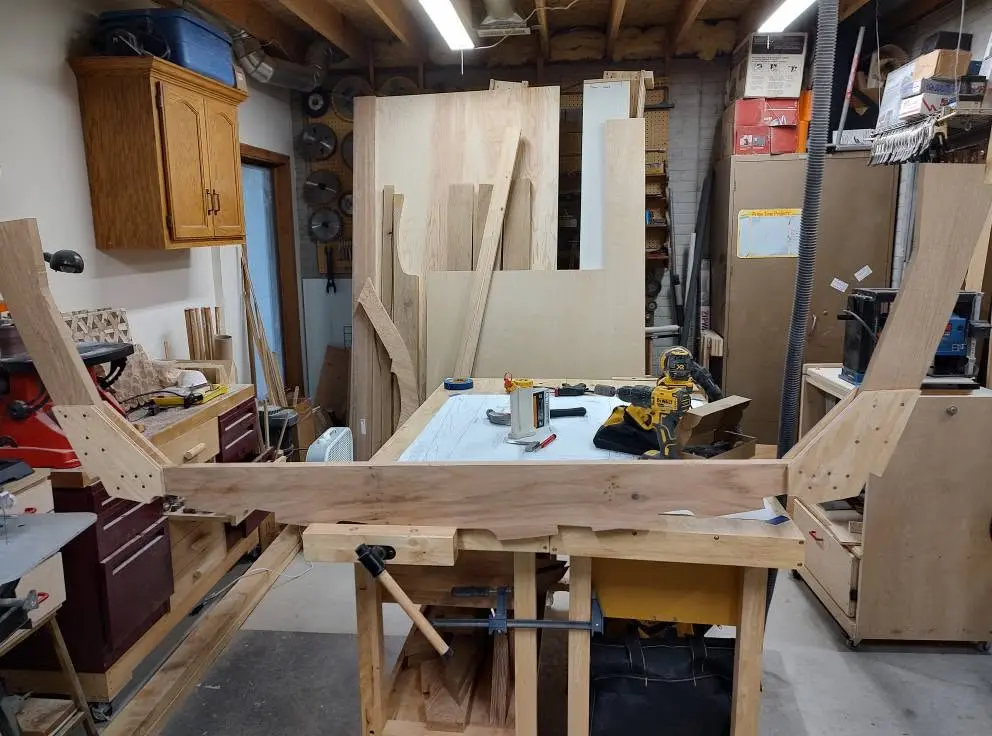
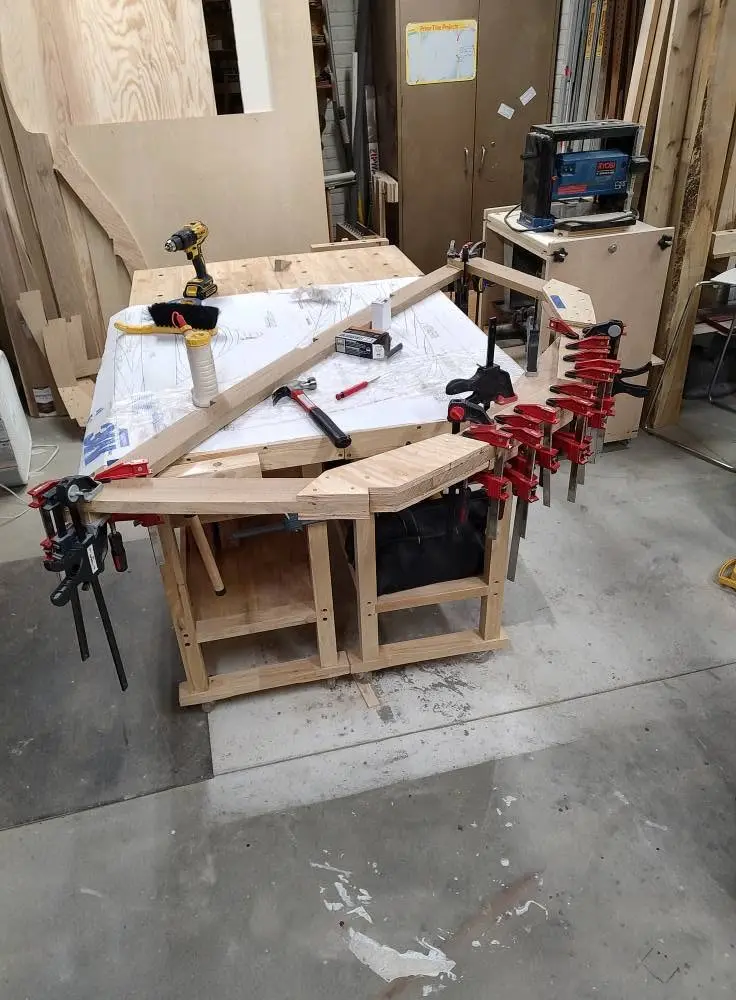
The frames were built in my basement workshop. Everything went well with the plans, layout and assembling the frames.
Malahini: Frames
Photo 1
Malahini: Frames
Photo 2
Malahini: Frames
Photo 3

Chapter 03

Strongback & Molds

Building the strongback or ladder frame and setting up station molds.
1 day 16 hours from November 2024

Strongback & Molds 16 h

Framing it up

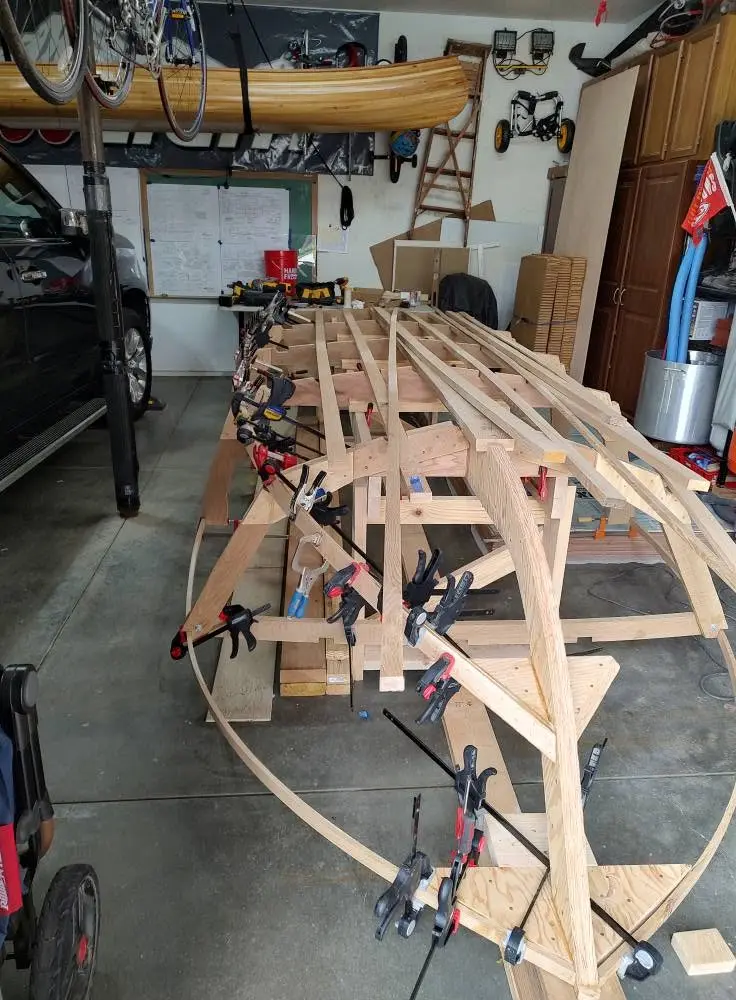
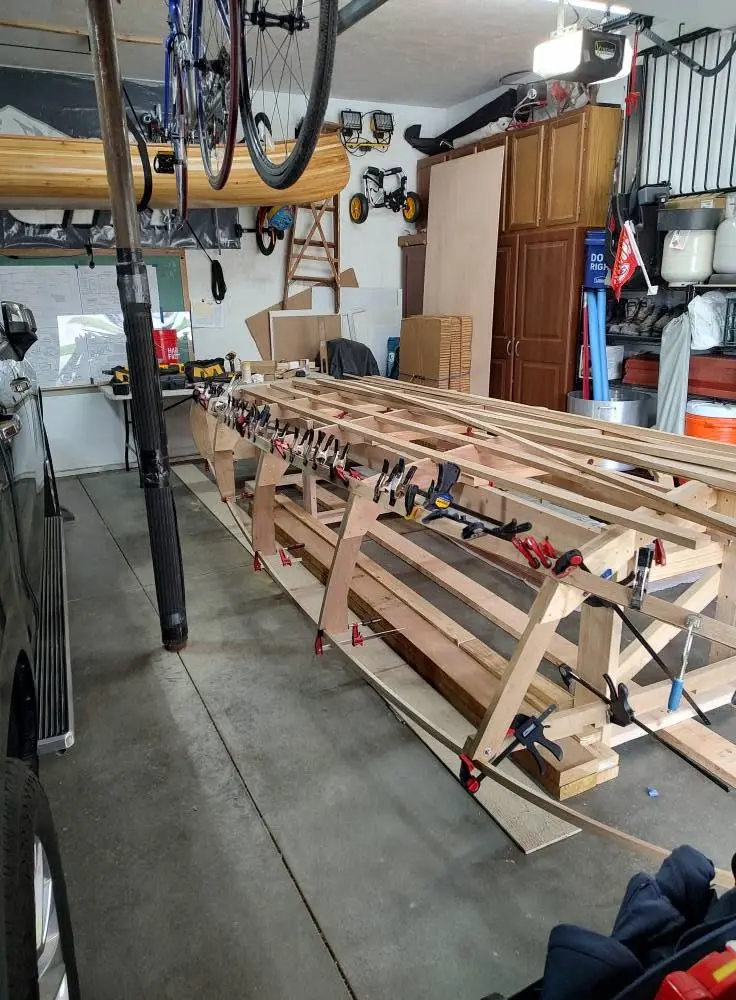
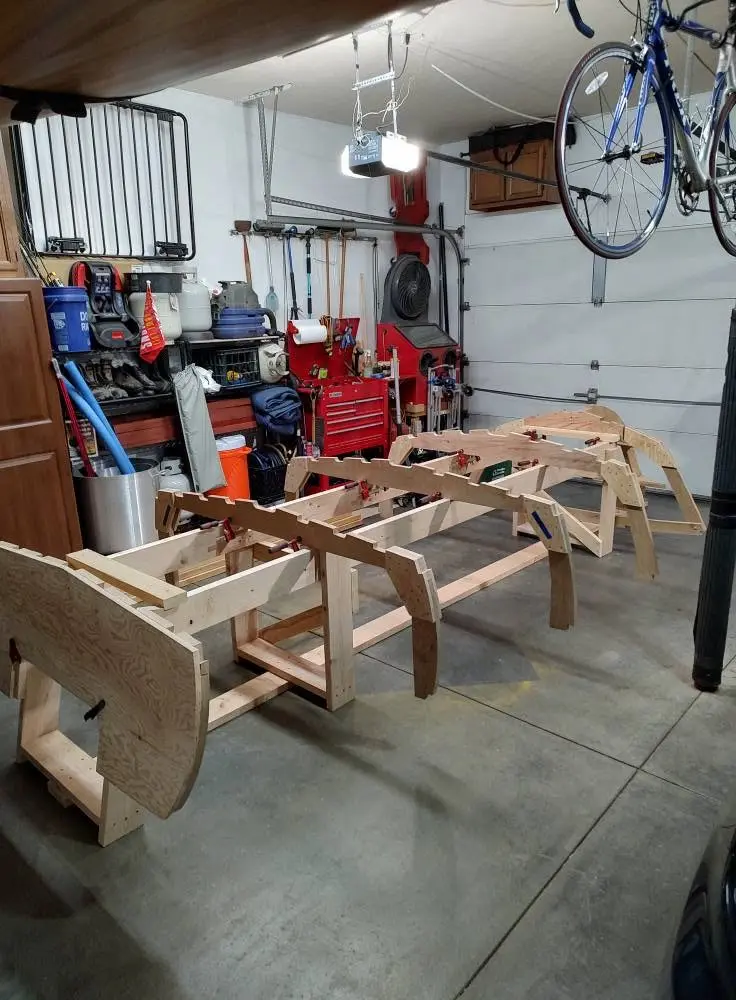
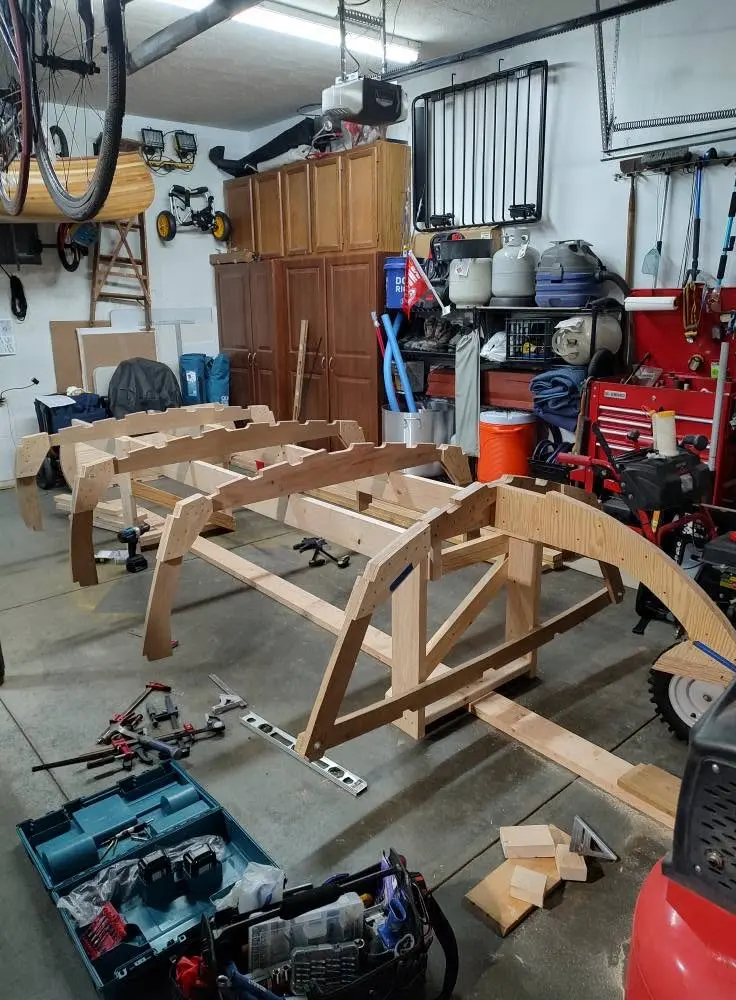
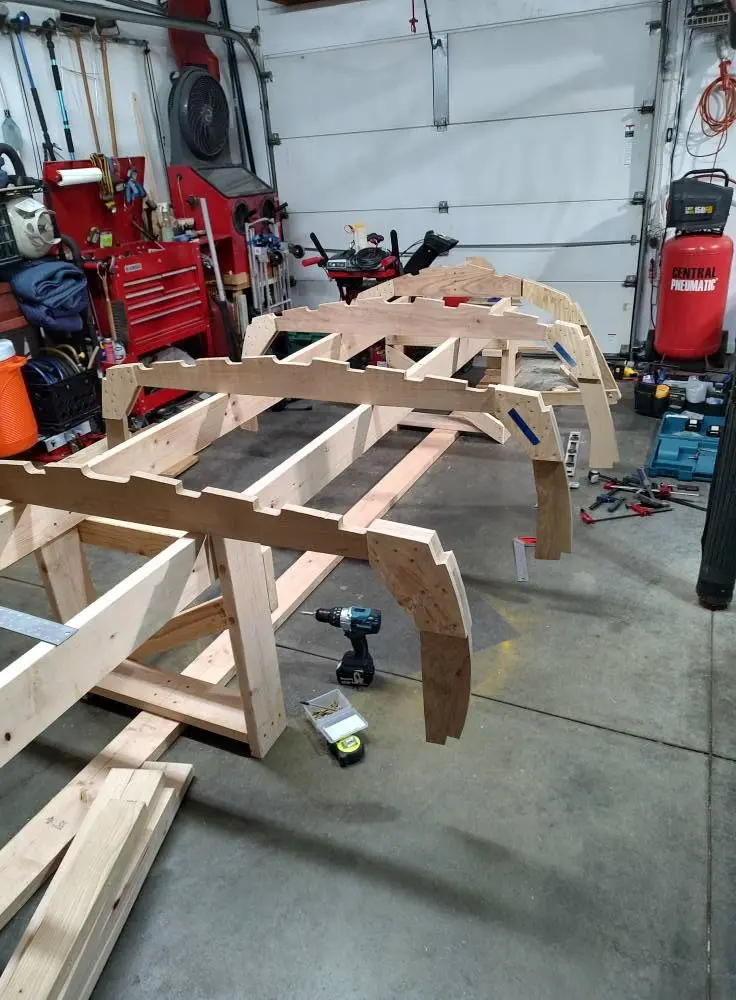
Time to move out of the workshop and into the garage. Building the strongback and aligning the frames took a couple of days to complete. The strongback was screwed to the floor to minimize movement.
Malahini: Framing it up
Photo 1
Malahini: Framing it up
Photo 2
Malahini: Framing it up
Photo 3

Shop & Tooling 3 h

Transom work

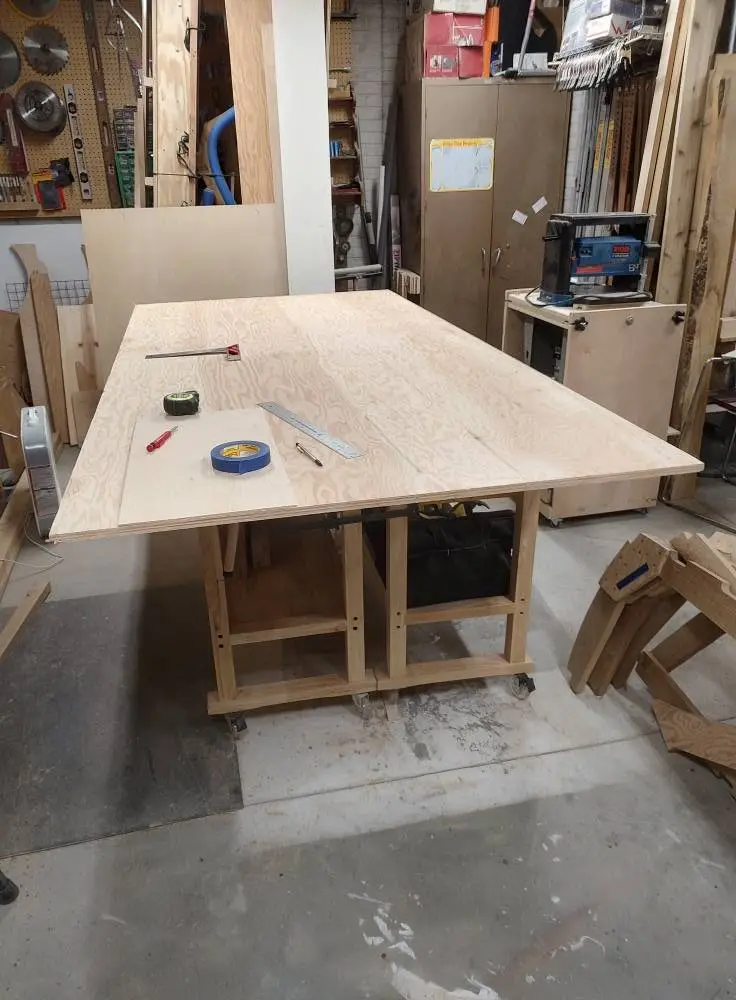
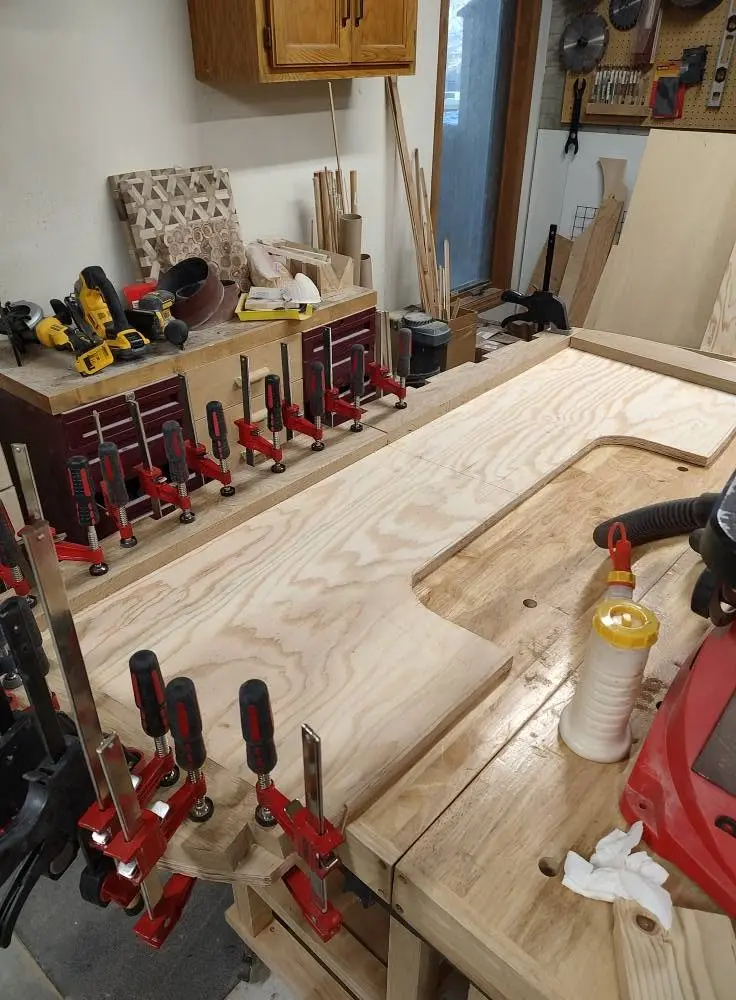
Cutting out the transom. I cut it out to accommodate a 15" motor shaft. Later in the build I will need to change the cut out to fit a 20" shaft. It is difficult to find 15" shaft boat motors in my area.
Malahini: Transom work
Photo 1
Malahini: Transom work
Photo 2

Shop & Tooling 4 h

Keel

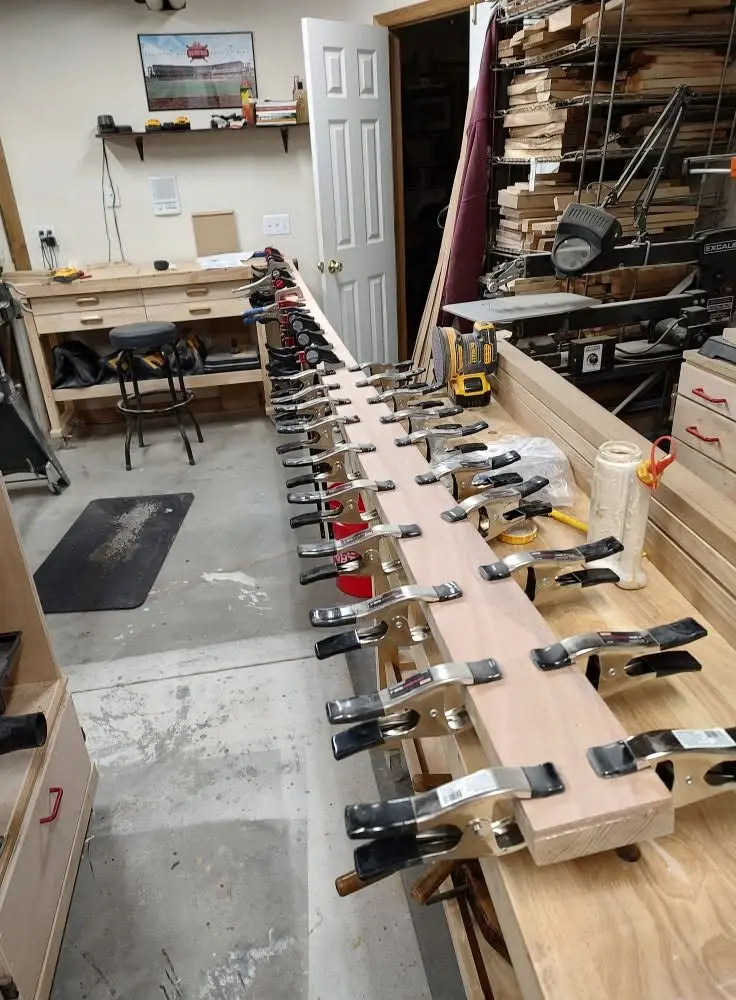
The keel was built in the basement workshop. Lots of clamps needed for this piece.
Malahini: Keel

Chapter 04

Hull Exterior

Turning over, keel and skeg, rubrails, exterior structure.
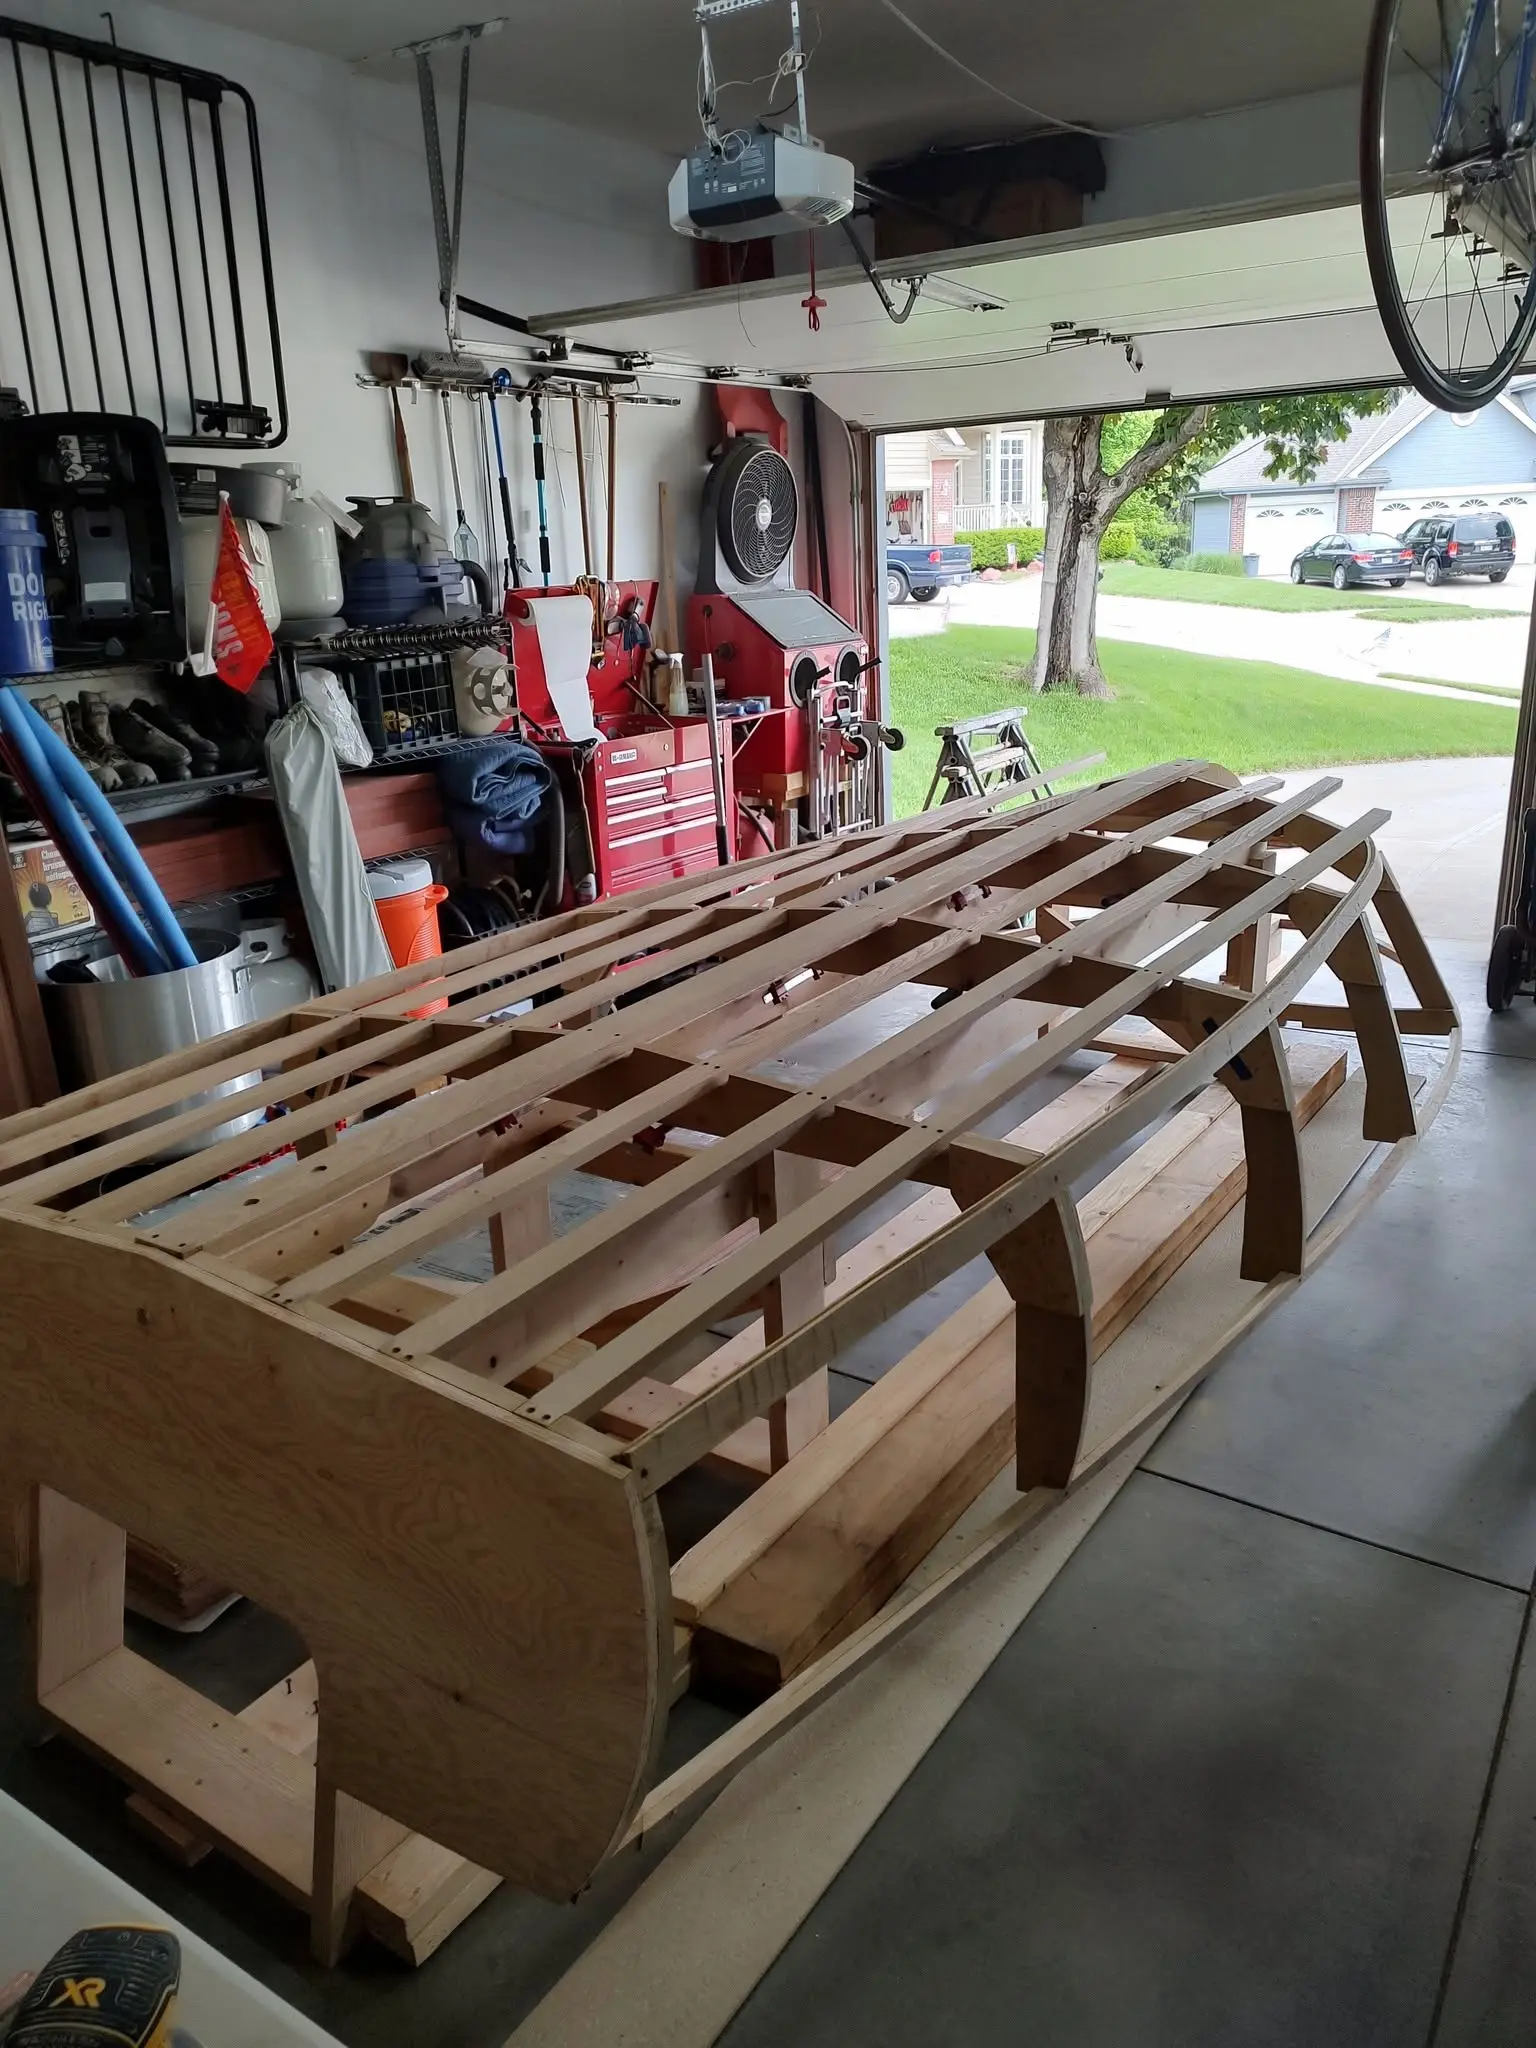
3 days 22 hours from May 2025

Hull Exterior

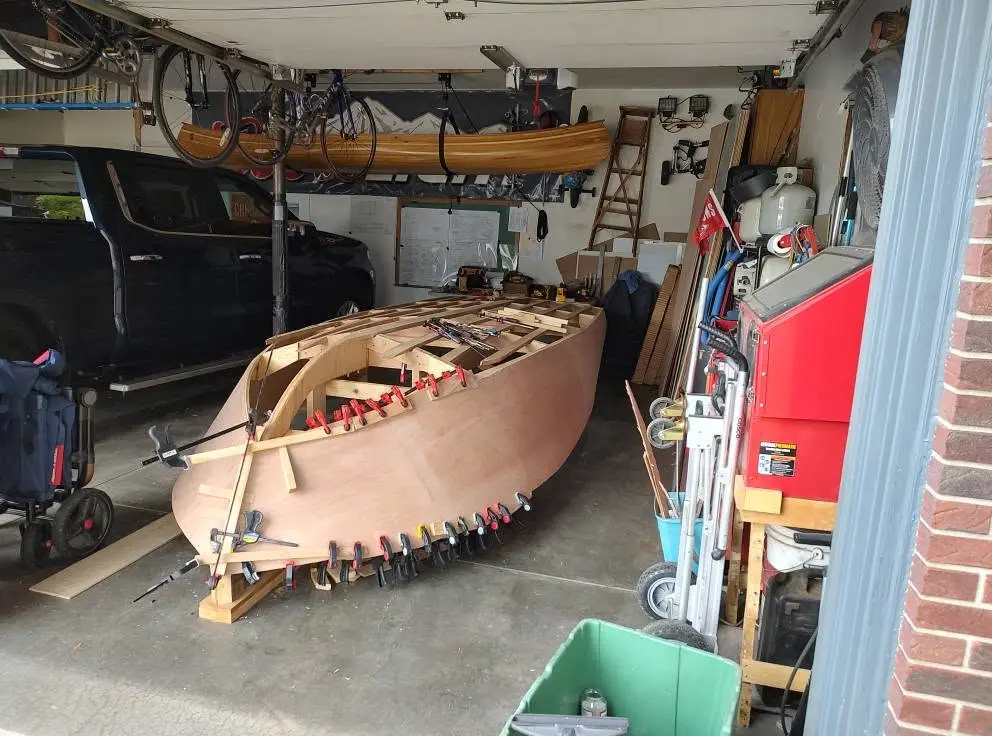
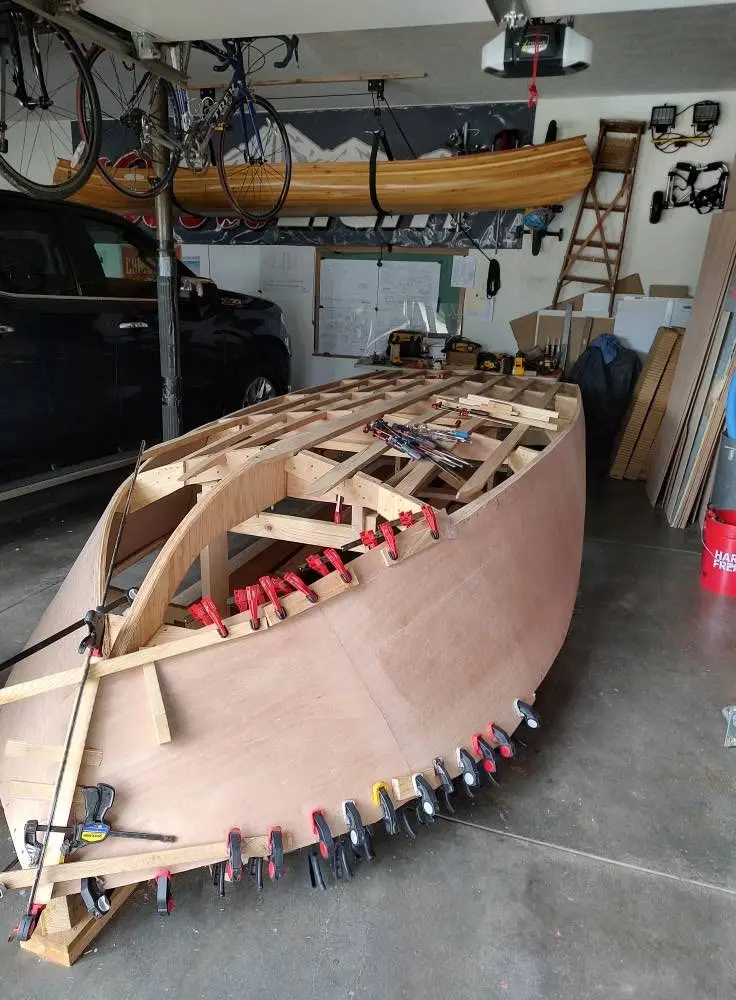
Things are shaping up

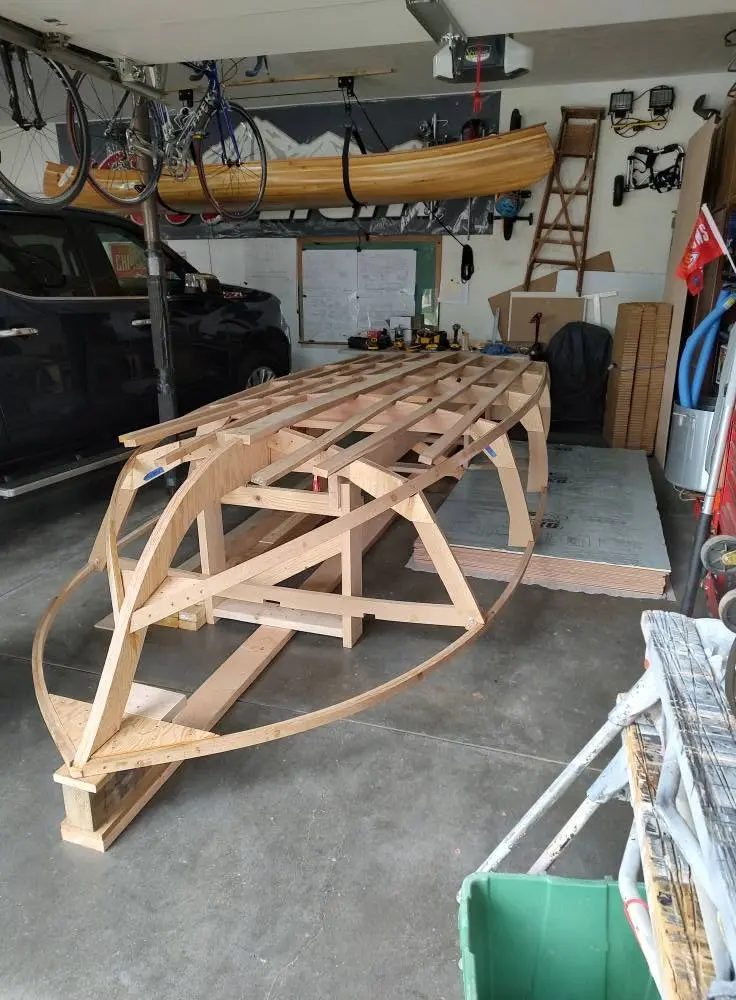
Attaching the shear clamps, chines and battens was a slightly challenging due to the white oak.
Malahini: Things are shaping up
Photo 1
Malahini: Things are shaping up
Photo 2
Malahini: Things are shaping up
Photo 3
Malahini: Things are shaping up
Photo 4

Hull Exterior 14 h

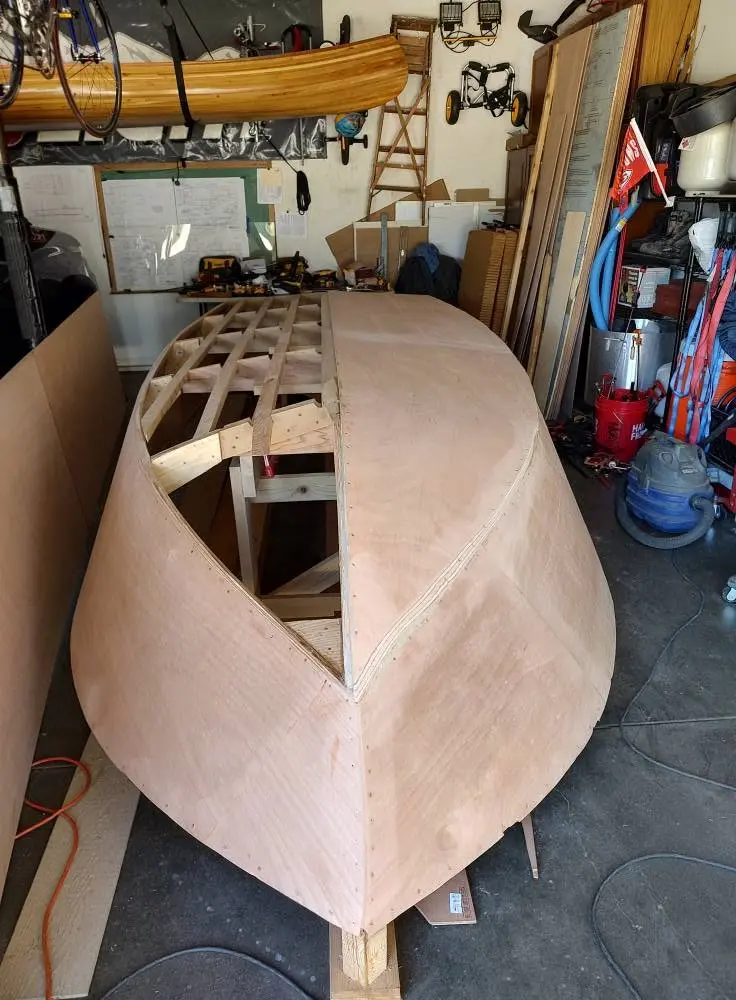
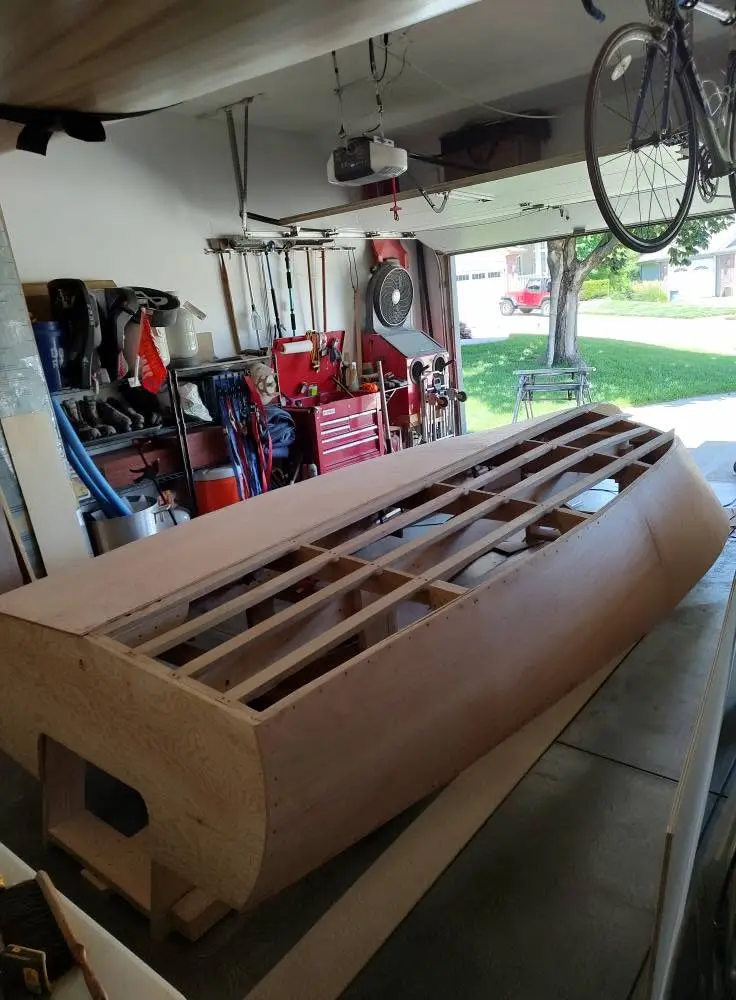
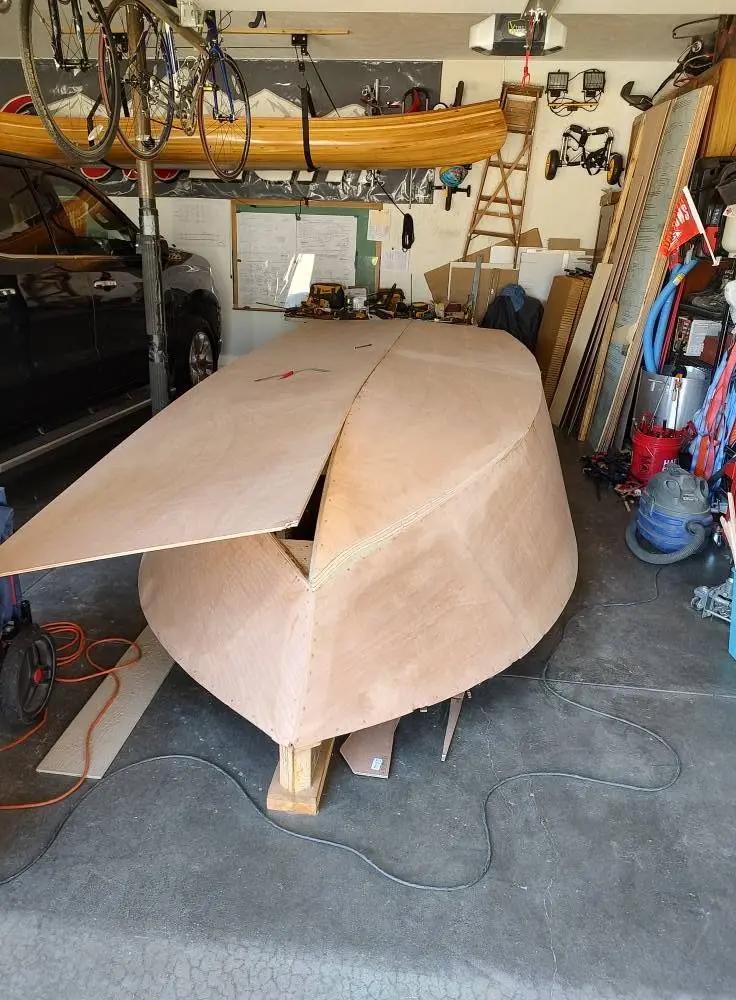
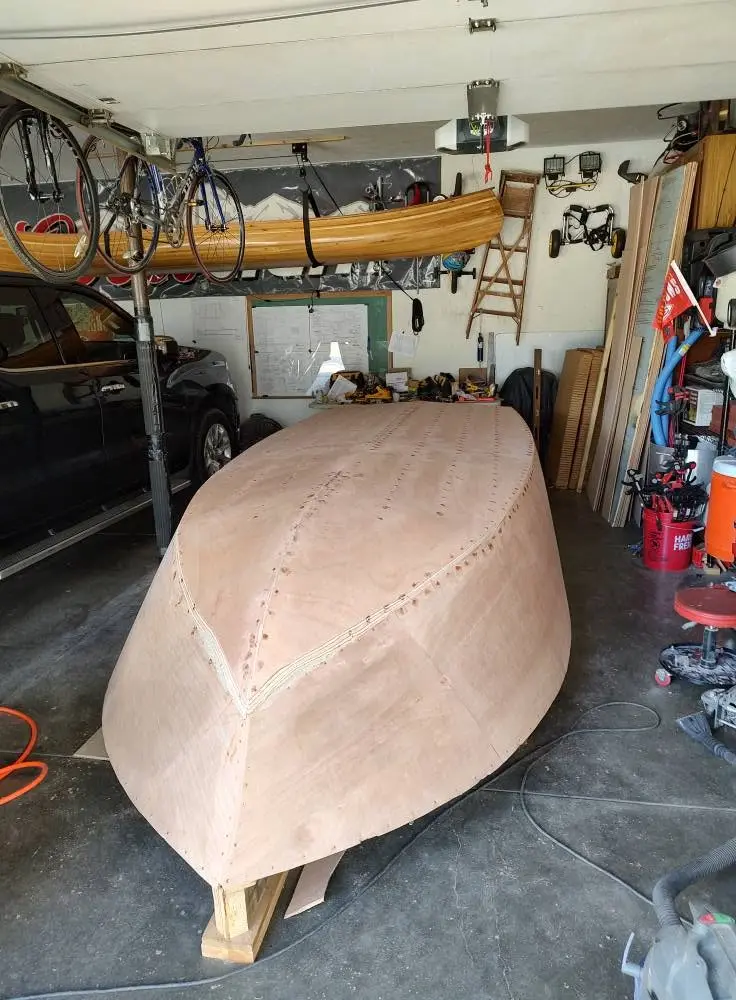
Attaching the panels to form the hull

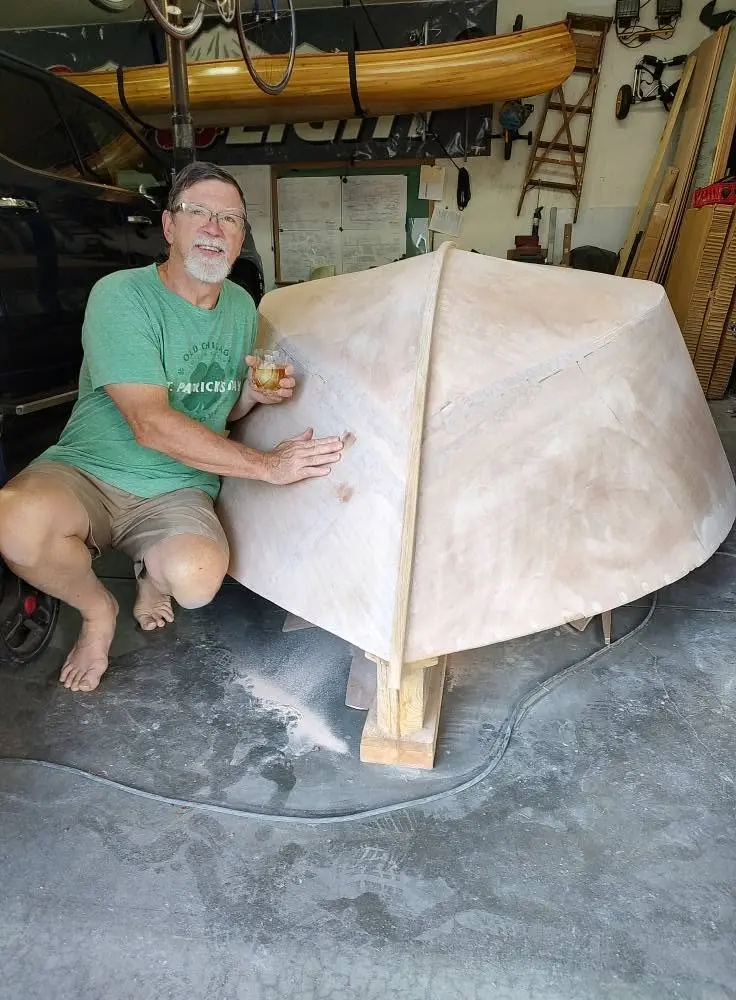
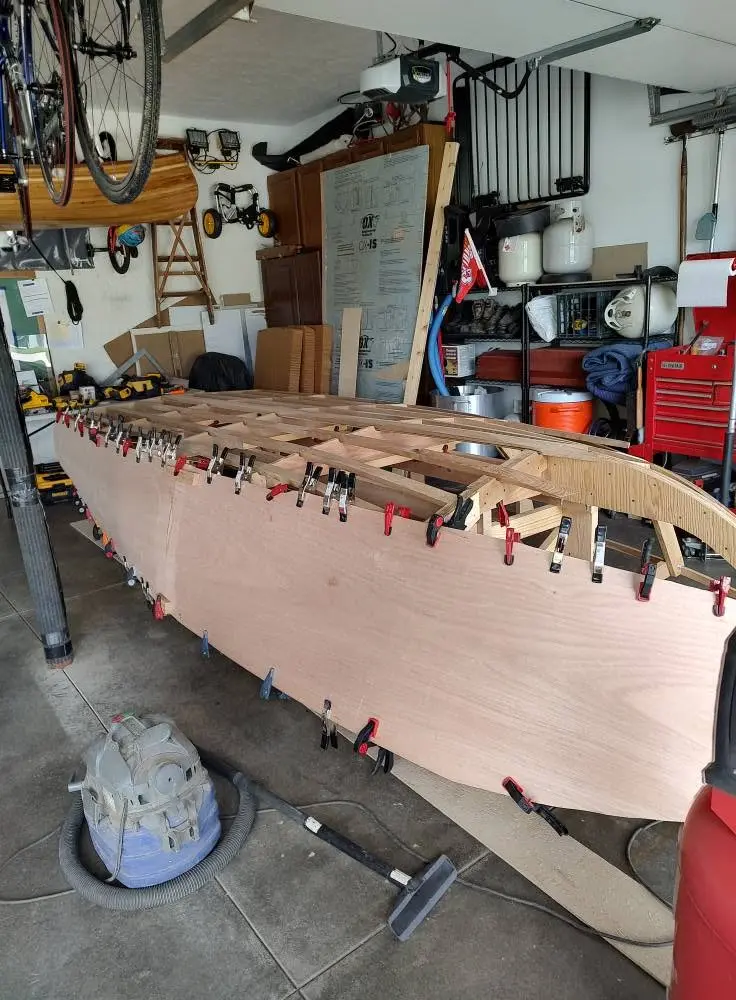
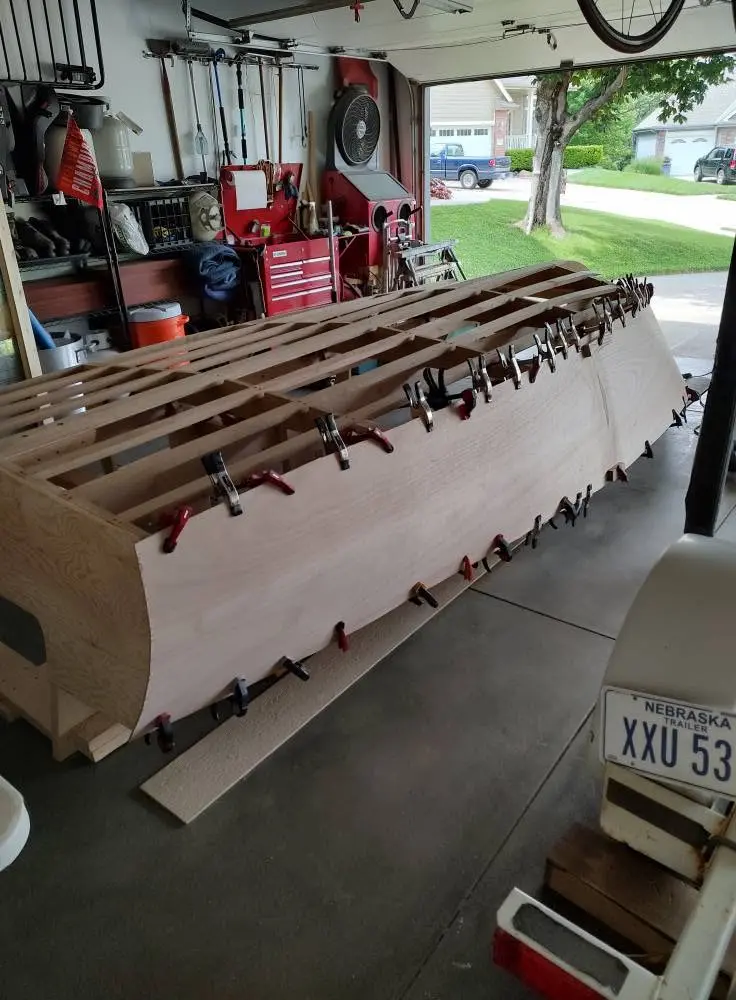
Attaching the mahogany plywood was the biggest challenge to date. Several towels soaked in boiling water were need to get the plywood flexible enough to shape to the frame. Besides clamps I had to use cargo ratchet straps to help get the panels in the right positions. It took several days to get it all positioned, glued and nailed to the frames. Last panel attached and a whiskey to celebrate.
Malahini: Attaching the panels to form the hull
Photo 1
Malahini: Attaching the panels to form the hull
Photo 2
Malahini: Attaching the panels to form the hull
Photo 3
Malahini: Attaching the panels to form the hull
Photo 4
Malahini: Attaching the panels to form the hull
Photo 5
Malahini: Attaching the panels to form the hull
Photo 6
Malahini: Attaching the panels to form the hull
Photo 7
Malahini: Attaching the panels to form the hull
Photo 8
Malahini: Attaching the panels to form the hull
Photo 9

Hull Exterior 8 h

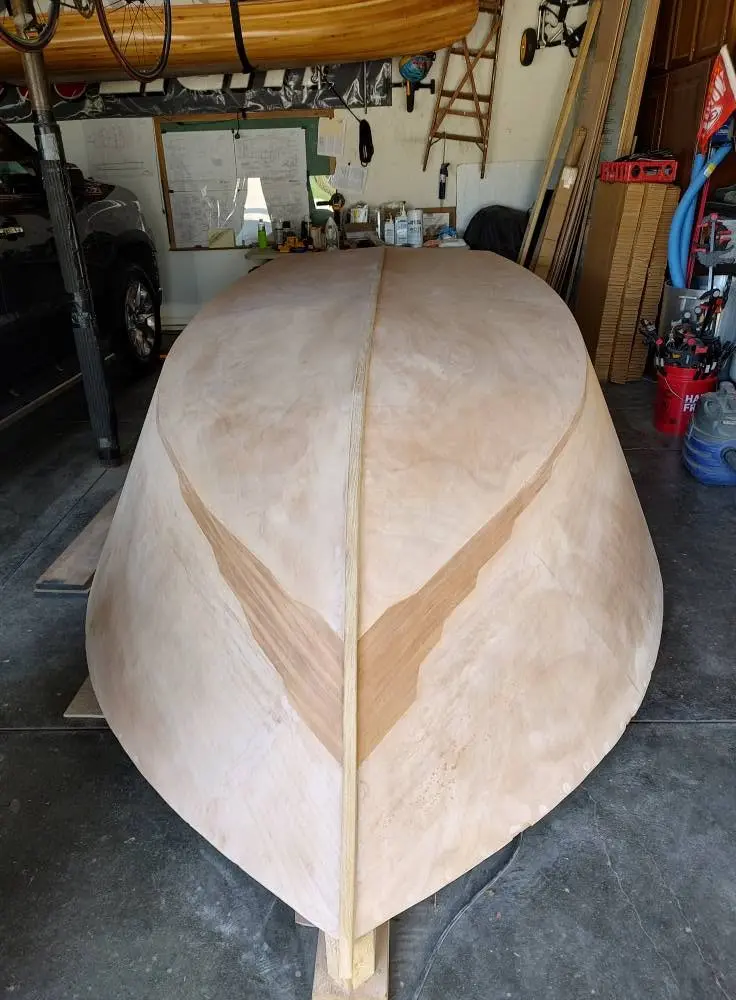
Final shaping and outer keel work

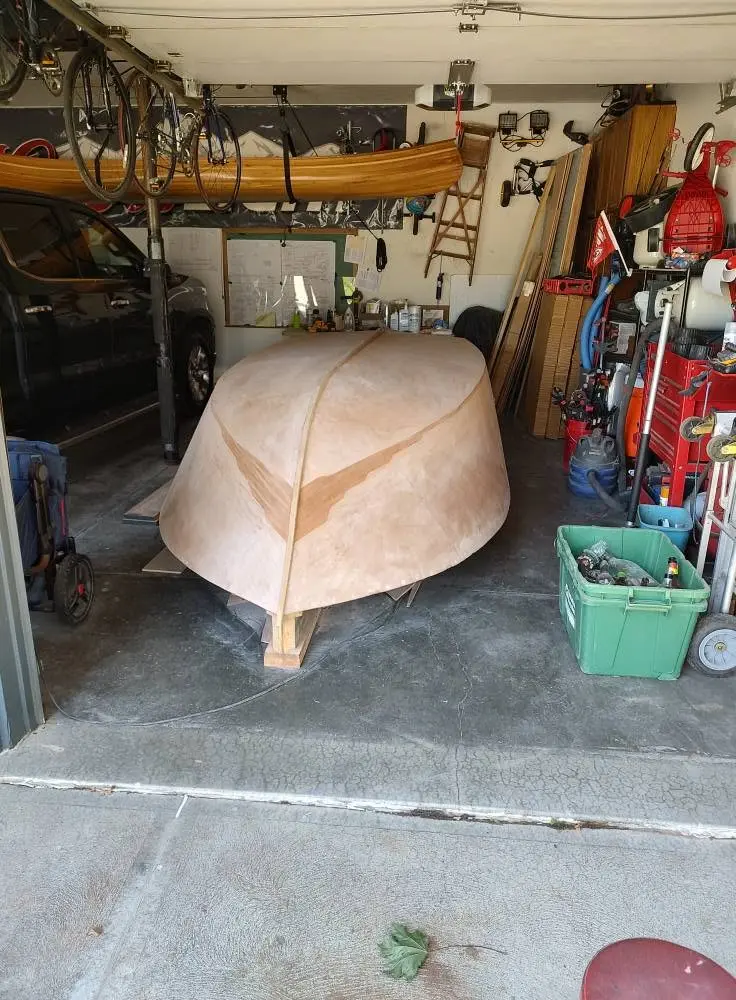
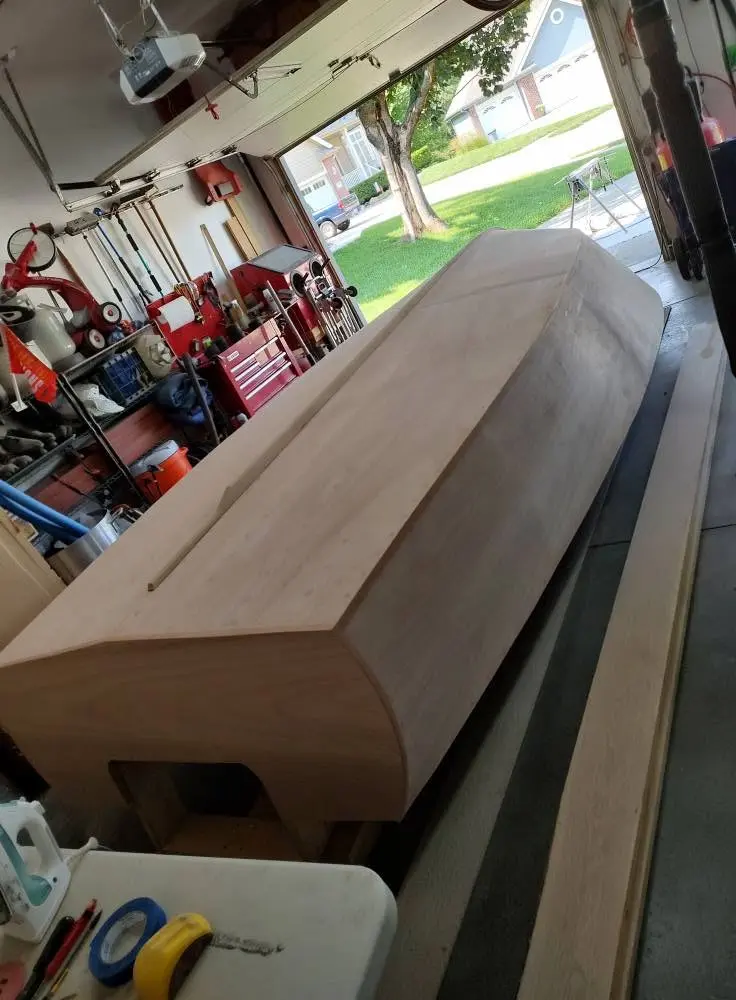
Adding some design to the hull and the outer keel. any exposed plywood edges were covered using mahogany veneer.
Malahini: Final shaping and outer keel work
Photo 1
Malahini: Final shaping and outer keel work
Photo 2
Malahini: Final shaping and outer keel work
Photo 3

Chapter 05

Glassing & Epoxy

Sheathing in cloth, wetting out, fill coats.
5 days 14 hours from September 2025

Glassing & Epoxy

Fiberglass

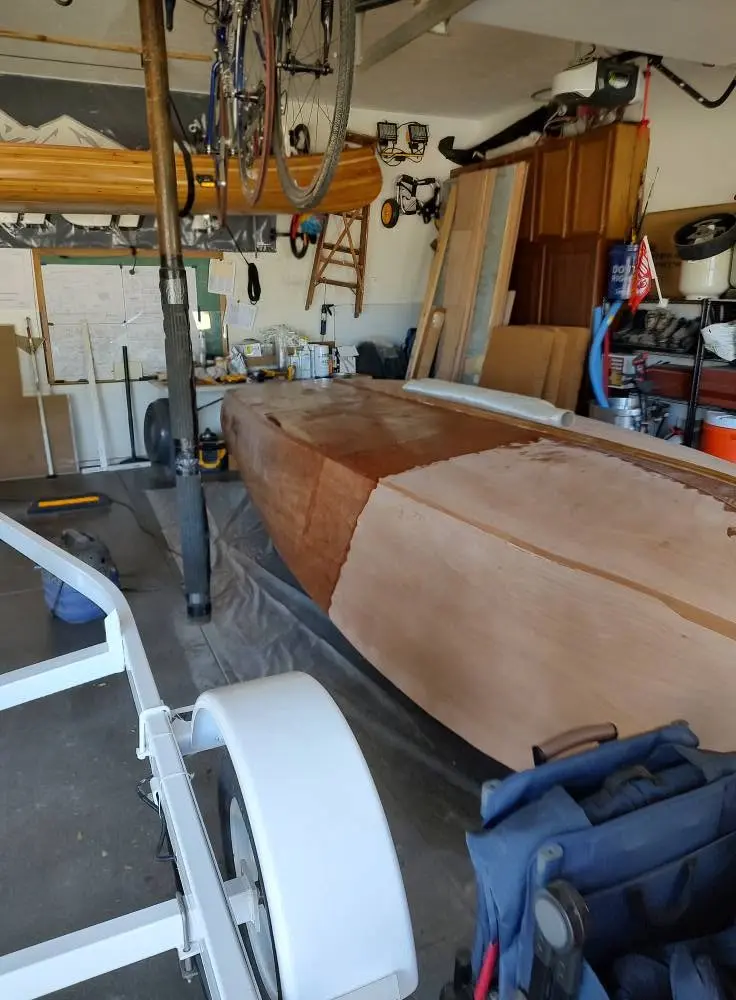
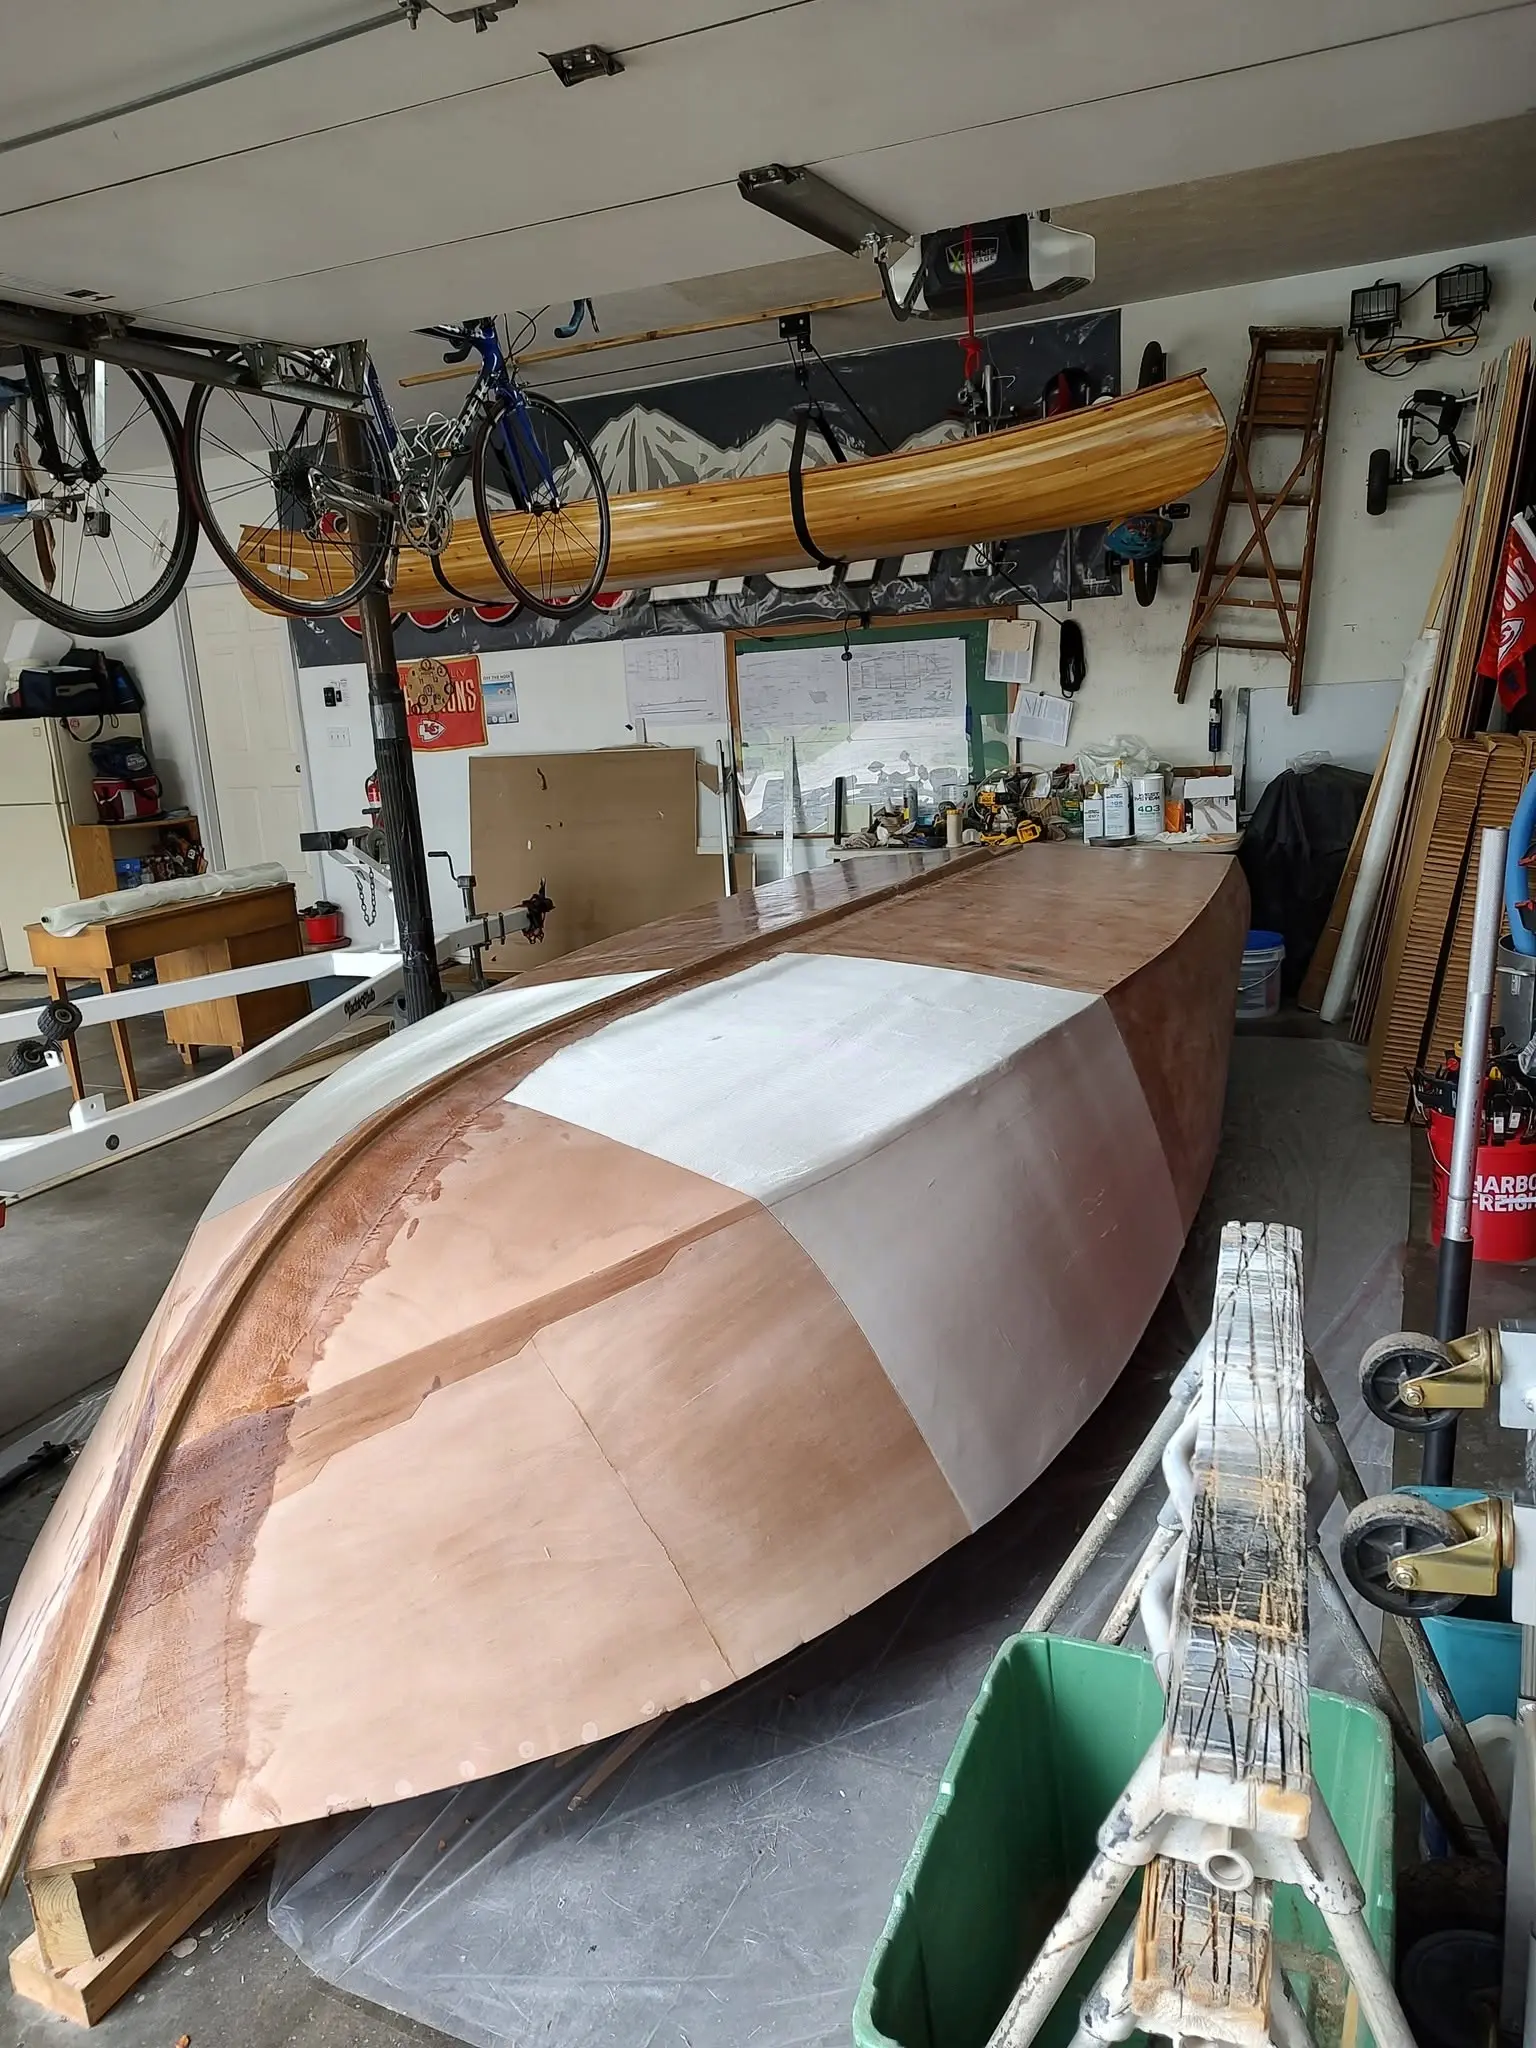
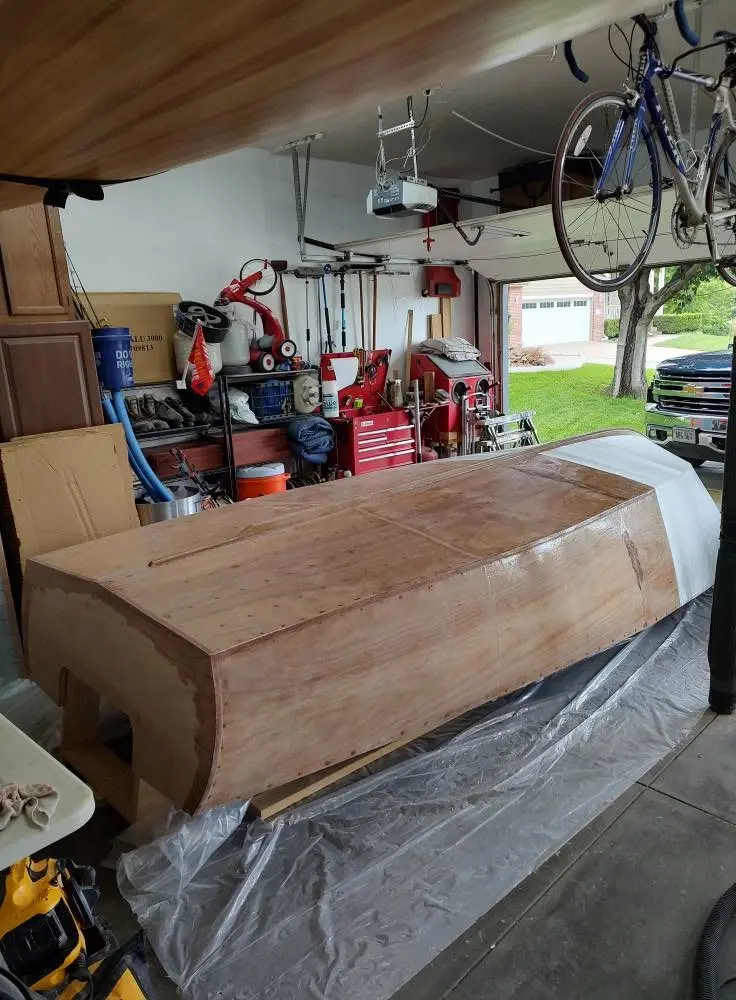
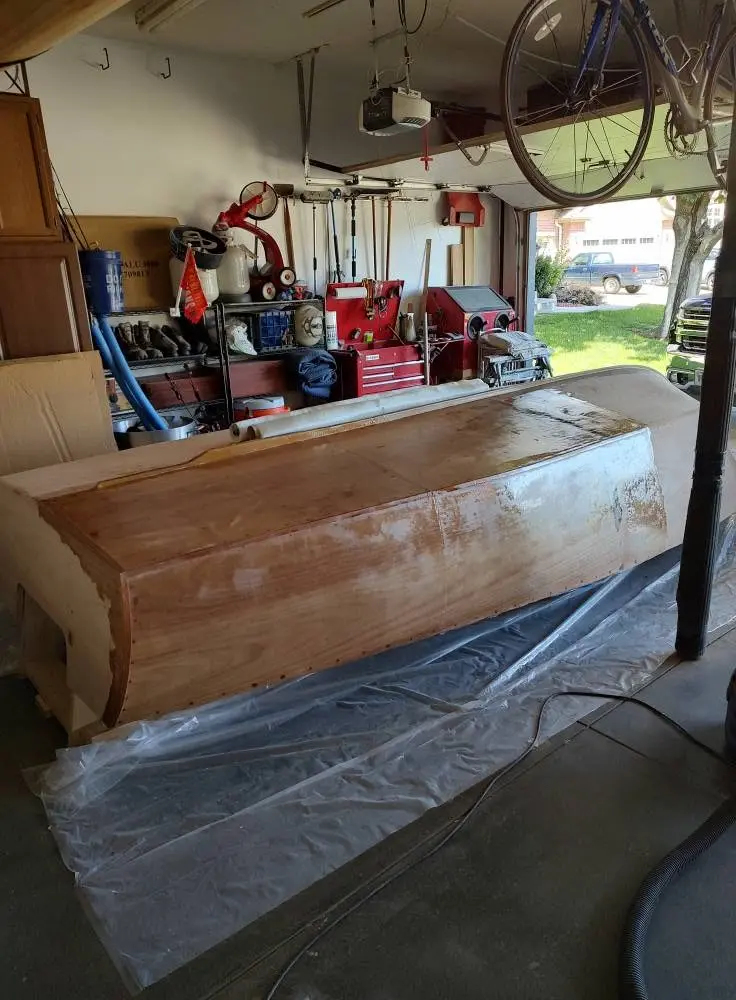
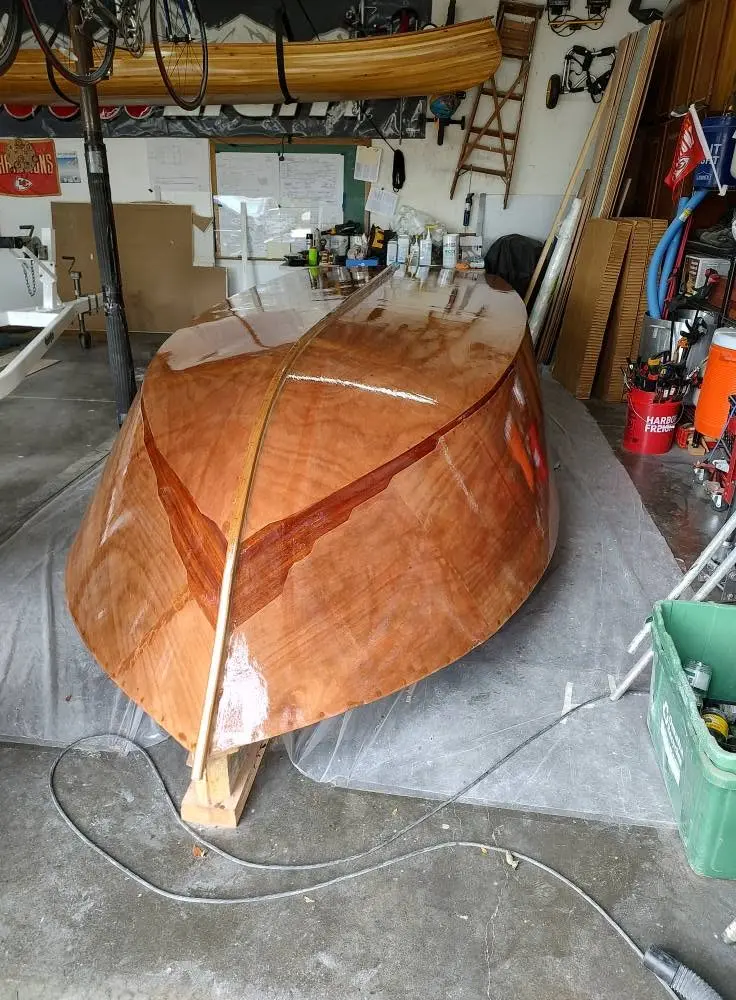
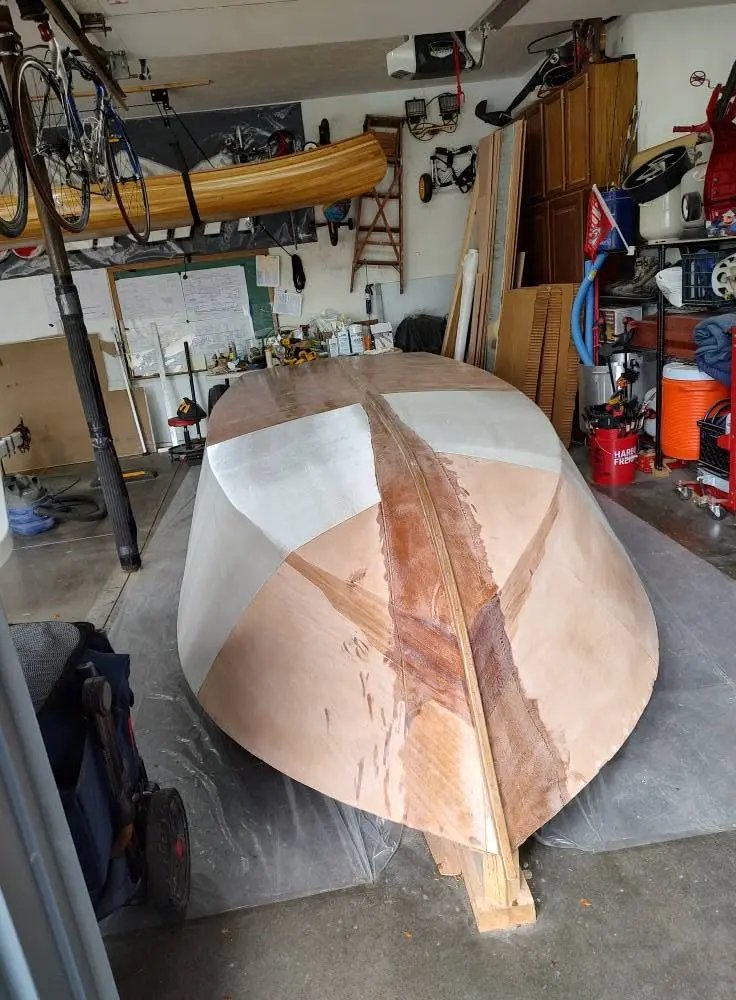
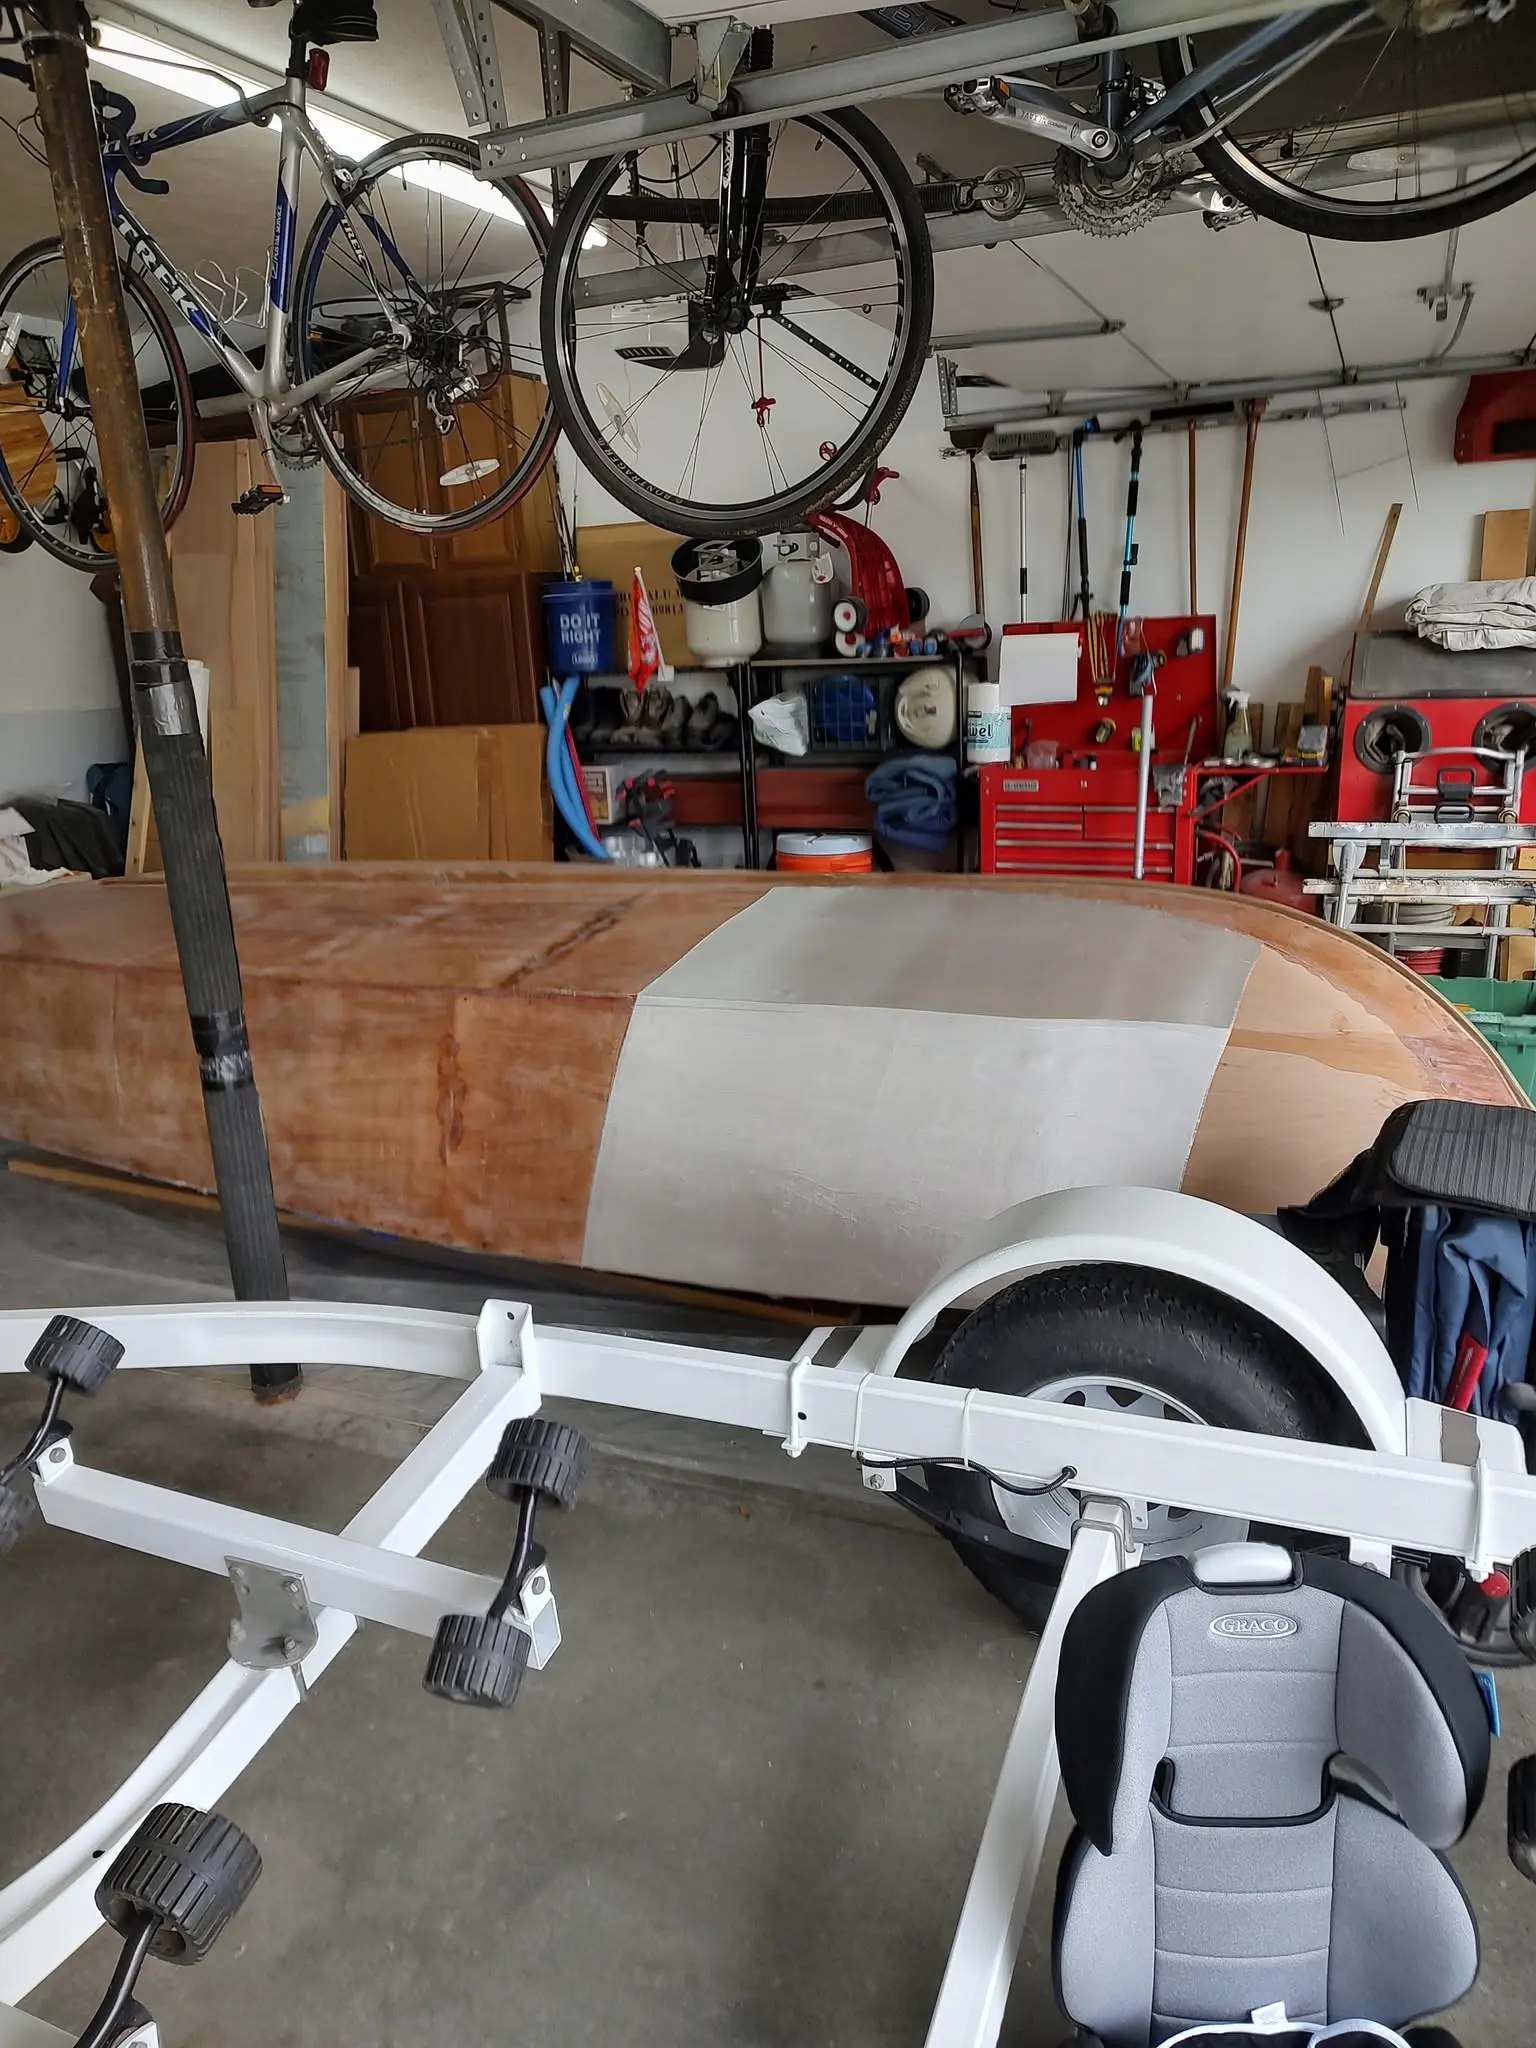
Fiber glass and epoxy for the hull. 1st coat was just epoxy, lightly sanded and then the 6 oz fiberglass was applied. Prior to putting fiberglass on the hull there was a strip of fiberglass run over the entire length of the outer keel to give it 2 fiberglass coverings when the full hull is fiber glassed.
Malahini: Fiberglass
Photo 1
Malahini: Fiberglass
Photo 2
Malahini: Fiberglass
Photo 3
Malahini: Fiberglass
Photo 4
Malahini: Fiberglass
Photo 5
Malahini: Fiberglass
Photo 6
Malahini: Fiberglass
Photo 7

Chapter 06

Trailer & Gear

Trailer build or rework, cradles, covers, launching gear.
1 day 4 hours from September 2025

Trailer & Gear 3.5 h

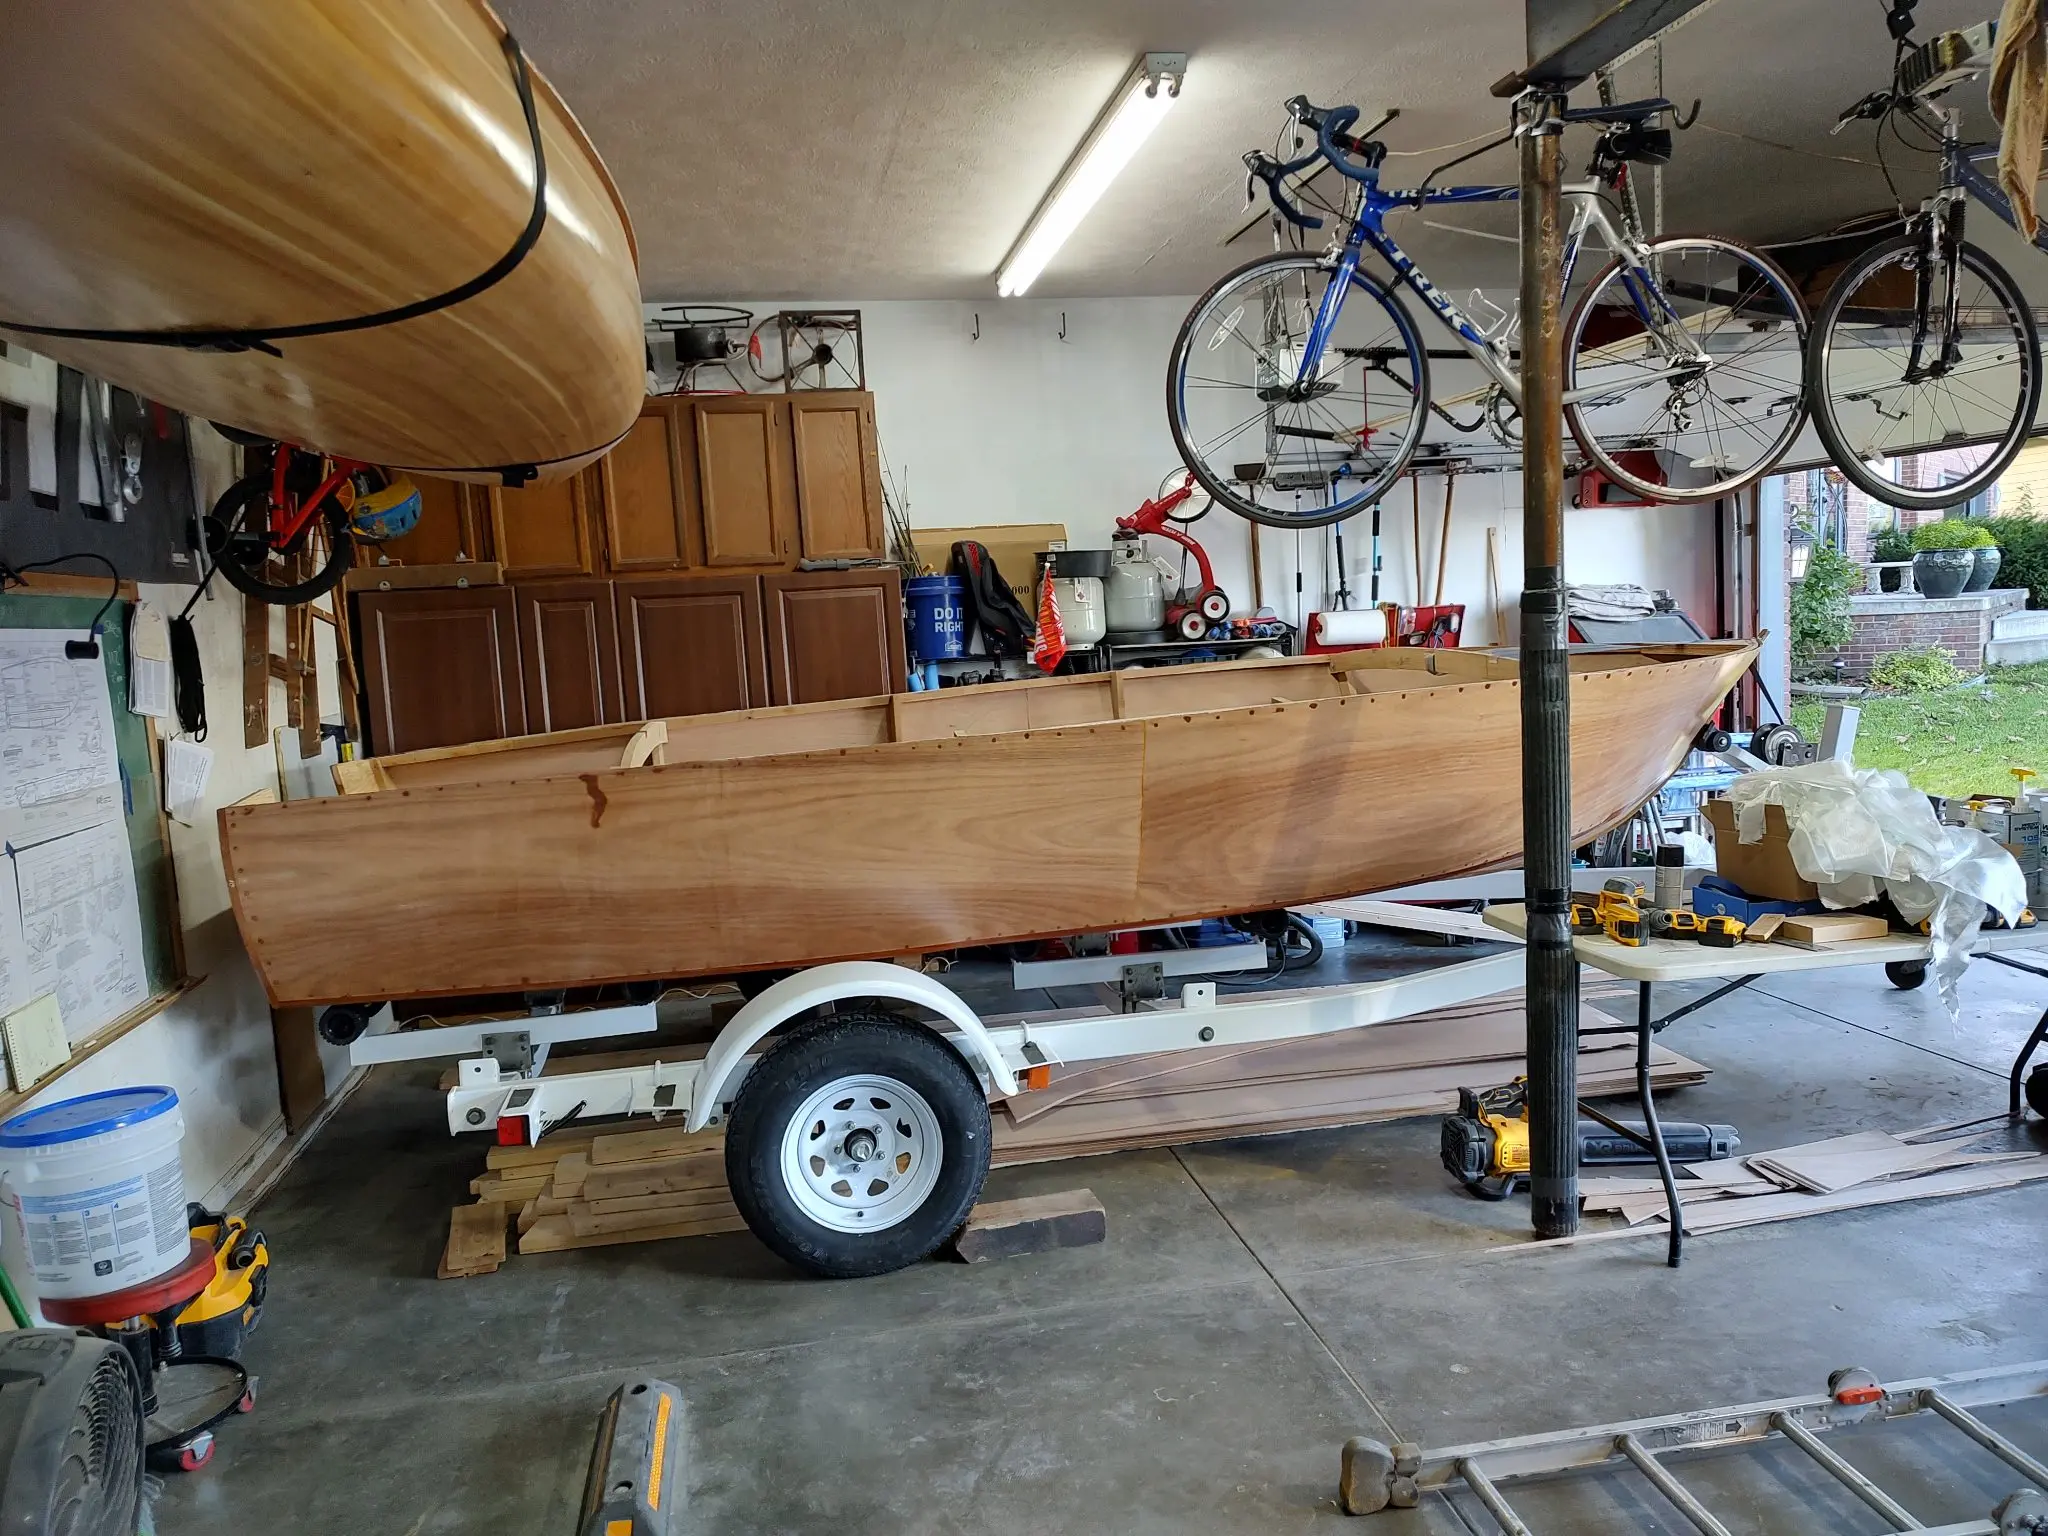
Trailer prep

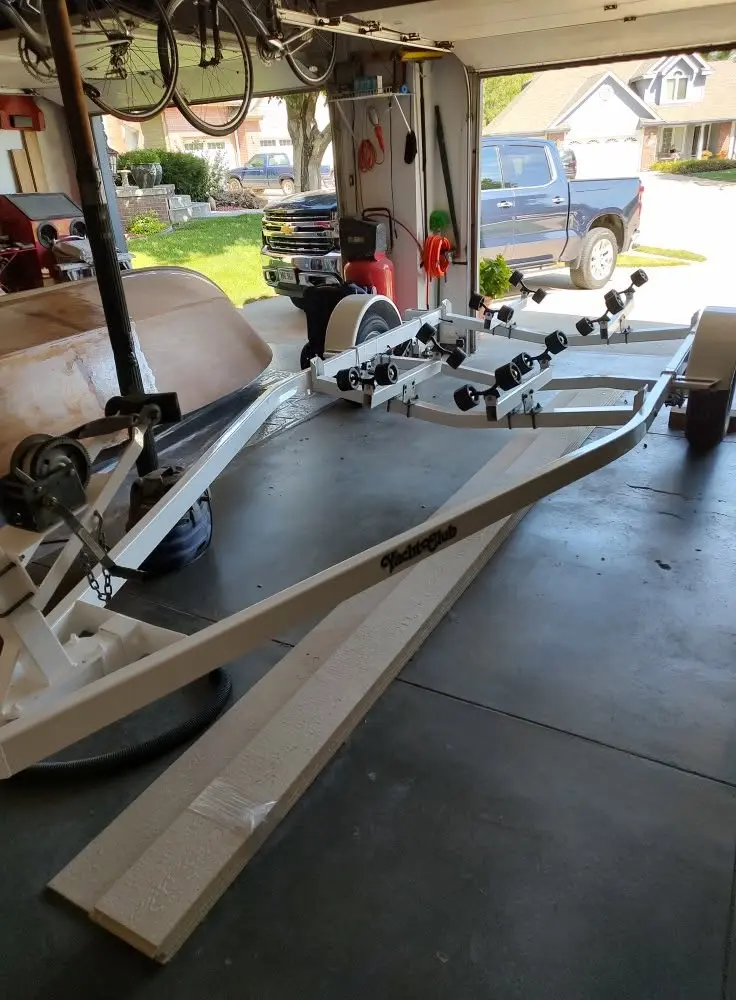
Time to get a trailer ready for the boat flip in a few weeks. Trailer was purchased for $400 and needed to be repainted and cleaned up.

Malahini: Trailer prep

Glassing & Epoxy

Hull finishing work

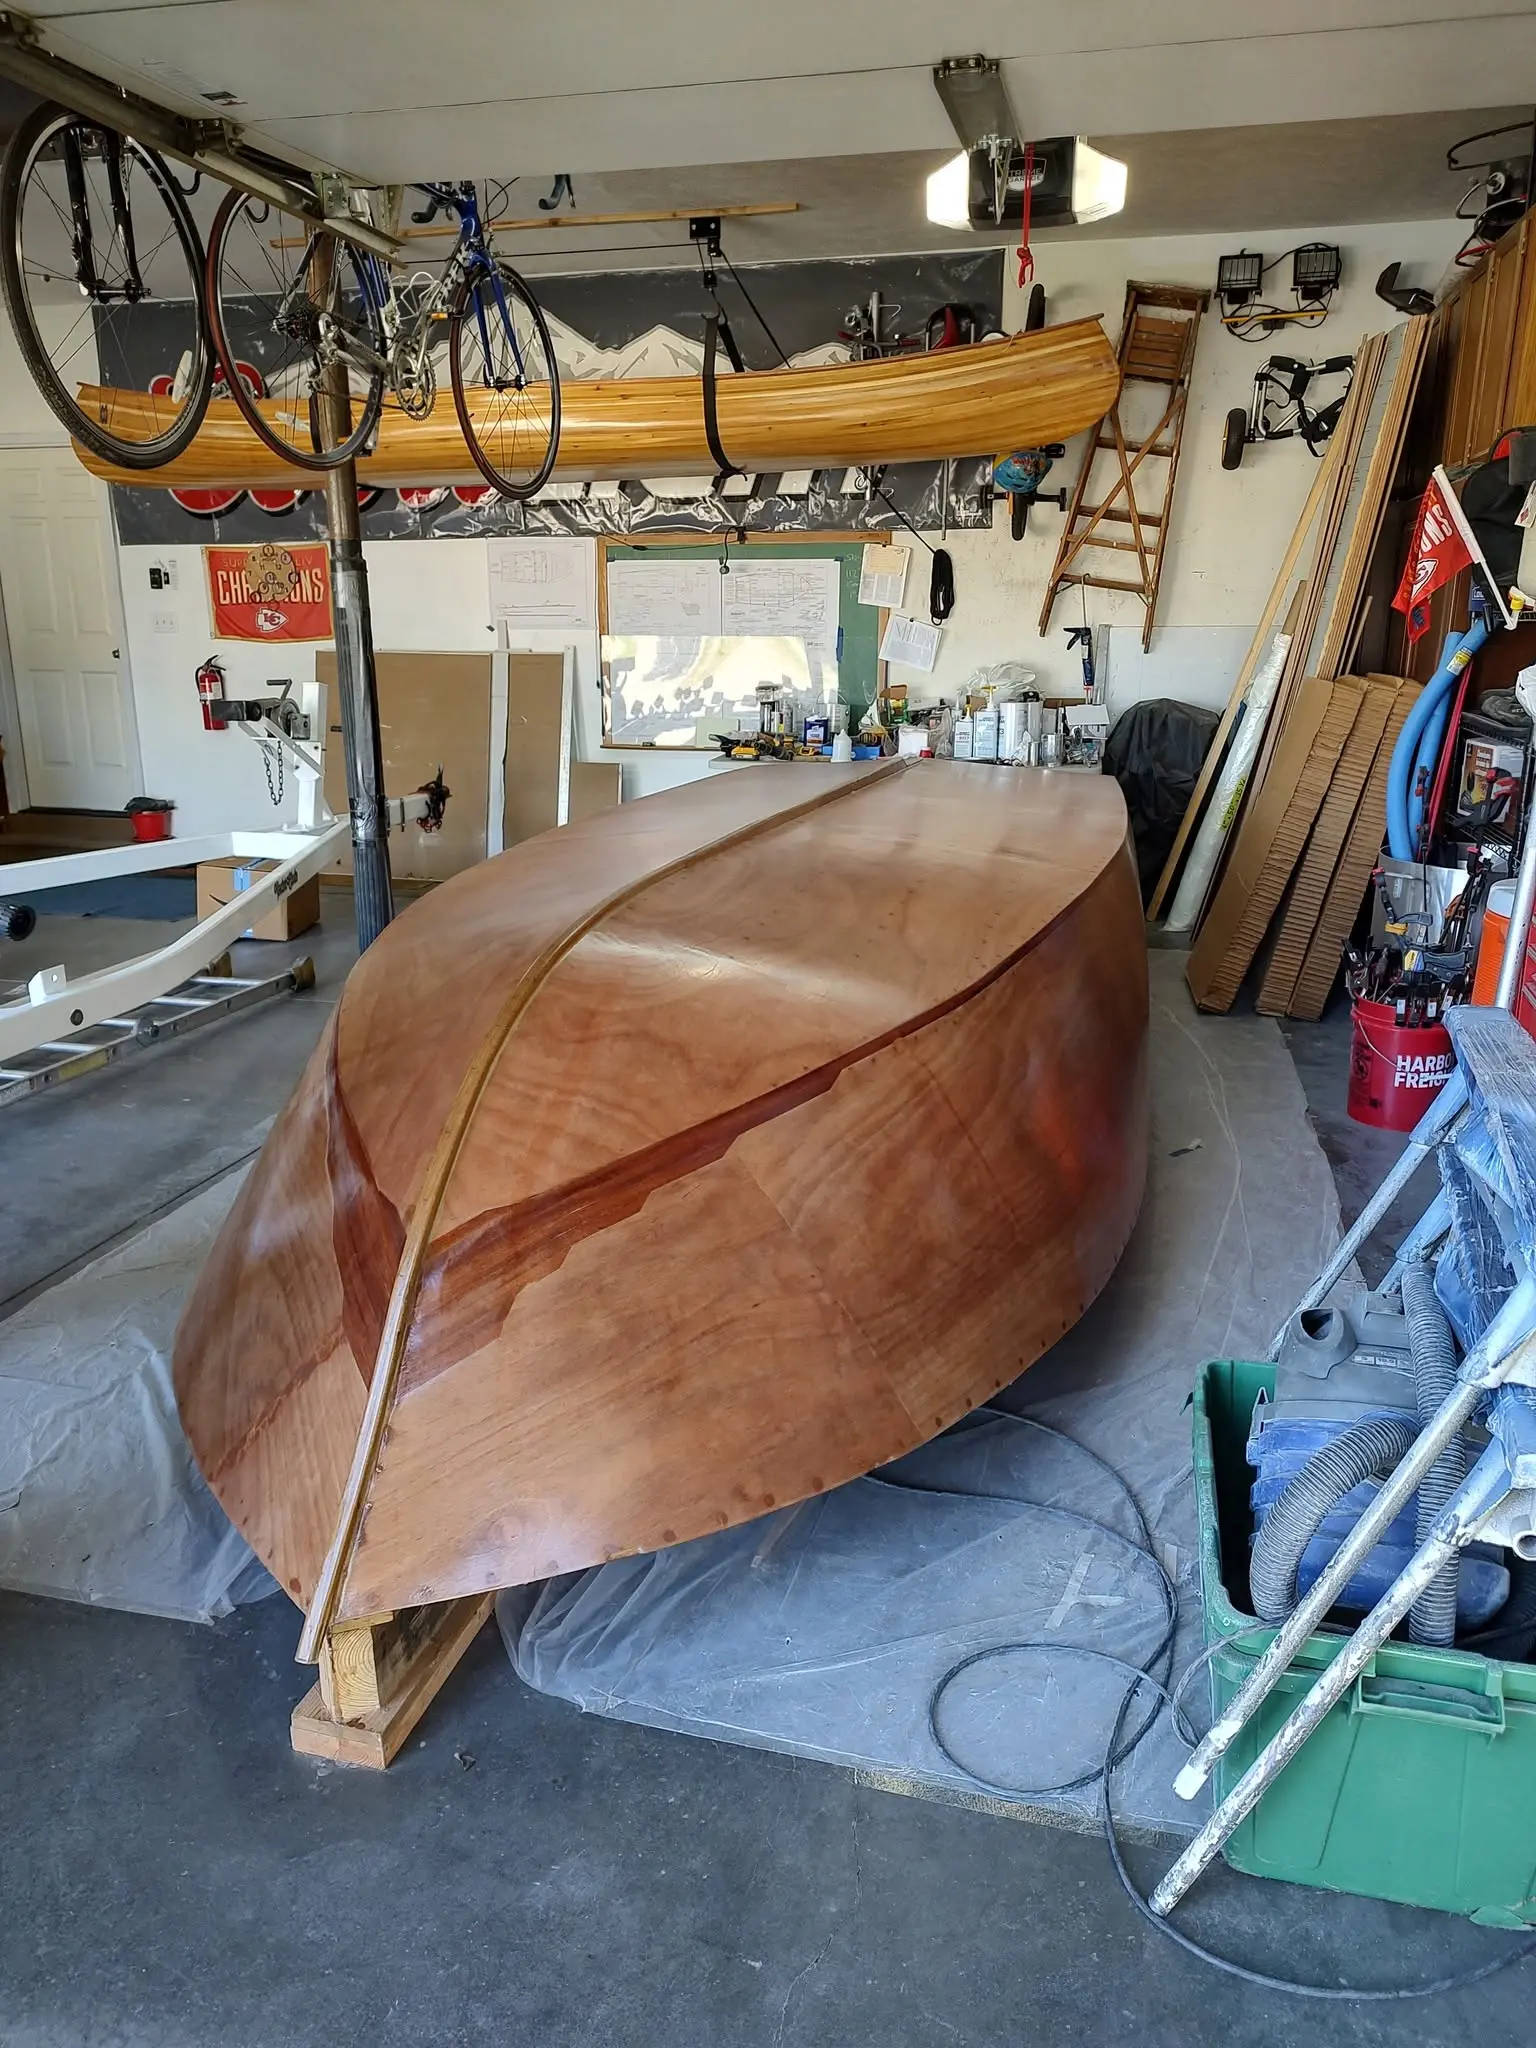
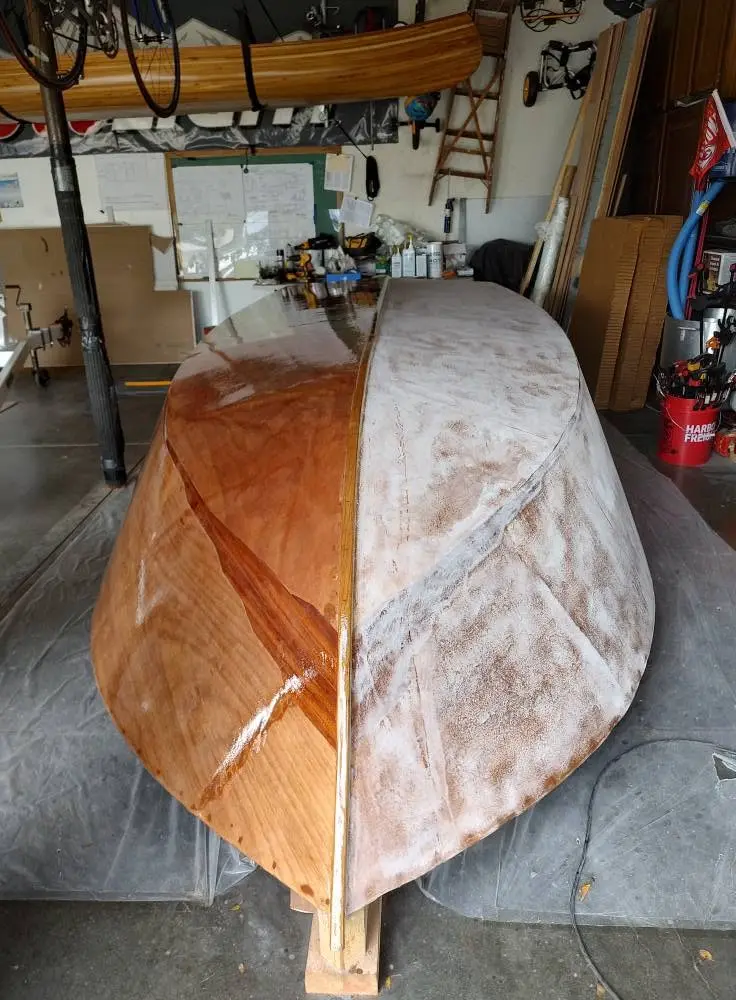
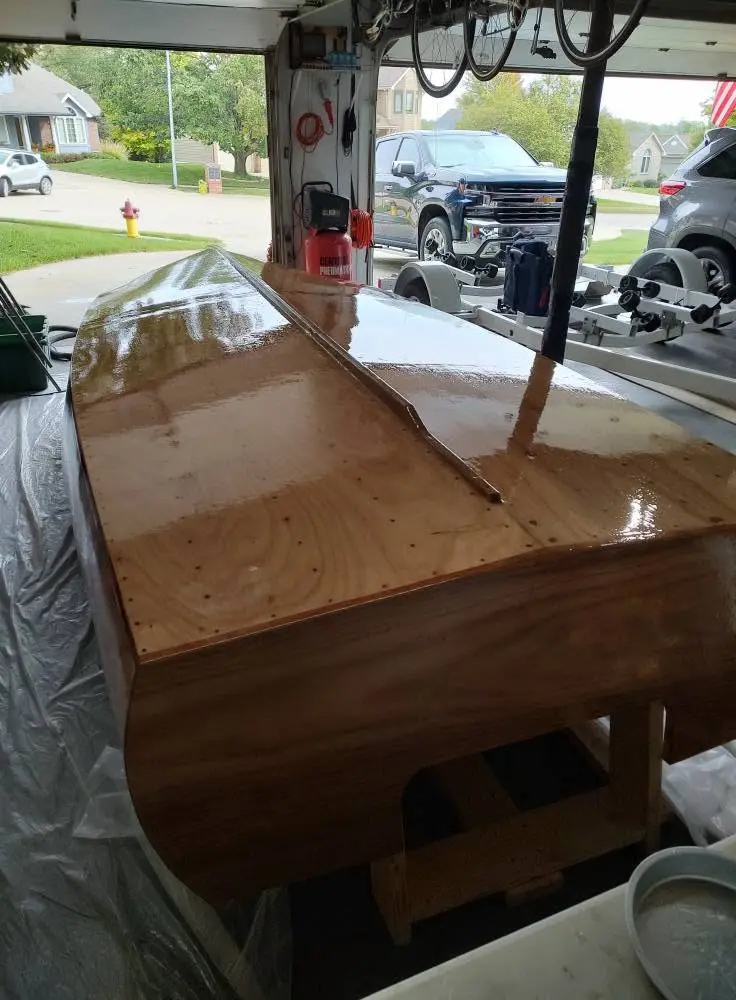
Lots of sanding between epoxy applications and spar urethane. I ended with 3 coats of each. Another coat of urethane near the end of the build is planned.
Malahini: Hull finishing work
Photo 1
Malahini: Hull finishing work
Photo 2
Malahini: Hull finishing work
Photo 3
Malahini: Hull finishing work
Photo 4

1 h

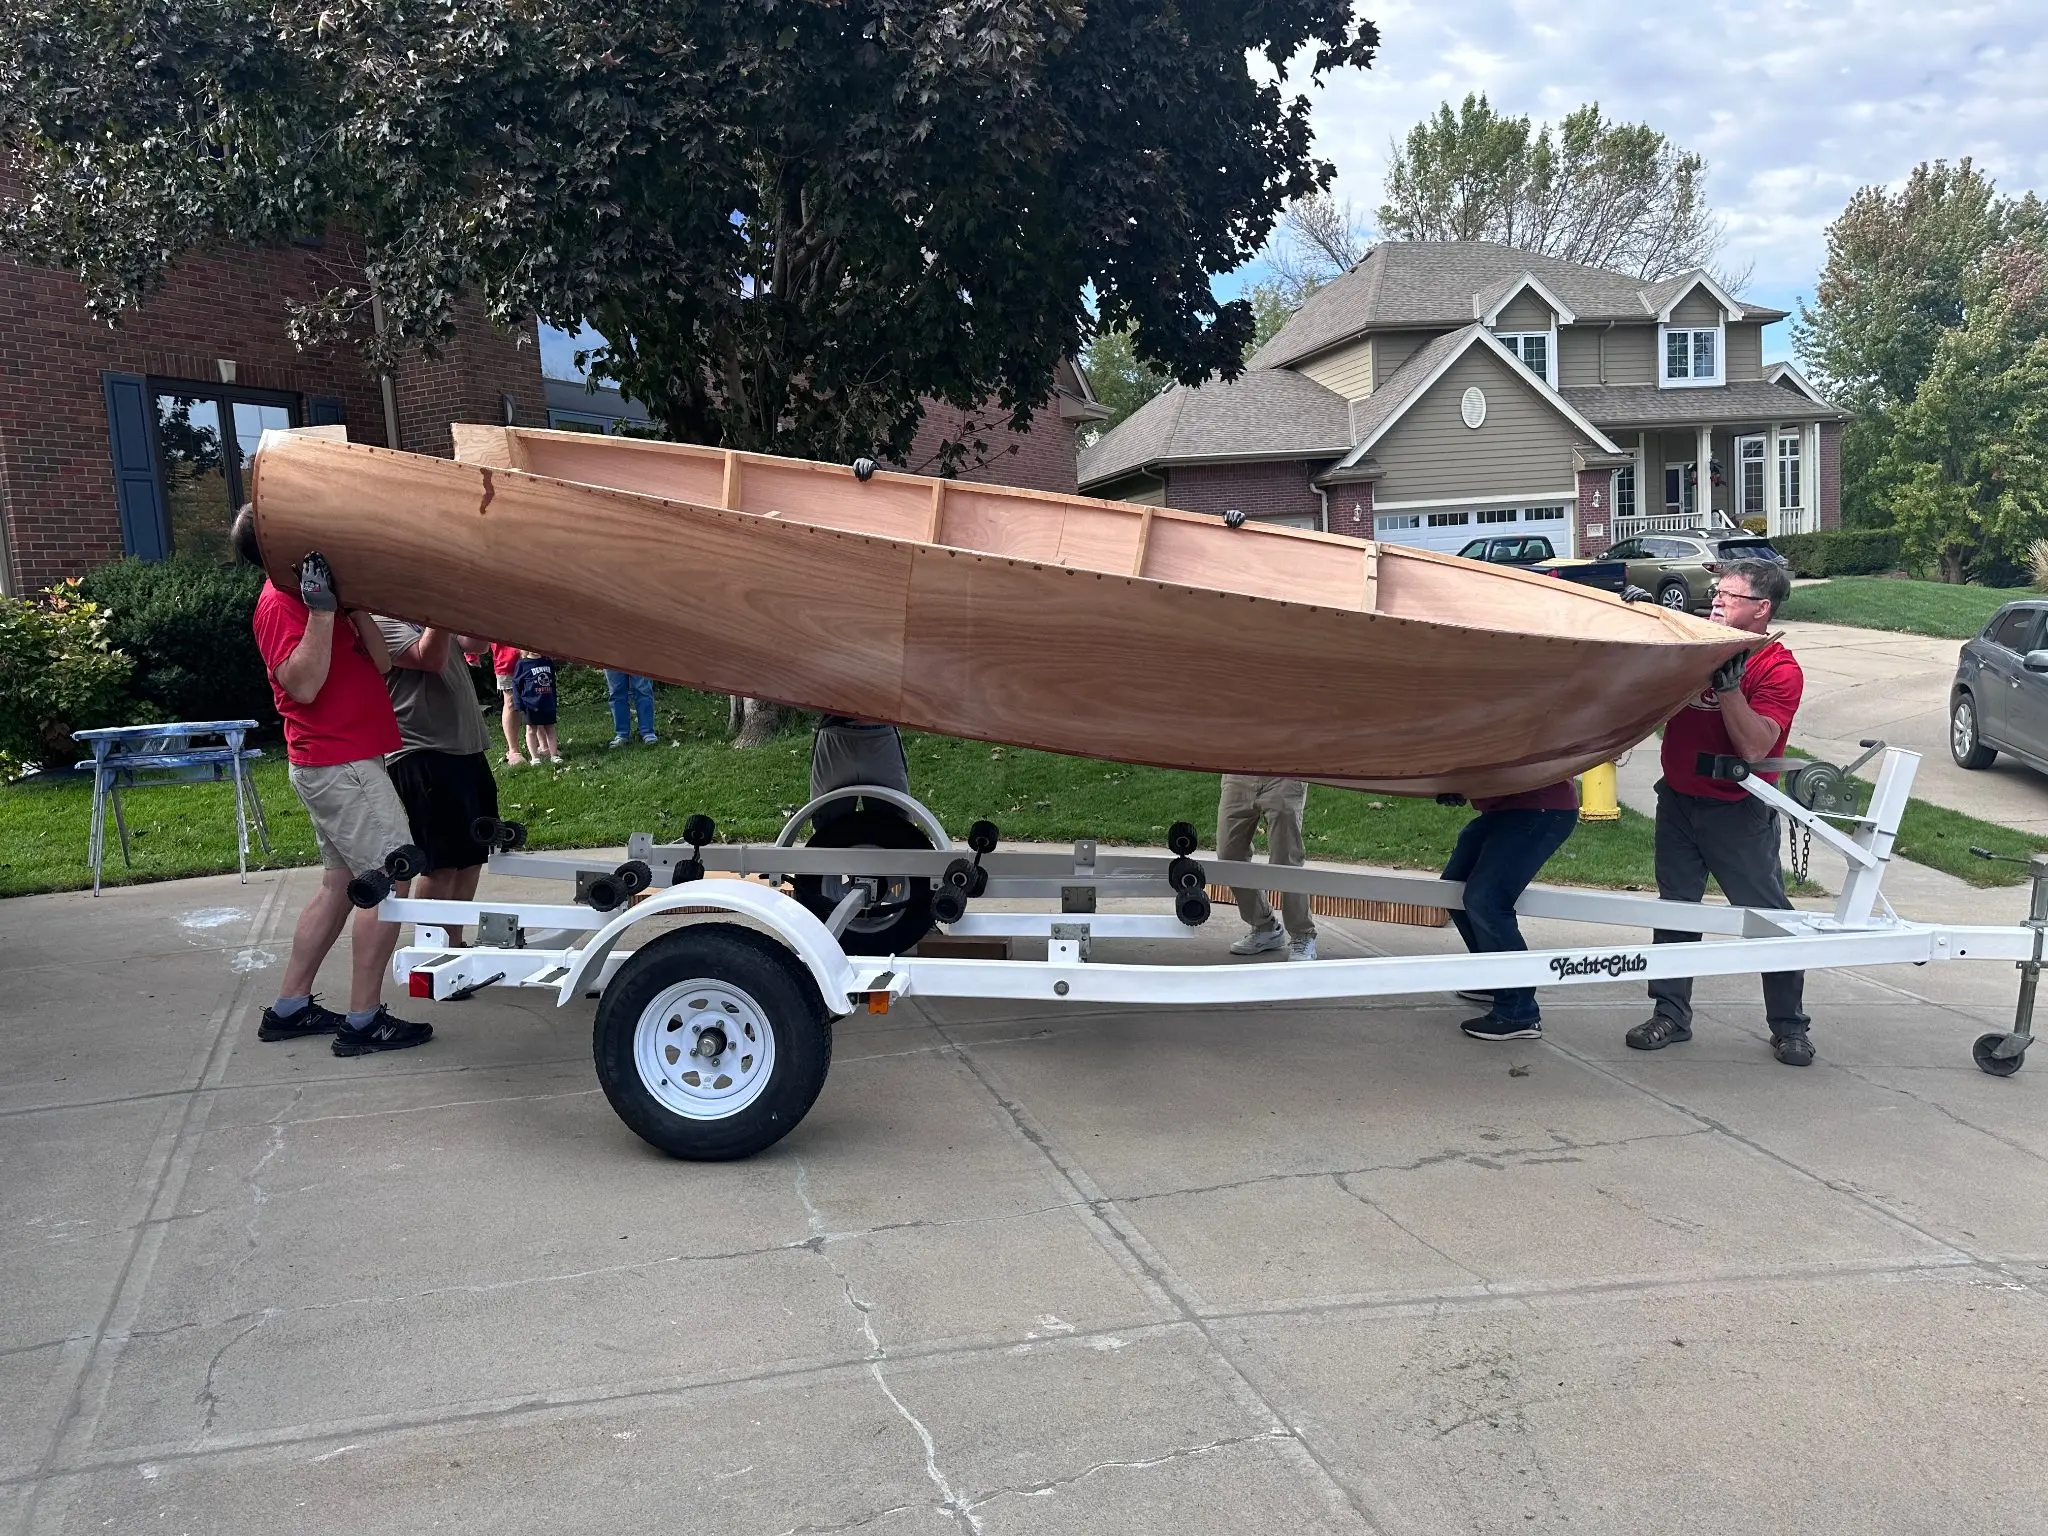
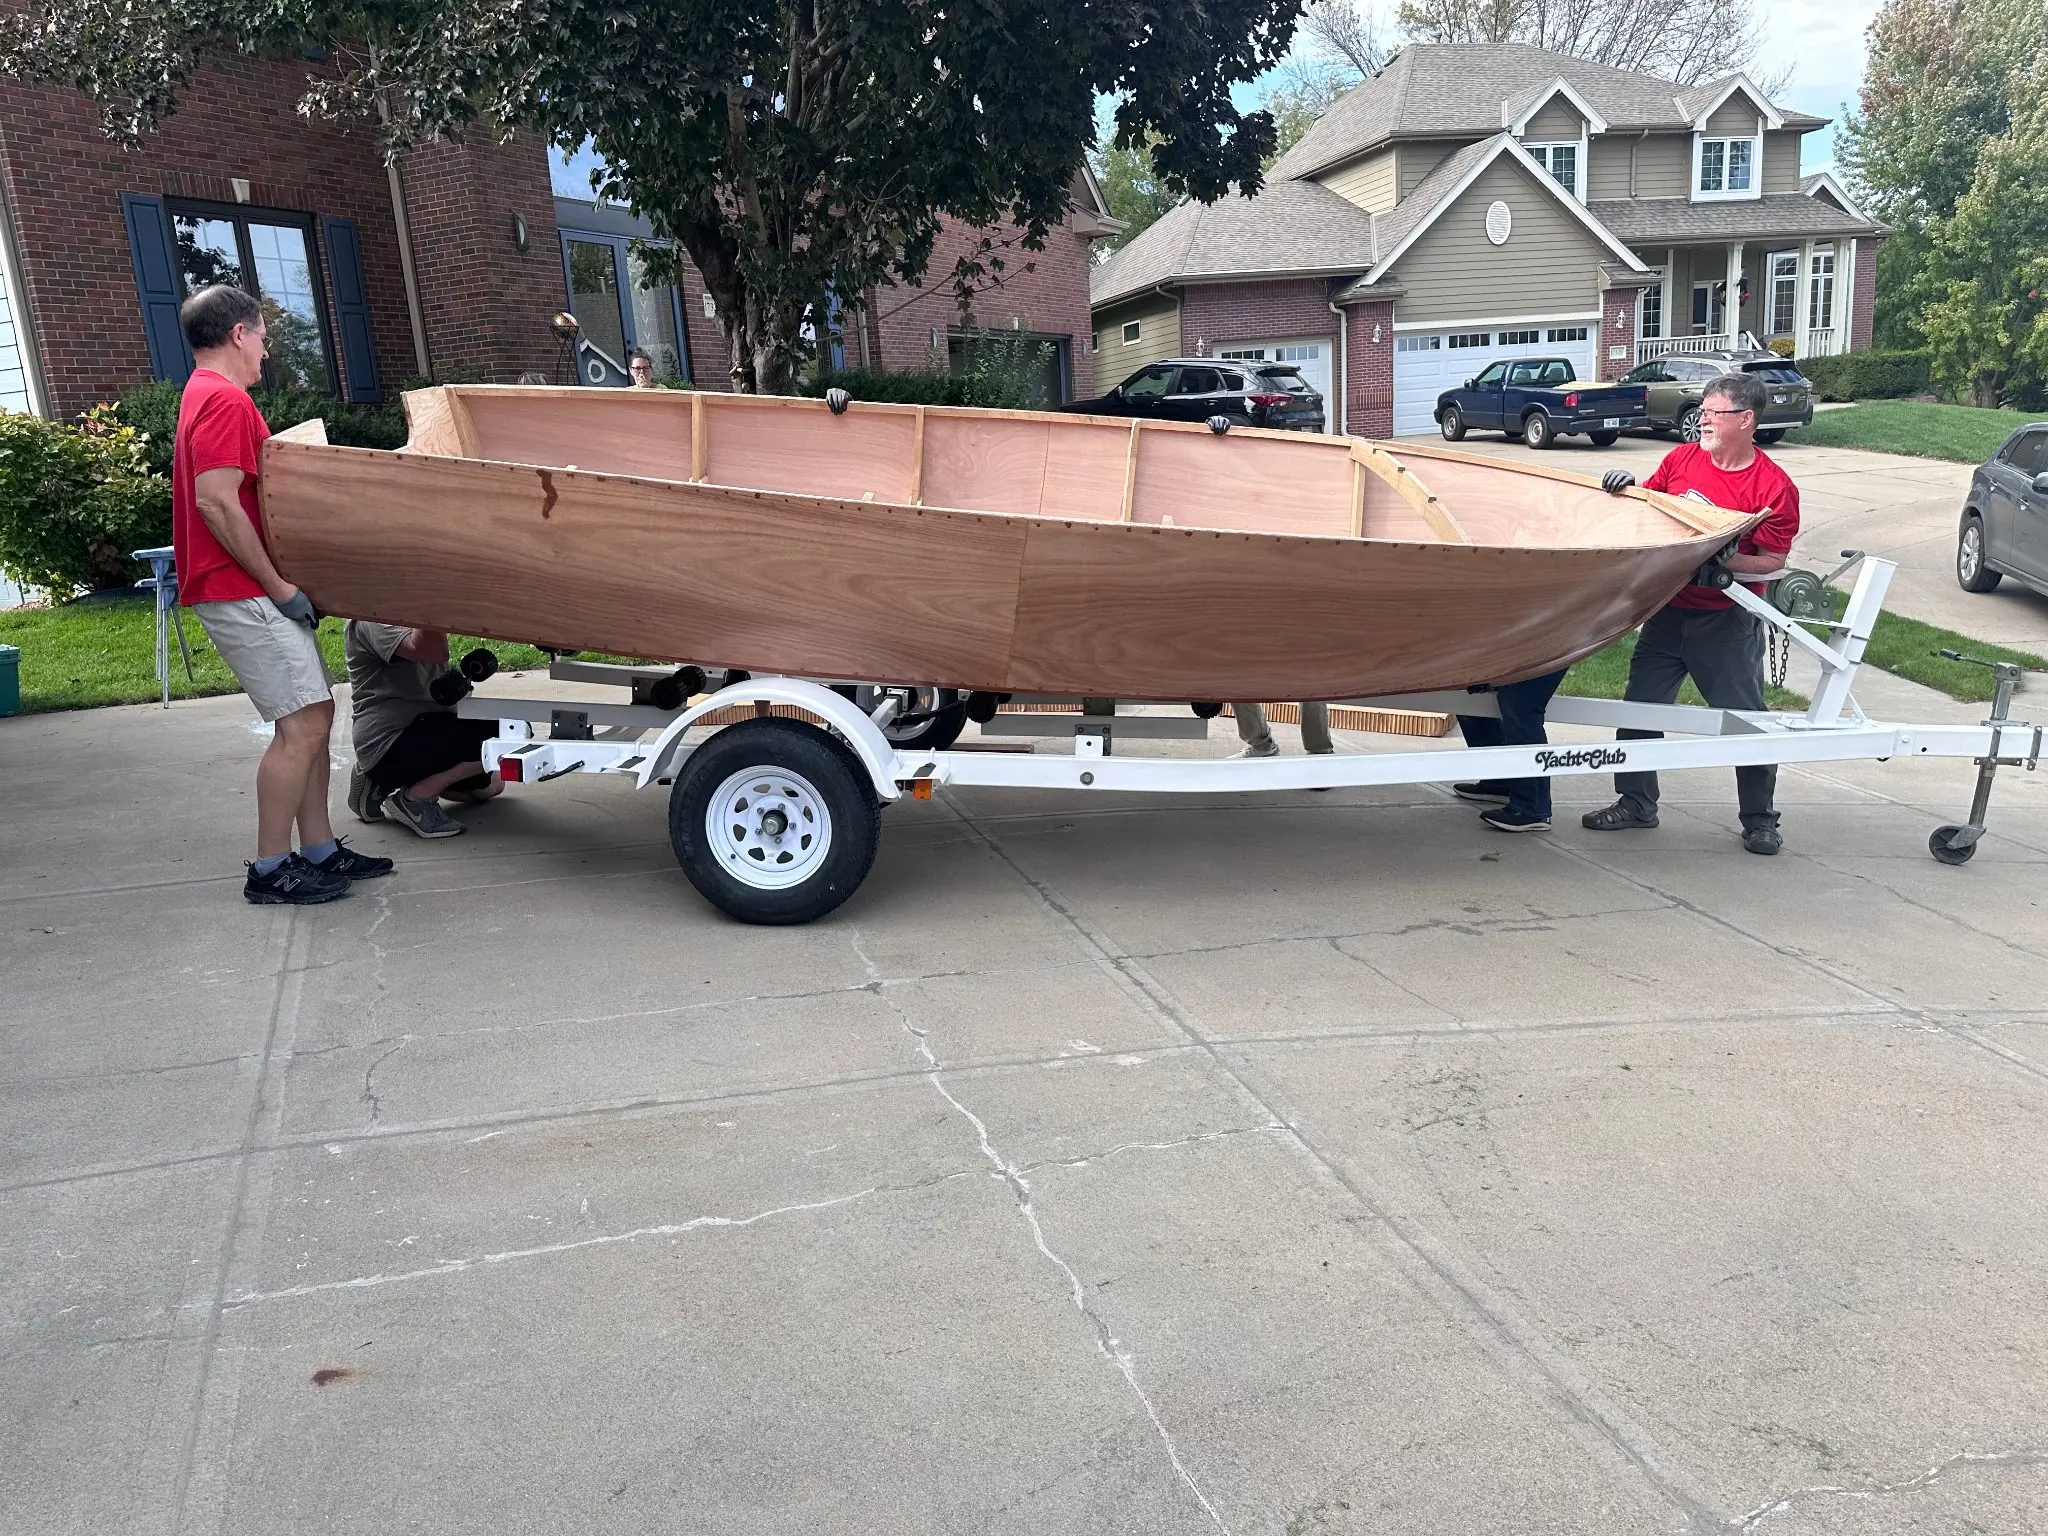
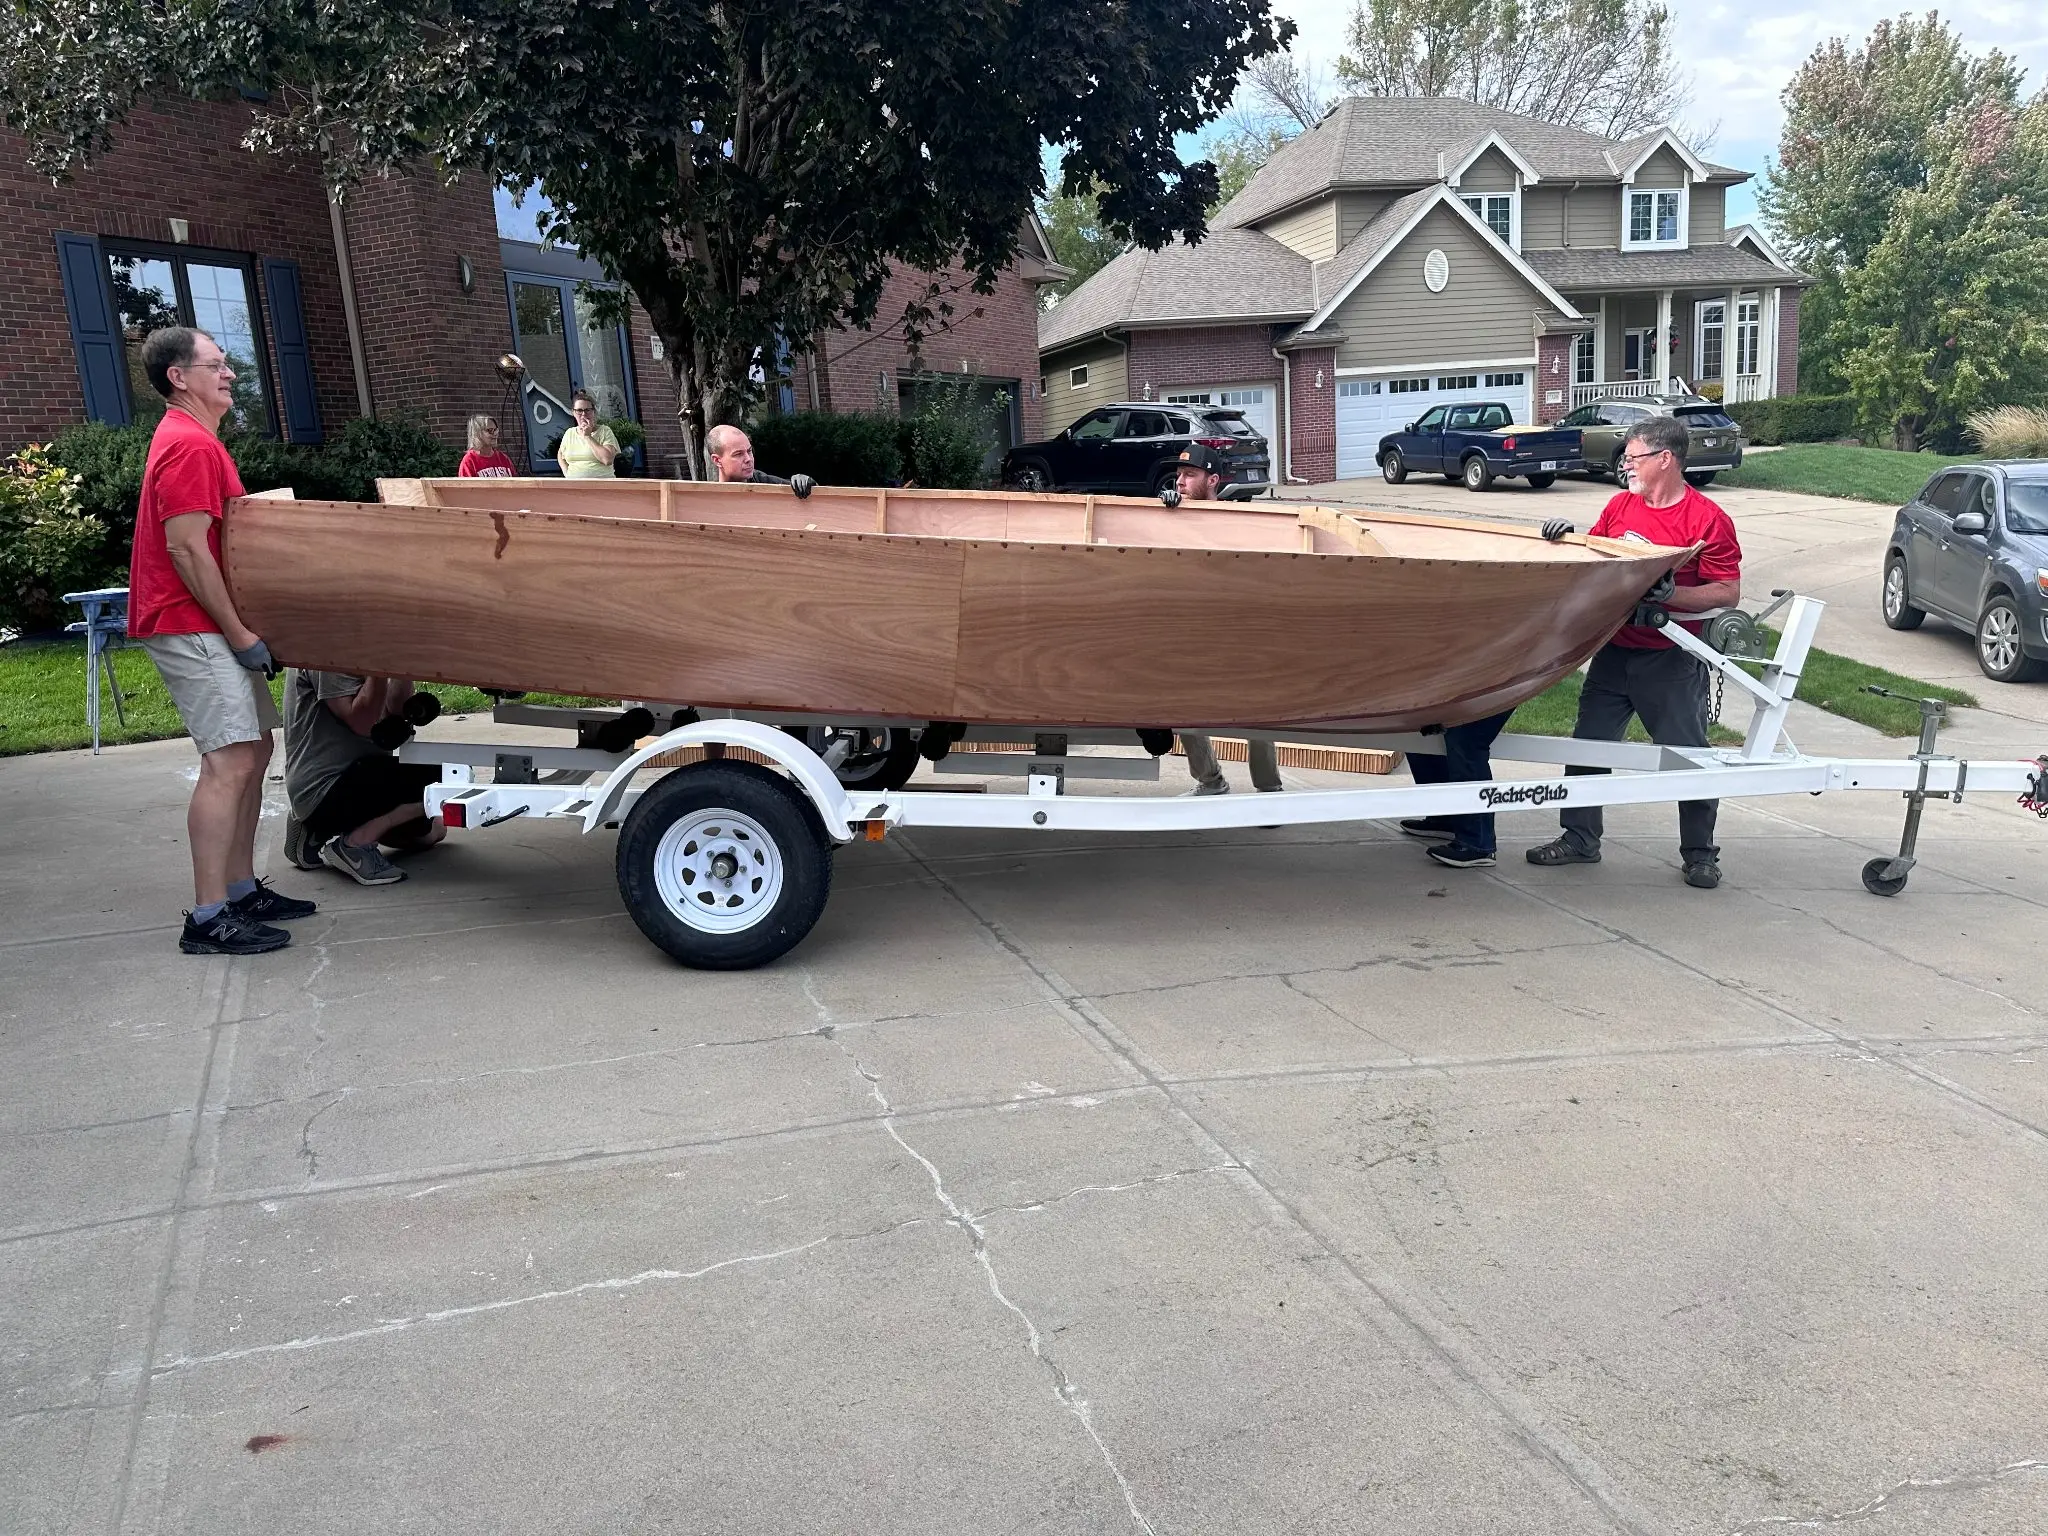
The hull flip

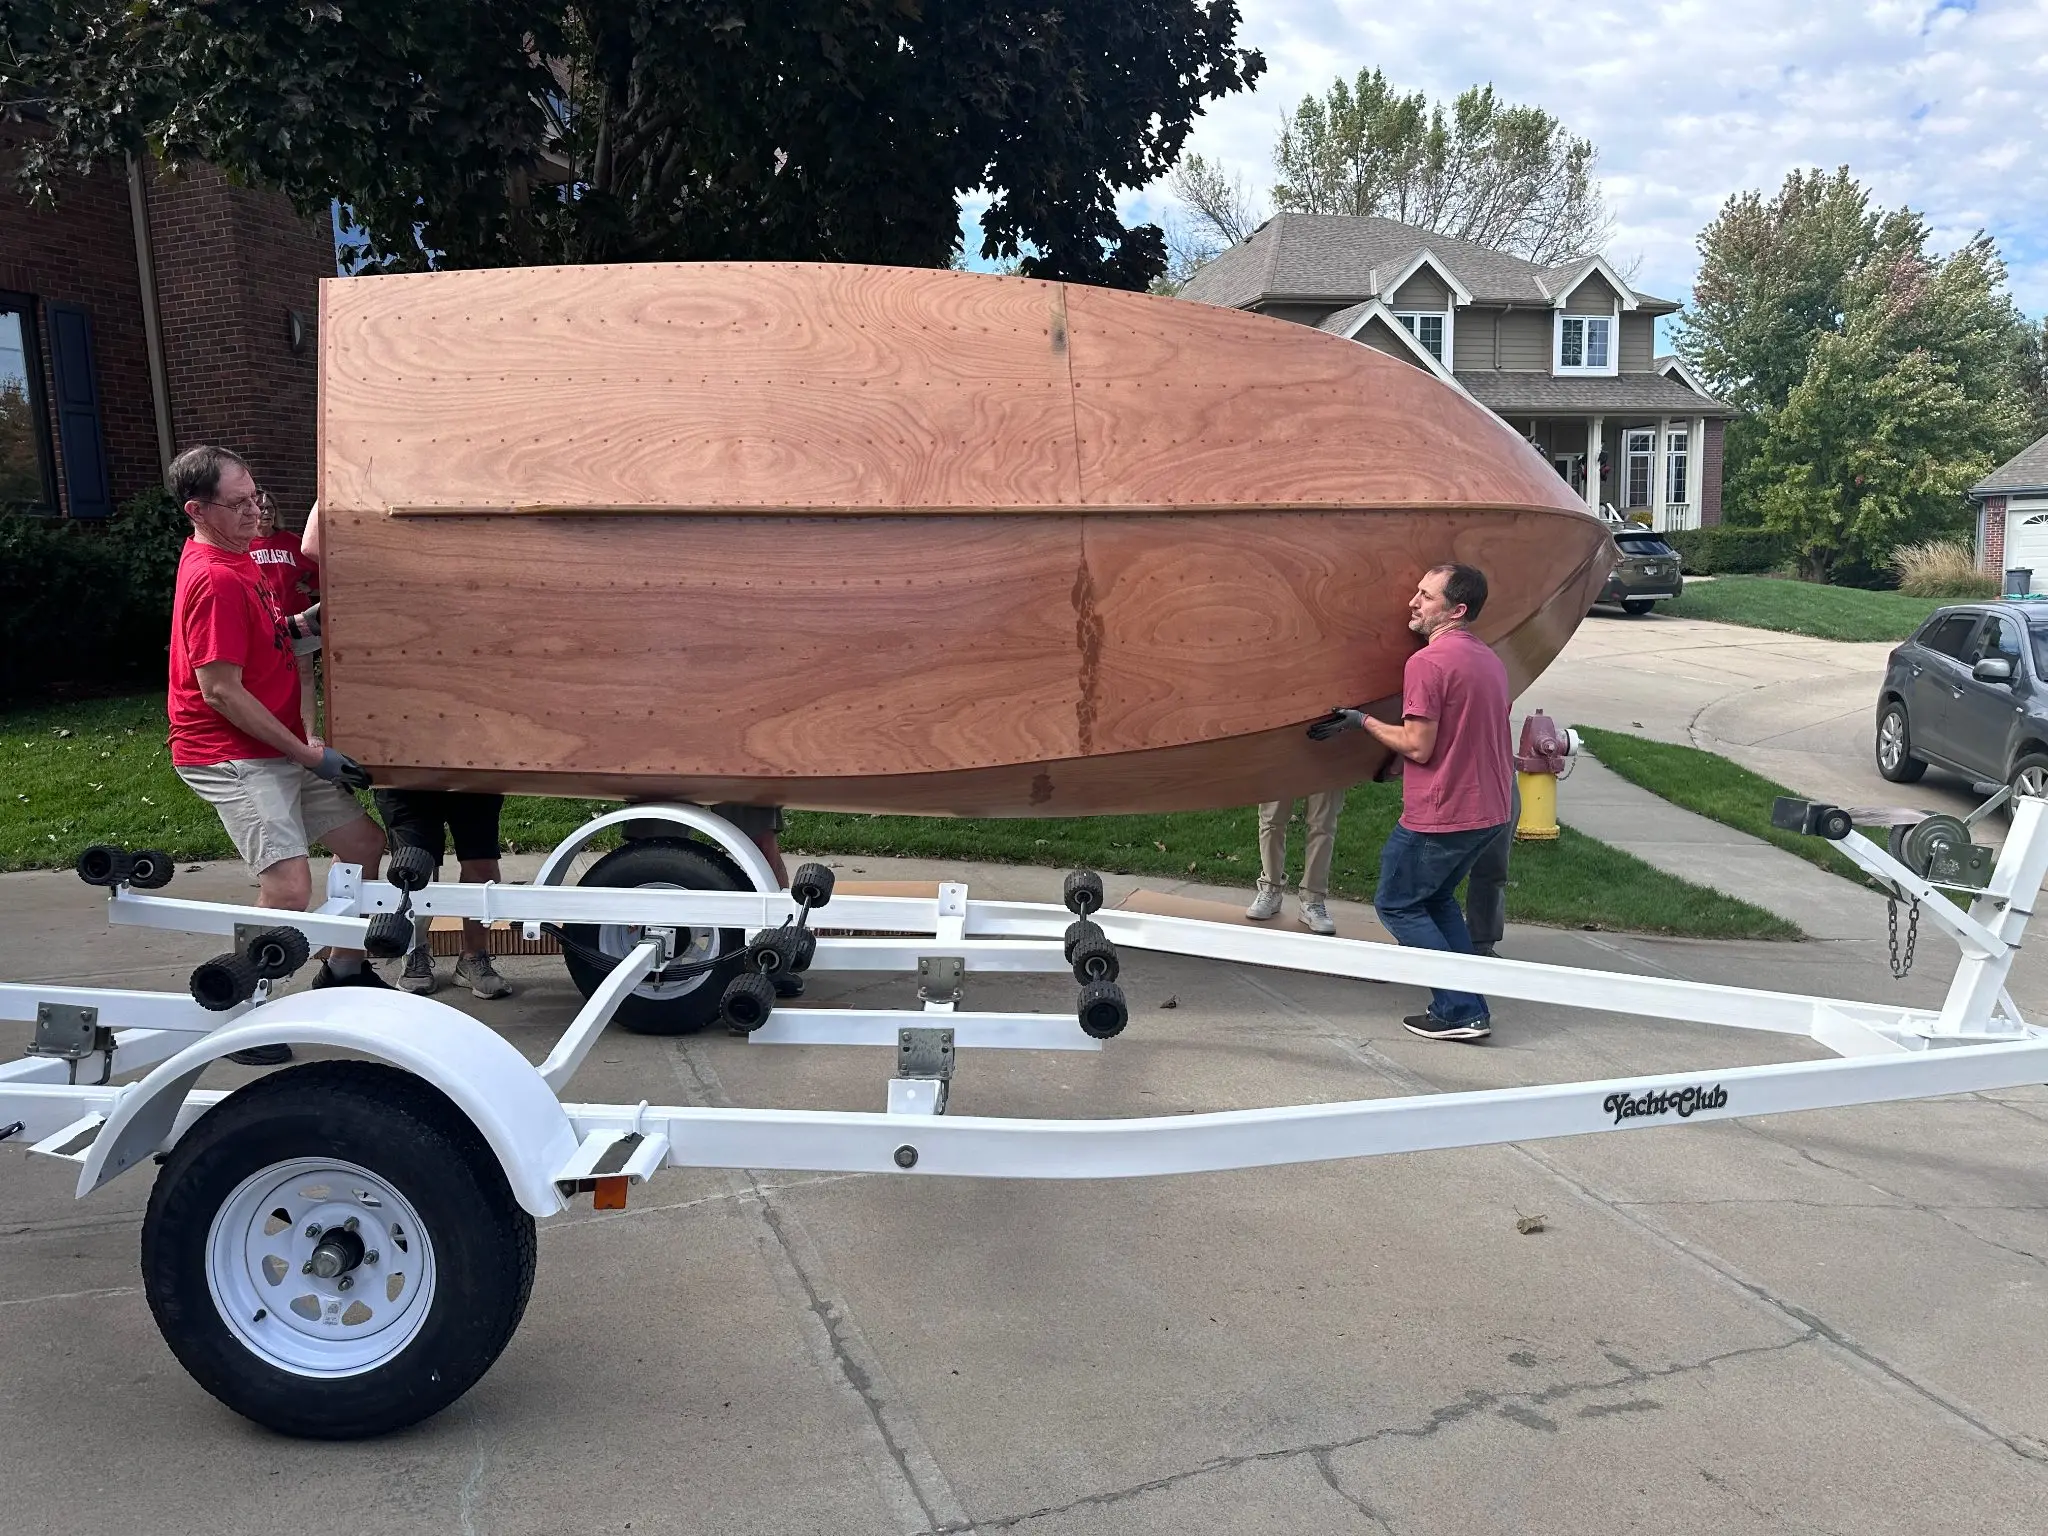
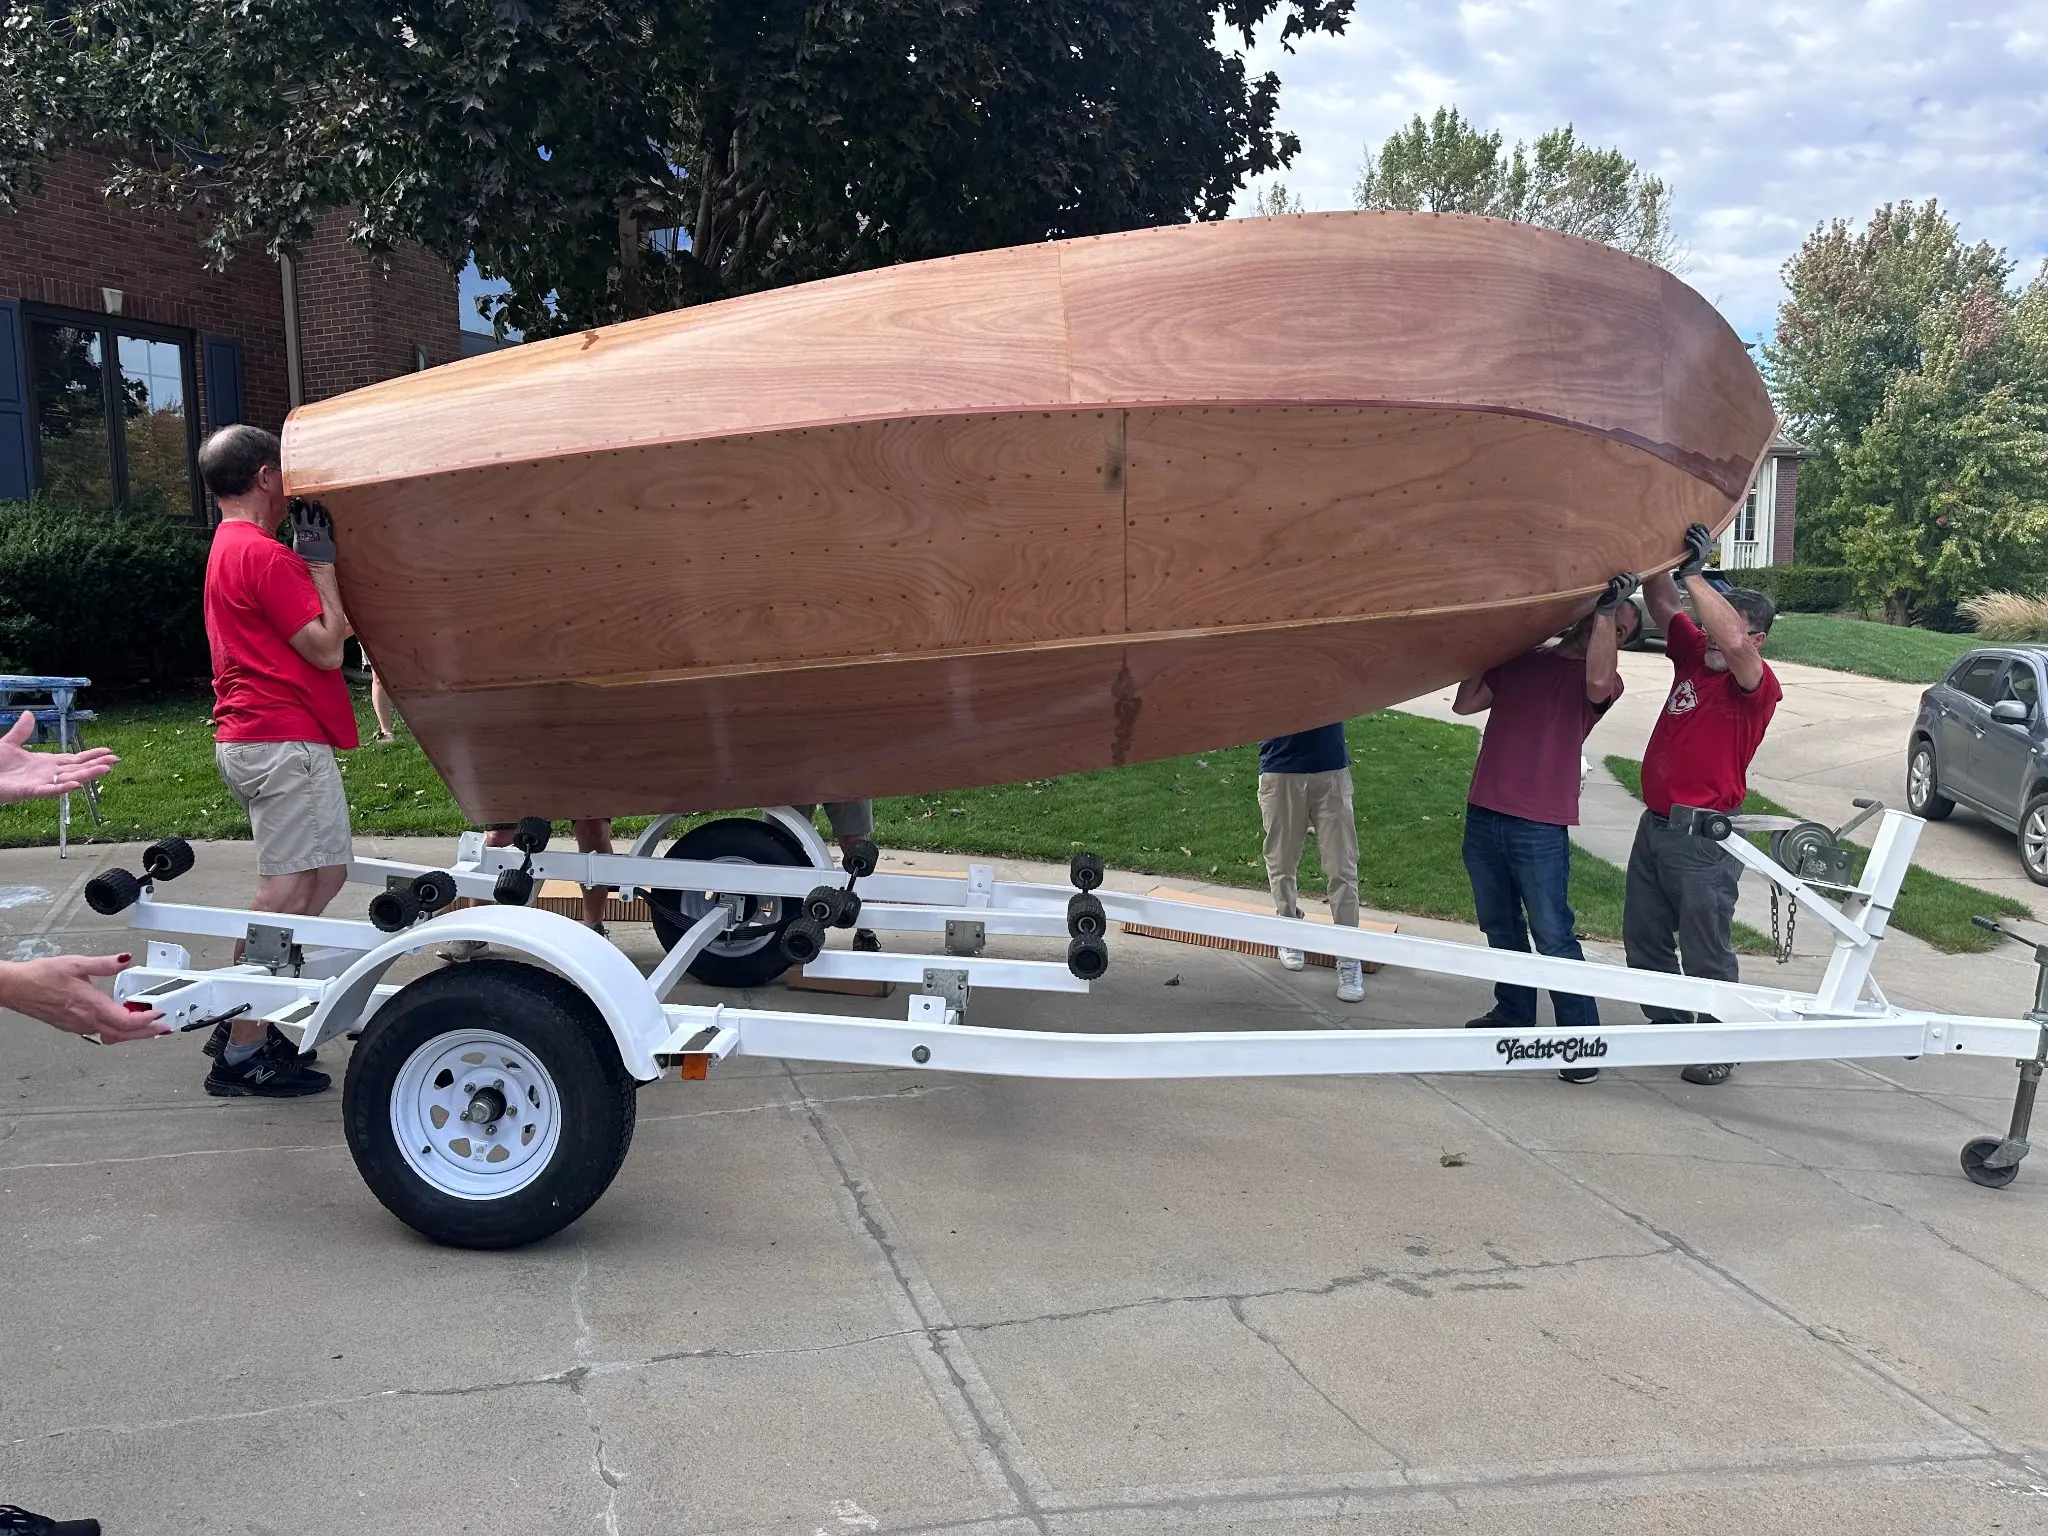
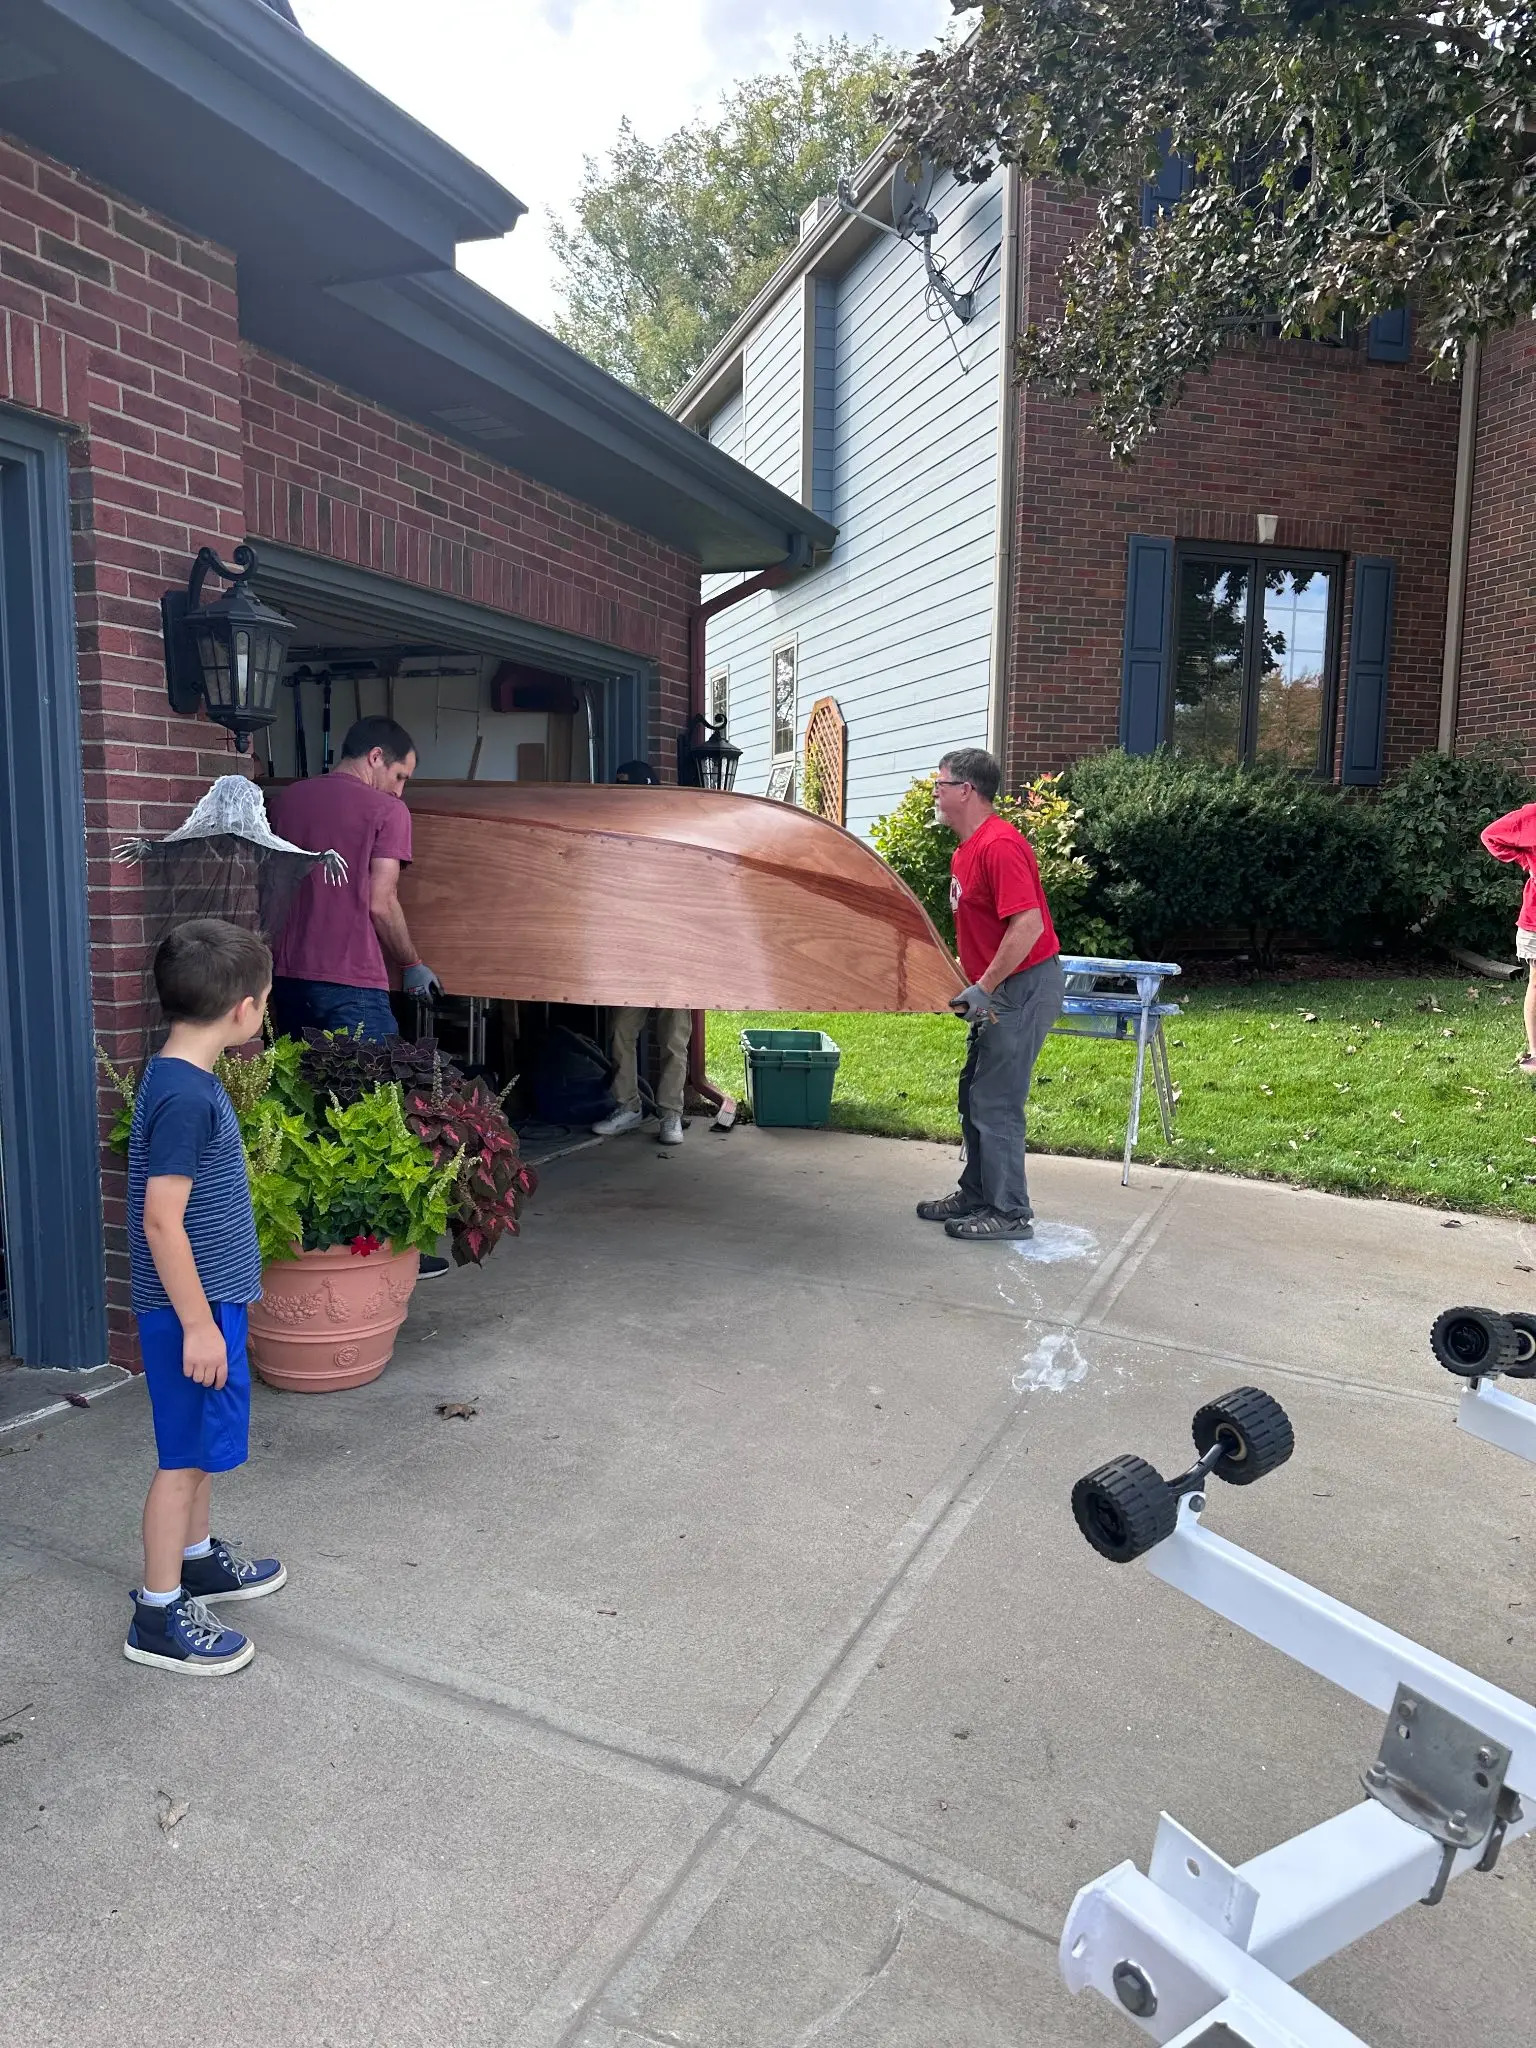
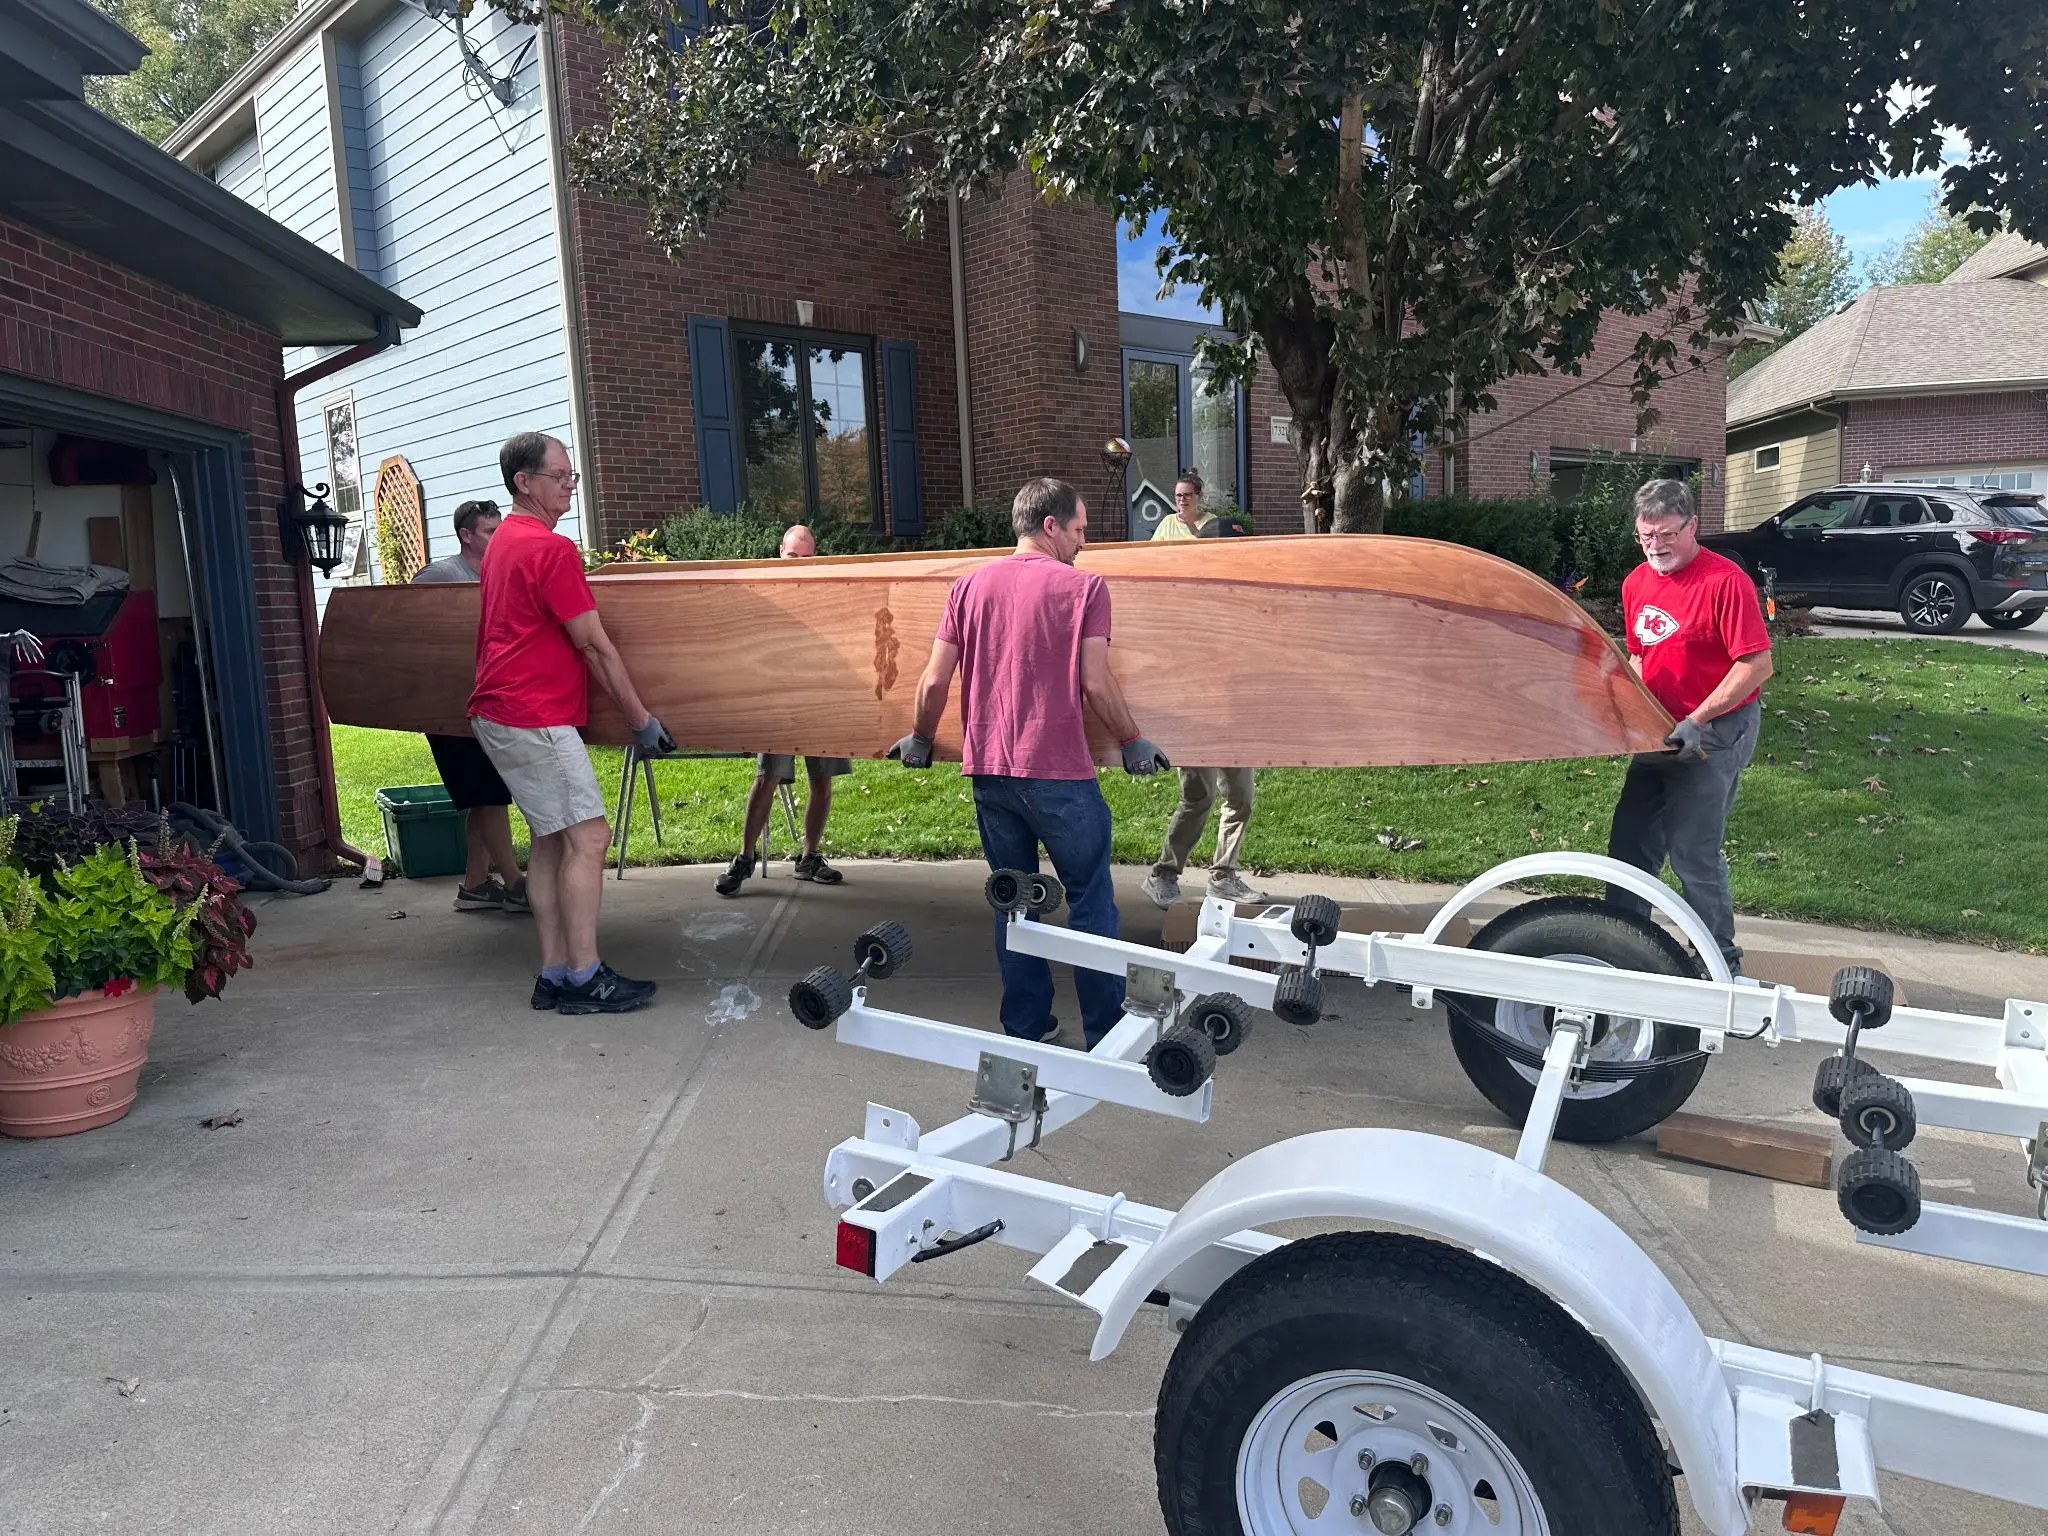
The boat flip took a lot of manpower. I was lucky enough to have friends and neighbors willing to help me turn it over.
Malahini: The hull flip
Photo 1
Malahini: The hull flip
Photo 2
Malahini: The hull flip
Photo 3
Malahini: The hull flip
Photo 4
Malahini: The hull flip
Photo 5
Malahini: The hull flip
Photo 6
Malahini: The hull flip
Photo 7
Malahini: The hull flip
Photo 8
Malahini: The hull flip
Photo 9

10 h

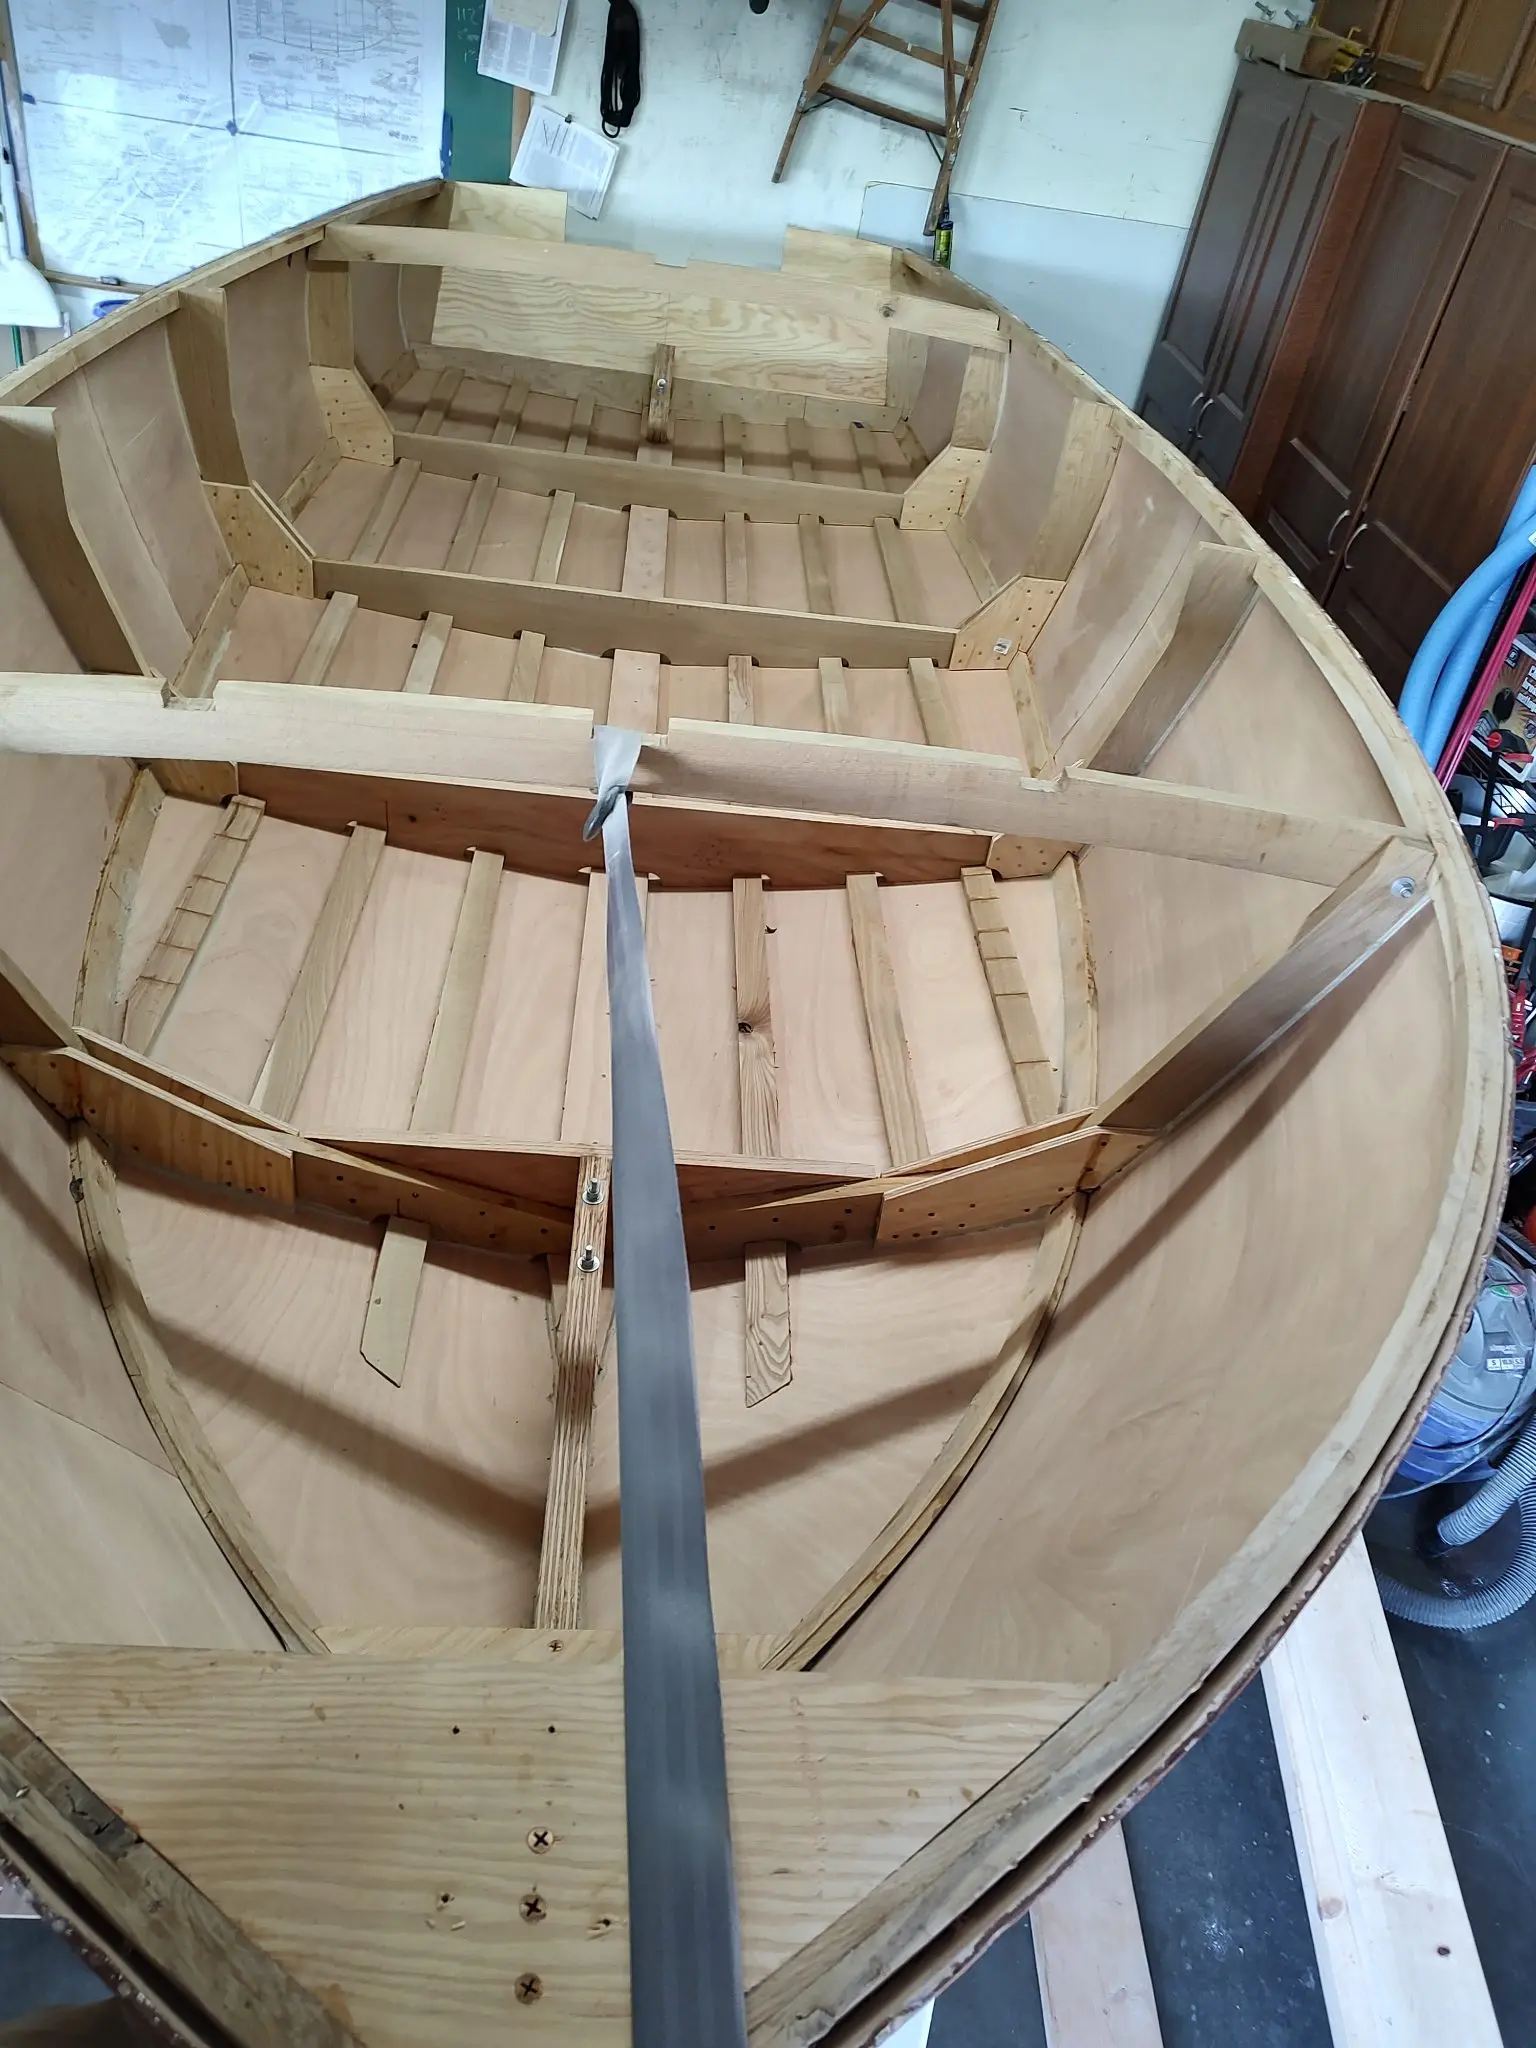
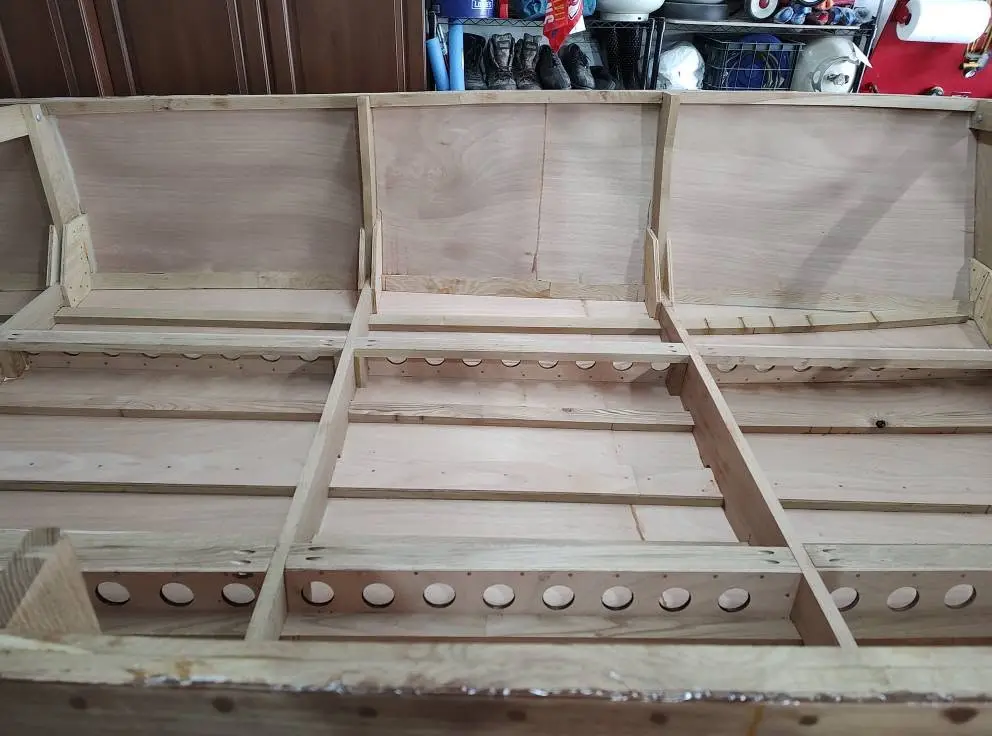
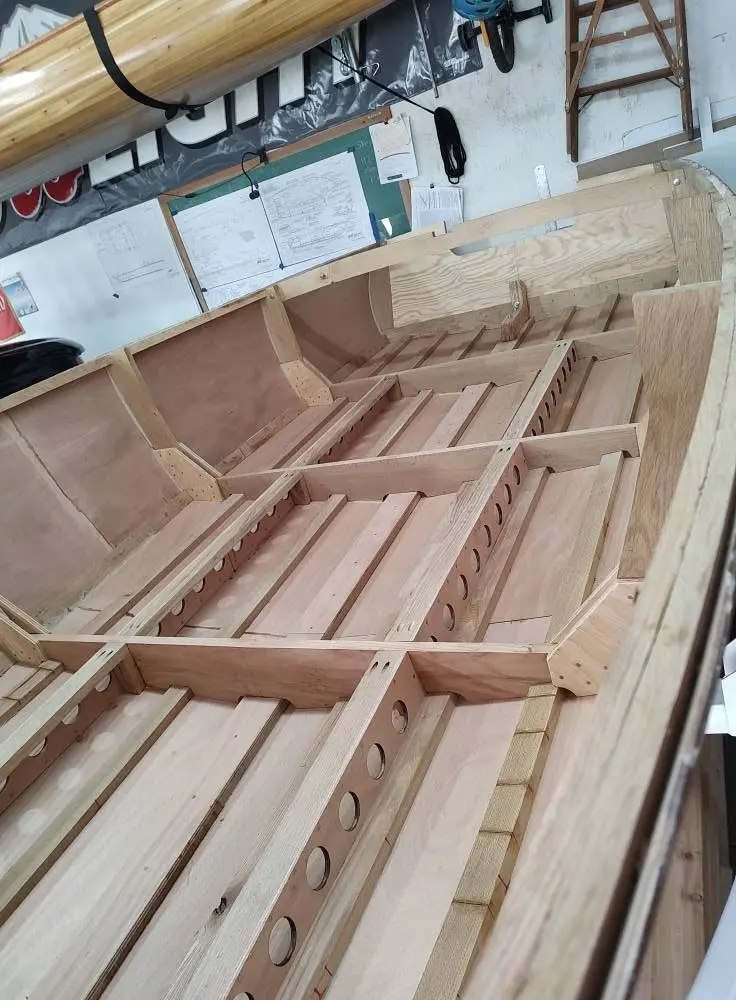
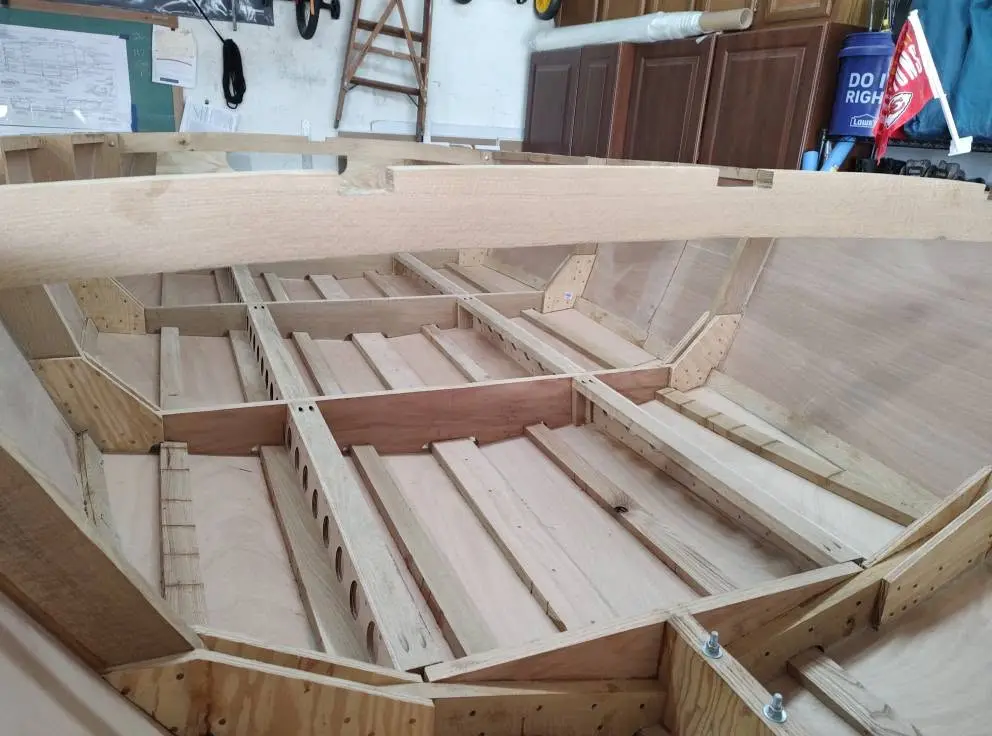
Beef up the floor

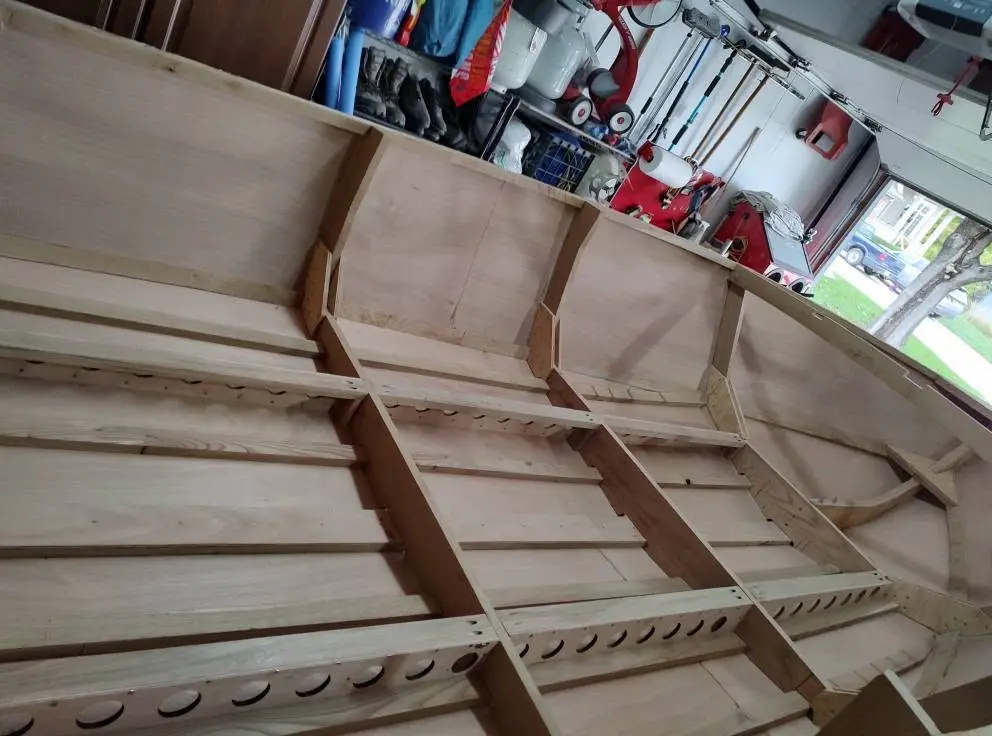
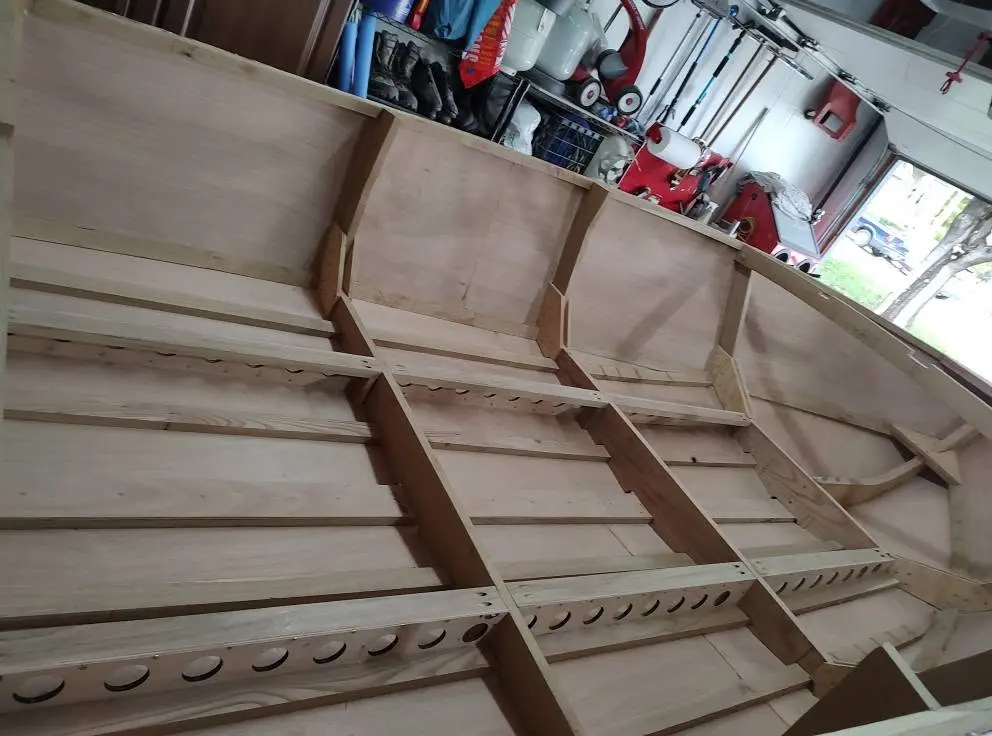
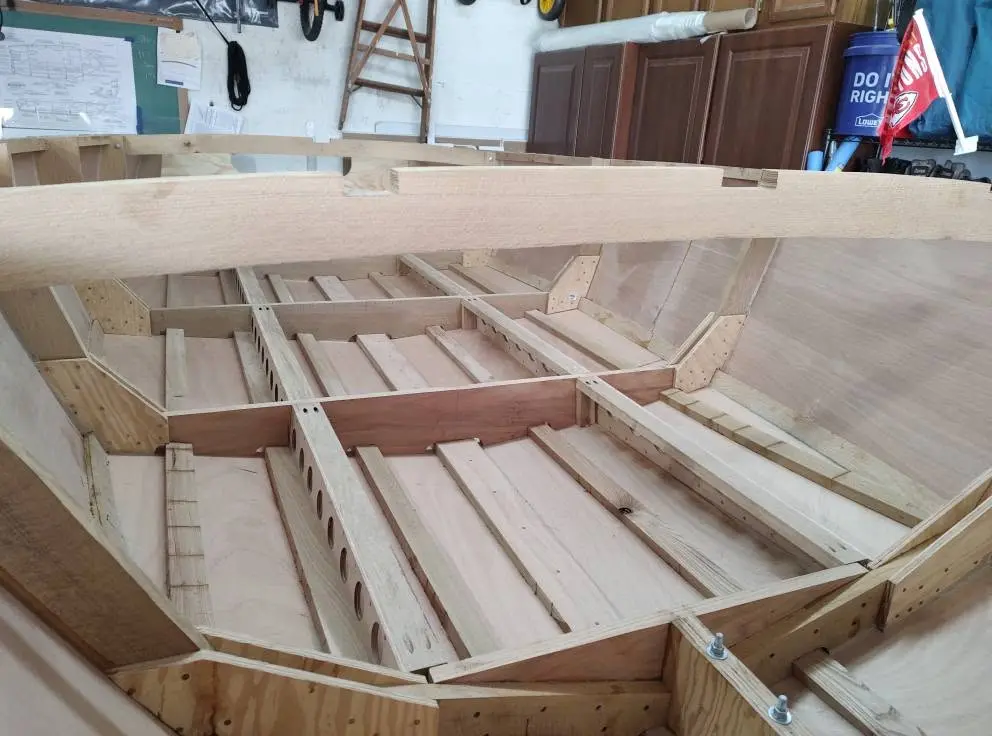
To be able to work on the inside, I wanted a floor structure installed. I am changing the recommended 3/8" plywood flooring to 3/4" marine grade plywood. I didn't feel comfortable with the flex in a 3/8" sheet. Adding the heavier sheet means that the weight will increase and I needed to be mindful of the designs plan for up to a 85 hp outboard motor. With the added weight for the floor structure I'm planning on a 60 - 75 hp outboard.
Malahini: Beef up the floor
Photo 1
Malahini: Beef up the floor
Photo 2
Malahini: Beef up the floor
Photo 3
Malahini: Beef up the floor
Photo 4
Malahini: Beef up the floor
Photo 5
Malahini: Beef up the floor
Photo 6

4.5 h

Deck Battens

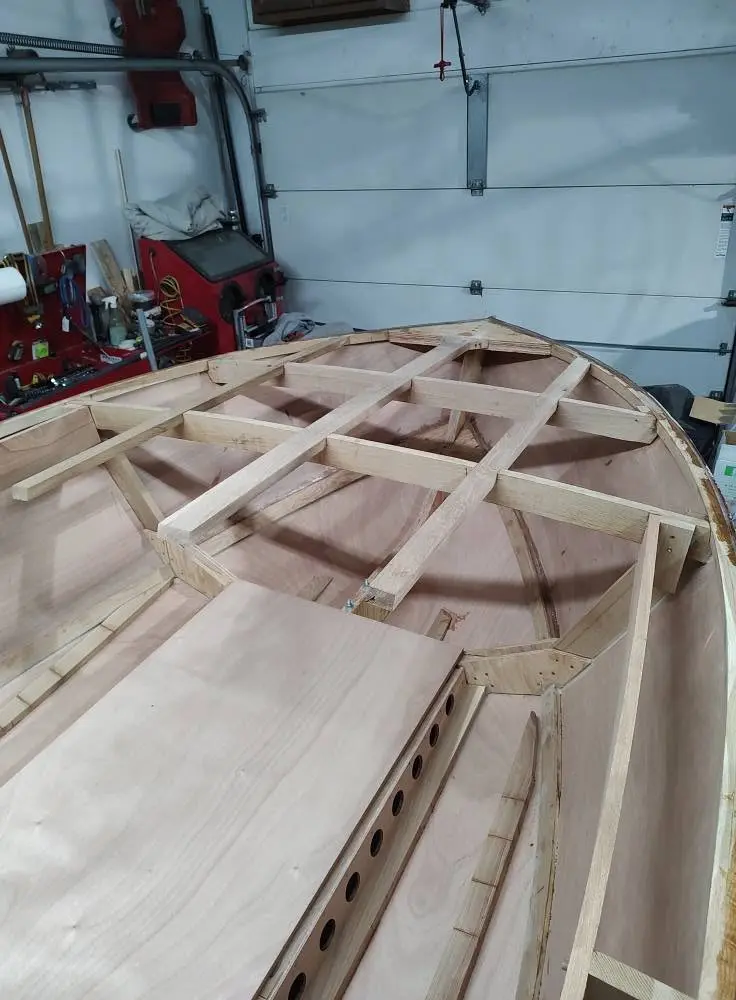
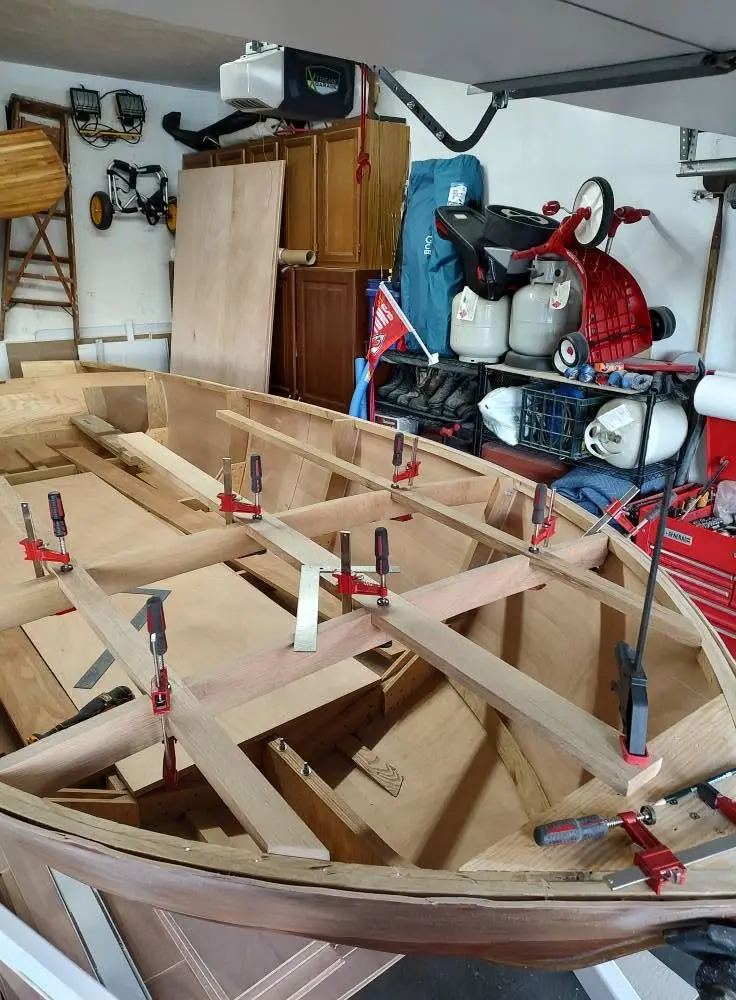
Framing up the deck support.

Malahini: Deck Battens
Photo 1
Malahini: Deck Battens
Photo 2

Chapter 07

Interior & Cockpit

Bulkheads, seats, buoyancy, sole, storage.
3 days 10 hours from November 2025

Interior & Cockpit

Dash board work

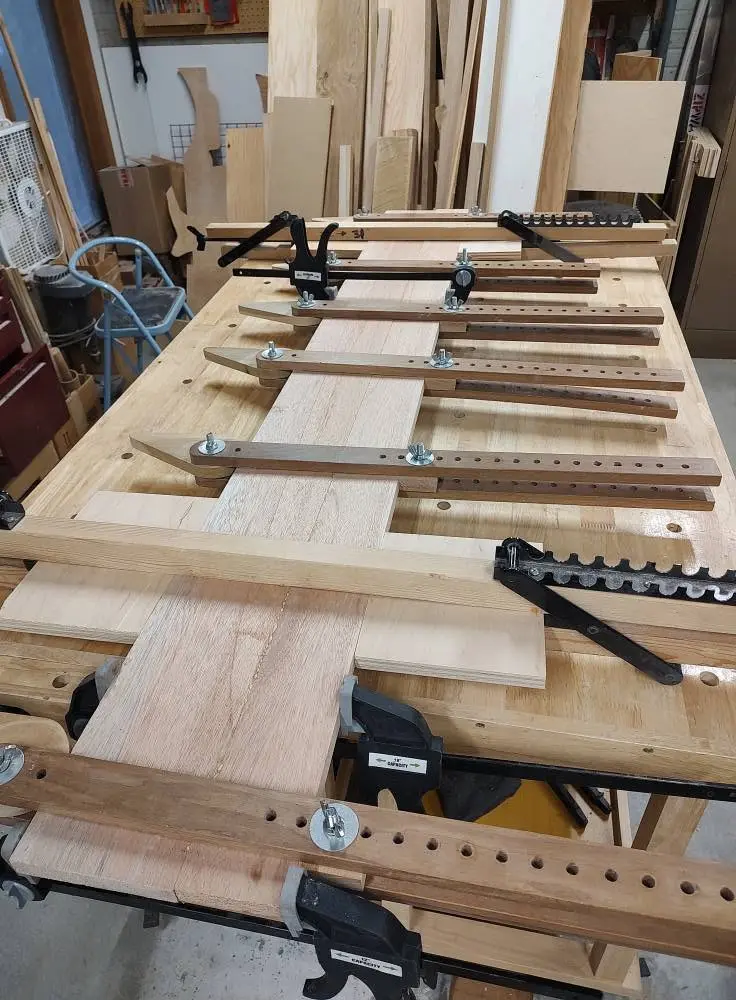
I couldn't find any mahogany wide enough for the dash that was priced reasonably. So I resorted to a glue up using biscuit joint technique.

Malahini: Dash board work

Interior & Cockpit 2 h

Dash install

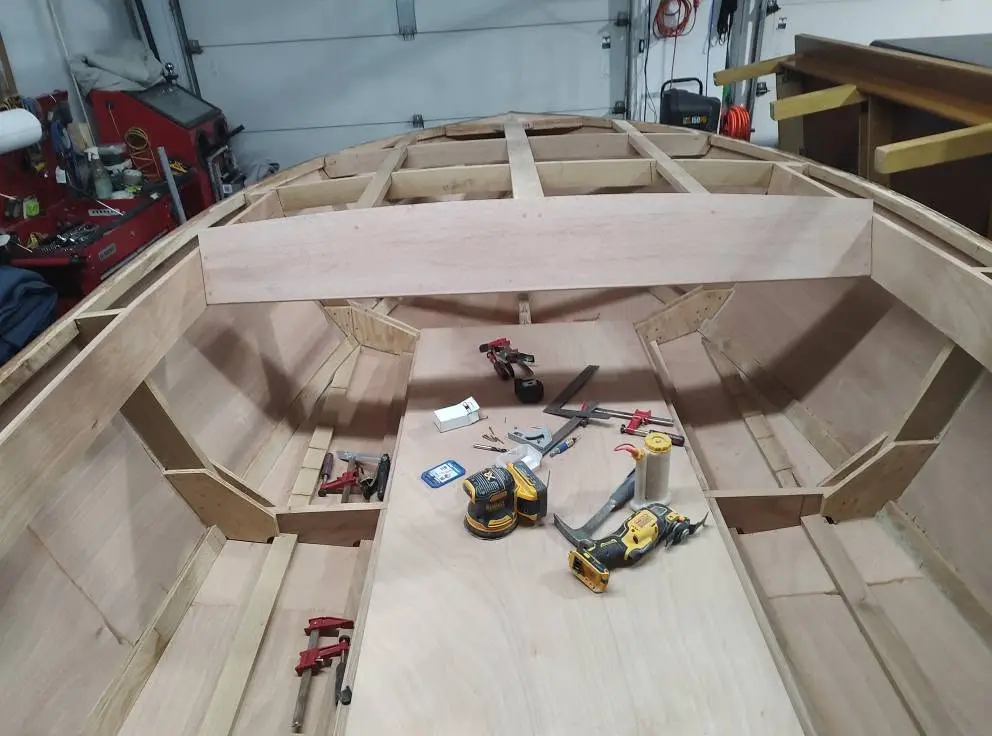
Installing the dash was challenging to get the cuts right for the carling. The holes for instruments and steering have not been cut yet. That will be decided later after the outboard and the controls for it are purchased.
Malahini: Dash install

Interior & Cockpit 8 h

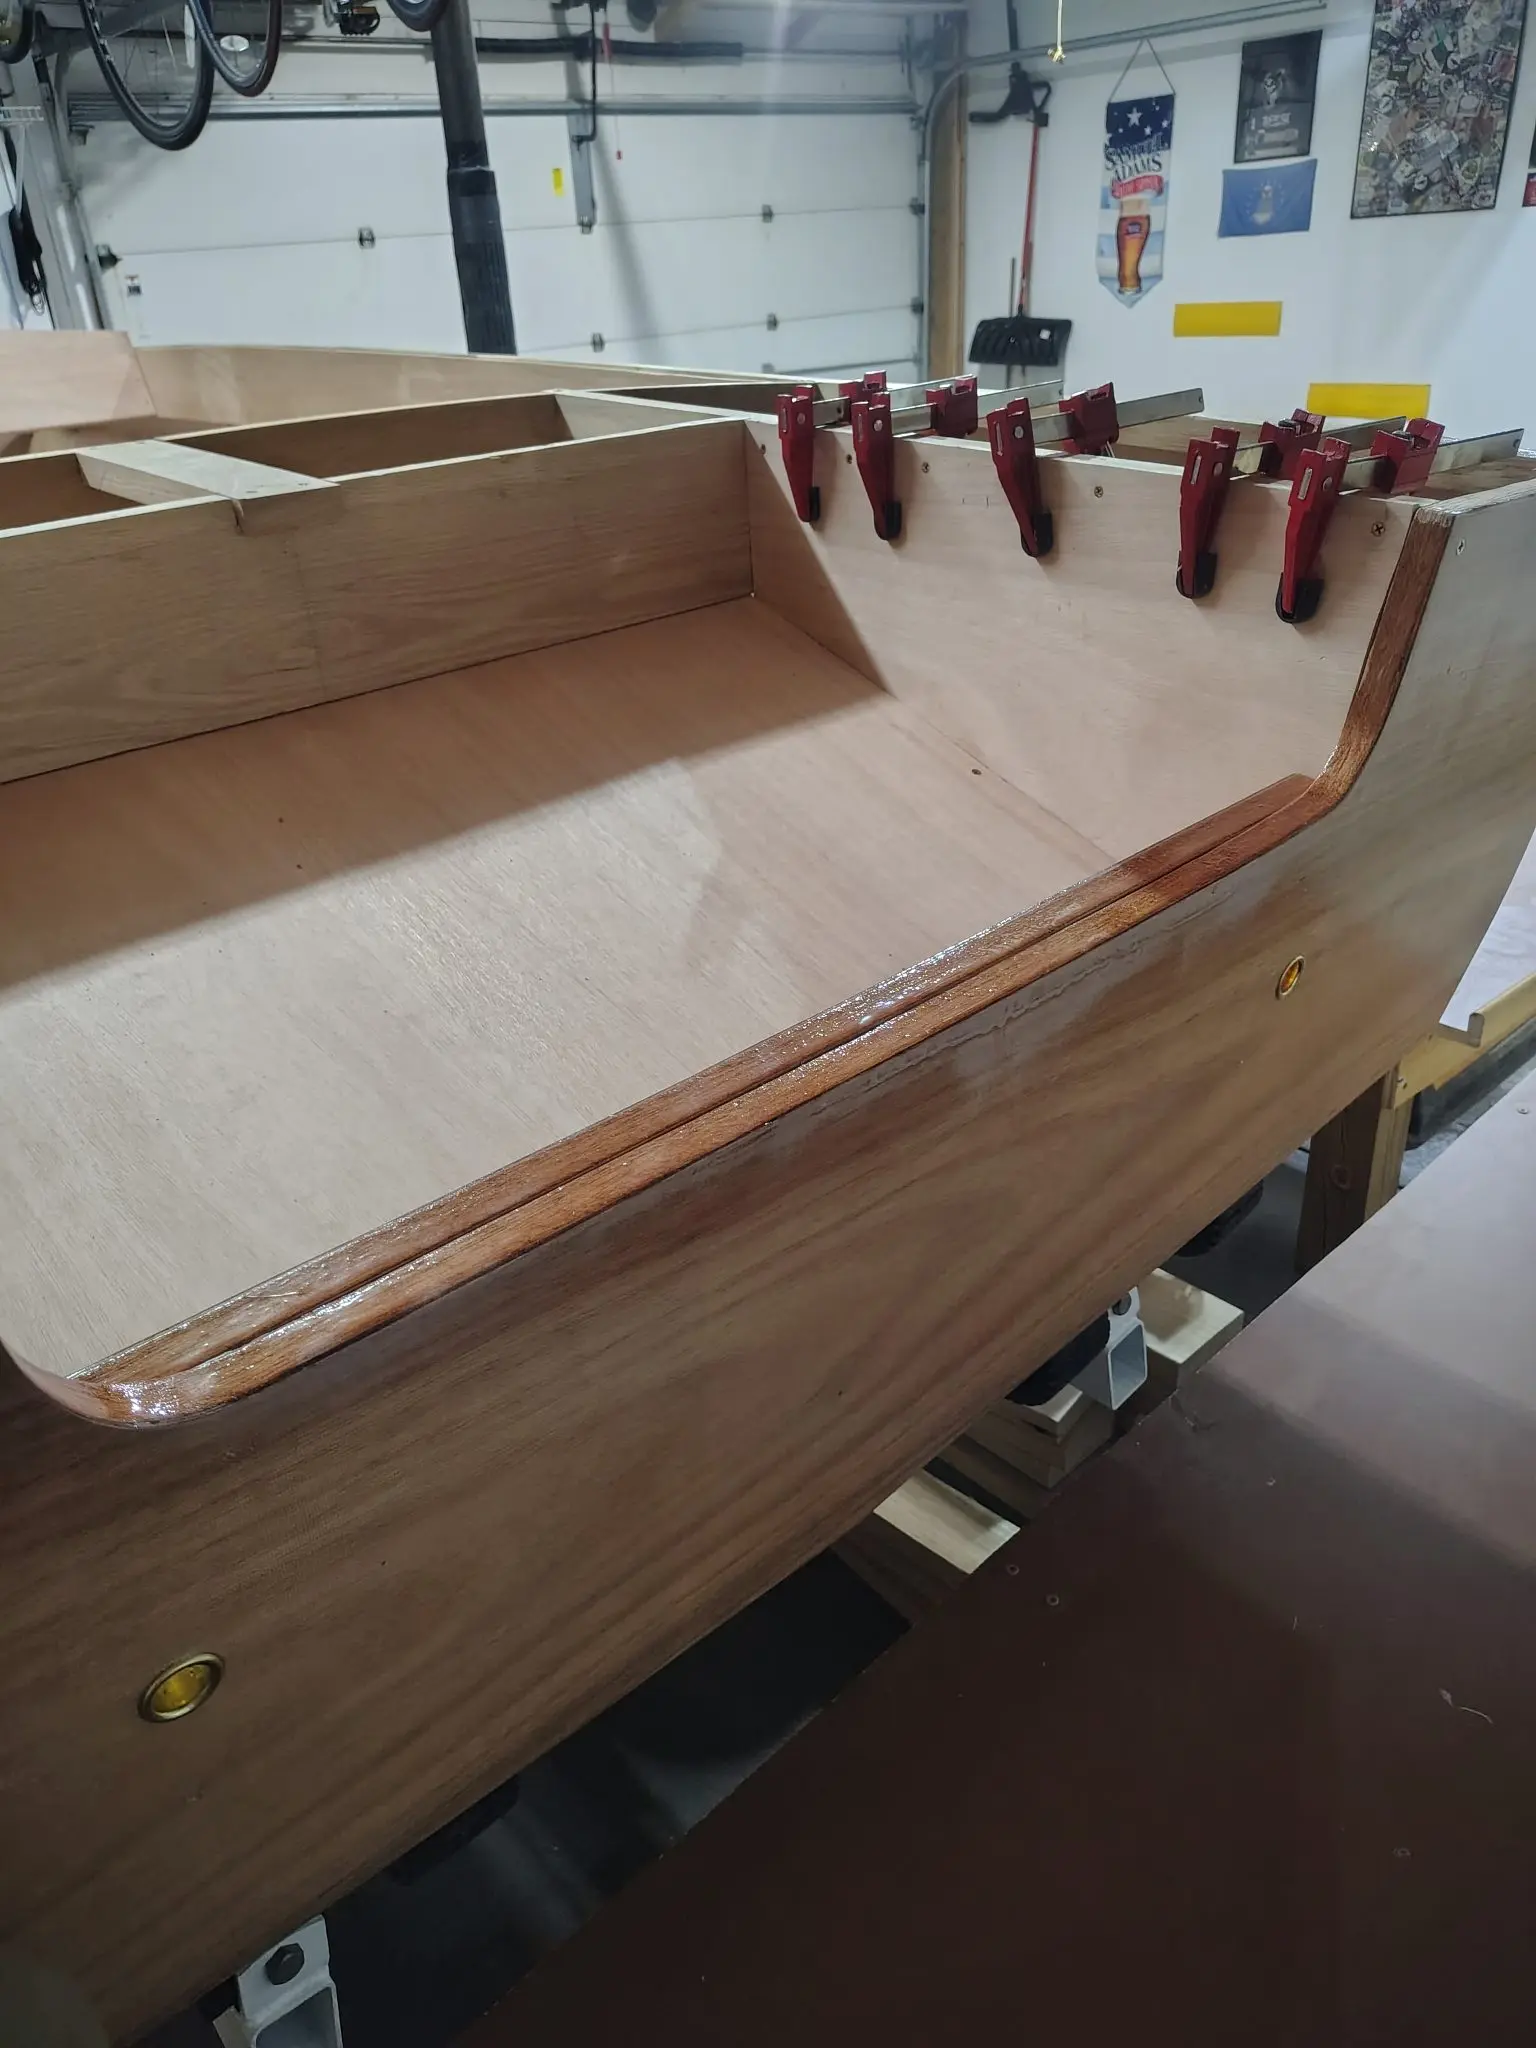
Rear deck and motor well

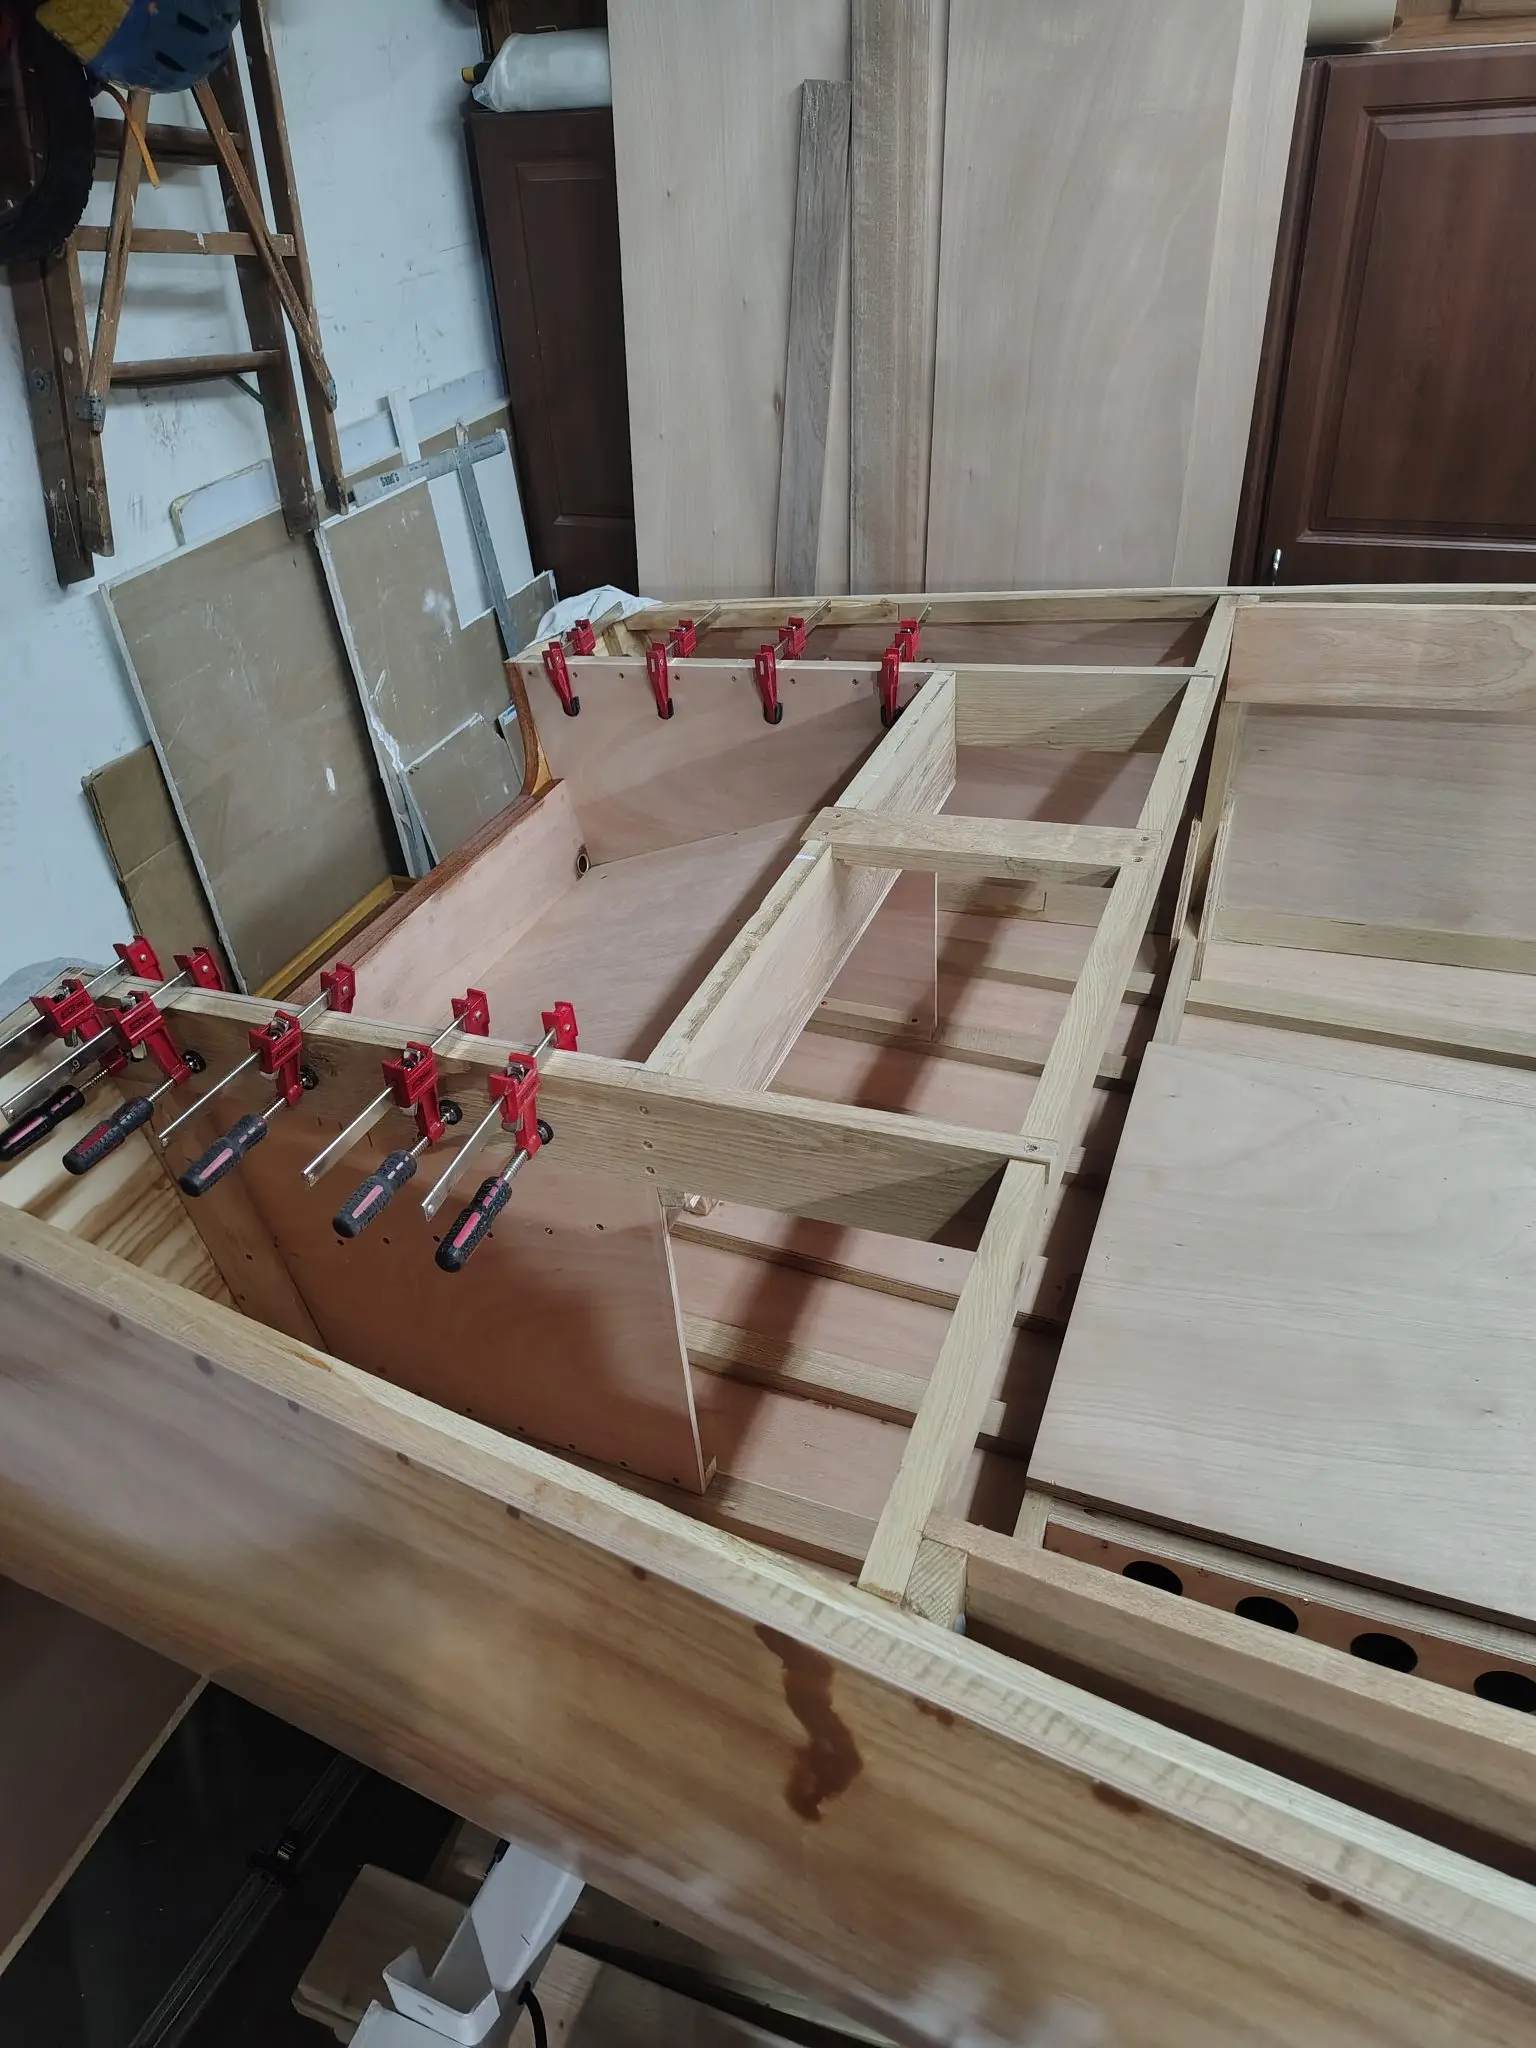
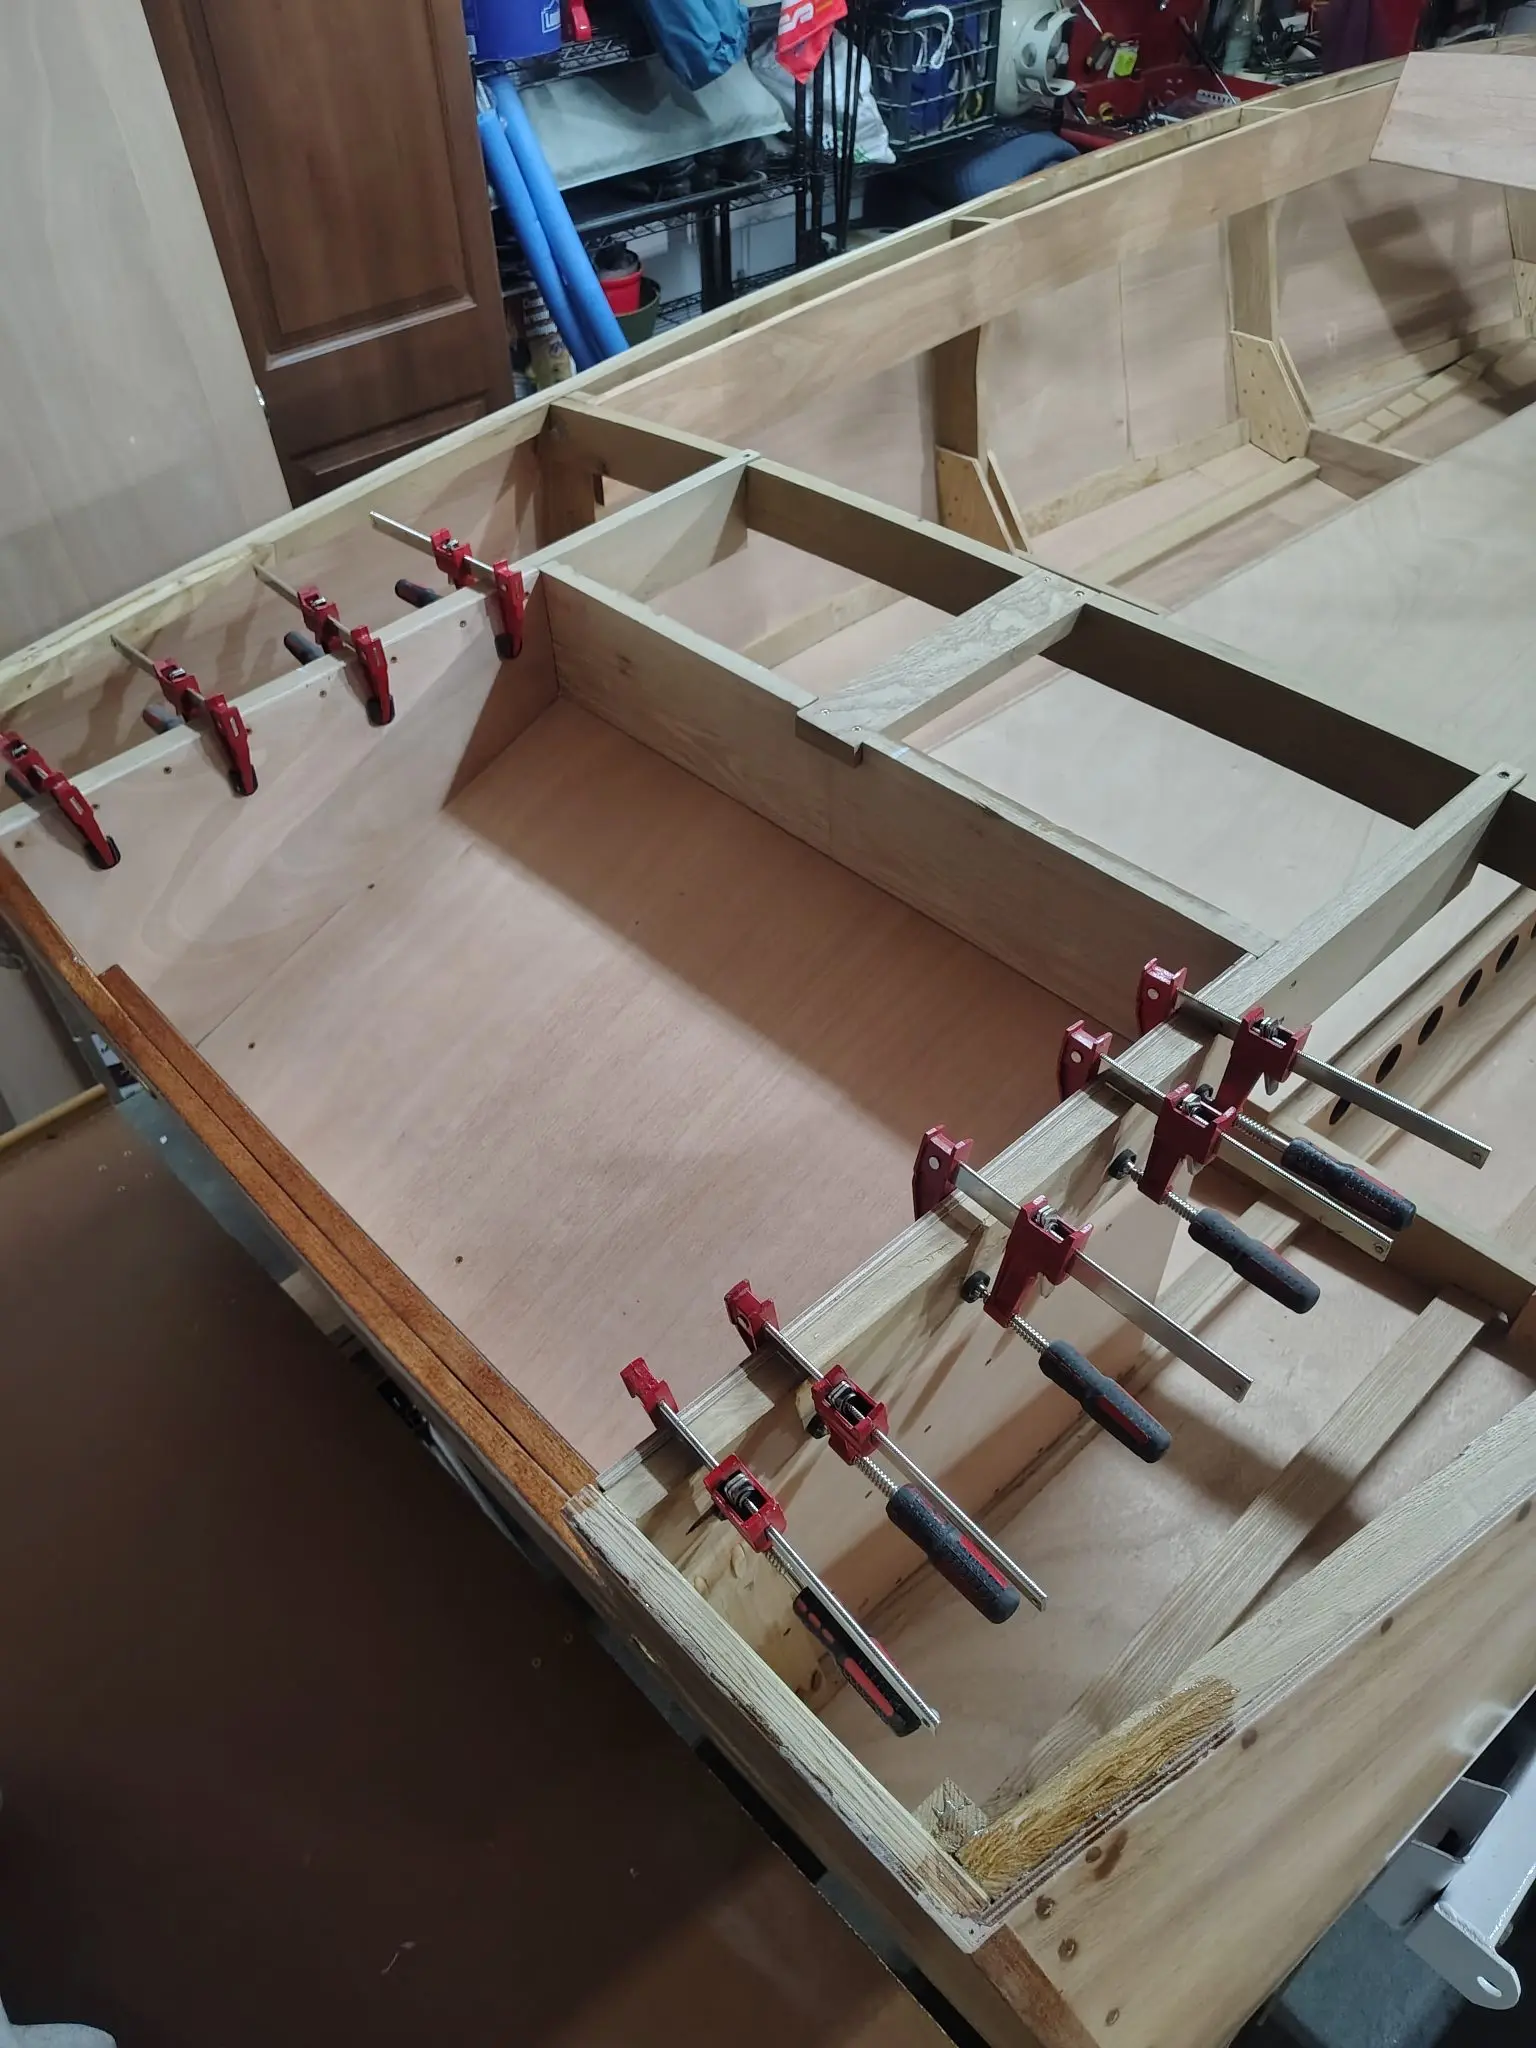
Framing up the rear deck and motor well area.
Malahini: Rear deck and motor well
Photo 1
Malahini: Rear deck and motor well
Photo 2
Malahini: Rear deck and motor well
Photo 3

Glassing & Epoxy 4 h

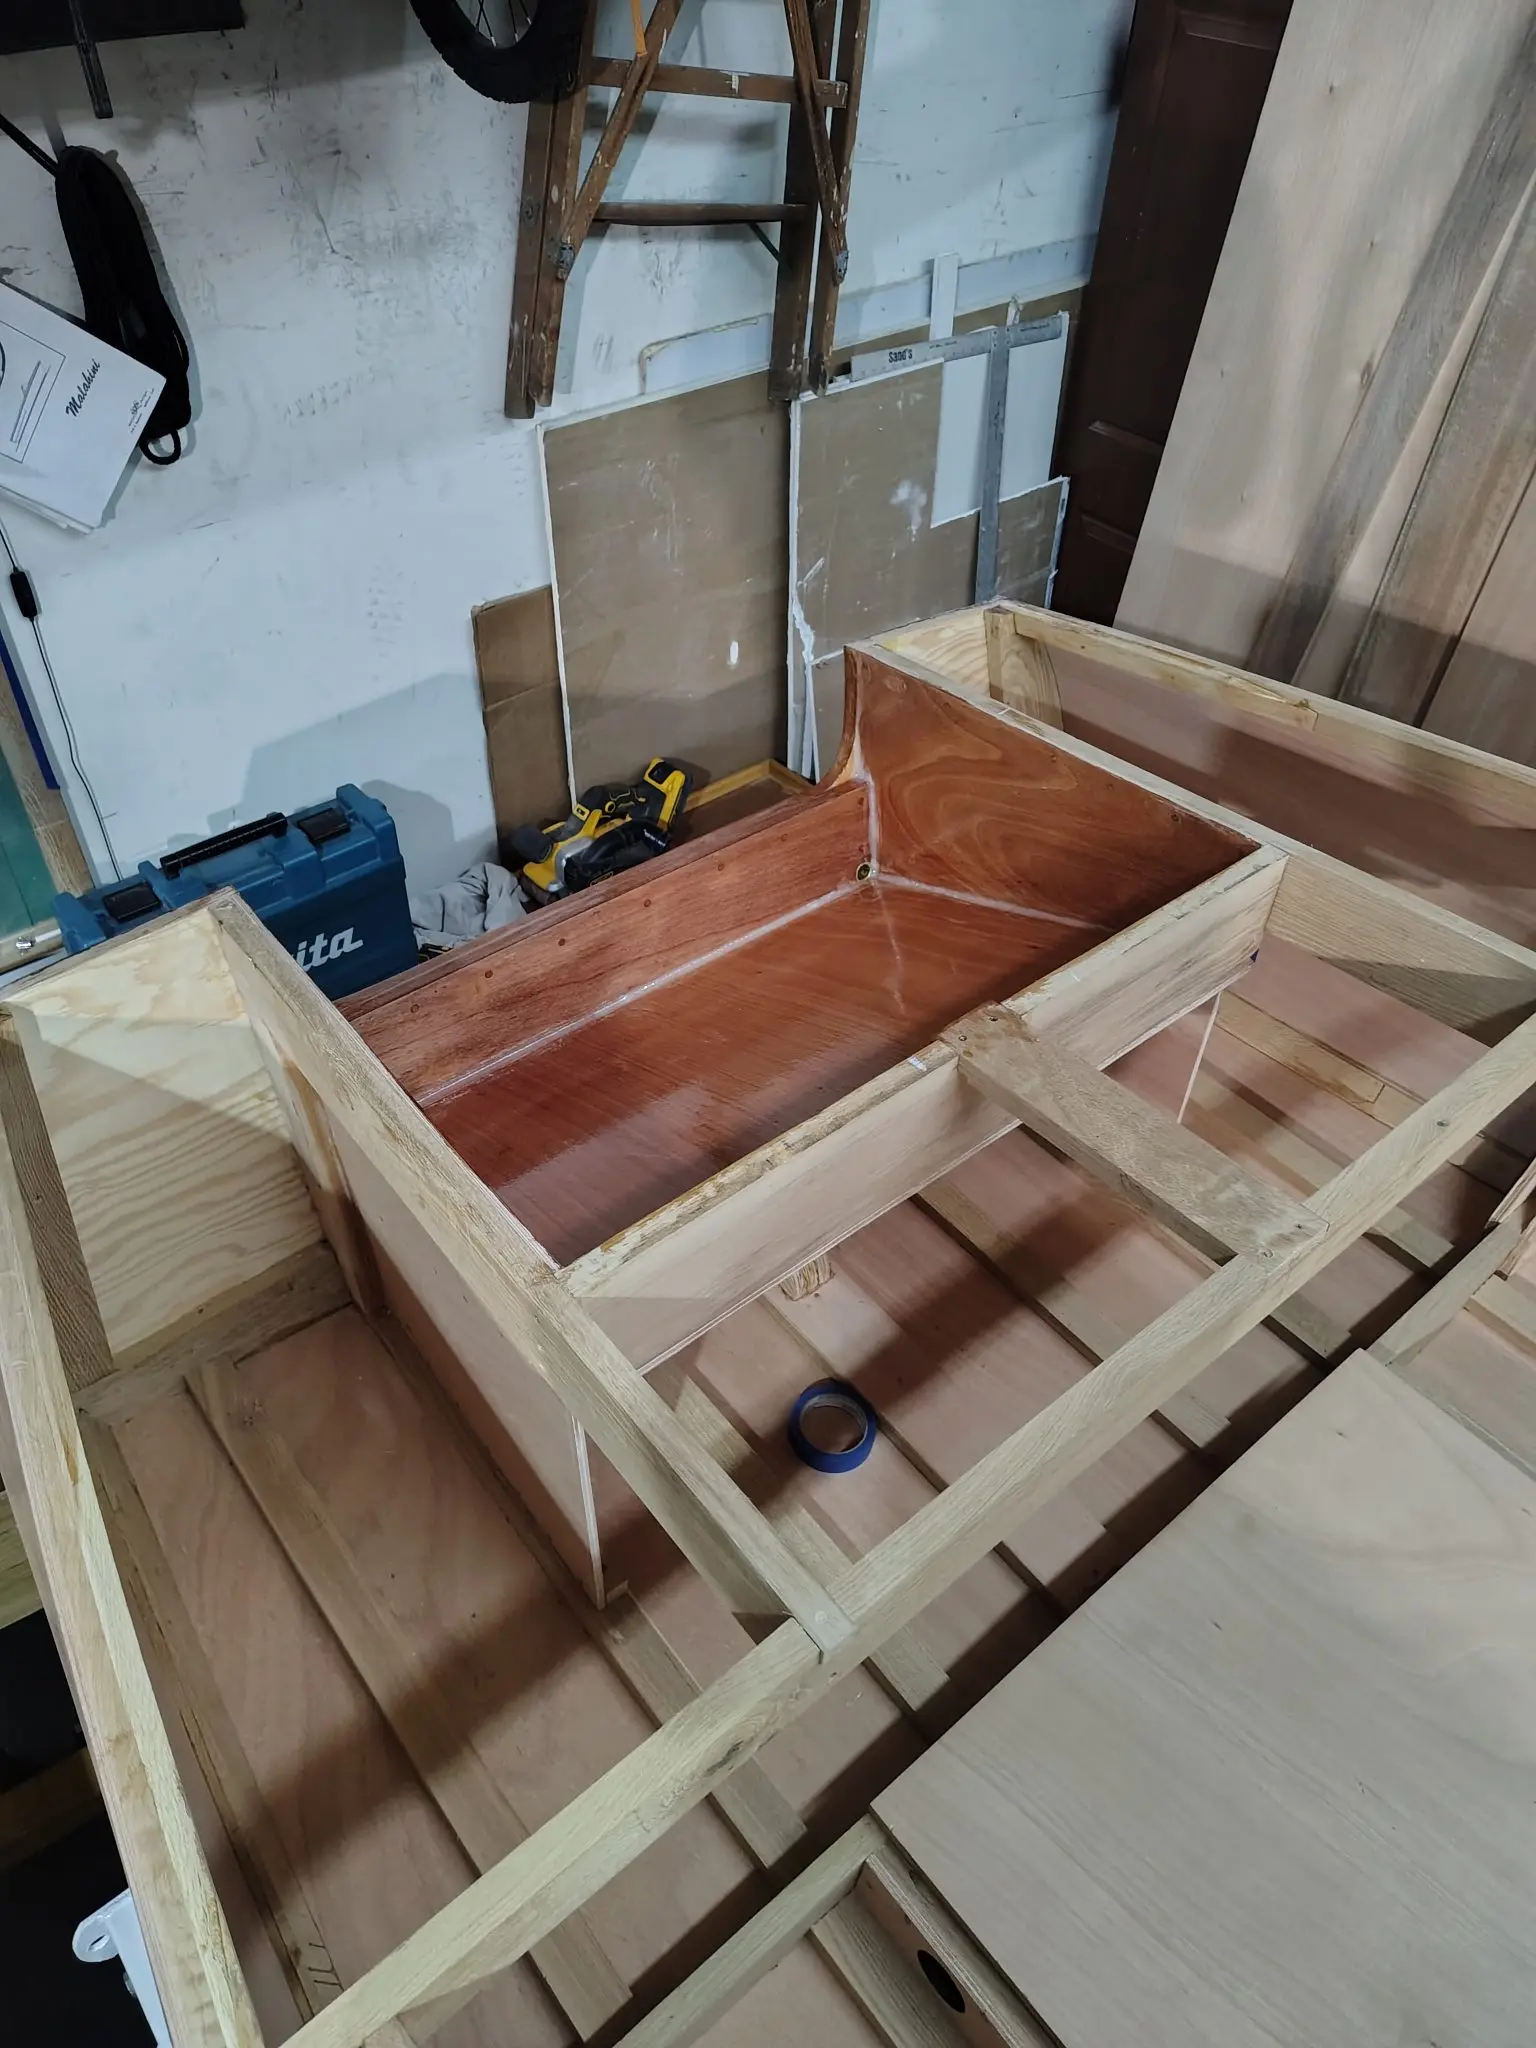
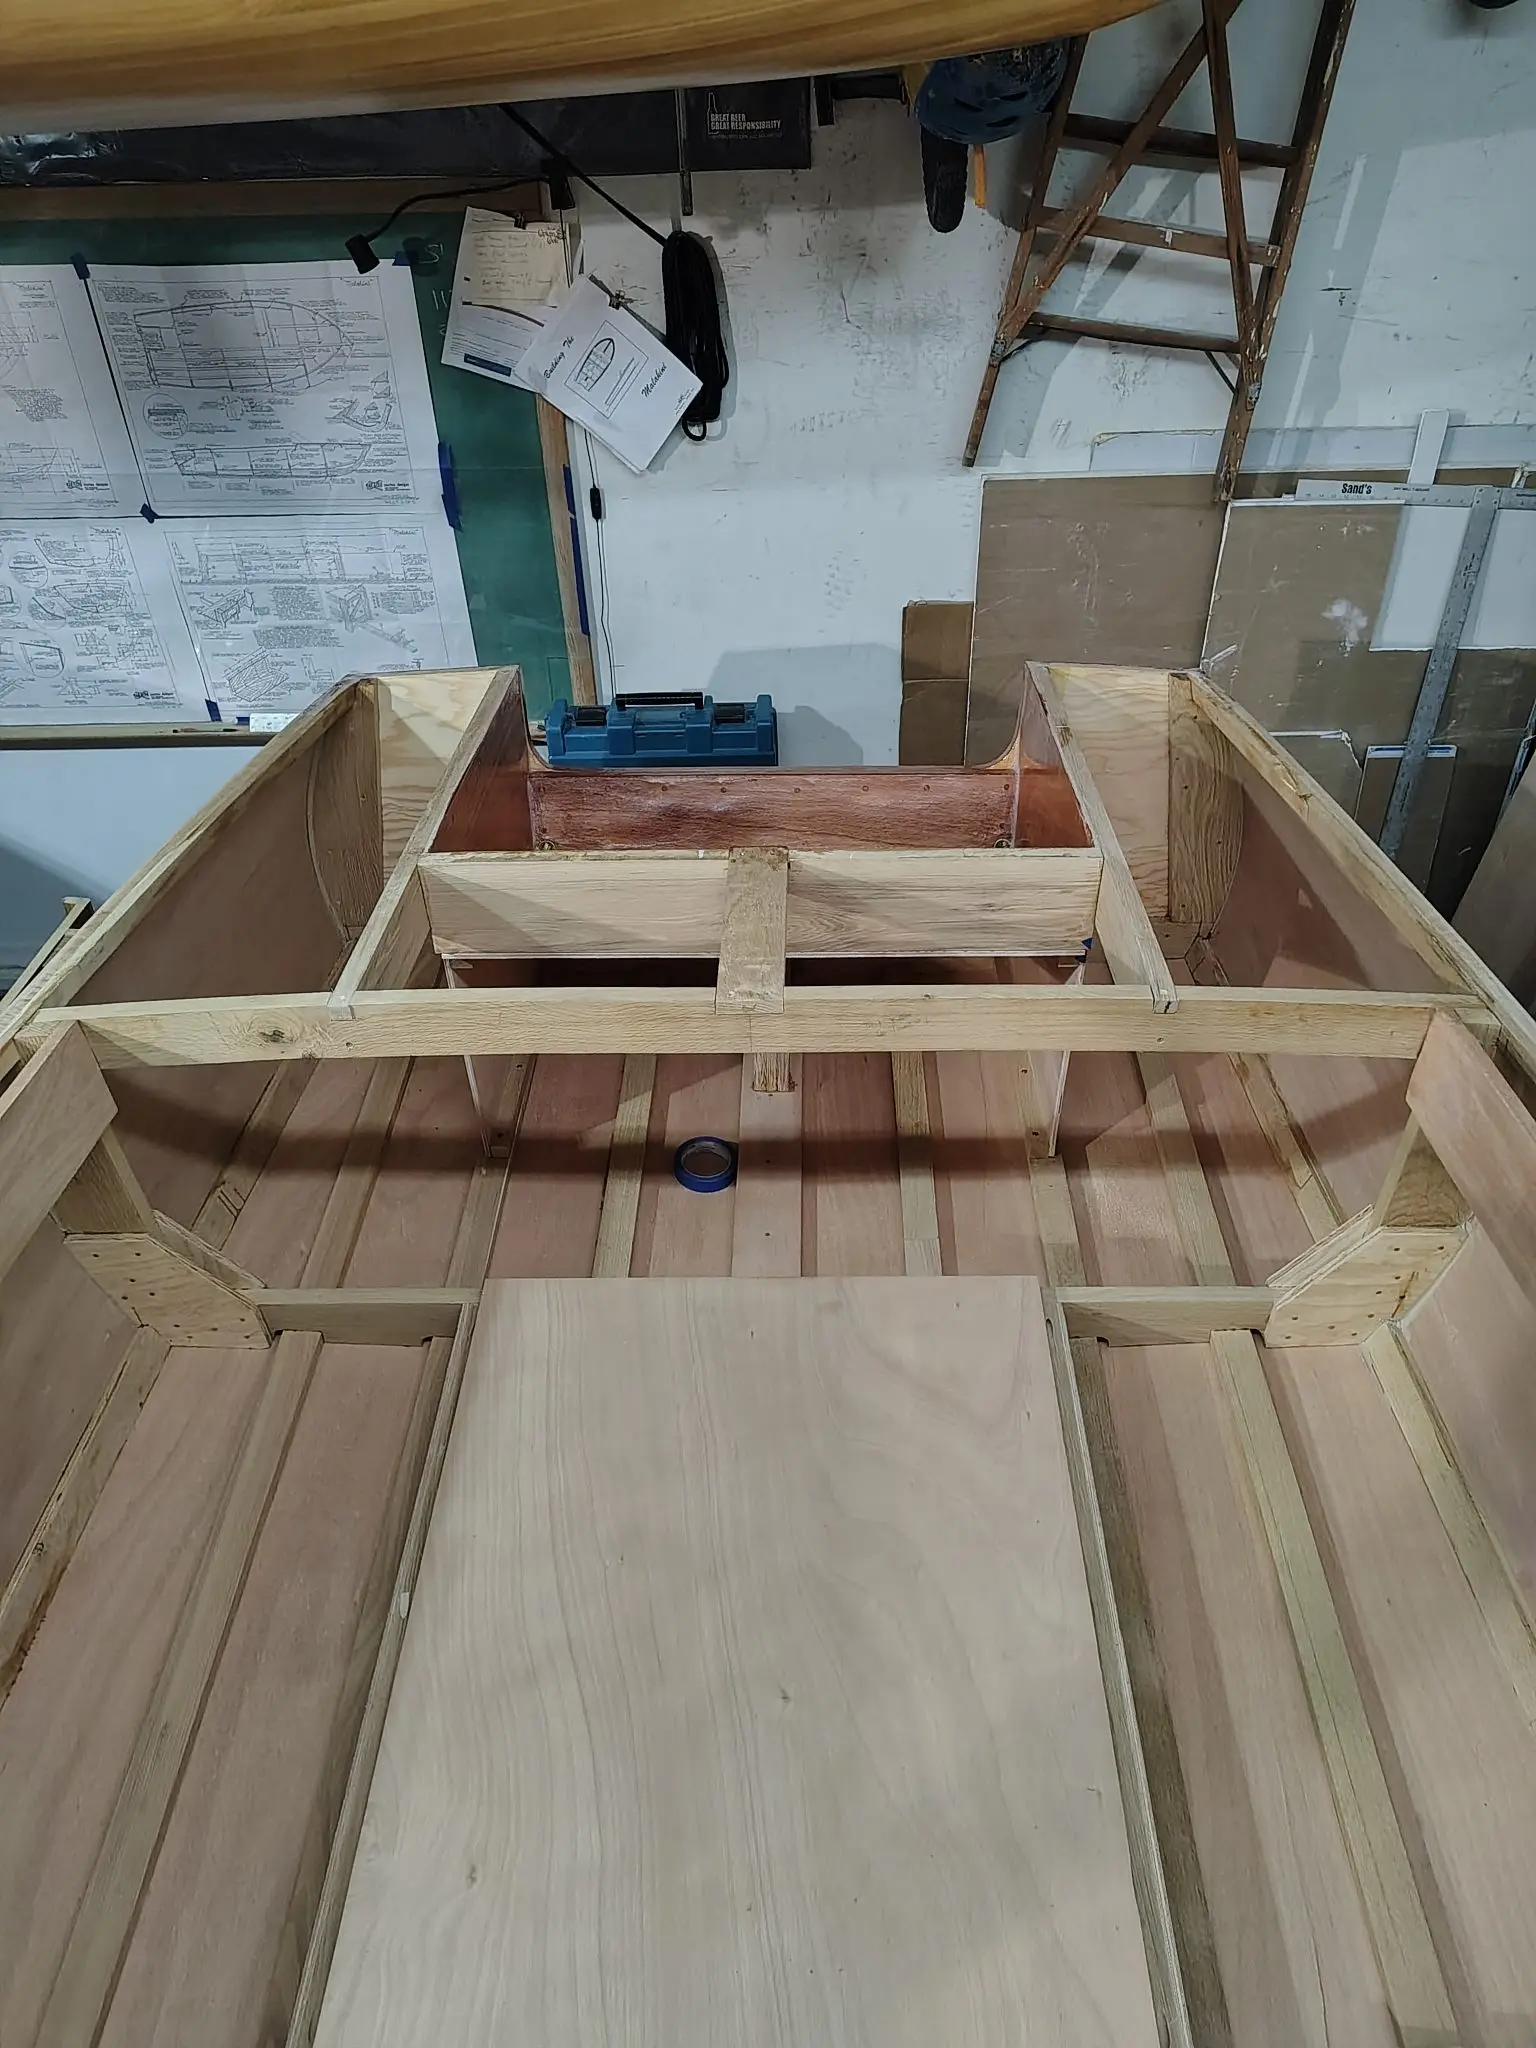
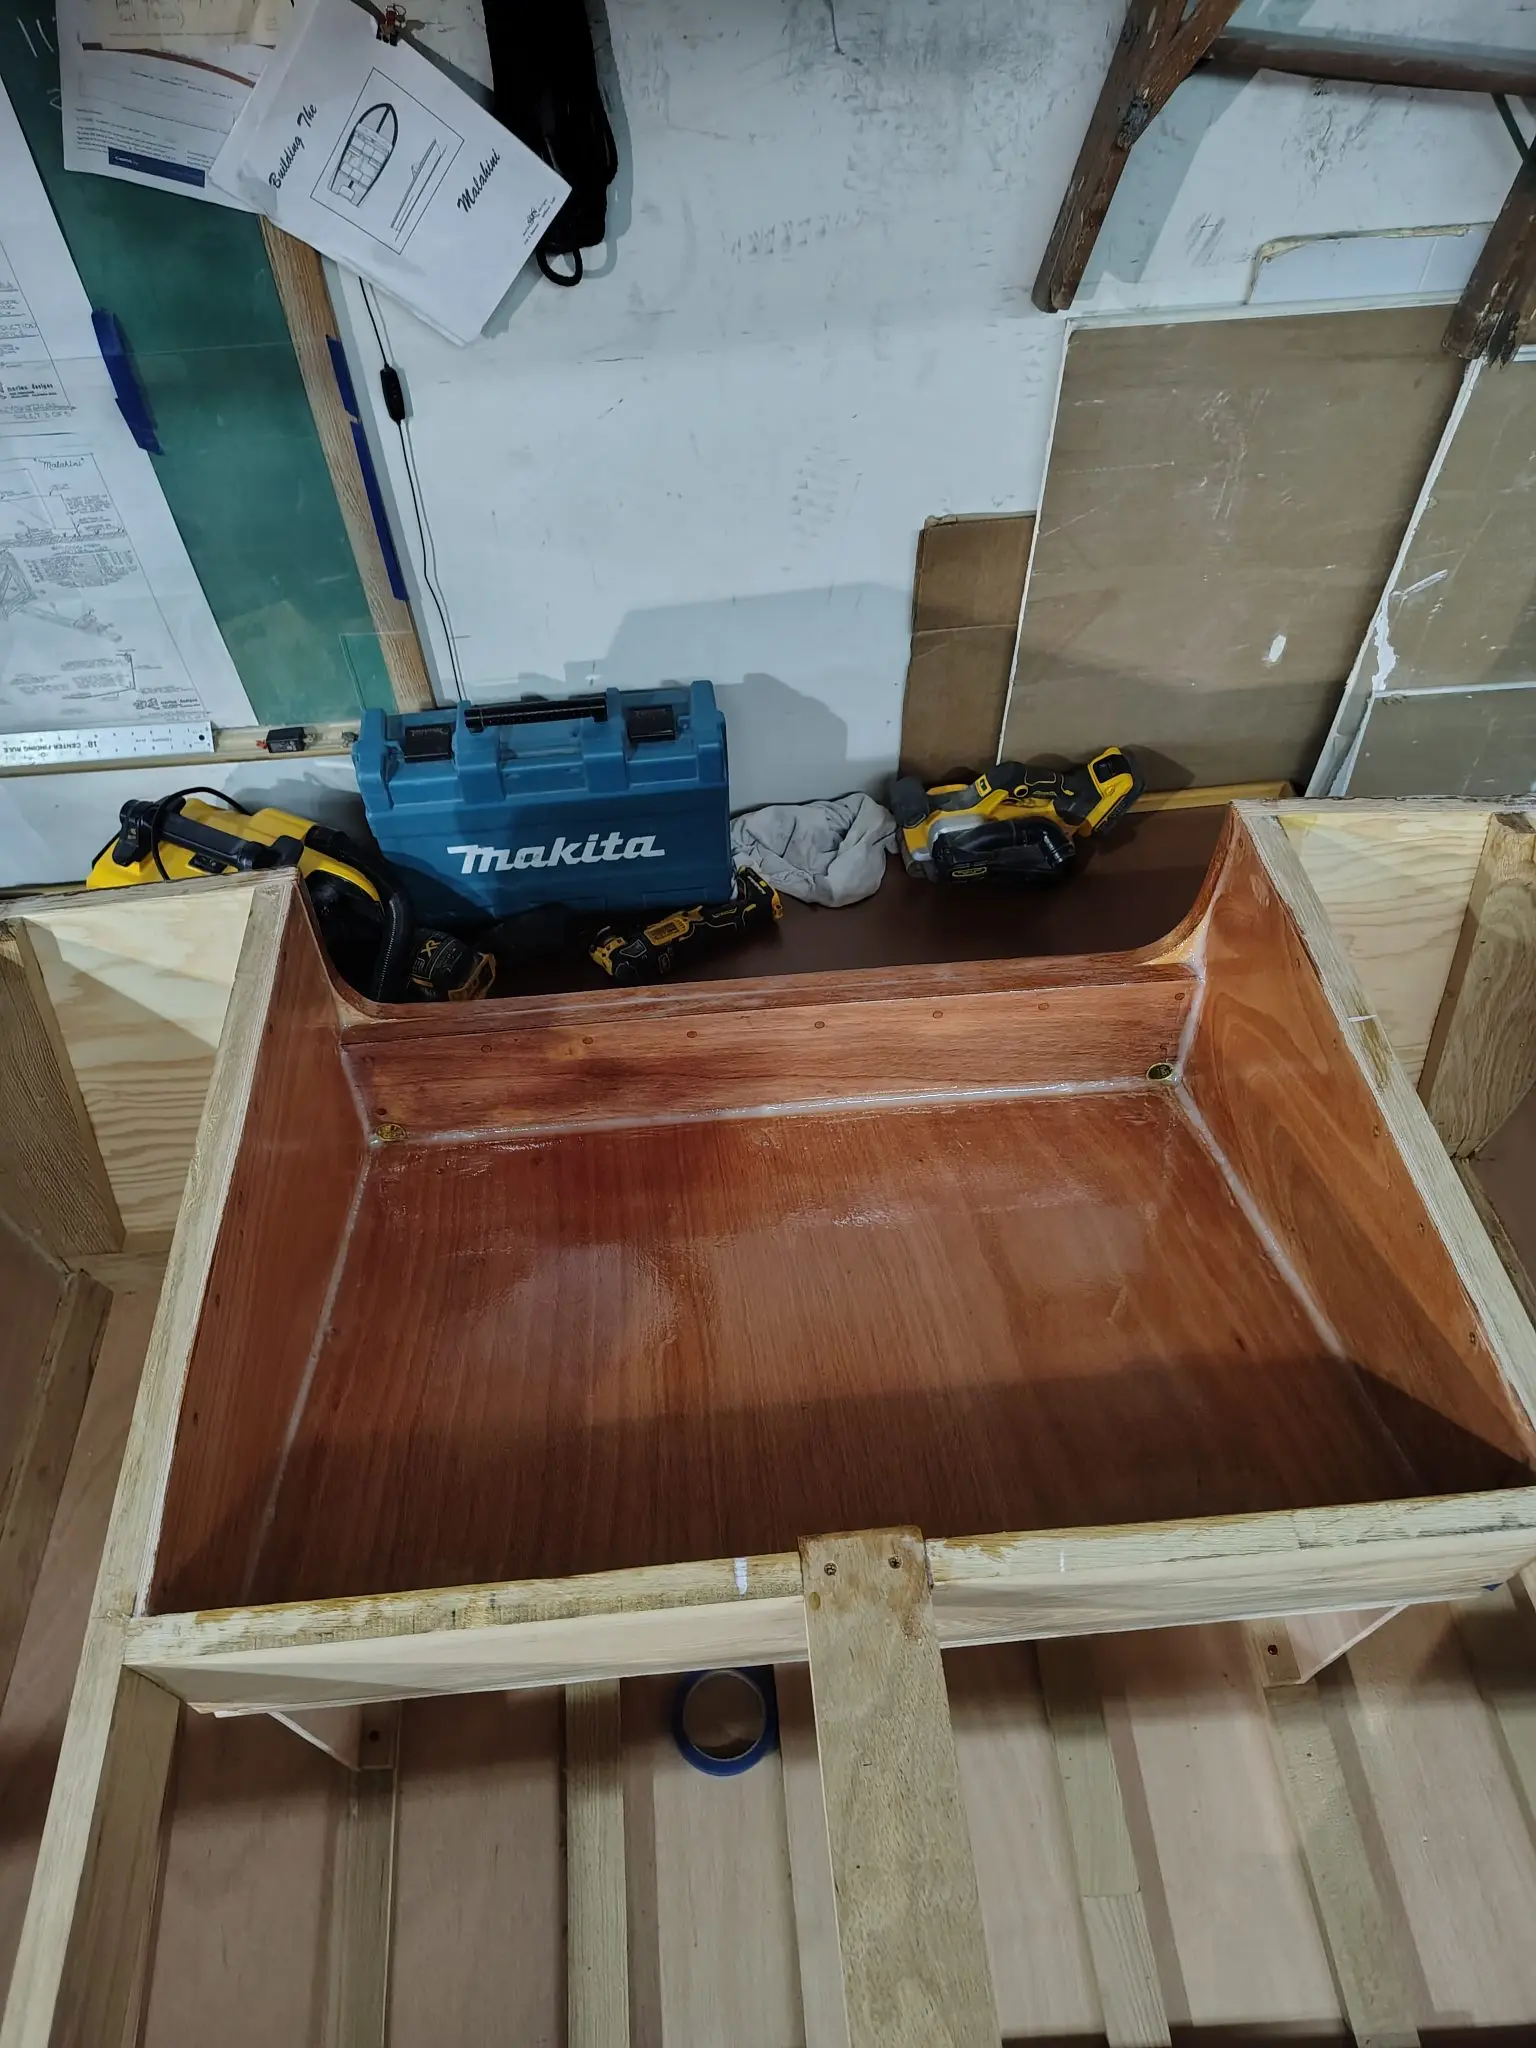
Motor well seal

Epoxy seal for the motor well

Malahini: Motor well seal
Photo 1
Malahini: Motor well seal
Photo 2
Malahini: Motor well seal
Photo 3

Glassing & Epoxy 7 h

Waterproof the inside of the hull

It's time to seal up the floor and sub structure. I used 3 coats of epoxy for a solid seal up.
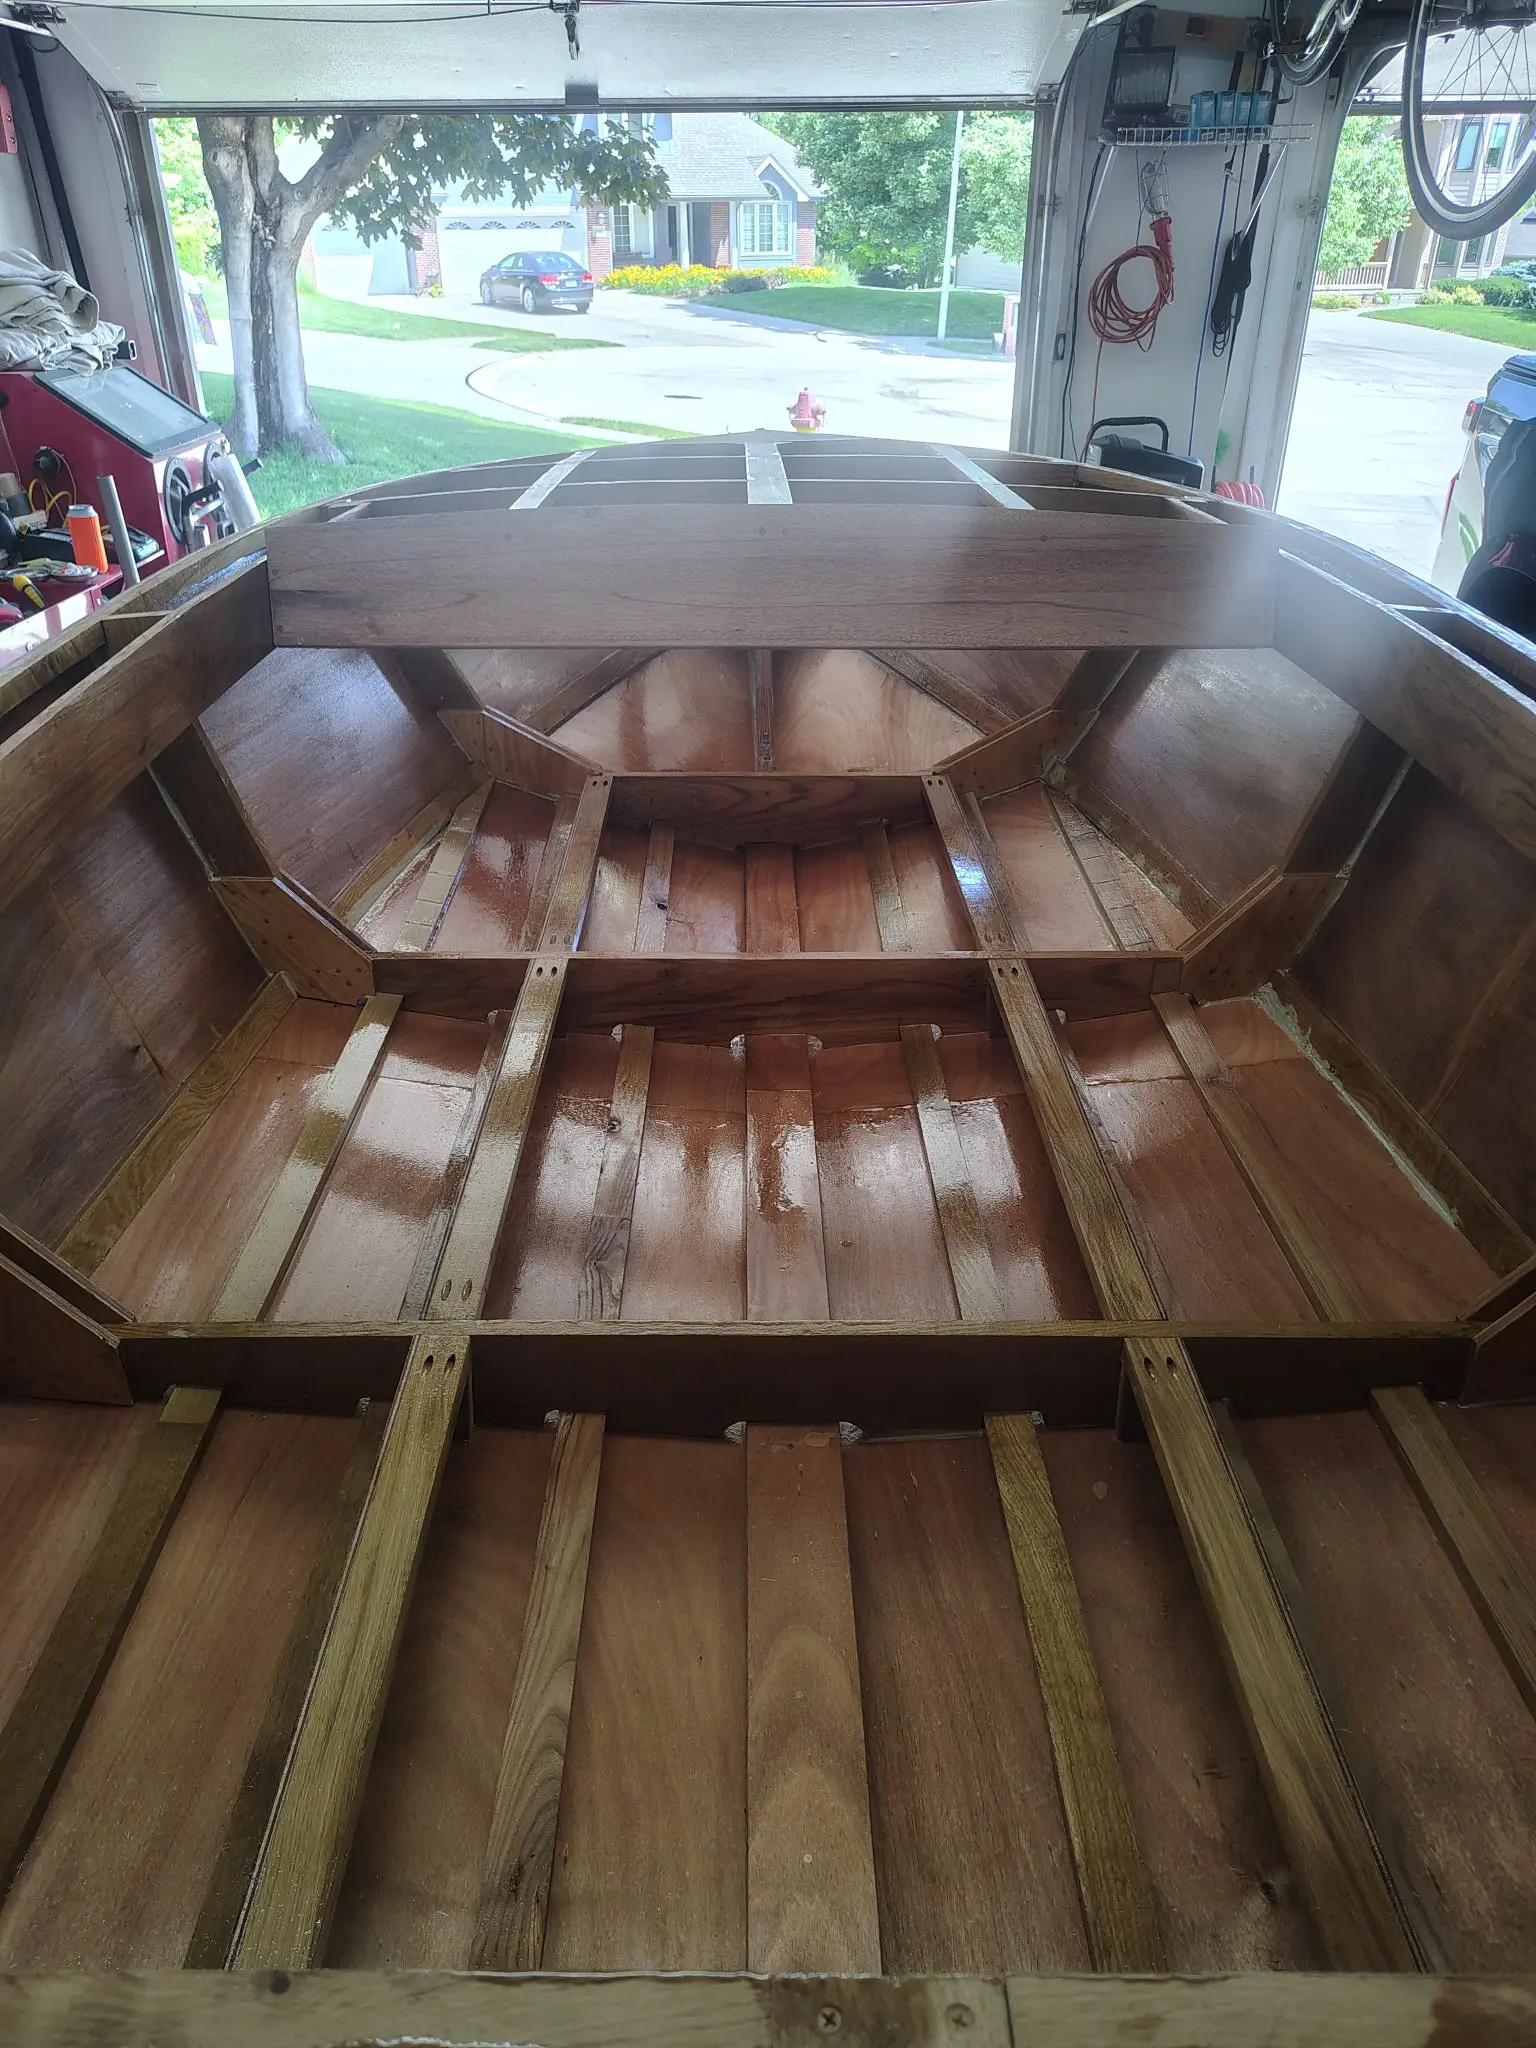
Malahini: Waterproof the inside of the hull
Photo 1
Malahini: Waterproof the inside of the hull
Photo 2
Malahini: Waterproof the inside of the hull
Photo 3

6 h

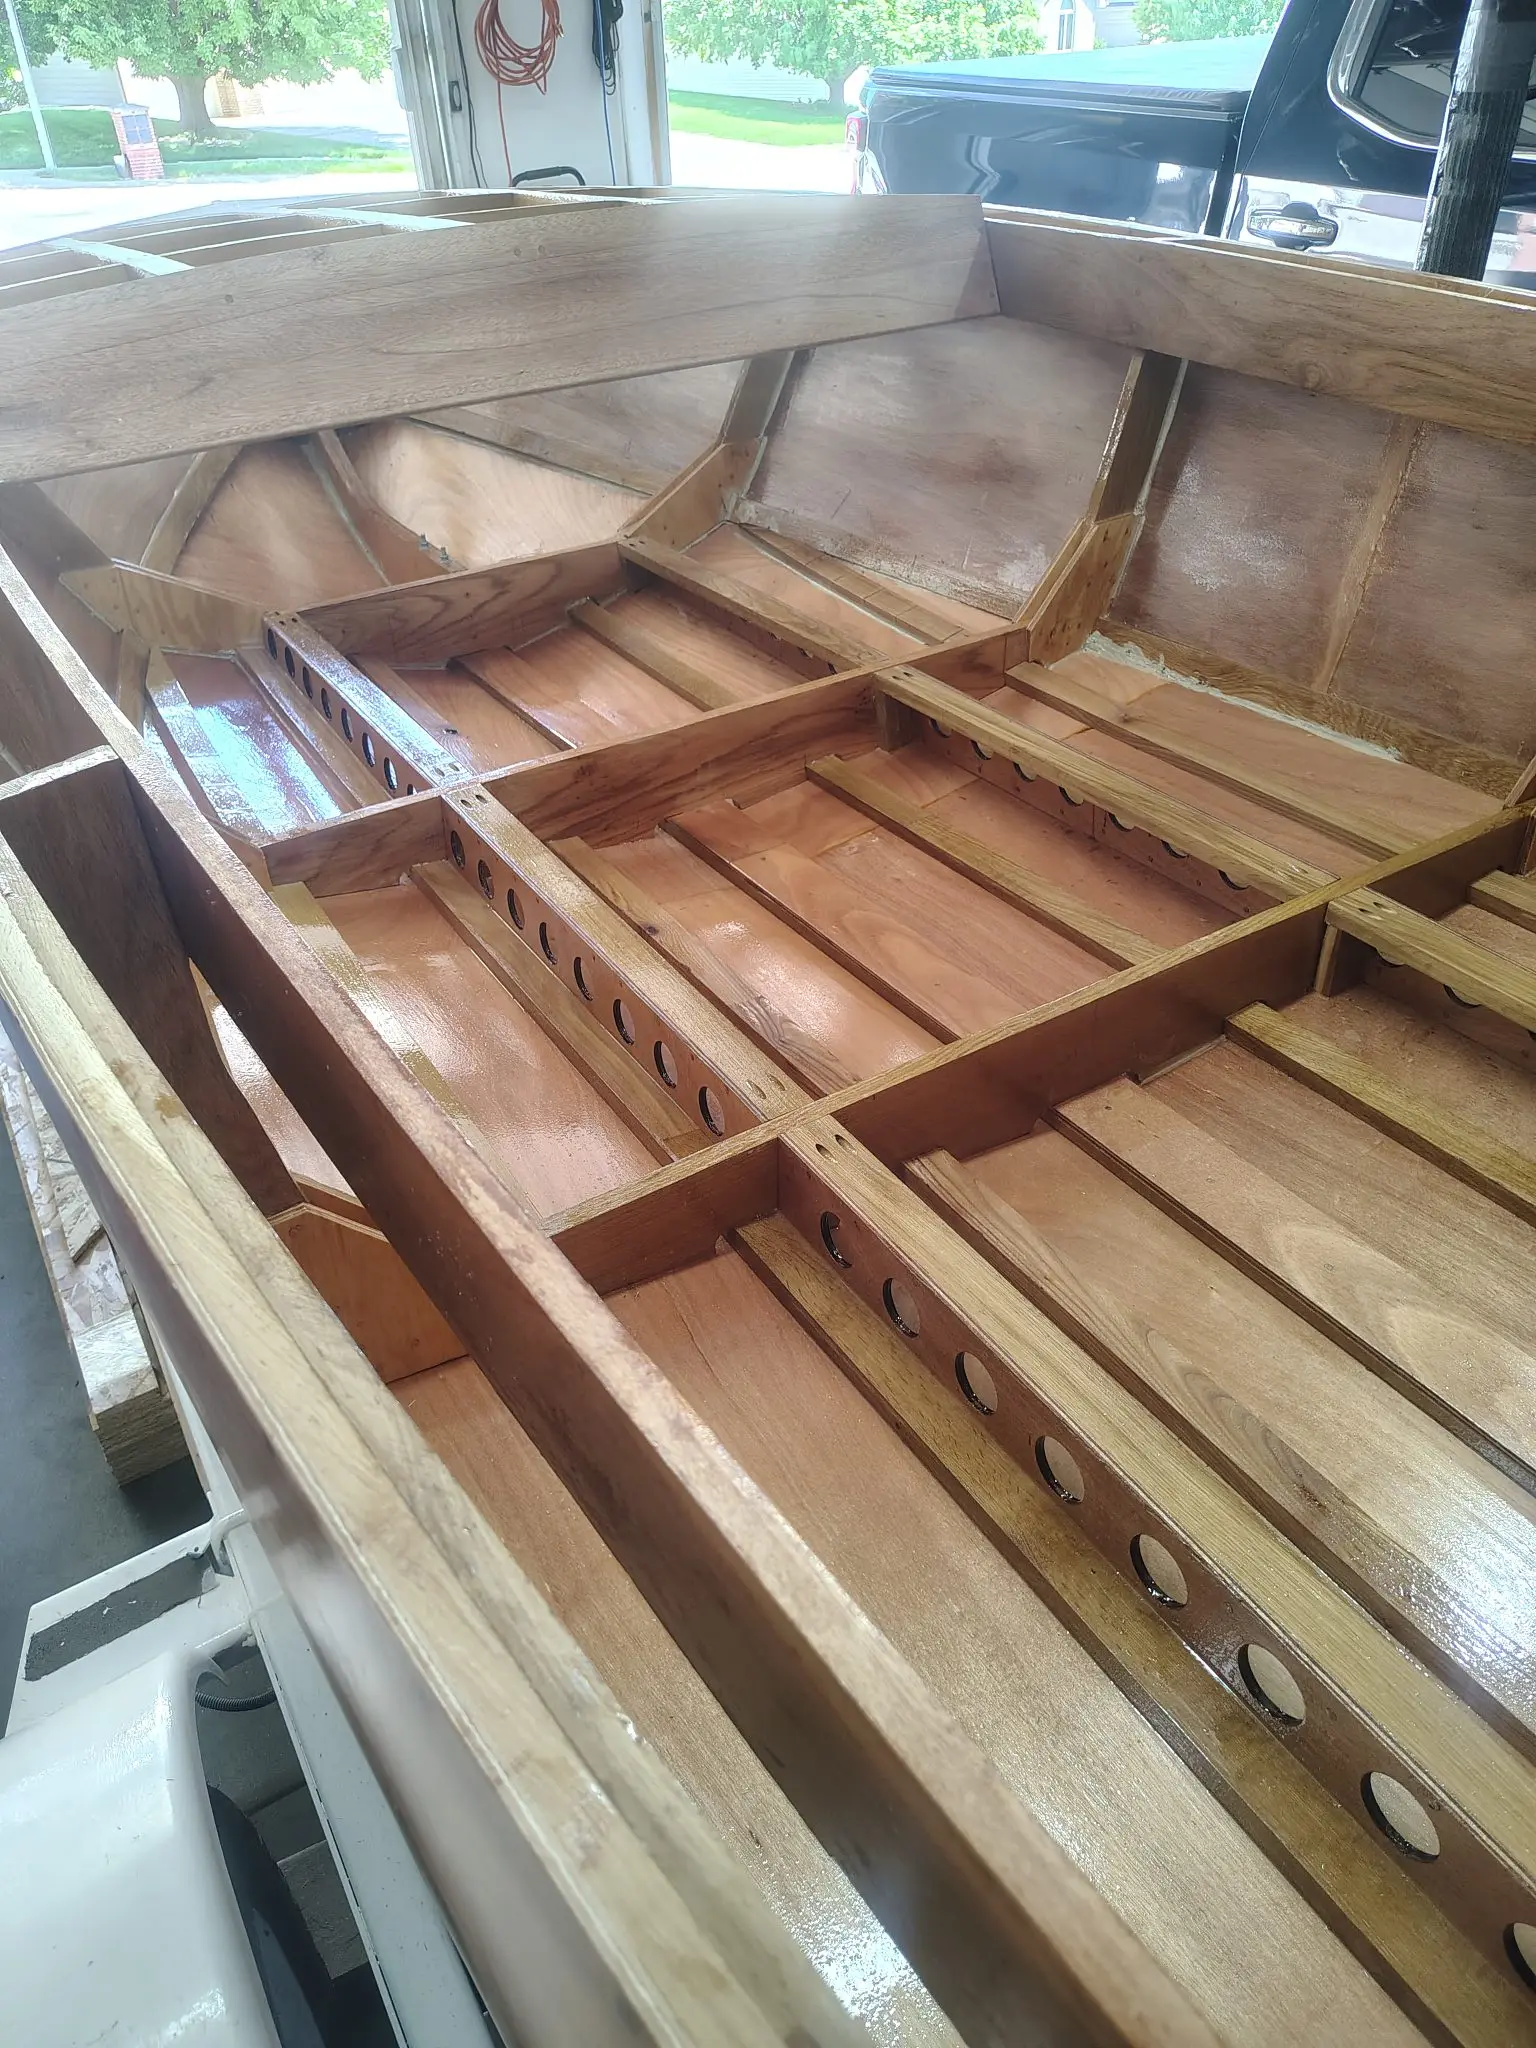
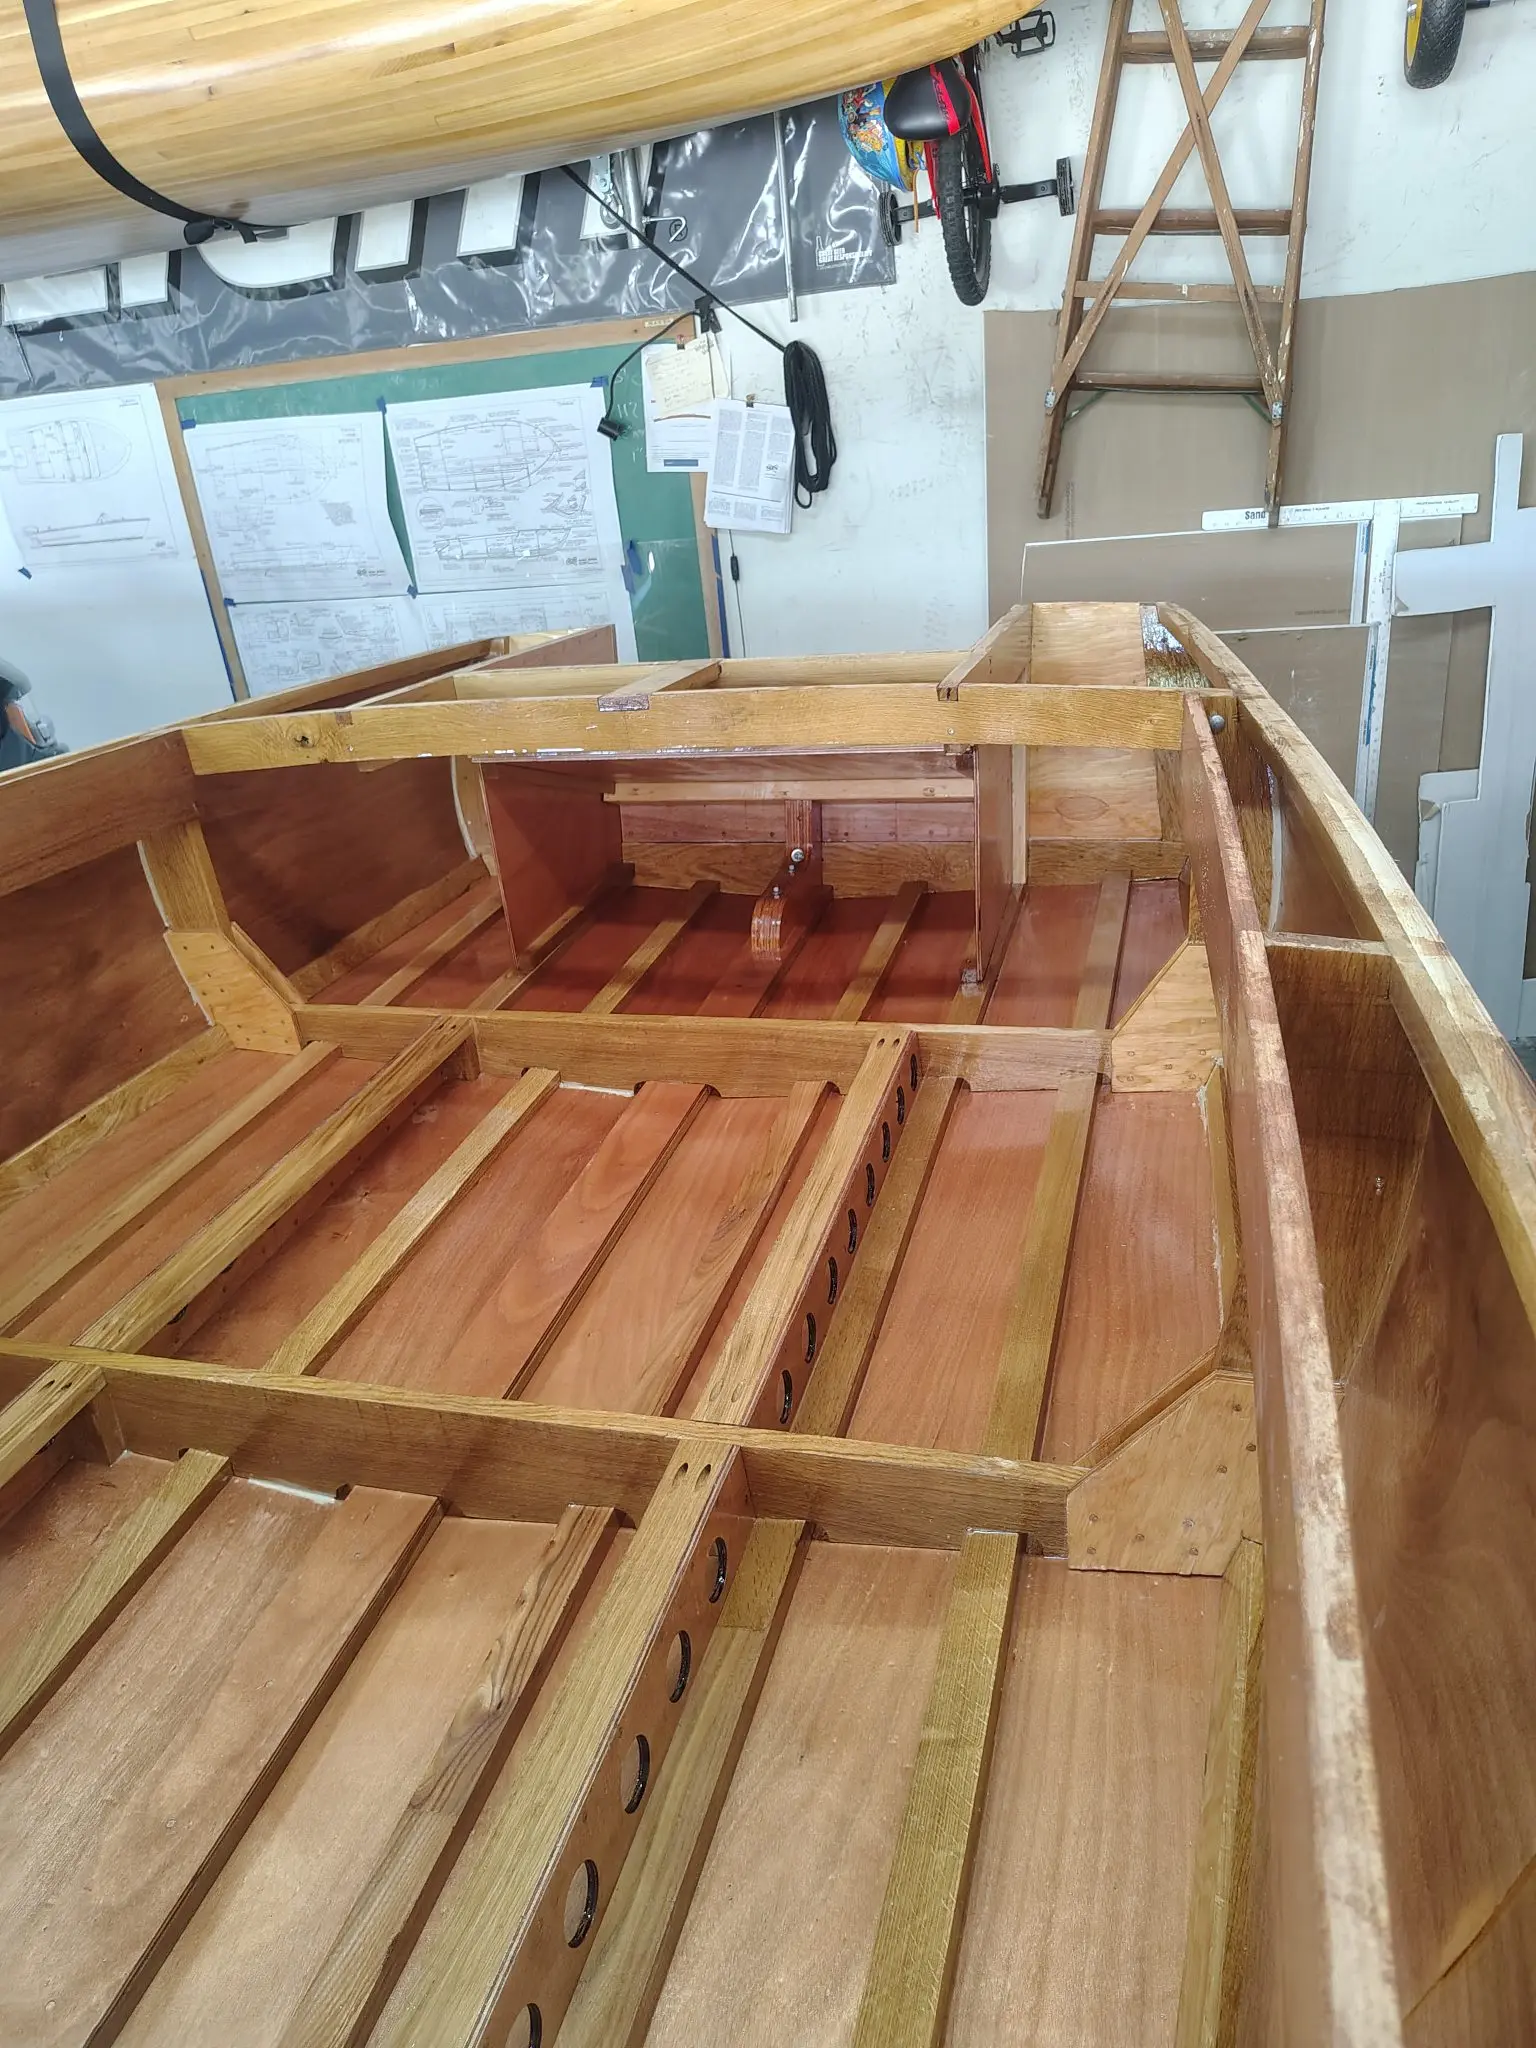
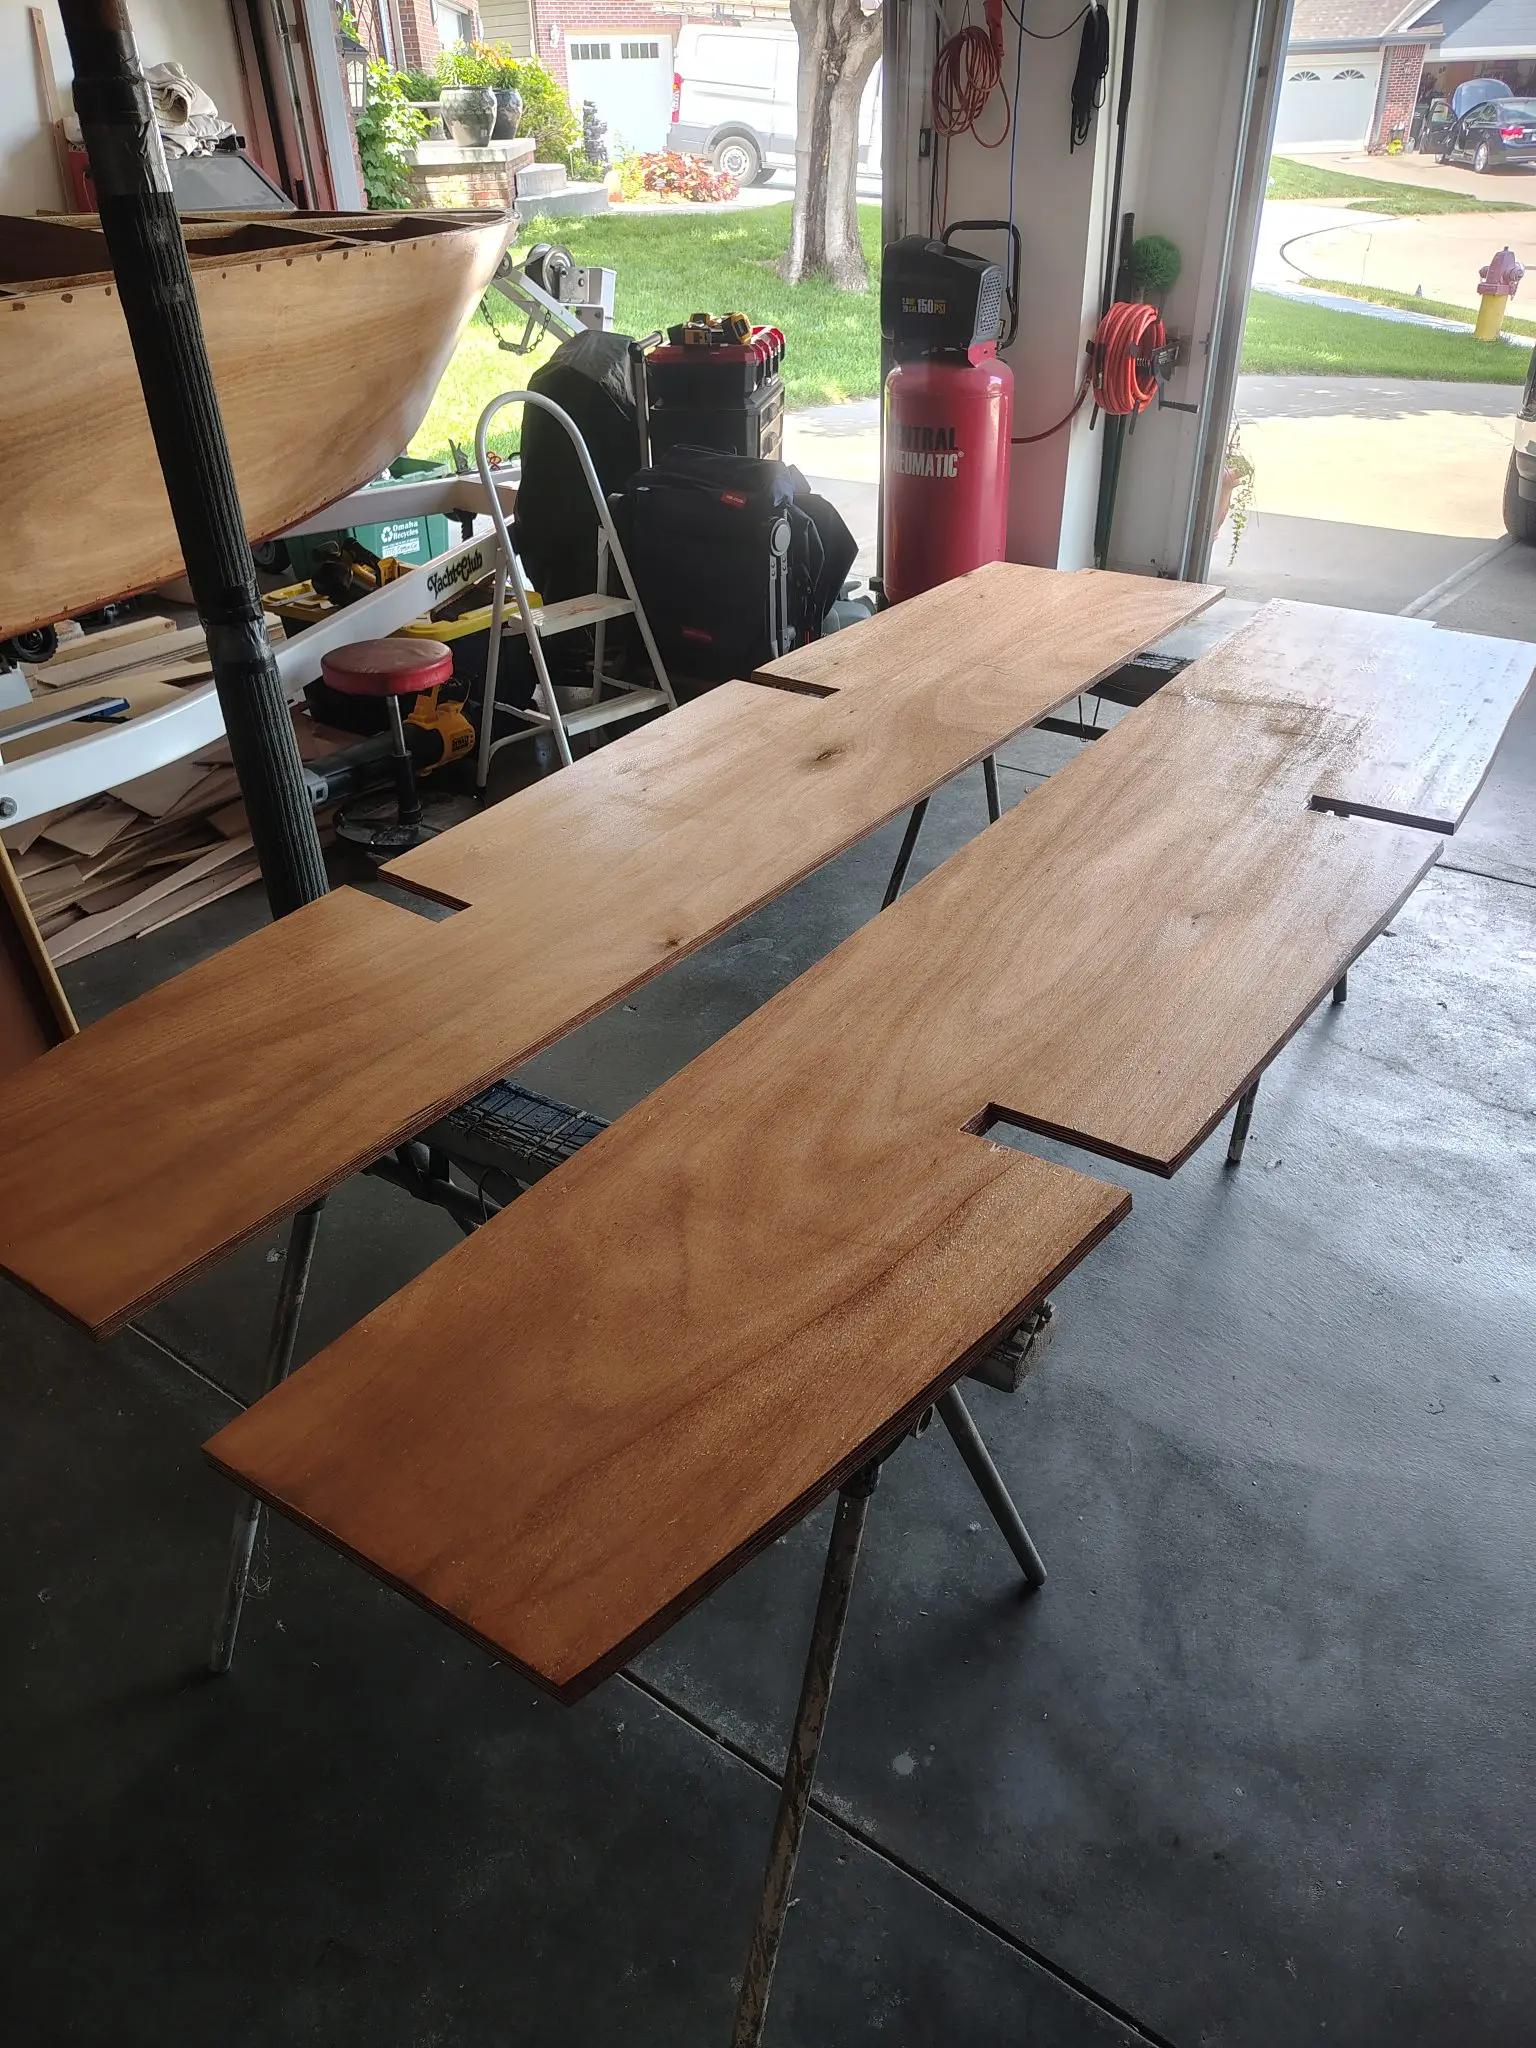
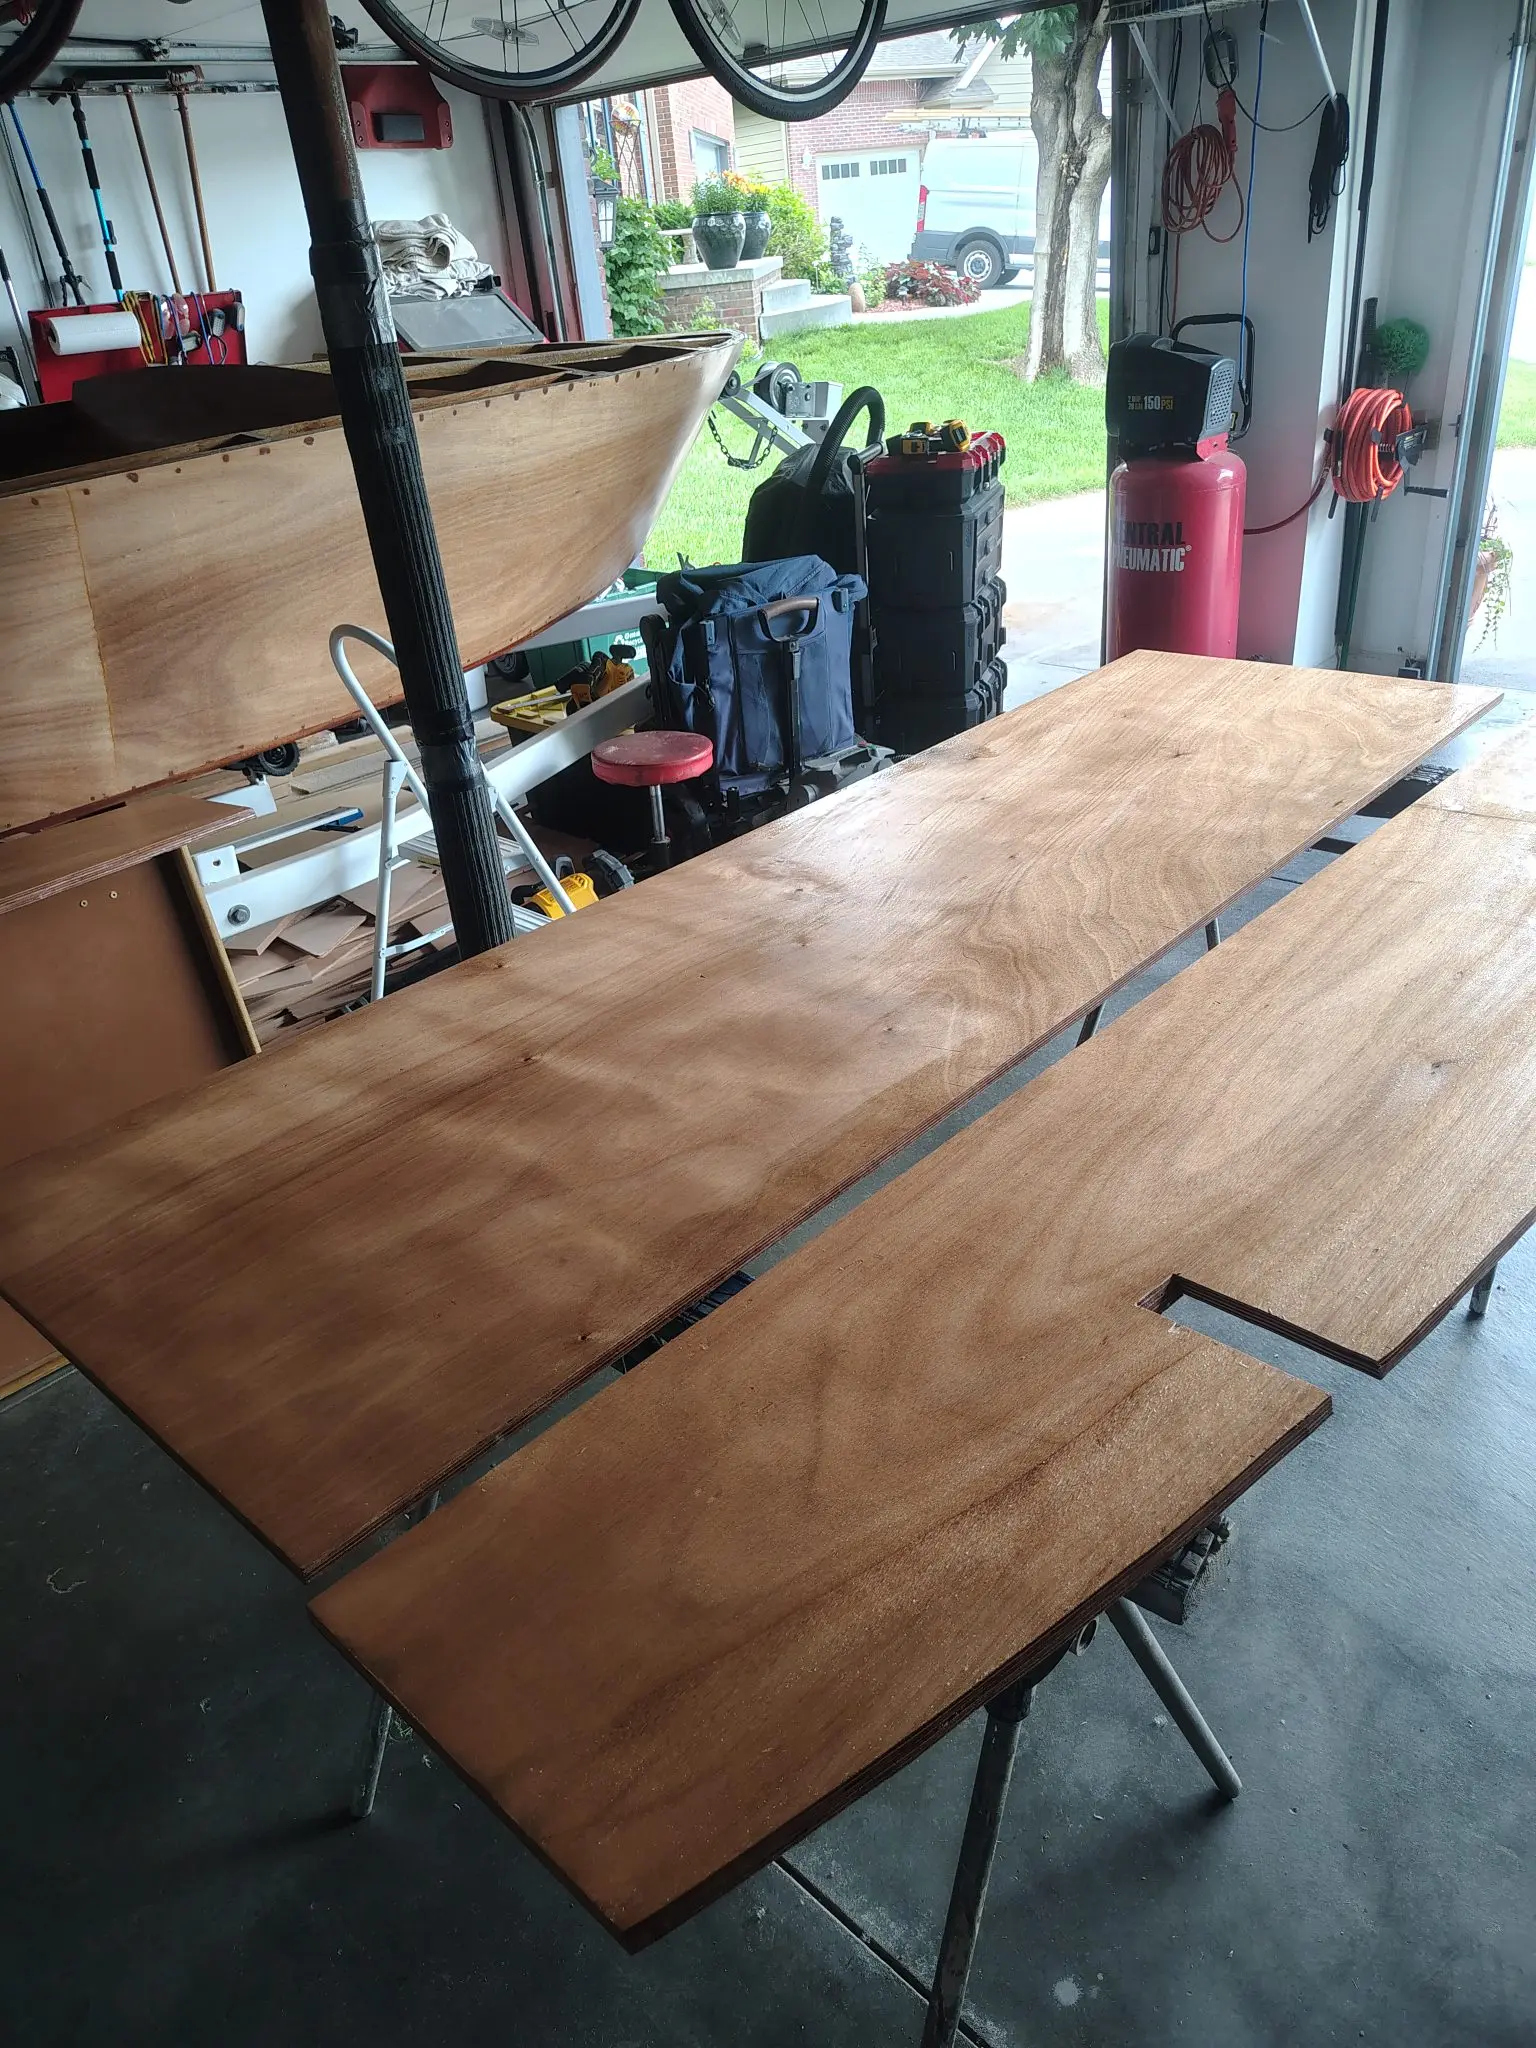
Floorboards

Fitting the floor for install.

Malahini: Floorboards
Photo 1
Malahini: Floorboards
Photo 2

Glassing & Epoxy 2.5 h

Floor fitting and epoxy

Floor boards fitted and epoxy coated. Not screwed down yet. The electrical and fuel work chases need to be installed.
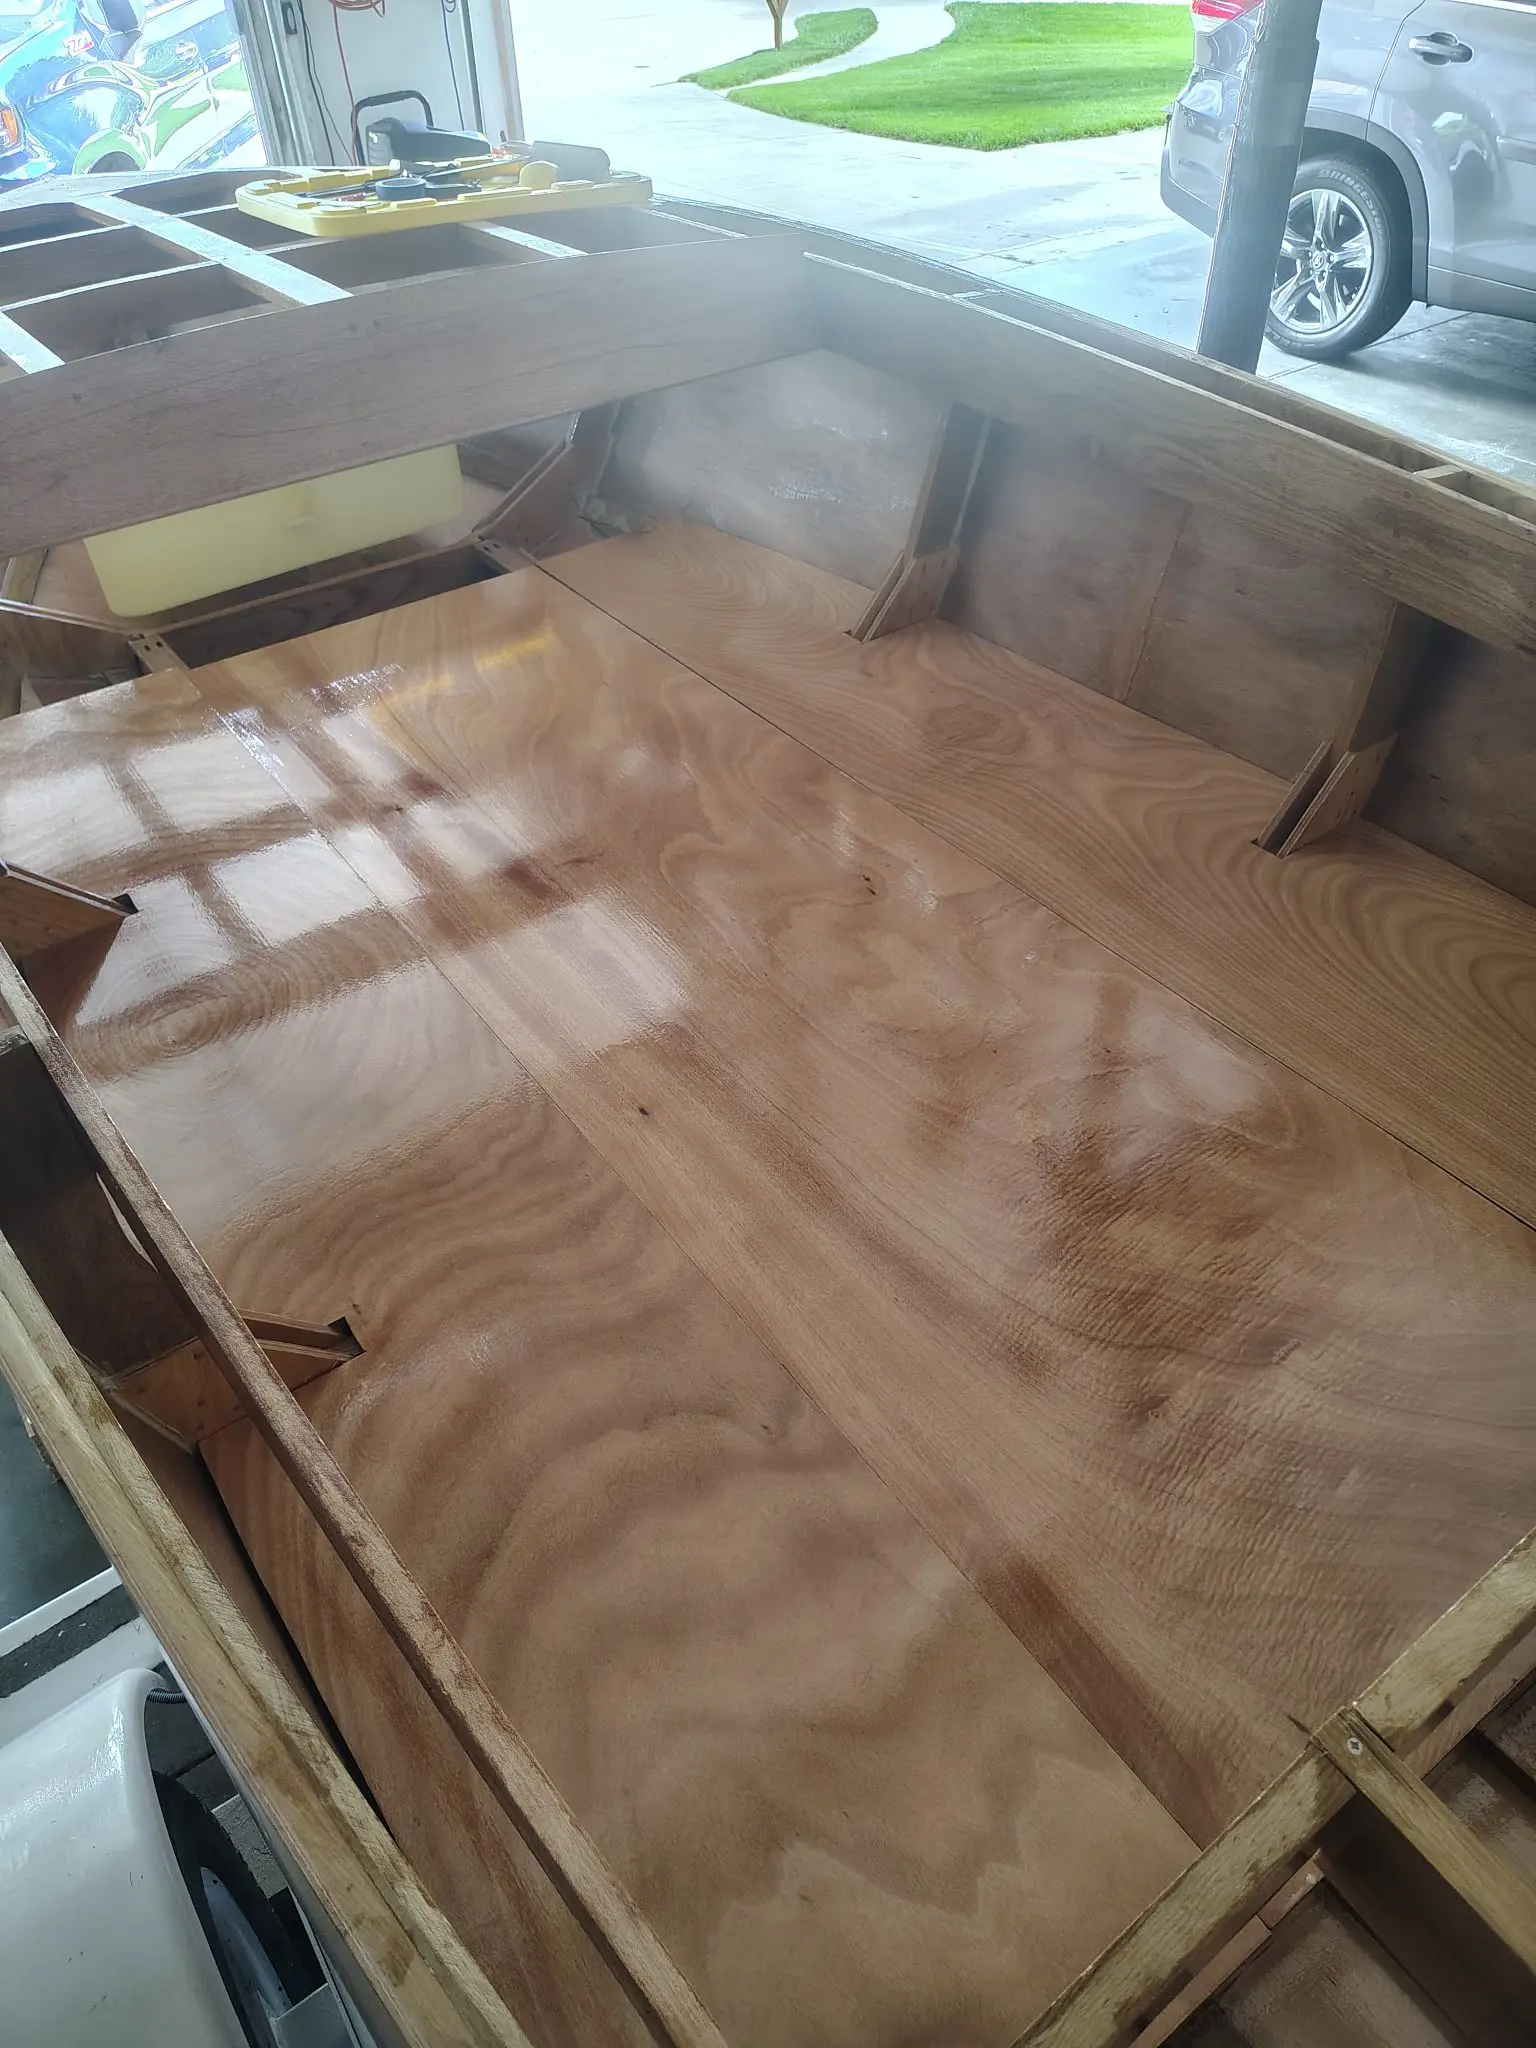
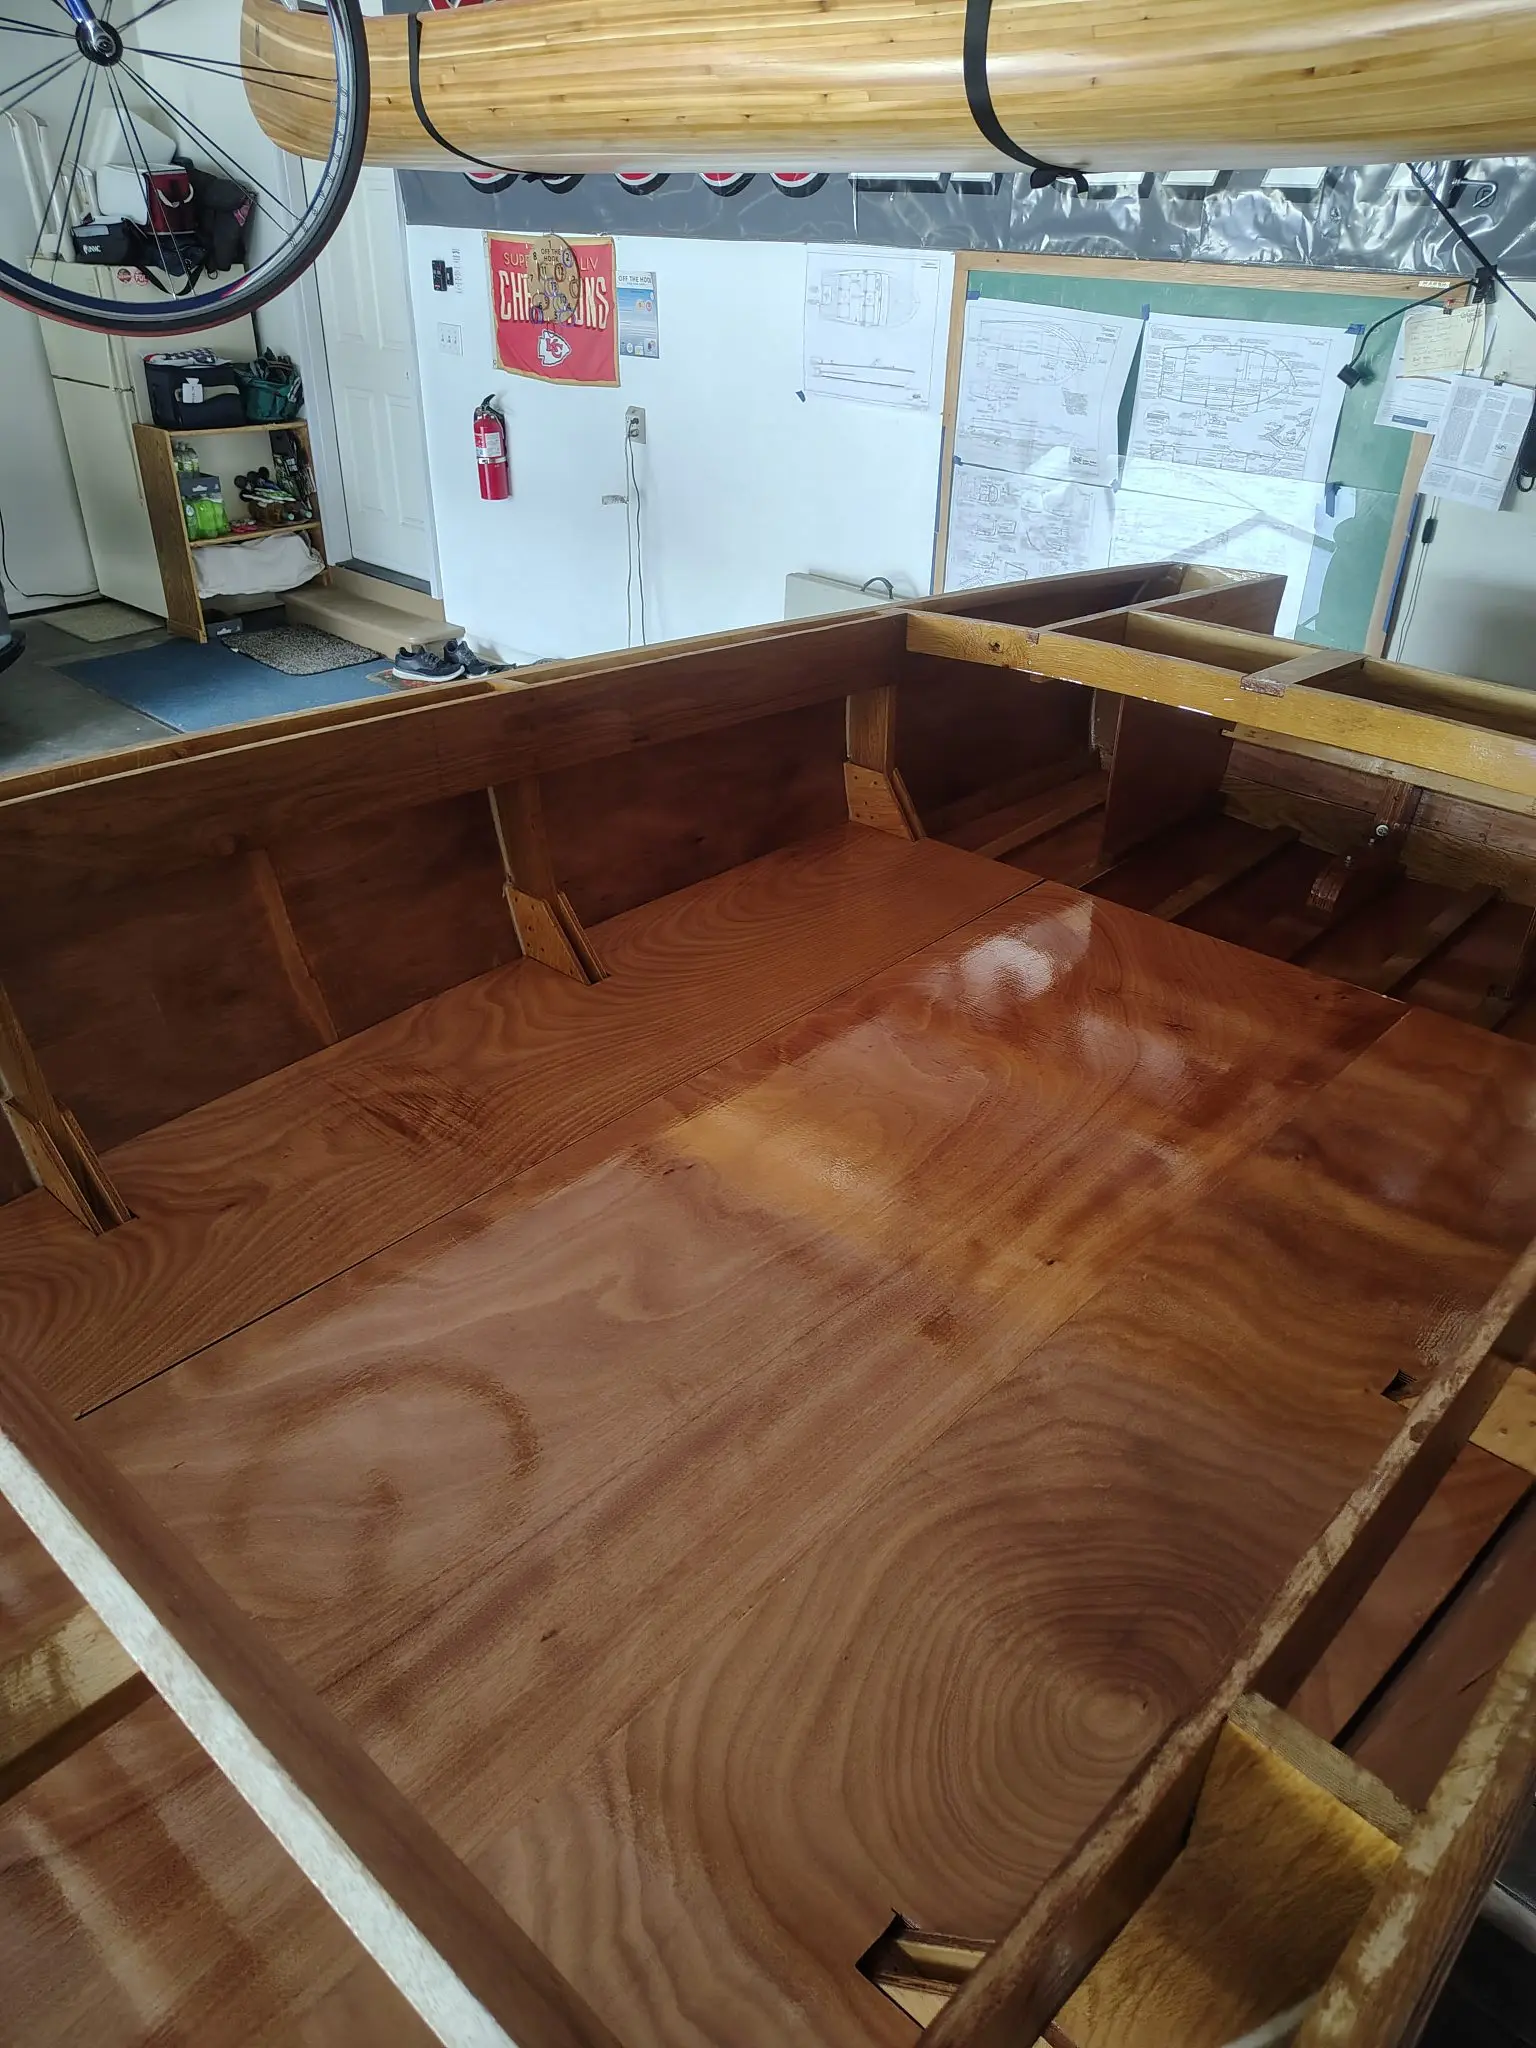
Malahini: Floor fitting and epoxy
Photo 1
Malahini: Floor fitting and epoxy
Photo 2

boatbuildlog.com

Malahini project
22 entries, 75 photographs, written down as the work was done.

The words and photographs in this log belong to Scott Muschall.

The log itself lives at
https://boatbuildlog.com/builds/malahini-project

Printed 22 November 2026