Northeaster Dory to be assembled in Cologne Germany23 entries,
65 photosBack to the log
The book is laid out for the paper chosen above, and the print dialog will follow it,
so pick the paper here rather than there. Turn background graphics on
so the cover photograph prints, and leave margins at their default. The page numbers
and the chapter running heads are drawn by the browser into the page margins, so they
exist only on paper: check the print preview rather than this screen for them, and turn
Headers and footers off there so Chrome's own furniture does not crowd
them out. Chrome and Edge print them, Safari and Firefox print the same book without
them.
new build
Northeaster Dory to be assembled in Cologne Germany
Northeaster Dory
Denis · 2026
A build log
Northeaster Dory to be assembled in Cologne Germany
Northeaster Dory
kept by Denis
2026
The boat
Northeaster Dory
Designer
John C. Harris
Plans from
Chesapeake Light Craft
Length overall
17′ 0″ (5.18 m)
Beam
4′ 8″ (1.42 m)
Construction
lapstrake plywood
Started
6 October 2026
Built by
Denis
It is the first boat I build. I‘ll do it in my single garage and partly in my cellar.
What it took
By the numbers
121
Hours at the boat
1.1 months
From first day to last
23
Days written up
65
Photographs
2,879
Words written
Against the others
4 builders on this site
have logged a Northeaster Dory. The median is
100 hours.
You took 121,
22
more.
The work
Contents
01Strongback & Molds
Oct 2026 · 25h
02Hull Panels
Oct 2026 · 20h
03Planning & Research
Oct 2026 · 1h
04Stitch & Assembly
Oct 2026 · 9h
05Fillets & Taping
Oct 2026 · 15h
06Glassing & Epoxy
Oct 2026 · 17h
07Hull Exterior
Oct 2026 · 35h
08Deck & Coamings
Nov 2026 · 1h
Chapter 01
Strongback & Molds
Building the strongback or ladder frame and setting up station molds.
2 days25 hoursfrom October 2026
6 Oct 2026Strongback & Molds22 h
Got started
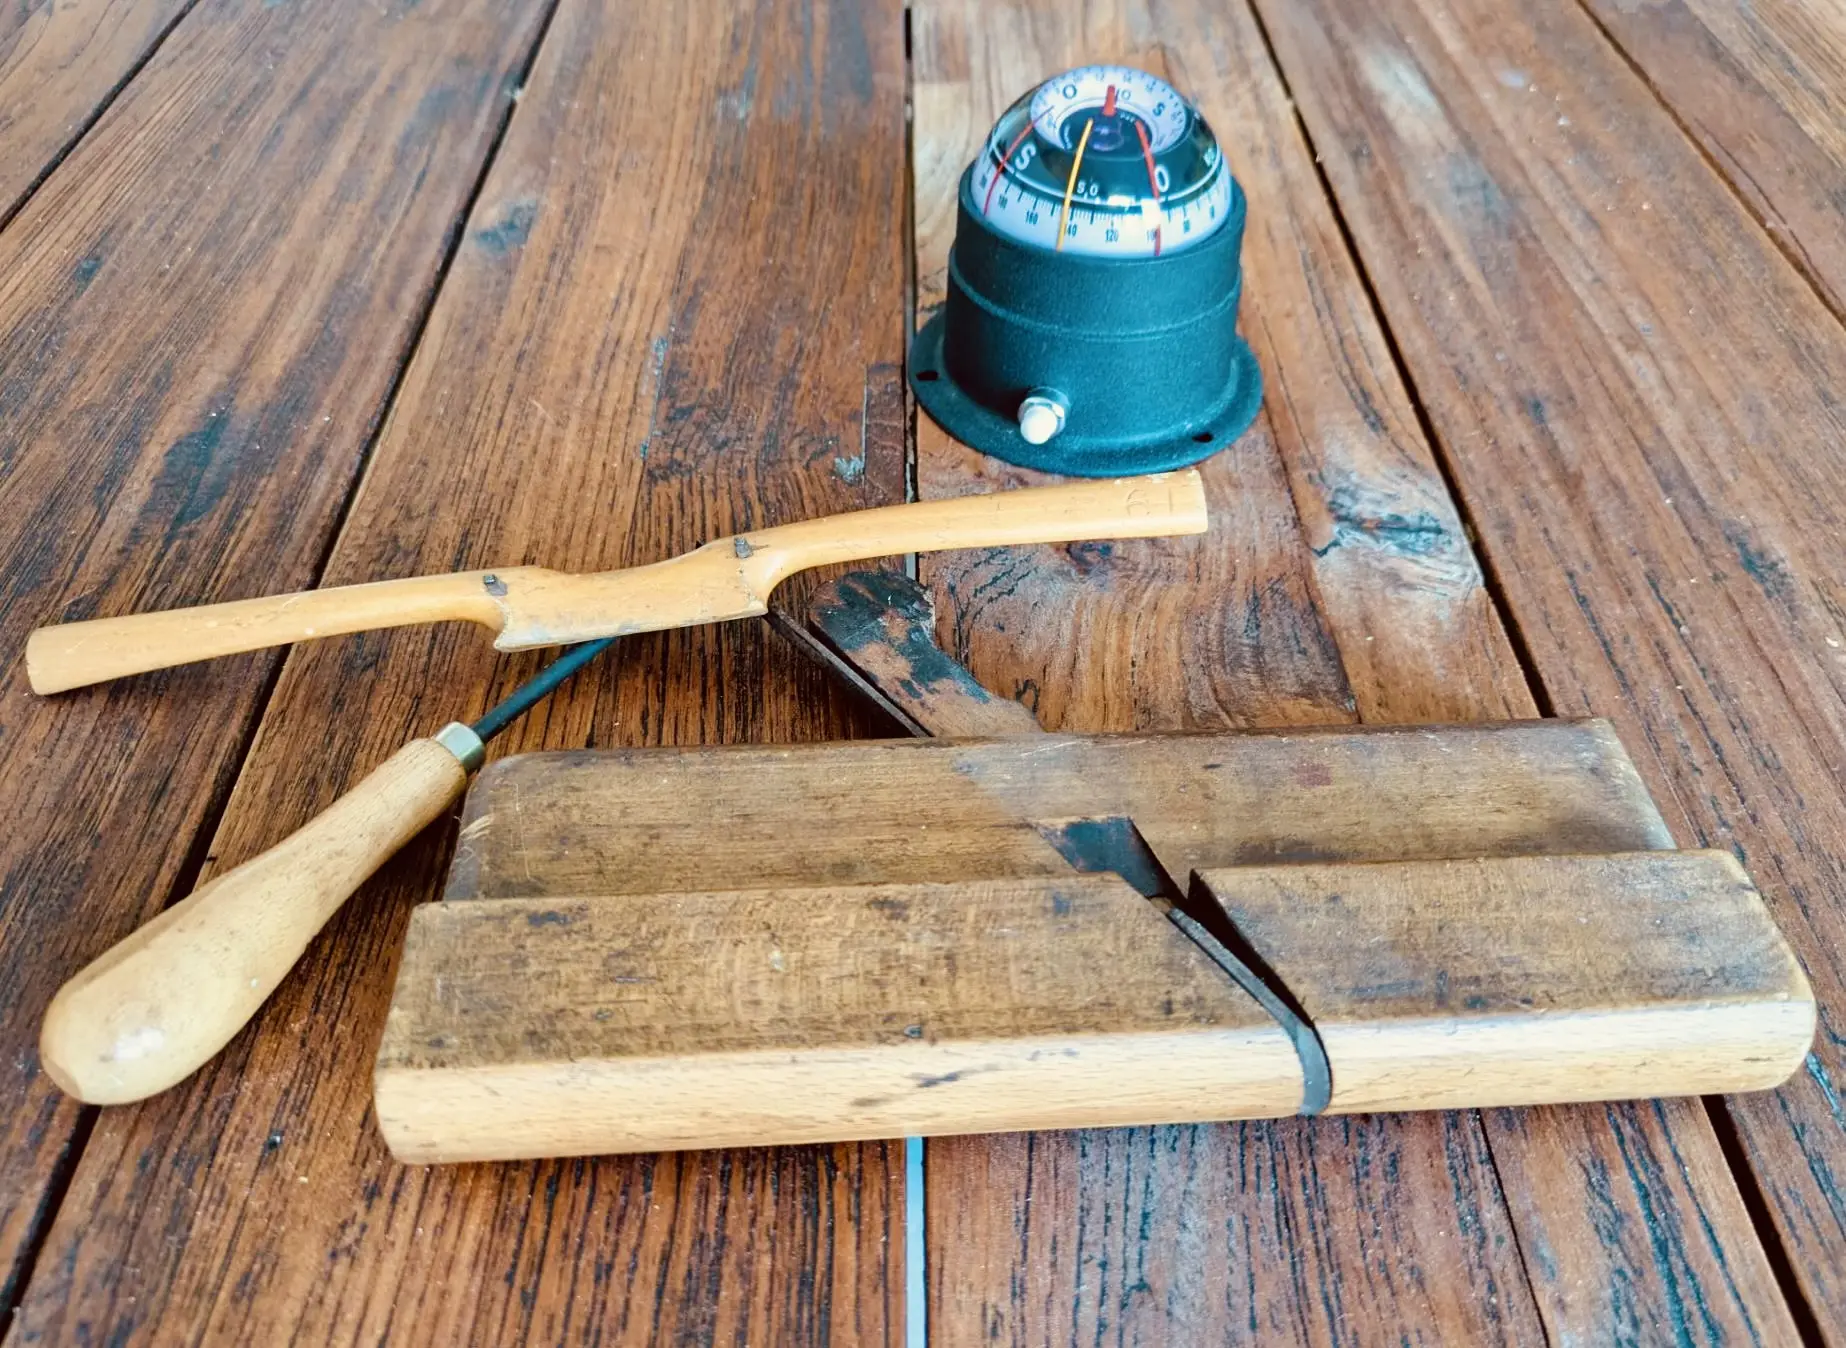
Weeks ago I found a compass on the dining table of a good friend. It seemed to belong to a boat but looked pretty lonesome without. I thought why not building a boat around it. That’s why I started to look for a suitable kit that meets my building abilities and could suit the compass. First of all I found the clc Skerry but finally decided to go for the Northeaster Dory.
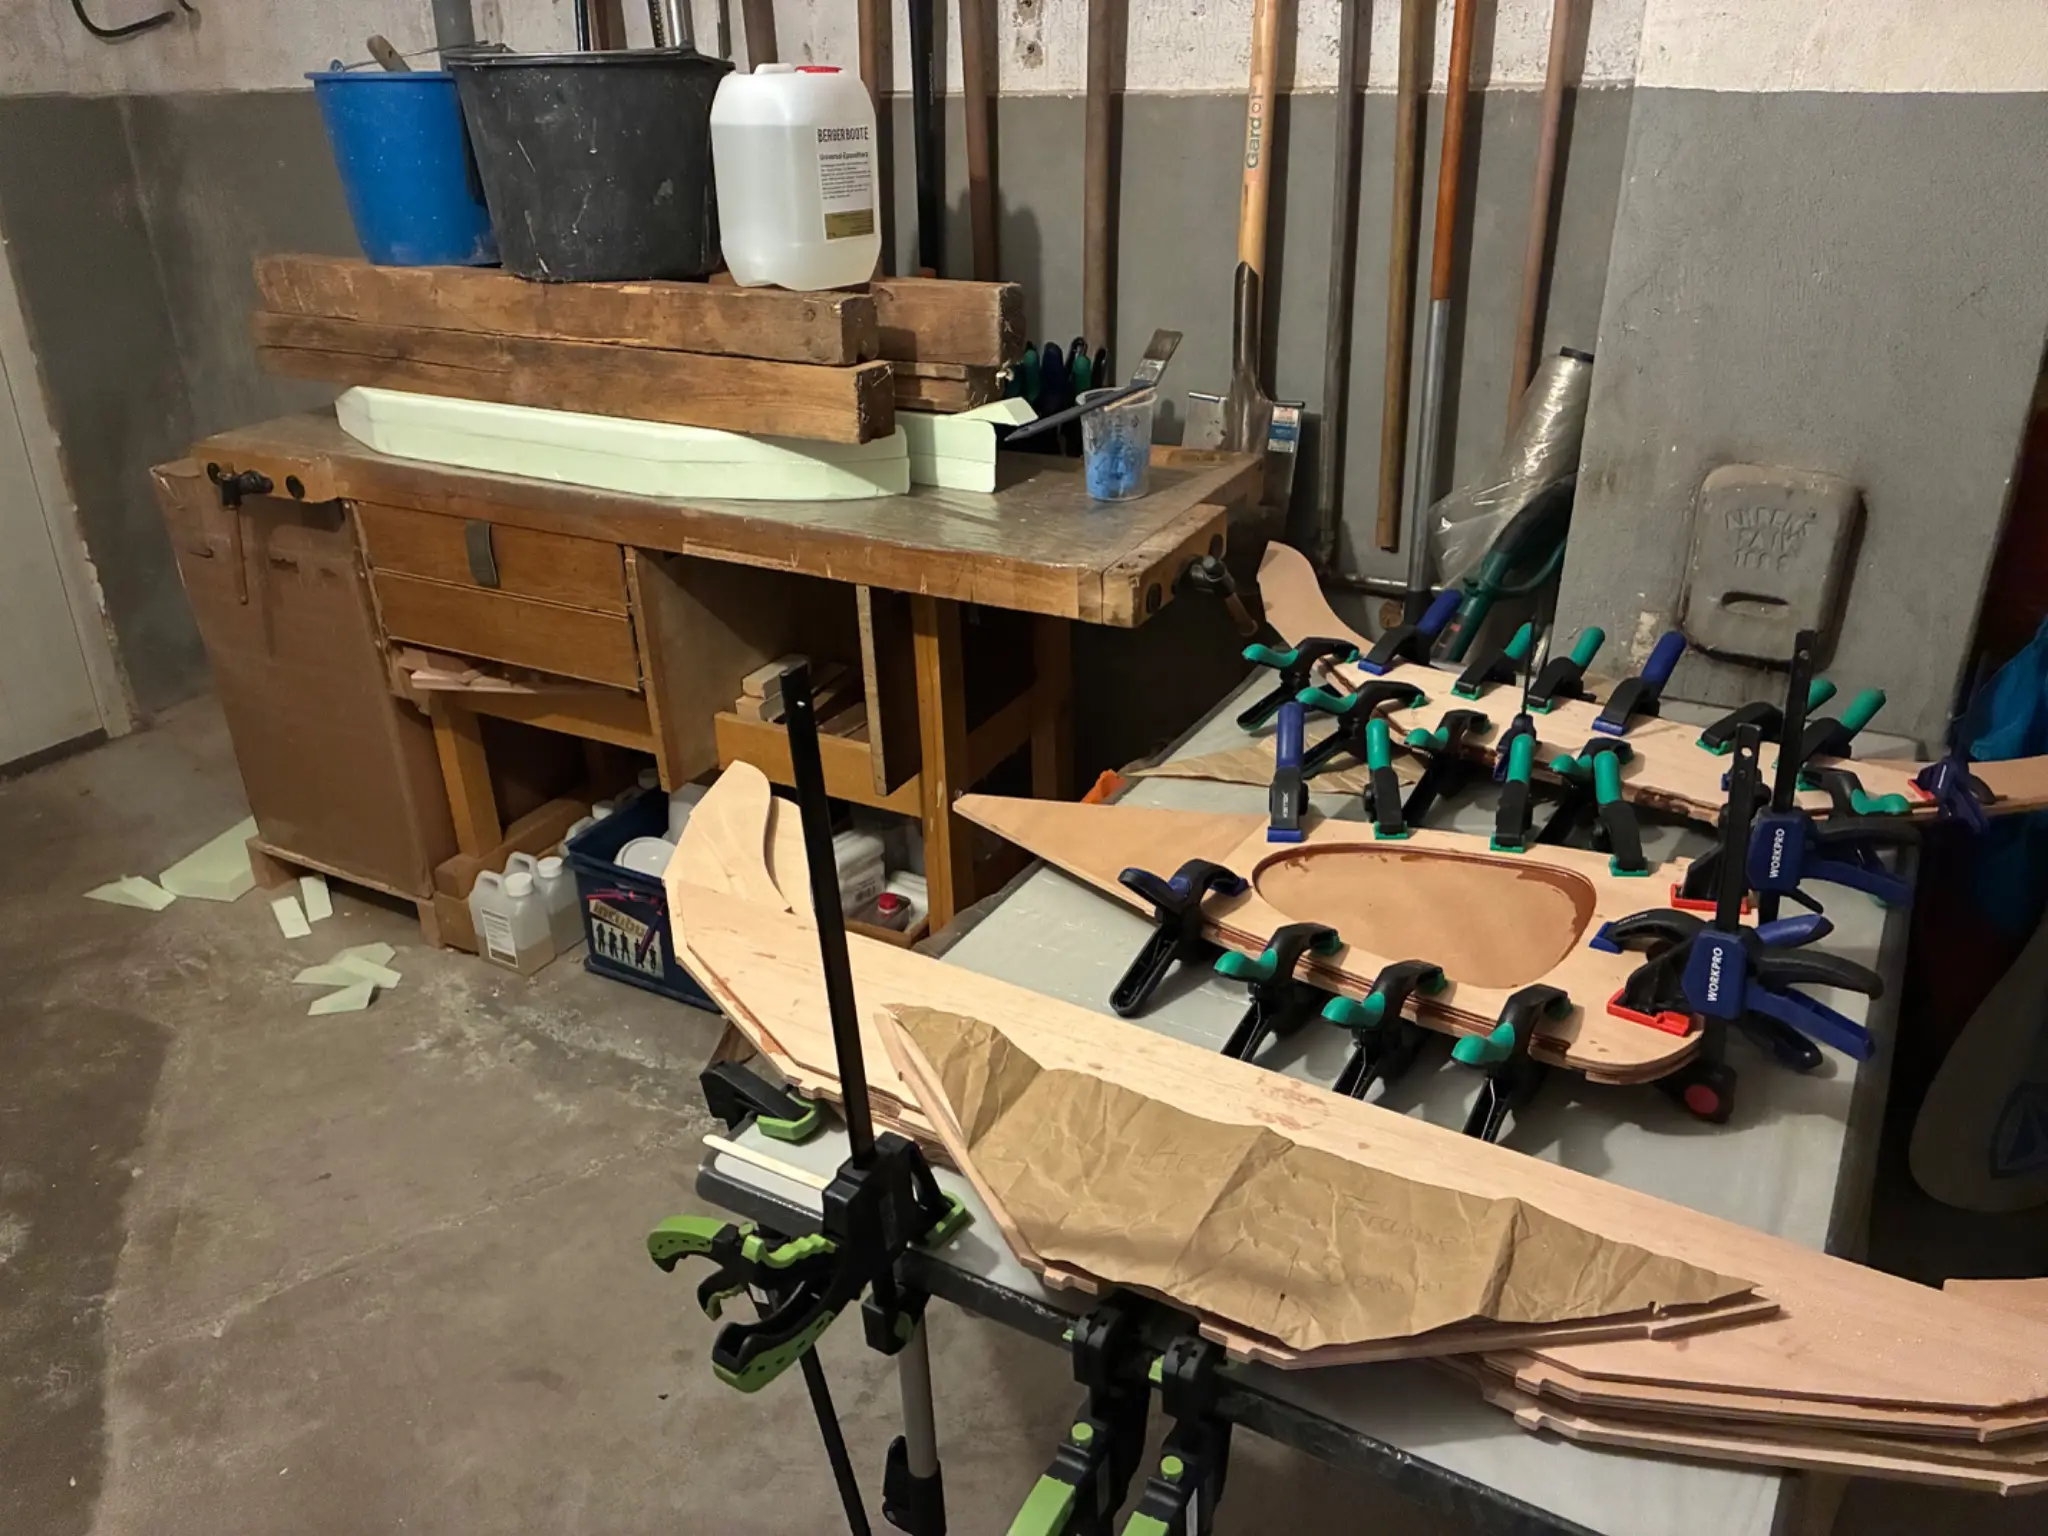
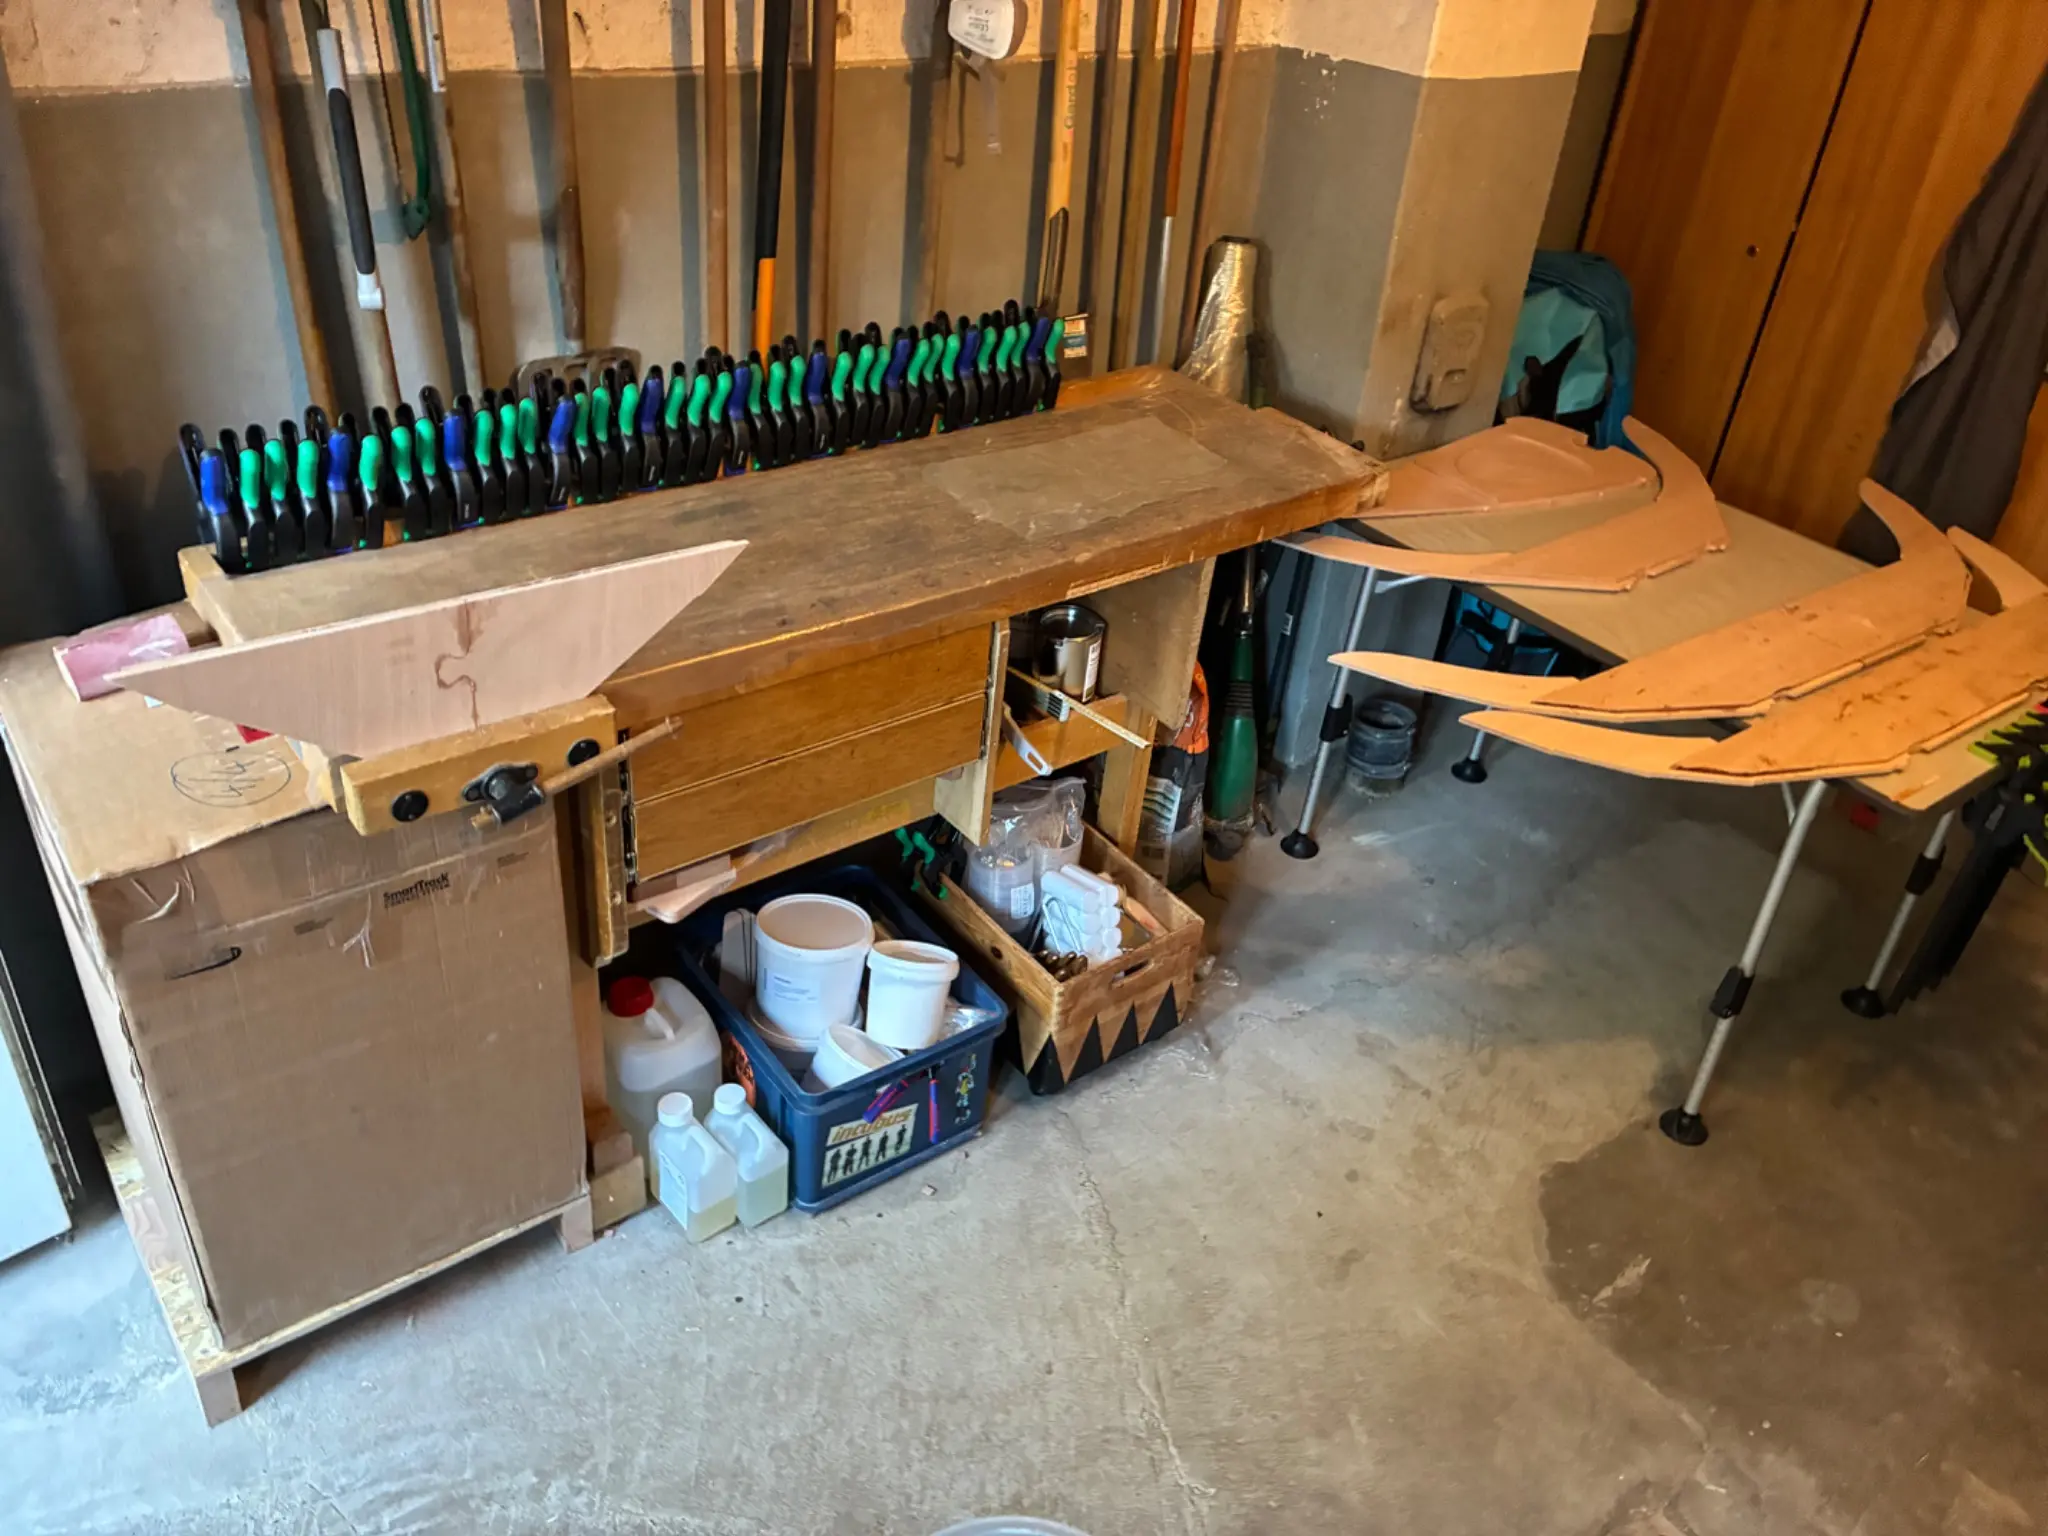
So far I spent about 20 hours for preparation, ordering the kit or necessary material and tools. Sure, I had to get rid of some stuff to have enough space for the project. Finally I built a cart to be used instead of saw horses.
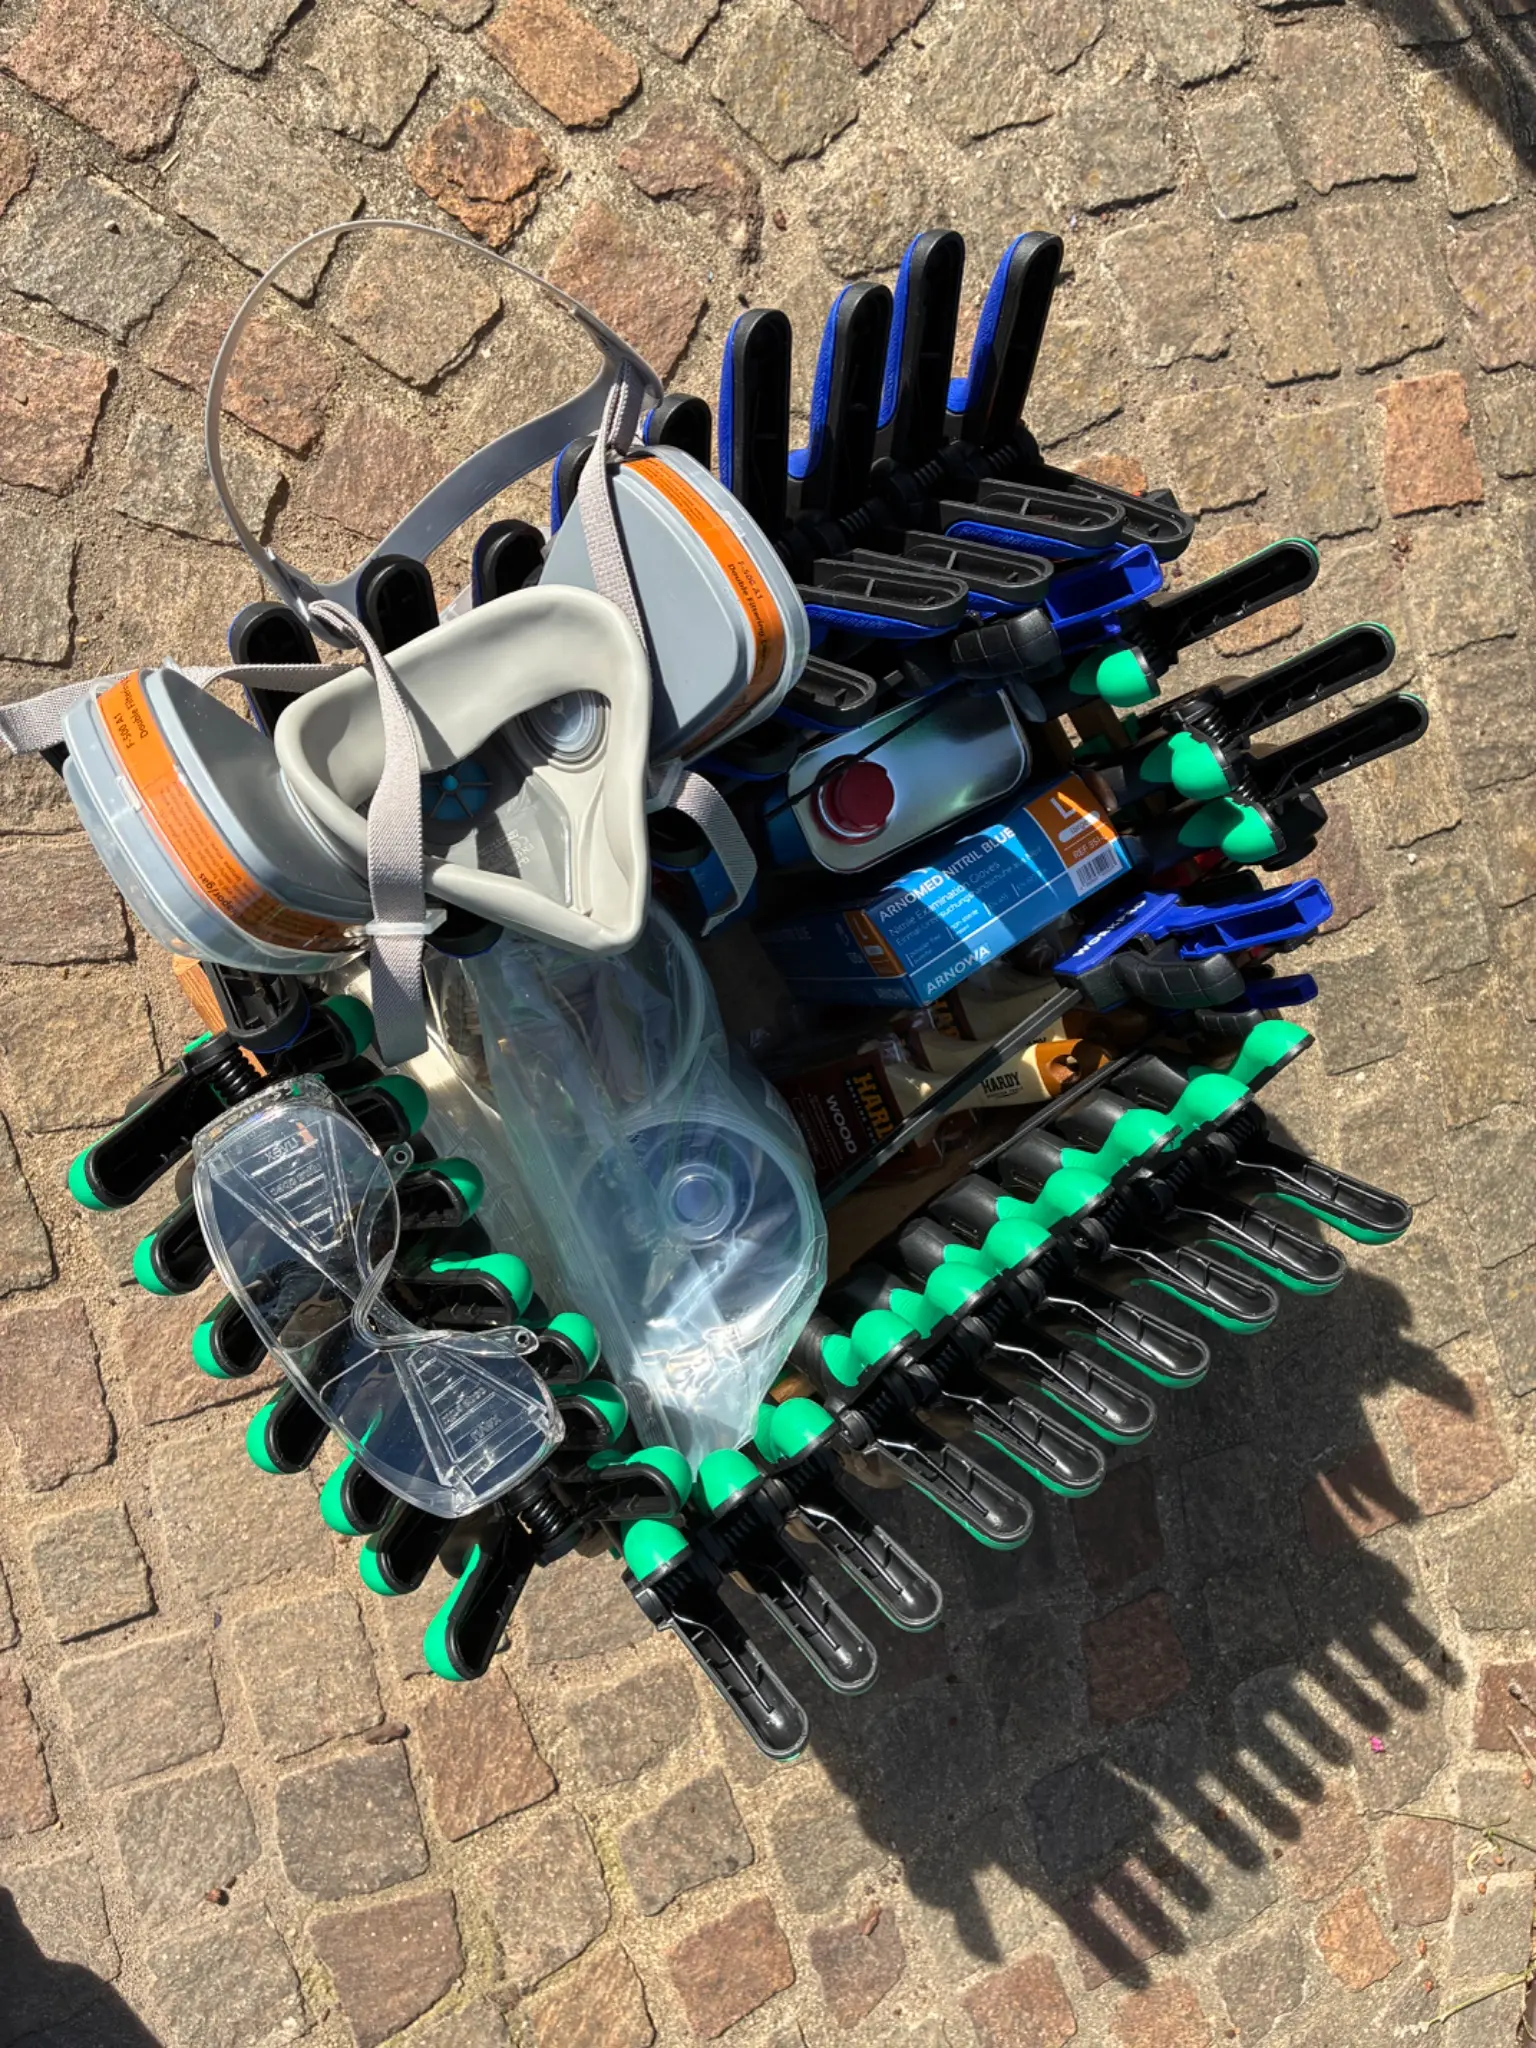
Yesterday evening I sanded a few parts and joints, glued the first frames and mixed the first batch of thickened epoxy. When the batch was empty I ran out of clamps. All good for the warmup! It took me about 2 hours.
Photo 1 Photo 2 Photo 3 Photo 4 Photo 5
11 Oct 2026Strongback & Molds3 h
Transom and foam blocks
Today I removed all the clamps from the first frames I did an sanded the the edges to get rid of bits of to much epoxy. Than I prepared two foam blocks, the transom and the remaining frame. Took me 3 more hours and was fun.
Photo 1 Photo 2
Chapter 02
Hull Panels
Scarfing plywood, cutting panels, milling strips or planking stock.
5 days20 hoursfrom October 2026
14 Oct 2026Hull Panels1 h
Damage by transportation company
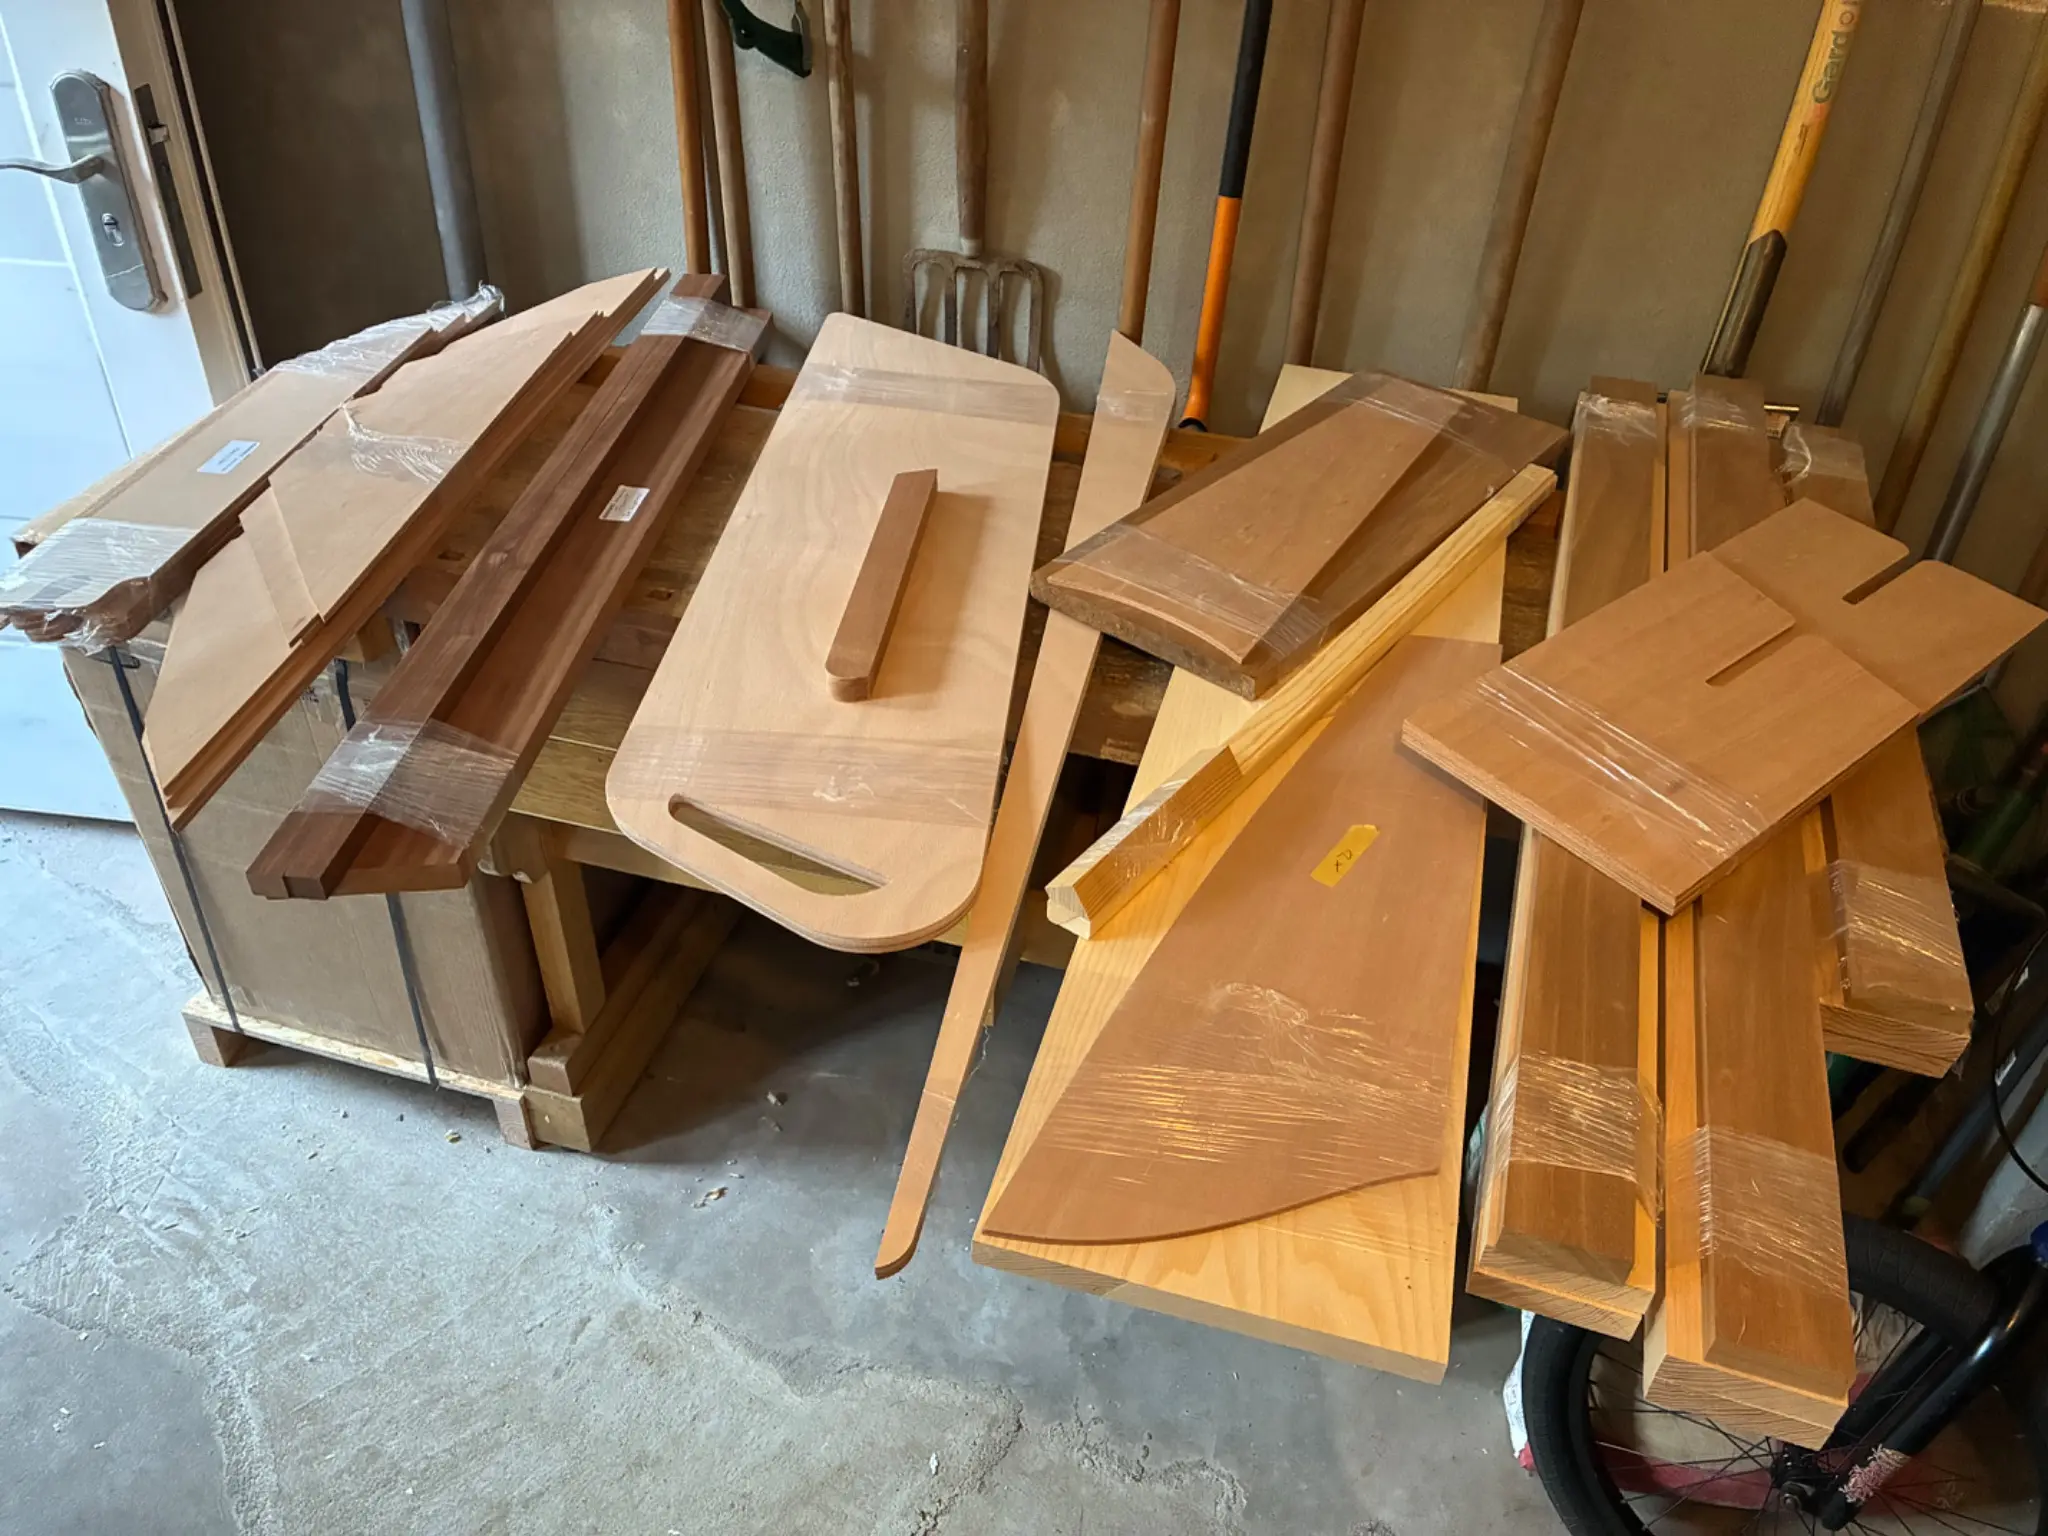
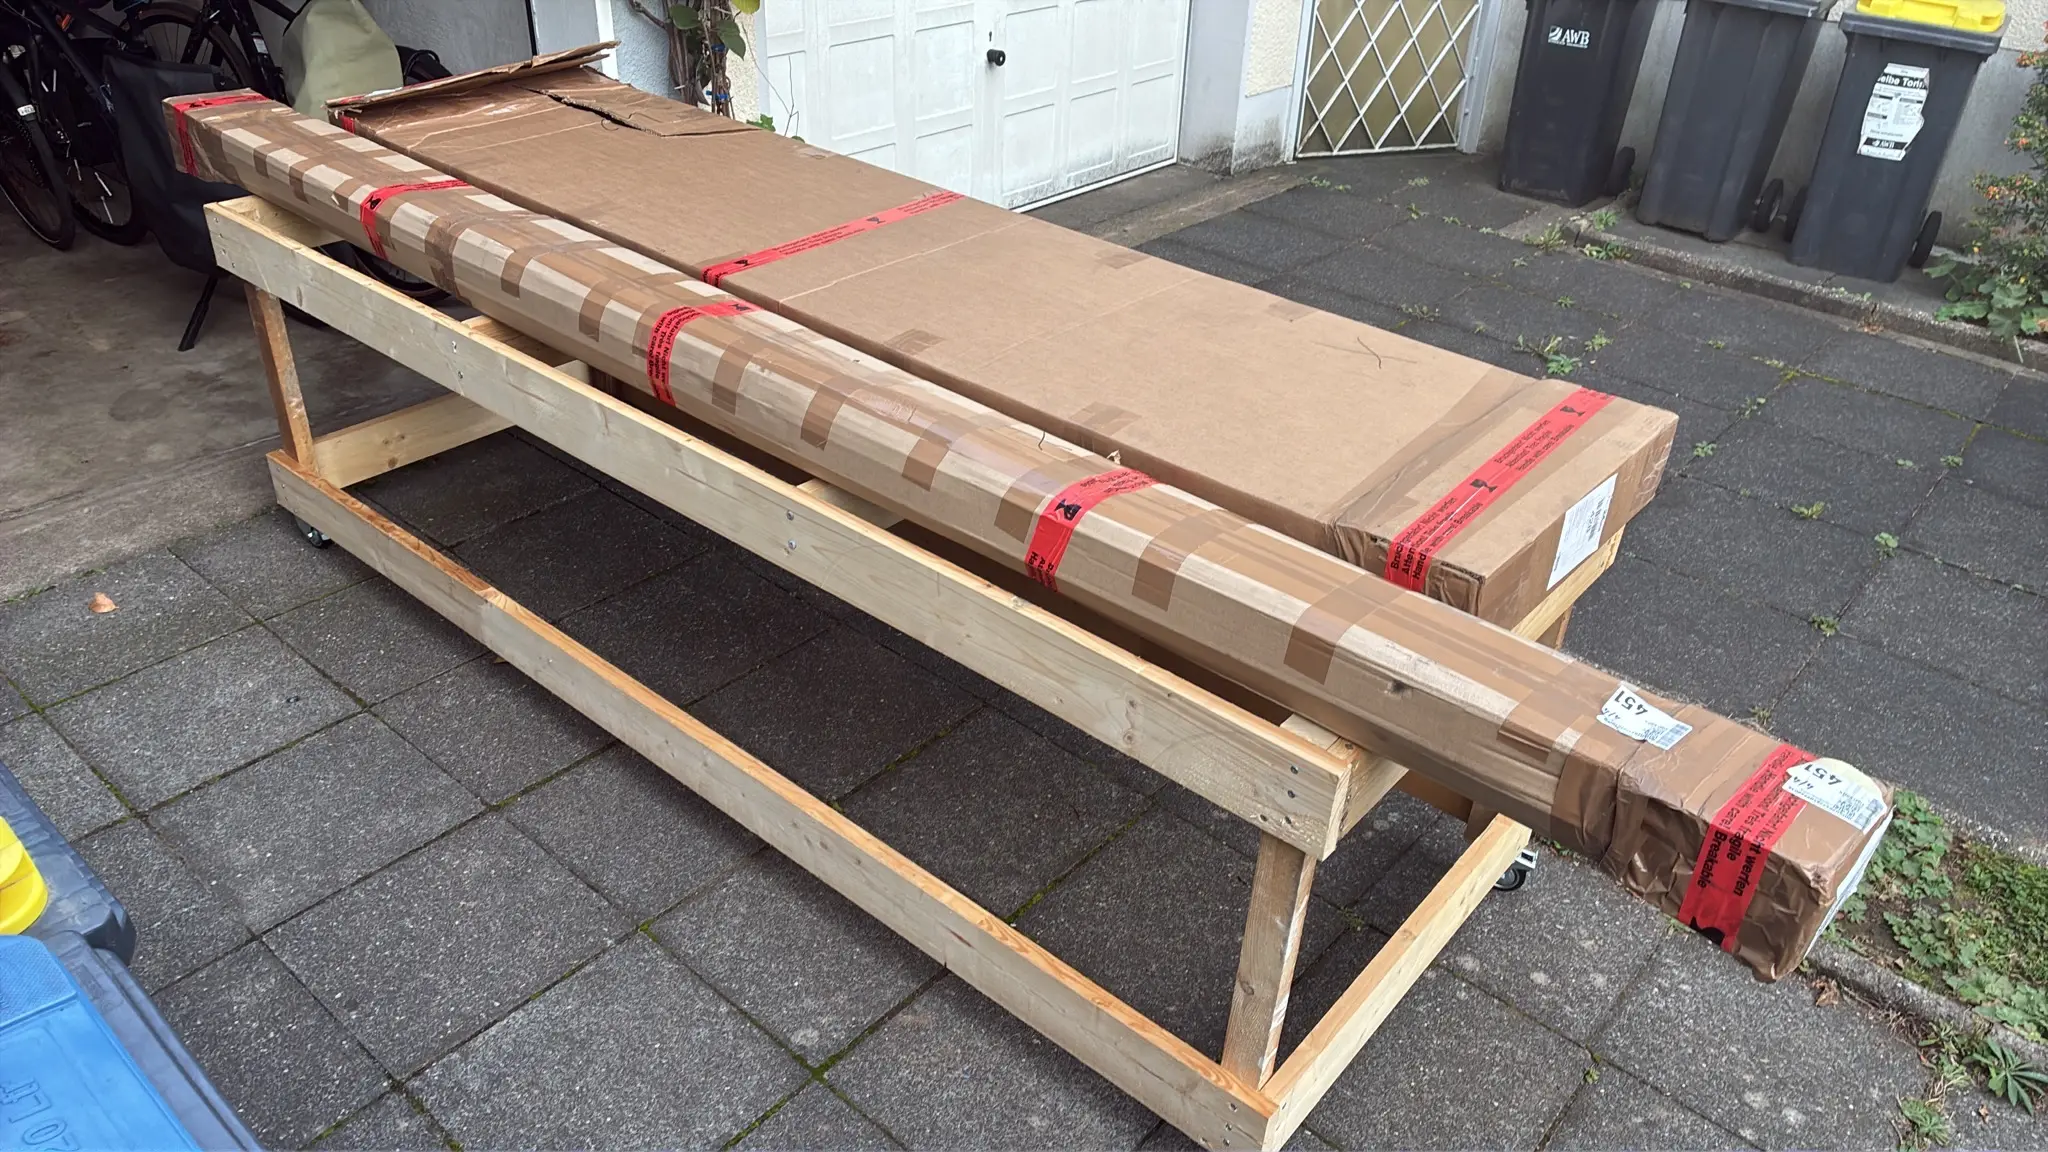
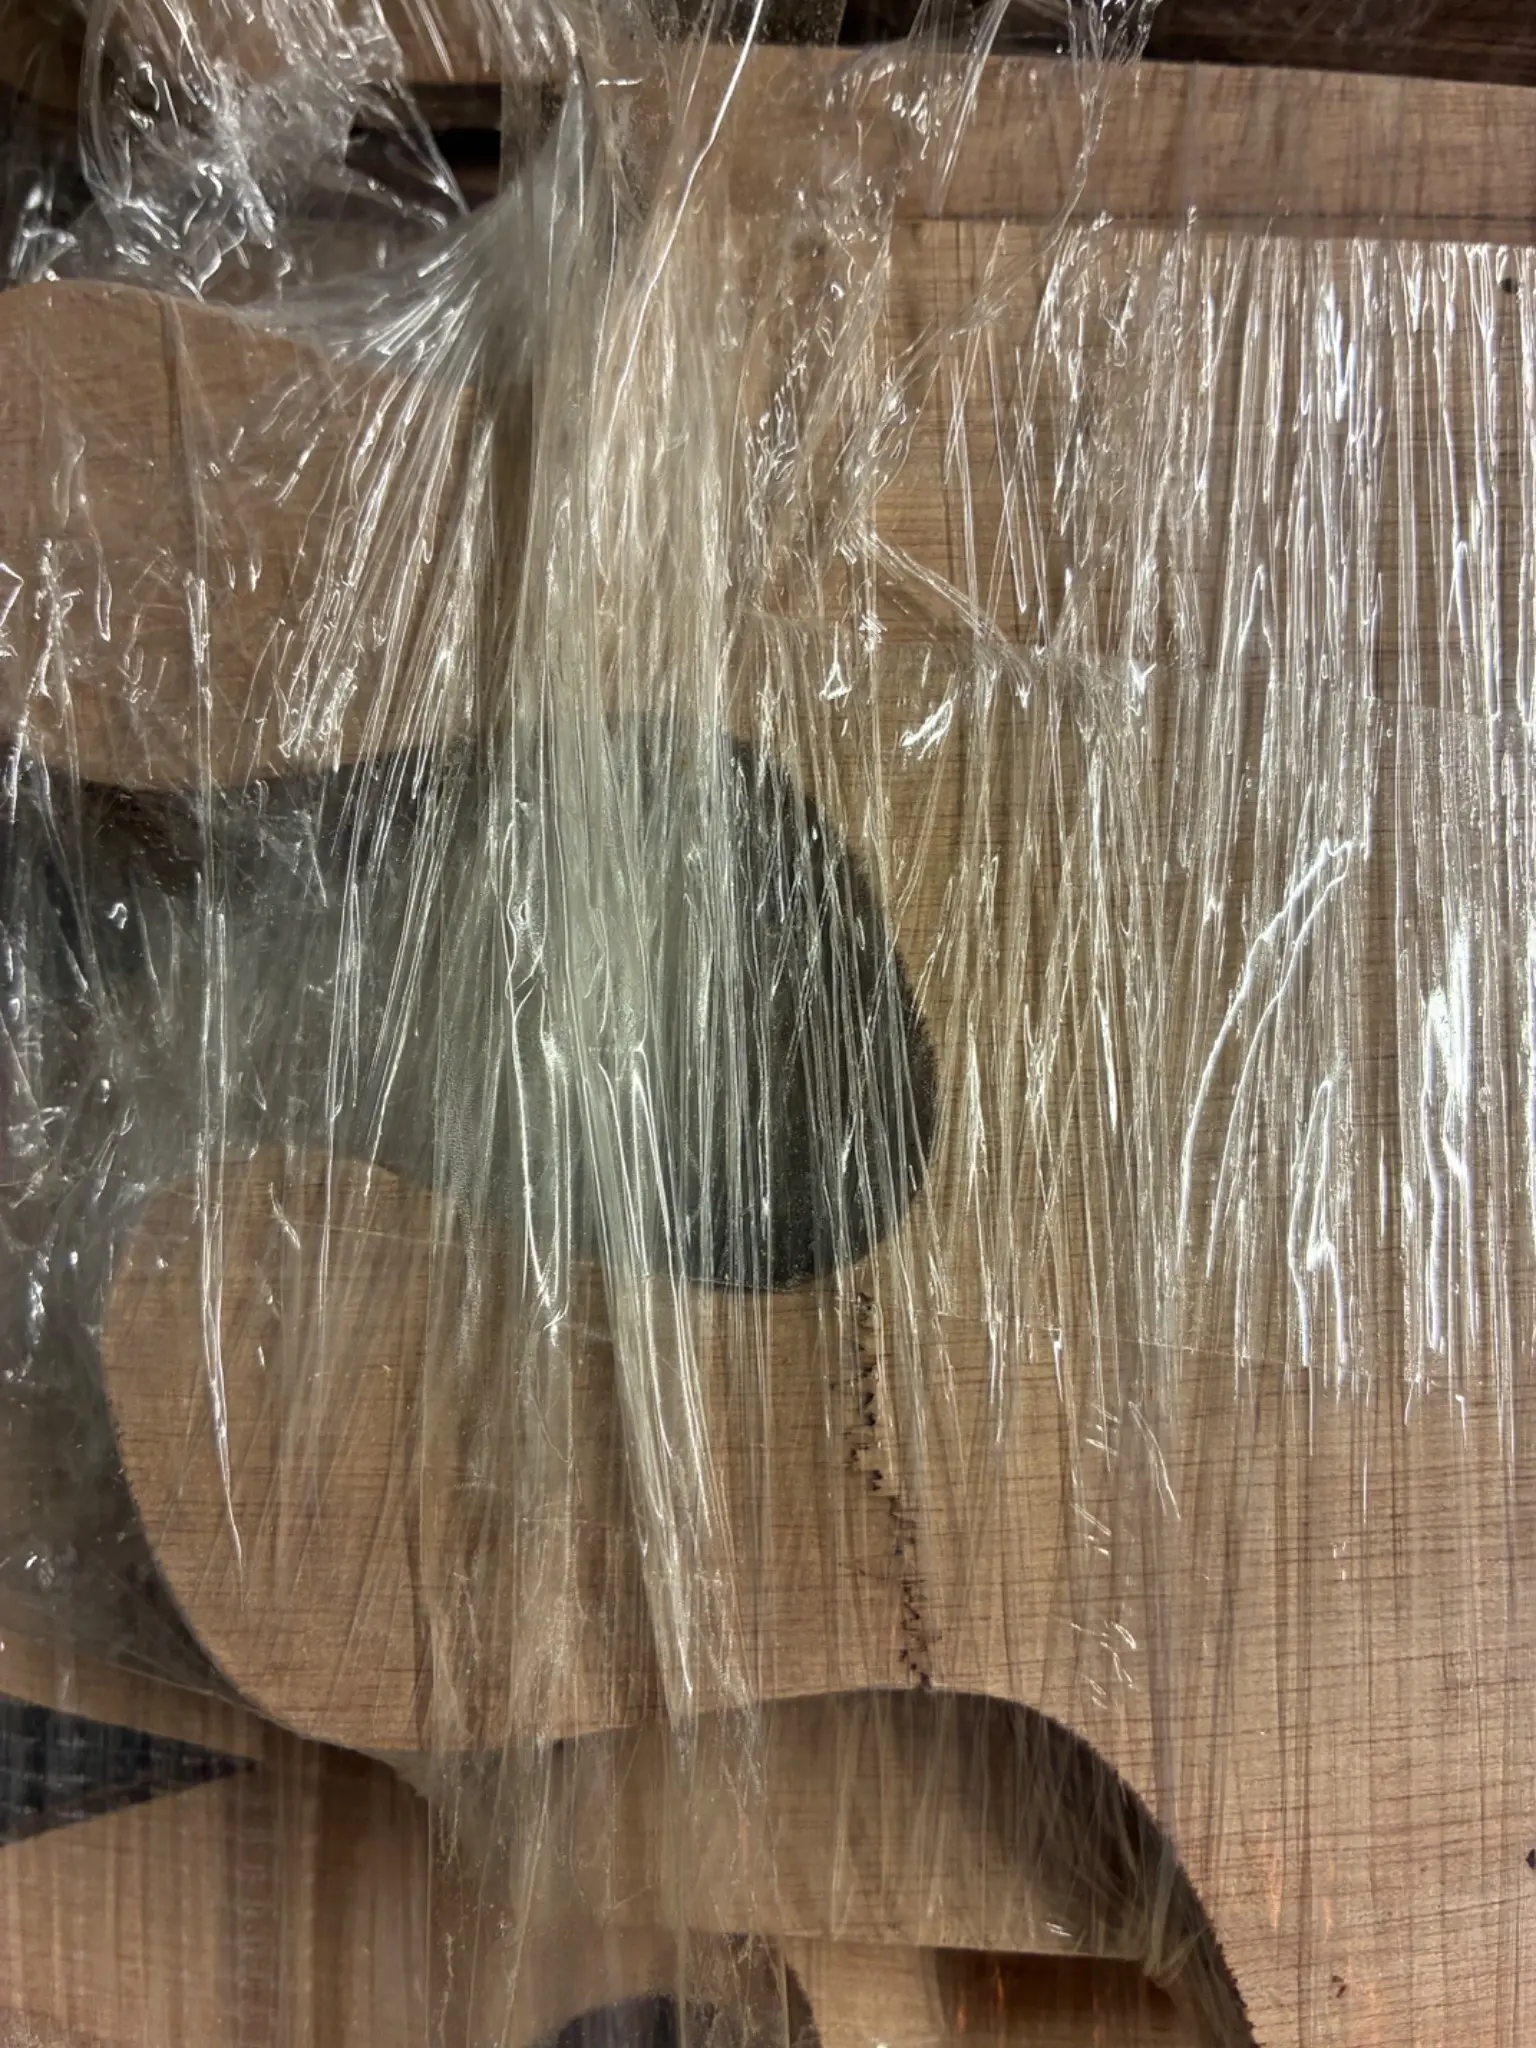
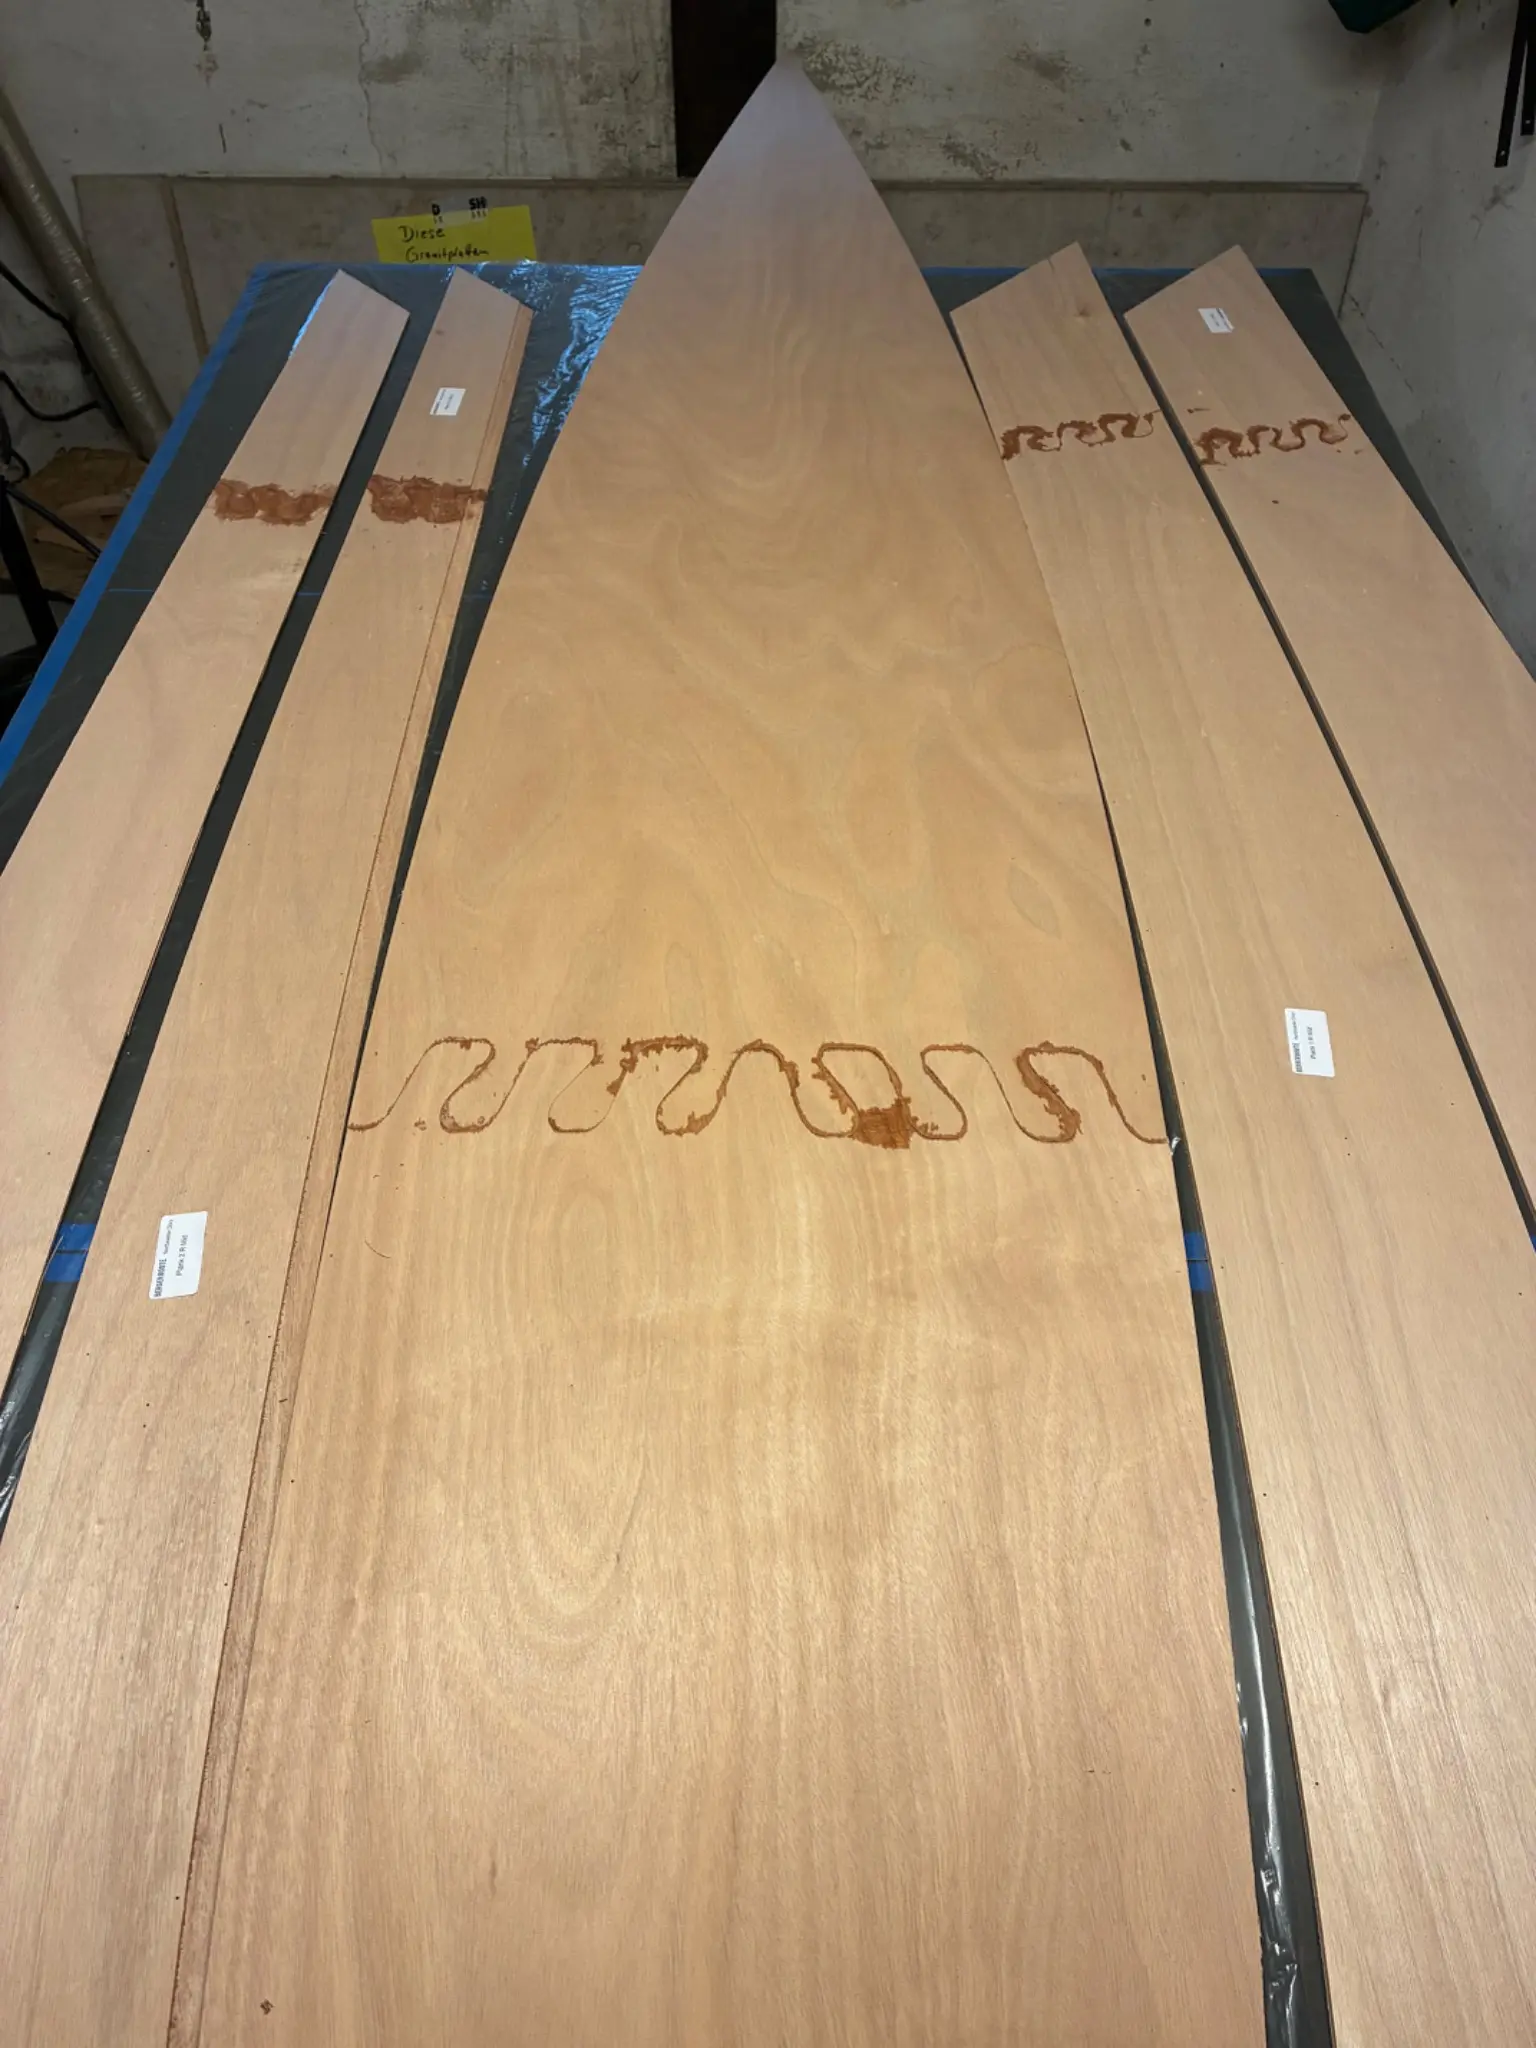
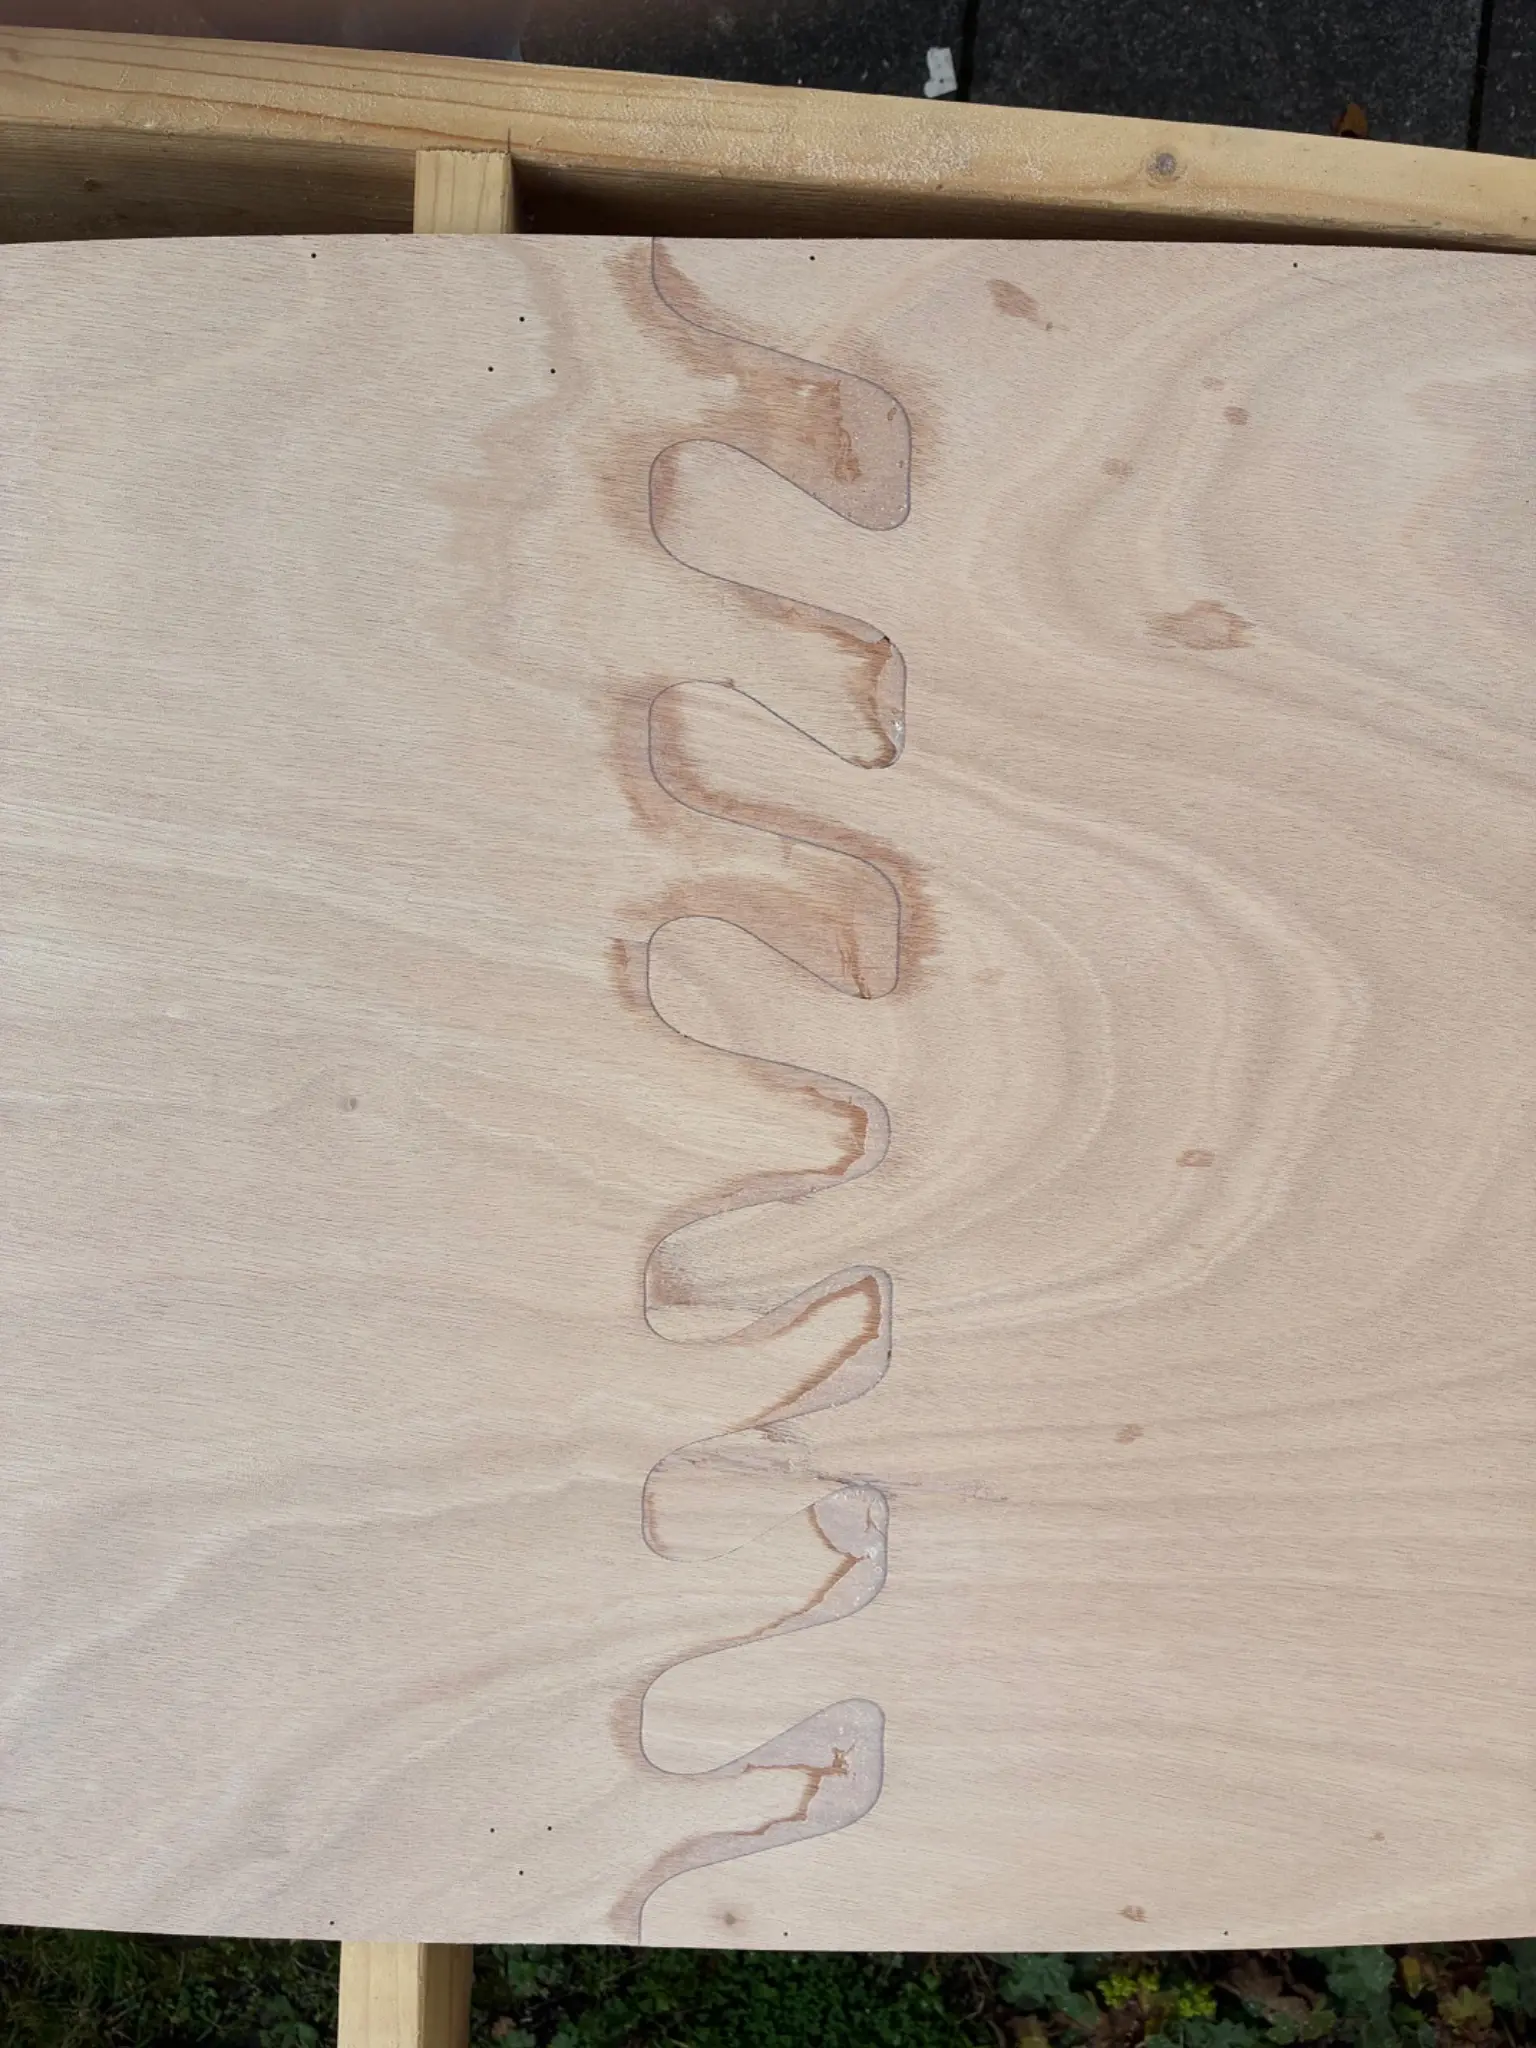
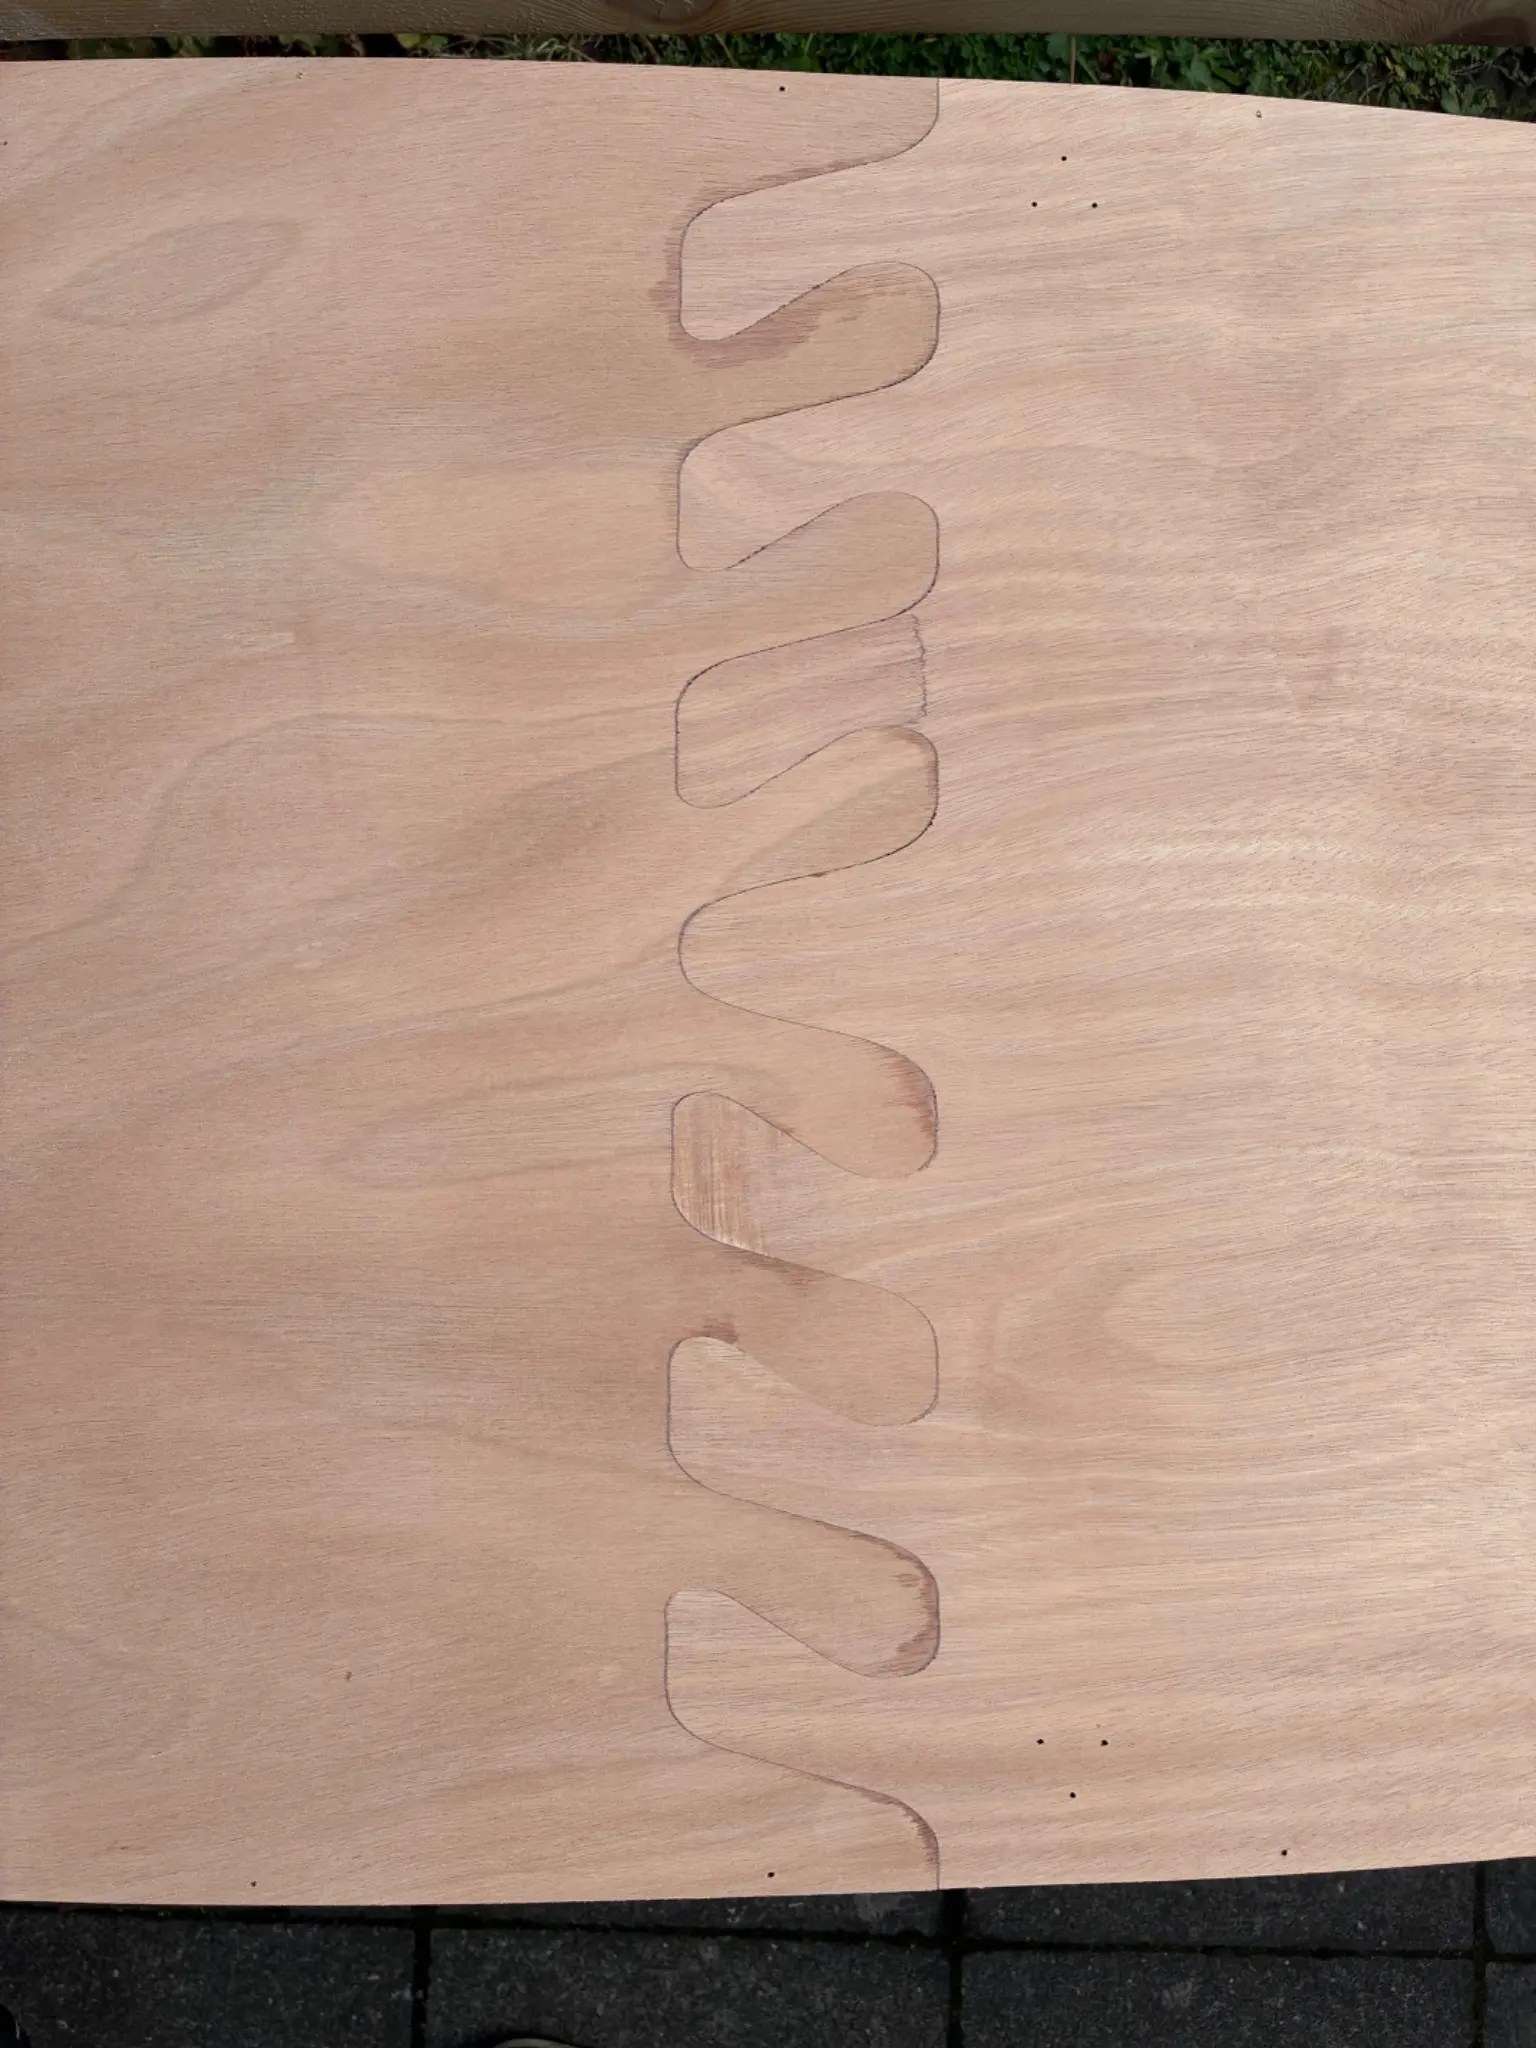
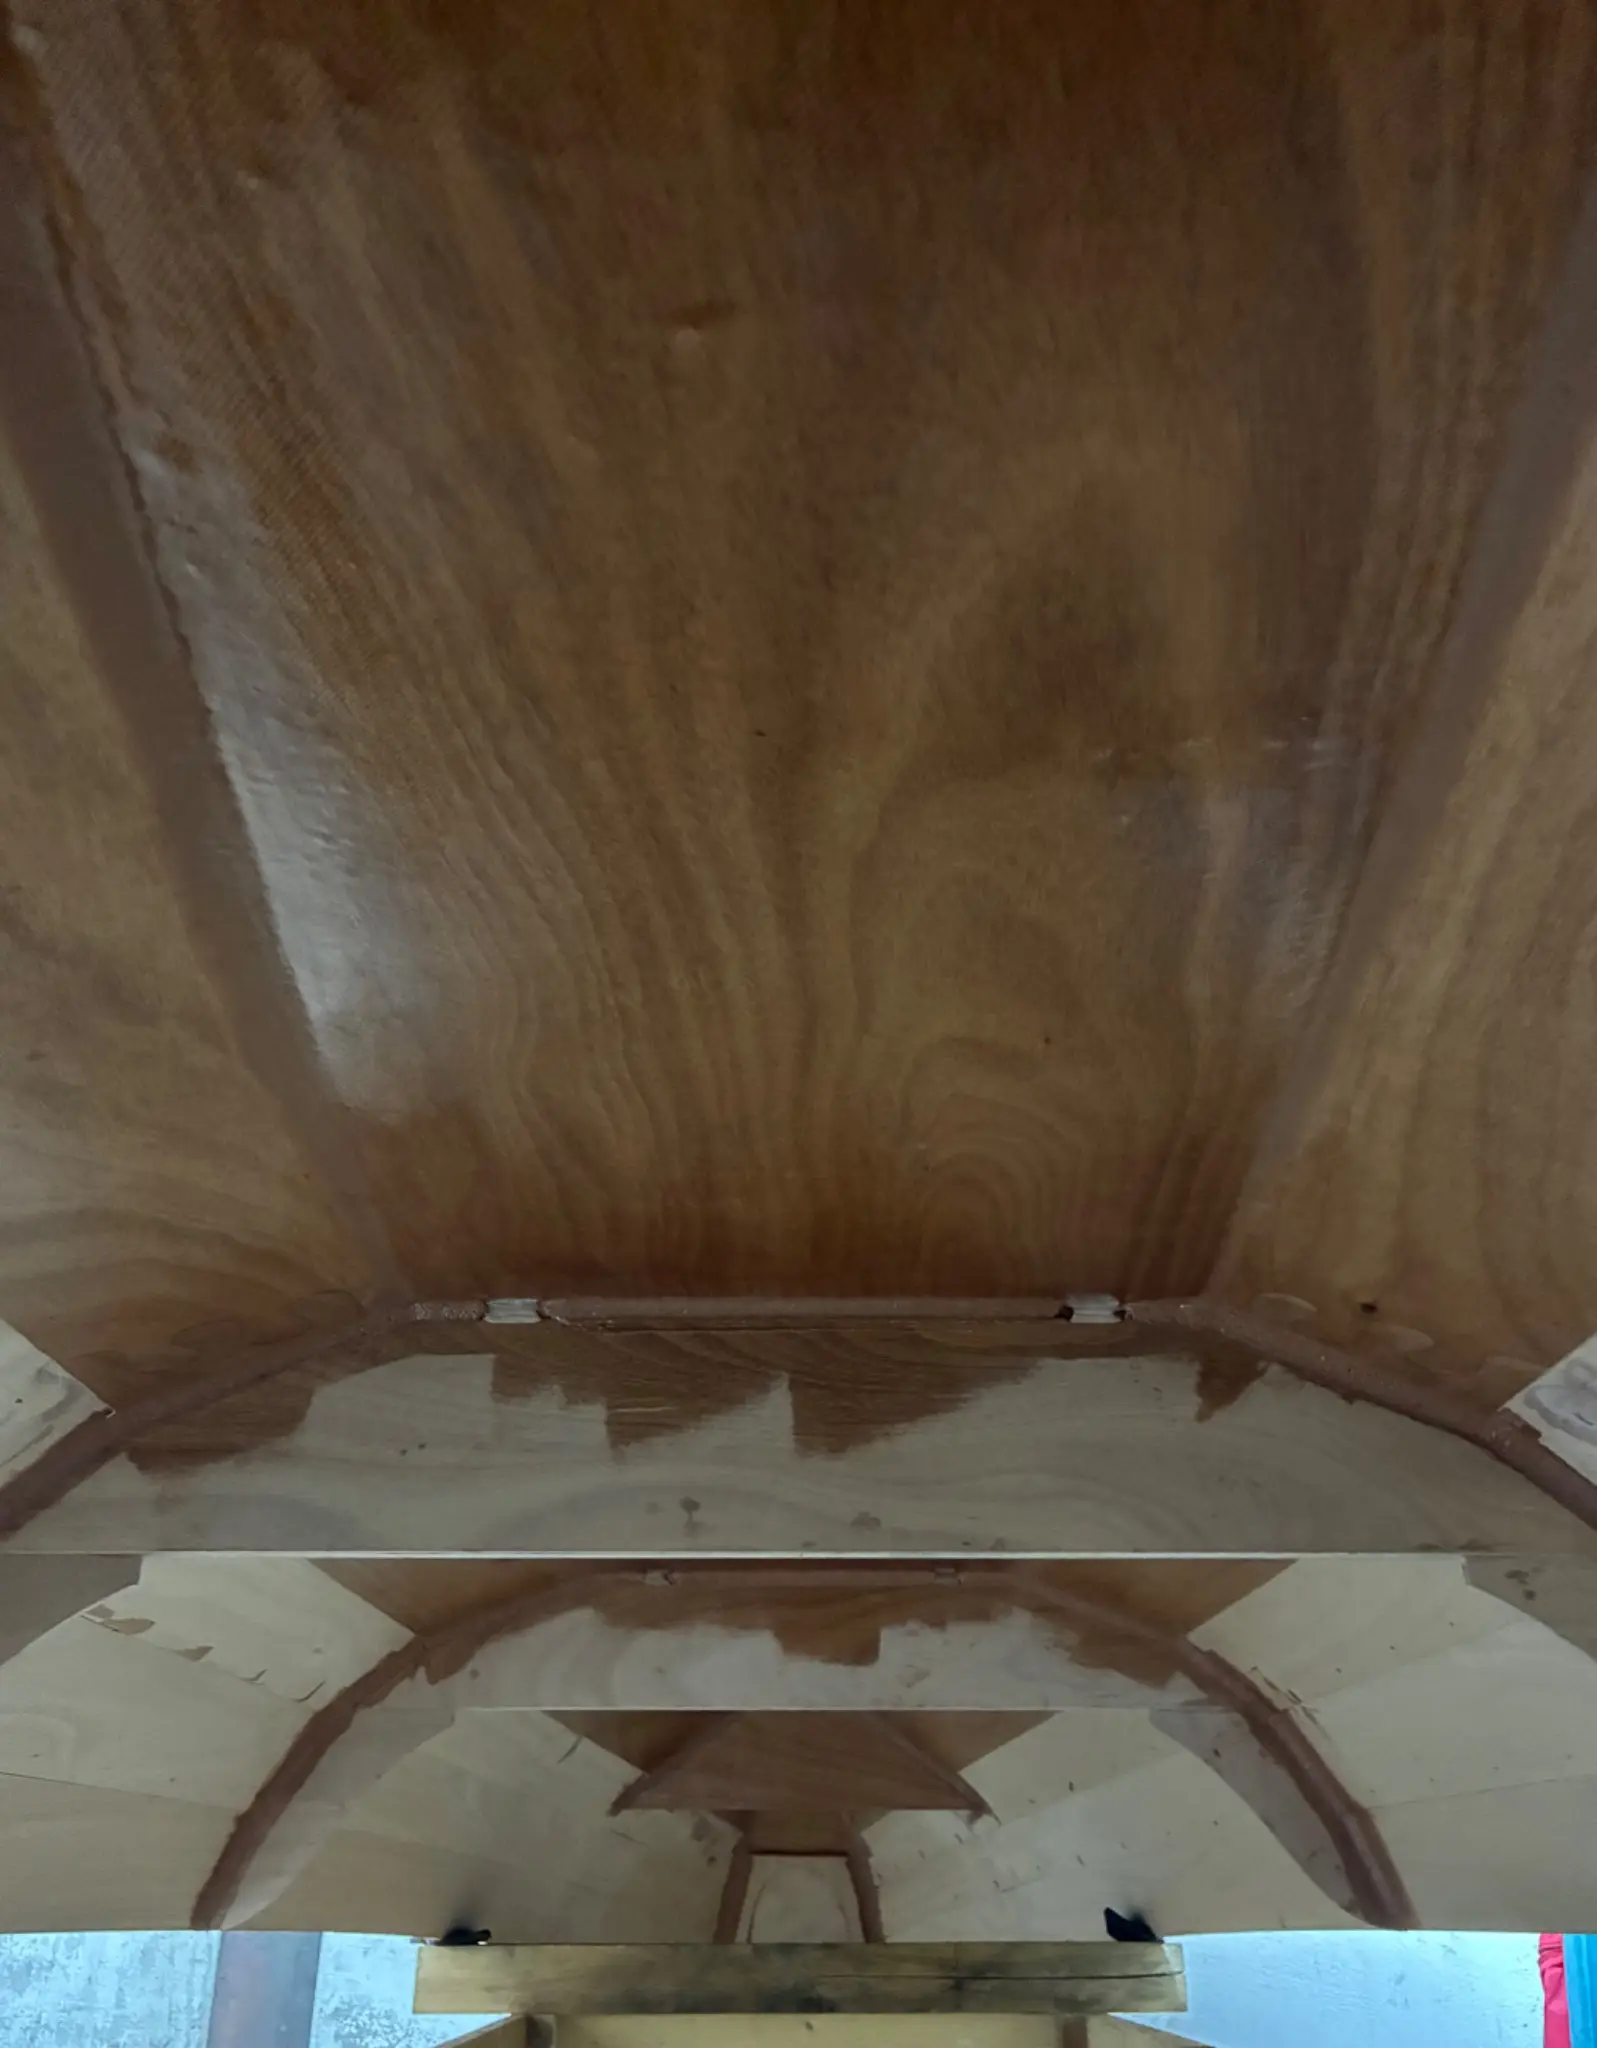
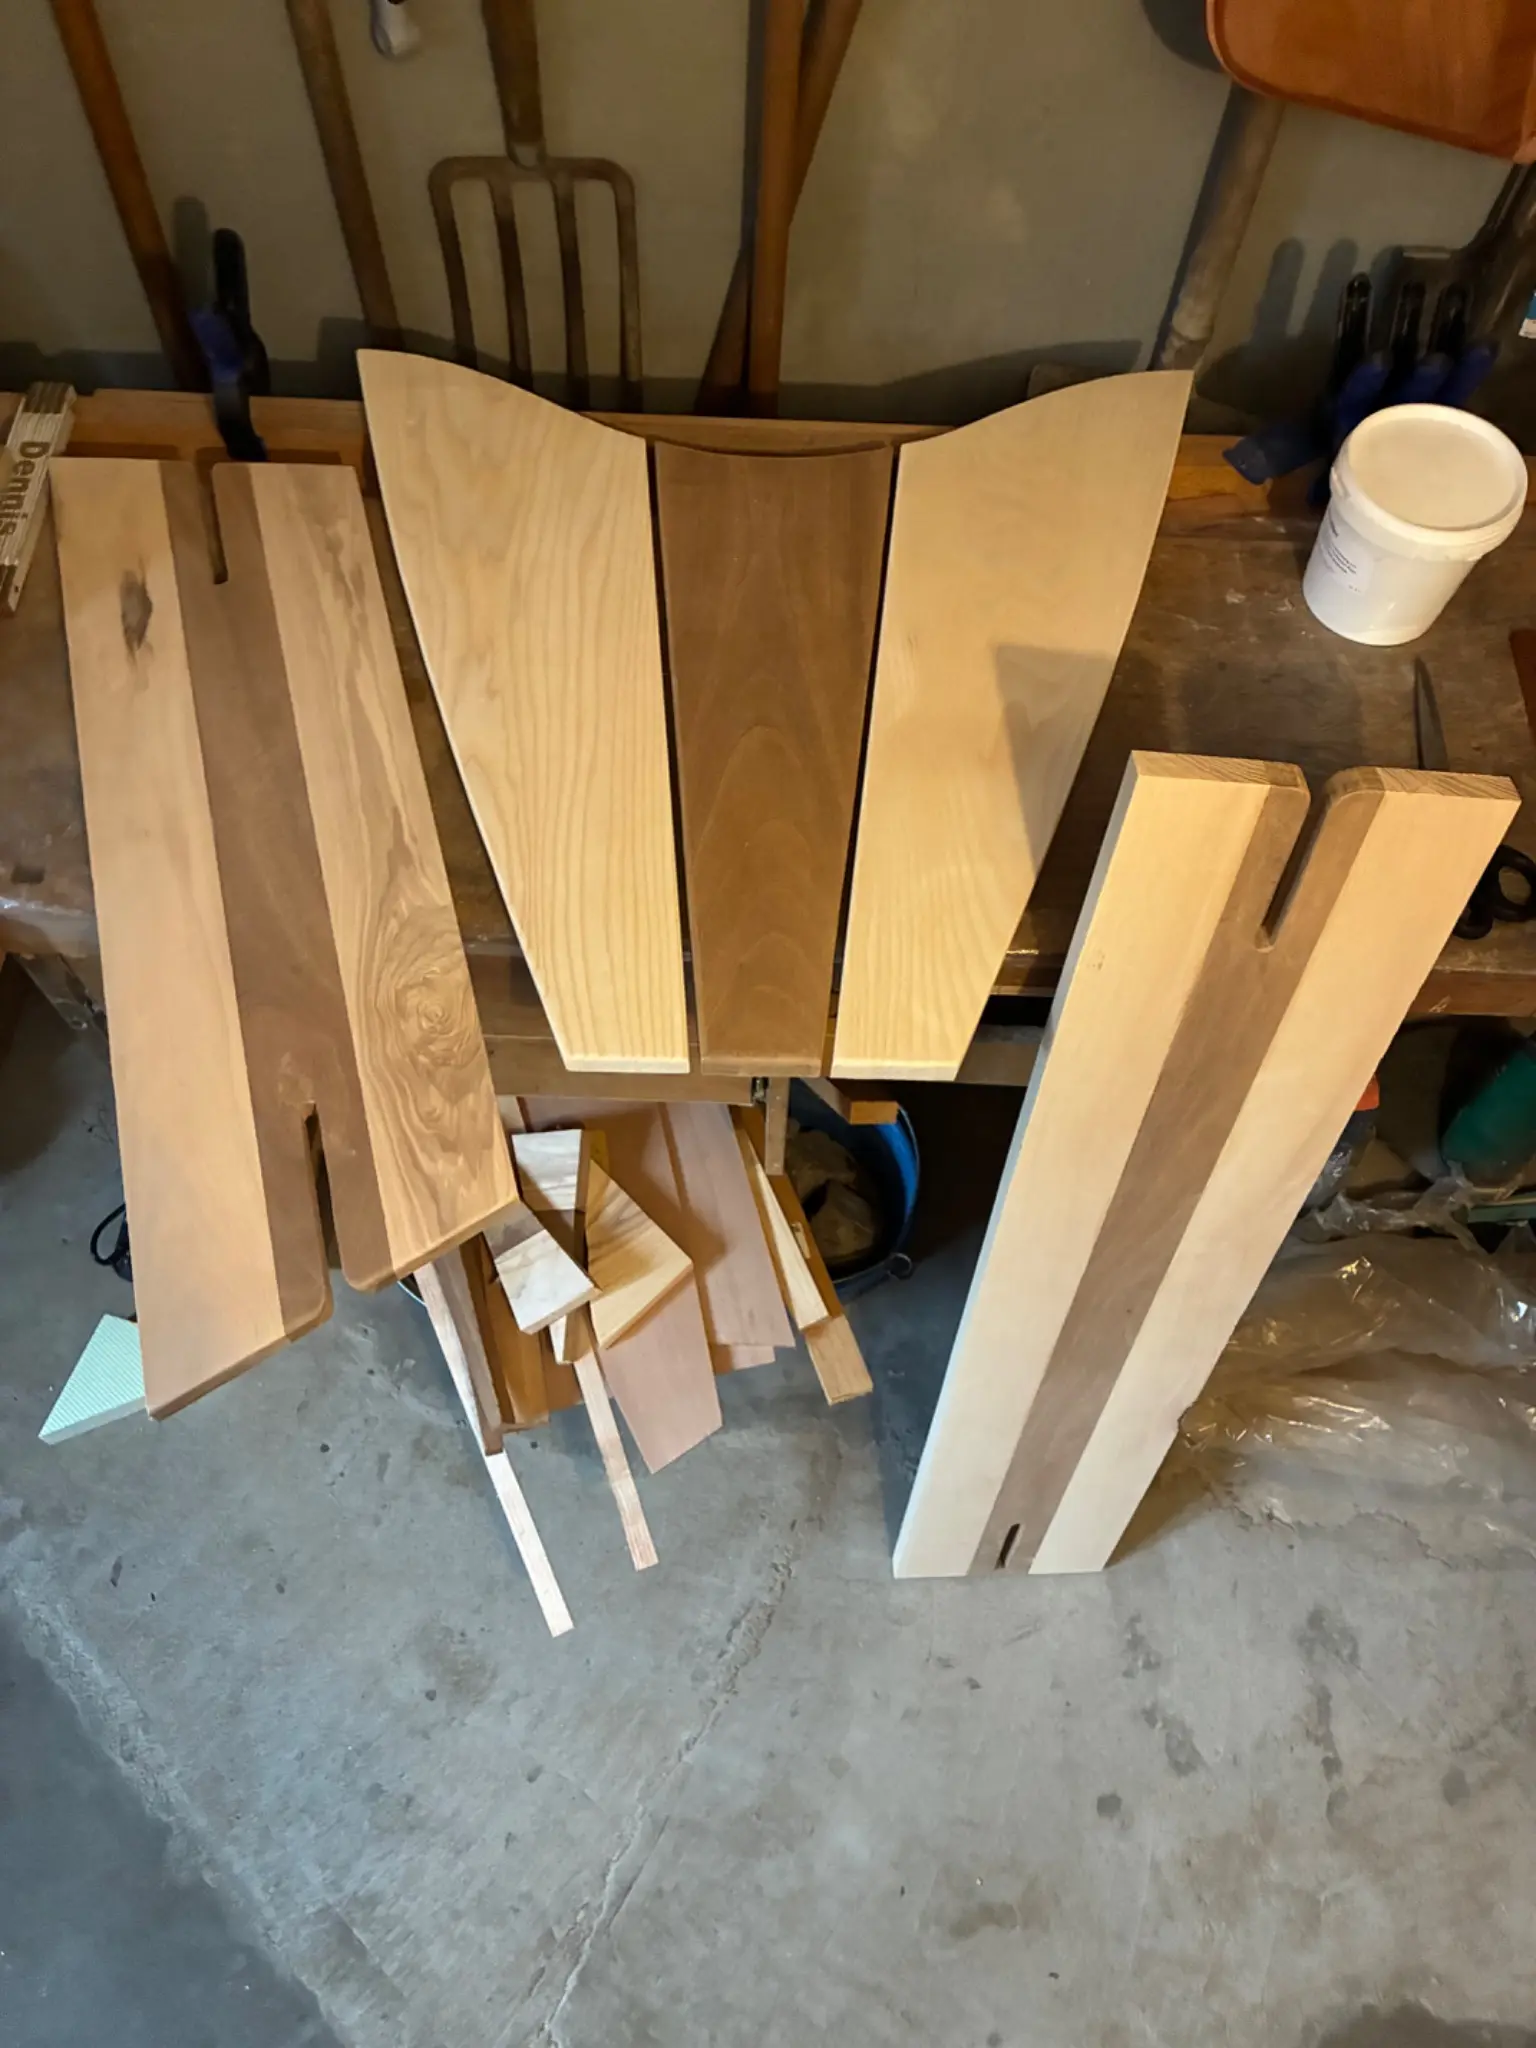
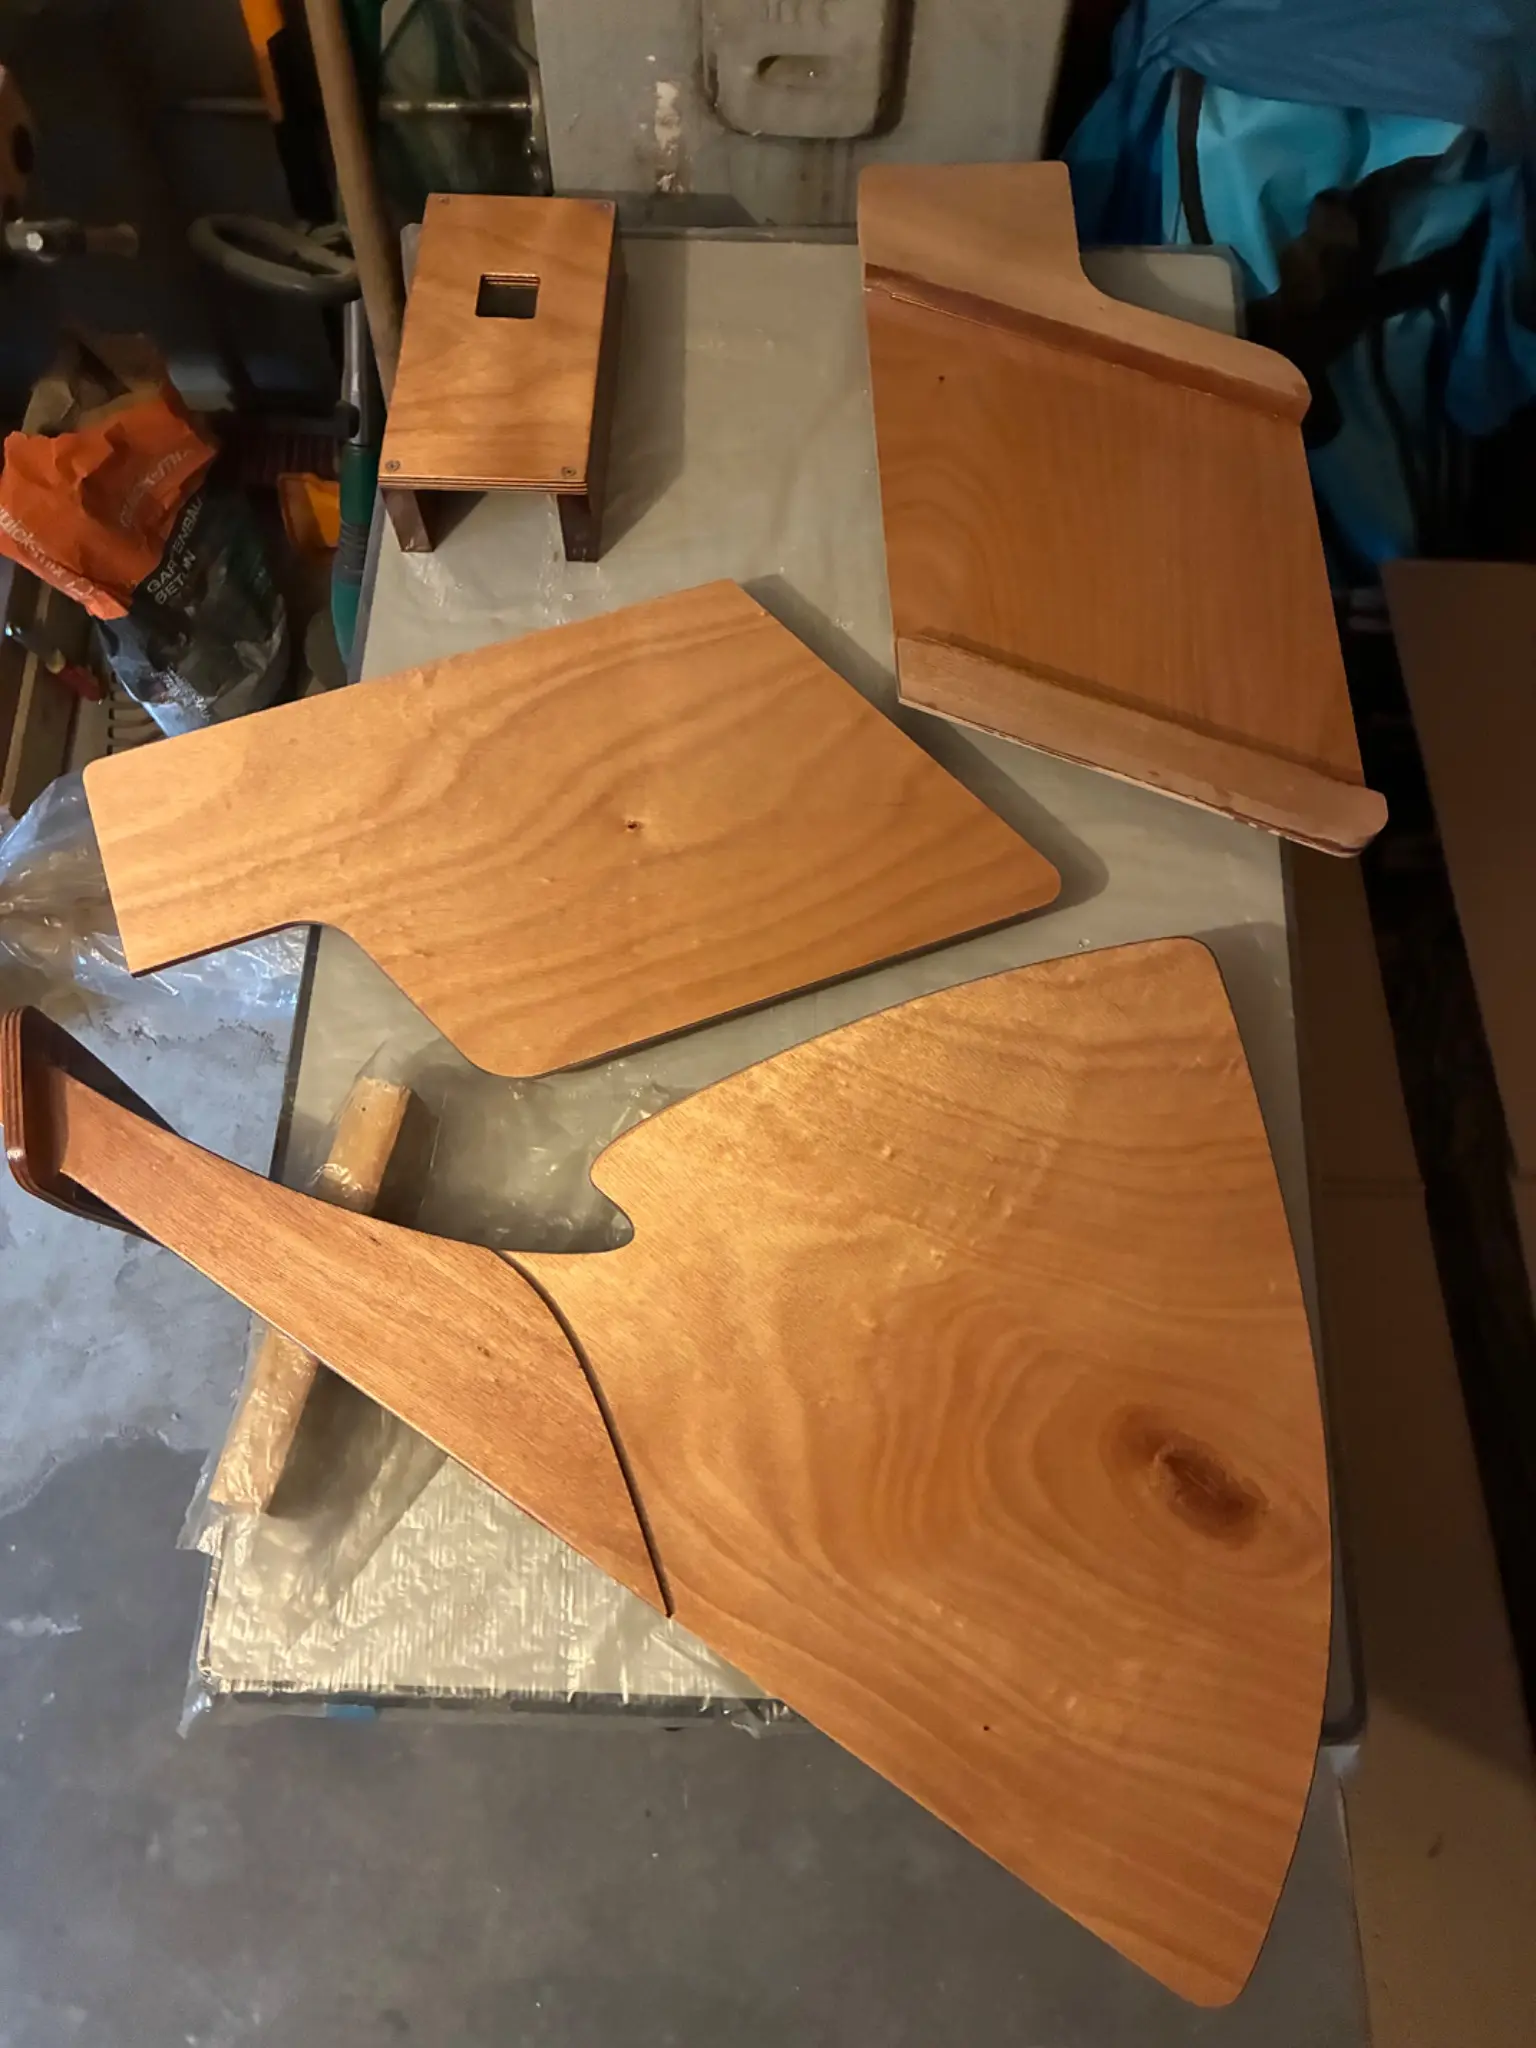
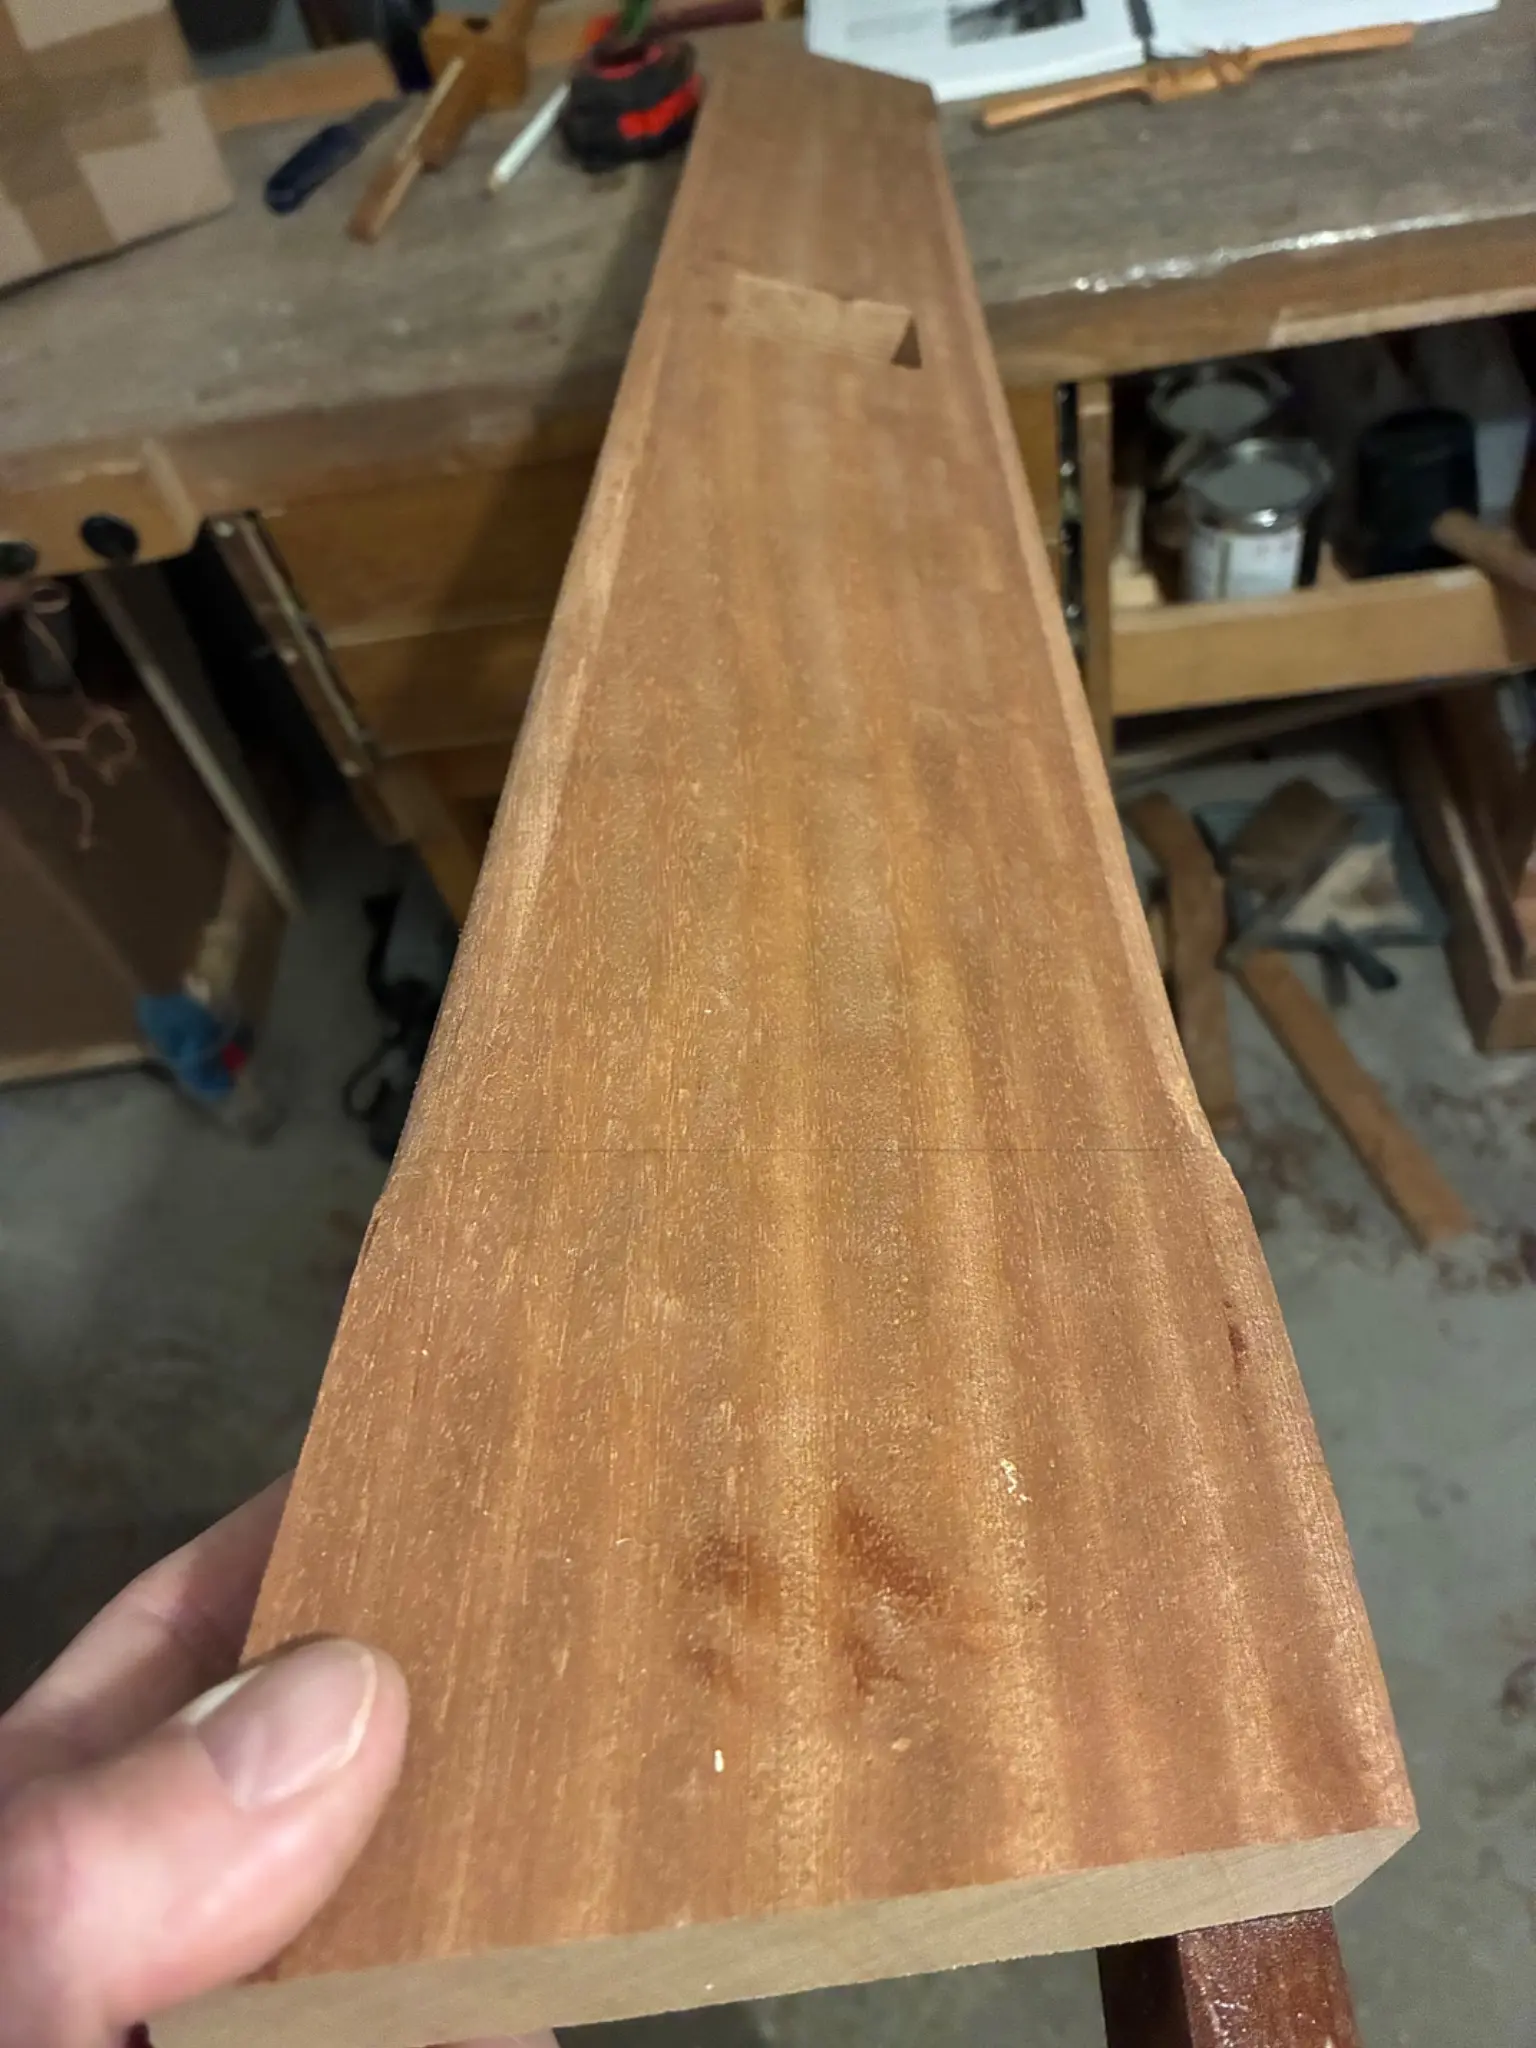
The day before yesterday I finally unboxed the big parts of the hull. Unfortunately I found some of the puzzle joints of panel 2 and the bottom cracked as a matter of handling by the transportation company. I fixed it by using a pipet filled with a little thickened epoxy to inject it into the cracks. It took me about an hour to fixe it.
Photo 1 Photo 2
Matt
Yikes. I'm sure CLC would cut and send you some new parts. But honestly it looks minor, and repairable.
Denis
Got in touch with the clc retail company here in Germany . They were pretty sure that the way I fixed it shall work.
15 Oct 2026Hull Panels1.5 h
Puzzle the bottom and top of panels 1 + 2
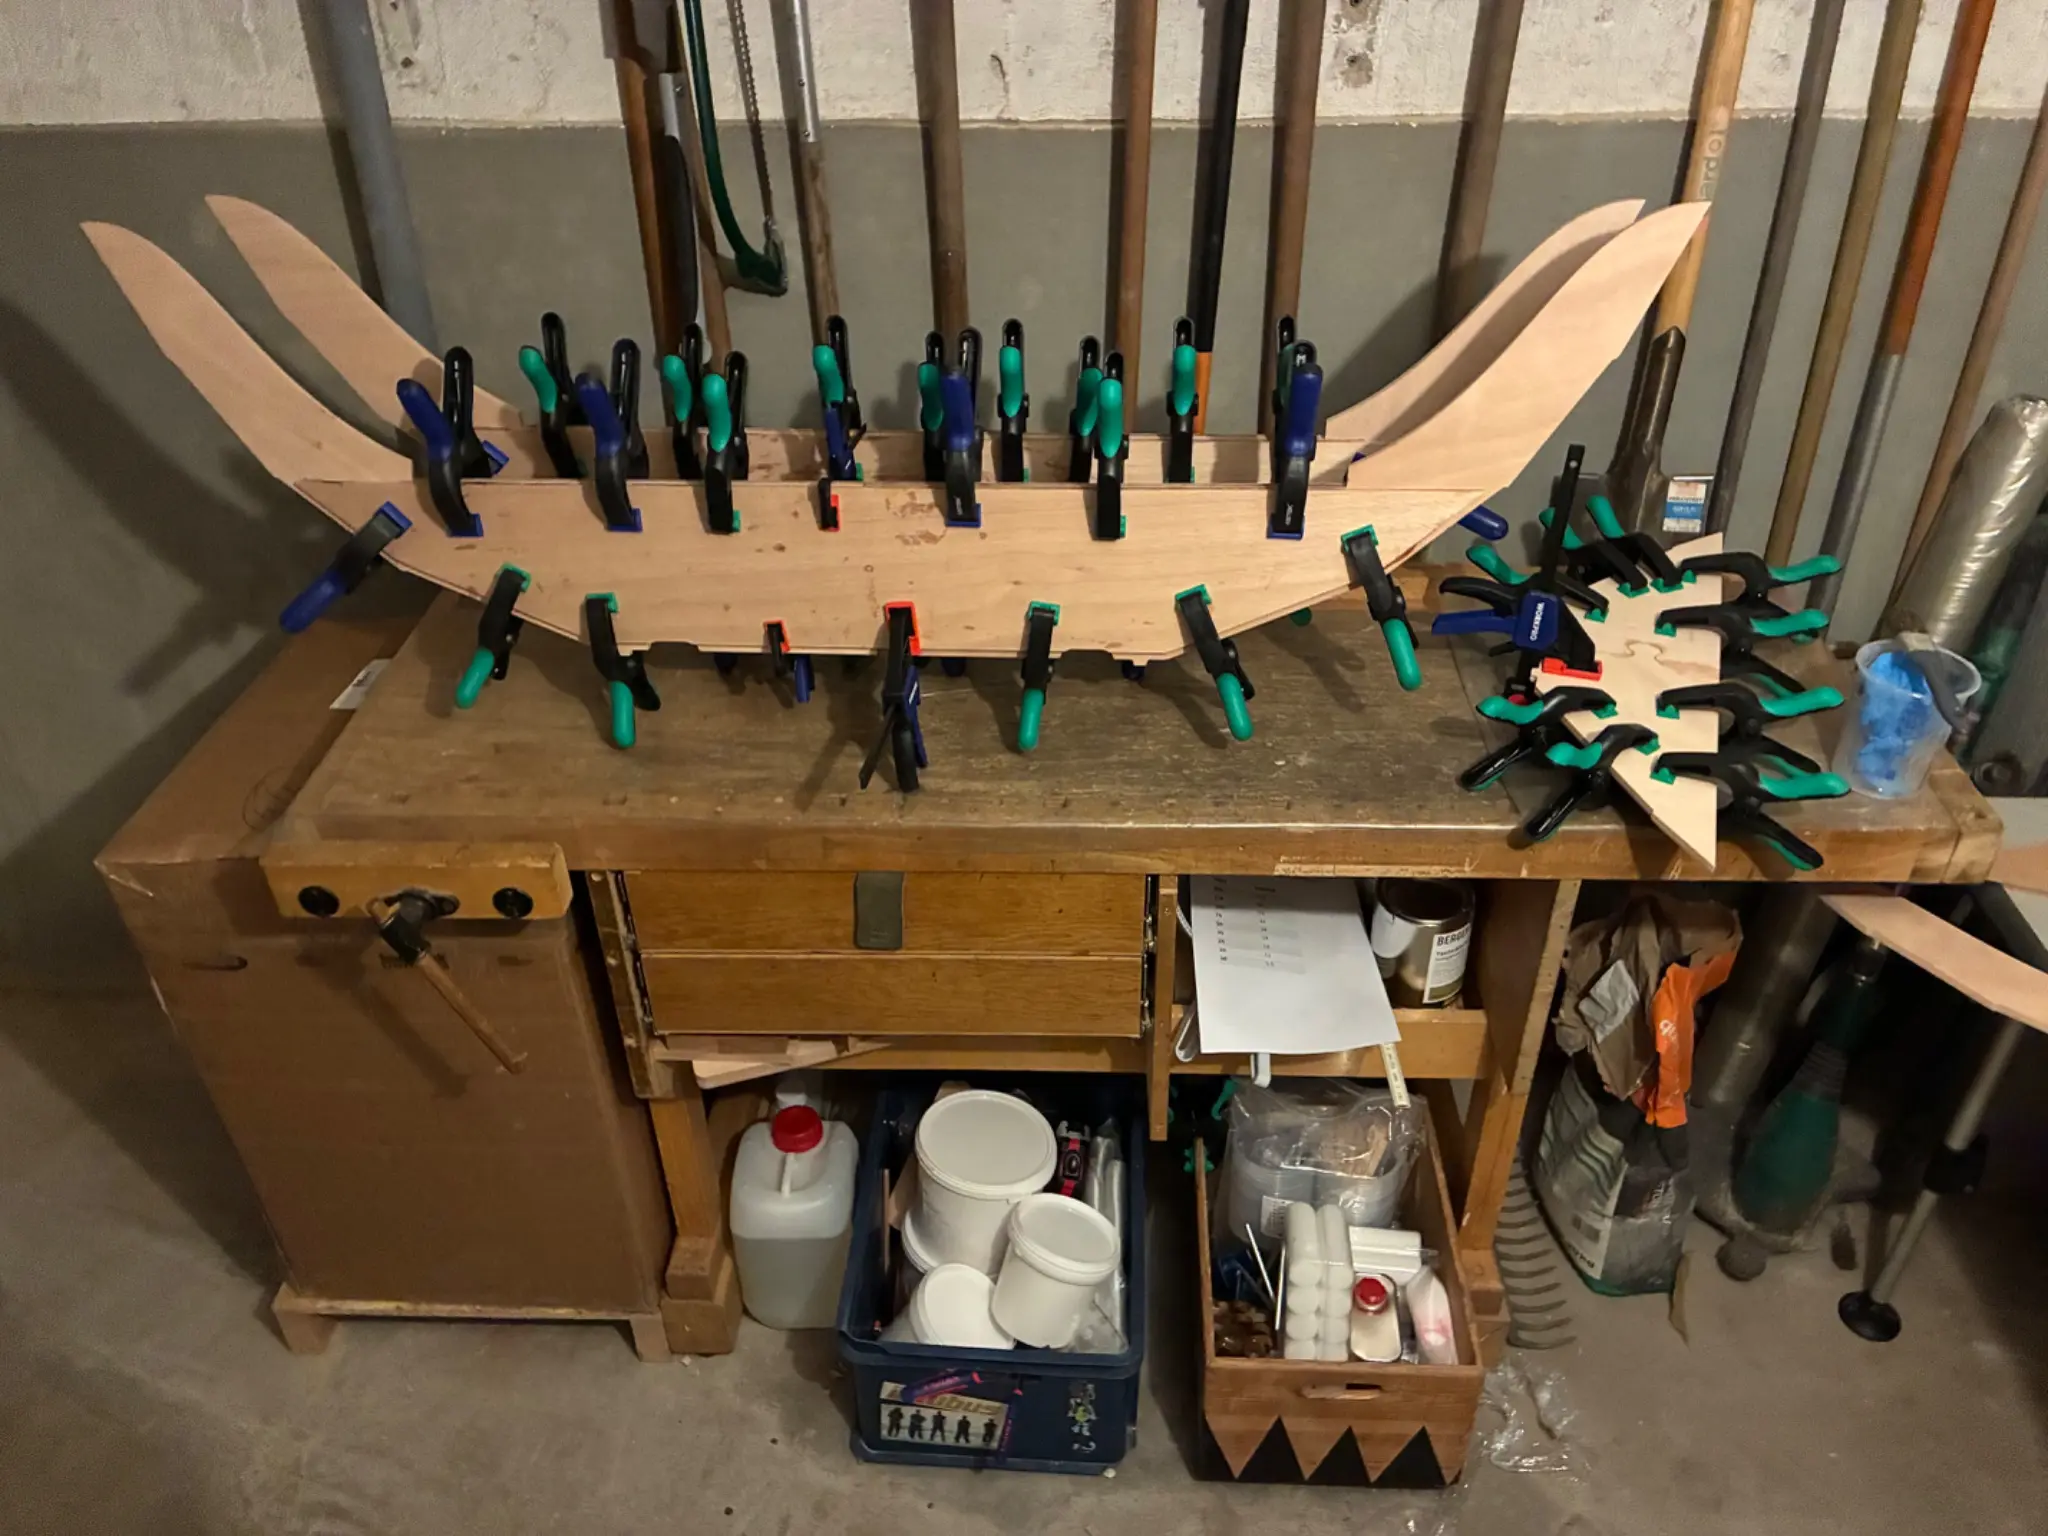
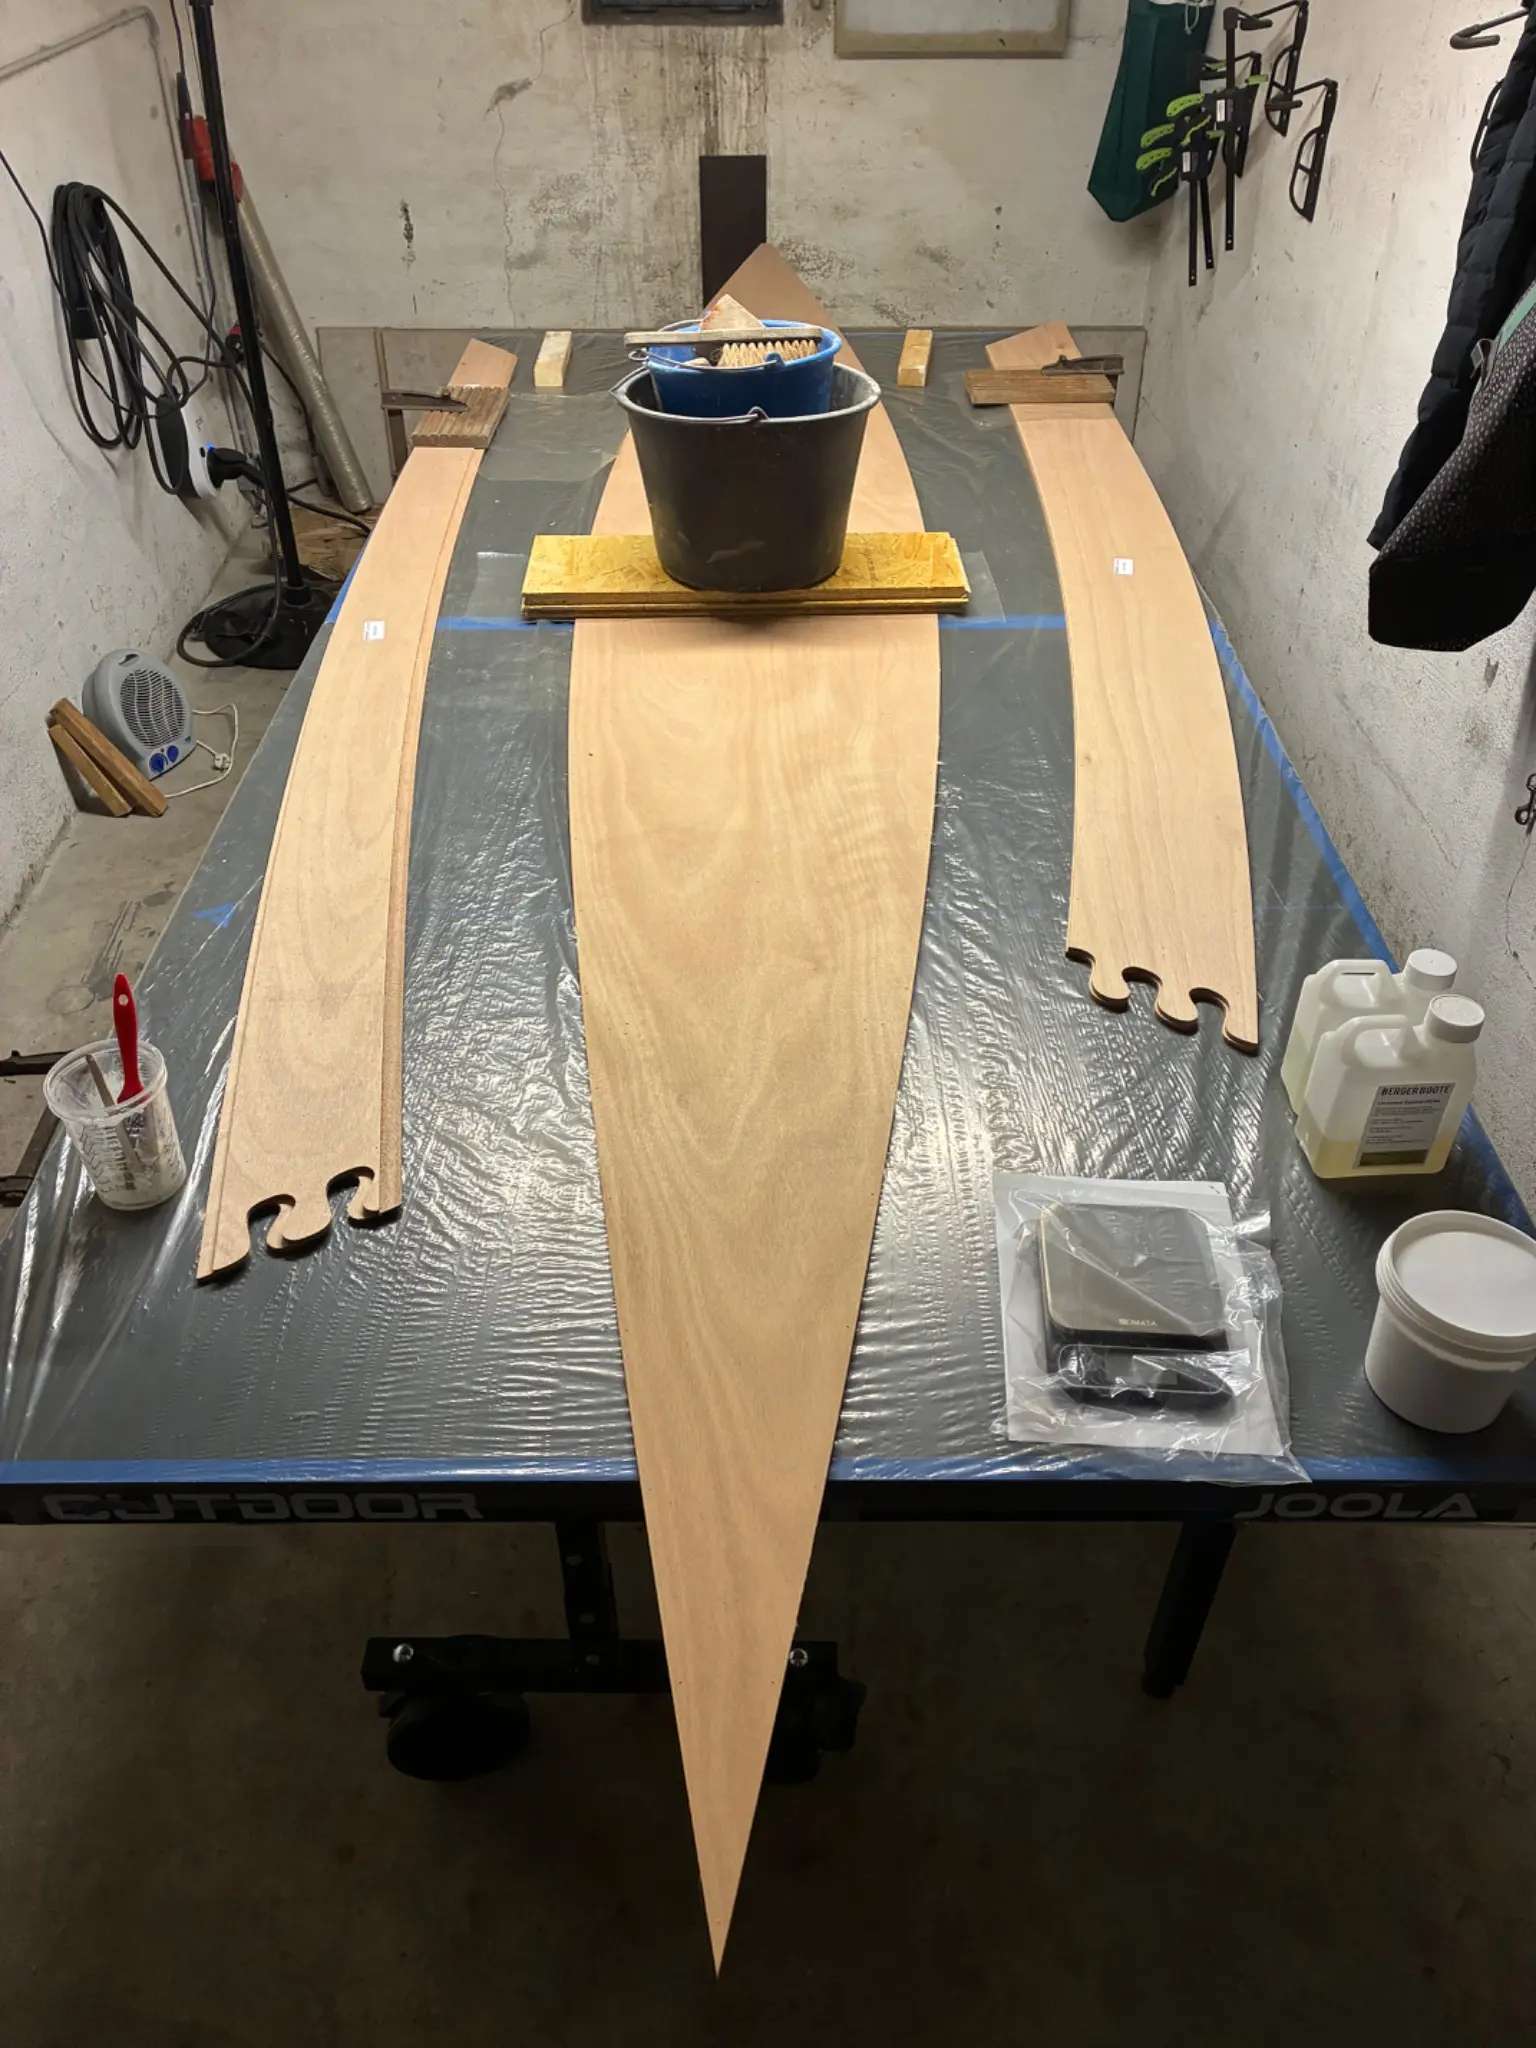
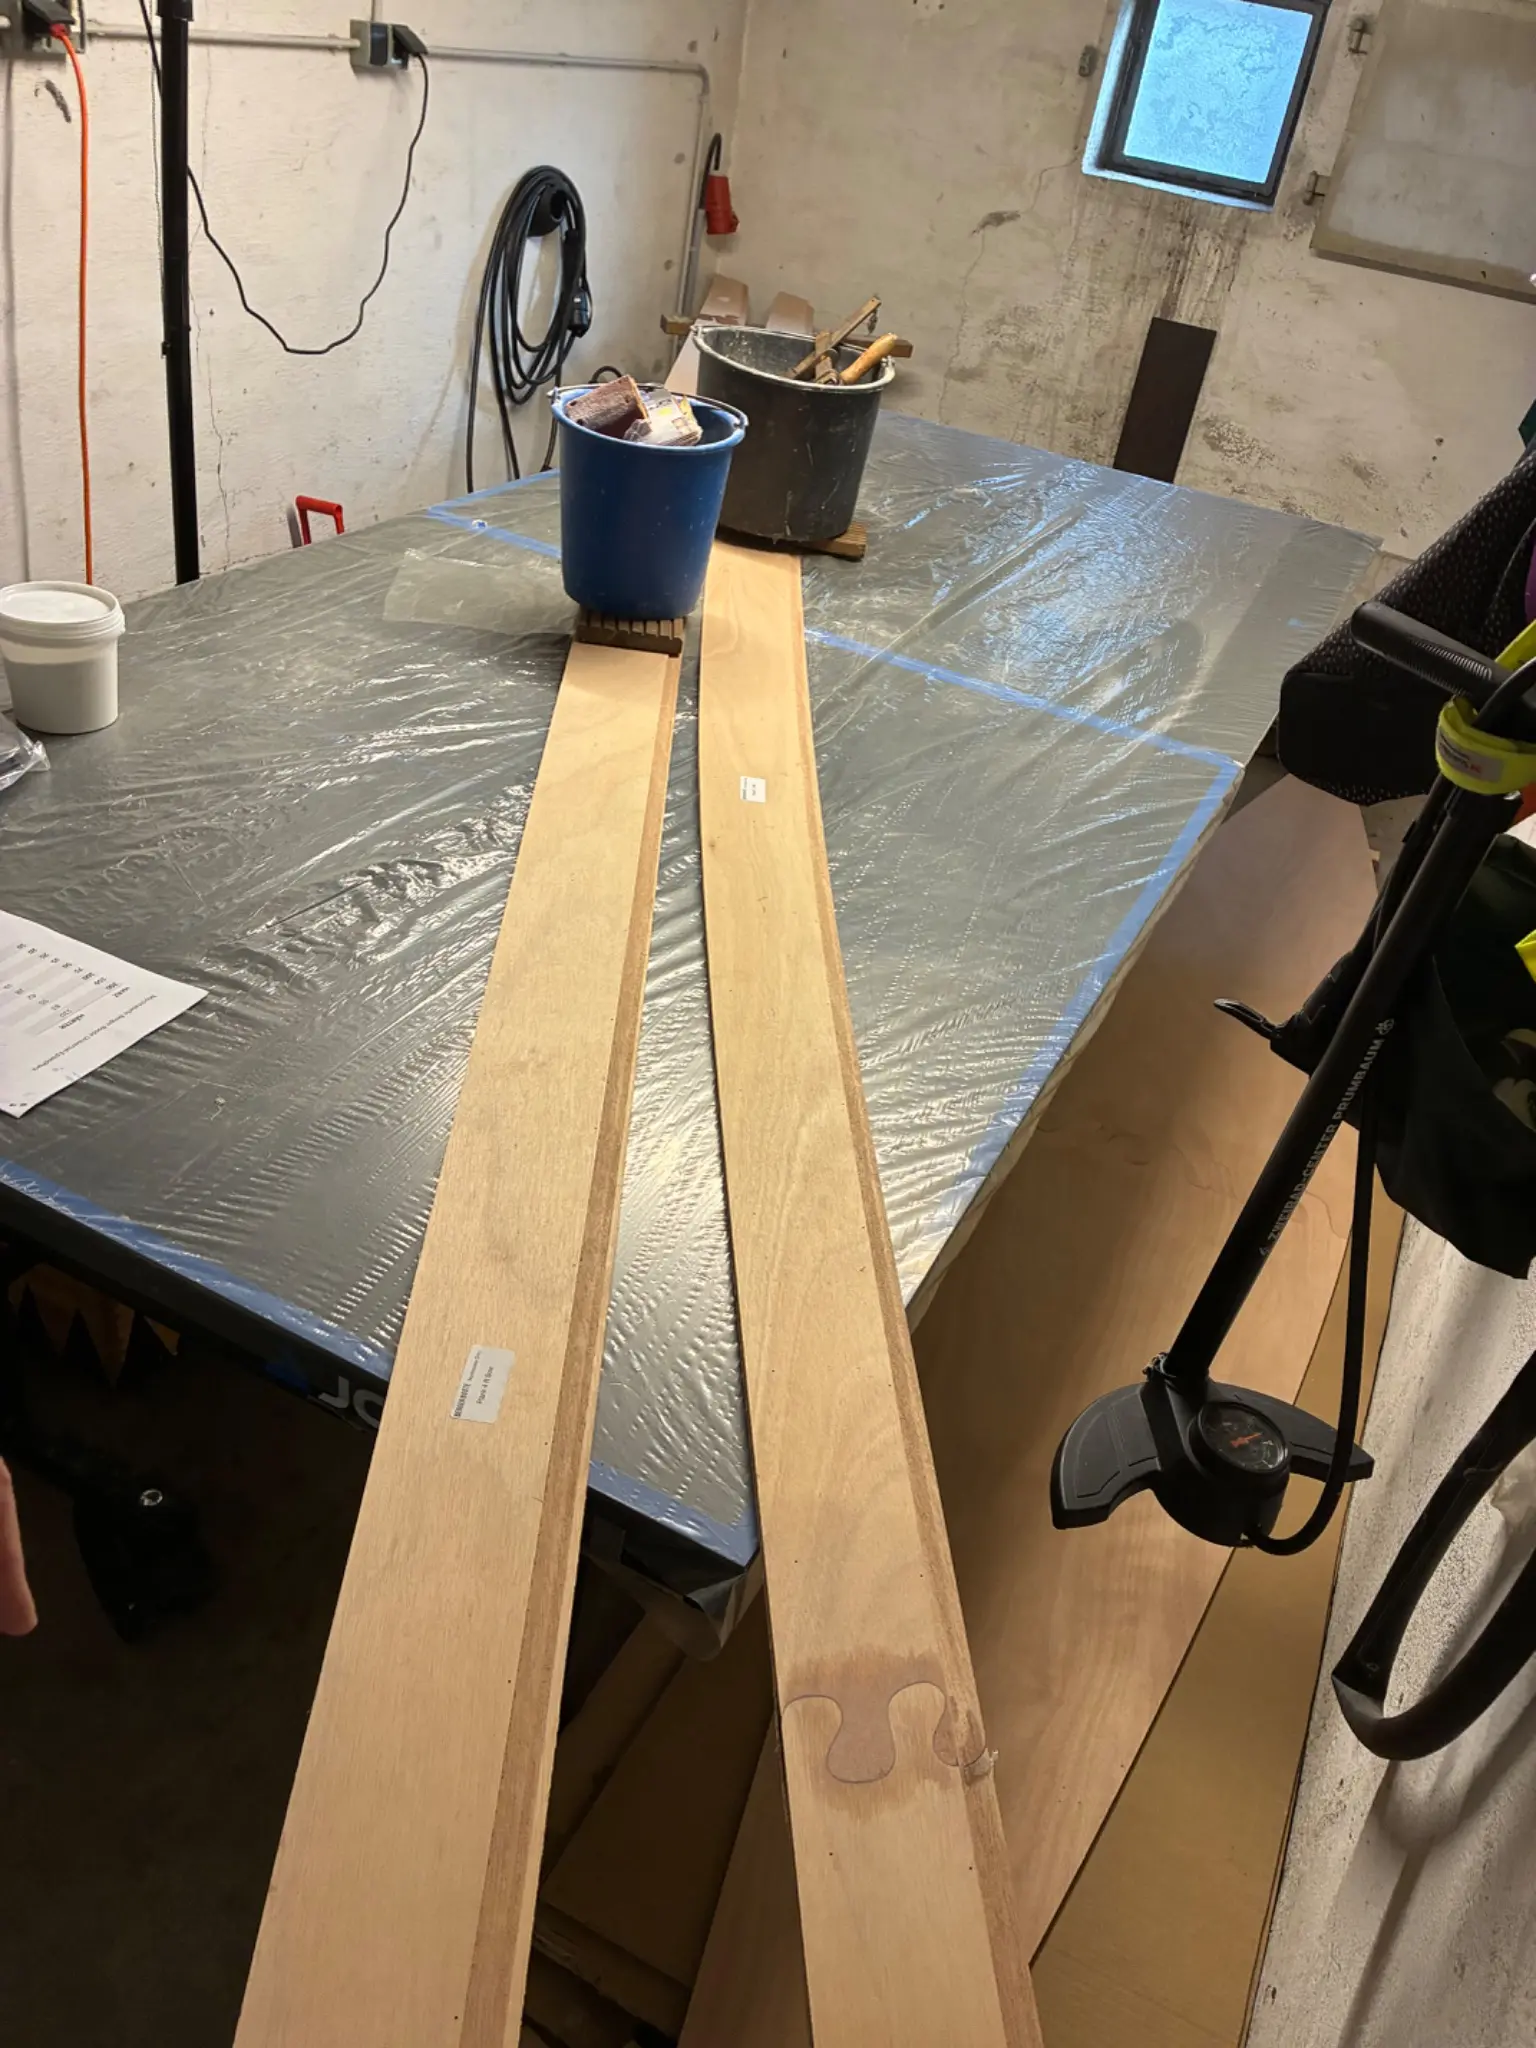
Yesterday I found that my first aid was successful so I took another 90 minutes to glue the bottom + the ends of panels 1 + 2. As you can see I use my table tennis board for the glueing to have enough straight surface. I already started heating the garage to keep the temperature above 15 degrees celsius during the night to assure a solid curing process.
I am still trying to meet the right mix of thickened epoxy. But it seems to be a good experience to work different types of thickness. I will be an advantage when it comes to the fillets and other filling jobs.
Matt
It's coming together :)
Chapter 03
Planning & Research
Choosing the design, sourcing plans or a kit, budgeting, lining up materials.
1 day1 hoursfrom October 2026
16 Oct 2026Planning & Research0.5 h
About the money
Money spent so far:
Cost category Amount
Tools and workshop equipment
€509.86
Consumables and other project expenses €271.43
Northeaster Dory boat kits, including shipping and taxes
€5,023.10
Total project costs to date
€5,804.39
Matt
There is actually a money section at the bottom of your build log, where you can add line items, in your local currency. FYI
Denis
I saw that Matt but this way it was just a copy and paste.
17 Oct 2026Hull Panels3 h
Puzzle + sanding joints etc.
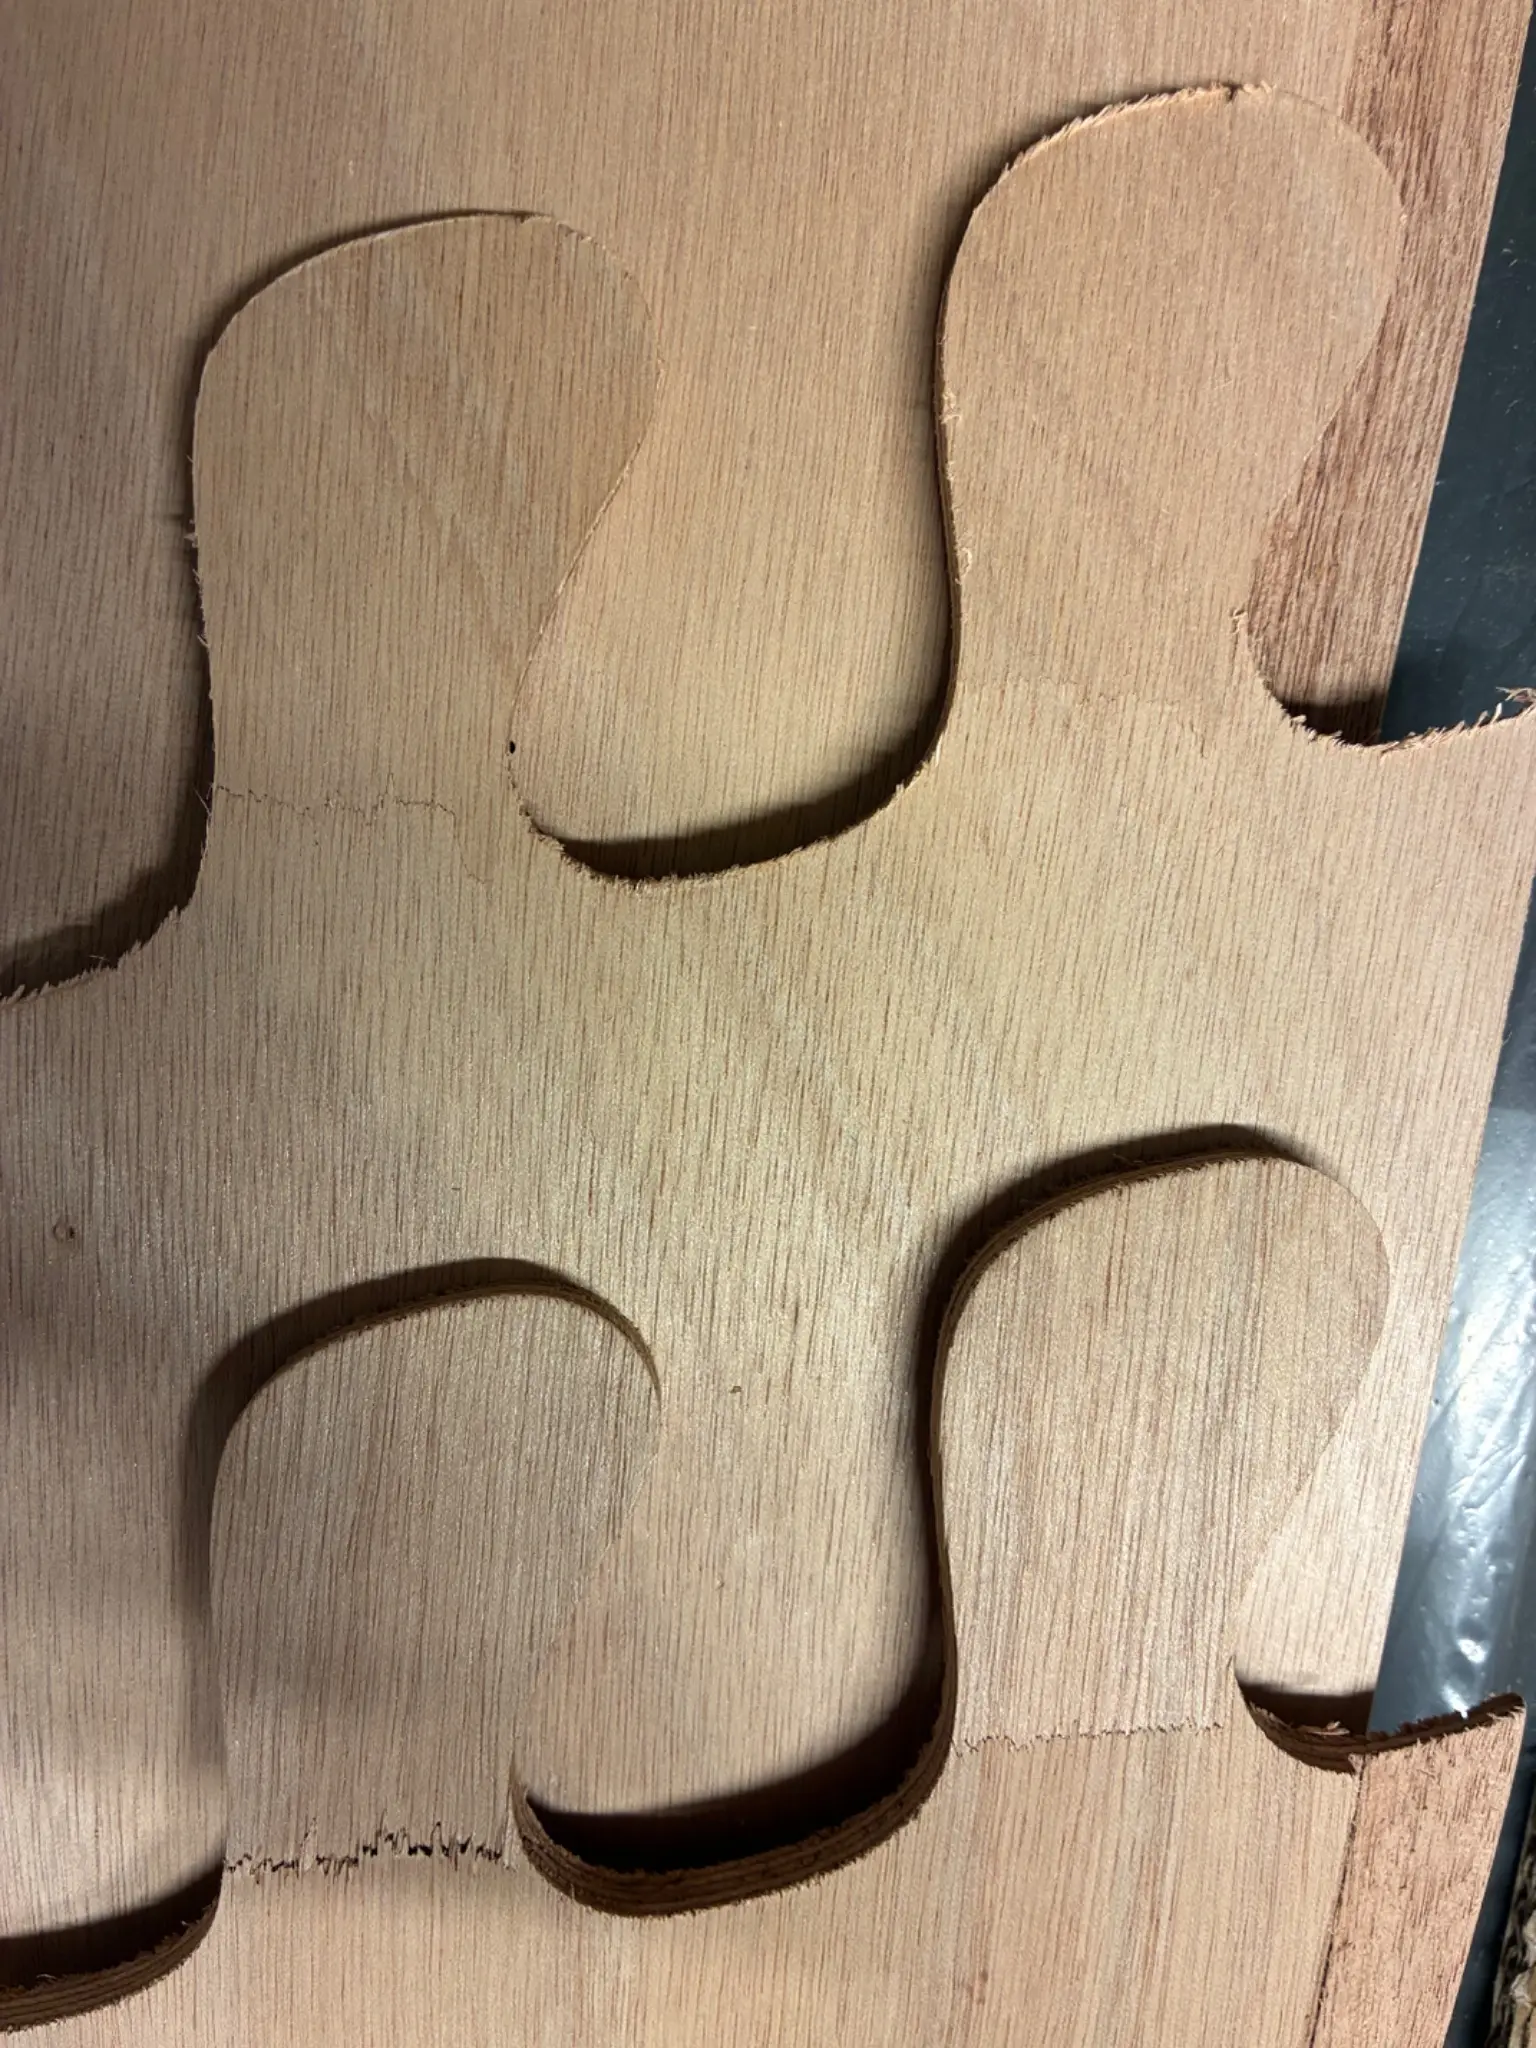
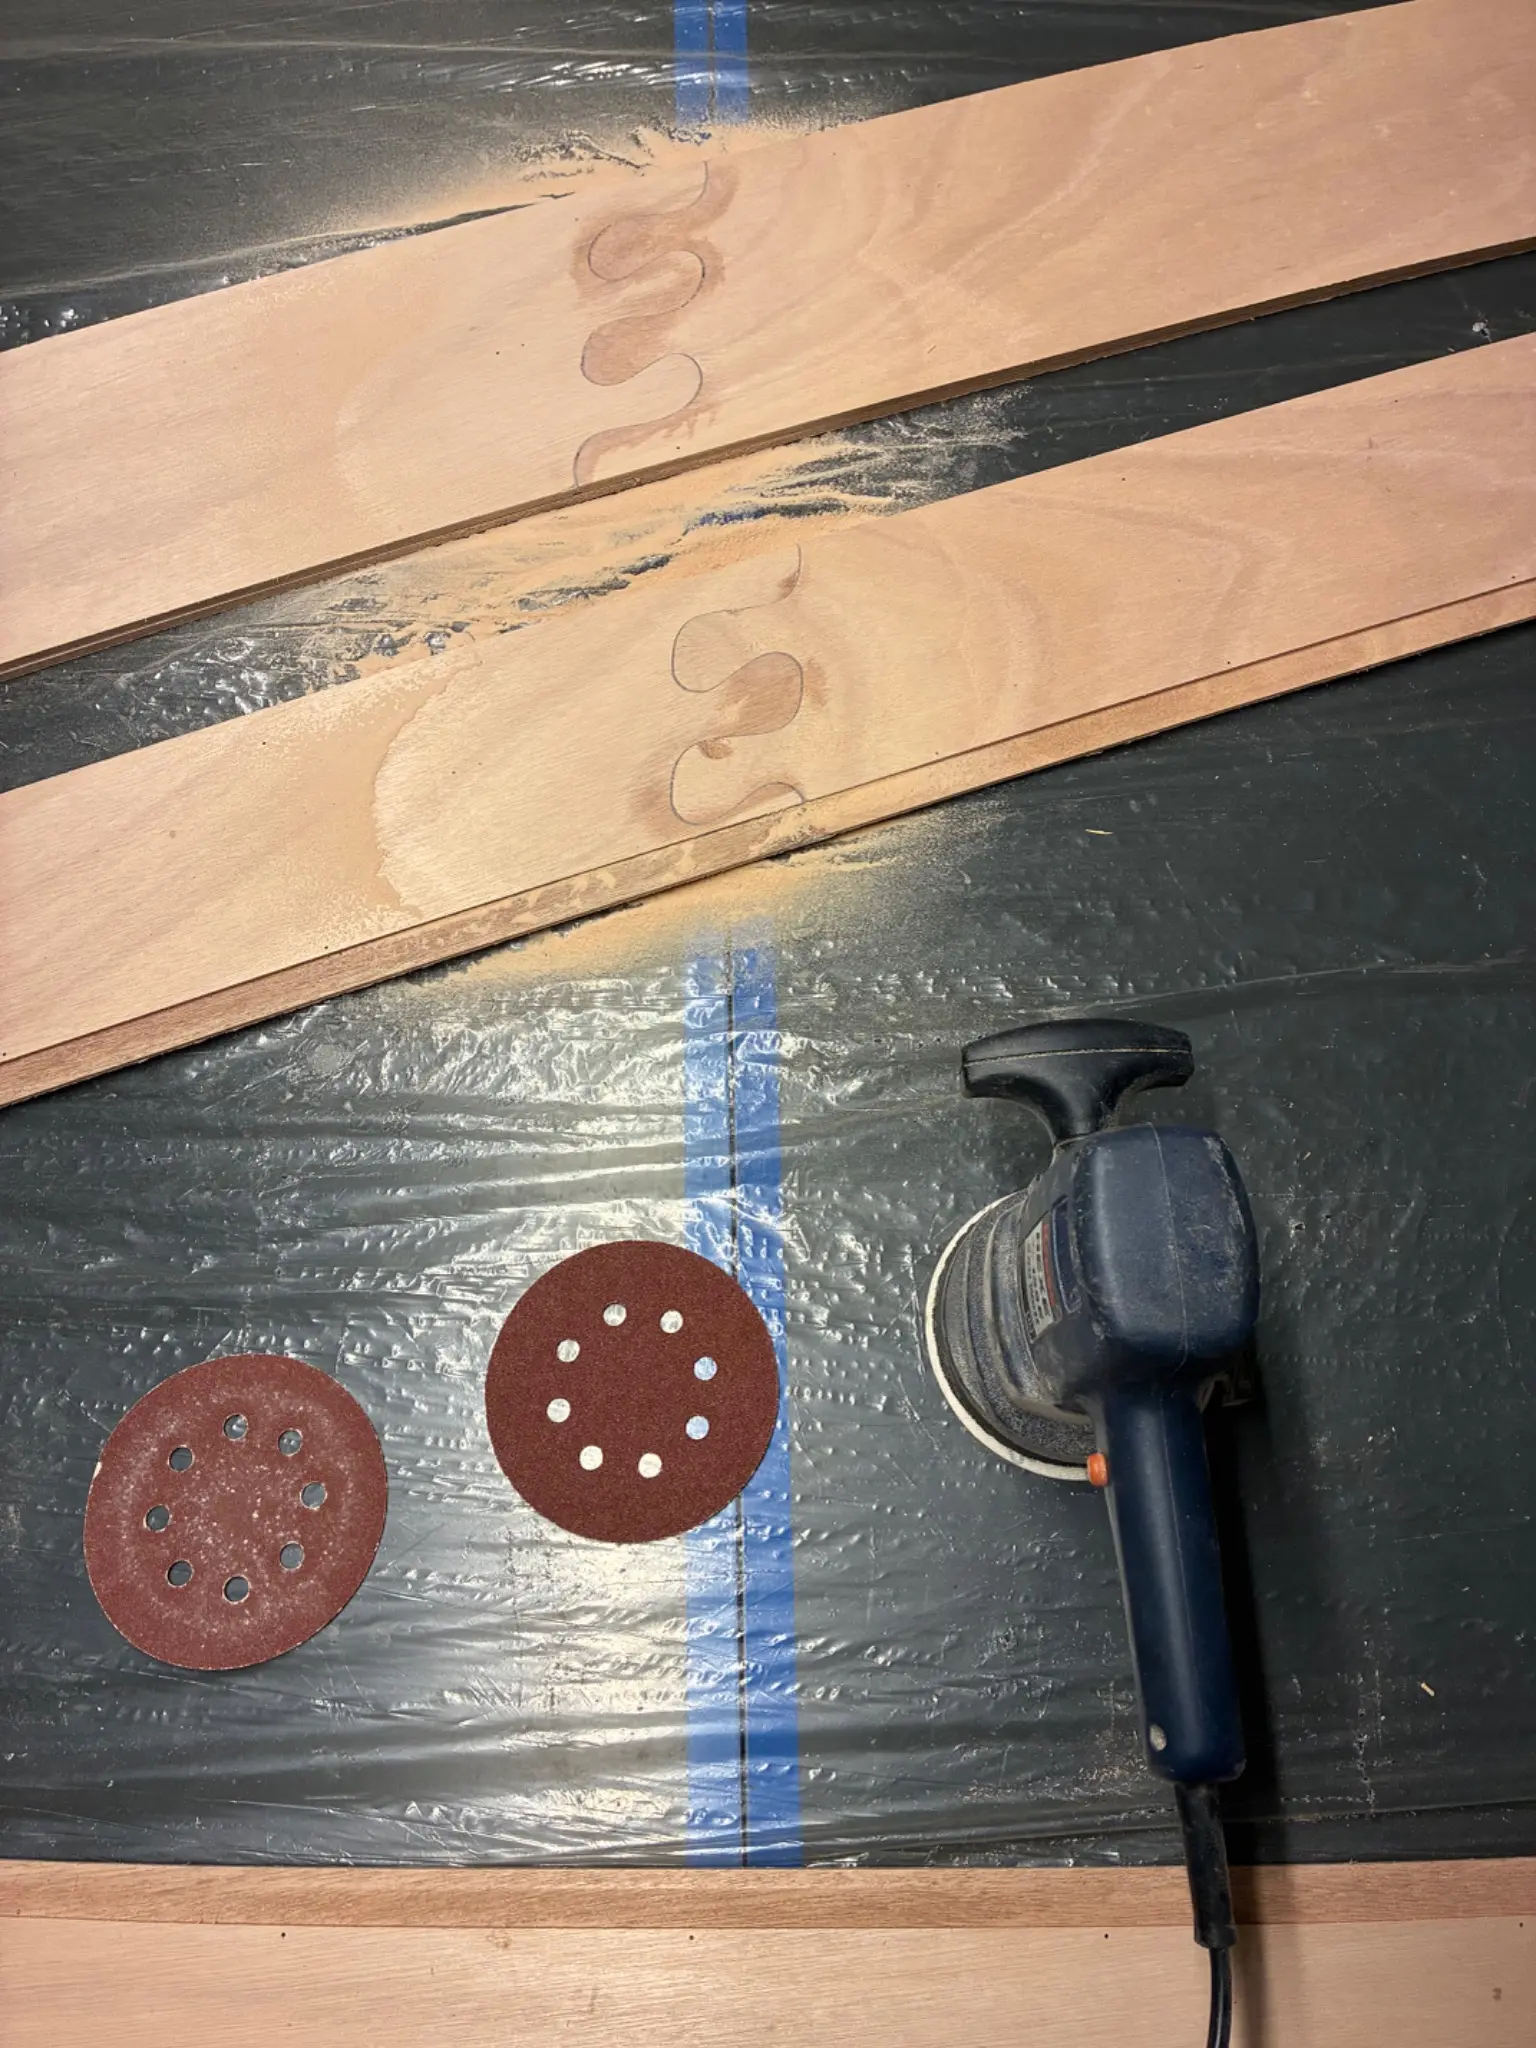
Started sanding the first puzzle joints. The once of panel 1 + 2 were quite good. It needed just a little sanding. With the bottom of the hull I got a little trouble. I should have taken better care that every piece of the puzzle fits good together and everything is at the same level. It took me quite a while to sand it all smooth. Especially below the joints was a lot of cured thickened epoxy. Hopefully the picture shows what I am trying to explain.
After sanding I added the bow tips of panels 1 + 2 and attached the stern tips to panels 3 + 4.
Because of limited space I couldn’t do it all in one step.
It took me about 3 hours. In the evening I had a couple of beers with my good friend and owner of „the compass“. I introduced him to the stage I am in now and some of the stuff I bought for the project. Besides that I did a little sanding of the transom and the frames. I decided not to count that (fun) time.
Photo 1 Photo 2 Photo 3
18 Oct 2026Hull Panels7 h
Started working on the hull.
The day started with sanding the remaining joints of panel one and two. The goal was to get started building the hull in the evening together with my older brother. To reach that goal it was necessary to finish gluing all the panel parts. So finally I had to attach the bow panels of panel 3 and 4. I spent about two hours in the morning and let the epoxy cure till the evening.
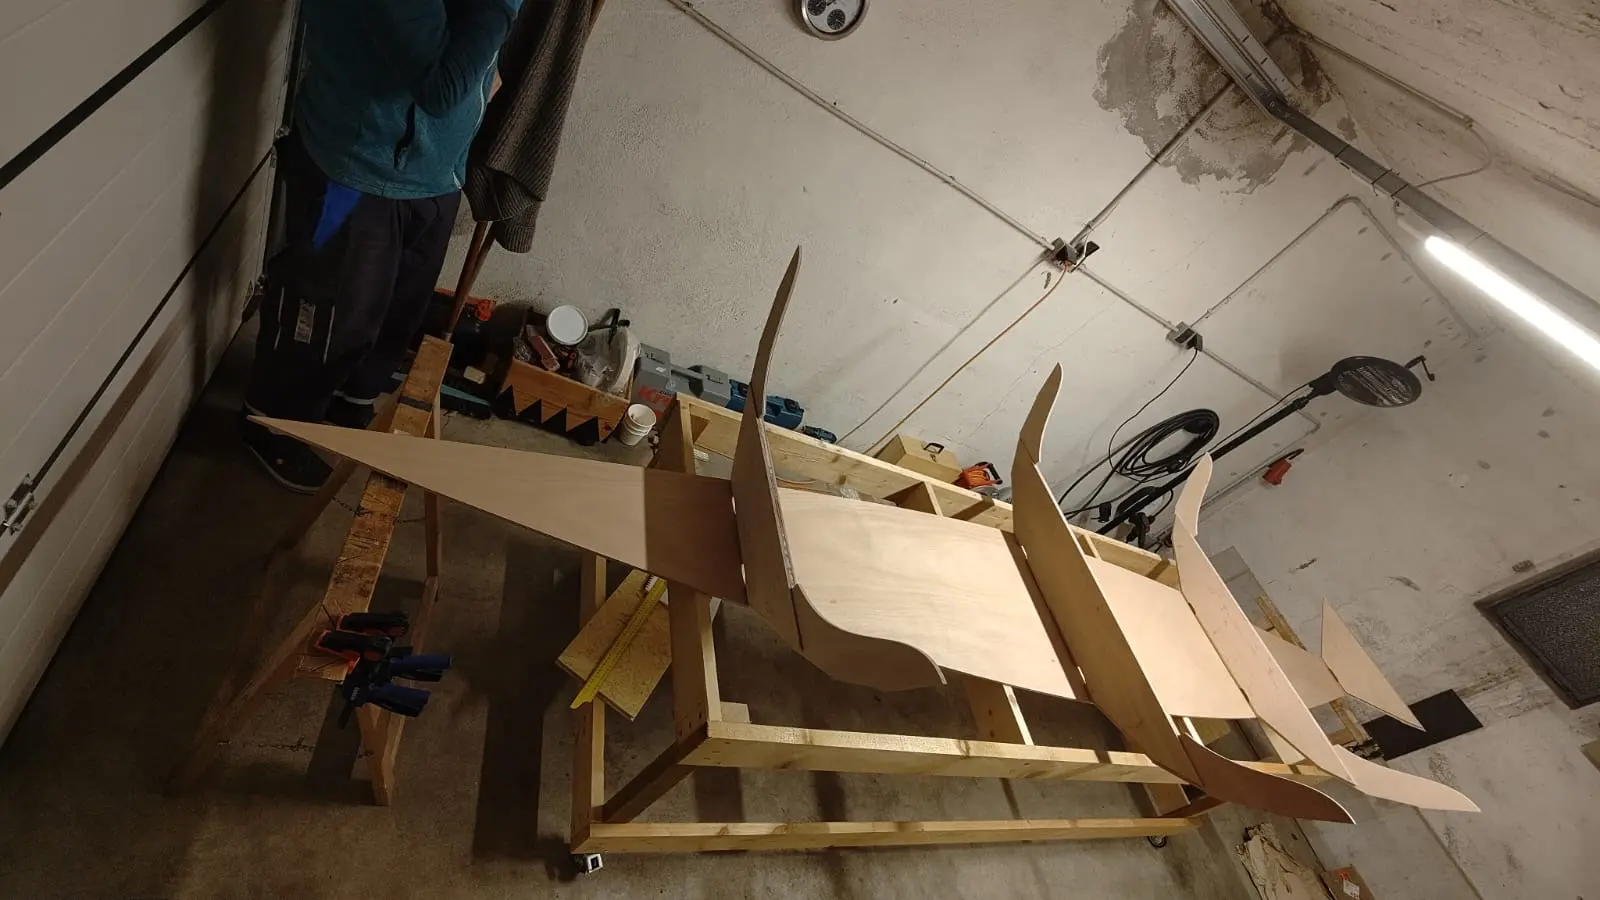
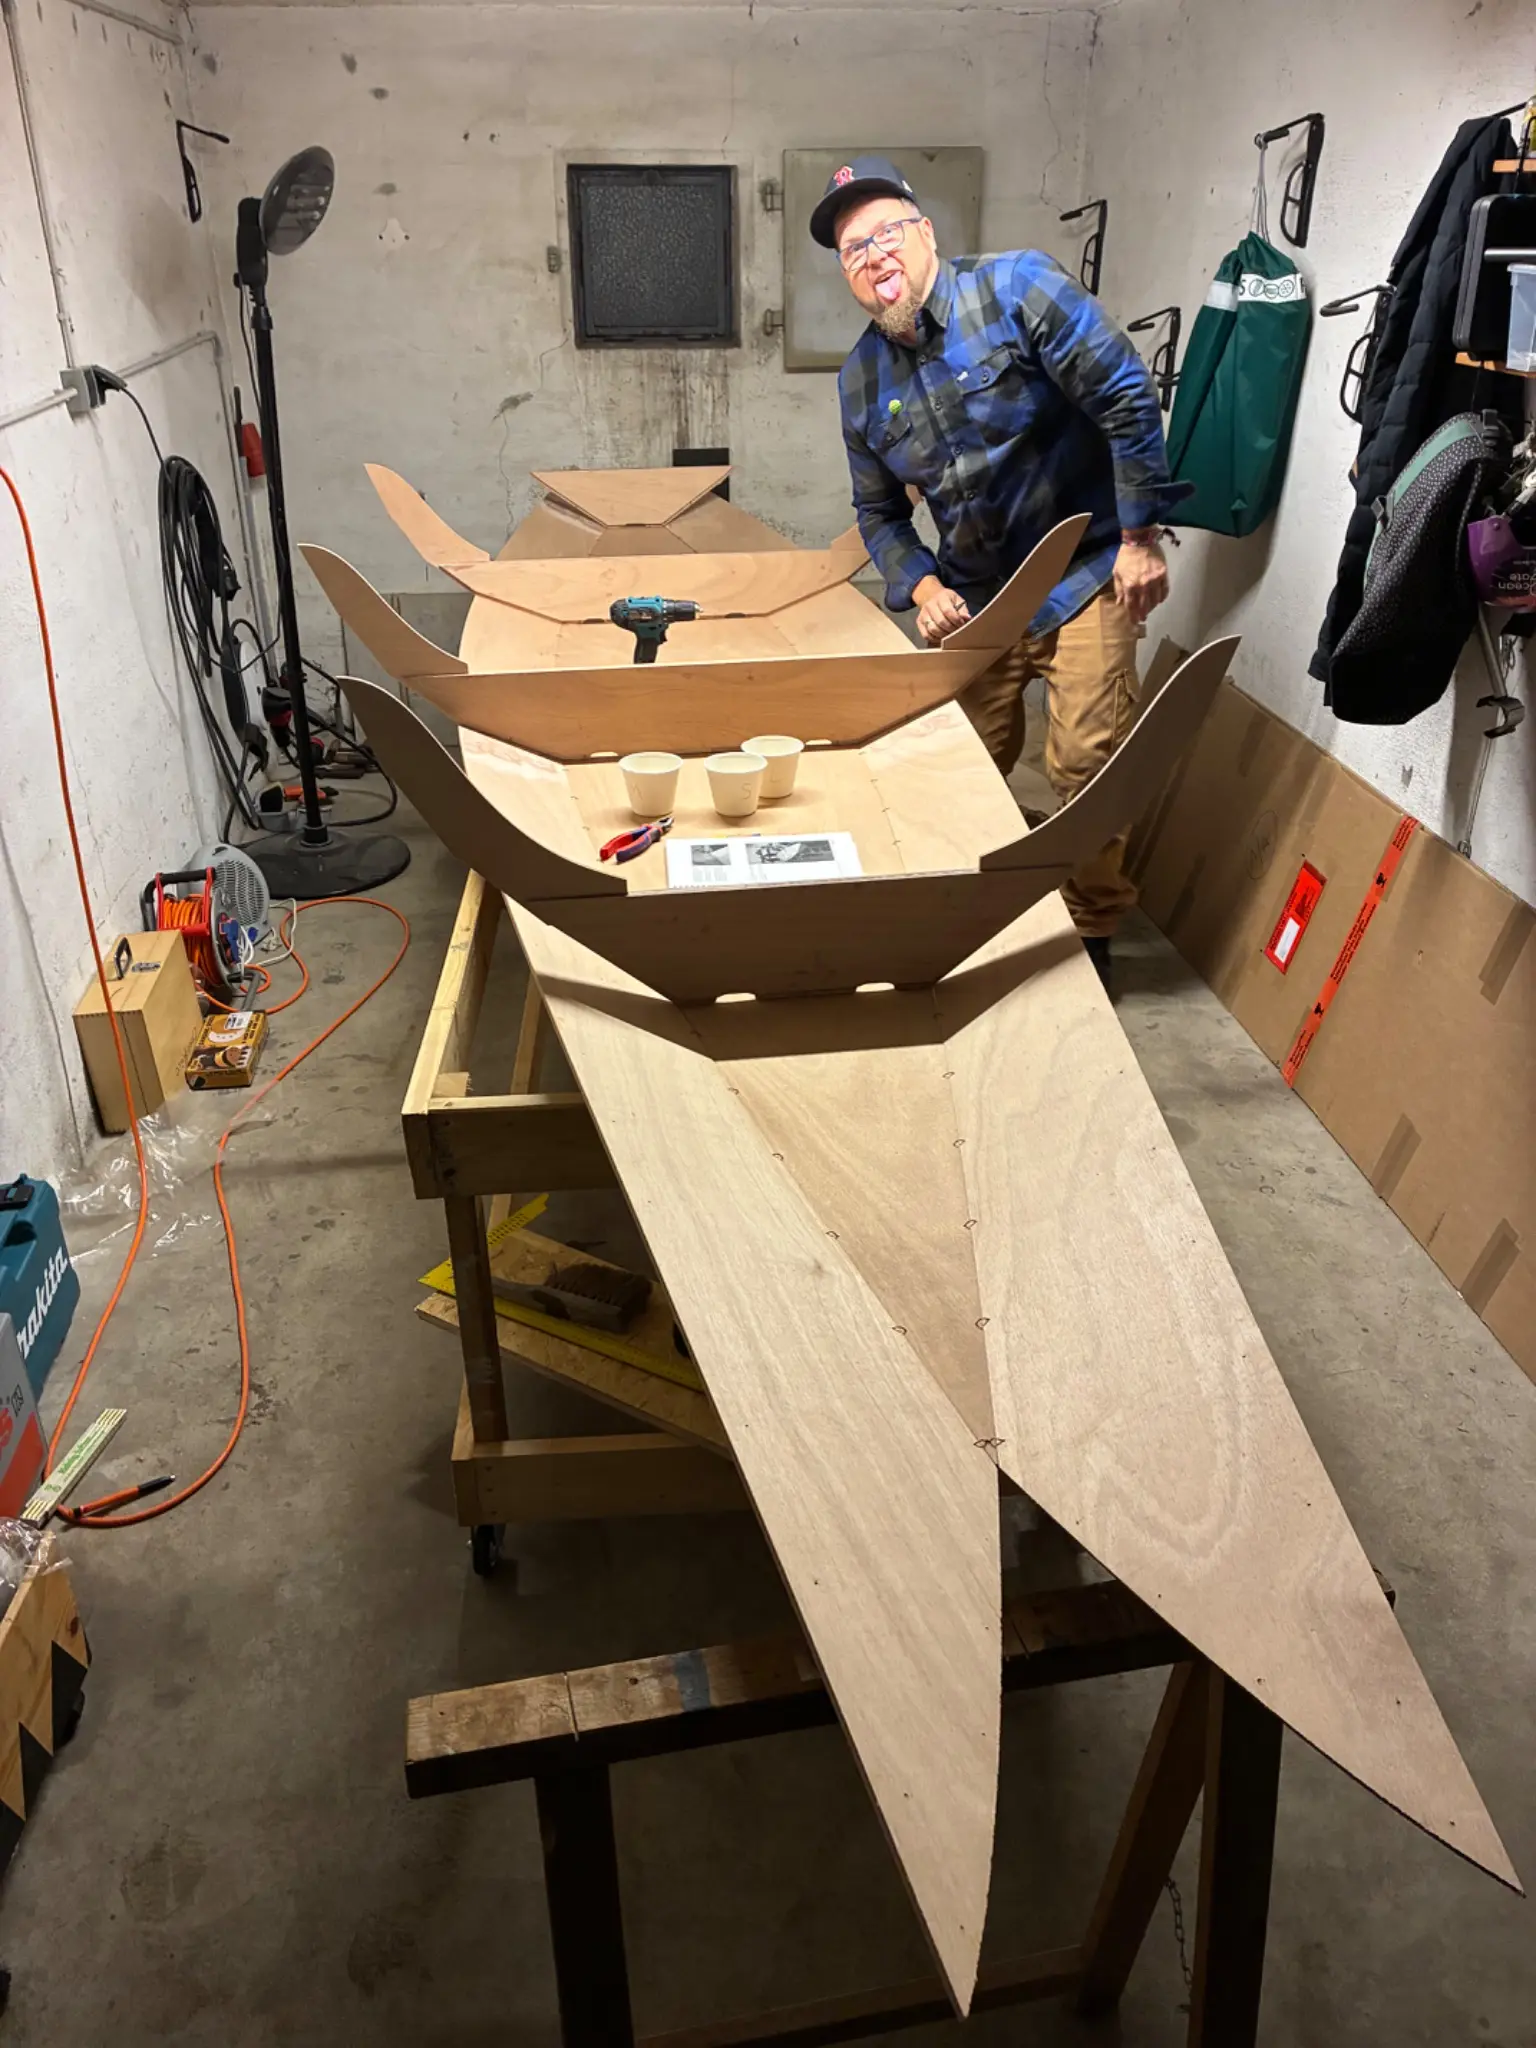
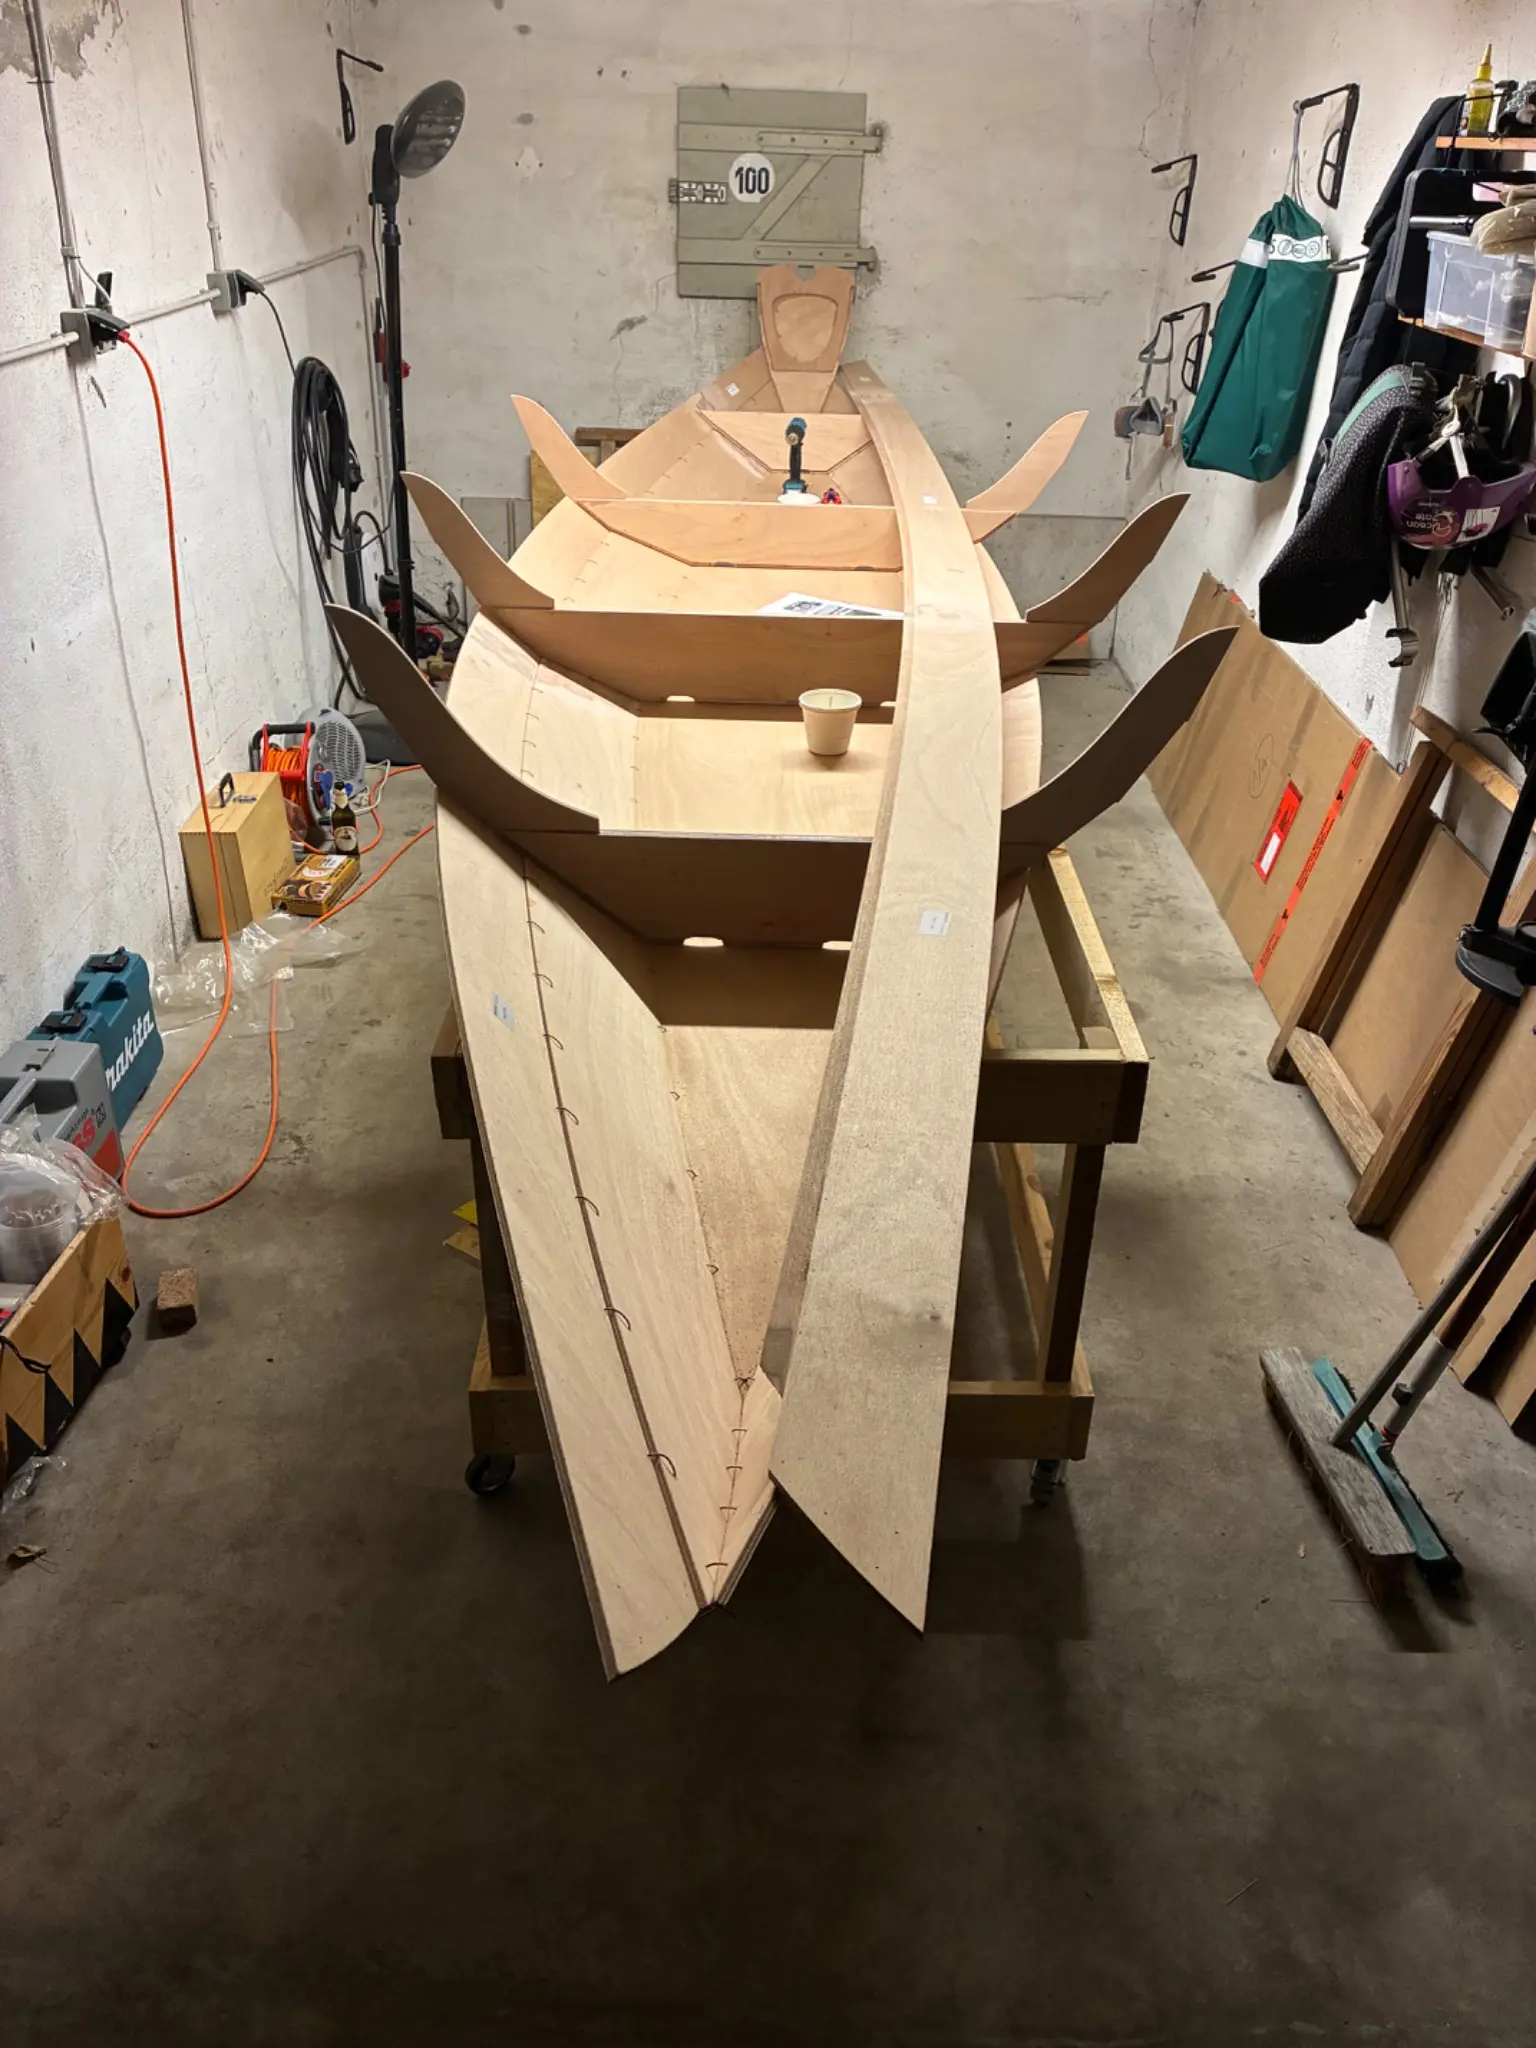
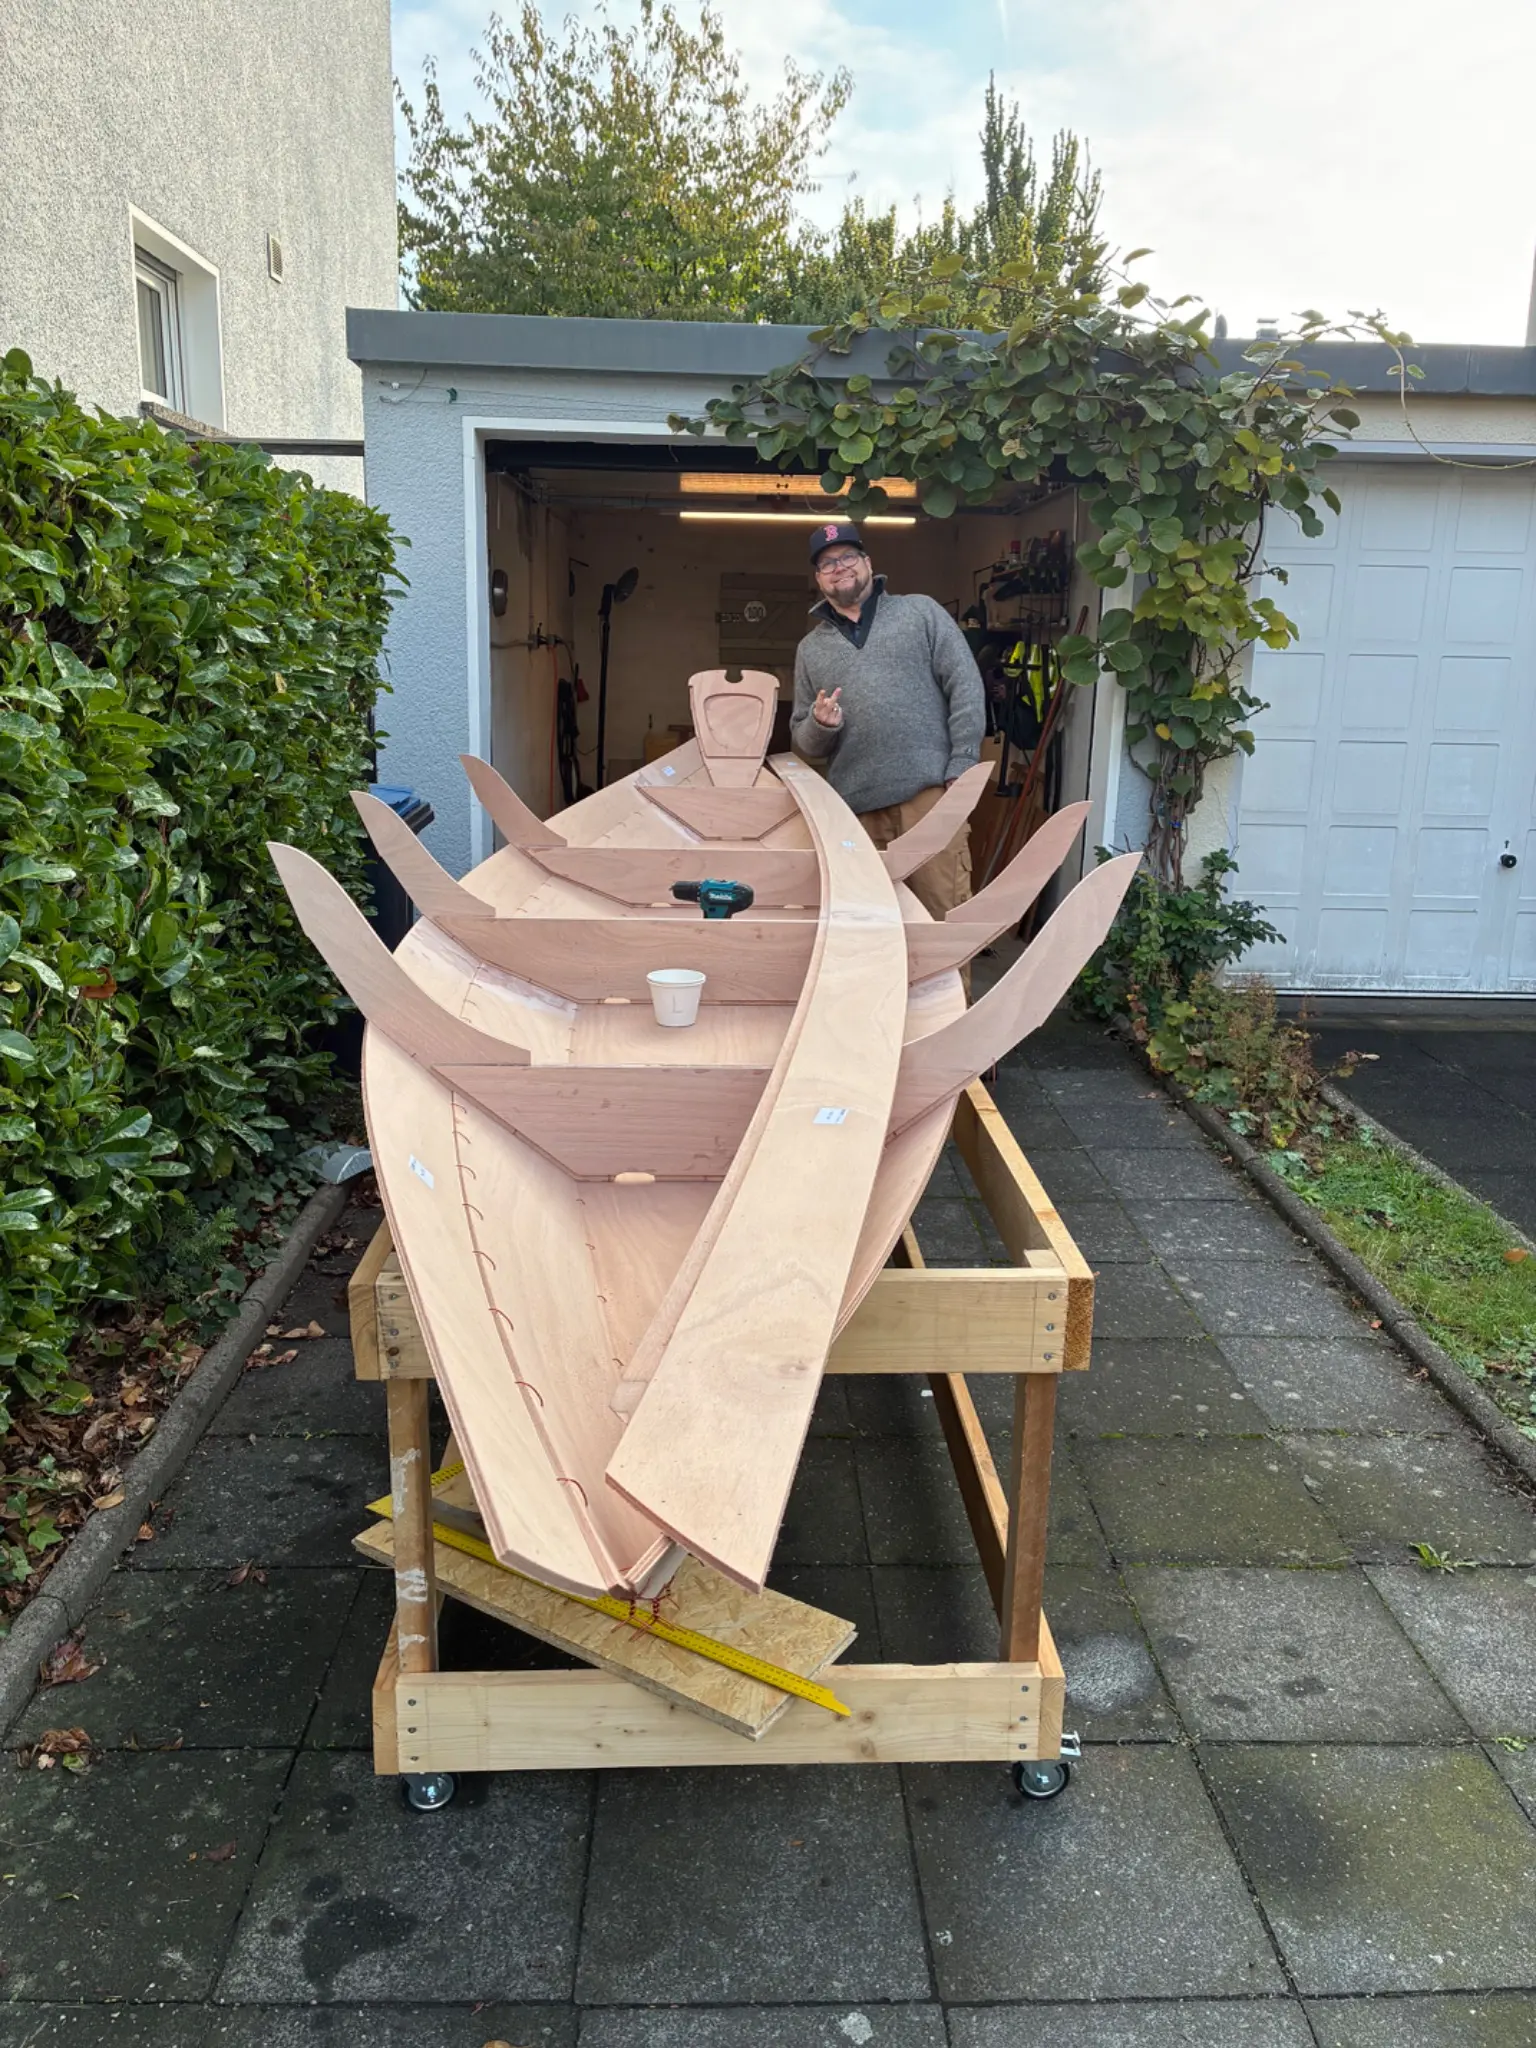
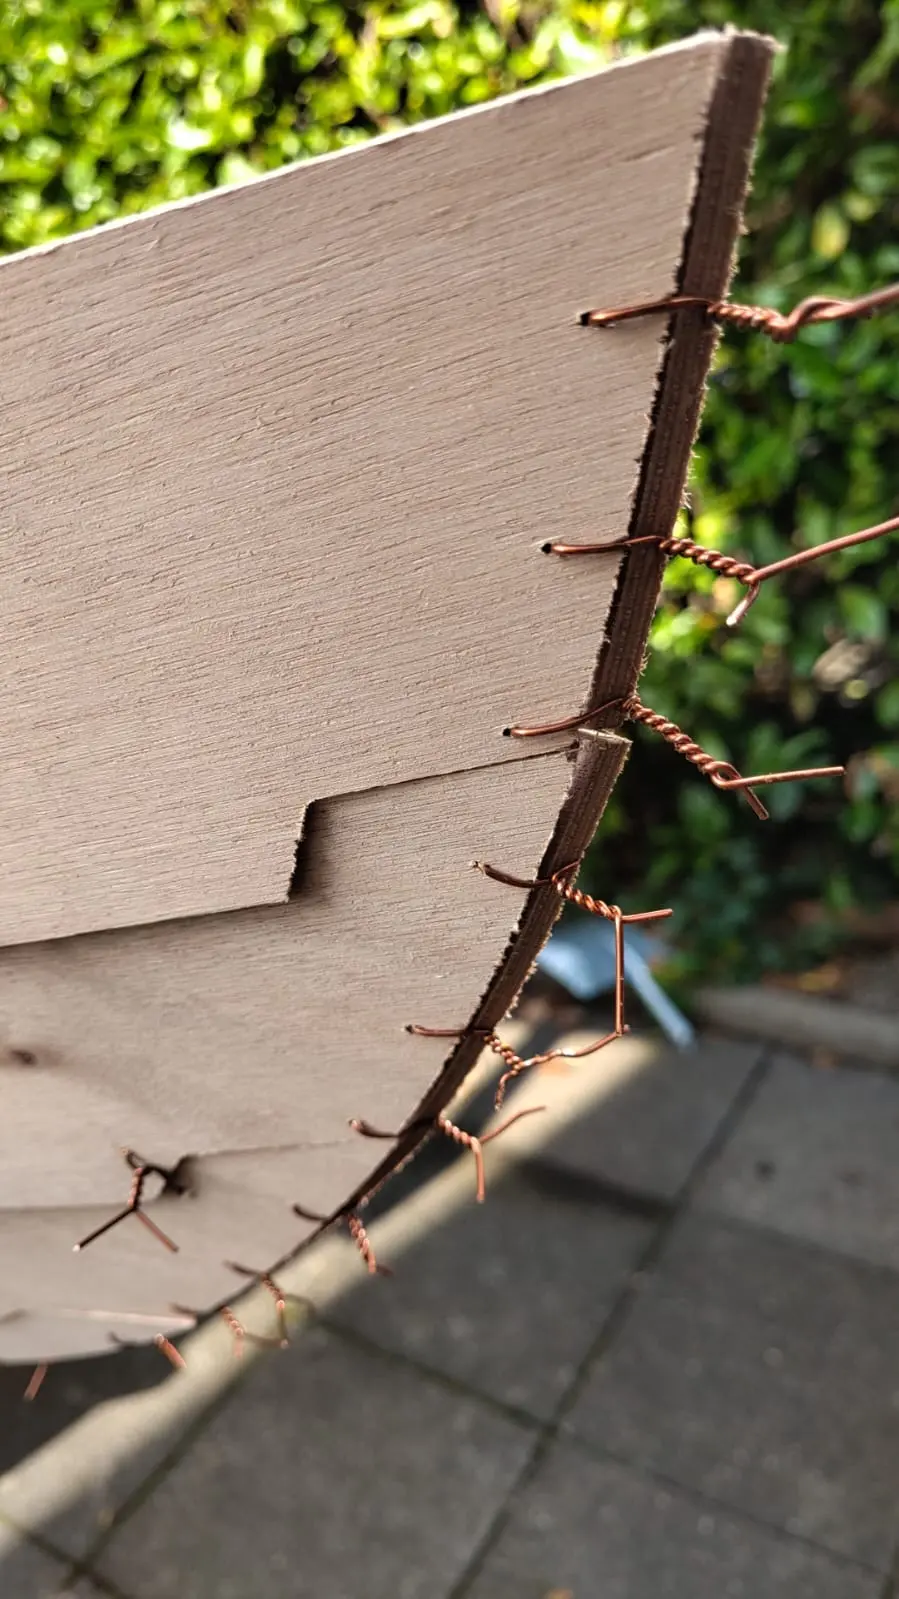
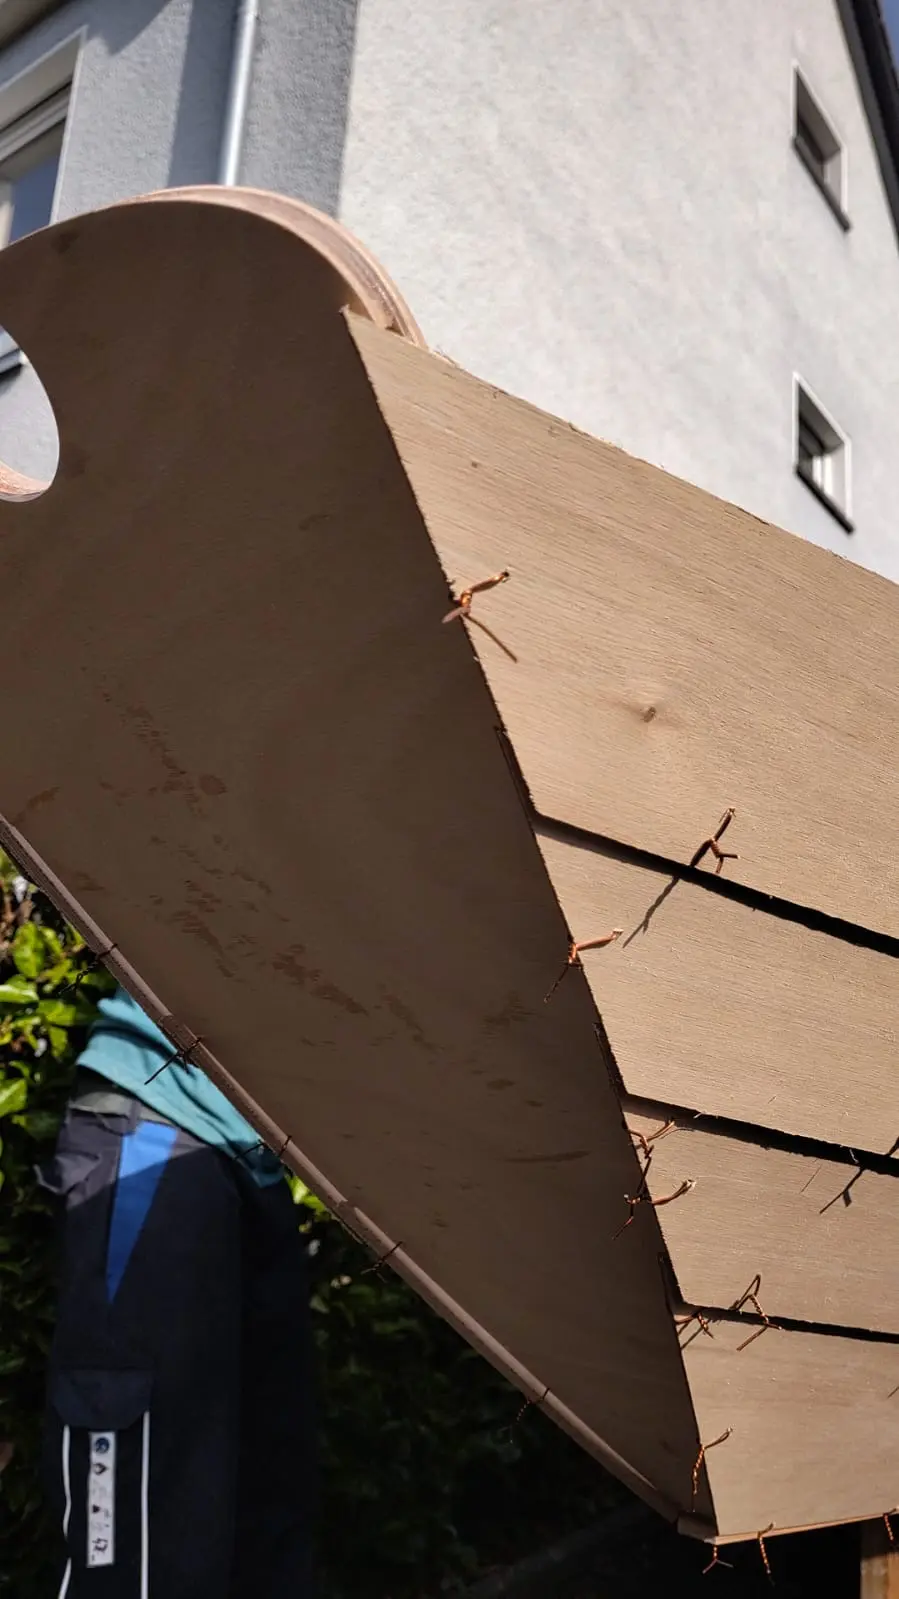
My brother arrived around 5pm. Before we started working we had a delicious meal. We started at 7:15pm. The epoxy on panel 3 and 4 cured as expected. We removed panels and the table tennis from the garage. The cart was set into place to start the assembly. Taking a closer look at the bottom we noticed that the little holes to set the frames were missing. Because my brother brought his router we decided to drill them. As you can see in the pictures, where all frames are sat in place, we really succeeded.
We worked our way from panel one, to the transom and the right part of panel two until 00:15am (5 hours). From twisting copper wire my fingertips are burning now but the result makes me pretty happy. While we were attaching the frames to panel one we had a phone call from my son. He spends halve a year in Canada for a school exchange program. It was nice to talk to him. And it seems that my daughter had her very first date tonight. Fun fact, the boy told me he can sail and his uncle has a boat too.
Photo 1 Photo 2 Photo 3 Photo 4 Photo 5
19 Oct 2026Hull Panels7 h
Turned the hull over
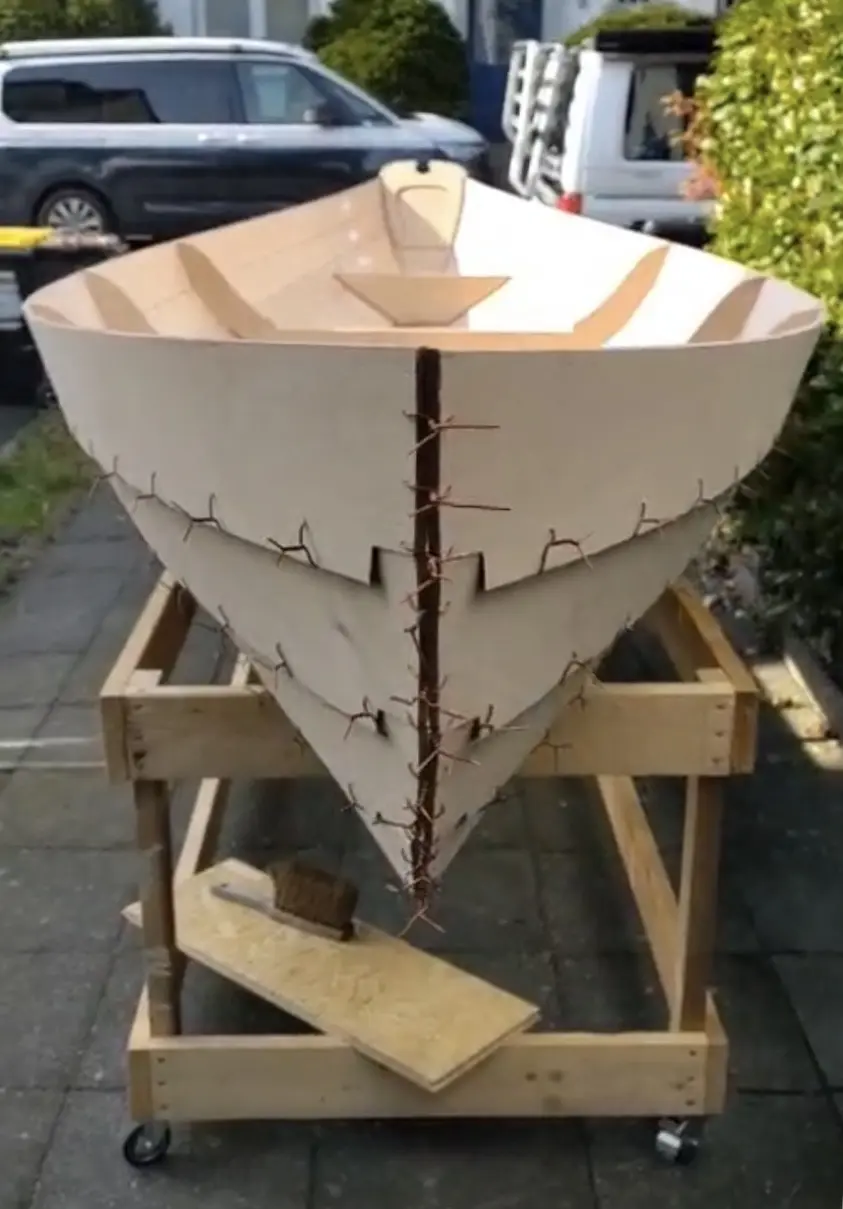
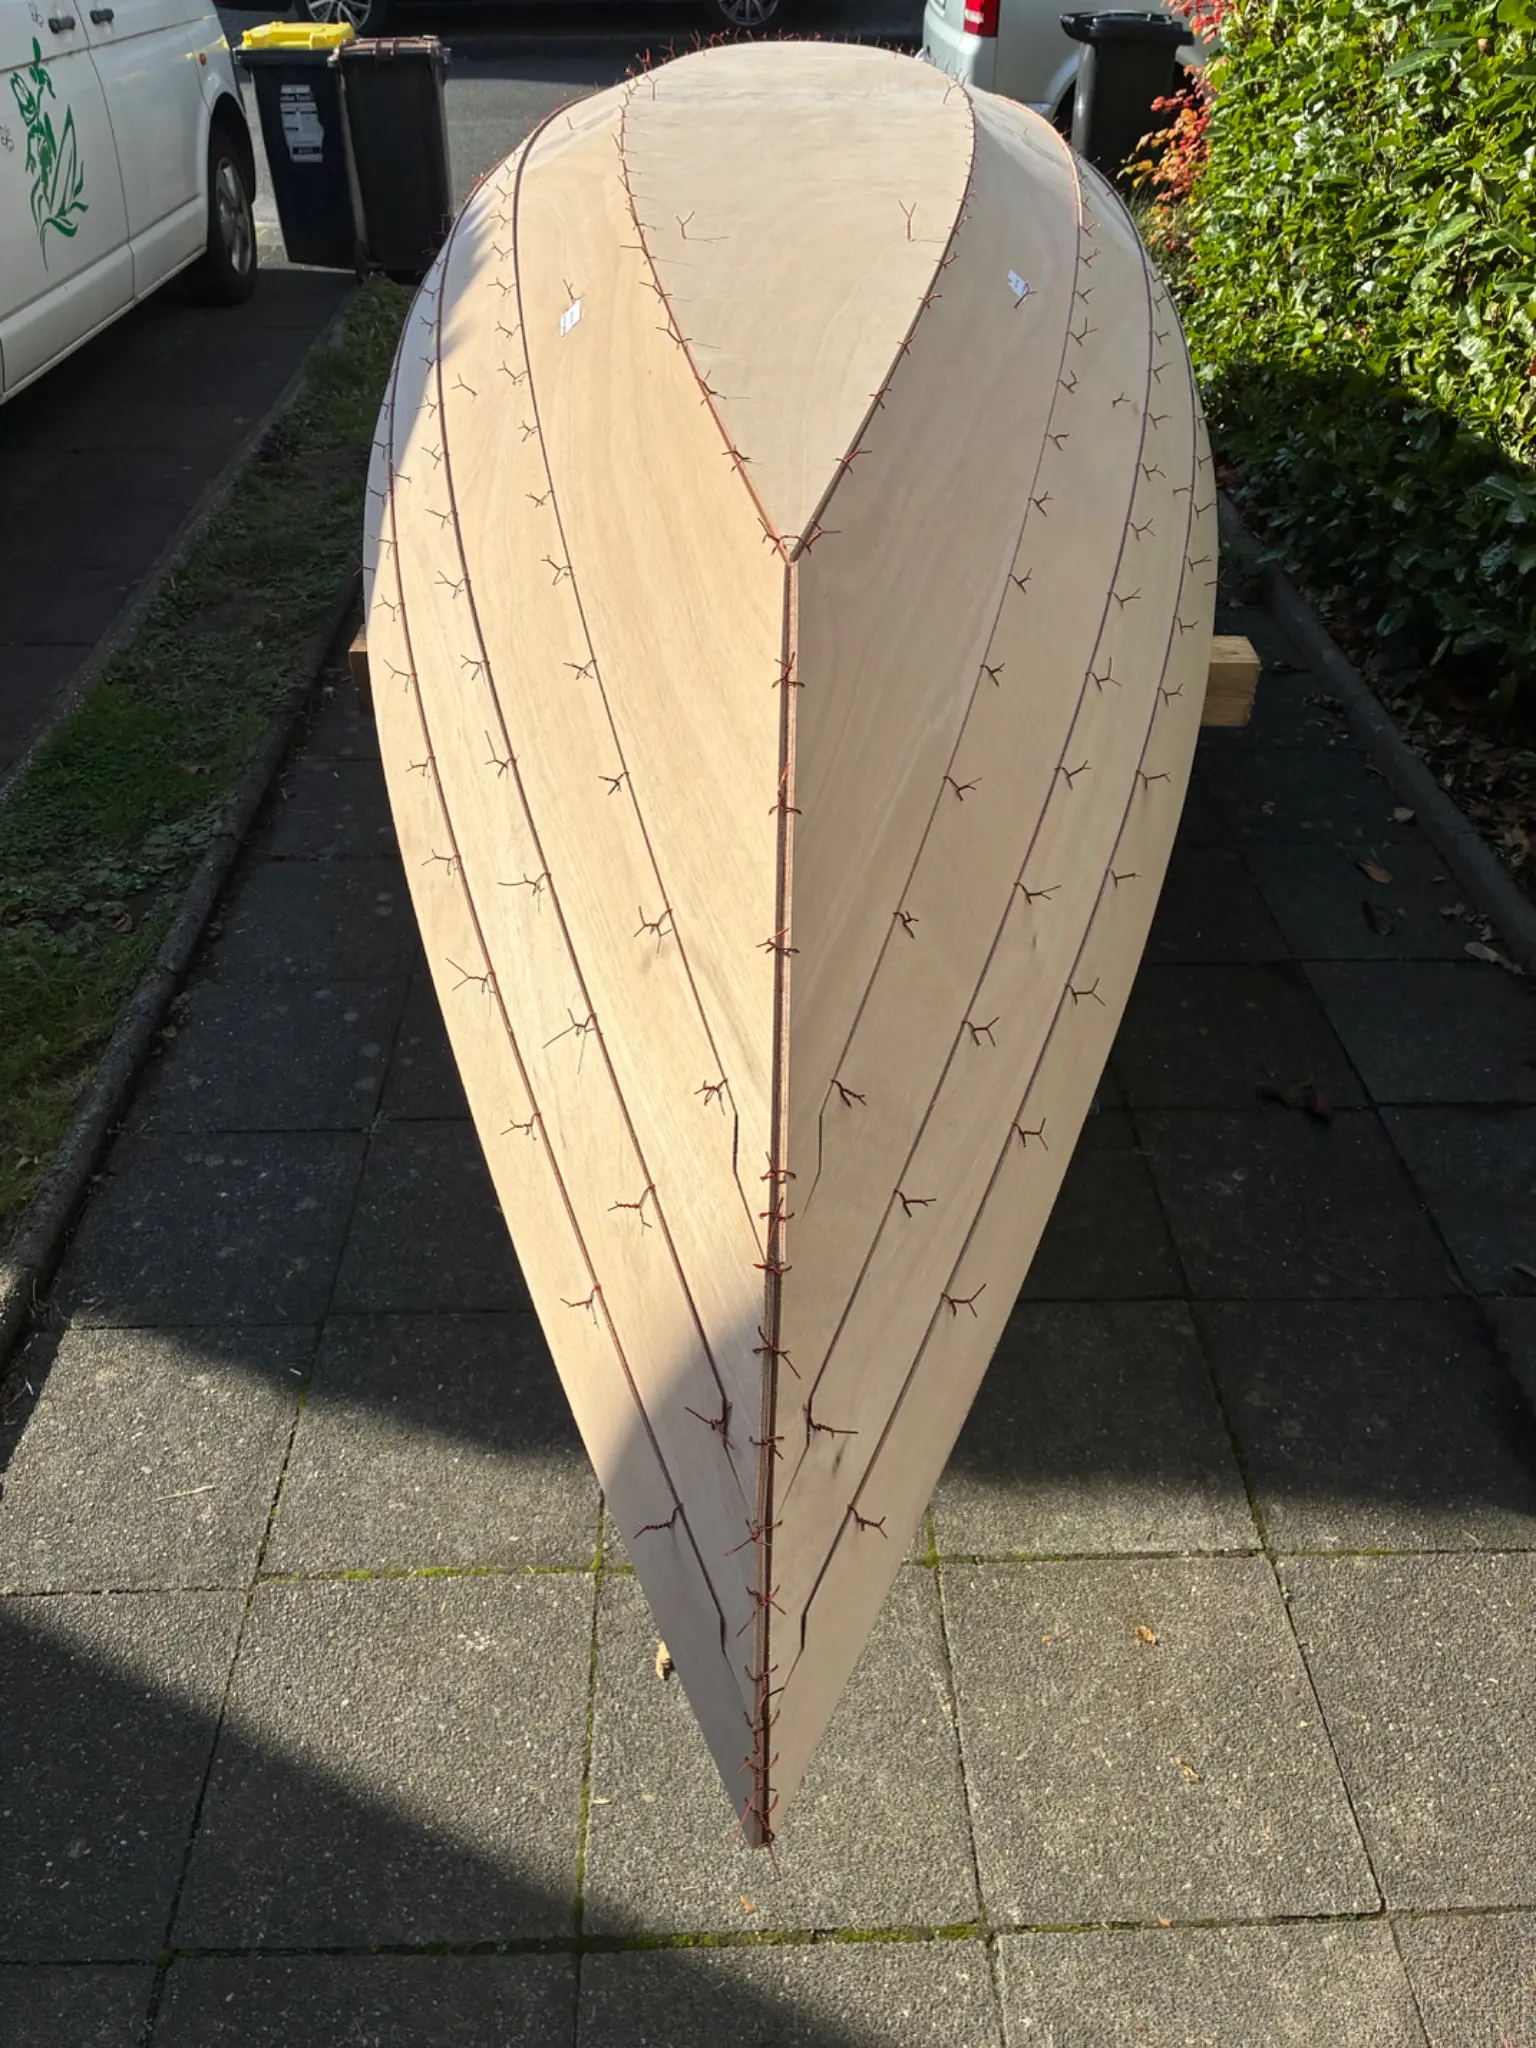
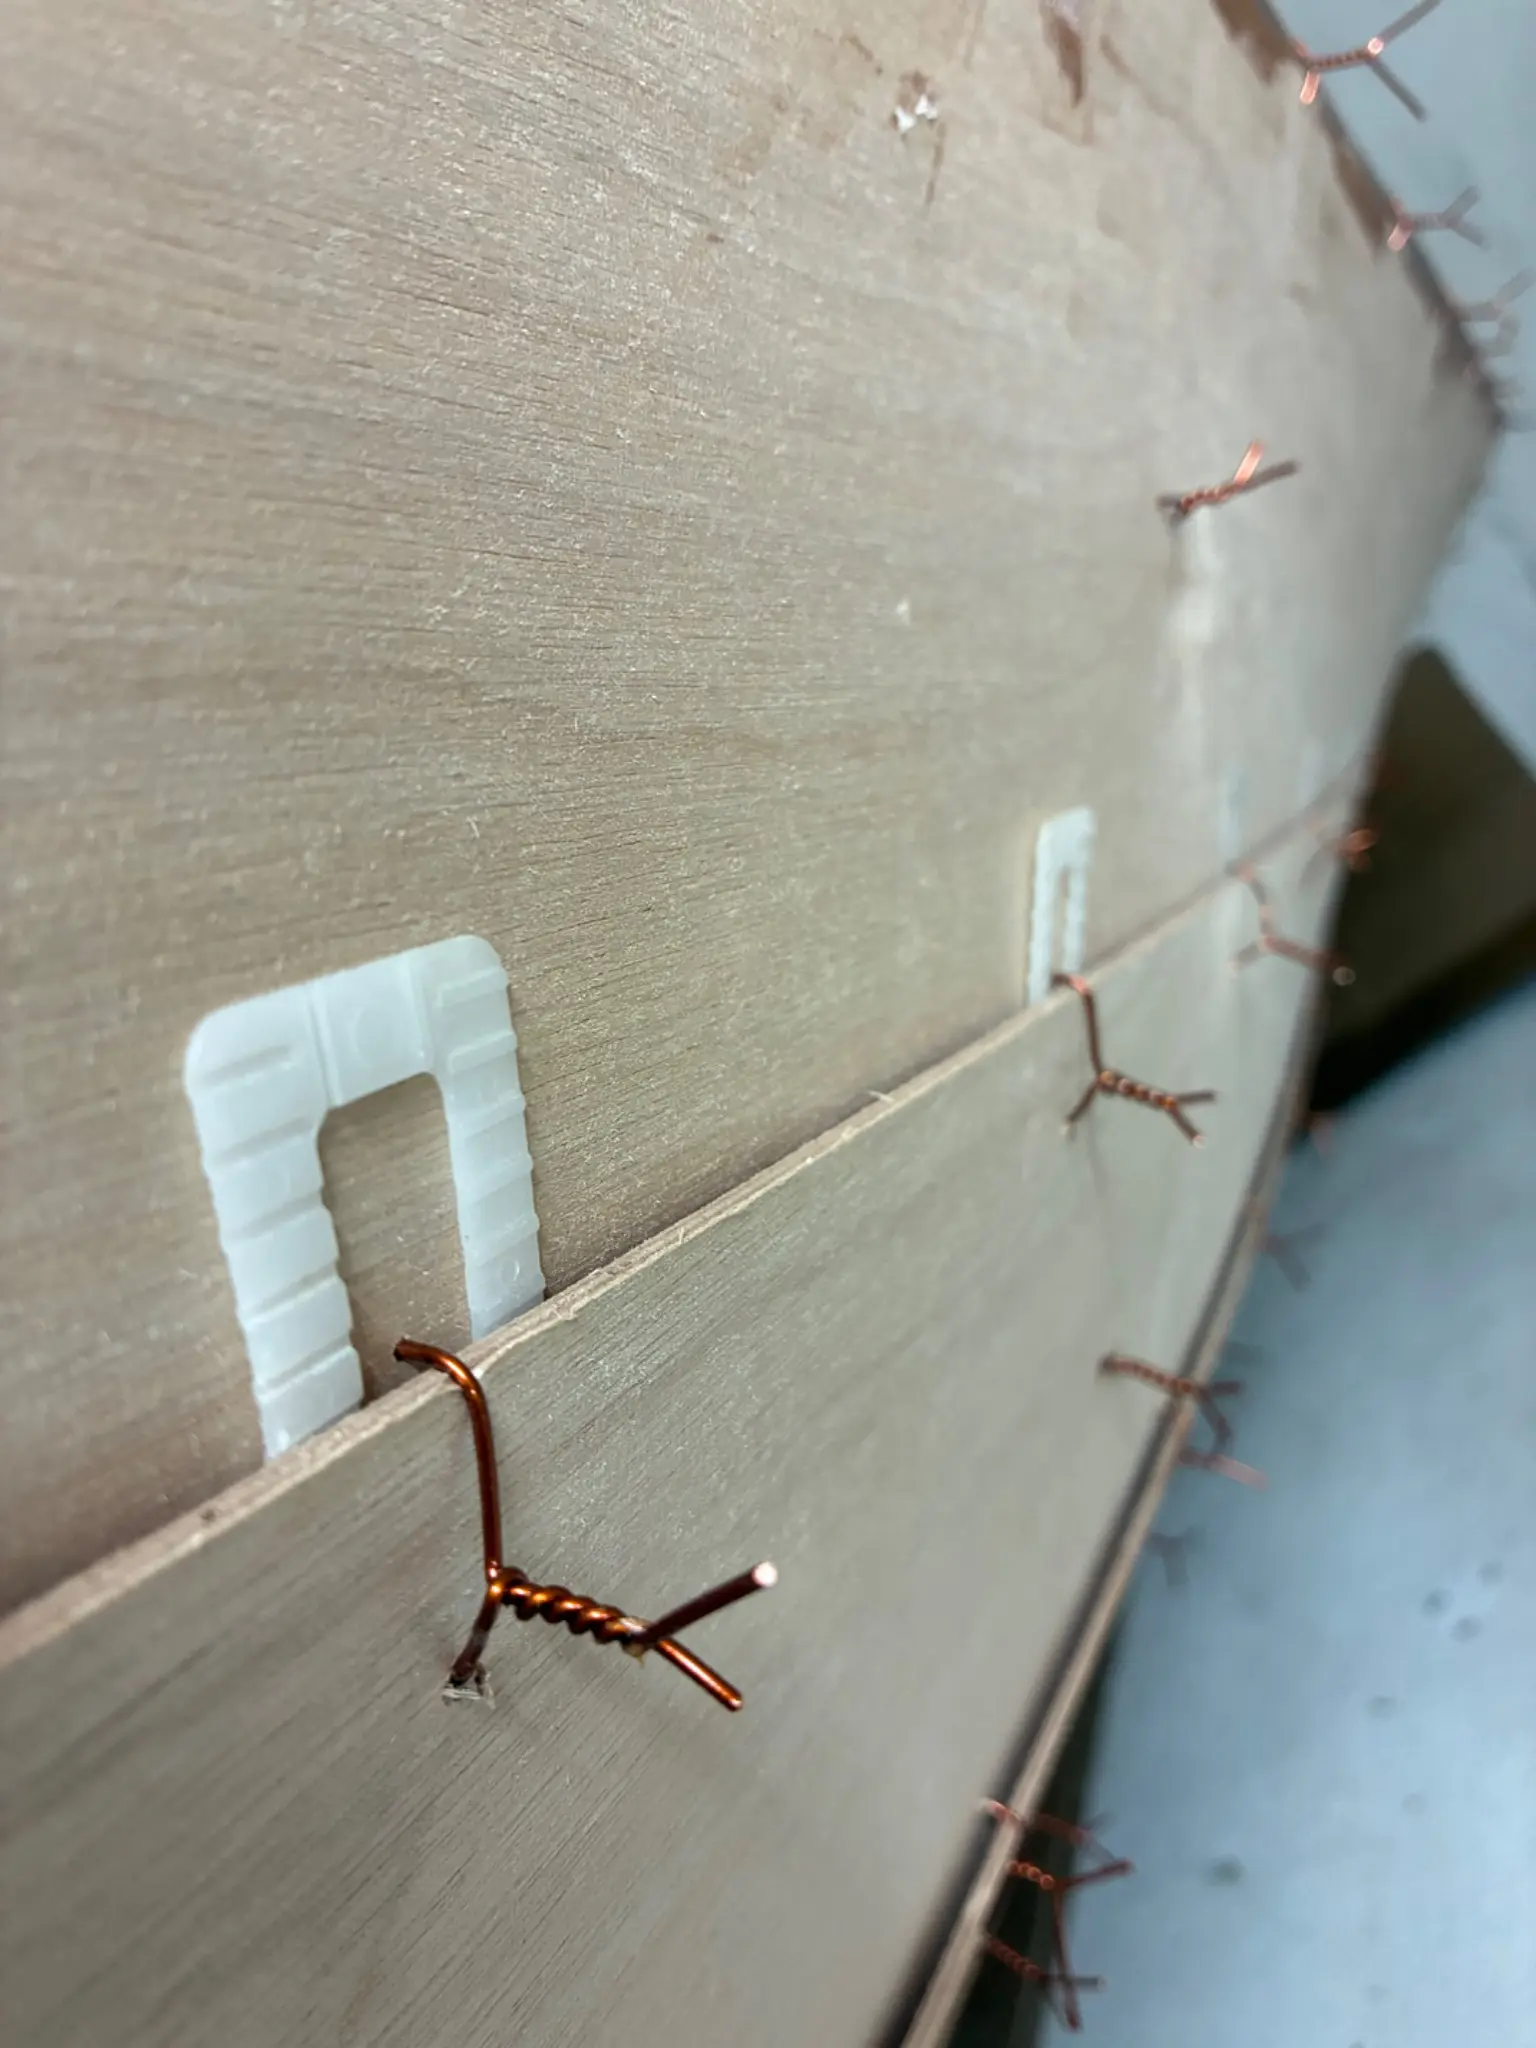
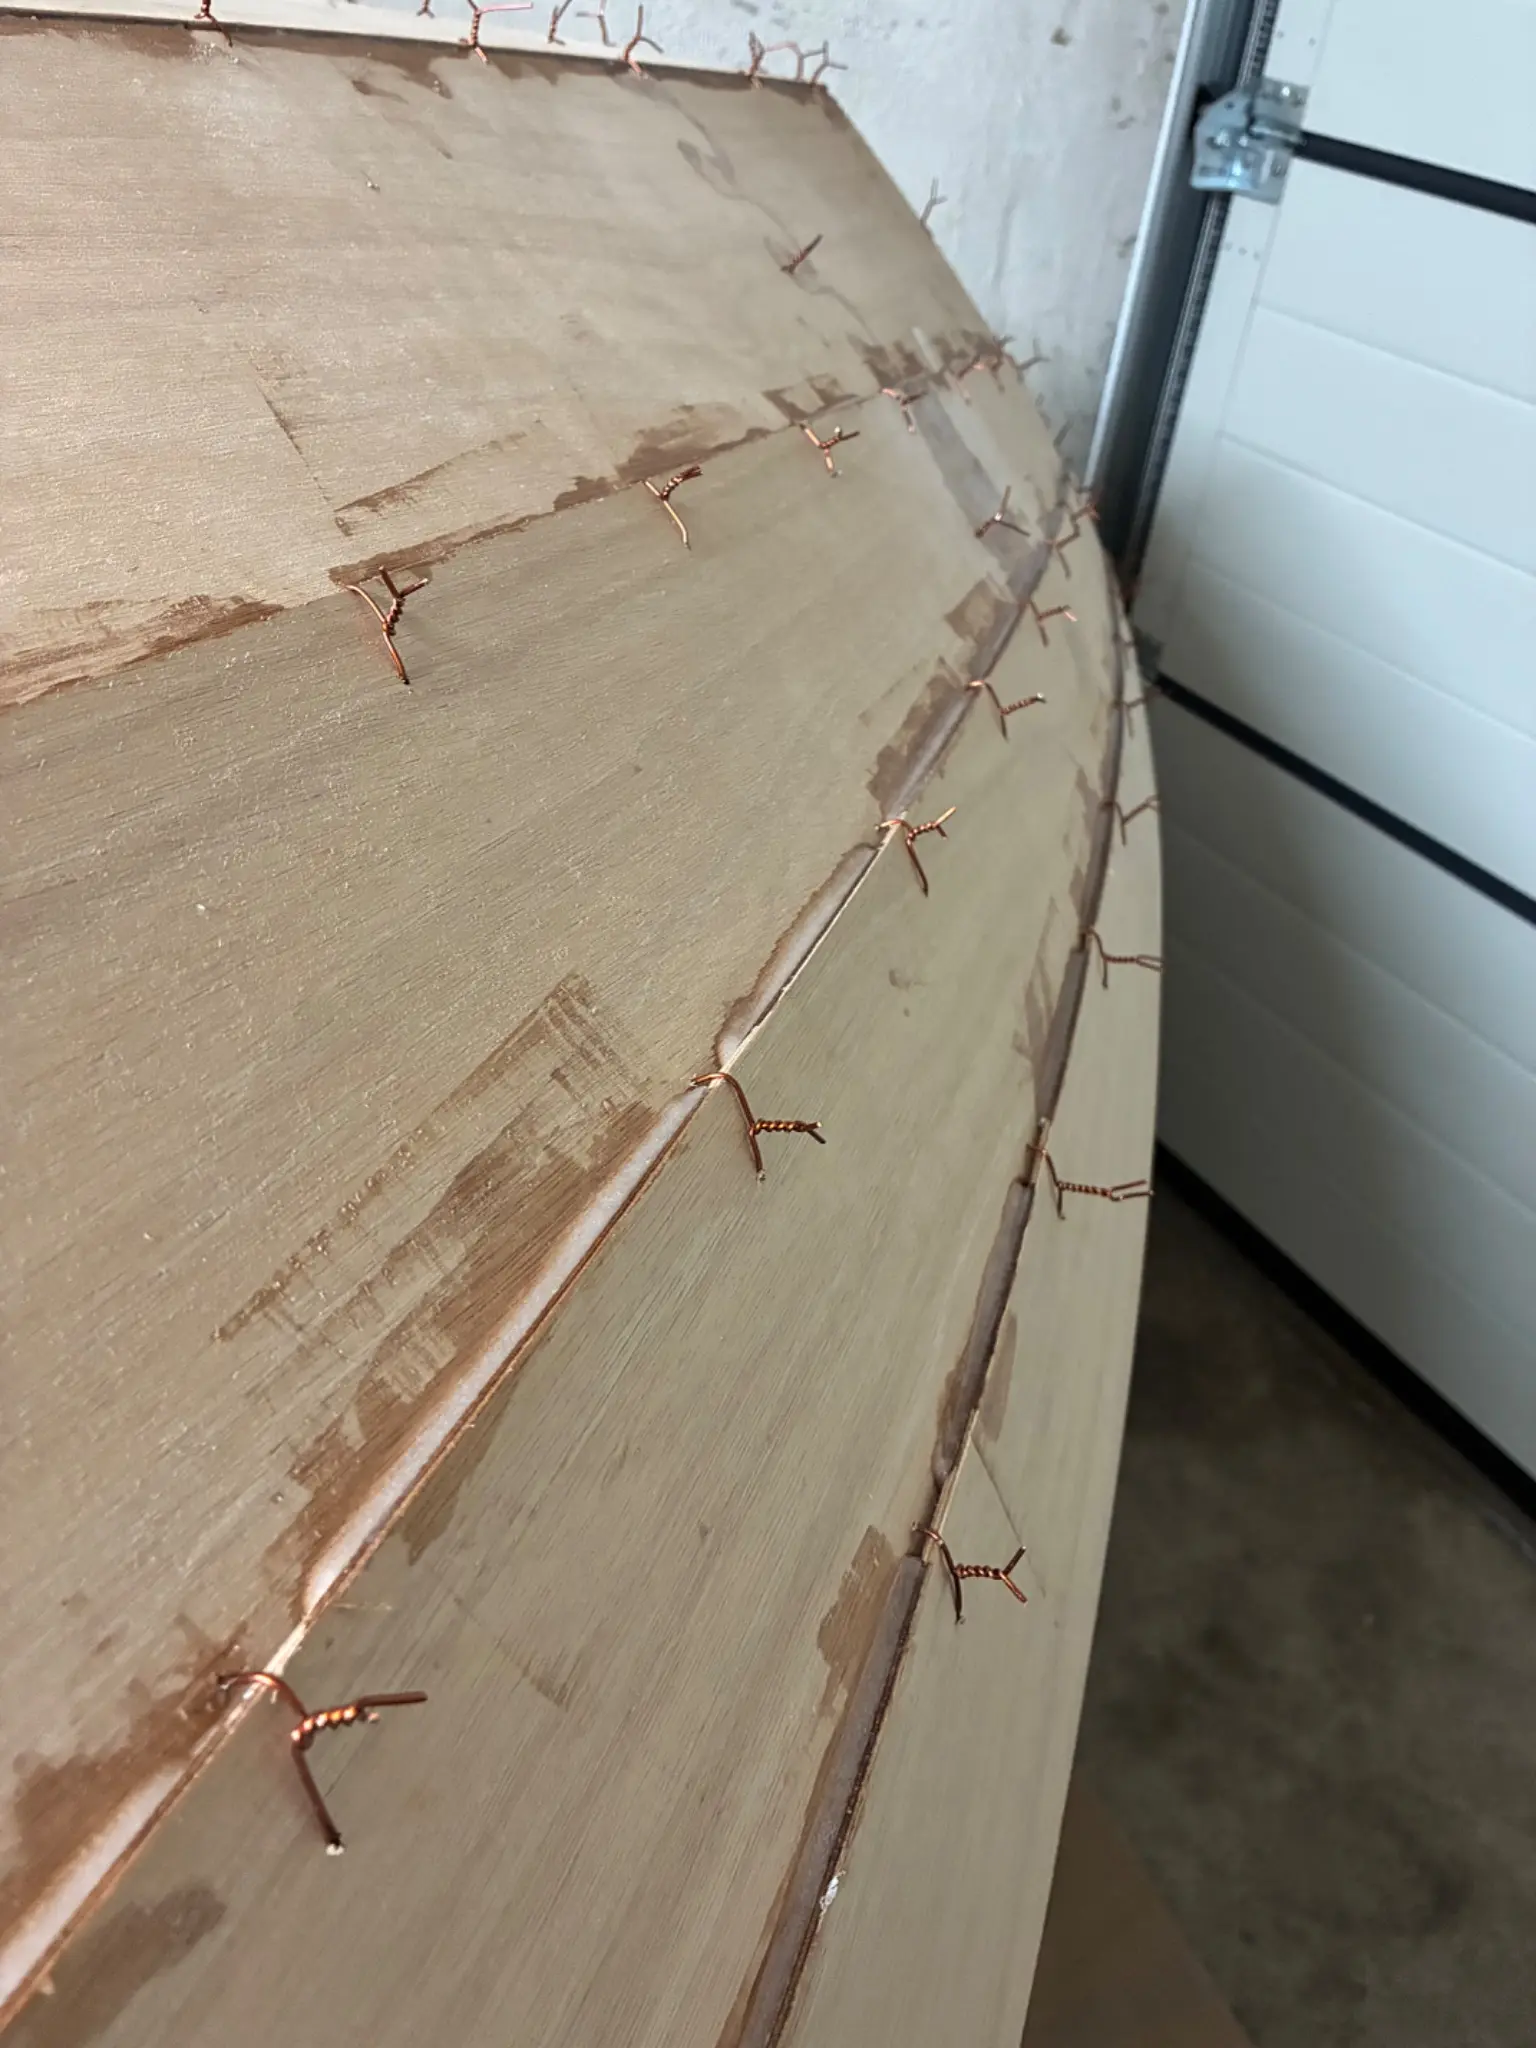
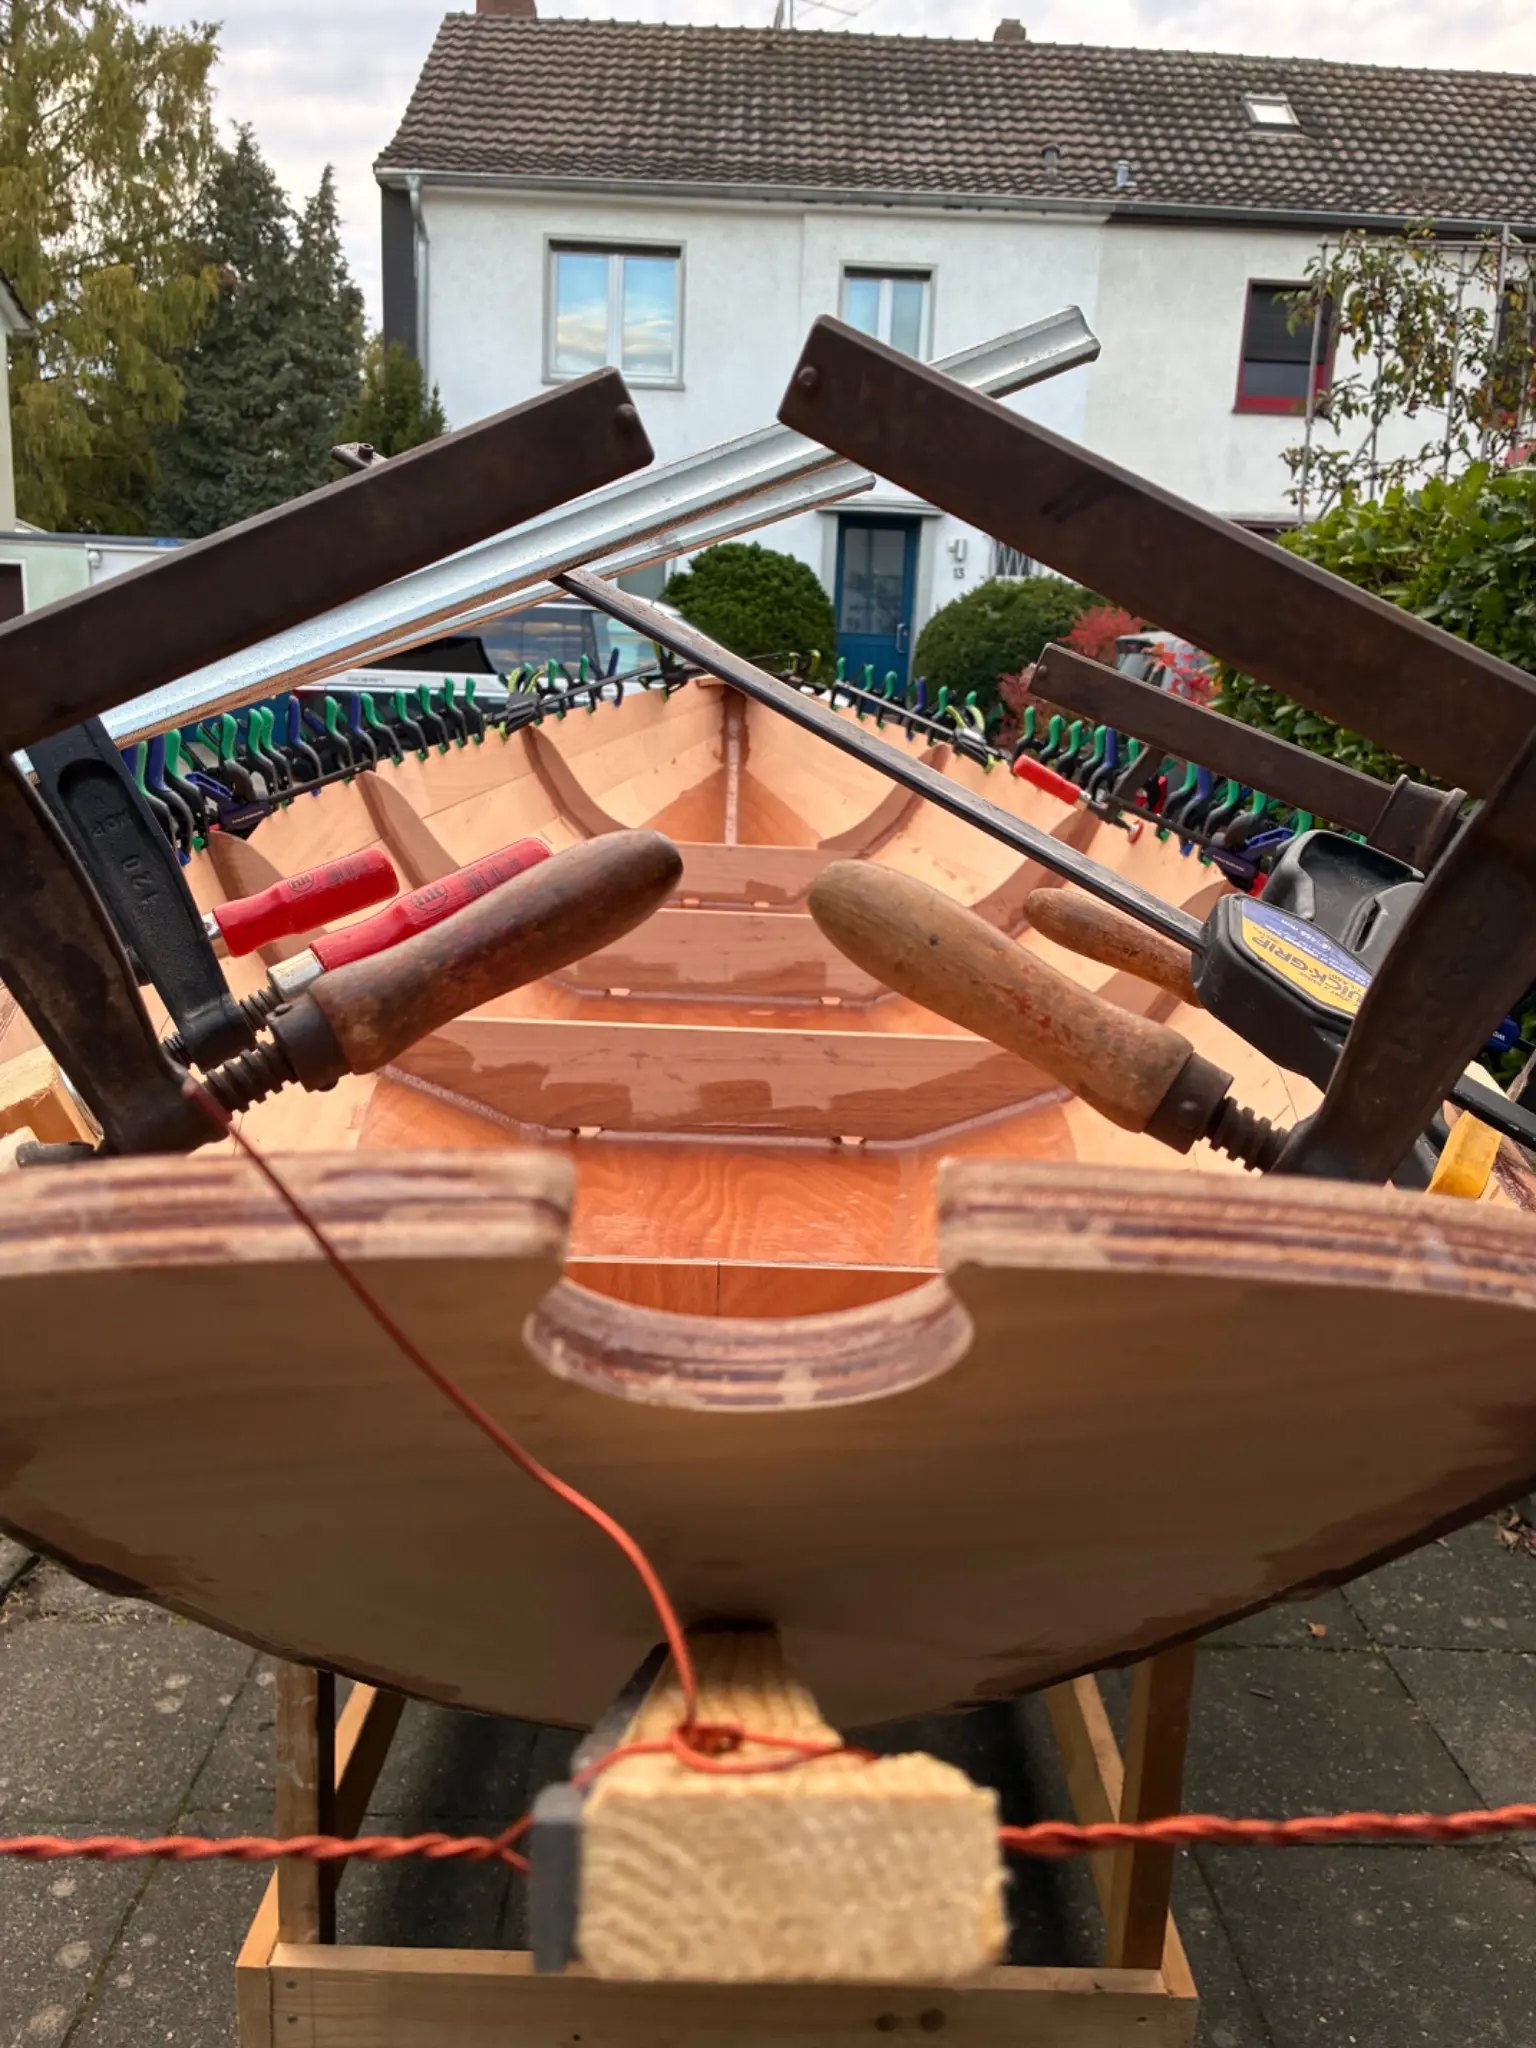
My brother and I started working on the hull around 9:30 this morning. We worked our way from panel to panel. Panels 3 & 4 still needed a bit of sanding. Cause this panels are so long we just put them on the floor of the garage for sanding. I kept some of the long cardboard pieces and lined the up on the floor. We gained some speed with copper wire. Now that we are good at it there is no more such work left. After retwisting every single wire with pliers, we were able to flip the hull. Upside down we had to fix some more wood to the cart to extend its width so the hull can easy rest on it. But that was not a big deal. I am really happy that the complete boat still fits into the garage. If I hafe to work with closed doors I have to crawl underneath to get to the other side. This way I am able to keep it dry and worm. That’s worth it. After a coffee break I had my first experience with filling the gap between the bottom and panel 1. The pastry bag did a great job. It worked well, easier than I expected. Tomorrow I have to seal the gaps between all the panels. The gaps at the bow between 2&3 are quite not existing. Any suggestions? I thought about loosening the wires and putting toothpicks between the panels to open the gap.
Photo 1 Photo 2 Photo 3 Photo 4 Photo 5
Chapter 04
Stitch & Assembly
Wiring or clamping the hull together and getting it fair and true before glue.
2 days9 hoursfrom October 2026
20 Oct 2026Stitch & Assembly4.5 h
Stich & GLUE!
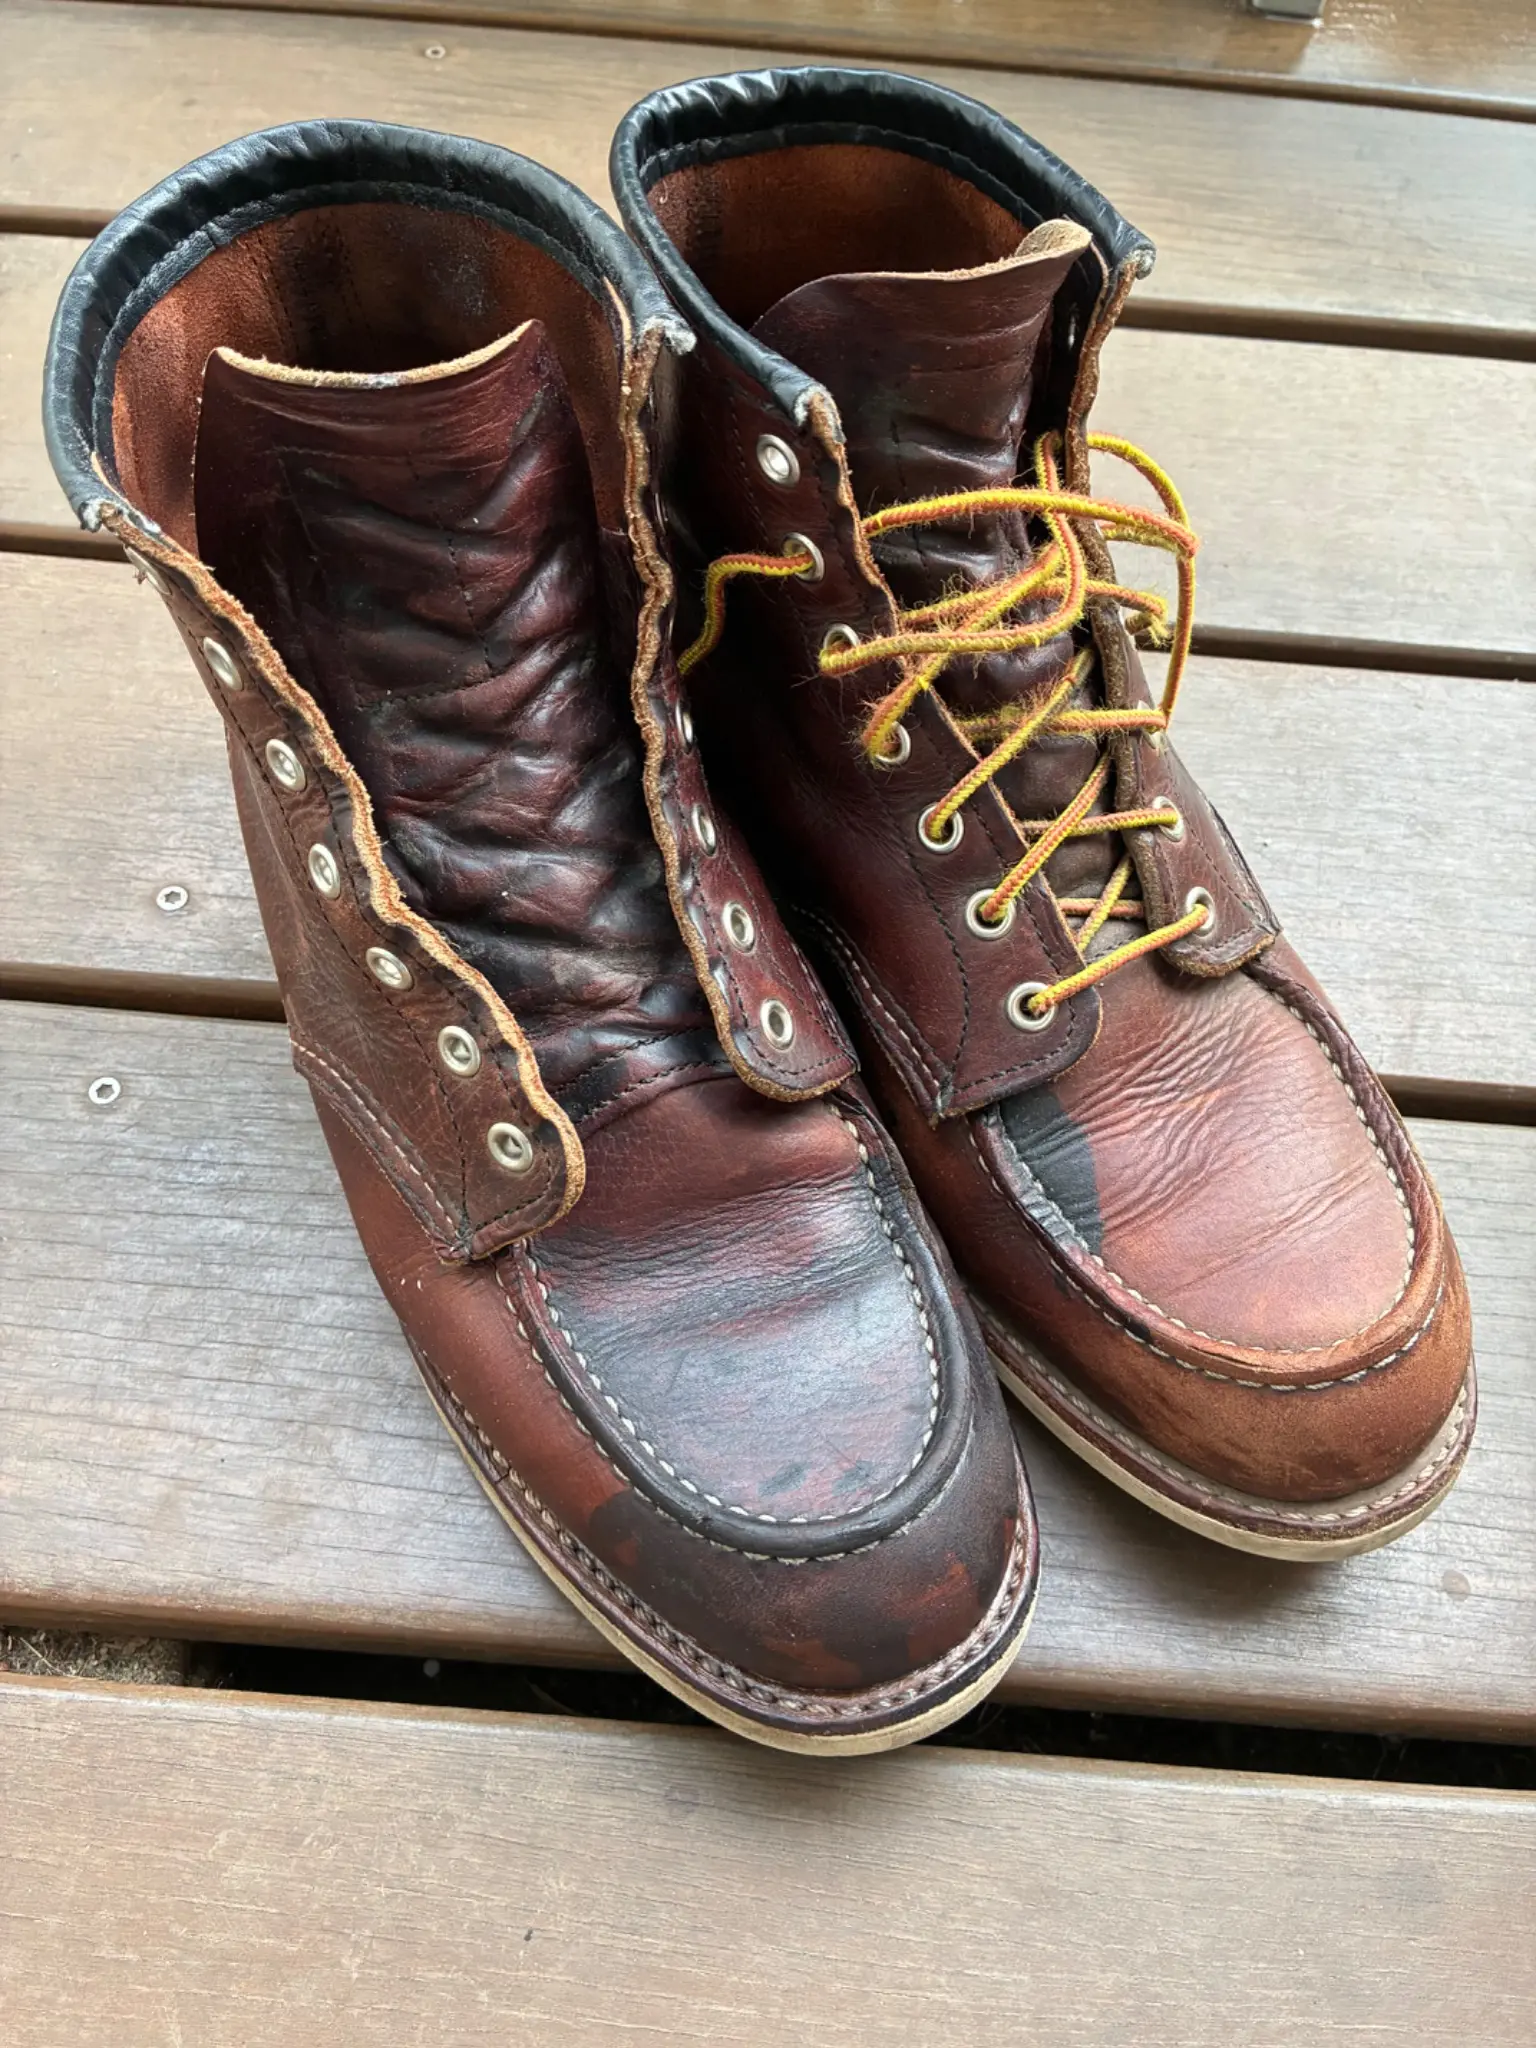
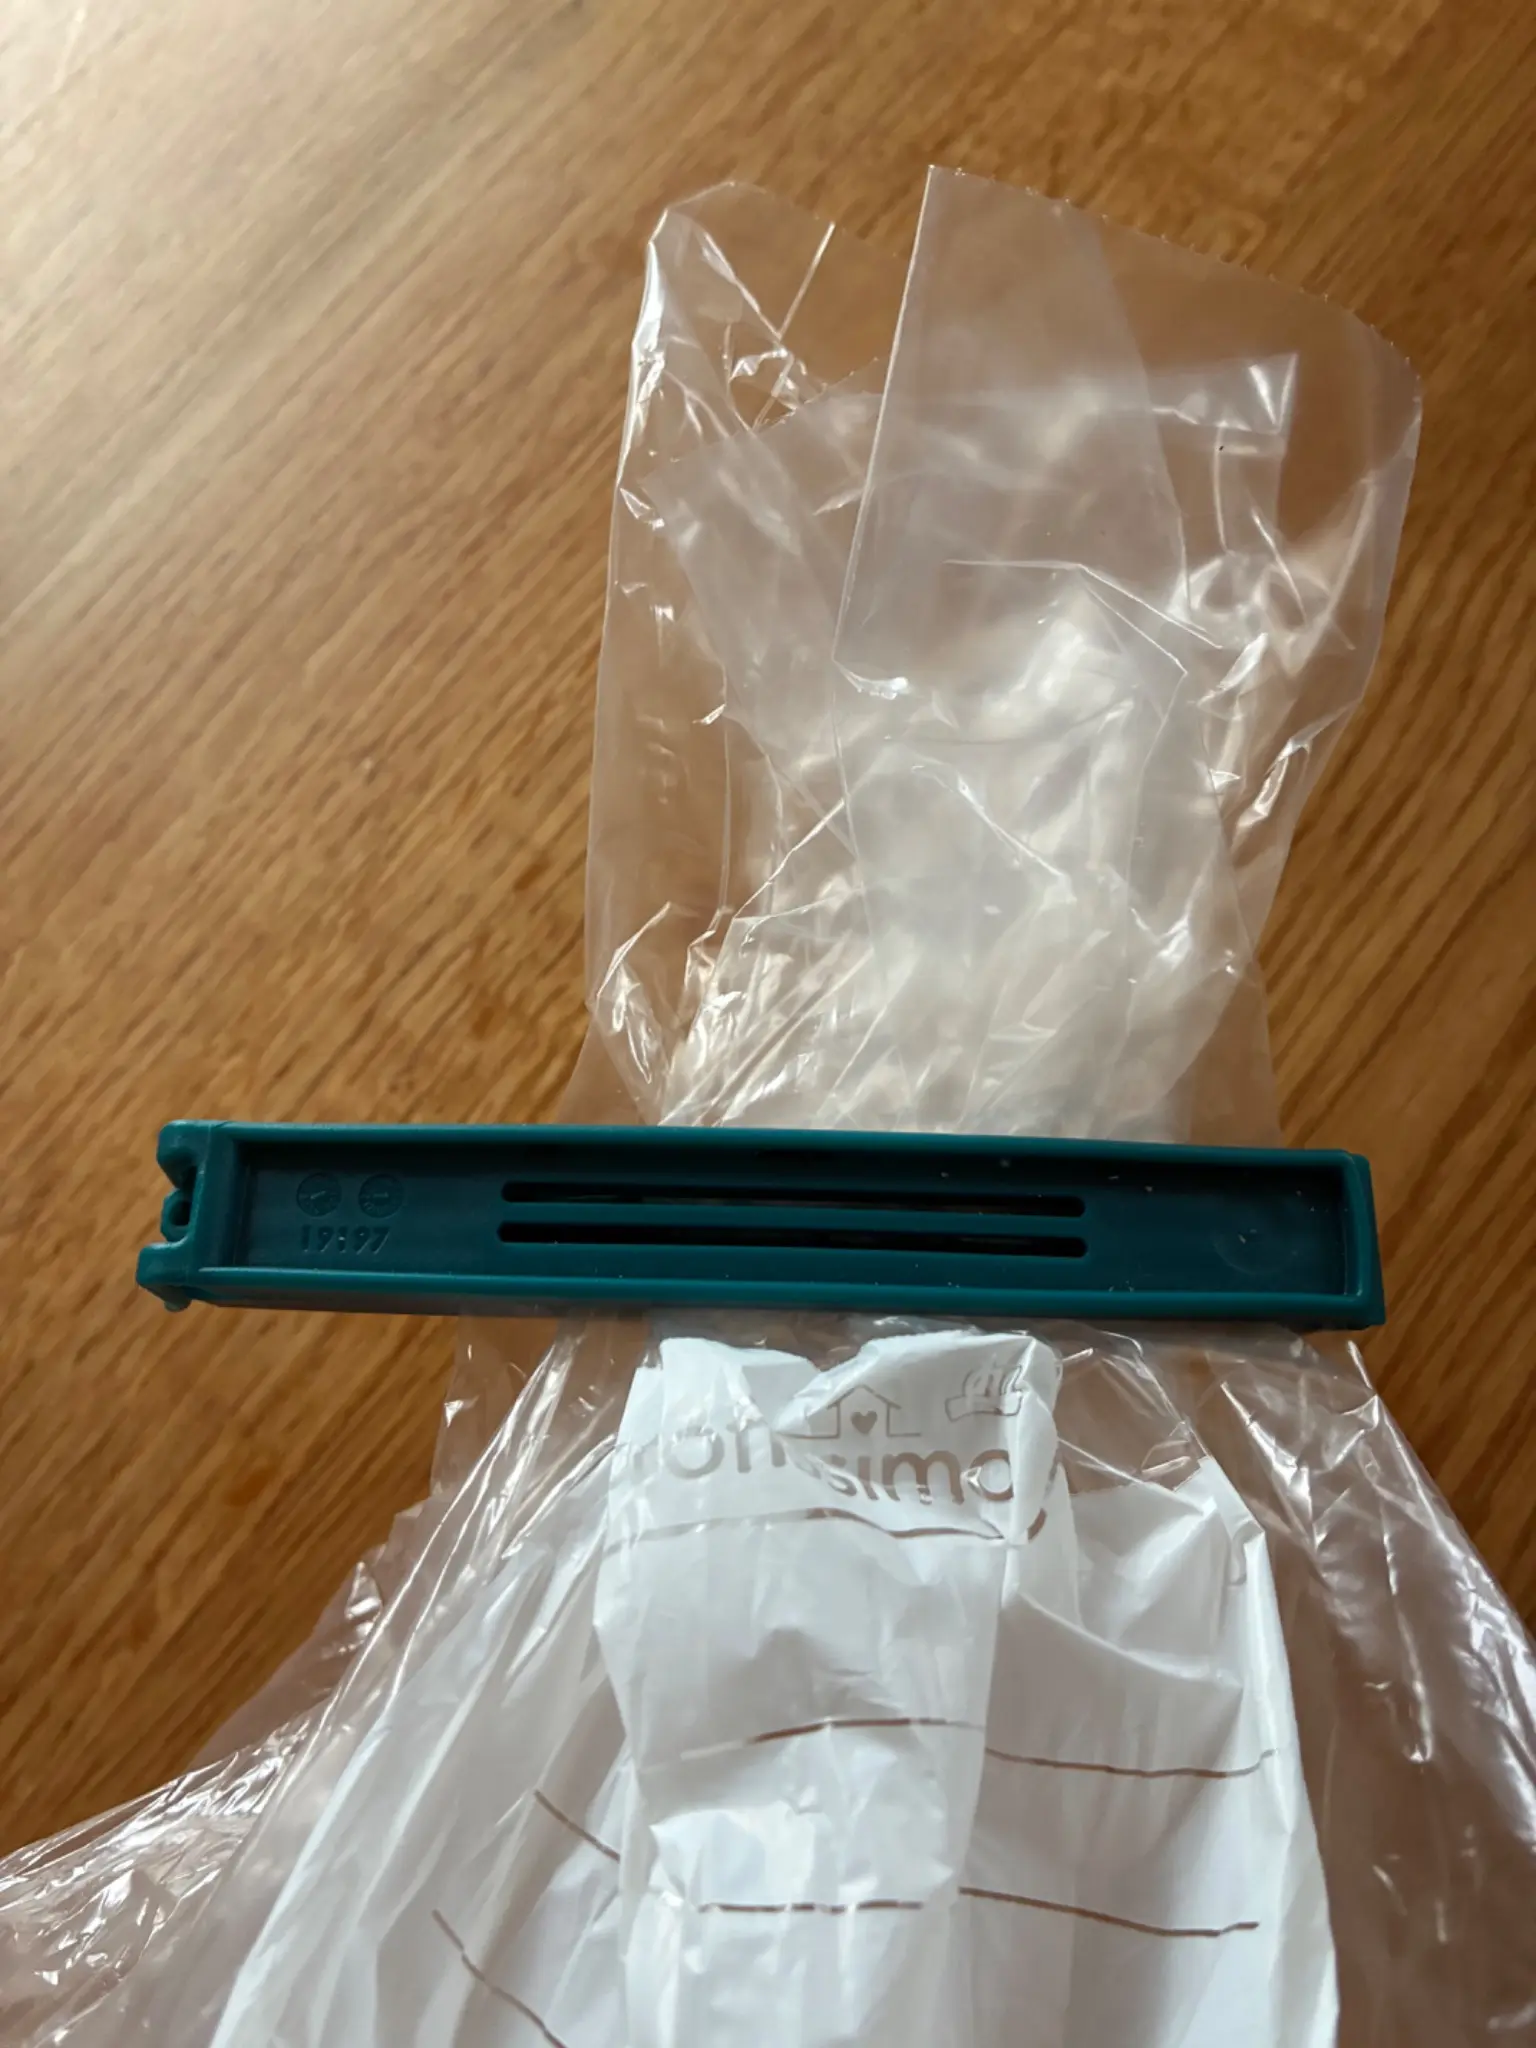
I used some spacers, a carpenter once gave me, to level the base of my terras, to open the gap at the bow end of panel 1.. Working with the pastry bag was a good experience. When I am done with the Dory I am ready for some nice cake! It was kind of tricky to hit the right mixture of thickened epoxy. At the end I got pretty good at it. After each panel I glued I took a look to the inside and just found very few running epoxy. Of course I thought I could work that good, that not a single wire has to remain in the hull - guess what - I didn’t manage that. I did one batch with about 300ml in one pastry bag. That was kind of hard to handle. I recommend a maximum of around 200ml per bag. That allows you to twist the end of the bag and give it a knot (a plastic clip from the kitchen could work as well) Barely forgot to tell that I found around 50ml of the 300ml batch on my shoe after I stopped holding the end of the bag that was just twisted. I guess I needed the hand to stop some running epoxy - can’t remember. Now my Redwing Shoe is watertight forever.
Photo 1 Photo 2 Photo 3 Photo 4
Matt
Everyone leaves some wire in the boat, whether they tell you they did or not ;-)
21 Oct 2026Stitch & Assembly4 h
No more copper wire
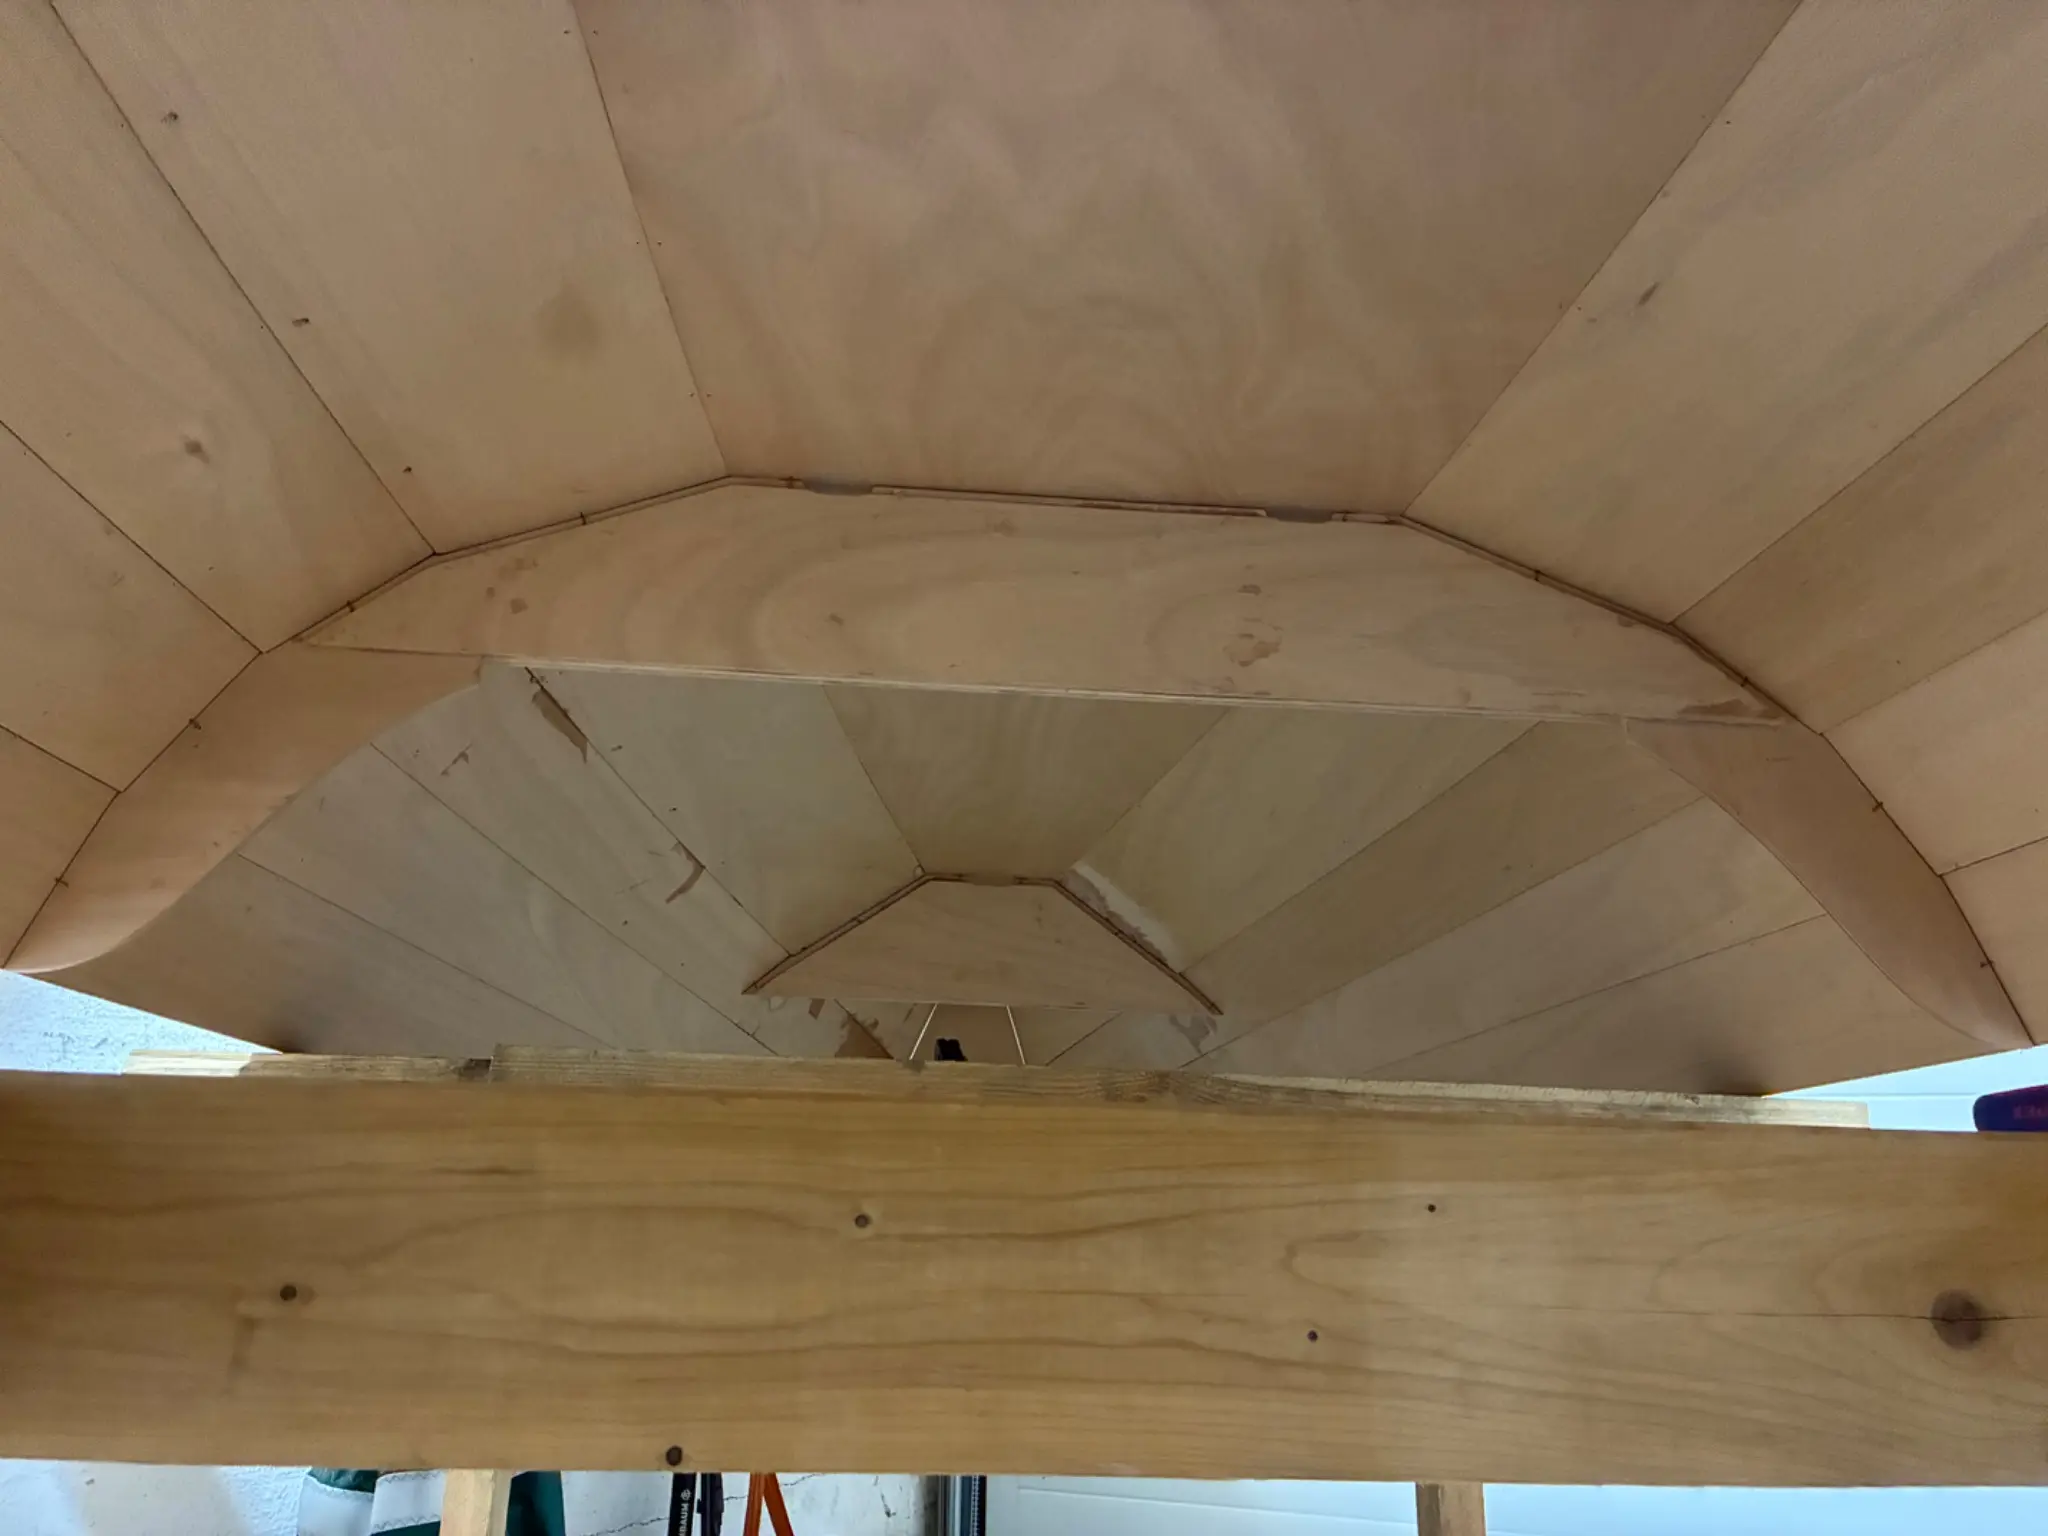
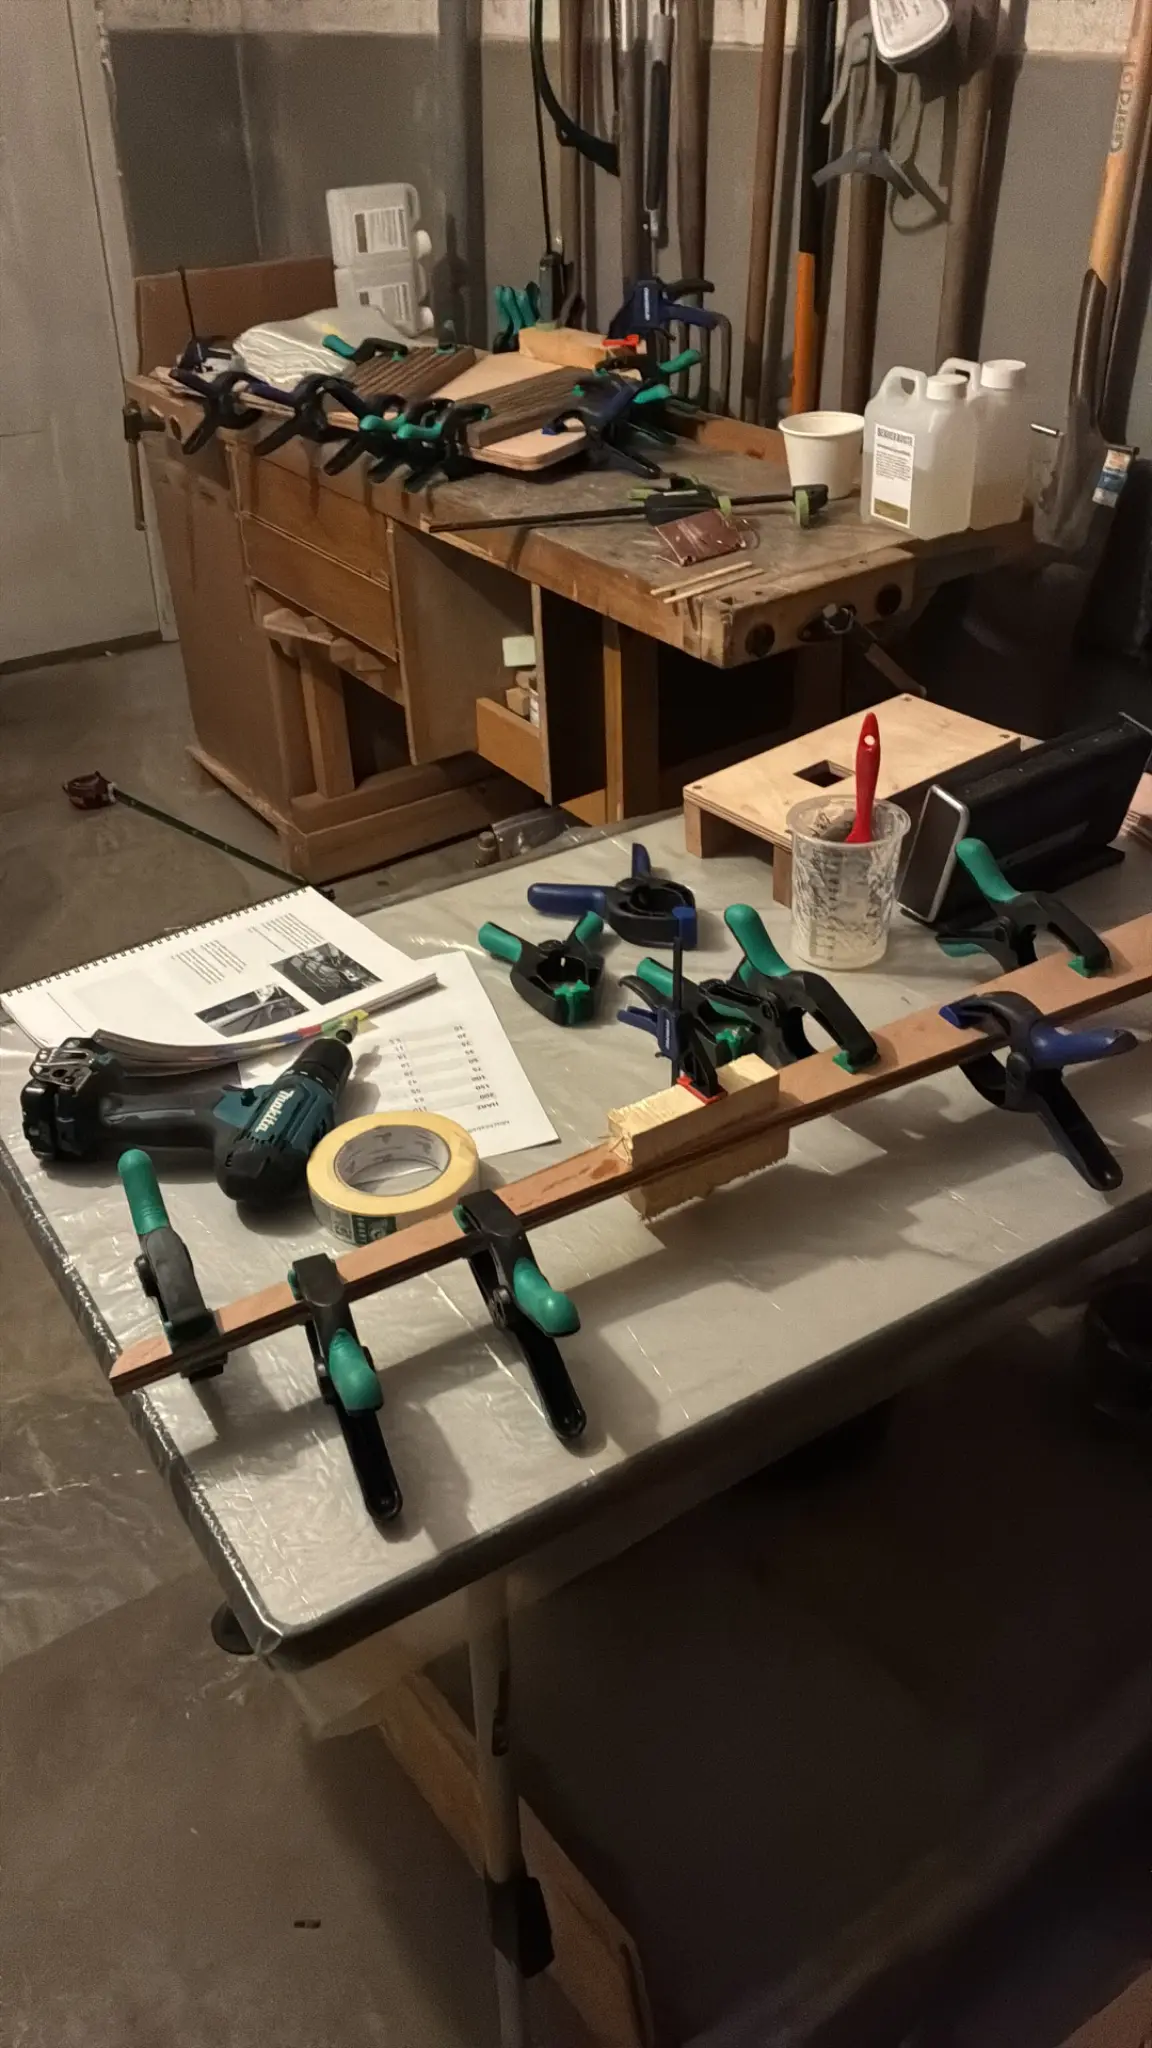
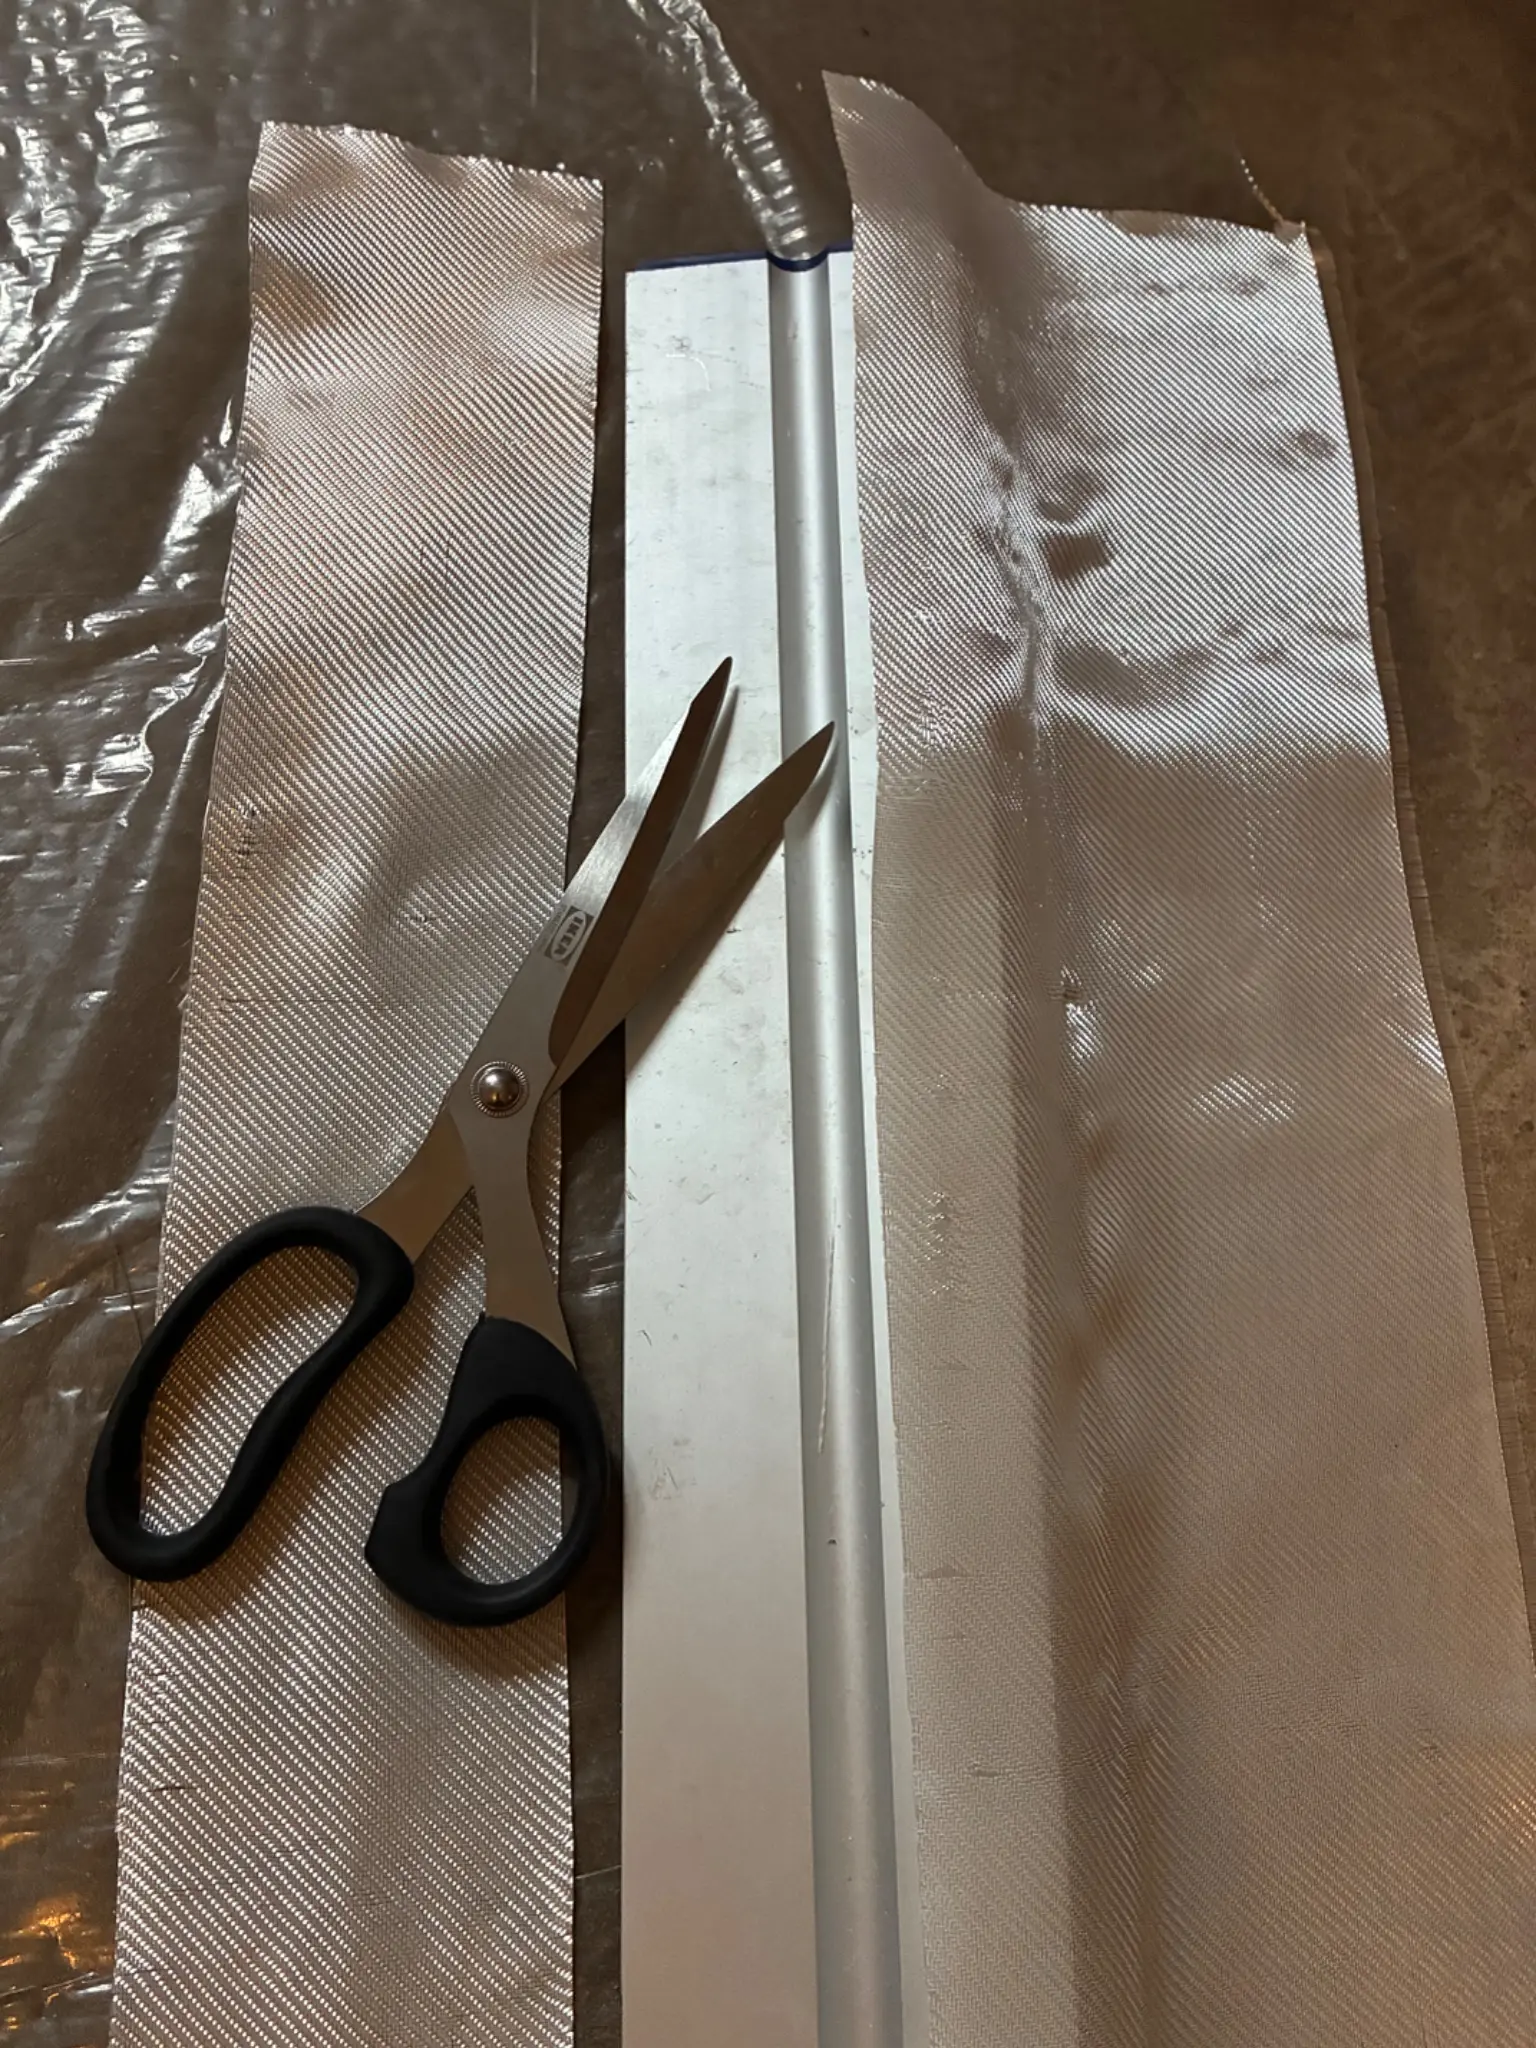
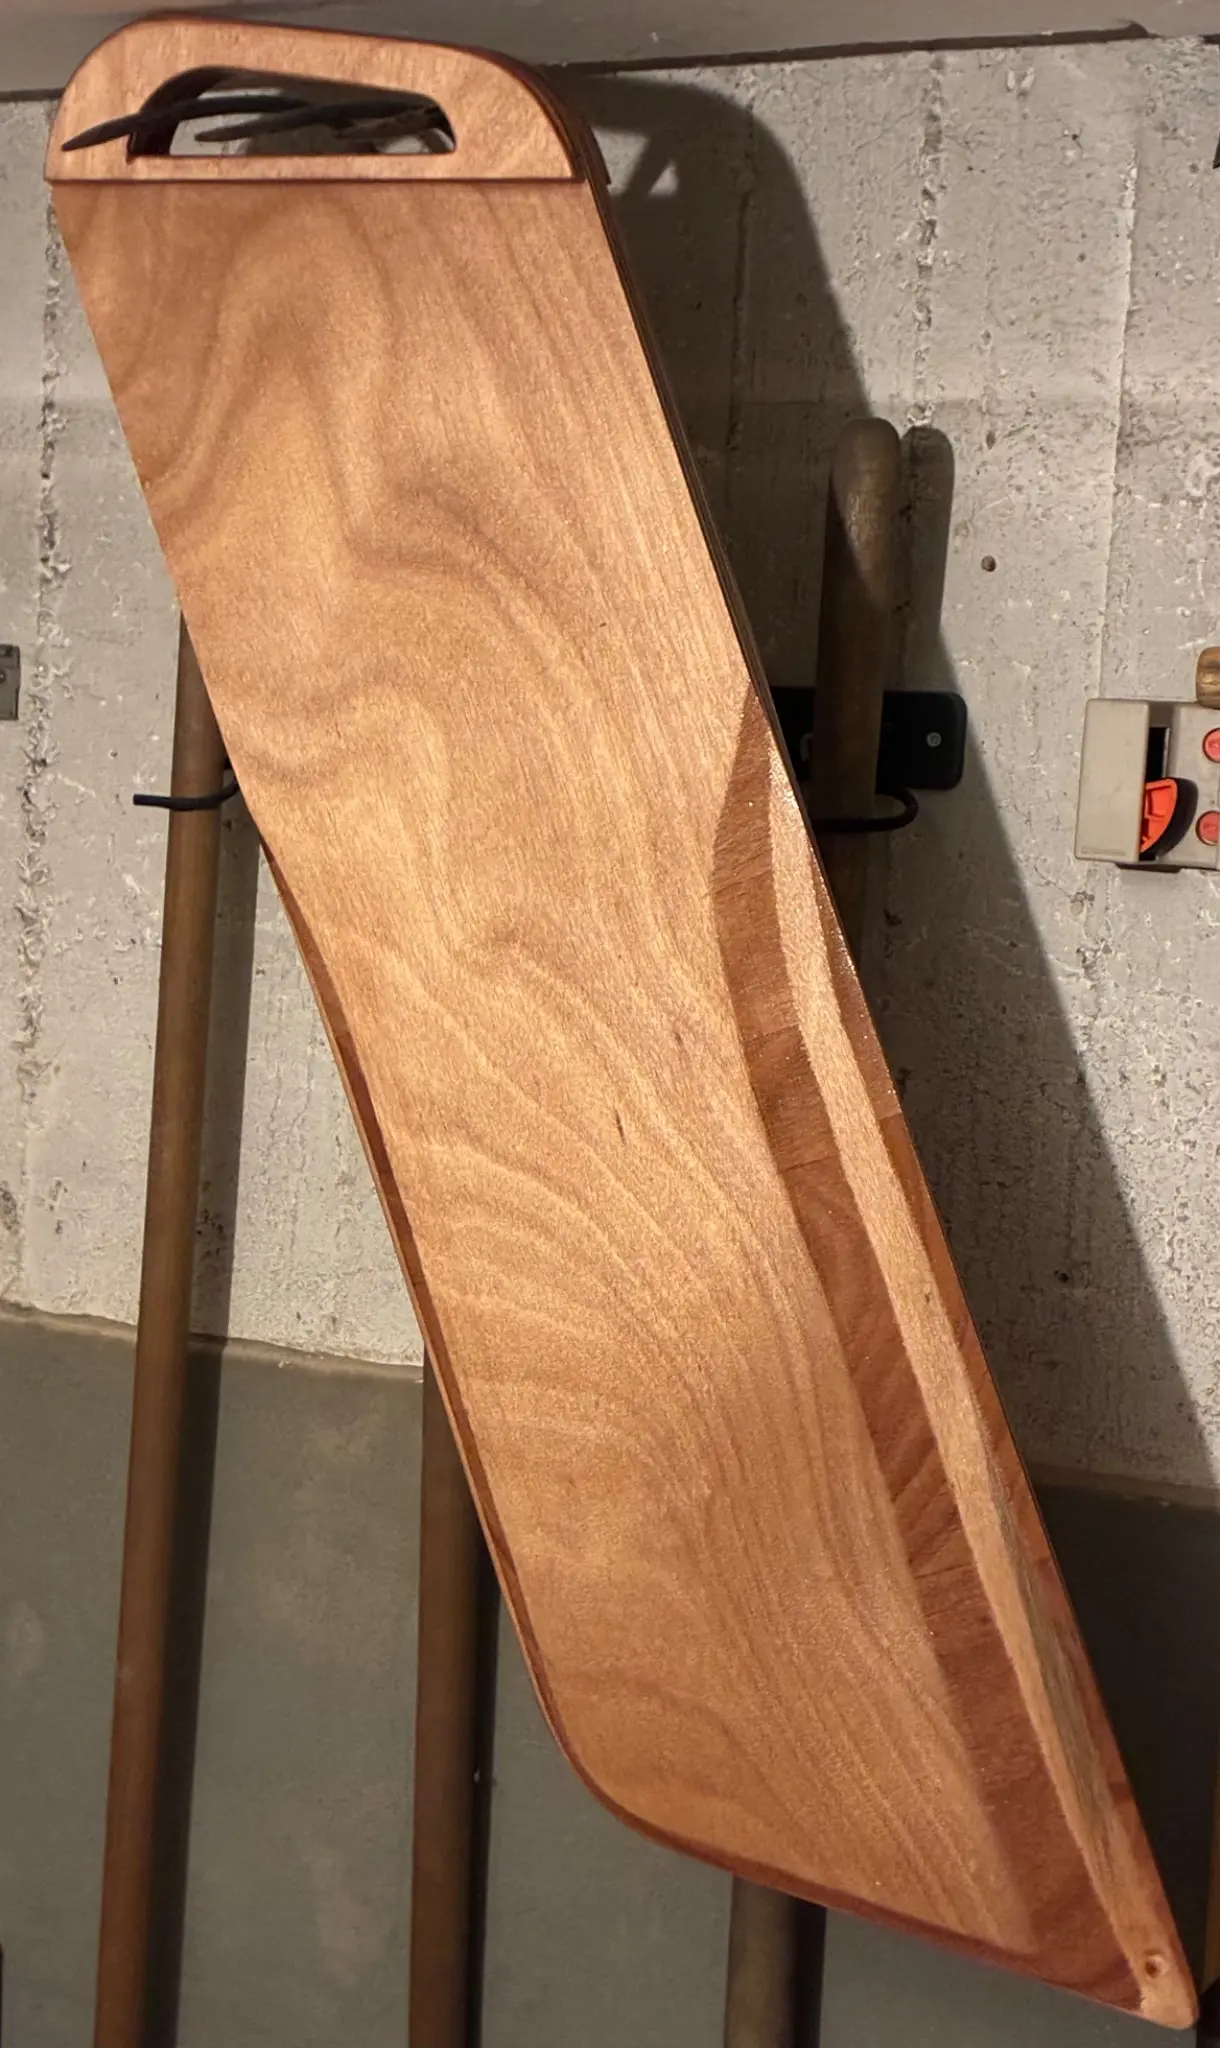
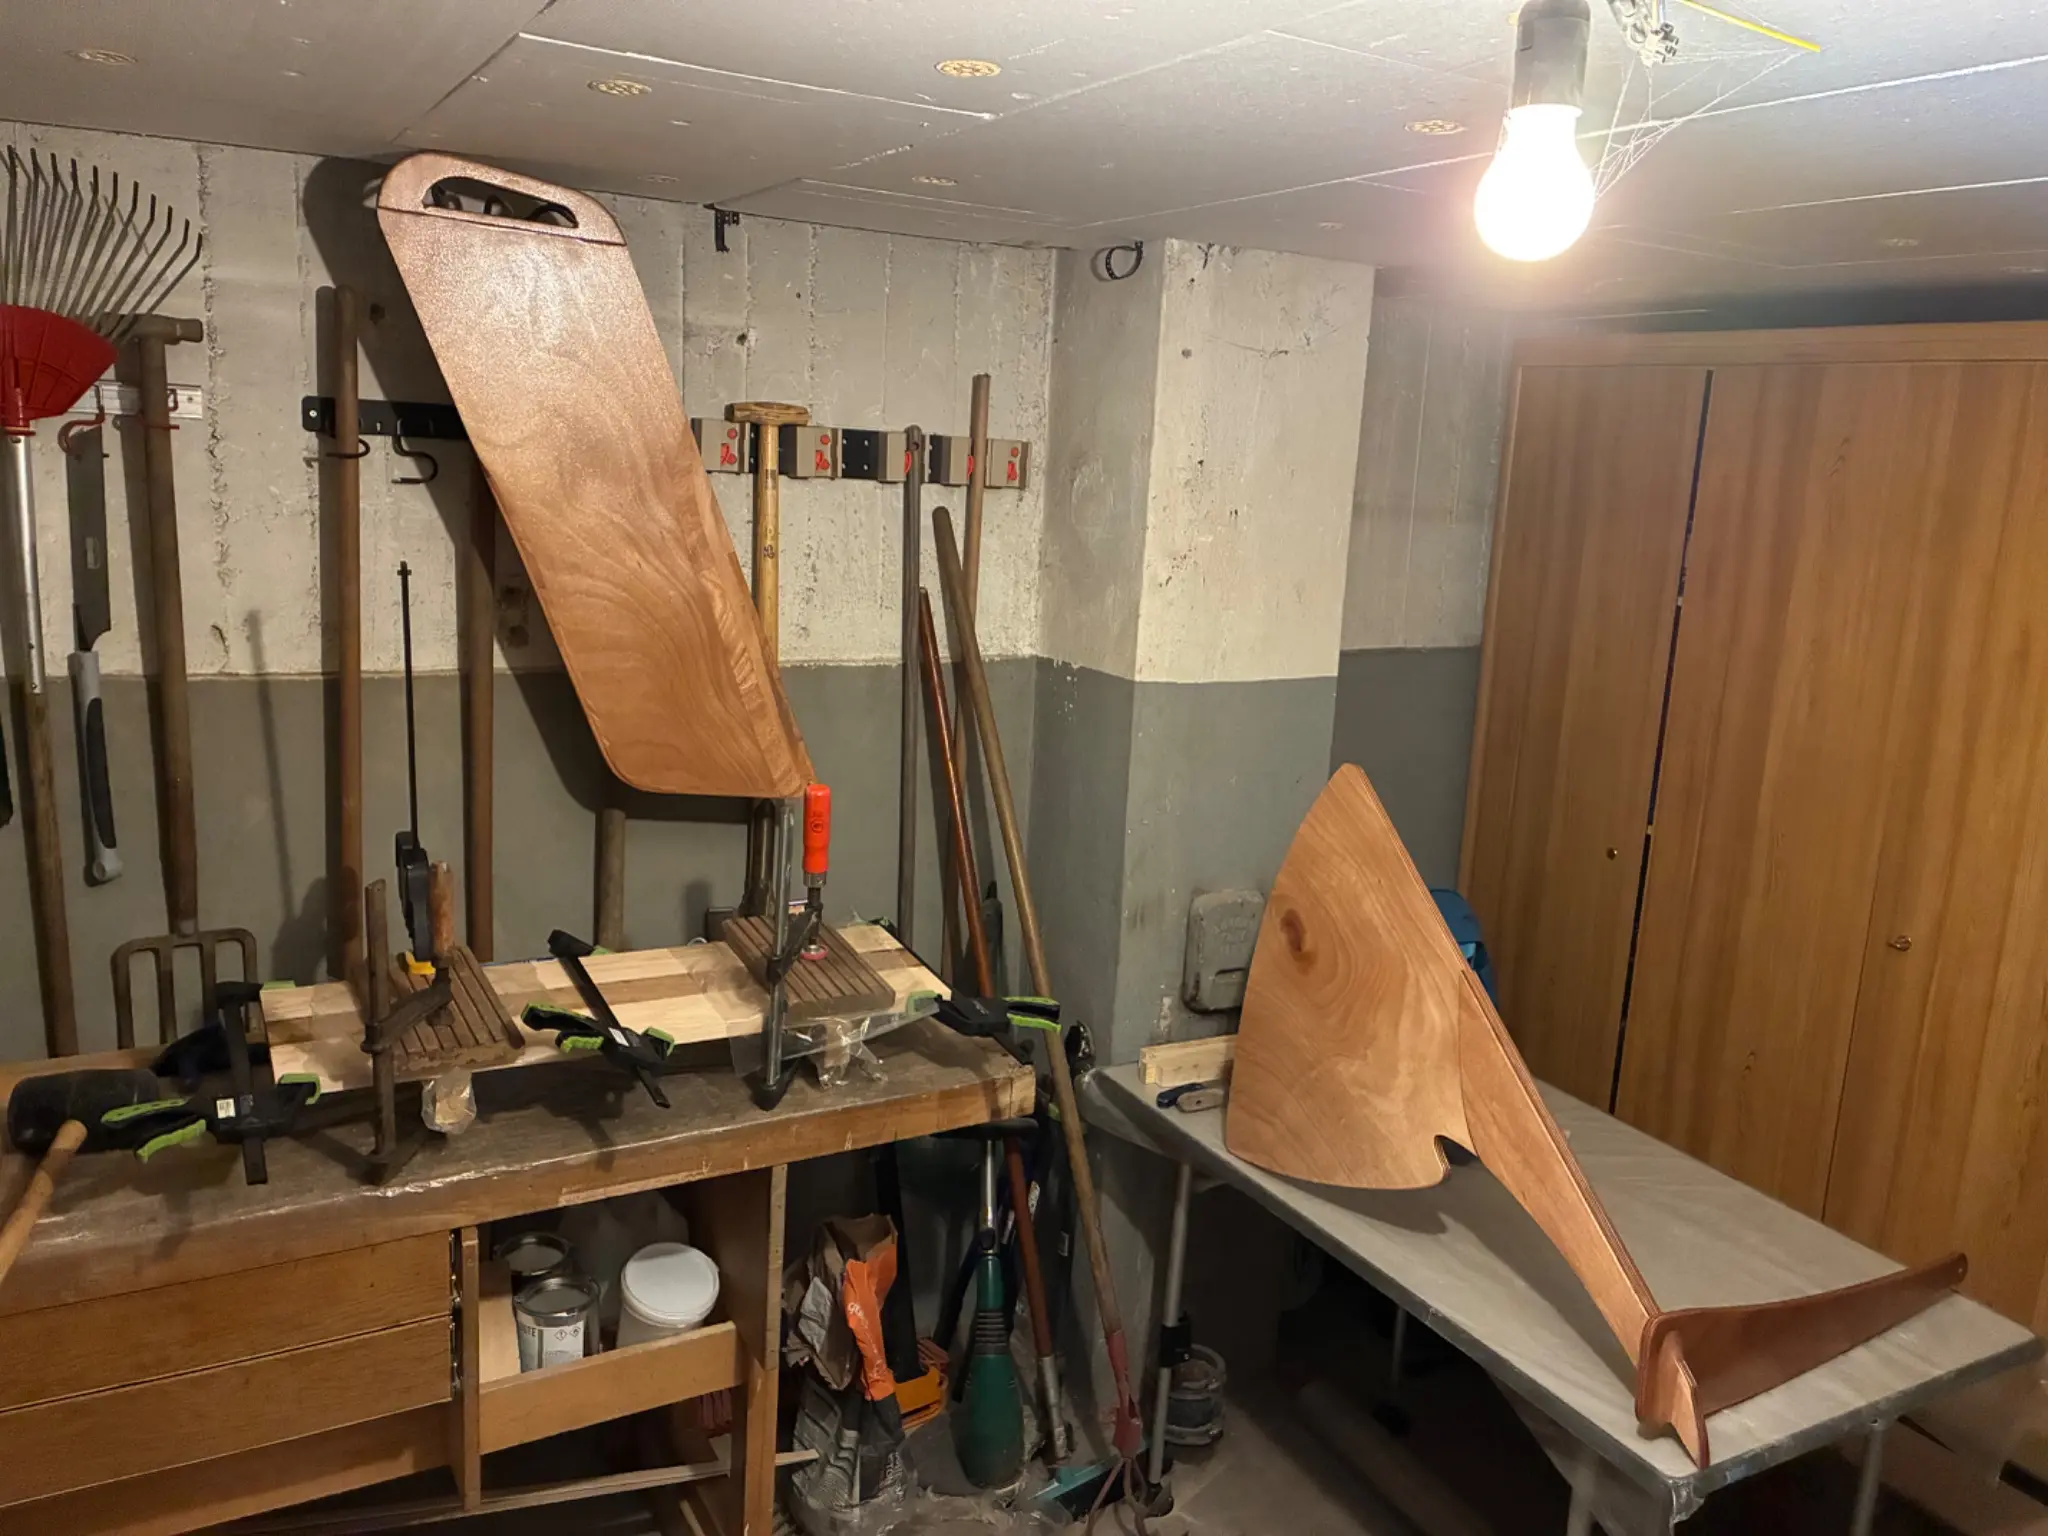
Not to much done today. I pulled out all the wires. Only the once in the bow, the bulkheads and the transom remain. With the help of my wife and Liz we turned the hull around again. I had to sand only this tiny area in the stern. The rest was all good on the inside. Before I didn’t have time and clamps to glue other parts so I did the skeg, the dagger board and the rudder today. The masking tape is attached an I measured and cut the fiberglass cloth. I‘d say all of this took me 4 hours. Ahh forgot to tell that I had to buy more sanding paper (80 grid) and more brushes.
Photo 1 Photo 2
Chapter 05
Fillets & Taping
Epoxy fillets, taped seams, structural joints.
2 days15 hoursfrom October 2026
22 Oct 2026Fillets & Taping9 h
Fillets way to slow
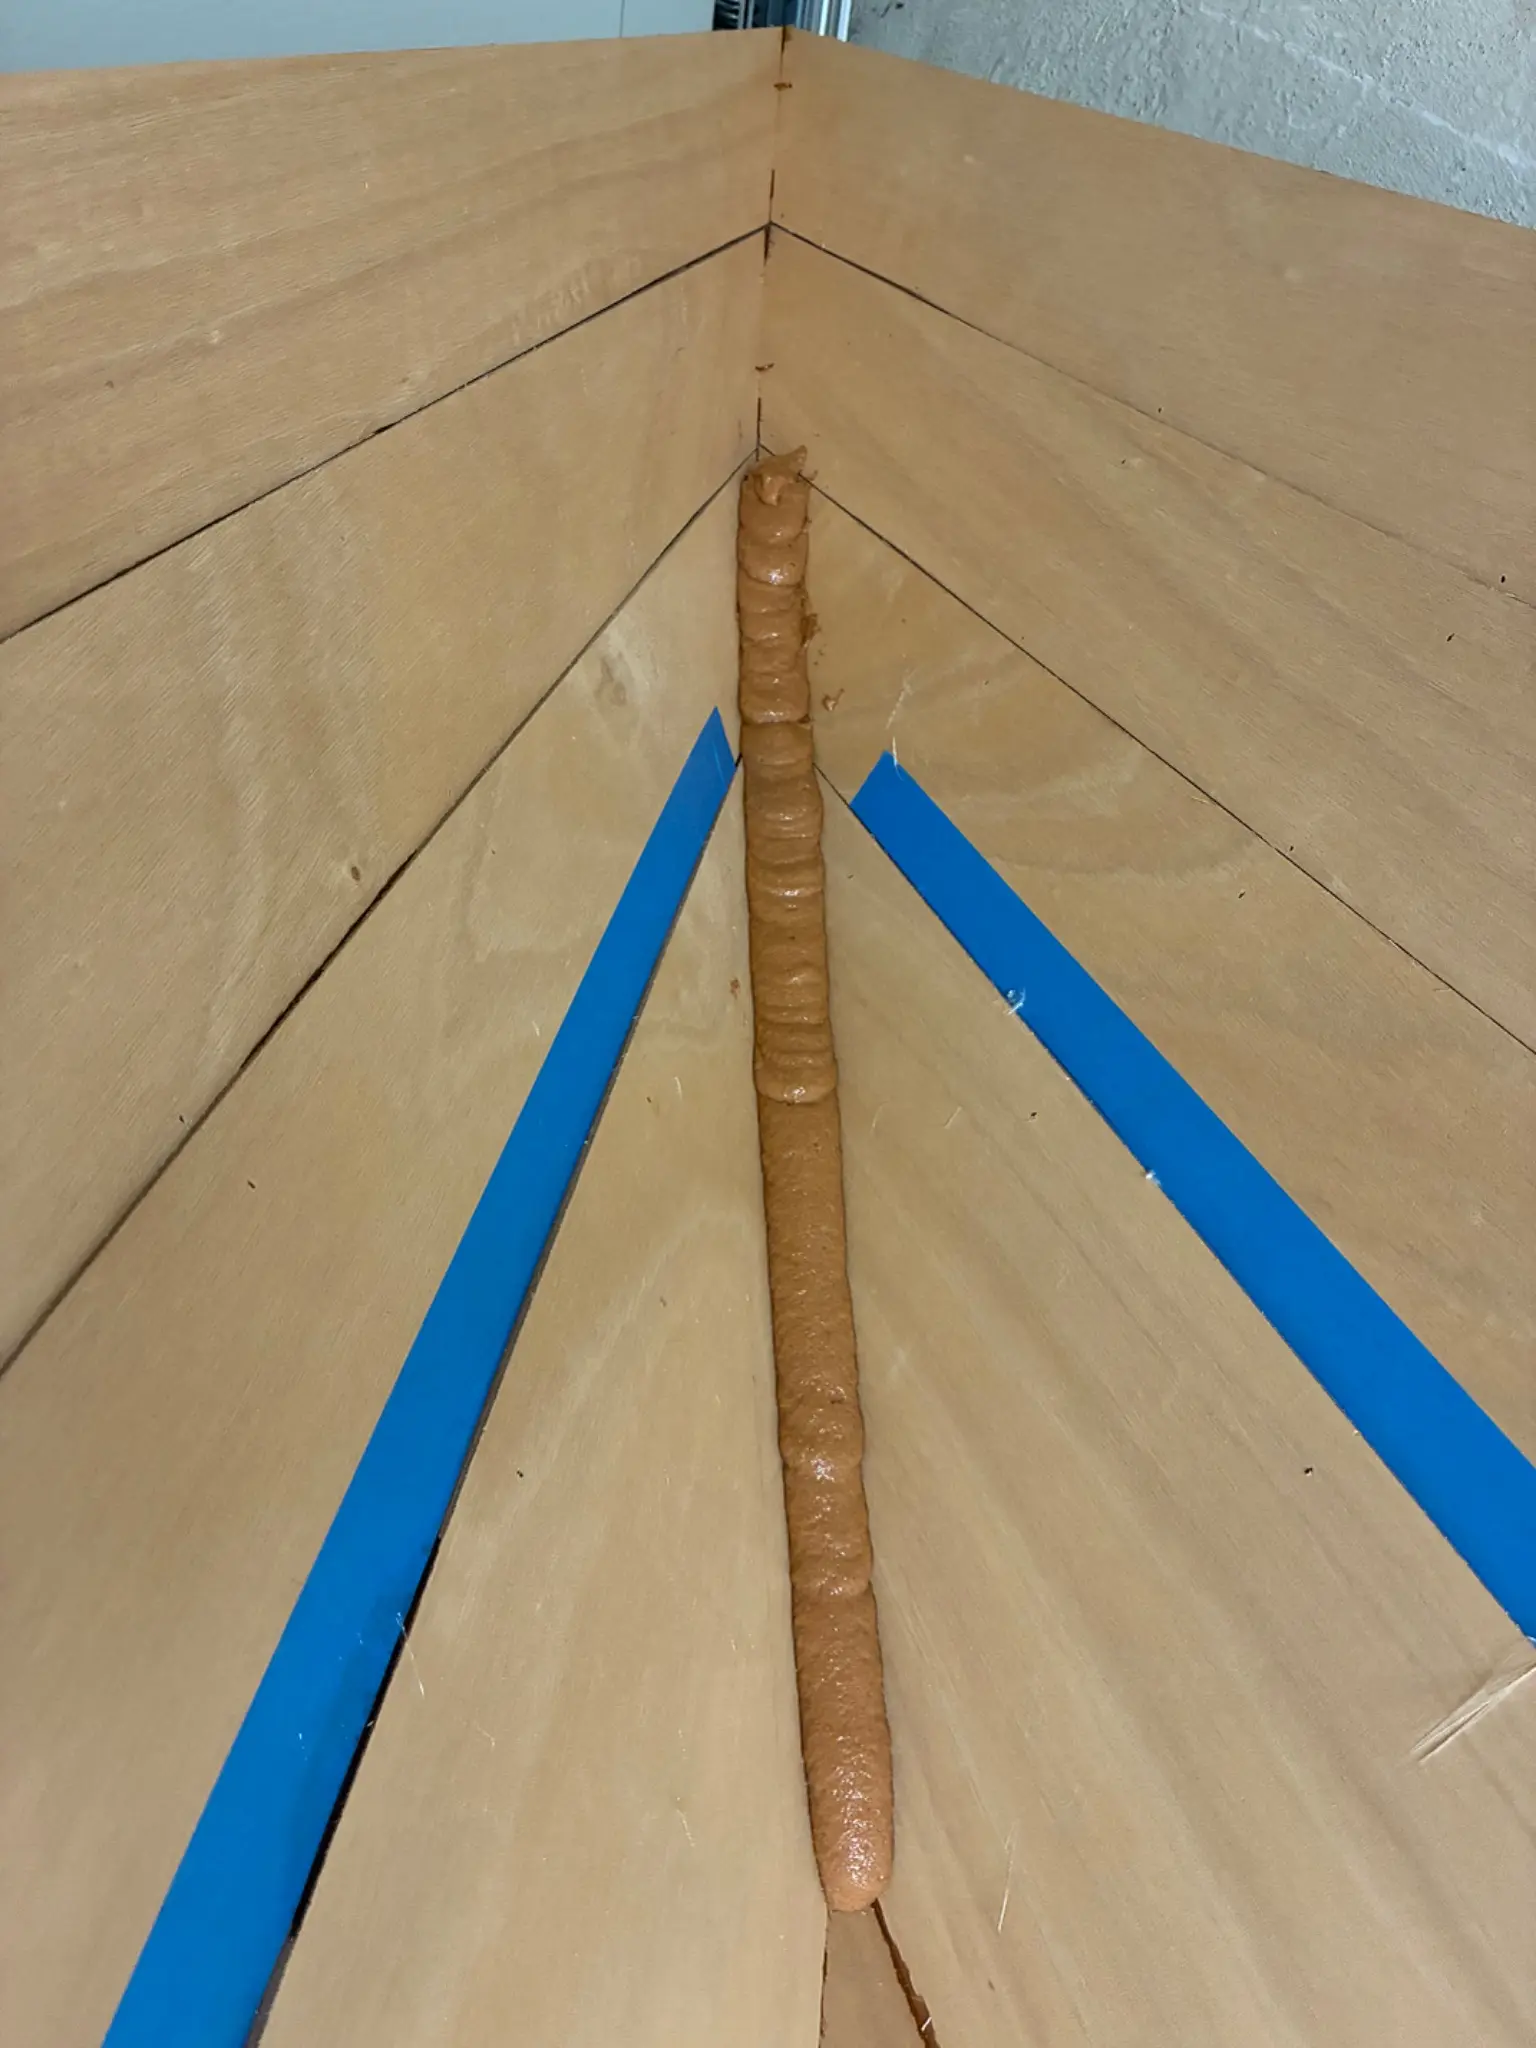
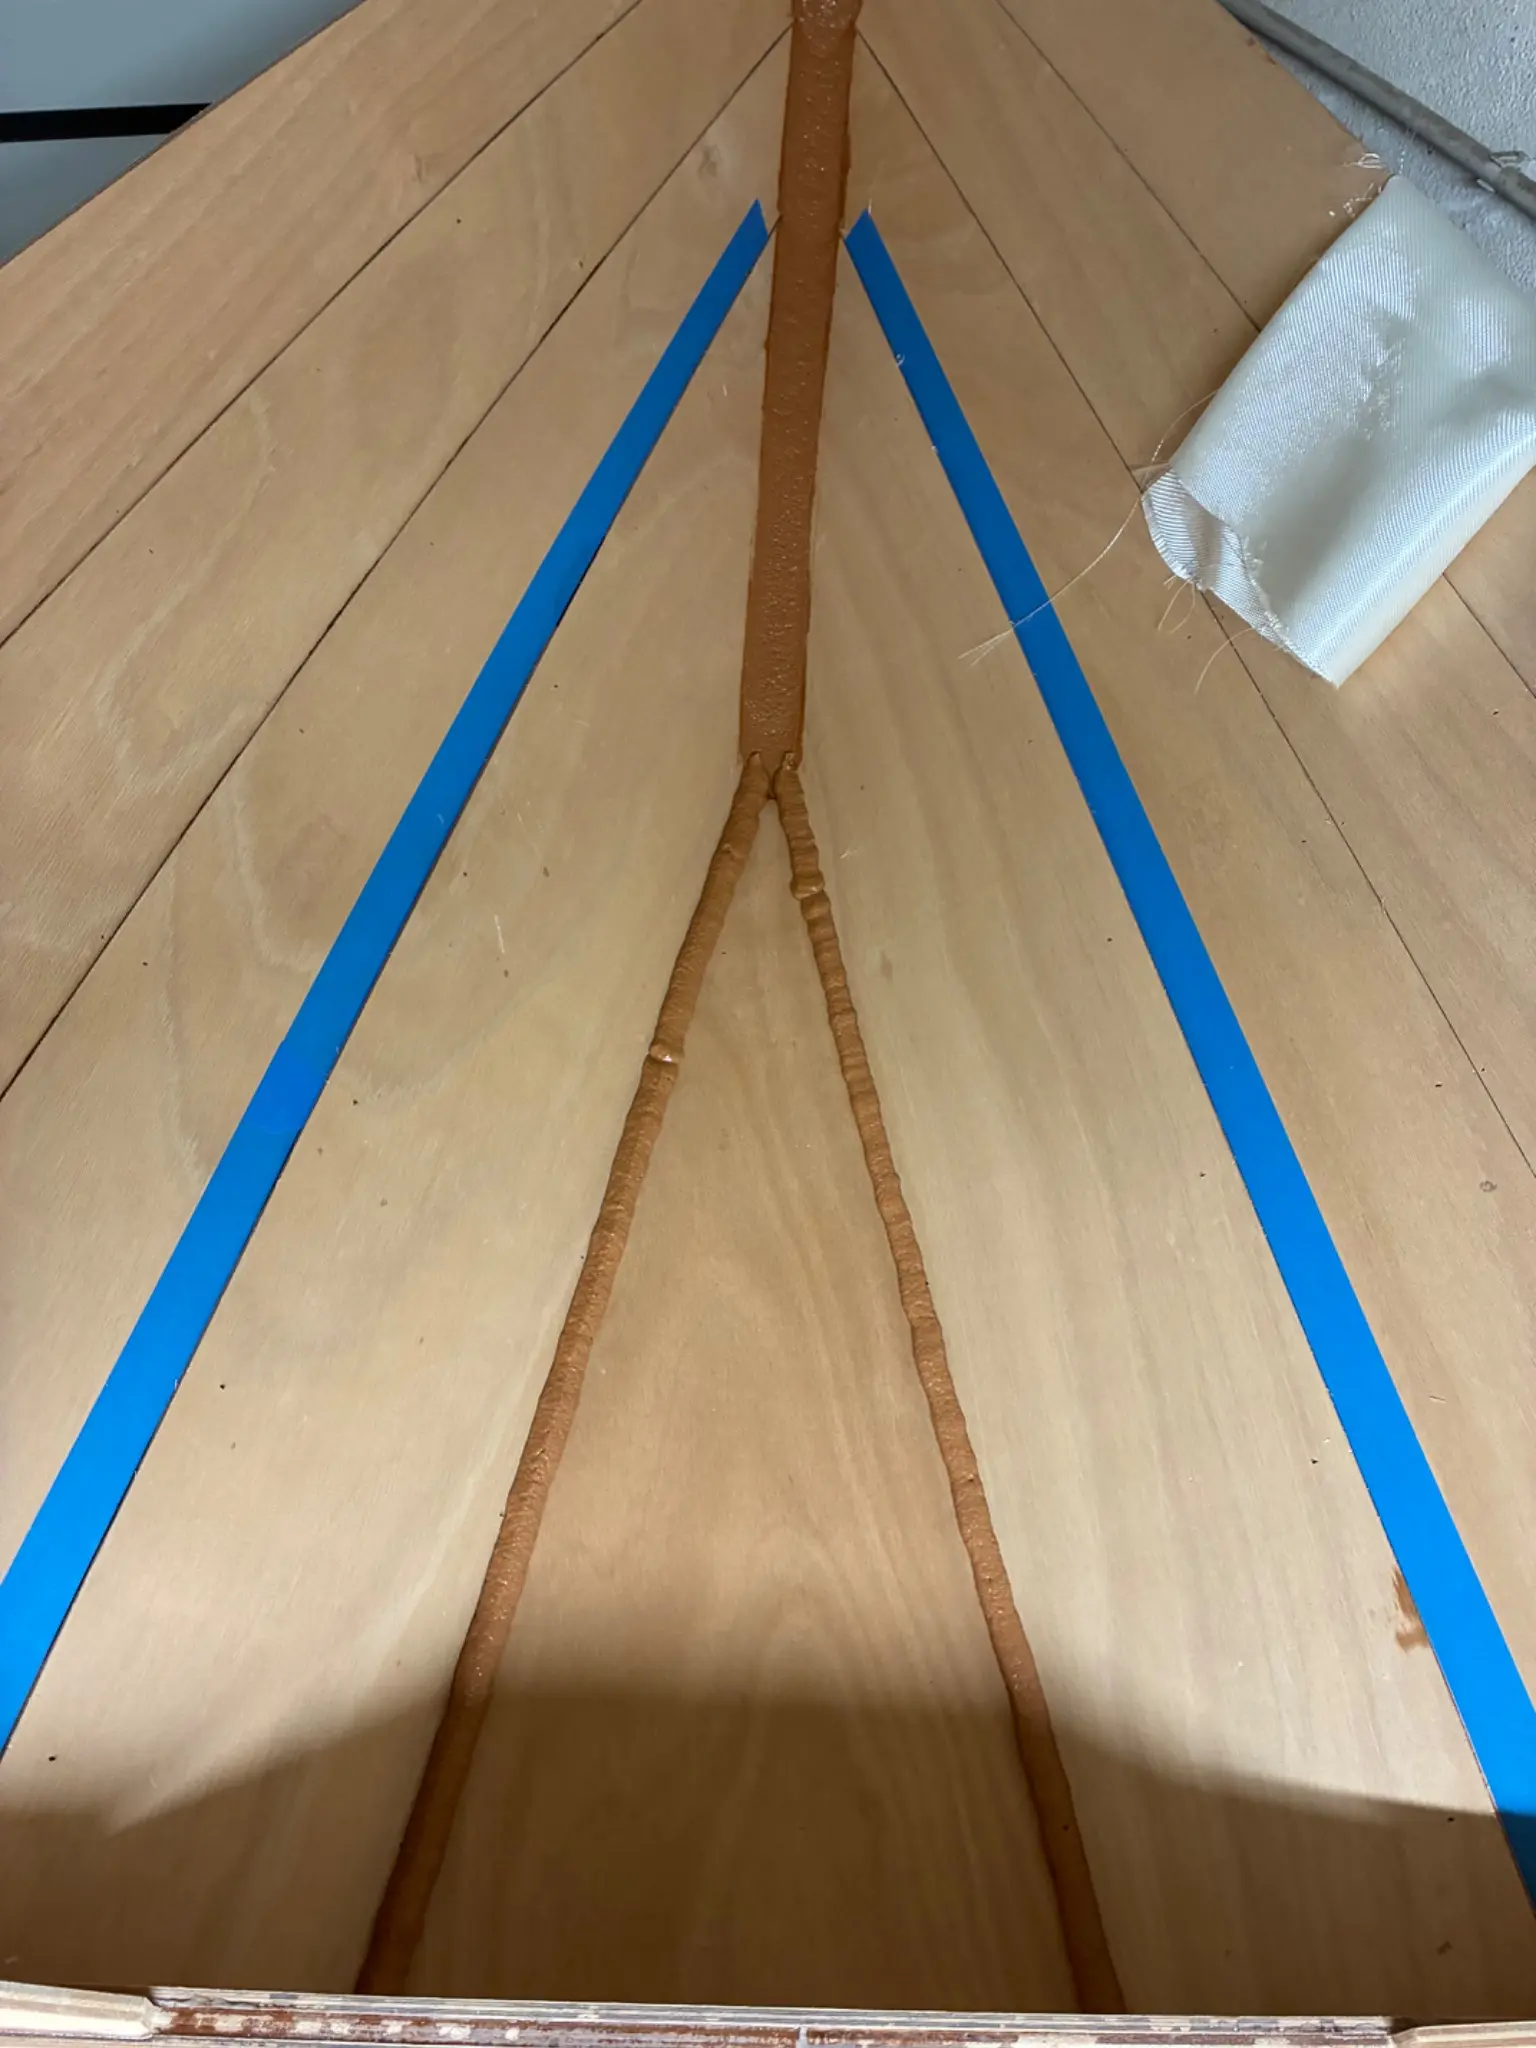
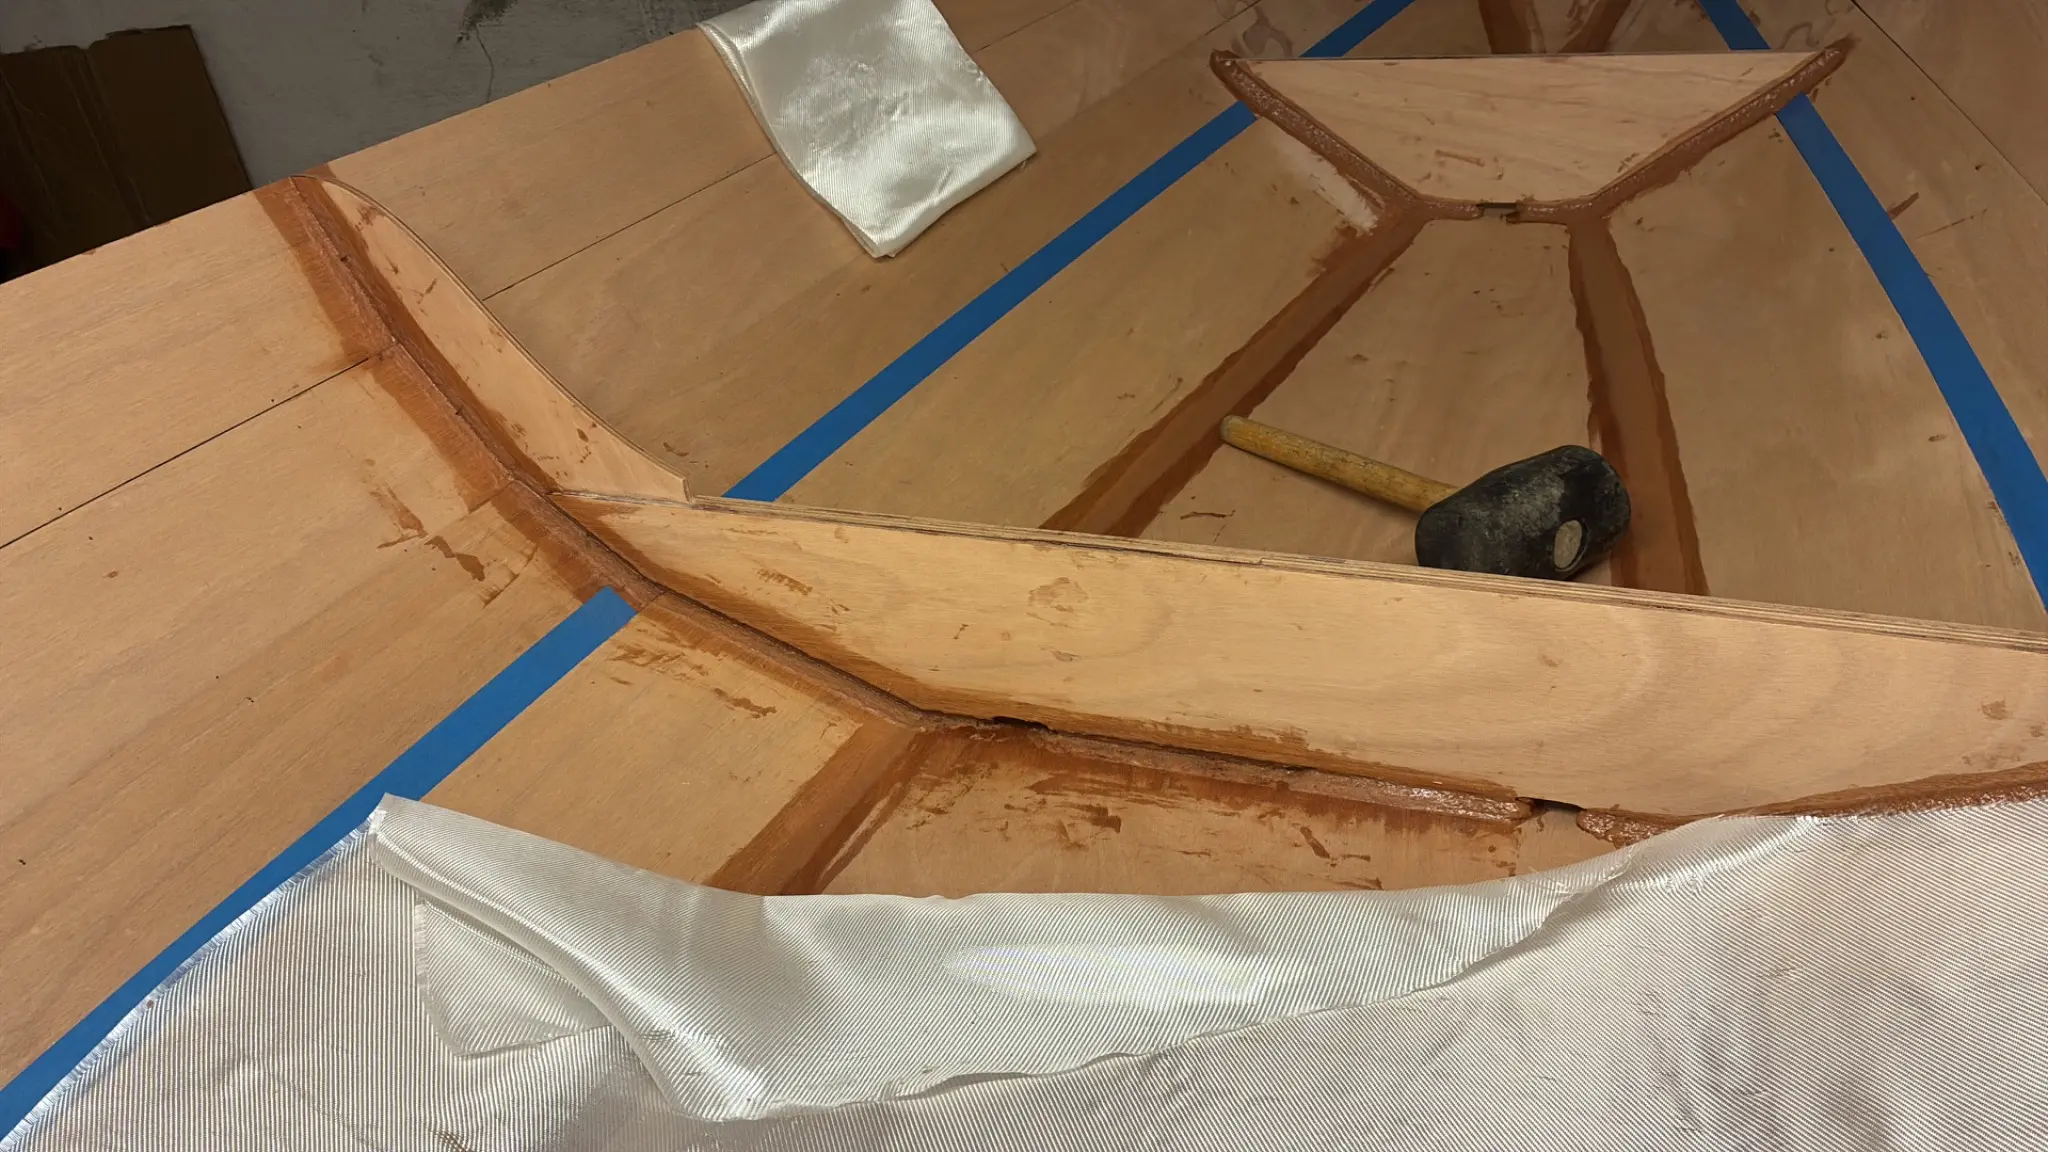
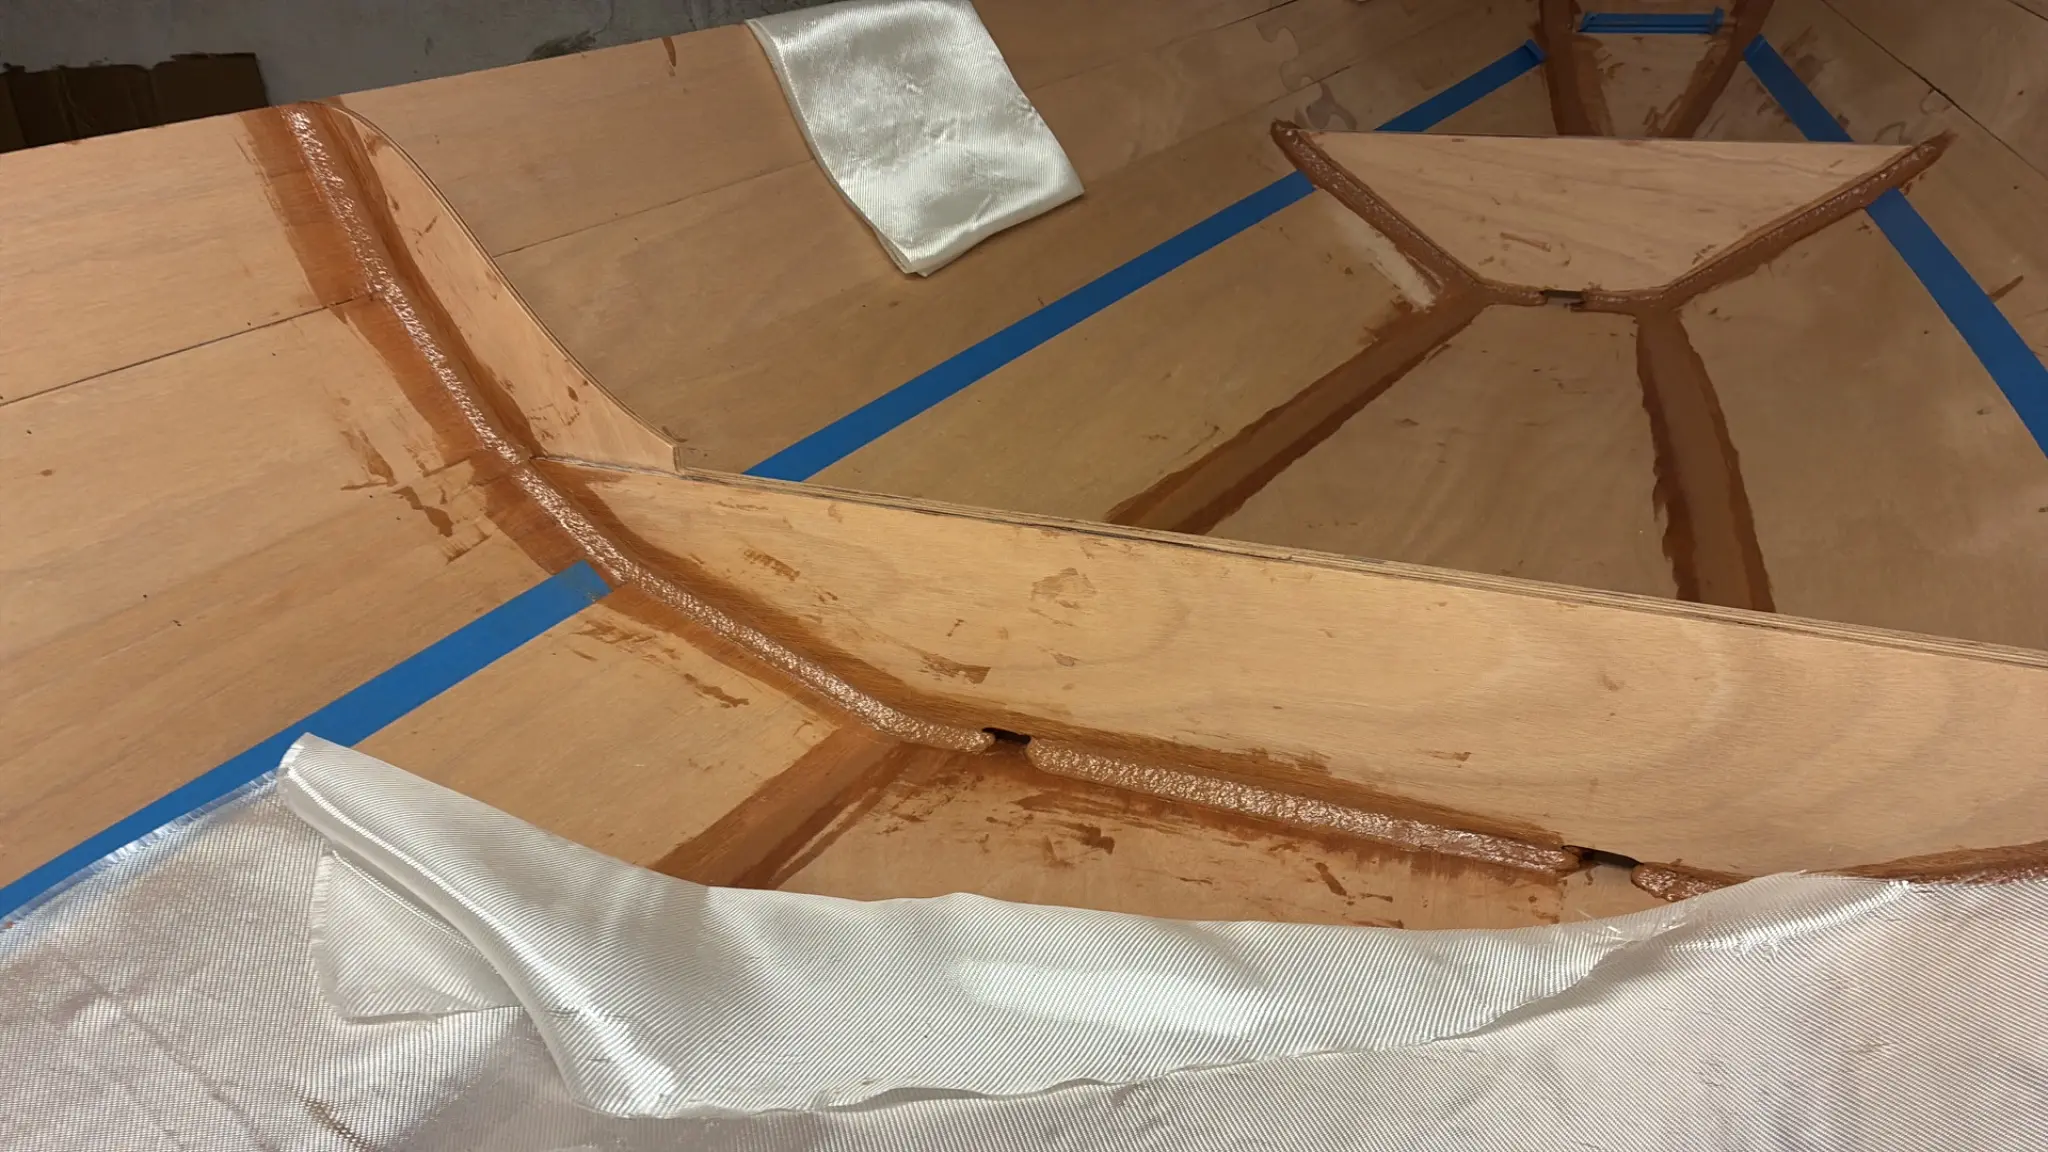
Fillets, fillets, fillets and at the end of the day a bit of glassing. Working without a helper takes plenty of time. The fillets are not finished jet and I worked from 12 to 6pm and after supper from 8 to 11 pm. Finally I glued the rails.
Photo 1 Photo 2 Photo 3
23 Oct 2026Fillets & Taping5.5 h
Big mistake!
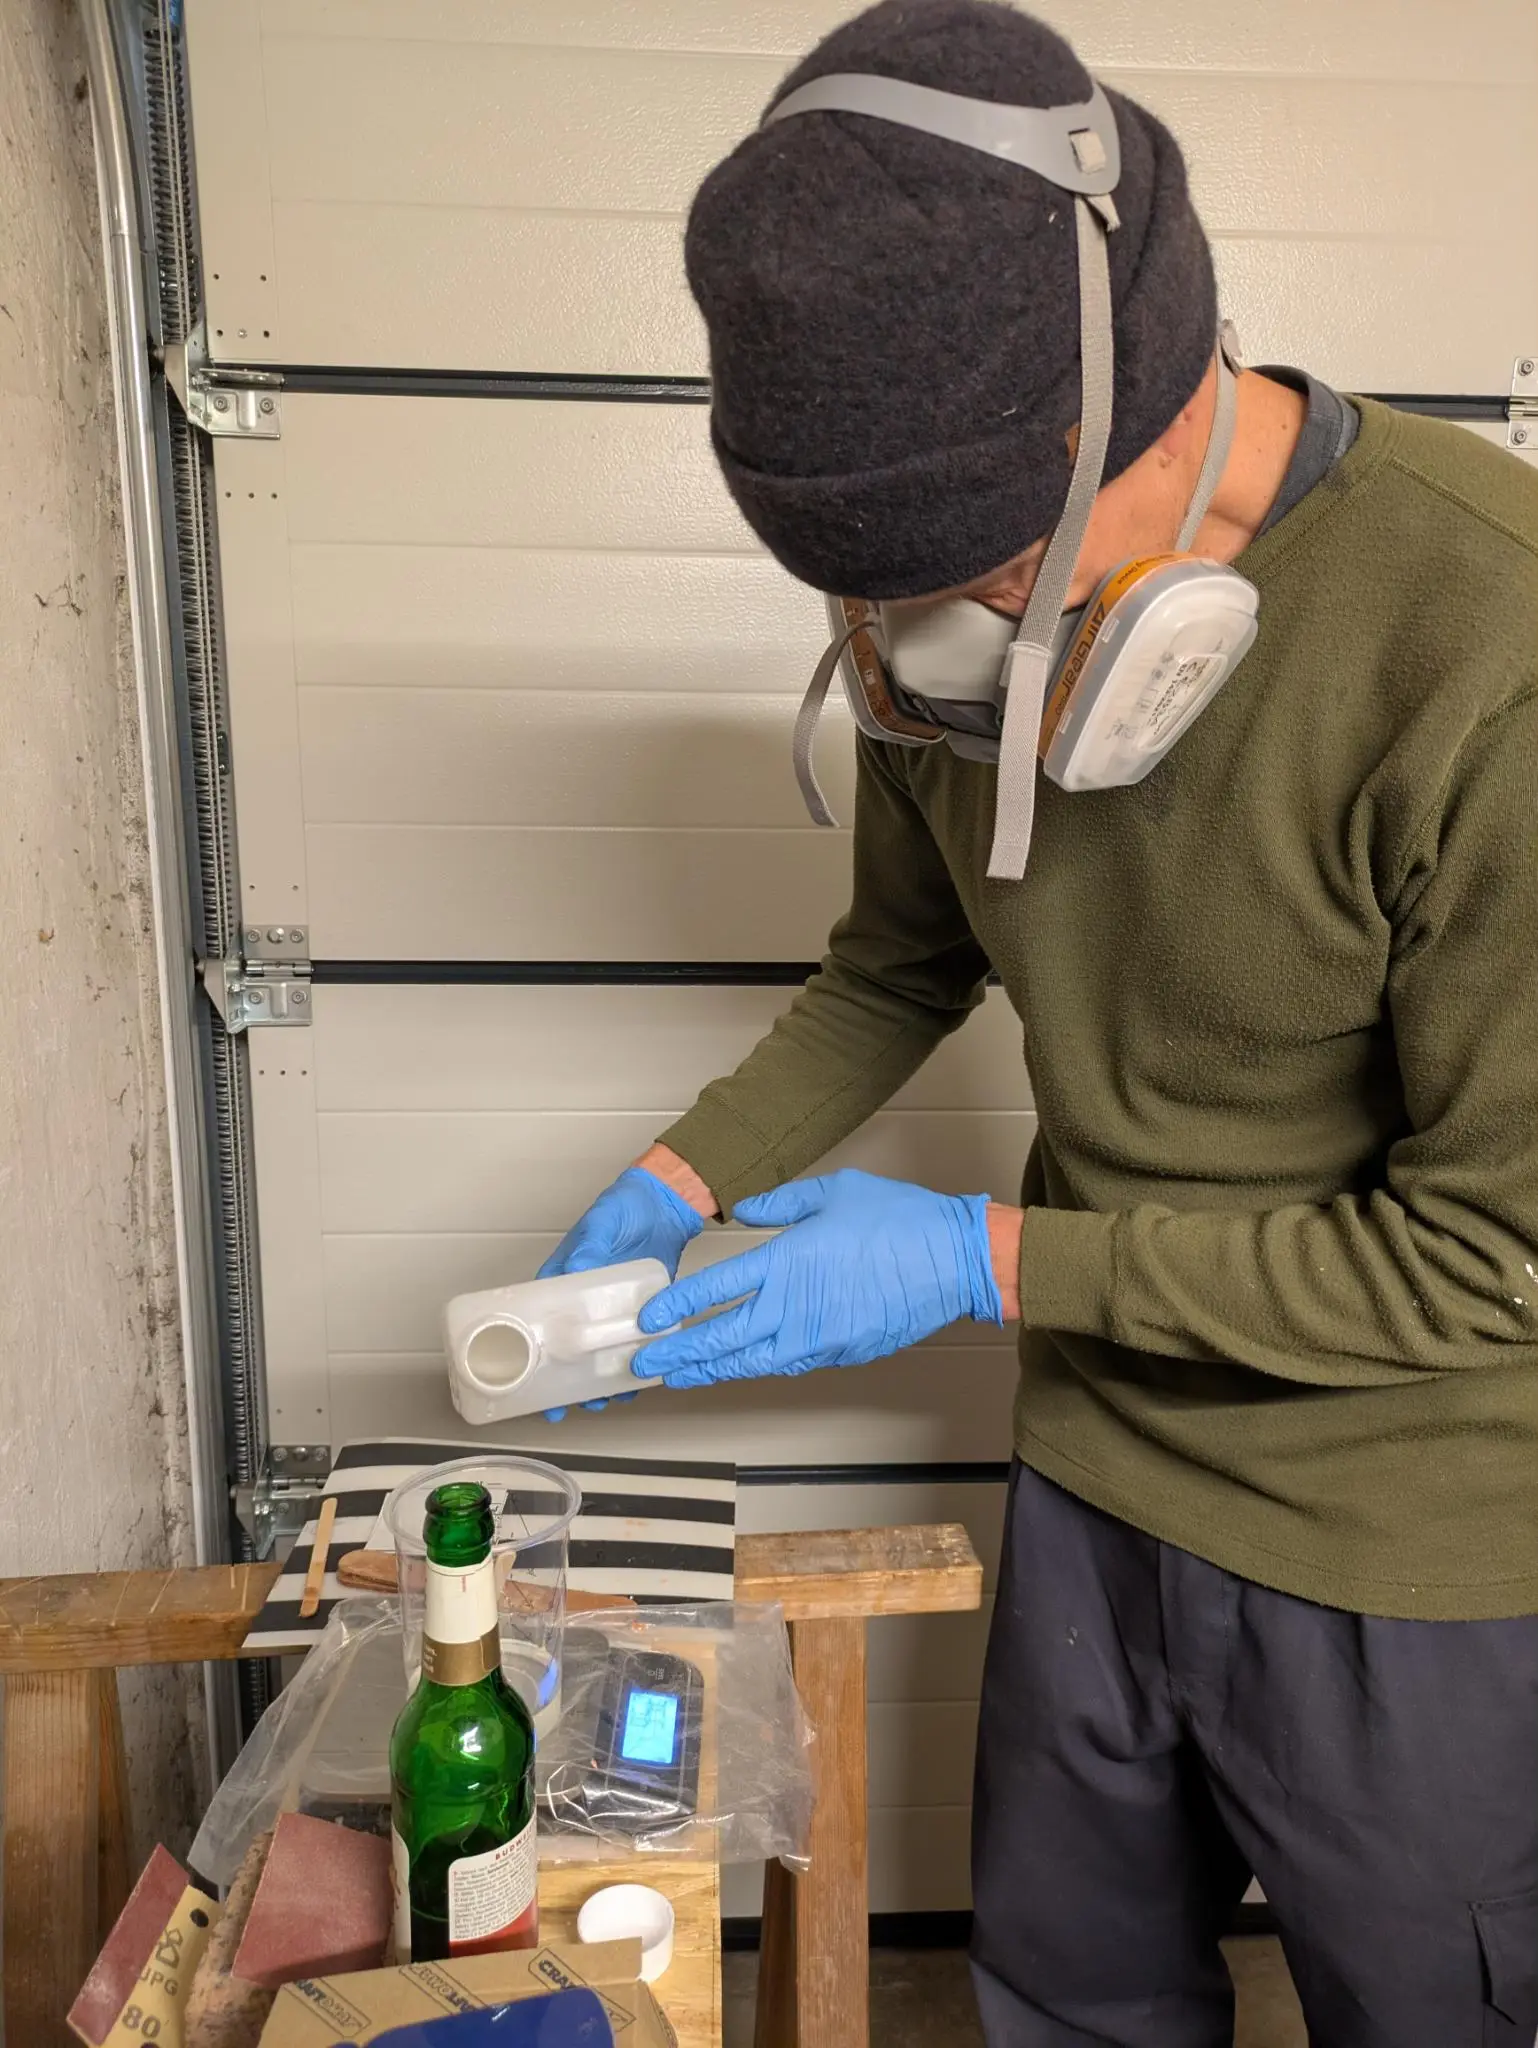
Fatal mistake today! When I was about to do one of the last fillets I took hardener instead of epoxy and vice versa. Yep, it did not cure. Don’t know how this could happen. Every batch before I took so much care choosing the right container but finally it happened, I screwed it up. A bad day for boat building!
Chapter 06
Glassing & Epoxy
Sheathing in cloth, wetting out, fill coats.
4 days17 hoursfrom October 2026
24 Oct 2026Glassing & Epoxy5.5 h
Troubleshooting and a bit more
I removed the fillets and tried to clean the areas as good as possible. Finally I swept everything with cloth dipped in Alkohol. Than I did new fillets. I used a wooden scraper with a slightly bigger rounded end to come around remaining edges that had cured on the surface.
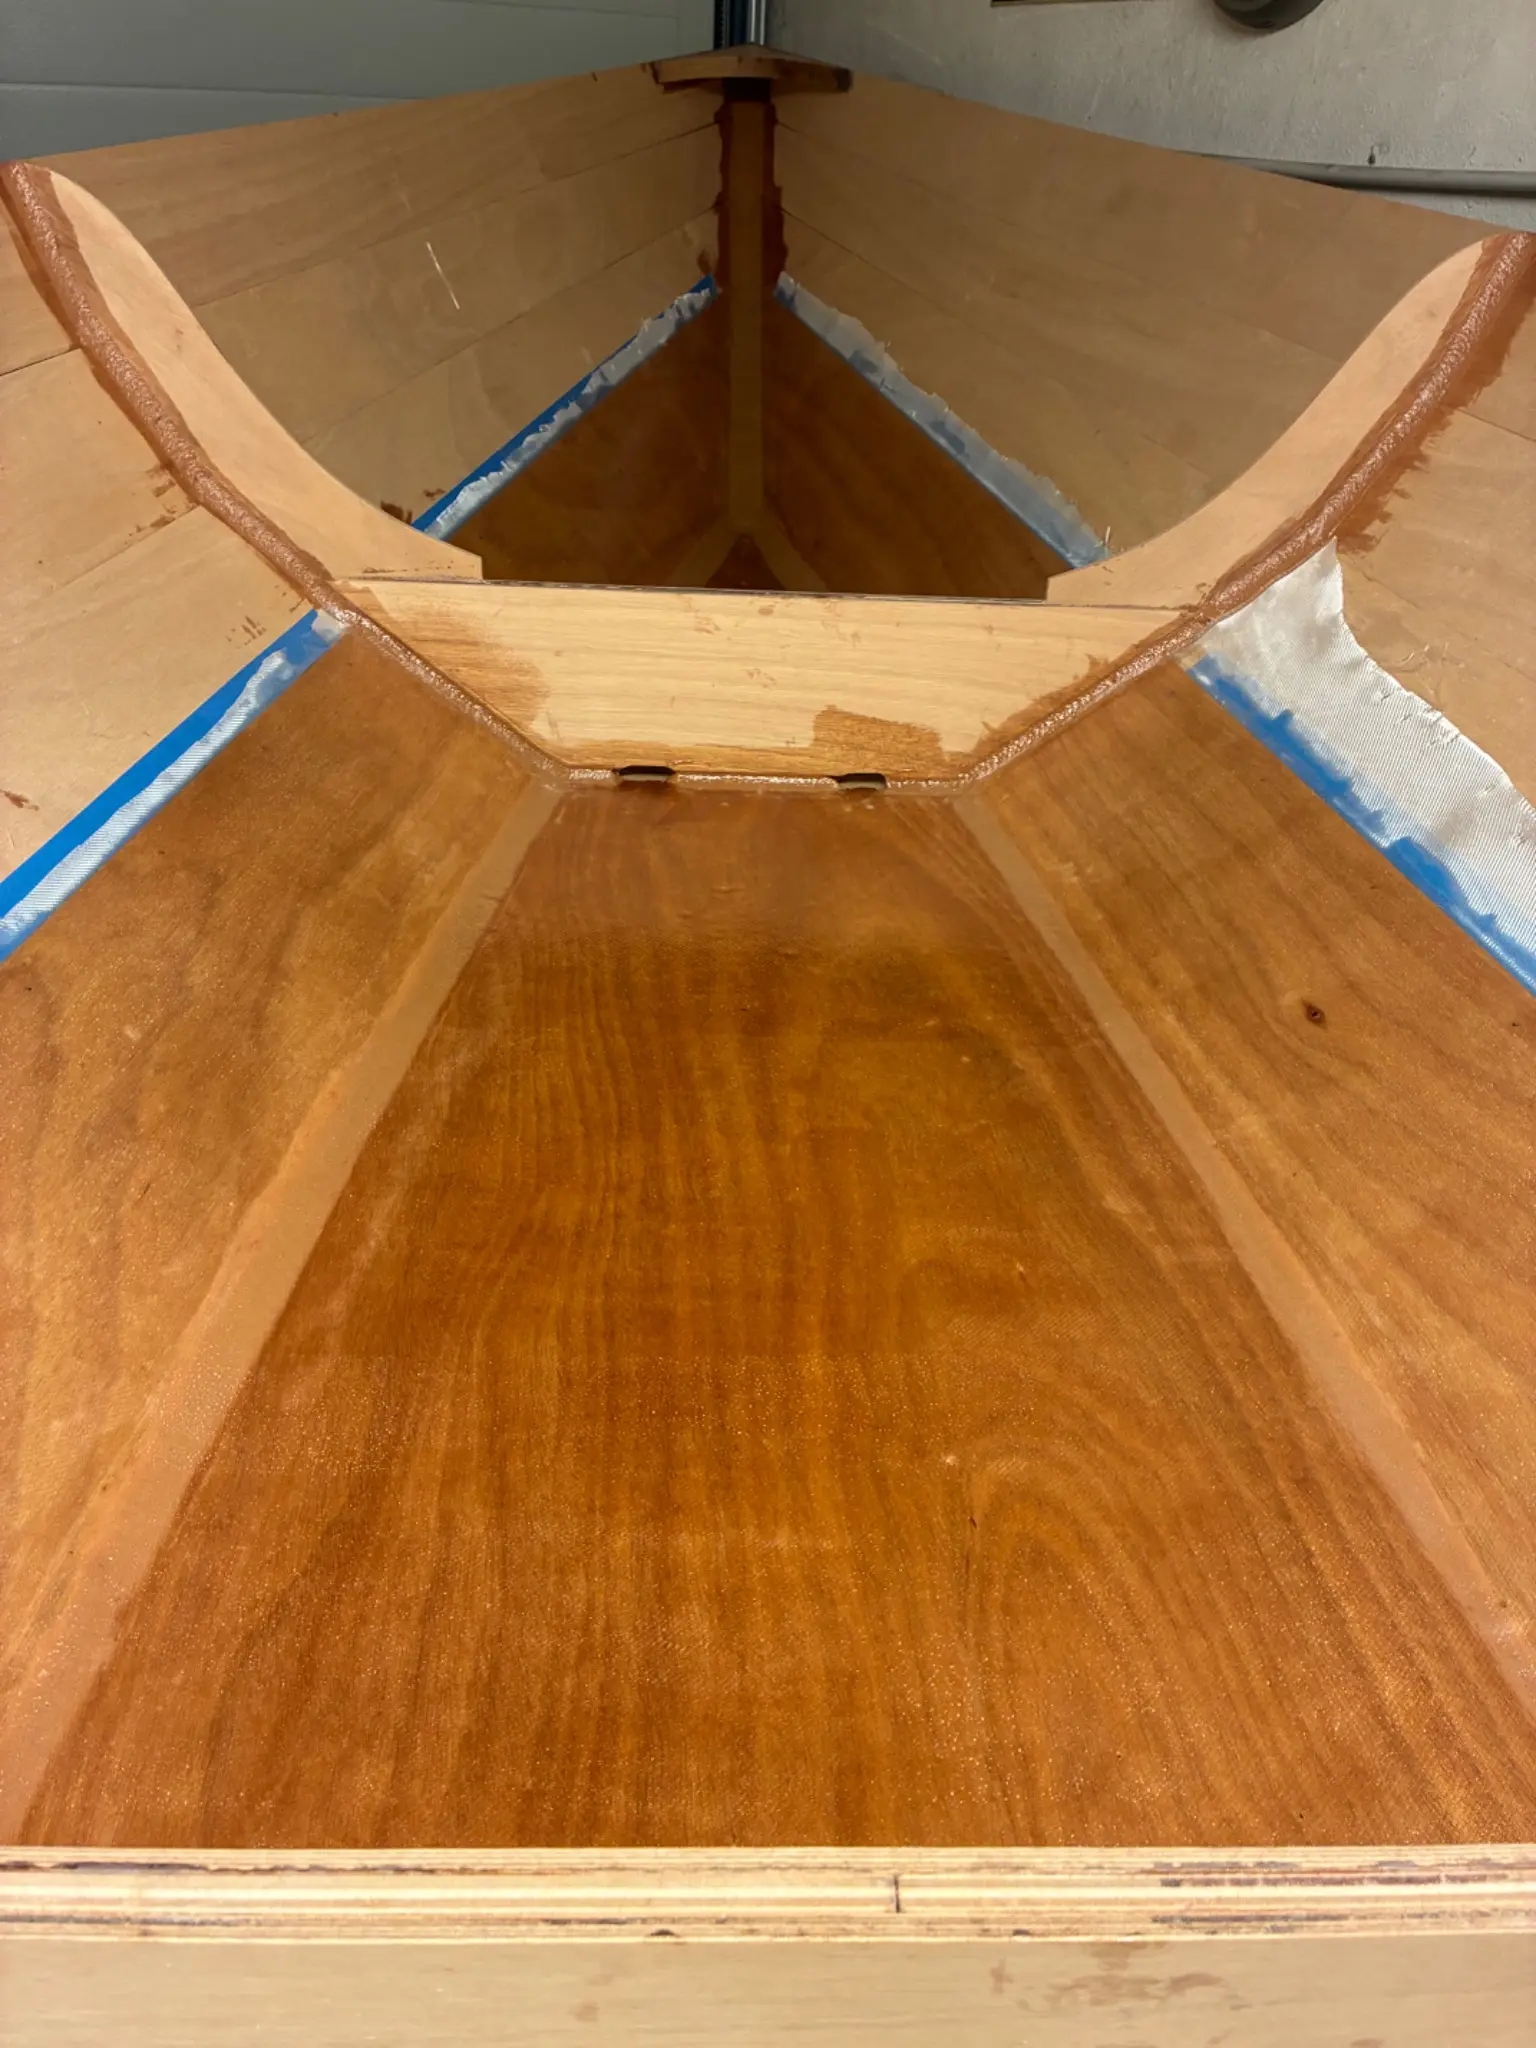
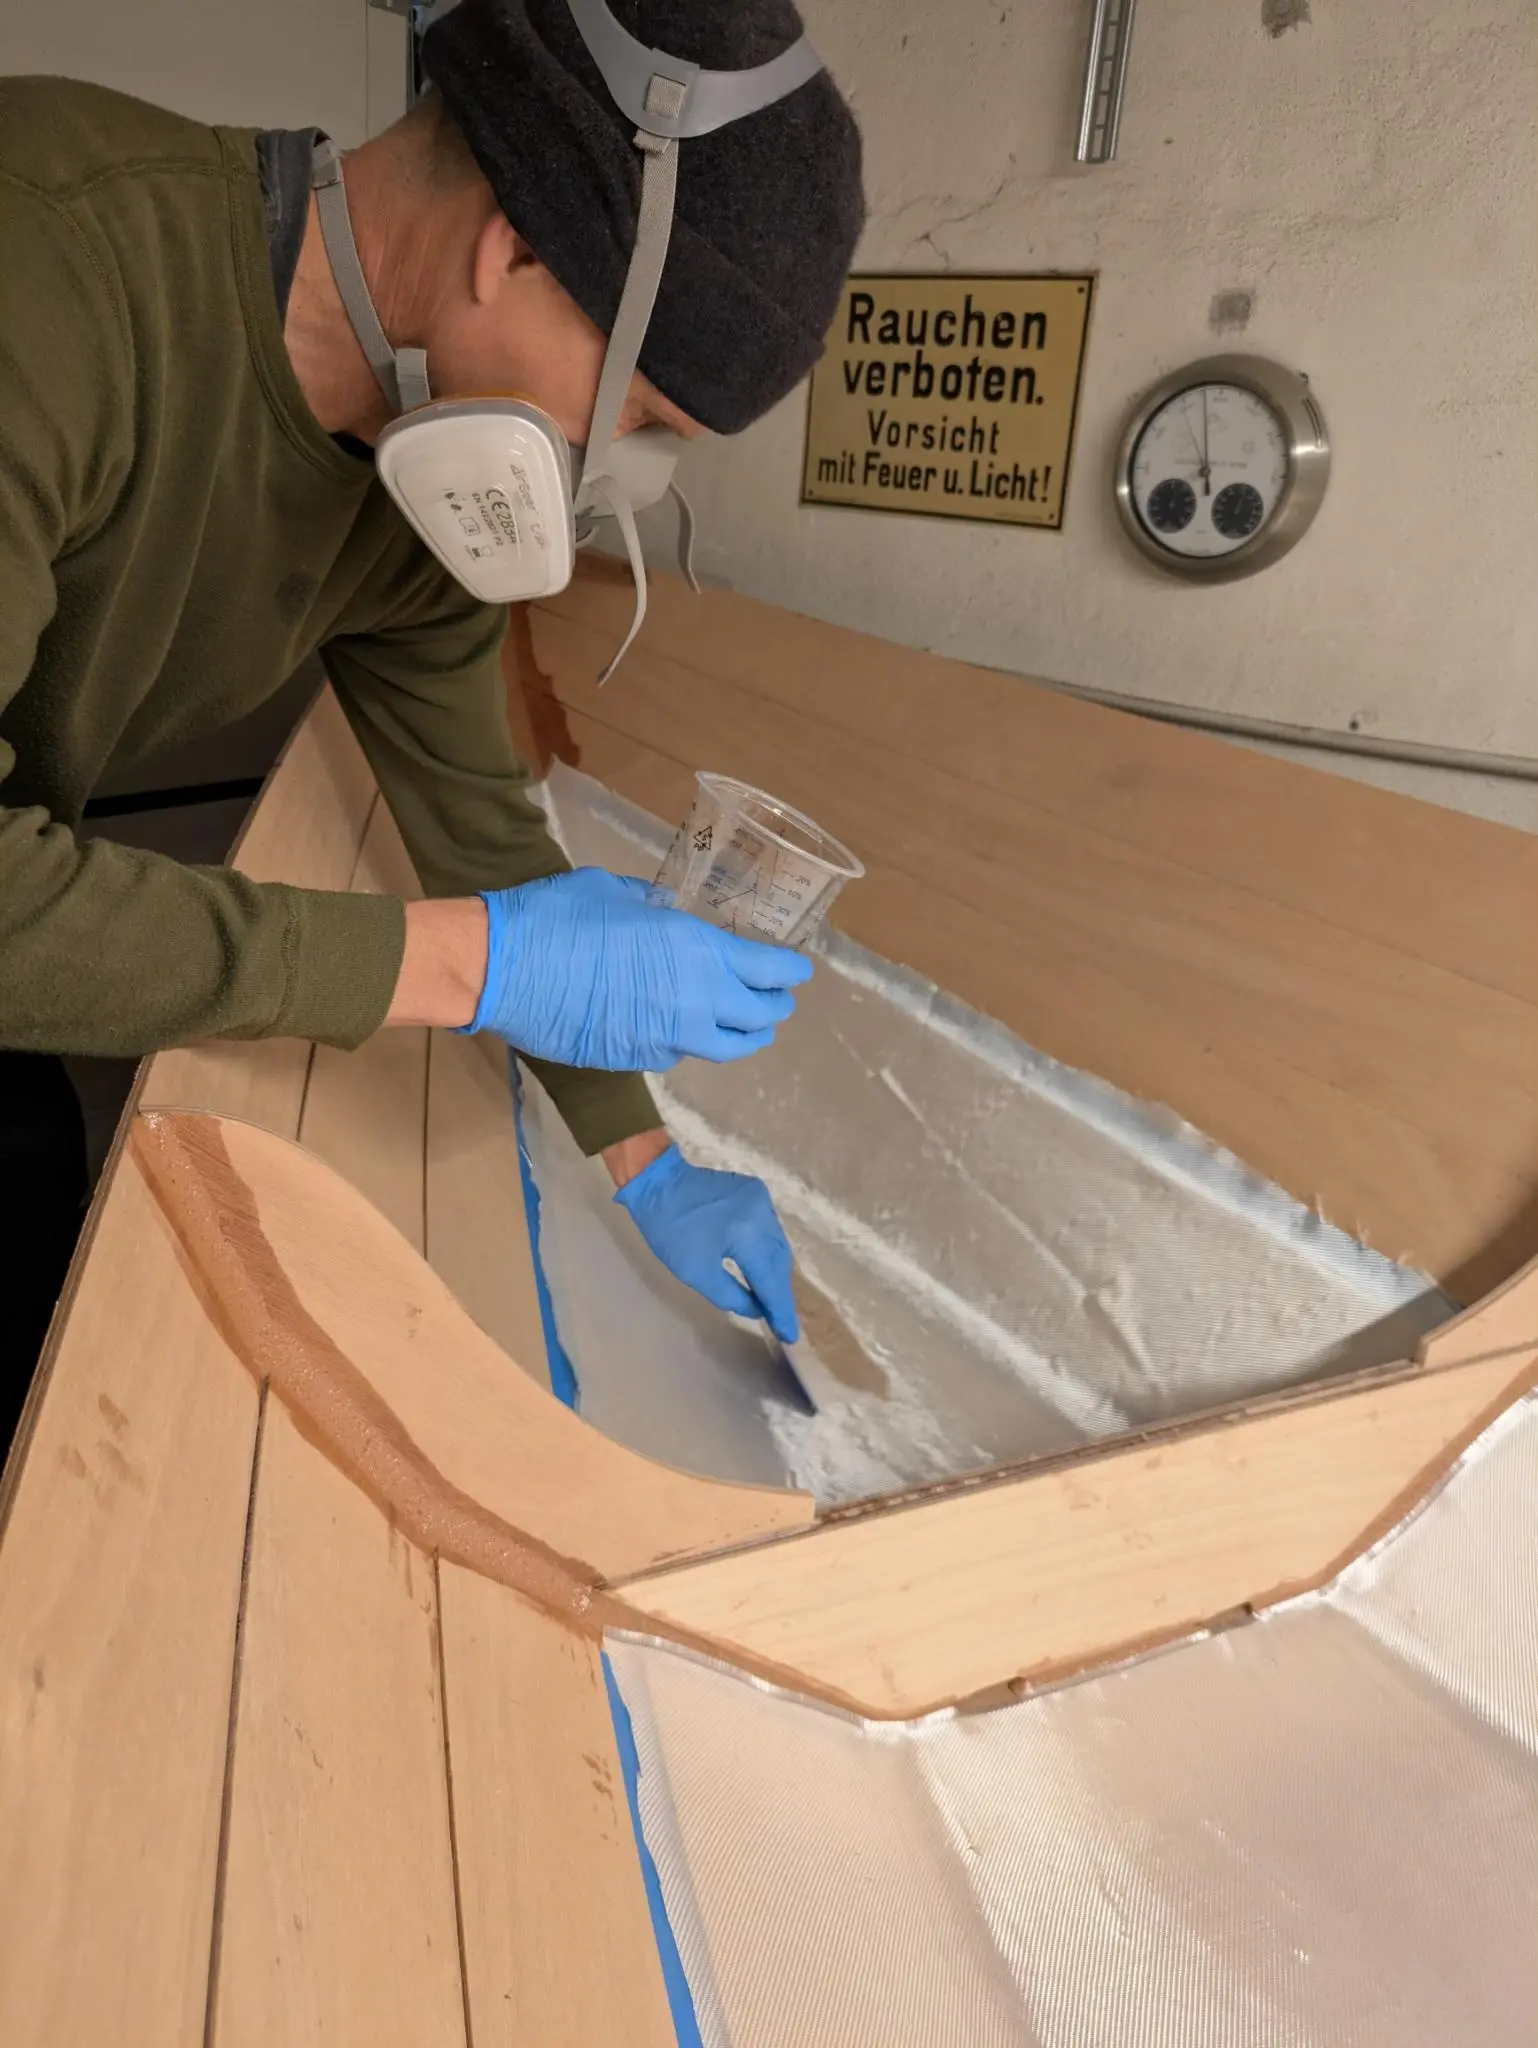
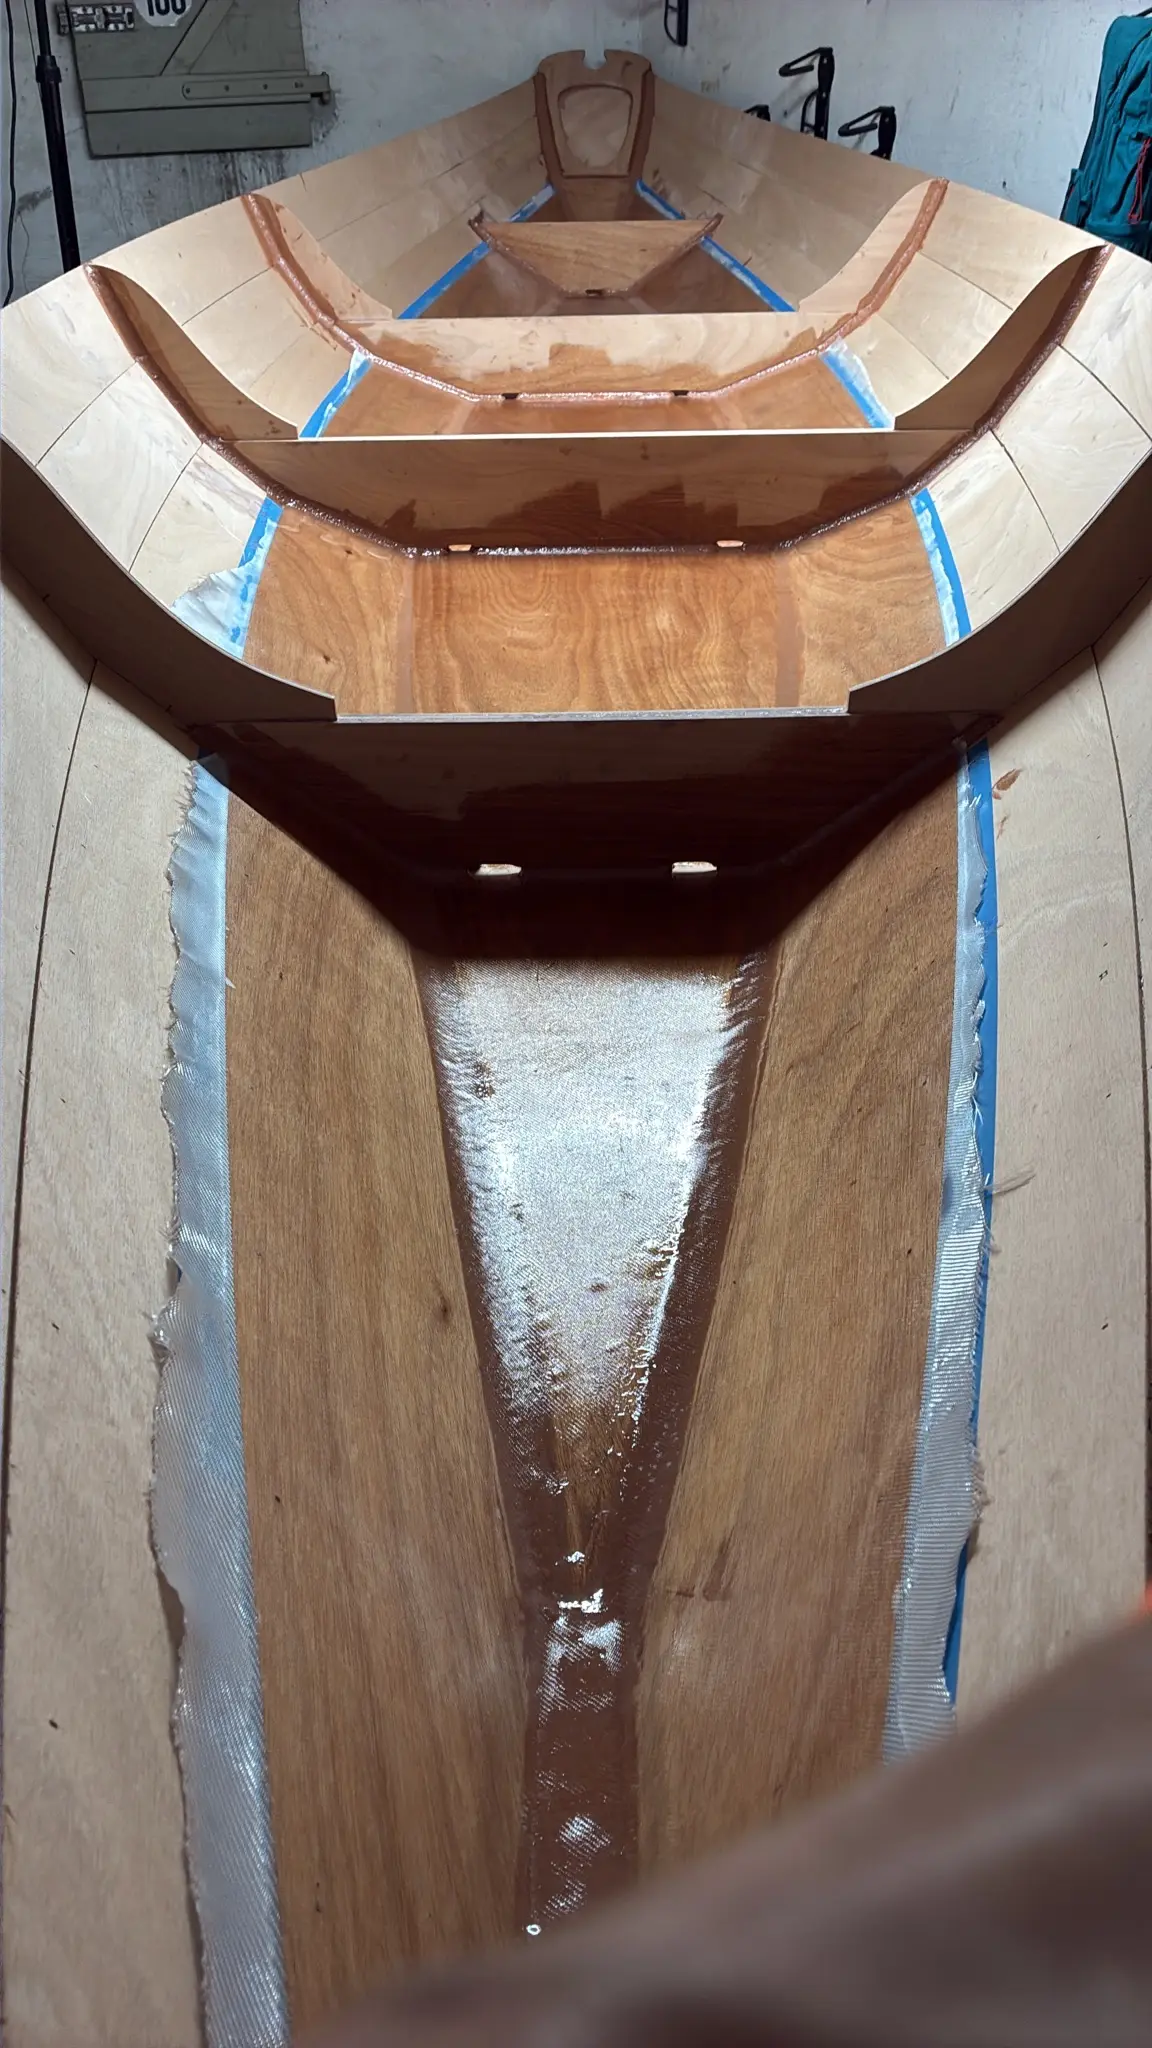
When that was done I did the glassing in the two first compartments from bow to stern. It felt good to move on. I finished gluing the rails and attached the „arm“ (can’t remember the english word, sorry) to the rudder.
Photo 1 Photo 2 Photo 3 Photo 4 Photo 5
25 Oct 2026Glassing & Epoxy5 h
Glassy Sunday
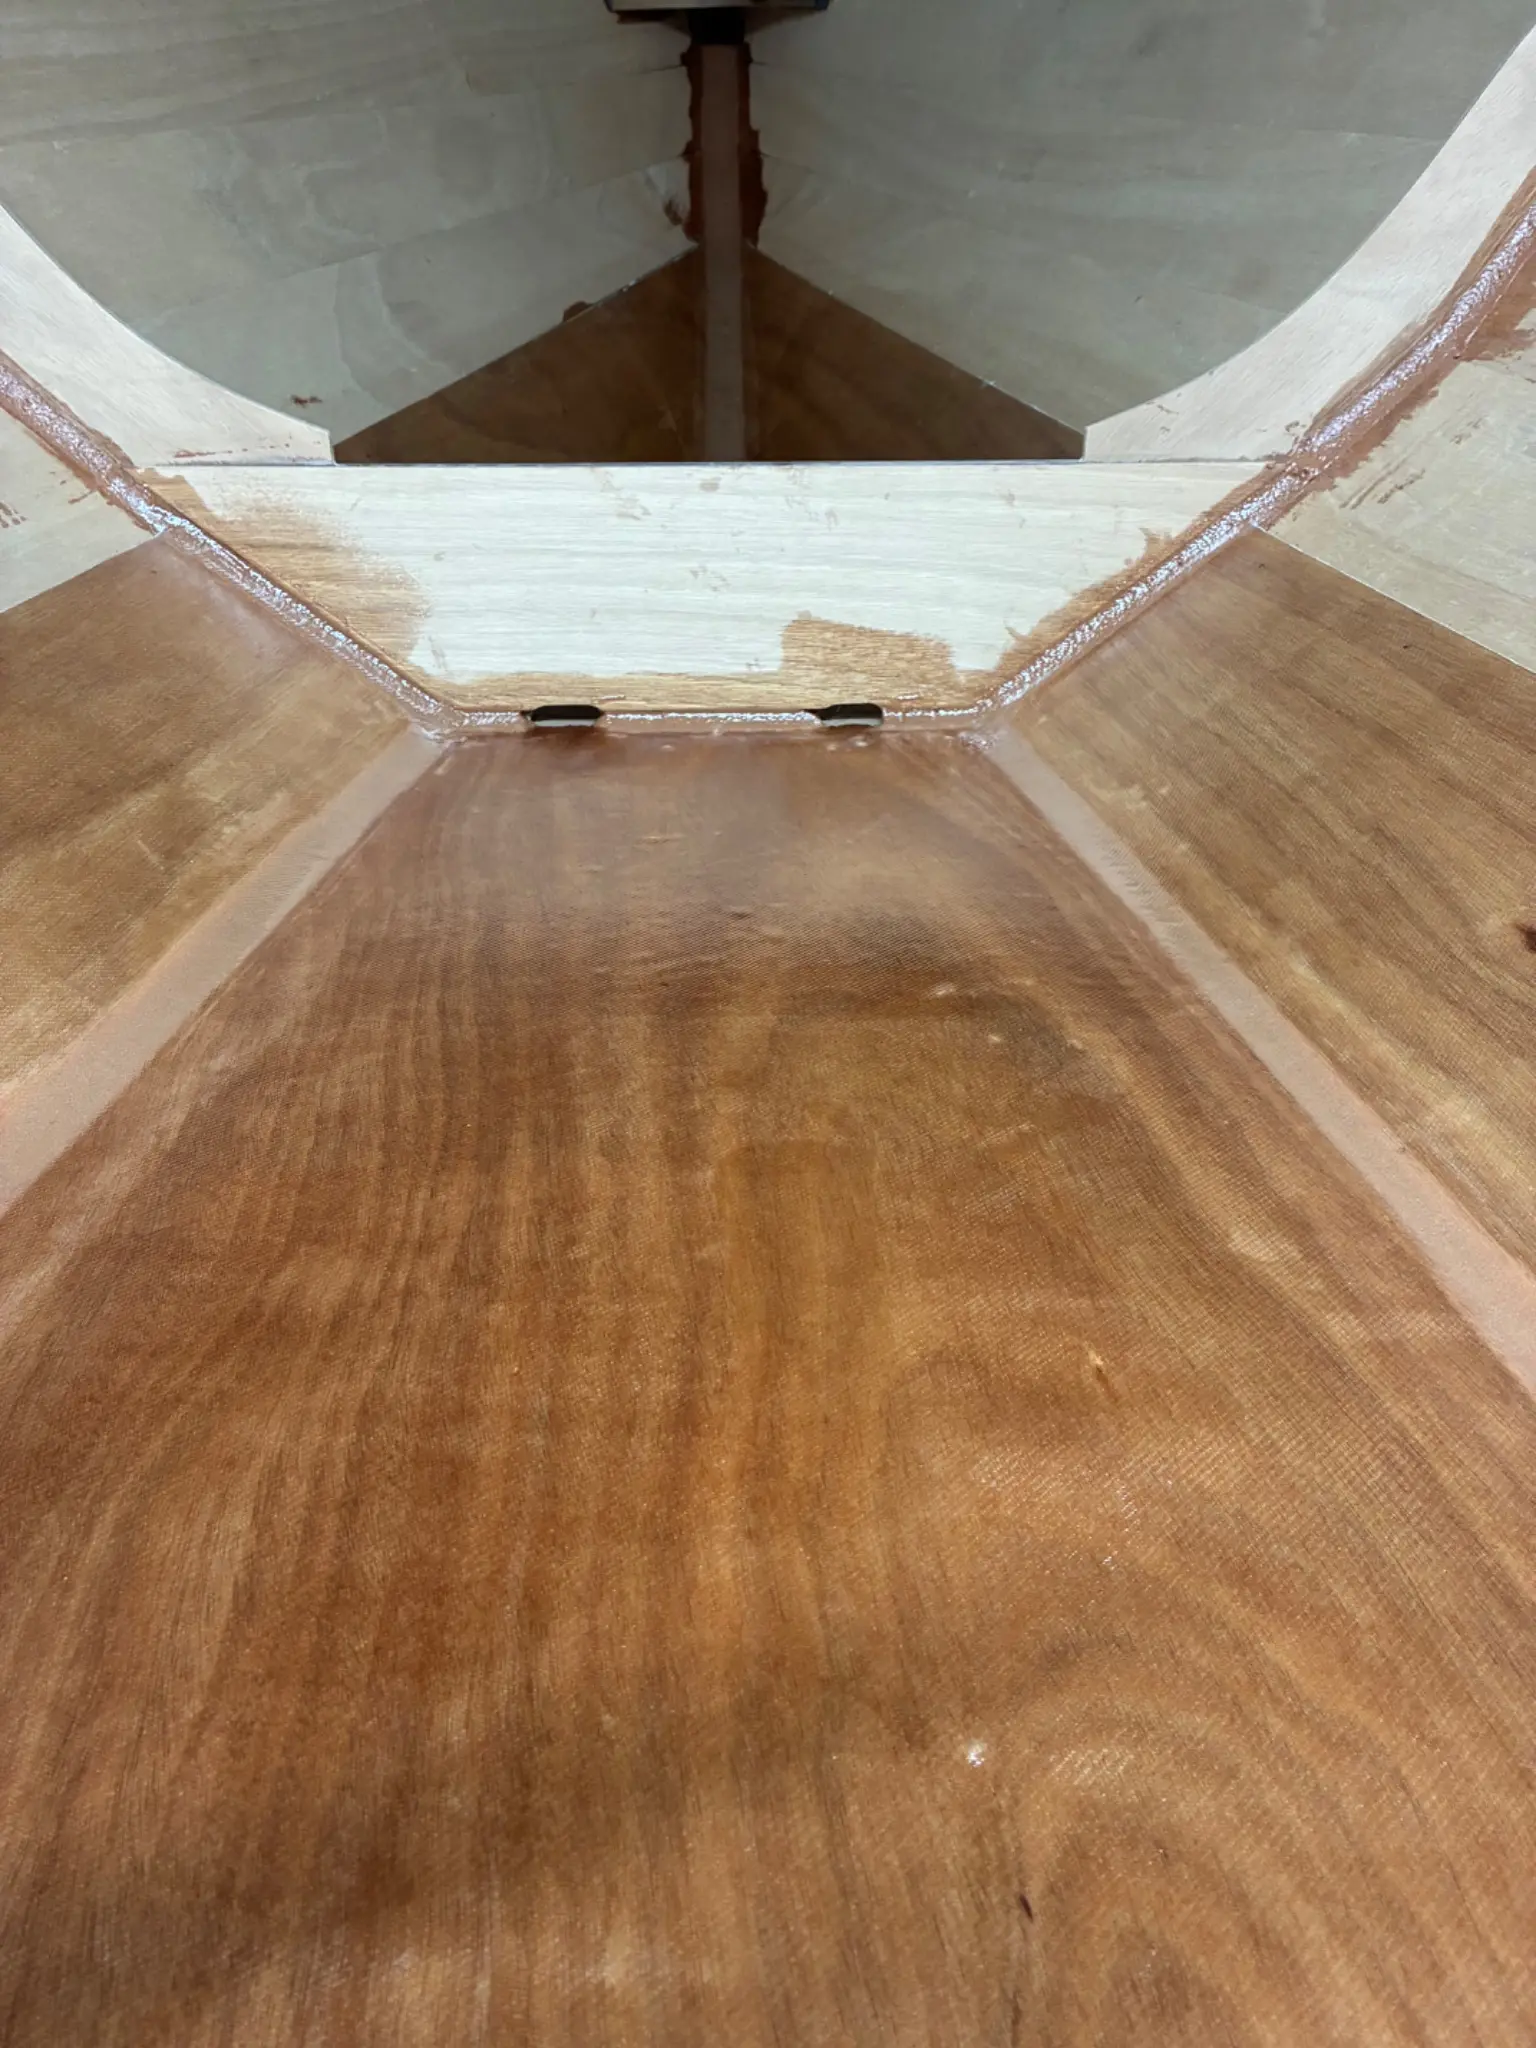
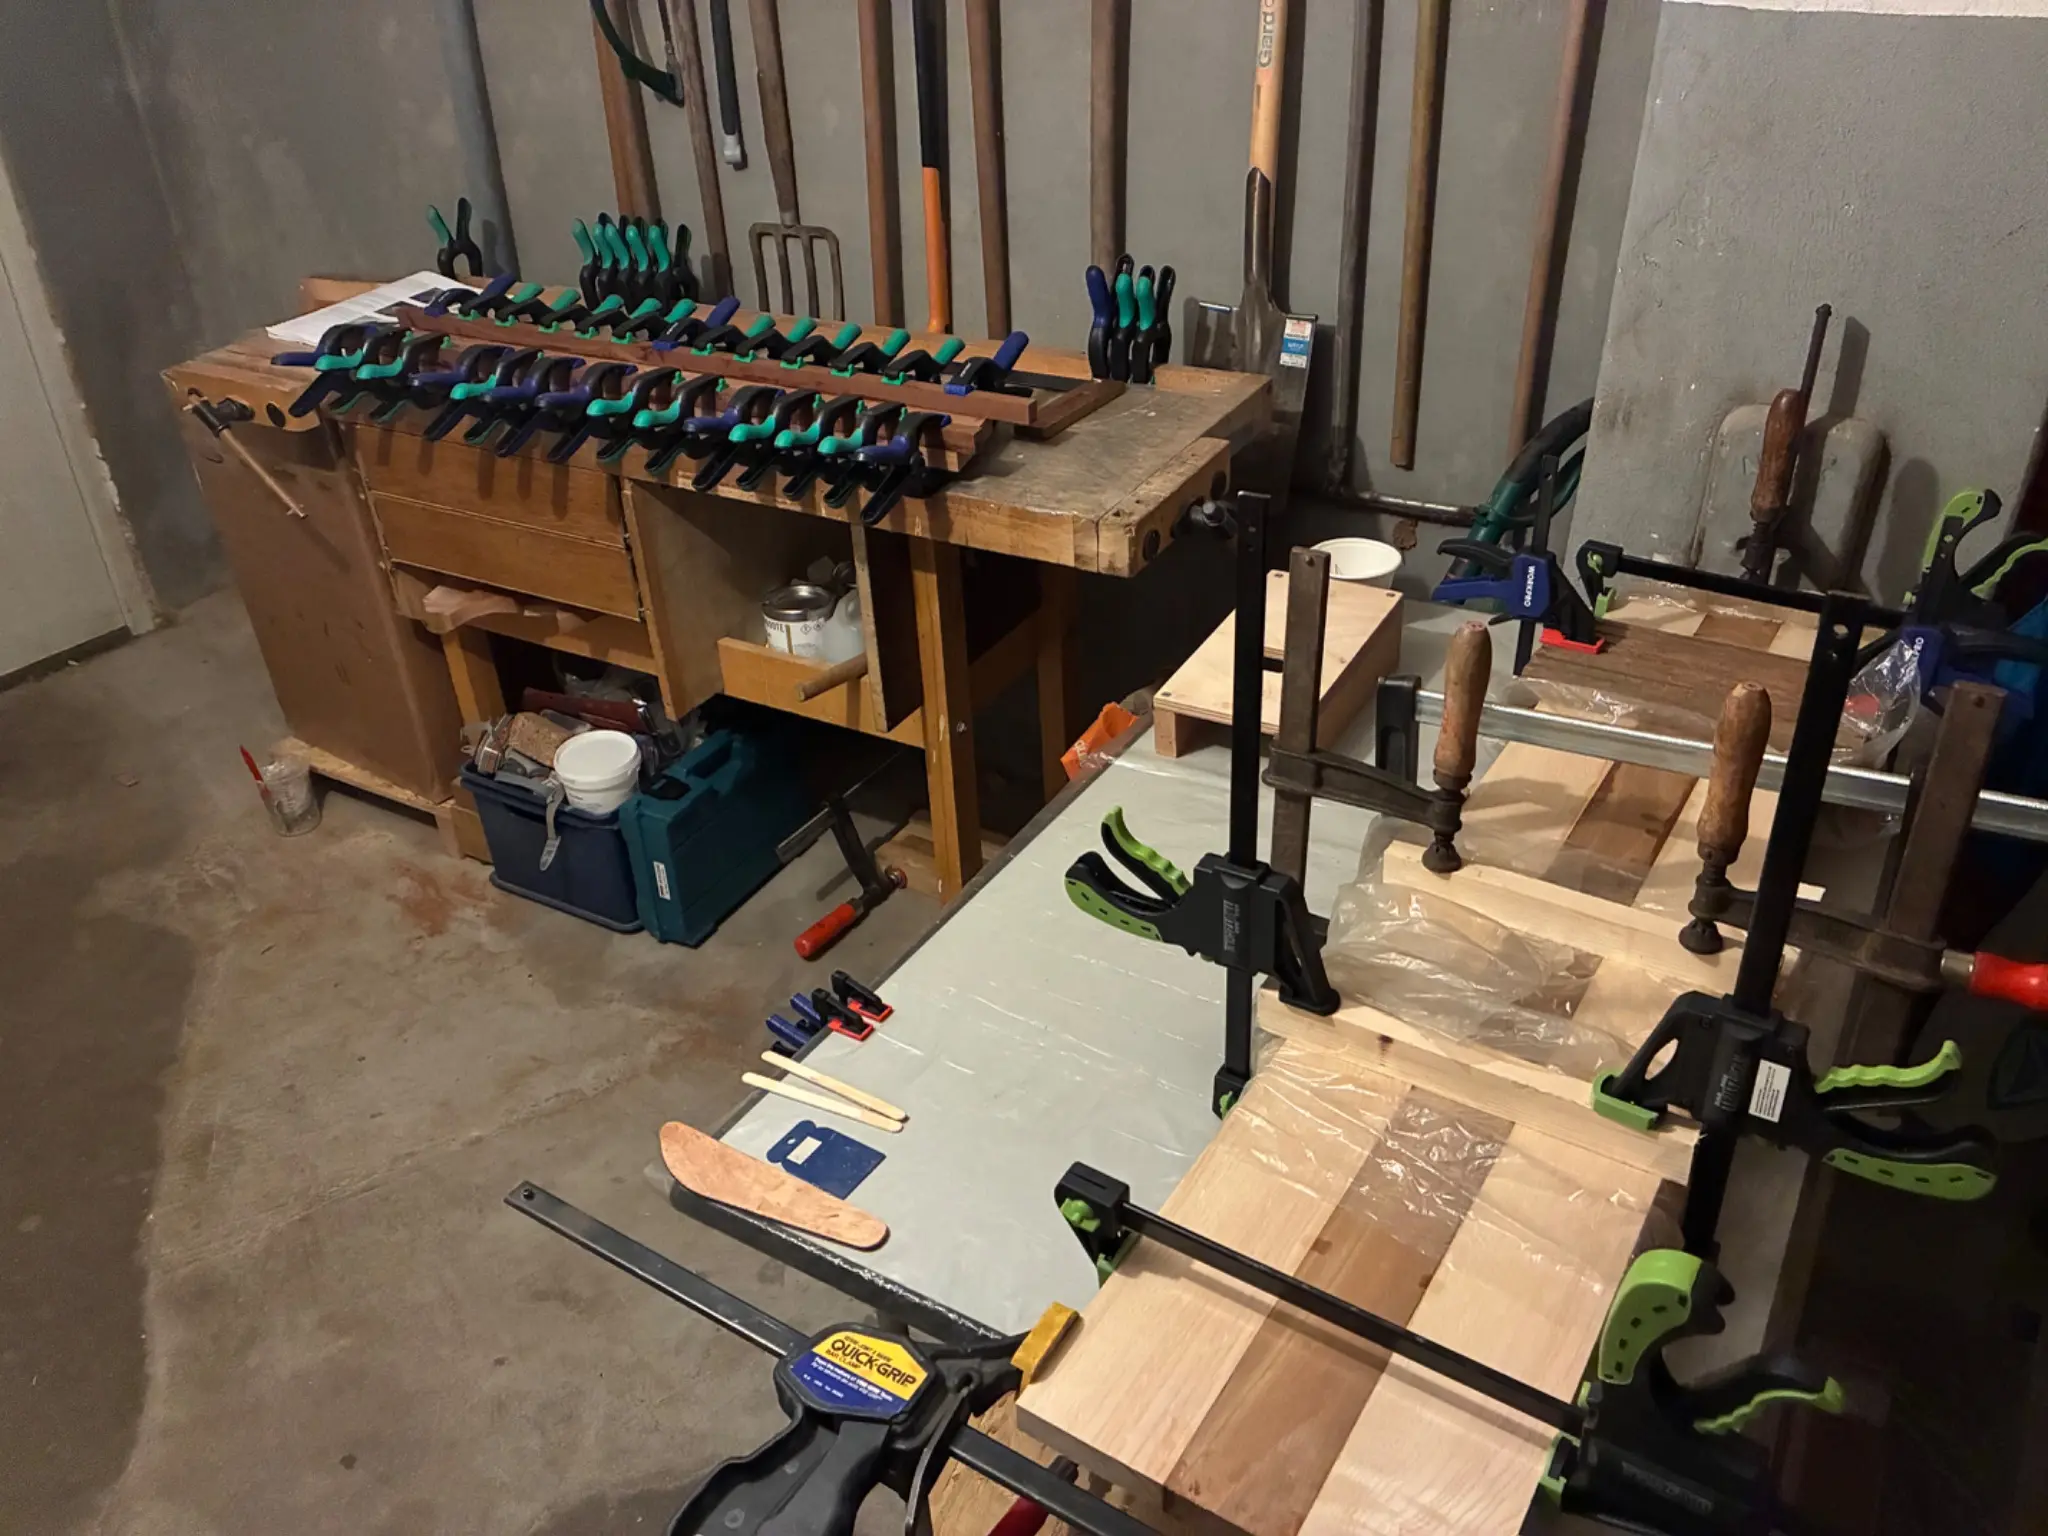
After a fun night out with Compass Mike, lots of drinks, good music I started the morning with a good breakfast to get my head straight. Starting around noon I finished the glassing on the inside bottom and cut off the fiberglass edges along the masking tape in the first two compartments from the bow to the middle. I am quite happy with the result and allow my self some tiny bumps as it is my first boat building experience. In the evening I glued the first thwart and started the mast thwart with cutting the hole for the mast and adding the rails. I had some thickened epoxy left and not enough screw clamps remaining for a second regular thwart. For the mast thwart there were plenty of spring clamps. It turned out that my jigsaw is pretty worn out so the cutting edge along the bottom line was a little inside. I had to use a rasp to meet the outline.
Photo 1 Photo 2 Photo 3
Chapter 07
Hull Exterior
Turning over, keel and skeg, rubrails, exterior structure.
6 days35 hoursfrom October 2026
26 Oct 2026Hull Exterior8.5 h
Working outside
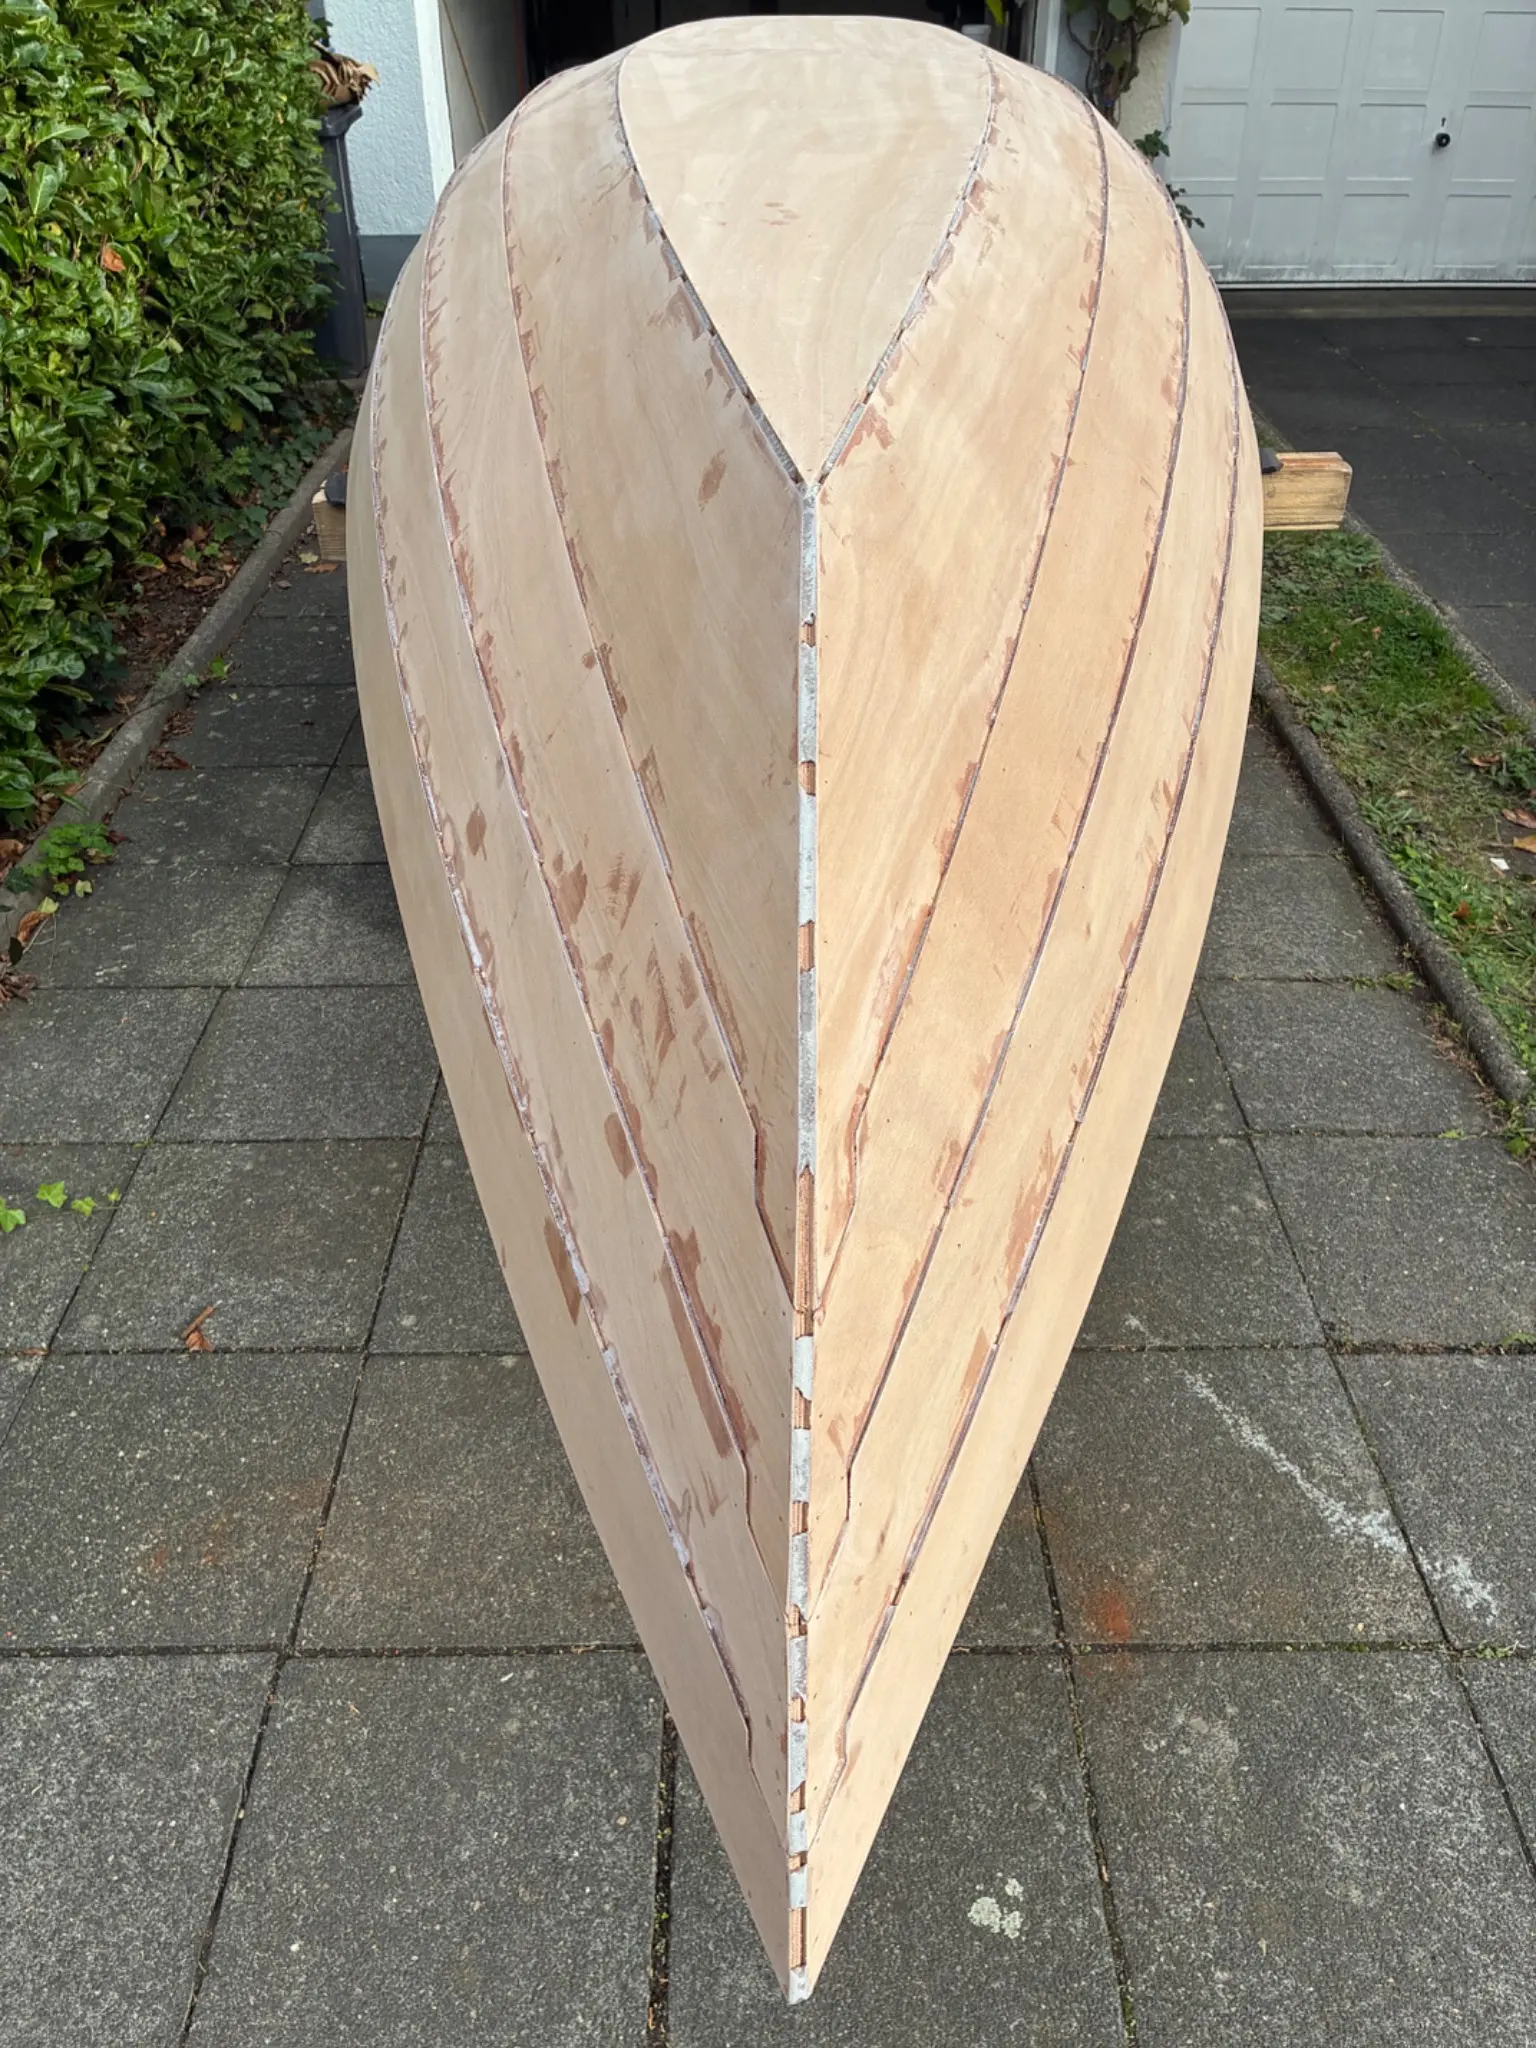
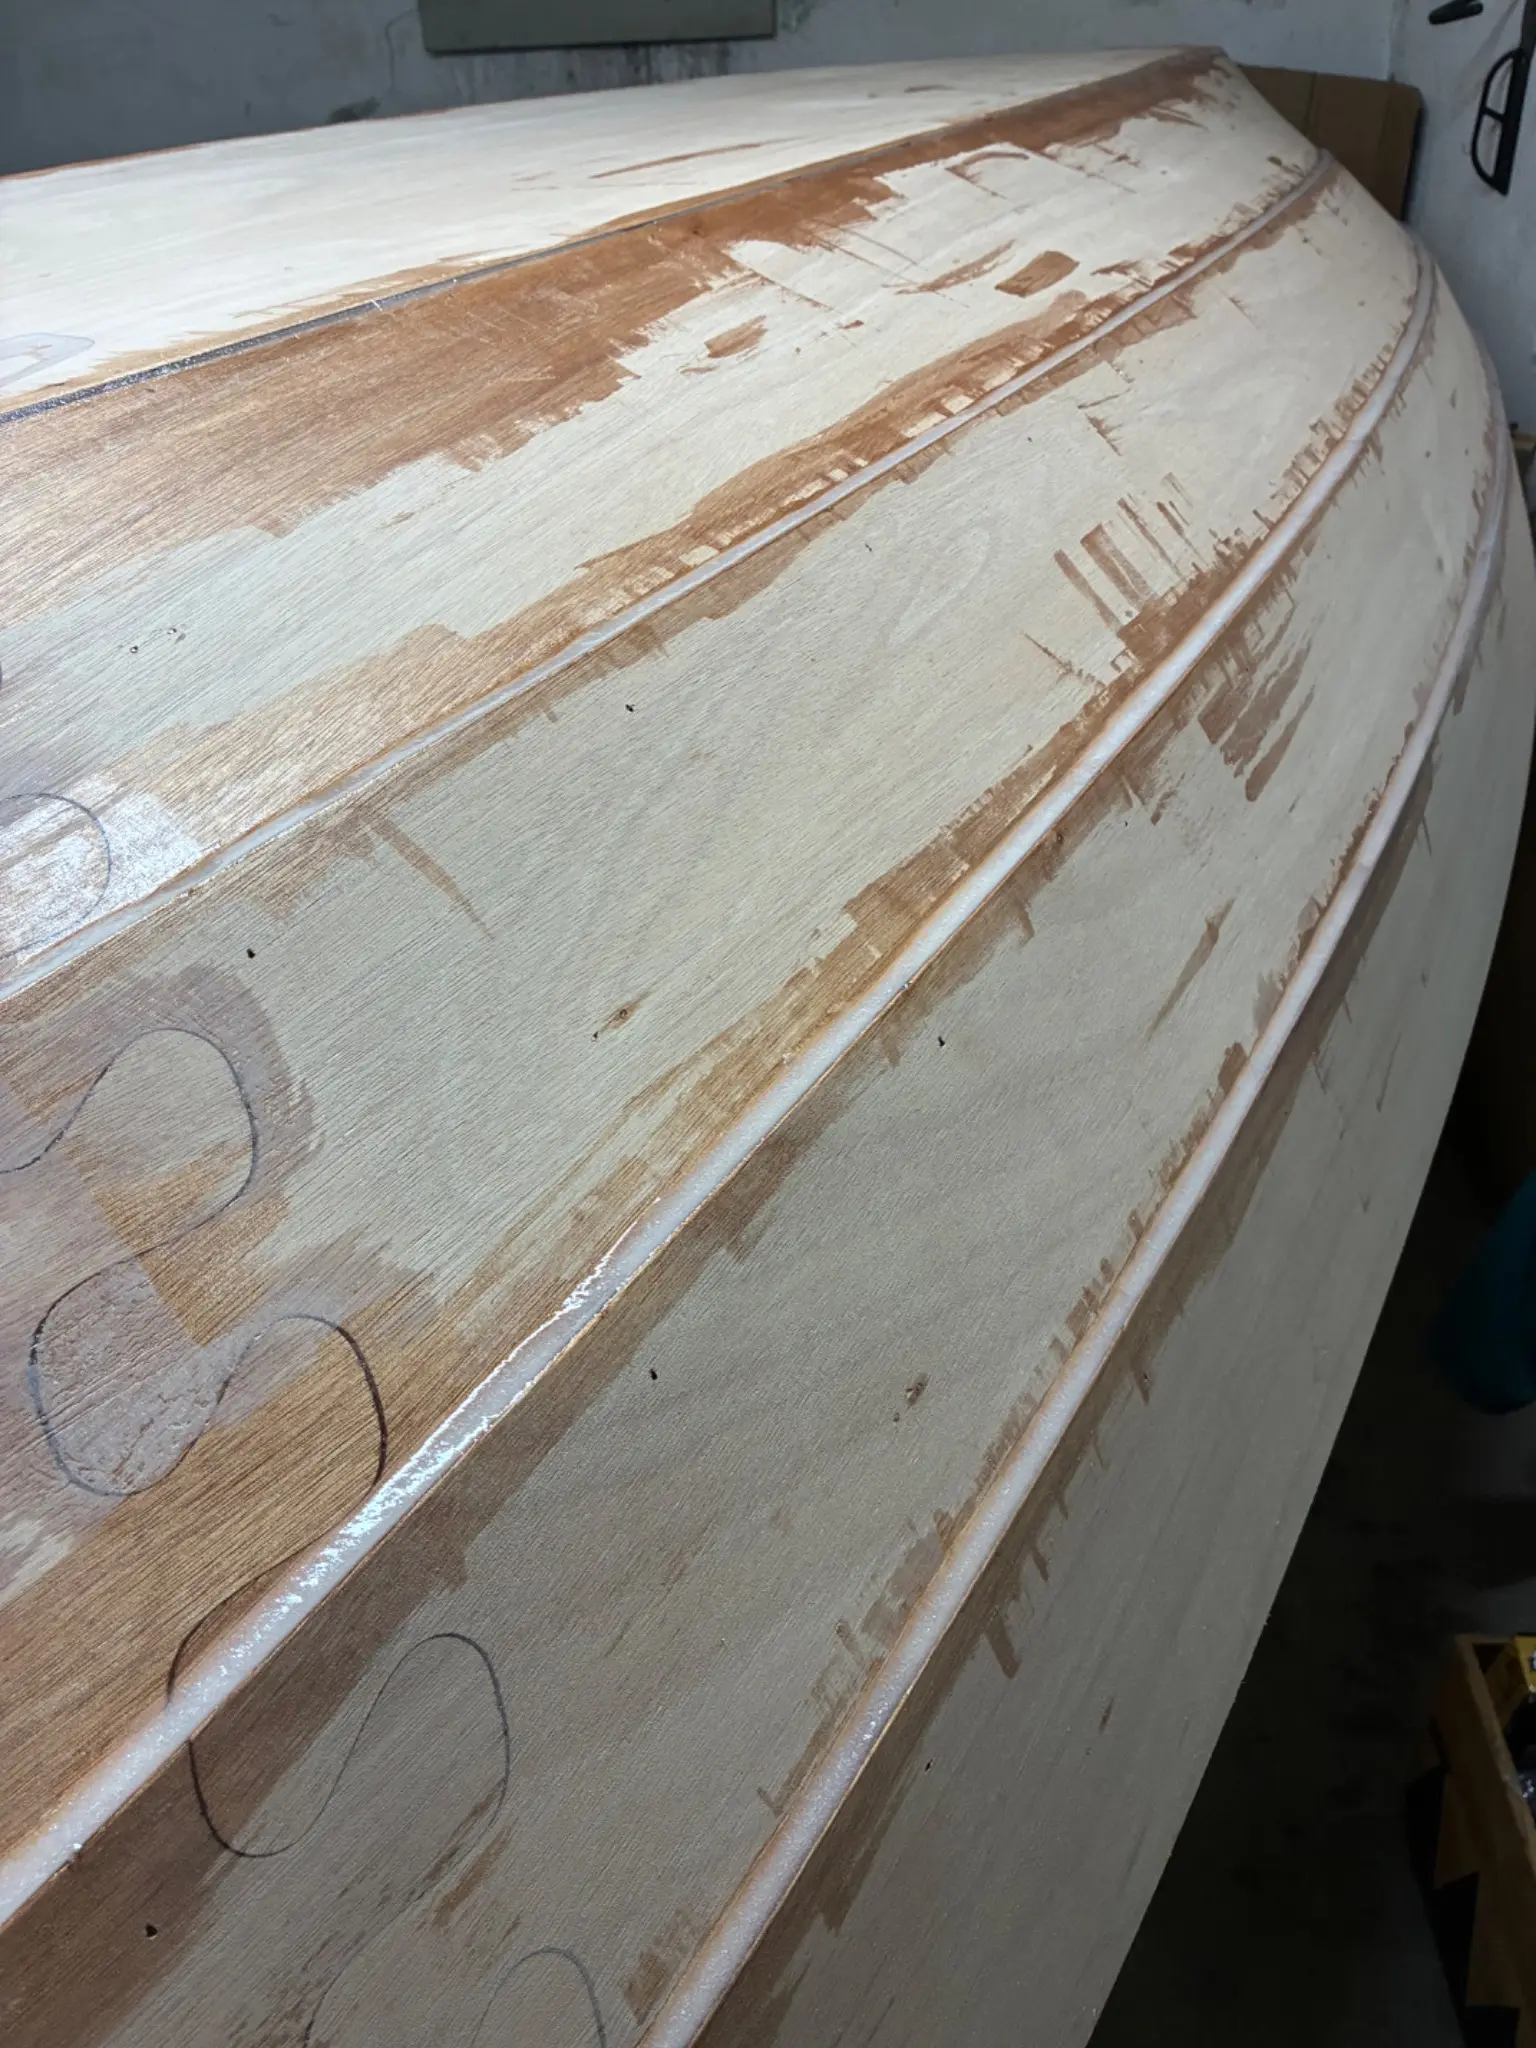
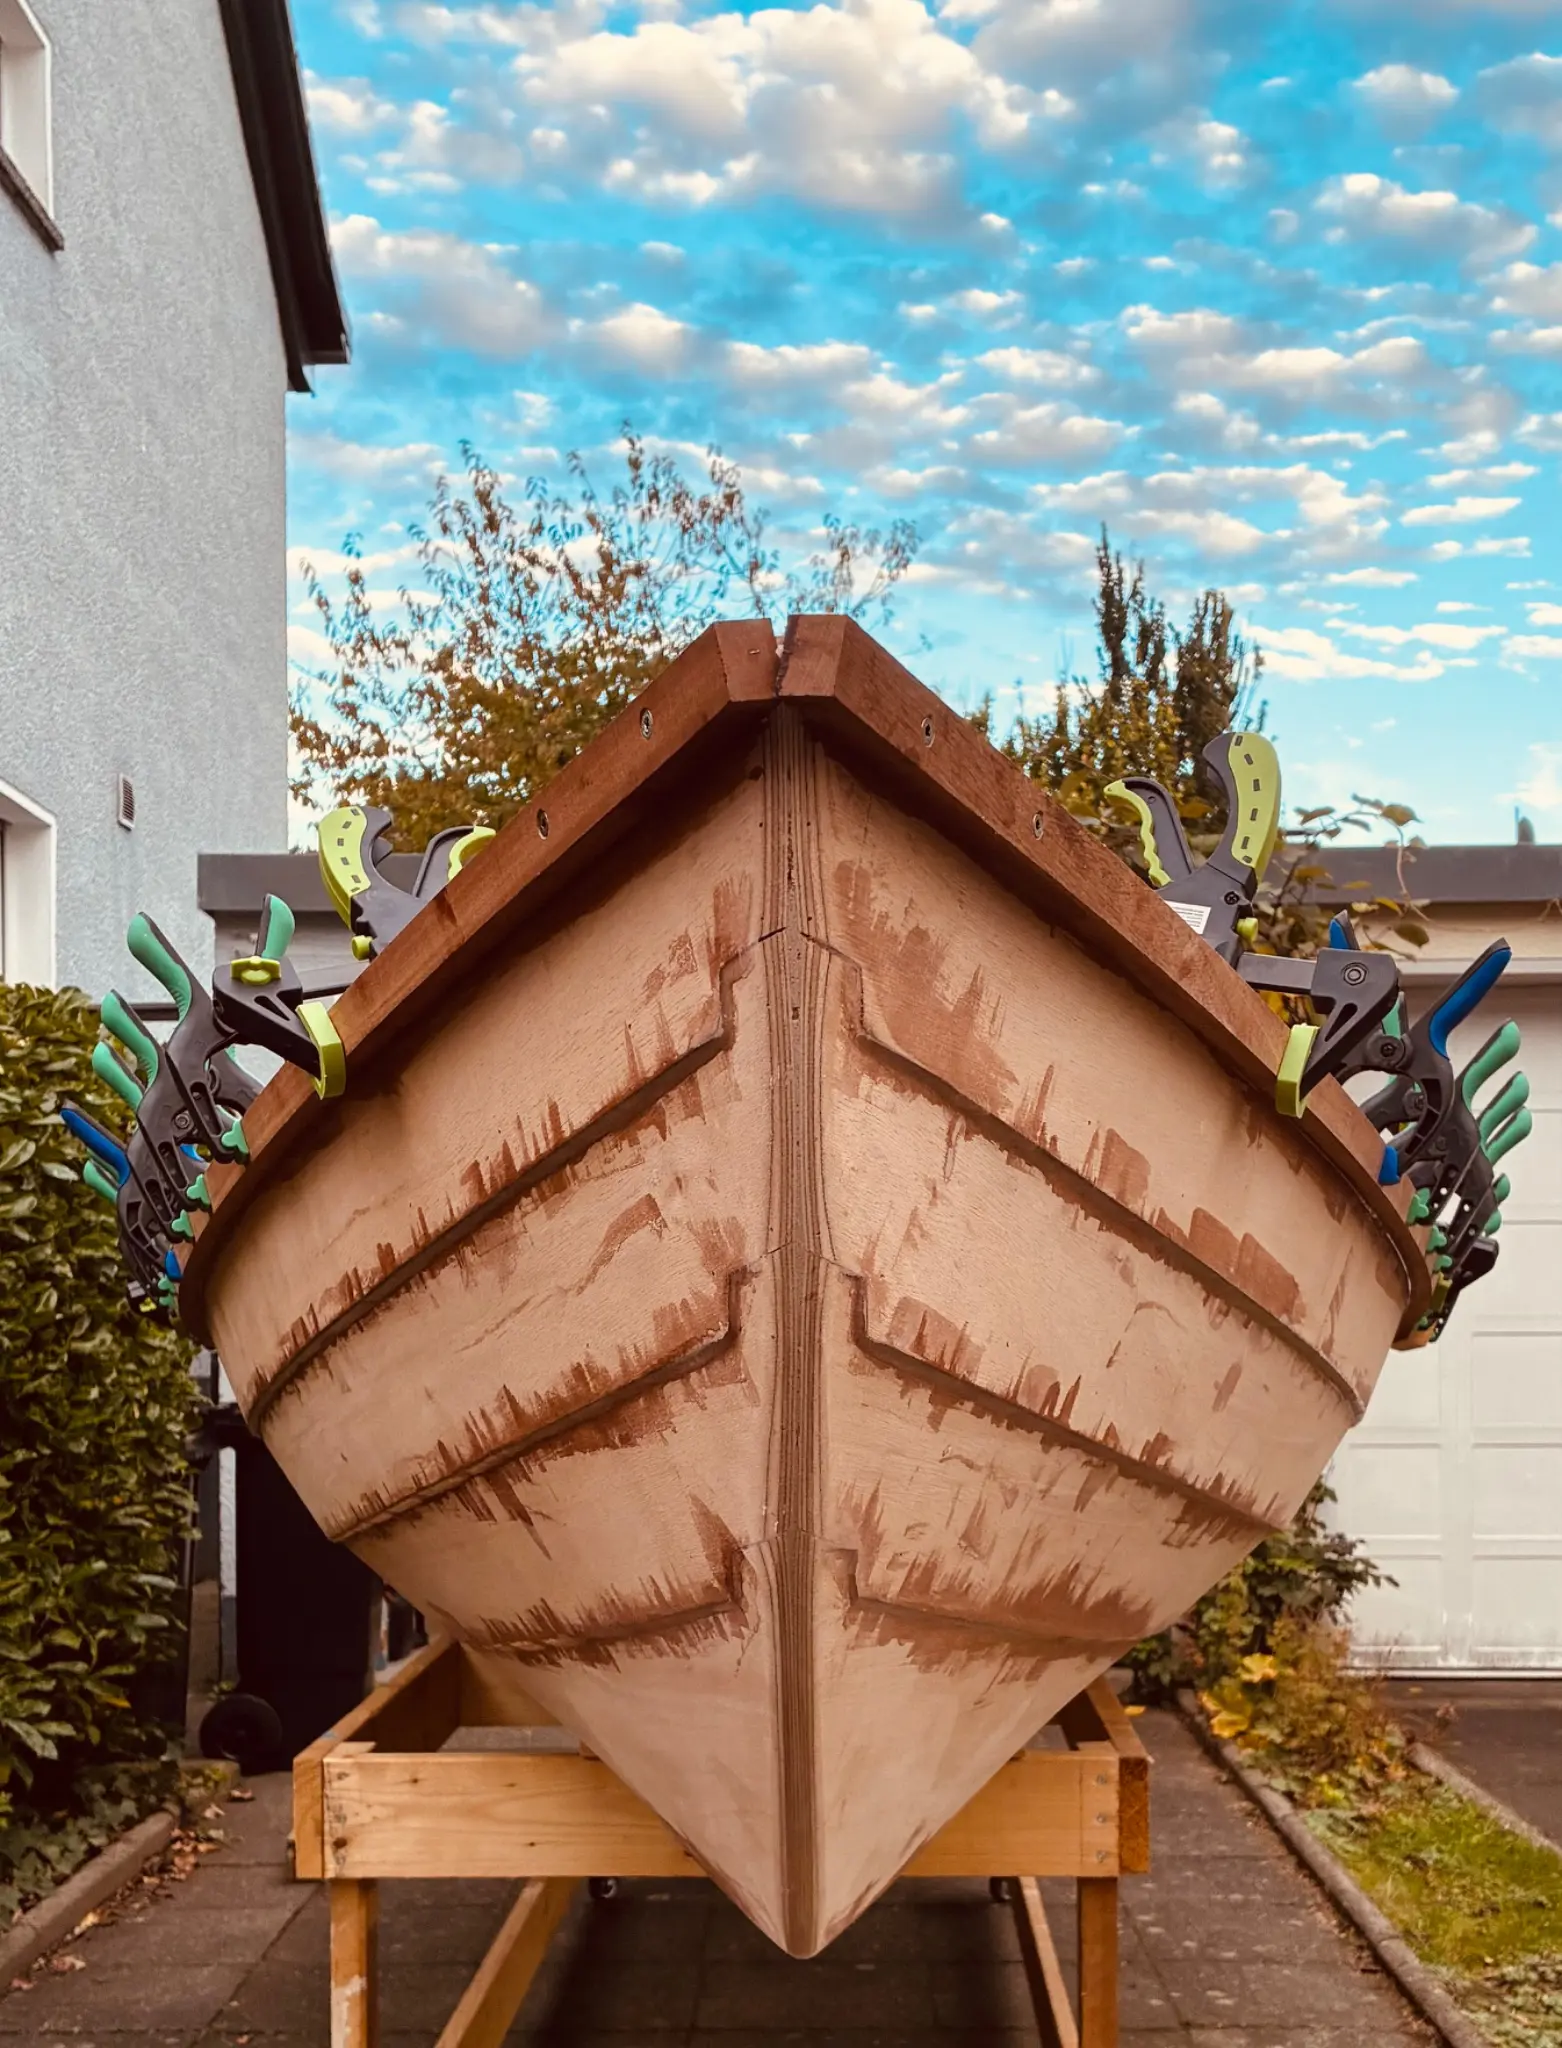
Today we had light sun and the temperature climbed above 15 degrees Celsius. Good conditions to work outside. As space is limited in the garage I always have to crawl underneath the boat to get to the other side if the gate is closed. With trimmed glass edges all around I flipped the hull with the help of my neighbor and gave it a little sanding before I started filling the gaps between the panels. The result is pretty nice. I always wonder how long all this takes. In the morning I had to prepare a meeting for tomorrow so I started at 11:30 and worked til 15:15, than my mother showed up. After a coffee break I kept working from 16:30 to 19:15. Finally I had a last shift from 22:00 to 00:00 .
Photo 1 Photo 2 Photo 3
27 Oct 2026Hull Exterior6 h
Rails for the Dory
It was quite successful cleaning the edges around the transom with my new block plane. I sharpened the blade before I started and it became so sharp that I cut my thumb with a slight touch. Sad to notice that I had to pass some of the copper wires that had to remain in the transom because of the fillets. Now the blade of the block plain has several marks but I will reshape it. The bow got rounded as well and in the Afternoon, when it was quite warm outside my Mother helped me by attaching the first pair of rails. Perfect to work outside with a little more space. To give the rails the right bend at the transom I drilled two wholes to the extra length of the rails, made a loop with copper wire and twisted it to get the right tension.
Photo 1 Photo 2 Photo 3 Photo 4
28 Oct 2026Hull Exterior7 h
Bullet shape
After 24 hours curing time it was time for the second pair of rails. My Mother is still around so she gave me a hand. It seems ther could have been one too three more screw clamps but it looks ok after a few adjustments. The trickiest spot is about 25“ to the transom. Panel 4 has a slight S-Schape there and it felt hard to meet the line. Besides that I shaped the dagger board which gave me a lot satisfaction. In the evening I coated it with epoxy and it looks nice. There are a few more parts that got brushed with epoxy. A good day of work, mostly outside.
Photo 1 Photo 2
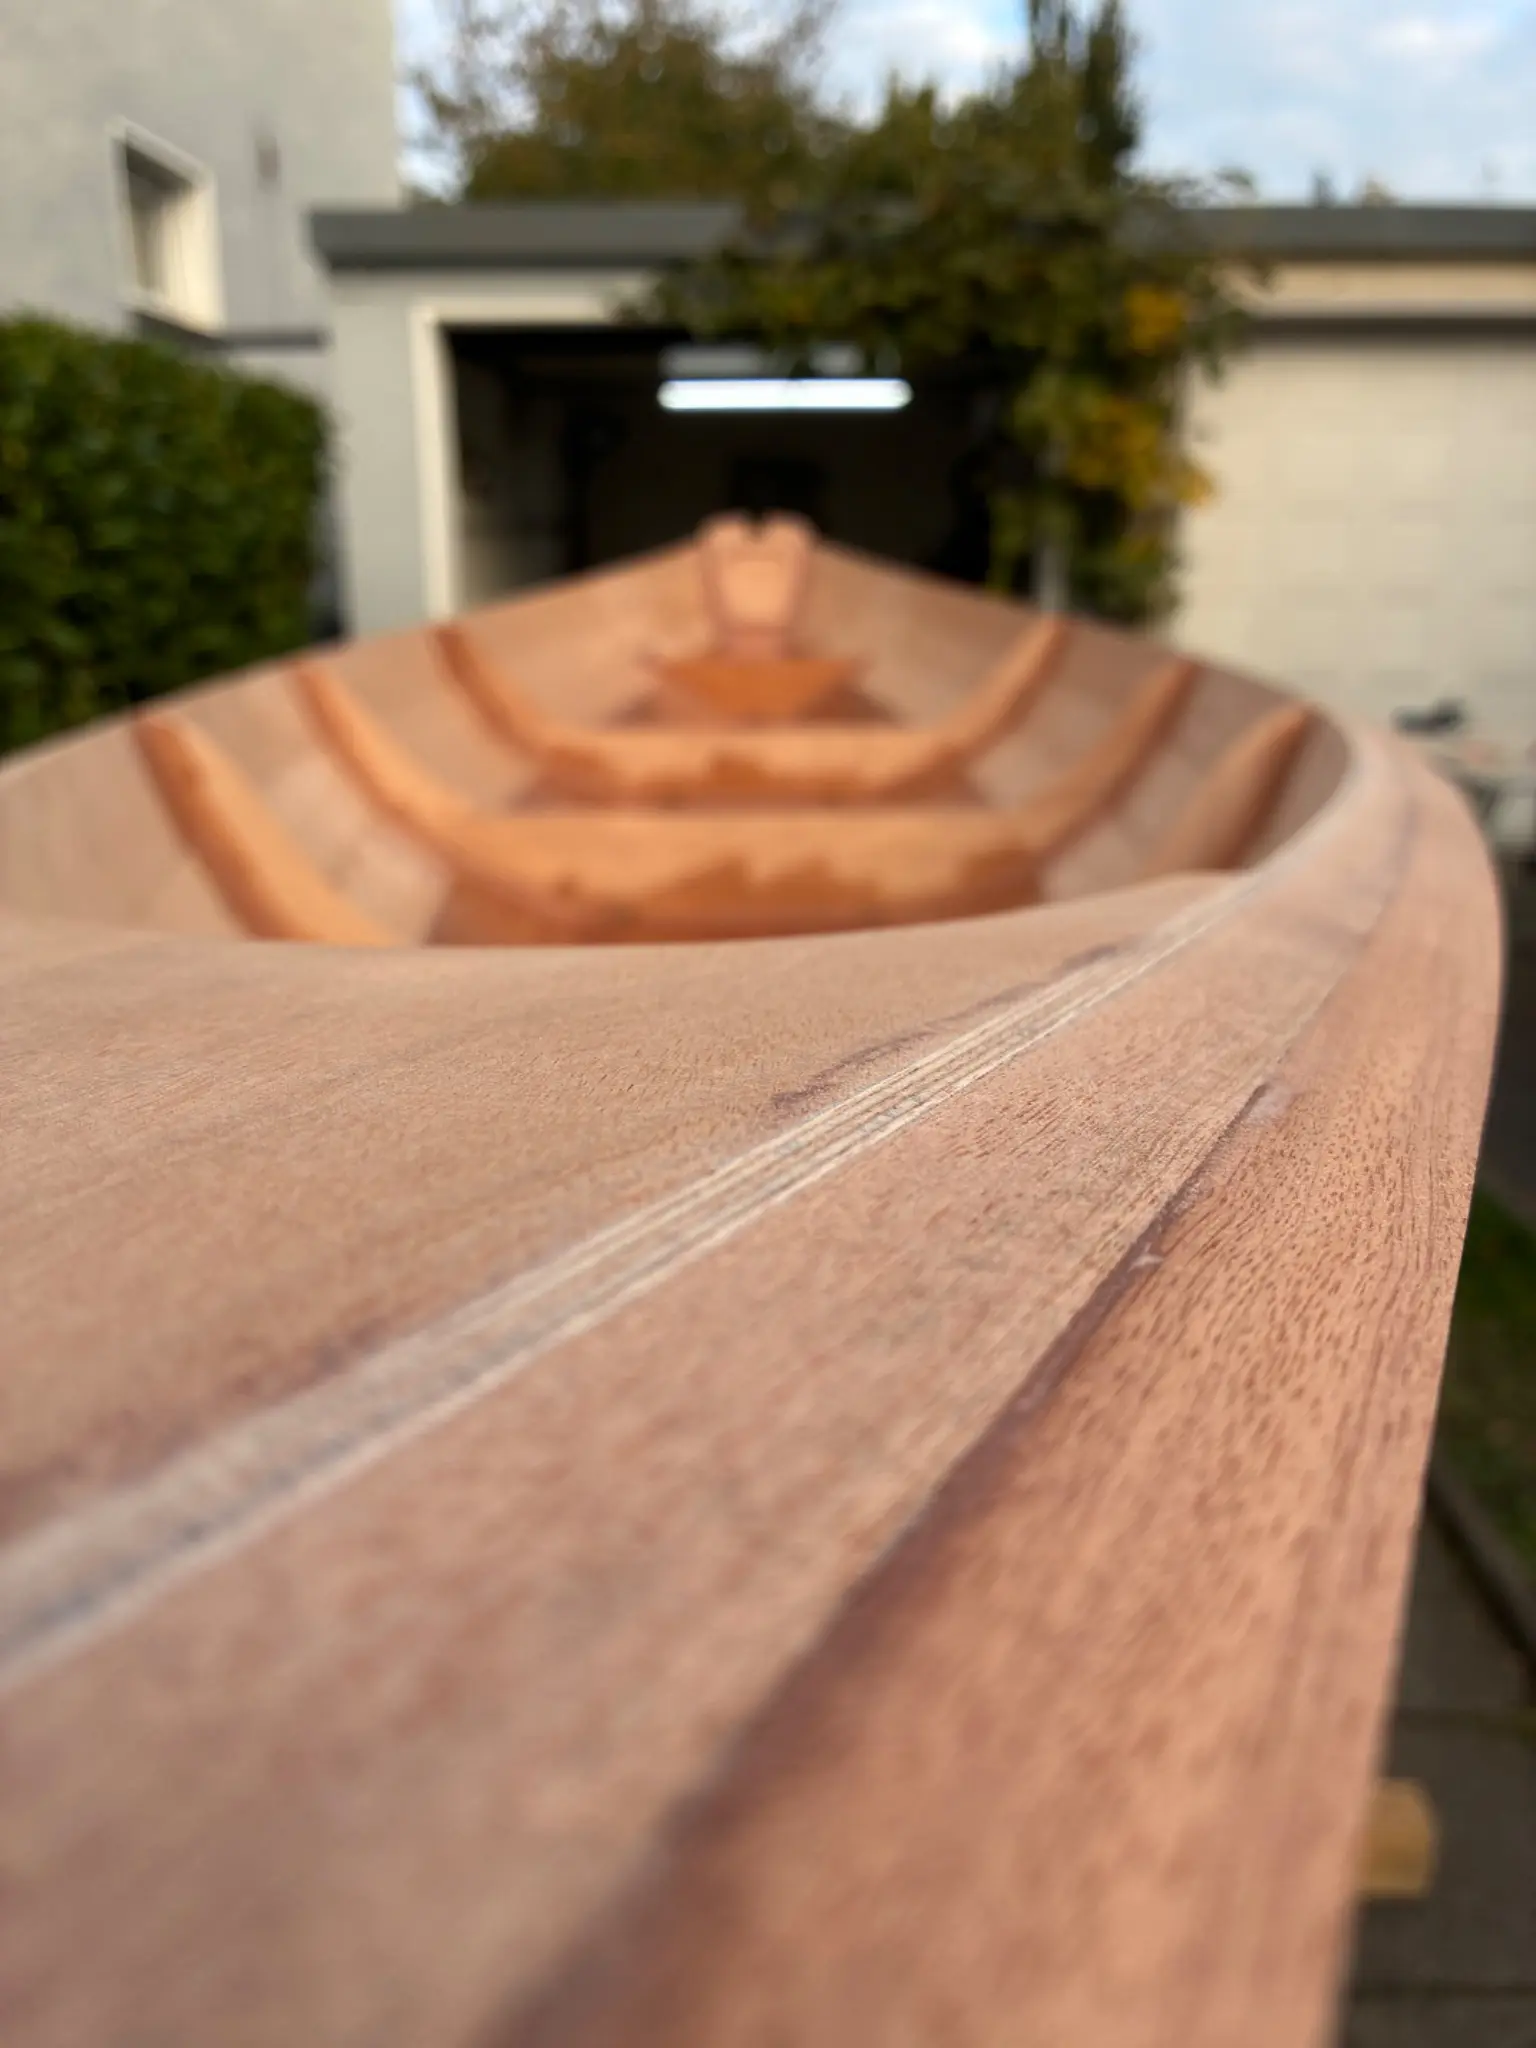
29 Oct 2026Hull Exterior6 h
Rails unclamped ready for glassing
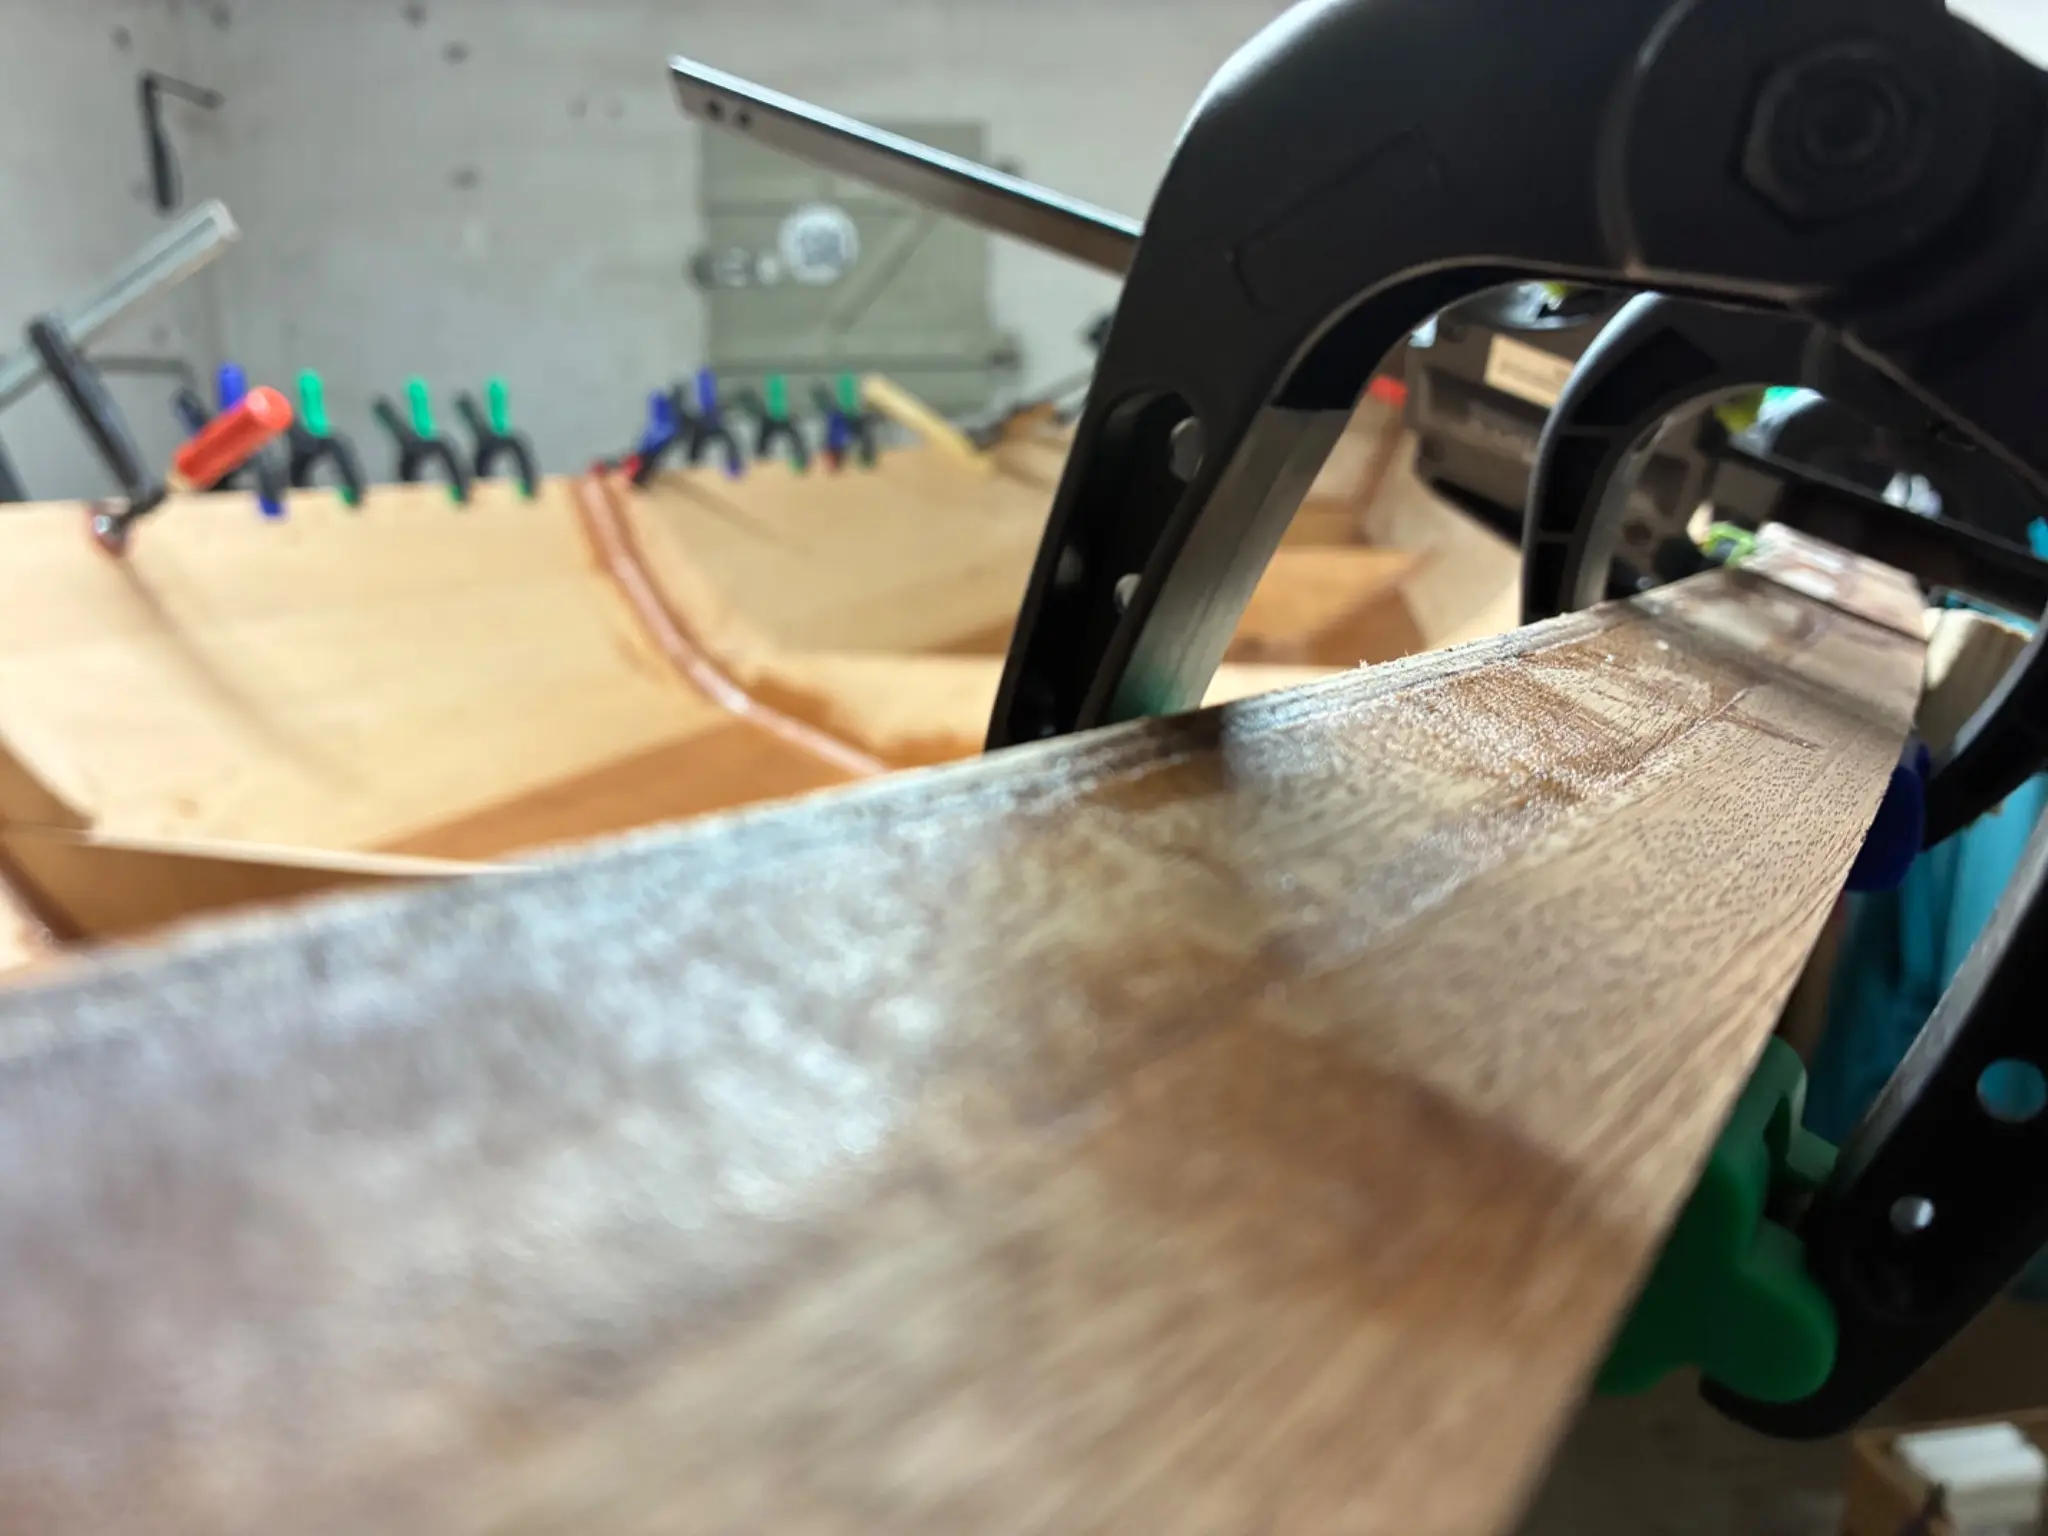
Unclamped the rails and gave it quiet a bit of sanding to get the rails smooth and to the same level at every inch. I found some tiny edges down the line but nothing dramatic. With the sander in hand I gave the bow some more shape and cleaned the edges between bottom and panel one. Now it’s ready to get glassing from the outside. In the next step I sanded the rudder in preparation for it’s first coat which I applied in the evening. I borrowed a powerful saw from a neighbor, because mine sucks. This one went through the thwart like through butter. For the long, straight cuts I used my (hand) circular saw, which was good, even without a rail to use the saw with. Now I am confident that I‘ll be able to give the mast the right shape with my circular saw. Before I was wondering if I have to ask a friend if I can use his workshop (he is a framer and has got all the heavy tools).
Photo 1 Photo 2 Photo 3
30 Oct 2026Glassing & Epoxy4 h
Glassing
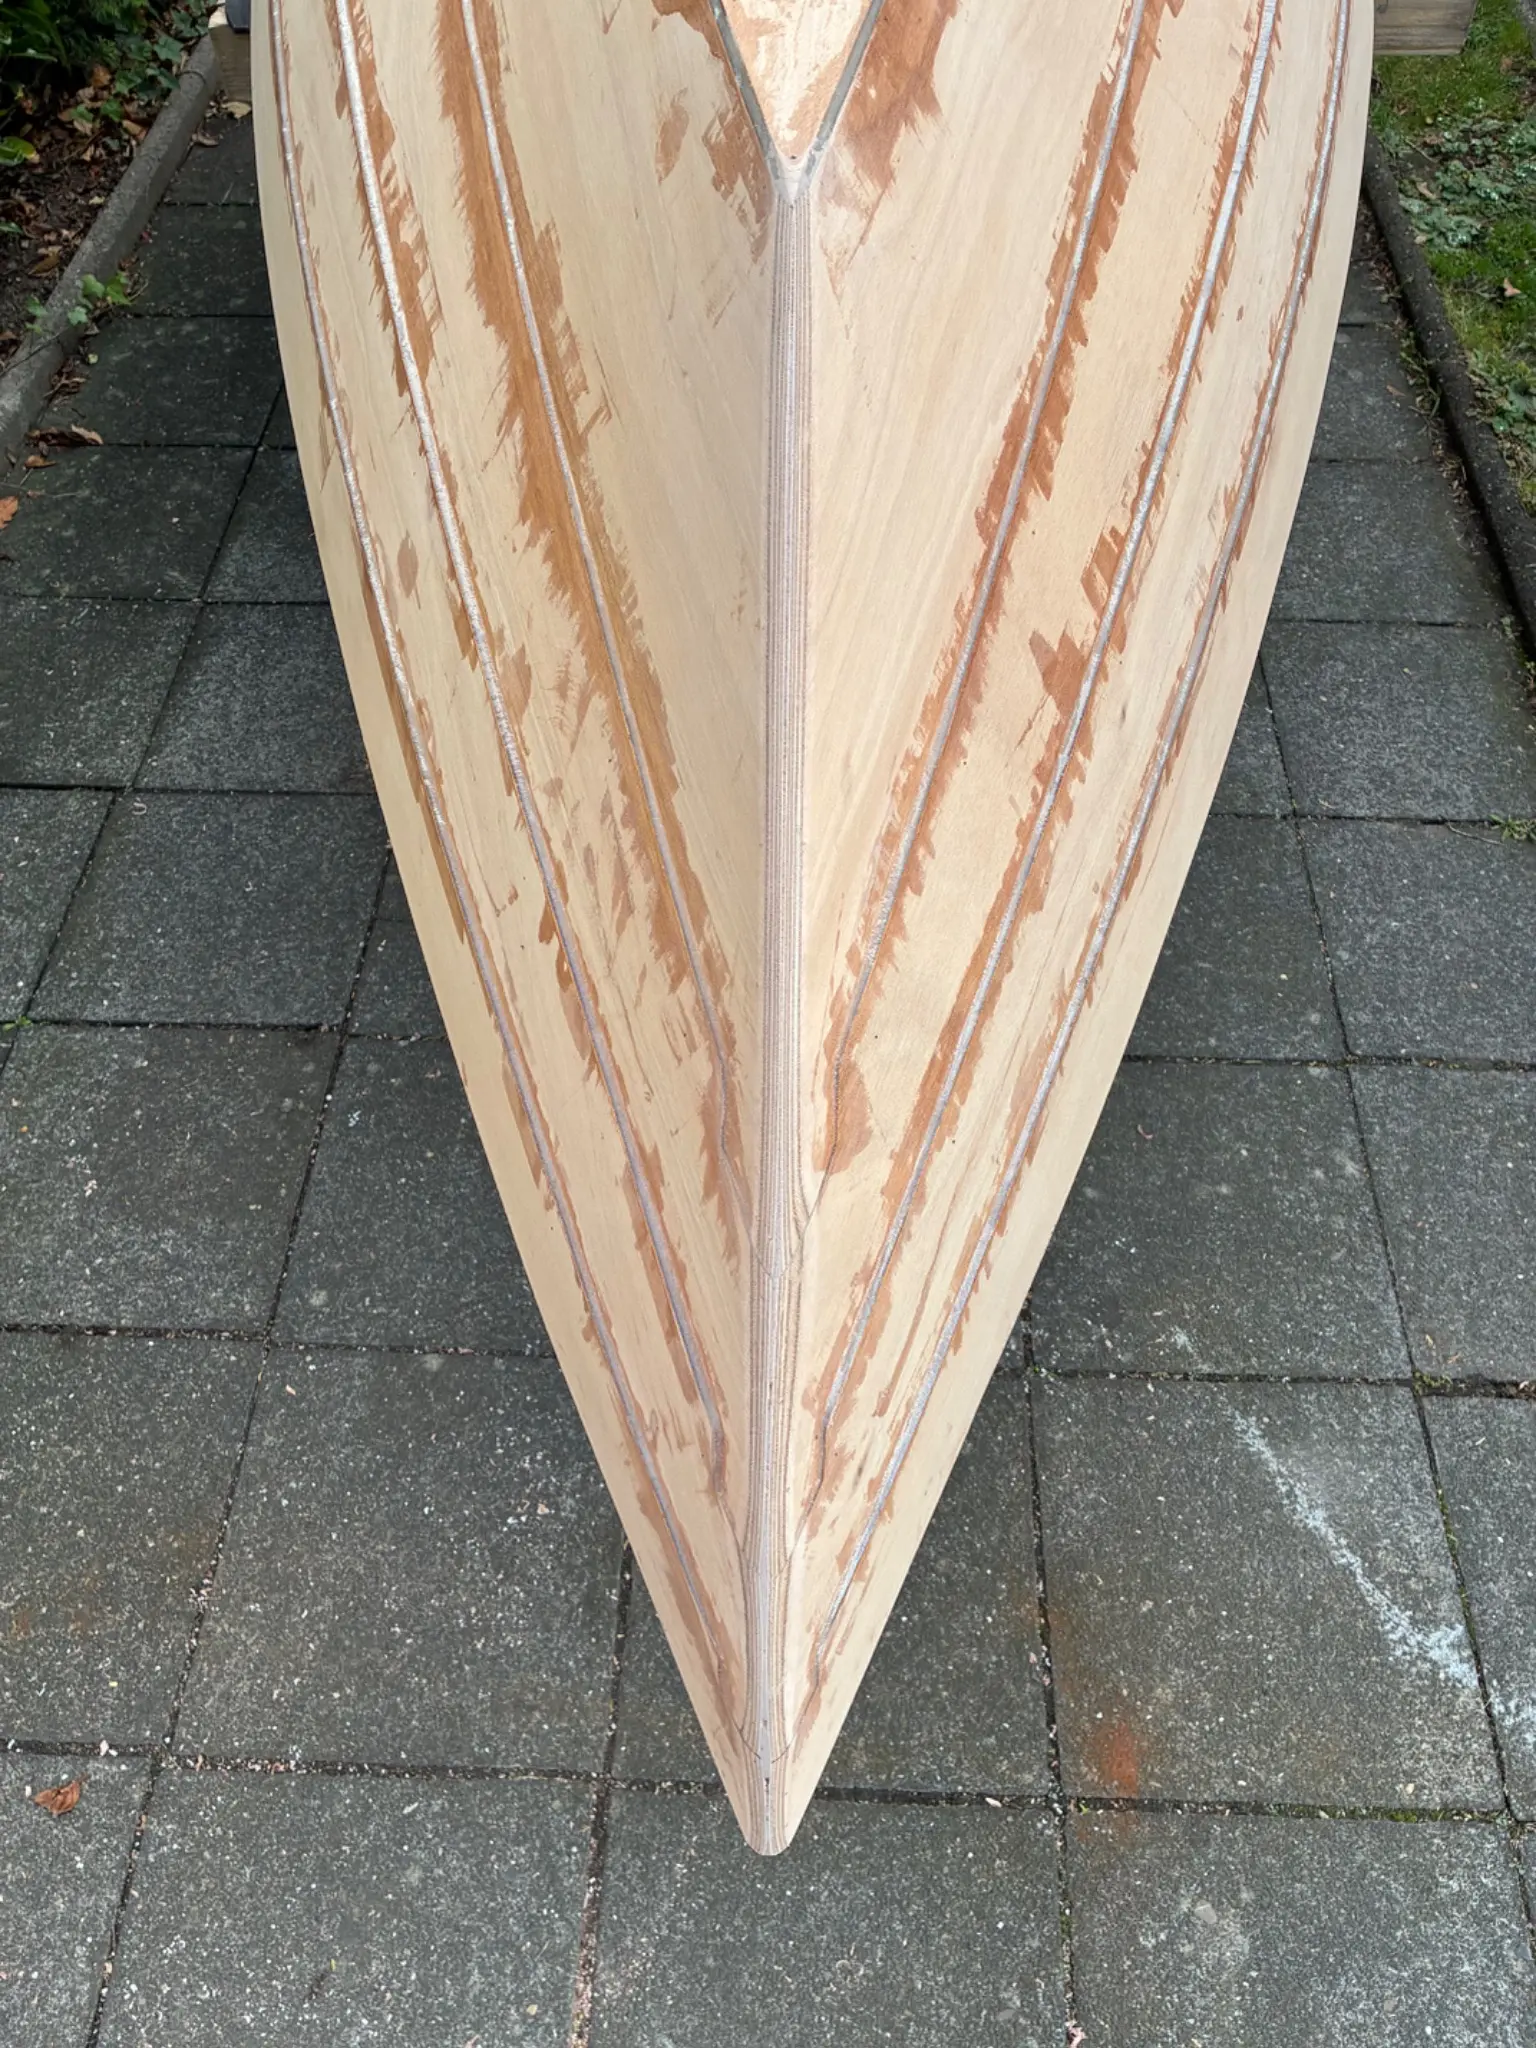
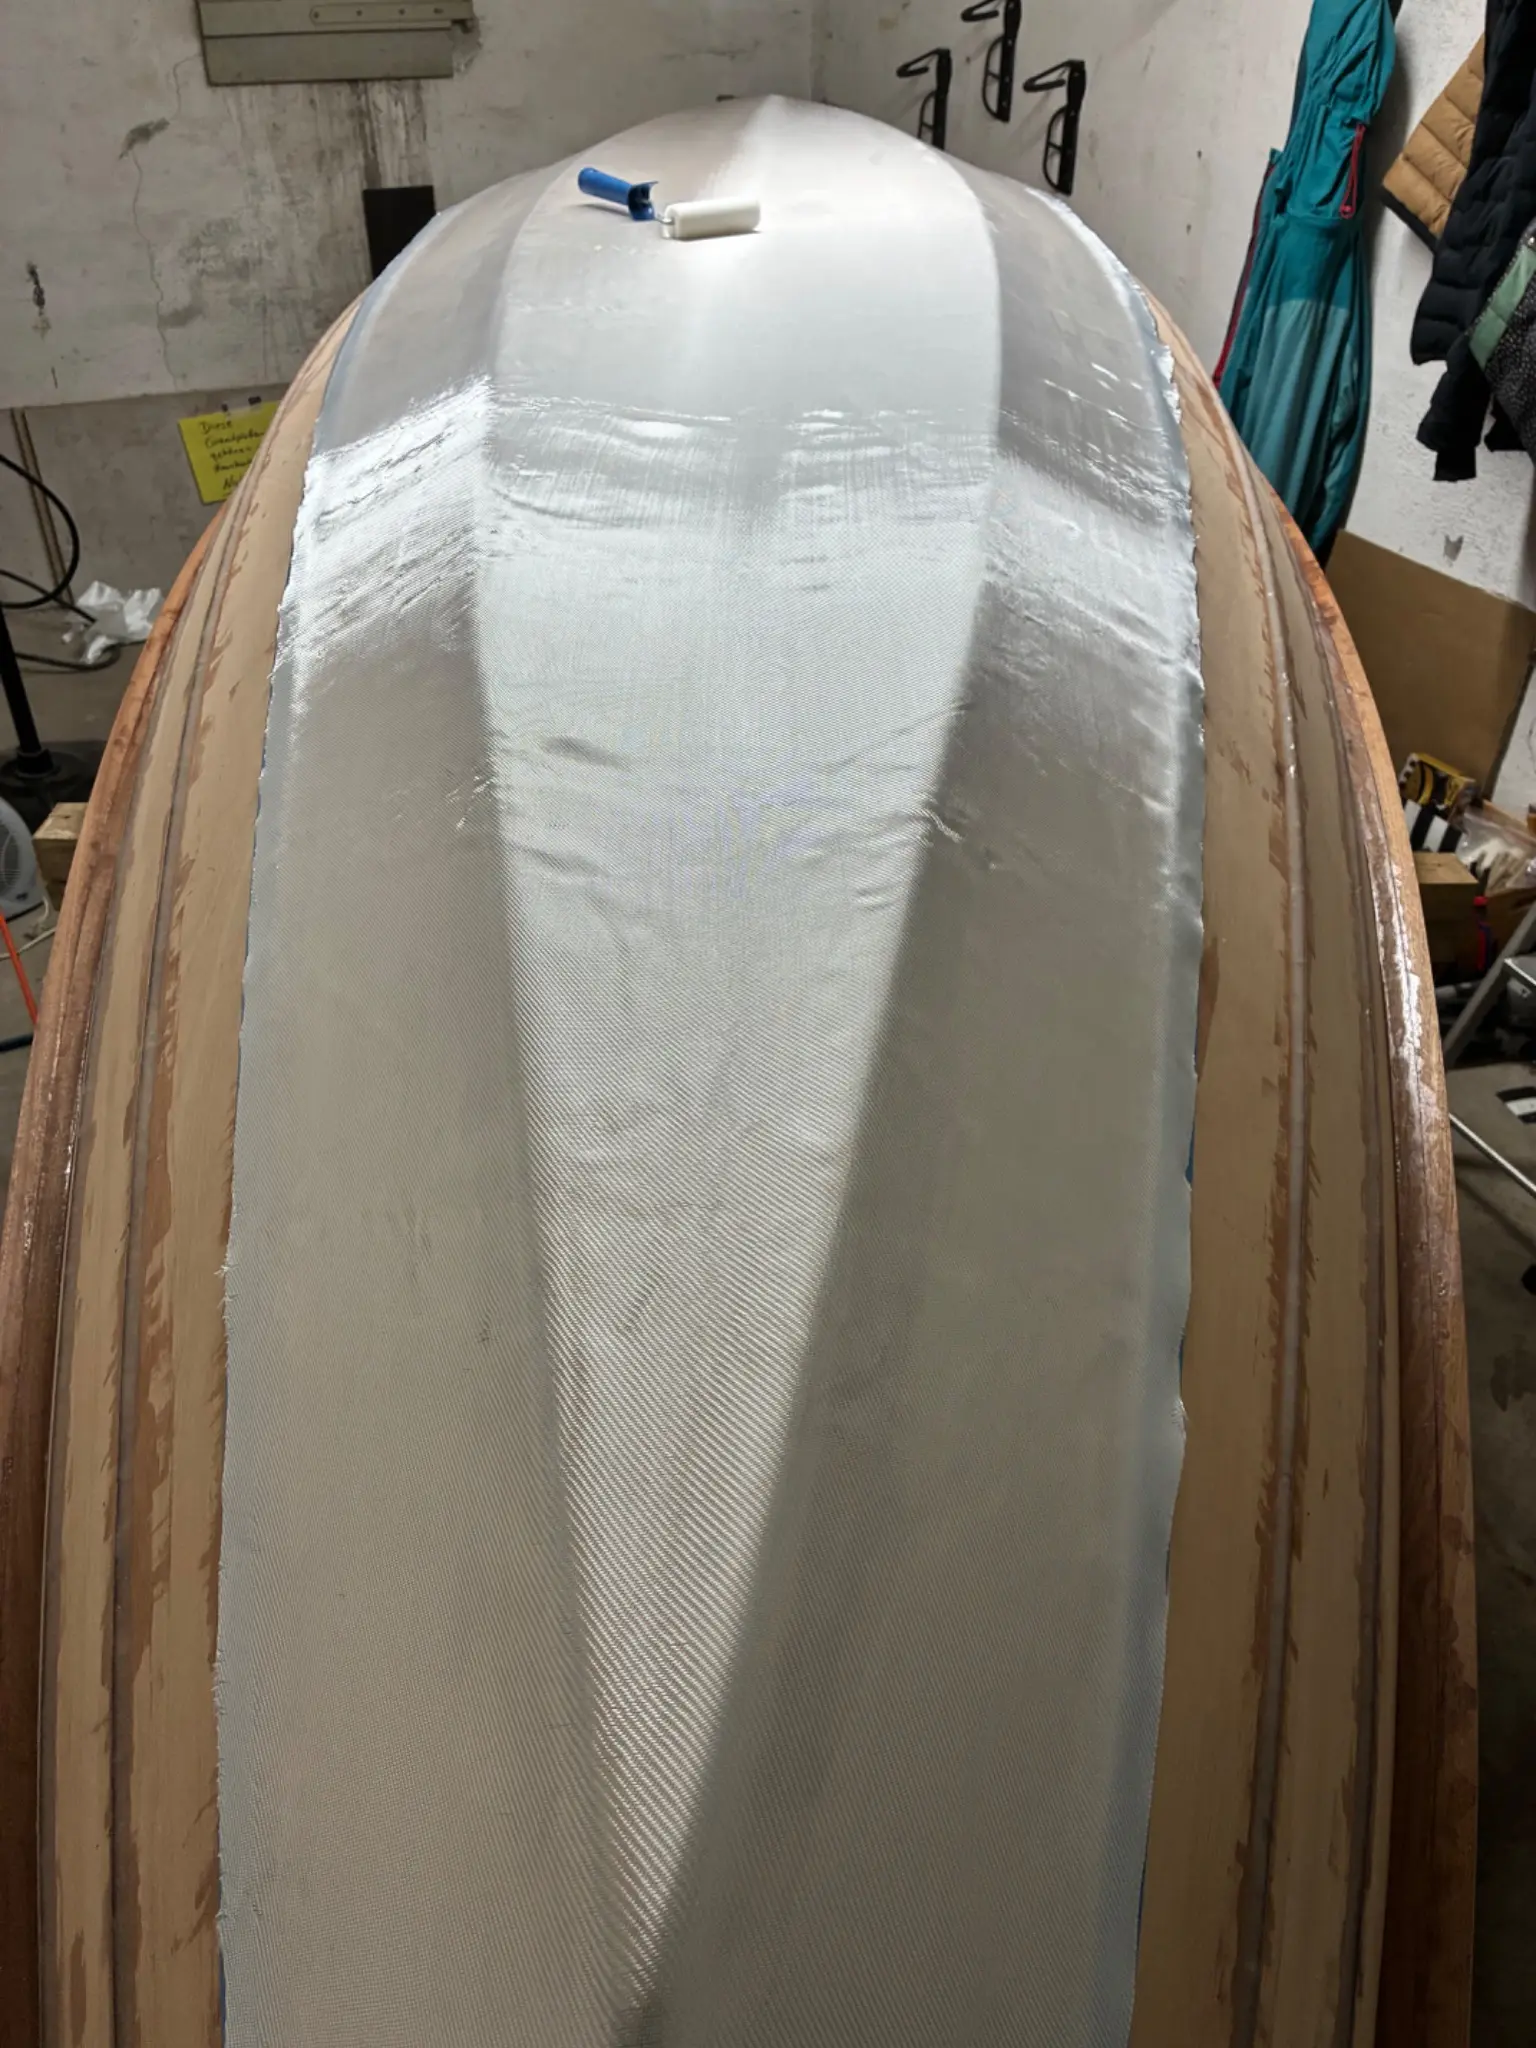
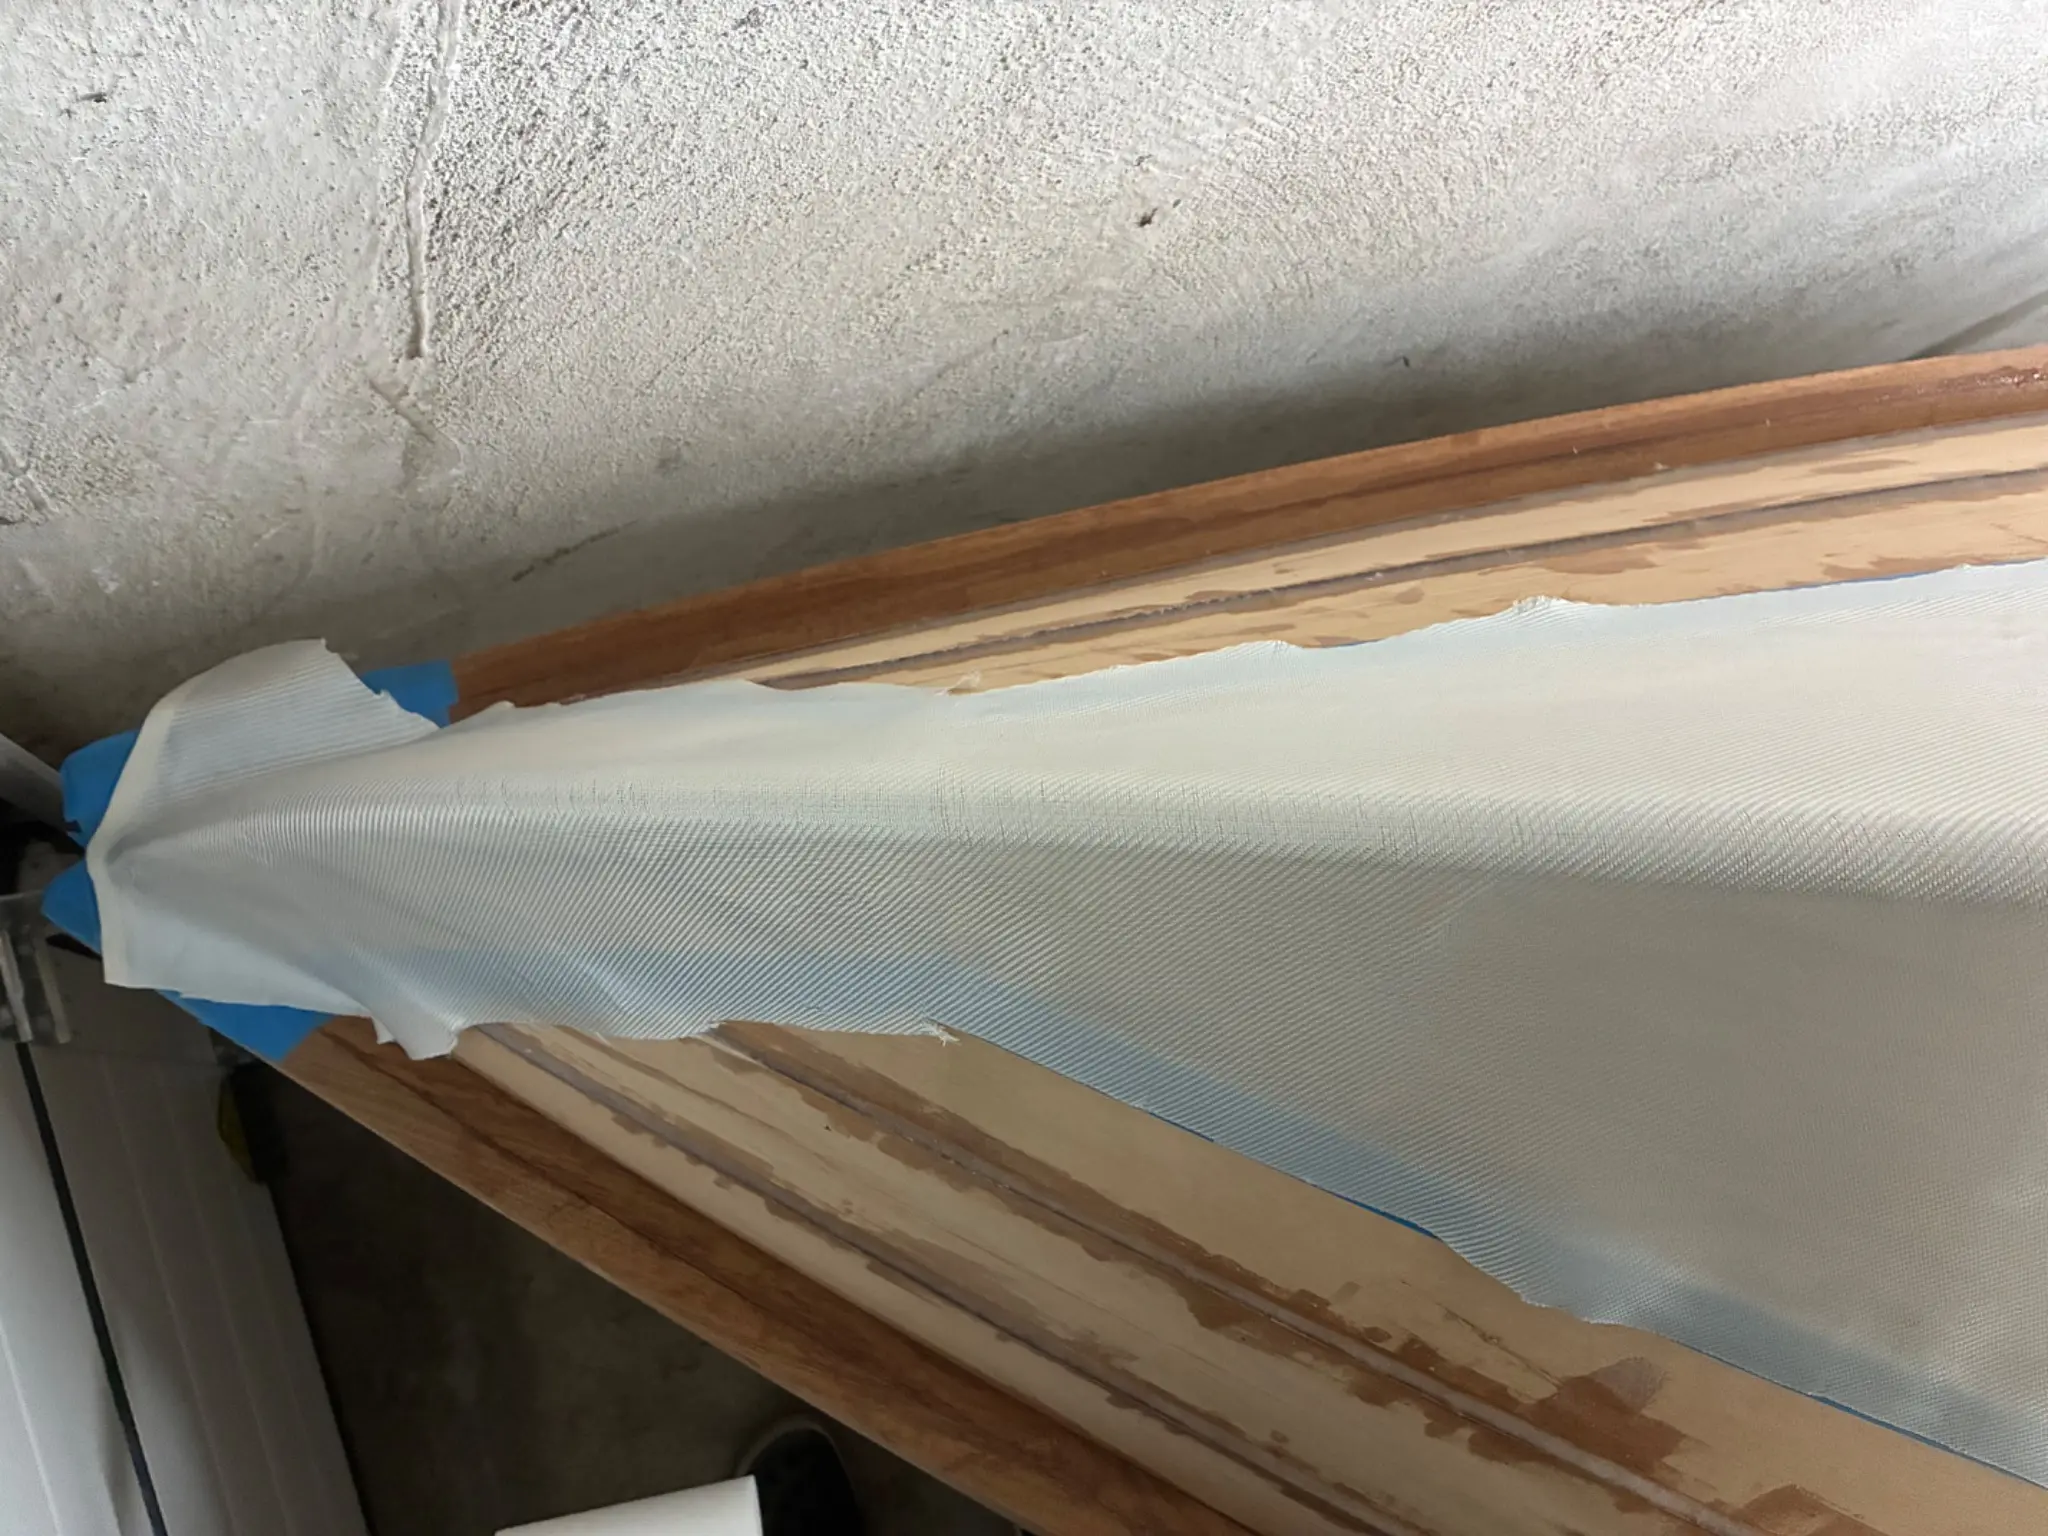
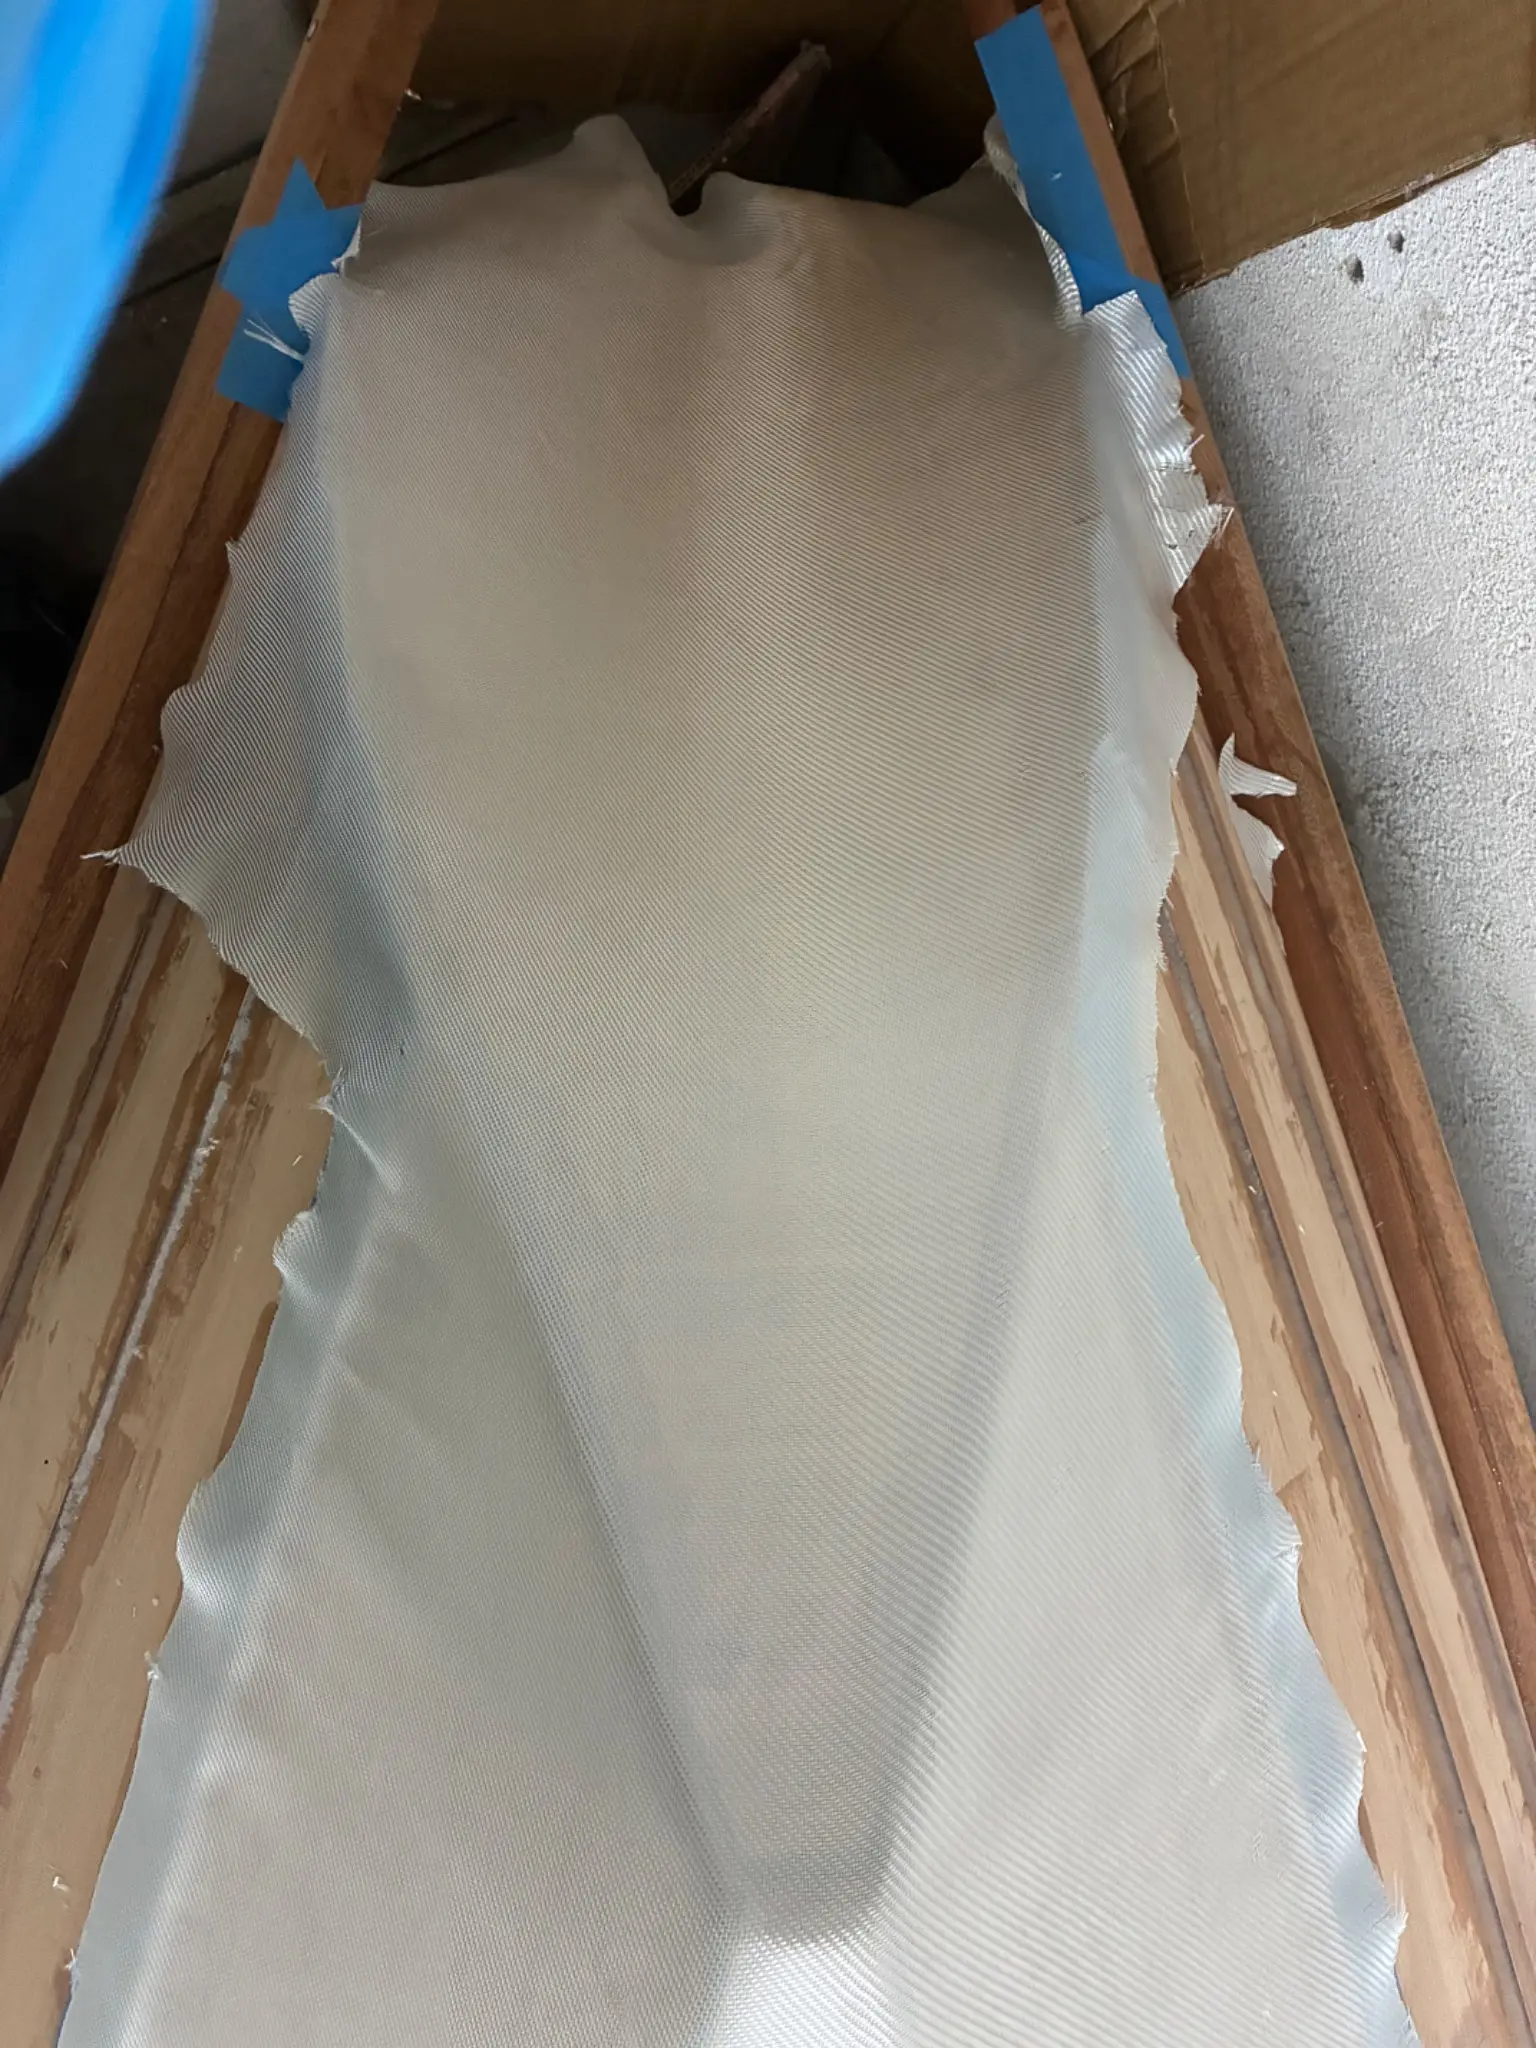
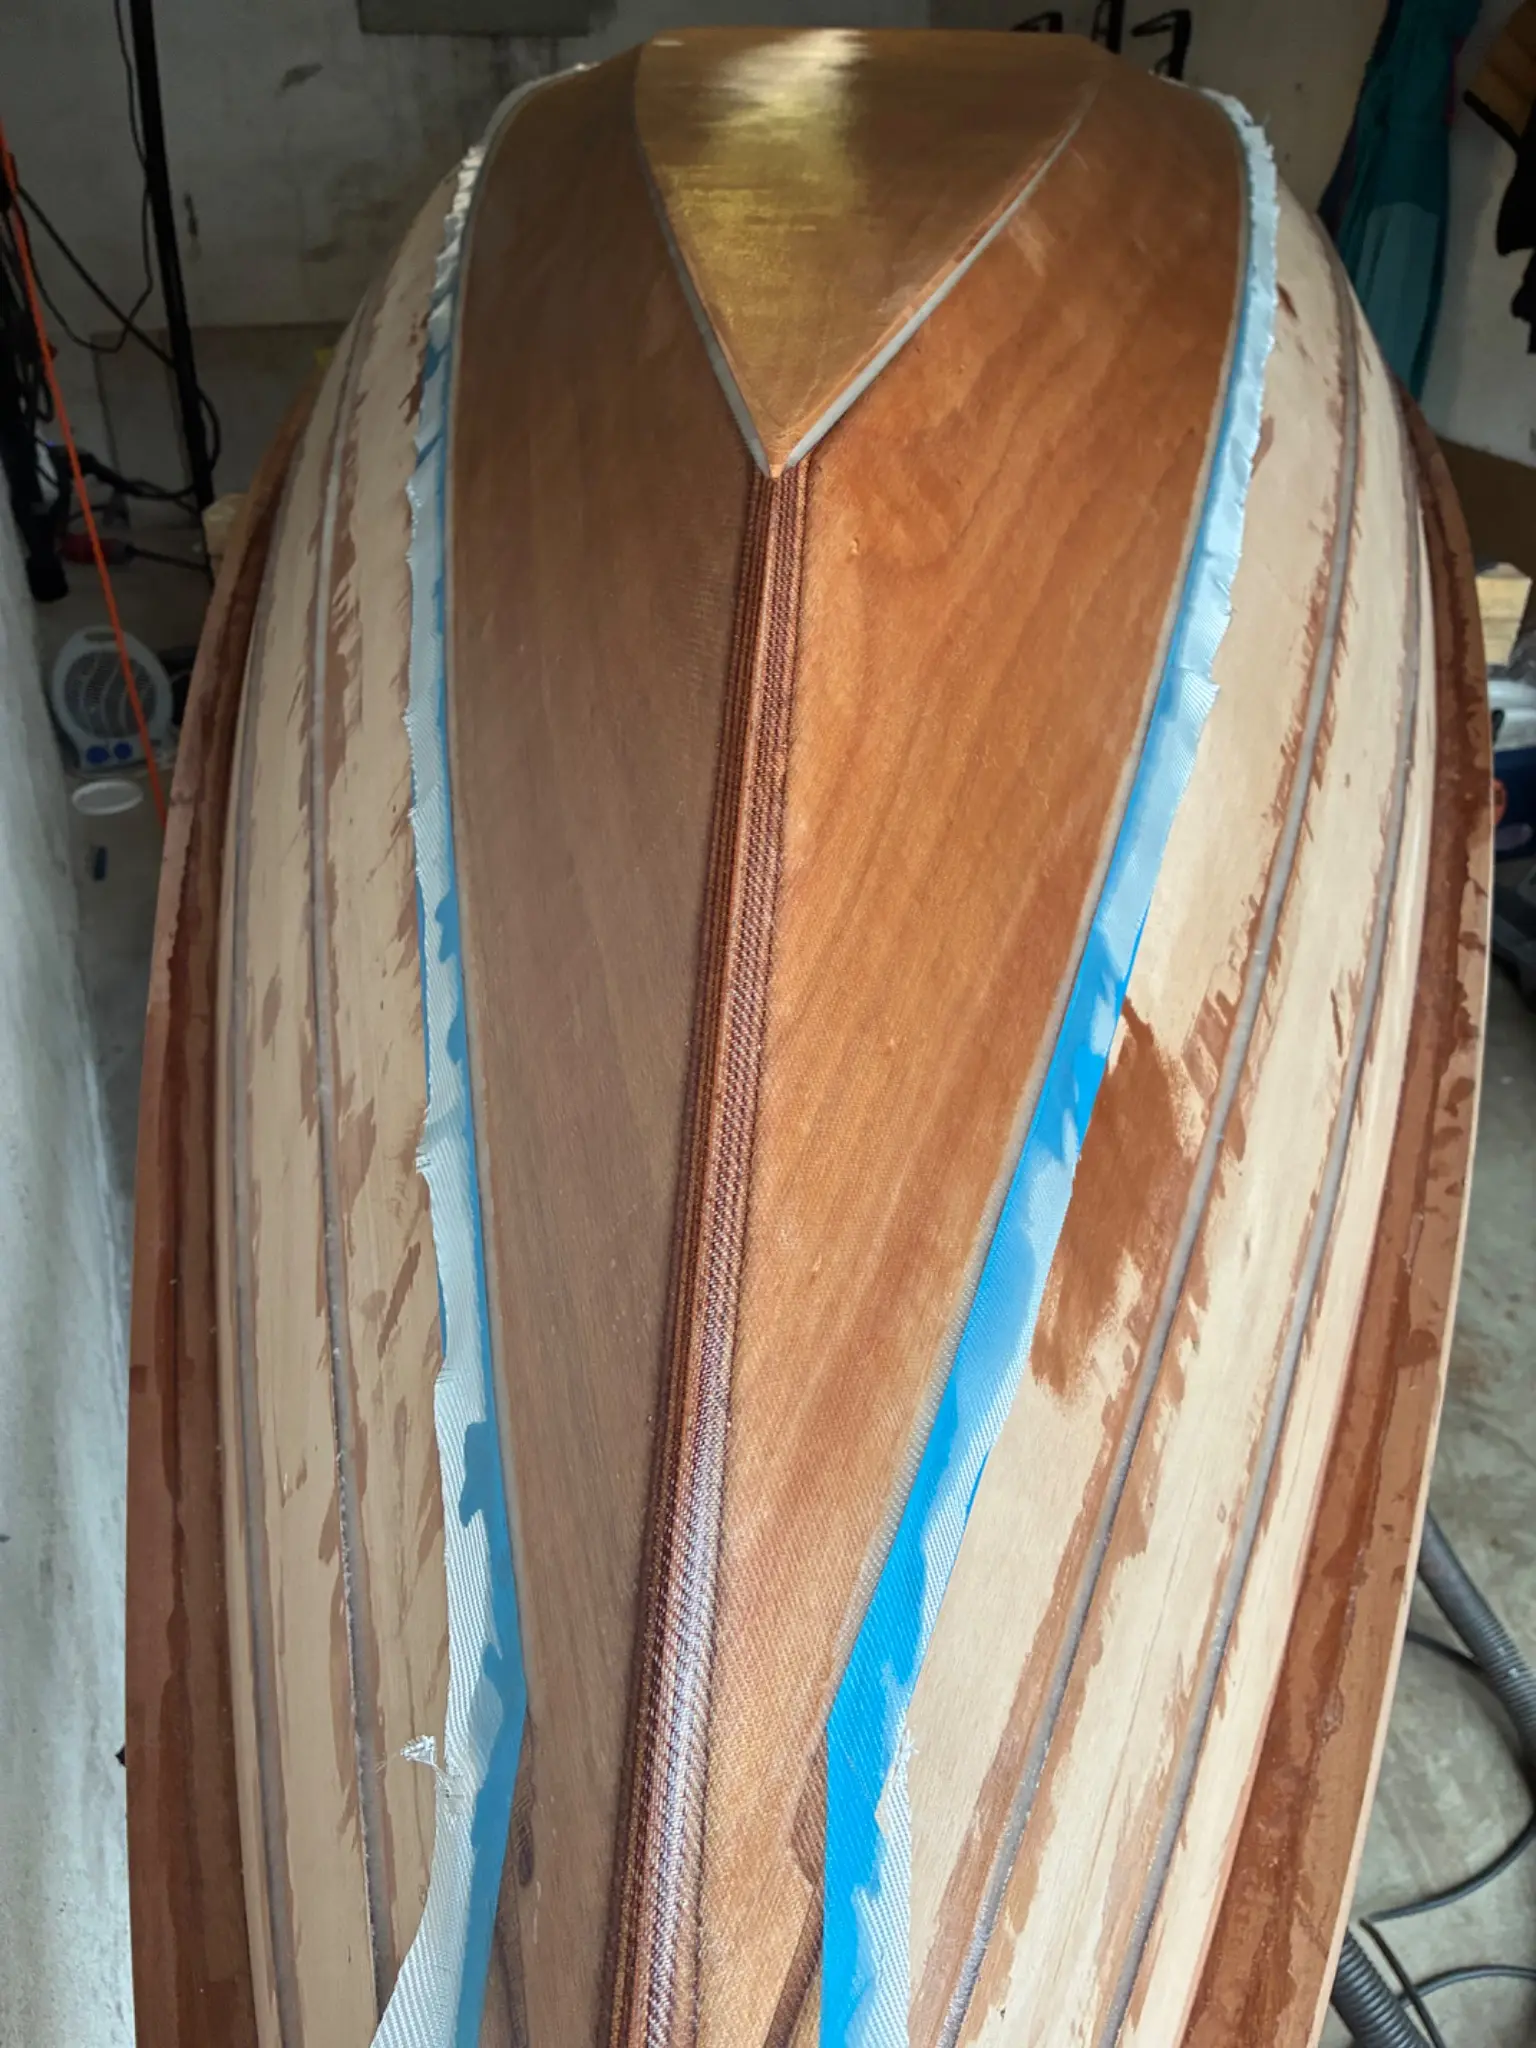
This weekend I was a bit lasy with writing the blog but I worked on the boat. I added the fiberglass to the outside of the hull. First I shaped the bow a bit more than I spread out the fabric and rolled out all the wrinkles and bubbles. The glassing went pretty good!
Photo 1 Photo 2 Photo 3
31 Oct 2026Hull Exterior6 h
Carpentry and bubbles
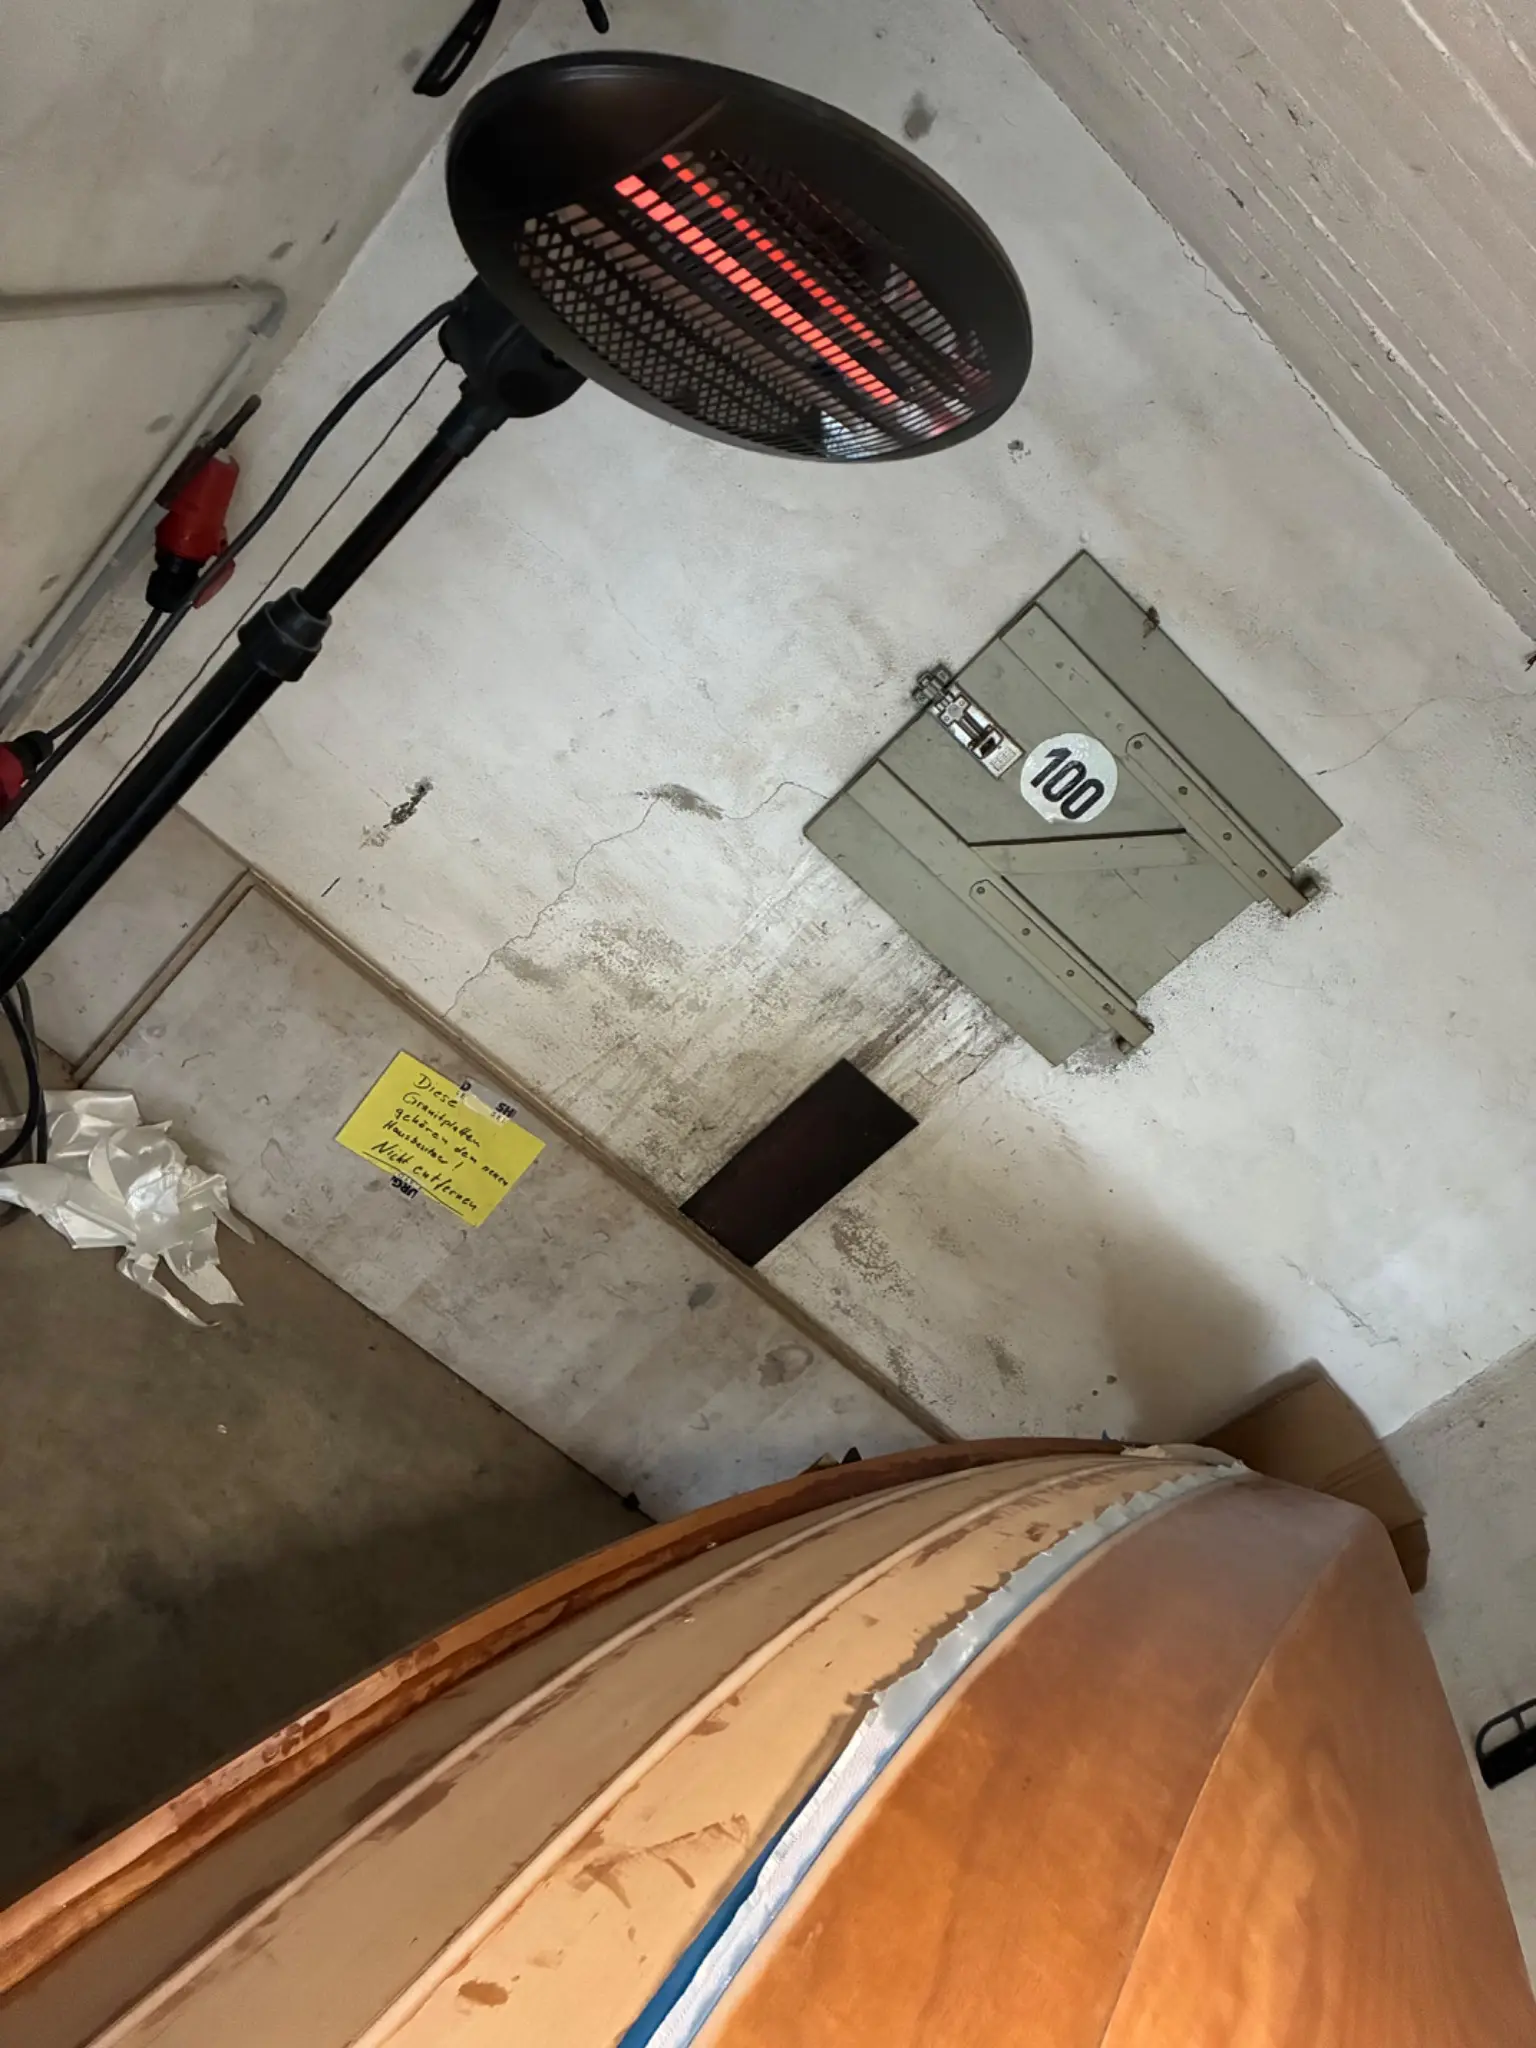
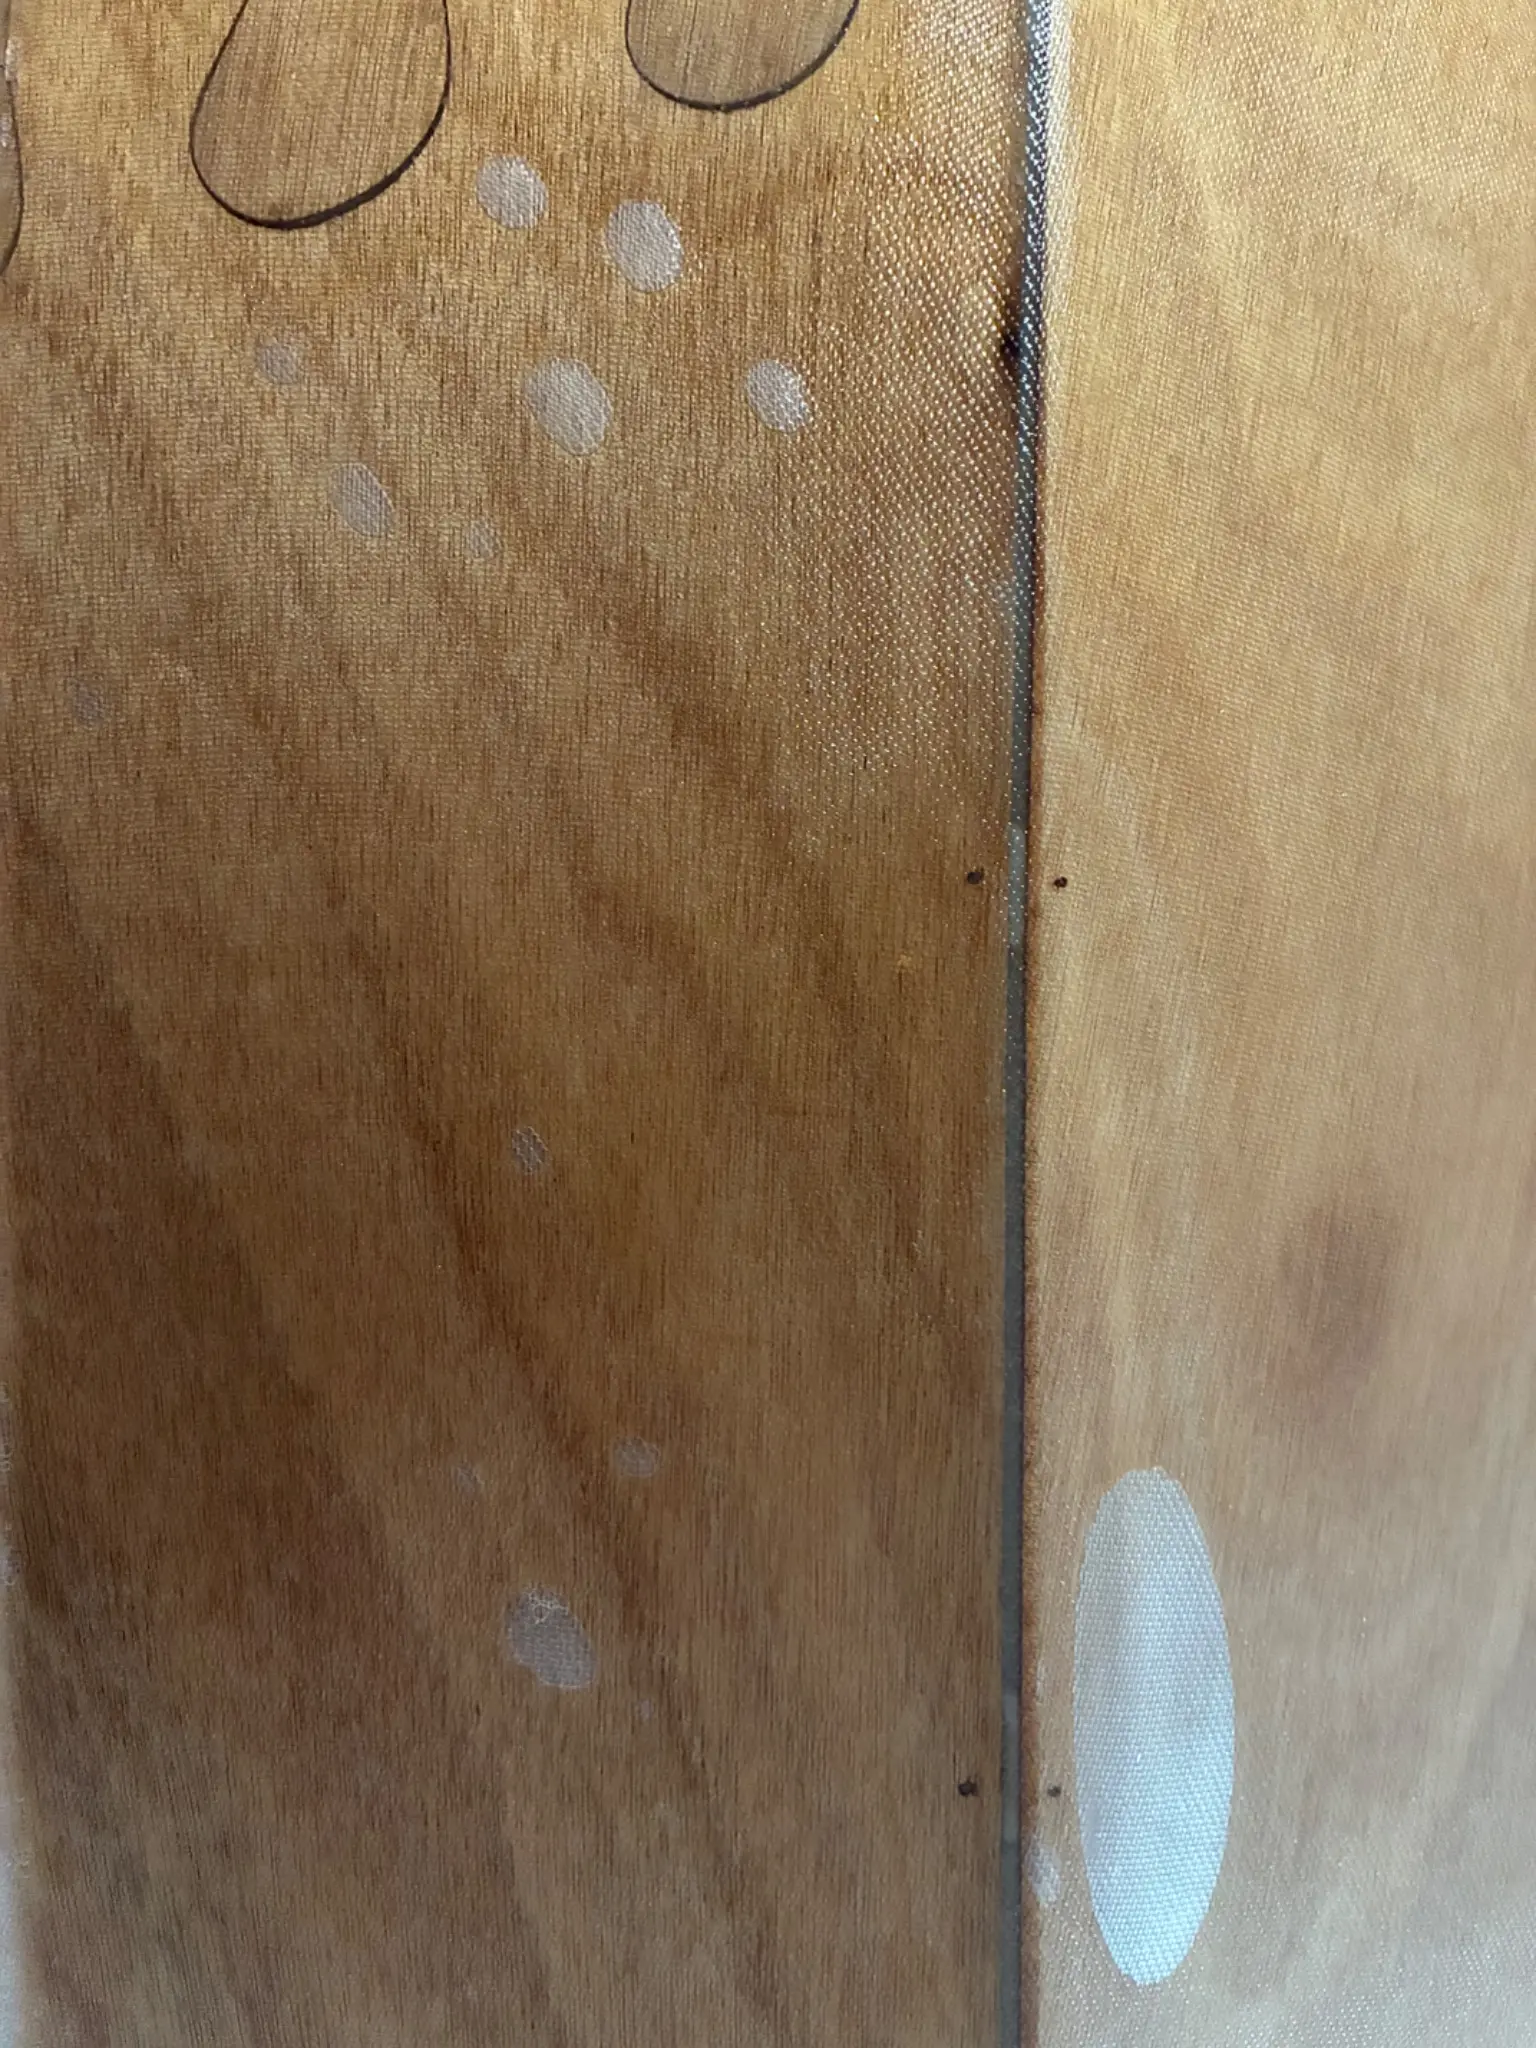
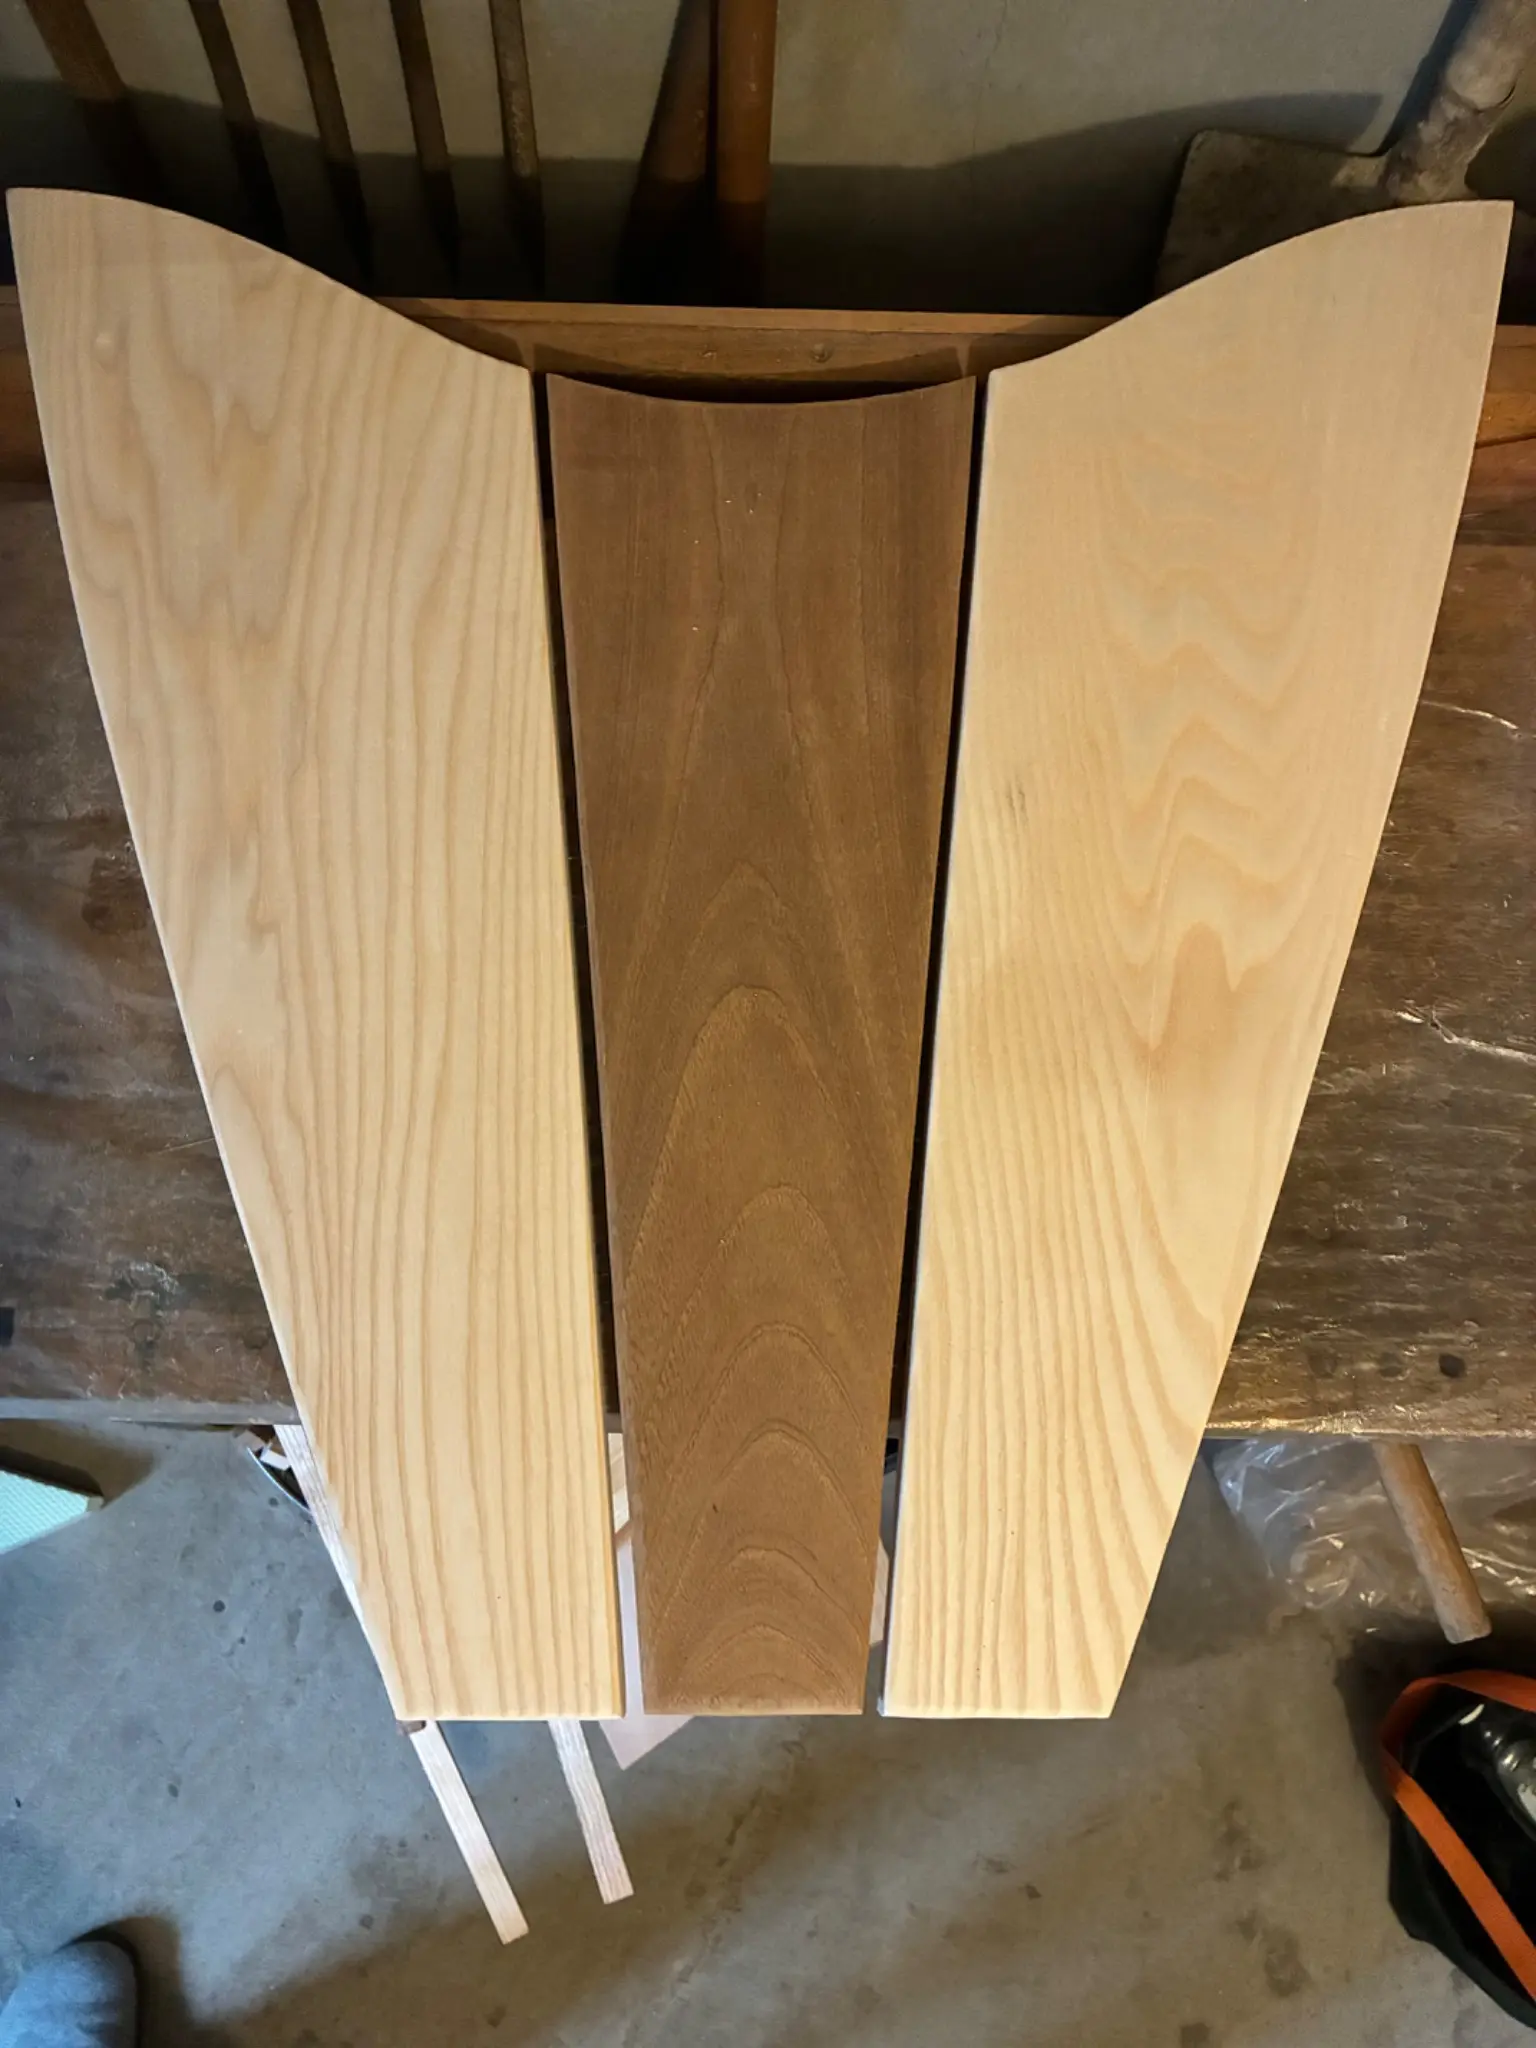
Saturday the dagger board, rudder, mast stepp and dagger box got a second coat. I spent lots of time cutting and sanding two of the thwarts. The third was glued and I cut the three pieces for the seat in the stern. The evening before I decided to increase the temperature of my heater. Before I always used power level 1 so I switched to 2 (of three). When I entered the garage Saturday morning I figured that I should have increased the distance between boat and heater. No worries, I did not burn the boat but the higher temperature caused a few bubbles underneath the glassing. Something to think about especially because the rest of the hull has such a nice surface now.
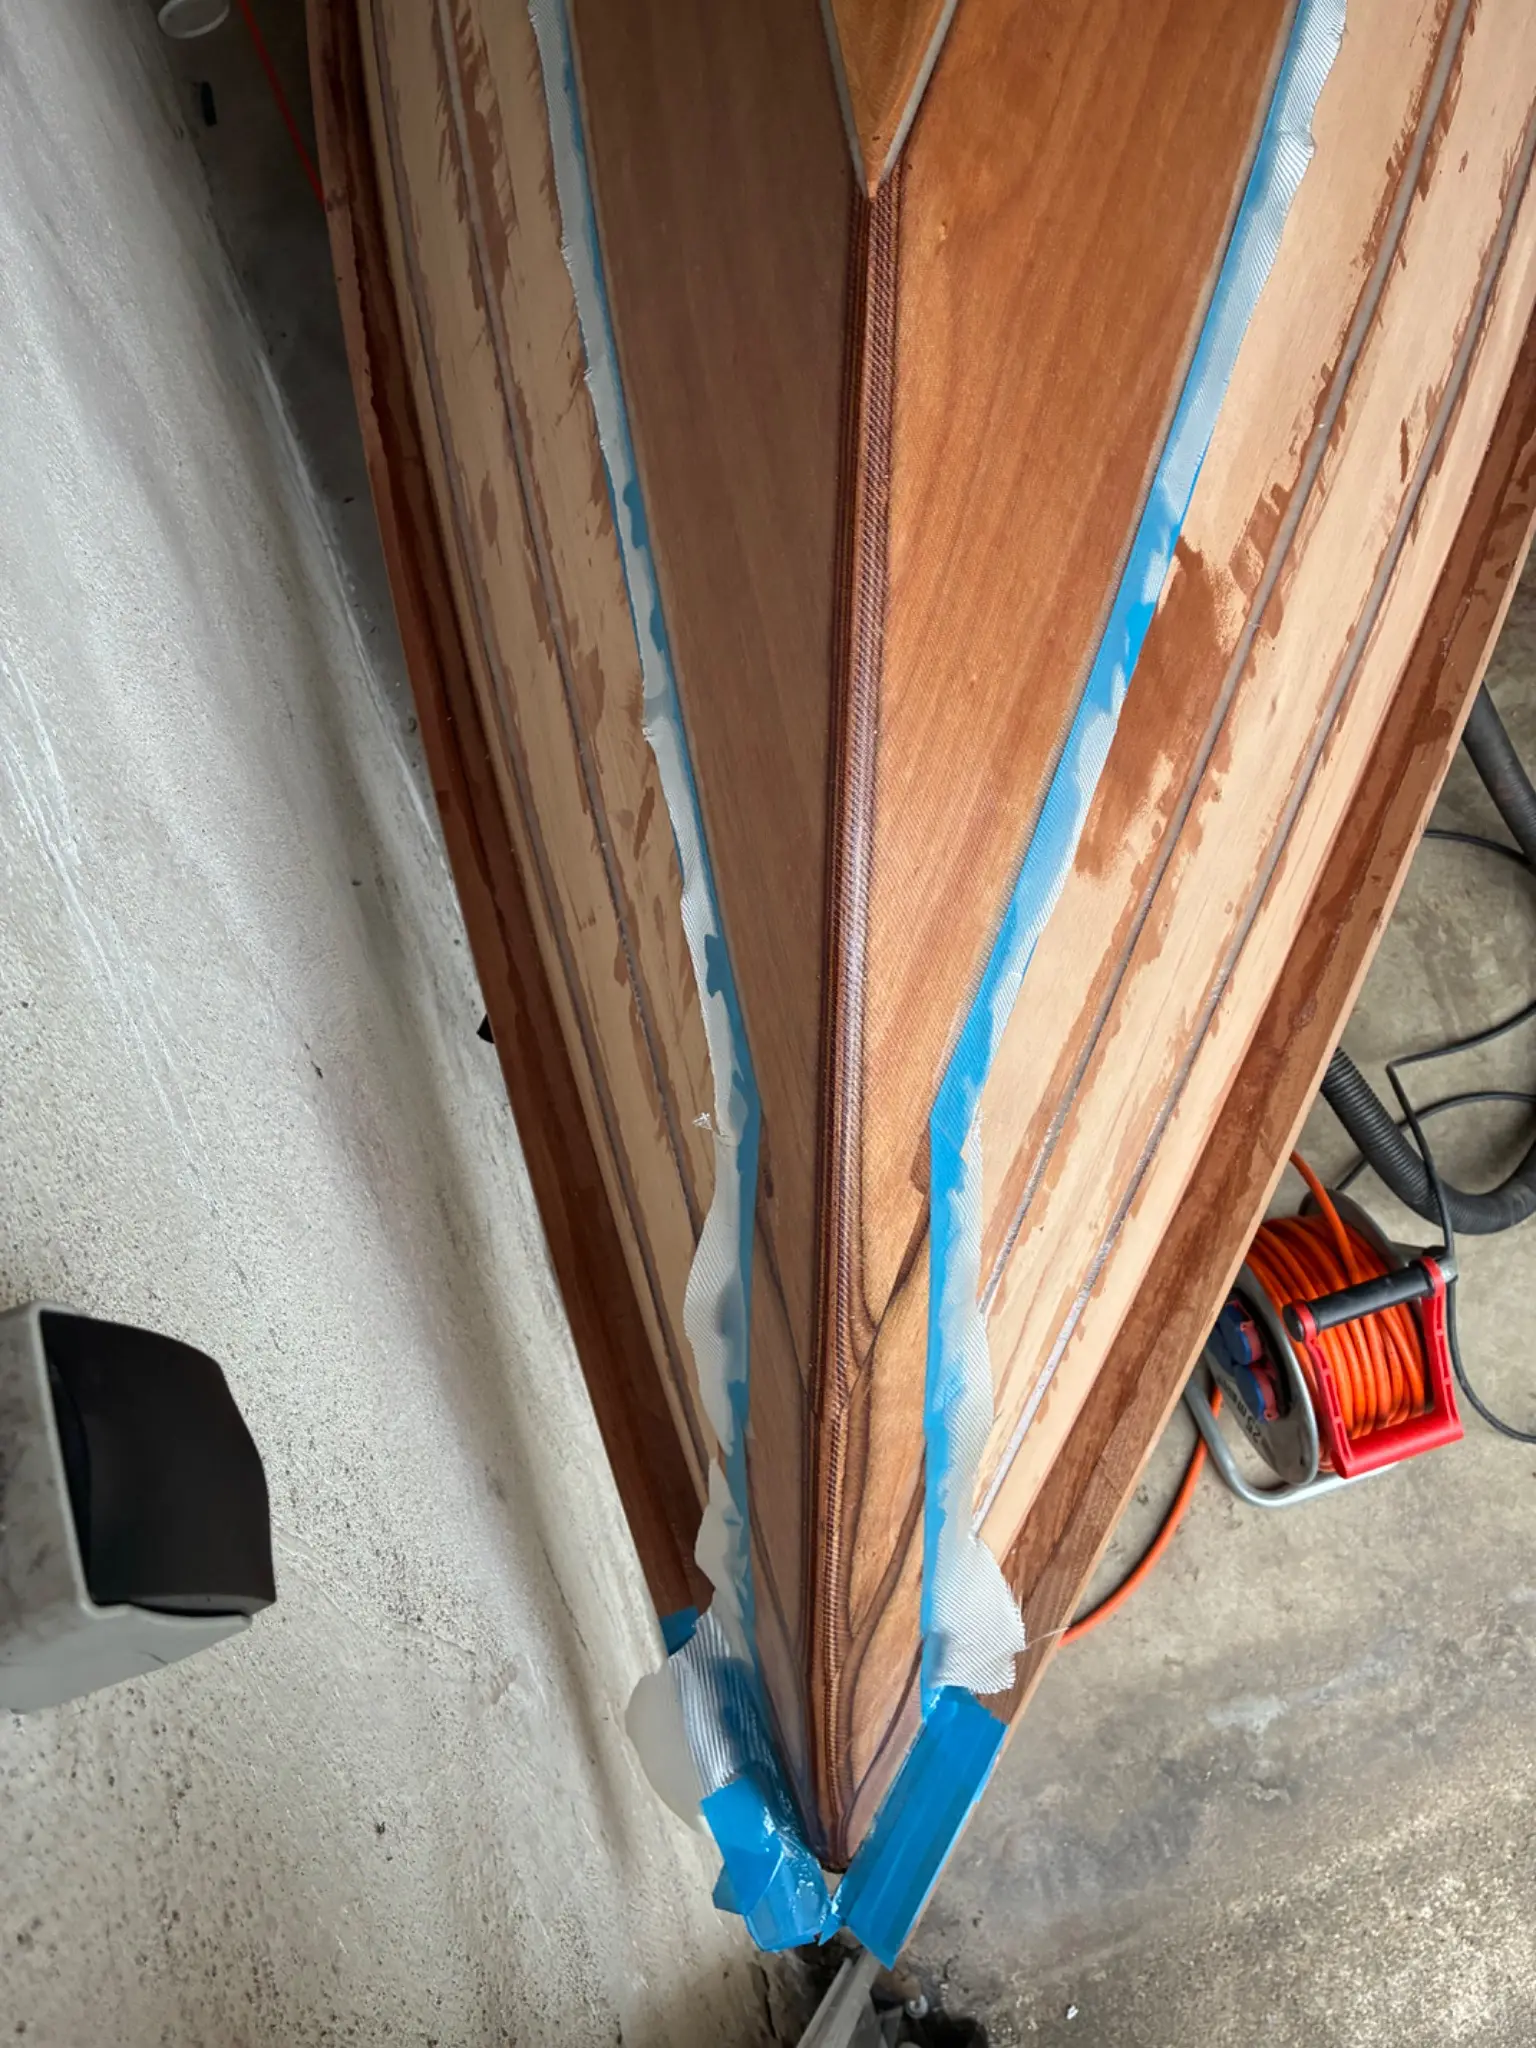
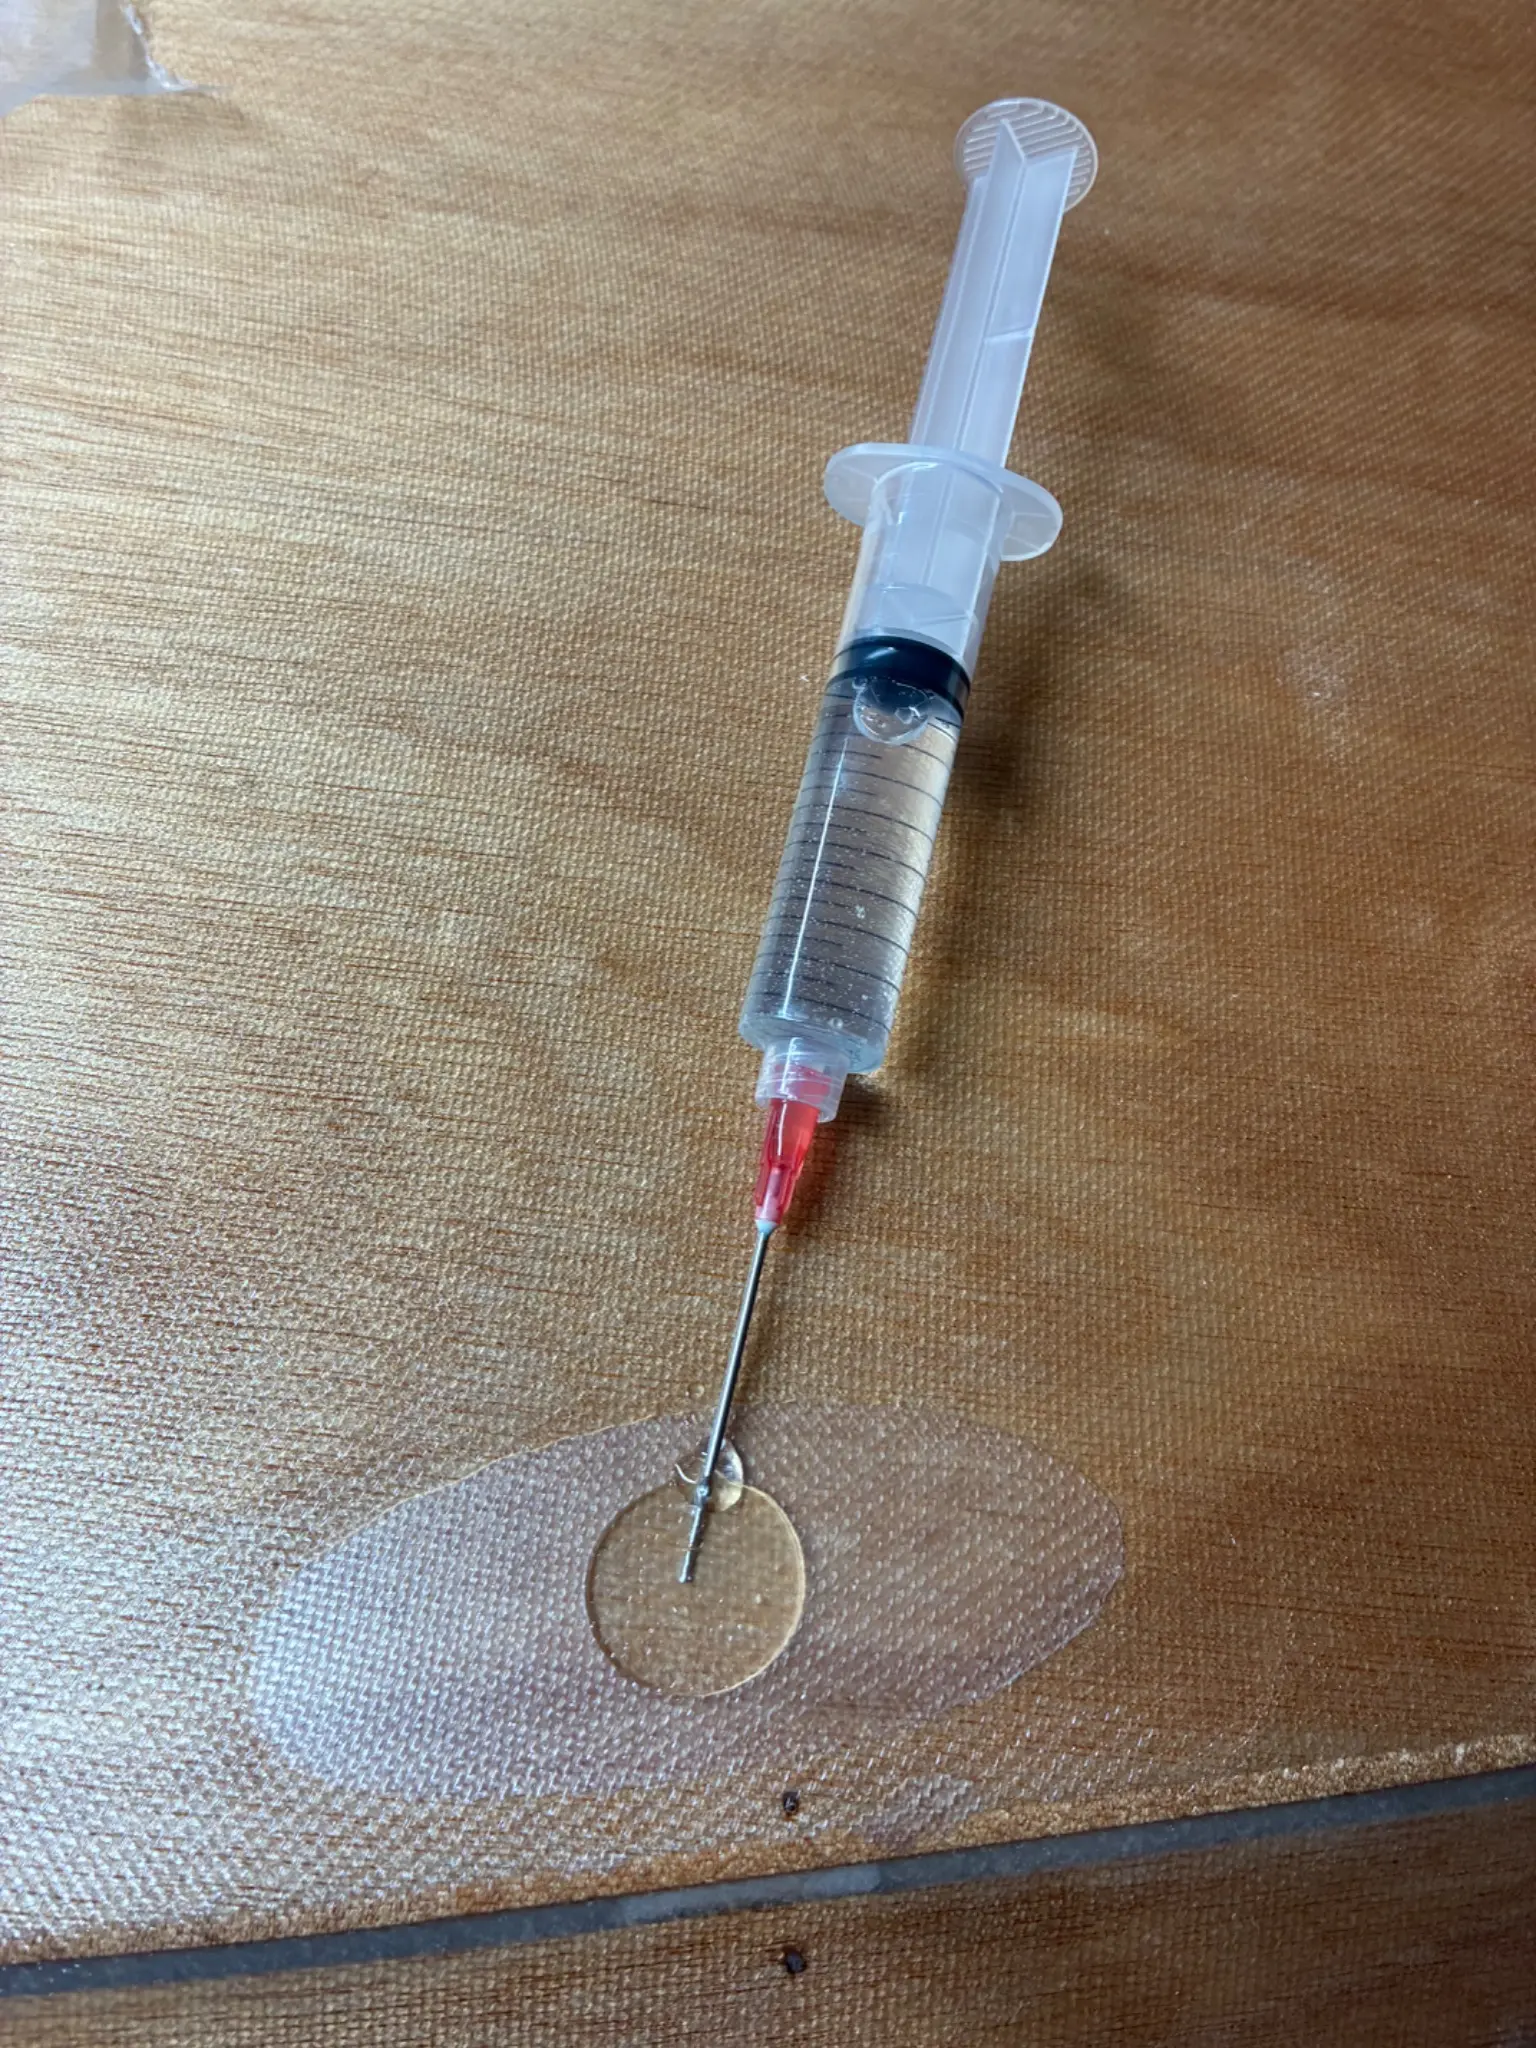
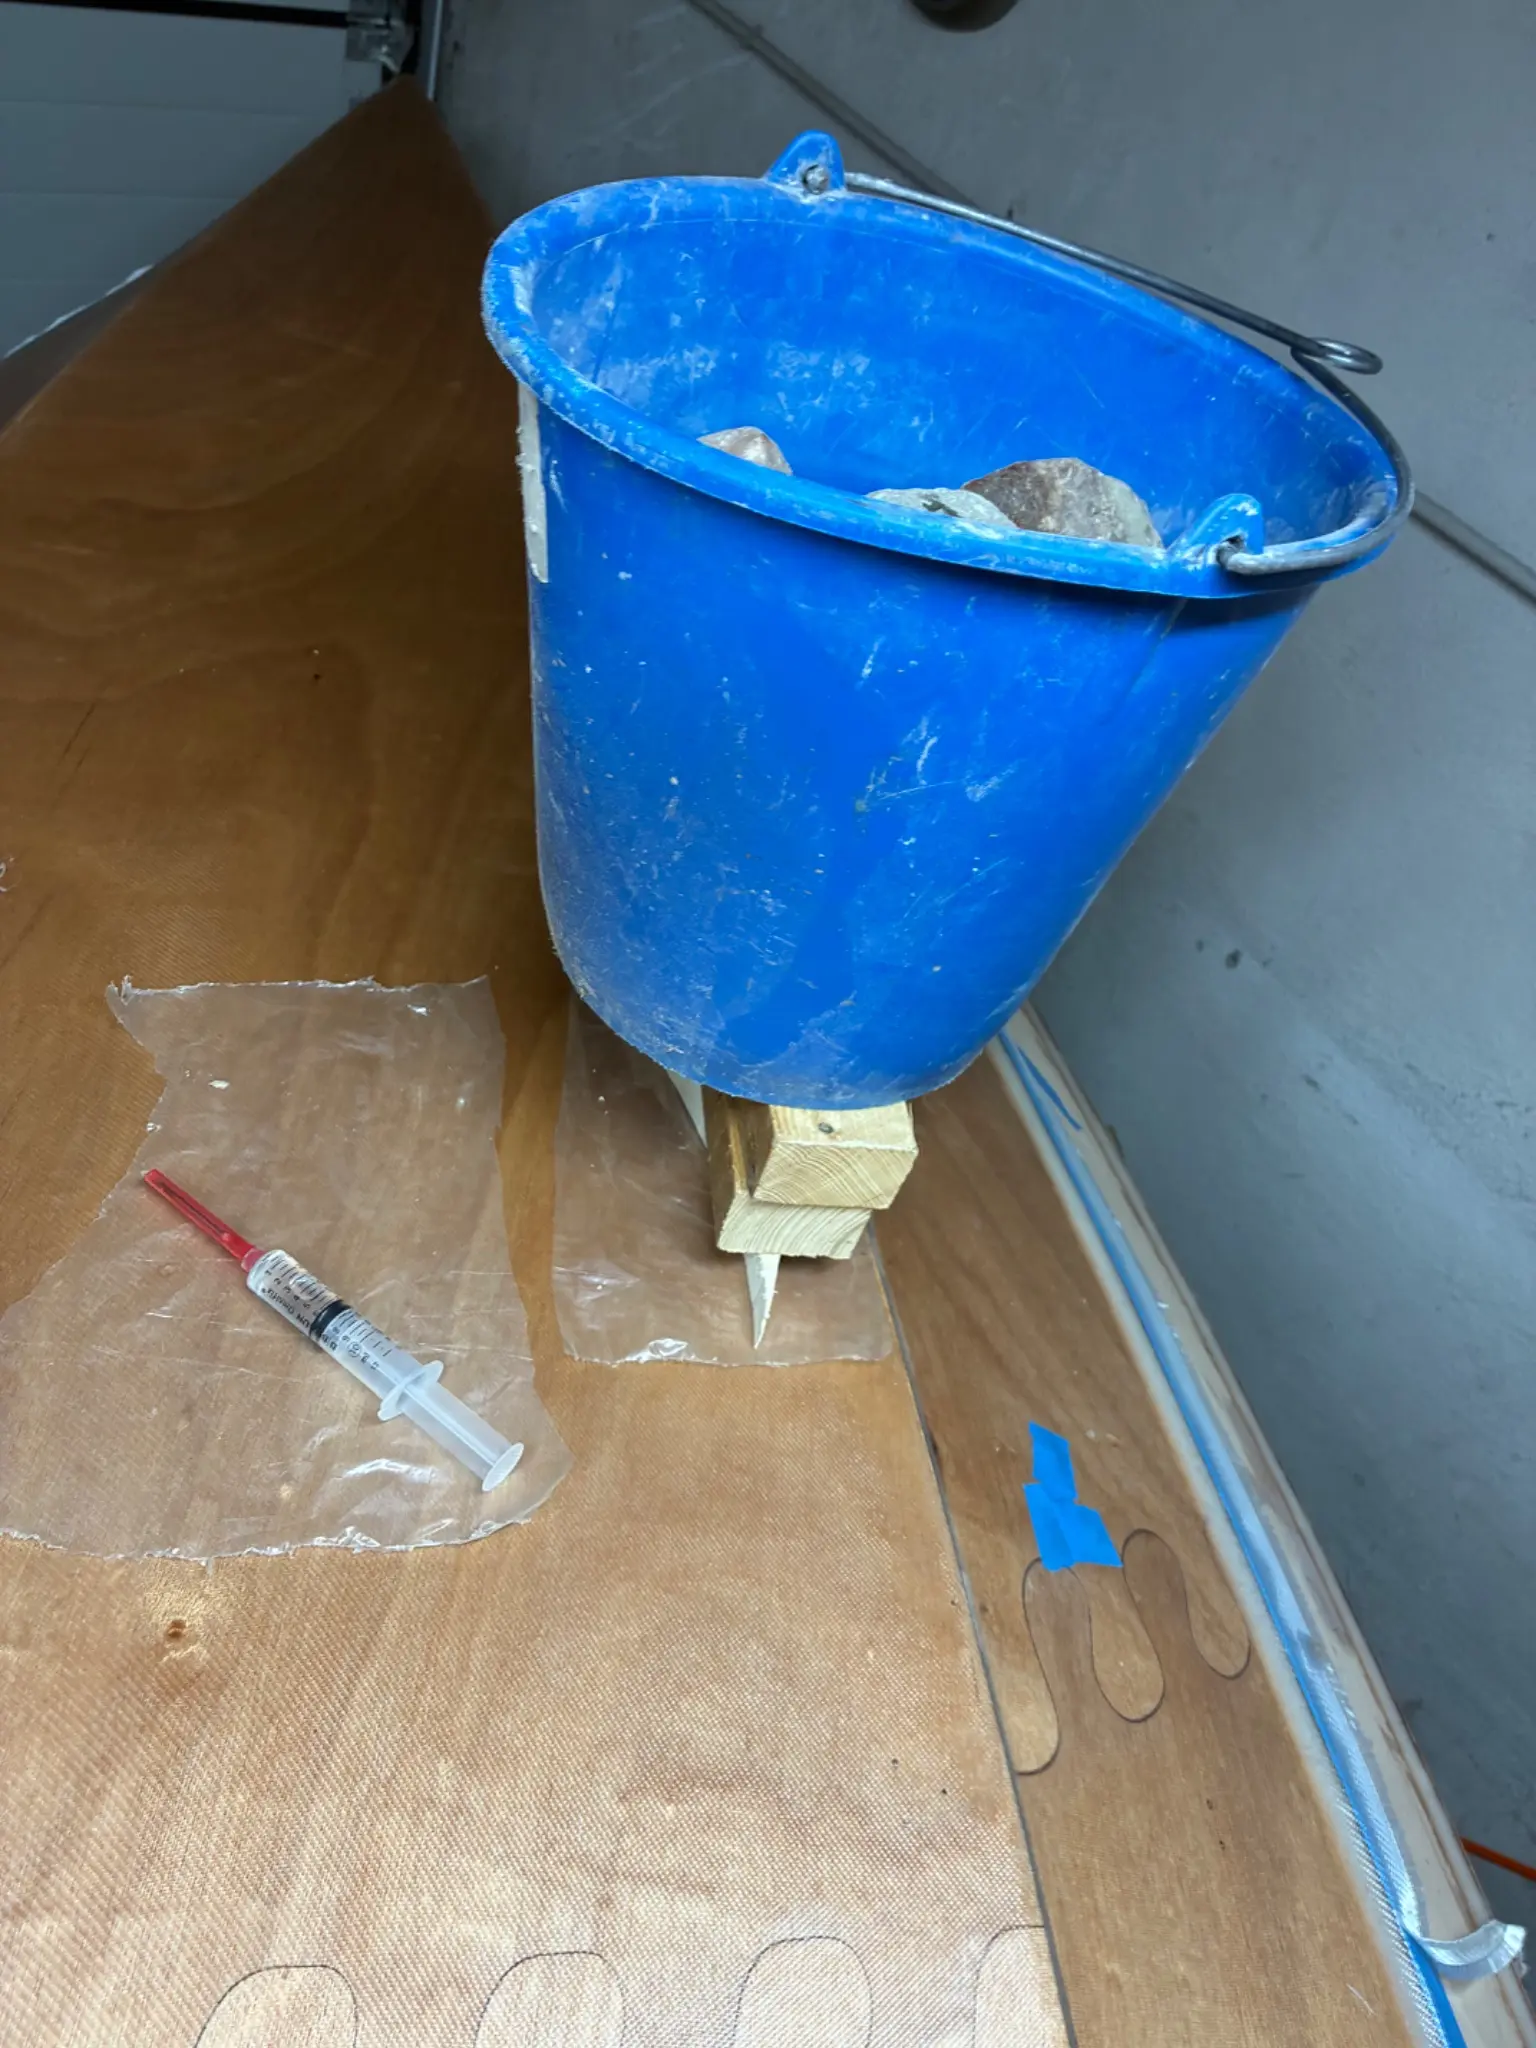
First aid for the Dory. I found an injection and thought let’s give it a try to fill the bubbles with epoxy to assure some solid connection to the hull. After injecting the epoxy I put a heavy bucket on top. Hopefully it works out well. Afterwards I started to cut the edges of fiberglass on the joint between panel 1&2. It is pretty to cut it that close to the edge that all the masking tape is easy to peel off.
Photo 1 Photo 2
Chapter 08
Deck & Coamings
Decking, hatches, coamings, cockpit rim.
1 day1 hoursfrom November 2026
2 Nov 2026Deck & Coamings1 h
Mast thwart
Just spent a few minutes in my workshop today. Took some care of the mast thwart. The upcoming days the progress will be smaller. Since today I am back at work so there is not so much time to work on the boat.
7 Nov 2026Glassing & Epoxy2.5 h
Flea Market instead
After another great night out my alarm clock woke me up at 8:00 am. I planned to get the skeg fixed to the bottom, shape the rails and find the right position for the dagger board hole. I was just able to finish cutting the rest of the fiberglass along the joint of panel one and two. At this moment my daughter showed up and asked if we could go to a flea market. How could I say no. Back from the market I cut off the ends of the rails at the transom and shortend the rail on the bow. I tried to sand of a bit of the left rail as mentioned in the manual, but the belts of the belt sander seem to be old and started breaking exactly at the seams. Running out of sand belts I went fore a run with Mike. Round about 00:00, Mike and I had spent some time at an art galerie, we had a last beer in the kitchen. Afterwards I decided to give the rudder, the mast step and the skeg a third coat. That was the first time I gathered some experience with the foam brush. I am looking forward until the coat is drie. If it stays that shiny, like it was now, that would mean a quite good result. Let’s see if I can get more things done tomorrow.
boatbuildlog.com
Northeaster Dory to be assembled in Cologne Germany
23 entries,
65 photographs,
written down as the work was done.
The words and photographs in this log belong to Denis.
Yikes. I'm sure CLC would cut and send you some new parts. But honestly it looks minor, and repairable.
Got in touch with the clc retail company here in Germany . They were pretty sure that the way I fixed it shall work.