Seaputter 13 entries, 63 photos Back to the log

Set the paper to A4 or Letter, turn background graphics on so the cover photograph prints, and leave margins at their default. The page numbers and the chapter running heads are drawn by the browser into the page margins, so they exist only on paper: check the print preview rather than this screen for them, and turn Headers and footers off there so Chrome's own furniture does not crowd them out. Chrome and Edge print them, Safari and Firefox print the same book without them.

new build

Seaputter

Cabin Skiff

Edward Andrews · 2001 to 2002

A build log

Seaputter

Cabin Skiff


kept by Edward Andrews

2001 to 2002

The boat

Cabin Skiff

Designer
Glen-L Marine
Length overall
16′ 3″ (4.95 m)
Beam
6′ 9″ (2.06 m)
Construction
stitch and glue
Started
16 July 2001
Launched
1 June 2002
Built by
Edward Andrews

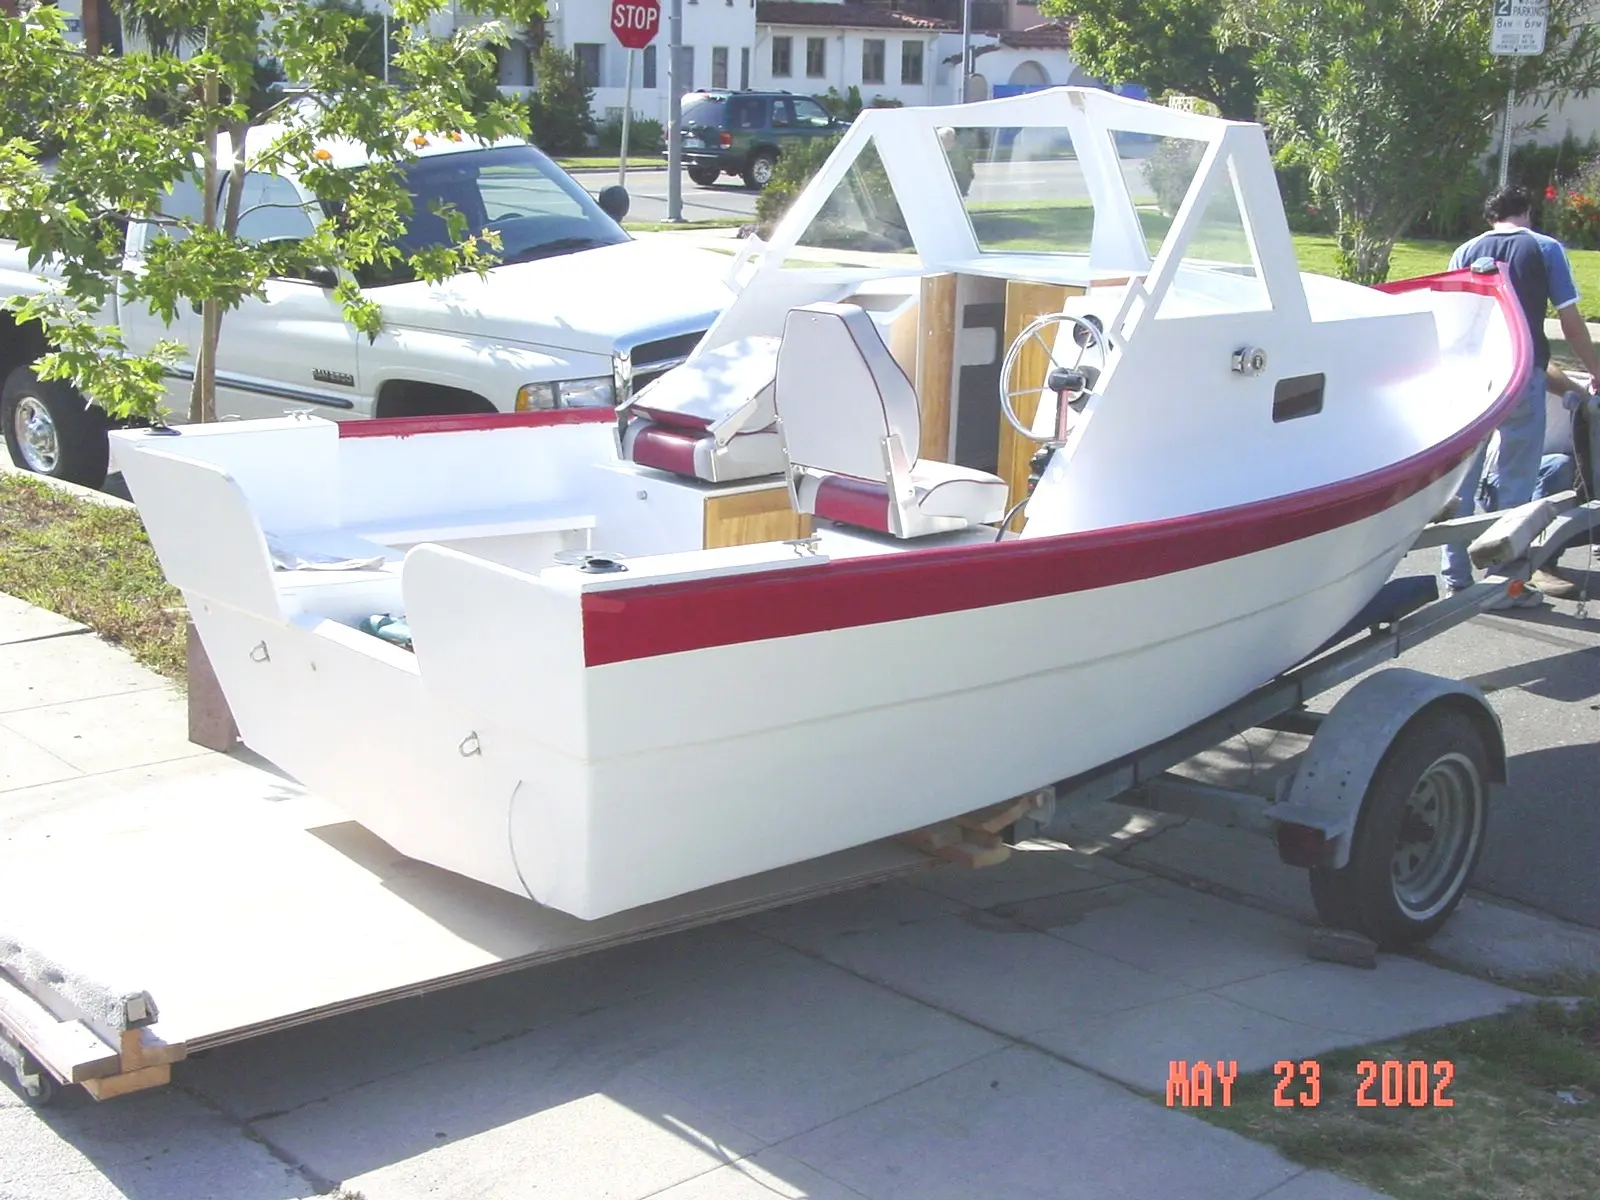
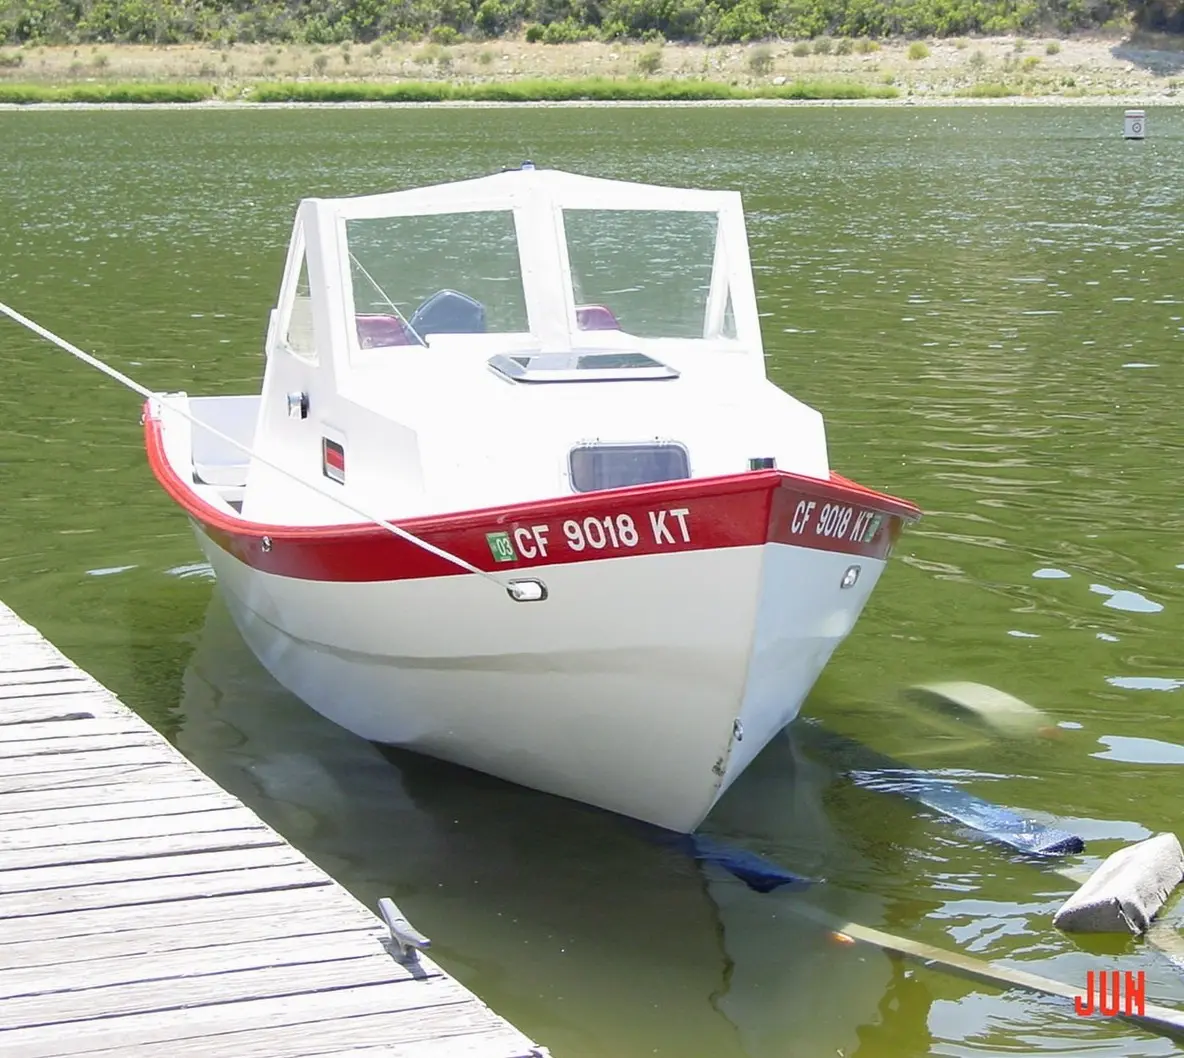
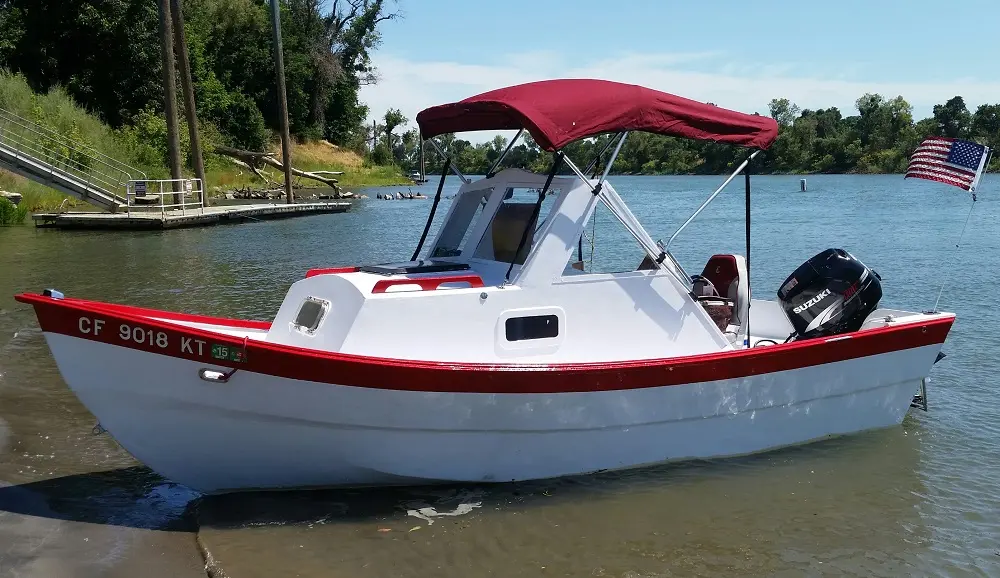
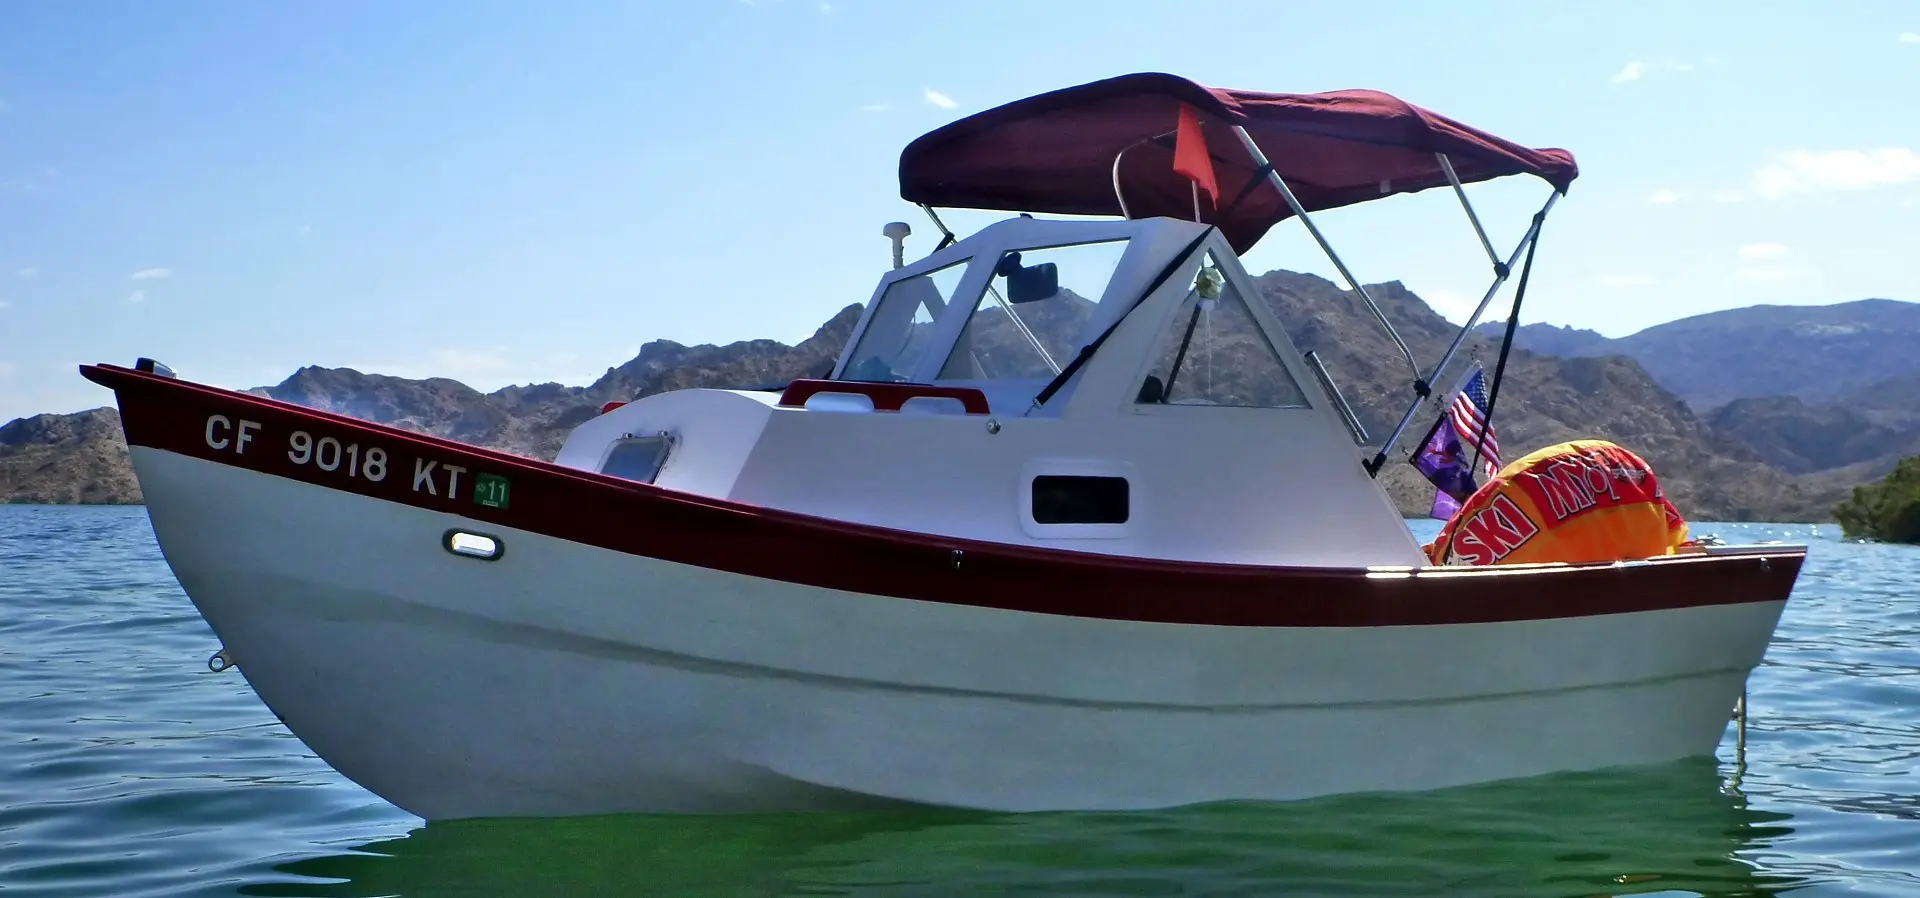
A Glen-L Cabin Skiff built with my kids in a small garage, first cut July 2001, launched as the Seaputter at Lake Lopez in June 2002.

What it took

By the numbers

11 months
From first day to last
13
Days written up
63
Photographs
2,414
Words written

The Beginning

I was looking for a project that both my kids and I would enjoy working on in the afternoons, after work, and on the weekends. Something that, once finished, we could enjoy the fruits of our work.

I had no idea what that project would be. I was thinking about possibly the restoration of an old car or truck or possibly restoring a camper.

I first decided to build a boat when I was visiting the Hoover Dam. There was a boat on display that they had used to locate the site at which the dam was to be built. I saw how it was constructed because the waterproofing had worn off and the bare wood was exposed. I was surprised at how simply the boat was constructed. It was at this point that I decided to build a boat. I had never owned a boat and had only been out on the water a few times with friends in High School. I was definitely in for a challenging learning experience.

I started looking on the internet to get information. After a long search, I decided on a company that was local and had both plans and telephone support. They had many plans to choose from. My only problem was the space in which to build the boat. I have a very small back yard and a very narrow driveway that the boat had to fit through in order to put it on a trailer after it was built. I would have to build some kind of dolly and pull it through the driveway to get it on to a trailer. I knew that I wanted a boat that I could easily take to the lake, or drop in the ocean. Although it was not my first choice, due to size constraints, I decided to build the “Cabin Skiff”. I purchased the plans from Glen-L Designs in Bellflower, CA

The first step that I took was to clean out the garage. With the help of my friend Roger, I threw away all of the old junk that I know that I will never use again. I cut a large hole in the ceiling (the garage was an office for the previous owner) and put all the other junk in the attic. I cut out half of the center wall that divided the garage. I now had some work space although I know it will not be enough.

When I first opened the plans, I thought to myself “What the hell have I gotten into?” It was quite overwhelming. After studying the plans for a while, I began to understand them. I had to learn all of the boat building terminology.
First cut

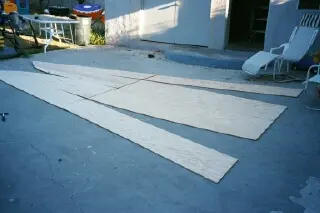
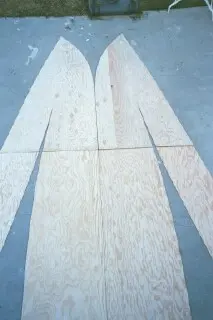
I had a little bit of a hard time finding the marine grade plywood that was specified but finally on 7/16/01 I began cutting the plywood that would become the hull.

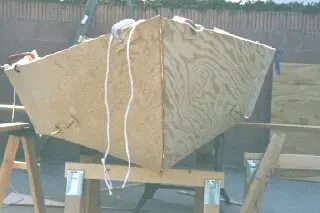
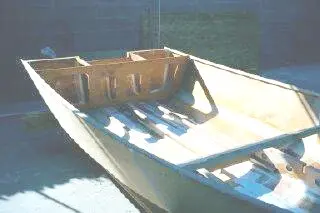
After the first six pieces were cut out the bottom and side butt blocks were installed making two large “half’s”.

The two half’s are then stitched together using # 14 copper wire.

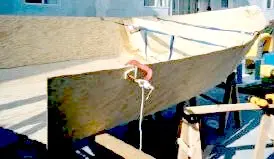
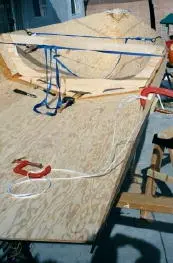
The sides are compressed together by ropes and straps allowing for the bow to come together.


Transom & Battens

The transom (The board on the rear of the boat) is cut out then installed using a mixture of epoxy, silica fibers and micro spheres. They are mixed together to form a putty / paste like substance. This bonding putty is also added to the chine (Where the bottom planking and the sides meet) the keel, (The bottom center of the boat) and the bow. (The front center of the boat. The 3″ bottom keel lamination is embedded in the resin putty and after it has cured a 6″ lamination is installed over the 3″ and is embedded in resin putty.

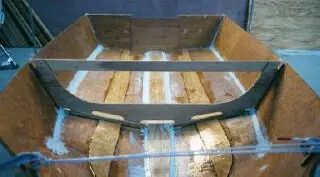
Battens With Temporary Form

Battens Looking Forward


Long Beam & Keel

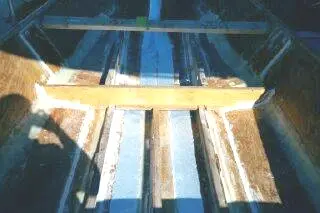
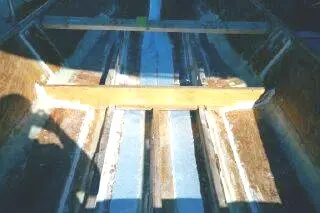
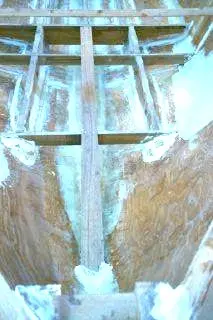
The Long Beam and Keel Upright form the base for the Sole. (Floor) (Dry fiberglass on keel laminations)

The aft bulkhead installed

The Seams Are Fiber Glassed And Then The Front Cross Beams Are Installed To support The Floor


Sole & Decking

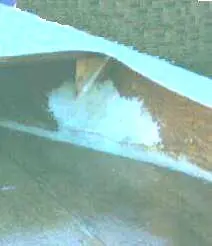
Styrofoam Insulation is placed in between the long beams and keel upright where ever possible for added buoyancy.

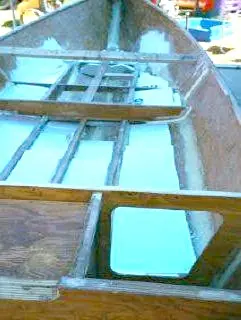
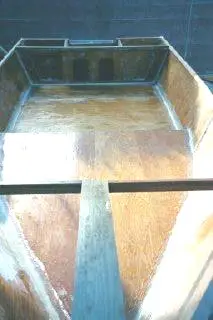
The sole is cut out and fitted into place by embedding the underside edges in resin putty.

After it cures, all of the seams and edges are fiber glassed.

The forward and aft knees (the vertical members supporting the decks) are fiber glassed into place and the front, side, and aft decking is installed.


Turning Over

After the decking is installed the boat is turned over.

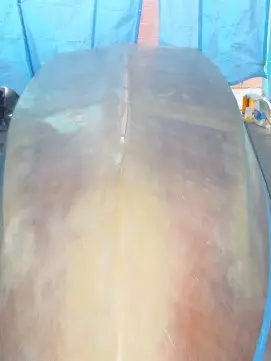
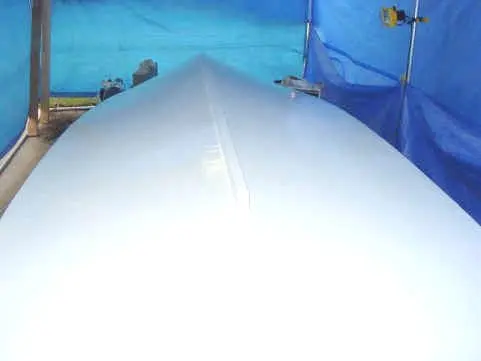
All of the stitching is removed. It is then coated with epoxy resin and all of the seams are fiber glassed with 2 layers. Then it is leveled out with resin putty. After sanding, the entire hull is covered with fiberglass cloth and epoxy is “squeegeed” into the fiberglass weave. I was a little nervous about doing this but with the help of a couple of my friends, it came out great. After drying, 2 more layers of epoxy are added. This process is taking much longer than expected due to the weather. There are very few days above 70 degrees now. This is the minimum temperature needed for the epoxy to cure. I have to put heaters in the makeshift tent that I have built to achieve the temperature. After many, many, many hours of sanding it was finally smooth. What a pain! I must say that this was the least enjoyable part so far.

I now have to install the skeg. (A long piece of wood attached to the bottom center of the boat to keep the coarse of the boat straight) again, the temperature is a problem so I fire up the heaters.

It is now Dec. 27th and I am finally ready to paint the bottom. There is only one problem, it’s raining! My goal, when I started, was to have the boat turned back over by New Years but I don’t think that I will make it. With the help of my friend John, we finally put the first coat of paint on Dec. 29, 2001. We used Trilux Bottom Paint 5498 White.


Cabin

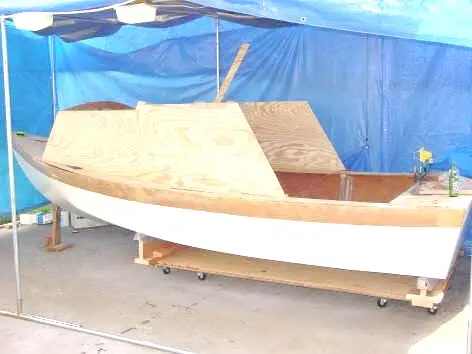
It is Jan. 13, 2002. I bribed a few friends with beer to come and help me turn the boat back over. It’s 13 days later than I had scheduled, but, I didn’t really expect to get this far at all!

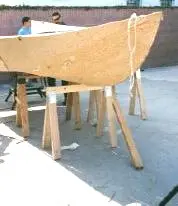
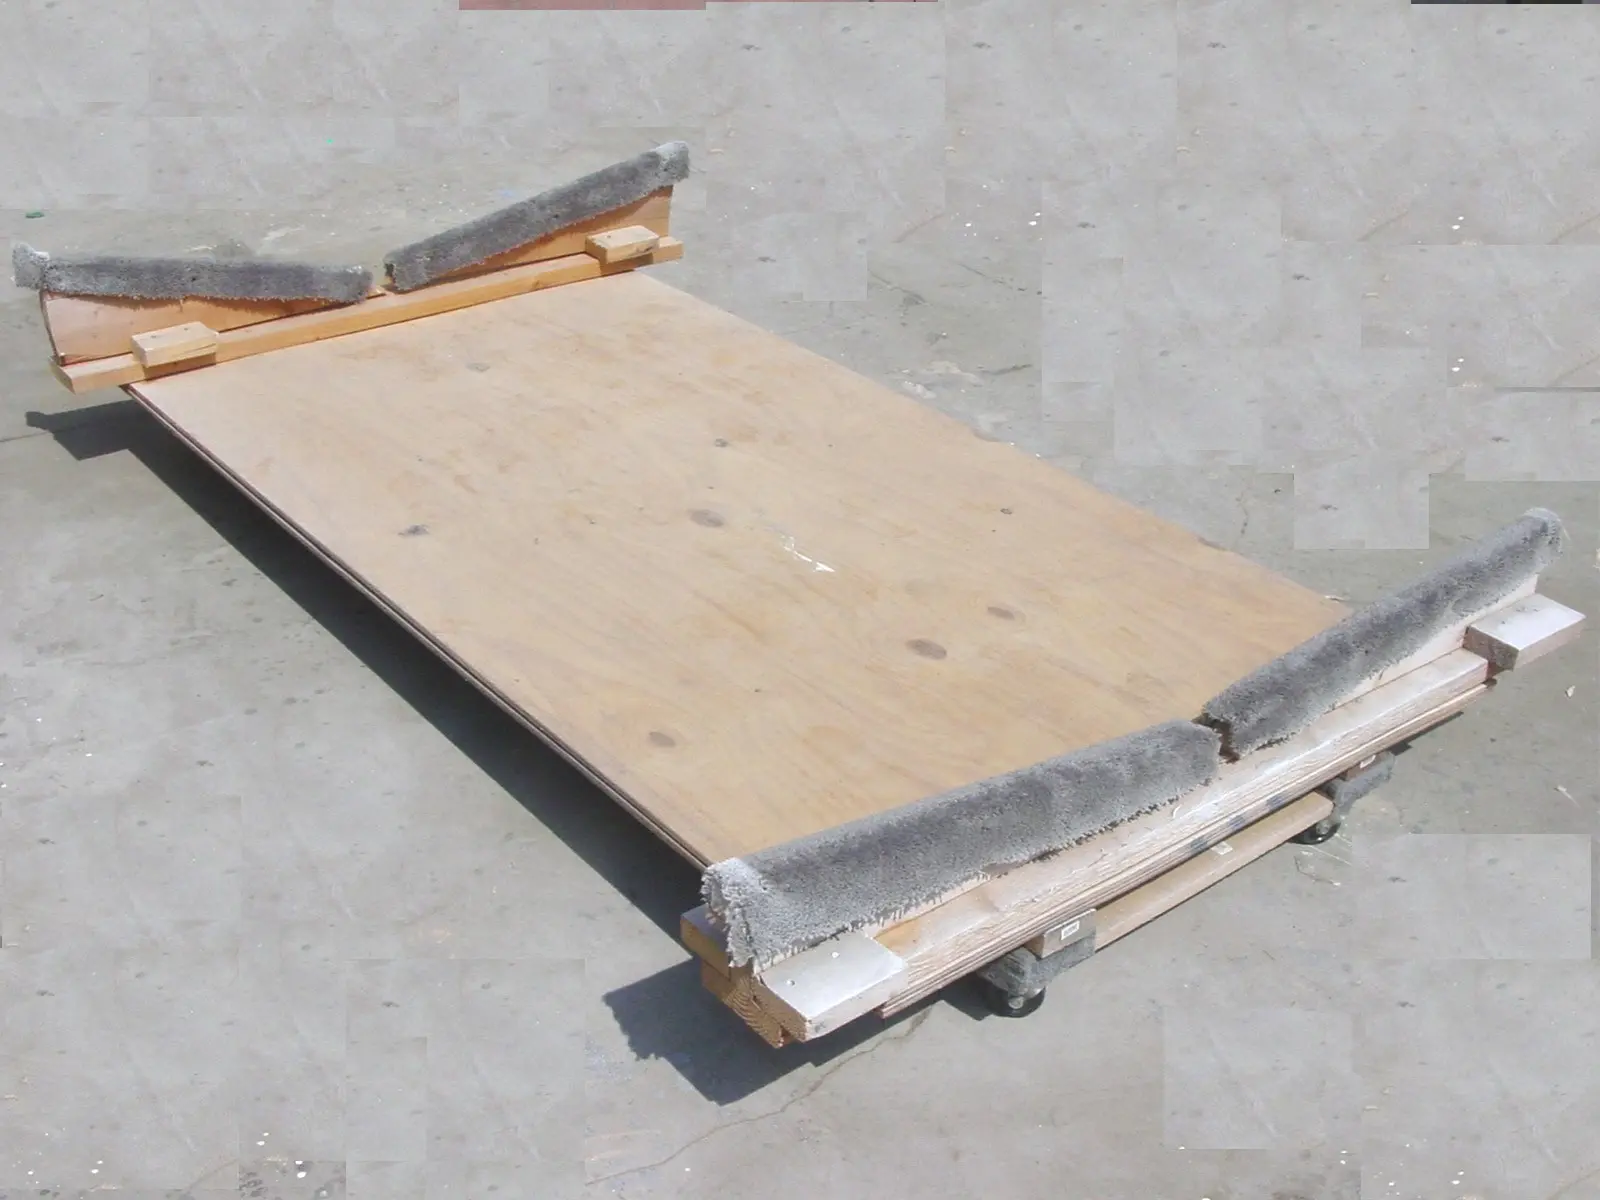
I built a rolling “cart” to hold the boat. This is where it will rest until it is ready to go onto the trailer

The first thing that I realized, when I turned it over, is what an absolute sloppy job I had done on the inside of the hull. I am by no means an expert at epoxy and fiberglass now, but, what I did in the beginning really looks like crap! It will take me several days of sanding to make it somewhat presentable. You live and you learn!

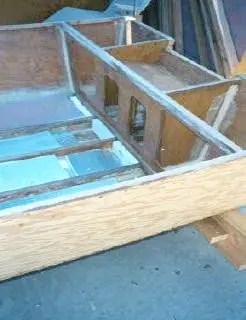
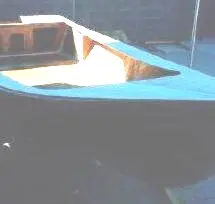
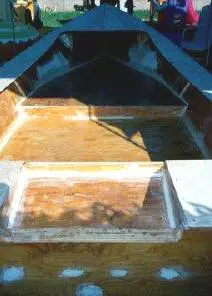
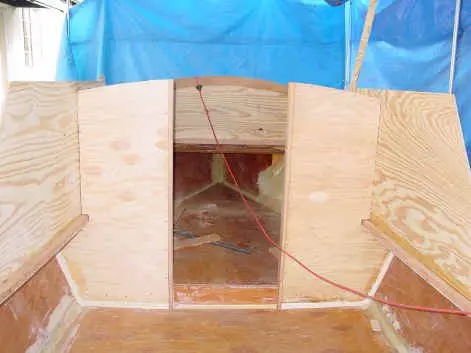
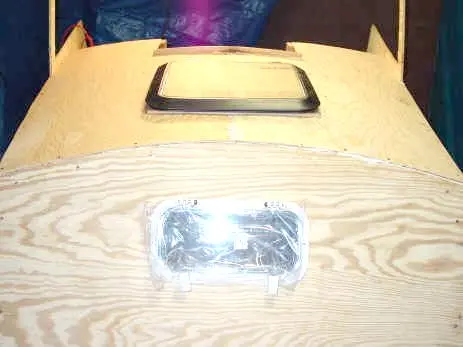
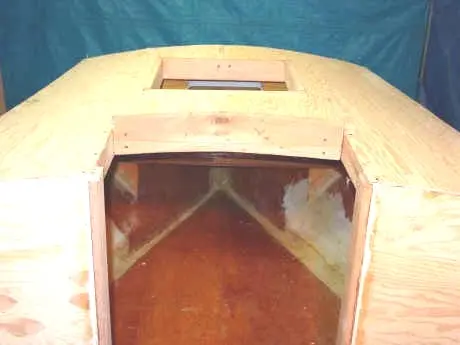
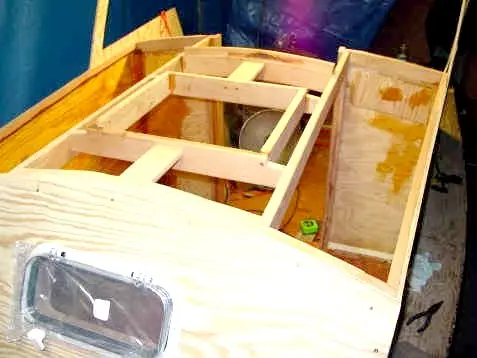
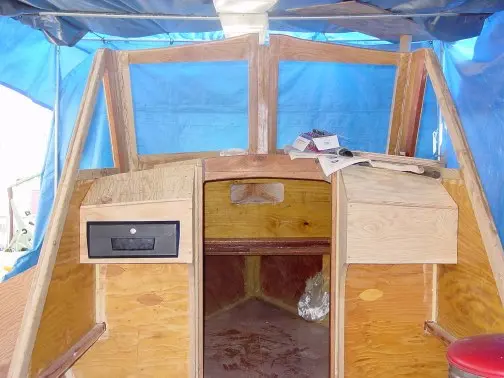
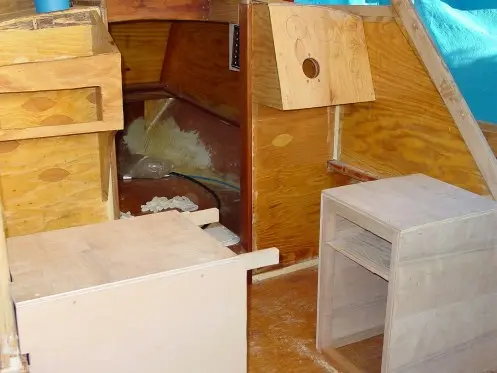
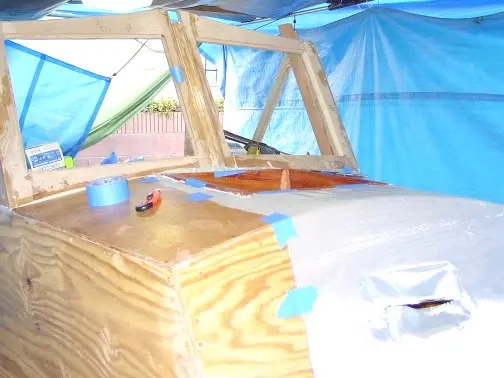
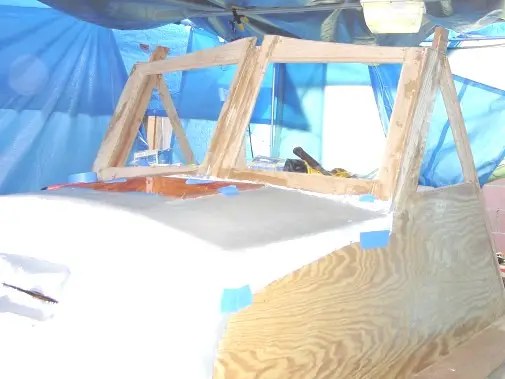
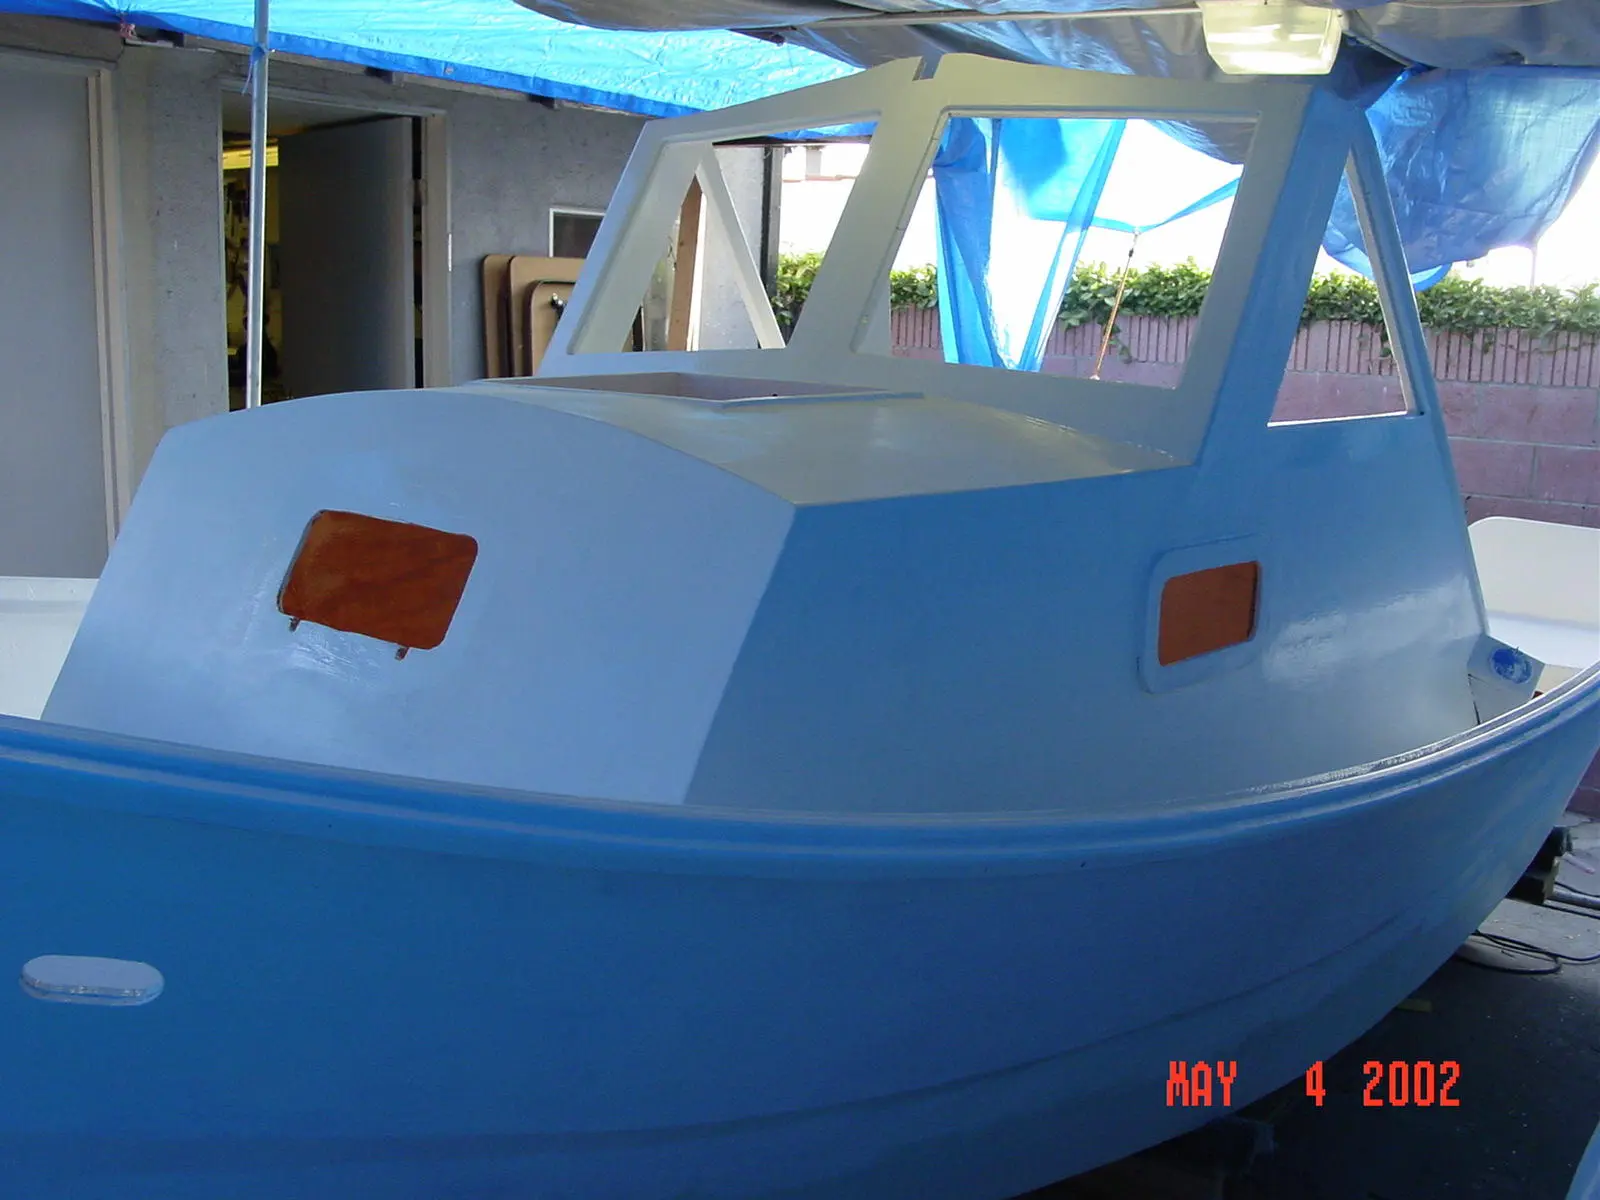
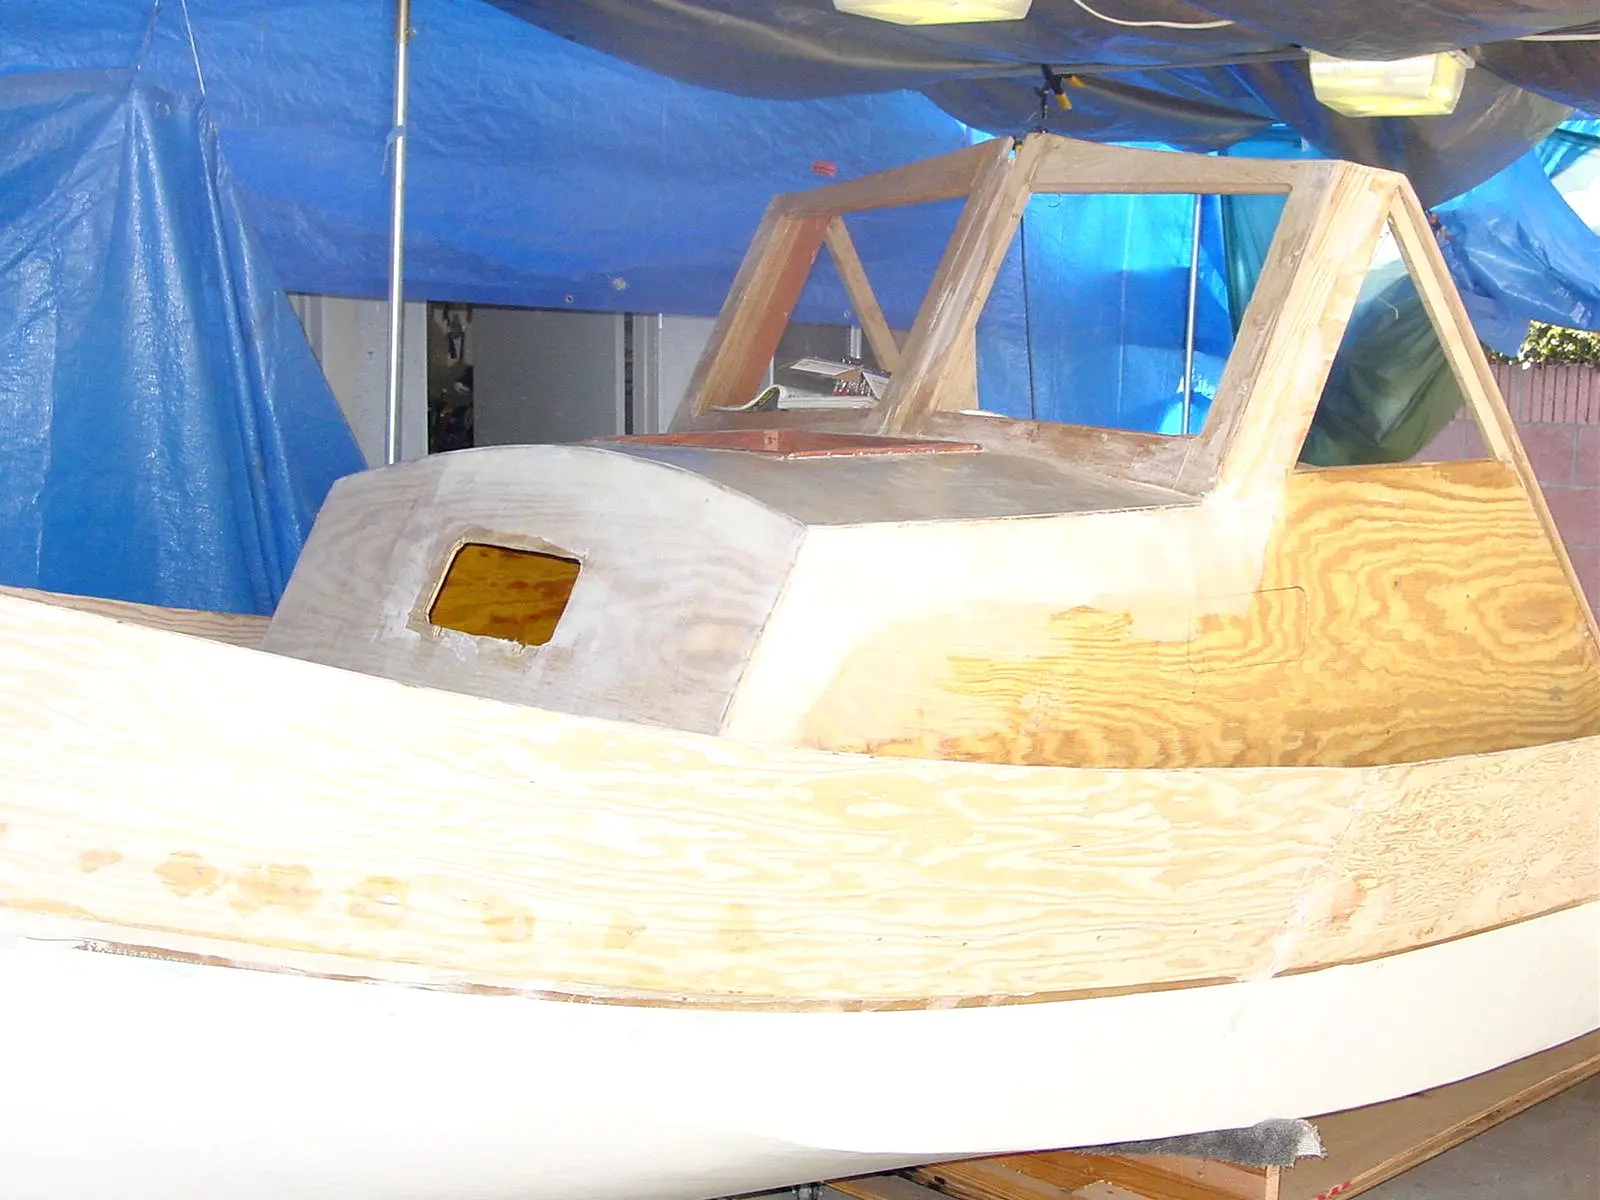
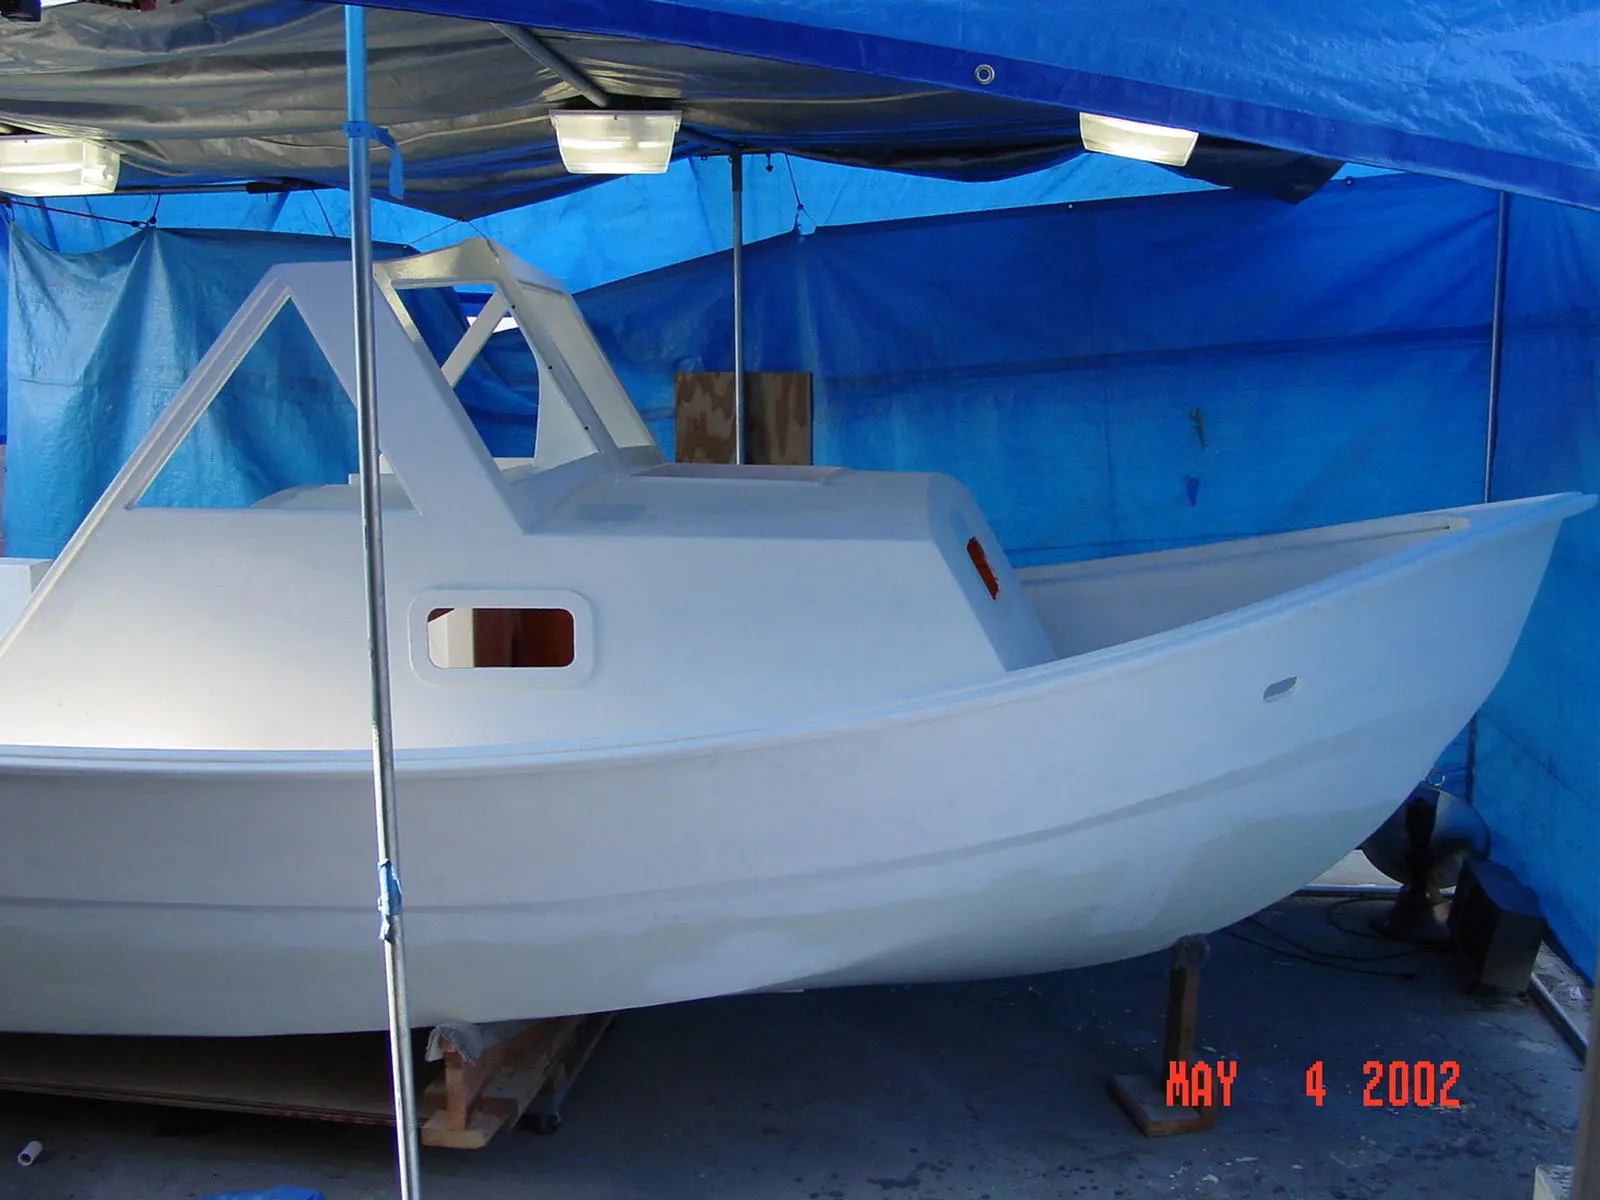
I cut out the cabin bulkhead (front walls of the cabin) and made a major decision. I think that I am going to disregard the plans and raise the cabin by 6″. I am too tall to fit in the cabin comfortably. I know that this is a small boat but I would at least like to be able to sit up in the cabin. This will raise the profile of the boat and I’m not sure what consequences this will have with the performance or stability of the boat. The main thing that I am concerned about is that I am a mediocre wood worker at best. The plans will now only serve as a “guide” and not actual plans. From now on, I will have to design all of the rest of the pieces of the puzzle myself.

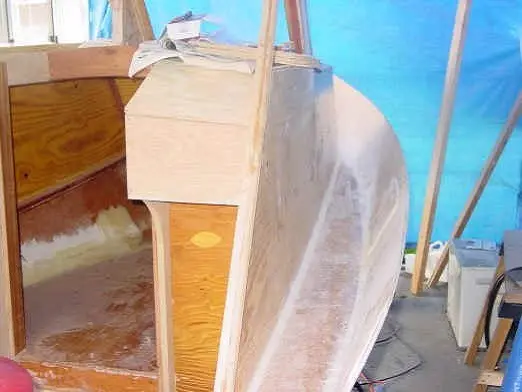
Cabin Entry Bulkheads extended 6″

Since I increased the sides I had to use an additional sheet of plywood. (The plans show 2 sides out of 1 piece)


Windshield

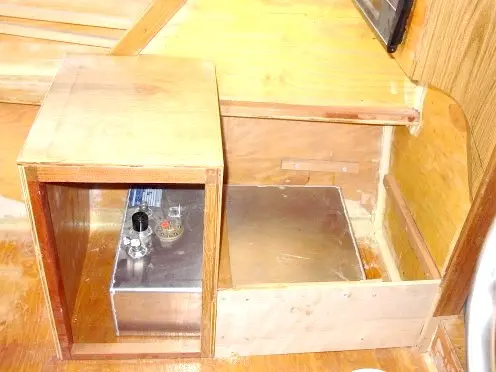
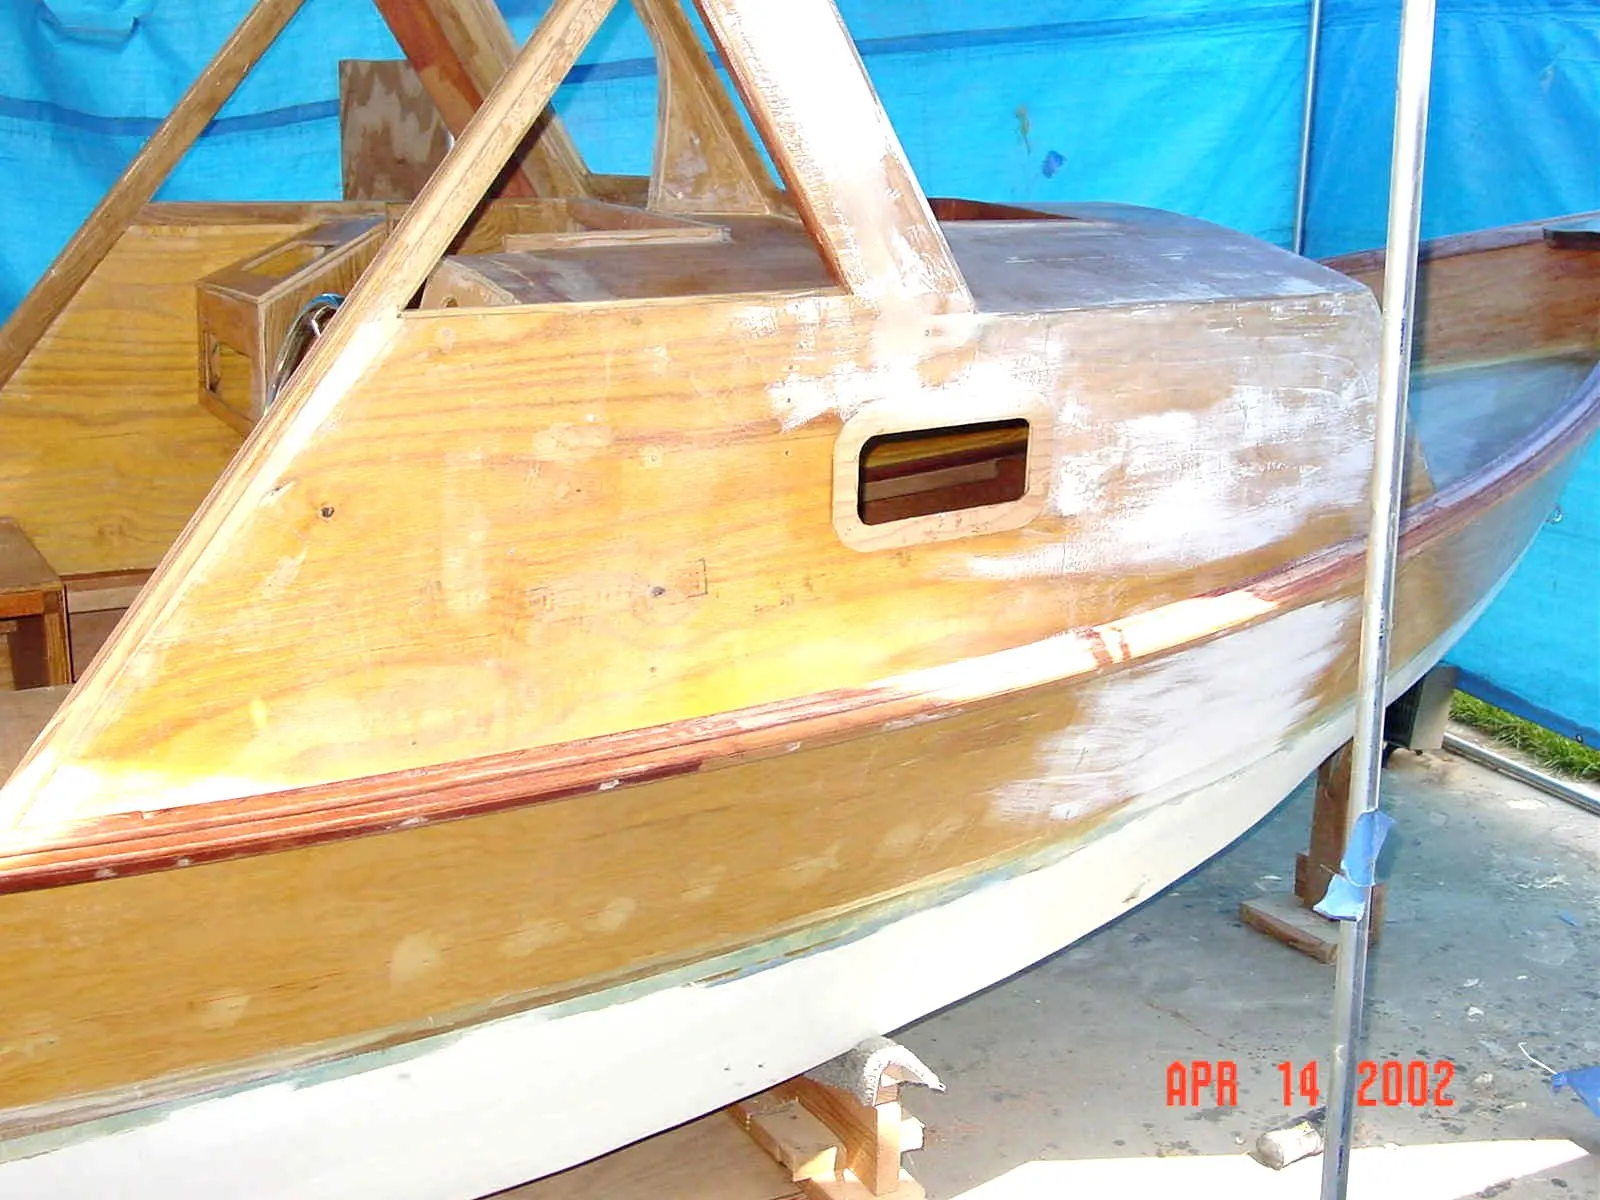
I installed a permanent 12 gallon gas tank. I didn’t want to carry one around. I put a fill hose through the Cabin Side


Bullwork

It is now April 15, 2002. Tax Day. I am getting closer to my goal of launching the boat the weekend after Memorial Day. (June 1, 2002) It will be close. I have started looking for a motor and trailer.

I put on a few test spots of primer to see how bad it really is . I have a lot sanding to do. Sanding sucks!!

I have also started painting the areas that I need to work on so that I can start installing all of the electrical and gauges. I will leave the bulk of the painting to my friend John.

This is another area that I am lacking in skill or neatness. I decided to go with Interlux primer and paint. I choose this brand for no other reason than it was readily available in many stores.

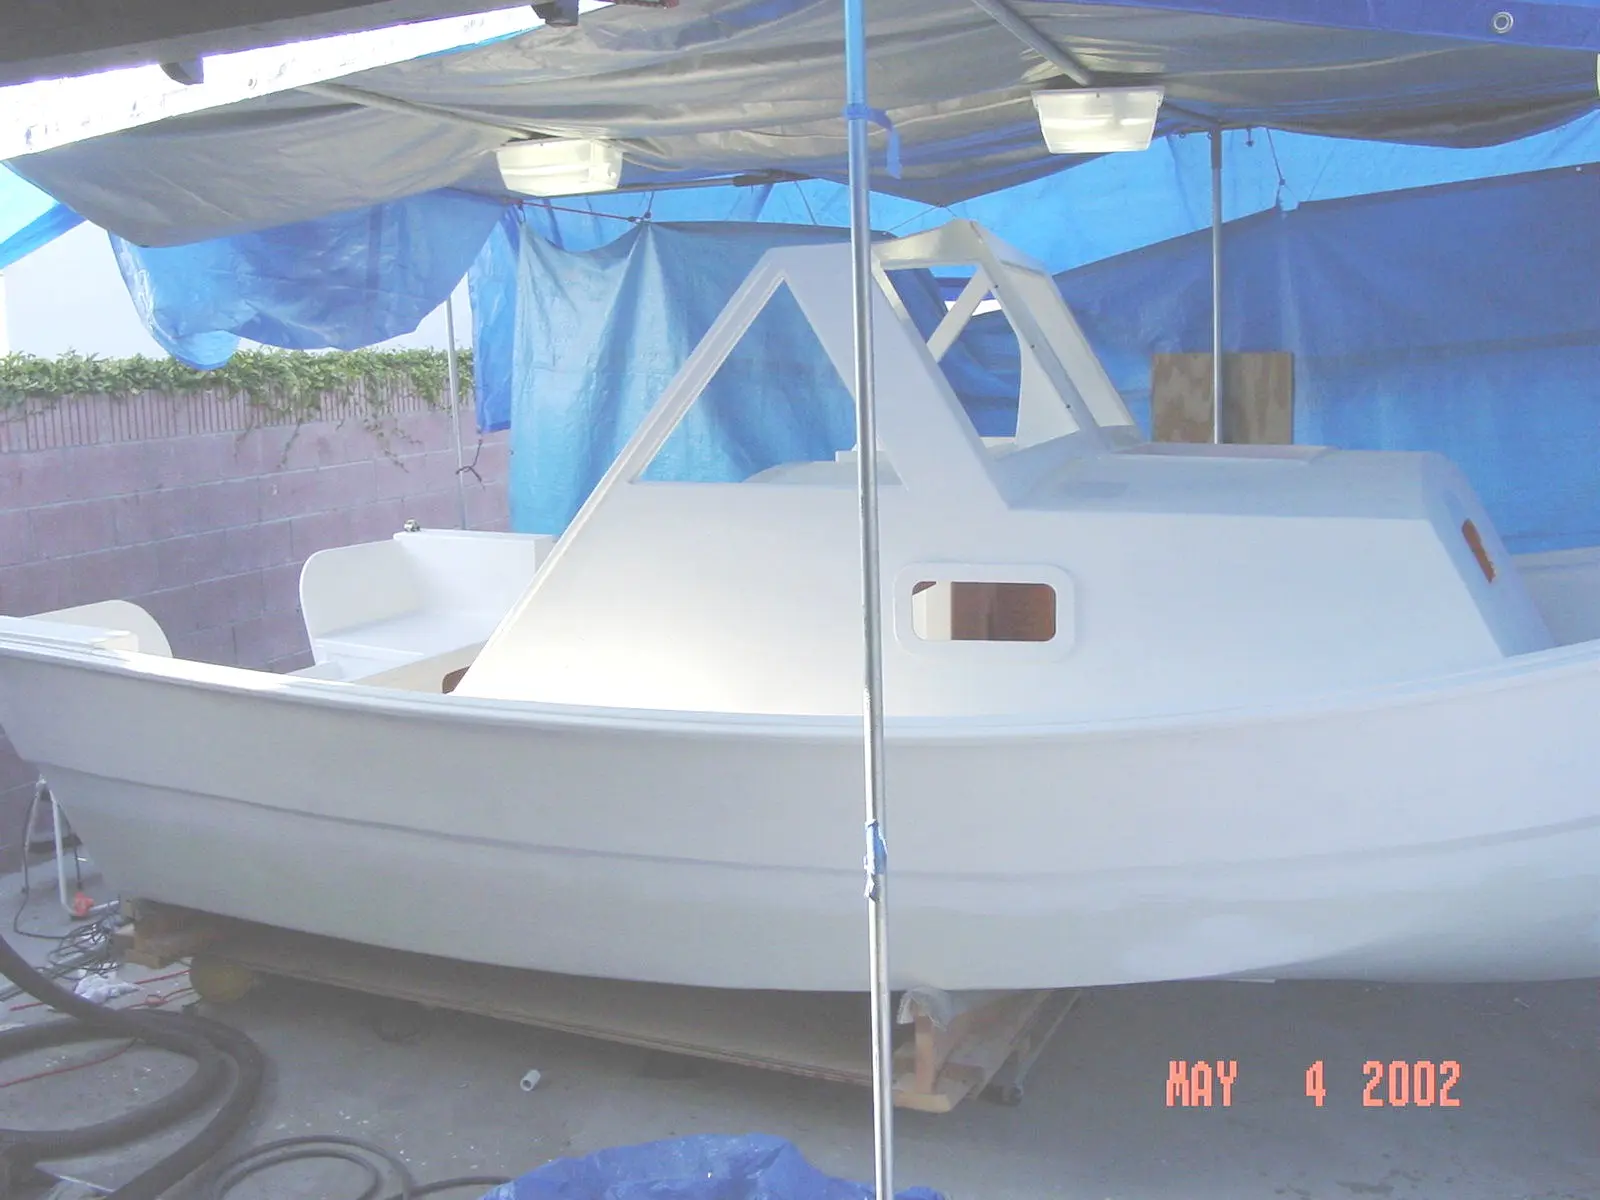
First Coat of Primer (Trilux #279)

First Coat of Primer

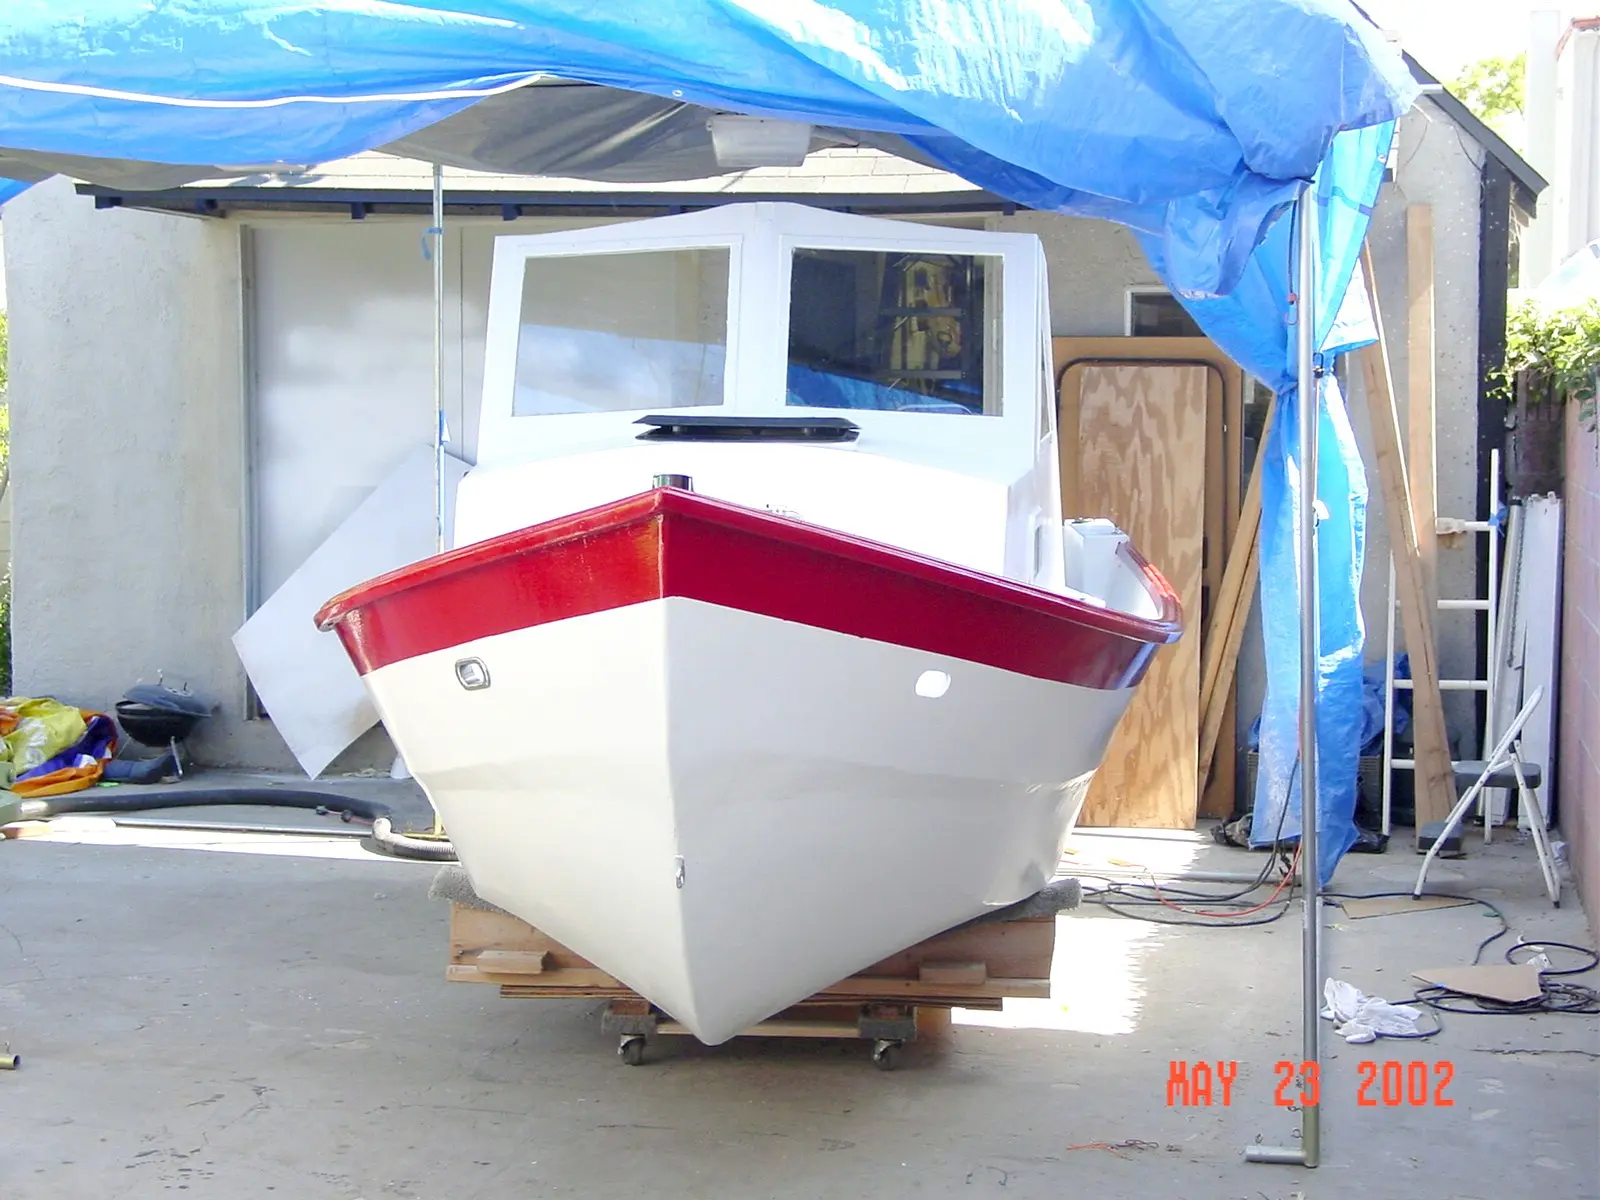
The paint is Interlux Semi-Gloss White # 220 Yacht Enamel The red stripe is Interlux Brightside # 4248 Fire Red


Engine & Electrical

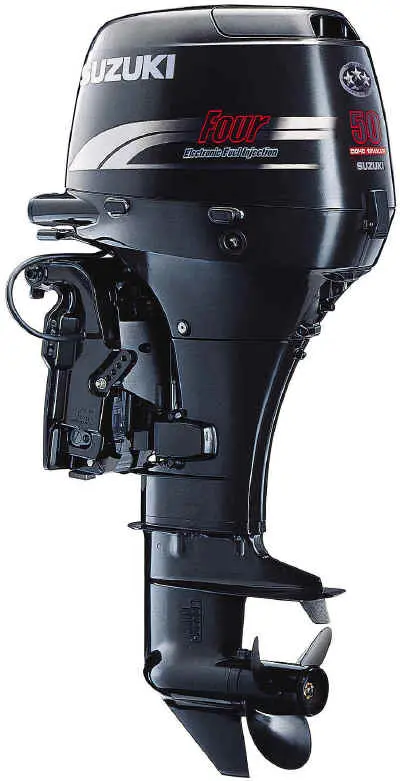
DF50, 50 HP, 4-Stroke, Digital EFI

Prop Shaft Horsepower: 50 Cylinders: I-3 Displacement: 49.7 cu.in. (815cc) Shaft Length: Long 20″

FUEL

HOUR

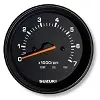
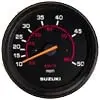
TACH/TEMP/OIL

SPEED

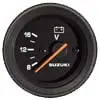
VOLT

SIDE CONTROL

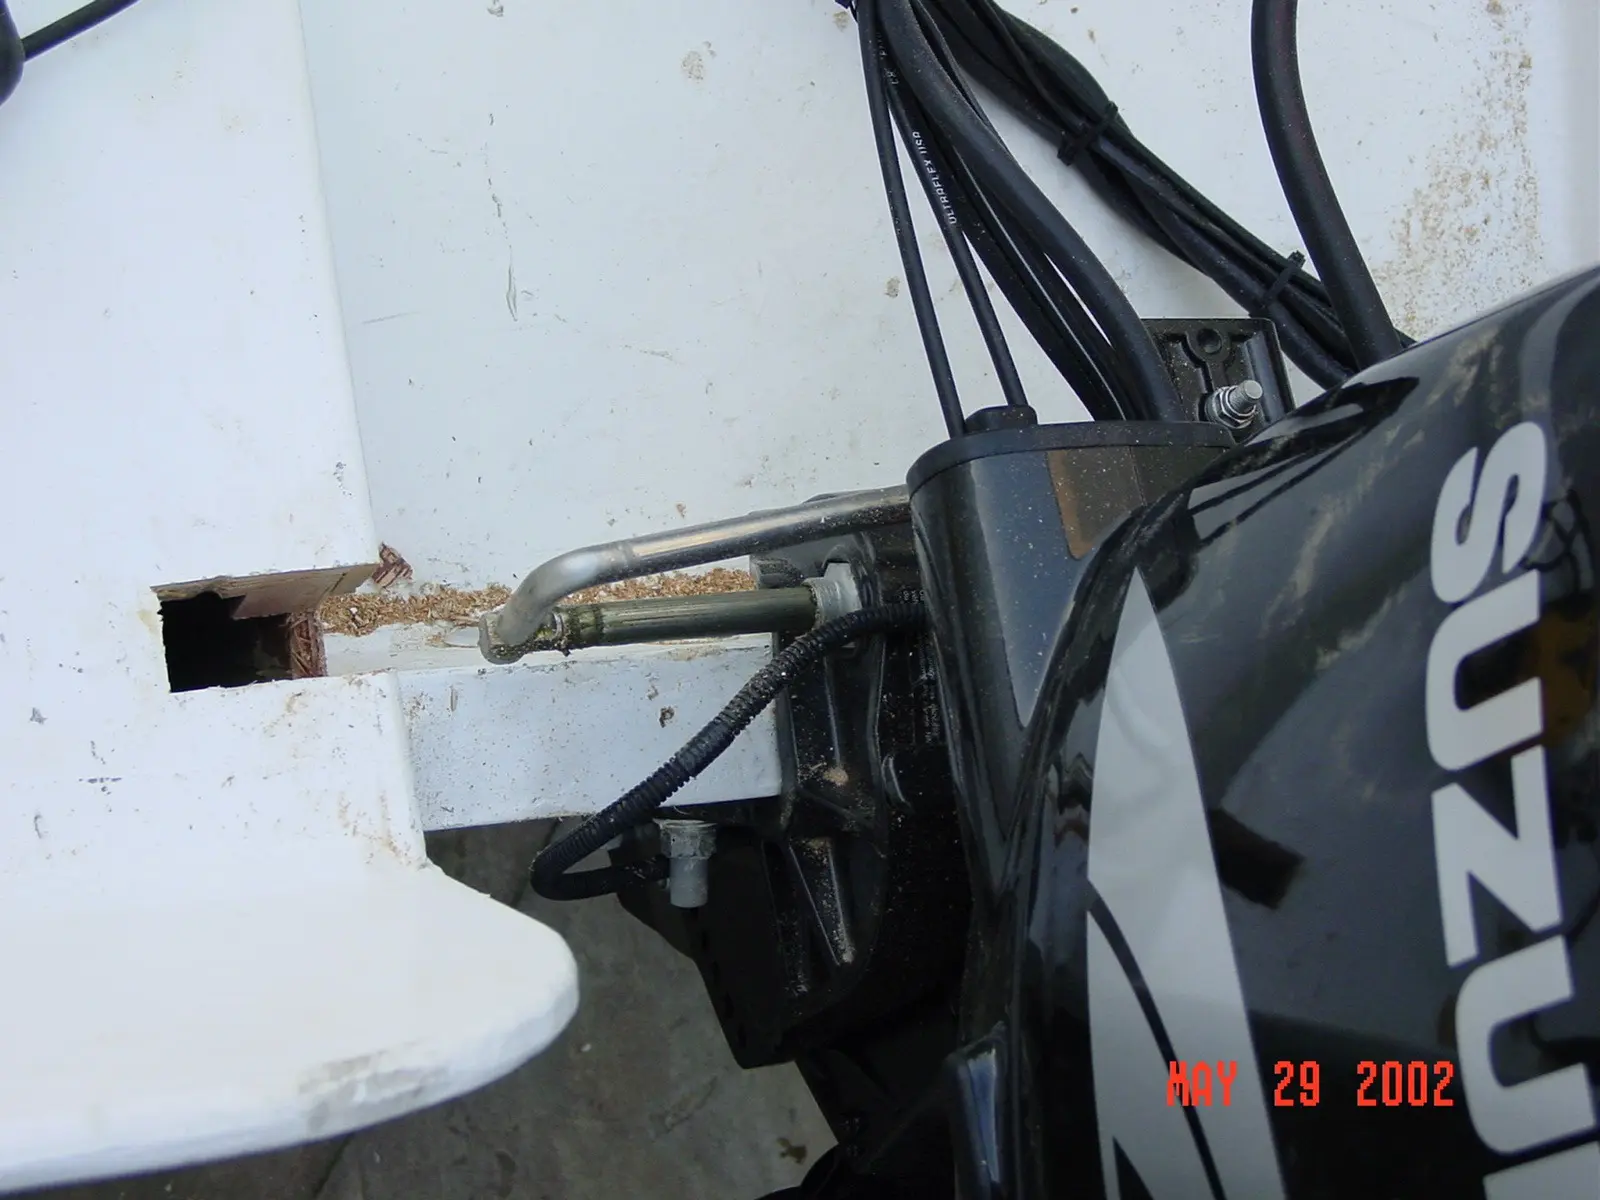
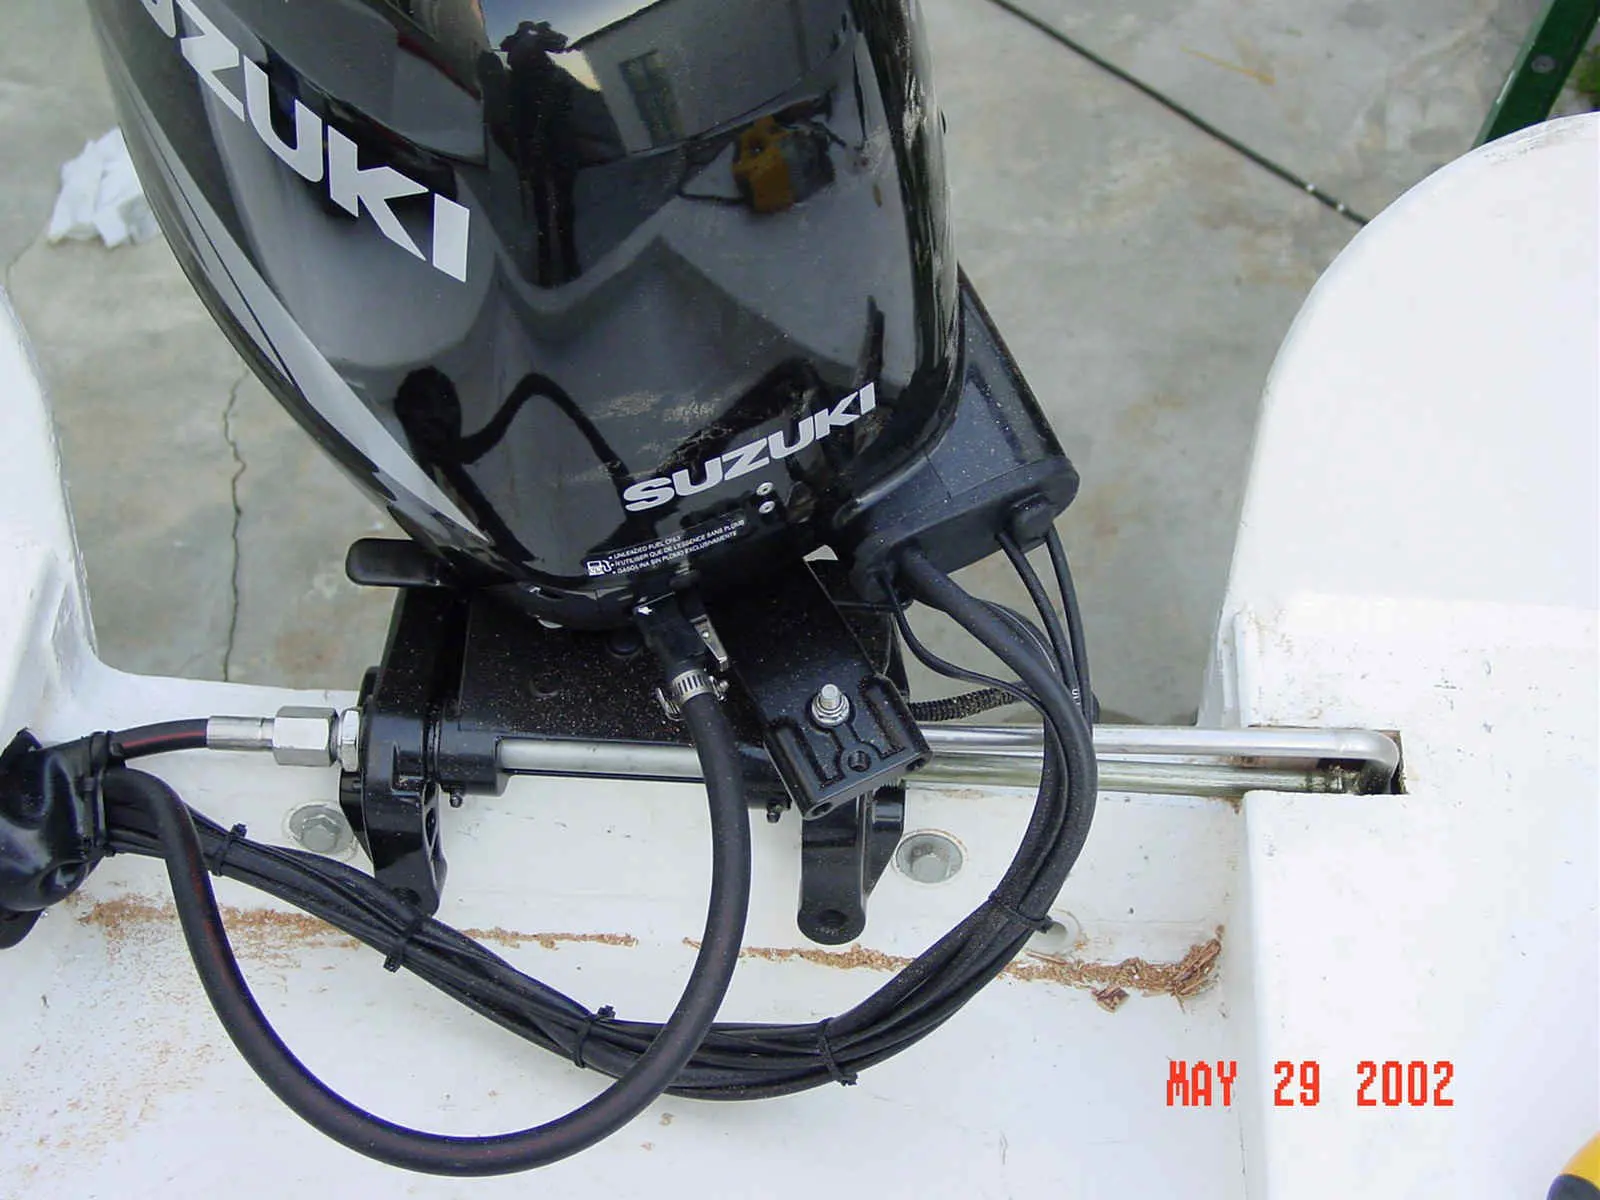
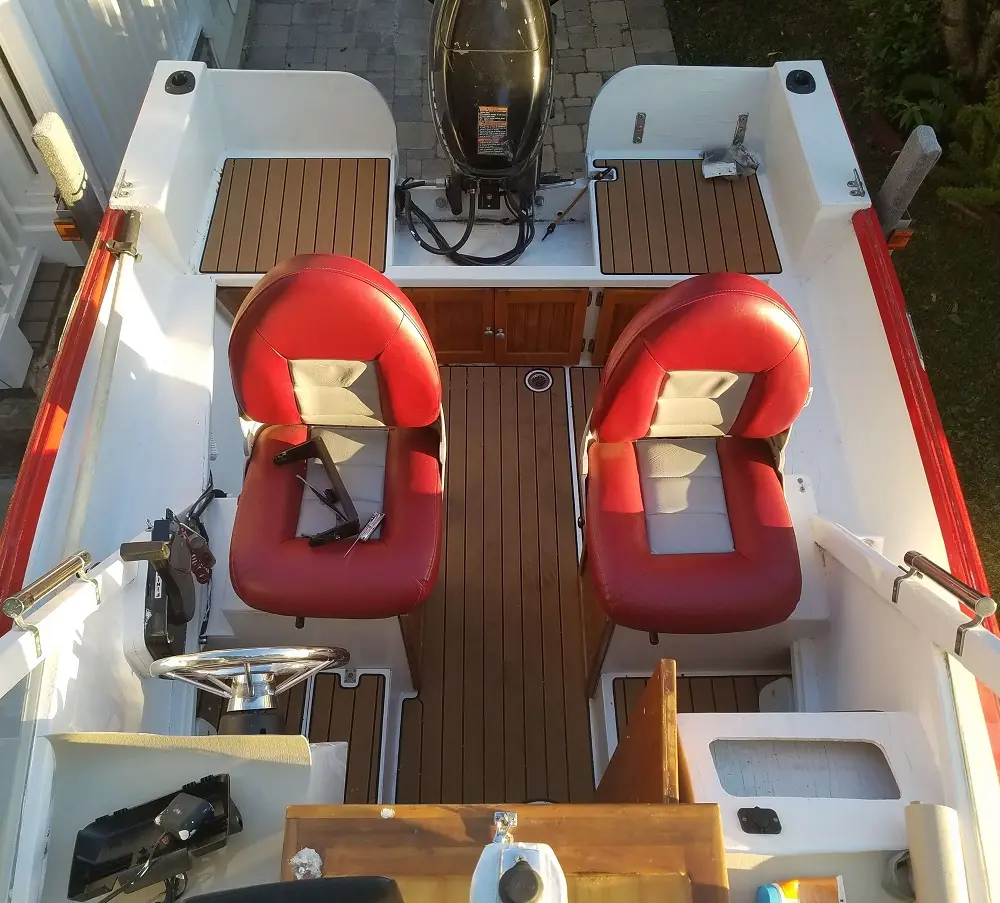
I encountered a problem when installing the engine. The steering linkage is to long when turning right. I had to cut out part of the seat to allow it to turn.

I filled in the cutout with some plywood from underneath.

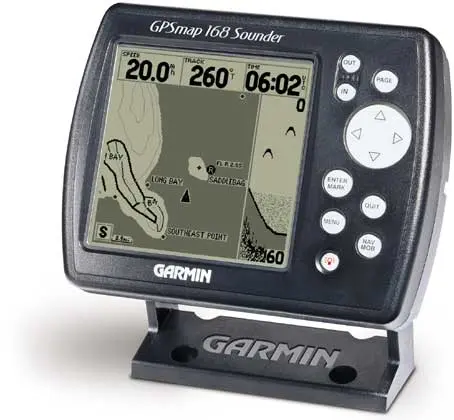
Garmin GPSMAP 168 Sounder is a combination GPS receiver and chartplotter which includes a depth-finder.


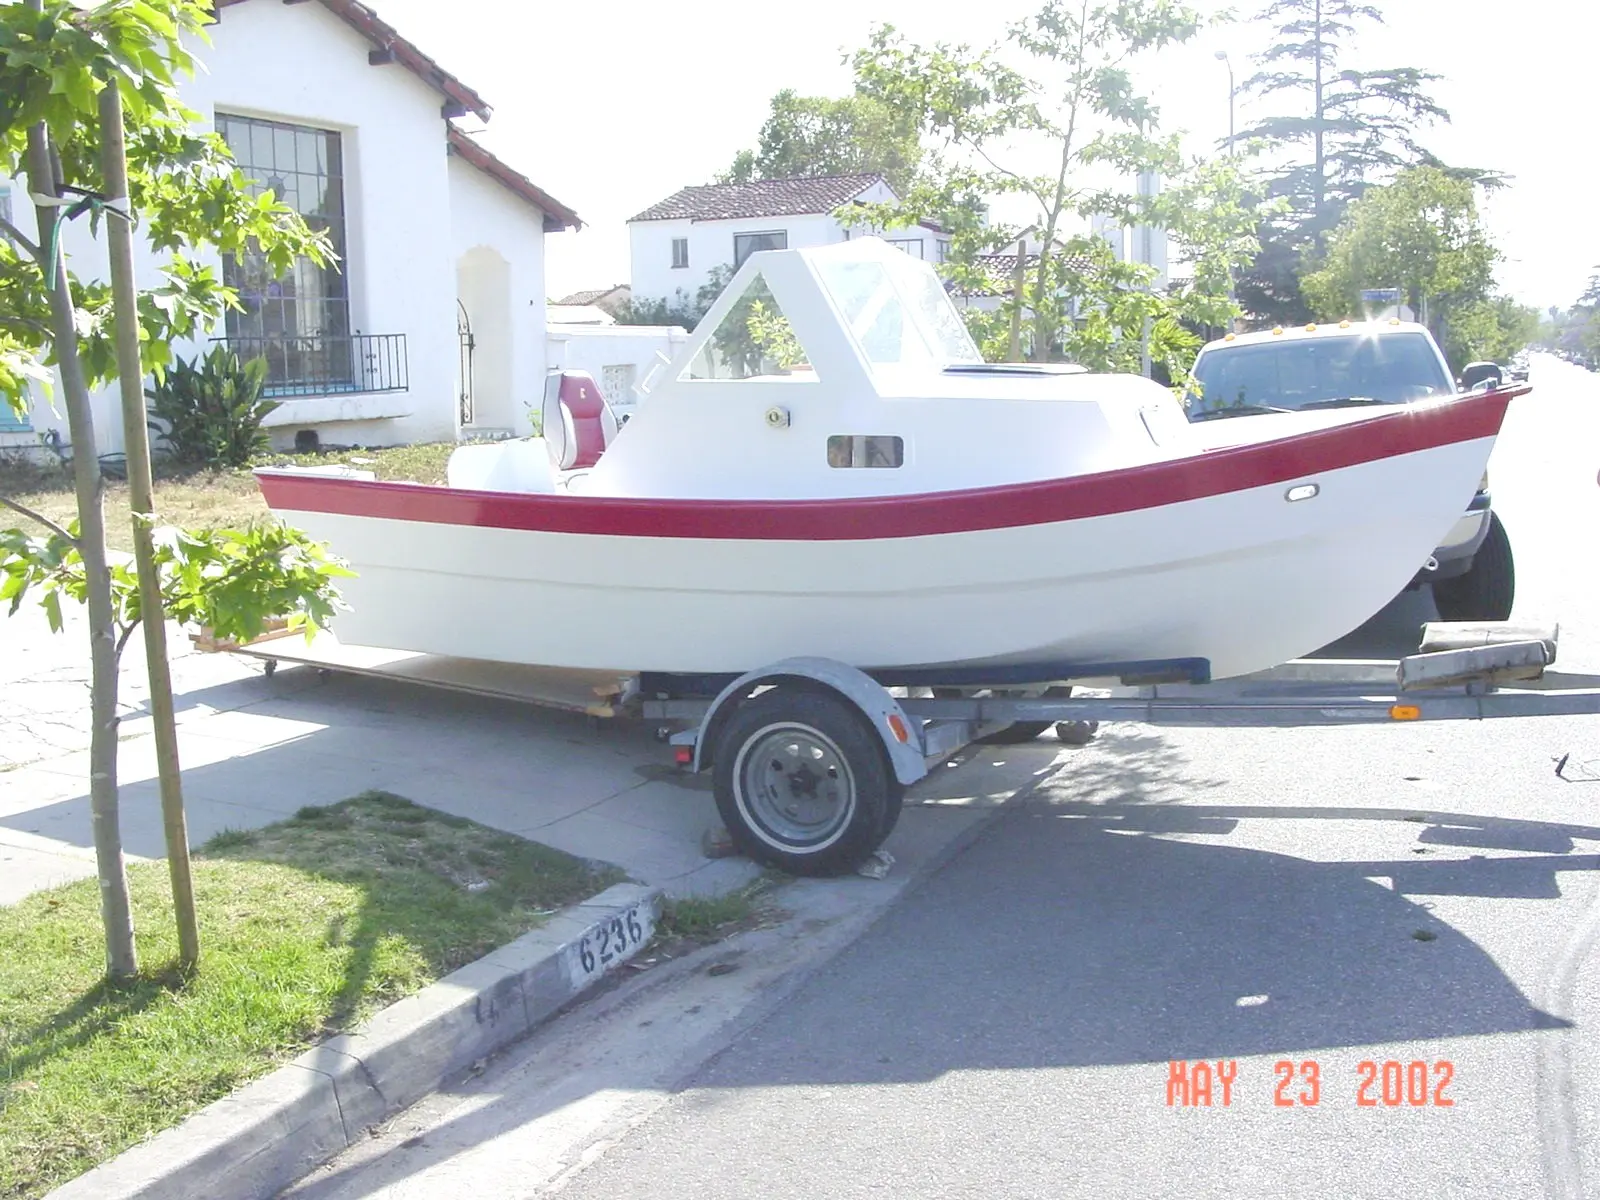
Getting on the Trailer

Turning the Seaputter & heading out of the driveway

Halfway on the trailer

Winching on to the trailer


Launch!

June 1, 2002. Launch Day!

It is May 31, 2002. I choose Lake Lopez, although it is 3 hours away, because a friend of mine was going there with his Wave-runner. I figured that if I got in trouble, he would be there to help. Boy, did I figure right. I arrived at the campground around dinner time and I made some last minute installations like installing the running light and fender holders. As I was making a campfire I noticed that the 3/4’s of the tread on both trailer tires had fallen off on the way up. I will have to go and get new tires in the morning. I decided to sleep in the Seaputter cabin instead of pitching a tent. It was quite comfortable.

It was a chilly overcast day. I went to a tire store about 20 minutes away and got new tires on the trailer. I came back and waited for my friend for a while.

Finally I put the Seaputter in the water and started the engine and it seemed that everything was going well until… I tried to steer the boat. I realized that I had the steering cable backwards in the helm. I would turn right and the boat would go left and vice-versa. I should have realized this before but I didn’t. So, I stopped the engine in the middle of the lake and proceeded to change the steering cable. Not a big deal. It took 5 minutes.

Then I go to start the engine again and It wasn’t happening. It was not getting fuel. I could manually prime the engine and it would start for 1 or 2 seconds but not longer. Needless to say I was pissed. I floated without control until I reached the shoreline on the opposite side of the lake. I waited there until my friend launched his wave runner. Oh yea, he hadn’t planned on riding because it was so cold. (Thanks John) He towed me back to the launch area. That sucked!

It’s Monday and we figured out that I had installed the fuel line to the vent hole on the gas tank. I kind of feel stupid but then again, they weren’t marked and the guy that installed the engine should have noticed something wrong.

I know that technically it was the first launch, but, I am not counting that misadventure as the official launch.

Feeling confident that I had all of the bugs worked out I was determined to get the Seaputter on the water. With no lakes less than an hour away, I decided to go for broke and put it in the ocean. (only 15 minutes away) I put it in the water at Marina Del Rey with my friend Roger. It is about 11/2 miles through the Marina to get to open ocean (Santa Monica Bay) I figured that that if I had any real problems that it would be better in the marina than open ocean. I cruised through at 5 mph with no problem and decided to go on out passed the break water. The swell was about 3′ – 4′. I put the throttle down and the first thing that I noticed was that the bow went way up and I wasn’t getting anywhere fast. I expected some bow rise but this is pretty excessive. We continued up the coast to Malibu, stopped for a little while and did a little fishing and came back. It was about a 33 mile round trip.

The Seaputter is officially sea worthy!

On the way home I stopped by the store and picked up a stabilizer fin for the engine.

I installed it that evening and was ready to go again. The next day I drove to Lake Pyramid and put it in the water. What a difference. Cruising at 25 -30 mph and I could see over the bow.


Anacapa Trip

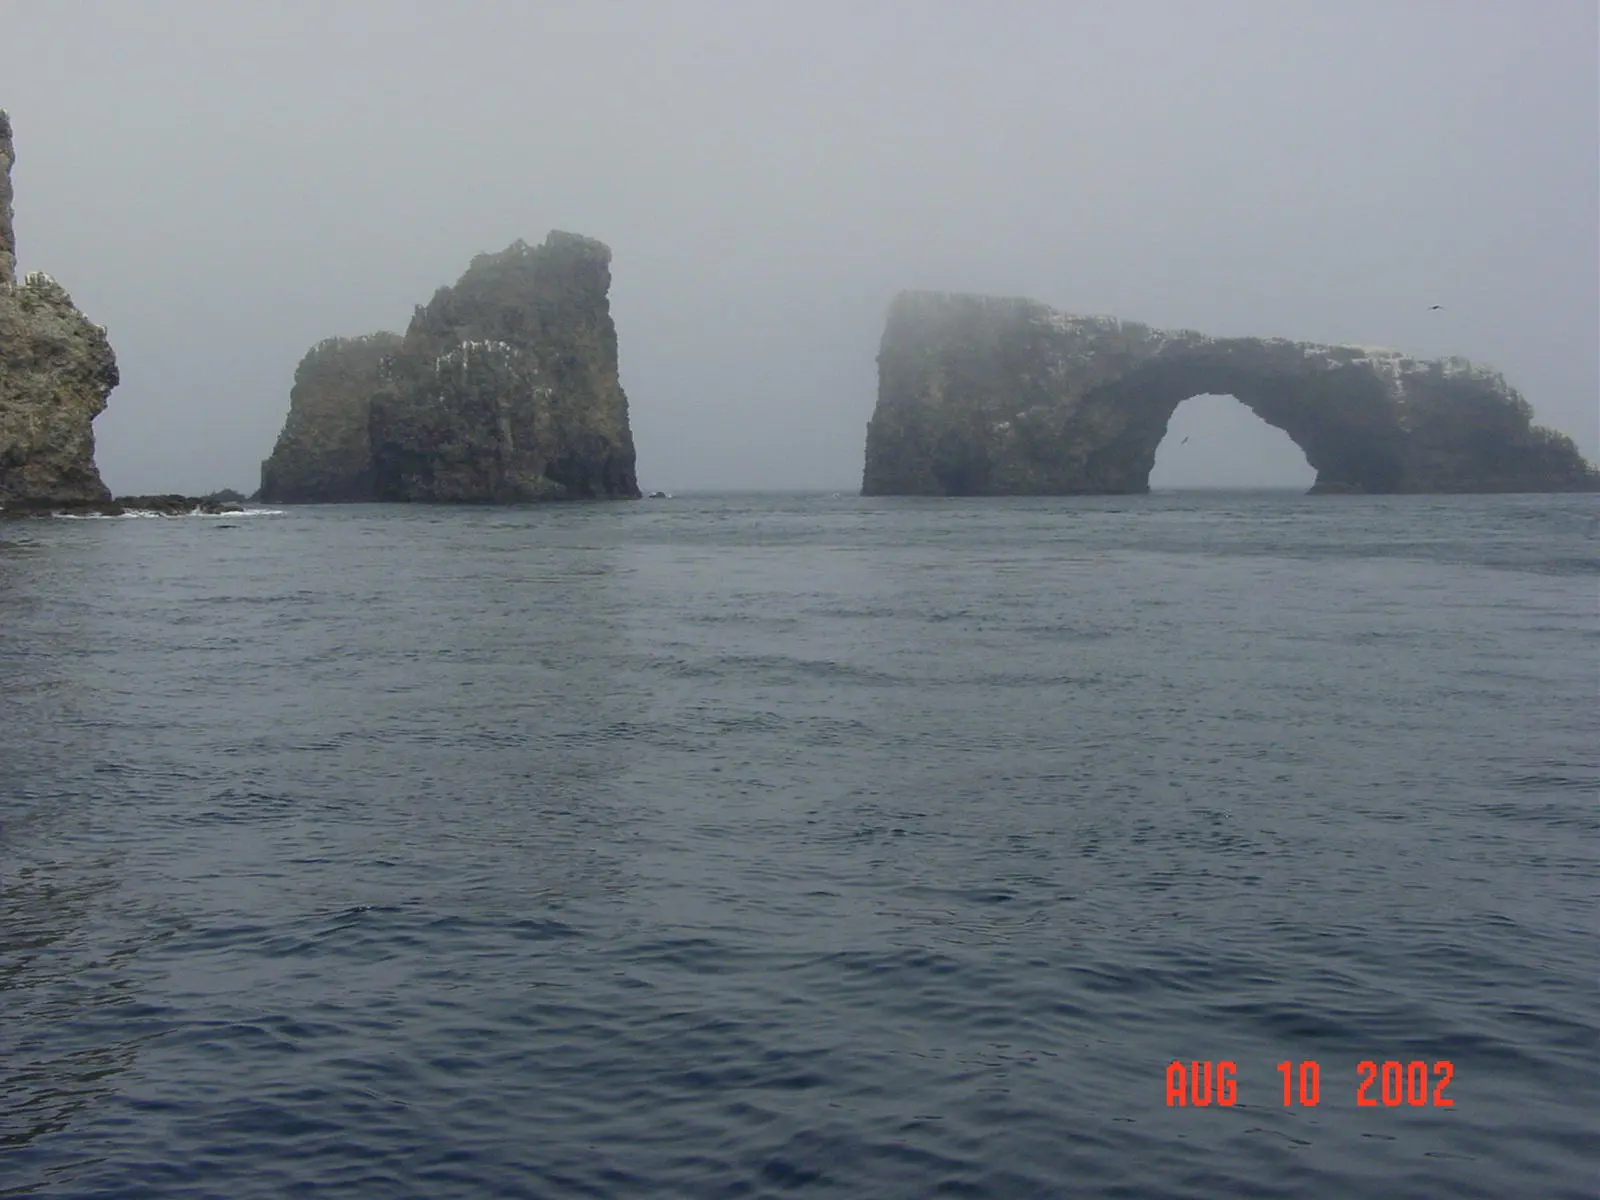
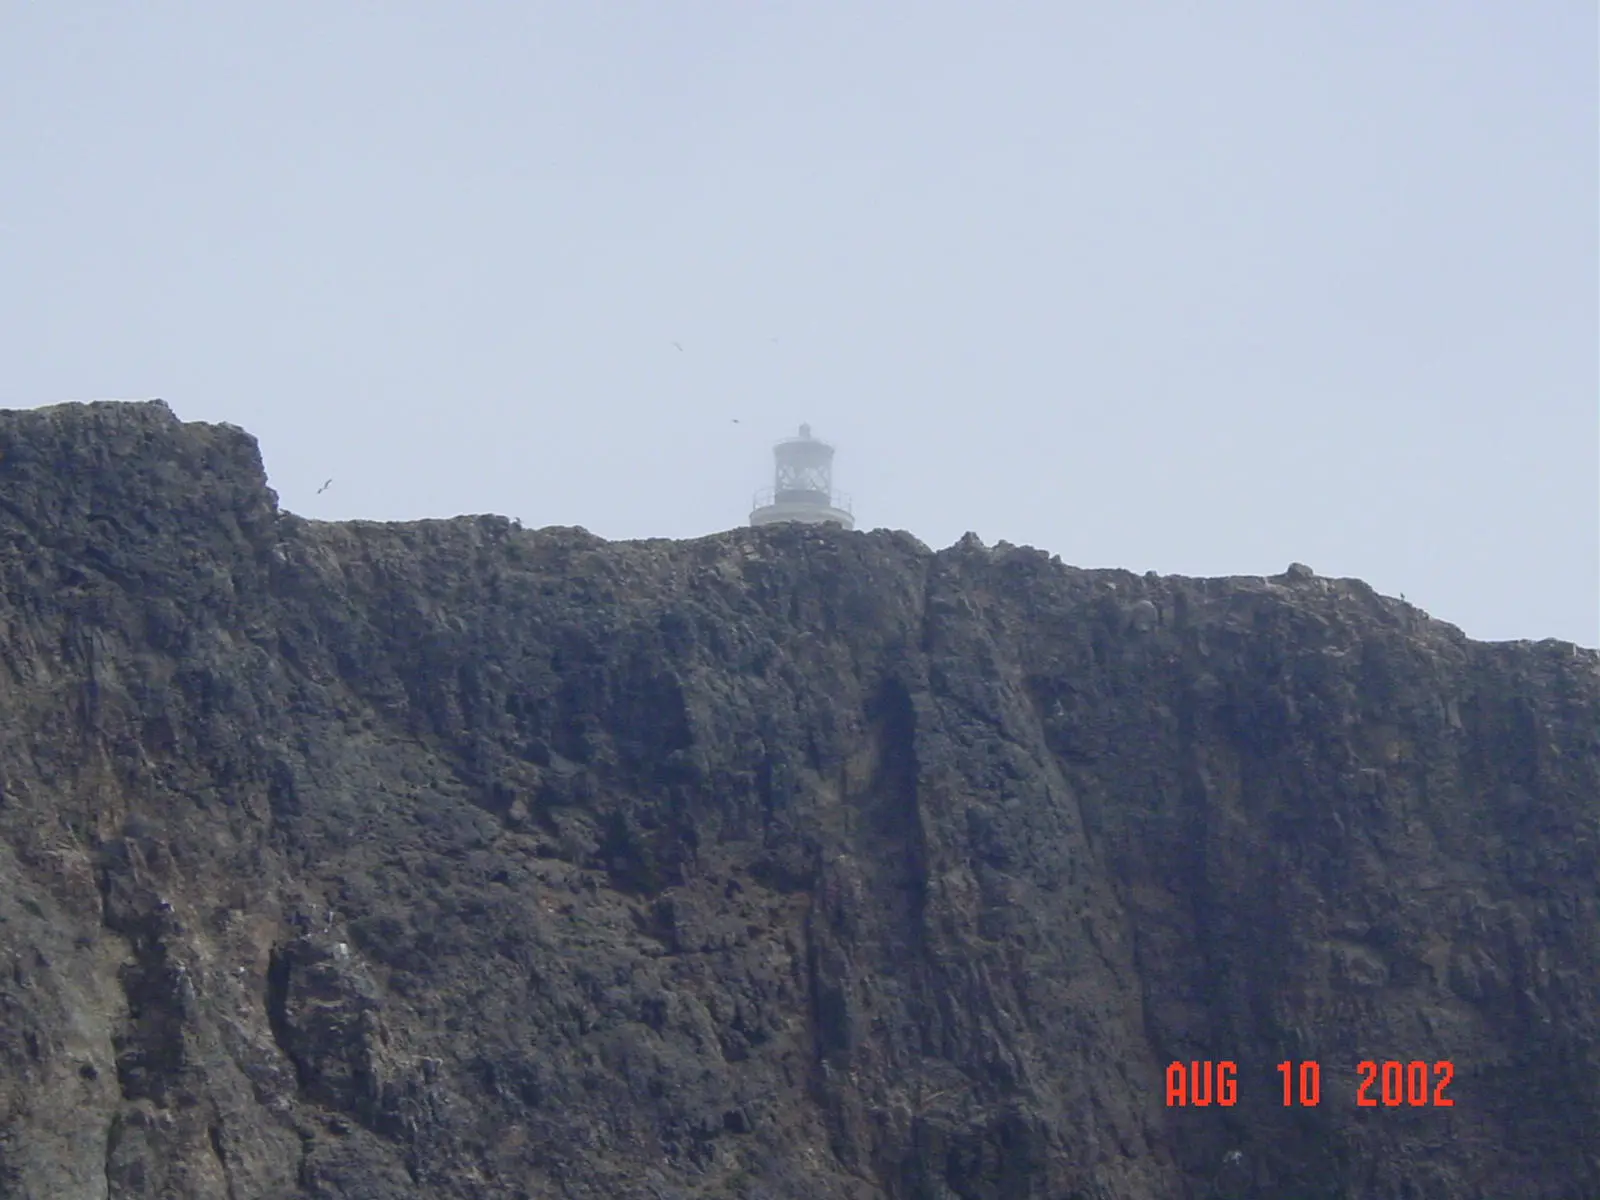
ANACAPA ISLAND TRIP

Anacapa Island is about 14 miles from Channel Islands Harbor.

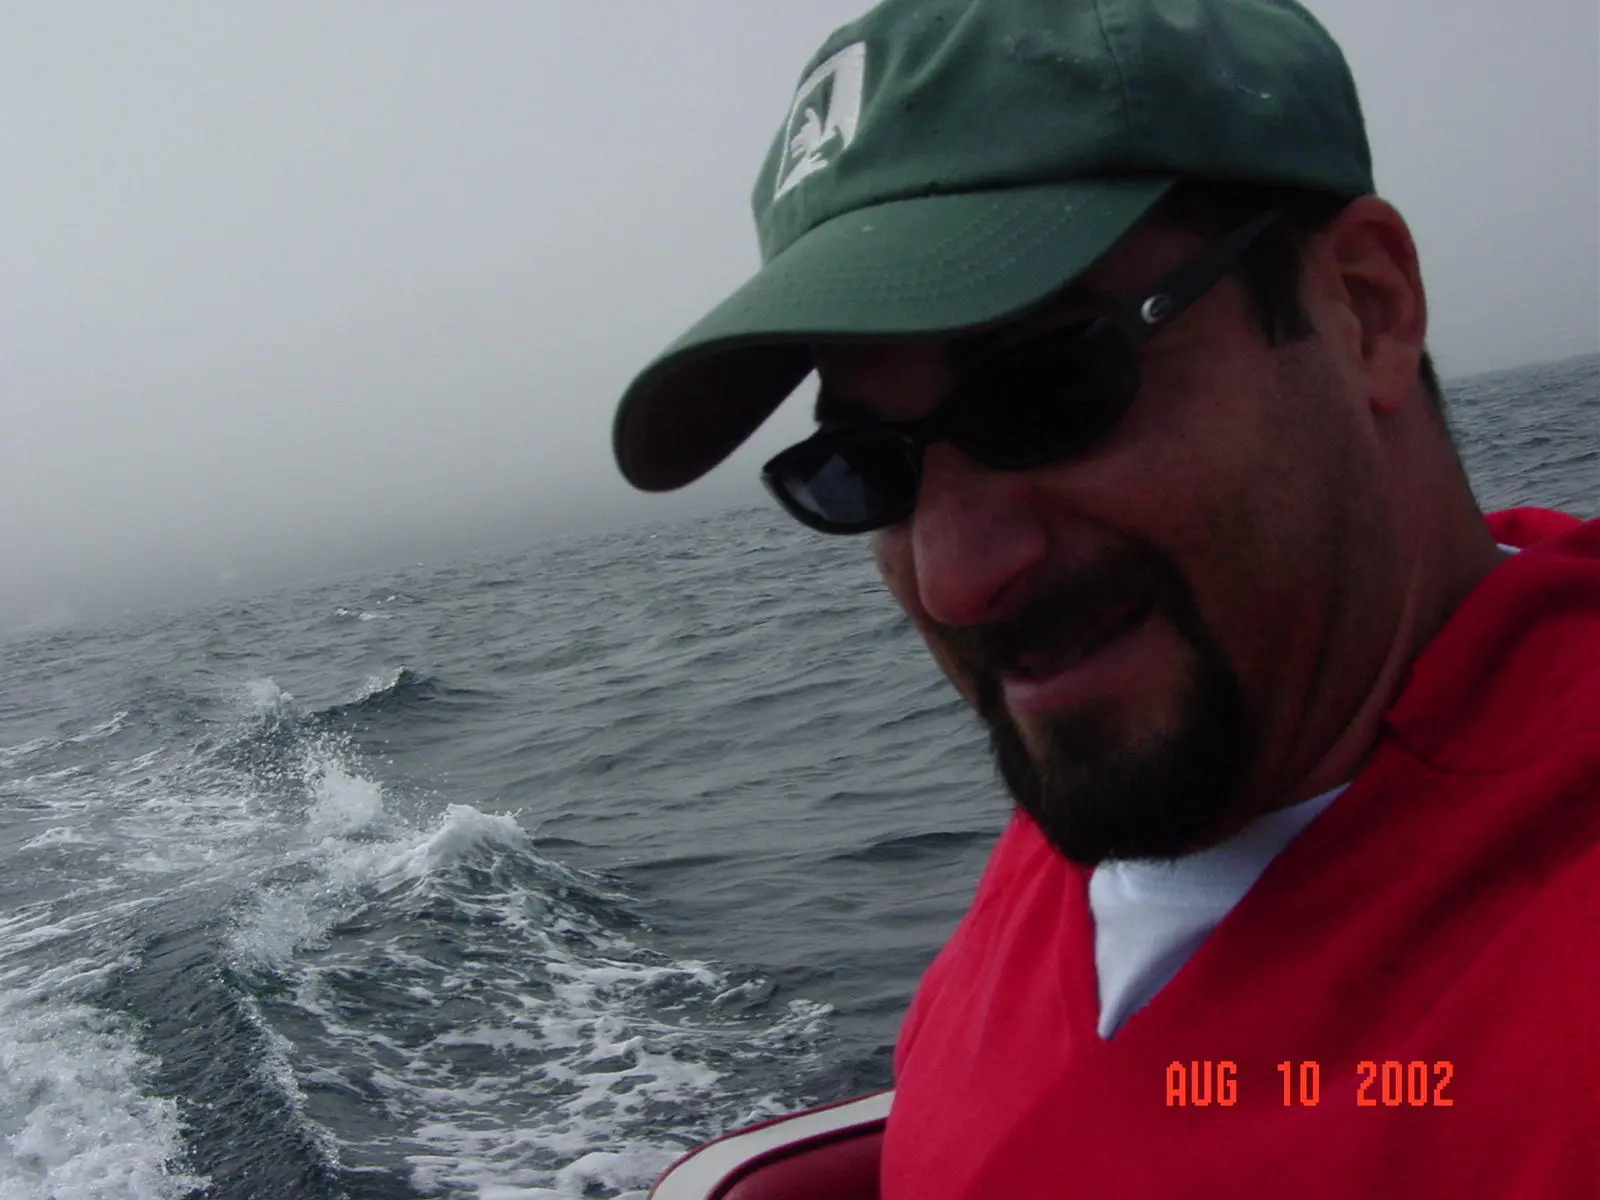
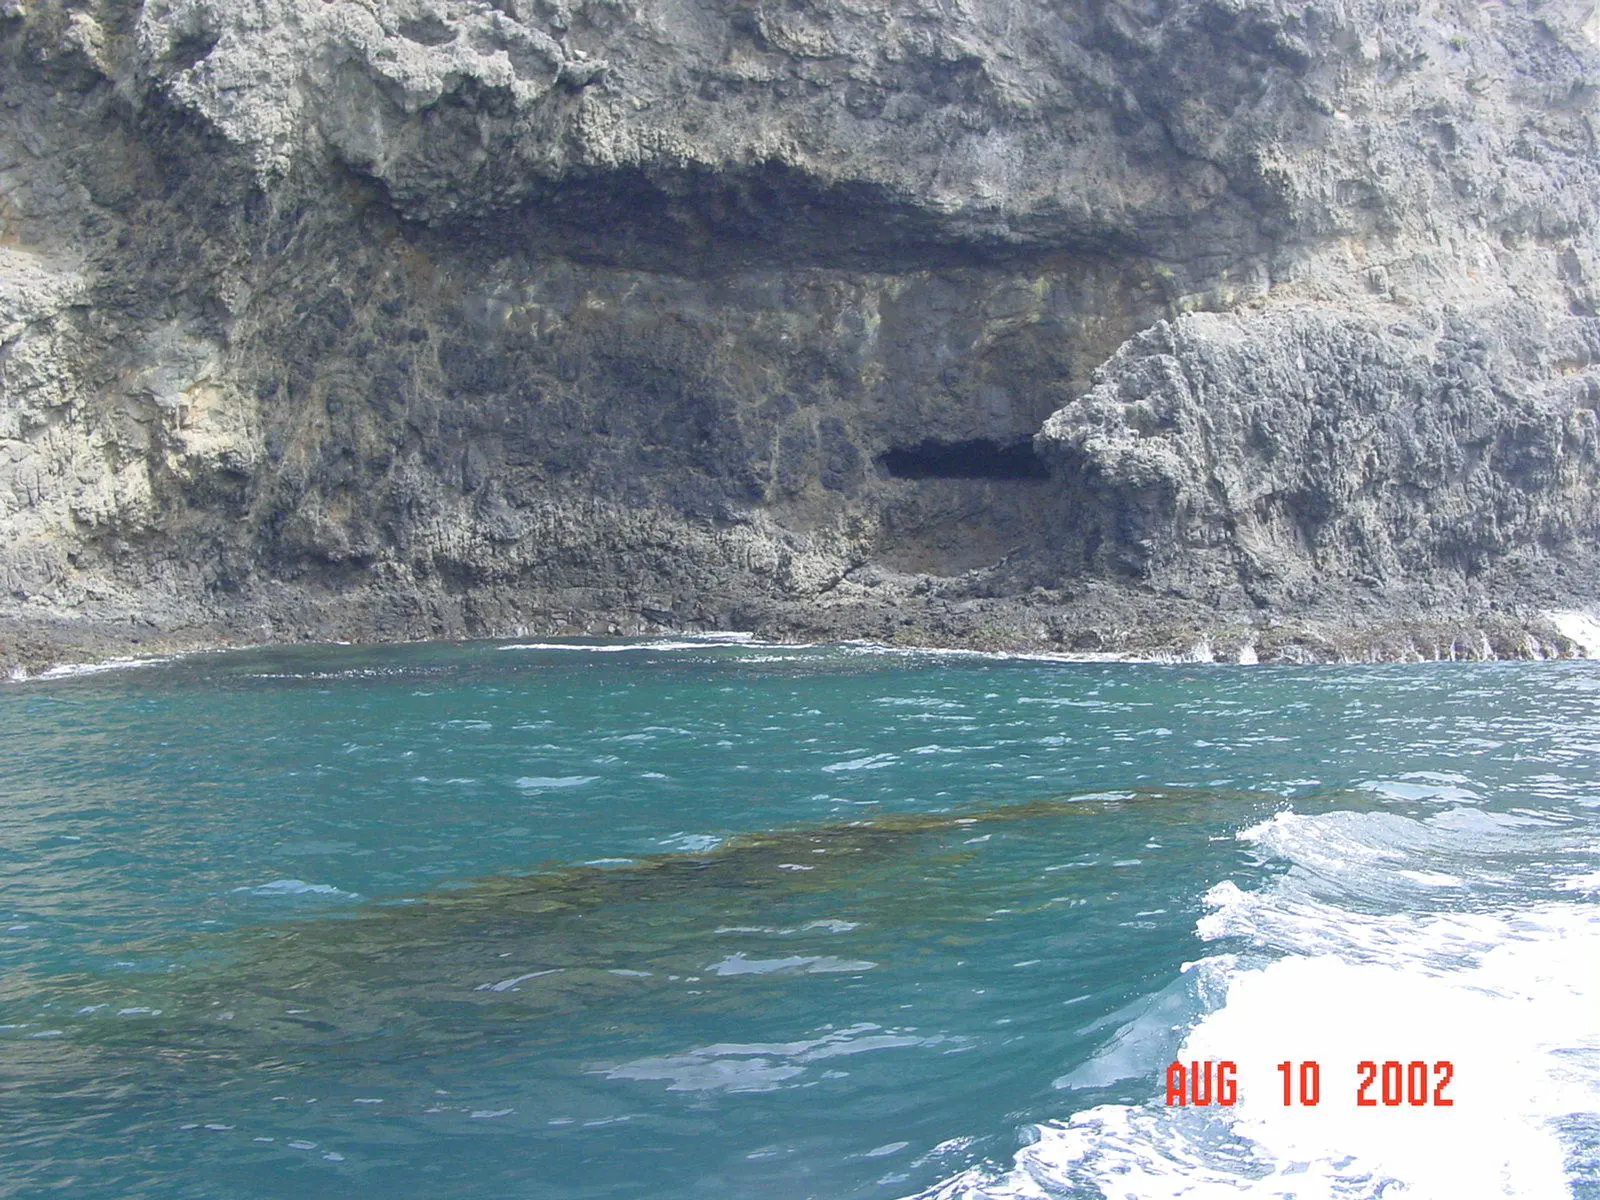
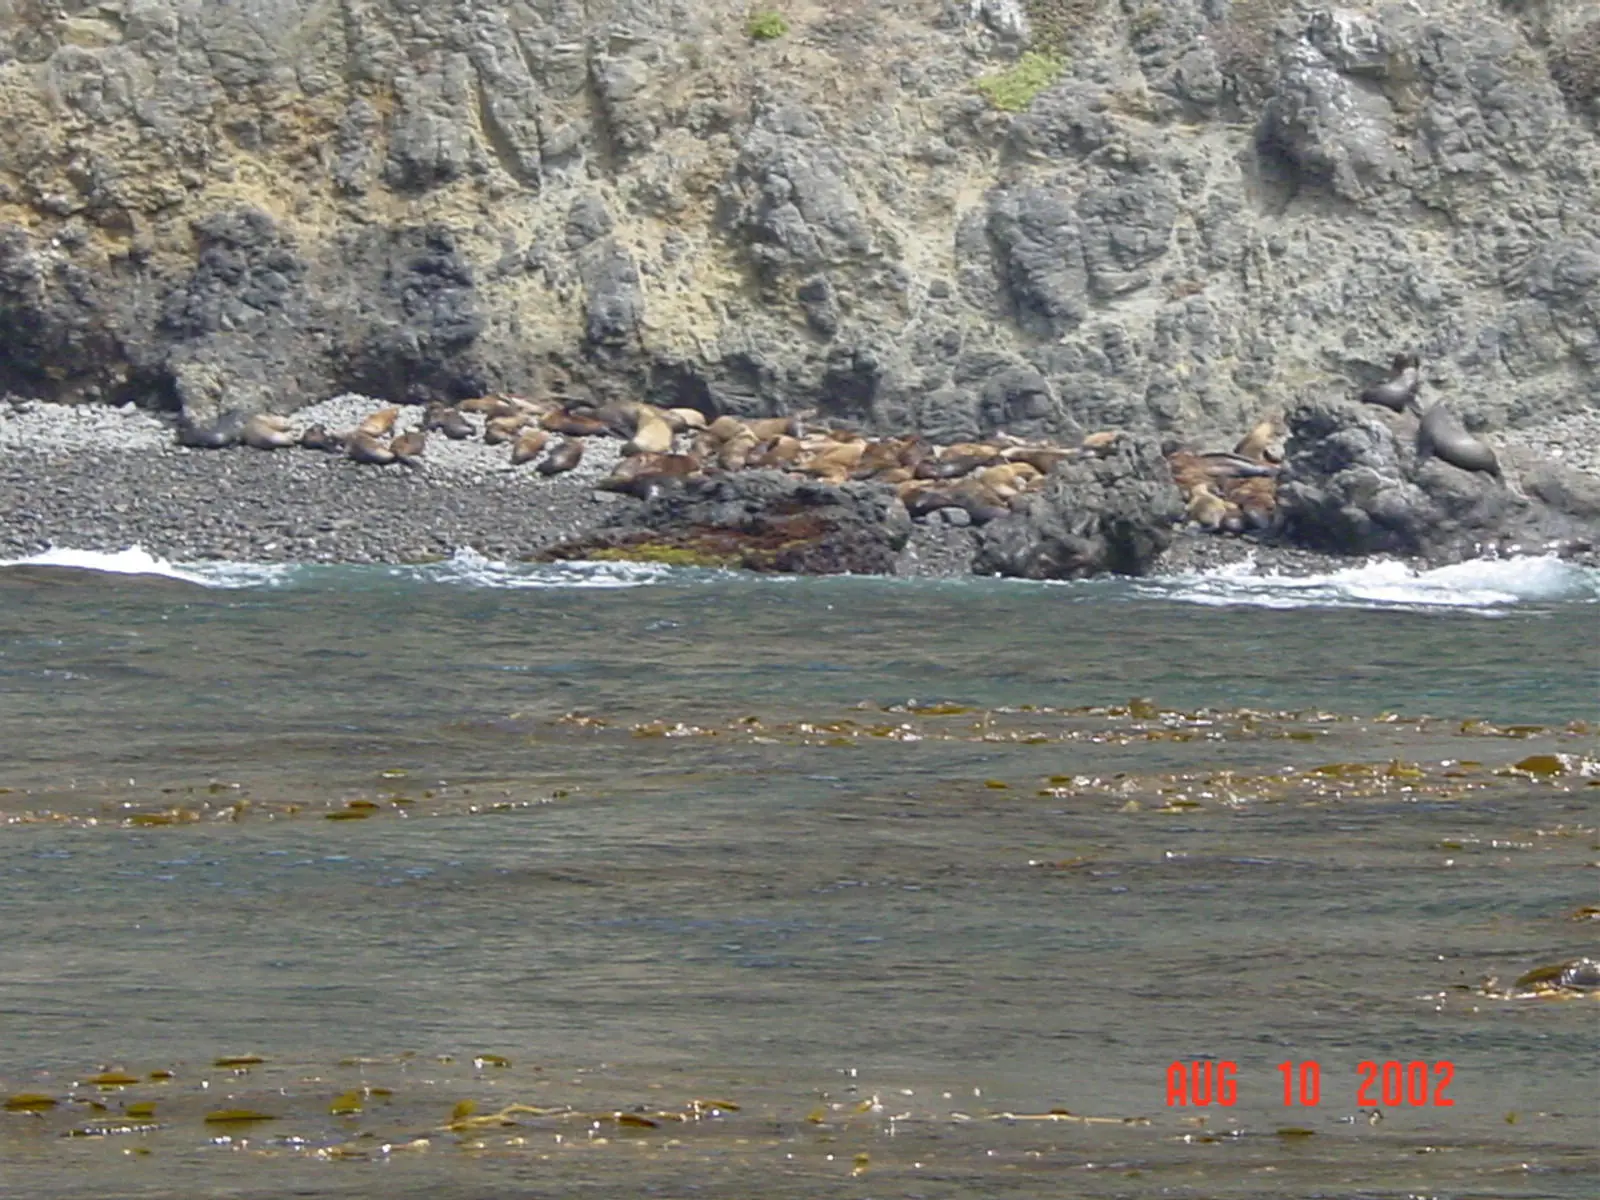
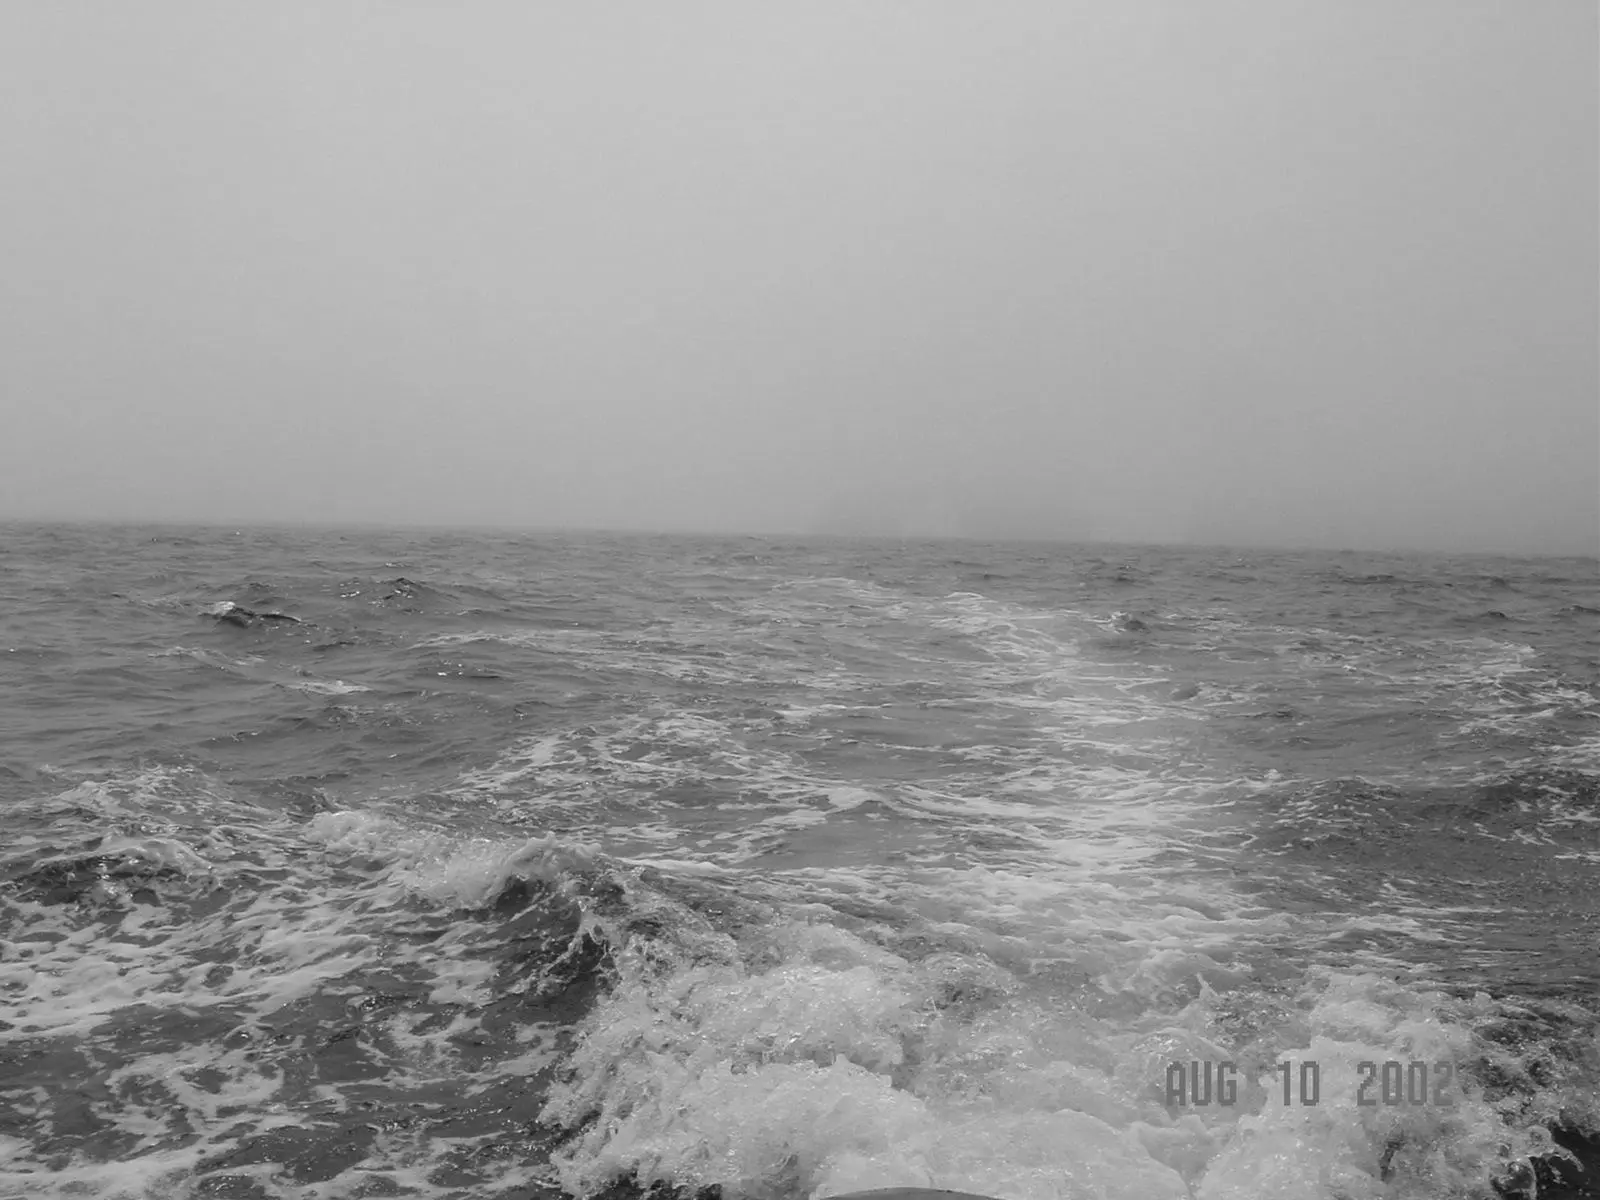
We started driving early from Los Angeles to Ventura Harbor. Once we got there it was extremely foggy. At the time that we launched the Seaputter there was only about 25 yards of visibility. This was the first time that I had to use the navigation lights. The GPS map that came with the Garmin 168 did not have good information about the Harbor. (In it’s defense I didn’t download the information from the CD yet.) I had a little bit of a hard time to get out of the Harbor but once out, the GPS worked fine. Due to the water conditions our cruising speed was about 15 Knots. The fog did not let up until we got to the backside of the Island. We explored the south side of the Island for a while & decided to head back. As soon as we came around on on the north side it got kind of rough. There was a 3′ – 5′ swell with white-caps. We could only do about 8 – 12 knots.
And then

She floated

1 June 2002

11 months after the first day in this log.

boatbuildlog.com

Seaputter
13 entries, 63 photographs, written down as the work was done.

The words and photographs in this log belong to Edward Andrews.

The log itself lives at
https://boatbuildlog.com/builds/seaputter

Printed 22 September 2026