The Beginning
I was looking for a project that both my kids and I would enjoy working on in the afternoons, after work, and on the weekends. Something that, once finished, we could enjoy the fruits of our work.
I had no idea what that project would be. I was thinking about possibly the restoration of an old car or truck or possibly restoring a camper.
I first decided to build a boat when I was visiting the Hoover Dam. There was a boat on display that they had used to locate the site at which the dam was to be built. I saw how it was constructed because the waterproofing had worn off and the bare wood was exposed. I was surprised at how simply the boat was constructed. It was at this point that I decided to build a boat. I had never owned a boat and had only been out on the water a few times with friends in High School. I was definitely in for a challenging learning experience.
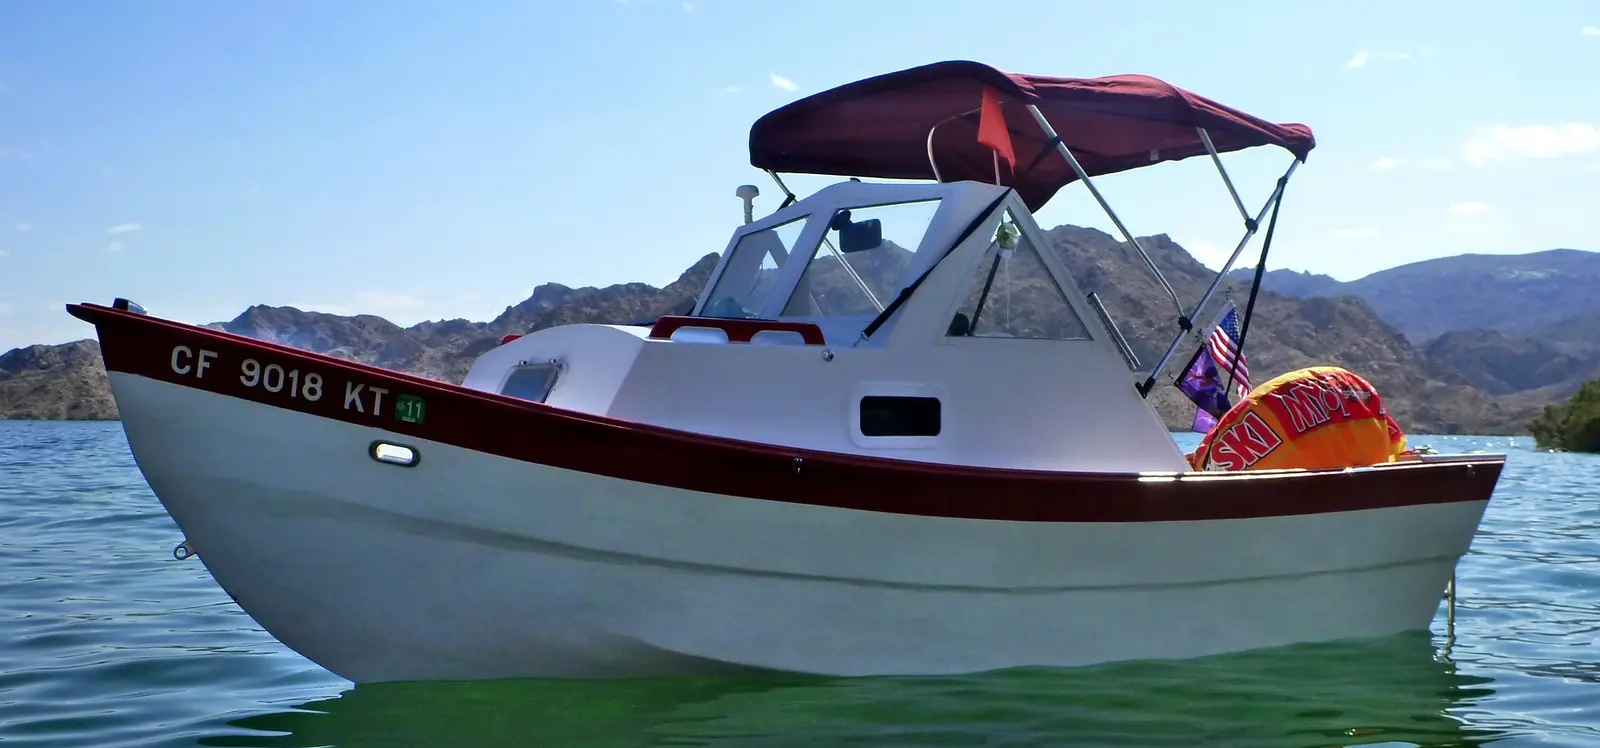
I started looking on the internet to get information. After a long search, I decided on a company that was local and had both plans and telephone support. They had many plans to choose from. My only problem was the space in which to build the boat. I have a very small back yard and a very narrow driveway that the boat had to fit through in order to put it on a trailer after it was built. I would have to build some kind of dolly and pull it through the driveway to get it on to a trailer. I knew that I wanted a boat that I could easily take to the lake, or drop in the ocean. Although it was not my first choice, due to size constraints, I decided to build the “Cabin Skiff”. I purchased the plans from Glen-L Designs in Bellflower, CA
The first step that I took was to clean out the garage. With the help of my friend Roger, I threw away all of the old junk that I know that I will never use again. I cut a large hole in the ceiling (the garage was an office for the previous owner) and put all the other junk in the attic. I cut out half of the center wall that divided the garage. I now had some work space although I know it will not be enough.
When I first opened the plans, I thought to myself “What the hell have I gotten into?” It was quite overwhelming. After studying the plans for a while, I began to understand them. I had to learn all of the boat building terminology.