Perfect Sailboat - Northeastern Dory from CLCBoats17 entries,
86 photosBack to the log
The book is laid out for the paper chosen above, and the print dialog will follow it,
so pick the paper here rather than there. Turn background graphics on
so the cover photograph prints, and leave margins at their default. The page numbers
and the chapter running heads are drawn by the browser into the page margins, so they
exist only on paper: check the print preview rather than this screen for them, and turn
Headers and footers off there so Chrome's own furniture does not crowd
them out. Chrome and Edge print them, Safari and Firefox print the same book without
them.
new build
Perfect Sailboat - Northeastern Dory from CLCBoats
Northeaster Dory
Matt · 2020
A build log
Perfect Sailboat - Northeastern Dory from CLCBoats
Northeaster Dory
kept by Matt, Texas
2020
The boat
Northeaster Dory
Designer
John C. Harris
Plans from
Chesapeake Light Craft
Length overall
17′ 0″ (5.18 m)
Beam
4′ 8″ (1.42 m)
Construction
lapstrake plywood
Started
15 April 2020
Launched
28 July 2020
Built by
Matt
Built at
Texas
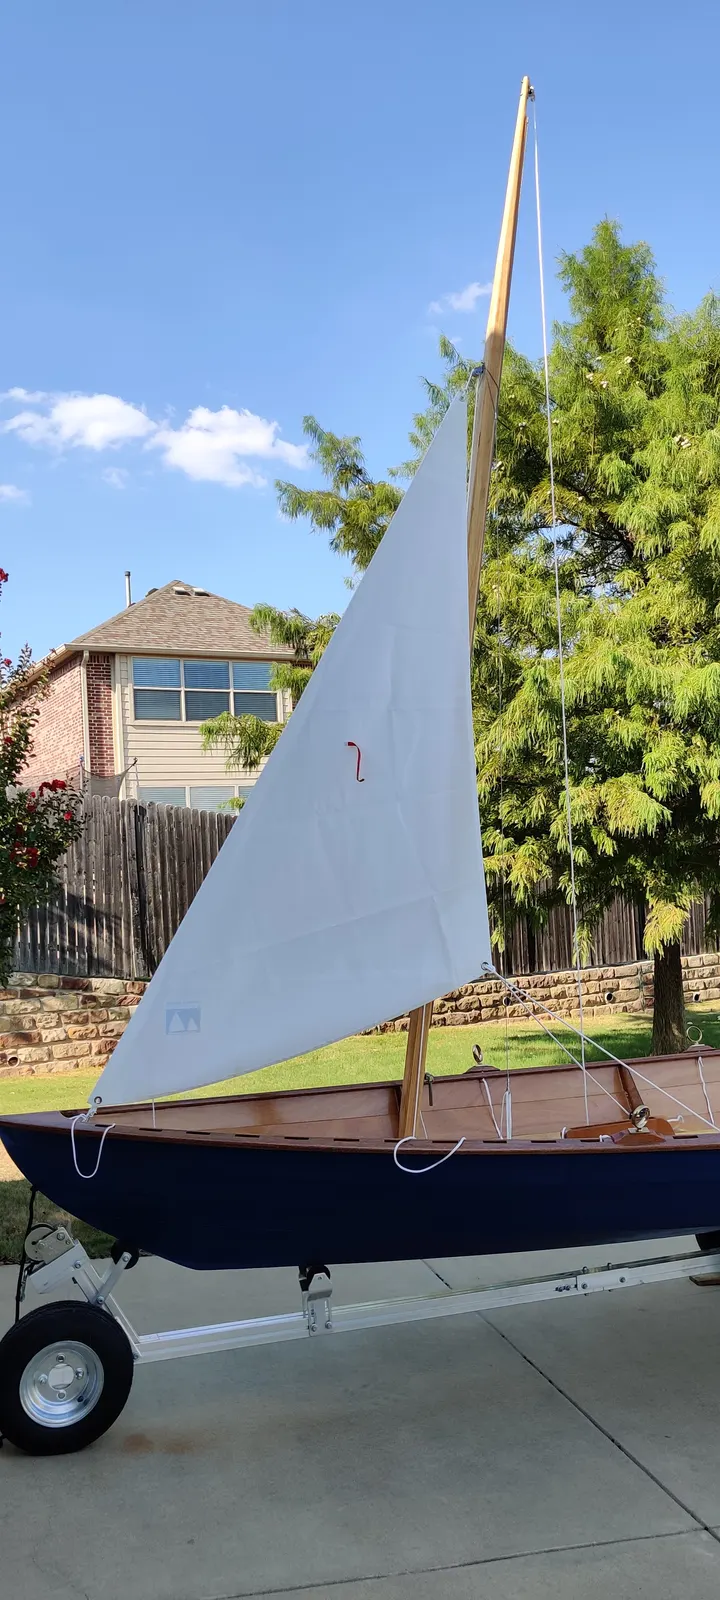
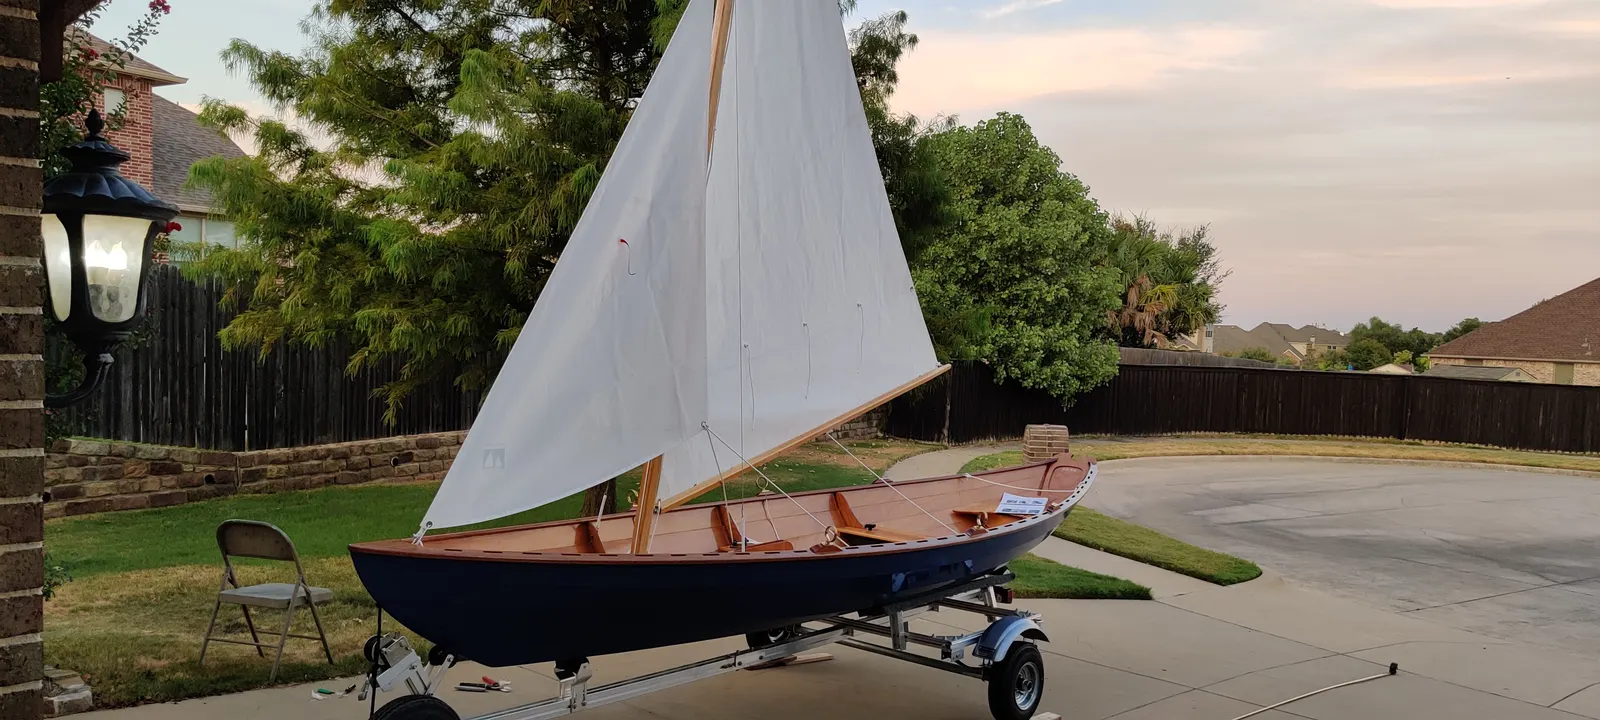
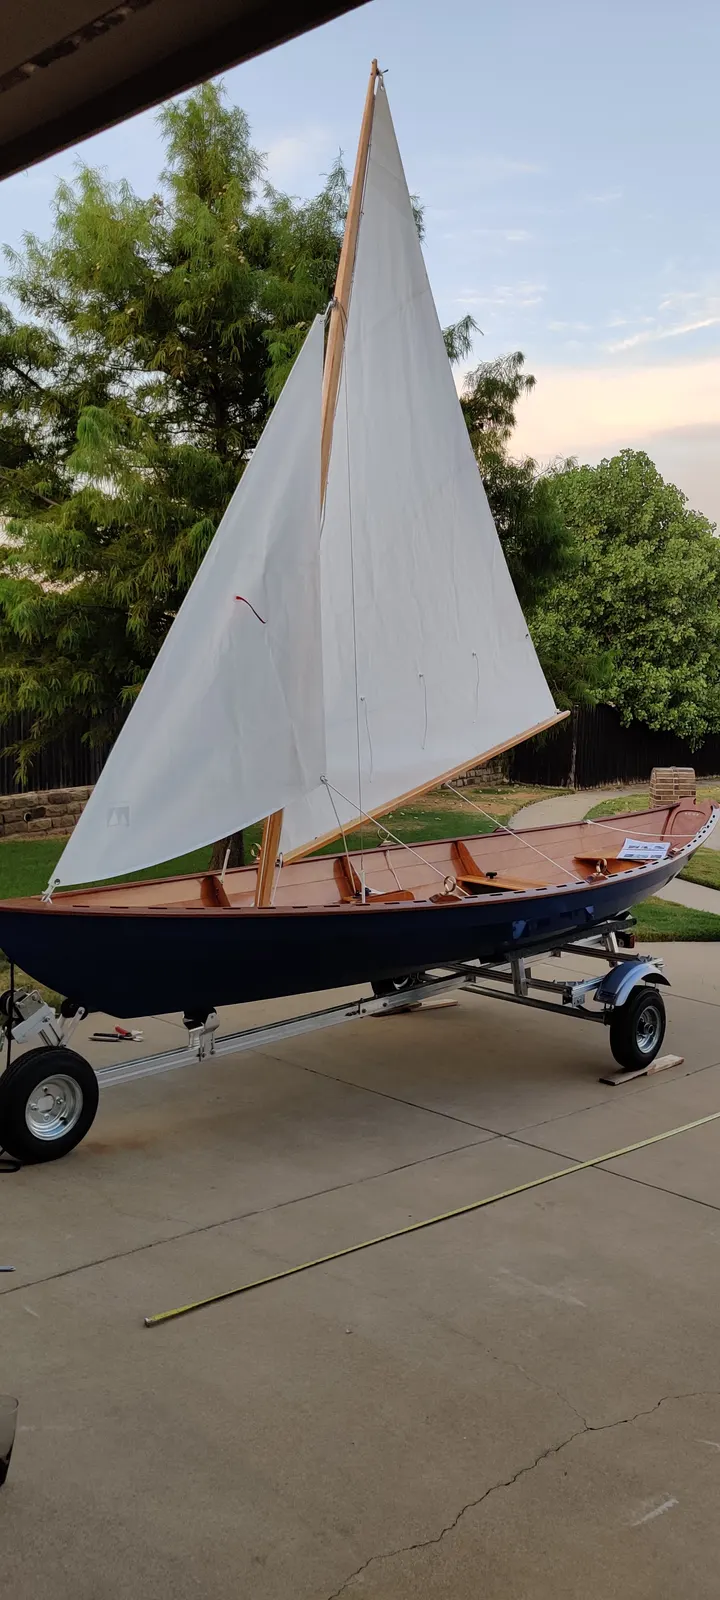
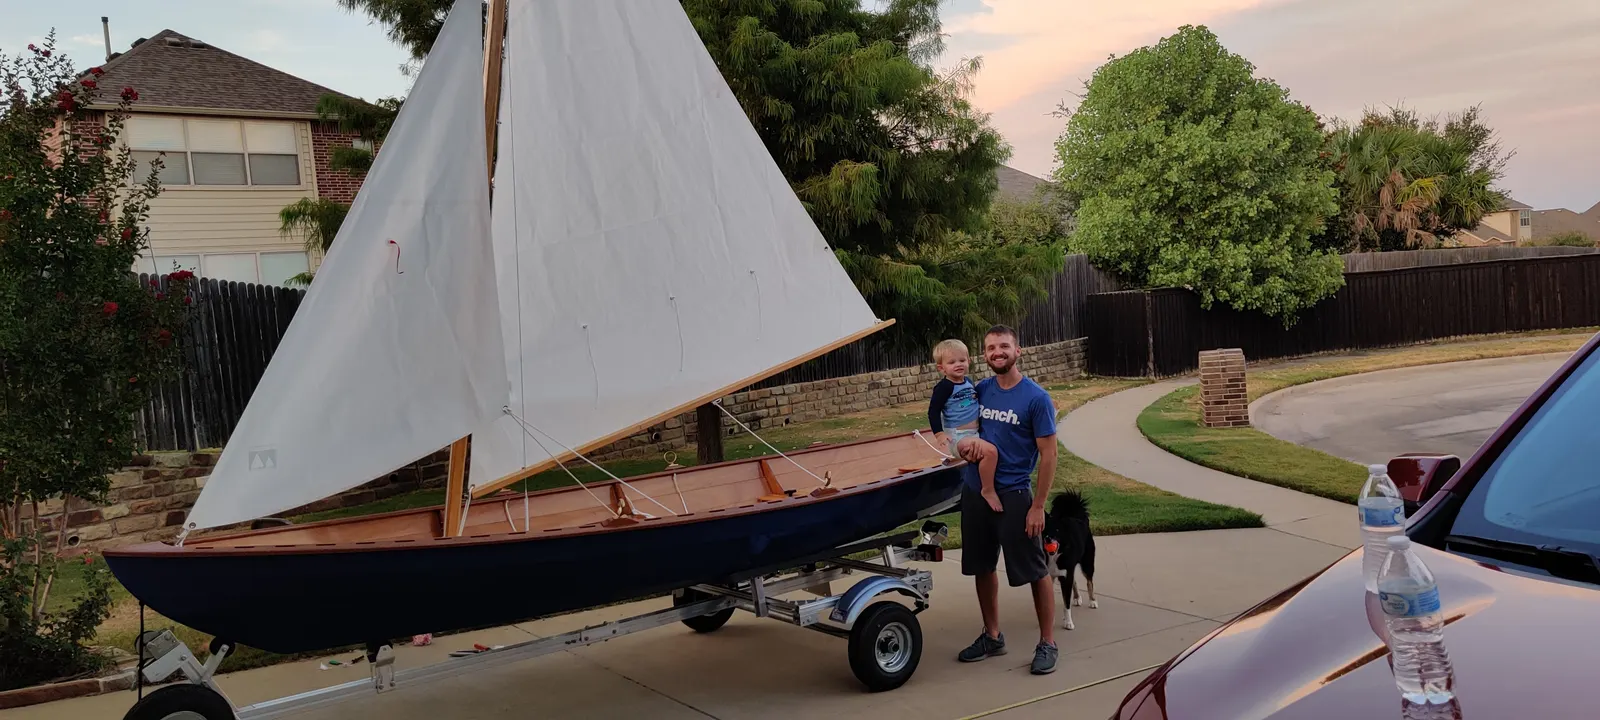
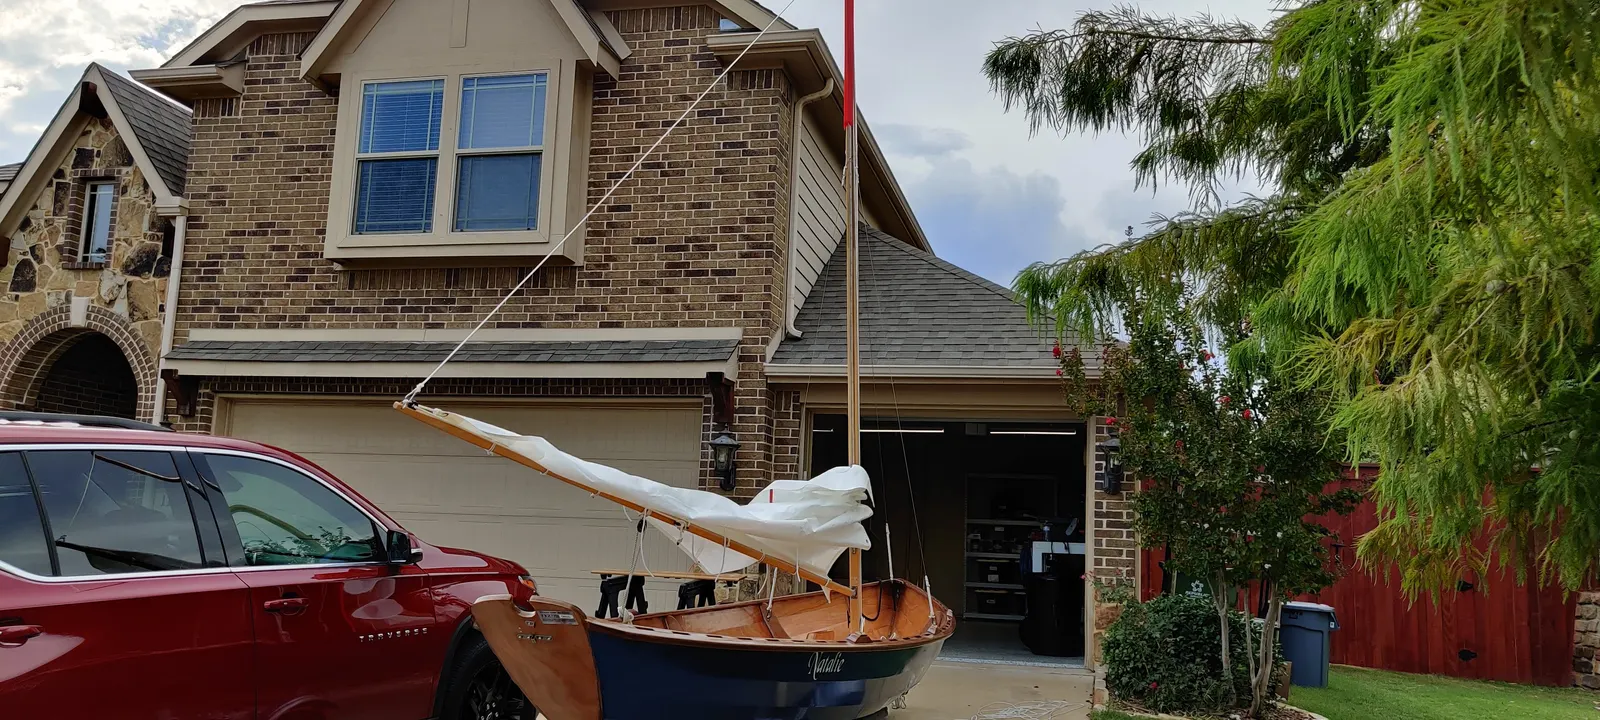
Built this boat over 3 months during the summer of 2020. I purchased the standard kit build from CLCBoats in addition to the Sailing rig, sloop style.
What it took
By the numbers
100
Hours at the boat
3 months
From first day to last
17
Days written up
86
Photographs
2,008
Words written
$5,766
Spent in all
Went into the boat
$4,795.90
Tool or consumable
$247.99
Shipping
$721.73
Total
$5,765.62
The work
Contents
01Hull Panels
Apr 2020 · 2h
02Stitch & Assembly
May 2020 · 3h
03Fillets & Taping
May 2020 · 2h
04Glassing & Epoxy
May 2020 · 5h
05Hull Exterior
May 2020 · 4h
06Interior & Cockpit
May 2020 · 33h
07Fairing & Sanding
Jun 2020 · 24h
08Paint & Finish
Jun 2020 · 10h
09Hardware & Fit-Out
Aug 2020 · 3h
10Launch Day
Aug 2020 · 9h
11Deck & Coamings
Jun 2025 · 5h
Chapter 01
Hull Panels
Scarfing plywood, cutting panels, milling strips or planking stock.
1 day2 hoursfrom April 2020
29 Apr 2020Hull Panels2 h
Assembling the Panels
Boat Building Log
Phase 1: Unpacking & Inventory
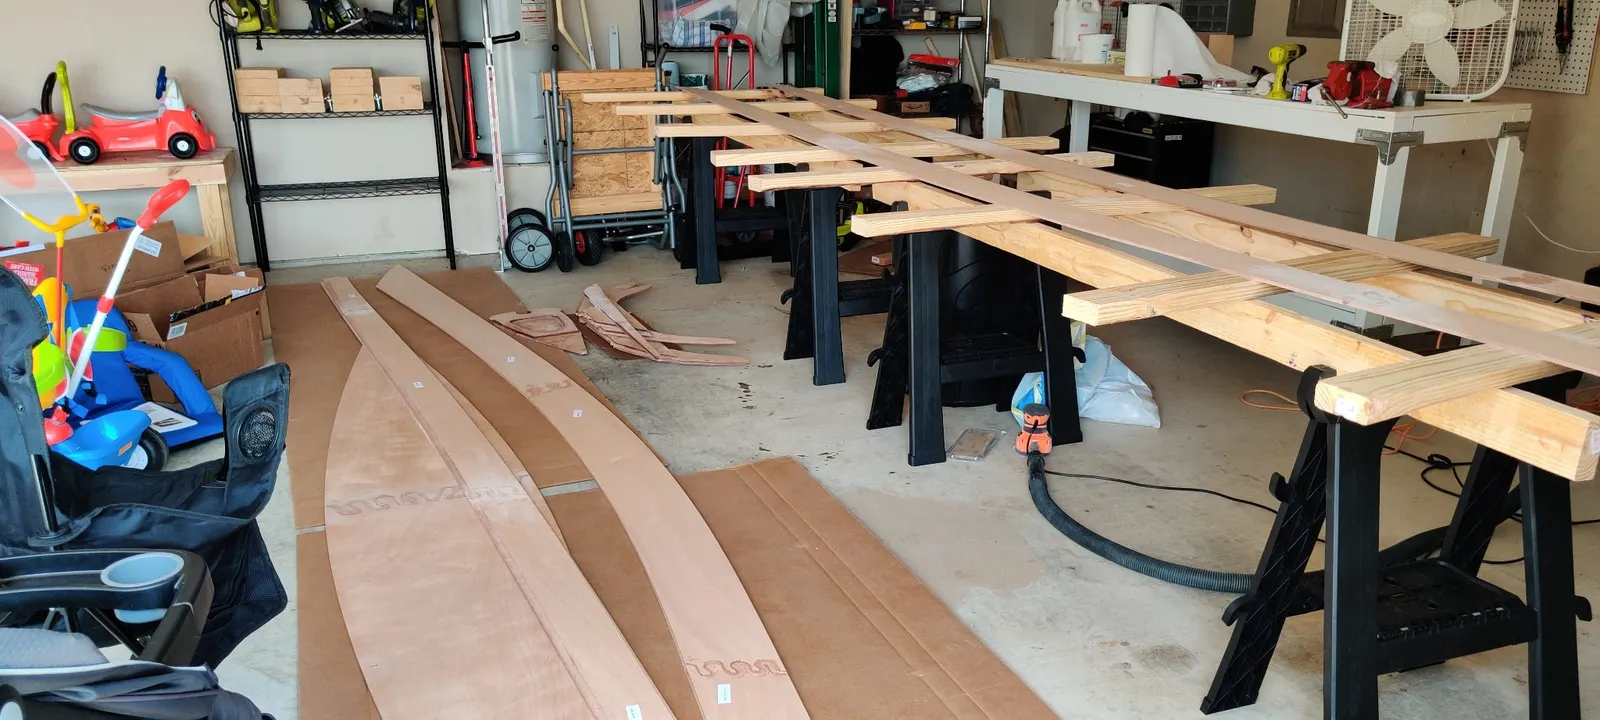
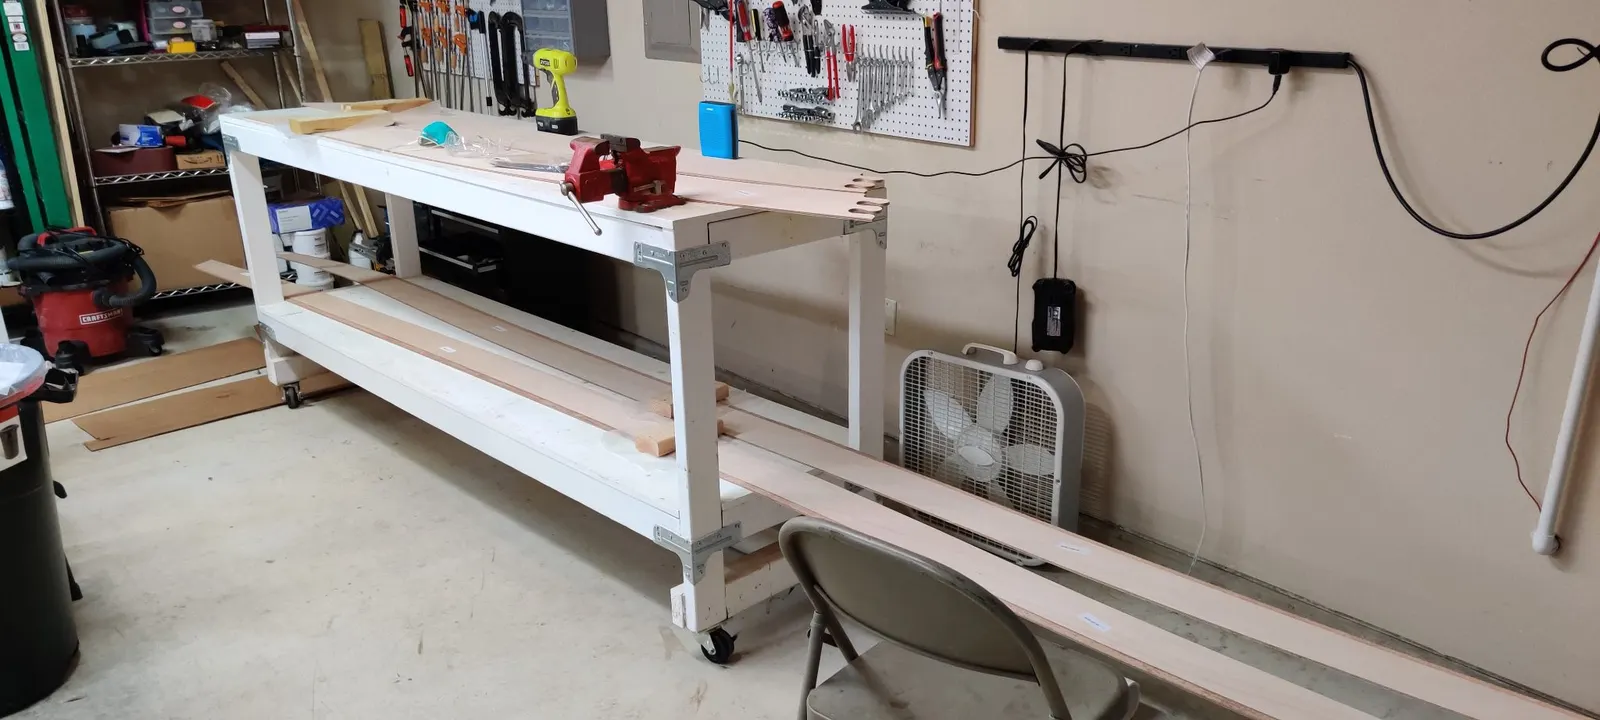
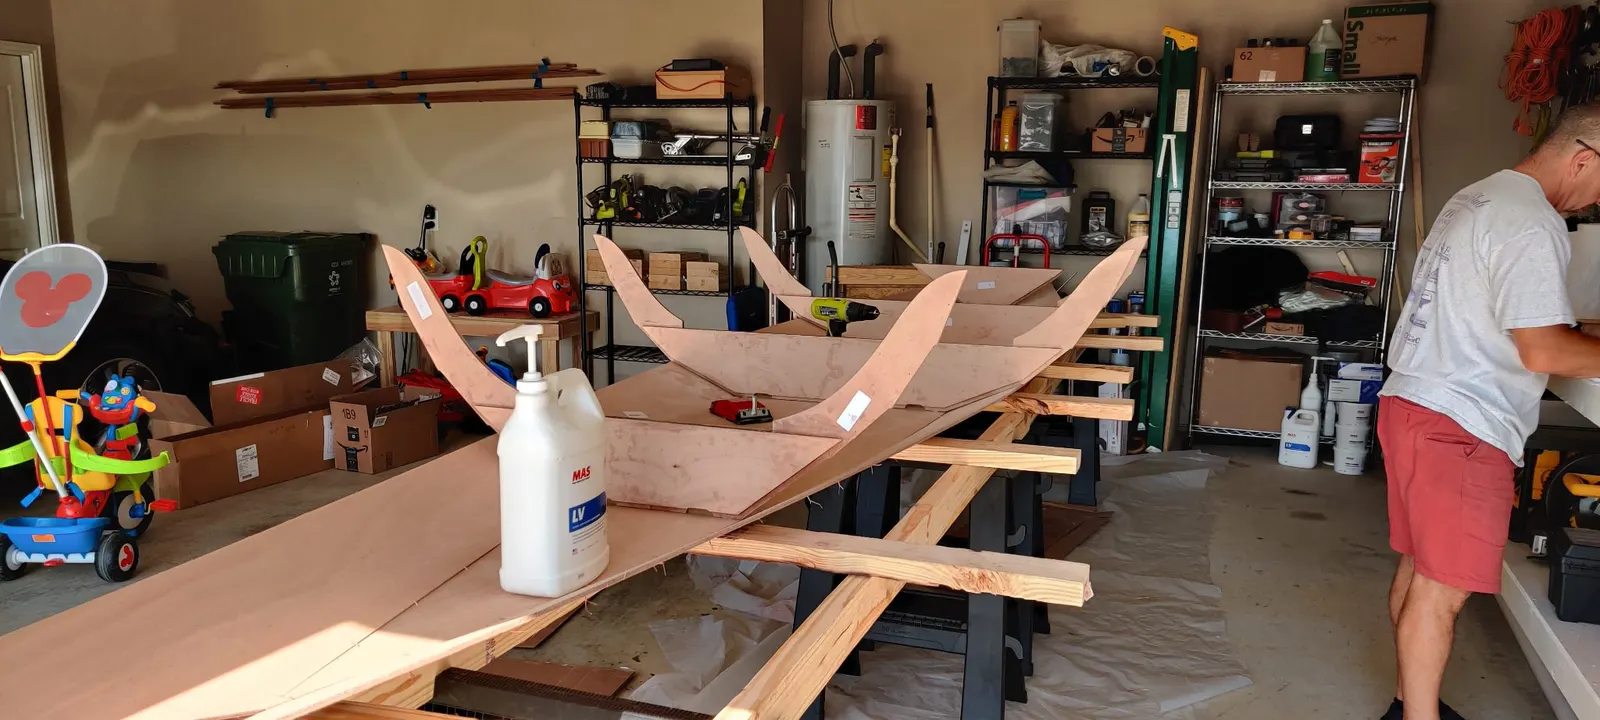
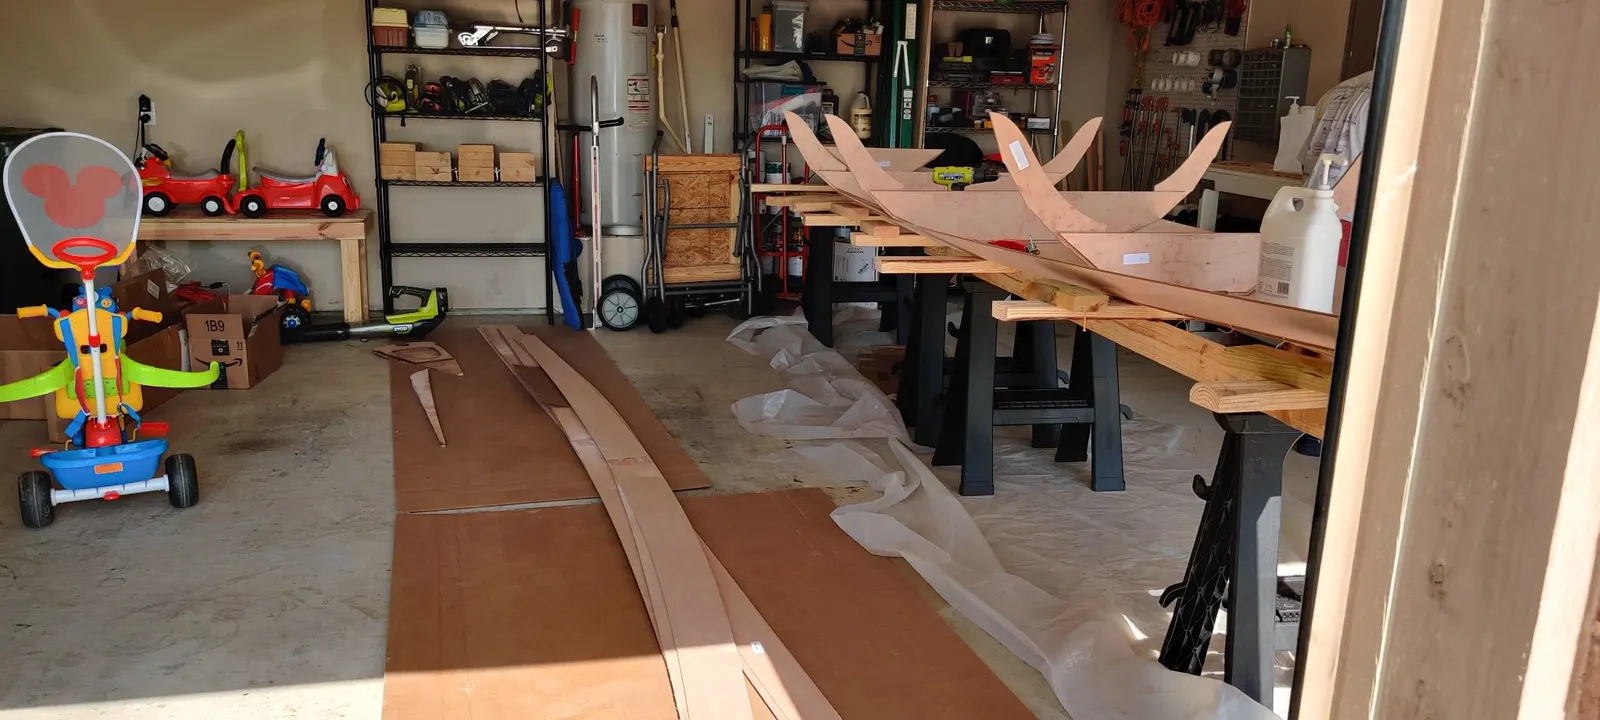
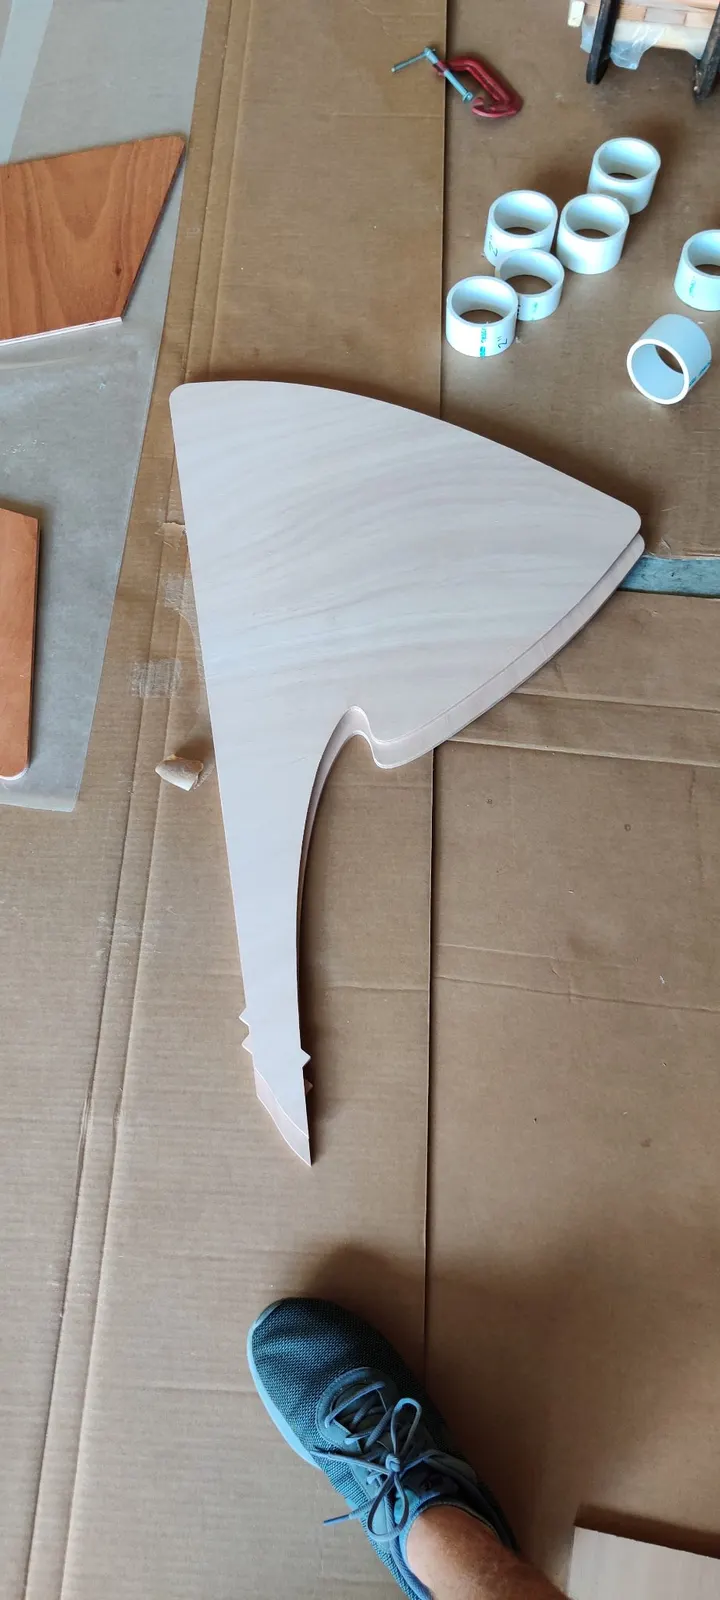
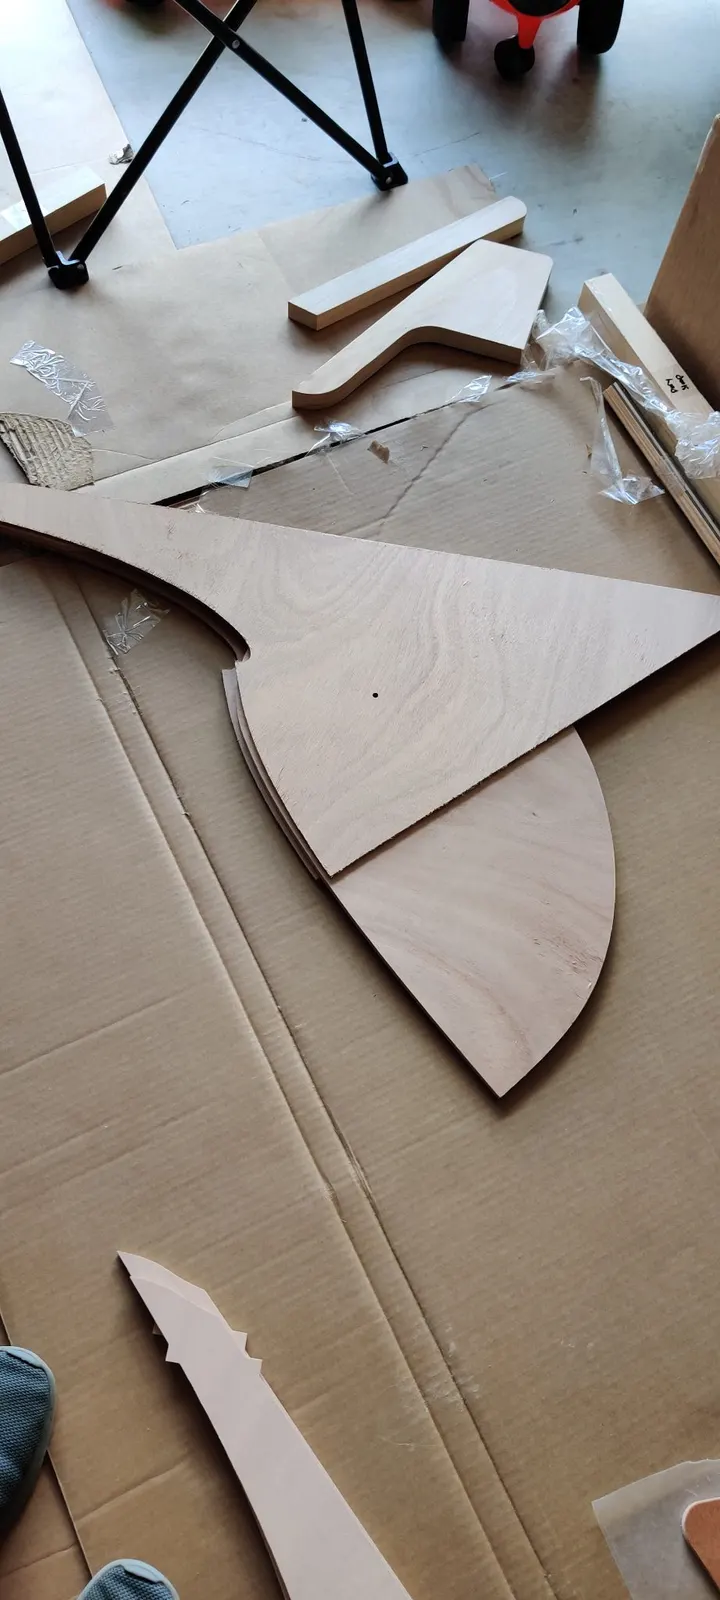
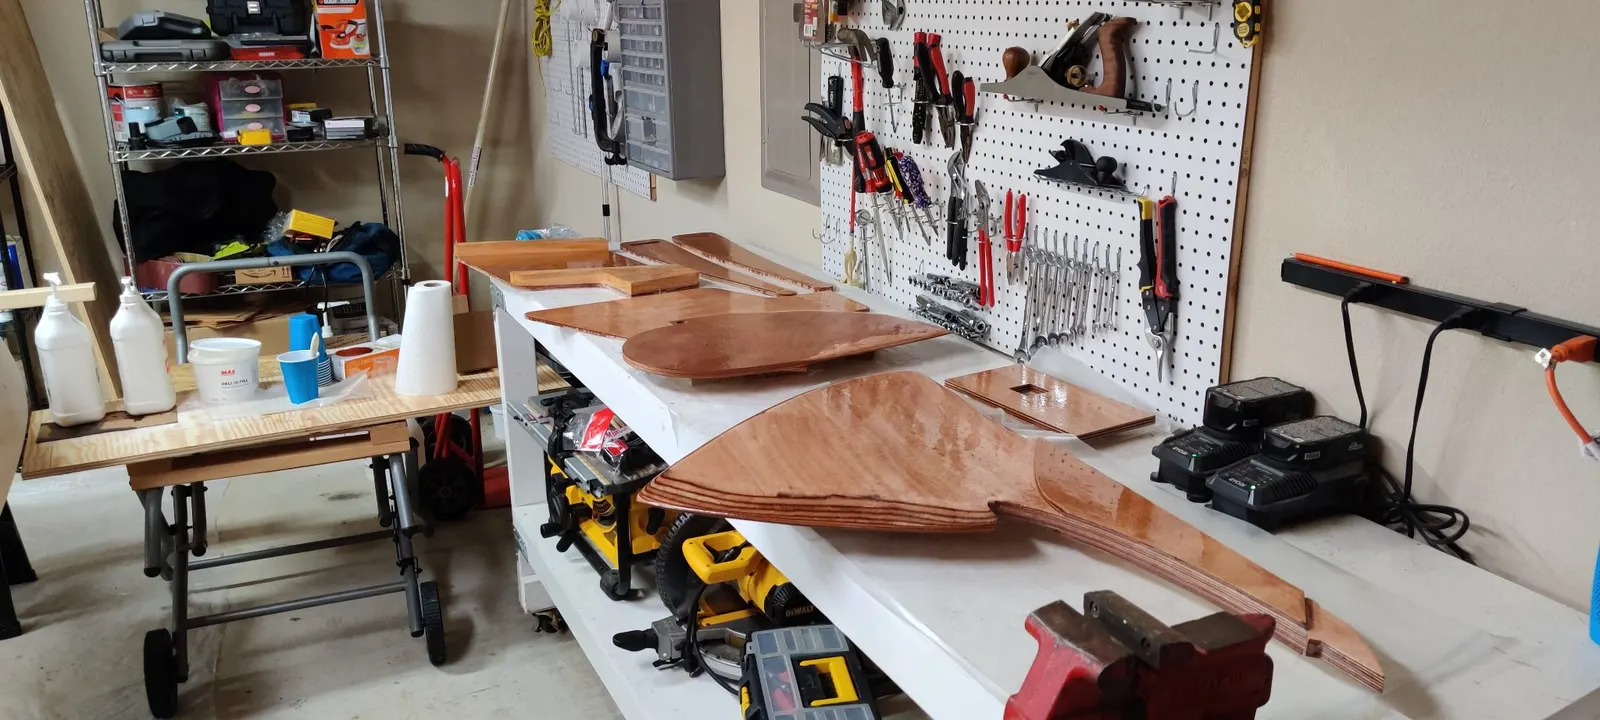
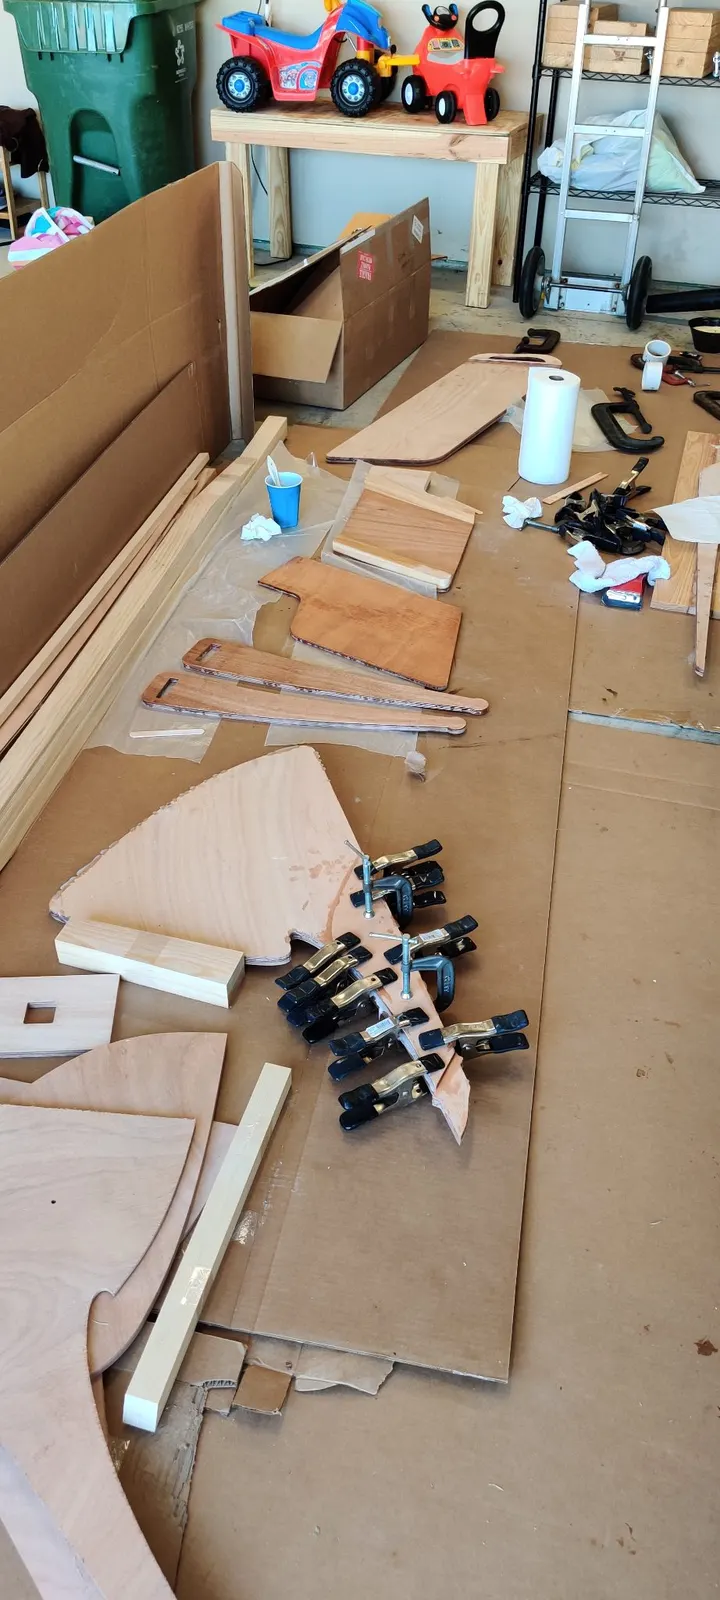
The very first phase of building this boat involved unpacking the kit and doing inventory on all the parts. Thankfully, everything was well marked, so it was really just a matter of getting out the panels and seeing how they piece together.
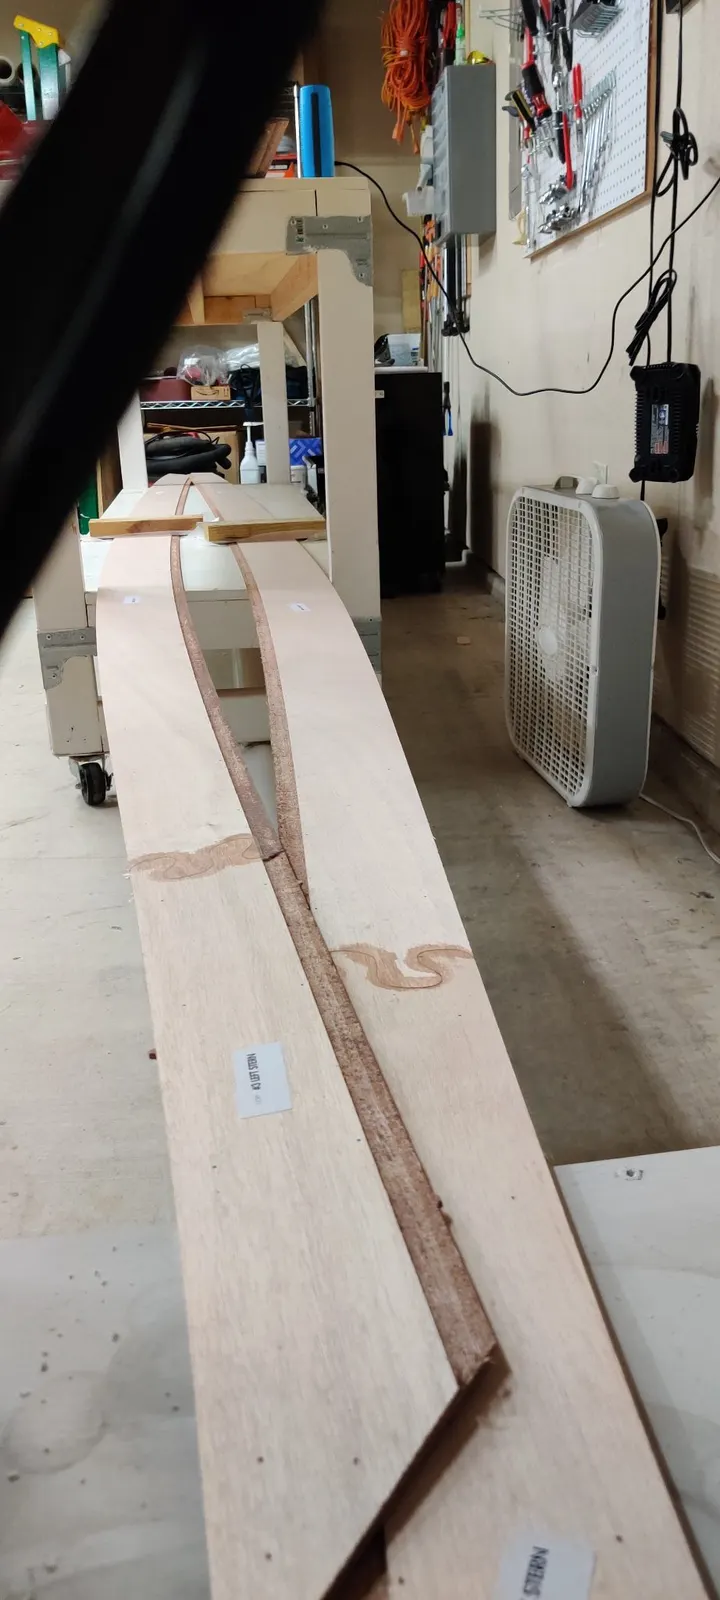
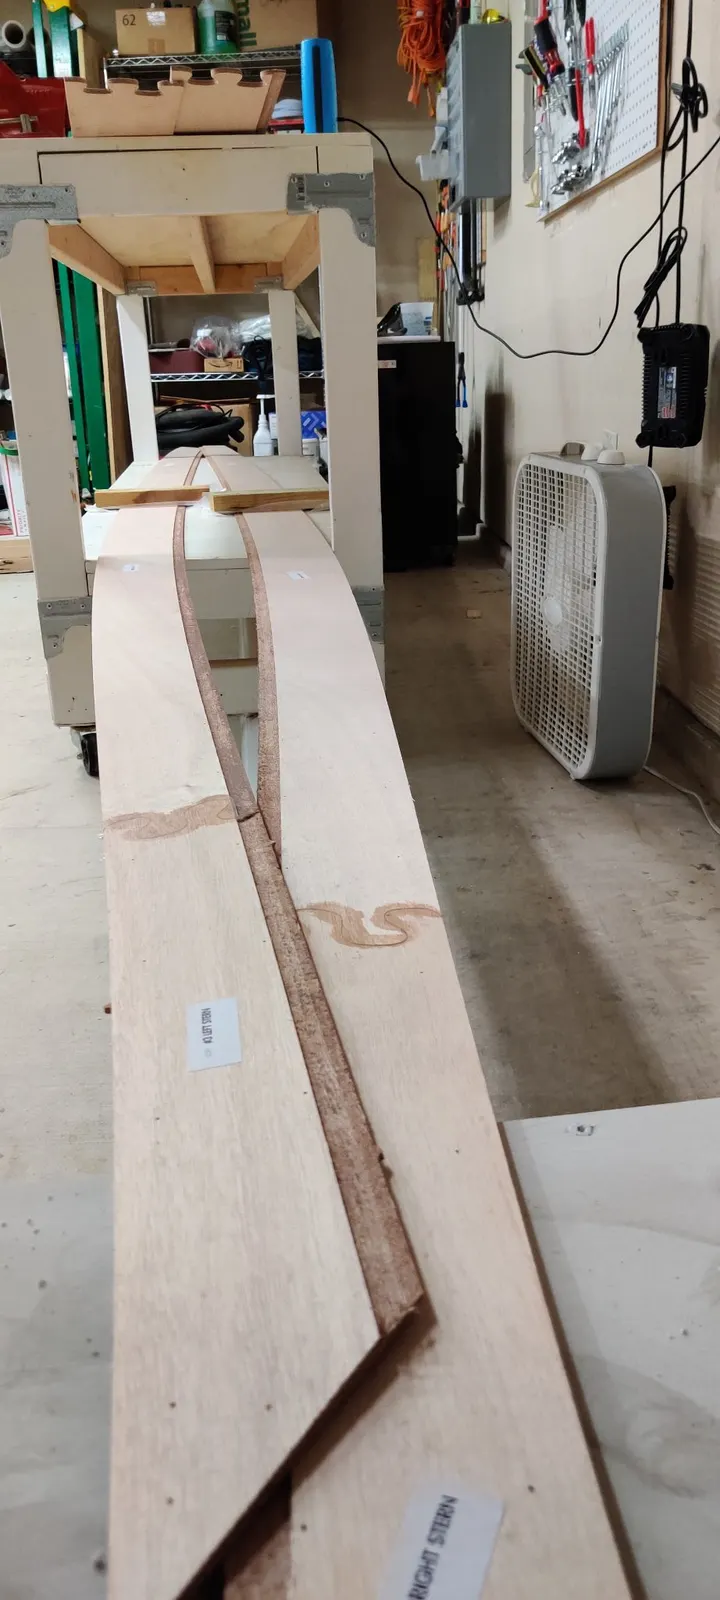
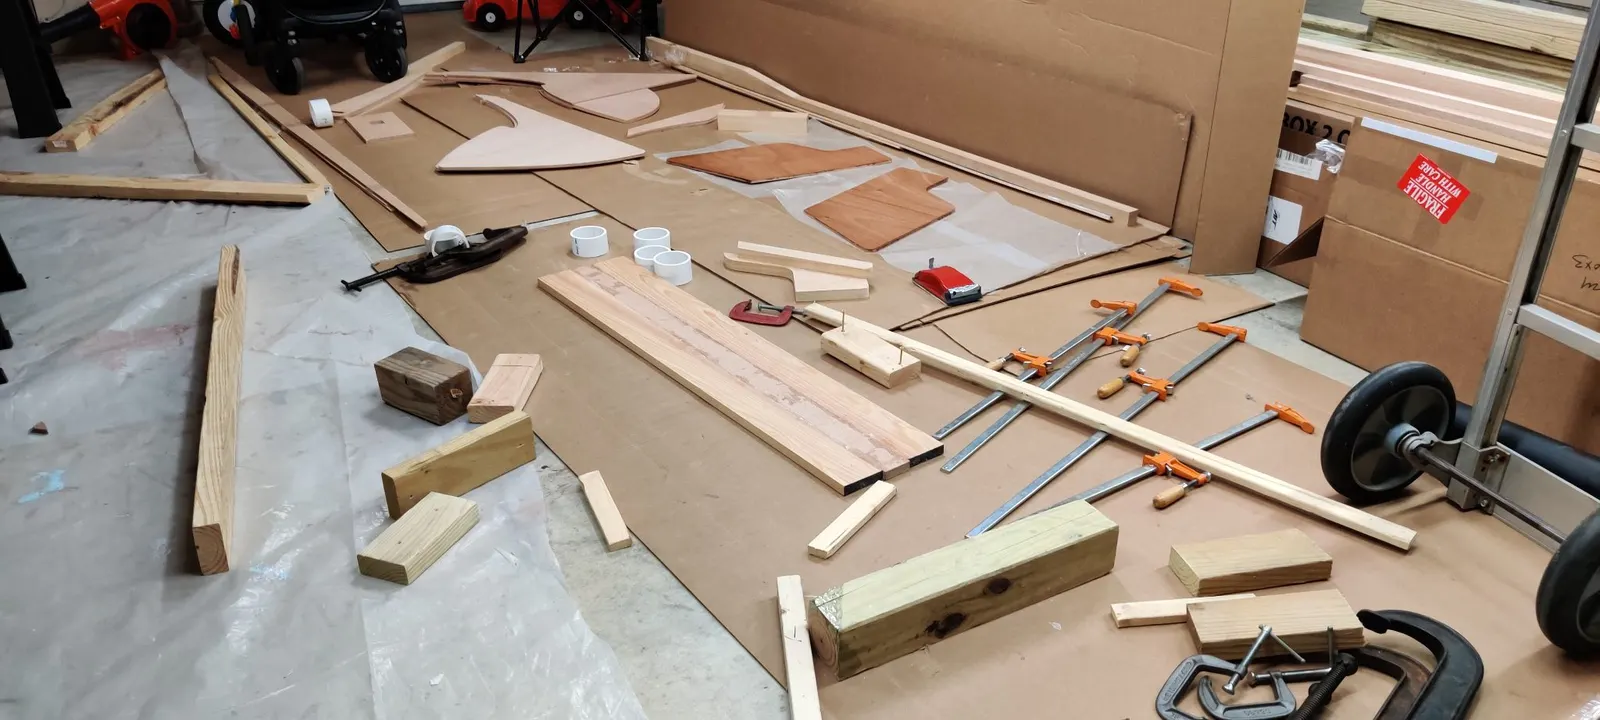
As you can see in these photos, it's very similar to a puzzle, you put the pieces together, then glue them.
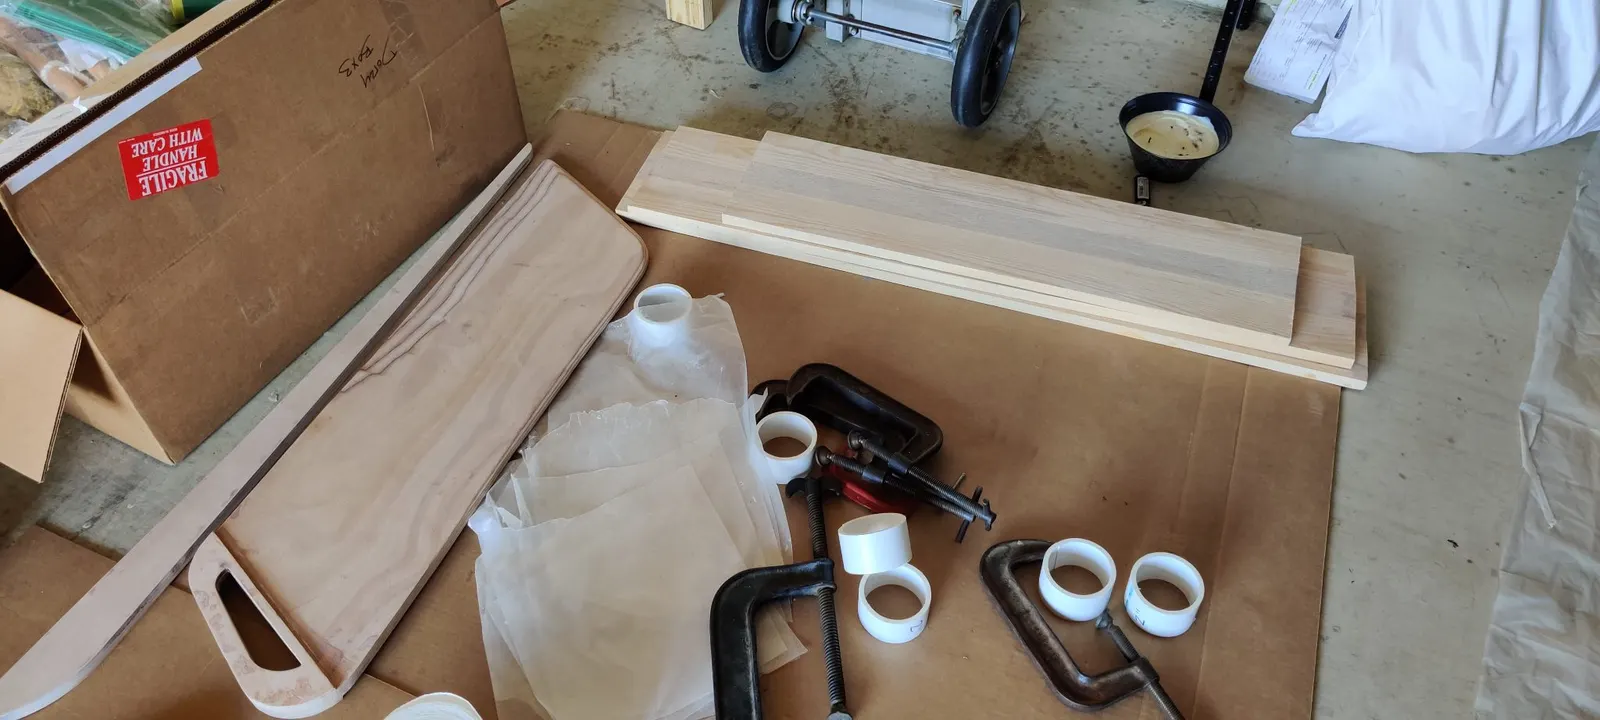
Gluing technique: I put a piece of wax paper below and on top of each glue section. This ensured the panels wouldn't stick to the concrete floor or the wood blocks above and below. With the wax paper in place, the epoxy could cure, leaving only sanding to deal with later.
I went ahead and got all of the sections glued together — the bottom as well as all of the side panels.
Phase 2: Construction Begins
After the panels were glued, construction began. In the photos, you can also see the transom and all of the bulkheads. Don't forget to sand that extra glue off those joints. Much easier to sand now then once it's curved on the boat.
Chapter 02
Stitch & Assembly
Wiring or clamping the hull together and getting it fair and true before glue.
1 day3 hoursfrom May 2020
3 May 2020Stitch & Assembly3 h
Stiching the Panels
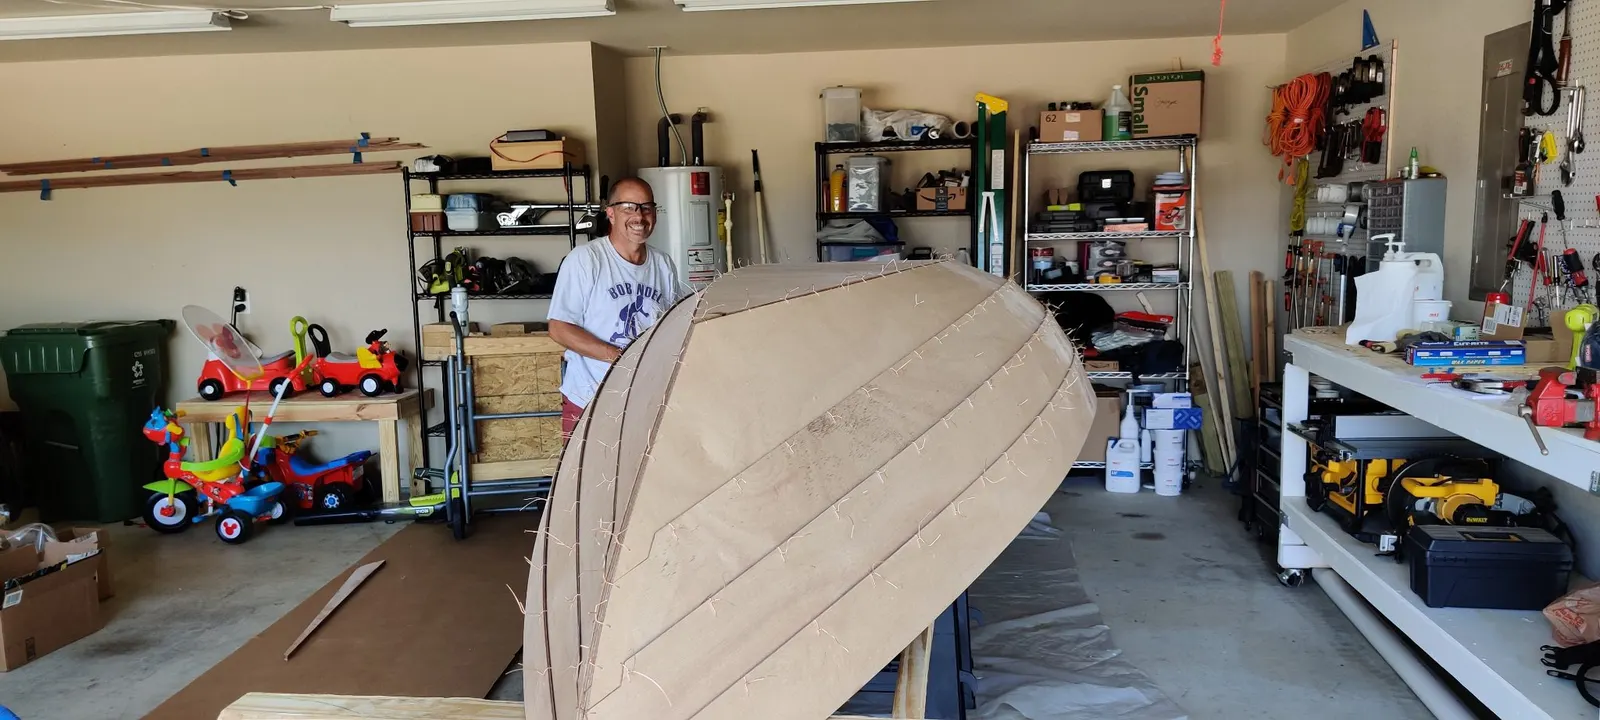
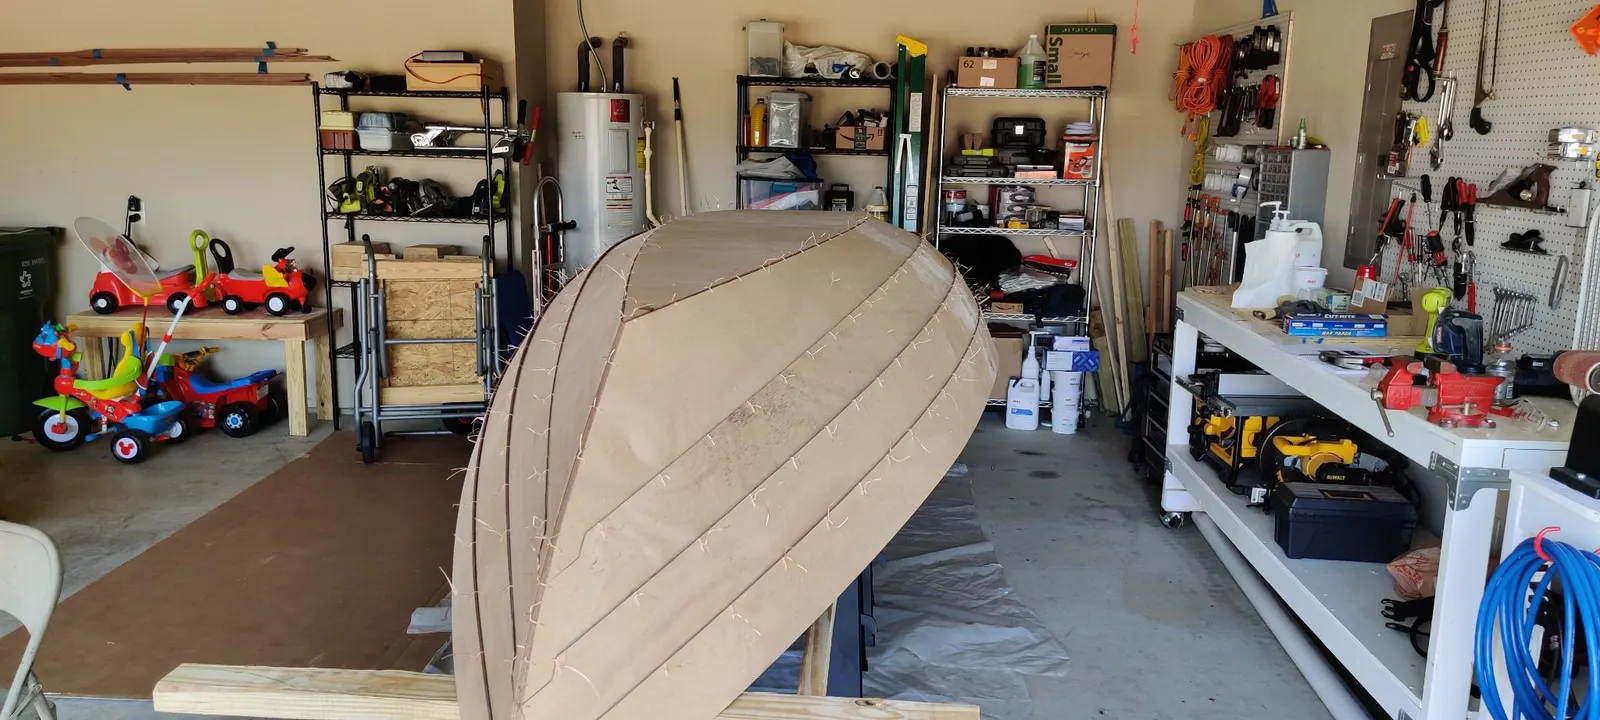
Phase 3: Stitching the Hull
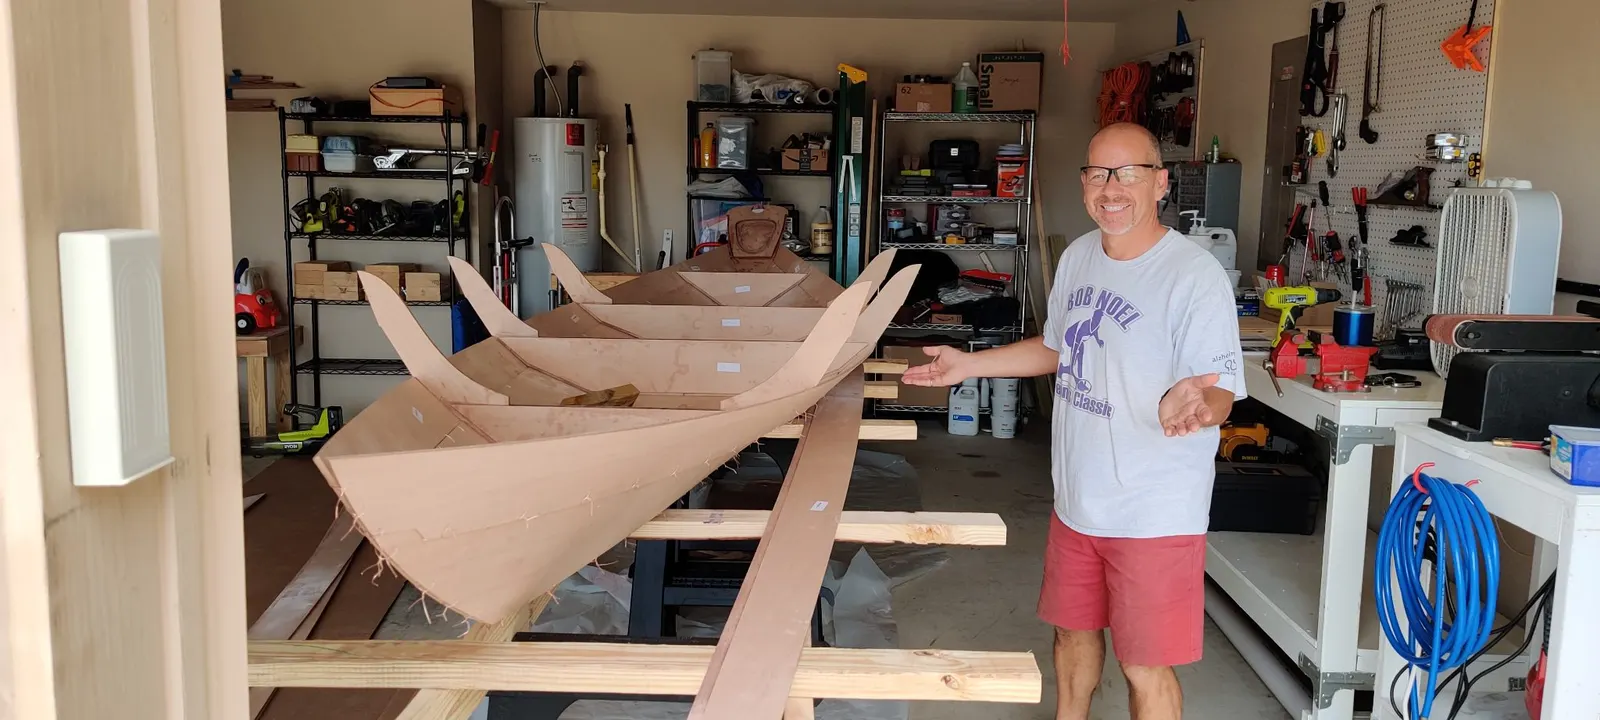
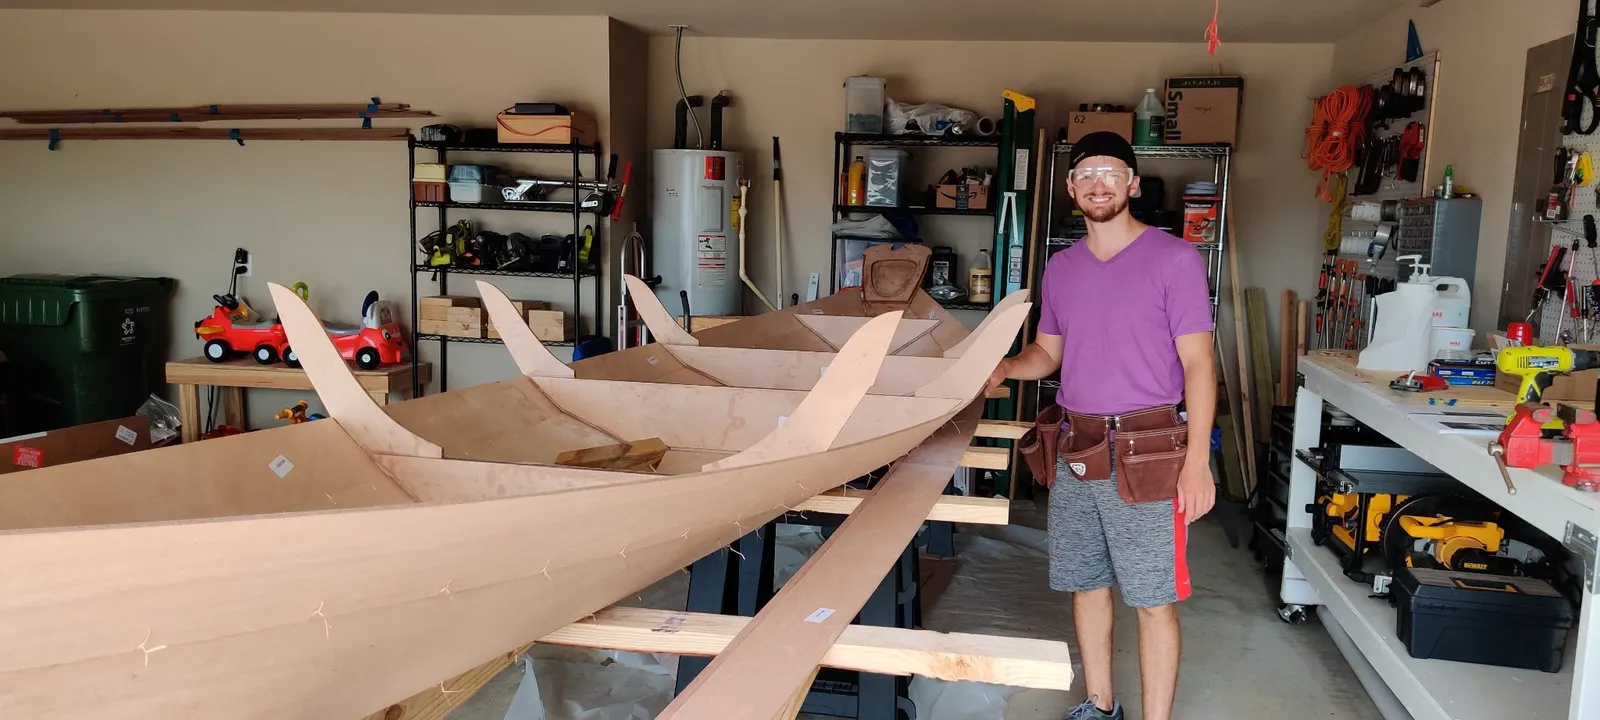
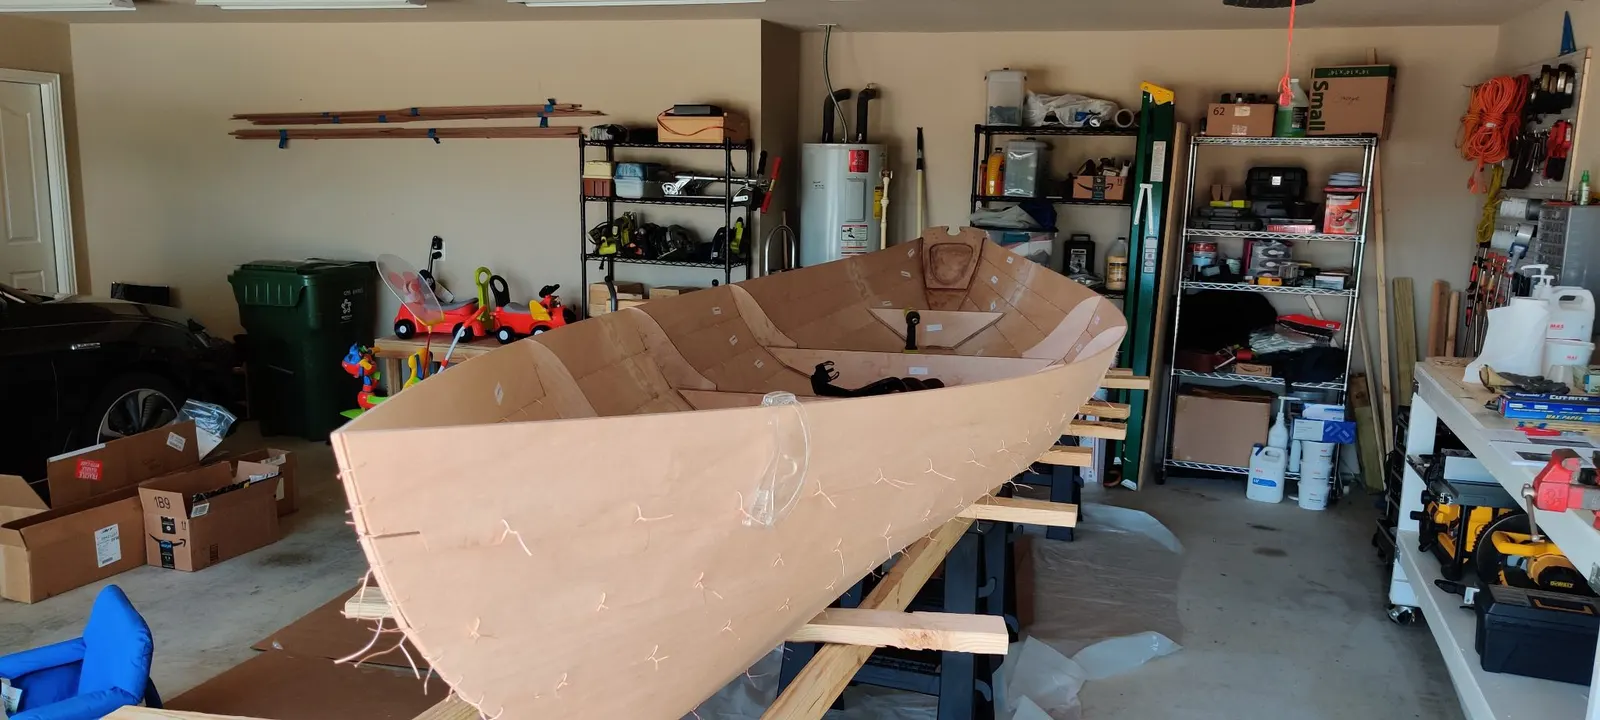
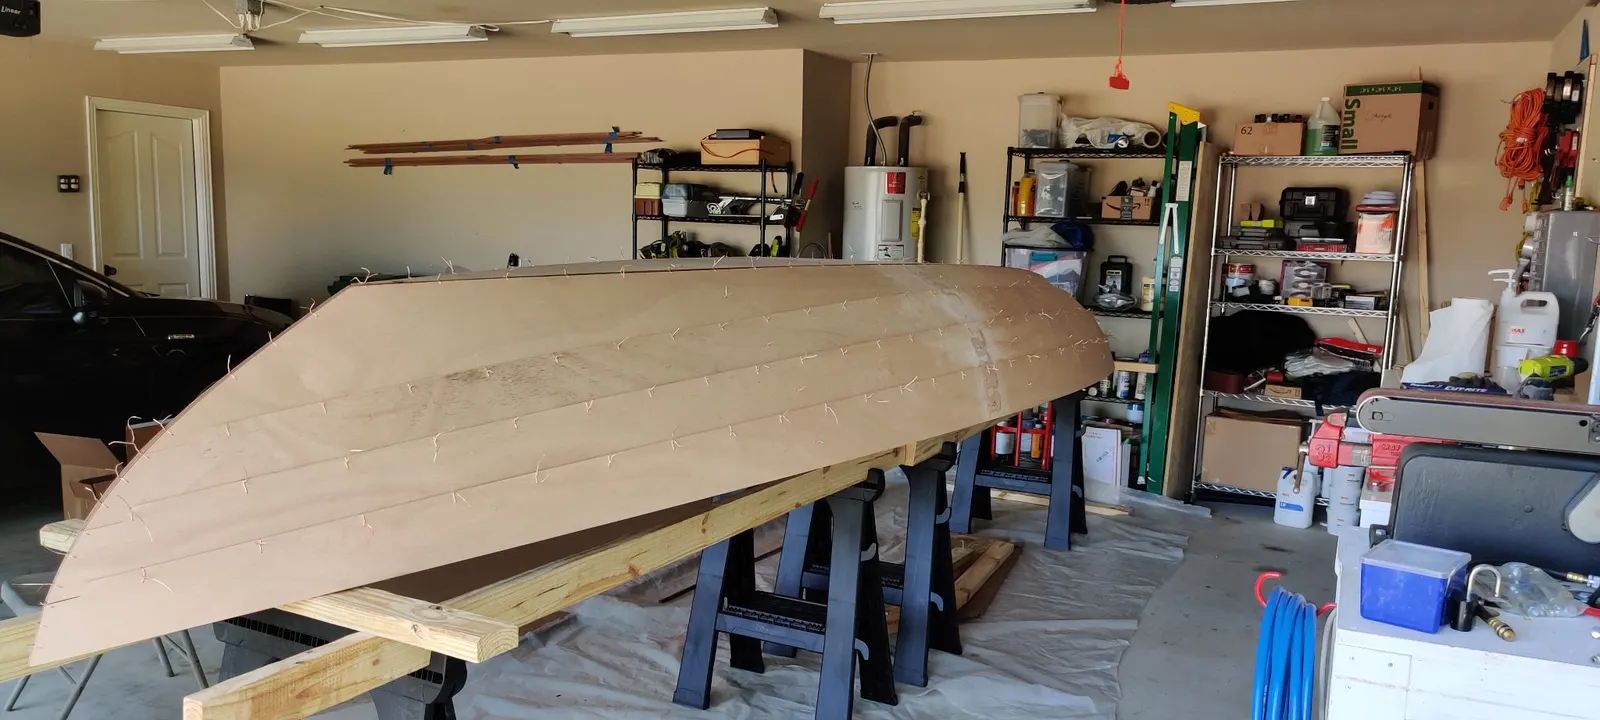
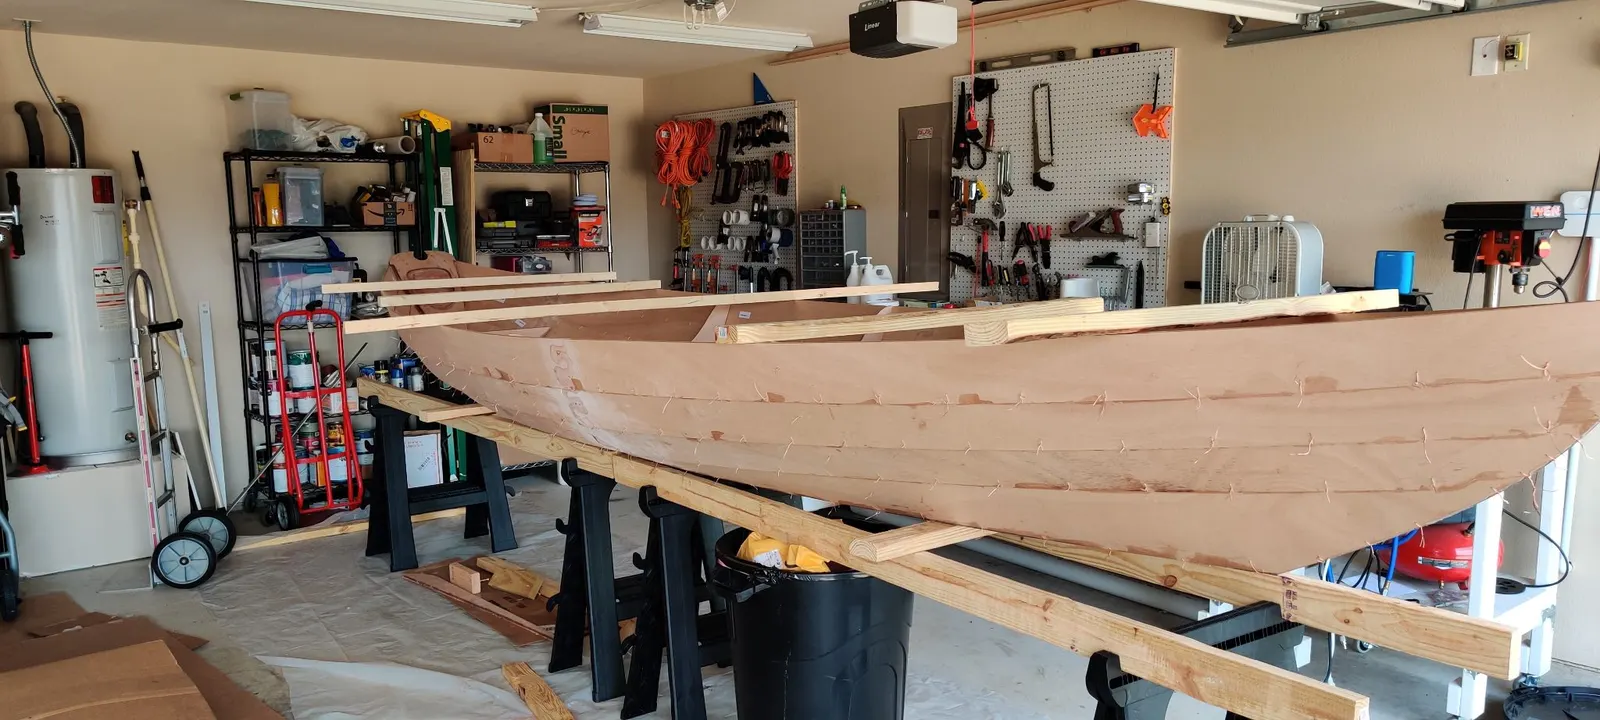
This next step is a two-person job, so you'll want a helper. This is where the bulkheads get assembled onto the bottom piece and all of the side pieces, tying everything together with metal wiring.
I used thin copper wire to stitch the boat up, and it worked out really well. It was strong, yet malleable enough not to break the wood. Anything thicker risks cracking the panels, which means extra repair work down the line.
We went layer by layer up the boat, stitching together the whole way, until we reached the top and the step was complete.
You can also see in the final photos all of the interior sanding done on those seams. Don't worry about how it looks at this stage. The same goes for the transom in the back, where you can see all the extra glue spots. It all comes together beautifully once it's epoxied.
Chapter 03
Fillets & Taping
Epoxy fillets, taped seams, structural joints.
2 days2 hoursfrom May 2020
3 May 2020Fillets & Taping1 h
Tack Welding (Epoxing) the hull
Phase 4: Tack Welding
This next step is what I'd call a tack weld. Again, you'll need a helper, because you have to flip the boat upside down.
Before you start epoxying anything, look at the hull from multiple angles and make sure it's on a good level surface. If it's not level, it'll be much harder to fix once you start gluing, though you can still adjust it as long as you haven't fully glued it yet.
Once the boat is flipped over, you're basically mixing up epoxy and putting small blobs of it between all of the metal seams on the outside of the hull. This gives it enough strength that when you flip it back over, you can remove all of the metal and the boat will hold together well on its own.
A few lessons if you haven't worked with epoxy before:
Epoxy is very temperature sensitive. Don't mix it if it's too cold or too hot. If it's too cold, it may never cure correctly. If it's too hot, it cures very quickly. Cold is the riskier problem, and you can usually fix it with a heater in your garage. If it's hot, mix smaller batches at a time.
After you tack weld everything, let it sit for a full day before you flip it over and remove the metal stitches.
Chapter 04
Glassing & Epoxy
Sheathing in cloth, wetting out, fill coats.
3 days5 hours$248from May 2020
14 May 2020Glassing & Epoxy2 h
Fiberglass interior
Phase 5: Removing the Stitches
The next step is to flip the boat back over, right side up, and start removing all of the metal stitching.
It's possible that some epoxy will get stuck on the metal. That happened on one or two of mine. If you can't get a piece out, cut it as short as you can and sand it down as low as possible. Beyond that, there's nothing to be done. It stays part of the boat forever.
Phase 6: Fiberglassing the Bottom
This next step is fiberglassing the bottom and the first panel. It's a lot easier than it sounds.
If this is your first time fiberglassing, you'll find the fiberglass is very similar to cloth, almost like a cotton shirt. It's pliable and easy to work with. Lay it out on each section as best you can. I put blue painter's tape above the second panels so I wouldn't get fiberglass onto that section, and it's a lot easier to sand off when it's on tape instead of the wood.
Lay out and cut the fiberglass to the best of your ability, then mix up some epoxy and apply it. Less is more here. You want just enough epoxy to saturate the cloth and no more. This is a hard balance to strike, especially on your first time using epoxy or building a boat. It's tempting to think more is always better, but extra epoxy just wastes money and adds weight to the boat.
One more note on temperature: if you start a pour early in the morning on a hot summer day, the temperature can climb ten, fifteen, even twenty degrees by the time it finishes curing. I've noticed that swing tends to add bubbles into the epoxy. It's much better to keep a steady temperature through the entire curing process if you can.
14 May 2020Fillets & Taping1 h
Fillets
Phase 6: Filleting the Seams
After you finish tack welding and remove all the stitches, the next step is filleting. On the bottom panel, where it connects to each of the bulkheads, and along the bottom and side panels, you need to run a fillet: a small bead of epoxy mixed with wood flour that creates a smooth, rounded surface.
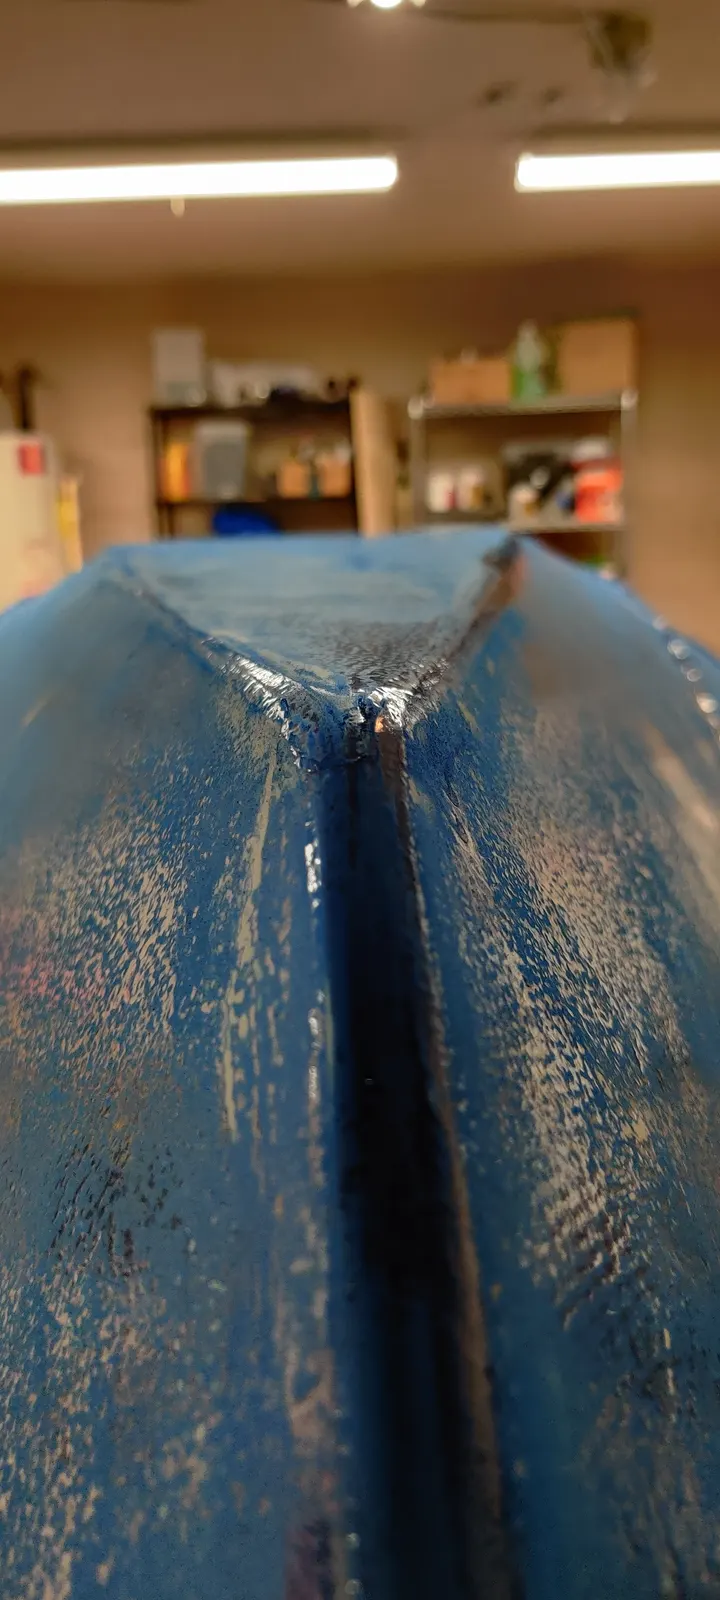
Fiberglass only adheres well to surfaces that are relatively smooth. If you have an abrupt angle, the cloth won't adhere correctly. See the close-up photo for what the fillets should look like.
16 May 2020Glassing & Epoxy1 h
Rudder and Seats
Phase 8: Building the Rudder and Seats
While the boat was curing, I used the downtime to start on the rudder. I also bought a flip-up rudder kit, but honestly, I never ended up fully building or using it.
Around the same time, I started building the seats out of lumber. Everything gets epoxied on wax paper and then sanded flat, as you can see in the photos.
Chapter 05
Hull Exterior
Turning over, keel and skeg, rubrails, exterior structure.
1 day4 hoursfrom May 2020
18 May 2020Hull Exterior4 h
Fiberglassing the Bottom and exterior Panel
Phase 9: Sealing and Fiberglassing the Exterior
A quick note: I'm writing this narration six years after I actually built the boat, and I no longer have the plans since I gave them away when I sold it. So I'm not sure exactly where this falls in the official steps, but here's how I remember it.
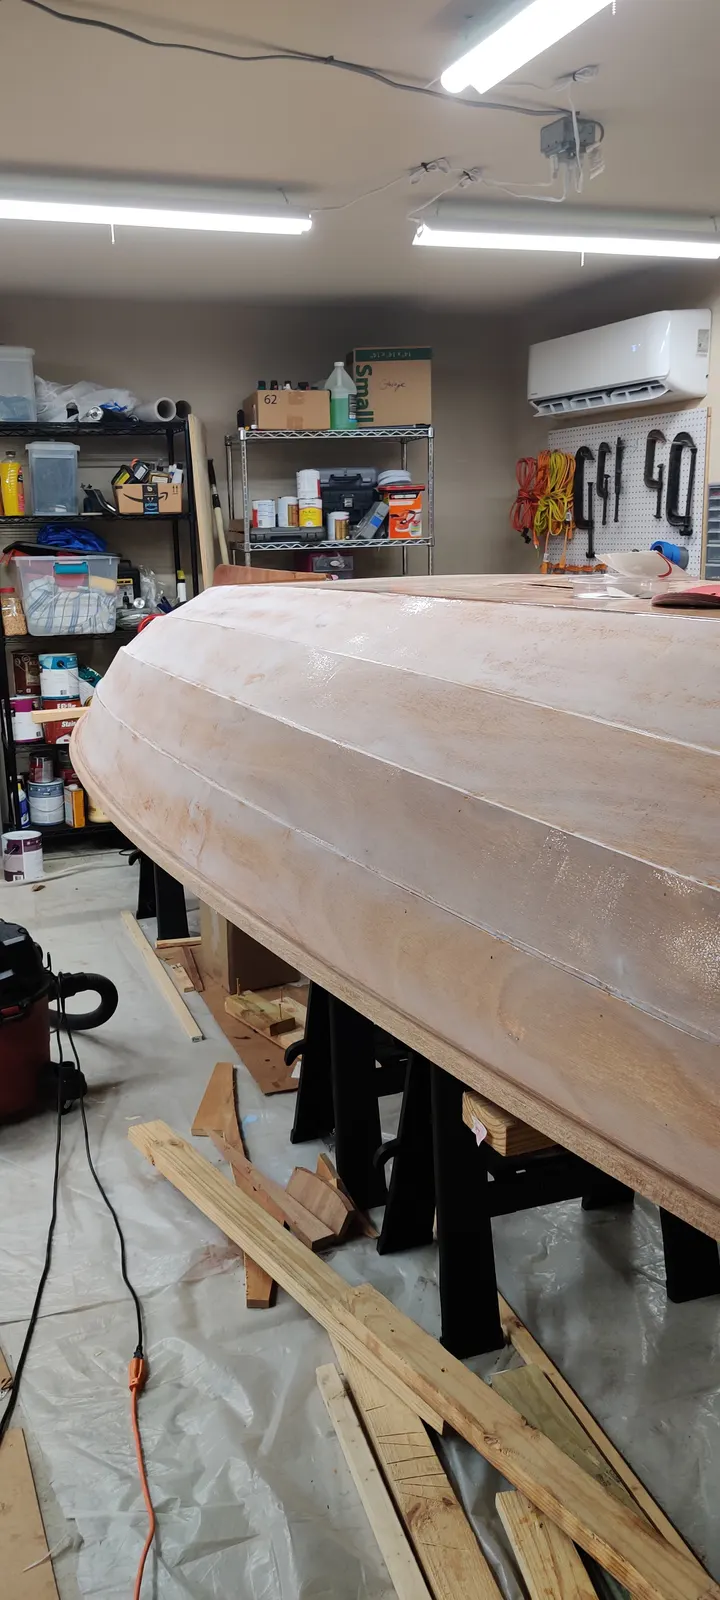
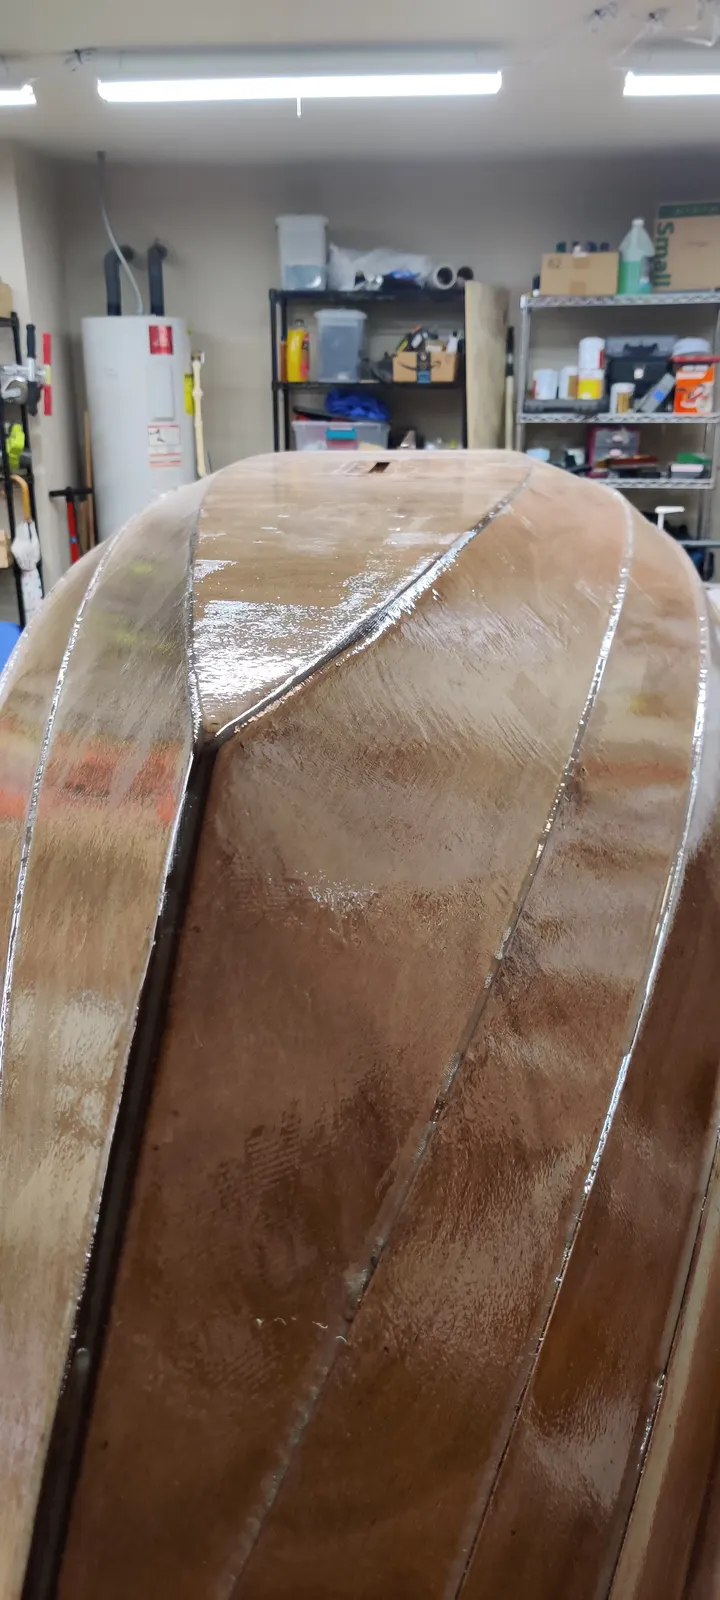
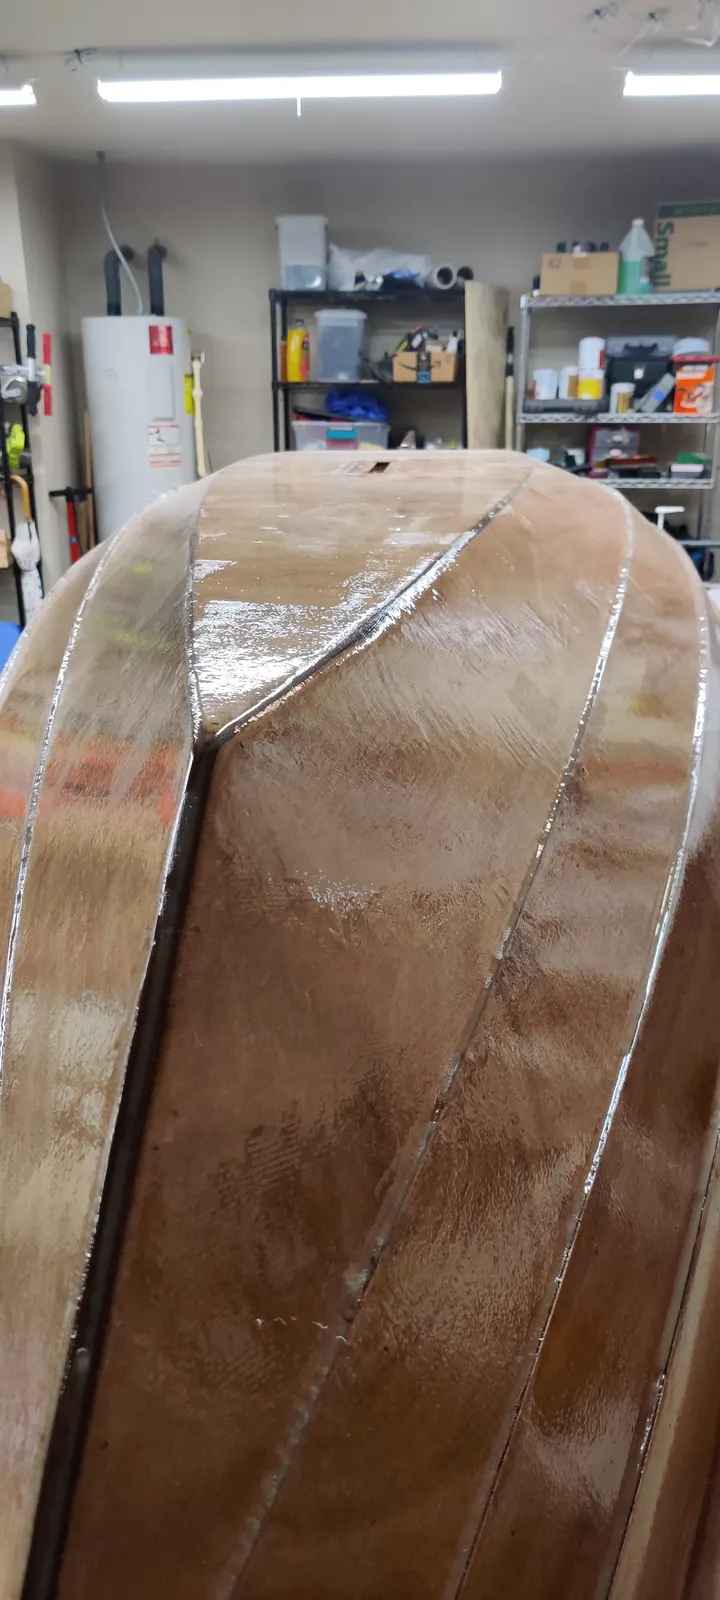
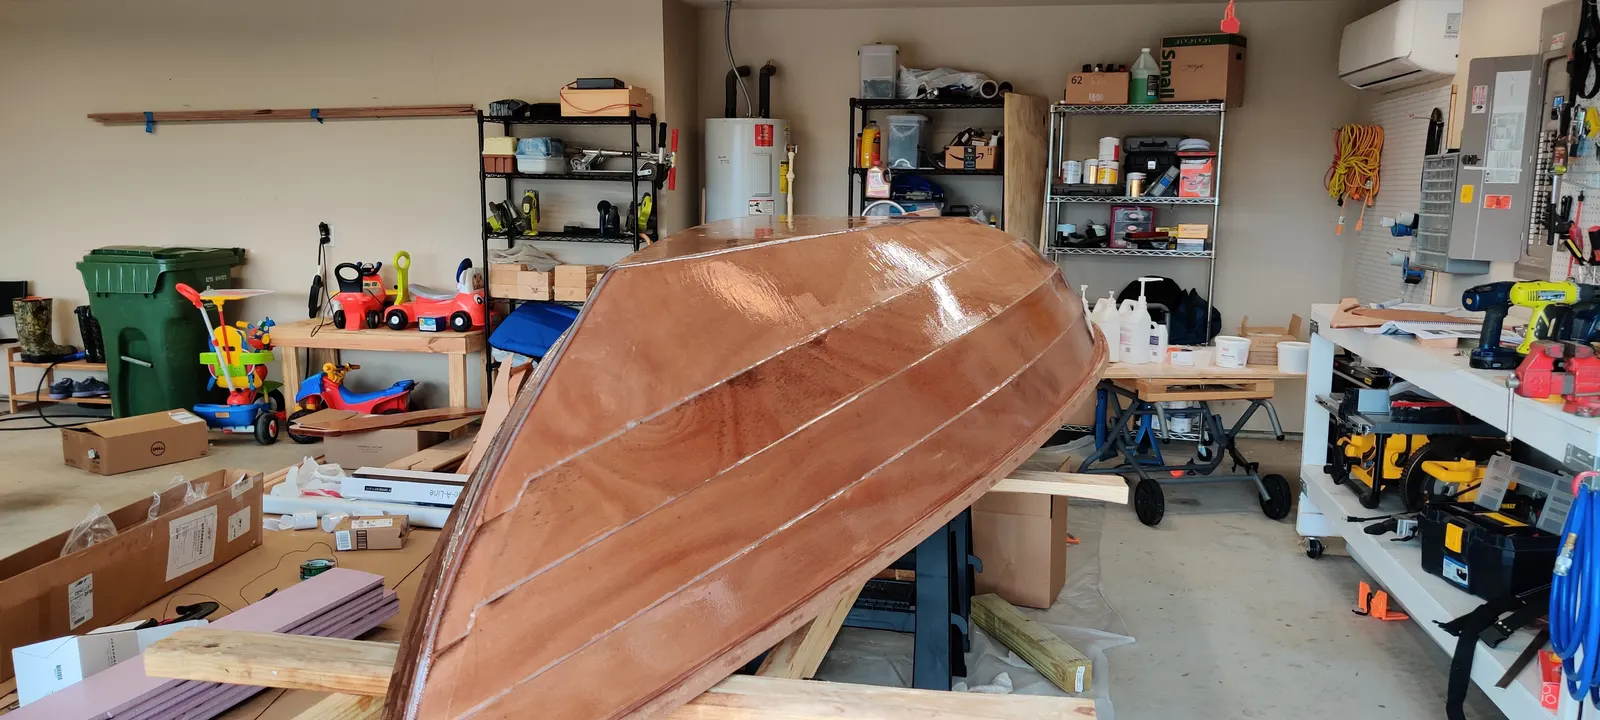
The next step is to flip the boat over and start working on the outside. At some point, the plans call for applying epoxy with a filler into the gaps between all of the panels on the exterior. This seals up the outside, makes it watertight, and adds significant strength to the hull.
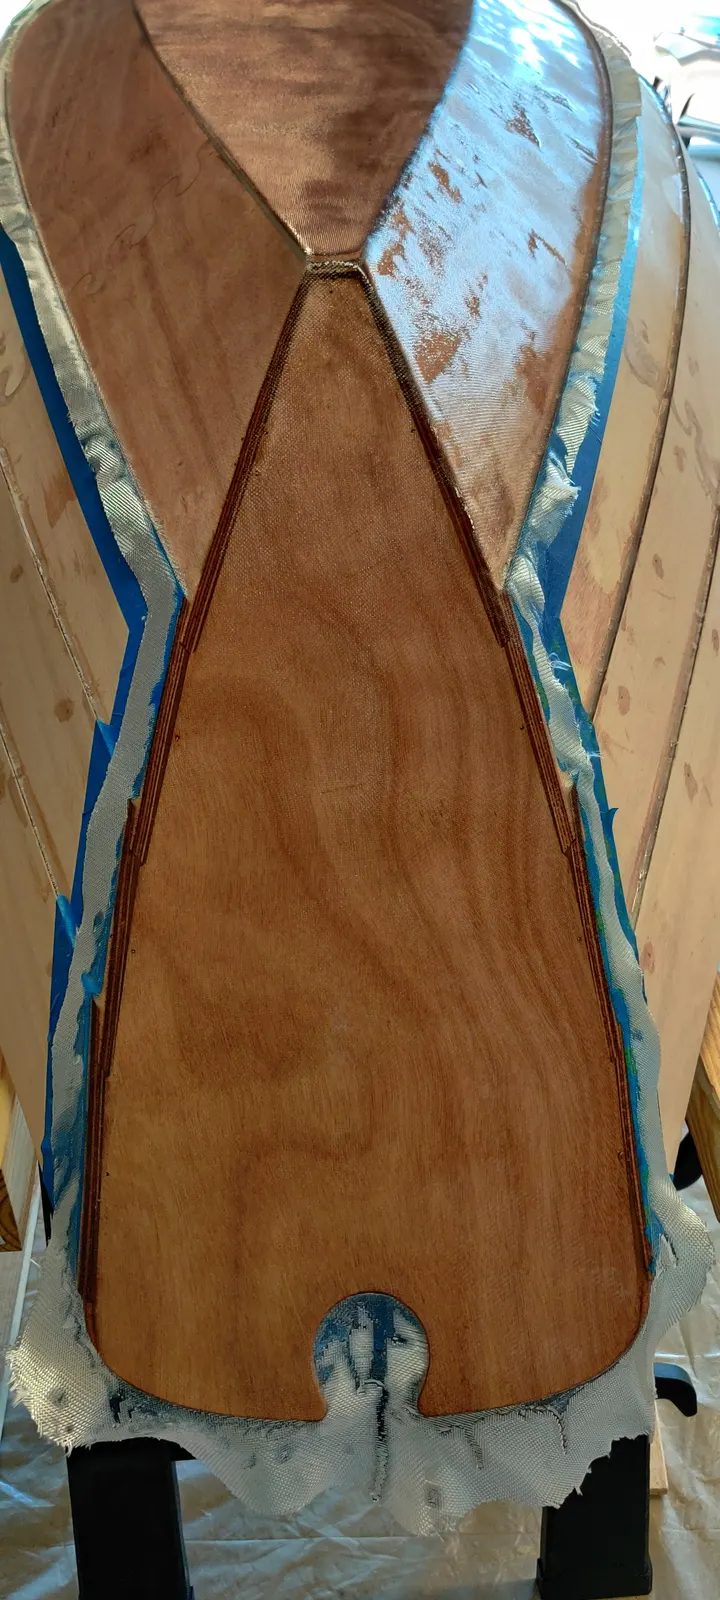
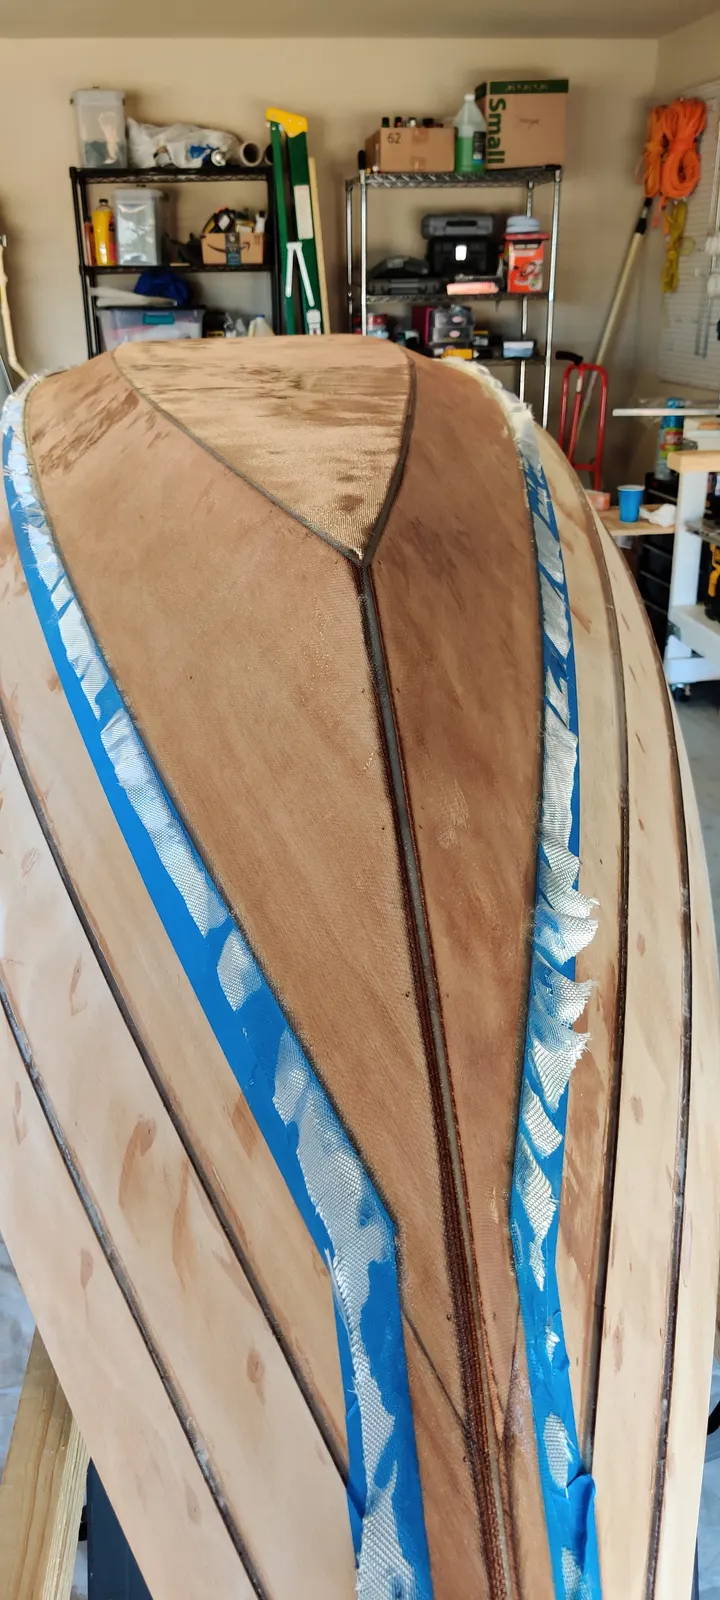
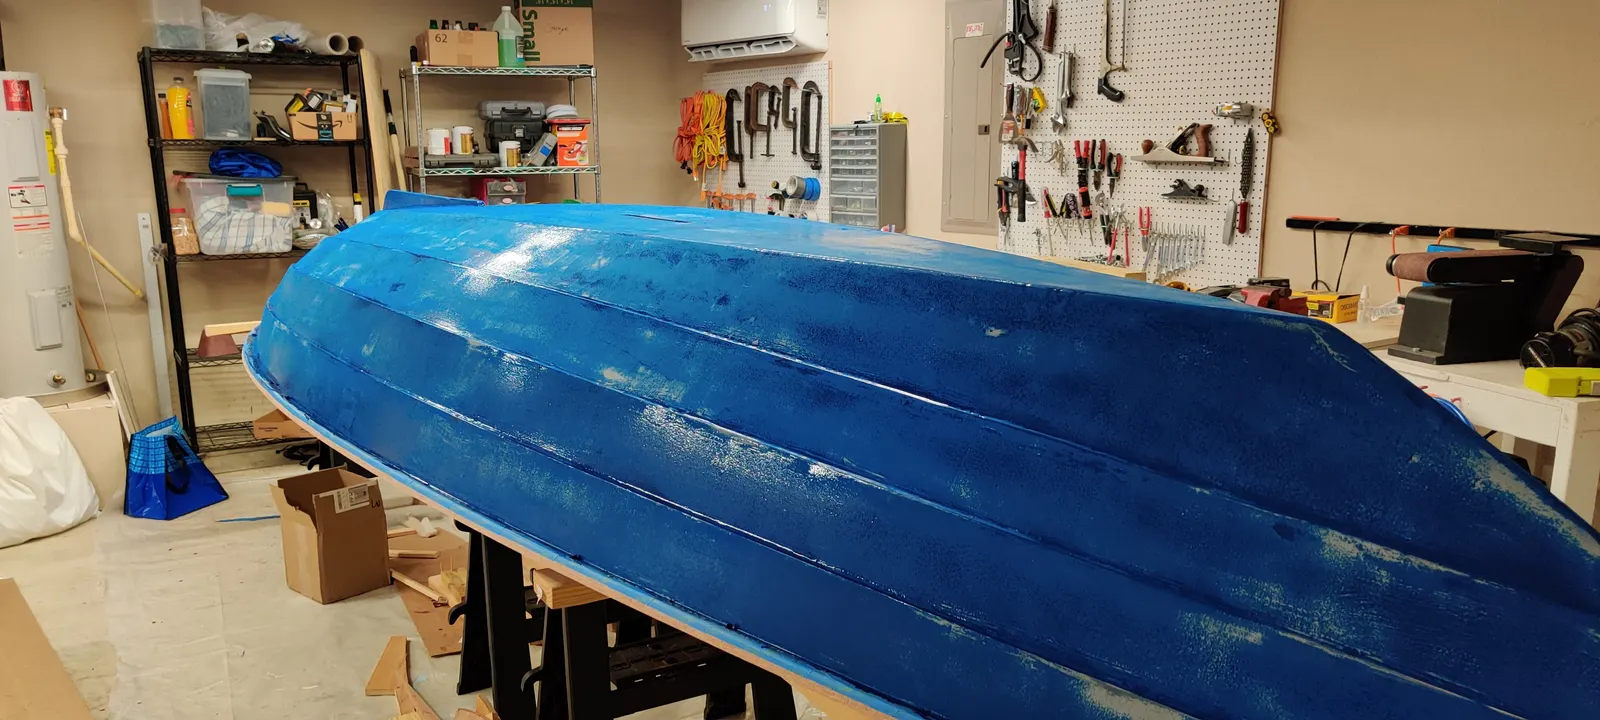
Once that's done, you can move on to fiberglassing the bottom and panel number one. As you can see in the photos, I used blue painter's tape to mask off the areas I didn't want epoxy on, then applied epoxy onto the precut fiberglass.
Lay out the fiberglass on the boat and cut it down to the best of your ability so it sits just over the bottom and side panel. Leave a section for the transom as well, as you can see here.
22 May 2020Glassing & Epoxy2 h
Epoxying the Exterior
Phase 10: Epoxying the Entire Exterior
The next step is epoxying the entire exterior. Only the bottom and the first panel were fiberglassed, but the whole exterior gets a coat of epoxy to protect the wood.
By this point you're an expert with epoxy, so this part is fairly easy. I'd just recommend sticking with less is more and watching for drips. Drips just mean more sanding later.
Chapter 06
Interior & Cockpit
Bulkheads, seats, buoyancy, sole, storage.
3 days33 hours$349from May 2020
26 May 2020Interior & Cockpit5 h
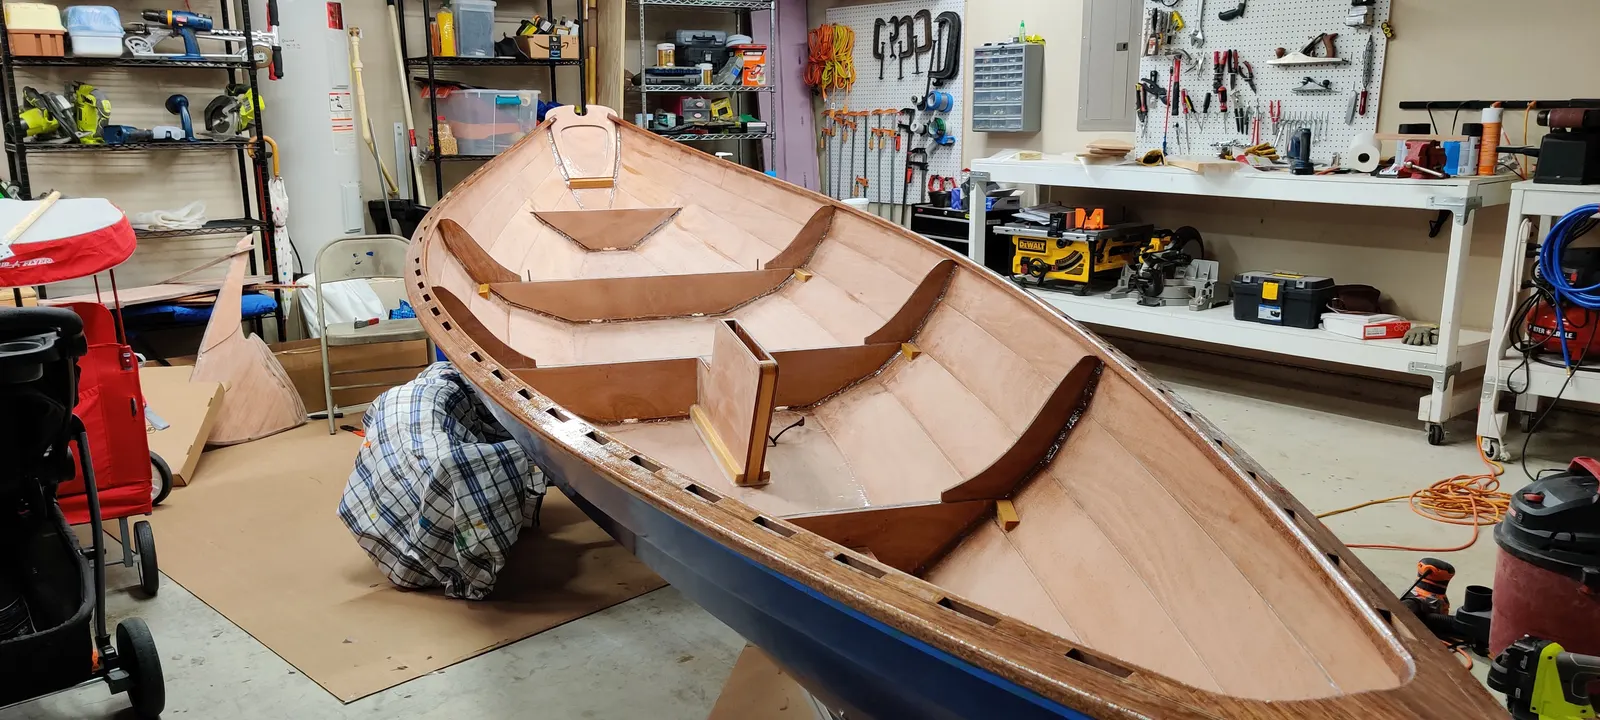
Gunwale
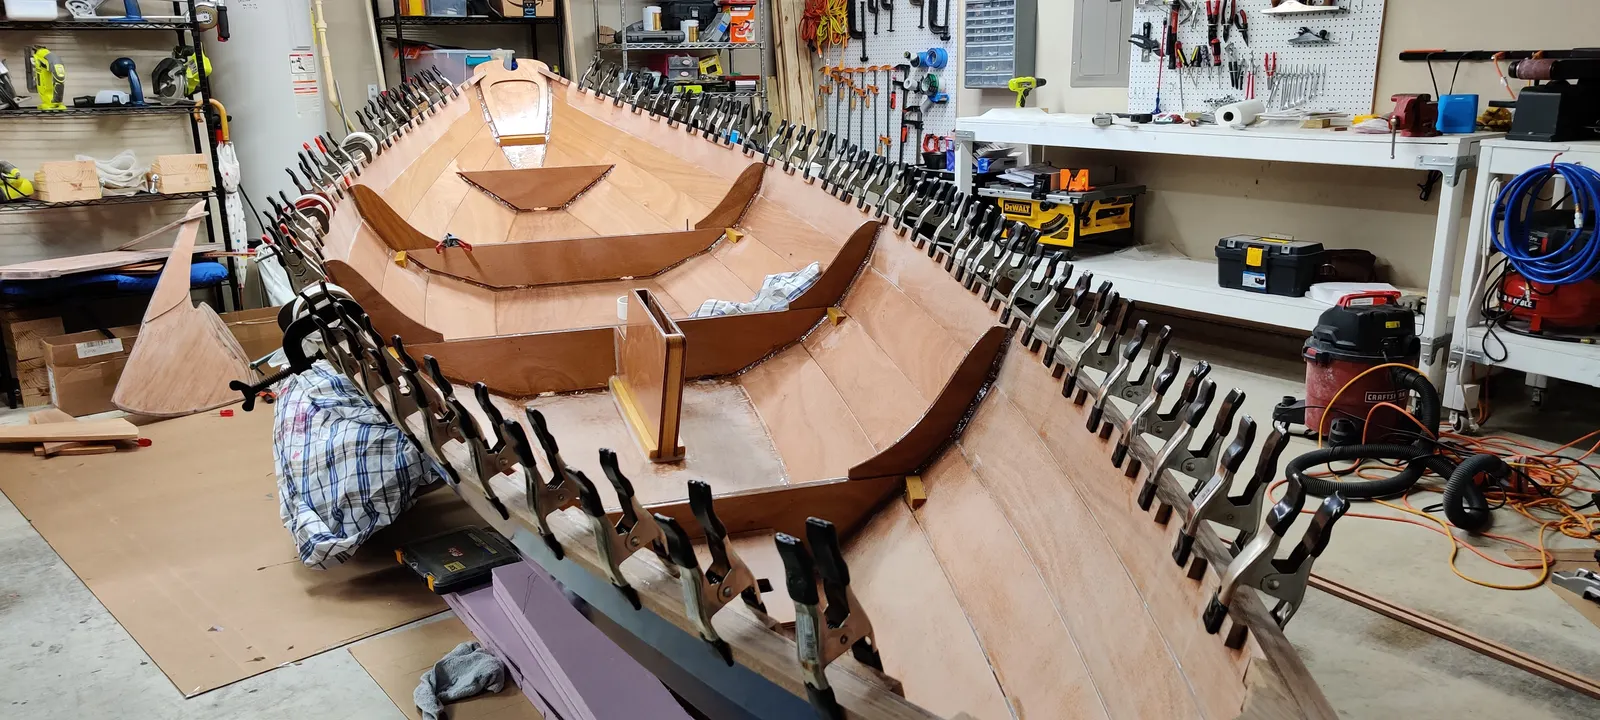
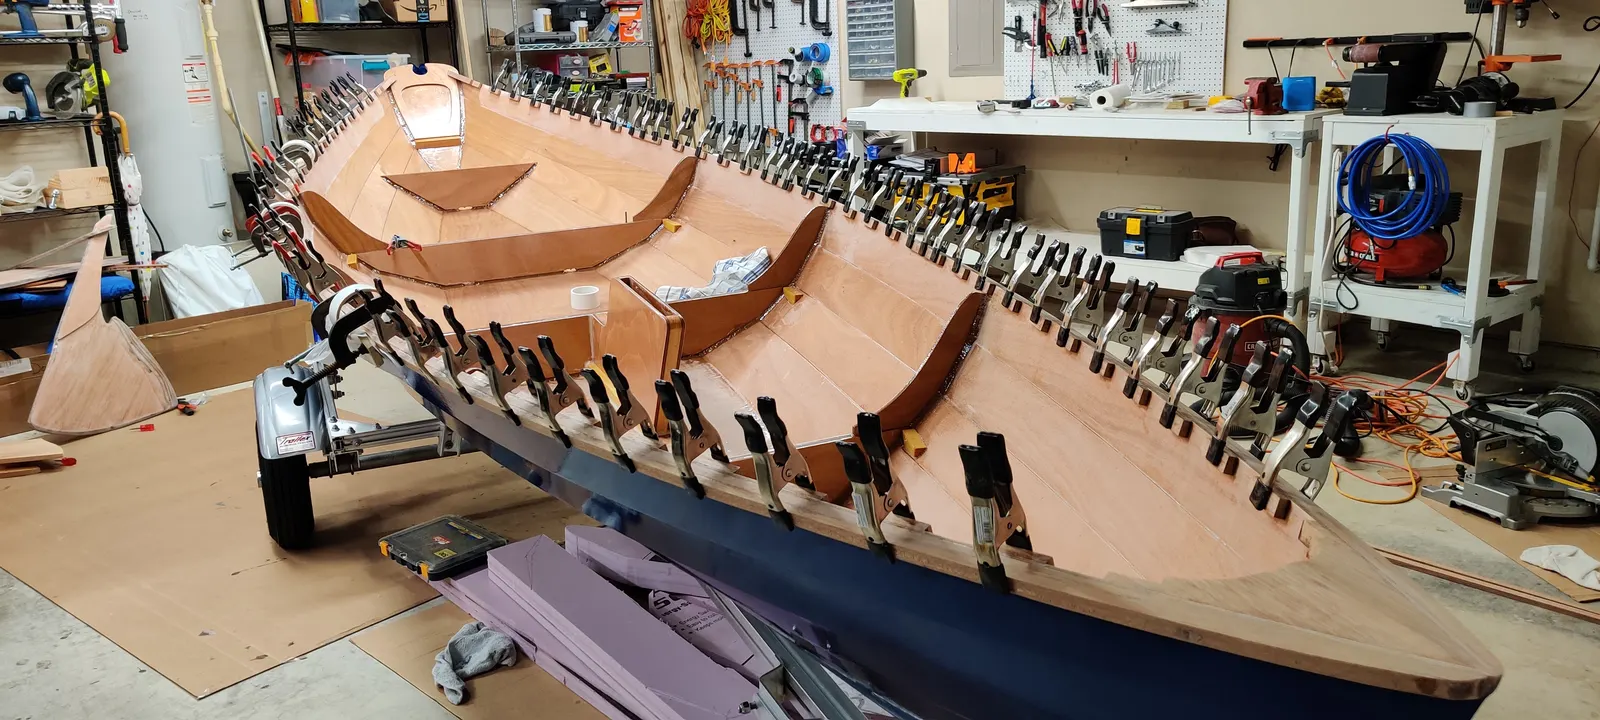
Phase 11: Interior Epoxy and Gunnels
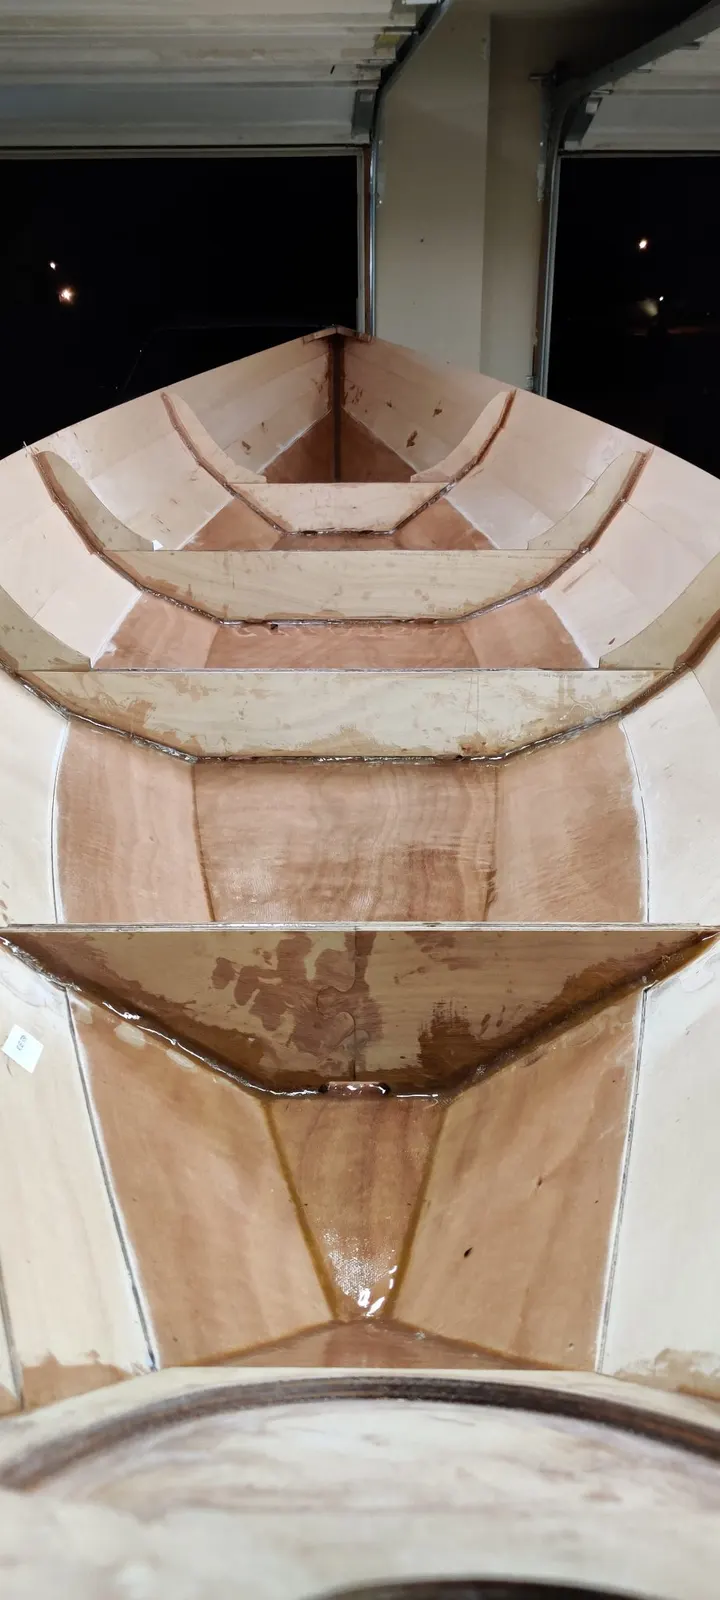
This section covers a few steps together. I flipped the boat back right side up and epoxied the interior.
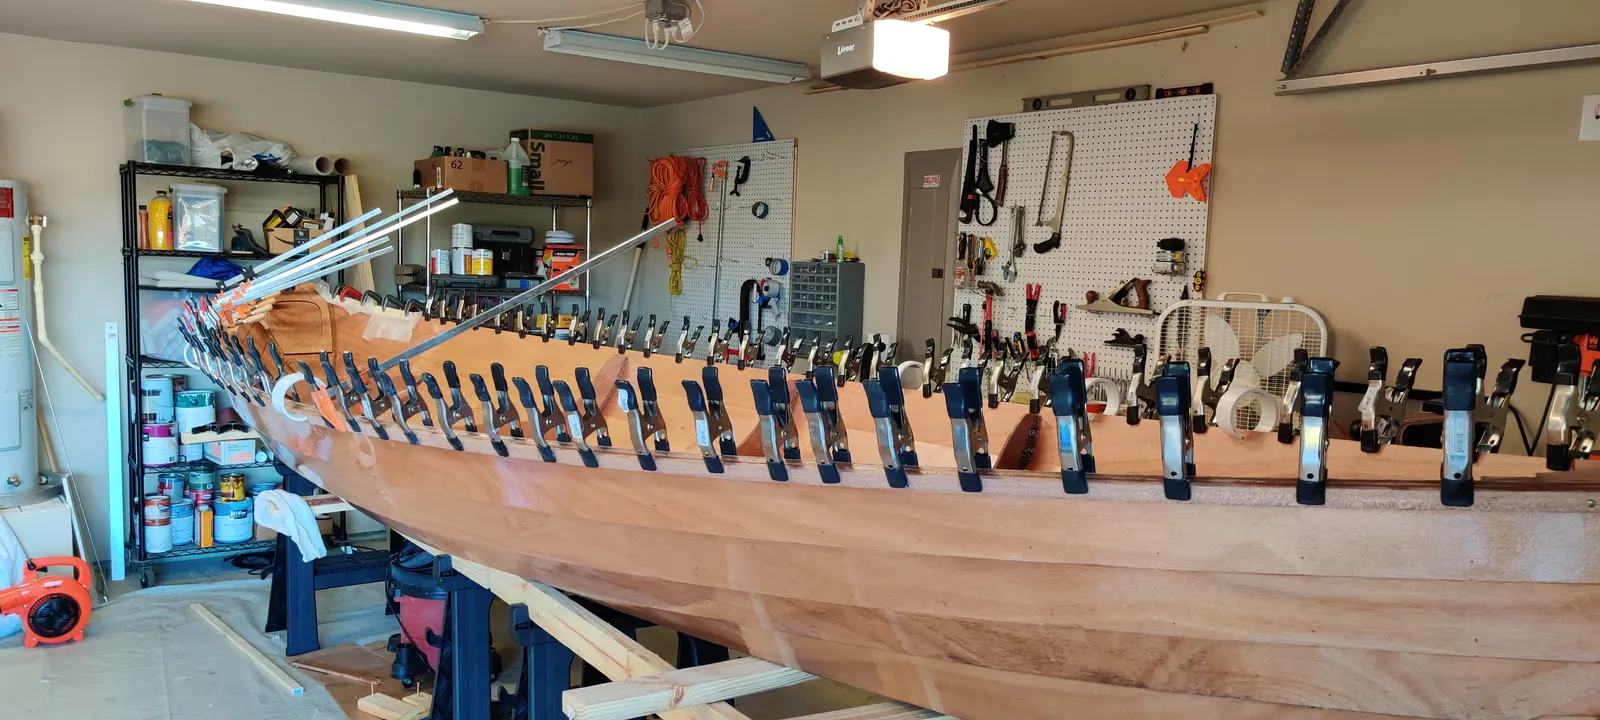
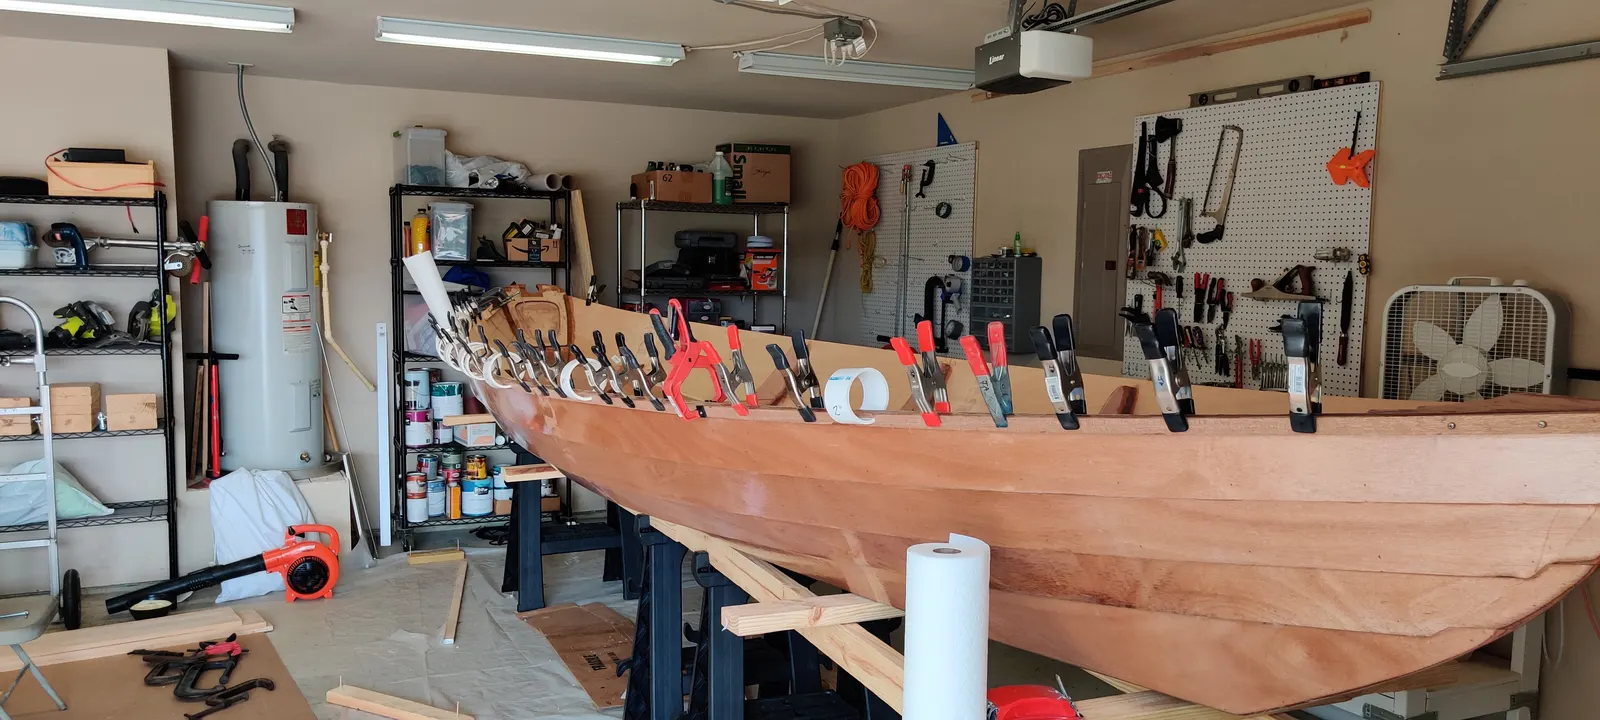
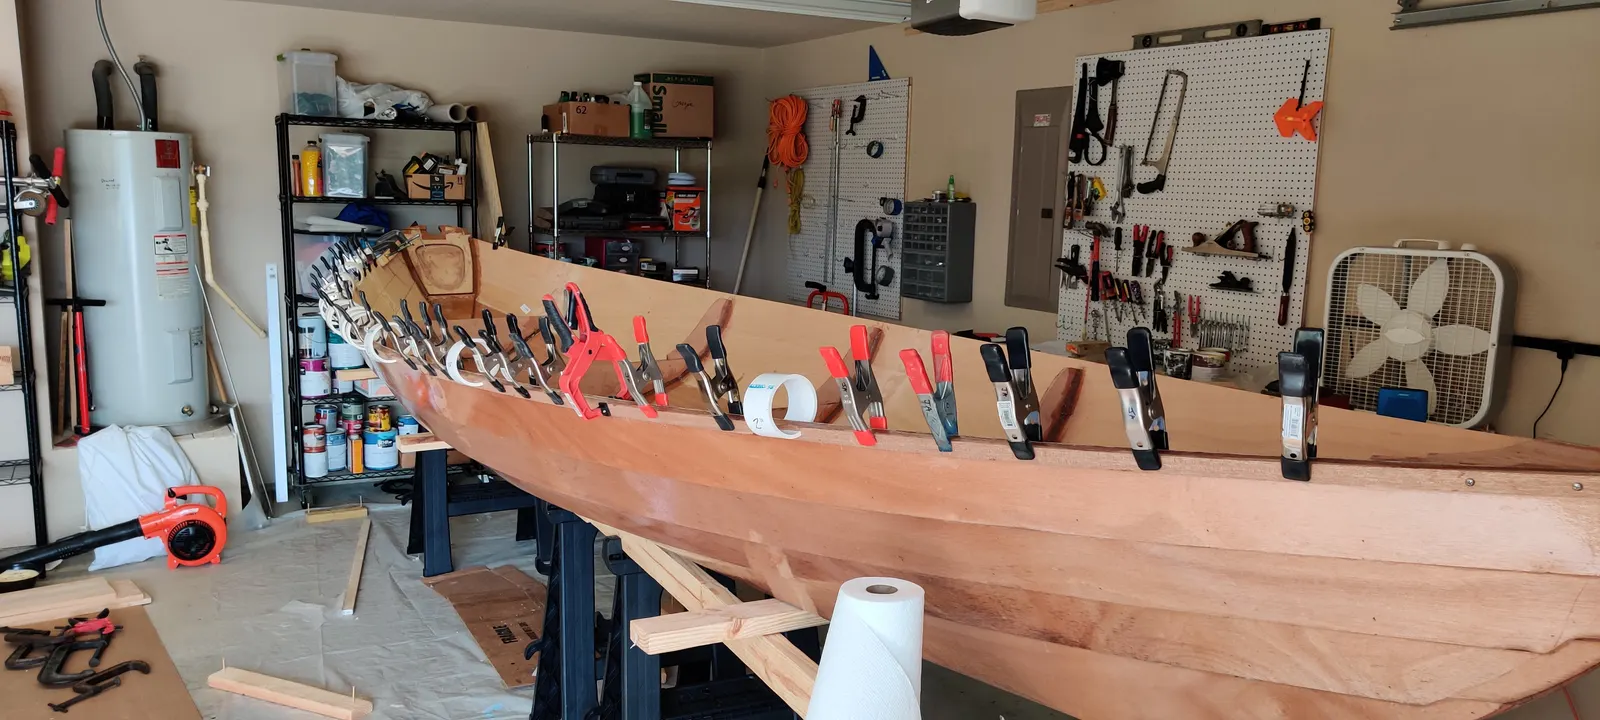
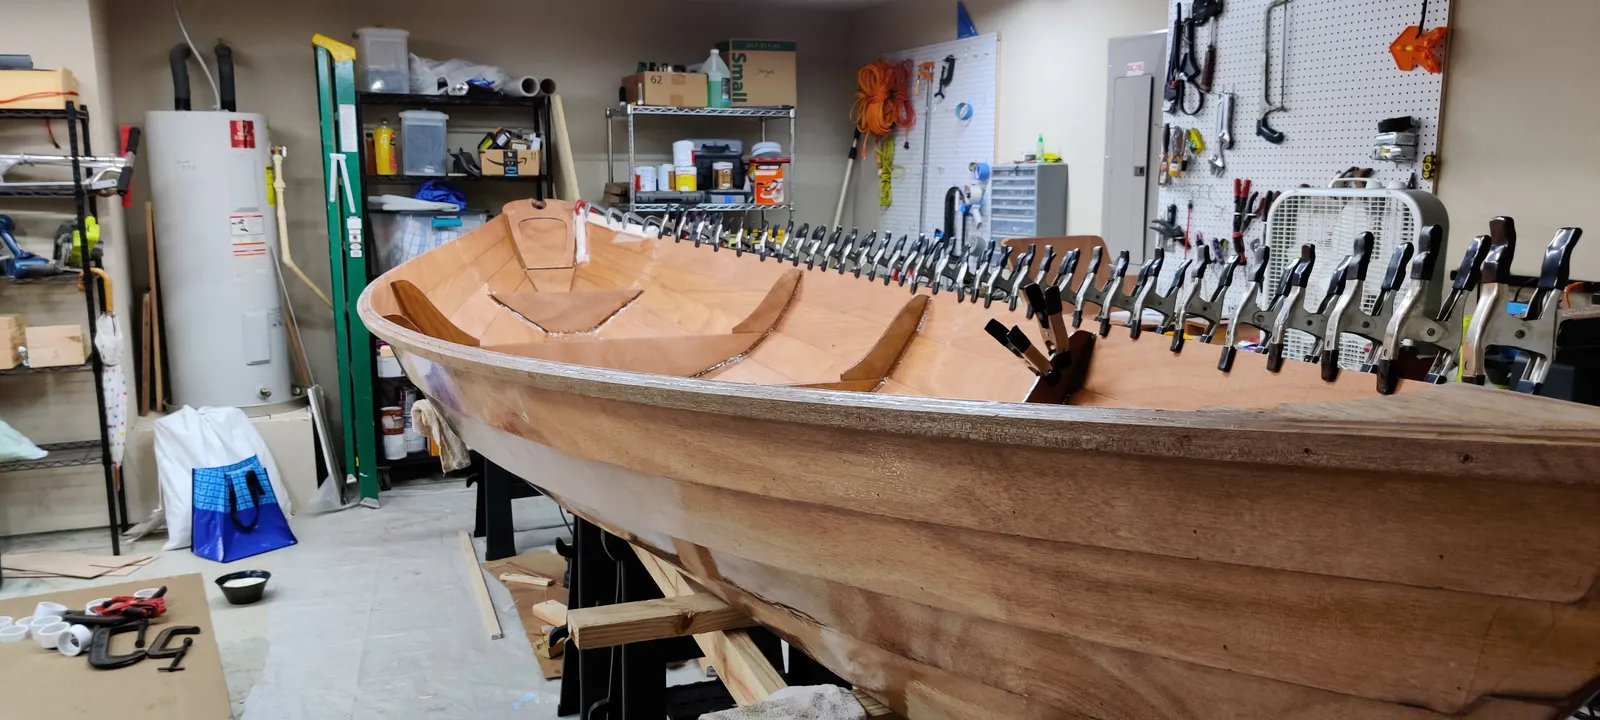
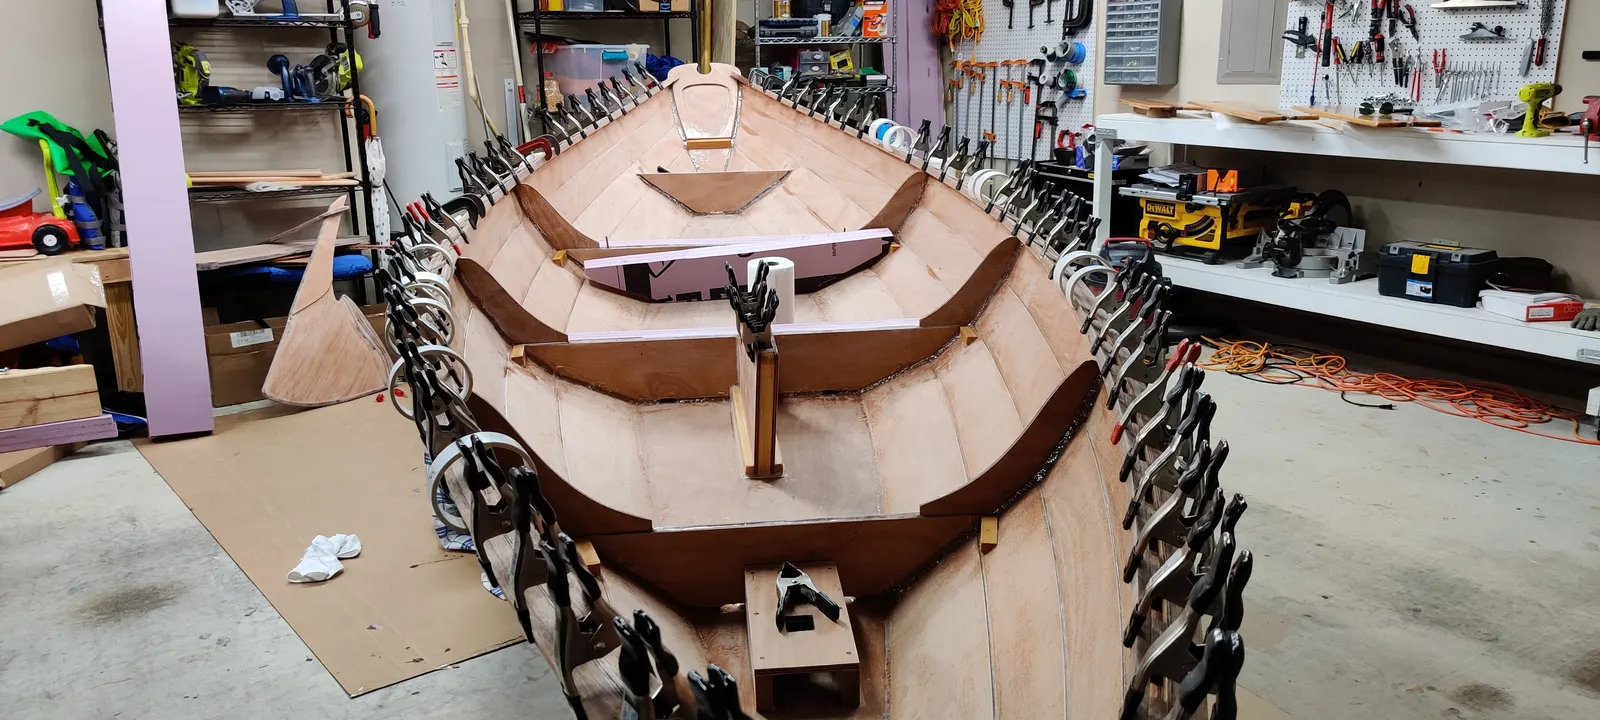
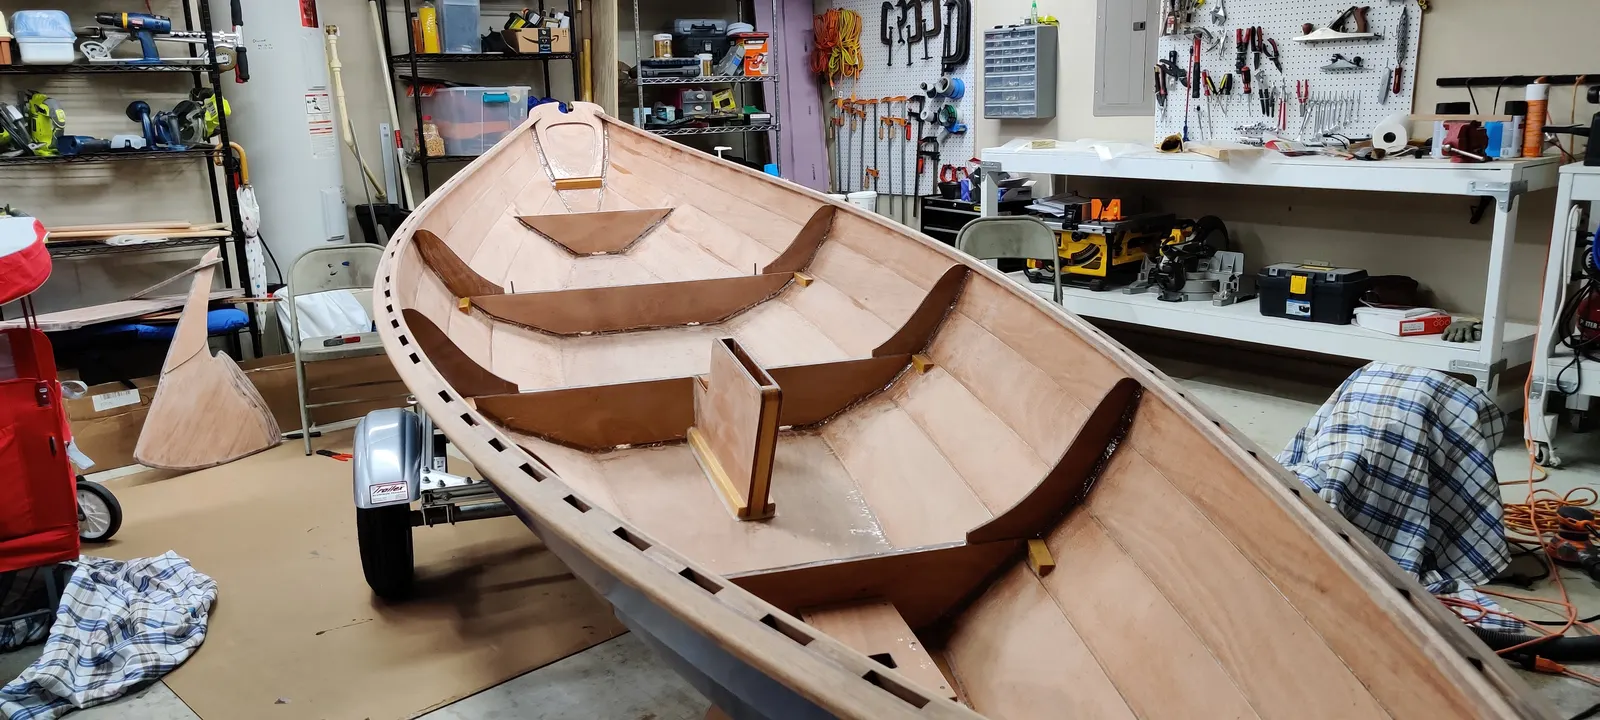
The next step was assembling the gunnels on the outside. I used two smaller strips of lumber instead of one large one, since the strip has to bend over a significant portion of the boat.
As you can see in the photo, if you don't have at least fifty clamps, start collecting them now. What I learned is you can never have enough clamps when building a boat.
30 May 2020Interior & Cockpit4 h
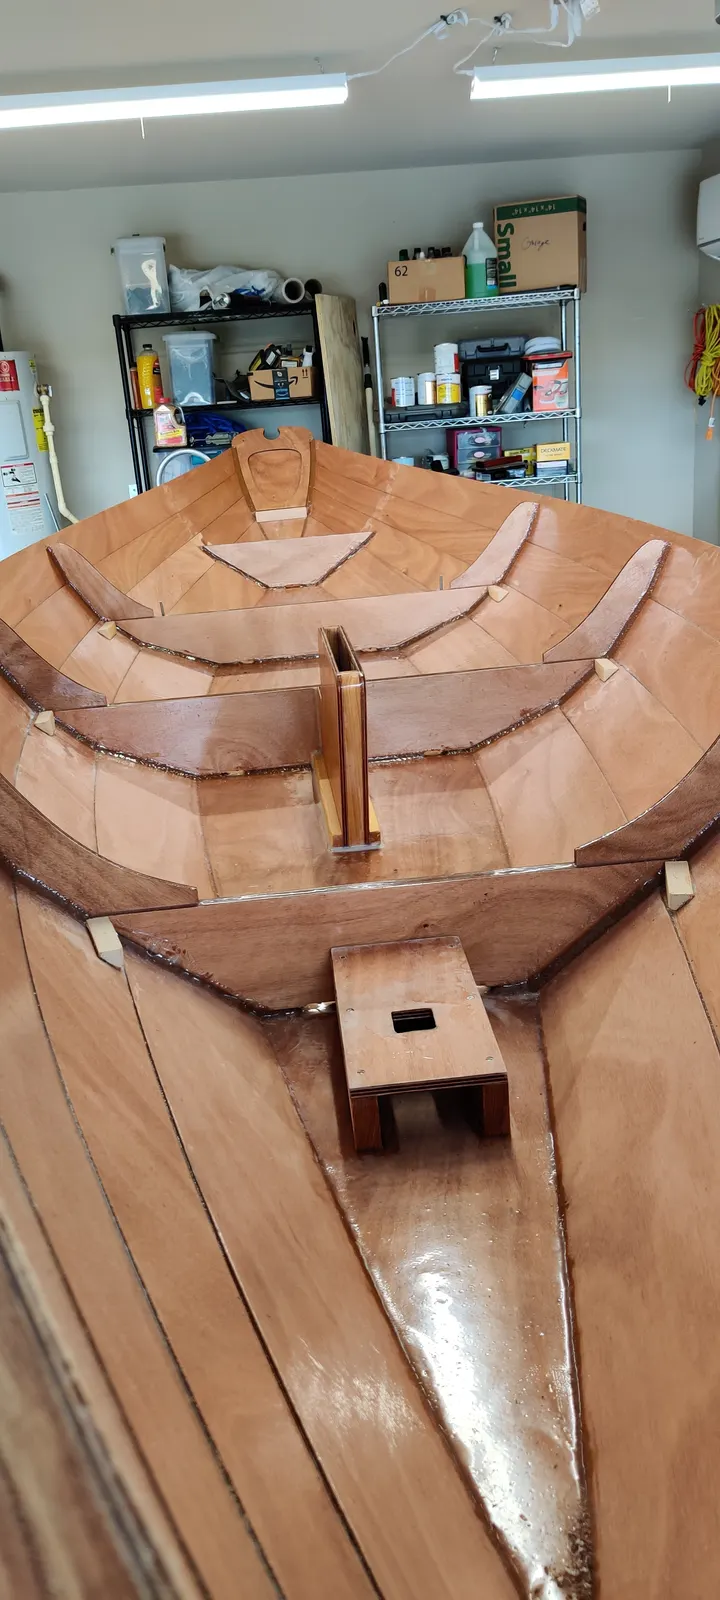
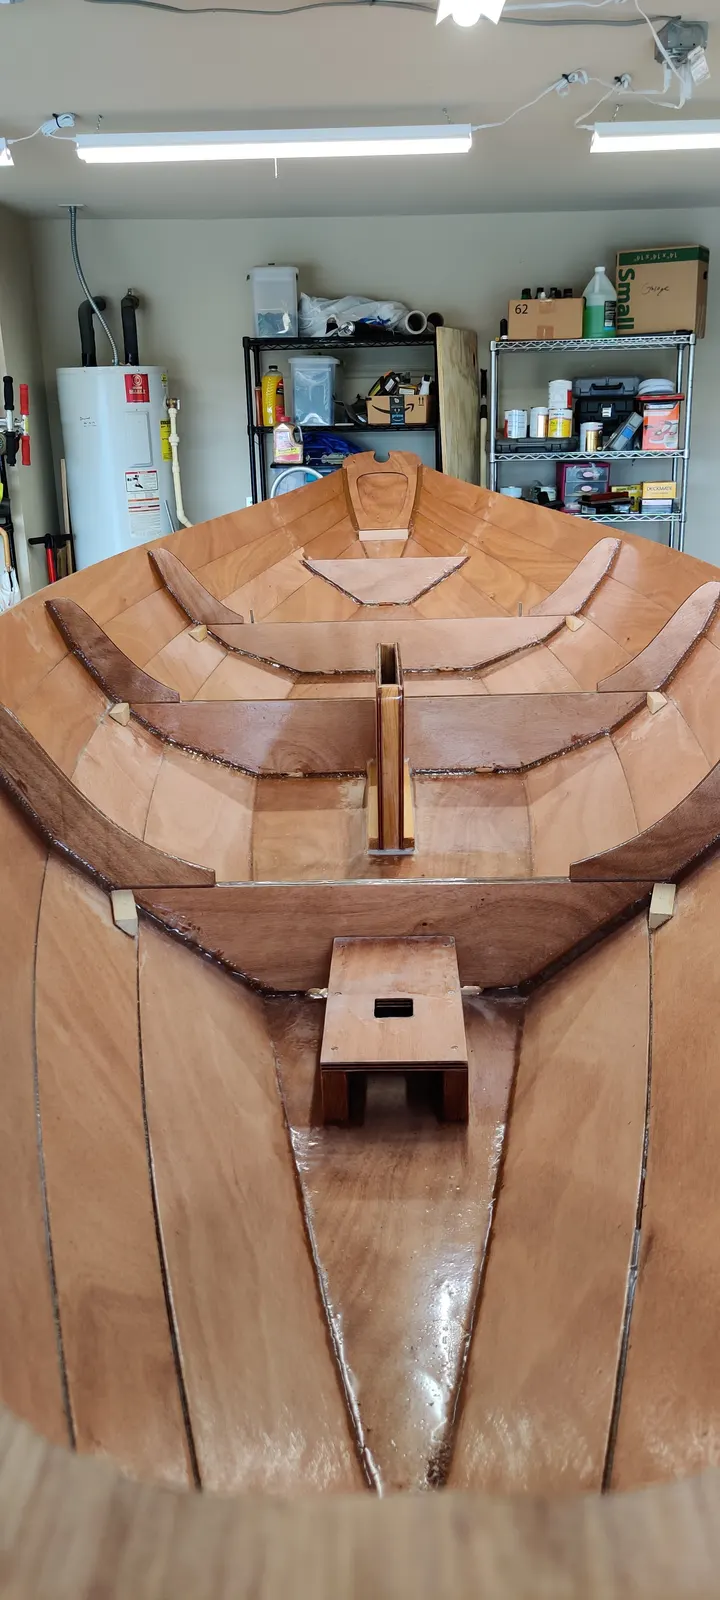
Fitting the Seats
Phase 12: Fitting the Seats
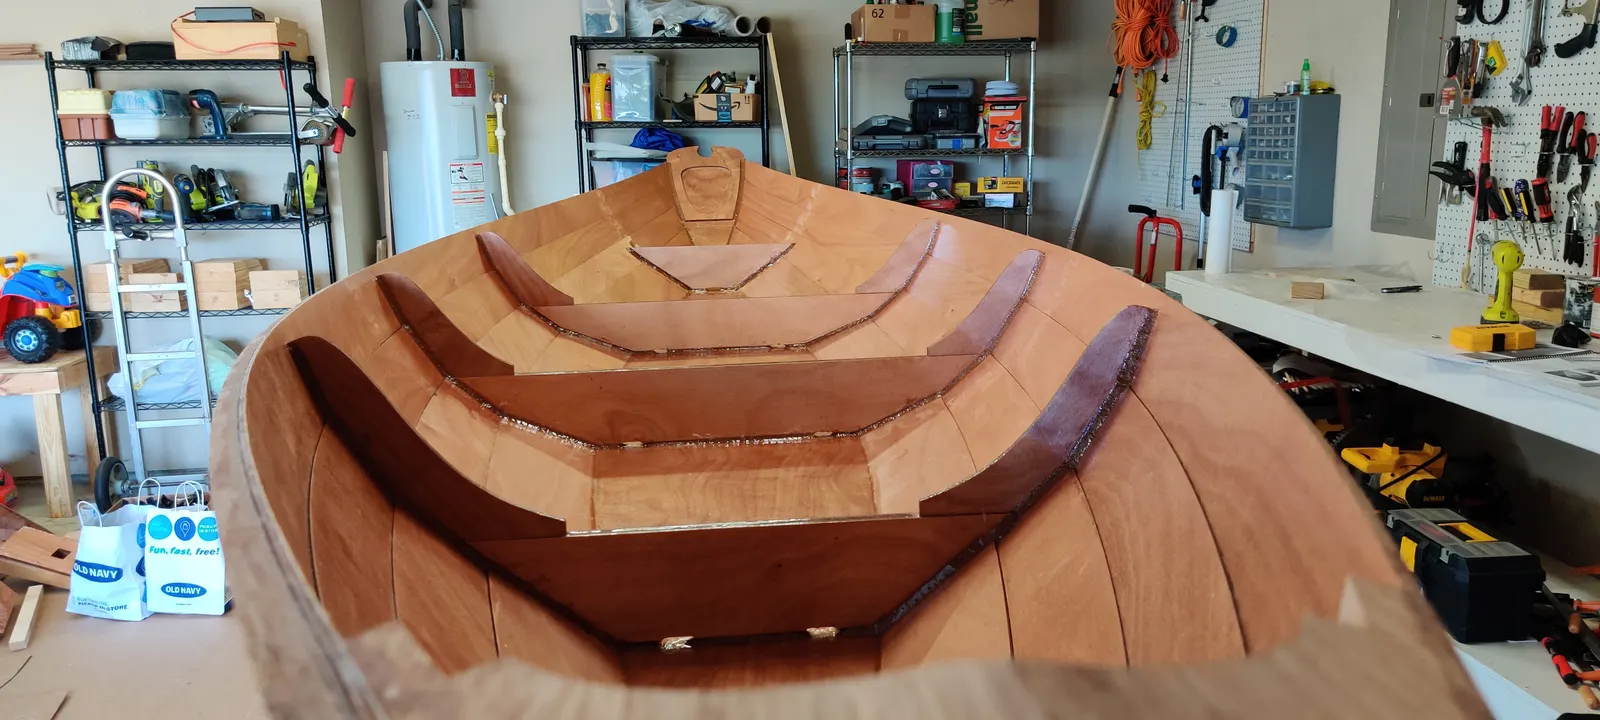
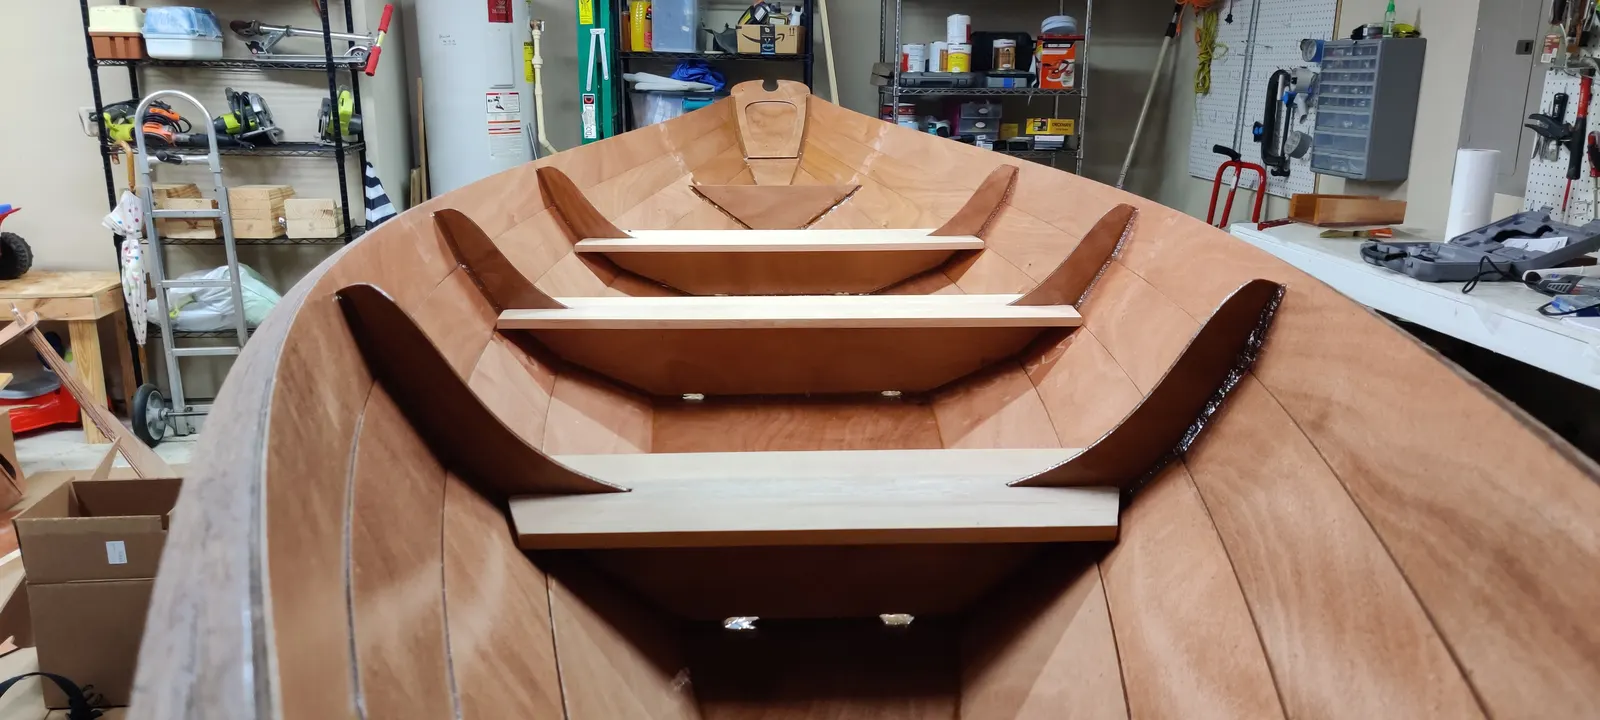
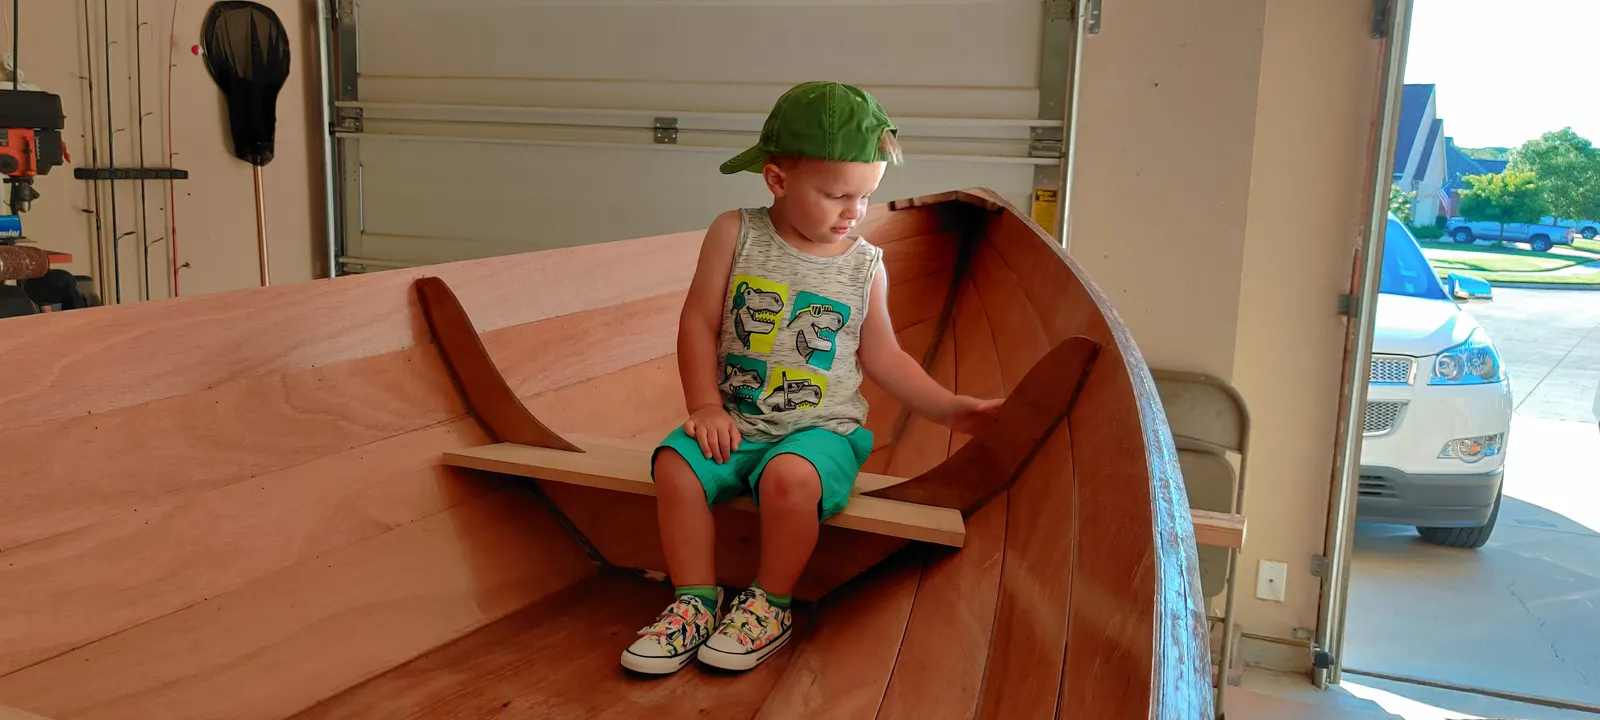
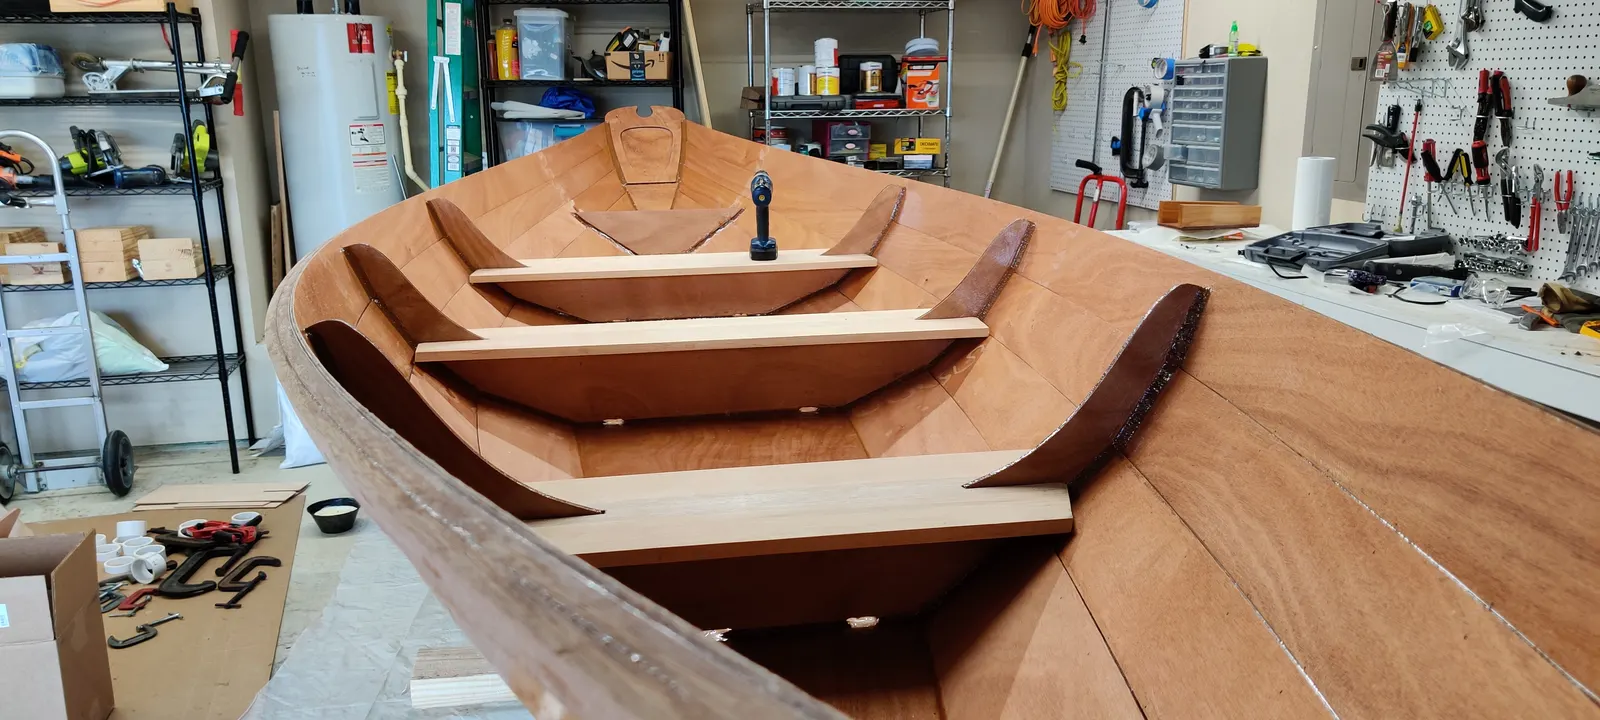
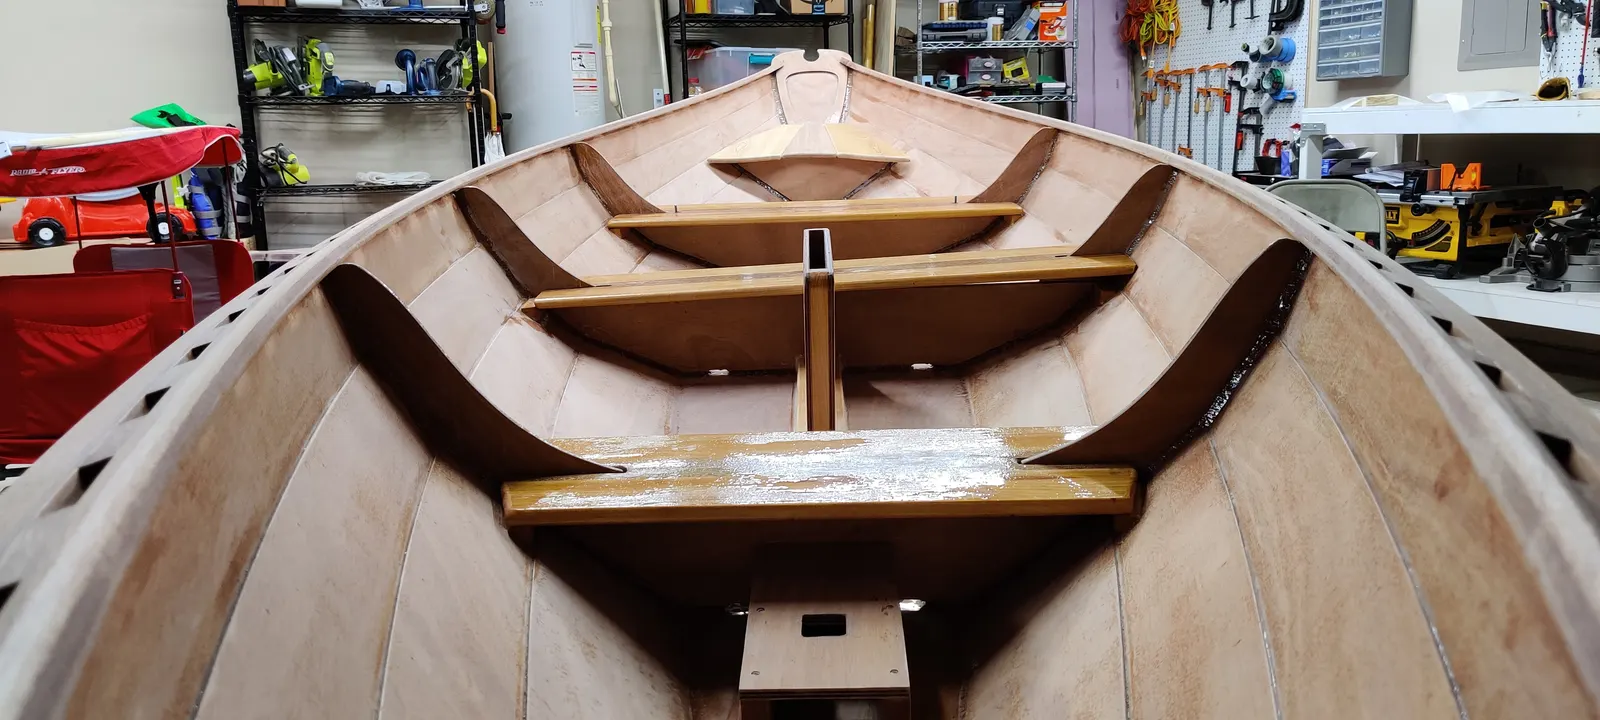
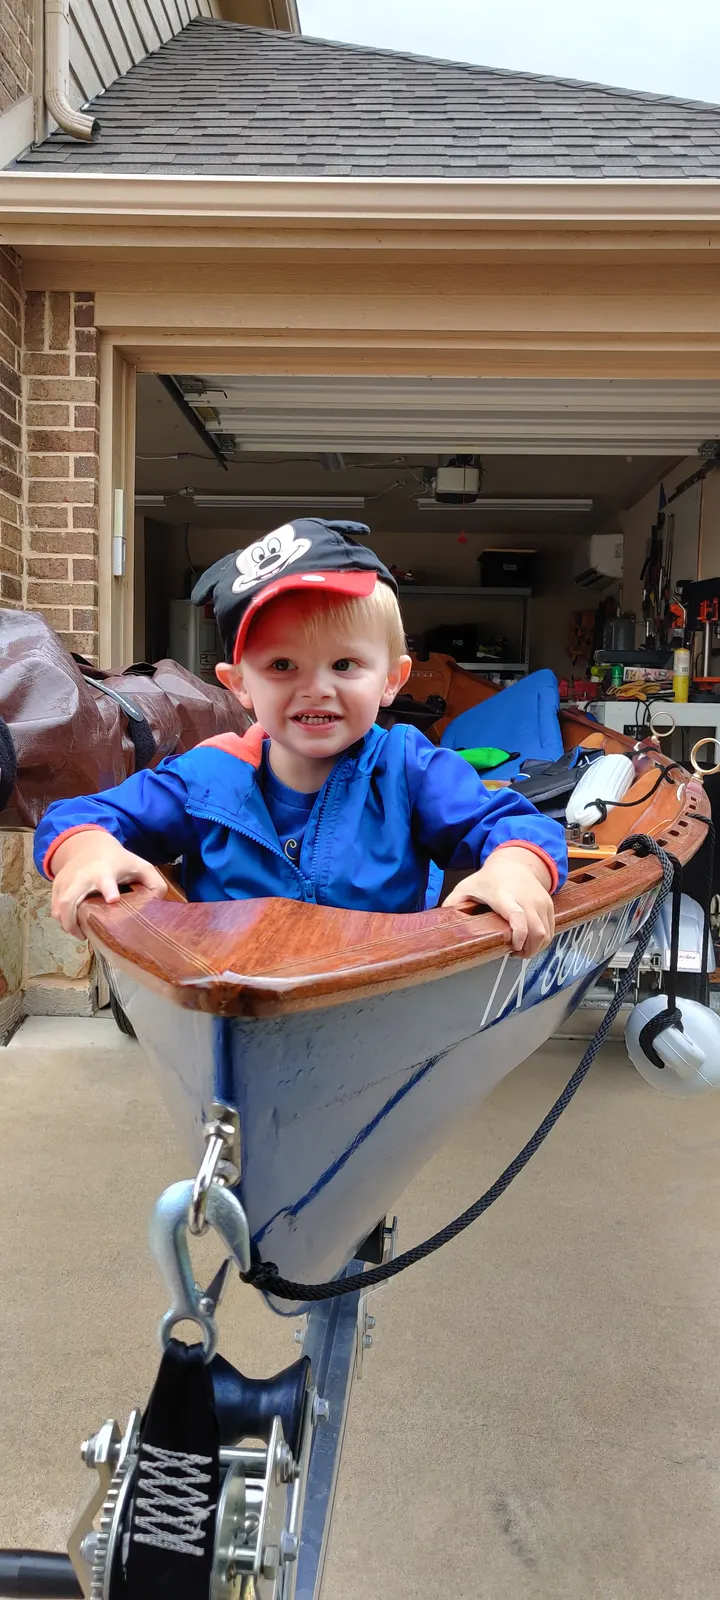
In this next part, I started fitting the seats to make sure everything looked and fit well. As you can see here, all three seats are in, and my son even hopped in the boat to make sure everything was comfortable.
Chapter 07
Fairing & Sanding
The long one. Fairing compound, longboards, and the sanding nobody photographs enough.
1 day24 hoursfrom June 2020
28 Jun 2020Fairing & Sanding24 h
Sanding, Sanding, and yet more Sanding
Phase 14: Sanding, Sanding, and More Sanding
If I had a nickel for every time I sanded this boat, I'd be a wealthy man. I'm joking, but seriously, sanding, re-sanding, and sanding again is the most time-consuming and common thing you'll do in boat building.
My honest recommendation: put on some earbuds and noise protection over them, and just settle into it. You need to get comfortable with sanding, because you'll probably spend forty to fifty hours or more on it, especially if you're a perfectionist.
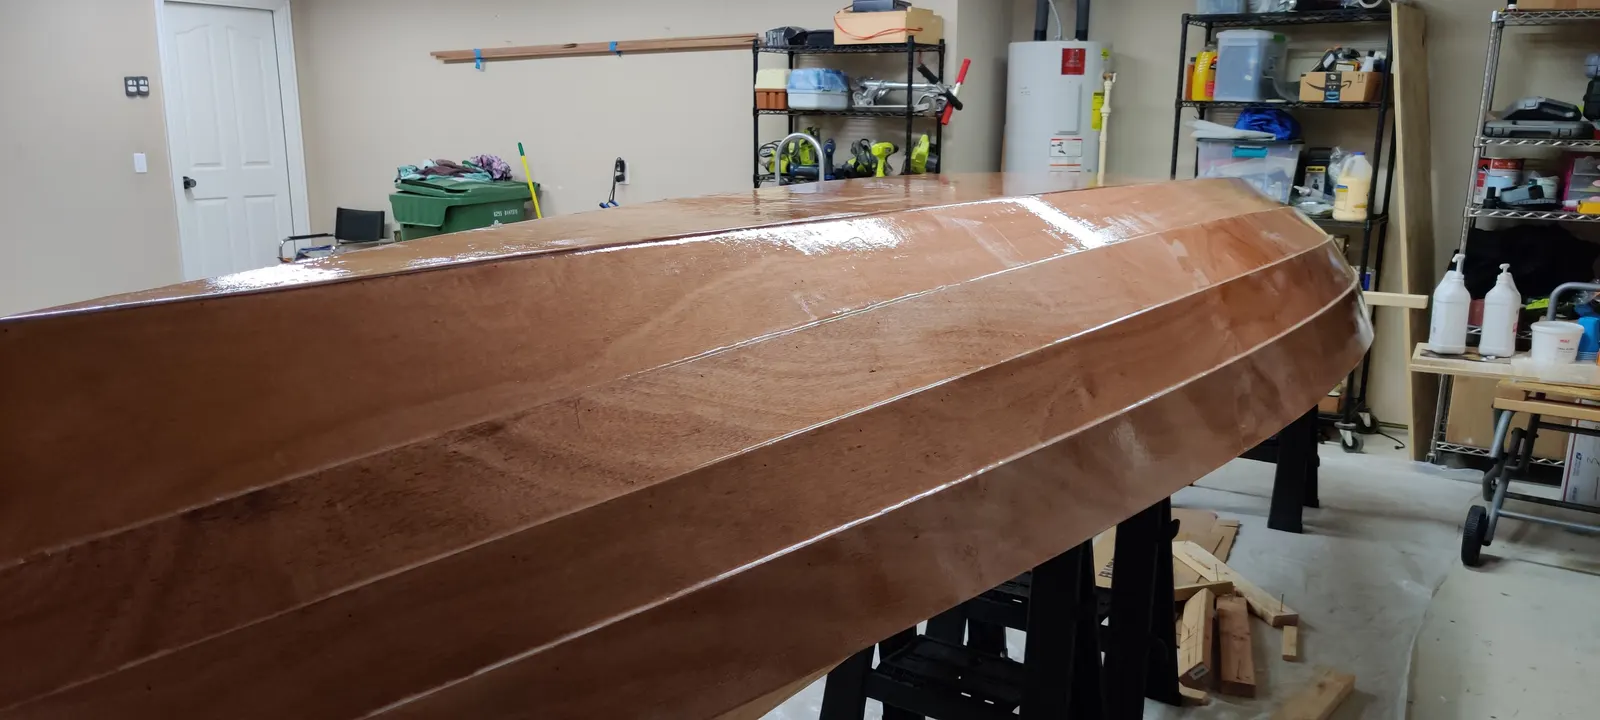
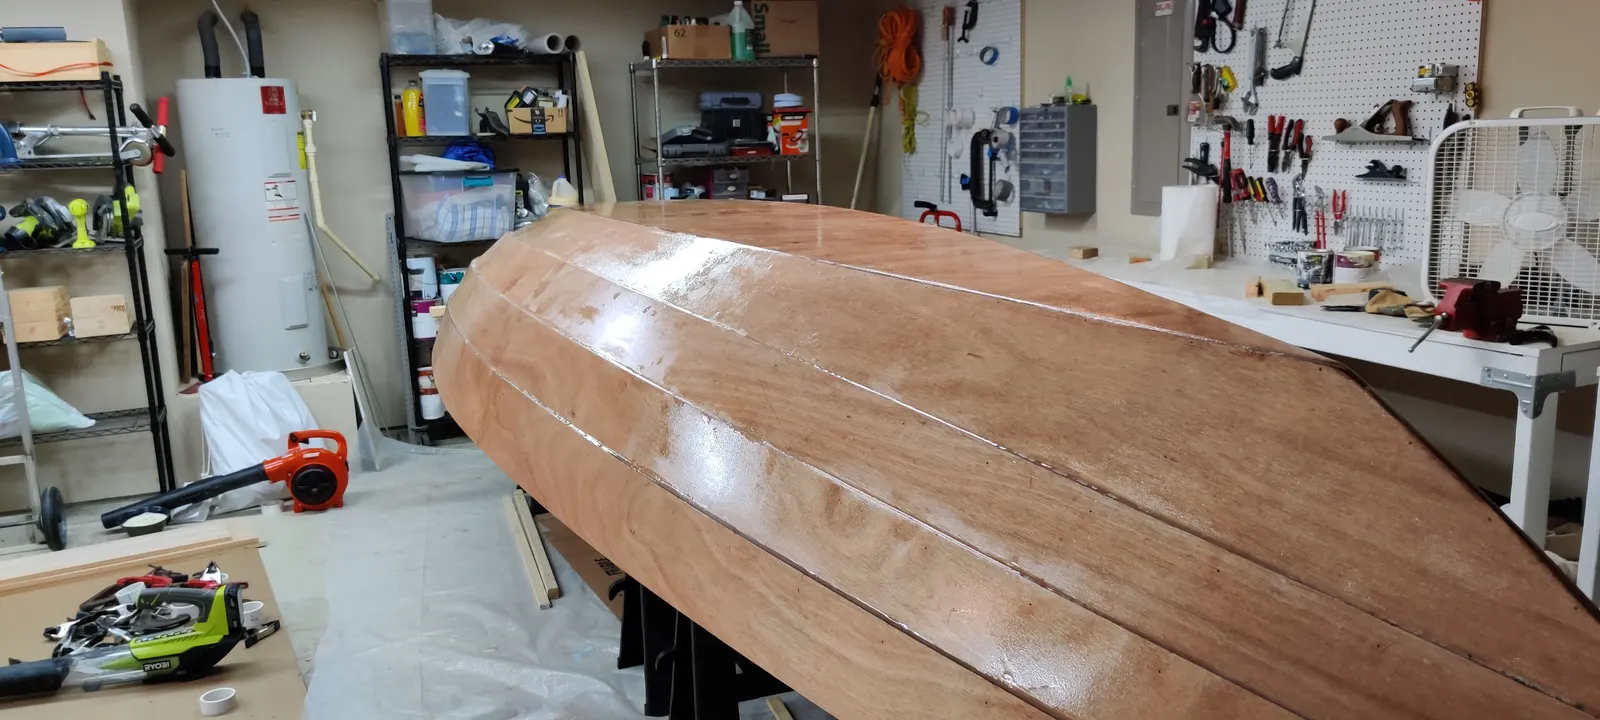
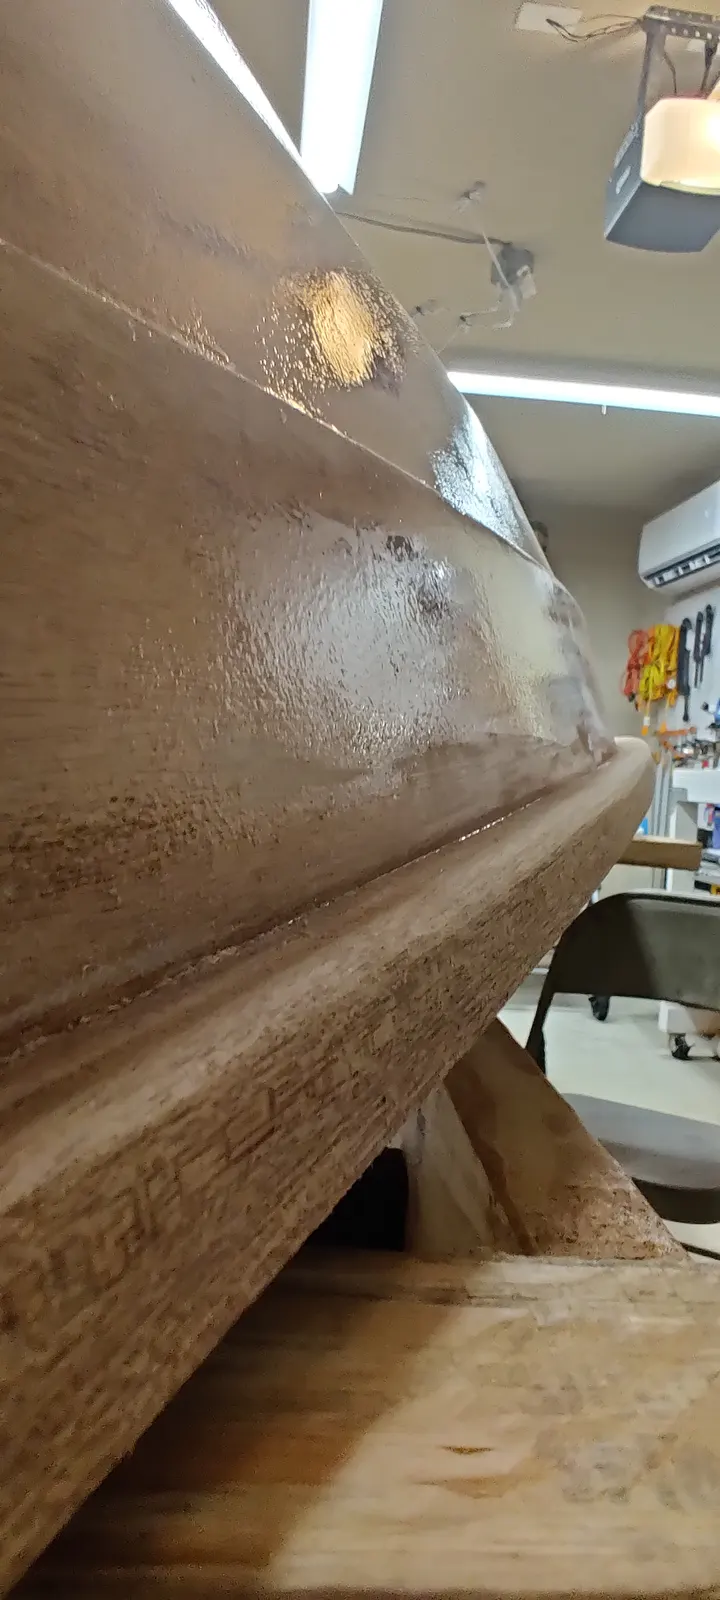
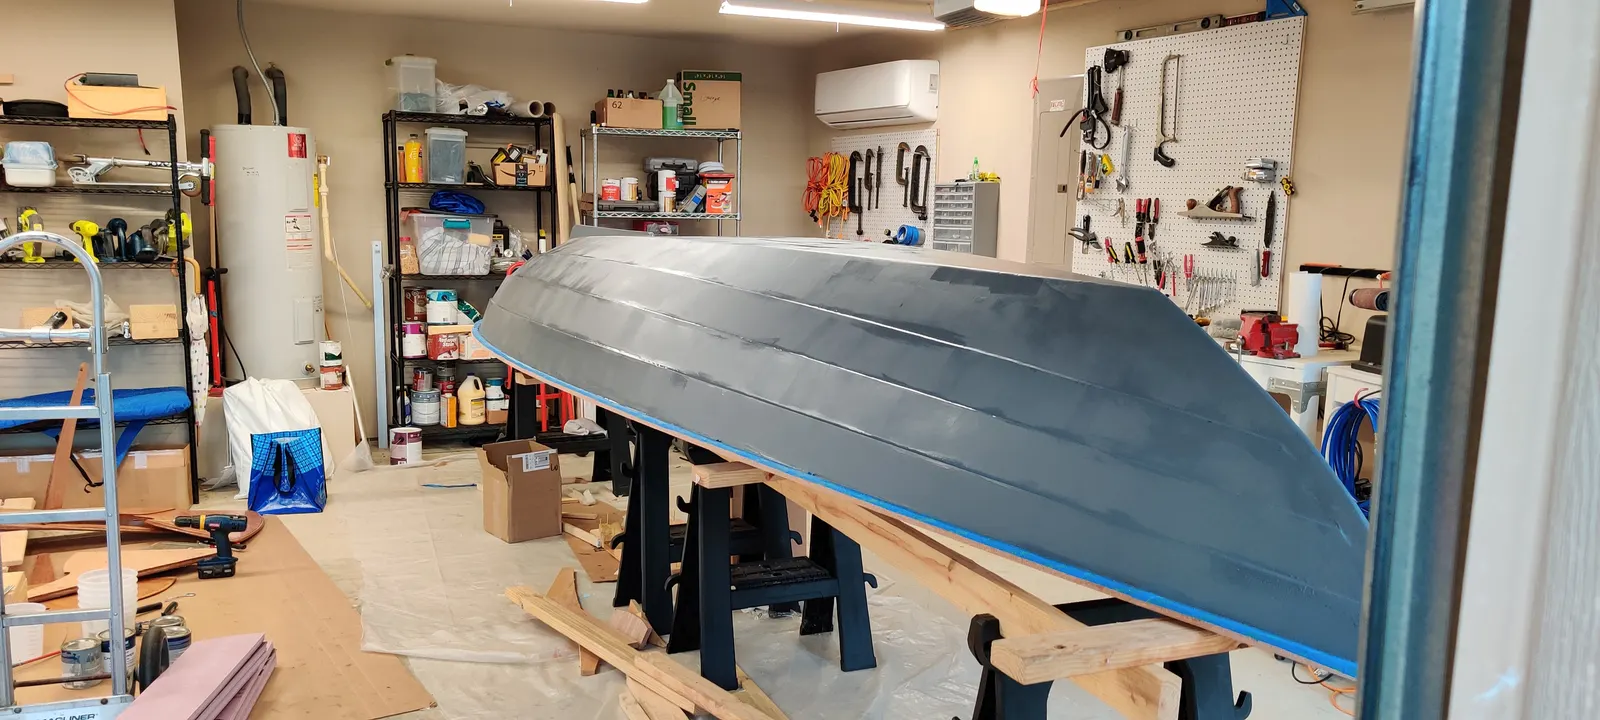
I'm showing a few photos of the exterior sanding here, including some of the imperfections, on purpose. It's okay to make mistakes. The way you fix them is more sanding. For instance, if you have a low spot, one way to fix it is to add more epoxy and re-sand it down to a level surface later.
A couple of helpful hints: if you're planning to paint the exterior, TotalBoat sells a specific product that builds up layers on the hull so the final coat looks much smoother. I forget the exact name, but I used it. Even so, nothing replaces hours spent sanding and bringing everything down to a smooth, flat surface.
Chapter 08
Paint & Finish
Primer, topcoat, bottom paint, boot stripe, lettering.
1 day10 hours$117from June 2020
30 Jun 2020Paint & Finish10 h
Painting the Exterior
Phase 15: Painting the Exterior
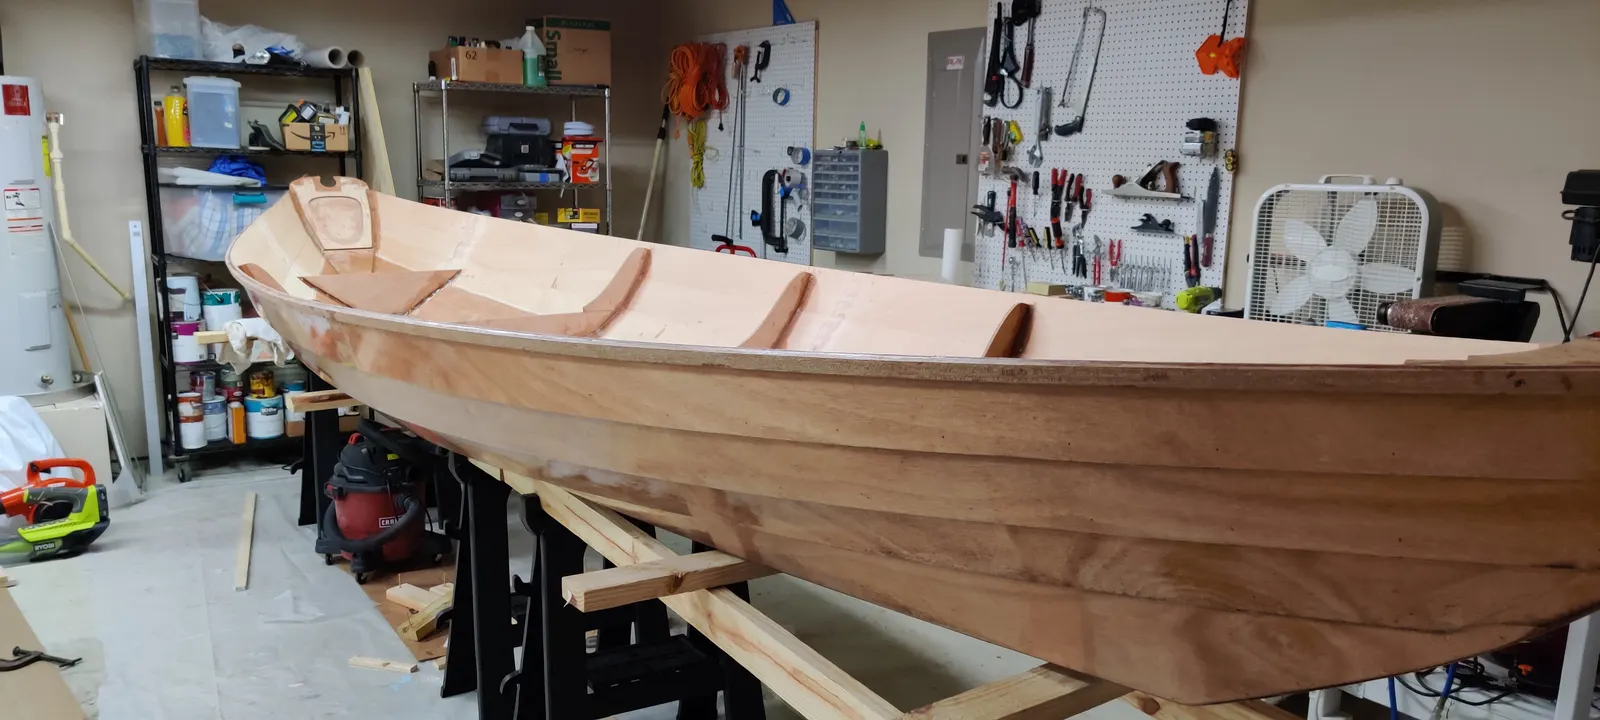
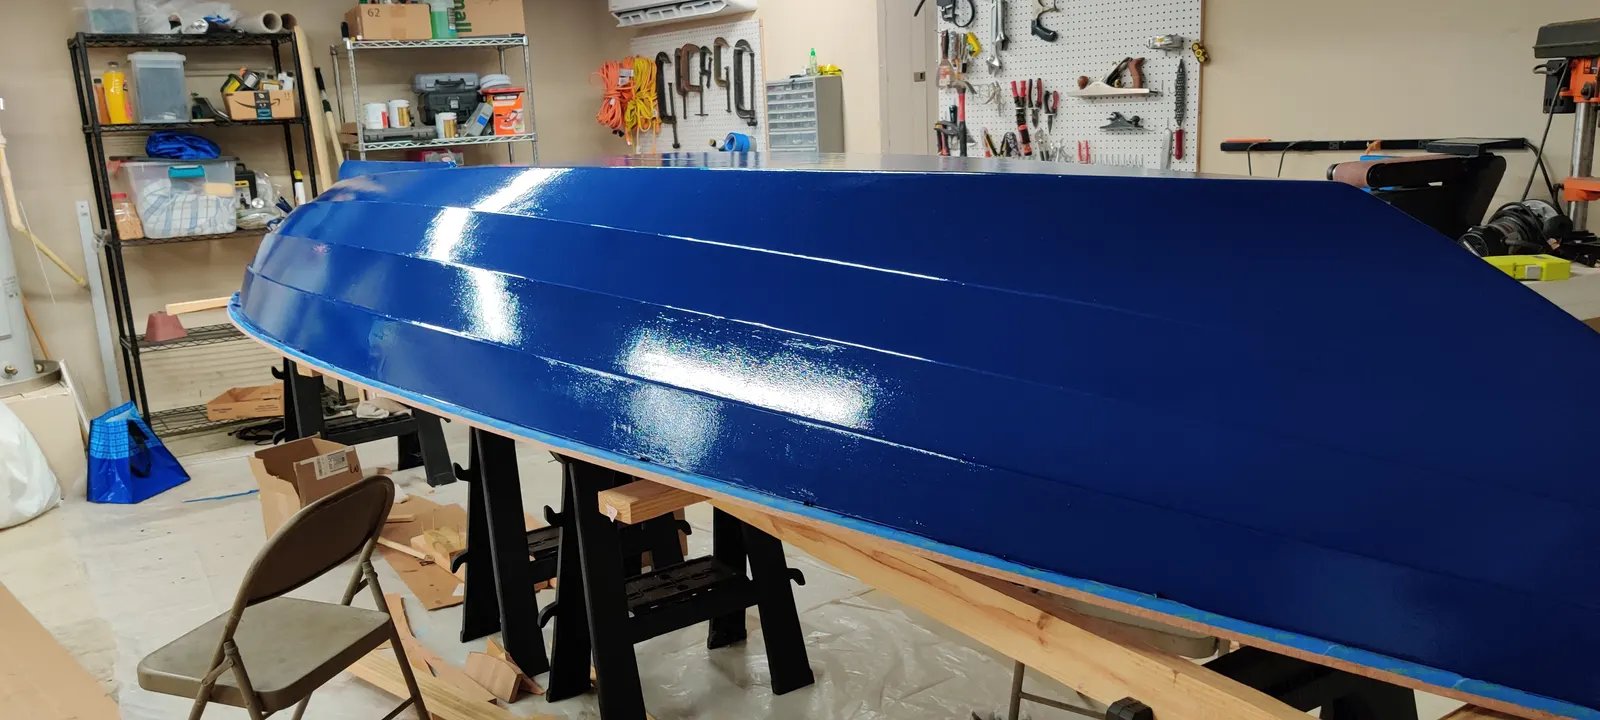
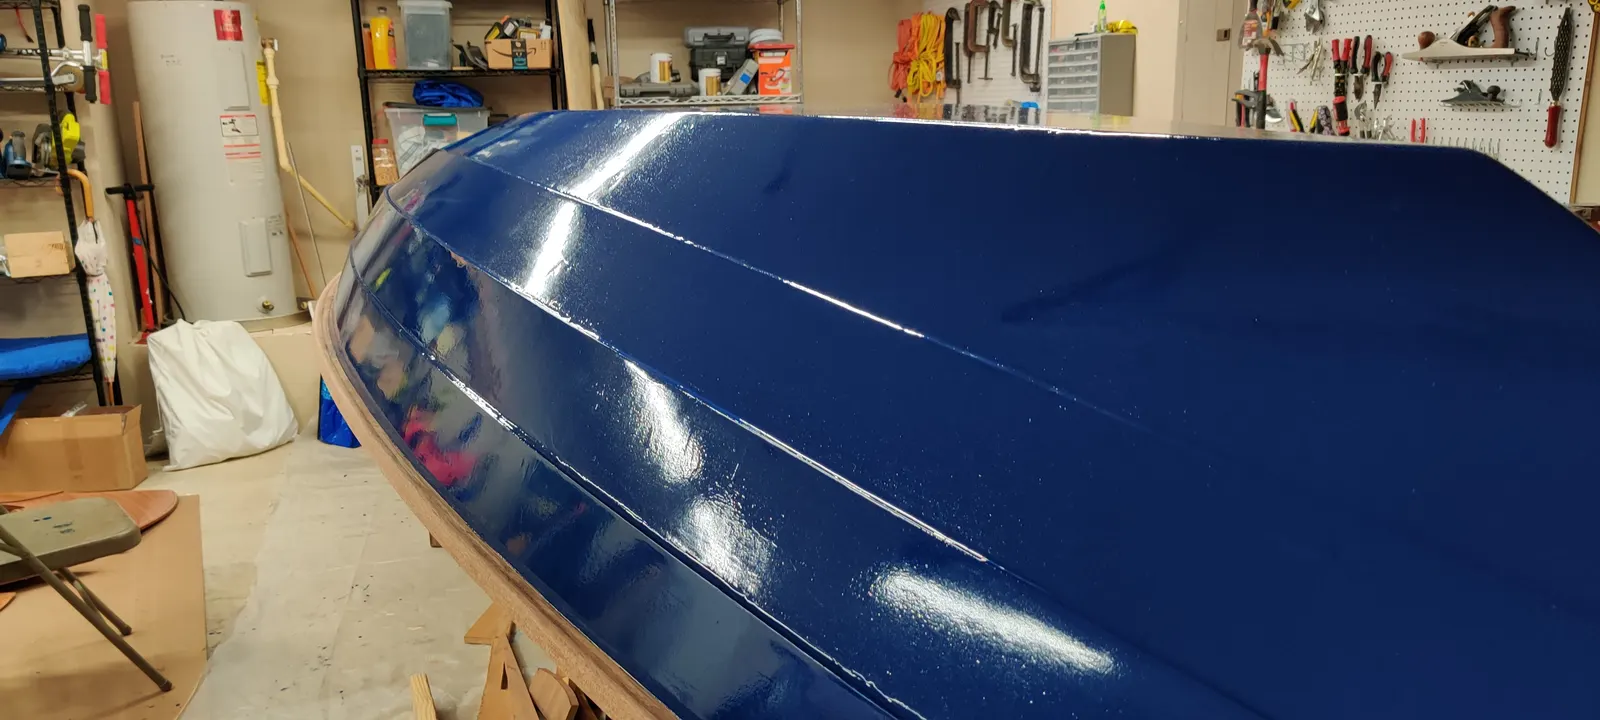
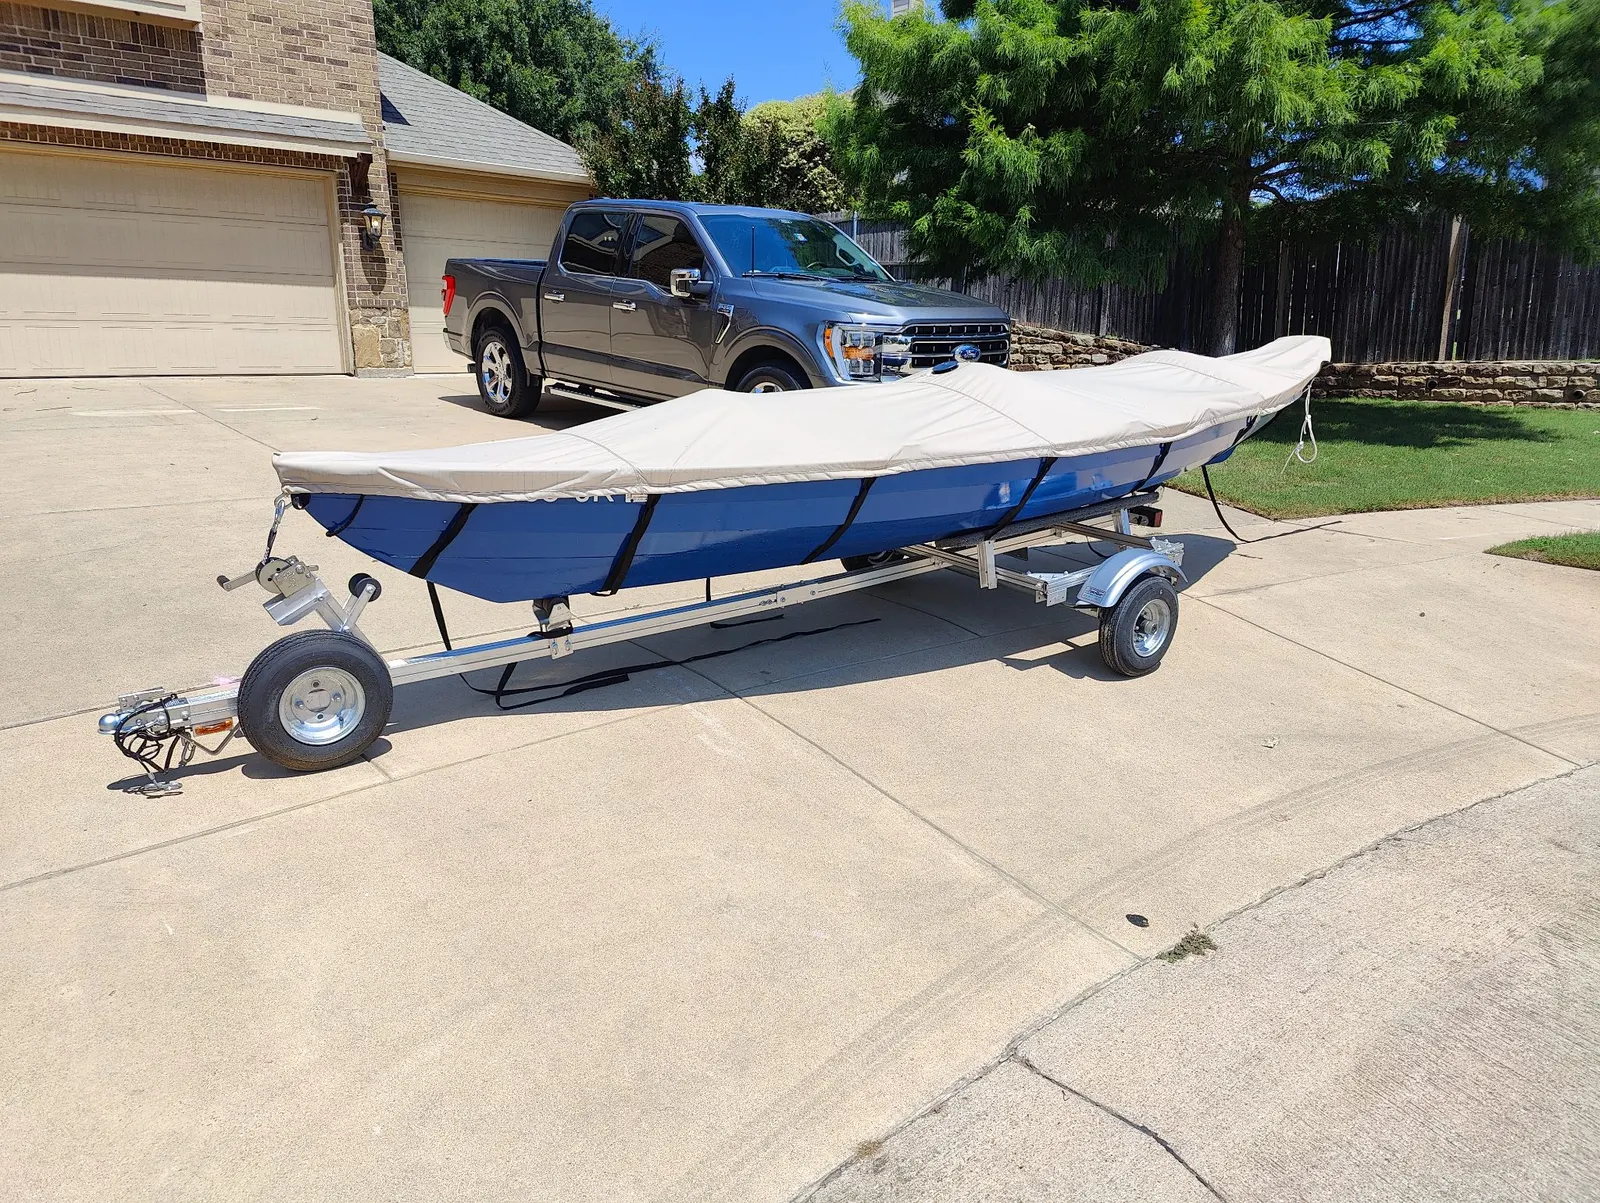
On this next step, I painted the exterior. It took two or three coats before I got it completely level, sanding lightly between each one. I went with a blue paint from TotalBoat, and I think it turned out pretty well.
12 Jul 2020Interior & Cockpit24 h
Spacered Inwales
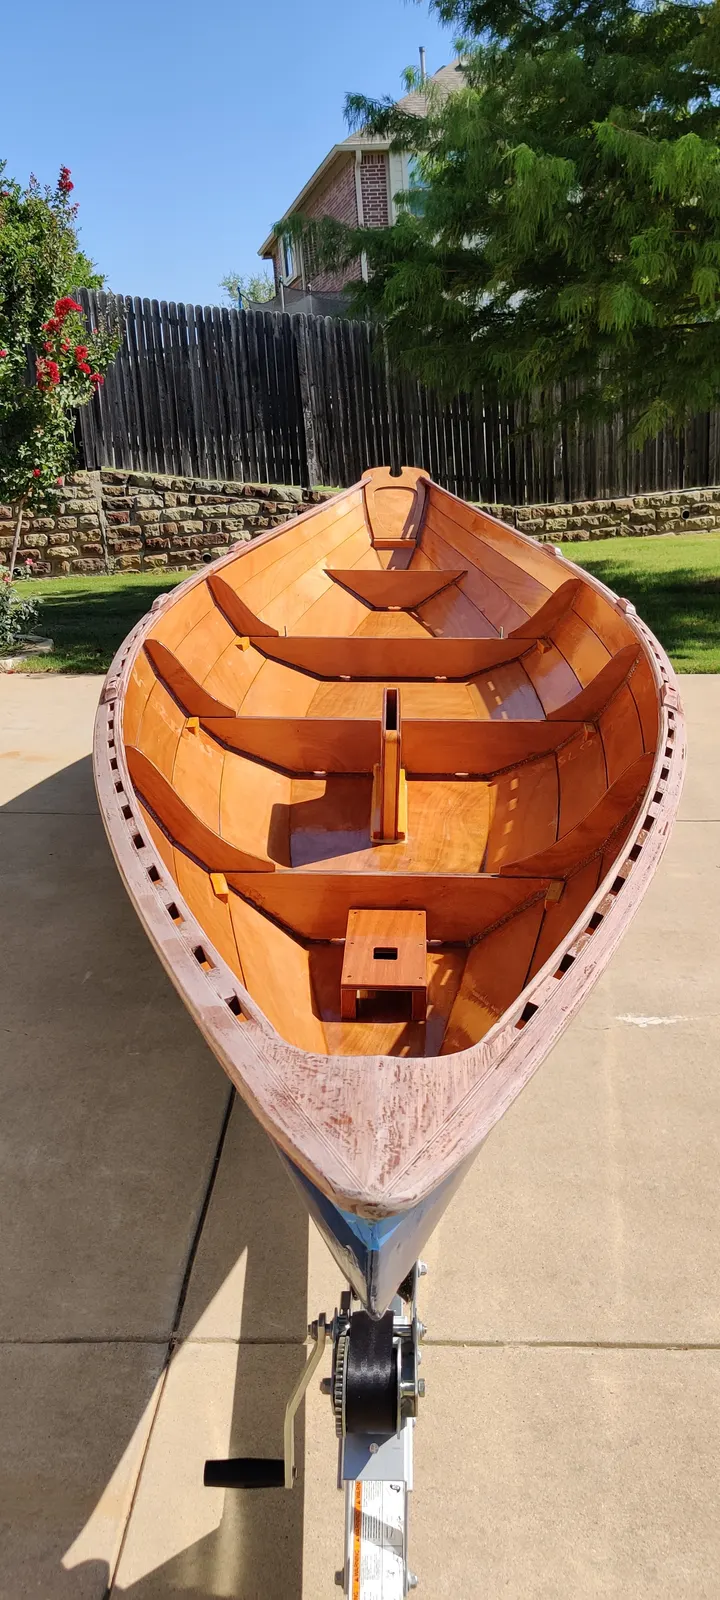
Phase 16: Building the Inwales
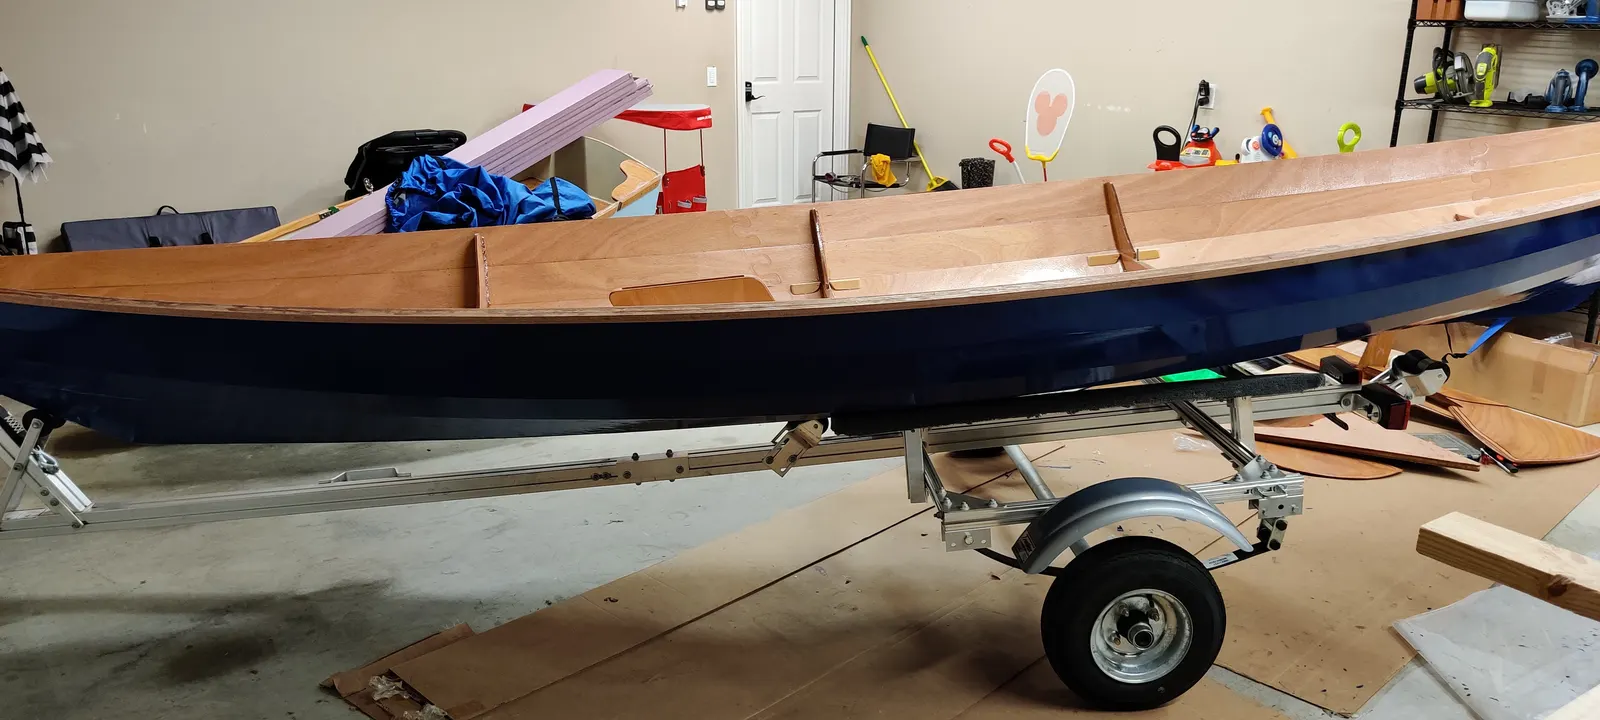
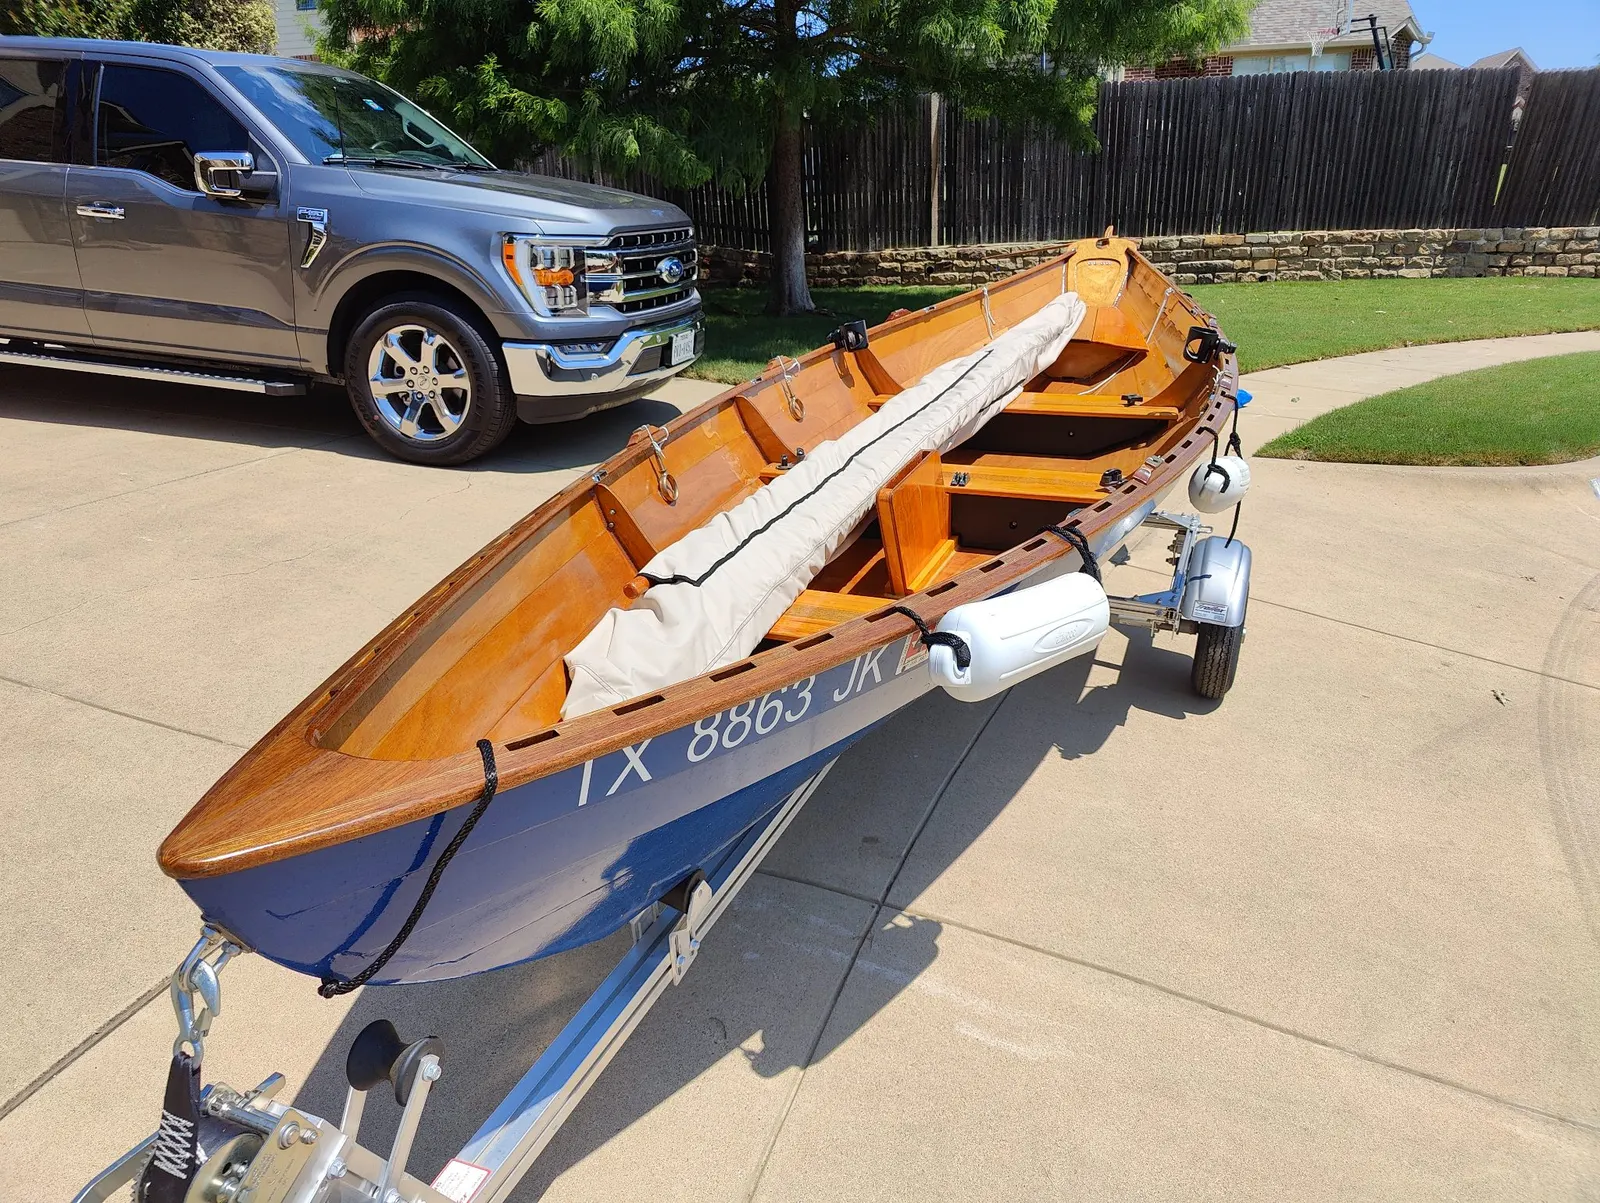
Next, I built out the inwales, and I chose to go with spaced inwales. I think they look much better on the finished boat, as you can see here. That said, they're a ton of work. This option probably added an extra ten to fifteen hours of work.
If you have the time, I'd say go for it. It doesn't add much extra cost, just a lot of extra time sanding and epoxying.
Chapter 09
Hardware & Fit-Out
Cleats, rudder and centerboard, tiller, oarlocks, deck gear.
1 day3 hours$453from August 2020
7 Aug 2020Hardware & Fit-Out3 h
Fitting the Rudder
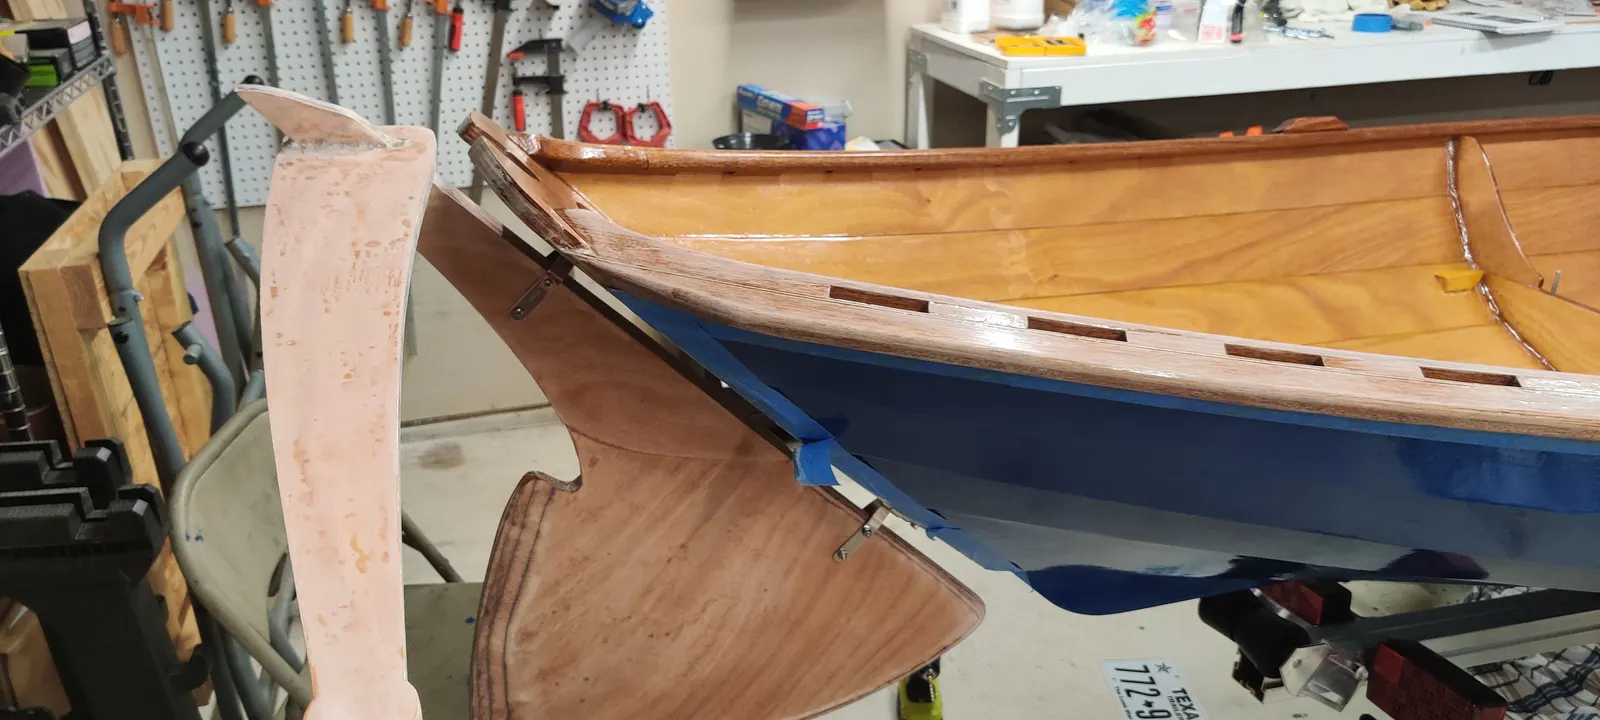
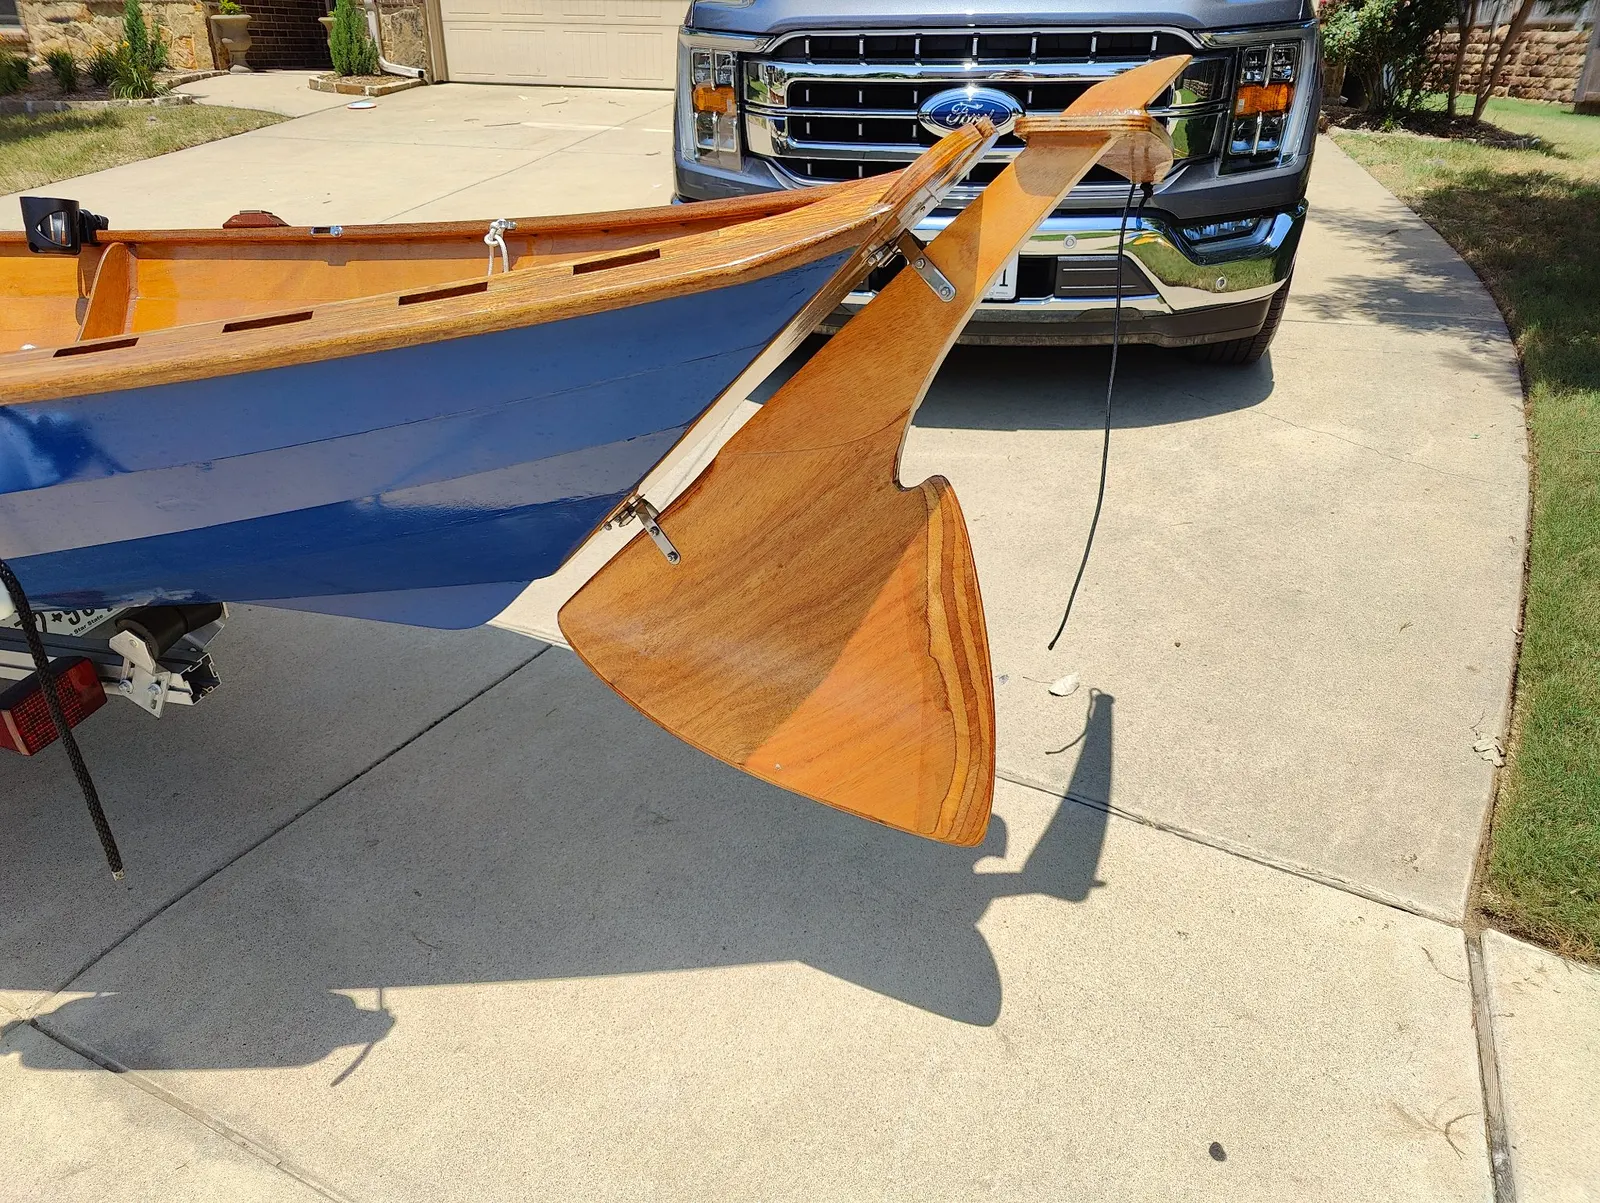
Lastly you can see I am fitting the rudder for hardware assembly.
Chapter 10
Launch Day
Splash. Post the photos.
2 days9 hours$18from August 2020
14 Aug 2020Launch Day8.5 h
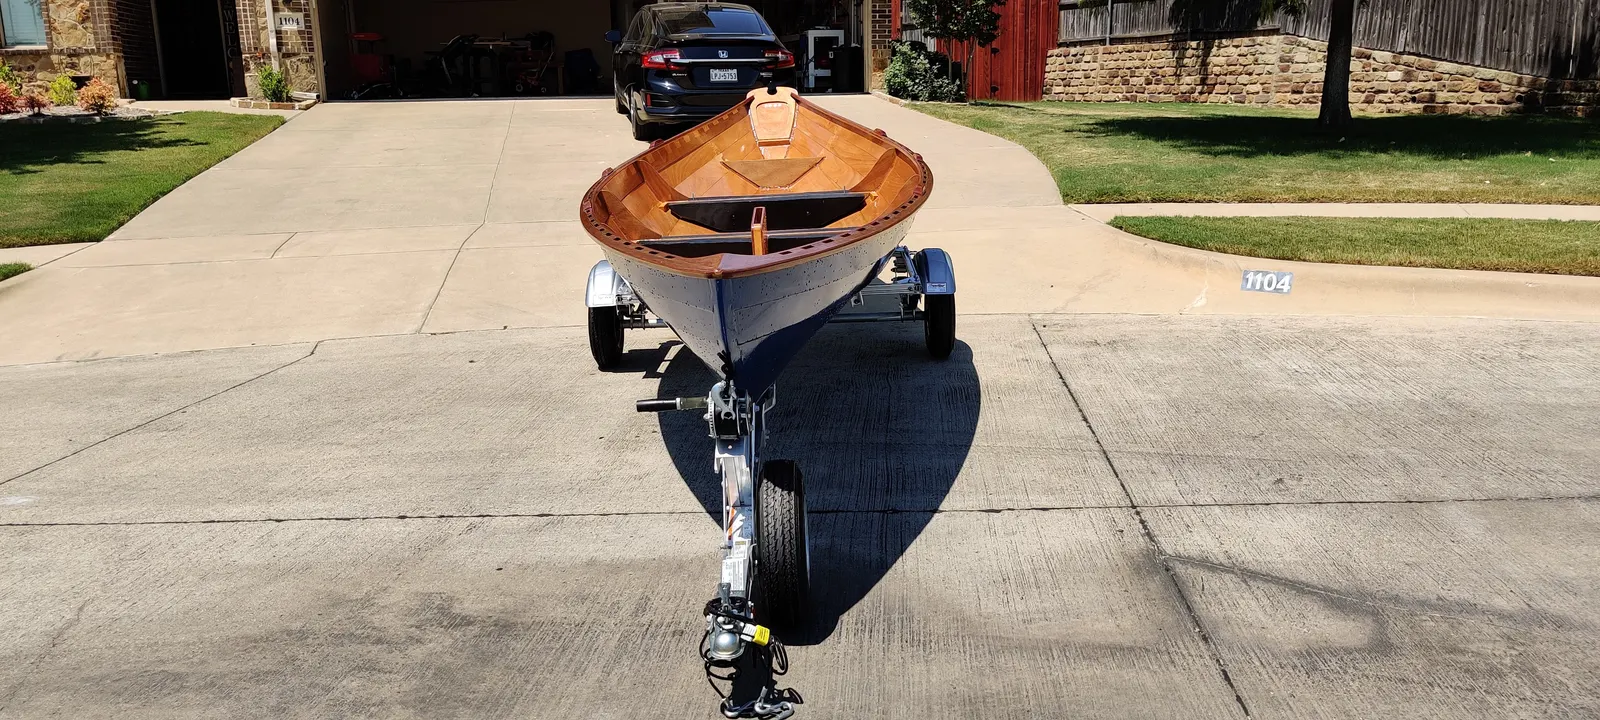
Final Boat
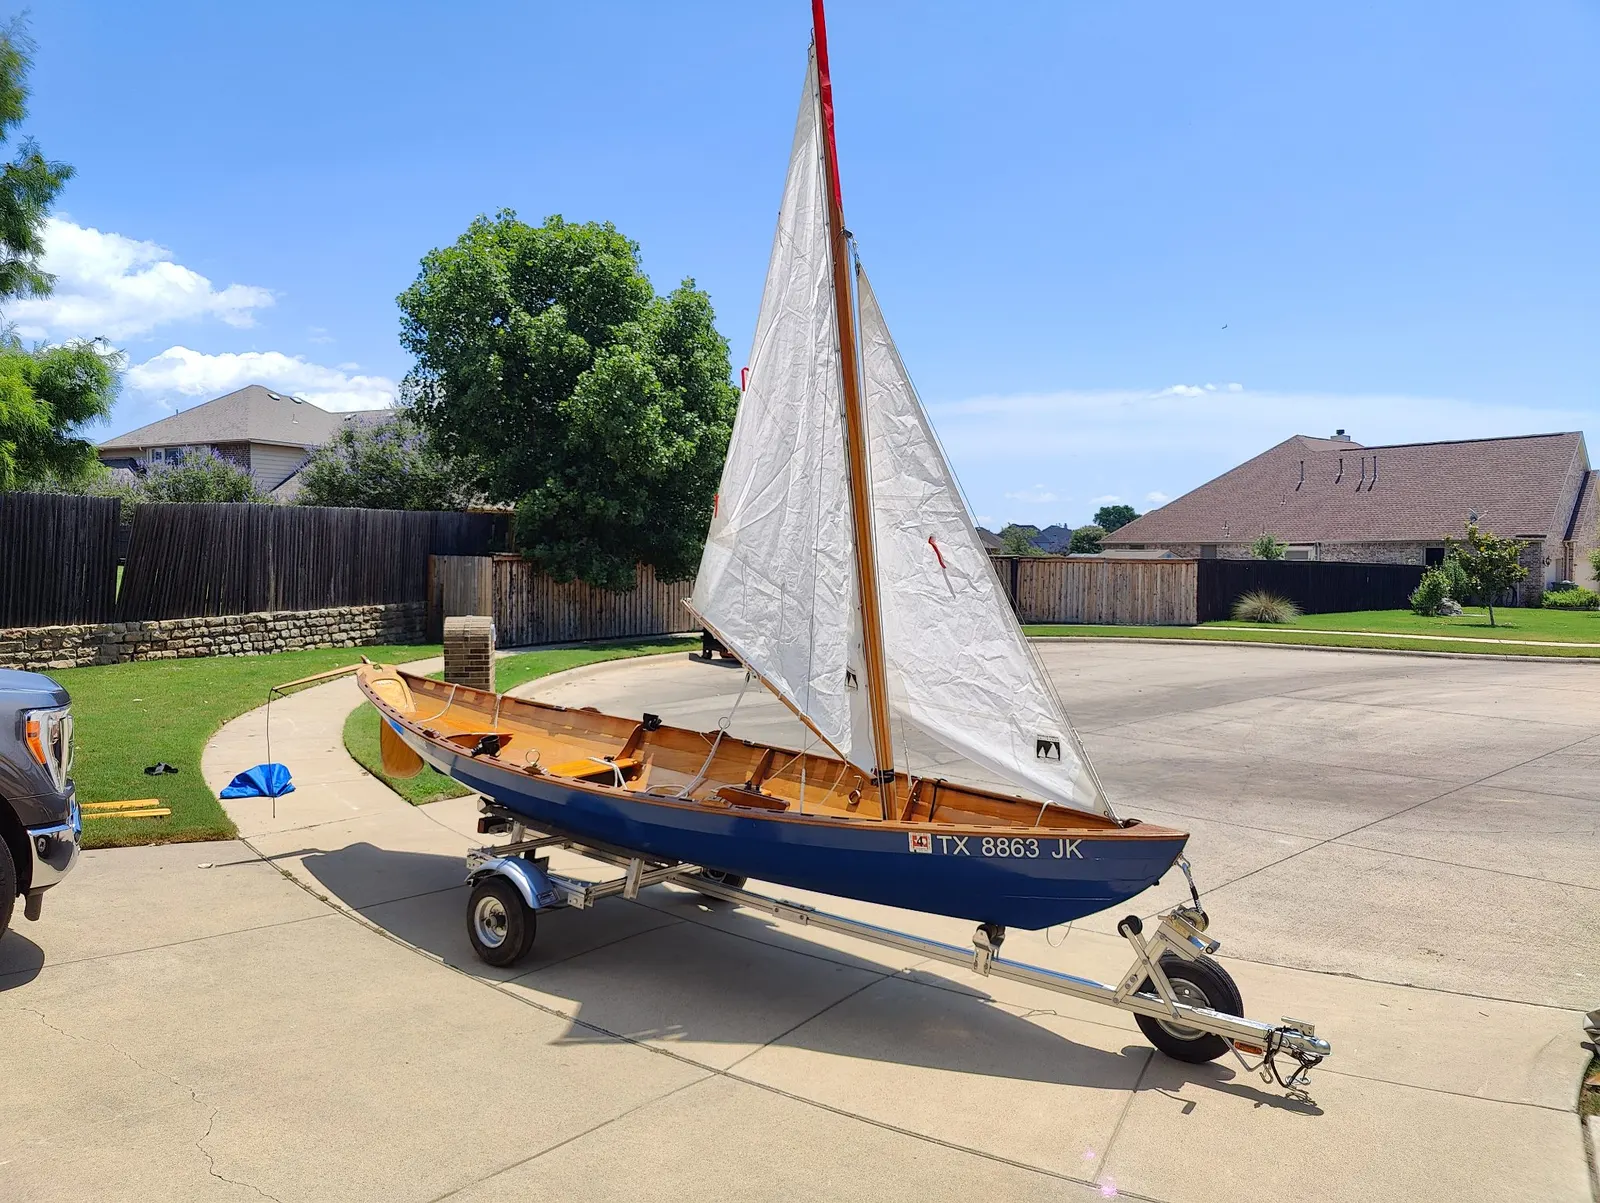
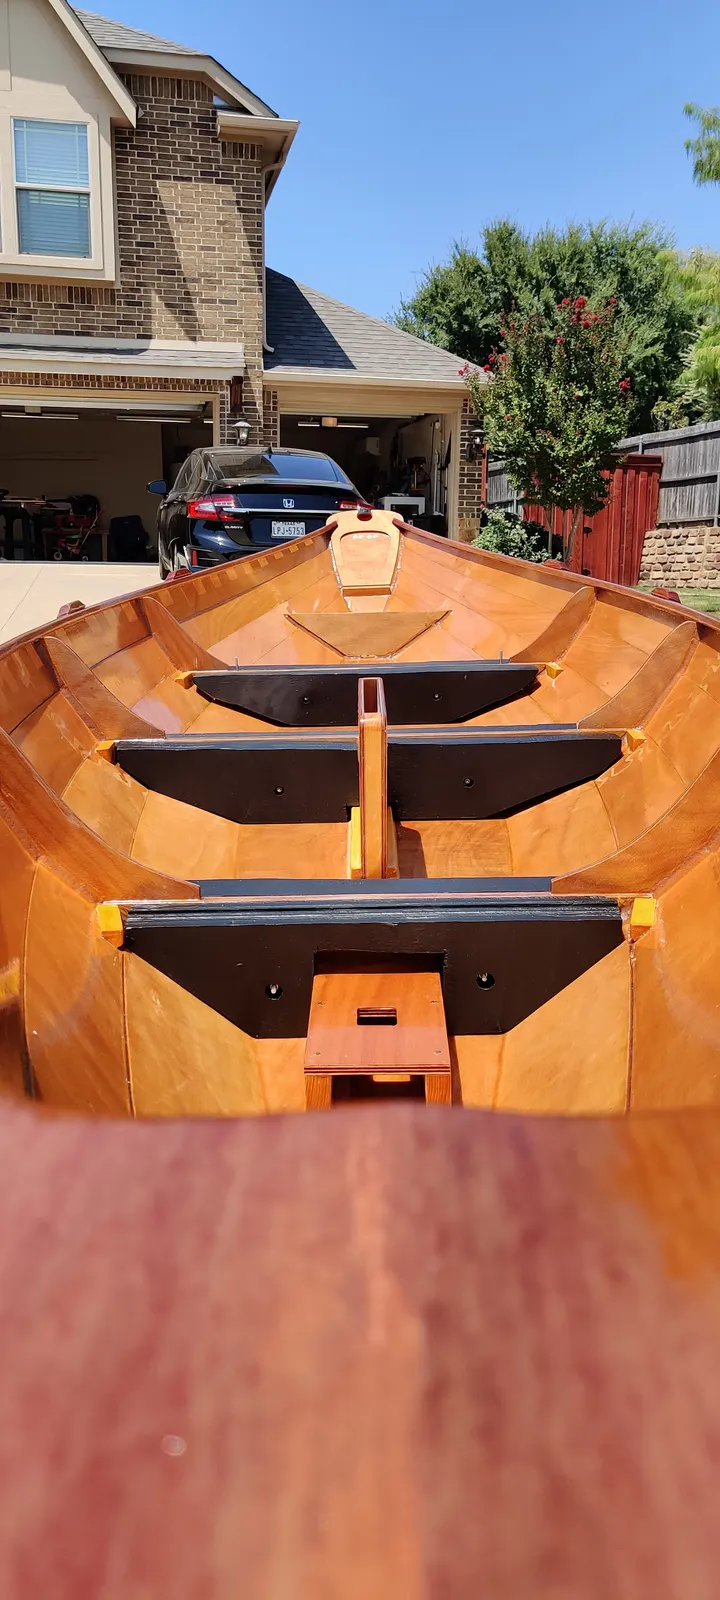
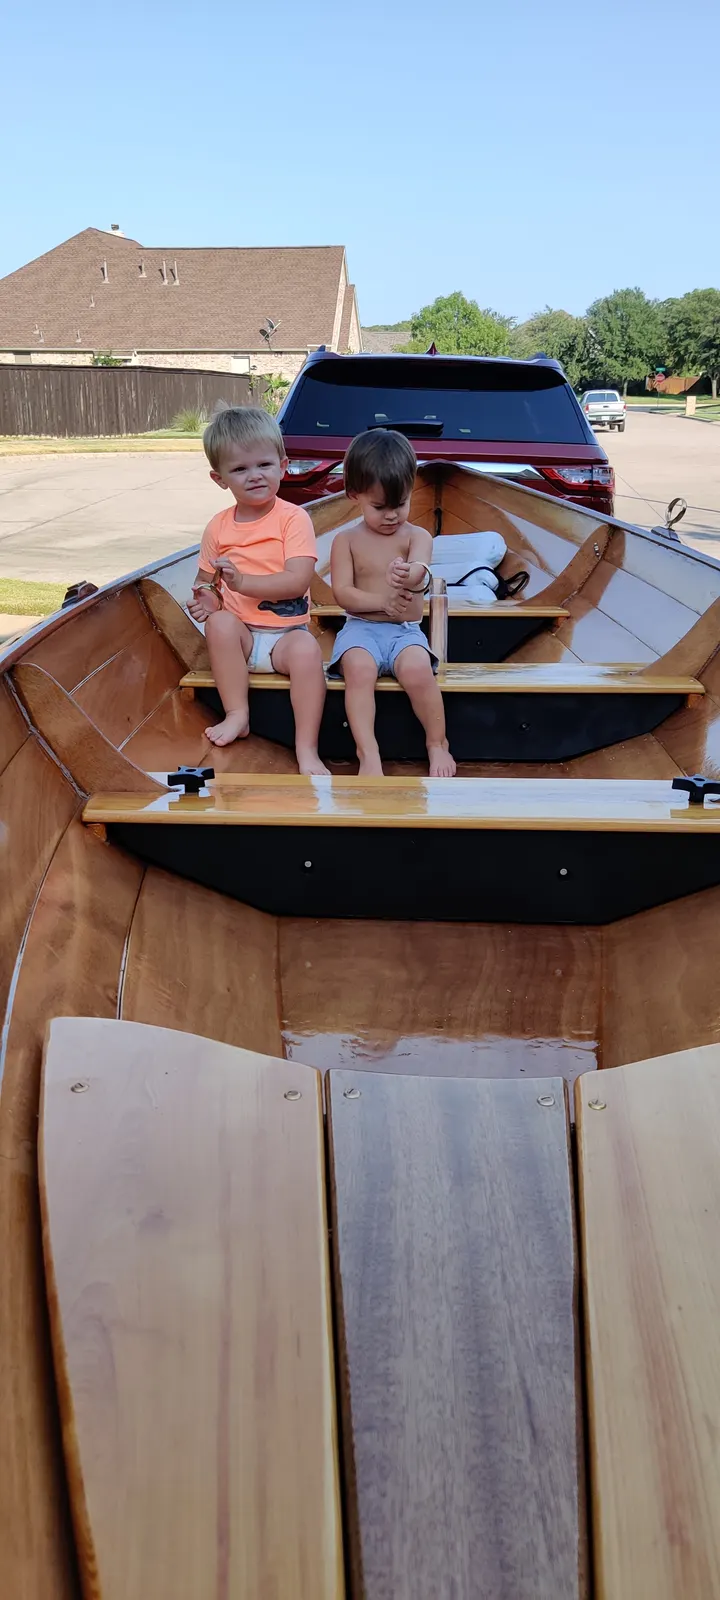
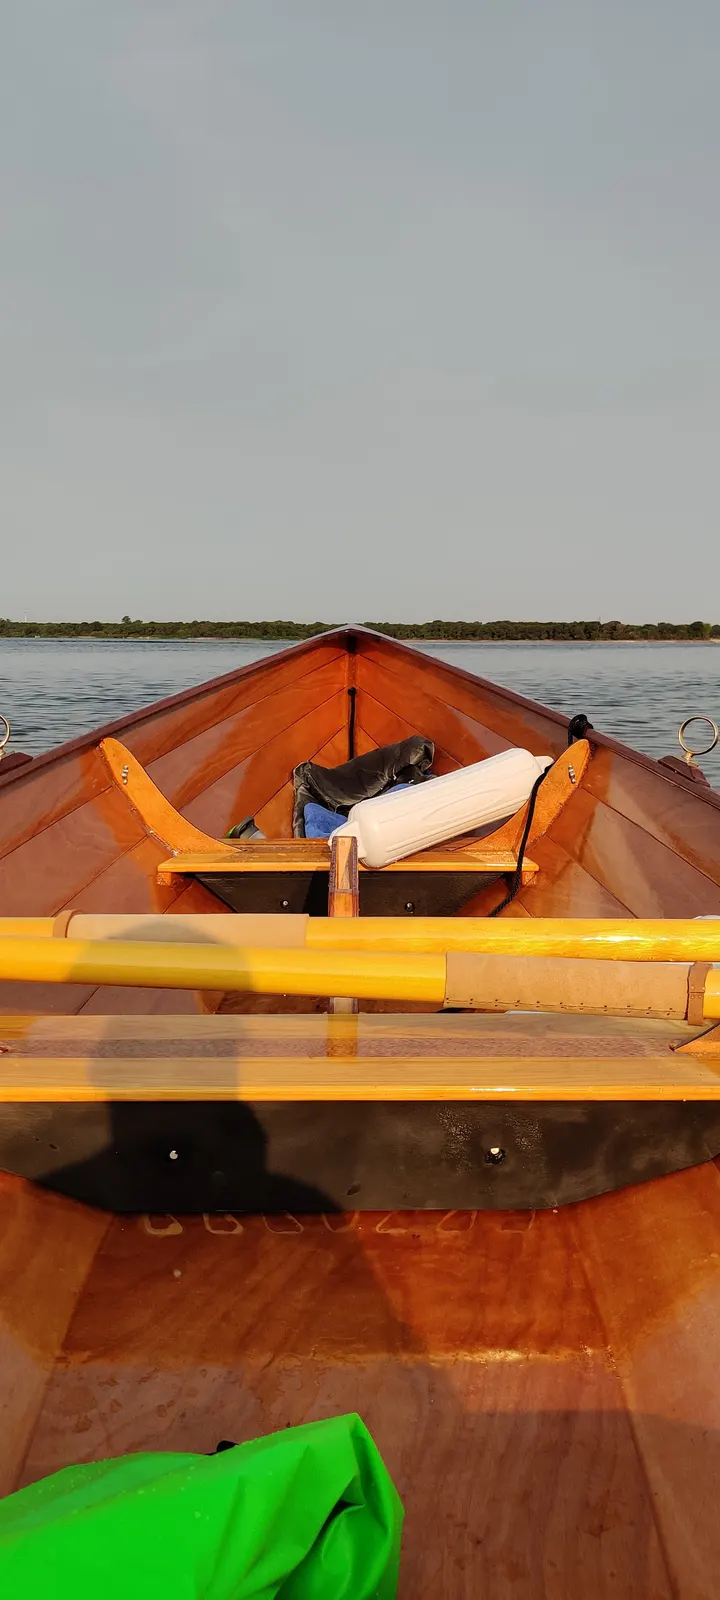
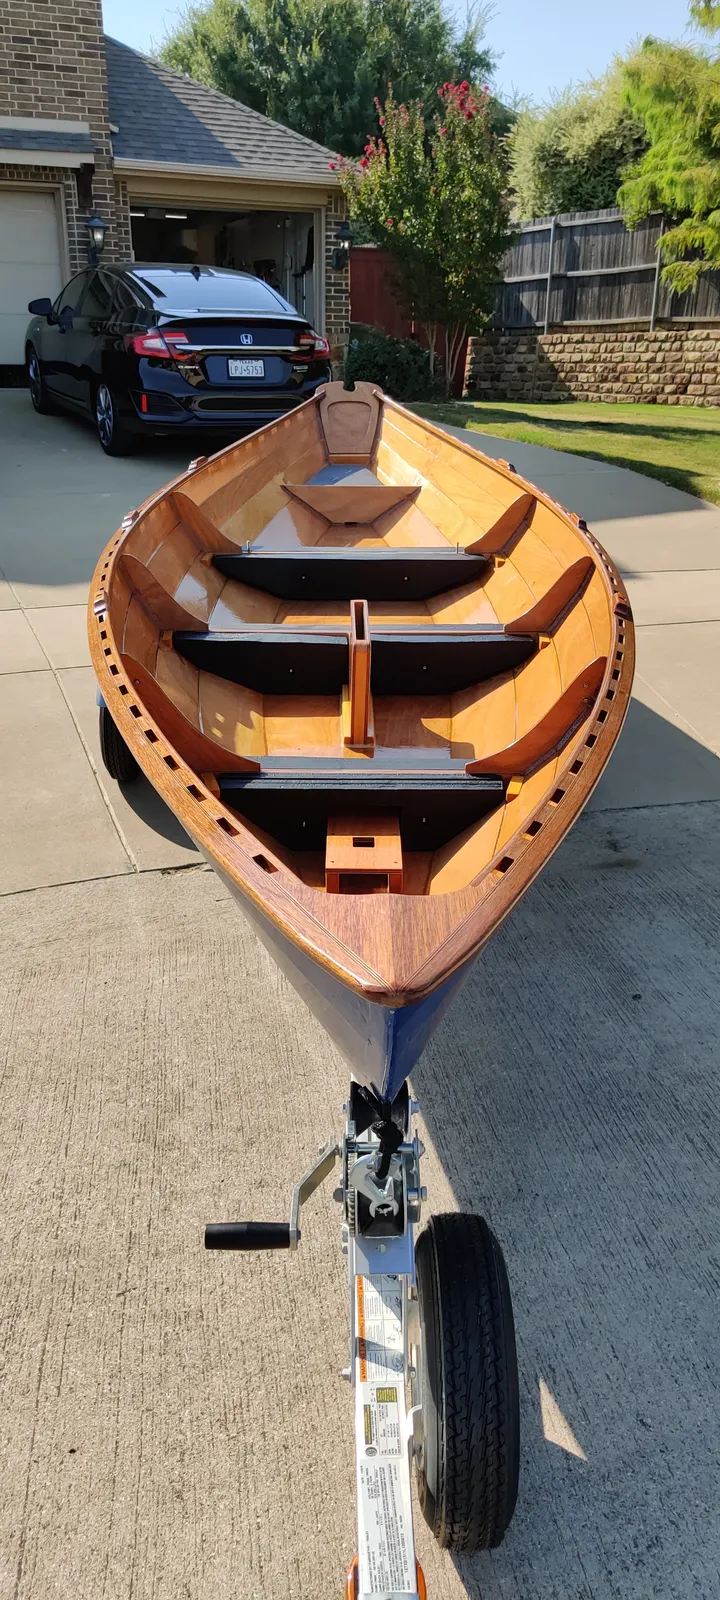
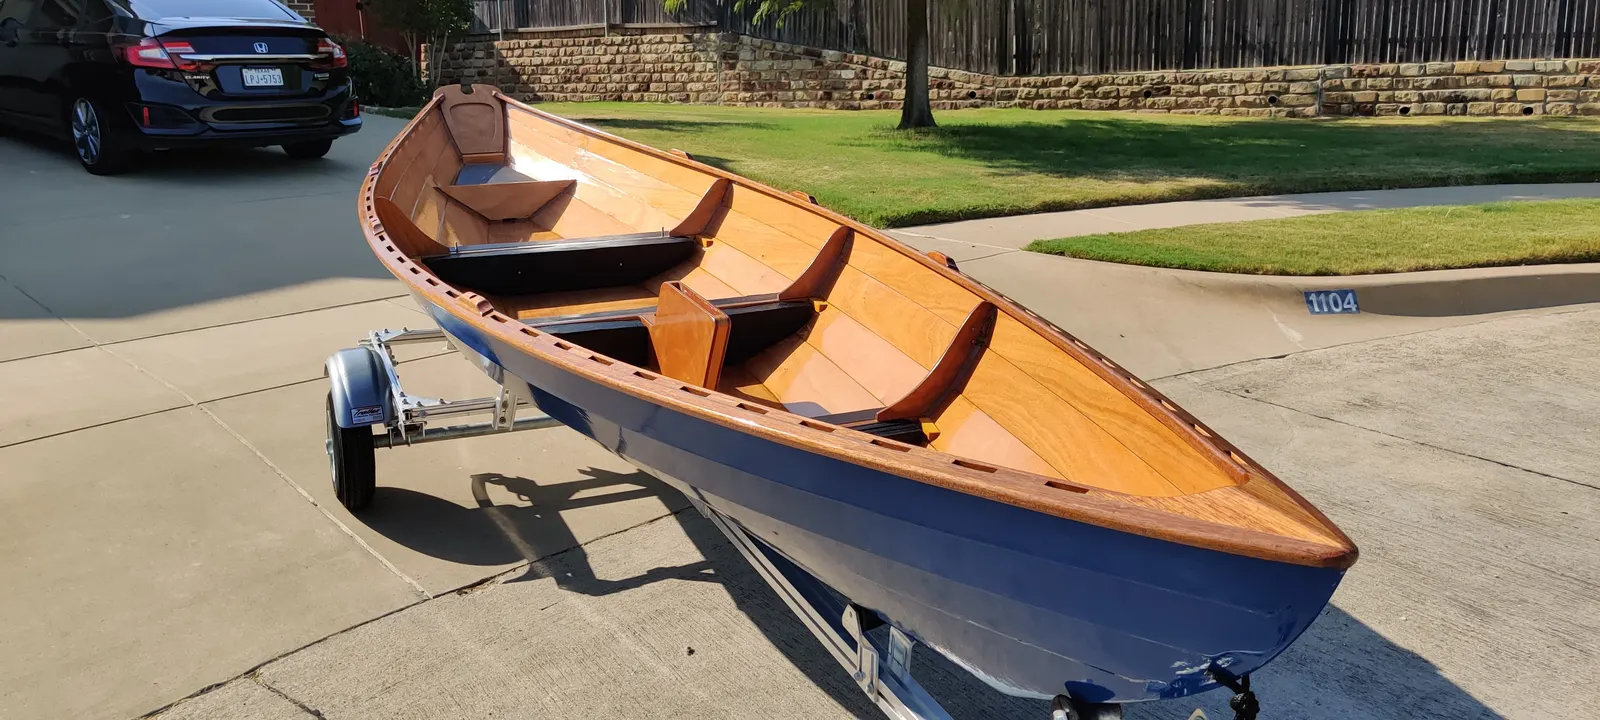
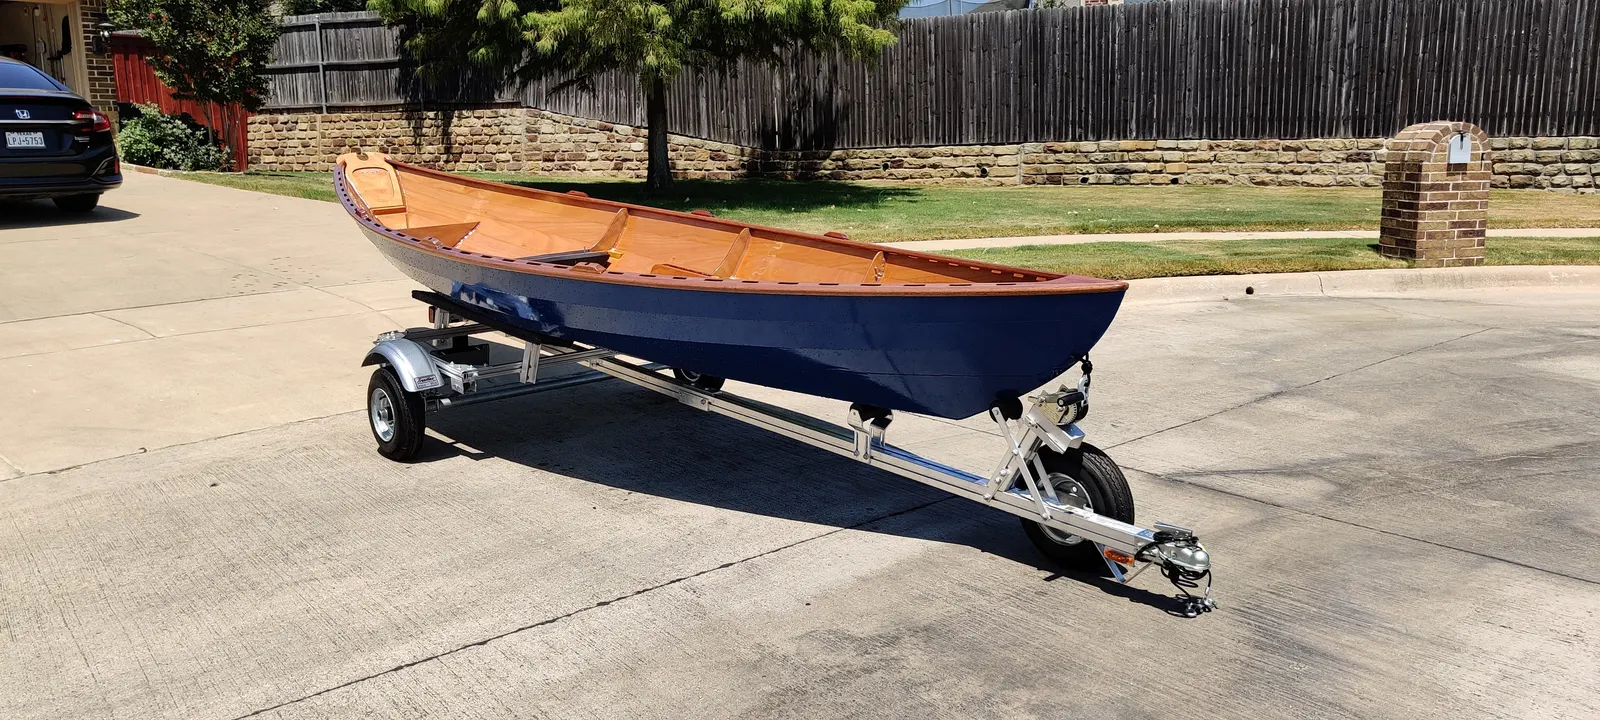
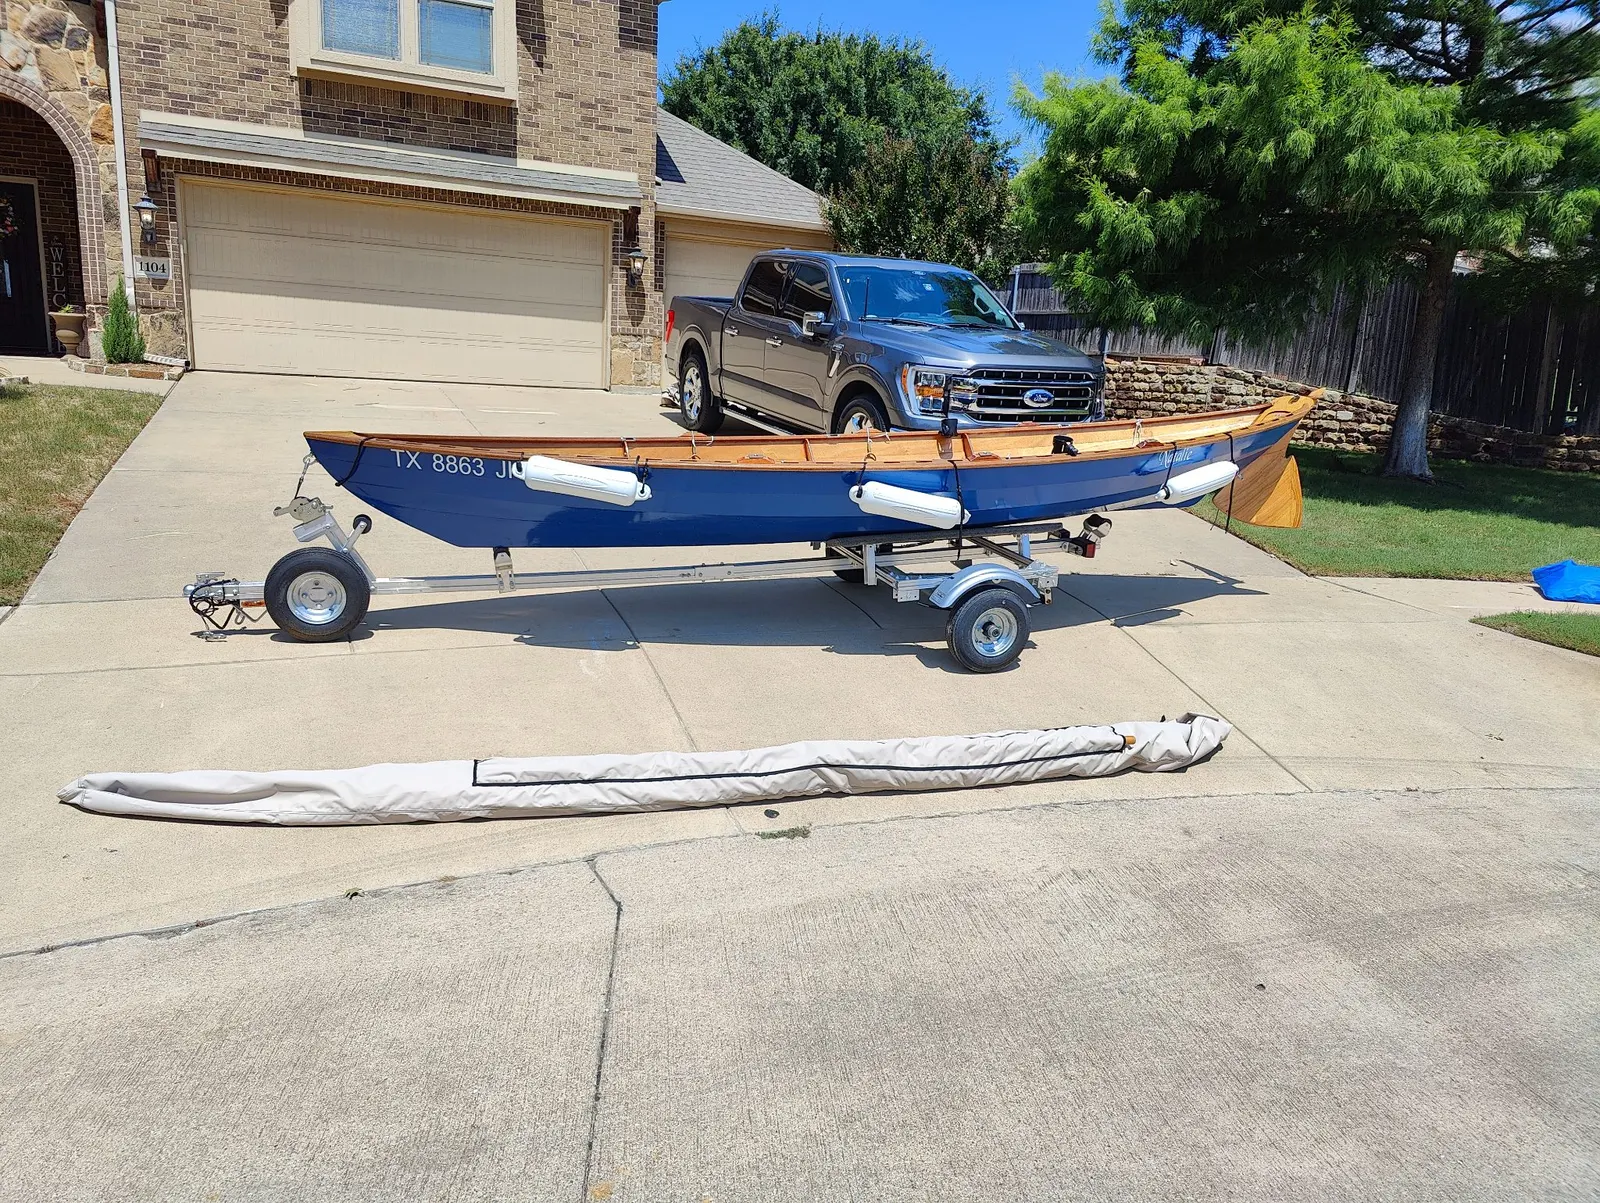
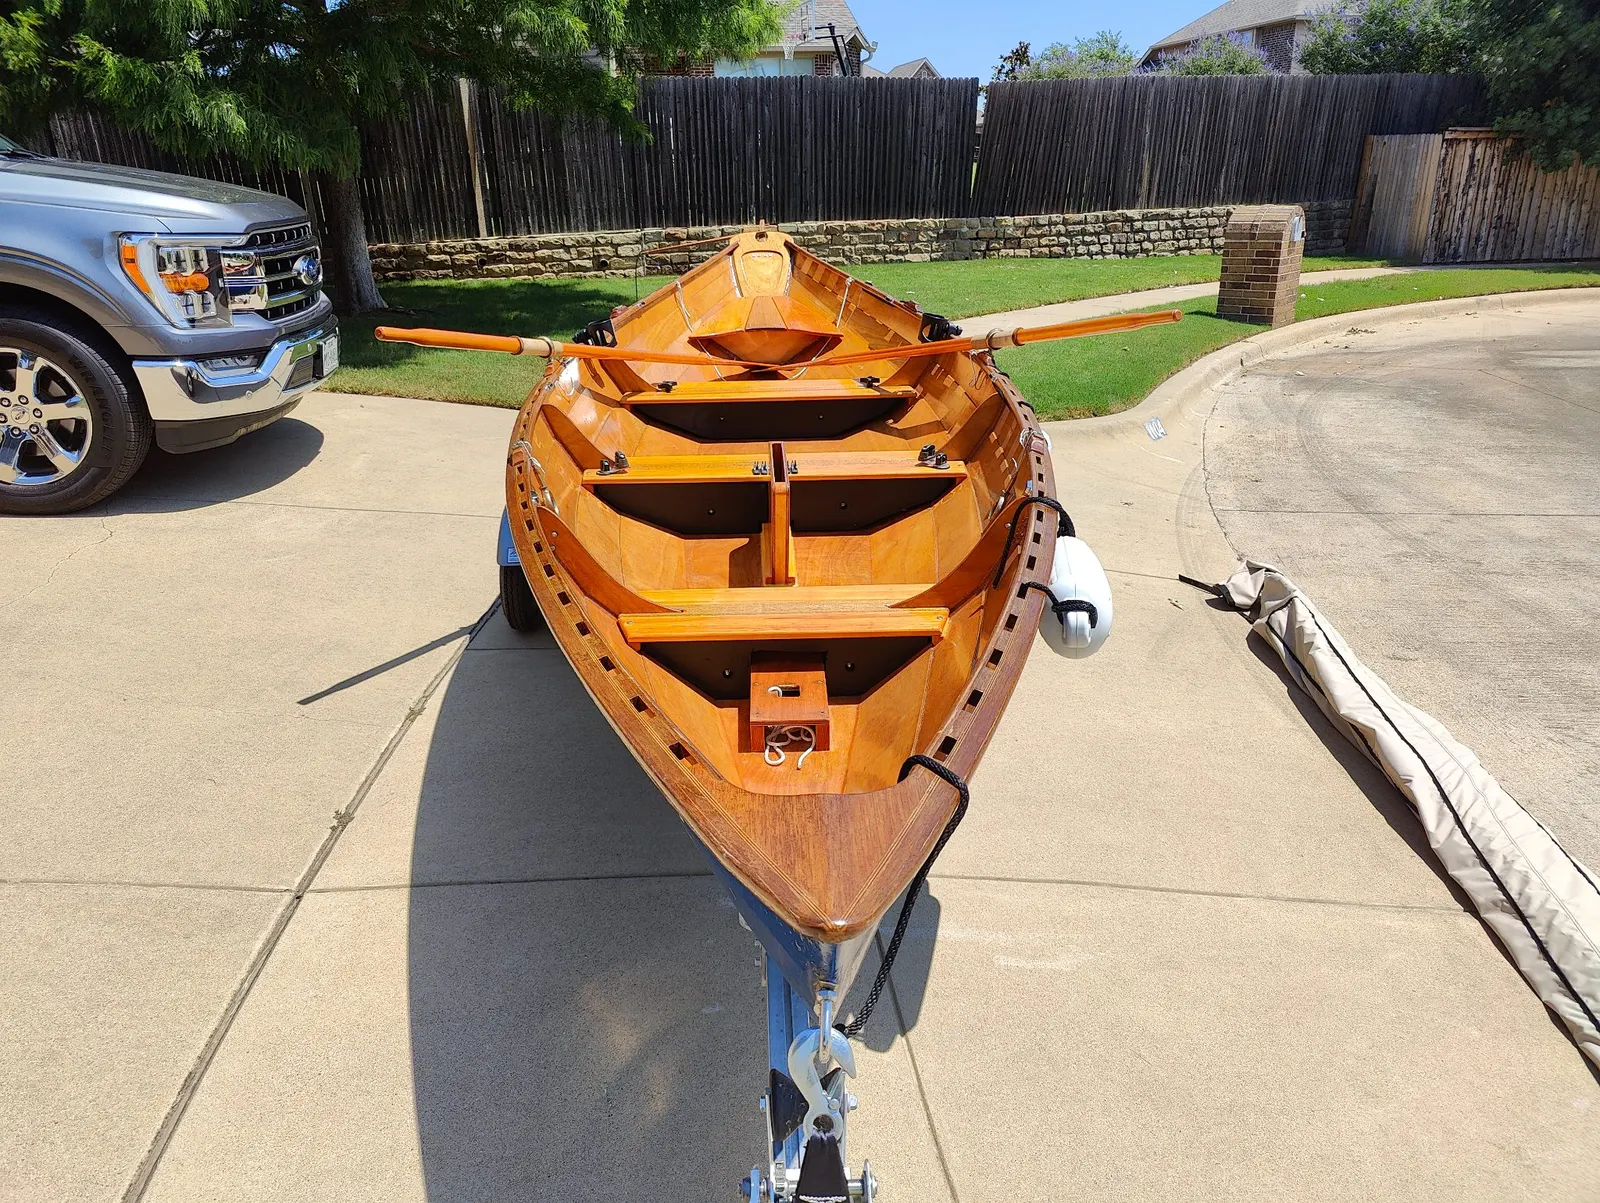
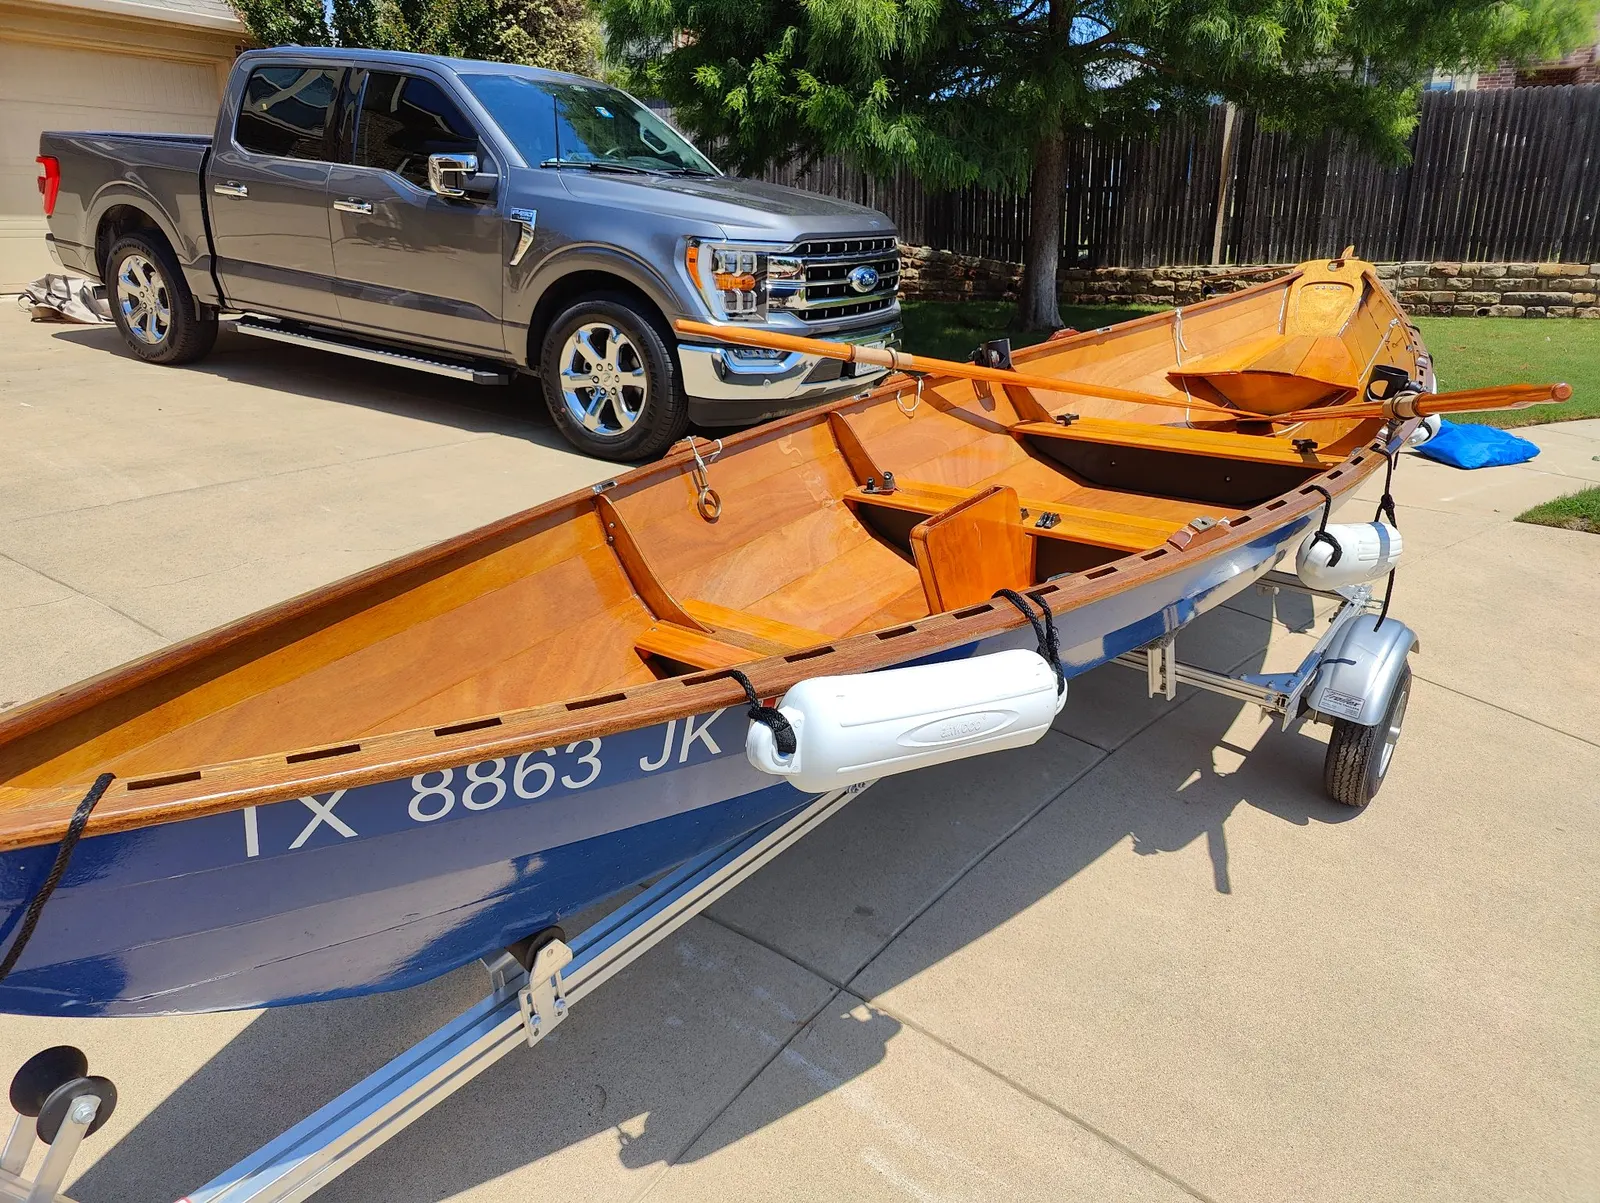
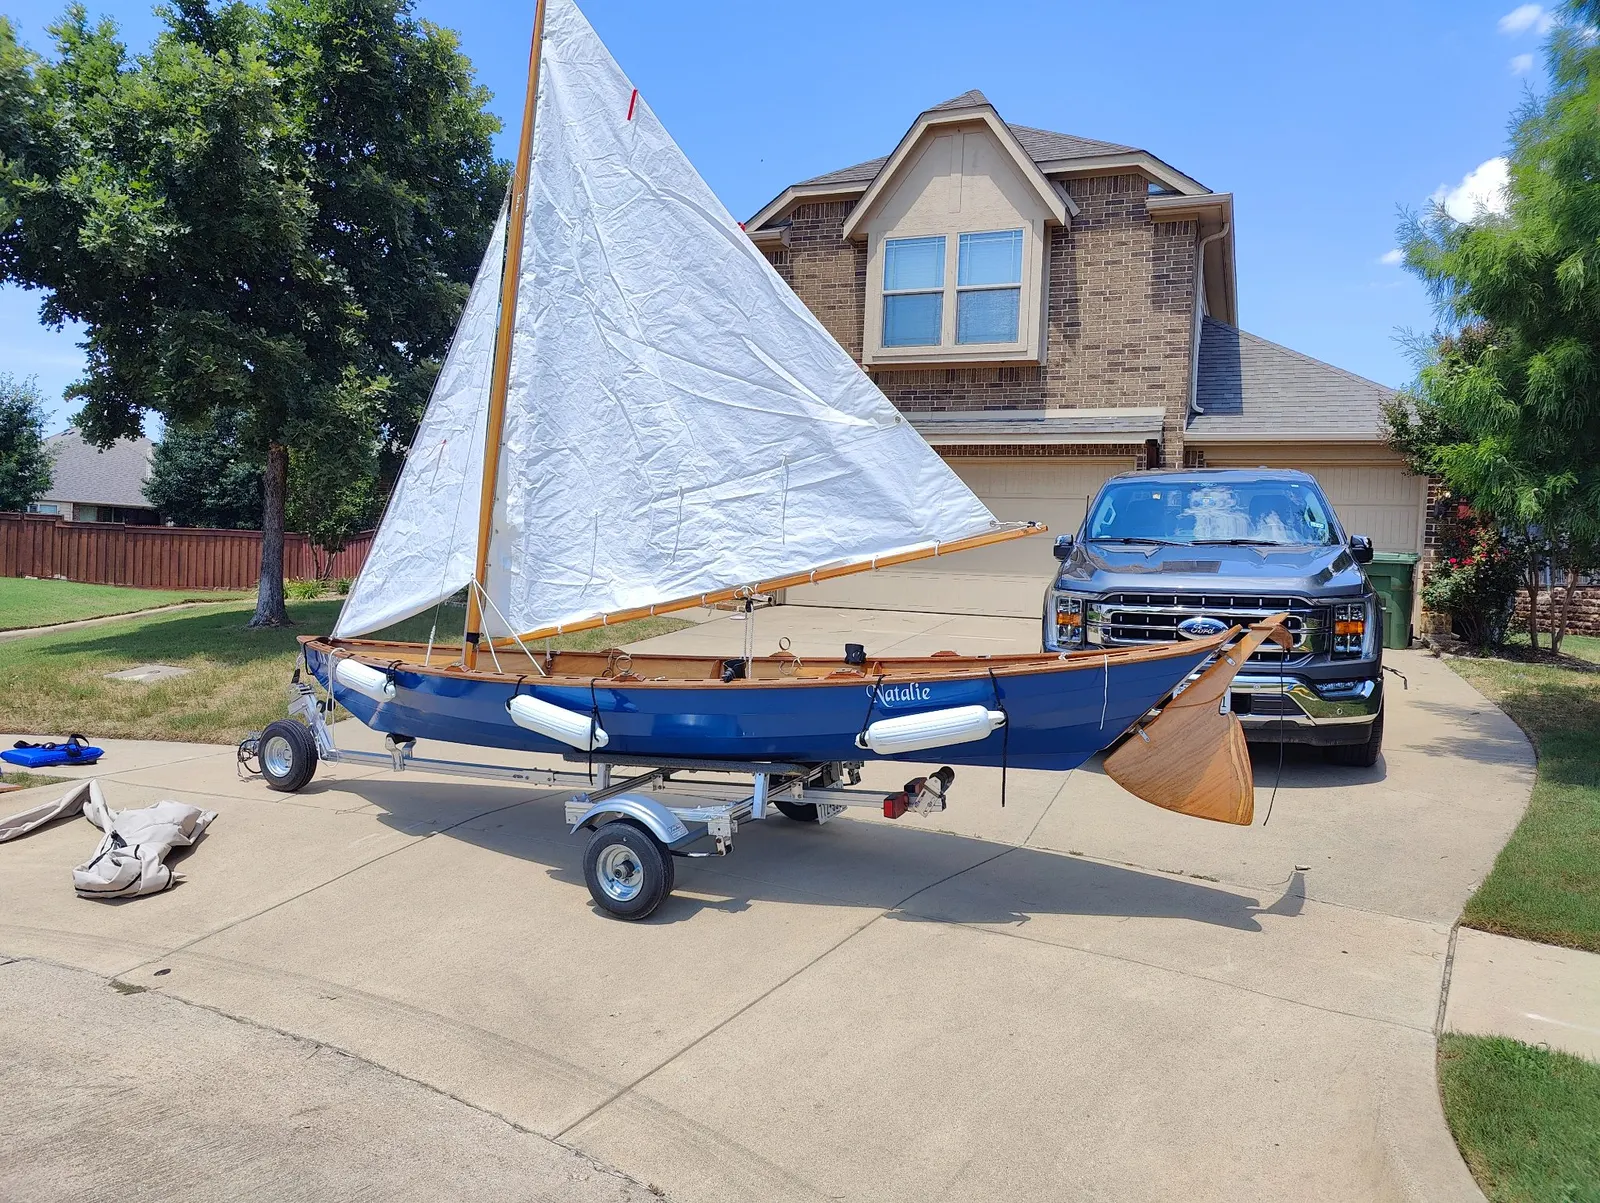
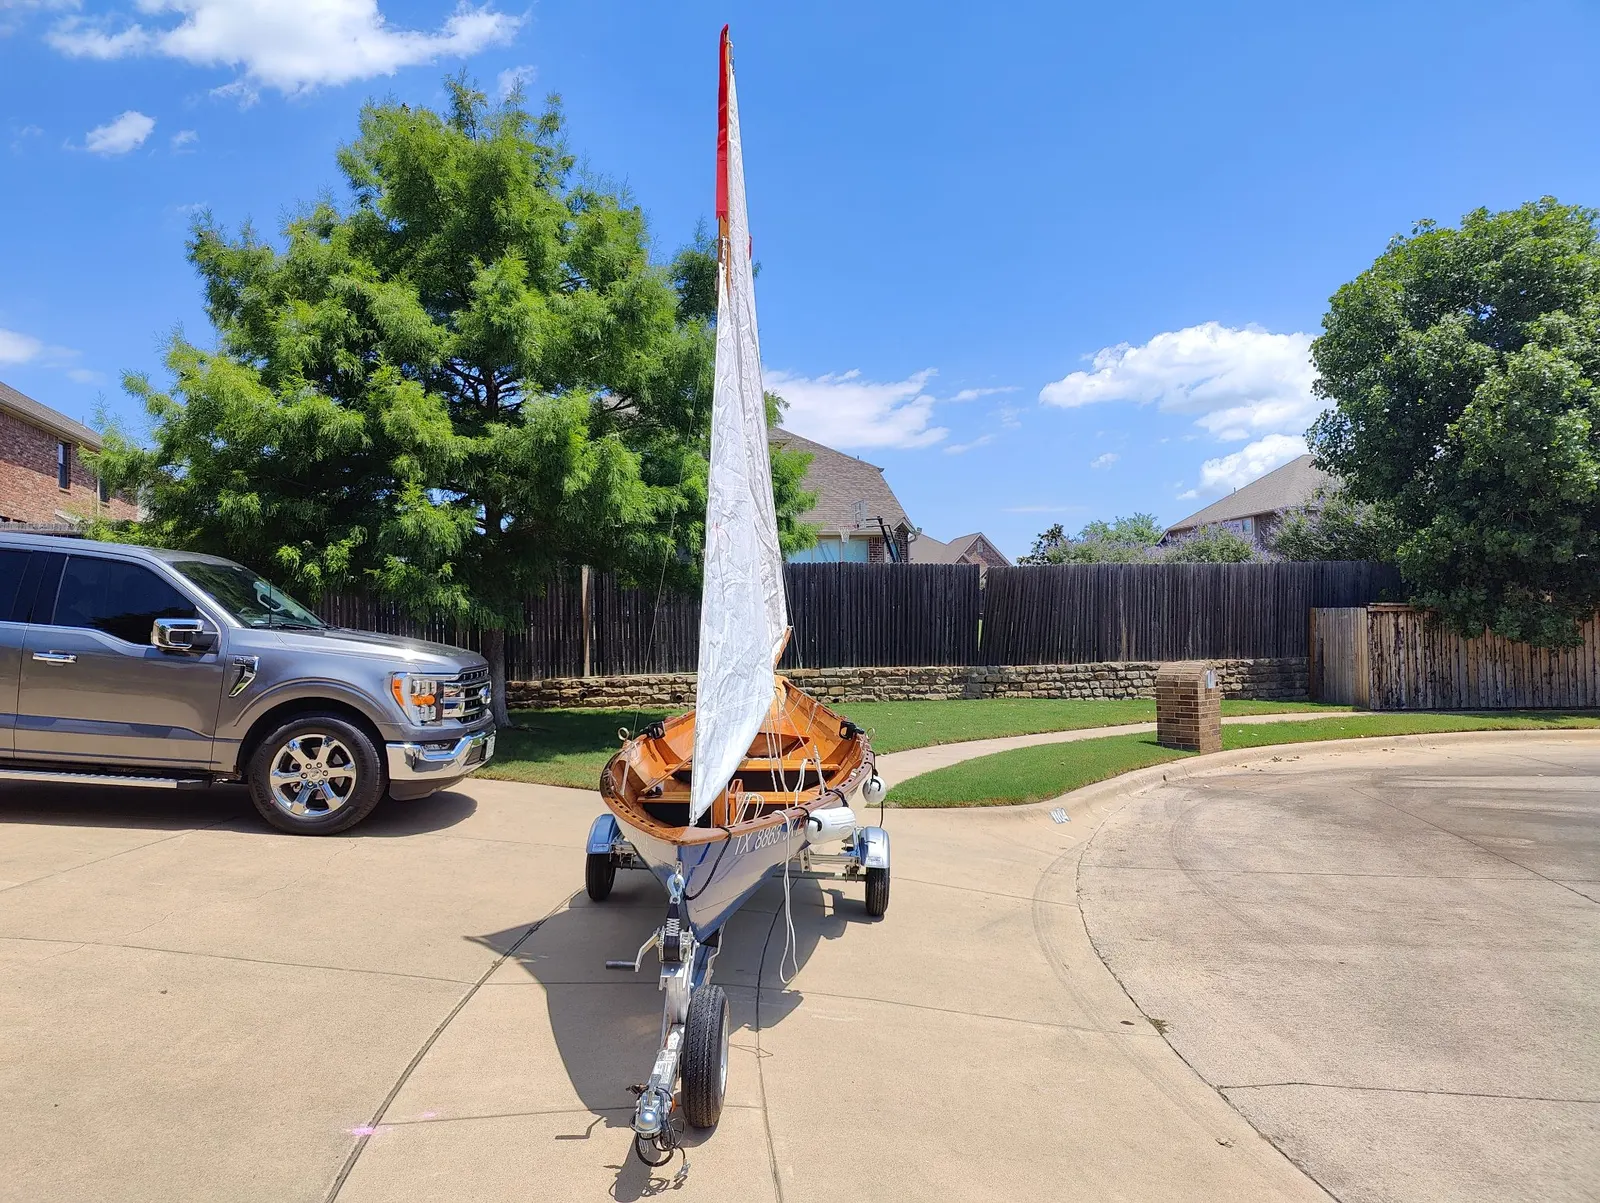
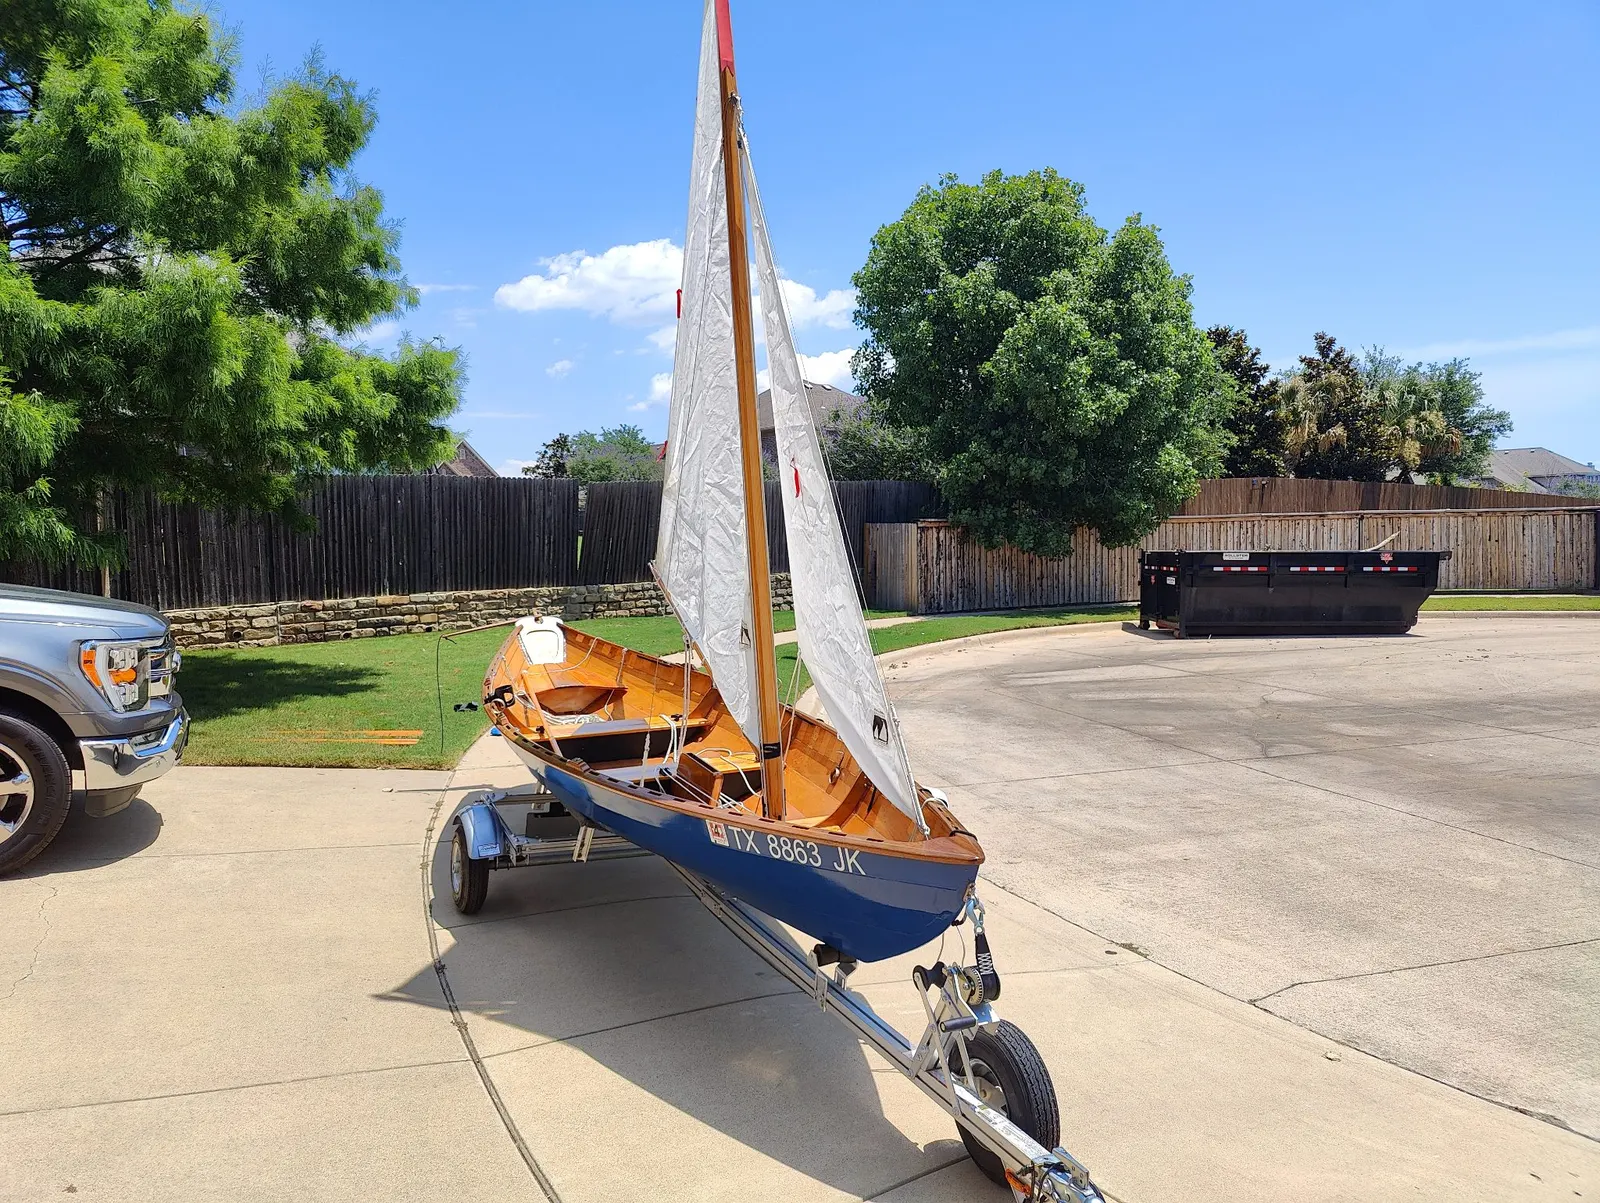
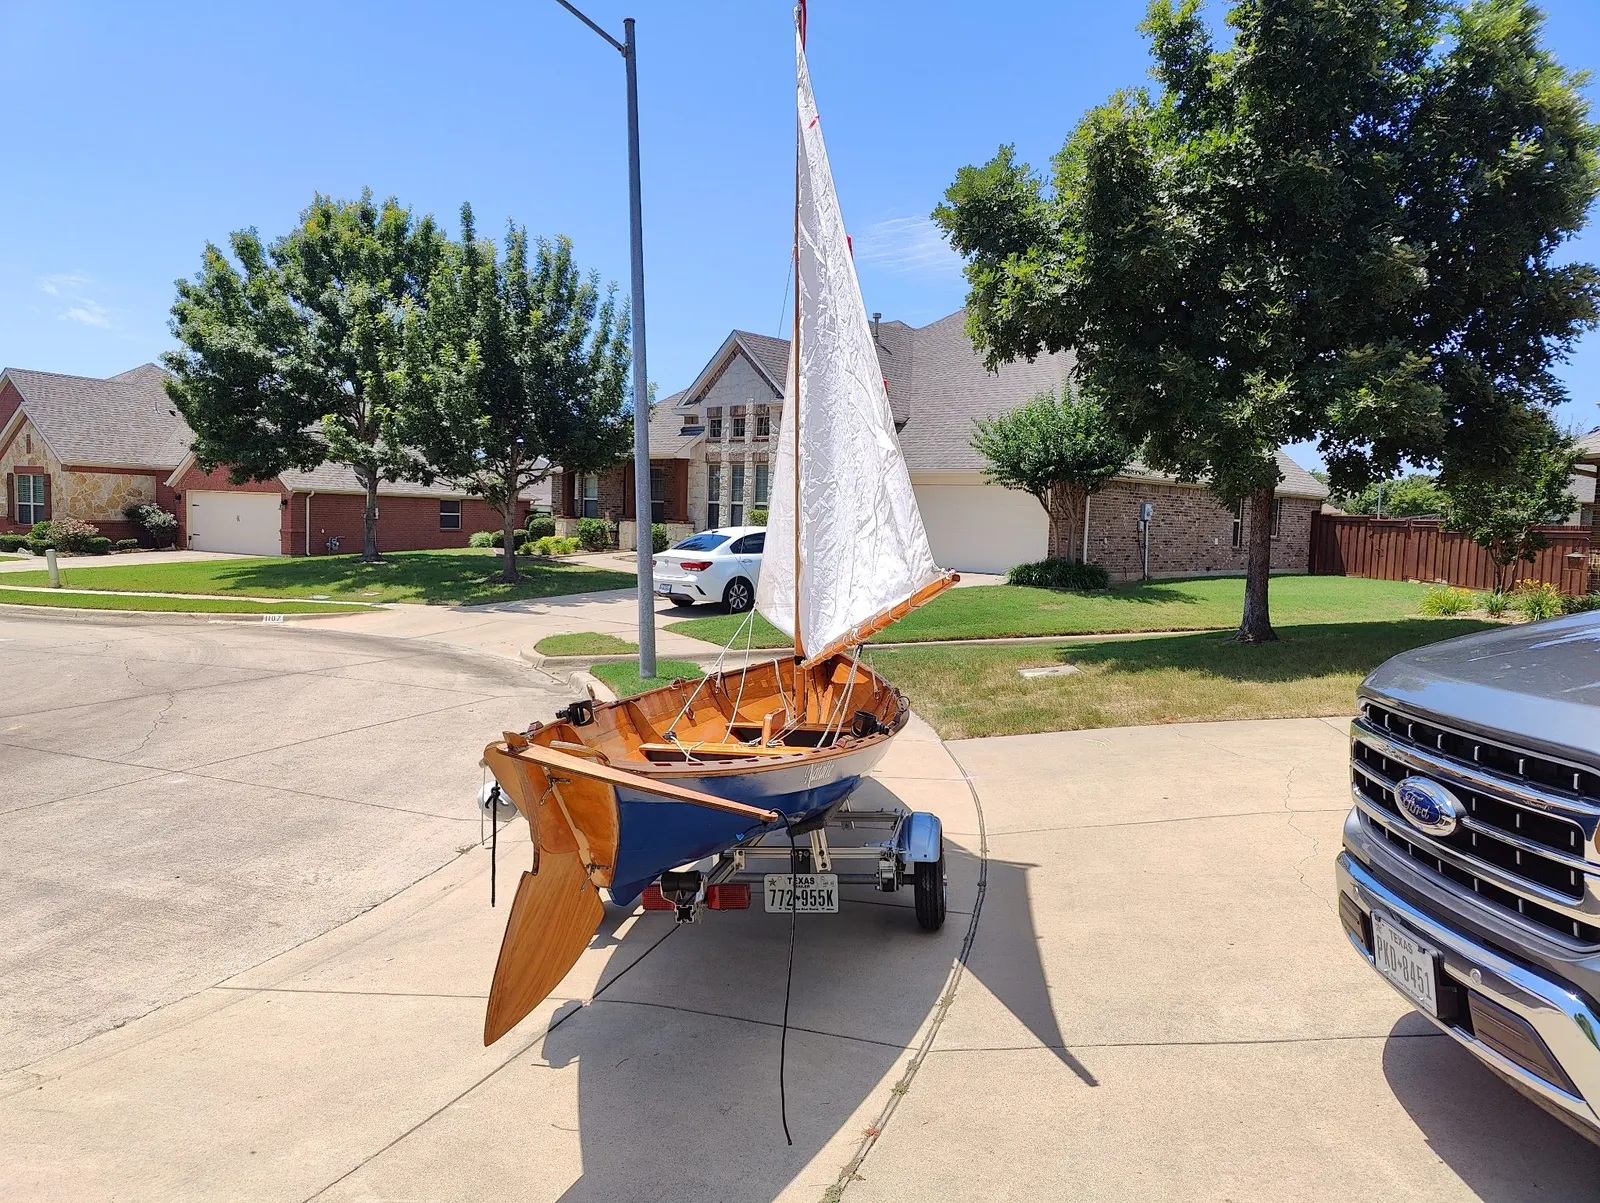
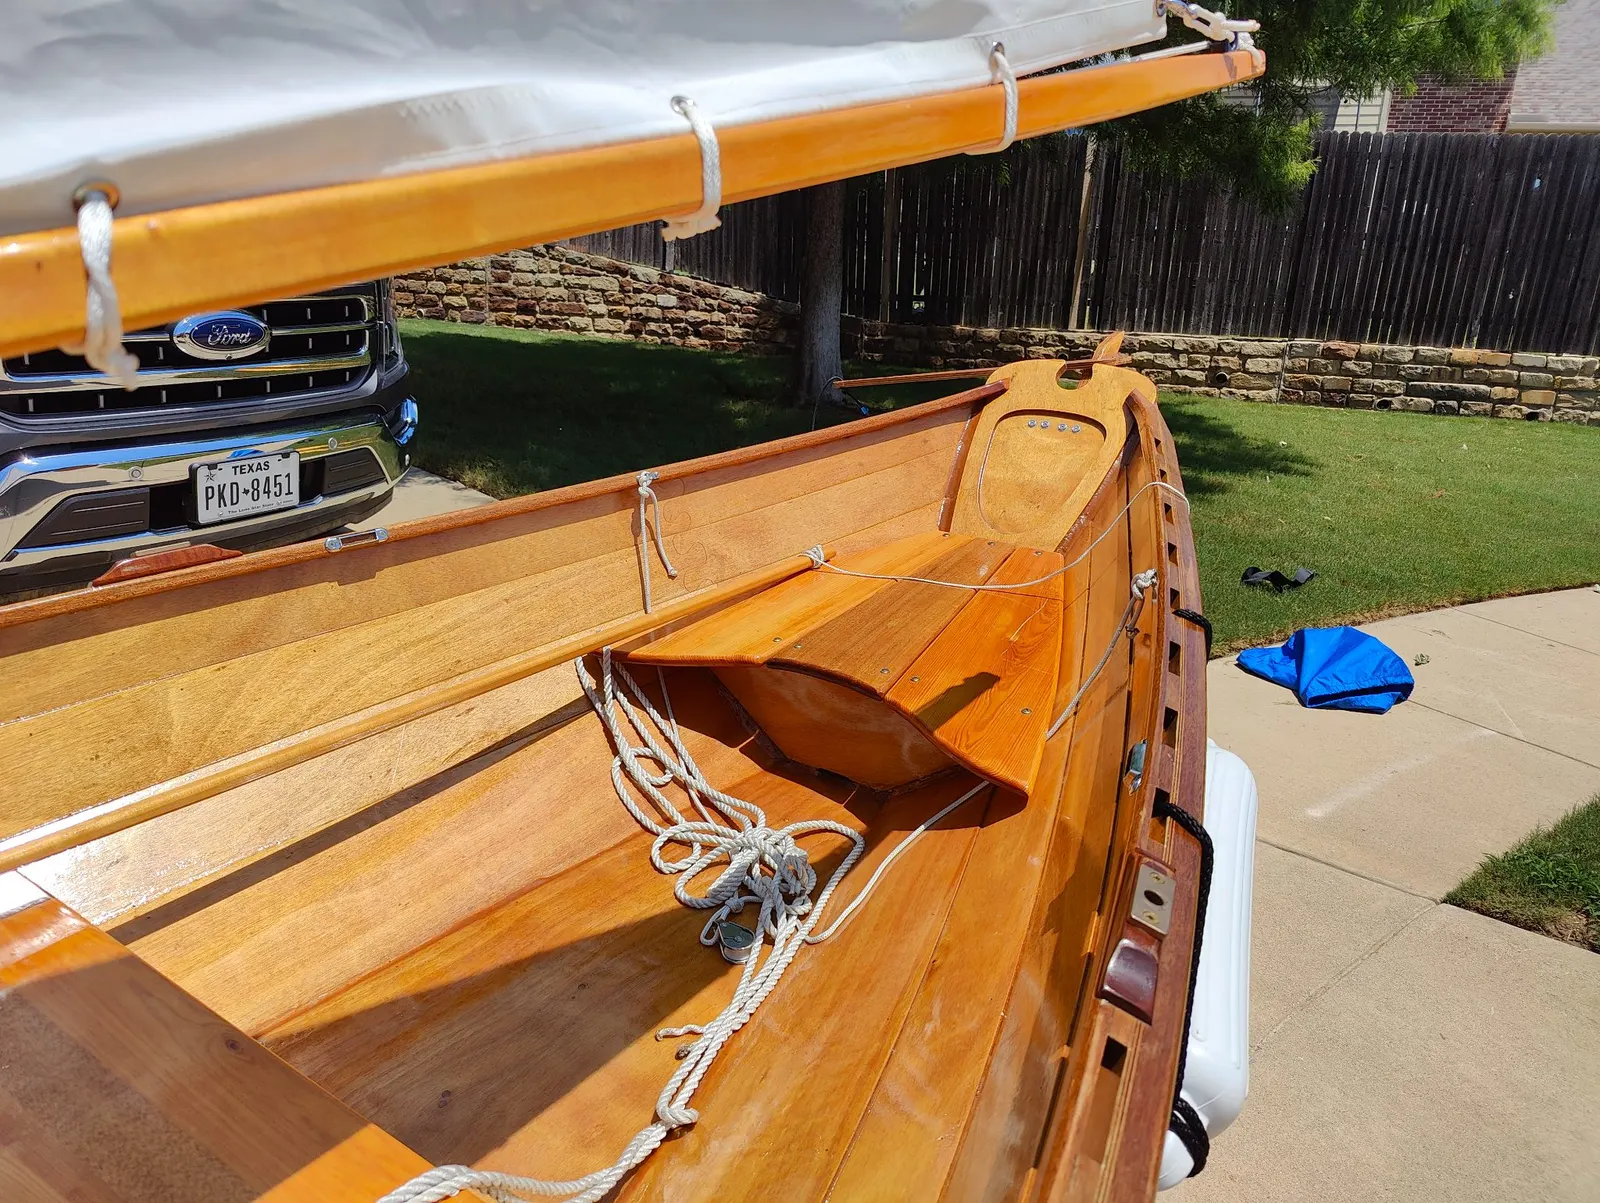
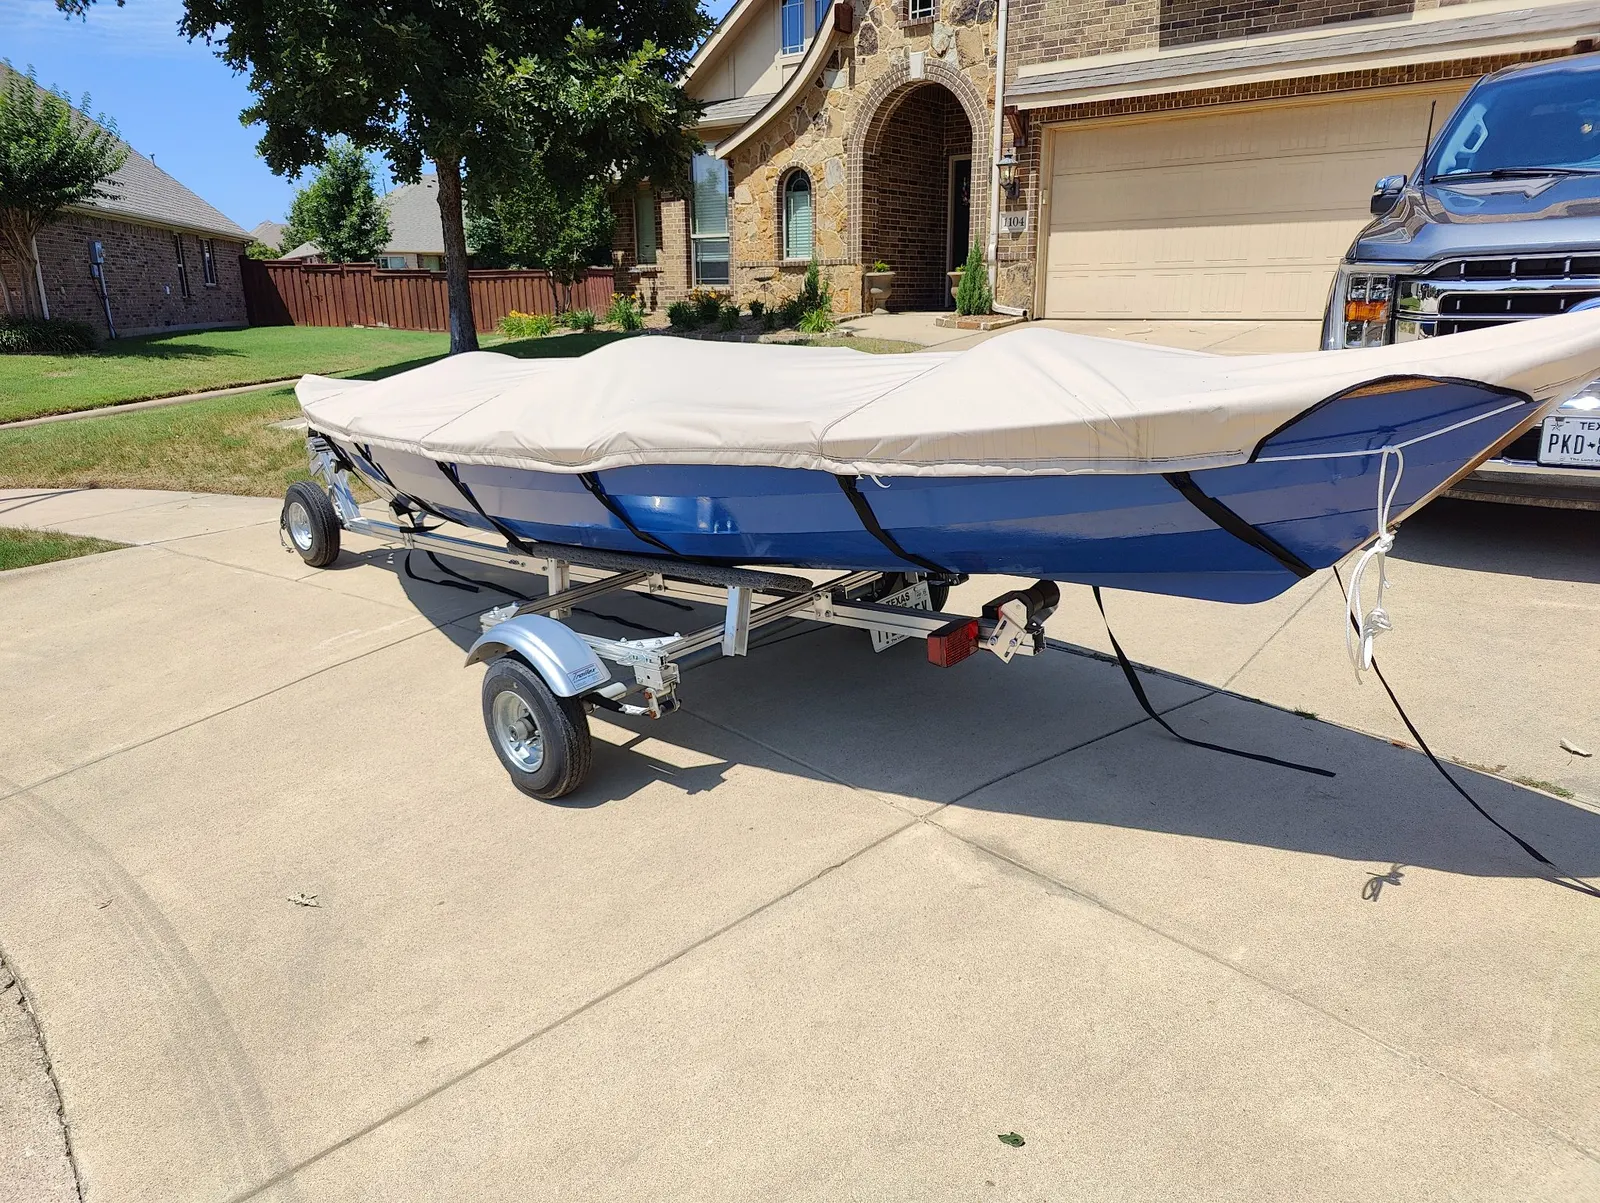
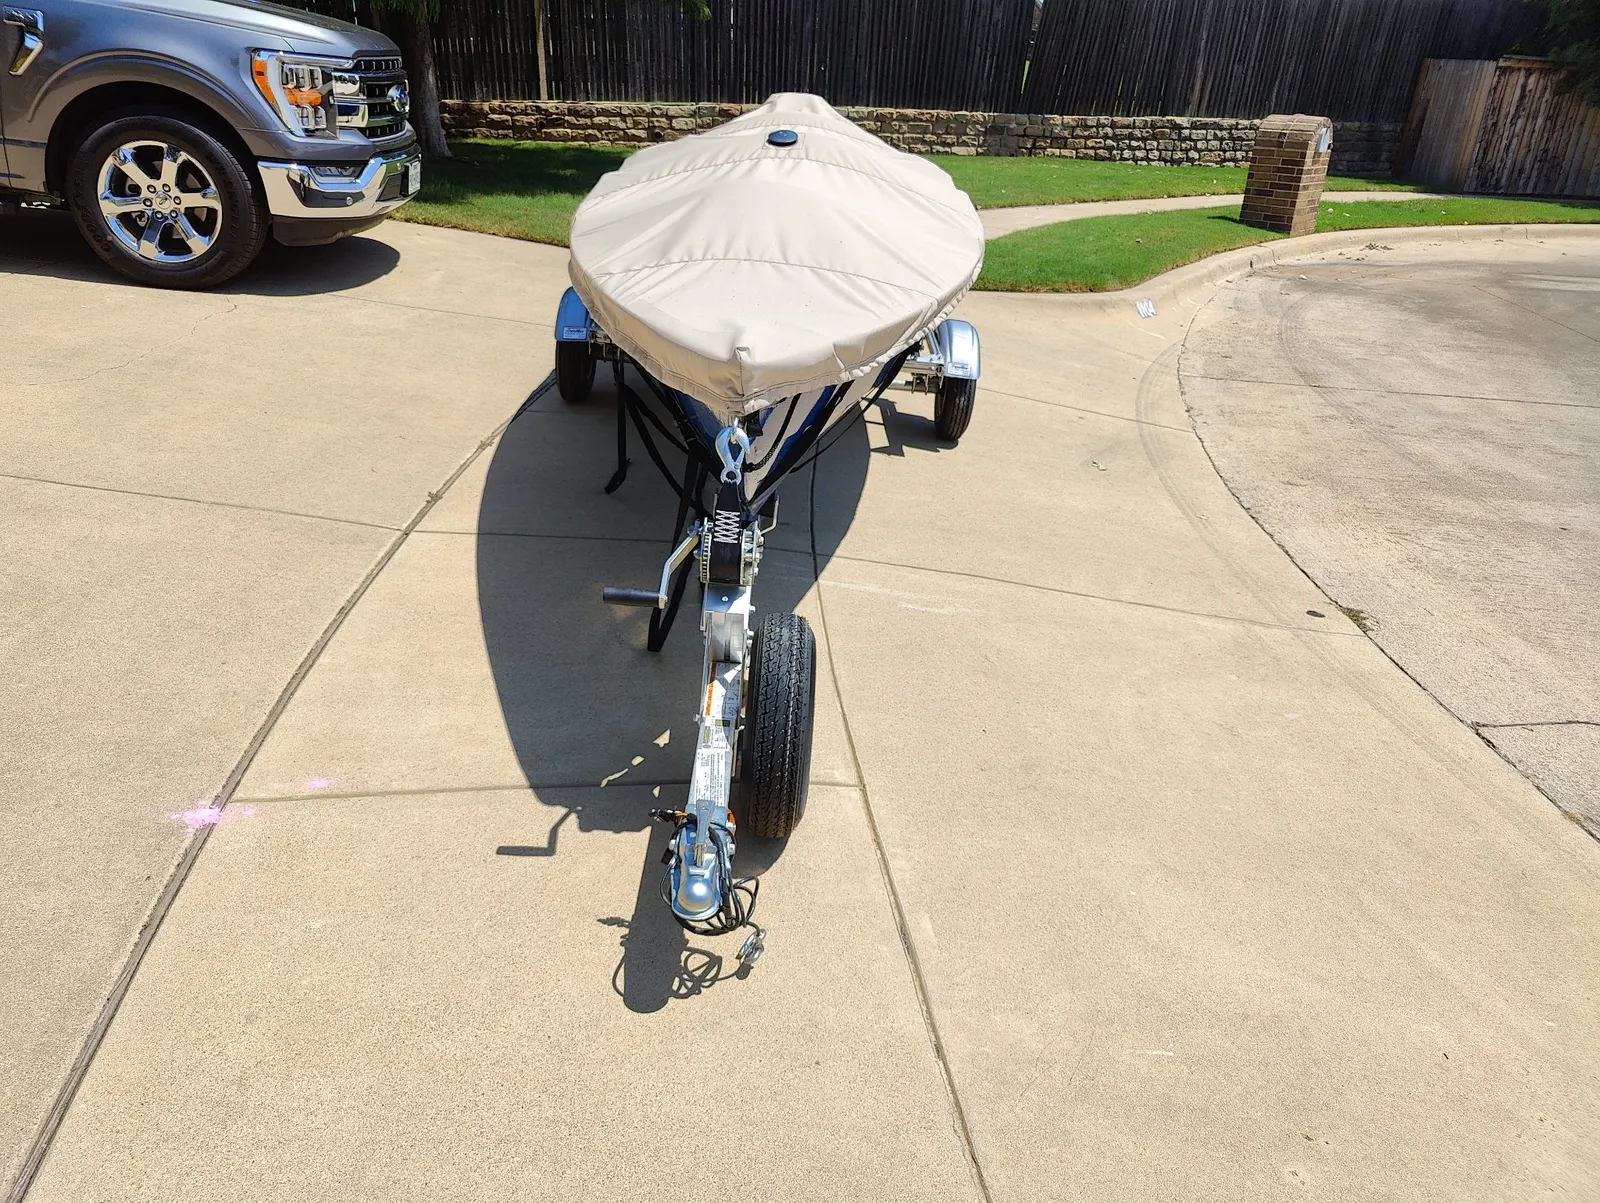
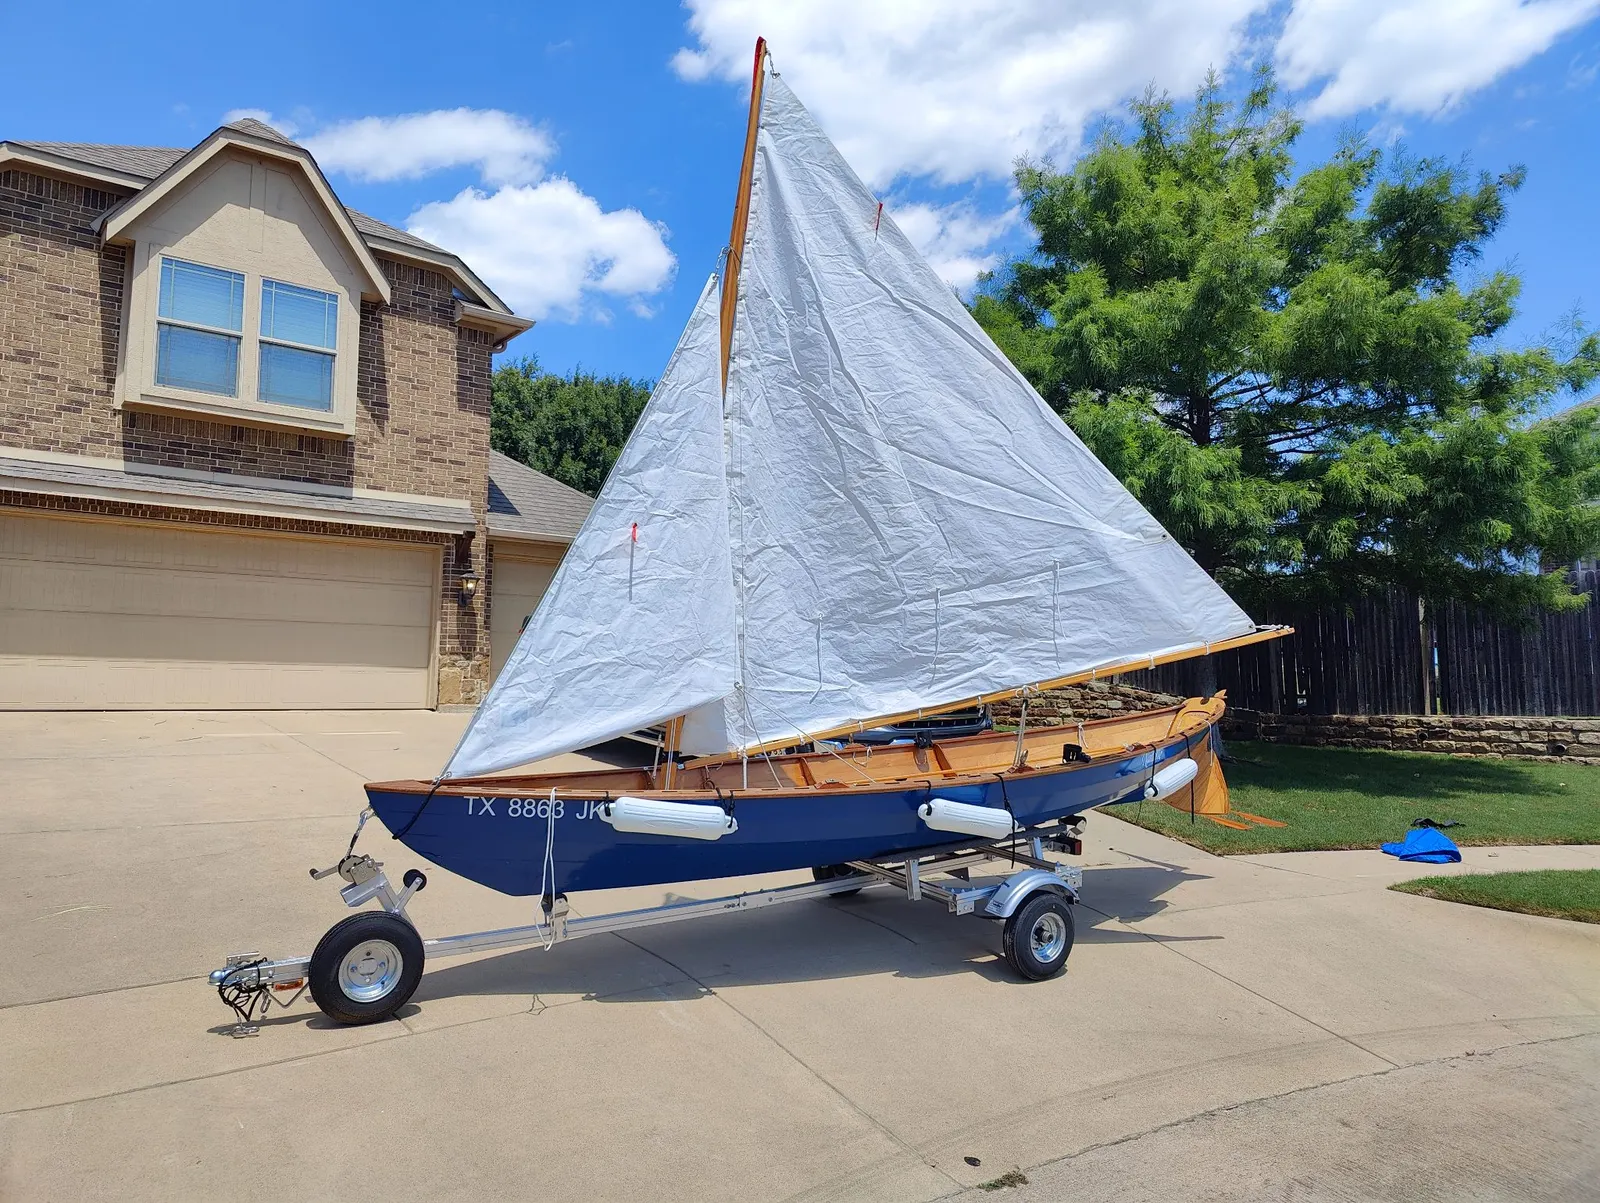
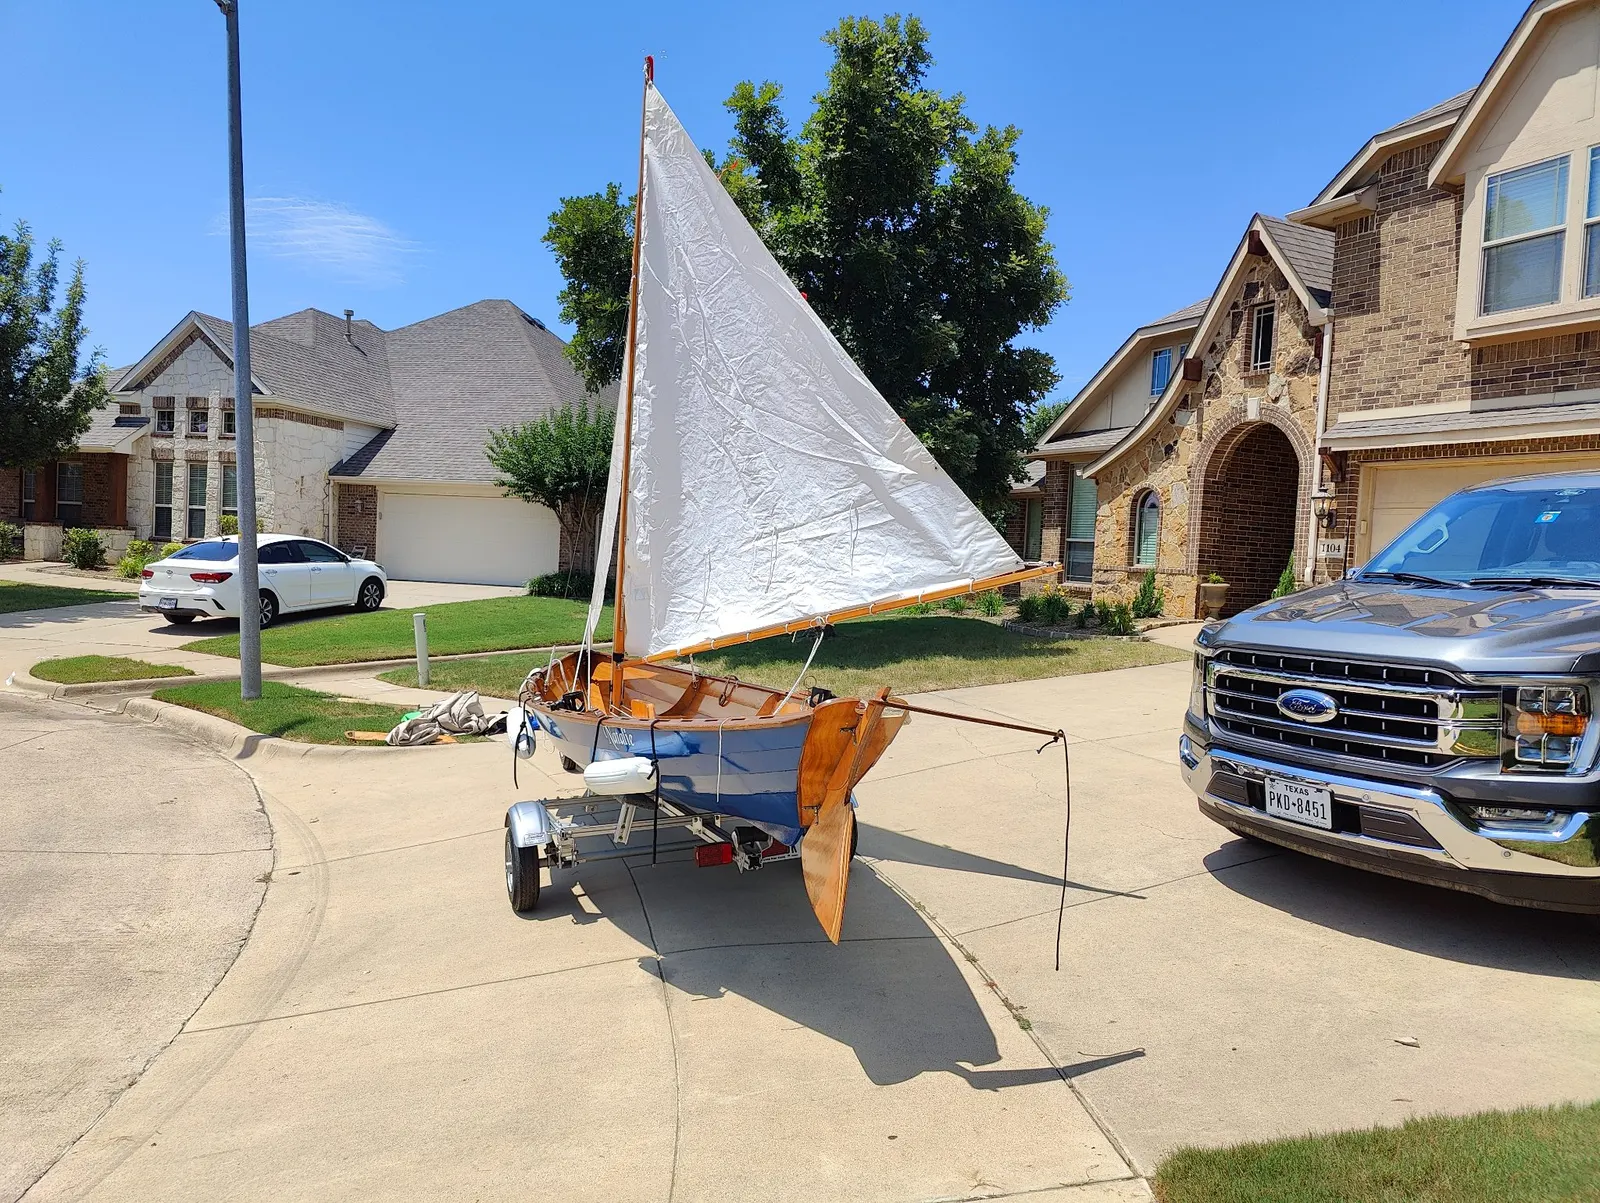
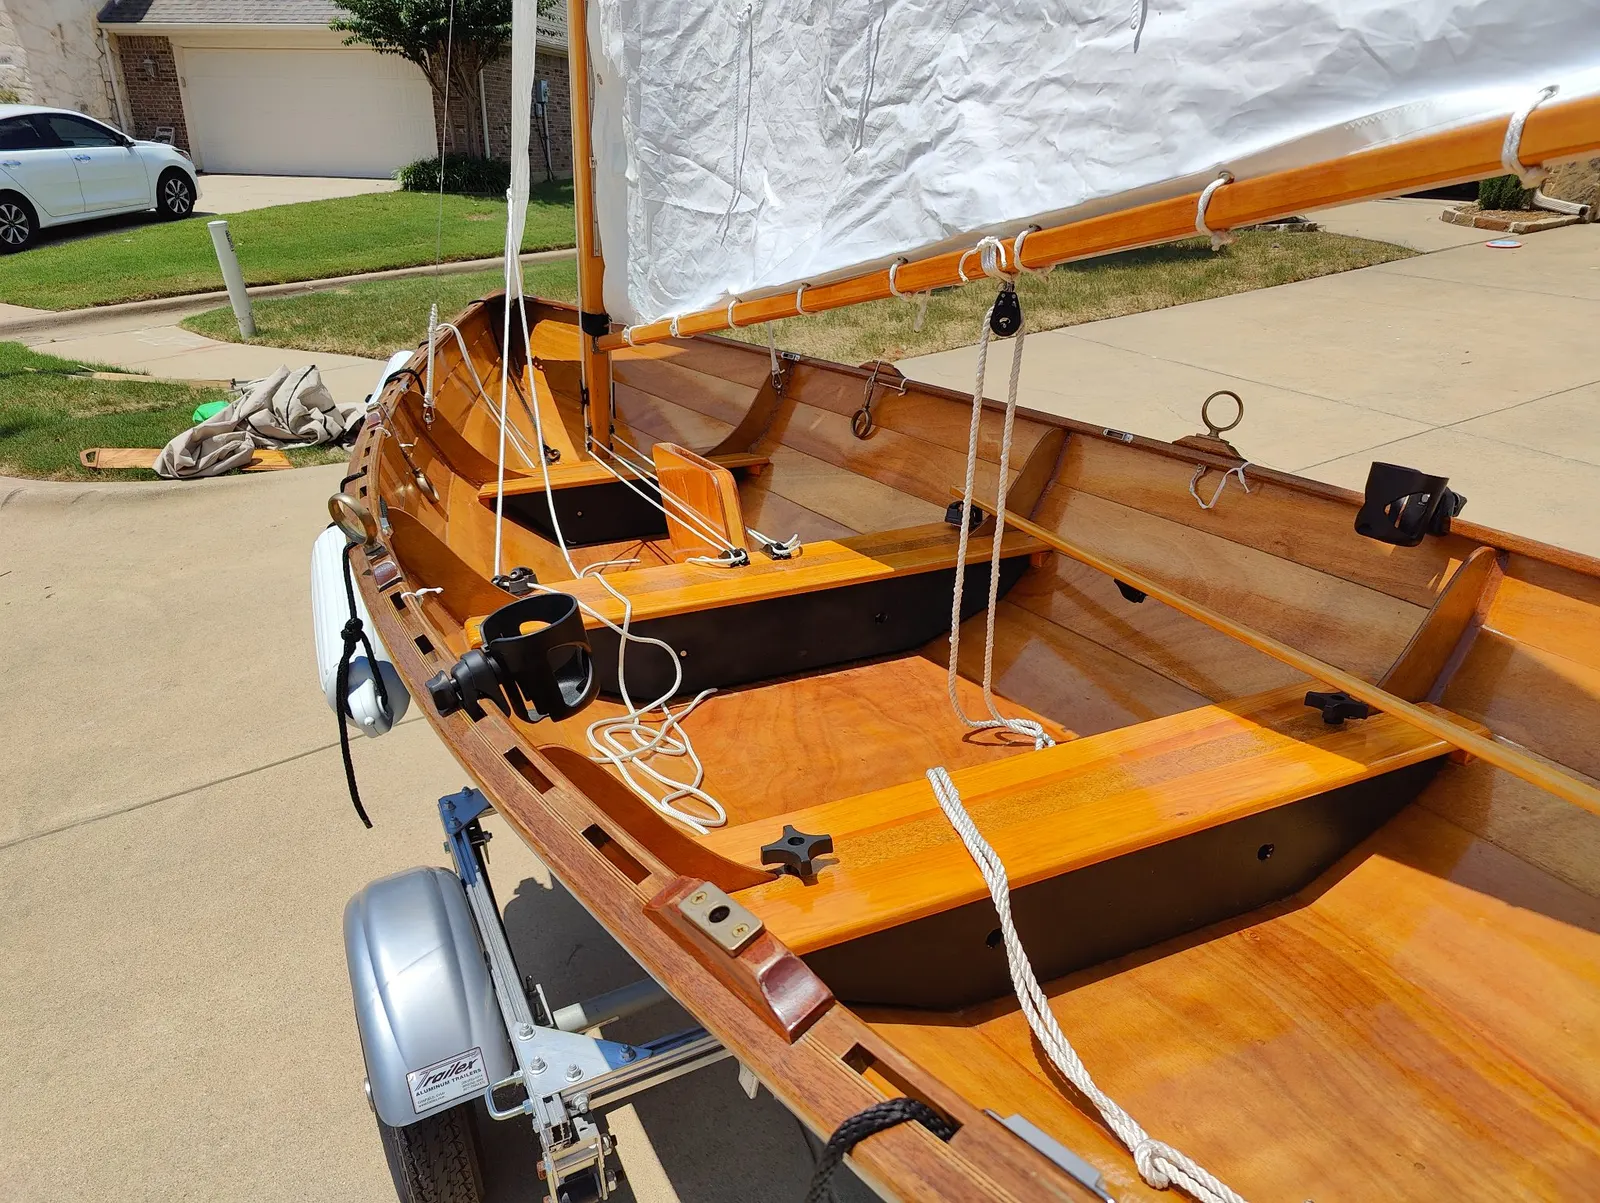
Finishing touches and rigging the sailing gear. As you can see in these photos the boat is done and ready to launch!
Chapter 11
Deck & Coamings
Decking, hatches, coamings, cockpit rim.
1 day5 hoursfrom June 2025
23 Jun 2025Deck & Coamings5 h
Cutting a hole in the boat
Phase 13: Mast Box and Daggerboard (Sailing Kit Only)
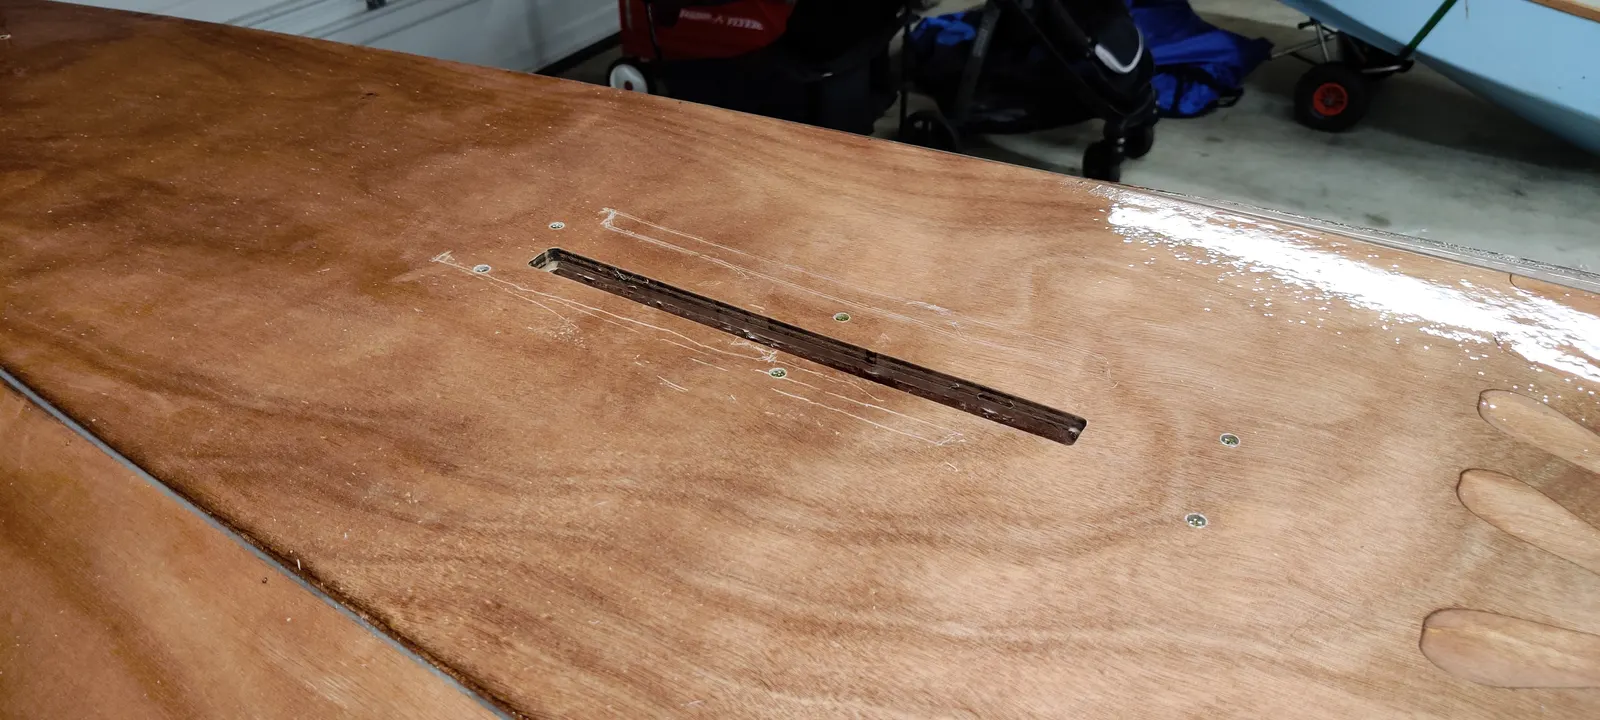
I'm sure I'm missing a few steps in between, since I don't seem to have any photos of the interior gunnels. But moving on: this next step is specific to the sailing kit. If you're building the Dory as a standard rowboat, none of this applies to you. If you're building the sailboat, at least in the sloop configuration, you need to install the box for the mast and cut a hole in the bottom of the boat for the daggerboard.
Cutting a hole in the bottom of your boat sounds scary, but here's the approach I think works best: install the daggerboard trunk first, using all of the required hardware. Measure everything out on top, mark it with lines, and drill the holes from the top down for the screws and other hardware.
You'll likely need a second person for this step. Someone needs to hold the daggerboard trunk in place while you come in from underneath and drive the screws.
Once that's set and the glue has fully cured, use a router to cut out the hole. Then sand and epoxy the area thoroughly, since it's very difficult to access and work on later.
18 Aug 2026Launch Day
Since I built this a few years ago i'm showing the final product photos. I will add some build pictures later.