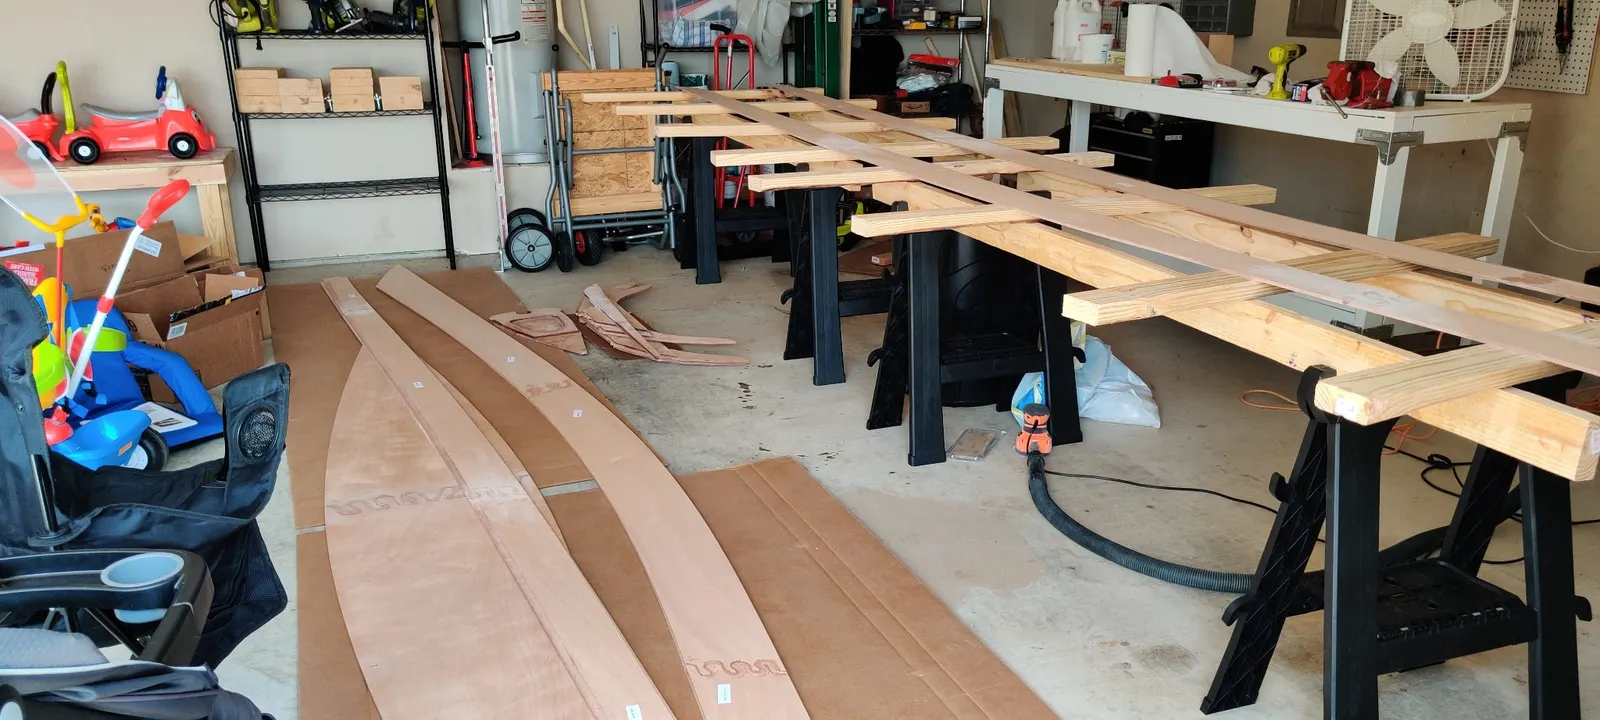
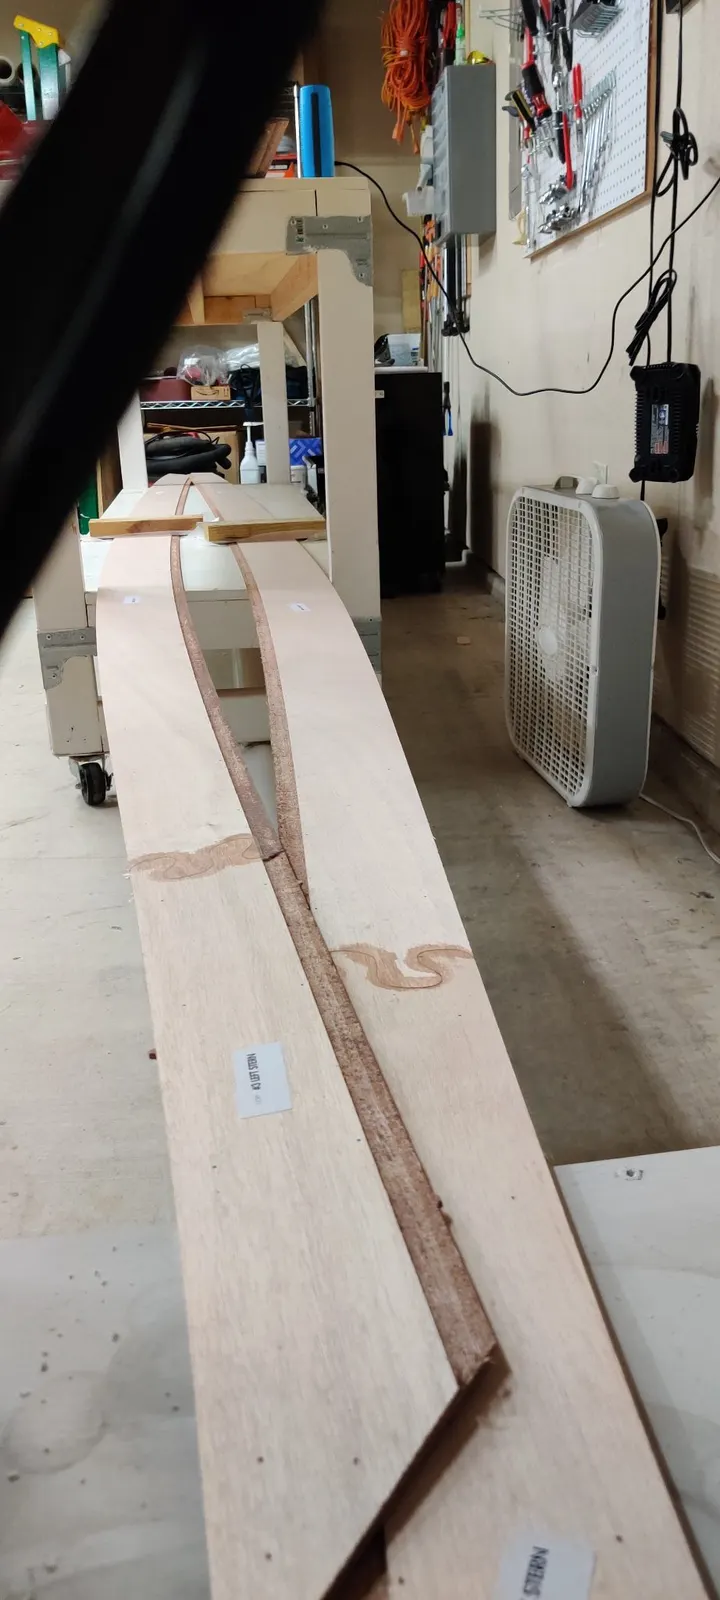
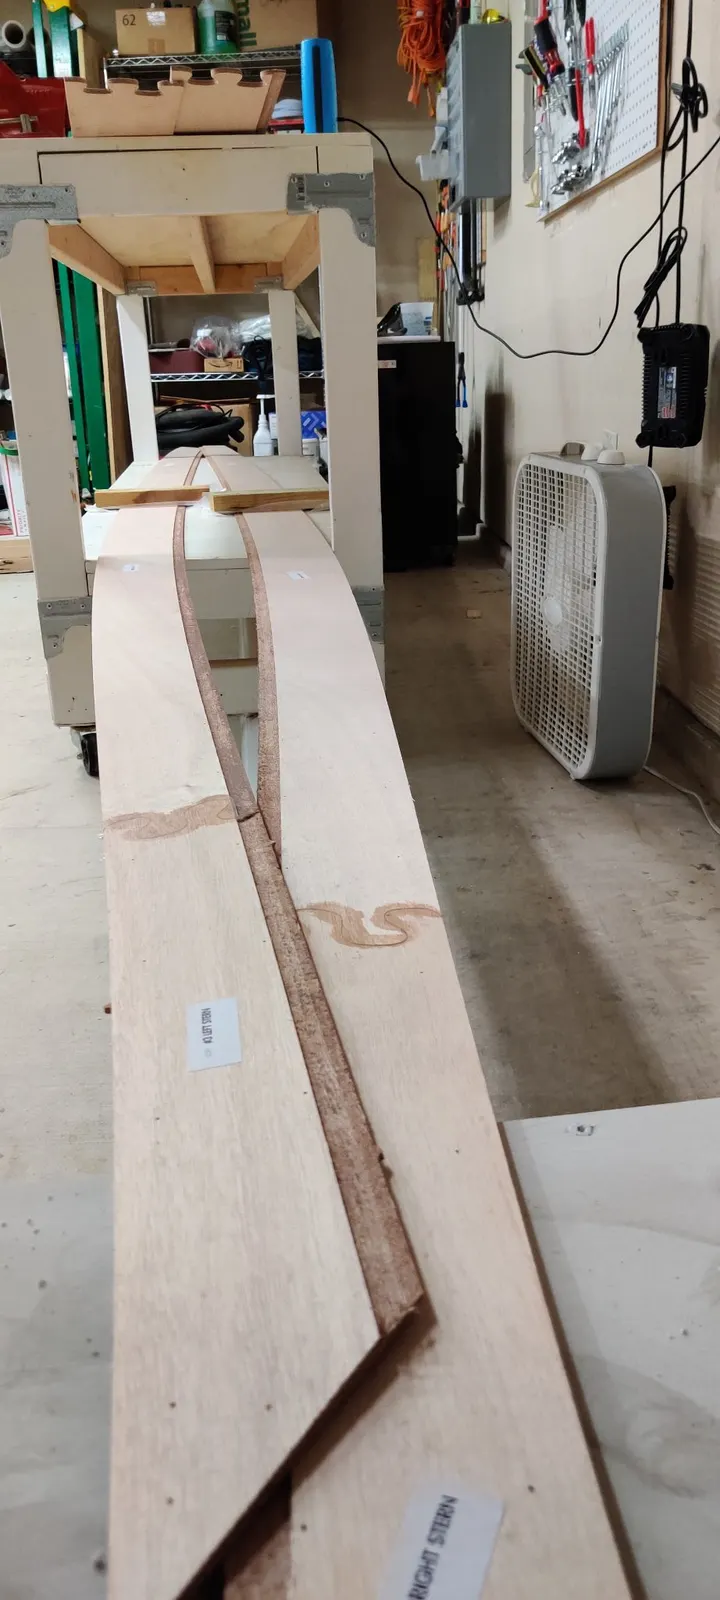
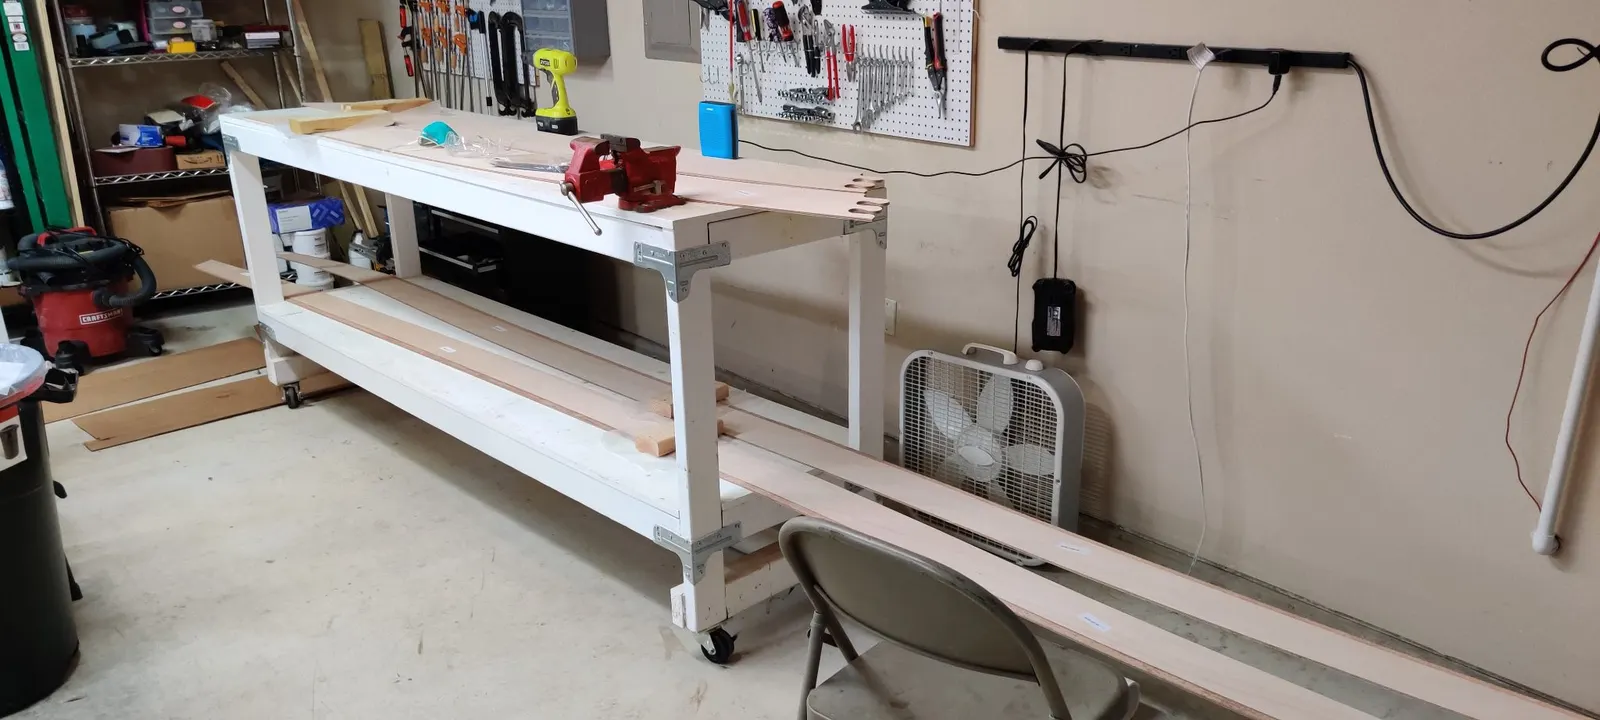
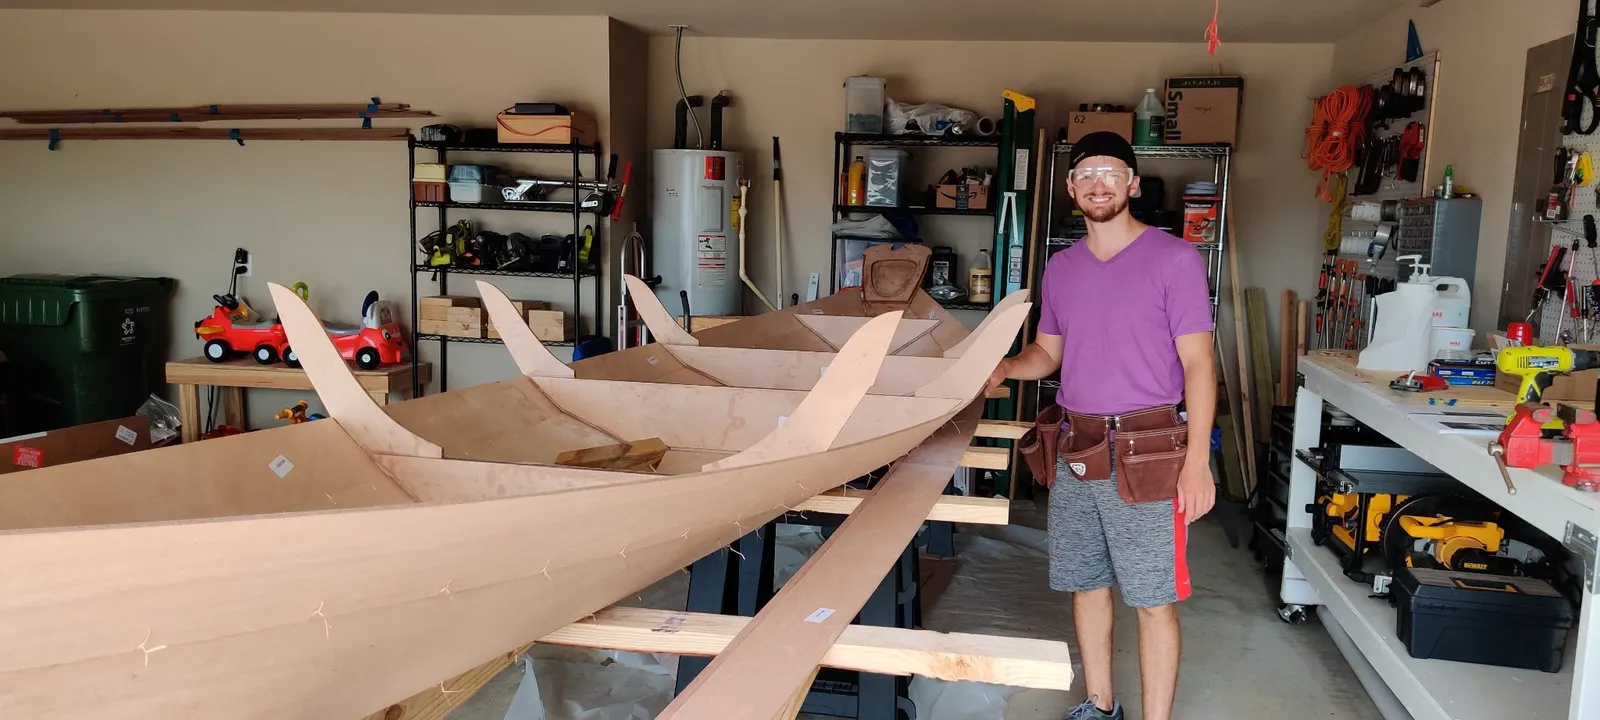
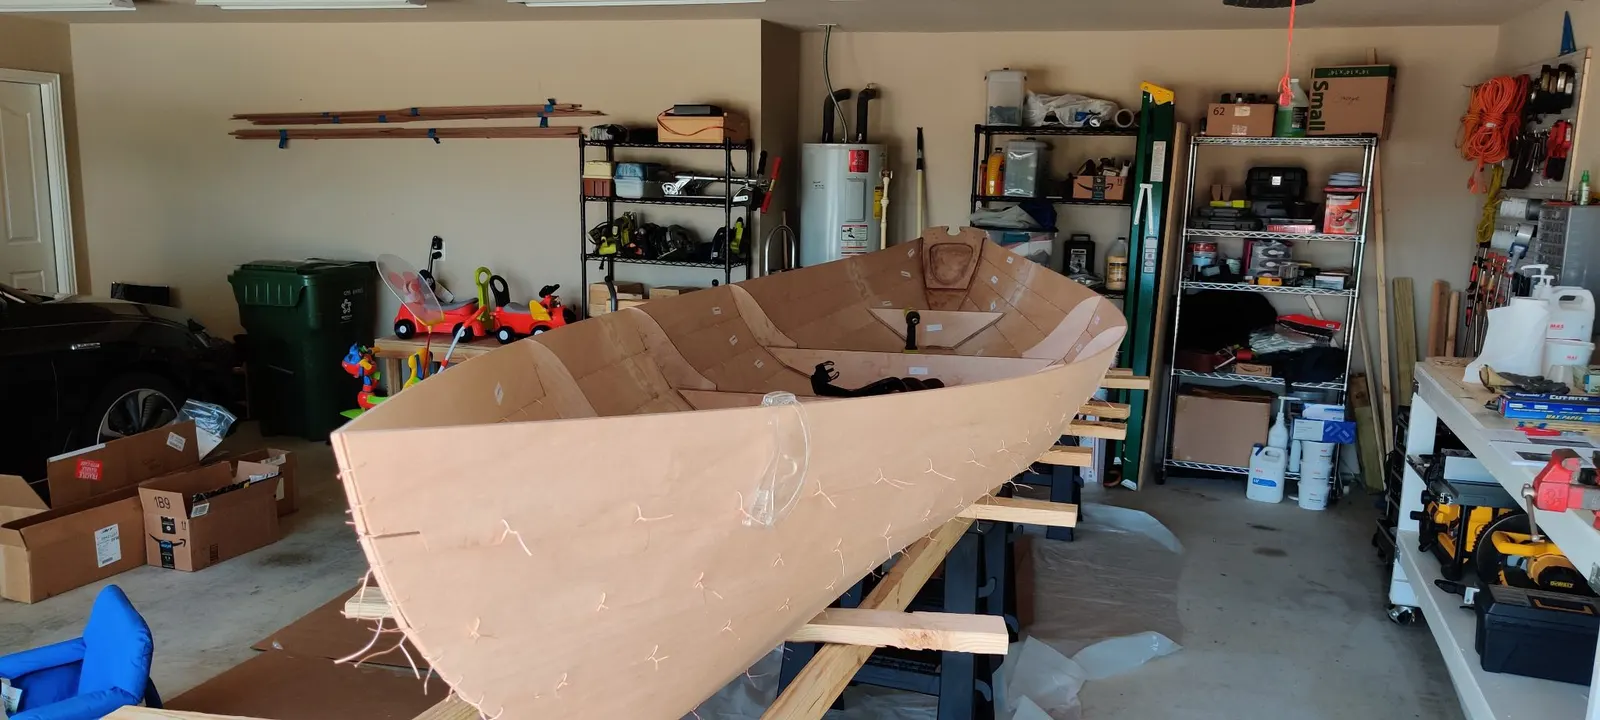
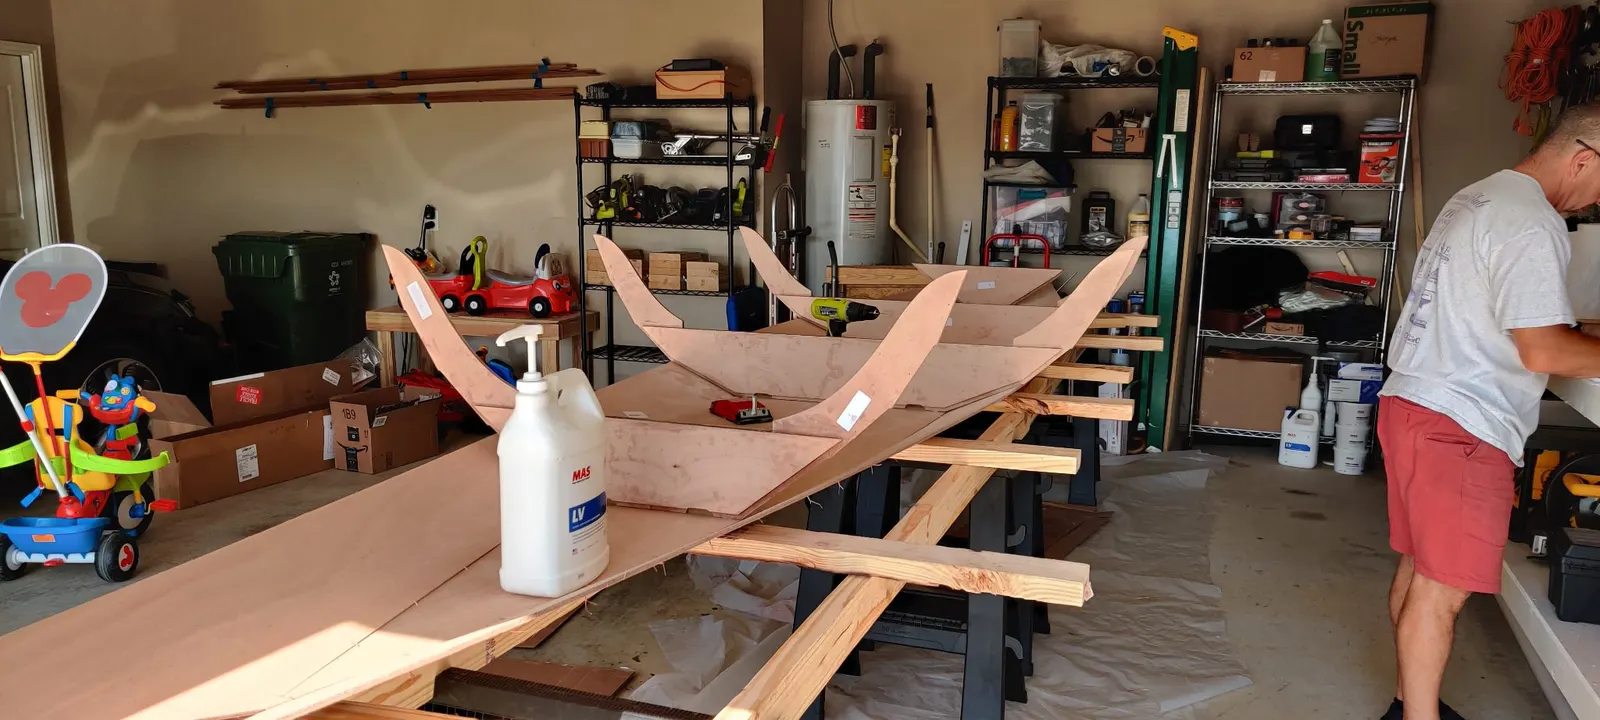
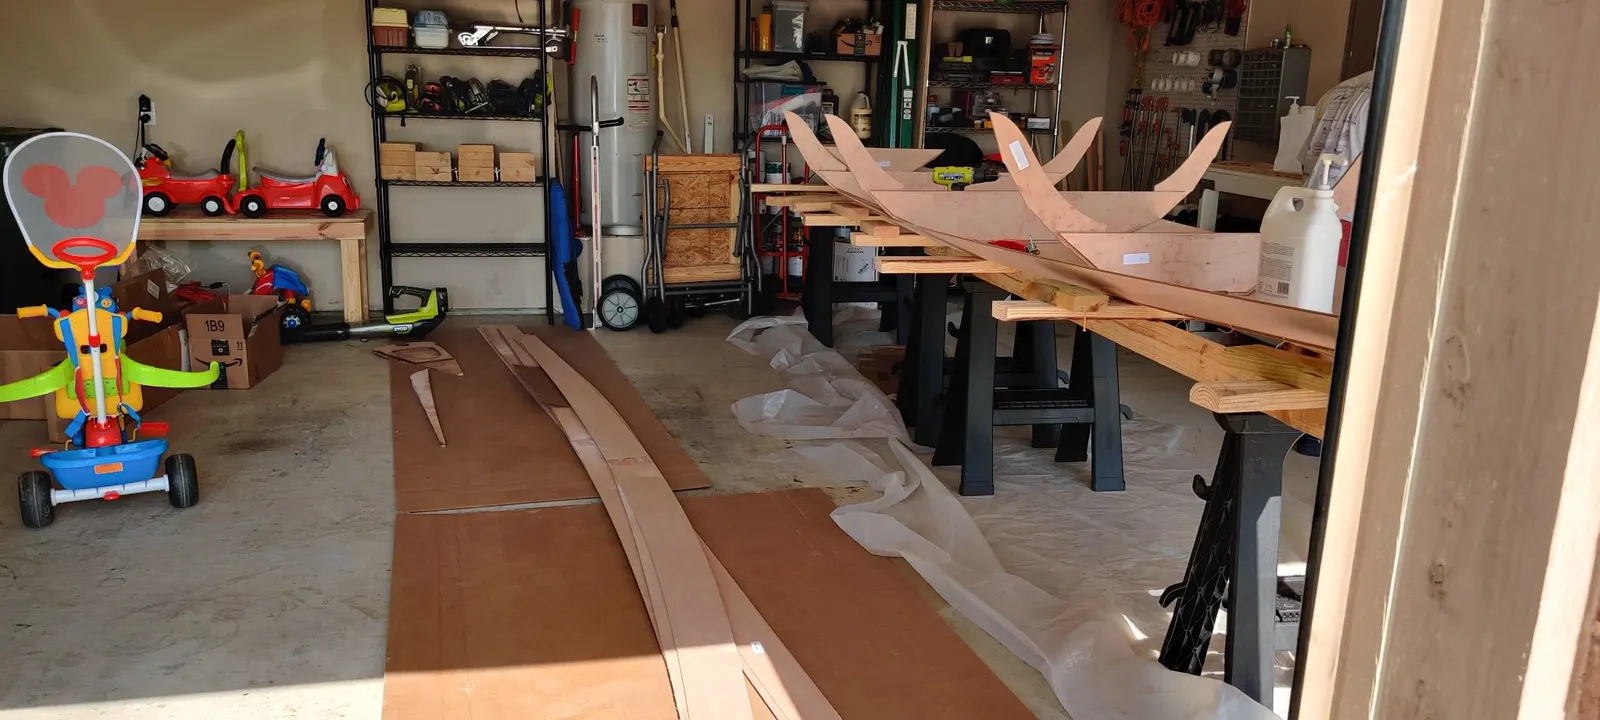
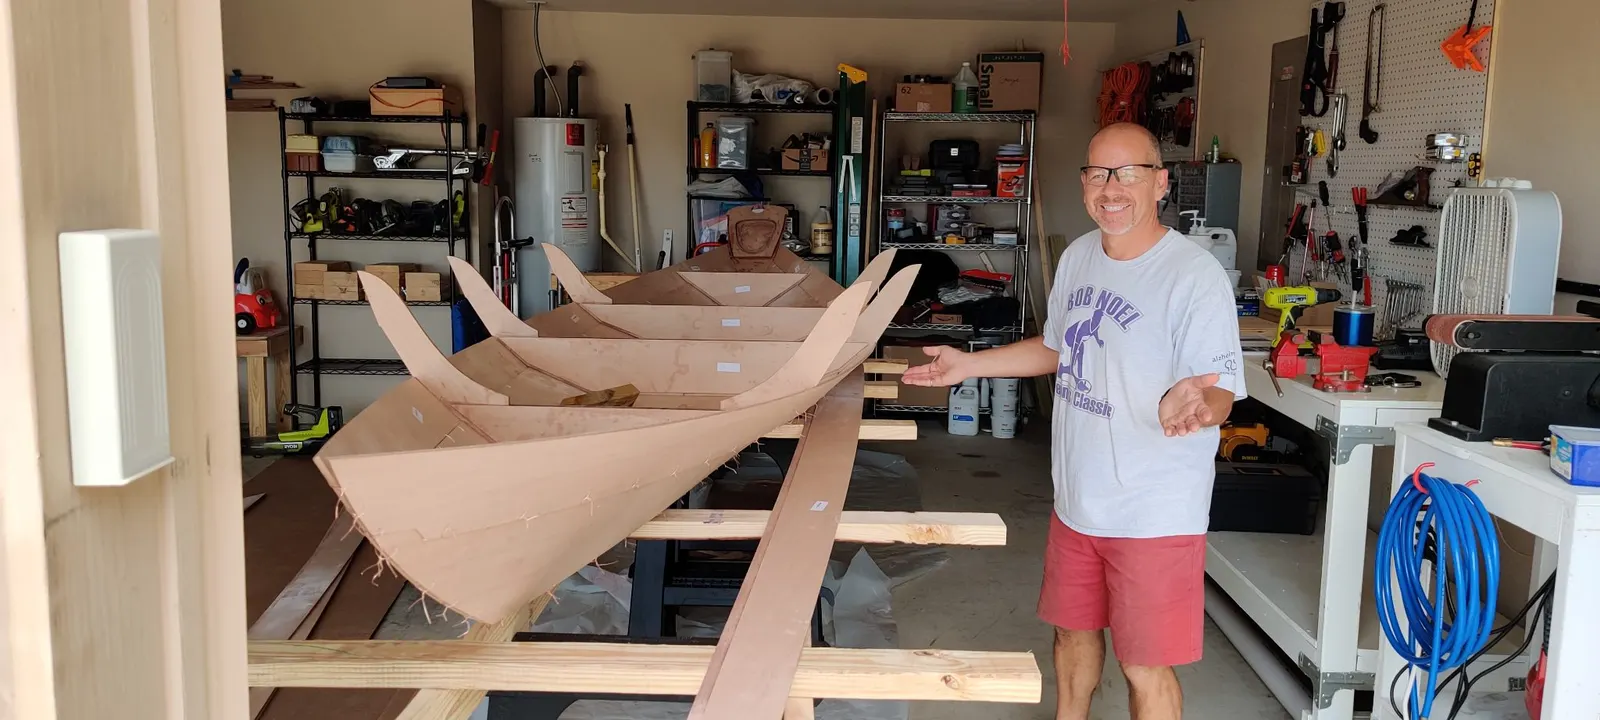
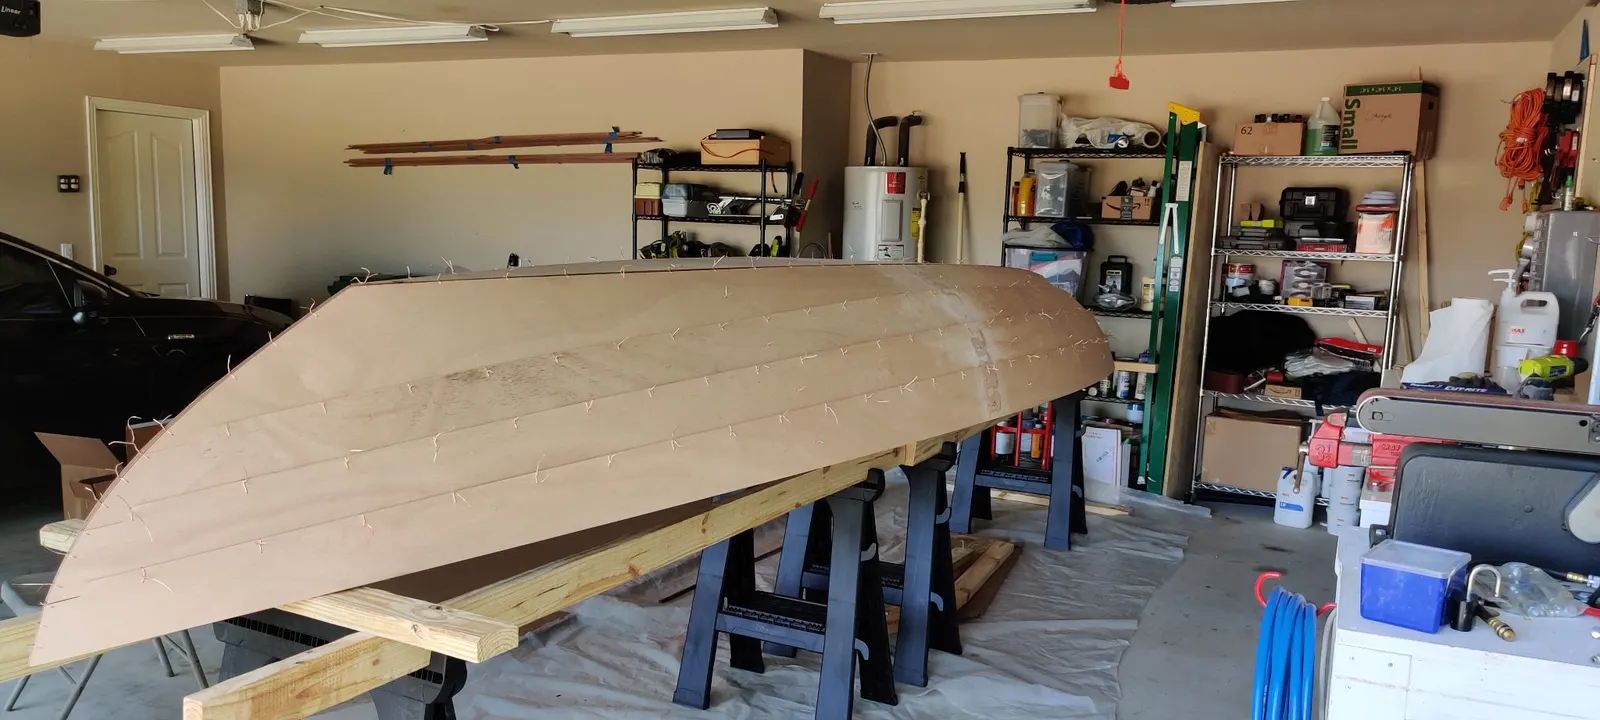
The very first phase of building this boat involved unpacking the kit and doing inventory on all the parts. Thankfully, everything was well marked, so it was really just a matter of getting out the panels and seeing how they piece together.
As you can see in these photos, it's very similar to a puzzle, you put the pieces together, then glue them.
Gluing technique: I put a piece of wax paper below and on top of each glue section. This ensured the panels wouldn't stick to the concrete floor or the wood blocks above and below. With the wax paper in place, the epoxy could cure, leaving only sanding to deal with later.
I went ahead and got all of the sections glued together — the bottom as well as all of the side panels.
Phase 2: Construction Begins
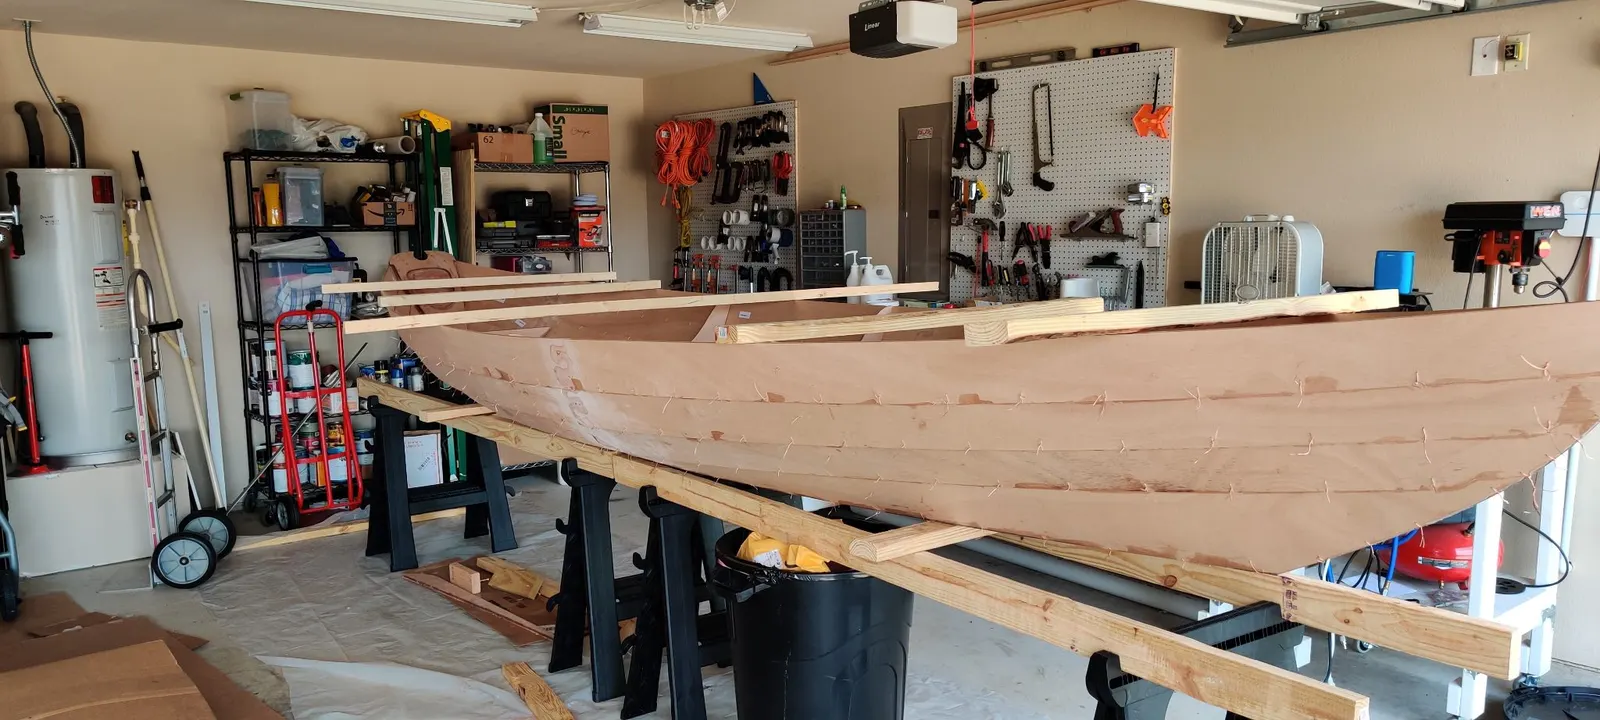
After the panels were glued, construction began. In the photos, you can also see the transom and all of the bulkheads. Don't forget to sand that extra glue off those joints. Much easier to sand now then once it's curved on the boat.
This next step is a two-person job, so you'll want a helper. This is where the bulkheads get assembled onto the bottom piece and all of the side pieces, tying everything together with metal wiring.
I used thin copper wire to stitch the boat up, and it worked out really well. It was strong, yet malleable enough not to break the wood. Anything thicker risks cracking the panels, which means extra repair work down the line.
We went layer by layer up the boat, stitching together the whole way, until we reached the top and the step was complete.
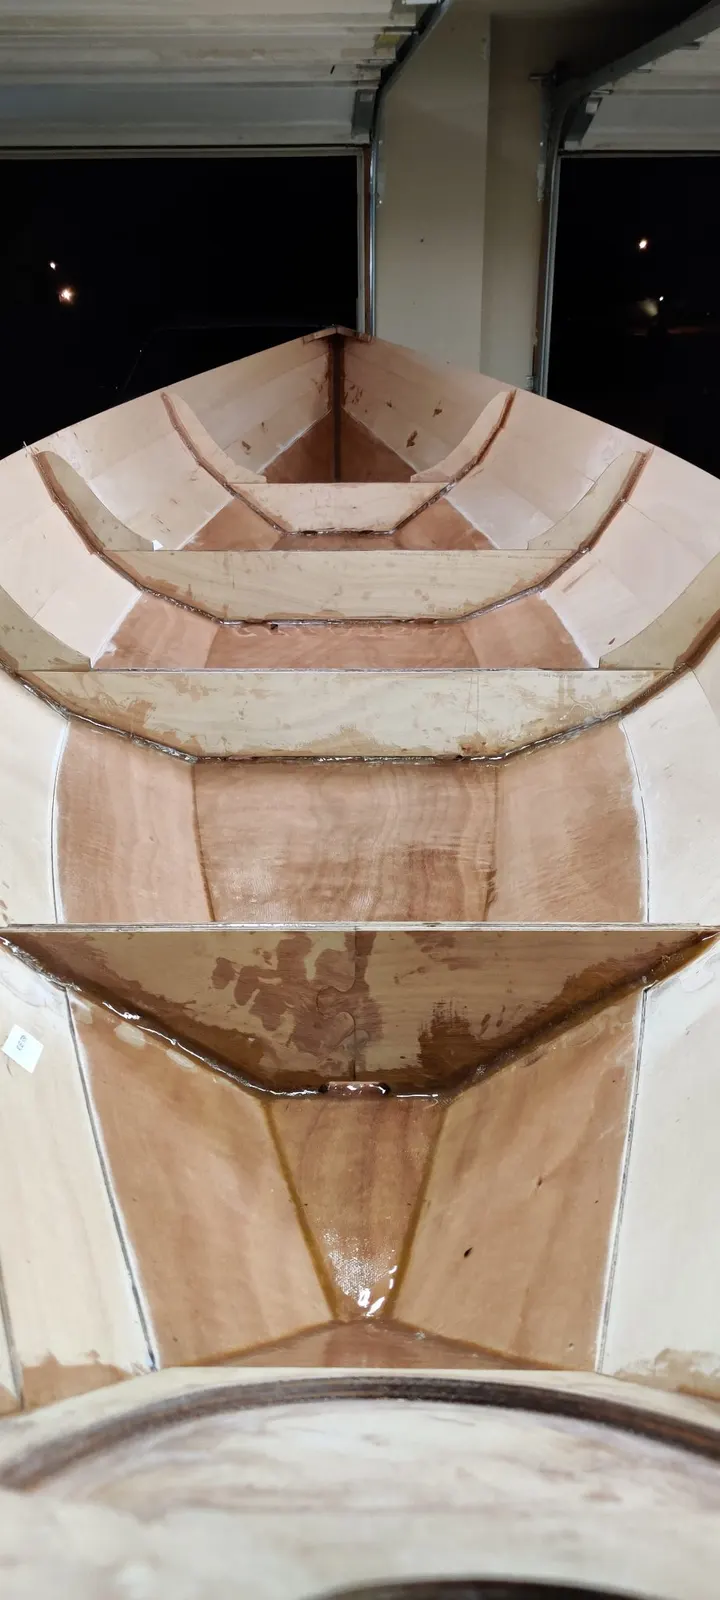
You can also see in the final photos all of the interior sanding done on those seams. Don't worry about how it looks at this stage. The same goes for the transom in the back, where you can see all the extra glue spots. It all comes together beautifully once it's epoxied.
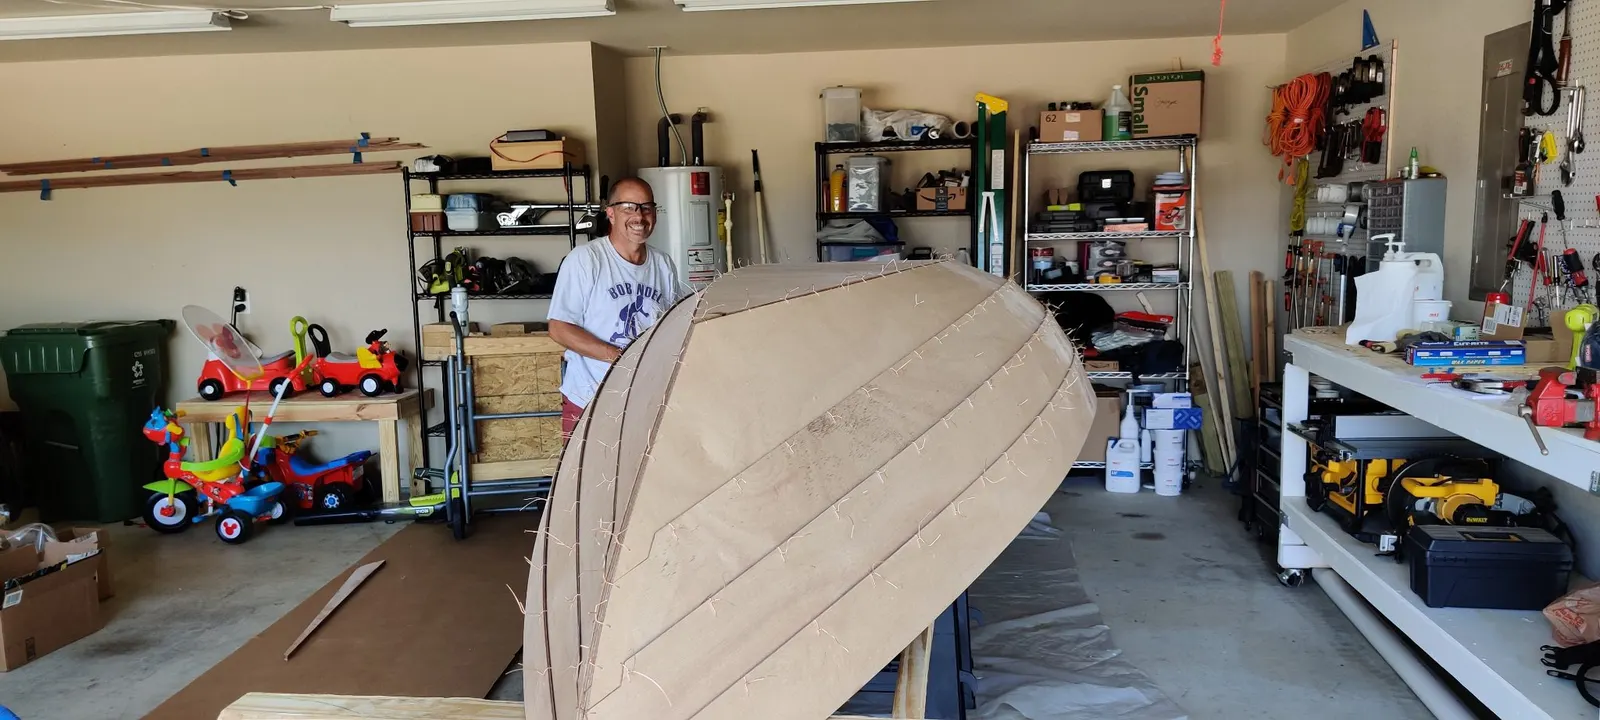
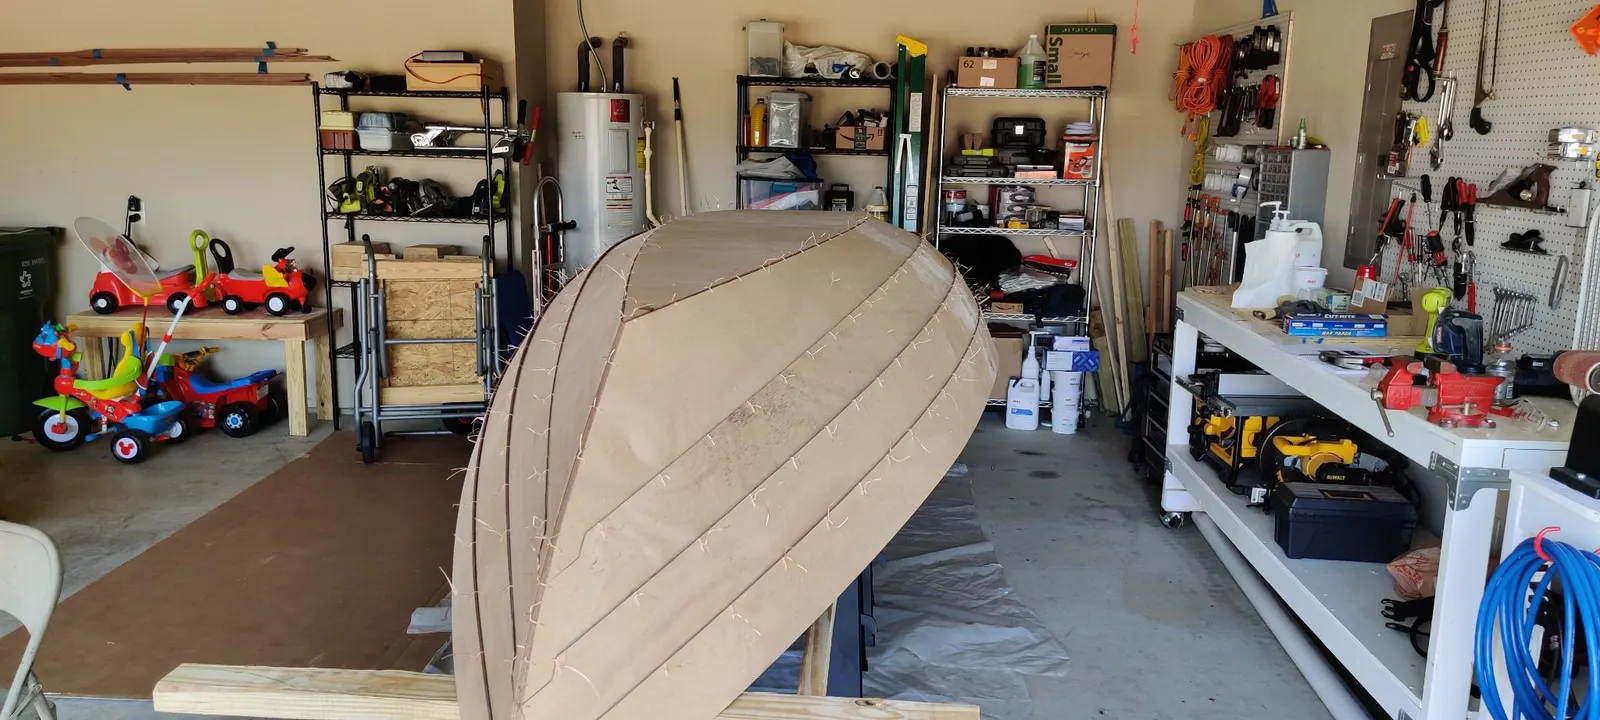
This next step is what I'd call a tack weld. Again, you'll need a helper, because you have to flip the boat upside down.
Before you start epoxying anything, look at the hull from multiple angles and make sure it's on a good level surface. If it's not level, it'll be much harder to fix once you start gluing, though you can still adjust it as long as you haven't fully glued it yet.
Once the boat is flipped over, you're basically mixing up epoxy and putting small blobs of it between all of the metal seams on the outside of the hull. This gives it enough strength that when you flip it back over, you can remove all of the metal and the boat will hold together well on its own.
A few lessons if you haven't worked with epoxy before:
Epoxy is very temperature sensitive. Don't mix it if it's too cold or too hot. If it's too cold, it may never cure correctly. If it's too hot, it cures very quickly. Cold is the riskier problem, and you can usually fix it with a heater in your garage. If it's hot, mix smaller batches at a time.
After you tack weld everything, let it sit for a full day before you flip it over and remove the metal stitches.
The next step is to flip the boat back over, right side up, and start removing all of the metal stitching.
It's possible that some epoxy will get stuck on the metal. That happened on one or two of mine. If you can't get a piece out, cut it as short as you can and sand it down as low as possible. Beyond that, there's nothing to be done. It stays part of the boat forever.
Phase 6: Fiberglassing the Bottom
This next step is fiberglassing the bottom and the first panel. It's a lot easier than it sounds.
If this is your first time fiberglassing, you'll find the fiberglass is very similar to cloth, almost like a cotton shirt. It's pliable and easy to work with. Lay it out on each section as best you can. I put blue painter's tape above the second panels so I wouldn't get fiberglass onto that section, and it's a lot easier to sand off when it's on tape instead of the wood.
Lay out and cut the fiberglass to the best of your ability, then mix up some epoxy and apply it. Less is more here. You want just enough epoxy to saturate the cloth and no more. This is a hard balance to strike, especially on your first time using epoxy or building a boat. It's tempting to think more is always better, but extra epoxy just wastes money and adds weight to the boat.
One more note on temperature: if you start a pour early in the morning on a hot summer day, the temperature can climb ten, fifteen, even twenty degrees by the time it finishes curing. I've noticed that swing tends to add bubbles into the epoxy. It's much better to keep a steady temperature through the entire curing process if you can.
After you finish tack welding and remove all the stitches, the next step is filleting. On the bottom panel, where it connects to each of the bulkheads, and along the bottom and side panels, you need to run a fillet: a small bead of epoxy mixed with wood flour that creates a smooth, rounded surface.
Fiberglass only adheres well to surfaces that are relatively smooth. If you have an abrupt angle, the cloth won't adhere correctly. See the close-up photo for what the fillets should look like.
What it cost
$5,765.62
$4,795.90
Into the boat
$247.99
Tools & gear
$721.73
Shipping
Shipping added
14.3%
on top of the goods: the cost most people forget when they price a kit boat.