Tiny Titan · step
Fairing & Sanding
The long one. Fairing compound, longboards, and the sanding nobody photographs enough.
Fairing & Sanding on every boat, not just the Tiny Titan →
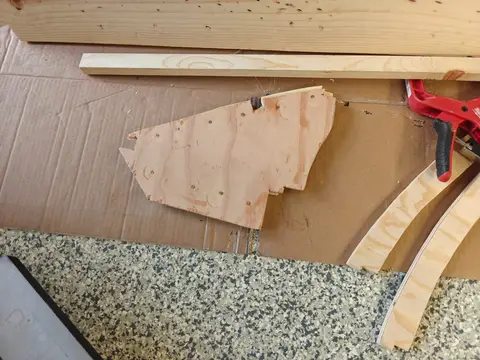
I only put a couple hours in today but I used the time to sand down all of the edges of all the duplicate parts so that I have pretty much mirror images. I also cut out the parts for frame number one but I did not get to plane it yet so I have not posted those pictures.
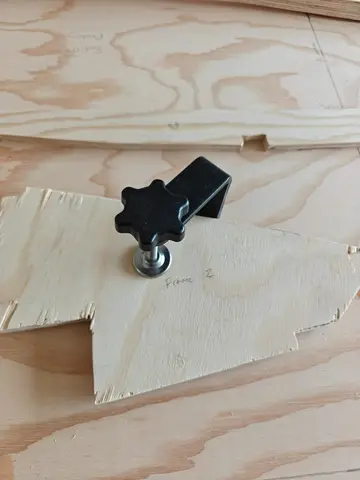
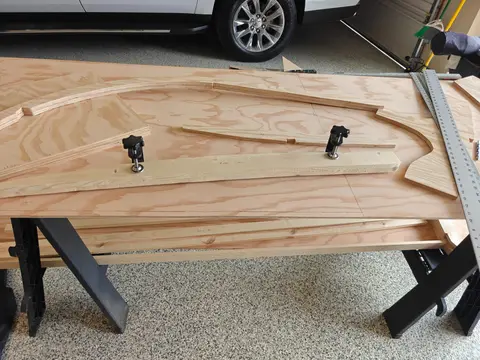
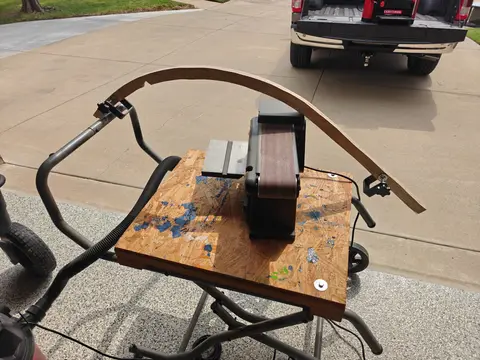
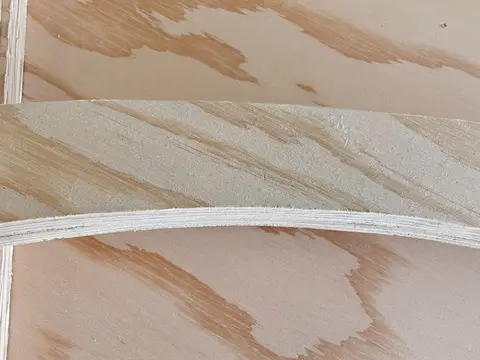
Today I finished tracing and cutting the comings and planing them down to the required 1/2". I also noticed that a small piece on each of the bow sections requires a one quarter inch piece as well so I cut those out.
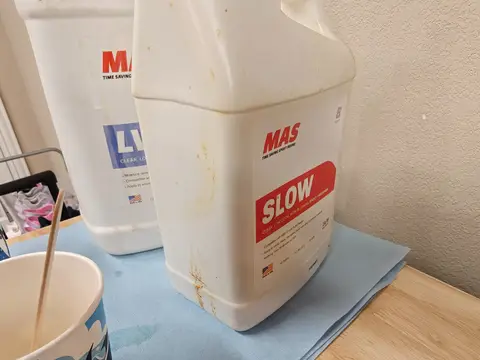
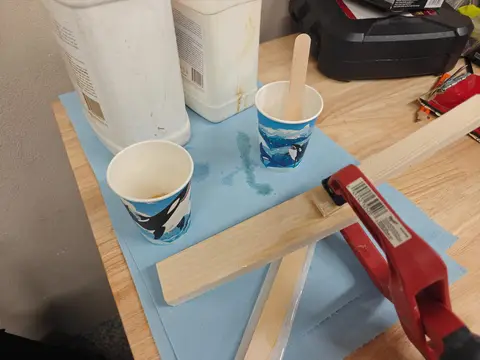
And lastly I got out my old epoxy from my last boat and did a test run, so far it looks like it's working pretty well with our hot temperatures here it was hard in less than 30 minutes and tomorrow I will check the strength of the two wood pieces that I put together.
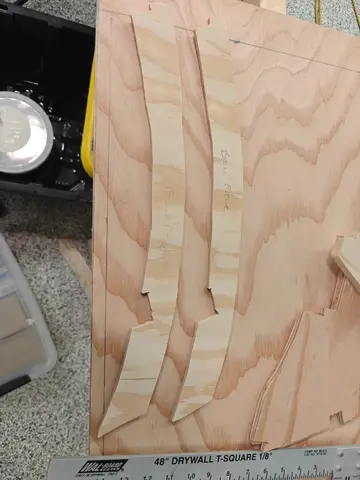
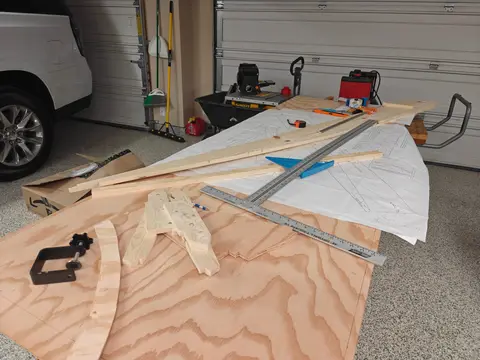
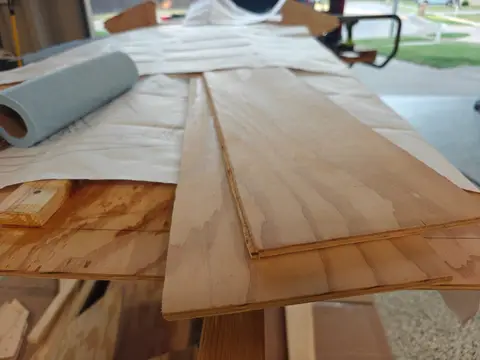
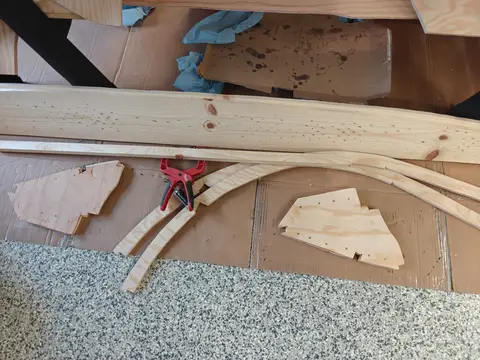
I only had a short amount of time today to build so I put together the pieces for frame one and I beveled the 30° on the side planks. I honestly could not find a good way to get the 30°, I thought about the table saw I ended up using a skill saw but I found it was not the best option. I ended up pulling out a block plane and eyeballing it
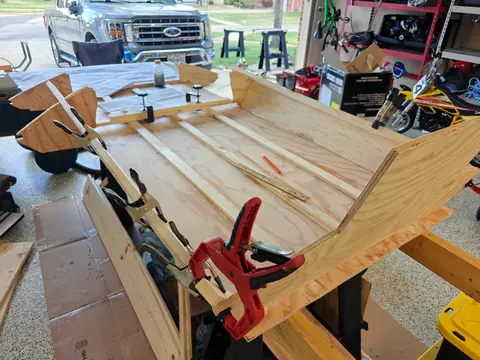
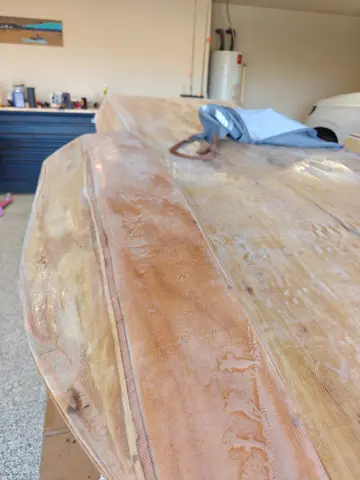
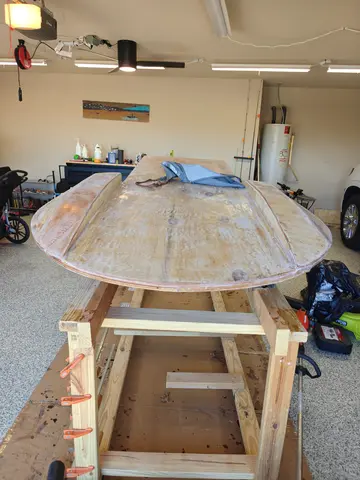
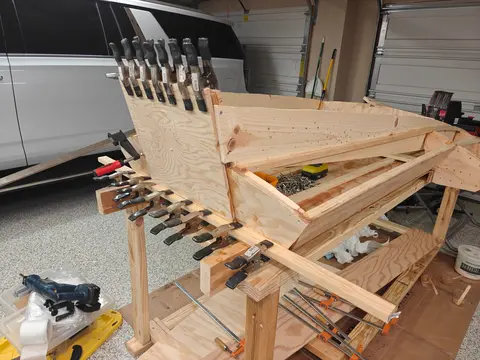
I didn't do much today other than removing all the clamps and lightly sanding and cleaning the interior. I still have the dash and one more piece to mount before I start to Glass tape the inside. Then I have hours of sanding before I can get to the top deck.
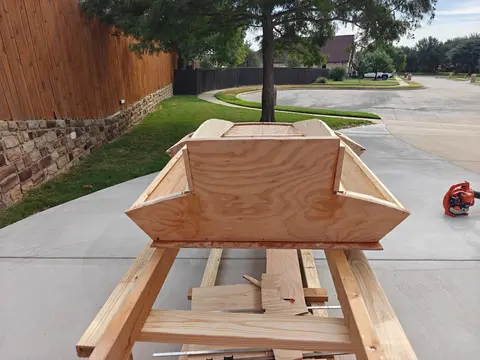
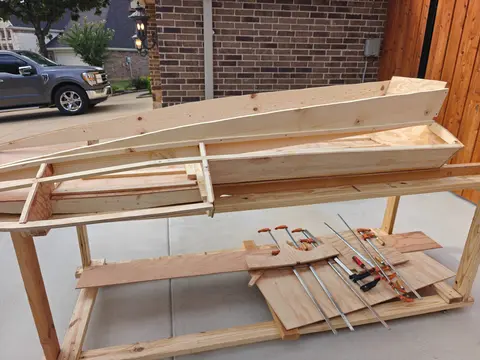
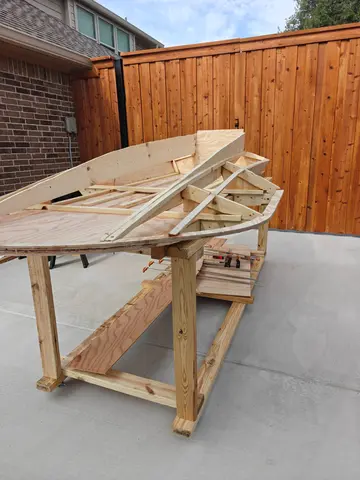
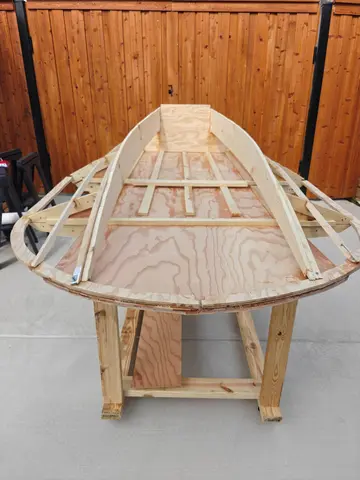
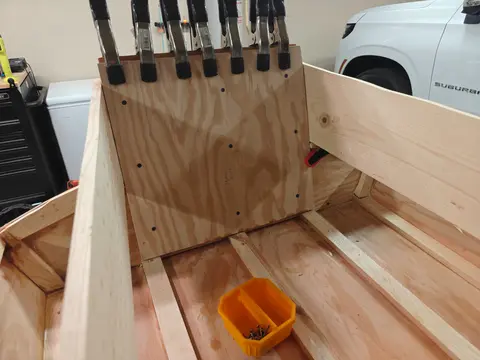
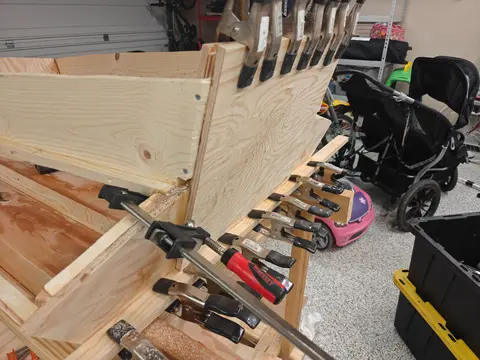
I got the two transom boards on, one goes behind the transom and the other goes in front of it in the cockpit area. I put a ton of epoxy on both sides and then held them together while I glued the other one and then once I had both of them together I drilled six screws through them as well as a bunch of clamps. Before I did any of this though I put on the transom block as shown in the drawings I will cut it later. I was feeling lazy tonight.
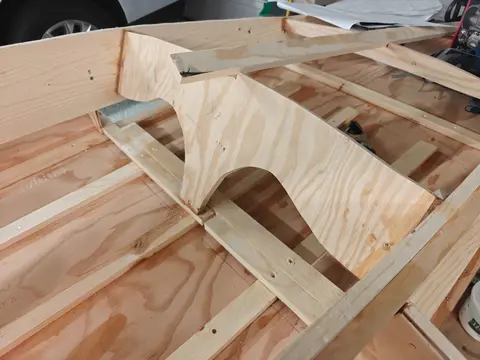
Also as you can see I have mounted the dash. Now when I was fitting this a week or so back I ended up cutting it about 2 in short right in the middle...
Build Log: Power Tools and First Fiberglass
Sanding Day
Today I finally started using some of the power tools.
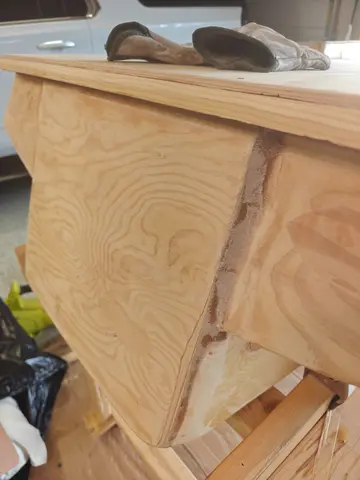
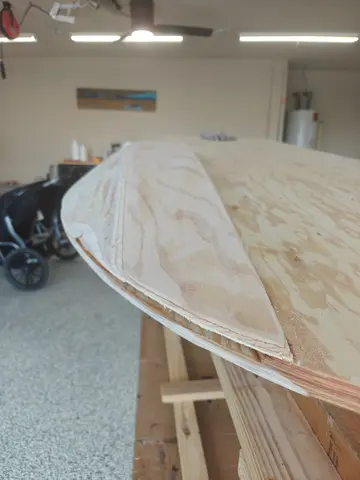
I took the boat outside and used the belt sander to knock off a lot of the rough edges. I evened up the coamings on both sides and did my best to even up the transom, since there was about a quarter inch gap on one side.
My 5" orbital sander was acting weird, so I tossed it and went and bought a DeWalt. This one should last me 20 to 30 years. I also picked up a bunch of 50 and 80 grit paper for both the orbital and the belt sander. I knew I had to move a lot of wood,...
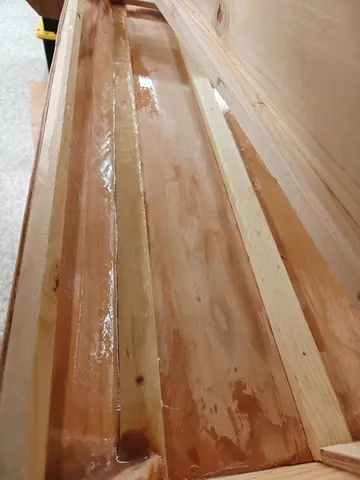
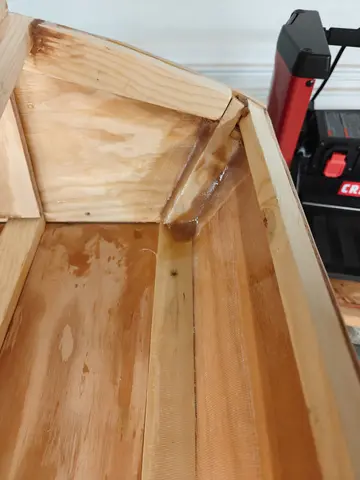
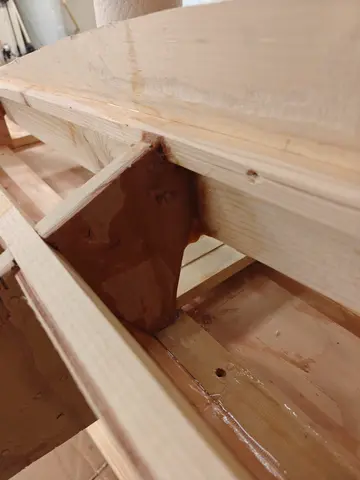
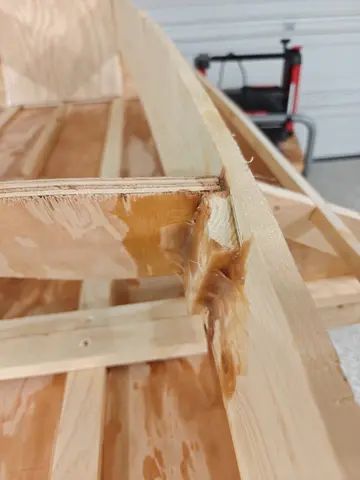
I did a light sanding today in preparation for the second coat of epoxy, I will try and get it in tomorrow before the rains. If I have time I might start to try and cut the top panels as well.
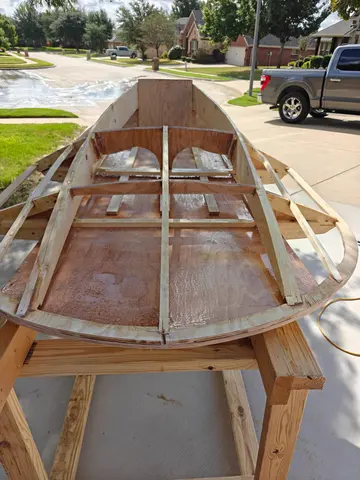
Got to do some more sanding, and some filleting for all of the angles that don't come out very smooth.
I've decided I want to flip it and glass the exterior before I work on the top. I am going to try and get some remote steering for the outboard, and I don't want any panels getting in the way of any hardware attachments that I need to work on.
So as you can see I've just been filling up the holes and preparing to flip it over.
And I thought I would take a picture of all of my sanders that I have used, each one of them has its own specific purpose.
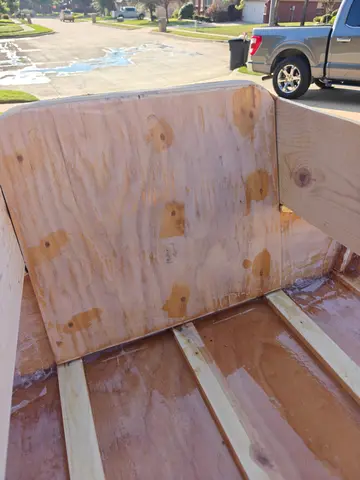
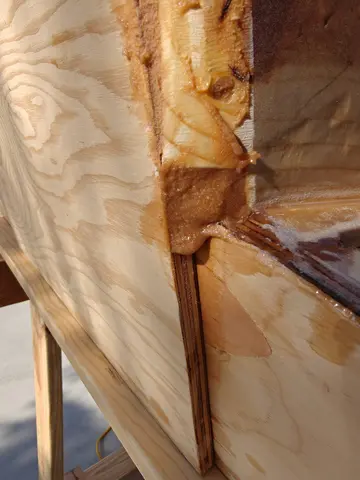
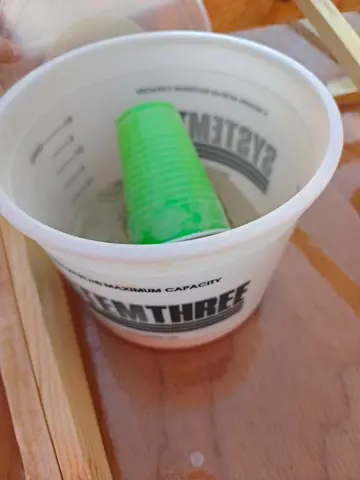
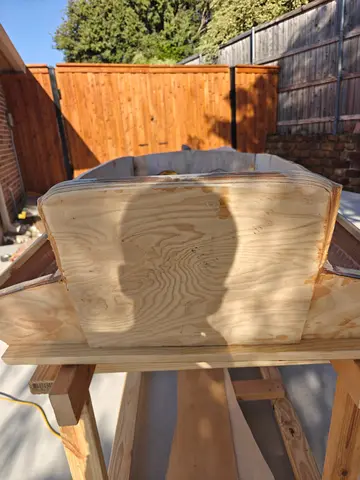
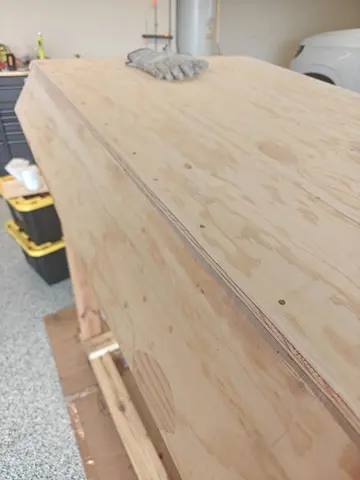
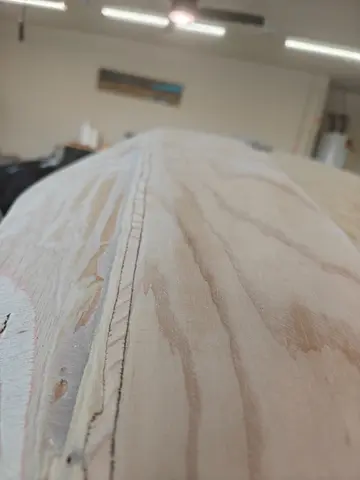
Got a little bit of sanding done today. Today was mostly the rough sanding so I used a belt sander with 80 grit just chopping up the wood. It's pretty smooth all around, there's some areas where I have to fix with more epoxy and then resand but overall it's looking a lot better.