Tiny Titan · step
Hull Exterior
Turning over, keel and skeg, rubrails, exterior structure.
Hull Exterior on every boat, not just the Tiny Titan →
Cutting the 1/2-Inch Plywood Pieces
I spent a couple of hours today cutting out all of the 1/2-inch plywood pieces. There really wasn't anything too complicated about this step, other than making sure to use a steady hand with the jigsaw and stay as close to the lines as possible.
I went back and forth between using a pencil and a knife to transfer the outlines through the transparent paper and onto the plywood. I'm still not sure which method I prefer. Both seem to work, so I've been switching between them depending on the piece.
One thing that is important is to pay close attention...
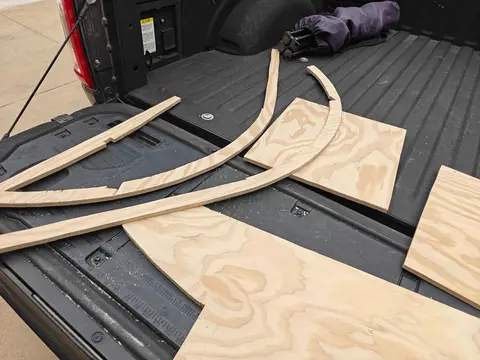
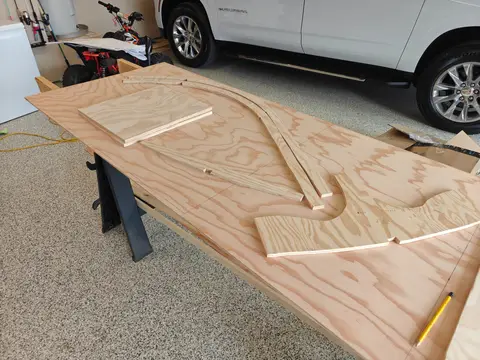
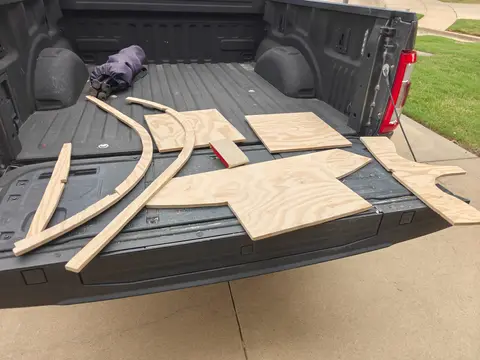
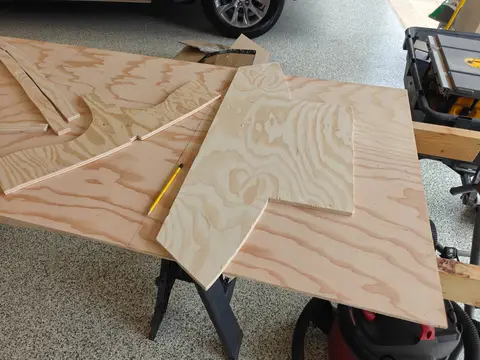
Day's Progress: Frames and Bottom Mounting
Today's goal was to build the frames and start mounting everything onto the bottom planking.
Runner Chines
I started by getting the runner chines mounted on the bottom. This wasn't too difficult, though I wasn't 100% clear on the plans. The instructions say to mount the runner chines from frame number one forward on both sides of the outer edges but the line drawn on the plans is actually for the aft piece of frame one, which is where I placed the back of the runner chine (see photos). I wasn't sure if I was supposed to add the width o...
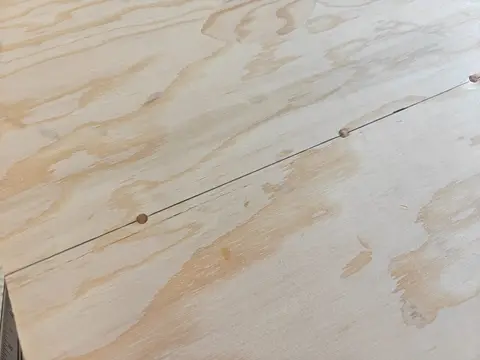
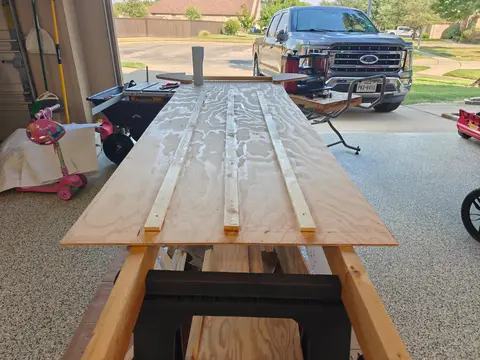
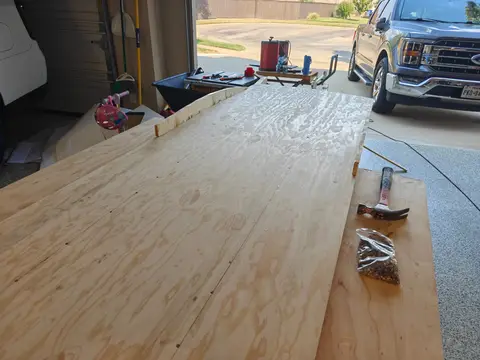
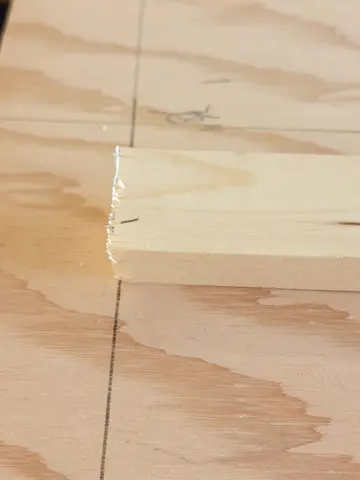
It was a frustrating day. I'm still very much at the point where I'm trying to understand the plans, and the photos in the manual are many years old, low resolution, and hard to read. The best thing has been going online and looking at other people's builds. Photos help, but descriptions and step-by-step notes are much more useful.
What I got done today
Bottom planking cutback. I realized I'd forgotten to cut the sides of the bottom hull panel after frame 2. From frame 2 all the way back to the transom, you're supposed to trim off about a half inch on each side. Not a big deal, I...
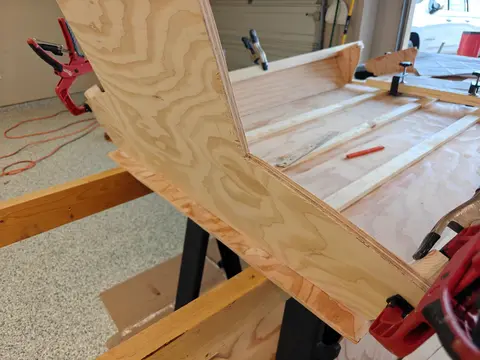
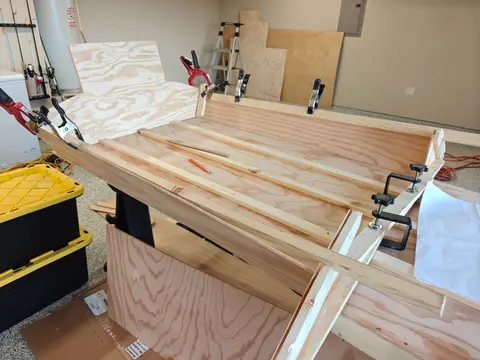
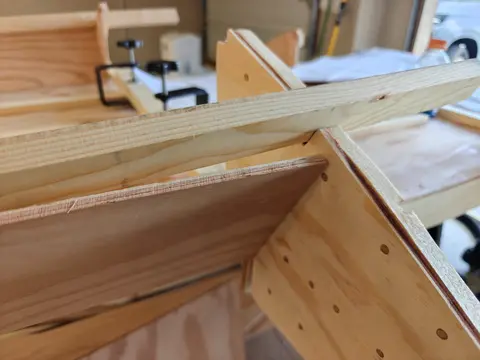
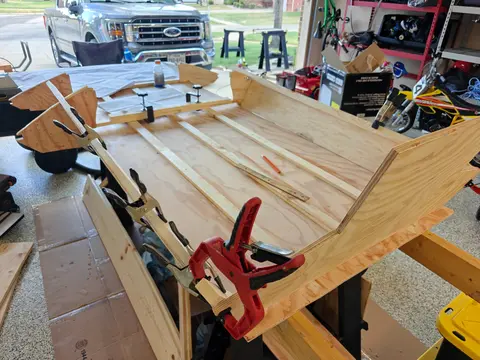
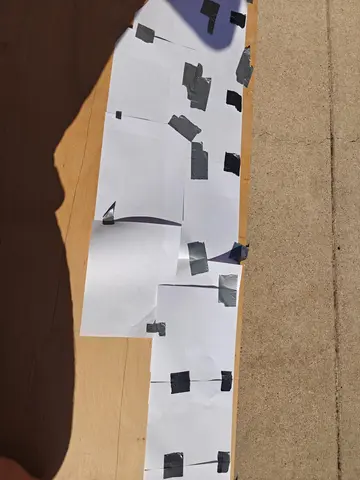
Today I cut out the side panels from the 1/4 plywood sheet. I know my method may not look the best, but I am proud of it I think it worked out really well actually.
I basically just kept putting regular sheets of paper along the exterior and taping them as I went, and then when everything was done I took that long sheet of paper and moved it over to the plywood to start tracing.
It actually fit pretty well, I might make a few trims here and there but it is more than good enough for the first run. All of the edges that touched the coaming we're within 1/8 in or so correct. Everything el...
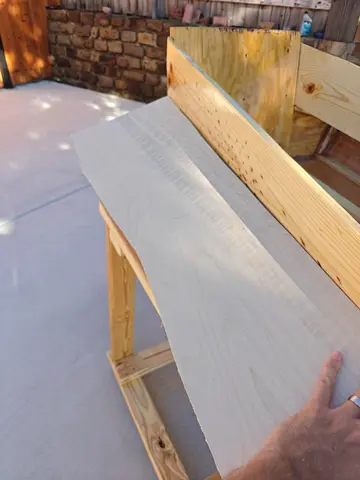
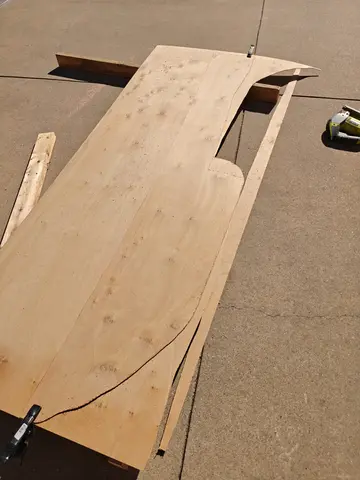
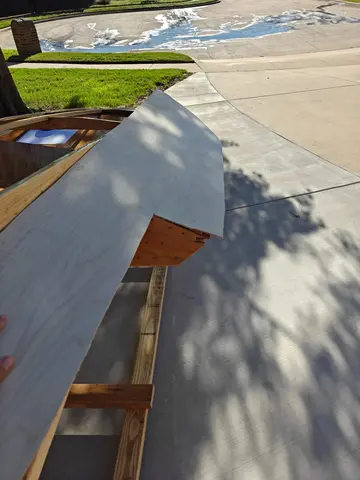
Okay I finished adding the 1/4 in plywood to the bottom of one of the sides. I used a lot of screws and a lot of thickened epoxy to make sure that it sticks pretty well. I will do the other side in a few days and then once they're both ready I will do a rough sand to get them ready for glassing.
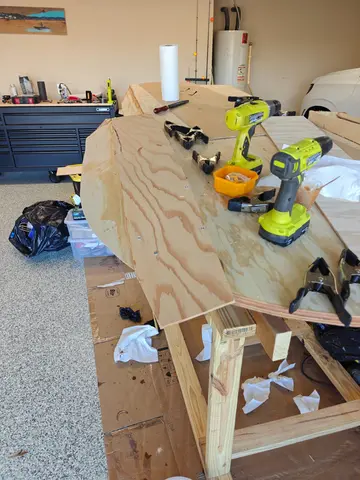
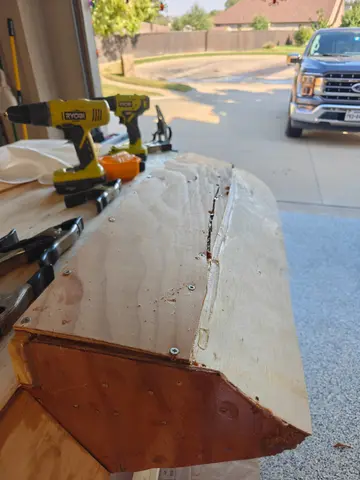
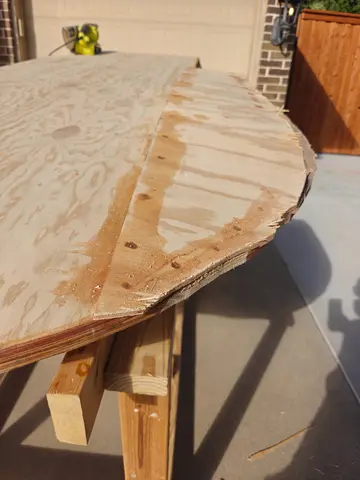
Finished gluing on the other bottom plank. Lots and lots and lots of sanding to do, as these are very rough cuts.
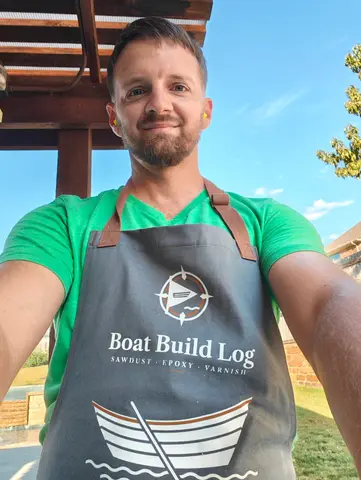
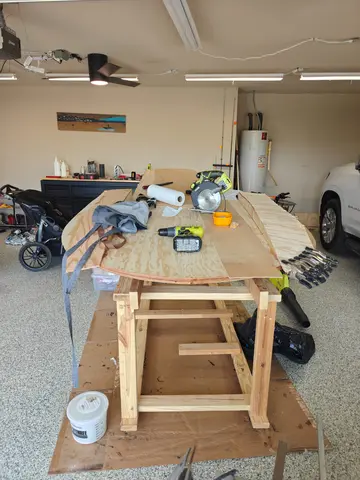
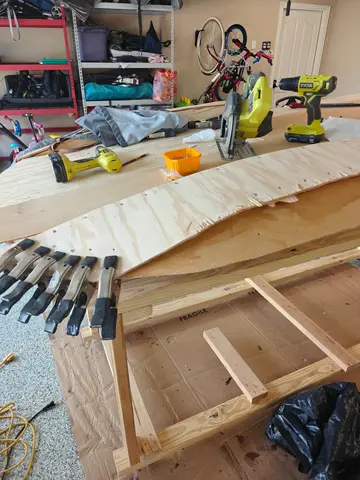
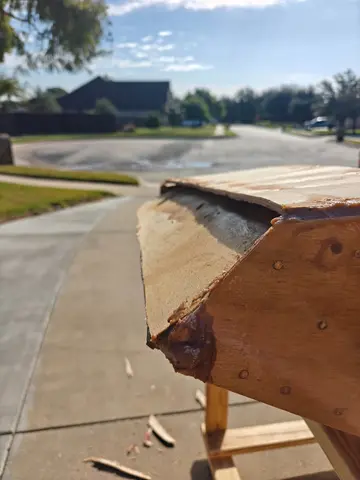
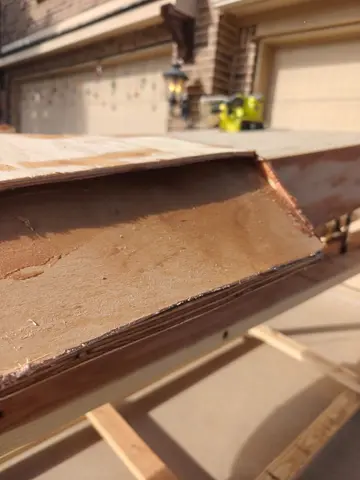
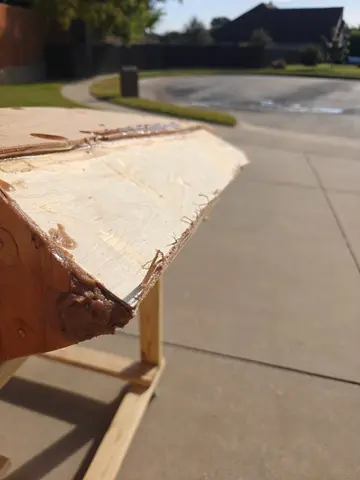
So I'm showing the rough edges on all of the bottom of the hull. As you can see there's lots of mistakes, lots of Gap, lots of overlap, and lots of sanding to do. This will be a multi-day sanding project as I will start with 60 grit or 80 grit on the belt Sander and then work my way to about 120 to 150 grit to prep it for fiberglassing.