Giveaway: refer the most builders by October 30 and win your pick from the store. How it works
boatbuildlog

Deluxe Runabout · restoration

Ms Behaving

by Alan Wardsworth · Spokane Valley, Washington · Message Alan Wardsworth

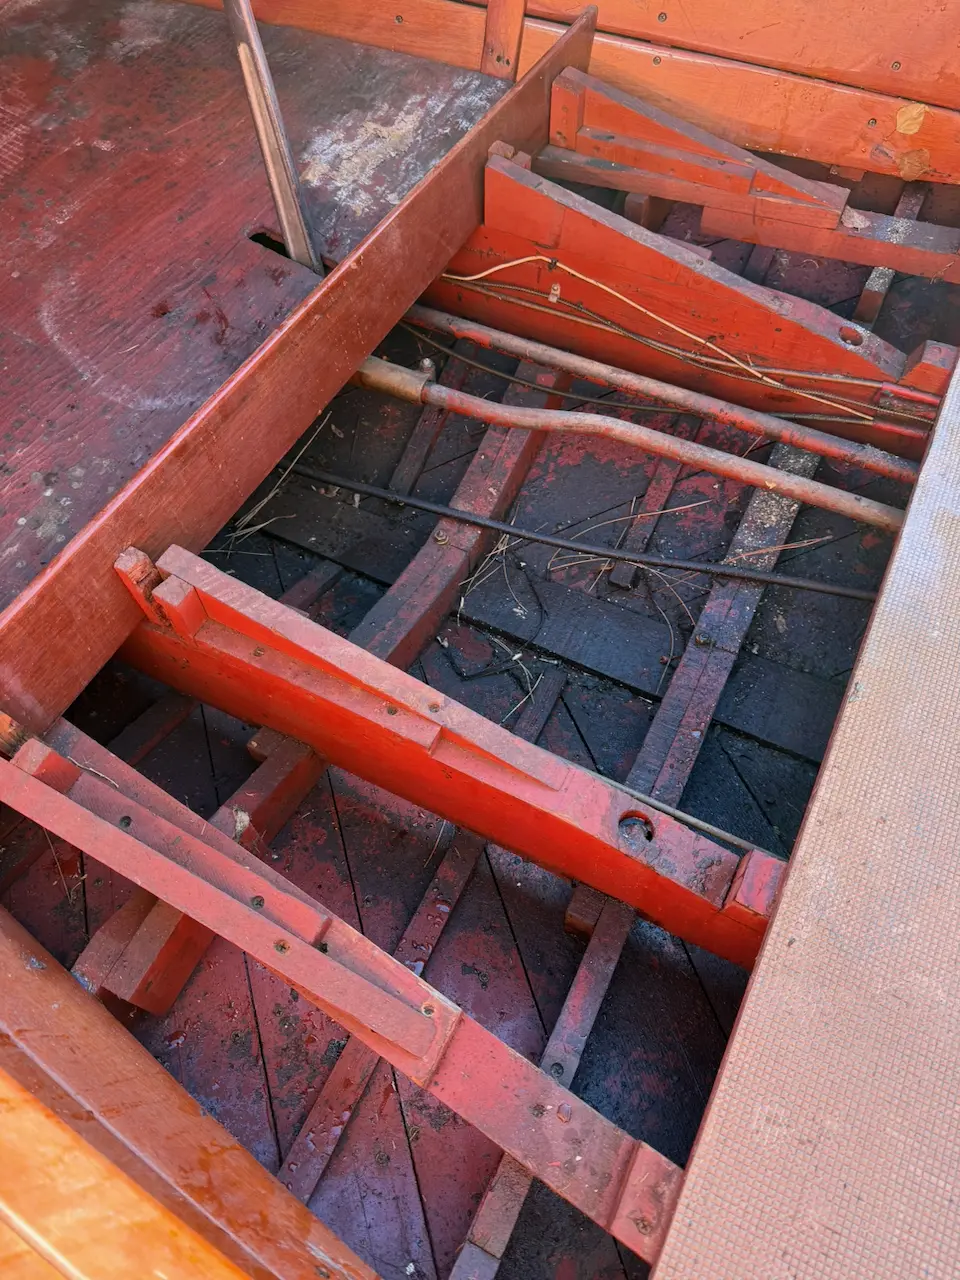
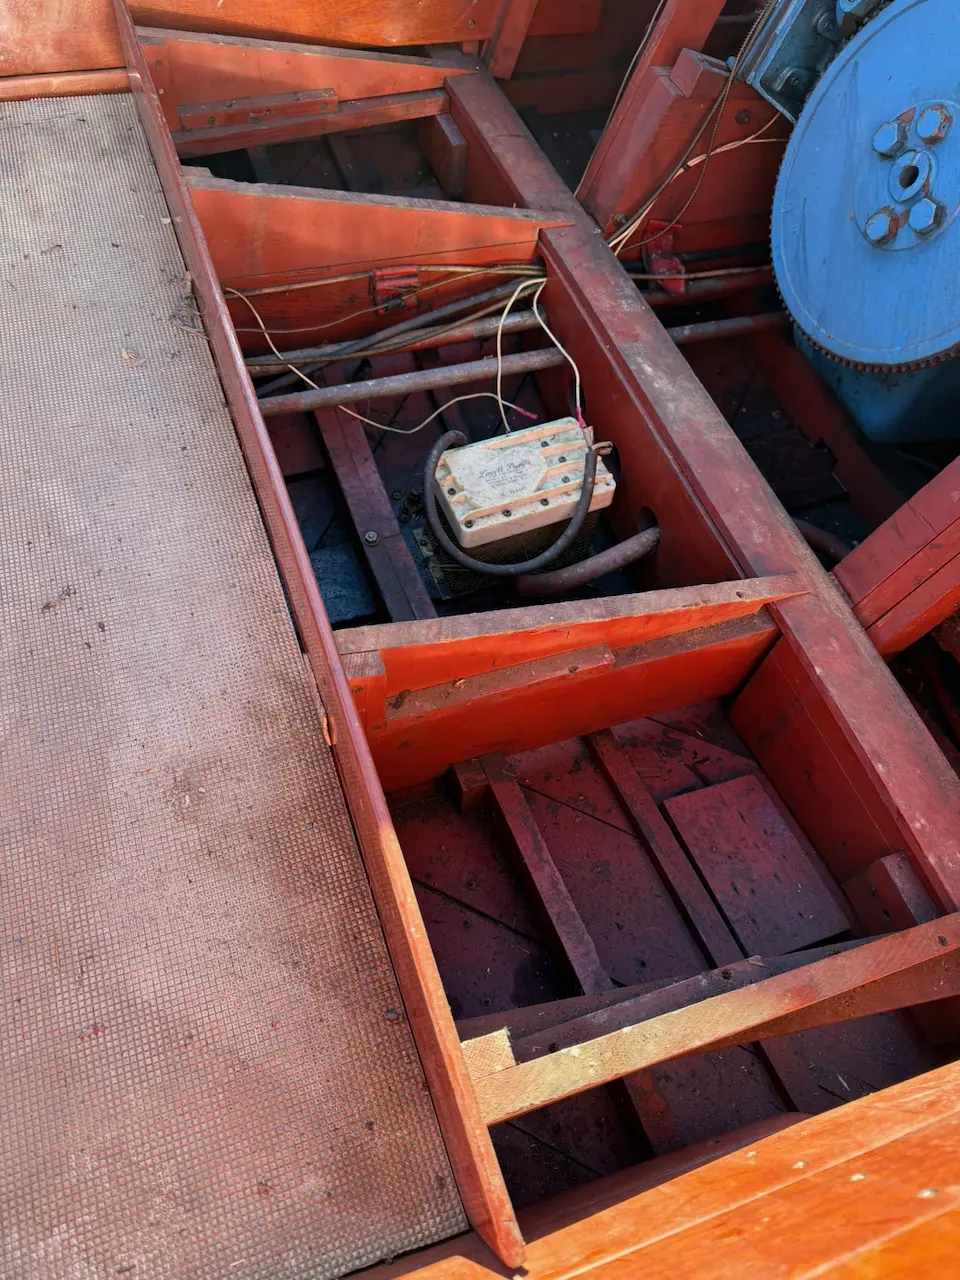
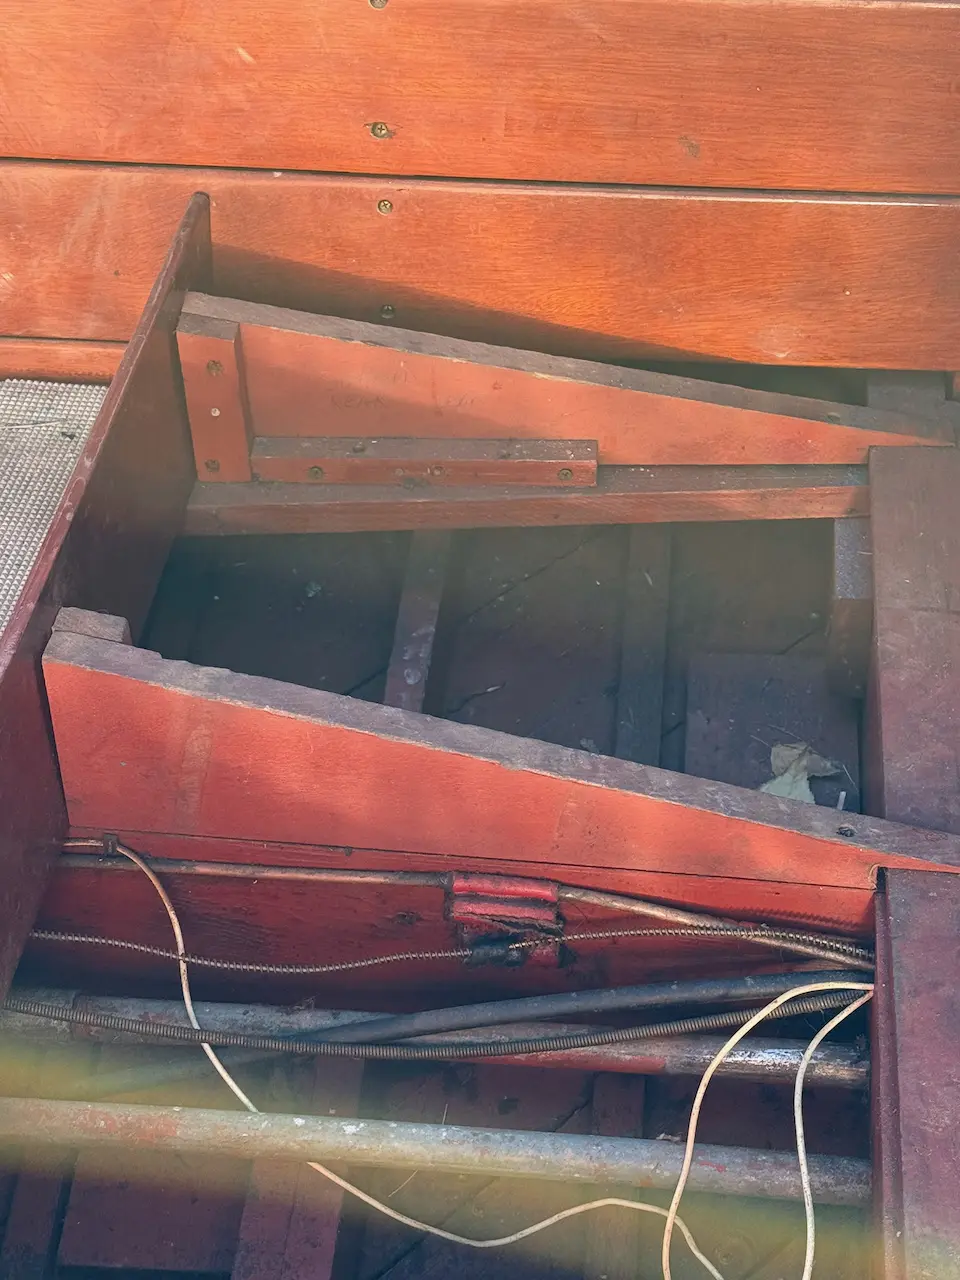
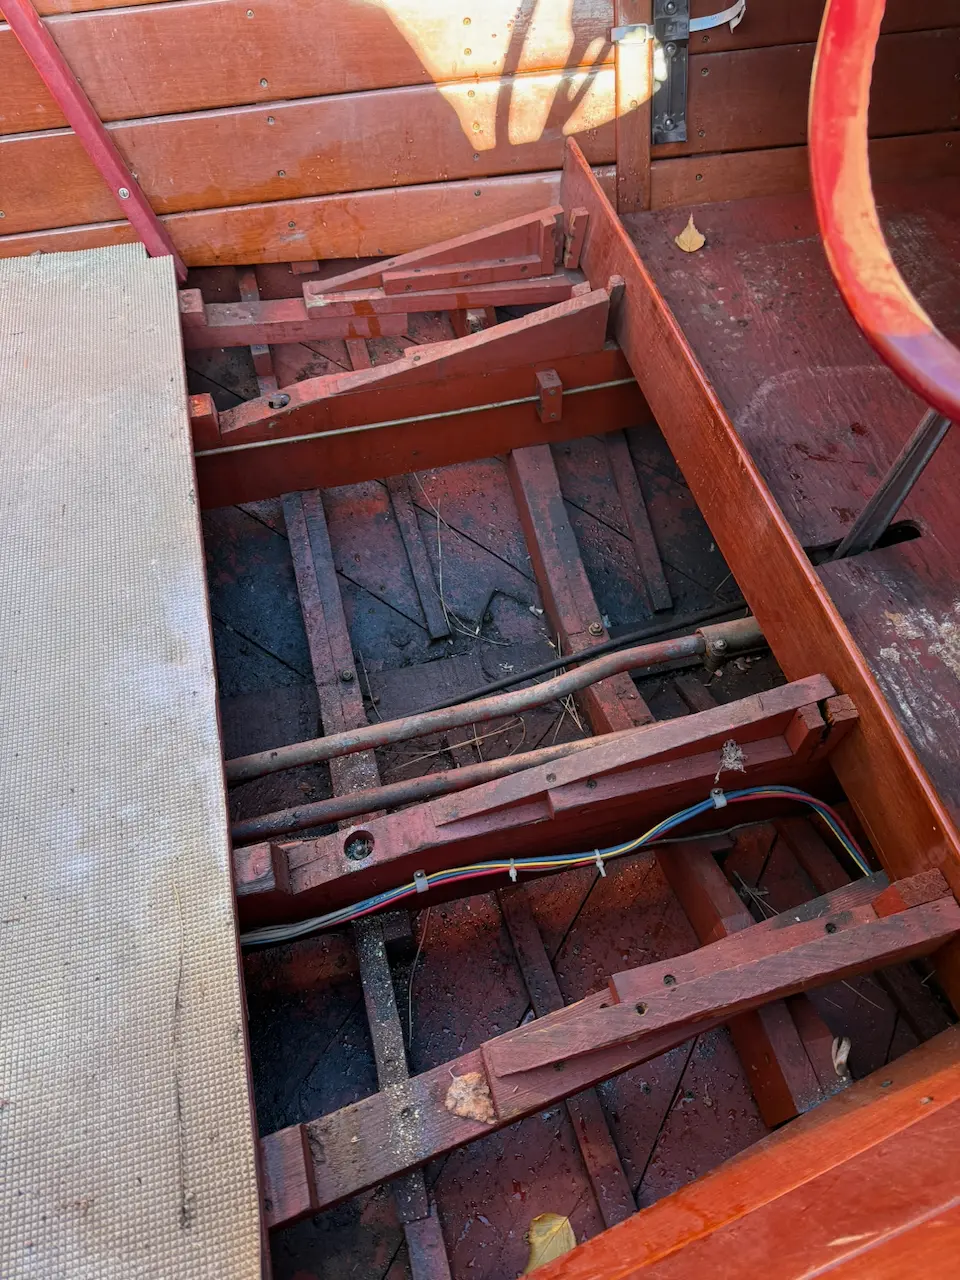
Barn Find, been in storage since 1976.

Make a book Feed The whole log, 7 entries and every photo, laid out as a book to print, bind and keep.
7
Entries
64
Hours
332
Days elapsed
300
Photos
Oct 2025
Started
Planning & Parts 4 h Link

Pickup

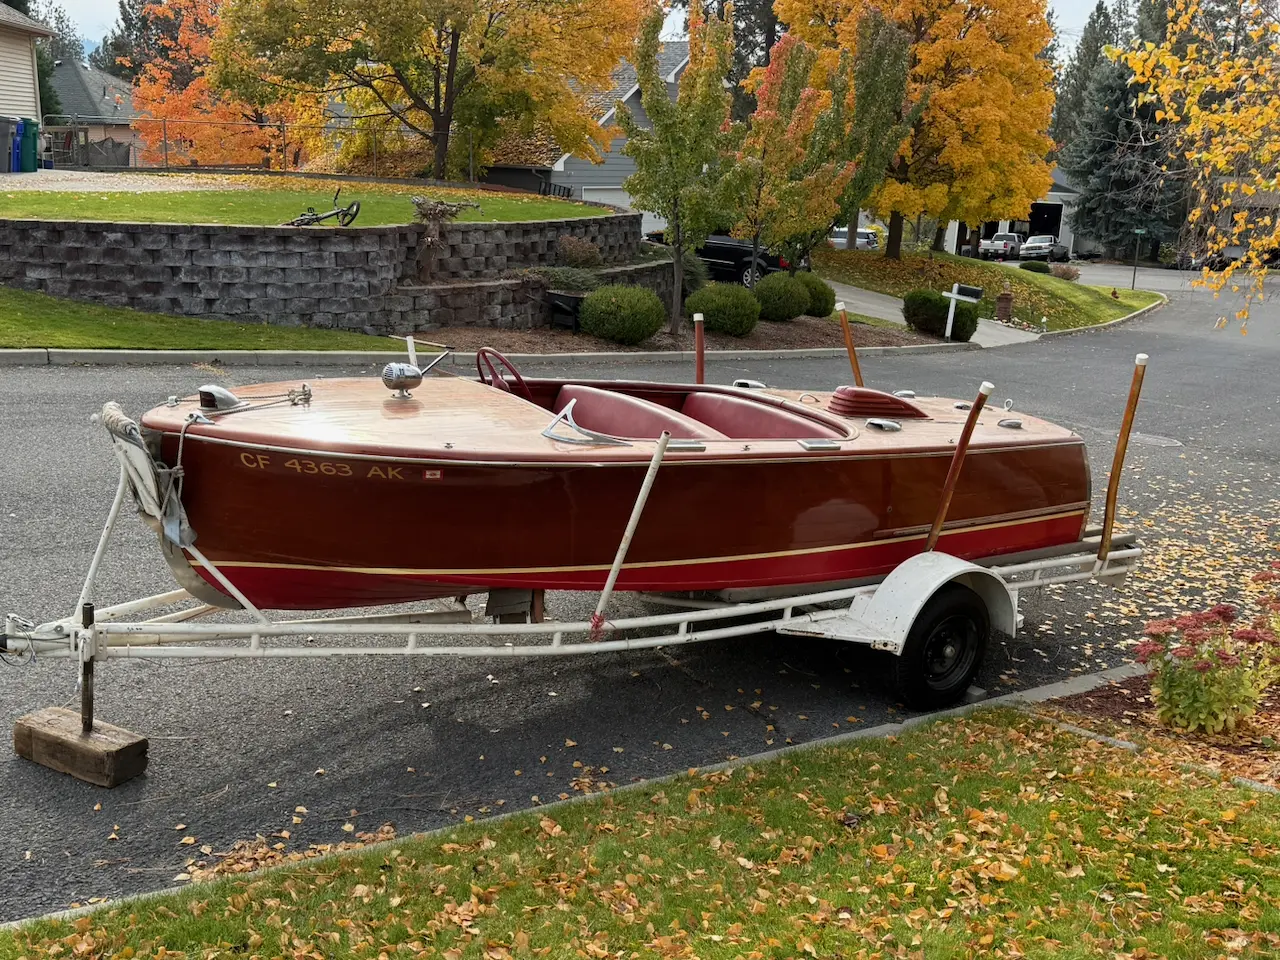
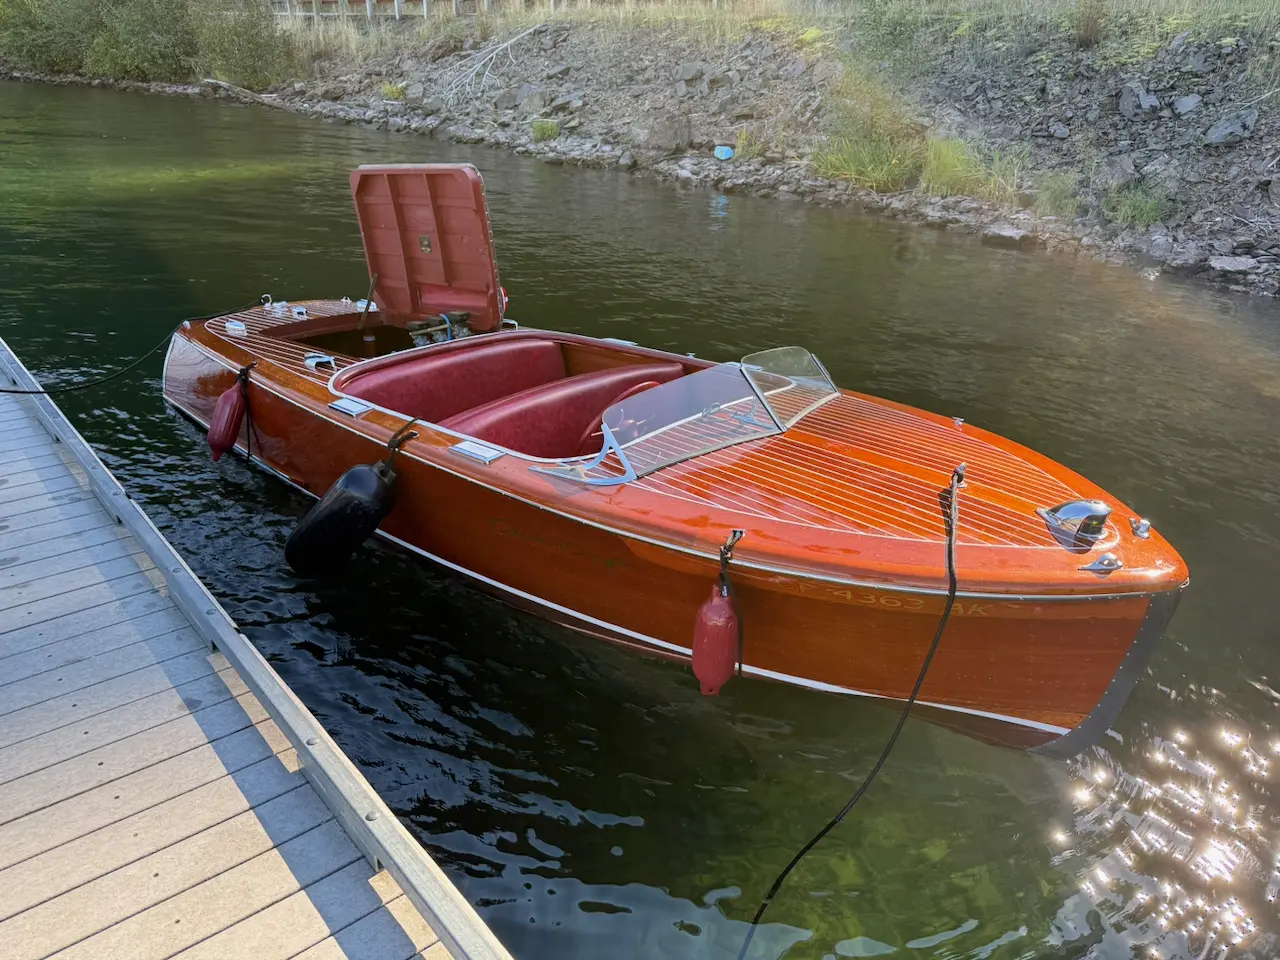
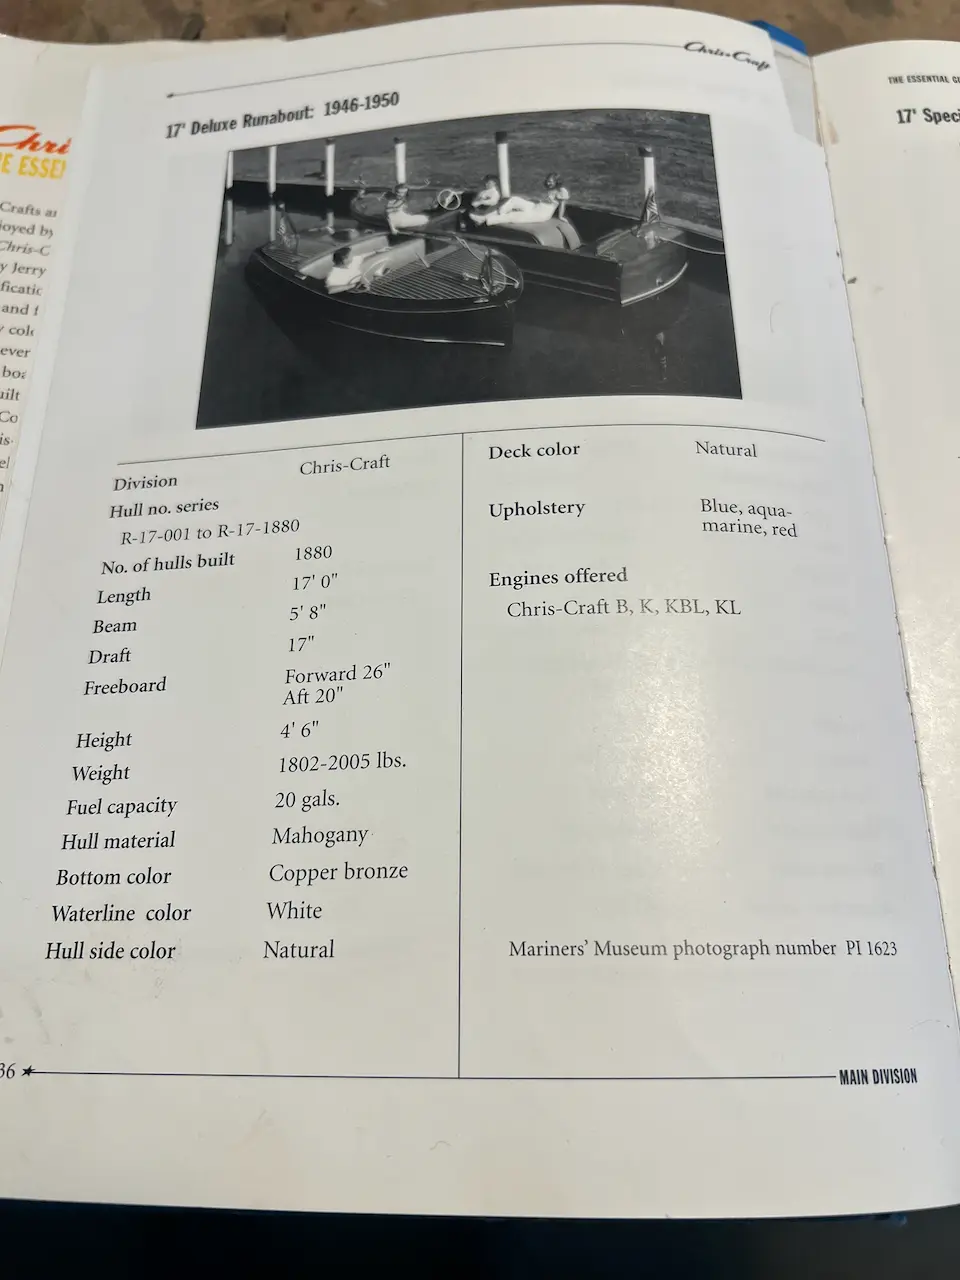
I was doing what boat people do best—browsing Craigslist for trouble—when an ad caught my attention. A 17-foot 1947 Chris-Craft Deluxe Runabout, powered by a KBL 131-horsepower triple-carburetor engine, was listed for sale right here in the Spokane Valley.

I assumed it would be another dreamer’s listing, probably priced well out of reach. Still, curiosity got the better of me, so I emailed the seller. To my surprise, the boat was only four miles away—just nine minutes from my driveway.

Naturally, I had to take a look.

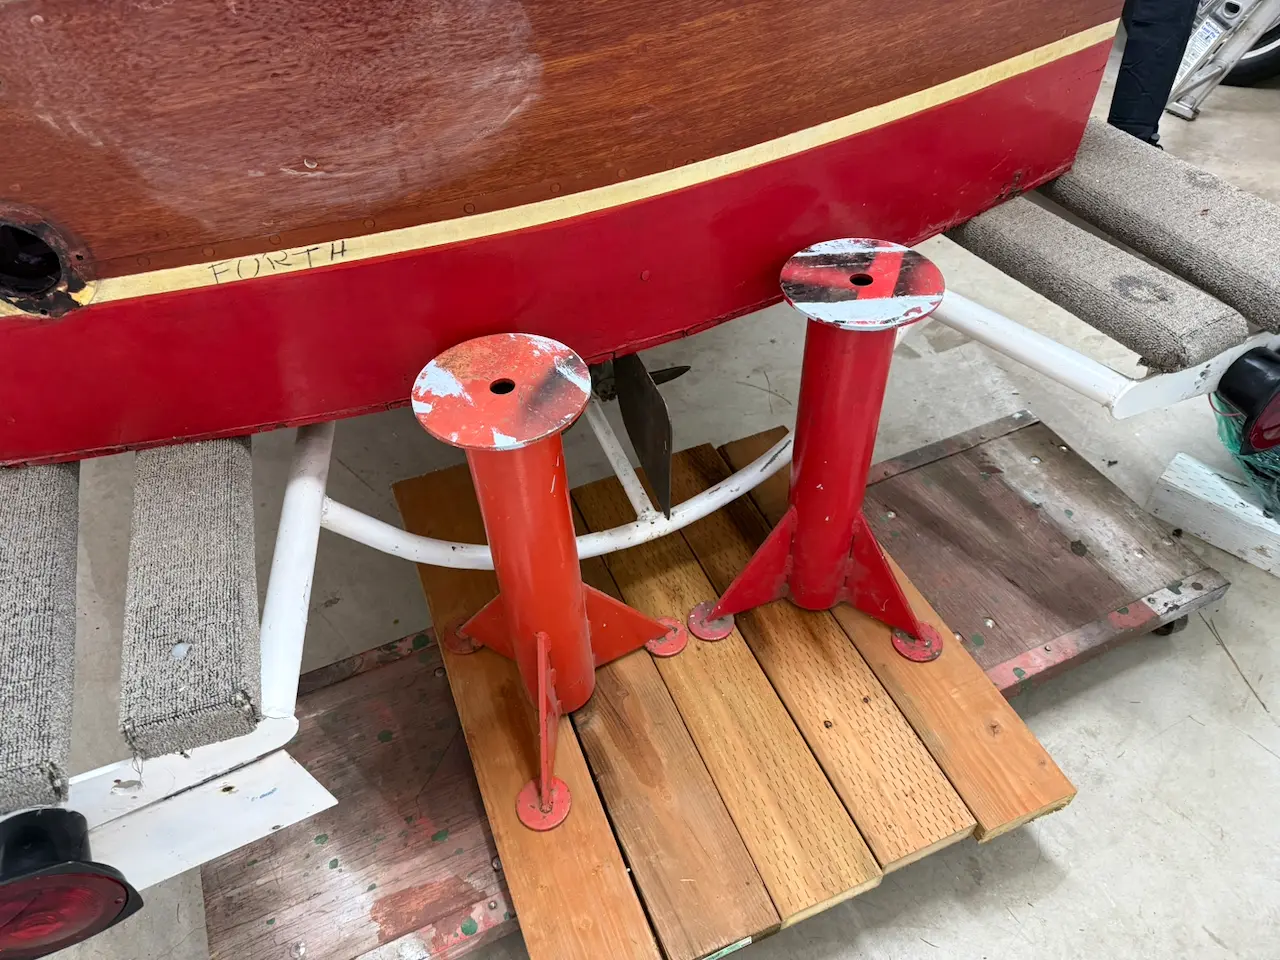
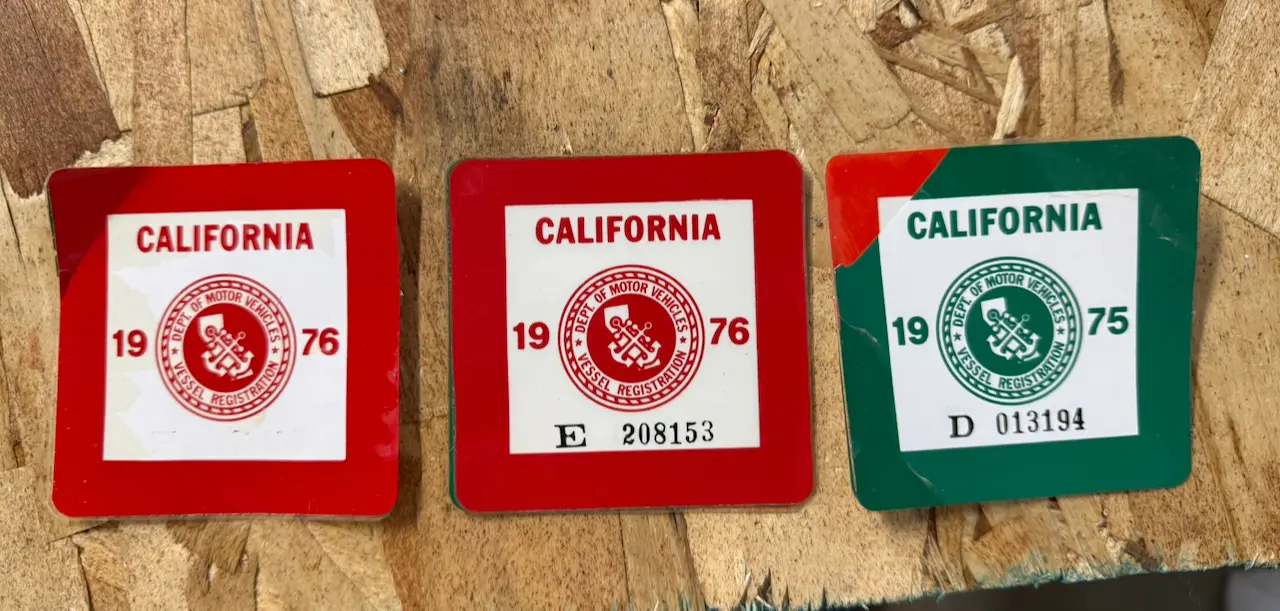
When I arrived, I learned that this wasn’t just any old runabout. The boat had once belonged to the legendary Alan and Virginia (Ginny) Furth collection of Oakland, California. Alan Furth, a noted wooden boat enthusiast, amassed more than seventy classic boats before his passing in 1993. Alan was the President of the Southern Pacific Railroad and vice chair of the Santa Fe Southern Corporation. And the boat was owned by Jordy Carlton (past Tahoe Yacht club commodore and best of show perpetual award in his name for the concourse de elegance) and Joe fray (Stanley Dollar’s mechanic) built the engine. This Chris-Craft was one of those slated for restoration later, but the work never happened. The boat hadn’t touched water since 1976.

The current owner, Mike Davisson, had served as the Furth collection’s marine mechanic for years. He’d hoped to restore the boat himself, but health issues changed his plans. “I just want it to go to someone who’ll be a good caretaker,” he told me.

That word—caretaker—struck a chord. I explained that I was looking for a winter project I could document, share, and maybe even enter in Woody Boater’s “Floater Challenge,” a lighthearted contest to get a wooden boat floating in under three months and for less than $3,000 (not counting the purchase price).

Mike smiled, and before long, we had a deal. I left a deposit, promised to return after vacation, and headed off with visions of varnish and mahogany dancing in my head.

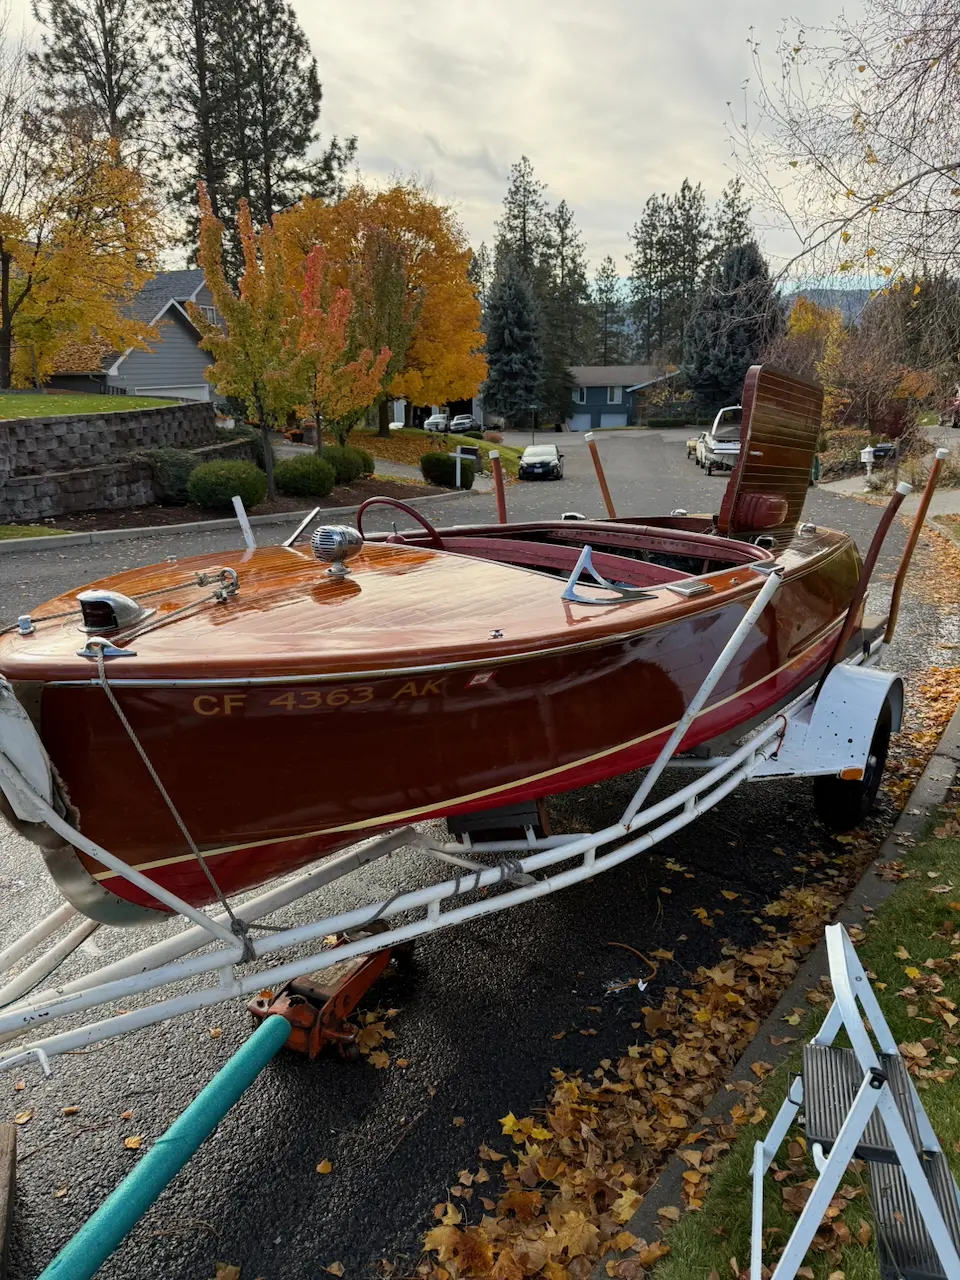
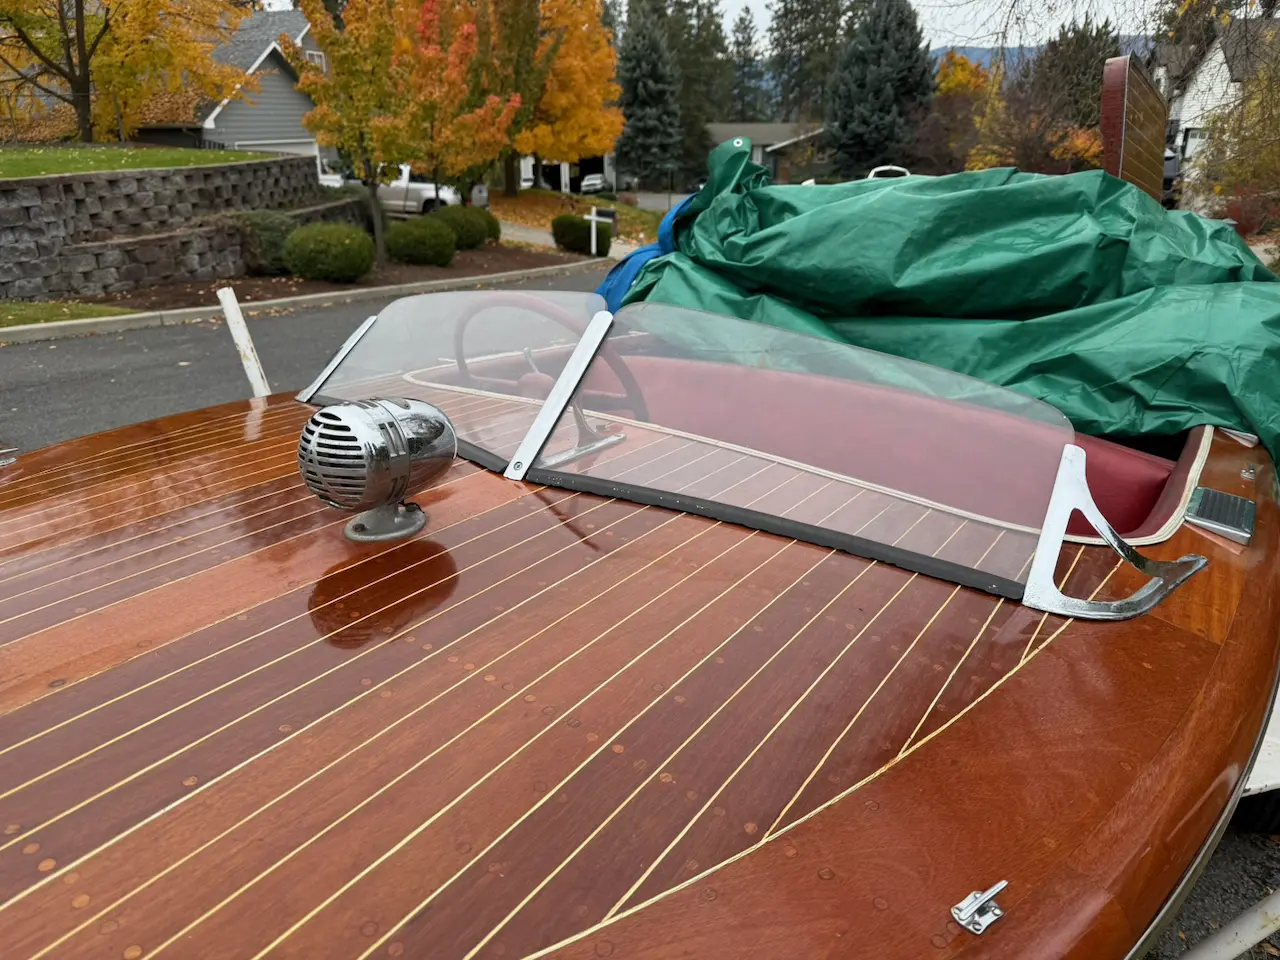
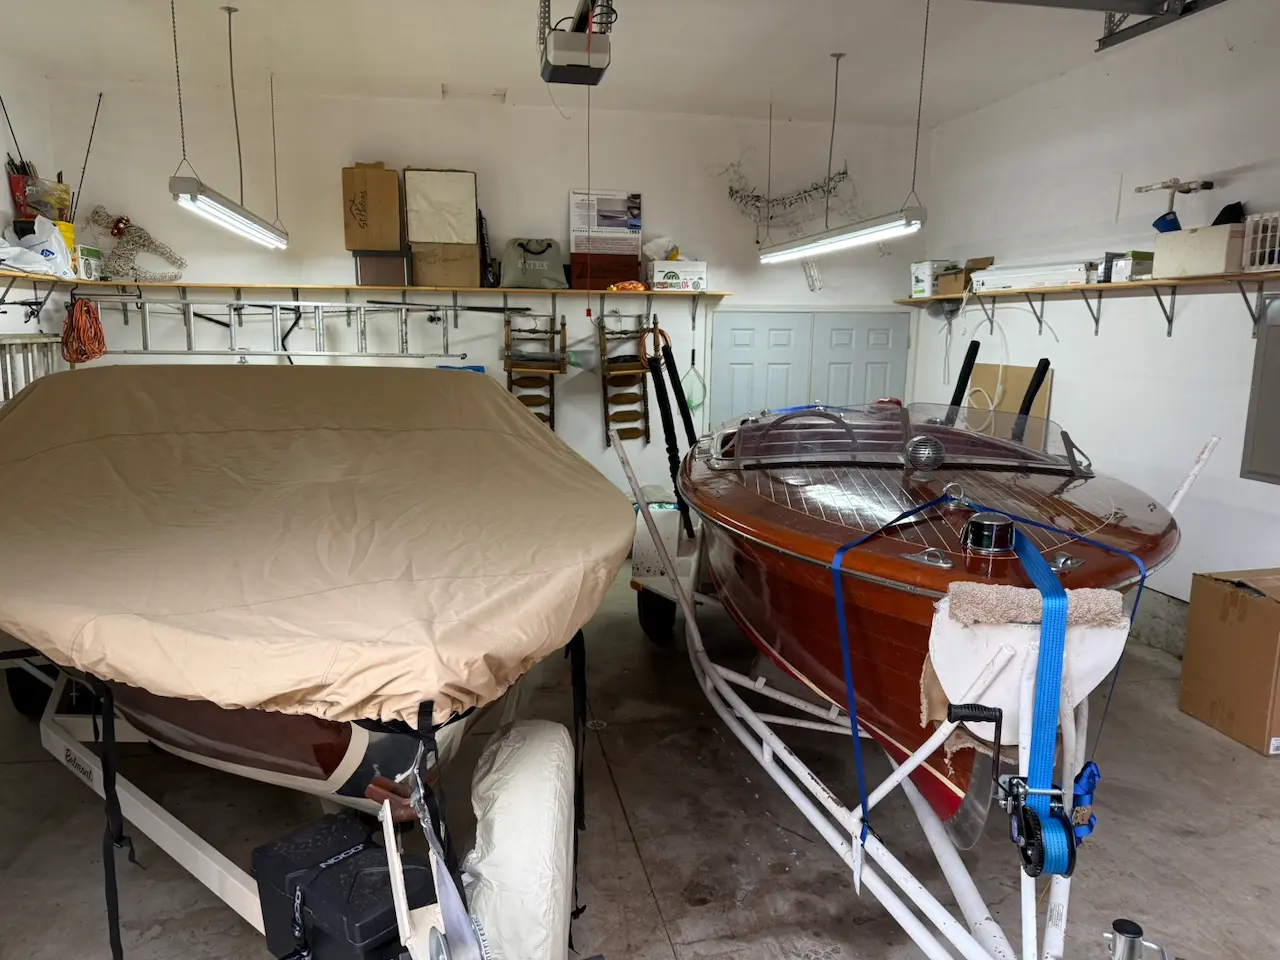
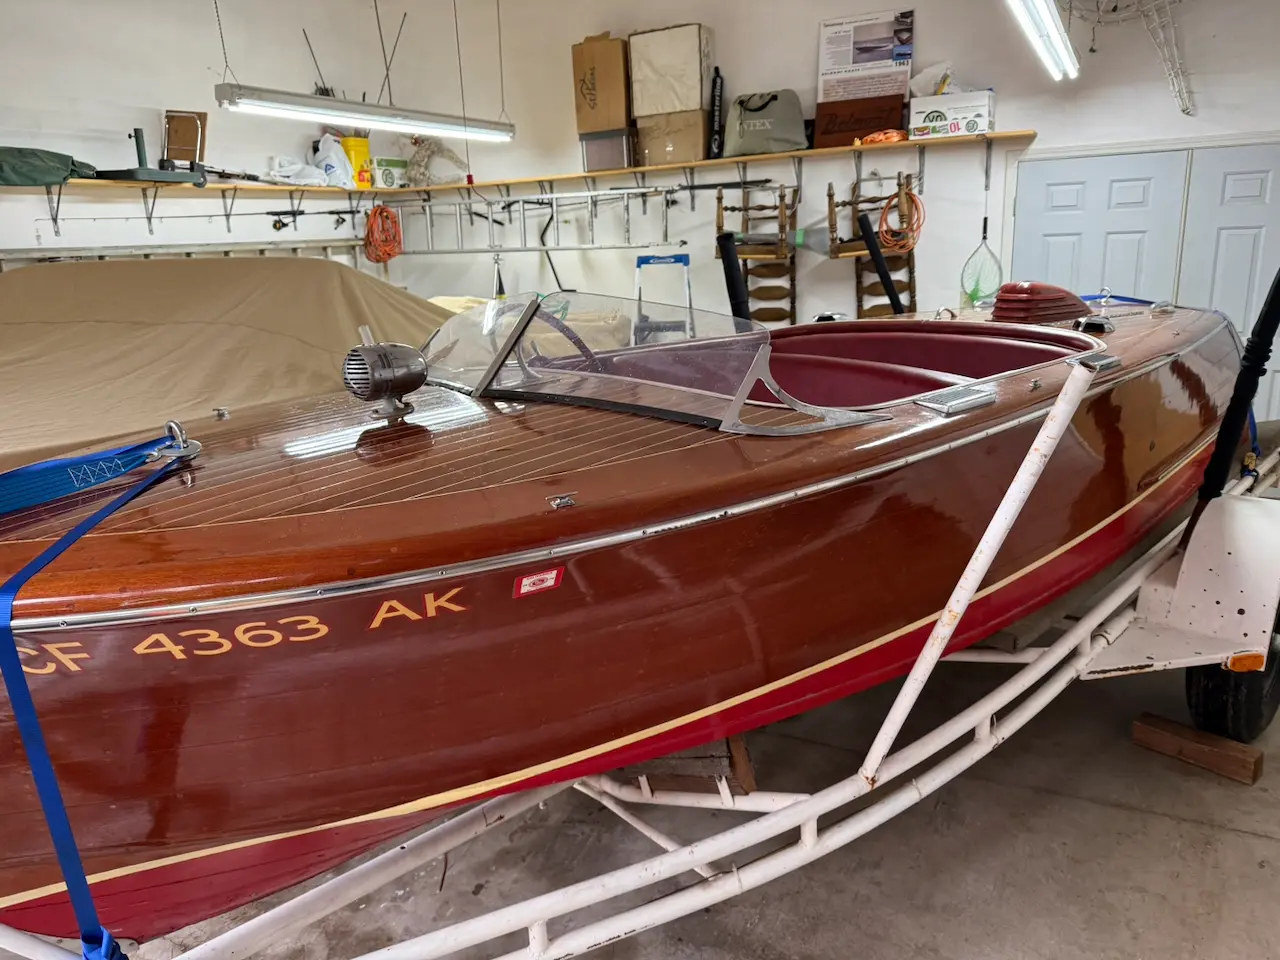
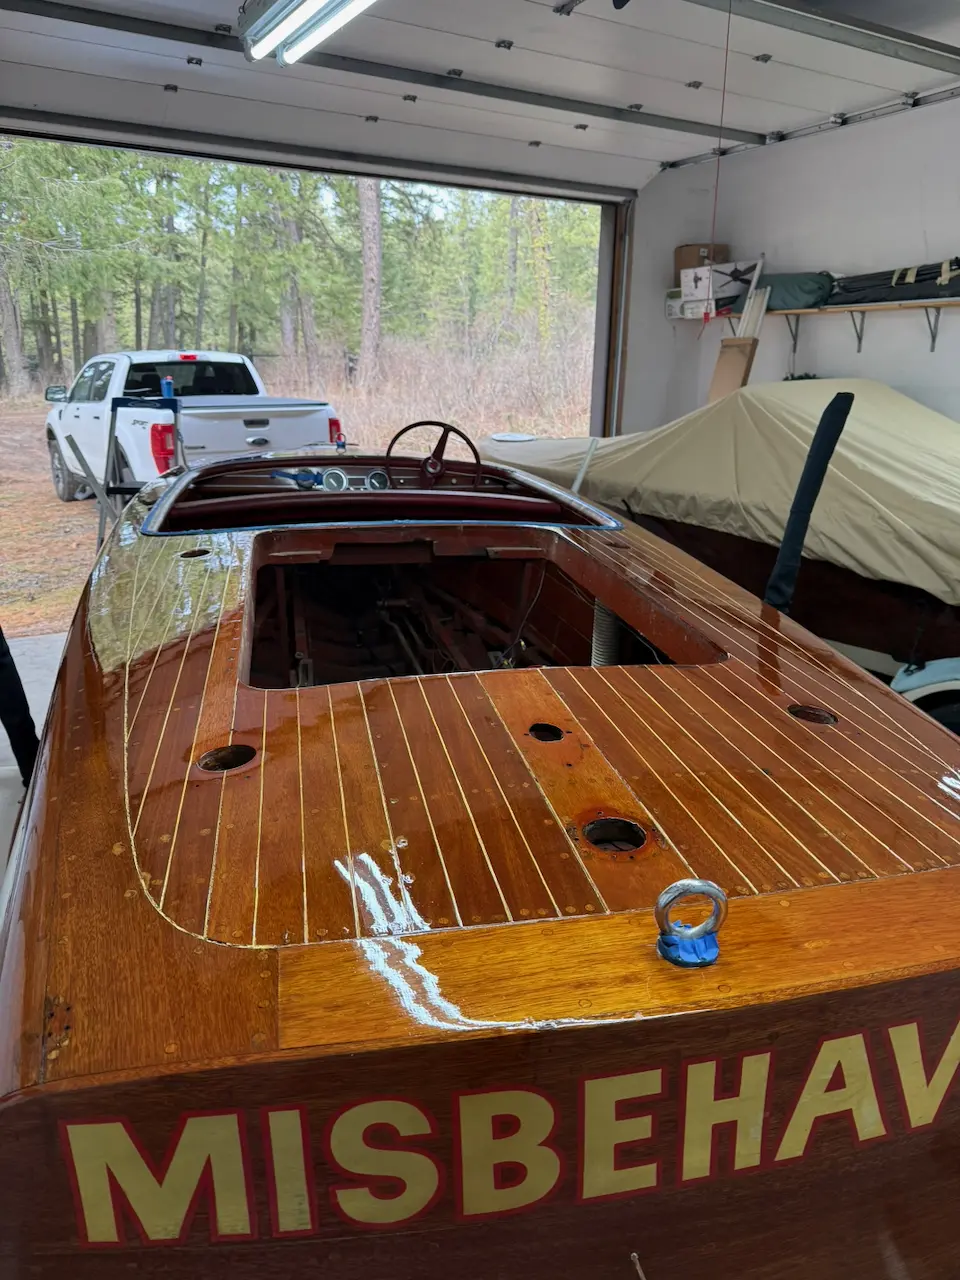
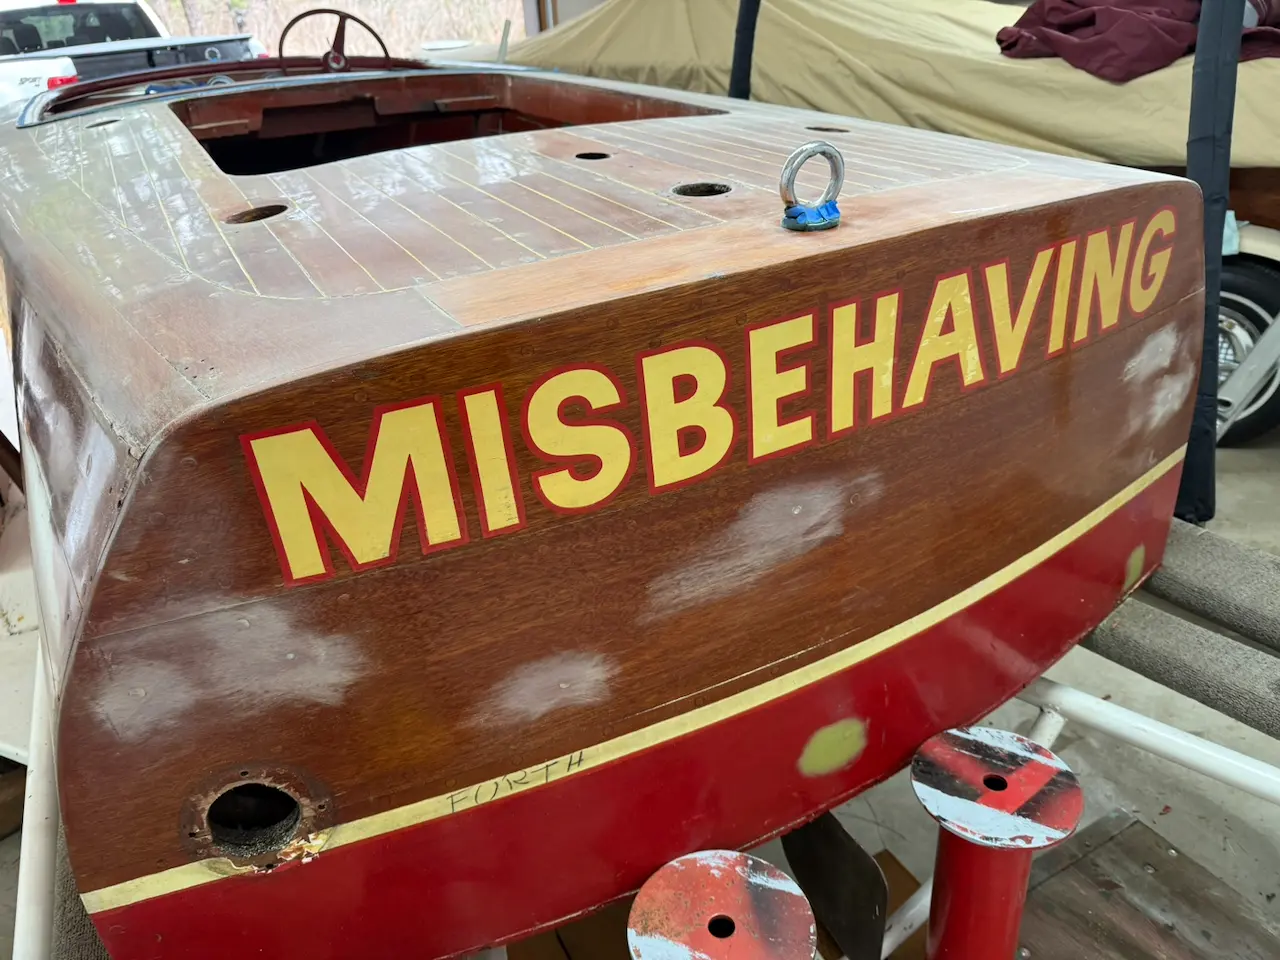
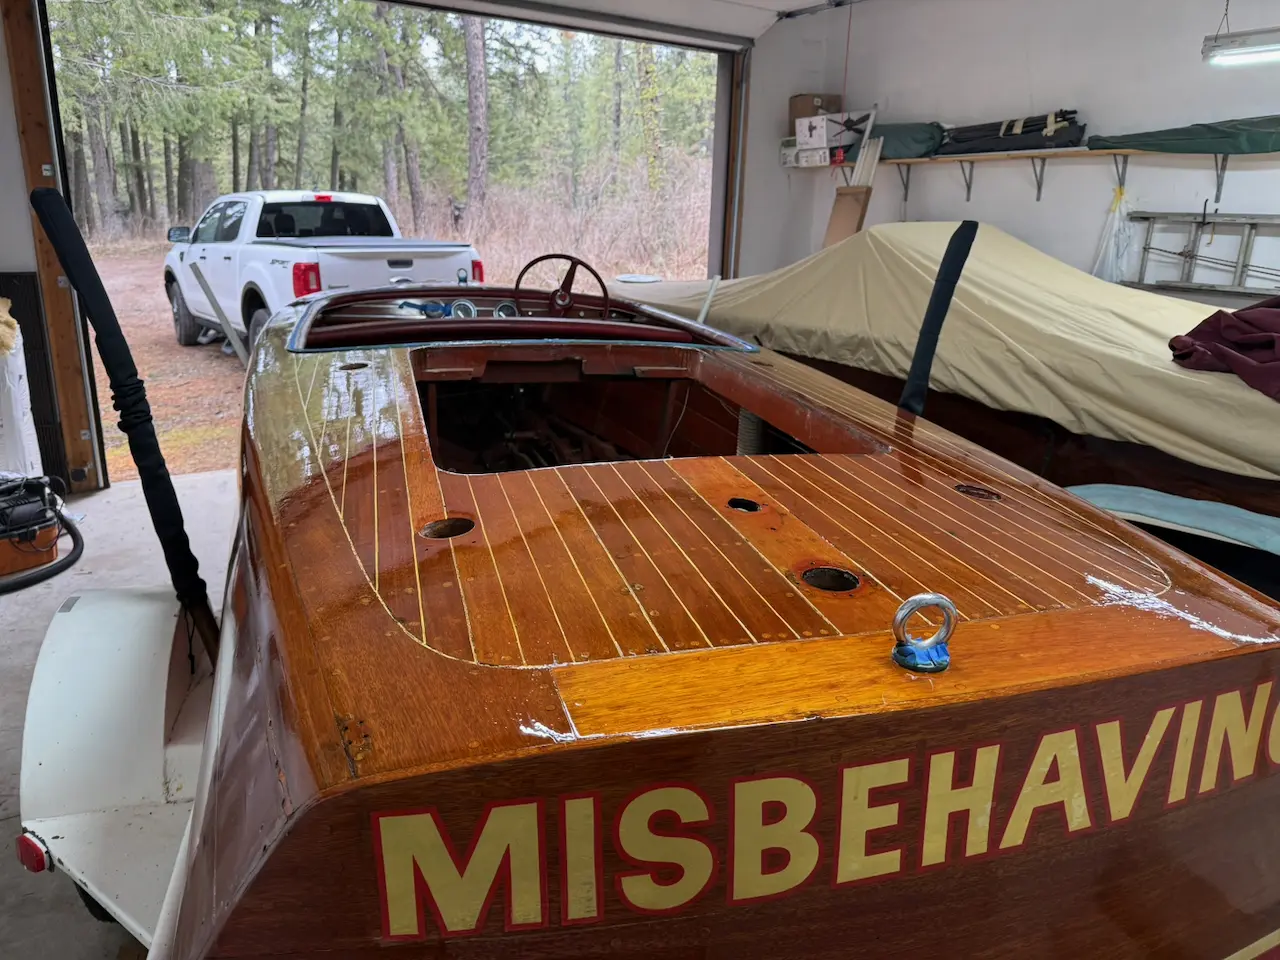
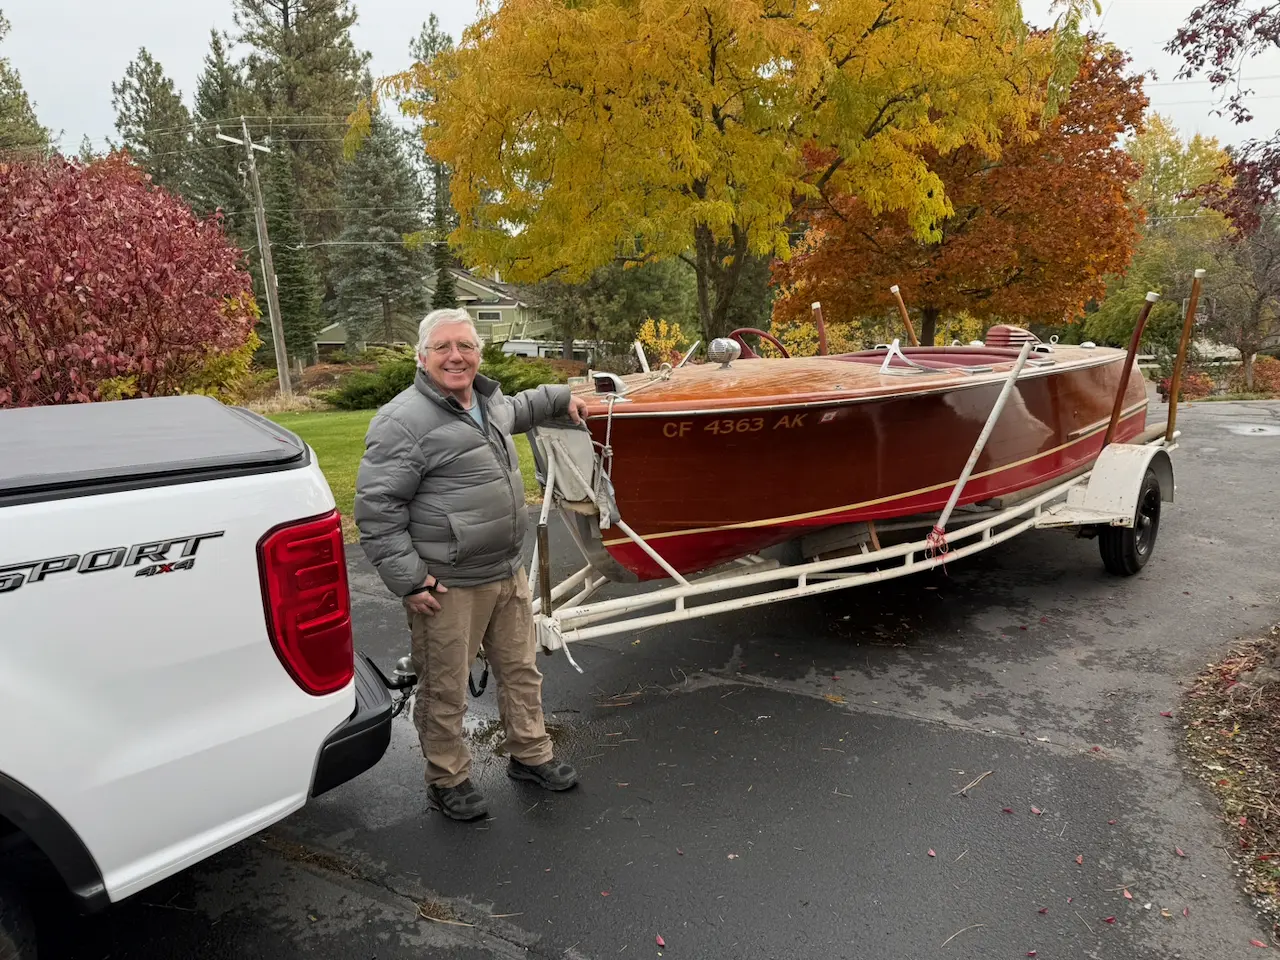
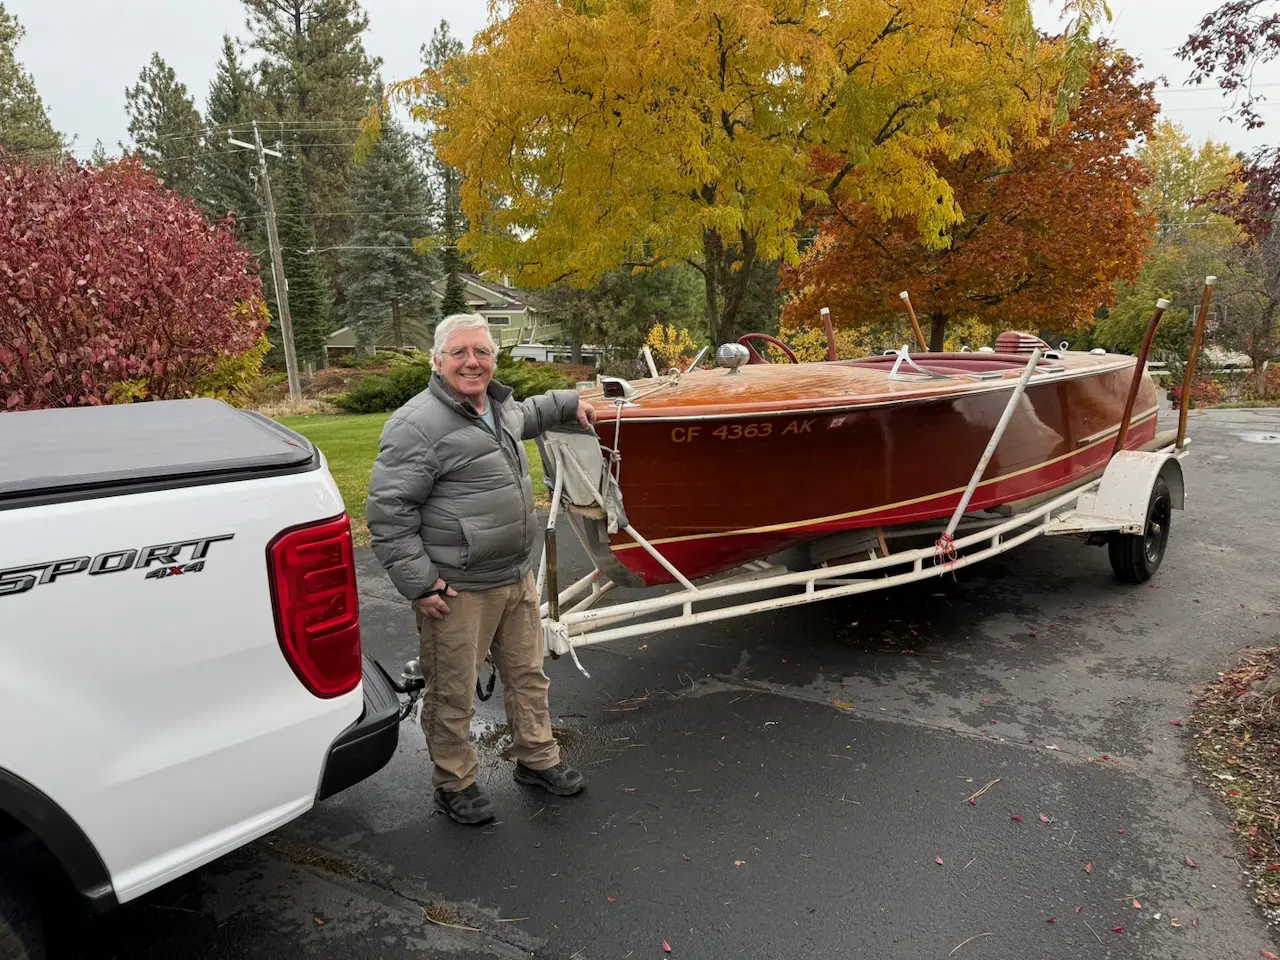
When I returned, Mike rolled the boat out from storage, and I finally saw her in daylight. Even under a layer of dust, she was beautiful—classic lines, authentic fittings, and that unmistakable Chris-Craft charm. I decided on the spot to keep name MsBehaving. It was too funny.

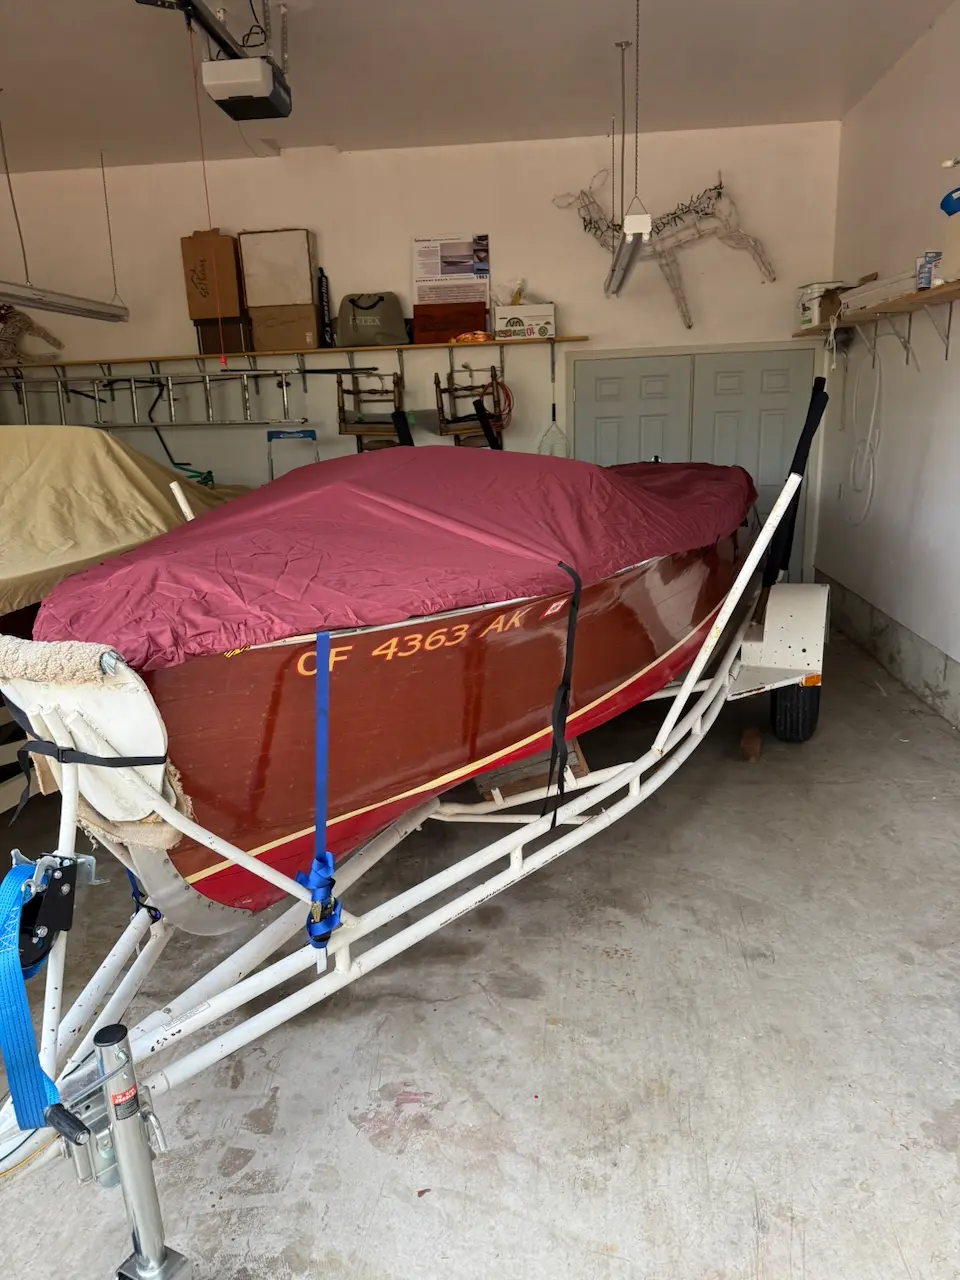
Getting her home, however, was an adventure. After sitting still for fifteen years, her trailer tires were square as bricks. The first few miles down the road felt like driving a paint shaker. Slowly, as the tires warmed, the bouncing eased and MsBehaving settled in for the ride.

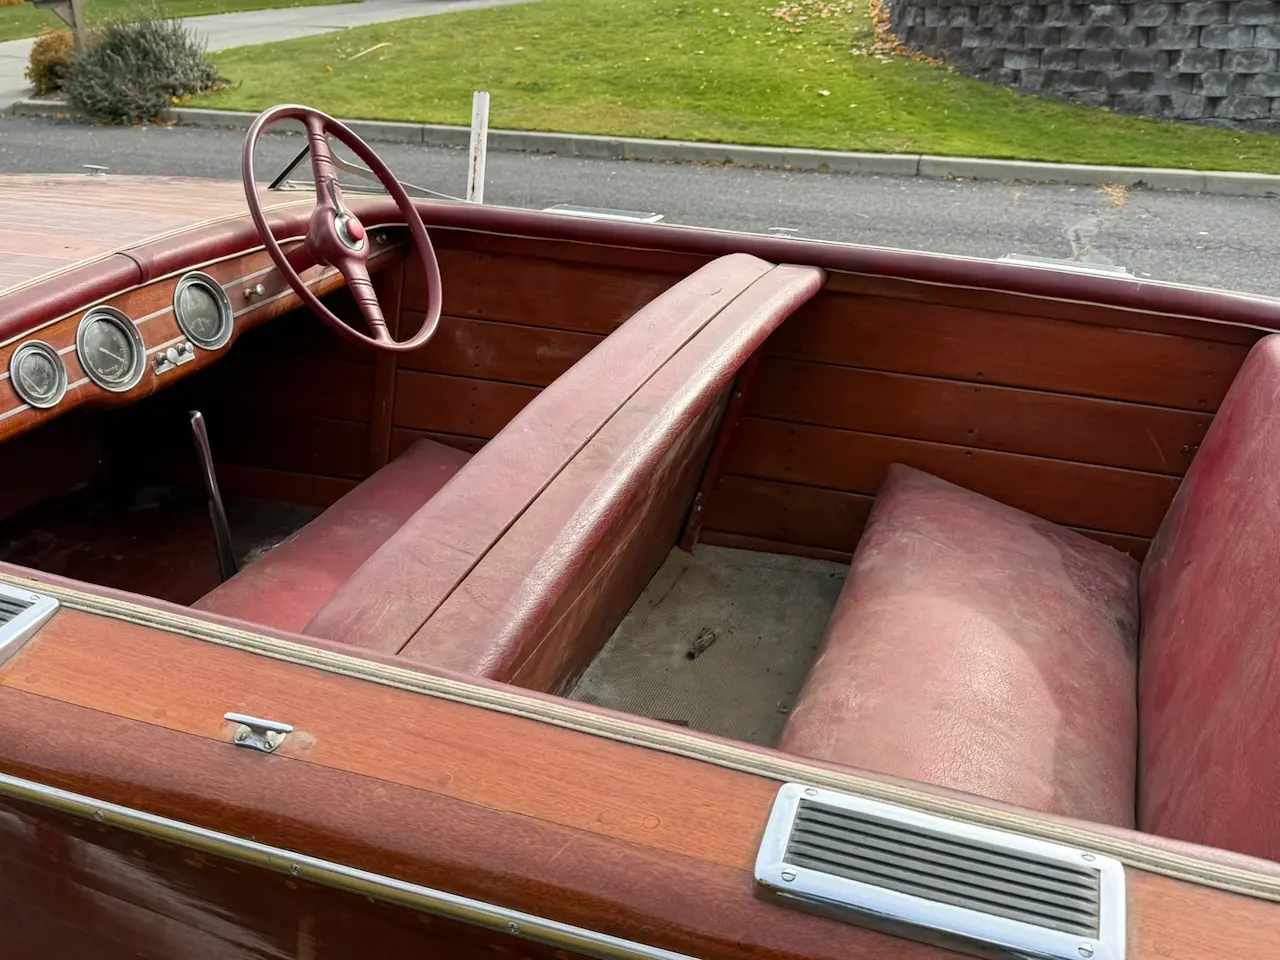
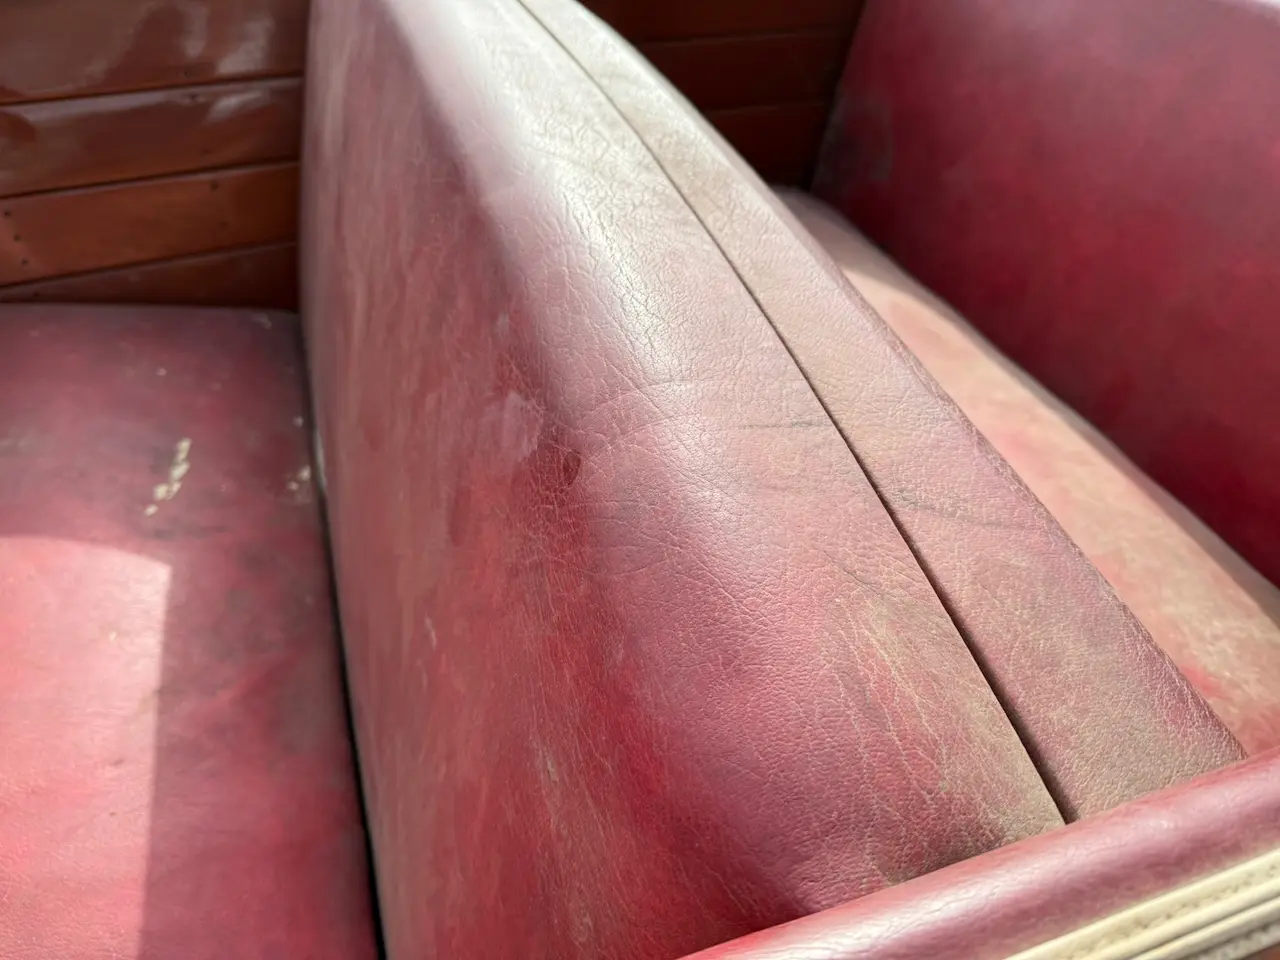
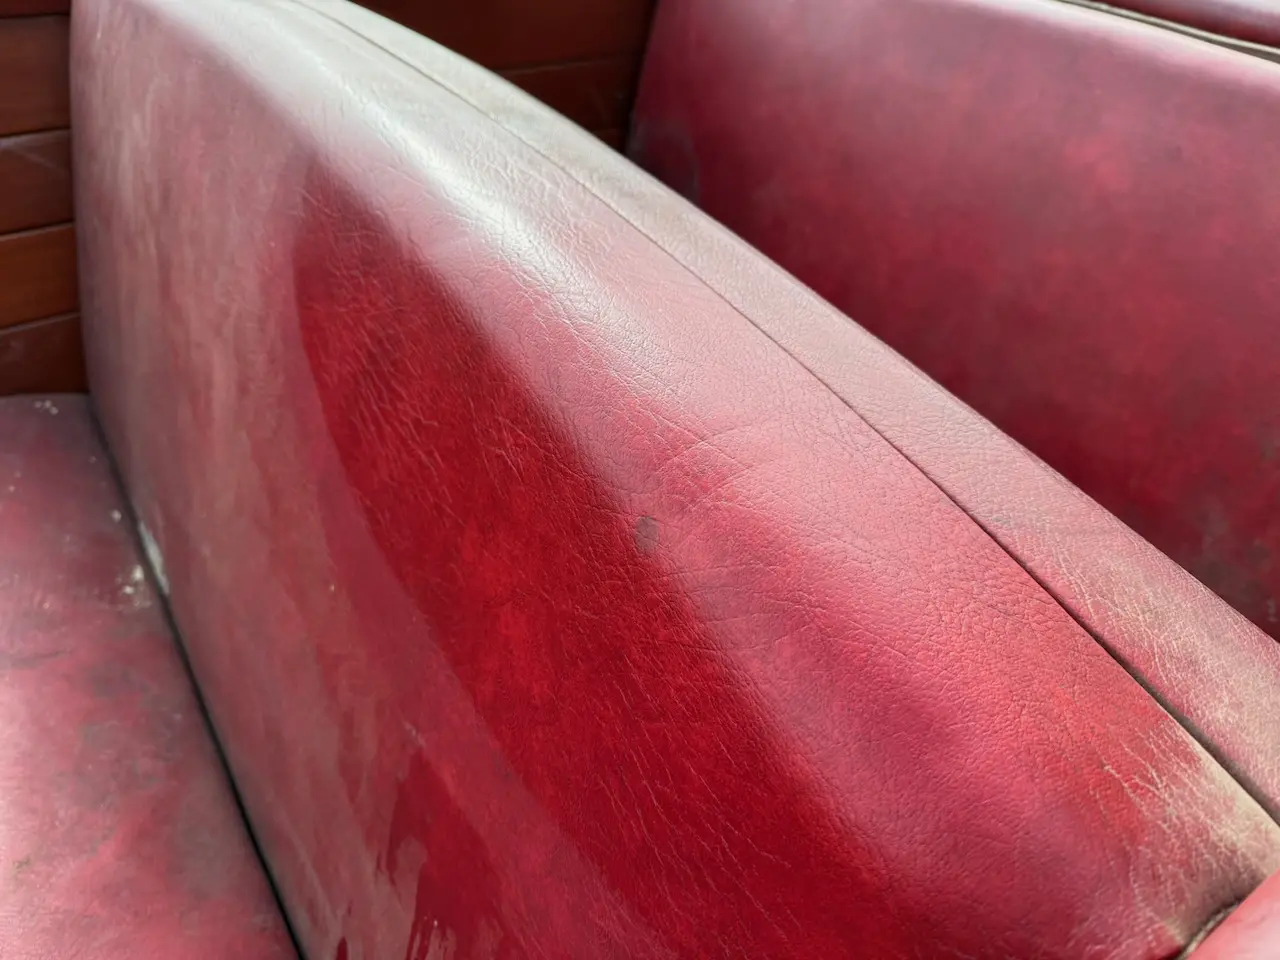
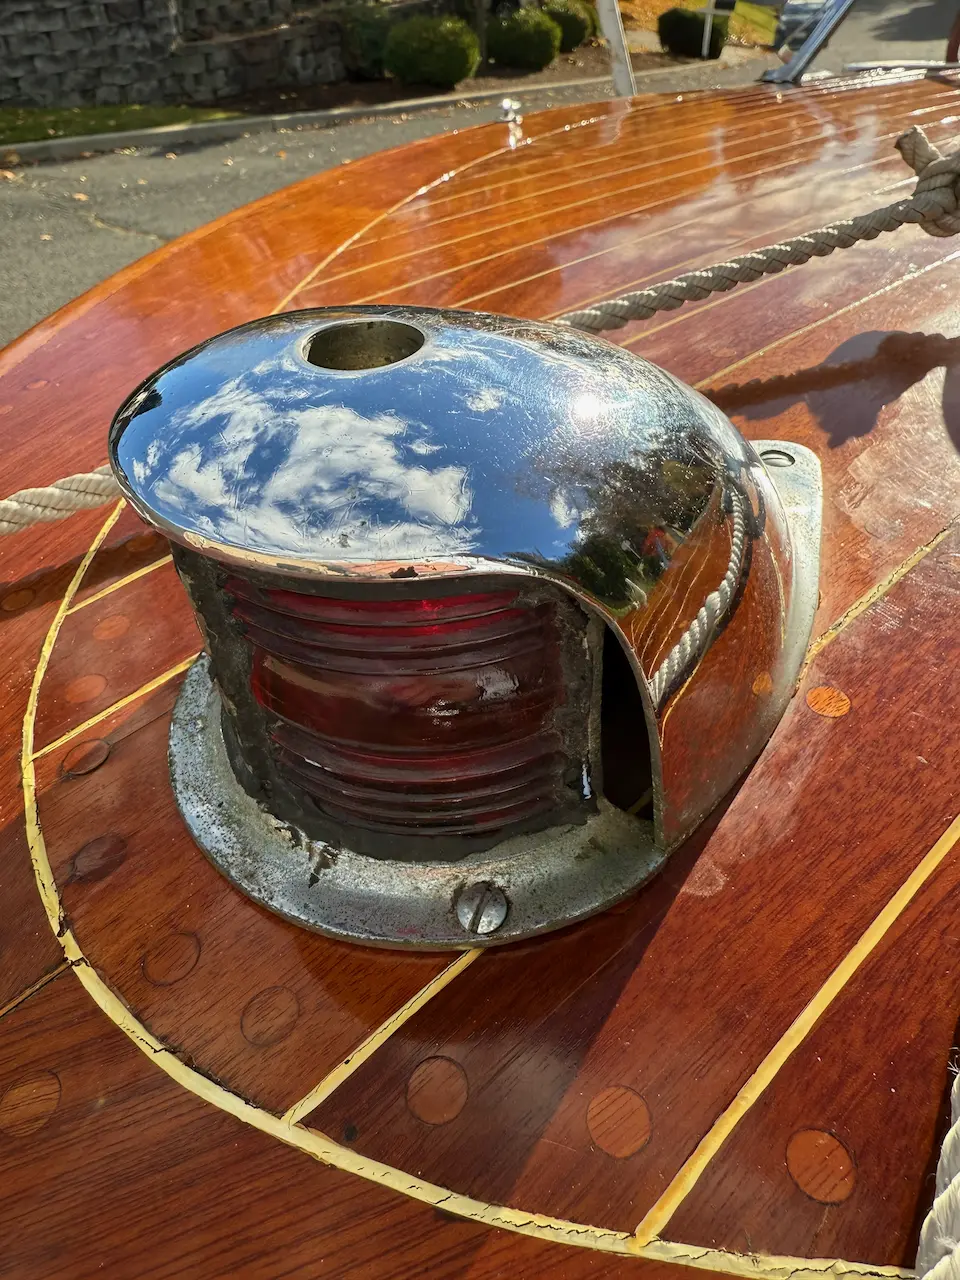
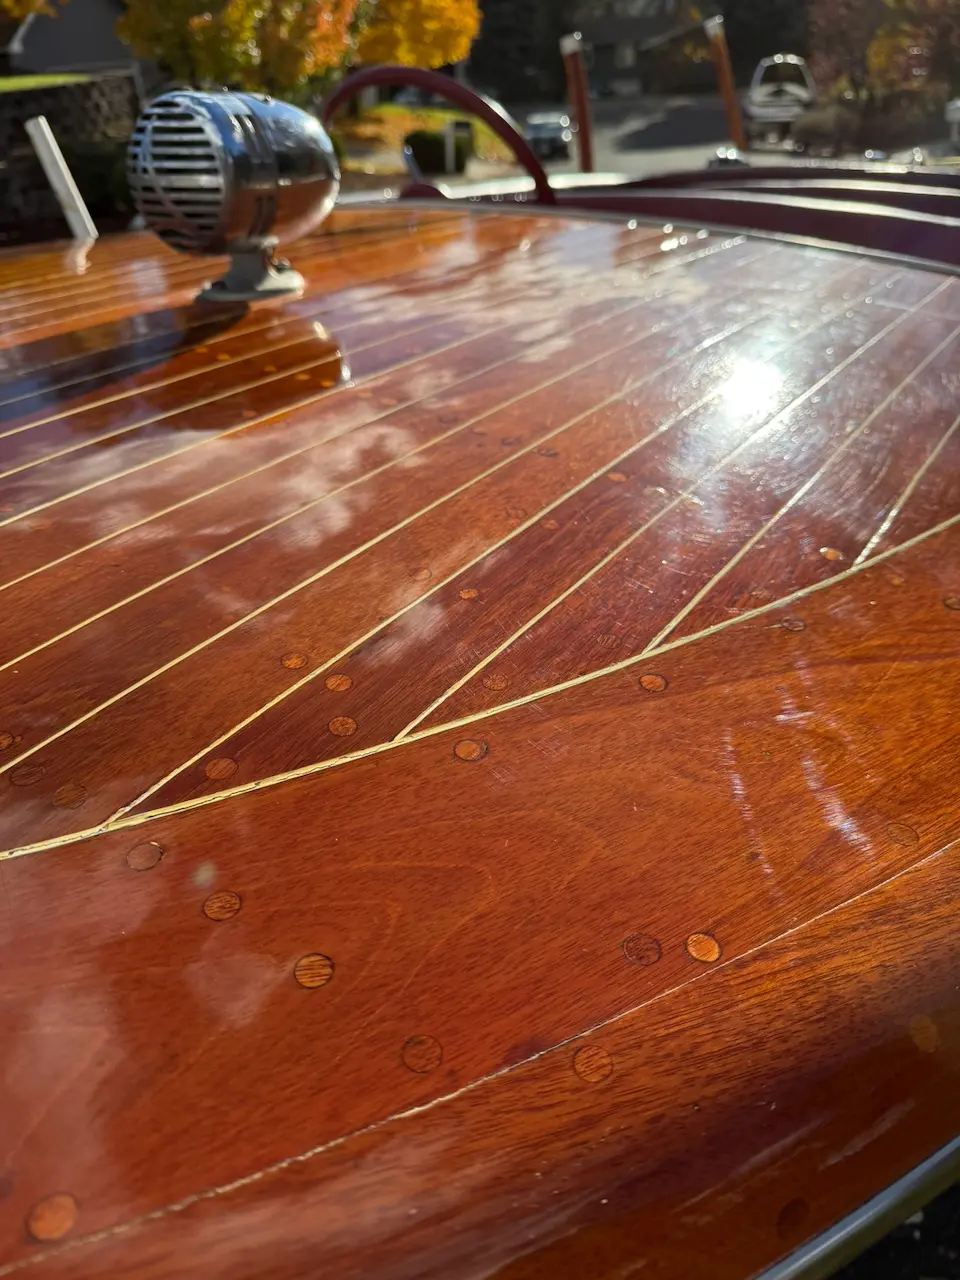
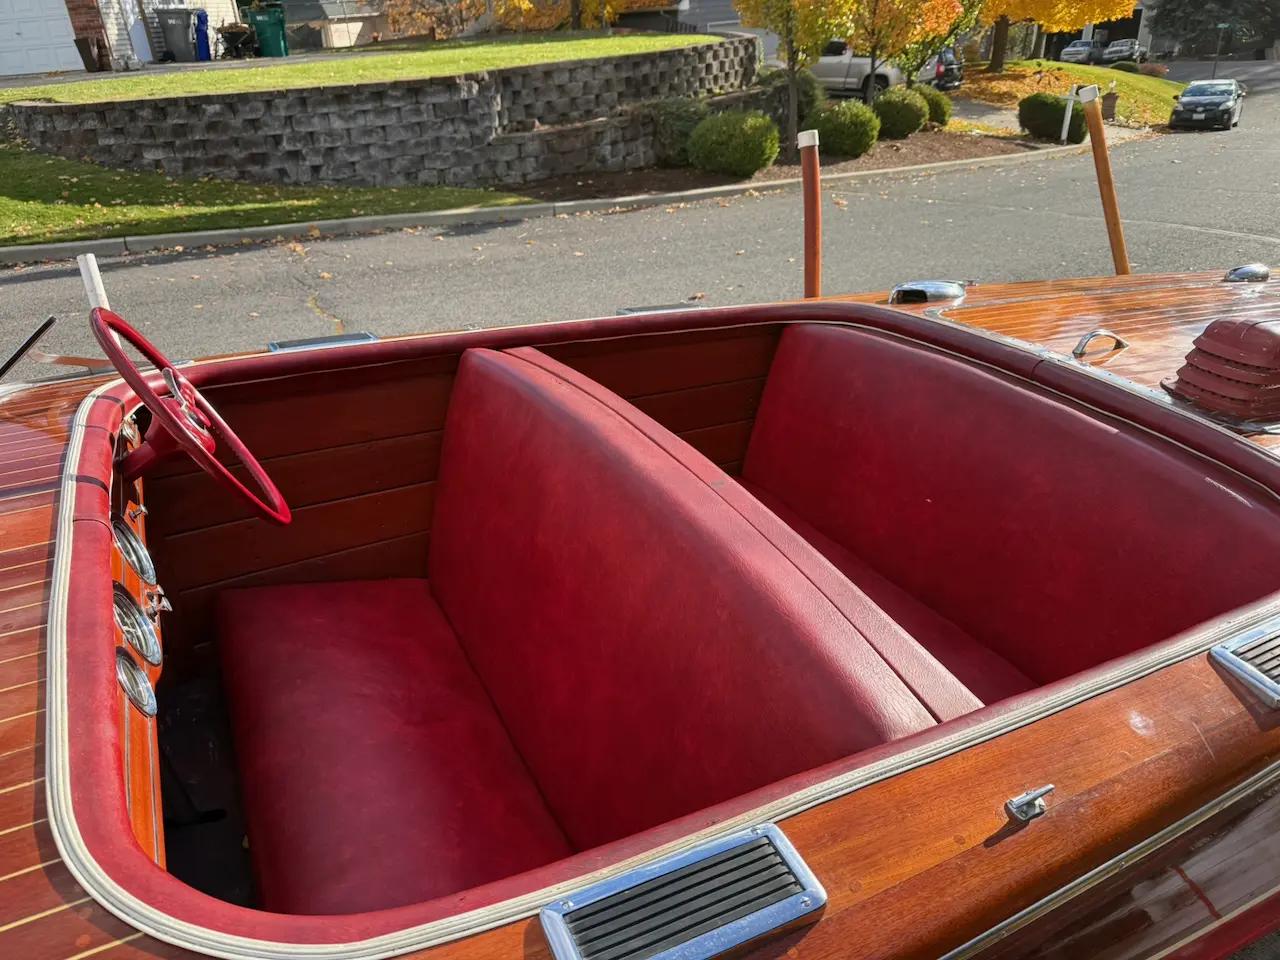
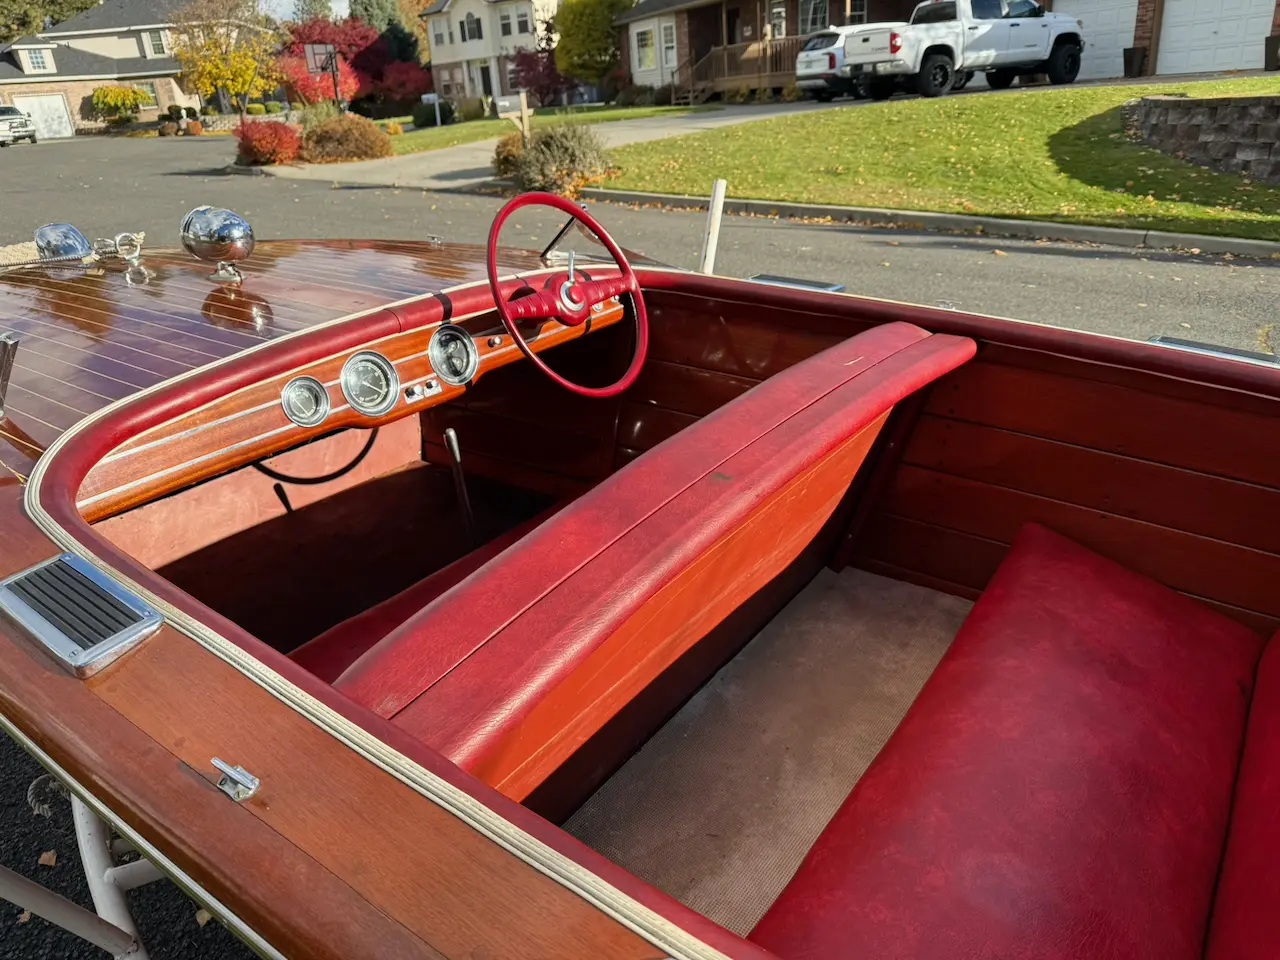
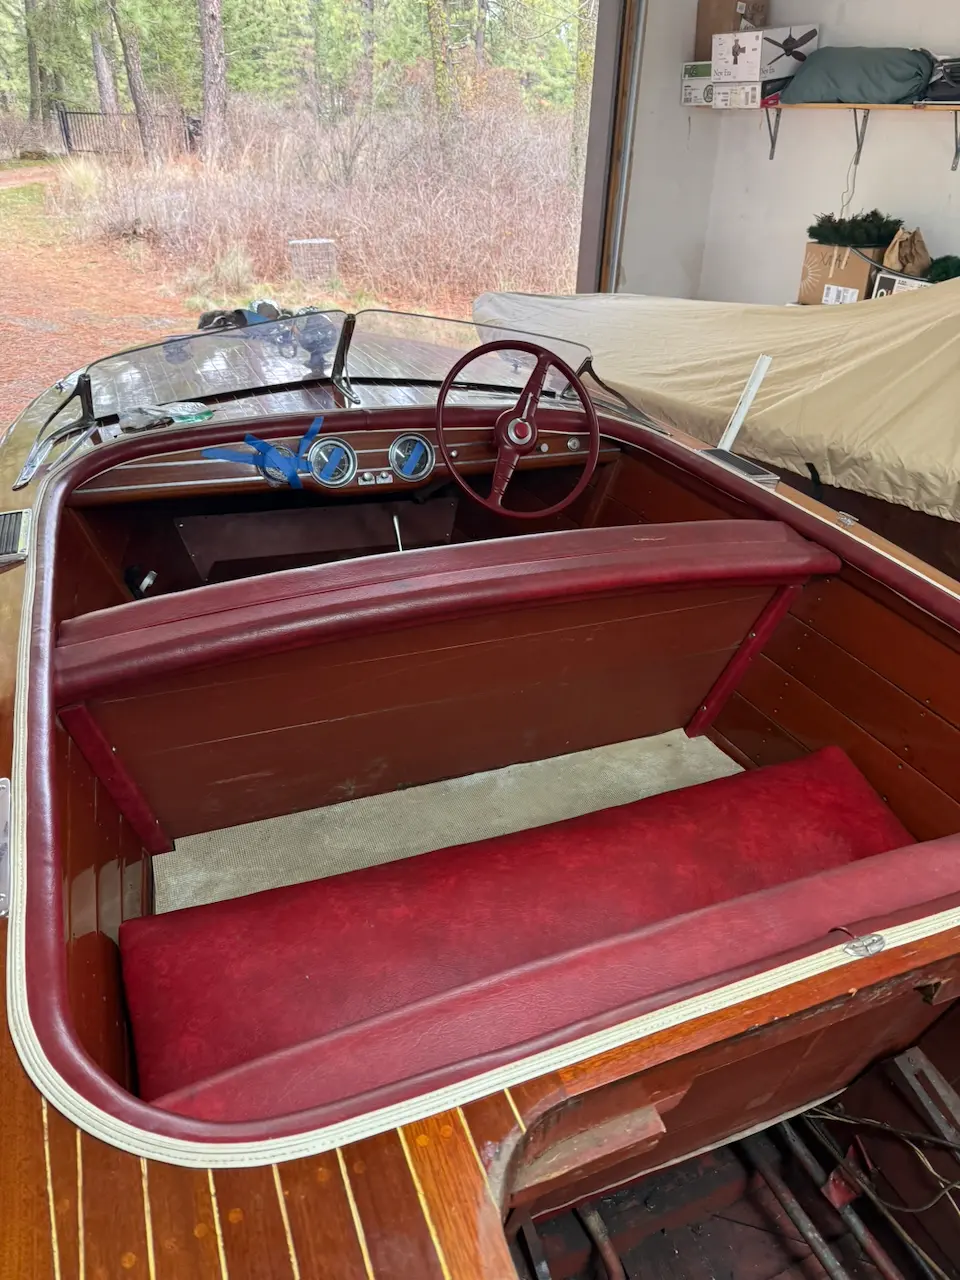
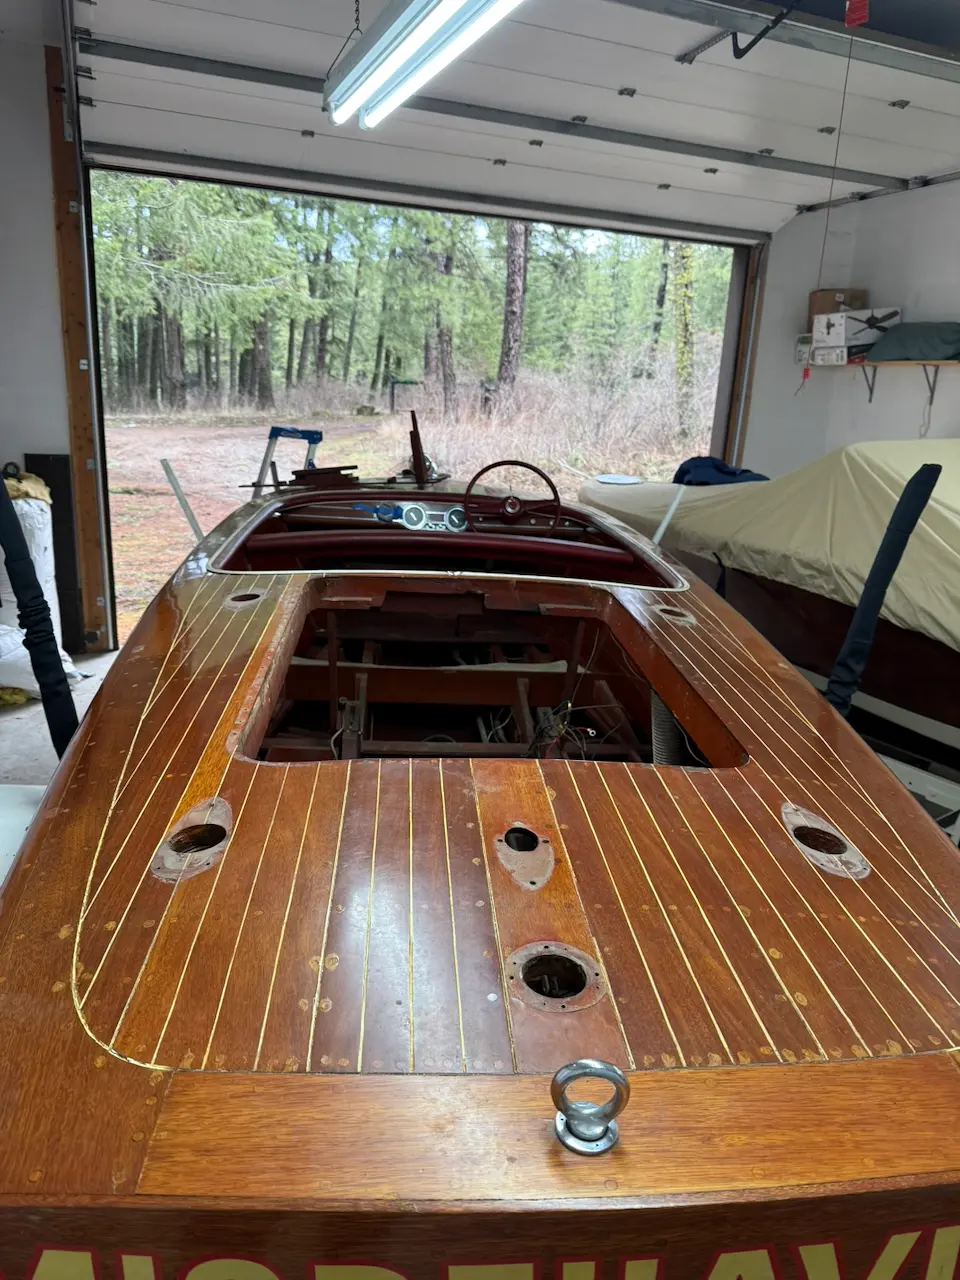
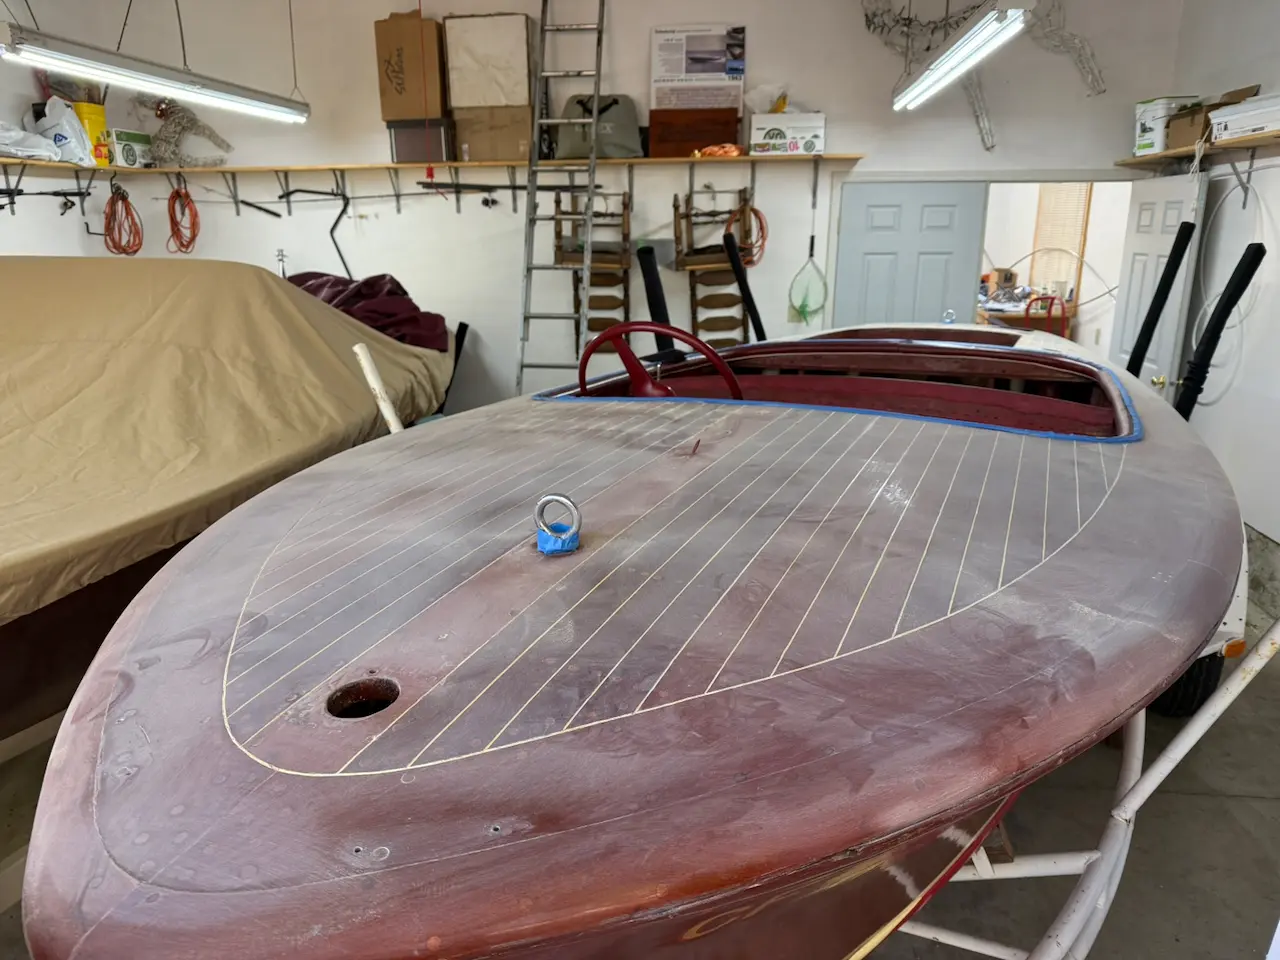
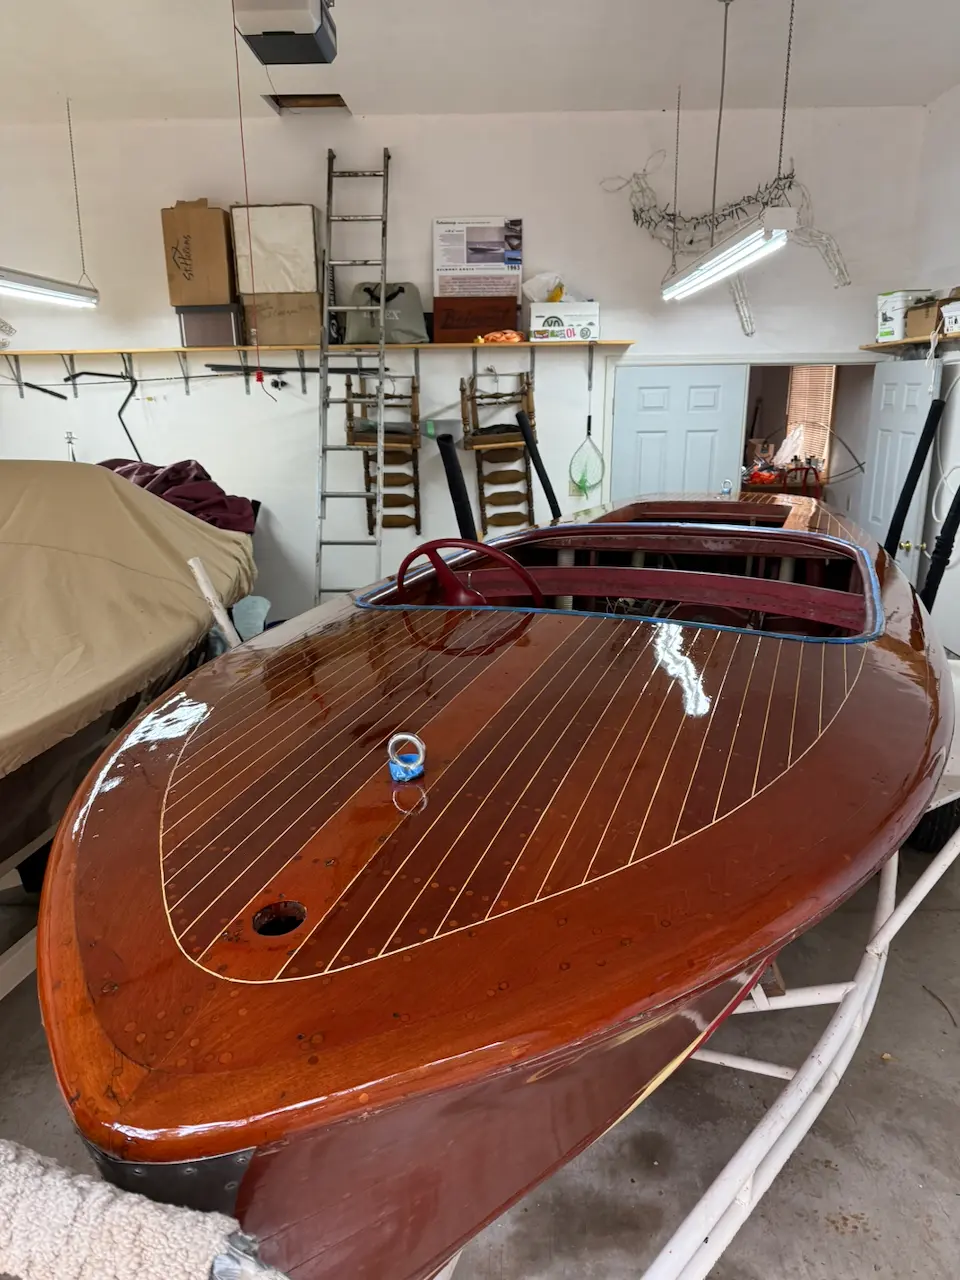
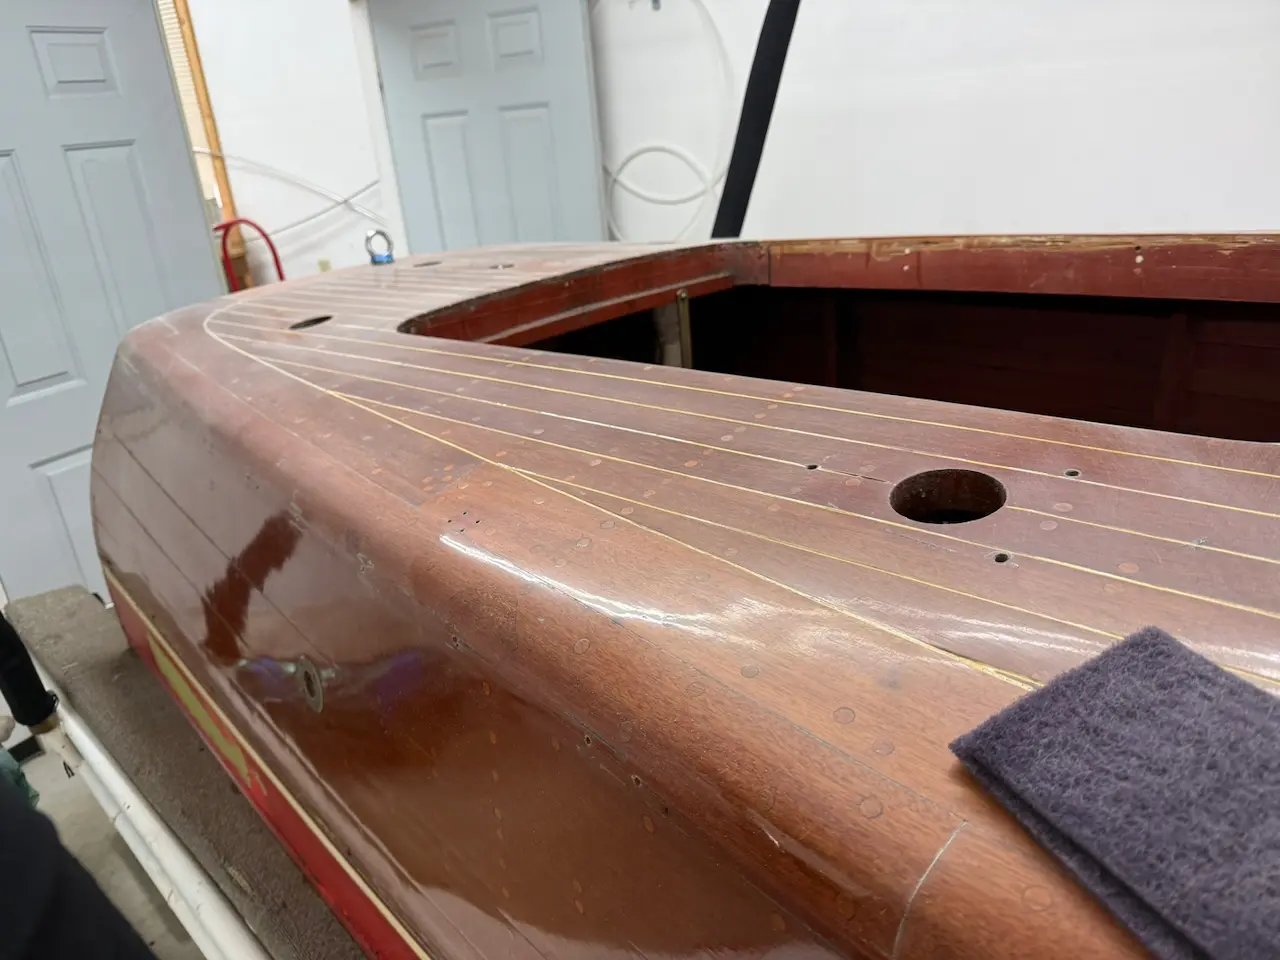
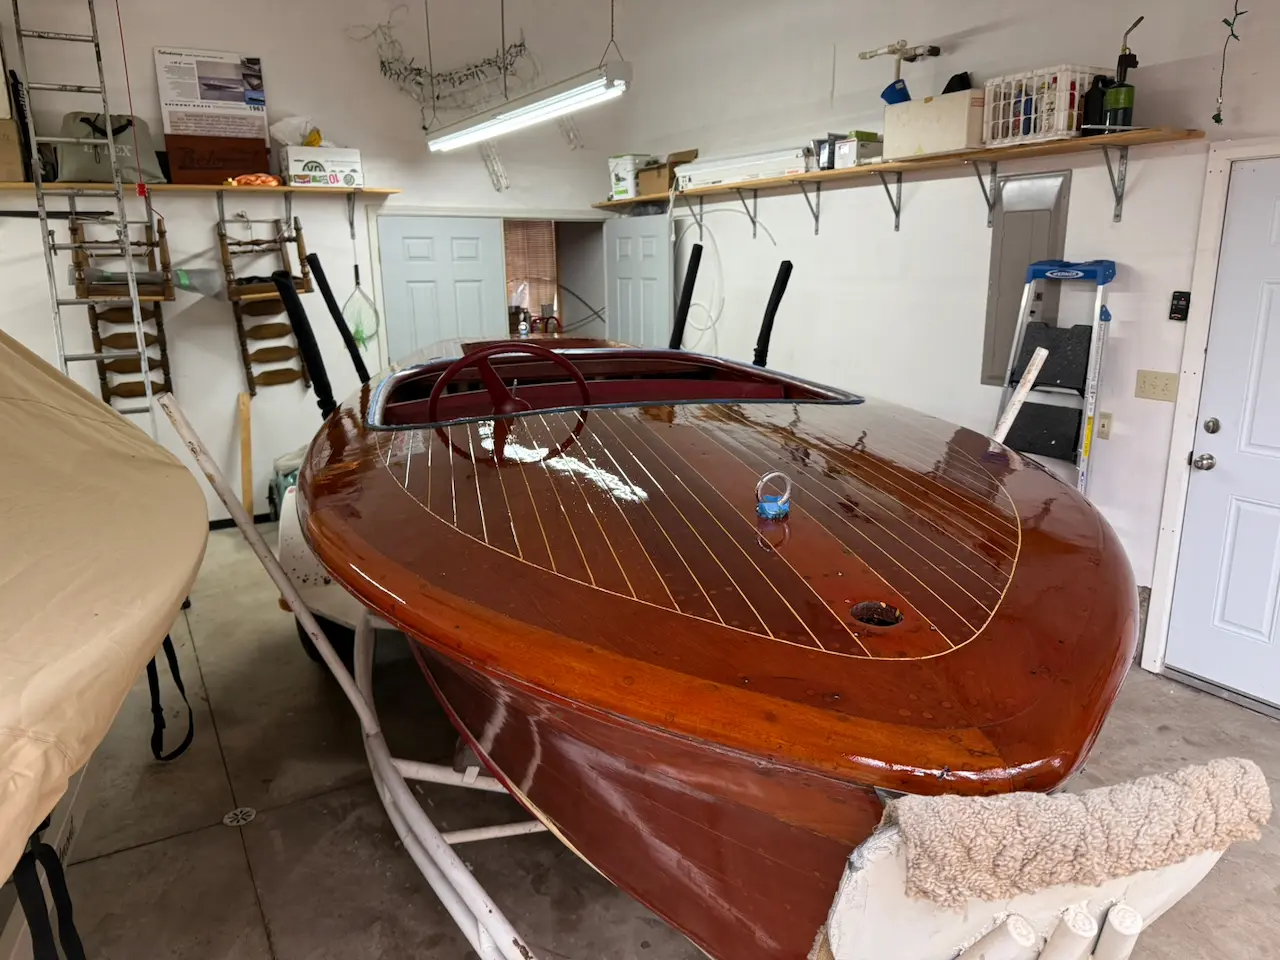
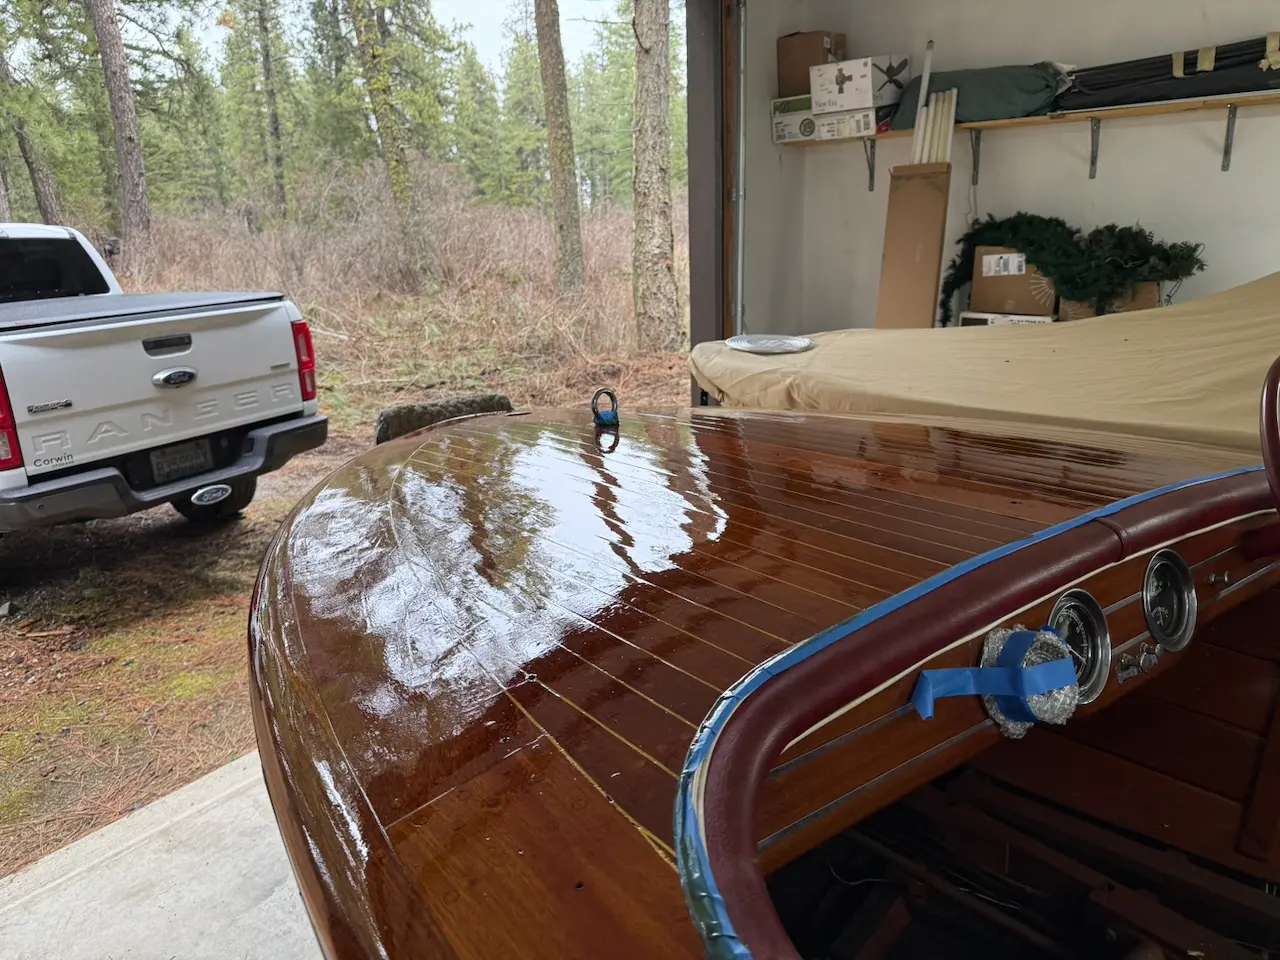
Back in my driveway, I couldn’t resist a quick cleaning. Under the grime, the original upholstery revealed itself in surprisingly good shape. I polished a section of the bow and watched the old varnish come back to life with a warm, golden glow. This boat wasn’t just restorable—it was revivable.

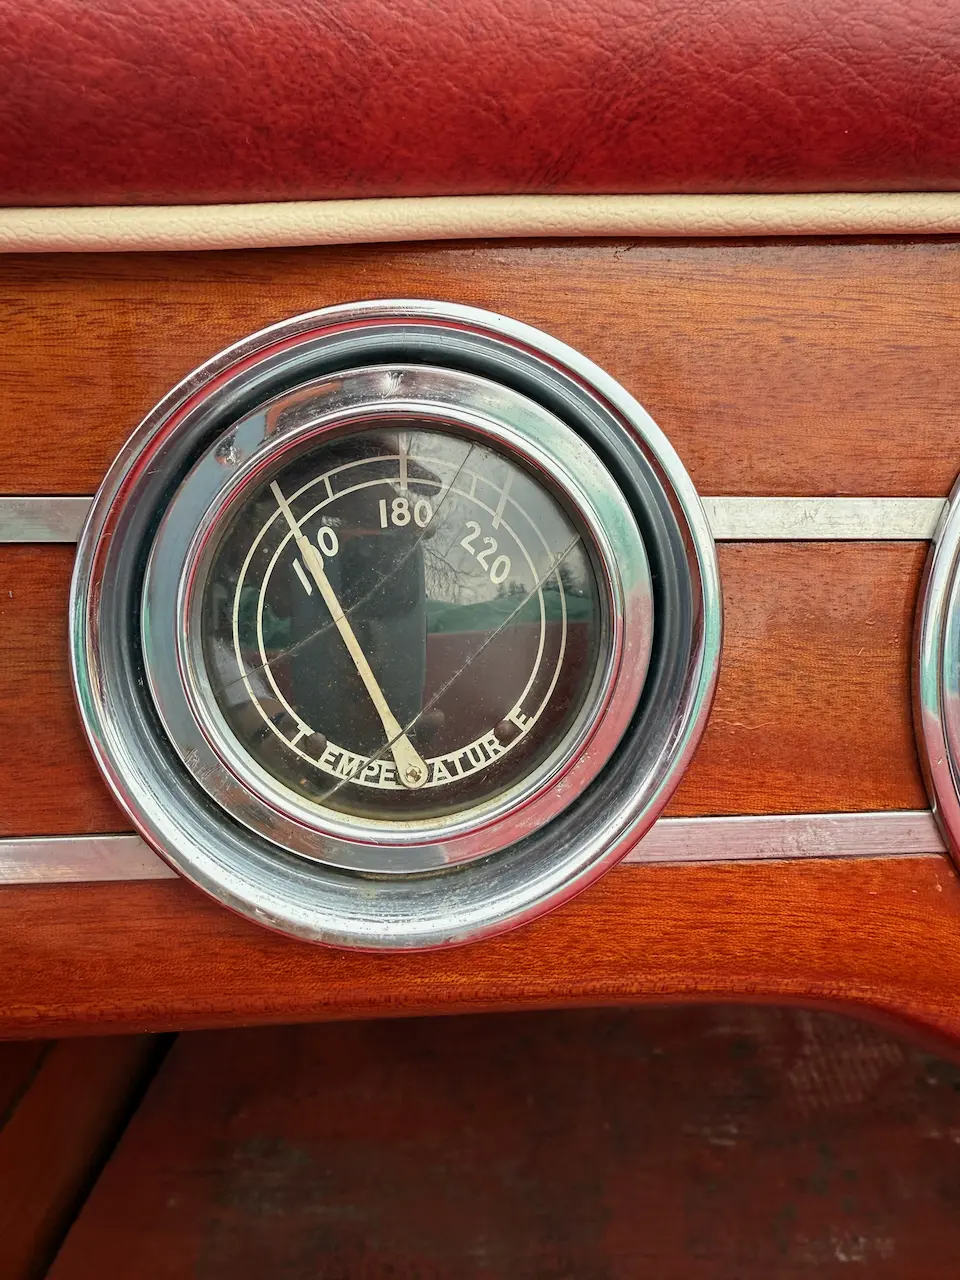
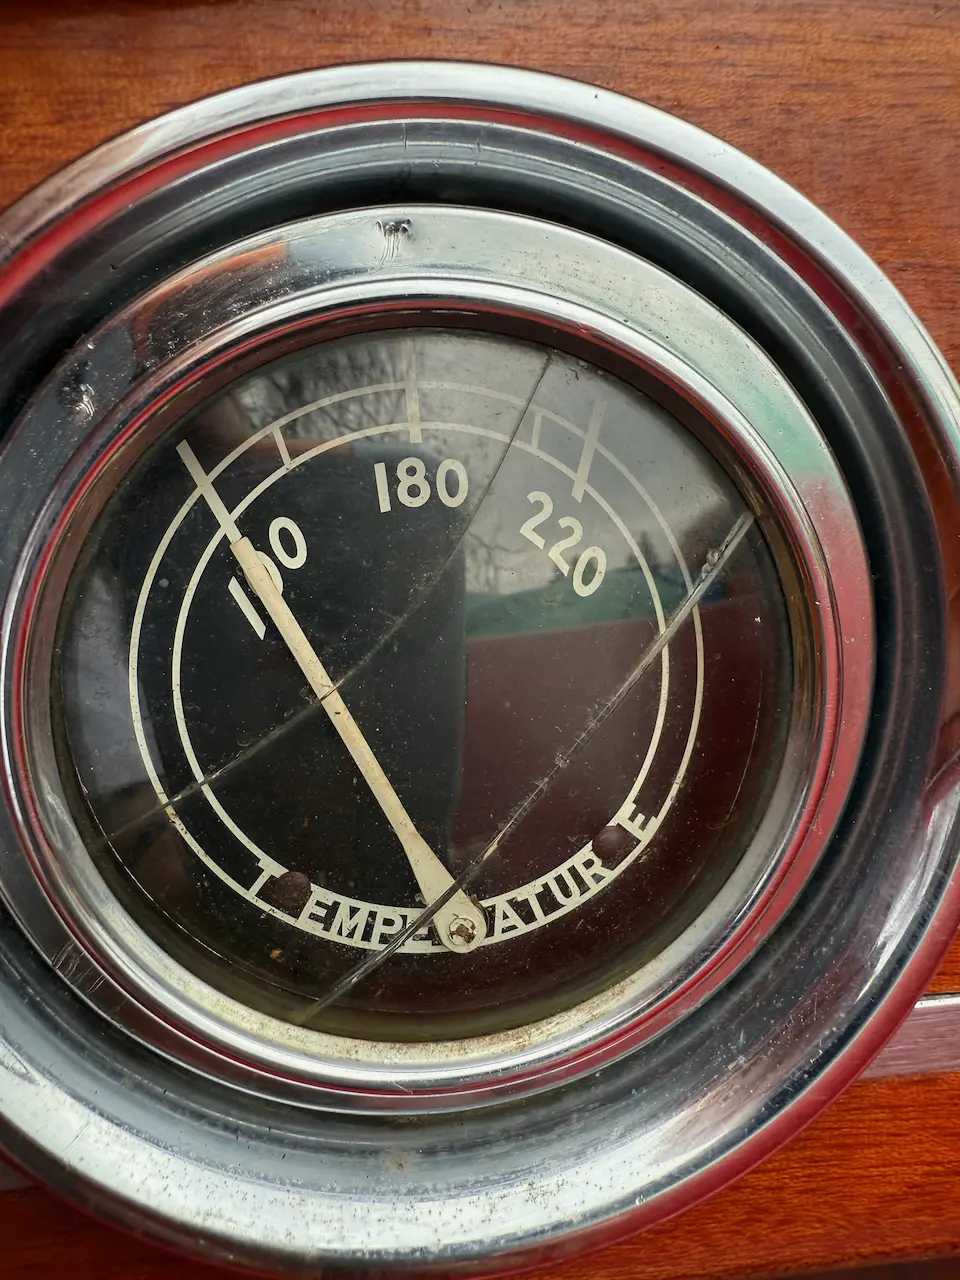
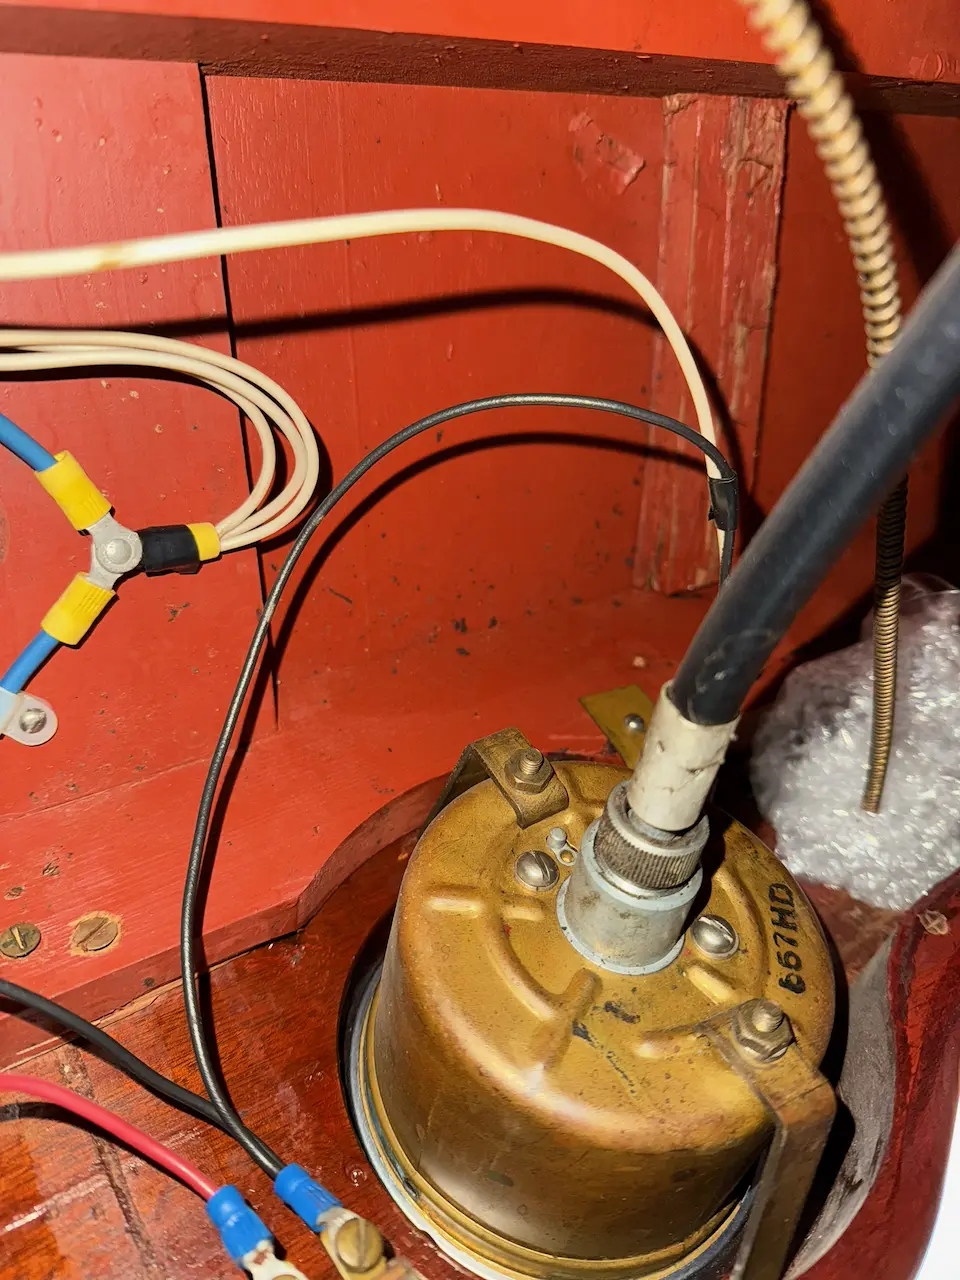
Of course, MsBehaving lived up to her name on the way home. The trailer shook so violently that the temperature gauge glass shattered. New tires and a bearing inspection quickly moved to the top of the to-do list.

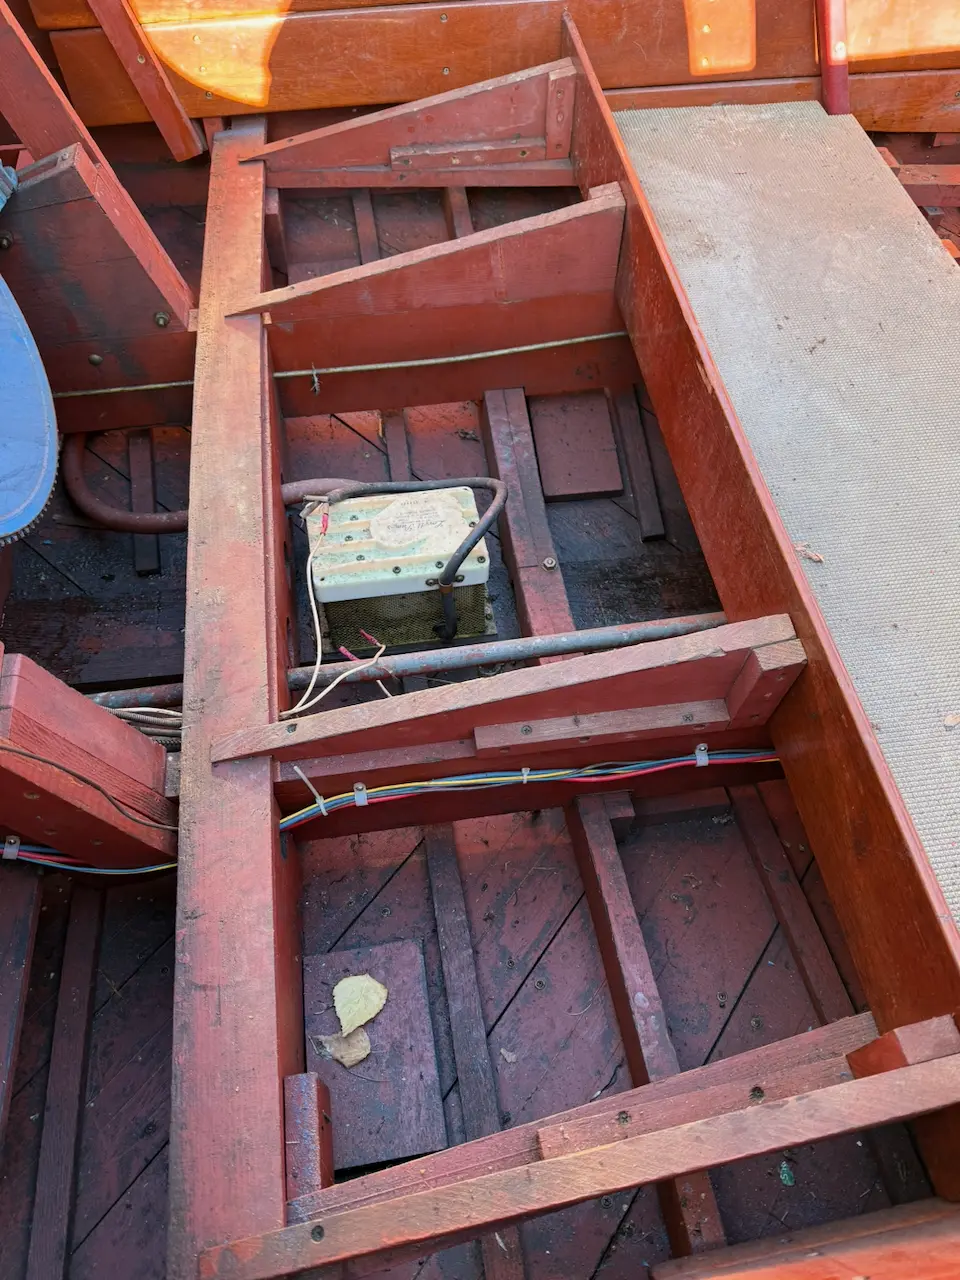
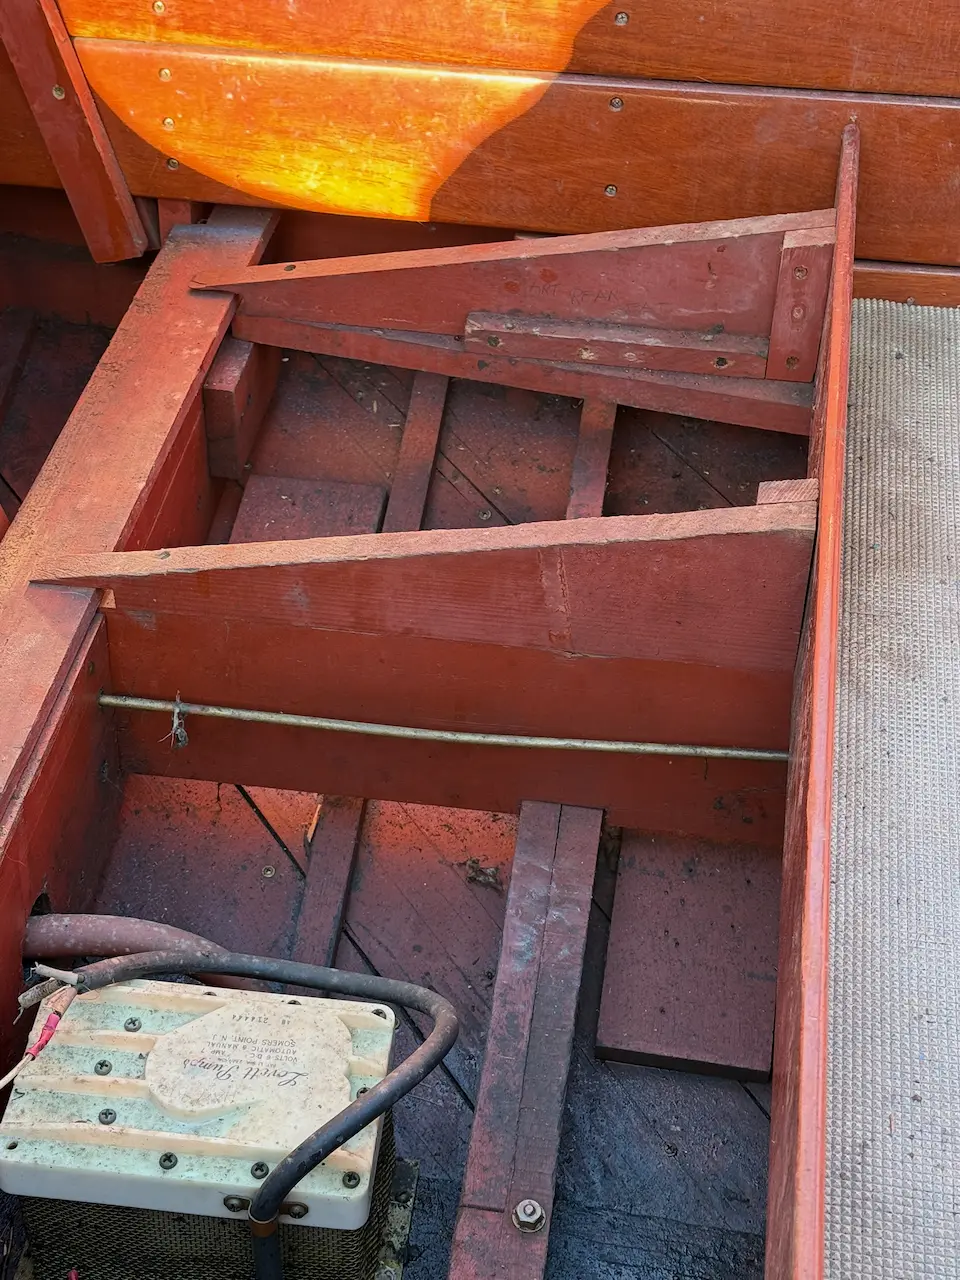
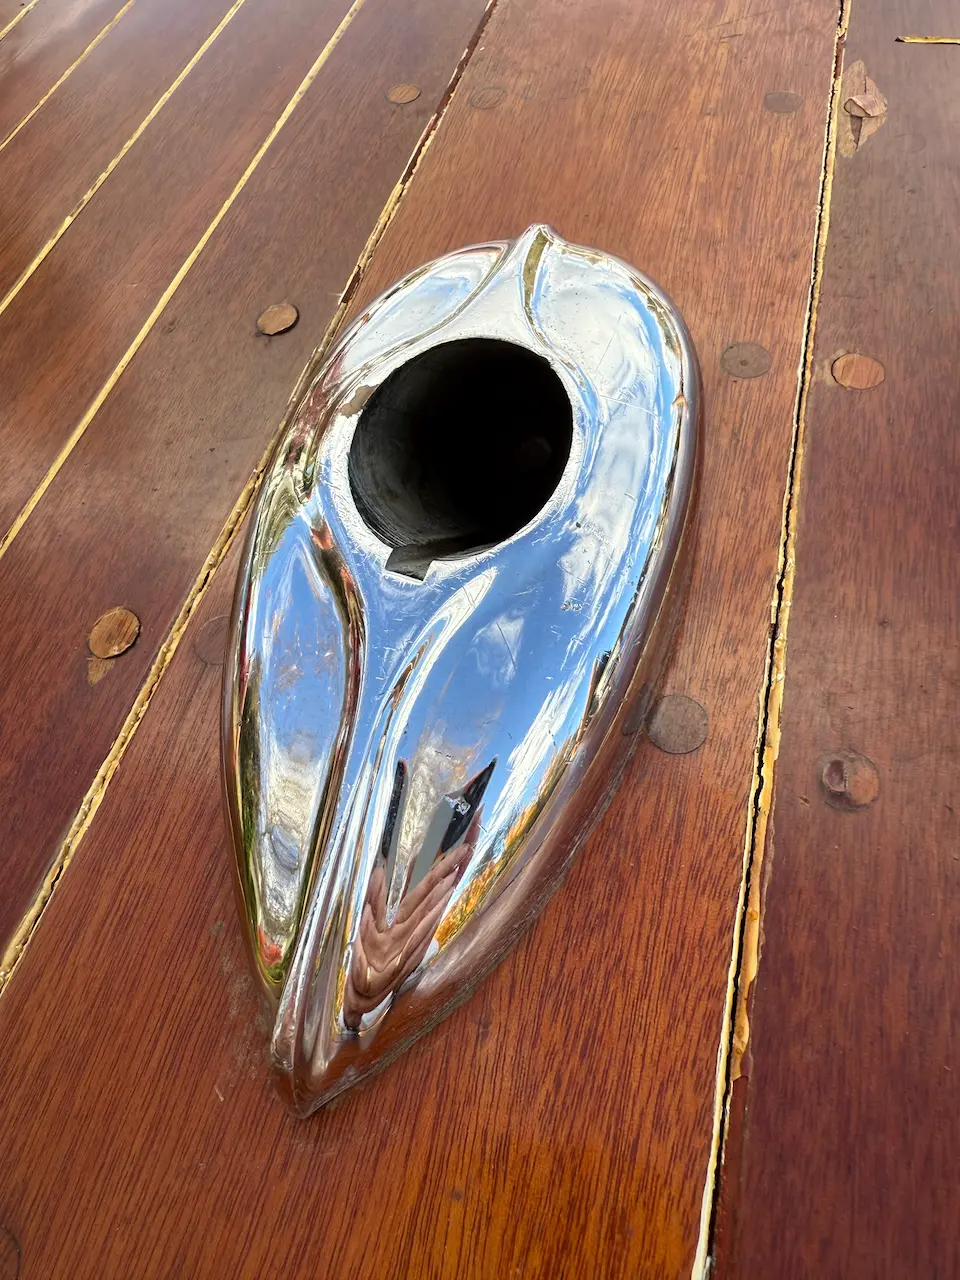
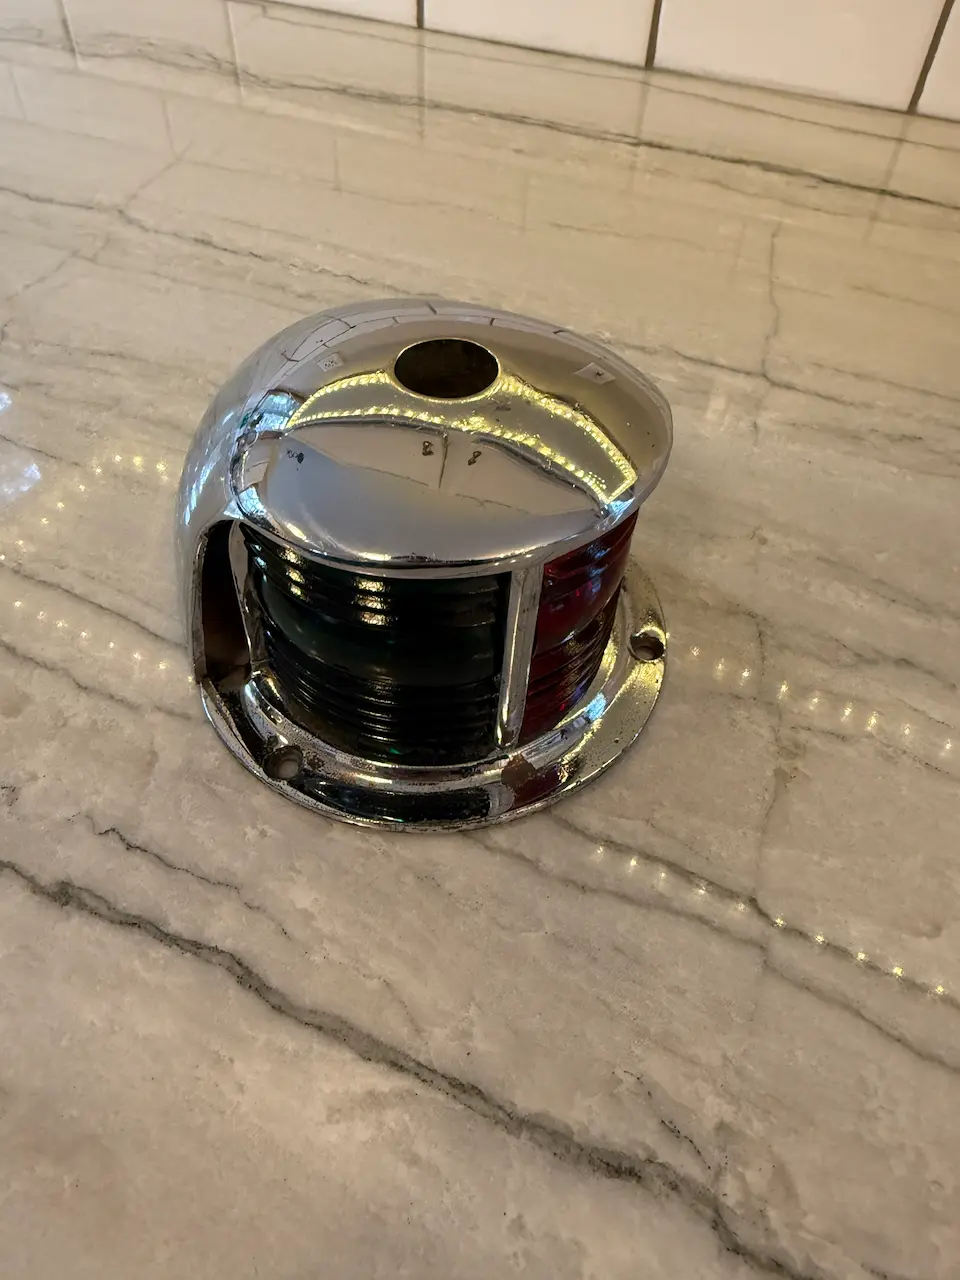
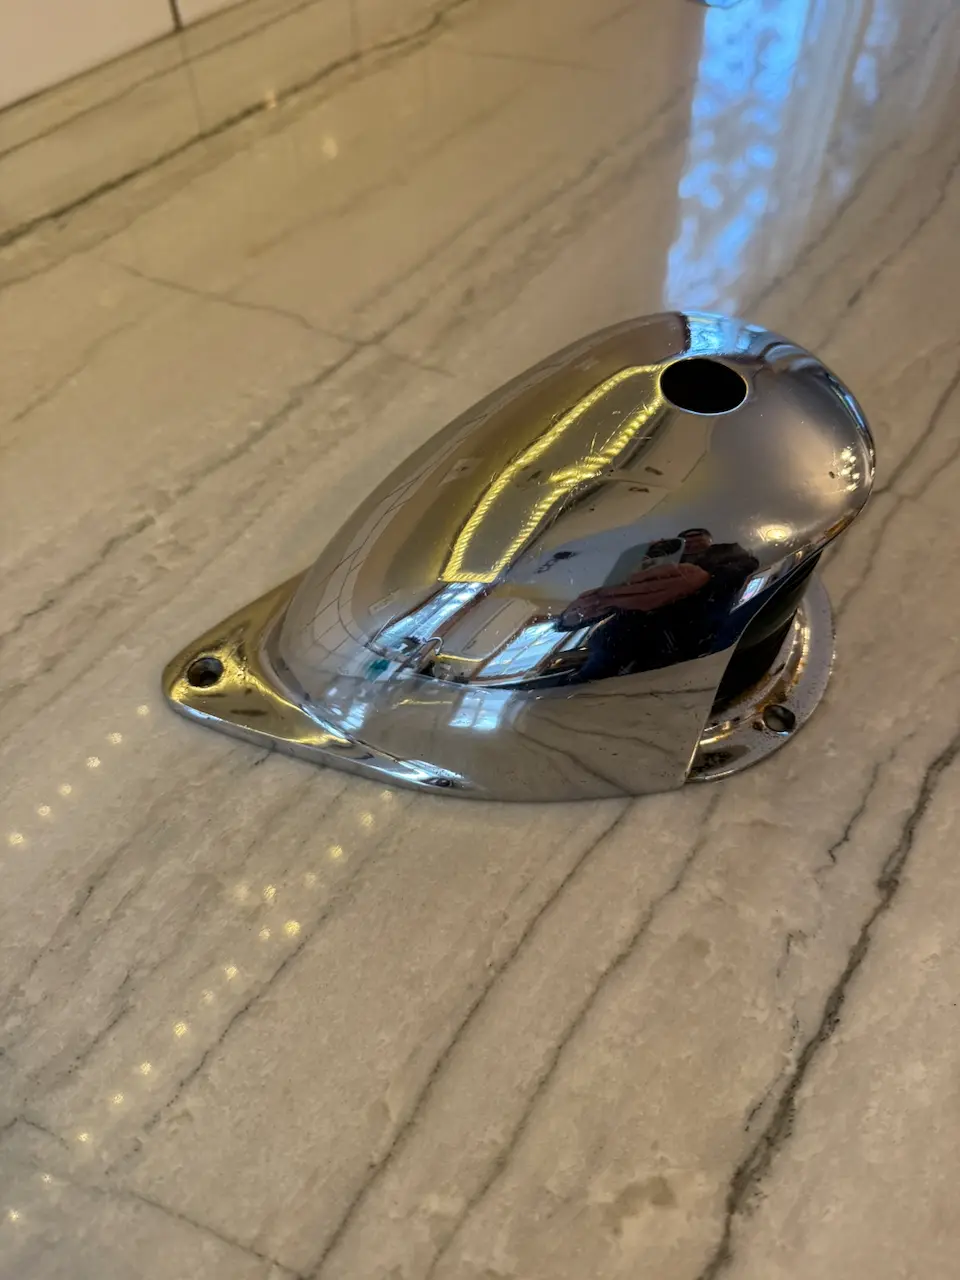
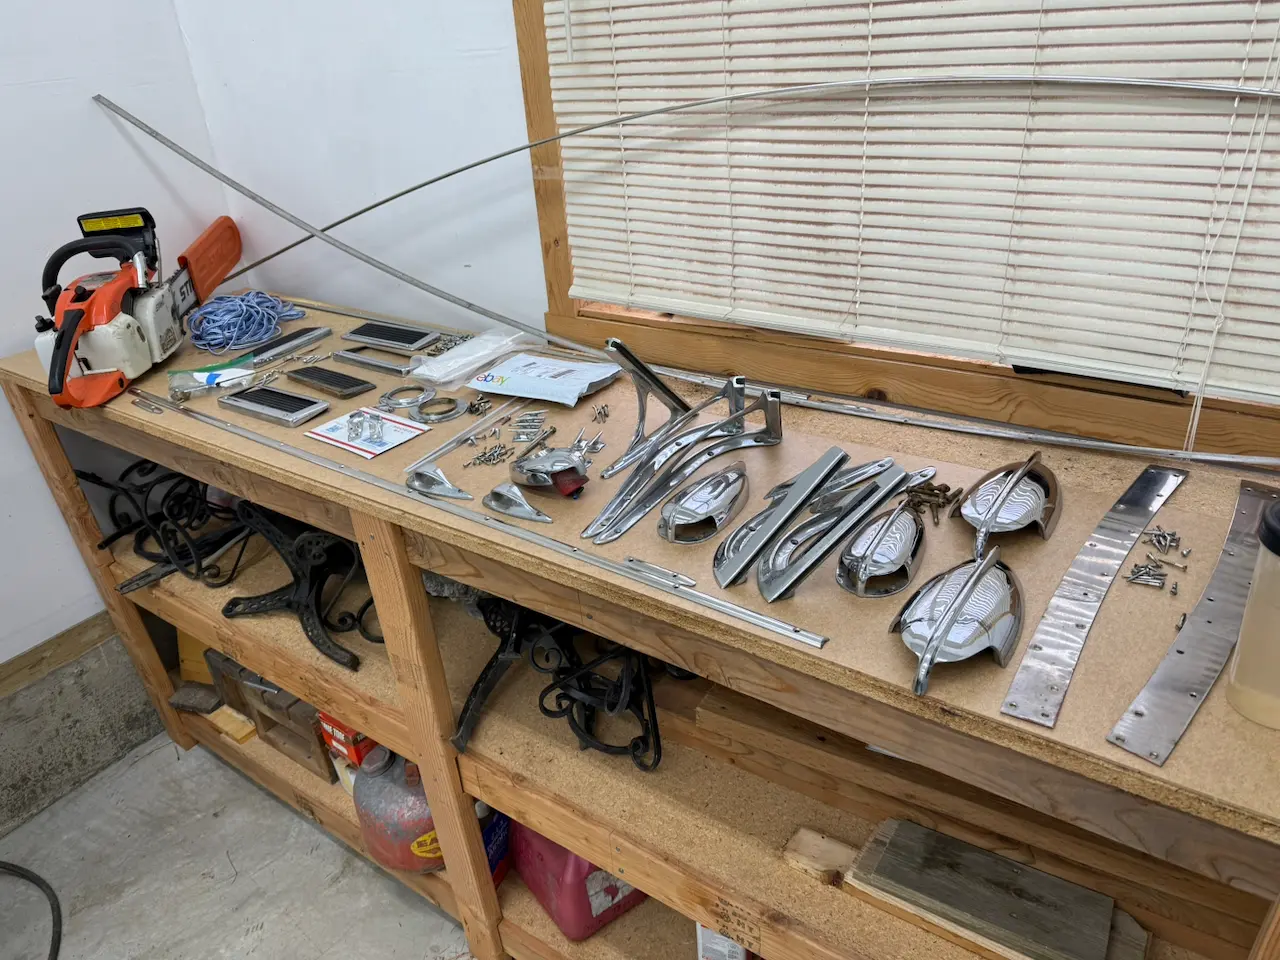
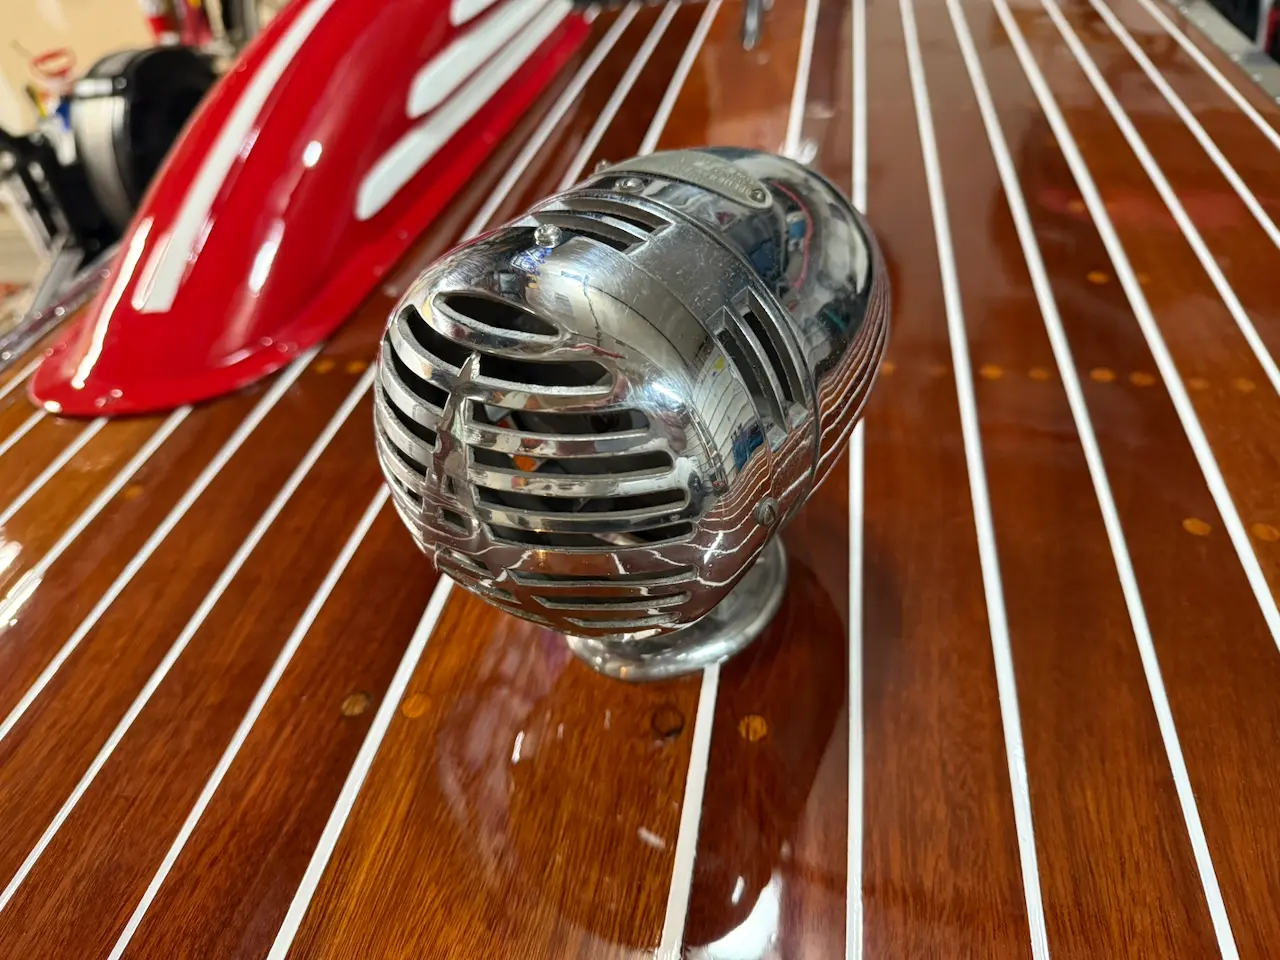
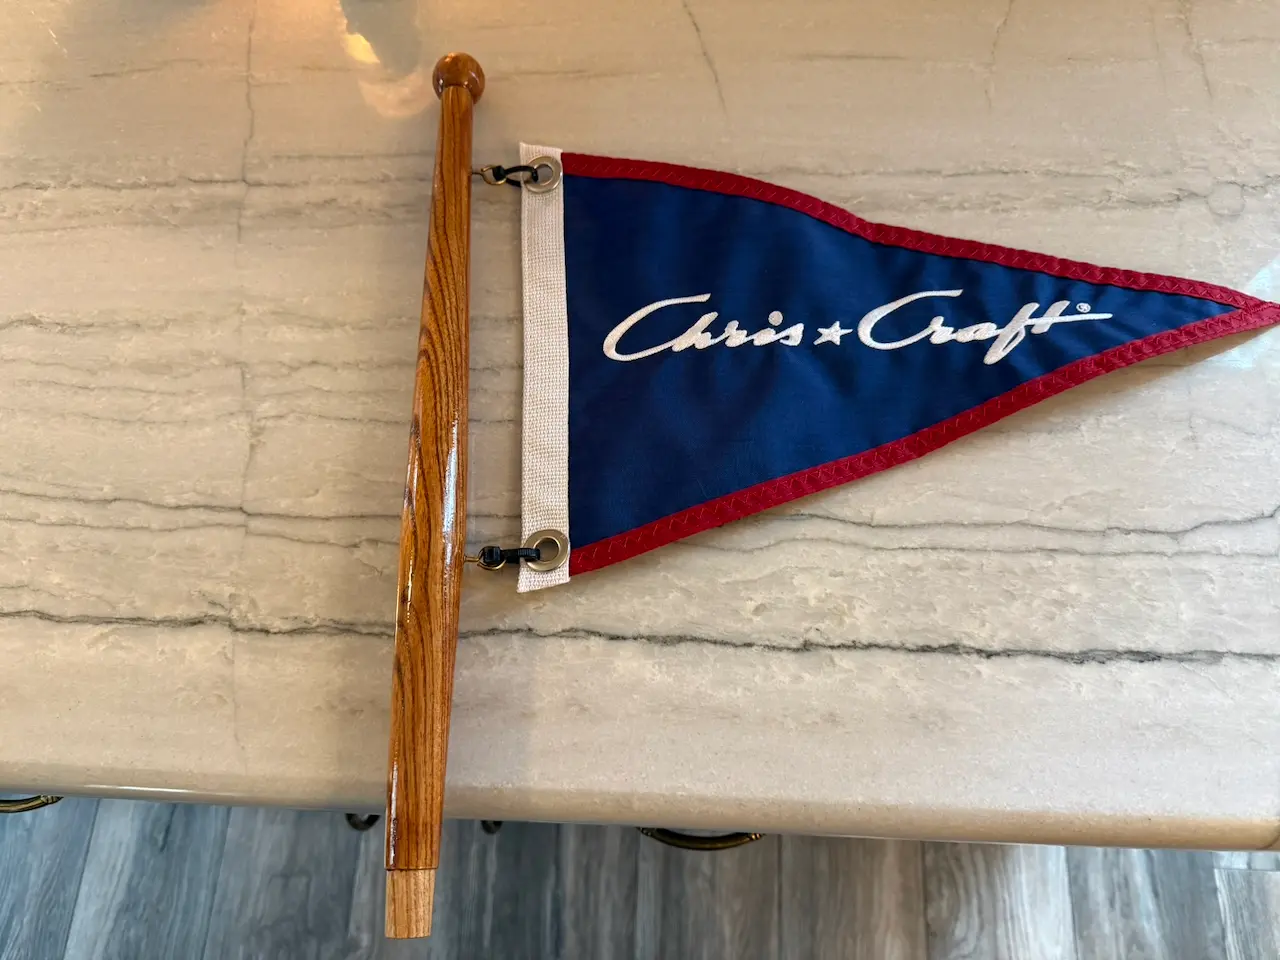
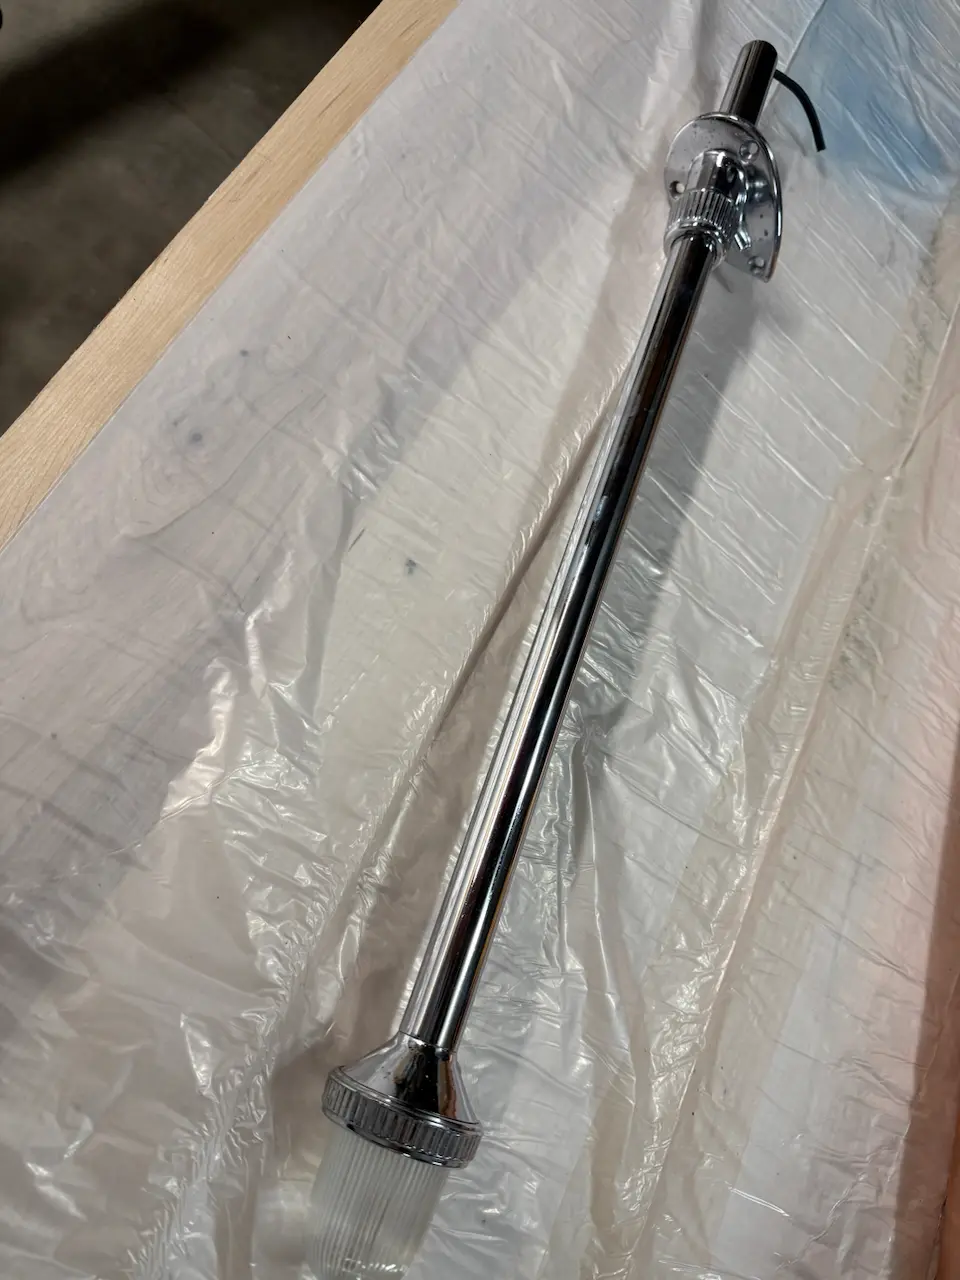
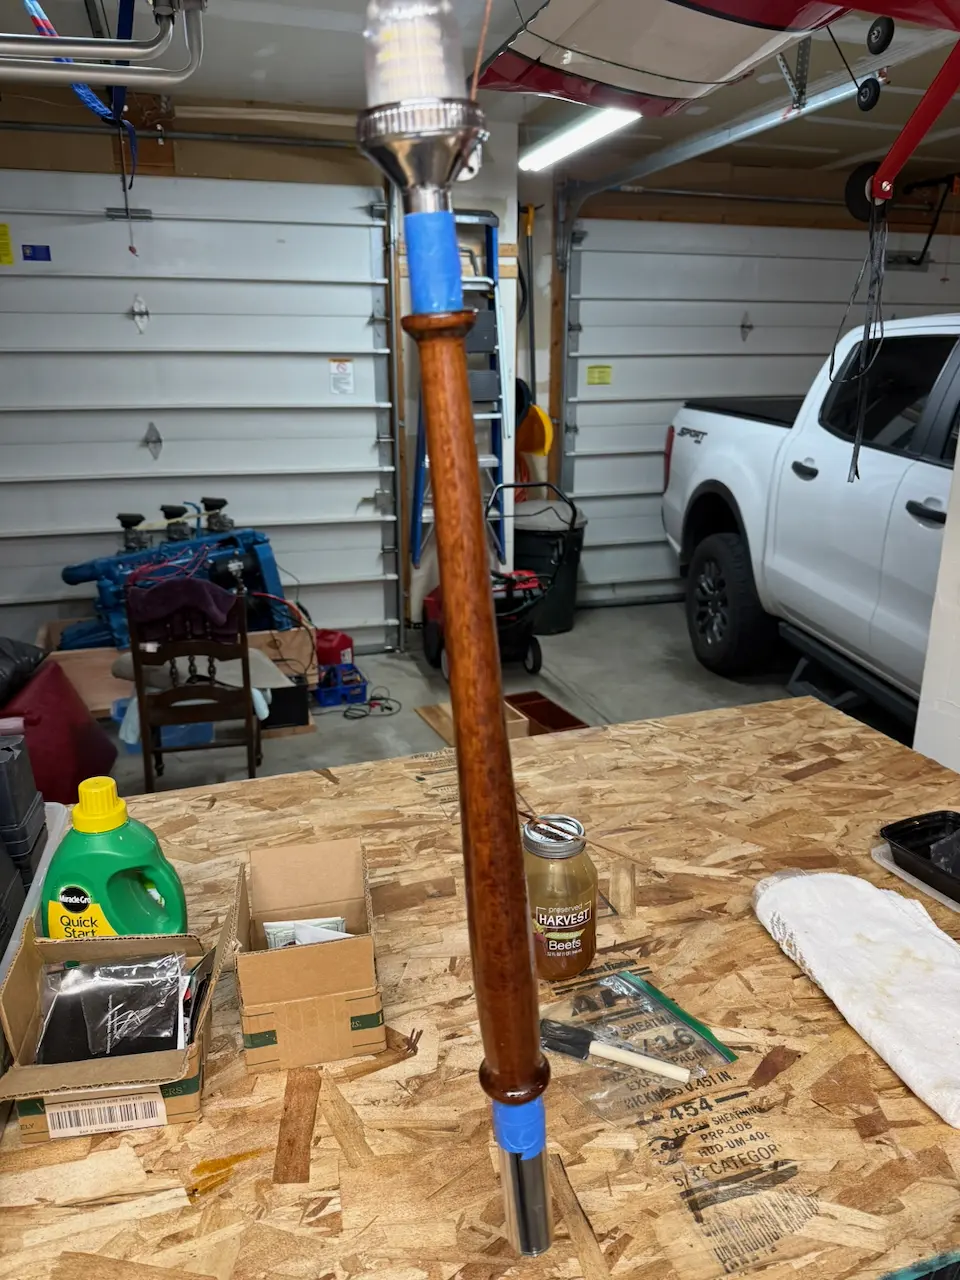
Aside from a missing center windshield post and a couple of flagpoles, she’s remarkably complete. The next step will be to pull the engine, get it running, and start the restoration in earnest.

After all, every boat deserves a second act—and MsBehaving is ready for hers. Mike saying good bye.
Engine & Propulsion 10 h Link

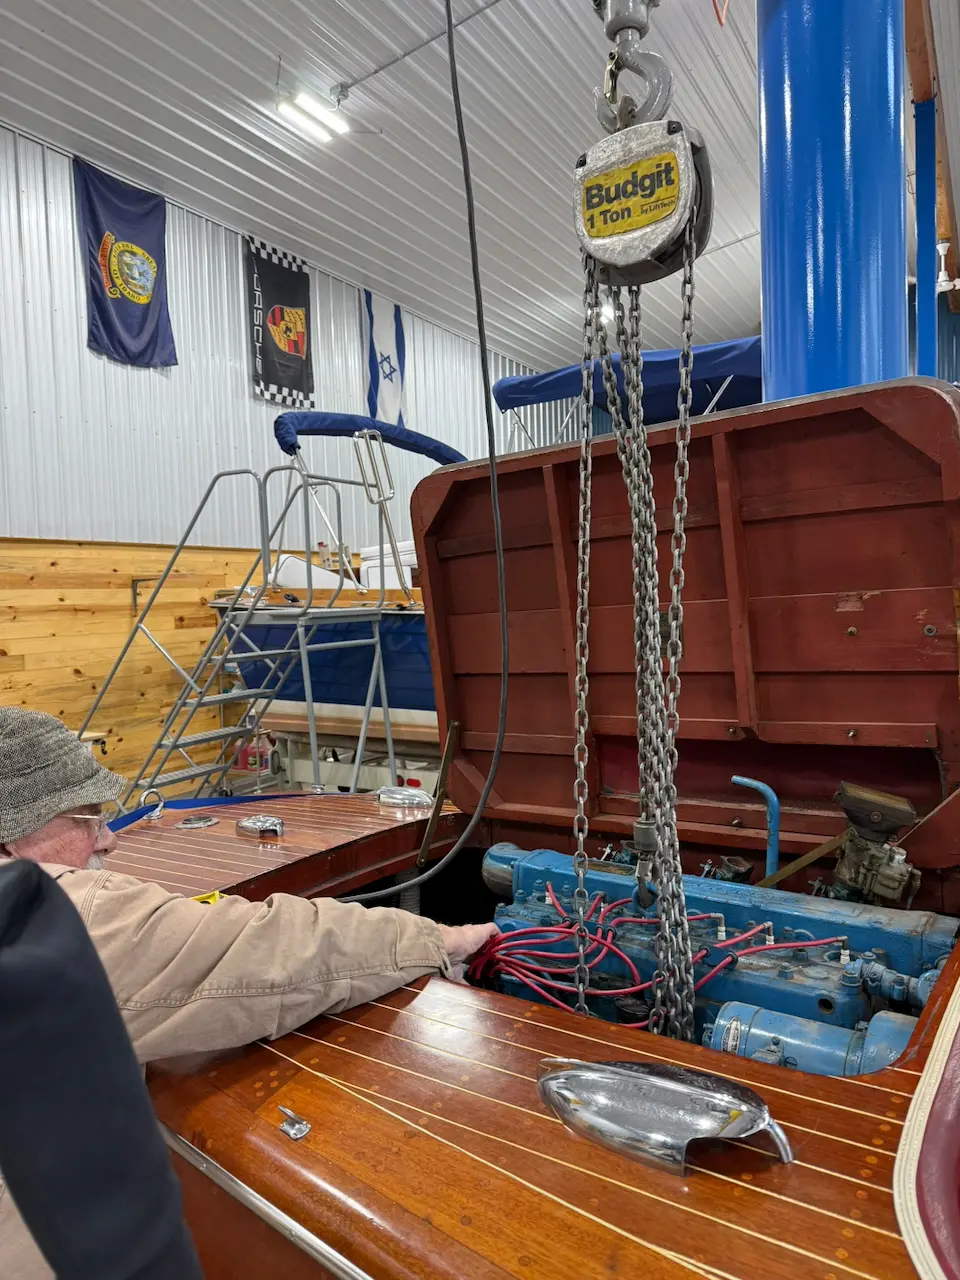
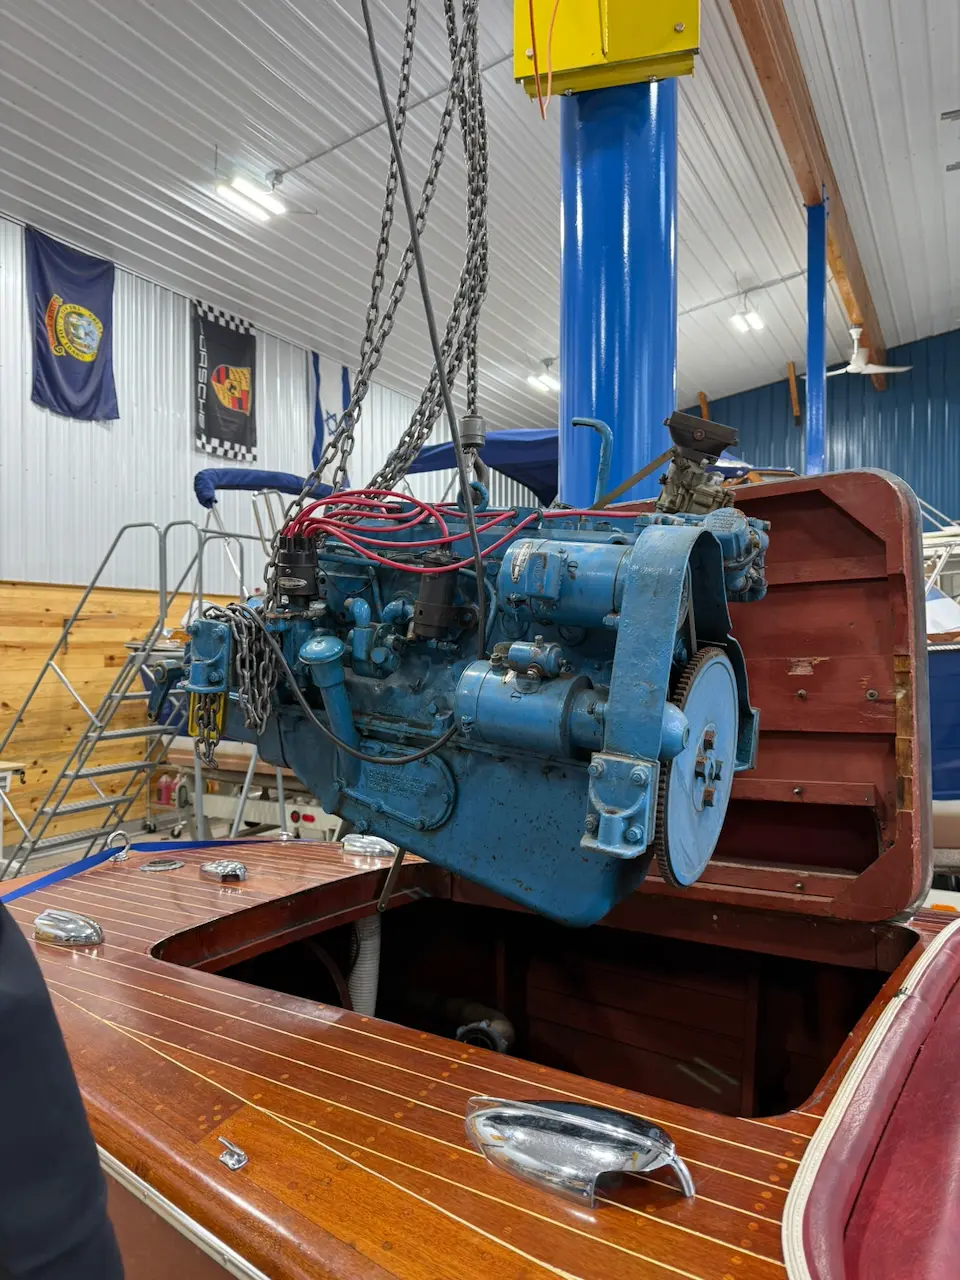
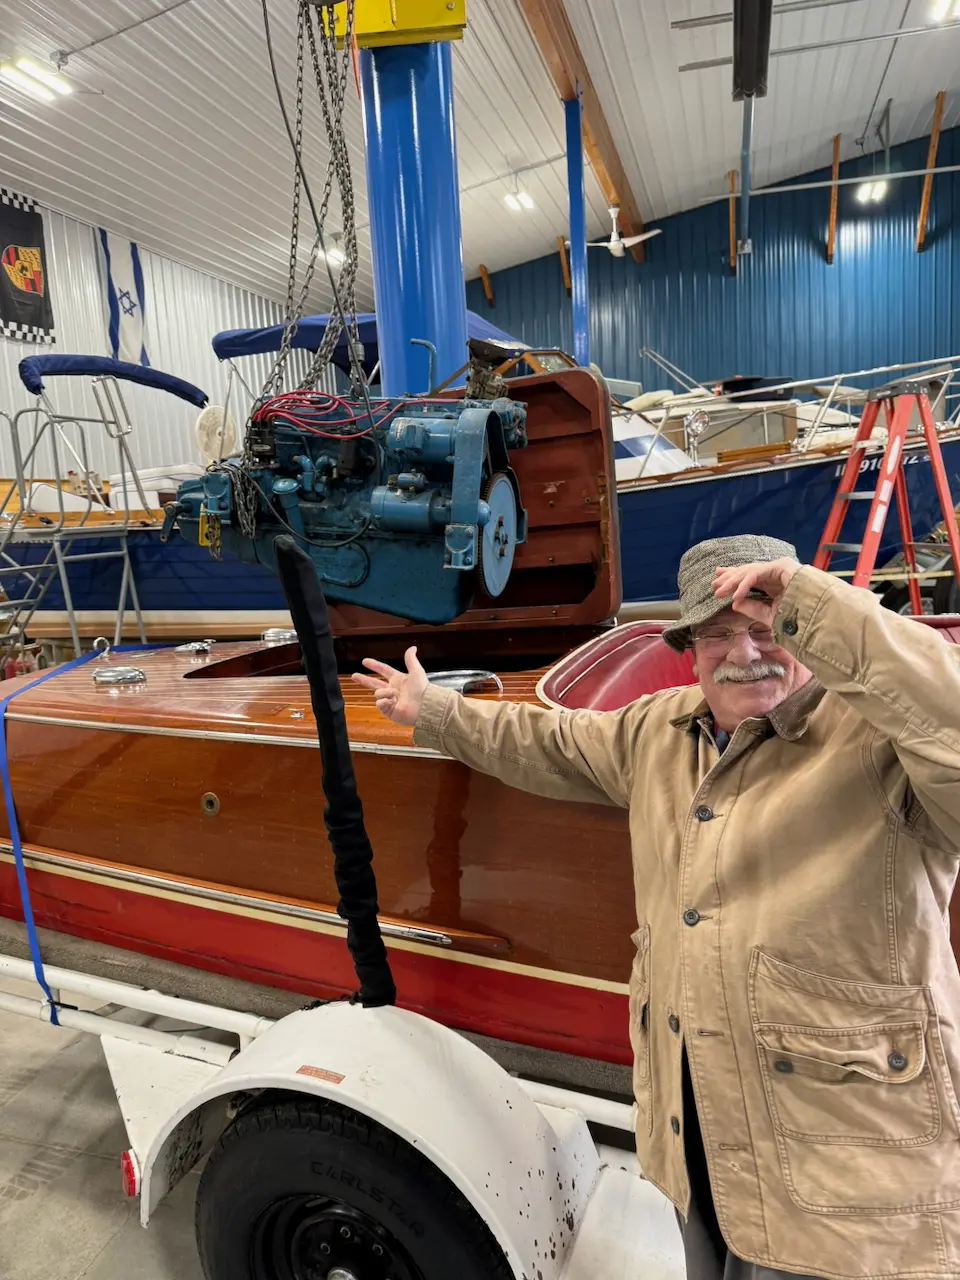
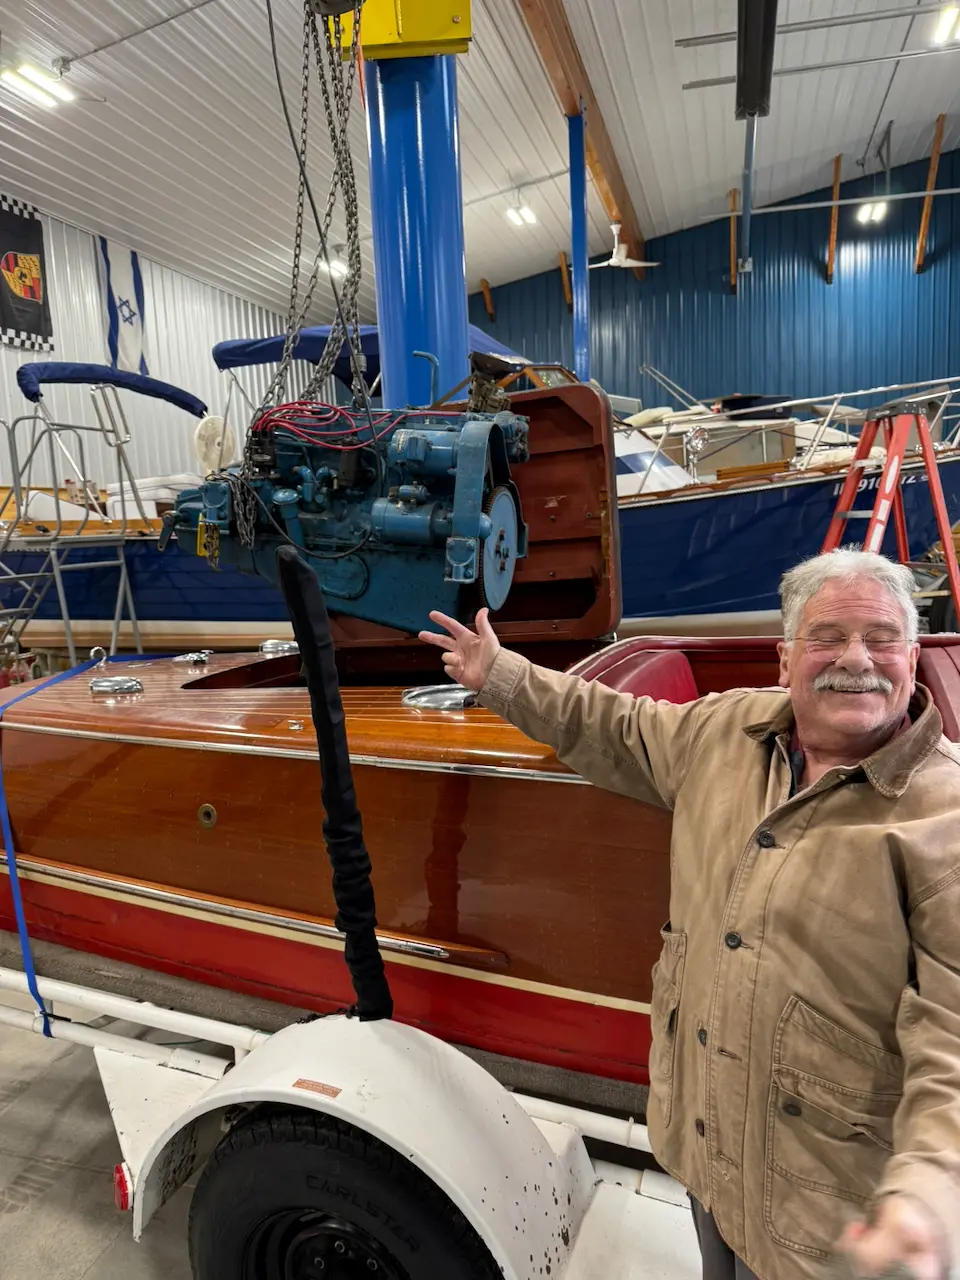
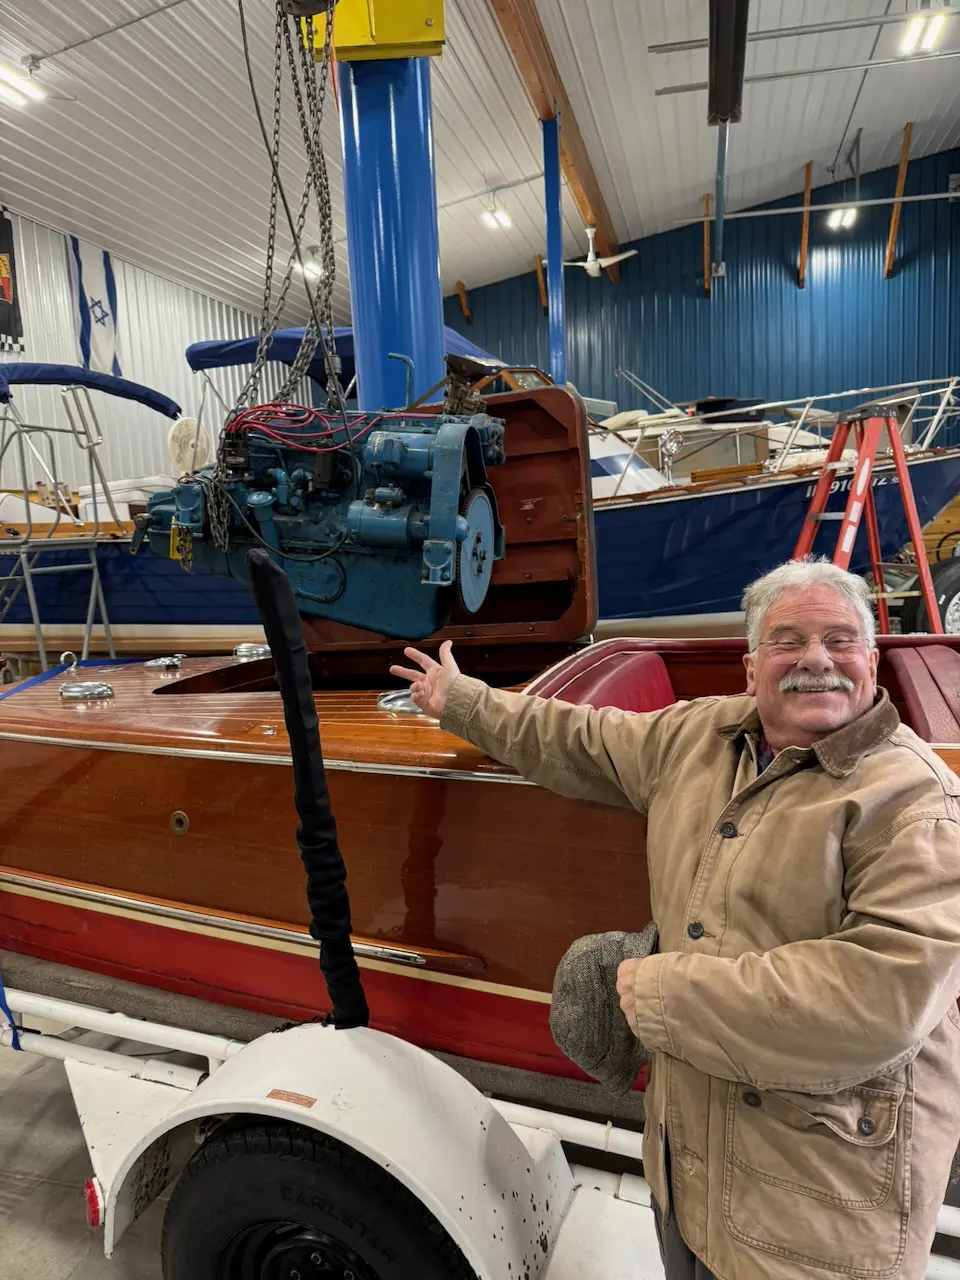
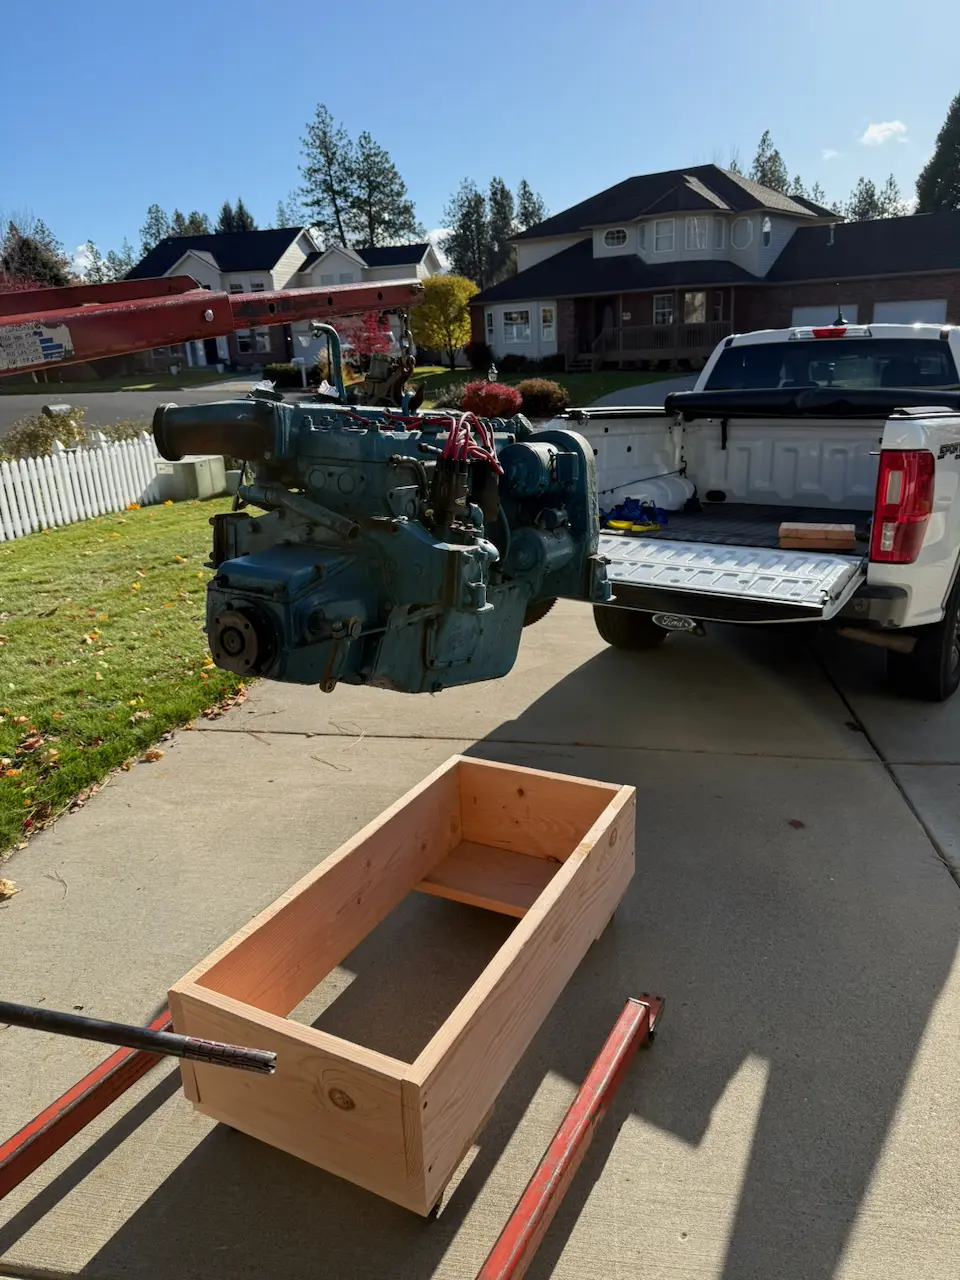
Remove engine

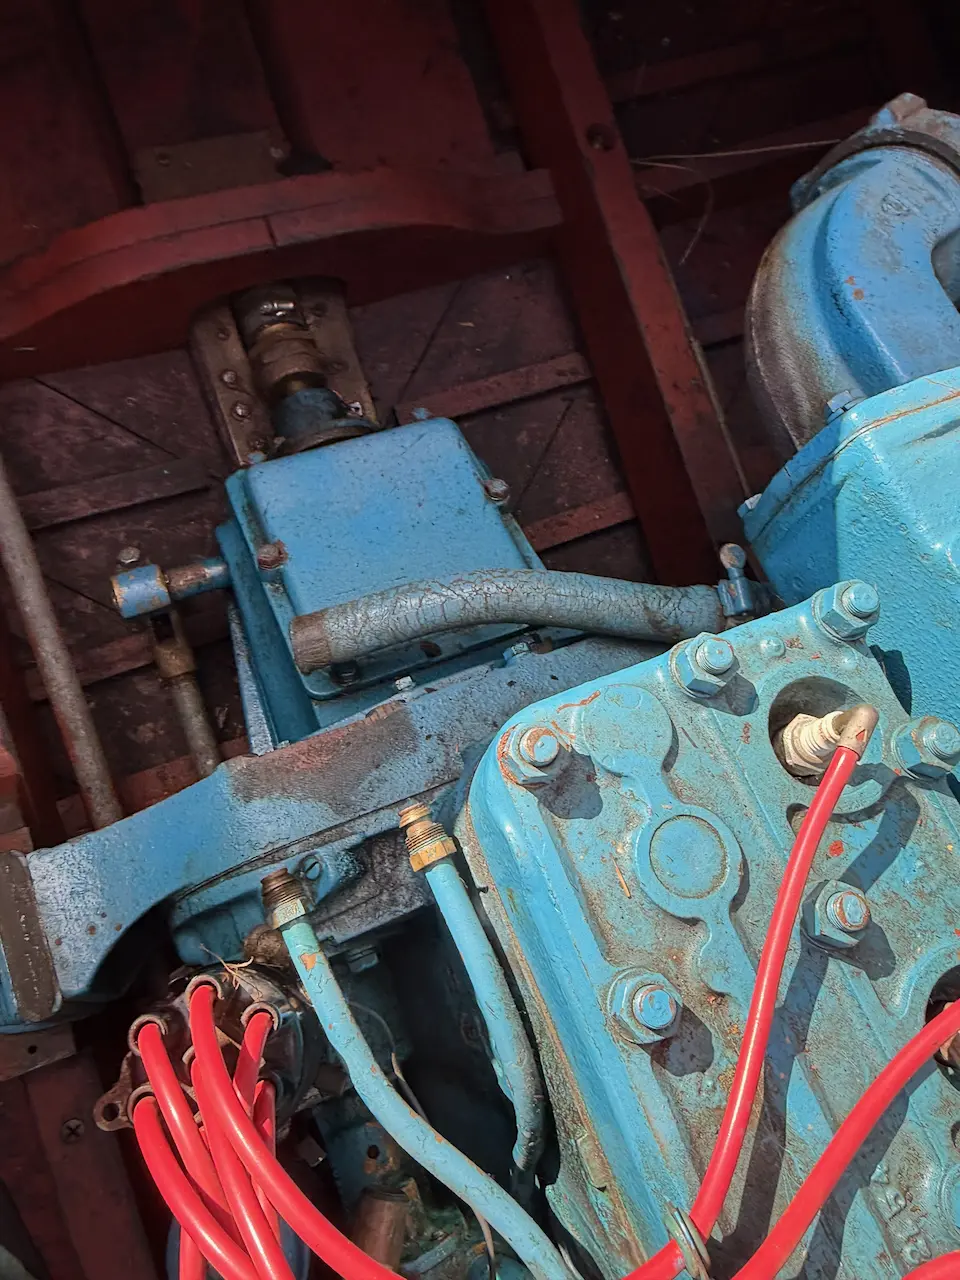
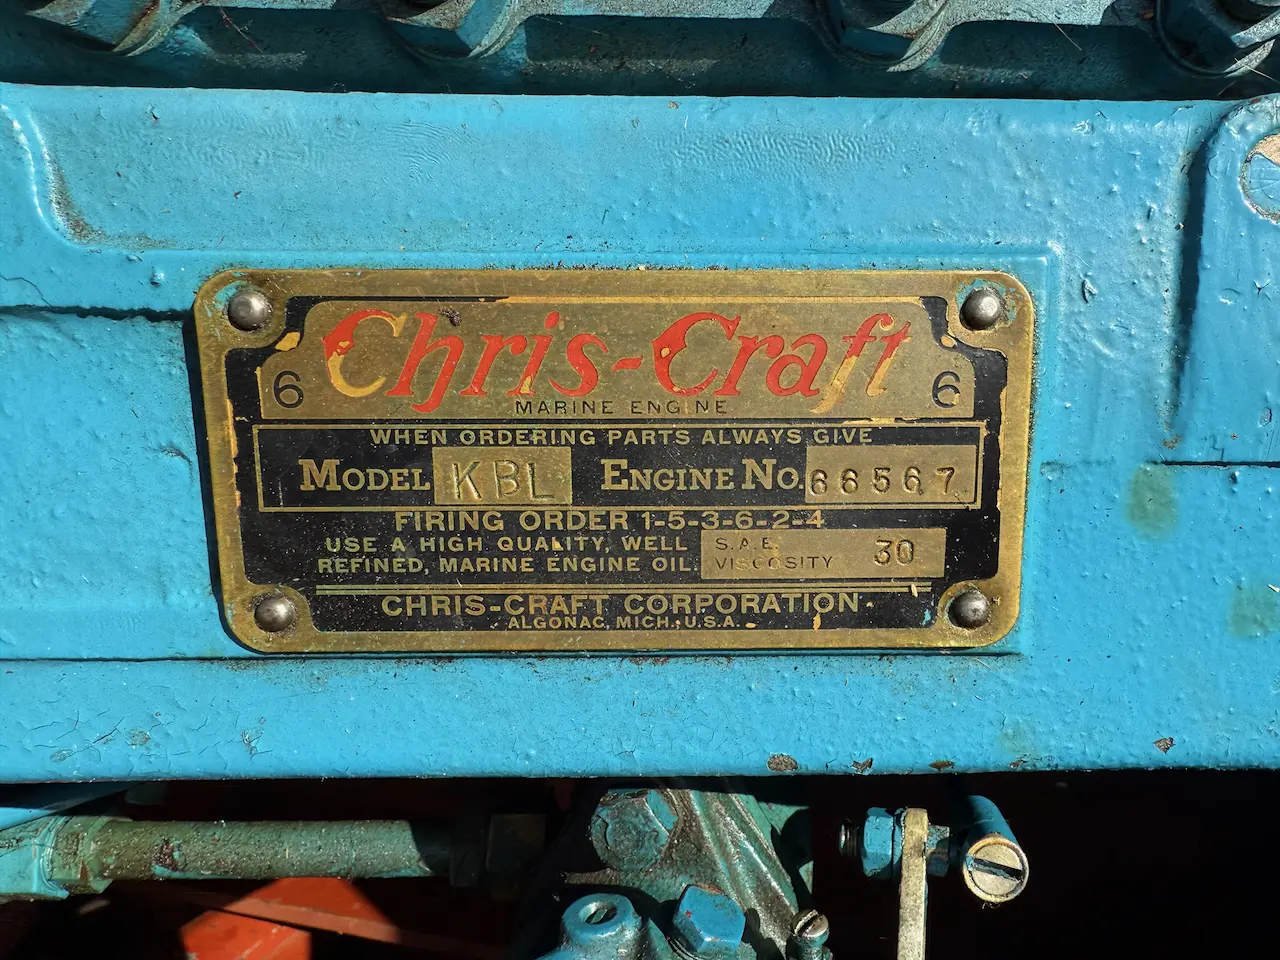
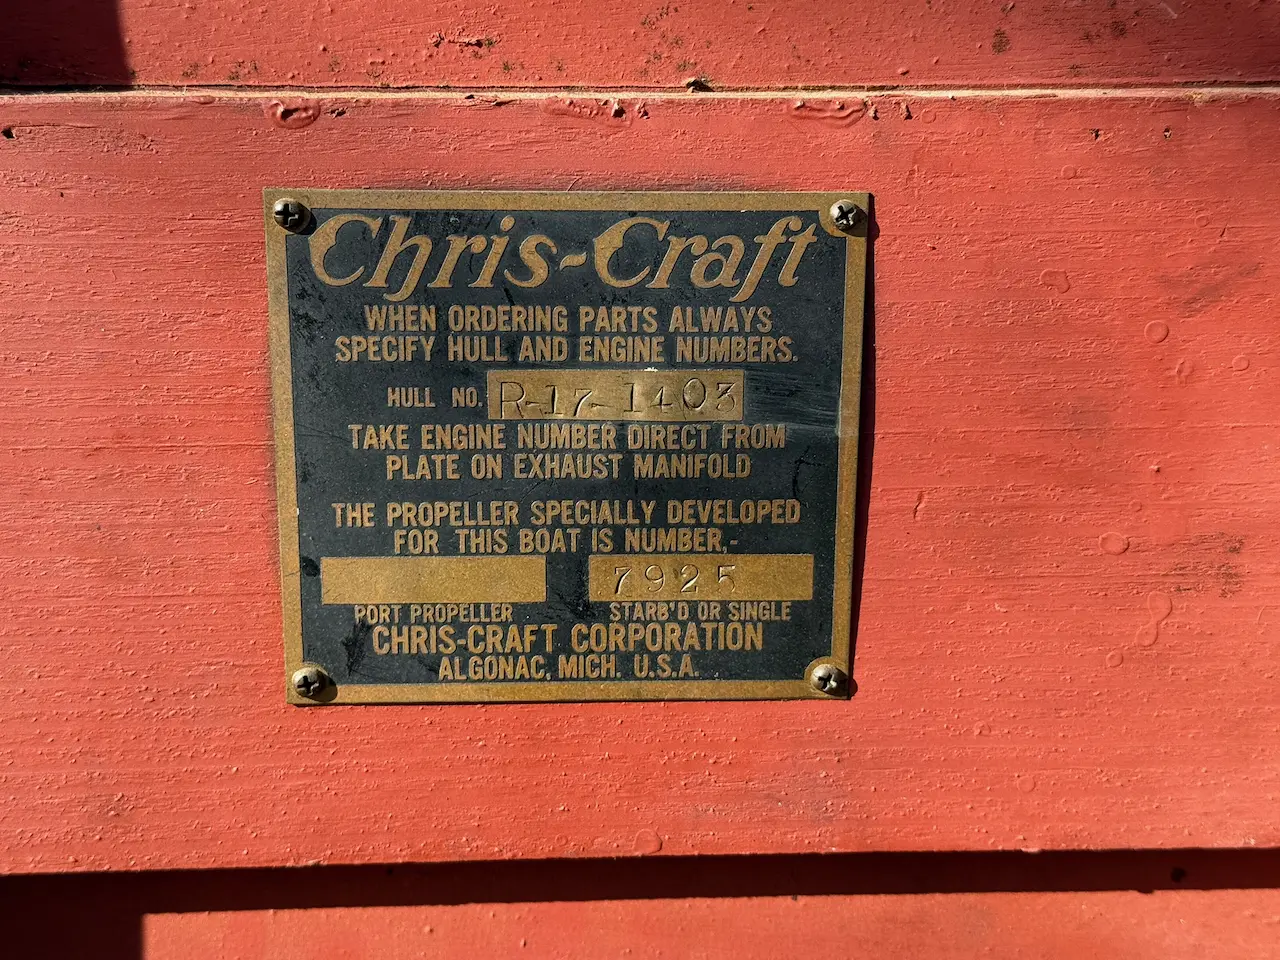
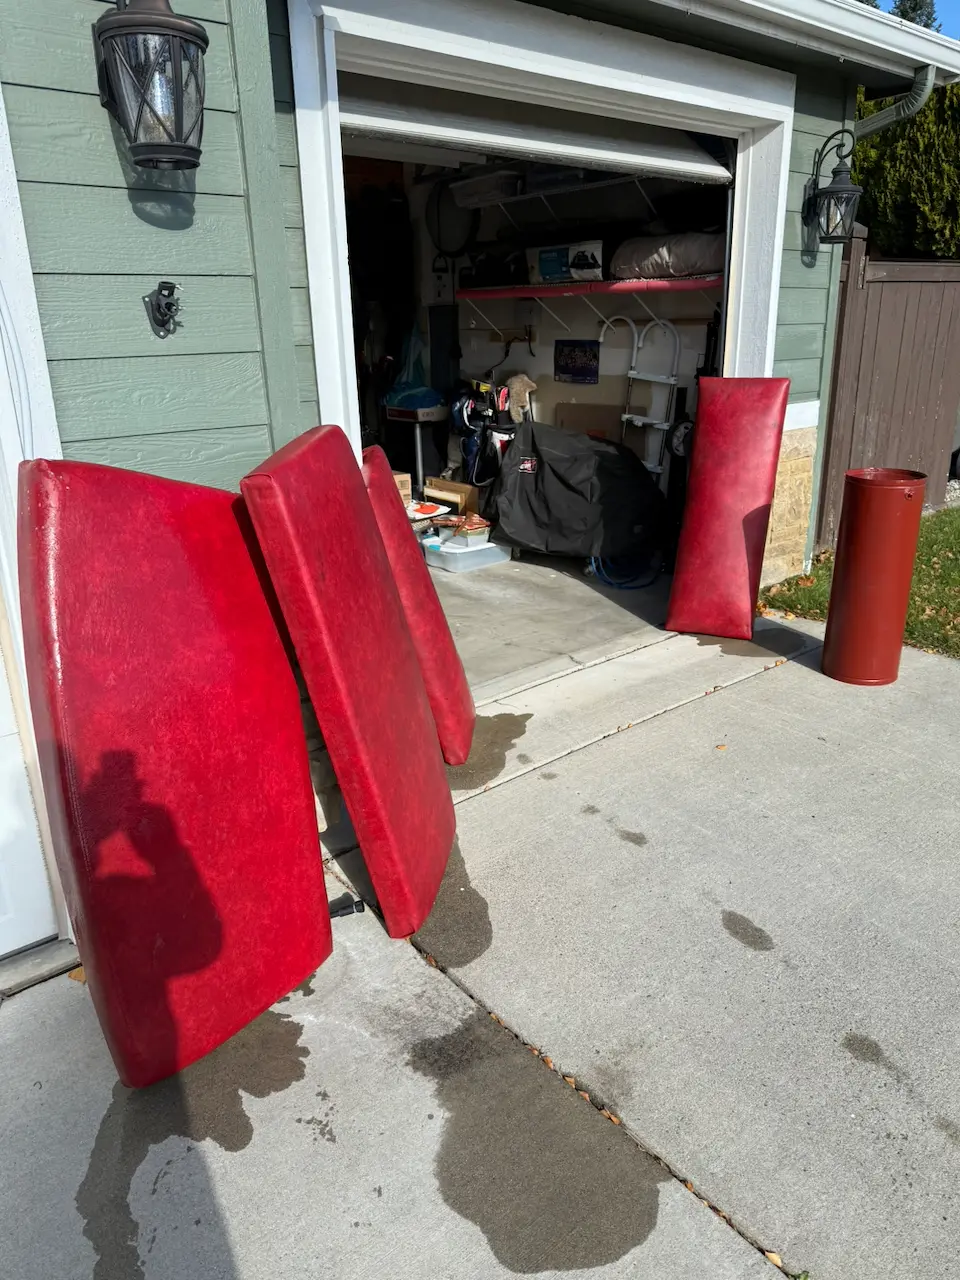
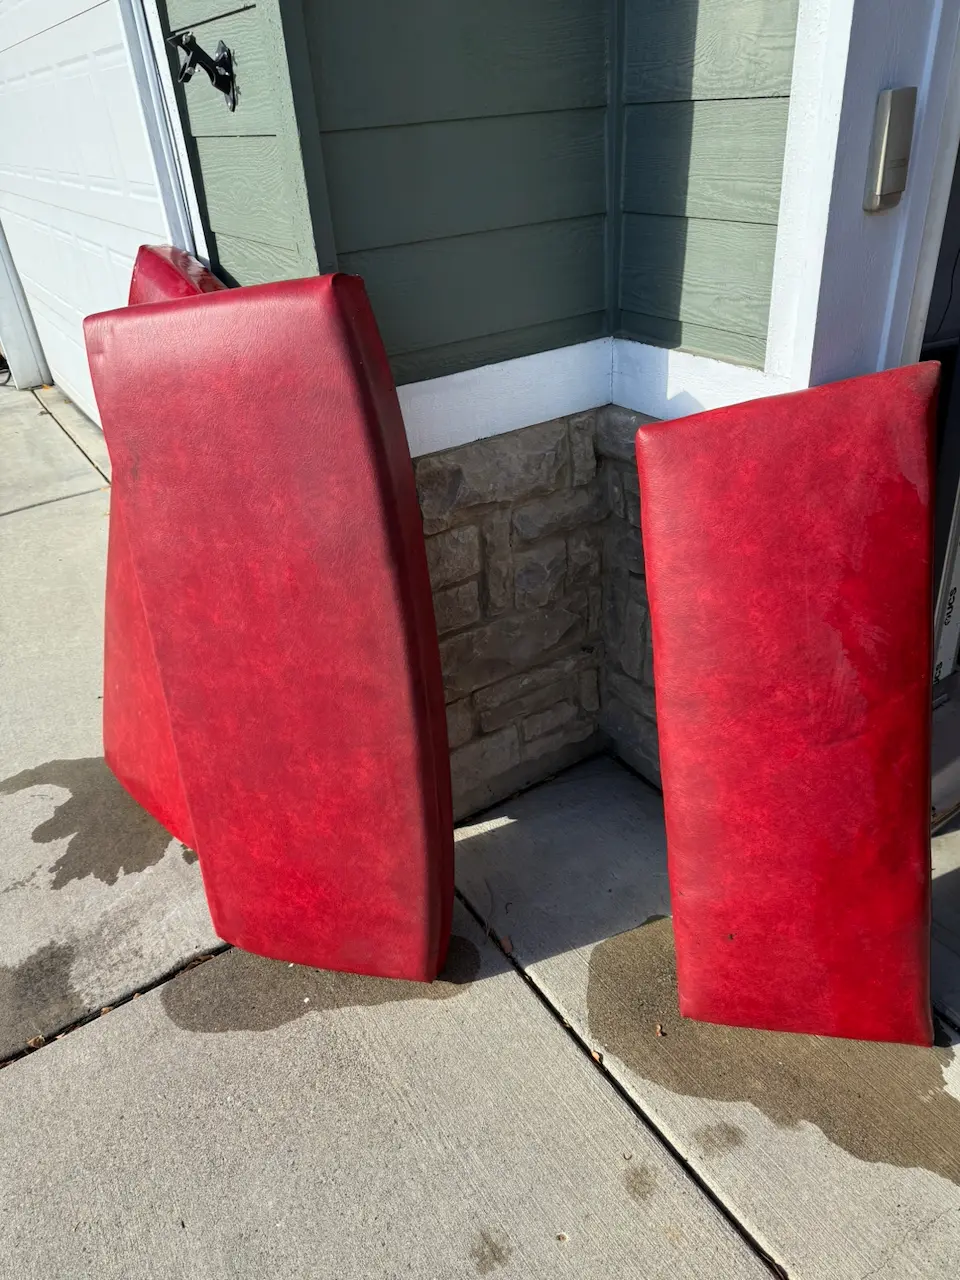
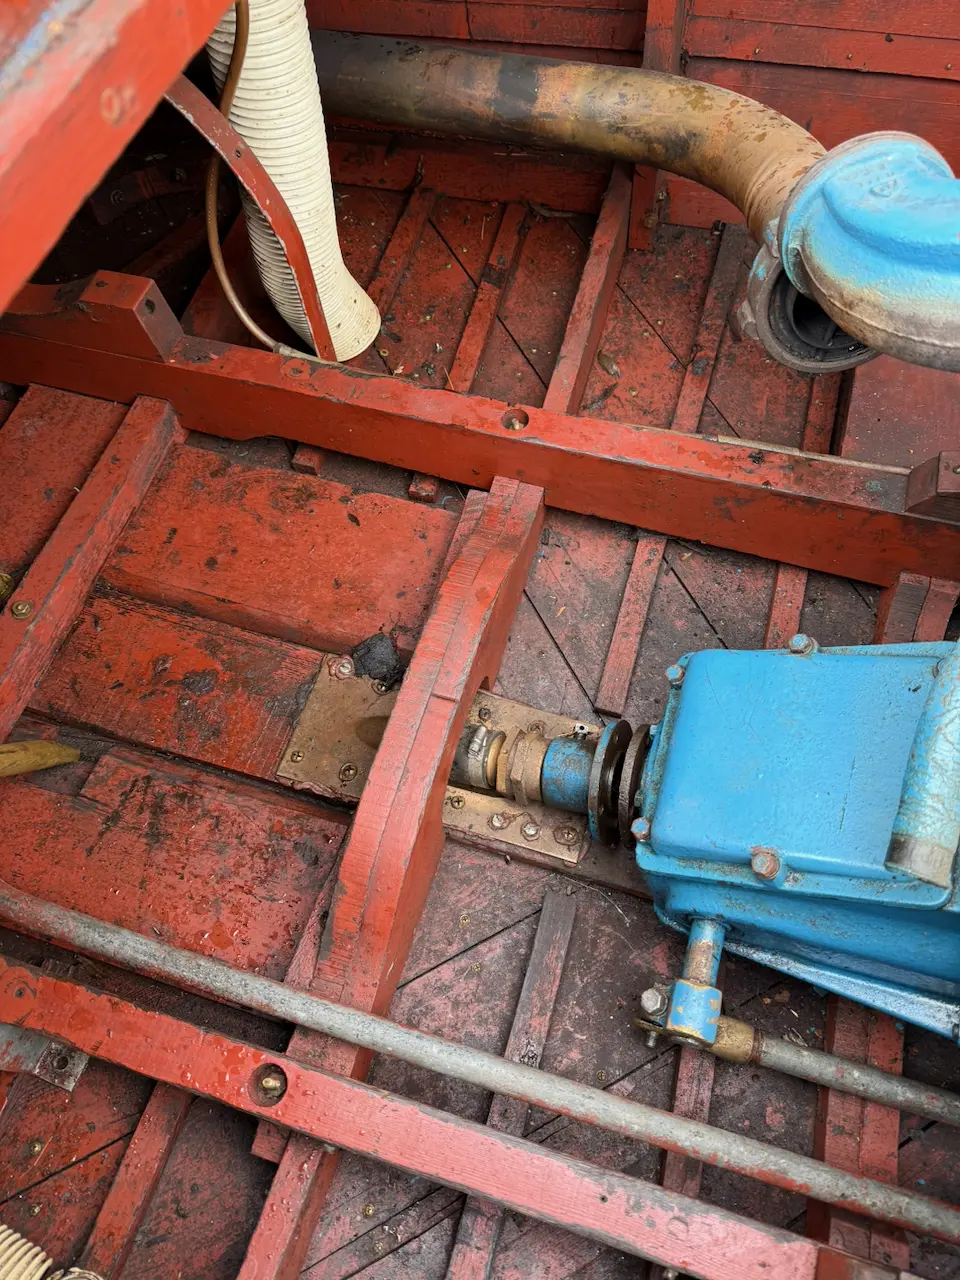
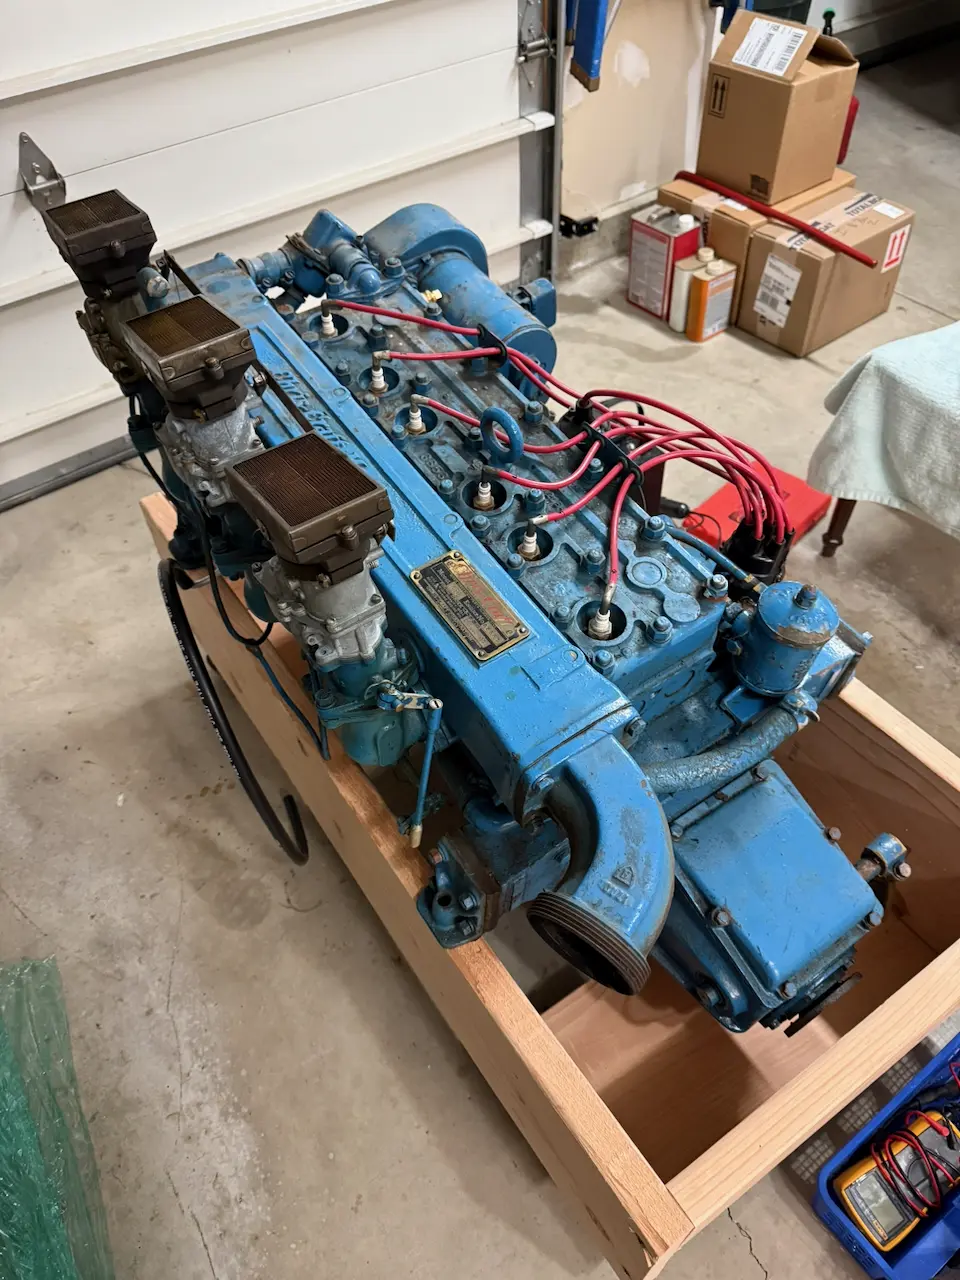
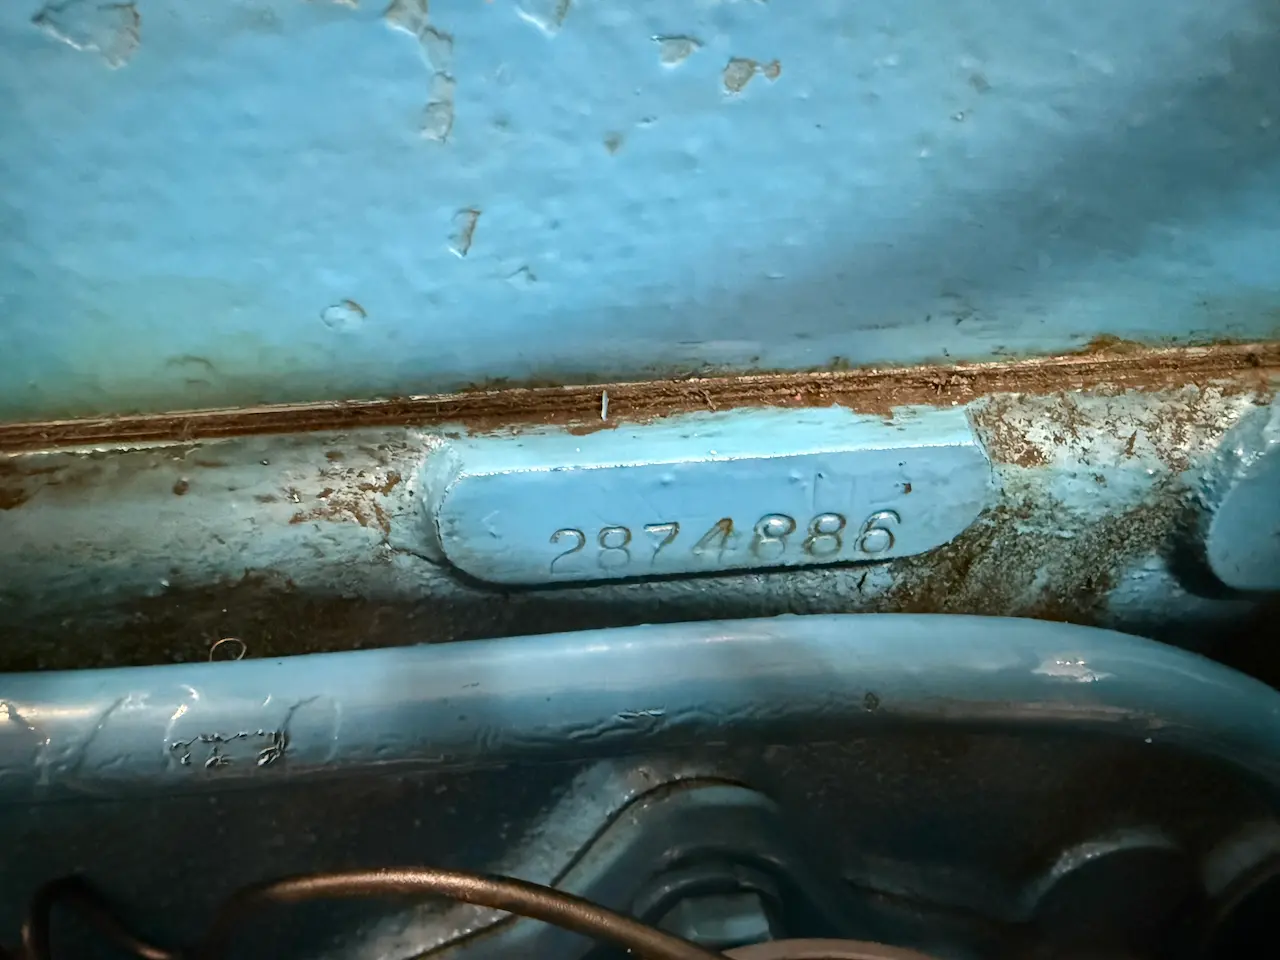
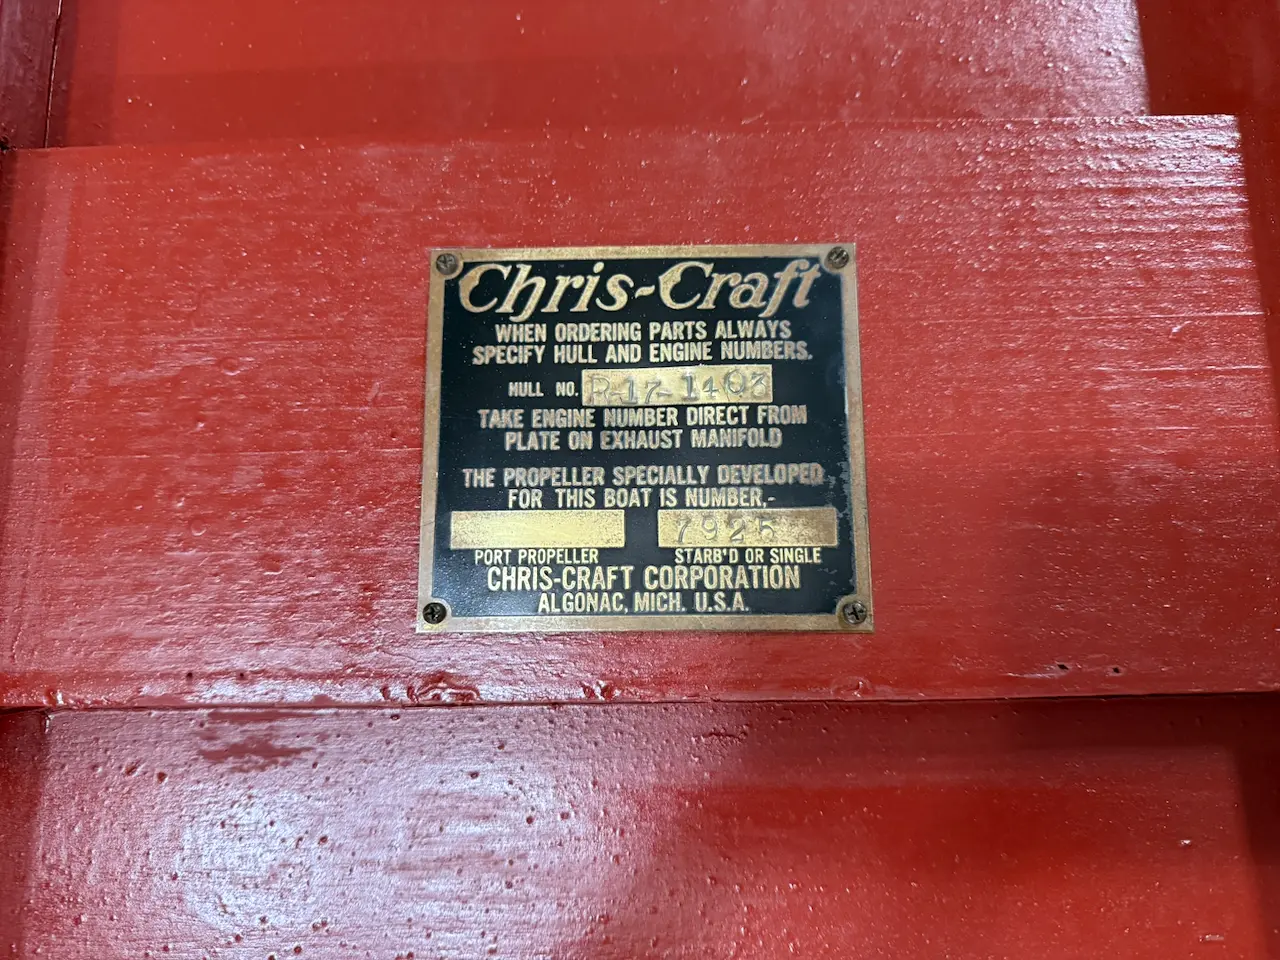
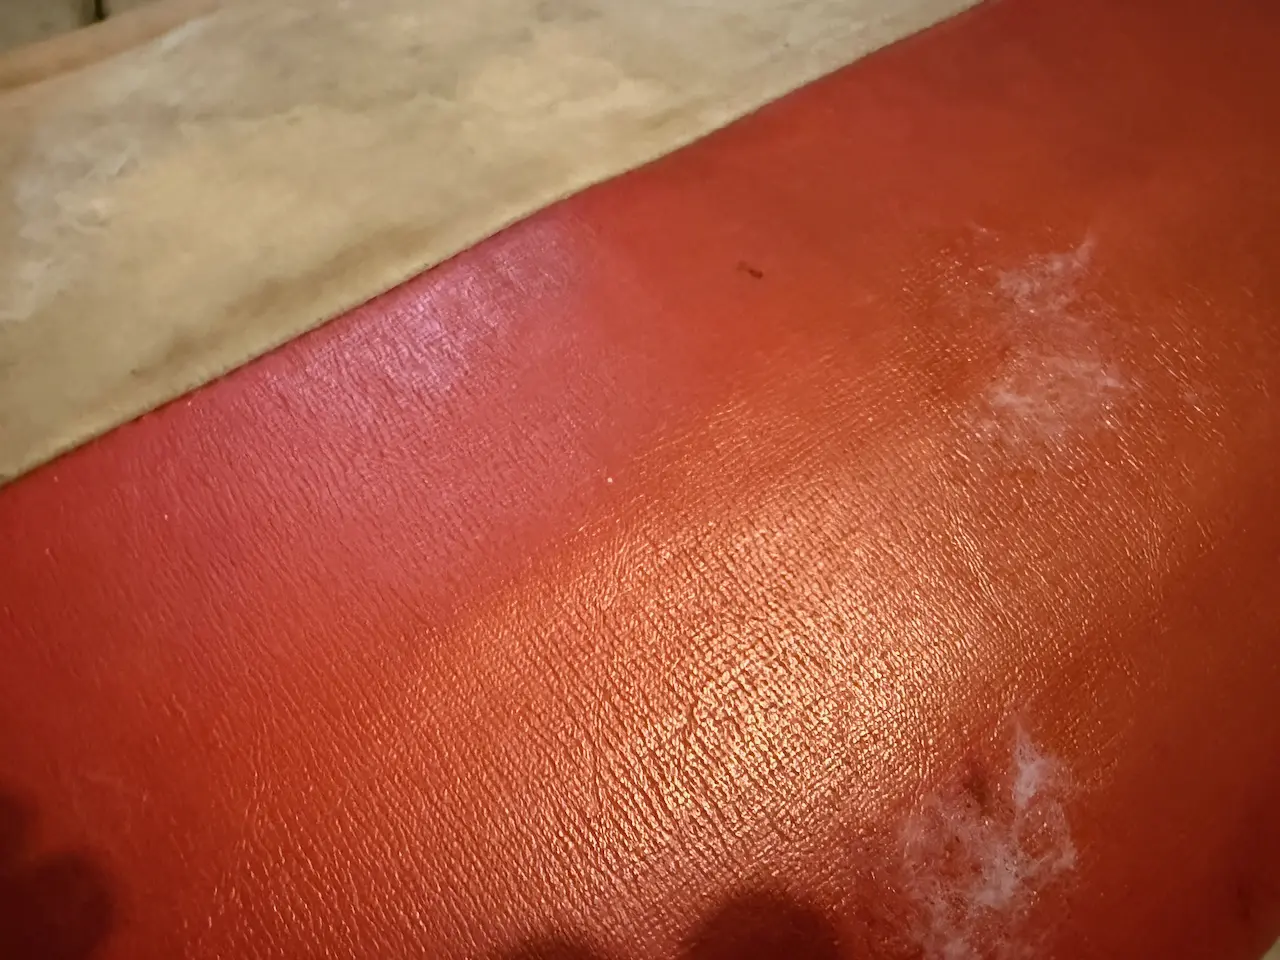
Whenever you take on these projects its always a good idea to check with the Mariner Museum especially if it's a Chris Craft and that is what I did and I found out that my new boat is a 1948 17' Deluxe Runabout. It checks off the equipment on the boat when it left the Chris-Craft Plant, notes the original engine with serial number (KBL #51235) I have #66567, upholstery type and color (tolex, red), when and to where it was first shipped (5/14/48, Tahoe Boat Company, Reno, Nevada), and any special notes (it had a returnable shipping cover) and had a bronze bottom not red. A bit of Simple Green and Dawn Dishwashing Soap went a long way cleaning up the Chris Craft. I ended up scrubbing the seats with Simple Green and washing the entire seats with Dawn and then finishing off the project with leather conditioner and as you can see they came out exceptionally well. There was so much dirt on the boat I finally decided to just wash it with Dawn and it worked really well. The engine is disconnected and ready to pull out.

Seating & Upholstery 10 h Link

Upholstery repair

Miss Behaving is coming along nicely. If you haven’t been following along, I removed the engine and drained the oil before performing a compression test. The oil didn’t look too bad, but to be safe I filled the crankcase with diesel to flush out any sludge. That decision paid off—the diesel did an excellent job cleaning things out.
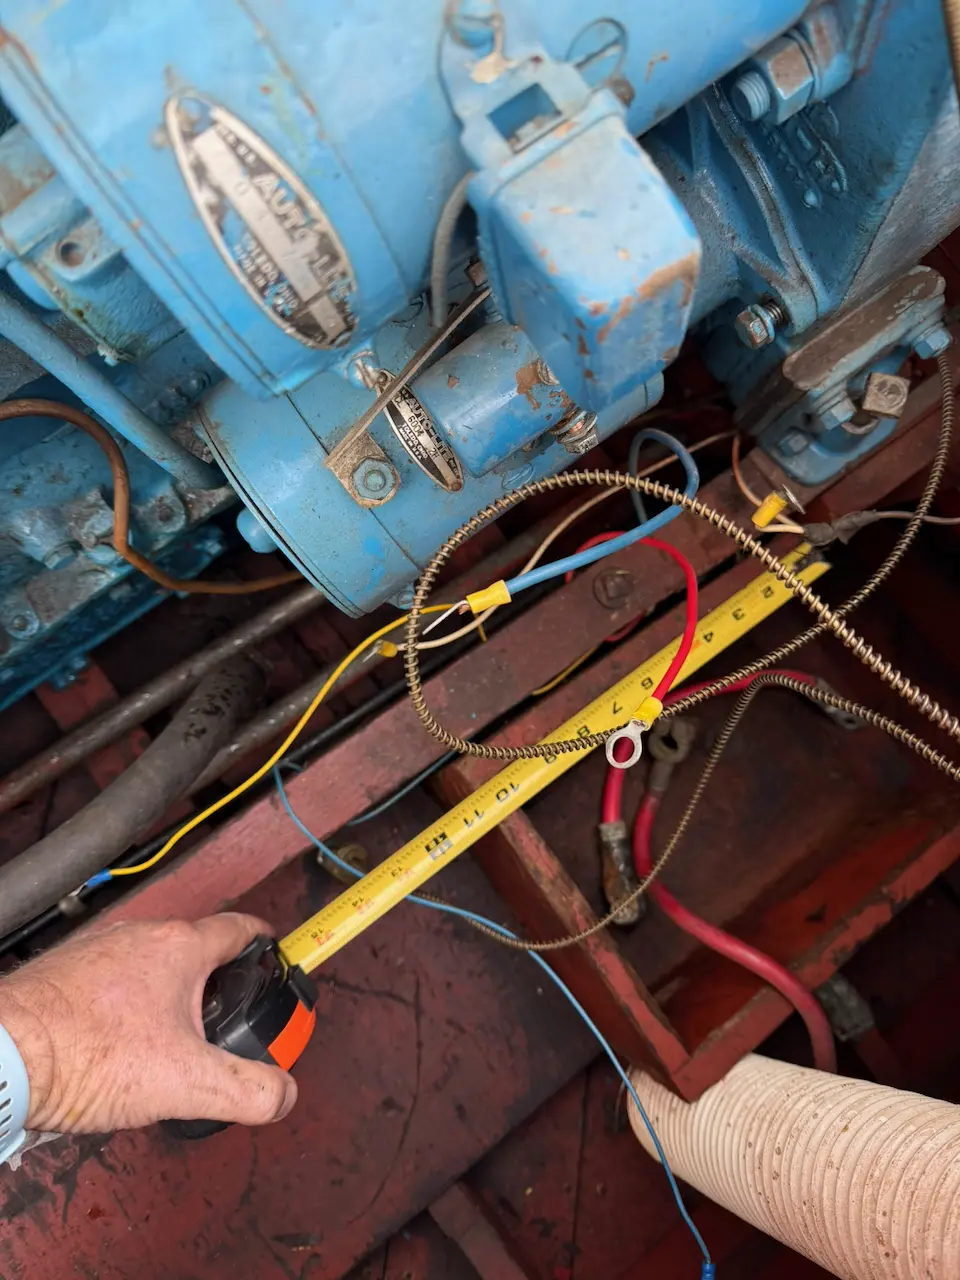
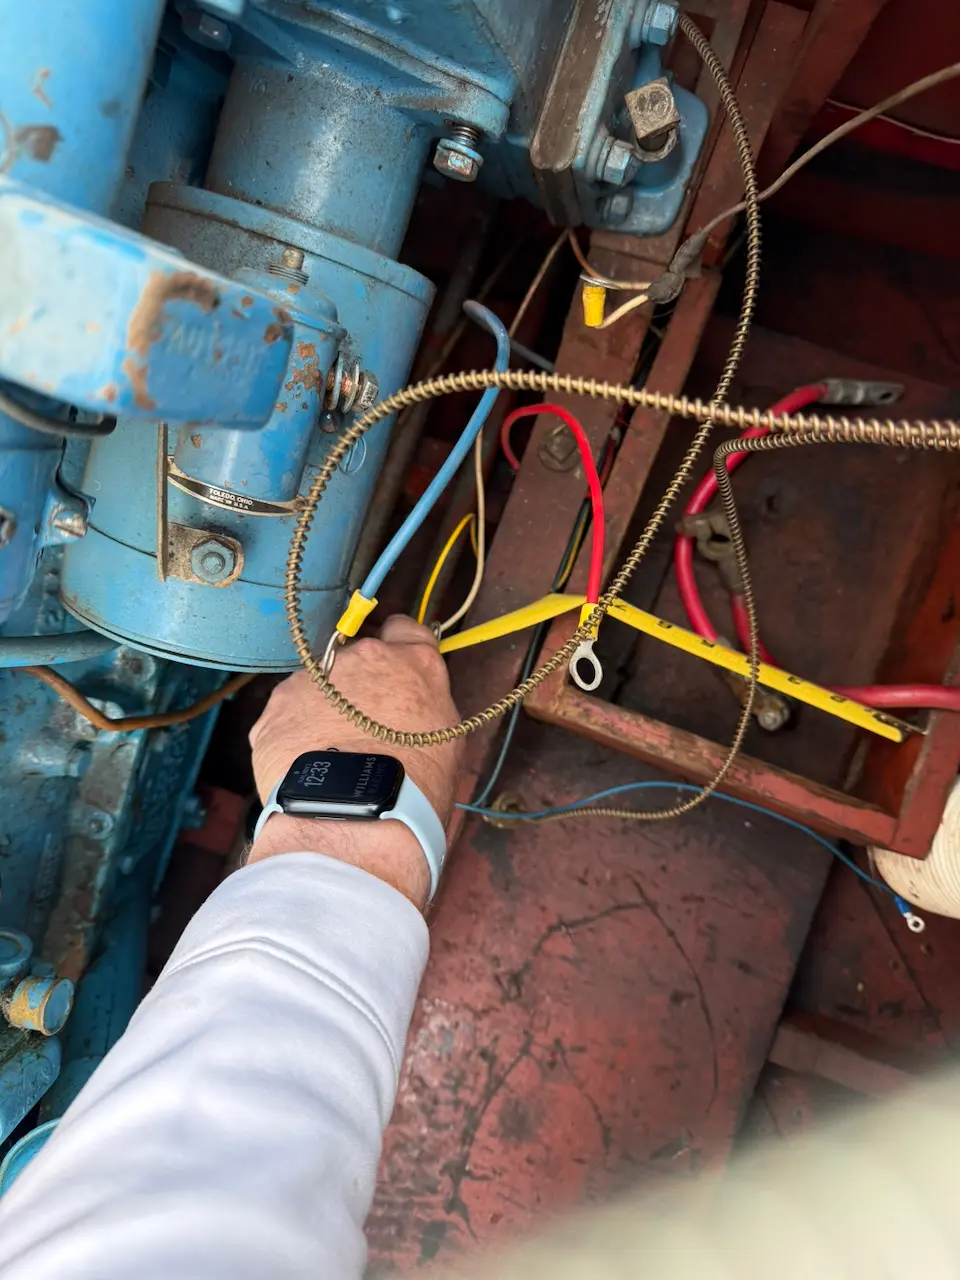
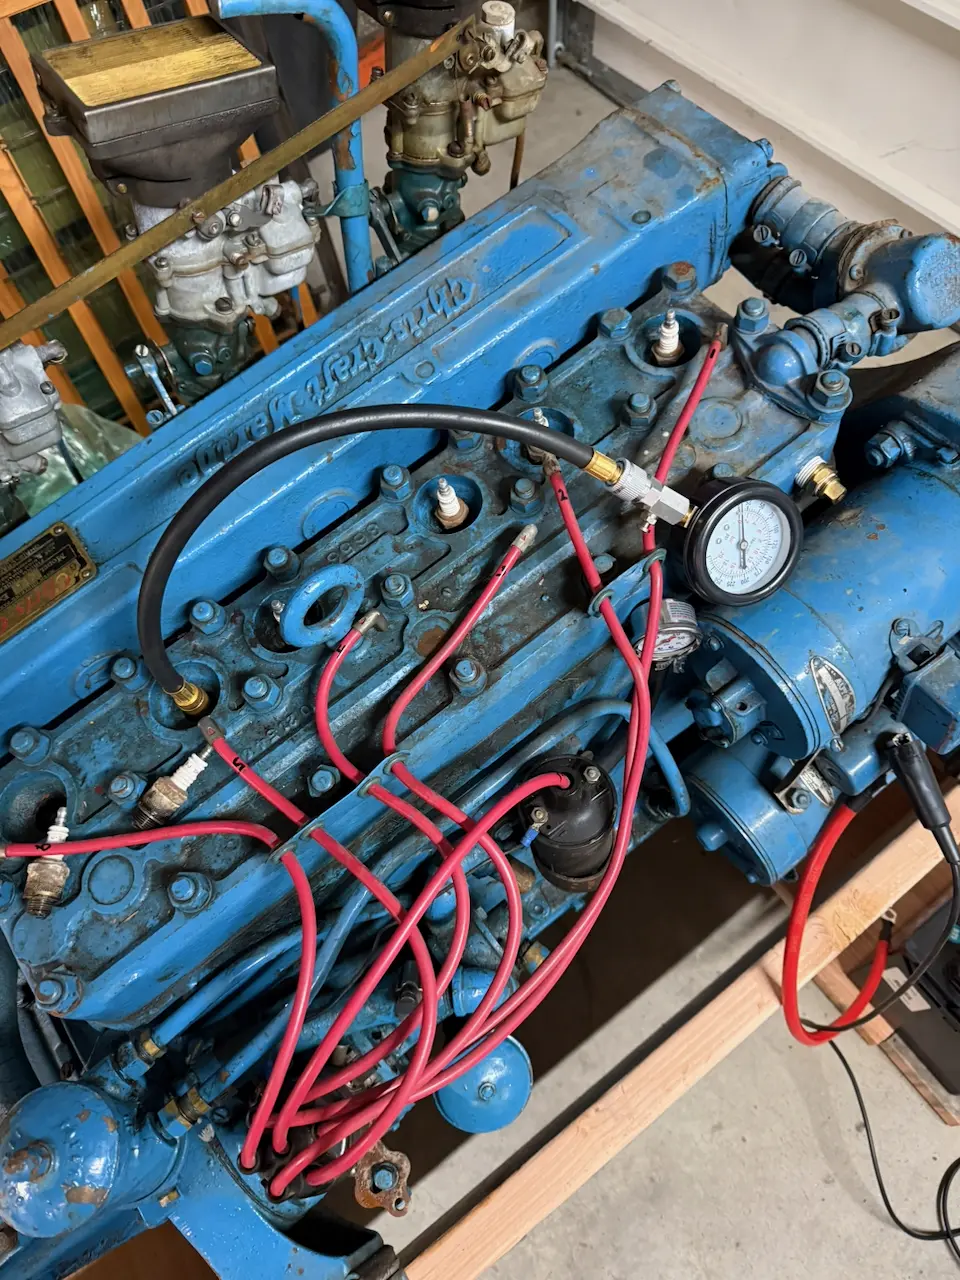
Next came the compression test. For those unfamiliar, an engine compression test is done by disabling the fuel and ignition, removing all the spark plugs, blocking the throttle open, and threading the tester’s adapter into one spark plug hole. The engine is then cranked for several seconds until the gauge stabilizes, the PSI reading is recorded, and the process is repeated for all cylinders. Ideally, readings should be within about 10–15% of each other.
I also performed a wet compression test, which helps diagnose the cause of low compression. This involves adding about a teaspoon of oil into the cylinder through the spark plug hole and retesting. If compression increases significantly, worn piston rings are usually the cause, as the oil temporarily seals them. If compression remains low, the issue is more likely related to valves or piston damage, since oil won’t correct those problems. As always, the dry test should be done first, followed by the wet test only on any low cylinders.

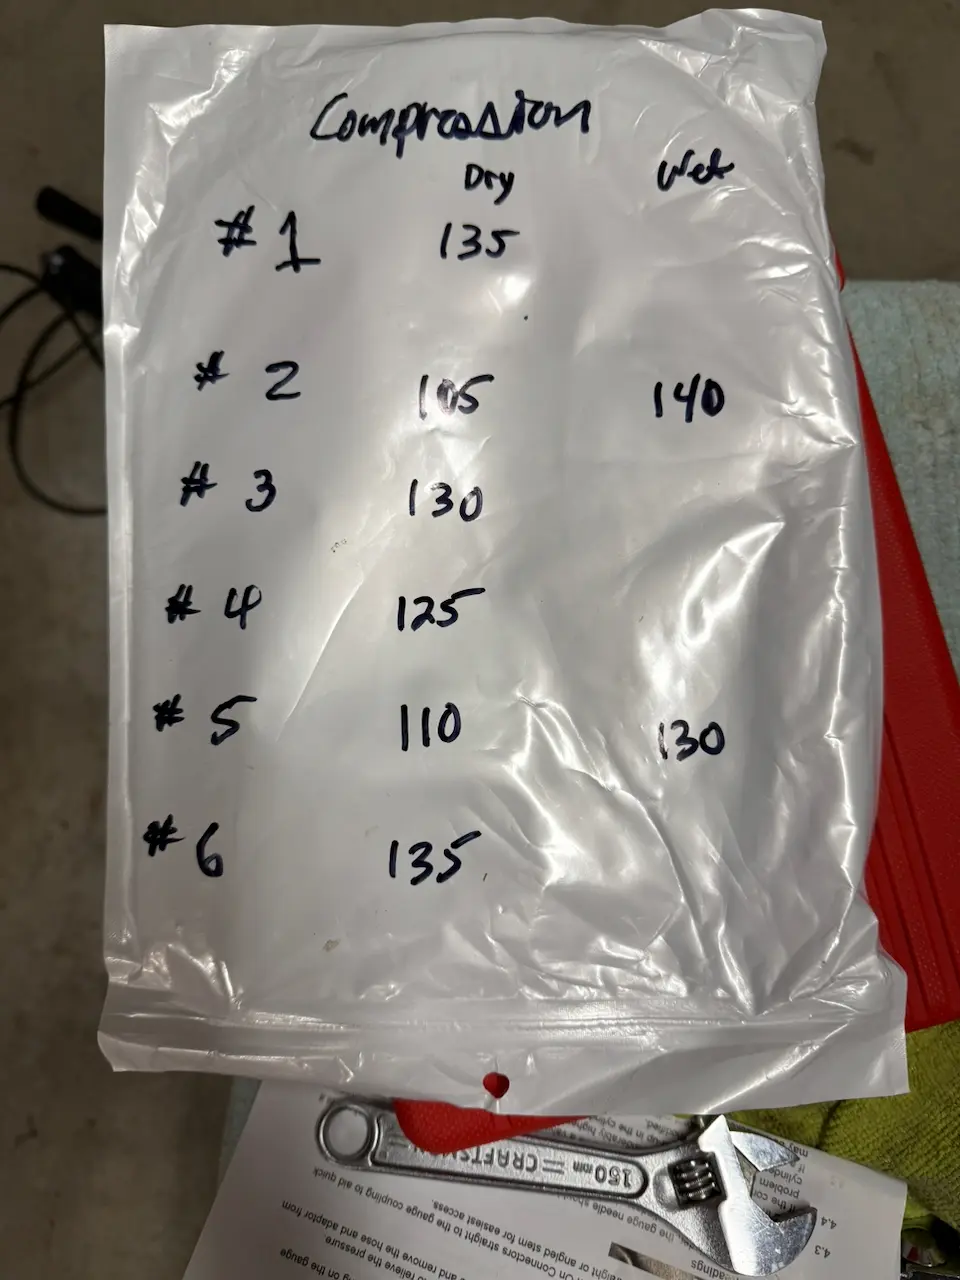
Chris-Craft published recommended compression numbers for the KBL engine, which I have, and as luck would have it, Miss Behaving appears to have been rebuilt sometime before being stored in 1976. All cylinders tested in the good-to-excellent range. Considering the engine hadn’t been turned over in nearly 50 years, I expect compression to improve even more once it’s been run for a while.

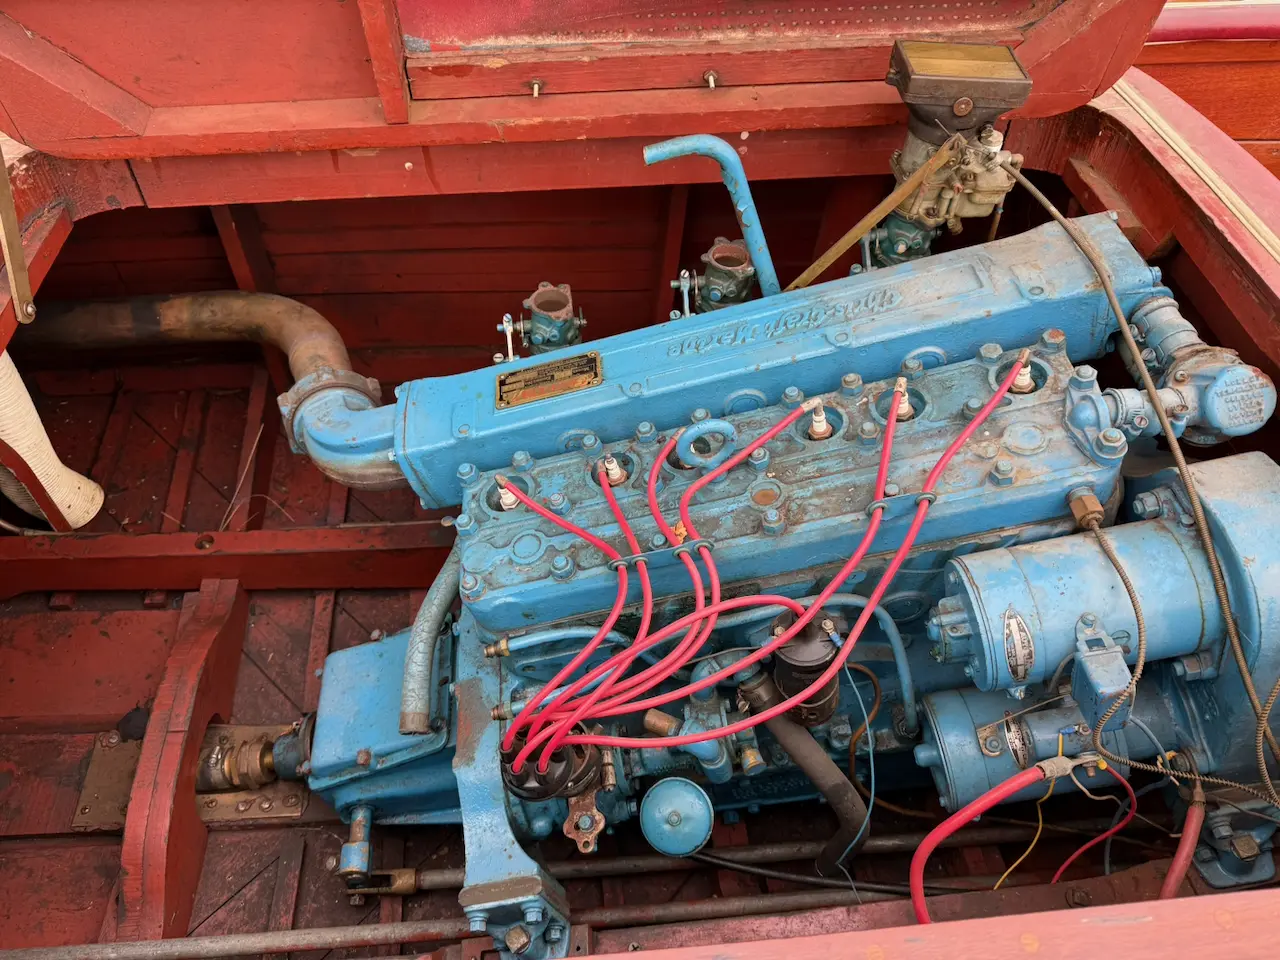
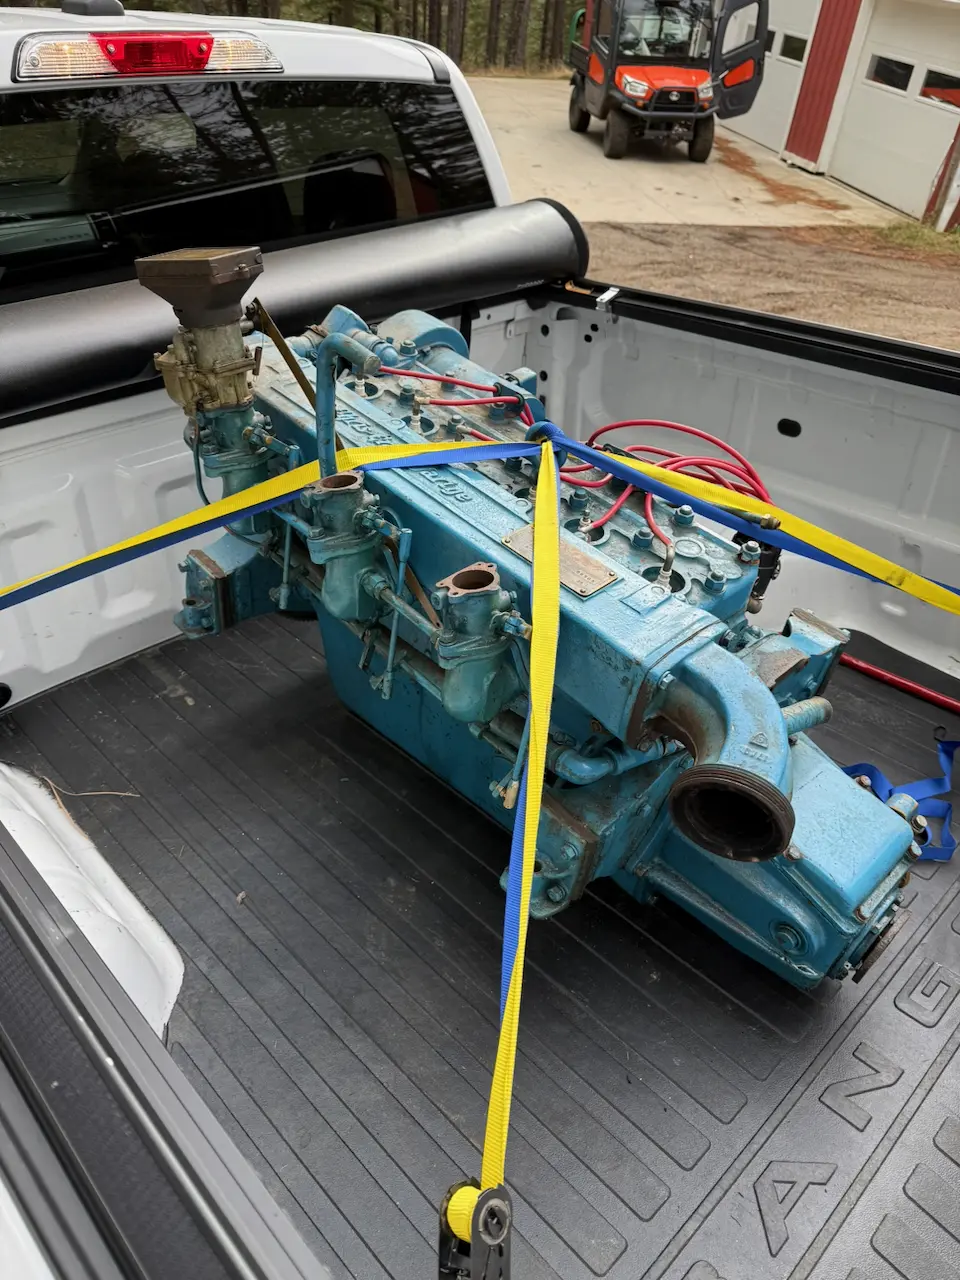
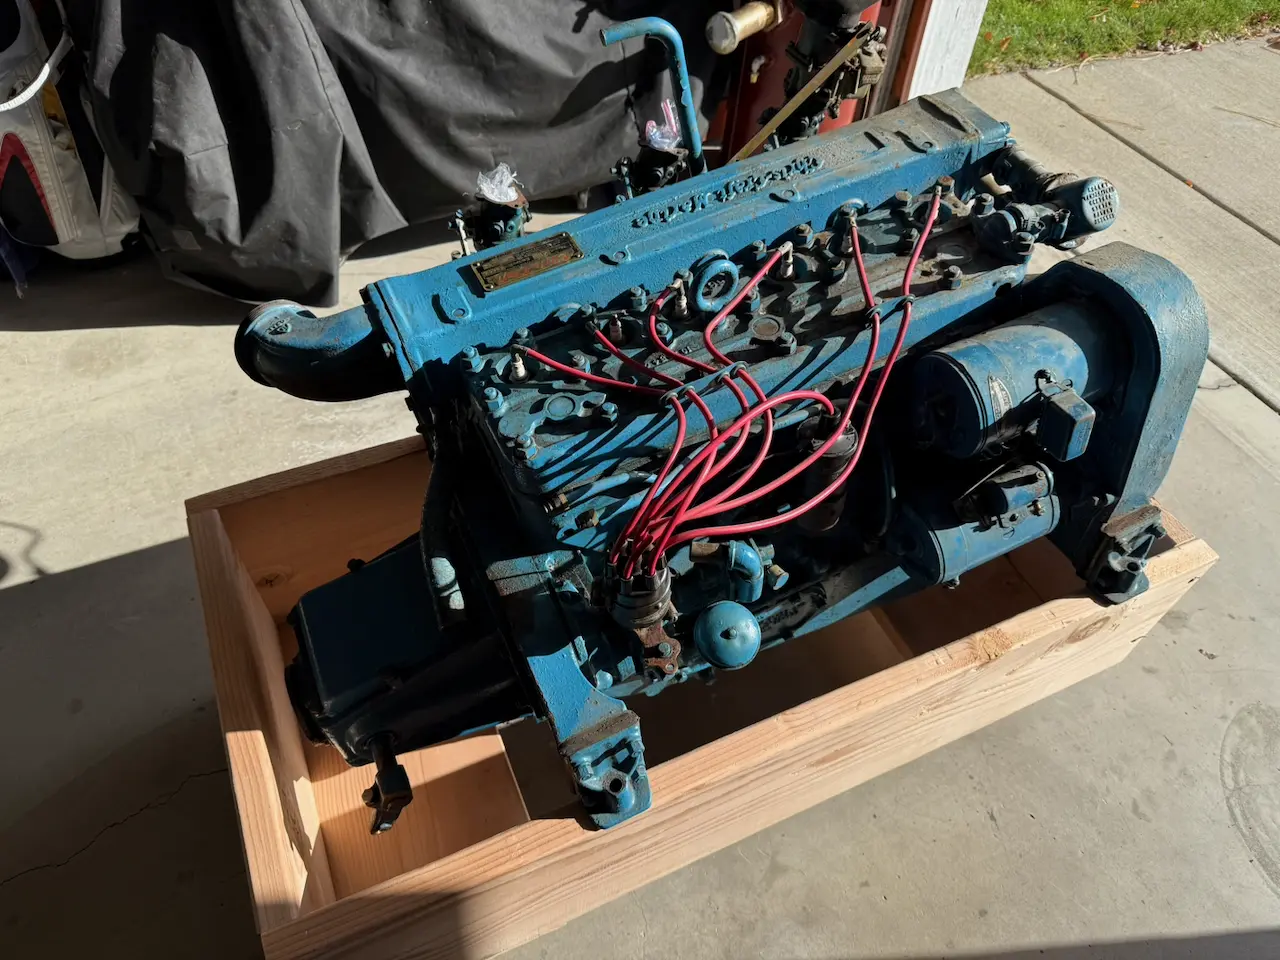
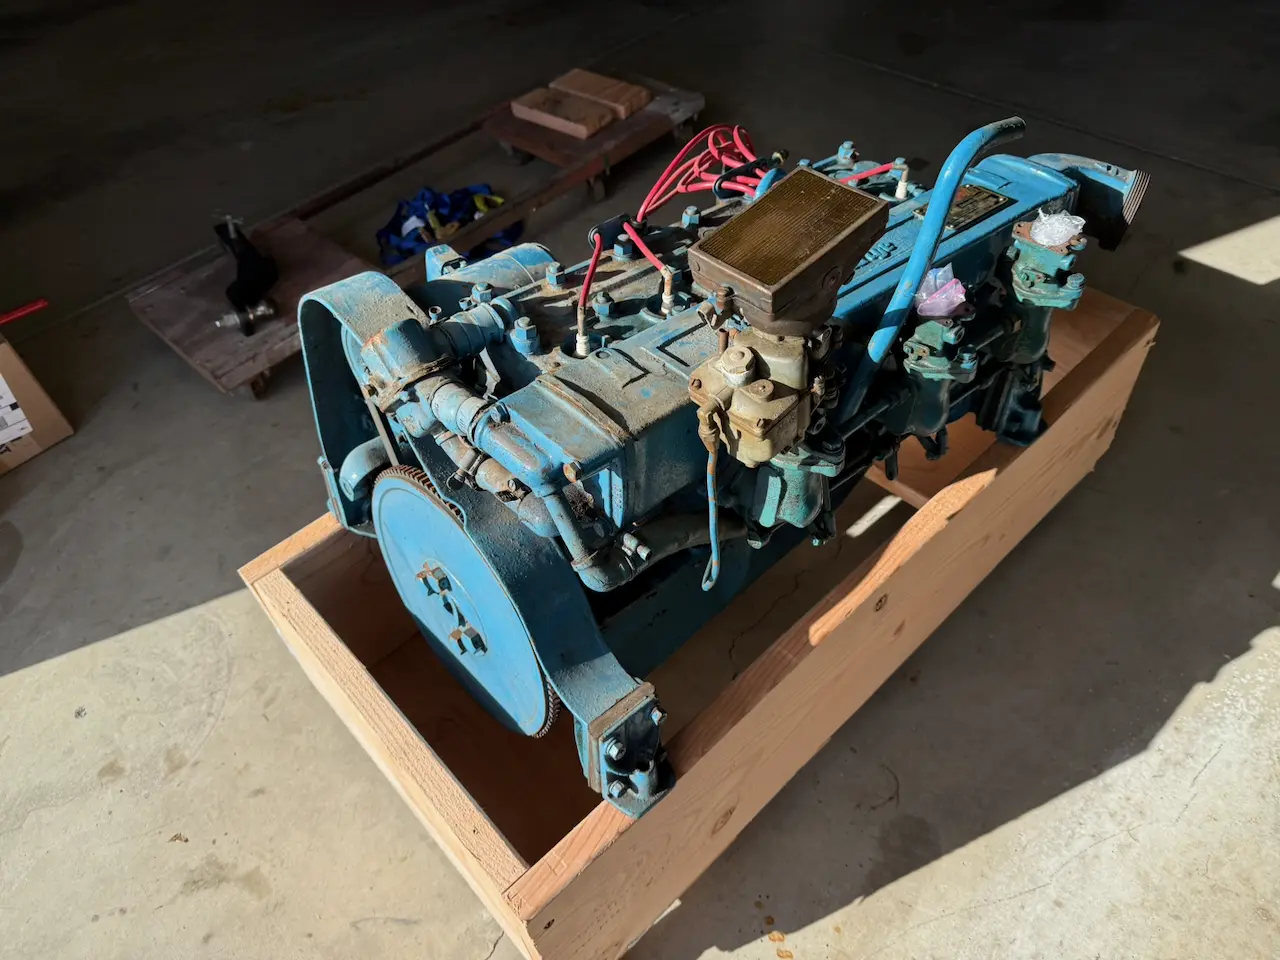
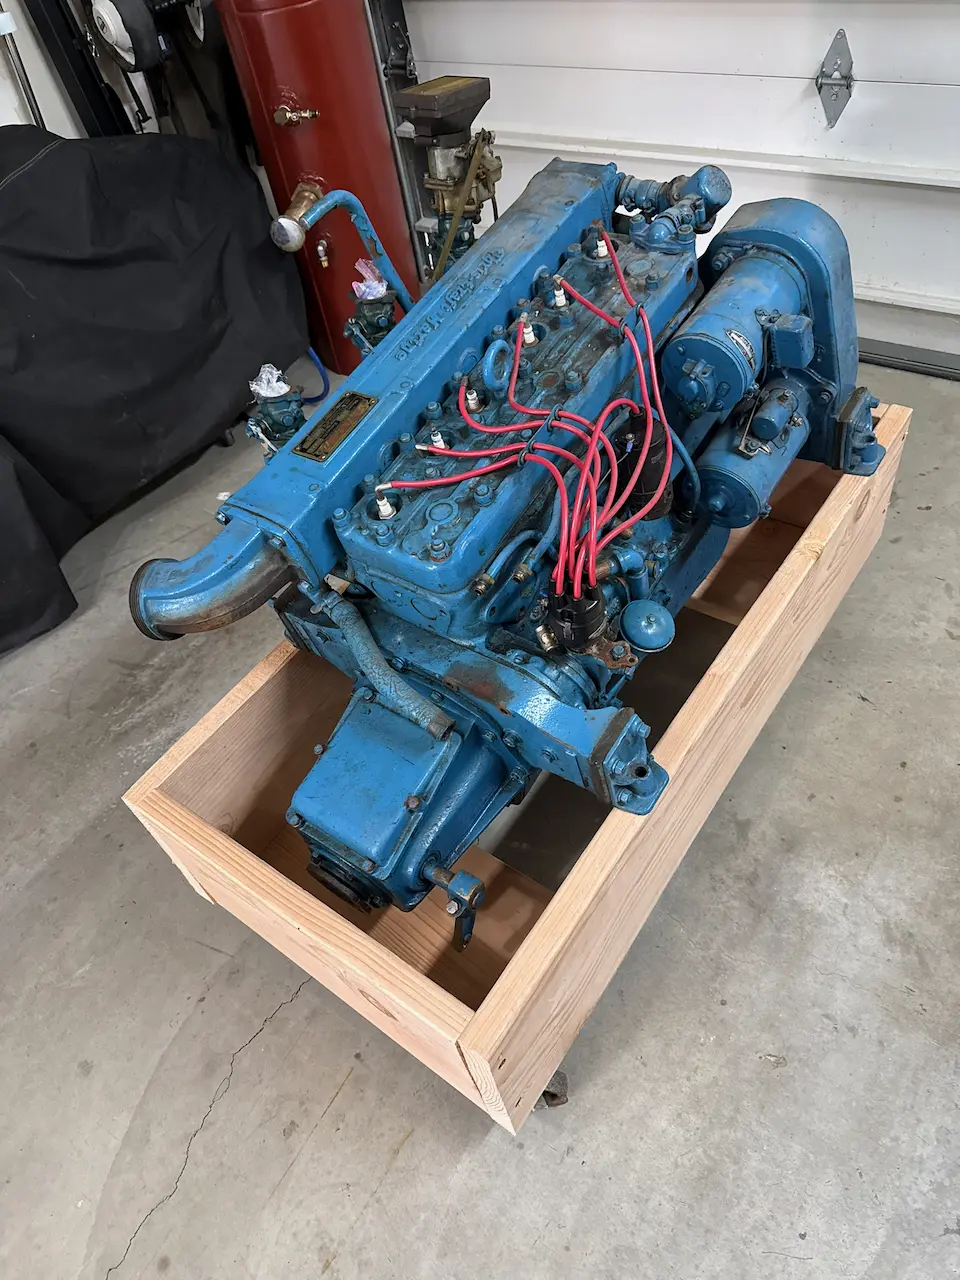
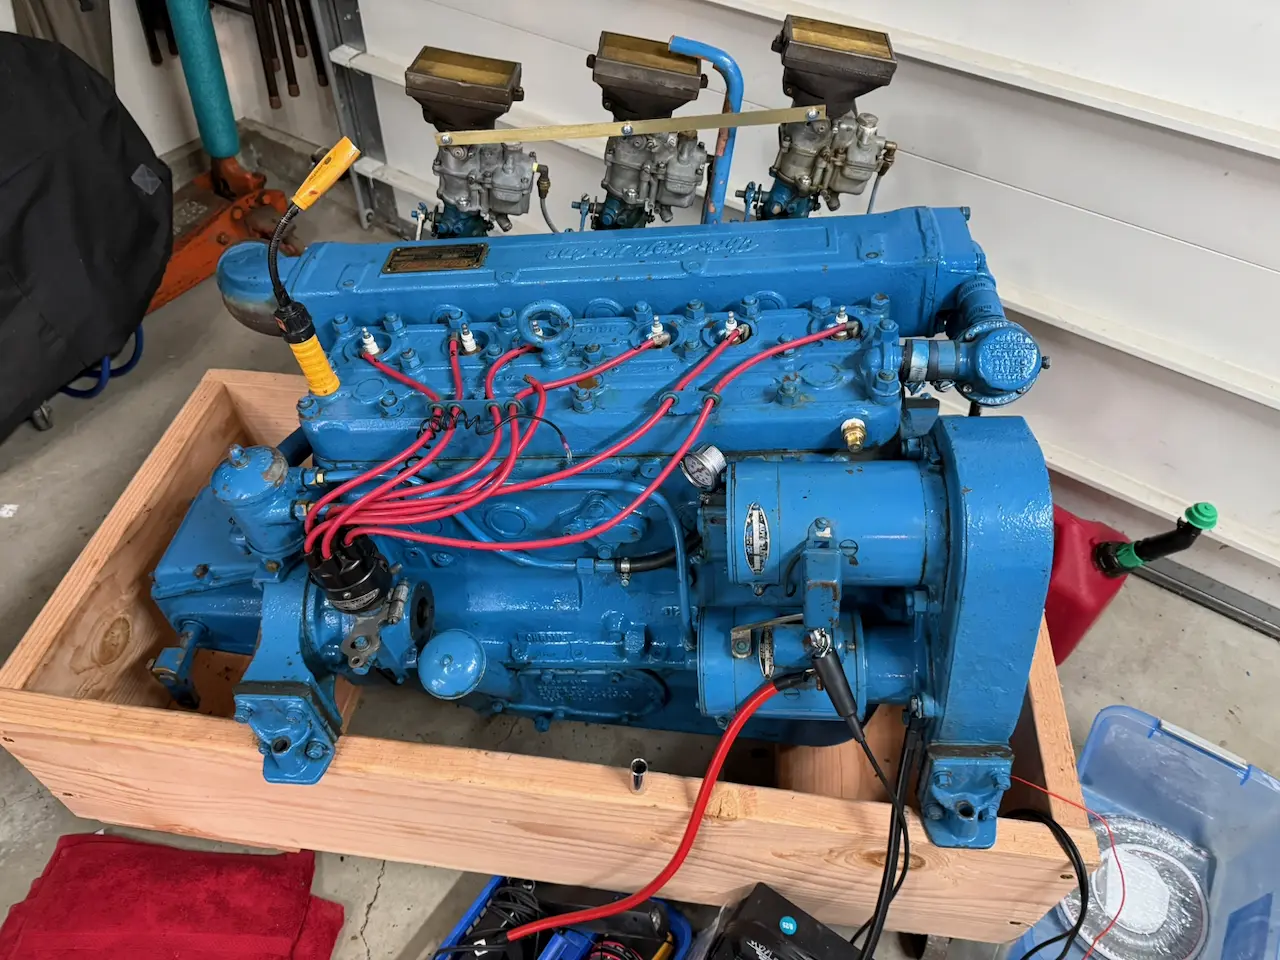
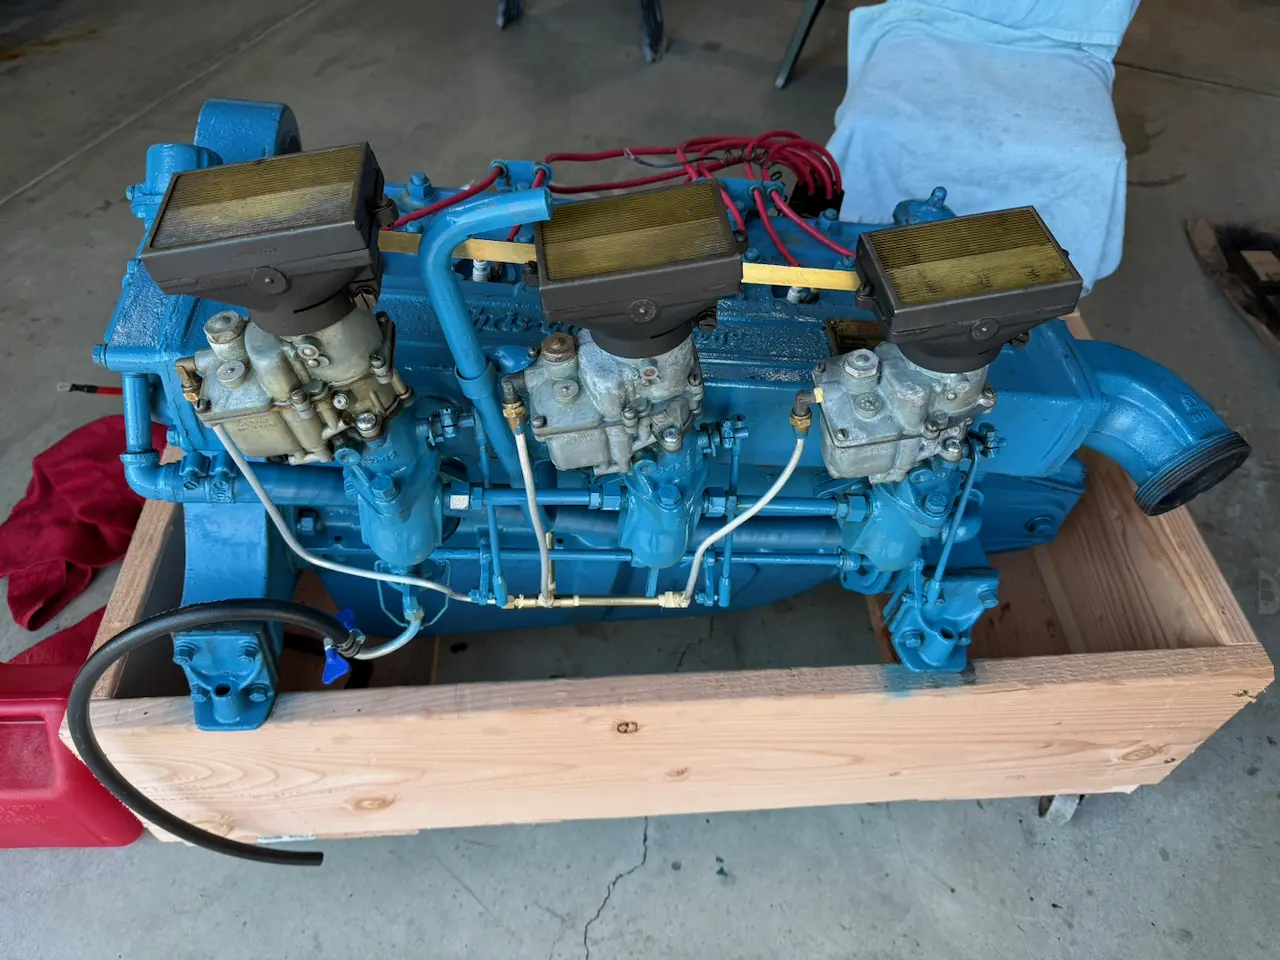
While the engine was out of the boat, I experimented with several cleaners and ultimately found that lacquer thinner on a rag worked best. The entire engine was coated with a light film of oil, which—intentionally or not—seems to have preserved it remarkably well over the years.

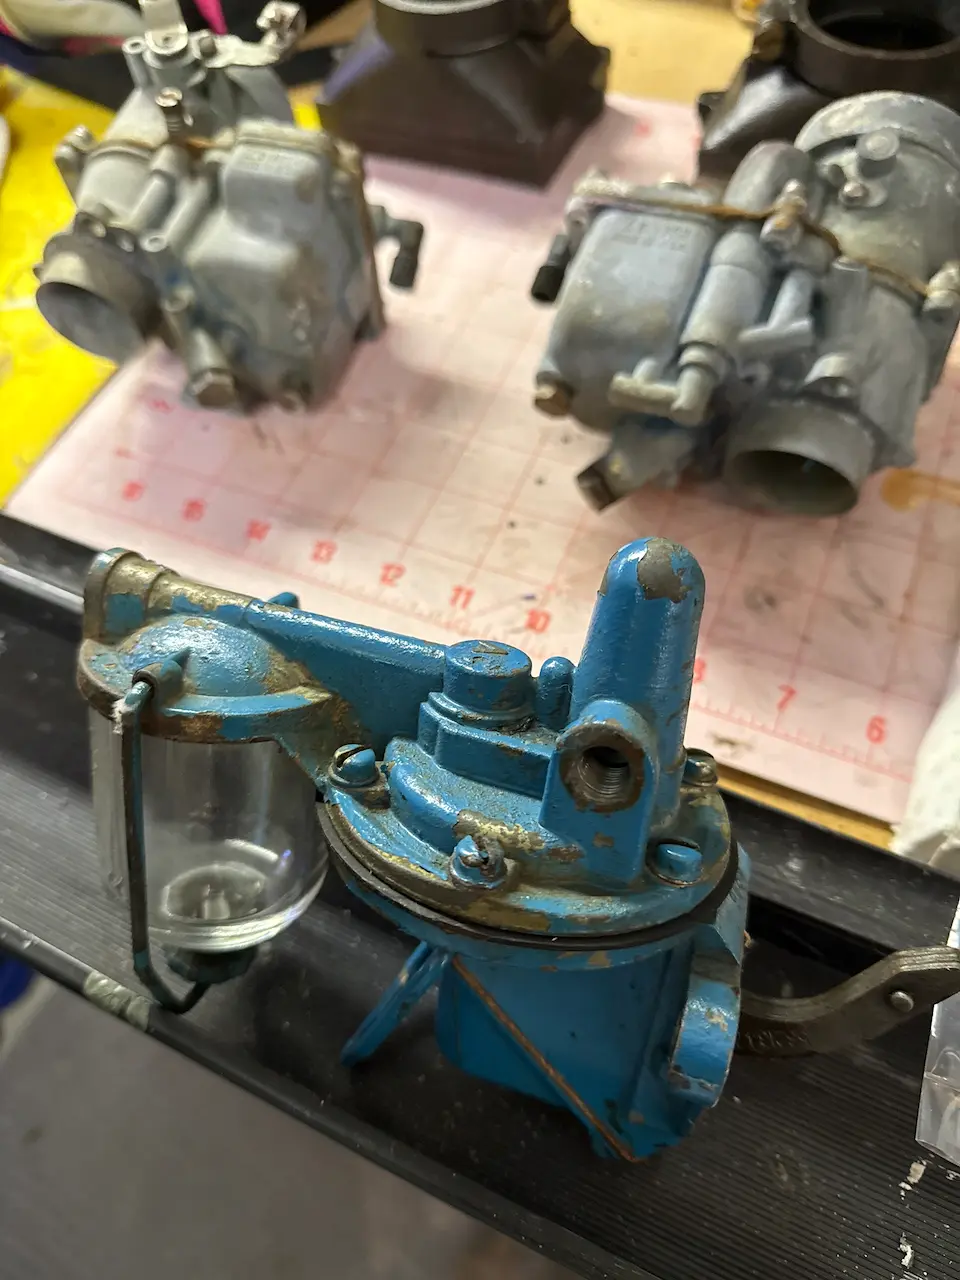
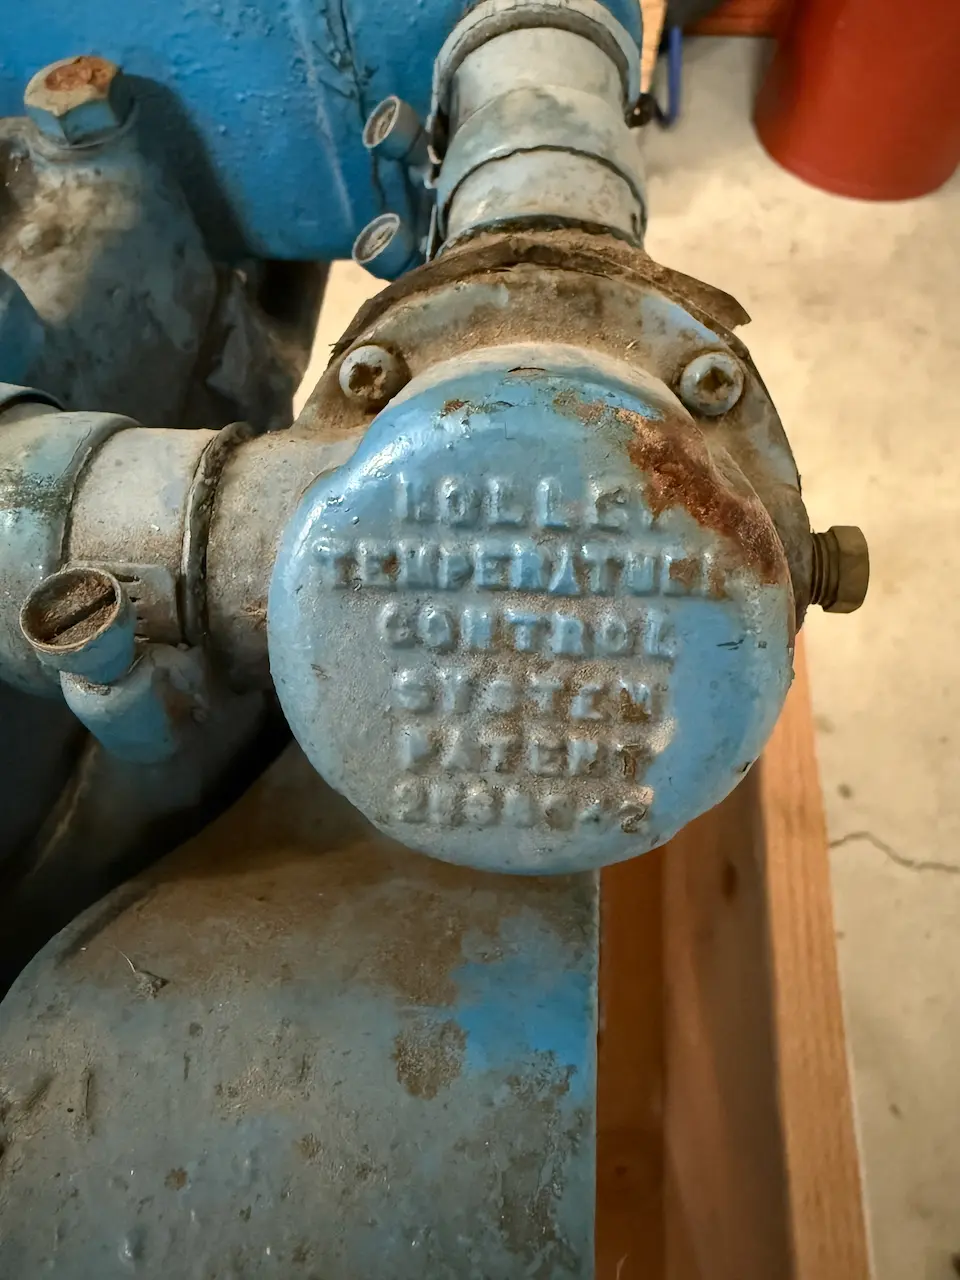
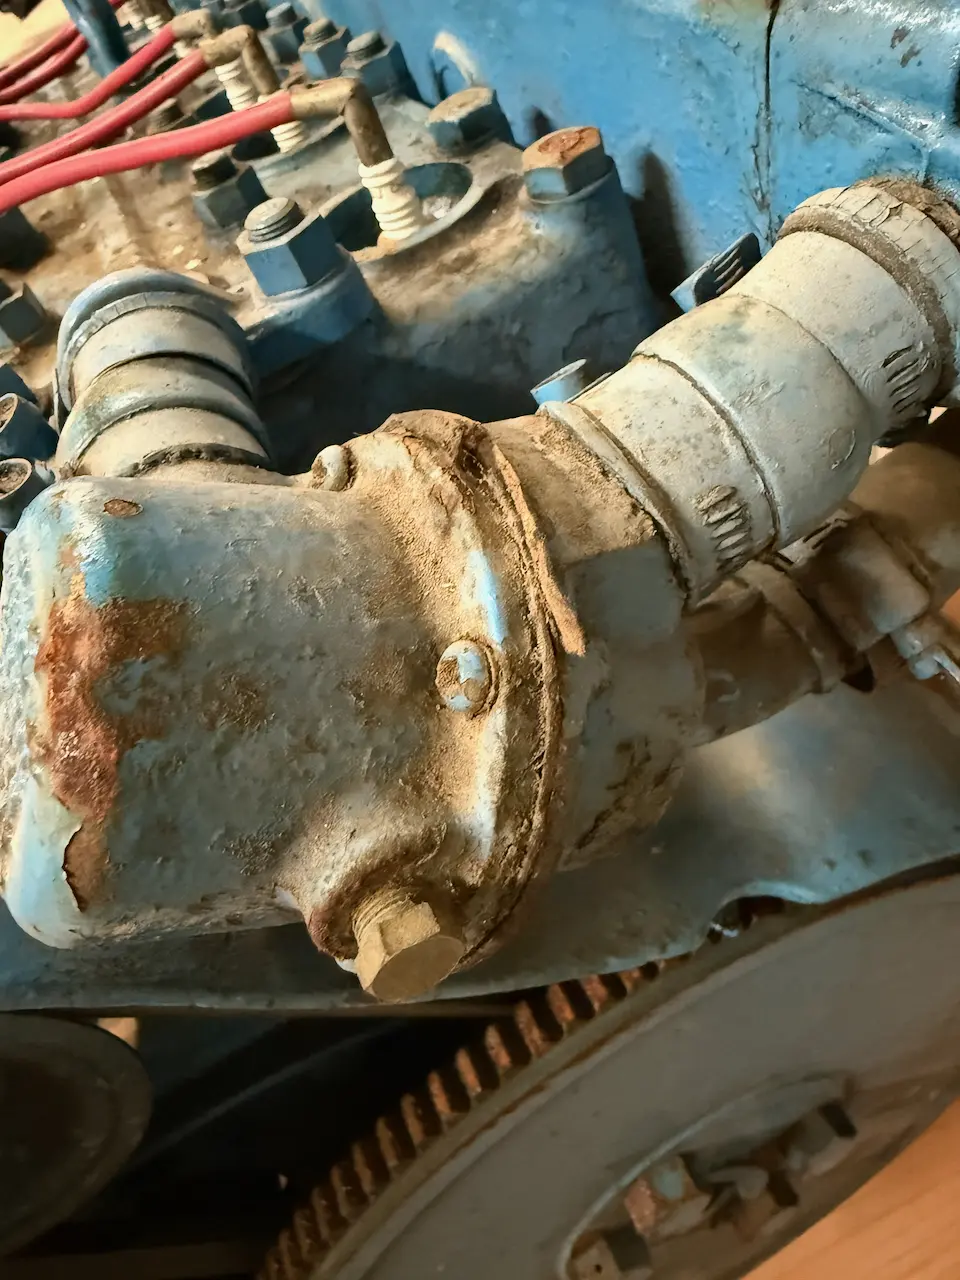
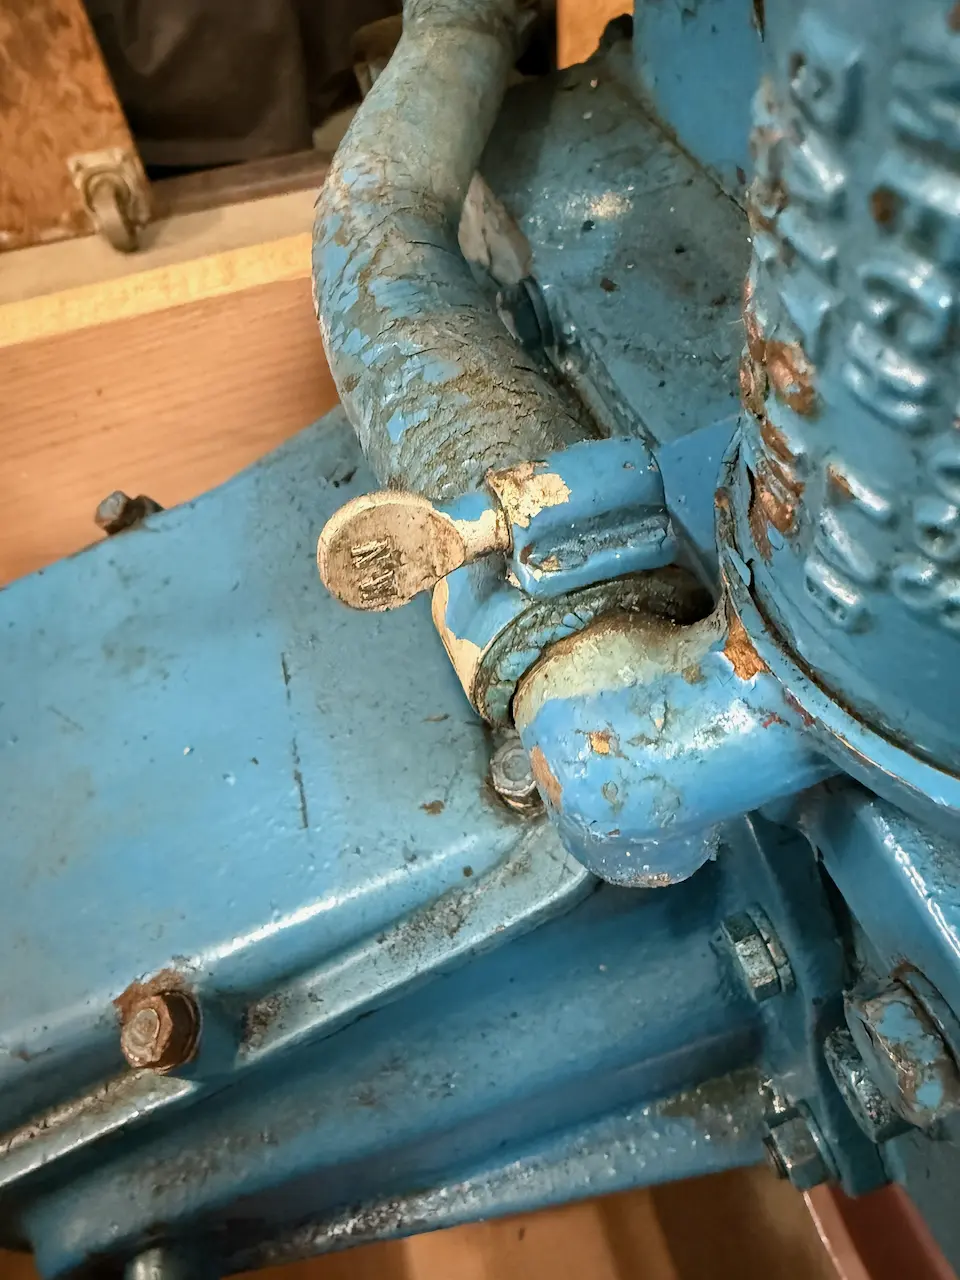
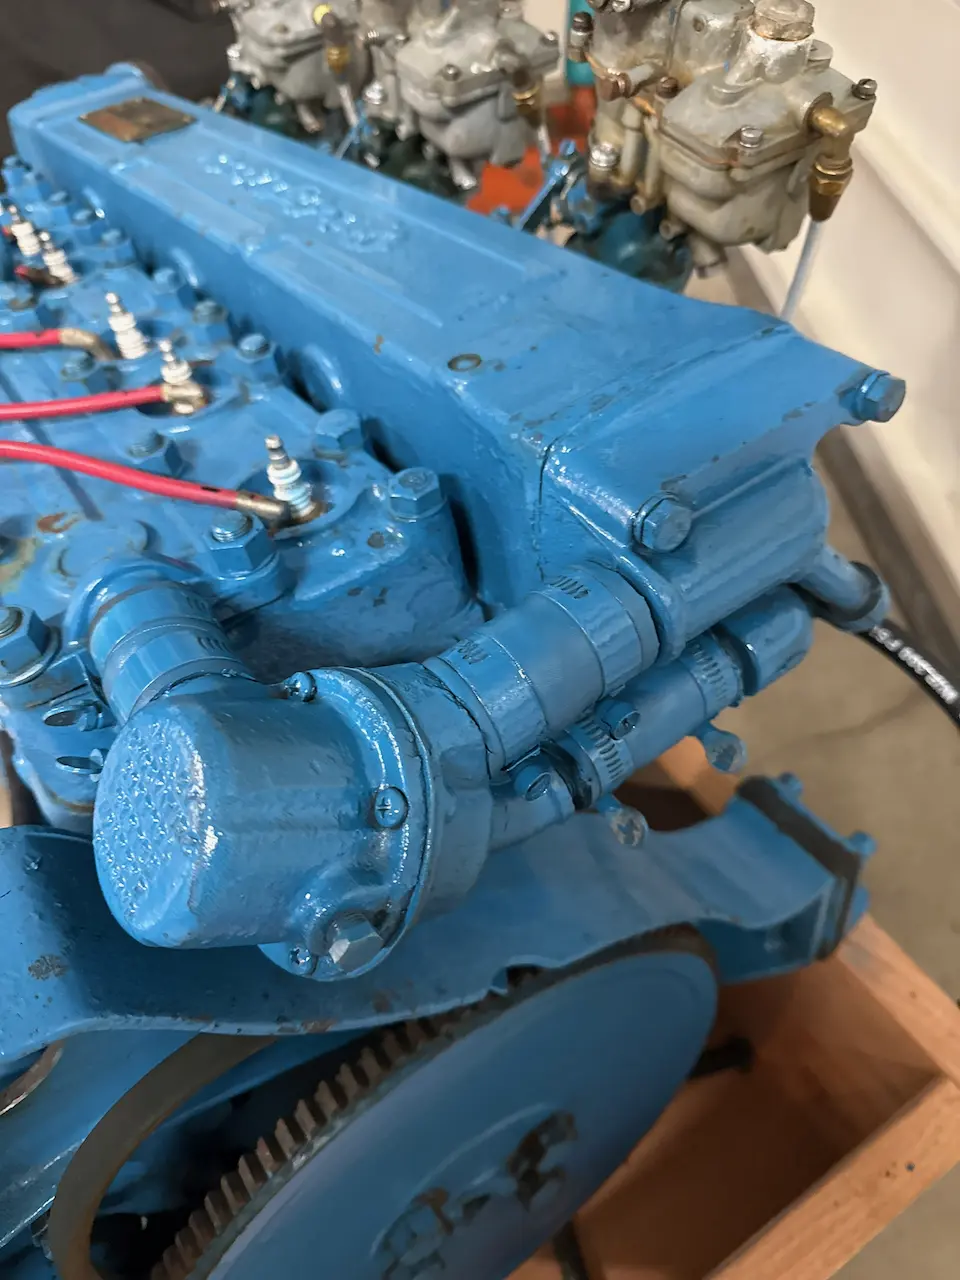
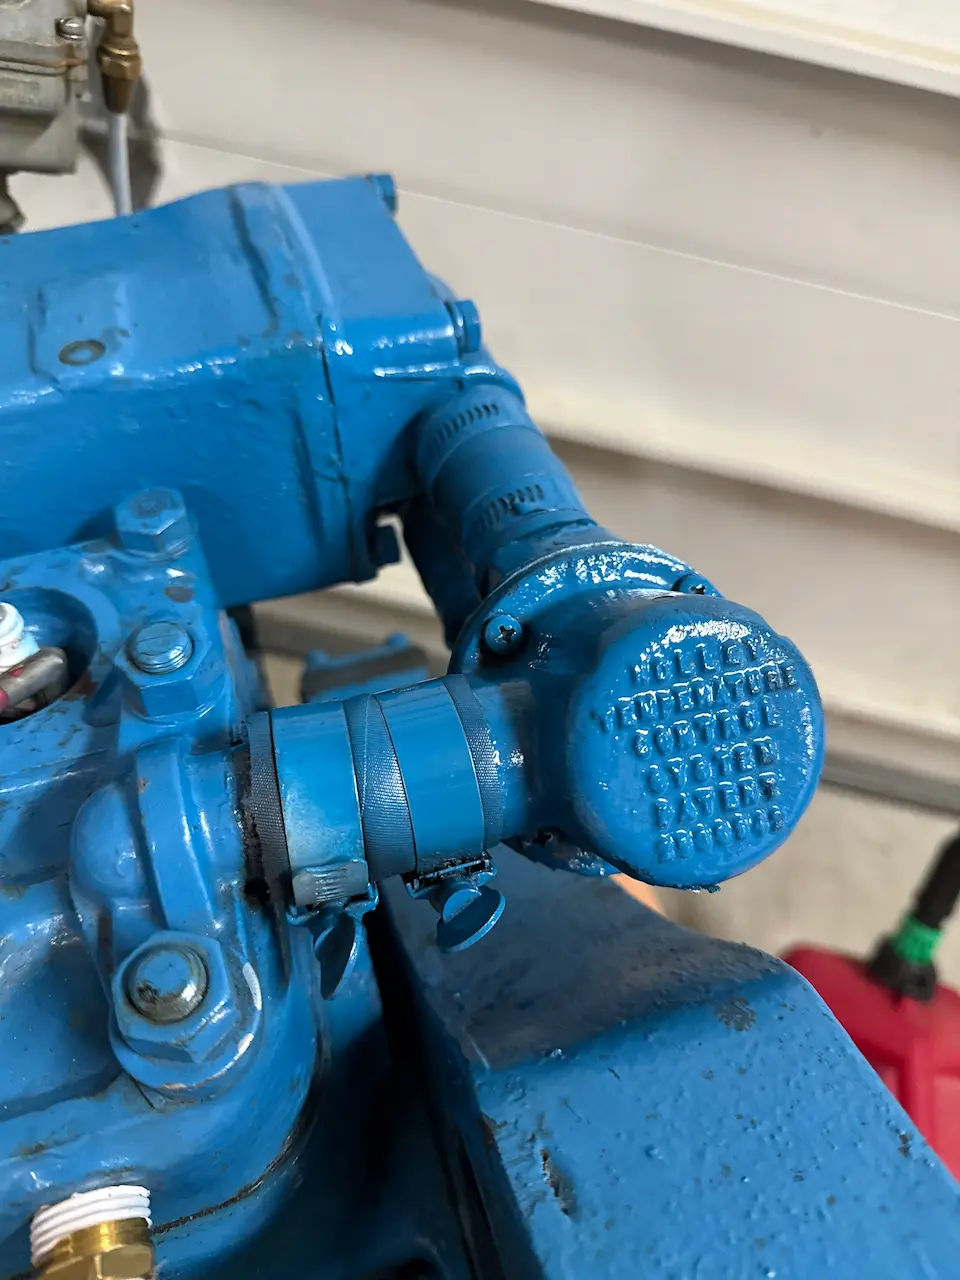
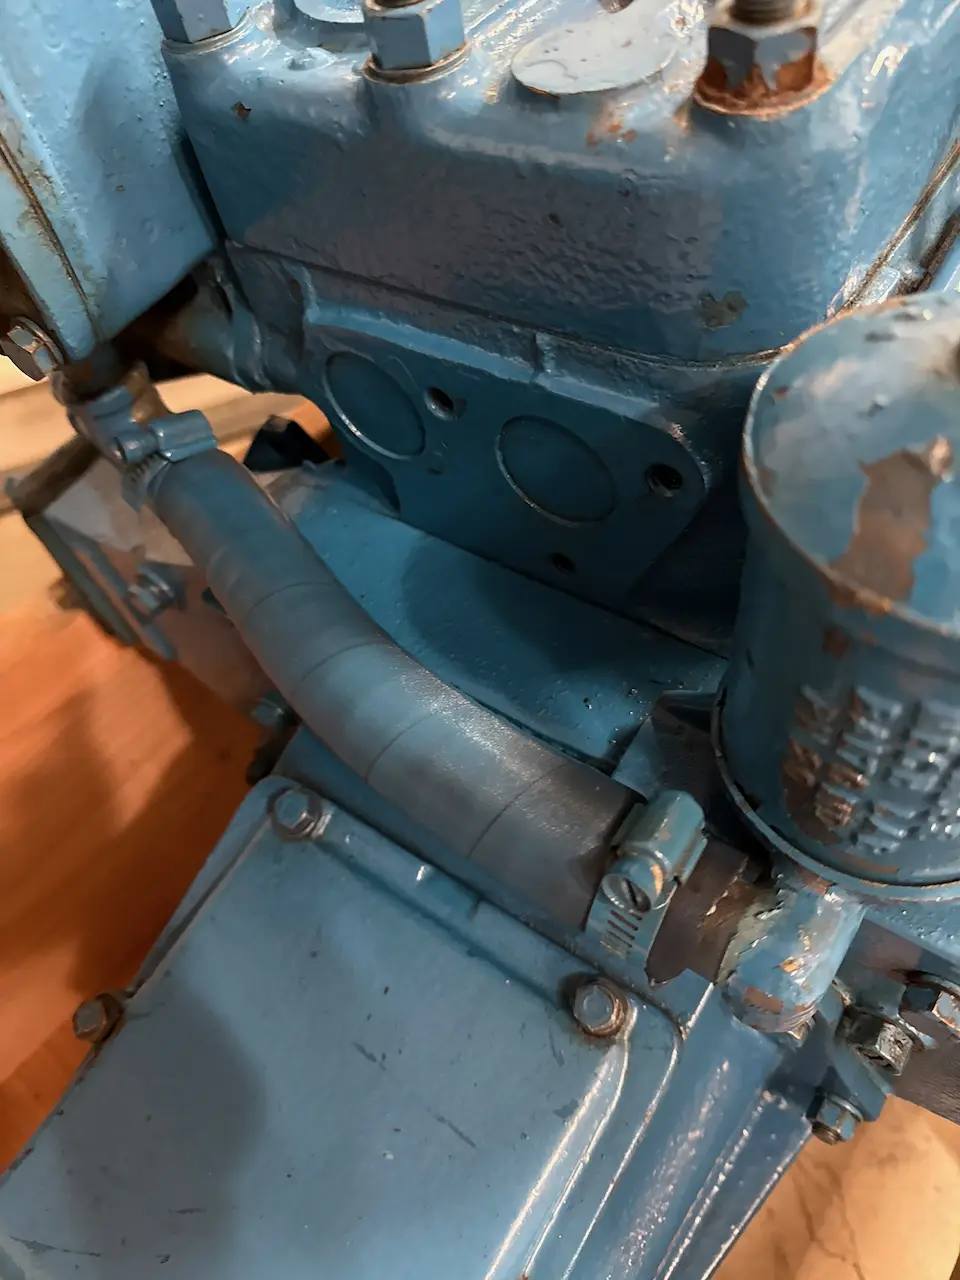
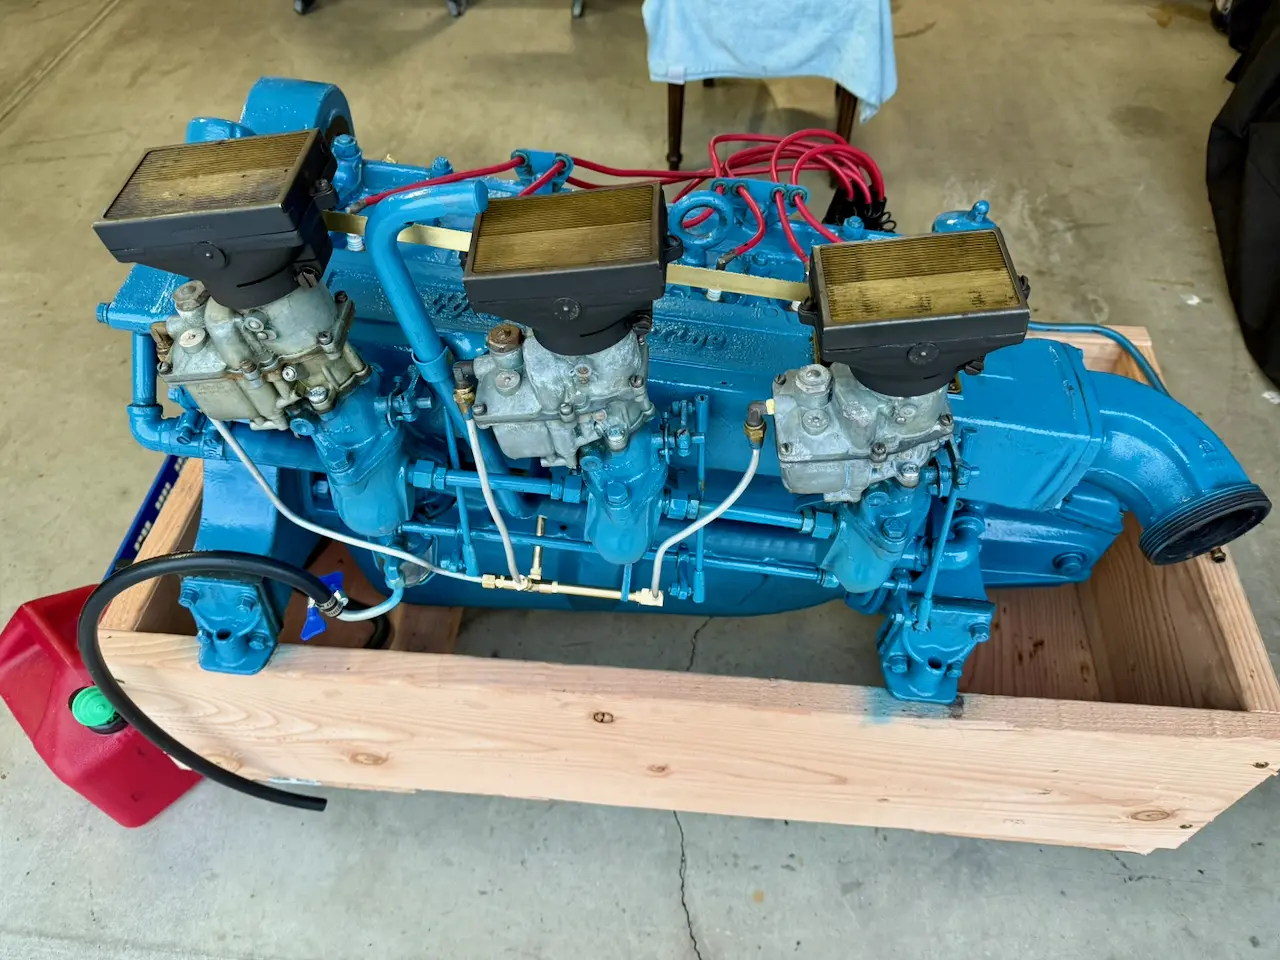
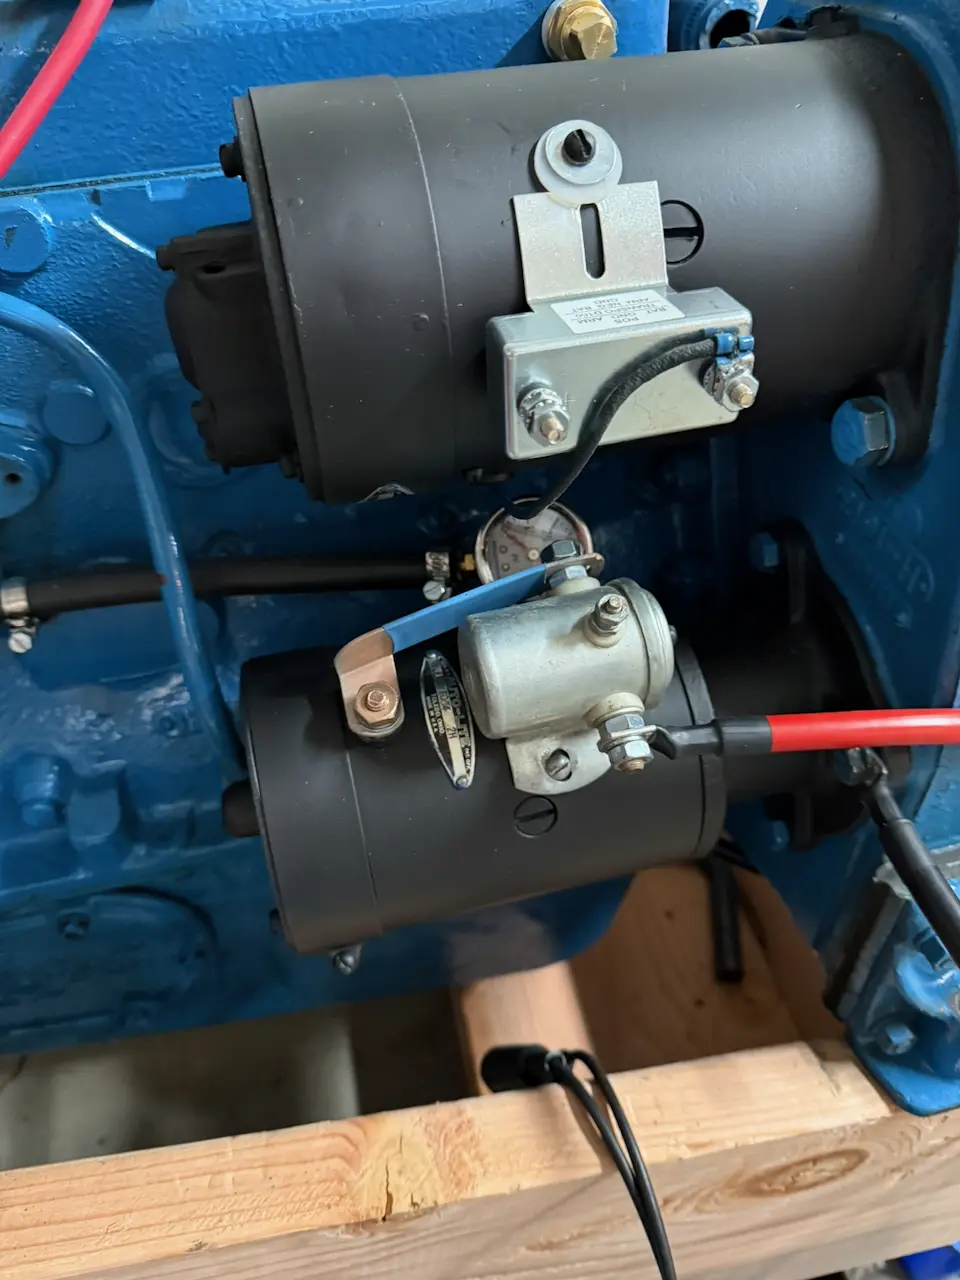
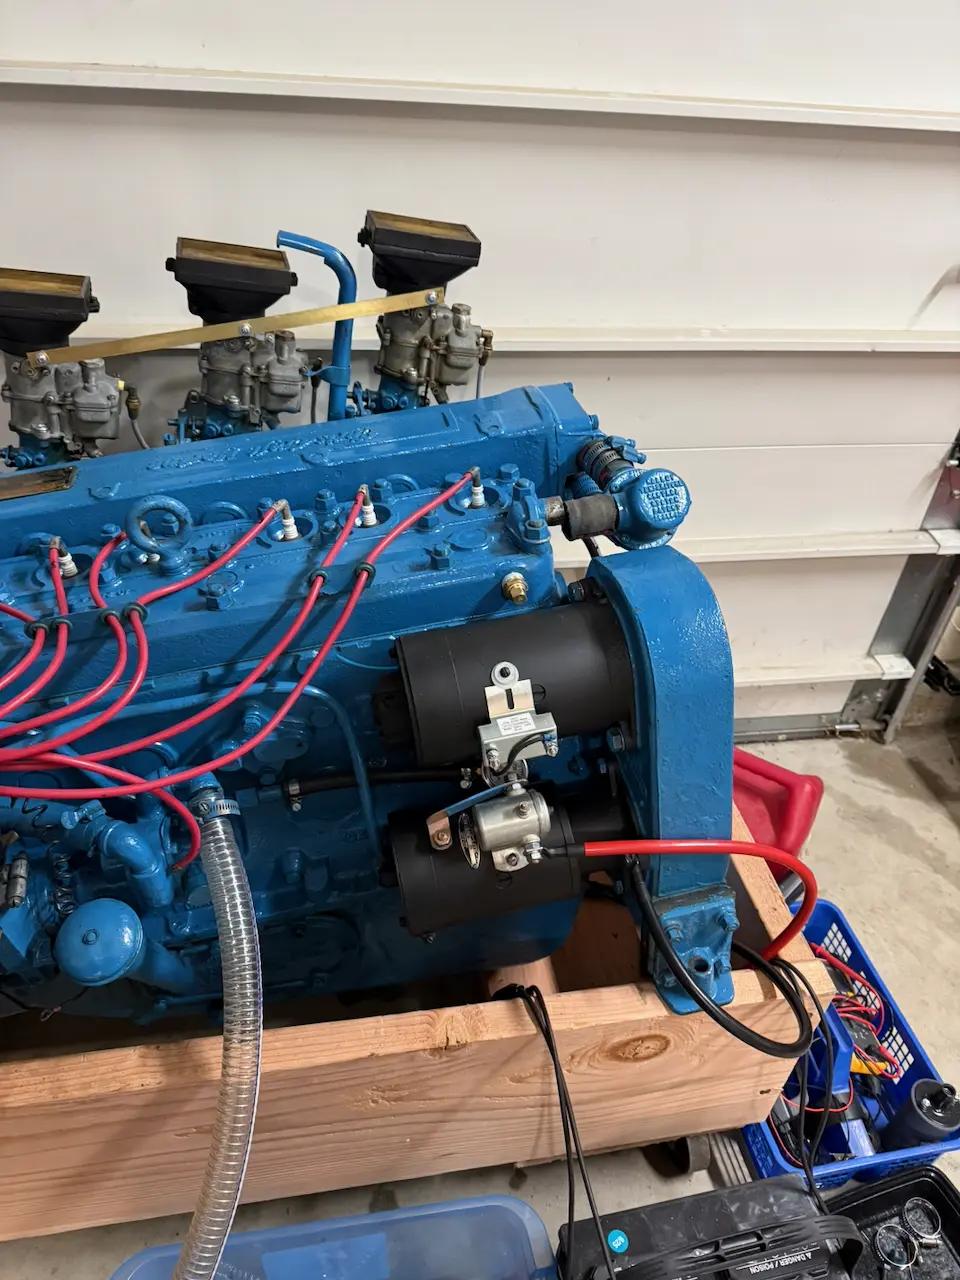
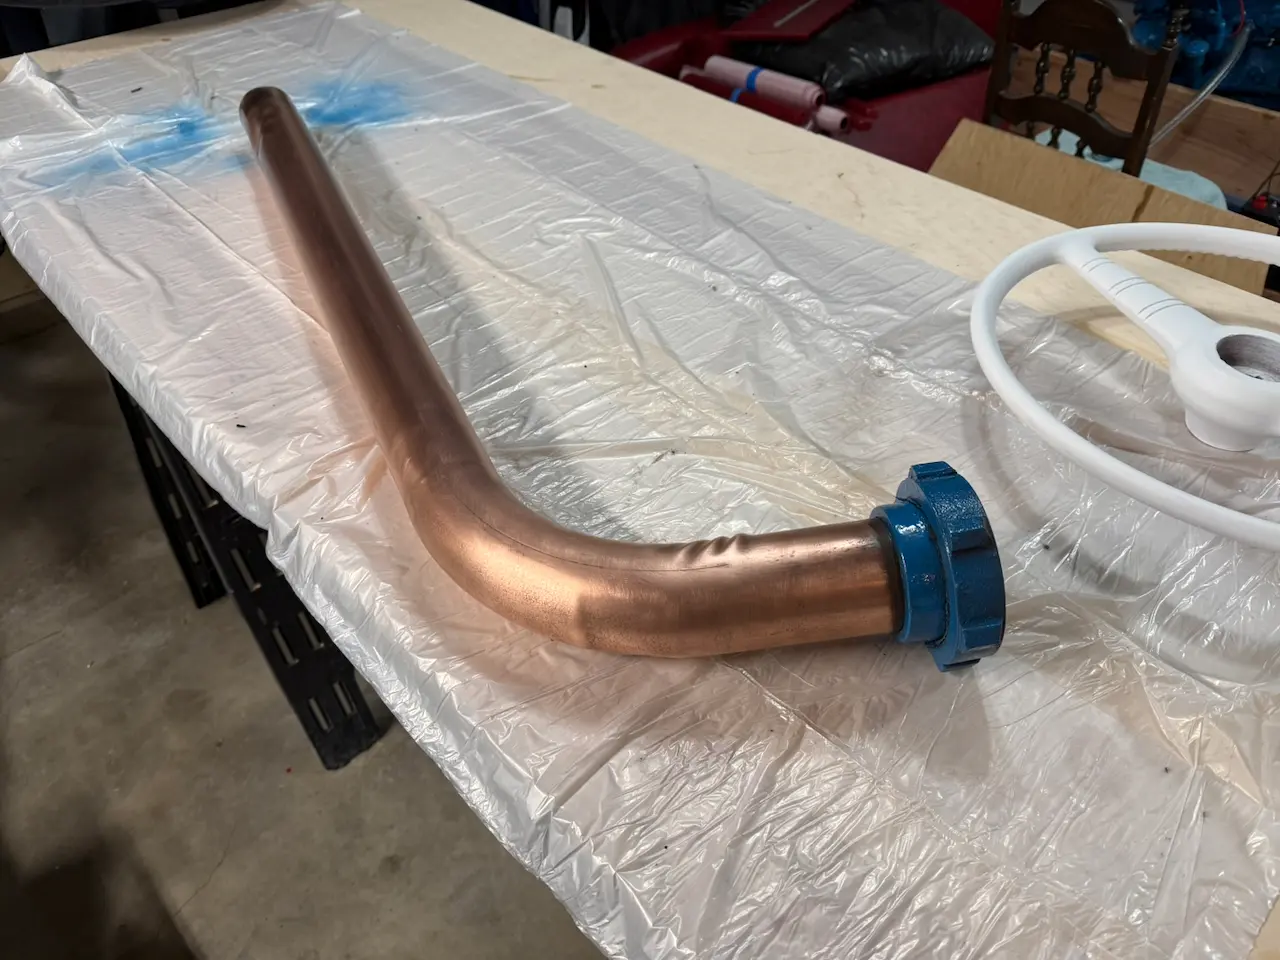
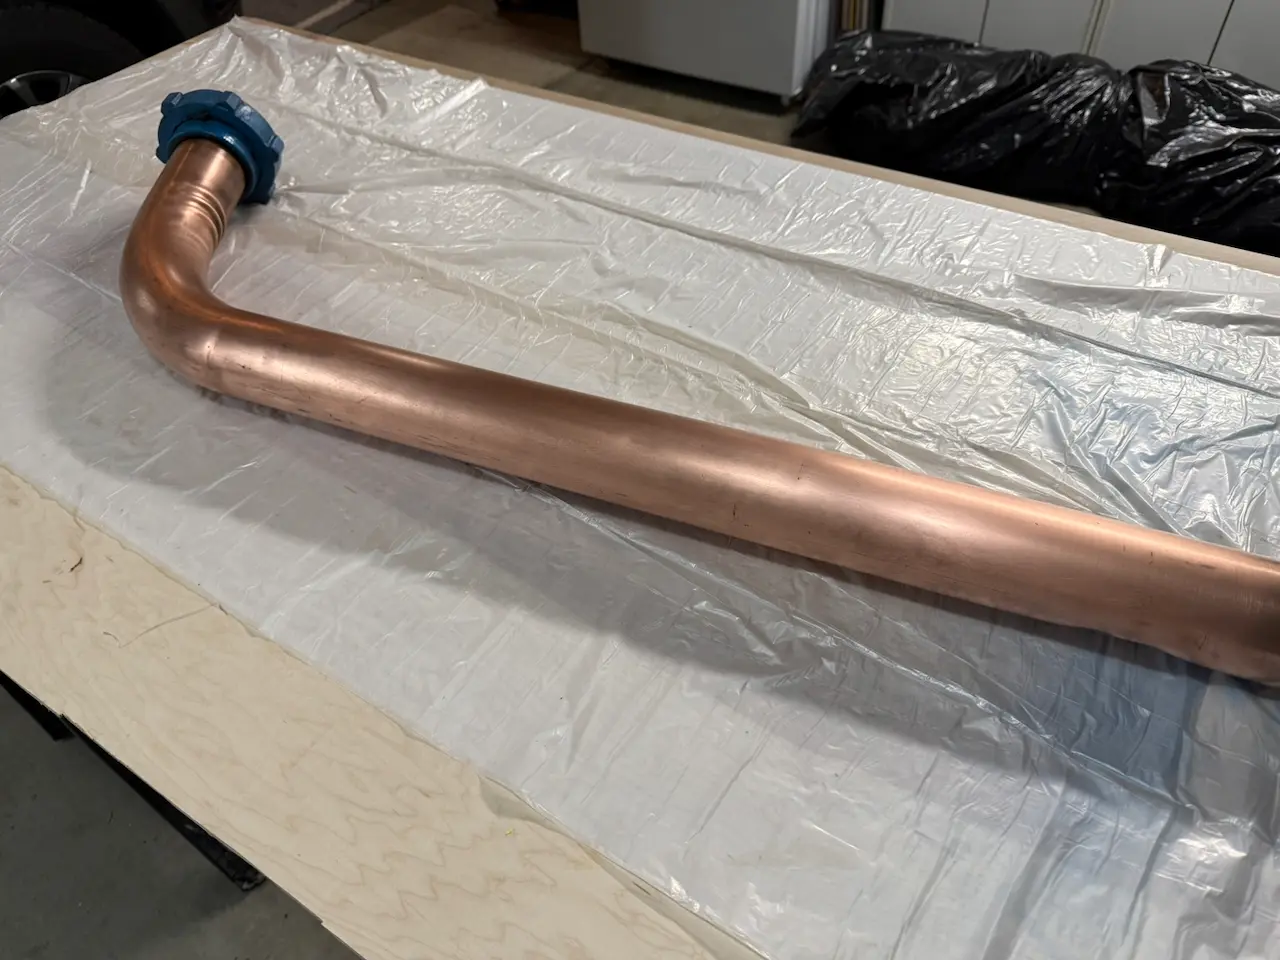
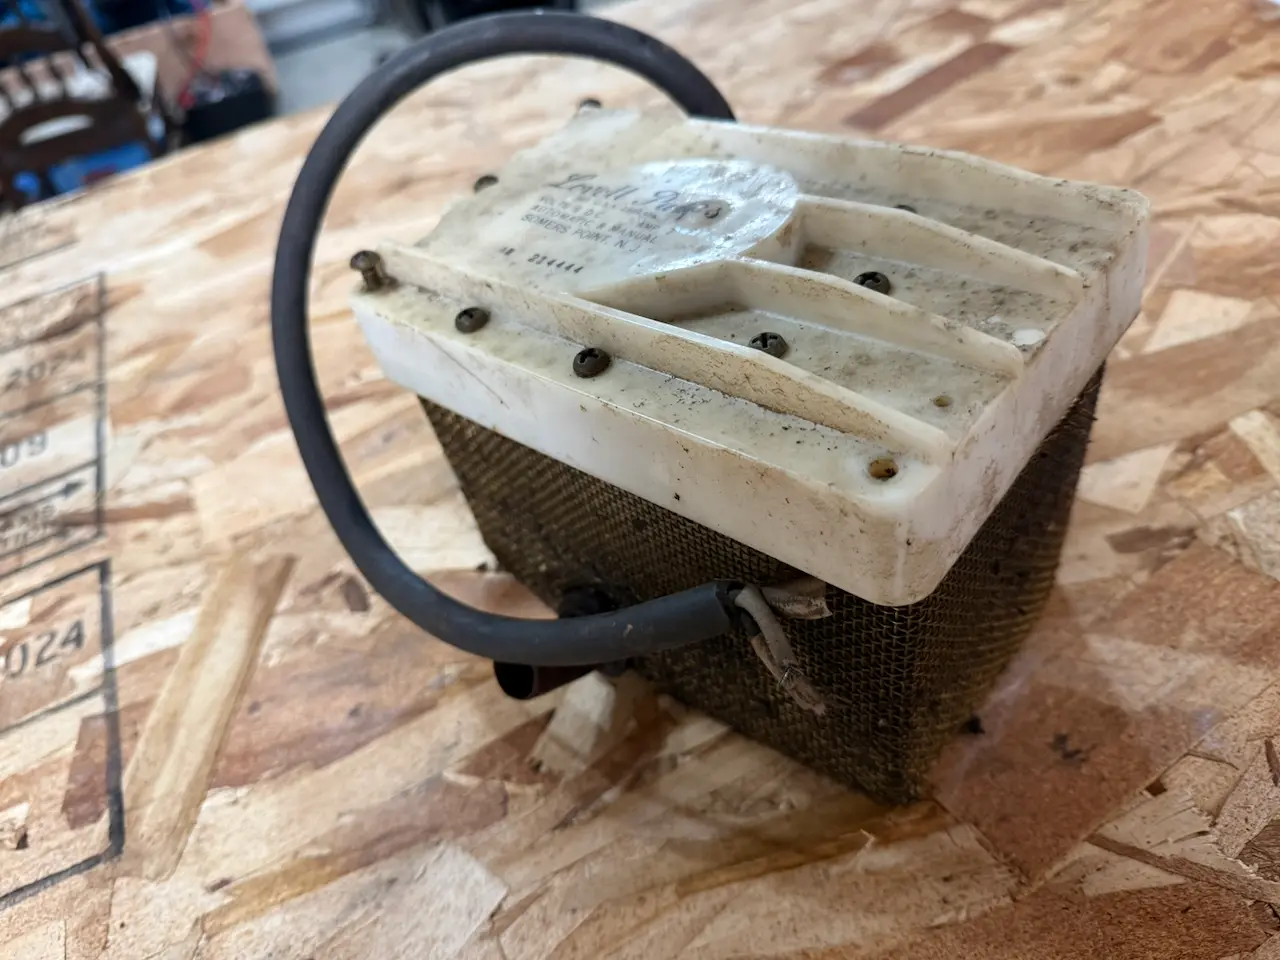
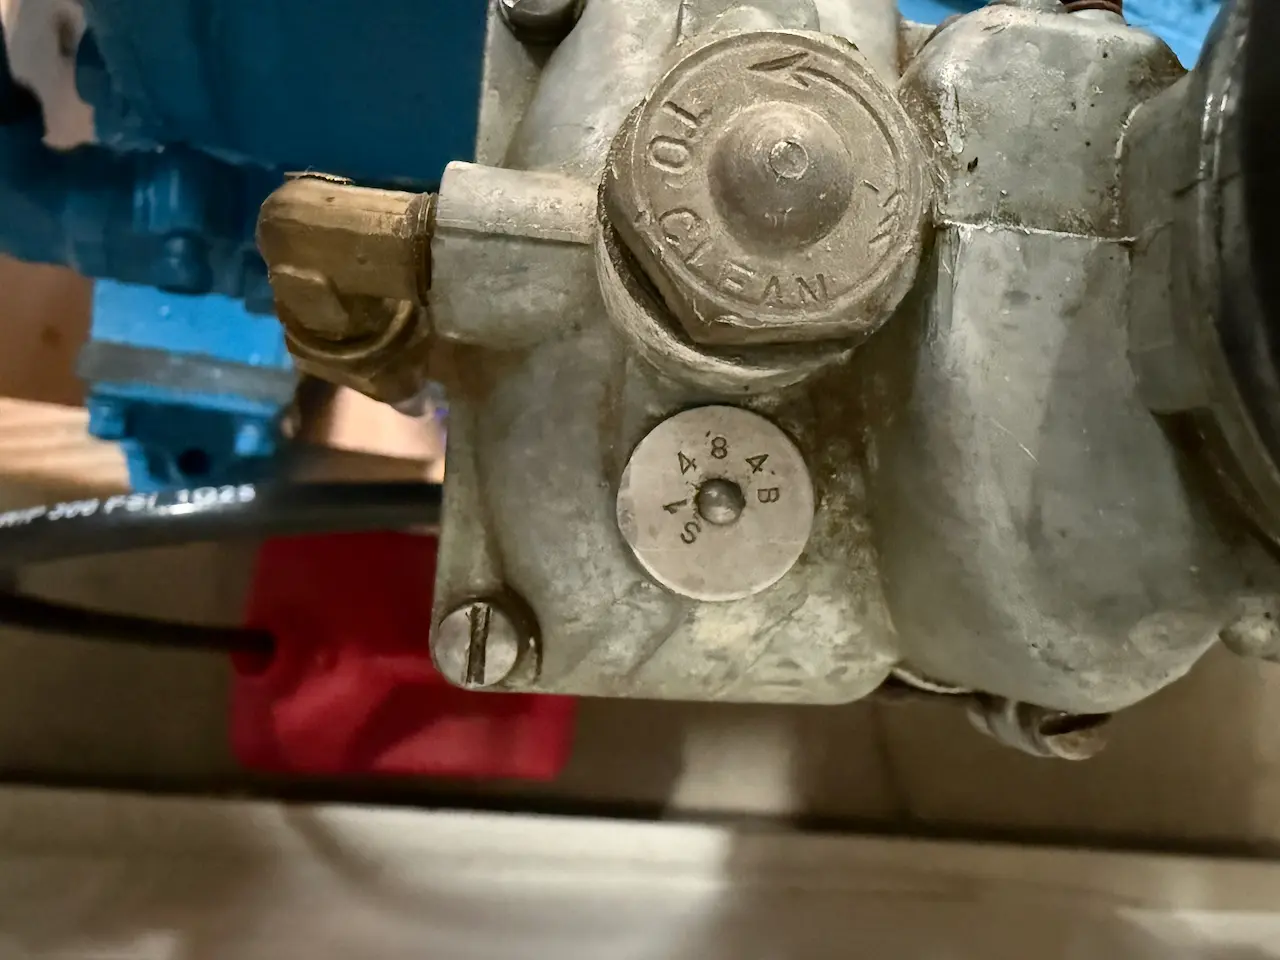
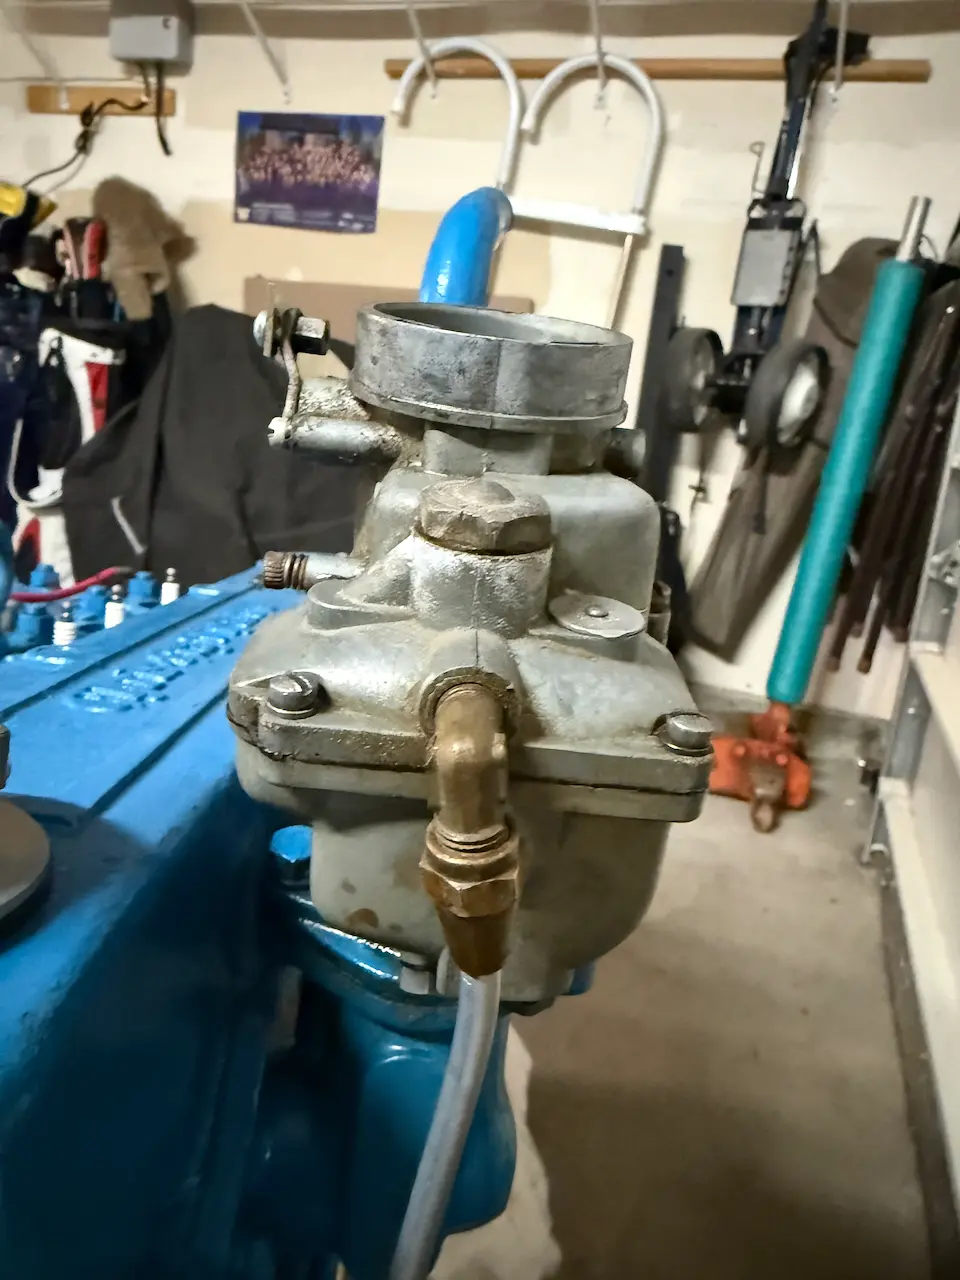
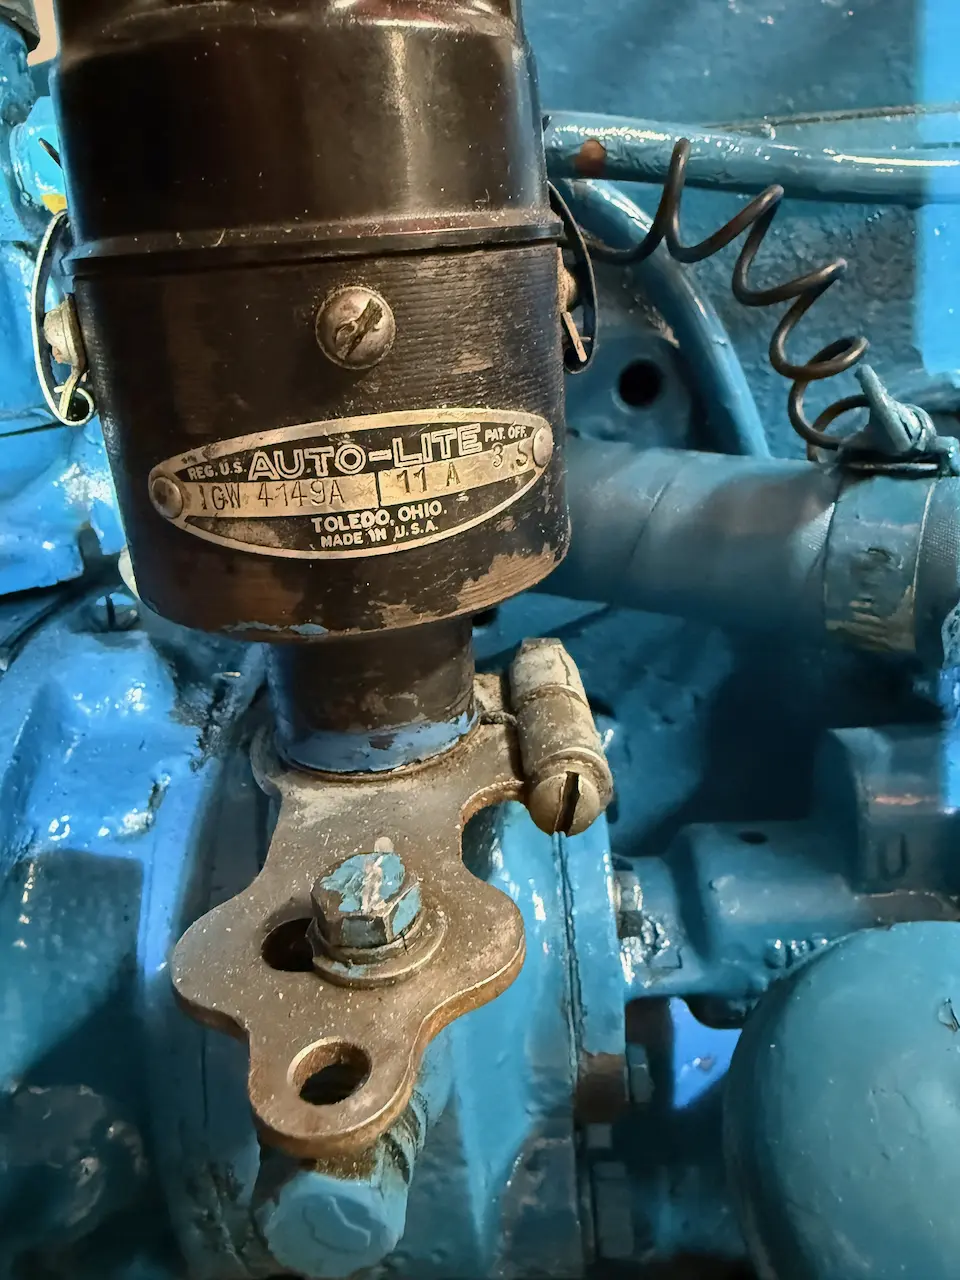
I then moved on to engine paint. After some research, I learned that Chris-Craft typically used three shades of blue: a darker blue pre-war, a slightly lighter post-war blue, and the much lighter blue commonly associated with later V8s. Interestingly, Chris Smith has noted that near the end of the build season, they often mixed whatever blue paint they had left into a single batch and used it up. The entire engine—including hoses, clamps, fuel pumps, and often carburetors—was painted blue, while starters, distributors, and generators were finished in semi-gloss black. No shinny brass, copper, or chrome.

I chose Dupli-Color DE1631 Engine Enamel with Ceramic in Chrysler Blue, and to my amazement, it was a near-perfect match. Once dried it doesn't come off.

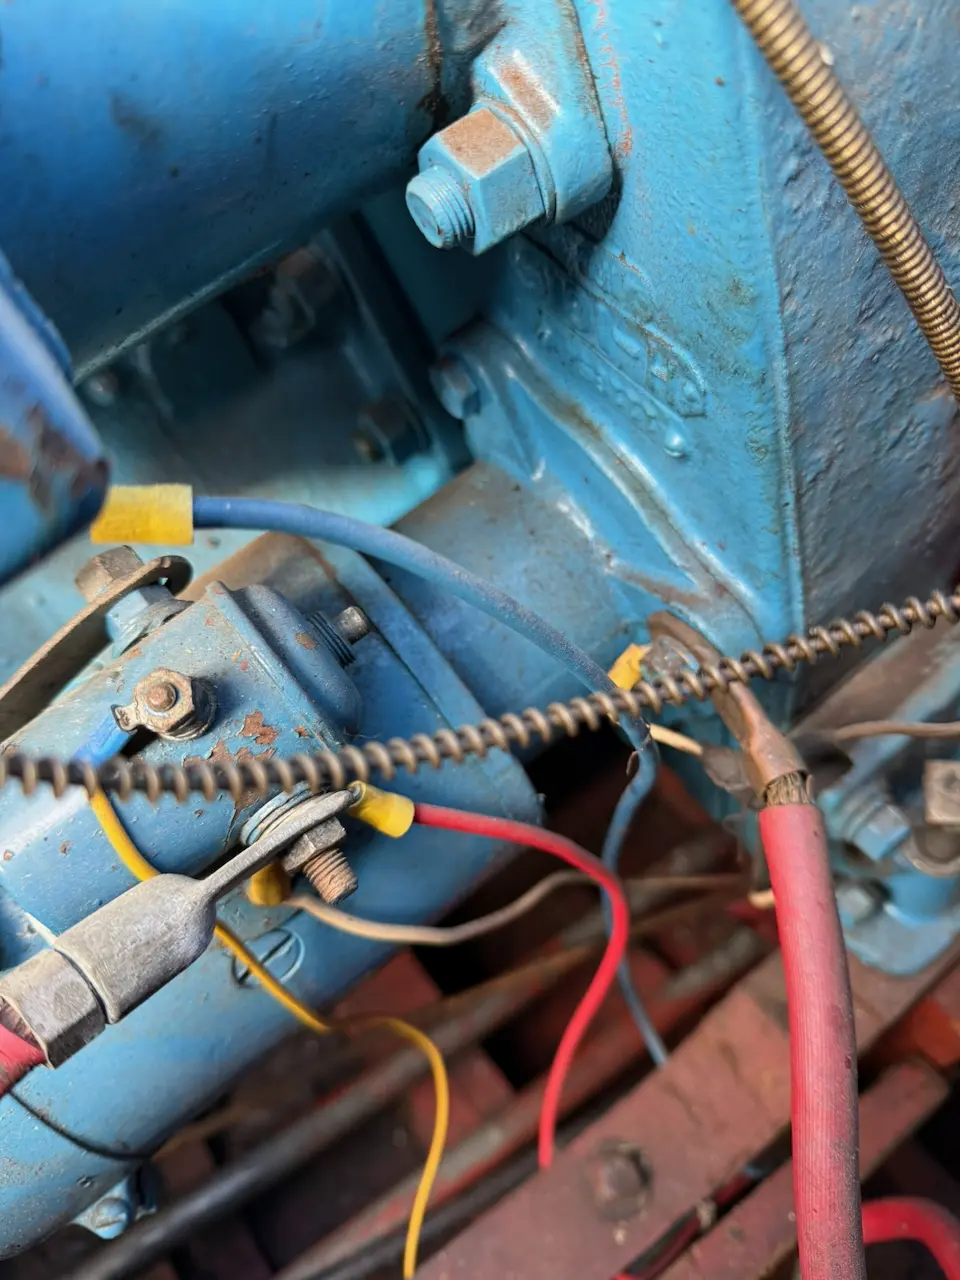
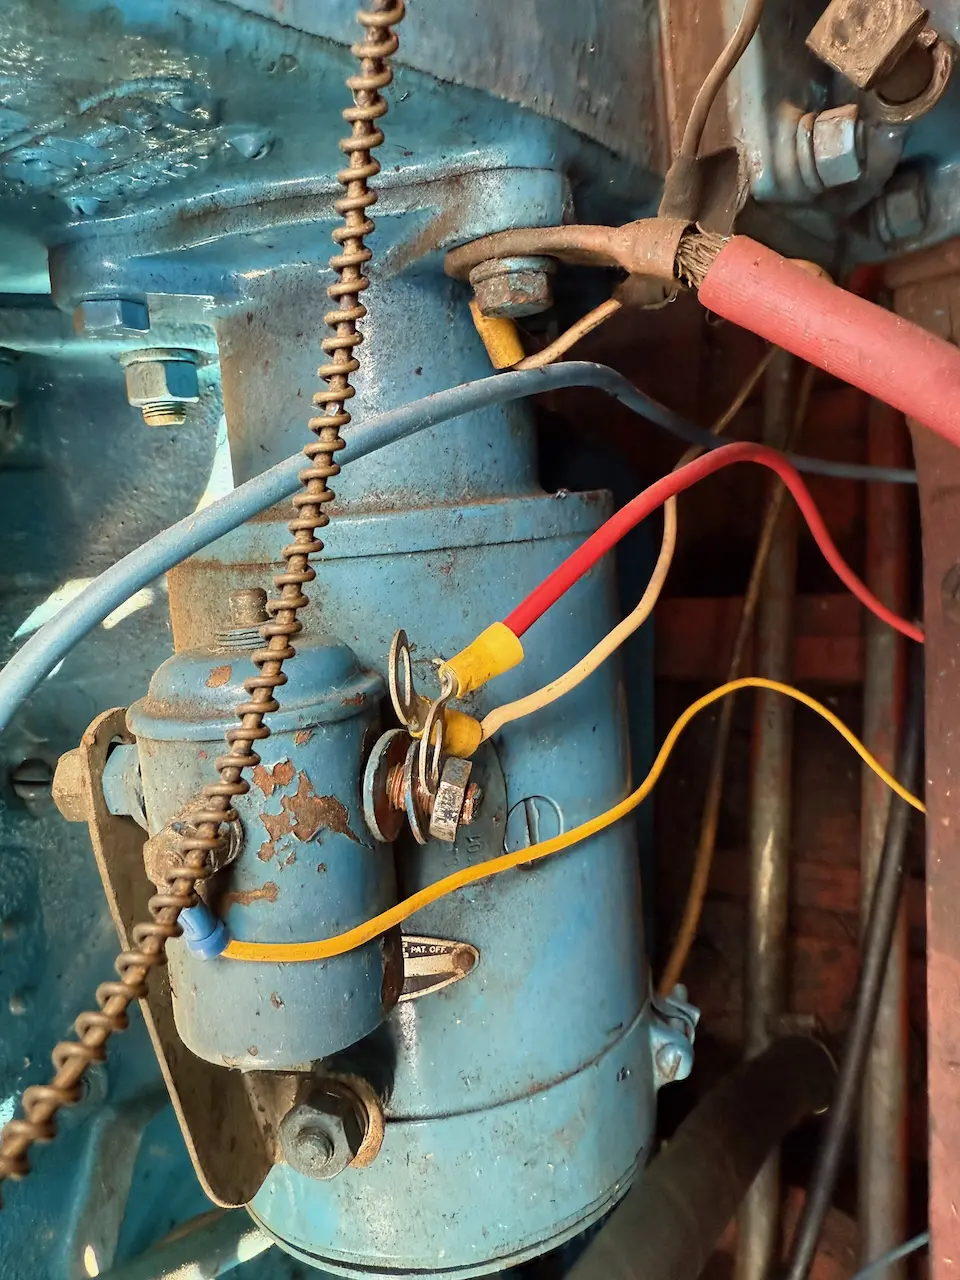
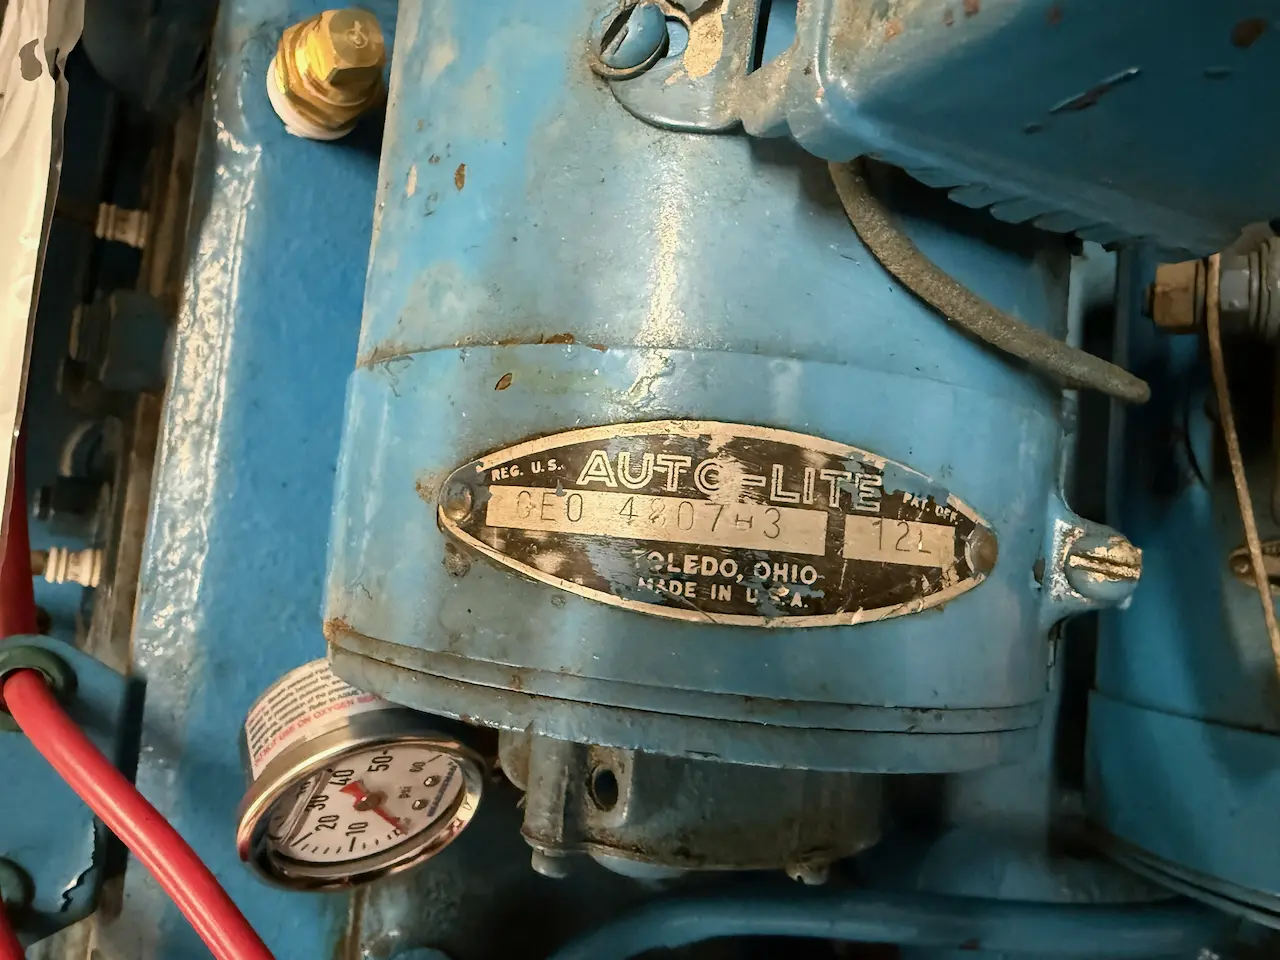
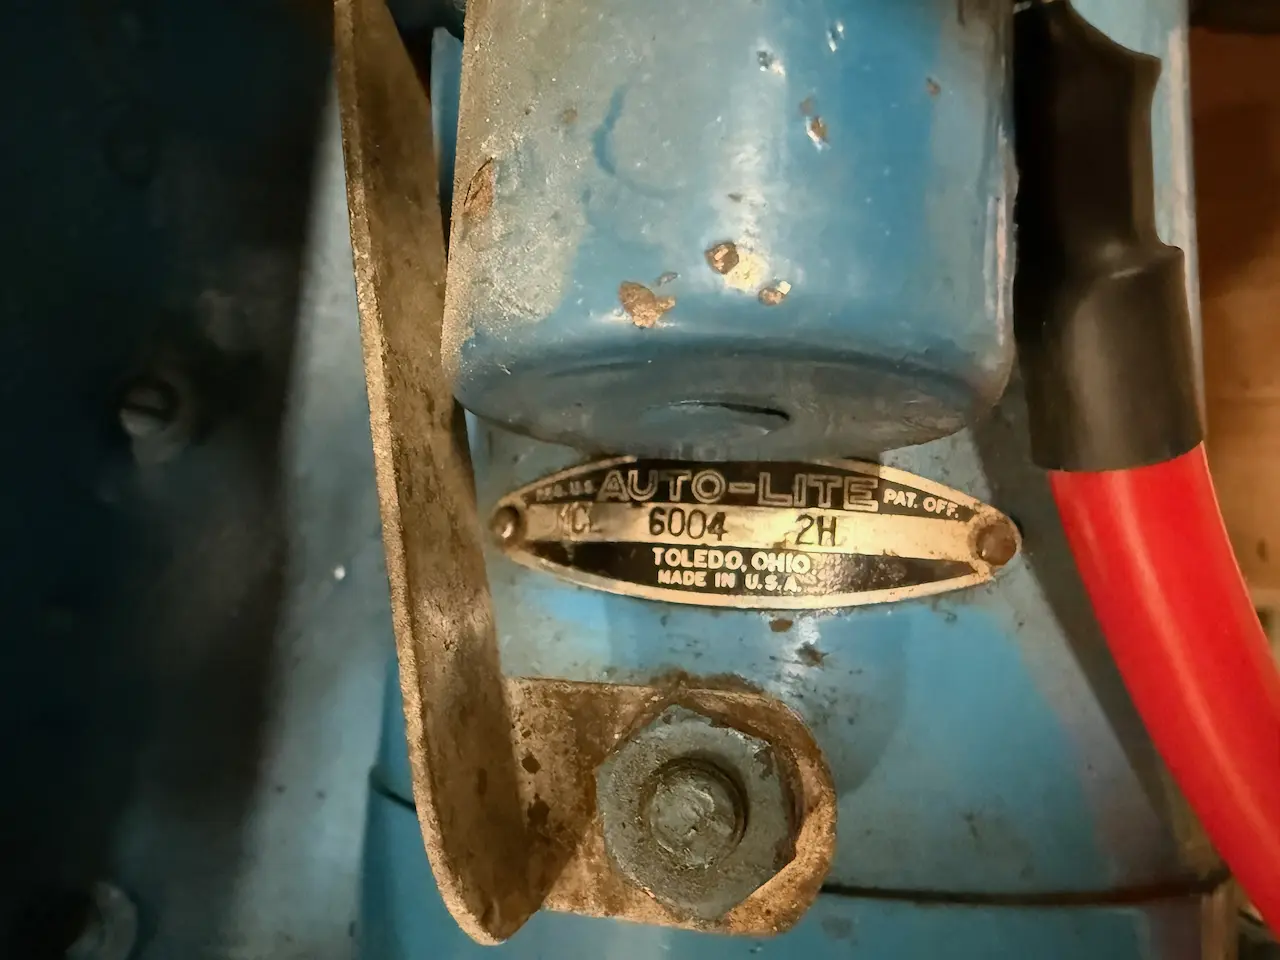
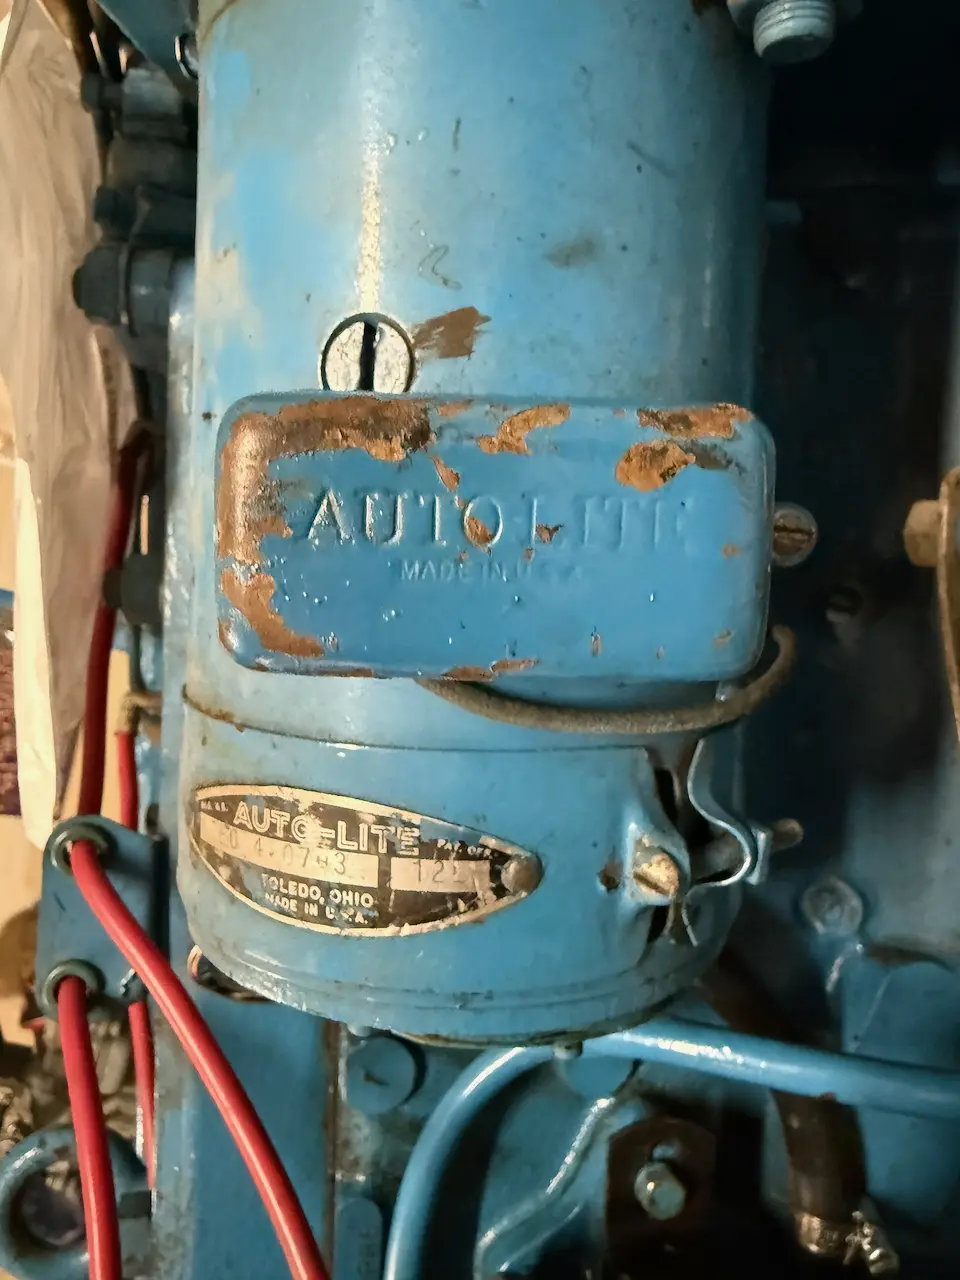
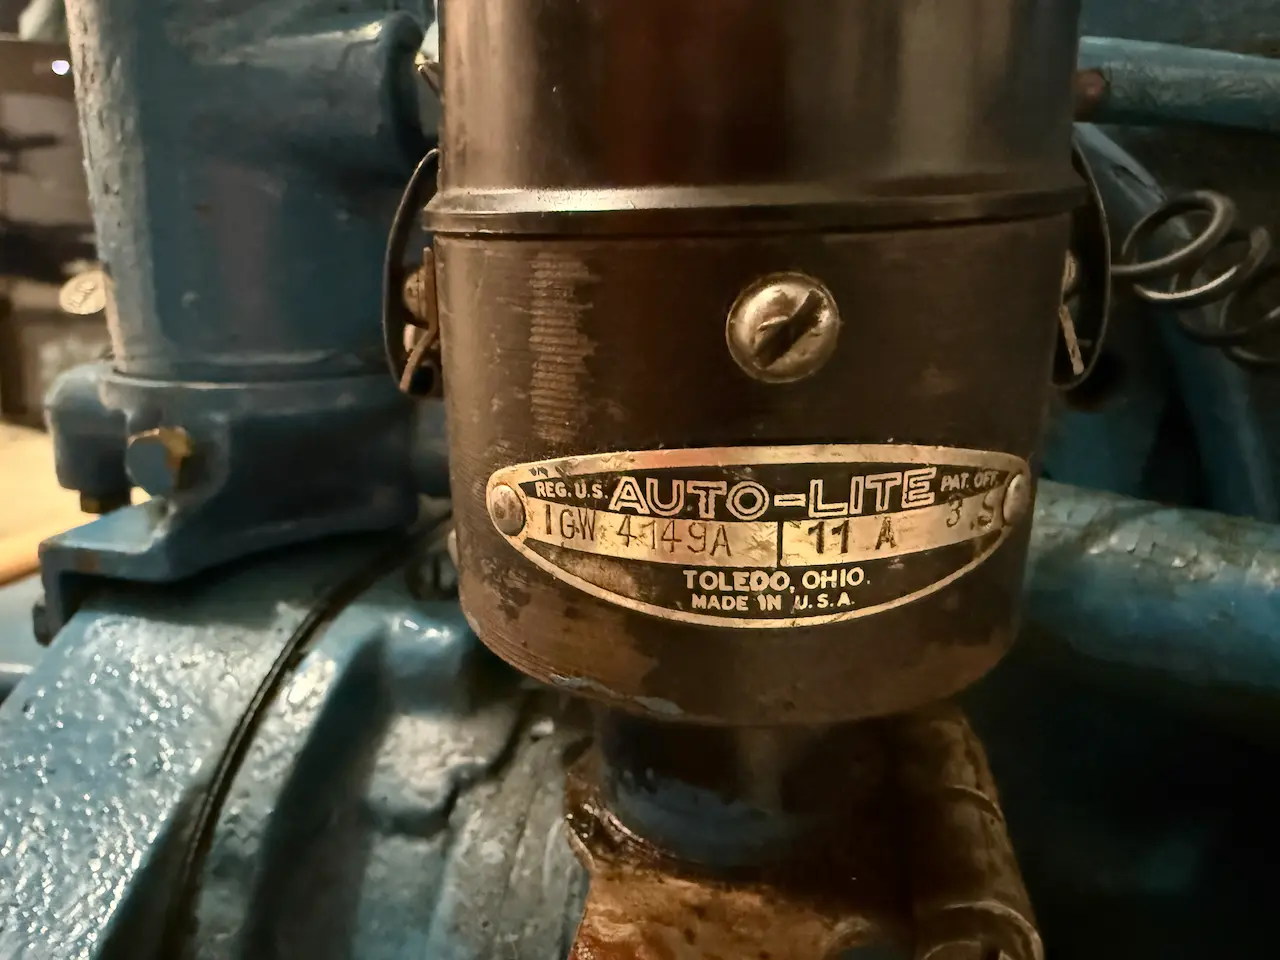
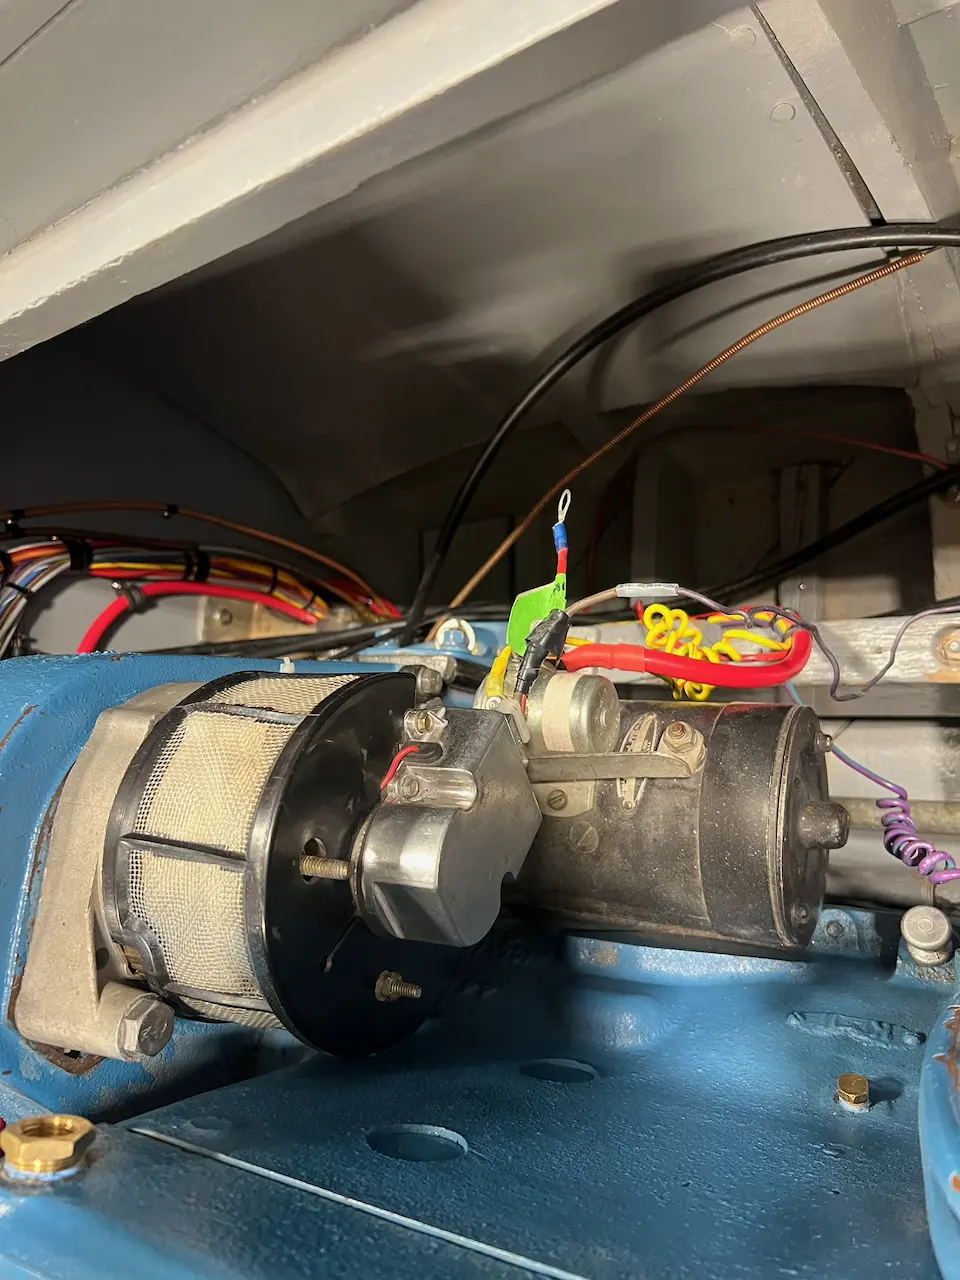
The generator had already been upgraded to a 12-volt unit, and since the engine was out, I decided to have both the generator and starter checked. While they technically worked, the voltage regulator would not shut off and the starter would not disengage properly. As a result, both are now being rebuilt by Romaine Electric.

Seating & Upholstery 10 h Link

Upholstery repair

Miss Behaving is coming along nicely. If you haven’t been following along, I removed the engine and drained the oil before performing a compression test. The oil didn’t look too bad, but to be safe I filled the crankcase with diesel to flush out any sludge. That decision paid off—the diesel did an excellent job cleaning things out.

Next came the compression test. For those unfamiliar, an engine compression test is done by disabling the fuel and ignition, removing all the spark plugs, blocking the throttle open, and threading the tester’s adapter into one spark plug hole. The engine is then cranked for several seconds until the gauge stabilizes, the PSI reading is recorded, and the process is repeated for all cylinders. Ideally, readings should be within about 10–15% of each other.

I also performed a wet compression test, which helps diagnose the cause of low compression. This involves adding about a teaspoon of oil into the cylinder through the spark plug hole and retesting. If compression increases significantly, worn piston rings are usually the cause, as the oil temporarily seals them. If compression remains low, the issue is more likely related to valves or piston damage, since oil won’t correct those problems. As always, the dry test should be done first, followed by the wet test only on any low cylinders.

Chris-Craft published recommended compression numbers for the KBL engine, which I have, and as luck would have it, Miss Behaving appears to have been rebuilt sometime before being stored in 1976. All cylinders tested in the good-to-excellent range. Considering the engine hadn’t been turned over in nearly 50 years, I expect compression to improve even more once it’s been run for a while.

While the engine was out of the boat, I experimented with several cleaners and ultimately found that lacquer thinner on a rag worked best. The entire engine was coated with a light film of oil, which—intentionally or not—seems to have preserved it remarkably well over the years.

I then moved on to engine paint. After some research, I learned that Chris-Craft typically used three shades of blue: a darker blue pre-war, a slightly lighter post-war blue, and the much lighter blue commonly associated with later V8s. Interestingly, Chris Smith has noted that near the end of the build season, they often mixed whatever blue paint they had left into a single batch and used it up. The entire engine—including hoses, clamps, fuel pumps, and often carburetors—was painted blue, while starters, distributors, and generators were finished in semi-gloss black. No shinny brass, copper, or chrome.

I chose Dupli-Color DE1631 Engine Enamel with Ceramic in Chrysler Blue, and to my amazement, it was a near-perfect match. Once dried it doesn't come off.

The generator had already been upgraded to a 12-volt unit, and since the engine was out, I decided to have both the generator and starter checked. While they technically worked, the voltage regulator would not shut off and the starter would not disengage properly. As a result, both are now being rebuilt by Romaine Electric.

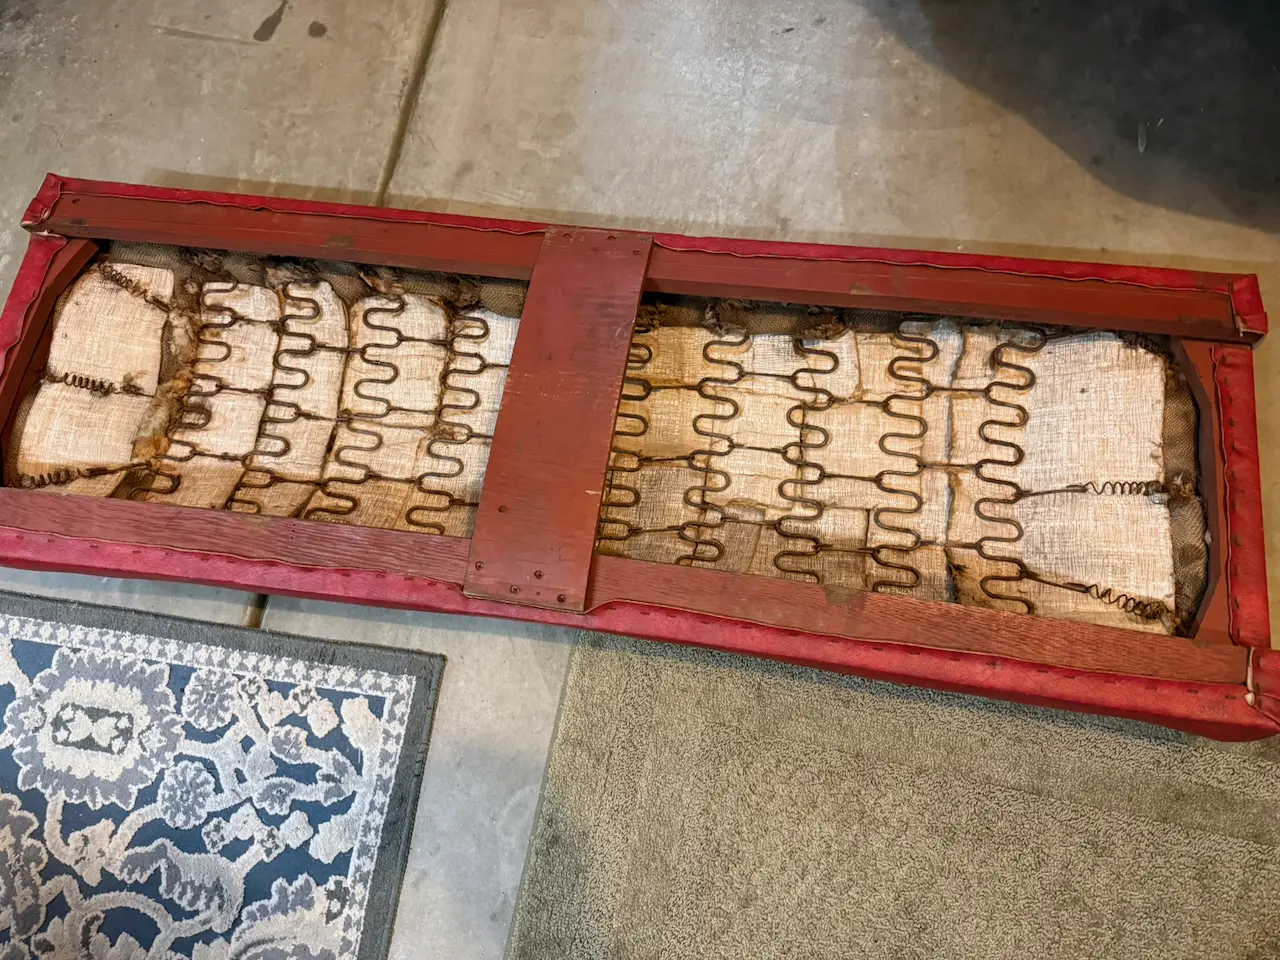
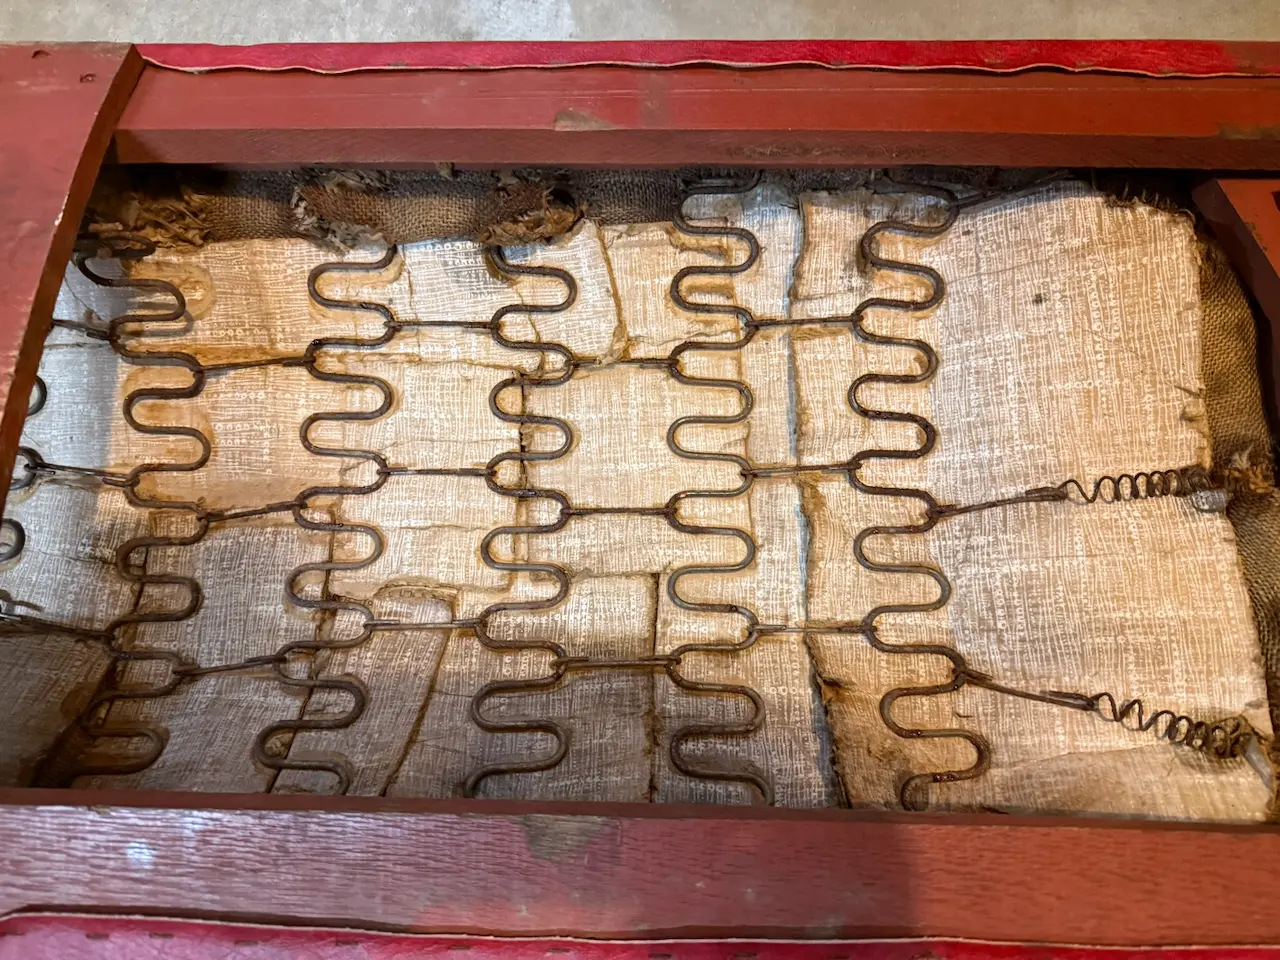
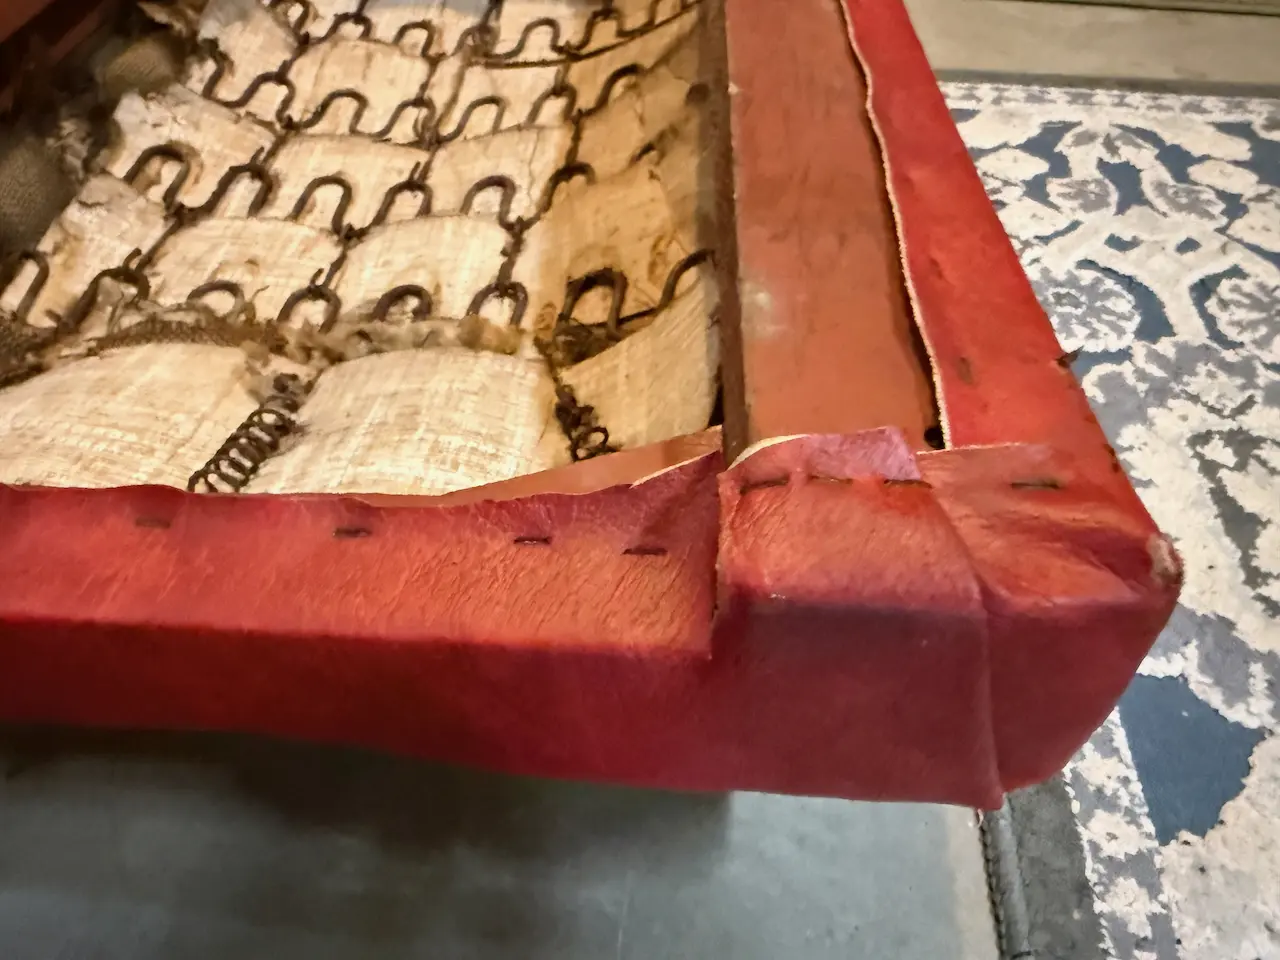
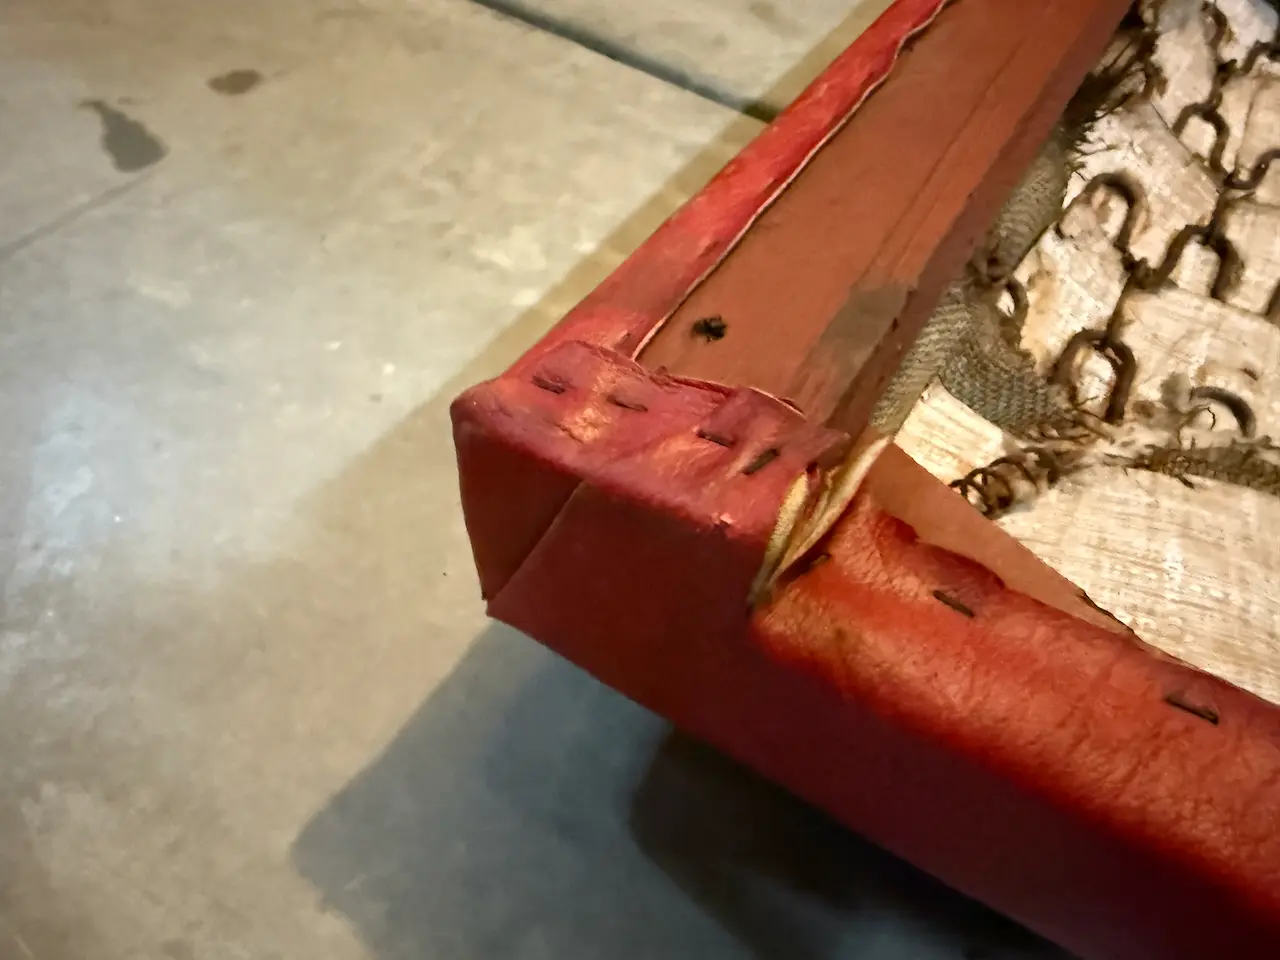
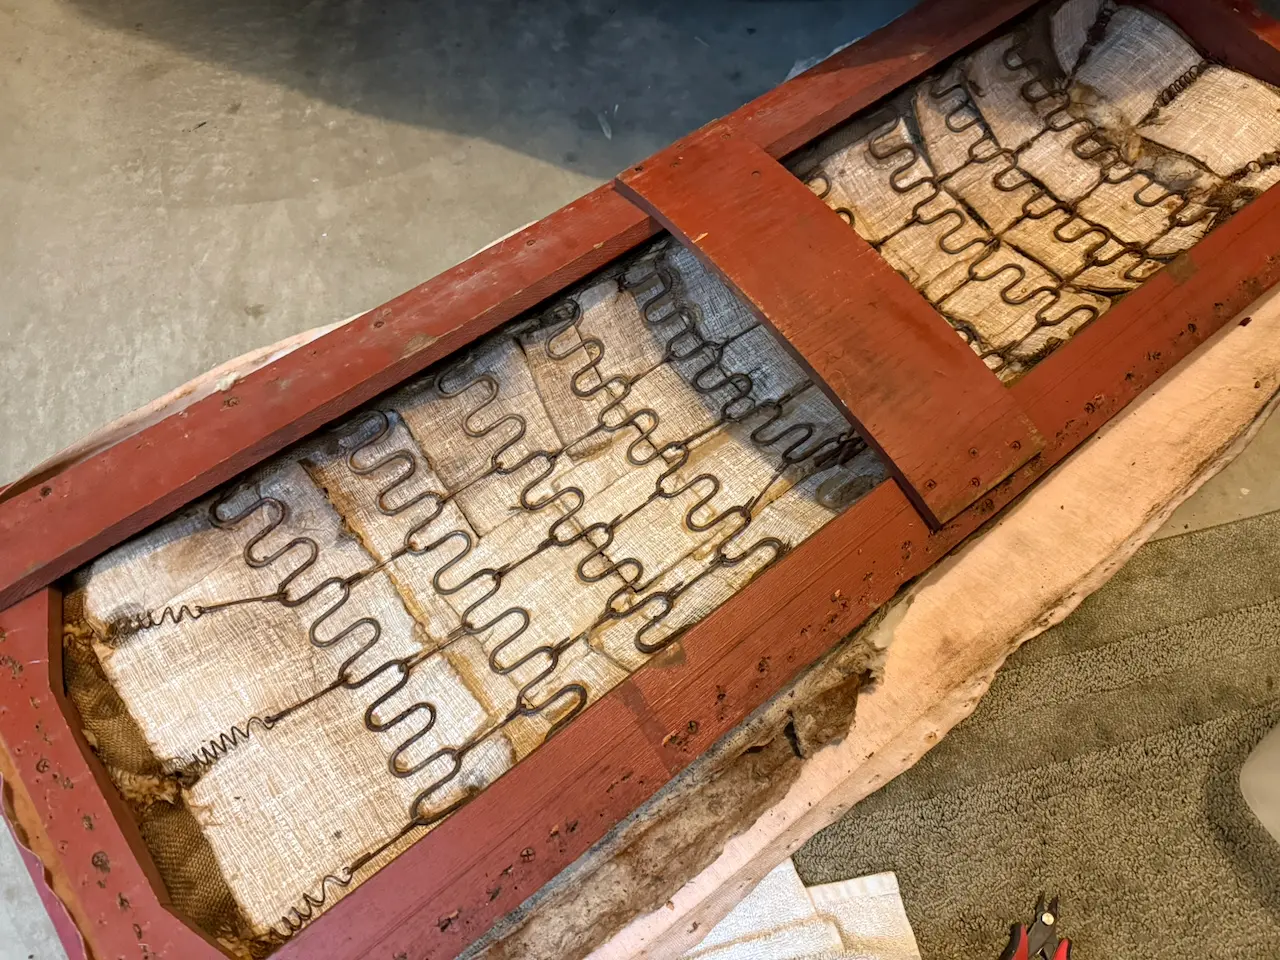
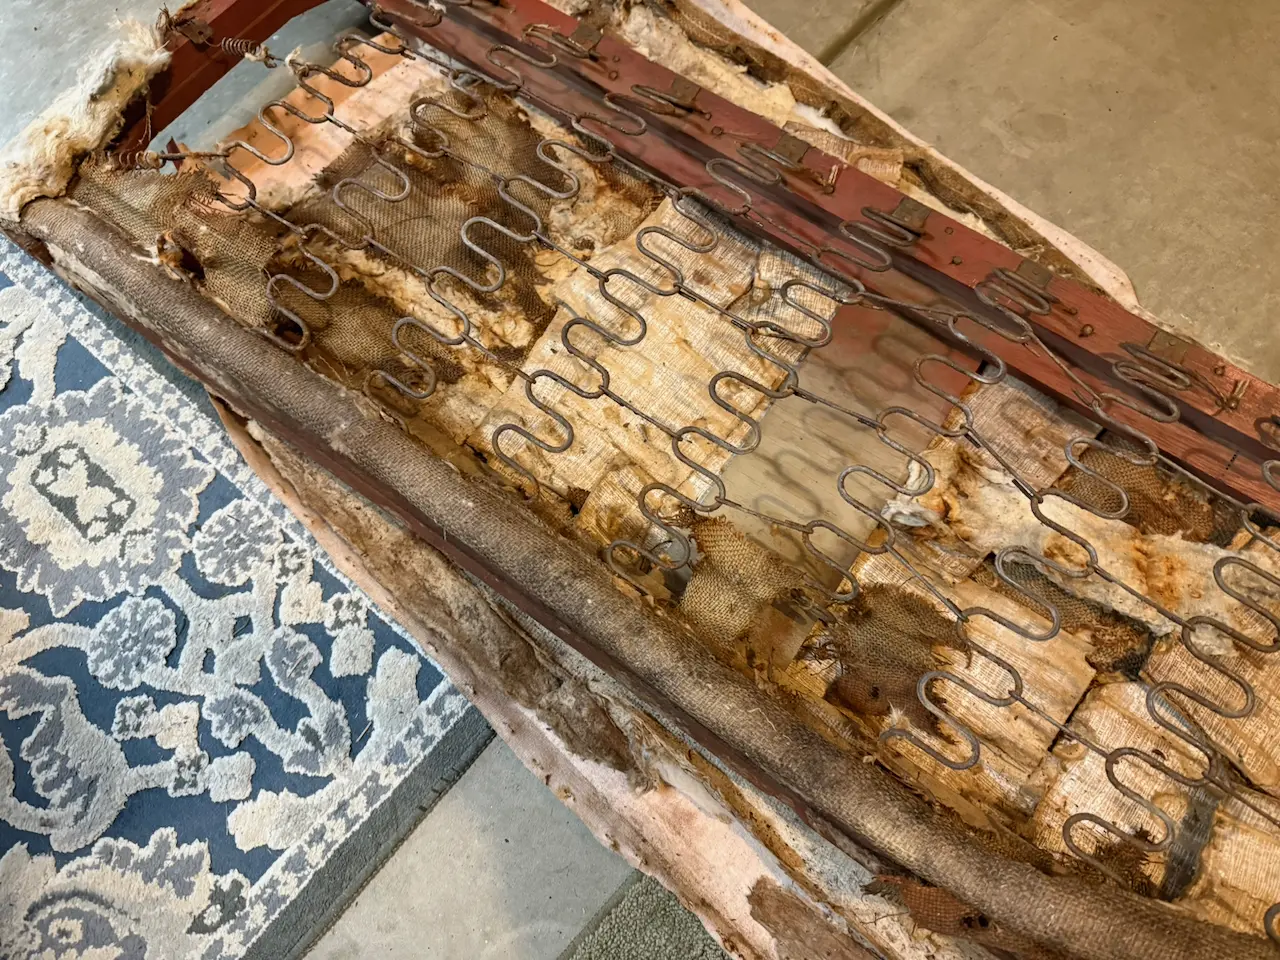
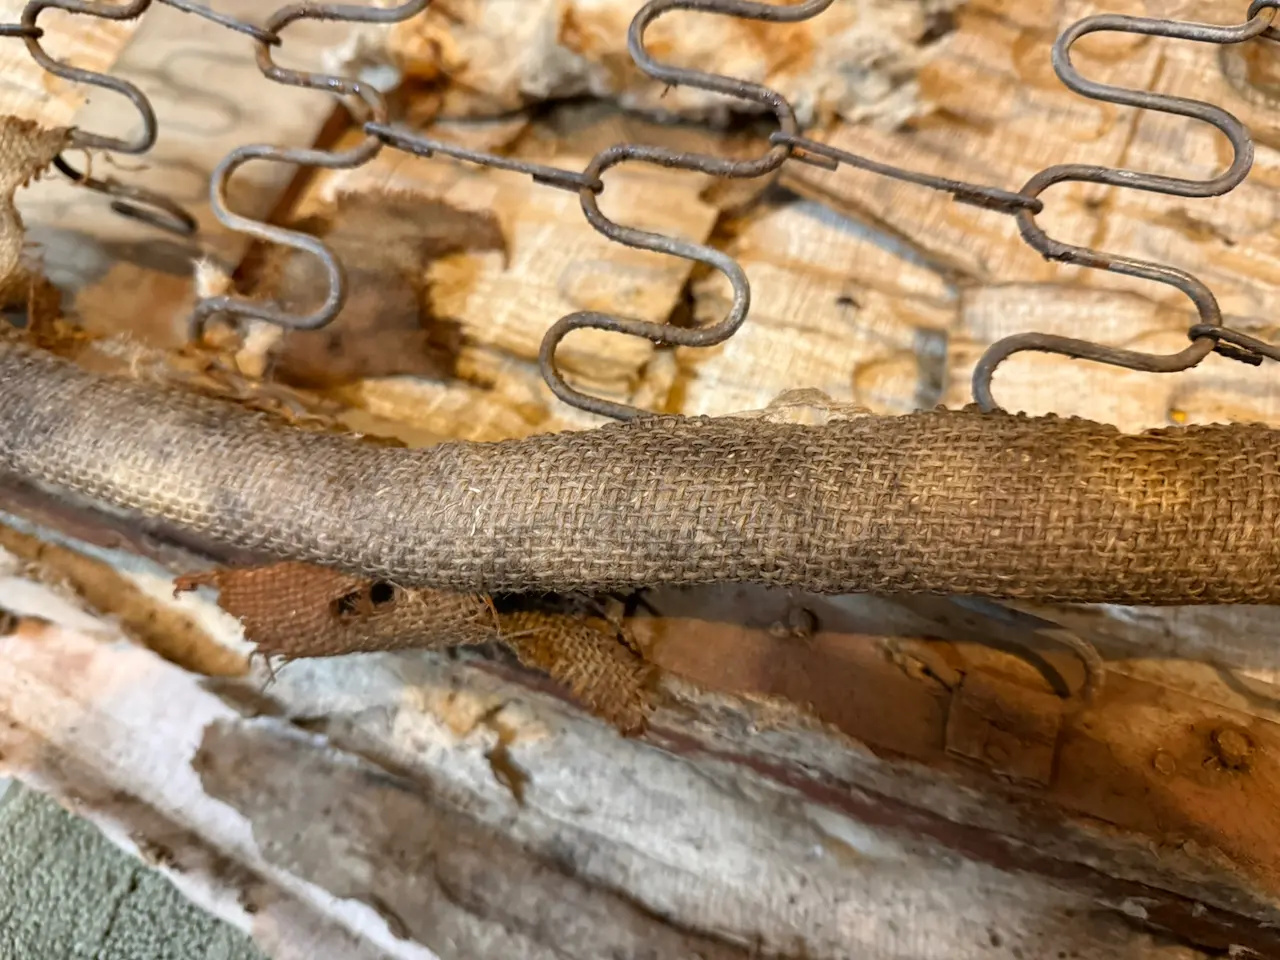
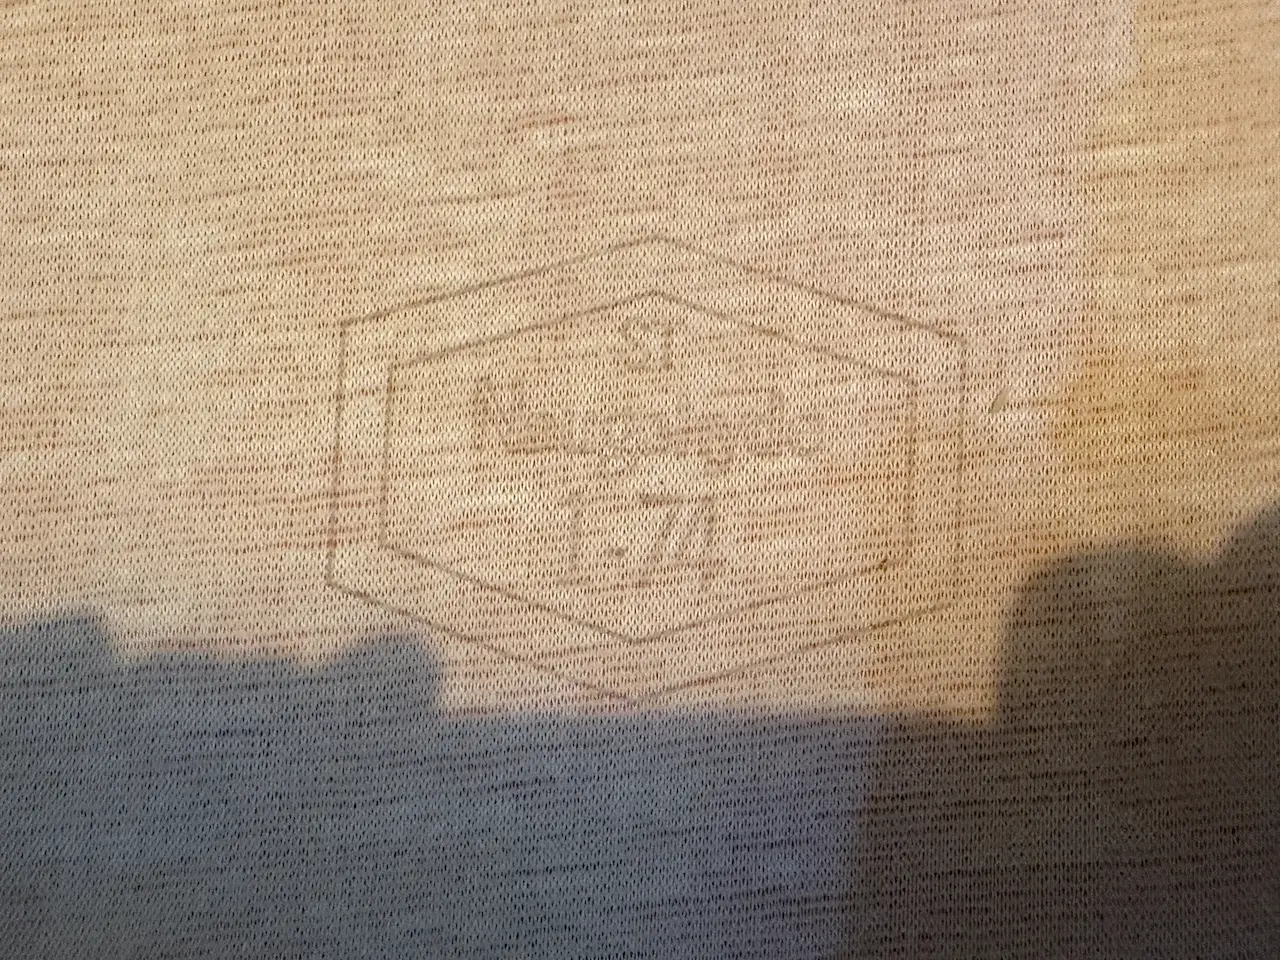
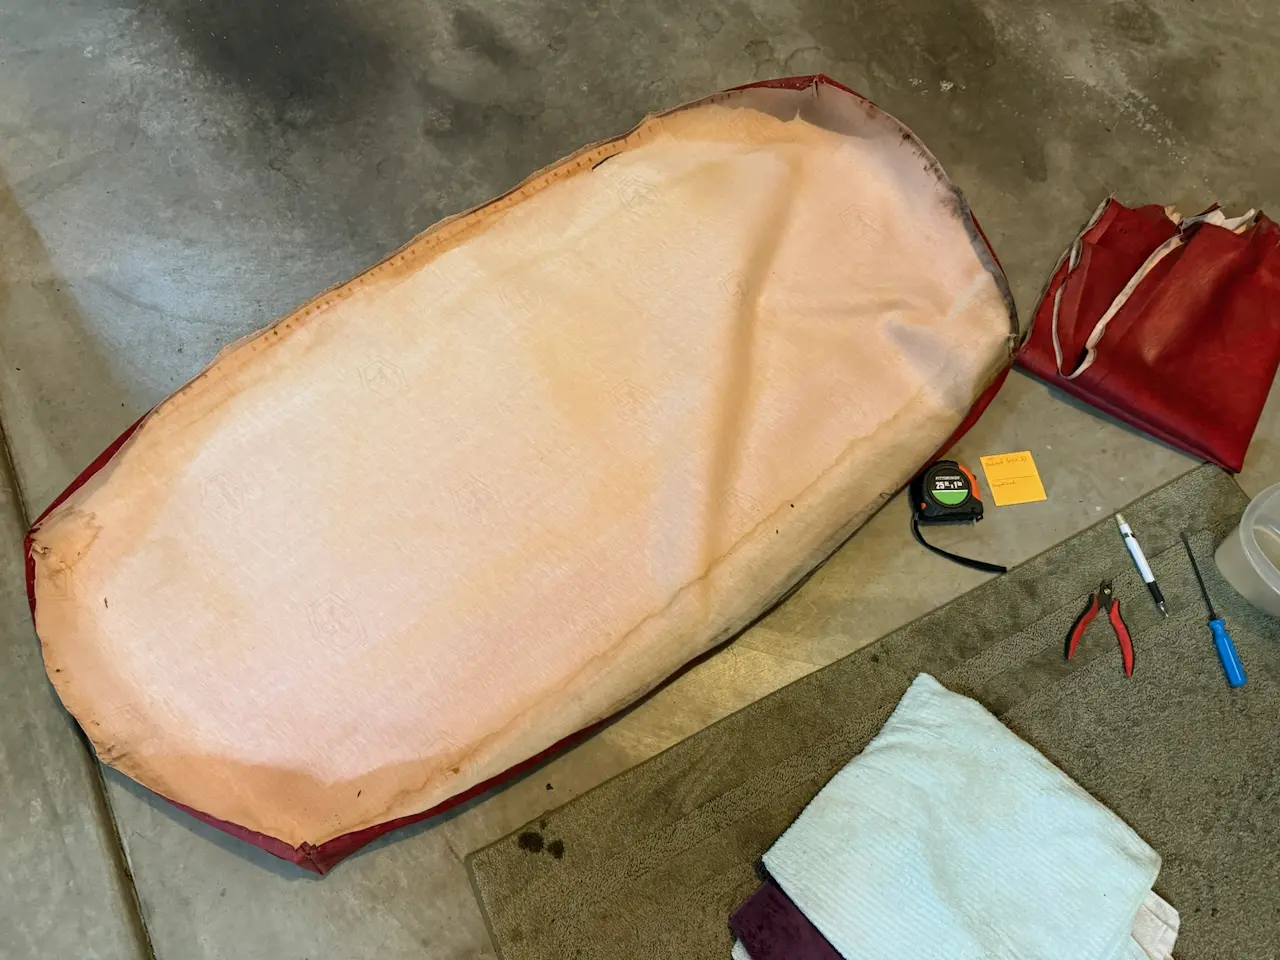
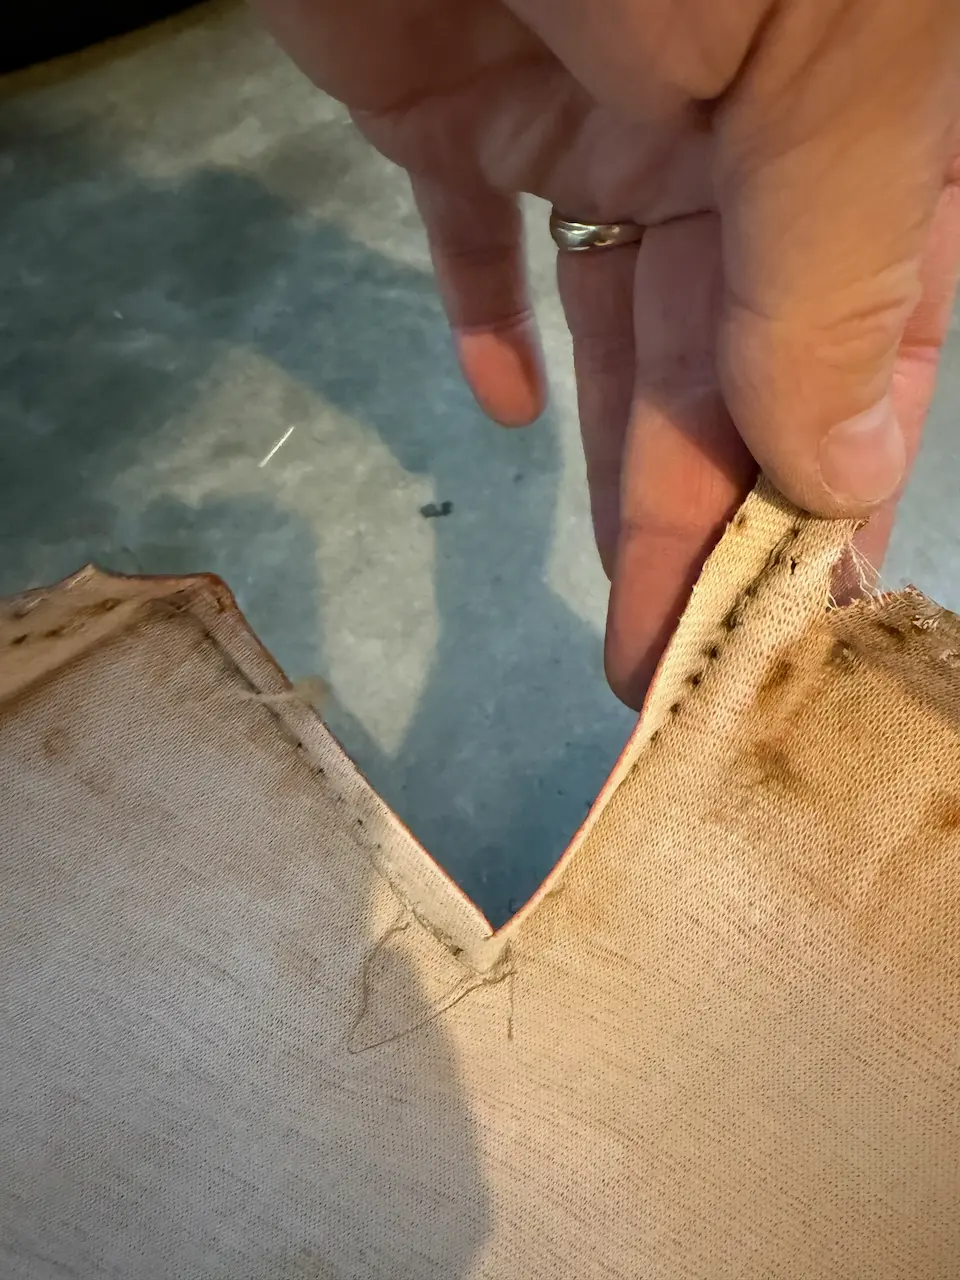
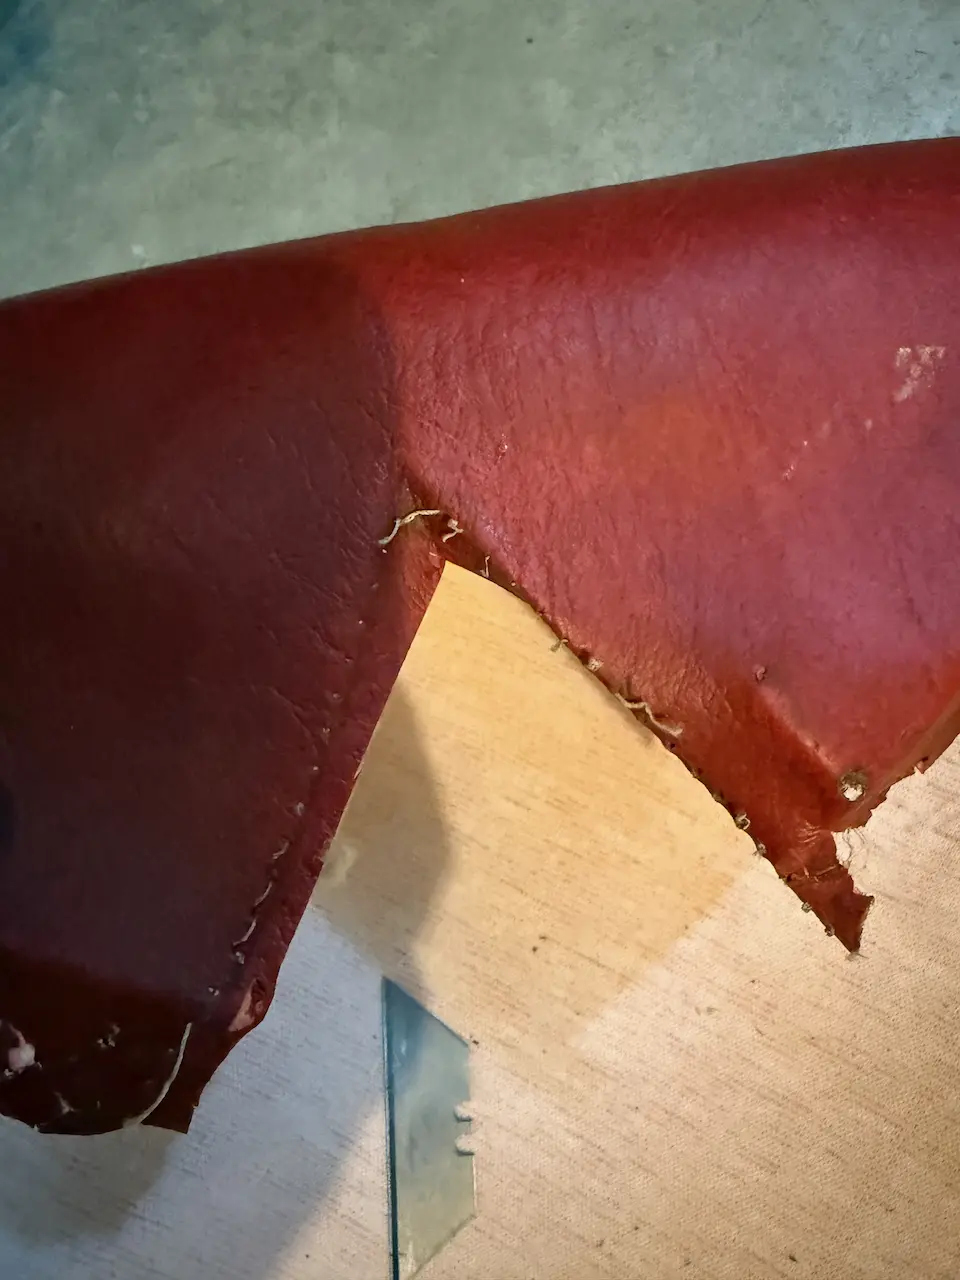
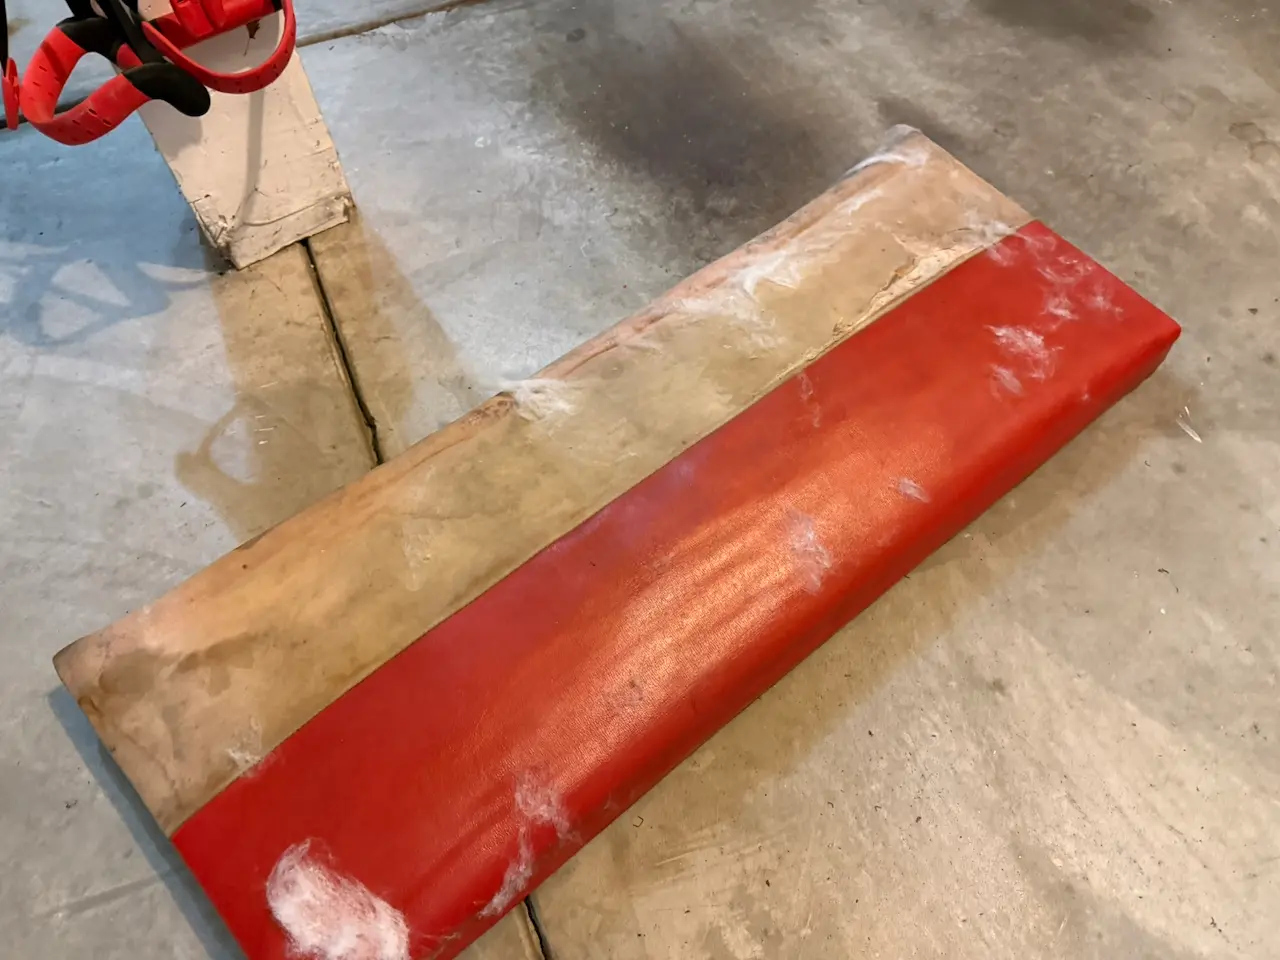
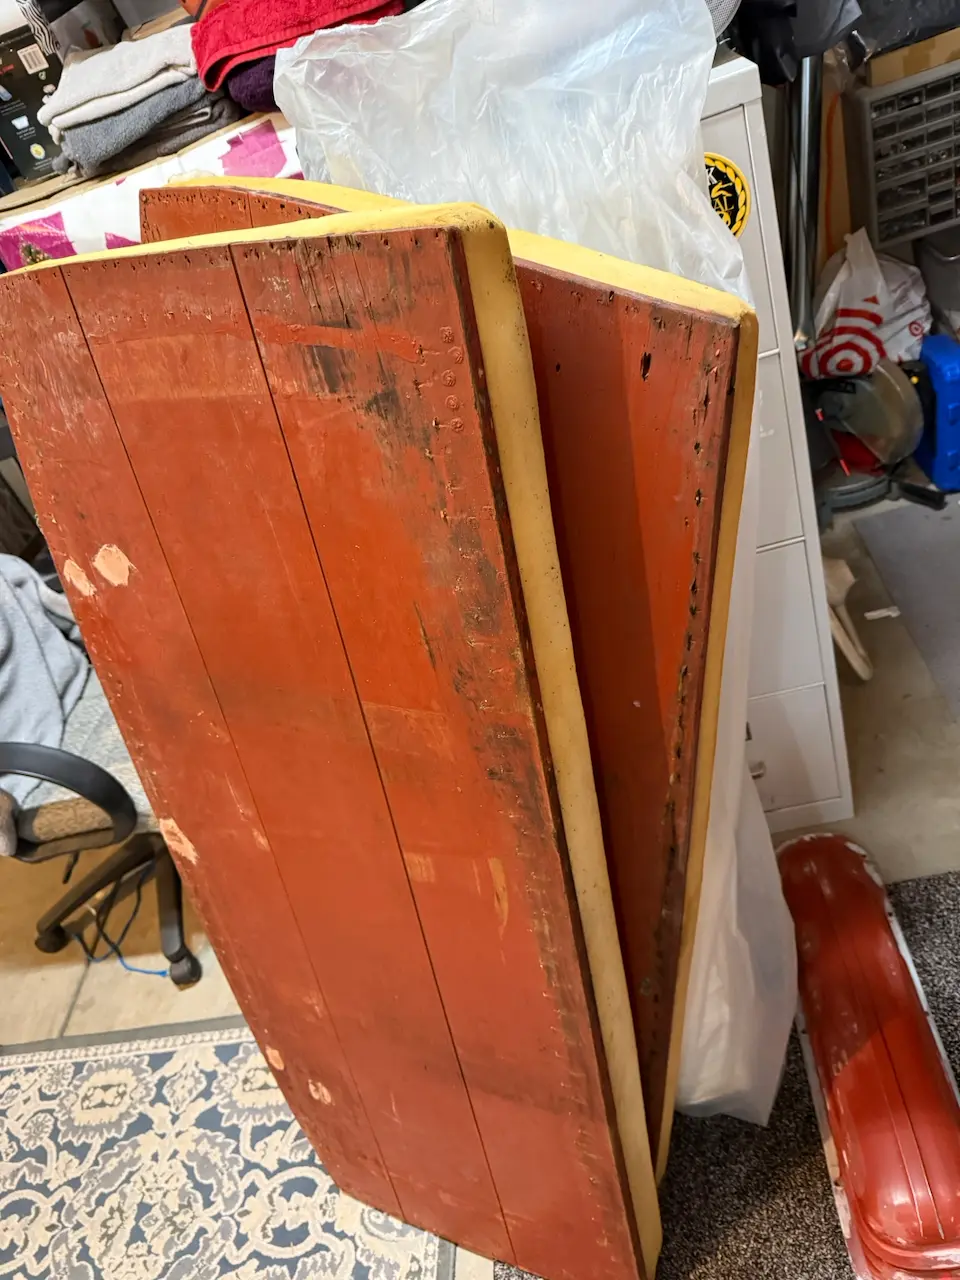
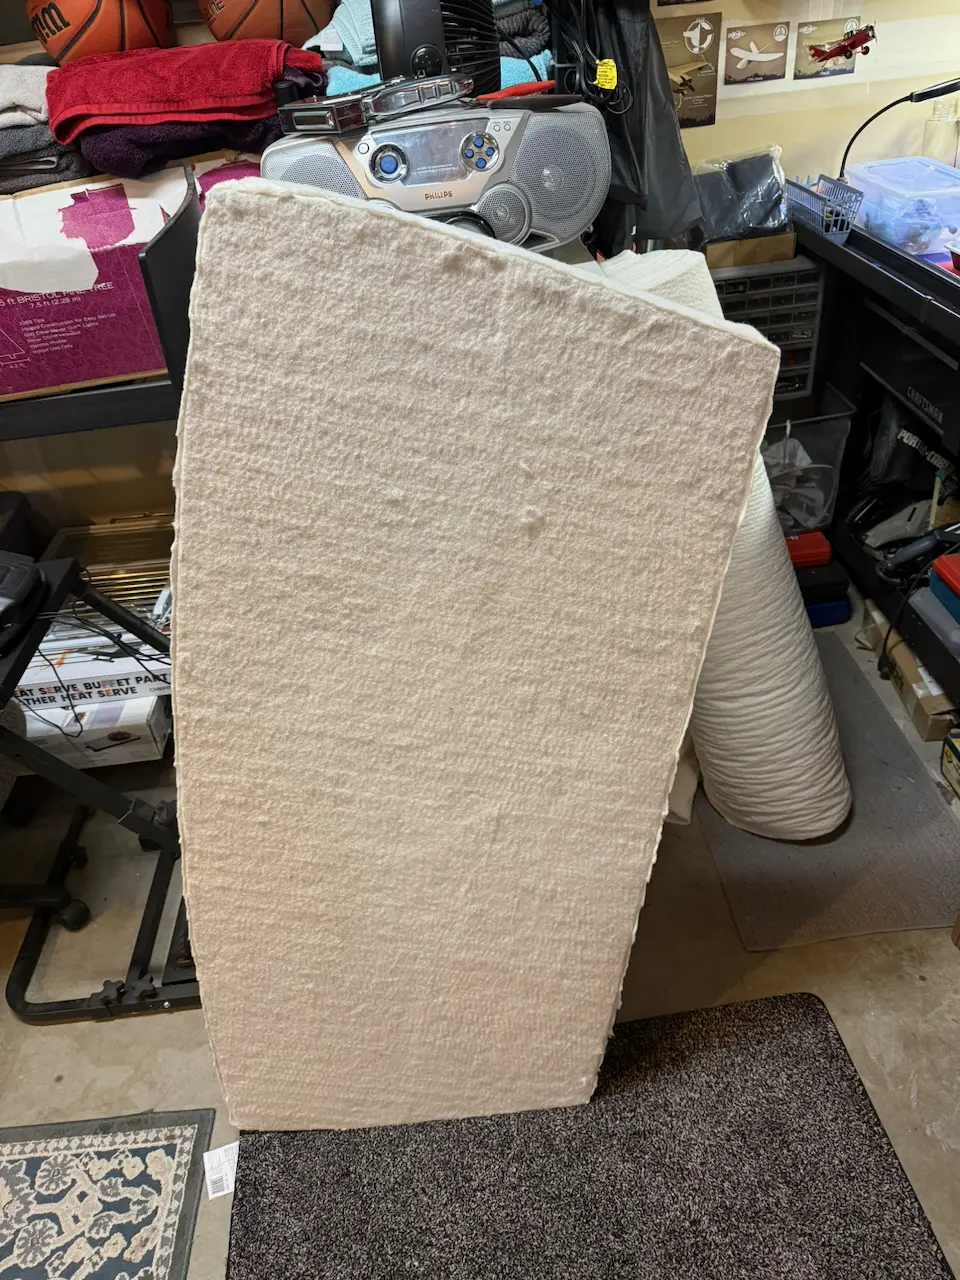
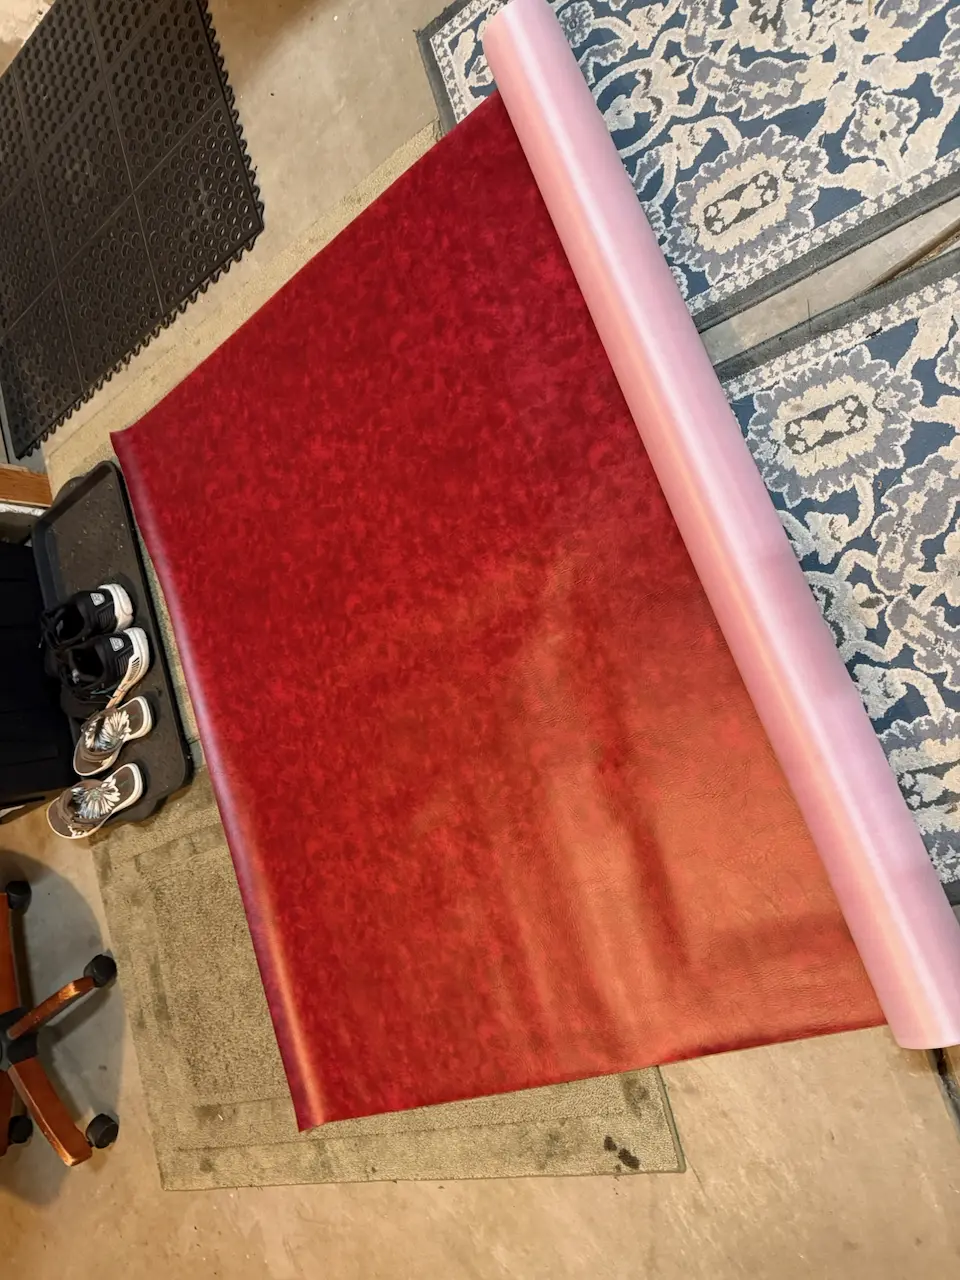
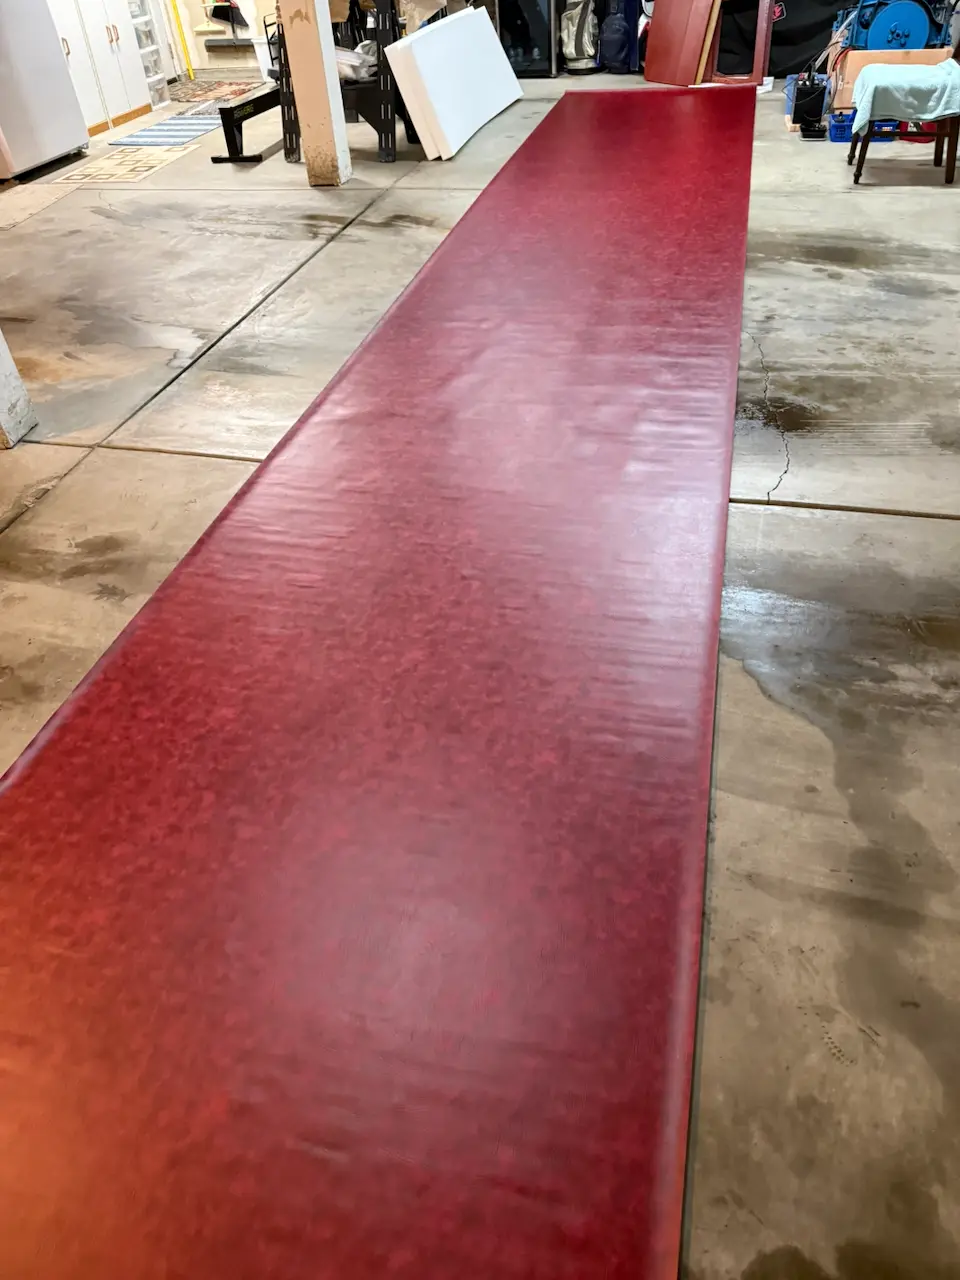
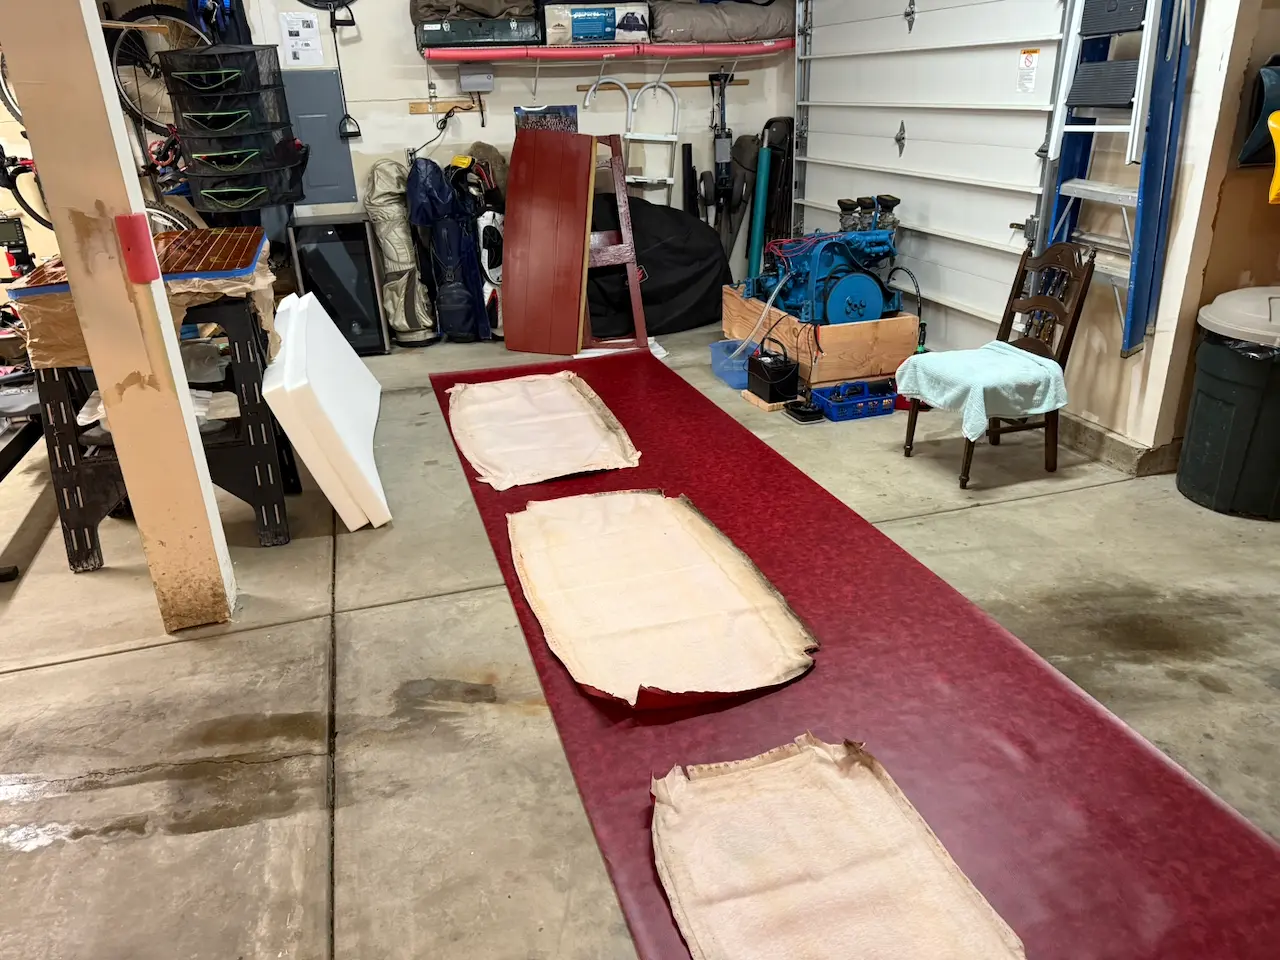
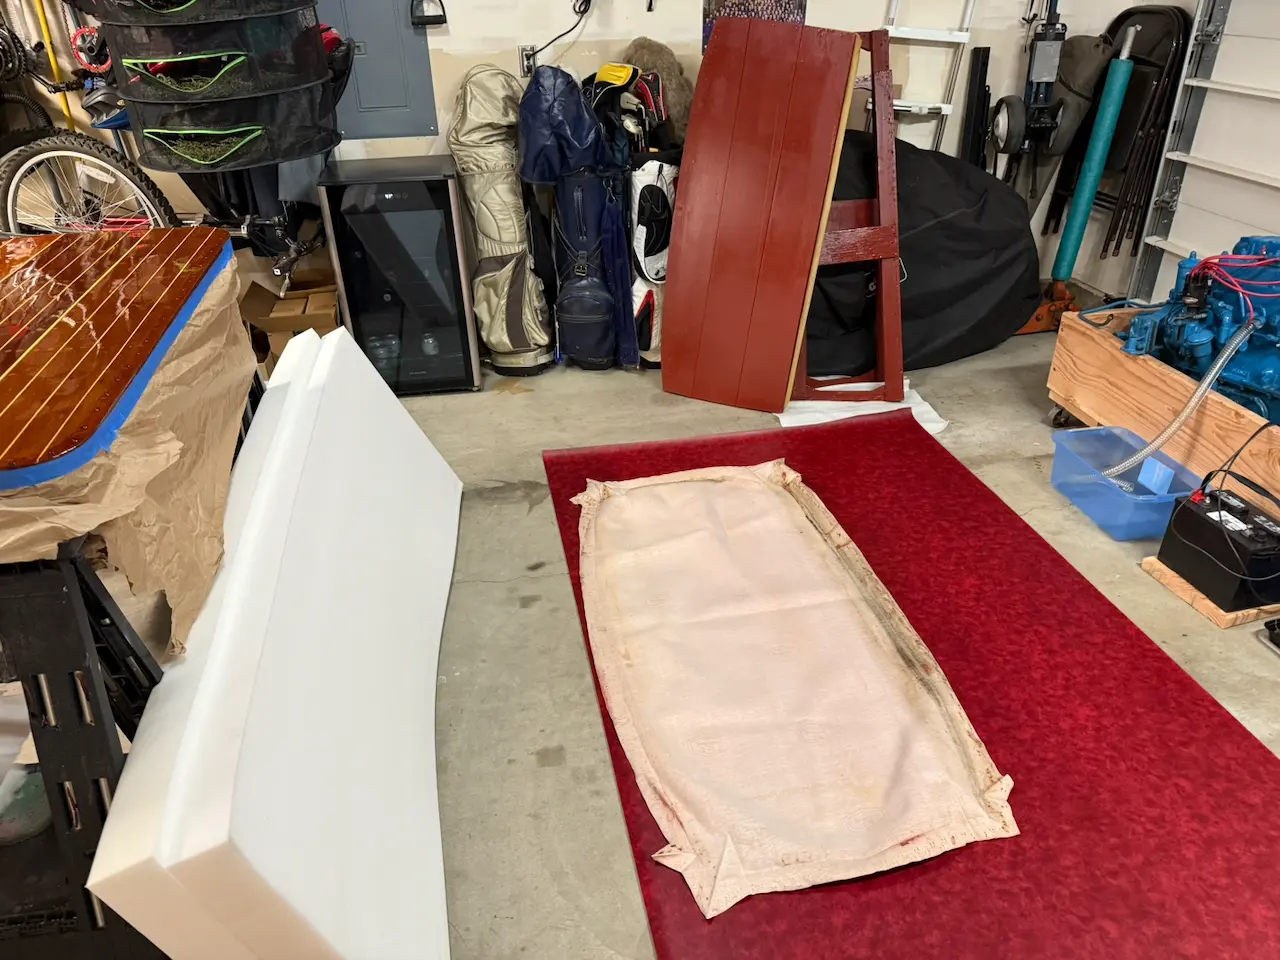
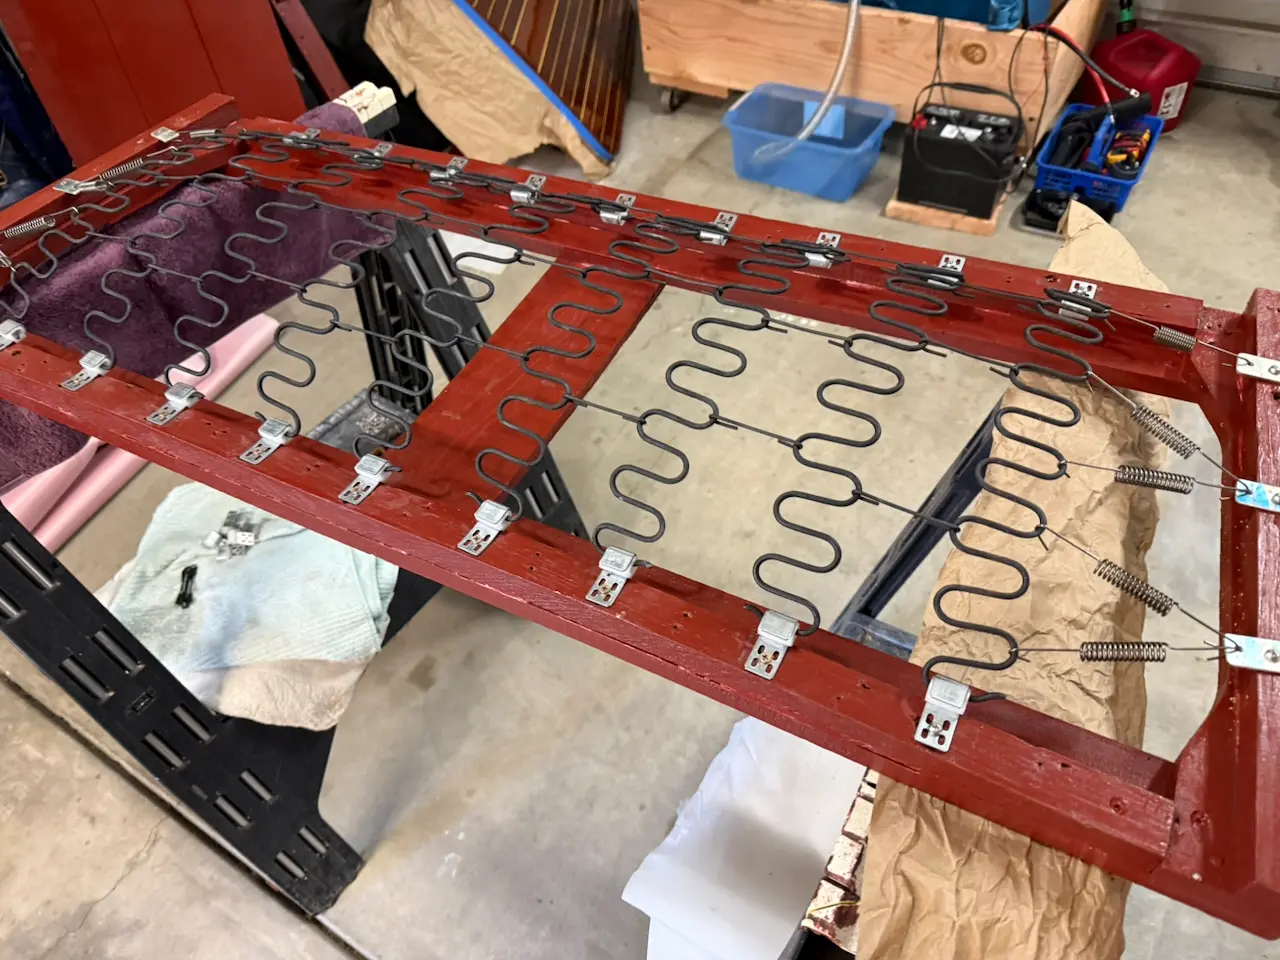
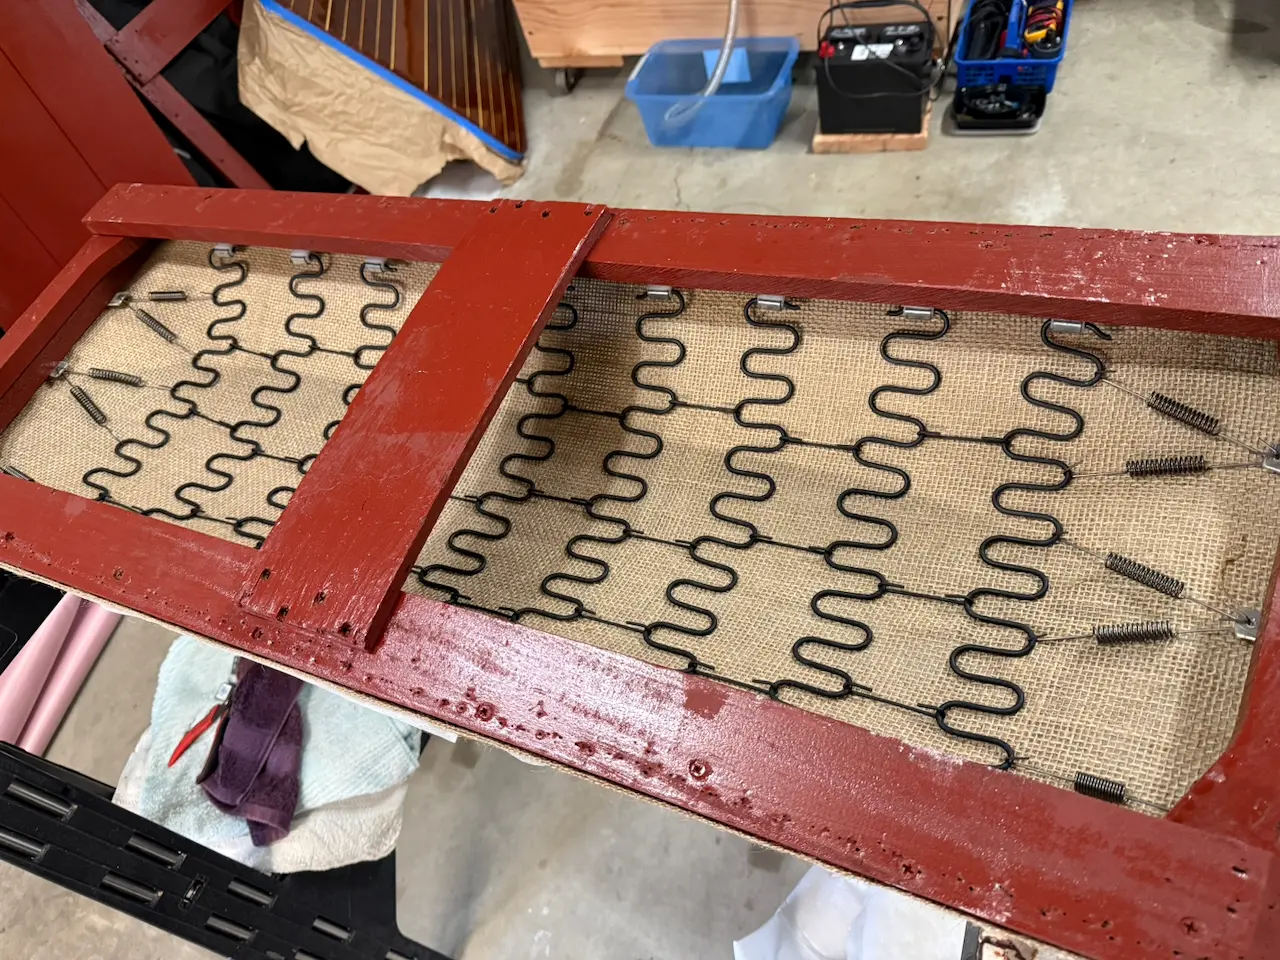
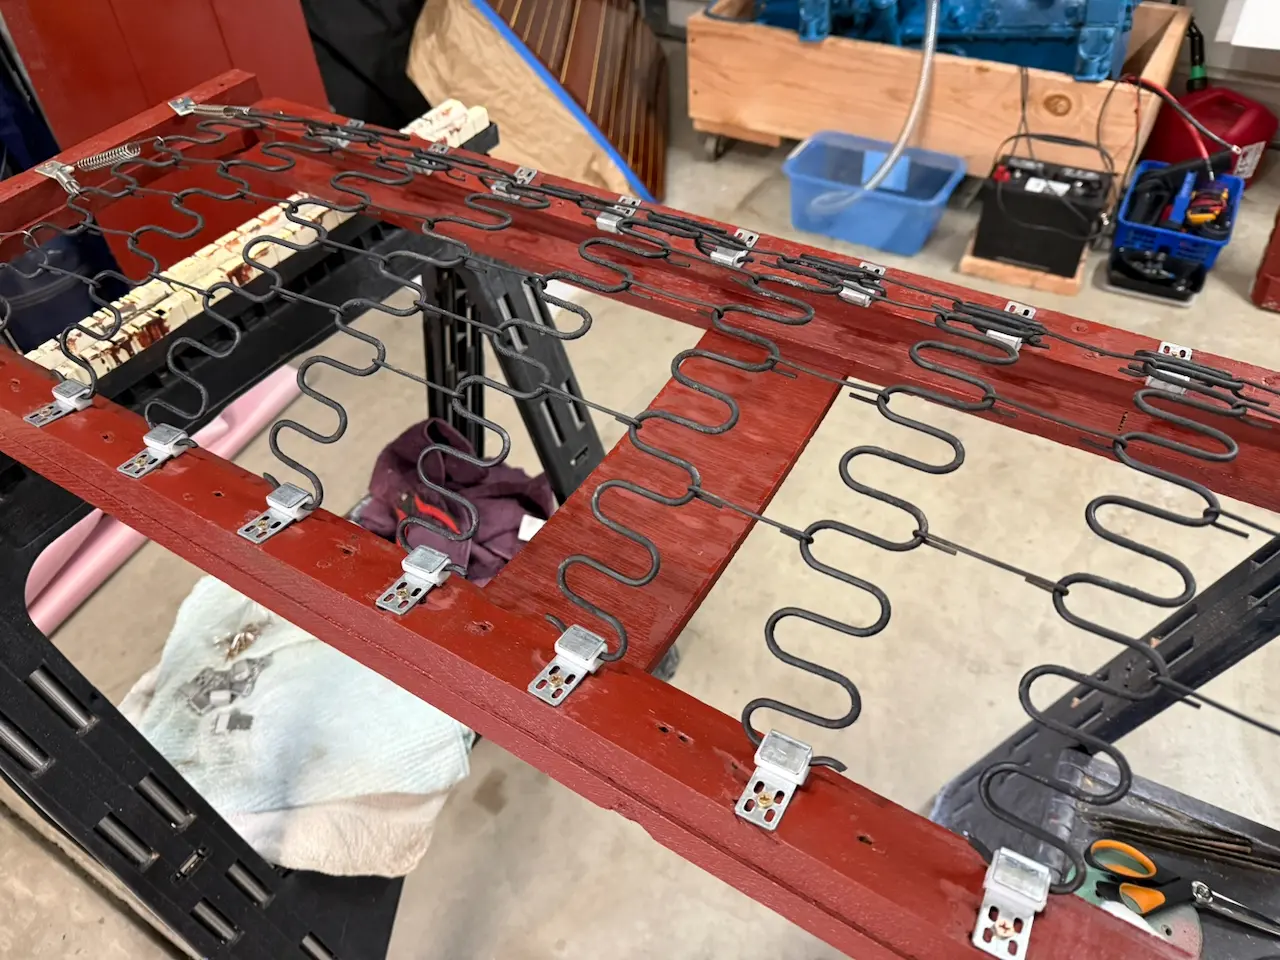
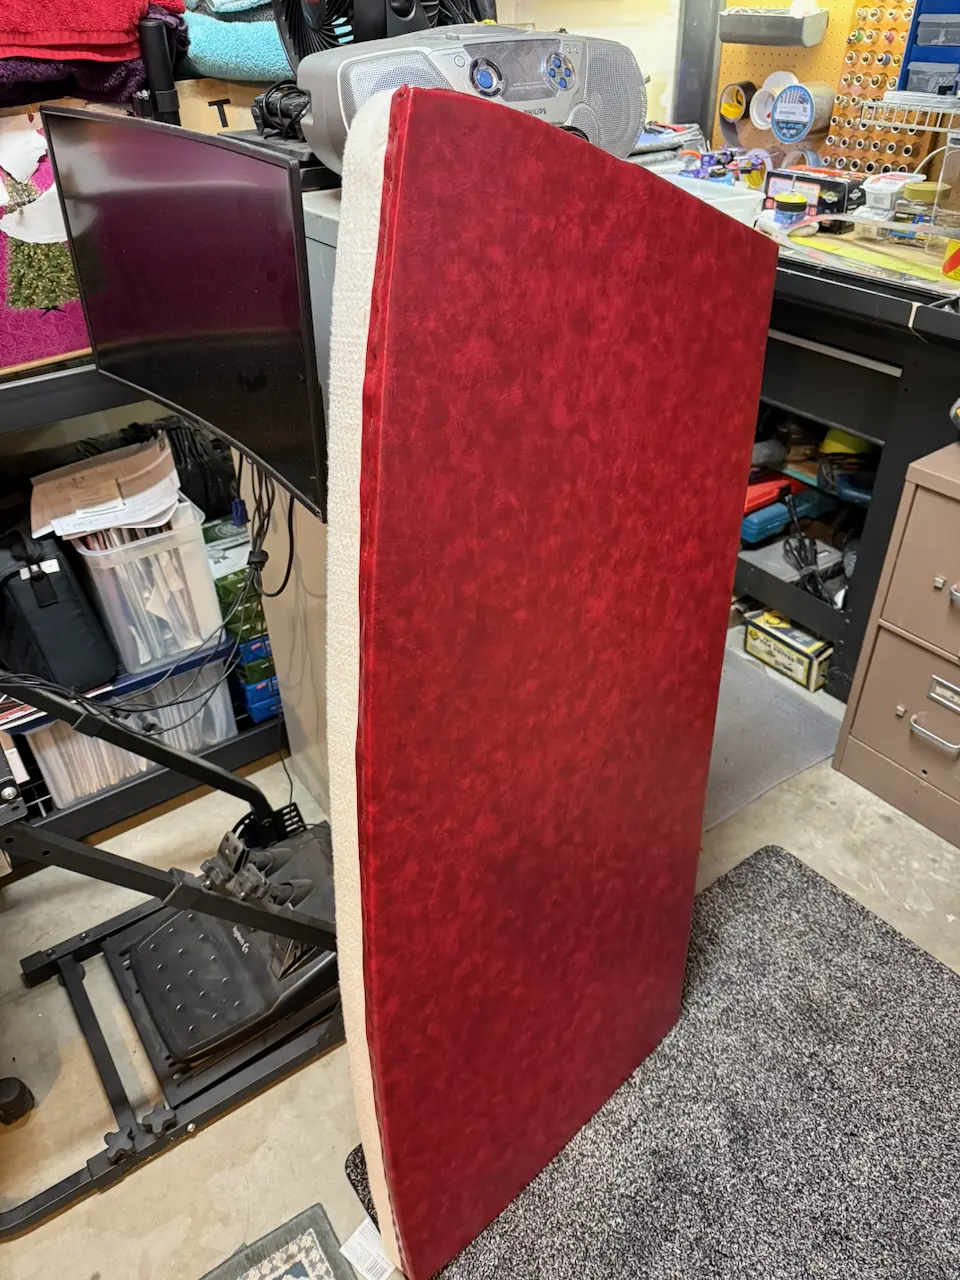
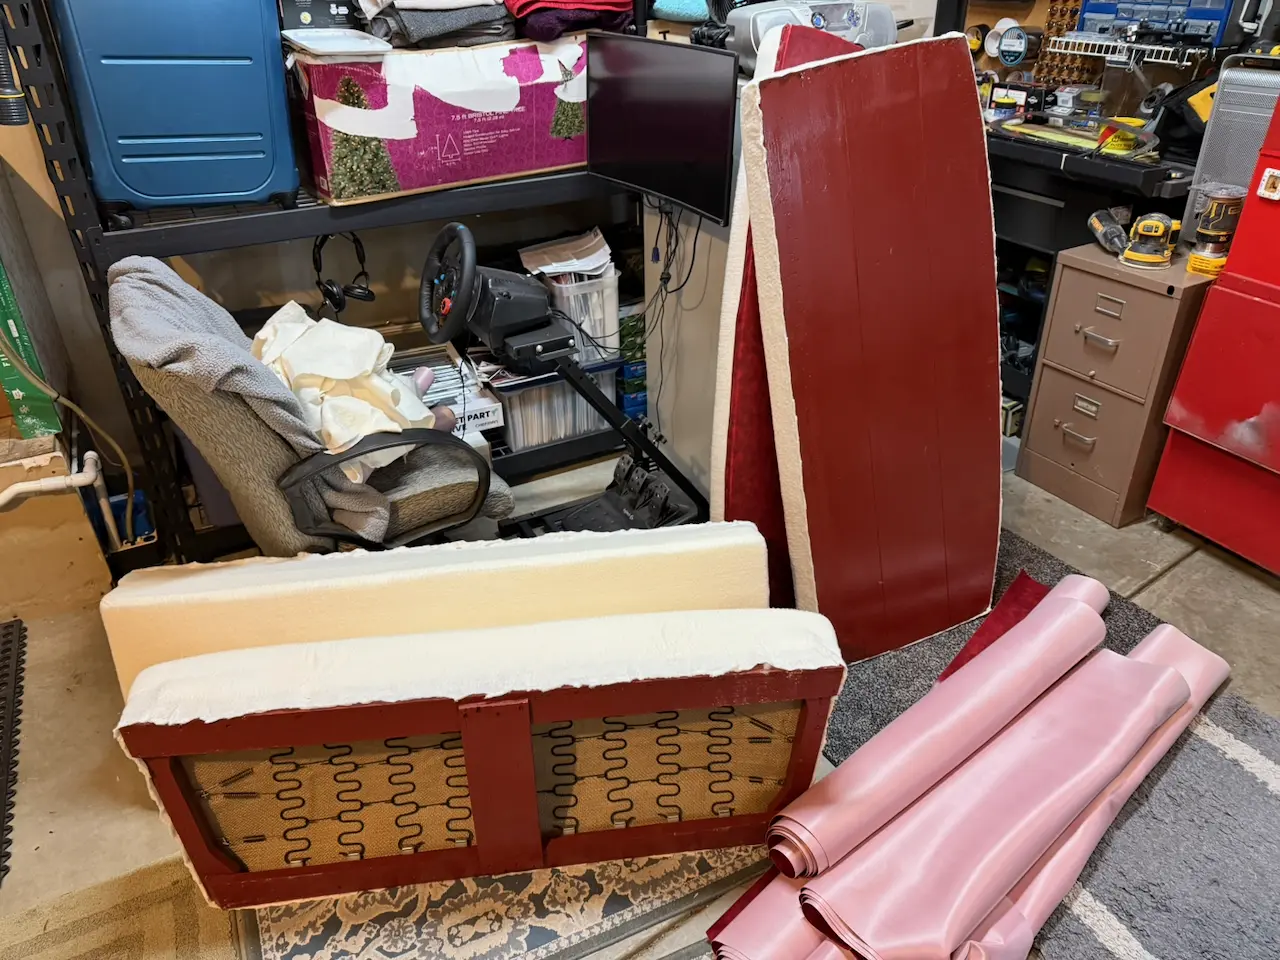
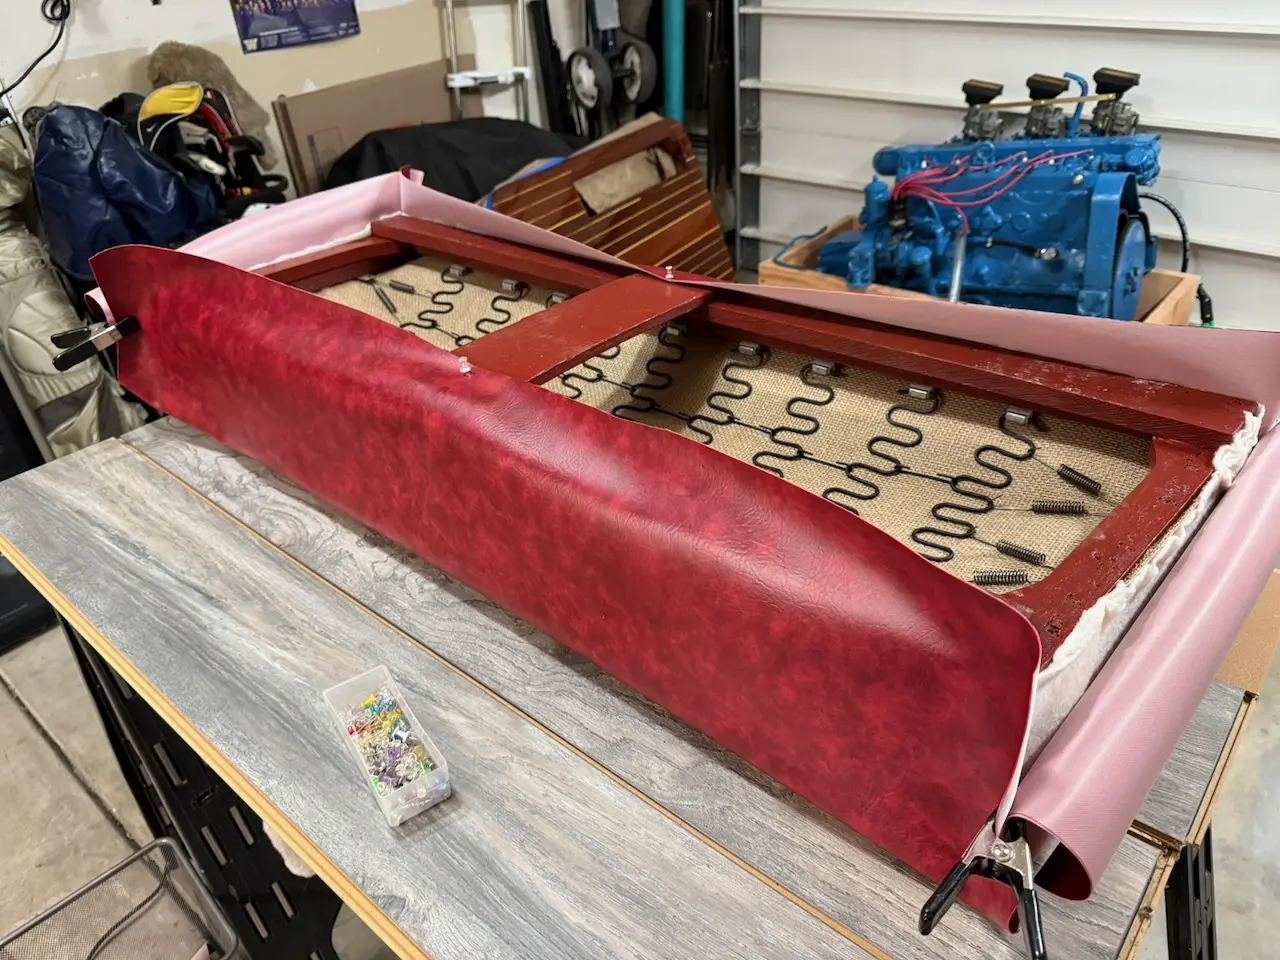
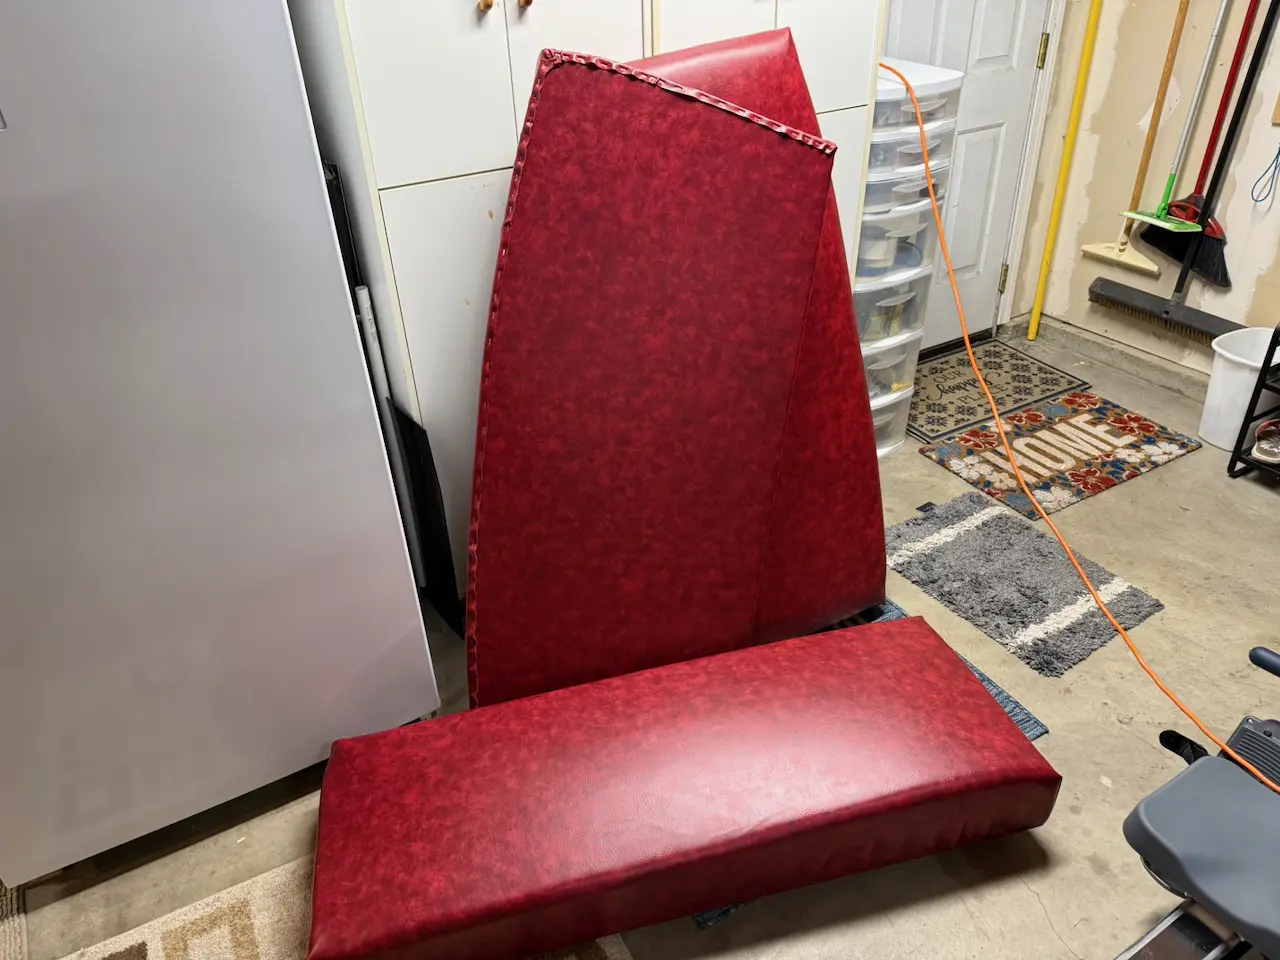
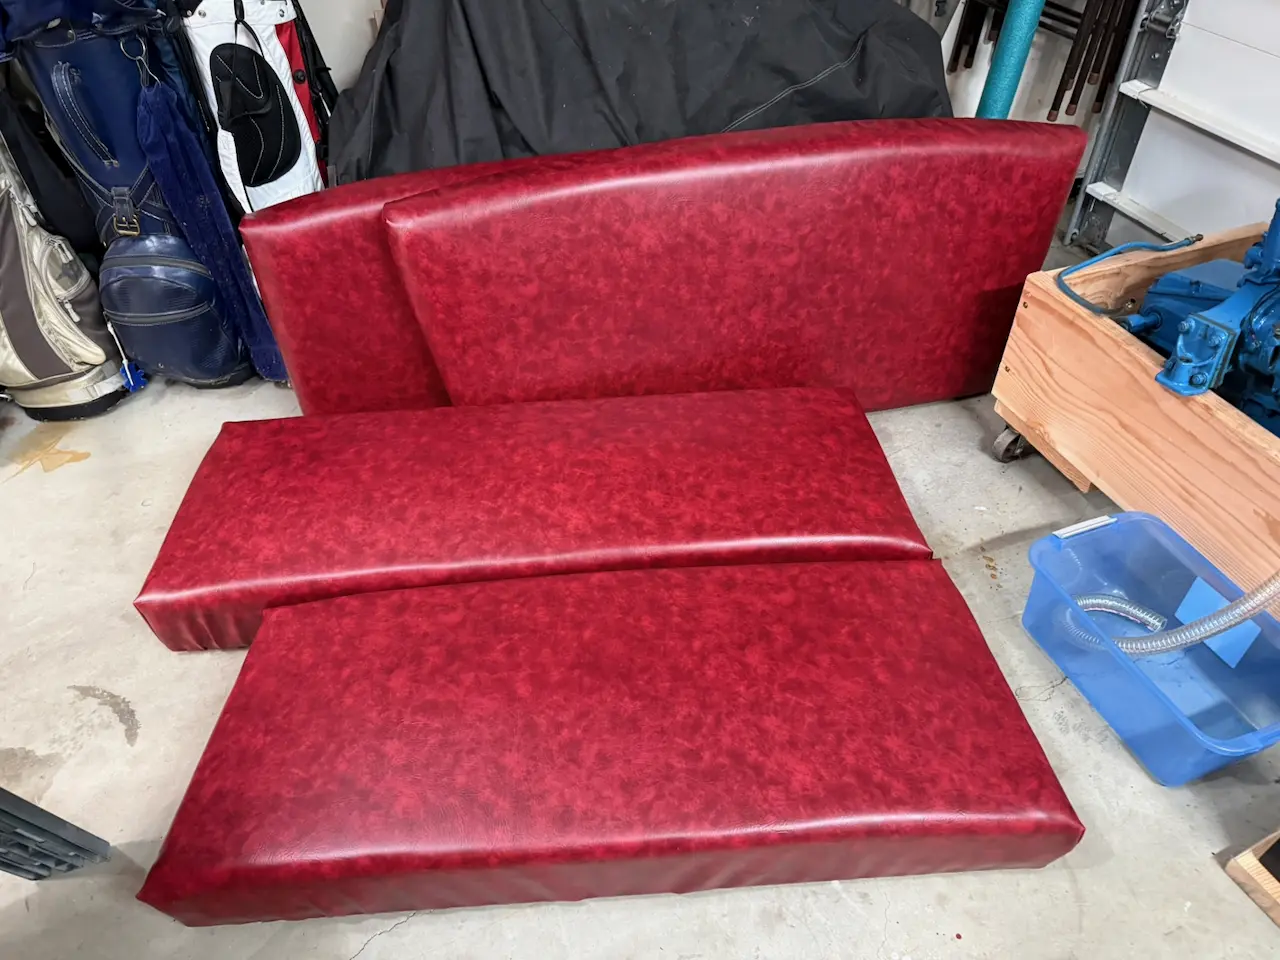
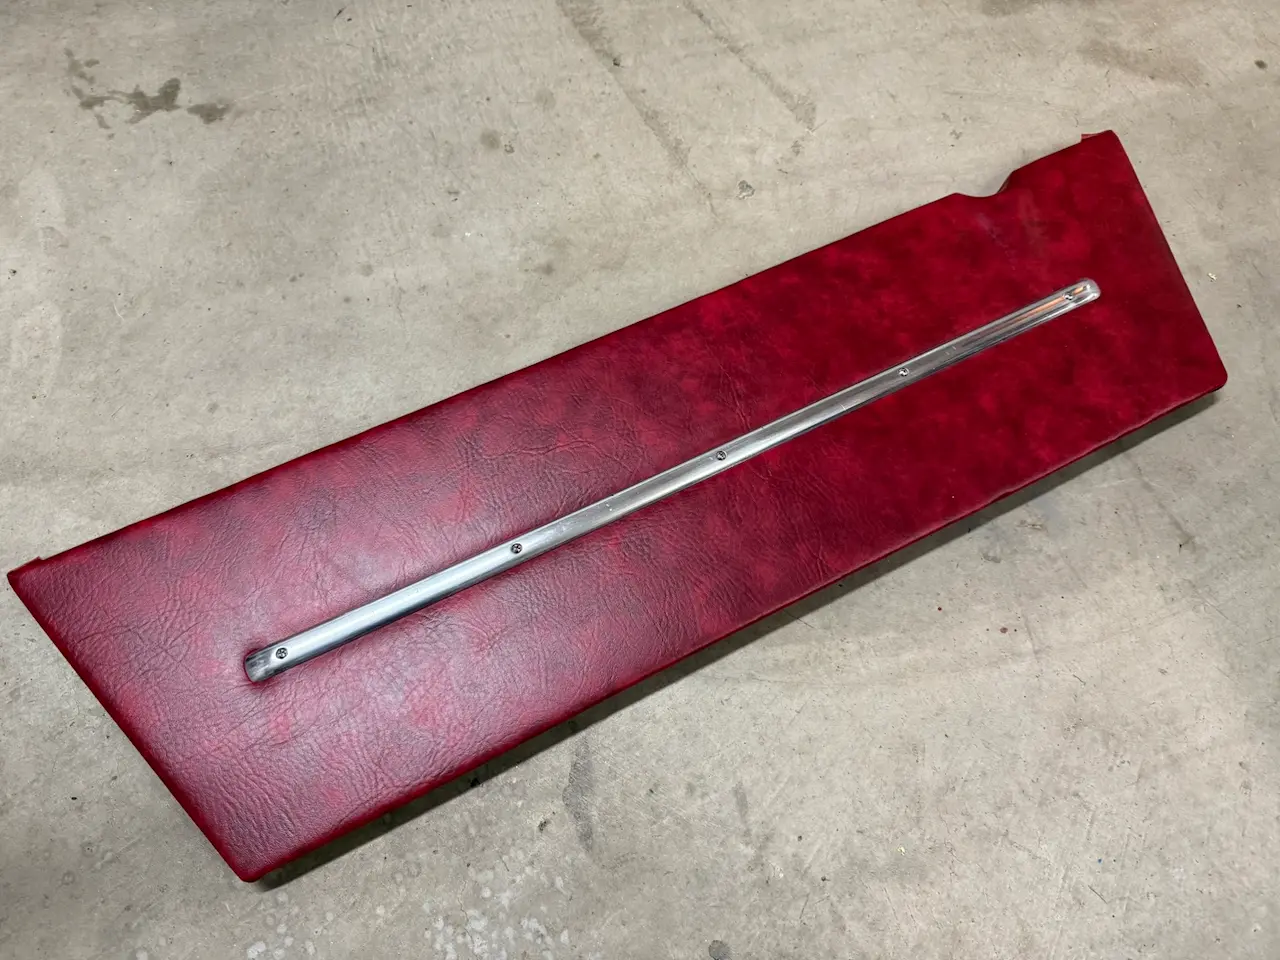
The seats presented their own set of challenges. They were originally built with springs mounted to a mahogany wood frame, topped with about an inch of cotton and batting, and covered in red Tolex from around 1973–74.

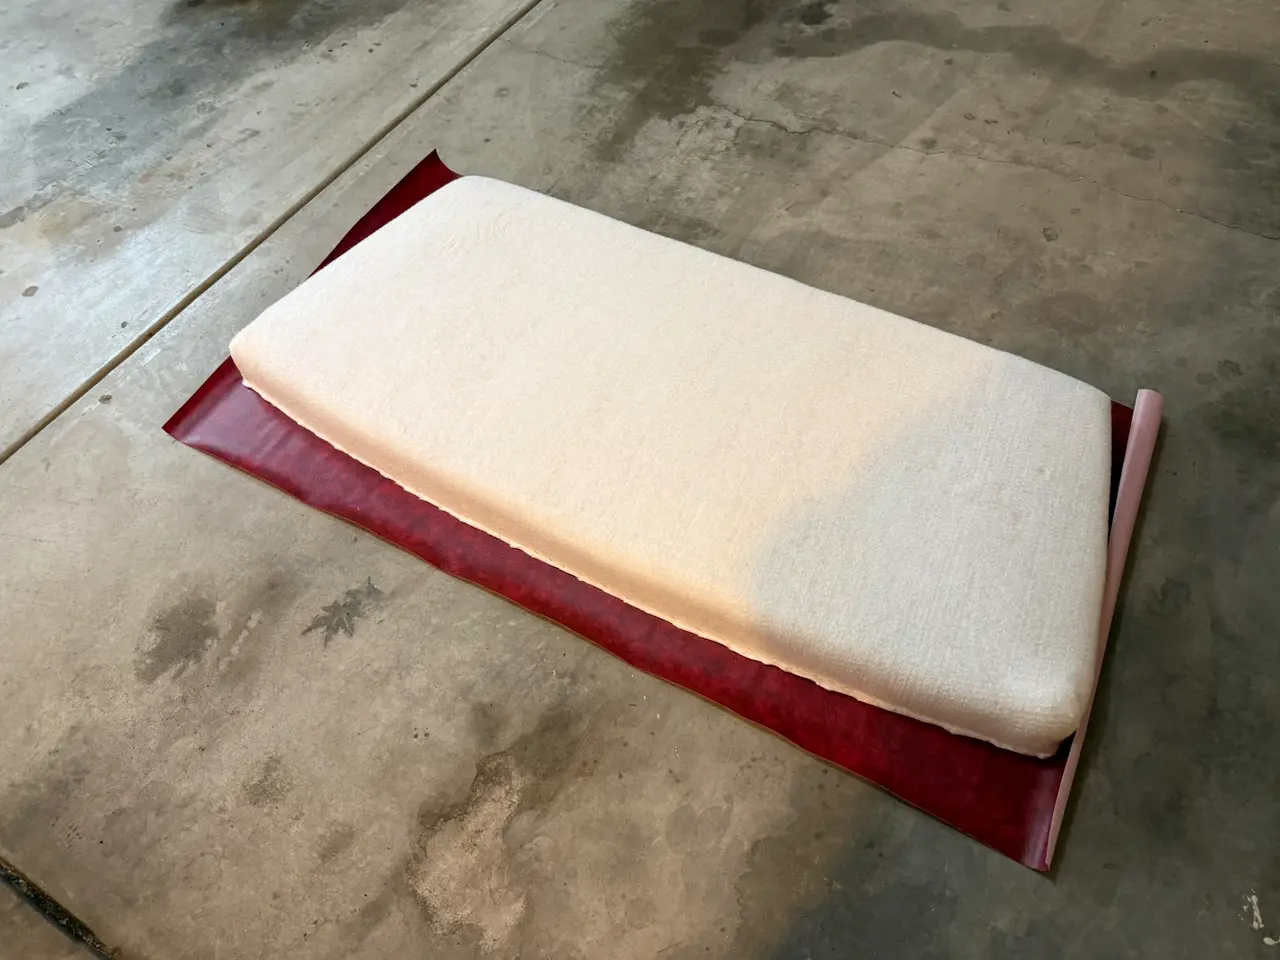
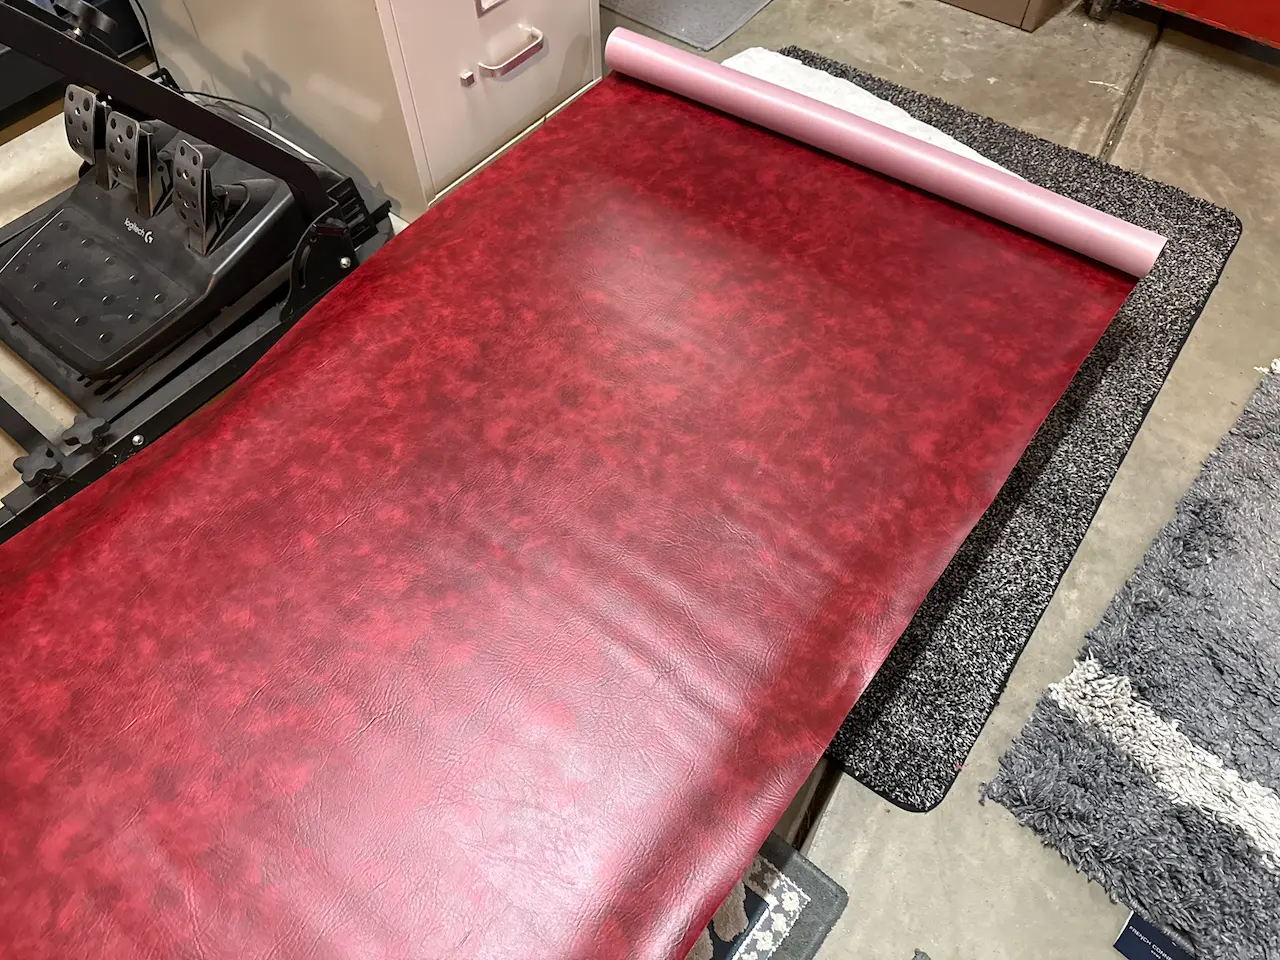
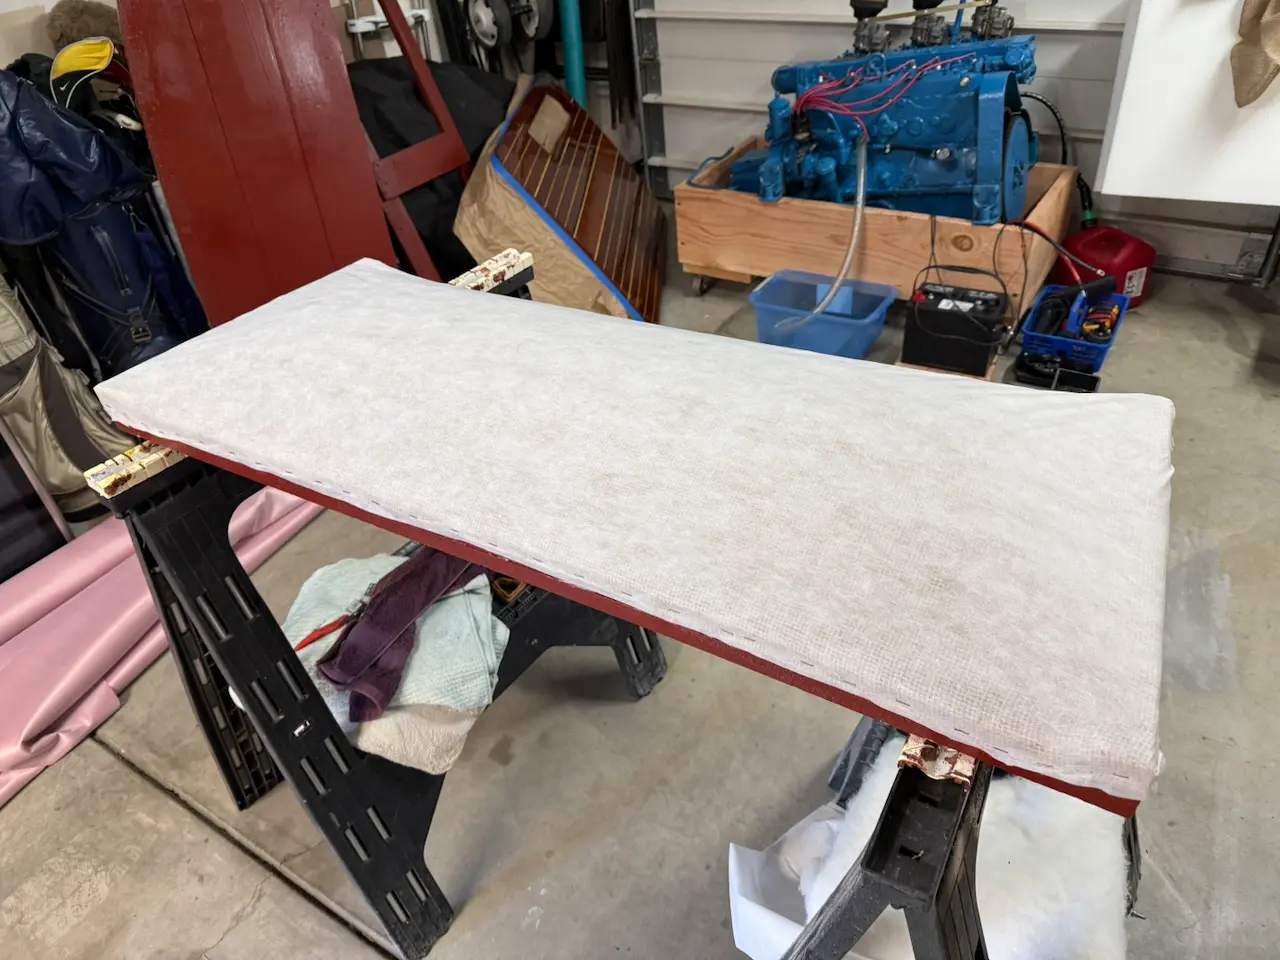
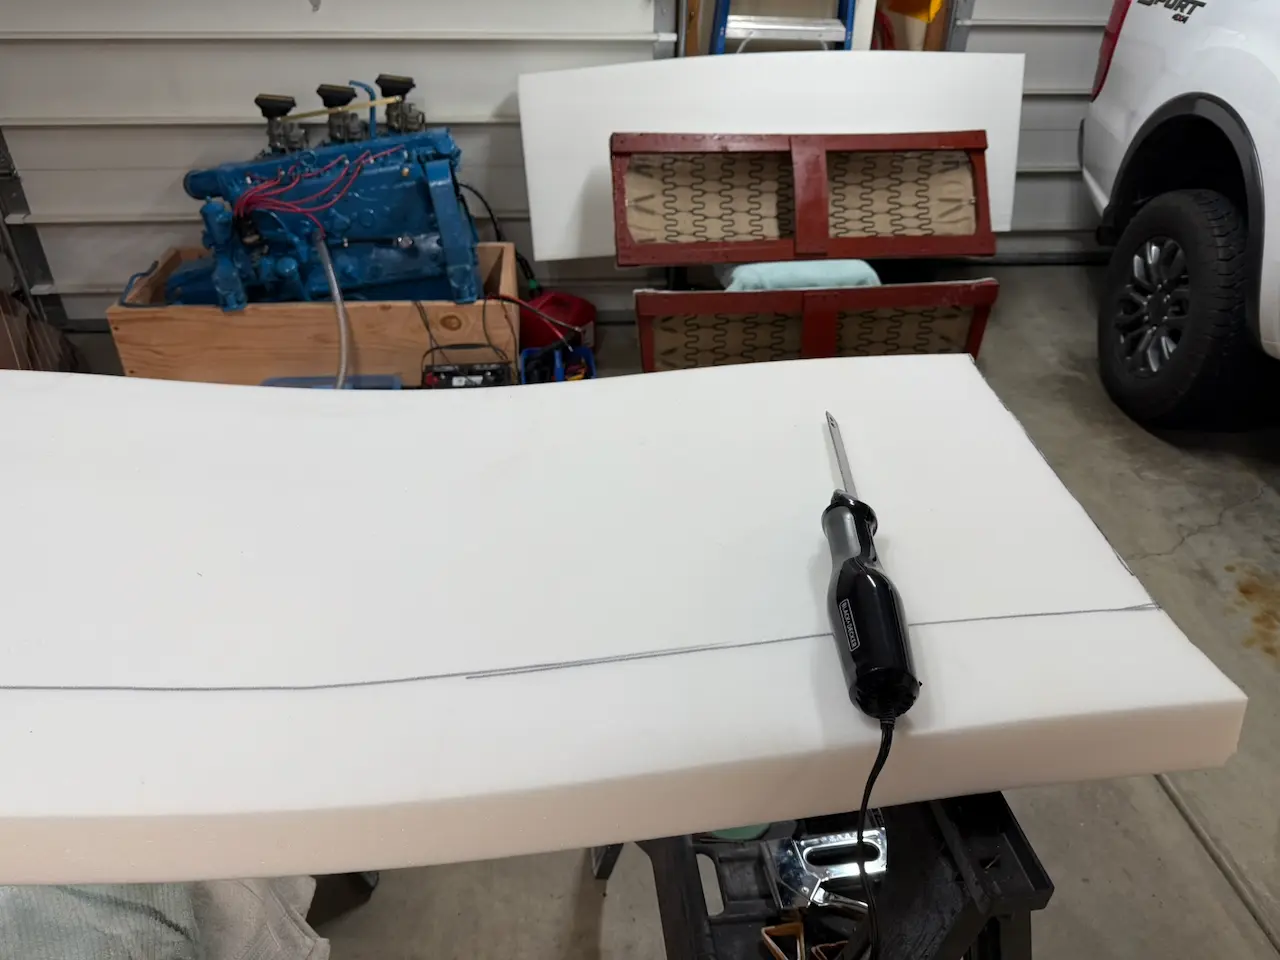
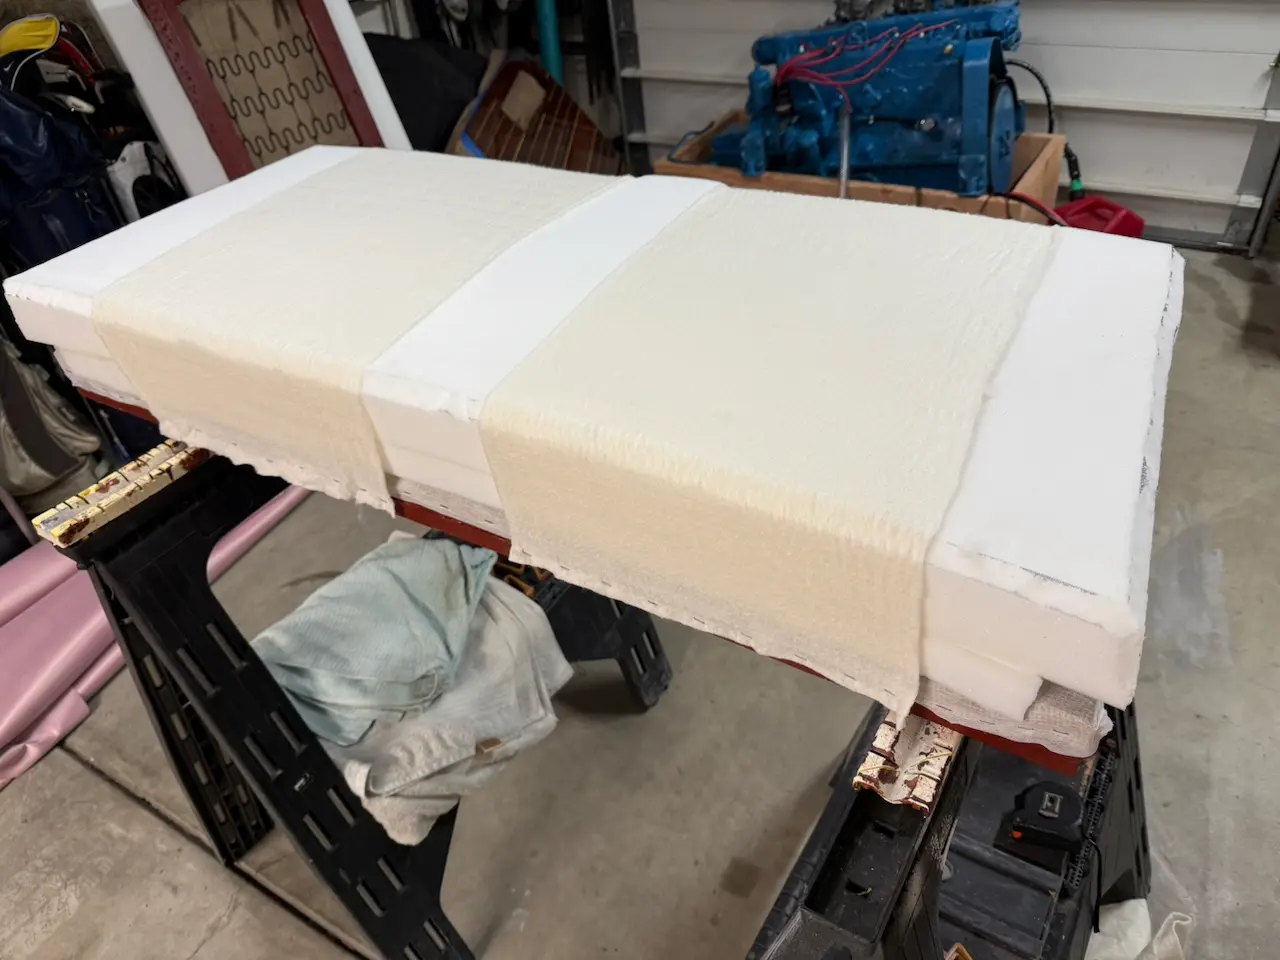
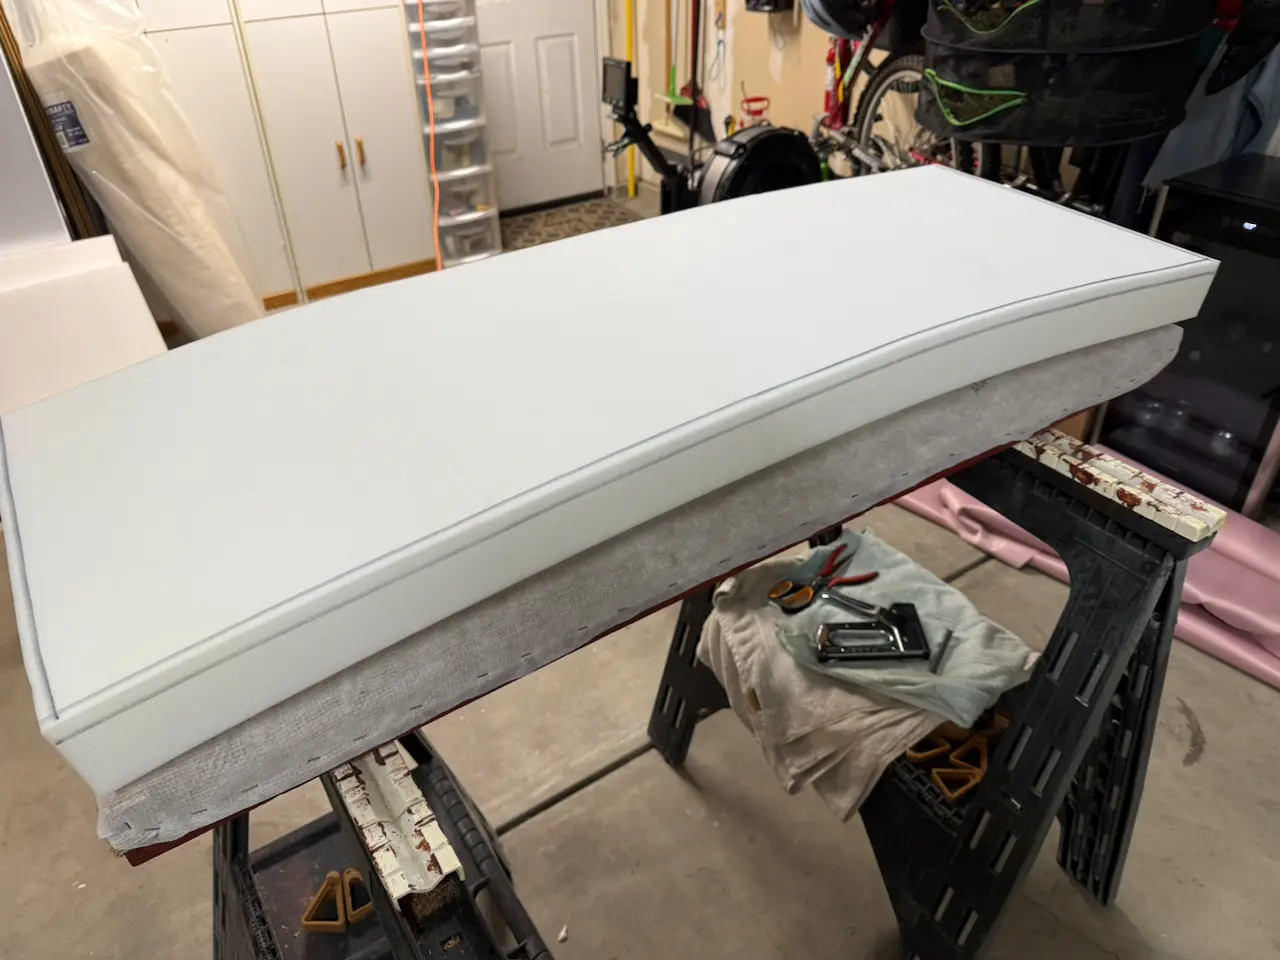
Taking advantage of Black Friday, I picked up new materials and decided to reuse the original springs. I added three inches of foam on top, with burlap laid over the springs to maintain an original look, and finished it with a thin layer of batting wrapped around the foam.

If you’re wondering who sewed the upholstery, I did it myself. I happened to watch a YouTube video where someone used a basic $100 Singer sewing machine, so I gave it a try. The key was using a leather needle, non-waxed marine thread, and—believe it or not—Scotch tape on the sewing machine foot to help the material feed smoothly. I found that double-stitching the seams worked better than backstitching the ends.

Since my wife wasn’t thrilled about me using the electric turkey knife from the kitchen, I bought a cheap $20 one on Amazon specifically for cutting foam. It worked great, as long as the foam was supported to prevent excessive vibration.

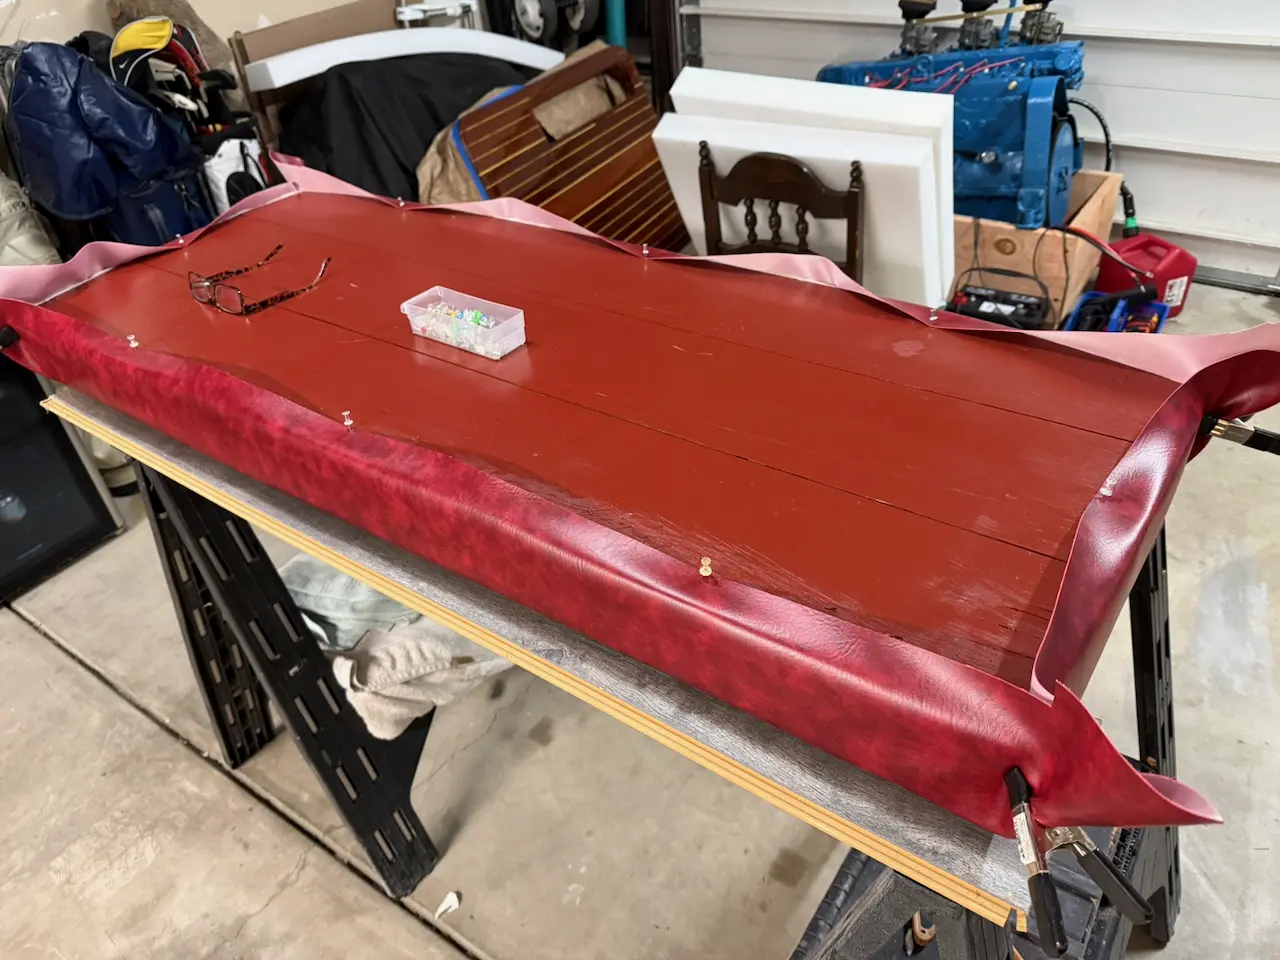
Once the upholstery was complete, the marine fabric was stretched and stapled to the wood frames, carefully shaping the corners to keep everything tight and clean.

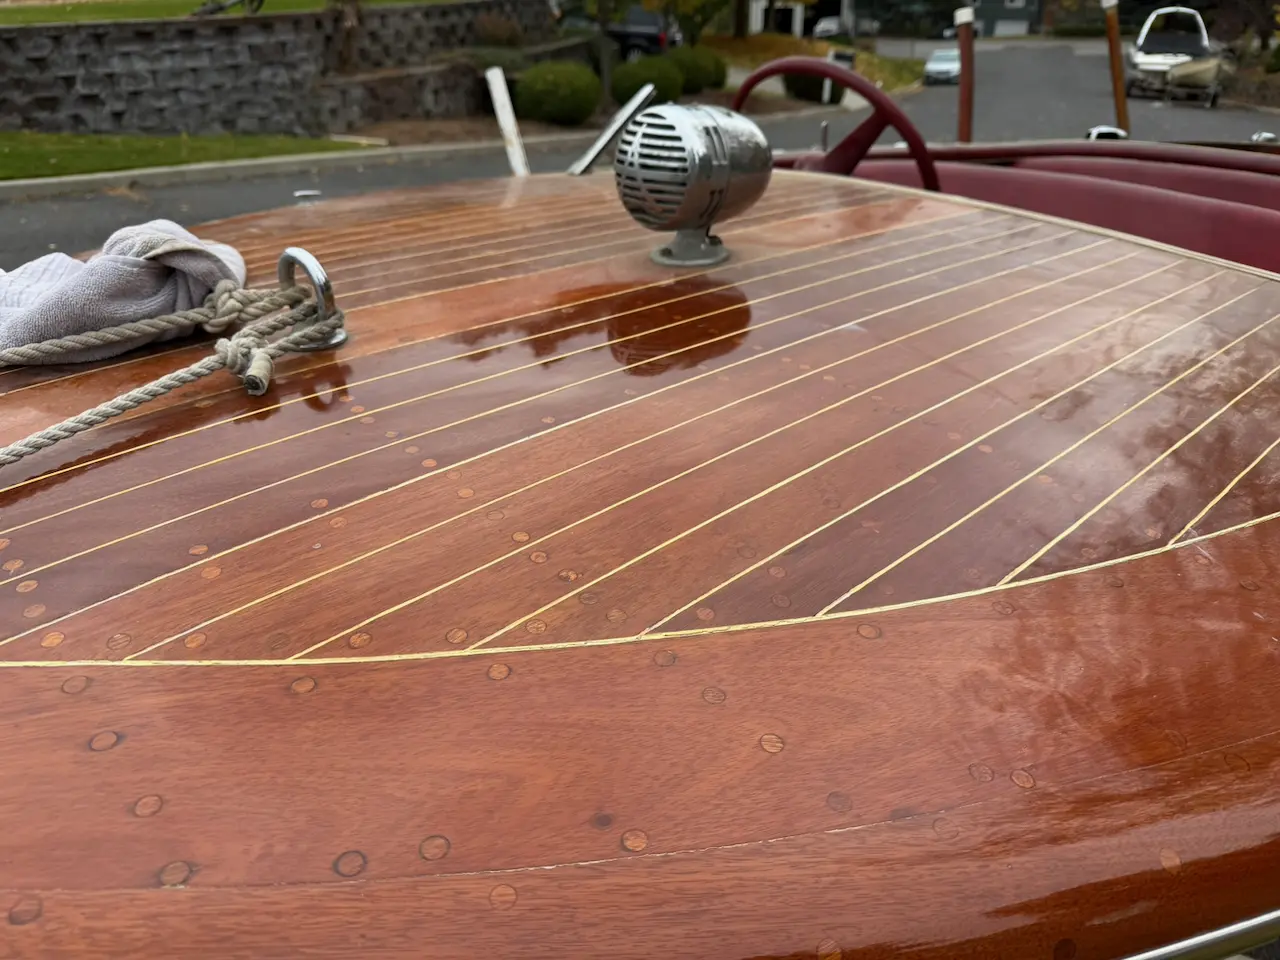
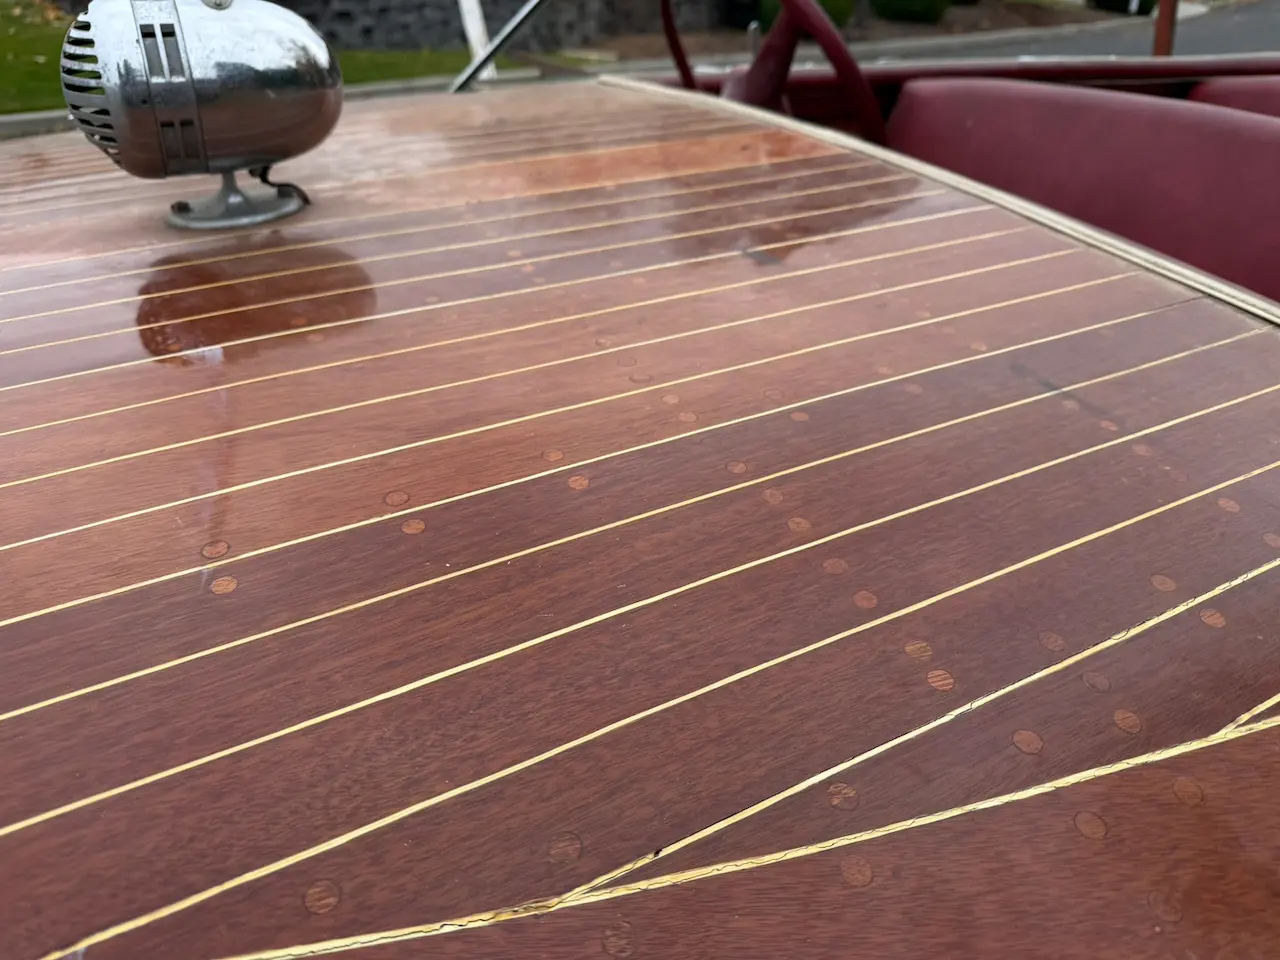
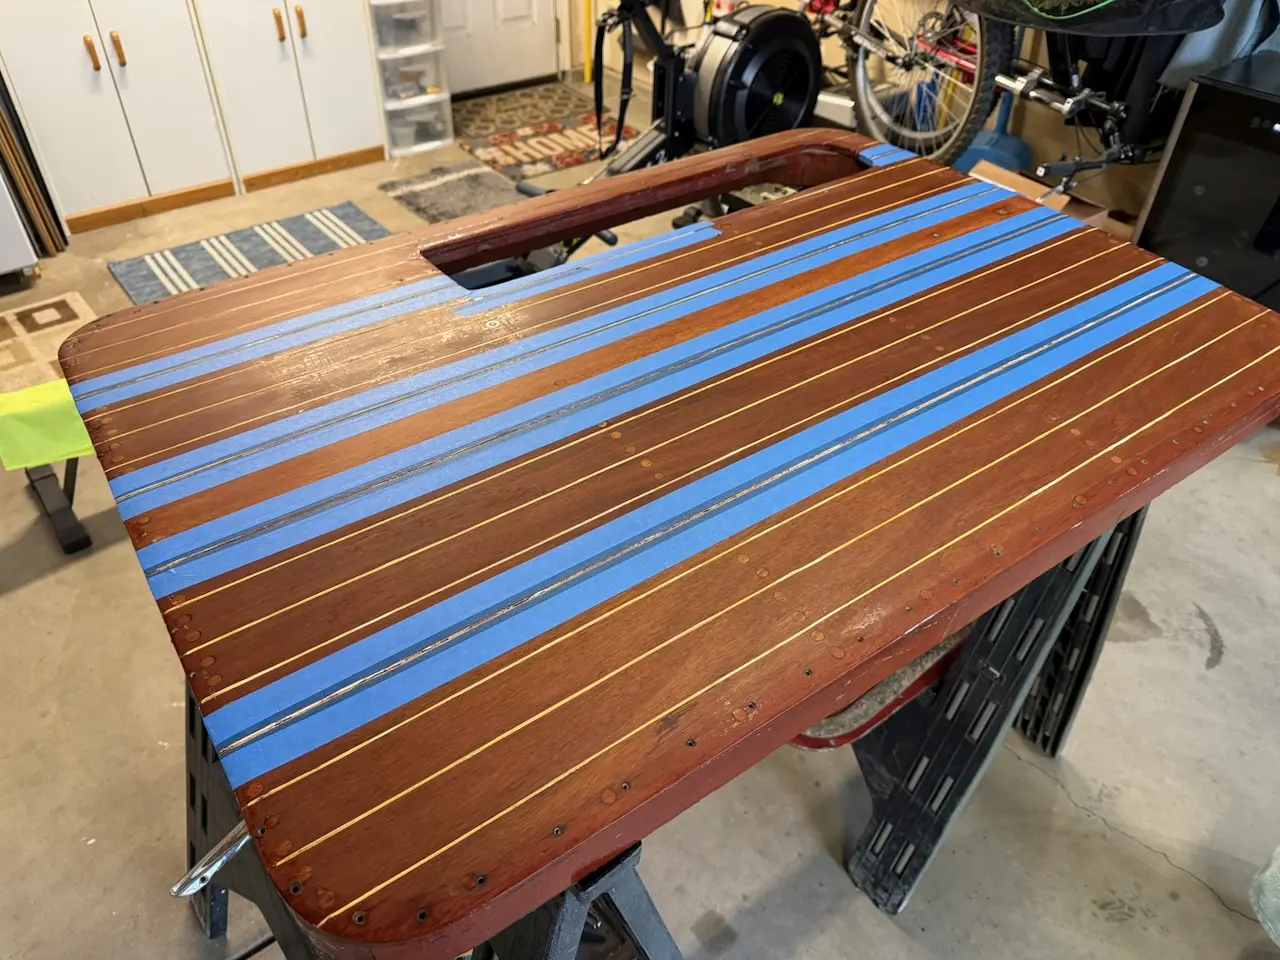
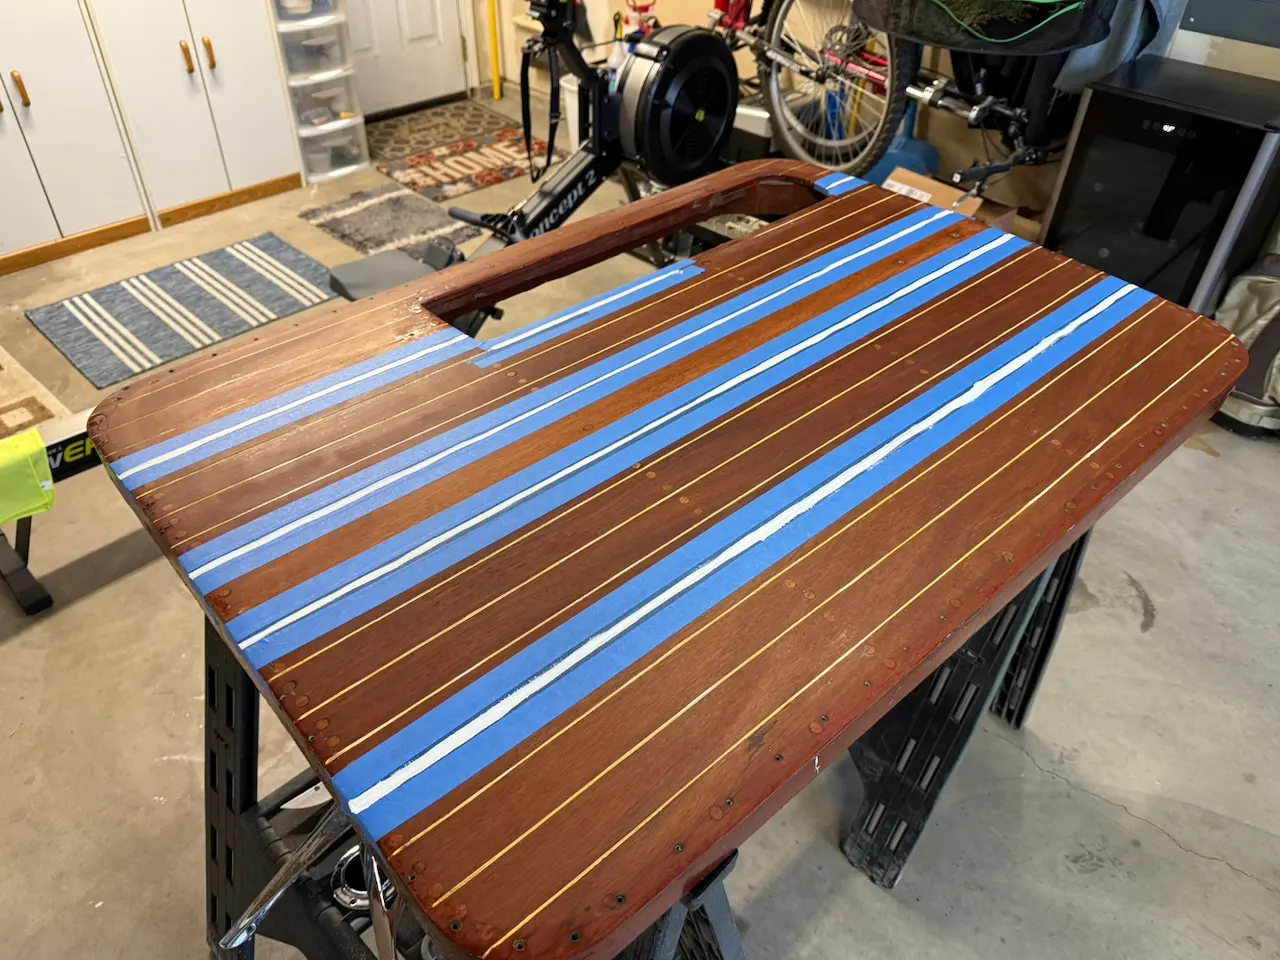
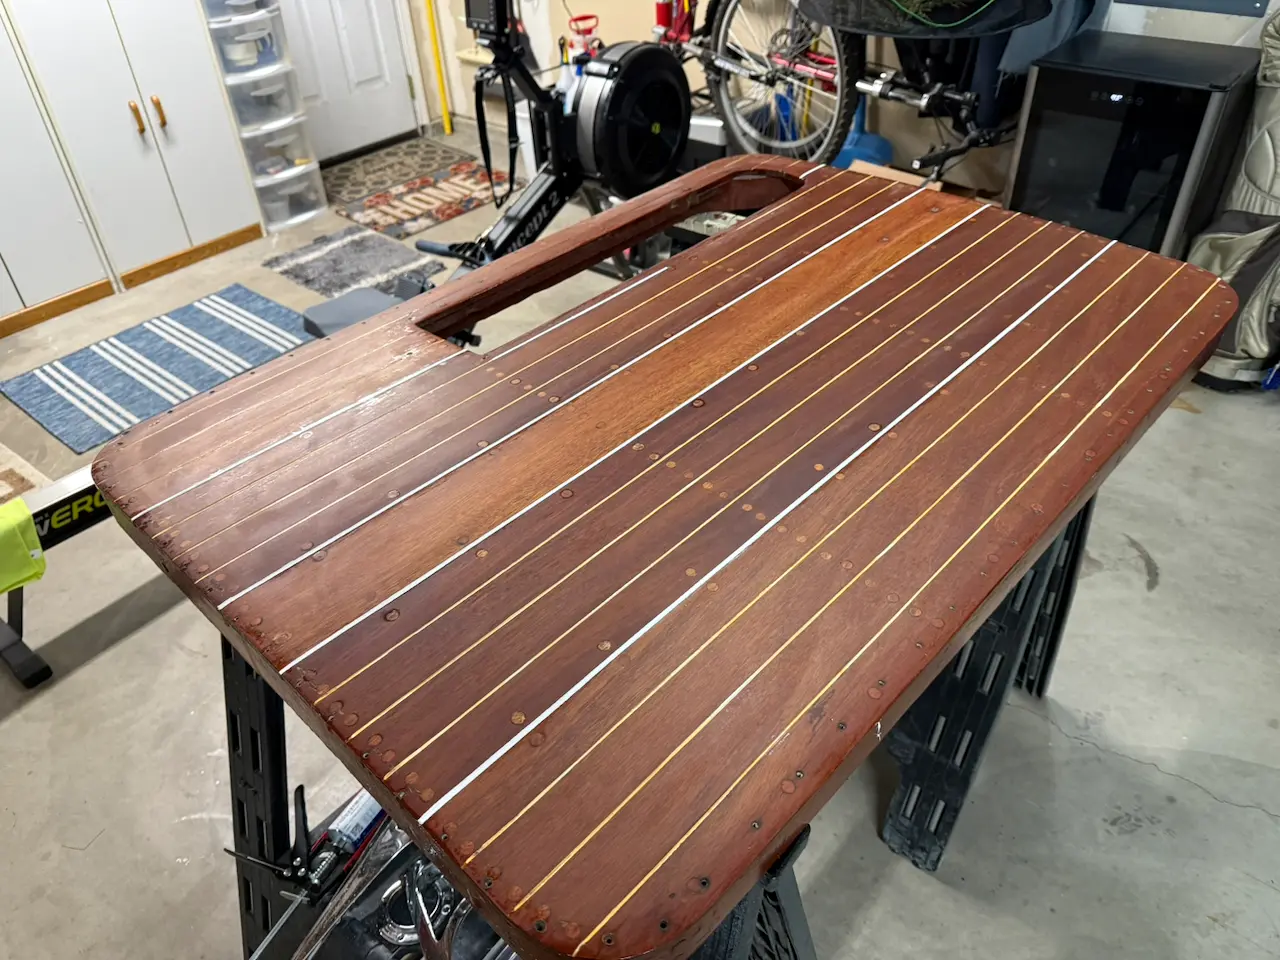
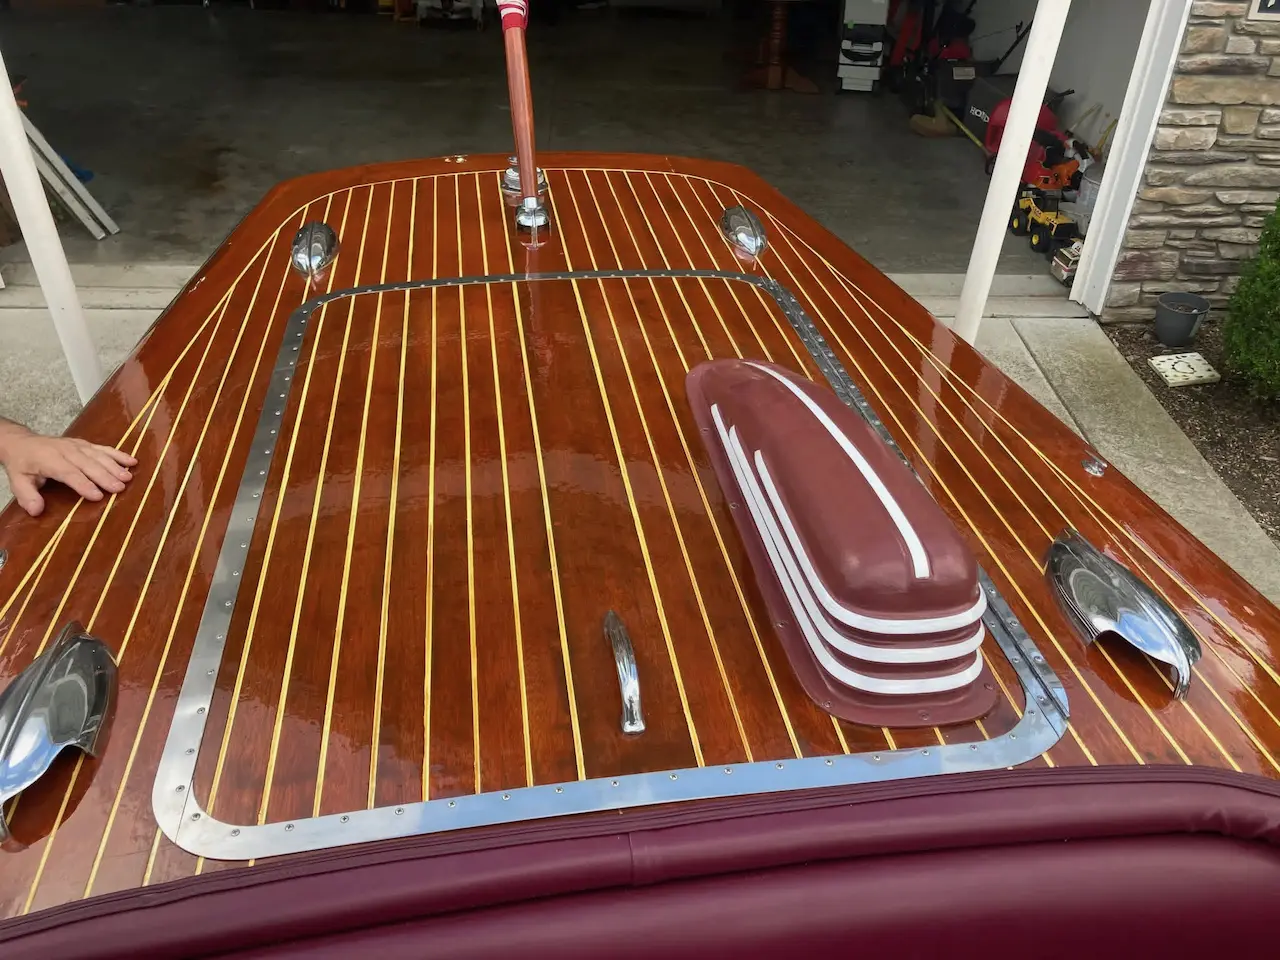
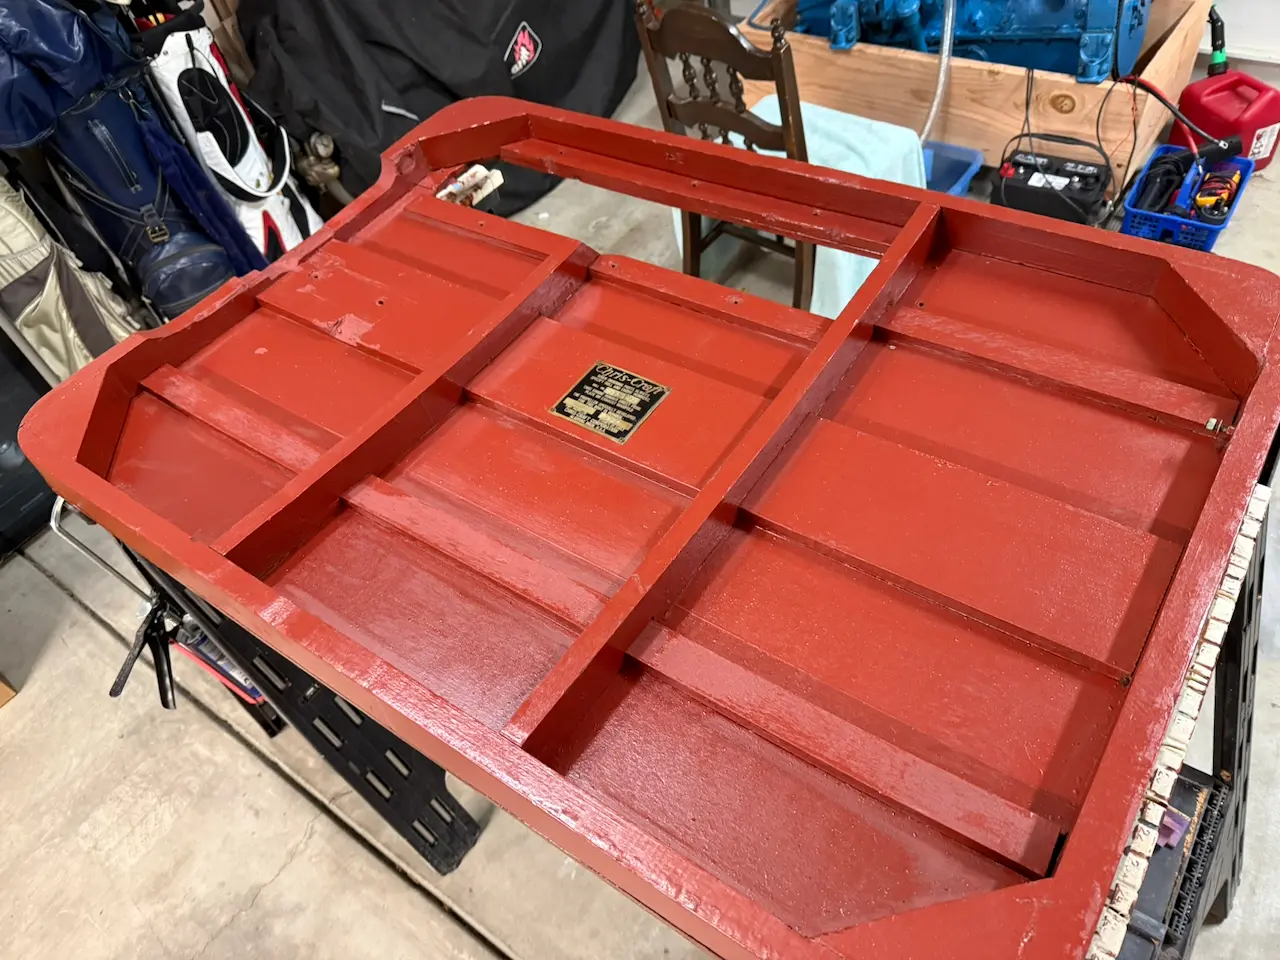
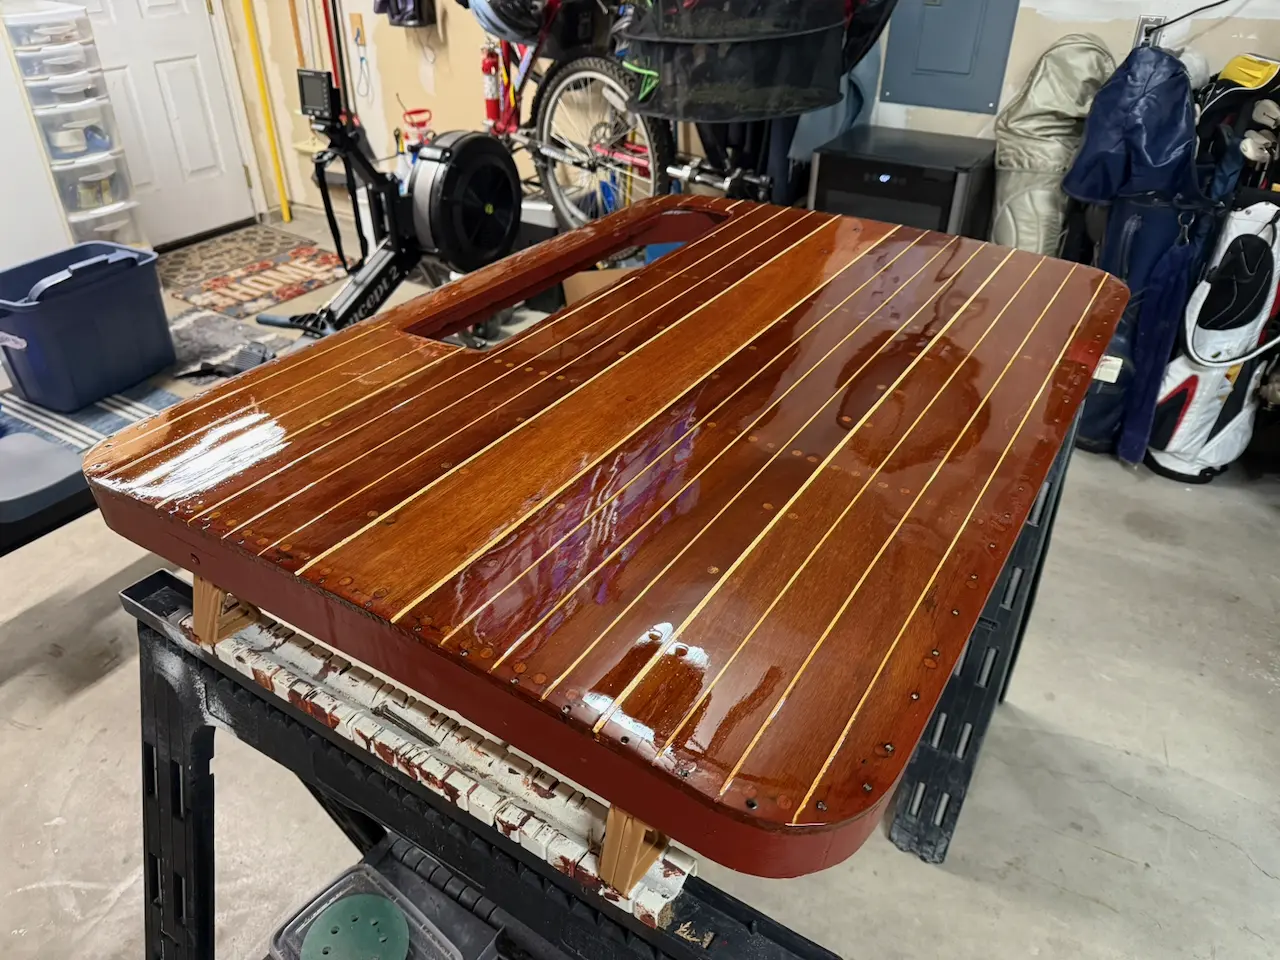
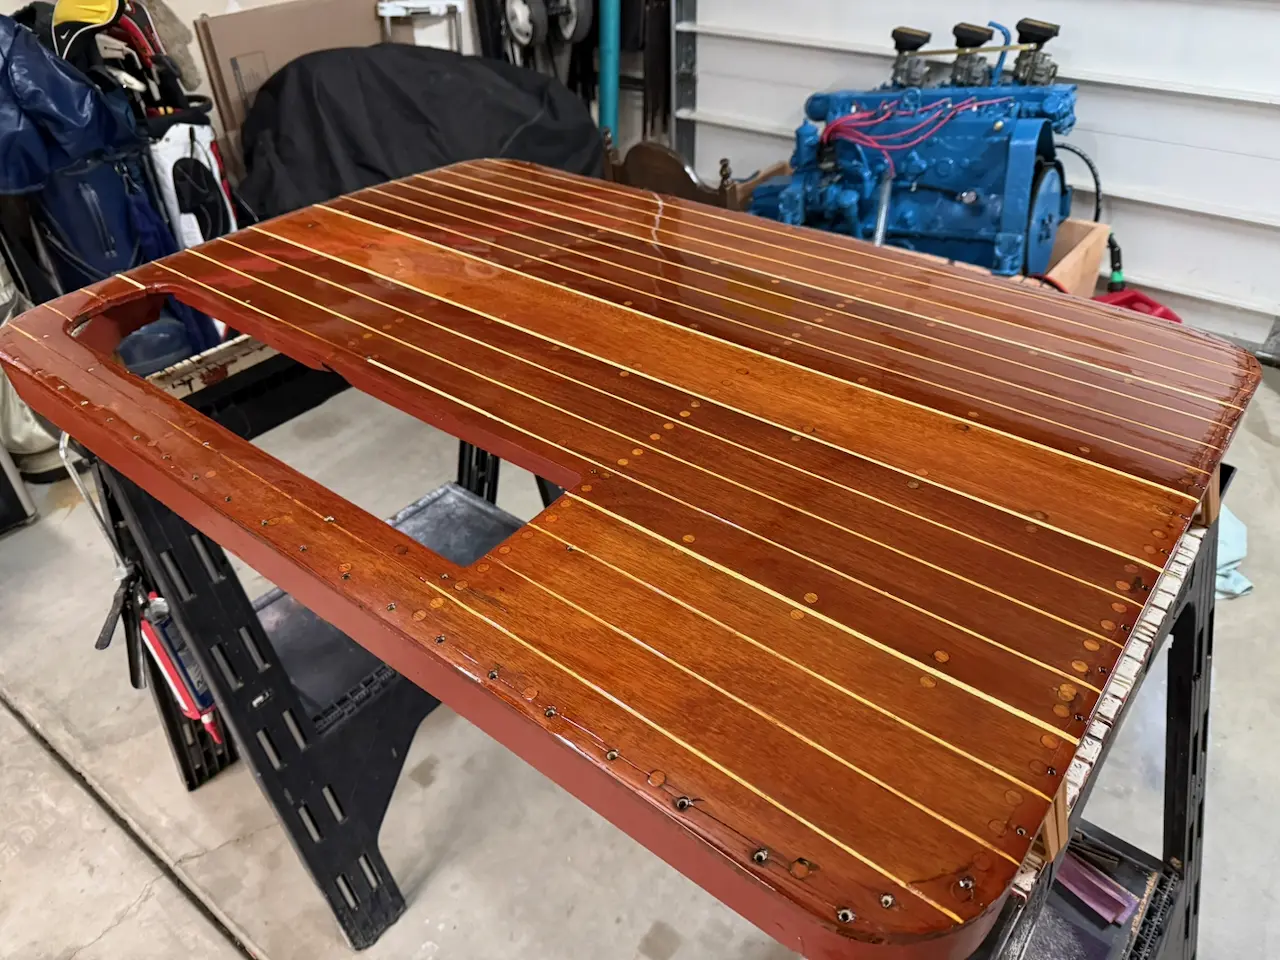
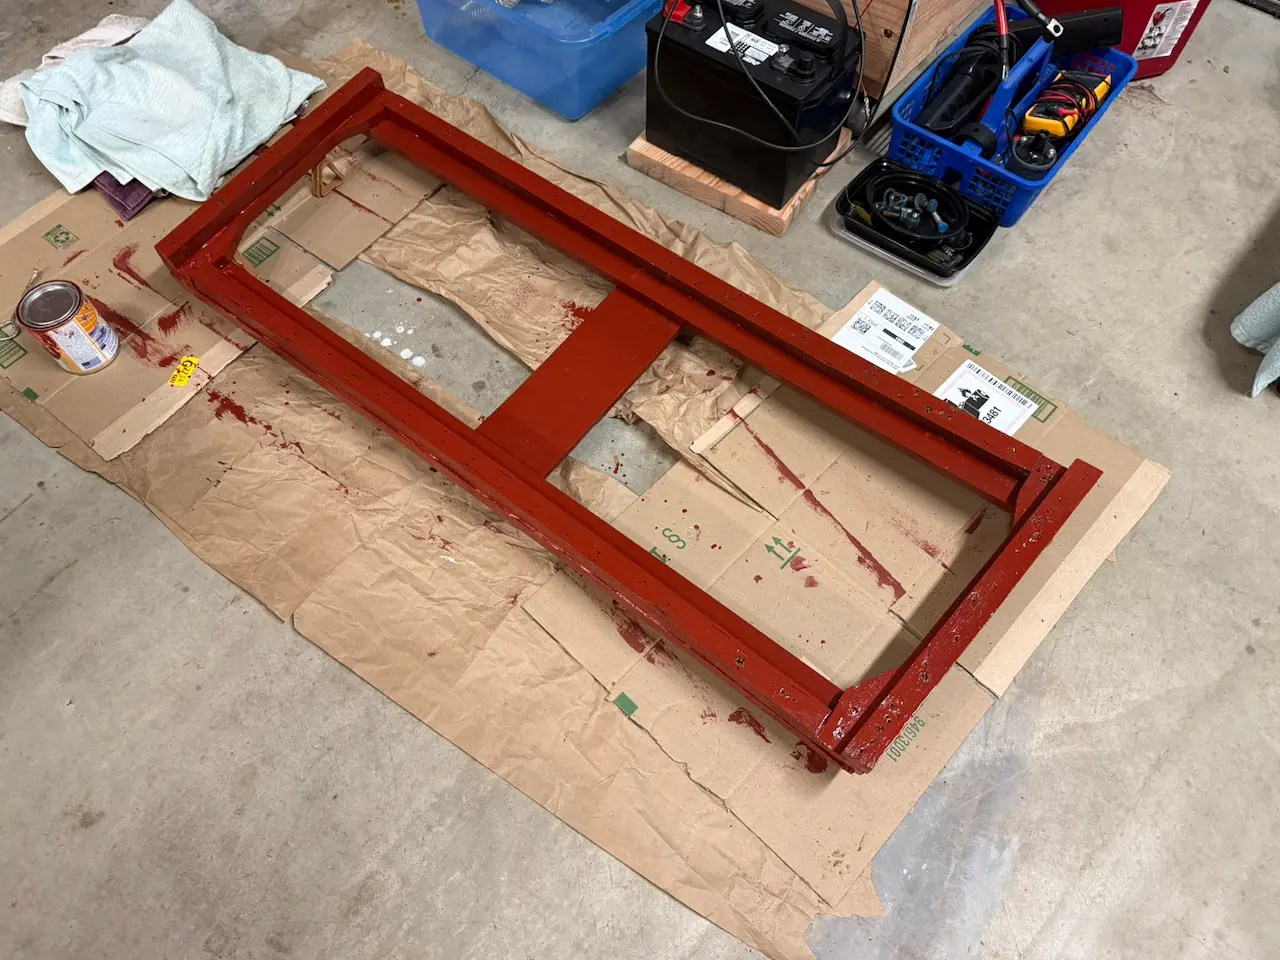
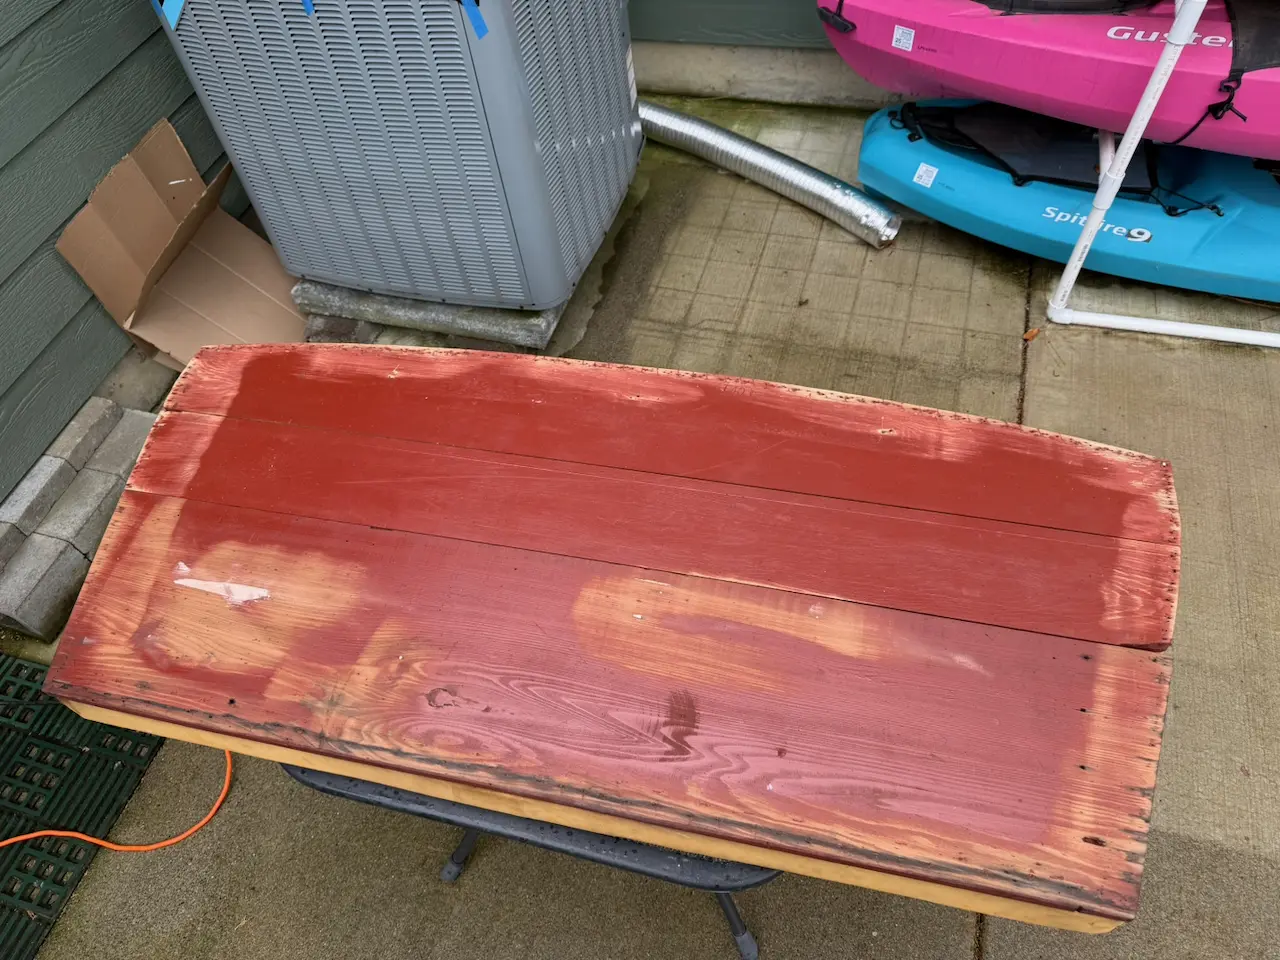
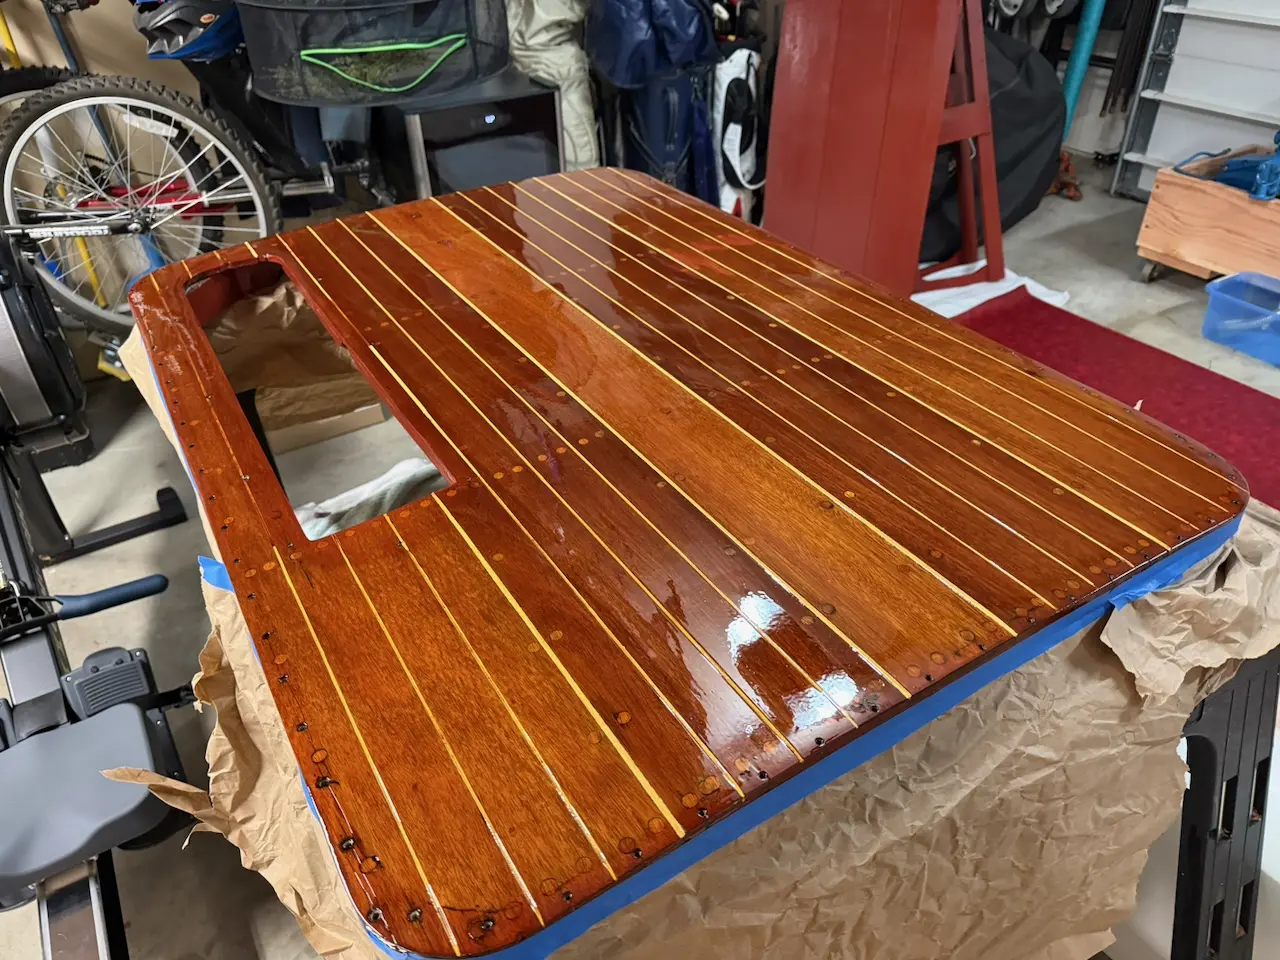
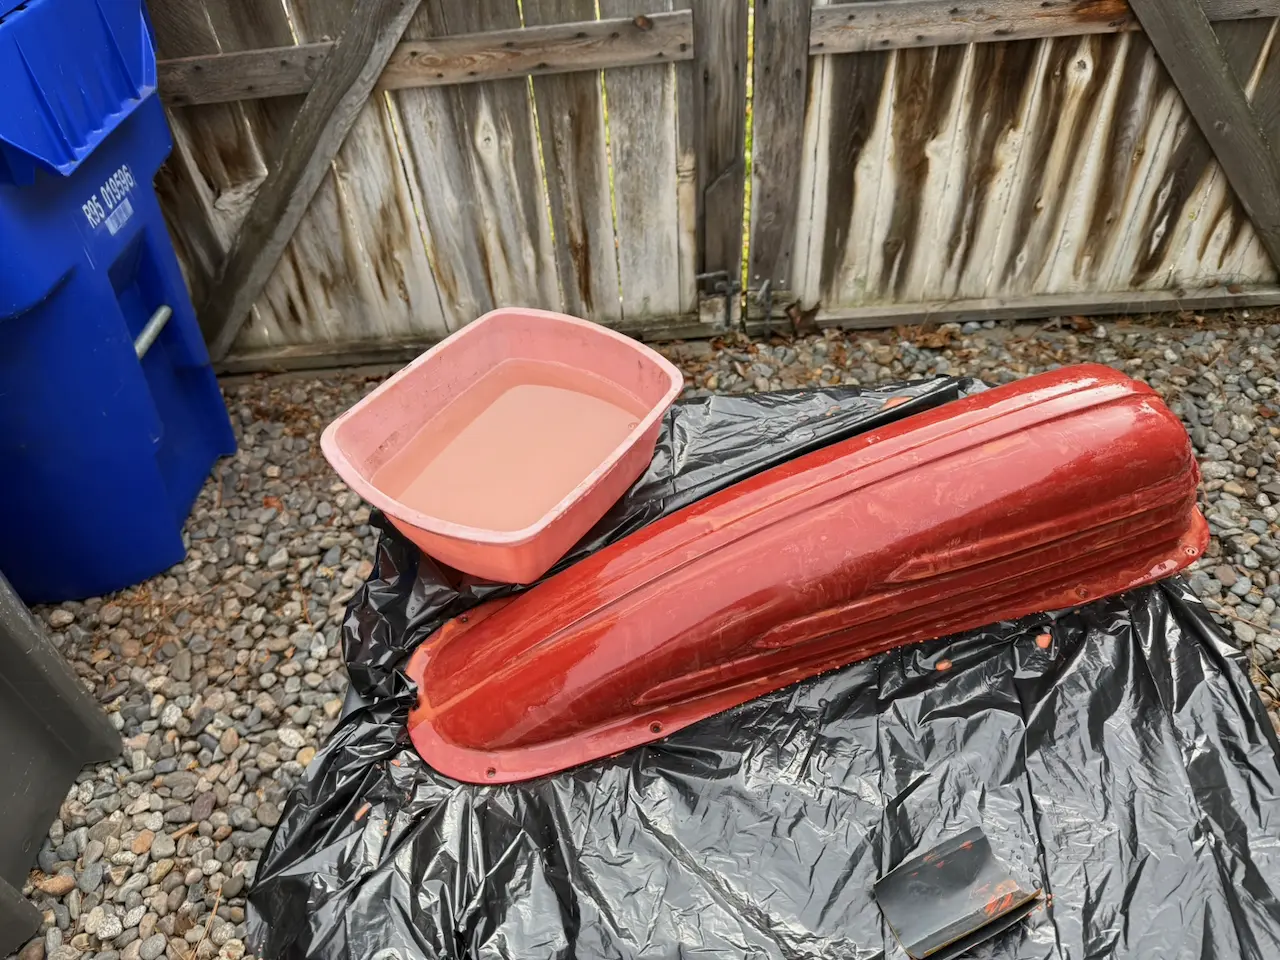
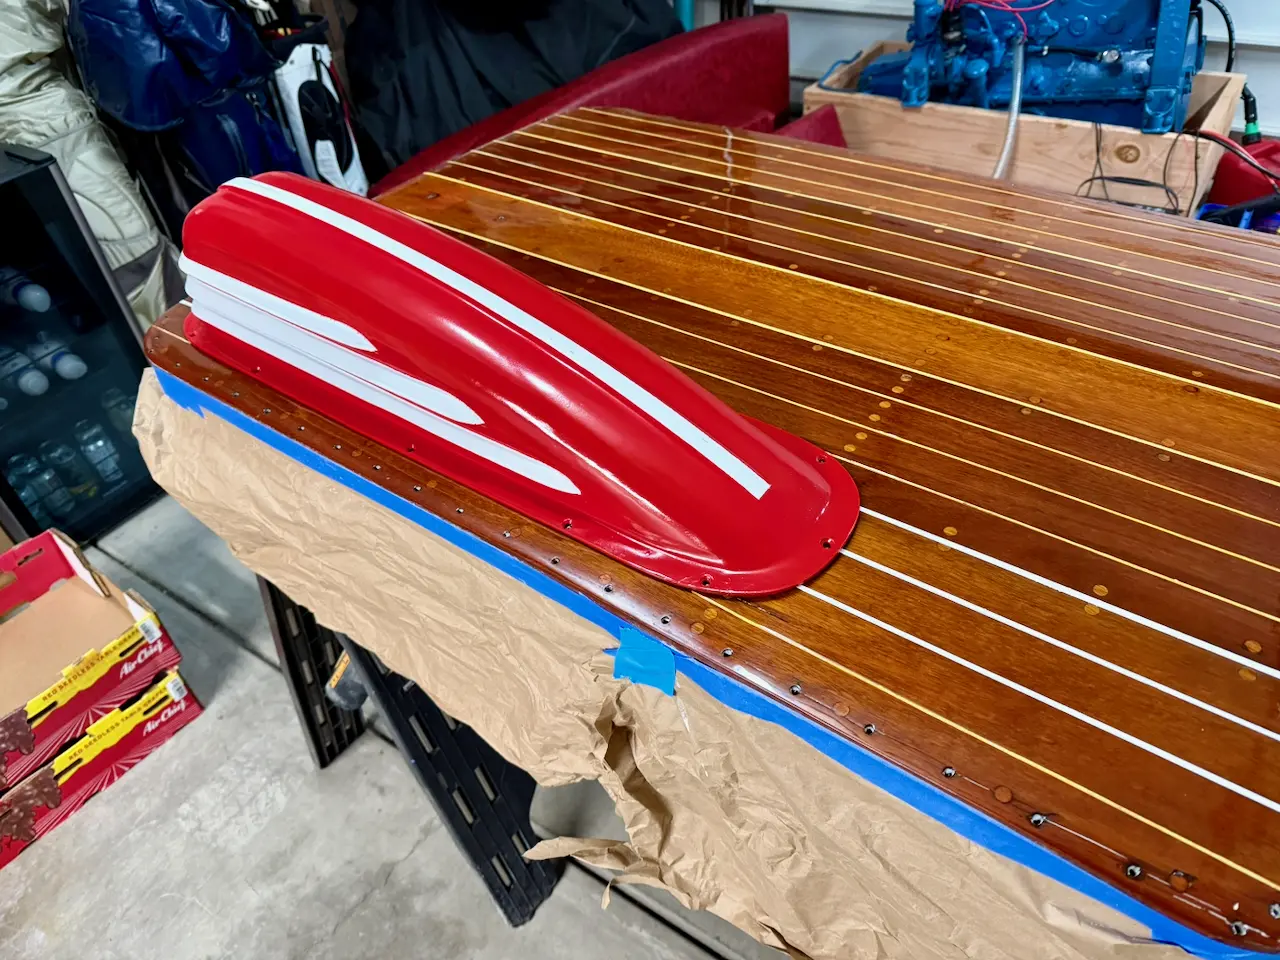
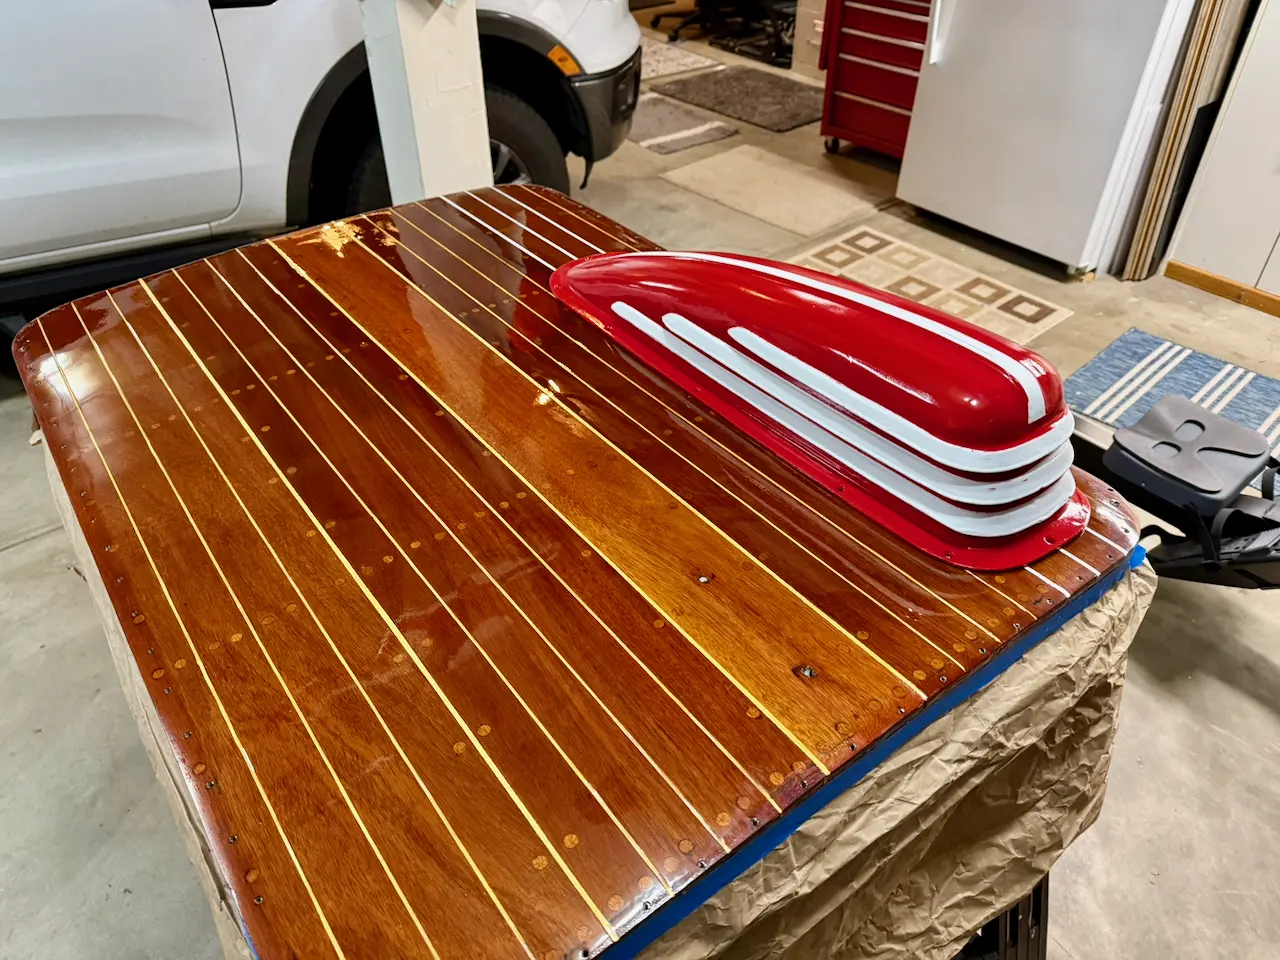
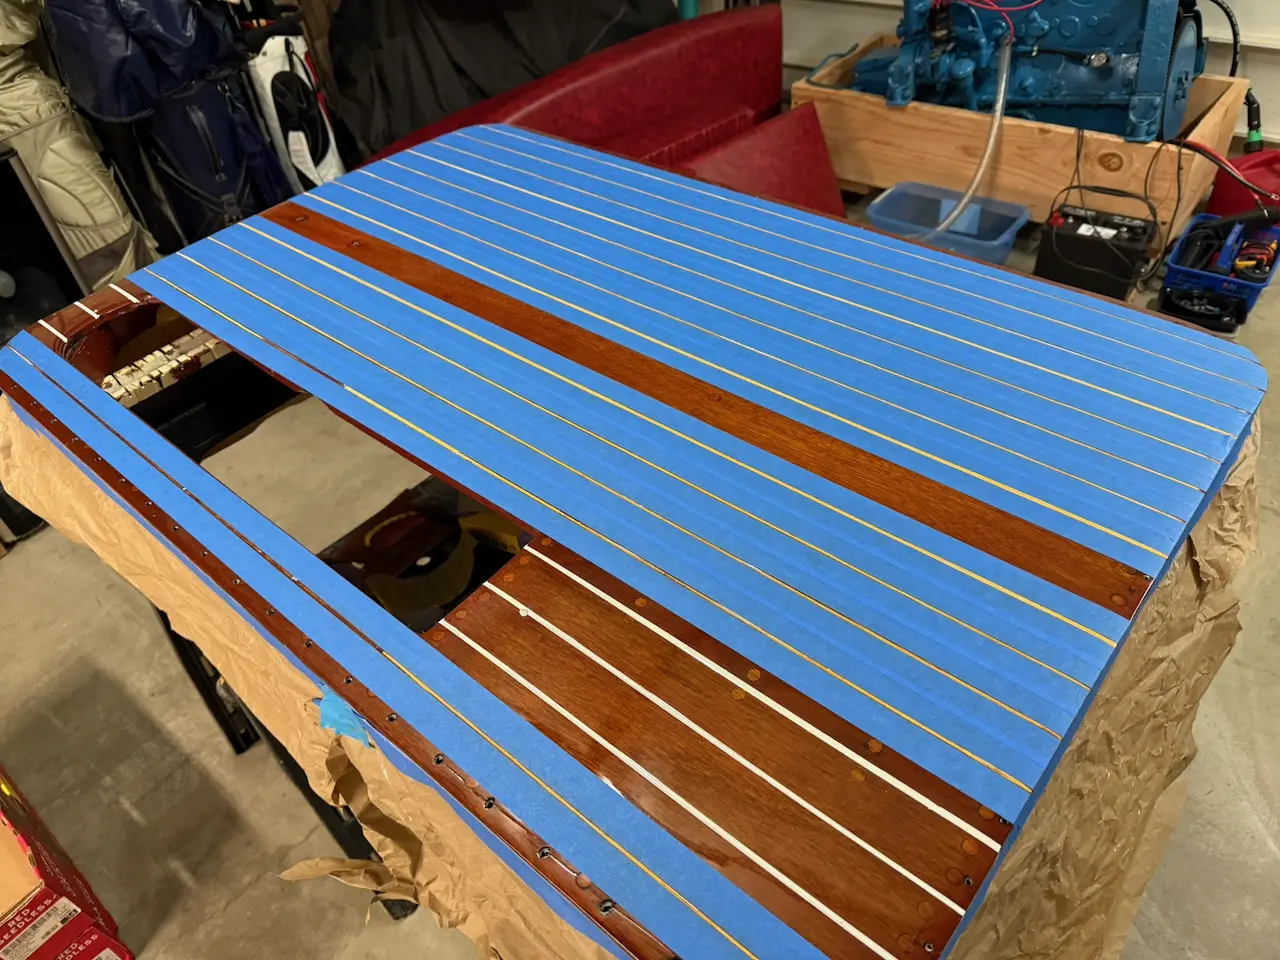
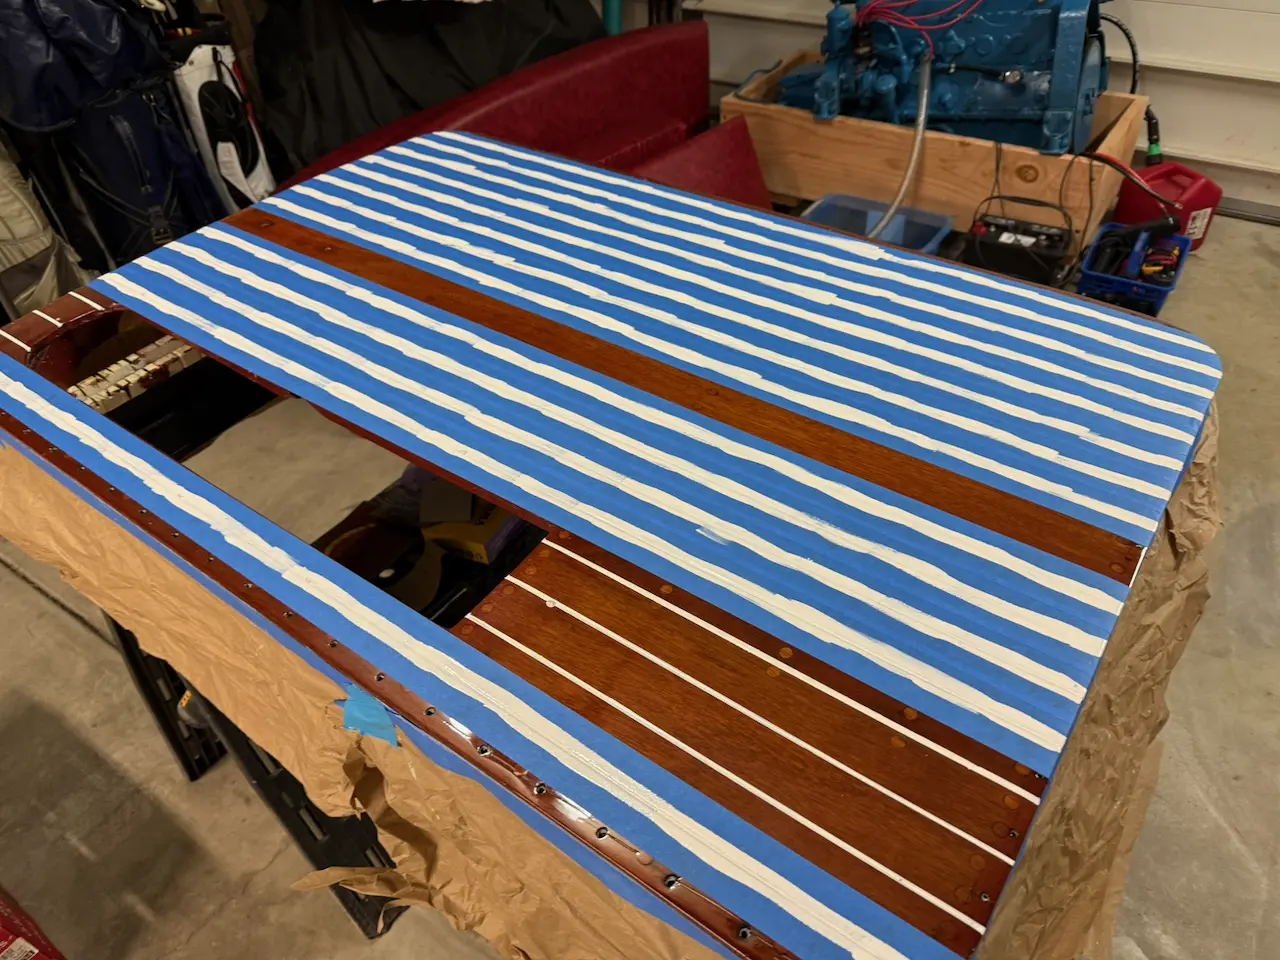
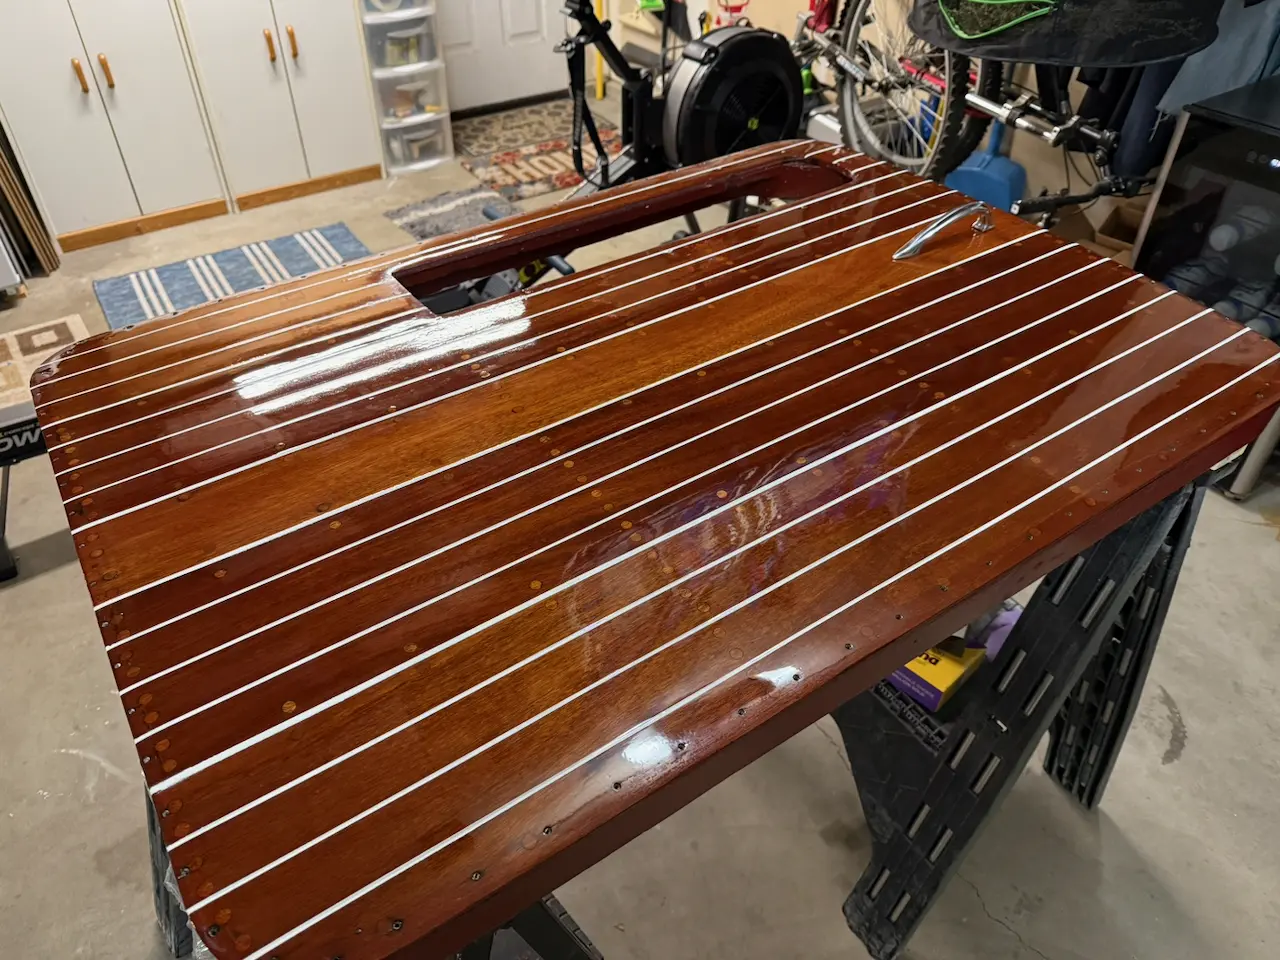
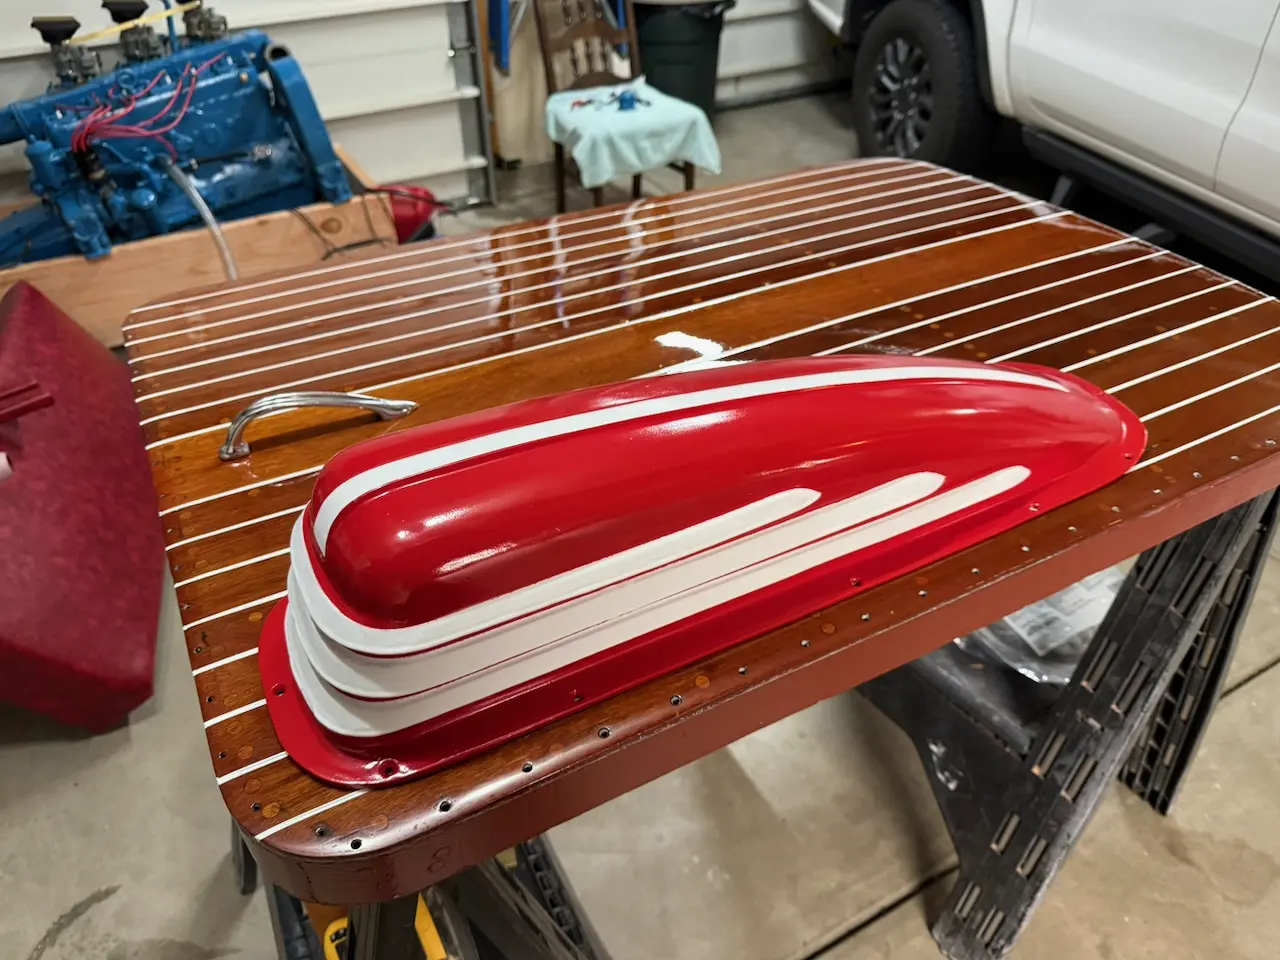
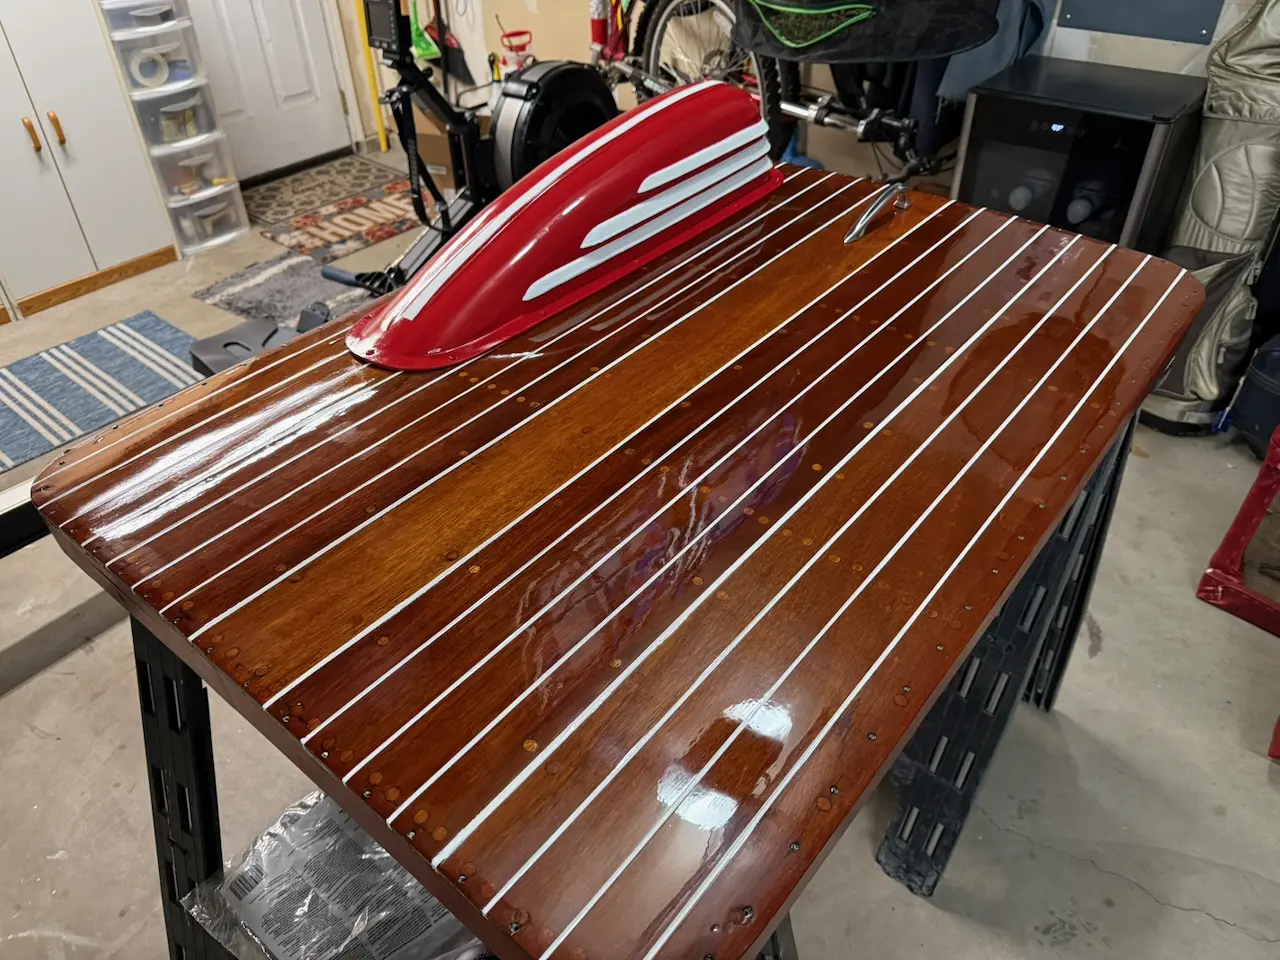
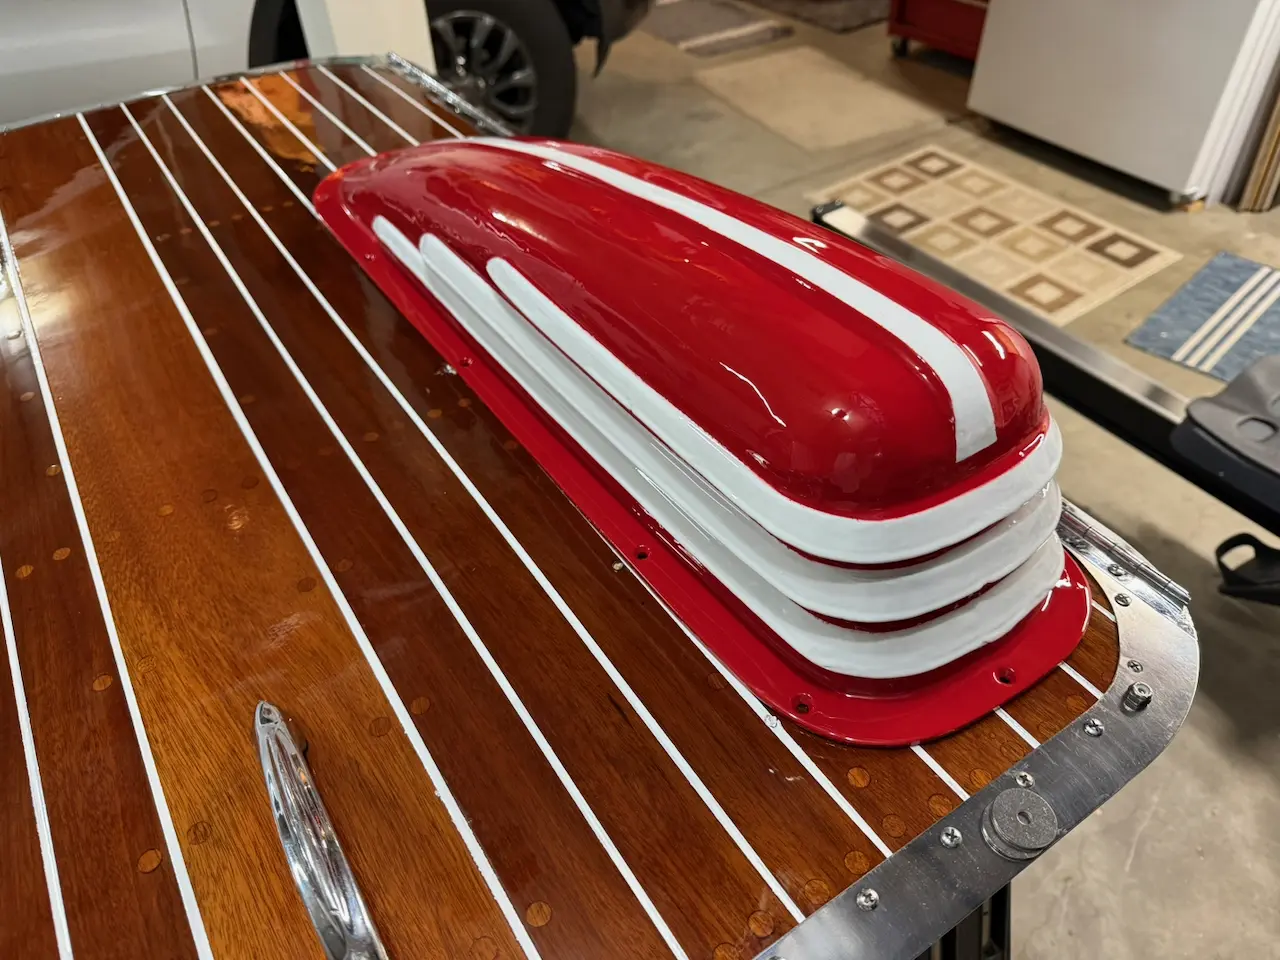
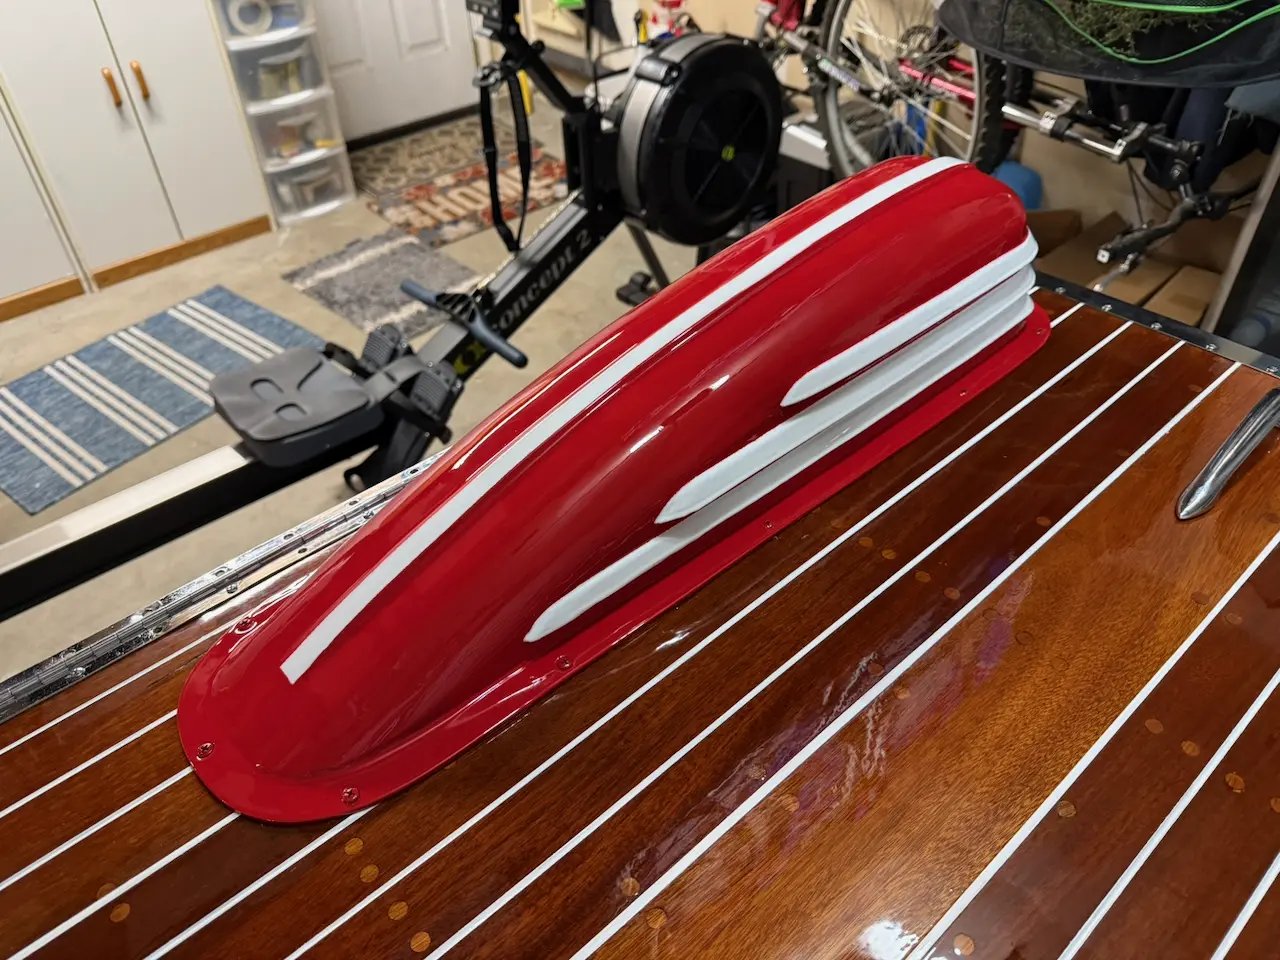
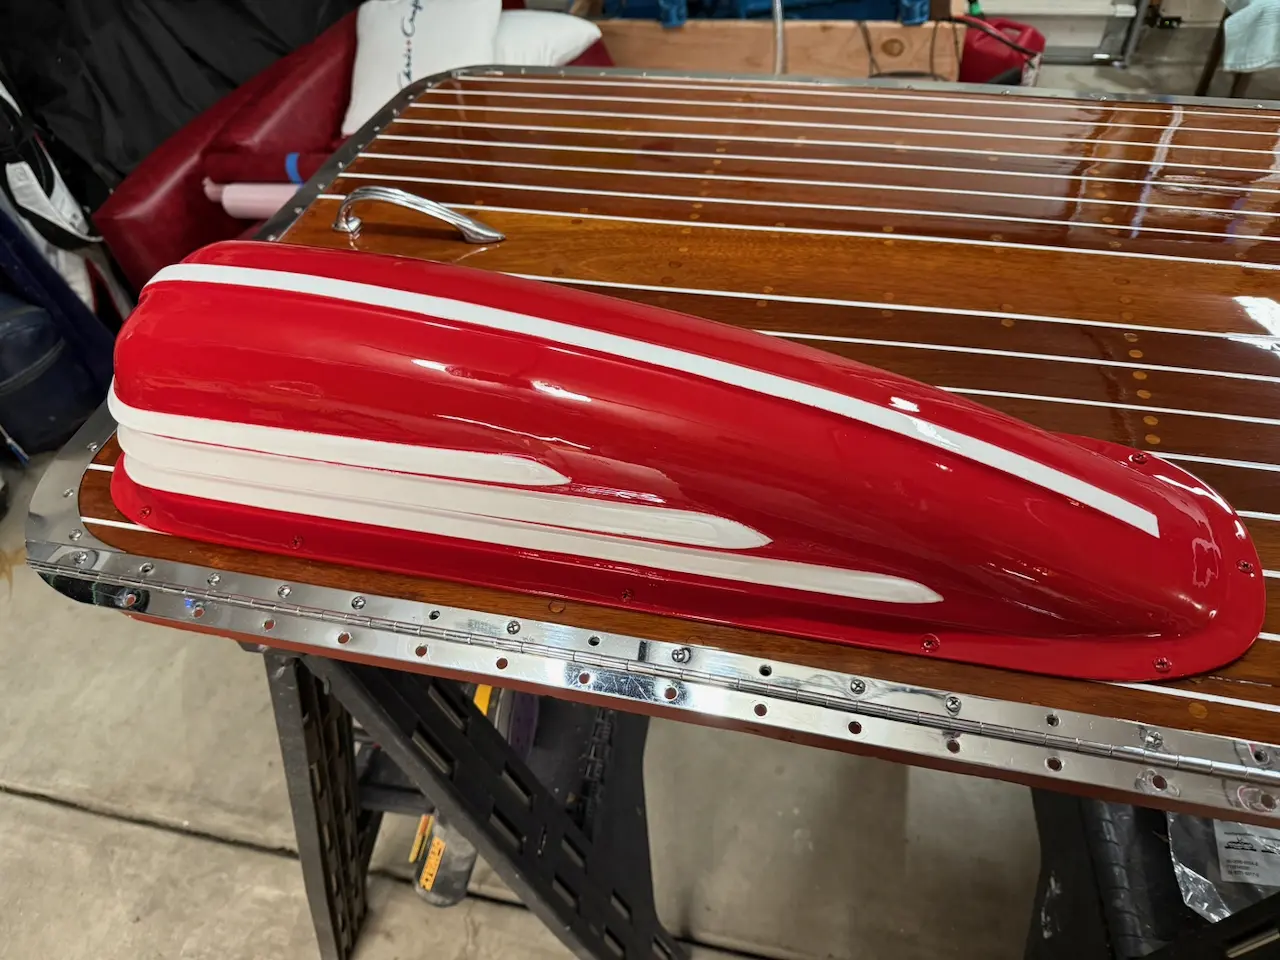
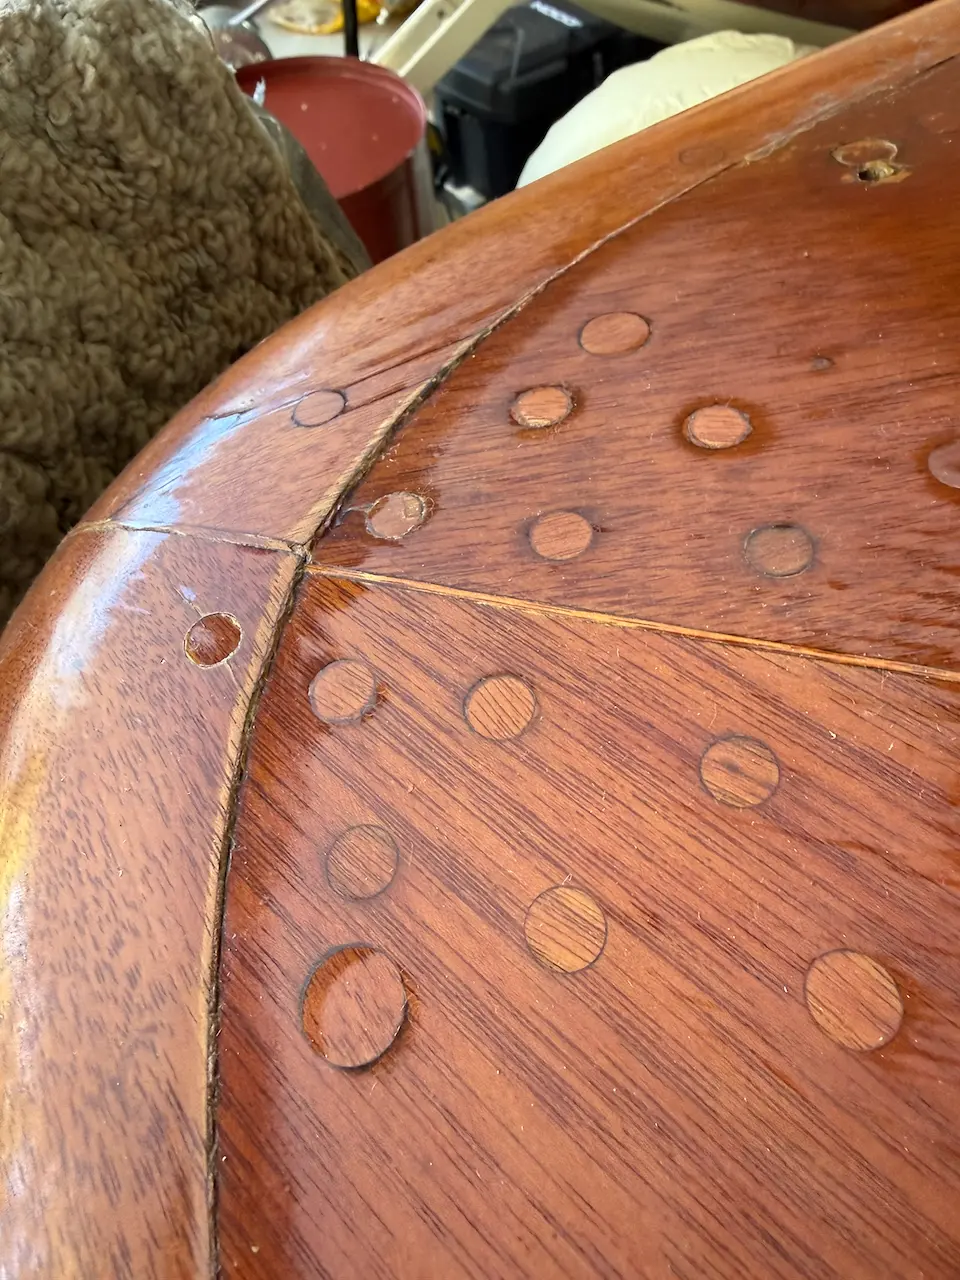
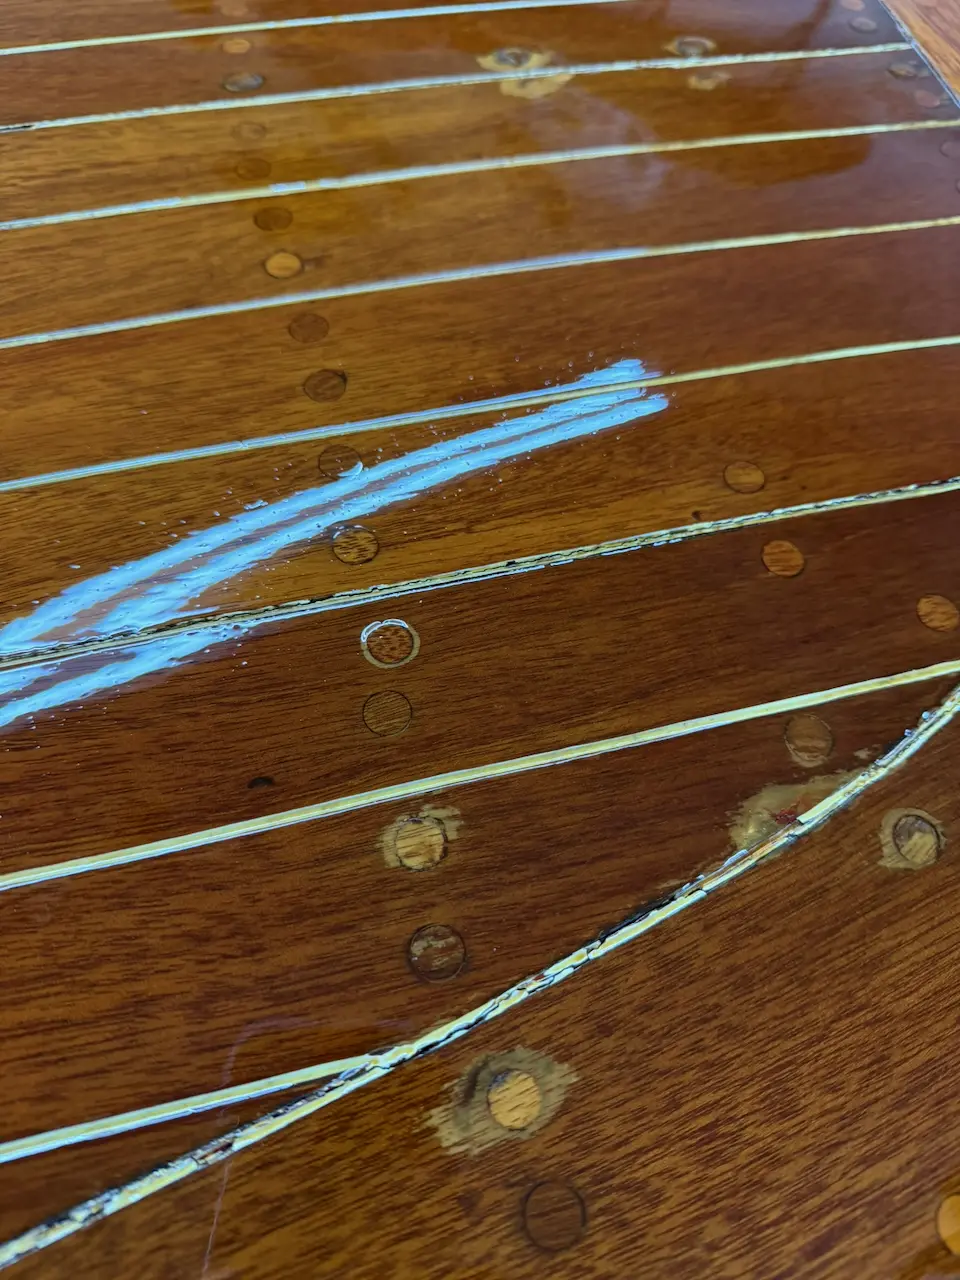
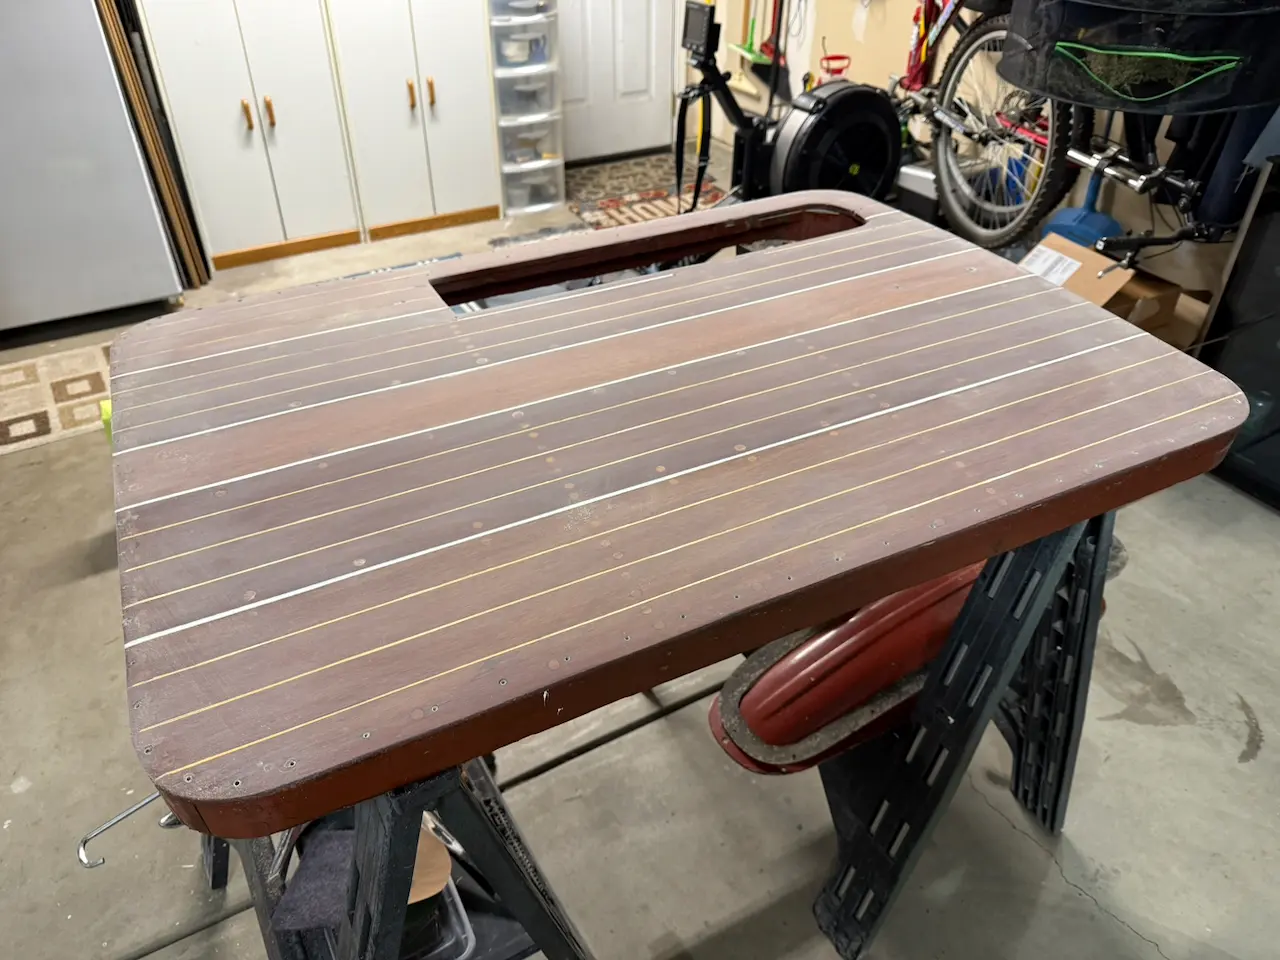
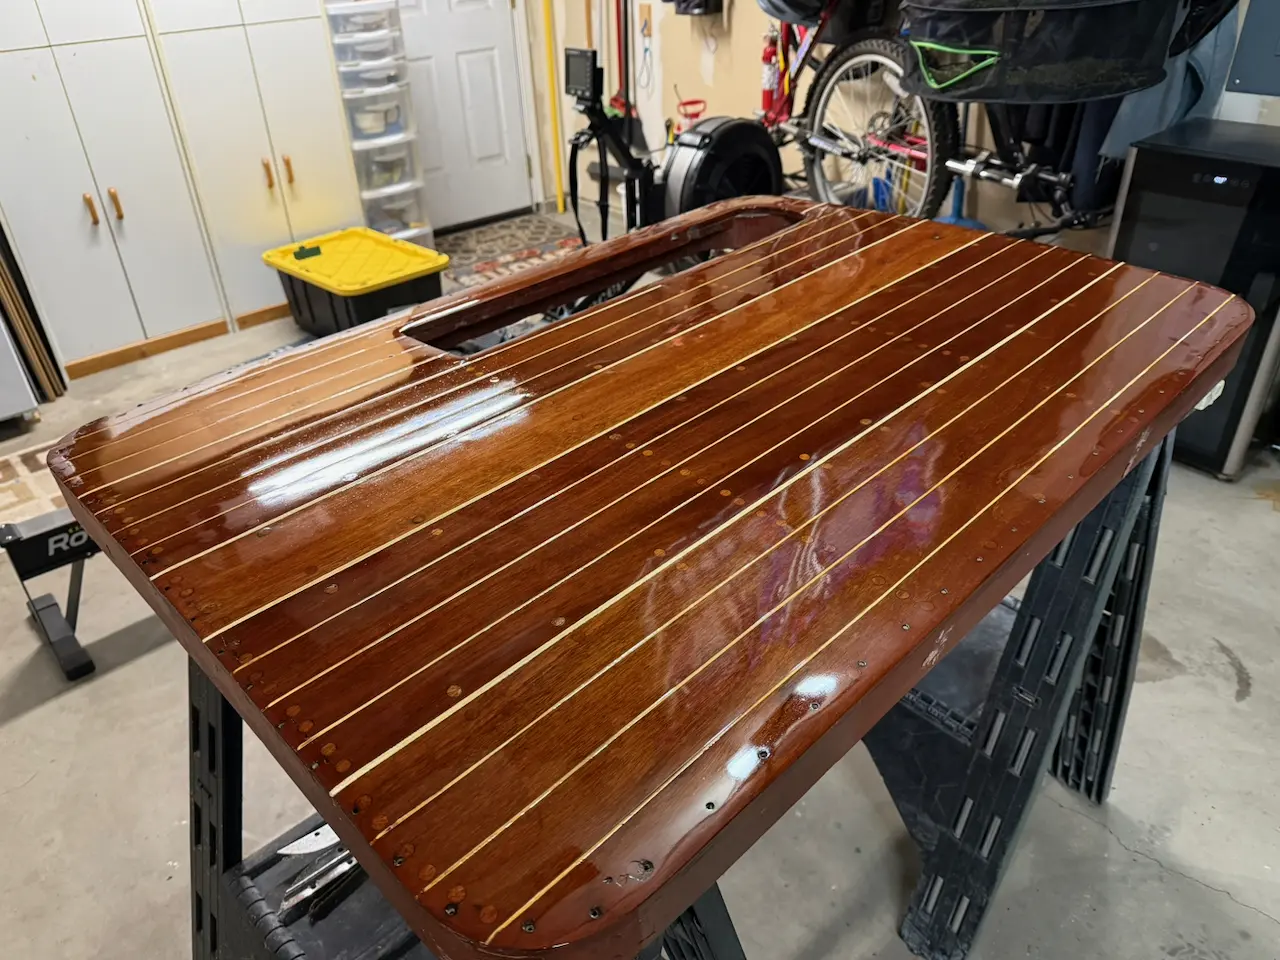
I then turned my attention to the engine cover. After removing it, I noticed that much of the seam sealer had cracked where the boards met. I routed out the seams and re-caulked them with Sikaflex. The cover was sanded with 300-grit paper and sealed with two coats of Pettit Clear Sealer #2018, followed by three coats of Pettit Captain’s Varnish #1015. After curing, I sanded it with 2000 grit and then buffed and polished it with 3M compound before I re-striped it using Pettit EZ-Poxy Gloss White.

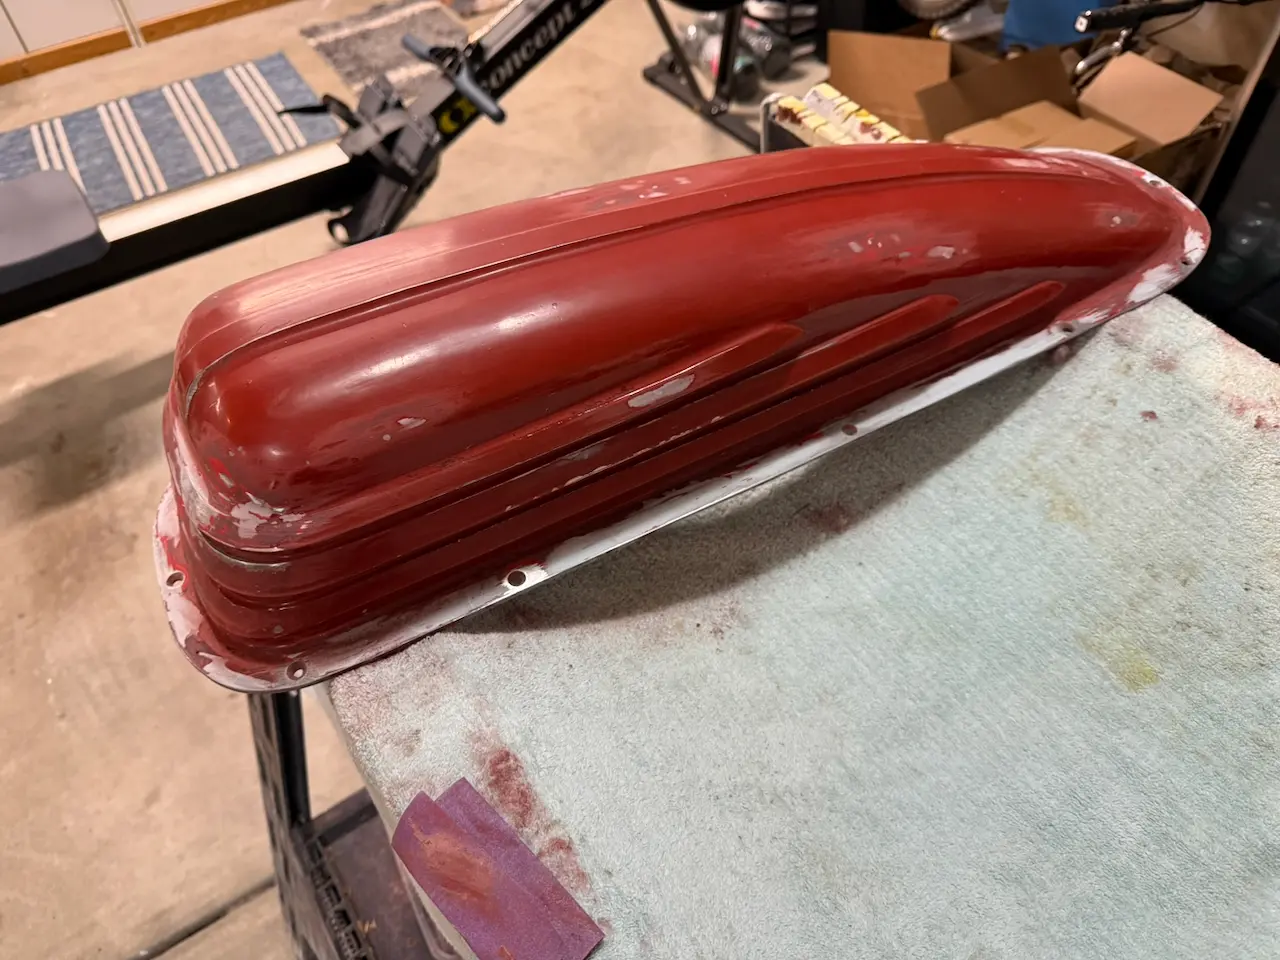
Love it or hate it, KBL triple-carb engine covers were commonly finished in bare aluminum, chrome, or painted red with white stripes. Over time, many fade into something resembling old bilge paint. I chose a red closer to Ferrari Rosso Corsa (paint code 322), and I think the final result turned out pretty nice.

Electrical & Batteries 10 h Link

Start electrical

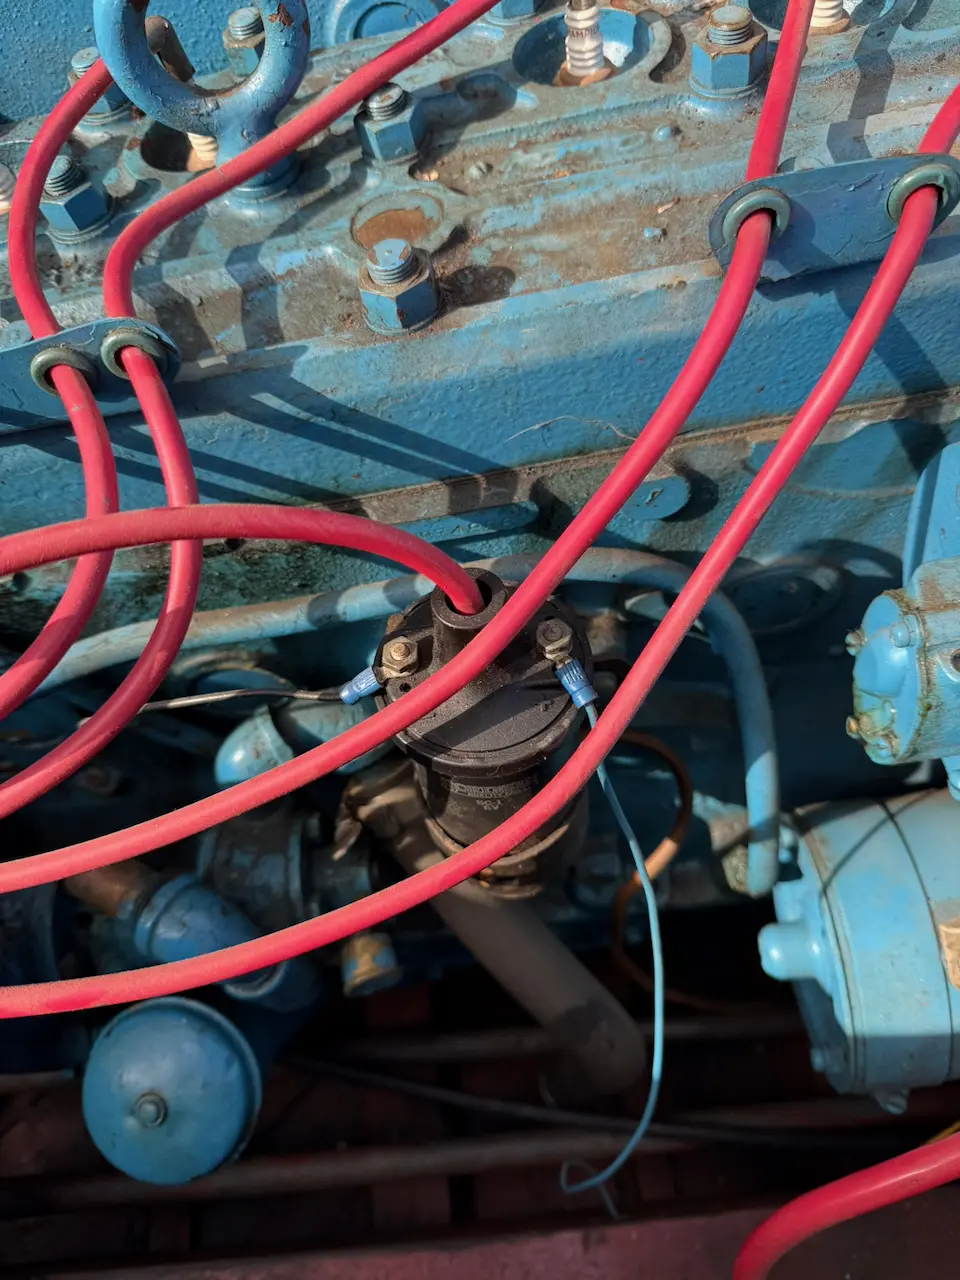
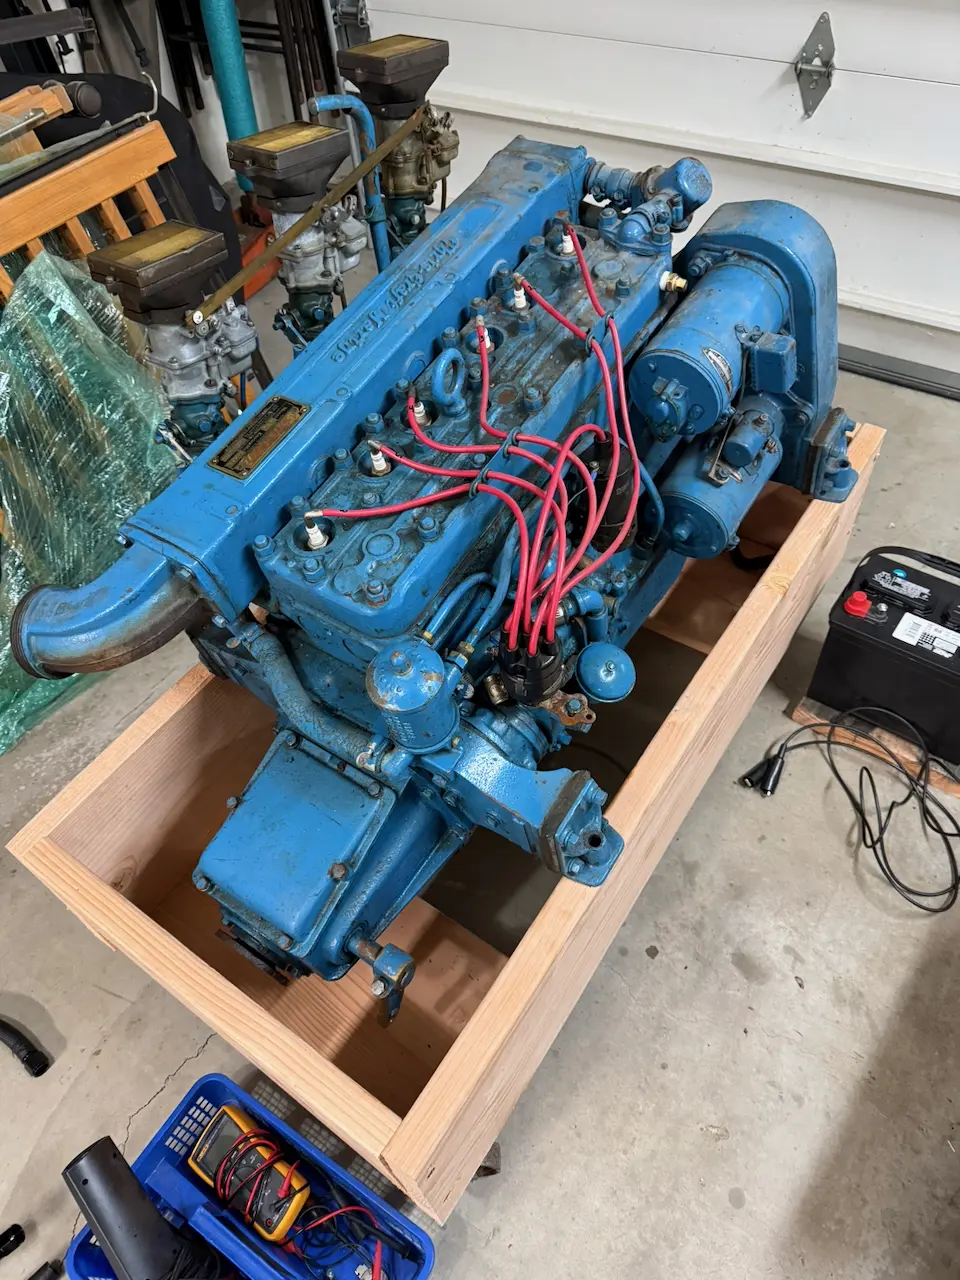
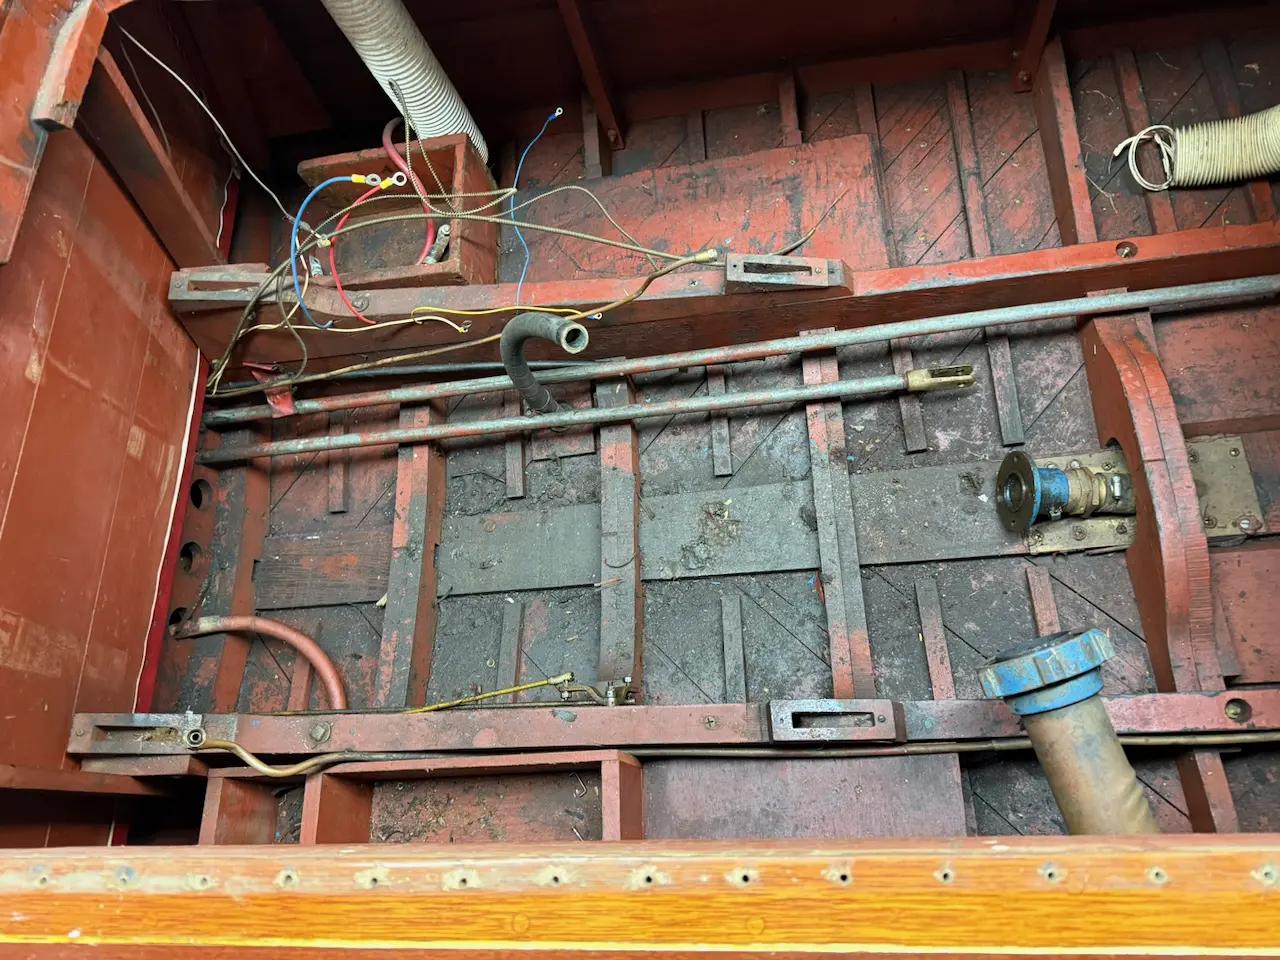
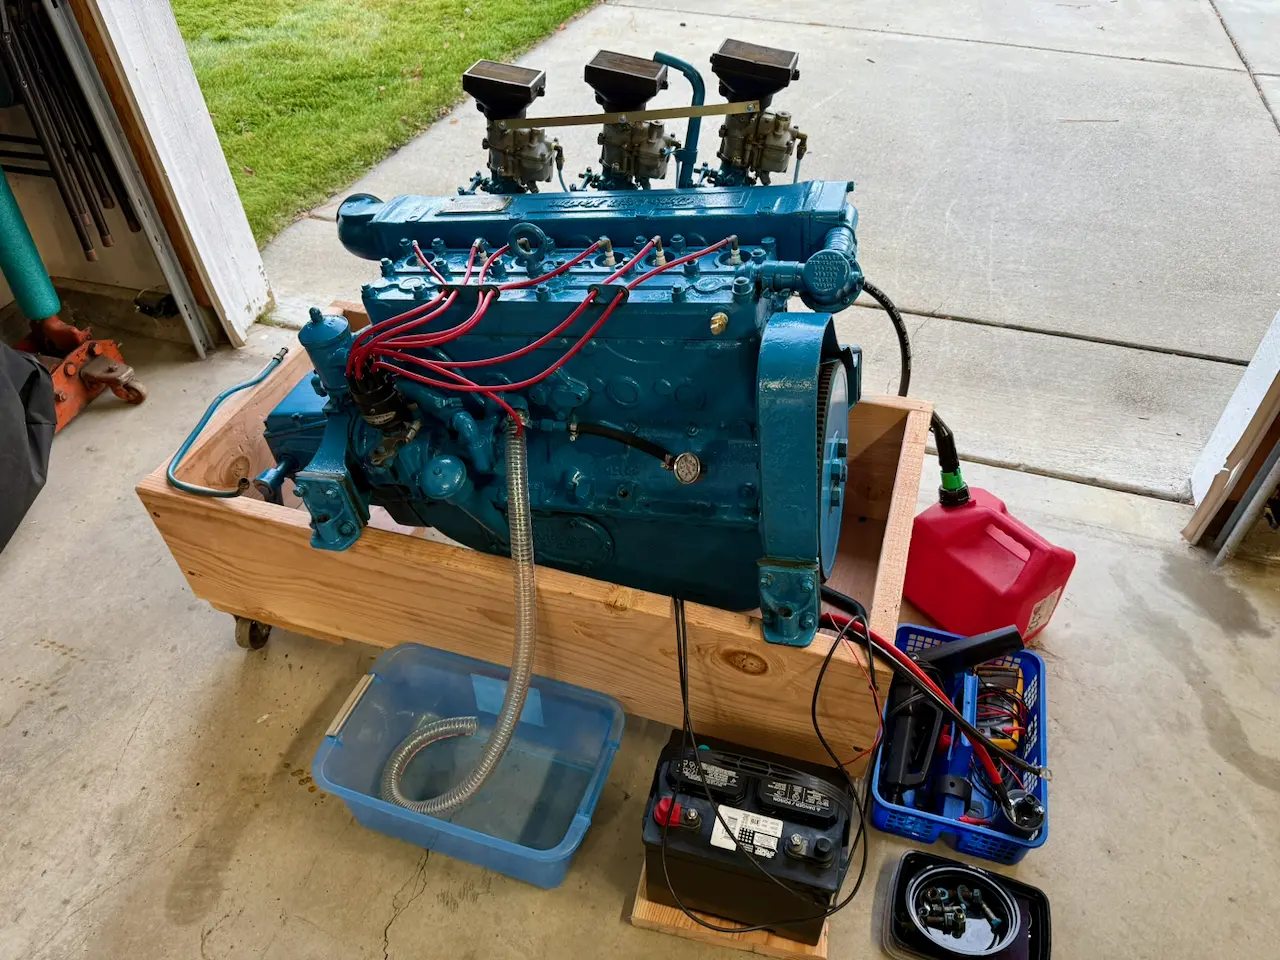
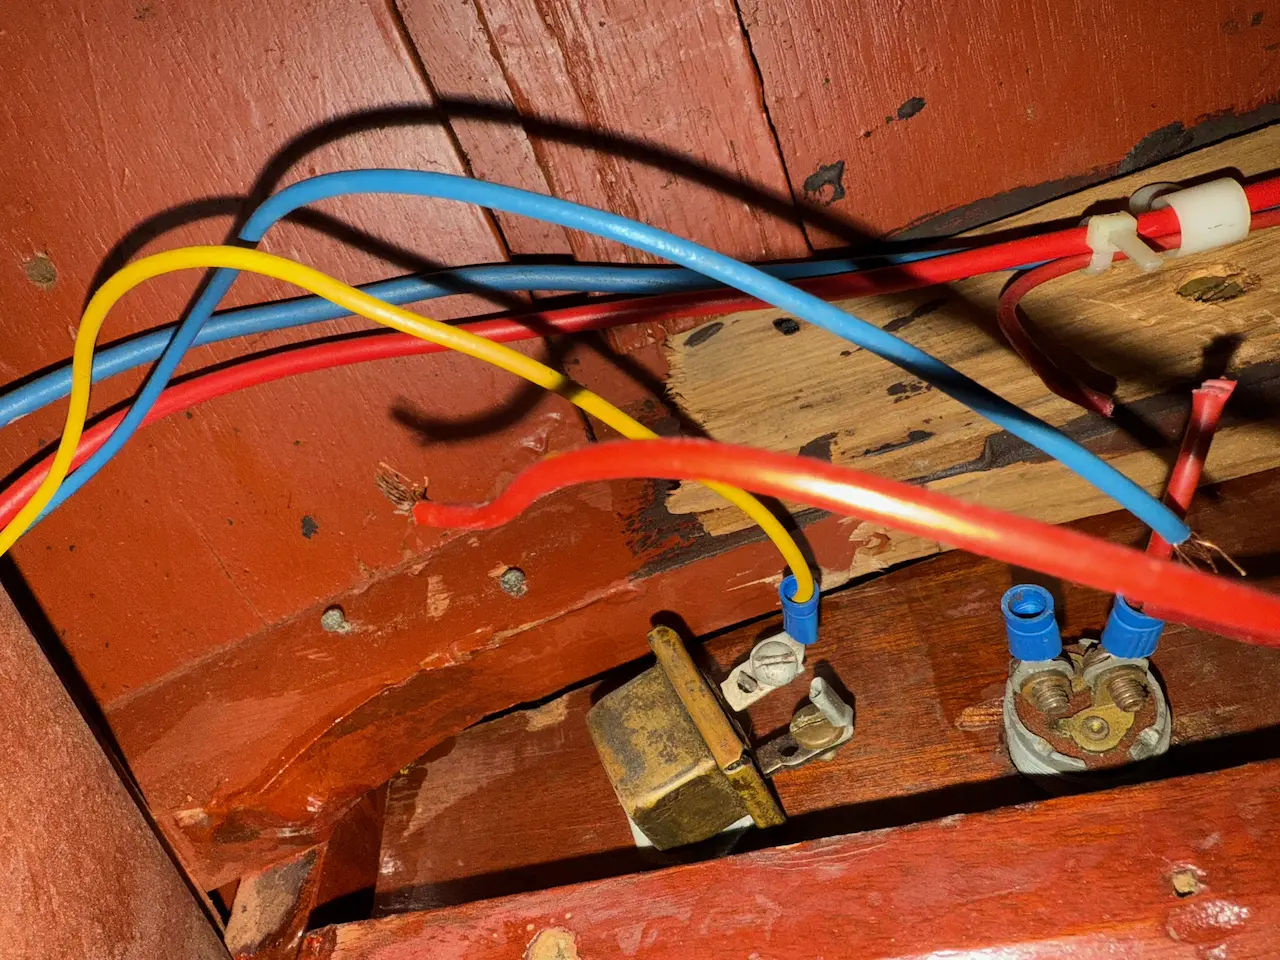
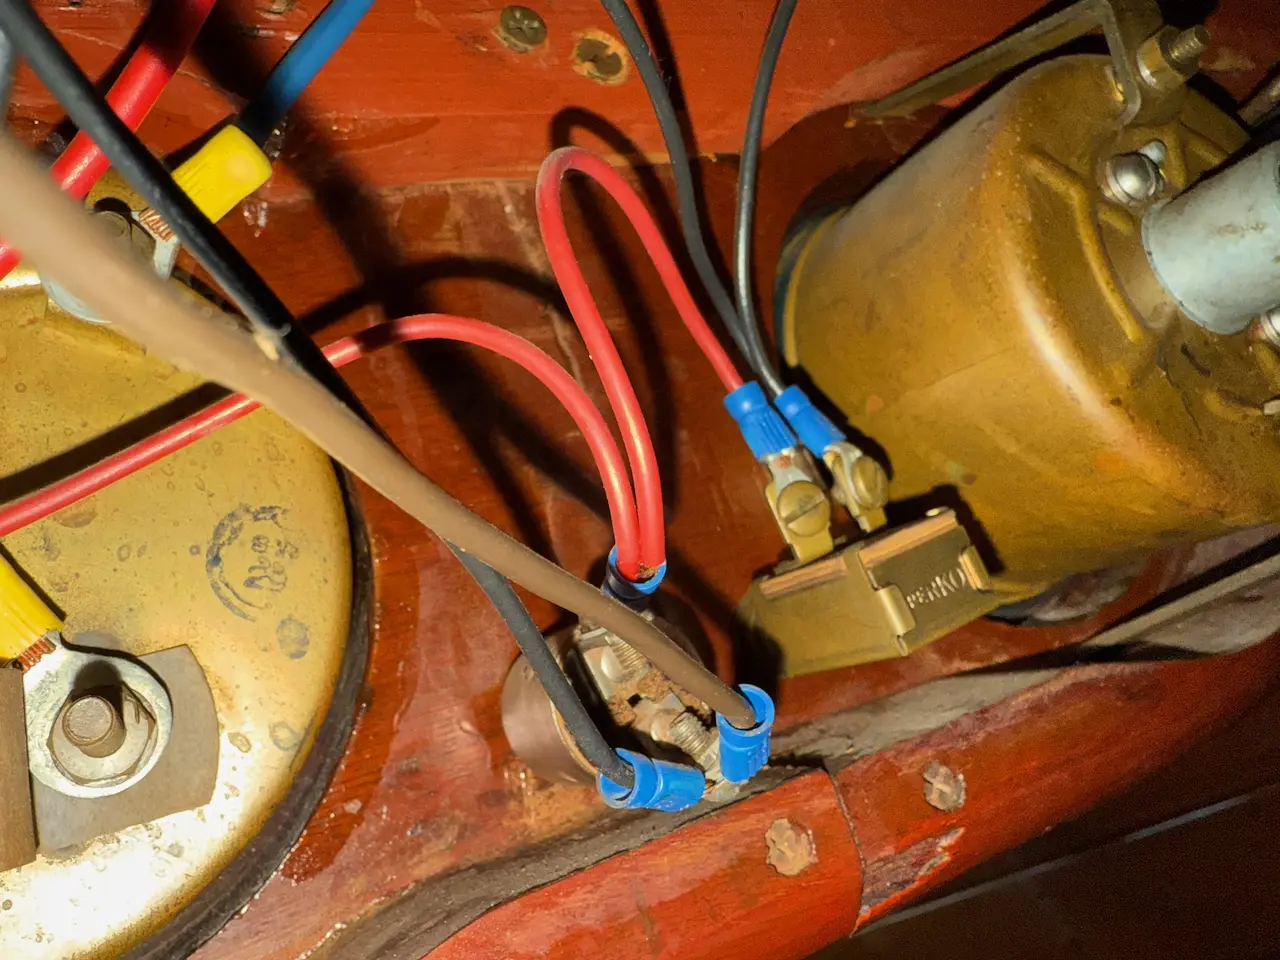
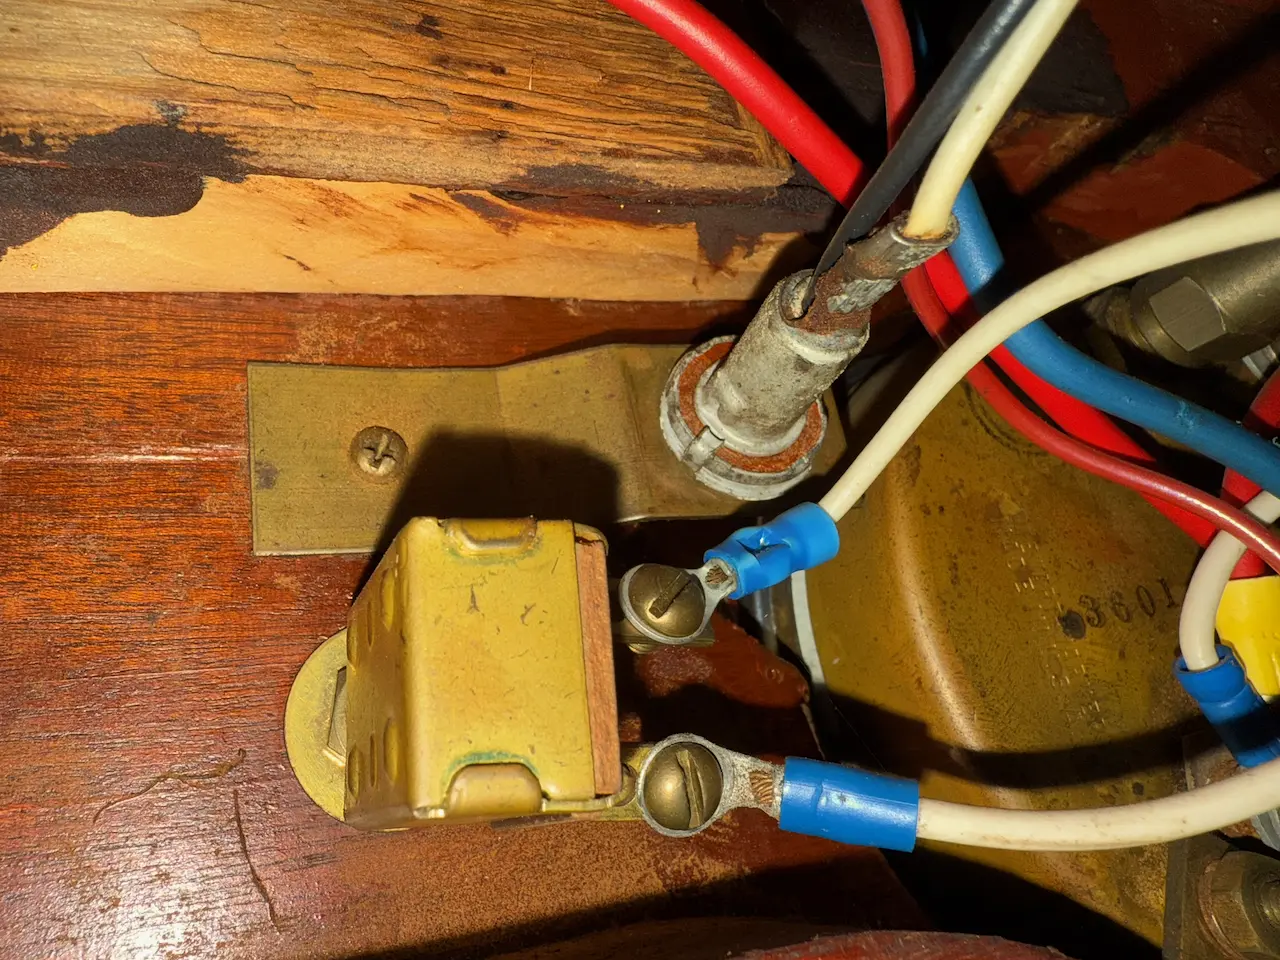
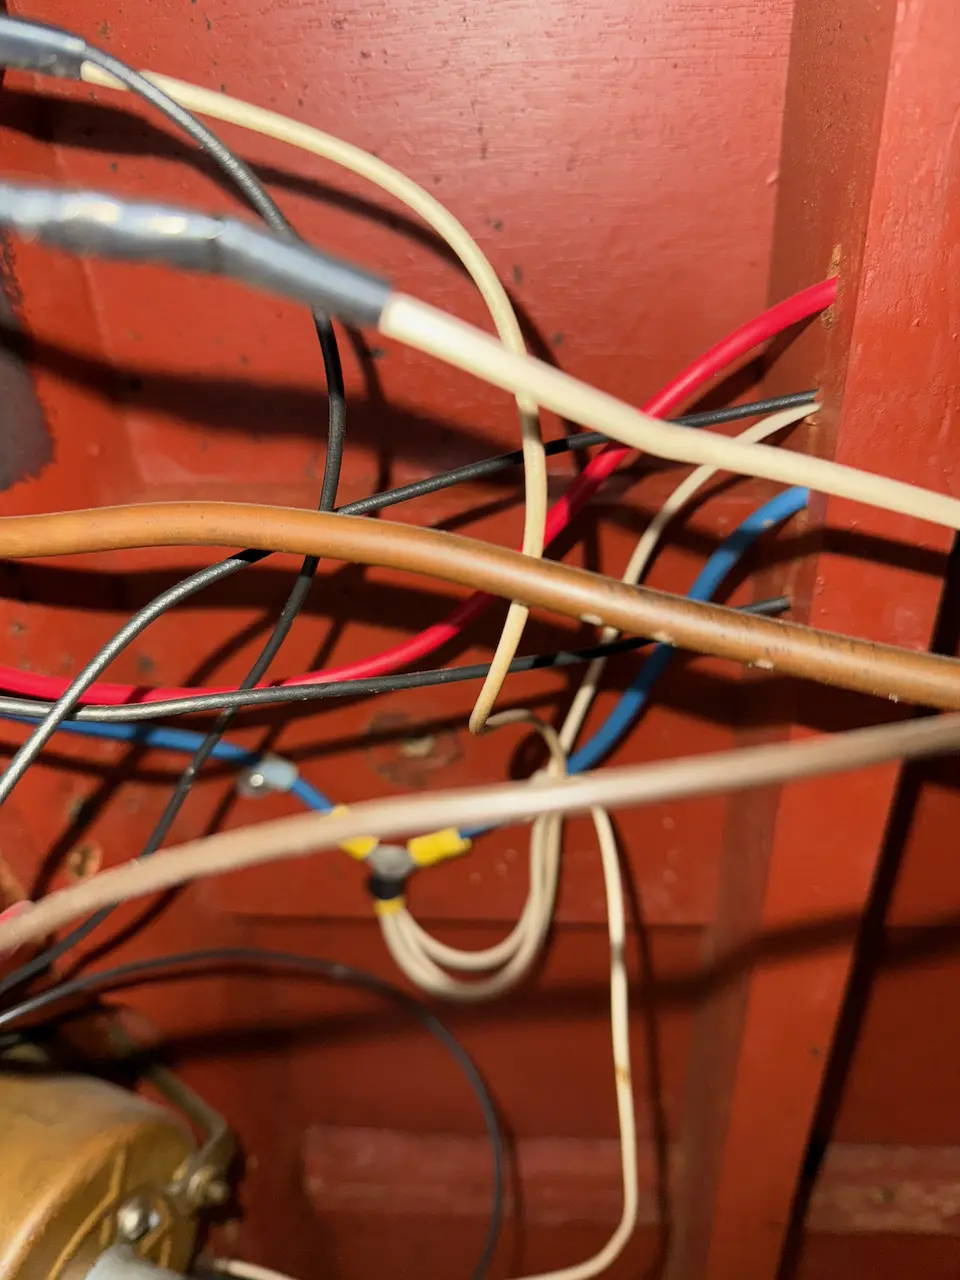
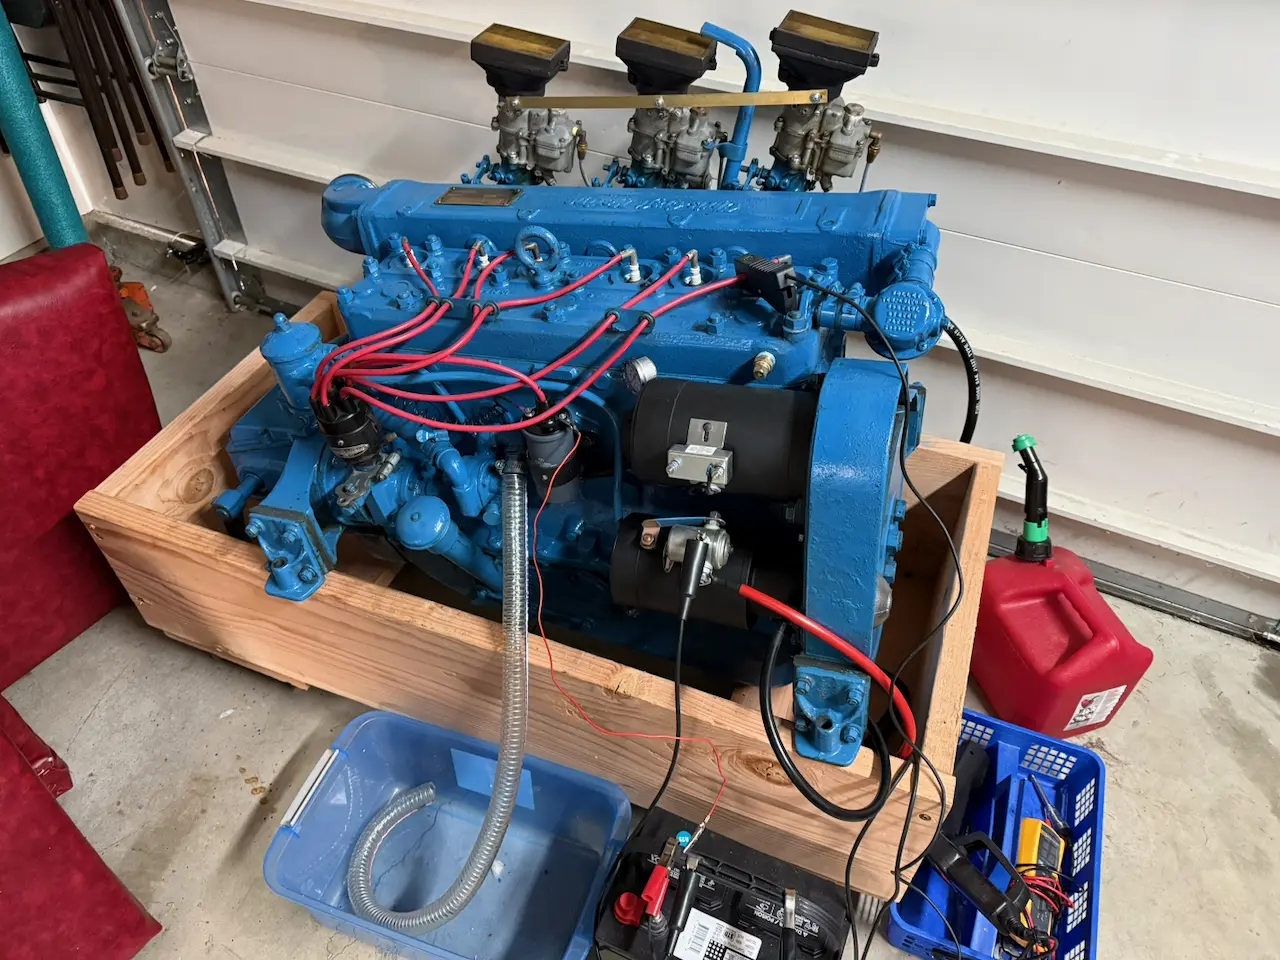
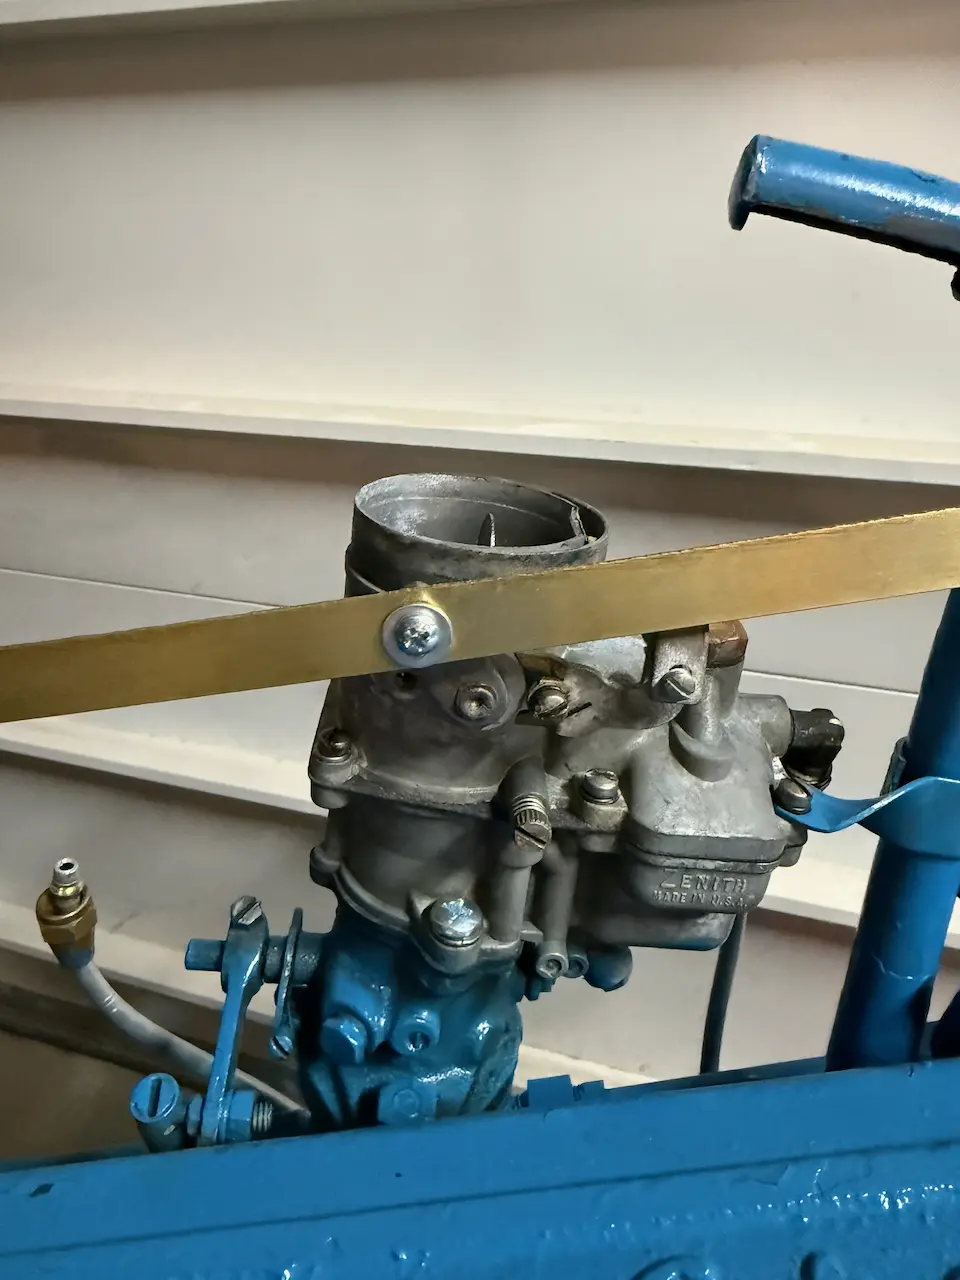
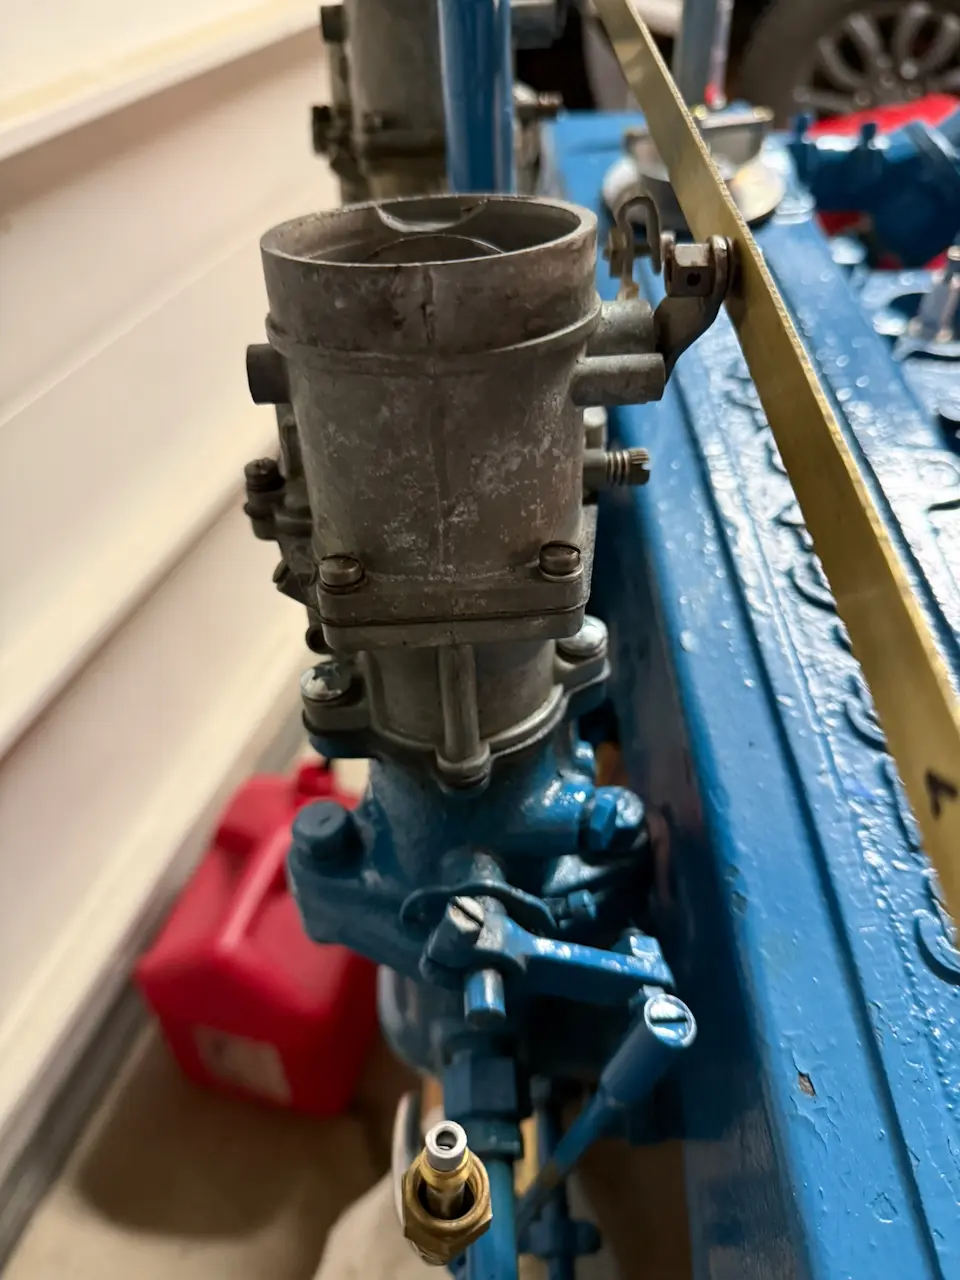
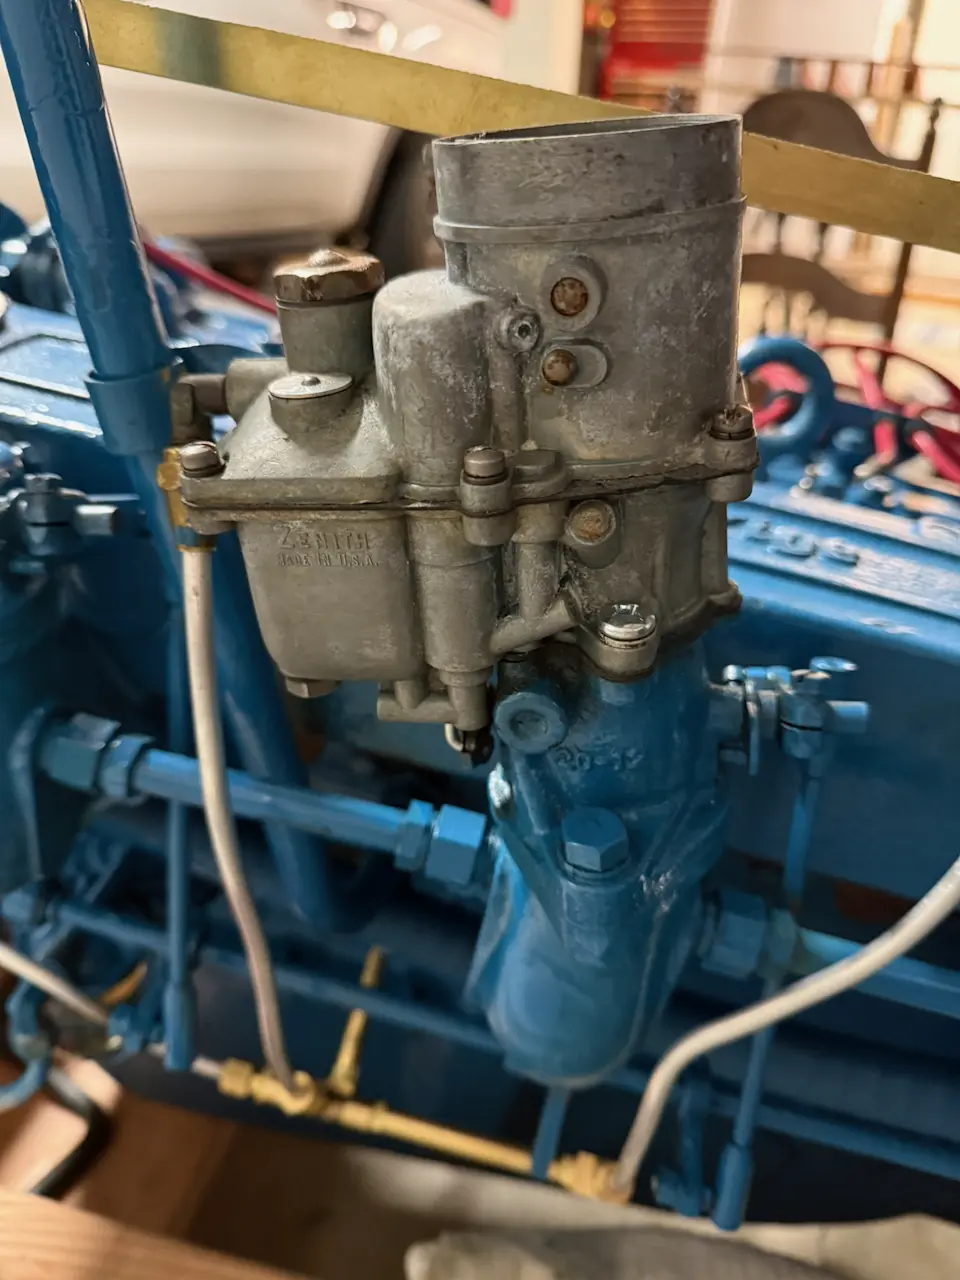
After 50 Years, the 1948 KBL Roars Back to Life. It’s been nearly 50 years since this 1948 KBL last fired up. The engine went into storage in 1976 — the same year Jimmy Carter defeated incumbent President Gerald Ford, Apple Computer Company was incorporated, and the United States celebrated its Bicentennial, marking 200 years since the signing of the Declaration of Independence. A lot has changed since then. Thankfully, the KBL hadn’t forgotten how to run. The revival began with replacing a cracked spark plug wire. I chose stock, lacquer-covered black cloth wires with brass ring terminals — no boots — just as original, pushed directly into the distributor cap. I did leave the boots on the coil since it sits directly in front of the water pump. If the boat ever appears in a judged show, I can easily remove them for authenticity. With the engine still out of the boat and sitting in my garage, I connected the electrical system, ran cooling water from a bucket, and dropped a temporary fuel line into a gas can. Then came the moment of truth. With the push of a remote starter button, after half a century of silence, the KBL fired right up. It immediately belched out an impressive cloud of smoke — enough to completely fill the garage — but that was to be expected. A quick choke adjustment, and a fast trip to O’Reilly’s for a drain plug I had overlooked, and the engine settled in nicely. Once warmed up, it ran smoothly and unassisted at about 800 RPM. Out came the Uni-Syn air meter, which revealed that the #1 carburetor is slightly out of adjustment. A small tweak to the idle screw should bring everything back into balance. Next step: taking Ms. Behaving off the trailer.

Nobody else here is logging a Deluxe Runabout yet. See the boat.