The Guider · step
Hull Exterior
Turning over, keel and skeg, rubrails, exterior structure.
Hull Exterior on every boat, not just the The Guider →
The rudder trunk is inserted through the slot I cut in the hull, as shown in an earlier installment. It aligns by way of notches in the frames. A small amount has to be trimmed off, and the rest is faired into the hull. The primary tool I used for this was a Japanese pull saw. After everything is flush cut and sanded smooth, the joint is reinforced with FG tape.
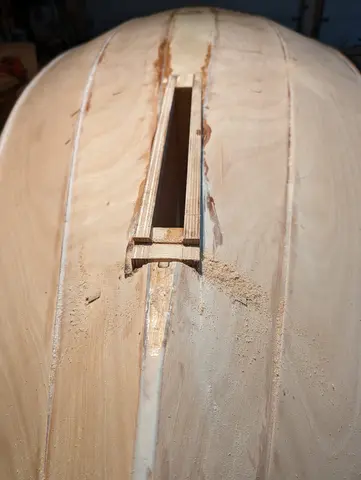
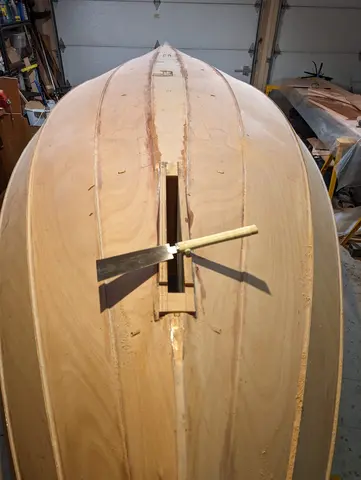
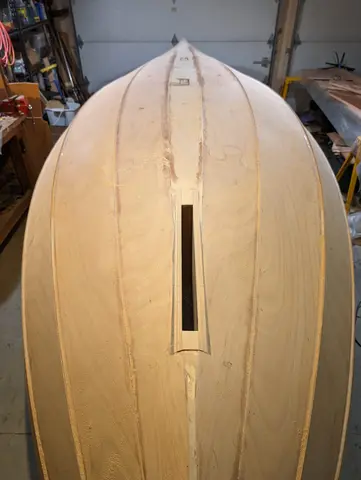
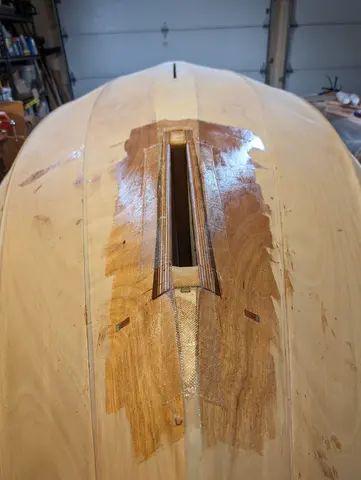
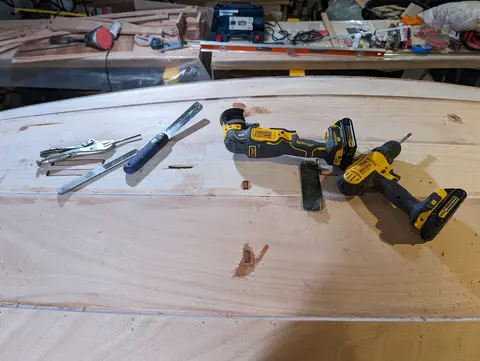
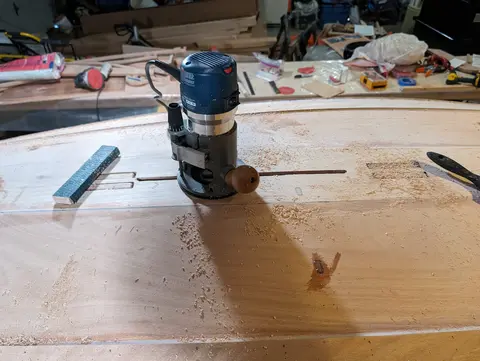
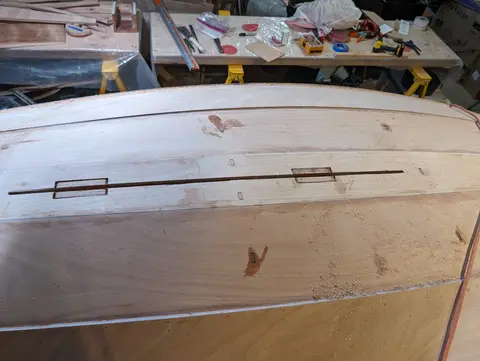
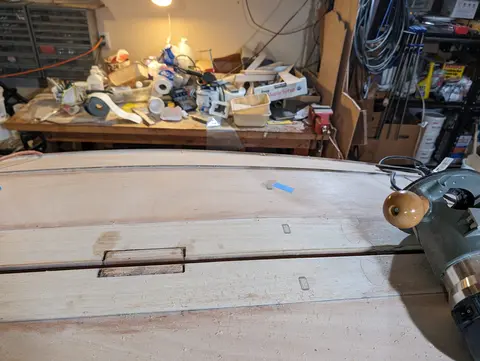
The centerboard trunk is slotted between two frames and is aligned by notches in the hull. To accommodate the passage of the centerboard, a slot has to be cut in the hull between the two inner walls of the centerboard trunk. I tried a variety of tools to do this, but finally realized the ideal tool for the job was a flush trim bit on my router. I chased this up with a roundover bit and then the joint between trunk and hull was reinforced with FG tape.
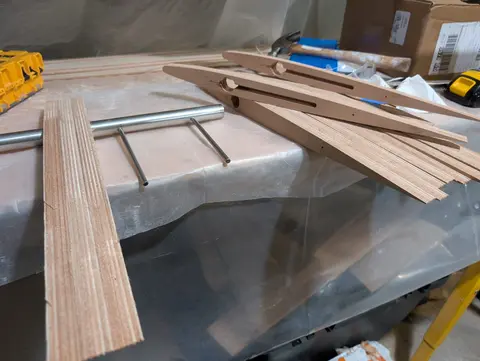
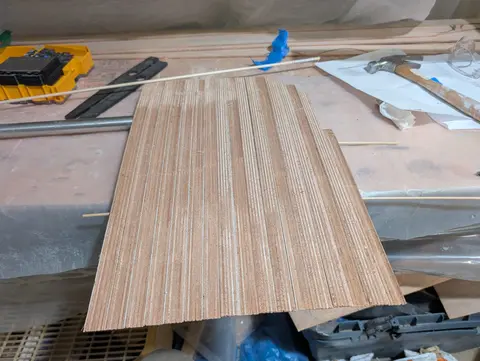
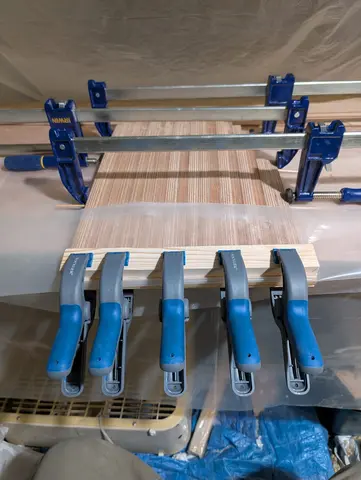
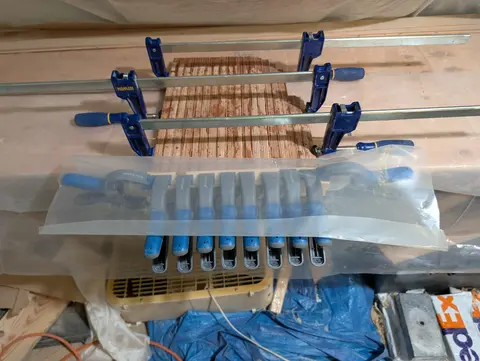
The rudder blade is built of stacking foil shapes cut from marine plywood. A stainless steel tube for a rudder post slides through the top foils. Two small stainless steel rods are inserted through the rudder post and fit into slots in two of the foils to handle the torque from the blade. Small dowels are inserted into holes in the stack of foils to keep everything aligned.
- Here you can see the way the foils stack on the rudder post. Also visible are the rods that translate the torque from the post to the blade, and the slots into which those rods fit.
- The rudder blade stacked up dry...
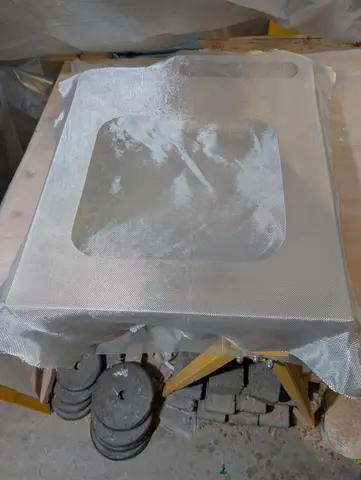
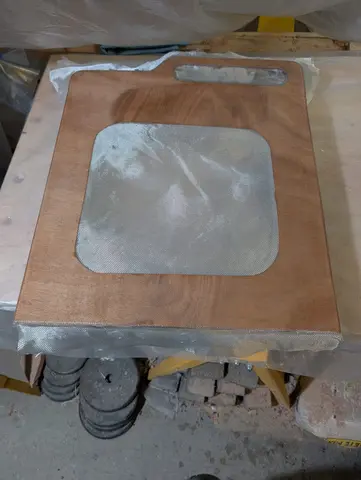
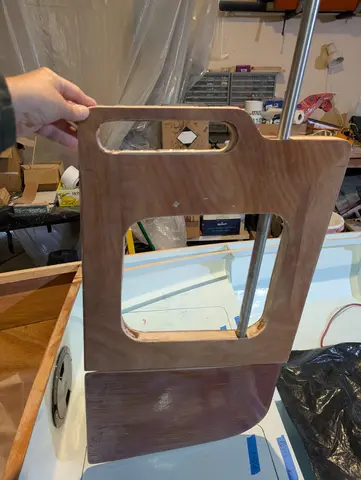
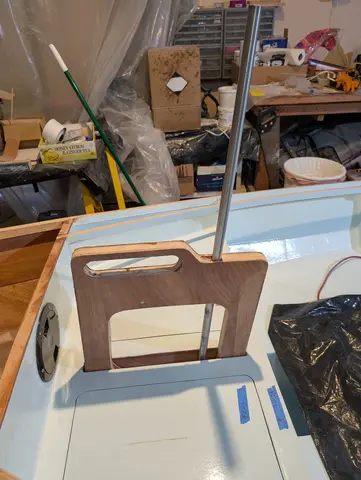
With the rudder blade done, I returned to work on the rudder cassette. Both sides are glassed and the rudder post and blade are inserted to check the fit. Then the cheeks, which sit on the shoulders of the rudder slot, are glued on.
- Fiberglass cloth going on
- cloth wet out and curing.
- Rudder post and blade fitted to the cassette
- Rudder assembly sitting in its slot in the deck/hull
- Cssette cheeks being glued to the cassette.
- It fits!
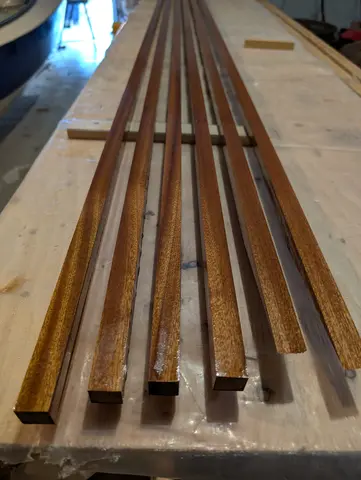
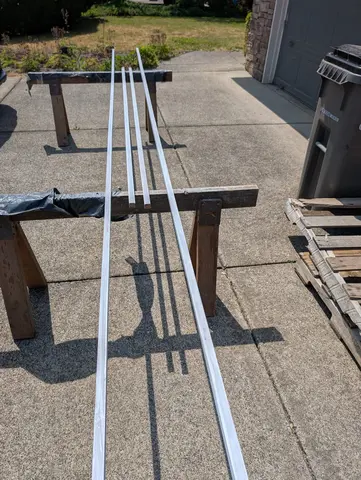
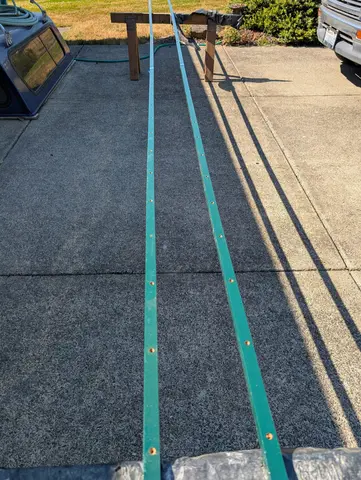
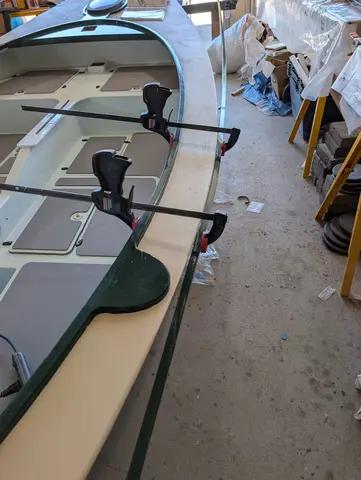
The rub rails are built up of three scarfed pieces of Mahoganoid wood that are primed and painted with Toplac Plus. The fasteners are screwed through the hull and into the sheer strake and bedded with Dolphinite. It was easy to place and fasten the rails in the middle of the boat because I could clamp them using the coaming. It was much more difficult in the bow and stern because there was nothing to clamp to. I had to get creative with bungee cords and the like. In retrospect, I think I should have started at one end or the other and worked towards the other end of the boat. I also should hav...