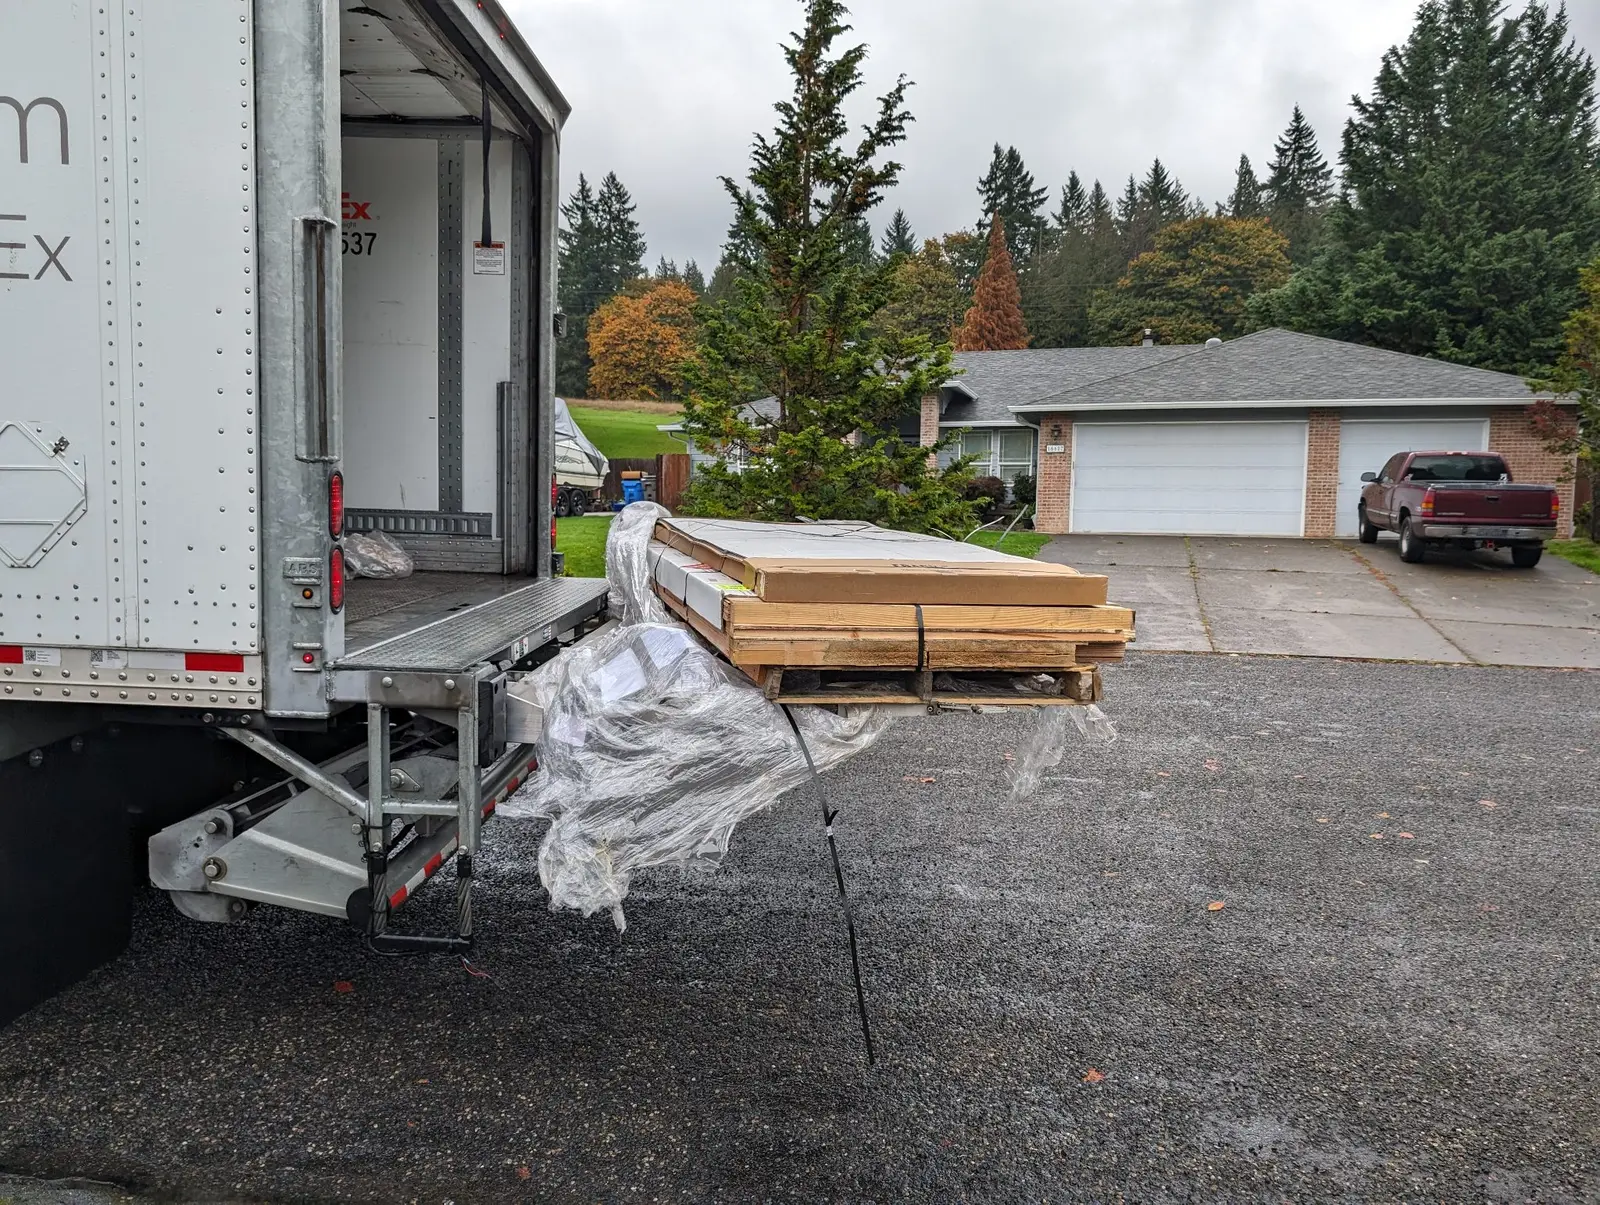
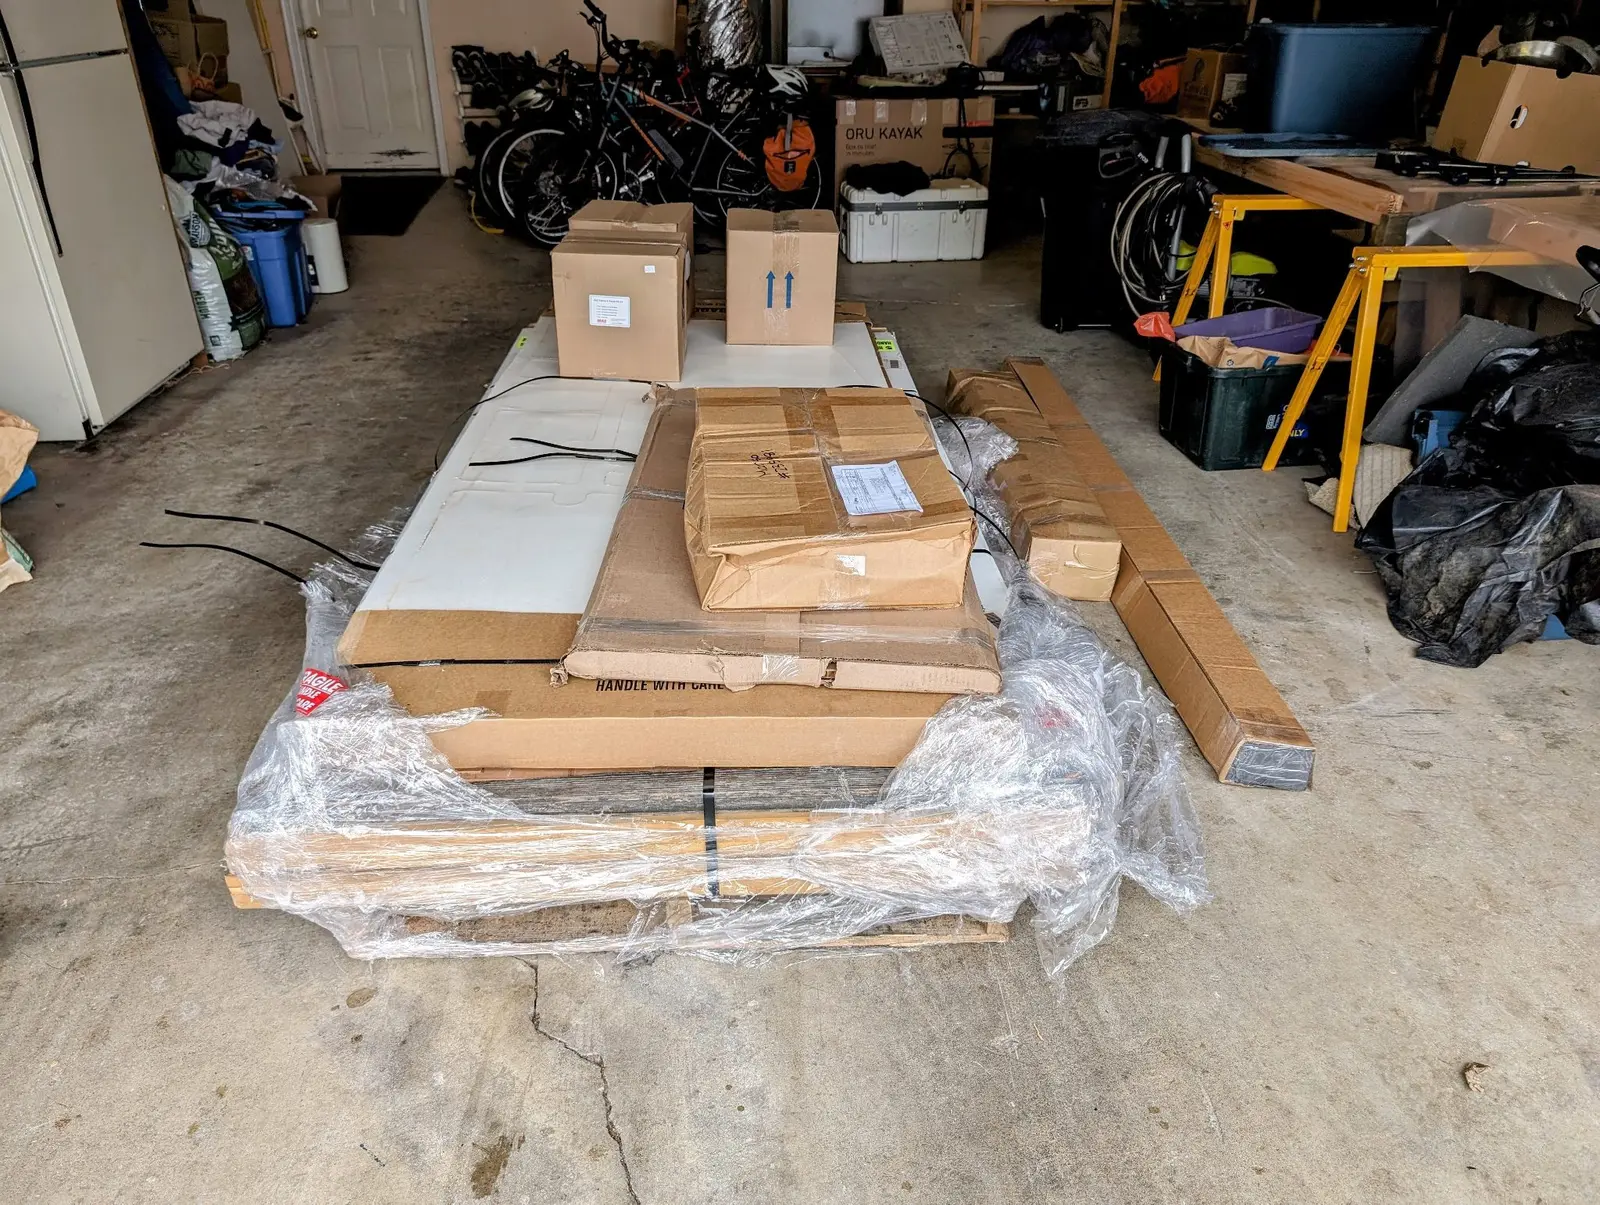
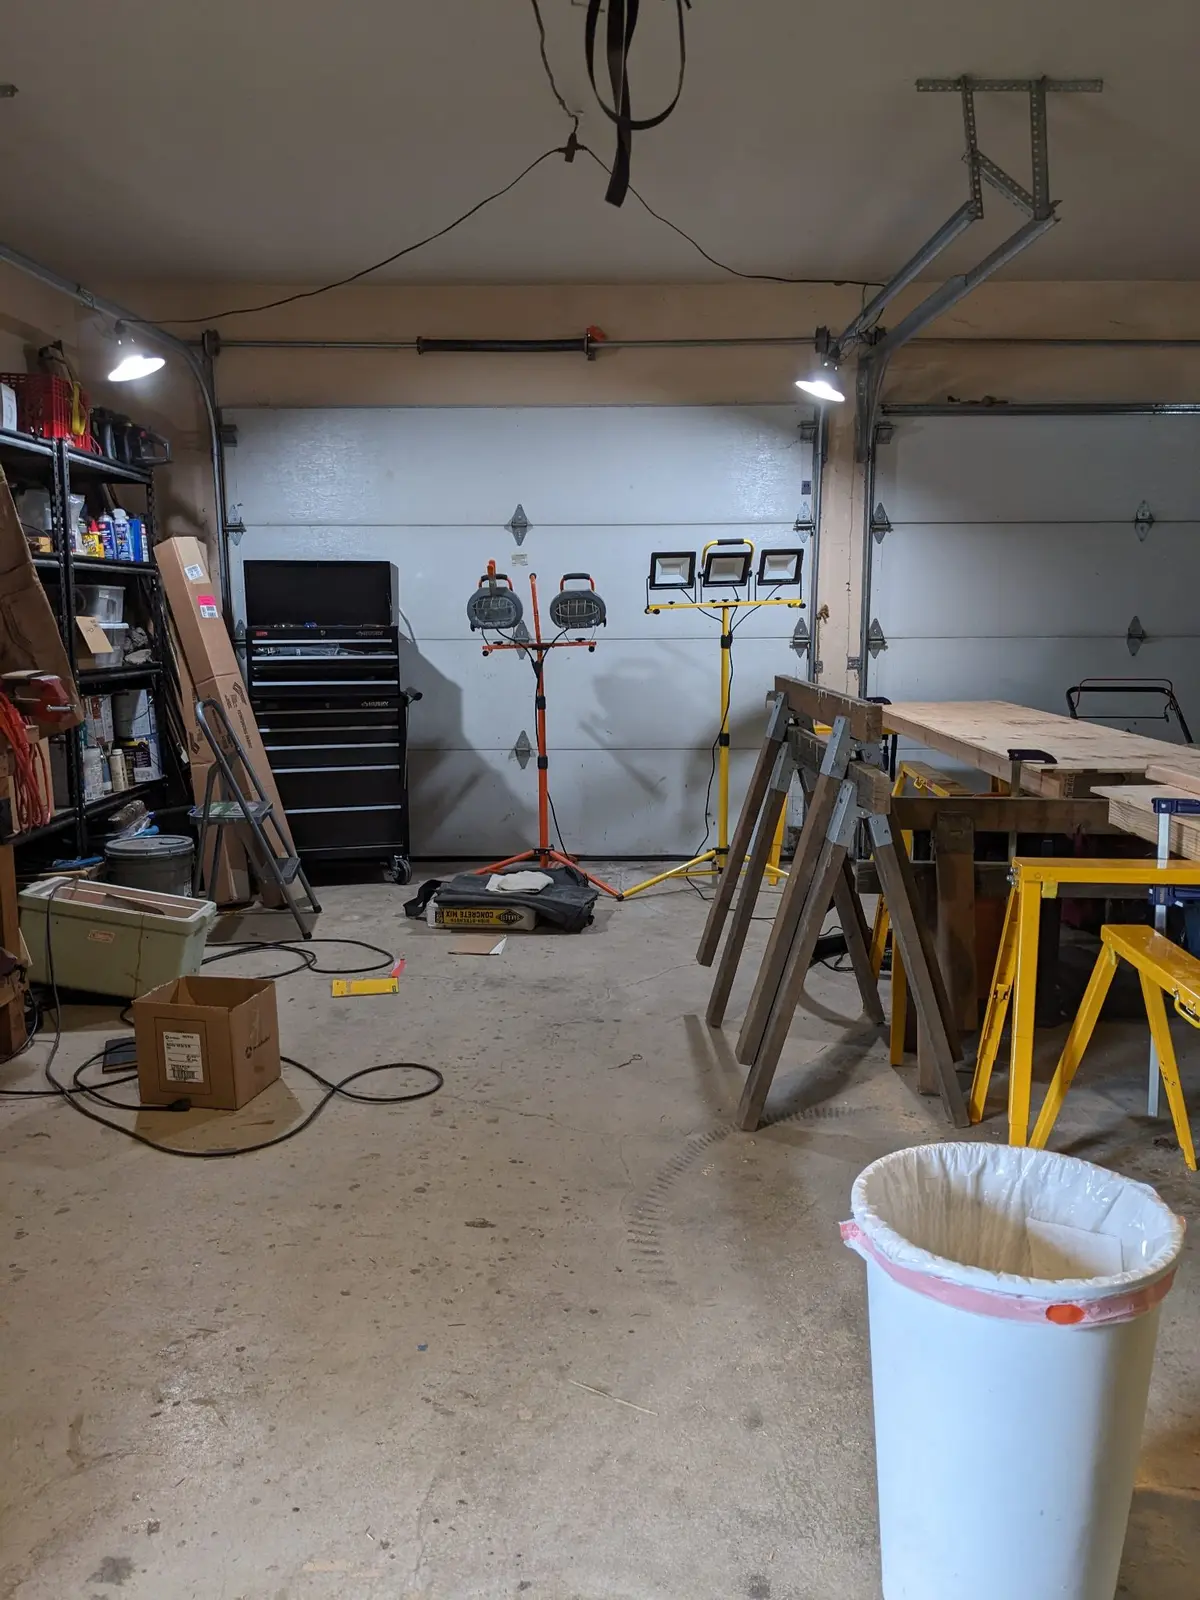
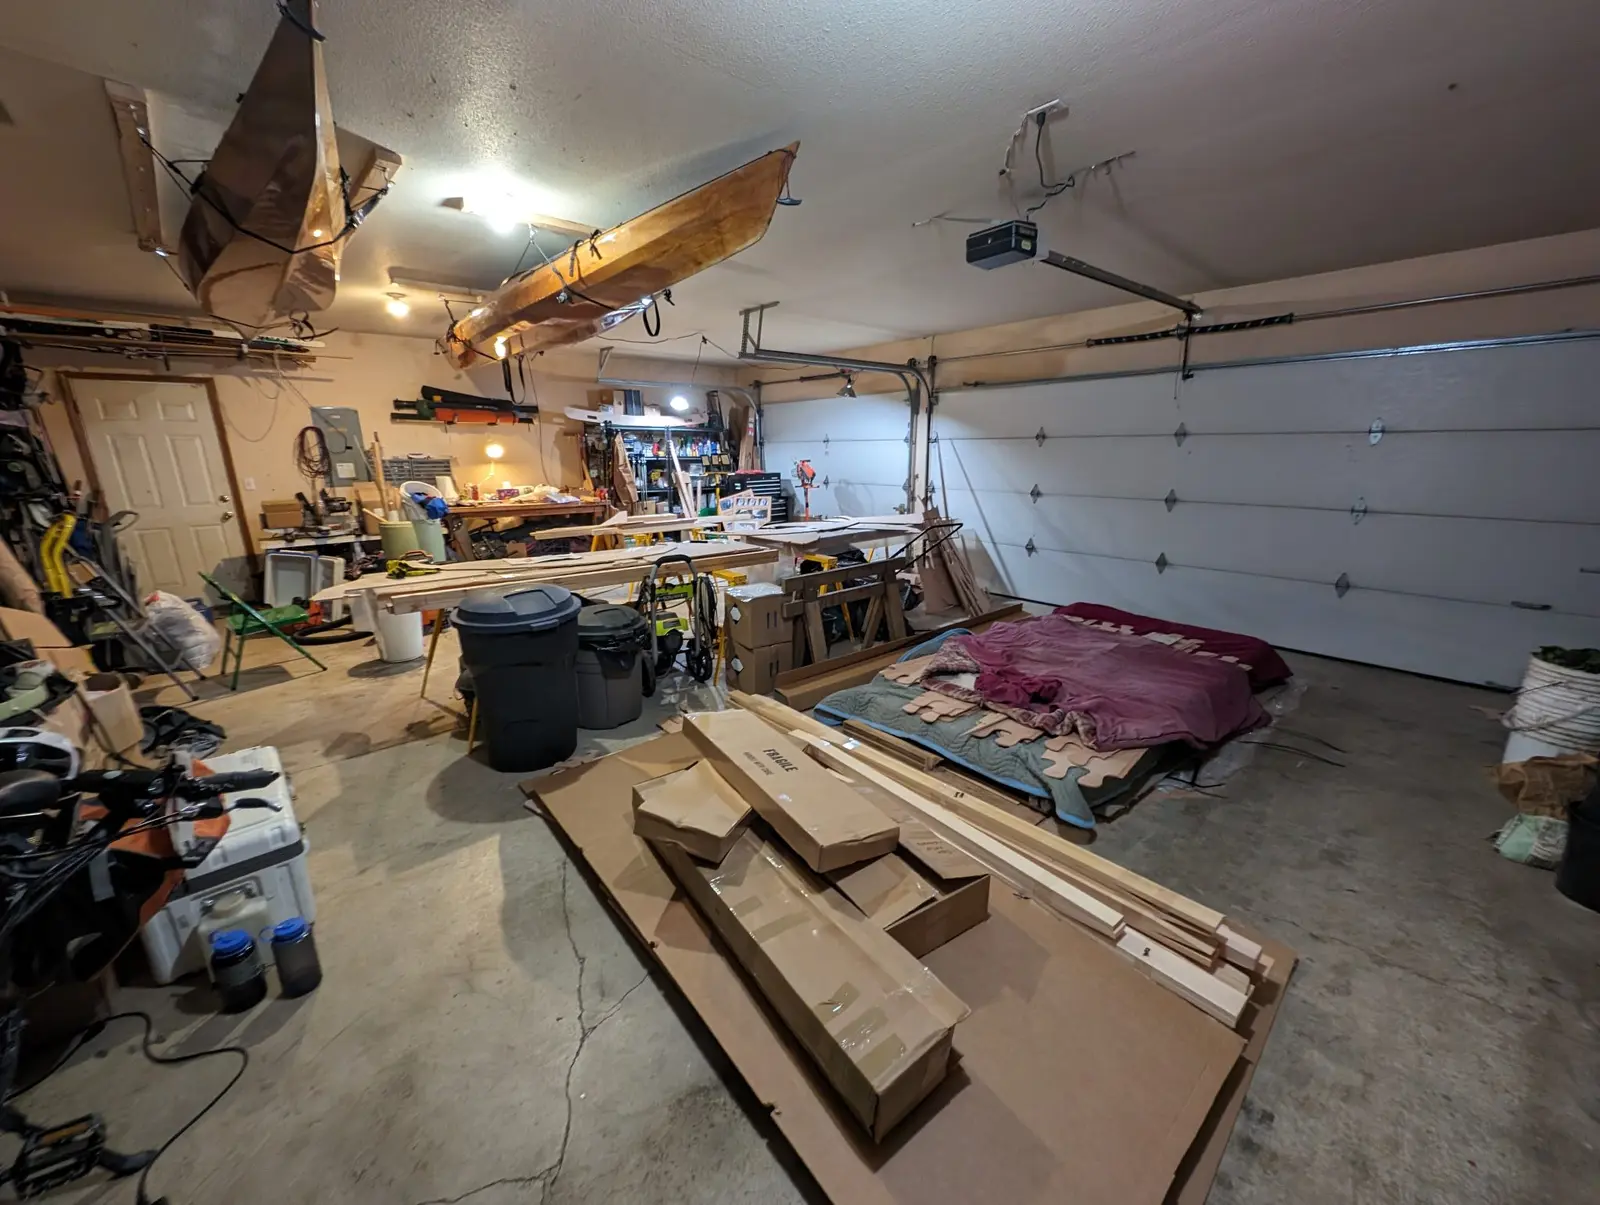
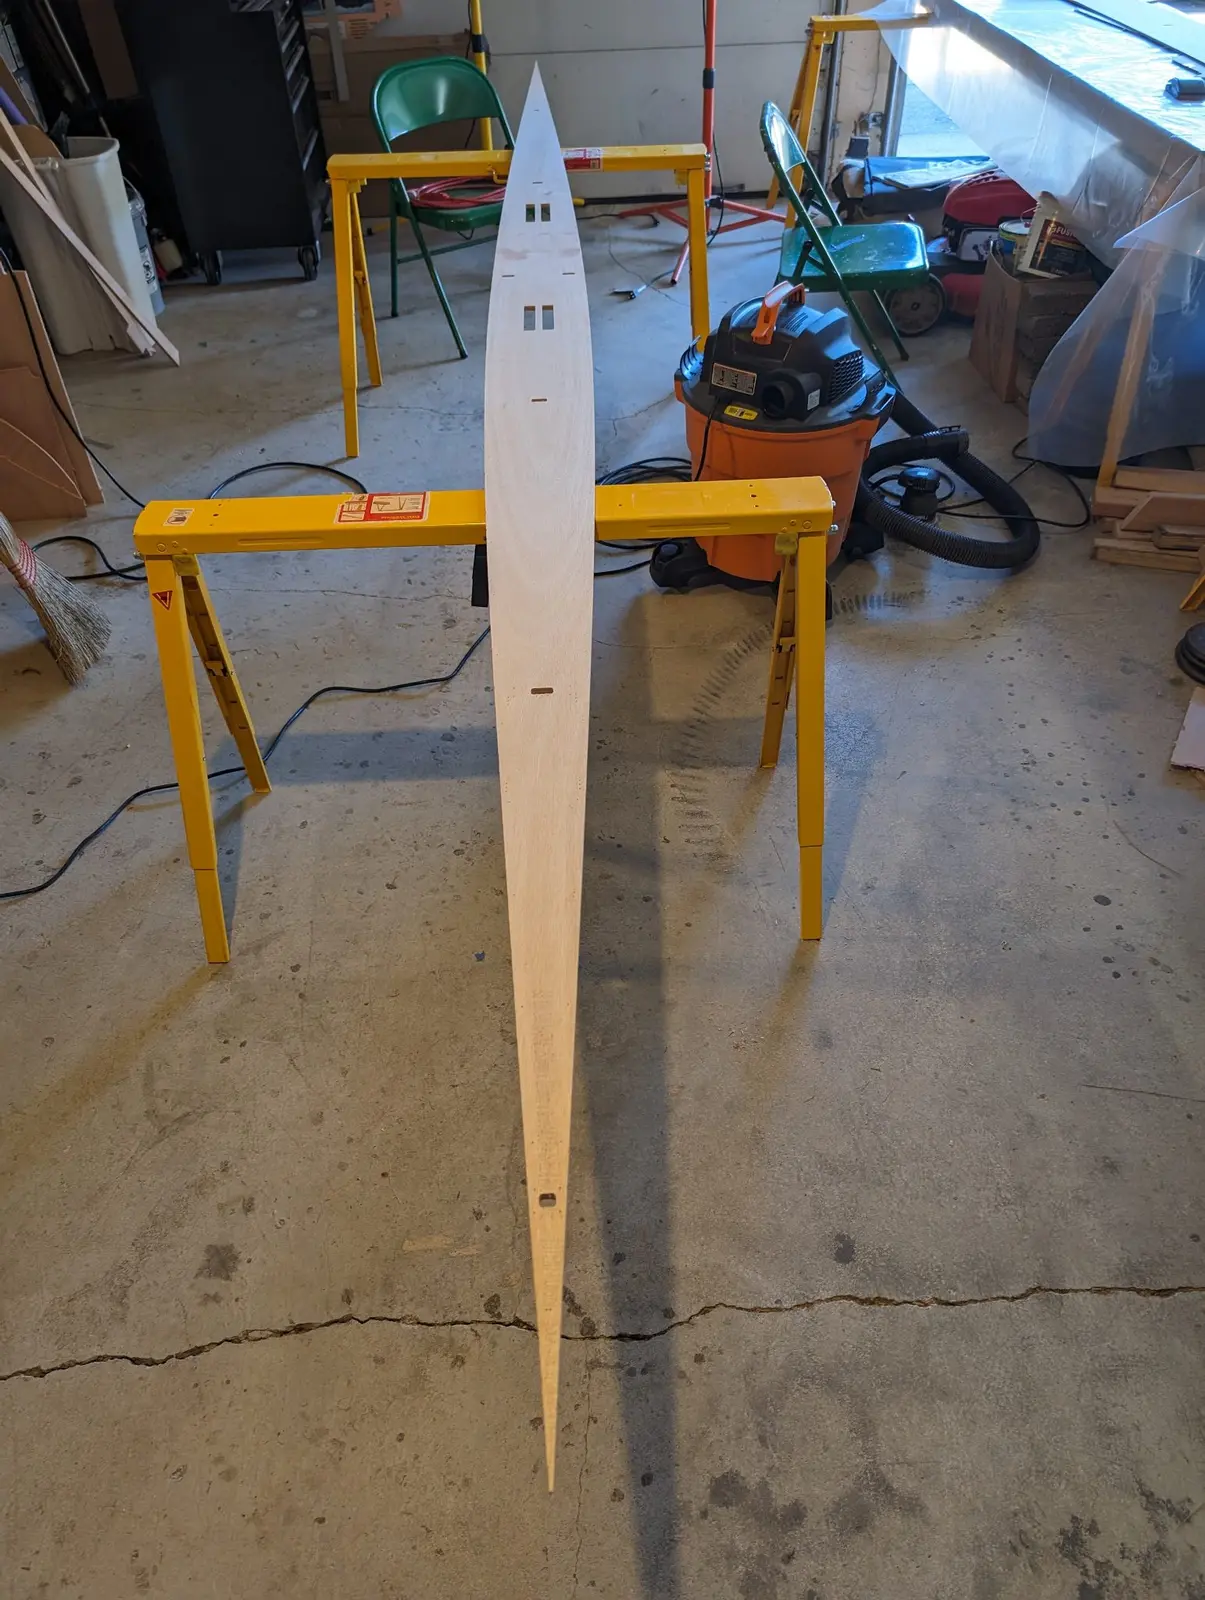
Received the kit from CLC. It was shipped via FedEx as a 1200 lb pallet and several assorted extras. One of the photos shows the build space, which includes two 8-foot sawhorse tables and occupies about 1/2 of a suburban 3-car garage.
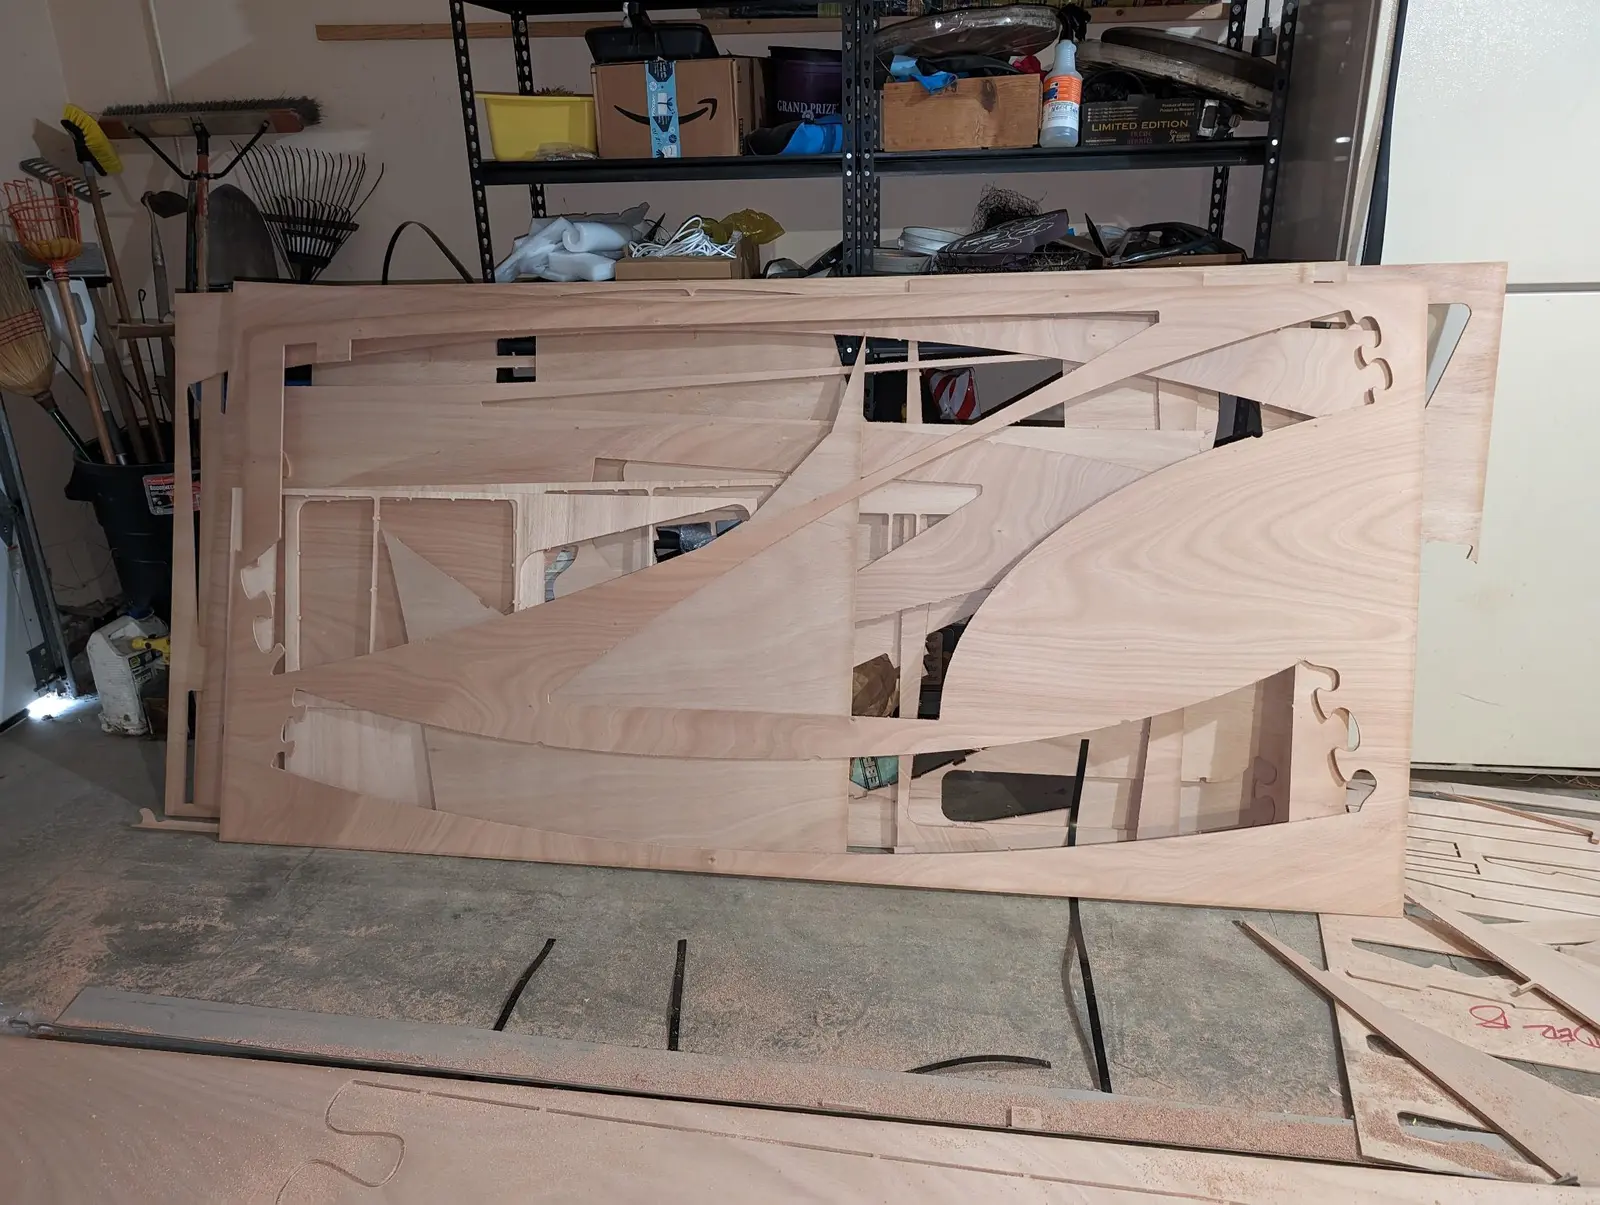
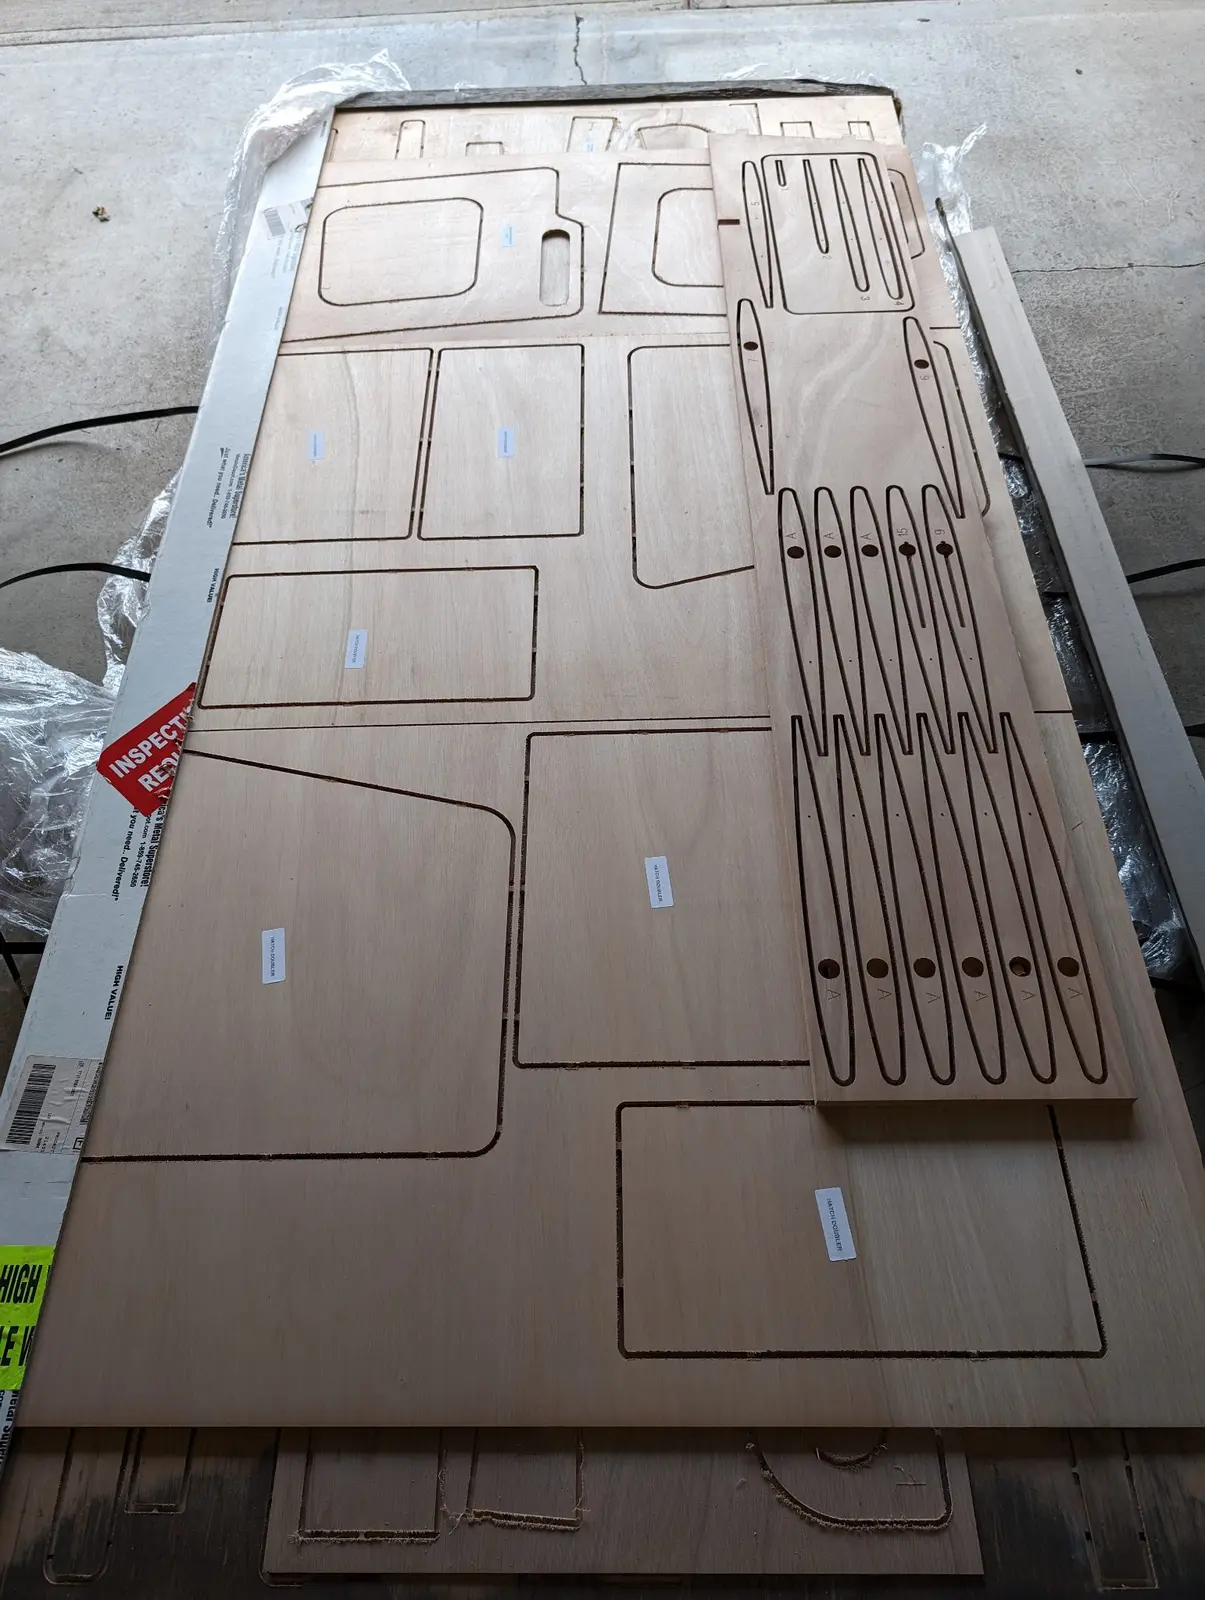
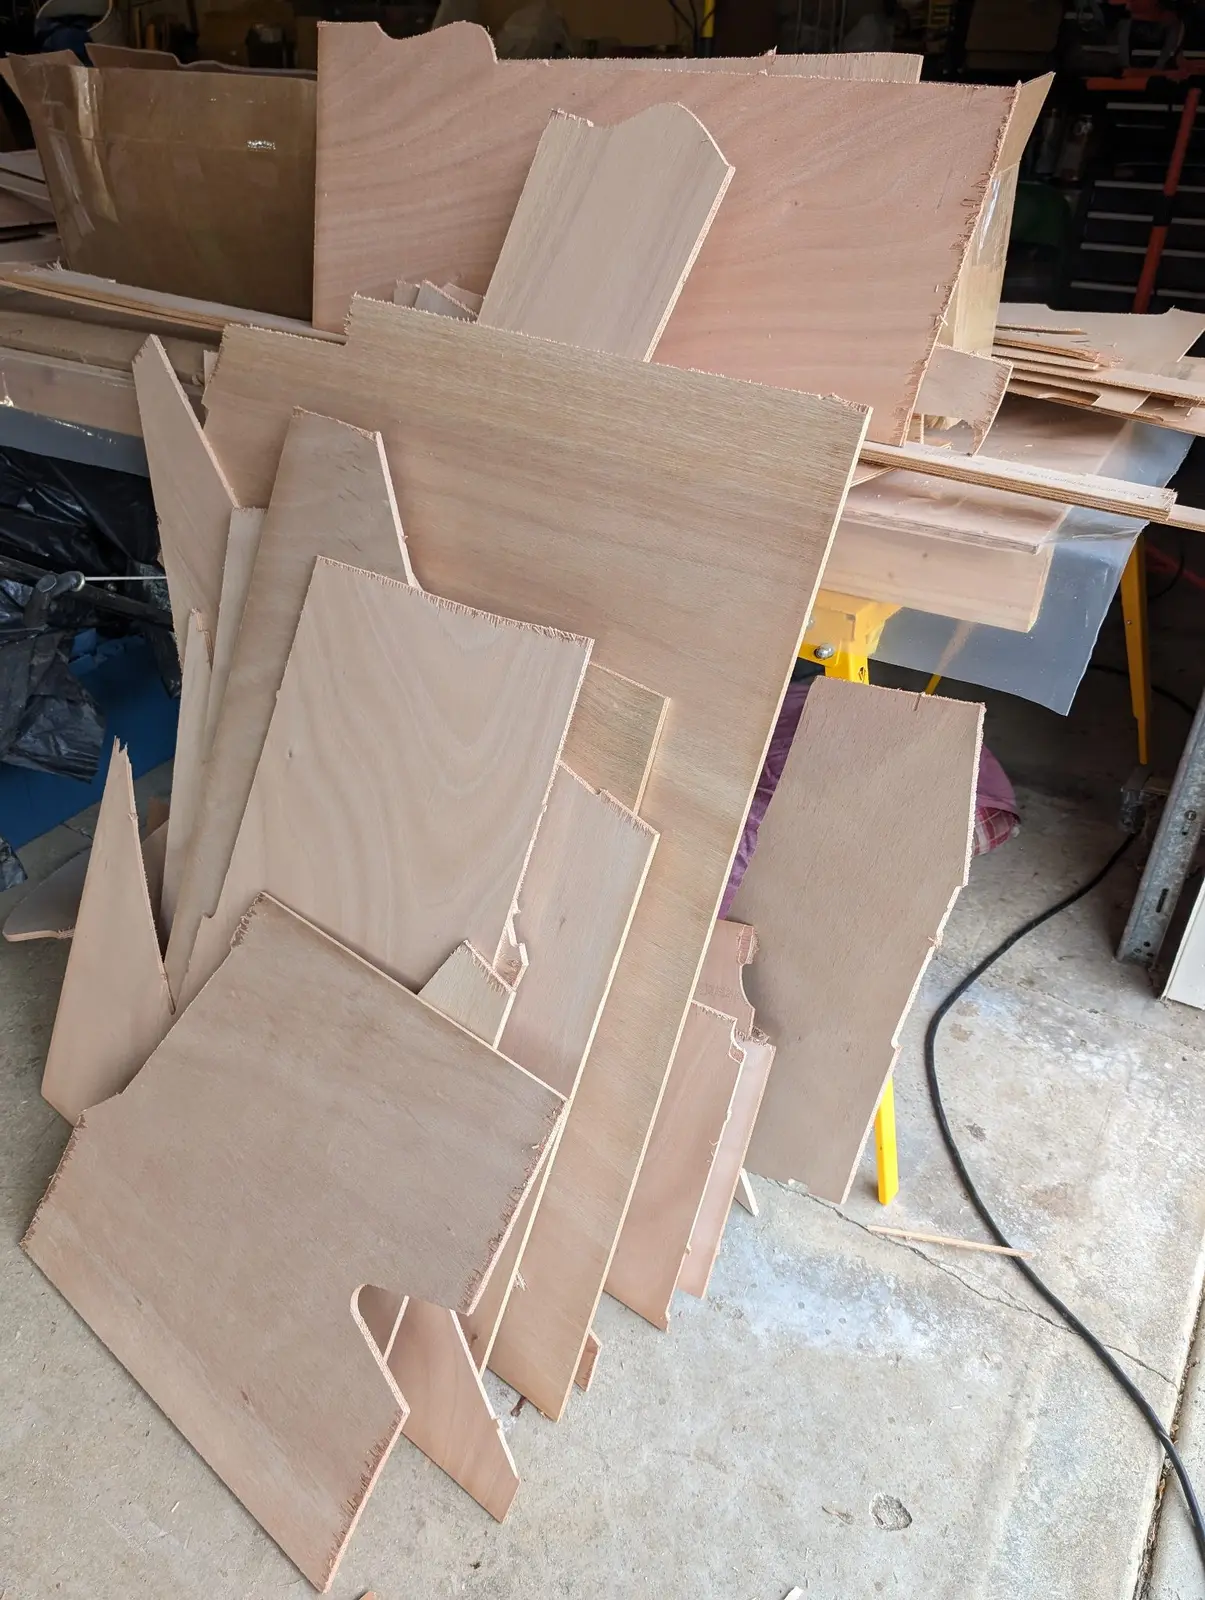
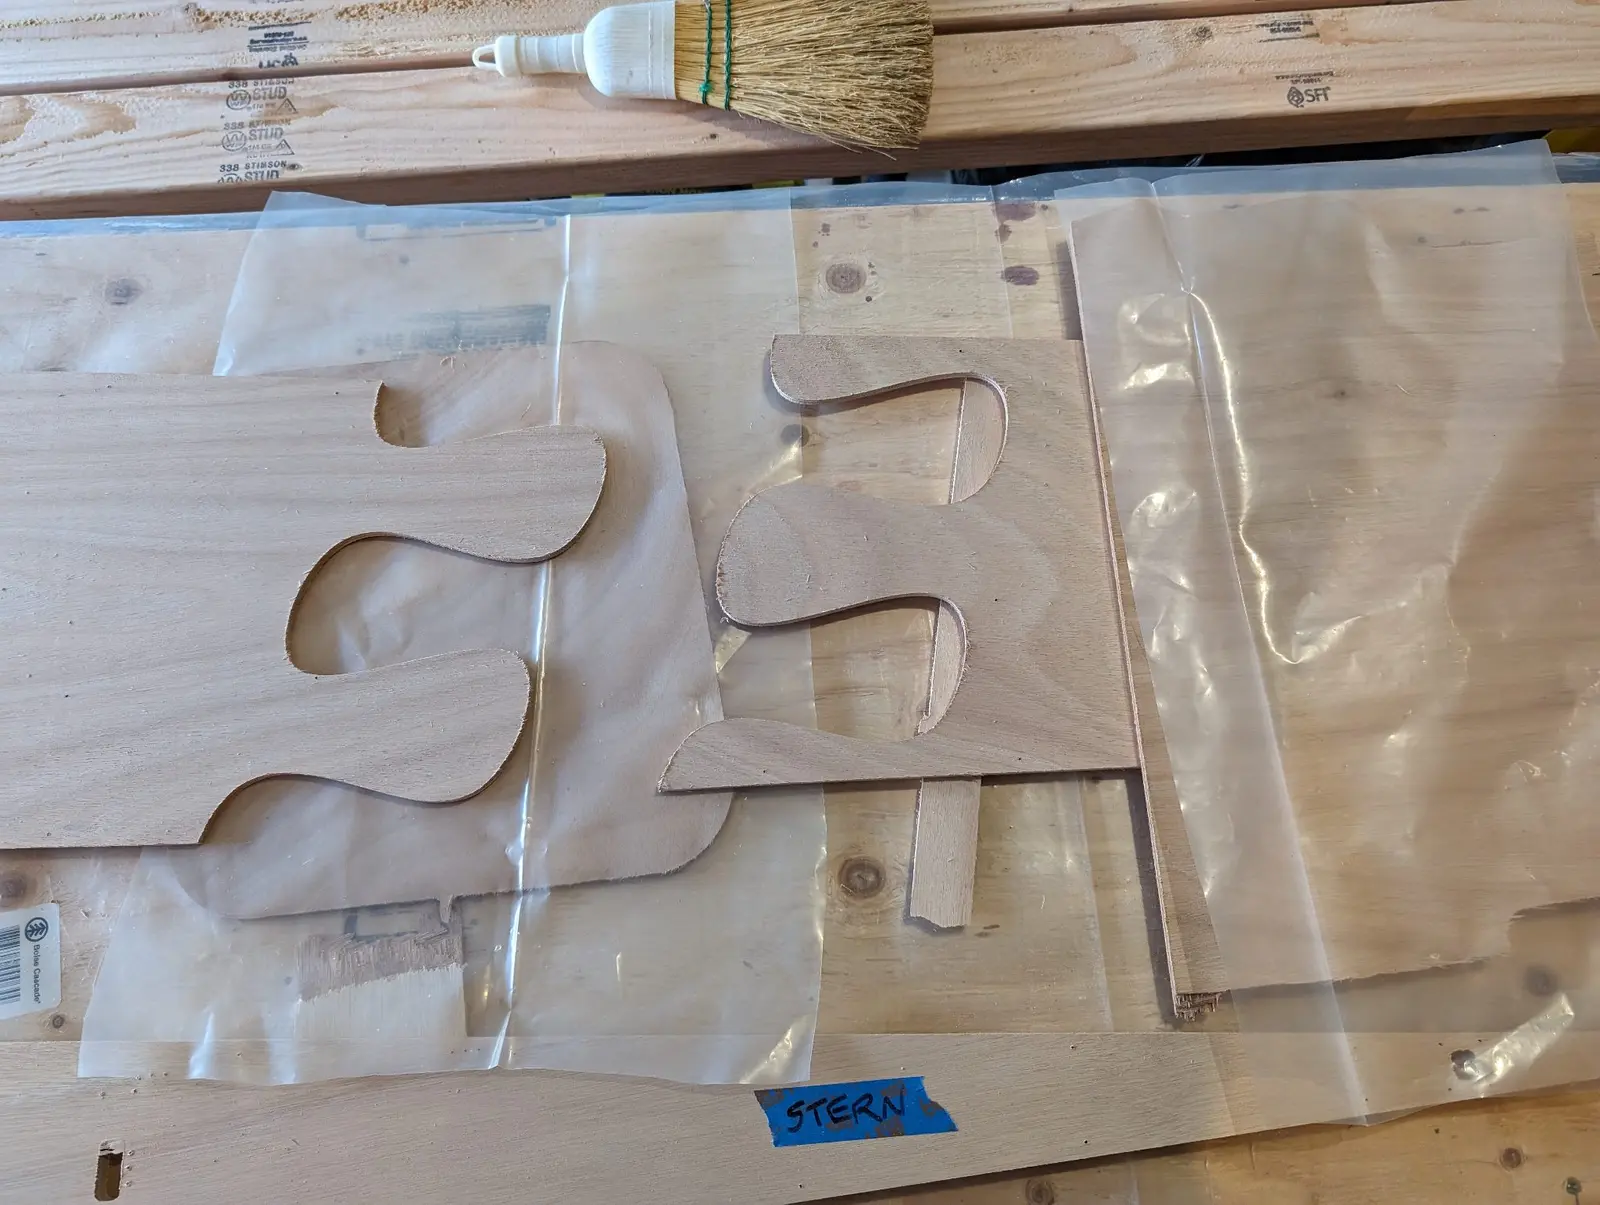
I pulled apart the pallet. The major components are all cut from about 9 full-sized sheets of Okoume marine plywood of various thicknesses. The parts have retaining tabs to hold them in the plywood. Once everything is freed from the sheets, there are some usable bits left behind. I have cut the biggest bits out of this waste and saved them. Then I organized all the parts and laid them out in some kind of order for assembly
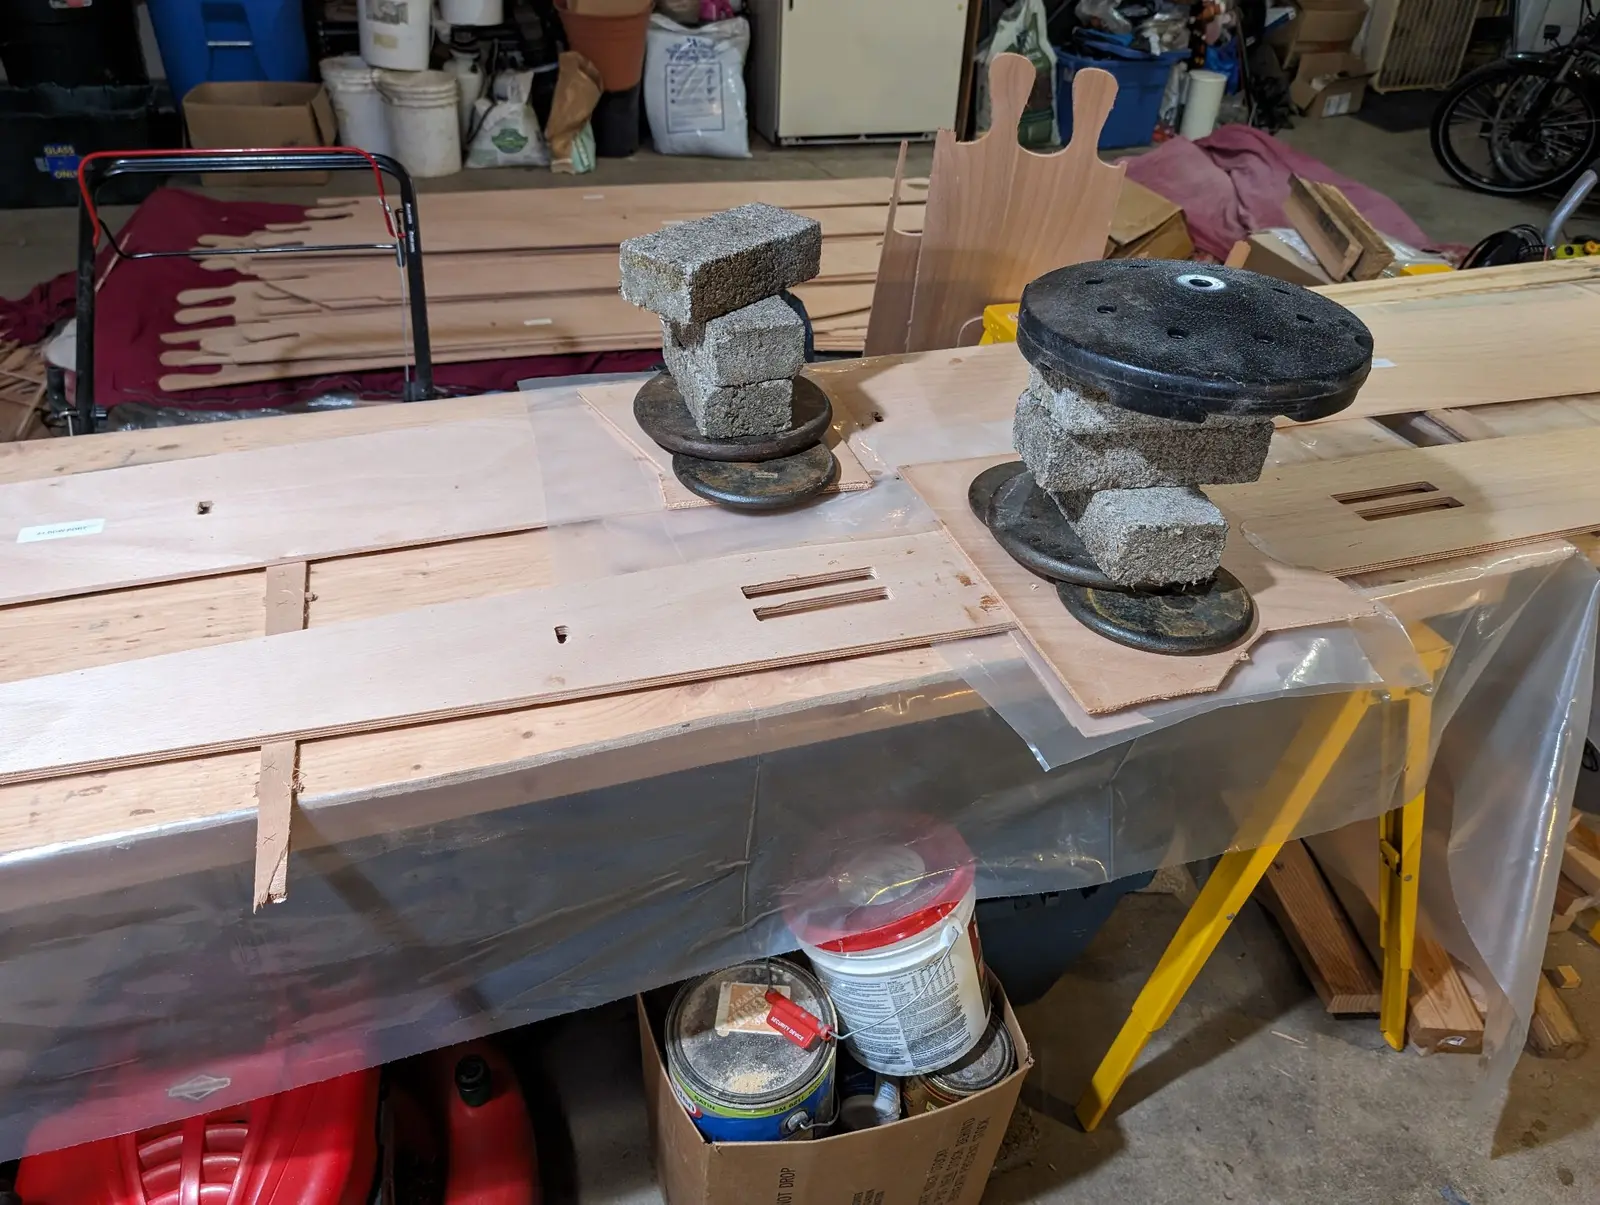
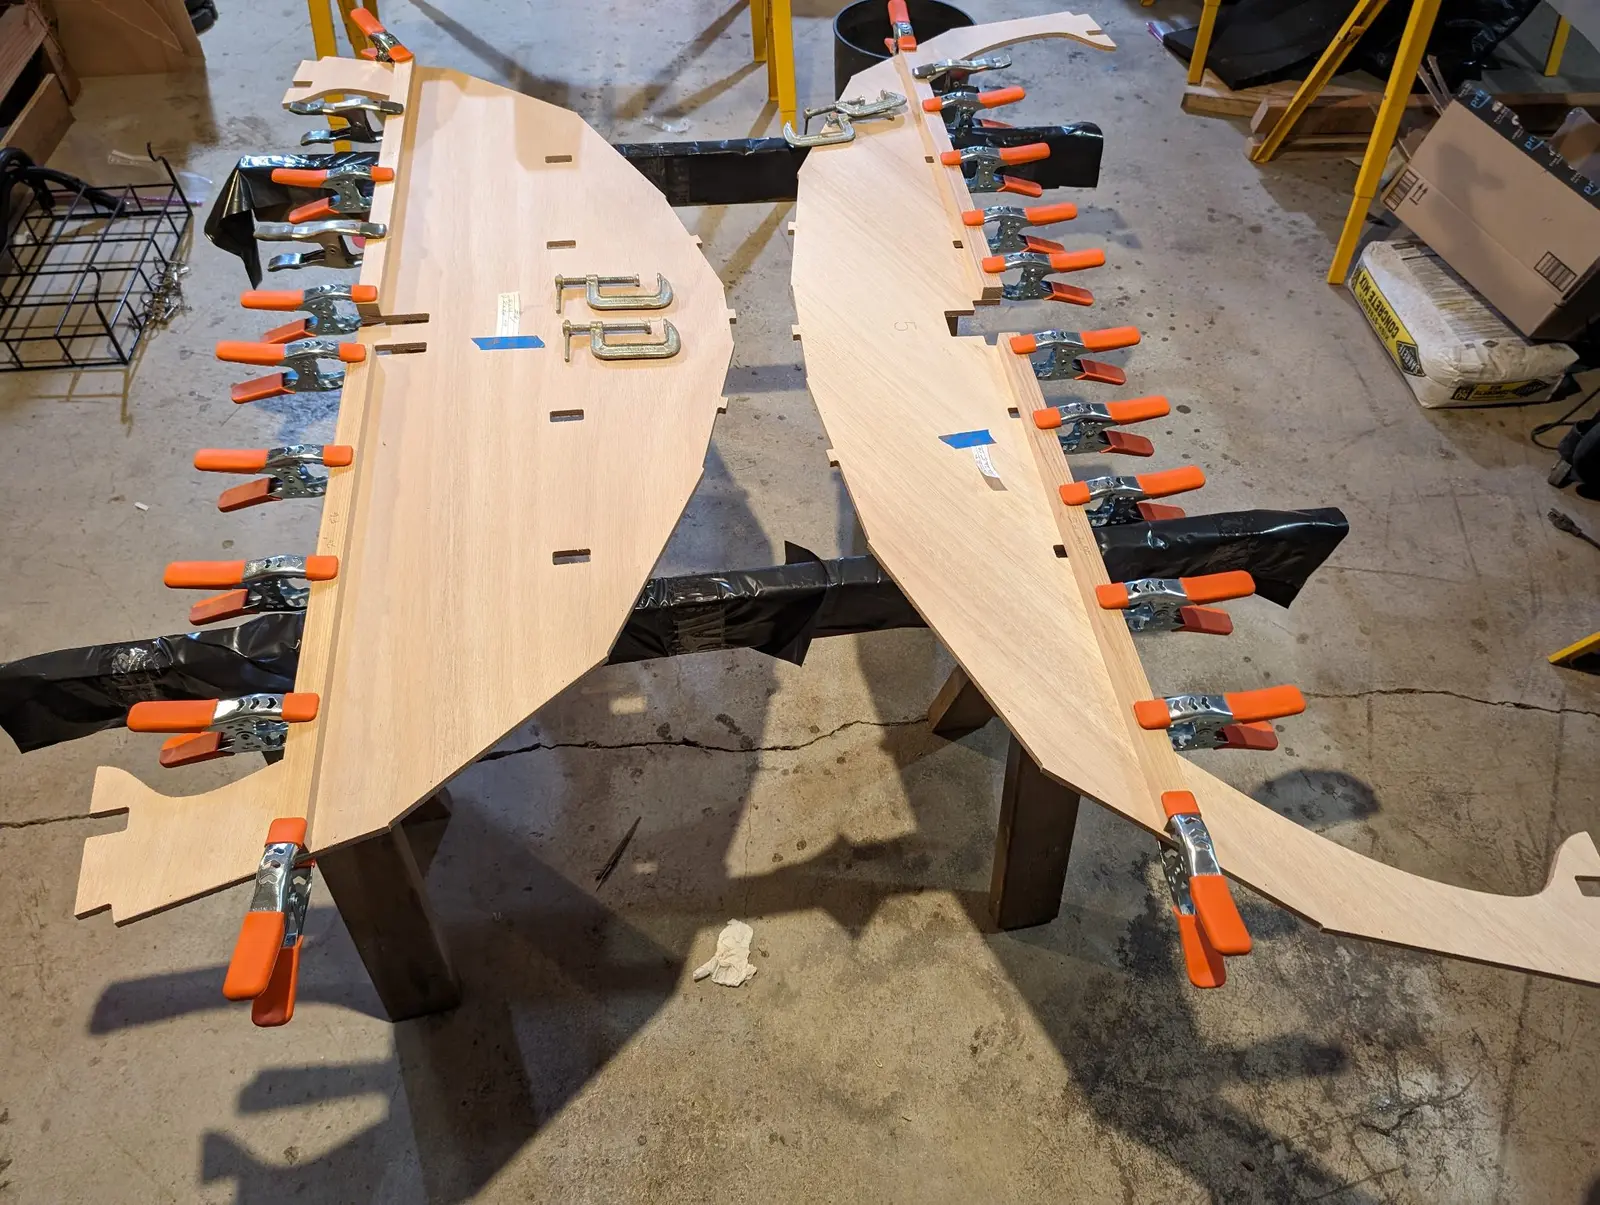
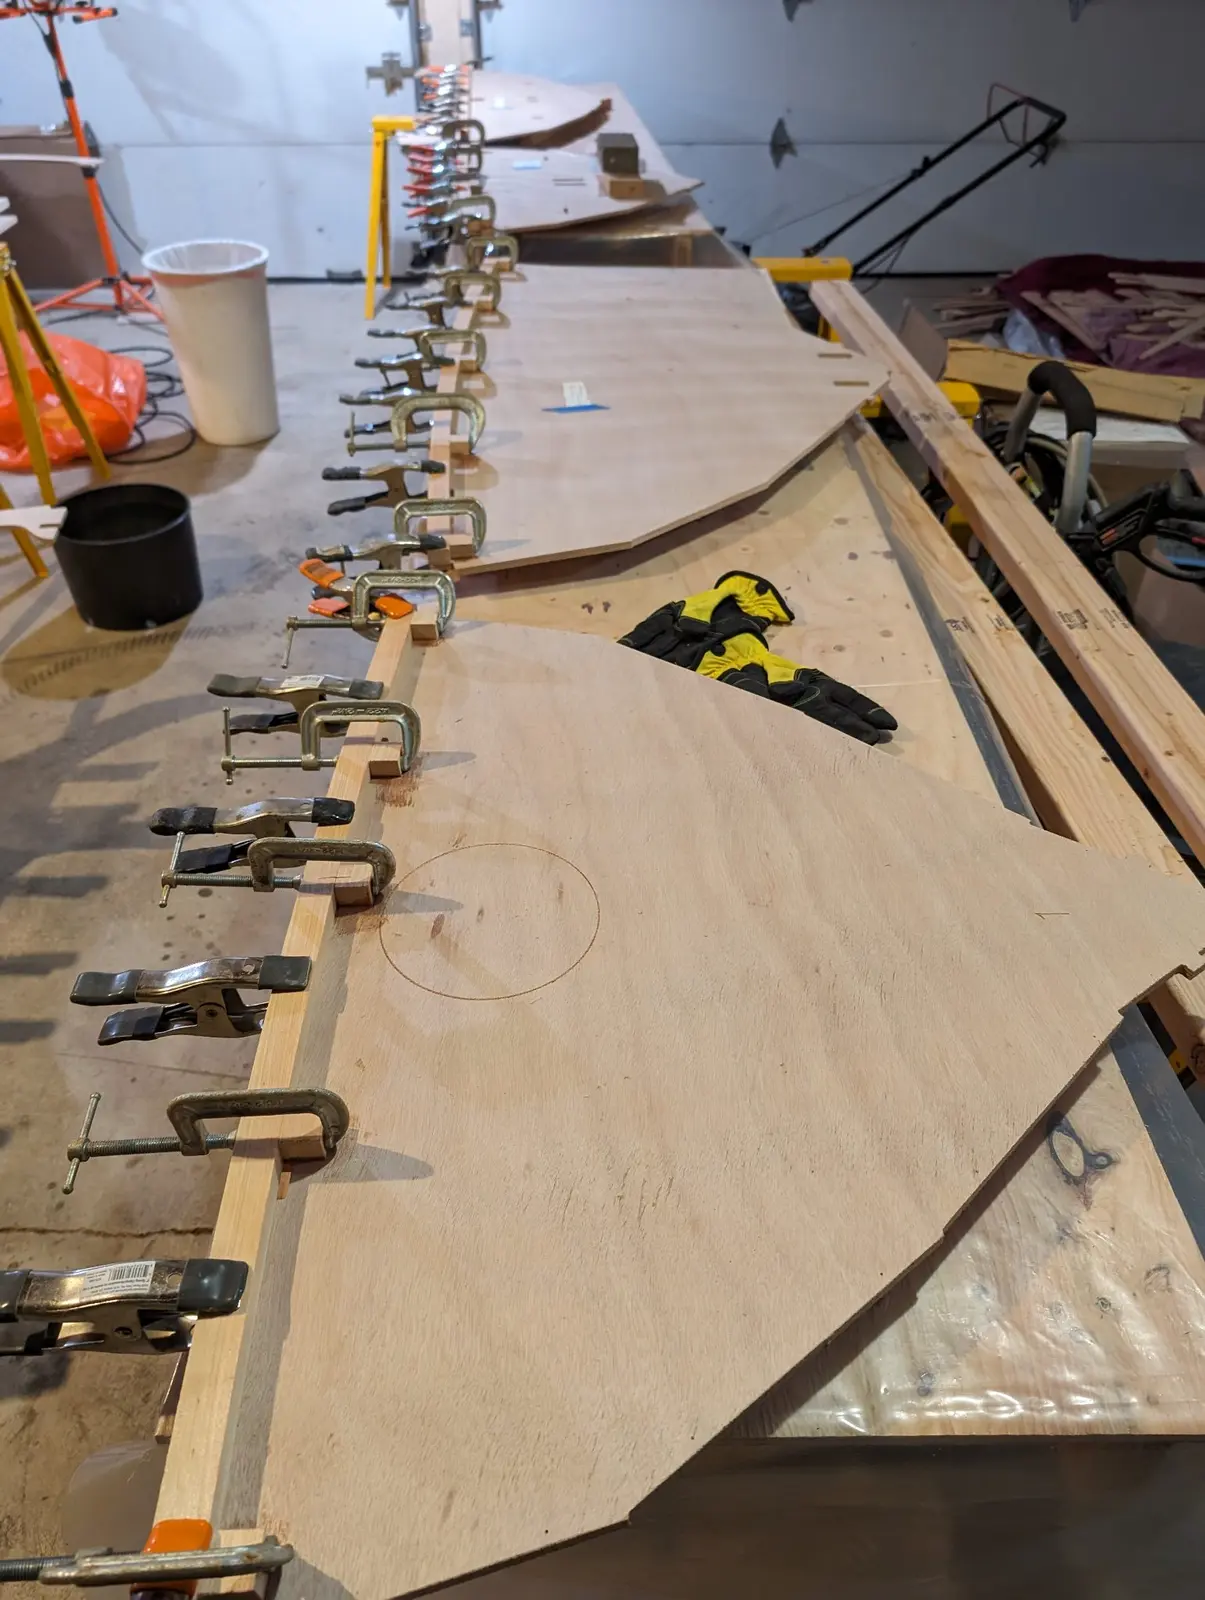
Any stitch-and-glue boat beyond 8' long requires two or more carefully shaped plywood pieces to be glued together to form one long strake. Pygmy used to use just flat butt joints. CLC uses puzzle joints, which facilitate aligning the planks lengthwise and holding them in place while the epoxy cures. Careful attention must be paid to leveling the joint so there is no vertical misalignment. Here is the number one plank being joined.
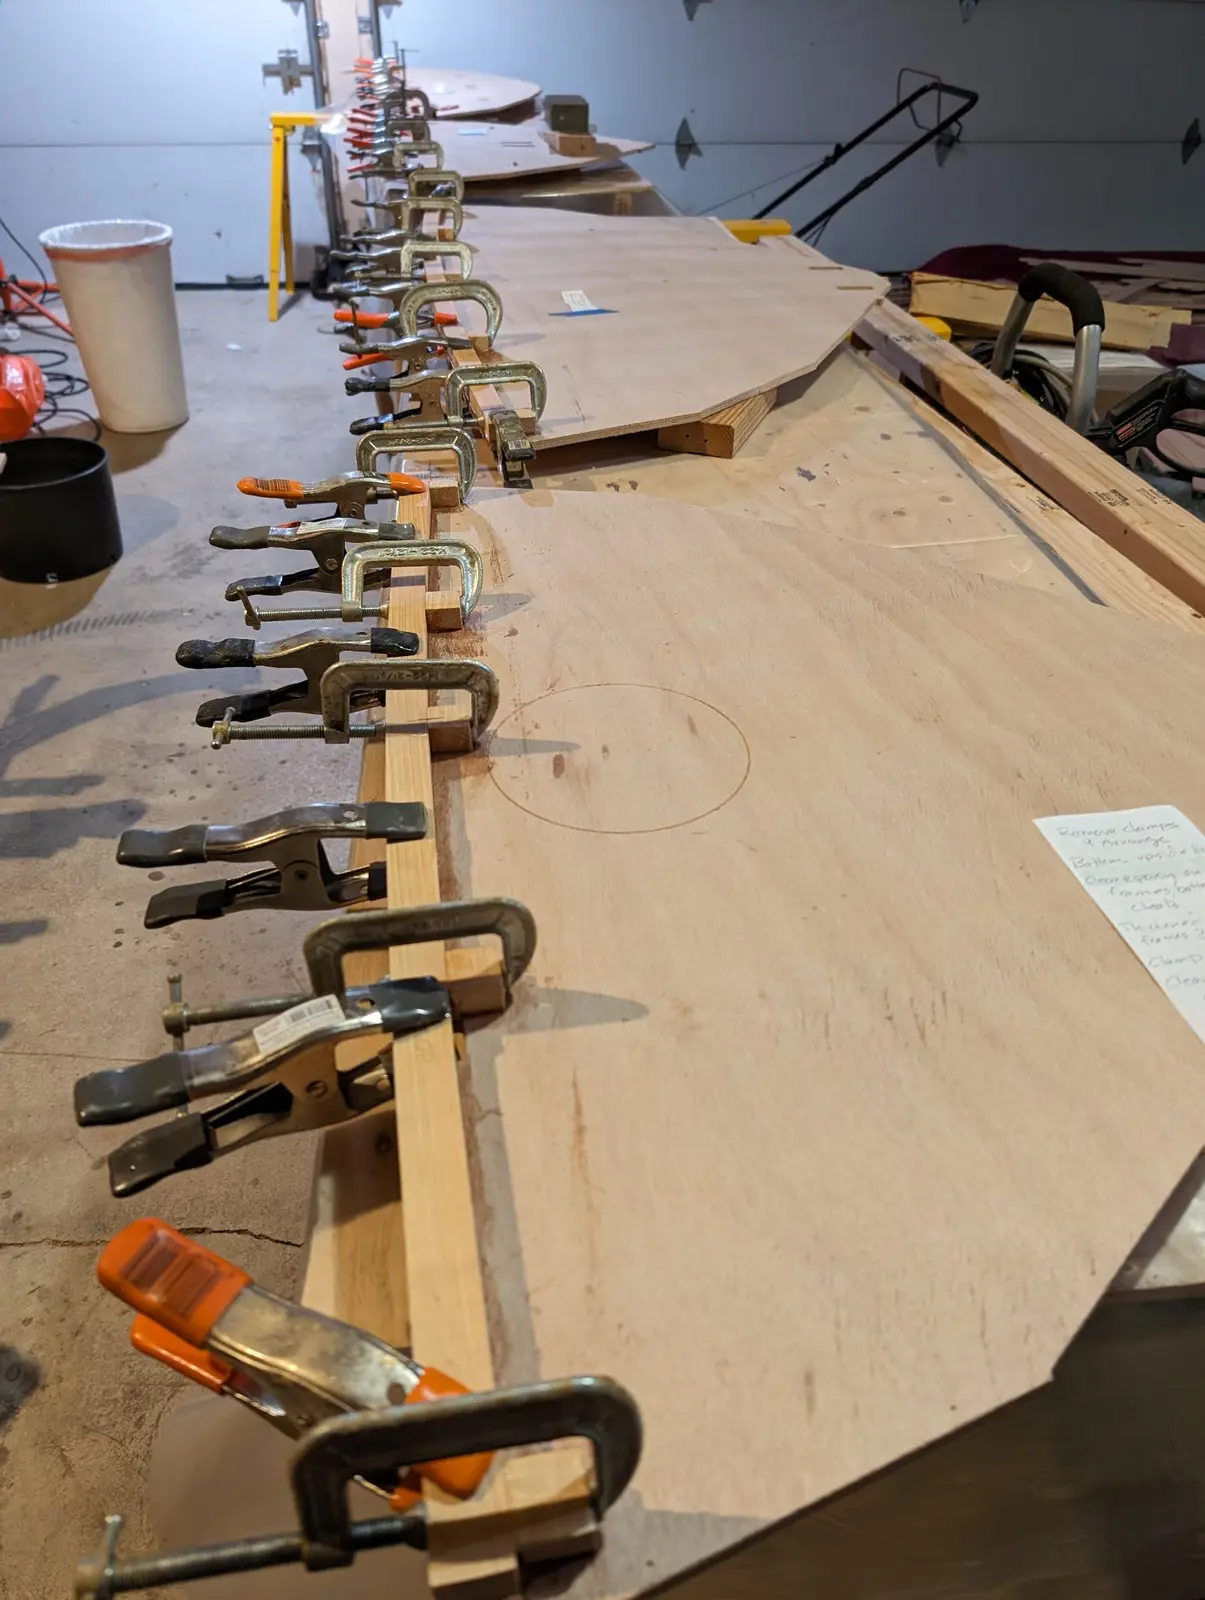
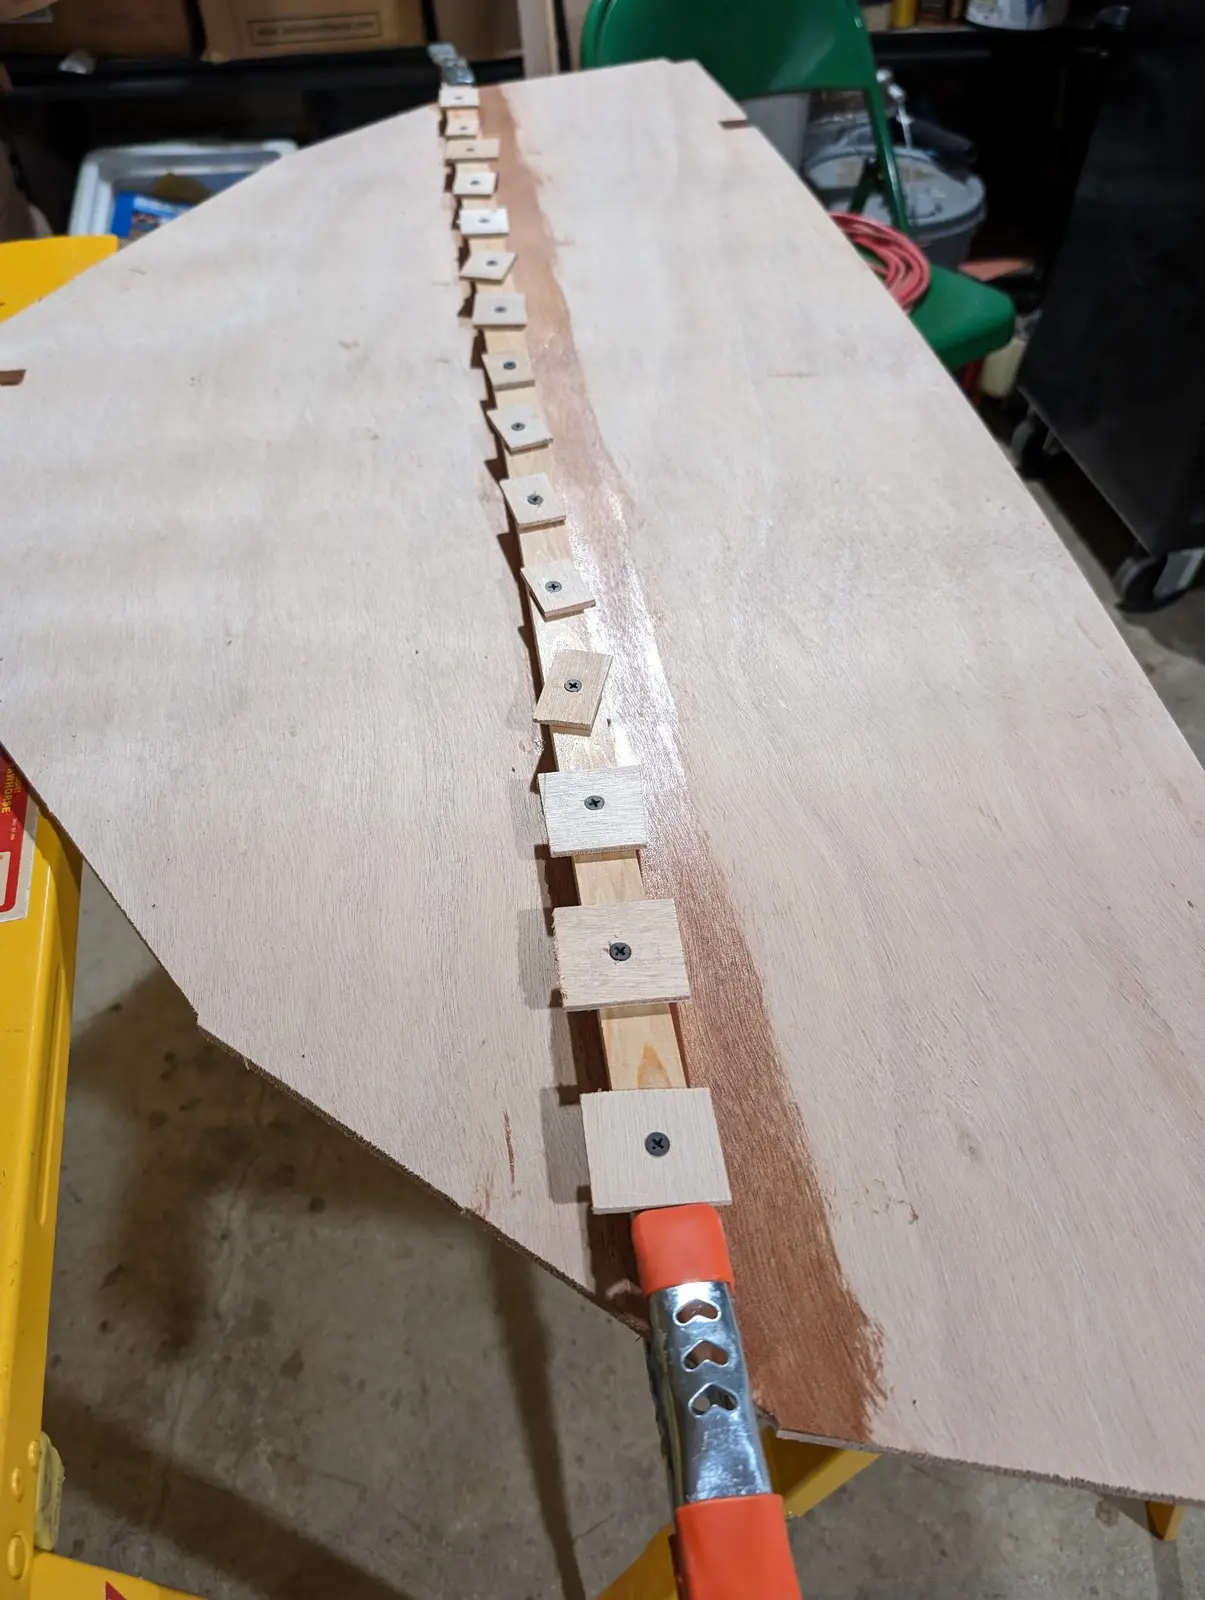
There are 7 frames in the boat. All the frames have cleats glued to them to support the decks. The main deck is cambered athwartship, so the cleats have to be bent or shaped in some way to support the cambered deck. I did this by attaching small blocks to the frames and using those to bend the cleats into shape with C-clamps. I considered gluing the cleats onto the frames without bending them, but there was enough camber that I would have planed away more than half of the cleats at their ends. Some of the cleats had to be installed in places my clamps would not reach so I just screwed them into place temporarily.
What it cost
$14,406.39
$11,492.61
Into the boat
$1,785.00
Shipping
$1,128.78
Tax
Shipping added
15.5%
on top of the goods: the cost most people forget when they price a kit boat.