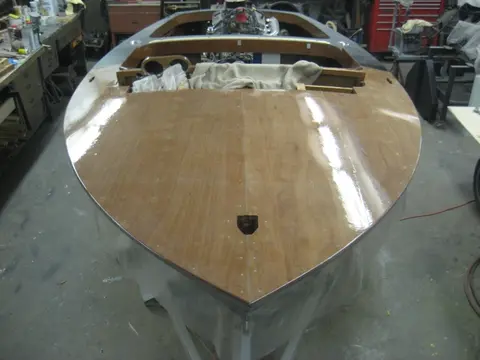
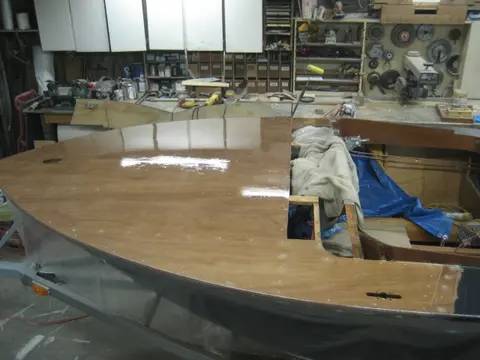
Hot Rod · step
Fairing & Sanding
The long one. Fairing compound, longboards, and the sanding nobody photographs enough.
Fairing & Sanding on every boat, not just the Hot Rod →
1. Frame and floor timber assembly completed.
2. Assembling transom.
3. Epoxy barrier coating frames #1 and #2...
4. #3 and #4...
5. #6, #7 and #8. A total of three coats was applied with wet sanding between coats to remove any amine blush from the epoxy.
6. Laminating motor stringers.
7–8. Laying out the motor stringer frame notches.
9. Cutting the motor stringer frame notches.
10. Laying out motor stringer bevel.
11. Cut completed.
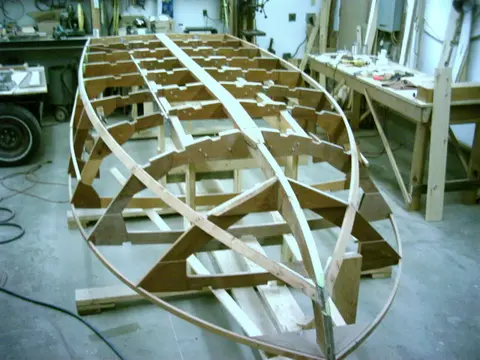
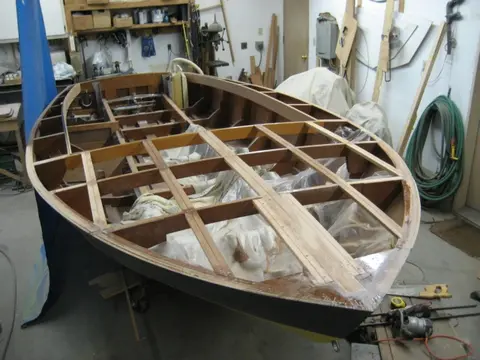
12. All frames completed.
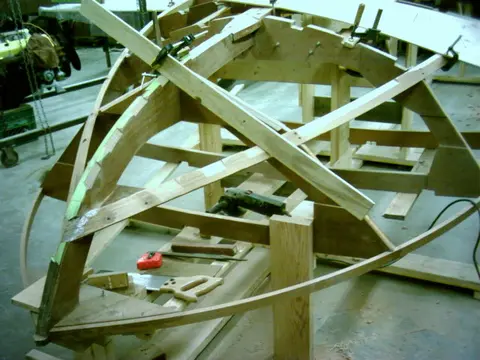
14. Since the hull is only 28" deep, the setup jig height was increased so th...
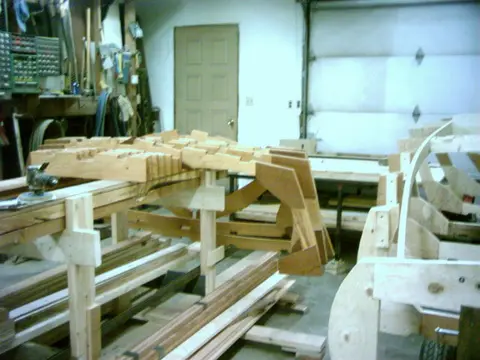
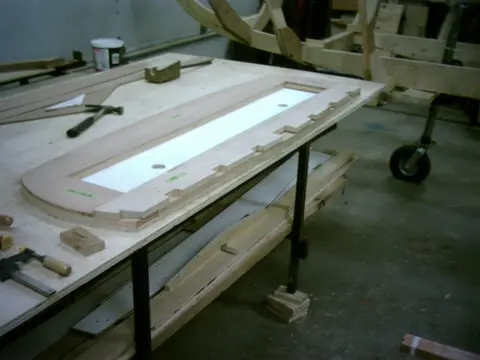
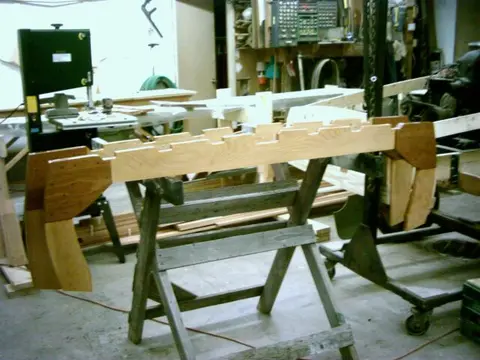
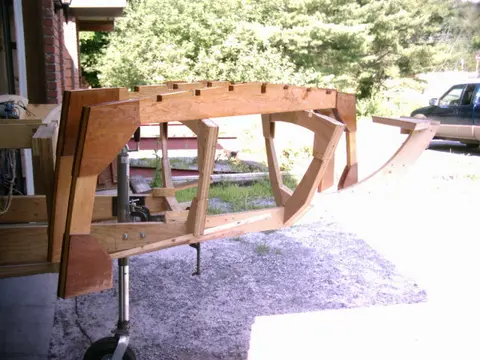
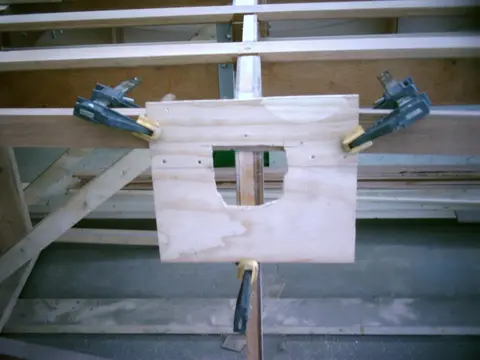
The second sheer clamp laminations are yet to be installed. Notes on fitting the chine Photo courtesy of Glen-L Marine Designs The photo above illustrates a plywood fixture we have found helpful to determine the position of the chine on the stem side. Keep in mind what has been stated in the foregoing. The bottom and side must mate to the stem and chine on a continuous surface. The chine can't be located on the stem so that the stem/chine junction cannot be faired to a flat plane. Take small pieces of plywood and simulate the side and bottom joining on the stem to help visualize what the fini...
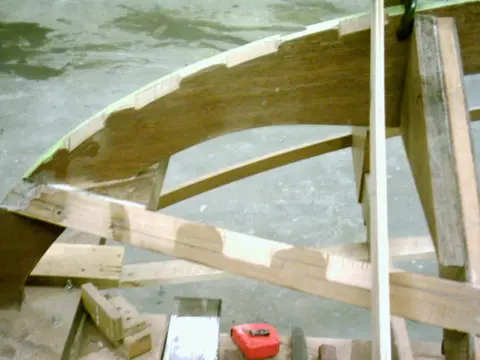
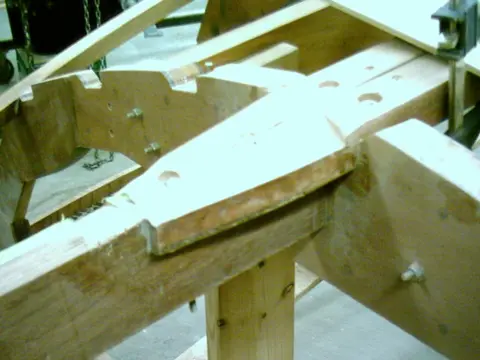
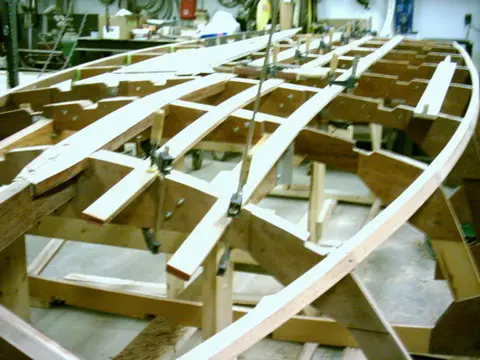
Remove the clamps and trim to size. Several methods for handling thickness variations between side and bottom planking at junctions over the chine log are depicted in the following diagram. We chose to recess the first layer of bottom plywood into the chine. See the bottom right drawing labelled Double planking forward portion recessed chine. Methods for handling thickness variations between side and bottom planking at junctions over chine log. Drawing courtesy of Glen-L Marine Designs
1. We'll be sheeting with the optional 1/2" botom in the flatter aft area and two layers of 1/4" in the...
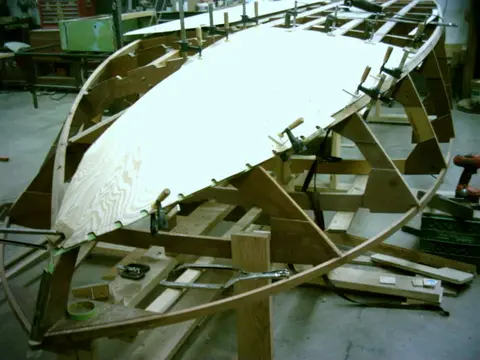
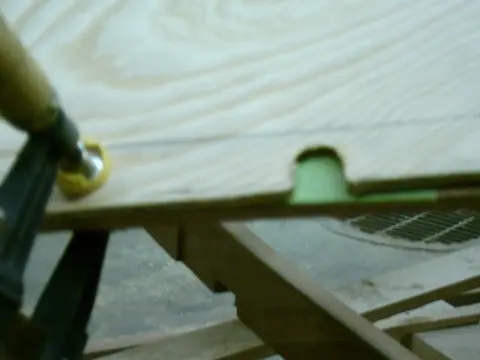
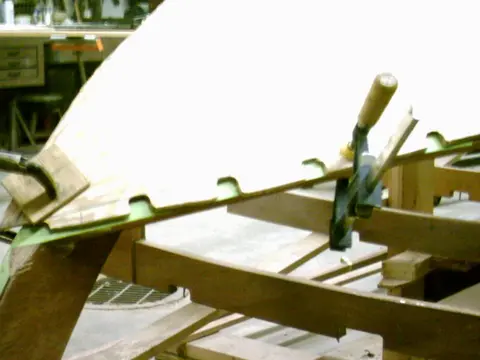
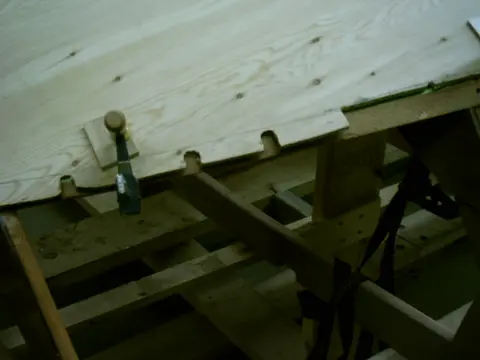
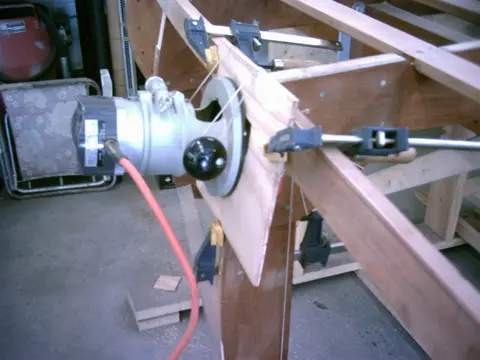
1. A quick and accurate method of fairing the frames so they'll sit 1/8" below the battens involves running a router over two strips of 1/4" plywood clamped to the battens.
2. This prevents 'hard spots' from forming on the hull where the frames contact the bottom planking.
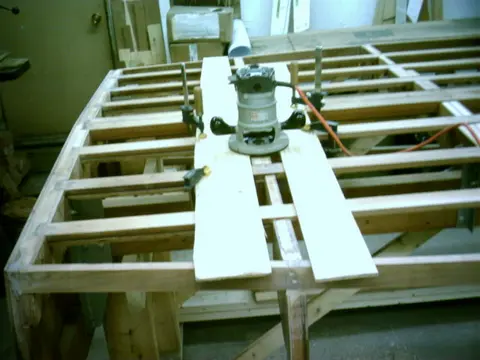
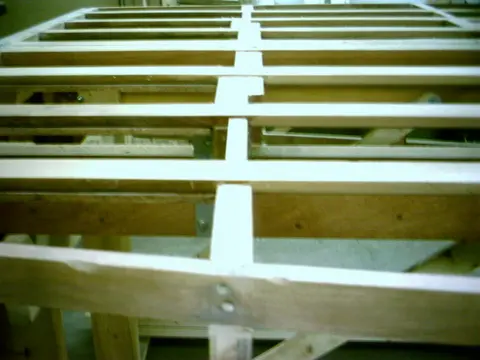
1. Sheer fairing nearing completion. To span from chine to sheer, we've welded two 30" long pieces of 1/8" by 1" flat steel bar to each side of an old jack plane. This speeds up the fairing process and is very accurate.
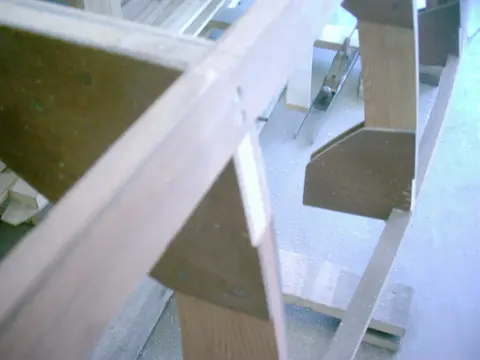
2. Chine was faired from frame # 4 to the stem.
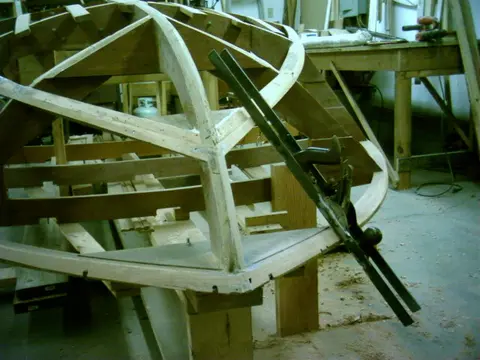
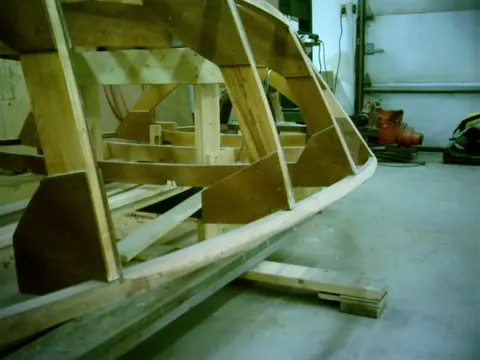
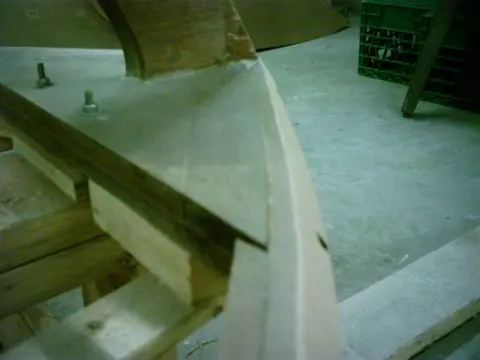
1. The frame sides must be faired so that they don't project against the plywood planking. This would cause a 'hard spot' which could cause the panel to fracture. Our trusty router jig was clamped to the side of the frame.
2. The router bit depth was set to cut 1/16" below the chine surface.
3. The operation was repeated at the sheer junction. A block plane was used to fair the remainder of the frame.
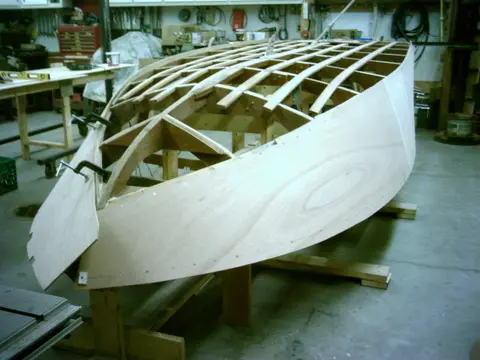
4. Starboard side planking installed. The port side is being fitted.
5. Two scarf joints fall between frames #4 and #6.
6. View from the starboard rear. The tumblehom...
Screw holes were puttied with Interlux Watertite YAV135. It's a two-part, fast drying epoxy compound for filling holes, repairing scratches in gelcoat and fairing fiberglass. It can also be used below the waterline to fill gelcoat blisters.
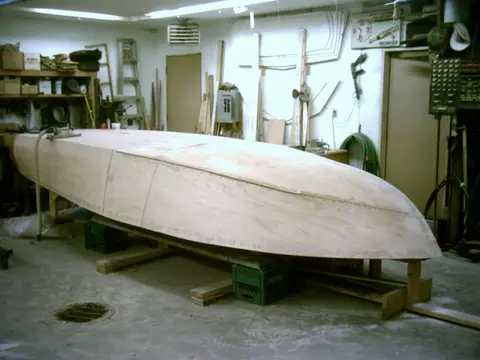
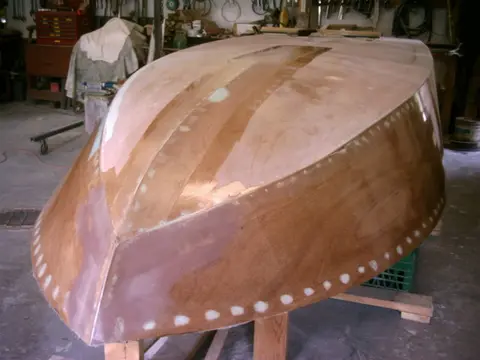
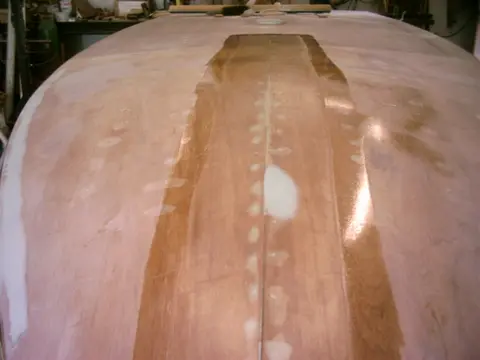
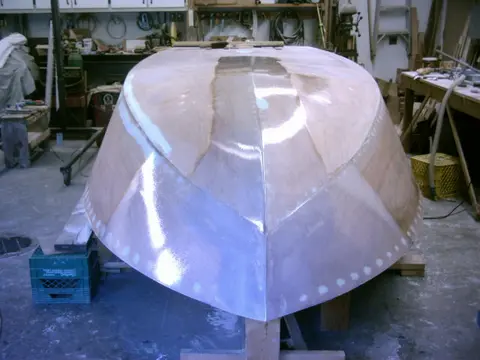
1. Took Friday off to feather the overlaps and sand the hull with 40 grit sandpaper. Straight-line and orbital air files saved a lot of time on this job. We splurged on a DeWalt commercial duty 6" variable speed orbital sander for feathering the overlaps. The hull was rinsed with water, scuffed with a 3M scotch pad and allowed to dry overnight. Three rounds of epoxy spaced about two hours apart were applied on Saturday.
2. Filling and fairing is next !
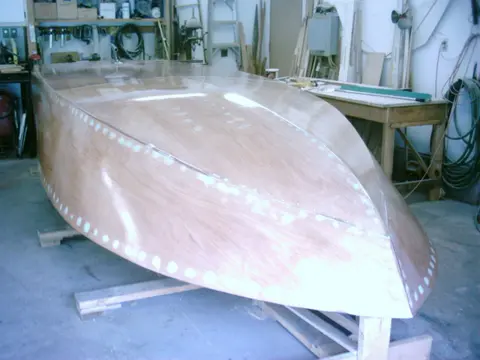
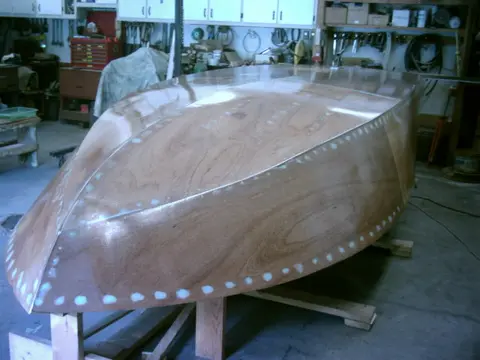
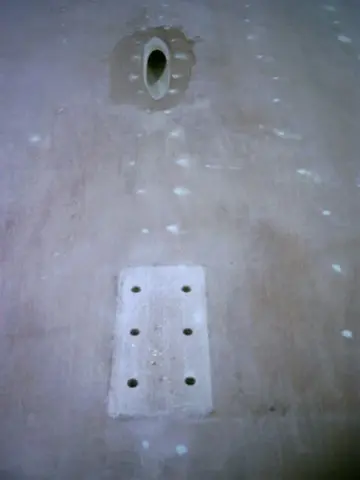
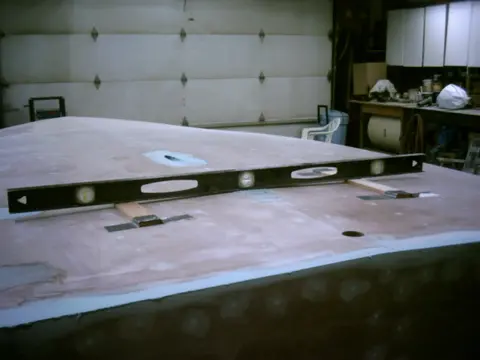
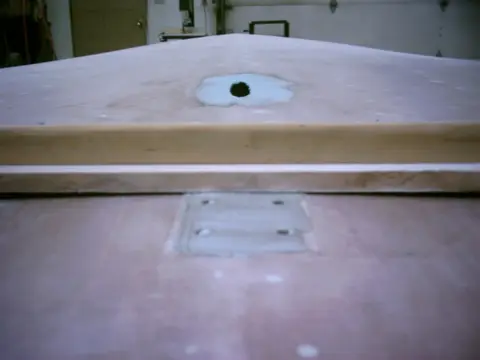
1. A strut pad was laminated from 3 layers of 1-1/2 ounce fiberglass mat. The idea is to build up the pad and grind it level so the strut can be bolted to a solid base.
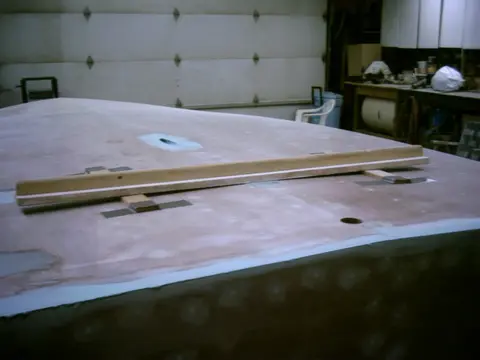
2. A 4-foot level was laid on the pad and leveled with two hardwood strips laid on the hull. Duck tape was used to hold the strips in place.
3. A 4-foot long sanding board was used to level the pad.
4. Detail shot.
1. An extra layer of cloth was applied to the keel and the bow area. If the keel is nicked or abraded, the extra lamination will take the abuse instead of the underlying layer.
2–3. Since this is a 'wear' layer, sanding will be restricted to feathering the sides.
4–5. A test batch of white pigmented epoxy was mixed and applied. It would take quite a bit of pigment or several coats of epoxy to produce a truly opaque finish.
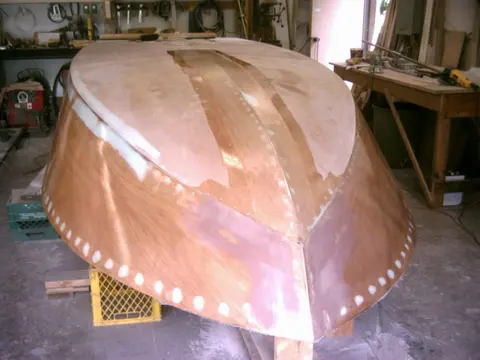
1. The breasthook was notched to a depth of 3/8". The strongback was taper-notched from 3/8" at the leading edge to 1/8" at rear.
2. The tip of the strongback is flush with the breasthook's leading edge.
3. The sheer can now be faired.
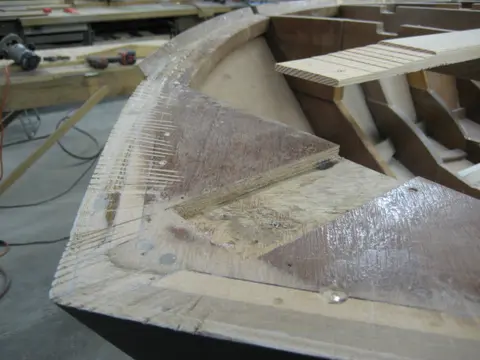
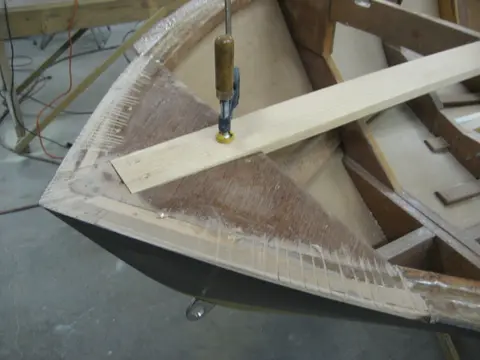
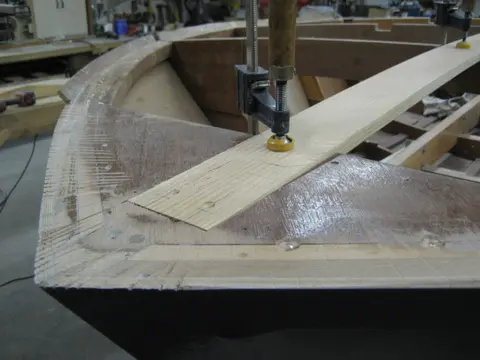
1. We'll be installing a stainless steel pop-up bow light in the strongback. This will require routing out a rather large hole which will seriously affect the member's integrity. We therefore laminated three pieces of 1/4" 5-ply marine grade plywood to the douglas fir strongback. This will retain it's curved shape.
2. Two douglas fir 1" x 2"'s were laminated to the plywood strips. A 3/8" dado was cut into the stock and the breasthook was routed to a depth of 3/8" to receive the two pieces.
3. Initial deck fairing completed. Now we'll have to lay out and cut an opening for the pop...
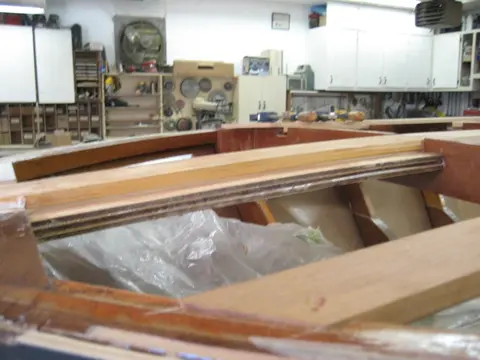
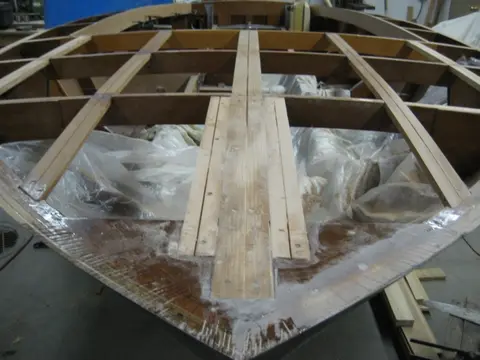
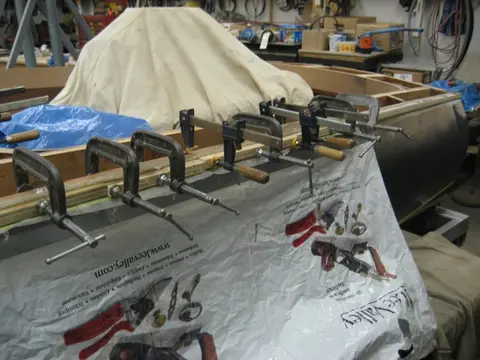
1–2. Normally the deck fiberglass would overlap the deck-sheer junction with a two or three inch overlap on the sheer. This would entail refairing a two or three inch wide strip of fiberglass along the complete length of the sheer. This is a lot of extra work ! We've laminated two 3/4" wide strips of 2 ounce fiberglass matt to the sheer to form a 'shoebox' flange to which the deck fiberglass will be draped over. Total area to be sanded is reduced to a 3/4" wide strip along the sheer. The flange is wide enough to receive a stainless steel rub rail.
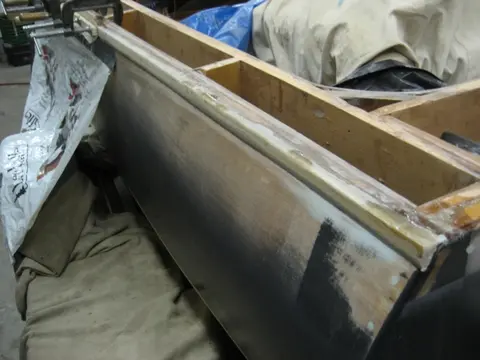
Fits like a glove !
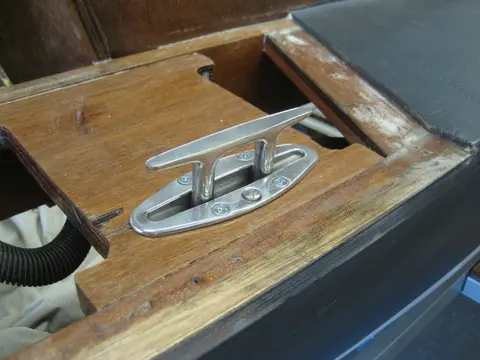
1. Blocking for the pop-up deck cleats was made from 3/4" marine grade plywood.
2. The cleat pops up when you hit the release button.
3. To restore some of the deck batten thickness we removed while fairing, we laminated a strip of 1/4" marine grade plywood to the underside of several battens.
4. The battens will be encapsulated before applying the plywood deck.
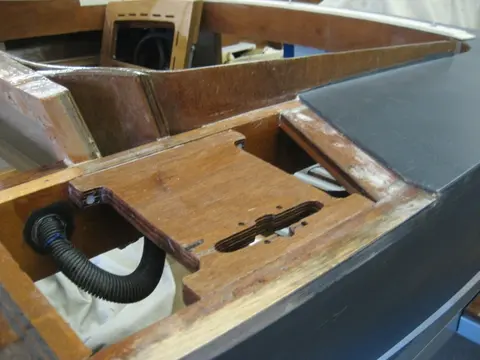
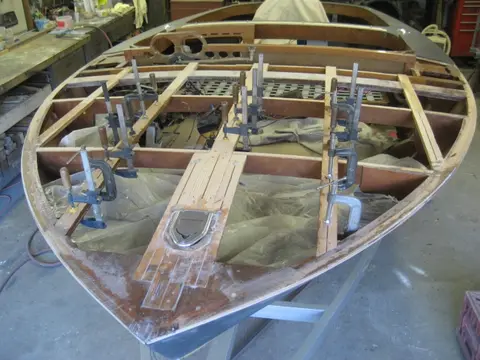
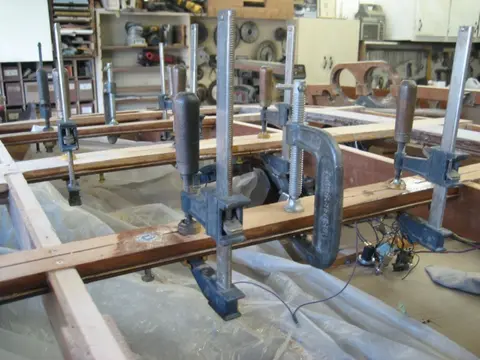
The port deck was buttoned down. We're ready for some fairing along the sheer and fiberglass.
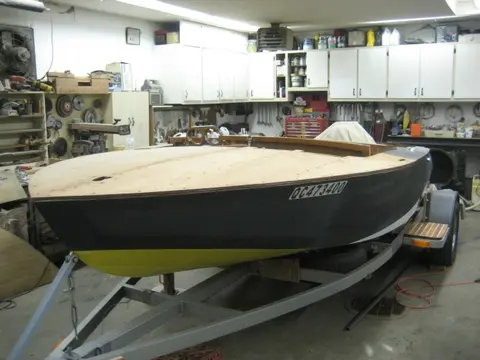
Fill coat # 2 : The second fill coat was applied at 1 AM. Another late night !
1. Fill coat # 1: We blocked out the seams with coarse sandpaper and airfiled the surface with 80 grit sandpaper. The first round of West System 105 Resin catalyzed with 206 Medium Hardener was applied at 7 PM.
2. We'll let it cure for a day or two before doing some fairing.