Hot Rod · step
Trailer & Gear
Trailer build or rework, cradles, covers, launching gear.
Trailer & Gear on every boat, not just the Hot Rod →
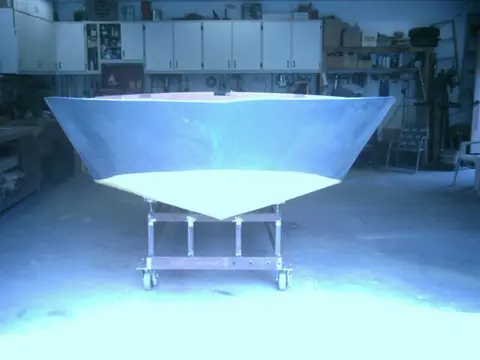
1. Vision is fully restored now. No excuses for wavering on the cutout lines !! Frame #7 completed.
2. A quick trailer was built to bolt to the motor stringers. Now for the stem and frame #8...
3. Chevy small block anyone ?? It's at this stage of the project where you (and everyone else) begin to doubt your sanity.
4. A quick set of temporary motor mounts was developed to provide up/down and side to side adjustment.
5. The beginnings of a motor plate to anchor the front of the motor.
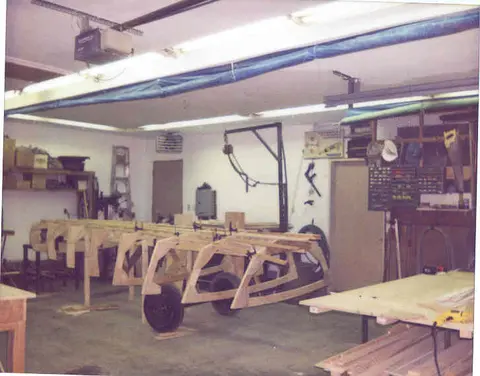
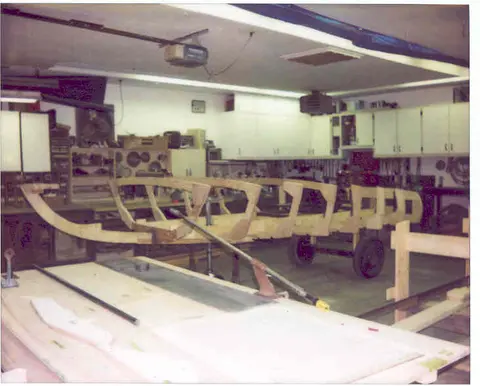
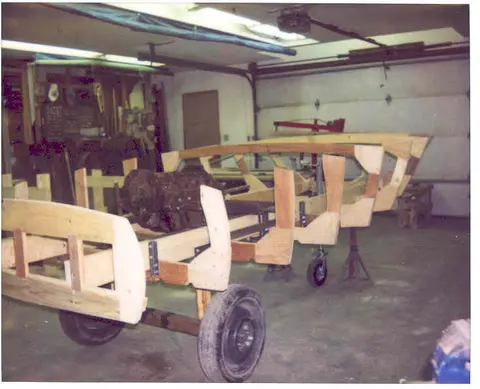
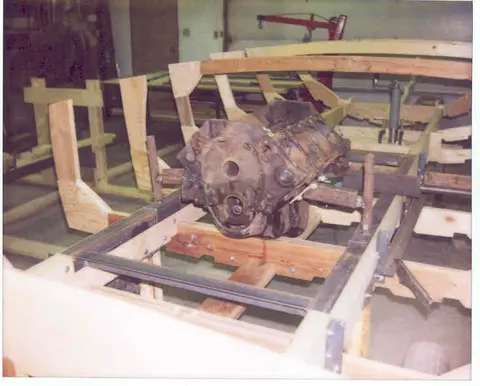
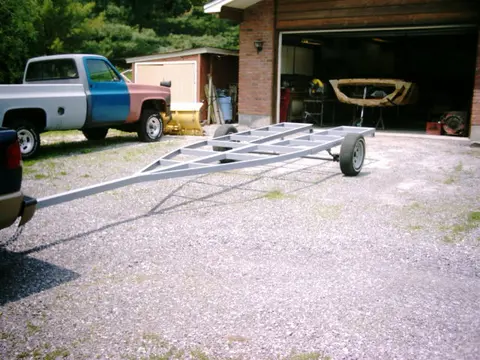
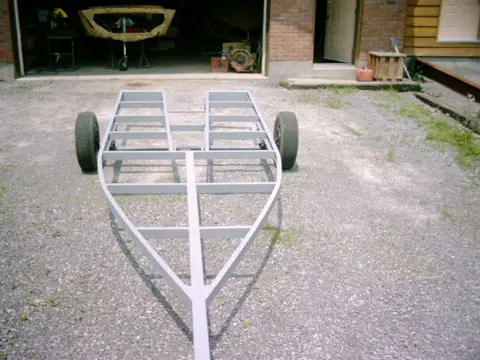
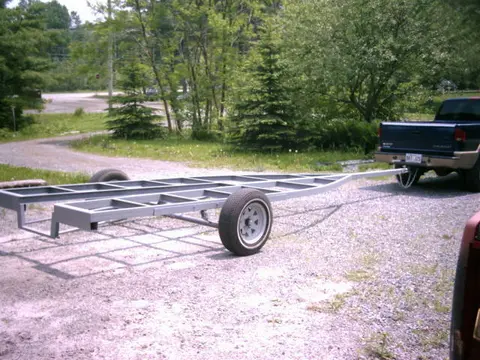
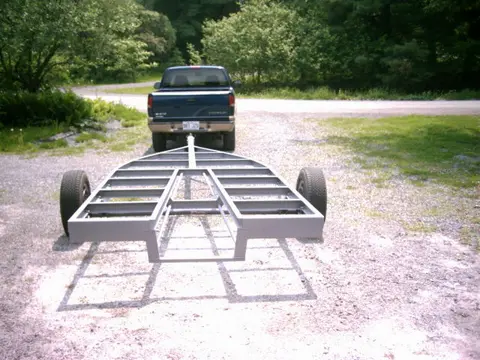
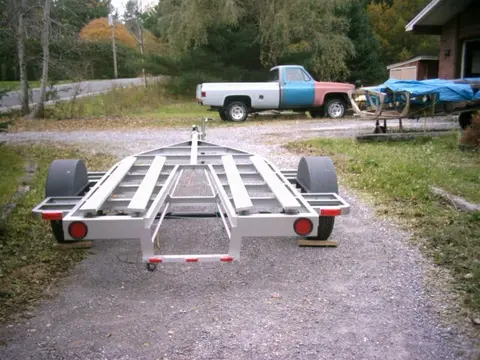
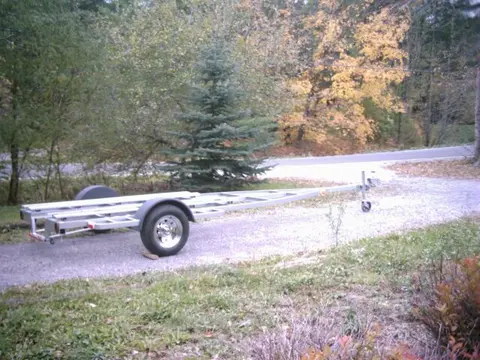
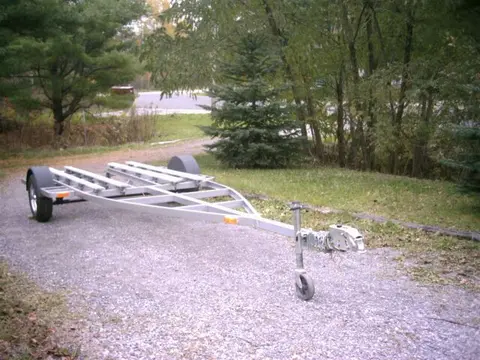
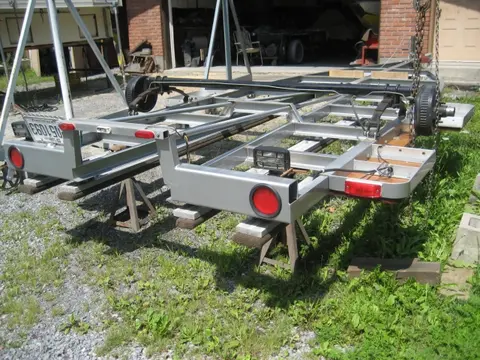
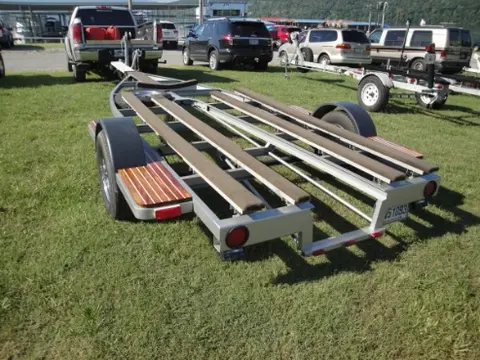
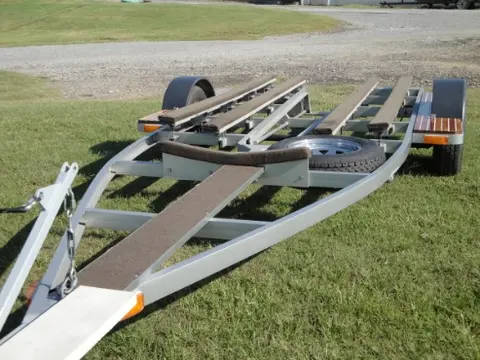
We'll be building the Glen-L 2100 series inboard boat trailer using a single 3500 lb. capacity 4" drop axle equipped with hydraulic brakes. A pair of 14" 4-hole Dodge rims were sandblasted, primed, and pressed into service as 'roller' wheels.
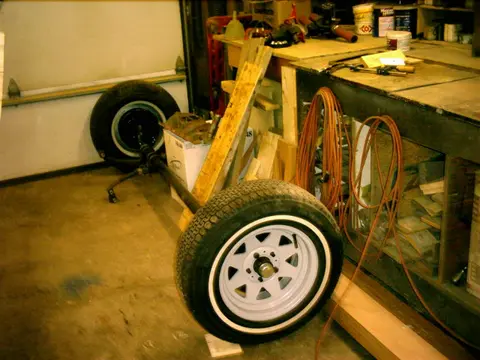
1. Since we were running short on time, the trailer was built by a welding shop in Merickville, Ontario. I asked them to fabricate the bare-bones trailer so I could finish the winch stand, brakes, fenders, bunks and wiring myself.
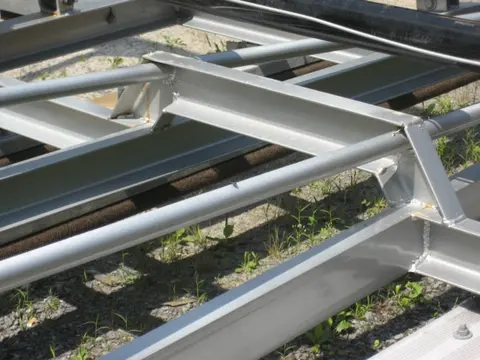
2. The craftsmanship is readily visible: nice welds, clean joints, gently bowed side rails and lots of little details add up to an excellent job. We increased the tongue length by 3' and substituted a piece of heavy duty 3" square tube for the 3" C-channel called for in the plan.
3. We increased the rear crossmember to 2" x 6" rectangular tube. This bee...
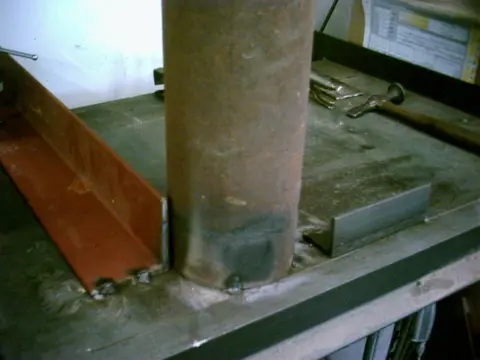
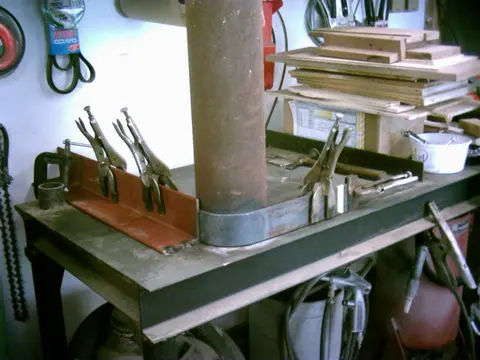
1. A jig was set up on the welding table to bend the stock required for the fender steps.
2. 2-1/2" x 3/16" flat bar was heated and bent around the jig.
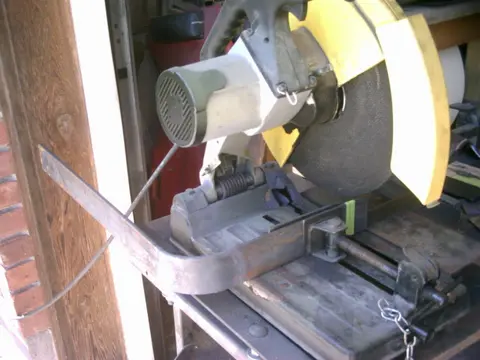
3. The stock was cut to length on the chop saw.
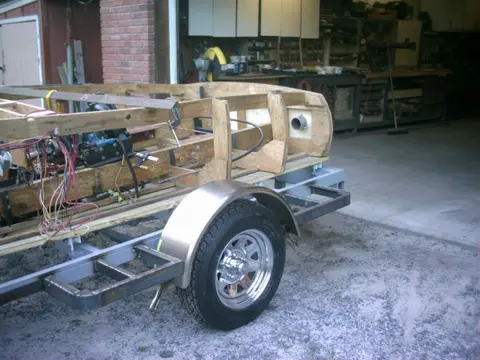
4. We mocked up the fenders to the fender steps and loaded up the mockup to check for fit.
5. If you click on the picture to enlarge it, you'll see how well the bunk beds conform to the hull.
8–9. Chrome 8-spoke rims shod with ST205/75R15 rubber finish off the package.
10. The trailer wiring was completed with 4" LED stop/turn/tail lamps.
1. The trailer wiring was completed with 4" LED stop/turn/tail lamps.
2. Sealed red clearance lights were mounted to the fender steps.
3. Sealed yellow clearance lights were mounted at the tongue/side rail junction and on the fender steps.
4–5. An ID light strip was fabricated using a length of 1" aluminum square tube. Three 3/4" x 3" red clearance lights were mounted to the tube which was then bolted to the trailer. A two prong plug will connect to the wiring harness and permit quick and easy removal of the light bar.
6. An inner fender skirt was fabricated from 16 gau...
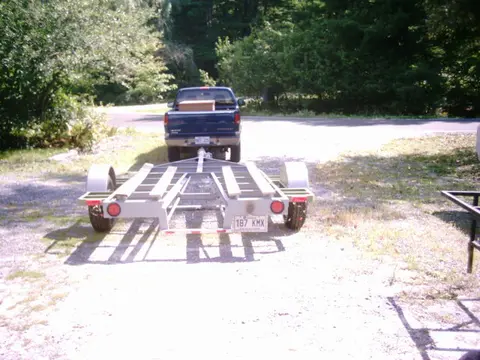
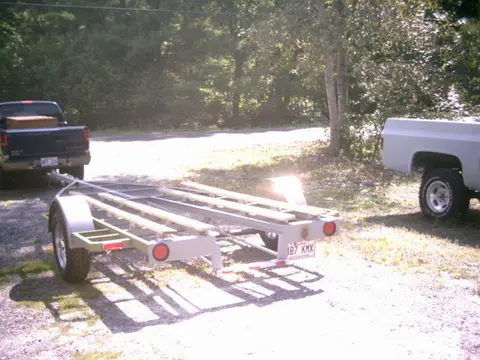
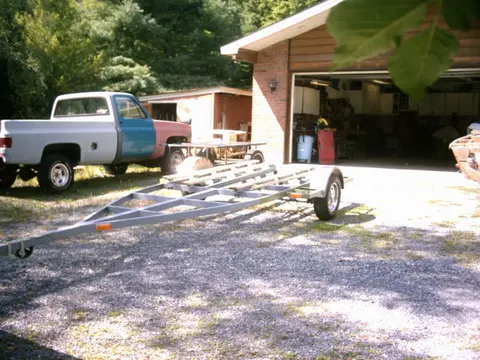
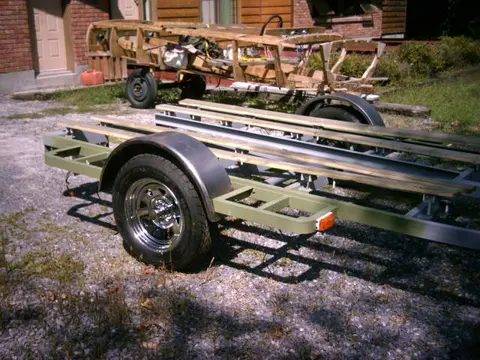
1. The trailer was disassembled and body filler was used to smooth out the frame rails.
2. A self-etching primer and a urethane primer-surfacer were sprayed on the worked-over areas.
3. The primer was block-sanded and prepped for paint.
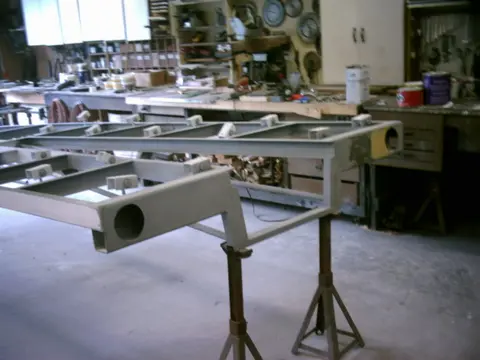
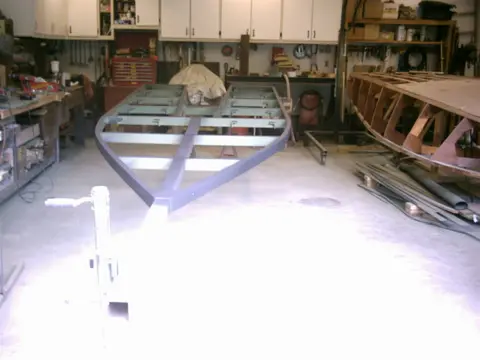
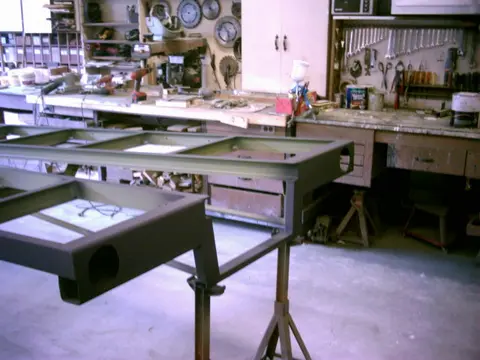
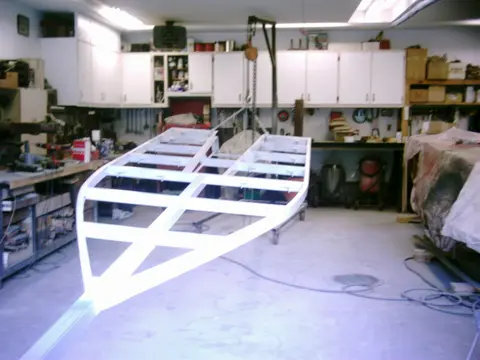
1. To provide a solid base color for the metallic silver to follow, a full round of Imron white urethane was applied. Two rounds of Imron metallic silver were applied once the white had flashed off.
2. With the main body of the trailer completed, it's time to finish up the inner fenders.
3. The seam was brazed with an oxy-acetelyne torch and ground smooth.
4. Body filler was applied to the inner fenders and air-filed smooth.
5. Fenders get a prime coat of Dupont DTM urethane etching primer.
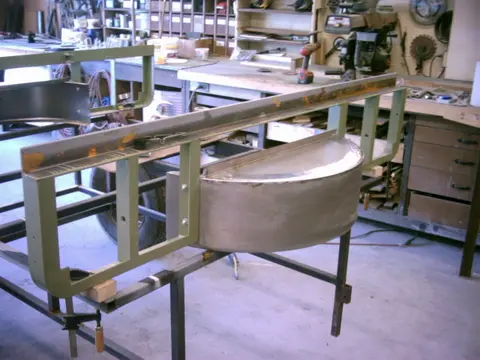
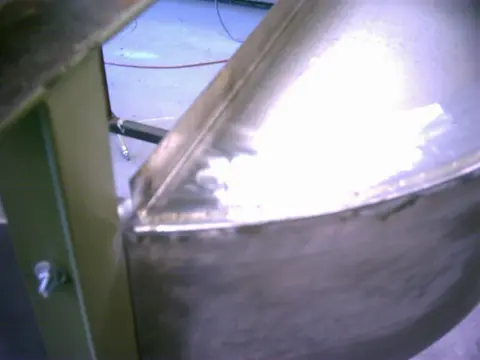
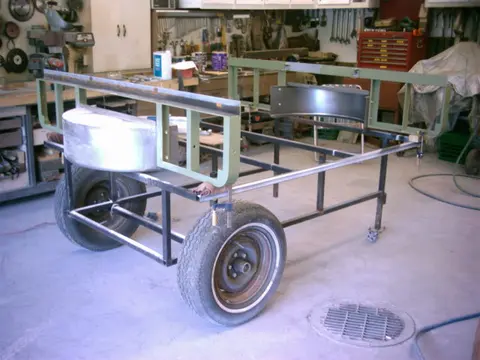
1. Fenders get a prime coat of Dupont DTM urethane etching primer.
2–3. Primed fender steps.
4. A white base coat is applied to kick up the topcoat color. Several rounds of Imron metallic silver complete the job.
5. We detailed the bunk supports as well.
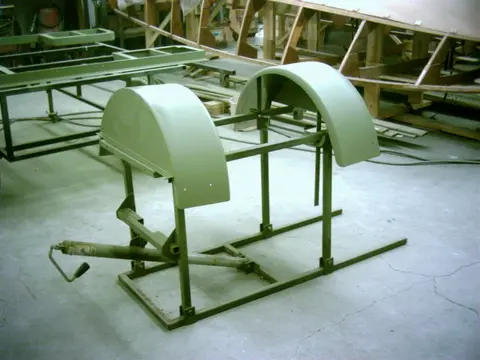
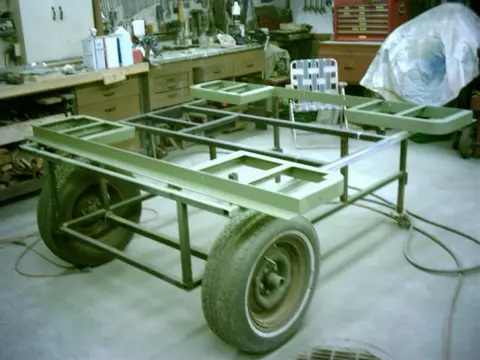
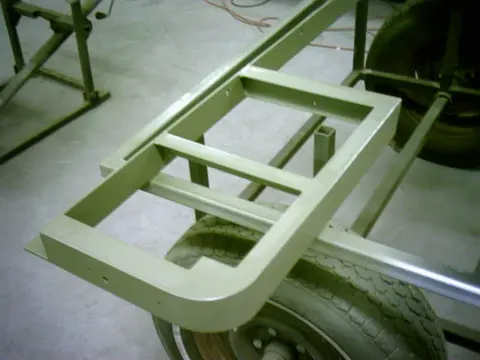
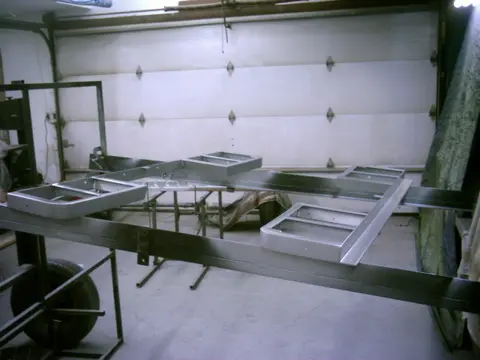
1–2. Here's the finished product. The fenders and tongue will be painted at a later date since they'll likely get scratched up when the topside of the boat is being finished.
3–4. For added safety, boat/trailer packages exceeding 2000 pounds require electric or hydraulic brakes. The hydraulic unit shown is equipped with a reverse lock pin to prevent brake actuation when backing up the trailer.
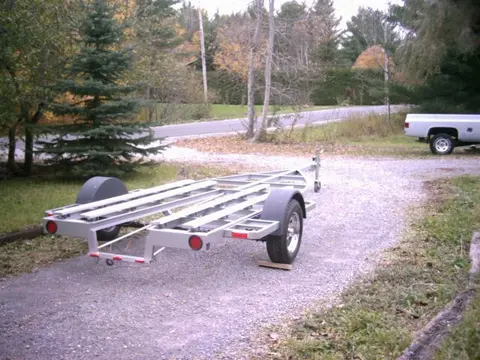
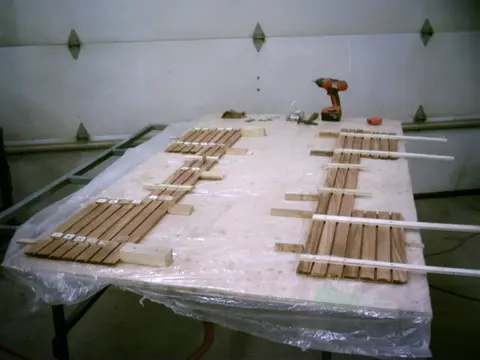
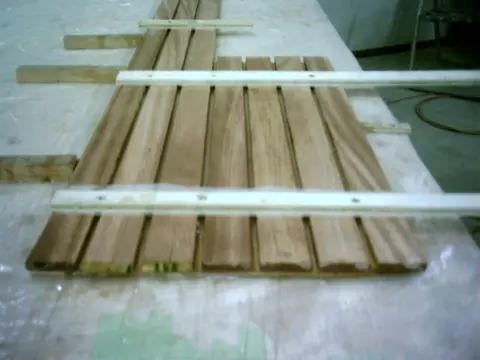
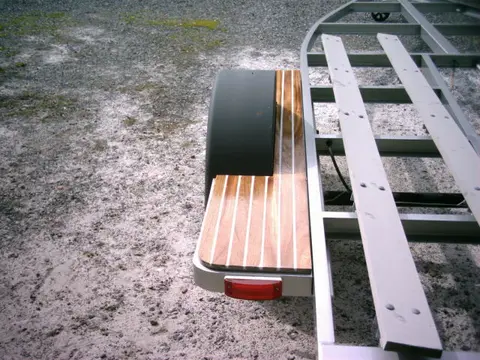
1. Laminating the fender steps. 1-1/2" wide by 1/4" thick mahogany strips were epoxied to two pieces of 1/4" marine grade plywood which were previously fitted to the fender steps.
2. Plank spacing was 1/4". Wax paper strips were used under the hold-downs to prevent them from sticking to the lamination.
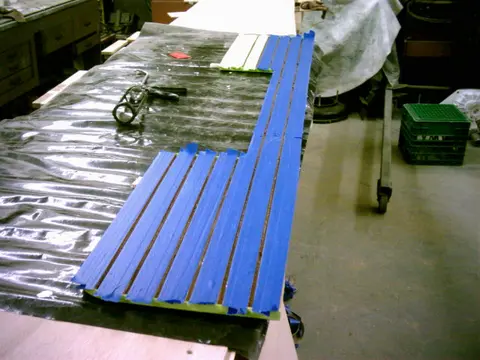
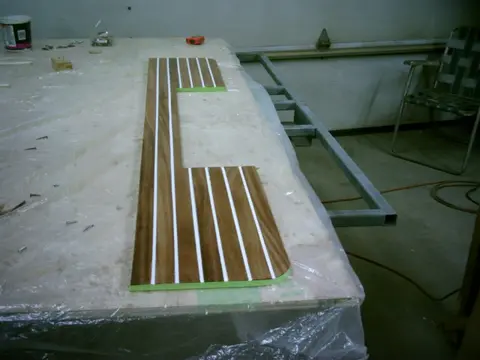
1. To prevent the white expoxy from marring the narrow strips, we applied a base coat of West epoxy (207 clearcoat). Once cured, we taped the edges and horizontal surfaces before applying the white epoxy.
2. The epoxy mix consisted of West 105 resin, 404 high density filler, a touch of 403 microfibers and a spoonful of white epoxy tint. The tape was pulled after the epoxy had cured for 30 minutes.
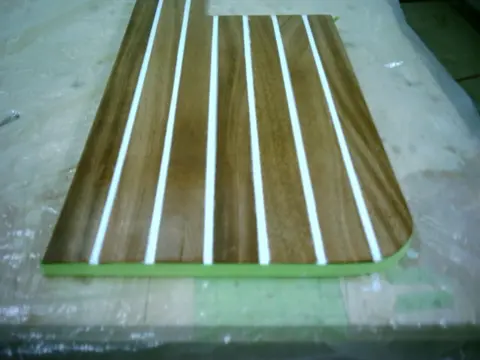
3–4. The fender steps are ready to be installed and final-clearcoated.
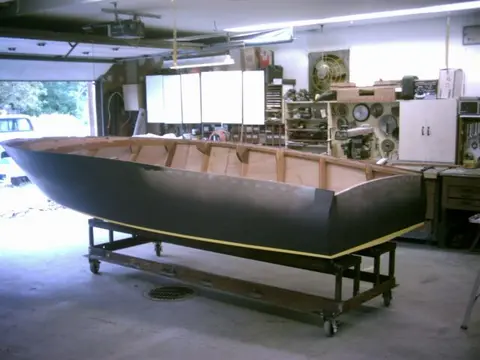
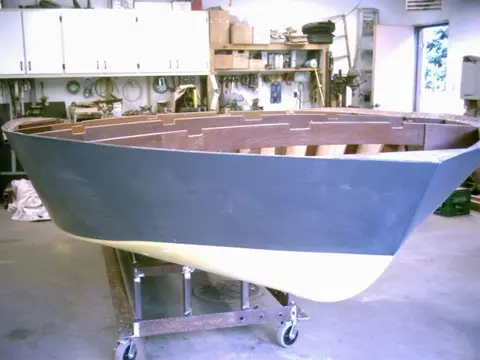
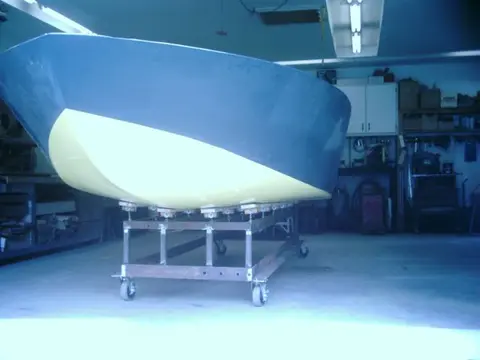
1. A heavy-duty mobile dolly was fabricated for the hull. Four 10' lengths of 3" C-Channel spaced 12 incches apart provide ample support. Righting the hull was accomplished with minimal fuss. Seven friends showed up for the roll. The hull is so light they lifted it off the setup jig, rotated it and placed it onto the dolly without even resting the sheer on the ground. Many thanks to Jack, Dave, Big John, Brian and the Chelsea lads.
2–3. We fabricated adjustable bunks similar to the ones used in the trailer.
4. The dolly is quite narrow. We can still access the sides and bottom wh...
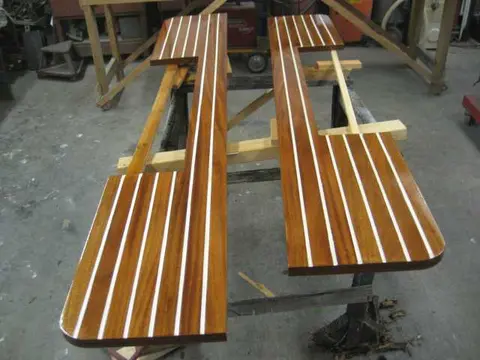
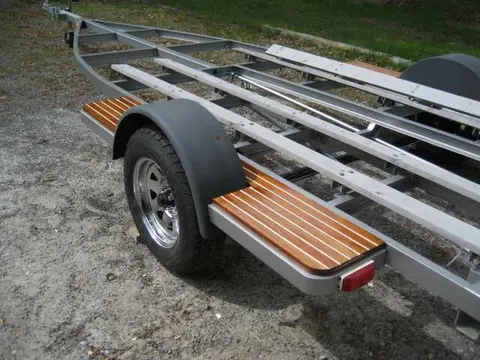
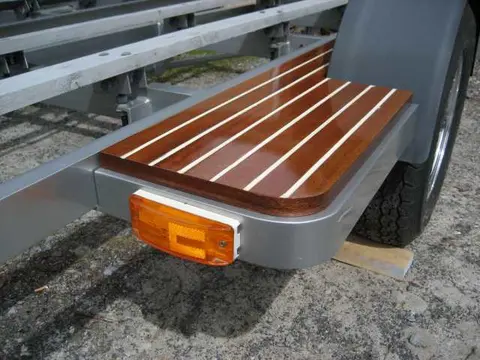
1. It's been a while, but we've finally finished up the fender steps.
2. Edges were capped with mahogany veneer. Several coats of West System Epoxy catalysed with 207 hardener were applied and block-sanded.
3. Final topcoat consisted of three rounds of two-part Nason Urethane Clear applied with HVLP spray equipment. It feels good to chuck up a spray gun after using bristle and foam brushes for so long !
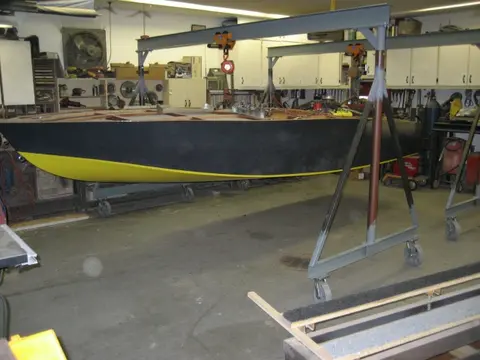
Moving the boat from its cradle to the trailer went extremely well. The 6" wide x 12' long I-beam is supported by jackposts which adjust from 7' to 9' in height. The 3" C-channel base is supported by 8" steel casters. Note the freshly carpeted trailer bunks.
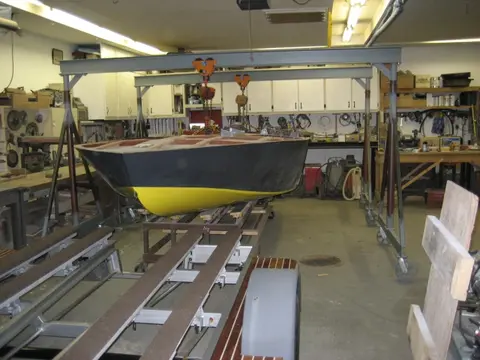
We designed and built a portable gantry to move the boat from its cradle to the trailer. The 6" wide x 12' long I-beam is supported by jackposts which adjust from 7' to 9' in height. The 3" C-channel base is supported by 8" steel casters.
Time spent building the gantry was well worth it. Any failure at this stage would be catastrophic !
1. The sling consists of 1/4" thick flat steel plates mounted to each side of the stringer. The 1/4" plywood spacers prevent marring the finish.
2. The bolts mount in double shear e.g. the two parallel plates distribute the load across the whole bolt...
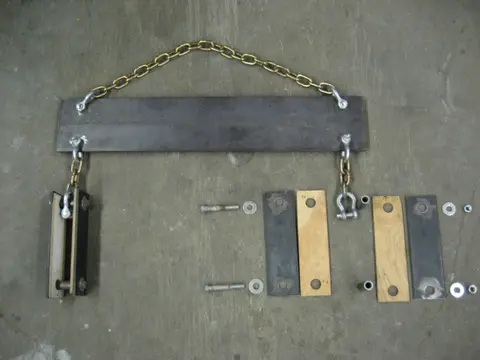
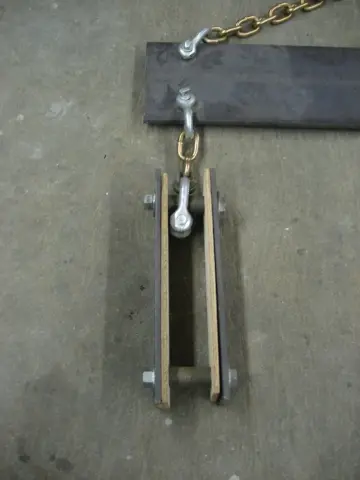
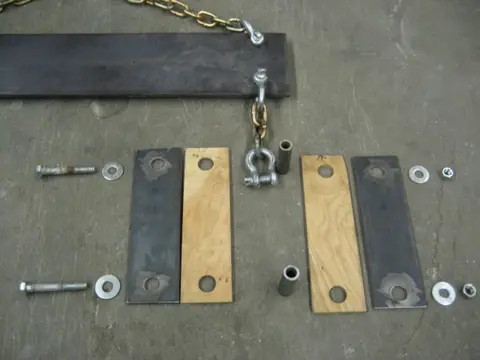
Time spent building the gantry was well worth it. Any failure at this stage would be catastrophic ! The boat's on the trailer... We've loaded up the truck... We've got a full tank of gas... We're off to Alabama !
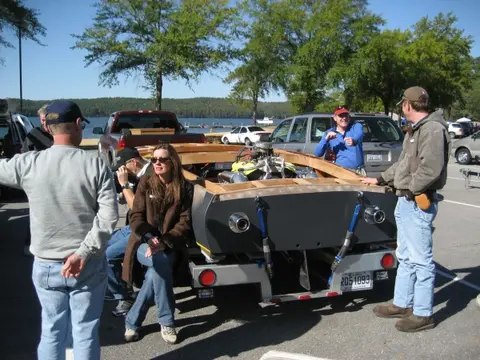
1. Several days (and kilometers) later... It's Saturday, October 25, mid sixties and we're lined up in the Guntersville Lake State Park, Alabama parking lot. Gayle Brantuk, Vice President of Glen-L Marine Designs takes a break on the Hot Rod's trailer fender step. She and her husband John flew in from Bellflower, California to attend the event. Click here to see some photos of the event and our boatbuilder interview.
2. We've been working away at the boat over the winter but haven't much to show so far. Work on the cockpit continues. Over the next few weeks, we'll be laminating severa...
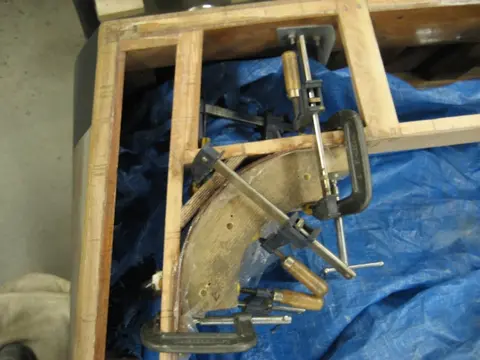
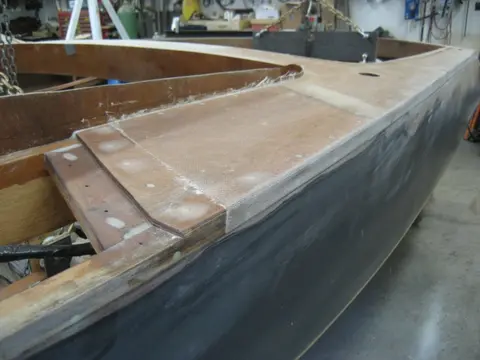
1. Deck was covered with 10 ounce fiberglass cloth. The cloth was draped around the radiused 'shoebox' edge. We had previously built up several layers of fiberglass mat and cloth along the sheer to form a 'shoebox' joint along the sheer. This deck-to-hull joint is used in fiberglass boats and saves a lot of time as the deck cloth doesn't overlap the hull, only a 3/4" wide strip at the sheer.
2. More cloth was applied to the rear cockpit carlings.
3. Cloth overlap will be ground down flush.
4. We've moved the boat from its trailer to our steel boat dolly. Much easier to work...
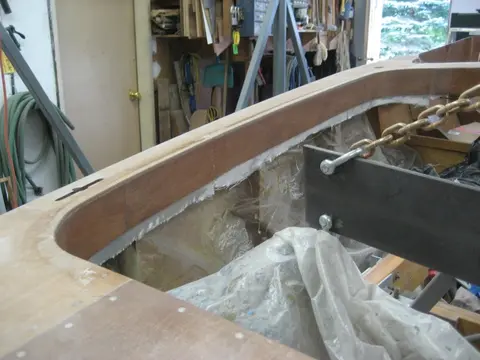
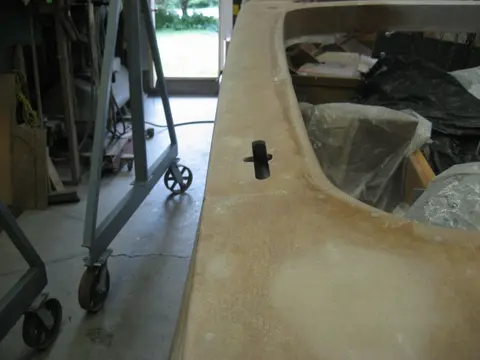
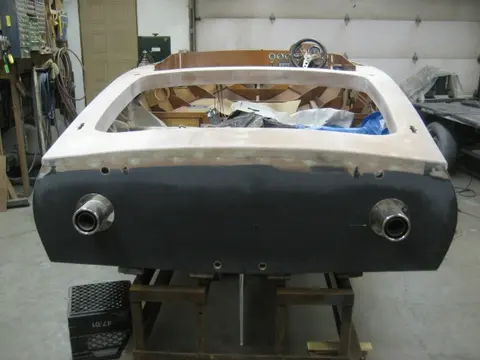
1–2. We used the gantry lift to flip the trailer so we could easily weld the trailer tongue jack mounting plate and build a removable winch stand.
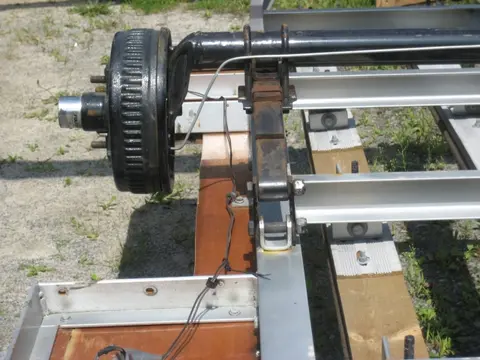
3–4. Here's a close-up photo of the 4" drop axle.
5. Our aluminum skid fin was too close to the crossmember so we cut it and created a U shaped extension to provide more clearance.
6. Here is a downside-up shot of the trailer tongue. We never liked the look of the tongue jack's strap-on U-bolts, so we molded the mounting bracket into the trailer tongue.
7. We also molded in a piece of heavy duty square tube to act as a receiv...
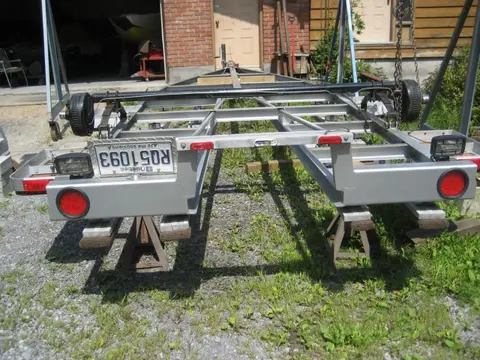
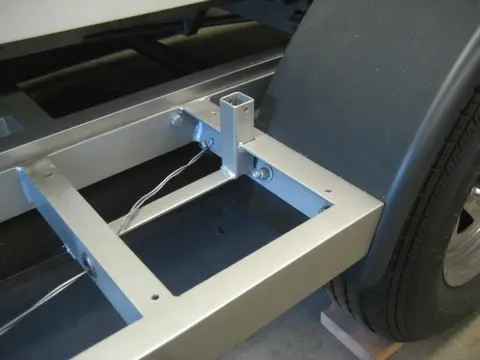
1. We welded a square tube stub into the fender step to receive a removable boat guide on the Port side. A 4' length of 1" square tube drops into the socket and is held in place with a 1/4" x 2" stainless steel pin.
2. At the 2012 Glen-L Boatbuilder Gathering, Lake Nickajack, Tennessee. Photo by Gayle Brantuk, Glen-L Marine Designs.
3. Photo by Gayle Brantuk, Glen-L Marine Designs.
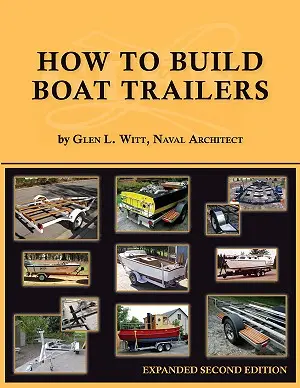
4. If building a boat trailer, I recommend ordering Glen Witt's book How to Build Boat Trailers. All aspects of trailer construction are covered, including axles, hubs, wheels, brakes, tires, spri...
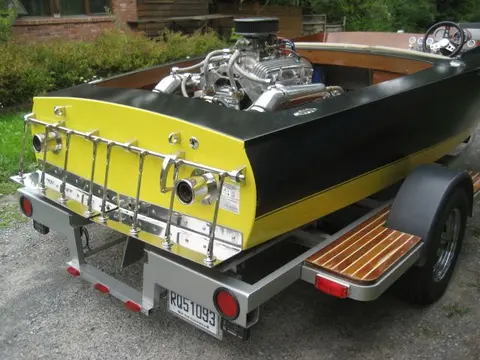
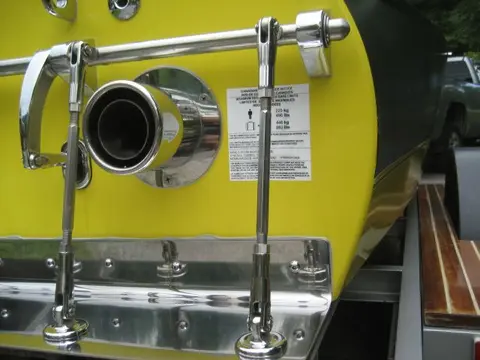
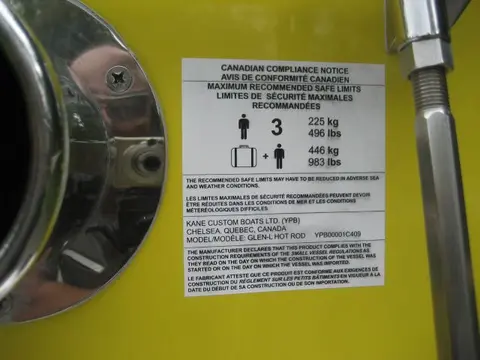
The boat is finally back on its trailer. We've affixed the Transport Canada Capacity Label to the upper starboard corner of the transom. Click the photo for a higher resolution 2272 x 1704 image.
3. We are now known as Kane Custom Boats Ltd.. Our Transport Canada assigned Boat Manufacturer Identification Code is YPB. The capacity label was issued after a marine survey was performed to ensure that the boat conforms to Canadian boat construction standards. The boat can now be sold to the general public.