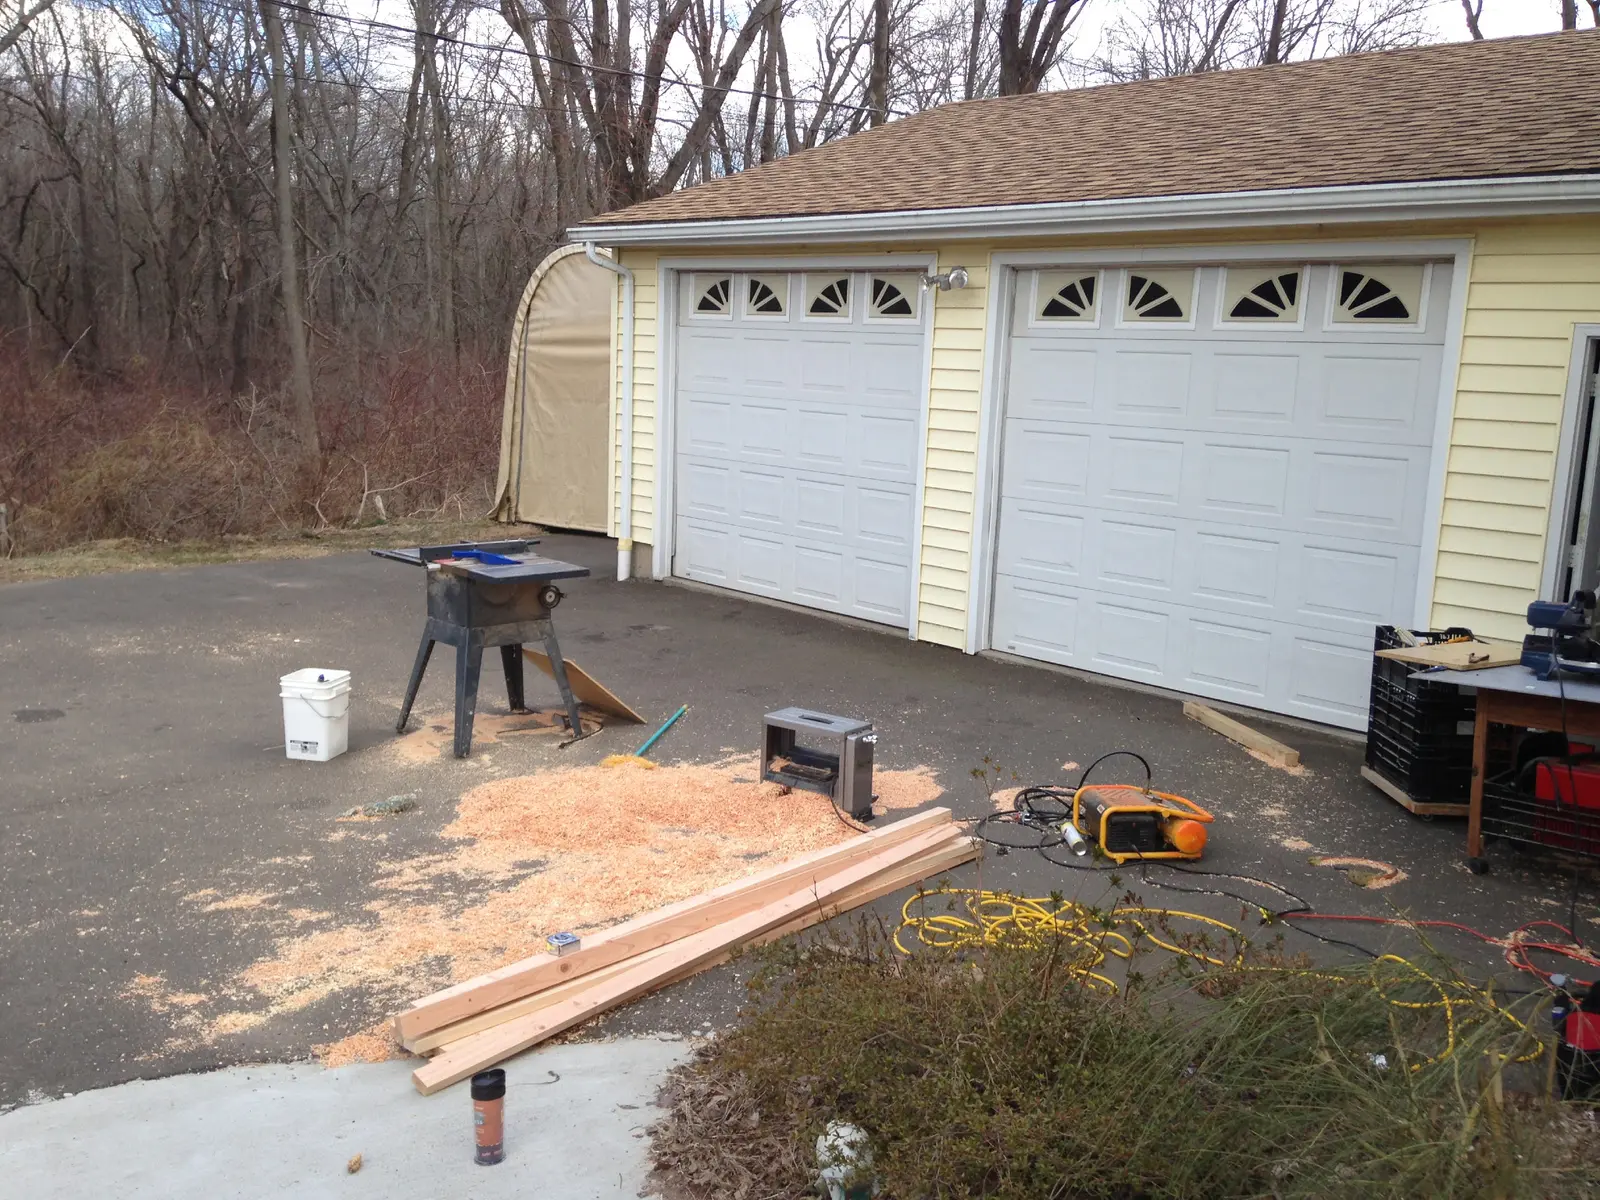
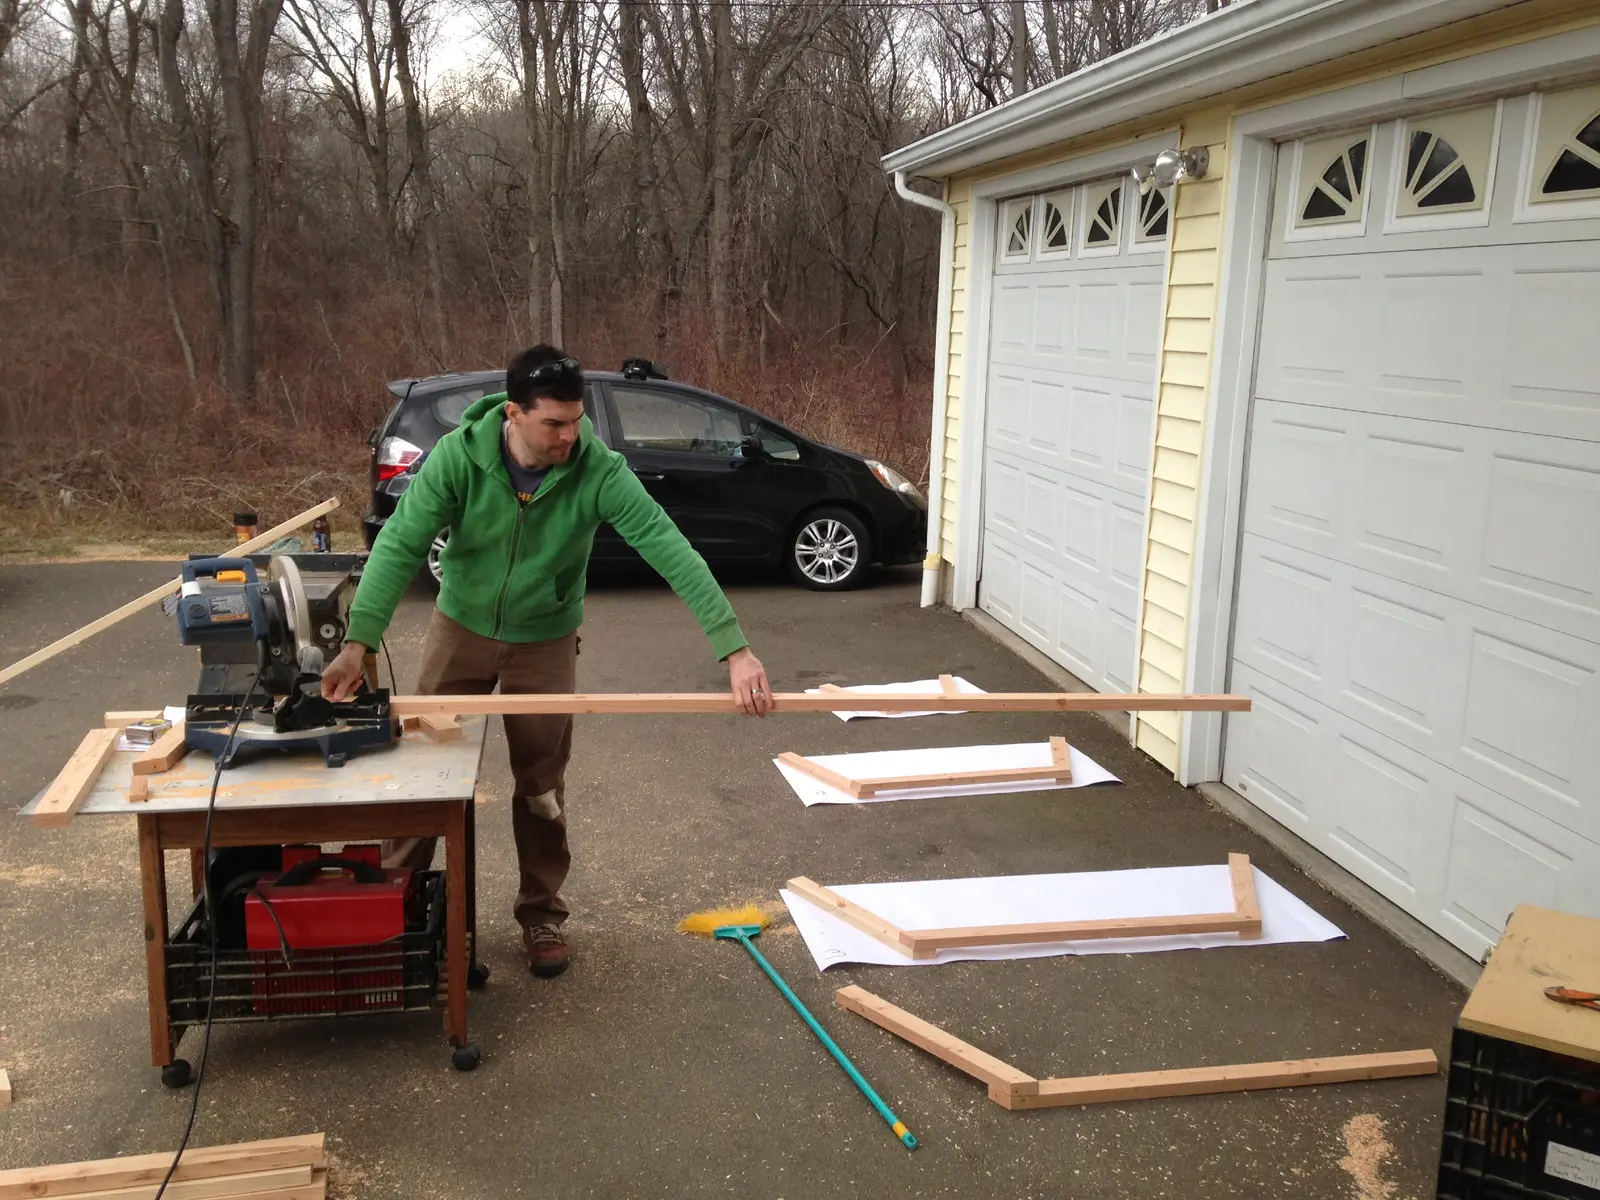
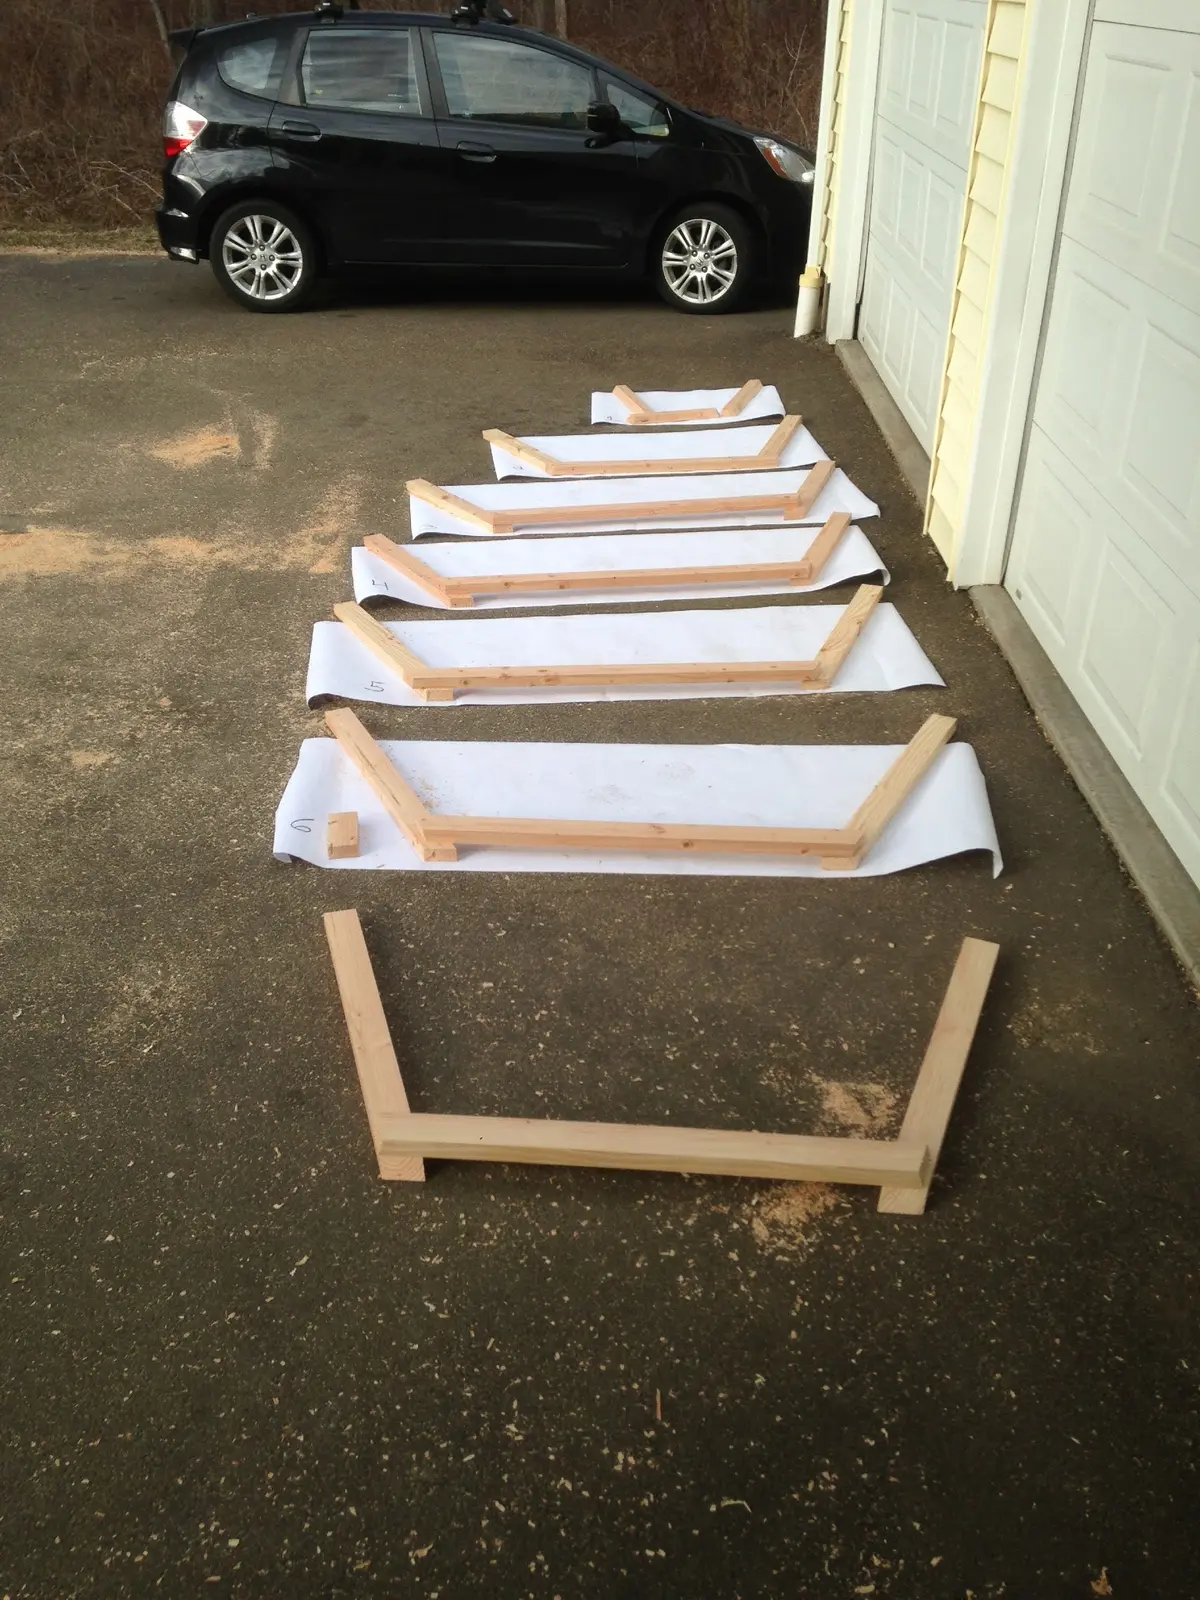
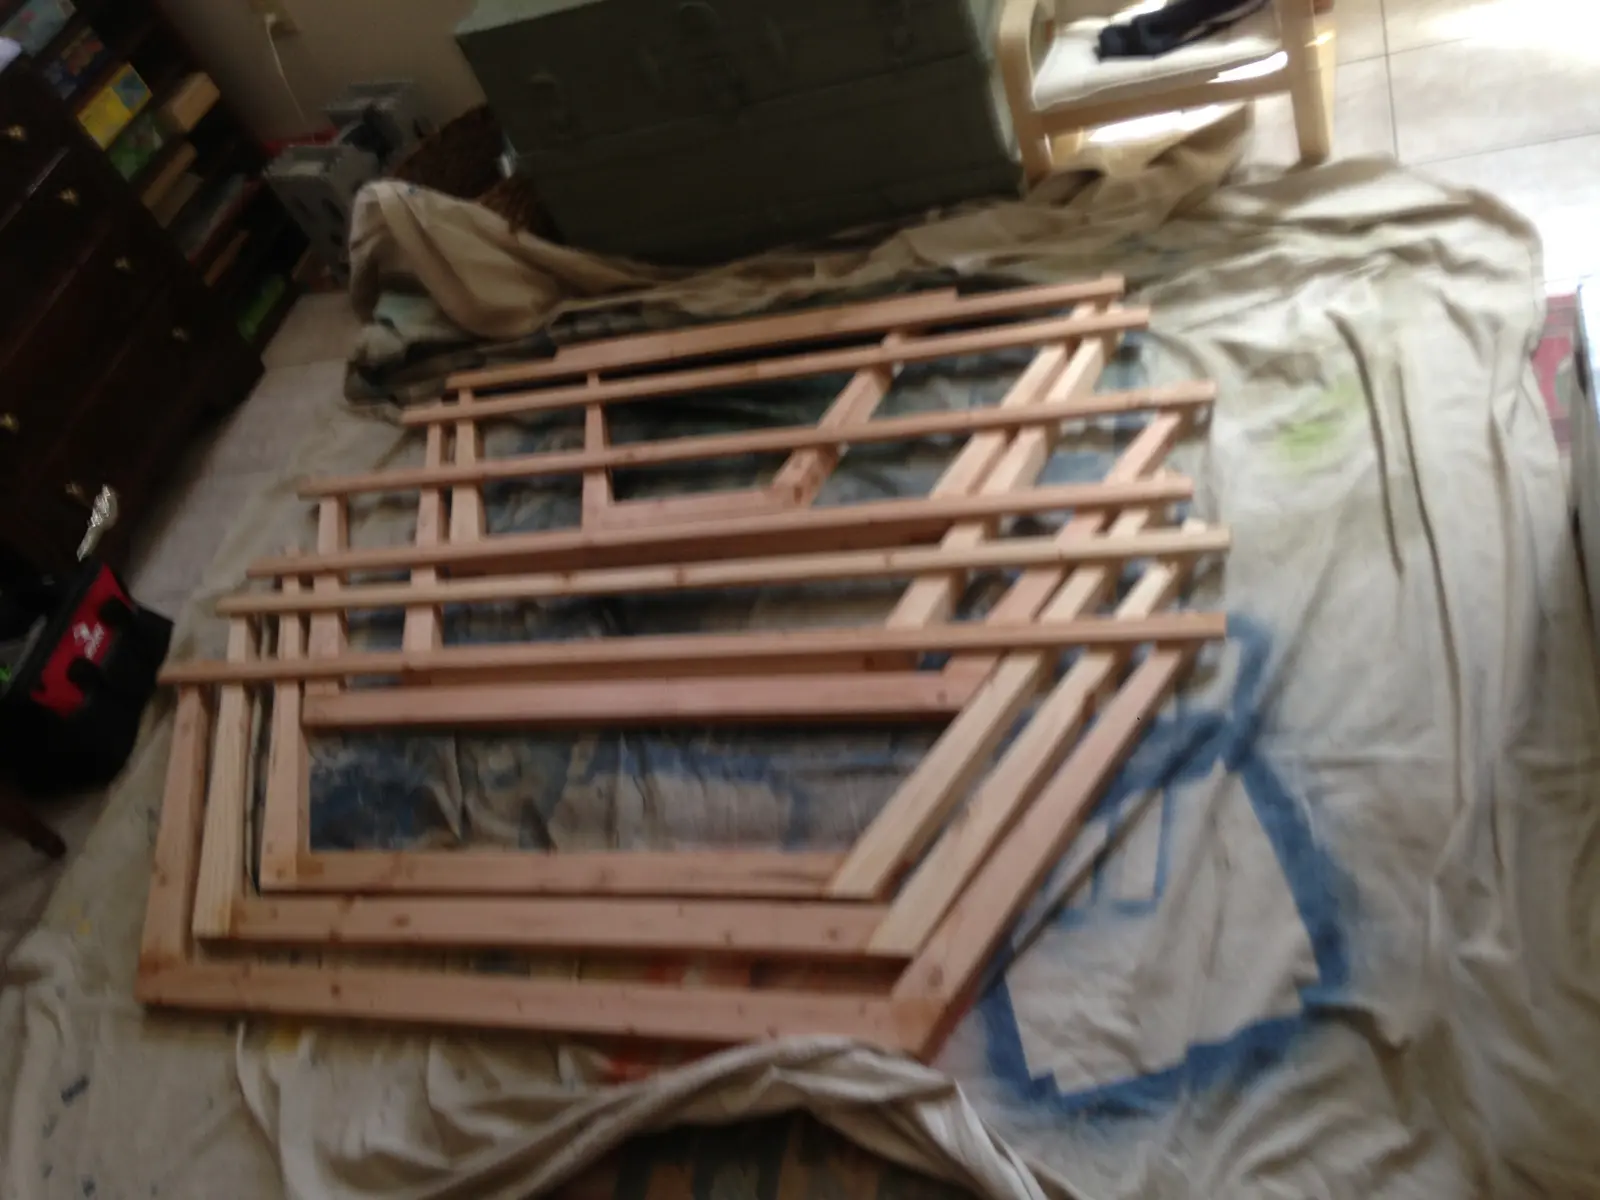
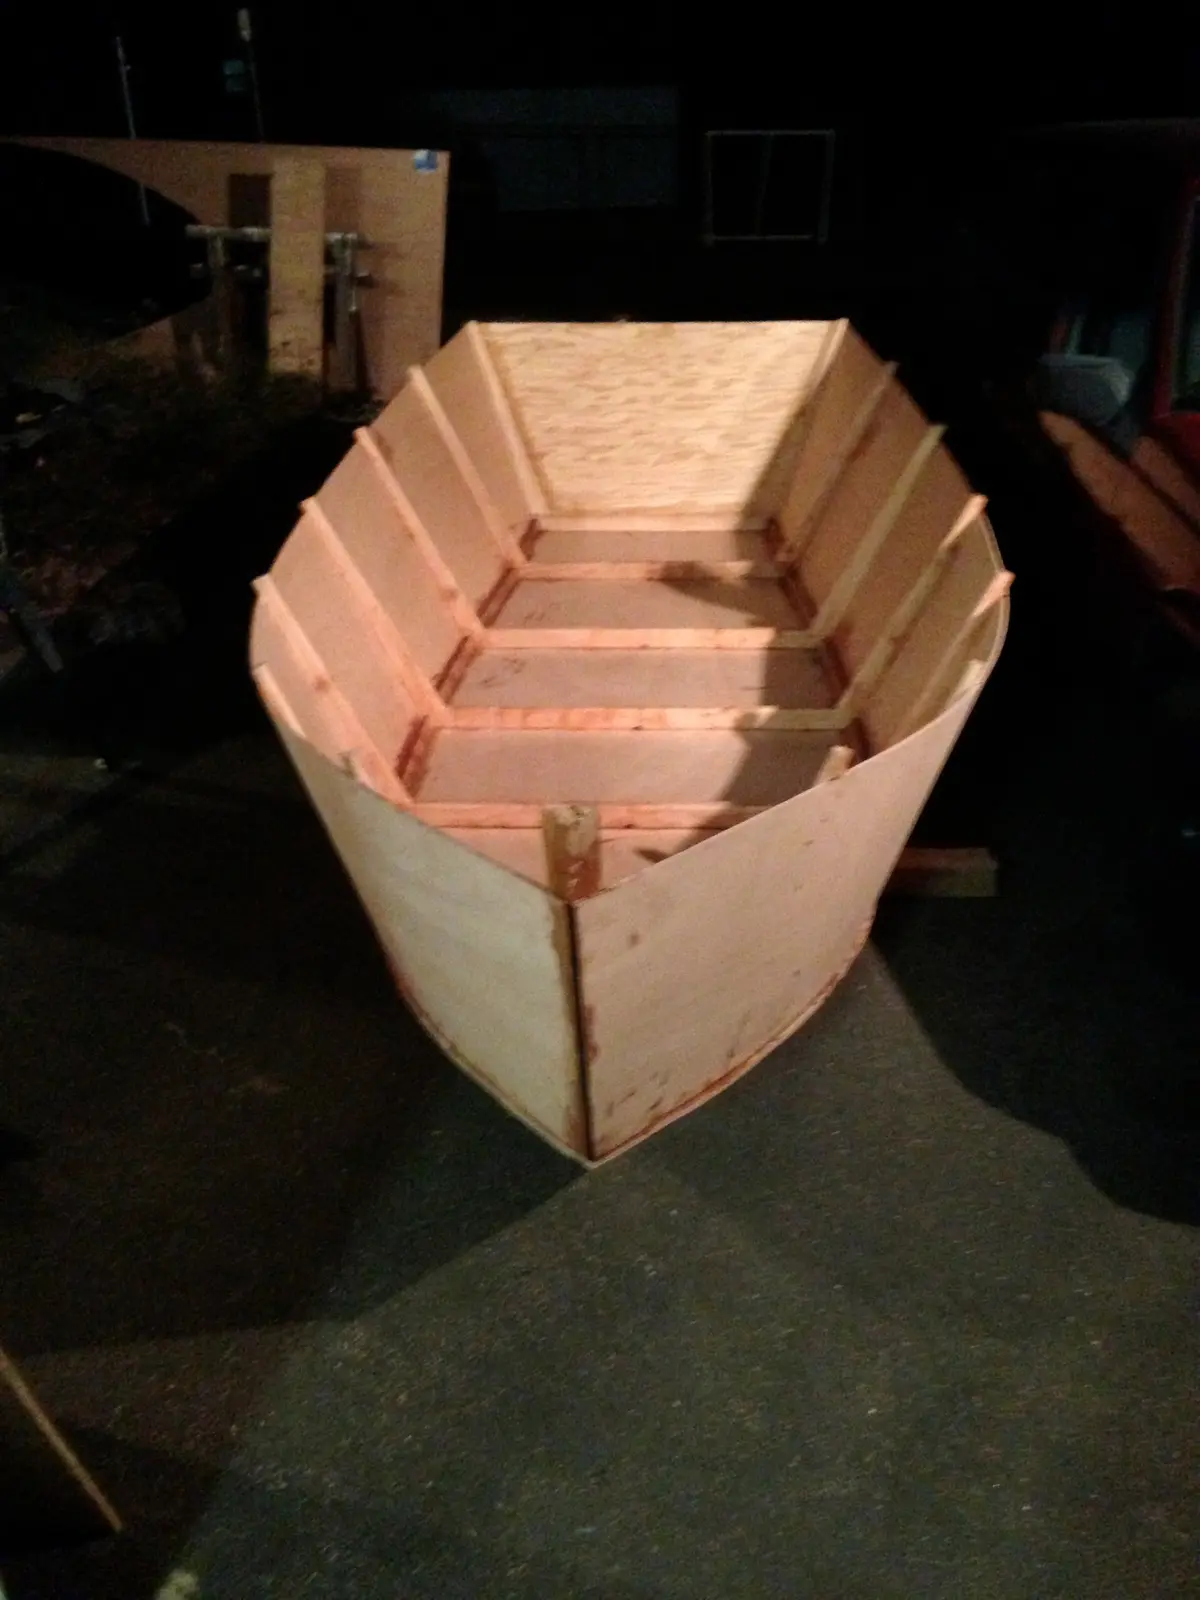
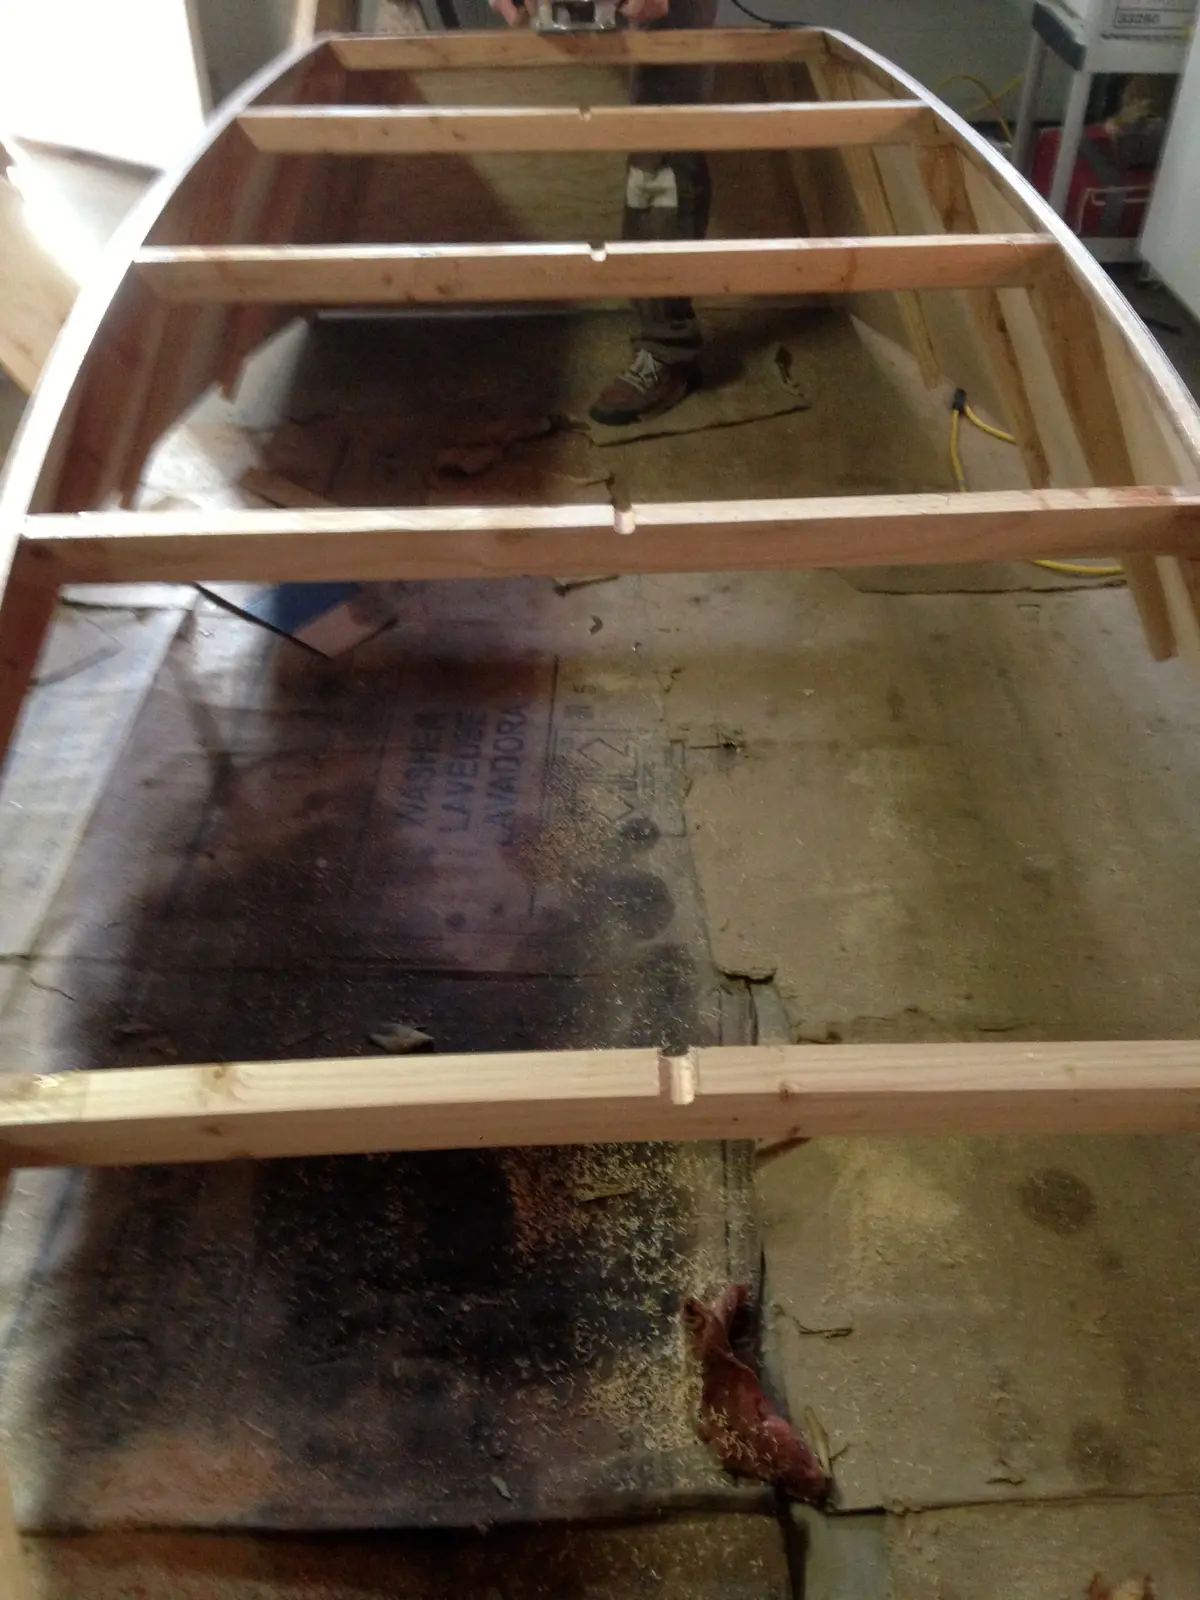
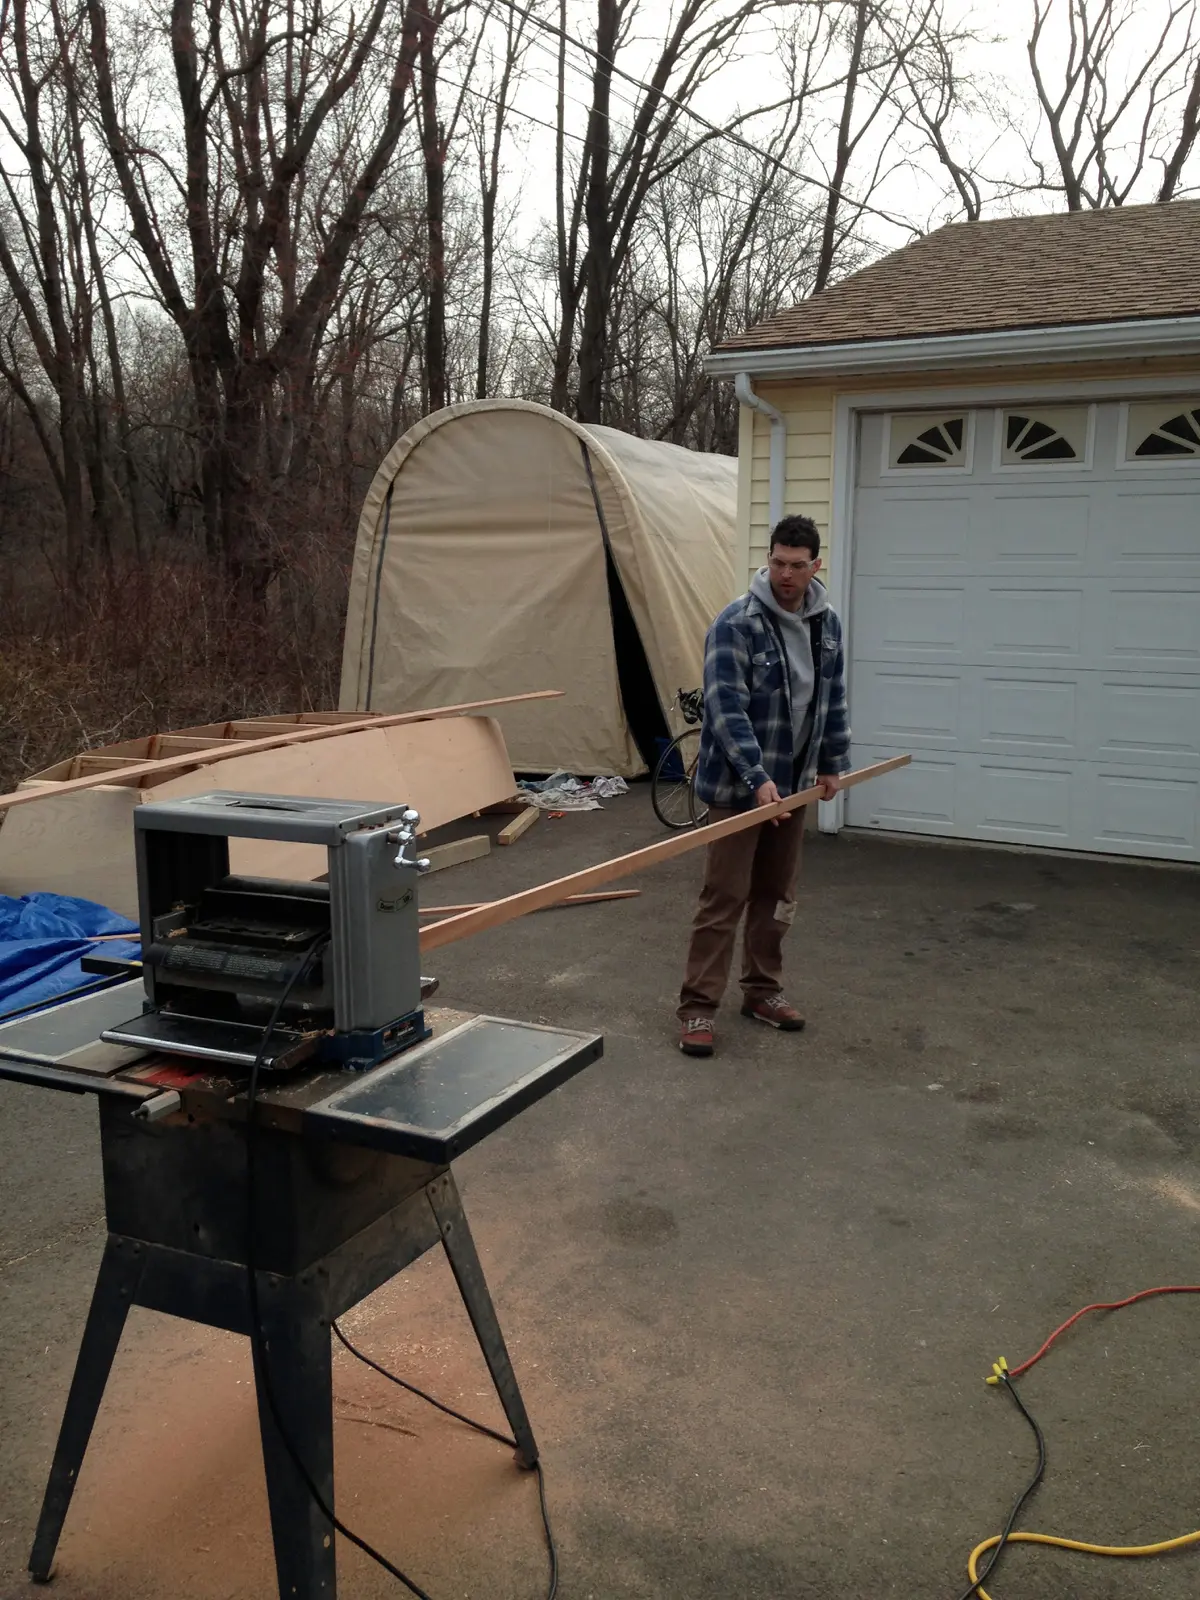
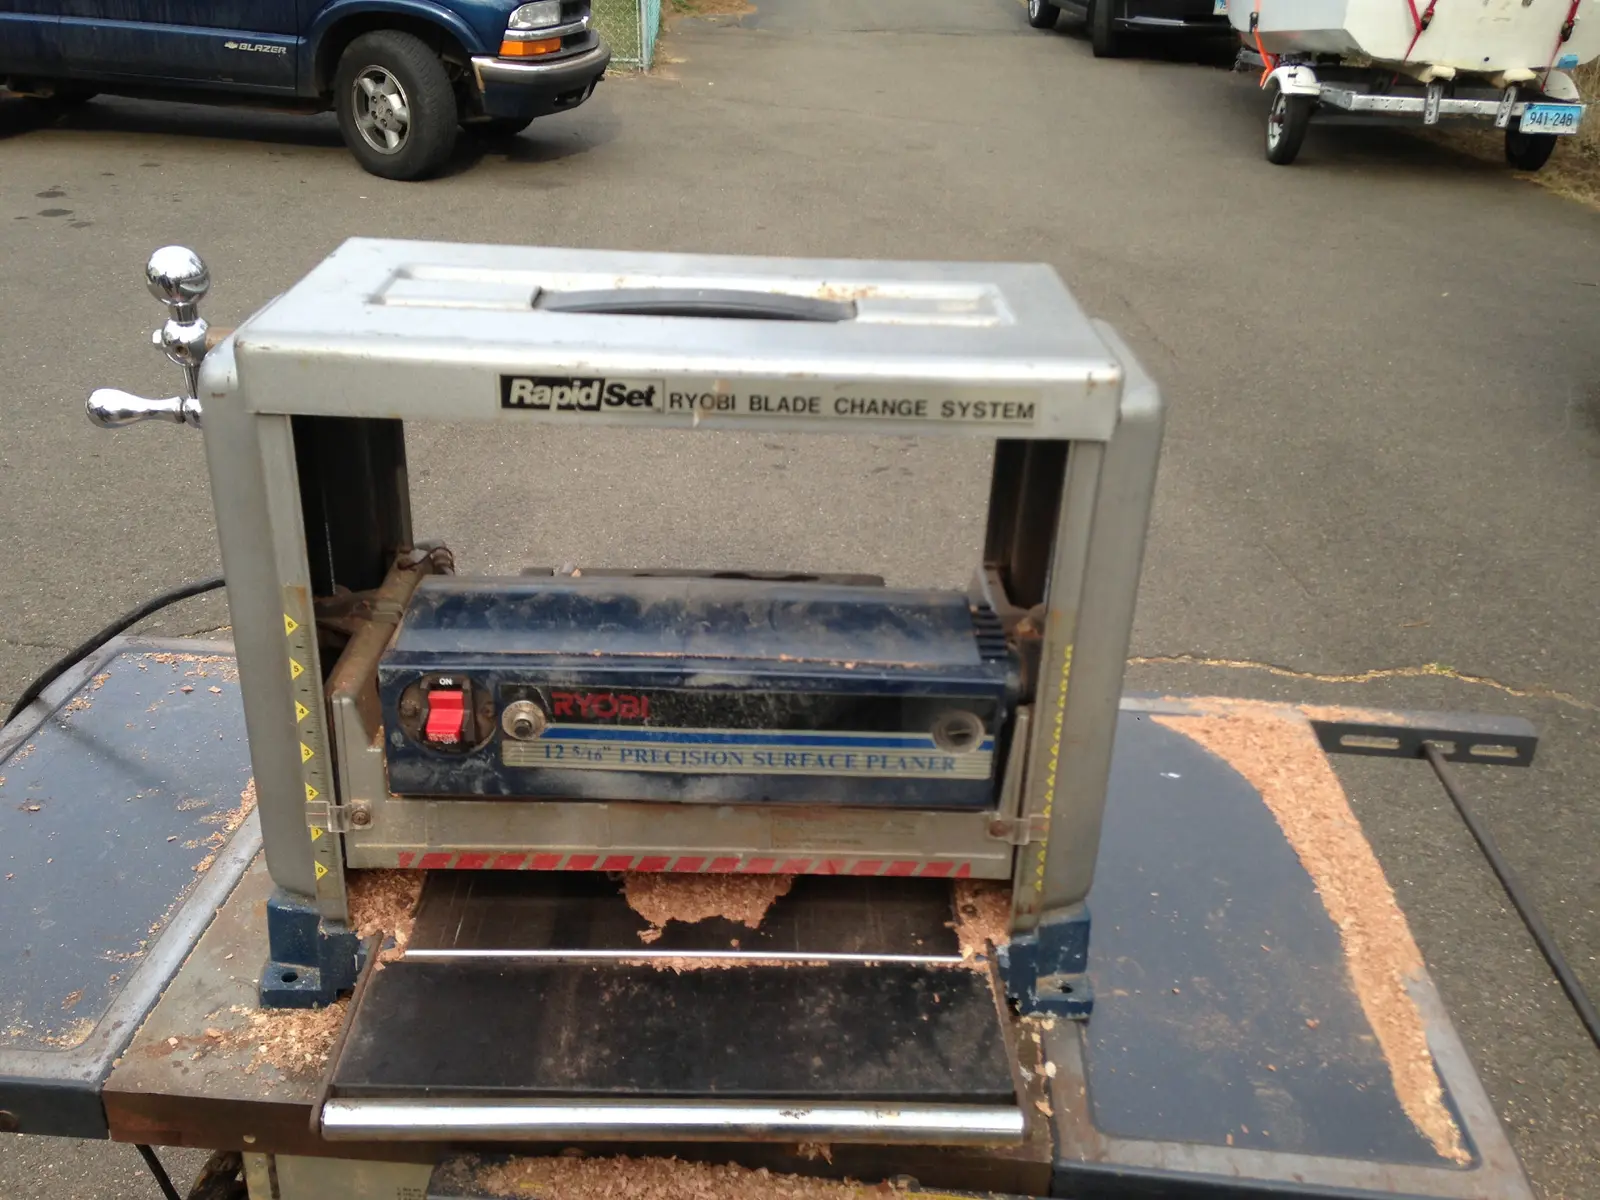
Our Project began last week when Mack's Dad, Tom, dropped by with 4 wonderful sheets of 3/8 Okoume Plywood and a nice sheet of 3/4 inch Douglas Fir for the Transom. Thanks Tom! Mack and I quickly ran out to purchase our studs for the ribs. We elected to use Douglas Fir 2x4s which we planed down to 2.5x1.25 stock. We then cut, beveled and joined the pieces to form our seven ribs, which at 1.25 inches should be plently strong. We chose to taper our ribs as they approach the gunnels to give the boat a lighter look. The ribs were joined using a 5/8 inch notch to join the floor pieces to the sidewall pieces, then glued with west system gap filling epoxy (the caulk-gun version, highly reccomended!!!!) and tacked with a finishing gun and braces to aid drying. They will be bolted with two T-nuts in each joint to add lateral strength and then re-epoxied during the final assembly process. For our first try, we were happy with the way they came out, Mack did some great work on the table saw and added a nice routered round finish to the inboard edges of the ribs. This was done over two days in Mack's driveway, total beer consumption is about 12 beers so far between the two of us, we will be keeping count along the way, but we can't guaranty that our estimates will be accurate:)!
Note: these papers are pieces by piece 1:1 scale CAD drawings which Mack drew up in his spare time using the Rivers Touch plans as a guide. We were able to eliminate a lot of guesswork and "trial by error" this way. They are incredible timesavers and came in handy many times throughout the refinement process, to quote Ferris Bueller, "they are so choice, if you have the means, we highly reccomend them. "
Braces for drying (thank you Nat for letting us use your room temp living room!)
1. Planing the Studs.
2. Mack Cutting and Beveling.
5. nice router work Mack!
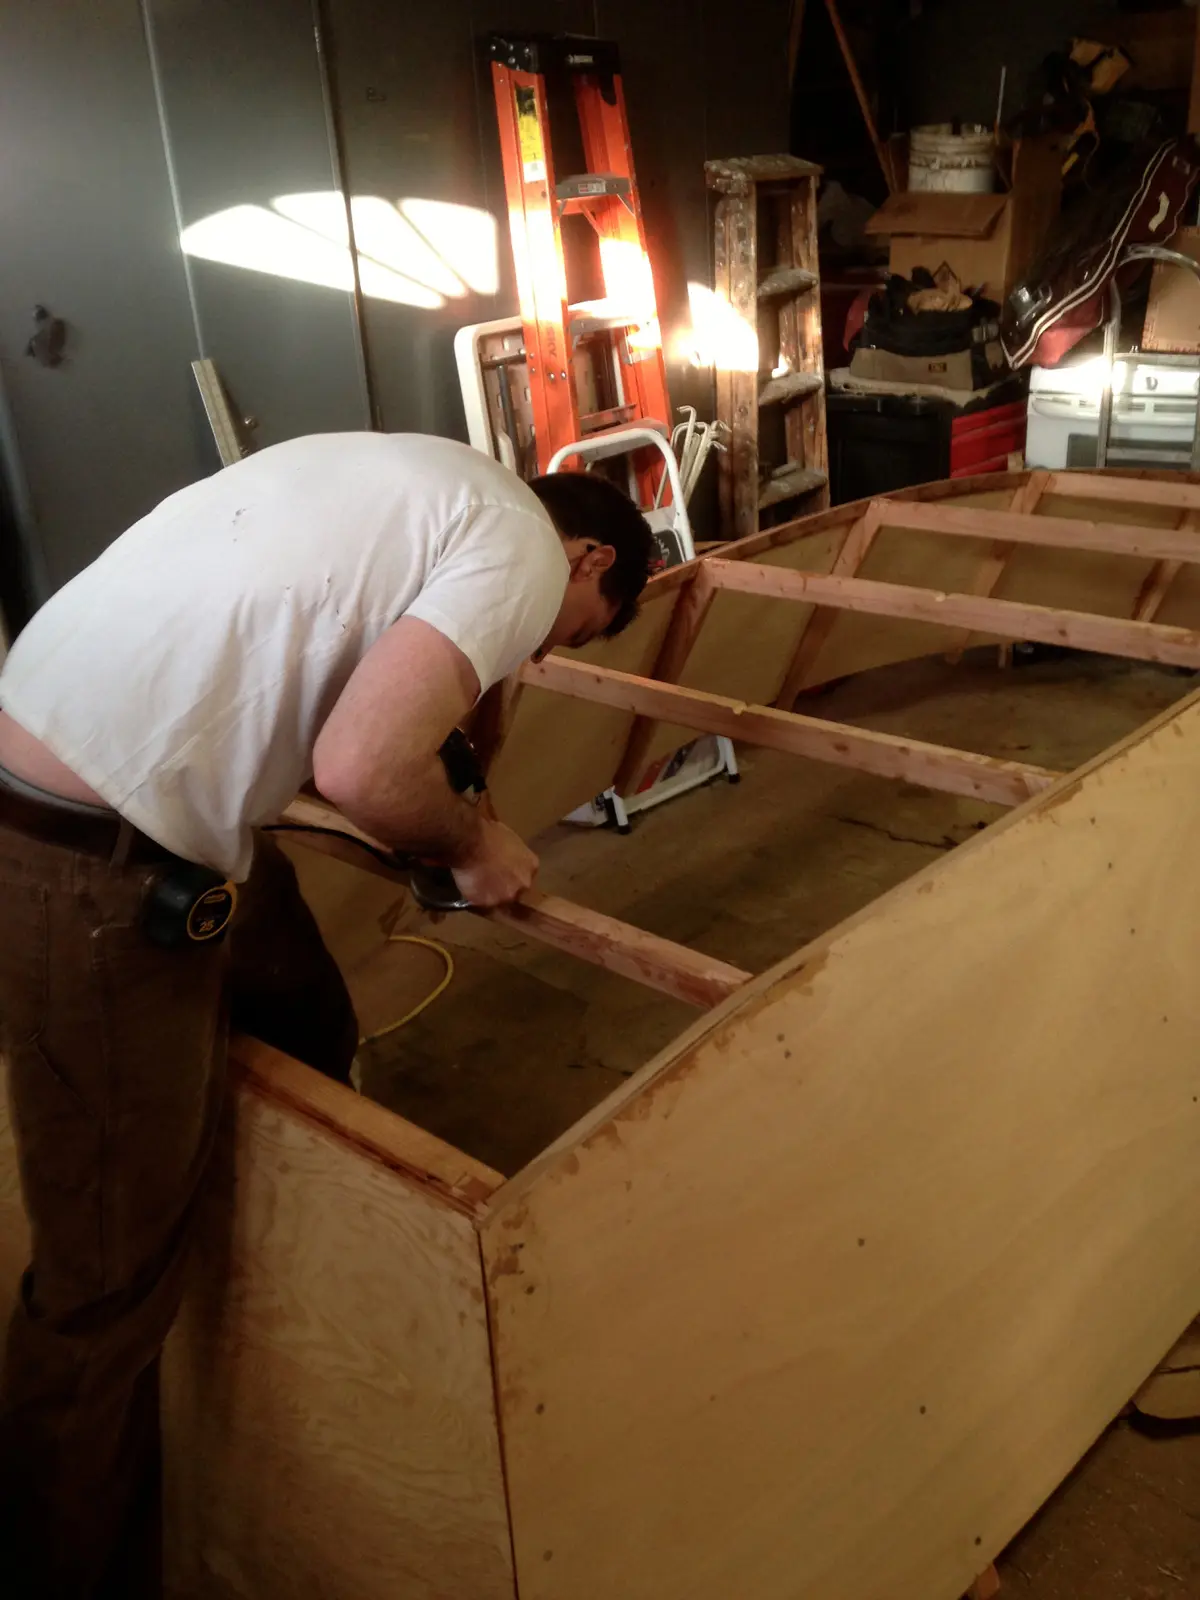
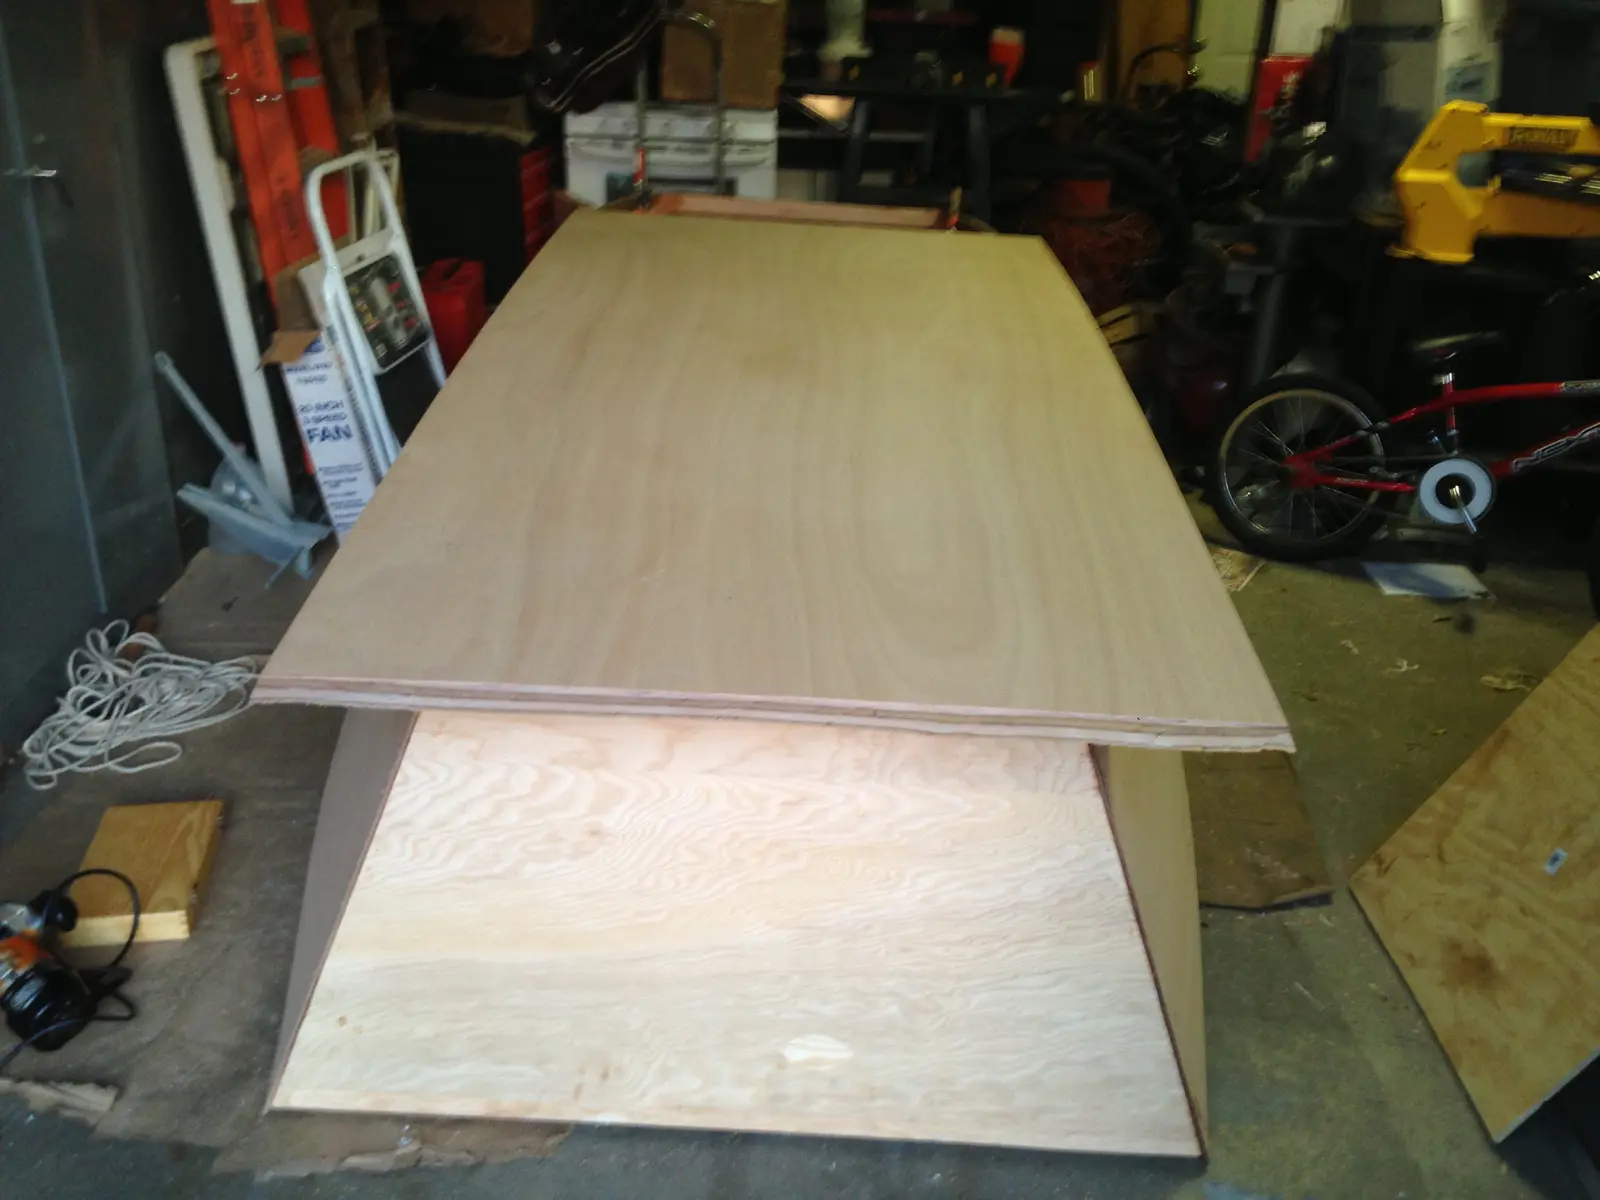
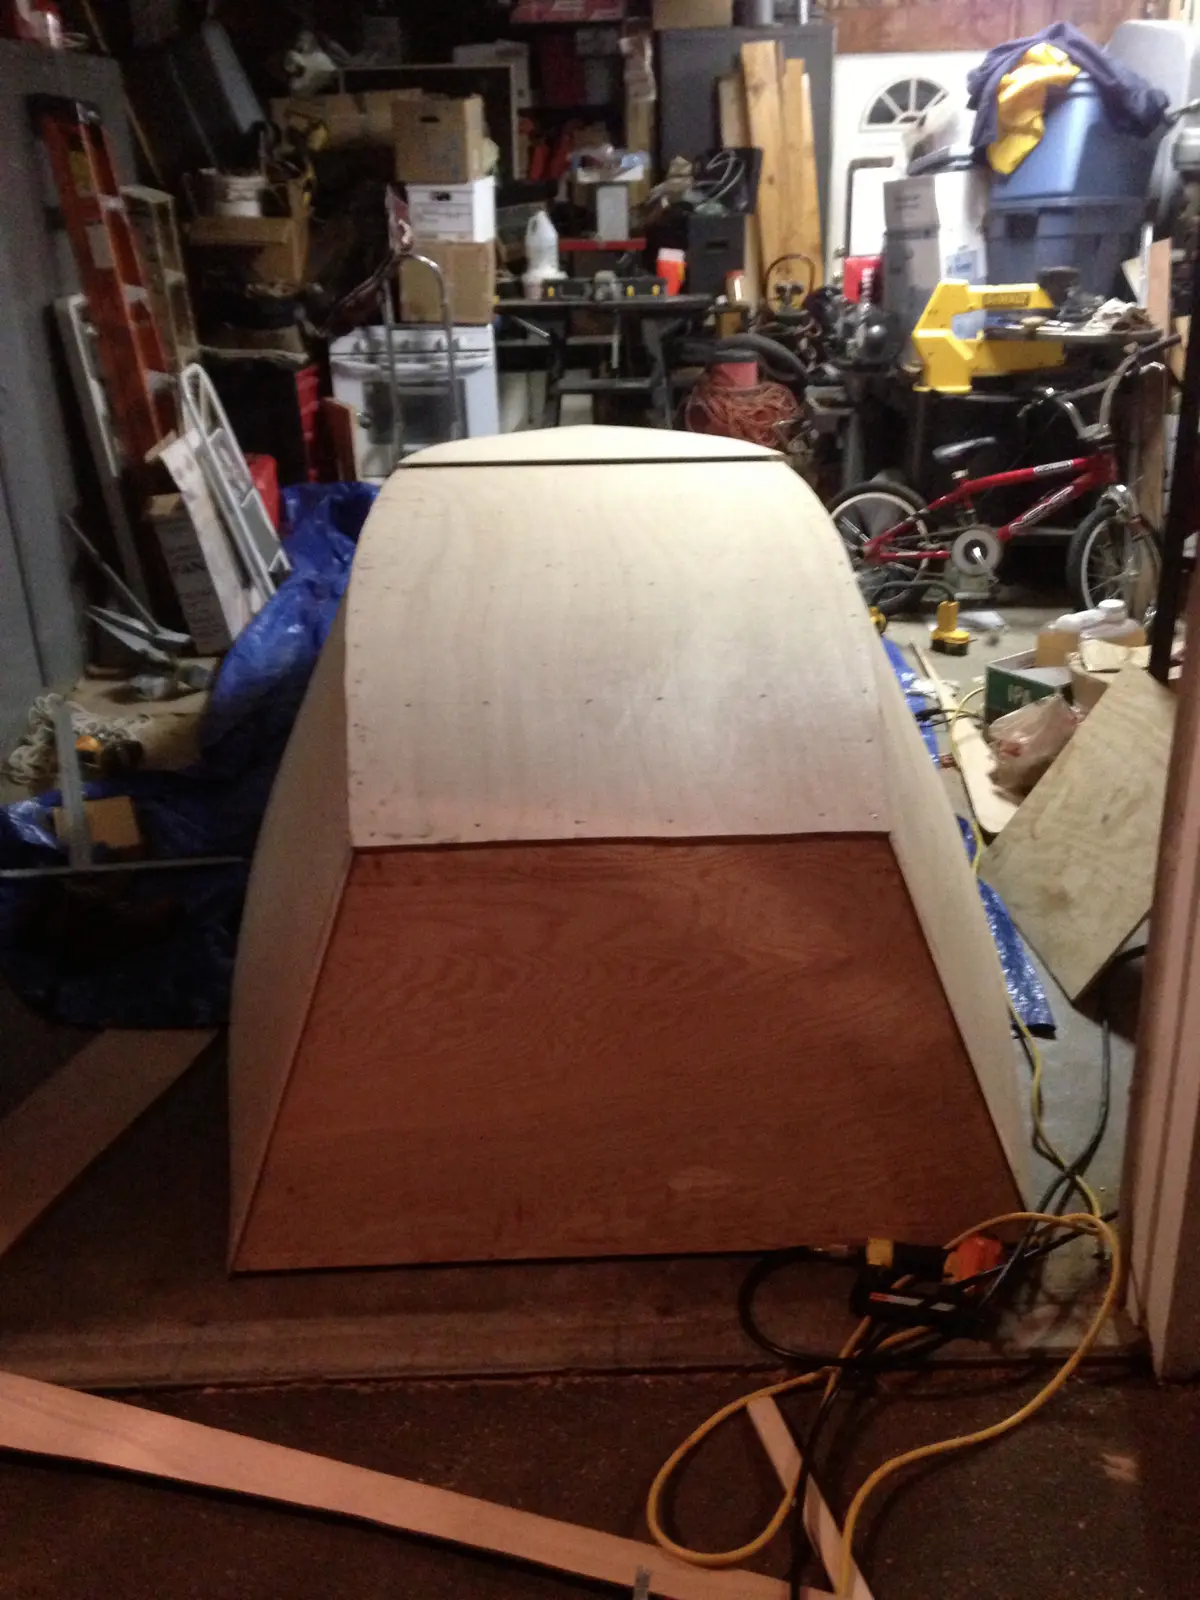
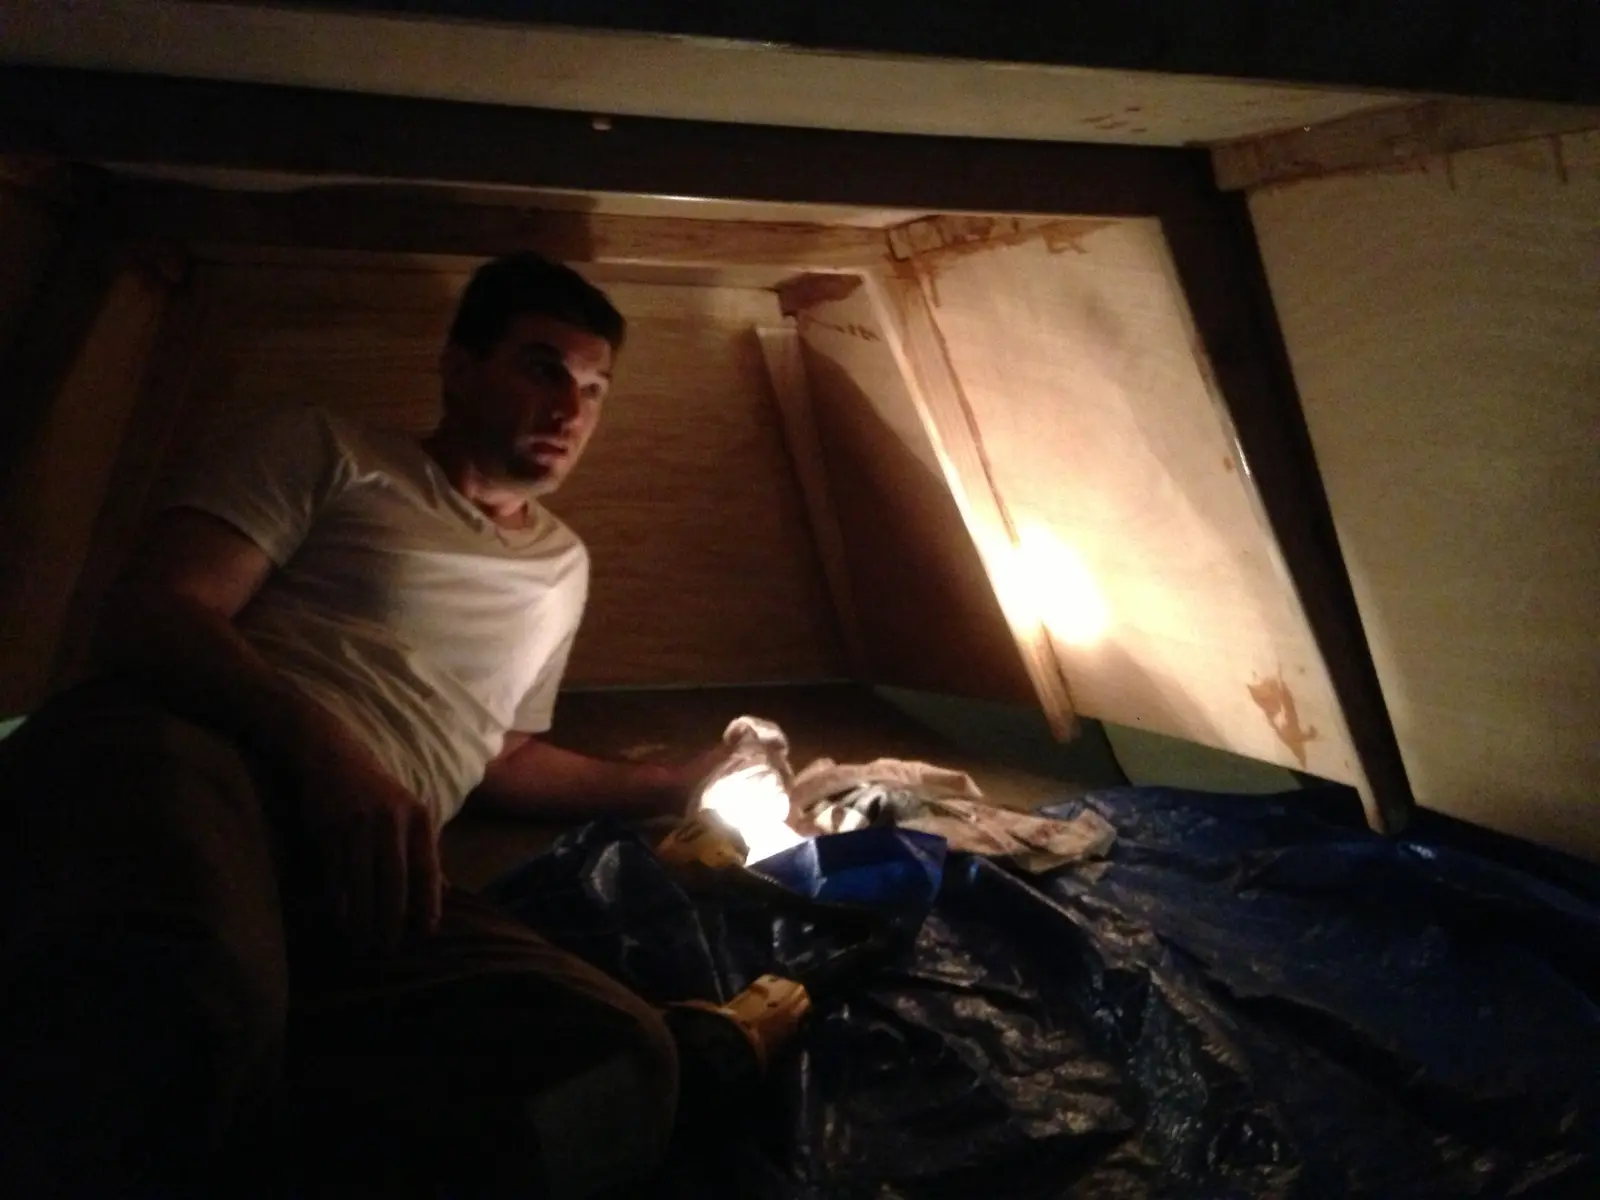
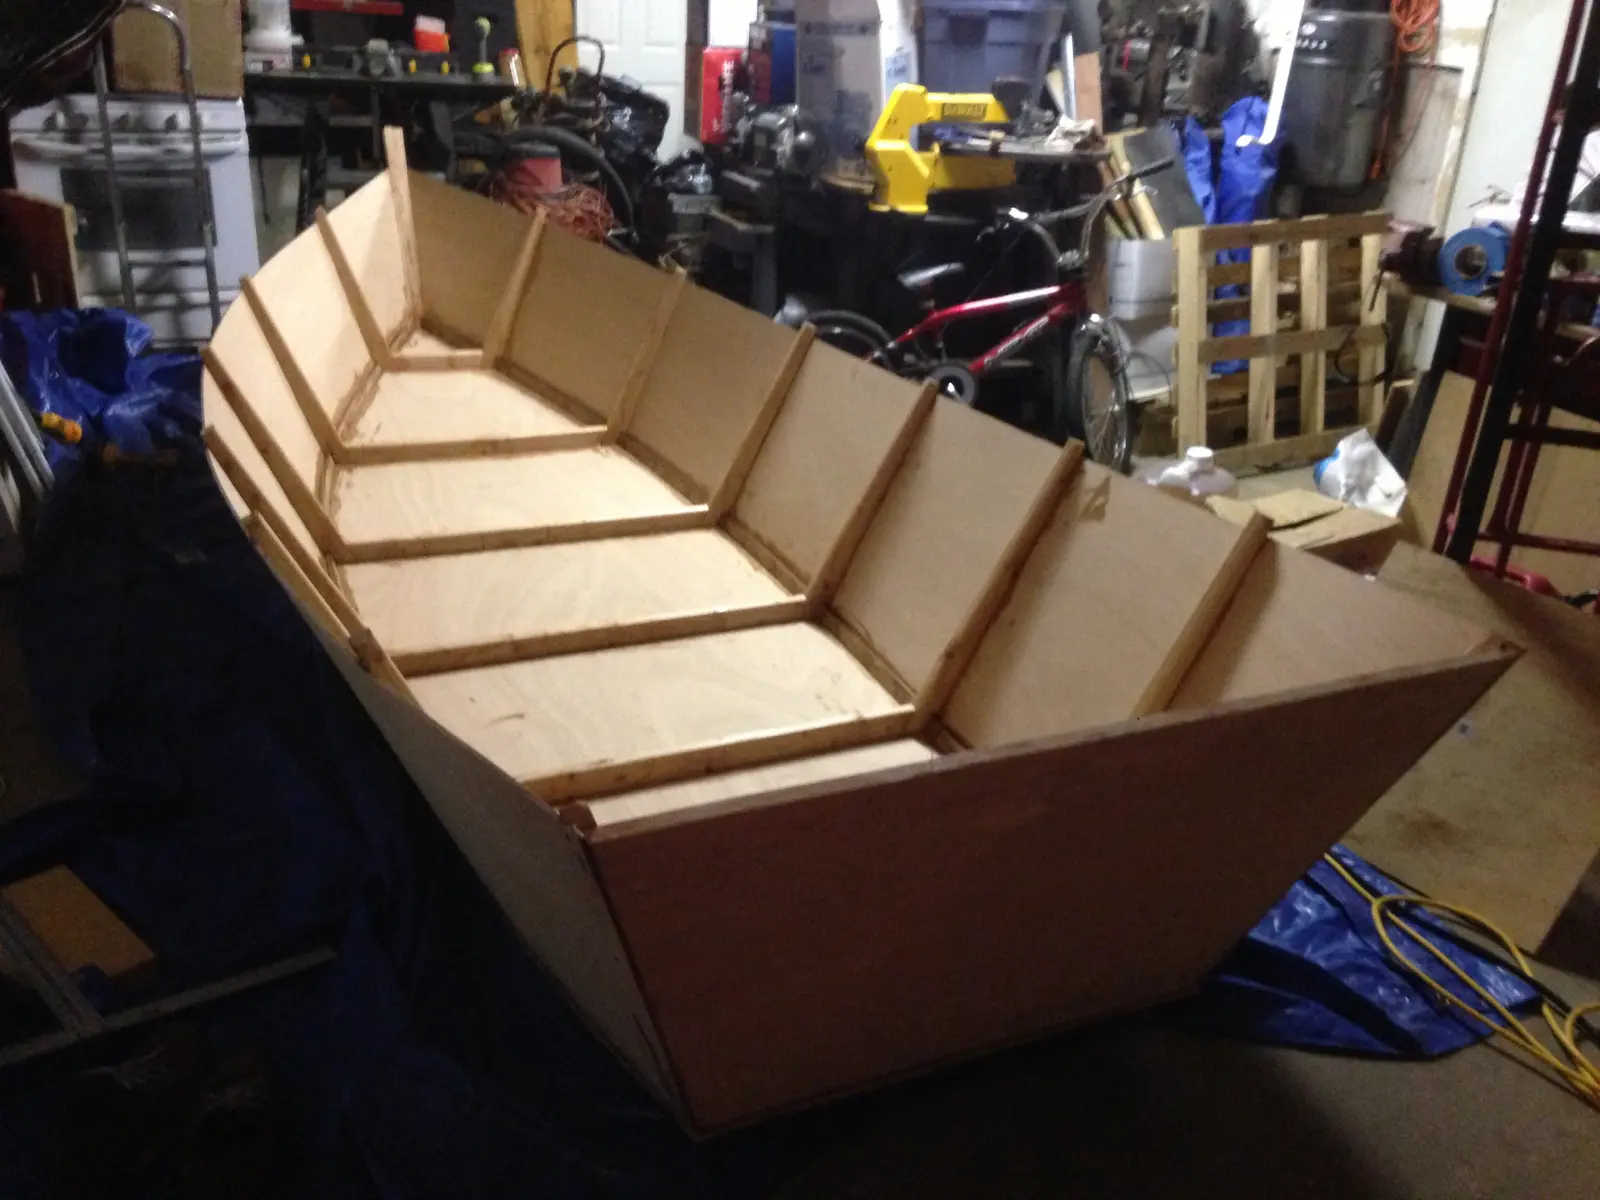
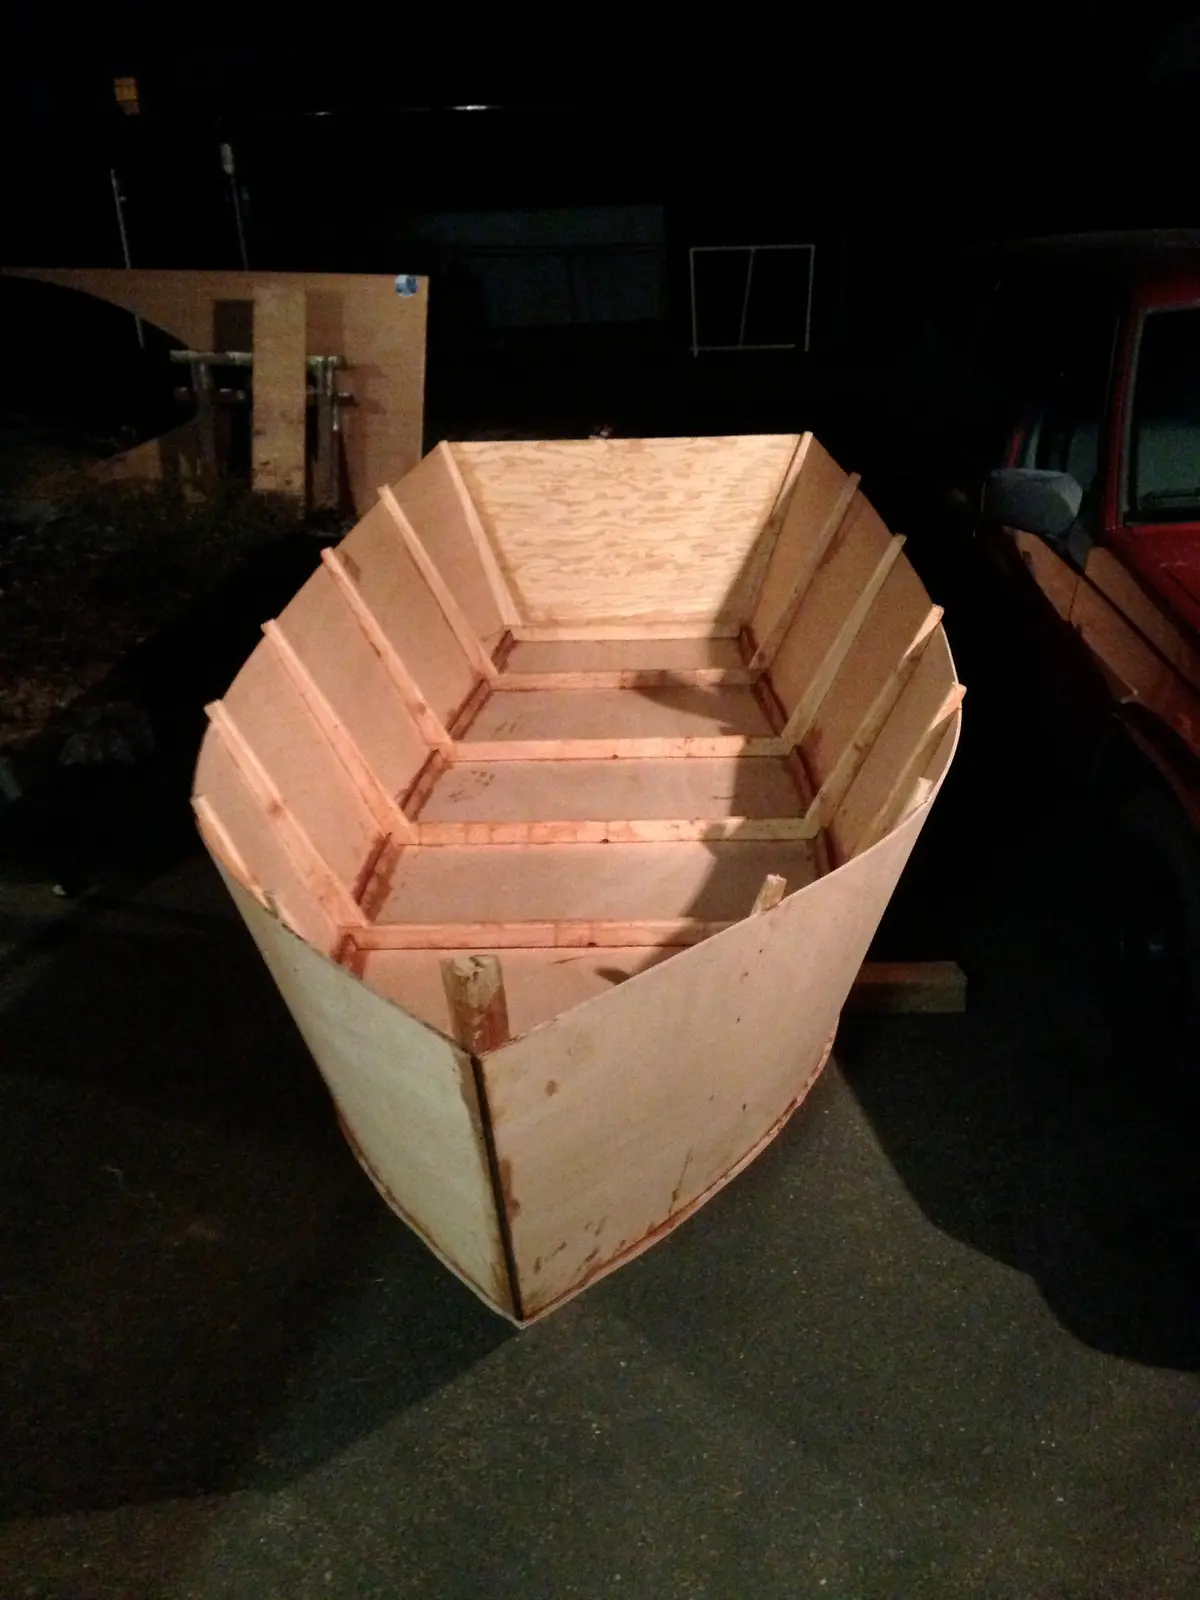
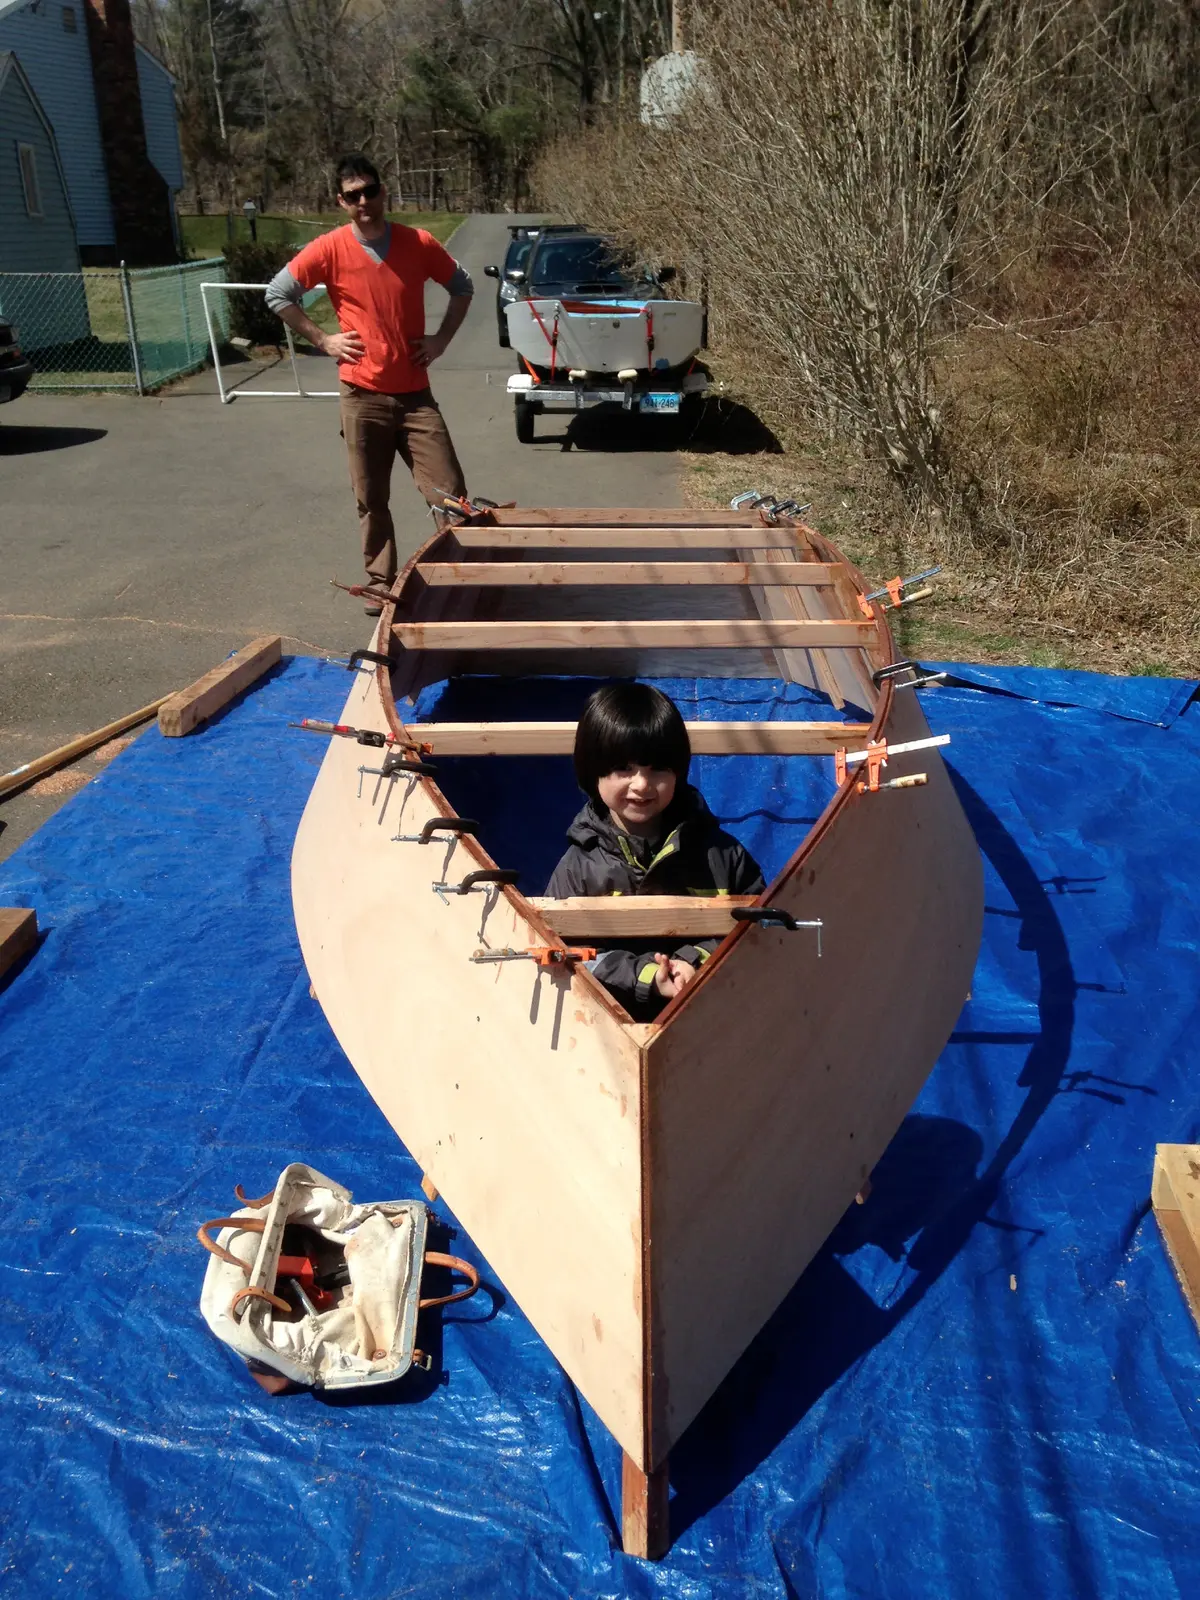
Probably the most exciting day so far, yesterday we cut and attached the floor! Before we began Mack routered out scupper holes in each of the ribs, we kept them small to limit the pace at which water can flow around the boat. Next up was the 2nd Scarf Cut. We rigged a jig for the circular saw in the driveway, it was not pretty but it got the job and done after a few attempts we had a nice cut. We decided to scarf and join the plywood on the boat rather than joining the wood, letting it cure for a day and then cutting it to fit. We were able to use one piece of plywood for the floor section from the transom to the 3rd rib, and another small piece for the rest, thereby conserving our valuable plywood. It was a nice alternative to the center joint (4th rib). Each piece was scarfed, traced out, cut and then fastened using the stainless screws and epoxy. Pre drilling holes in the chines was necessary to protect the Sapelle hardwood. Once the floor was joined, we used a flashlight to determine if there were any gaps in the seams, which there were luckily very few! Then we spent at least 20 minutes admiring the shape of our new hull!
2. routering drain holes
4. scarf jig, patent pending....
5. sidetracked!
6. scarf jig
7. look at that cut!
Week 2 continued...sure picked a bad time to stop sniffing glue!
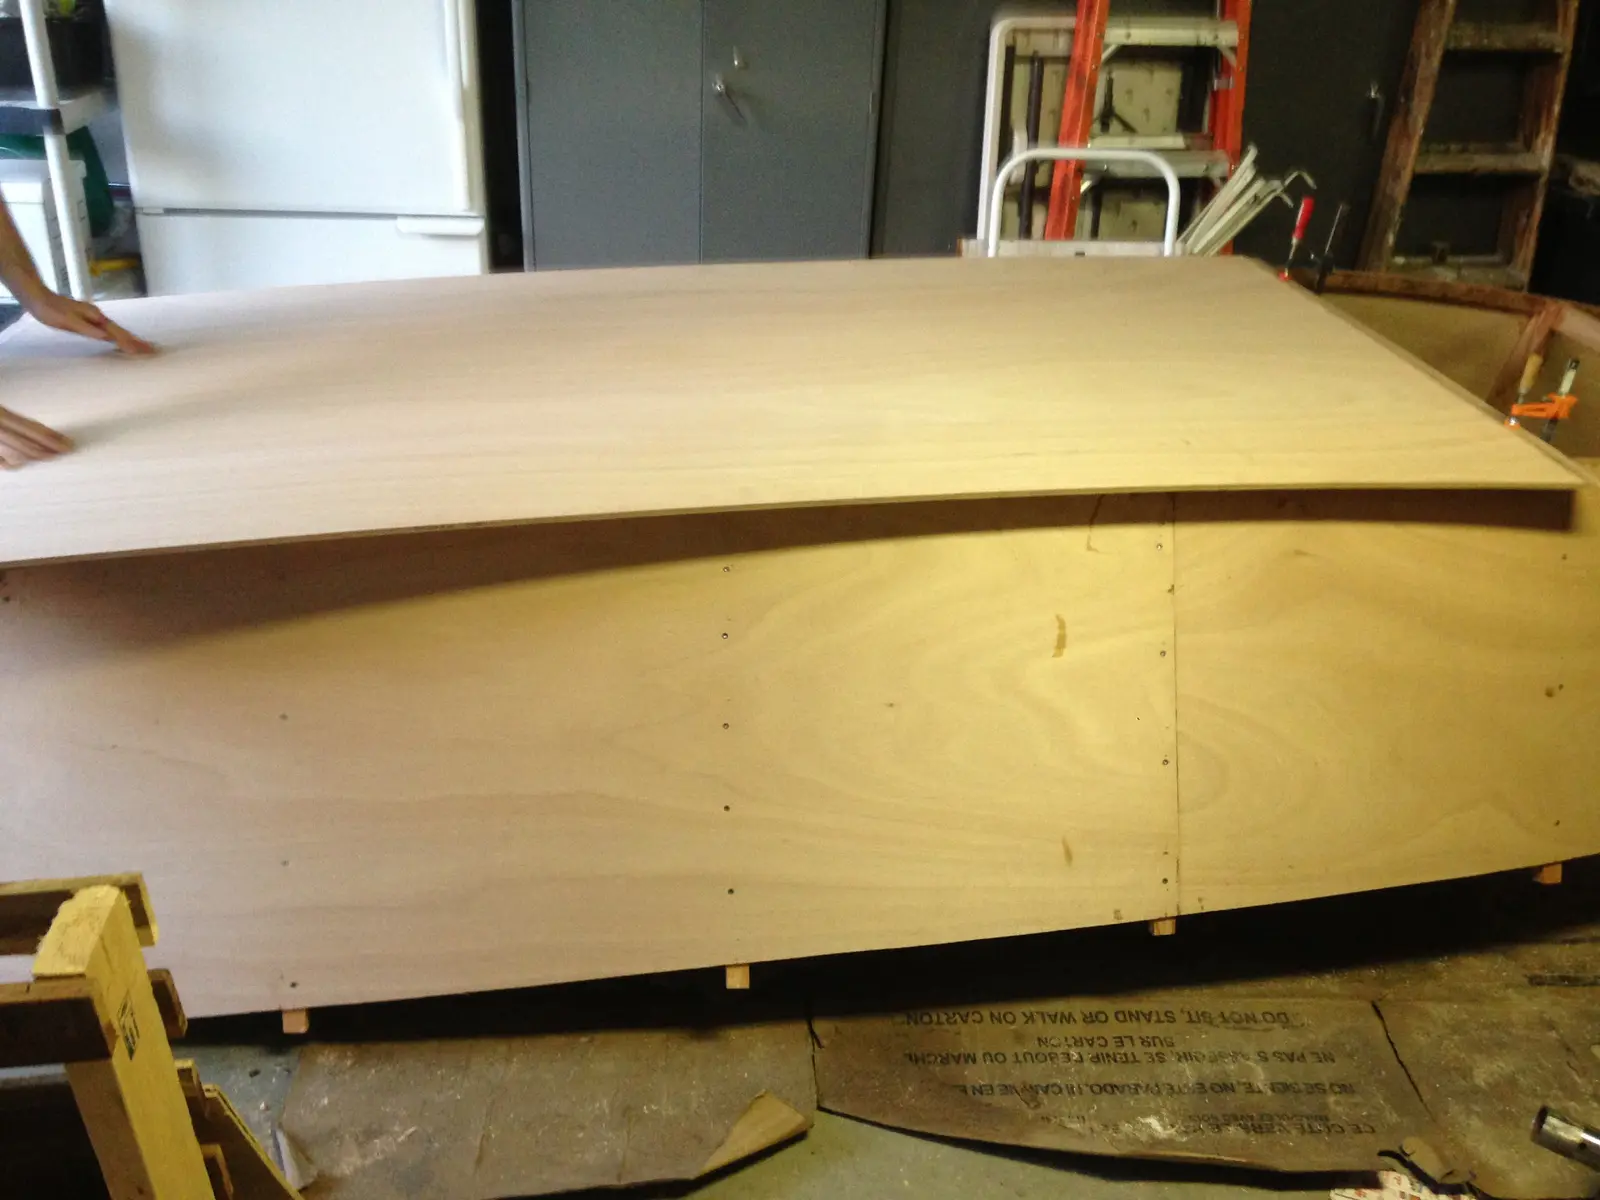
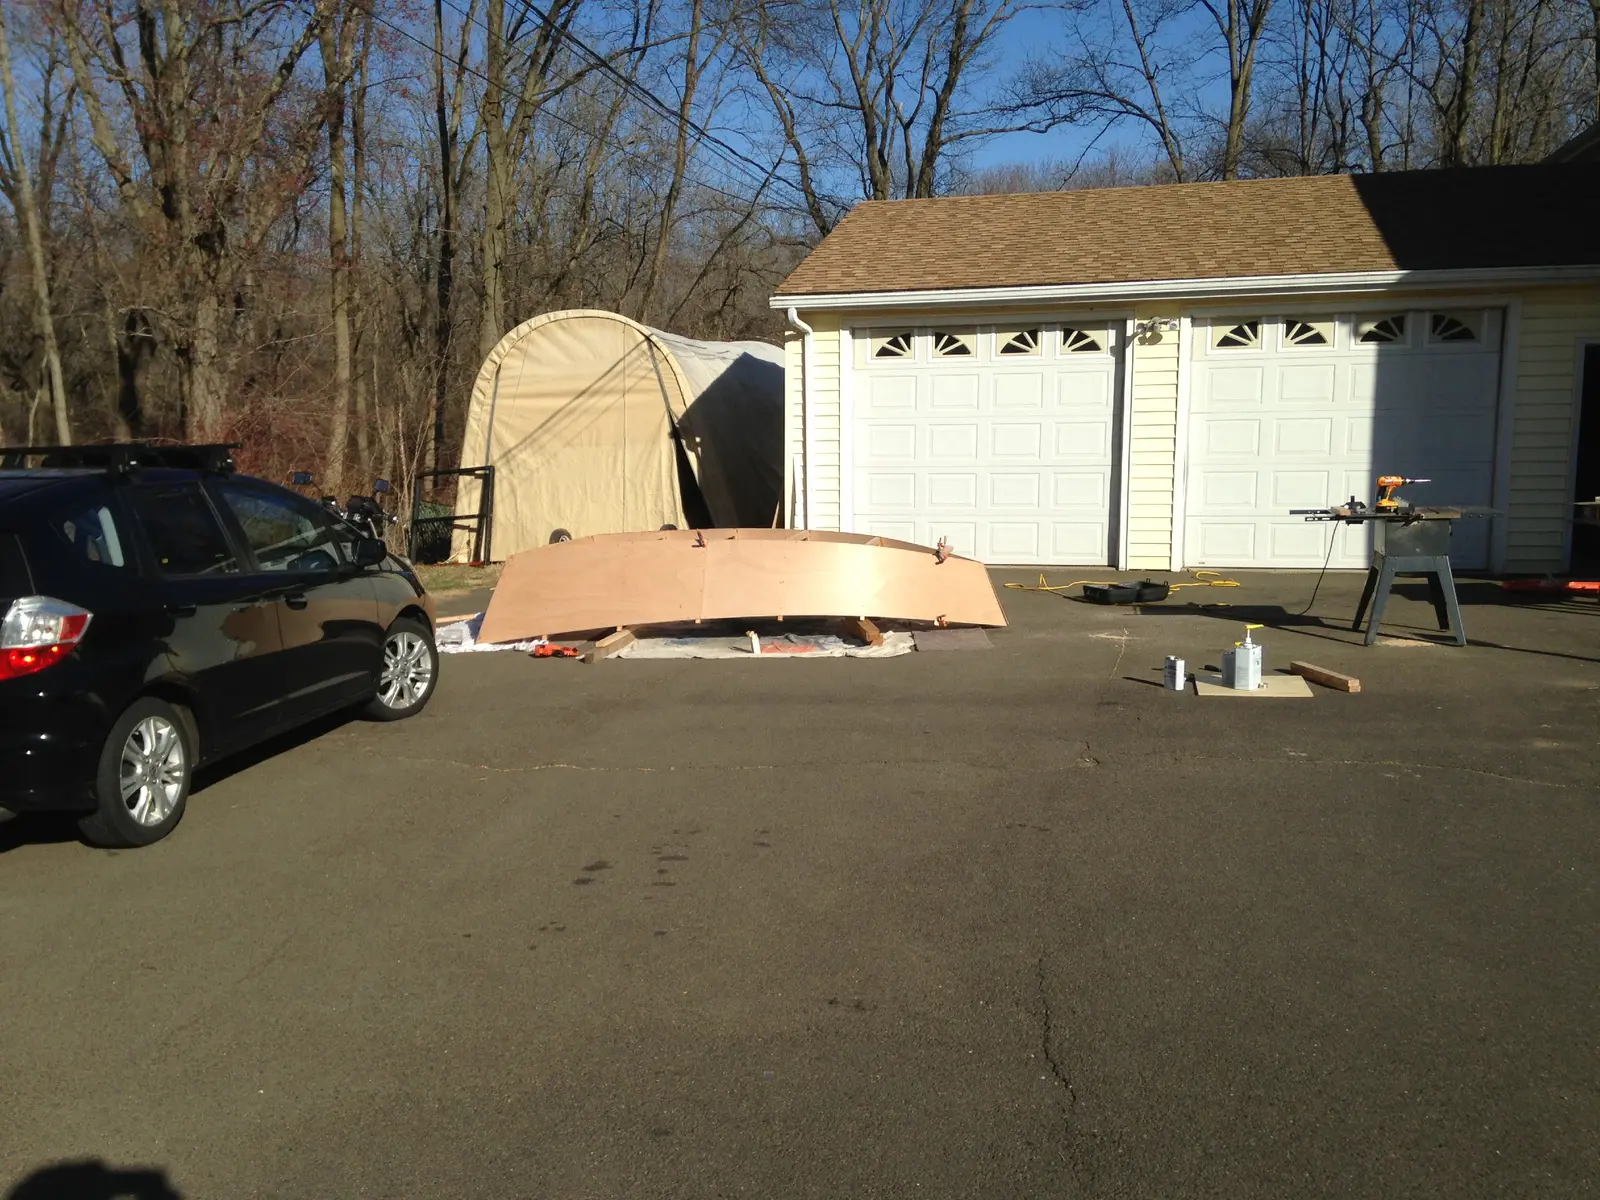
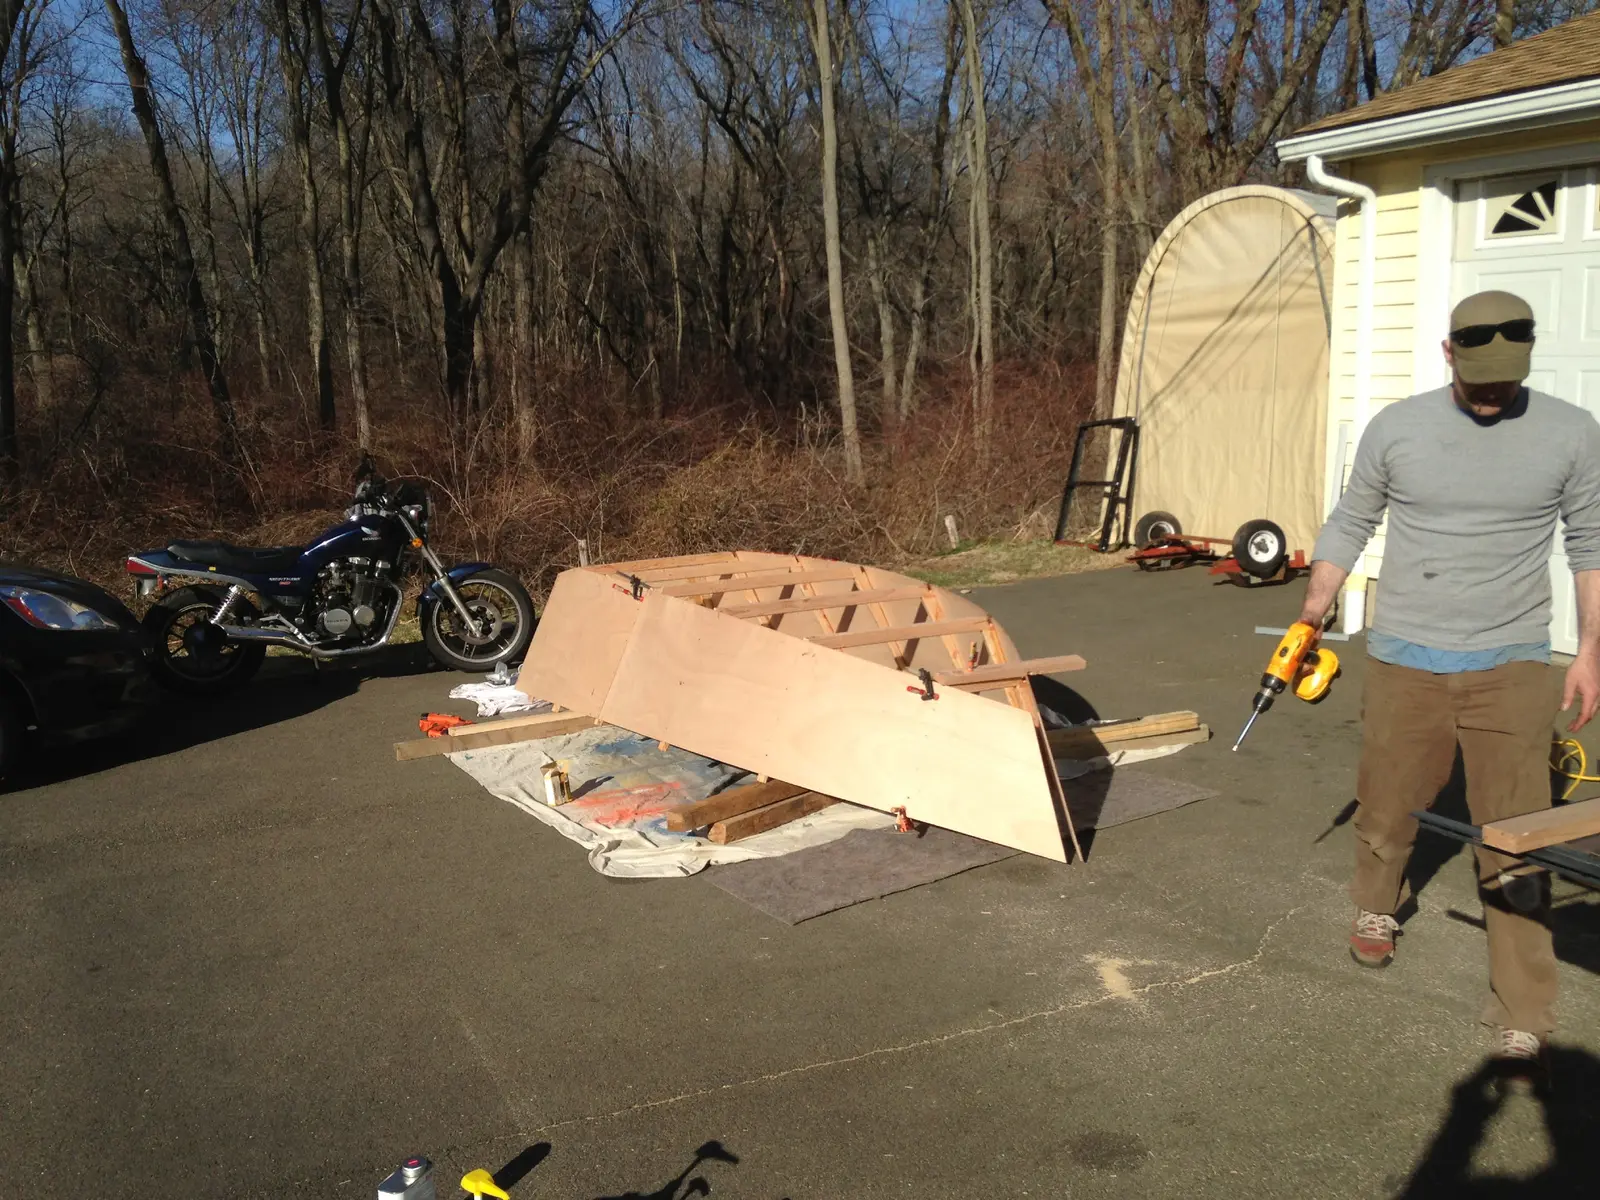
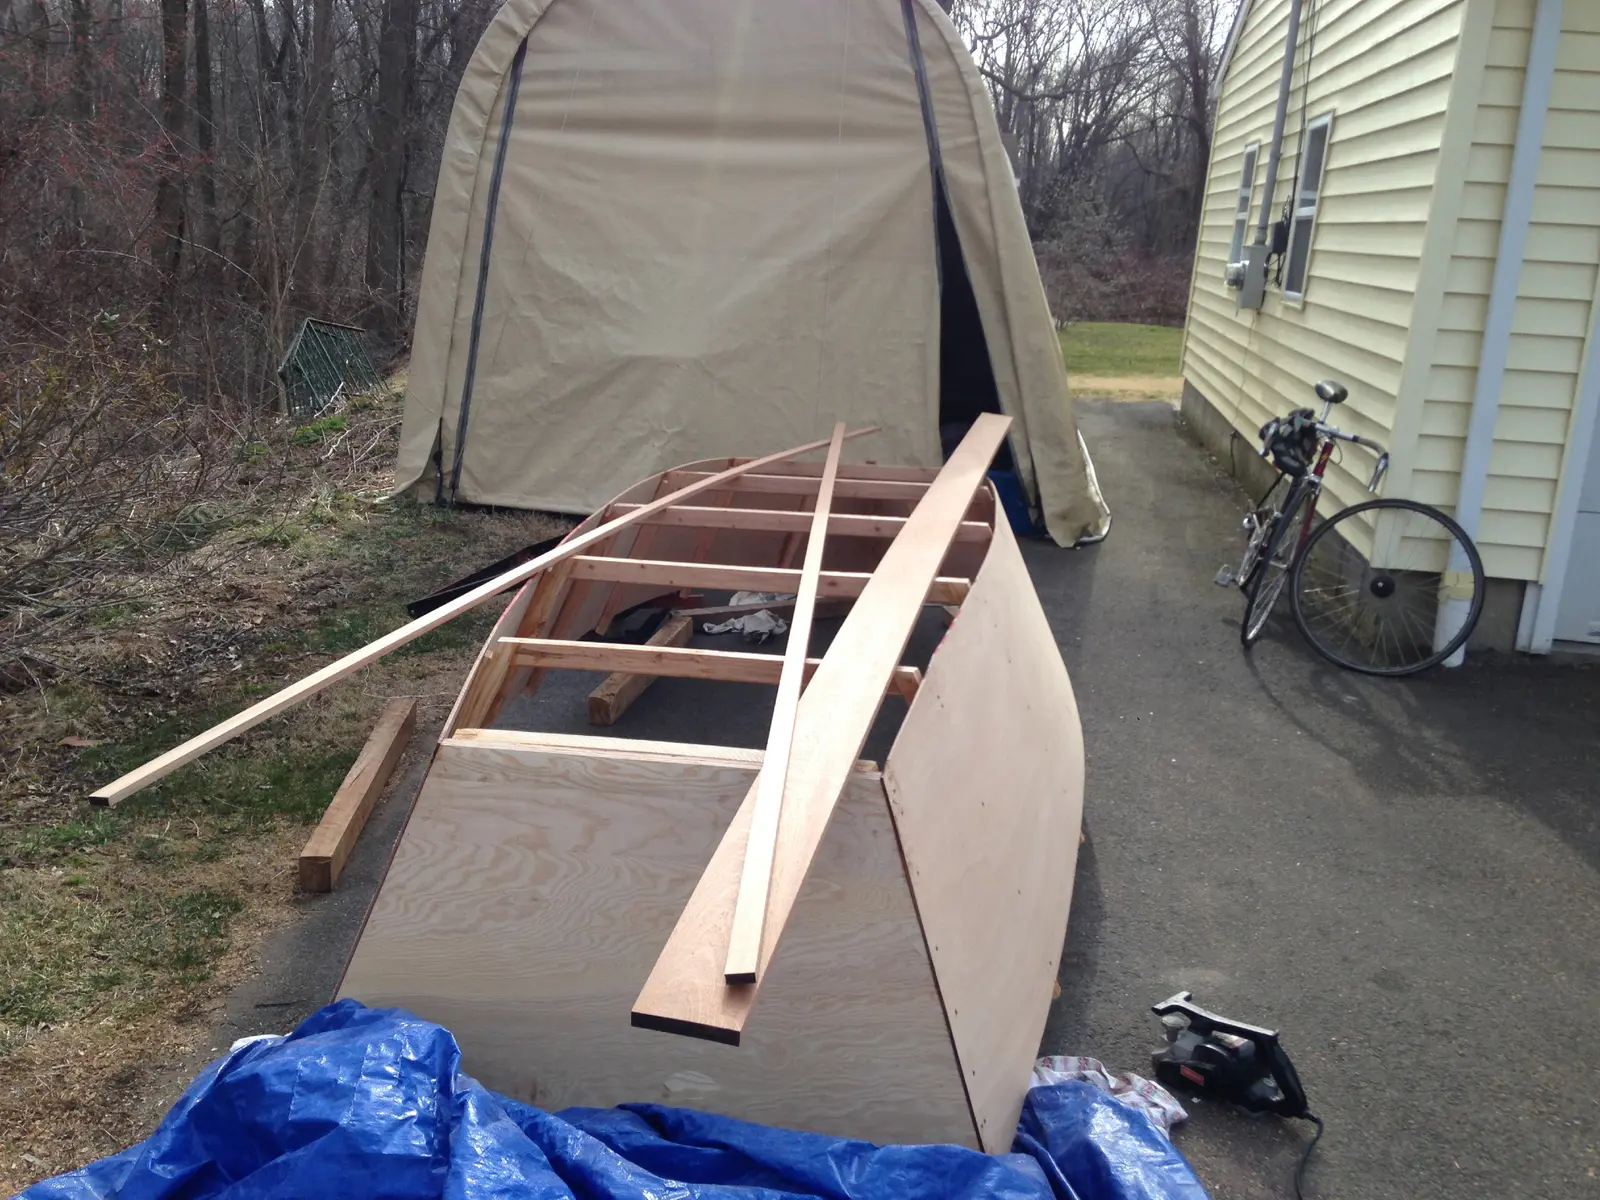
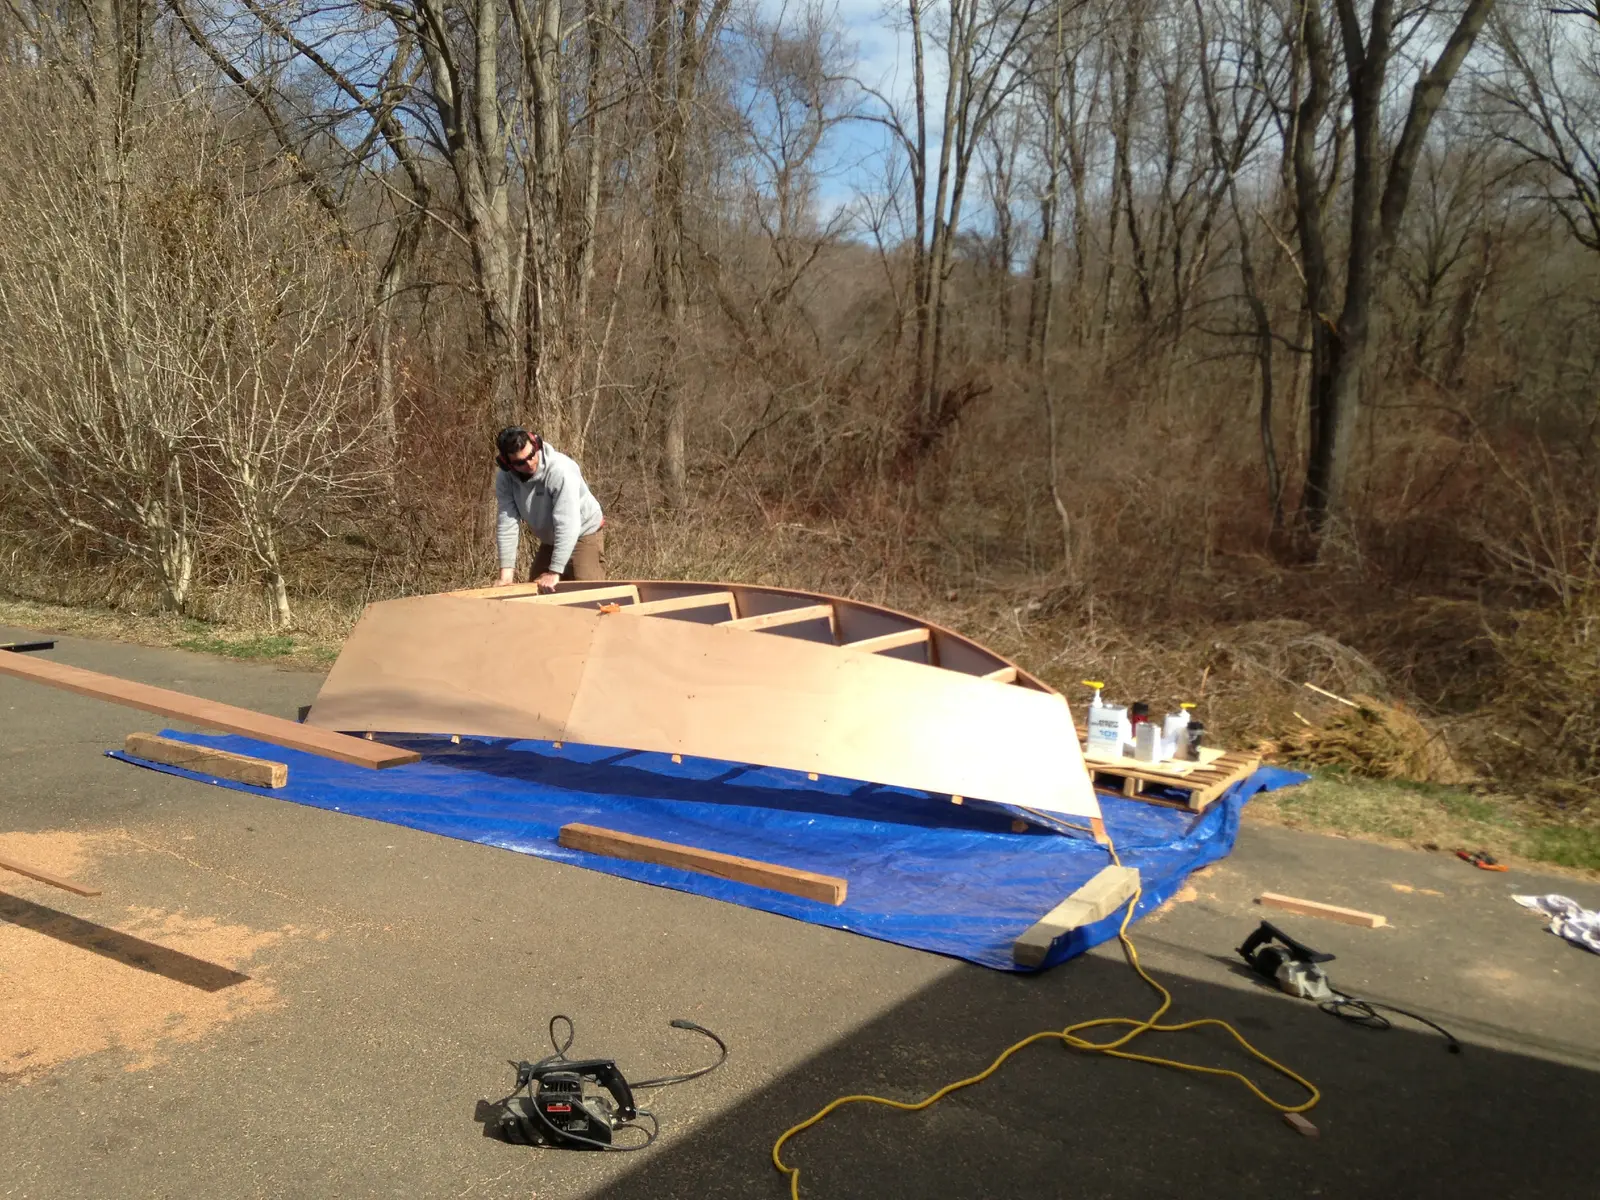
Hope you caught that "Airplane" reference, If not no worries lets move on. Alright so as you can see, the sides are cut and ready to be joined. we begain with the center rib and moved out from there, so rib 4, then 3&5, then 6&7 and lastly the stem. Each rib was slathered in West System Fast Curing Epoxy and then tacked to the walls using a nail gun for placement . Then we used 1.25in stainless screws for fastening. We clamped a piece of scrap to the bottom of the rib to ensure the bottom edge of the wall was flush with the bottom edge of the rib. I wish we had more photos of this assembly but the was not much time as we were working with the fast curing epoxy....
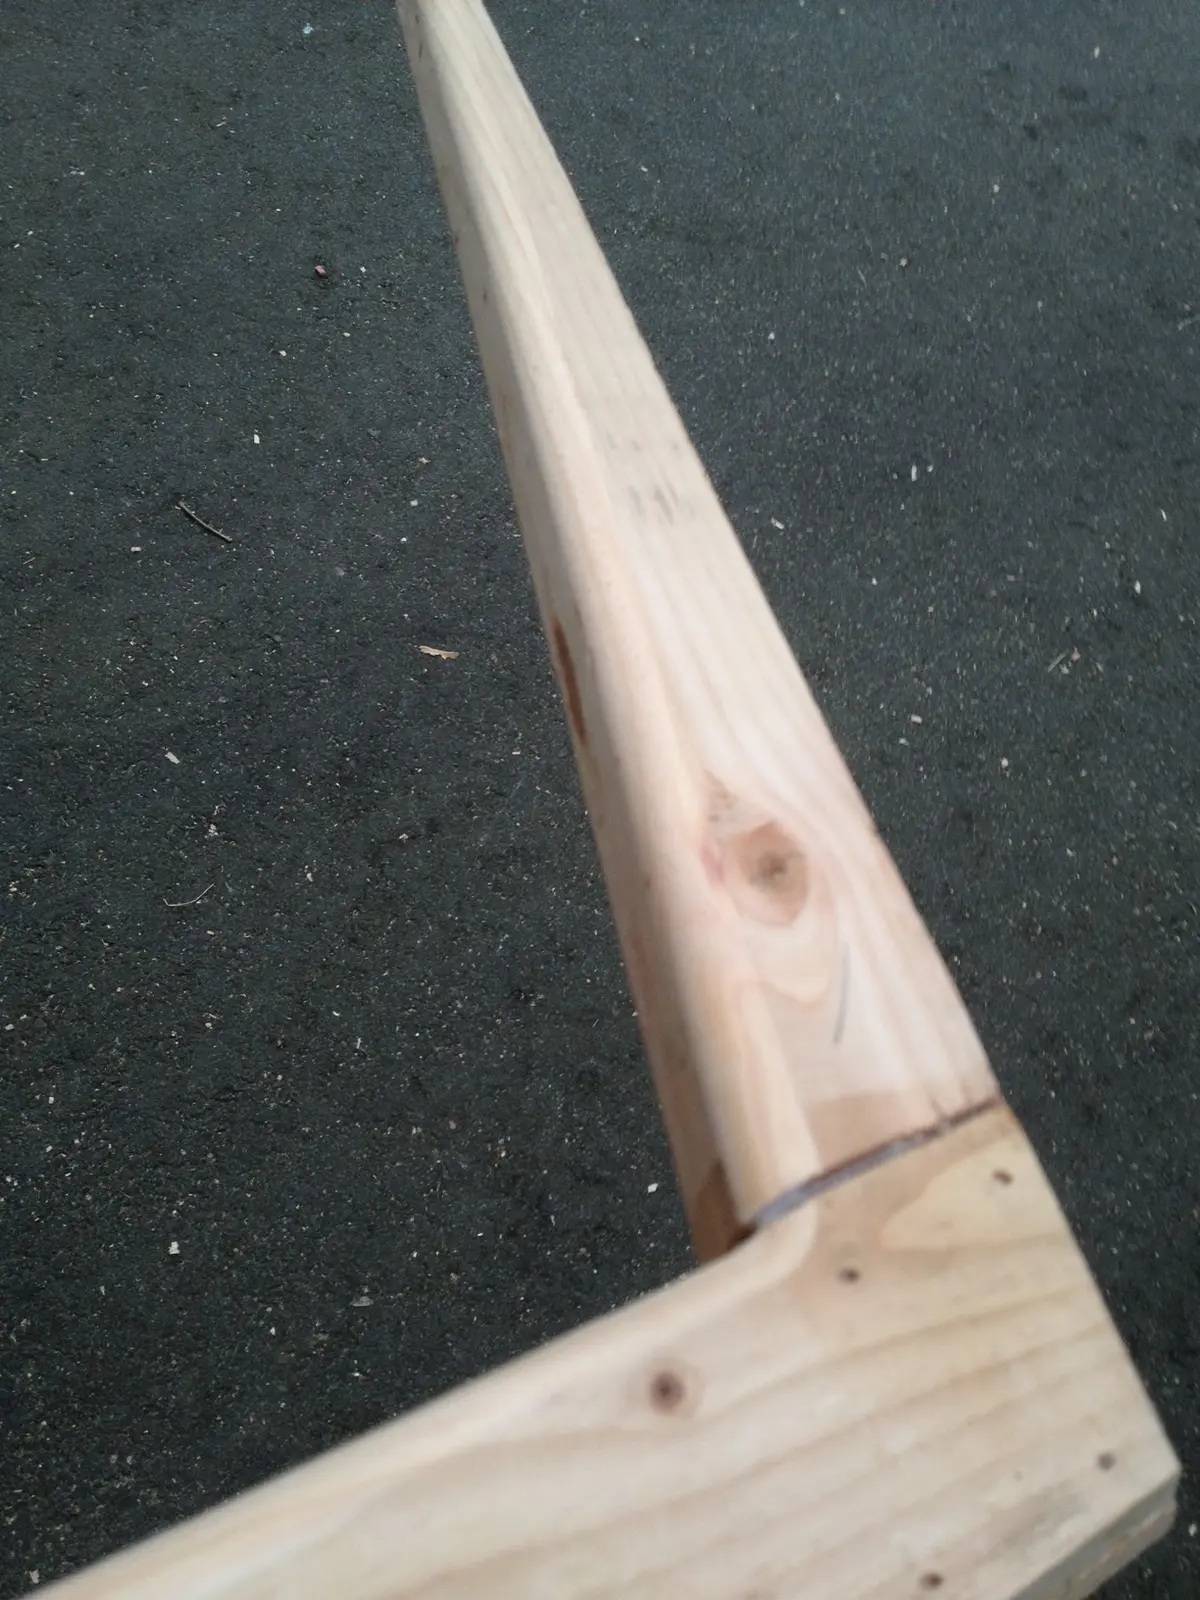
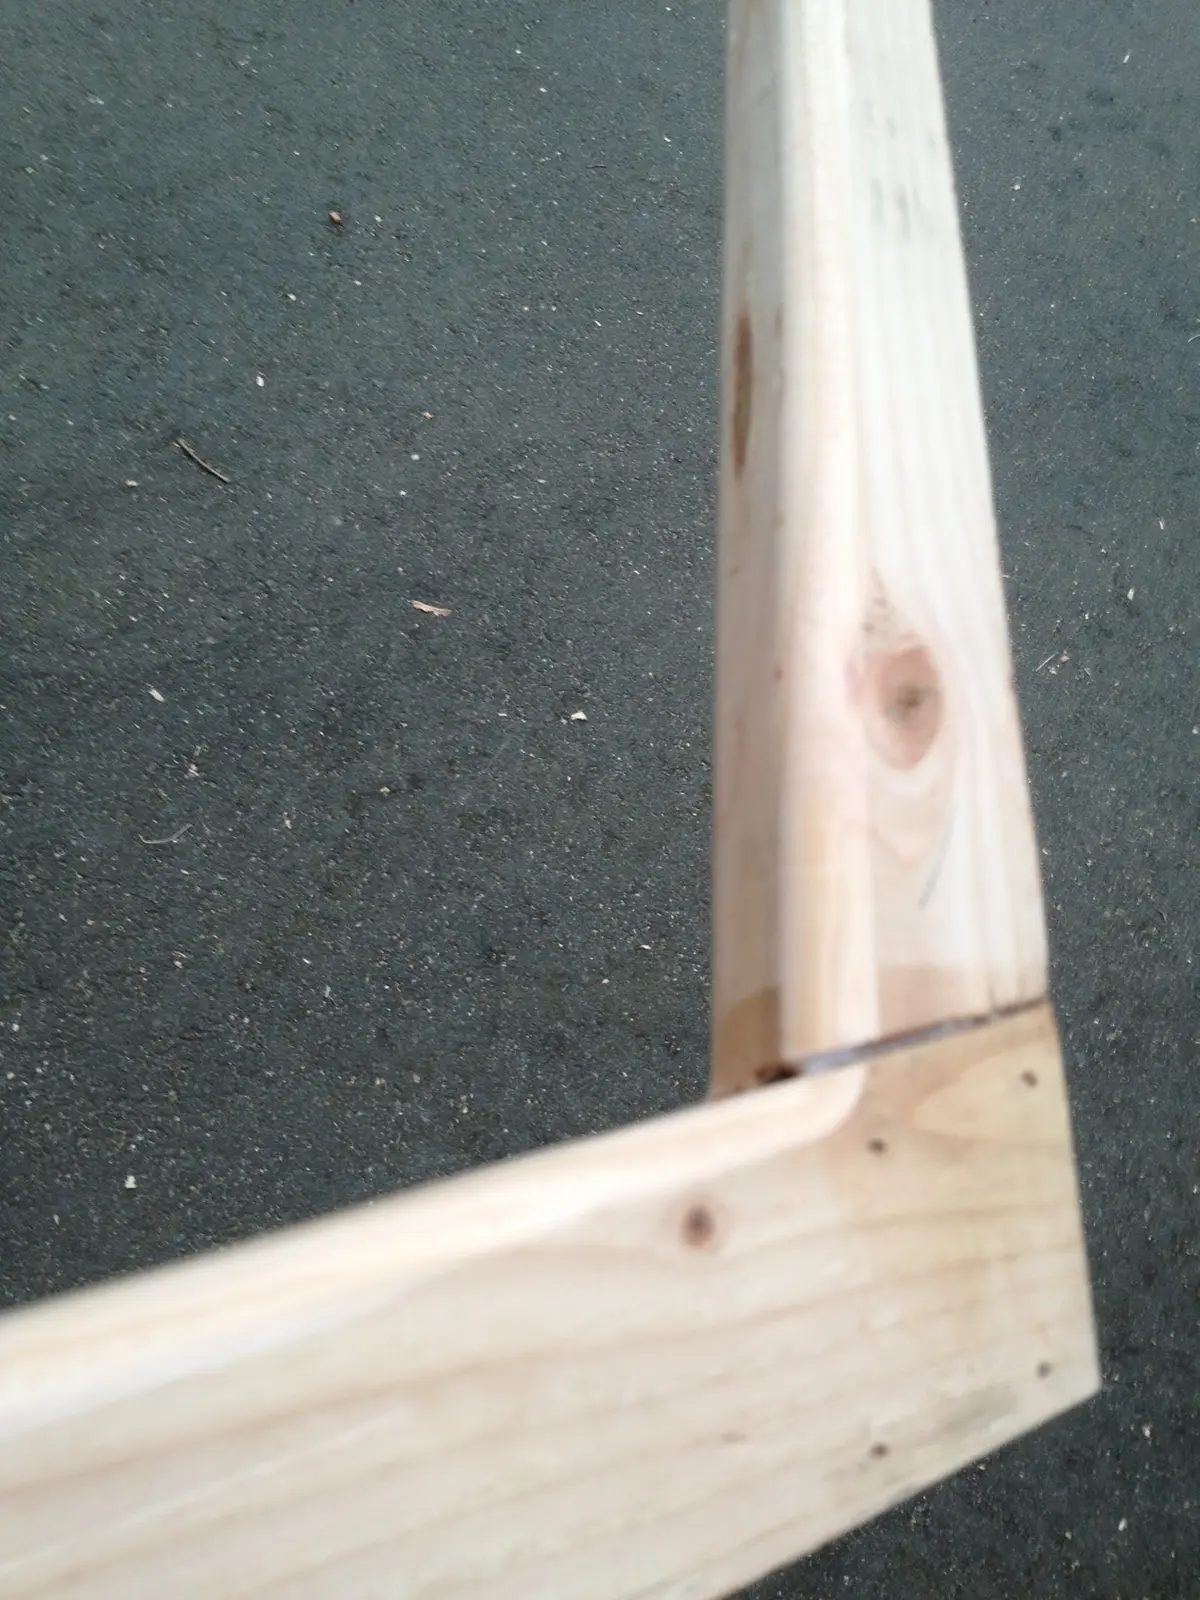
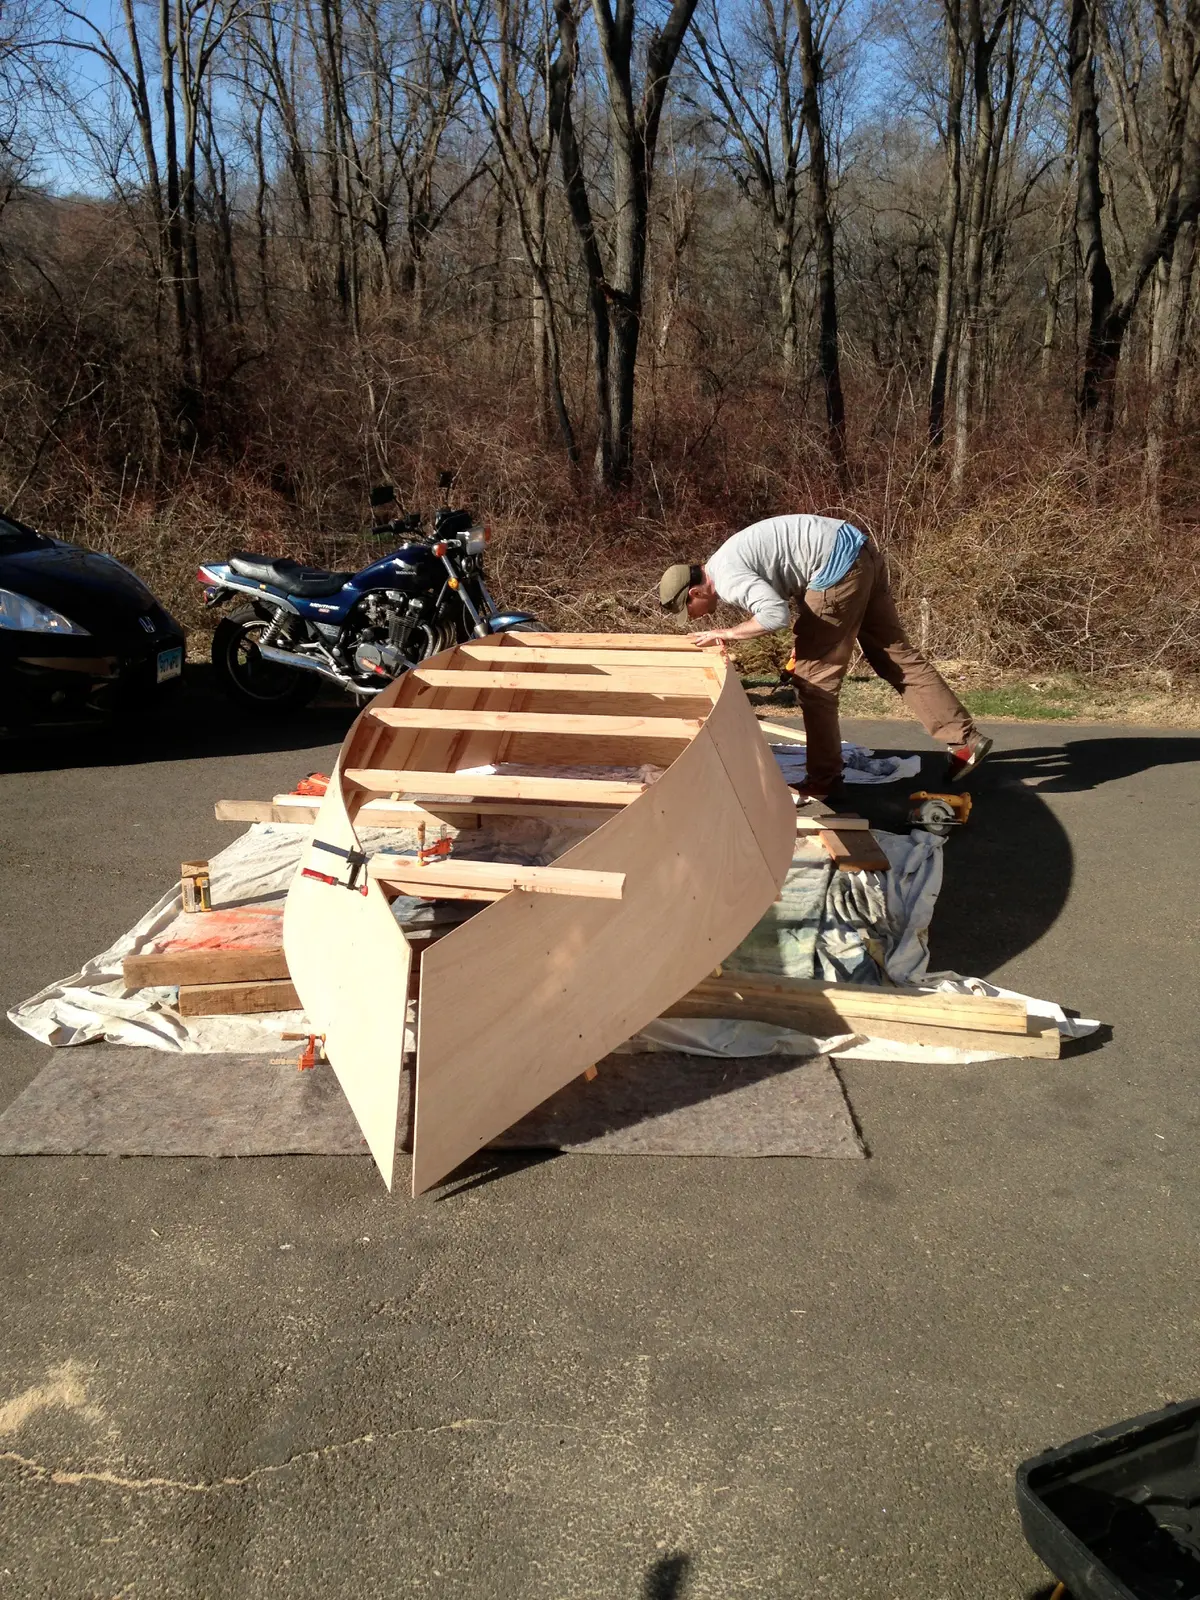
After the sides, transom and stem was joined, we let the boat sit overnight to cure. The next day we began work on the Chines. Mack found a nice deal on a 16'x8" piece of Sapelle which we cut our chines from and will eventually use for for the gunnels as well. Real Nice stuff! We ripped our 1.5 inch Chines using the table saw then planed them down fit the rib notch width ( 5/8 in). We tacked them into place and secured them using the epoxy and clamps where necessary. The strong sapelle chines did not want to make the final curve for the rise in the transom, so we let them float and then cut in trim pieces to fill the gap between the 6th rib and transom.
4. planing the chines
5. a true lifesaver, though she has been a little temperamental lately.
6. Sapelle Chines
7. fittling the chines
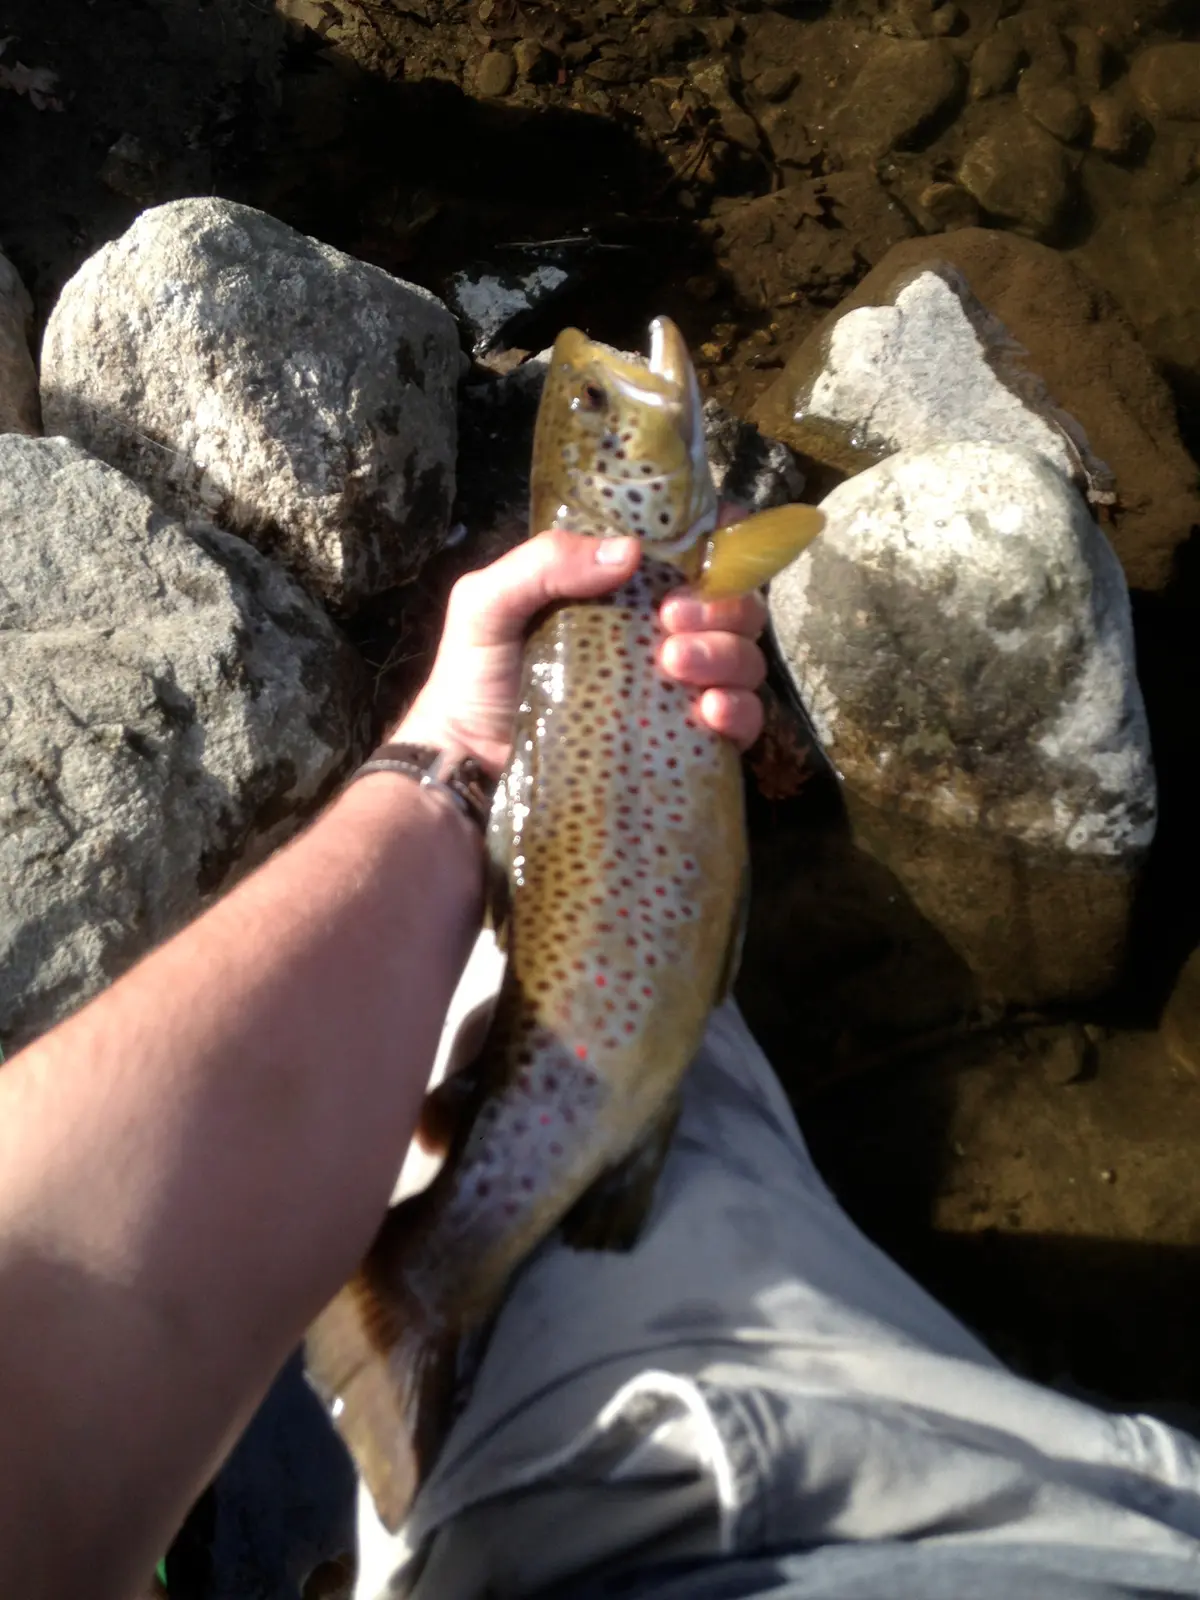
8. "What were gonna do in this boat Bross? " "Catch Fish!!!!"
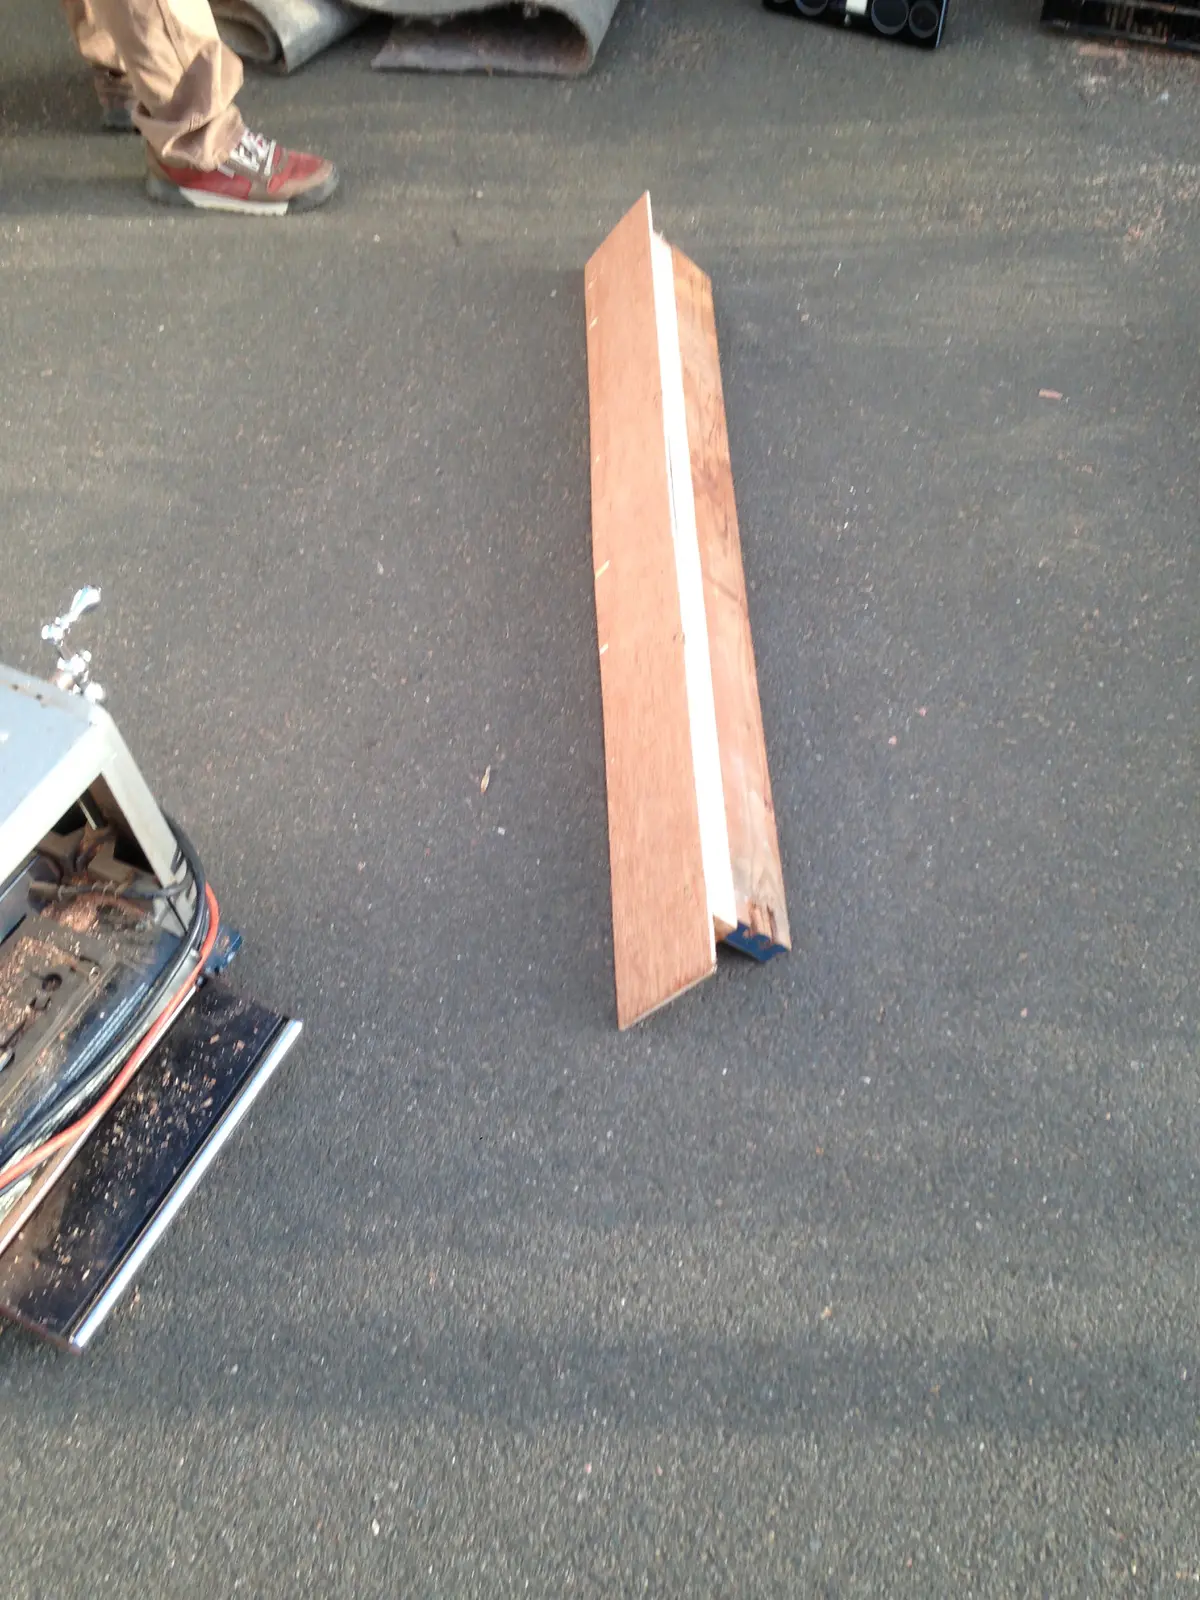
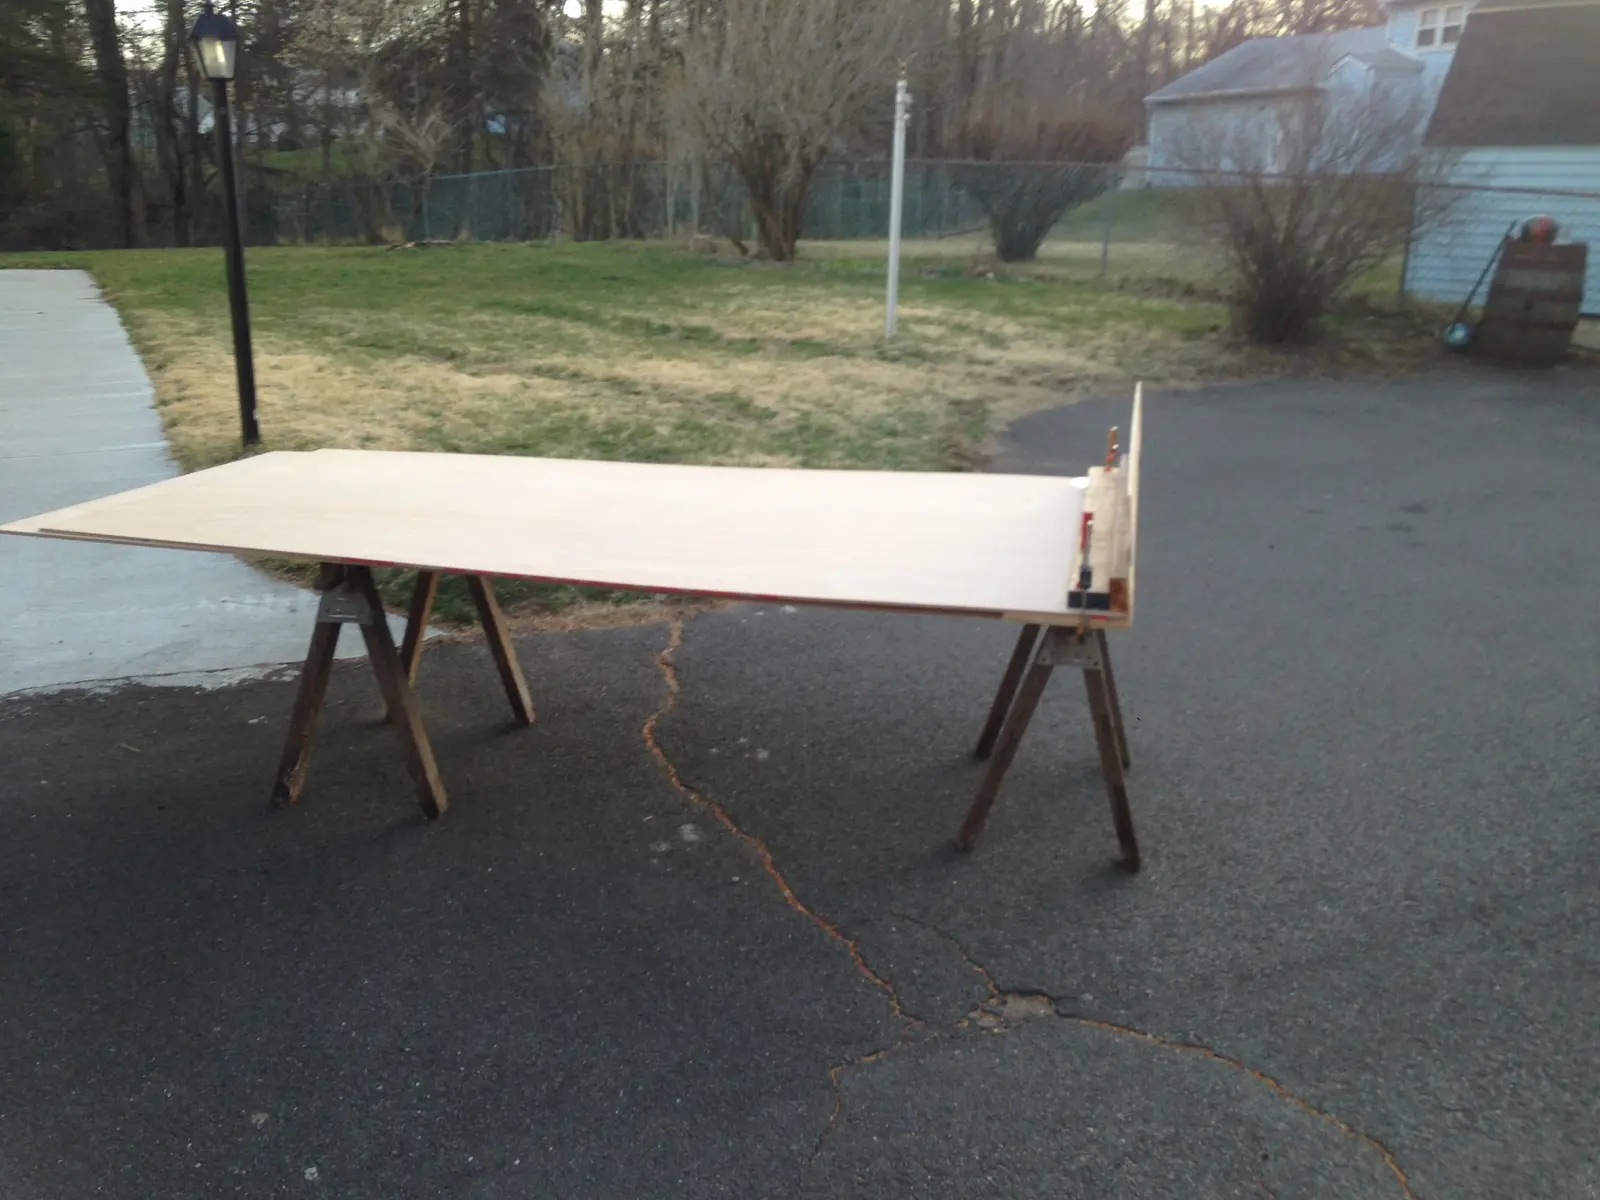
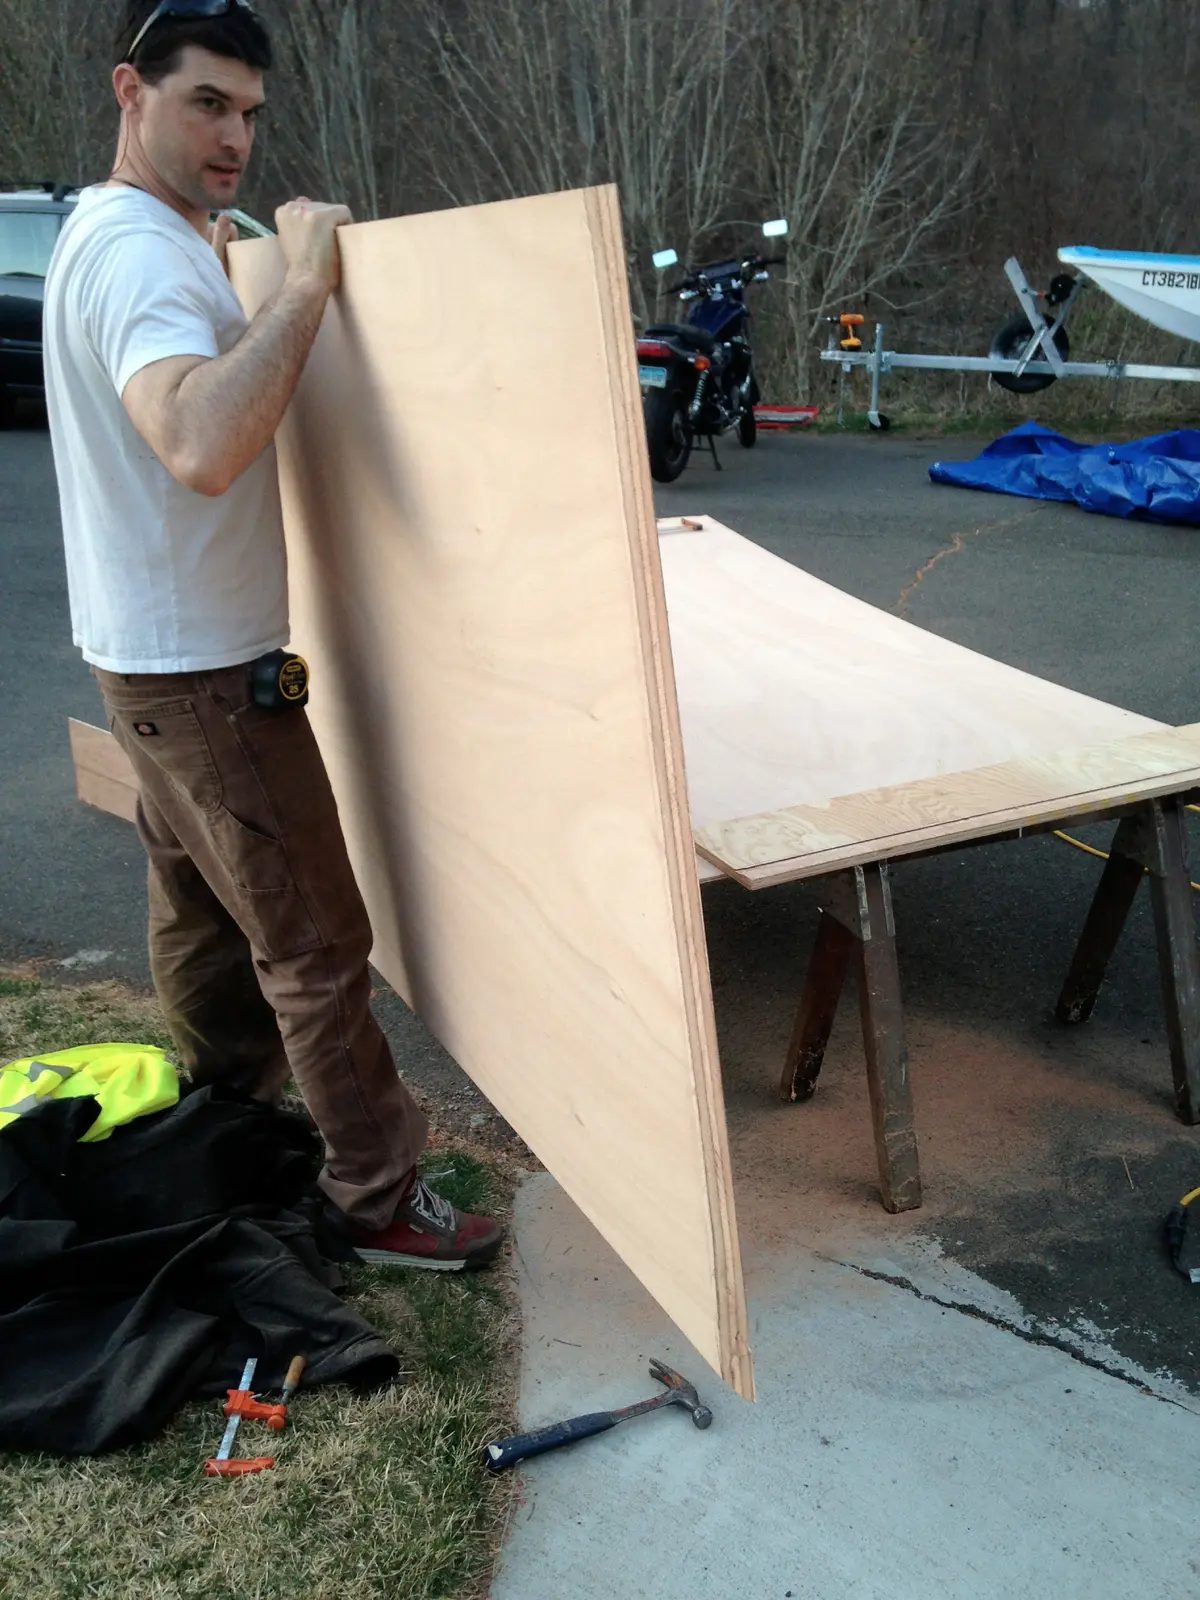
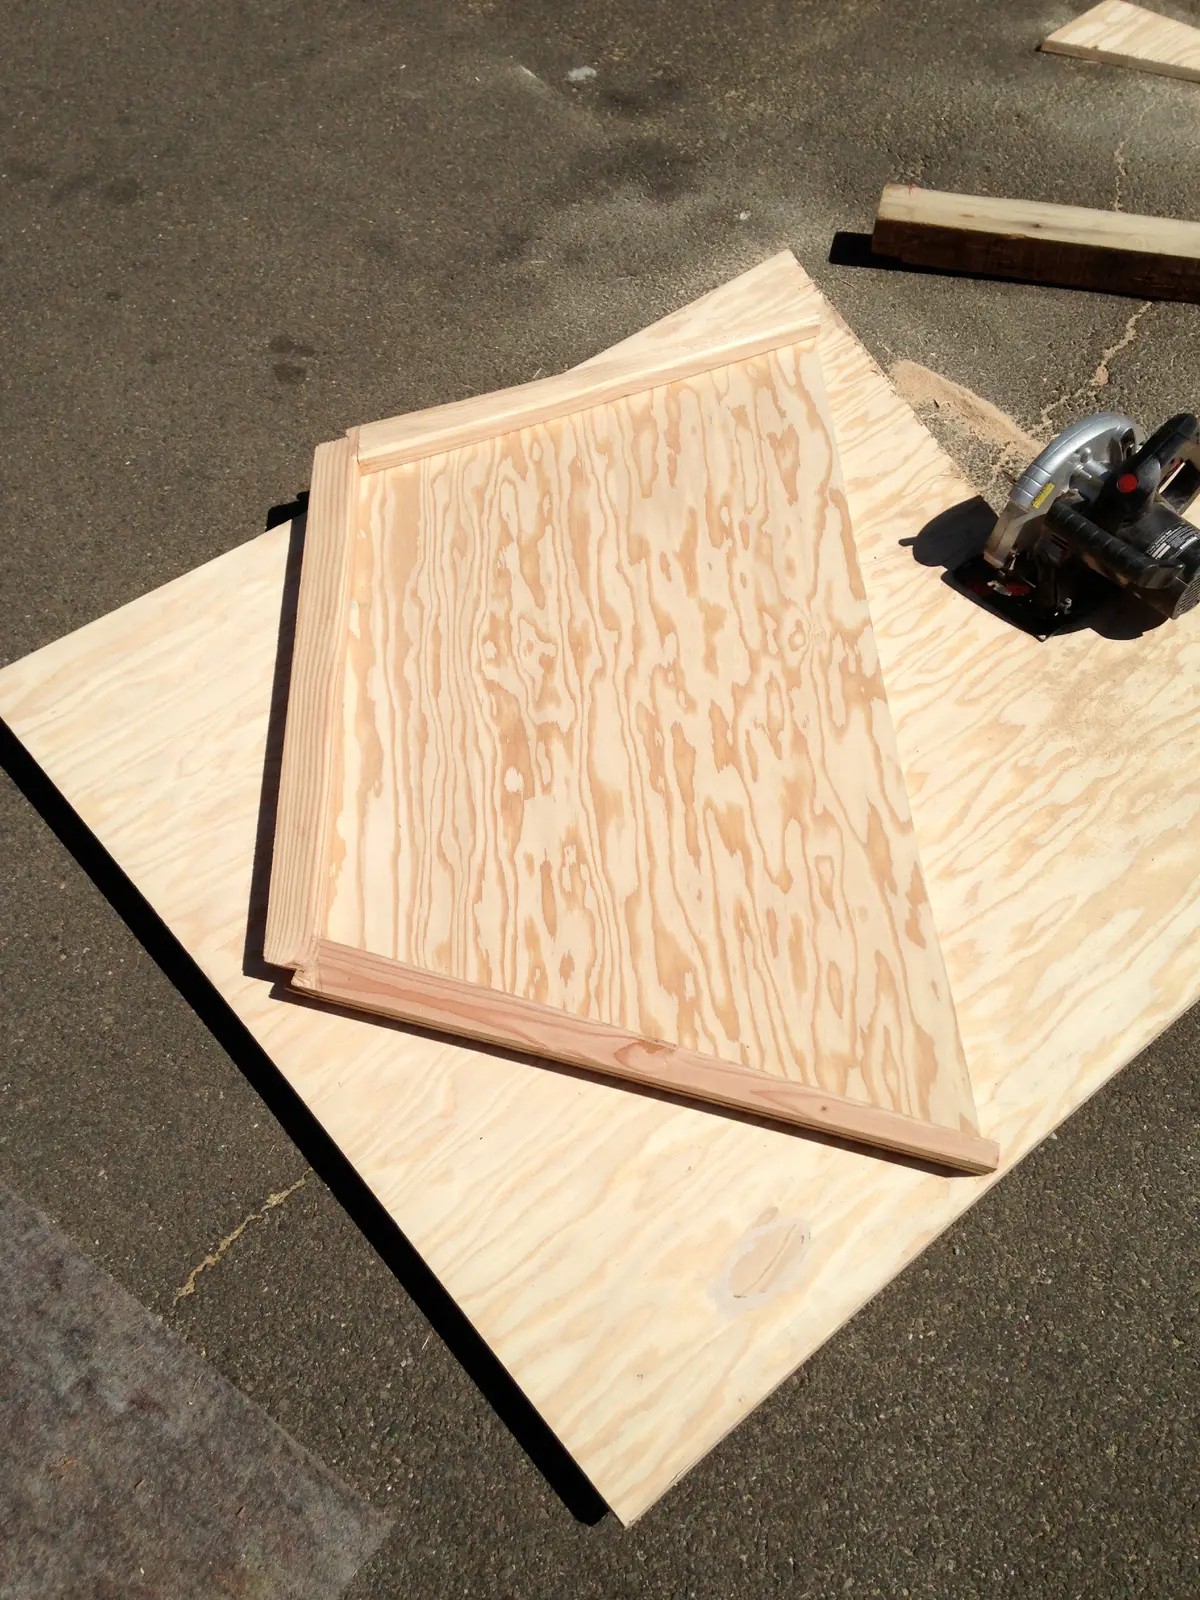
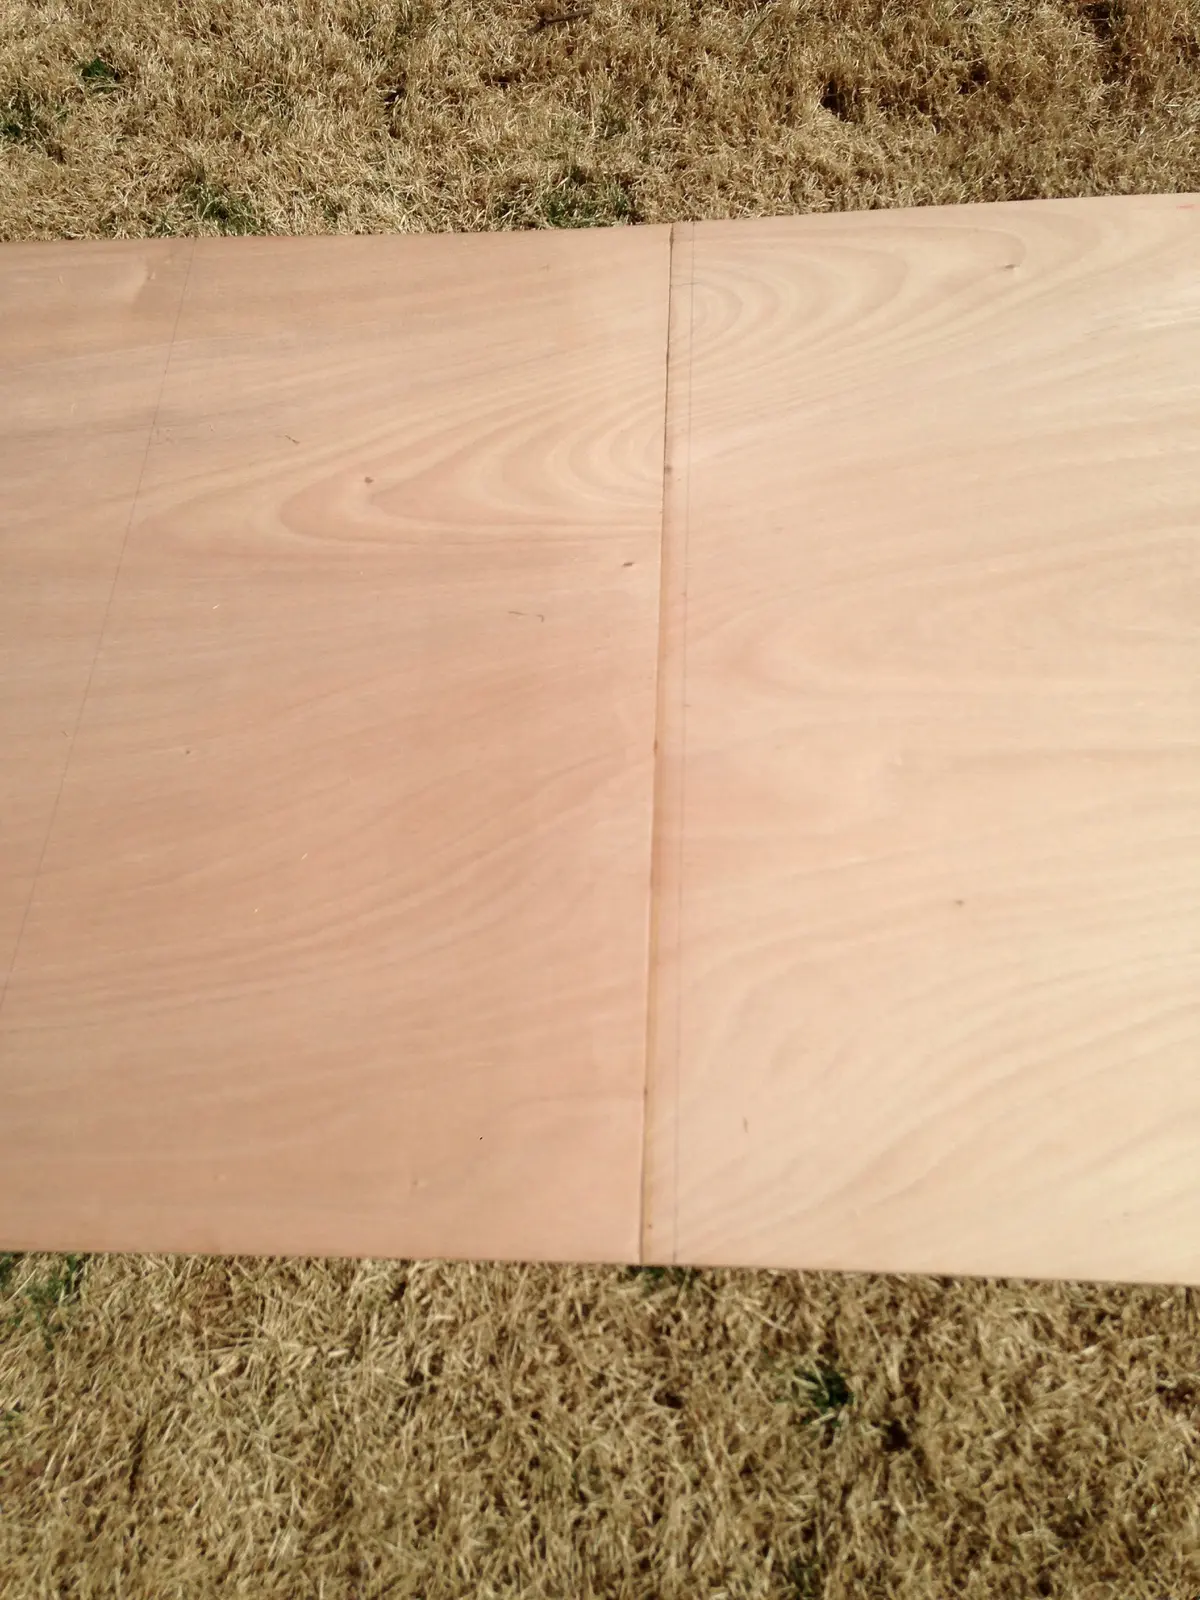
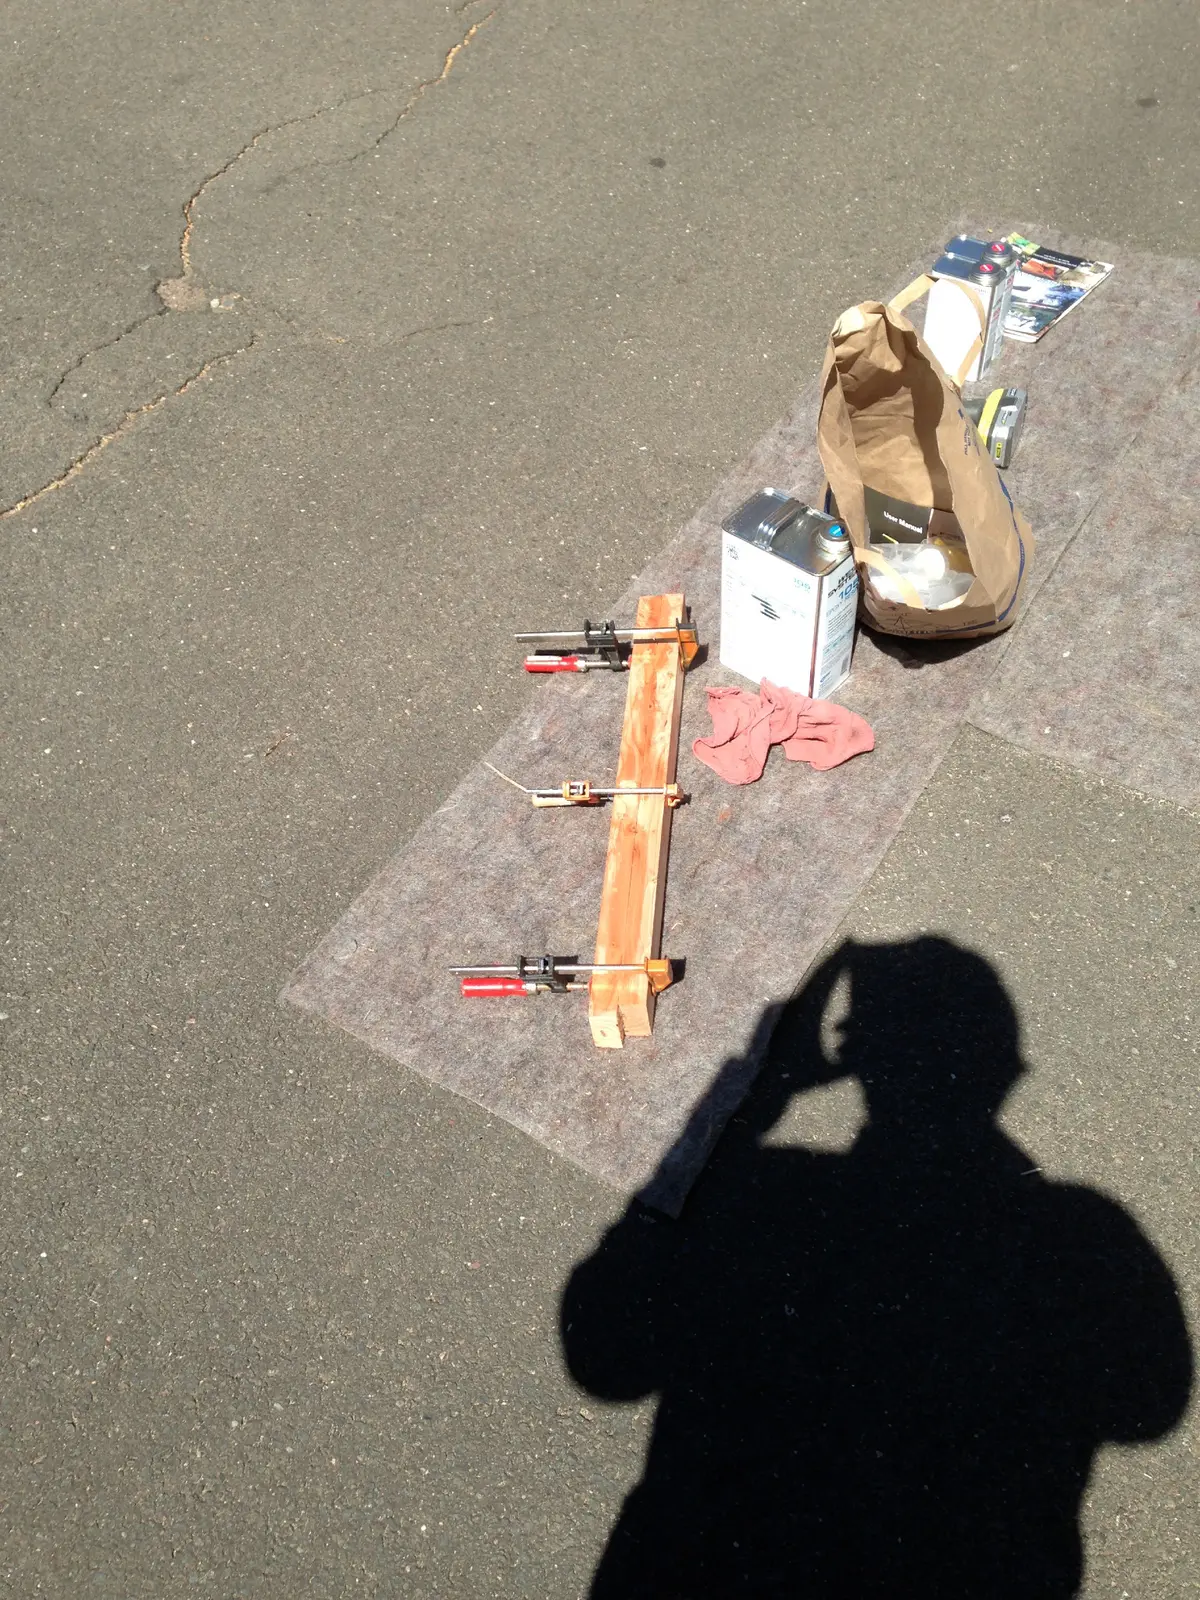
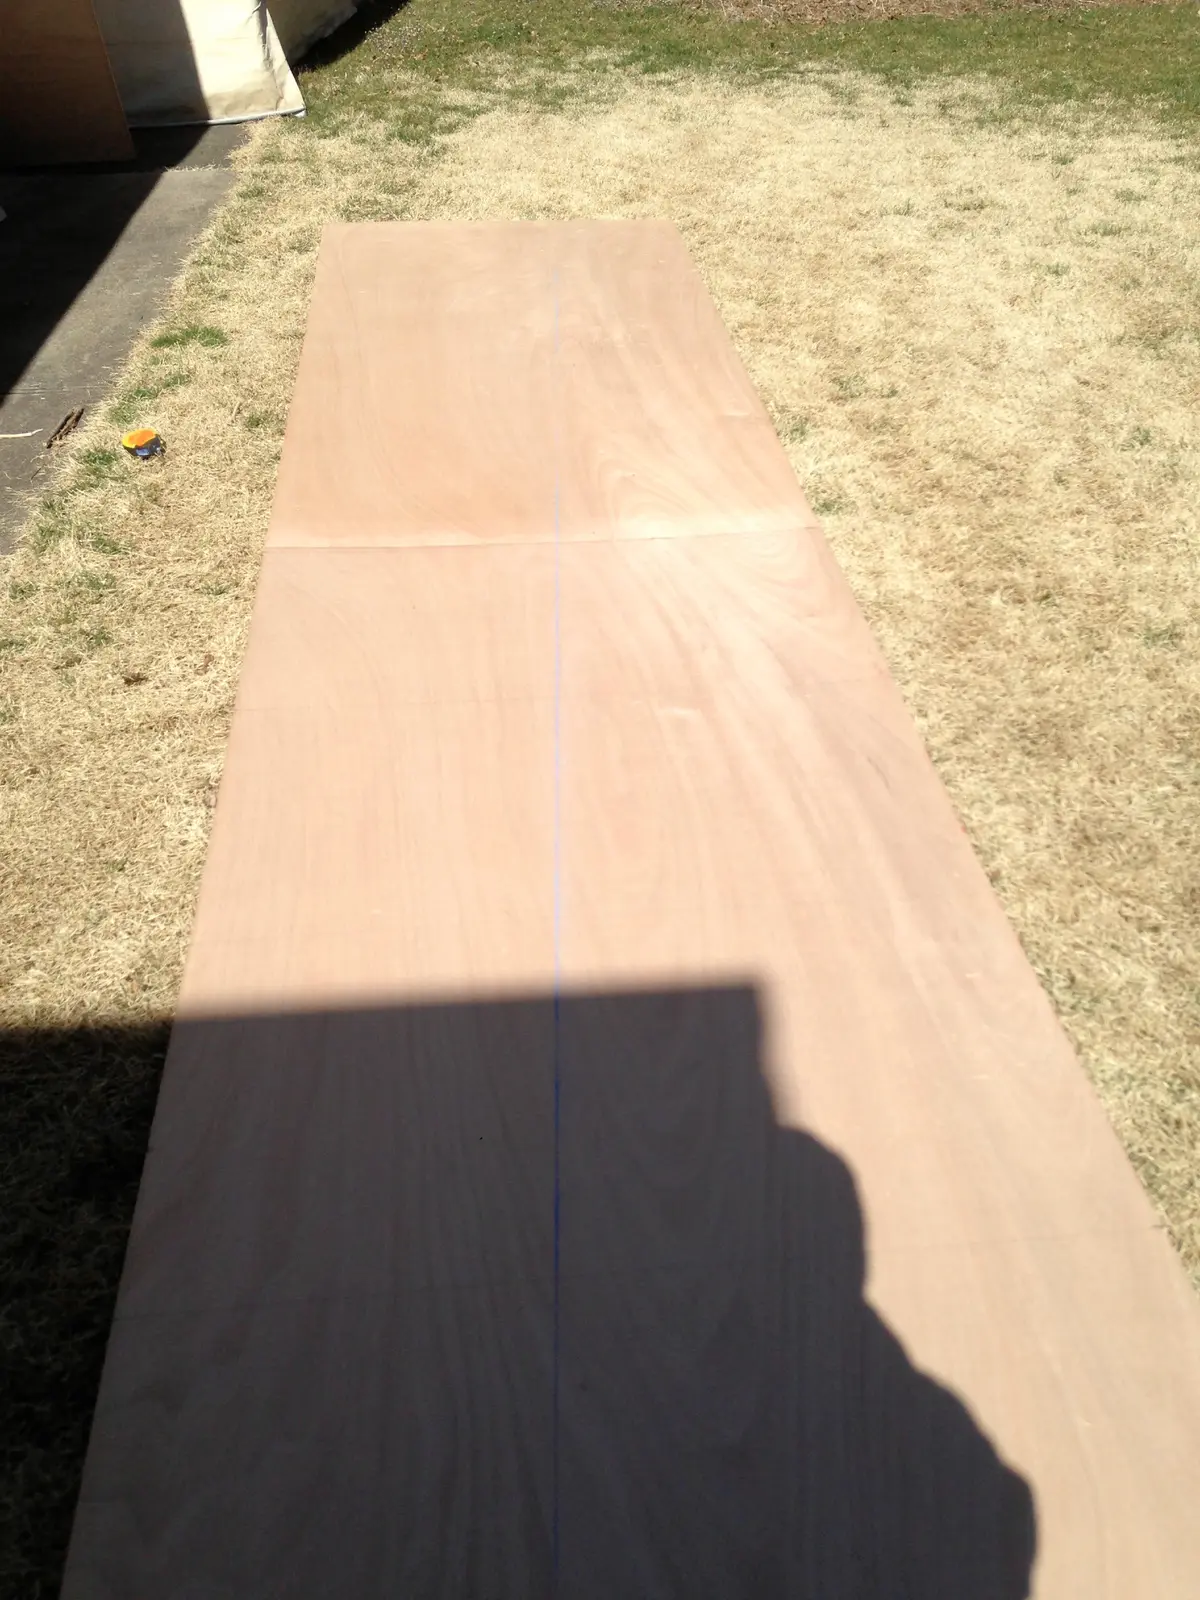
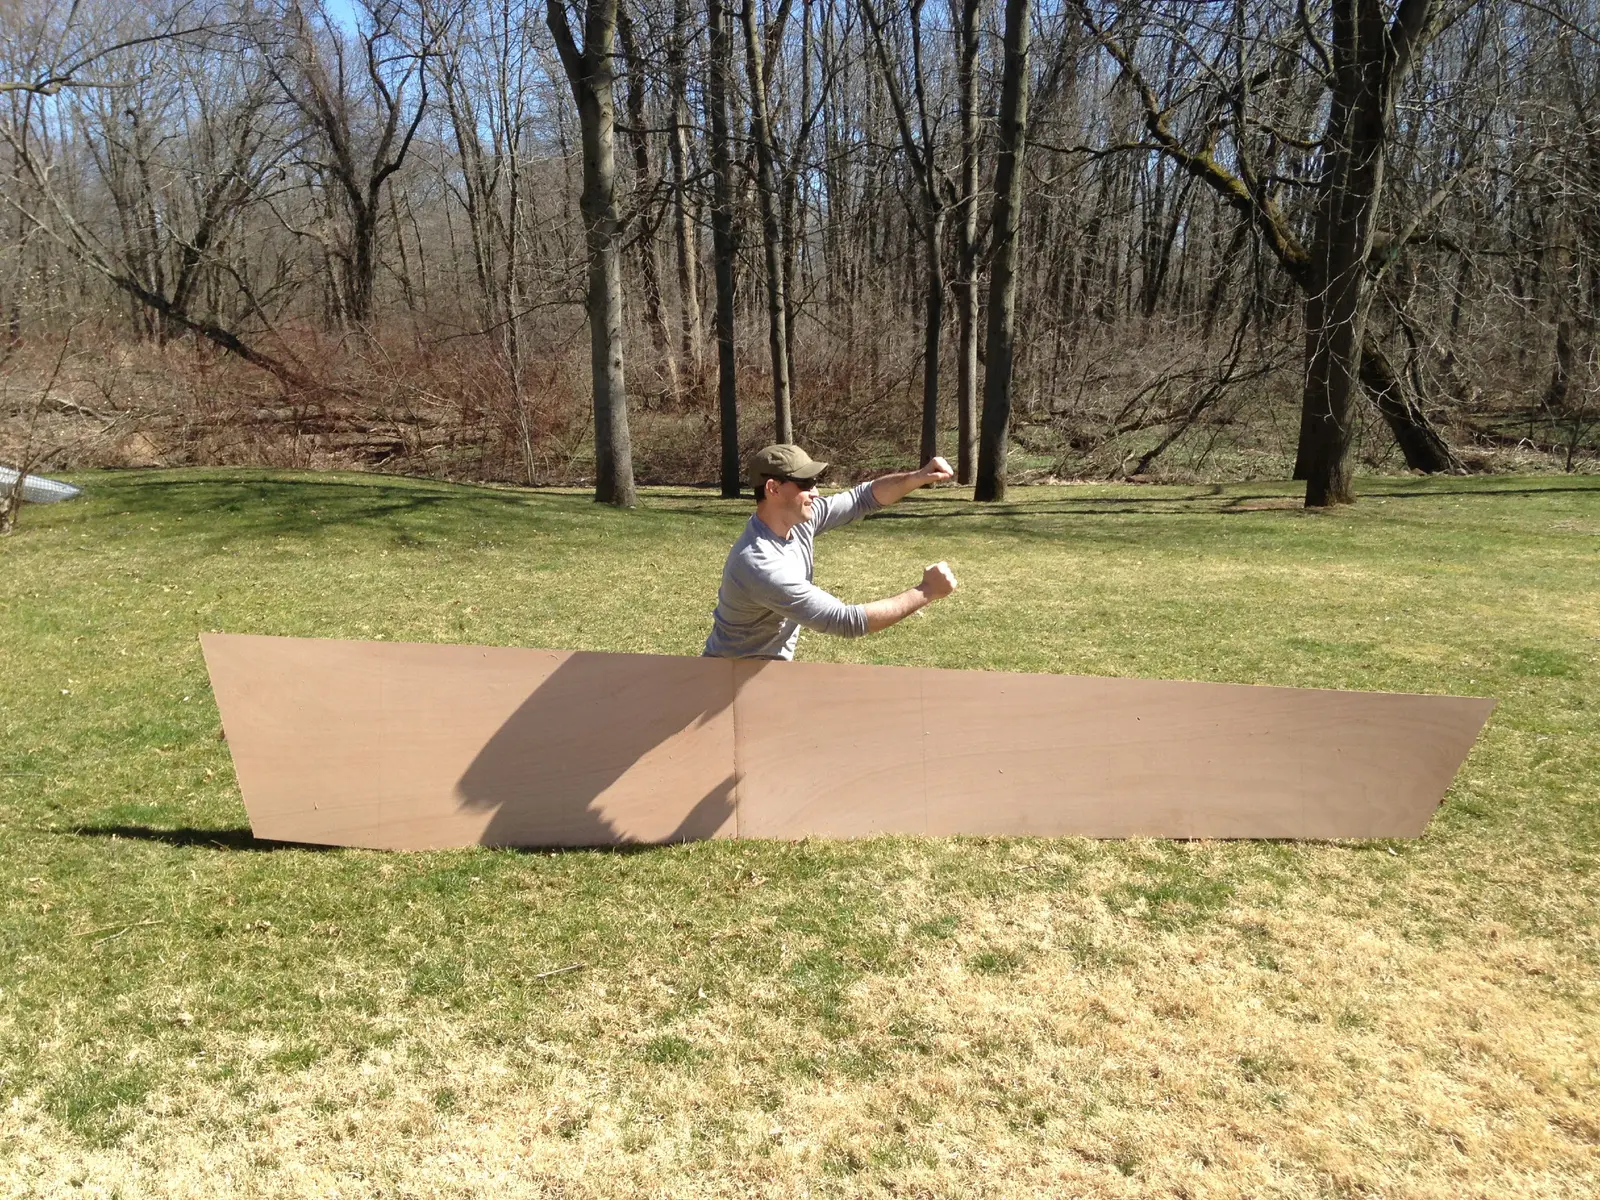
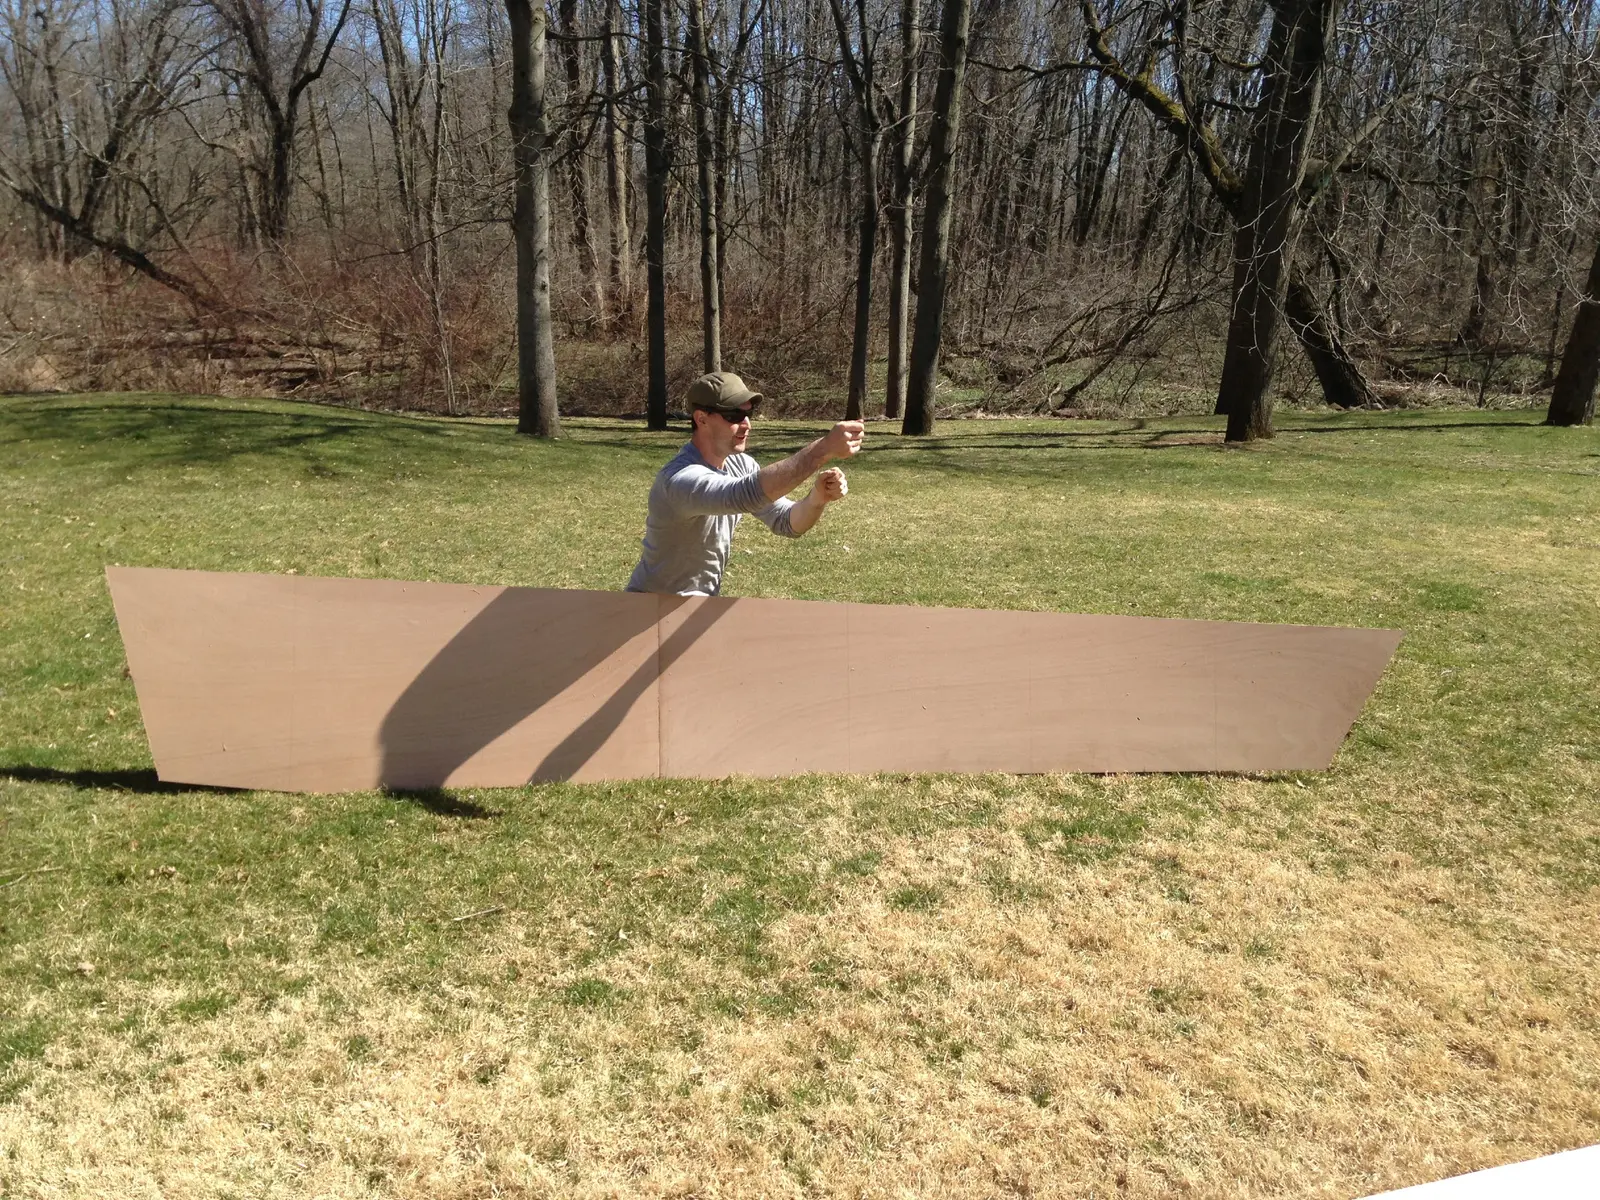
Well, a lots happened since we last left off. After the ribs cured, Mack got to work during the week on a few things to keep us moving. He notched the ribs for the Chines, made the transom cut from our 3/4 in. Fir, attached Rib 7 to the transom, and clamped and glued 2 of our leftovers planed studs together to use for the stem, saving us the need for a 4x4 piece. More importantly, Mack scarfed the two plywood sheets together for the sides at his shop, as the weather was not ideal for outdoor curing. To make the scarf cuts, He made a jig for the 7.5 in circular saw. It actually worked quite well. We transported the 16 foot piece of plywood using a borrowed flatbed from Mack's workplace, thanks to Brook and the guys at ESI. This set us up nice to break out the glue on the weekend and begin attached the sidewalls.
1. 7th Rib notched and attached to cut transom
2. SCARF one done! This is one of the hardest cuts in the process.
3. Our future stem...
4. plywood pre sidewall cut
5. ......plywood post cut
6. they bitin?
123456
Nobody else here is logging a 14 ft Rapid Robert yet.
See the boat.