Northeaster Dory · step
Glassing & Epoxy
Sheathing in cloth, wetting out, fill coats.
Phase 5: Removing the Stitches
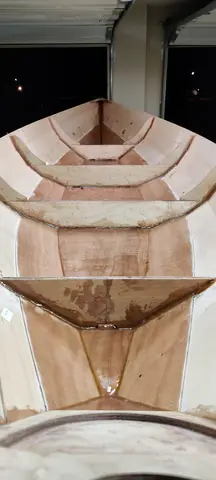
The next step is to flip the boat back over, right side up, and start removing all of the metal stitching.
It's possible that some epoxy will get stuck on the metal. That happened on one or two of mine. If you can't get a piece out, cut it as short as you can and sand it down as low as possible. Beyond that, there's nothing to be done. It stays part of the boat forever.
Phase 6: Fiberglassing the Bottom
This next step is fiberglassing the bottom and the first panel. It's a lot easier than it sounds.
If this is your first time fiberglassi...
Phase 8: Building the Rudder and Seats
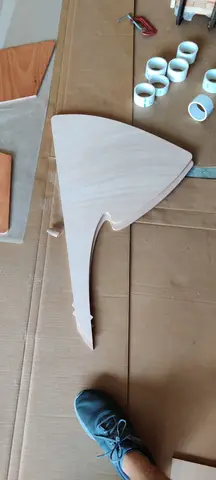
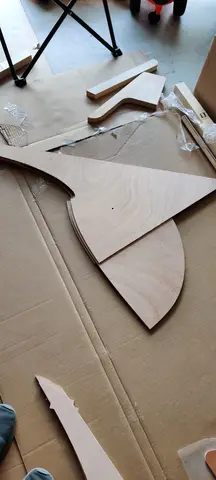
While the boat was curing, I used the downtime to start on the rudder. I also bought a flip-up rudder kit, but honestly, I never ended up fully building or using it.
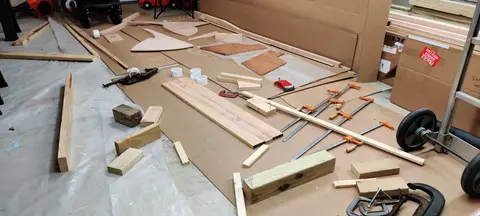
Around the same time, I started building the seats out of lumber. Everything gets epoxied on wax paper and then sanded flat, as you can see in the photos.
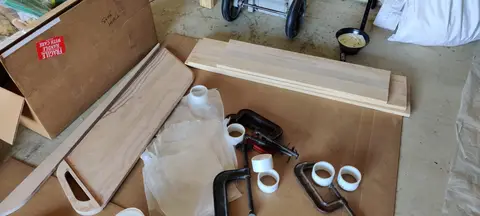
Phase 10: Epoxying the Entire Exterior
The next step is epoxying the entire exterior. Only the bottom and the first panel were fiberglassed, but the whole exterior gets a coat of epoxy to protect the wood.
By this point you're an expert with epoxy, so this part is fairly easy. I'd just recommend sticking with less is more and watching for drips. Drips just mean more sanding later.
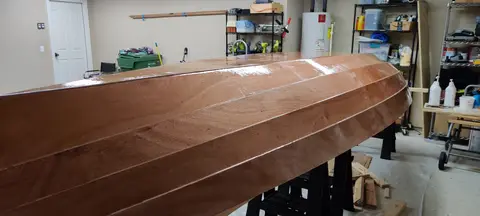
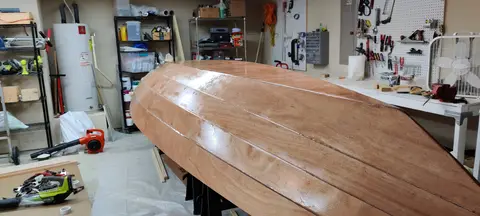
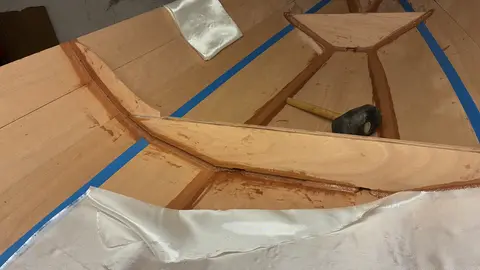
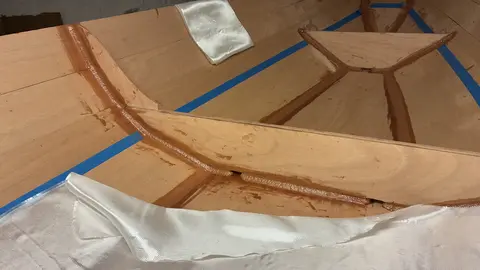
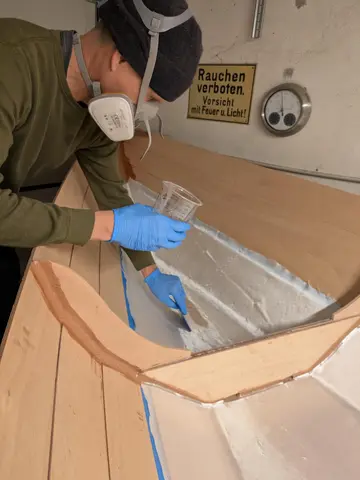
I removed the fillets and tried to clean the areas as good as possible. Finally I swept everything with cloth dipped in Alkohol. Than I did new fillets. I used a wooden scraper with a slightly bigger rounded end to come around remaining edges that had cured on the surface. When that was done I did the glassing in the two first compartments from bow to stern. It felt good to move on. I finished gluing the rails and attached the „arm“ (can’t remember the english word, sorry) to the rudder.