Northeaster Dory · step
Hull Exterior
Turning over, keel and skeg, rubrails, exterior structure.
Phase 9: Sealing and Fiberglassing the Exterior
A quick note: I'm writing this narration six years after I actually built the boat, and I no longer have the plans since I gave them away when I sold it. So I'm not sure exactly where this falls in the official steps, but here's how I remember it.
The next step is to flip the boat over and start working on the outside. At some point, the plans call for applying epoxy with a filler into the gaps between all of the panels on the exterior. This seals up the outside, makes it watertight, and adds significant strength to the hull.
Onc...
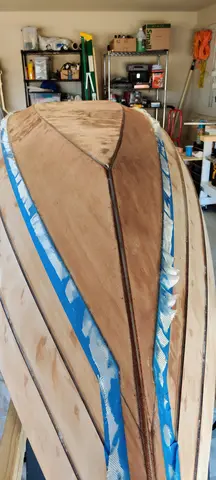
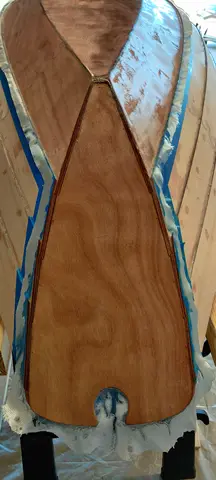
Today we had light sun and the temperature climbed above 15 degrees Celsius. Good conditions to work outside. As space is limited in the garage I always have to crawl underneath the boat to get to the other side if the gate is closed. With trimmed glass edges all around I flipped the hull with the help of my neighbor and gave it a little sanding before I started filling the gaps between the panels. The result is pretty nice. I always wonder how long all this takes. In the morning I had to prepare a meeting for tomorrow so I started at 11:30 and worked til 15:15, than my mother showed up. After...
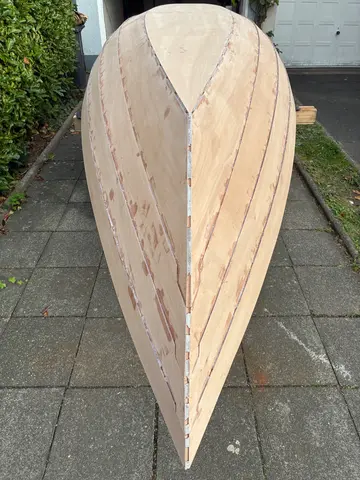
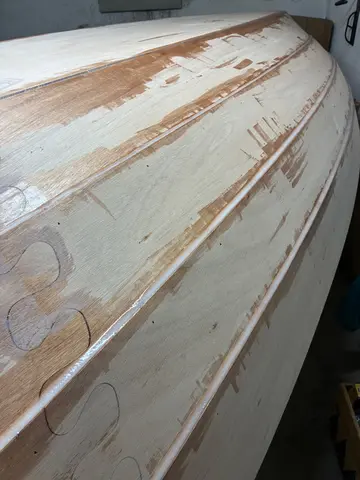
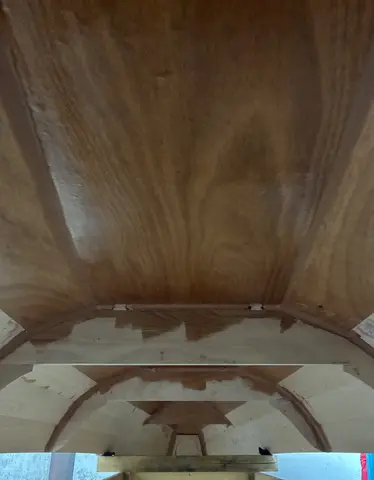
It was quite successful cleaning the edges around the transom with my new block plane. I sharpened the blade before I started and it became so sharp that I cut my thumb with a slight touch. Sad to notice that I had to pass some of the copper wires that had to remain in the transom because of the fillets. Now the blade of the block plain has several marks but I will reshape it. The bow got rounded as well and in the Afternoon, when it was quite warm outside my Mother helped me by attaching the first pair of rails. Perfect to work outside with a little more space. To give the rails the right ben...
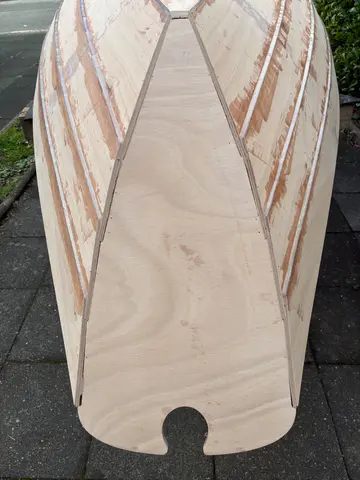
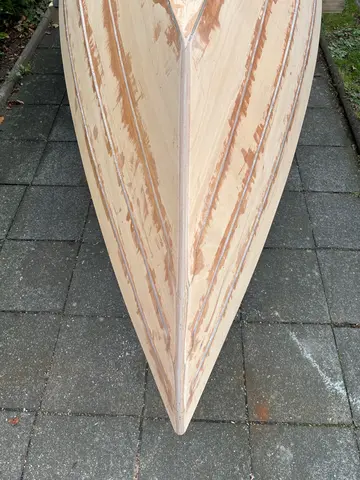
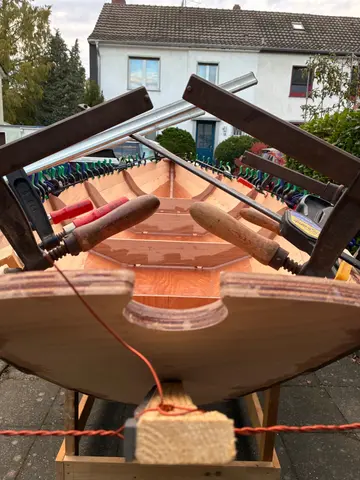
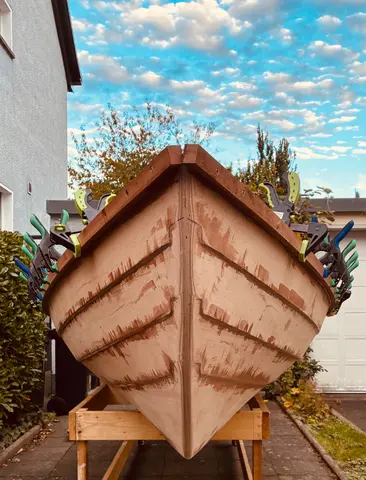
After 24 hours curing time it was time for the second pair of rails. My Mother is still around so she gave me a hand. It seems ther could have been one too three more screw clamps but it looks ok after a few adjustments. The trickiest spot is about 25“ to the transom. Panel 4 has a slight S-Schape there and it felt hard to meet the line. Besides that I shaped the dagger board which gave me a lot satisfaction. In the evening I coated it with epoxy and it looks nice. There are a few more parts that got brushed with epoxy. A good day of work, mostly outside.
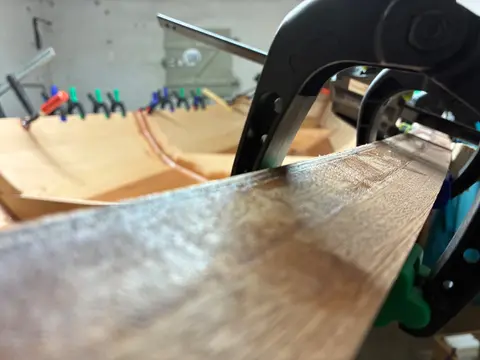
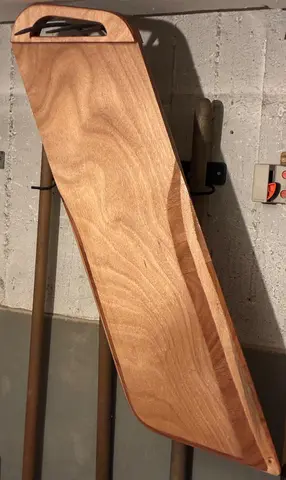
Unclamped the rails and gave it quiet a bit of sanding to get the rails smooth and to the same level at every inch. I found some tiny edges down the line but nothing dramatic. With the sander in hand I gave the bow some more shape and cleaned the edges between bottom and panel one. Now it’s ready to get glassing from the outside. In the next step I sanded the rudder in preparation for it’s first coat which I applied in the evening. I borrowed a powerful saw from a neighbor, because mine sucks. This one went through the thwart like through butter. For the long, straight cuts I used my (hand) ci...
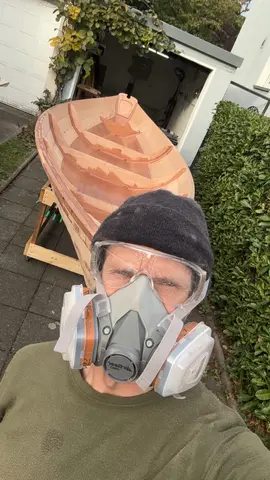
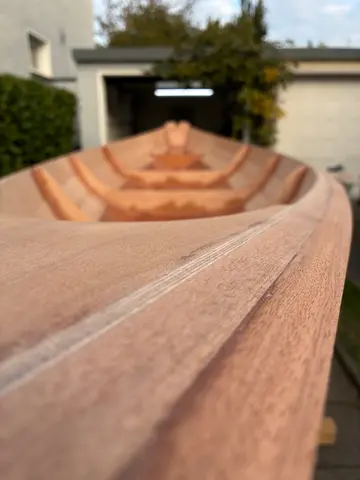
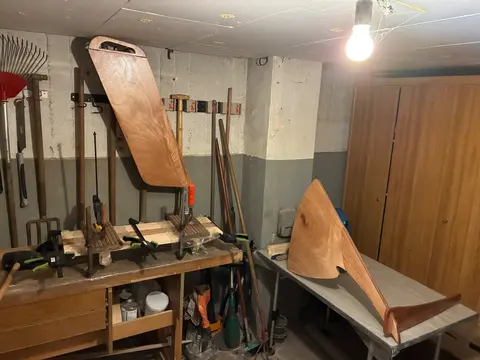
Saturday the dagger board, rudder, mast stepp and dagger box got a second coat. I spent lots of time cutting and sanding two of the thwarts. The third was glued and I cut the three pieces for the seat in the stern. The evening before I decided to increase the temperature of my heater. Before I always used power level 1 so I switched to 2 (of three). When I entered the garage Saturday morning I figured that I should have increased the distance between boat and heater. No worries, I did not burn the boat but the higher temperature caused a few bubbles underneath the glassing. Something to think...
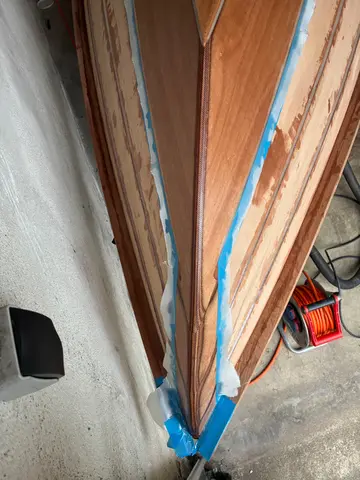
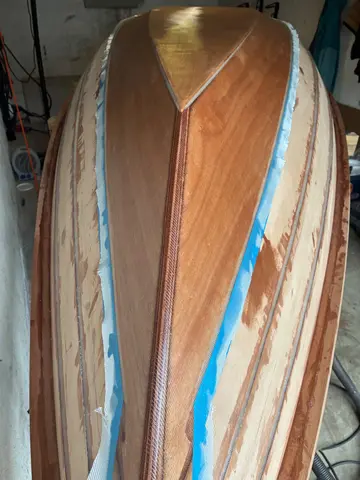
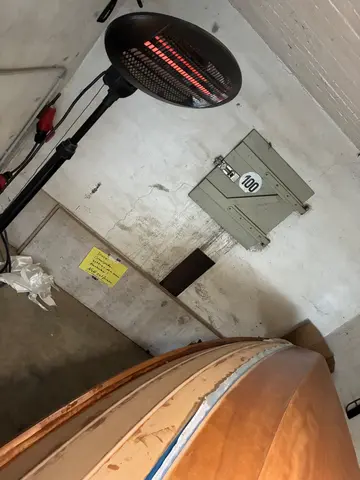
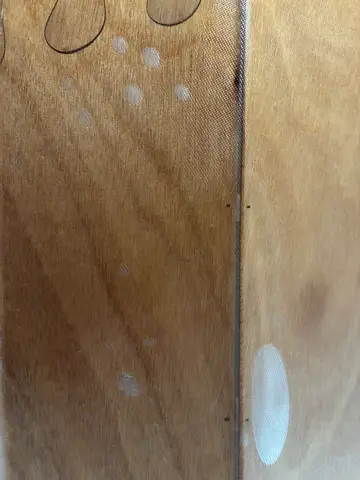
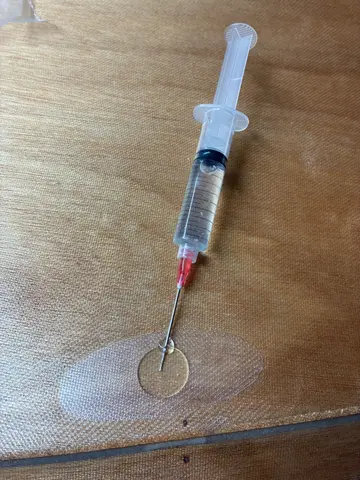
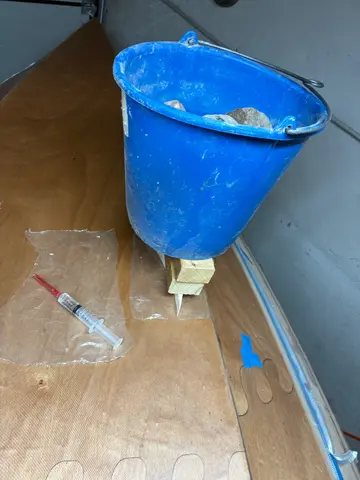
First aid for the Dory. I found an injection and thought let’s give it a try to fill the bubbles with epoxy to assure some solid connection to the hull. After injecting the epoxy I put a heavy bucket on top. Hopefully it works out well. Afterwards I started to cut the edges of fiberglass on the joint between panel 1&2. It is pretty to cut it that close to the edge that all the masking tape is easy to peel off.