Northeaster Dory · step
Hull Panels
Scarfing plywood, cutting panels, milling strips or planking stock.
Boat Building Log
Phase 1: Unpacking & Inventory
The very first phase of building this boat involved unpacking the kit and doing inventory on all the parts. Thankfully, everything was well marked, so it was really just a matter of getting out the panels and seeing how they piece together.
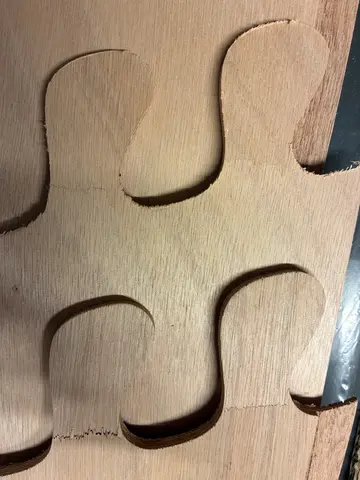
As you can see in these photos, it's very similar to a puzzle, you put the pieces together, then glue them.
Gluing technique: I put a piece of wax paper below and on top of each glue section. This ensured the panels wouldn't stick to the concrete floor or the wood blocks above and be...
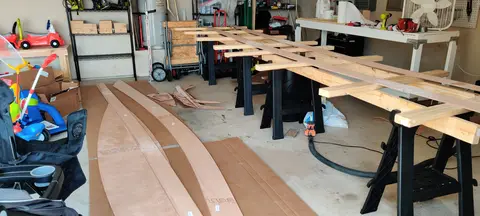
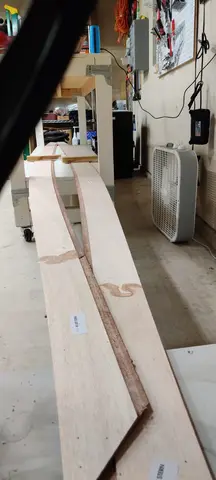
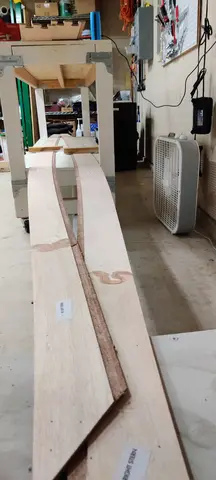
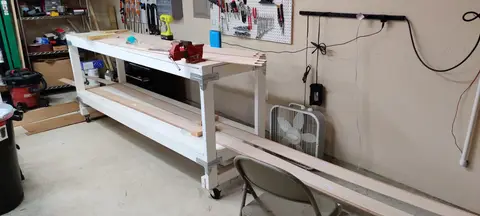
The day before yesterday I finally unboxed the big parts of the hull. Unfortunately I found some of the puzzle joints of panel 2 and the bottom cracked as a matter of handling by the transportation company. I fixed it by using a pipet filled with a little thickened epoxy to inject it into the cracks. It took me about an hour to fixe it.
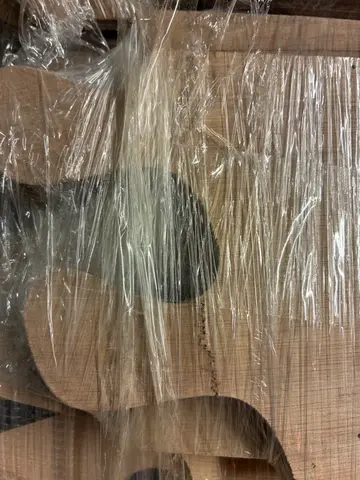
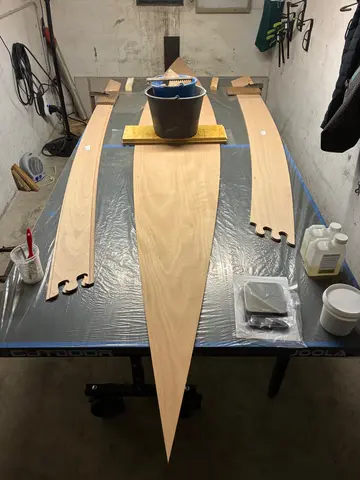
Yesterday I found that my first aid was successful so I took another 90 minutes to glue the bottom + the ends of panels 1 + 2. As you can see I use my table tennis board for the glueing to have enough straight surface. I already started heating the garage to keep the temperature above 15 degrees celsius during the night to assure a solid curing process. I am still trying to meet the right mix of thickened epoxy. But it seems to be a good experience to work different types of thickness. I will be an advantage when it comes to the fillets and other filling jobs.
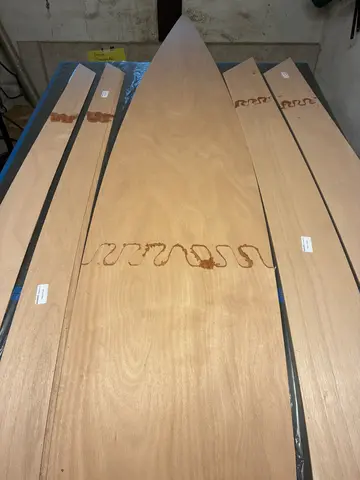
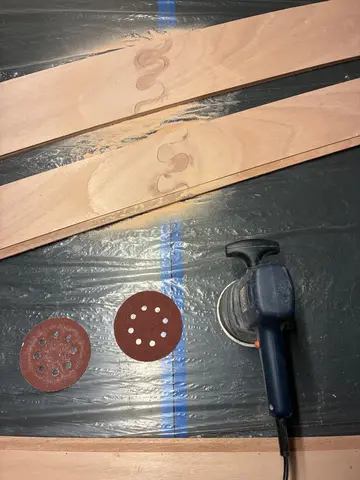
Started sanding the first puzzle joints. The once of panel 1 + 2 were quite good. It needed just a little sanding. With the bottom of the hull I got a little trouble. I should have taken better care that every piece of the puzzle fits good together and everything is at the same level. It took me quite a while to sand it all smooth. Especially below the joints was a lot of cured thickened epoxy. Hopefully the picture shows what I am trying to explain.
After sanding I added the bow tips of panels 1 + 2 and attached the stern tips to panels 3 + 4. Because of limited space I couldn’t do it all...
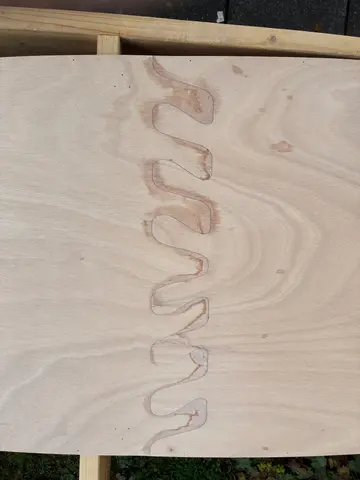
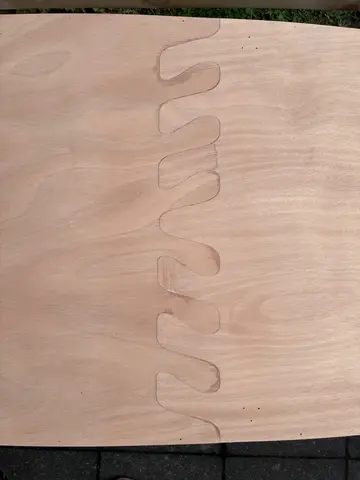
The day started with sanding the remaining joints of panel one and two. The goal was to get started building the hull in the evening together with my older brother. To reach that goal it was necessary to finish gluing all the panel parts. So finally I had to attach the bow panels of panel 3 and 4. I spent about two hours in the morning and let the epoxy cure till the evening.
My brother arrived around 5pm. Before we started working we had a delicious meal. We started at 7:15pm. The epoxy on panel 3 and 4 cured as expected. We removed panels and the table tennis from the garage. The cart wa...
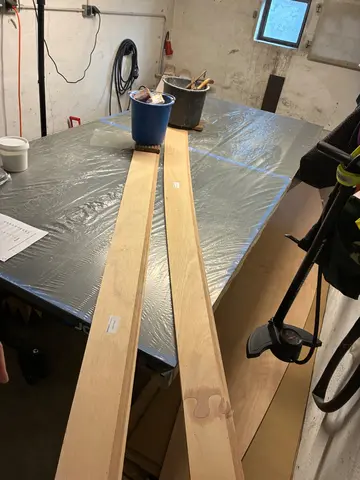
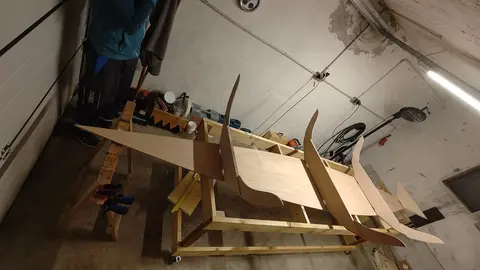
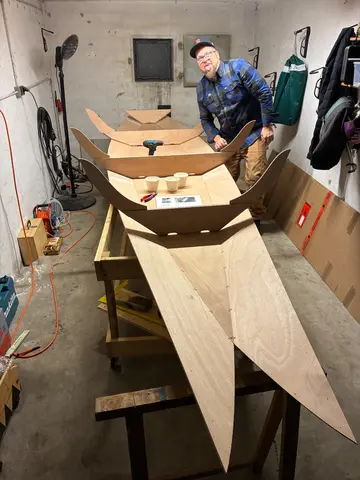
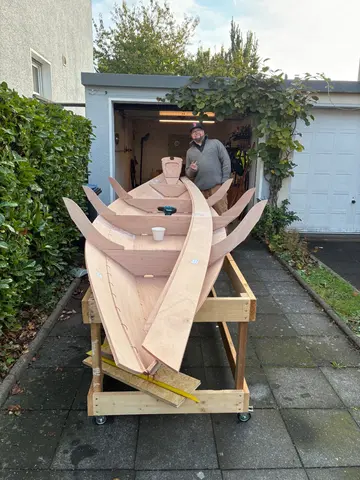
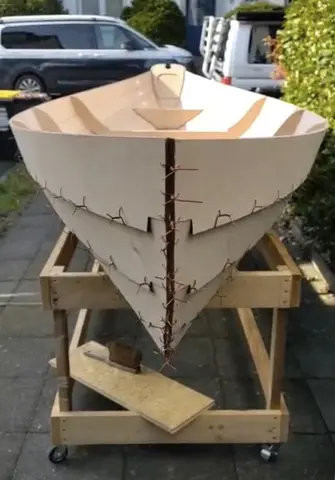
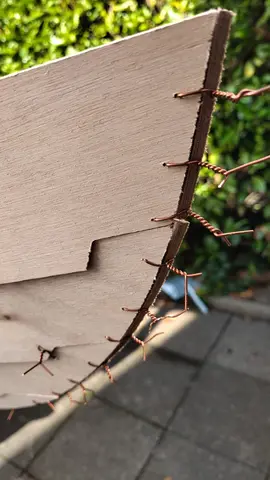
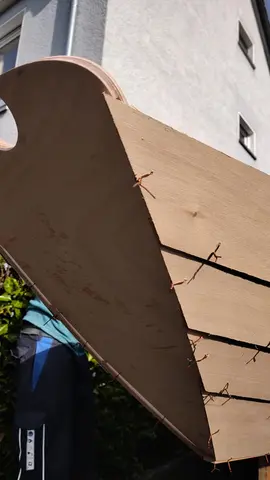
My brother and I started working on the hull around 9:30 this morning. We worked our way from panel to panel. Panels 3 & 4 still needed a bit of sanding. Cause this panels are so long we just put them on the floor of the garage for sanding. I kept some of the long cardboard pieces and lined the up on the floor. We gained some speed with copper wire. Now that we are good at it there is no more such work left. After retwisting every single wire with pliers, we were able to flip the hull. Upside down we had to fix some more wood to the cart to extend its width so the hull can easy rest on it. But...