The Guider · step
Deck & Coamings
Decking, hatches, coamings, cockpit rim.
Deck & Coamings on every boat, not just the The Guider →
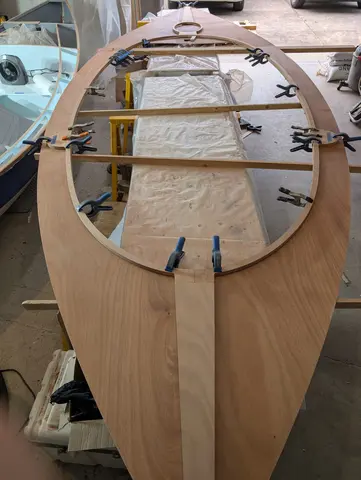
The next sequence was gluing the coaming and king plank assembly to the main deck. This was a big and quite difficult job.
- Dry fitting with a few clamps. I didn't really have a big enough job table, so I used 1 x 2" strapping to support everything.
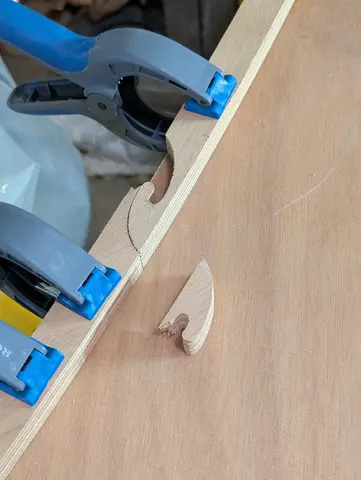
- The finger joints on the coaming are quite delicate, and I broke one. I just glued it all back together, which seemed to work just fine.
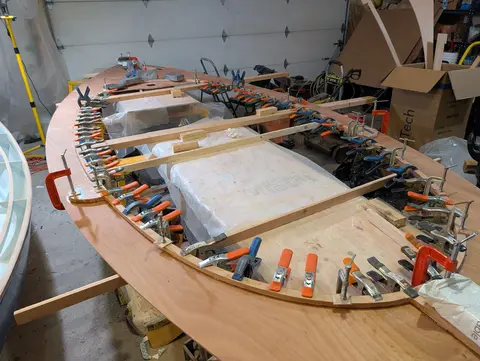
- Clamps and more clamps are required.
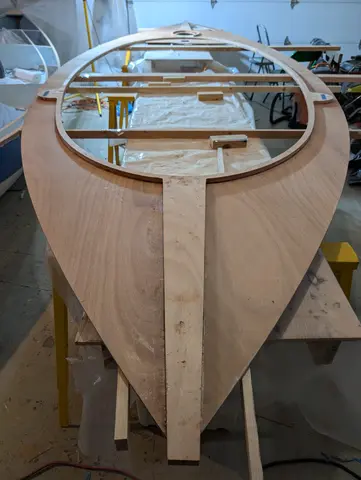
- Cured and clamps removed
- The deck was set on the hull to check fit. It really didn't fit perfectly. There are so many places in the whole build where thin...
When I put the main deck on the hull, it was immediately clear it didn't fit well. The frames impose a significant camber athwartship. Having glued the coaming and king plank while it was off the boat meant the deck was essentially flat along that axis. I found I could remind it of its duty with a lot of weight and clamps to force it into place. The second problem was that somehow frames 1 (bow) and 7 (stern) were not sitting up enough. There was a 3/8" gap between the deck in frame in both places. The solution was to shim up each frame with a plywood strip to fill the gap. I used the CLC tem...
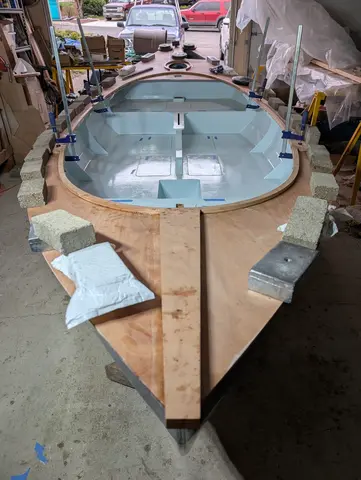
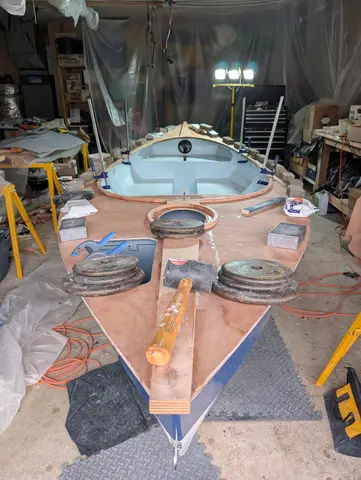
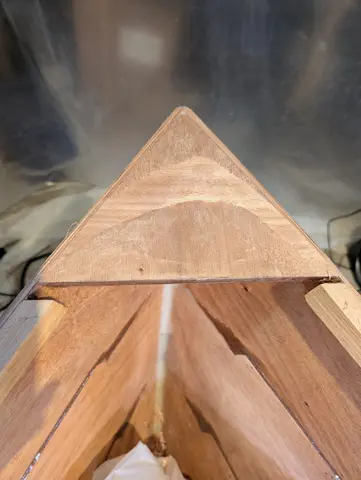
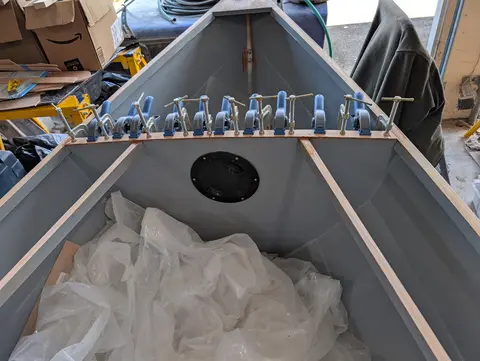
After fretting about alignment, fixing fit problems, and a lot of prep work, I finally glued on the main deck. When finished, there are no mechanical fasteners between the deck and the hull; you have to get it glued down securely in one take. There are no second chances.
- It takes a lot of weight to get the flat deck pressed down onto the cambered supports. I used fender washers and wood screws to pull it down to the shear planks. CLC provides a gauge for locating these accurately. I couldn't locate the interior supports accurately enough, so there I relied on weight, lots of weight. 2....
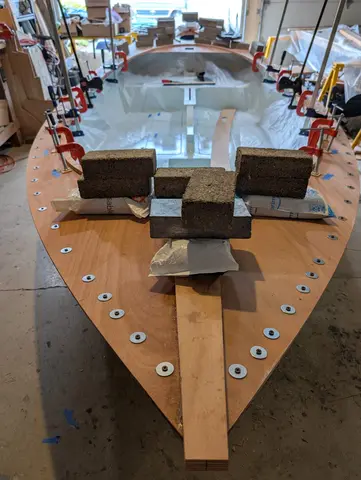
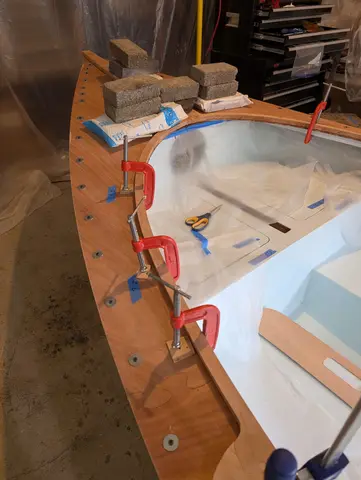
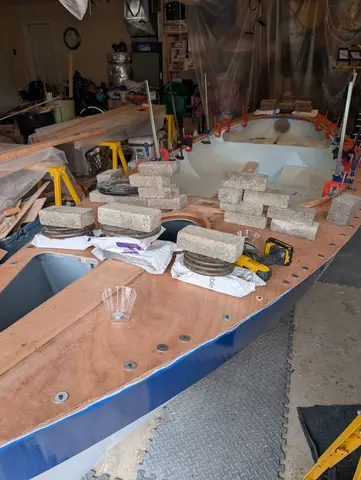
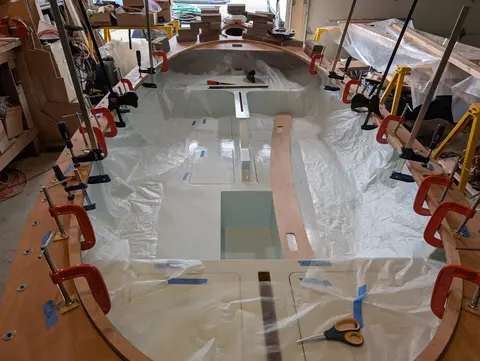
Now that the deck is glued onto the boat, I need to reinforce the Devil's seam with FG tape.
- Fill all the screw holes that had fender washers to clamp the deck down, sand them smooth.
- Lay out the tape and practice the glue up steps. I decided NOT to cut off the tape selvages, dooming myself to more sanding. I just don't do well with loose tape edges. They always seem to end up fraying and making a nuisance of themselves.
- Tape is down and curing.
- I want this to be a very smooth deck so I laid down a thick coat of medium density filler.
- Filler sanded, view from rear
- fi...
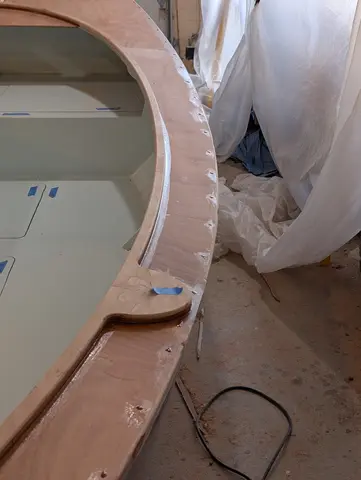
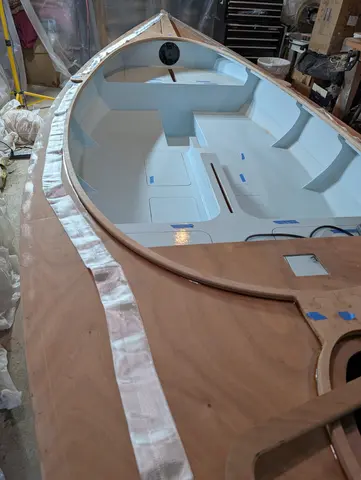
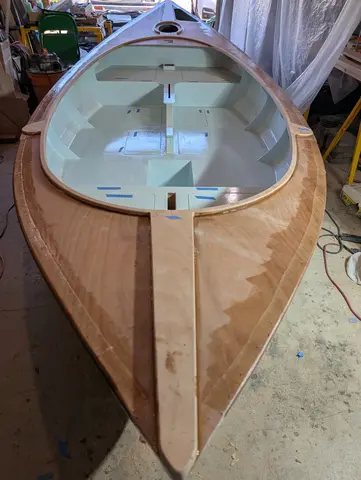
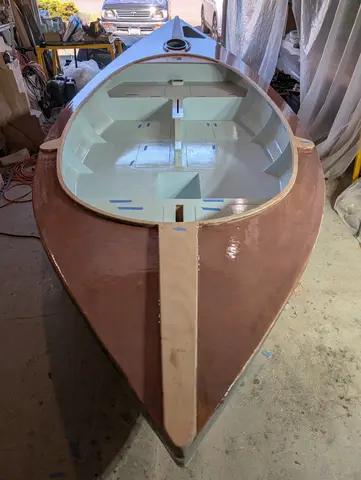
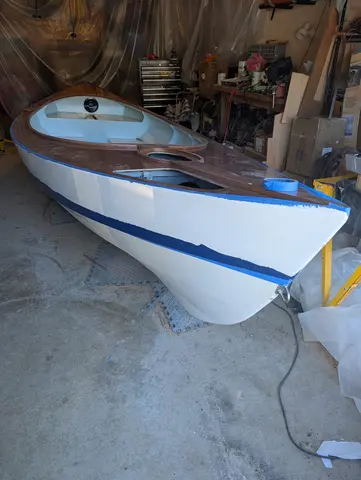
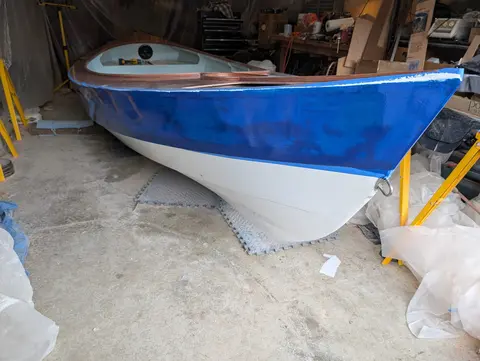
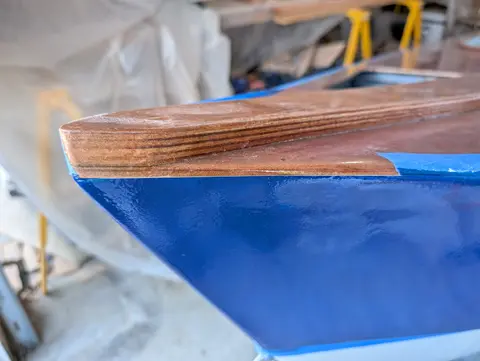
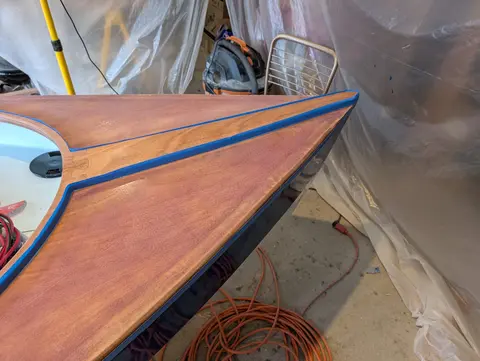
What followed was 2 weeks of painting work. Masking, priming, painting, second coat, touchup, removing the masking tape, more touchup etc. I am not going to take you through the agony in great detail. I use Interlux Interdeck non-slip paint in sandy beige for the deck. If I haven't said so before, I used Interlux Sapphire Blue for the shear strake and Mediterranean white for the rest.