The Guider · step
Hardware & Fit-Out
Cleats, rudder and centerboard, tiller, oarlocks, deck gear.
Hardware & Fit-Out on every boat, not just the The Guider →
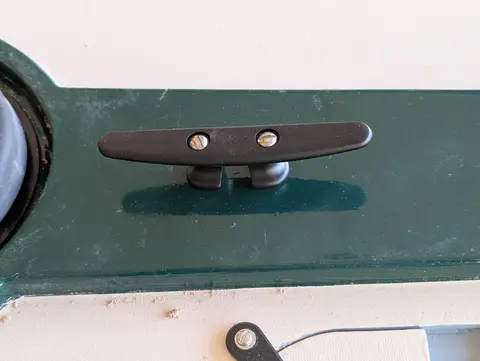
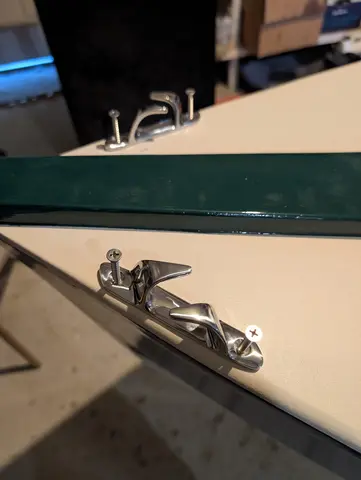
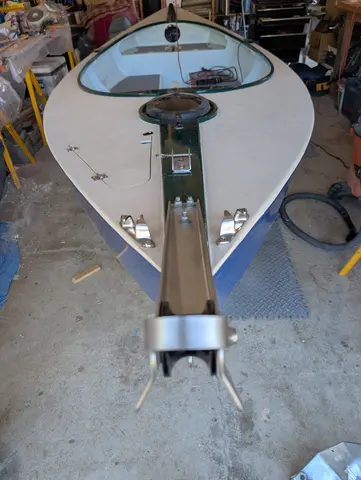
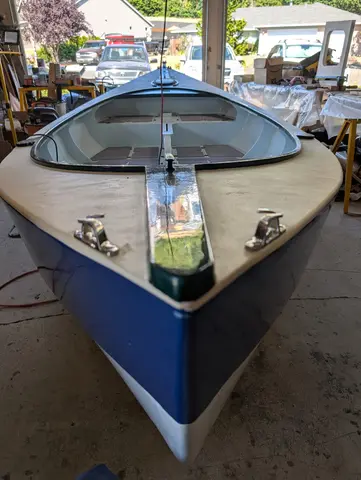
I began installing various deck hardware components, including cleats, chocks, and the anchor pulpit. The main horn cleats, fore and aft, as well as the anchor pulpit, are through-bolted on the deck. They are bedded with 3M 4200 marine silicone sealant. The chocks are screwed into the sheer clamp and bedded with Dolphinite.
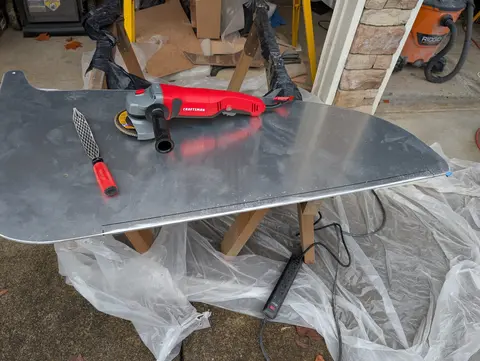
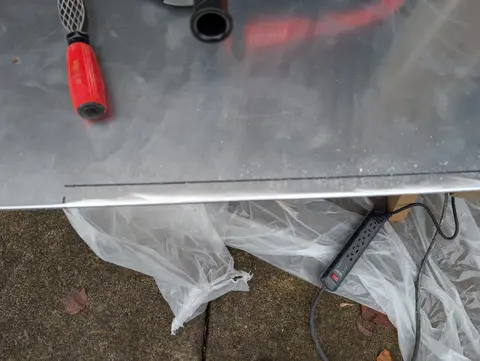
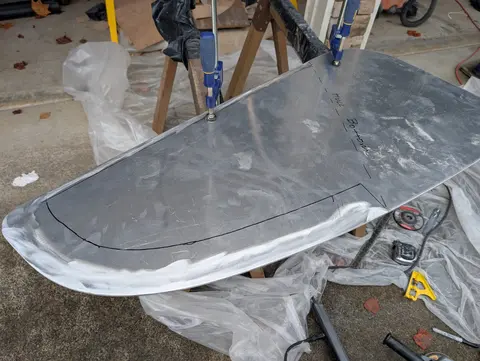
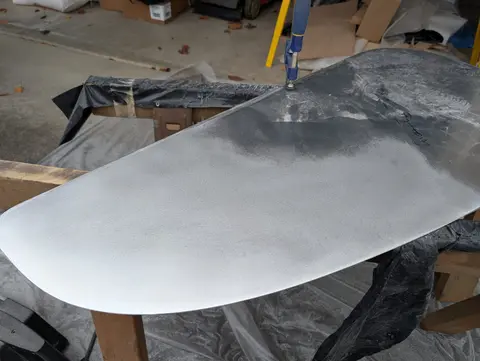
CLC supplies a 1/4" thick Aluminum centerboard blank, cut to shape, with a pre-drilled pivot hole. The build manual lays out how the tapers should be done to give the centerboard the proper hydrodynamics. The only problem was I had no clue how to work the aluminum. I tried to find a machine shop to do it, but it was too small a job and had too long a lead time. I ended up doing it myself with a cheap angle grinder (which died), a shinto rasp (an amazing tool), files, and a random orbital sander. I took the surface to 600 grit to make it nice and smooth. Elapsed time on the job was about 6 hour...
The CLC build manual says the centerboard should slide into place from above. Either I did something wrong in construction, or they were dreaming. There was no way it was going in from above. I thought about what to do for a long time. Early in the build, I had friends over for flipping parties, but at this stage of the build it was a very different flip. The hull now weighed 500-600 lbs, and it would have to be carried out of the build space and rolled very carefully. I didn't like that option, so I built gantries to lift the boat and slide the centerboard in from underneath the hull. I also...
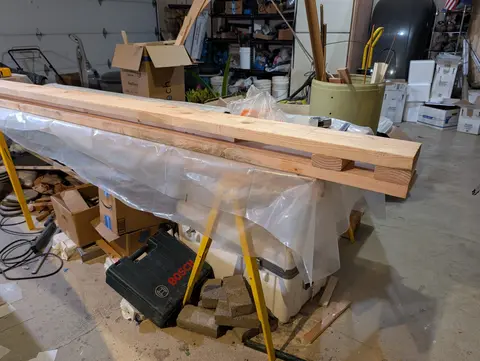
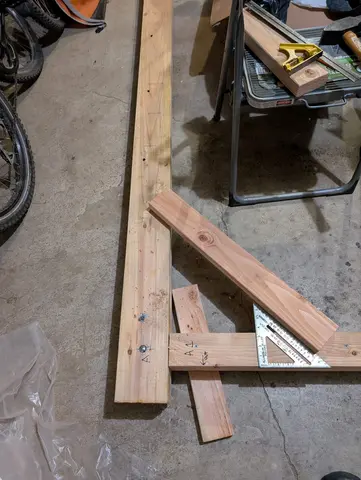
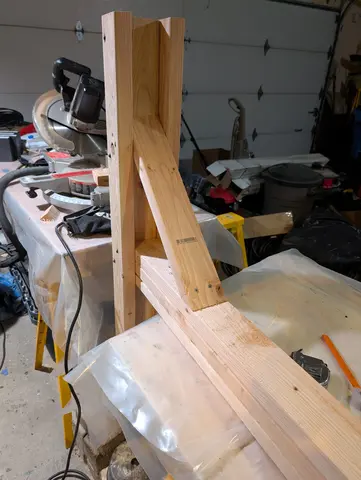
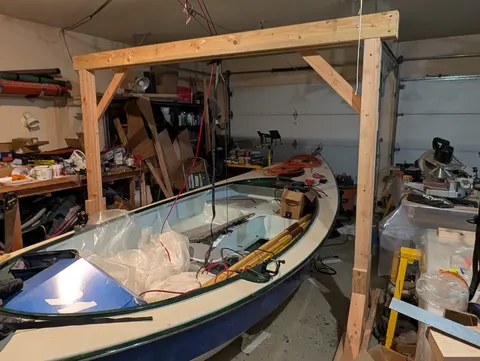
The whole point of building the gantries, at least during the build, was to be able to slip the centerboard into its slot from the bottom. CLC shows it being installed from above, but for whatever reason, there was no way mine was going to go in that way. Unfortunately, nowhere in the build manual did CLC give specs on where to locate the pivot rod. When I wrote to them, they told me they put a CNC hole in the right place, but they don't mention that in the manual. There is one figure that shows its existence but I missed it because they never mention it in the text. Unfortunately, by this po...
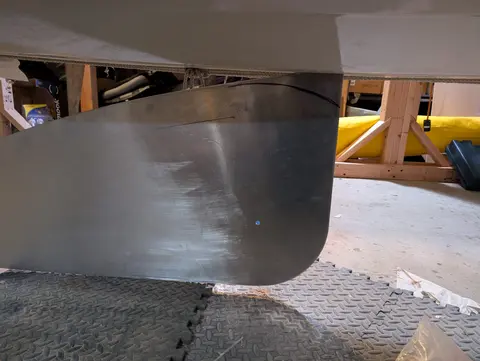
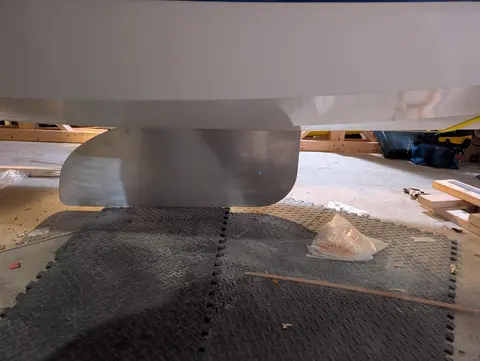
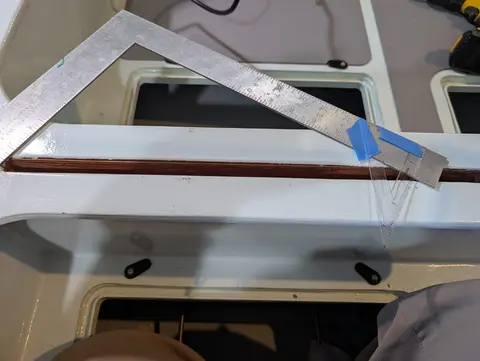
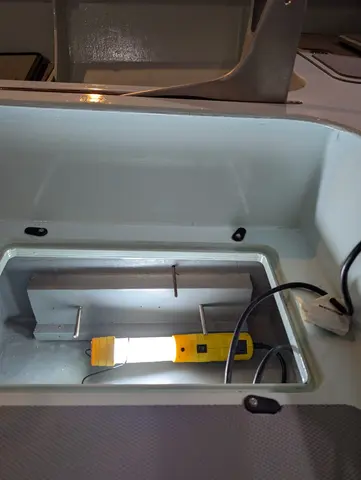
With the centerboard hung, I turned to getting the hardware installed for the halyard and downhaul.
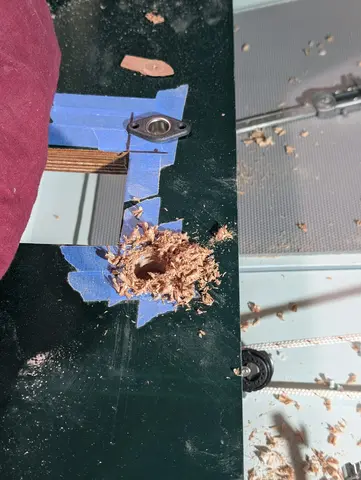
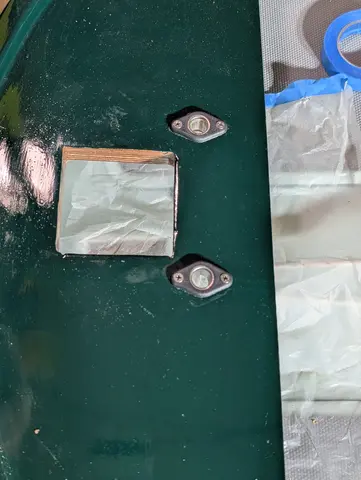
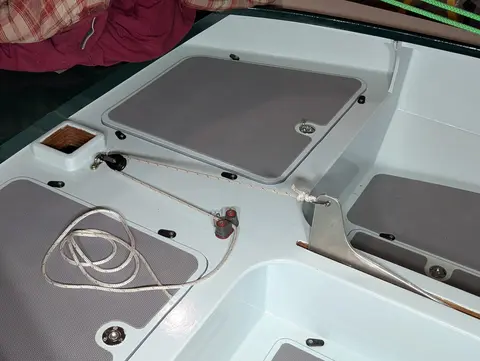
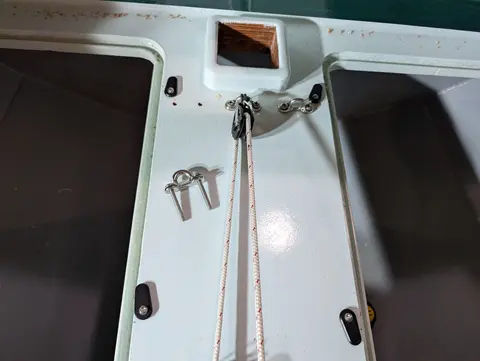
- There are two through-deck fittings that sit on either side of the mast partner opening
- Drilling holes and mounting shackles, fairleads, and cleats for the two lines.
- The halyard uses the horn cleat and fairlead on the far side of the centerboard line. Can't take a chance with a jam cleat failing here... On the near side is the jam cleat for the downhaul. Both padeyes will have blocks shackled to them to bend the lines 90 degrees from the cockpit and up the mast.
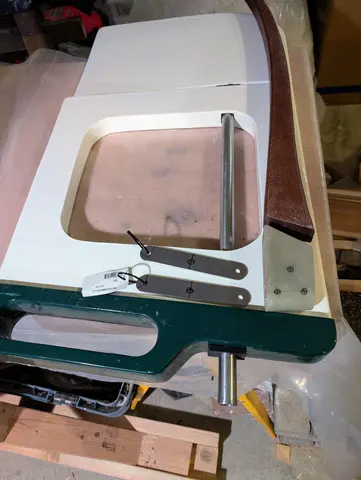
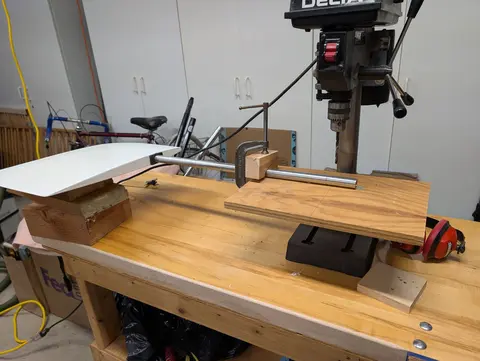
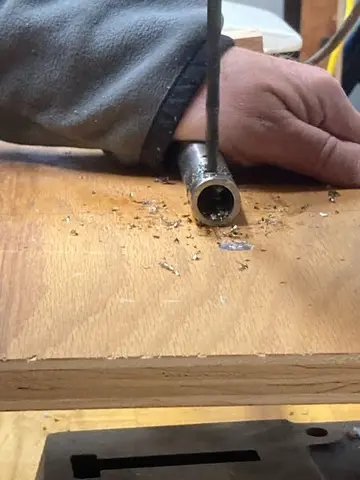
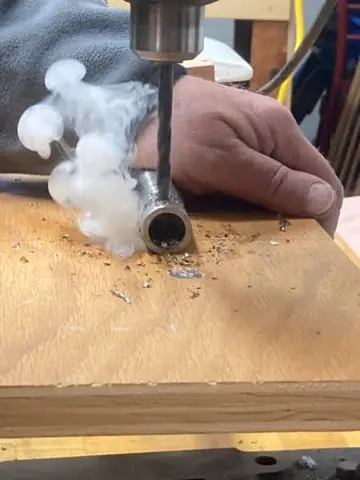
I finally finished off the rudder cassette. This was one of the most protracted and fiddly assemblies of the whole build. The major remaining tasks were to drill the holes in the rudder post, rudder cheeks, and tiller head, and then assemble everything.
- All the parts laid out
- The rudder post/ rudder assembly set up under the drill press. This was pretty wonky and hard to align so the holes would go through the post normal to the plane of the rudder blade.
- The drill bits took a beating drilling these holes. I wore out two bits.
- Despite using a ton of cutting oil, the bit go...