The Guider · step
Interior & Cockpit
Bulkheads, seats, buoyancy, sole, storage.
Interior & Cockpit on every boat, not just the The Guider →
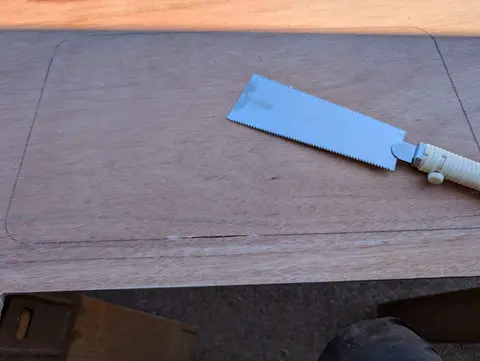
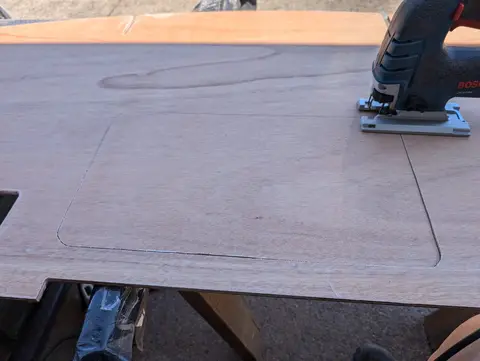
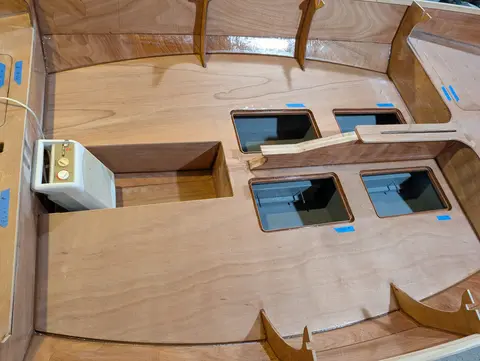
Every deck is fiberglassed on both sides. There are 10 deck hatches on the Guider. Each one is scribed by CNC and must be cut out by the builder. I tried several methods of doing this, but I just came back to using a saber/jig saw, as everyone else does. Cutting the corners of the hatch cutouts is challenging, and I did not cover myself in glory here, but I got it done. Every hatch opening then has a hatch gutter epoxied to its underside. A gasket (weather strip) is installed on the underside of the hatch itself to make it all more or less watertight. The forward cockpit deck has an addition...
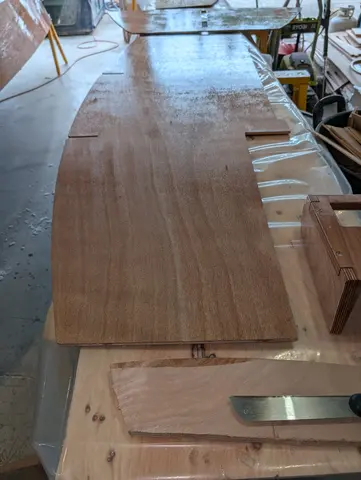
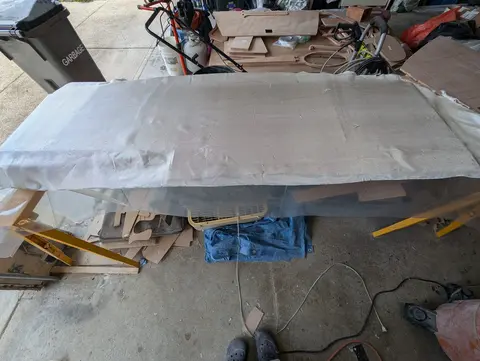
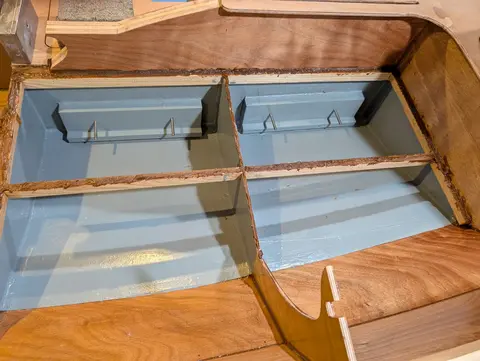
All the interior locker spaces that are normally out of sight were painted to protect the epoxy, to make it more obvious if there is any wear in there, to make it easier to swab out, and because I like the way it looks. The paint is just a latex deck enamel in a color appropriately named "Pacific Storm".
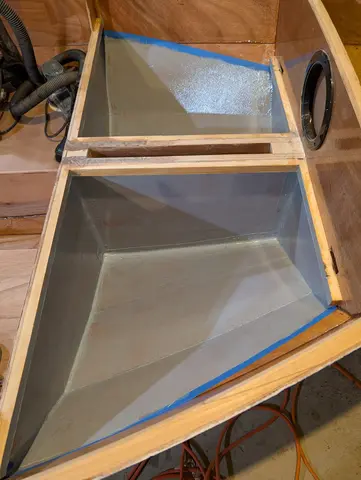
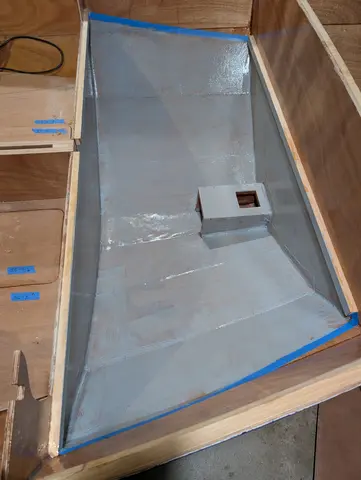
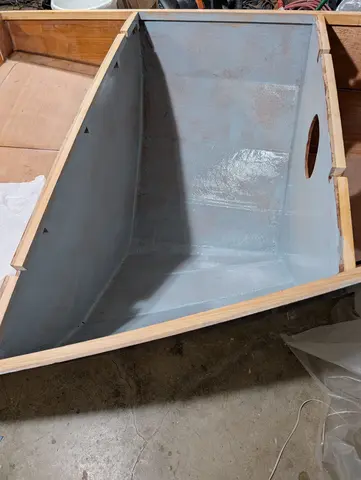
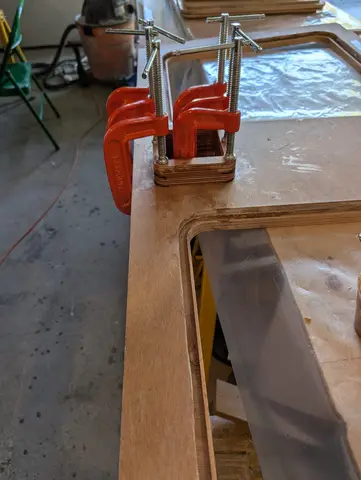
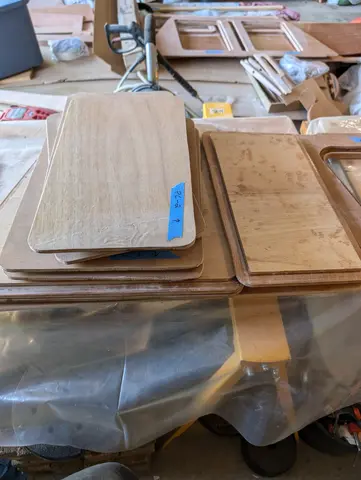
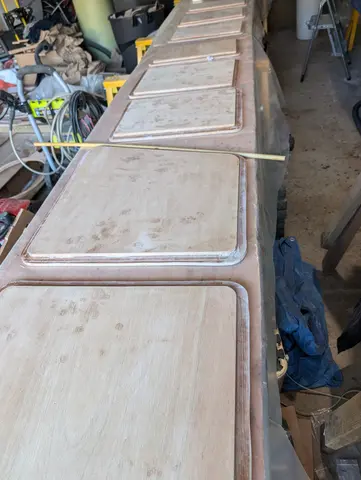
Every hatch requires a stiffener under it to stand up to the load above. The stiffener is smaller than the hatch to make space for a gasket that will make the system (sort of) watertight. Also shown is the installation of one of the two mast partners.
I rolled a saturation coat of epoxy over the interior of the hull and touched up fillets I thought were inadequate. The footwell of the cockpit is enclosed, creating two sealed flotation chambers on either side of the footwell. Here I am gluing the sidewalls of the footwell to the deck supports. I will follow up by filleting the sidewalls along the inner hull and frames. I glued the mast step to the hull, and taped and filleted it for strength. I put an inspection plate in the bulkhead forming one wall of the big stern flotation chamber. I don't expect to use this for storage but I want to be...
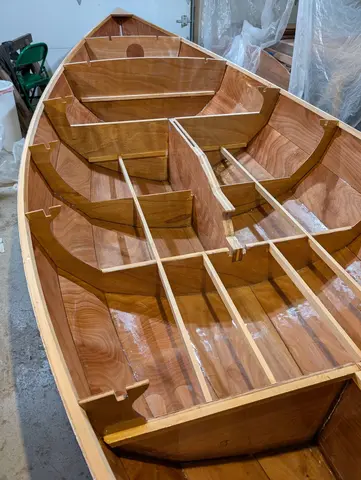
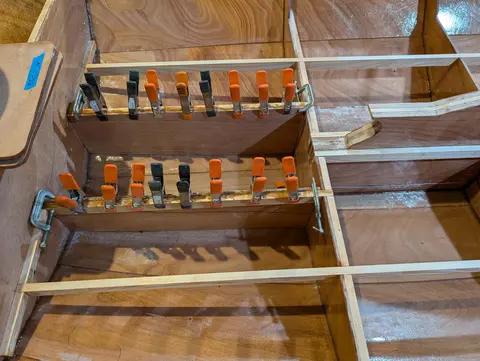
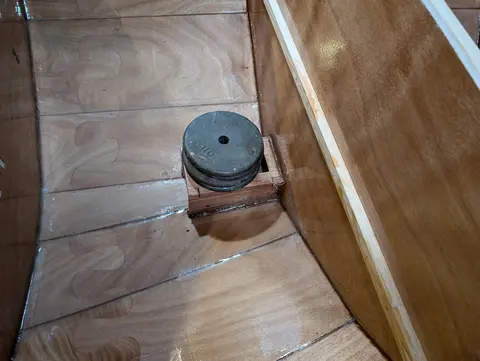
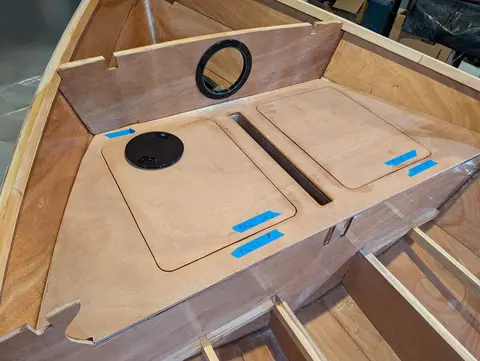
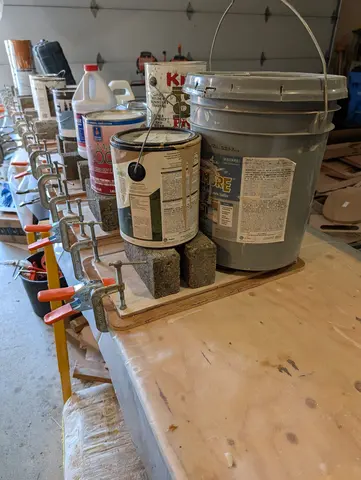
The aft cockpit deck and the forward cockpit deck are epoxied down to the tops of frames or intermediate cleat supports. You only get one shot at this, so it pays to dry-fit everything a couple of times, make some temporary alignment marks, get all your weights and clamps ready, and rehearse it. I brushed epoxy onto the undersides of the decks where they would sit on supports and then squeezed a thick bead of thickened epoxy down on those supports. Then the decks go in, alignment marks are checked, final adjustments are made, and then weights and clamps are placed.
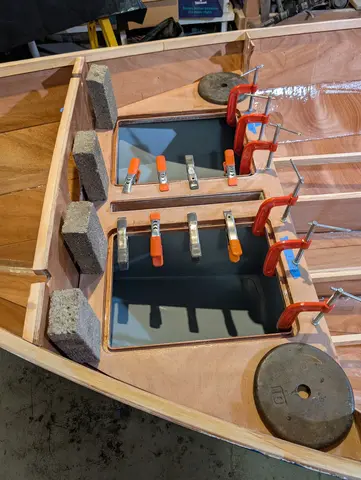
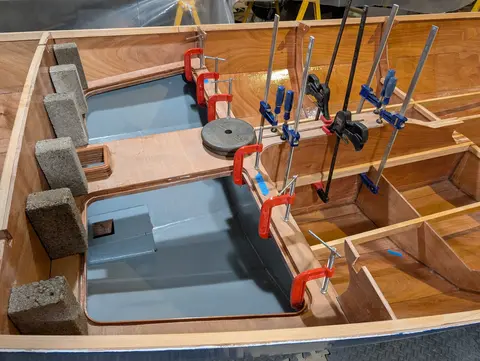
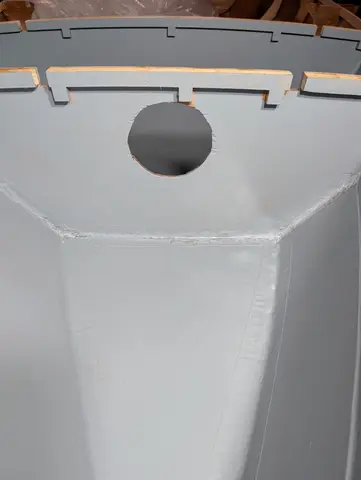
in the bow a small deck is put over the flotation chamber to create the anchor locker. The anchor itself will be hanging from a pulpit on the bow. The rode will be stored in this locker, with two holes at the lowest points of the locker on both sides to provide drainage for any water brought up when the anchor is weighed. Also, I am terrible at cutting round holes. This one will have a round inspection plate installed. I am not quite sure CLC put this here, since there will be another way into that space. Ours is not to question why....
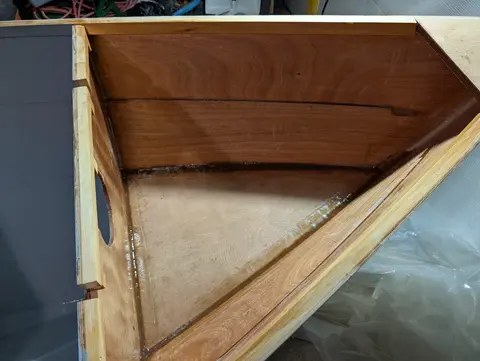
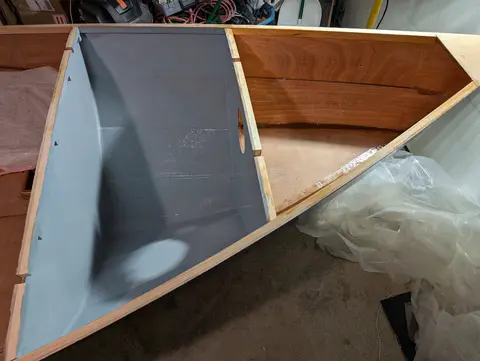
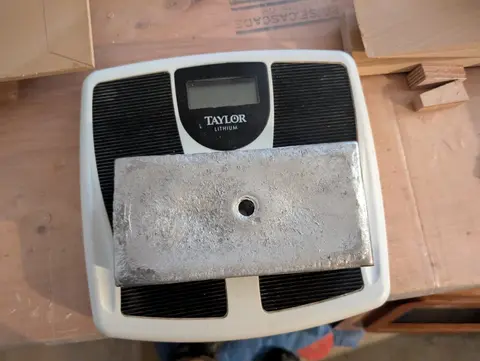
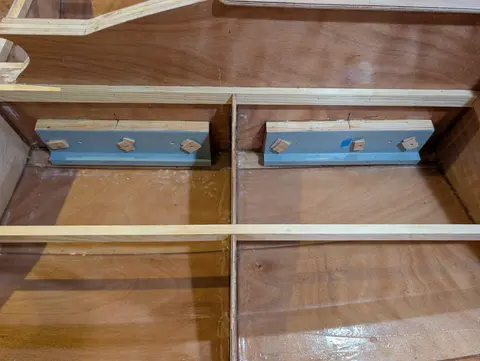
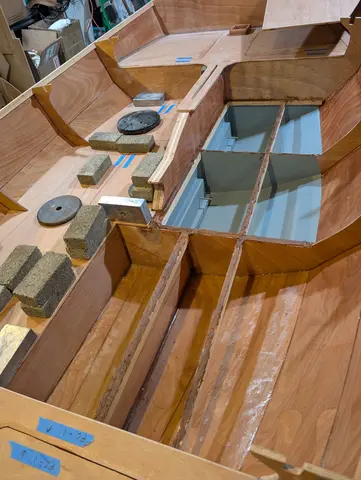
CLC calls for 200 Lbs of ballast for this boat, especially when lightly loaded. I worried and fretted about this a LOT. Finally, I decided to buy lead bricks from Roto Metals (https://rotometals.com). I had worried about shipping lead, but they just chuck each brick in a USPS fixed-price box and send it first-class mail. It seems a little unfair but.... Each brick comes pre-drilled, so I built wooden brackets and put stainless steel studs in them. Then those were attached to the centerboard trunk with ss screws, epoxy, and fiberglass tape. The bricks are mounted on the studs and held with ss...
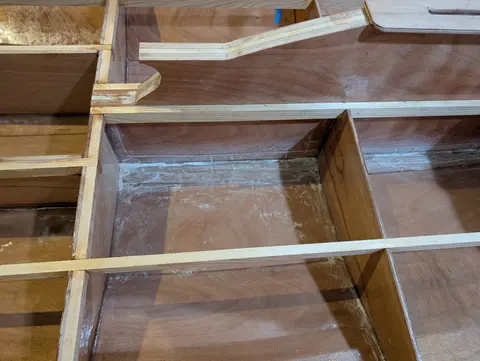
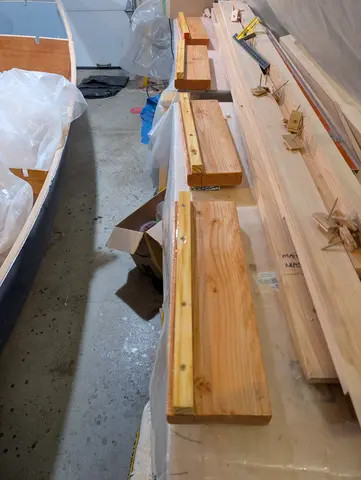
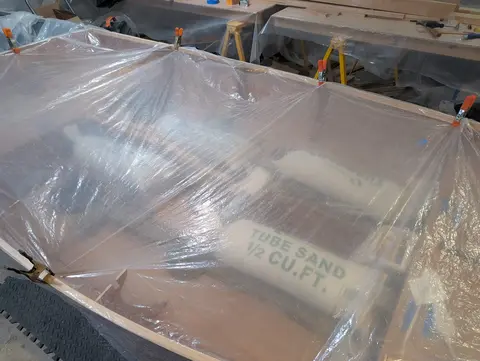
The two main cockpit decks are now epoxied to their supports. This is similar to the two other cockpit decks, except that these have no convenient spots to clamp them down. They are held in place with a bunch of weights ( lead bricks, steel plates, bags of sand). It's cold this time of year, and my workspace is unheated, so I draped it in plastic with a space heater inside. Then all the decks are filleted to keep water from standing anywhere and increase the strength of the join.
The deck carlins are long battens sprung into notches in the frame inboard of the shear clamps. They support the inner part of the main deck. I had a little setback doing this because I didn't open up one of the frame notches sufficiently. This created an unfair curve in the port carlin and created a stress point in the timber. It snapped right at that stress point. I re-scarfed the carlin, opened the notch a bit, and reinstalled it successfully.
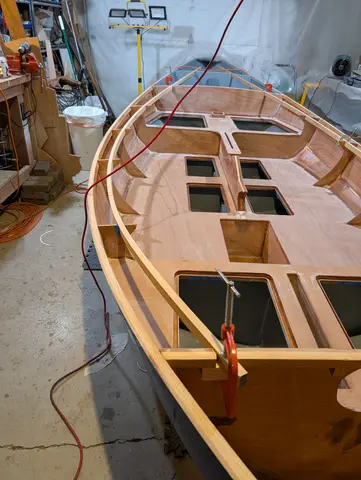
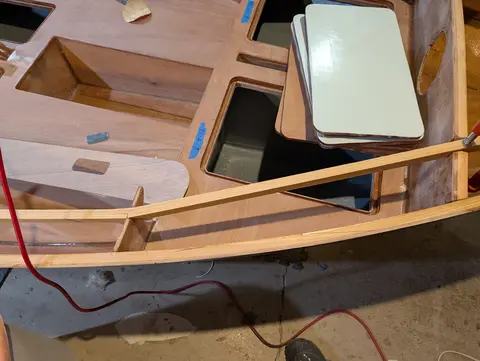
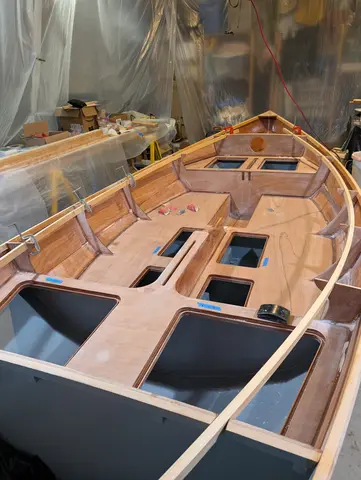
In addition to rocker fore and aft, the deck also has camber athwartship. In order to get a tight fit of the main deck on the sheer plank and deck carlin, they have to be planed so the deck sits flat on them. CLC provides a full-width template to help with this. This is a time-consuming process, but it pays to proceed carefully and thoughtfully here.
- The template for shaping the sheer plank is shown at the top
- I also found sticking sandpaper on long sanding boards to be very useful for small adjustment.
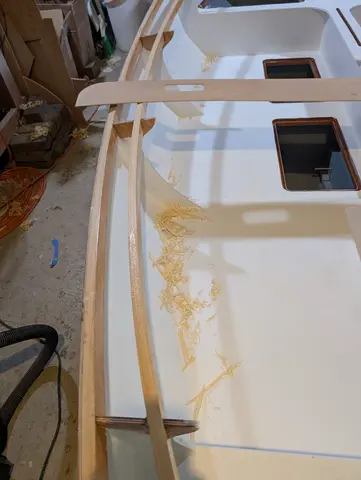
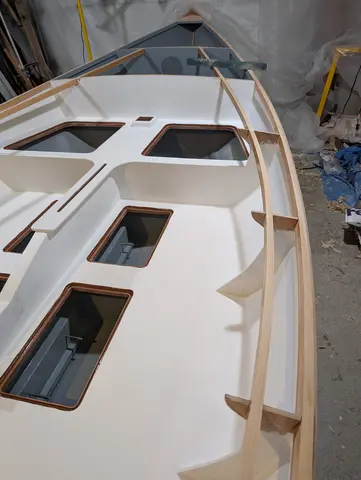
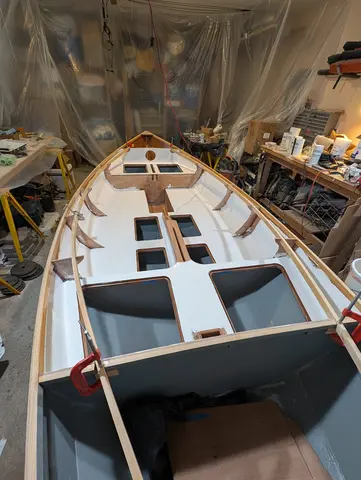
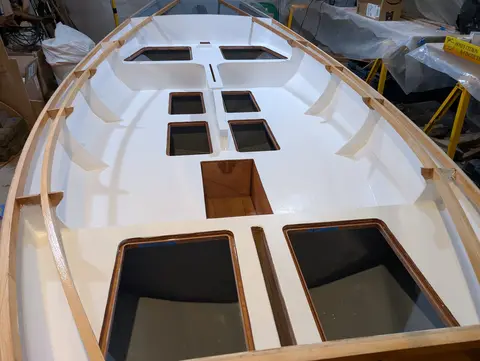
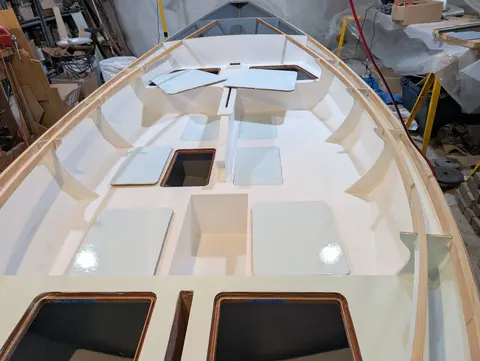
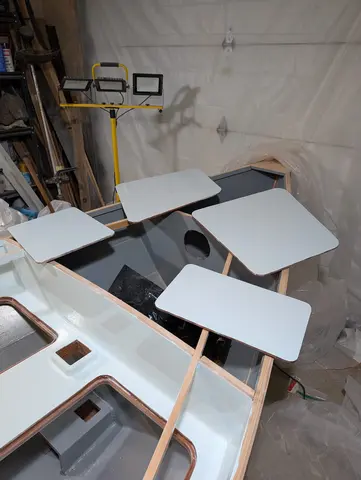
From about Jan 18 to Feb 6 was spent painting the interior decks, hatches, and the inside of the hull in the cockpit. Painting is tedious, but it pays to be careful. I used peel coat on all the surfaces when I glassed them, which gives a smooth surface at a macro level but leaves a fine matte texture behind that persists unless you actually fair the surface. Consequently, I didn't really get a glossy, mirror finish on the paint. I think it looks ok though. Everything was primed with two coats of Interlux Top-Kote Plus, and then three coats of Interlux Toplac Plus. I generally liked both produ...
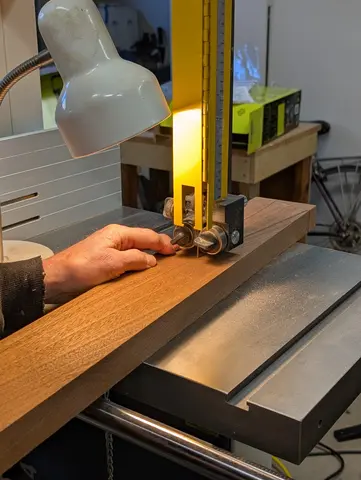
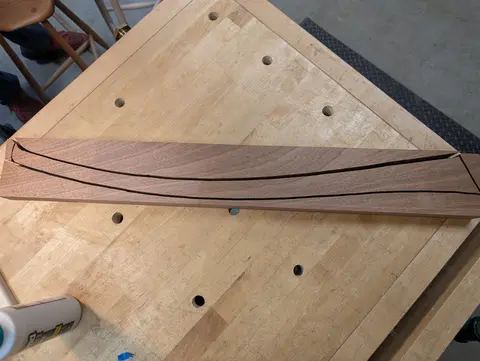
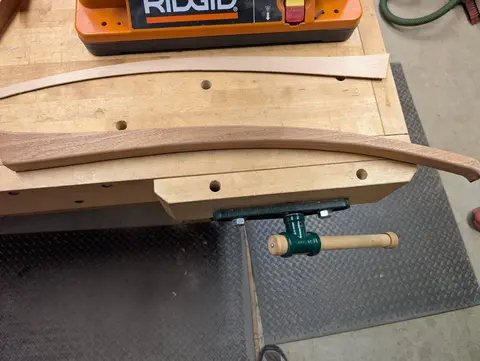
CLC provides a template for the tiller shape. I cut it out with a bandsaw from a solid piece of Mahoganoid wood supplied with the kit. The edges were rounded over with a router, and then the piece was finished with an oscillating belt sander to remove tool marks.
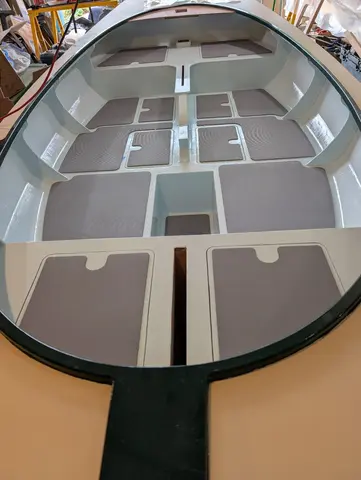
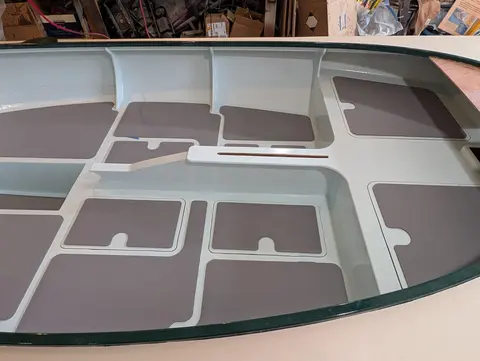
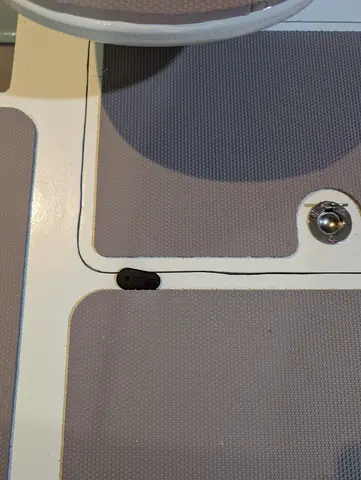
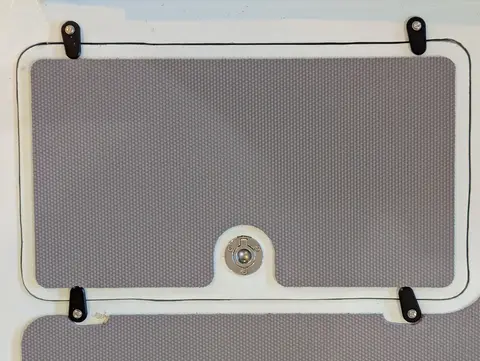
I purchased the non-skid foam package from CLC. I like the idea, and I think it looks good. The semicircular cutouts are for the hatch pulls. It was pretty easy to apply but I should have thought it through a bit more and maybe dry fit everything. As it is, in some places I have had to trim the foam to make room for the hatch dogs (see 4). Also, I am thinking the screws for the hatch dogs will let water in, maybe not a lot and maybe not fast. With all the effort to have sealing gaskets on the hatches, this seems like bad design. Perhaps there is a better way, but not now.