The Guider · step
Stitch & Assembly
Wiring or clamping the hull together and getting it fair and true before glue.
Stitch & Assembly on every boat, not just the The Guider →
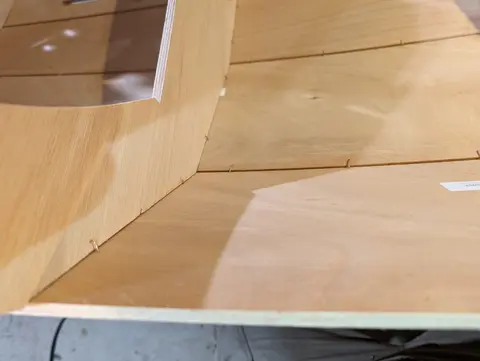
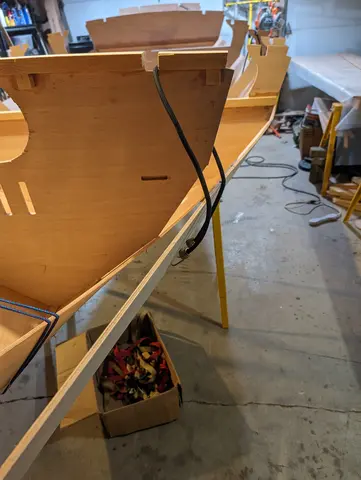
Here I have begun to attach the first panels to the keel panel with copper wires. The whole assembly is wobbly and fragile at this point. Getting it into some semblance of its final shape is what is important here. Final alignment is done later. This step is very tricky if you are working alone, as I was. Clamps, tape, bungee cords, and ratchet straps were all used to get things in place for stiching.
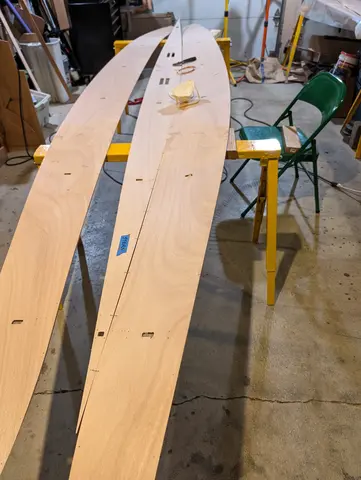
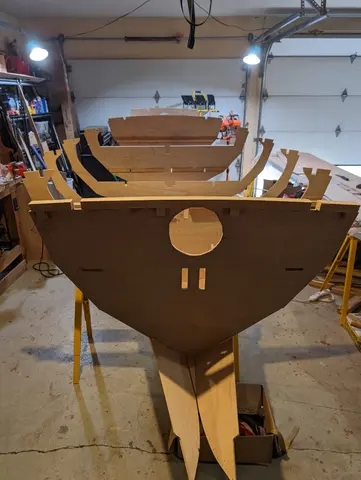
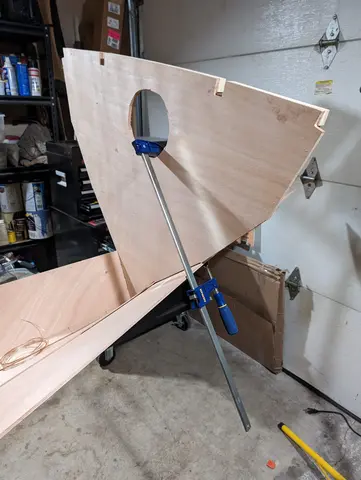
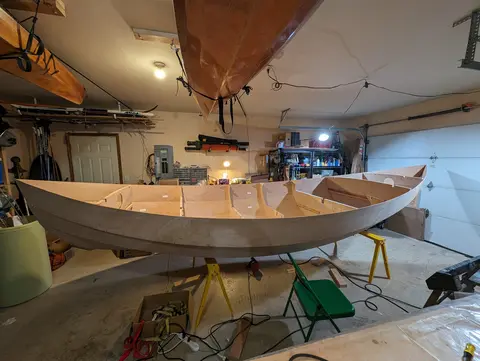
Once the first plank is in place and fairly solid, the rest of the planks can be wired on pretty fast. The whole thing starts to look like a boat. It gives you hope that you will get through this build quickly. This is deluded thinking. It's exciting to see, but it is just a tiny part of the work to come. Here you can see some of the details of wiring planks on. In this design, there are 4 hull panels in addition to the keel plate.
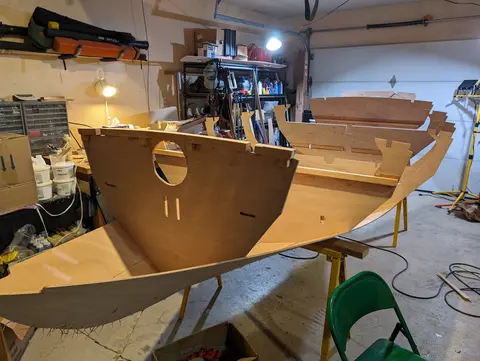
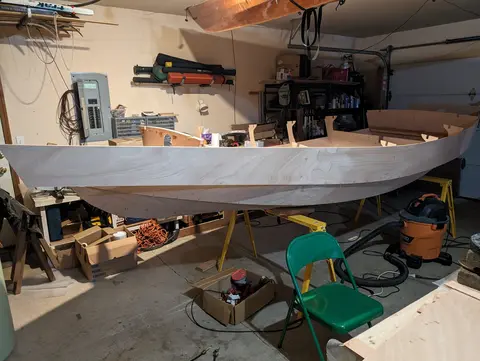
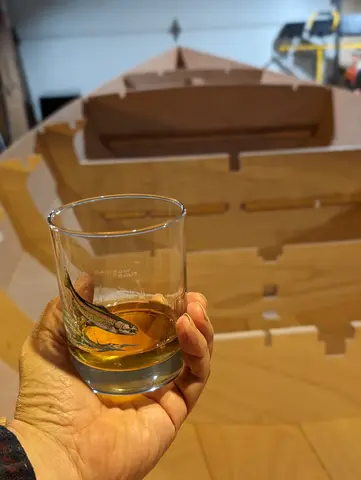
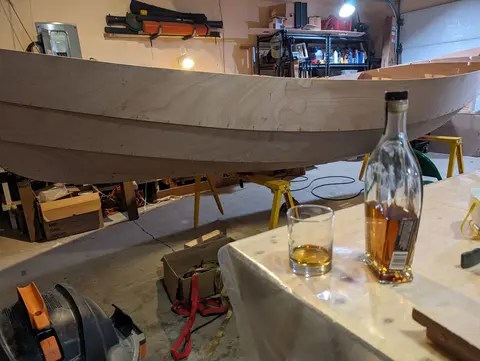
It's traditional among boat builders to celebrate attaching the final plank by sharing a whiskey. In traditional boatbuilding, fastening the final plank to the hull is a little more significant than it is in stitch-and-glue projects. Here, the hull has its shape, but there is a huge amount of work to go on the hull before one really deserves a whiskey. Nevertheless, it's exciting to see the hull take shape, and that should be celebrated.
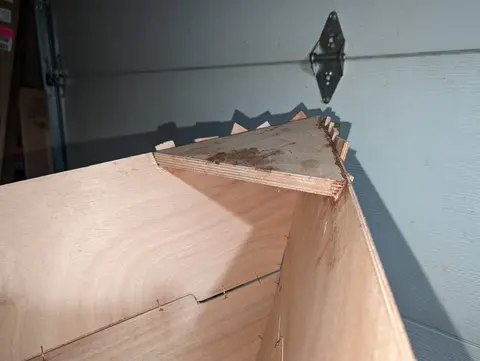
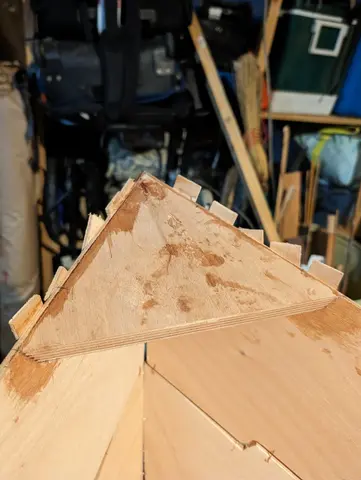
Bow and stern breasthooks are smallish triangular pieces of wood that reinforce the ends of the boat and provide a surface to support the deck in both areas. The CNC machine that CLC uses to cut its pieces only cuts normal to the surface of the work, so these pieces must be shaped to fit. It's a bit tedious to do this shaping with a lot of plane and rasp work with many dry fittings. The breast hooks are in a place where it is awkward to clamp them so they are screwed in temporarily while the glue cures.
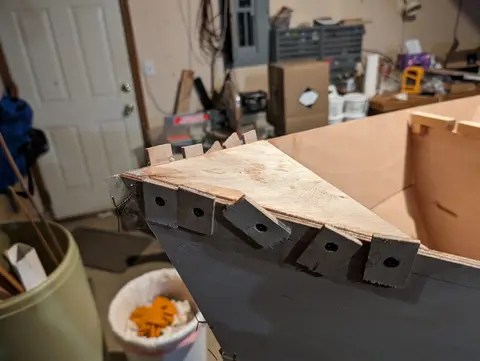
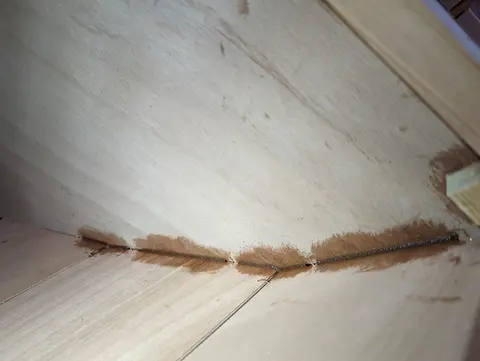
After the whiskey buzz wears off, the rest of the work on the hull begins. Here I am tacking the frames to the hull panels by placing small fillets of thickened epoxy into the joints between the wire ties. The idea is to then come back, remove the wires, and add more fillets of thickened epoxy in the spaces where the wires were. I think if I were to do this again, I would just use a screwdriver to press the wire bridges into the angle and fillet right over the wires. On the outside, I would just snip the twisted ties off and sand them flush. Copper is plenty soft enough to sand. This would act...
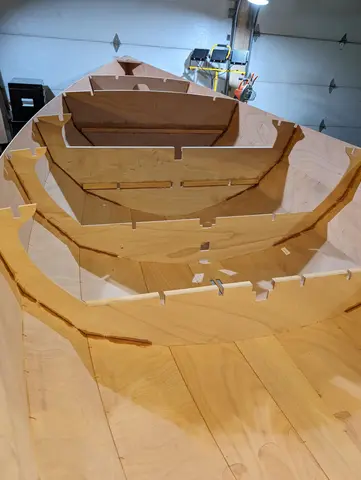
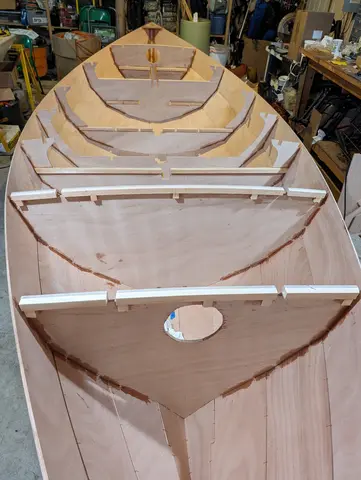
Fillet the bow and stern joints with 3" of 9 0z. fiberglass tape. Although the plans don't explicitly call for it, I went back later and applied a bigger fillet and a wider layer of 6 oz. fiberglass cloth that was also tied to FG sheathing on the interior of the hull in both locatioins. I don't think it's possible to make the bow and stern too strong.
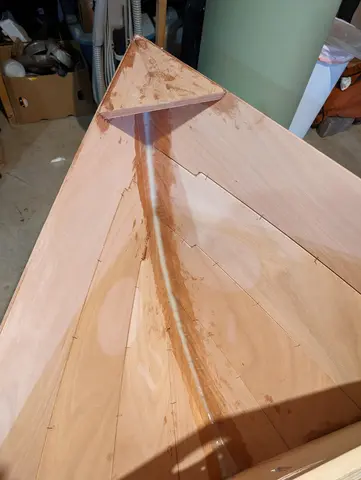
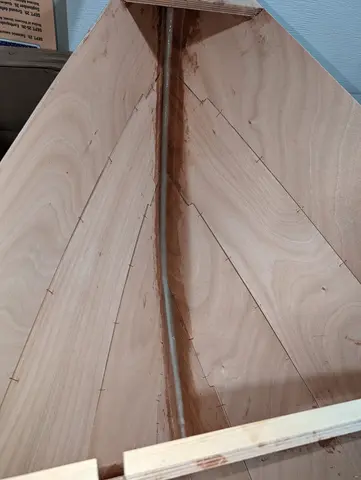
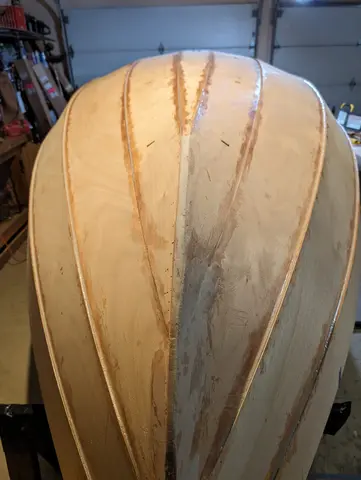
Once the seams and frames are all tacked with epoxy on the inside, the boat is flipped and the same is done on the outside of the hull. The edges of the planks where they meet other planks are rabbeted to form a shoulder. When the planks are aligned properly, this creates clean contacts with an overhang at the junction. Small beads of thickened epoxy are injected into these shoulders between the copper stitches to glue the planks together. This is only to tack the planks together; a smooth fillet of thickened epoxy will be laid over these tacks later. Once these tacks are cured all the copper...
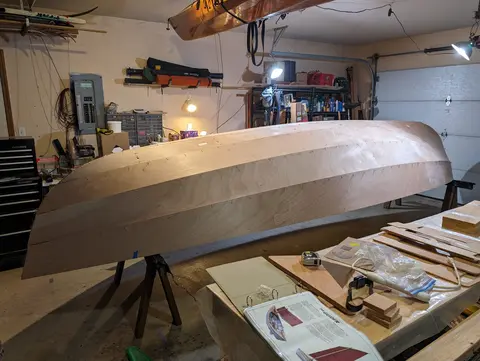
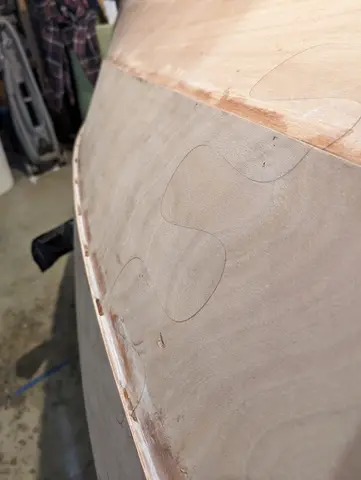
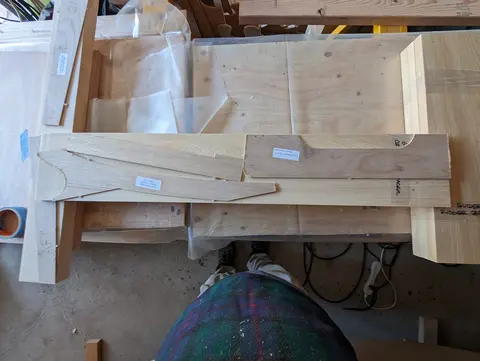
I built the centerboard trunk. CLC provides doorskin templates for cutting dimensional lumber (cypress) for the edges. It's fiberglassed inside and out.
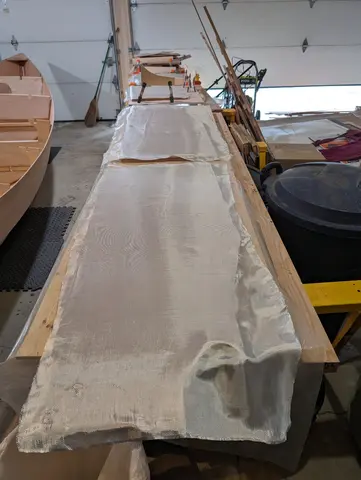
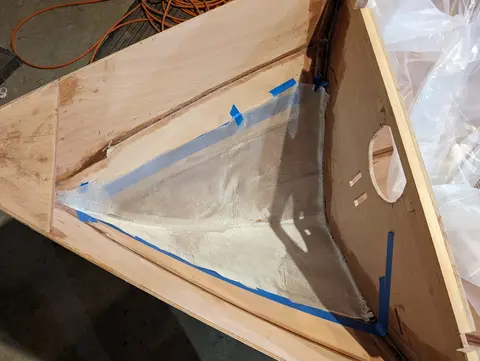
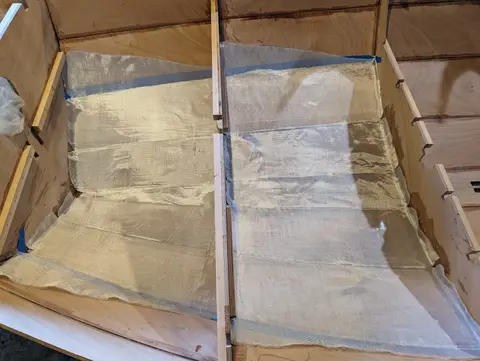
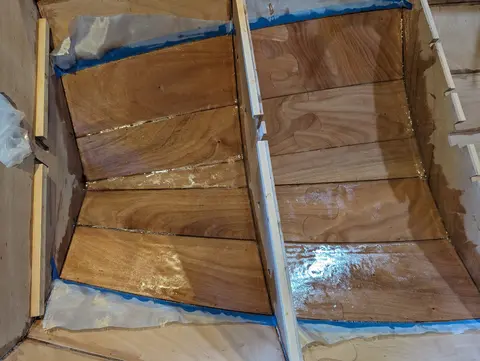
Fiberglassing the inside of the hull is a little complex because the frames are already in the boat. Each section of cloth has to be custom-cut to fit. CLC calls for fiberglass on the inside of the keel plank and planks 1 and 2 only. CLC provides 8 oz FG cloth for this. I extended the glass up higher in a few spots where I thought extra strength might be needed. I now think that was a waste of epoxy and glass, and added excess weight up high in the boat. I wouldn't do it that way again.
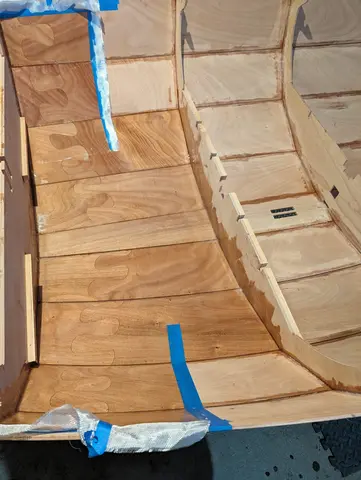
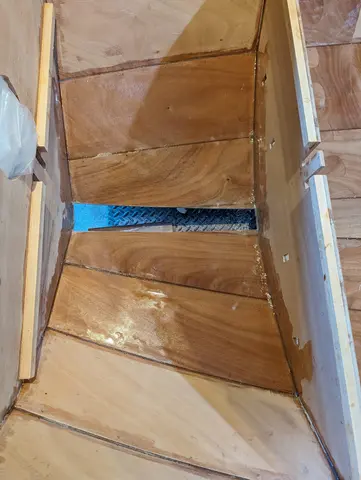
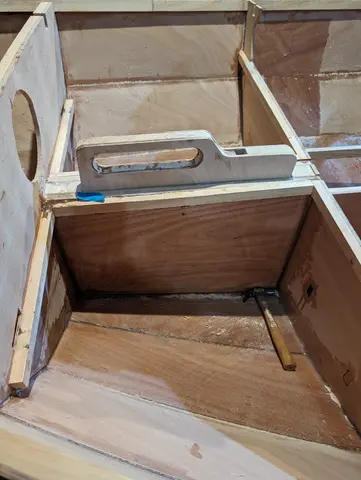
The Guider has its rudder mounted in an inboard cassette. It's a complicated bit of building that is coming up, but here I am building the rudder trunk that the cassette will mount into. The rudder trunk is built much like the centerboard trunk. You use CLC-provided templates to cut out some solid timber edge pieces, then everything is fiberglassed, and the box is glued together. In order to mount the rudder trunk, you have to cut a big slot in the hull for it to sit on. There are alignment slots in the frames and tabs on the trunk to get into the right place. Then the box is filleted and tape...
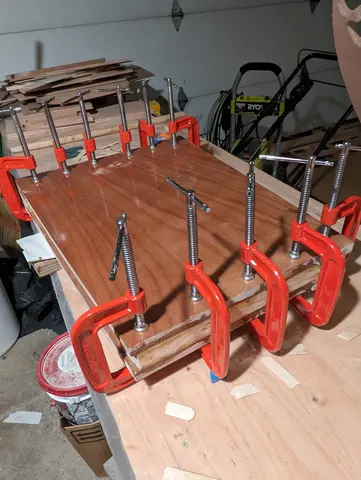
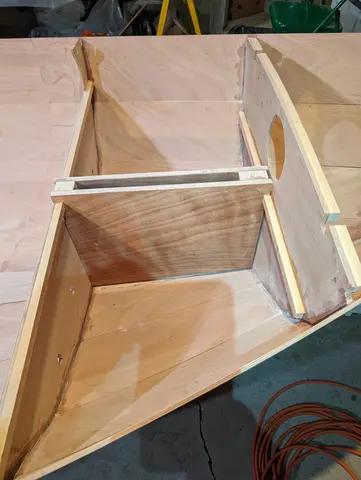
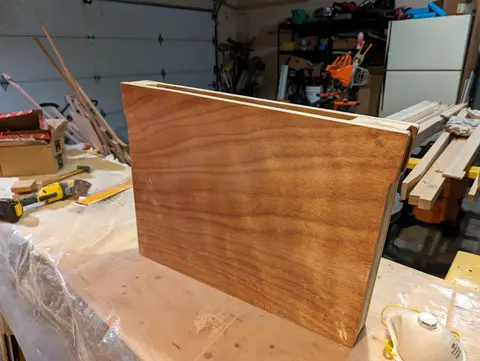
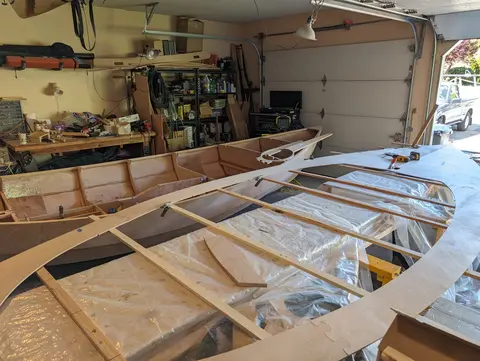
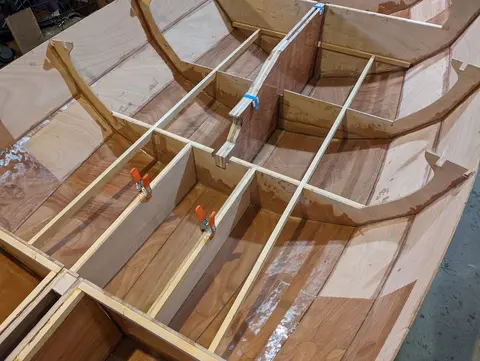
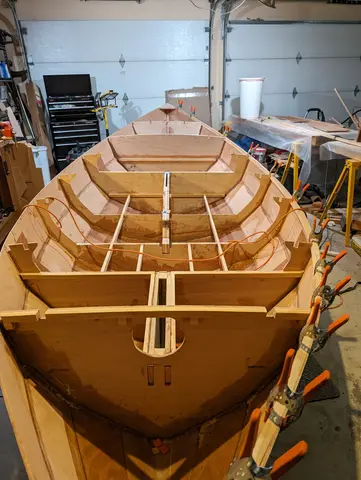
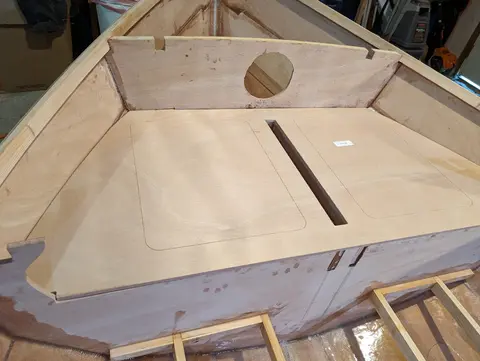
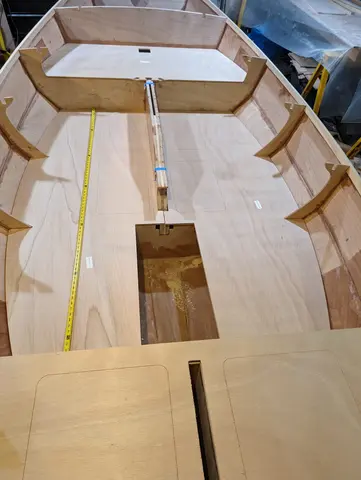
The Guider cockpit is fully enclosed with decks. These decks are supported by cleats on the frames and stiffening beams that run between the frames. Then the decks are dry-fitted to make sure everything is supported. The thin lines on the cockpit decks are the outlines of hatches that will be cout out later.
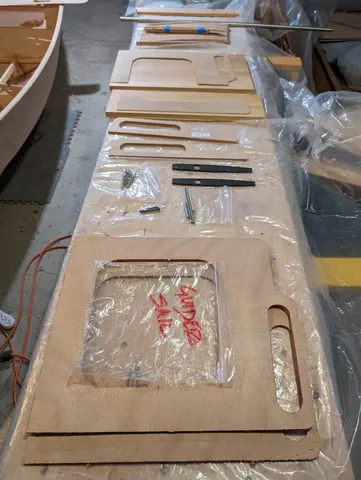
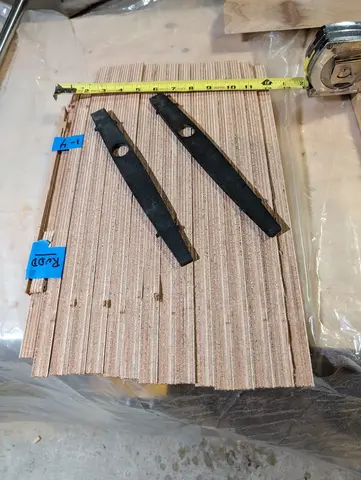
In the Guider the rudder, rudder post and tiller are all mounted in a cassette as a unit that inserts into a rudder trunk at the aft end of the cockpit. The cassette can be raised and pinned so it is fully down for sailing, or halfway pinned to act as a skeg while rowing, or fully raised for beaching the boat. The rudder itself is built up by stacking foil shapes cut from plywood. The stainless steel rudder post extends through the cassette.
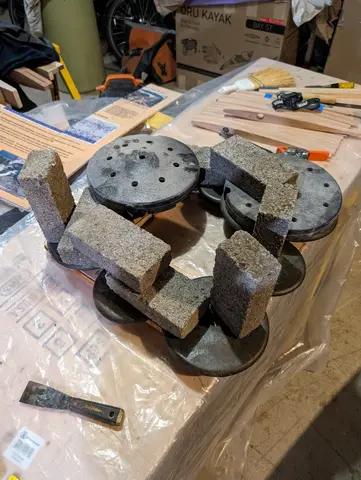
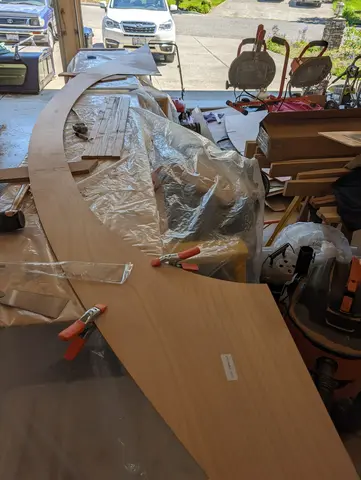
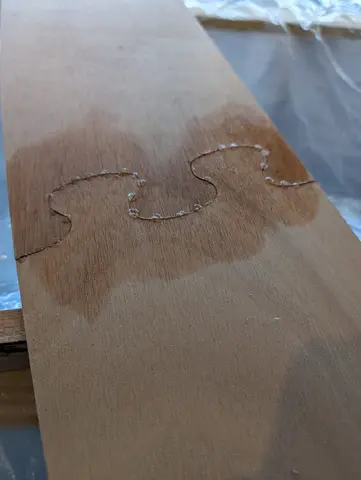
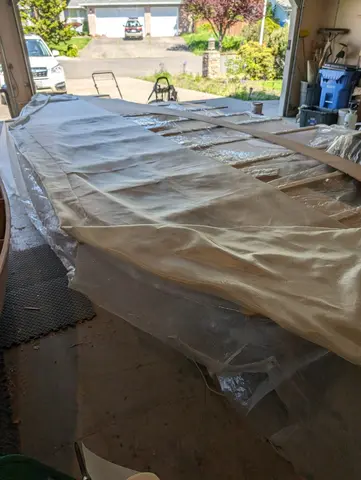
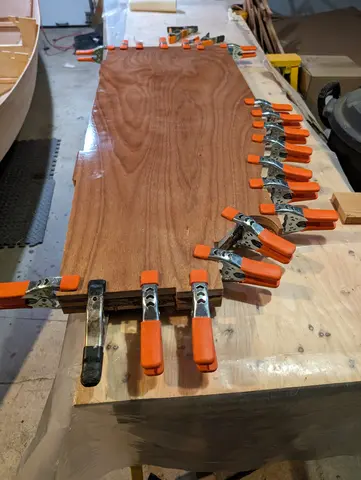
The main deck is built up from three pieces per side, with puzzle joints and epoxy. Then the two sides are mated along the centerline. Finally, both sides are fiberglassed with 3" overlaps in the cloth. I used peel ply fabric on the upper side to get a nice smooth surface. I didn't have a table wide enough to hold the deck piece, so I used firring wood to support it during this process. I u