Hot Rod · step
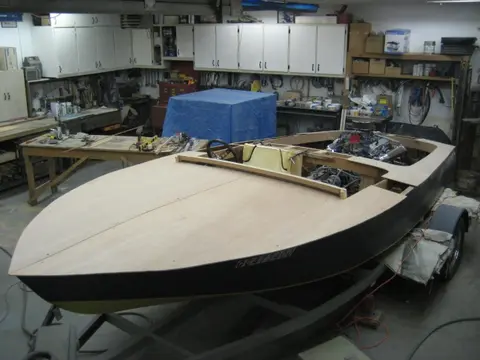
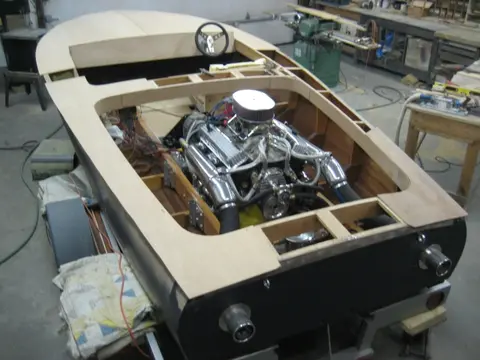
Deck & Coamings
Decking, hatches, coamings, cockpit rim.
Deck & Coamings on every boat, not just the Hot Rod →
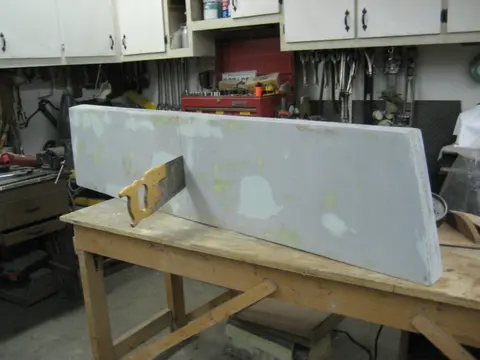
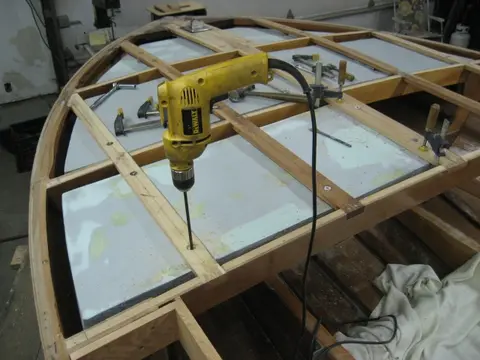
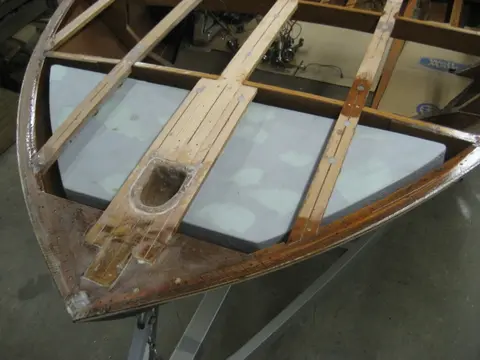
We're currently fabricating removable foam flotation panels which will be installed under the deck battens. Click here to see what we've done so far. ( a new window will be opened)
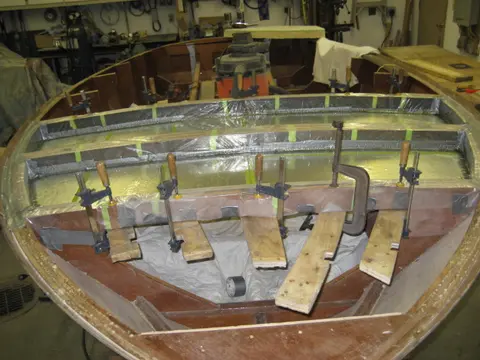
1. Under-deck flotation billets were cast and installed. Click here to see more detailed photos. ( a new window will be opened)
2. For a sleek contemporary look, we've chosen a stainless steel pop-up bow light. When not in use, it's flush with the deck...
3. ... and pops up when needed.
4. The bow light is housed in a plastic receptacle which can be equipped with a hose barb and drain hose. This unit was purchased from Marine Toys in Delta, British Columbia. See our [Links Page](https://kanecustomboats.com/pages/boa...
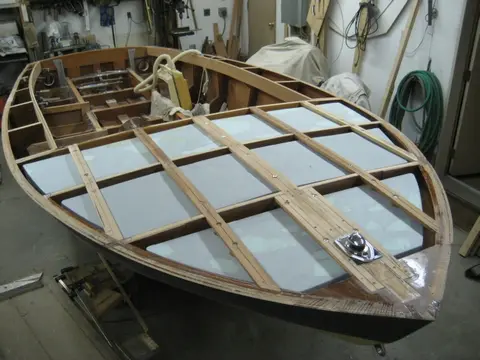
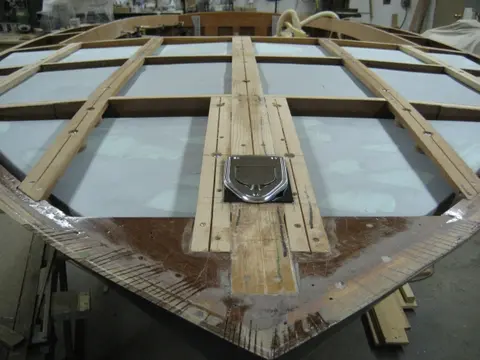
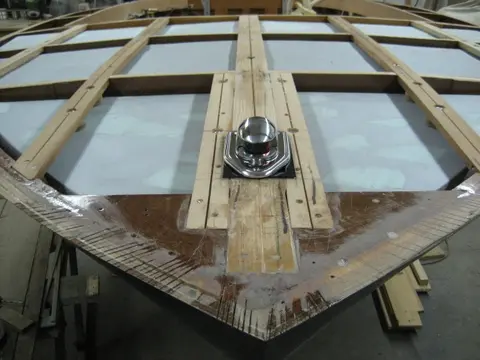
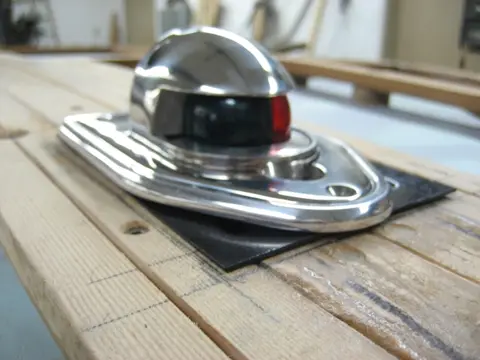
For a sleek contemporary look, we've chosen a stainless steel pop-up bow light. When not in use, it's flush with the deck . . .
. . . and pops up when needed.
The bow light is housed in a plastic receptacle which can be equipped with a hose barb and drain hose. This unit was purchased from Marine Toys in Delta, British Columbia. See our Links Page for supplier information. ( a new window will be opened)
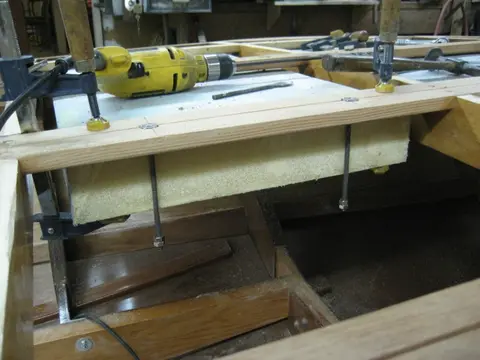
1. The flotation billets can't be installed under the deck battens unless they're cut into two pieces.
2. A long shank 1/4" drill bit was used to drill through the billet.
3. T...
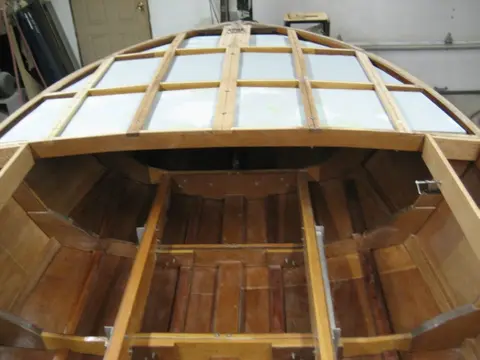
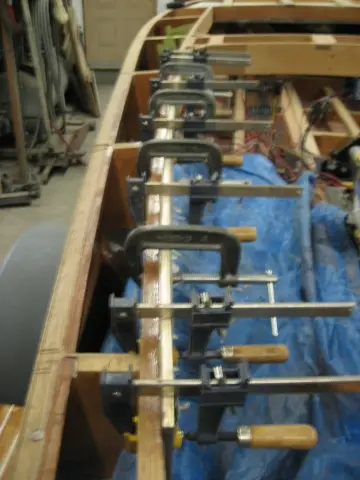
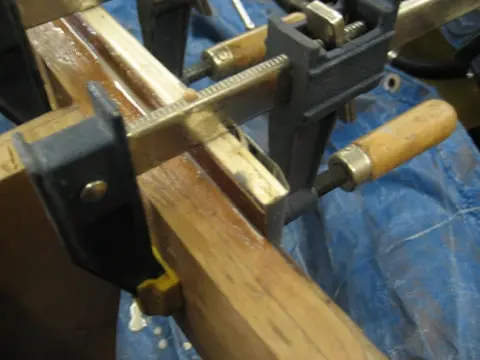
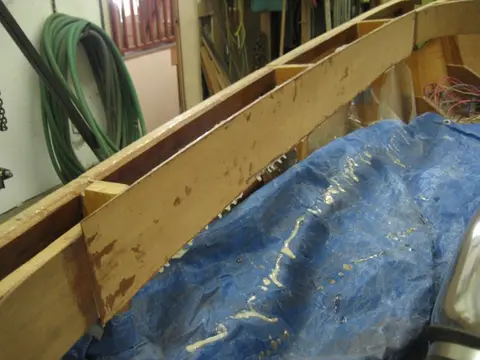
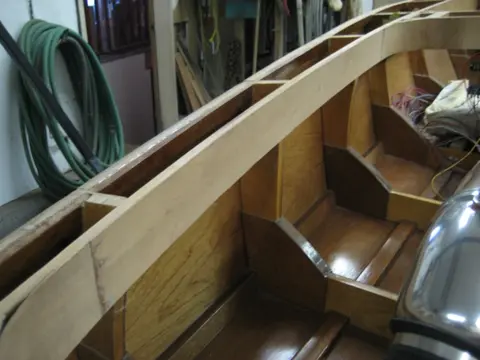
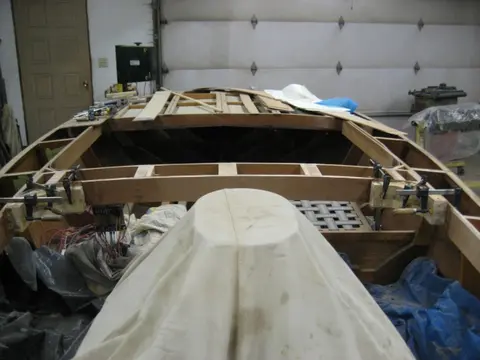
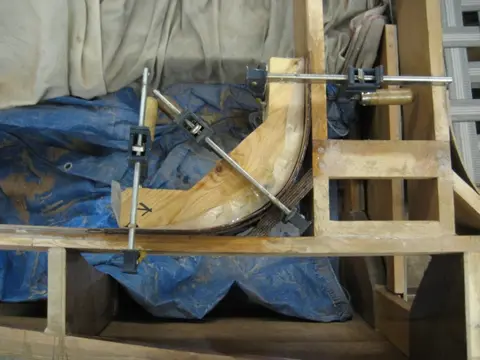
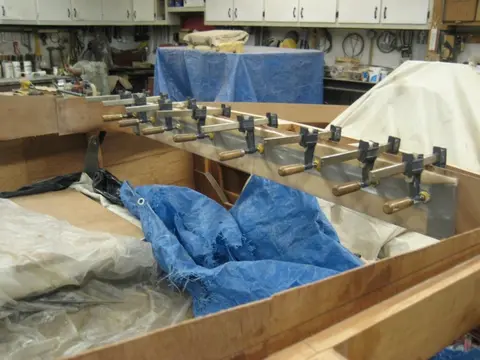
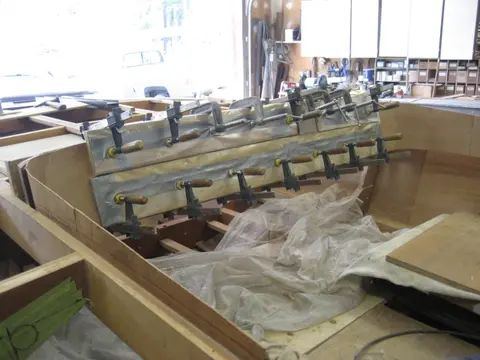
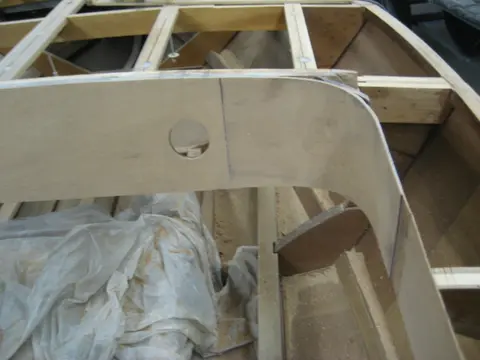
We've been working away at the boat over the winter but haven't had much to show so far. Over the next several weeks, we'll be laminating two layers of.100" veneer over the carlings.
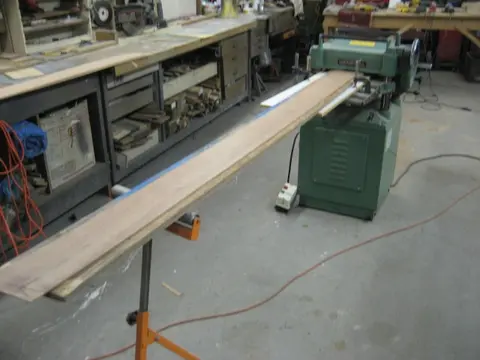
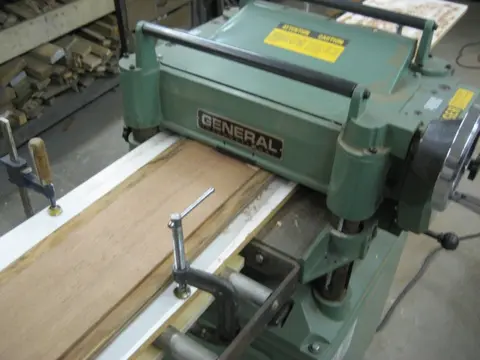
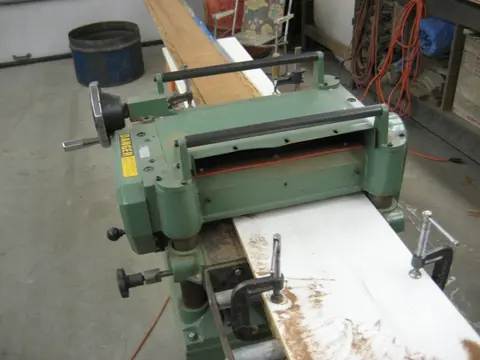
1–2. We ran 6" strips of 1/8" marine grade plywood through the planer to produce.100" veneer.
3. First lamination at Port gunwale clamped.
1. First lamination at center Frame # 4 clamped.
2–3. Completed.
4. Custom clamp for rear corner.
5–6. Completed.
7–8. Second lamination at transom clamped.
9. Second lamination at starboard gunwale clamped.
10. Completed.
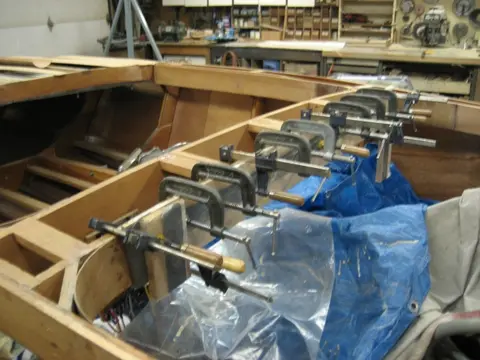
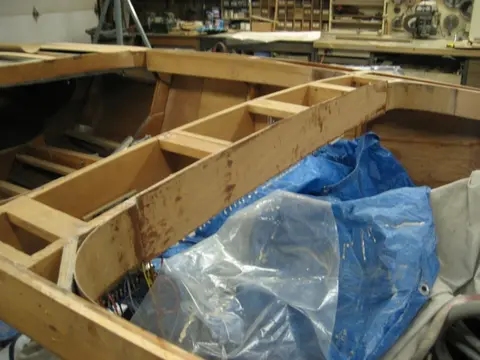
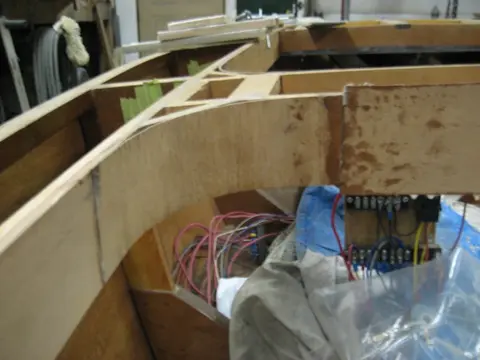
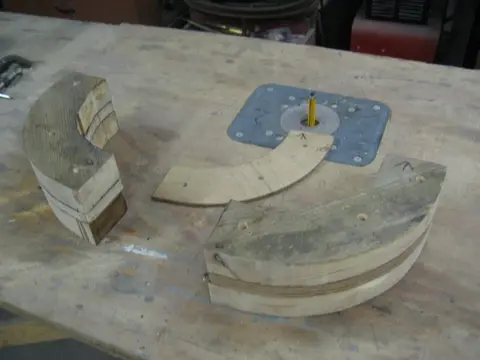
1. Second lamination at port gunwale clamped.
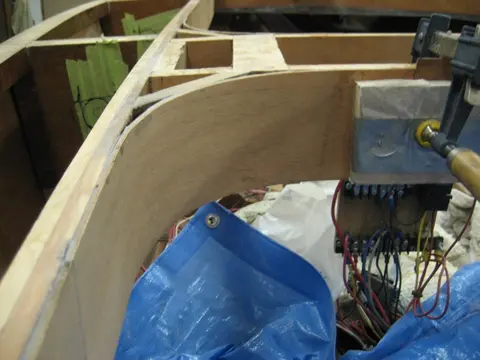
2–3. Time to see what the radiused corner is going to look like !
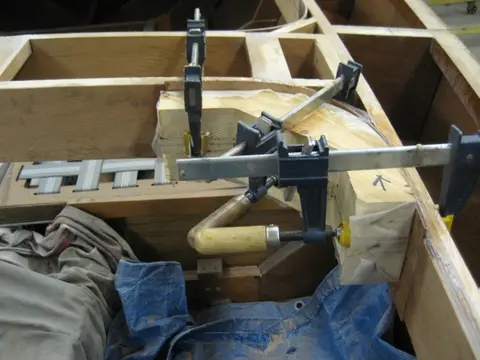
4. Second corner lamination at Frame # 4 clamped.
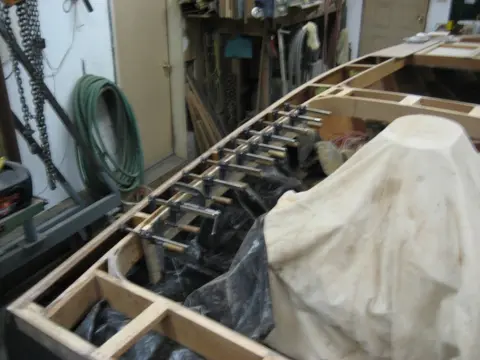
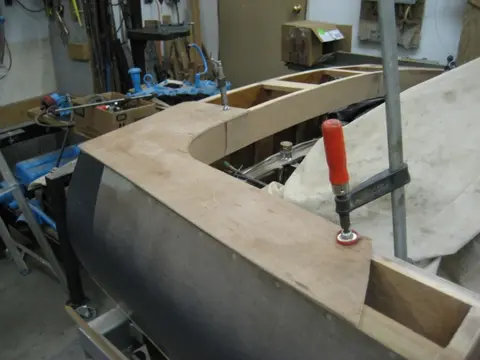
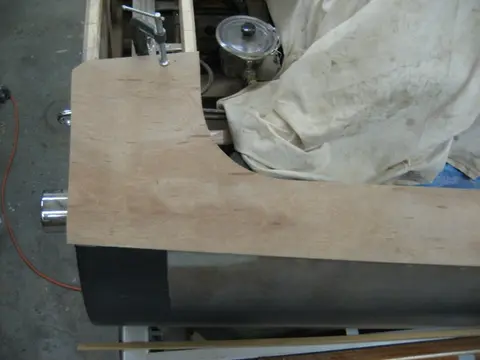
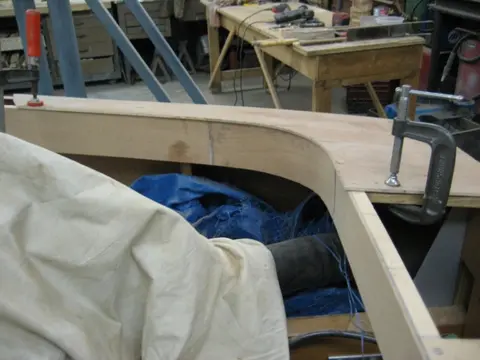
1. Second corner lamination at Frame # 4 clamped.
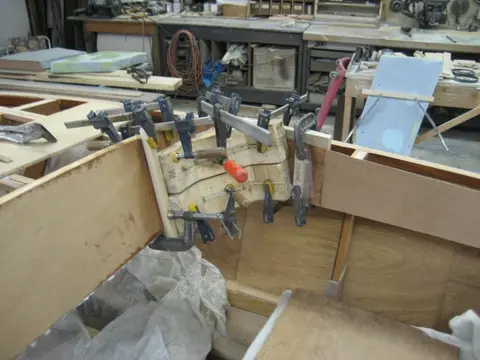
2–3. Another custom clamp was fabricated to smooth out the radius.
4. Corner at Frame # 4 completed.
5. Second lamination at center Frame # 4 clamped.
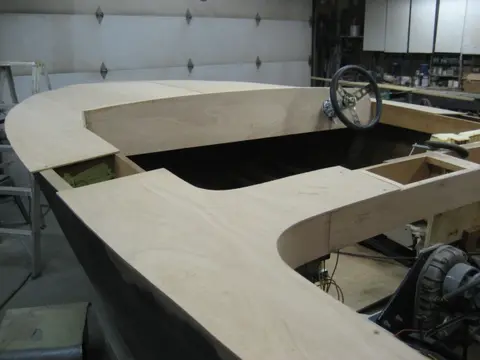
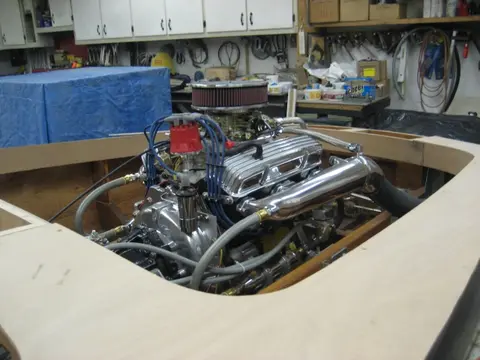
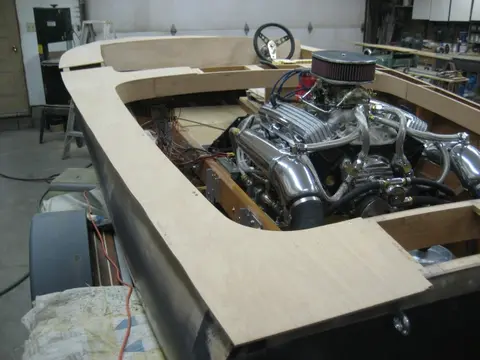
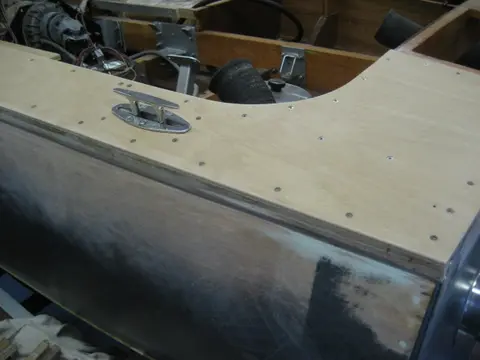
1. Blocking for the aft stainless steel pop-up deck cleats wax glued up.
2. Blocking was barrier coated.
3. Deck sheeting was cut out for the pop-up cleats.
4. Cleat in the 'up' position.
5–6. Close-up shot.
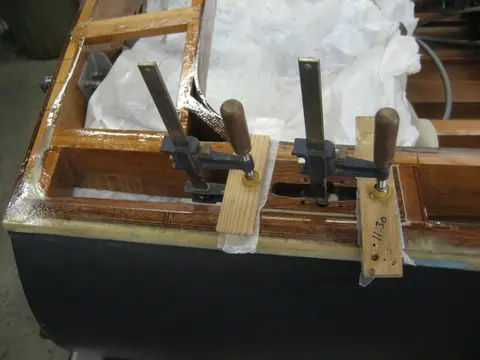
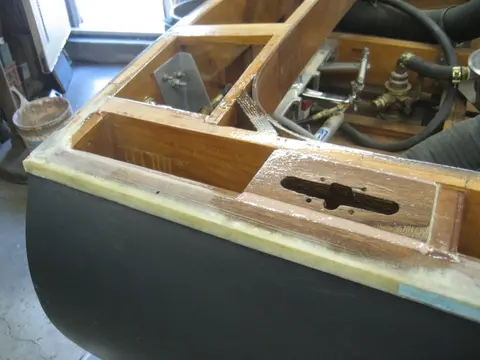
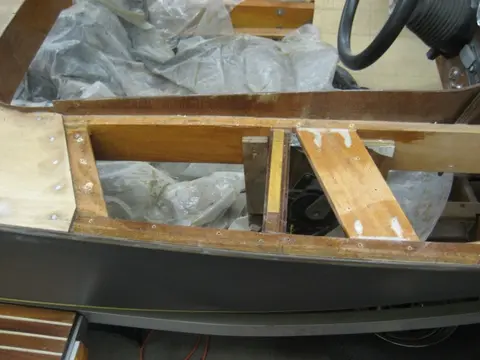
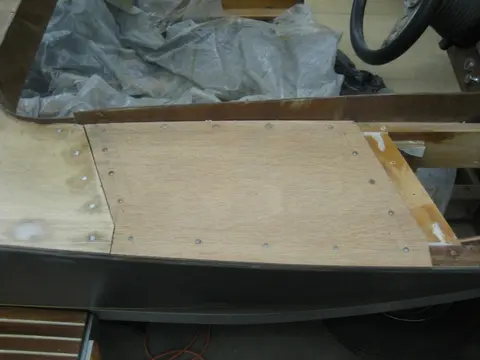
1. Deck blocking was added to handle the plywood joint.
2. We ran the blocking at an angle so that any hard spots could be spread across a larger area.
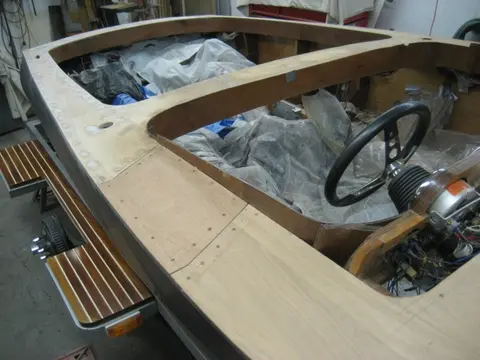
3. The front deck panel was trimmed to fit.
1. Before epoxying the deck, we had to trim the flotation foam billets to clear our new bow light pod.
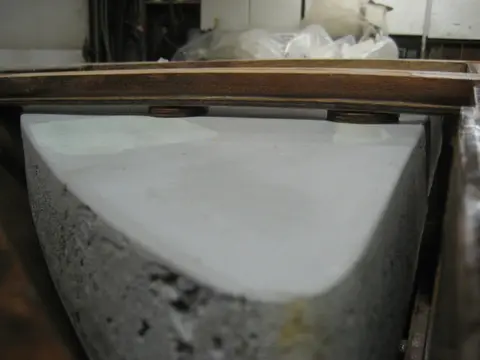
2. To ensure adequate ventilation and prevent rot issues, we installed 1-1/2" diameter 1/4" marine grade plywood spacers between the deck battens and foam bilets.
3. Billets are held in position by 1/4-20 stainless steel threaded rods and SS nyloc nuts. To see how the panels were fabricated, click here.
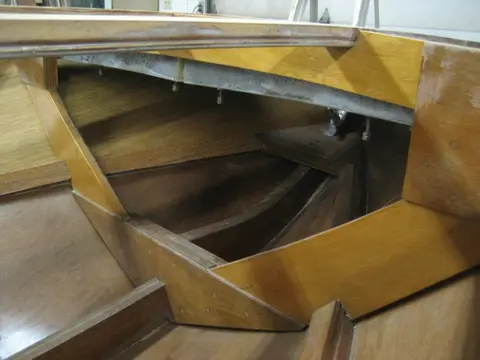
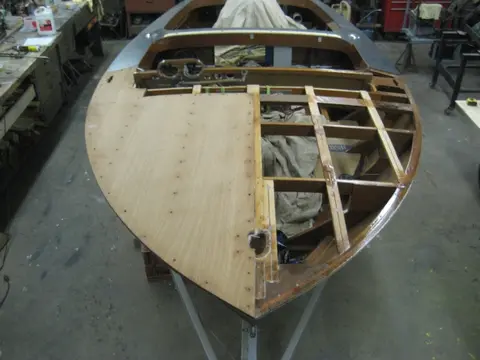
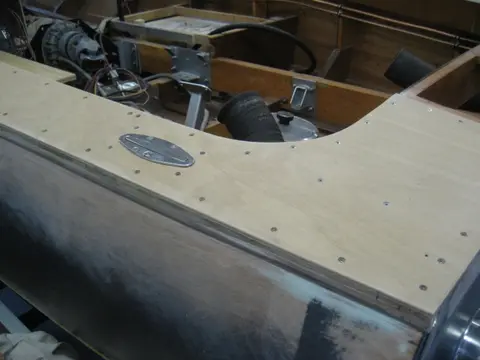
1–2. Starboard deck was installed using thickened epoxy and fastened with silicon bronze screws.