Hot Rod · step
Glassing & Epoxy
Sheathing in cloth, wetting out, fill coats.
Glassing & Epoxy on every boat, not just the Hot Rod →
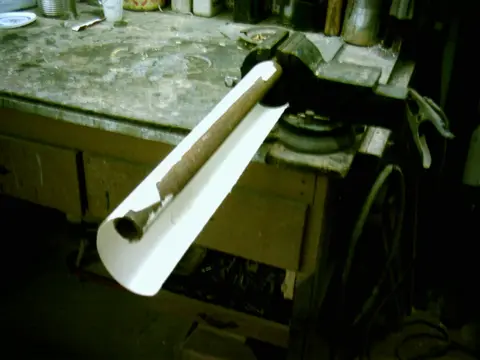
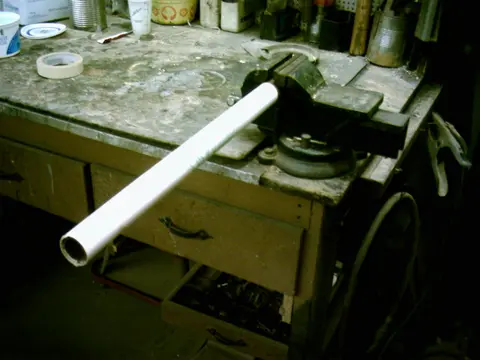
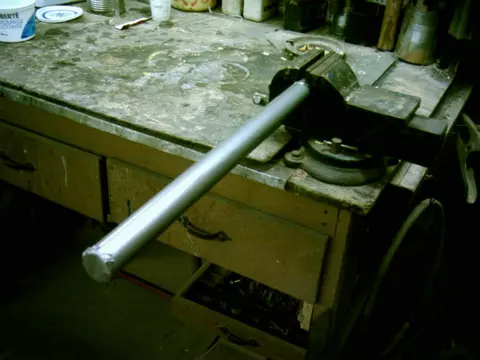
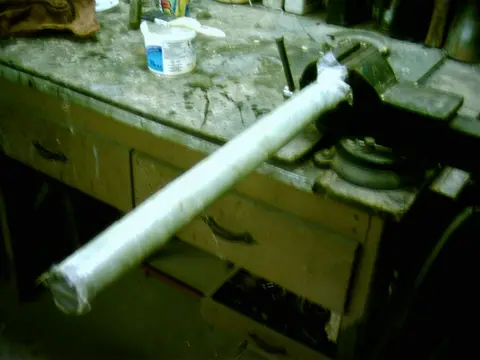
This section describes how to cast a fiberglass tube which will be used as a lining for the propeller shaft hole.
1. A piece of 1" pipe is clamped in the vise. Wrap the pipe with a piece of cardboard sheet...
2. ... until you get the desired inside diameter.
3. Wrap the tube with duct tape.
4. Add a layer of waxed paper.
5. Laminate with two layers of fiberglass cloth. When fully wet out, wrap tightly with waxed paper and tape the whole tube to maintain even pressure on the tube.
6. The finished tube. Both the inside and outside surfaces are nice and smooth.
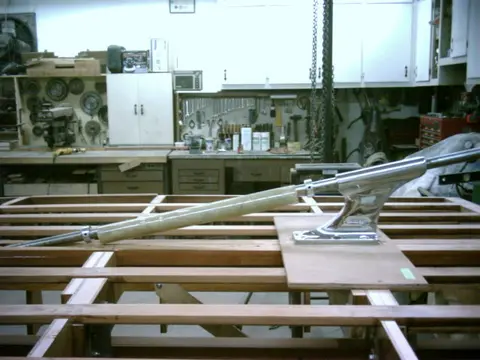
1. The strut was reinstalled and an 8' long piece of 1" round bar was slipped into it. Two 1" ID by 1-5/8" OD bushings and the fiberglass tube were slid onto the shaft.
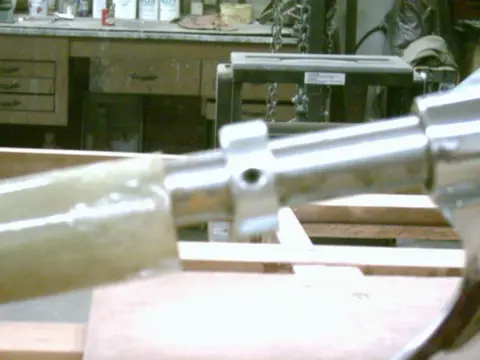
2. Here's a closeup shot of the tube and bushing.
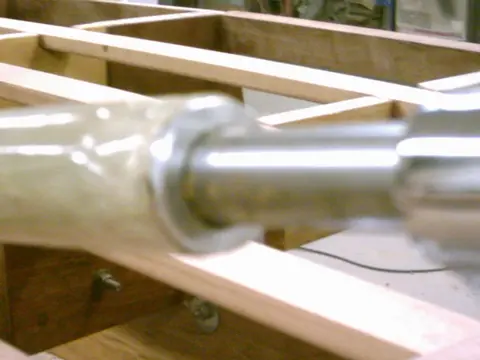
3. The bushings were slid into each end of the tube. This will ensure that the tube is centered on the shaft.
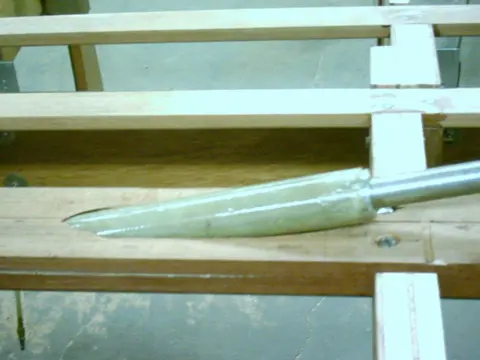
4. The assembly is pushed into the shaft hole. It should be a loose fit. Enough clearance for a coat of thickened epoxy around the tube will be required. If the fit is too tight or if the tube binds in the shaft hole, roll and tape a piece of coarse sa...
1. On Friday night we fiberglassed the starboard bottom. We feathered the panel edges on Saturday afternoon and applied the port bottom late Saturday night. Starboard side was applied late Sunday night.
2. Notice the starboard side overlap at the bow. The digital camera is having a rough time rendering smooth, shiny surfaces. Time to upgrade to a better quality unit !!
3. Side overlaps the transom.
4. Port bottom will have to be feathered before applying the side.
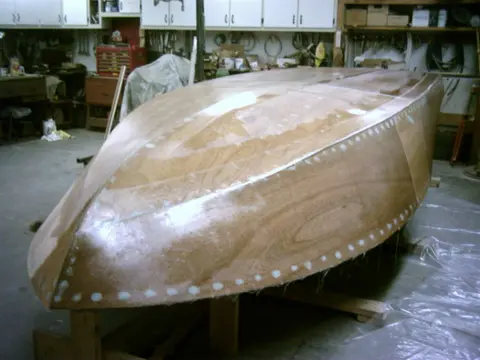
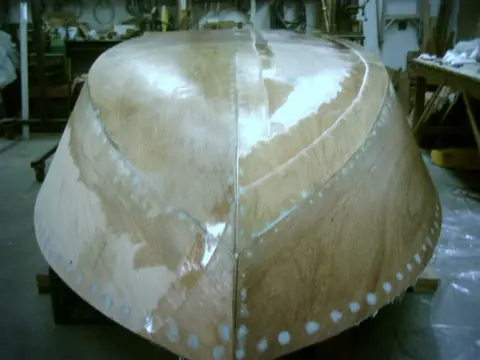
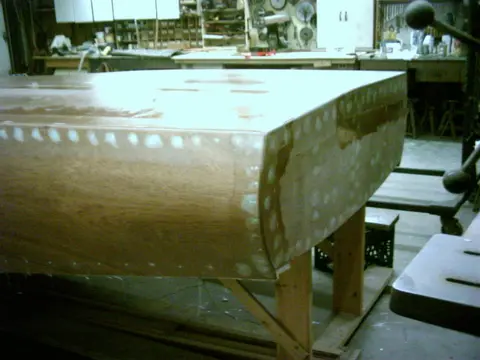
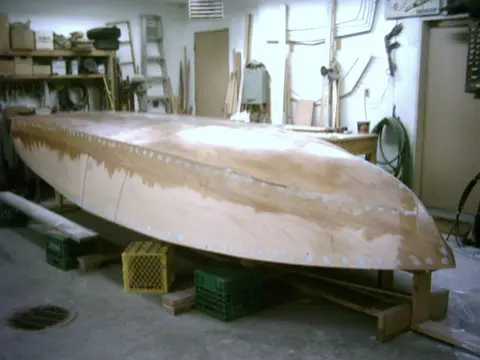
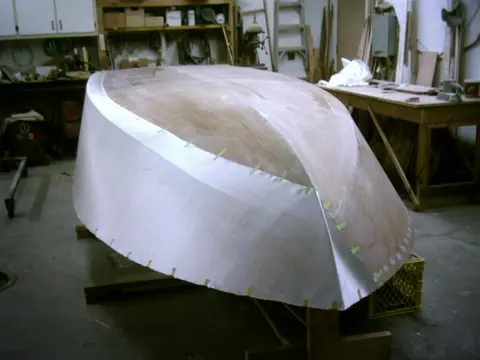
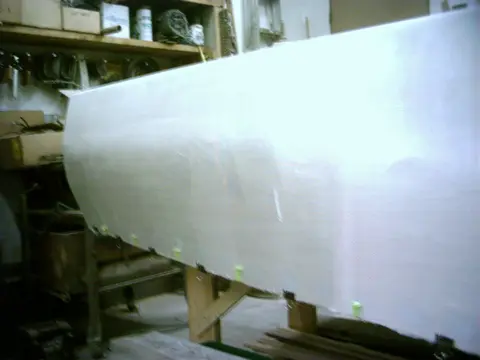
1. We're applying the fiberglass cloth using the 'dry method'. 6.5 oz. cloth is draped over the hull and taped in position. Panel overlap is 5". This allows for sufficient overlap and a 1-1/2" wide strip for feathering.
2. Stretching the cloth diagonally eliminates wrinkles. Spring steel paper clamps and masking tape are removed after the cloth has been saturated with epoxy.
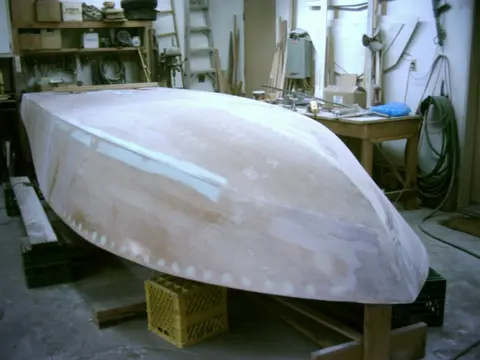
Over the long weekend, we laminated three strips of fiberglass cloth on the chine and transom edges and ground them to a crisp profile.
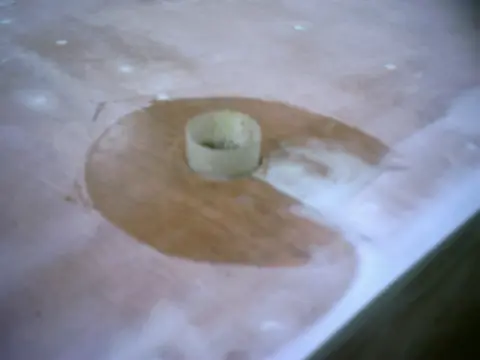
We epoxied a fiberglass rudder port tube into the rudder port hole. It's a little more work, but if the rudder port sealant fails, water will not be in direct contact with the keel.
A template for the top frame lamination was traced onto a piece of 1/2" Black Joe building board.
A jigsaw was used to cut the stock 1/4" oversize. The piece was then fastened to the 3/8" thick template with 3/4" screws and trimmed on the router table.
Closeup of the top-bearing trim bit.
The screws were removed from the stock.
A duplicate piece was produced.
The two pieces were installed on each side of the frame and taped to hold them in position.
Once the foam has been poured and has cured, the inner piece will be extracted first. This will allow easy removal of the outer piece when t...
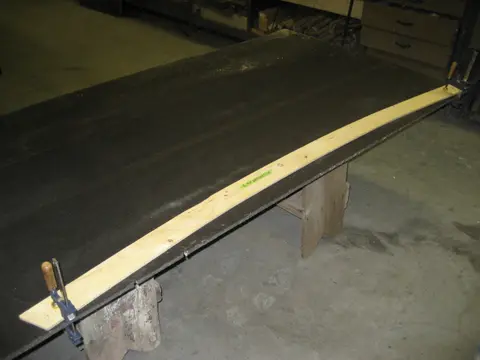
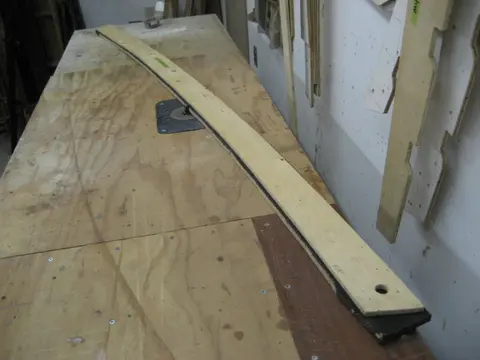
The cloth was wet out with catalysed polyester resin. A second coat of resin was applied after the initial coat had cured. In the background, resting on the transom, you can see the piece we molded for the bow section. A single 8 liter pour foam kit wasn't enough to do the job. We're 1 quart short . . . We'll have to order more foam on Monday !
1. The frames were wrapped with plastic before installing the bottom mold pieces. Support for the plywood was provided by clamping scrap lengths of spruce 1" X 3" to the underside of the ply.
2. Wood shims were jammed between the plywood and s...
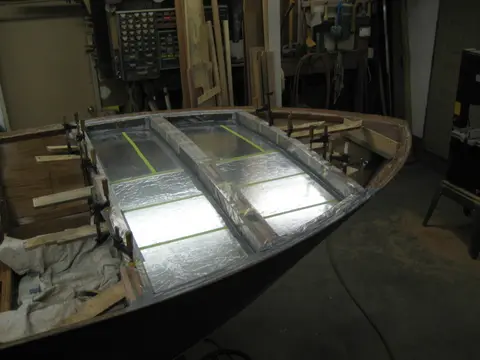
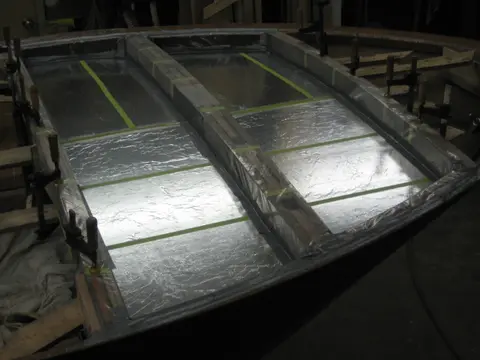
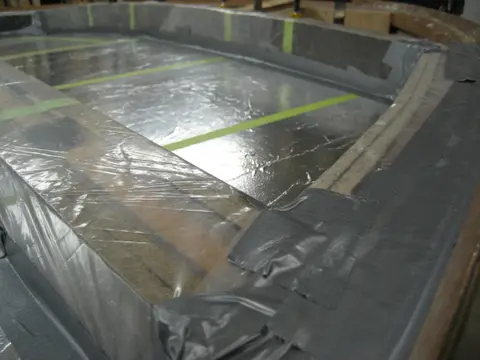
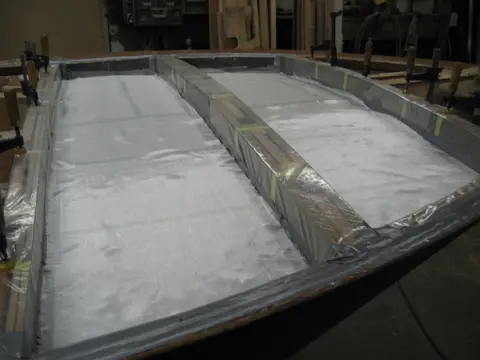
1. The second kit we ordered last week was picked up this afternoon. Four small batches (10 ounces Part A, 10 ouces Part B) were mixed and poured into the molds to complete the job. An old crosscut handsaw was used to trim the expanded foam flush with the frame tops.
2. Once the foam was fully cured, the spacer blocks were removed from the sides of the mold.
3. This view shows the one inch gap between the sheer and foam.
4. The surface quality of the molded fiberglass lining on the bottom of each billet was quite good. Very little filling will be required prior to finishing....
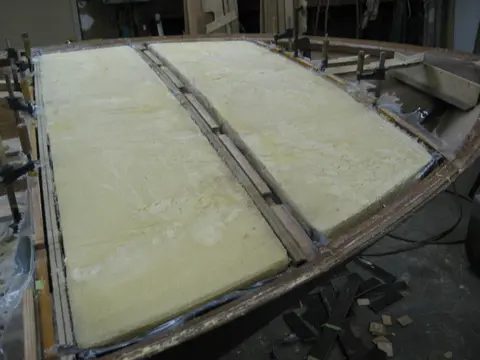
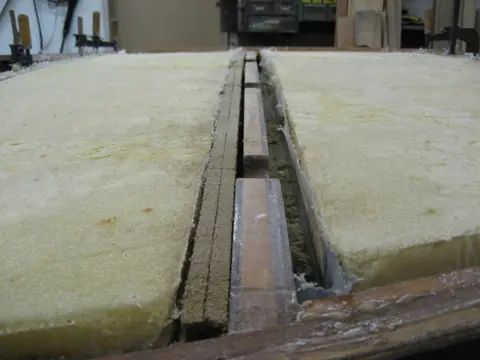
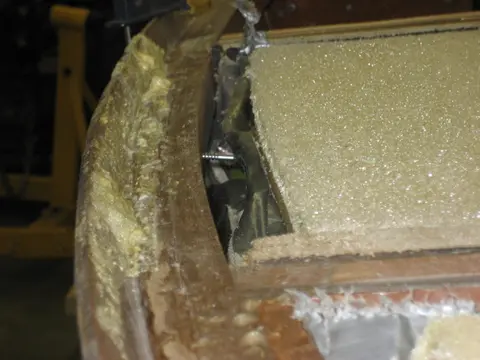
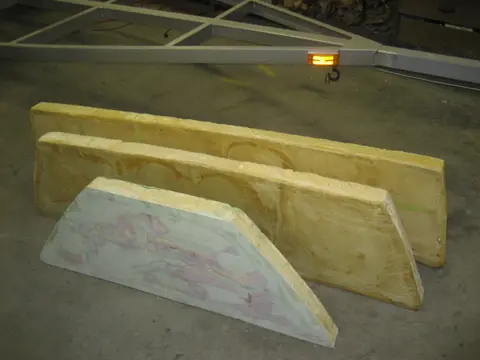
Here's the last of the interior epoxy barrier coating. Round 2 will be followed up with a sprayed urethane clearcoat.
Once the clearcoat has been applied, we can start the carlings and deck !
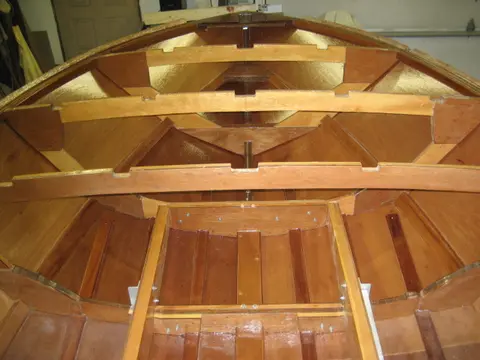
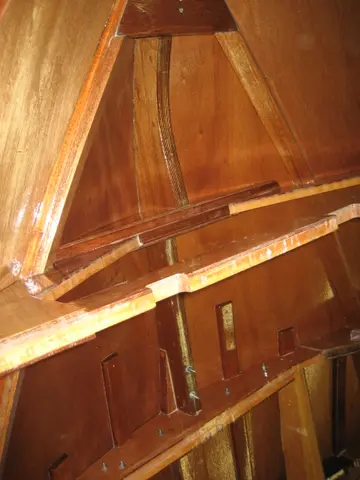
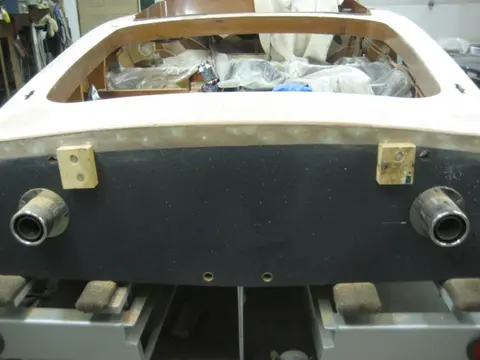
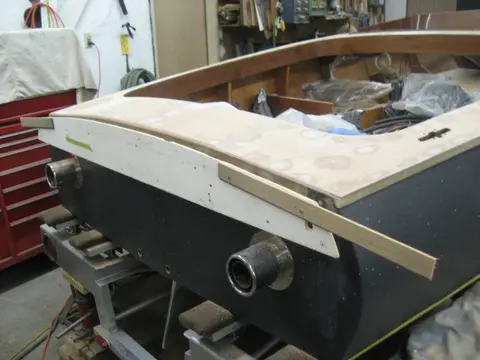
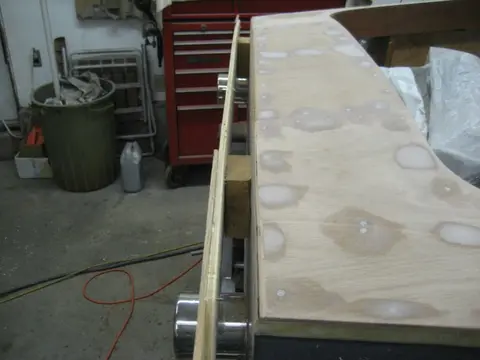
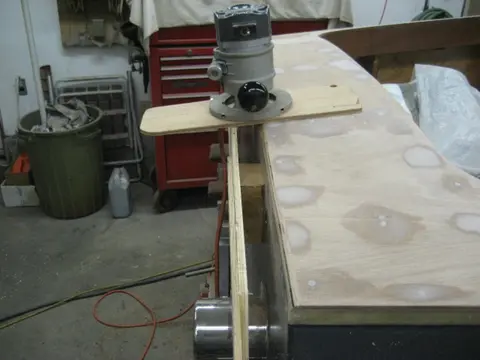
1. With the rear deck panels installed, it's time to put a 1/2" radius on the deck ply at the transom. We bolted two pieces of 2" x 4" through the transom tie down bolt holes.
2. We dug out the transom frame template (one of 160 templates we built for this boat !) and screwed it into the two pieces of 2" x 4".
3. This will give us some support for the router.
4. A 1/2" round-over bit makes quick work of rounding the edge for applying fiberglass.
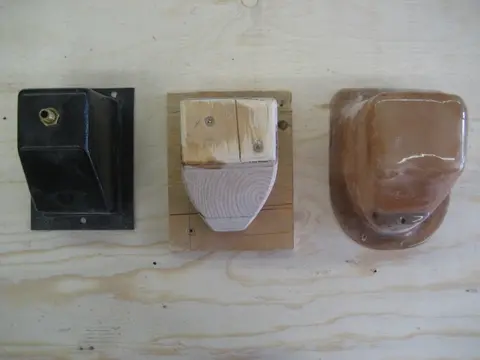
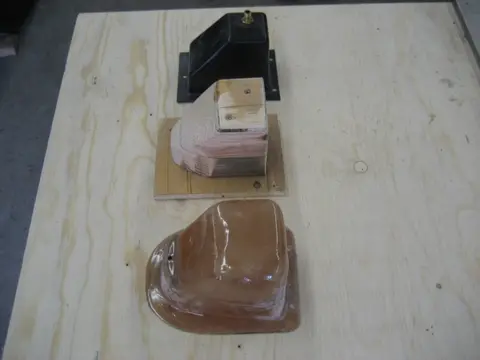
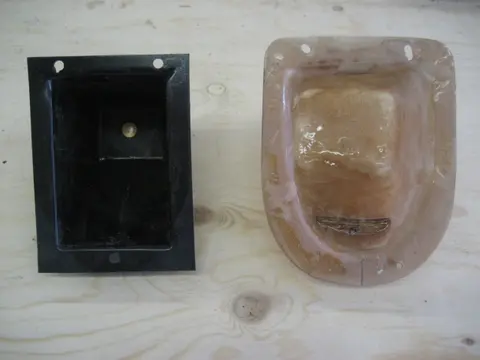
1. The pop-up bow light mounts in a plastic housing (at left of photo). The fit wasn't too good, the plastic was very flimsy and the bolt holes were way too close to the edge, so we fabricated a wood plug from some scrap wood (middle of photo). We wrapped the plug with Saran Wrap and wetted out three layers of 6 ounce fiberglass cloth with West System epoxy.
2–3. We moved the front mounting hole inboard away from the flange and created a step to receive the mount bolt.
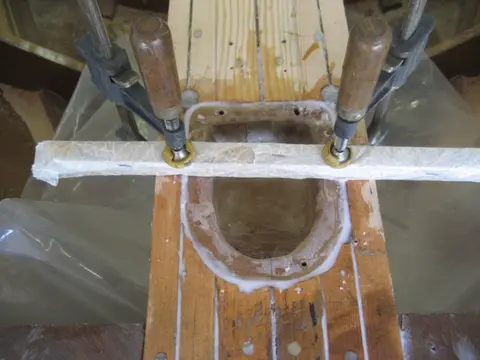
4. The shroud was epoxied into the strongback.