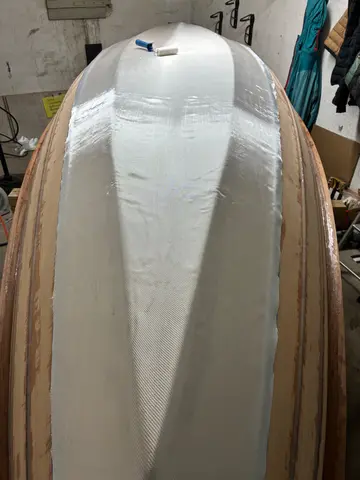
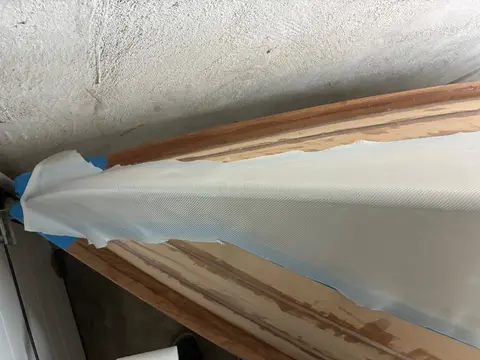
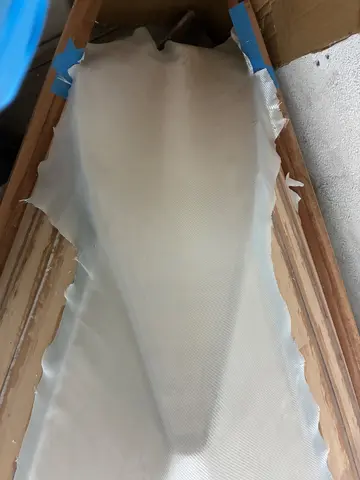
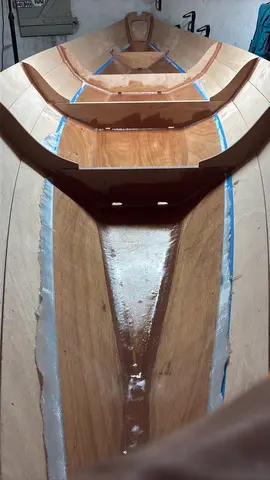
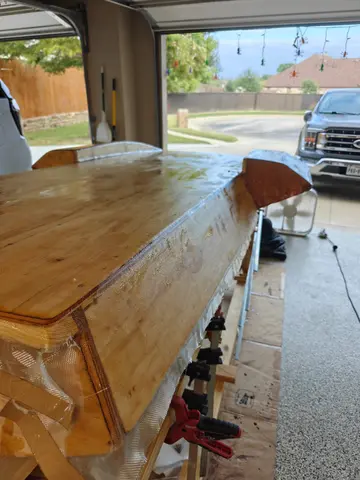
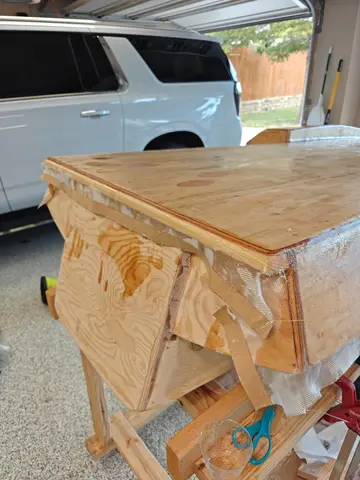
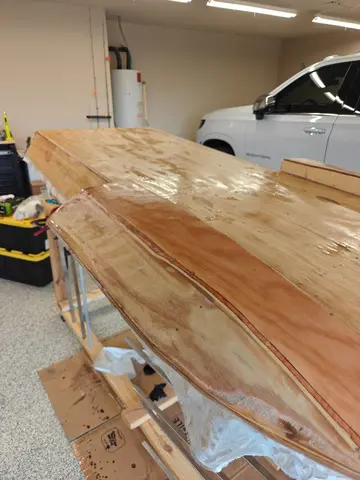
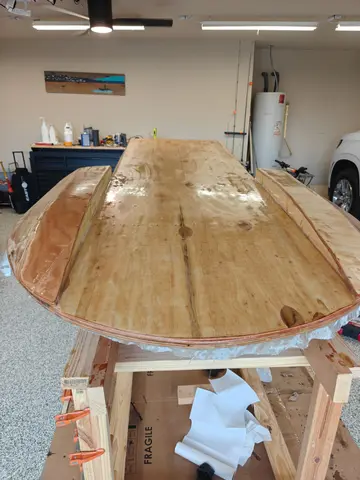
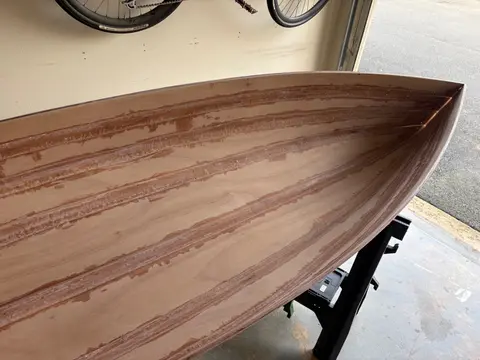
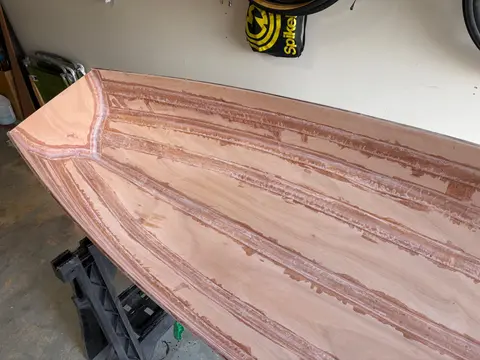
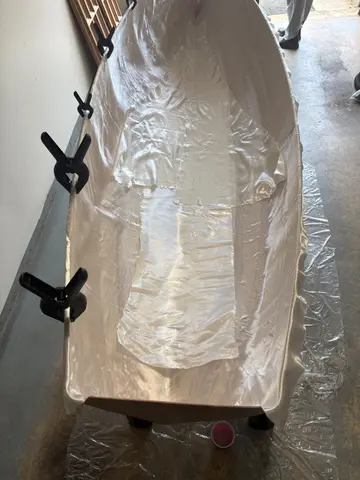
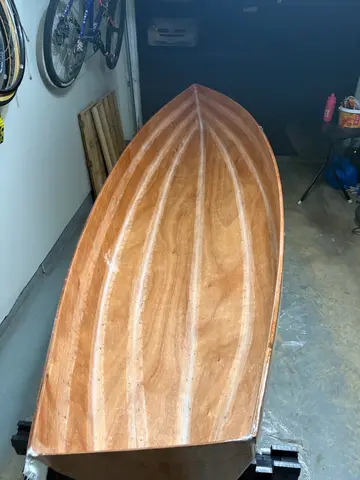
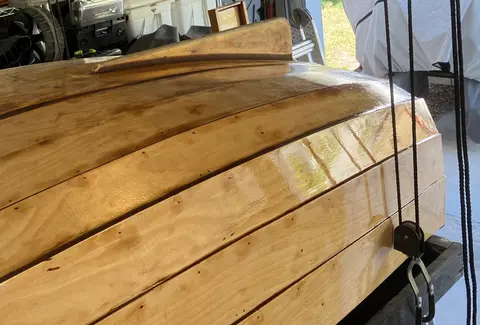
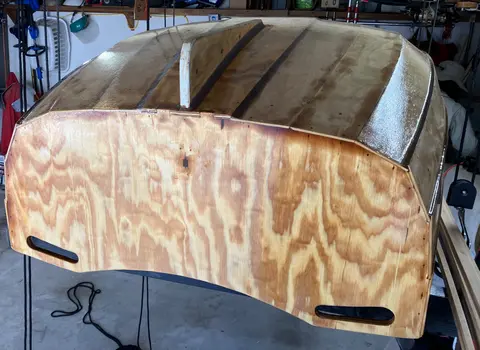
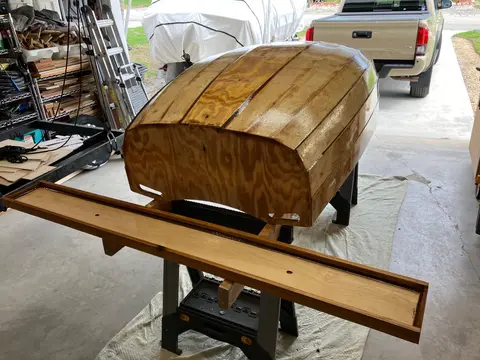
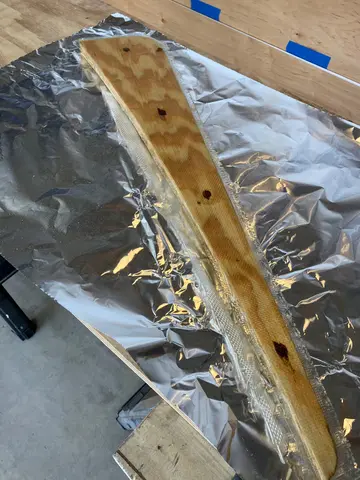
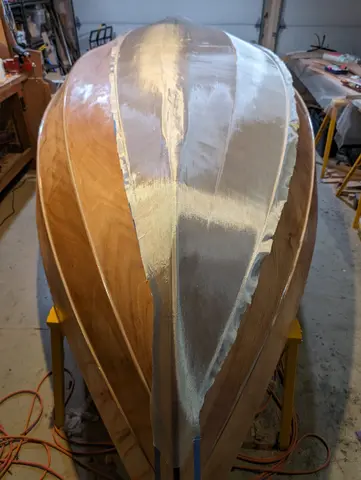
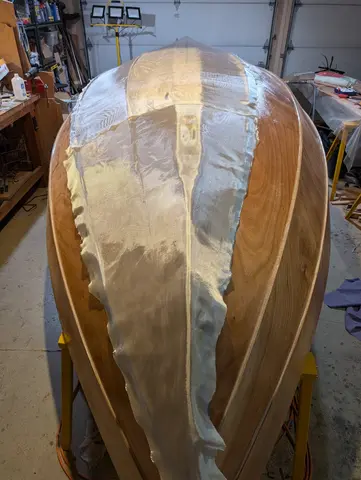
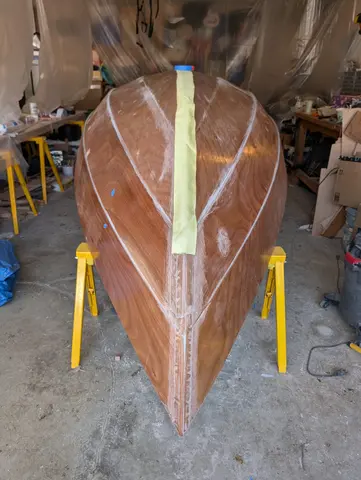
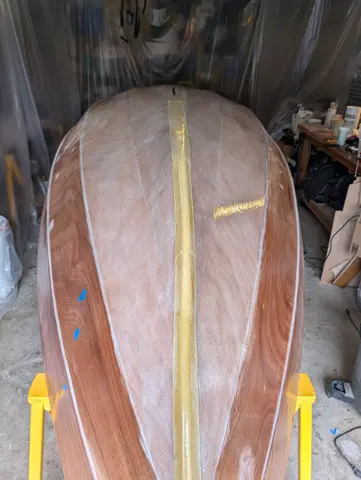
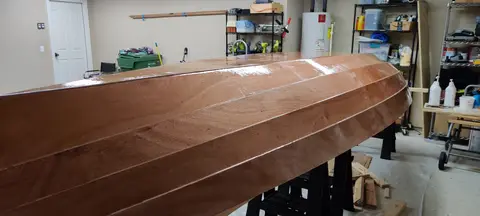
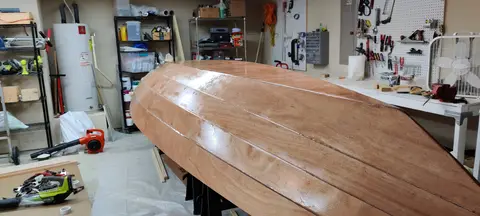
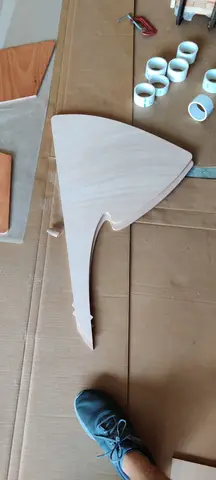
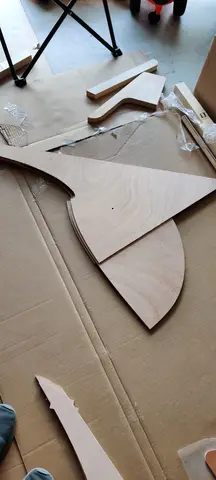
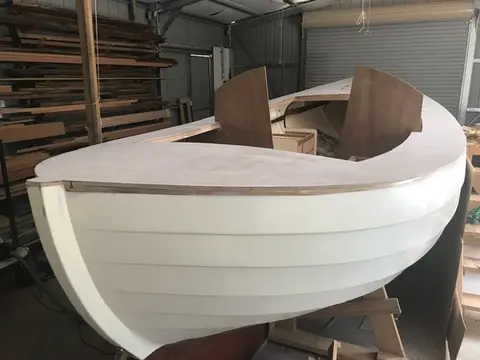
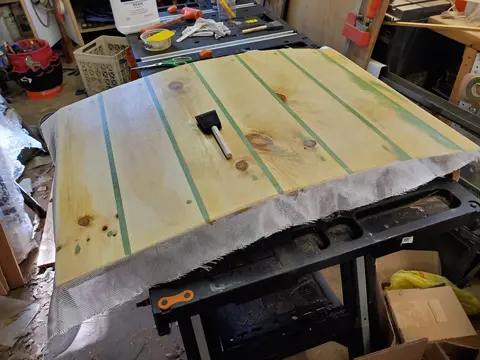
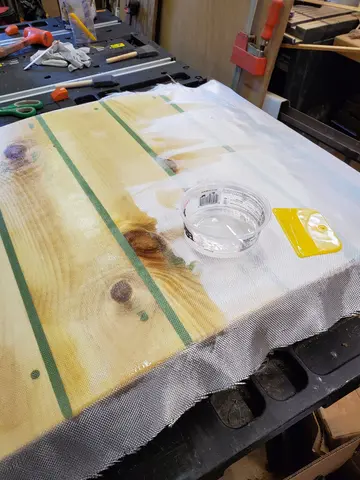
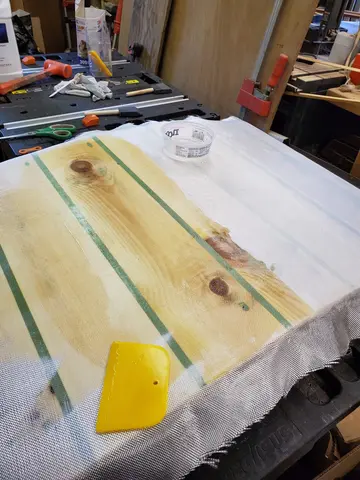
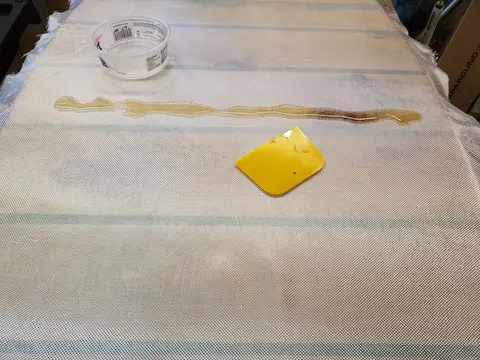
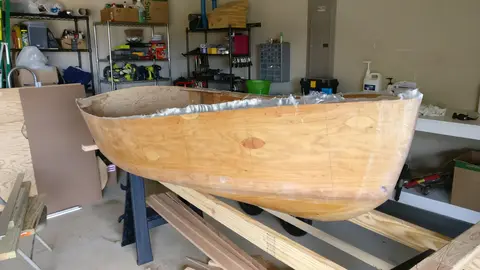
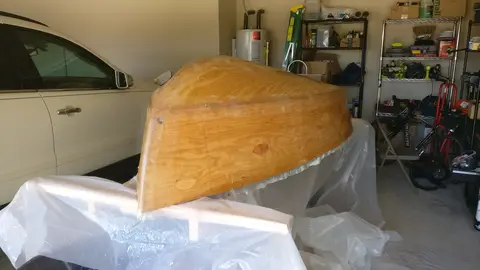
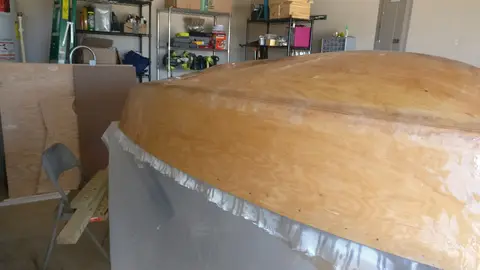
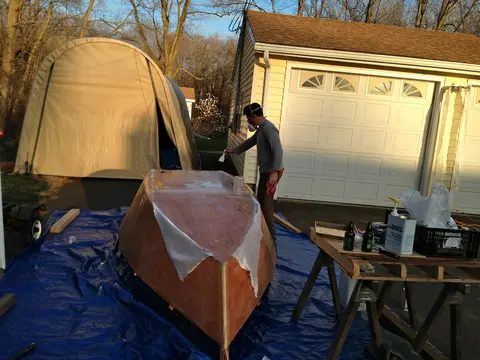
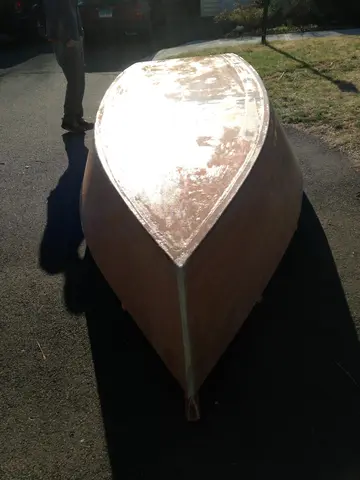
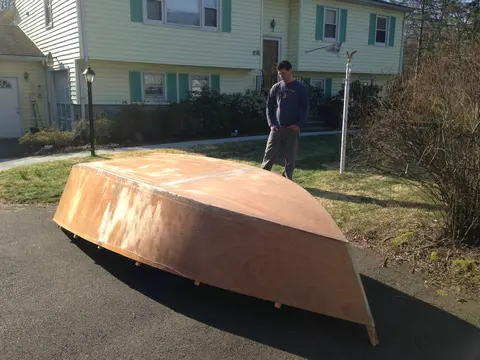
Sheathing in cloth, wetting out, fill coats.
1 entry
· 10 h · latest 7 Nov 2026
Difficult step. Trimming the cloth and removing it at the joint of the 1st and 2nd panel was no fun. It took hours of scraping and careful filing with a riffler file to get the seam smooth and all of the tape off. A lot of my troubles stem from never having...
Read this entry in the log →
Glassing & Epoxy on every Northeaster Dory →
4 entries
· 17 h · latest 7 Nov 2026
After another great night out my alarm clock woke me up at 8:00 am. I planned to get the skeg fixed to the bottom, shape the rails and find the right position for the dagger board hole. I was just able to finish cutting the rest of the fiberglass along the joi...
Read these entries in the log →
Glassing & Epoxy on every Northeaster Dory →
3 entries
· 4 h · latest 2 Nov 2026
Today I applied the fiberglass to the bottom of the hull. This actually went a lot smoother than I thought it would, but this is like the third boat that I've fiberglassed, so I think I'm finally figuring how to do it correctly.
I'm using a new epoxy and harde...
Read these entries in the log →
Glassing & Epoxy on every Tiny Titan →
2 entries
· 12 h · latest 31 Oct 2026
Flipped hull over, spent the morning scouting tape transitions, and the afternoon laminating interior with cloth. Reinforcement patches where my feet will go. It was harder to keep the cloth smooth and well attached, and in at least one occasion trying to “fix...
Read these entries in the log →
Glassing & Epoxy on every Micro-Wherry →
2 entries
· 42 h · latest 22 Mar 2026
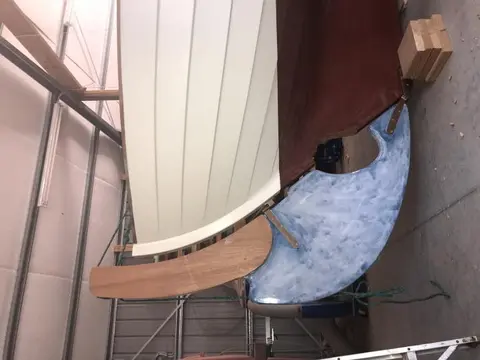
This picture displays the keel after it was installed and filleted. I didn't cut a handle in my keel. Wanted to have the best tracking when I towed behind the boat.
Read these entries in the log →
Glassing & Epoxy on every Ultralight Dinghy →
1 entry
· latest 23 Aug 2024
What followed was a lengthy process of saturating, fiberglassing, fairing, sanding the hull (so MUCH sanding, so MUCH DUST). Everything on this boat will be painted because I loathe varnishing. The only thing I did differently from the CLC instructions was to...
Read this entry in the log →
Glassing & Epoxy on every The Guider →
3 entries
· 5 h · latest 22 May 2020
Phase 10: Epoxying the Entire Exterior
The next step is epoxying the entire exterior. Only the bottom and the first panel were fiberglassed, but the whole exterior gets a coat of epoxy to protect the wood.
By this point you're an expert with epoxy, so this par...
Read these entries in the log →
Glassing & Epoxy on every Northeaster Dory →
2 entries
· latest 22 Nov 2019
Dynel and peel ply isn’t as easy as it seems at first sight. I’ve done a little fibfreglassing in past with 6oz cloth but wetting out Dynel is a bit more difficult. After a first failed attempt I stripped it all off and filled three bins. For the next go I had...
Read these entries in the log →
Glassing & Epoxy on every Grey Seal →
27 entries
· latest 4 Nov 2019
Houseboat update, Monday, November 4, 2019 (catching up on recently completed work) -- I know that many people reading this are already knowledgable in how to lay down a smooth application of woven fiberglass fabric and bond it to a wood surface with epoxy, an...
Read these entries in the log →
Glassing & Epoxy on every Jersey Girl →
1 entry
· 3 h · latest 20 Oct 2019
Phase 3: Fiberglassing the Exterior
In this next step, I fiberglassed the exterior of the boat. I used a single sheet and carefully draped it around all of the sides, including the transom. As I applied the epoxy, I let the drips fall onto a plastic sheet laid...
Read this entry in the log →
Glassing & Epoxy on every Polliwog 8 →
1 entry
· latest 17 Apr 2013
Another busy week. Its getting harder and harder to remember all the steps in our process, but last saturday we glassed the topsides and bottom. First off, all the seams were taped to ad reinforcement using 105/205 and 6 oz 4 inch fiberglass tape. Next, we sta...
Read this entry in the log →
Glassing & Epoxy on every 14 ft Rapid Robert →
12 entries
· latest 7 May 2011
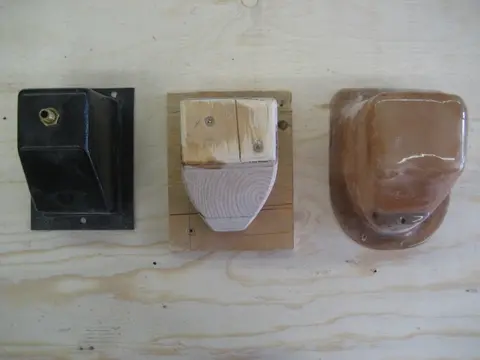
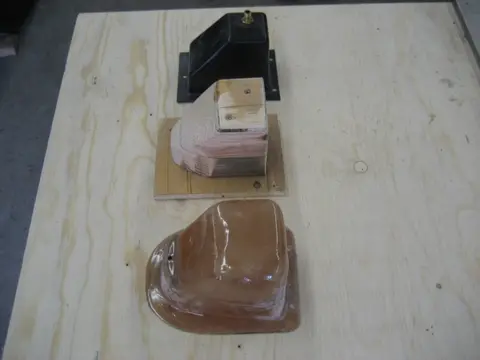
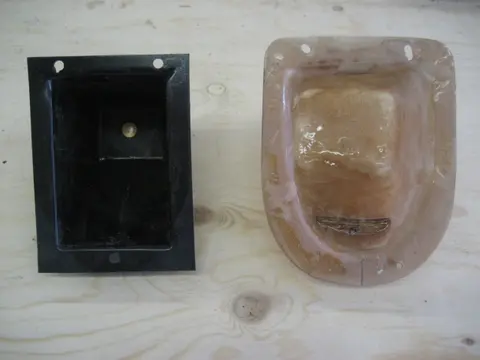
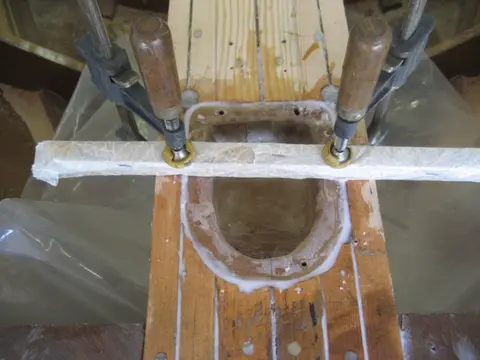
1. The pop-up bow light mounts in a plastic housing (at left of photo). The fit wasn't too good, the plastic was very flimsy and the bolt holes were way too close to the edge, so we fabricated a wood plug from some scrap wood (middle of photo). We wrapped the...
Read these entries in the log →
Glassing & Epoxy on every Hot Rod →