Hot Rod · step
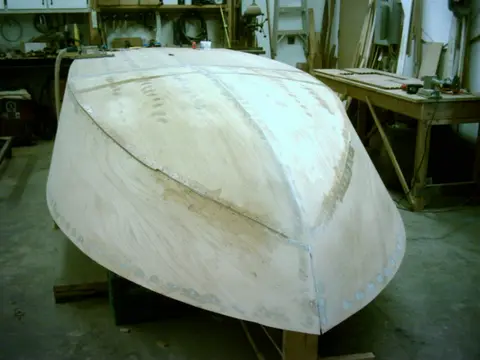
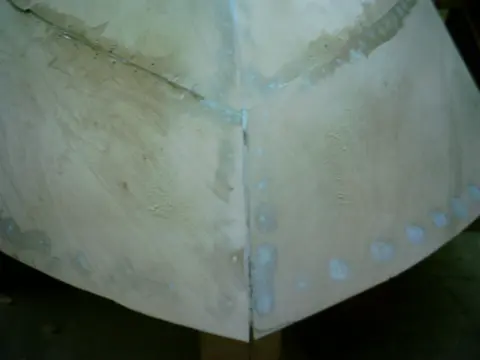
Hull Panels
Scarfing plywood, cutting panels, milling strips or planking stock.
Hull Panels on every boat, not just the Hot Rod →
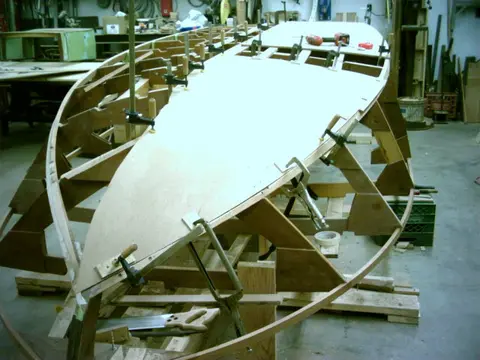
1. The first bottom template (1/4" fir plywood) is screwed to a piece of 1/4" marine plywood and trimmed to size.
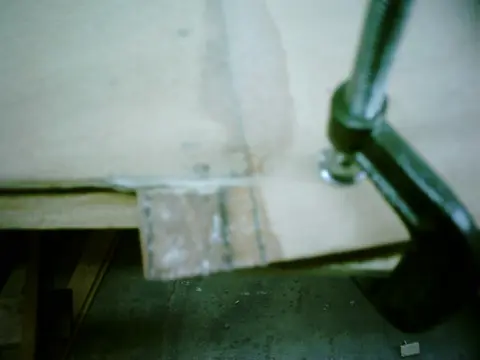
2. Trial fitting the first bottom. Once installed, it fits flush with the chine from the stem to a point between frames 7 and 8.
3. A second layer of 1/4" plywood is tacked on to check for fit.
4. A 26" wide piece of 1/4" marine plywood is scarfed to the first bottom piece. Total length is 8'-6". Click here to see how the scarf was made.
5. Glued and clamped...
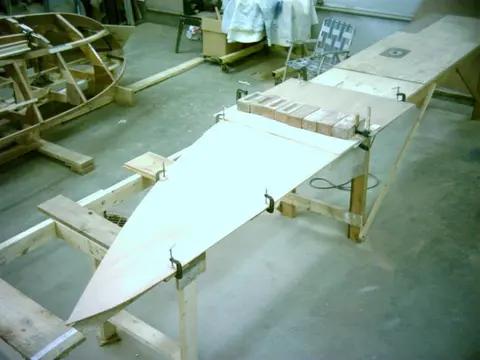
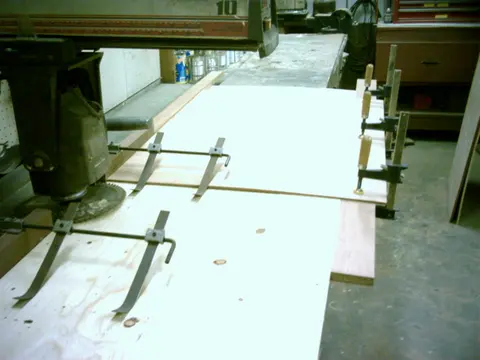
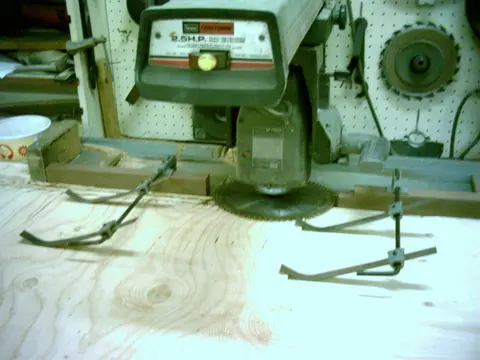
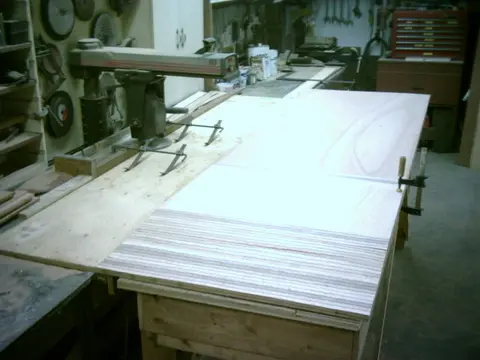
This section depicts the plywood scarfing operation using a 10" radial arm saw. Click here for a technical overview of the various plywood joining methods and instructions for building a simple circular saw scarfing jig.
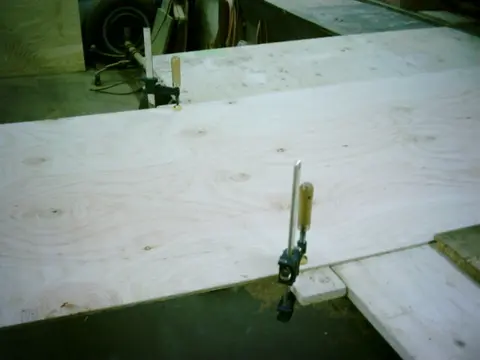
1–2. The work table behind the radial arm saw's outer fence must be relieved to accomodate the saw spindle. A piece of 3/4" x 4' x 8' plywood is temporarily fastened to the saw's apron. A guide strip is clamped under the piece to be scarfed (in this case a piece of 1/4" x 31"x 96" plywood). The strip runs along the leading edge of the 3/4" plywood apron and keeps the stoc...
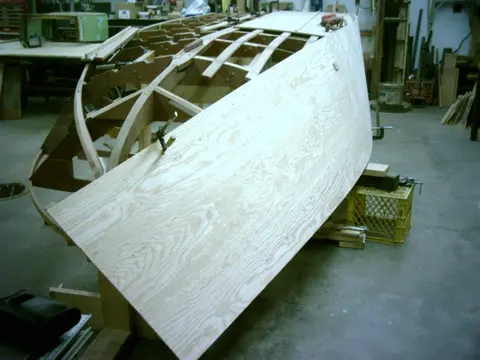
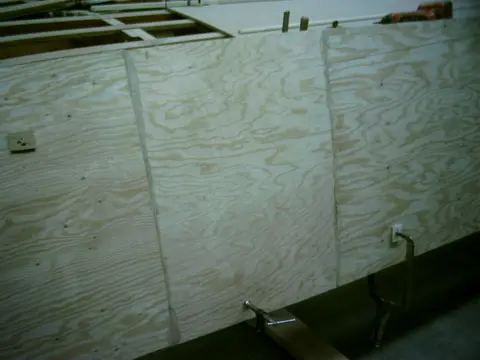
1. While we're waiting for the bottom panel to fully cure, the side planking template (31" wide x 18' long) is clamped in place.
2. The two scarfed joints are located midway between frames and in relatively flat areas.
3–4. Trimmed.
5. The tumblehome is quite severe at the transom. The fir plywood is barely making the bend. The marine plywood should be much easier to work with.
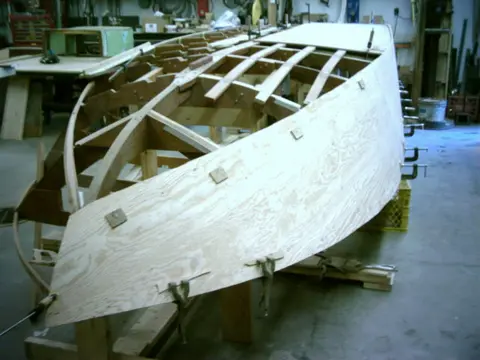
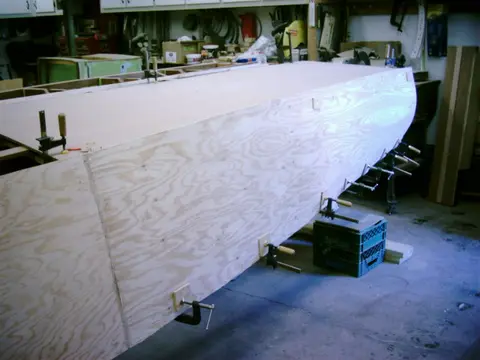
1. Fitting the scarfed first bottom panel.
2. Since the required panel length is 8'-6" and adding a 6" strip ahead of the butt block is close to frame #4, the scarf joint was moved forward 24" and centered bewteen frames #5 and #6. A butt block between frames #4 and #5 will join the two layers of 1/4" plywood to the aft piece of 1/2" plywood.
3. Closeup of the epoxied scarf joint.
4. The panel is left oversized, marked and trimmed.
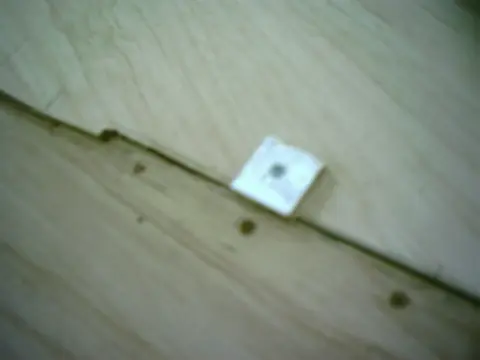
5. Screws are driven through plywood spacer washers to spread the screw's clamping force to a larger area.
6. The port side chine and k...
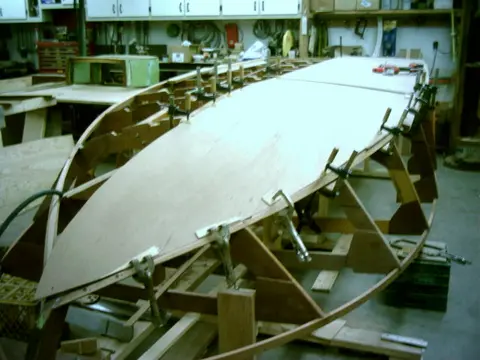
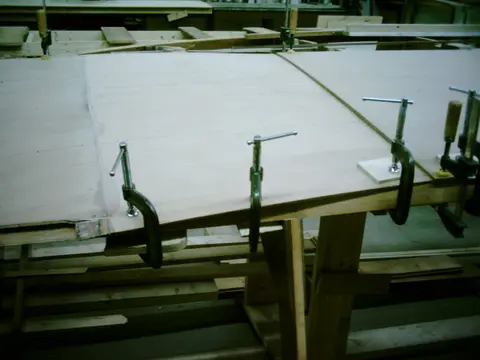
1. Port chine recessed for first bottom and battens glued.
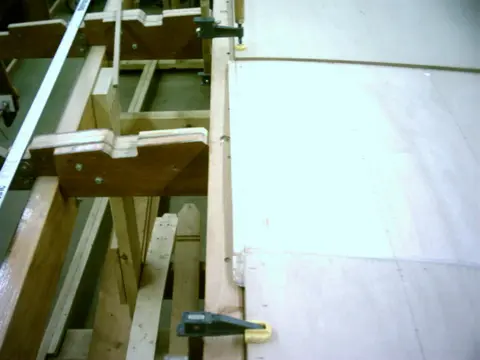
2. Port first bottom scarfed and glued. Joint epoxied to check for finish.
3. Closeup of the finished joint.
4. First bottom panels ready to be installed.
5. Side sheeting template.
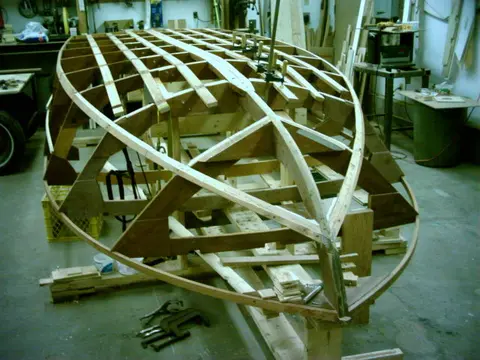

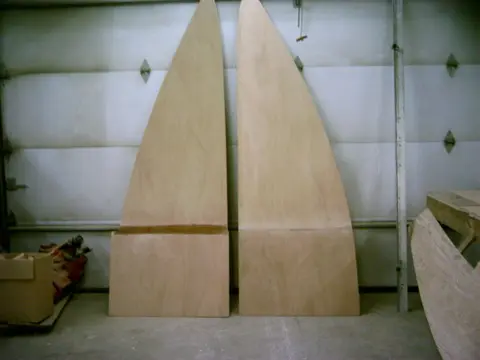
1–2. First bottom panels dry-fitted.
3. Panels are butted along the stem centerline.
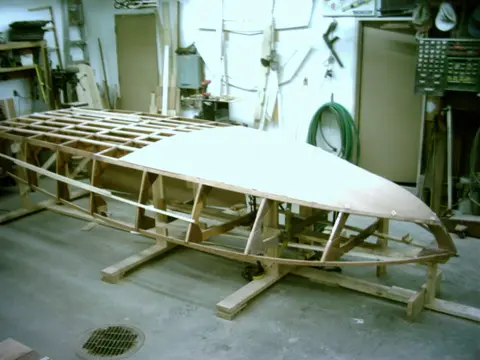
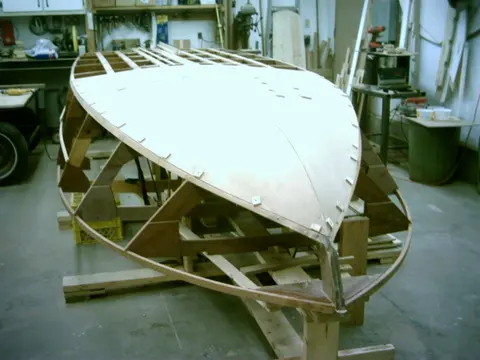
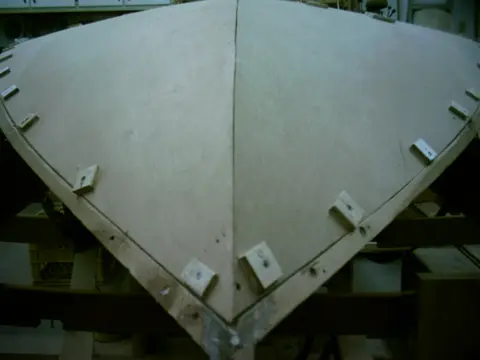
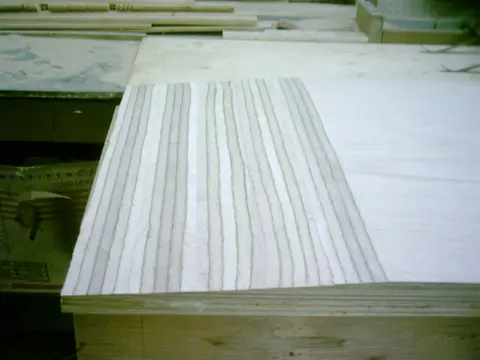
1. Since the Bill Of Materials call for a single layer of 1/4" sheeting for the sides, we'll be using 1/4" 5-Ply Meranti marine grade plywood. Five sheets were ripped into 31" wide strips and scarfed on the radial arm saw. Click here to see how the saw was set up to make the cut.
2. Scarfed sheeting was stacked and will be finished with an air file. This will roughen up the joint and provide a better bonding surface for the epoxy.
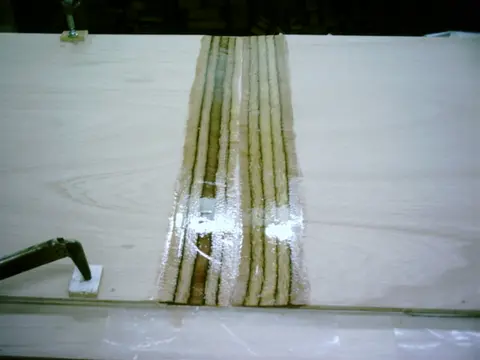
1. Here's a shot of the last side planking scarf joint being epoxied.
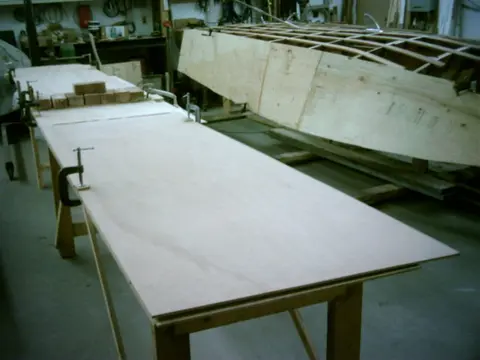
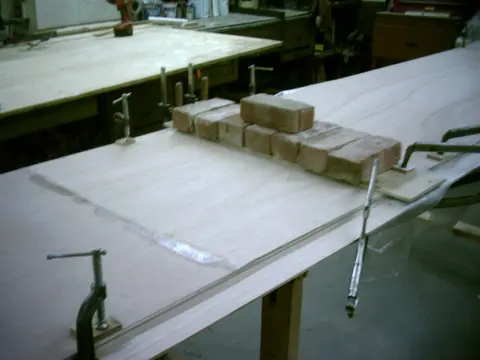
2–3. Several bricks are used to clamp the joint. Excessive weight will squeeze too much epoxy from the joint and lead to an unsound joint. In the background, we're fitting the douglas fir side planking template to the side of the boat.
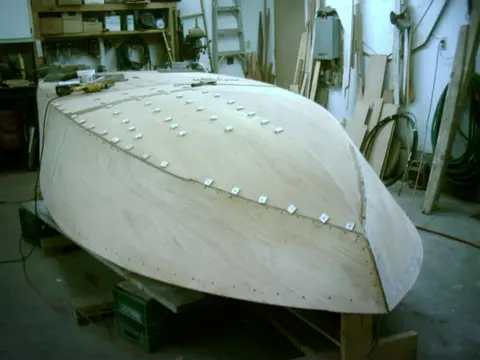
1. Side planking was fastened with 1" #8 screws spaced 3" apart at the chine and 4" apart at the sheer.
2. Screws will be spaced 2" apart at the stem and transom.
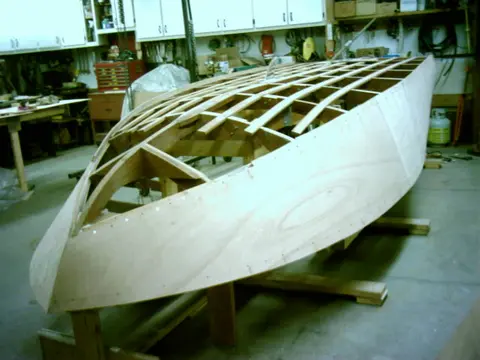
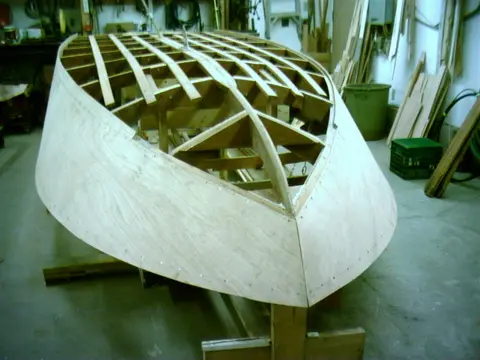
Second bottom panels (1/4" marine grade plywood) were cut, scarfed and epoxied. Joint was set 6" aft of the first bottom's joint.
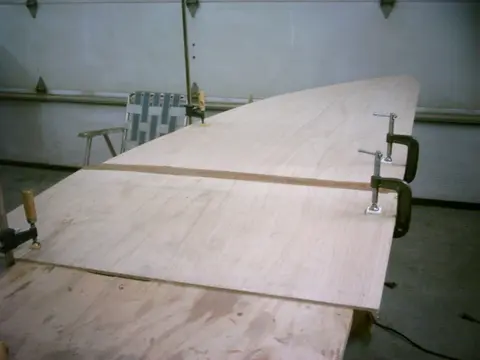
1. Fitting the port second bottom.
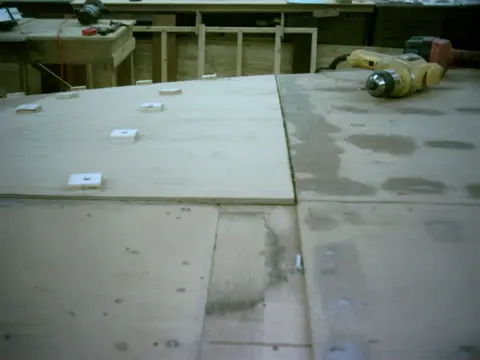
2. Transition point.
3. Butt joint detail.
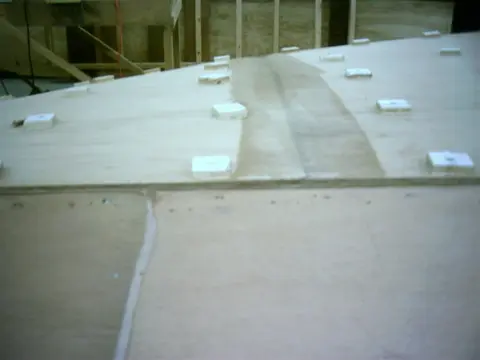
4. The second bottom's scarf joint is staggered 6" aft of the first bottom's joint.