Hot Rod · step
Paint & Finish
Primer, topcoat, bottom paint, boot stripe, lettering.
Paint & Finish on every boat, not just the Hot Rod →
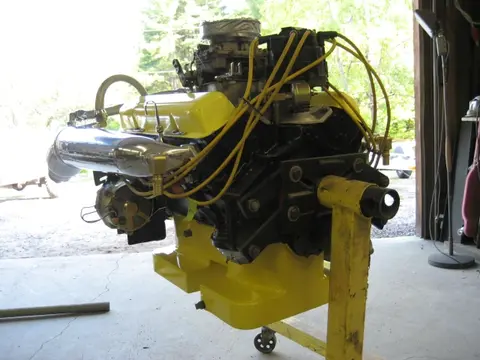
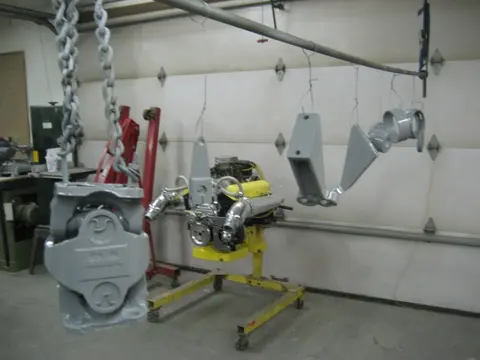
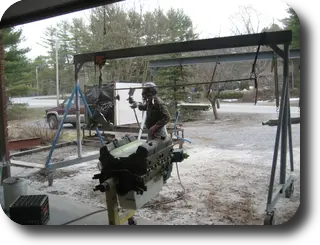
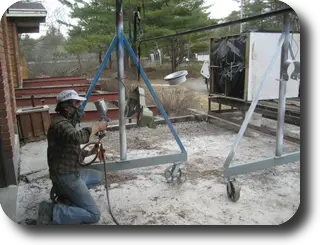
1. The engine mounts, brackets and pulleys were sandblasted, primed with DuPont 2580CR urethane primer and topcoated with DuPont Imron urethane enamel.
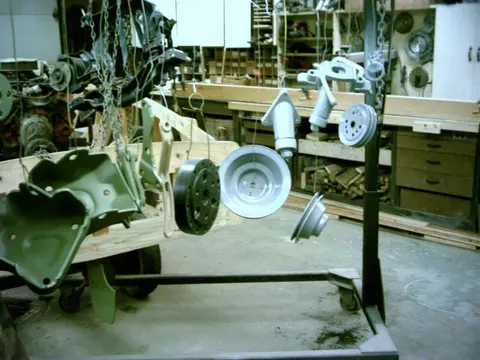
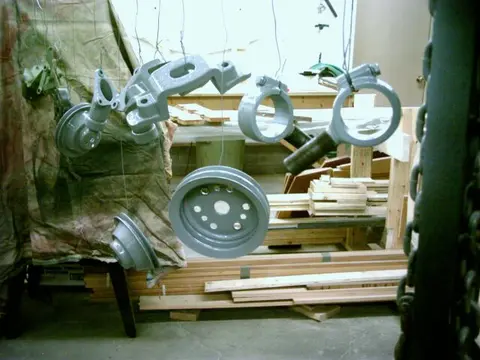
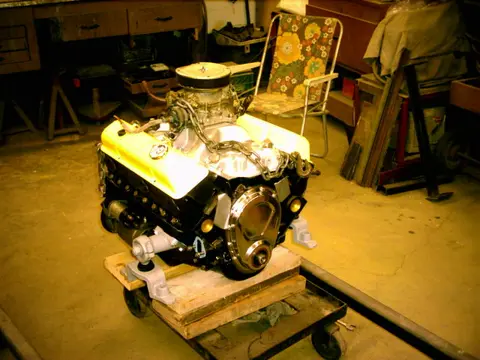
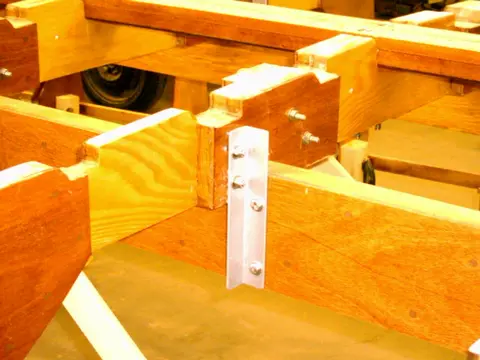
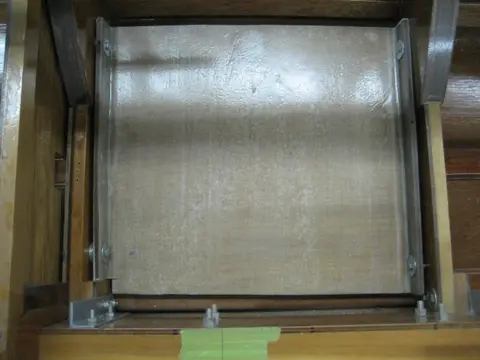
1. Transom bracket painted and installed. Prior to installation, the brackets and frame clips were sandblasted, primed with DuPont 2580CR self-etching urethane primer, base-coated with Imron Urethane white and topcoated with Imron Urethane metallic silver.
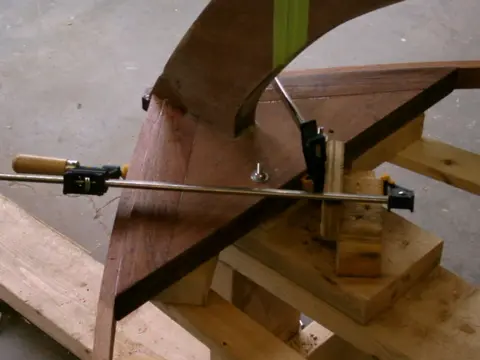
2. Fitting the sheer clamps to the breasthook. The breasthook was bulit up using two pieces of 1" x 3" mahogany stock and 3/4" marine plywood. The strips will provide a stable landing for the sheer clamp screws.
1. We applied the last three epoxy barrier coats on Saturday.
2. The first two coats were catalyzed with West System 206 Slow Hardener. Each coat was tipped off with a squeegee made from a 7" foam roller cover split lengthwise. Instructions on how to make the tool are printed on the West System roller cover packaging. The epoxy was allowed to cure for three hours before recoating.
3. The last coat was catalyzed with West System 207 Special Coating. Normally used in clearcoat applications, it flows out better than the 206 hardener since it's mixed at a 3:1 ratio instead of the usu...
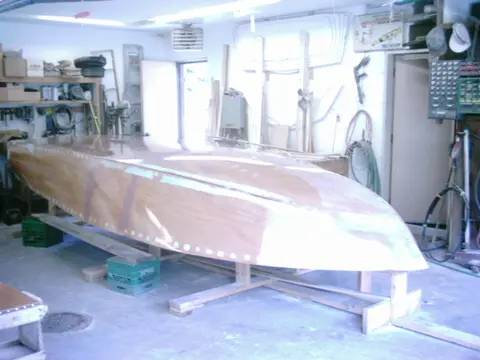
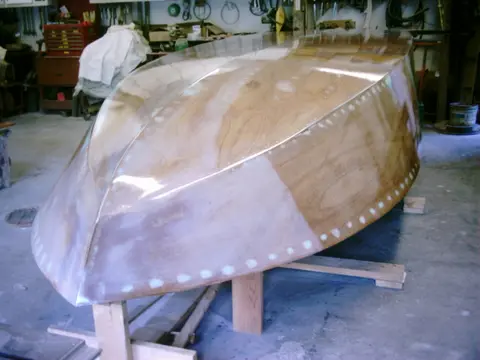
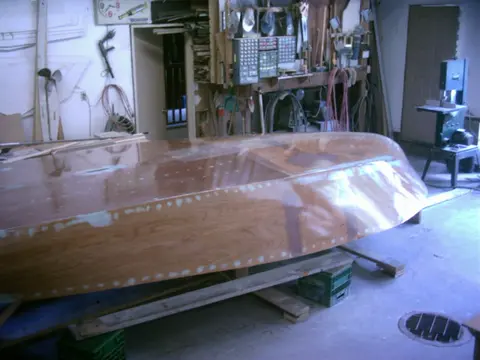
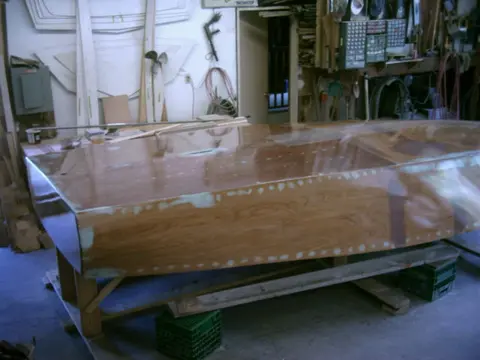
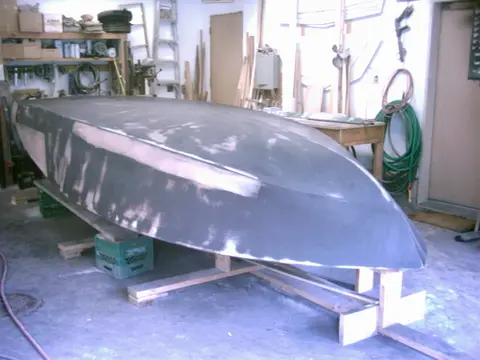
On Friday night, the hull was washed with water and scuffed with a Scotch pad to remove sanding sludge. On Saturday morning, the hull was cleaned with DuPont Plas-Stick Plastic-Prep 2319S. It's a ready-to-use unprimed plastic parts cleanner designed to remove mold release agents and other surface contaminants and eliminate static. Click here for a product usage guide. The substrate was wiped with a 2K tack rag (made for plastics and urethane finishes) before applying the primer. A medium we...
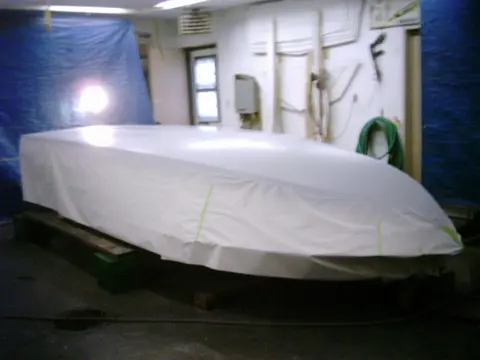
1. The shop was cleaned up, the painting tarps were hung on the walls and furnace filters were slipped into the rear screen door. The hull was washed with plain water, dried with Torx wipers, prepped with Plastic-Prep and tacked with a 2K tack rag. A medium coat of DuPont ChromaBase Basecoat (white) was applied and allowed to flash for 15 minutes. If this was an ordinary boat, we'd clearcoat the white and we'd be done. Since this is a Hot Rod, it's gotta look hot !!
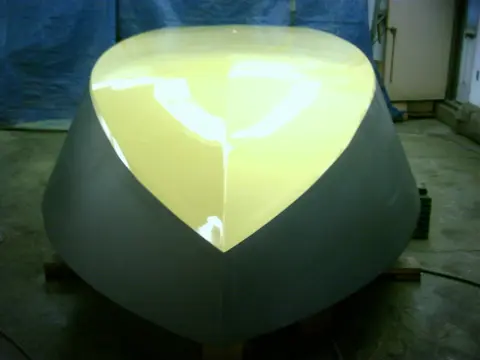
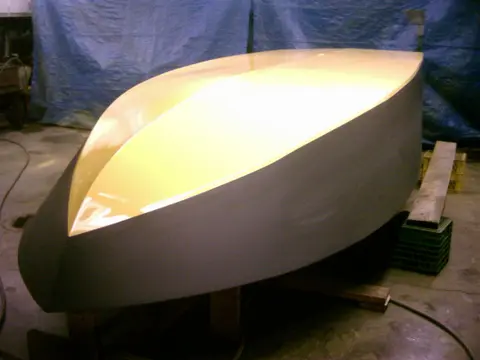
2. We'd normally use DuPont Imron as our topcoat, but the pigment required to mix the Corvette Yellow was no longer avai...
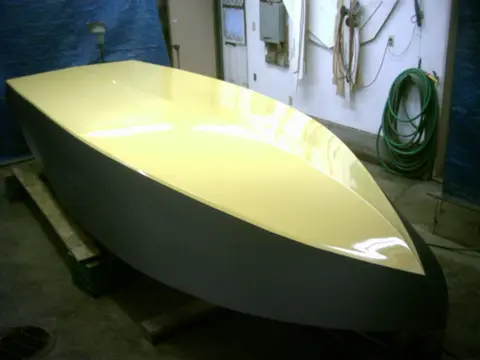
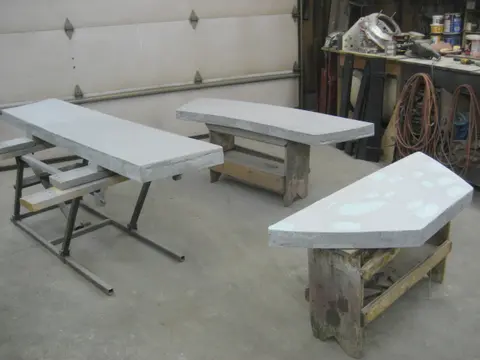
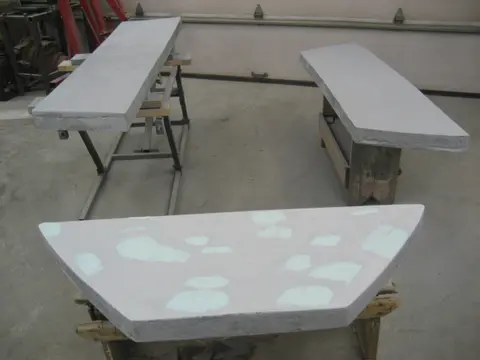
1. We laminated a layer of 7-1/2 ounce fiberglass cloth to the topside of each billet. In an effort to cut costs, we switched to polyester resin. Overall, we might have saved a few dollars over the more expensive epoxy resin, but we didn't save any time. It didn't stick too well to the foam so the fiberglass cloth kept lifting and creating air bubbles.. Once cured, we applied 2 coats of resin, sanded the billets and applied several rounds of polyester autobody filler. We sprayed two medium wet coats of Feather-Fill polyester primer-surfacer.
2. The billet in the foreground was blocked...
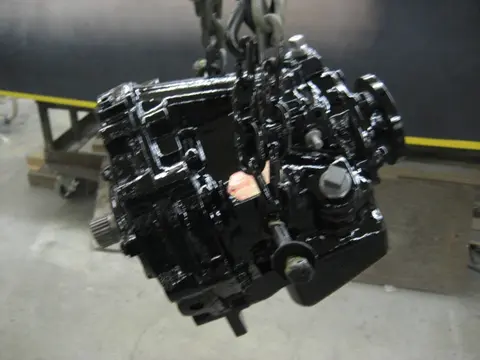
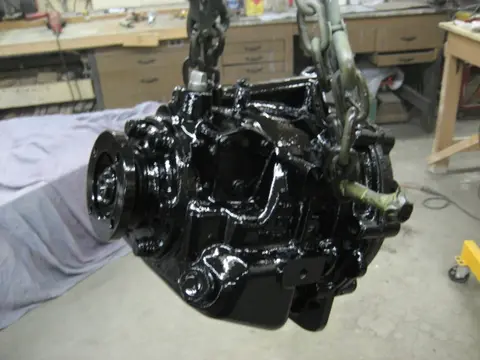
1. While we're waiting for the last wood order to arrive (Douglas Fir for the carlings and intermediate deck beams), we prepped and painted the Velvet Drive transmission.
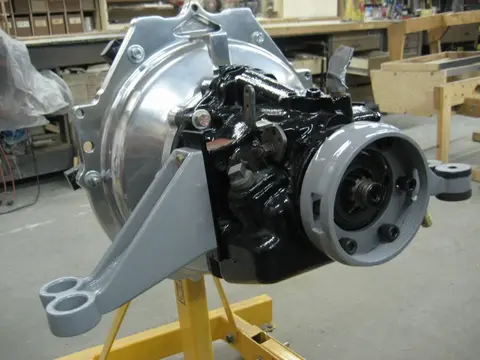
2. The transmission was stripped of old paint, sanded to bare metal, metal conditionned, degreased with DuPont Wash & Wipe, primed with DuPont DTM Urethane Primer and topcoated with Dupont Imron urethane.
1. Welded joints were silver-soldered and the oil pan was tested for leaks. Several rounds of aluminized body filler (Evercoat Metal-2-Metal) were applied and smoothed out. The pan was prepped and shot with two coats of DuPont 2580CR DTM primer.
2. The two plugs at the top of the pan will be used to insert a hose into each sump. A rotary drill pump will make short work of oil changes. Several rounds of primer surfacer and block-sanding will be needed to get the substrate ready for paint. We're thinking of going with Corvette Yellow...
3. Pan interior will be chemically cleaned an...
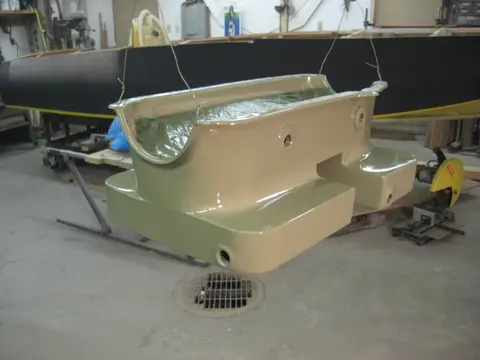
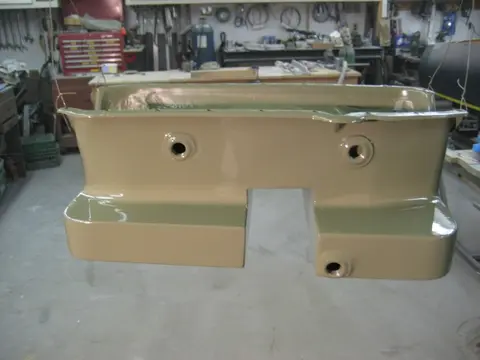
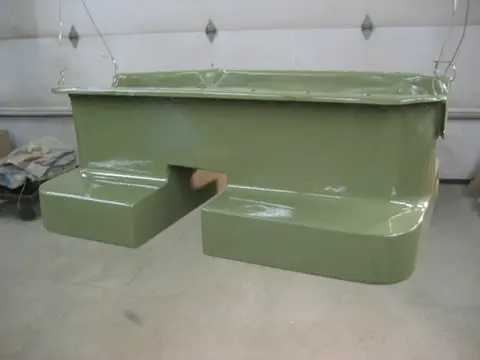
Welded joints were silver-soldered and the oil pan was tested for leaks. Several rounds of aluminized body filler (Evercoat Metal-2-Metal) were applied and smoothed out. The pan was prepped and shot with two coats of DuPont 2580CR DTM primer.
The two plugs at the top of the pan will be used to insert a hose into each sump. A rotary drill pump will make short work of oil changes. Several rounds of primer surfacer and block-sanding will be needed to get the substrate ready for paint. We're thinking of going with Corvette Yellow . . .
Pan interior will be chemically cleaned and have all seams s...
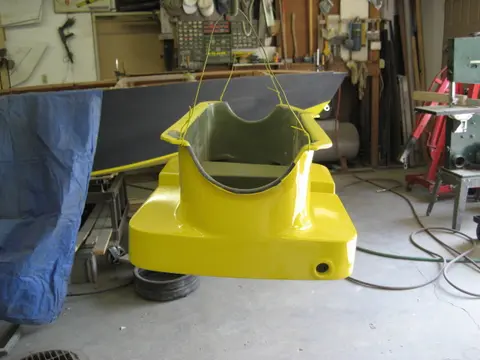
1. At last ! The finished product... Pan was shot with Dupont Uro-Prime primer-surfacer, block-sanded with 100 grit, reprimed, puttied, blocked with 180/220/320 grit, sealed, topcoated with white basecoat followed by Corvette Yellow basecoat and finished with several rounds of two-part Urethane Clear.
2. Pan interior was previously sealed with multiple coats of Dupont DTM primer.
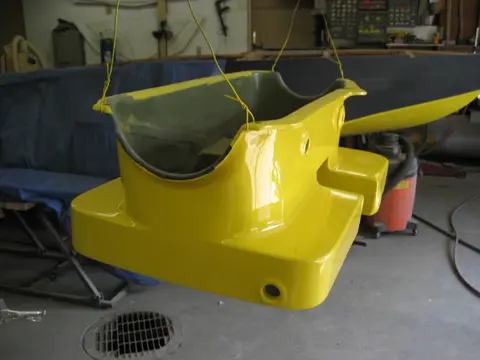
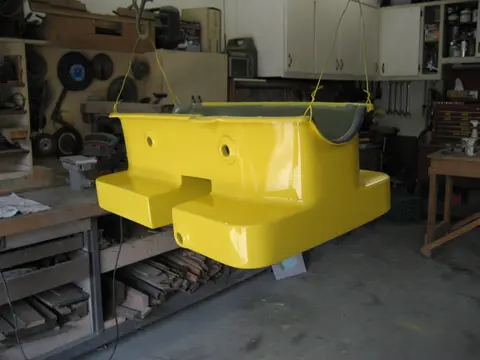
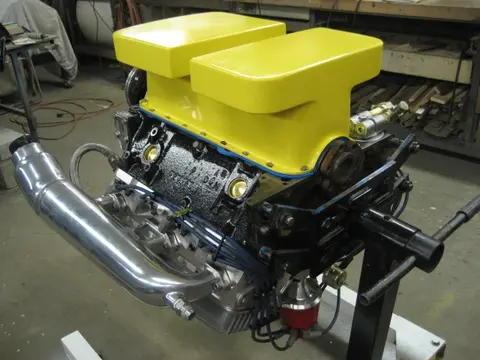
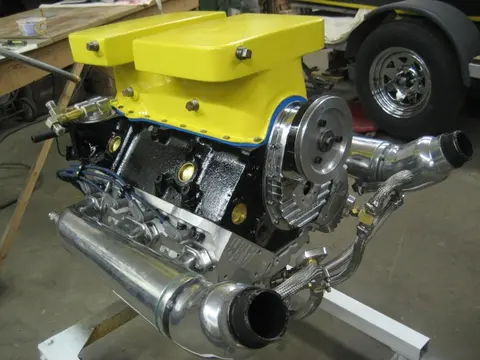
At last ! The finished product . . . Pan was shot with Dupont Uro-Prime primer-surfacer, block-sanded with 100 grit, reprimed, puttied, blocked with 180/220/320 grit, sealed, topcoated with white basecoat followed by Corvette Yellow basecoat and finished with several rounds of two-part Urethane Clear.
Pan interior was previously sealed with multiple coats of Dupont DTM primer.
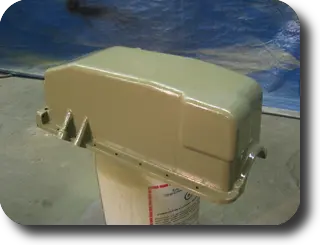
We've modified the stock oil pan extensively by adding kickouts to the rear sump and adding a new sump at the front. Click here to see how the pan was fabricated ( a new window will be opened) . The oil pan was shot with Dupont Uro-Prime primer-surfacer, block-sanded with 100 grit, reprimed, puttied, blocked with 180/220/320 grit, sealed, topcoated with white basecoat followed by Corvette Yellow basecoat and finished with several rounds of two-part Urethane Clear.
Pan interior was previously sealed with multiple coats of Dupont DTM primer.
Over the weekend, we installed the oil pan, remote o...
1. Over the weekend, we installed the oil pan, remote oil filter relocation kit, dipstick tube and the newly painted alternator bracket. This engine is ready to install !
2. The stock stamped steel alternator pulley and fan were upgraded to lightweight aluminum billet pieces.
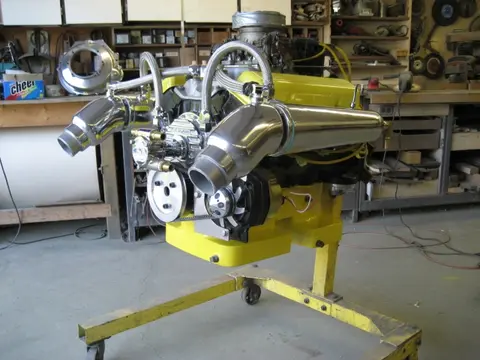
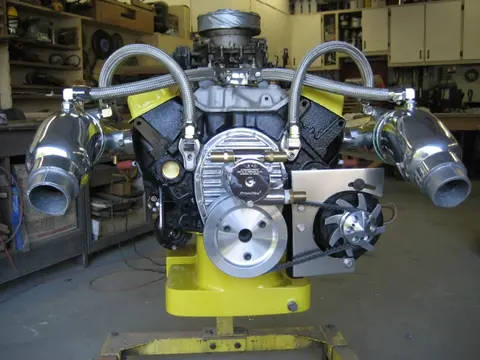
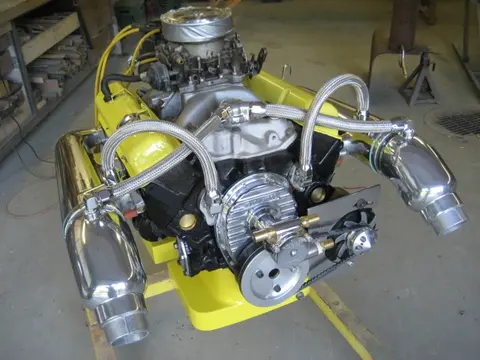
Over the weekend, we installed the oil pan, remote oil filter relocation kit, dipstick tube and the newly painted alternator bracket. This engine is ready to install !
The stock stamped steel alternator pulley and fan were upgraded to lightweight aluminum billet pieces.
1–4. Click the 'Play' button (>) to see the video.
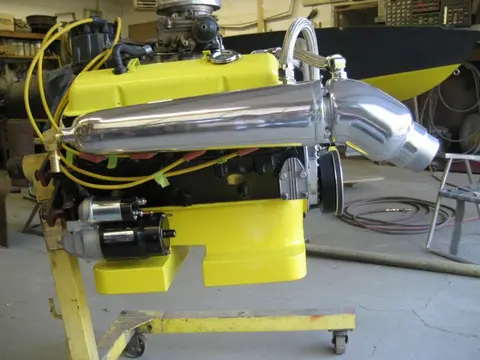
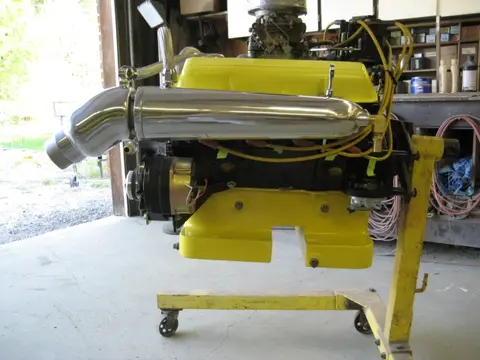
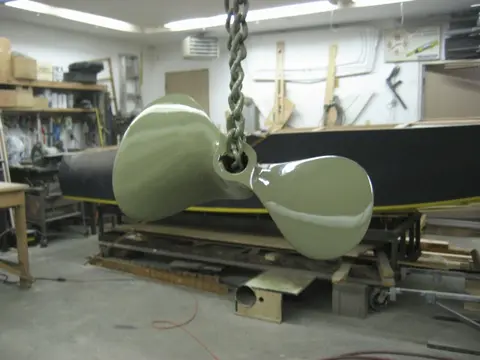
1. Time flies when you're having fun ! It's time to get back to the boat and get her finished up... First order of the day was to prime the Menkens 2-blade propeller we picked up before Christmas. It's an 11-1/2" diameter by 15" pitch forged steel unit which should allow the engine to spin into the stratosphere... The part was etched and cleaned with DuPont Metal conditionner. This was followed by two rounds of DuPont 2580CR DTM Urethane Primer.
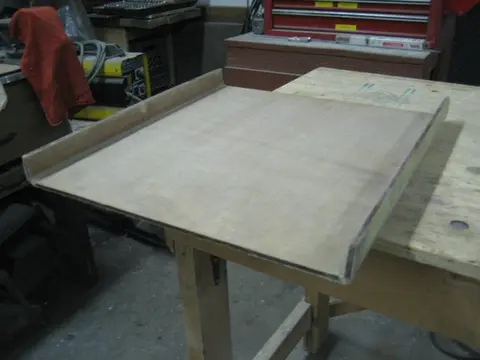
2. Here's a photo of the fuel tank platform we molded several months ago.
3. A piece of 1/4" marine-grade plywood was sandwiched between...
1. Here's the last of the mechanical components being painted. H-joint assembly, v-drive shifter, transmission mounts, v-drive flange takeoff, torque tube guards and transmission takeoff adapter.
2. The transmission mounts were installed with grade 8 bolts.
3. The old soft rubber bushings were removed...
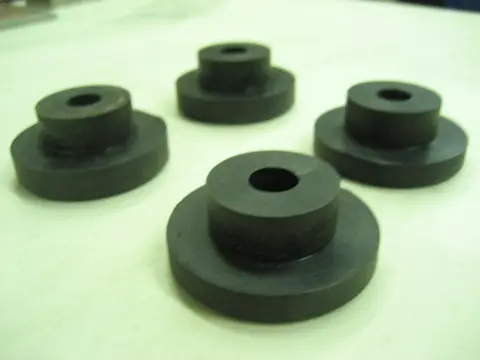
4. ... and replaced with custom Delrin bushings. These are more of Steve Flewitt's handiwork !
5. The solid mounts will prevent the engine and transmission from flexing under heavy torque loads.
6. The custom torque tube guard adapter is being installed.
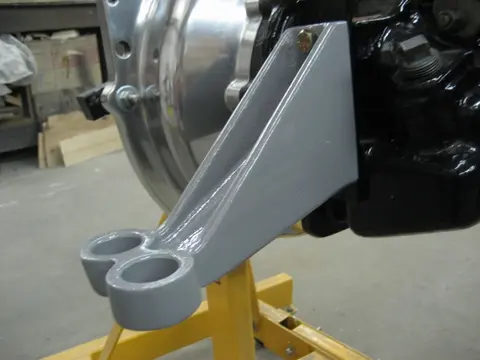
1–2. All mounting plates were sandblasted, primed and painted before final assembly. We've added triangular webs along the v-drive's thrust centerline to stiffen up the v-drive plate.
3. The stuffing box was installed with stainless steel hanger bolts.
4. The frame truss plate was cut down to conform to the bottom of the transmission.
5. The front engine mount stringer bolt holes were bushed with fiberglass bushings.
6. The tubes were epoxied into the bolt hole bores and allowed to cure.
7. Bushings were fabricated from 6-1/2 ounce fiberglass cloth.
8. There's...
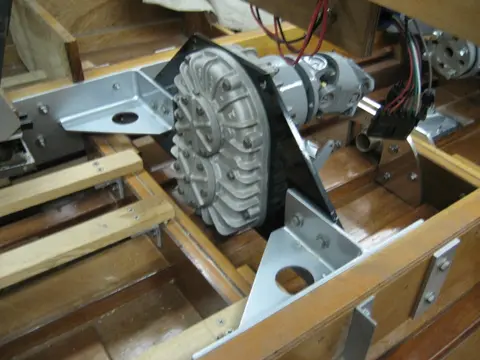
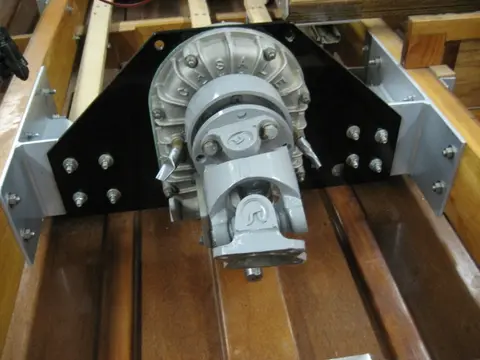
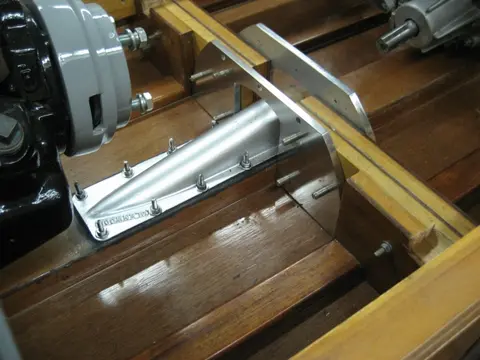
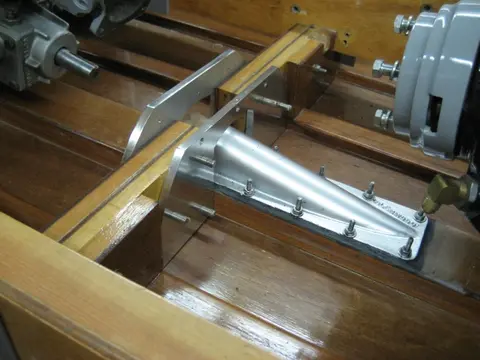
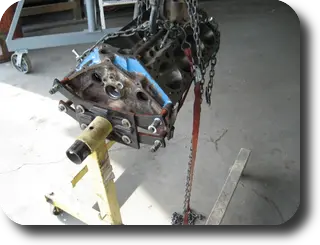
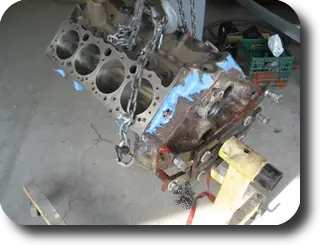
These photos depict how the front and rear cover support brackets were mounted to the engine stand. In the background you'll see that the boats and engines have to share the shop with other toys. That's our Snow Hot Rod , a 2003 Rev 600 HO. Two cylinder, 597cc two-stroke, 114 HP, 8000 RPM, 90+ MPH ... On a nice day like today we really should be riding the trails but we have to get these boats up and running for next Summer ! A compression test was run before disassembling the engine. Here's what we found : Cylinder # Compression PSI Cylinder # Compression PSI 8
Overall, we're looking at a ve...
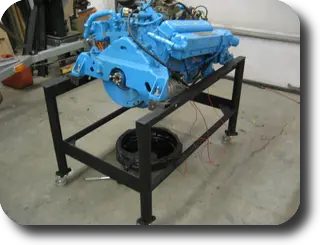
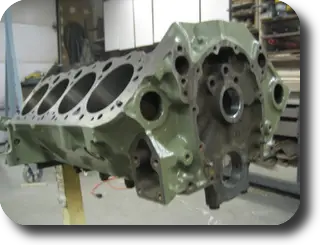
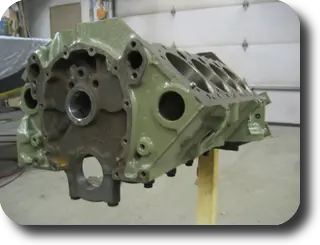
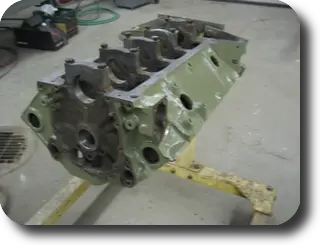
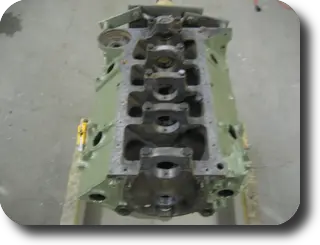
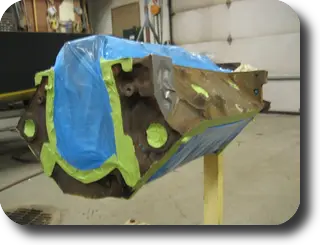
1–2. Block primed with DuPont 2580CR urethane primer.
3–4. Engine Clearances
5. Pressure washing the engine block.
Exhaust manifolds and other painted parts were chemically stripped and sandblasted.
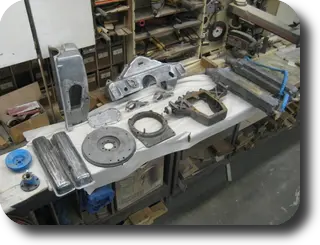
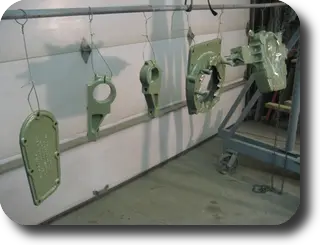
1. Parts were primed with DuPont 2580CR DTM urethane primer.
2. Aluminum oil pan was etched with DuPont Metal Conditioner prior to priming. This promotes paint adhesion on bare aluminum parts.
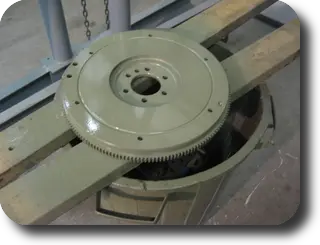
3. Flywheel.
4. To stabilize the color and kick up the topcoat, we sprayed a white basecoat. Paint is DuPont Imron urethane.
5. We couldn't get an Imron color match to the Chris-Craft blue, so we used a Nason acrylic enamel which was custom mixed using DuPont's Kodak color match system.
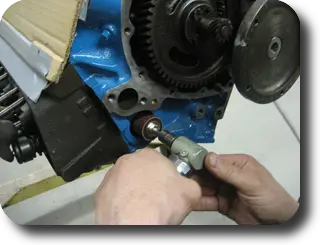
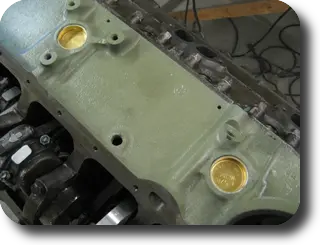
1–2. Frost plug holes were scuffed to bare metal.
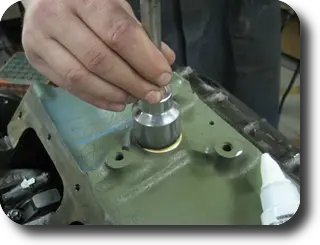
3–4. Brass frost plugs installed with a socket used as a drift.
5. Oil pump, pickup hose and pickup screen assembly installed.
6. Oil pan installed. We prepainted the block's front face because it will be partially obstructed when the rear cover is installed.
7. Rear cover installed.
8. As soon as the engine is buttoned up, the cylinder heads will be primed, remaining non-blue parts will be painted white and then topcoated with blue paint.
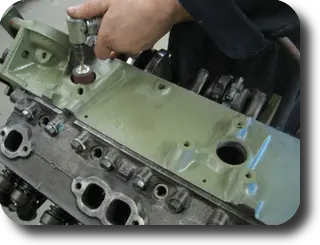
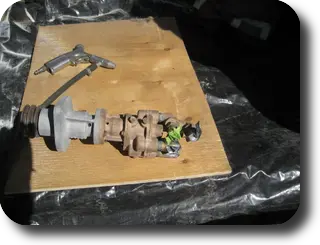
Water pump bead blasted.
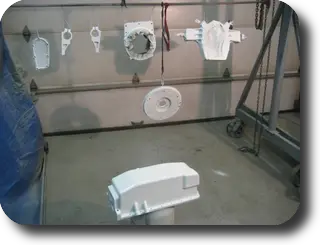
Bare sandblasted/bead blasted parts.
Parts primed with DuPont 2580CR DTM urethane primer.
Base coat of white Imron urethane.
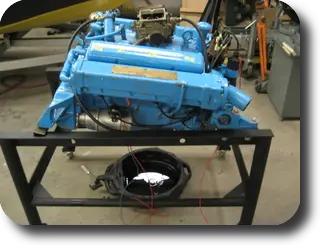
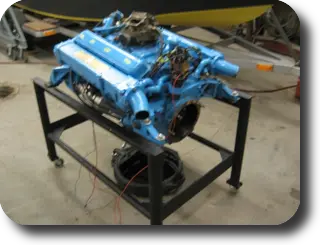
Nason acrylic enamel custom mixed to match Chris-Craft Blue.
Engine block painted.
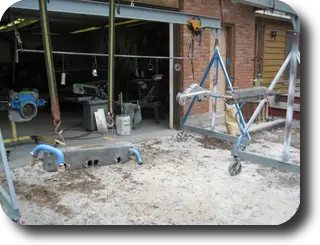
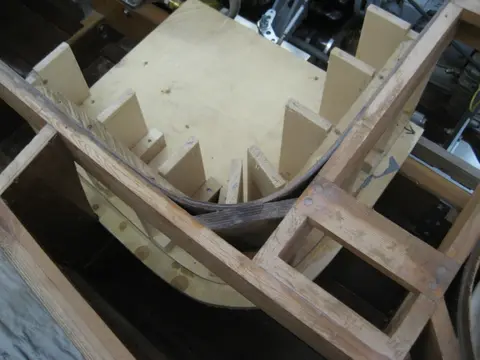
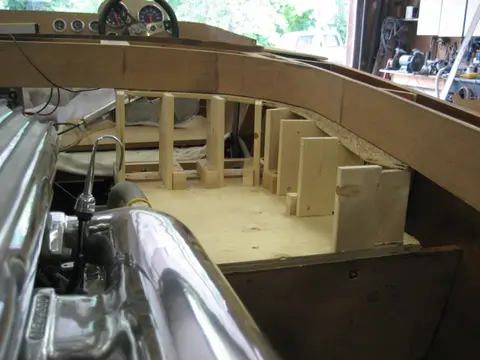
The following photos depict construction details for the rear jump seats. A custom-built ten gallon aluminum fuel tank will reside under each seat.
1. Building a form consisting of a piece of 3/4" plywood over the starboard-side seat frame.
2. Pieces of scrap 1" x 6" spruce lumber were slipped into place to define the vertical surface.
3. A 1/4" gap was left between the seat vertical and bottom edge of the carling. Side piece was inset 1" from the carling's outside face. In the foreground, you can see our custom-built transmission shifter arms and linkage. More on this later !...
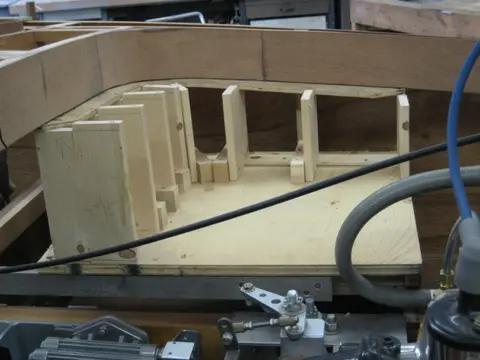
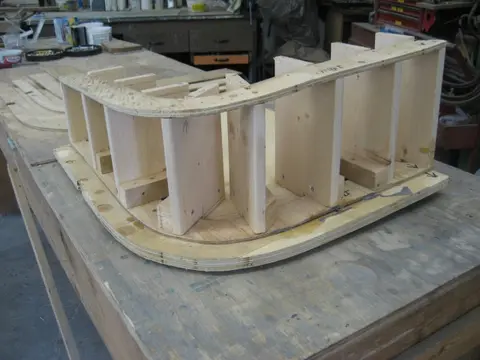
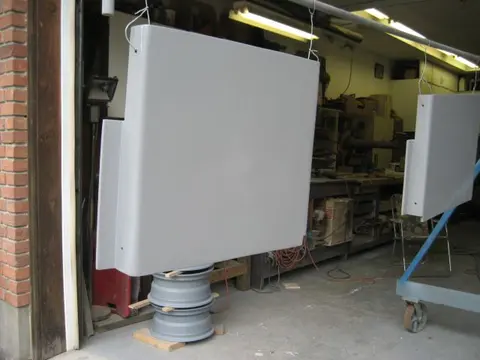
Parts were barrier coated with several rounds of West System epoxy, prepped with Dupont UroPrime 2K primer surfacer and topcoated with Dupont Imron urethane.
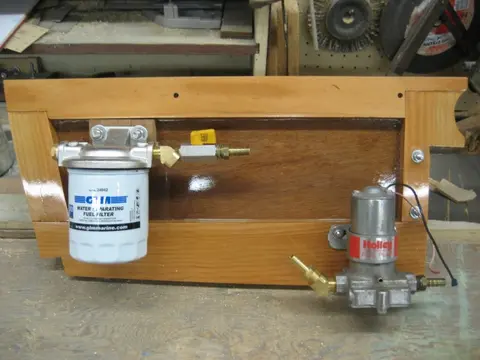
1–2. The electric fuel pump and fuel and water separator filter were fitted to the starboard seat base partition.
1. Block was stripped to bare metal, prepped and masked to ready it for paint.
2, 4. Hydraulic roller retrofit The early style non-roller block was upgraded to a hydraulic roller setup by using a Comp Cams hydraulic roller retrofit kit (Comp # 12-417-8, Grind Number XM 270HR). Cam specs are as follows: Gross valve lift:.495 /.503 Duration @.006 tappet lift (Intake/Exhaust): 270° / 276° Duration @.050" lift (Intake/Exhaust): 218° / 224° Lobe separation: 112° Intake Centerline: 110°
3. Block was primed with DuPont 2580CR DTM urethane primer.
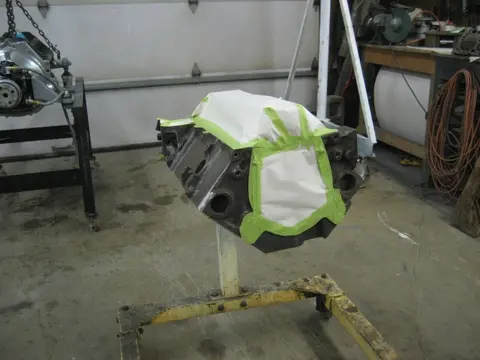
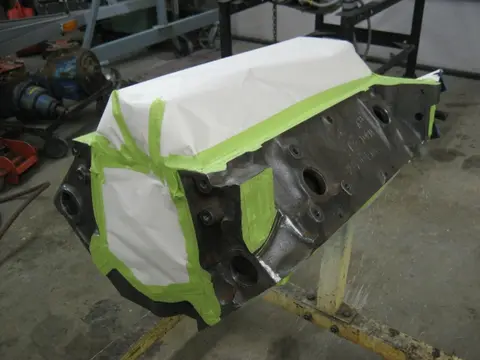
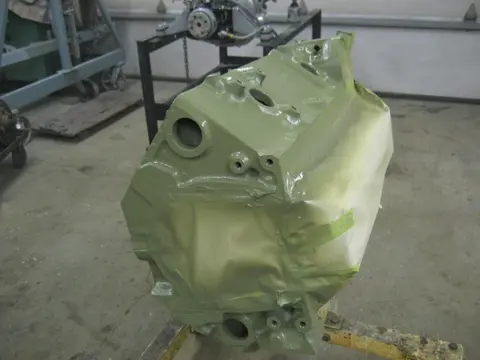
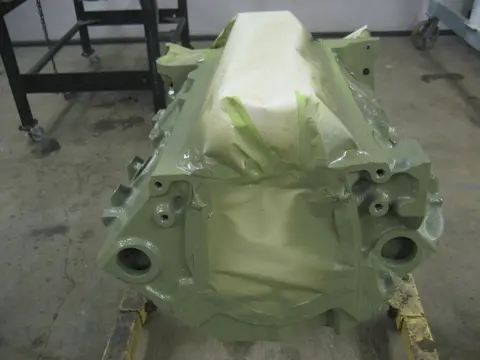
1. Prior to painting, the block was sent out for hot tanking, magnafluxed to check it for cracks and fitted with an ARP main stud kit. When switching from main cap bolts to studs, clamping force and tolerances will change. The main bearing caps were installed with the new studs and the block was align honed to restore the clearances.
2. Topcoat is Dupont Imron black urethane.
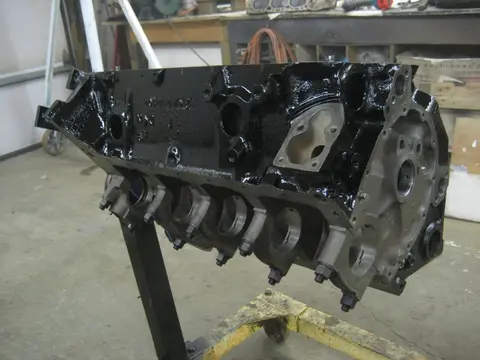
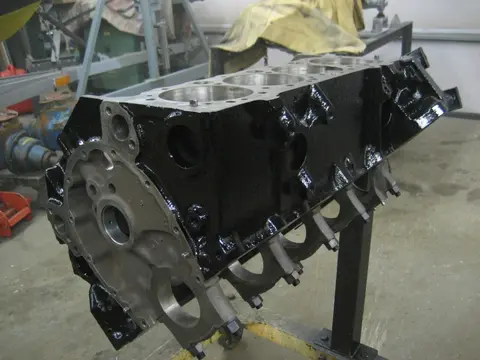
The bottom portion of our custom built 12 quart oil pan received a coat of truck bed liner and was freshened up with a new coat of paint.
We've moved the engine from the assembly stand to the break-in stand. The new Edelbrock RPM Air Gap intake manifold adds several inches to the induction system's overall height. (Click the image for a higher resolution photo).
Transmission oil cooler is mounted on the Port side.
A compact Velvet Drive bellhousing mates the engine to Velvet Drive 71C 1:1 ratio hydraulic transmission.
Engine oil cooler and dual remote oil filters are installed on the Starb...
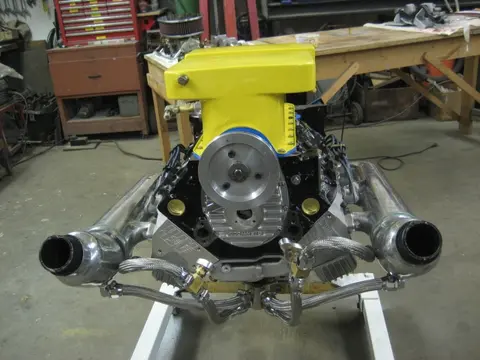
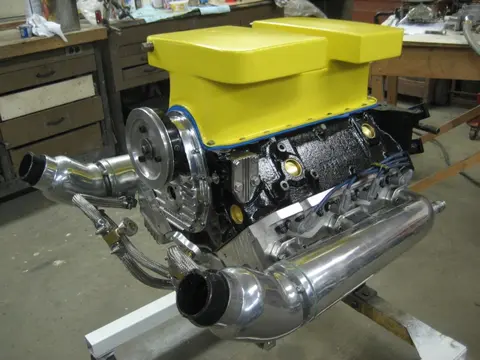
Sole was covered with outdoor carpet. We'll upgrade to marine grade carpet when the boat is totally finished !
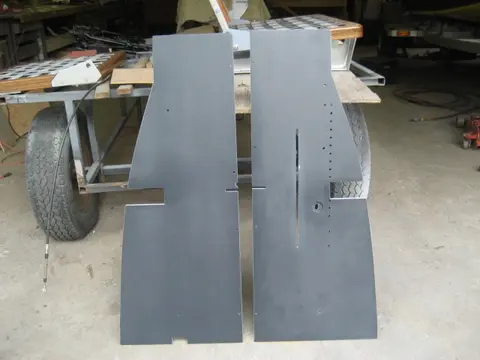
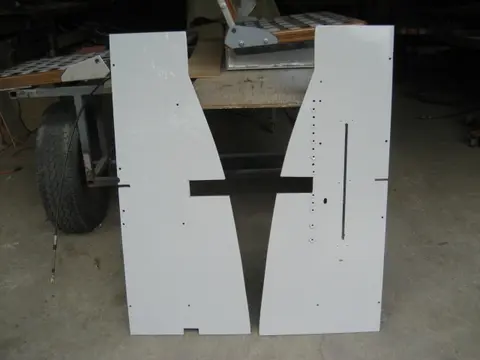
1. Soles were cut from 1/2" exterior grade fir plywood. Both sides were laminated with 10 ounce fiberglass cloth and West System epoxy. Once sanded, the parts were primed with DuPont Uro Prime urethane primer surfacer.
2. The 'down' side was topcoated with DuPont Imron single stage two-part urethane paint. Also visible is the adjustment slot for the foot pedal. We'll have more on the foot pedal soon !
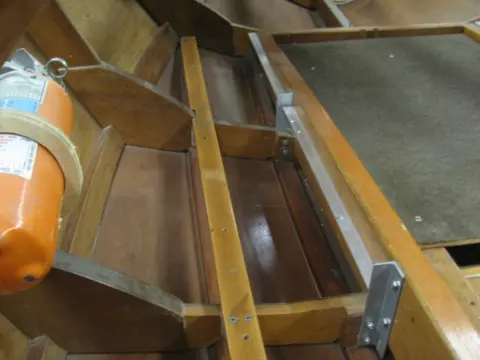
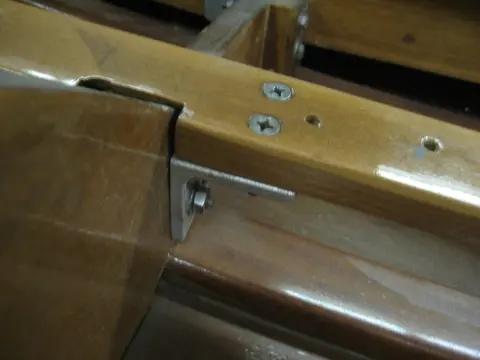
3. Soles rest on 1"x2" douglas fir battens. An aluminun angle ledger...
1. The rear deck was sanded with an inline air file with 40 grit sandpaper and blocked with a longboard. The initial sanding was followed up with two barrier coats of West System epoxy catalysed with 207 hardener spaced three hours apart. The extra coats provide a thick sanding base. The hull sides were also air filed and blocked with a longboard. Surface was wiped down with DuPont Wash & Wipe (wax, grease and silicone remover) prior to spraying several rounds of DuPont URO Prime urethane primer surfacer.
2. Transom deck to hull fiberglass was feathered, blocked and primed. Many of th...
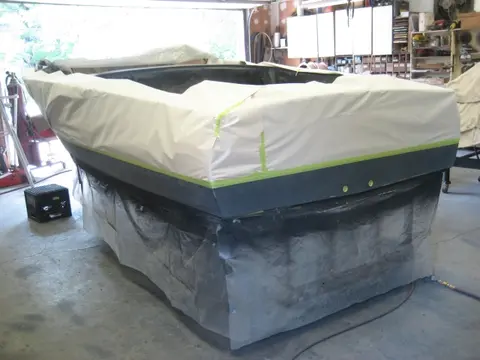
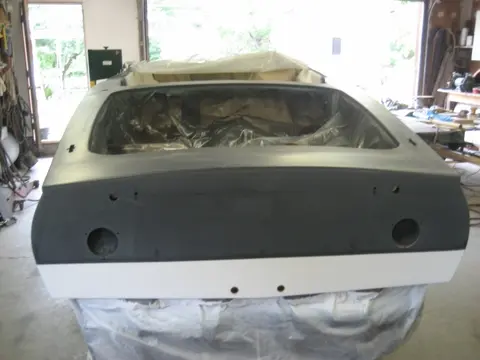
1. A transit level was used to mark a 6" waterline on the hull. It was taped, masked and prepped.
2. We applied two rounds of DuPont 1141S 2K urethane primer-filler. This is a very fine finish 3 part white primer we use as a sealer for light colored topcoats. We'll be shooting Corvette yellow over this base coat.
3. The deck is ready for blocking and a second round of primer-surfacer.
1. Not much new to see here, just more blocking and priming until the panels are flawless ! The deck was blocked with 40 and 100 grit paper on the inline air file. This was followed up with the longboard, by hand. A round of 3M Marine body filler was applied to fill pinholes and minor imperfections and sanded out. A second round of primer was applied.
2. If the second round of primer blocks out without any sanding break-throughs, a sealer coat will be applied. Normally this would be followed up with the final color topcoat, but we're anxious to hit the water, so the paint will be done...
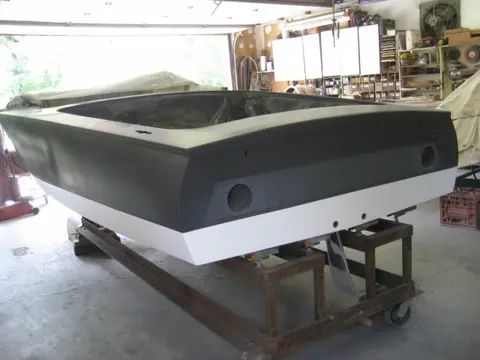
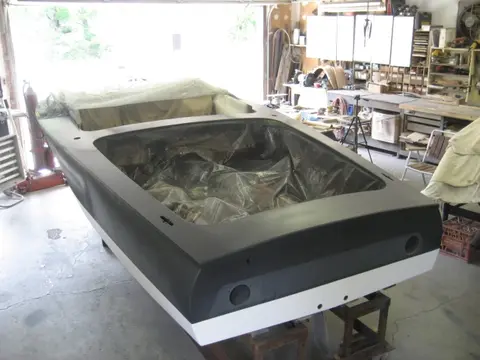
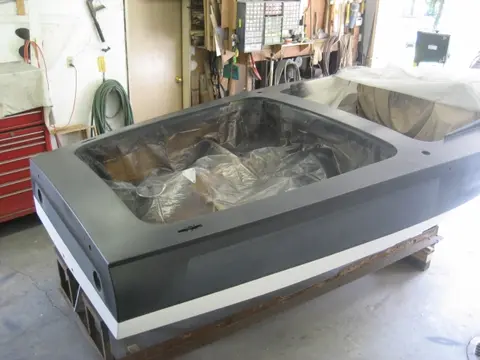
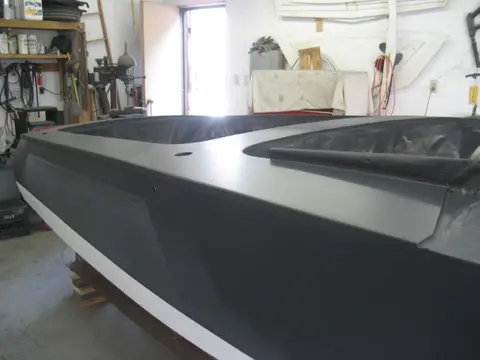
The first round of primer surfacer was applied.
Some of the cover was cut out for the engine opening. We won't be doing the final trimming until the engine is installed.
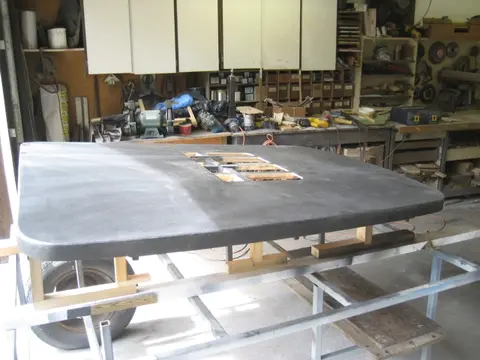
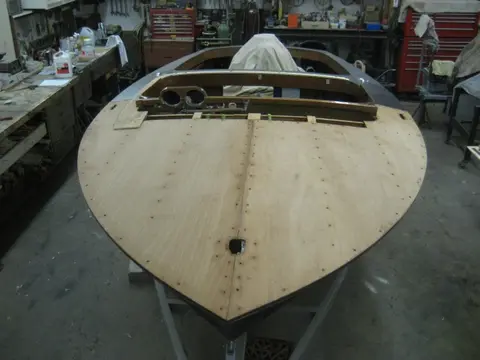
1. With the deck plywood installed, it's time to build up two layers of ten ounce fiberglass cloth to form a 'shoebox' joint along the sheer. This deck-to-hull joint is used in fiberglass boats and saves a lot of time as the deck cloth doesn't overlap the hull, only a 3/4" wide strip at the sheer.
2. The deck's underside will be encapsulated with two coats of West System resin catalyzed with 207 Special Coating hardener. The flotation billets are getting a few more rounds of body filler to get them ready for paint. We'll be fiberglassing the deck tomorrow...
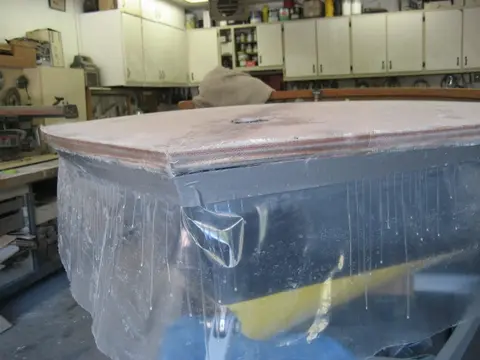
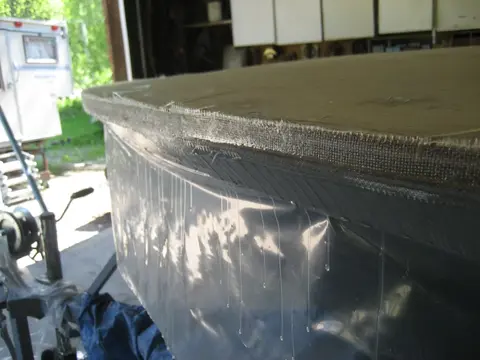
1–2. Fiberglass was trimmed with a utility knife and blocked with coarse sandpaper.
3. The deck will be primed and painted, so we chose a heavier 10 ounce fiberglass cloth. We'll be sanding with an airfile which would normally just shred lighter four or six ounce cloth. Width is 39" so we laid it out in three panels.
4. We'll let it cure overnight, knock off the high spots and apply three fill coats tomorrow.
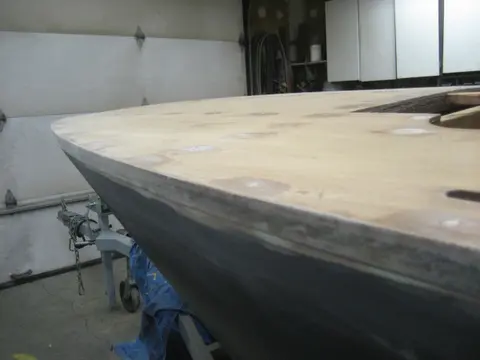
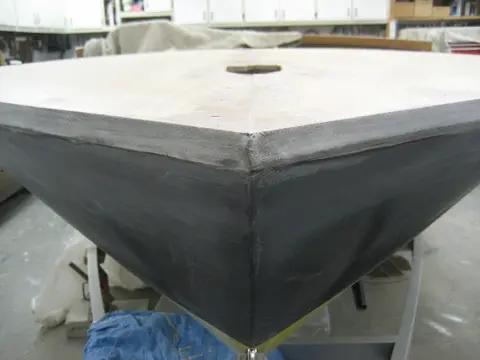
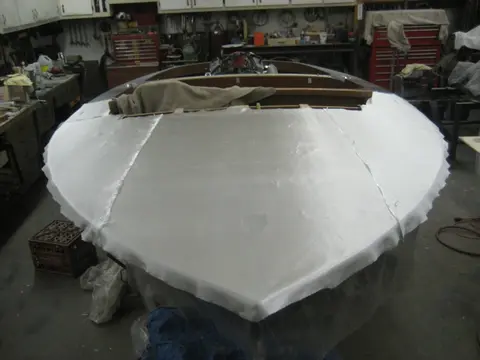
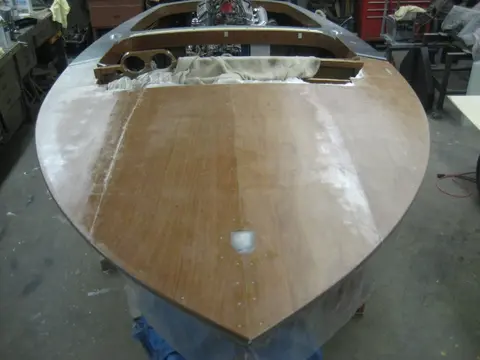
1. Fill coat # 3 and 4: Once the epoxy was fully cured, we airfiled with 80 grit sandpaper and applied the third and fourth fill coats (7PM and 12AM). We didn't have to do any fairing as the deck panels were very fair to begin with.
2. One more blocking with the airfile and two more epoxy barrier coats should give us a thick enough substrate to apply urethane primer-surfacer.
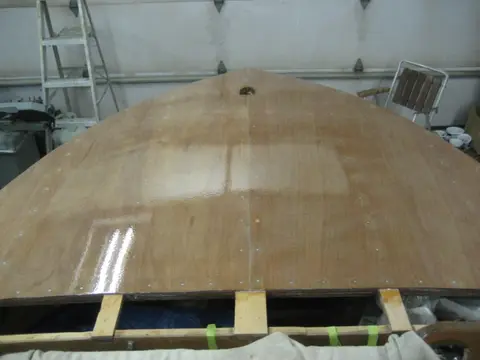
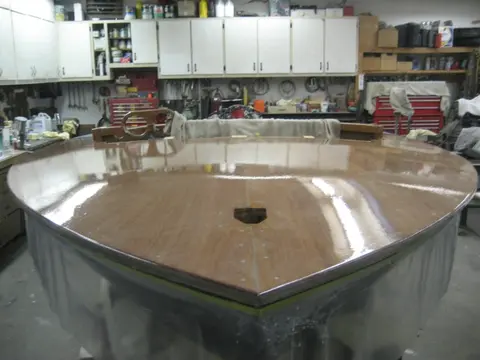
We'll block and prime the substrate until we're happy with the finish !
1. The deck was airfiled with 80 grit sandpaper followed up with 100 grit on a longboard. Low spots were filled with fairing compound made from West System Epoxy and 407/410 fillers.
2. The substrate was cleaned with Final Wipe Wax, Grease and Silicone Remover followed by DuPont Plas-Stick 2319S Plastic Surface Cleaner Three medium coats of DuPont URO 1107S Urethane Primer Surfacer were applied with an HVLP spray gun. Here are some links for these products: [Final Wipe Wax and Grease Remover](http://www.5starxtre...
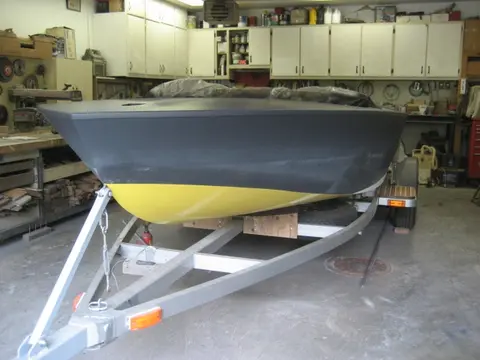
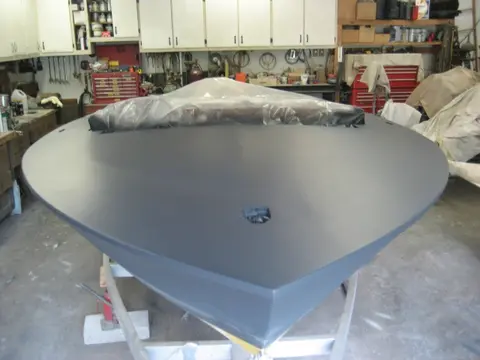
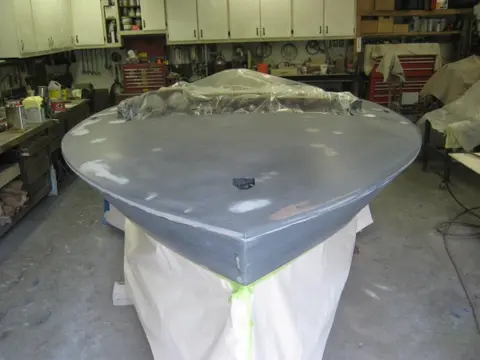
Low spots required very little finishing putty. Surface was prepped for second round of primer surfacer.
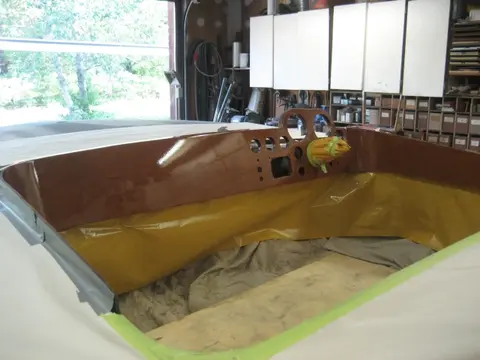
The dash was blocked and topcoated with three build coats of Nason SelectClear 2K Clearcoat .
Before we spray several rounds of black primer-sealer to the deck and hull, we clearcoated the dash so we can tape the whole cockpit to prevent overspray.
We'll let the primer cure for a day before reassembly. Another week should do the trick ...
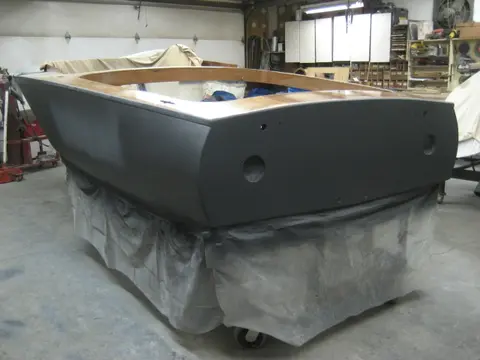
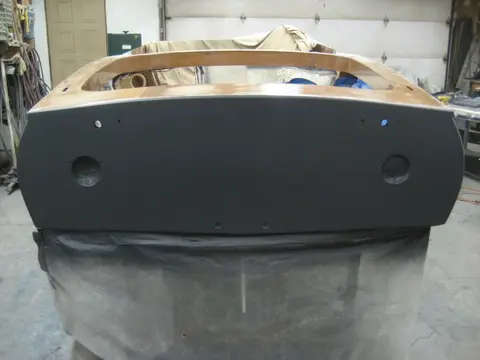
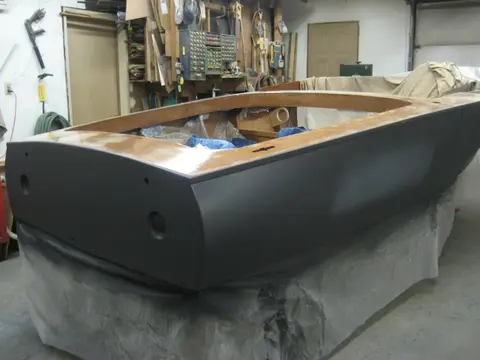
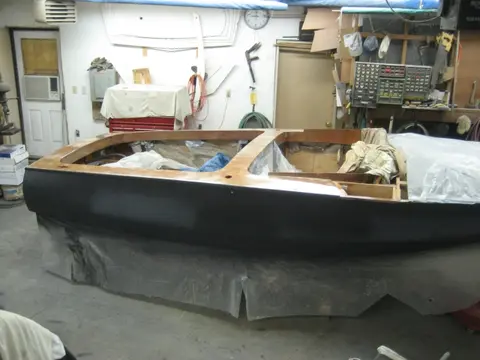
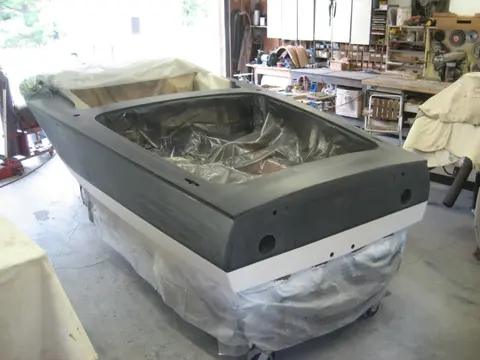
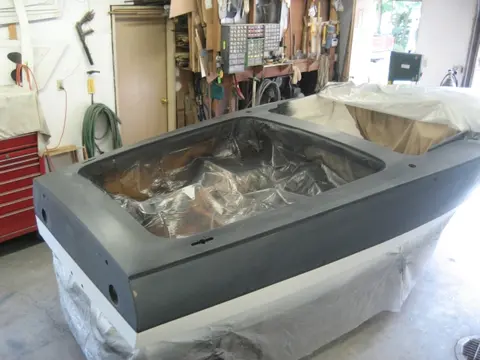
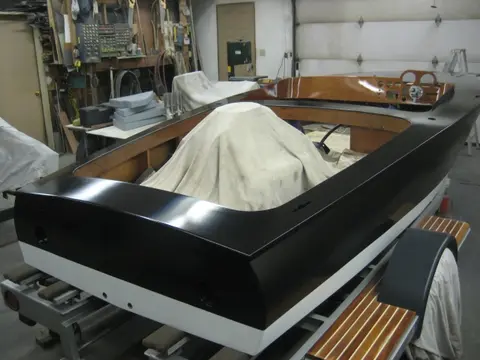
1. The hull was prepped and sprayed with two rounds of Sherwin-Williams SpectraSeal 2K-urethane black primer-sealer. The semi-gloss sealer confirms hull fairness prior to paint and provides UV protection. Here's a link to the Product Data Sheet: SpectraSeal P27B 2.1 VOC Color Primer Sealer We'll be finishing up the sheer trim and cockpit coamings over the Winter.
2. It's going to look nice in Corvette Yellow...
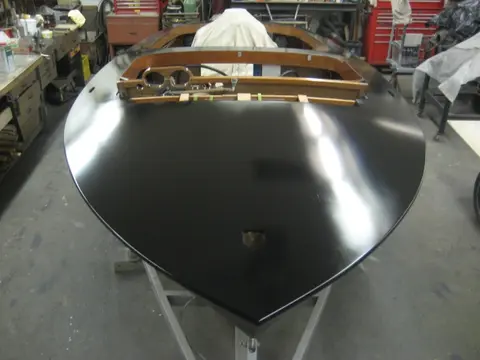
The boat has been reassembled and is back on the water !. The deck and hull have been sealed with two rounds of black primer-sealer. The shortened propeller shaft and new smaller diameter propeller have been installed. The front seats and cockpit have been reassembled.
1–2, 5–6. At the Glen-L Boatbuilder Gathering, Lake Nickajack, Tennessee. Photo courtesy of Gayle Brantuk, Glen-L Marine Designs
3. Fits like a glove !
4. The port deck was buttoned down. We're ready for some fairing along the sheer and fiberglass.
7. Clearcoating the dash.
8. Fresh coat of black urethan...
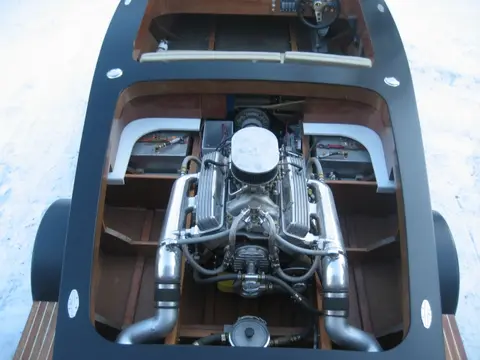
The spacer blocks added 3" to the overall width of the exhaust system, so while we were at it, we replaced the 36" long runs of 3-1/2" wet exhaust hose with aluminum pipe. We cut the Glenwood 3-1/2" exhaust elbow flange and welded on 4" aluminum pipe stubs. The aluminum 4" OD vertical-drop 'S' pipes were cut, rotated, fitted and rewelded. The pipes were detailed and sprayed with DuPont etching primer and topcoated with Imron silver metallic paint.
We didn't have space for mufflers, so we installed Gibson Transom Mount Power Tip mufflers. The silencers reduce decibel ranges and surpass the 88d...
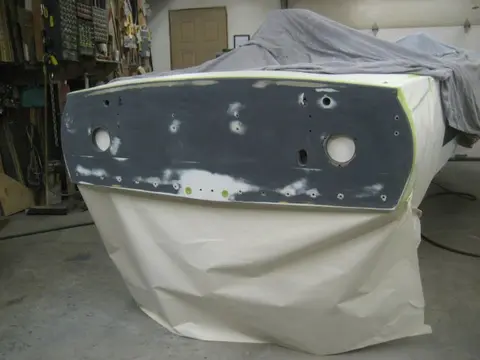
1. Time to get the transom ready for final paint. Sanding with an inline air file with 180 grit sandpaper was followed up with block sanding using a long, hard rubber sanding block.
2. Paint prep included a wipedown with Final Wash wax, grease and silicone remover followed up with DuPont Plas-Stick 2319S Plastic Surface Cleaner. The substrate was tacked with a 2K tack cloth before applying three medium coats of DuPont 4004S Ultra Productive 2K Urethane Primer-Filler. The panel was block sanded with 400 dry and 600 wet sandpaper, prepped as mentionned previously and base coated with Li...
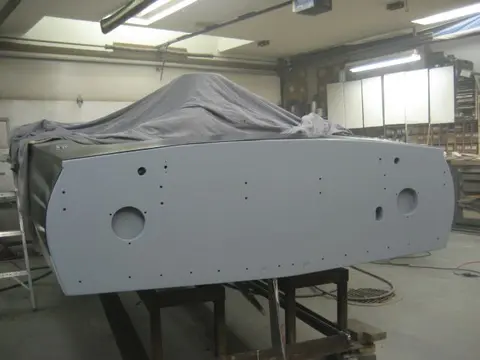
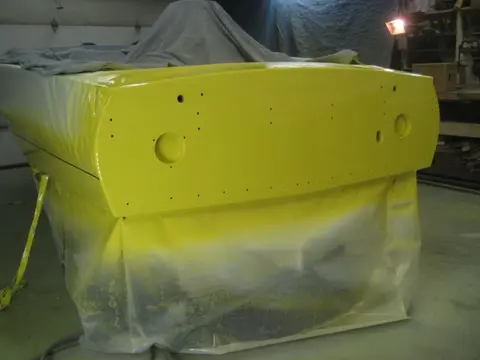
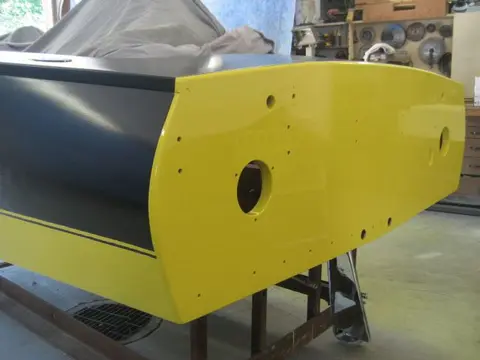
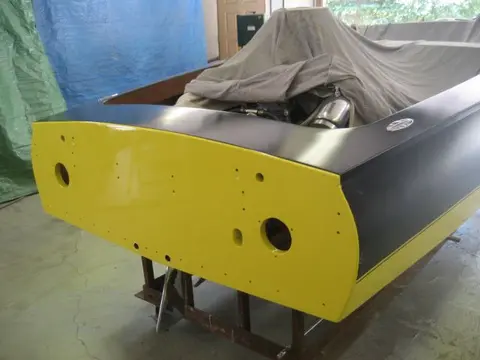
1. An hour later, we topcoated the white base coat with single stage Sherwin Williams Genesis GC 3.5 VOC Acrylic Polyurethane. The color was custom mixed Corvette Yellow.
2. Masking tape was removed four hours later.
3. Unfortunately the topsides won't be painted this year. It's time to get the boat back in the water and see how the cavitation plates will affect the handling.