Grey Seal · step
Deck & Coamings
Decking, hatches, coamings, cockpit rim.
Deck & Coamings on every boat, not just the Grey Seal →
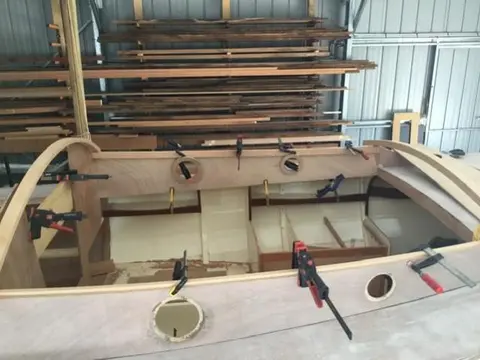
Bulkhead 6 which is the cabin aft bulkhead, This boat will have quarter berths so that explains the big holes through to under cockpit seats. Foredeck framing underway in next shot with a hatch included
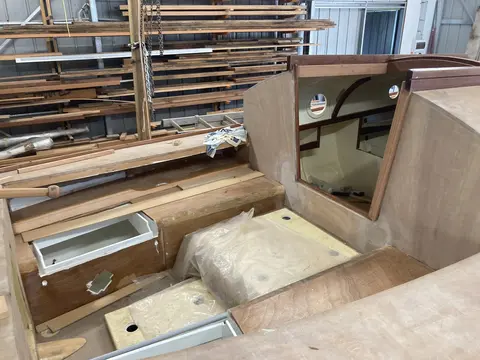
This the cockpit seating being started where the quarter berths hide. Some cabinetry and the forward berth with ventilation holes. You can also see the shelving up under deck.
Side deck framing extending forward. The cabin carlins were formed by laminating a beam on hull side to get the curve. This lamination was also made about 4” deep so that I could cut the sheer curve in it . Beam finishe...
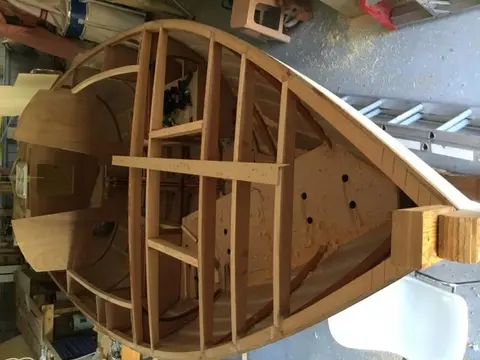
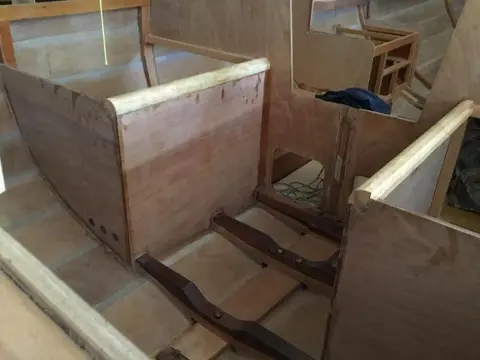
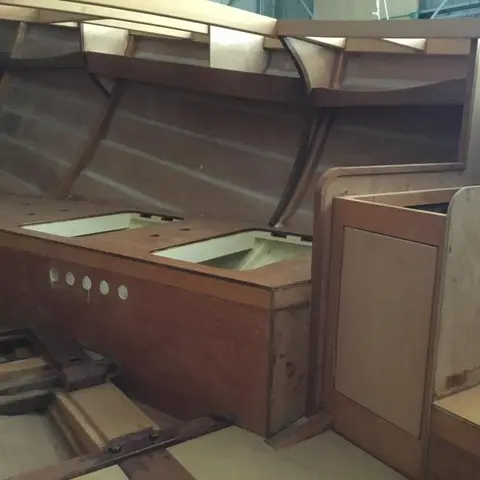
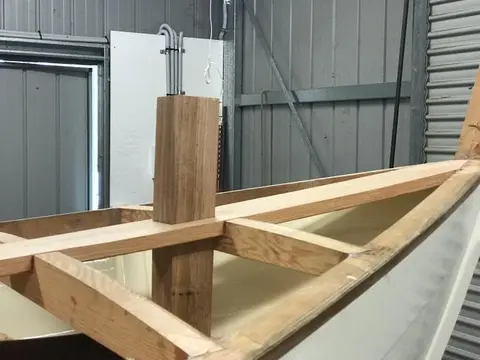
Meanwhile I’ve done a bit of woodwork on the boat. A rough out of the Samson post
Which have a bolt and a block under kingplank also the bronze crossbar is around here somewhere! There’s still a bit to do on post which at its bottom end is notched around one of stem fitting bolts. Can’t fit it until I have the deck on which will be major.
in the cockpit I’ve fitted the Carlin’s and sidedeck beams which completes the deck framing. Now ALL I’ve gotta do is fair it all in. The Carlin’s were laminated to the curve of the sheer but of course it’s not the same curve is it. After I had the laminati...
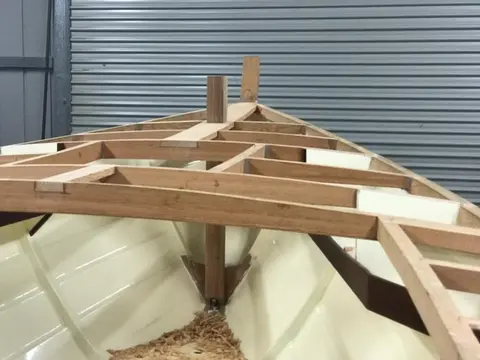
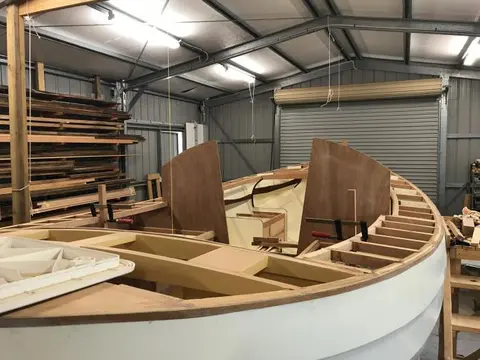
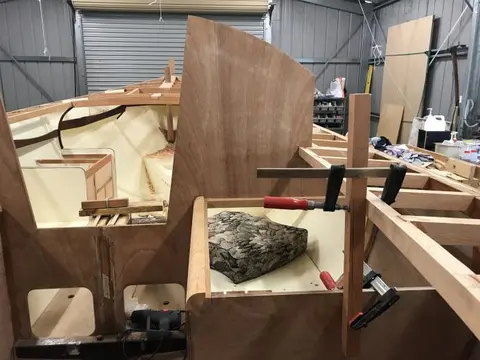
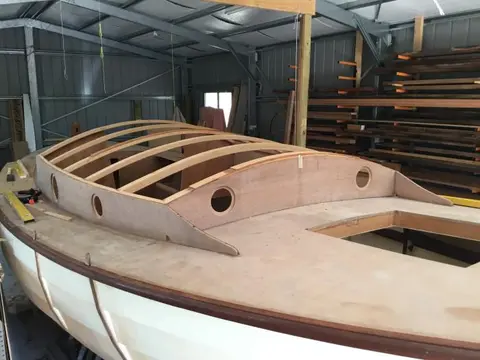
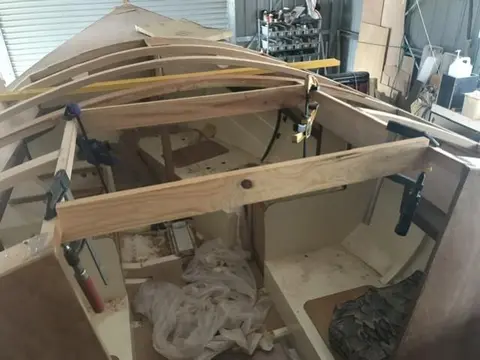
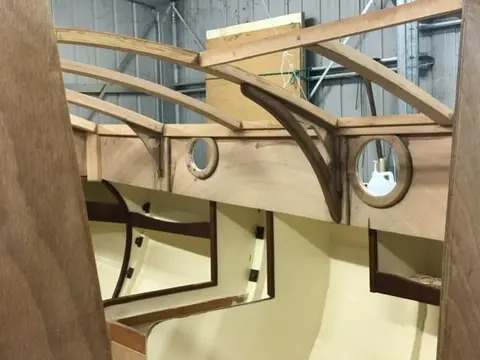
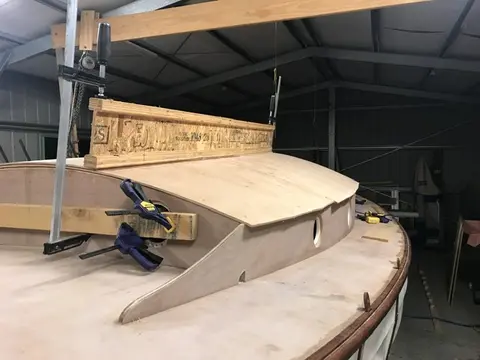
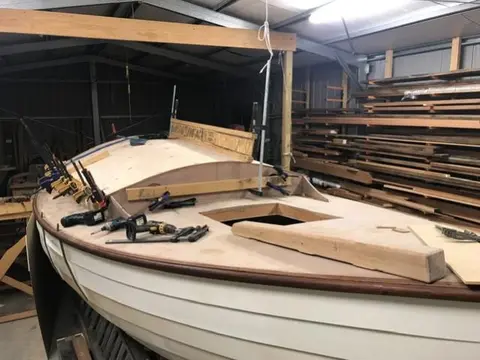
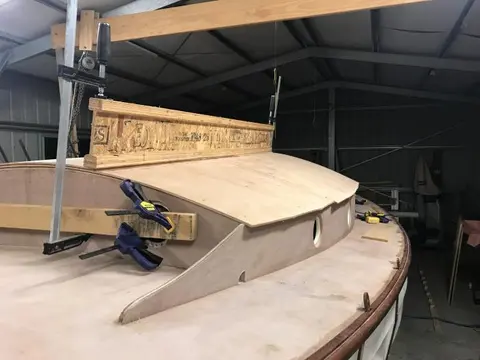
We’re into the summer hot weather here, days can get up to 43+Celsius but Ive made a rule that no work over 30. Started work on cabin where I’ve got the sides and front cutout and dyneled. Beams are in production and so far its been pretty easy working out curves. Front and back beams just follow bulkheads but in between each beam has its own curve so I need to set up everything and measure each beam’s arc to laminate it. In the photo you can also see the porthole doublers (for screws) which will need cutting down to fit under the Carlin.
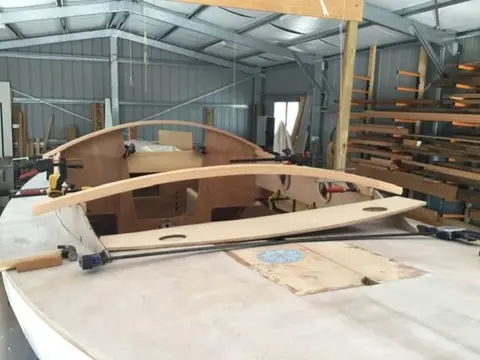
Cabin beams in, although some of them needed further buildup to attain a straight centreline!!! Once I’ve done sanding and fairing them in and painted ( I was Hoping to varnish them inside cabin but it brings another benefit in that paint will make them less noticeable overhead)
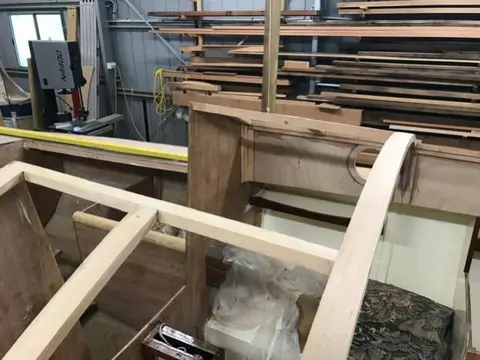
todays job is to cut in the companionway carlins seen here propped in position. And also I’m hoping to have the compression post in, seen here with its lump of wood that makes up a capturing location-block for base. There’ll be a king-plank type thingy on top also between first two beams, with a knee to post.
And jus...
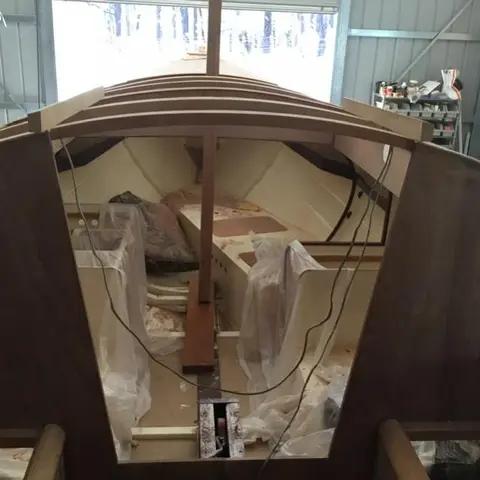
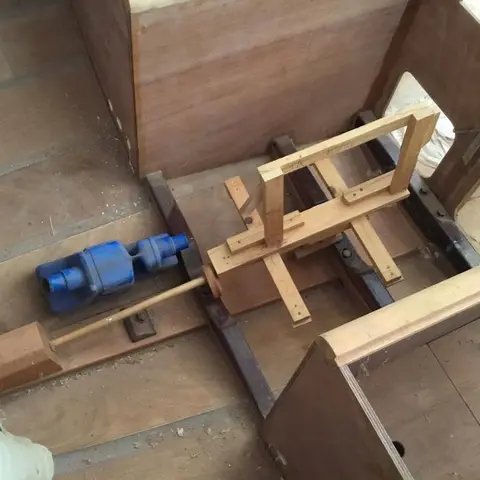
Ok I’ve done a bit more work so here’s the evidence/pictures
Cut out companion beams and fitted carlins. I drilled into ends of joins and glued in dowels to add a bit reinforcement, on the tee joins of short beams etc. used a couple of spacer sticks to get carlins parrelel.
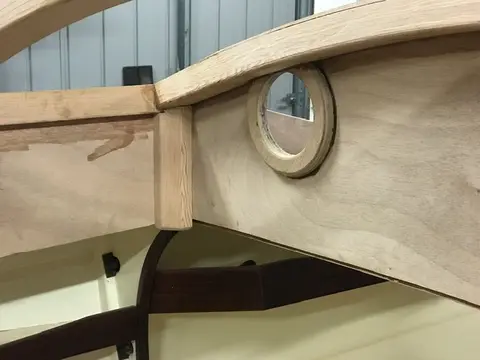
glued in the doublers for portholes so that screws have some meat. Also did some corner posts at junction of sides and bulkheads of cabin. You can also see the knees here that will have painted webs and varnished fat bits. Used the fat bit to position web while gluing then removed fat bit so that it’s easier to paint. The...
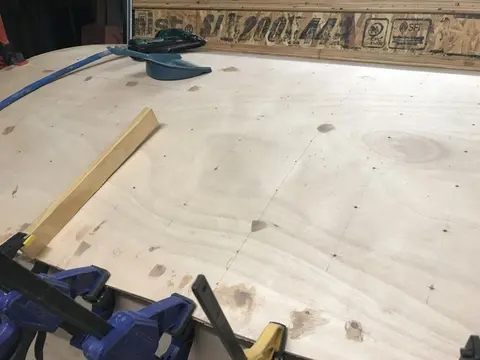
So today was the addition of the second layer of two 1/4” ply’s. Turns out it was easier than the first layer, mind you I still have the dynel to put on.
I drill some ooze holes in this layer on instruction from building guide. Had a little come through. I set up some locator blocks on join lines to make it easier to put sheet on. I also pumped a few batches of resin out in readiness. Turns out I used way more than I expected. Too bad experience is only gained when you’re finished!!
was really good it was a cool day too so the goops didn’t go off too quick.
now for main course - photos
oh,...
I think 6 months is time to put up some more pictures.
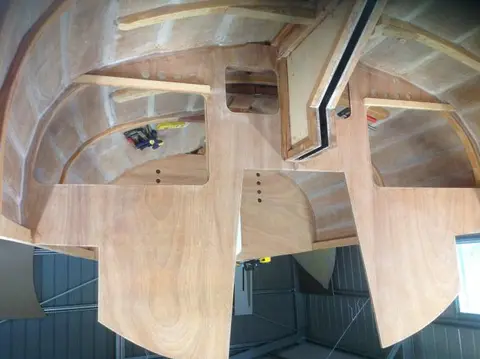
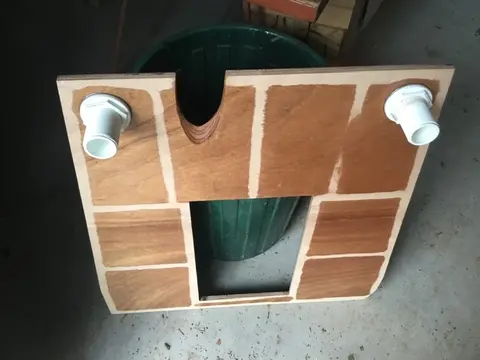
an overhead of cockpit today. I’ve drilled for cockpit drains and epoxied in two Tru Design outlets (at left of pic) Just to the right of centre is a riser from the aft portion to bridgedeck (on right). I’m not far off putting engine in for good, just doing as much of the beams as poss so I don’t fill the engine with sawdust!
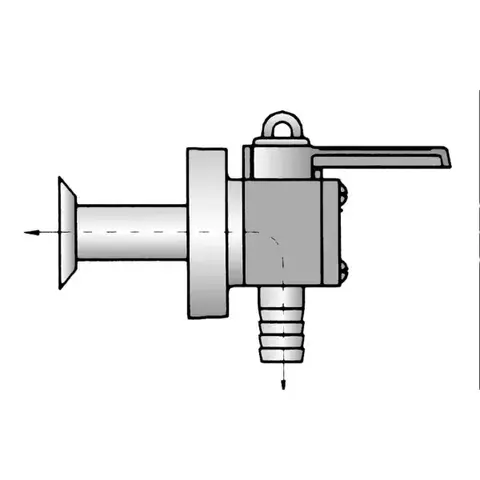
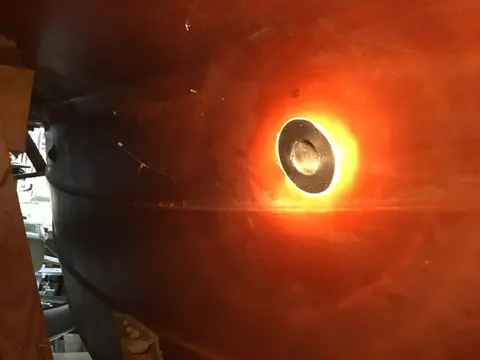
This is under hull showing through-hull that has a counterbored hole through ply and fitting glued in with epoxy and nut tightened inside. I’ll be fitting hosetails inside and I’ve decided to go with crossed drain h...
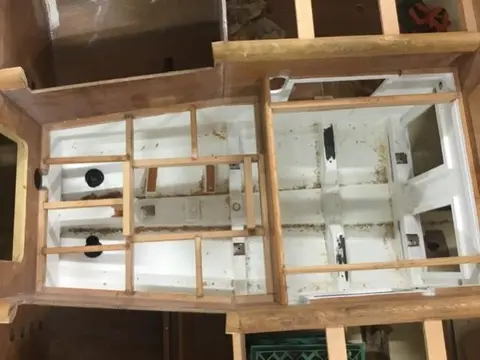
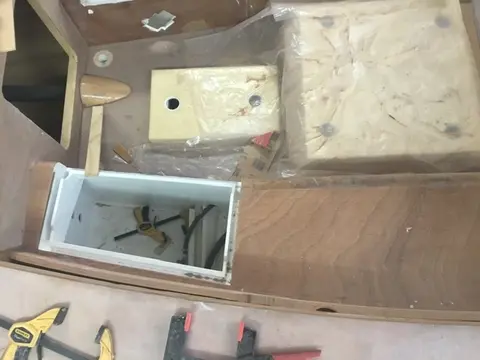
i thought it’s perhaps time I put up some photos so youse don’t think I gone and croaked. This shot above is looking down into cockpit, white cavity bottom left is cockpit locker, two cream coloured hatches are for engine and stern gear. Opening on left is the lazarette hatchway.
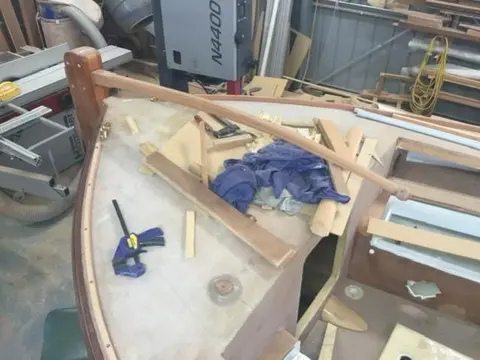
Next is the aft deck and sun lounge area with tiller in place and toe rails dry fitted with mooring fairleads. You’ll have to excuse the mess, it’s how I work, I only clean up when I get sick of trying to find things.
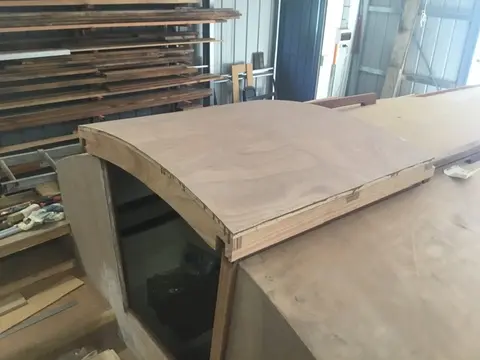
this is the main companionway sliding hatch about half done waiting for trim bits. Companionway is...
Thought I’d better post some pictures of my miserly progress ( getting better recently)
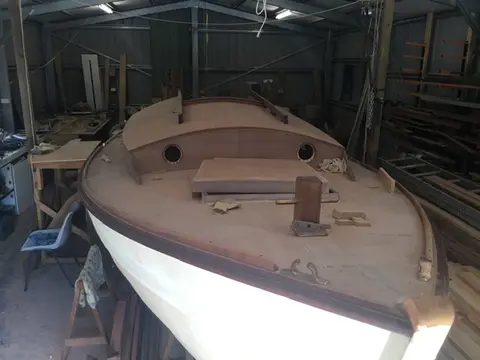
Above picture shows cabin getting towards done, top dynel’d, hand rails and portholes (recognise those Ian) dry fitted.
around the back side I’ve made the companionway drop-boards and main hatch
in the cockpit I’ve, today, fitted and glued in the last major piece of plywood for the build, namely the sbd seatback.
Does that qualify for a whiskey?
the black circular thing in foreground is deisel fill. I’ve got to finish the rails that go along top of coamings that’s why they’re only half painted. I exten...
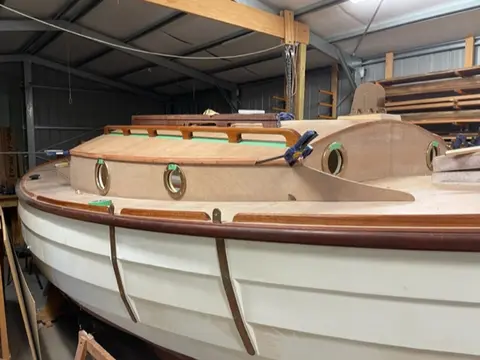
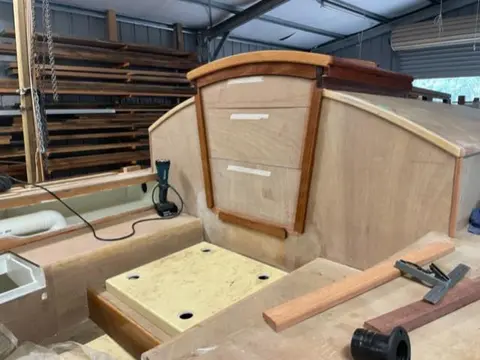
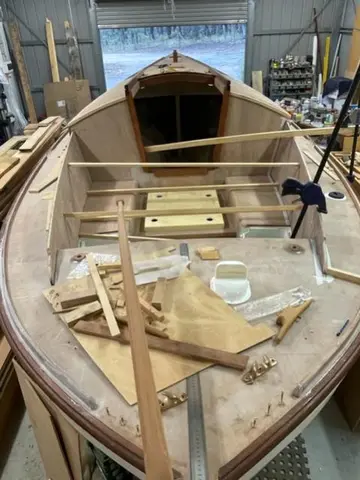
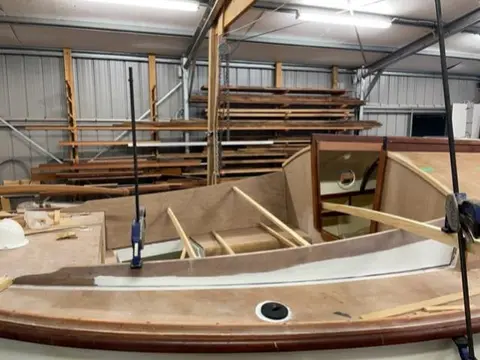
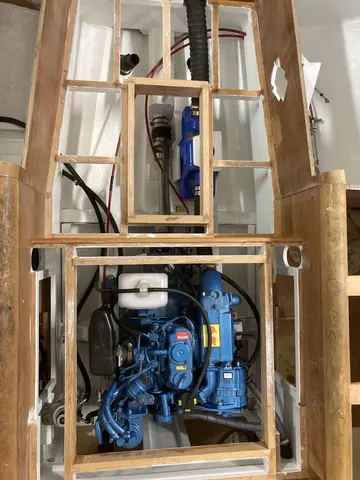
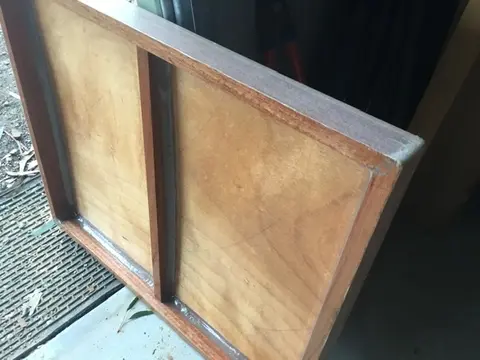
Time to get going again on this build. But first I have some rebuilding to do. I mistakenly thought “she’ll be right” with regard to cockpit drains and omitted ball valves on thru-hulls but now I’ve thought better of it. Prob is I’ve built in the cockpit sole wth a small (about 10” x 15”) hatch in it. So working on the innards takes some doing with only one of my arms or an eye to gain access. First order of business is to make the hatch bigger. the larger hatch covers the engine
this is a picture of framing showing the thruhulls, exhaust muffler, and shaft seal etc.
plan is, after making ha...