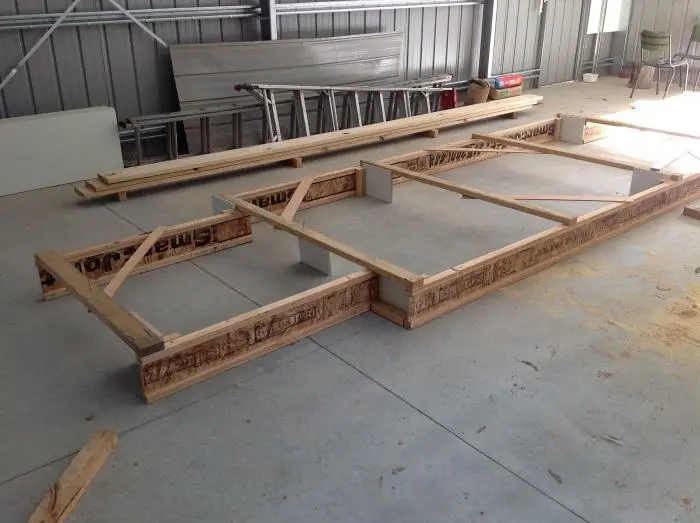
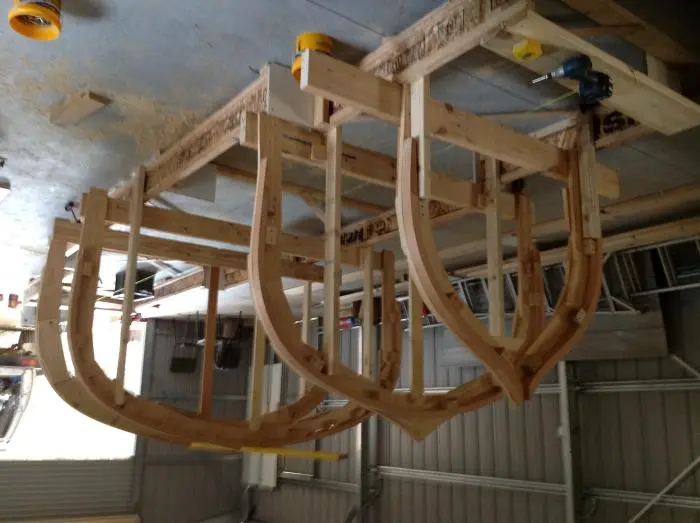
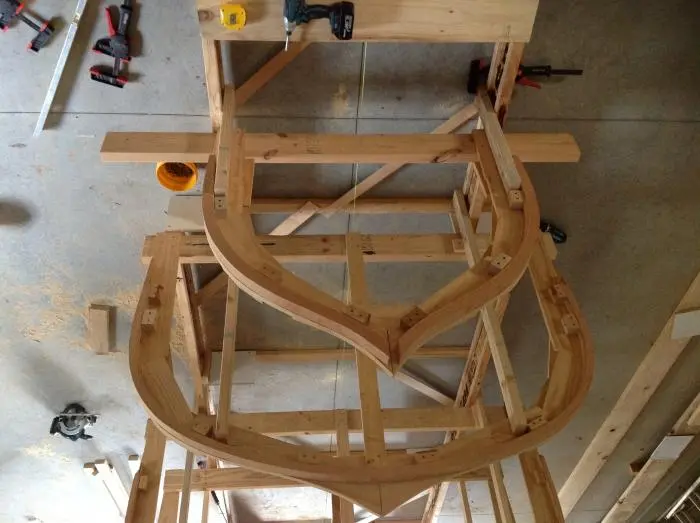
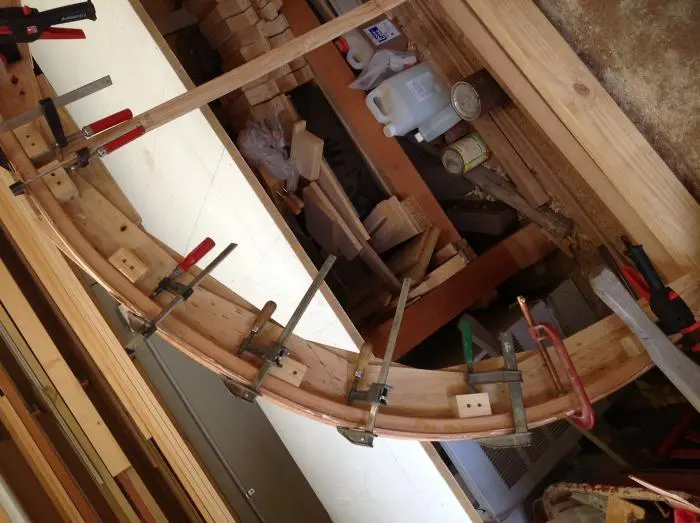
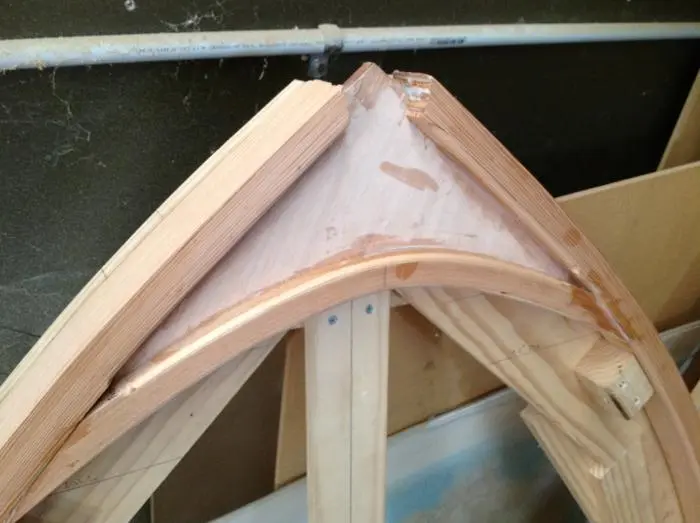
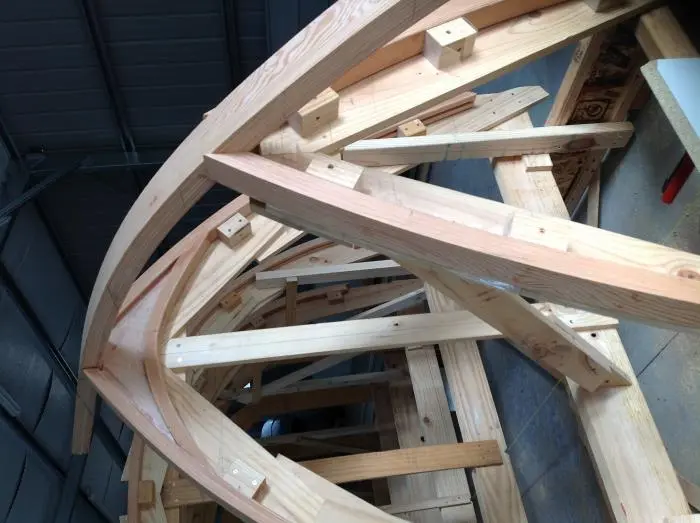
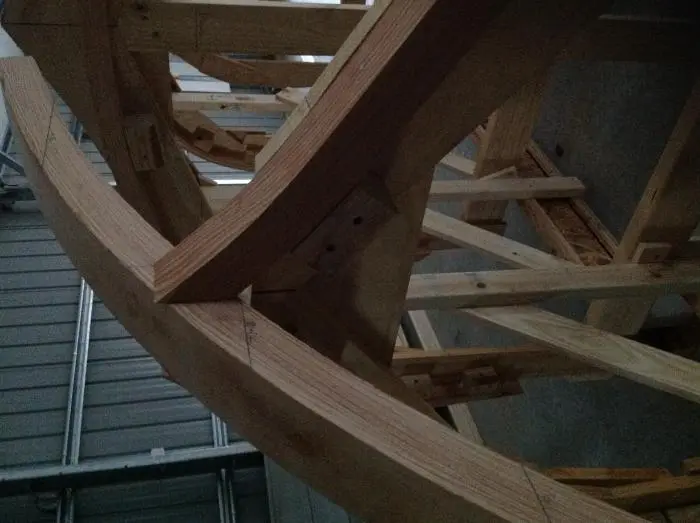
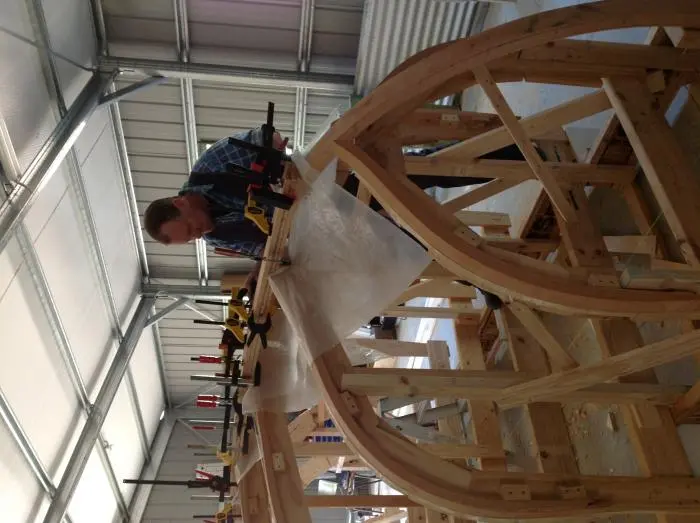
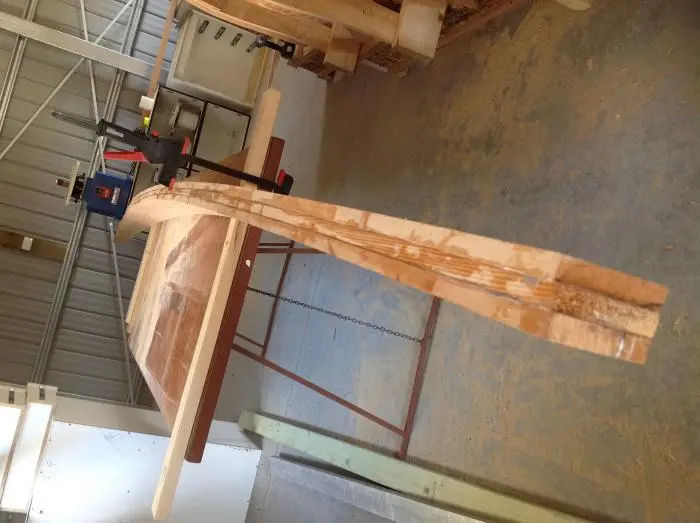
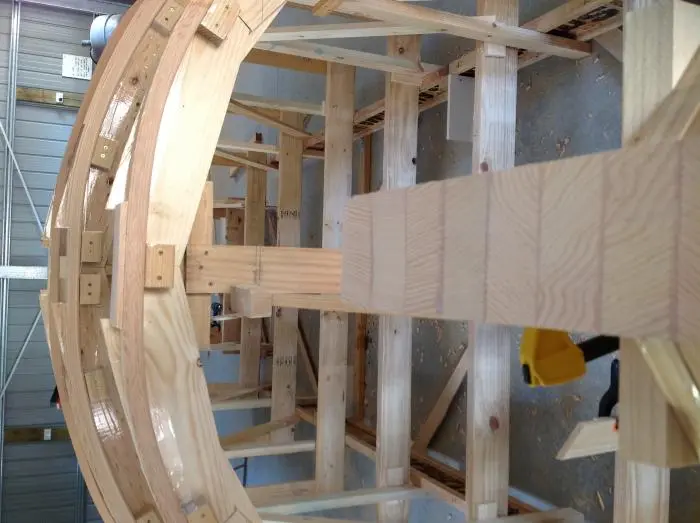
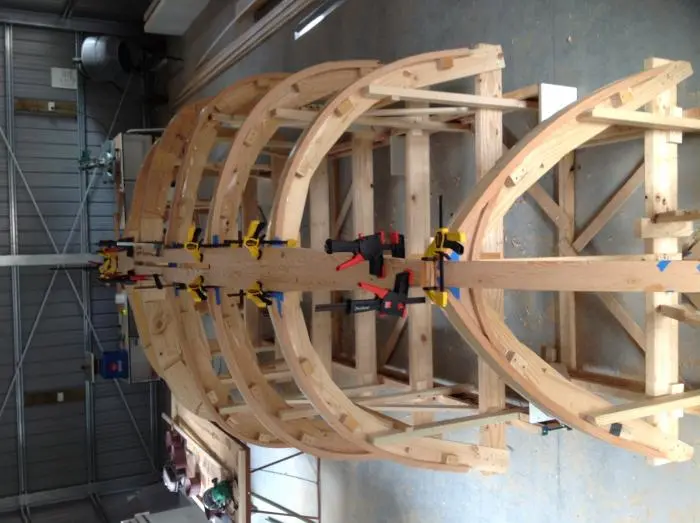
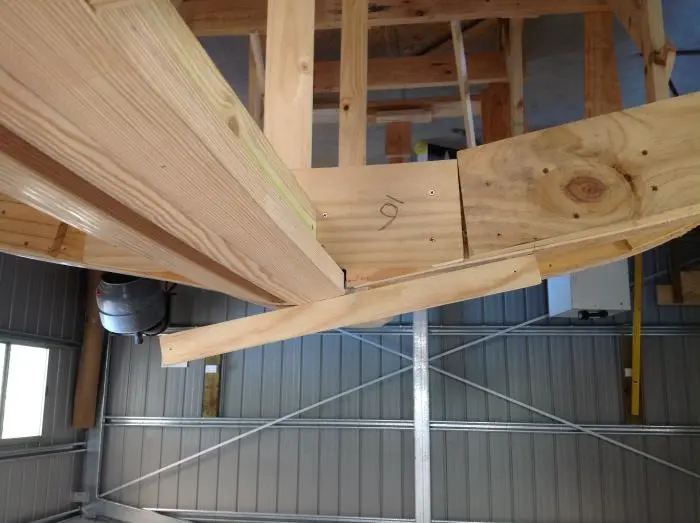
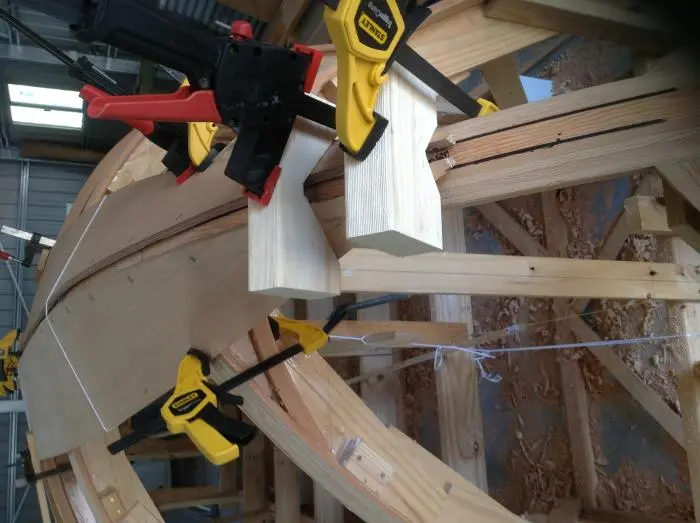
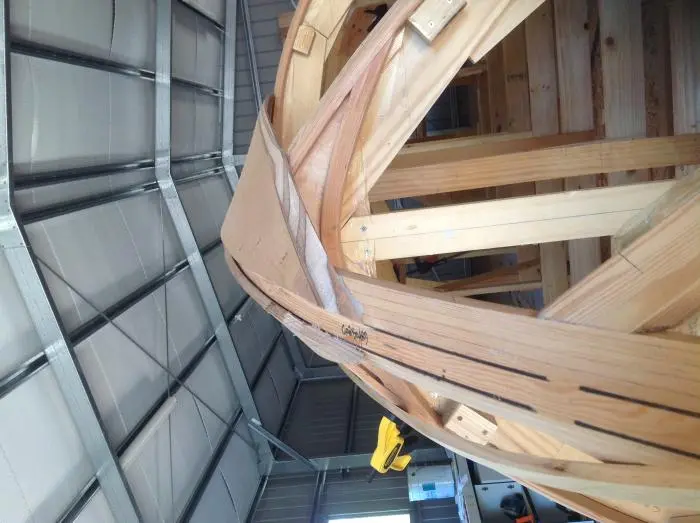
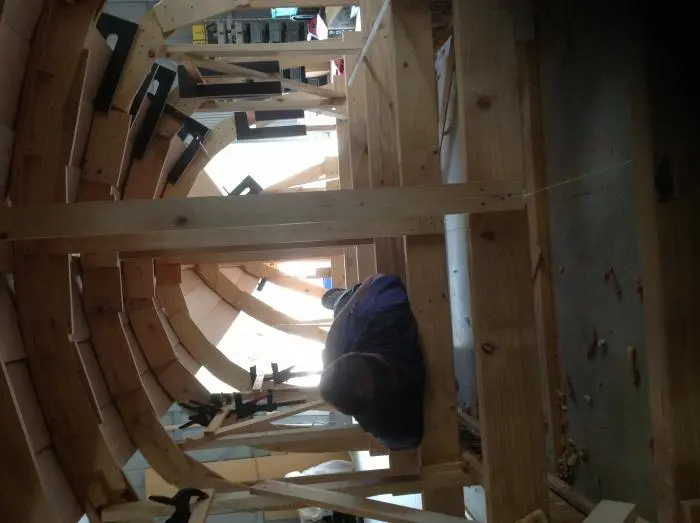
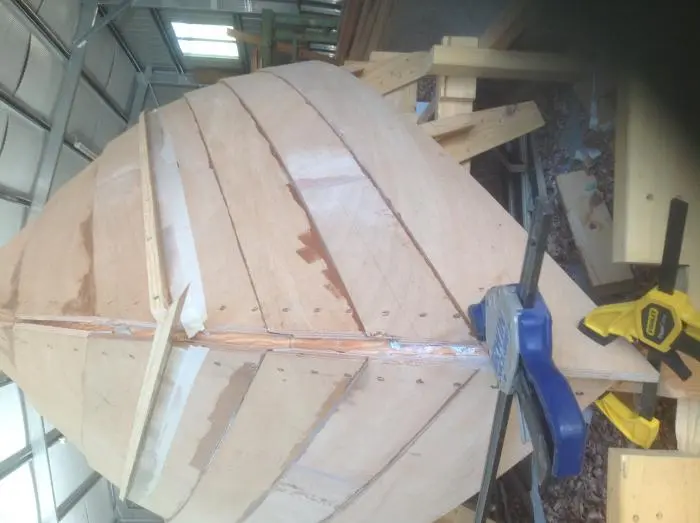
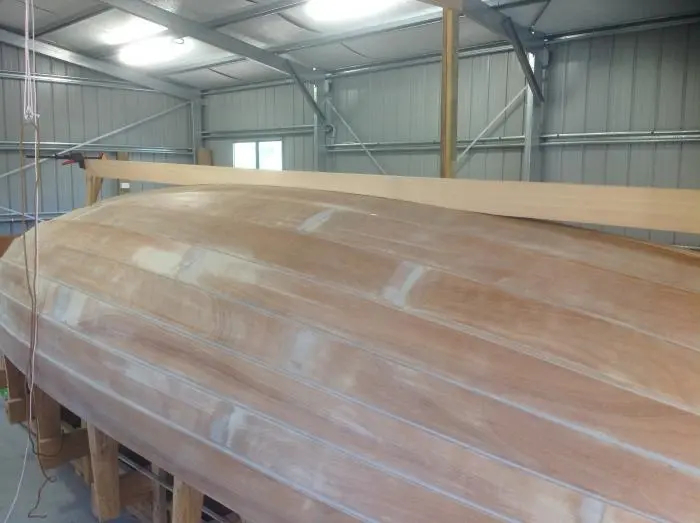
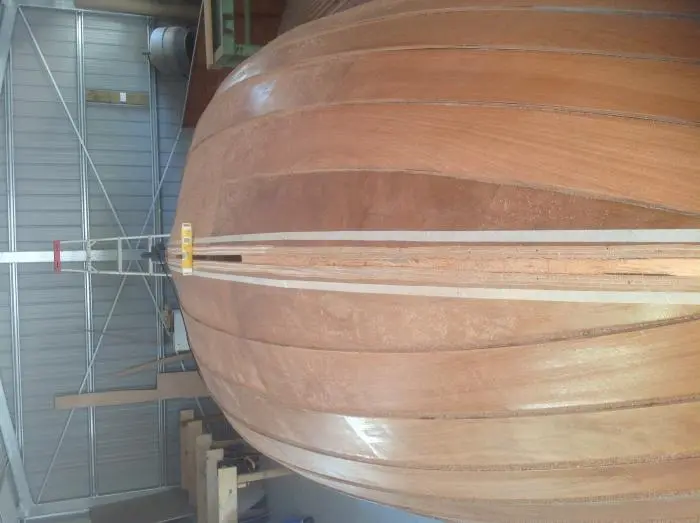
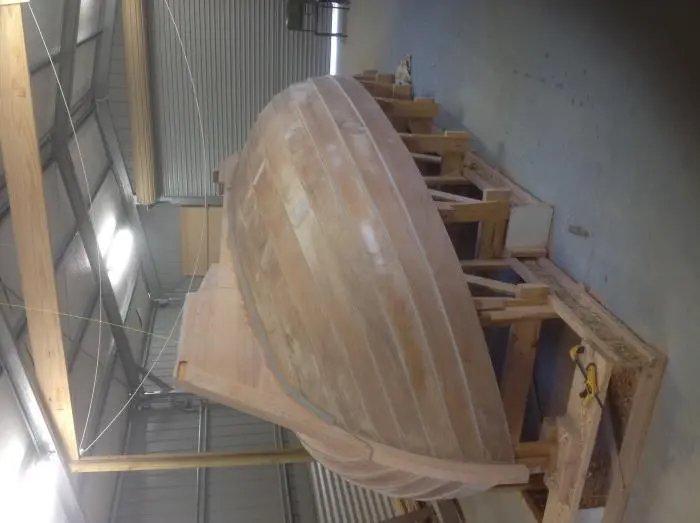
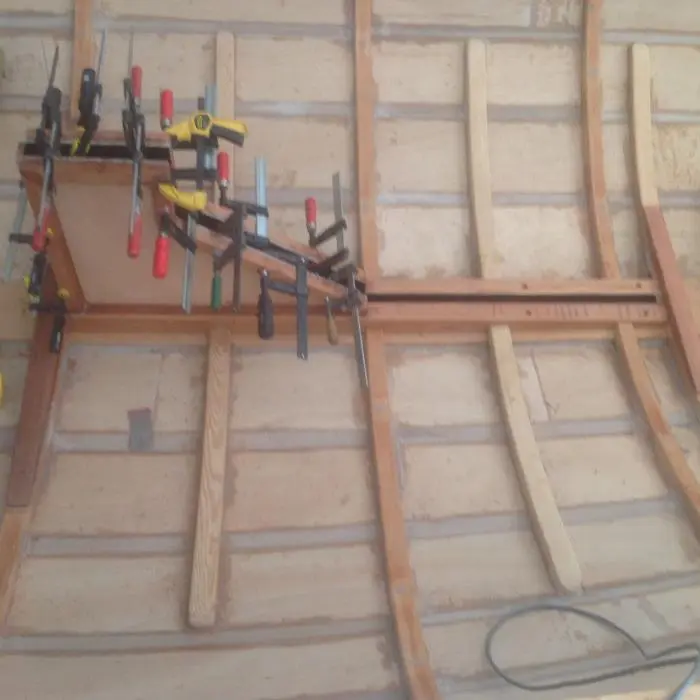
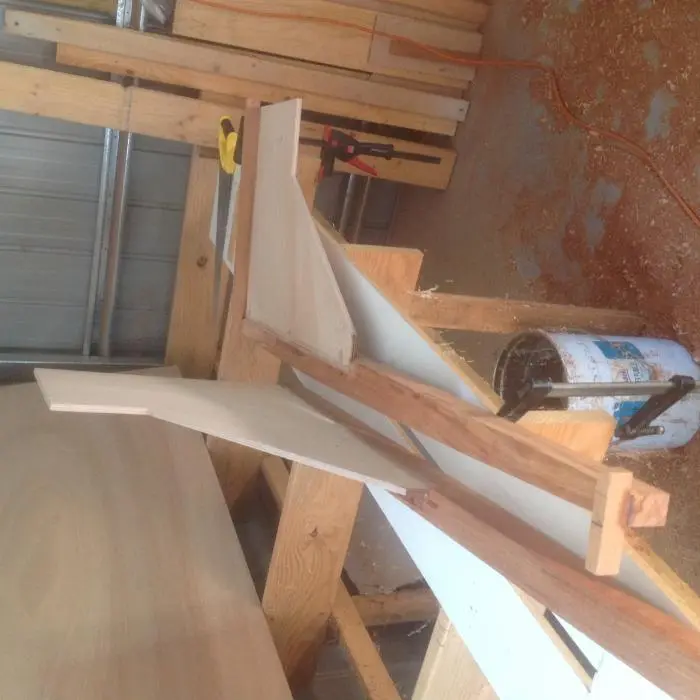
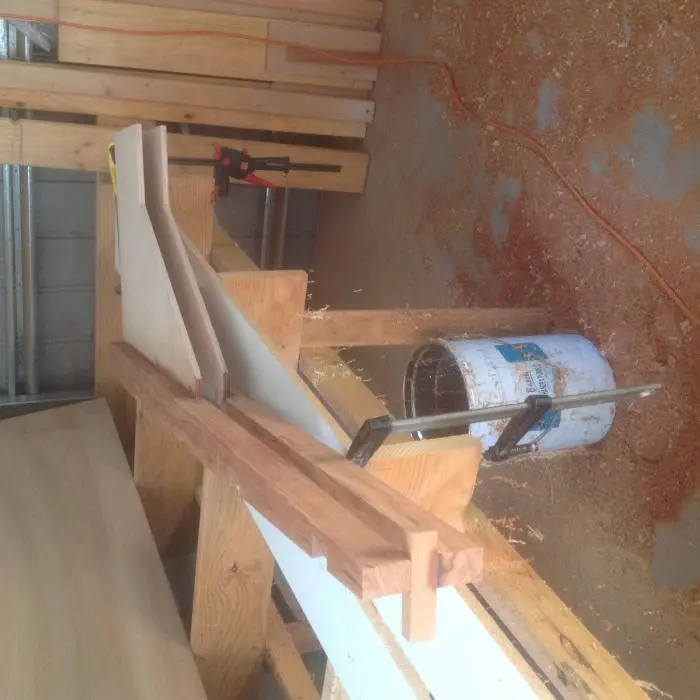
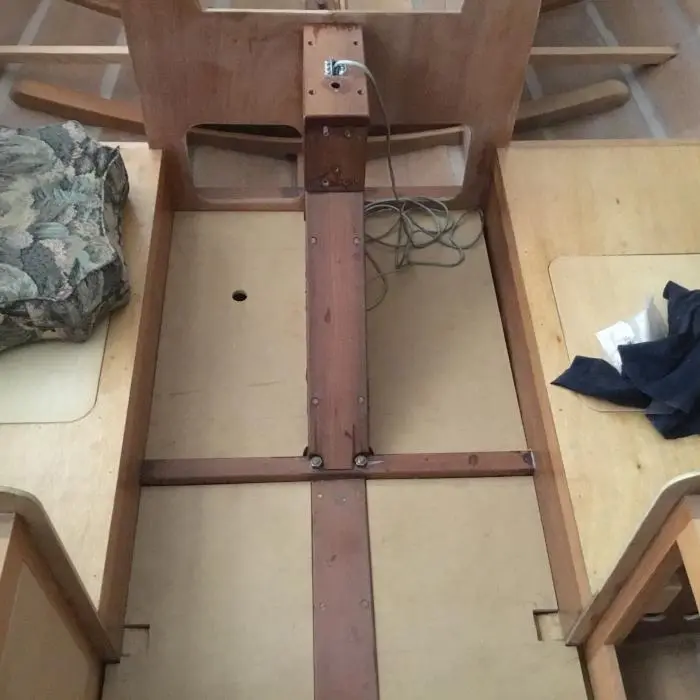
this project was started in about 2012. I'll post as many original photos as I can find, hopefully in chronological order.For commentary please provide your own 'cos Ive forgotten it. Once i catch up then talking will be attached again. Please forgive any pics not up the correct way.Stock made up of ply web beams from builders supply, available in really long straight lengths.Laminated frames held onto moulds with small blocks
For and Aft stems in position
Glue up of keelson, in position hence plastic. Later finished on bench and centre-board slot cut in.
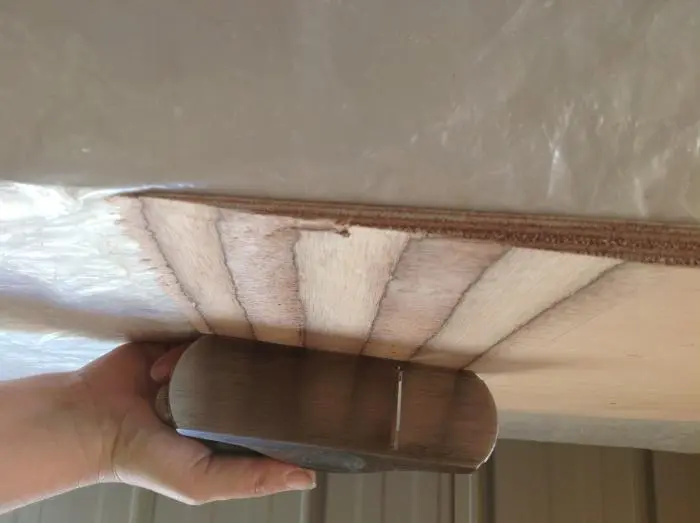
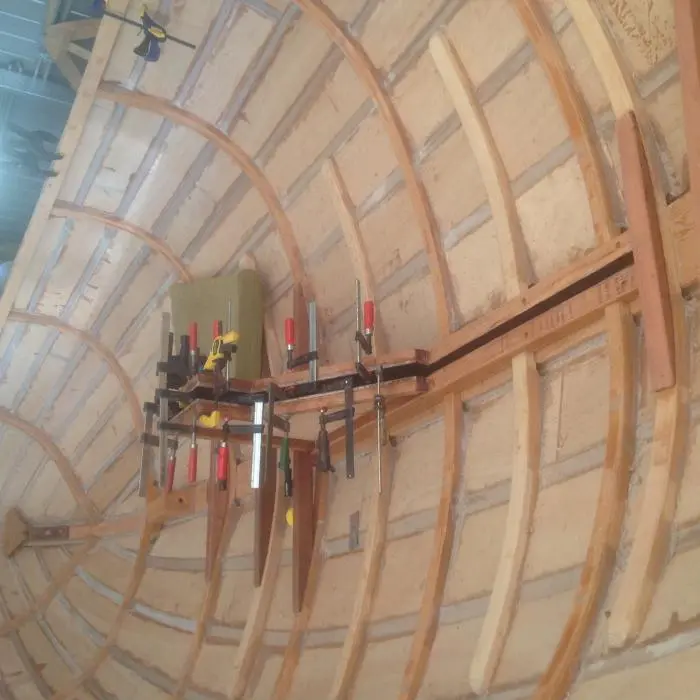
Glue in of keelson. Planing of bevel to same, showing centreboard slot.
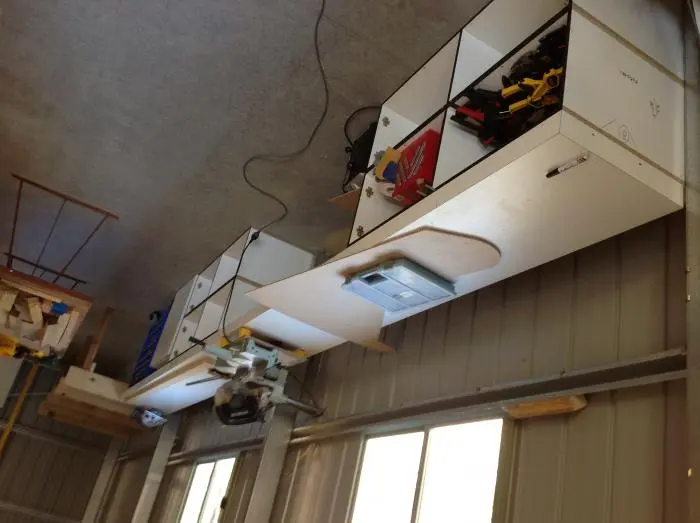
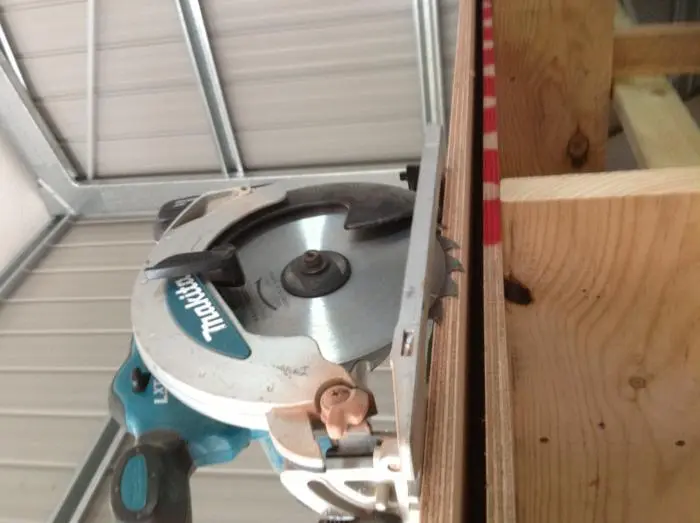
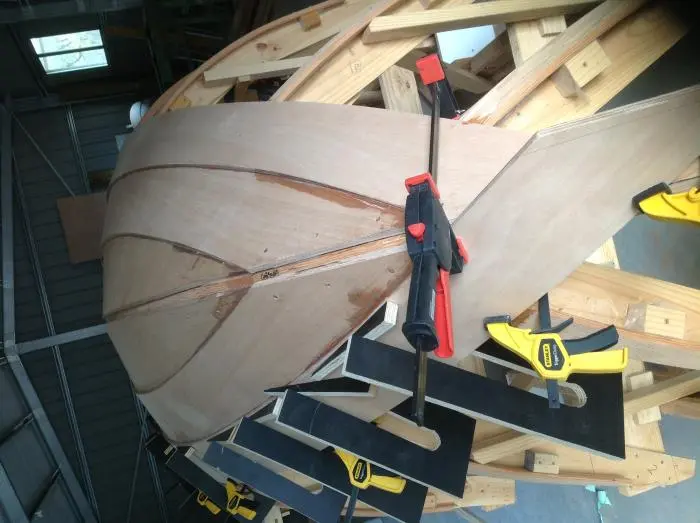
Planking b each made up from old kitchen cabinets and a platform in the dark background to cut ply sheets on. Small cordless circ saw was the best for cutting ply, note depth of blade and diameter was great for getting close to cut line and allowed cutting a curve, within reason.
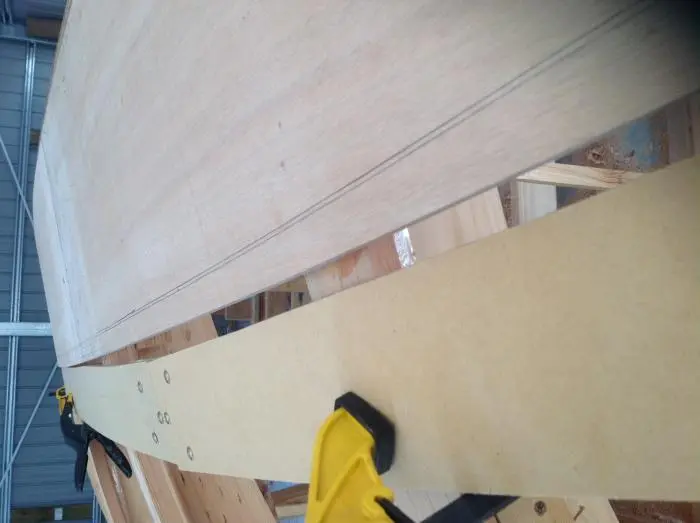
Next pic shows my spiling plank made with “hinges” out of MDF strips.
Next pic shows my spiling plank made with “hinges” out of MDF strips. REason for two lines along bevel was to show when i was getting close to final width by “disappearing” first line. I never was very successful at getting out a plank straight from spiled, so i just roughed in the lower edge of plank from Spiling then held it in position, transferred bevel line across, marked underside for upper edge of planks. Iain Oughtred supplies planking layout lines on his plans.
This first photo shows where i applied some new edges to these planks to bring the edge into line and fair. Screwed-on Battens clamped temporarily. Making up 5” wide outer keel (this first member was two 5”x1 1/4” glassed inside for centreboard section then a 1” spacer at each end, this got around the task of cutting the slot and glassing it in convenient manner) and the flat planed on planks for it.
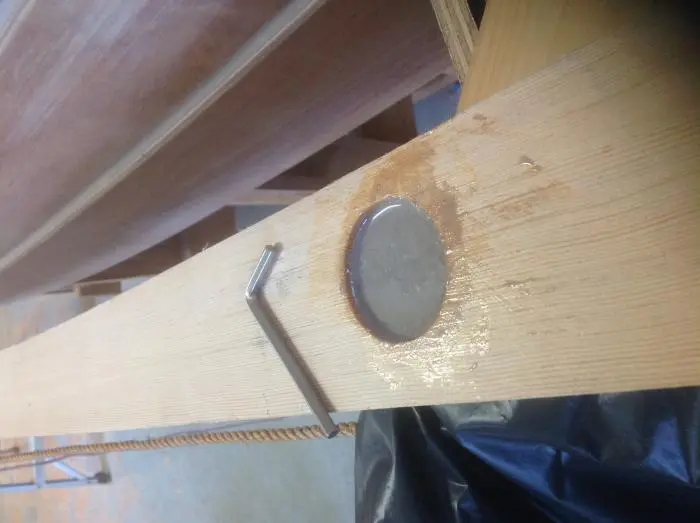
2” diameter epoxy plug for centreboard pivot in outer keel. Below waterline so a bronze screw in plate is let in to restrain pivot on both sides.
Hole for 20mm(3/4”) pin yet to be bored.
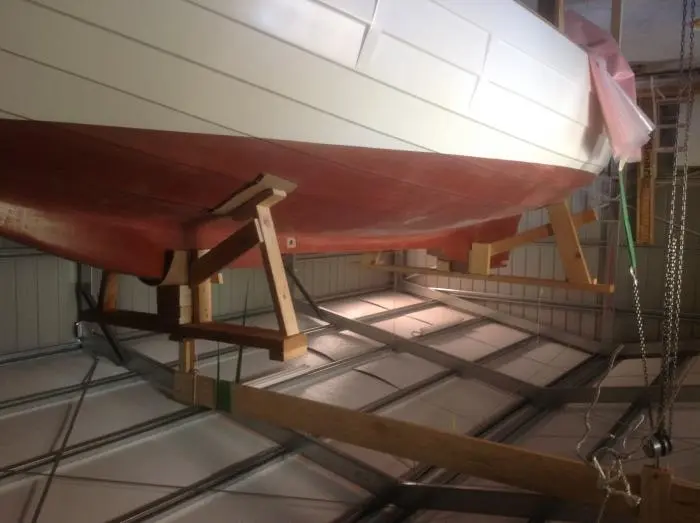
The red stuff is Cop-R-Bote anti fouling which is sprayed on and afterwards lightly sanded to “activate” copper particles so they are on surface ready to do their job. I’ll let you know in a few years if it works or not. Supposed to be good for TRailable boats because it doesn’t mind being out of water for a length of time.
These are the legs I made to support hull right side up and you can see the timber Gantry beam in roof which originally was used to lift outer keel into place but had many uses.
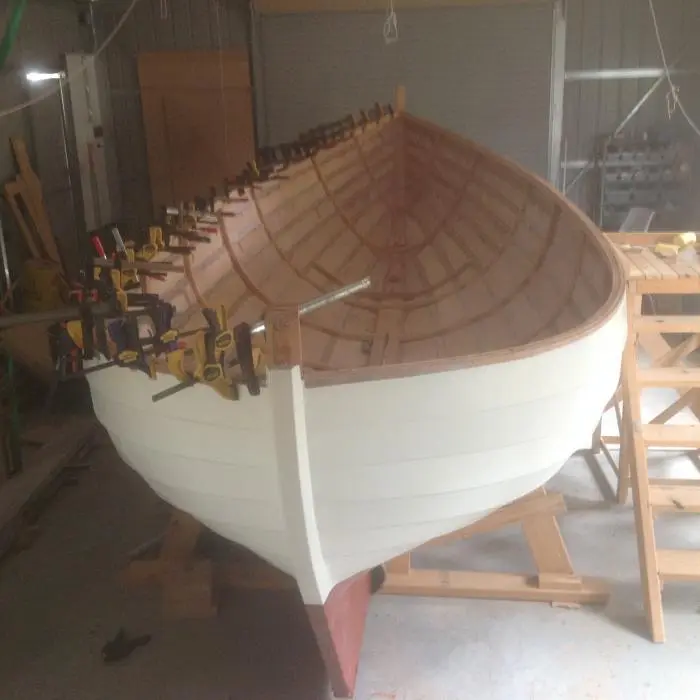
Gluing in inner gunwhale, didnt have enough clamps to do both sides at once!!!
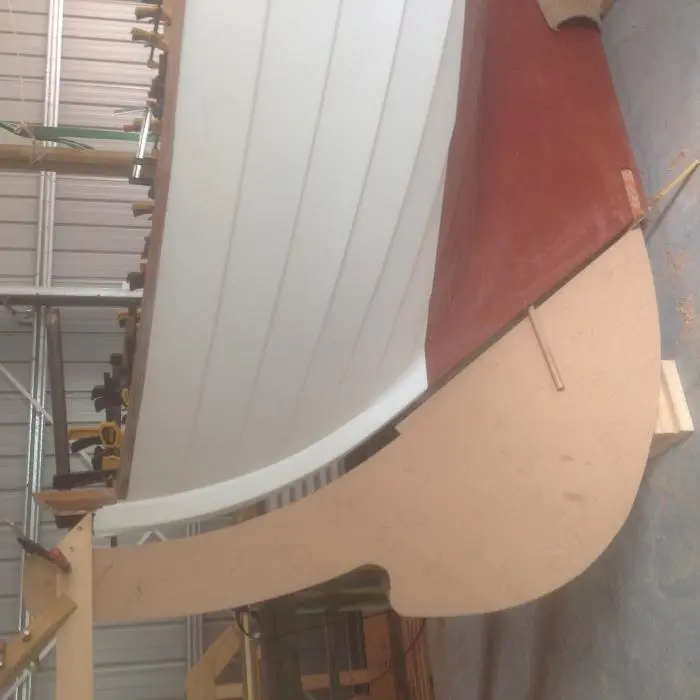
Template and rudder being made with pattern following bit. Round dowel is prop shaft
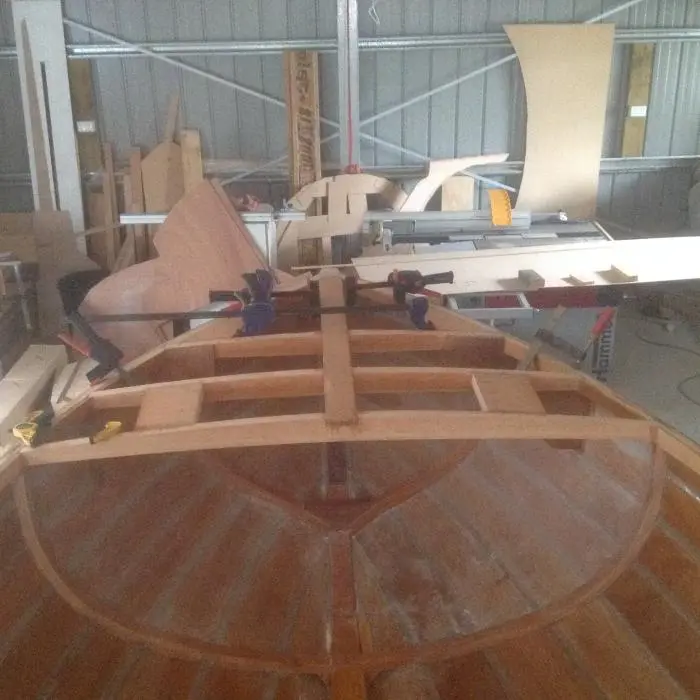
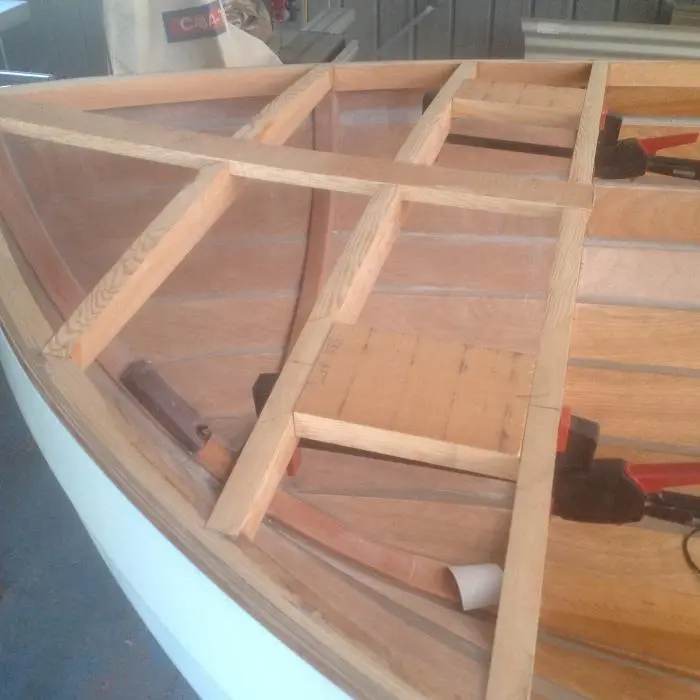
Lazerette deck framing and painted. Blocking for cleats and mainsheet horse and knees to reinforce beams.
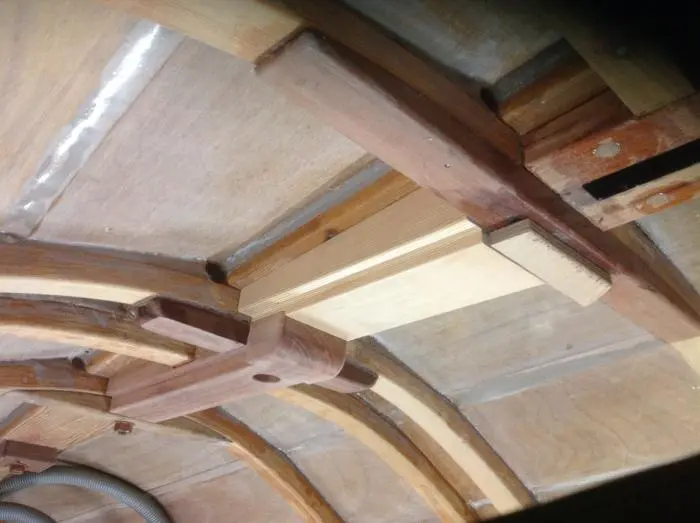
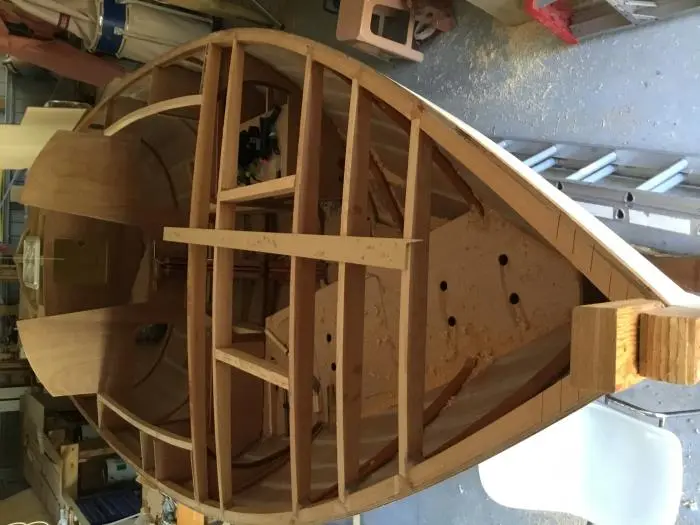
This shot shows extra half frames and frames3 and 4 in new positions because I had I.O. Draw up a new Gaff rig for me so this entailed moving the mast etc. its made a bit of a mess of framing in the fore part of the boat because some frames had to be left where they were so that ballast bolts could be let into them. Ballast wasn’t altered. Also here you can see the centreboard template in the raised position and the case (shown earlier encapsulates this part of it only, which is just inside companionway. Sorry pics are a bit out of order.
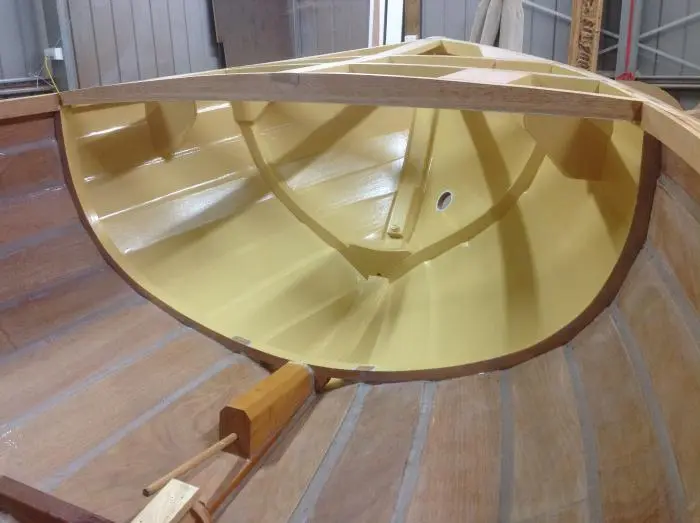
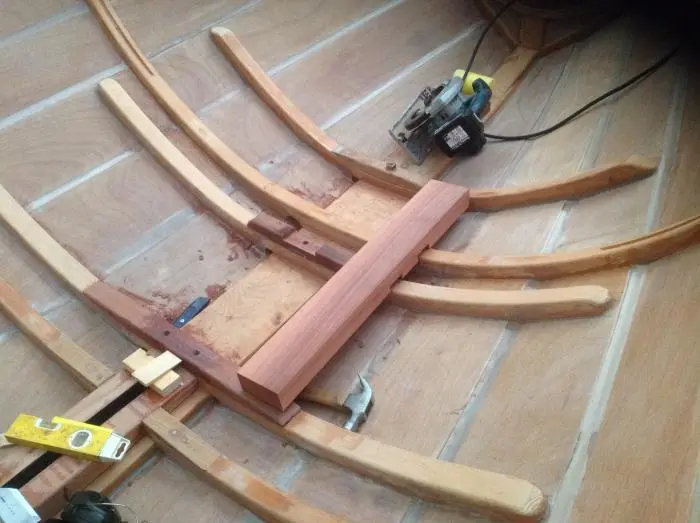
Here you can see what i mean about frames. Red log is mast step, 1/2of it goes on top of keelson as in next photo. To gain some much needed headroom in this boat i have let the sole rest down as low as possible between frames so stepping over the frames will have to be become habit, along with stubbed toes!!
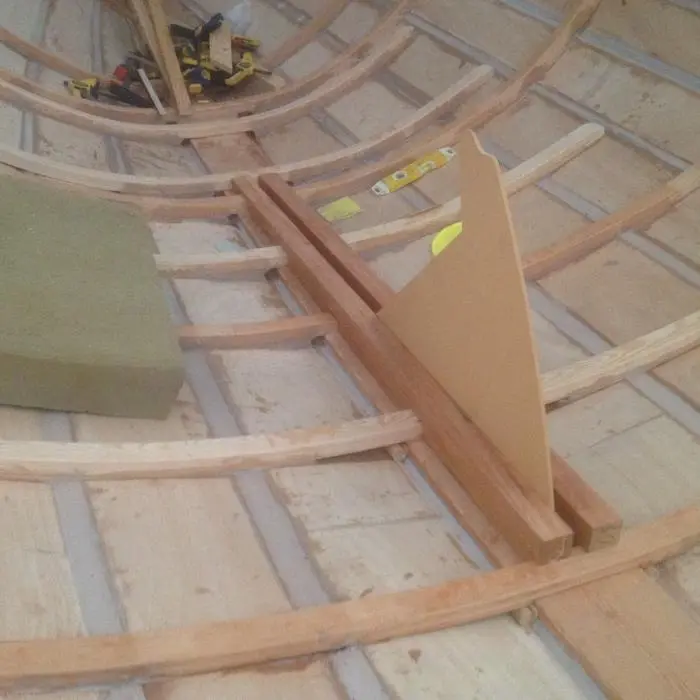
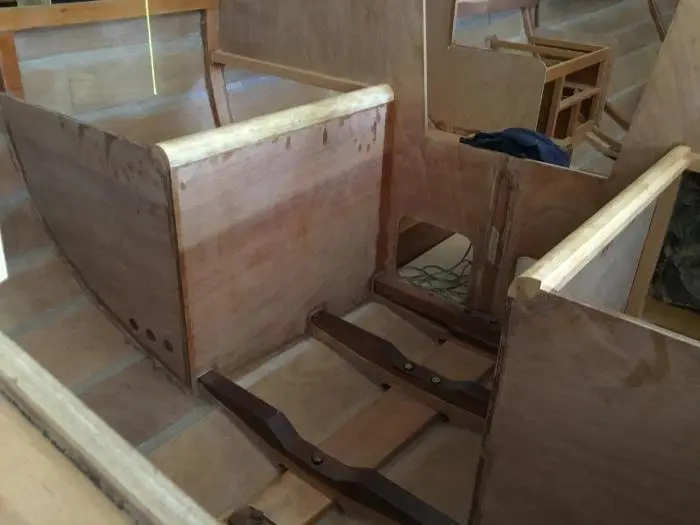
Another shot of centrecase because this a complicated part of boat fitting case, centreboard, head-logs and bulkhead six (cabin aft bulkhead) in. In the end I have fitted aft end end of case through bulkhead to get it all in. This is not shown on plans at all well.
While we’re on the centrecase I found a couple more photos which show my interpretation of how things fit in.
The main problem is that the centreboard is so long that it only fits between frames 4 and 6 with a small amount of space in which has to fit the fore/aft headlogs and some room for swinging the board up and down. I cant remember much I left but its only perhaps a quarter inch (could be 1/2”??? ) at after end because fore end is governed by pivot position. The headlogs are only about 1/2” thick and as wide as slot. All is glassed as per earlier photos. That small piece at bottom of photos is the fore head Ledger!!
Here you you see how the sole fits between floors. The case cappinghas been fitted here and you can see the board pennant (dyneema) coming out, it will drop over the front of that cap onto winch which fits onto those screw holes on upright piece of capping. Small hole in front of pennant exit block is the board shove-down emergency!!!
Final centrecase shot of how it fits into bulkhead 6. This is just the template but you get the idea, photo taken from aft.
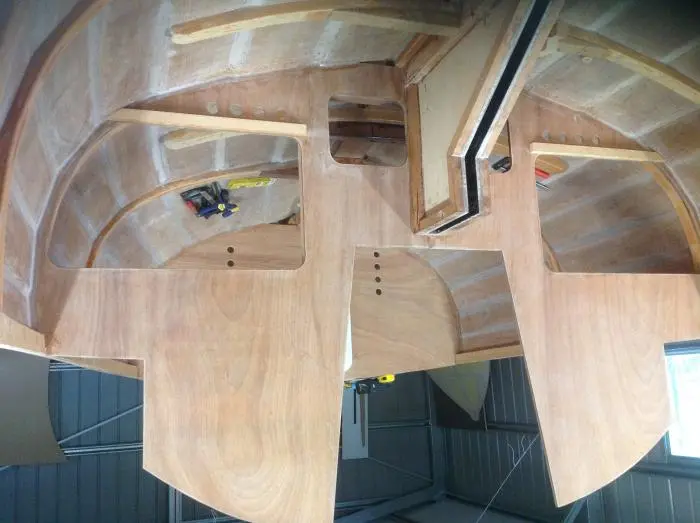
Bulkhead 6 which is the cabin aft bulkhead, This boat will have quarter berths so that...
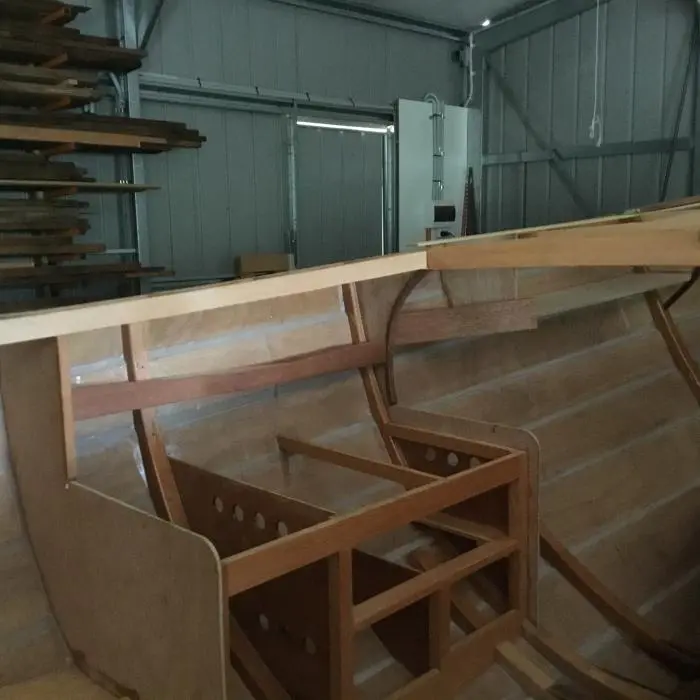
Bulkhead 6 which is the cabin aft bulkhead, This boat will have quarter berths so that explains the big holes through to under cockpit seats. Foredeck framing underway in next shot with a hatch included
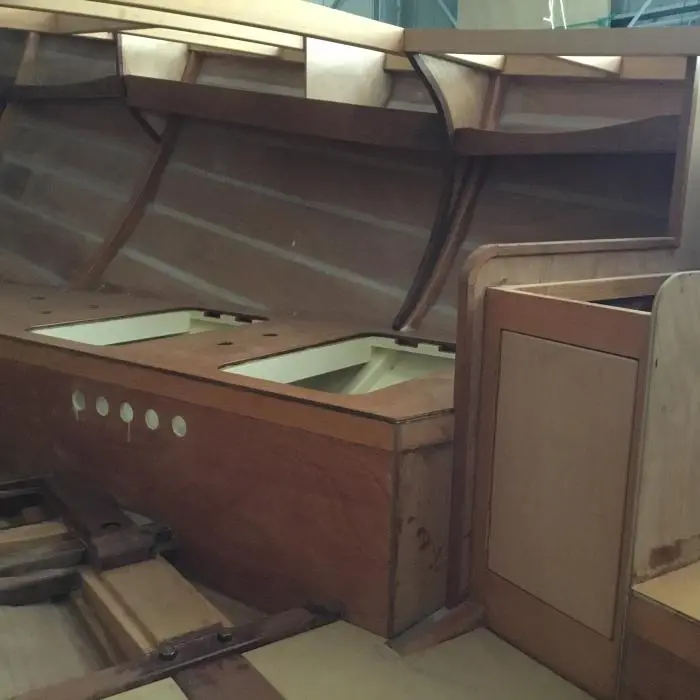
This the cockpit seating being started where the quarter berths hide. Some cabinetry and the forward berth with ventilation holes. You can also see the shelving up under deck.
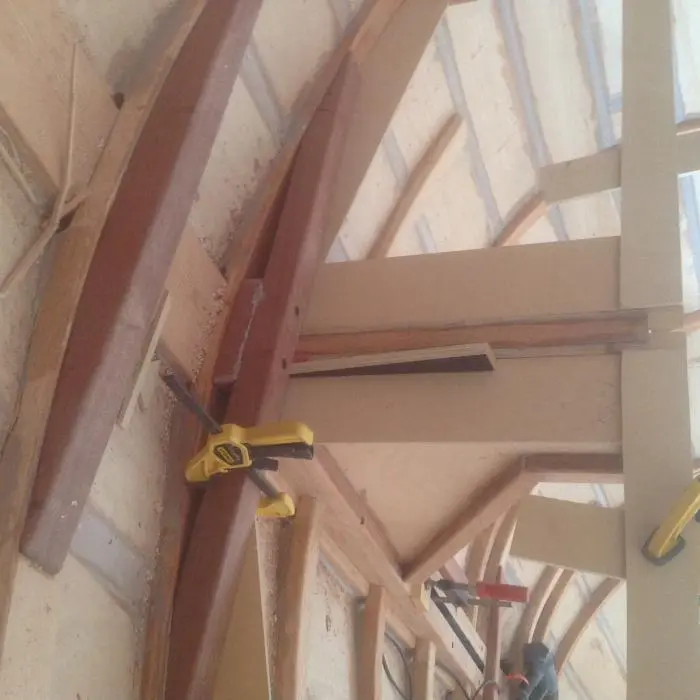
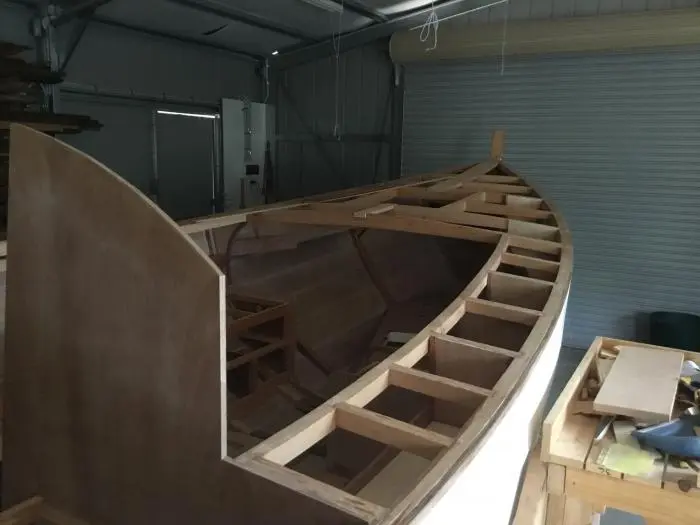
Side deck framing extending forward. The cabin carlins were formed by laminating a beam on hull side to get the curve. This lamination was also made about 4” deep so that I could cut the sheer curve in it . Beam finished about 1 1/4 square .
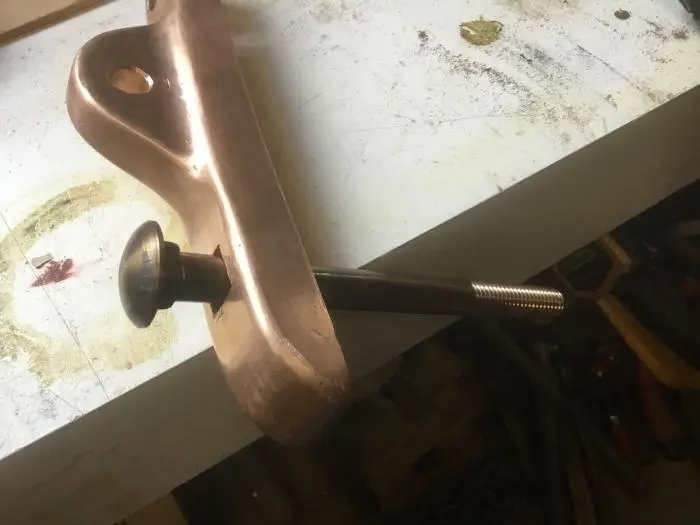
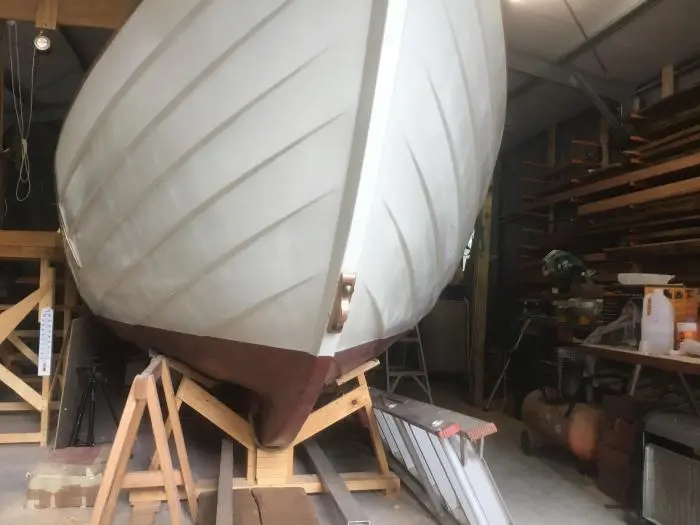
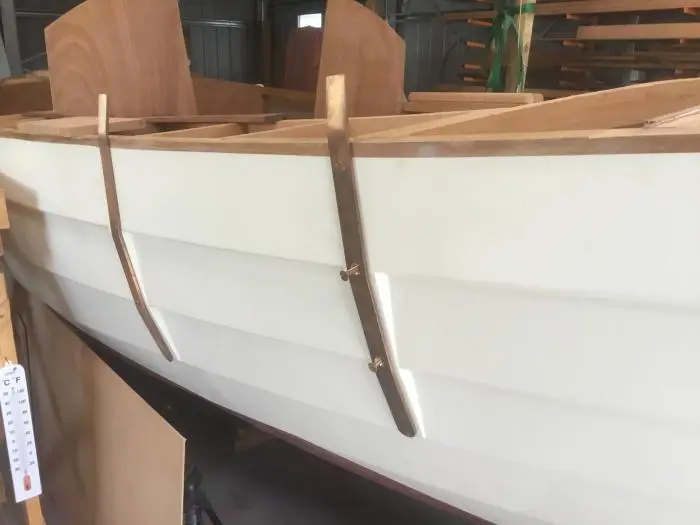
Portt cabinets or galley. The next few pictures show a wooden bow fitting I had cast in Silicon Bronze, many thanks to Peter Sibley for the idea.
1 1/4 x 1/4 serious chainplates.
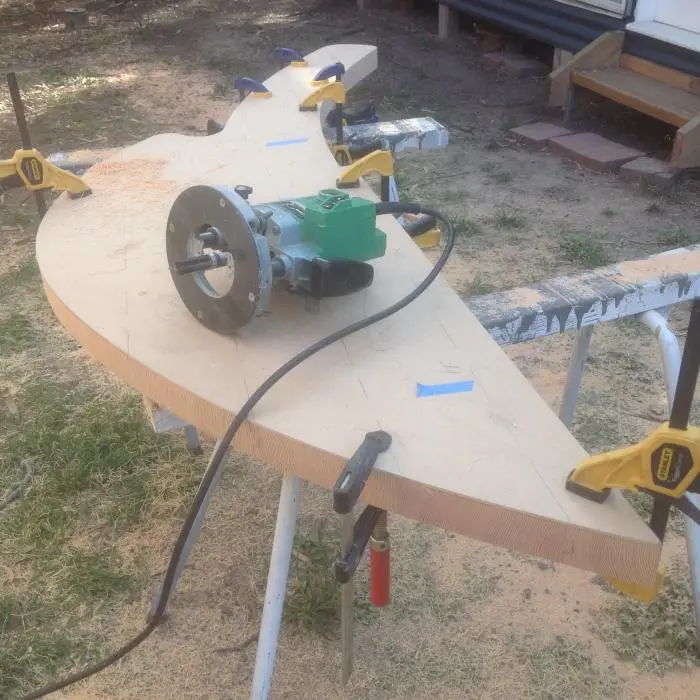
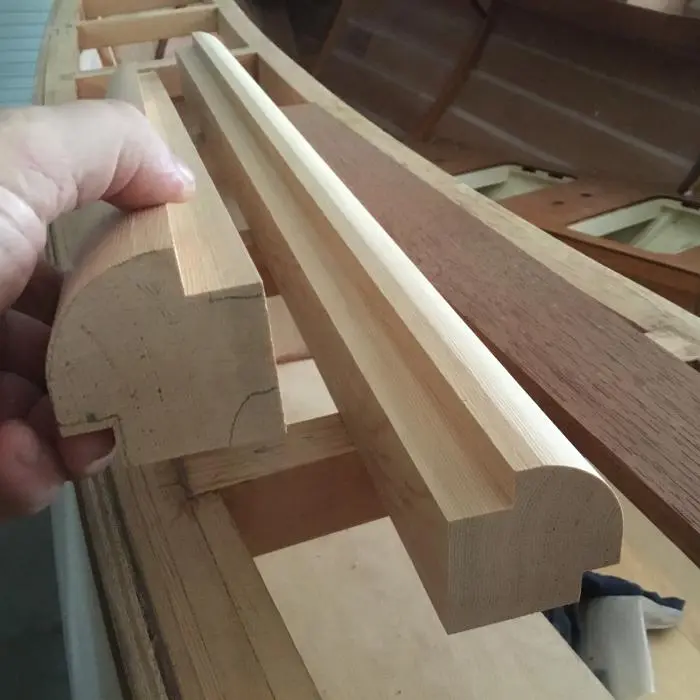
Earlier in post 12 I spoke of laminating the cabin carlins against the hull and this picture shows one of the wedges I hot-melt glued to sheerstrake to form the surface against which i clamped. The planking angle changes as it goes along hull so wedges have differing angles. In next pic are some timber mouldings I made from DF to form edges of cockpit seats and locker lids, the 12mm ply sits in rebates to form tops and fronts of seats.
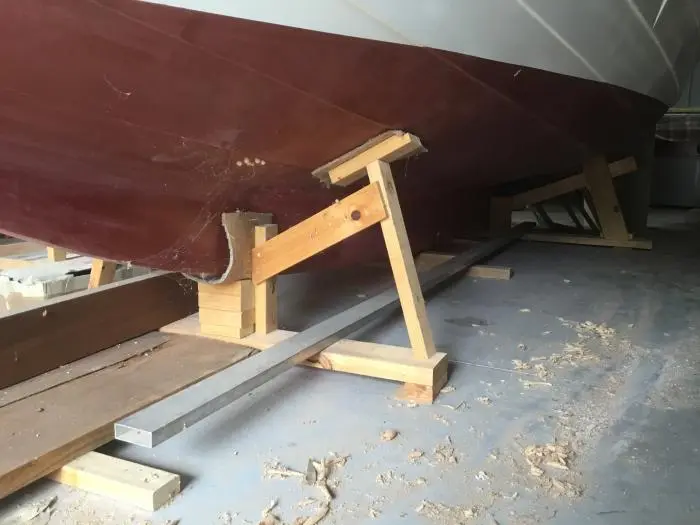
This is the forward support I made to sit under keel and take the most weight with outriggers to stop it falling over. Theres another order under the aft end.
thats me pretty well up to date now except for some painting of the interior but we all know what paint looks like so Ill be off to look after some other of life’s duties and be back when i have some more photos
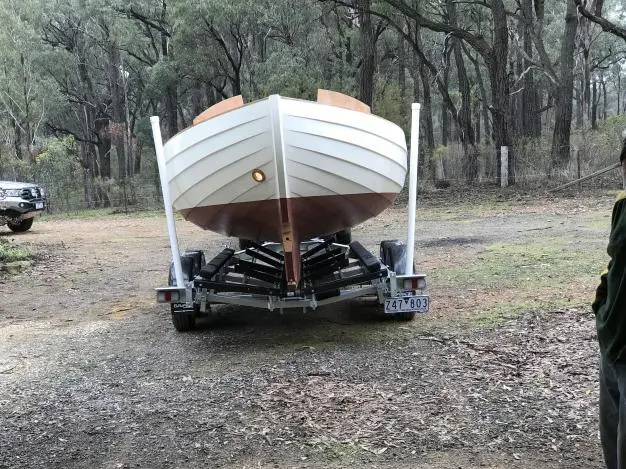
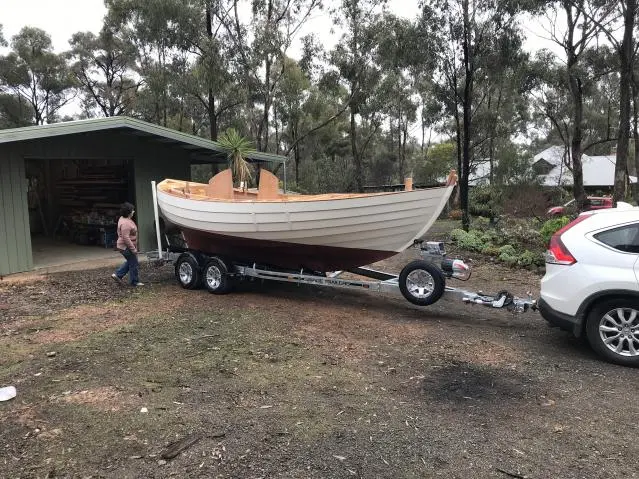
Received my new trailer this week and tried the boat on it.
Received my new trailer this week and tried the boat on it. I’ll have to take it ack for some minor adjustments but overall I’m pretty happy. First time my boat has been out of the shed. Next time will be for launching but don’t ask me when that’ll be.
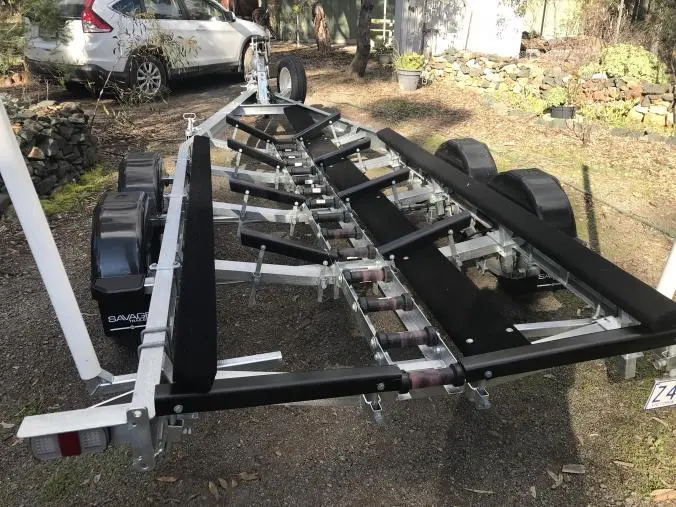
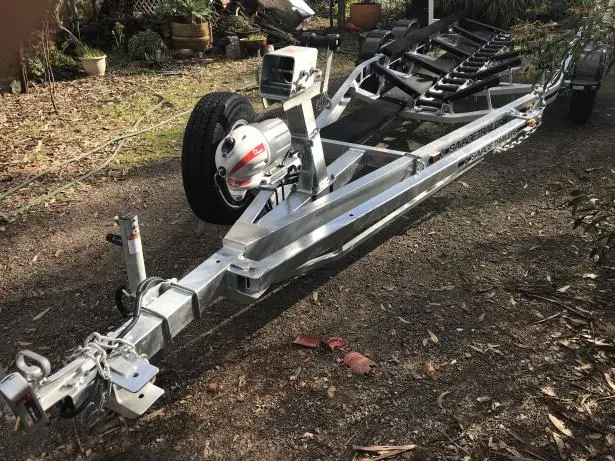
Here’s a couple more pics of trailer. The people who built the trailer put the angled sliders on which although I haven’t tested them for recovery in a crosswind seem a great idea, they are very slippery and would feed keel onto rollers pretty well. You can also see the foldaway extension drawbar which adds about 1.6 metres so I can avoid filling the car boot. As you can see I’m going to need a fair depth to get boat on/off. That football shaped thing is the breakaway brake booster which law says I need cos I’m over 2 tonnes. It activates brakes if trailer becomes detached from car ��
12
Nobody else here is logging a Grey Seal yet.
See the boat.