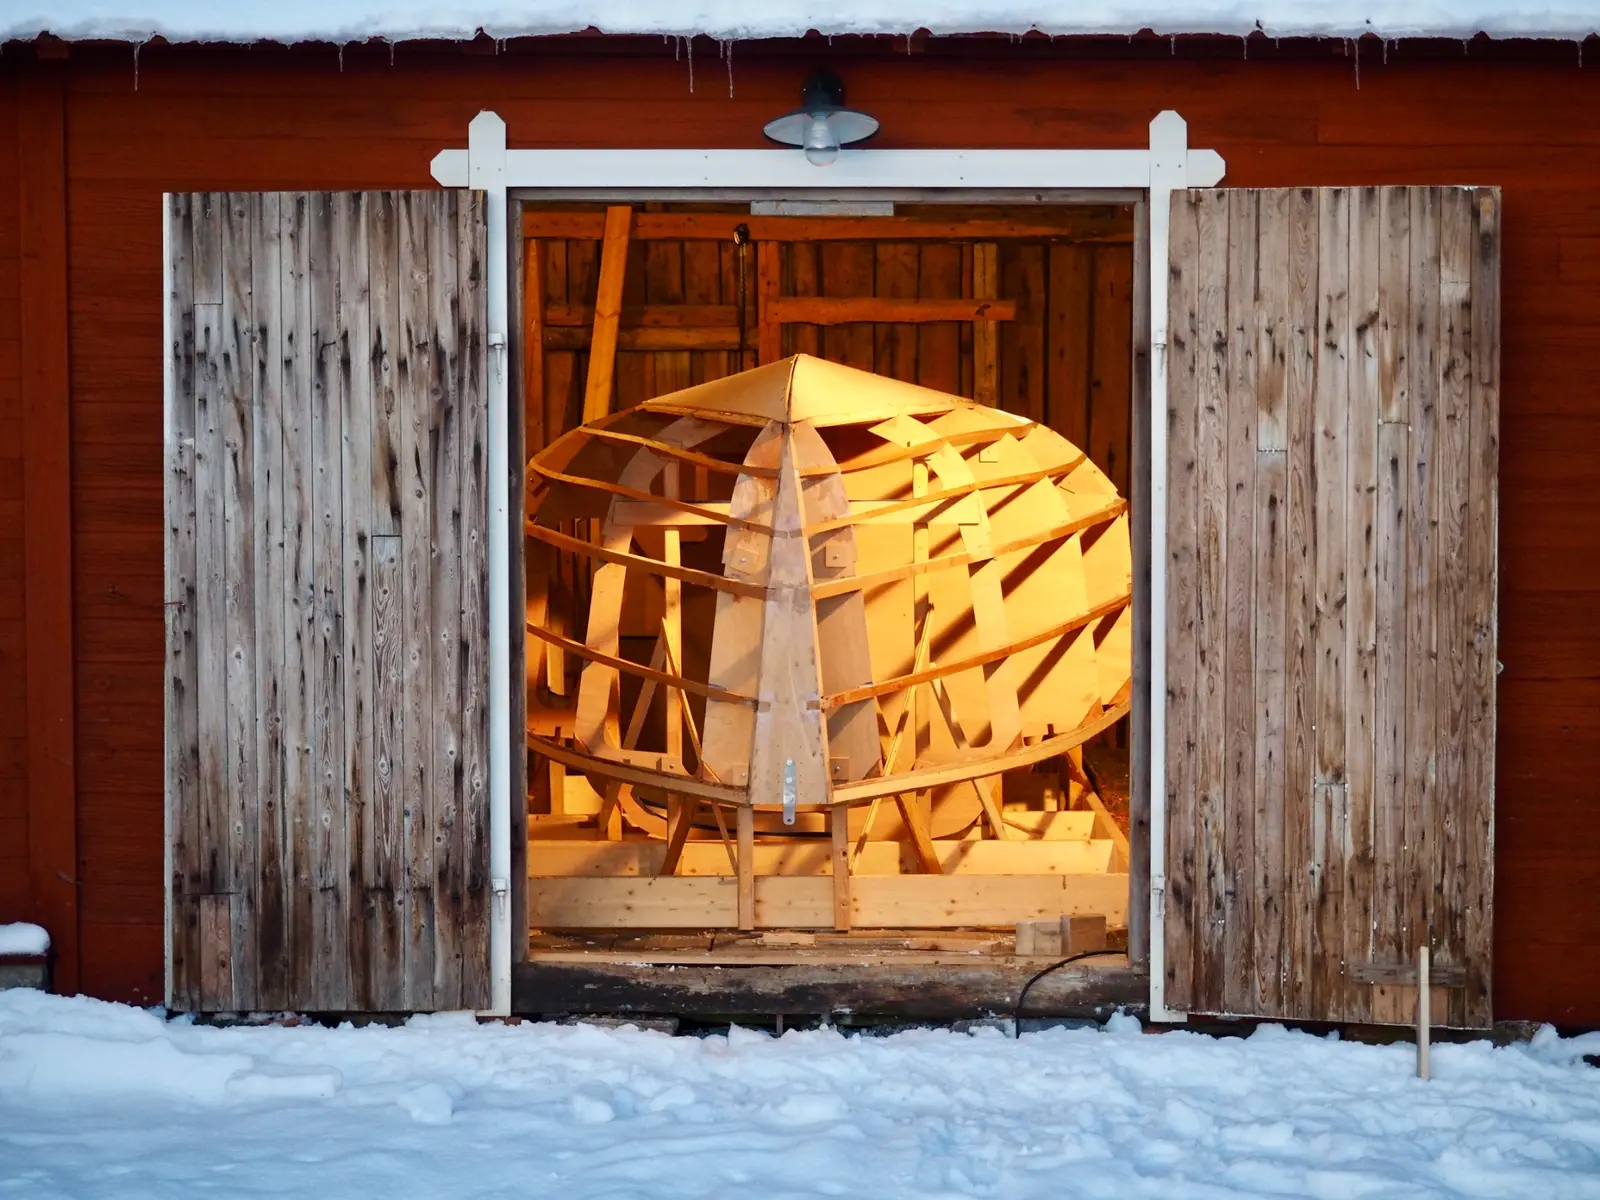
The plan was simple: move away from a heavy, system-heavy cruising yacht down to something smaller, fast, and trailerable. A sportboat built for pure fun.
For a long time, classic lines like the Cape Henry 21 were on my radar. But after watching hours of the Volvo Ocean Race and the Vendée Globe, my focus shifted toward modern hull shapes. Then I saw a video of Michele Manconi sailing an IDEA19. It looked like pure fun. I choice finally came to the IDEA21.
Five years and 1800 hours in an unheated barn culminated last summer when the hull finally tasted saltwater. I deliberately prioritized getting her into the water to evaluate the hull form, conduct sea trials, and test different hardware solutions under load. The trials were very fruitful - she is fast, responsive, and sharp on the helm.
Because the focus was entirely on testing her sailing characteristics, nothing was done to the interior. The cabin remains a completely blank canvas.
I am retrofitting my building archive here to document how we reached launch day, while using this log to track the upcoming interior work and refinements live from the shop. Welcome along.
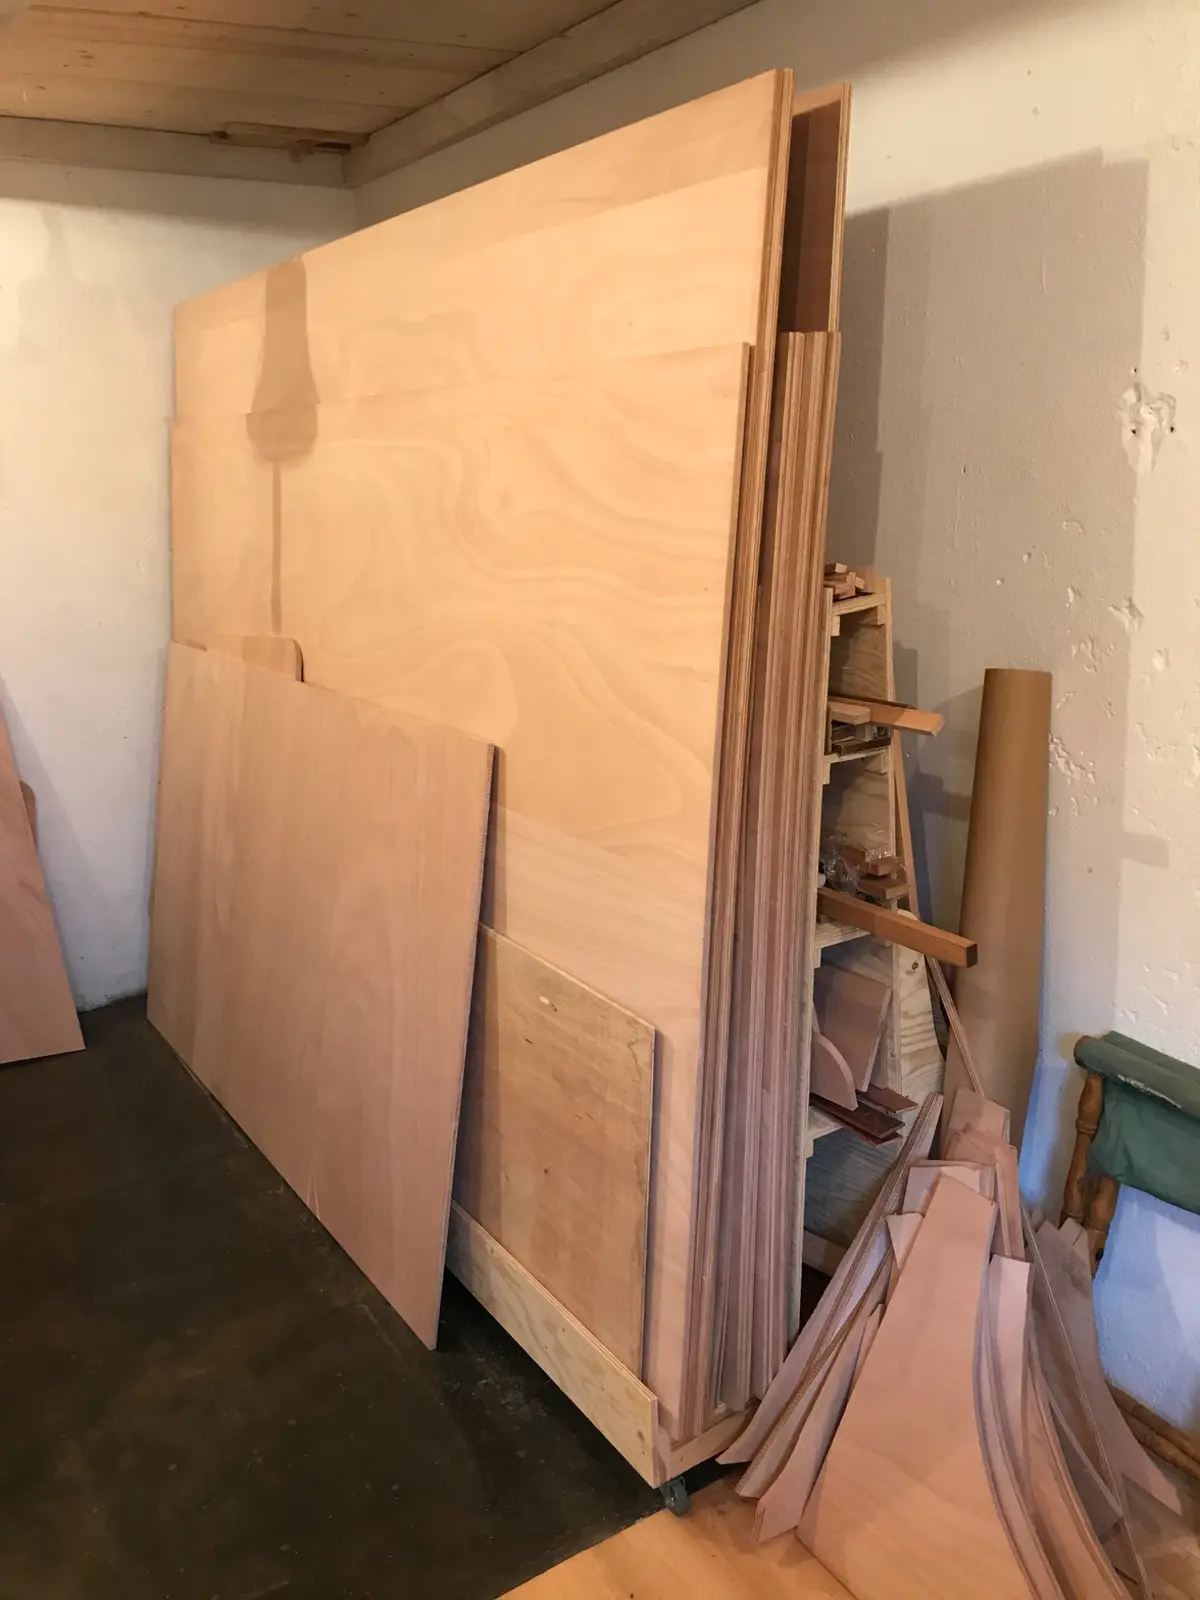
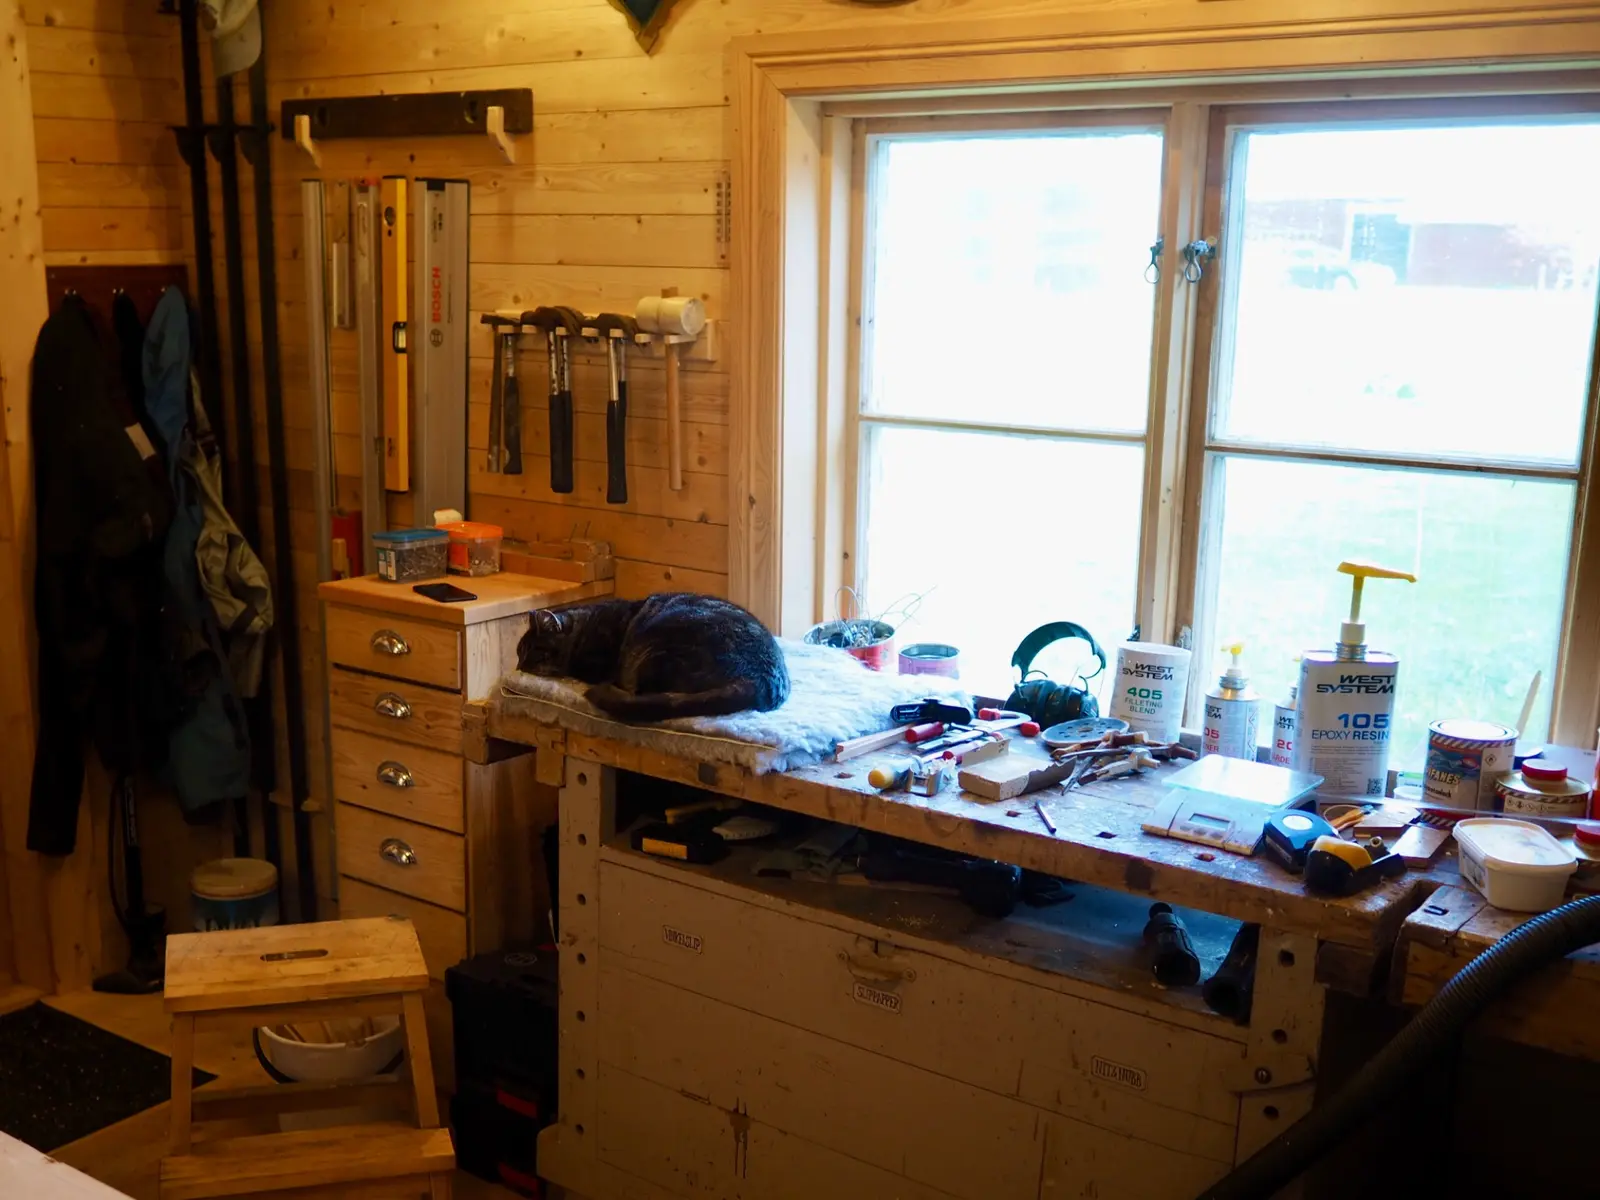
Before cutting any mahogany, the workshop needed structure. In a small heated shop, raw materials crowd you out quickly. Marine plywood sheets and mahogany take up significant floor space. If they get damp or warp, the material is ruined.
I built solid, dry storage racks specifically for the plywood and sorted scrap wood from day one. It kept the floor clear and saved hours of shifting material around later.
Cost of Wood
The journey started in July 2020 with ordering the core materials: marine plywood and mahogany.
The cost was a financial shock. Timber and quality plywood prices have risen sharply. Living in the northern part of Sweden, shipping costs are high, so I tried to do a bulk order which ended up on almost 5 000 EUR. There is no room for careless mistakes when cutting into wood at these prices 🙂
Scaffolding, bulkheads, and stringers
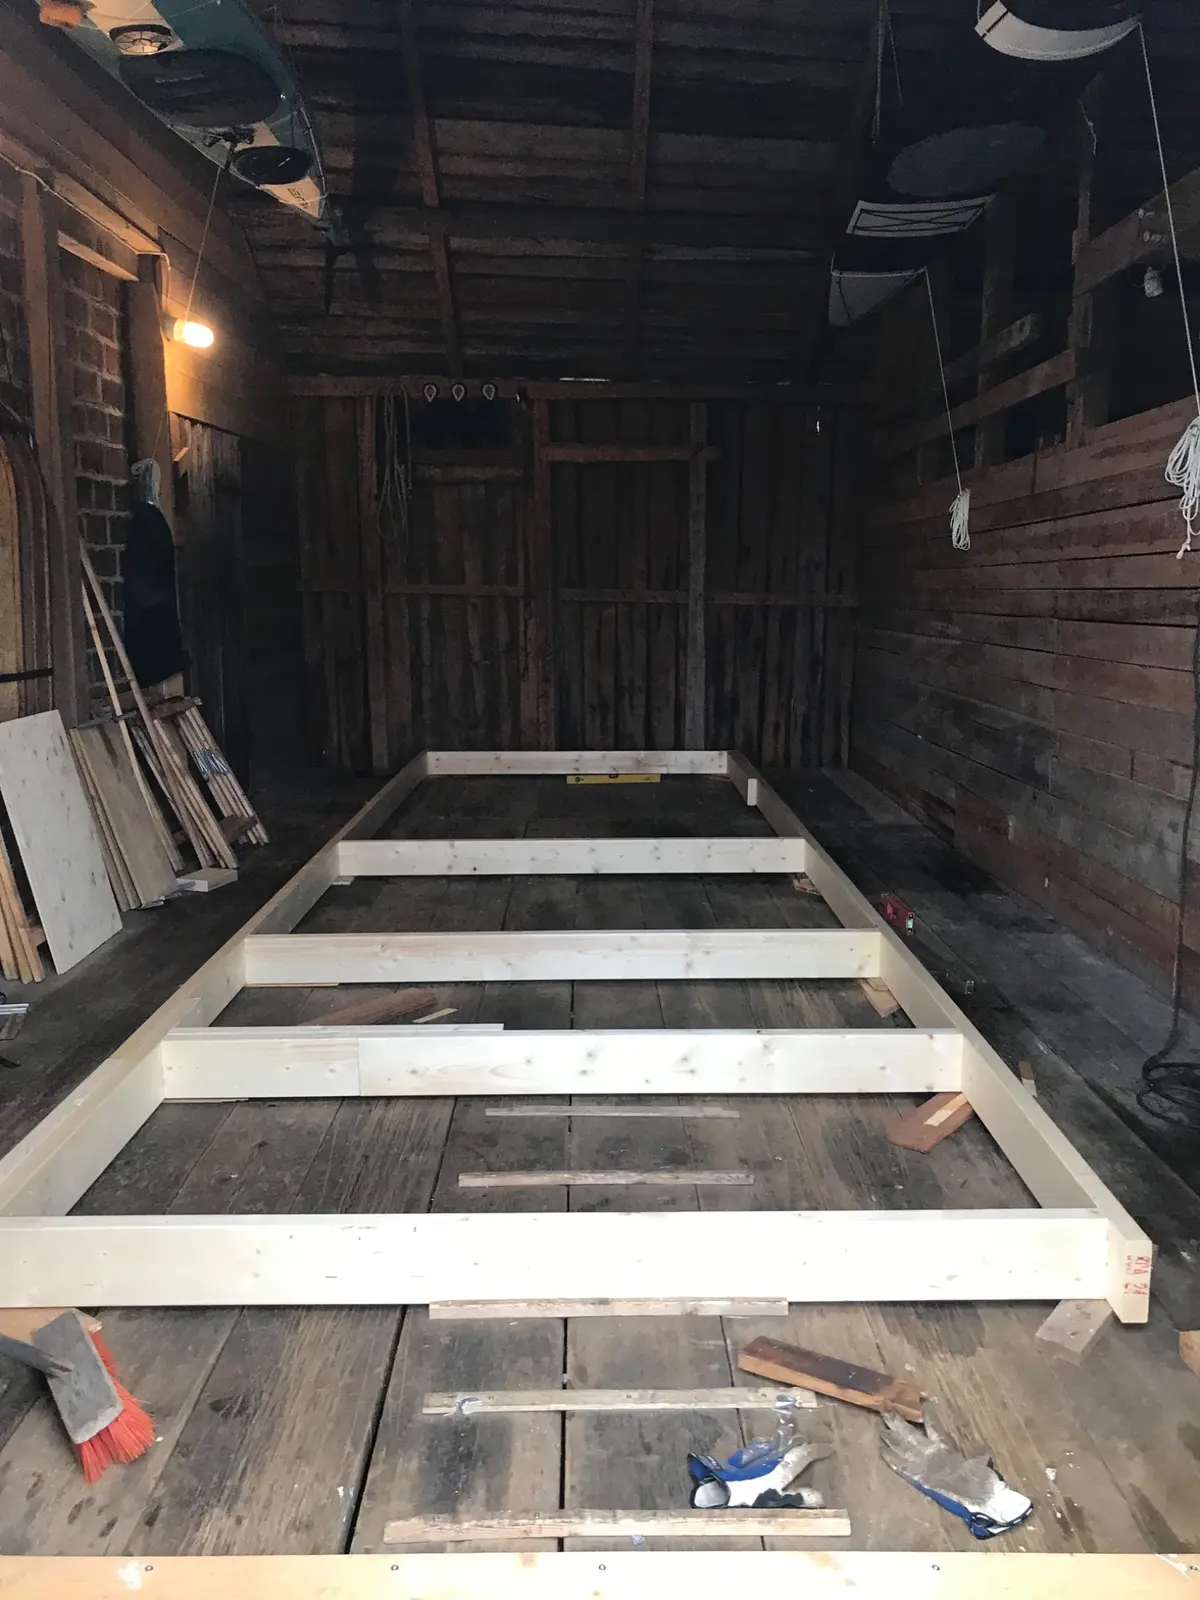
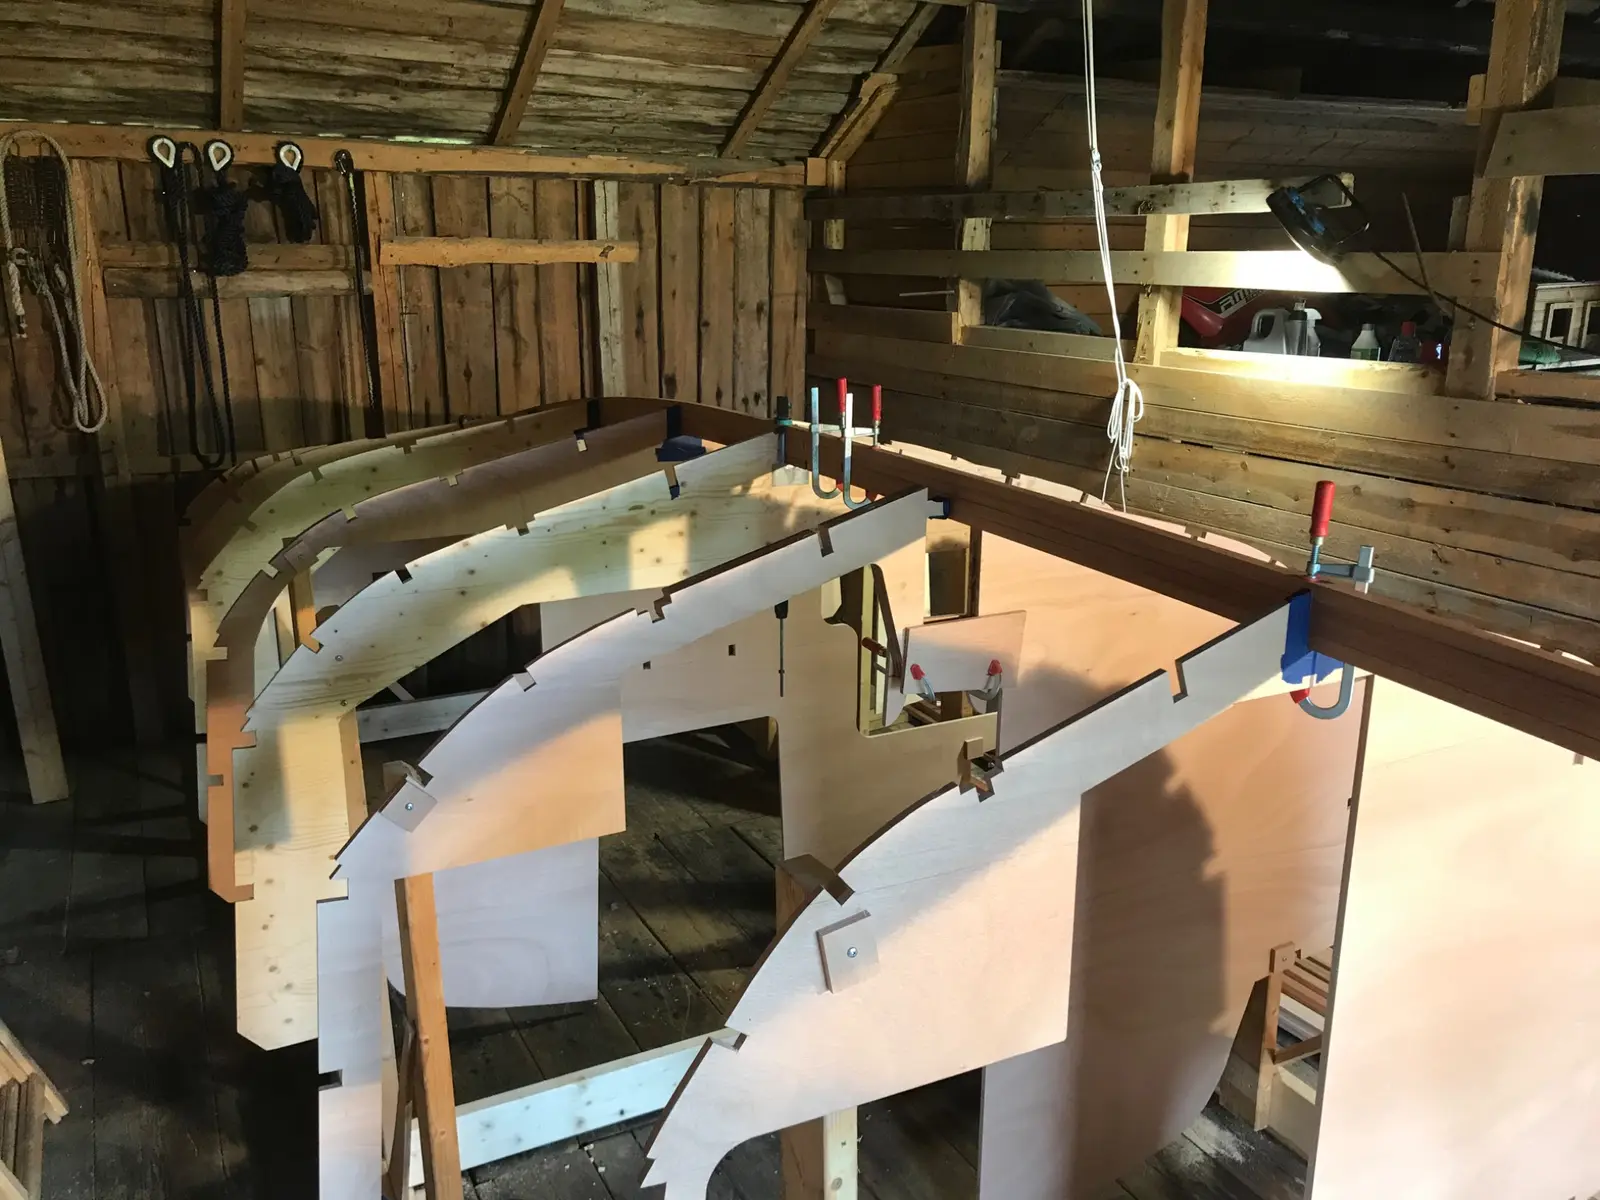
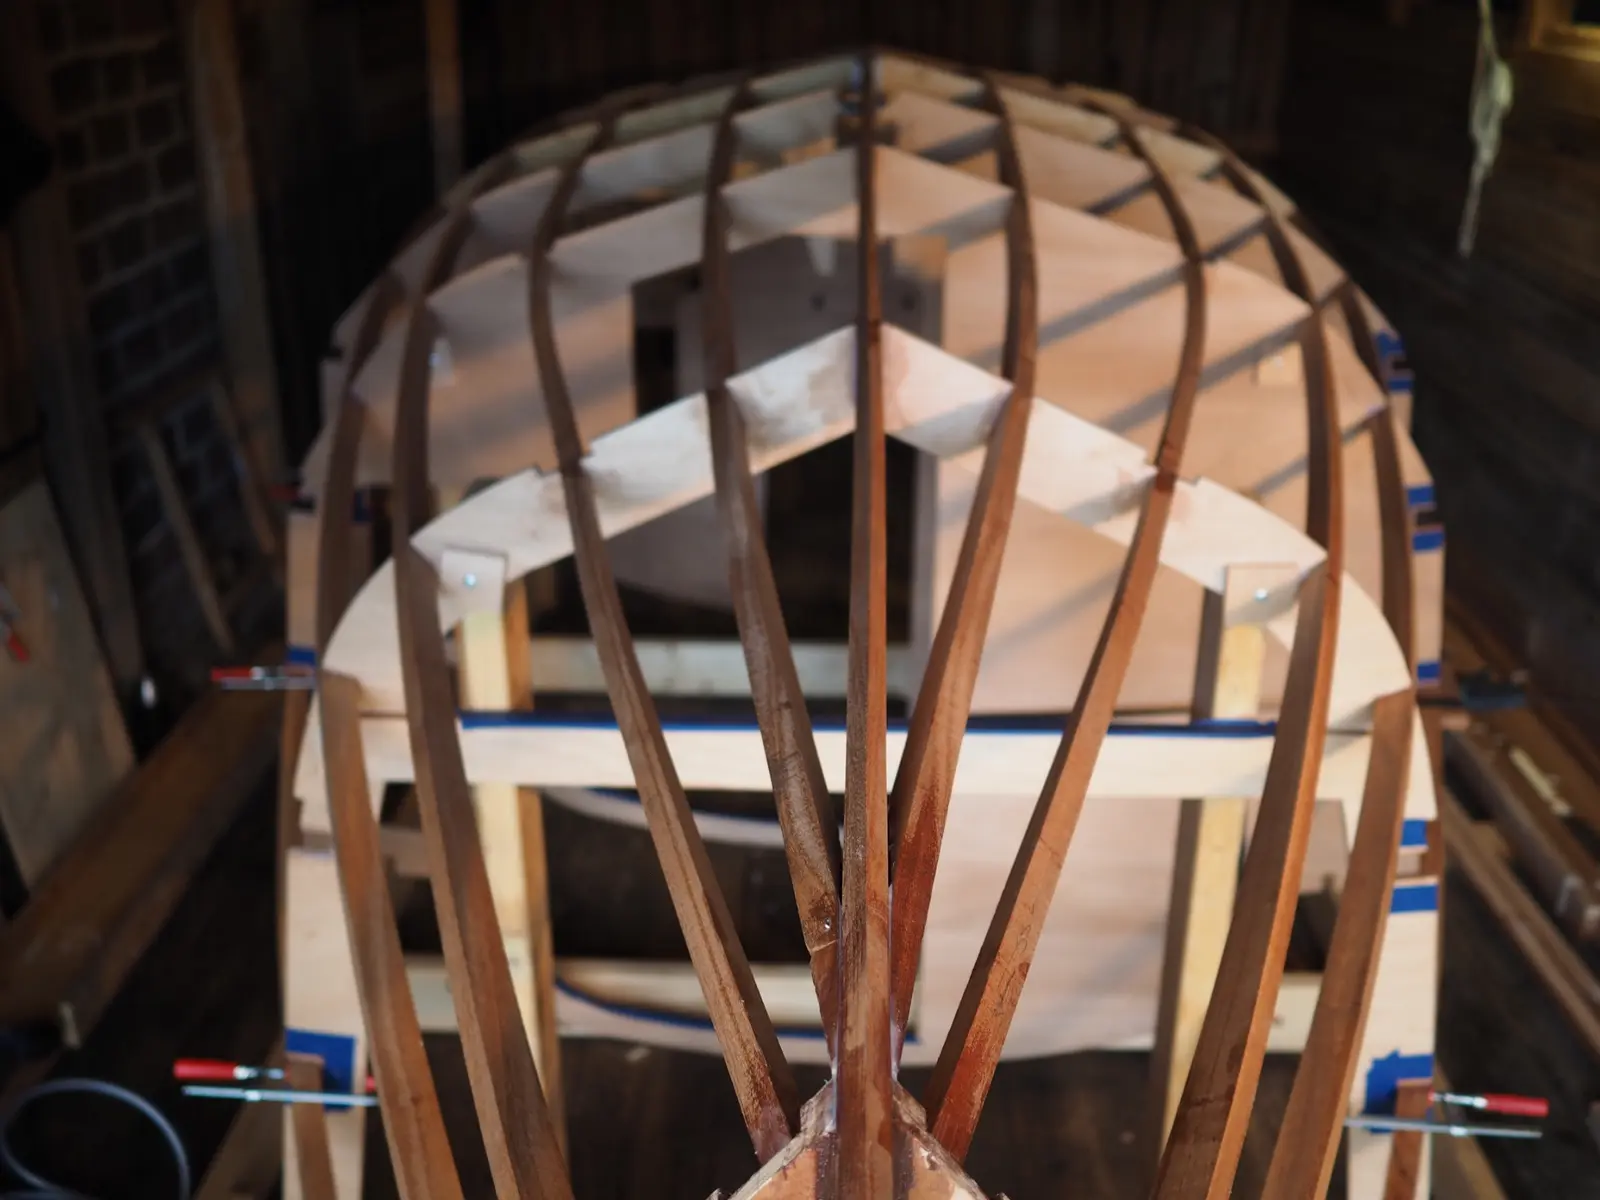
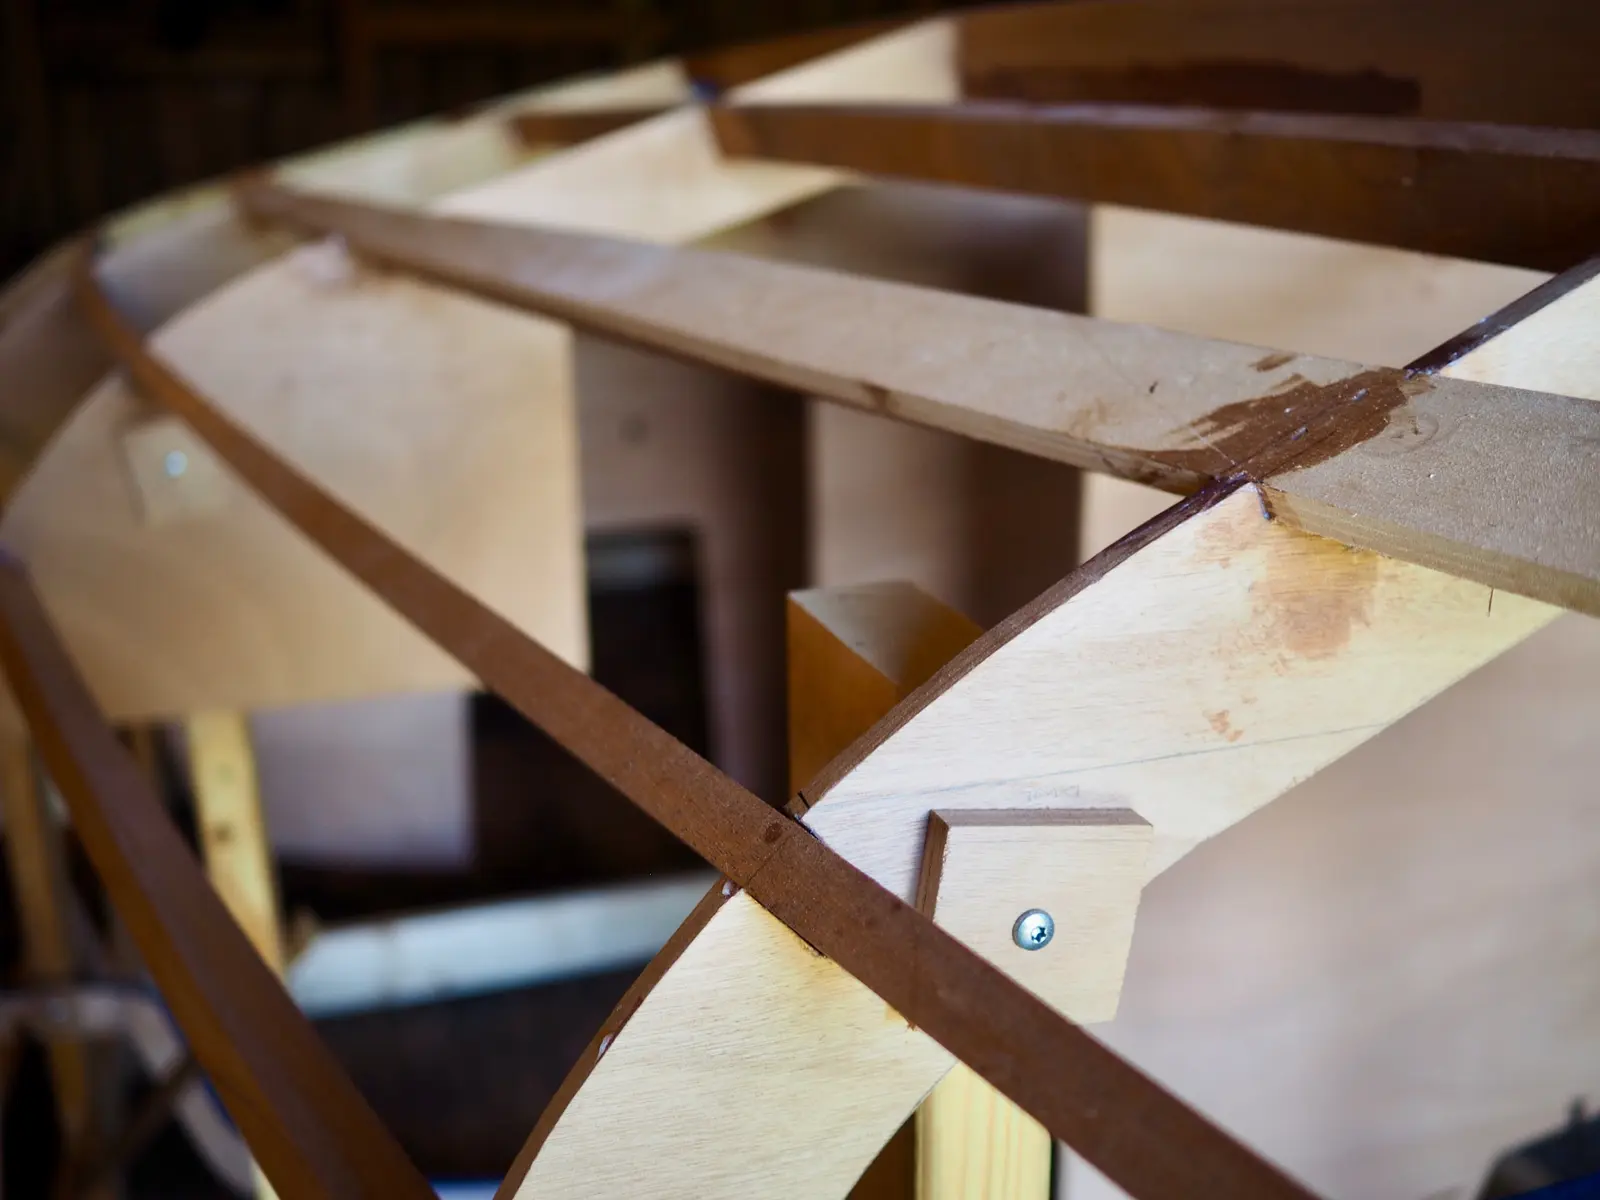
I constructed the sturdy assembly scaffold—the strongback—to hold the geometry of the boat. Next was lofting, cutting out the plywood bulkheads, and aligning them on the frame.
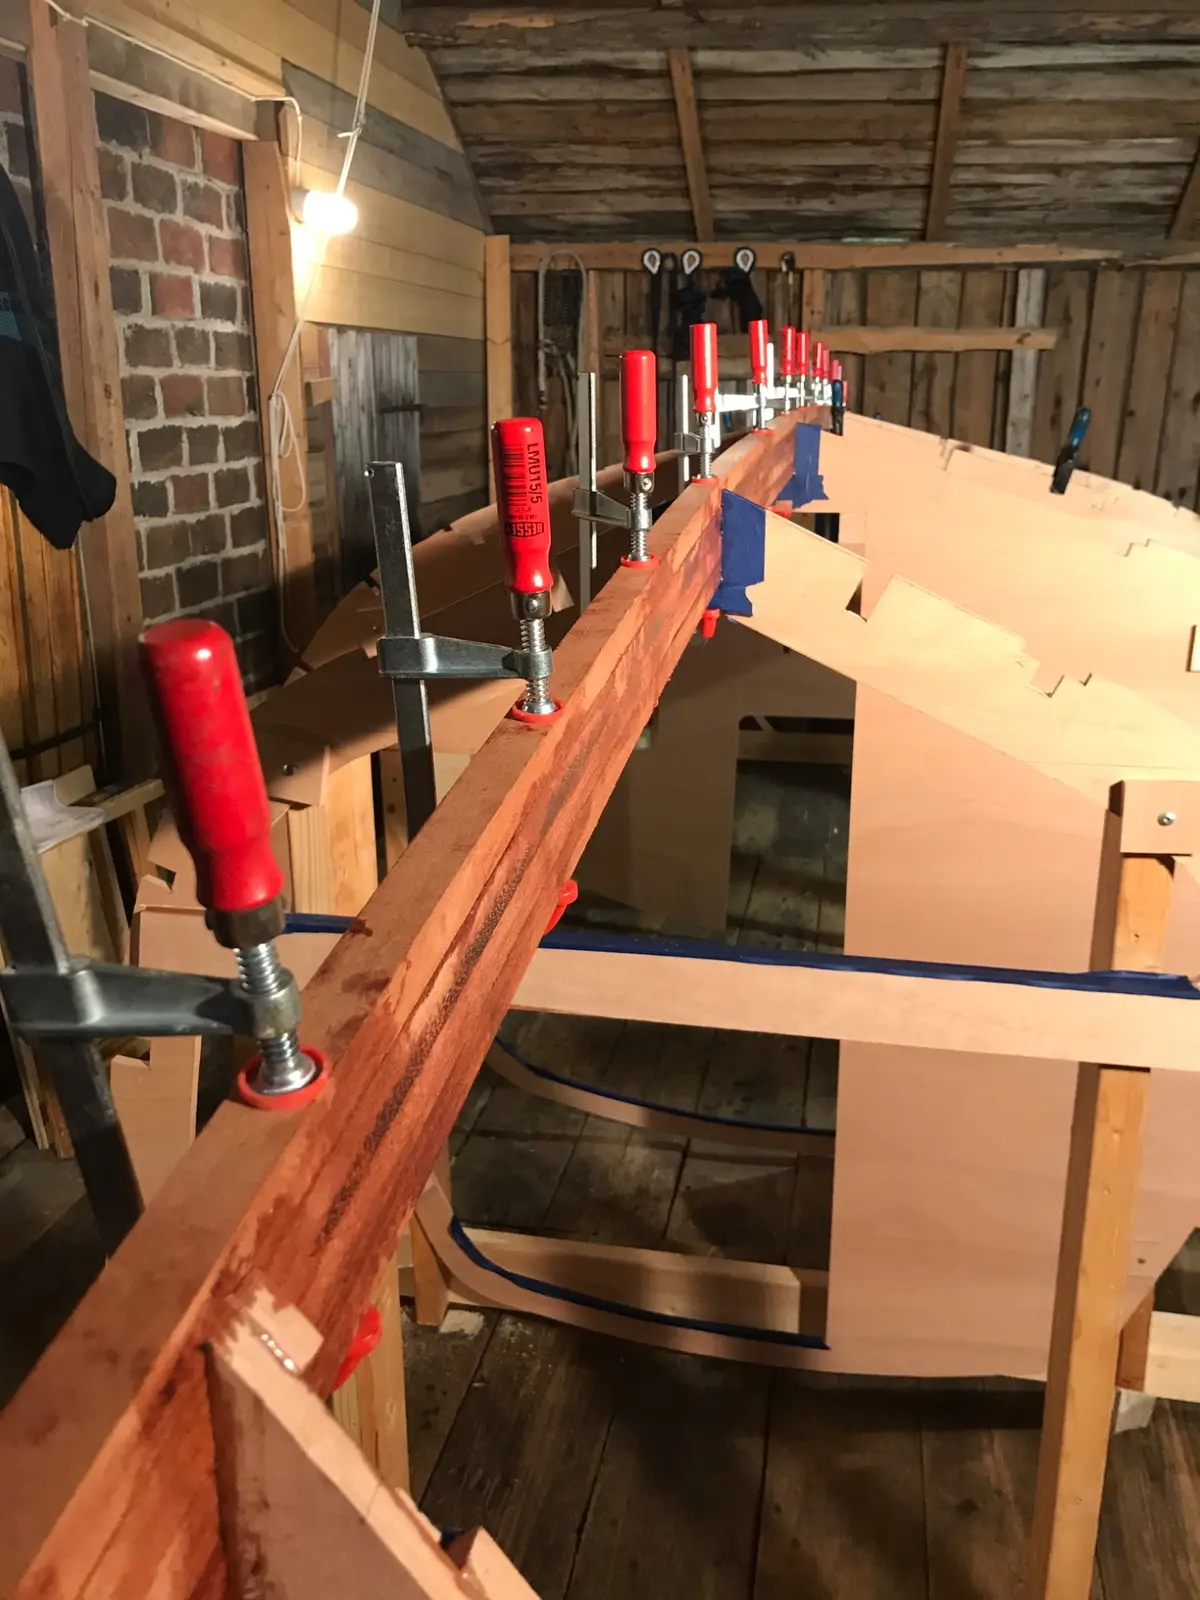
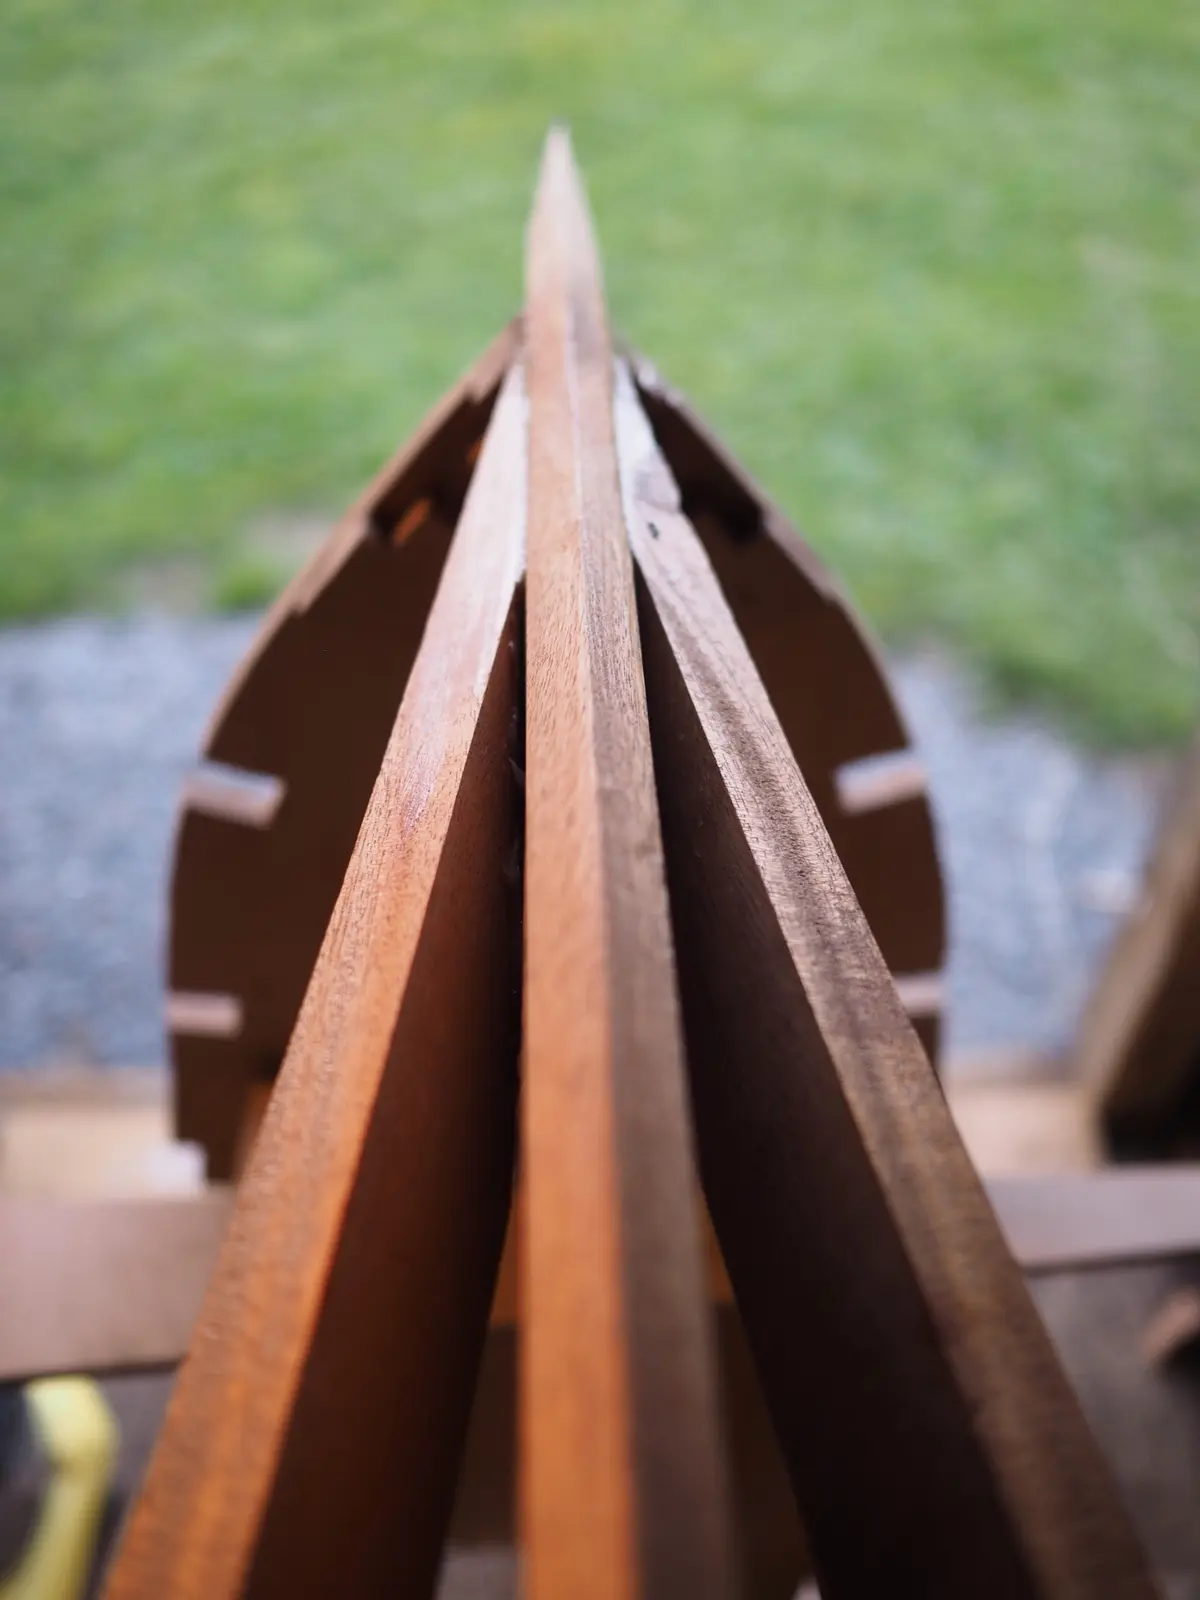
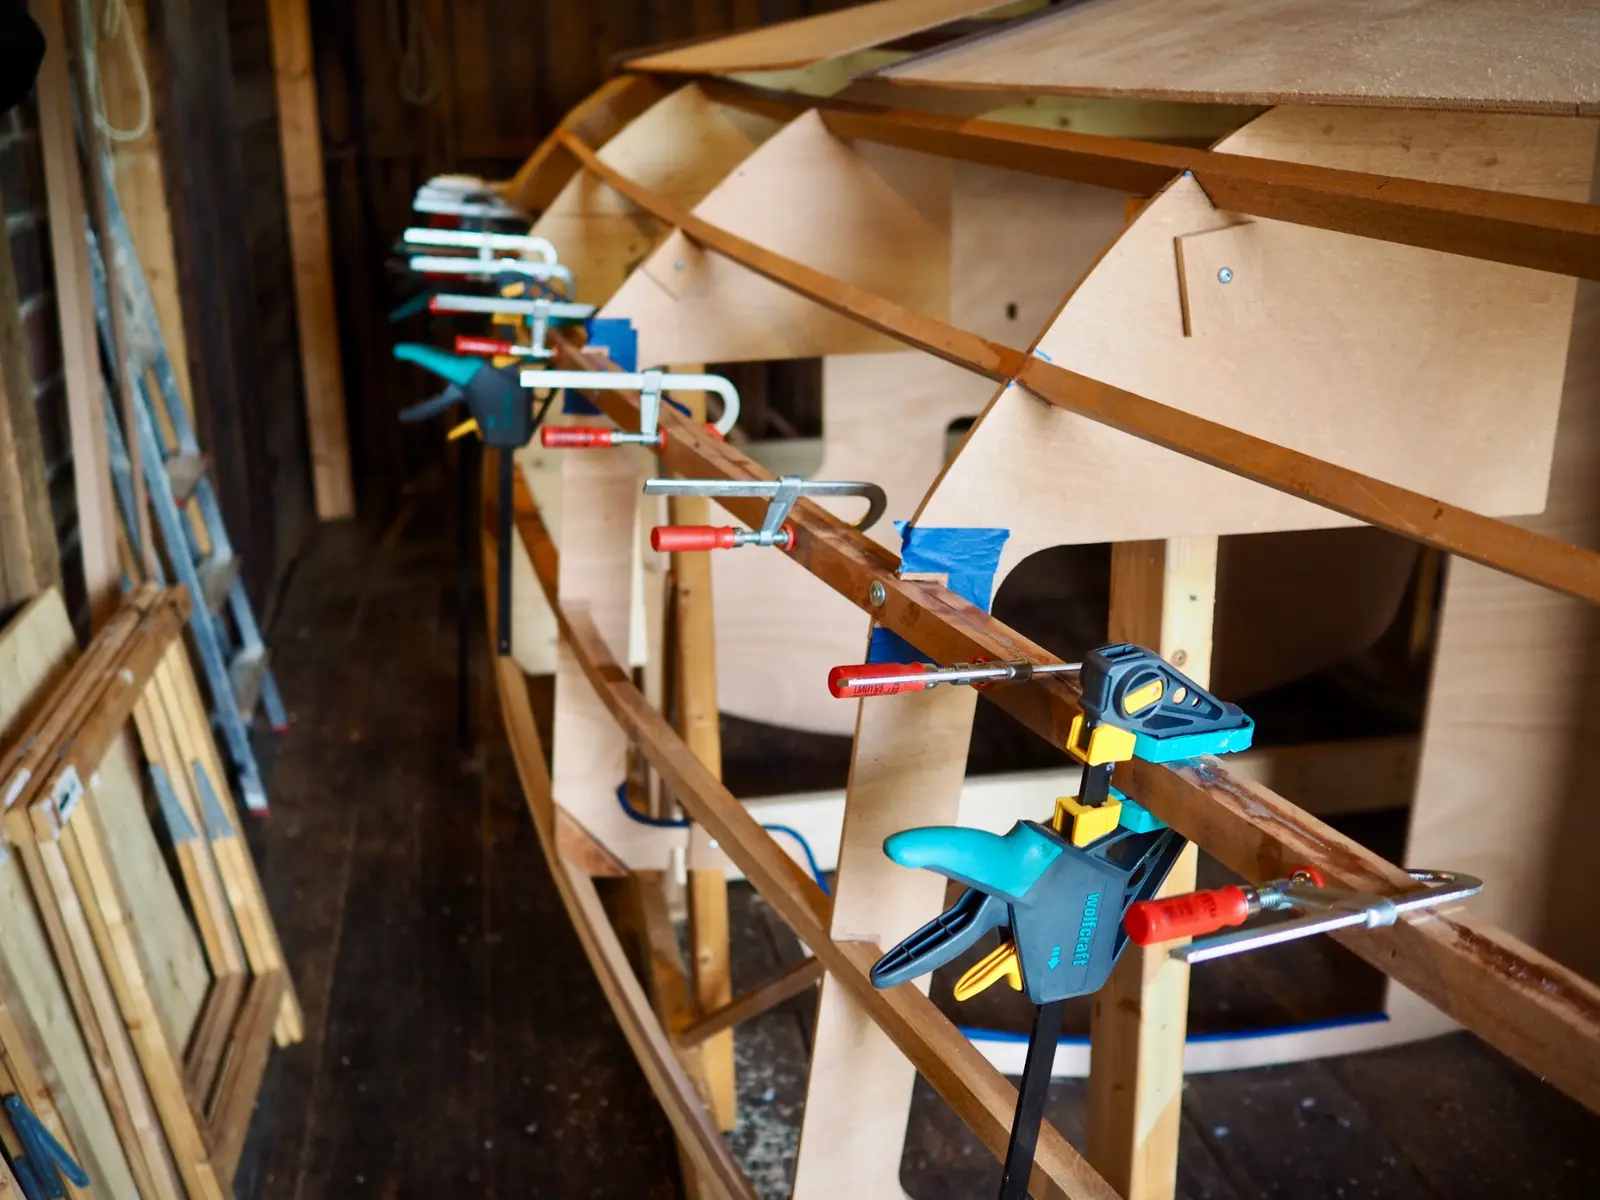
Once the bulkheads were secured, I ran the longitudinal stringers along the hull. This is where the wood began to resist.
Stainless metalwork
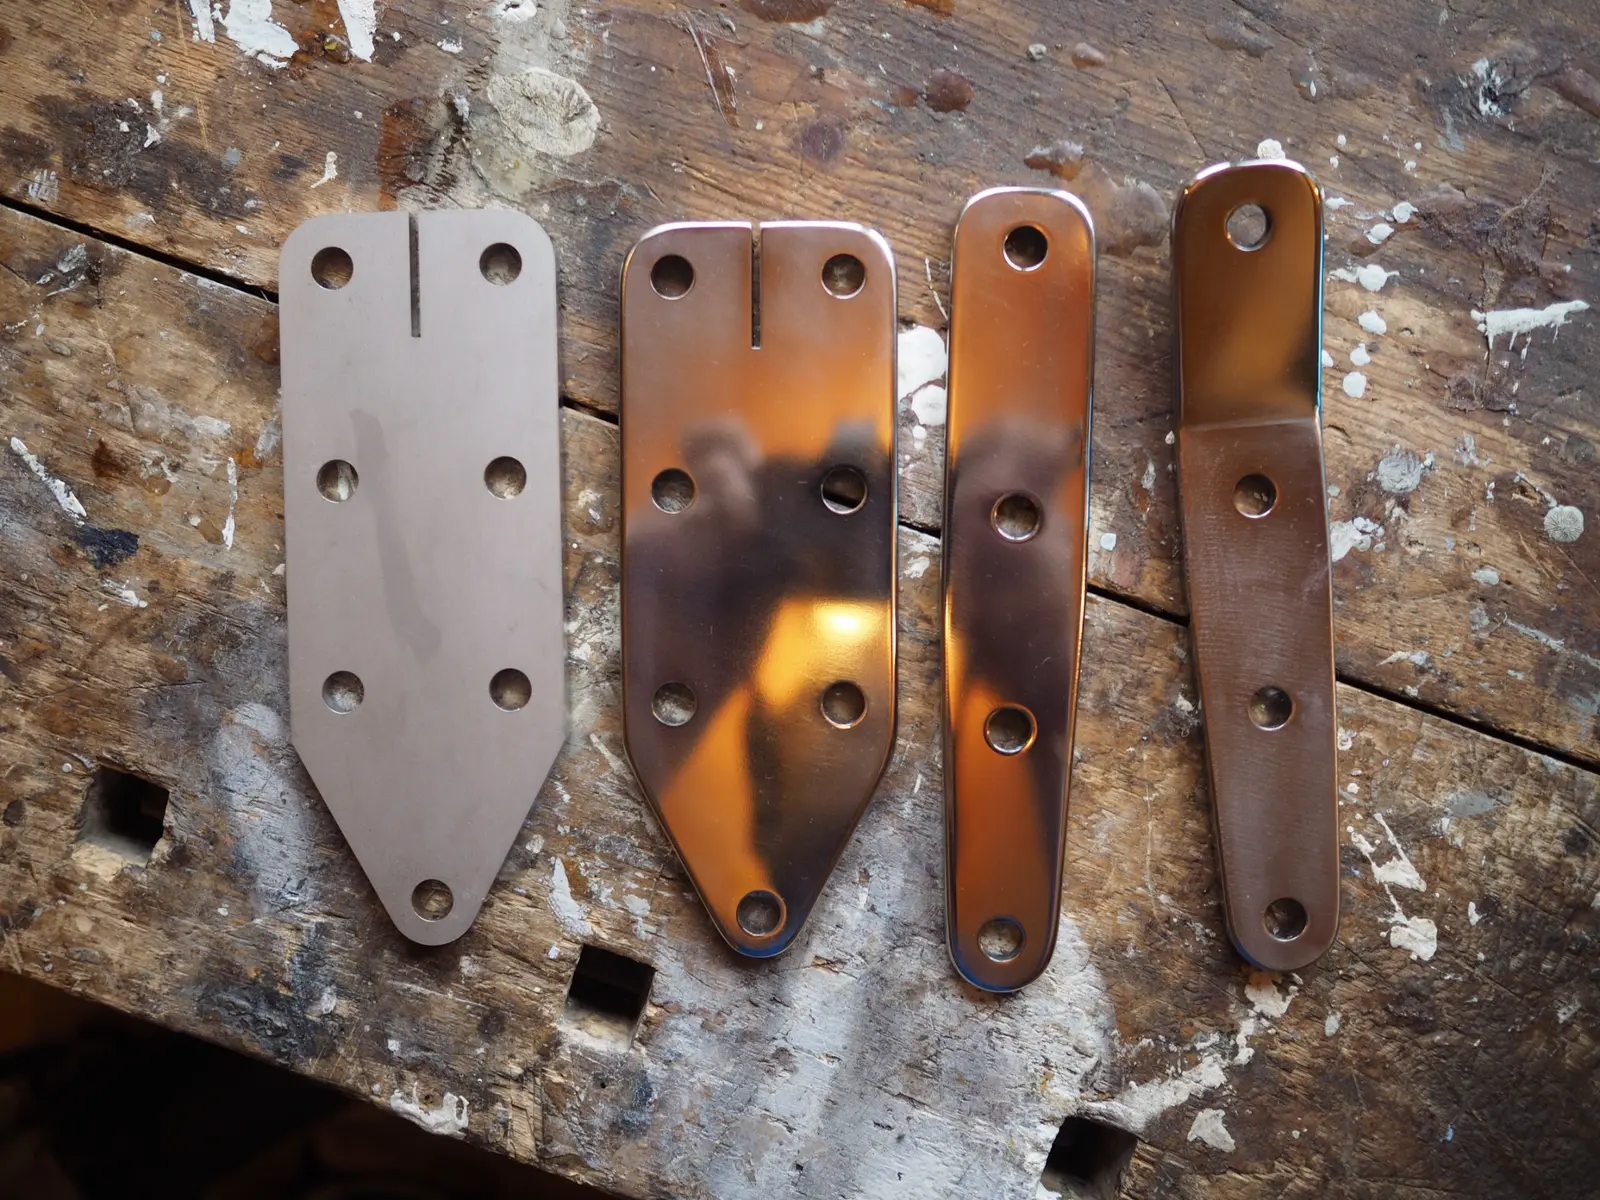
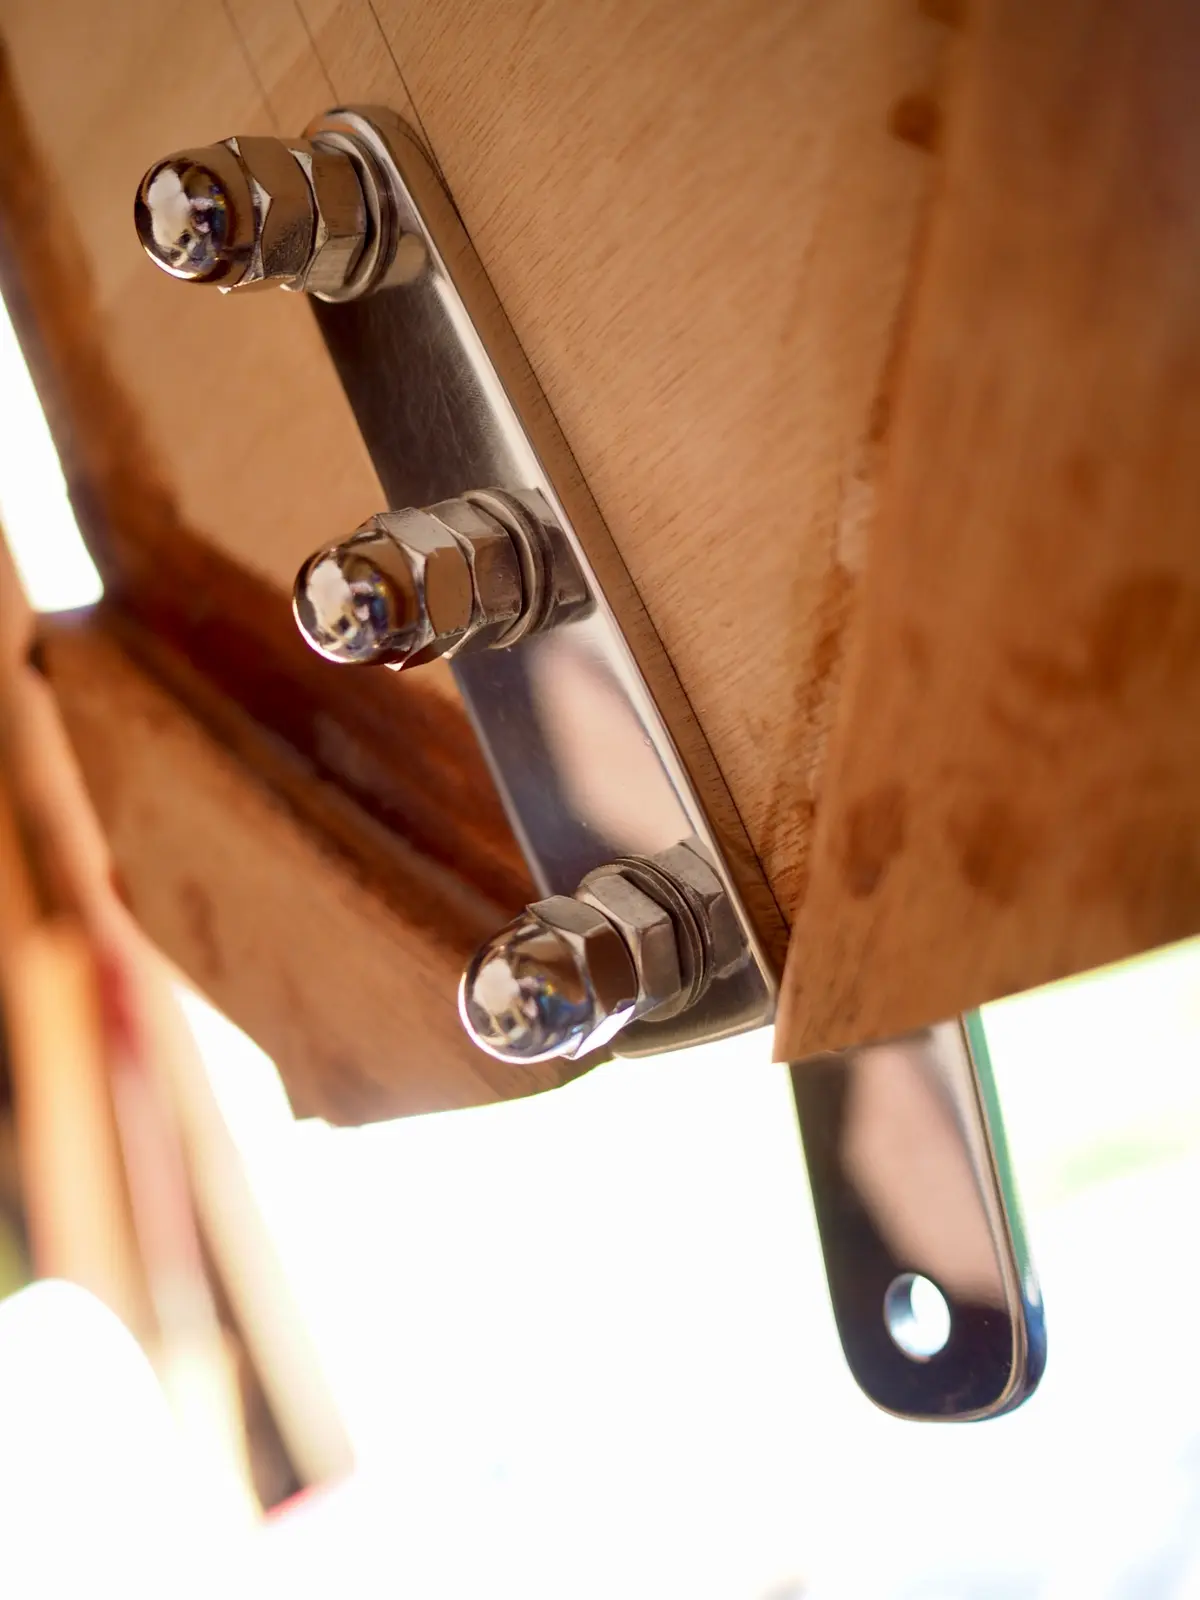
I needed several stainless steel parts early on. Sourcing them locally turned out to be straightforward.
I sent the CAD files to a local metal workshop. They laser-cut the pieces accurately and at a reasonable cost. The parts arrived raw and dull, but an angle grinder and polishing pads turned them into marine-grade stainless steel. It required patience but was easy to do.
Learnings of Year One
1. The Snapped Mahogany
The chine stringers are thick, 30×40 mm solid mahogany. When attempting to bend one of these large, solid pieces around the tight curve of the hull, the tension grew too high. There was a sharp crack, and it snapped right in two.
It was a frustrating, expensive mistake. I should have split the dimension in two and laminated it from two separate 30×20 mm pieces, gluing them together with epoxy directly on the hull. Brute force does not work against mahogany; lamination does.
Additionally, I realized too late that I should have run the router along the inside edges of the stringers before_installation. Cleaning up the edges facing the interior of the hull is far more difficult now that they are glued in place.
2. The Creeping Bulkhead (Bulkhead No. 3)
Bulkhead number 3 is one of the largest structural frames in the boat. Because it serves as the walkthrough to the forward section, it has a large opening cut out of the middle, leaving only a relatively narrow plywood edge.
When I clamped and forced the heavy stringers into place, the immense pressure slowly deformed and pushed that weak bulkhead edge out of alignment. Because everything was under tension and covered in clamps, the slight shift went unnoticed.
I didn't discover this error until 18 months later when we turned the hull right-side up. To fix it, I had to take a saw, physically cut the bulkhead free from the stringers, force it back into its proper geometric position, and epoxy-glue it back into place.