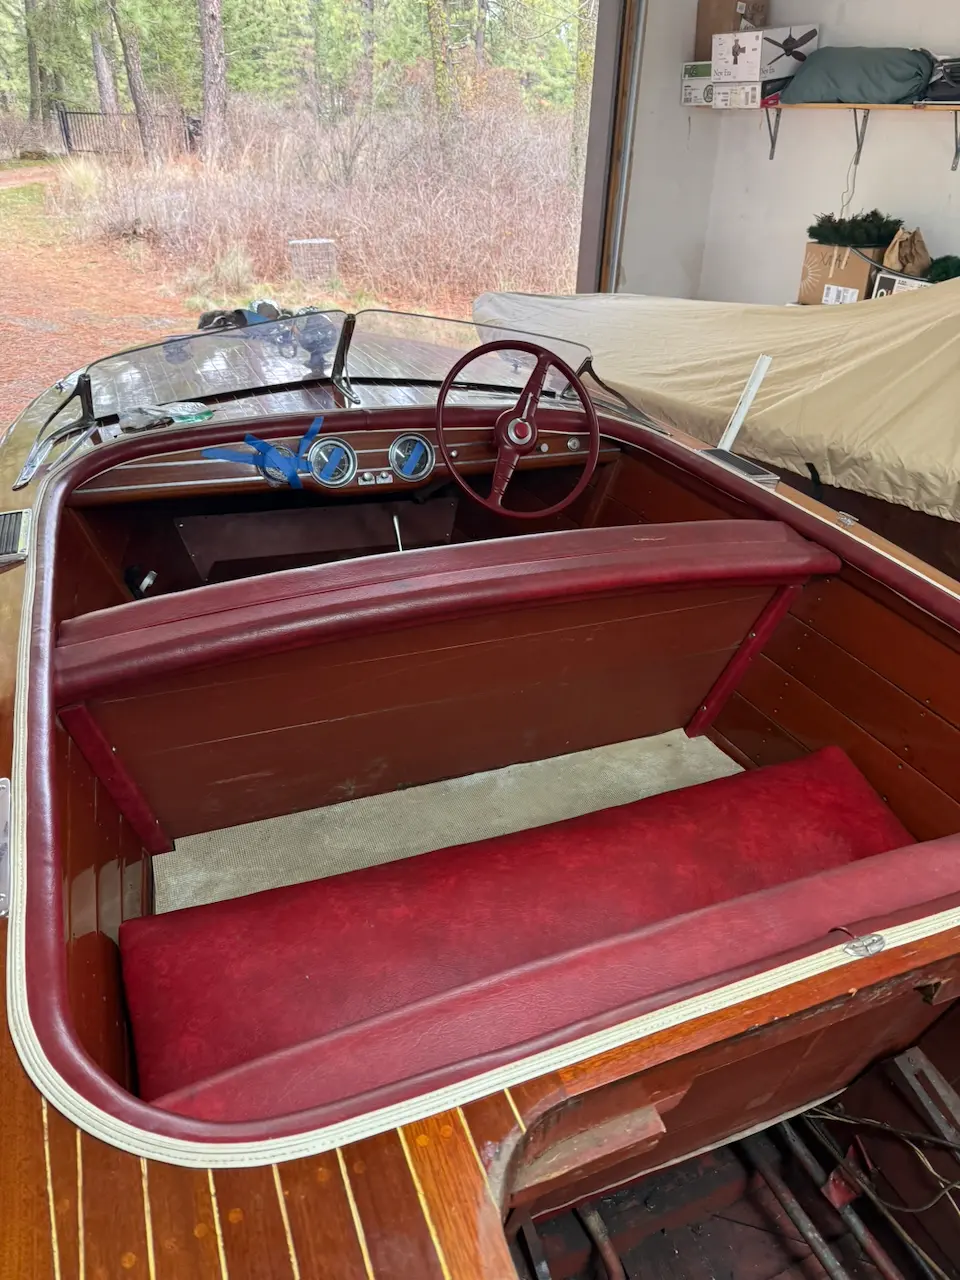
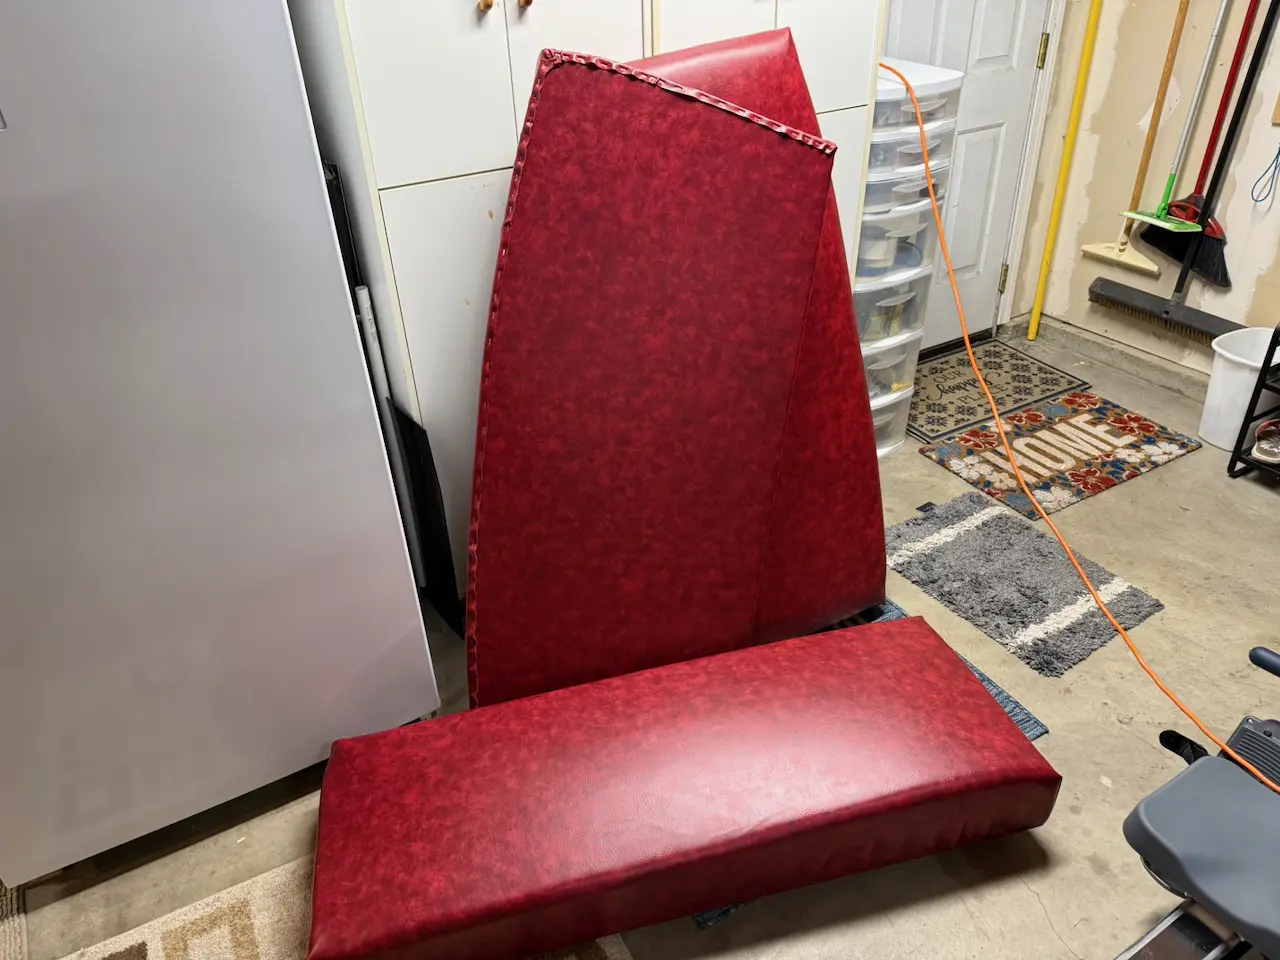
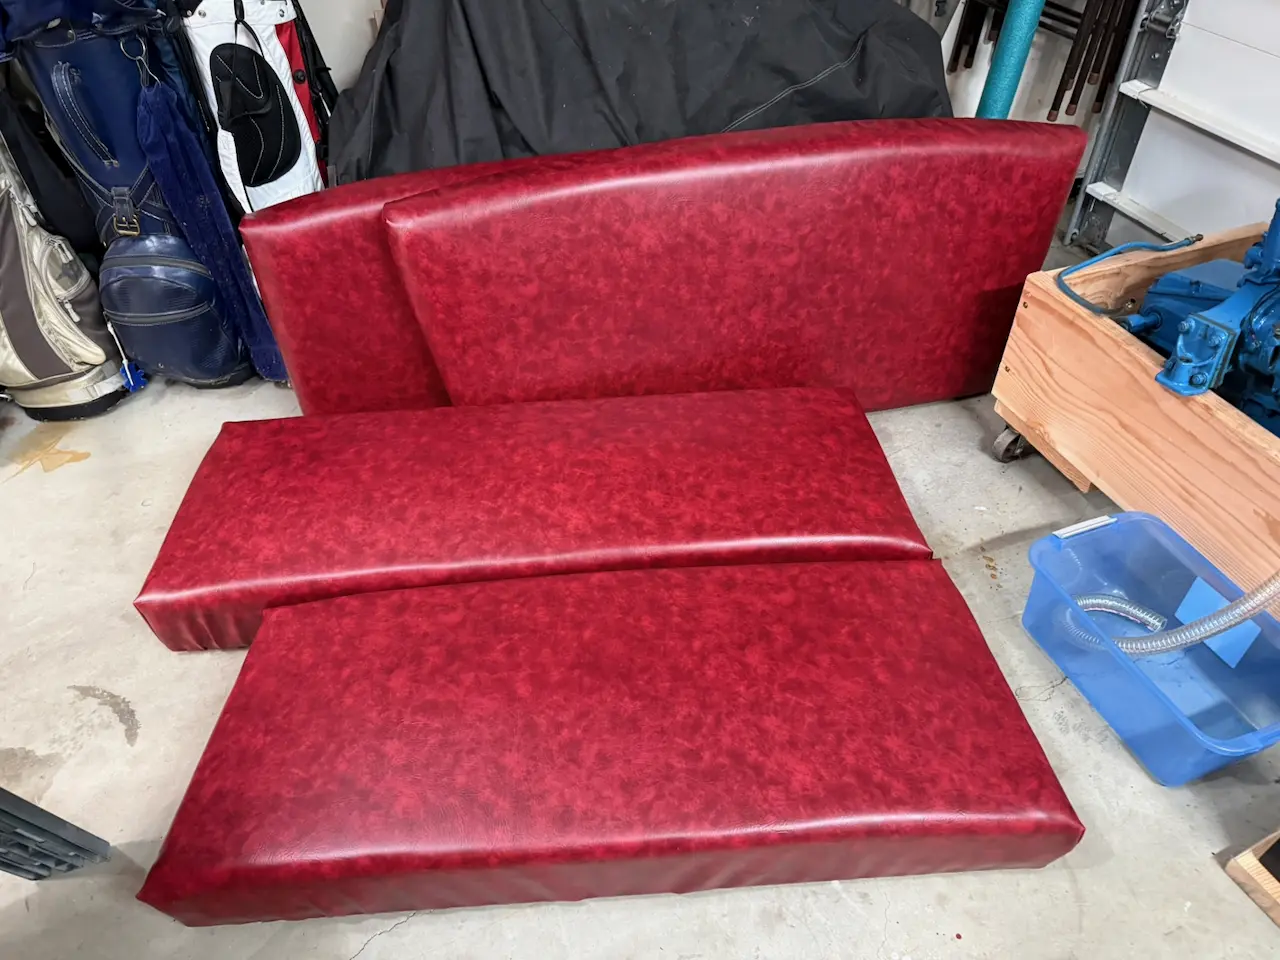
Upholstery repair
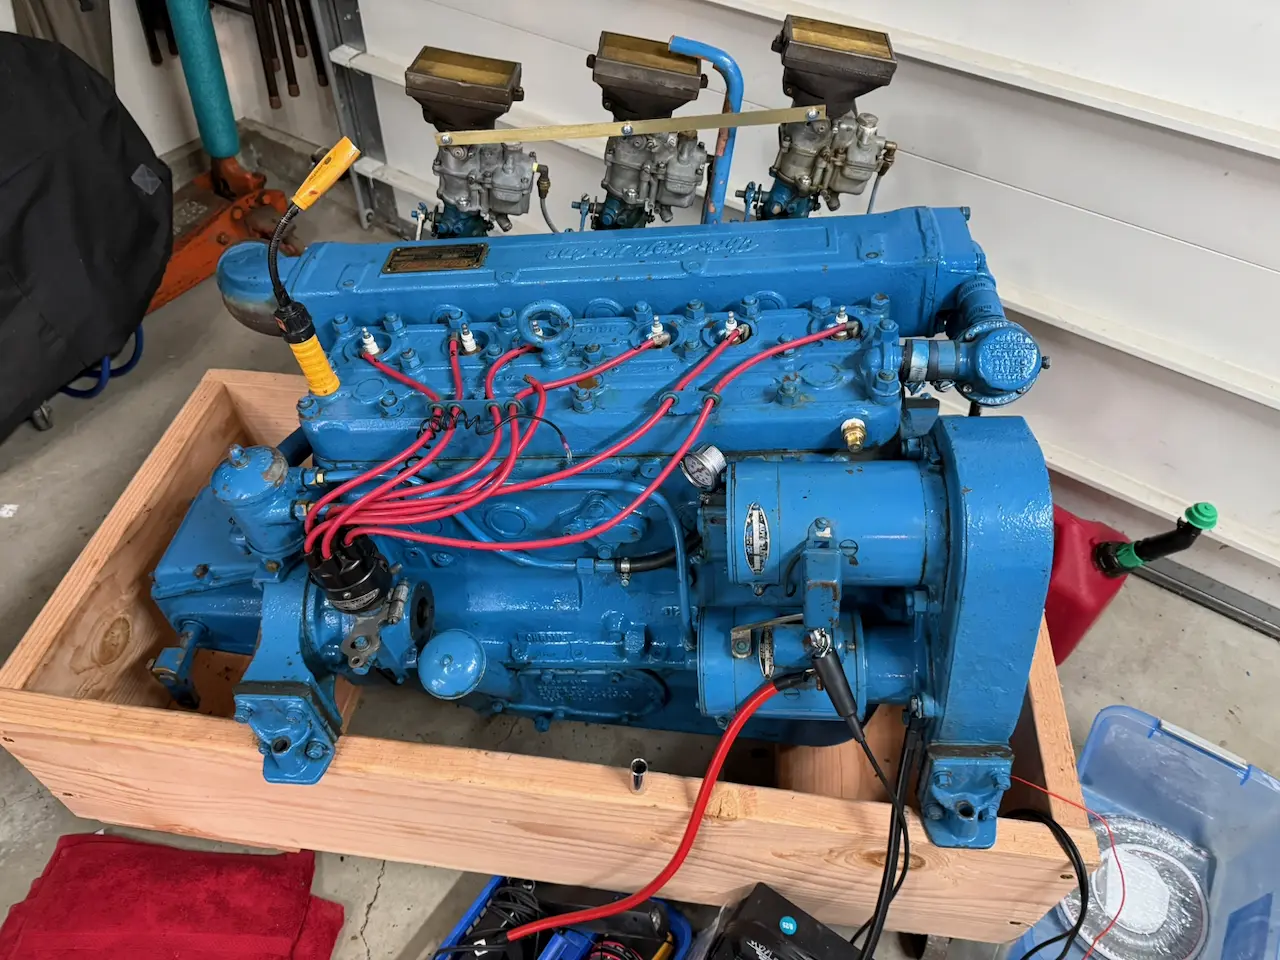
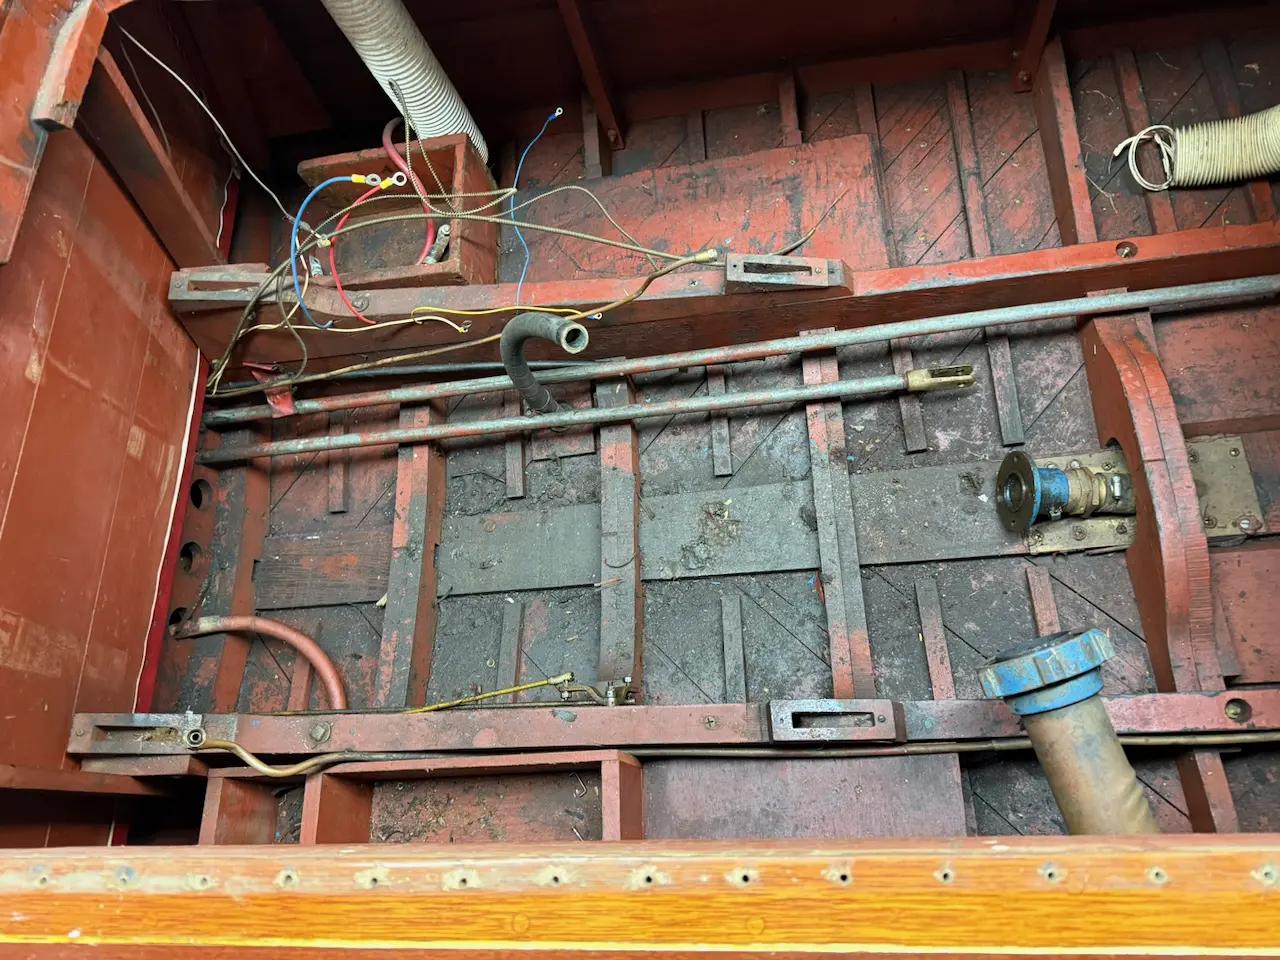
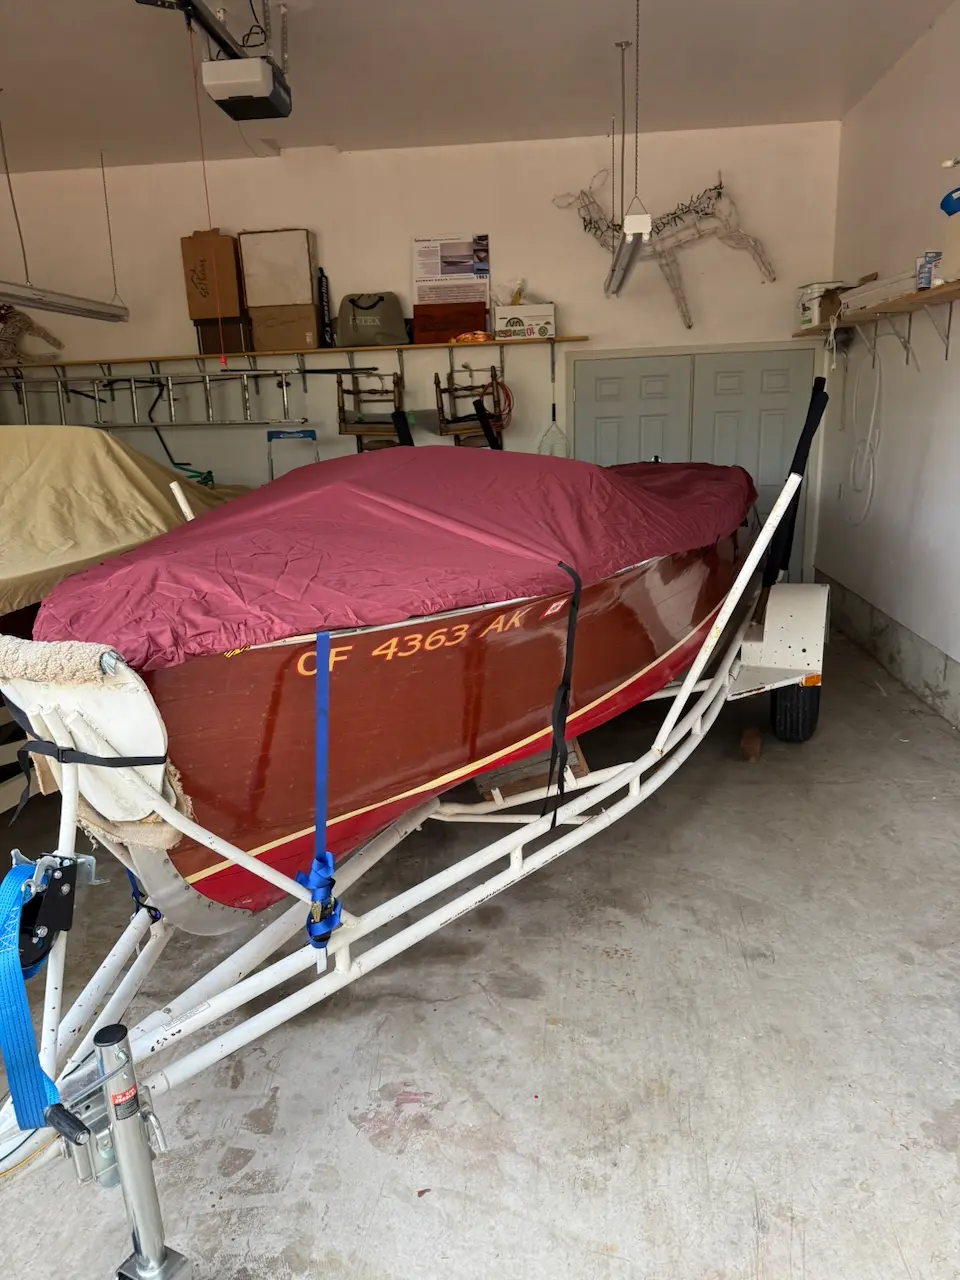
Miss Behaving is coming along nicely. If you haven’t been following along, I removed the engine and drained the oil before performing a compression test. The oil didn’t look too bad, but to be safe I filled the crankcase with diesel to flush out any sludge. That decision paid off—the diesel did an excellent job cleaning things out.
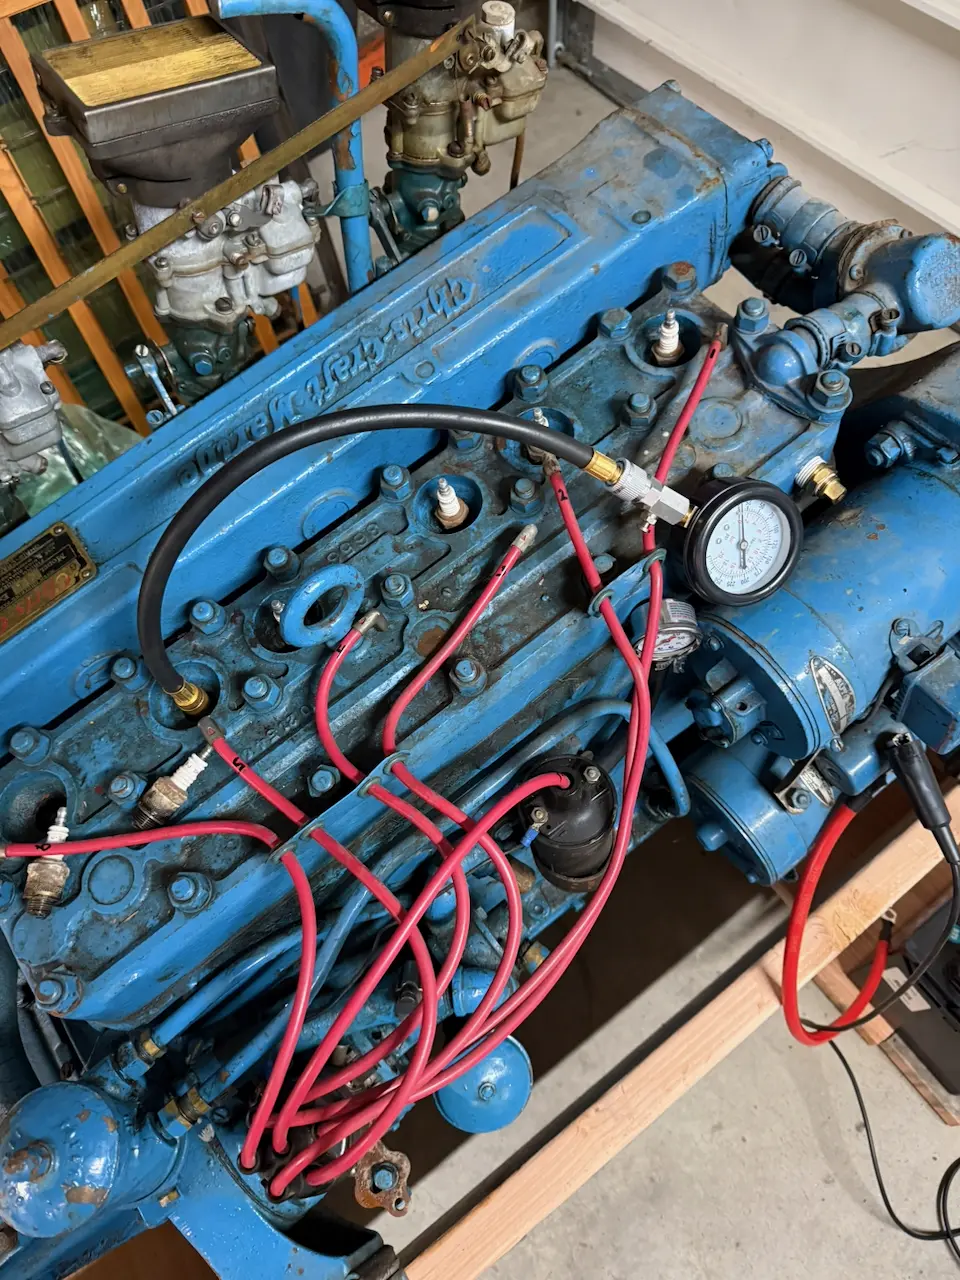
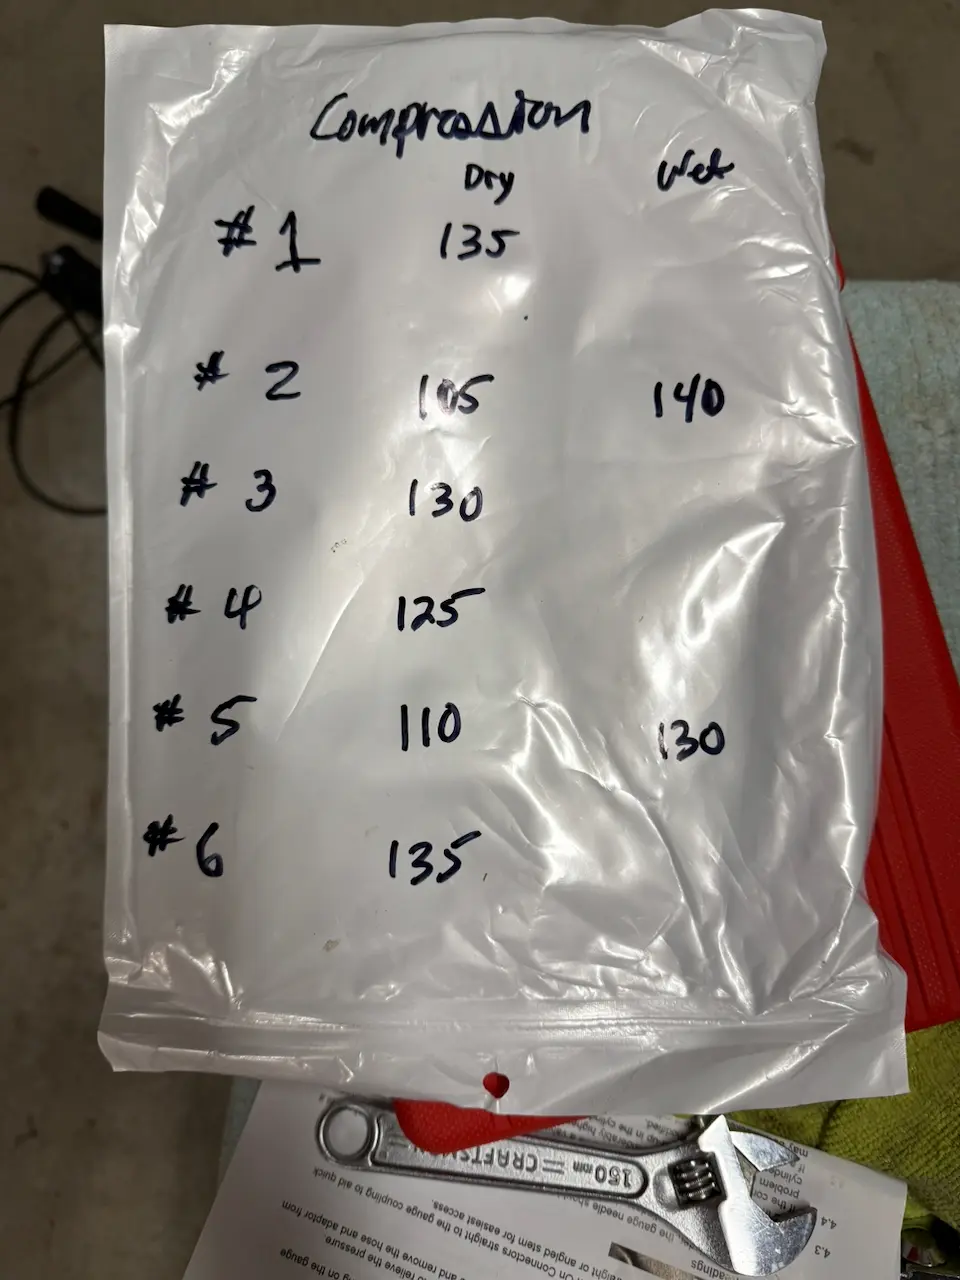
Next came the compression test. For those unfamiliar, an engine compression test is done by disabling the fuel and ignition, removing all the spark plugs, blocking the throttle open, and threading the tester’s adapter into one spark plug hole. The engine is then cranked for several seconds until the gauge stabilizes, the PSI reading is recorded, and the process is repeated for all cylinders. Ideally, readings should be within about 10–15% of each other.
I also performed a wet compression test, which helps diagnose the cause of low compression. This involves adding about a teaspoon of oil into the cylinder through the spark plug hole and retesting. If compression increases significantly, worn piston rings are usually the cause, as the oil temporarily seals them. If compression remains low, the issue is more likely related to valves or piston damage, since oil won’t correct those problems. As always, the dry test should be done first, followed by the wet test only on any low cylinders.
Chris-Craft published recommended compression numbers for the KBL engine, which I have, and as luck would have it, Miss Behaving appears to have been rebuilt sometime before being stored in 1976. All cylinders tested in the good-to-excellent range. Considering the engine hadn’t been turned over in nearly 50 years, I expect compression to improve even more once it’s been run for a while.
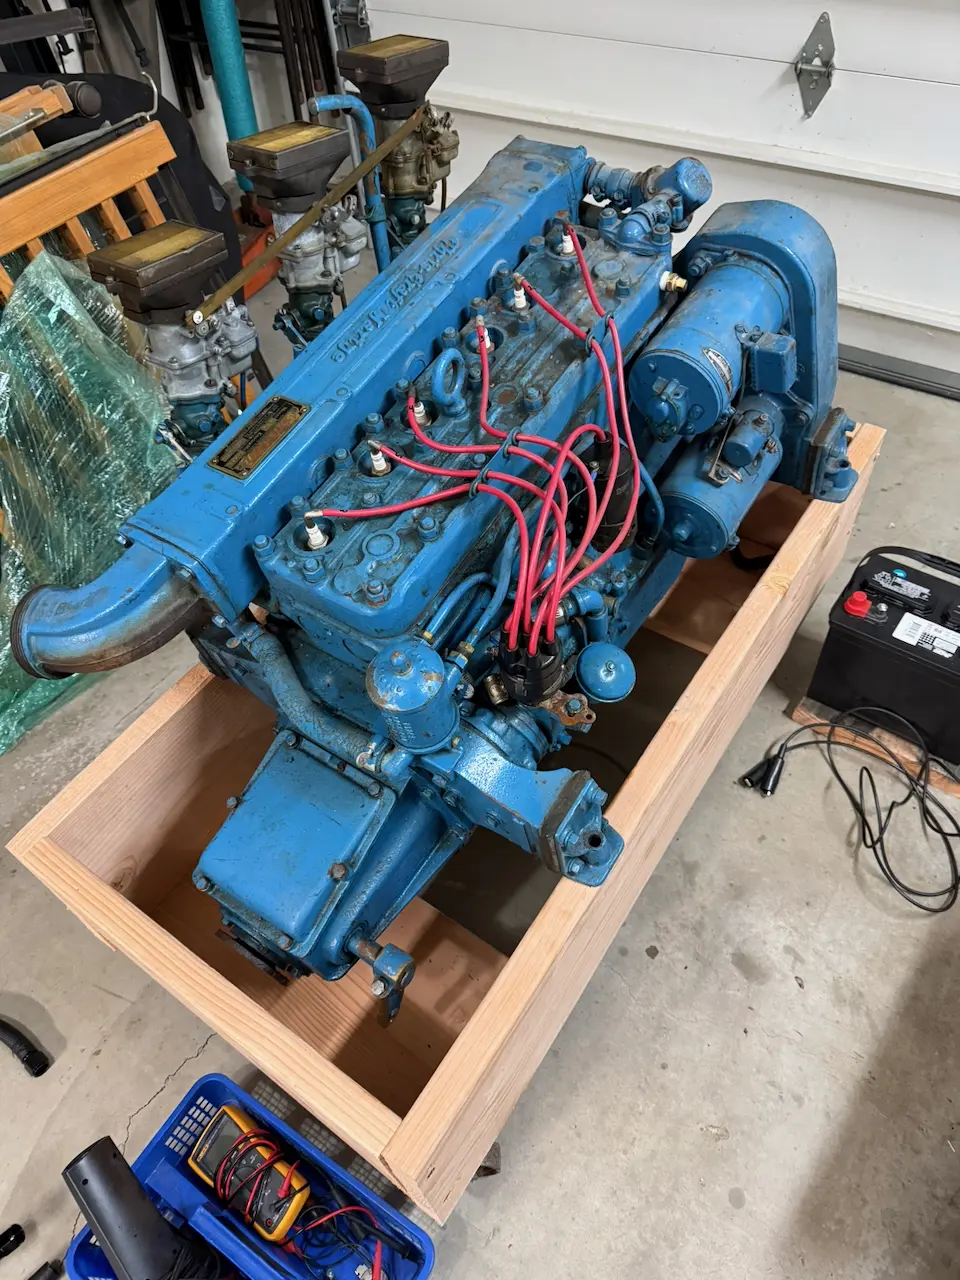
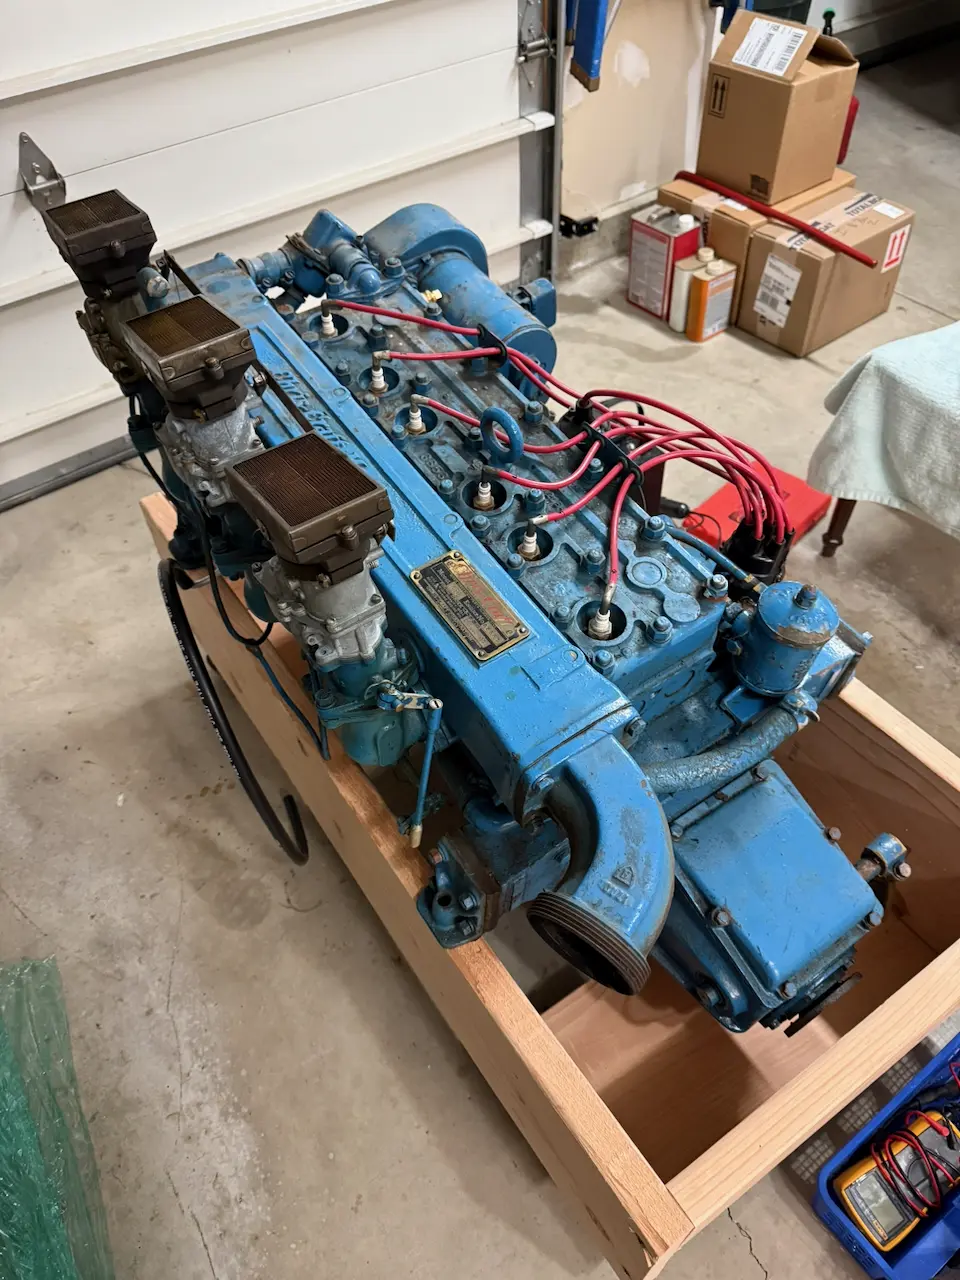
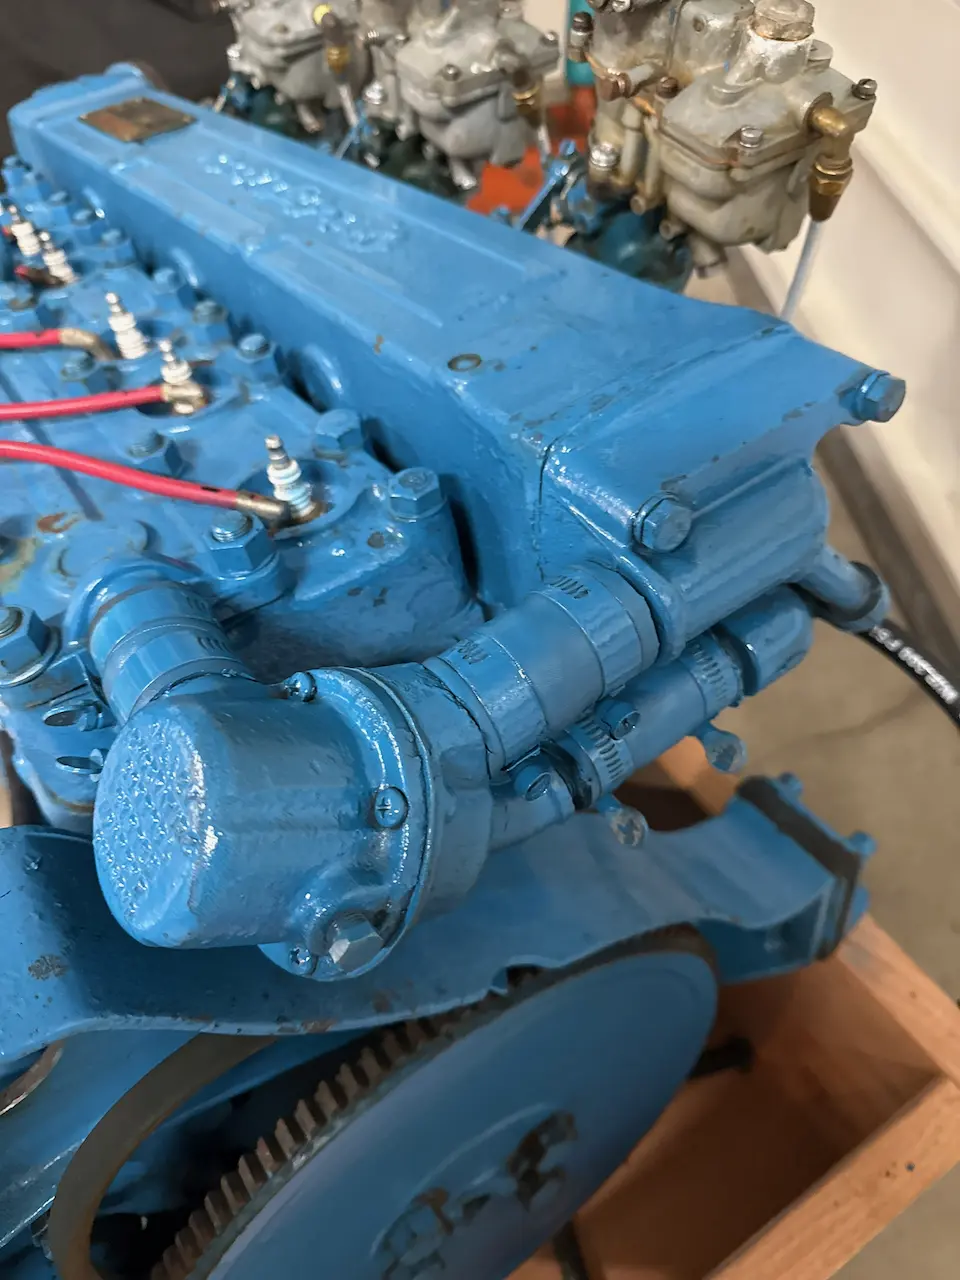
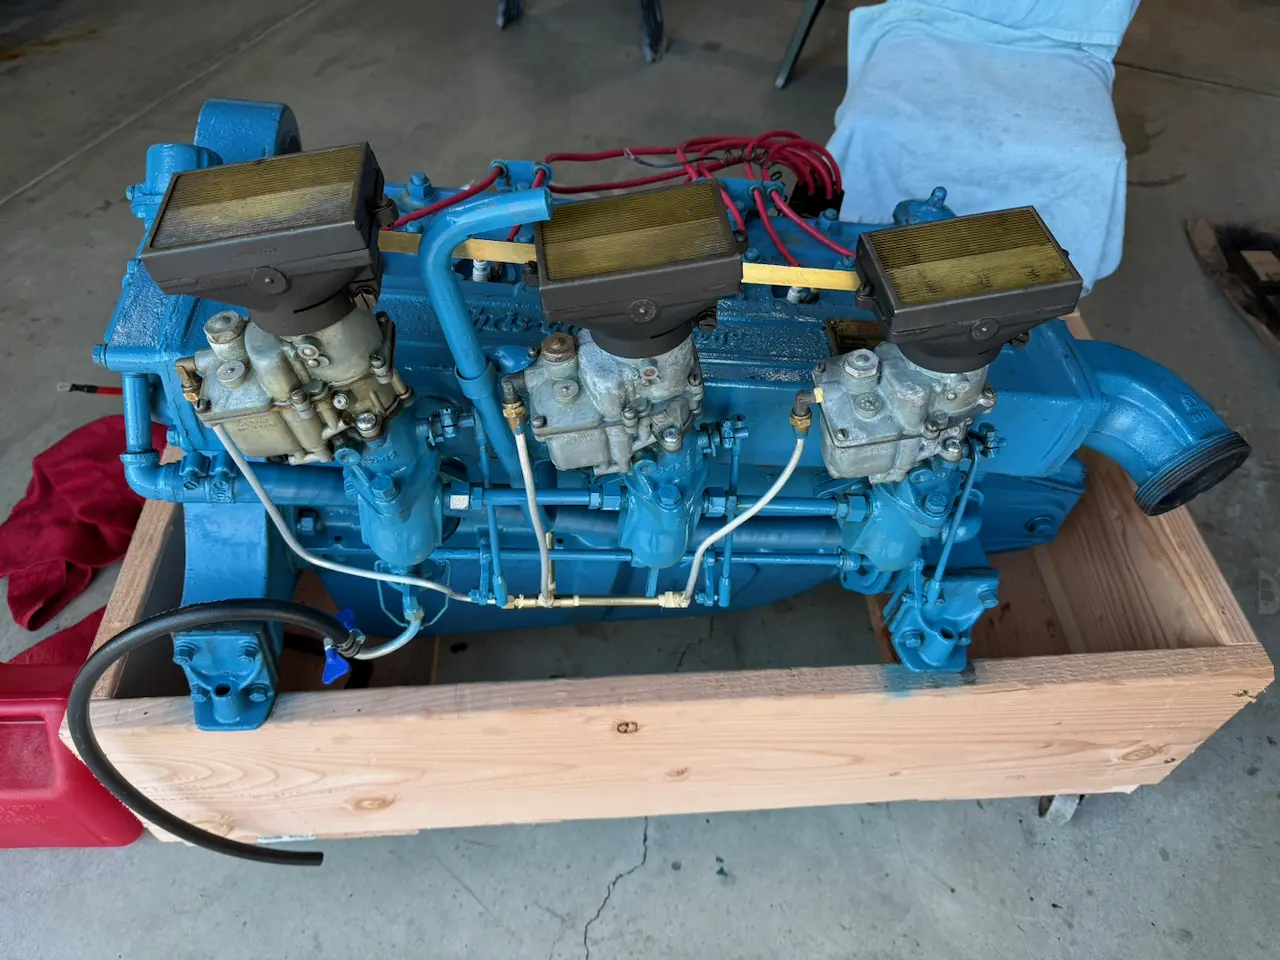
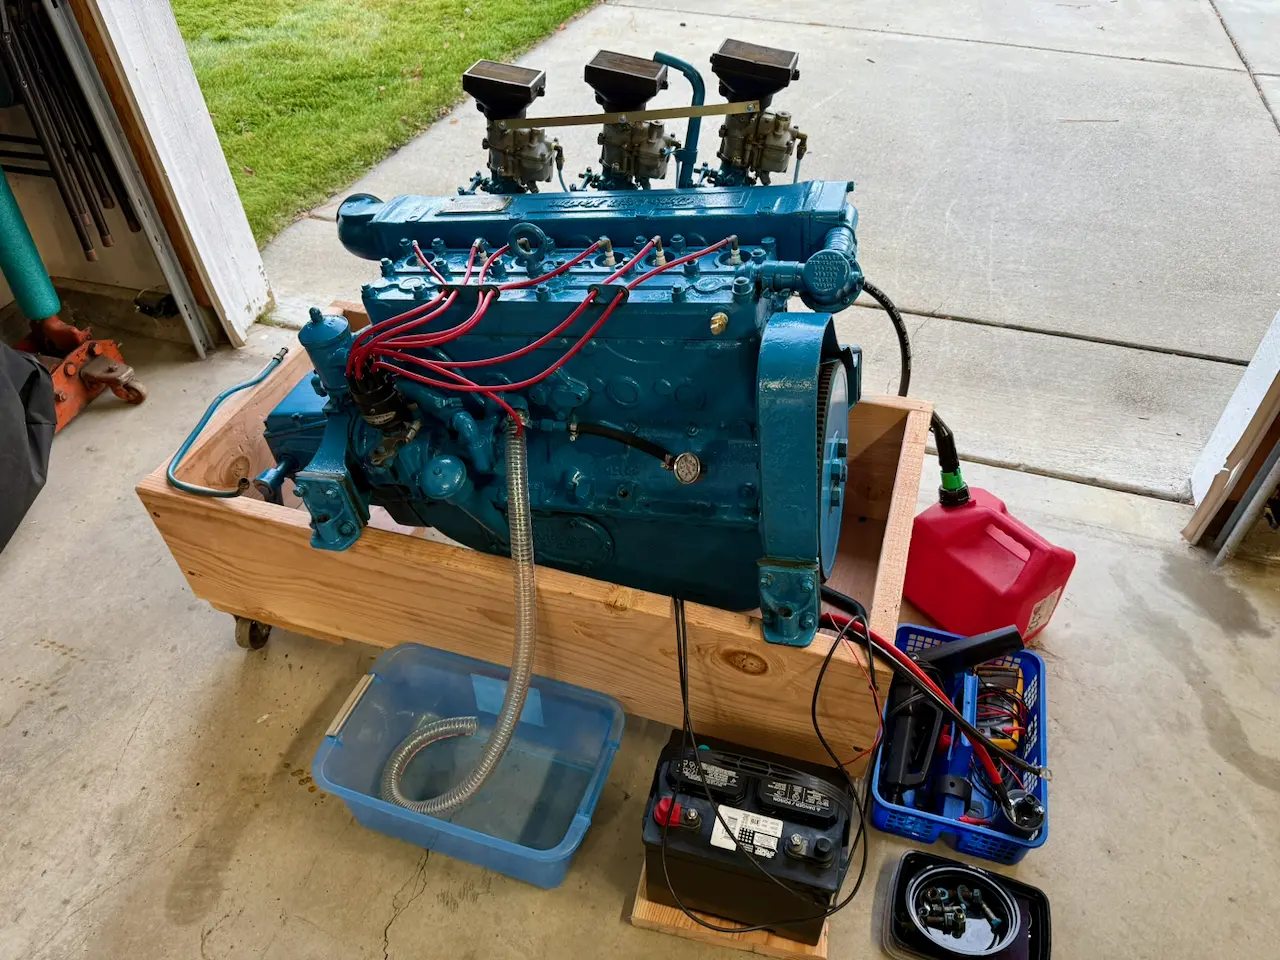
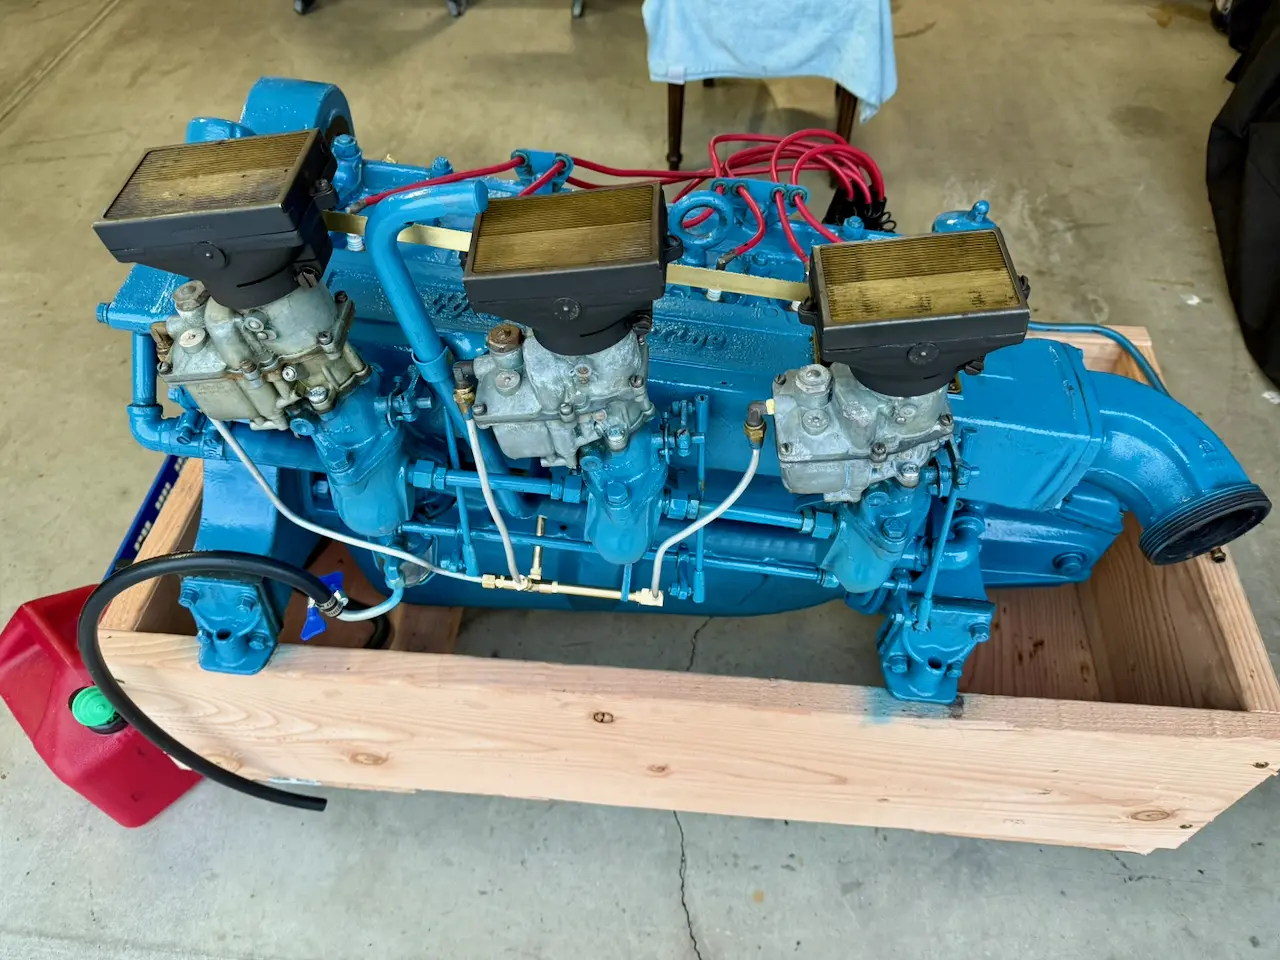
While the engine was out of the boat, I experimented with several cleaners and ultimately found that lacquer thinner on a rag worked best. The entire engine was coated with a light film of oil, which—intentionally or not—seems to have preserved it remarkably well over the years.
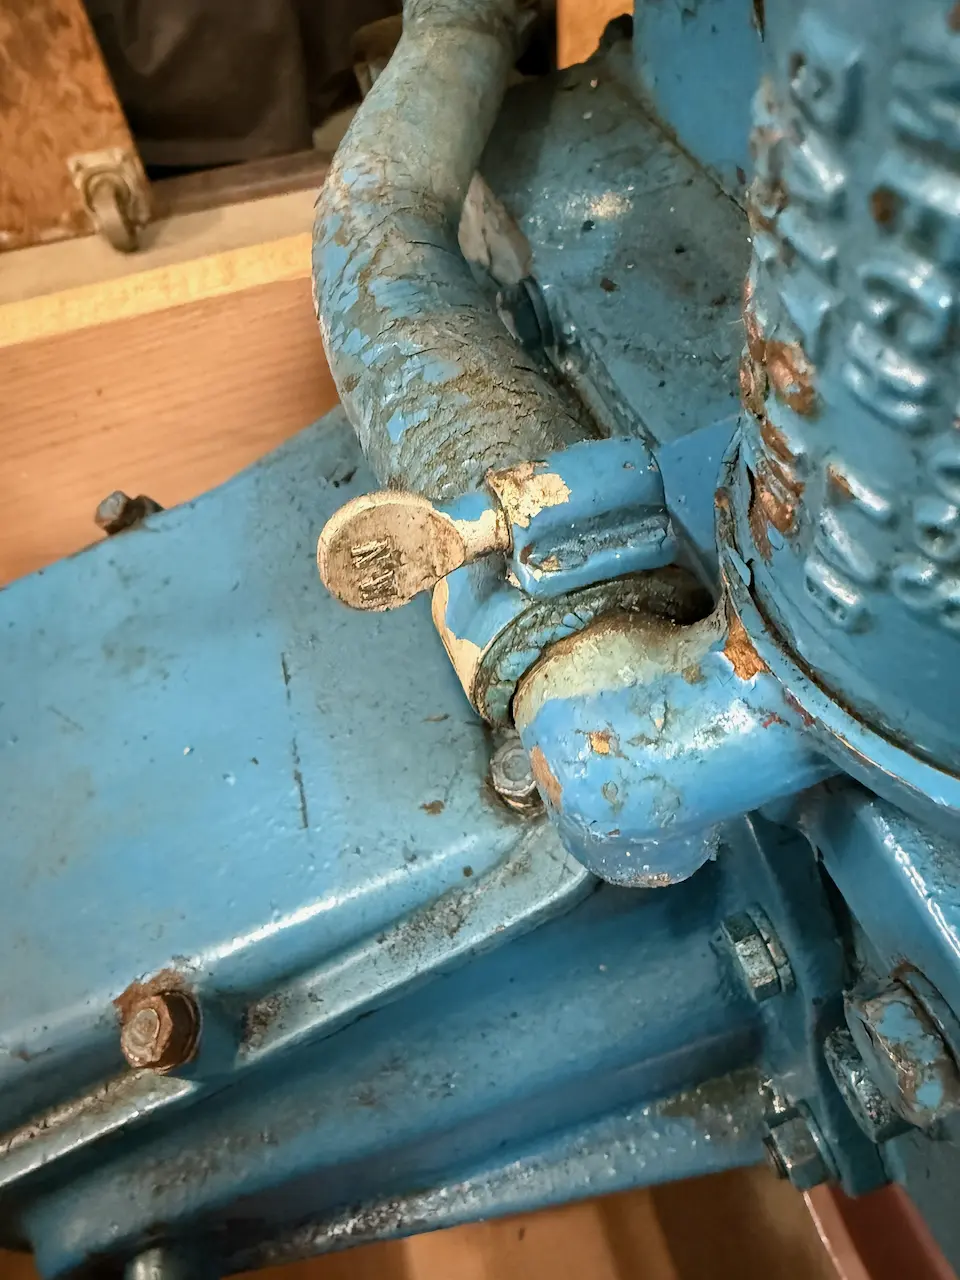
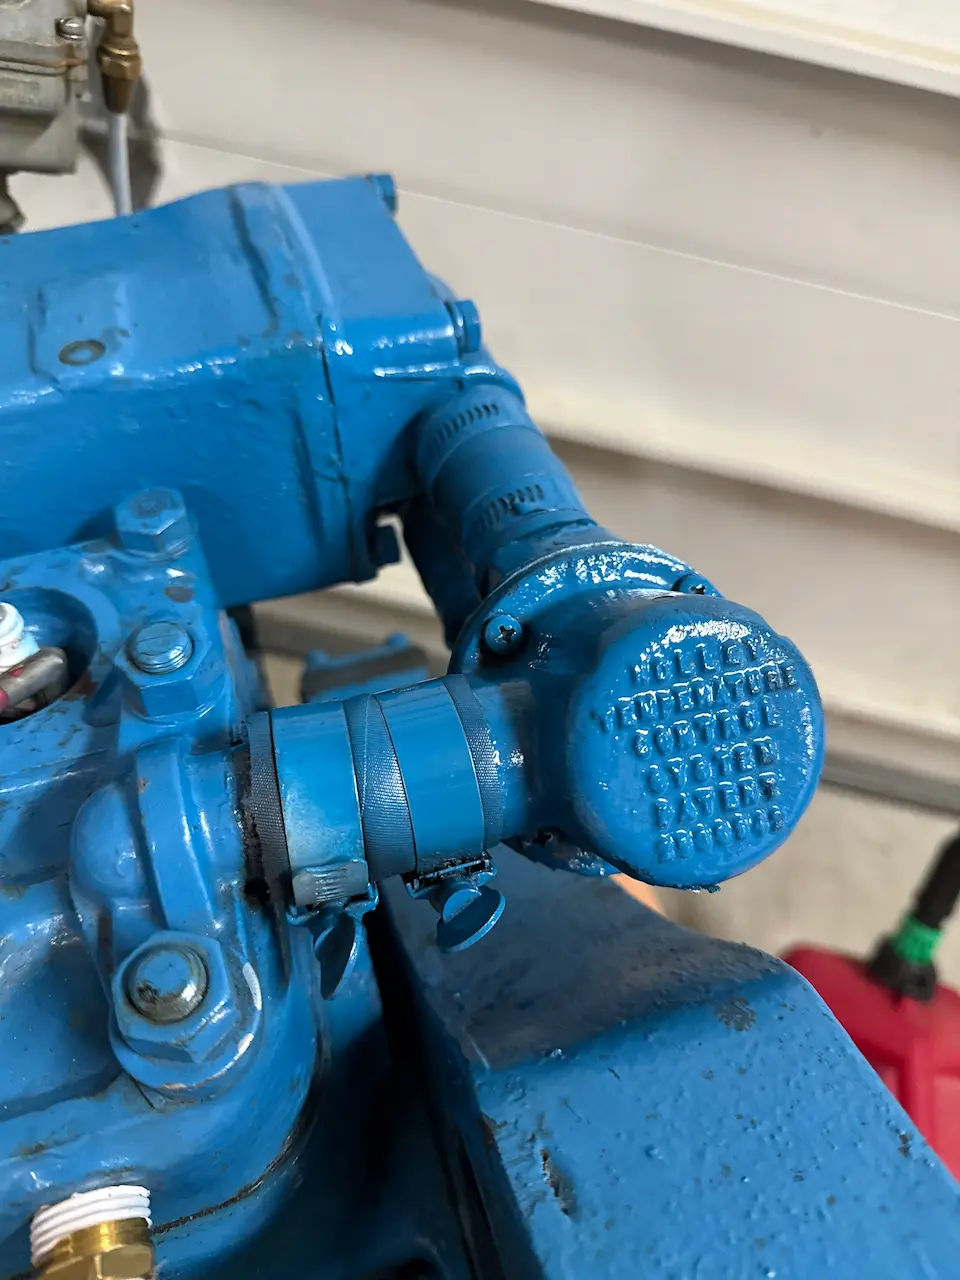
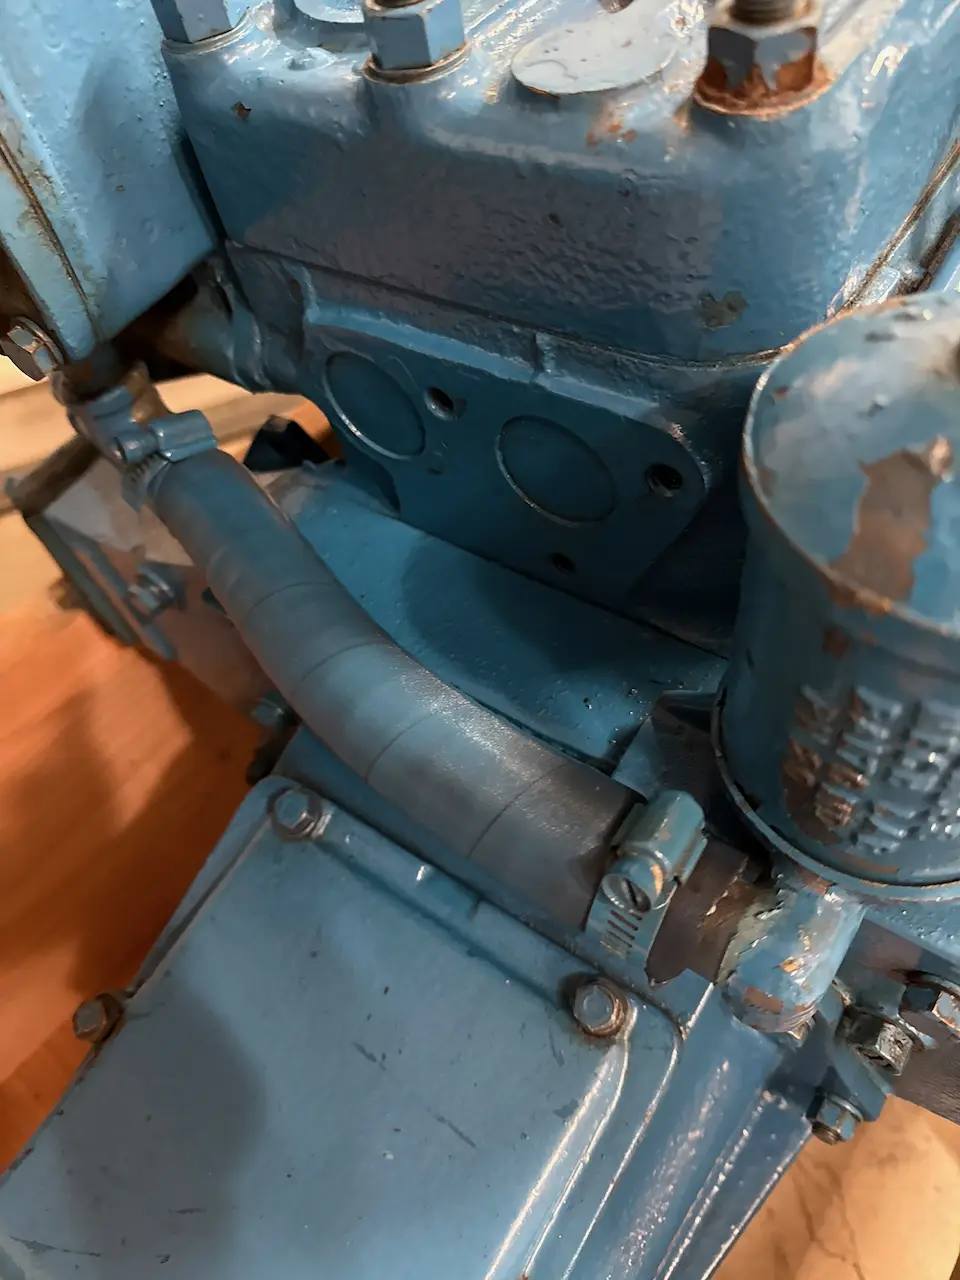
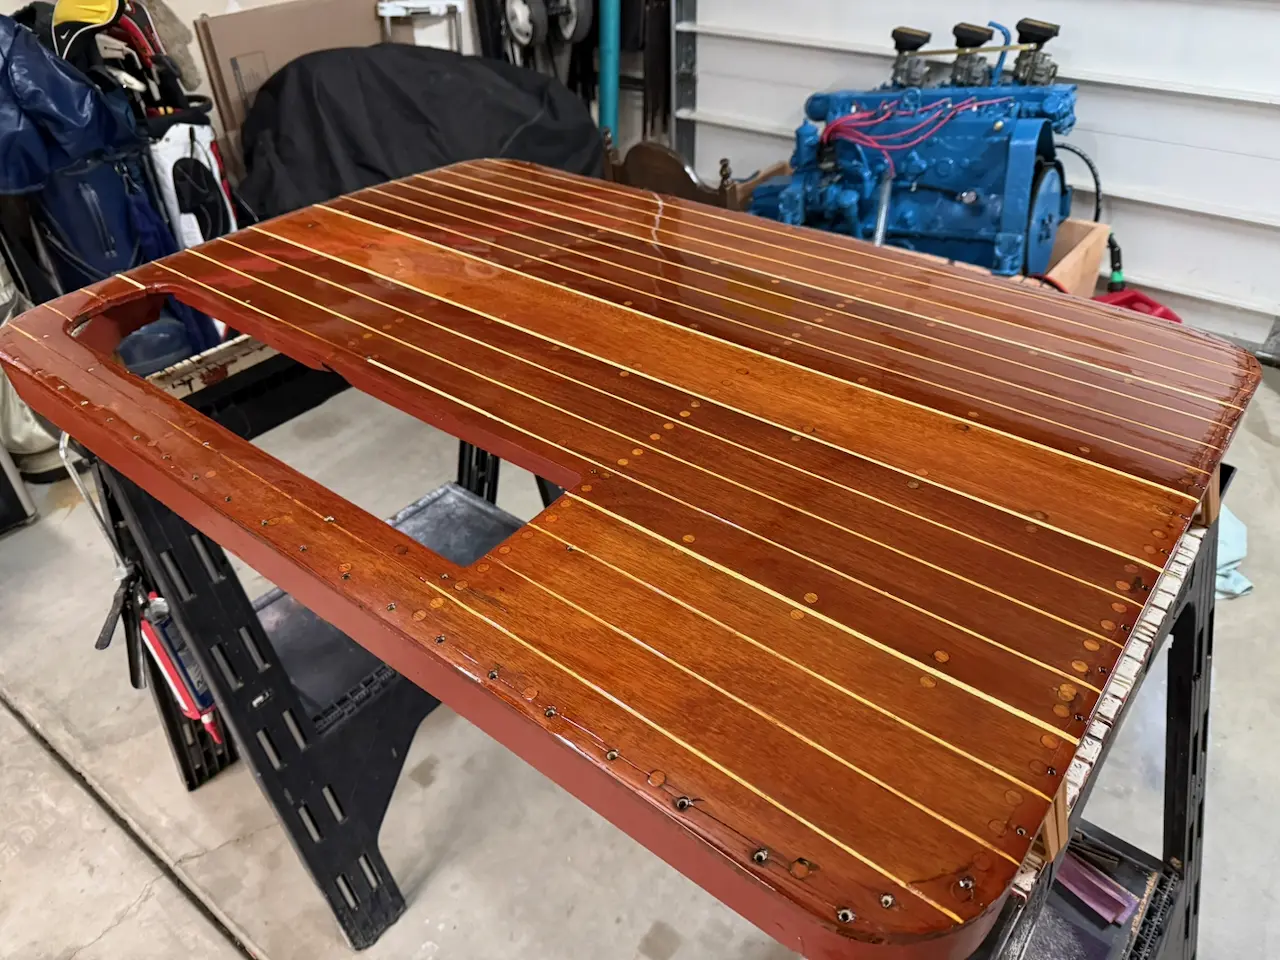
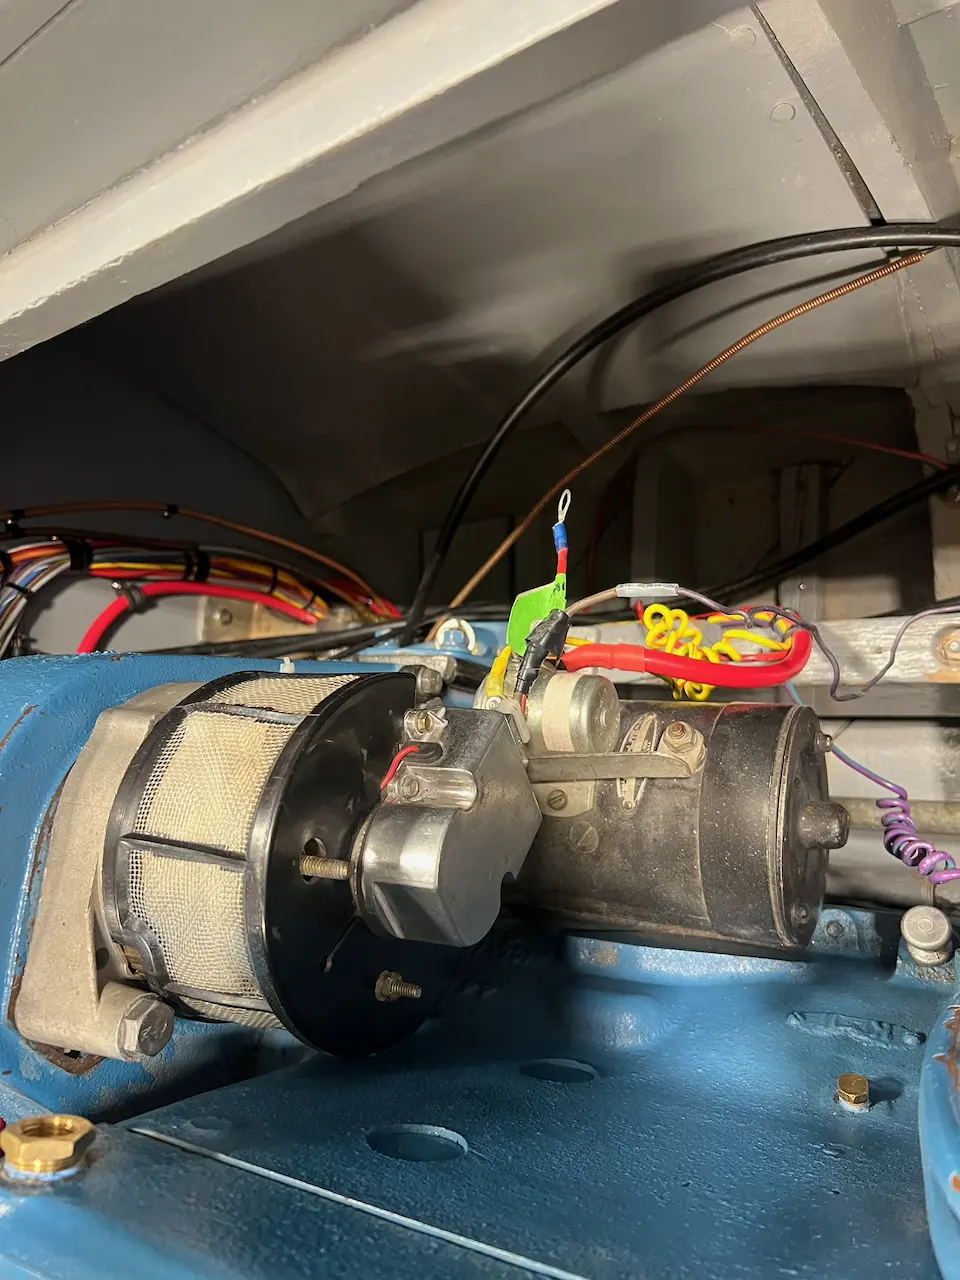
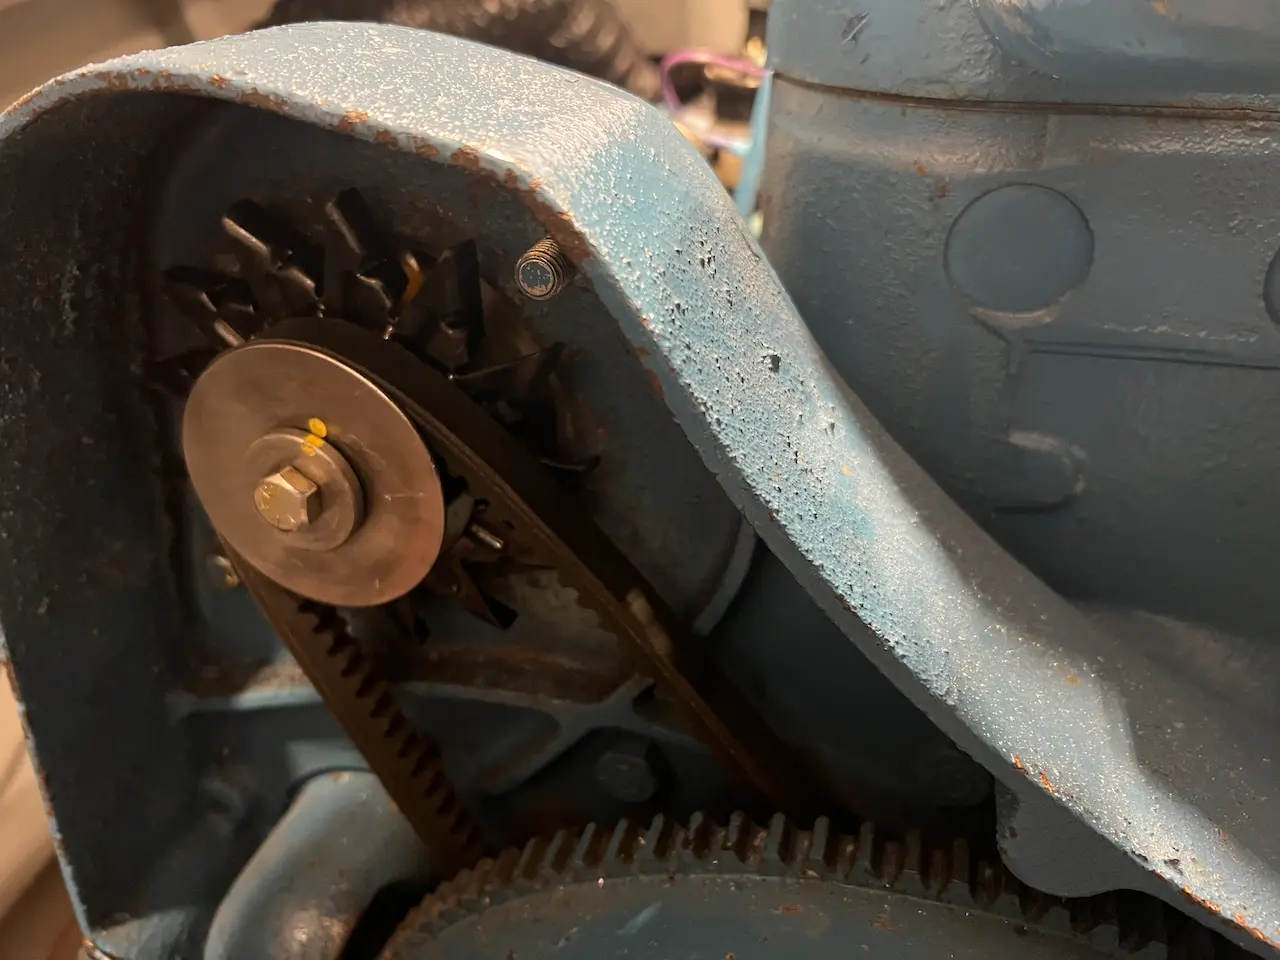
I then moved on to engine paint. After some research, I learned that Chris-Craft typically used three shades of blue: a darker blue pre-war, a slightly lighter post-war blue, and the much lighter blue commonly associated with later V8s. Interestingly, Chris Smith has noted that near the end of the build season, they often mixed whatever blue paint they had left into a single batch and used it up. The entire engine—including hoses, clamps, fuel pumps, and often carburetors—was painted blue, while starters, distributors, and generators were finished in semi-gloss black. No shinny brass, copper, or chrome.
I chose Dupli-Color DE1631 Engine Enamel with Ceramic in Chrysler Blue, and to my amazement, it was a near-perfect match. Once dried it doesn't come off.
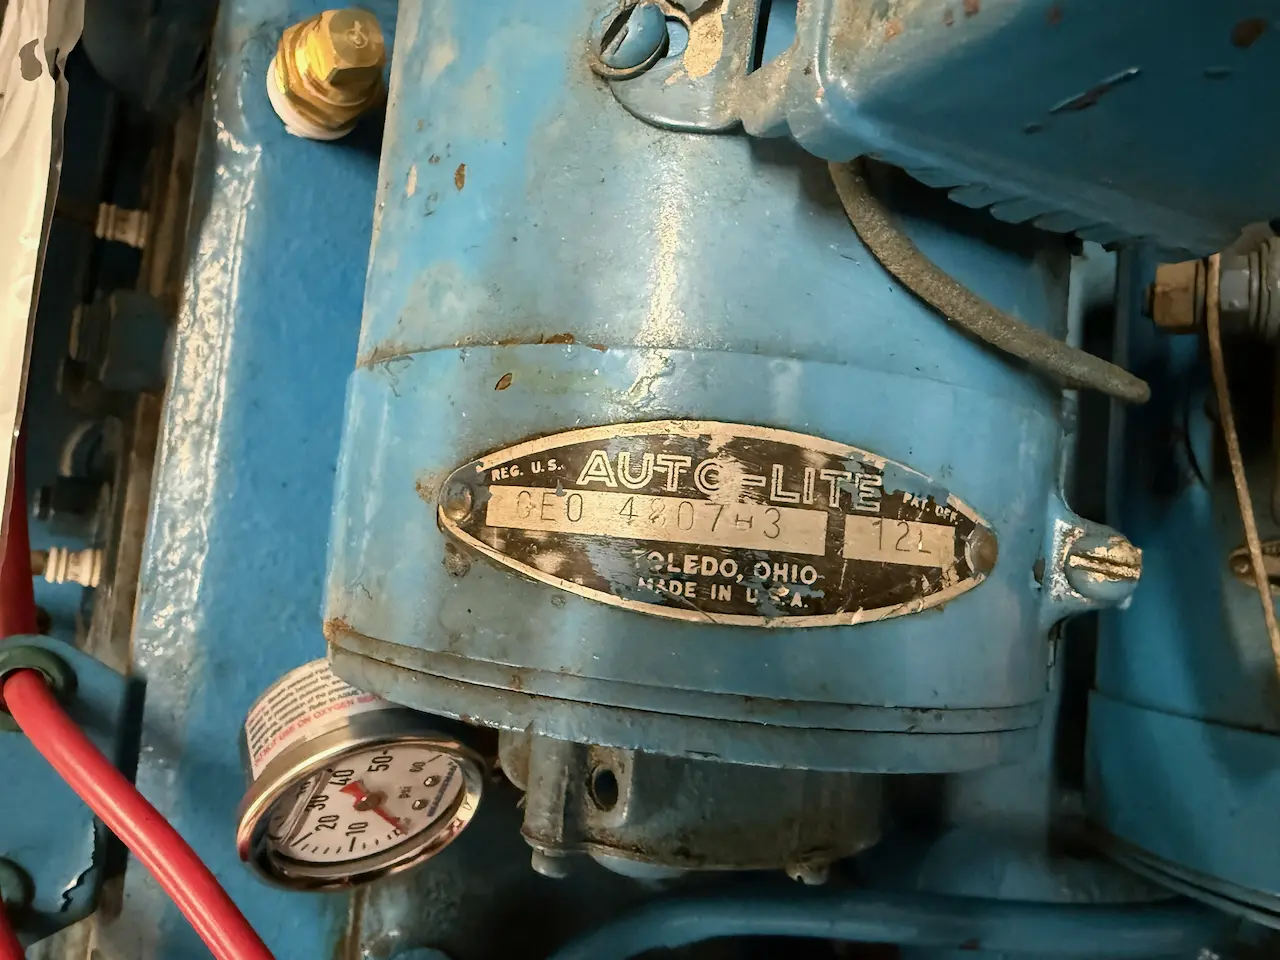
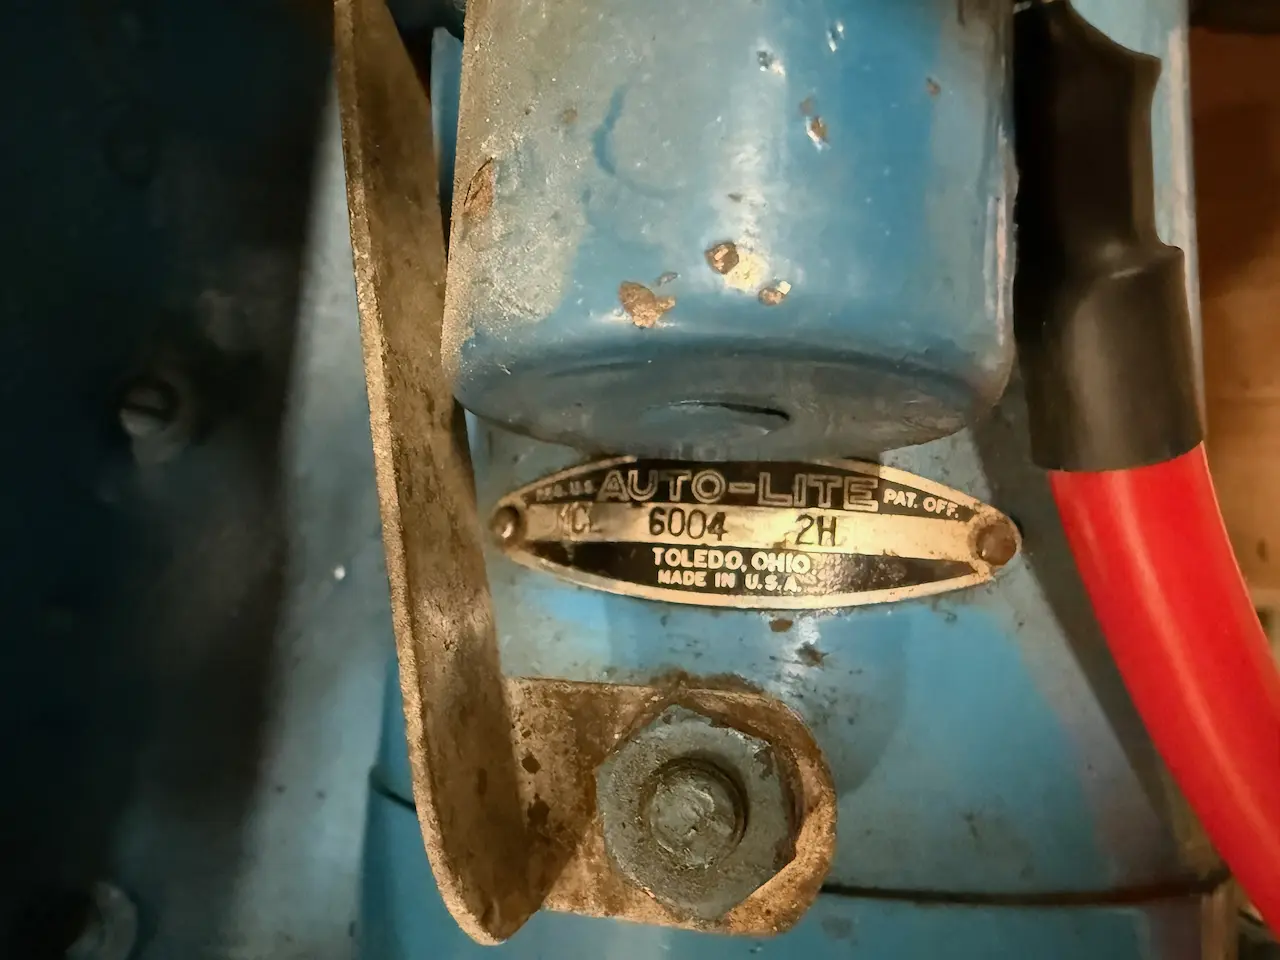
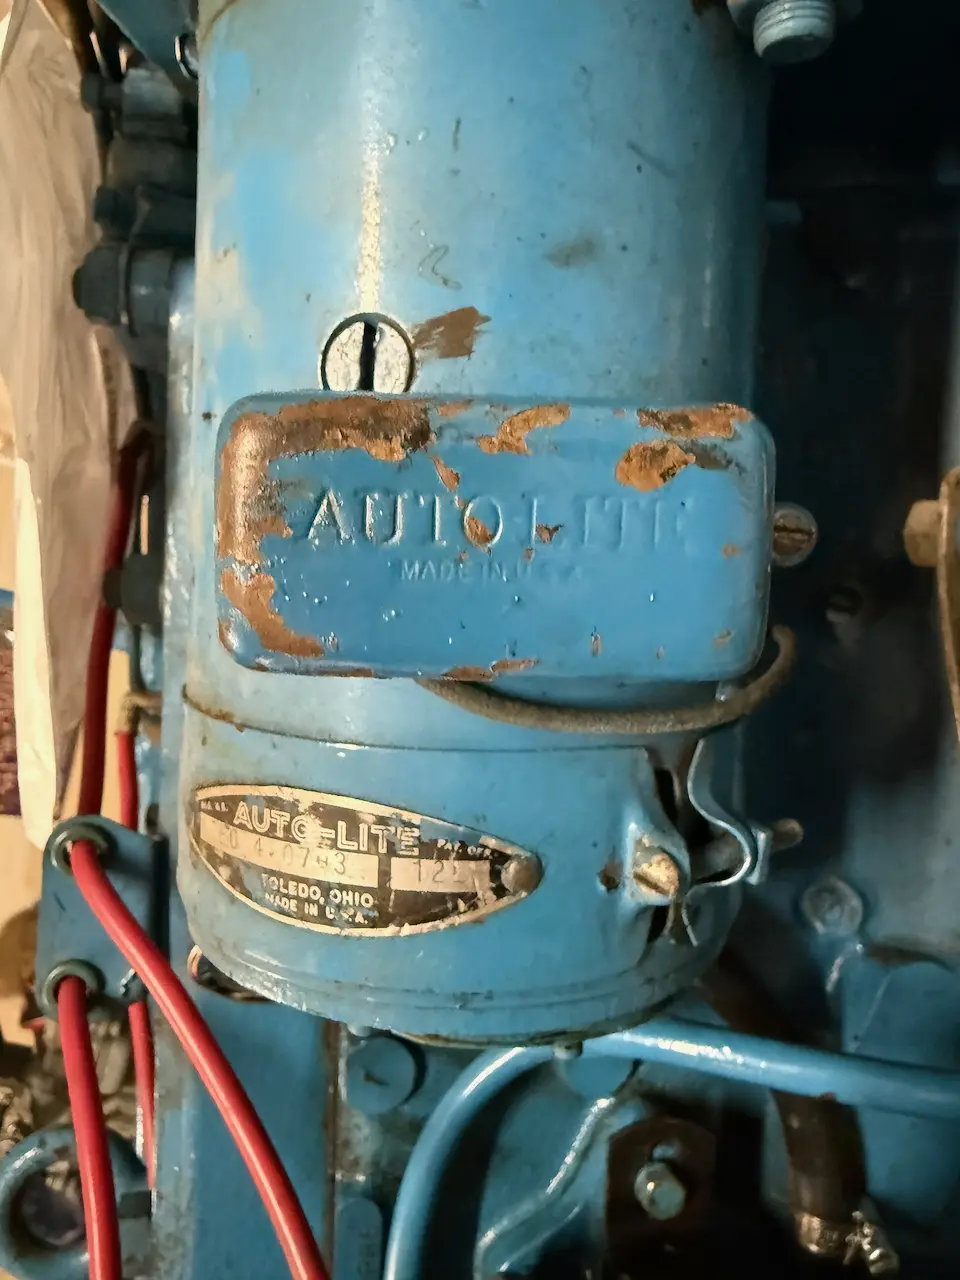
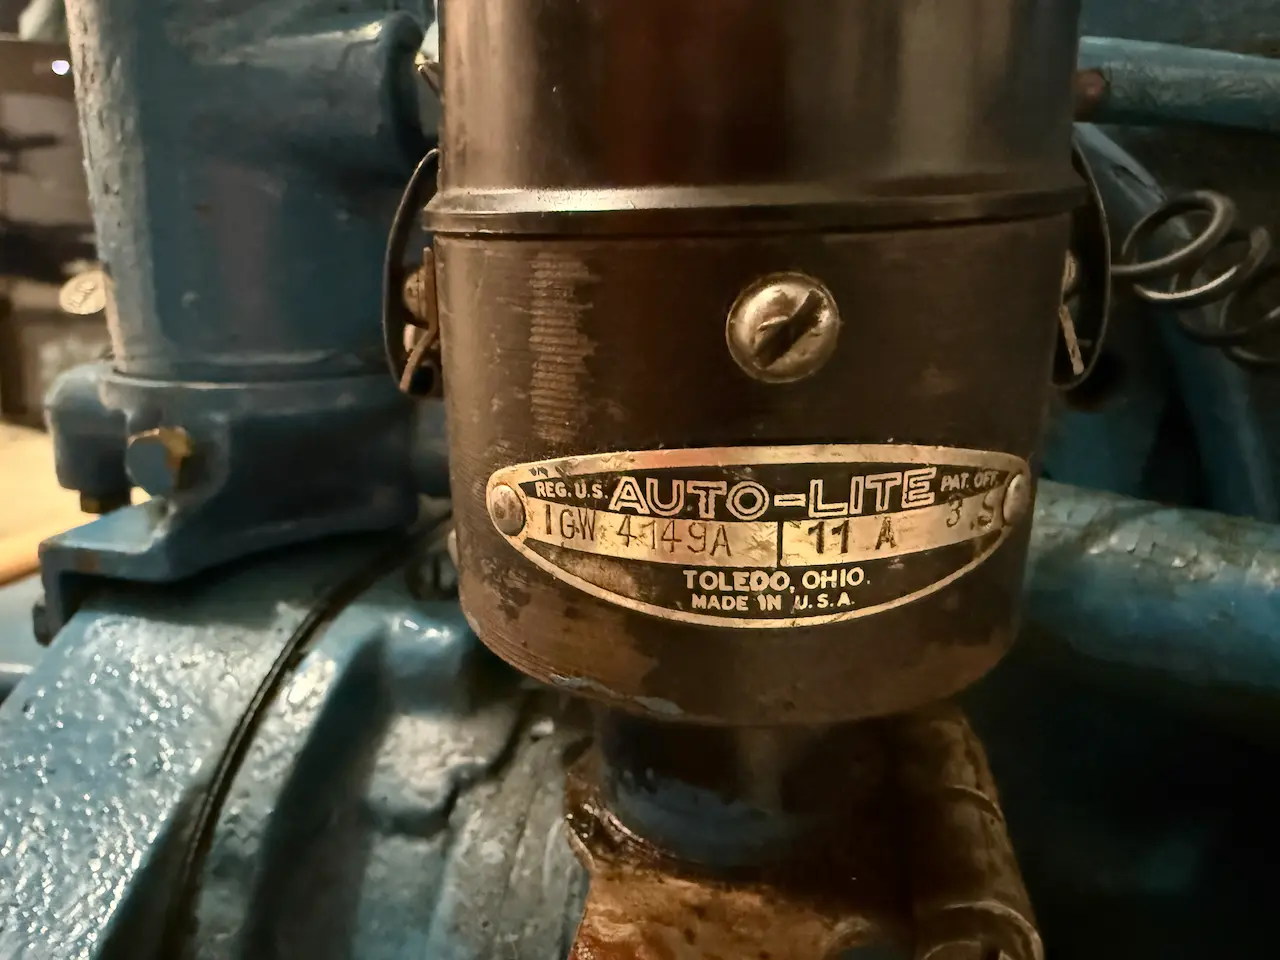
The generator had already been upgraded to a 12-volt unit, and since the engine was out, I decided to have both the generator and starter checked. While they technically worked, the voltage regulator would not shut off and the starter would not disengage properly. As a result, both are now being rebuilt by Romaine Electric.