After the decking is installed the boat is turned over.
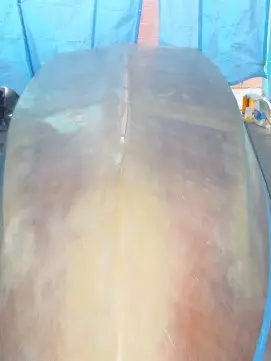
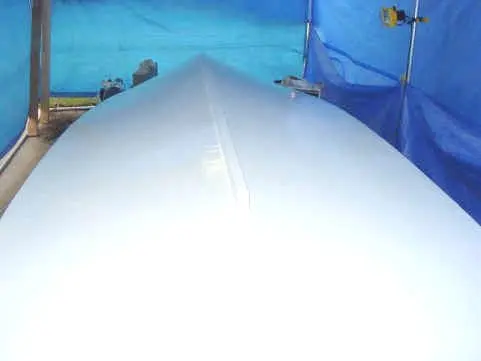
All of the stitching is removed. It is then coated with epoxy resin and all of the seams are fiber glassed with 2 layers. Then it is leveled out with resin putty. After sanding, the entire hull is covered with fiberglass cloth and epoxy is “squeegeed” into the fiberglass weave. I was a little nervous about doing this but with the help of a couple of my friends, it came out great. After drying, 2 more layers of epoxy are added. This process is taking much longer than expected due to the weather. There are very few days above 70 degrees now. This is the minimum temperature needed for the epoxy to cure. I have to put heaters in the makeshift tent that I have built to achieve the temperature. After many, many, many hours of sanding it was finally smooth. What a pain! I must say that this was the least enjoyable part so far.
I now have to install the skeg. (A long piece of wood attached to the bottom center of the boat to keep the coarse of the boat straight) again, the temperature is a problem so I fire up the heaters.
It is now Dec. 27th and I am finally ready to paint the bottom. There is only one problem, it’s raining! My goal, when I started, was to have the boat turned back over by New Years but I don’t think that I will make it. With the help of my friend John, we finally put the first coat of paint on Dec. 29, 2001. We used Trilux Bottom Paint 5498 White.
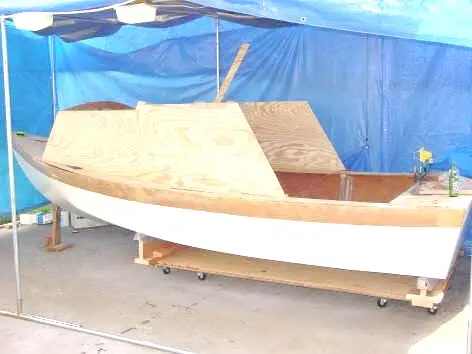
It is Jan. 13, 2002. I bribed a few friends with beer to come and help me turn the boat back over. It’s 13 days later than I had scheduled, but, I didn’t really expect to get this far at all!
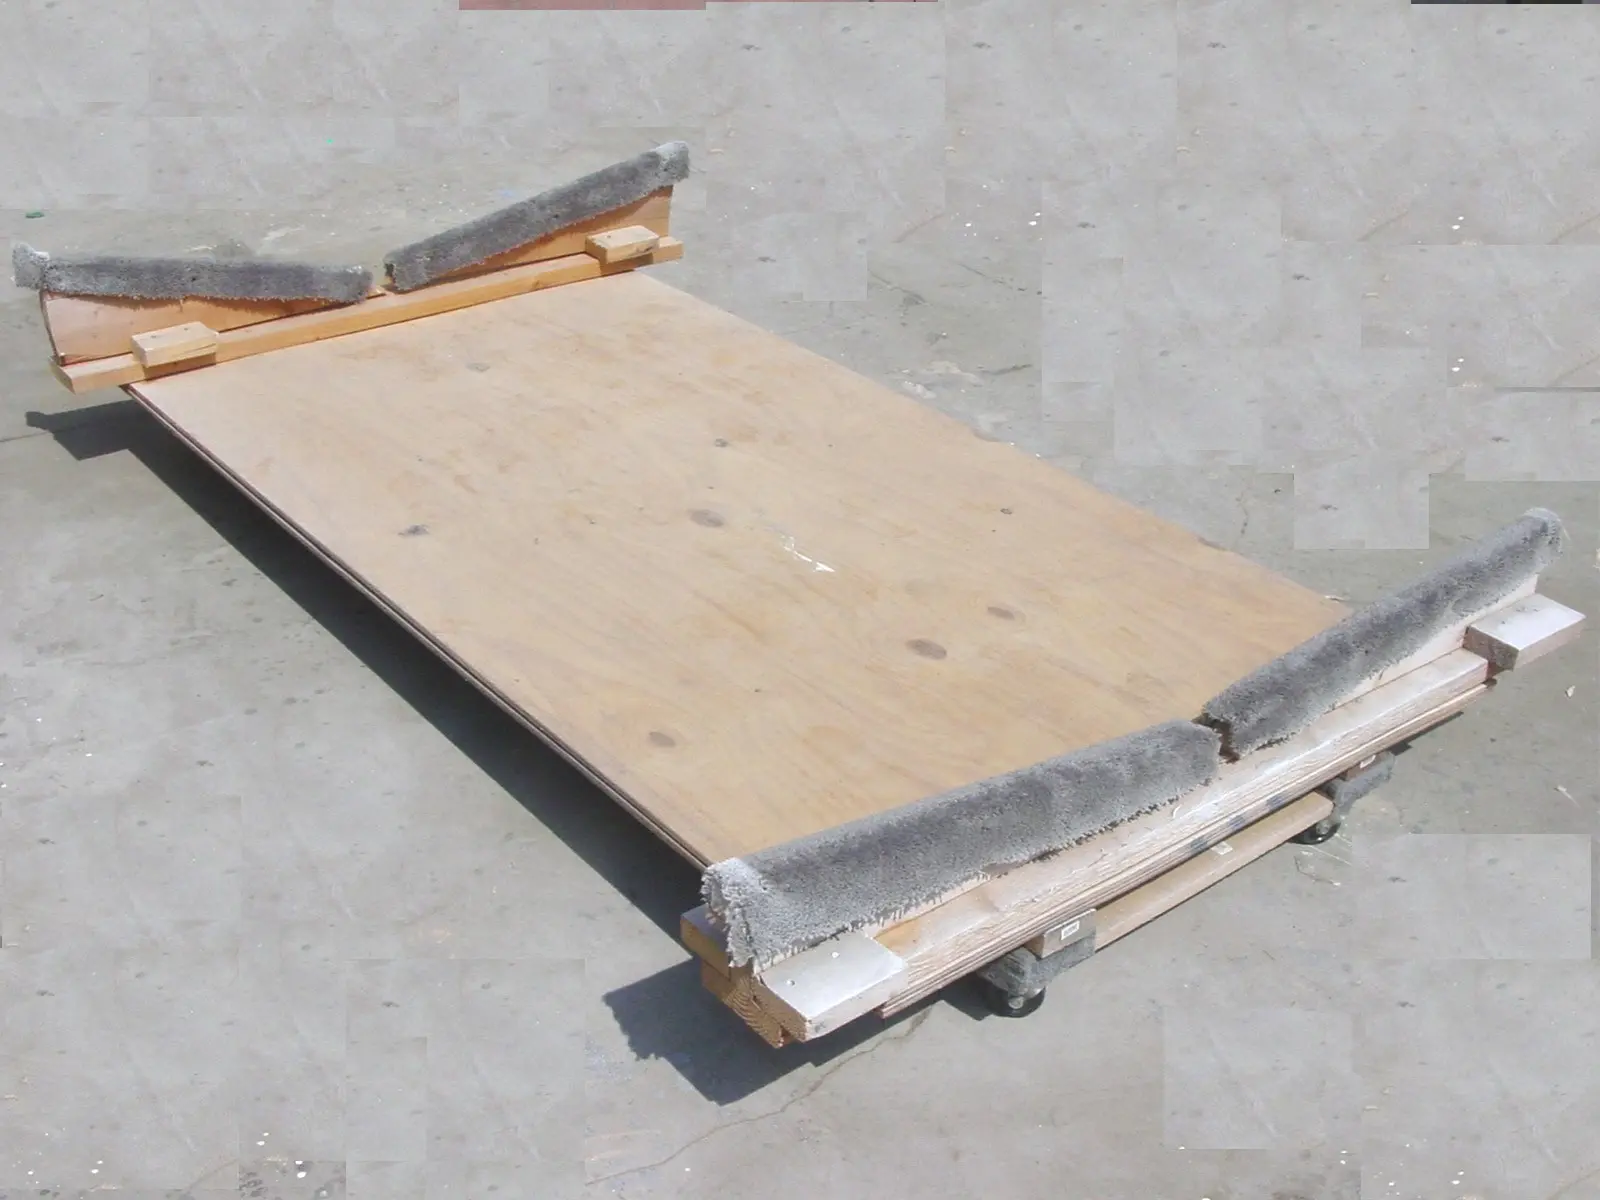
I built a rolling “cart” to hold the boat. This is where it will rest until it is ready to go onto the trailer
The first thing that I realized, when I turned it over, is what an absolute sloppy job I had done on the inside of the hull. I am by no means an expert at epoxy and fiberglass now, but, what I did in the beginning really looks like crap! It will take me several days of sanding to make it somewhat presentable. You live and you learn!
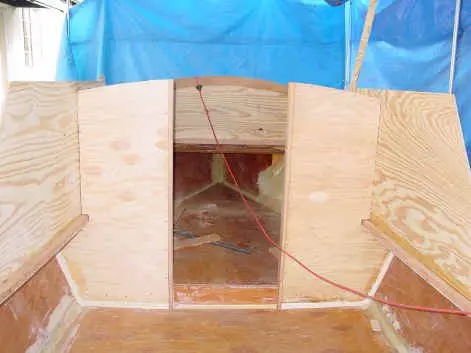
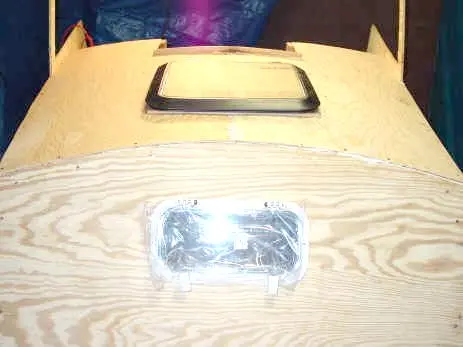
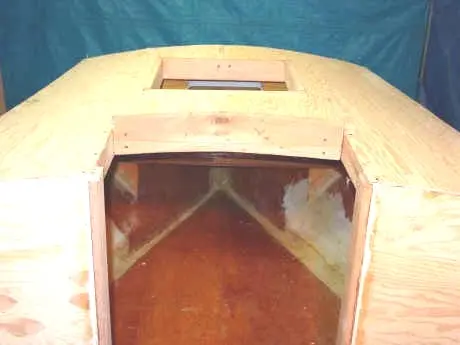
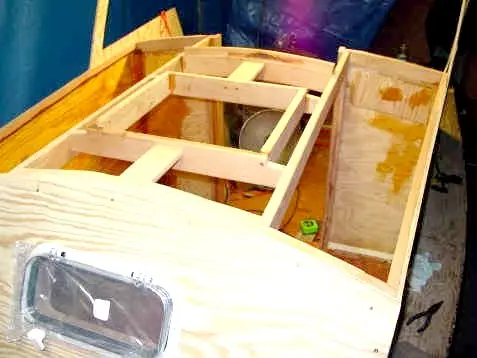
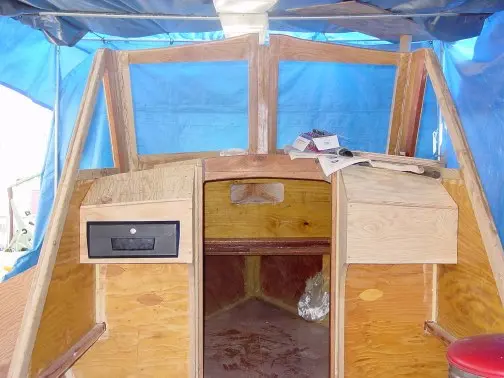
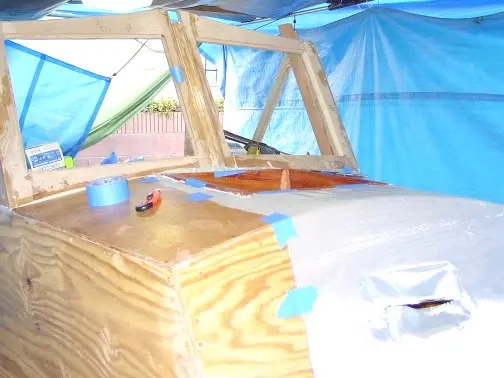
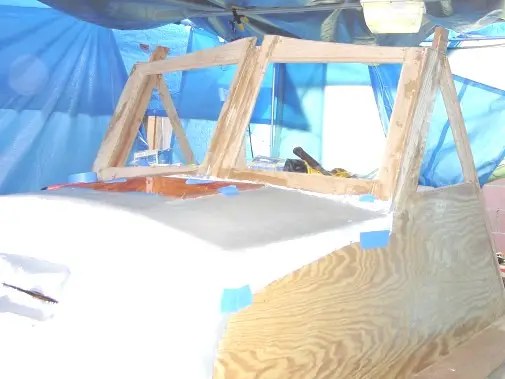
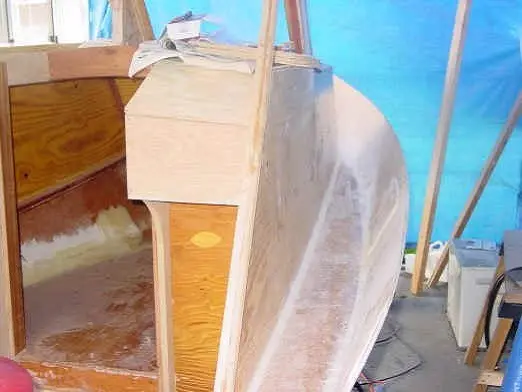
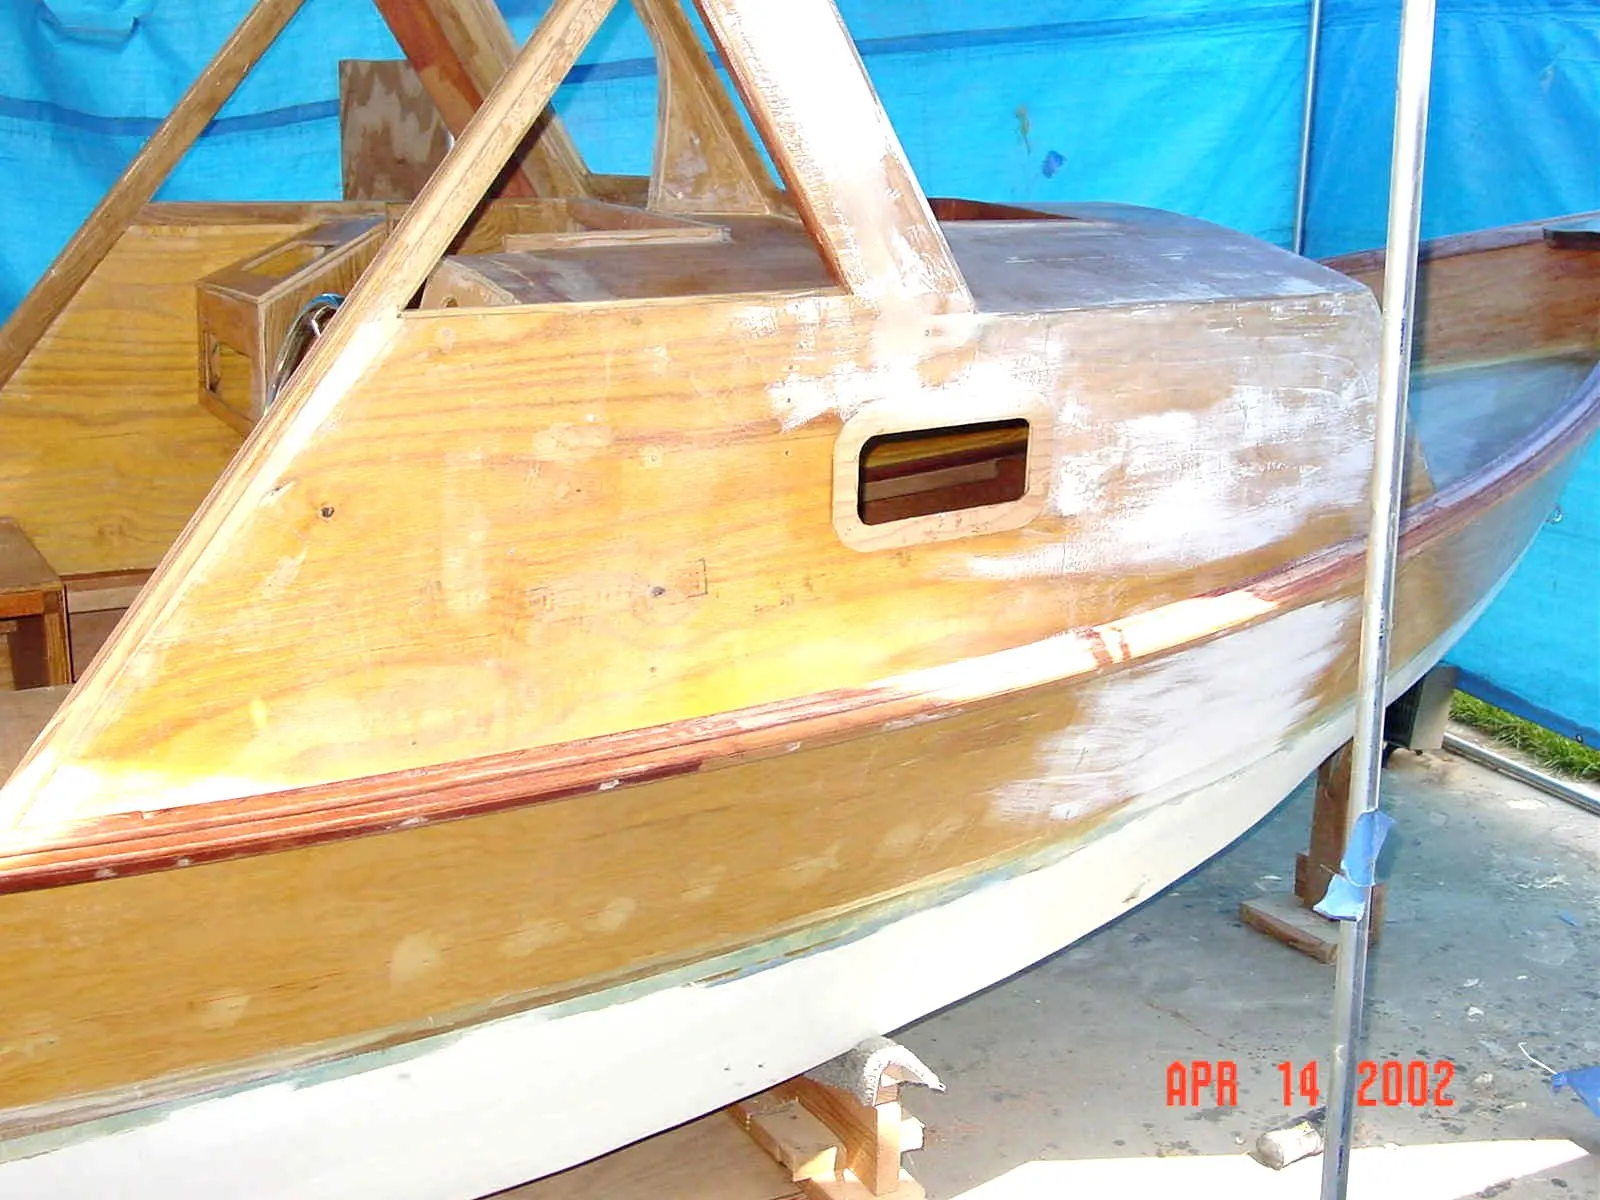
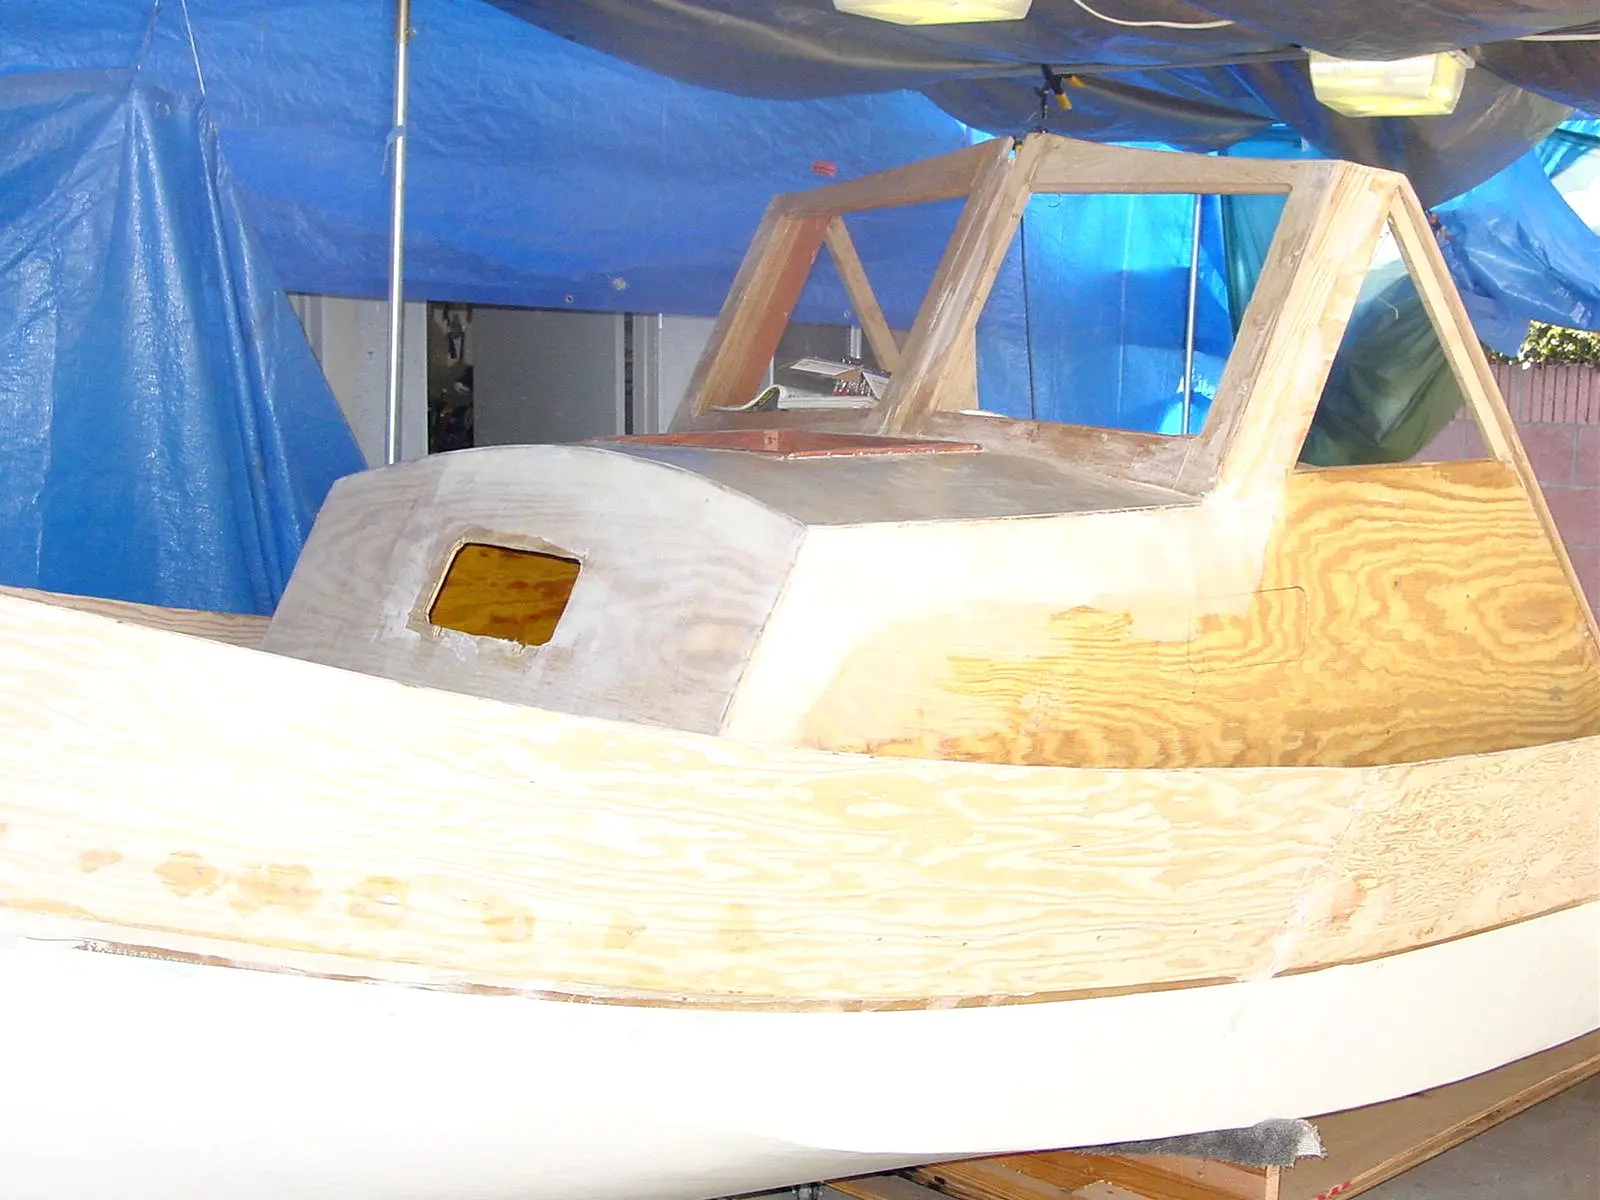
I cut out the cabin bulkhead (front walls of the cabin) and made a major decision. I think that I am going to disregard the plans and raise the cabin by 6″. I am too tall to fit in the cabin comfortably. I know that this is a small boat but I would at least like to be able to sit up in the cabin. This will raise the profile of the boat and I’m not sure what consequences this will have with the performance or stability of the boat. The main thing that I am concerned about is that I am a mediocre wood worker at best. The plans will now only serve as a “guide” and not actual plans. From now on, I will have to design all of the rest of the pieces of the puzzle myself.
Cabin Entry Bulkheads extended 6″
Since I increased the sides I had to use an additional sheet of plywood. (The plans show 2 sides out of 1 piece)
It is now April 15, 2002. Tax Day. I am getting closer to my goal of launching the boat the weekend after Memorial Day. (June 1, 2002) It will be close. I have started looking for a motor and trailer.
I put on a few test spots of primer to see how bad it really is . I have a lot sanding to do. Sanding sucks!!
I have also started painting the areas that I need to work on so that I can start installing all of the electrical and gauges. I will leave the bulk of the painting to my friend John.
This is another area that I am lacking in skill or neatness. I decided to go with Interlux primer and paint. I choose this brand for no other reason than it was readily available in many stores.
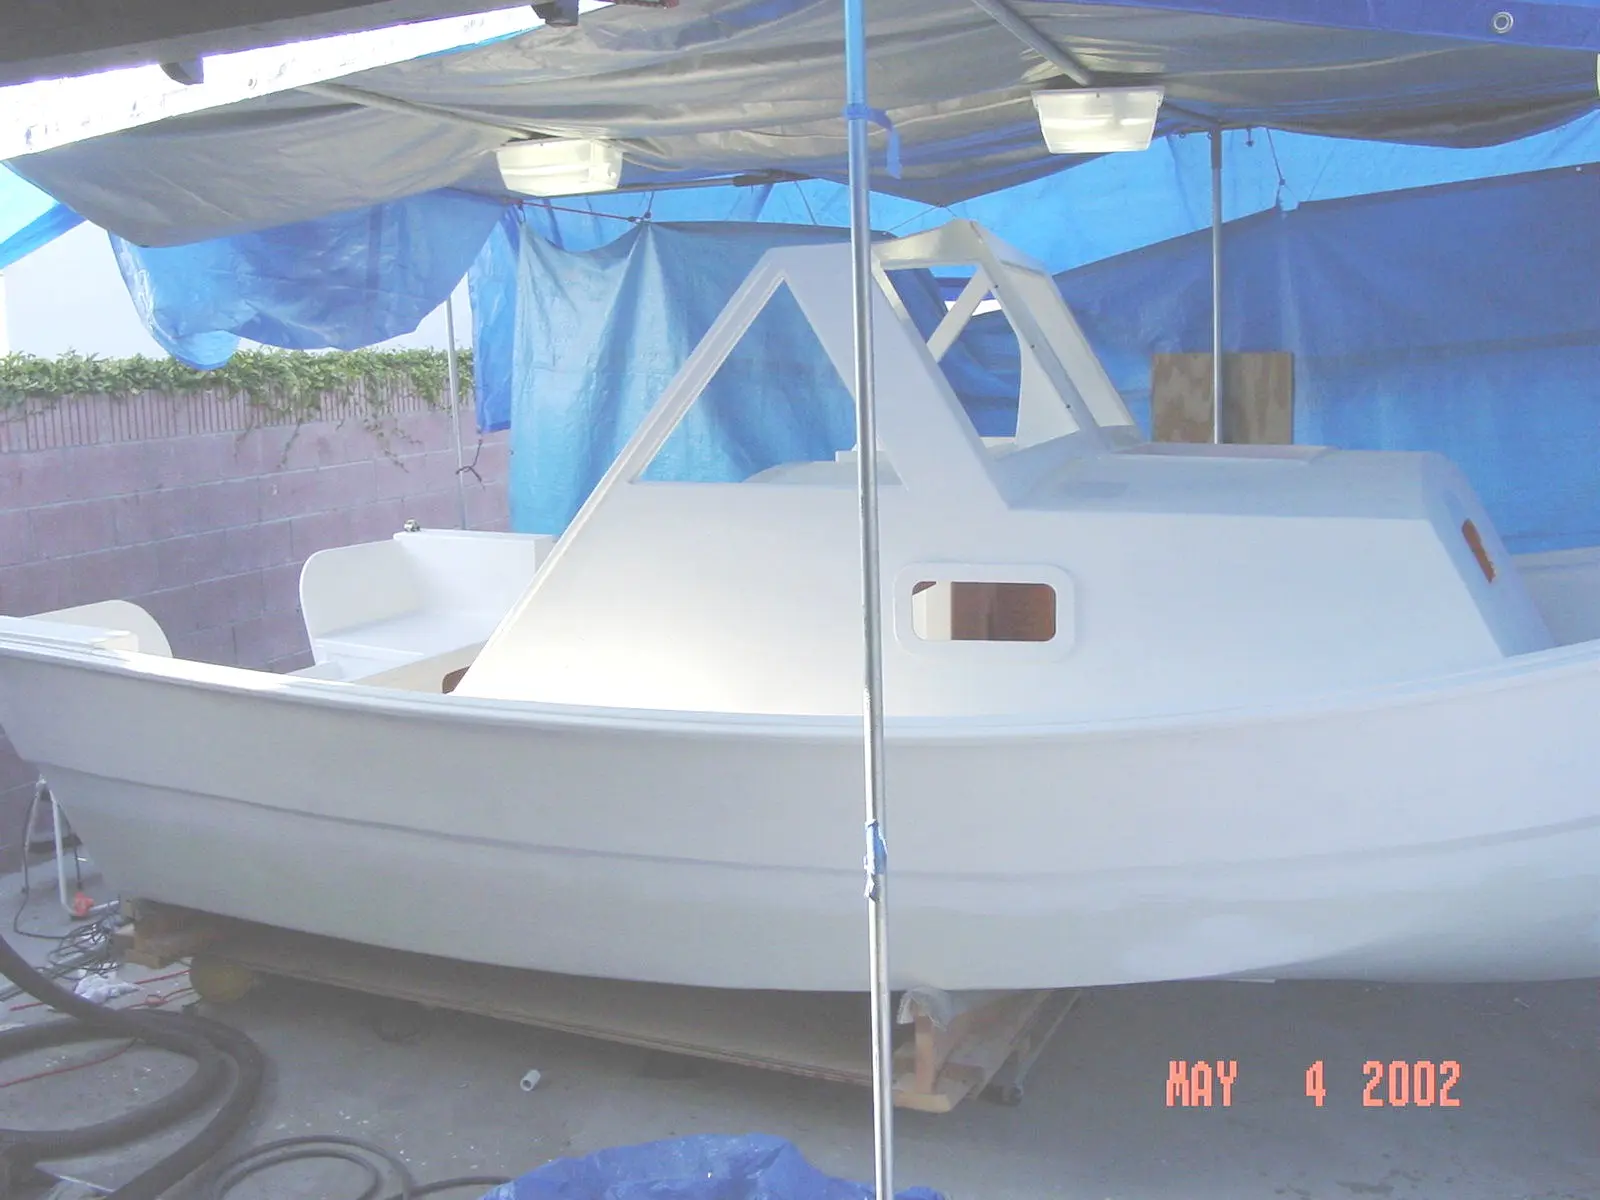
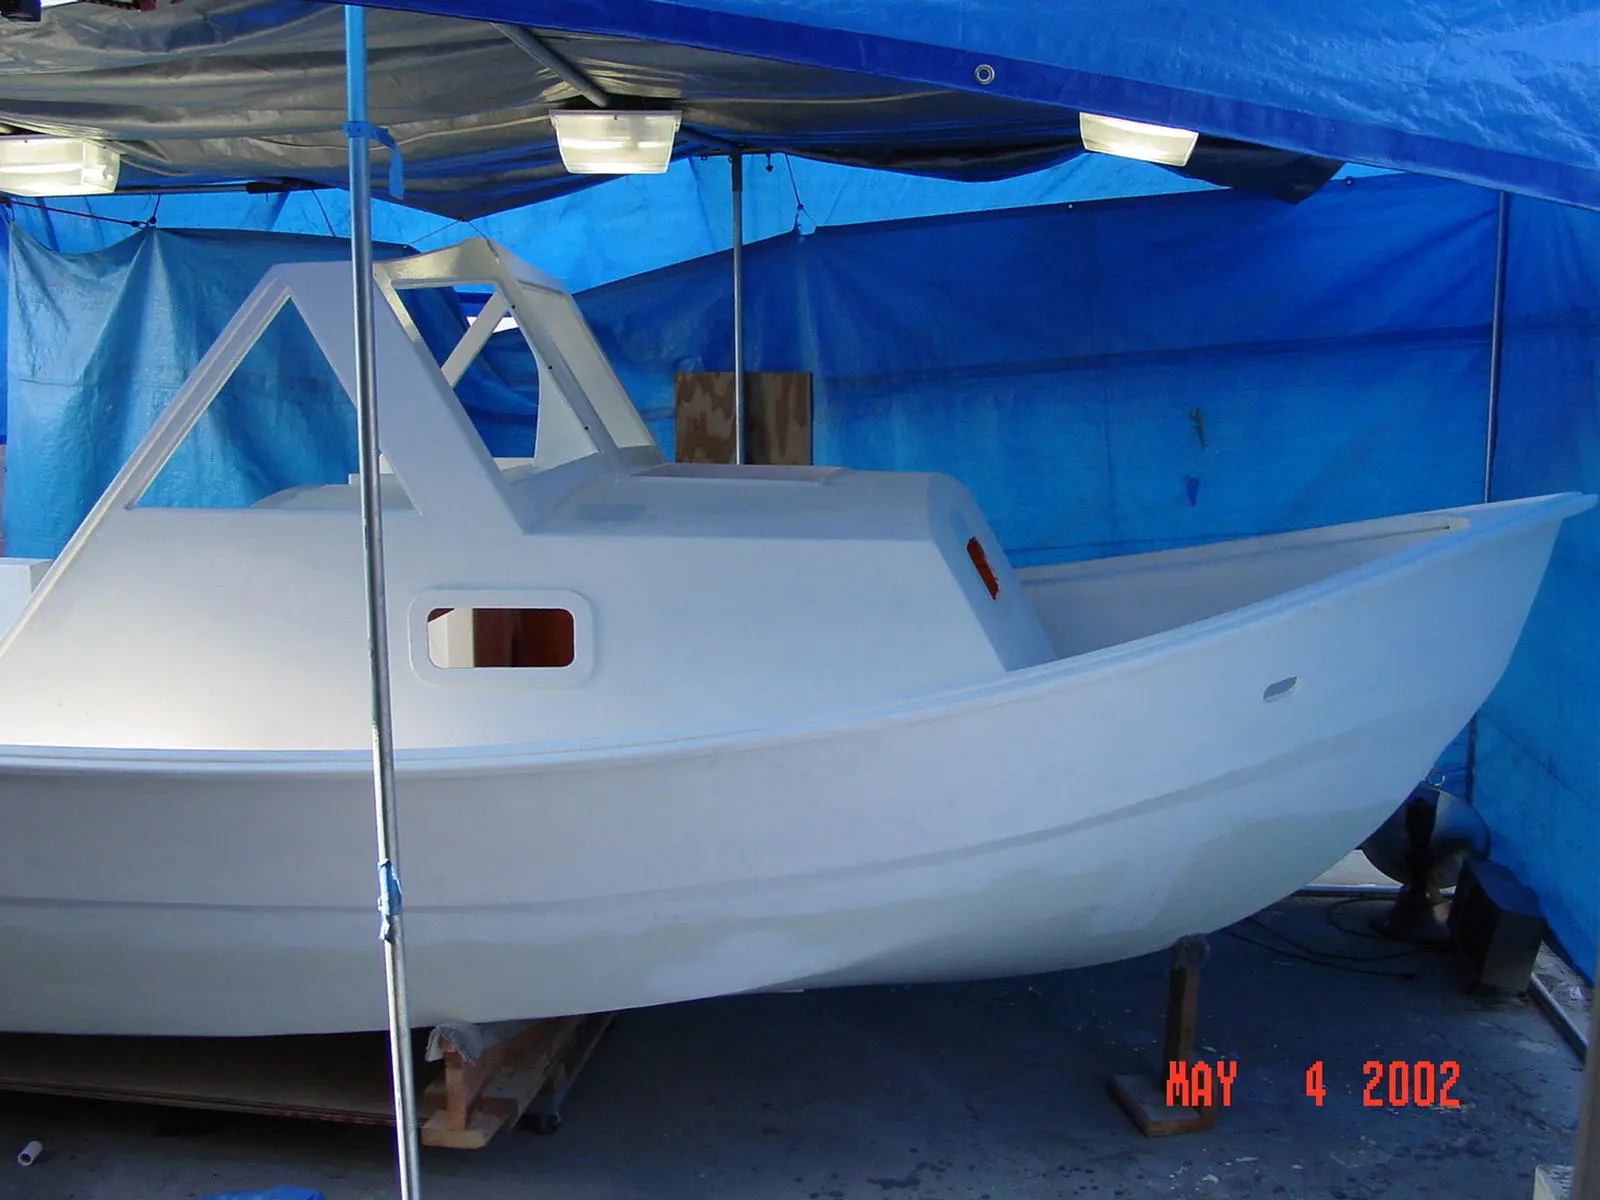
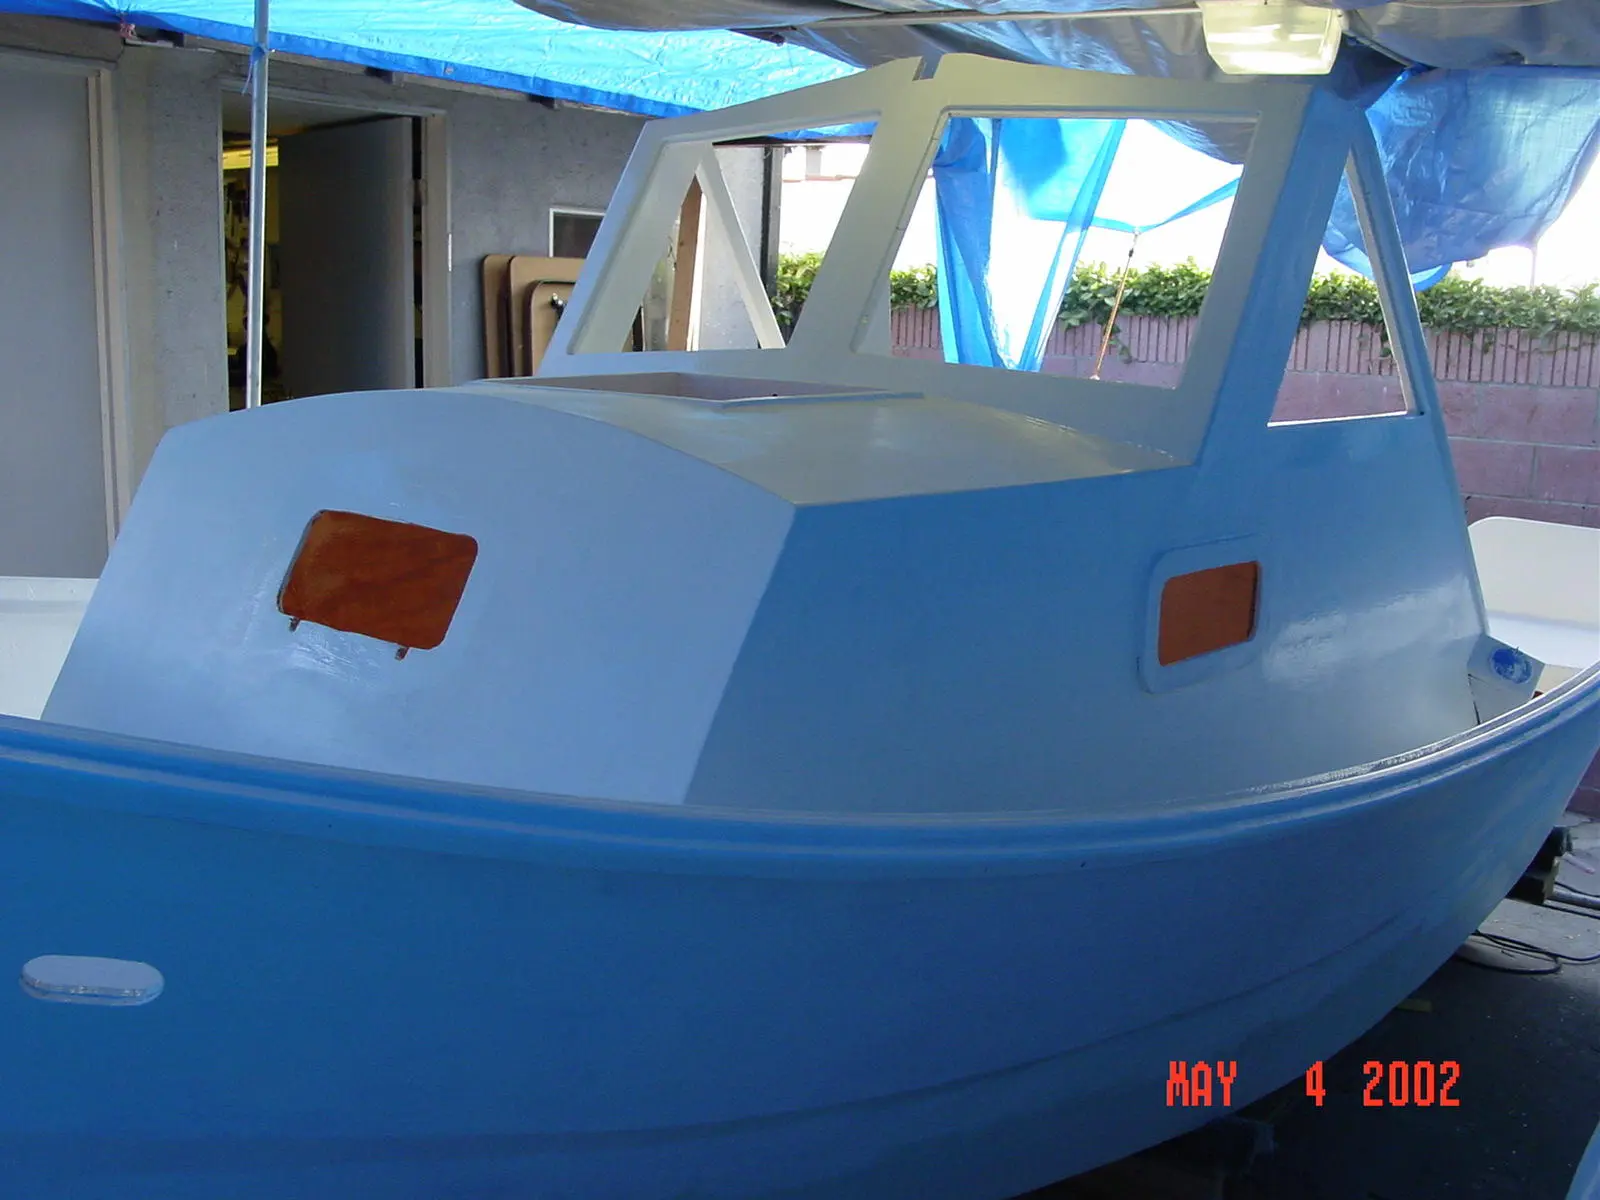
First Coat of Primer (Trilux #279)
First Coat of Primer
The paint is Interlux Semi-Gloss White # 220 Yacht Enamel The red stripe is Interlux Brightside # 4248 Fire Red
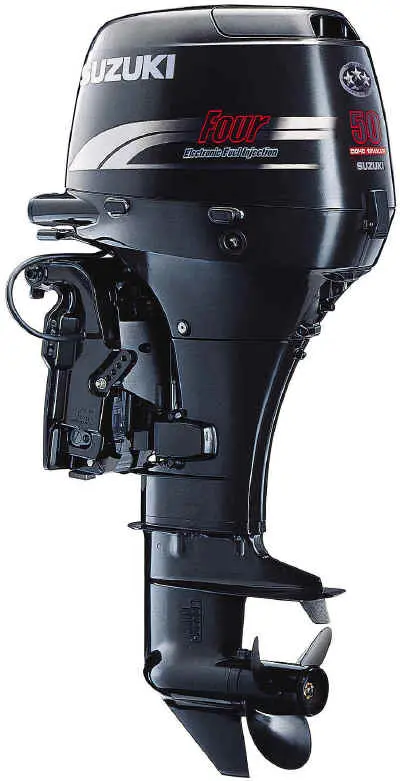
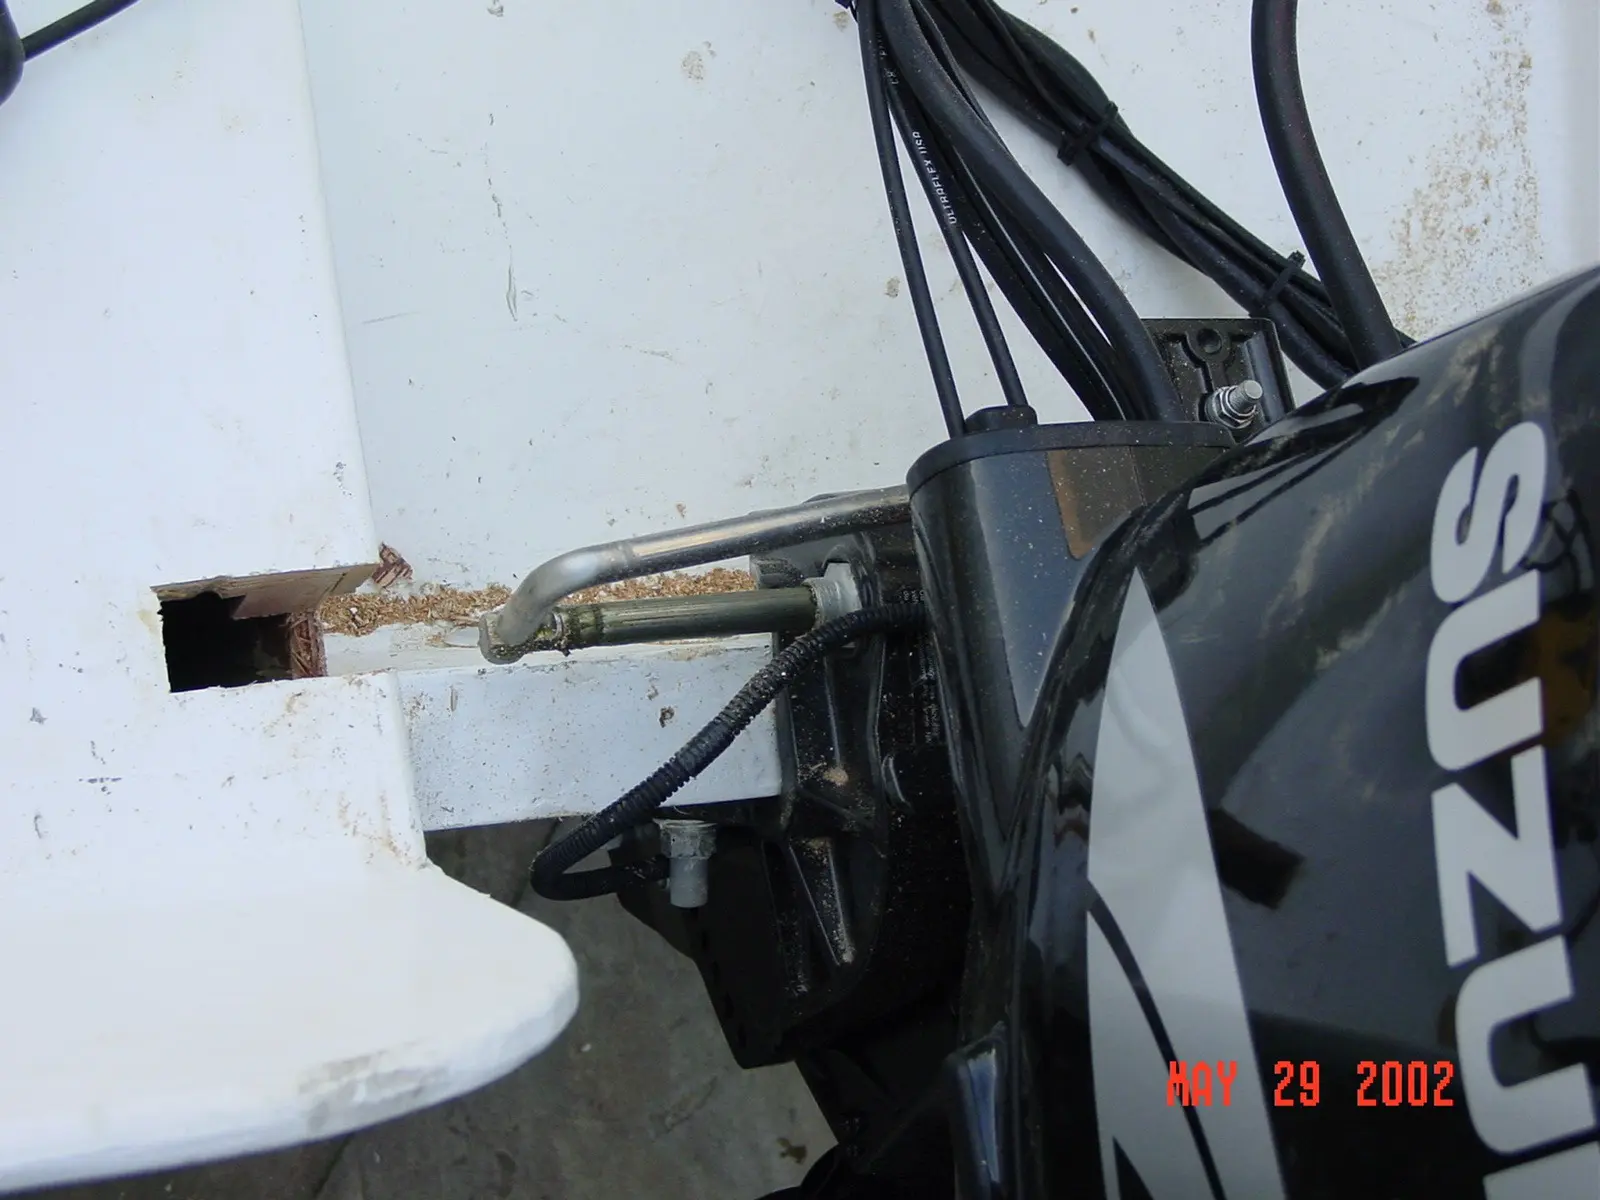
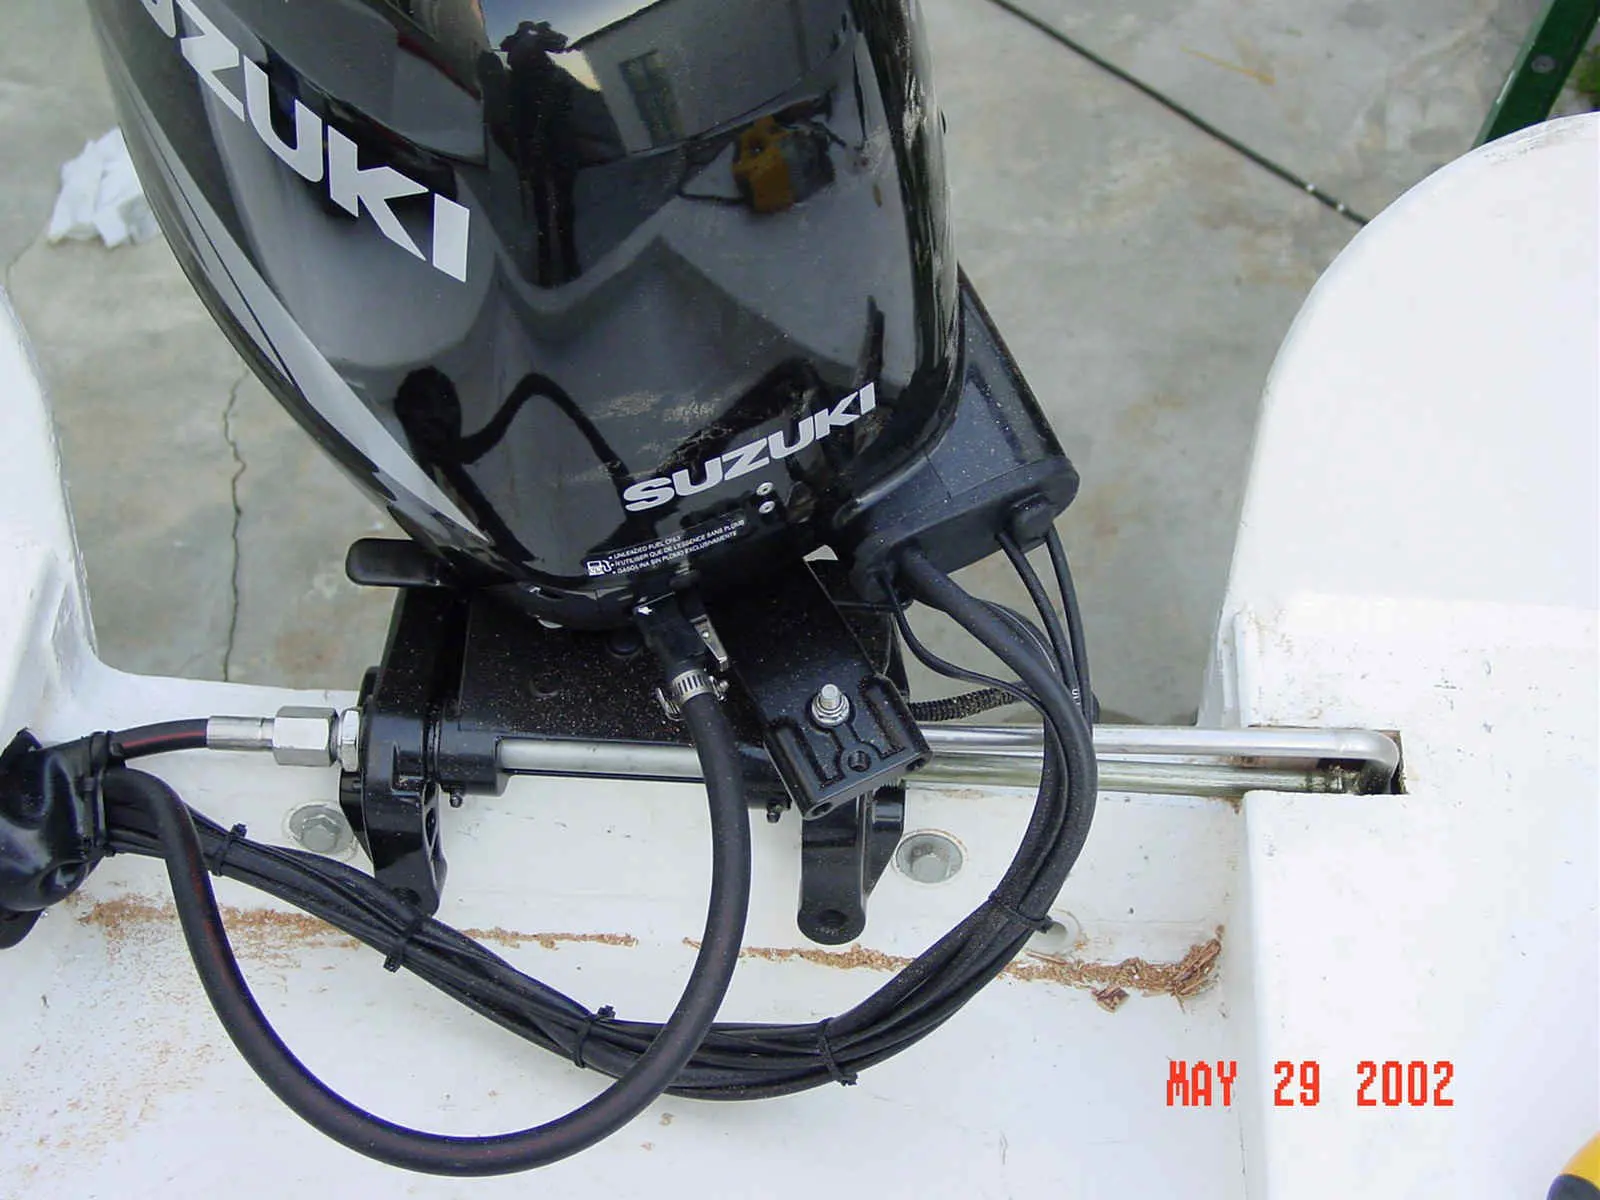
I encountered a problem when installing the engine. The steering linkage is to long when turning right. I had to cut out part of the seat to allow it to turn.
I filled in the cutout with some plywood from underneath.
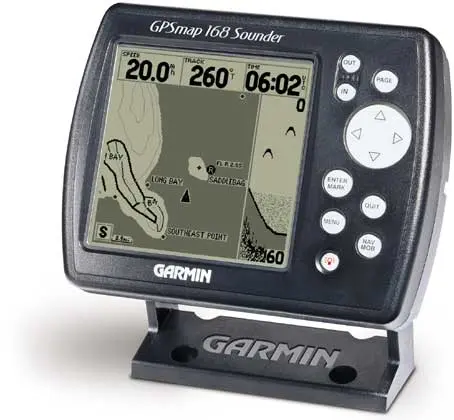
Garmin GPSMAP 168 Sounder is a combination GPS receiver and chartplotter which includes a depth-finder.