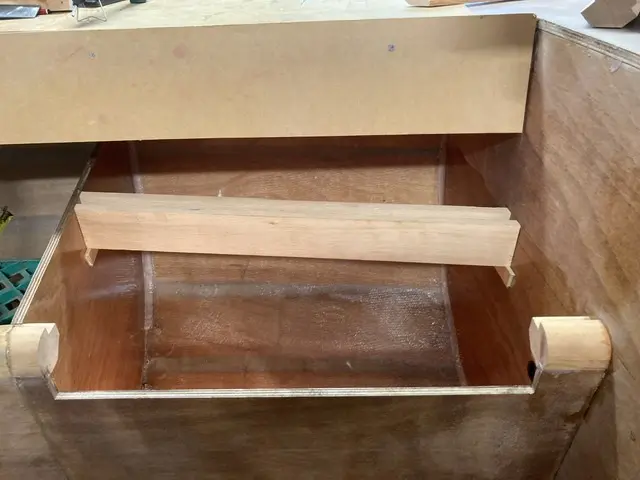
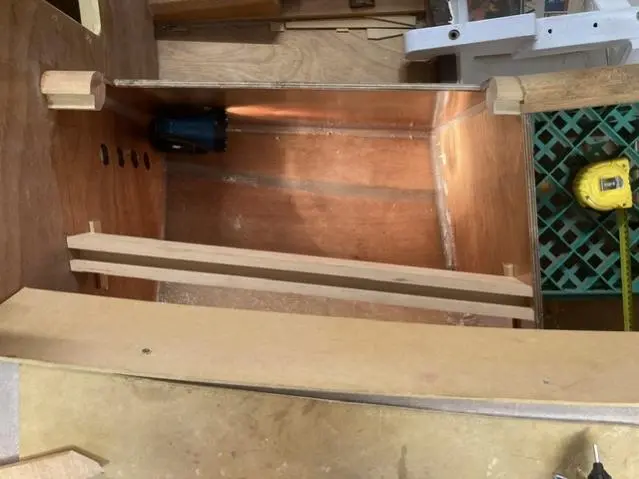
Ok I’ve done a bit more work so here’s the evidence/pictures
Ok I’ve done a bit more work so here’s the evidence/pictures
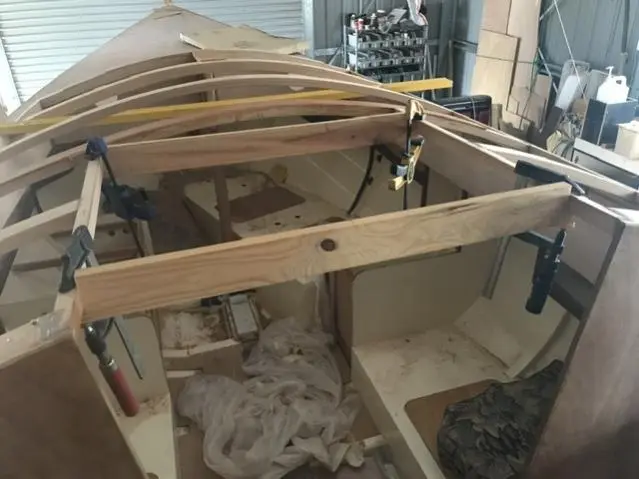
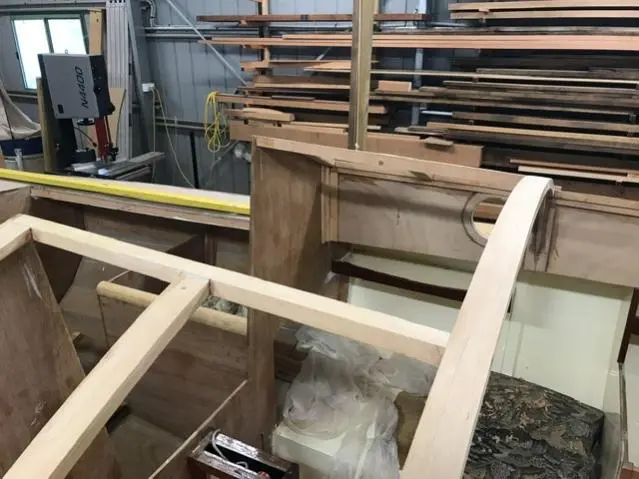
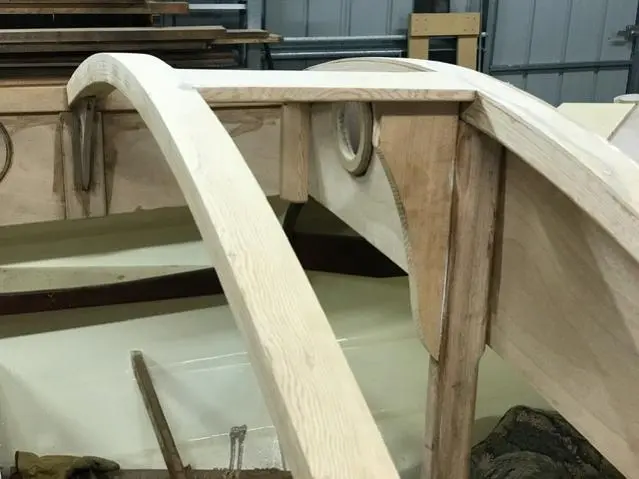
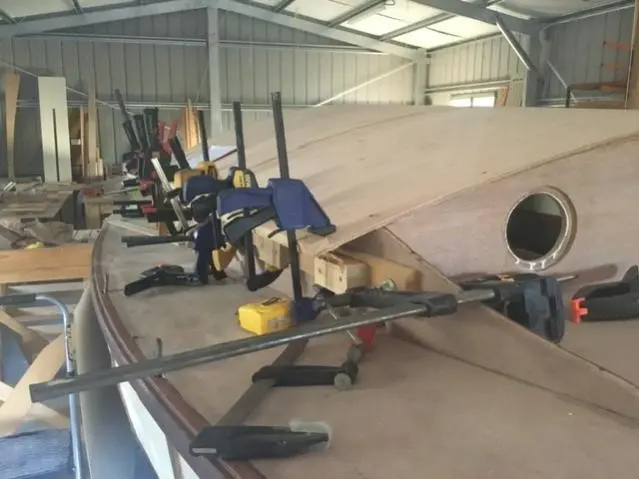
Cut out companion beams and fitted carlins. I drilled into ends of joins and glued in dowels to add a bit reinforcement, on the tee joins of short beams etc. used a couple of spacer sticks to get carlins parrelel.
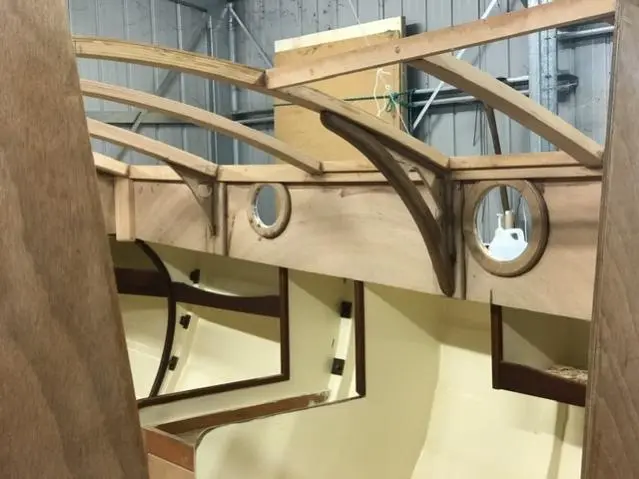
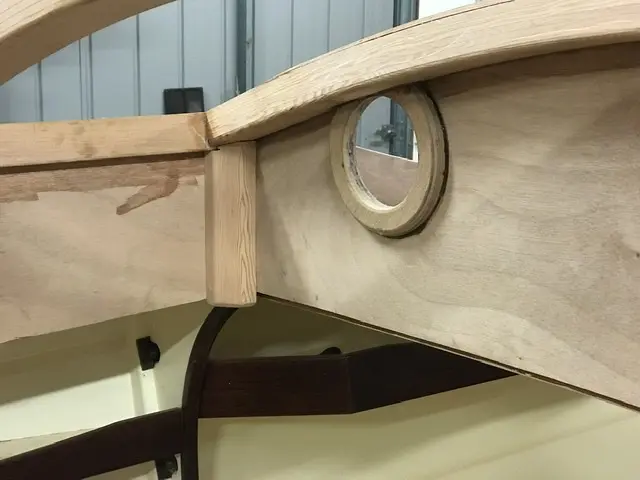
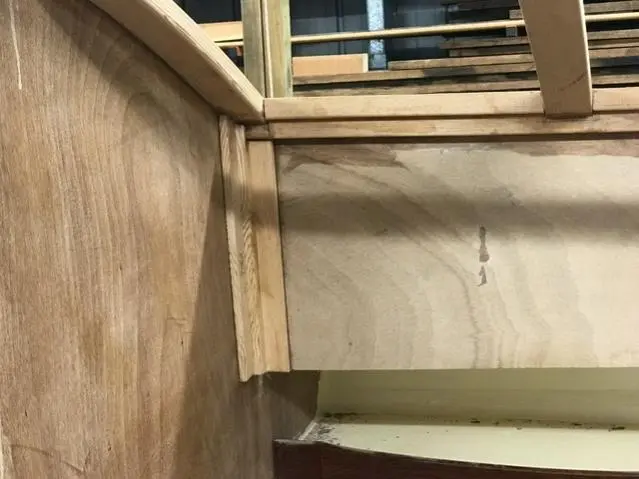
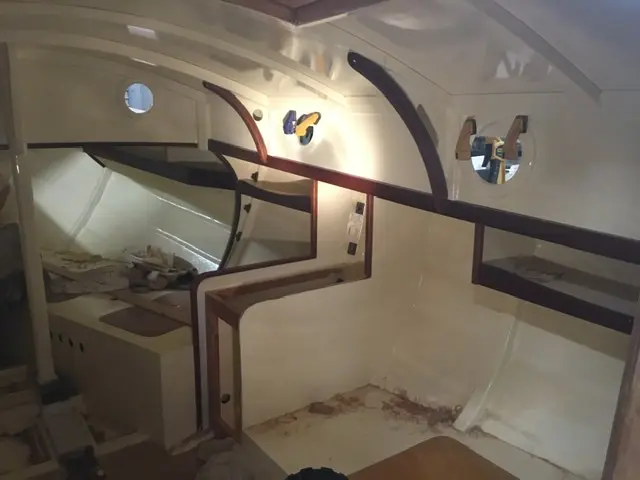
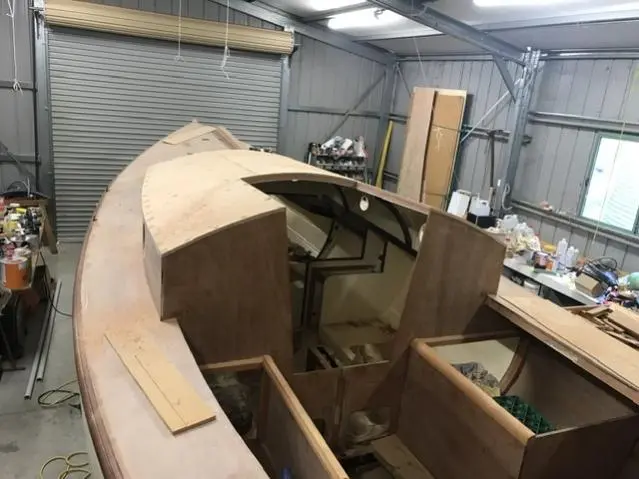
glued in the doublers for portholes so that screws have some meat. Also did some corner posts at junction of sides and bulkheads of cabin. You can also see the knees here that will have painted webs and varnished fat bits. Used the fat bit to position web while gluing then removed fat bit so that it’s easier to paint. The rear most big knees also double as hand holds.
at the rear of cabin I made some corner posts in two sections so that first the corner gets braced then a cover will go over that so that the wiring has a channel from shelves below to underside of cabin roof.
cont....
Here’s a rear corner with cover on.
while inside cabin I’m doing as much as I can before roof top goes on. Next up was the compression post with a brace and sorta short king plank.
that’s me pretty well up to date unless you want some pictures of drying paint? Oh I’ve also been working on Samson post too but that’s just a bit of wood laying on deck now.
My patience is running low so I’m painting the upper interior and then the cabin top goes on! Woohoo, that will be exciting!
Last few days have been a boat building adventure.
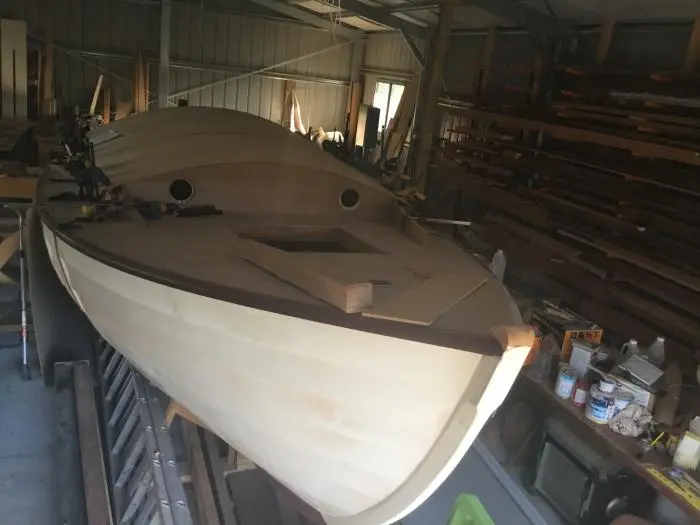
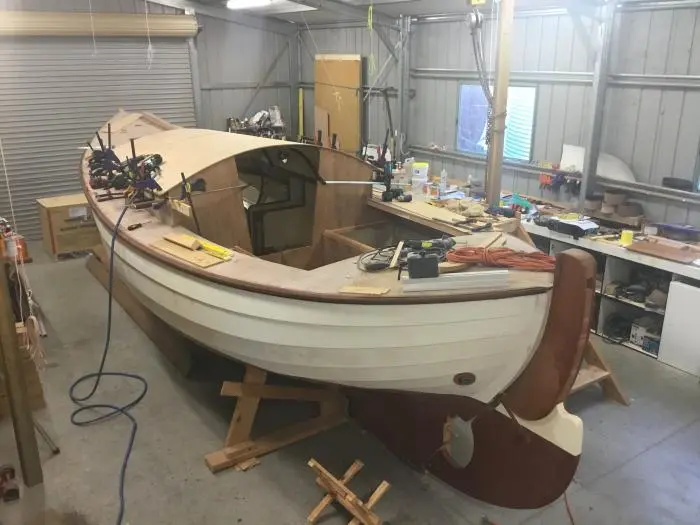
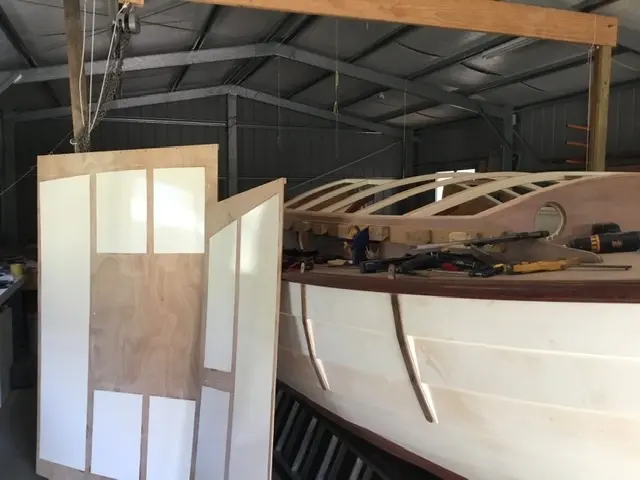
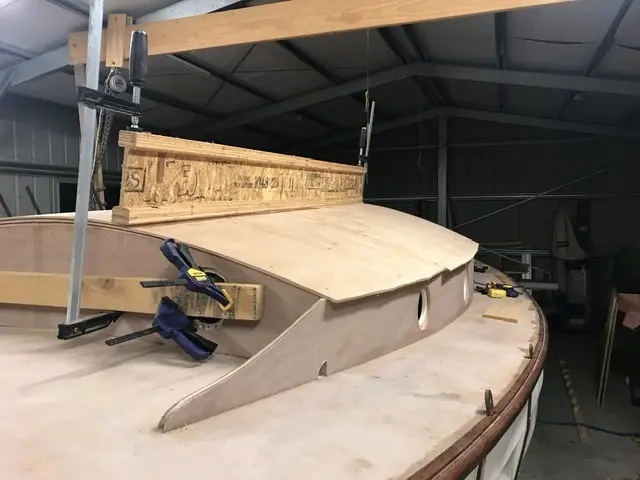
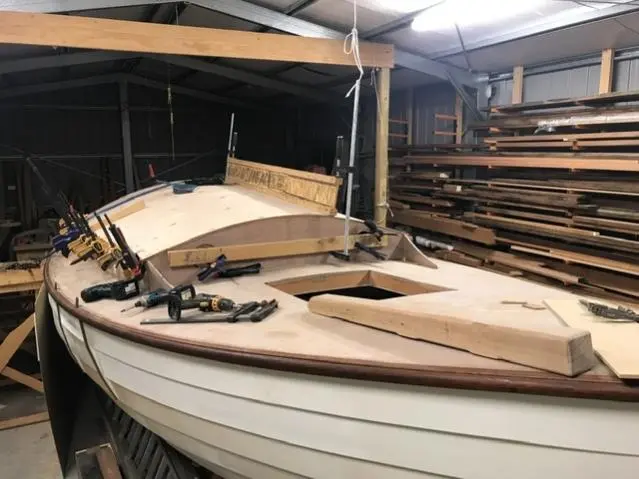
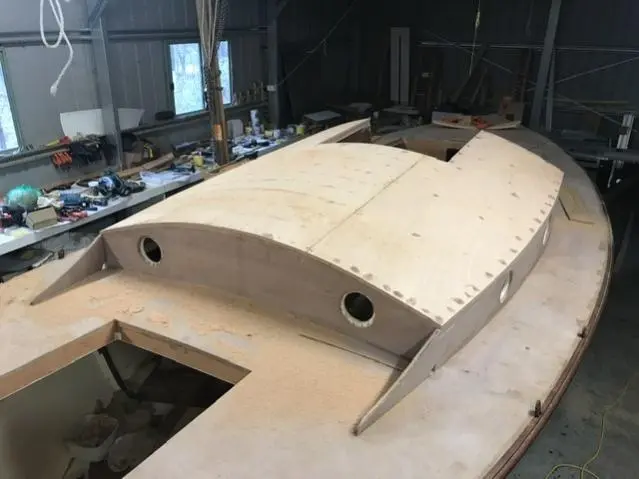
Last few days have been a boat building adventure. I got the lid on! Well half of it anyway, gives a really different feel to cabin. Next photos show two 1/4” sheets laid athwartships, glued and screwed down also about 100 plastic nails. Happily it looks like only about three have missed the mark and come through inside so there’s a bit of patching coming up along with the final finish inside cabin.
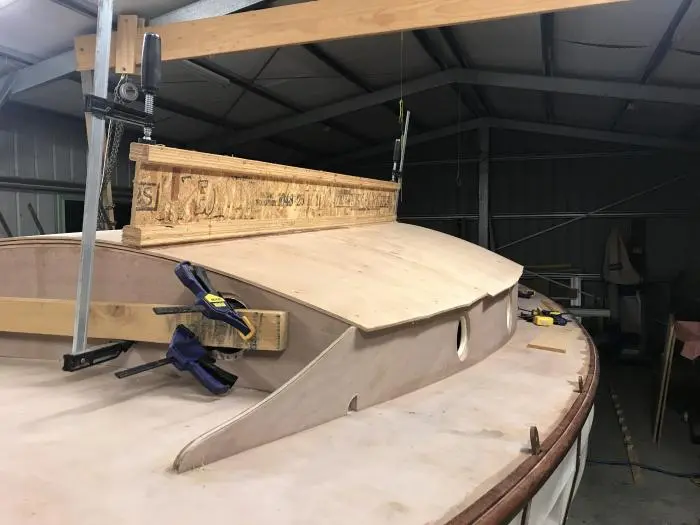
To hold down edges of roof sheets while I screwed them I setup some clamp blocks that are in turn clamped to side of cabin through portholes.
Ive also had the varnish brush busy too putting some trim in the cabin, knees and Carlin trim pieces etc
before putting on these inner sheets I coated 2 epoxy, 2 undercoat & 2 topcoats. I drew lines around all the framing and over coated them by about 2mm so I wouldn’t get bare bits once the roof was on. After a cleanup with the chisel stick and wipe with acetone the only prob Len I have is the few plastic nails that came through that I gotta repair.
So today was the addition of the second layer of two 1/4” ply’s.
So today was the addition of the second layer of two 1/4” ply’s. Turns out it was easier than the first layer, mind you I still have the dynel to put on.
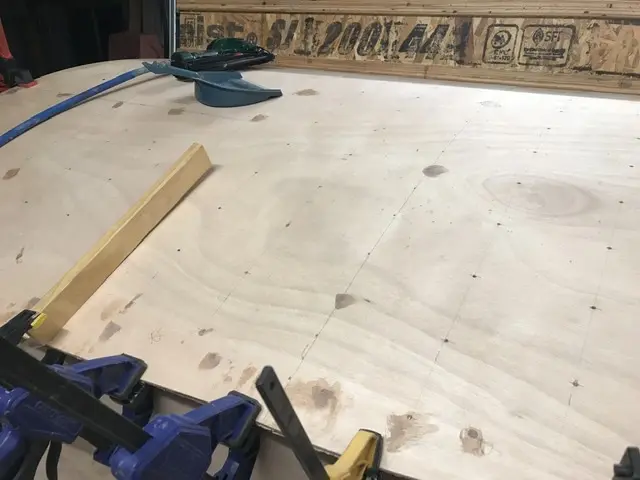
I drill some ooze holes in this layer on instruction from building guide. Had a little come through. I set up some locator blocks on join lines to make it easier to put sheet on. I also pumped a few batches of resin out in readiness. Turns out I used way more than I expected. Too bad experience is only gained when you’re finished!!
was really good it was a cool day too so the goops didn’t go off too quick.
now for main course - photos
oh, the I-joist is being used to hold Down edge of sheet in between where itS screwed to beams.
I offset join in second layer cos there’s screws in first layer. And it means I’ll gain enough from other piece to hopefully make some hatches.
!
going to start on next adventure in this boat when this ply is done, you’ll have to wait
Time for an update I think cos engine stuff is slowed waiting for bits.
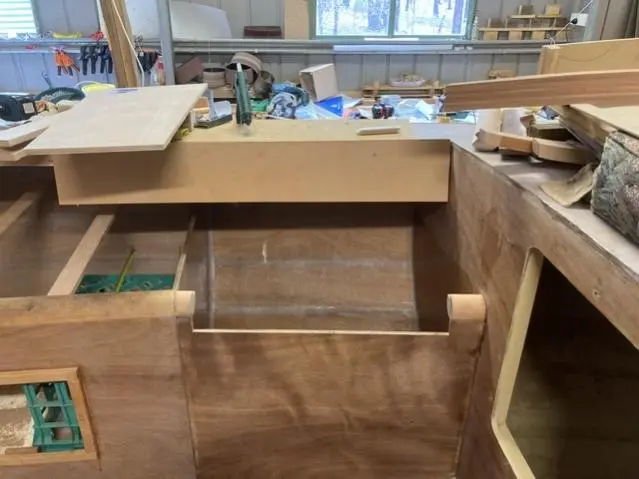
Time for an update I think cos engine stuff is slowed waiting for bits. I’ve started constructing the cockpit lockers so that the fuel tank has a home and the engine control lever gets fitted into the opposite locker on port side.
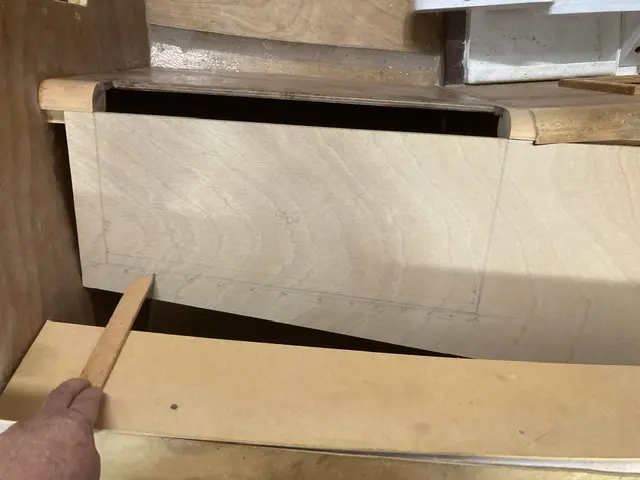
this is the starboard locker with a piece of MDF screwed onto side deck Carlin at the angle of seat back which also curves in planview. I had to project the angle of the future 12mm sea back down to seat level so I cut a pointer stick of a thickness which gave the line of front surface so that I could plan where the rear hinged lip of locker lid goes.
I think on the above pic you may be able to see the lines of lid.
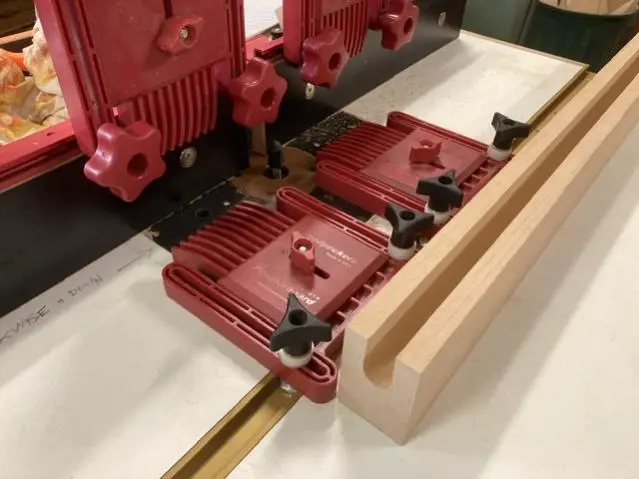
Now onto making the drainage channel for rear outboard of lid. Done as you see with use of router table. This piece is to be fitted between two bulkheads and will glued in with support blocks as well.
12345
Nobody else here is logging a Grey Seal yet.
See the boat.