I think 6 months is time to put up some more pictures.
I think 6 months is time to put up some more pictures.
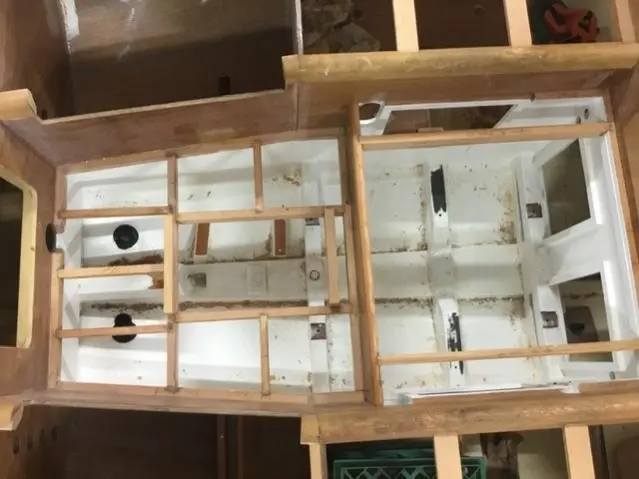
an overhead of cockpit today. I’ve drilled for cockpit drains and epoxied in two Tru Design outlets (at left of pic) Just to the right of centre is a riser from the aft portion to bridgedeck (on right). I’m not far off putting engine in for good, just doing as much of the beams as poss so I don’t fill the engine with sawdust!
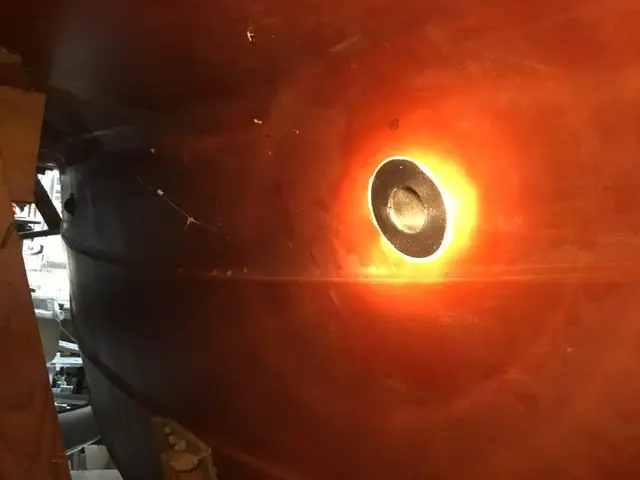
This is under hull showing through-hull that has a counterbored hole through ply and fitting glued in with epoxy and nut tightened inside. I’ll be fitting hosetails inside and I’ve decided to go with crossed drain hoses.
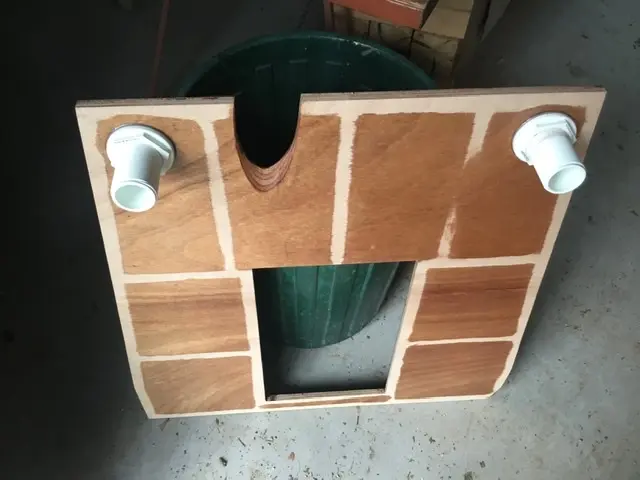
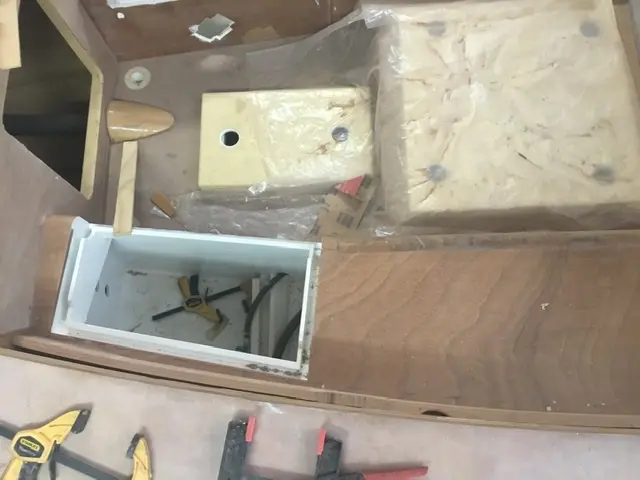
This is the cockpit sole showing drains . Ready for painting and also a gearbox control cable to be fitted first before install. That scallop is for exhaust hose where it rises high enough to go through bulkhead/sole on its journey.
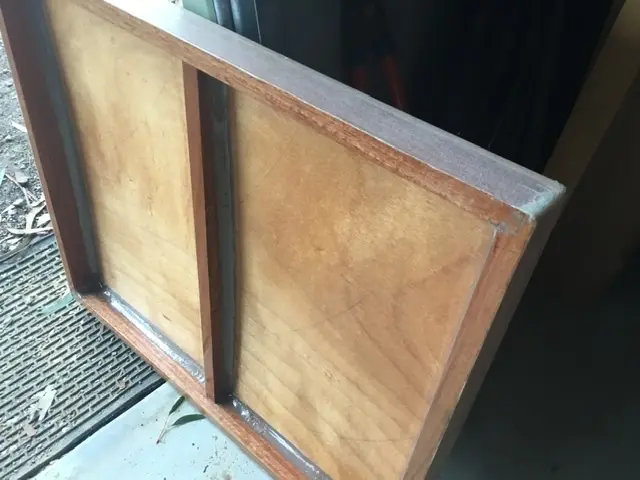
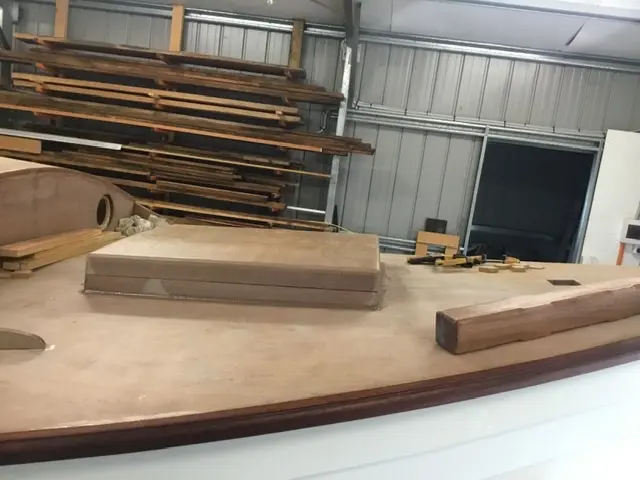
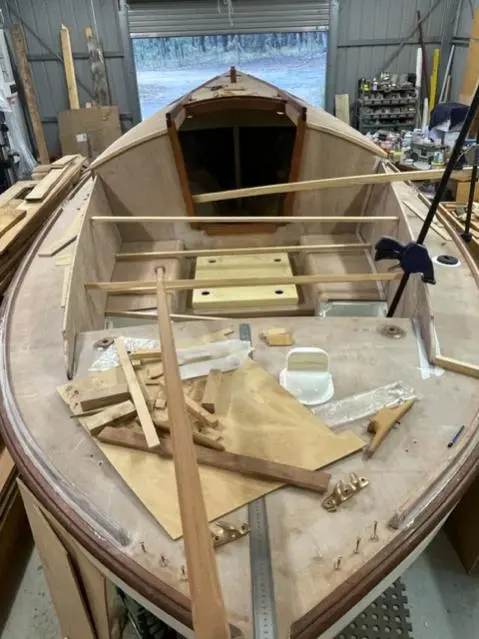
A couple shots showing forehatch. I used a drawer-lock mitre bit on router table to do the hatch and it’s coaming through deck. All covered in dynel and filleted ready for a slathering of filler to smooth it. Laying to right of hatch is the Sampson post almost in its position, I just have to find the piece of bronze rod so I can drill it.
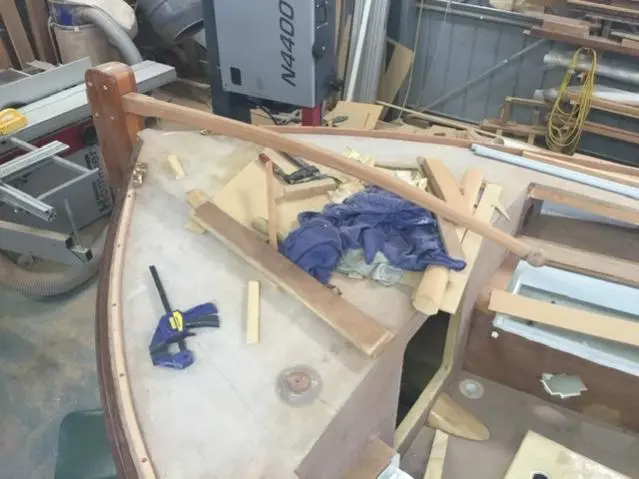
I’m currently working on handrails for cabin top. Seems I have about a dozen jobs on the go at once but I spose that’s boat building once you have a hull.
I thought it’s perhaps time I put up some photos so youse don’t think I gone and croaked.
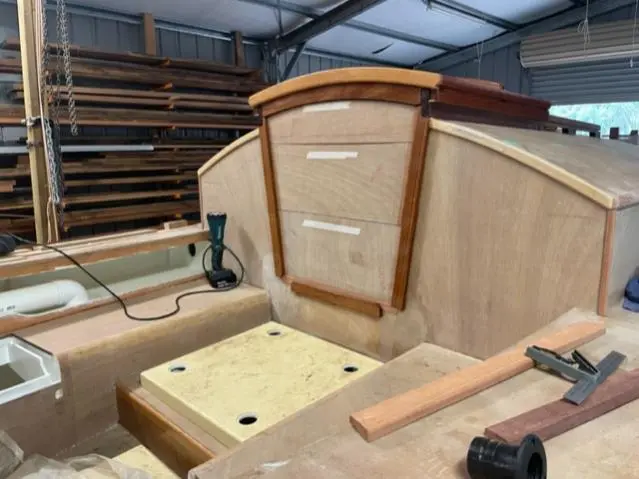
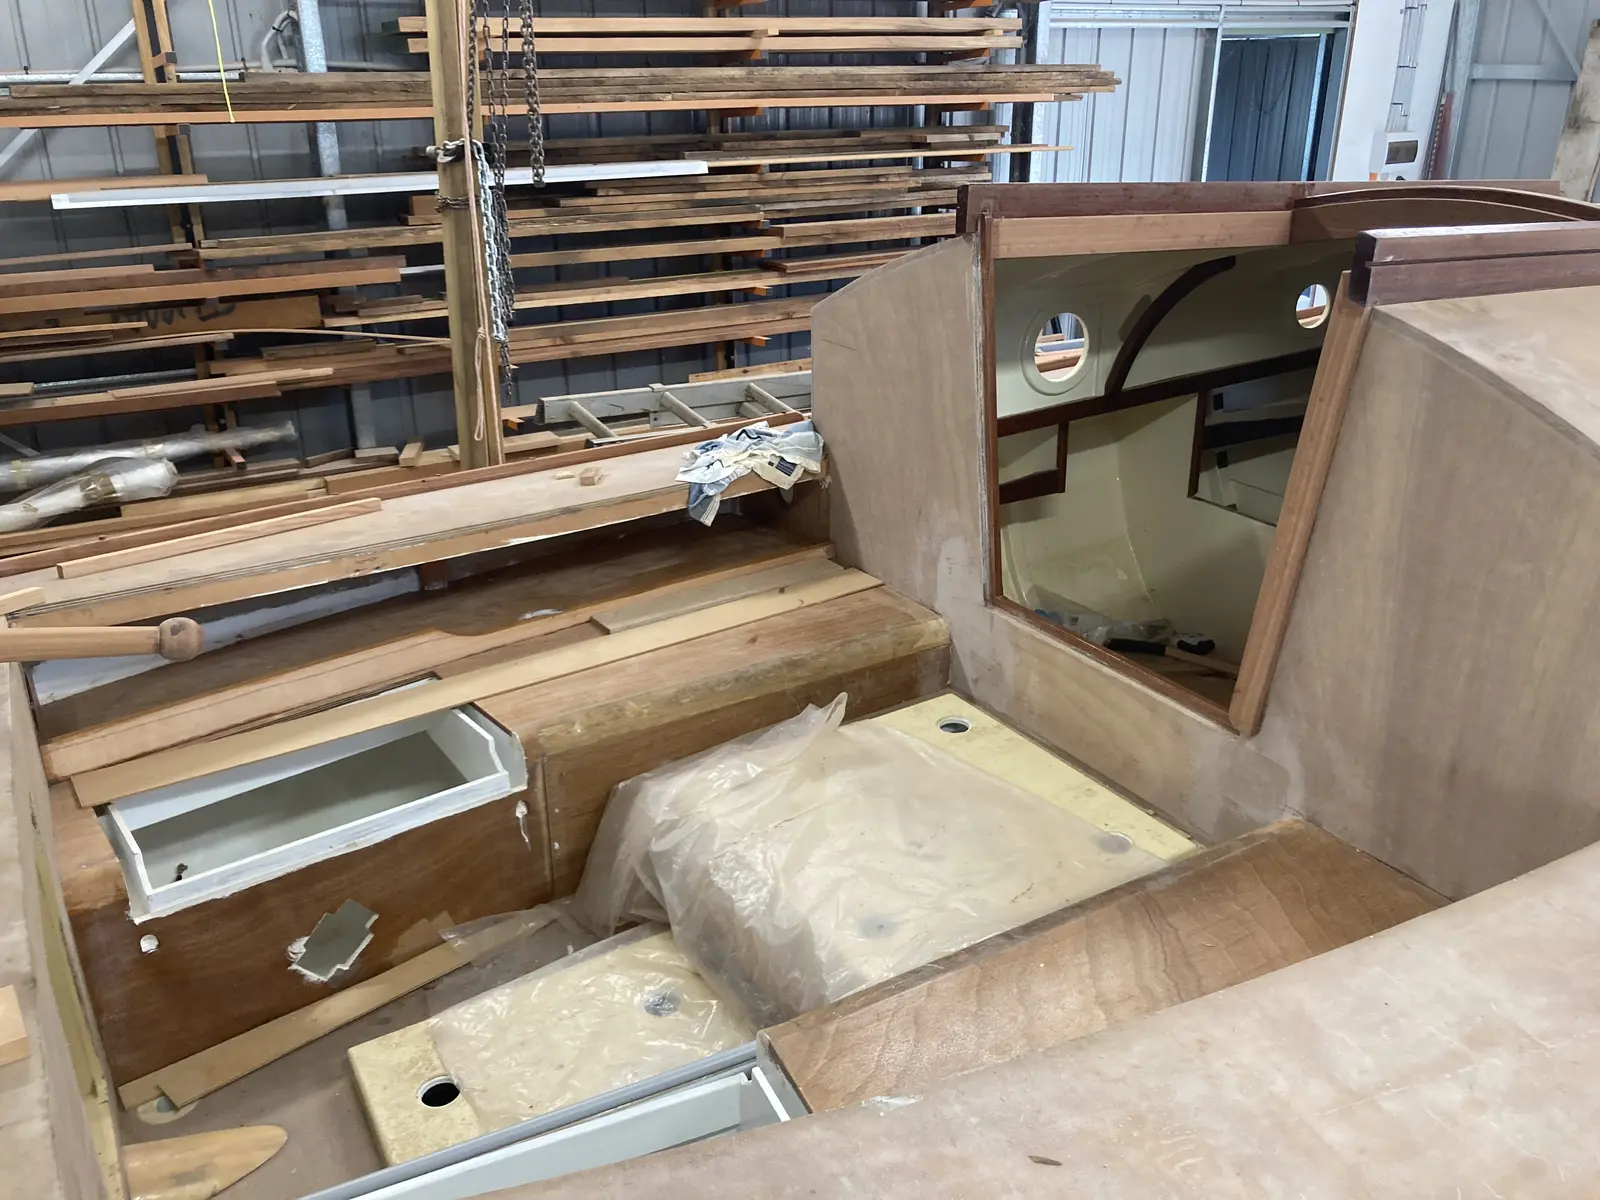
i thought it’s perhaps time I put up some photos so youse don’t think I gone and croaked. This shot above is looking down into cockpit, white cavity bottom left is cockpit locker, two cream coloured hatches are for engine and stern gear. Opening on left is the lazarette hatchway.
Next is the aft deck and sun lounge area with tiller in place and toe rails dry fitted with mooring fairleads. You’ll have to excuse the mess, it’s how I work, I only clean up when I get sick of trying to find things.
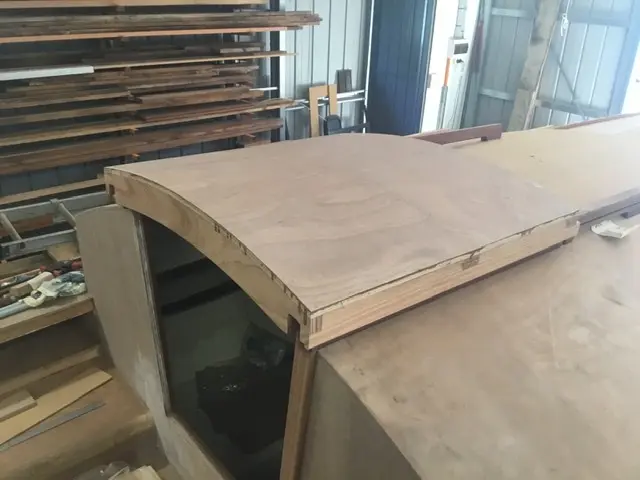
this is the main companionway sliding hatch about half done waiting for trim bits. Companionway is also under construction, like just about everything else.
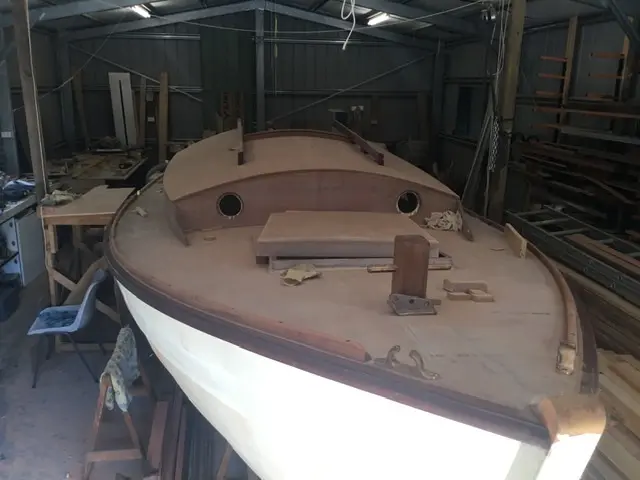
Here is the front porch where there’s a post sticking up in the middle of the floor and a hatch to the cellar. Also these toe rails are actually glued on but now waiting for plugs.
that’s about it so I’ll be back when I’ve done some more bits and bobs, actually any one who’s built a boat prob knows how it is , about a hundred small processes going no-where quick, at least that’s how it is in my shed.
Im off to Italy for 2 1/2 months so the pace will be even slower.
Thought I’d better post some pictures of my miserly progress ( getting better recently)
Thought I’d better post some pictures of my miserly progress ( getting better recently)
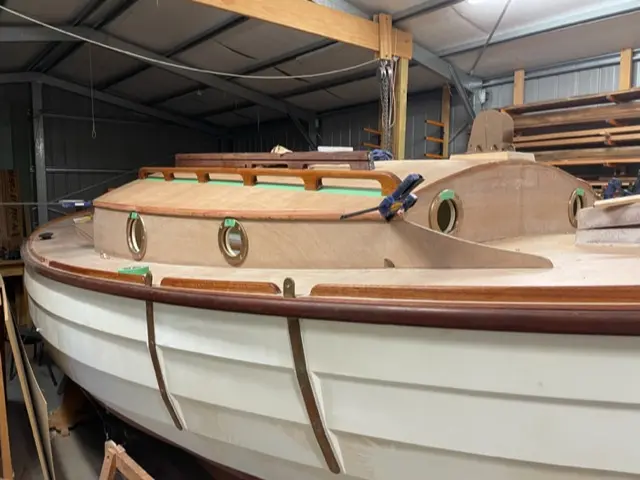
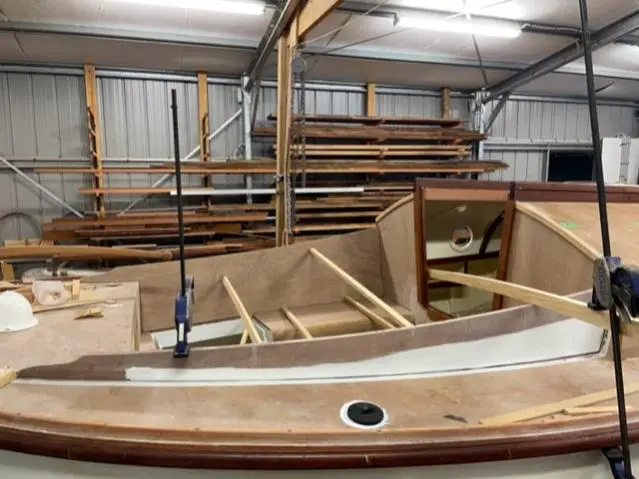
Above picture shows cabin getting towards done, top dynel’d, hand rails and portholes (recognise those Ian) dry fitted.
around the back side I’ve made the companionway drop-boards and main hatch
in the cockpit I’ve, today, fitted and glued in the last major piece of plywood for the build, namely the sbd seatback.
Does that qualify for a whiskey?
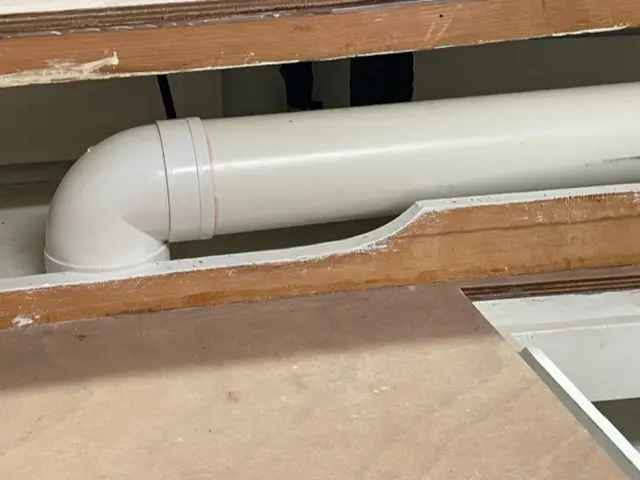
the black circular thing in foreground is deisel fill. I’ve got to finish the rails that go along top of coamings that’s why they’re only half painted. I extended the paint from below where I’ve enclosed the breathing aparutus for engine. That’s the pipe in this next picture, which connects a duct from engine bay to the lazarette so that hot air can be expelled, at least that’s the idea! In the cabin I have two panels with vents to draw in cool air from bilges., in front of engine either side of centre case.
Time to get going again on this build. But first I have some rebuilding to do. I mistakenly thought “she’ll be right” with regard to cockpit drains and omitted ball valves on thru-hulls but now I’ve thought better of it. Prob is I’ve built in the cockpit sole wth a small (about 10” x 15”) hatch in it. So working on the innards takes some doing with only one of my arms or an eye to gain access. First order of business is to make the hatch bigger. the larger hatch covers the engine
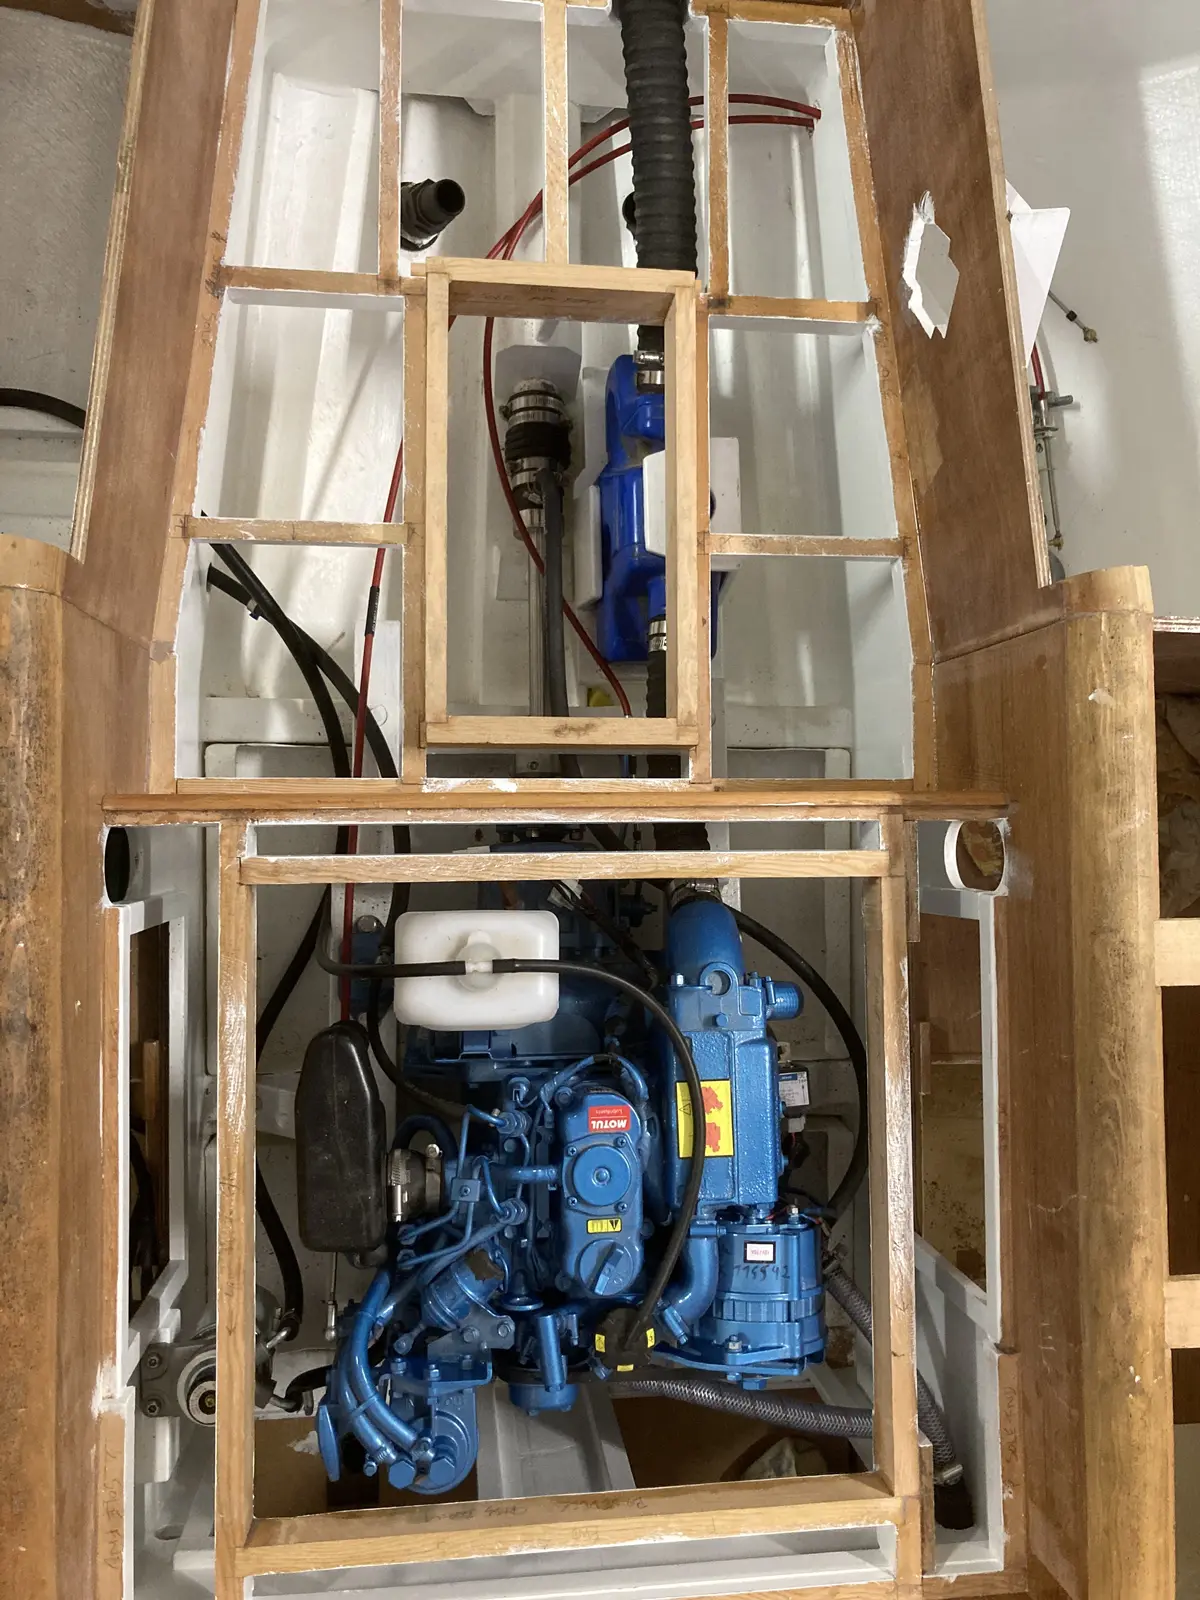
this is a picture of framing showing the thruhulls, exhaust muffler, and shaft seal etc.
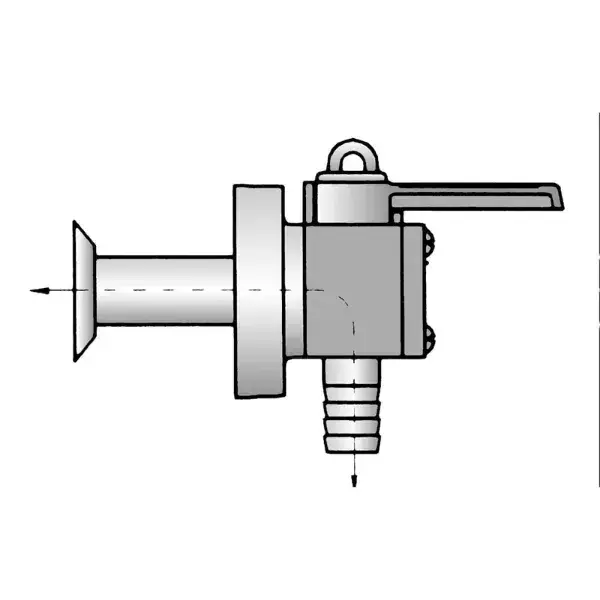
plan is, after making hatch bigger, to get that muffler out which I made a bracket for that allows muffler to slide for/aft but it hits the thruhulls and so I can’t get it out, who’s a clever bunny! Then I’ll cut the throughhulls out (different thread than new ball valves). Here’s the new valve that I’m going to fit, hopefully. They are made by Forespar Marelon and have the inlet very low to the hull. The through hulls on new ball valves are a different thread and smaller diameter than Tru-design through hulls of same 1 1/2” diameter, go figure? So I have to holesaw out old epoxied in through hulls to install Marelon ones. That should be fun just on its own. By this stage I’m really tired just thinking about this f’ up
then new hoses to cockpit drains and put everything back together.
I started this build in 2012 and had a few stop/starts. Main things I have left to do are paint all decks/cabin/cockpit and build a mast. Then finish about a thousand small jobs. Meantime I’ve started another build, see Eland 36.