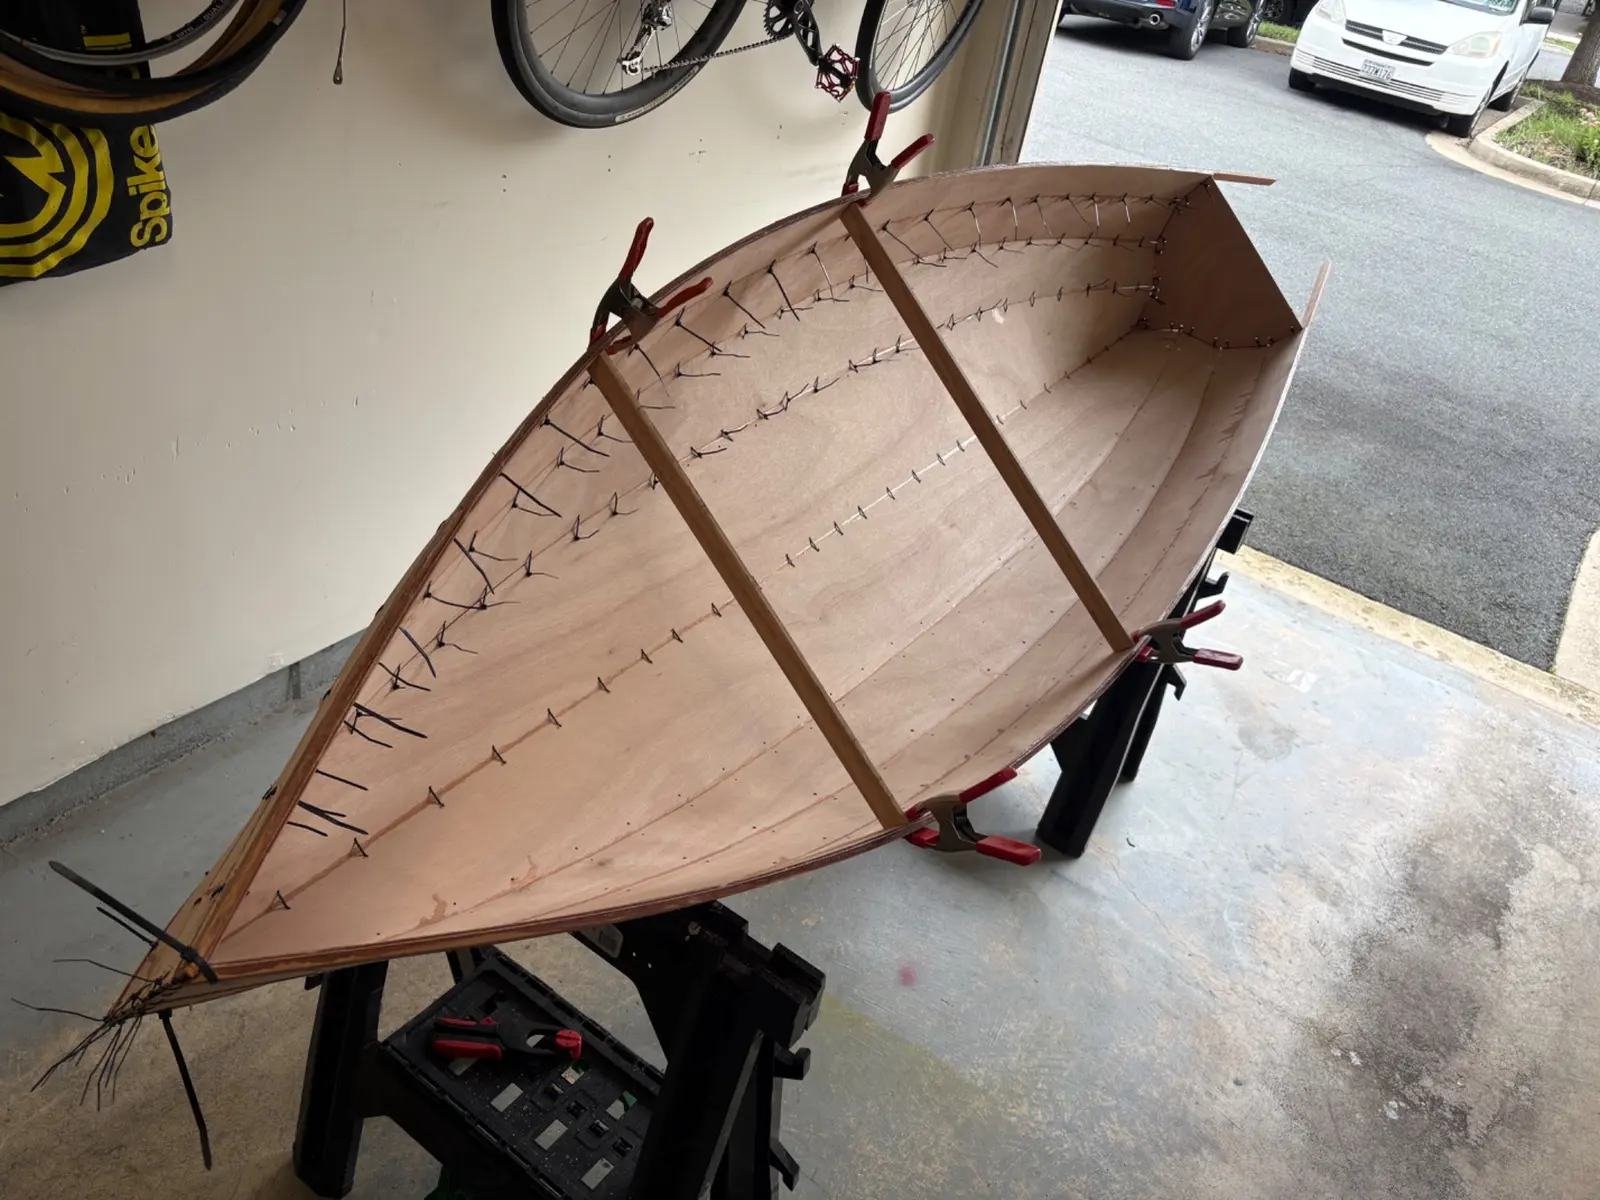
This is the second boat I have designed and built, with the first one still floating, but leaving me wanting more in the looks and performance department
♡1
Make a book
Feed
The whole log, 8 entries and every photo,
laid out as a book to print, bind and keep.
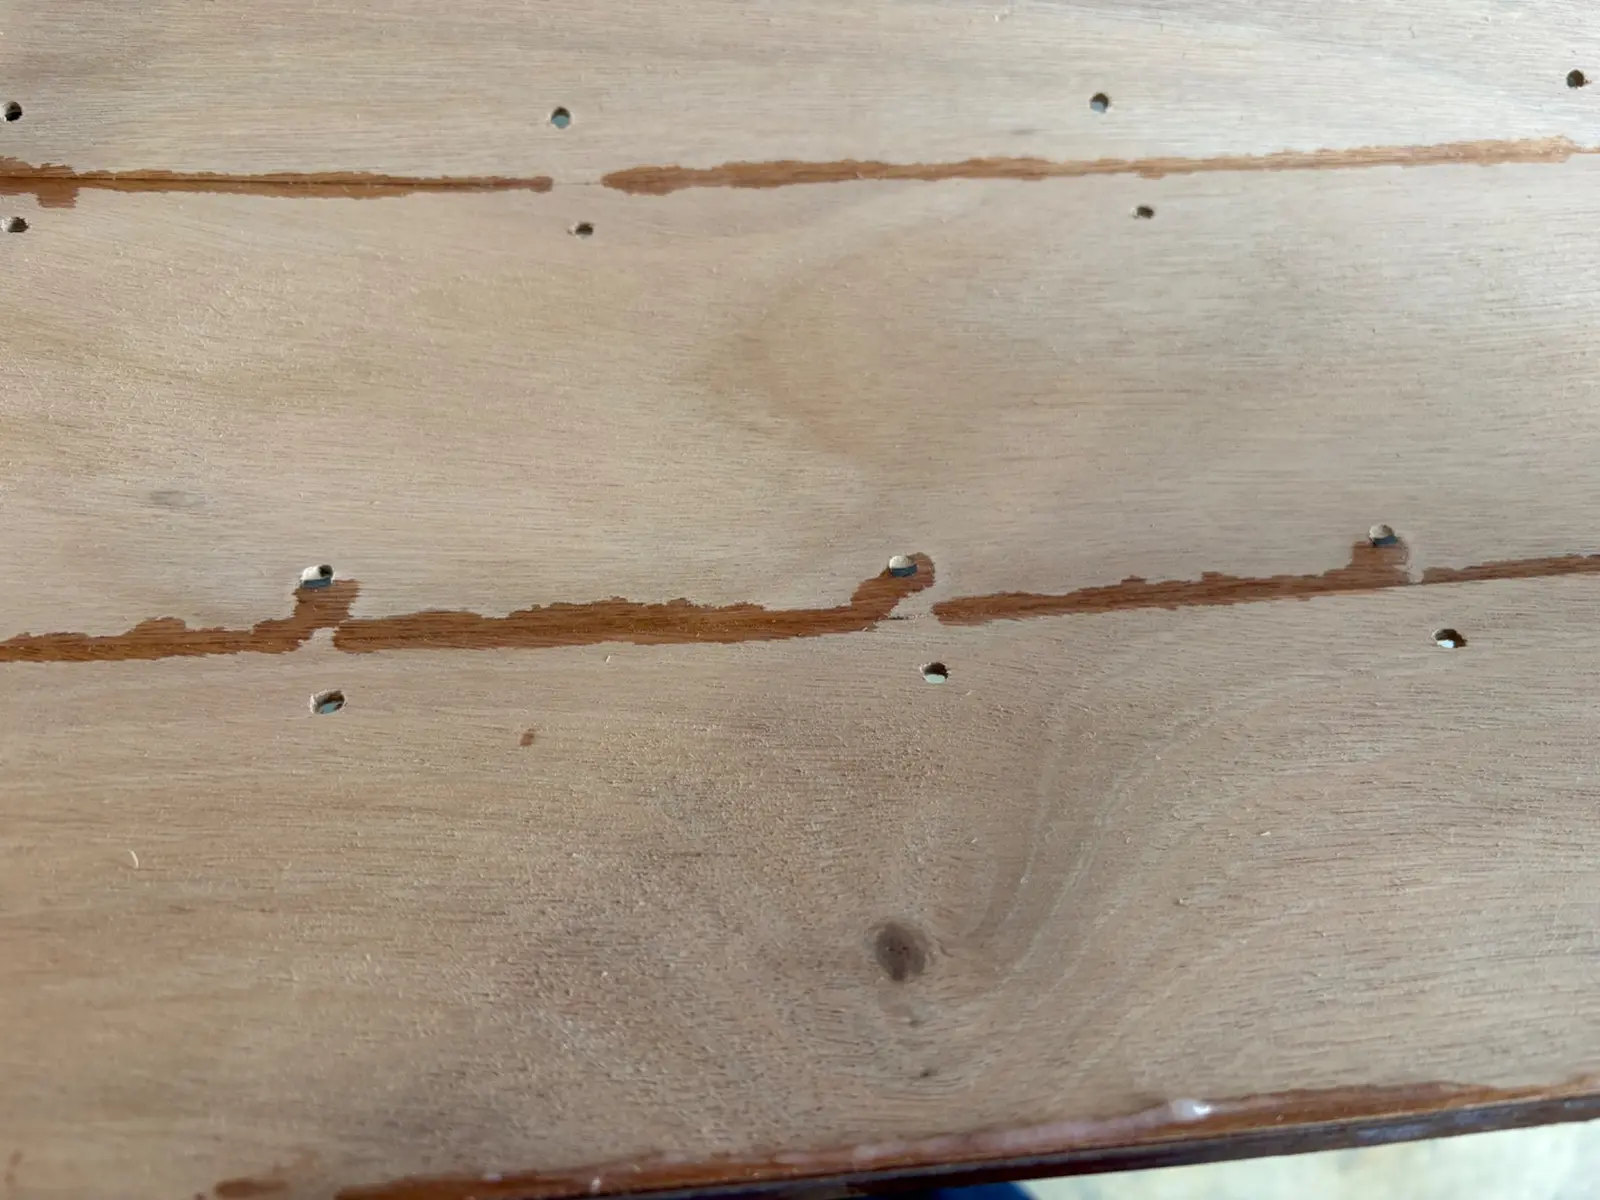
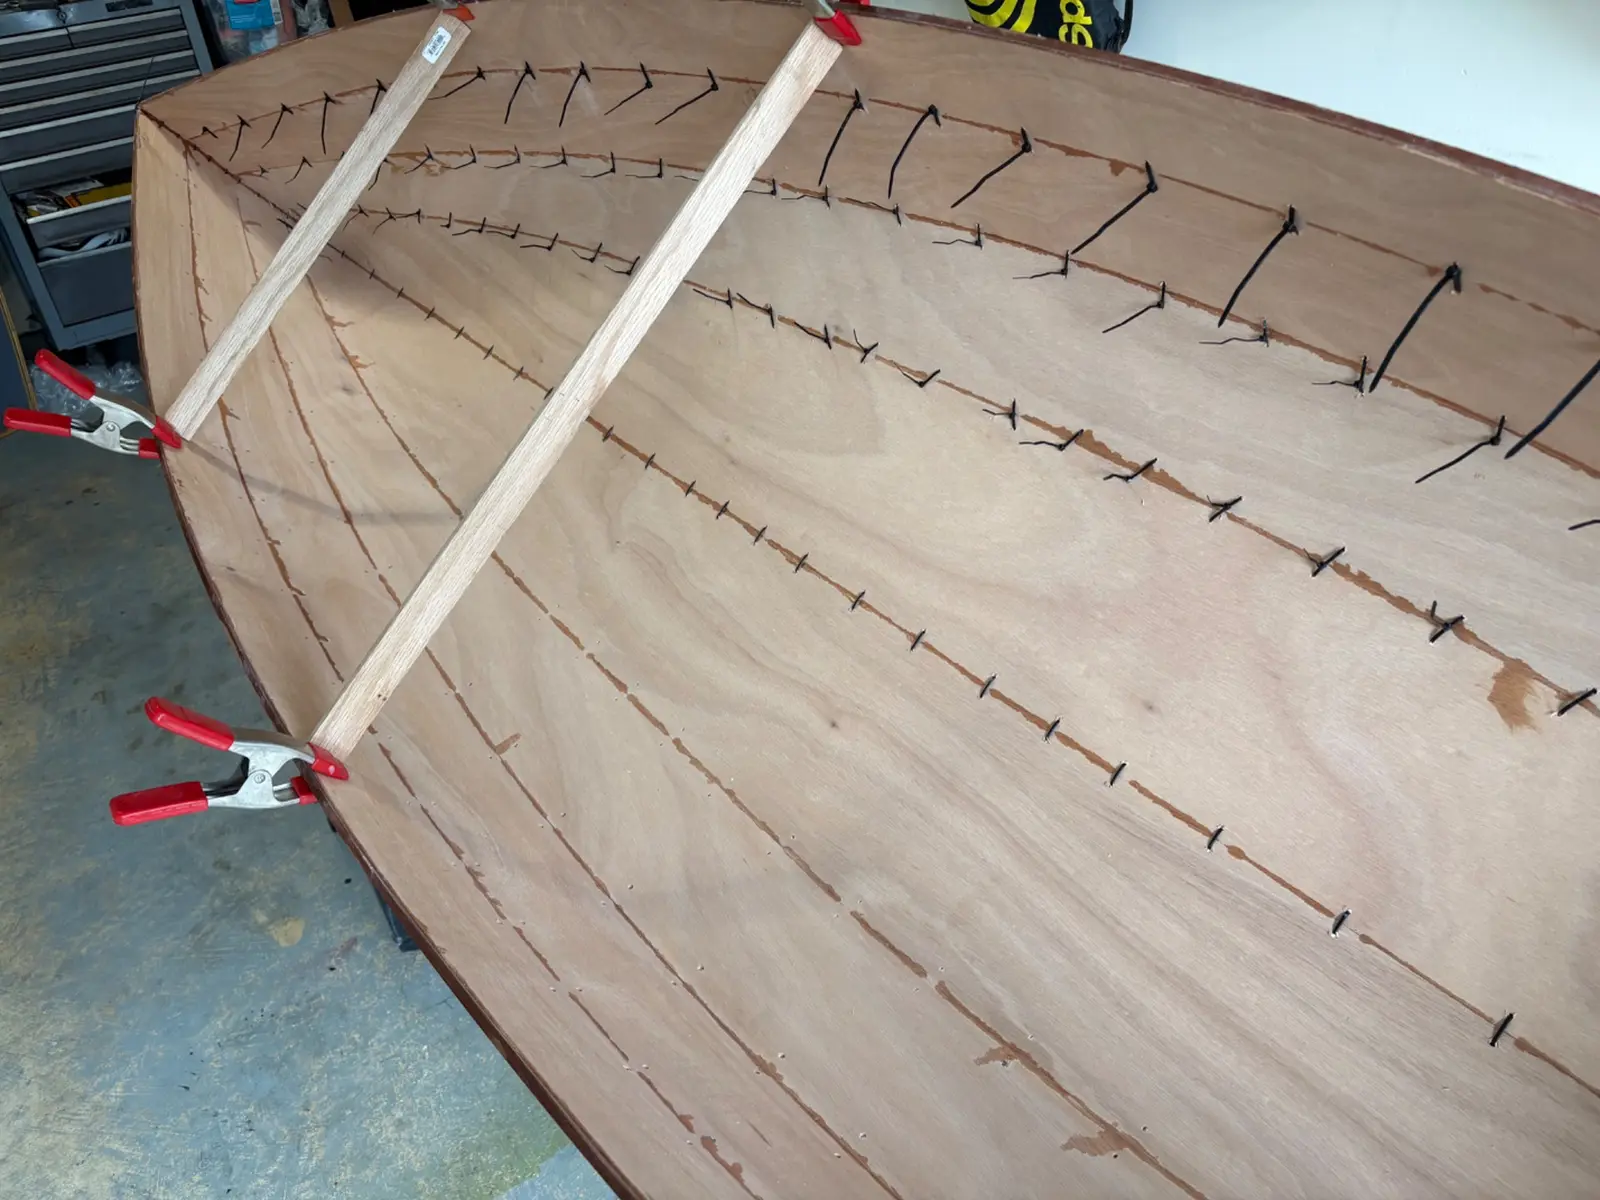
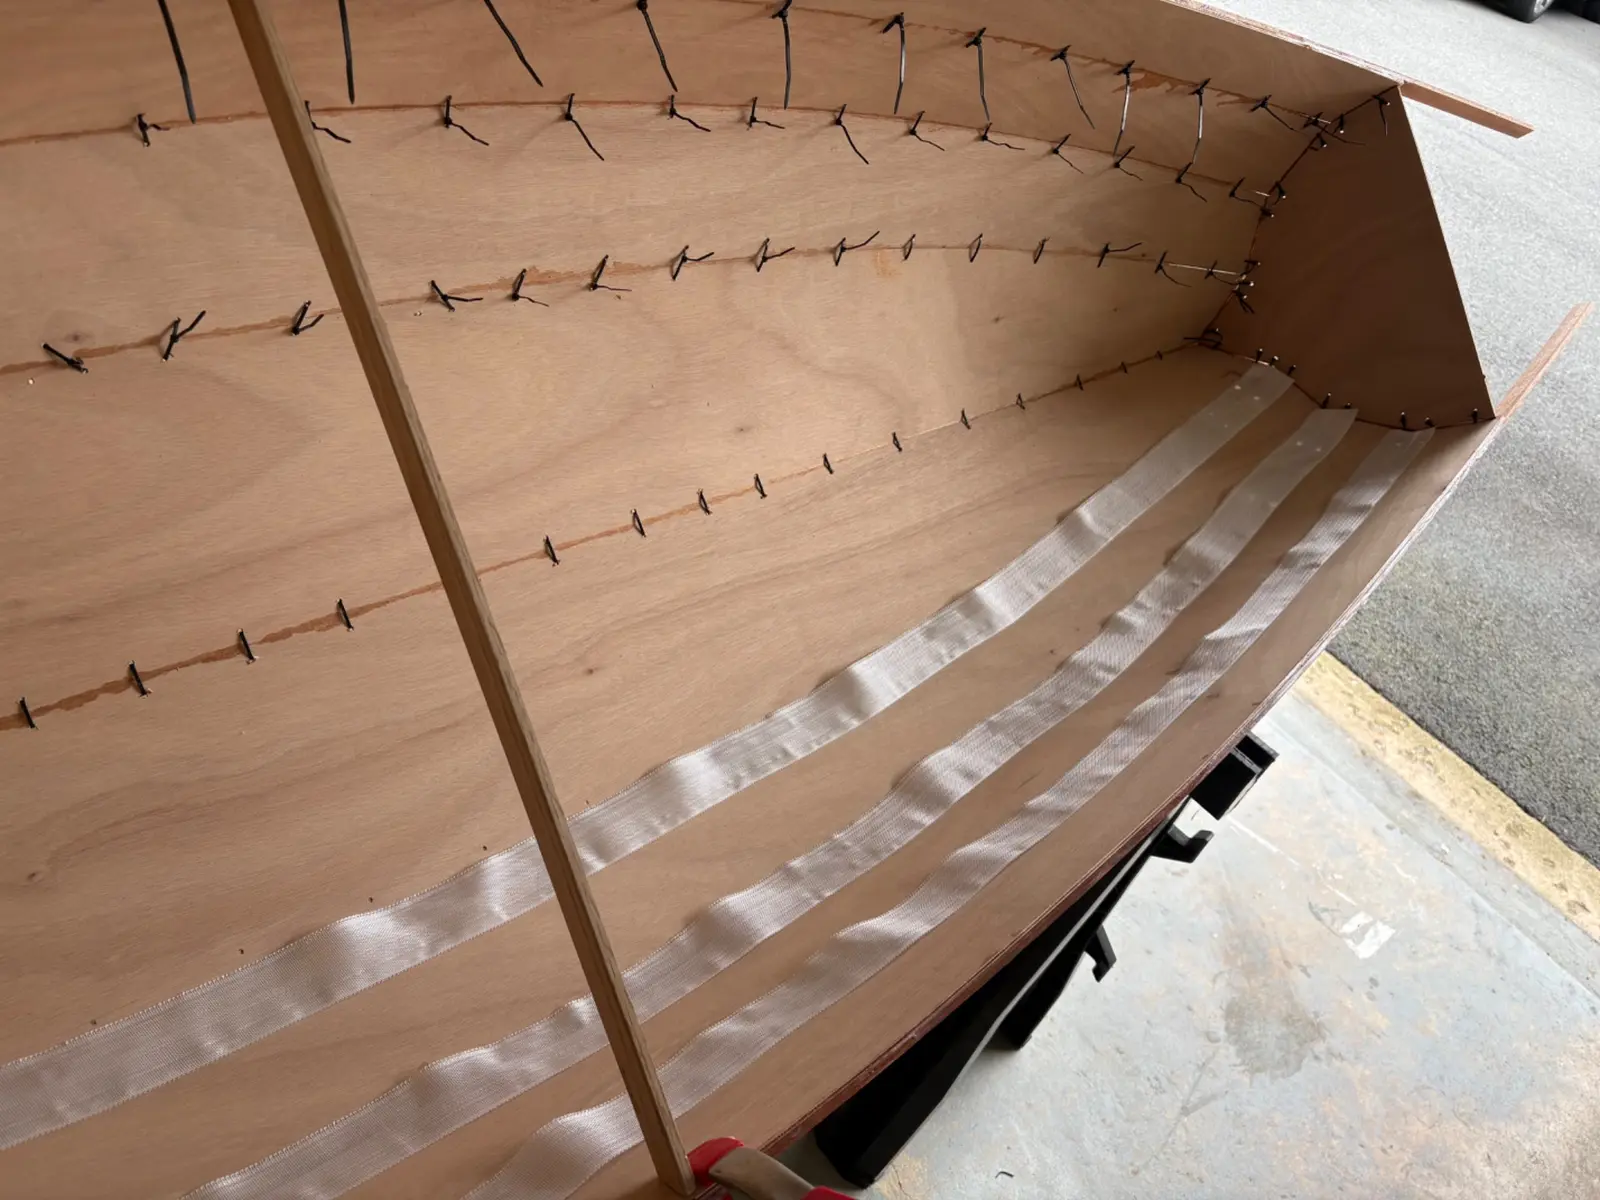
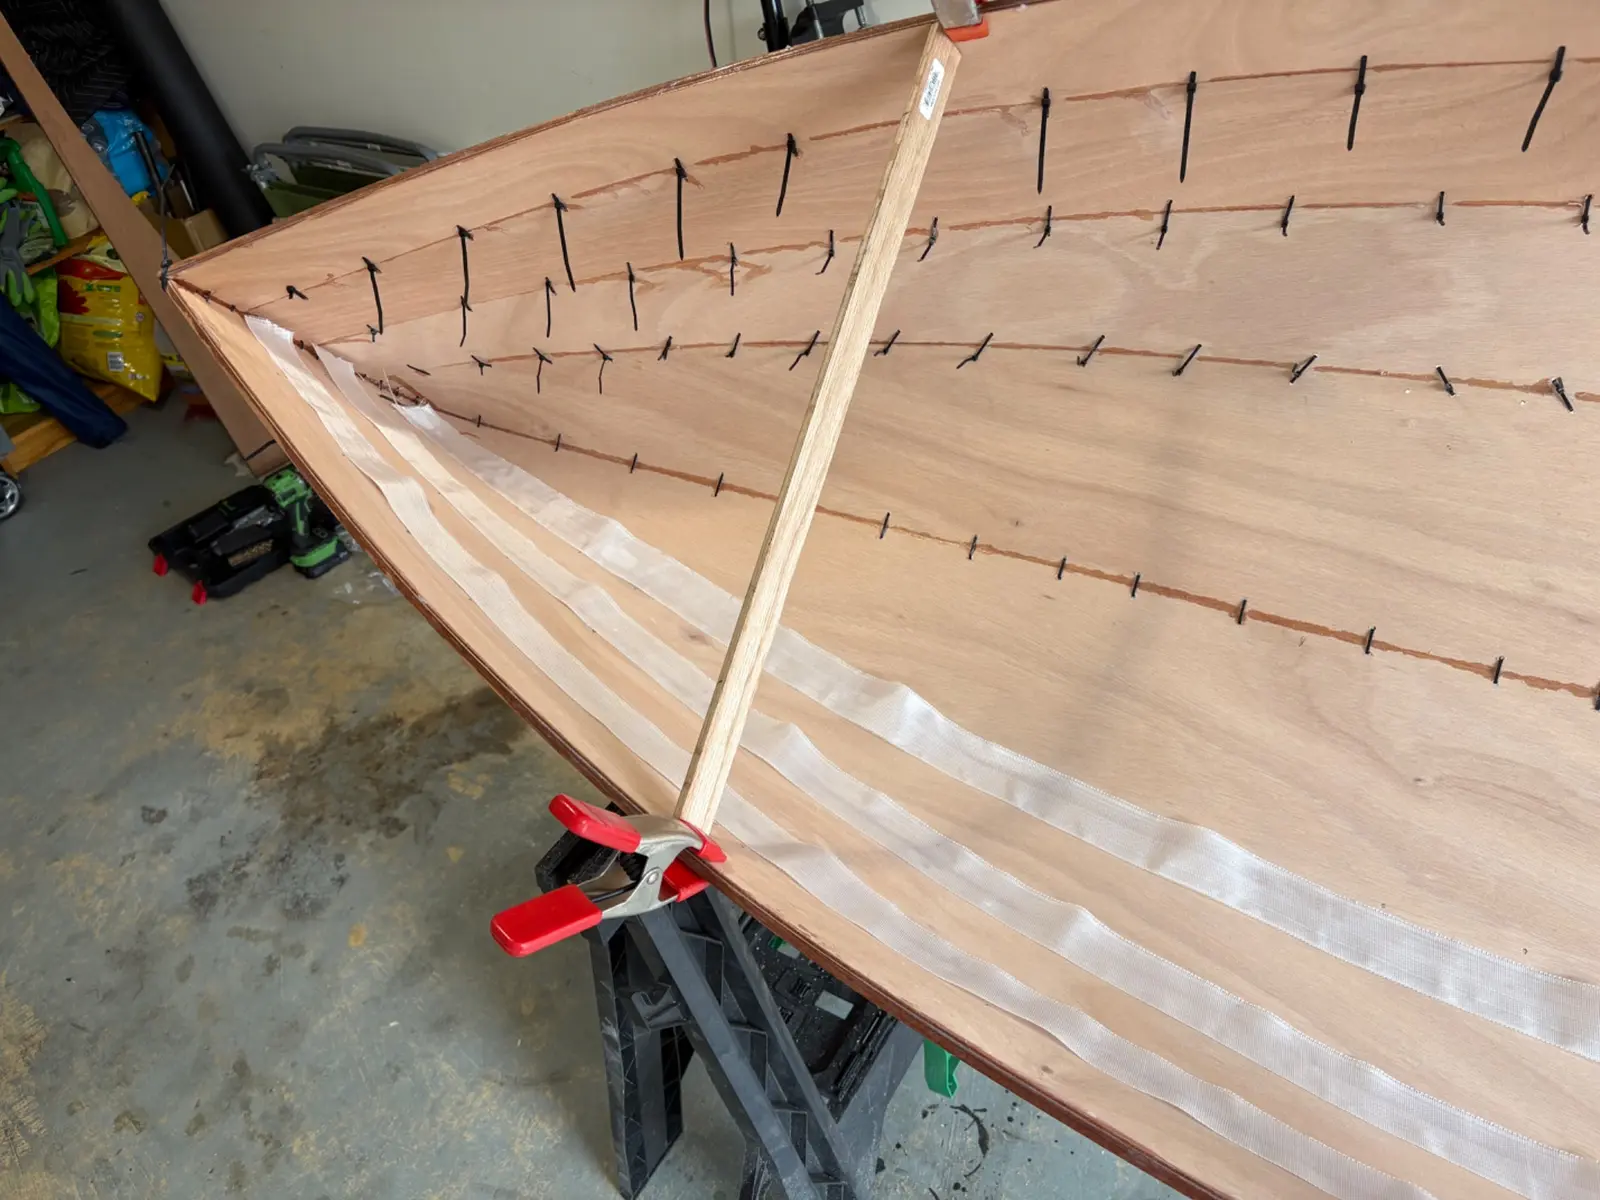
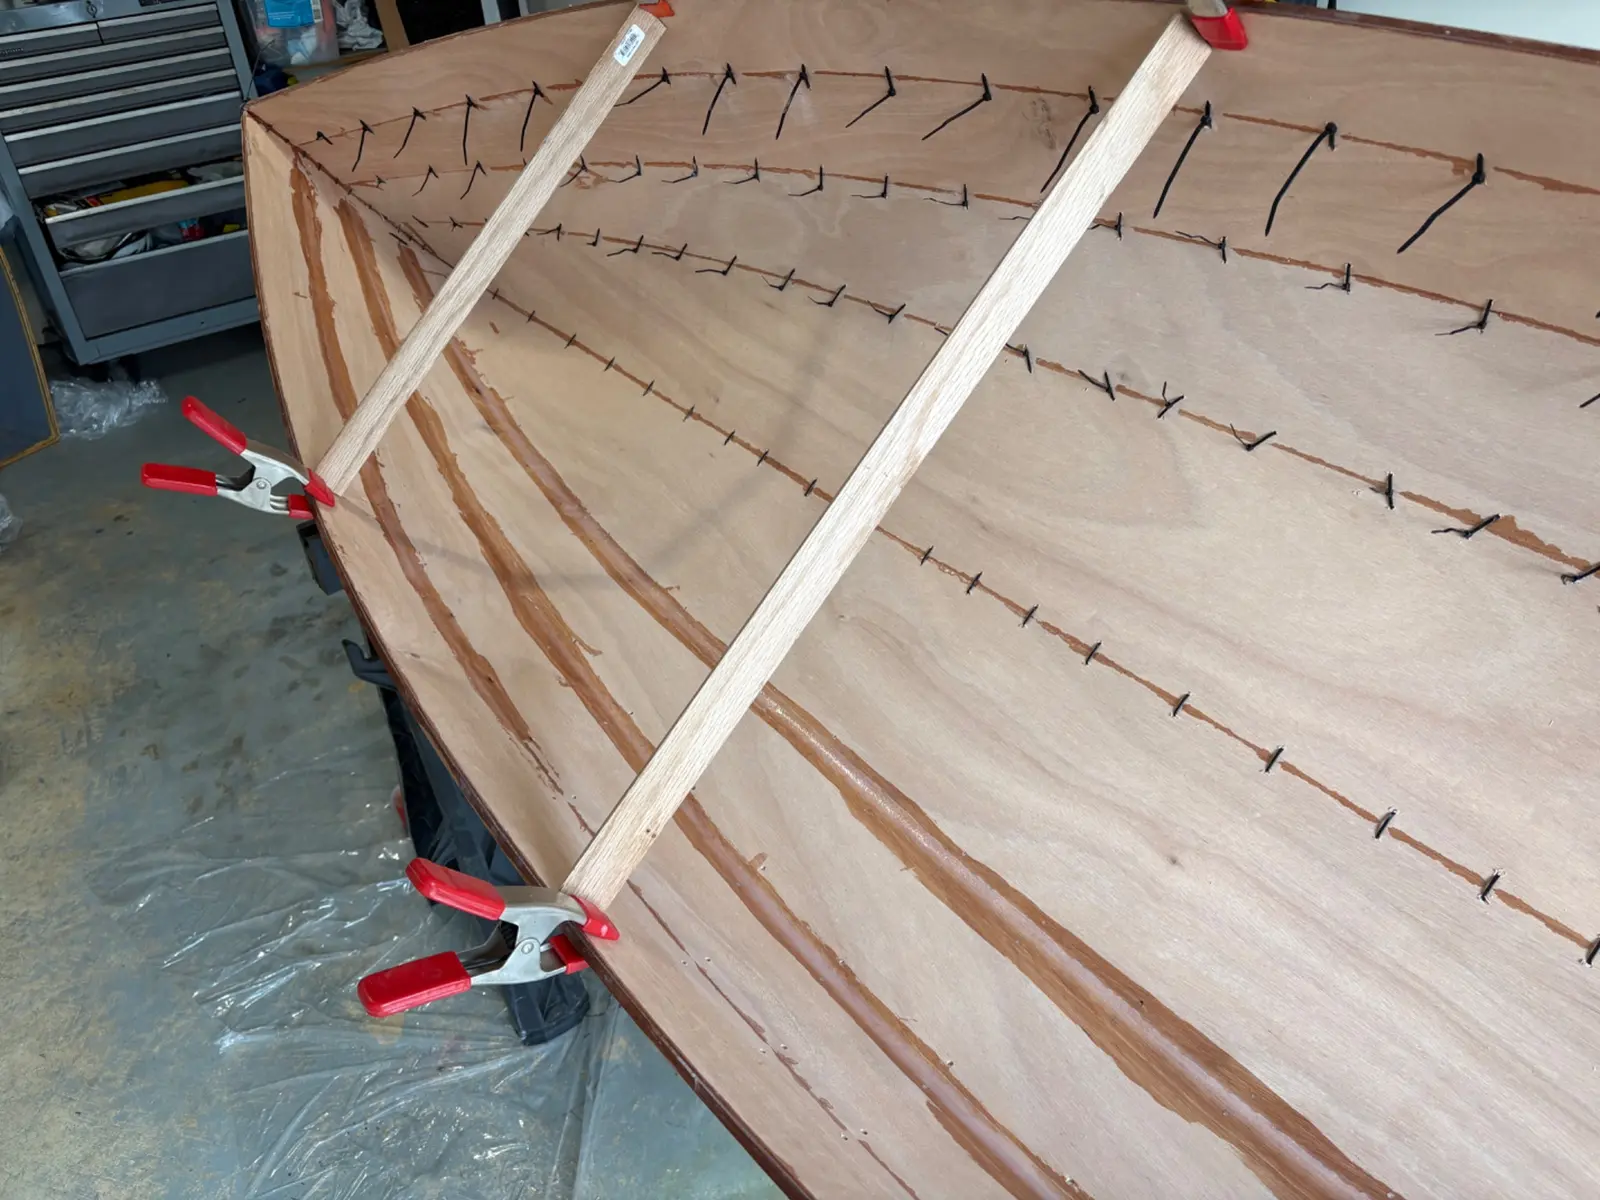
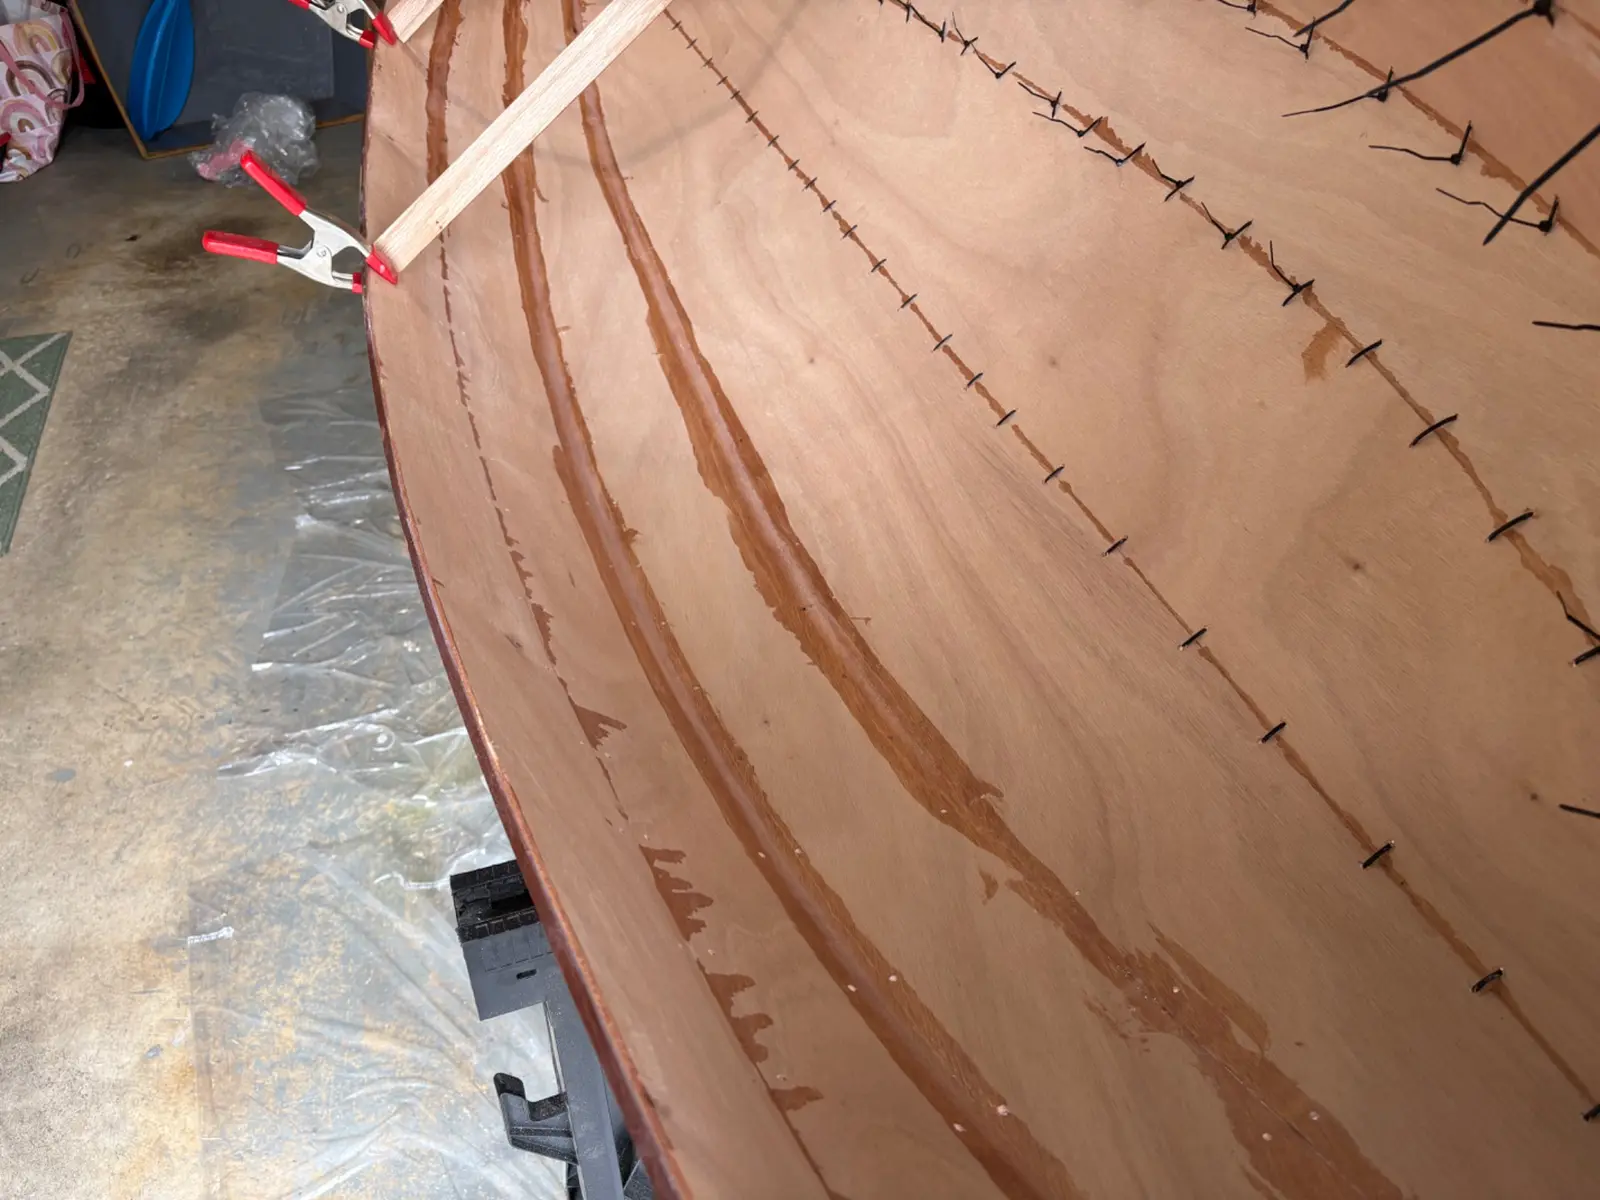
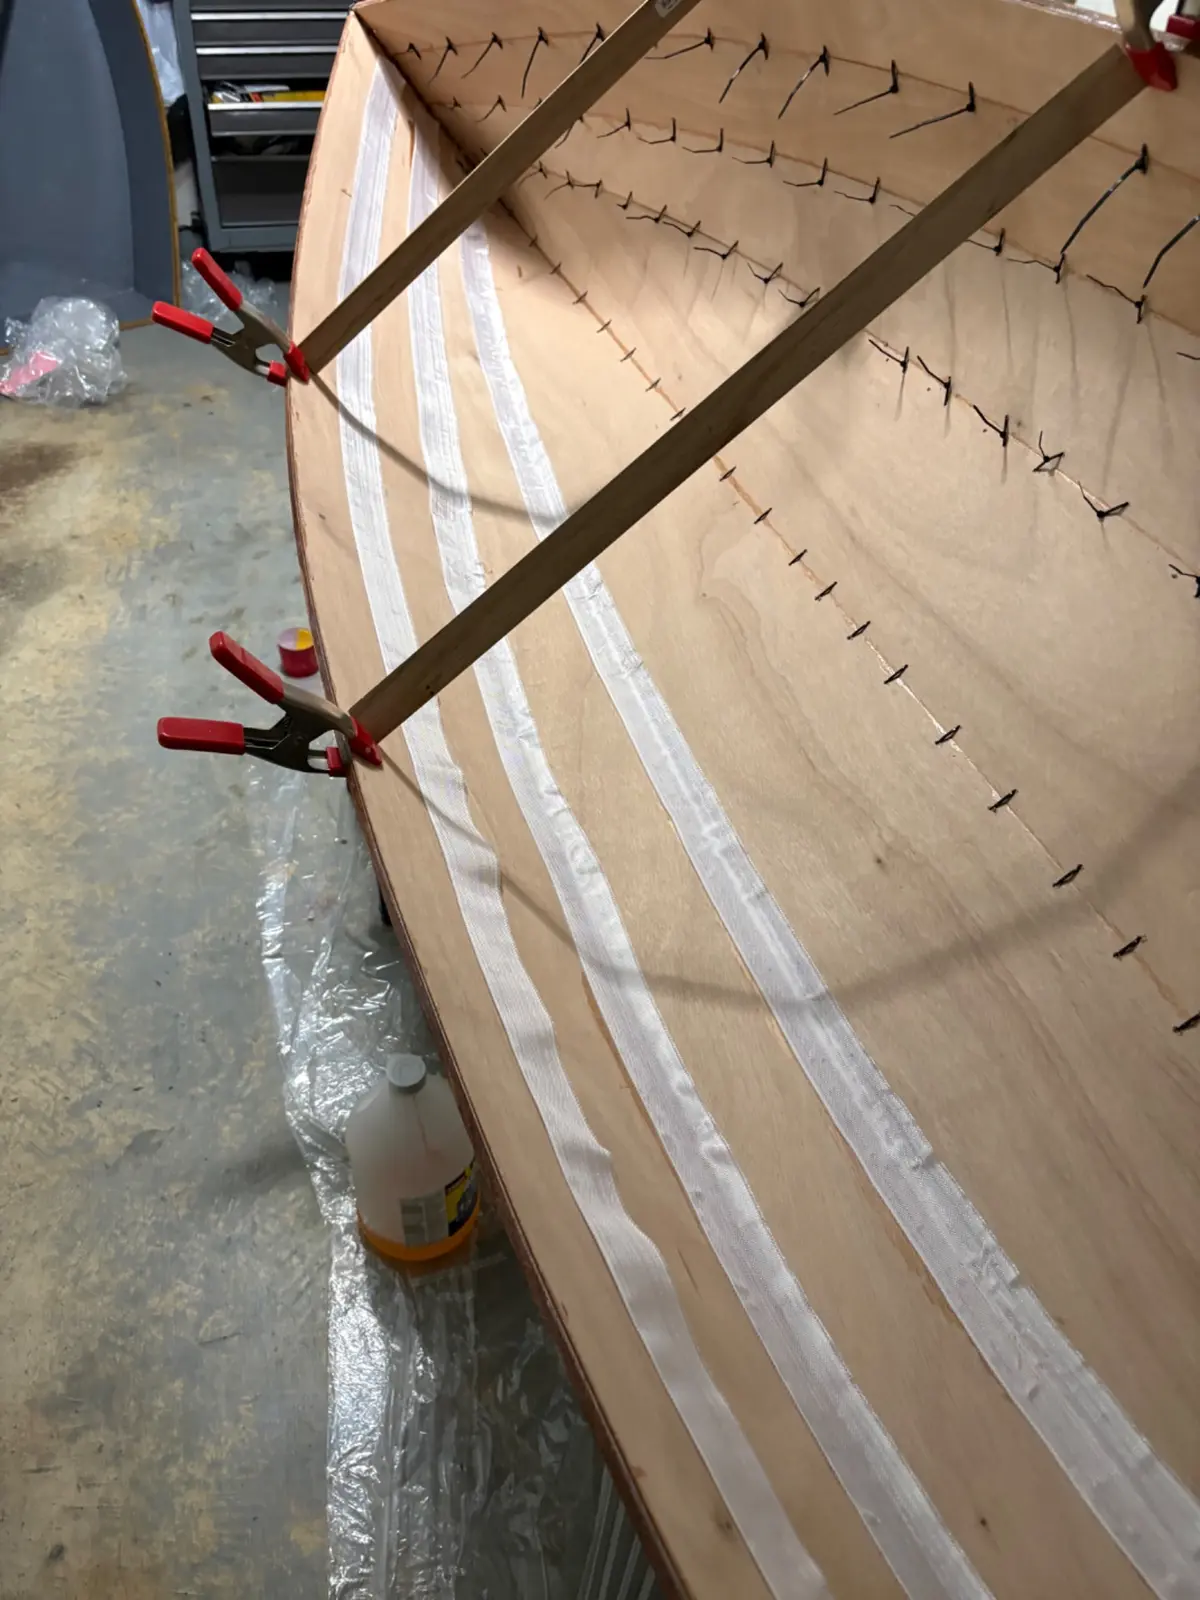
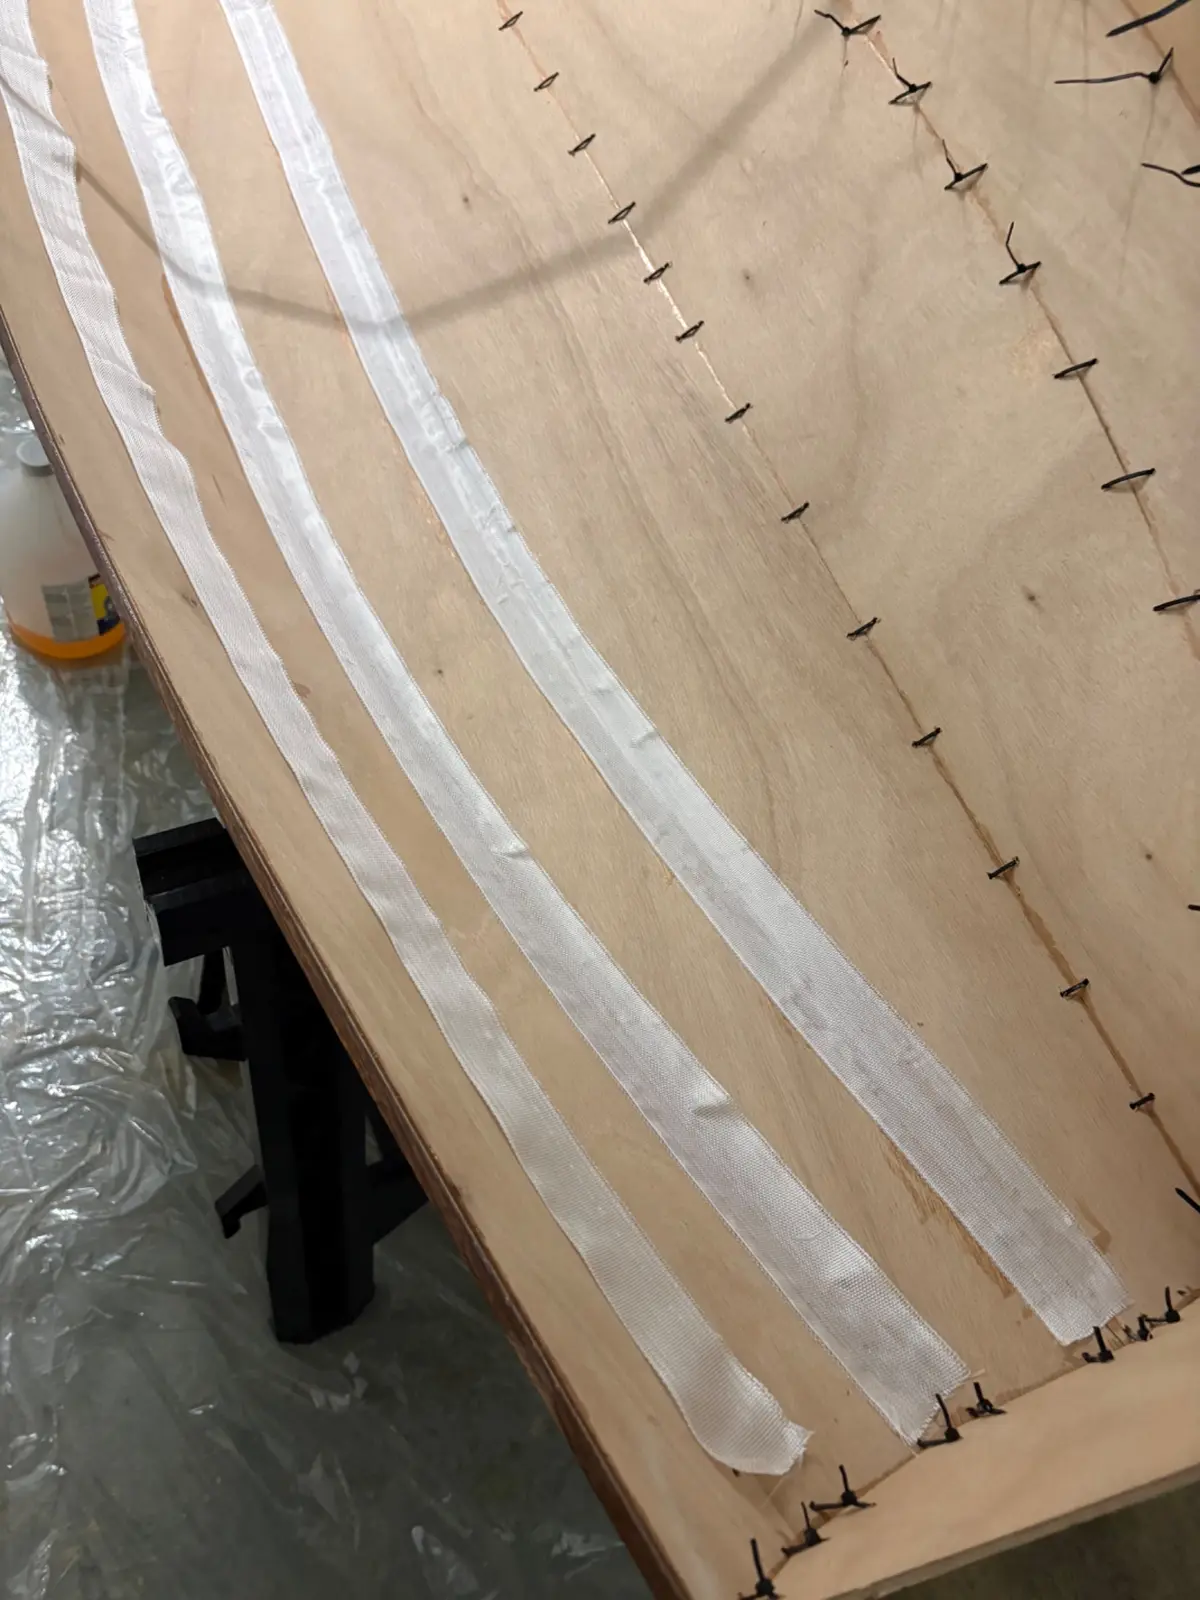
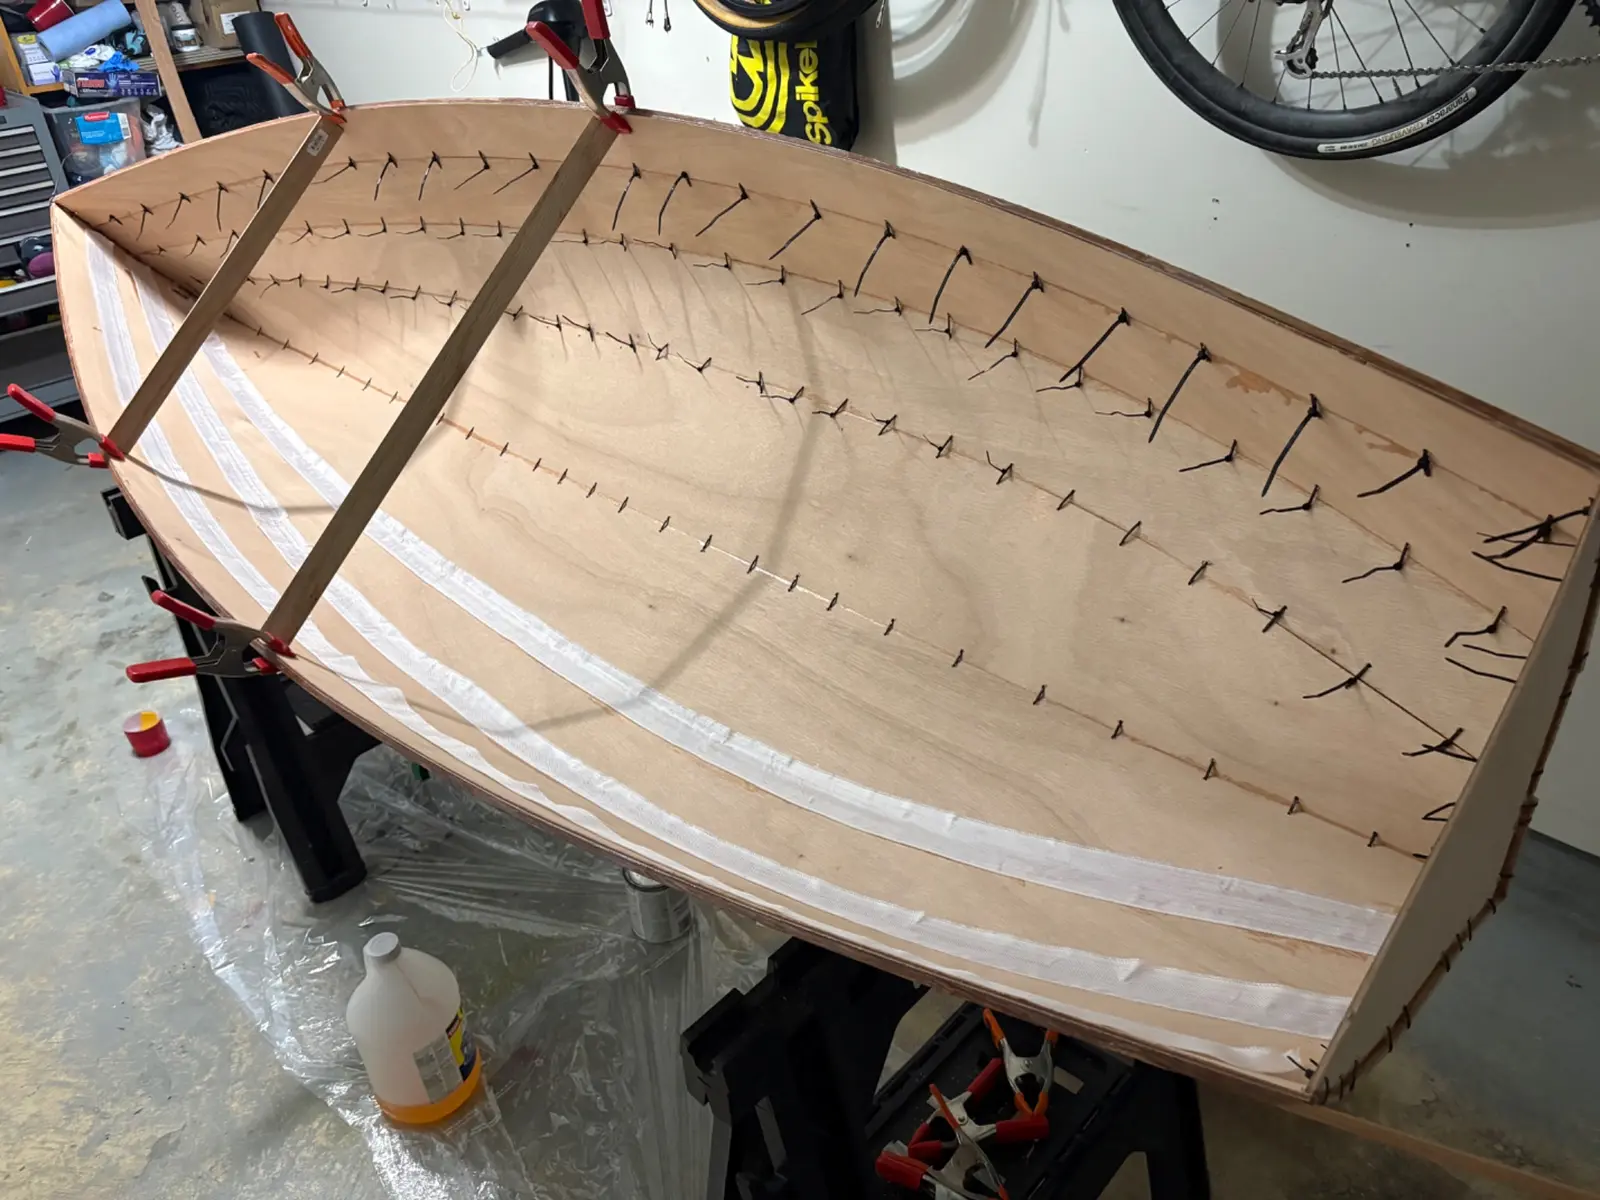
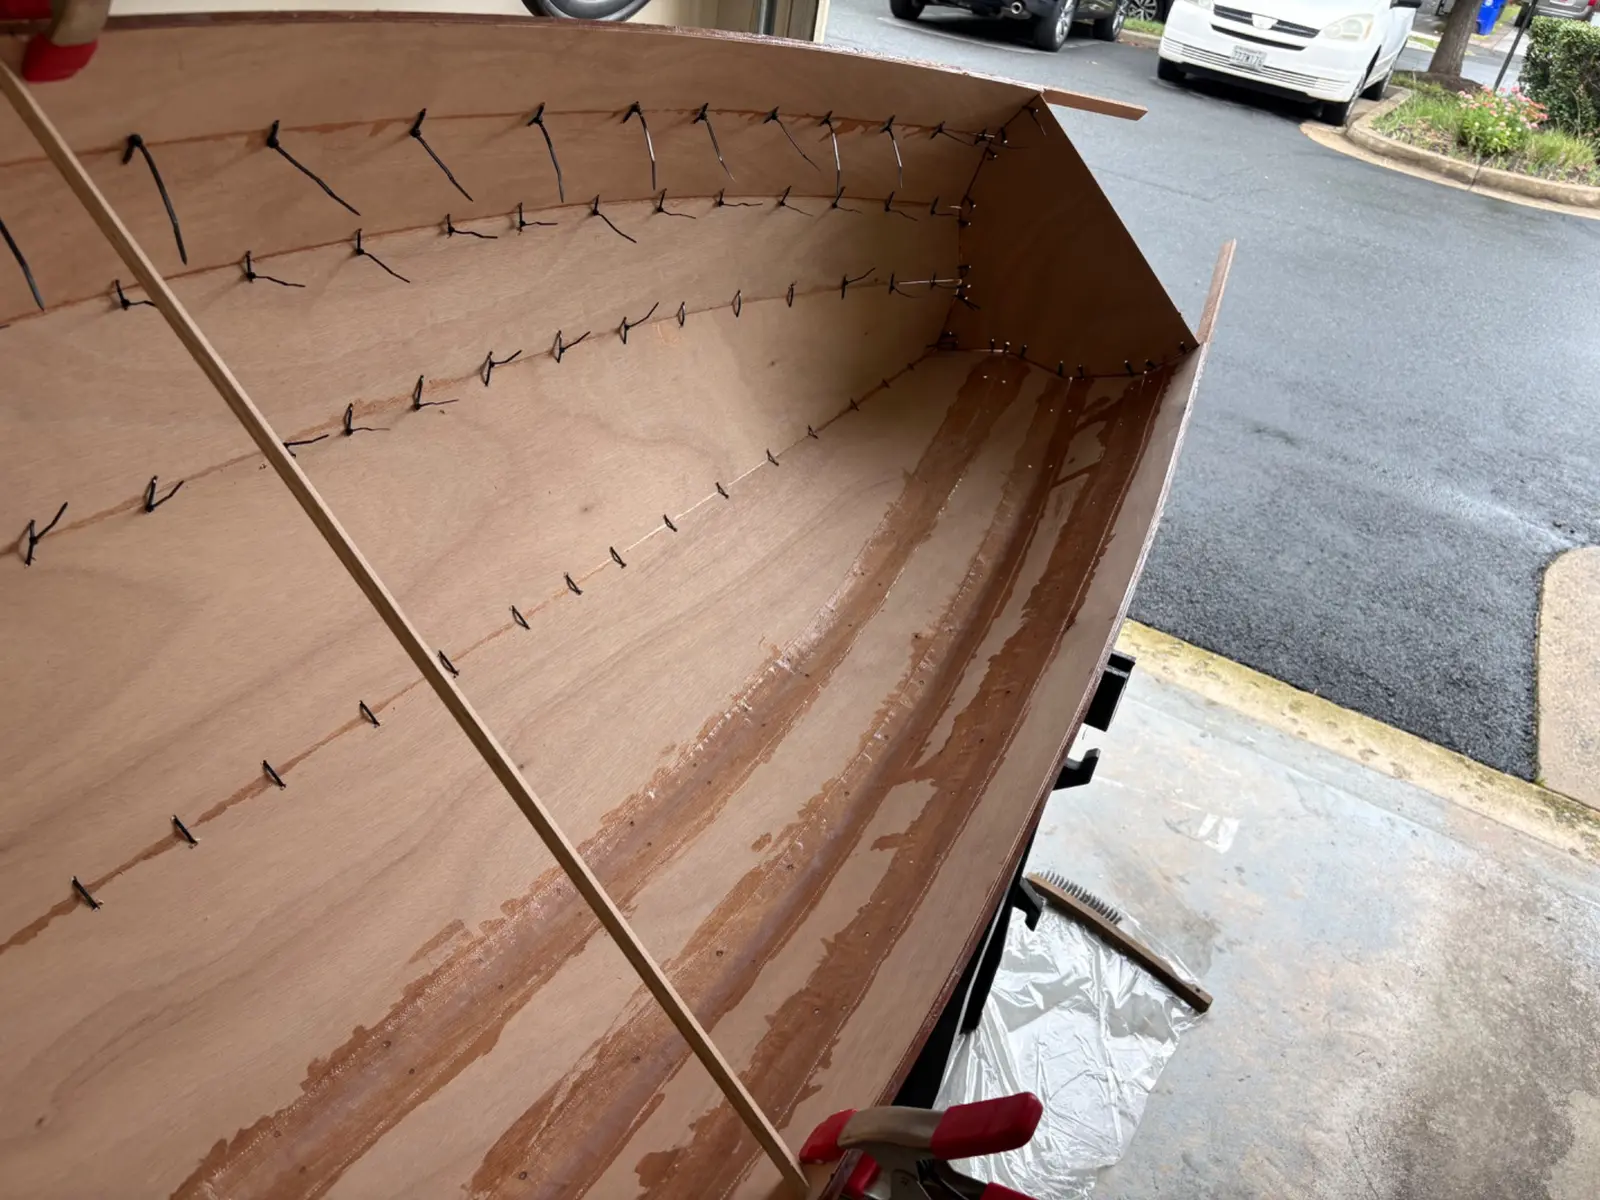
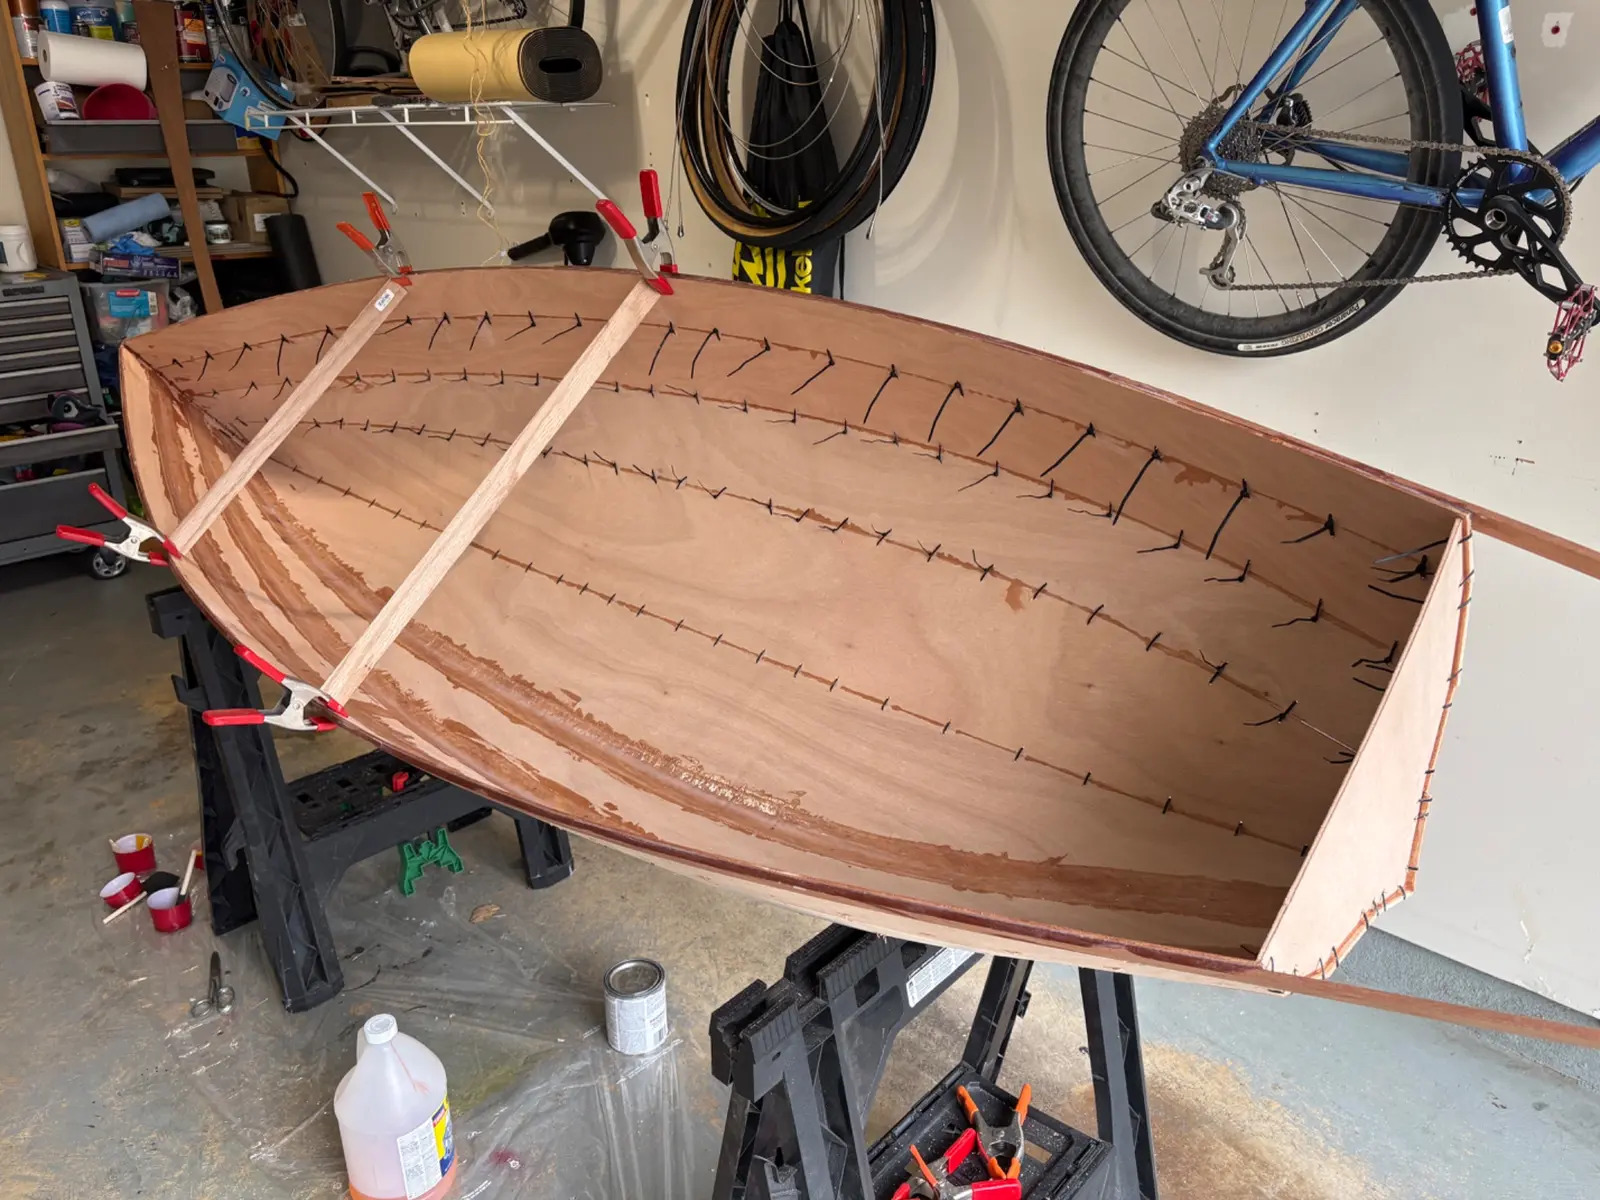
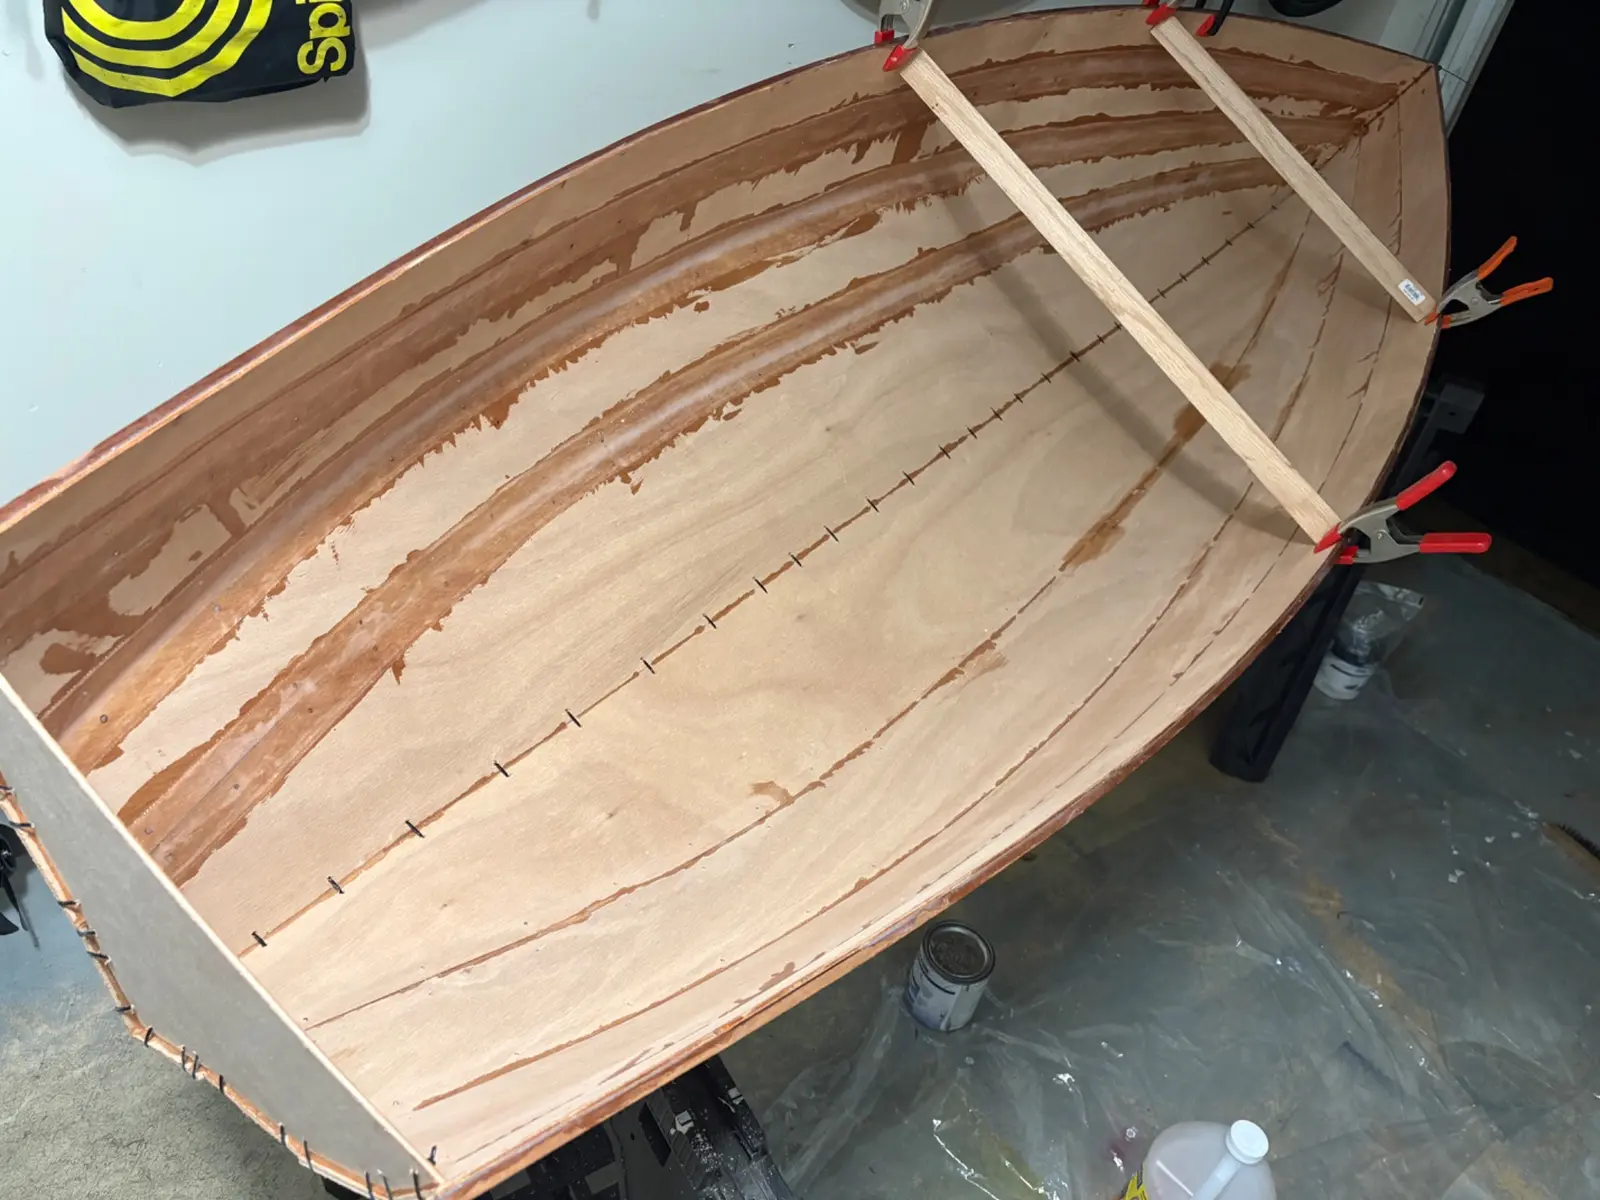
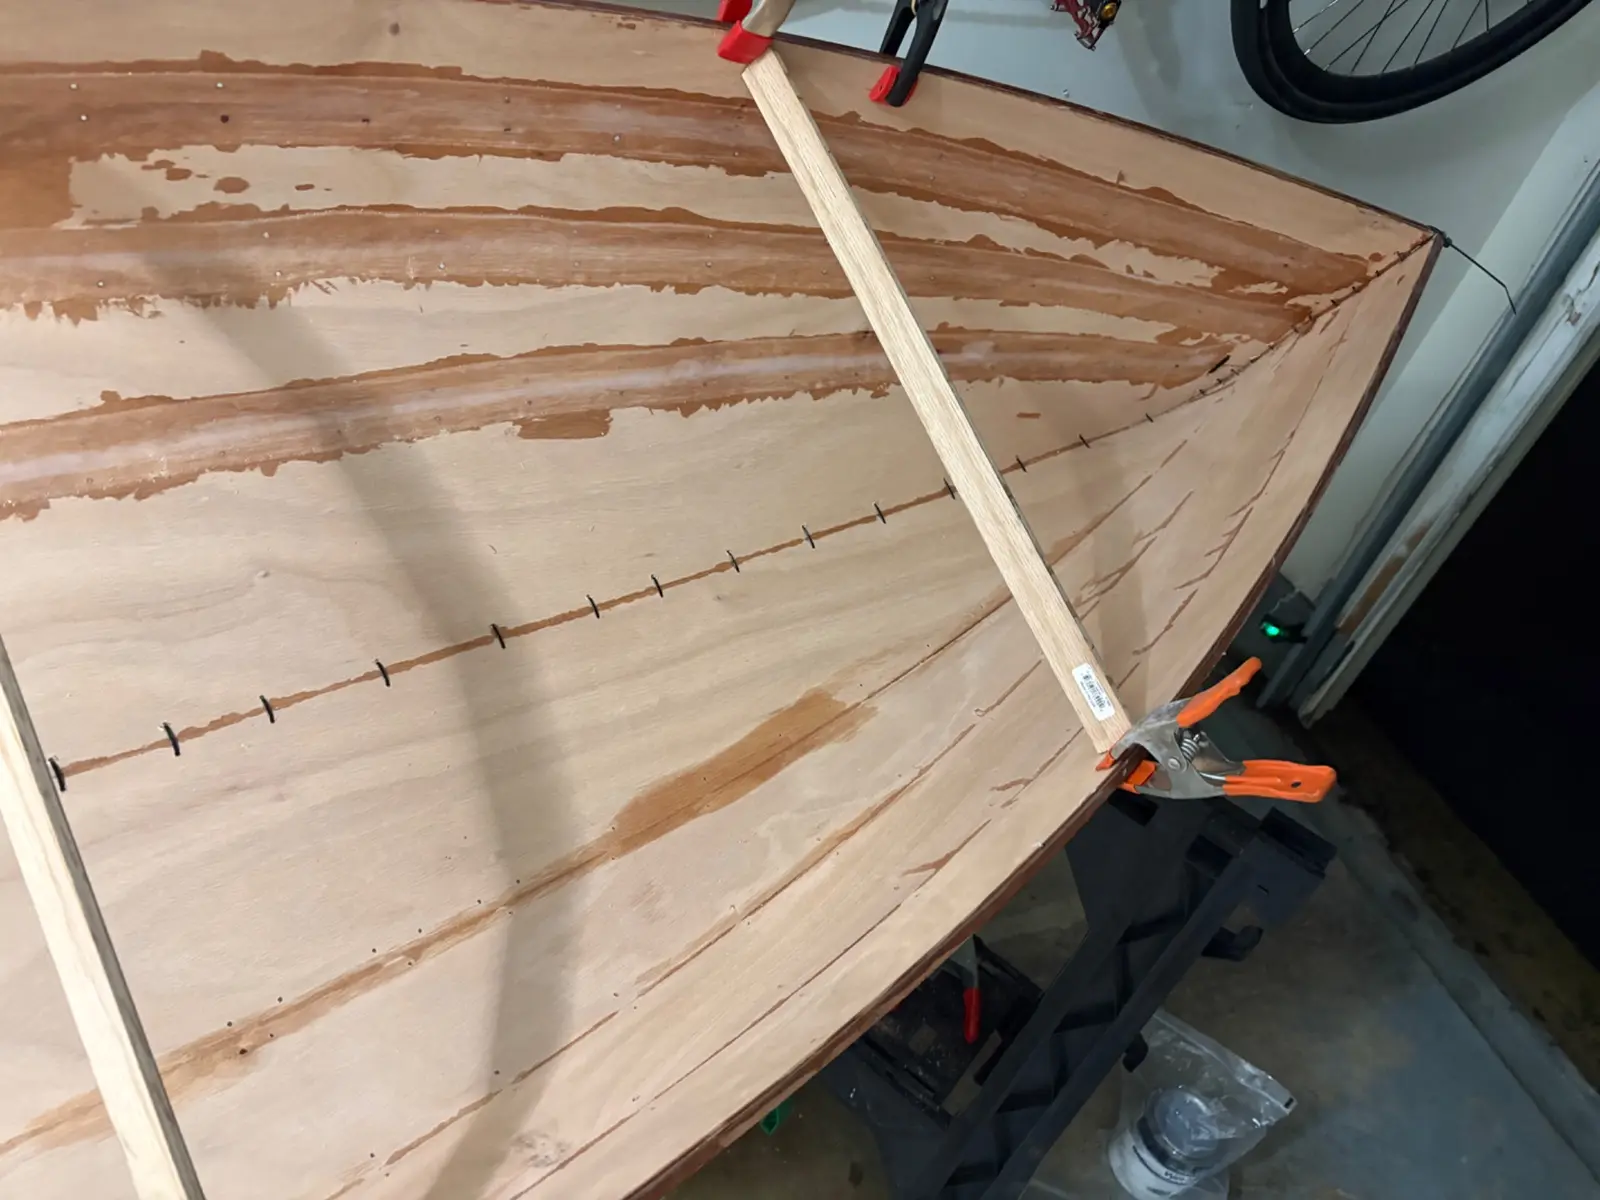
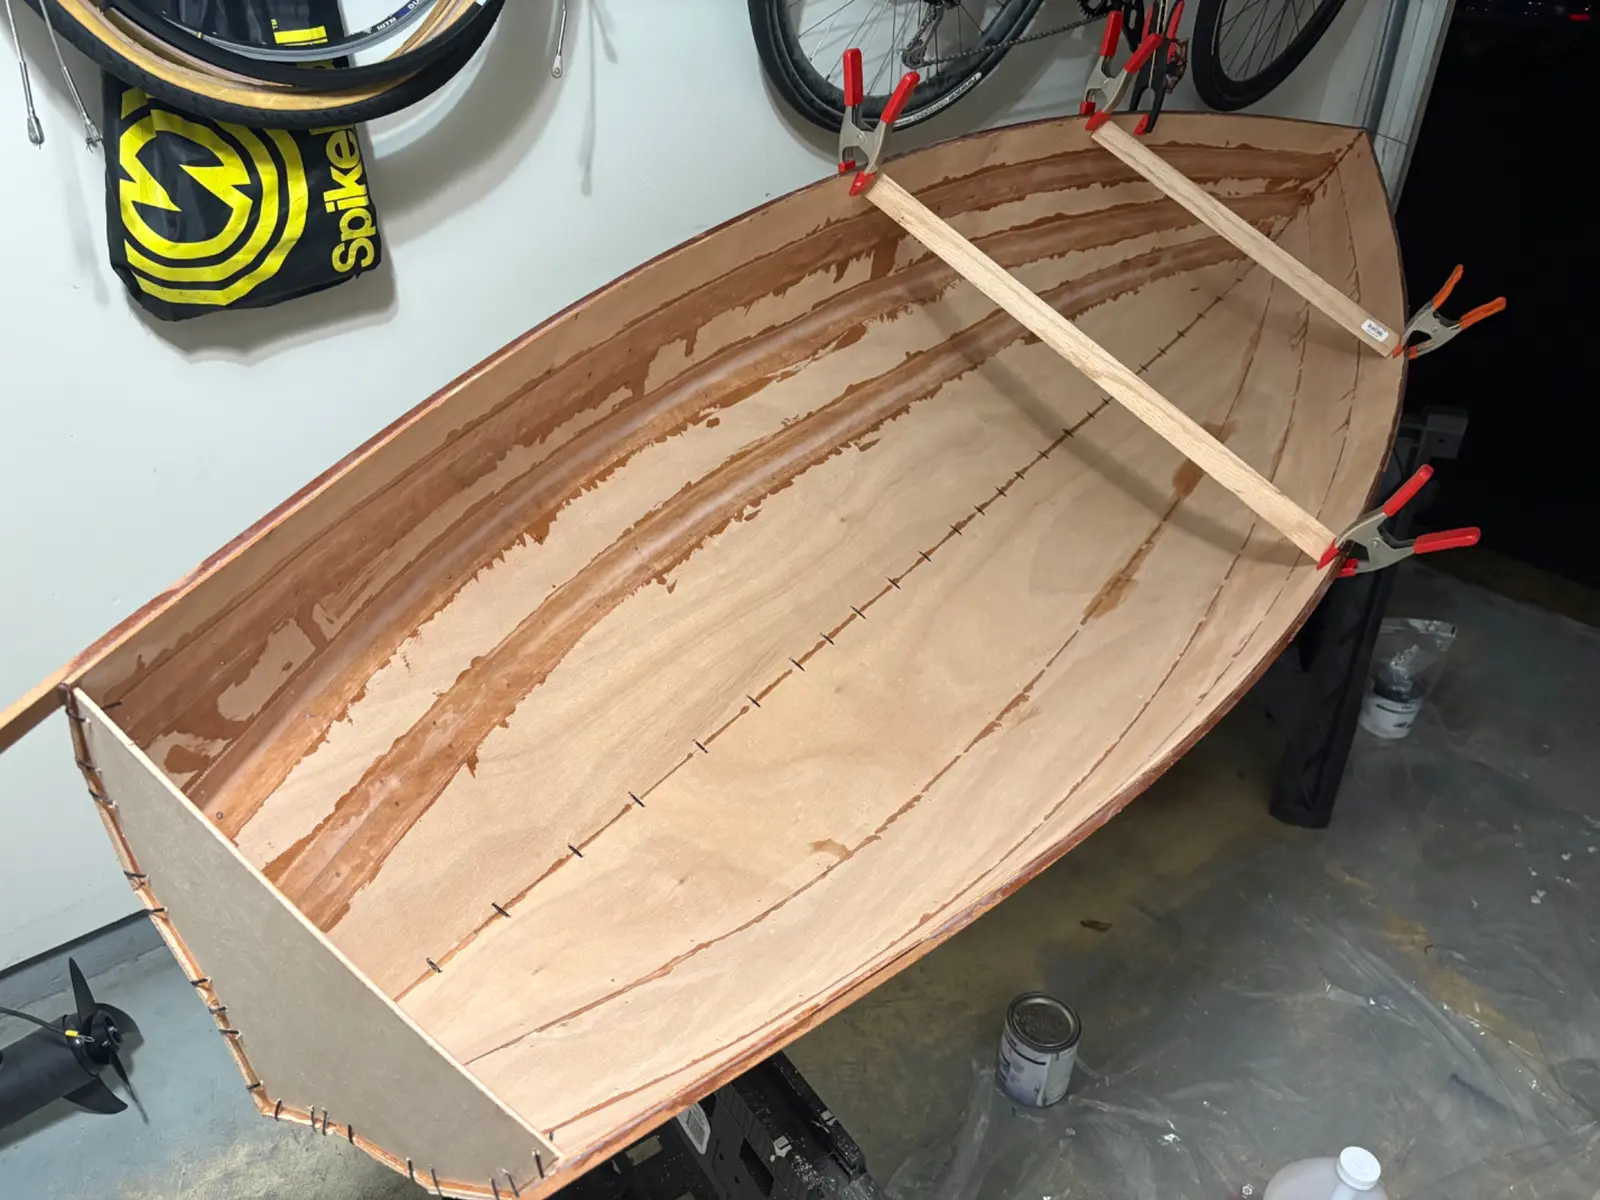
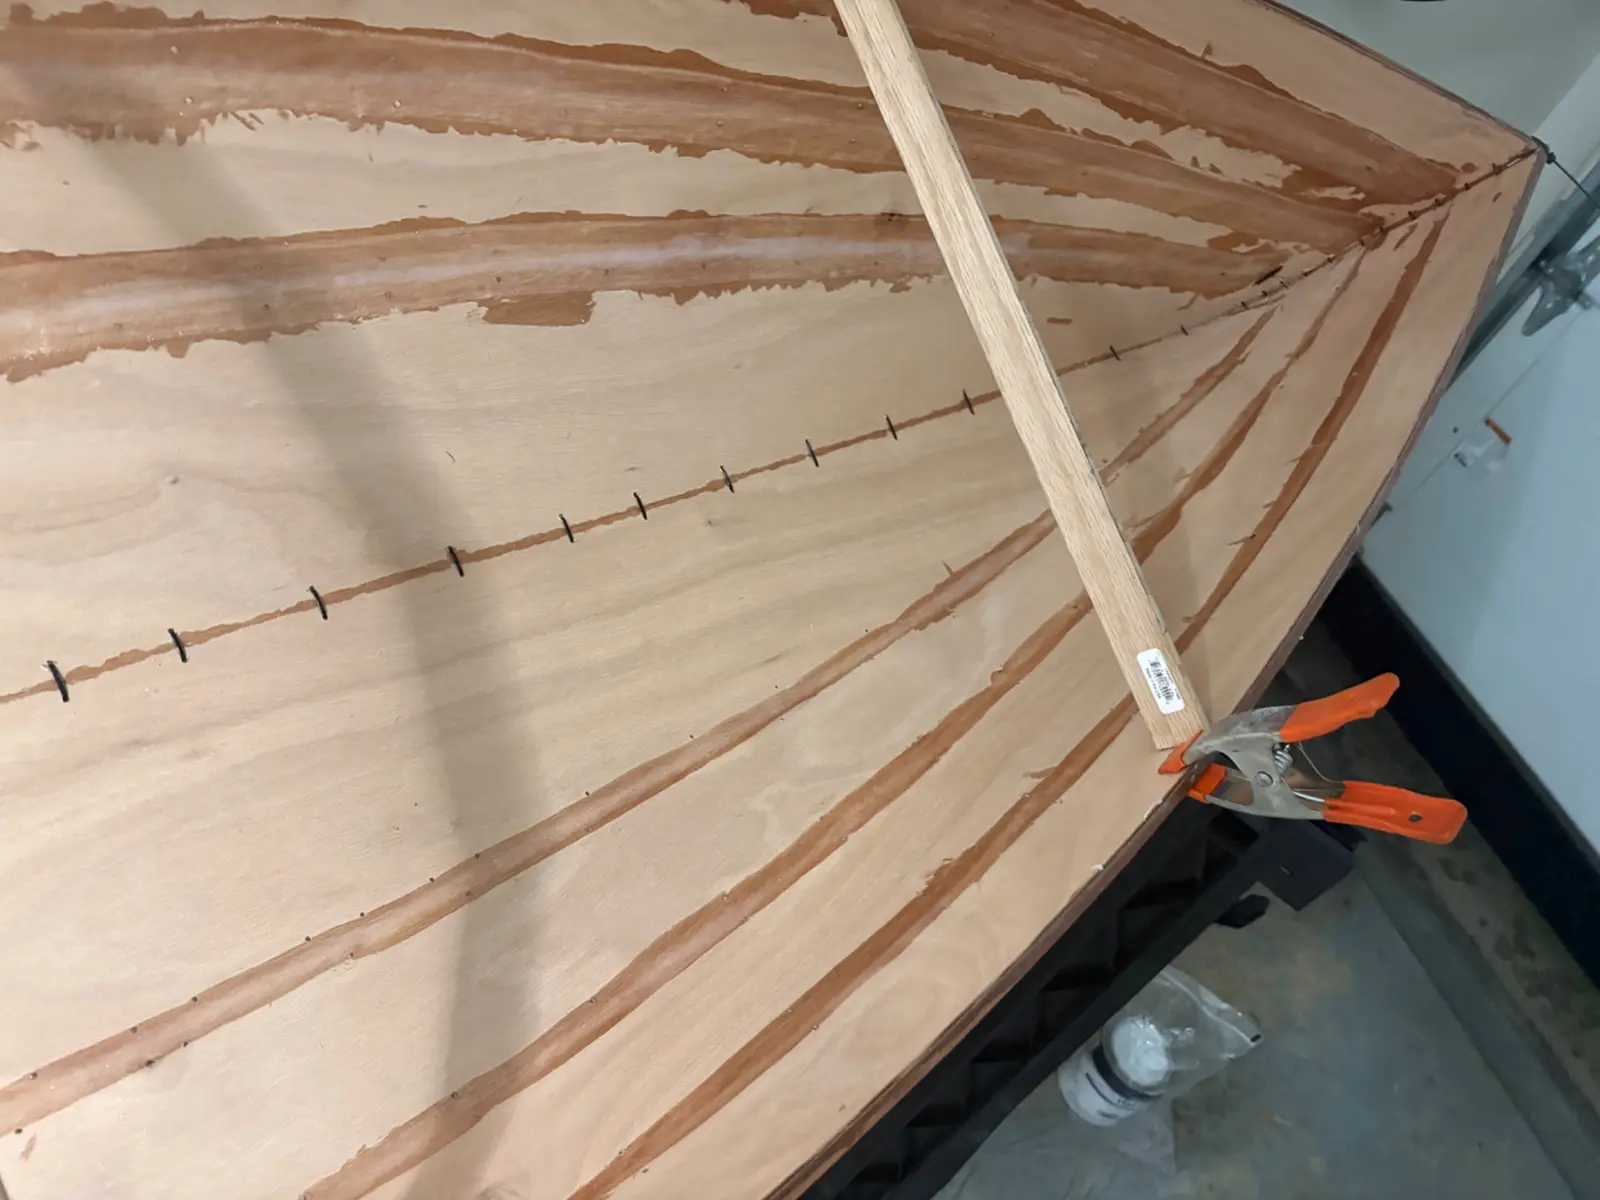
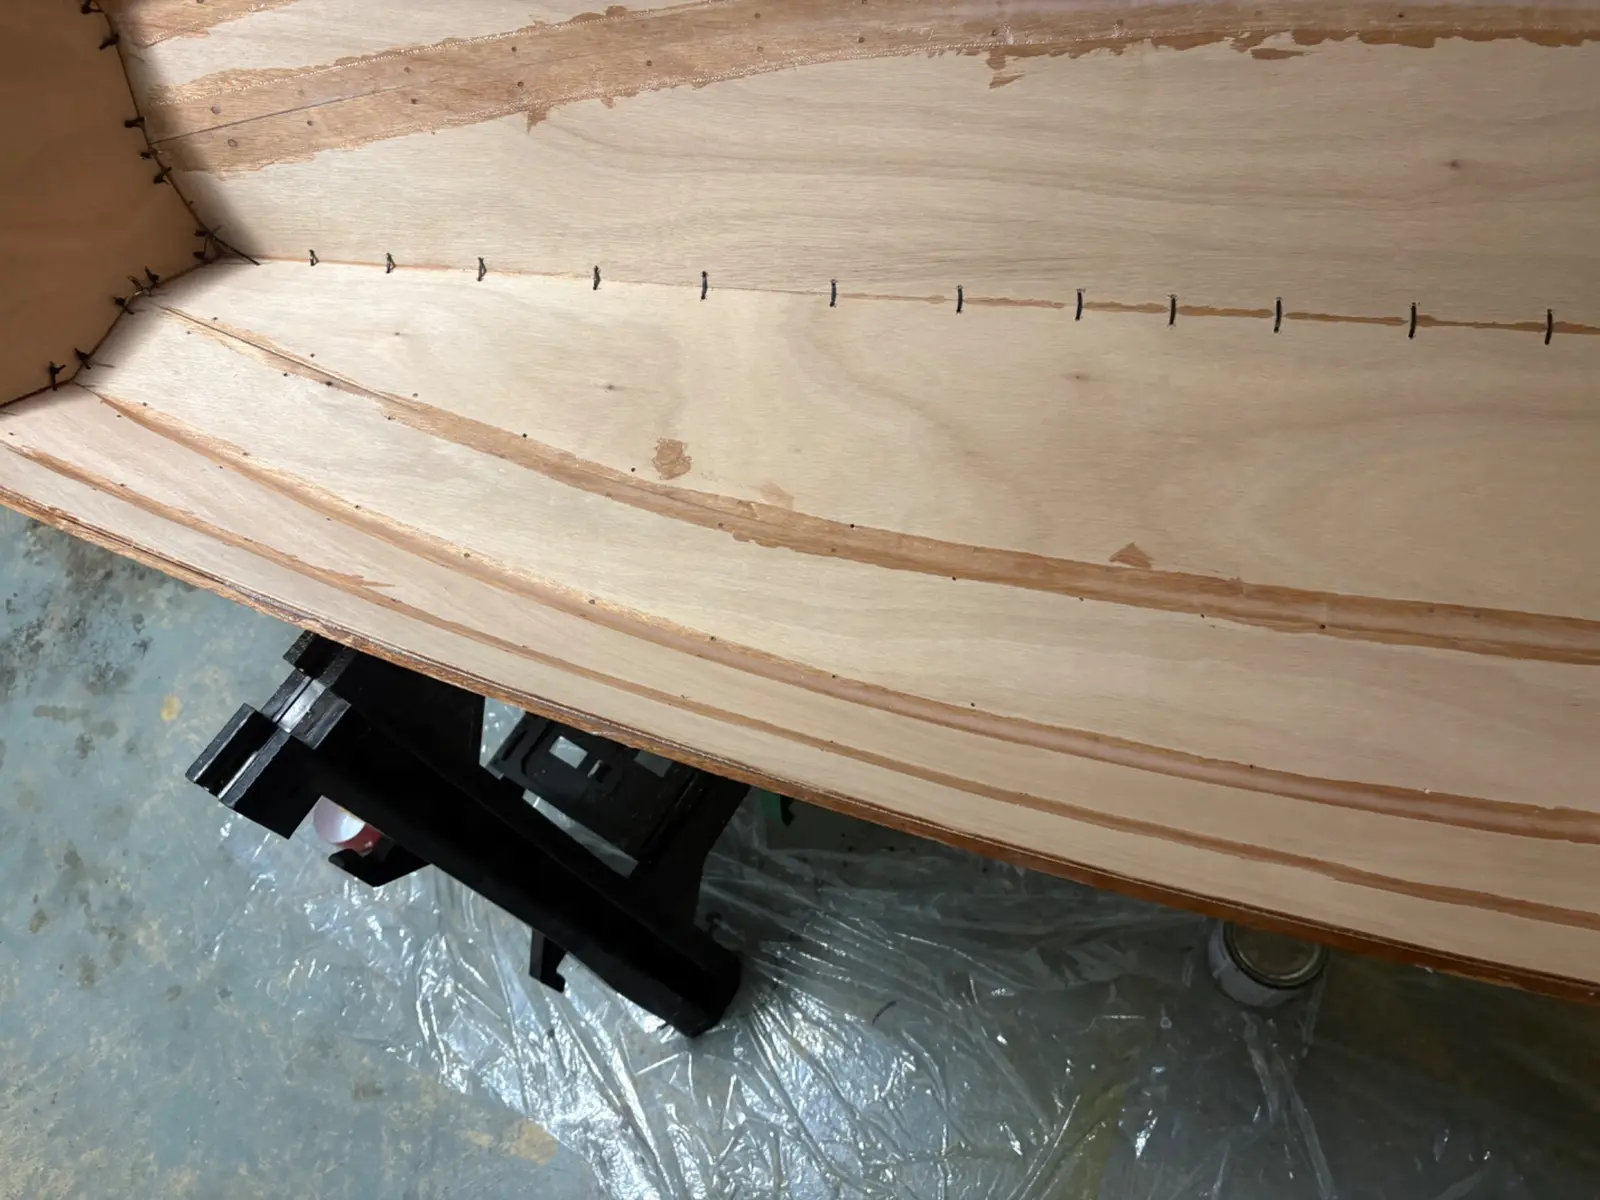
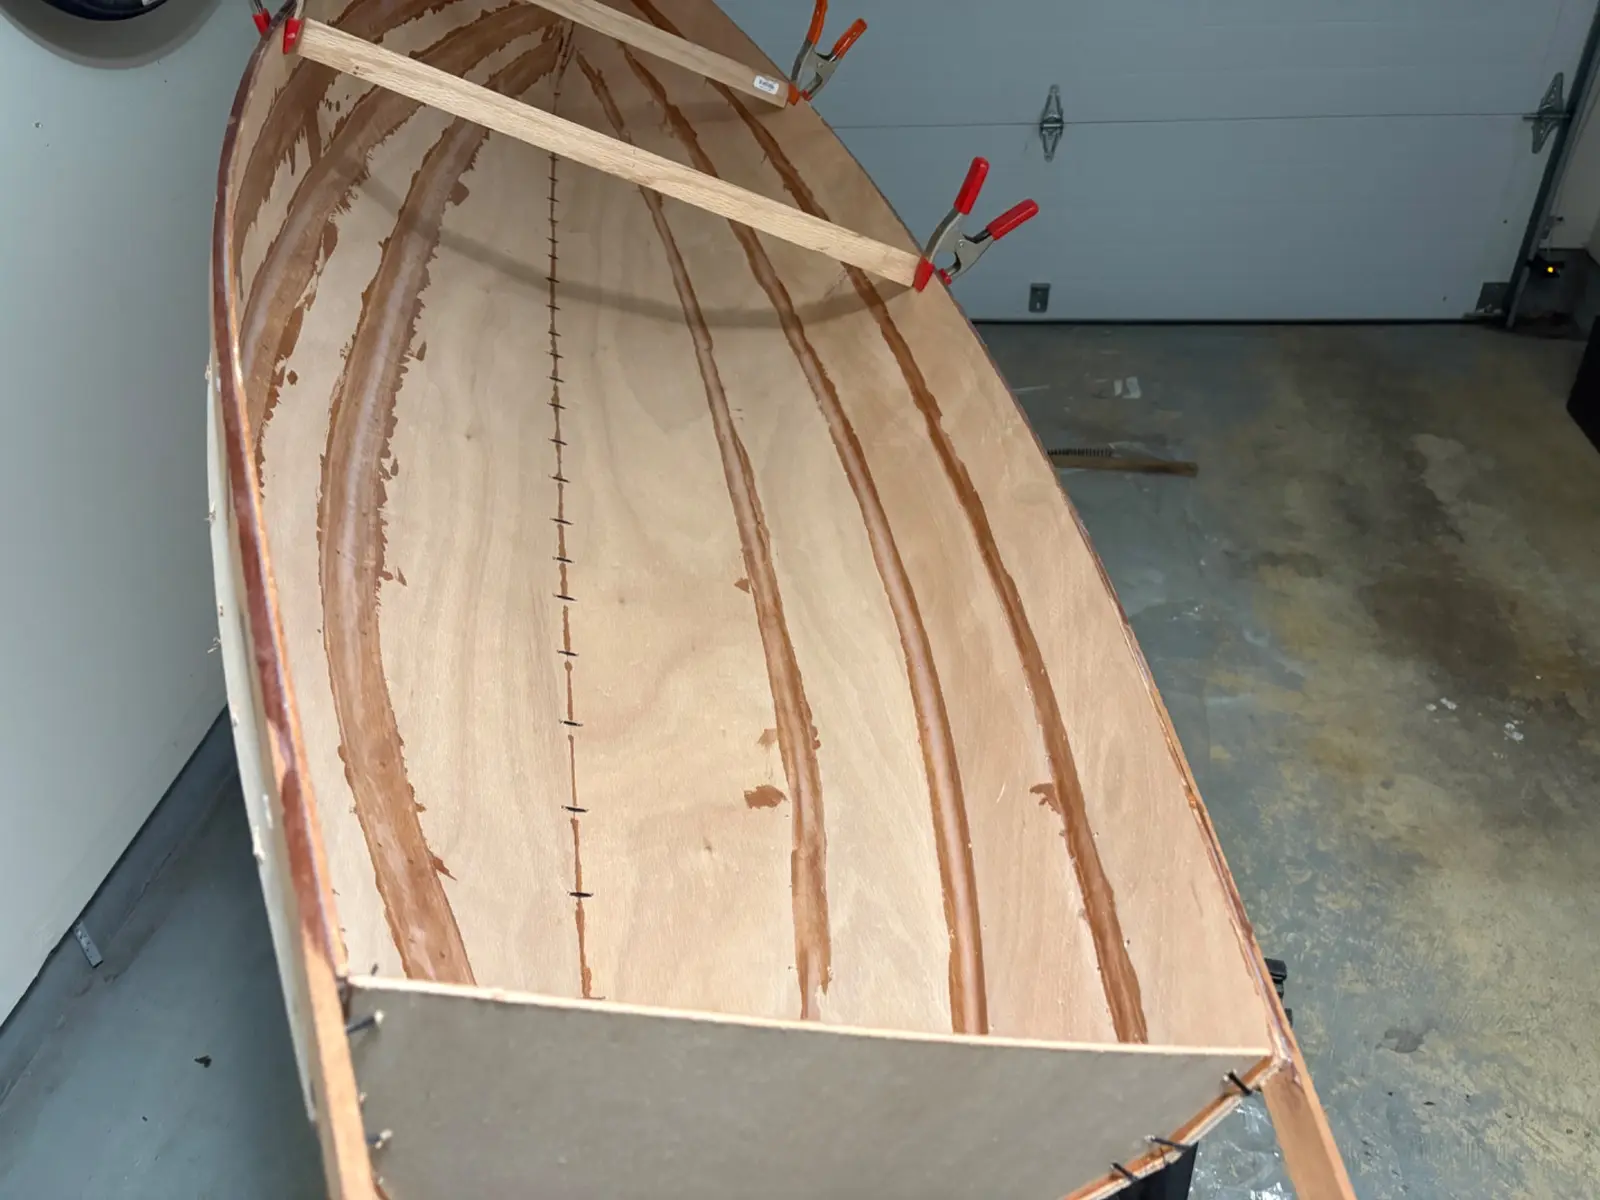
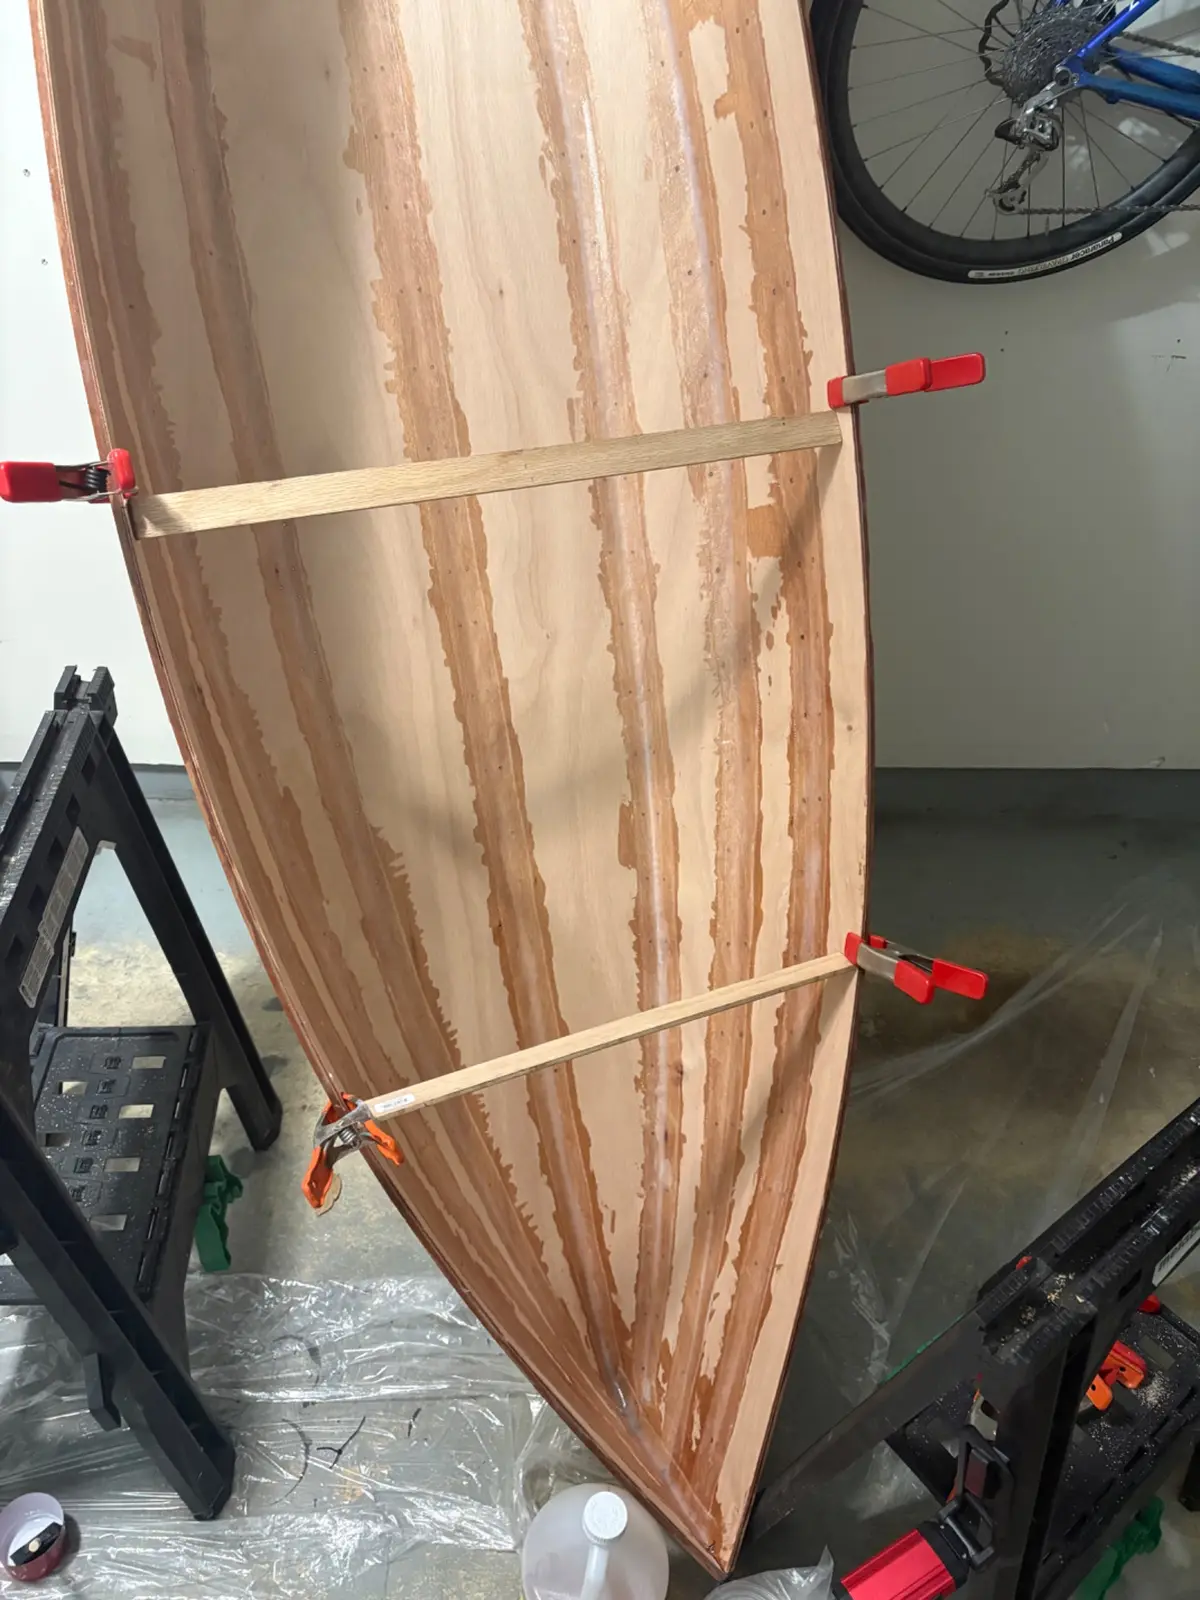
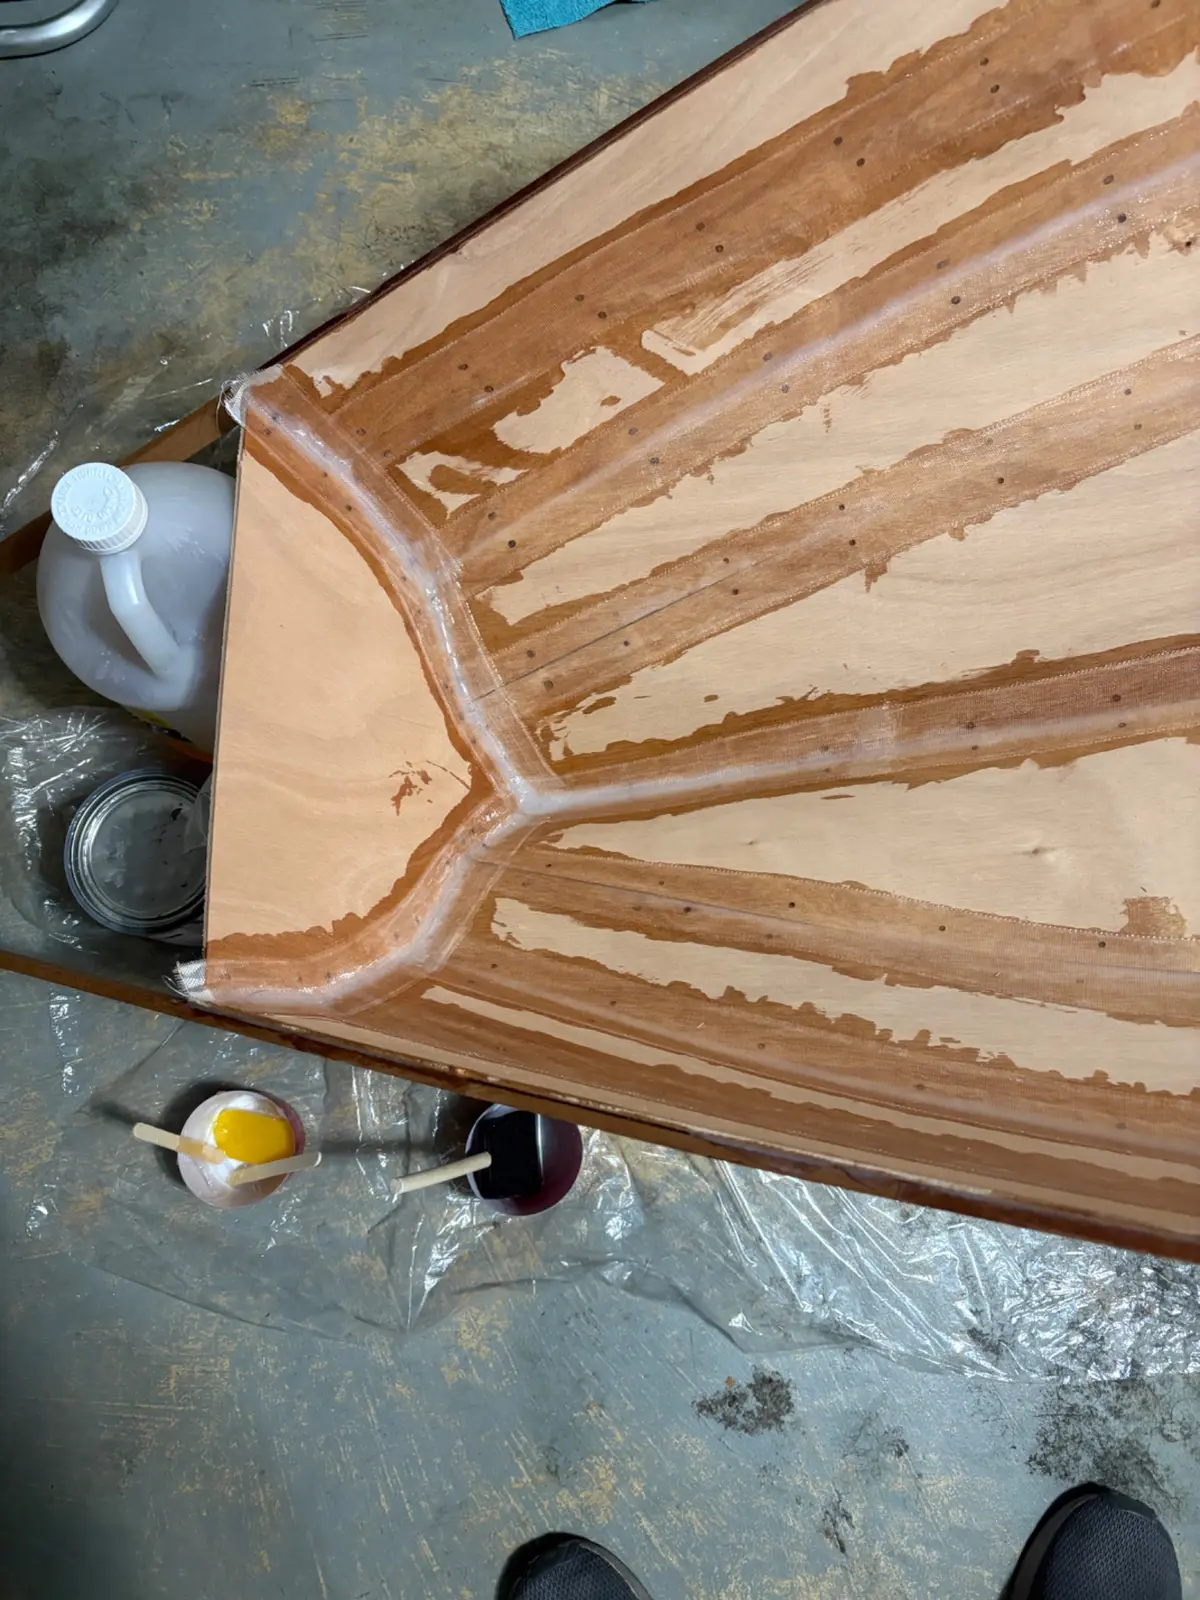
Removed port side stitches. Realized I went a little too heavy on some of the CA glue when some stitches wouldn’t come out. Sanded everything flush, wiped with alcohol, dry fit tape. Added fillets, cured for ~2hr. Put tape in sticky fillets, and wet out. The lower 2 seams have a little too much epoxy in the center 2ft or so of the boat, and one area on the tape self-edge is starved, but I will sand off when I feather. Learned not to try to wet all tape at once. Next time will do bottom two, then top one. Also turned over, removed other stitches, and sanded other side smooth and wiped.
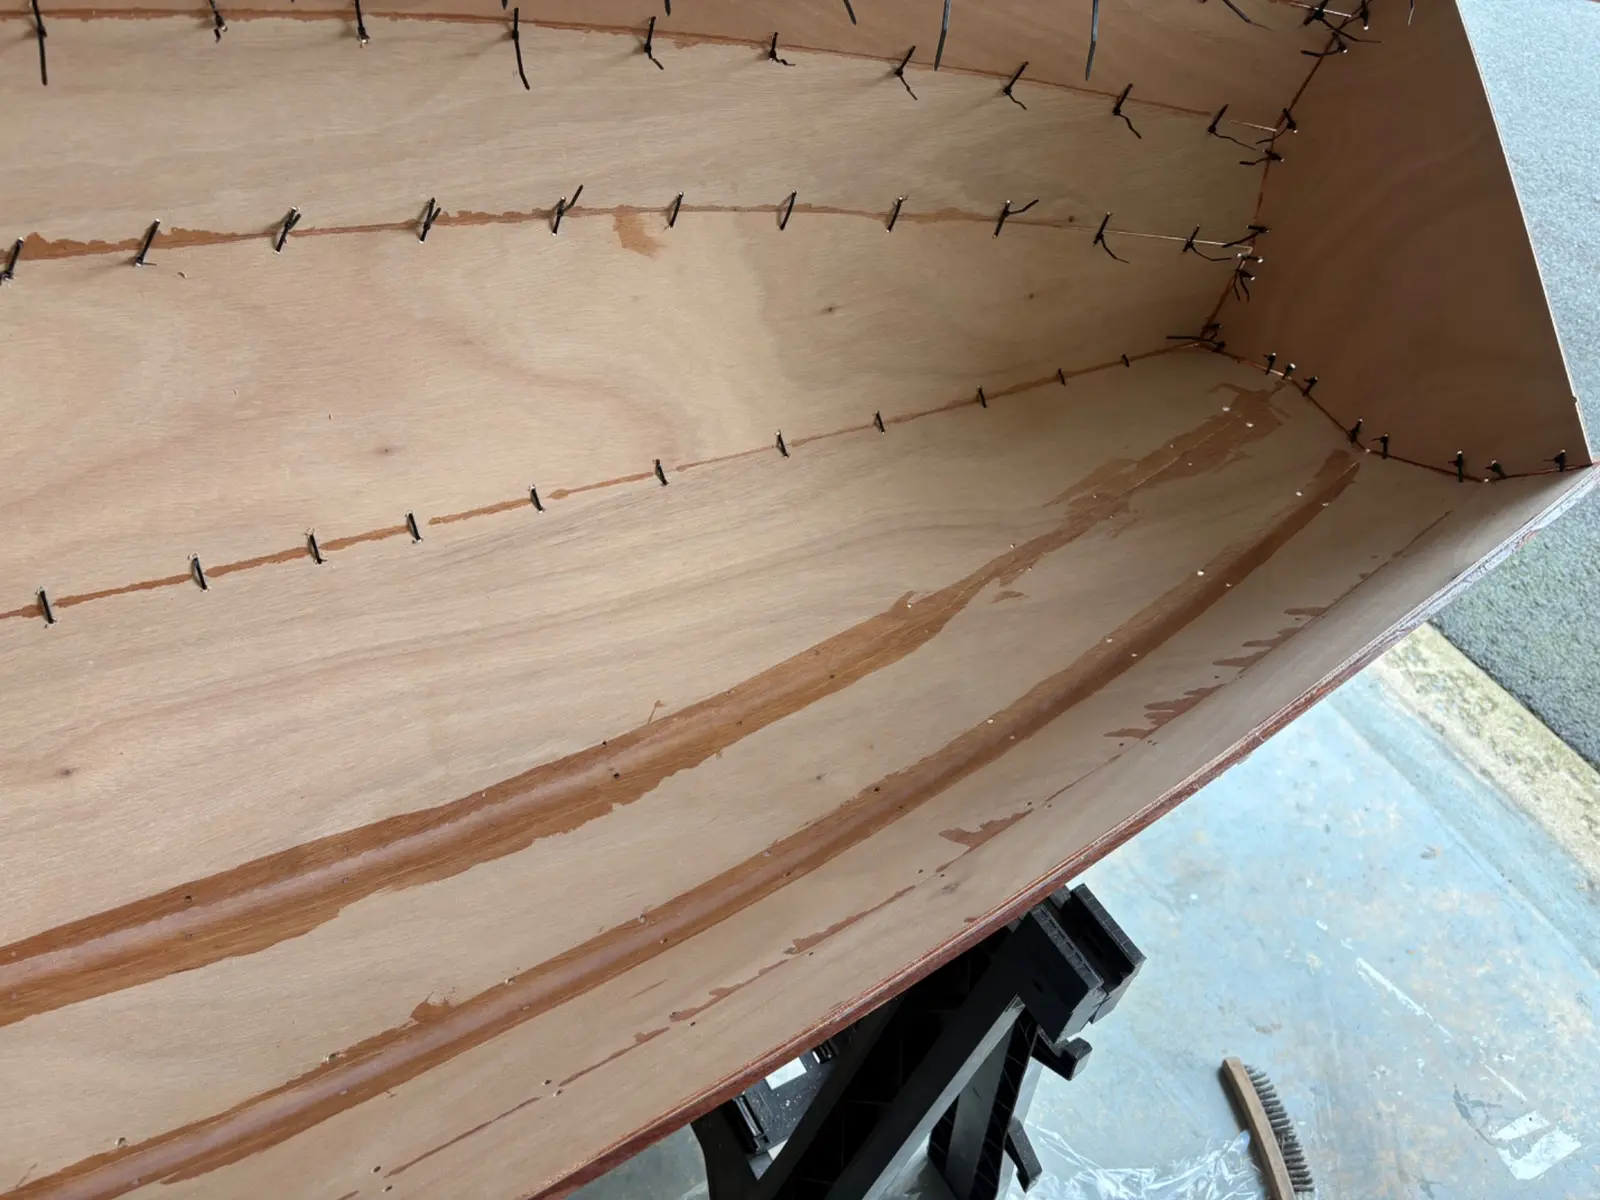
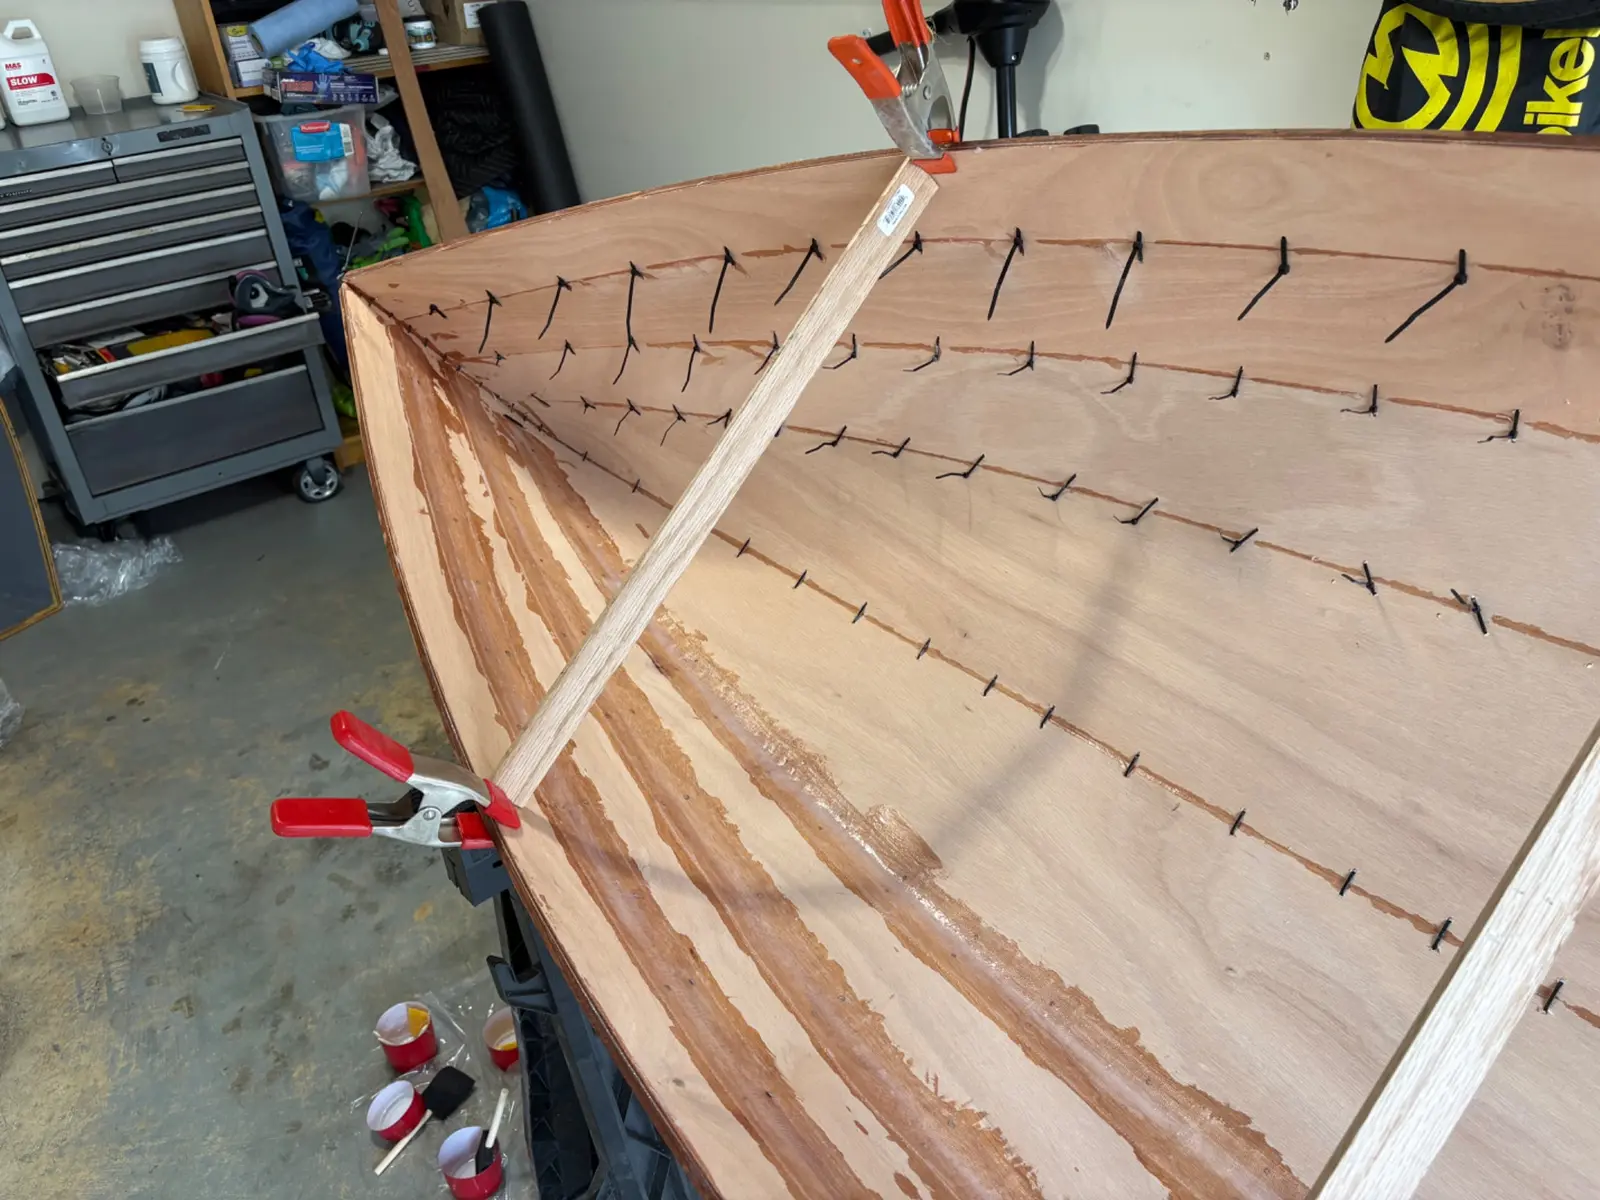
Added fillets to inside of starboard seams. Went a lot smoother this time thanks to experience from last time. Took less than 30min to mix and fillet whole side.
Tape was “dry” laid on tacky but hard-ish fillets, they wetted out. Smoother than yesterday, but still took over an hour for 3 tapes.
Filleted and taped the front 7/8 of the boat with the bow down, waited an hour, then filleted and taped the transom and rear foot of the keel line with the stern down.
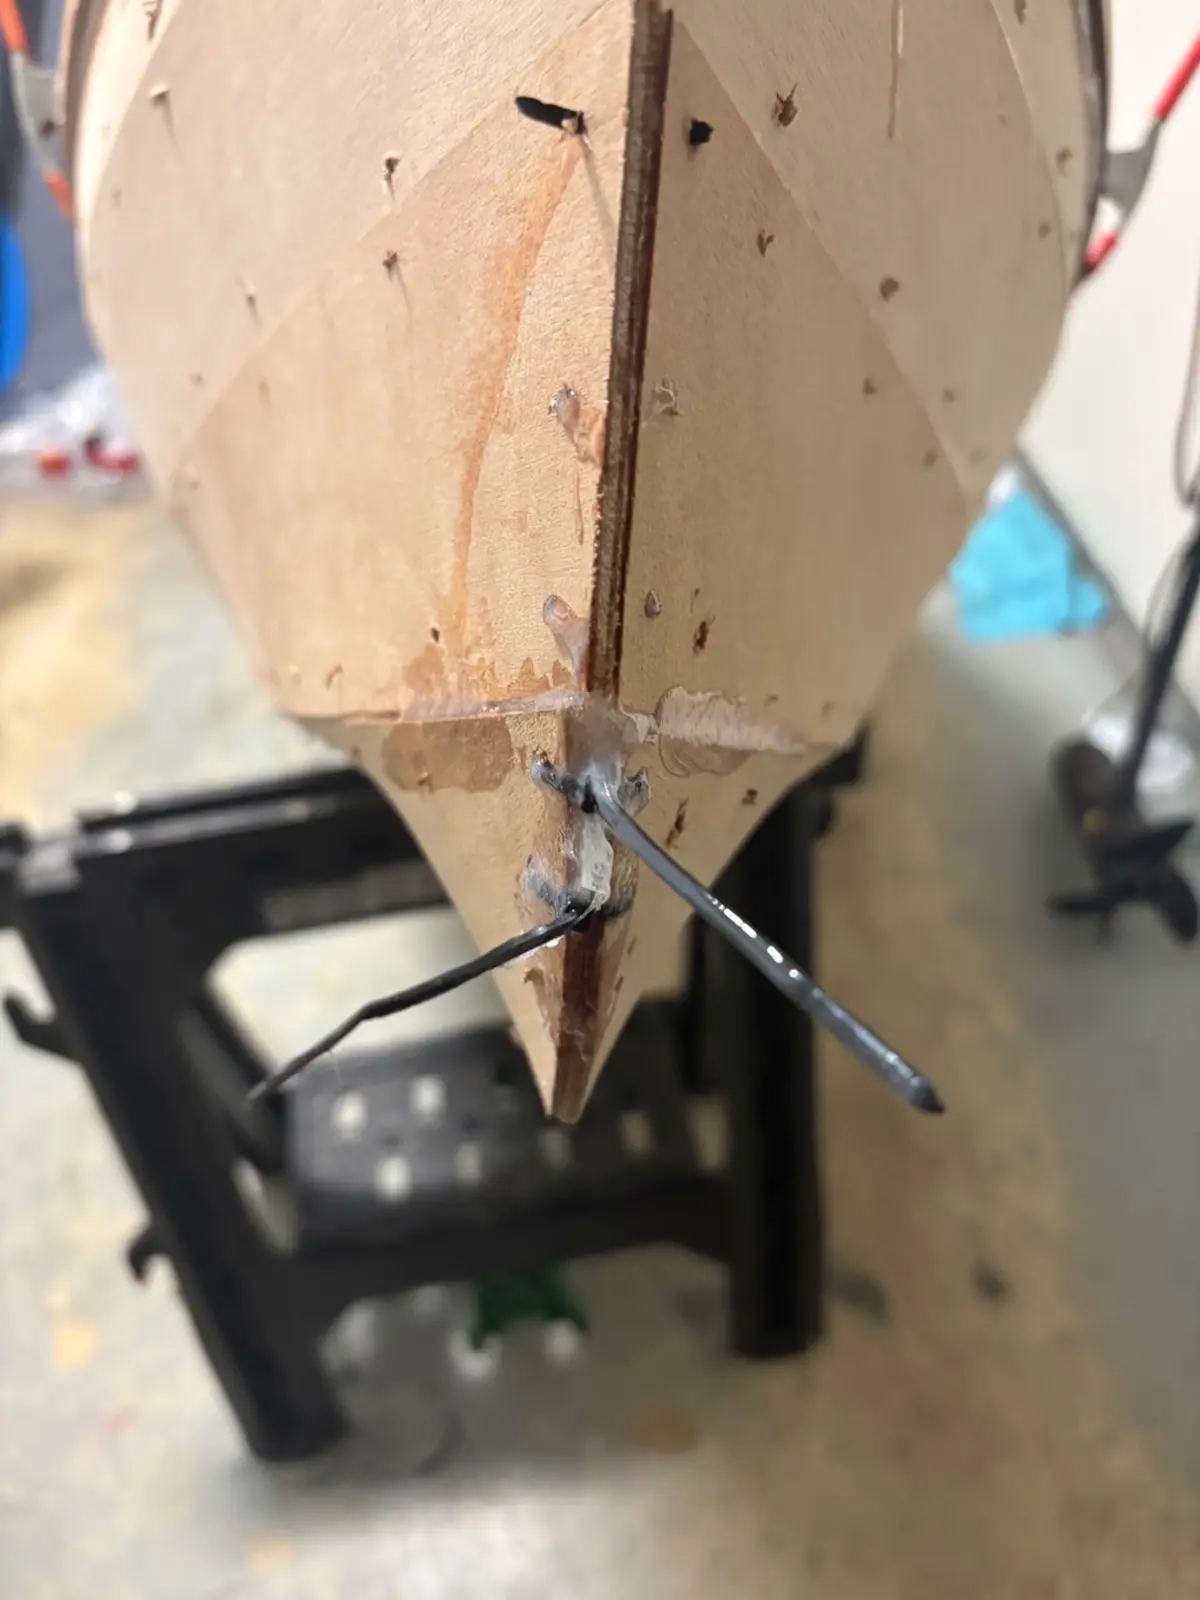
I used a bunch of CA glue in all the seams to try to avoid panels popping out and needing a re-glue, but the front bottom corner still popped out, so I put two zip ties in and left them. Still a bunch of my thickened fillet epoxy came out that seam, which left a bit of a mess on the outside that will mean more sanding for me. My build process goal this time was to avoid making mistakes that would lead to unnecessary sanding.
I was a lot gentler and more intentional both filleting and wetting out the stern, and I did use a bit too much epoxy but overall a quite happy with the result there.
One thing I've done in the past to reduce blobs of thickened epoxy coming out the other side is to put blue painters tape on the outside seam of whatever you're trying to fill. That way as you start to pack it in at least it has some type of backstop. You will still have to send, but it won't be as much.
Nobody else here is logging a Micro-Wherry yet.
See the boat.