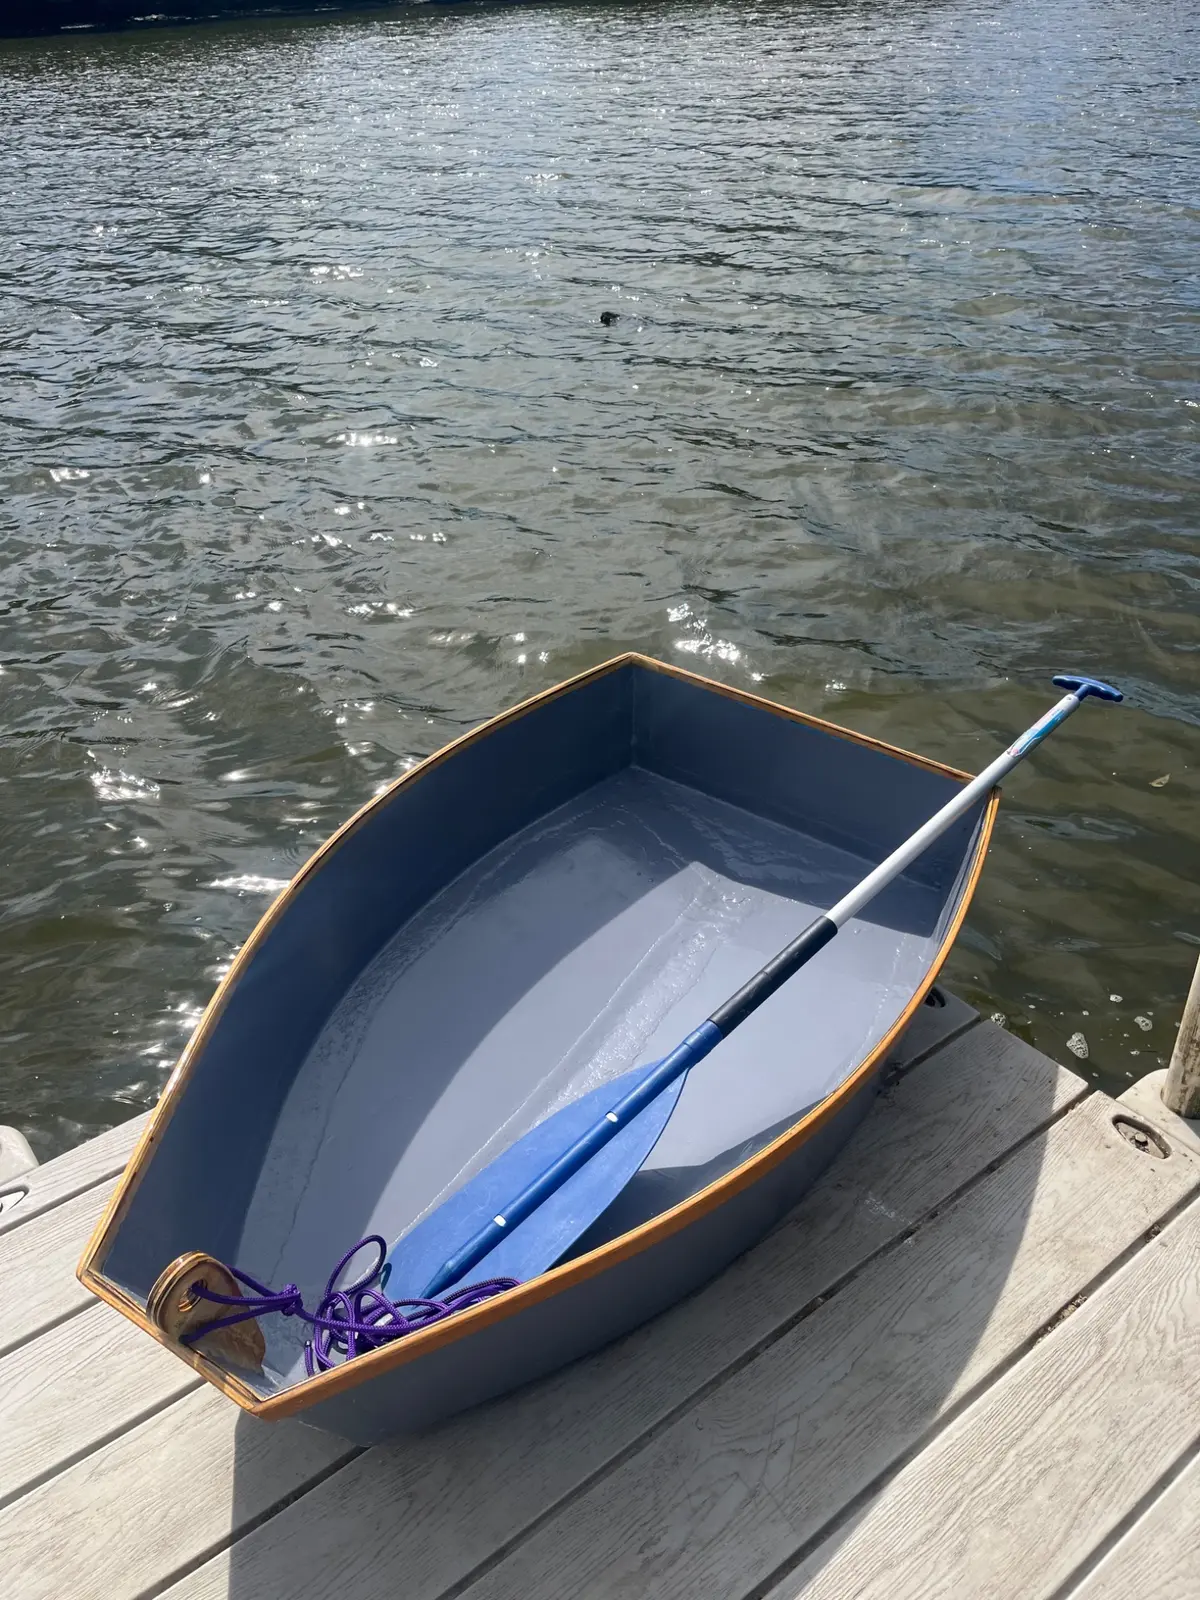
This is the second boat I have designed and built, with the first one still floating, but leaving me wanting more in the looks and performance department
Make a book
Feed
The whole log, 4 entries and every photo,
laid out as a book to print, bind and keep.
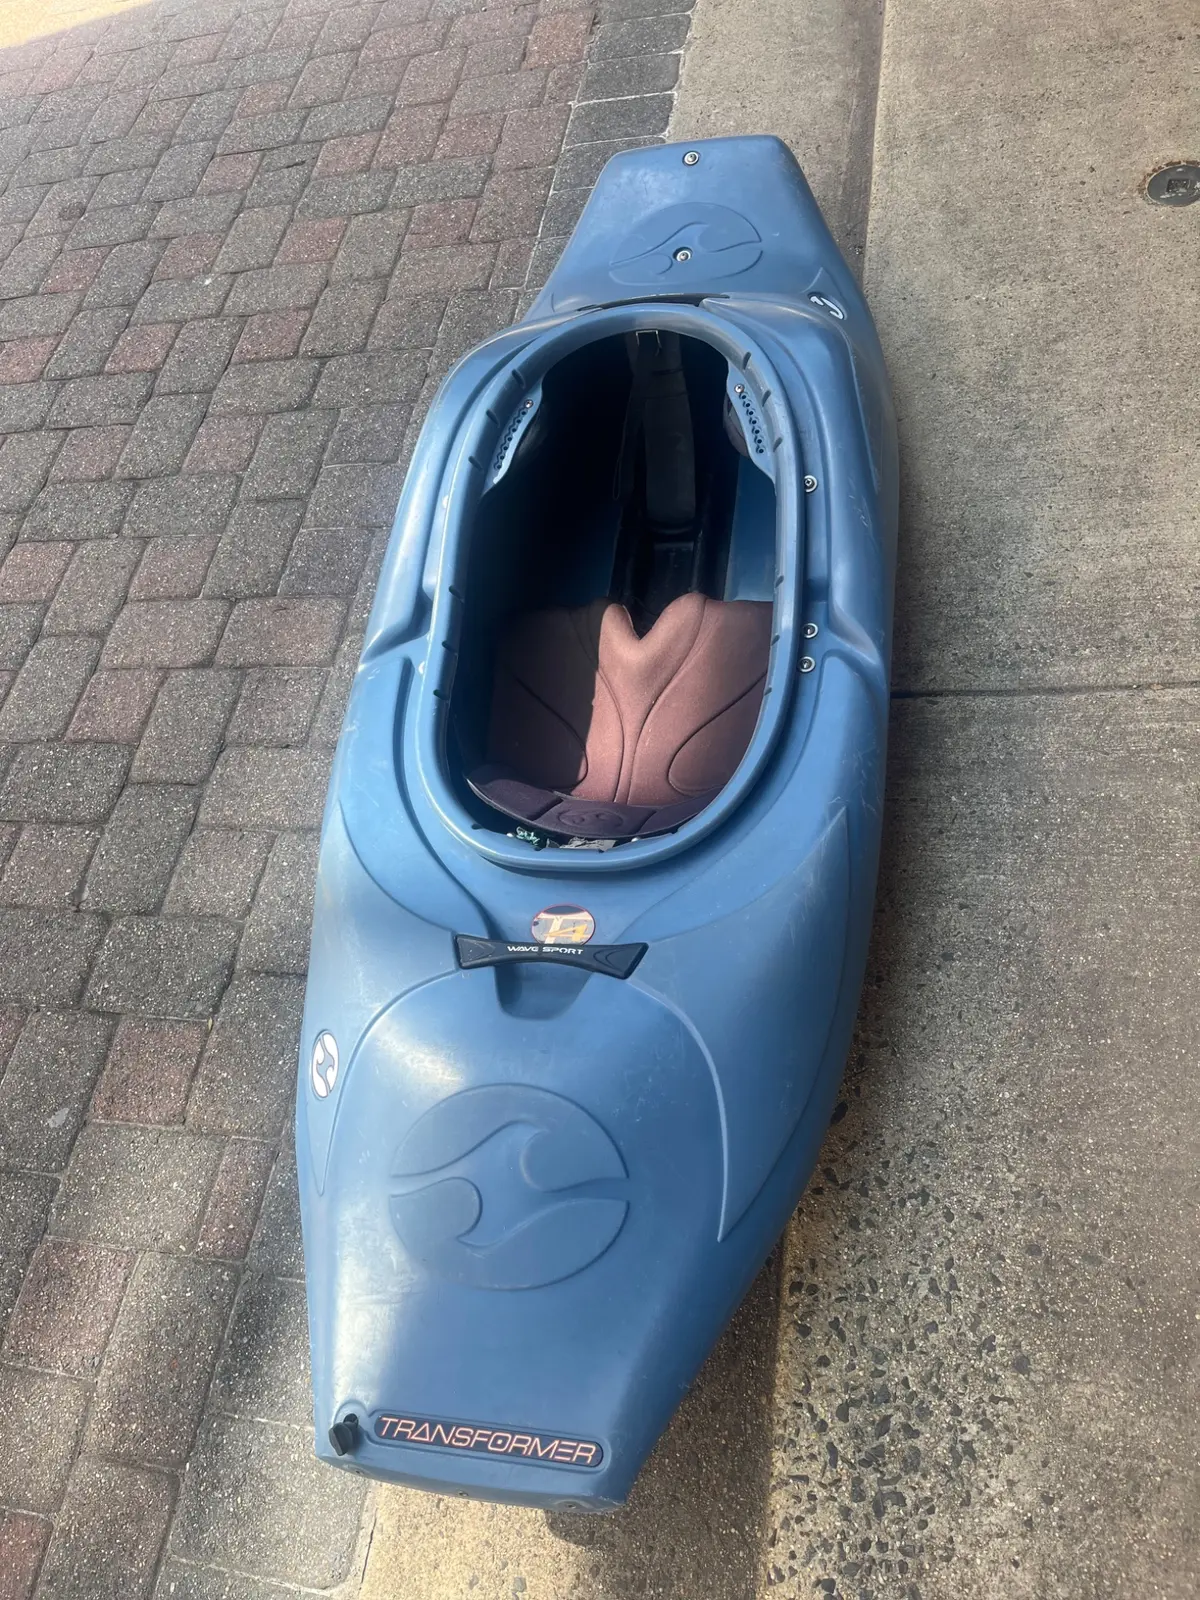
This boat has a very limited purpose: to paddle ~50ft from a sandy canoe launch to a sailboat on a mooring in a protected harbor, tie off to the mooring for a couple hours while I go sailing, the do the same in reverse on the way back. It has 2 predecessors: a whitewater kayak whose major drawback is that it has no carrying capacity, and a micro-dinghy (stitch and glue 1) which has many drawbacks, mostly tracking, comfort, and fore/aft stability. But it is capable of being completely filled with gear stuffed around me, sail bags and life jackets and all my sailing stuff can ride with me in the boat to the mooring.
So the brief on the new one has a lot of requirements.
Get to the mooring
Carry gear
Side to side stability as much as is reasonable, but principally fore/aft stability
As well as several desirements:
Look more “boat-y”. Neither of the two previous boats were super pretty looking because I never put any thought or effort into it, but I want that now.
Be super lightweight. I read a book recently which features a pack canoe, which weighs something like 15lbs. As of the time of writing this post, I am aiming for sub-20.
Be as paddle-able as a folding kayak. Neither of the predecessors were particularly paddle-able, I want to change that with this one.
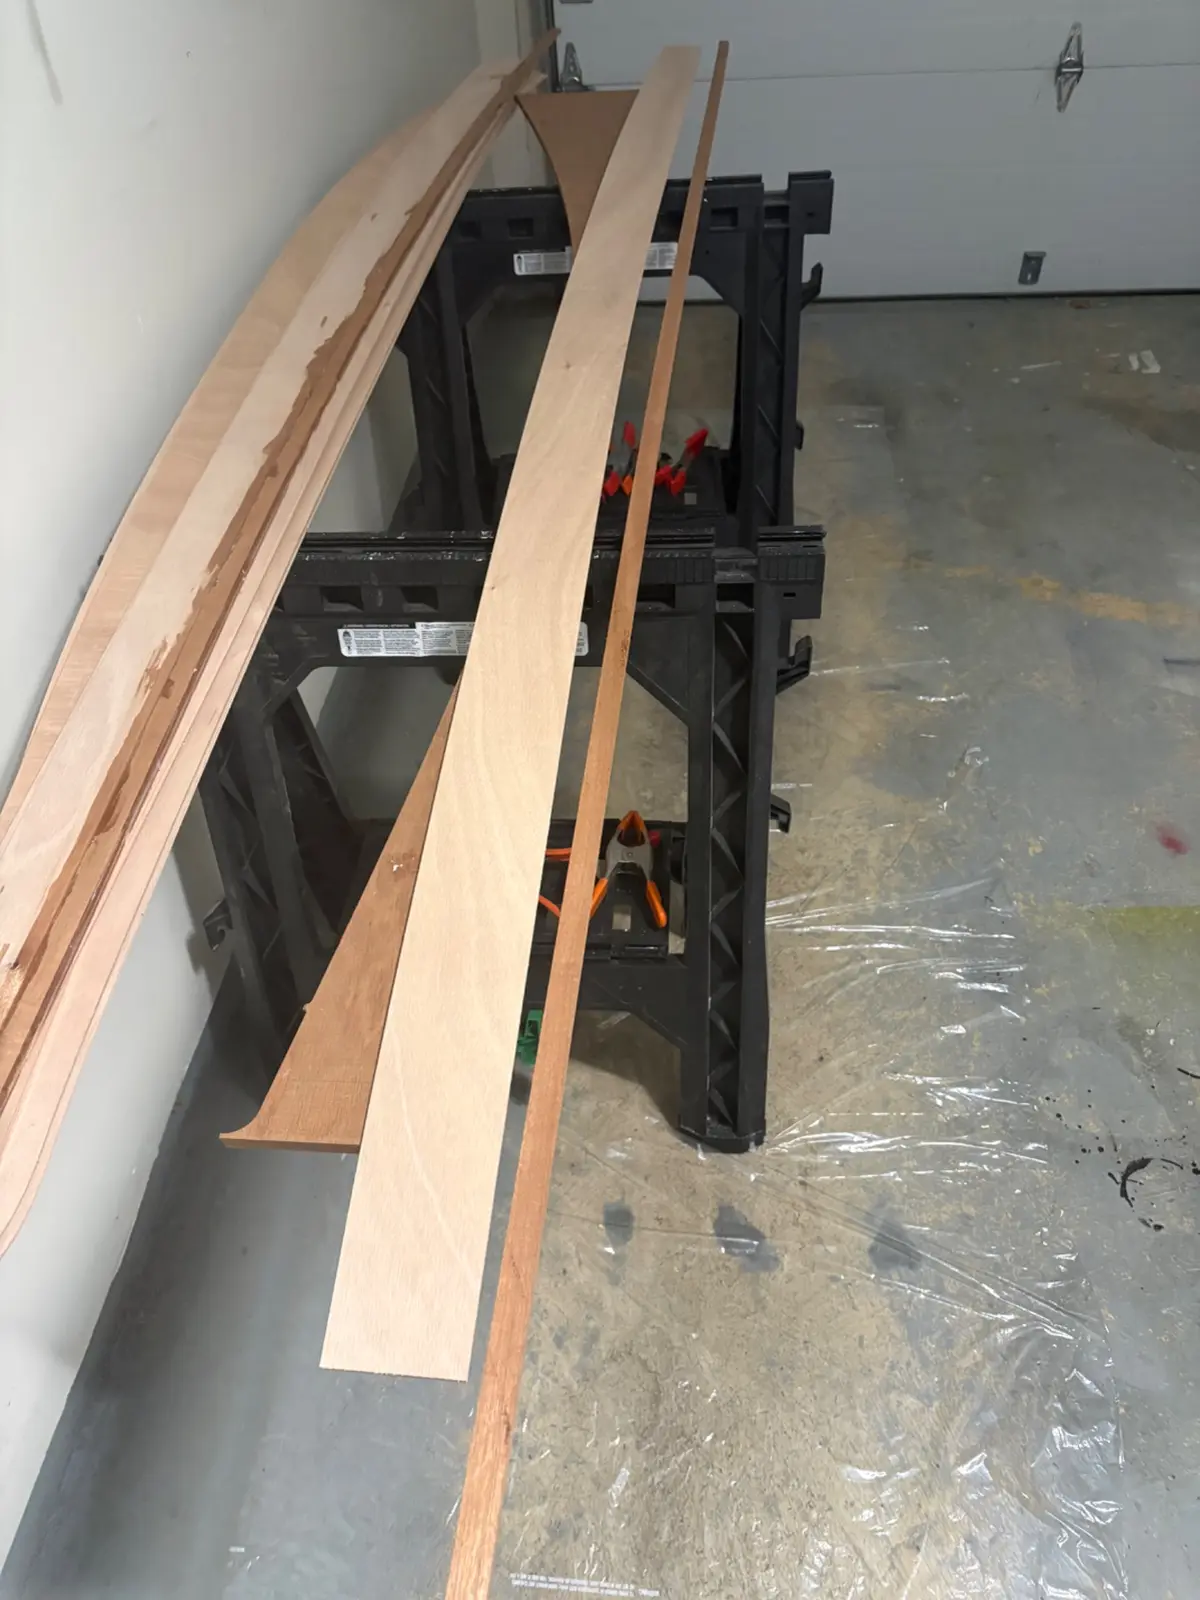
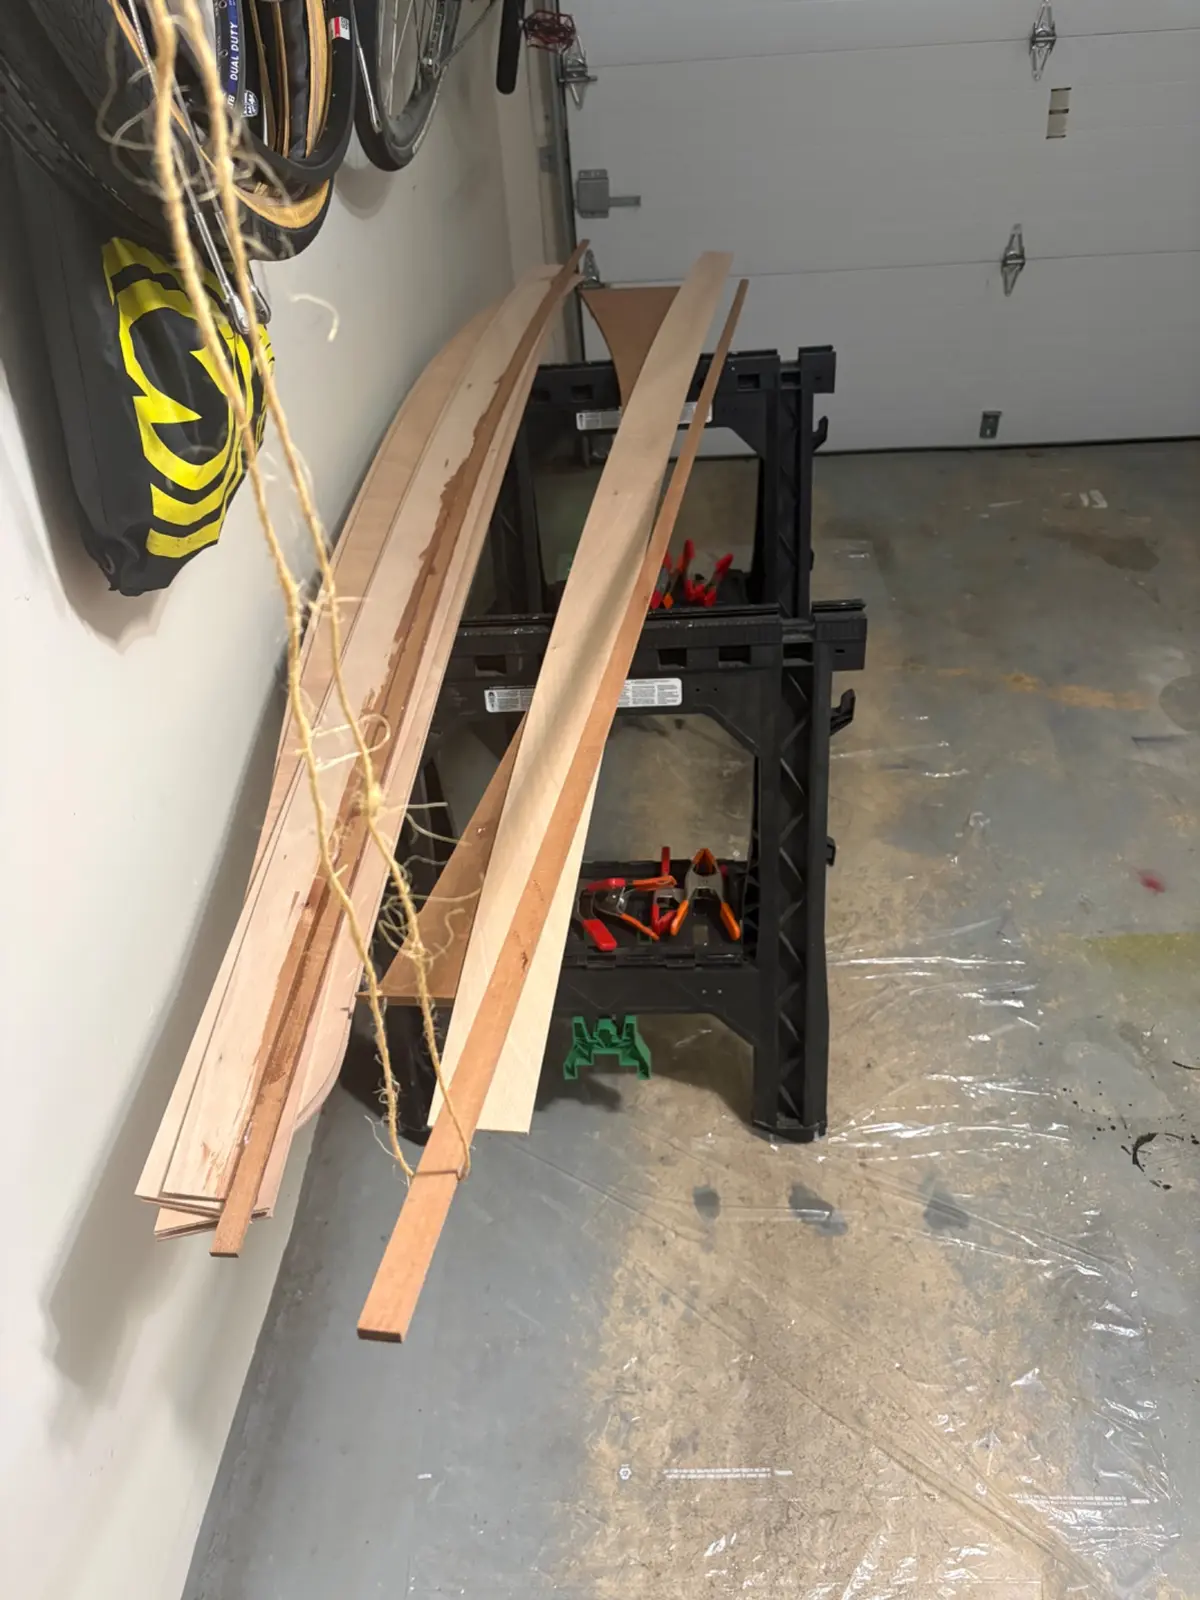
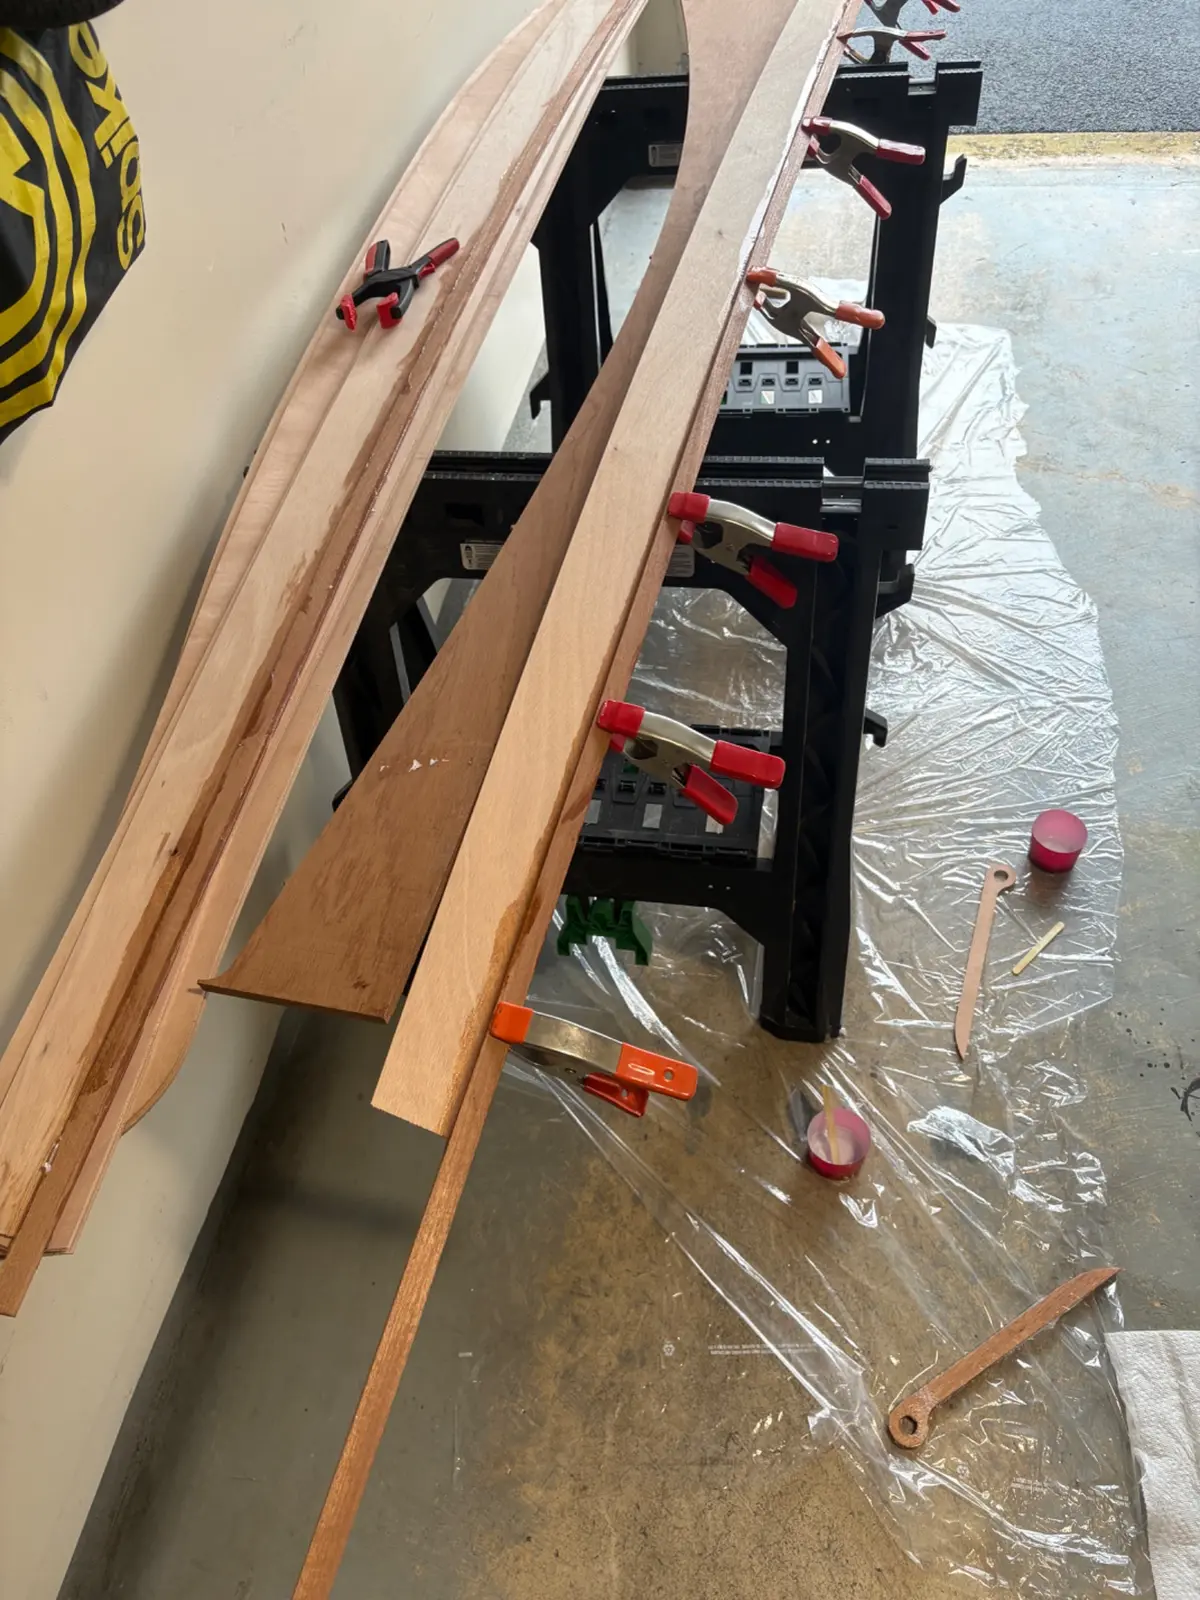
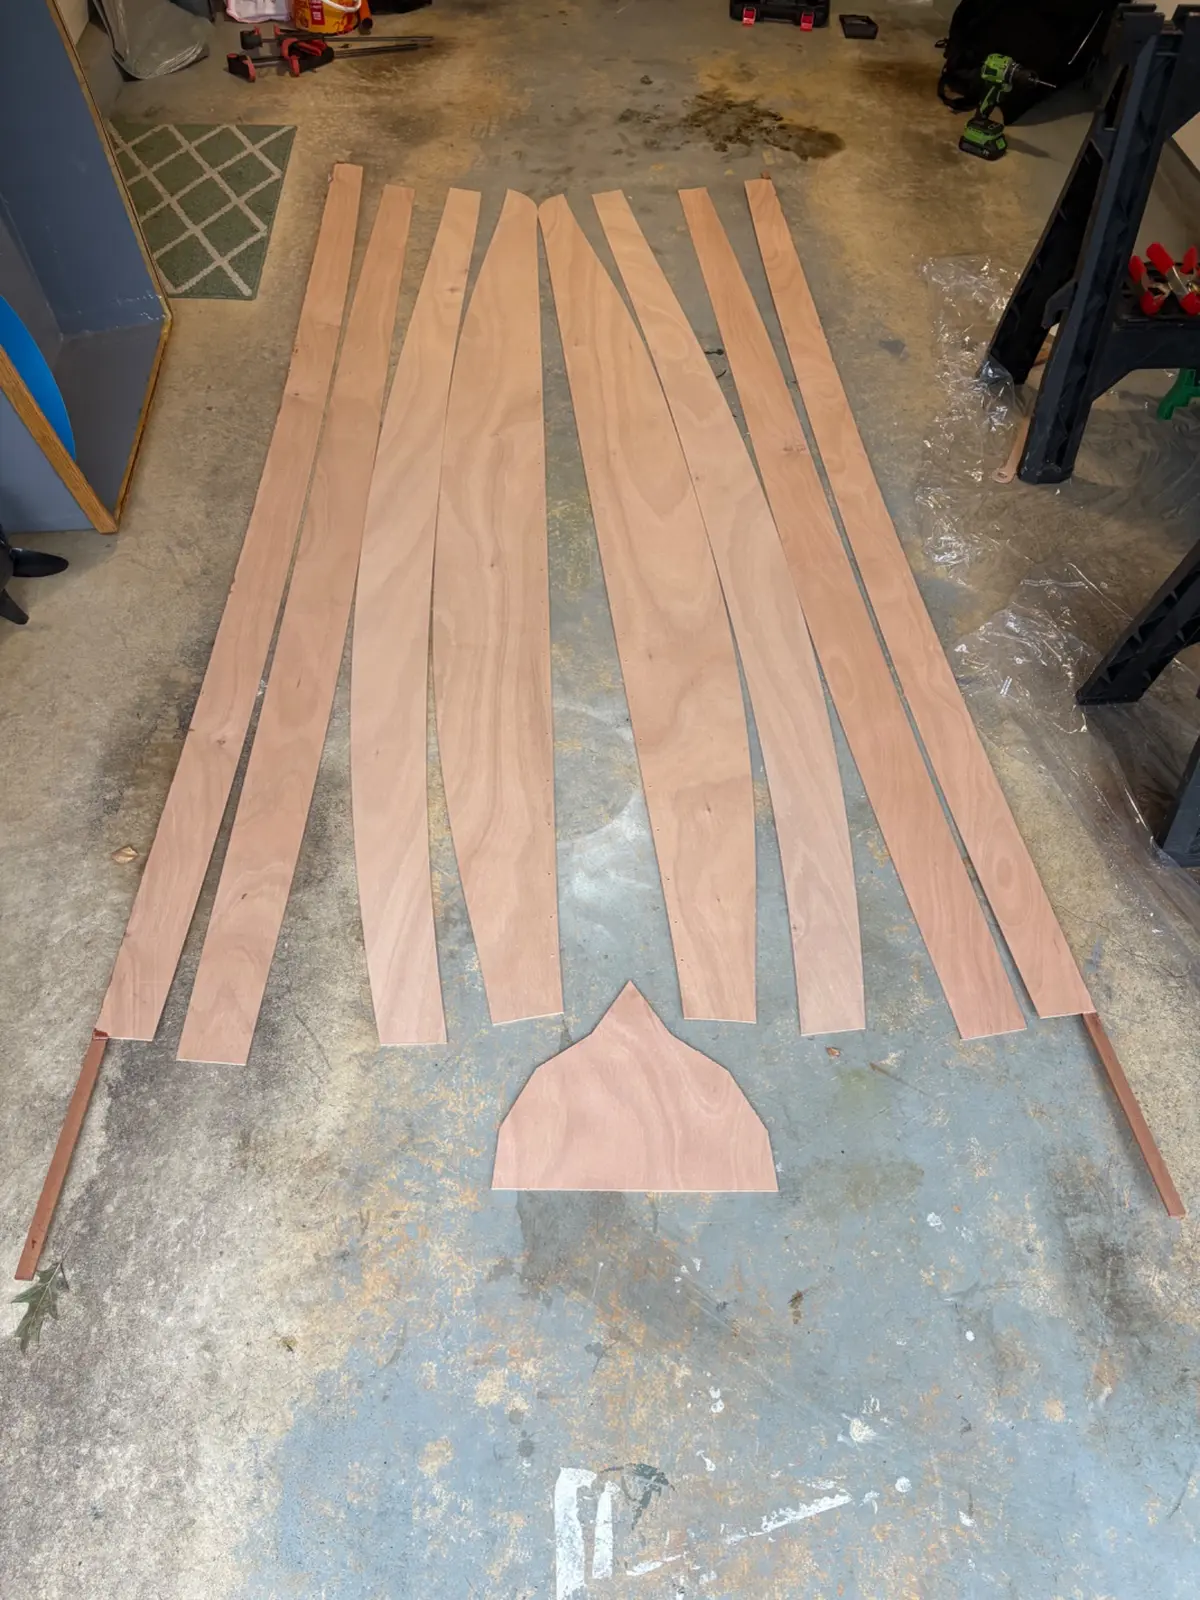
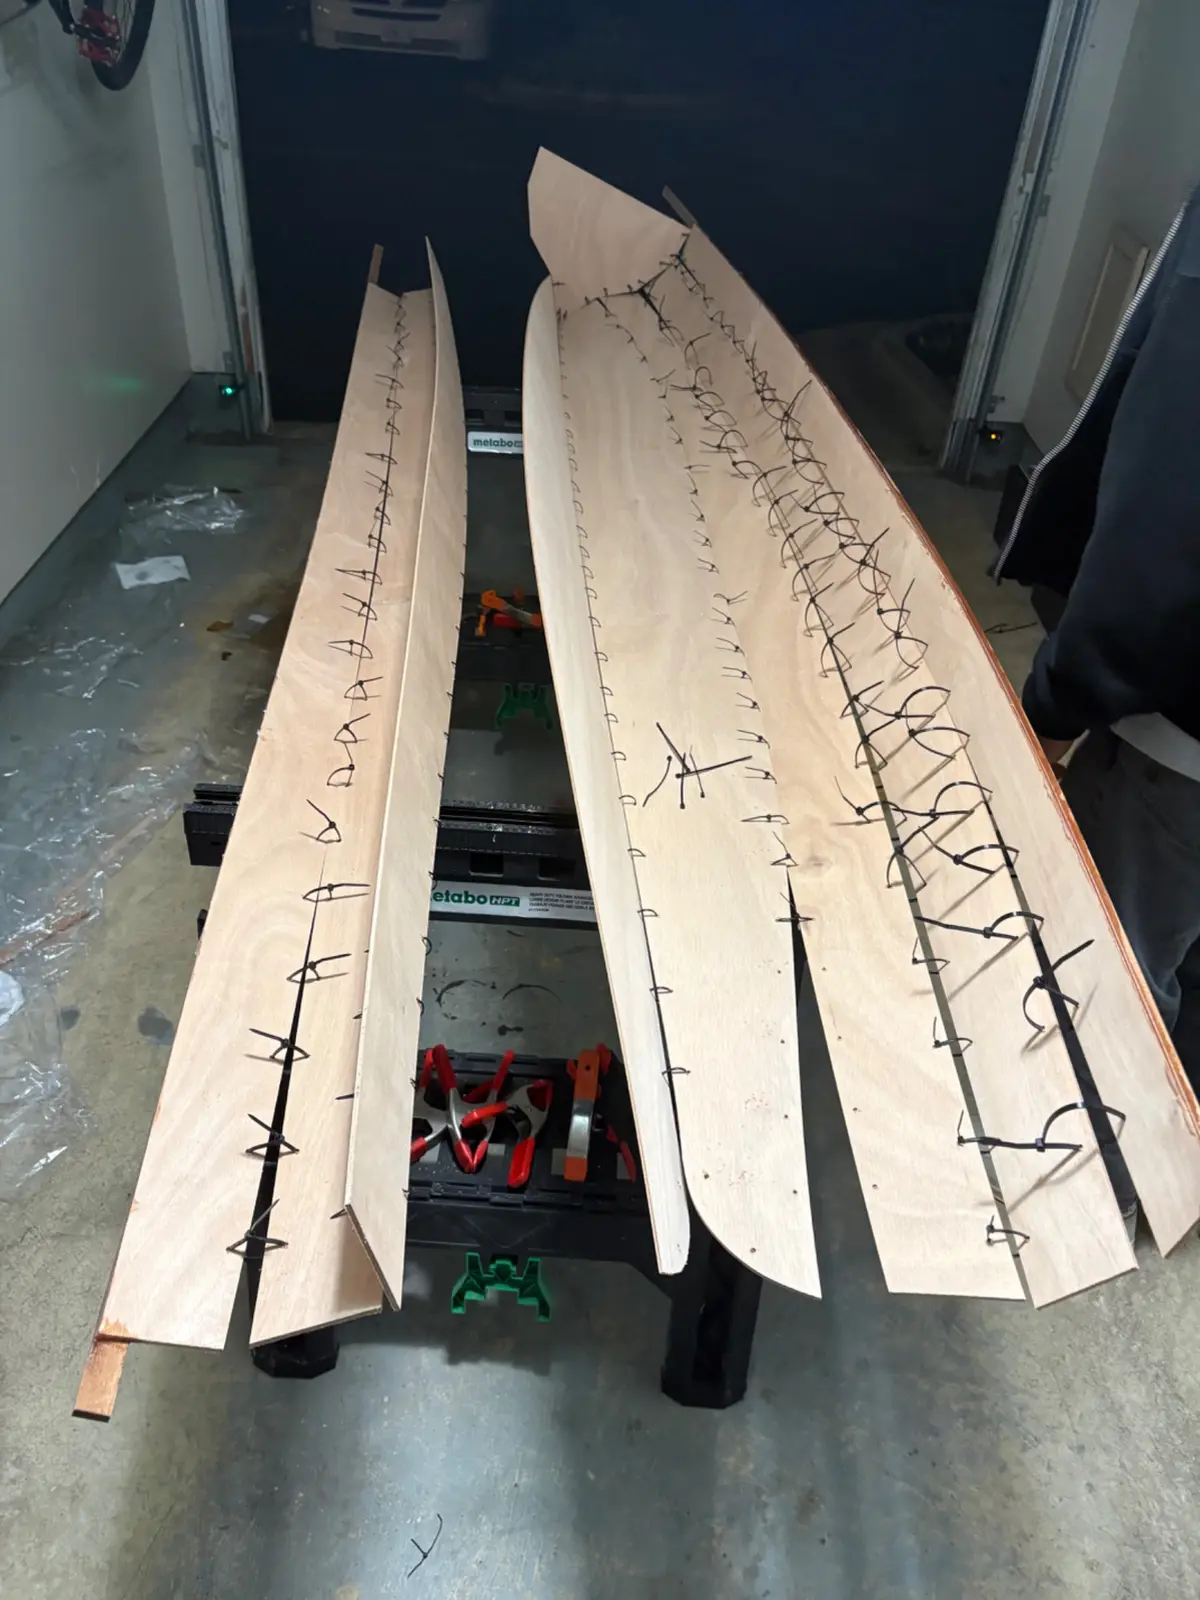
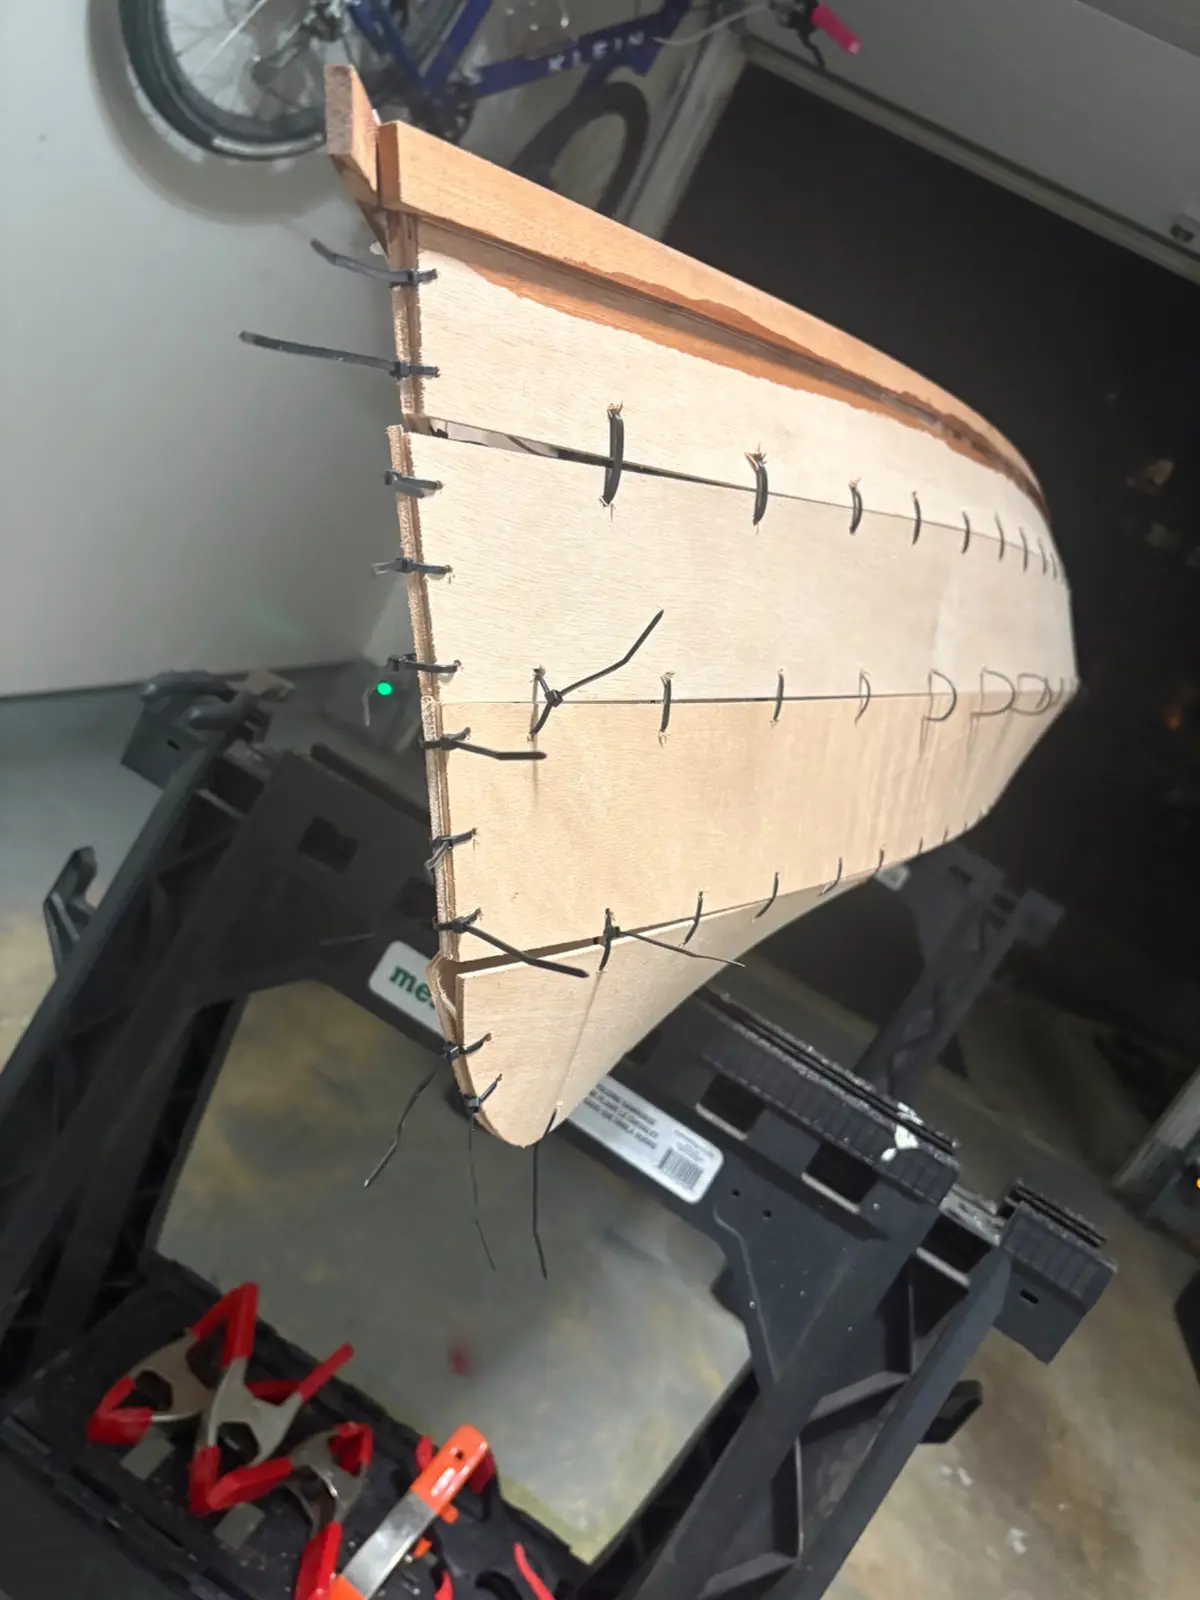
Had hull panels cut out by Chesapeake Light Craft from 4mm okume plywood. Rails are 1/4 x 3/4 solid sapele. Boat length ~93 in, so all panels would fit in a single sheet of plywood with no scarf. In retrospect, I should have spent more time making some of the panels have more fair curves. I still think it will look fine. Step 0 of the actual build per the recommendation of CLC experts was to glue the outwhales on to reinforce the plywood during stitching. The strips are not thick enough to be adequately clamped by the number of clamps I have, so the bonding thickness varies along the length of the panel. Bonding was done with epoxy thickened with cabosil, clamped, and un-thickened epoxy carefully poured in the interior corner between panel and strip for smooth transition and to try to flow into any gaps.
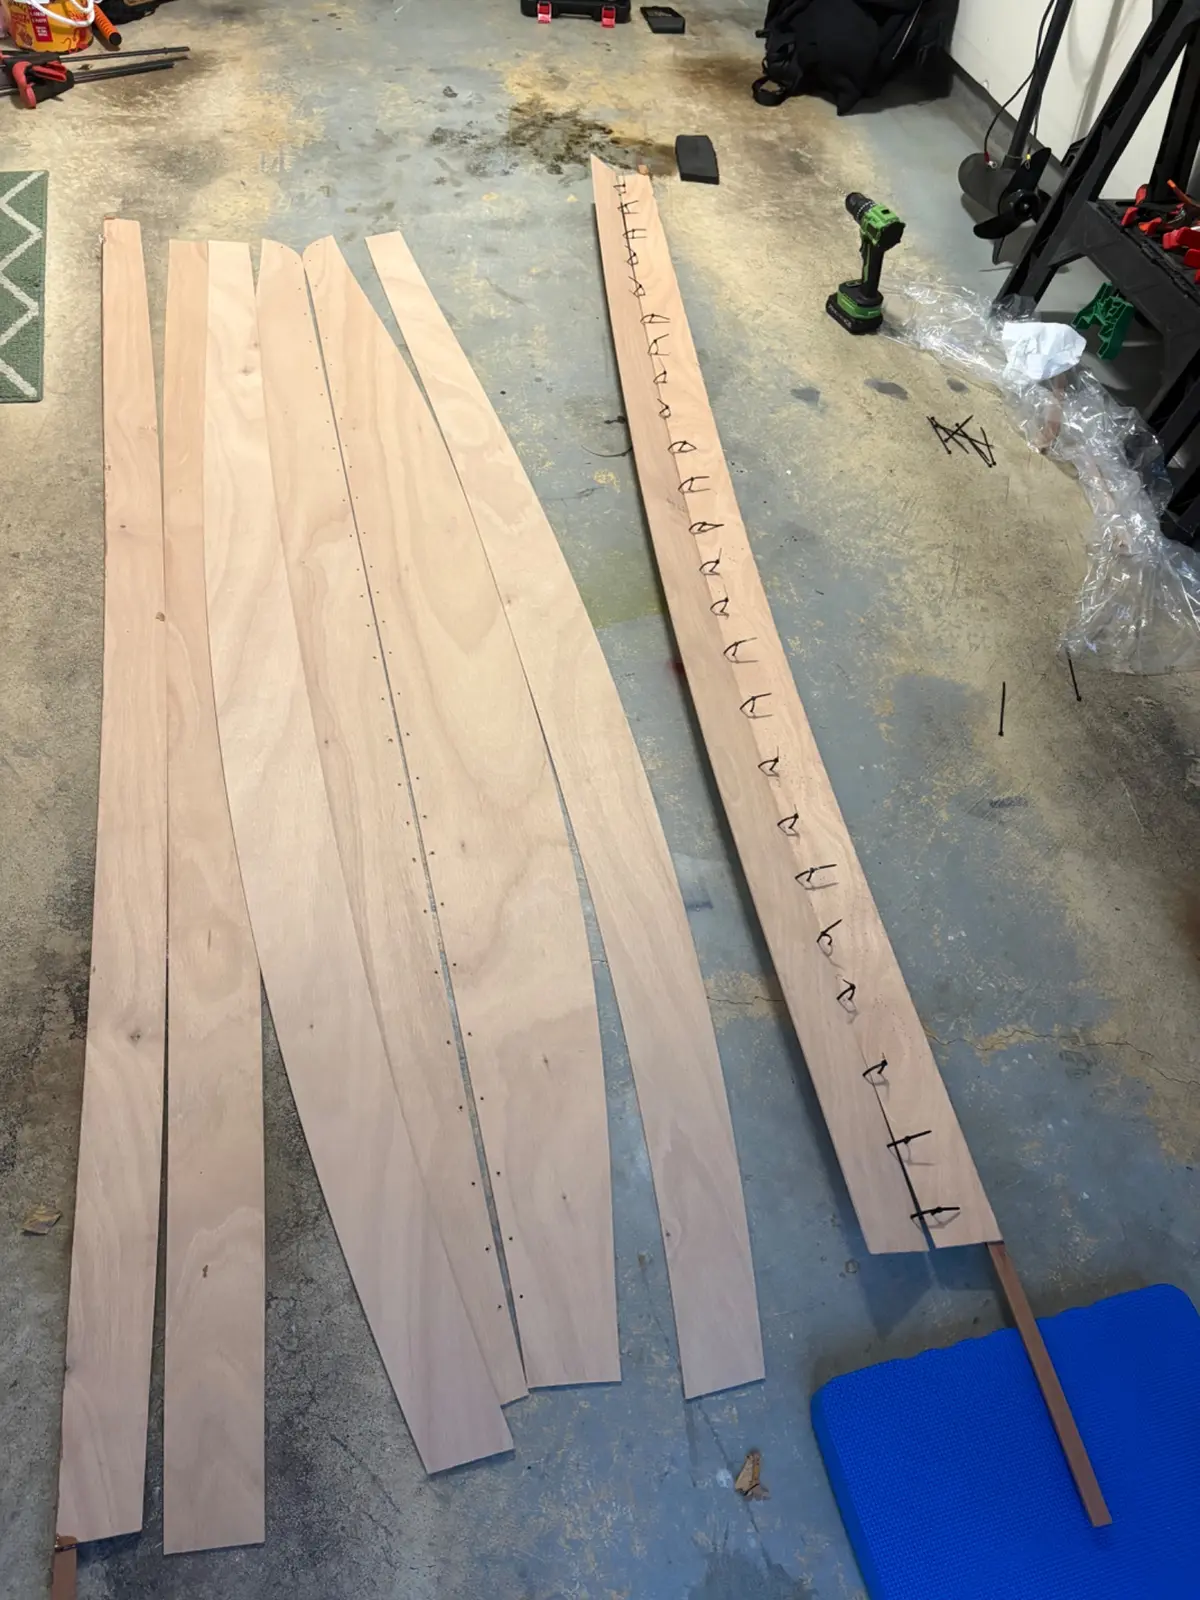
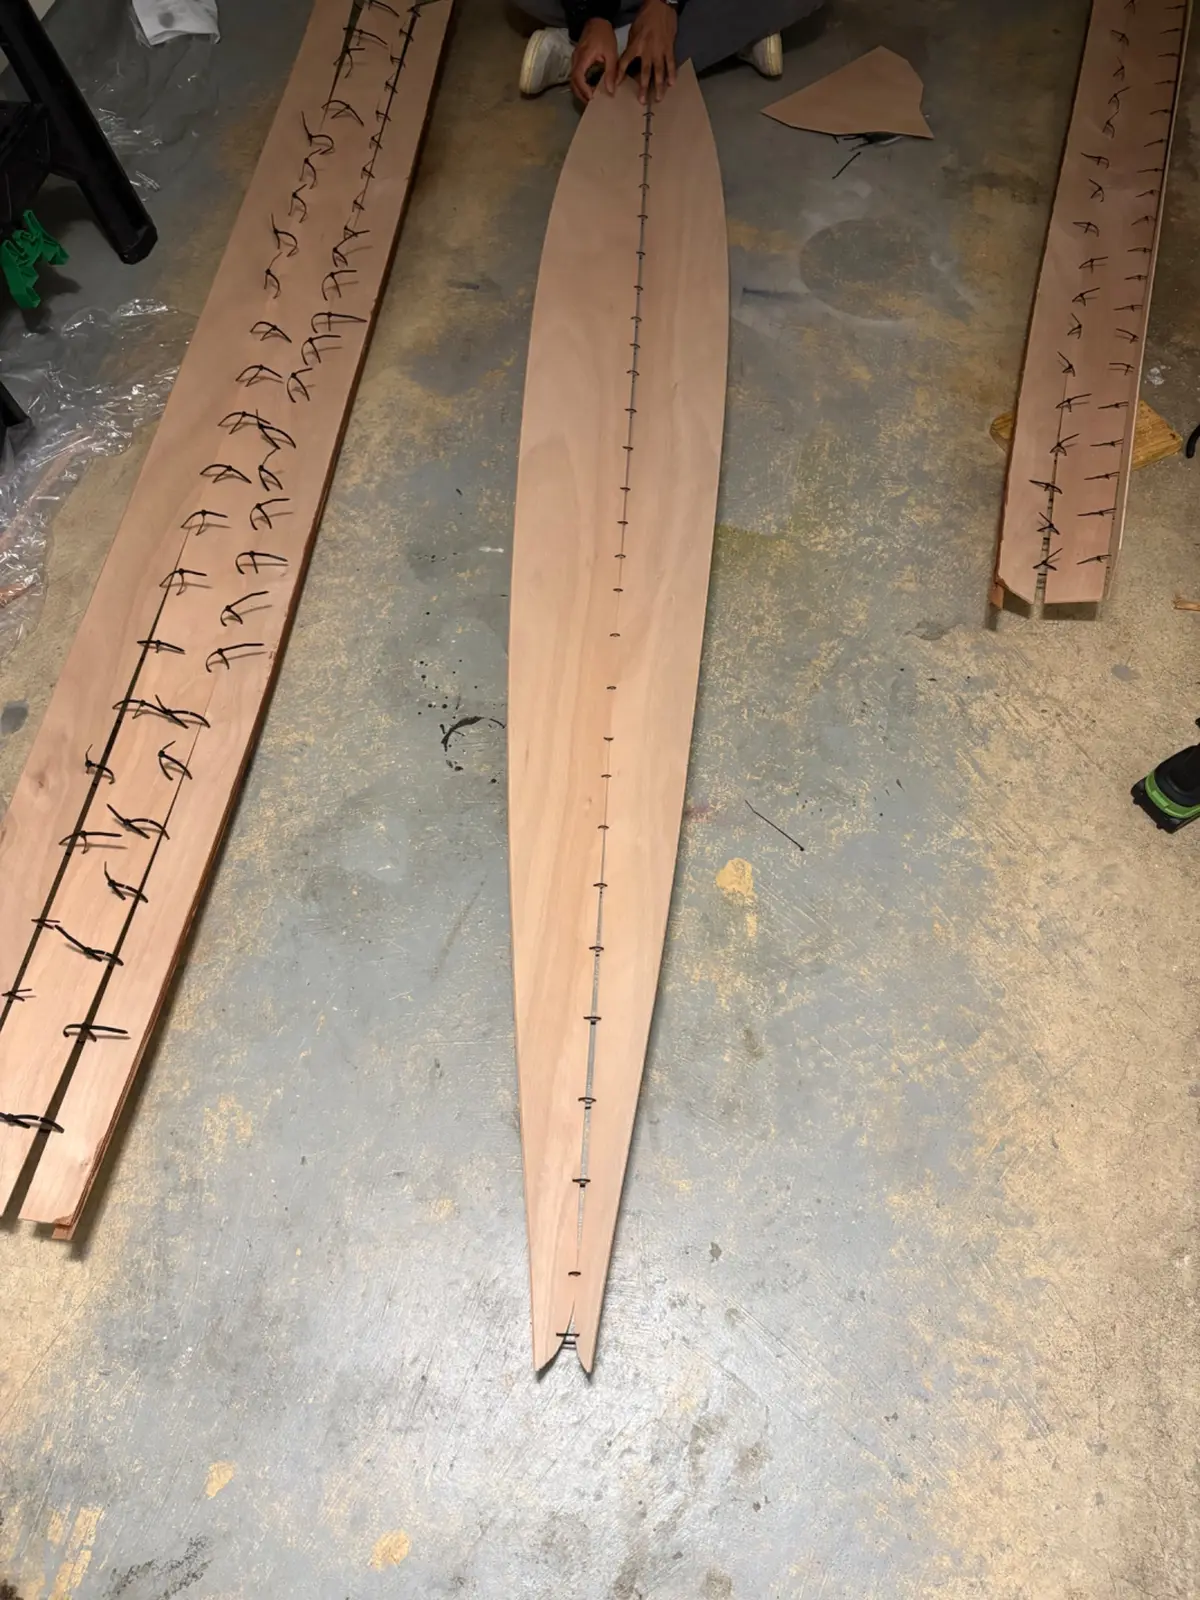
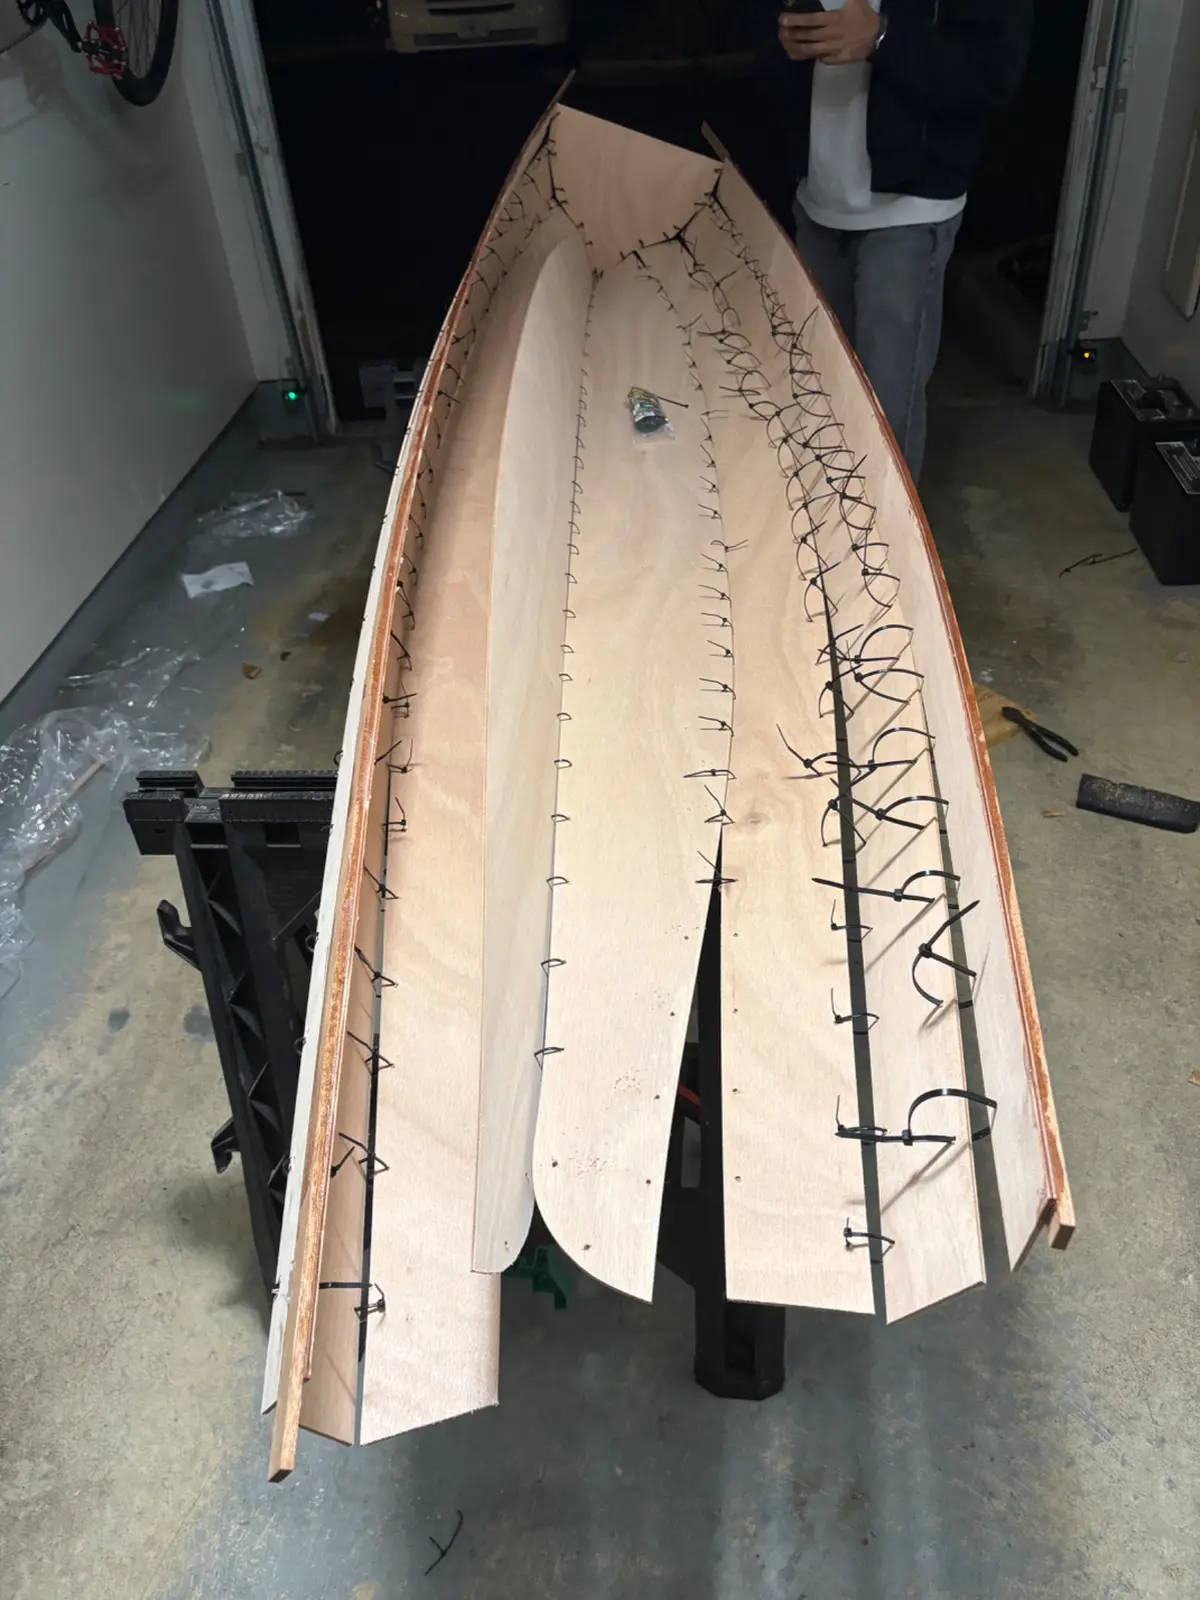
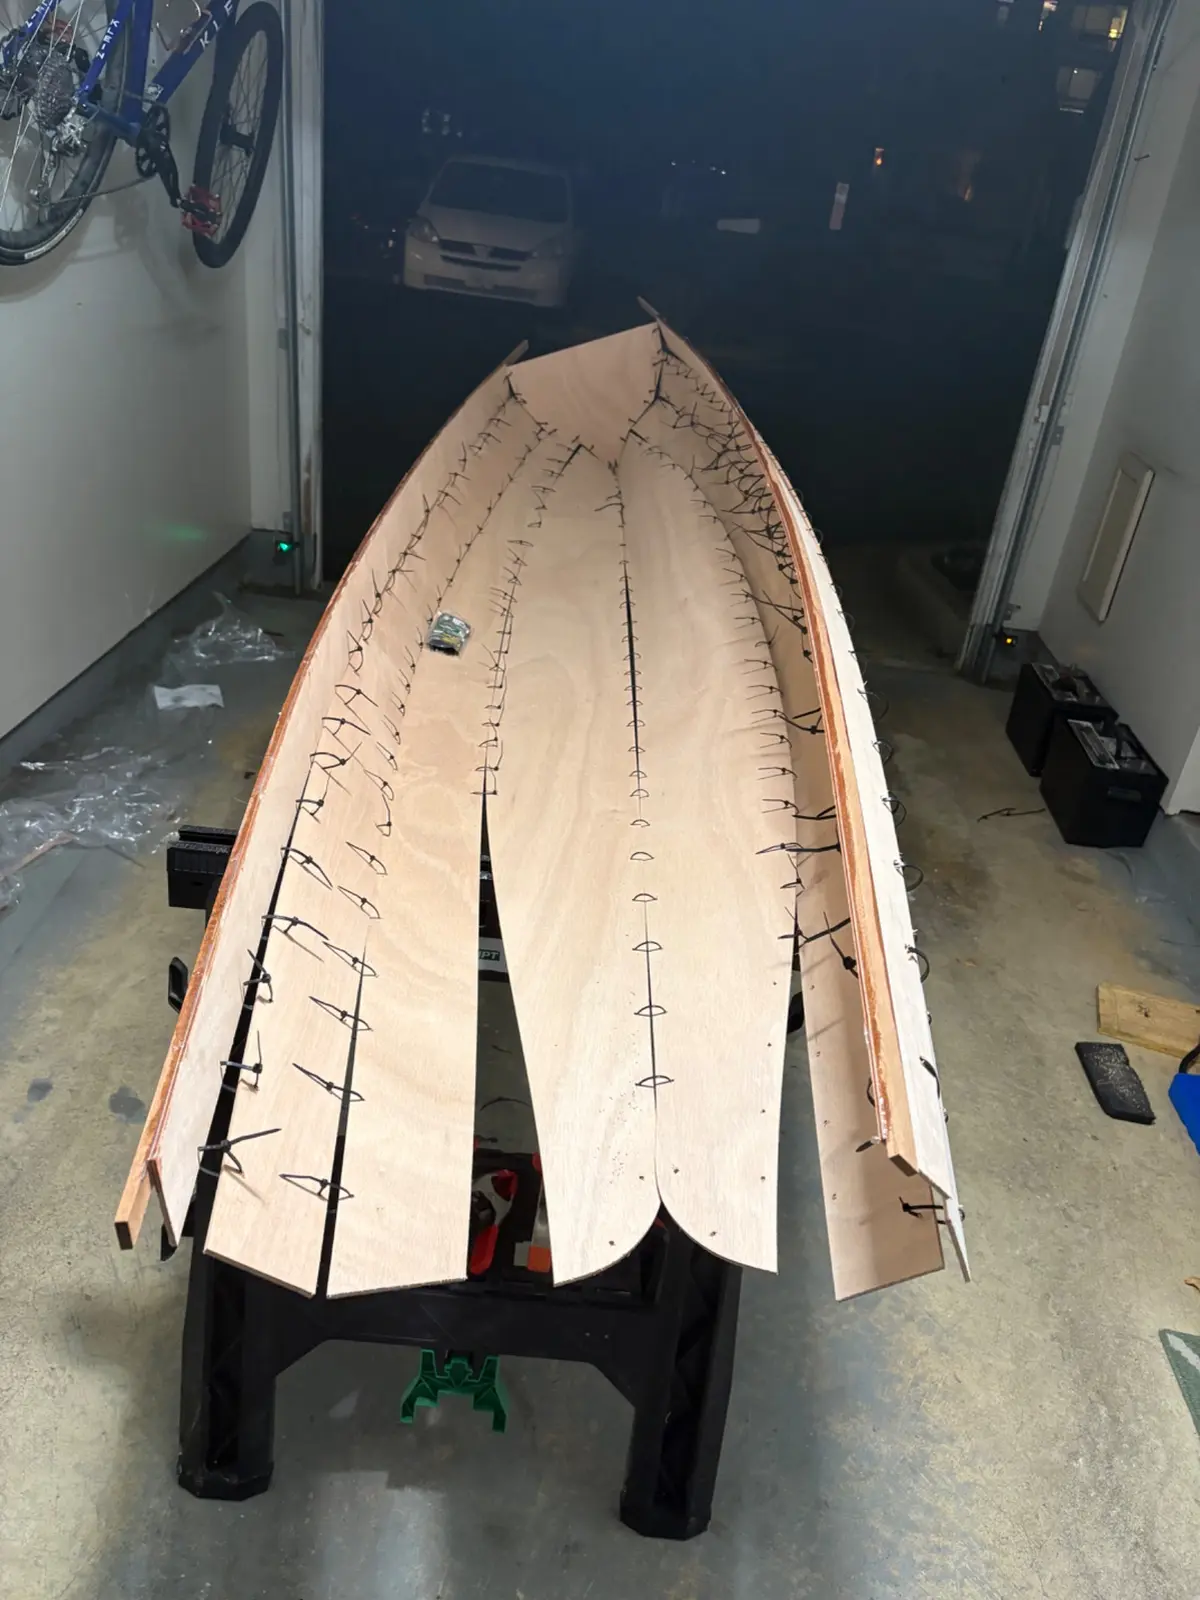
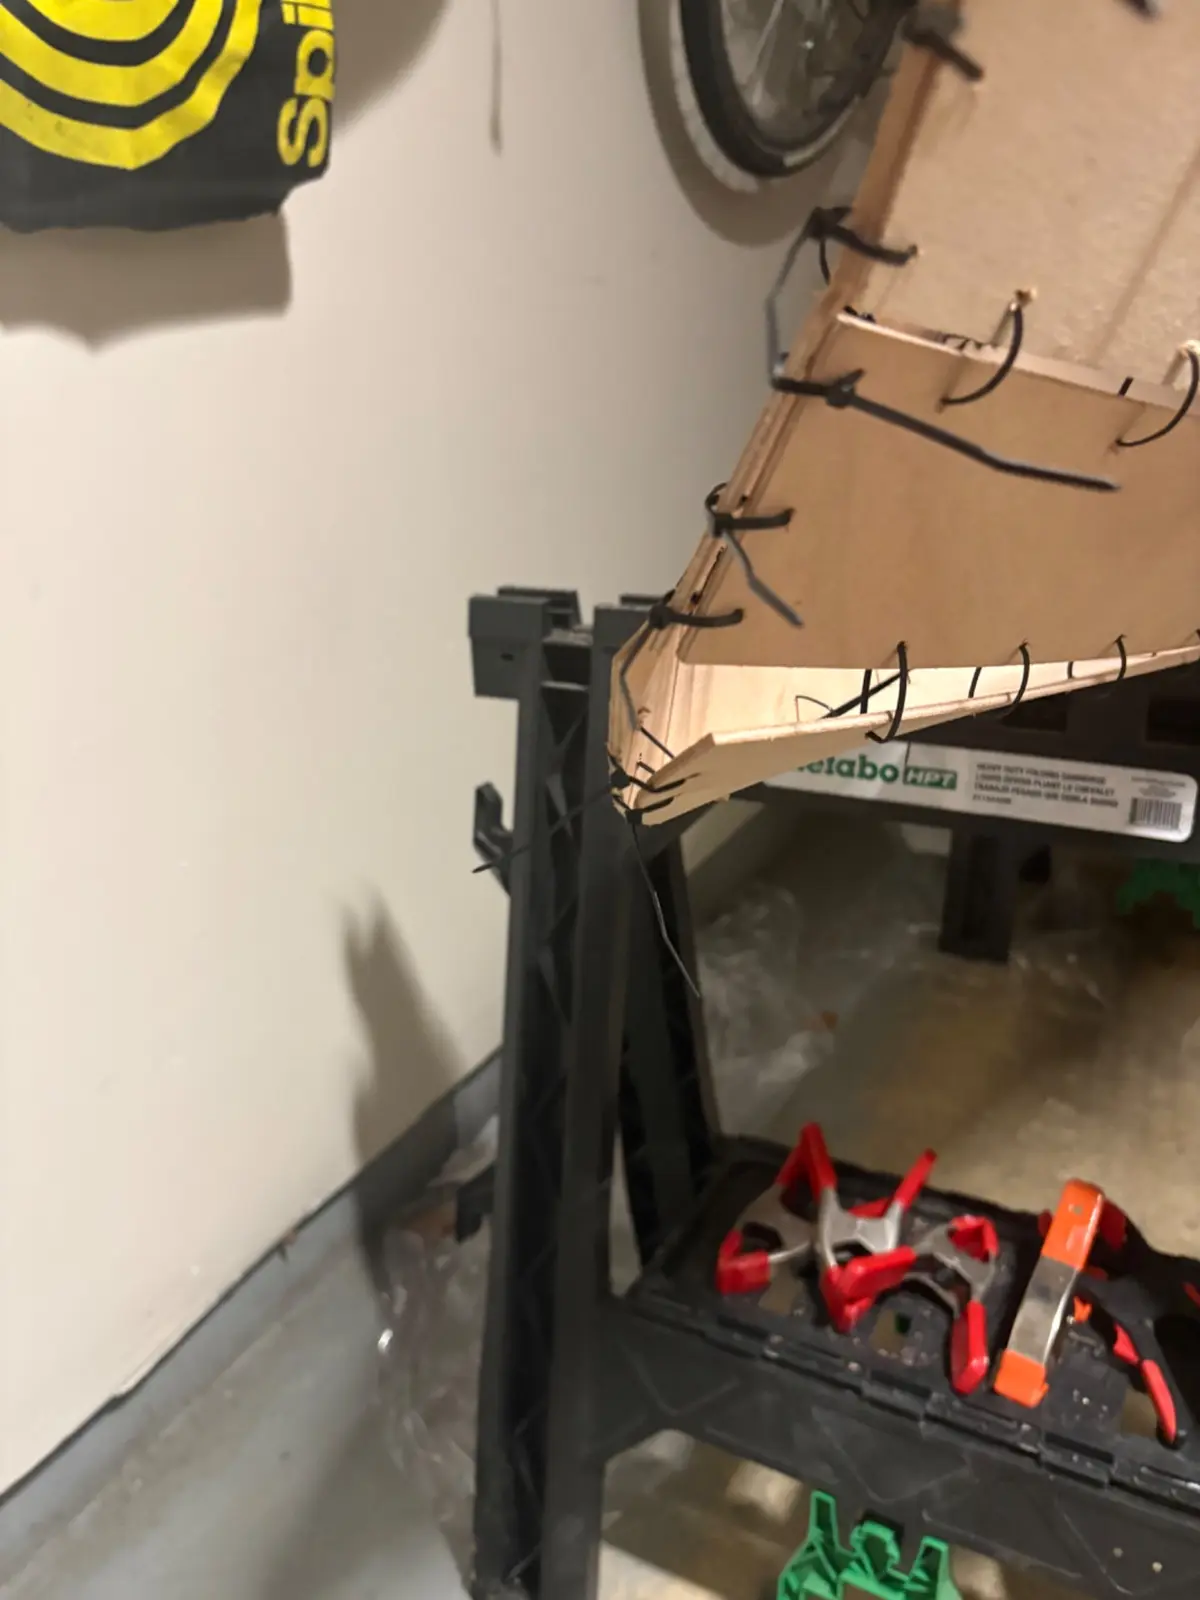
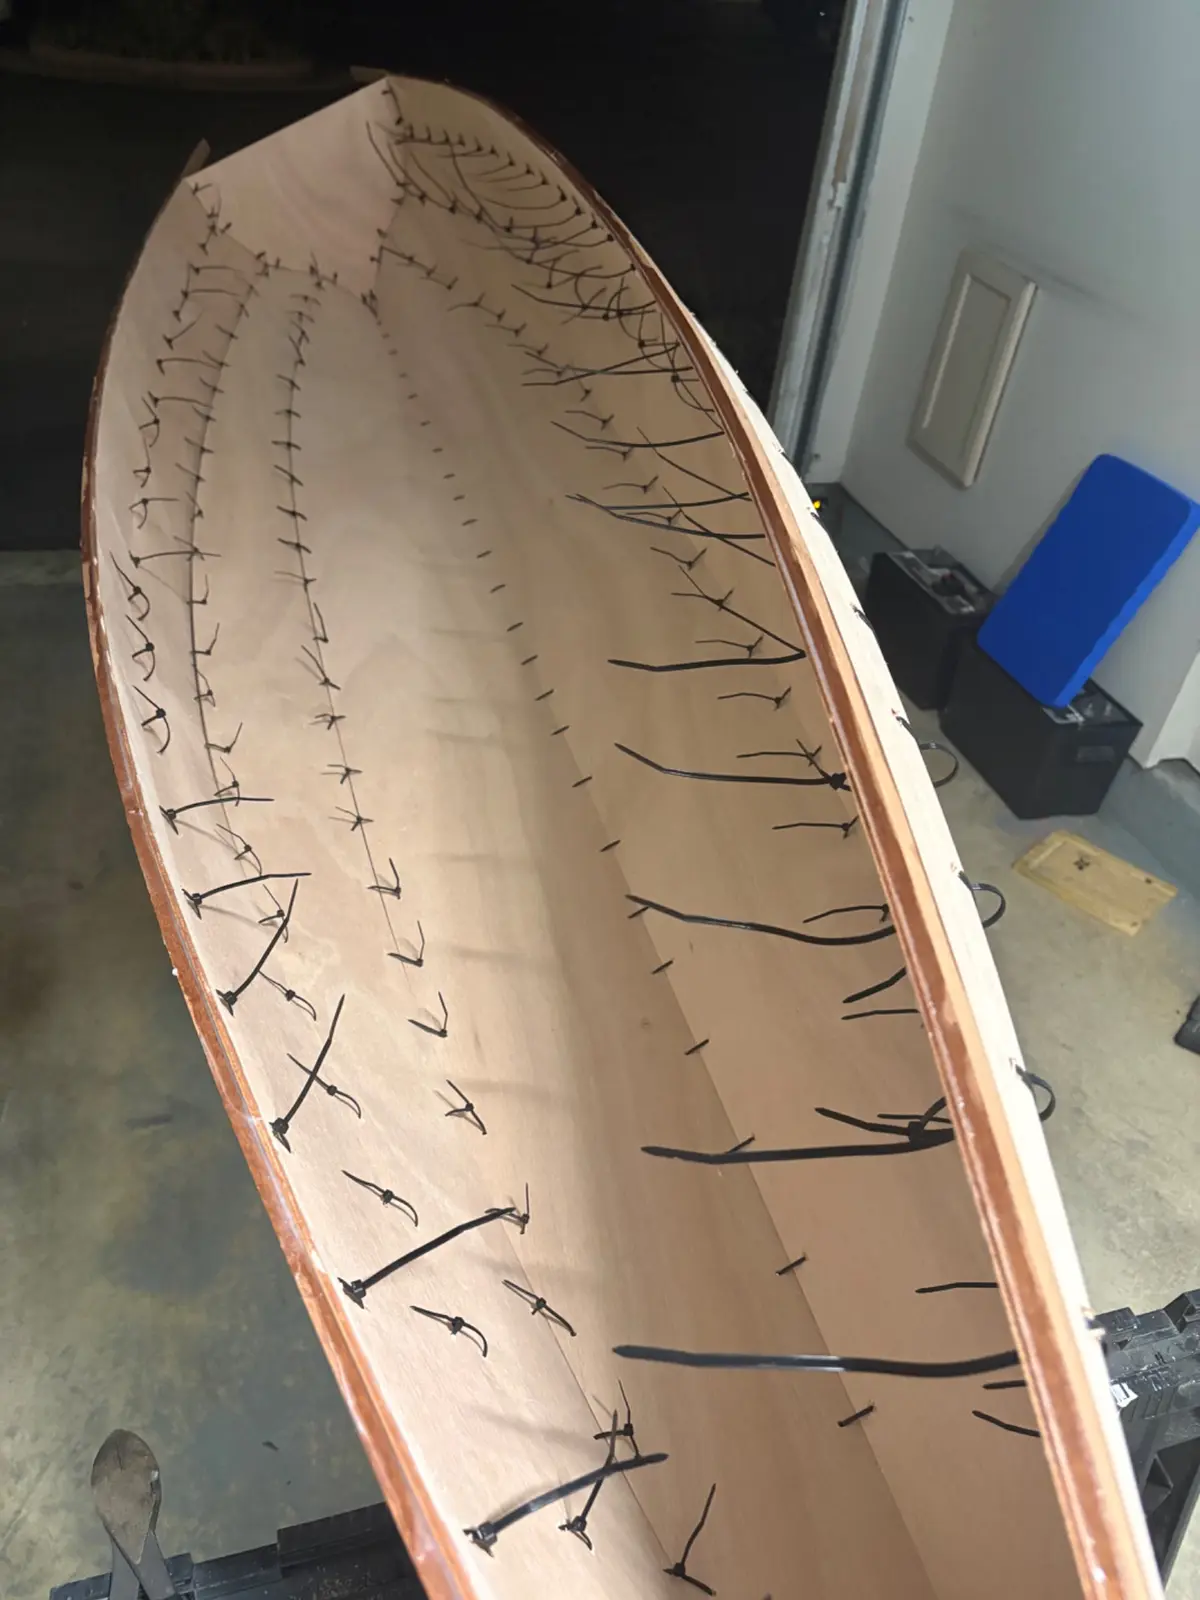
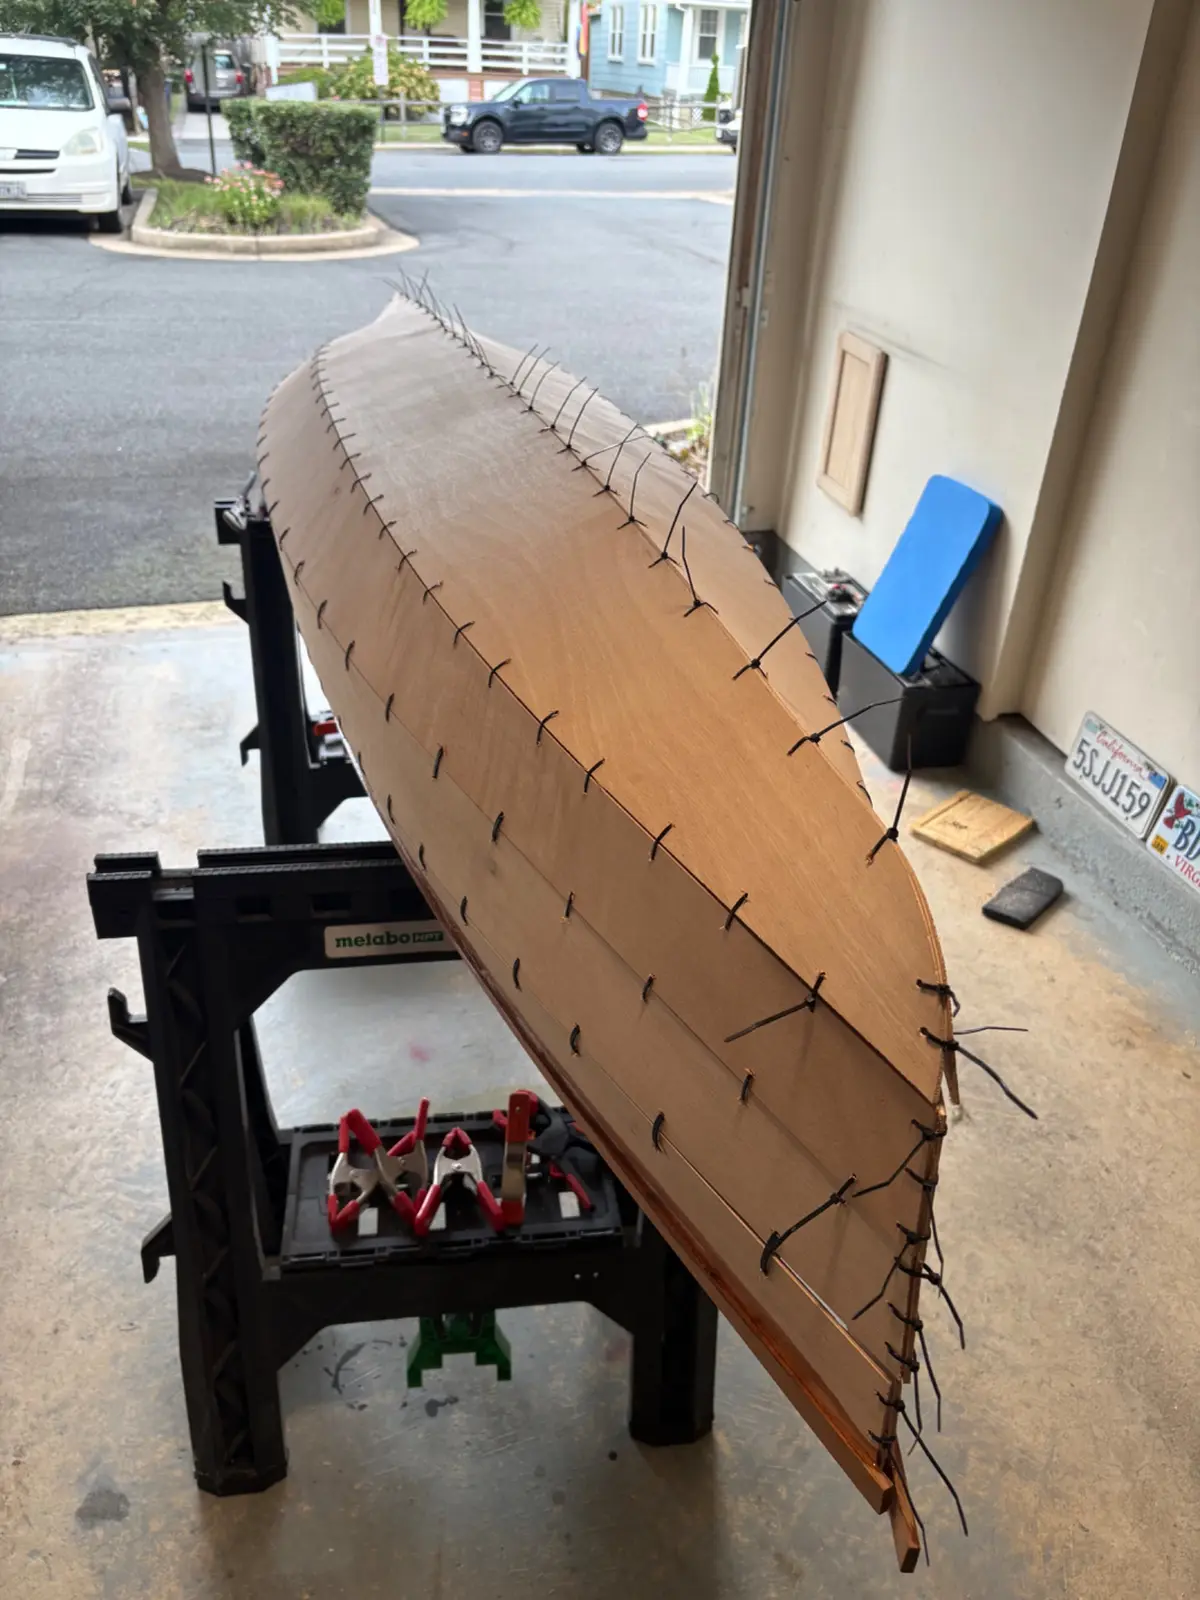
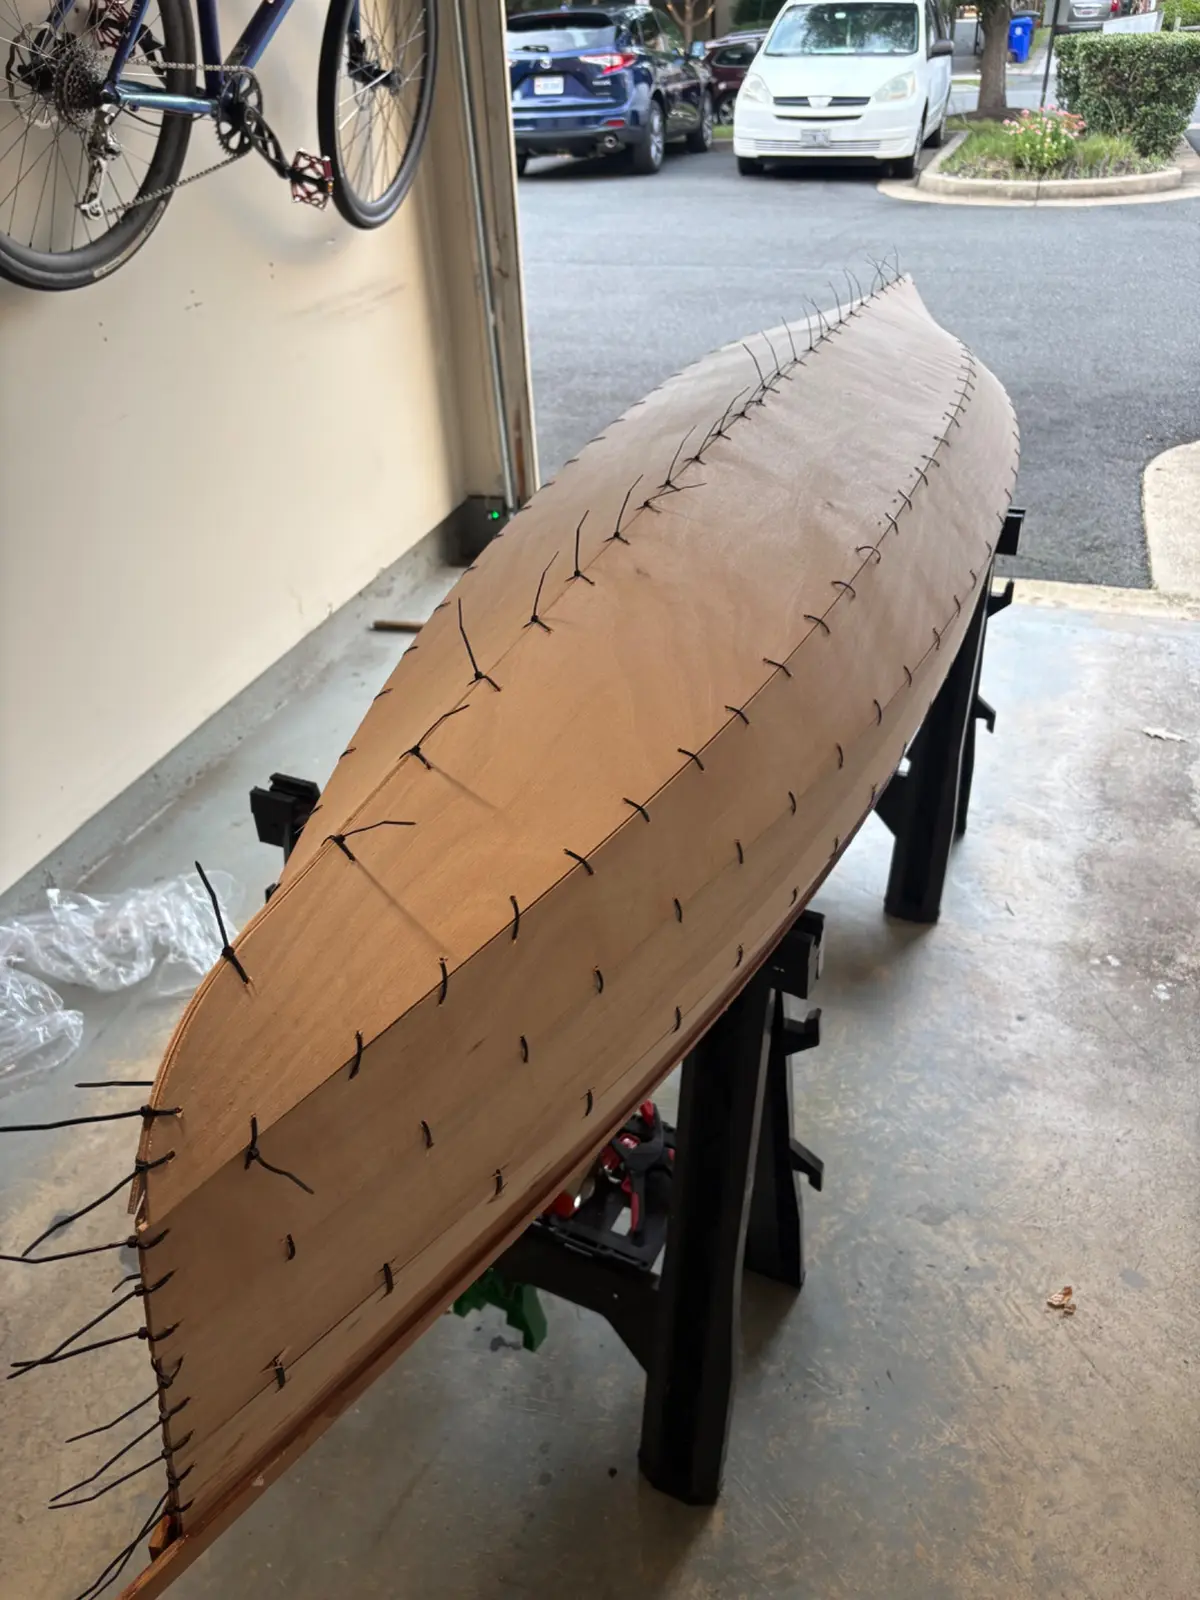
Stitched all hull panels with zip ties. Ran out of zip ties and had to run to the hardware store. Stitching took a lot longer than I thought - last time I had ~20ft of seams on a 5ft boat from 2-plank hull shape, this one has ~60ft on an 8ft boat from 4-plank shape.
Next time I would definitely shell out for a sheet of big box store plywood to use as a nice big table, working in the floor for the first 2hrs until each side was stiff enough on its own to bridge the sawhorses was painful.
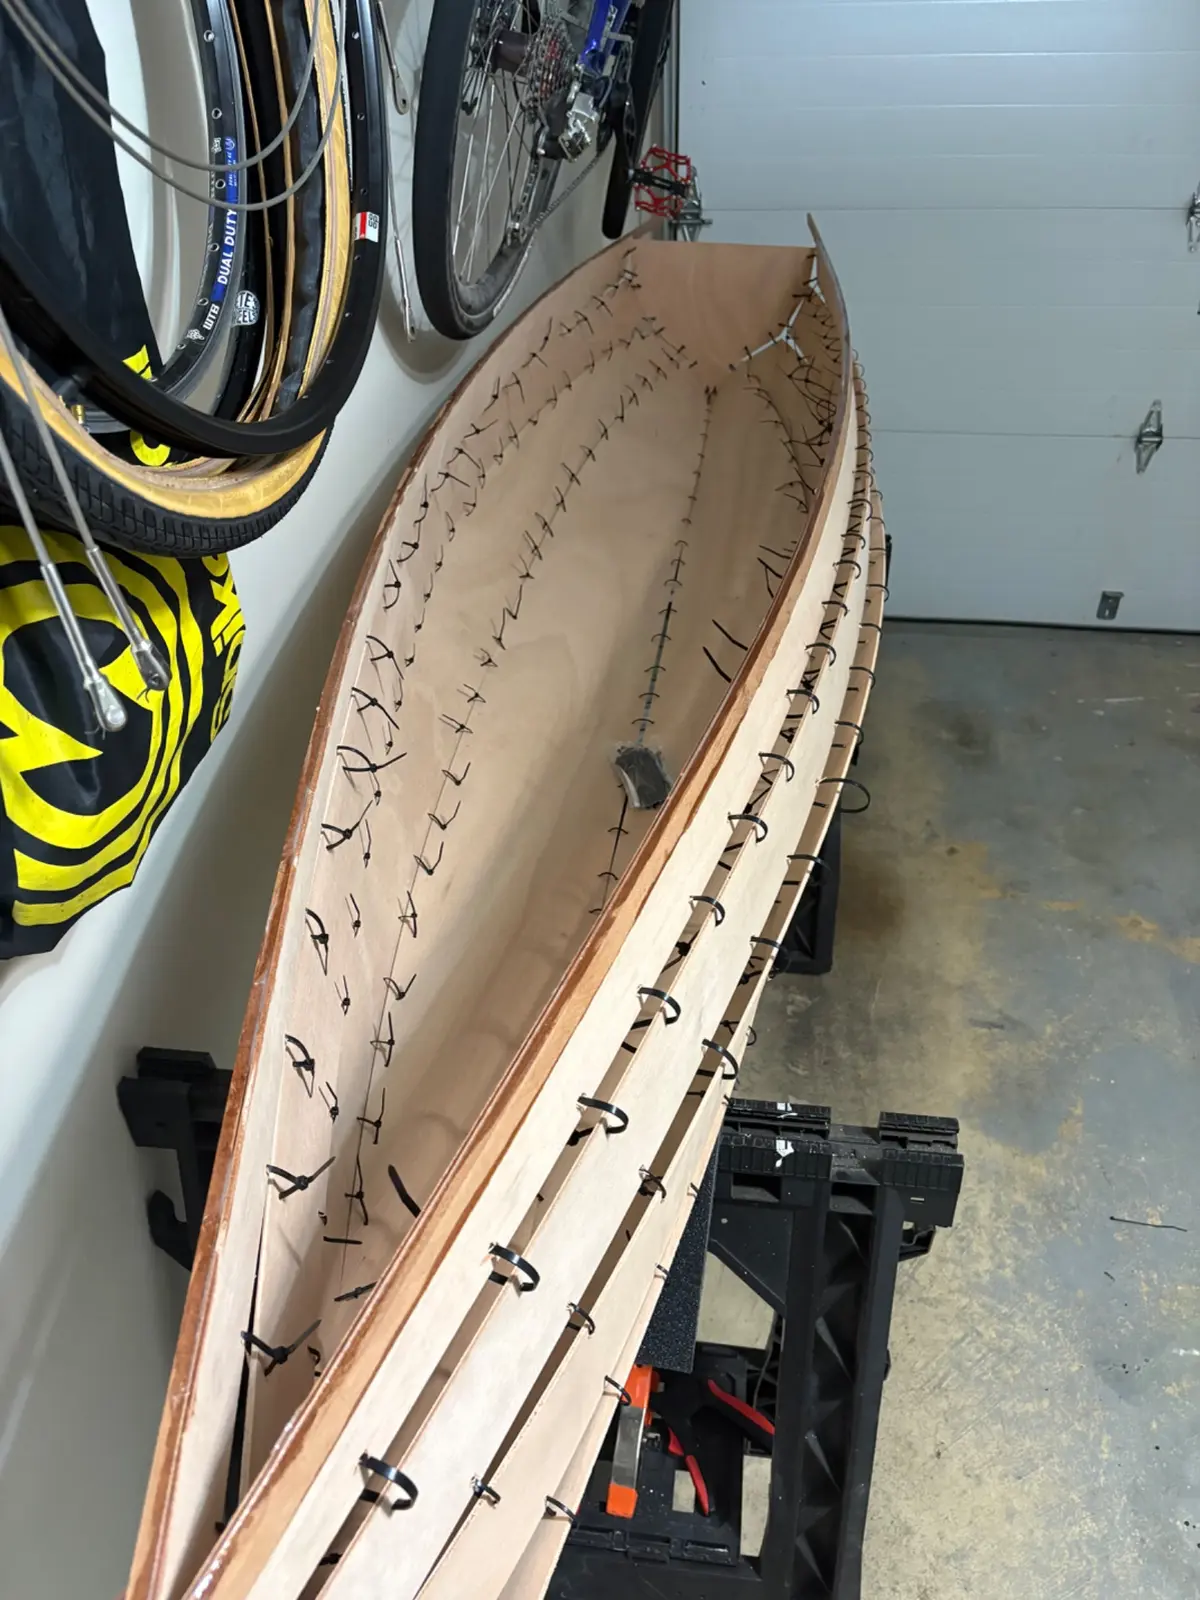
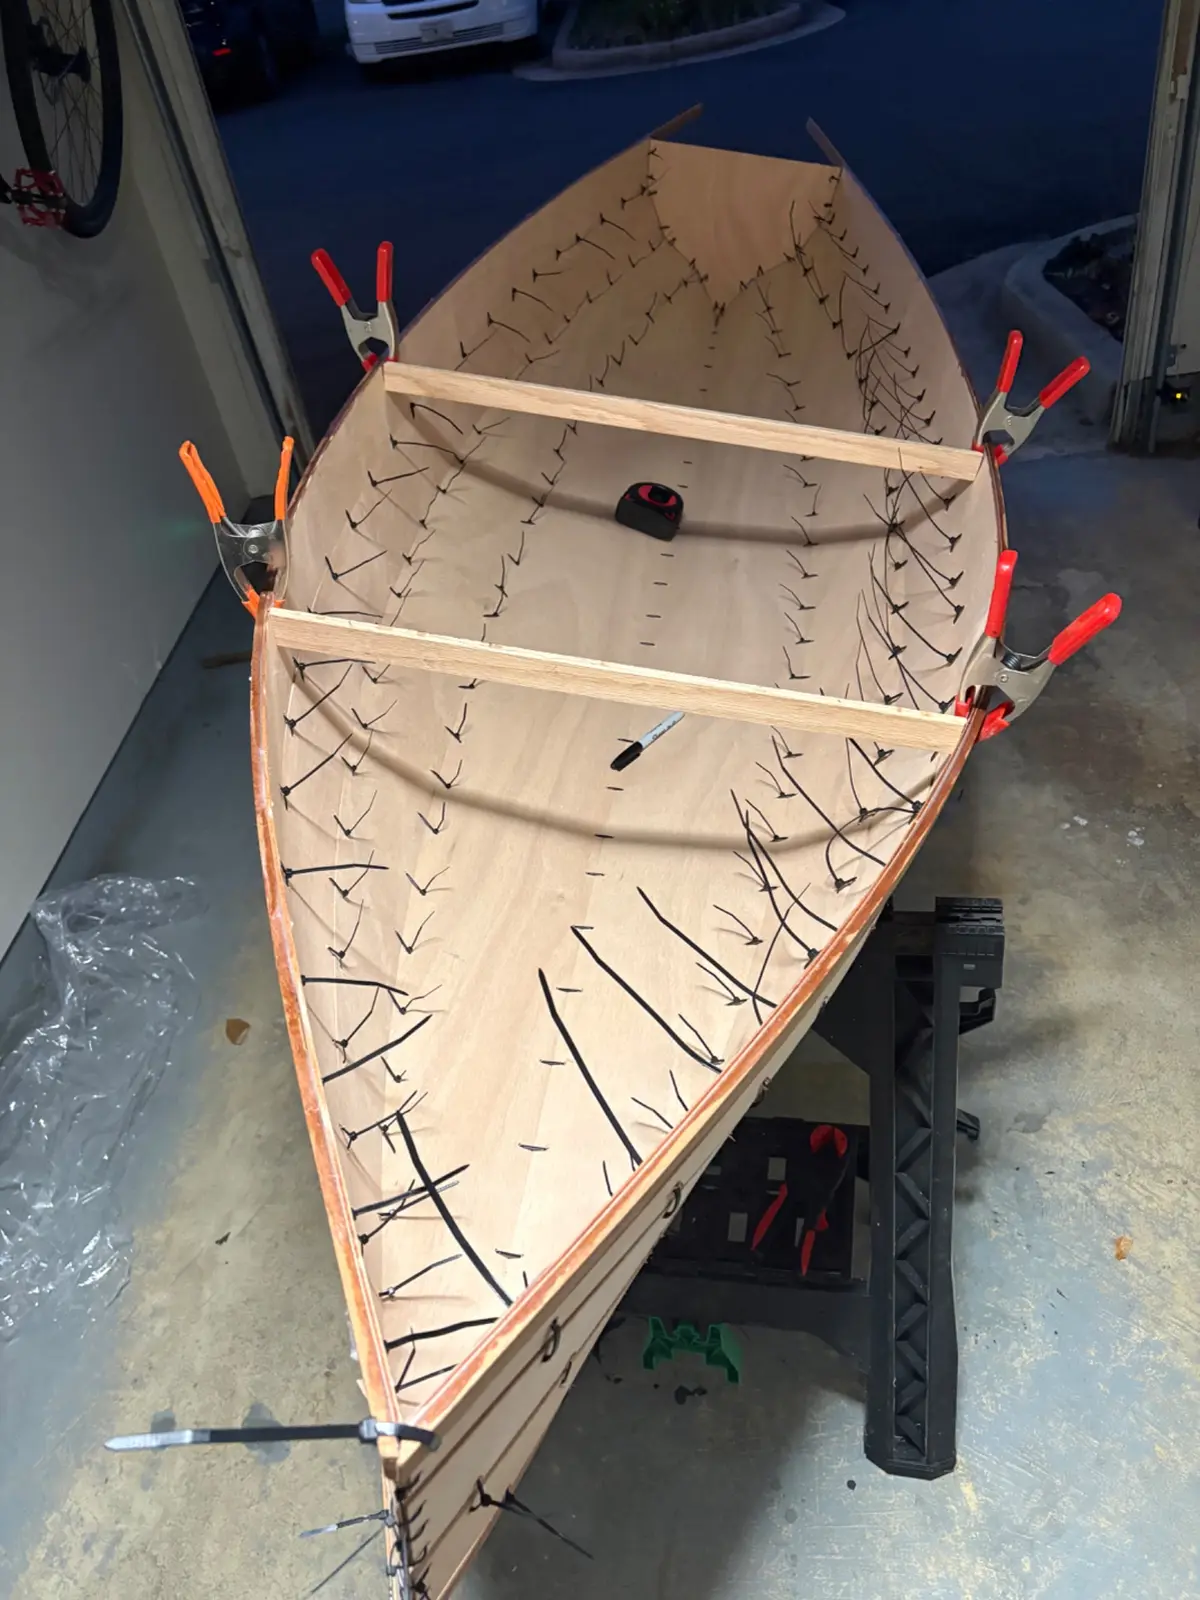
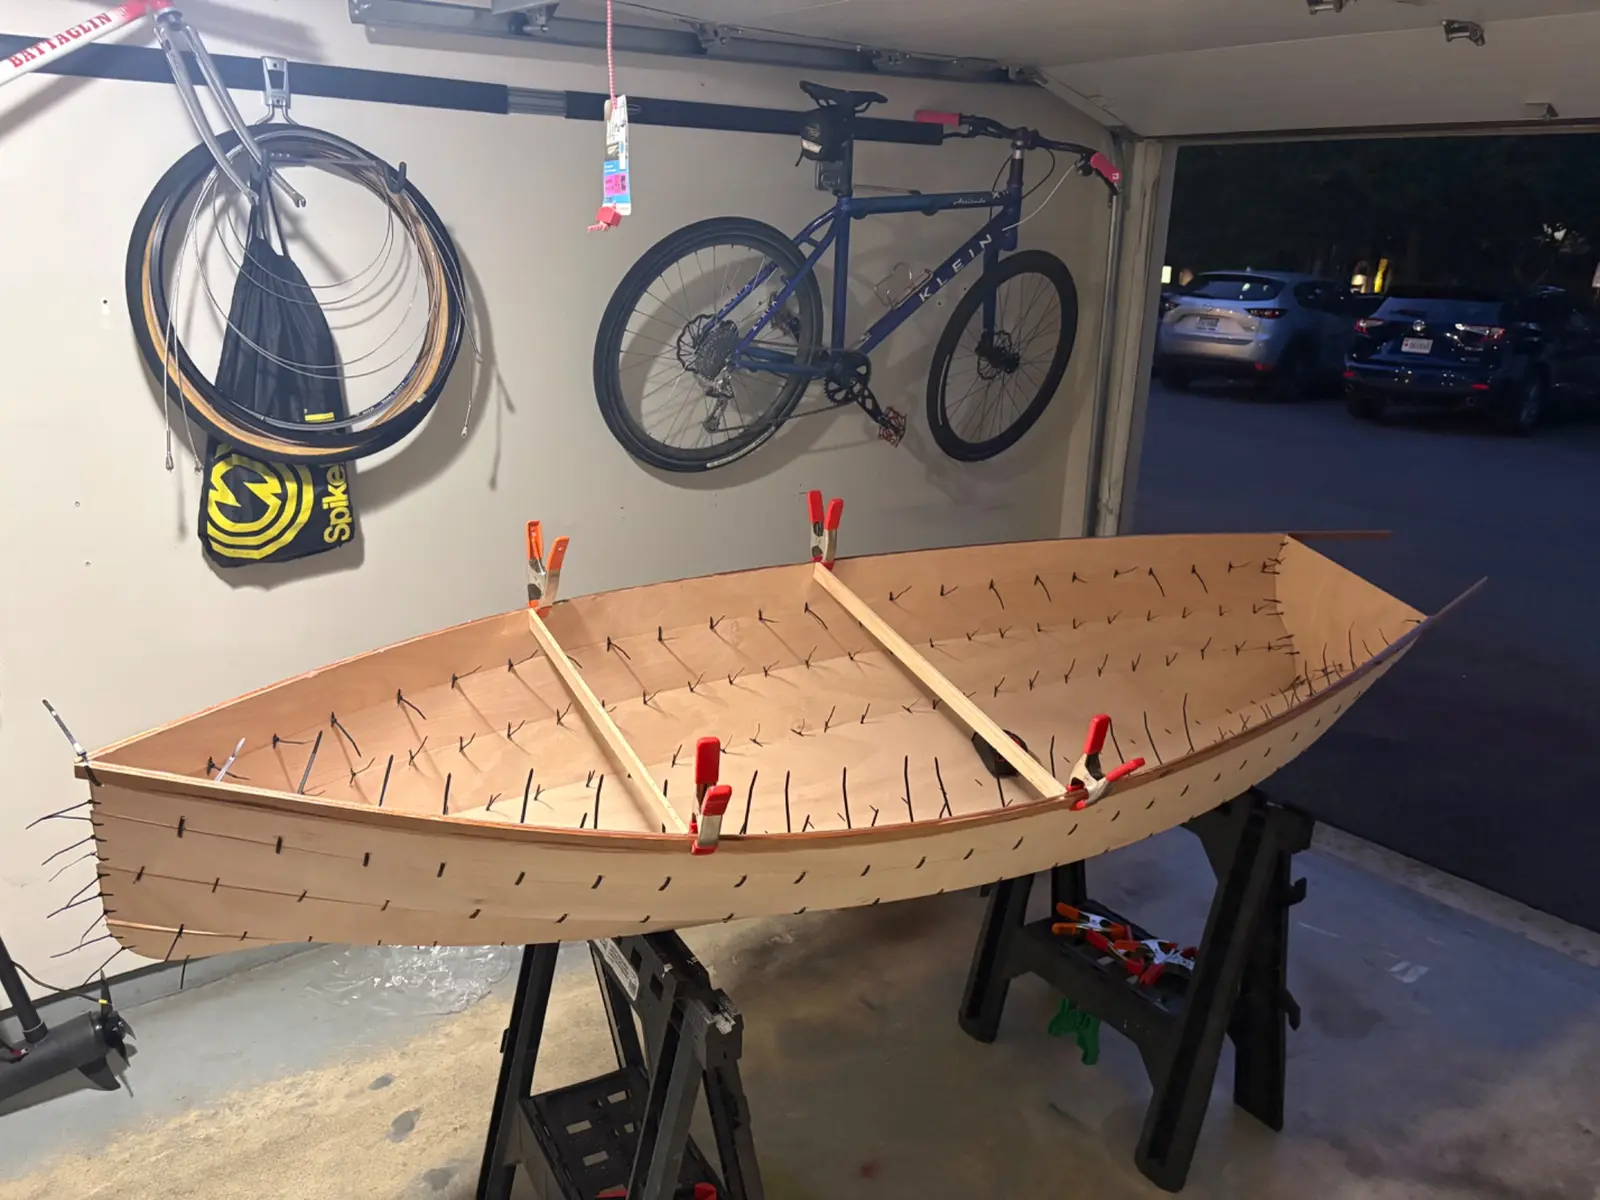
Went through boat and cinched all zip ties taut, then went through again and (where needed) cinched all zip ties tight. I bought a saw where before I had borrowed others. I used it to cut the tips off the overhanging front outwhale, allowing the top planks to meet flush at the bow. Also used saw to cut spare stick stock to make thwarts to seat correct beam of the boat. It looks a bit wide, and I may play around with this a bit later. Initial plan was to exclude thwarts from final design, but may change that plan if the boat doesn’t get significantly more stiff with fiberglass.
Most gaps closed, bow planks did not want to sit edge-to-edge so there are some ~3-4mm gaps between the top of plank 1 and bottom of plank 2, and decreasing in size to 0 between plank 3 and 4. There is a ~2-3mm gap for 200mm or so at the rear end of the plank 1-2 joint, where the concave transom inverts to a convex shallow v/roundish hull in the rear most ~400mm of boat length. All out-of-plane misalignment is less than the thickness of the panels, so will sand out when I go to sand the outside. I am tired of cinching zip ties. I am going to glue the seams.