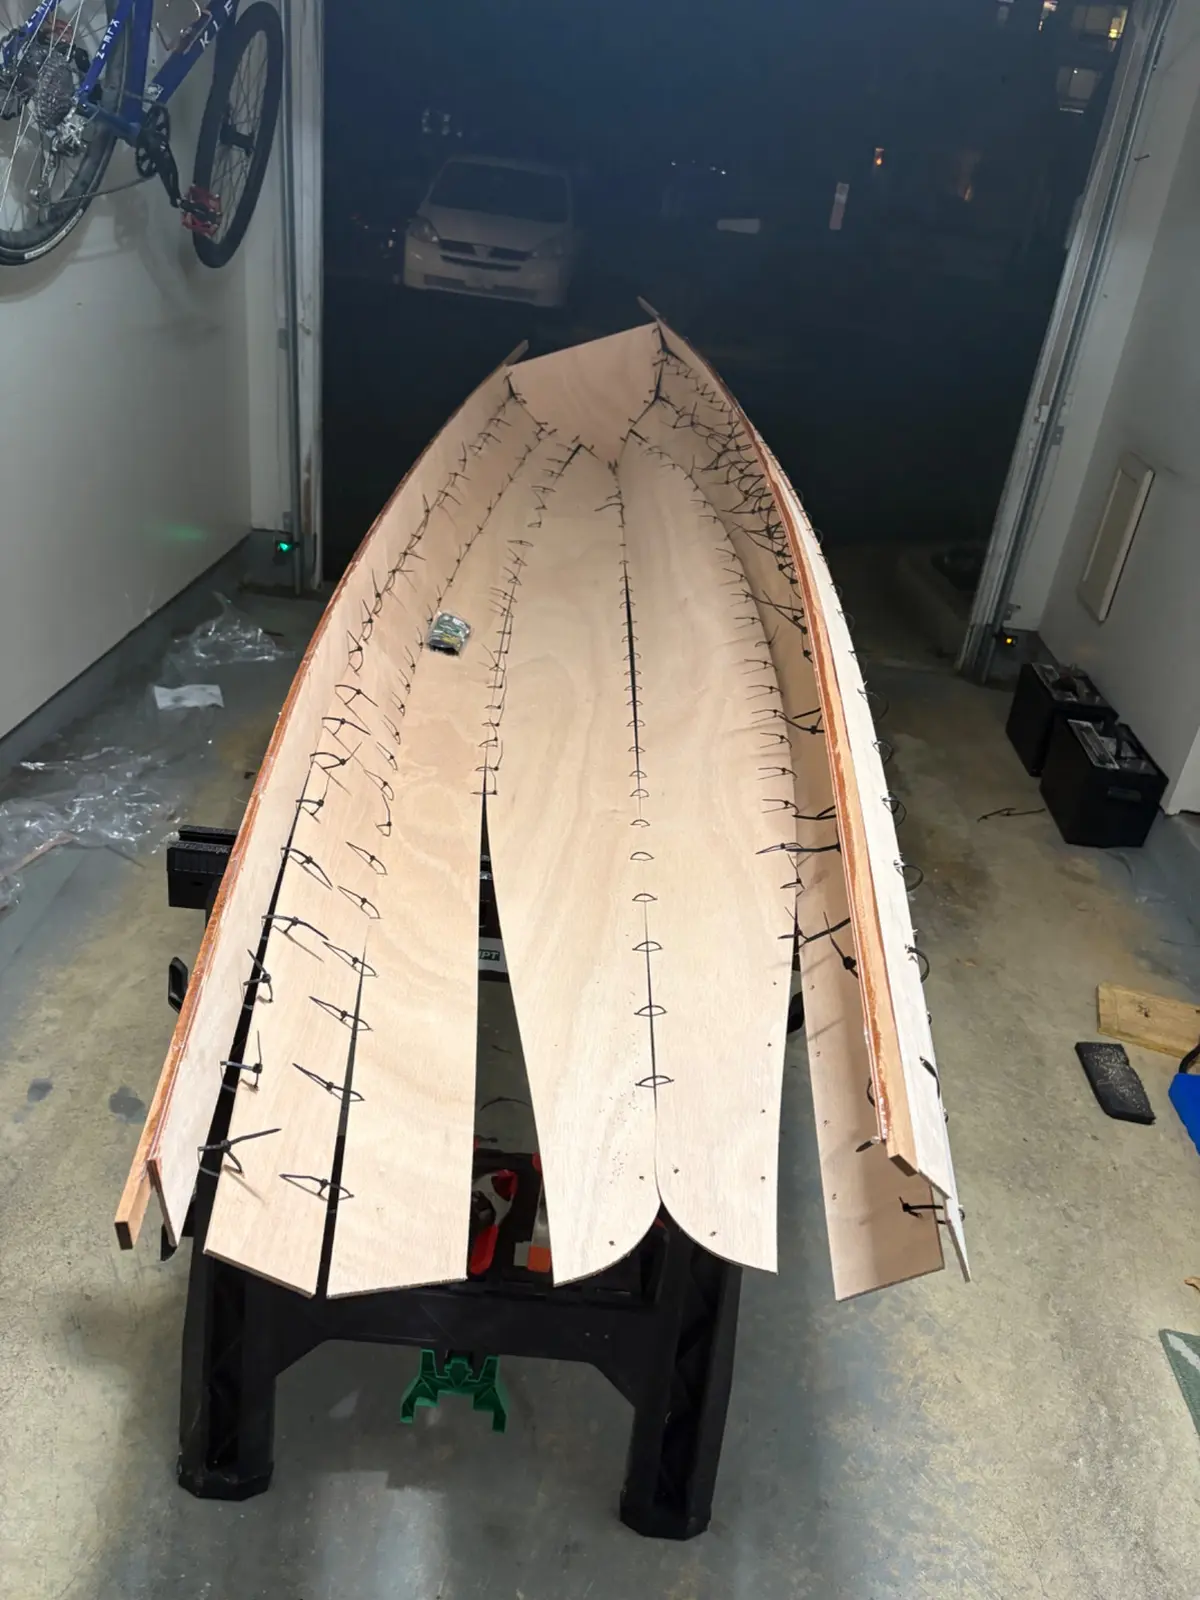
This is the second boat I have designed and built, with the first one still floating, but leaving me wanting more in the looks and performance department
♡1
Make a book
Feed
The whole log, 3 entries and every photo,
laid out as a book to print, bind and keep.
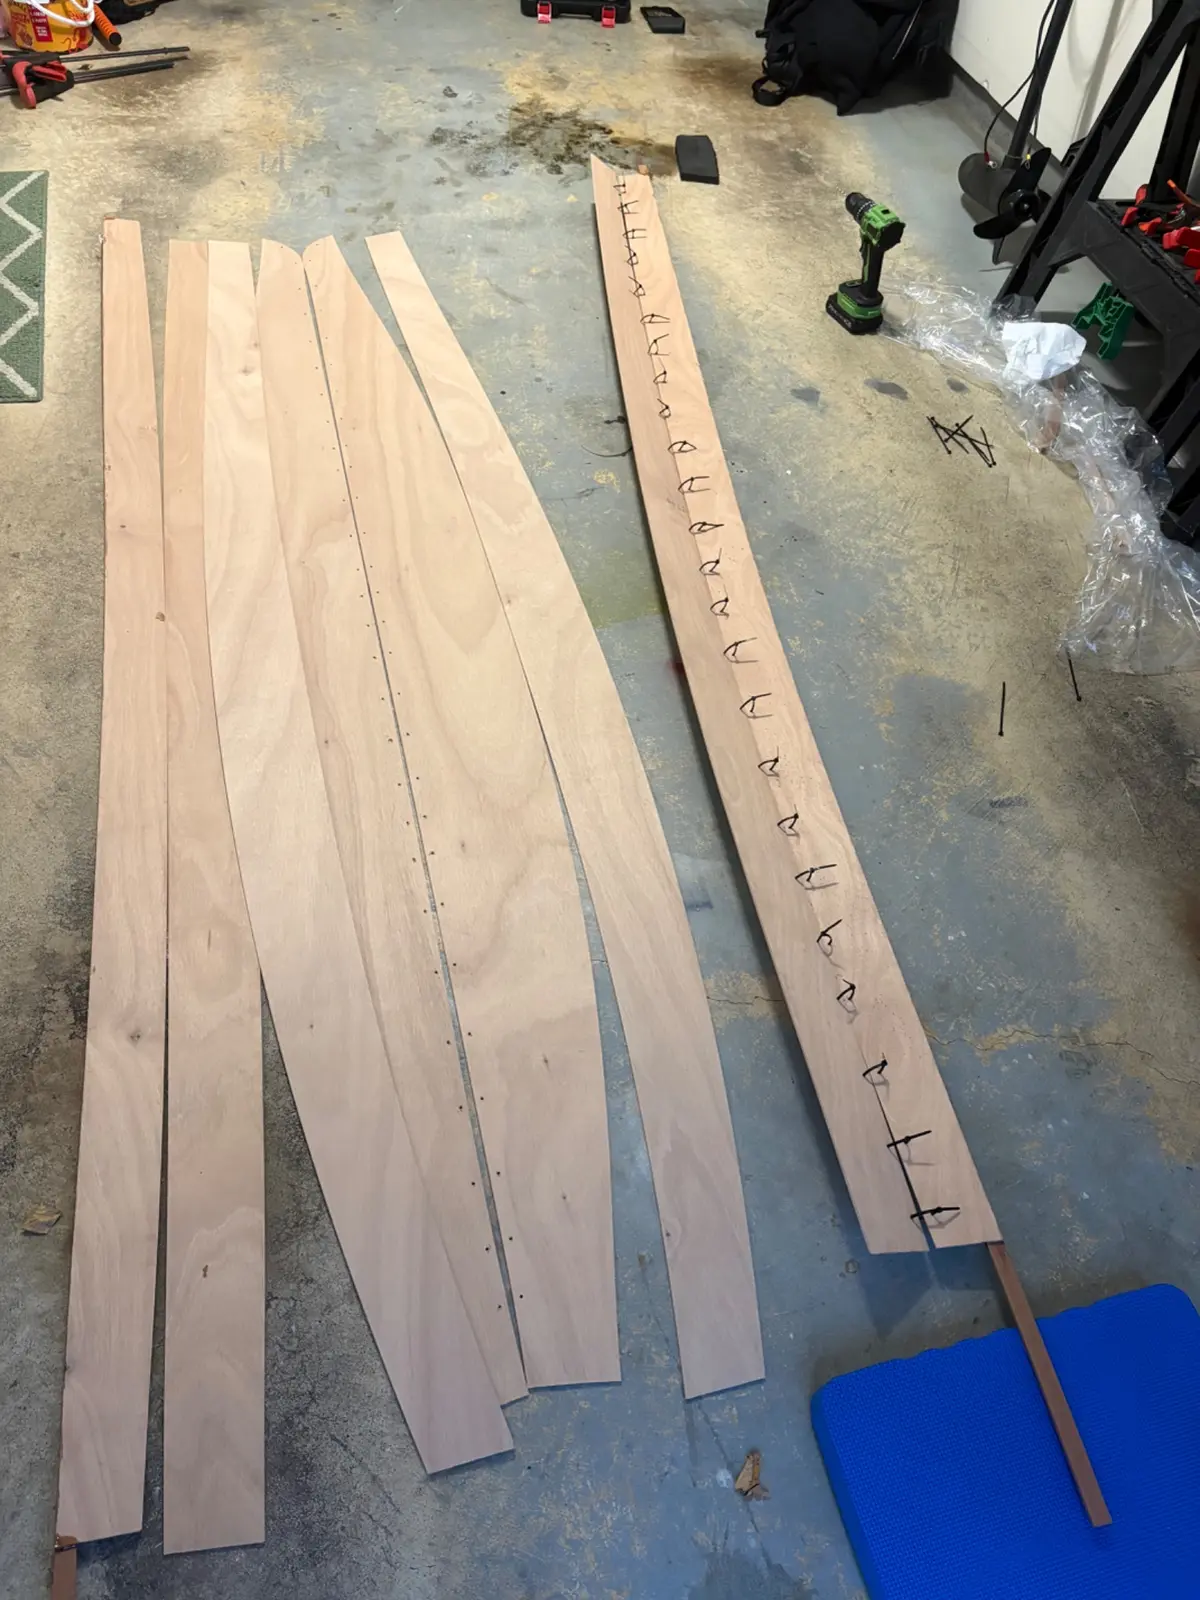
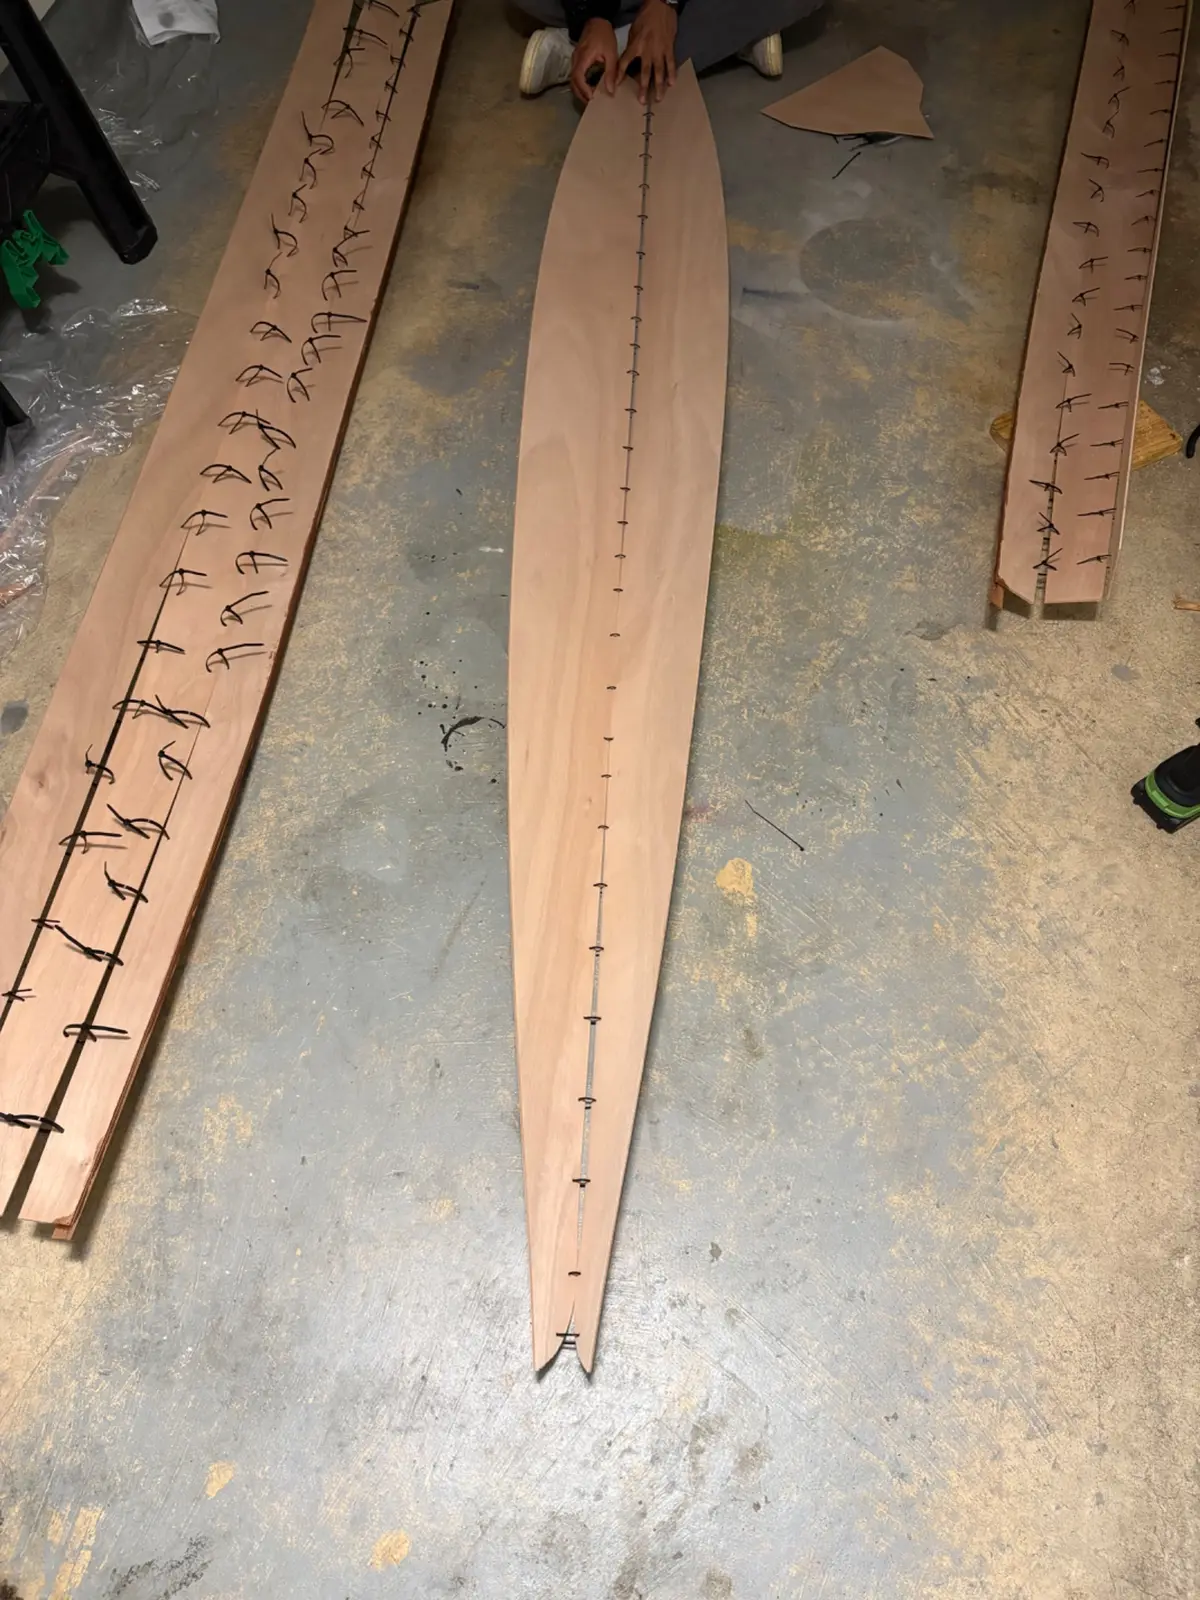
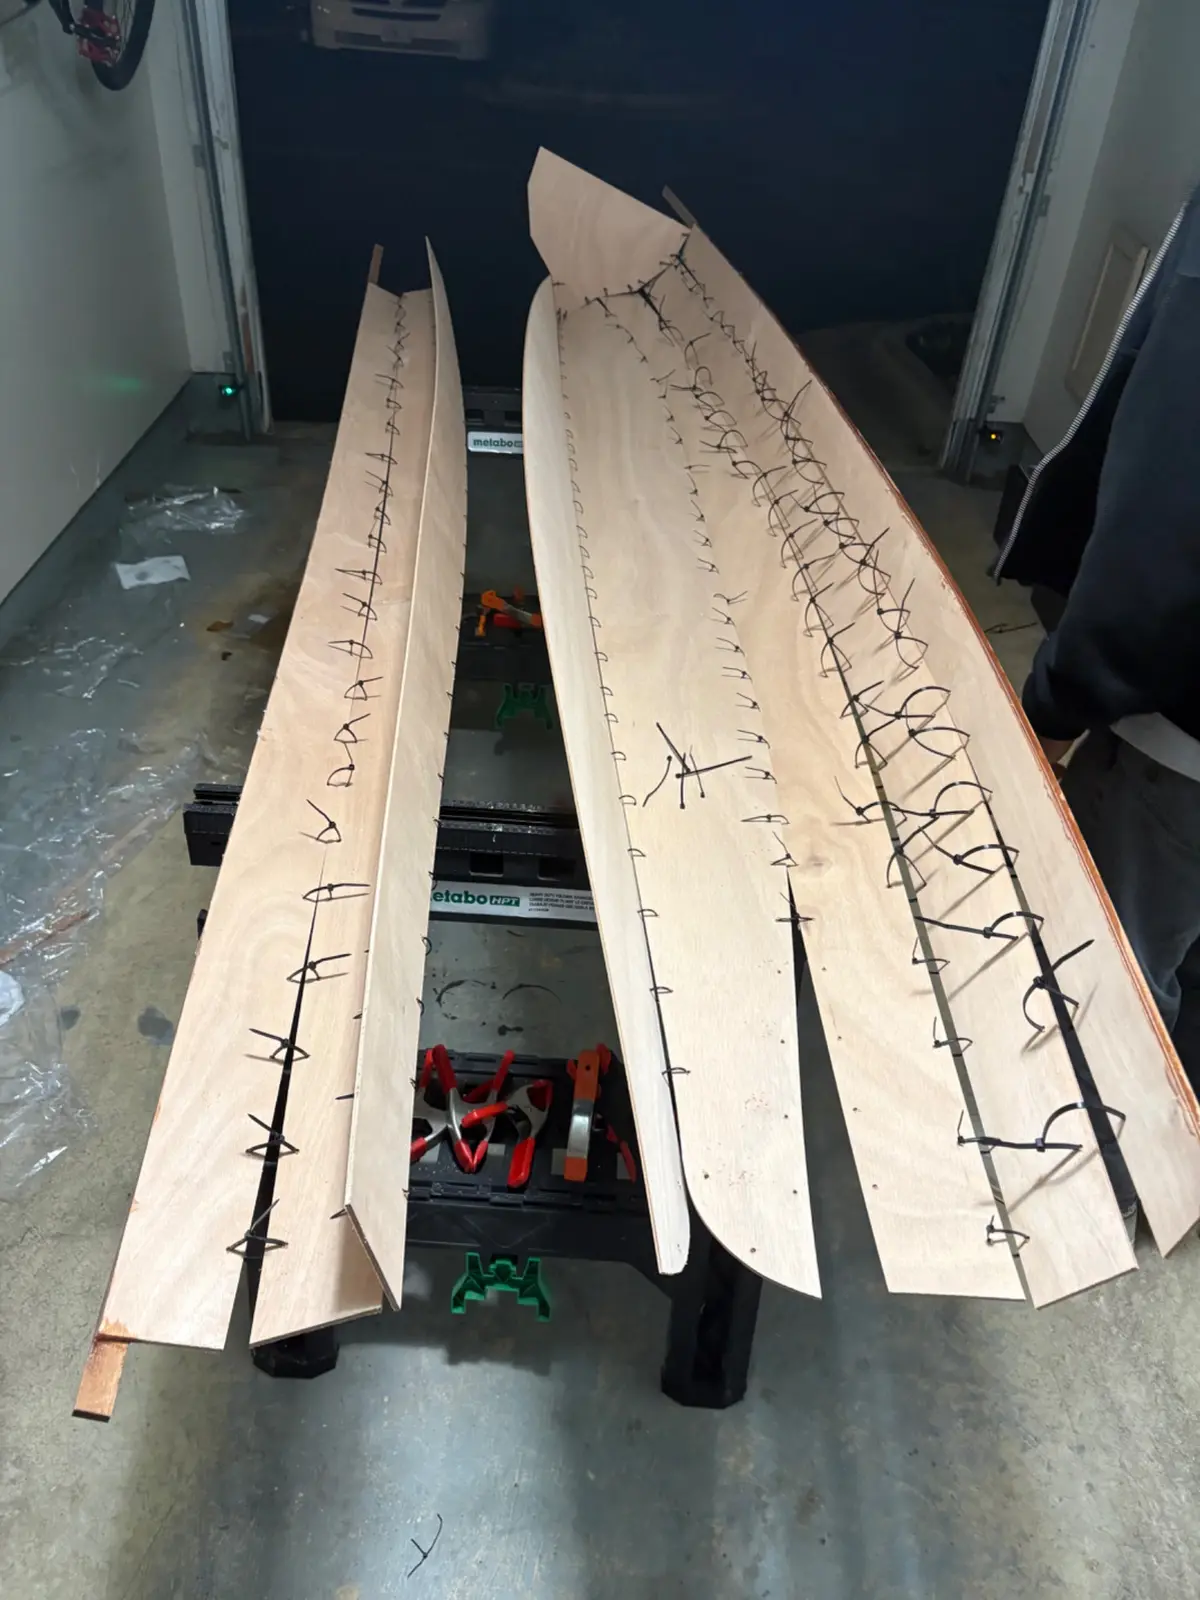
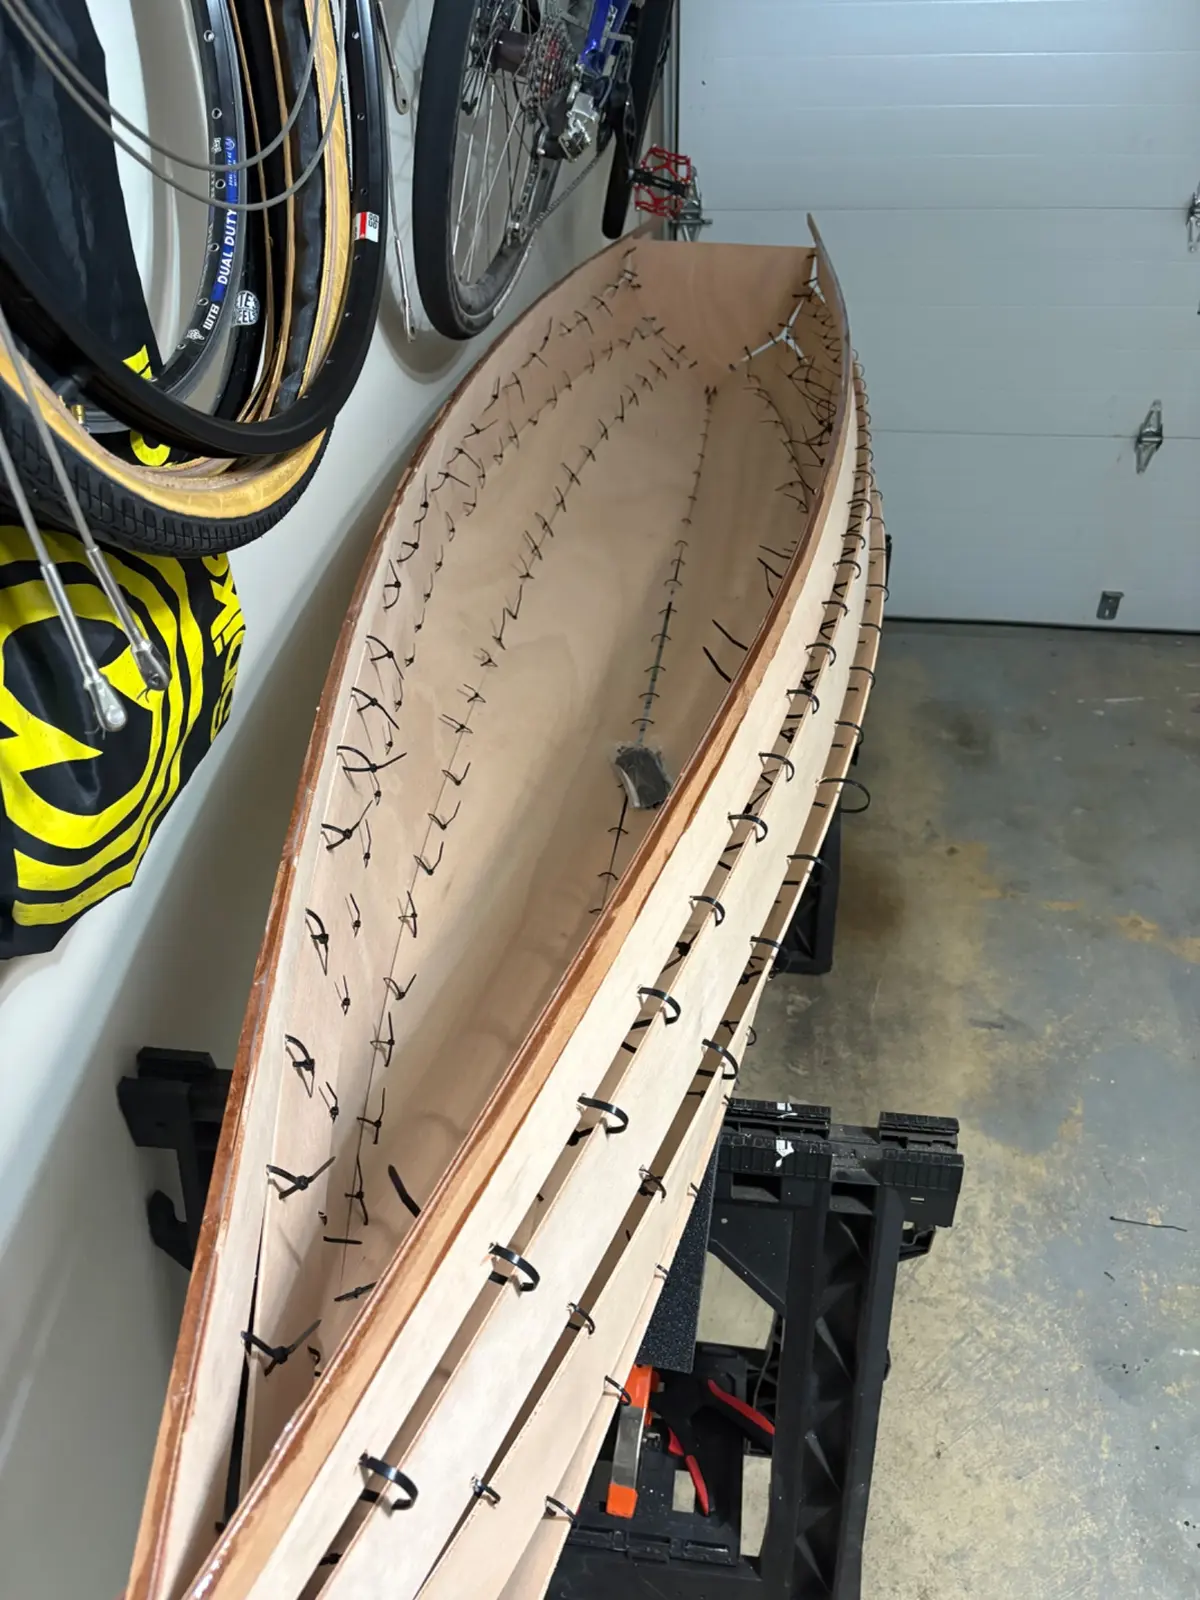
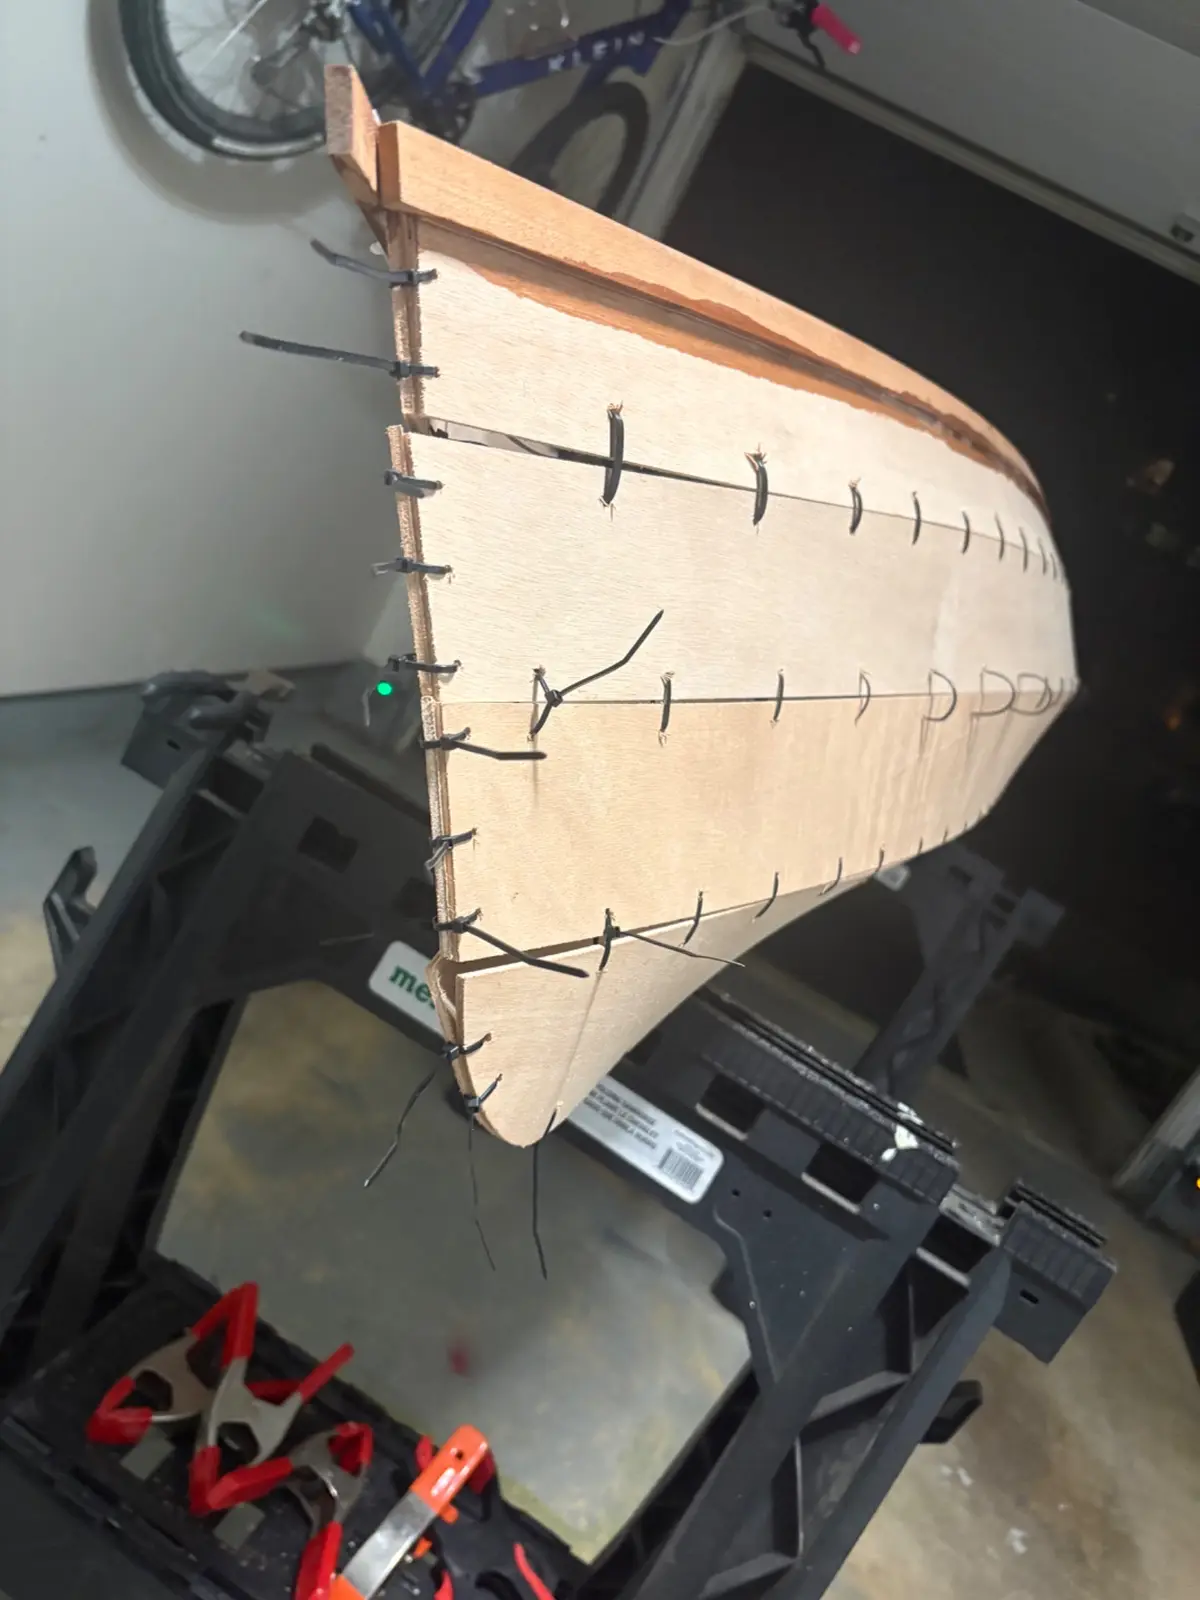
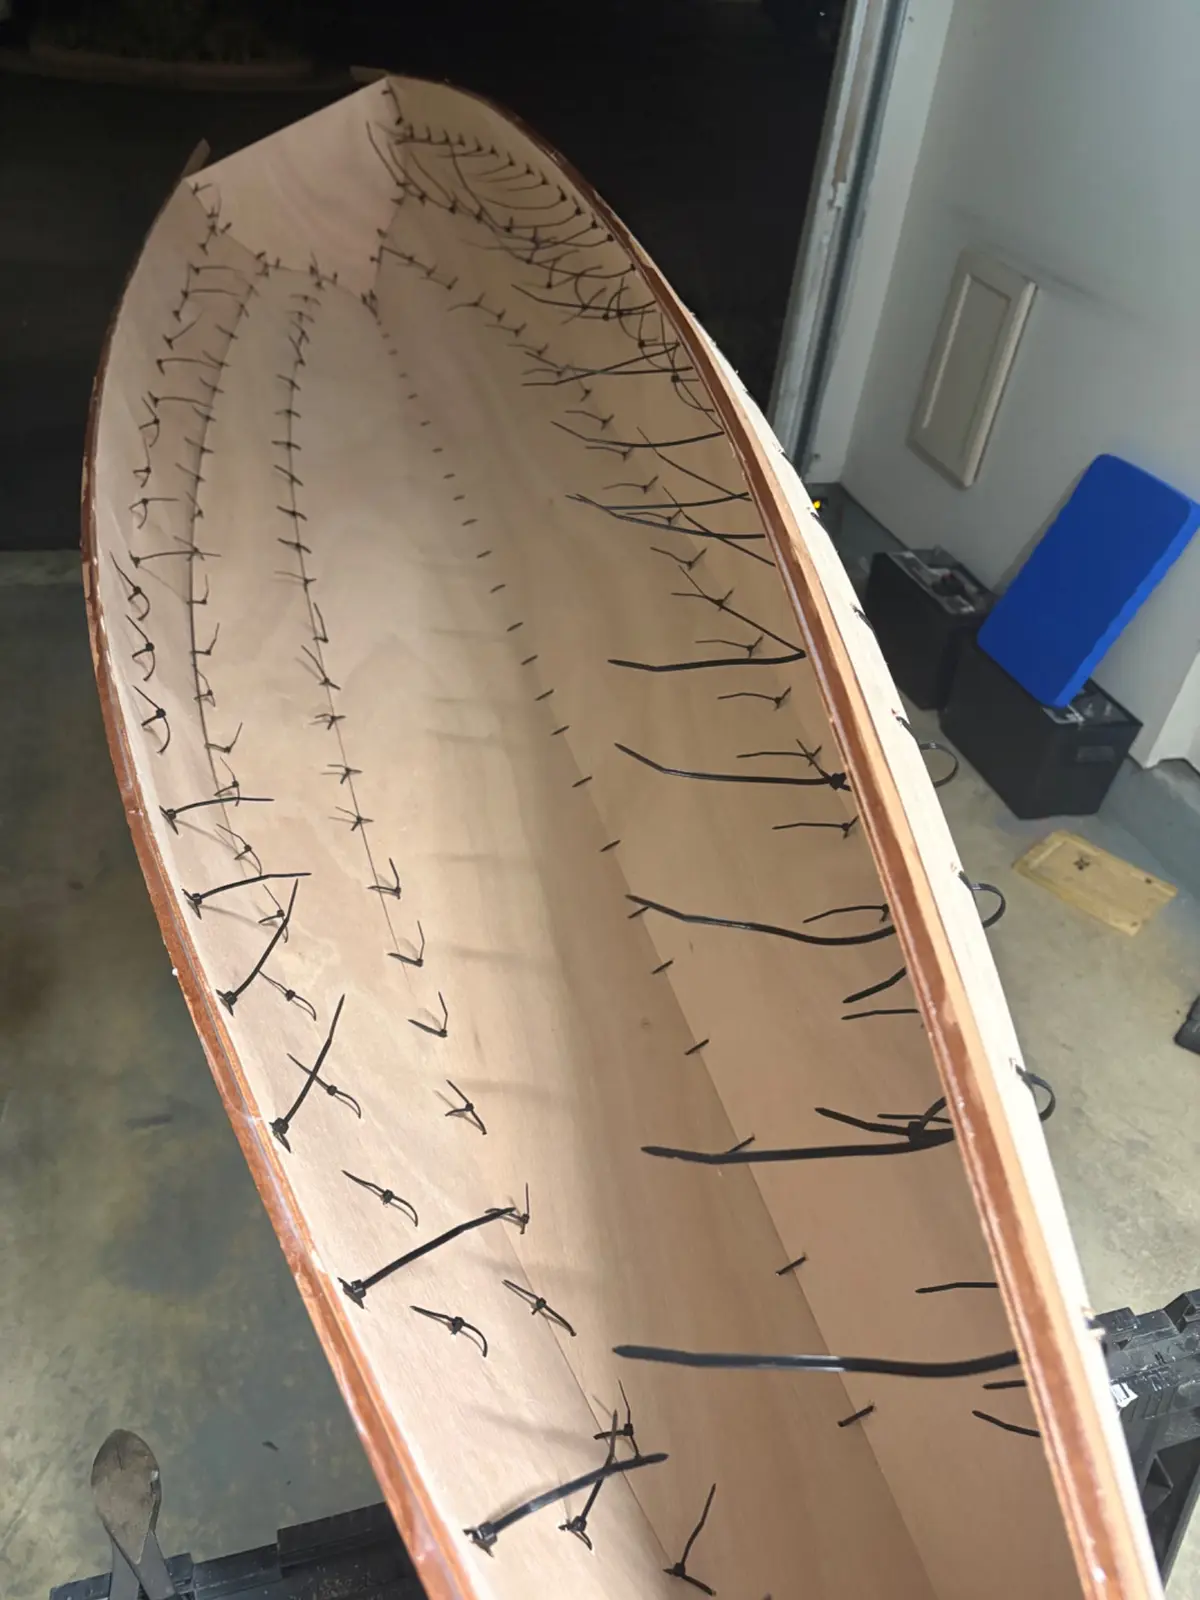
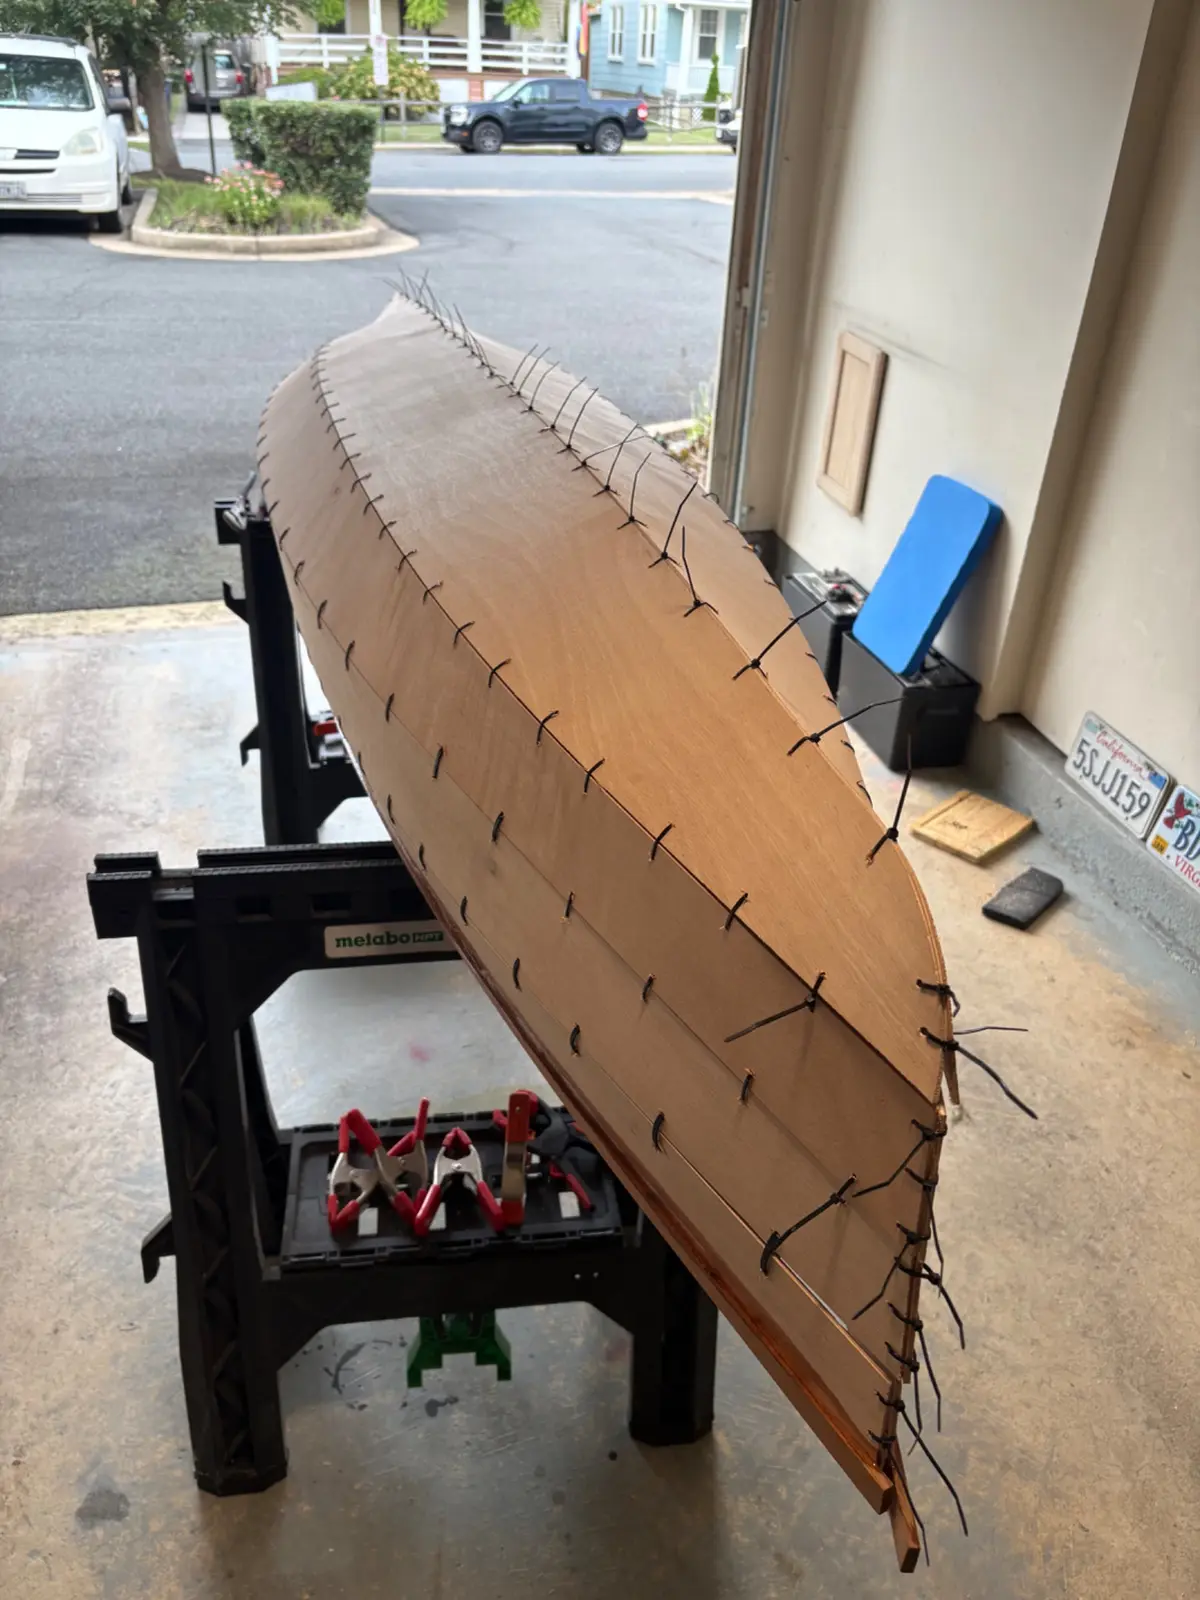
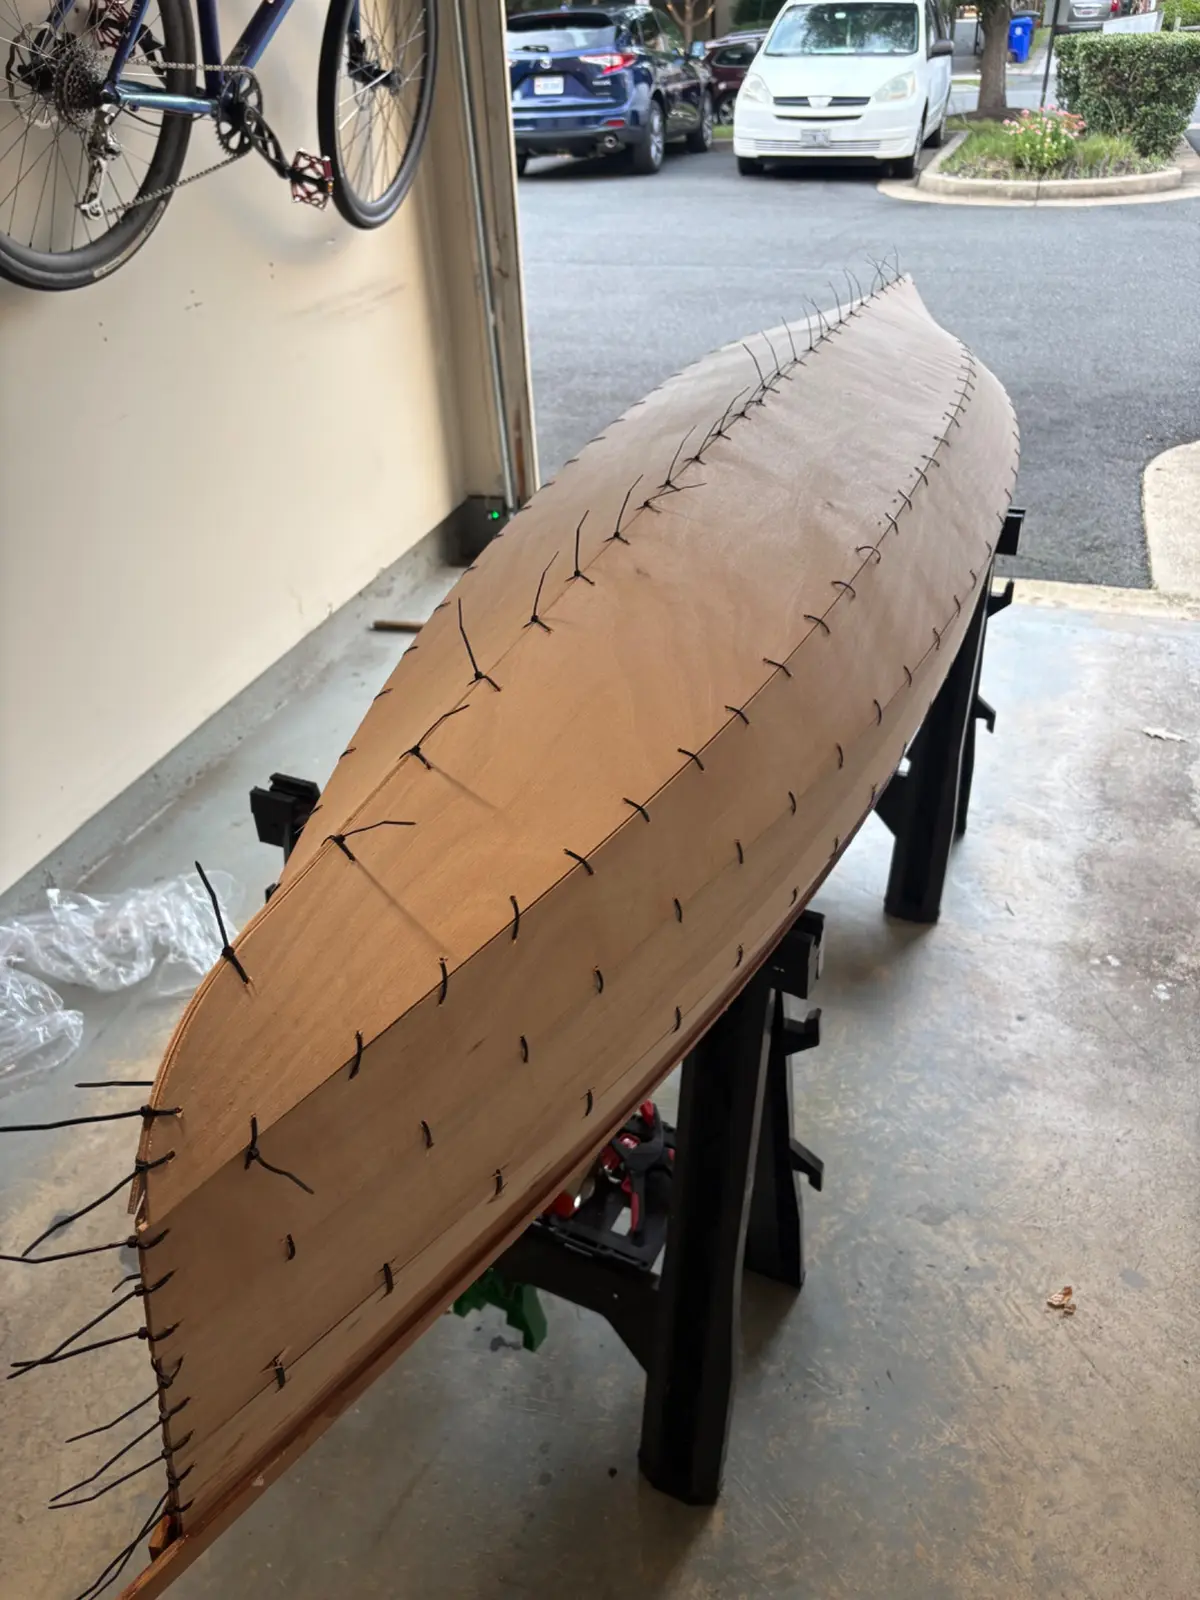
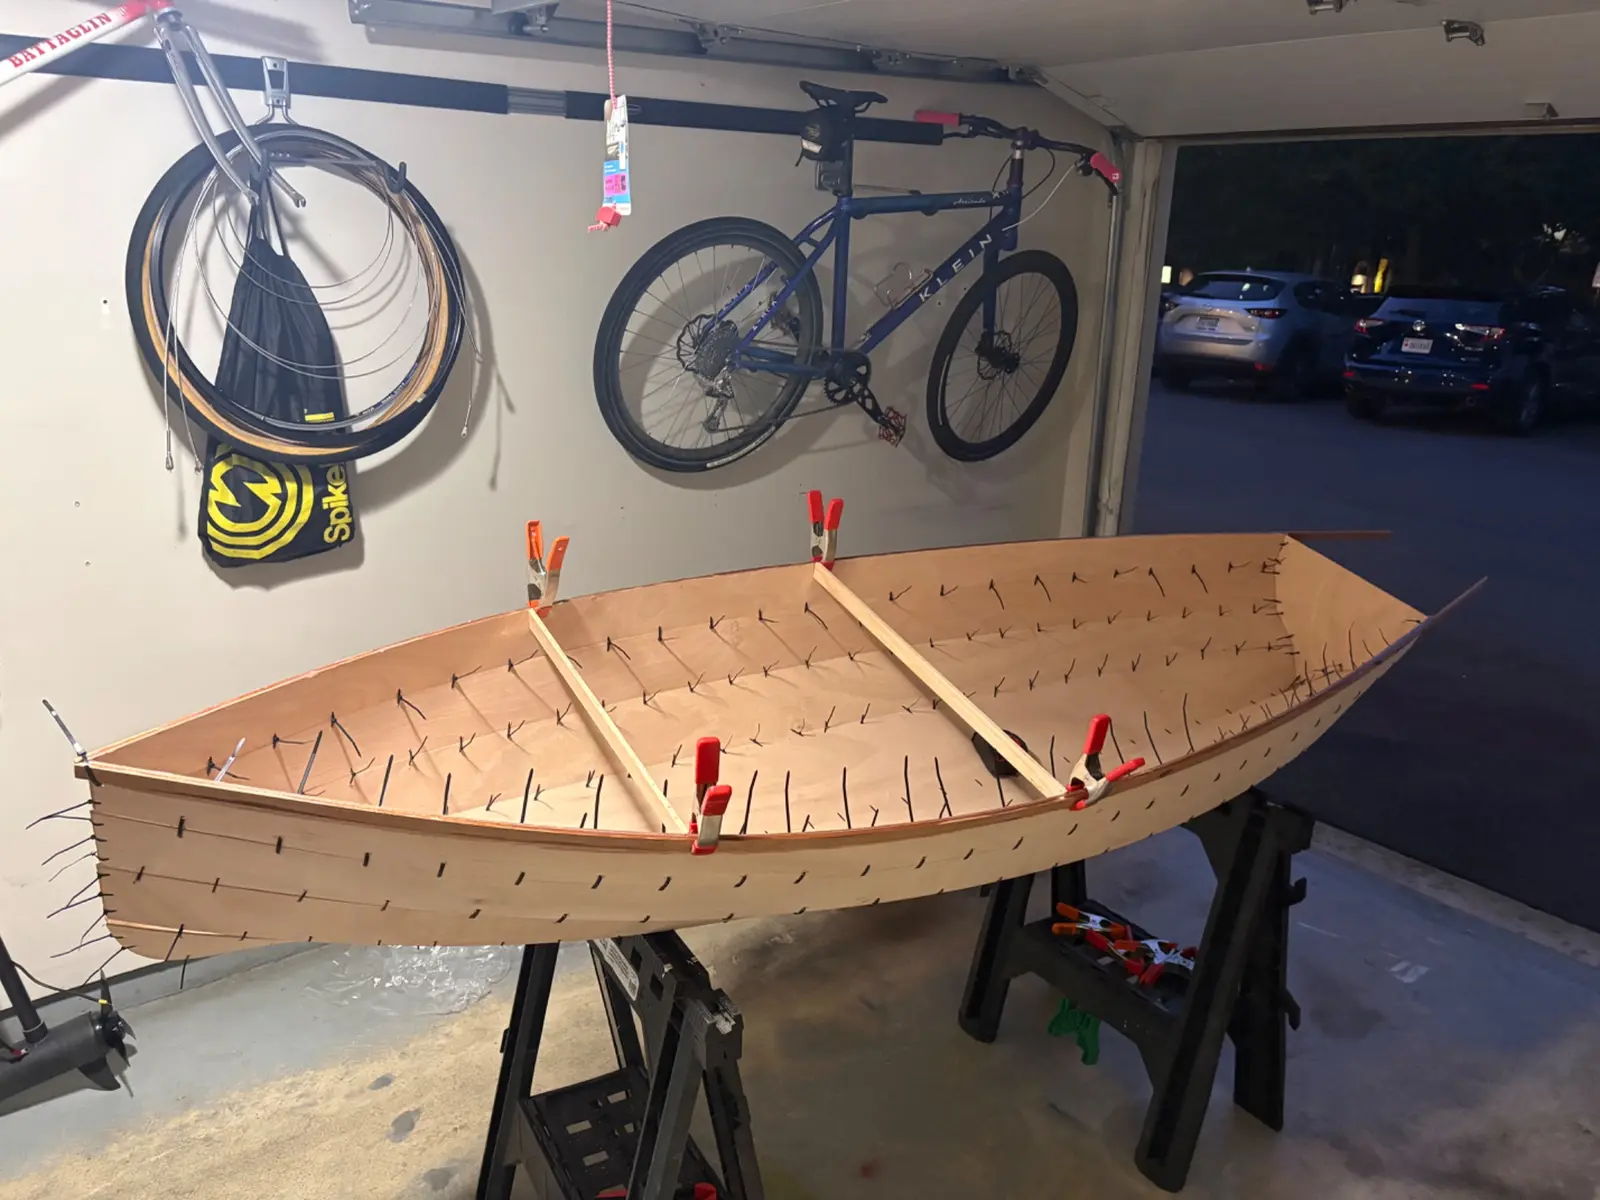
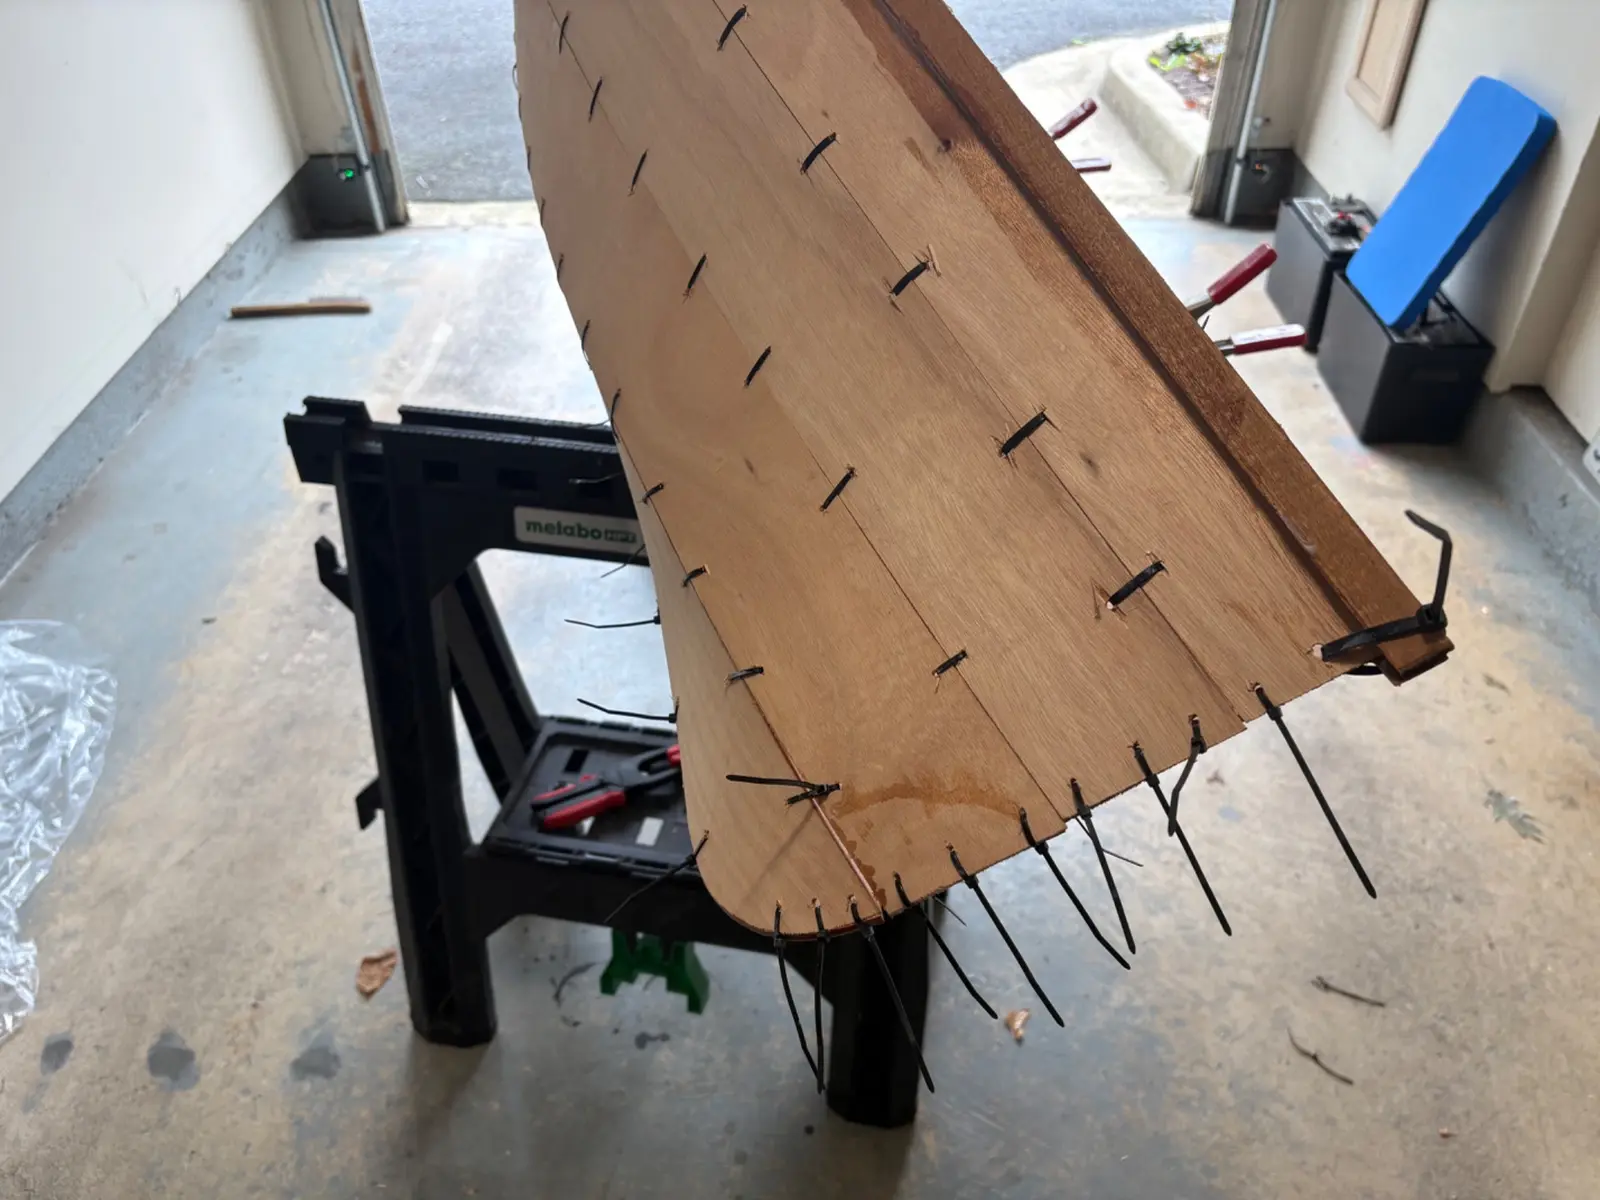
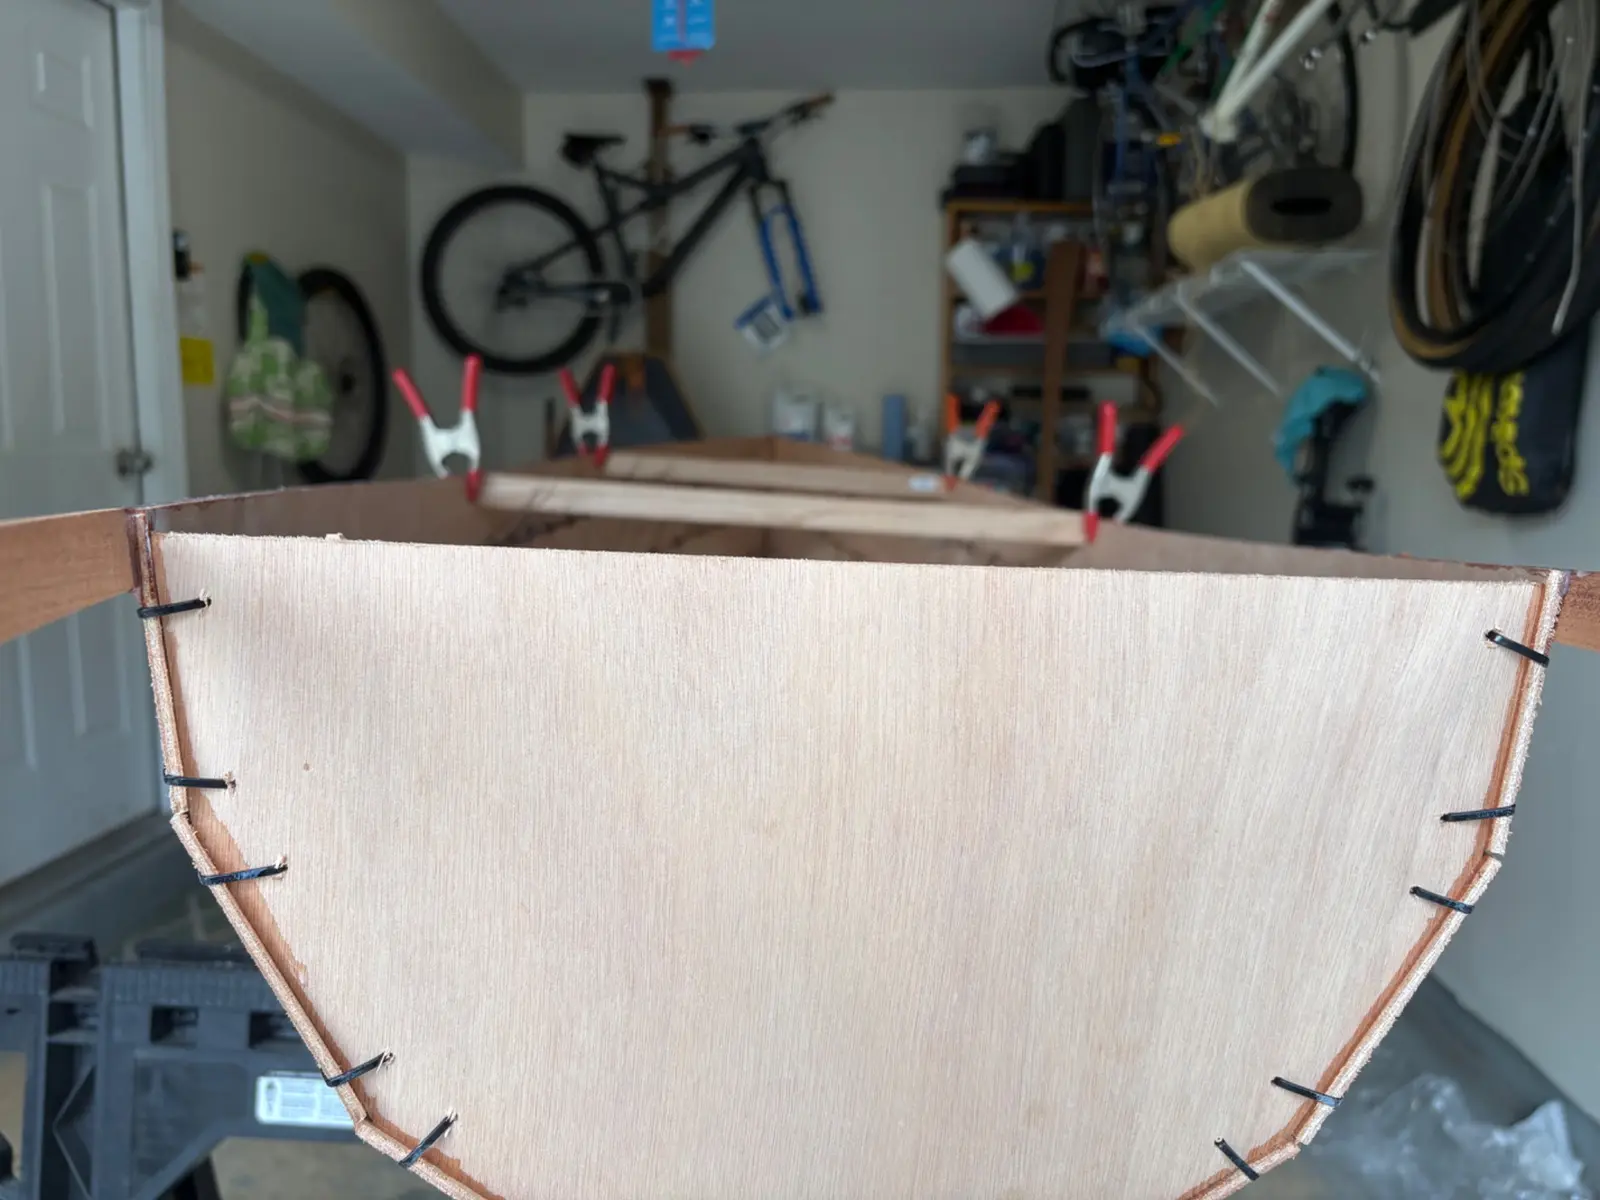
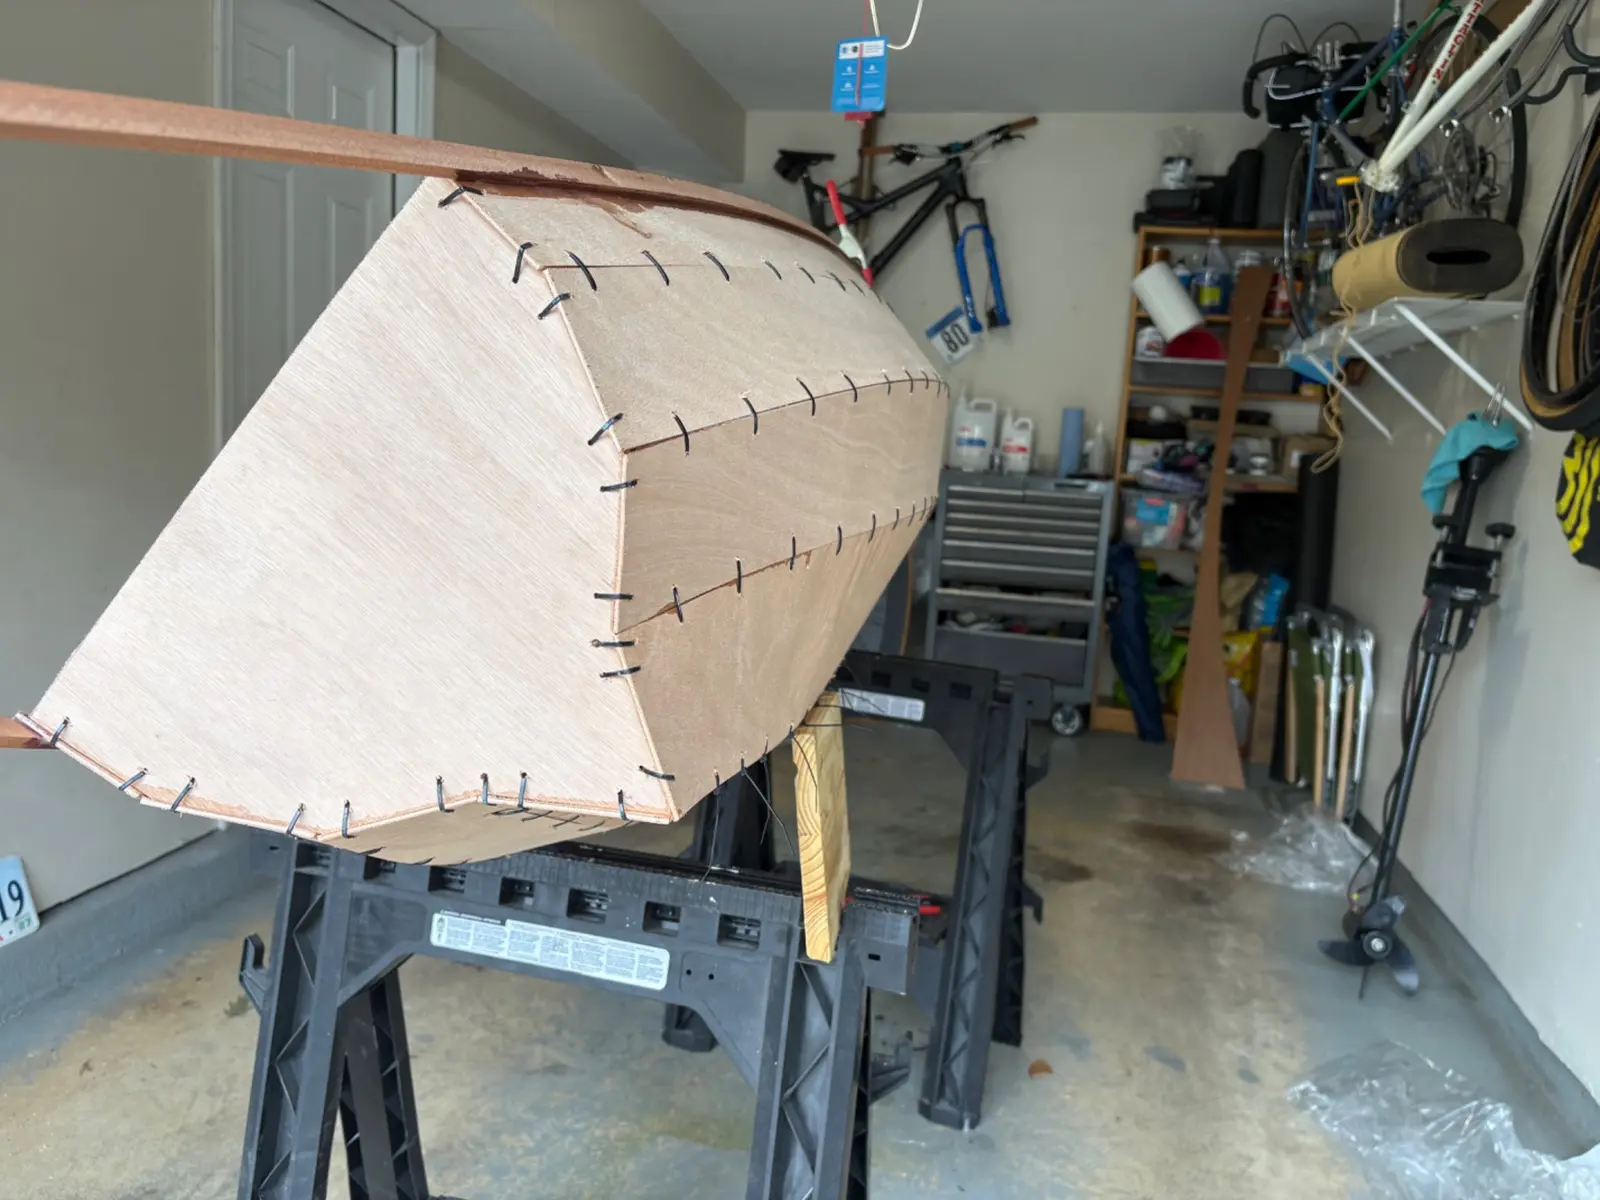
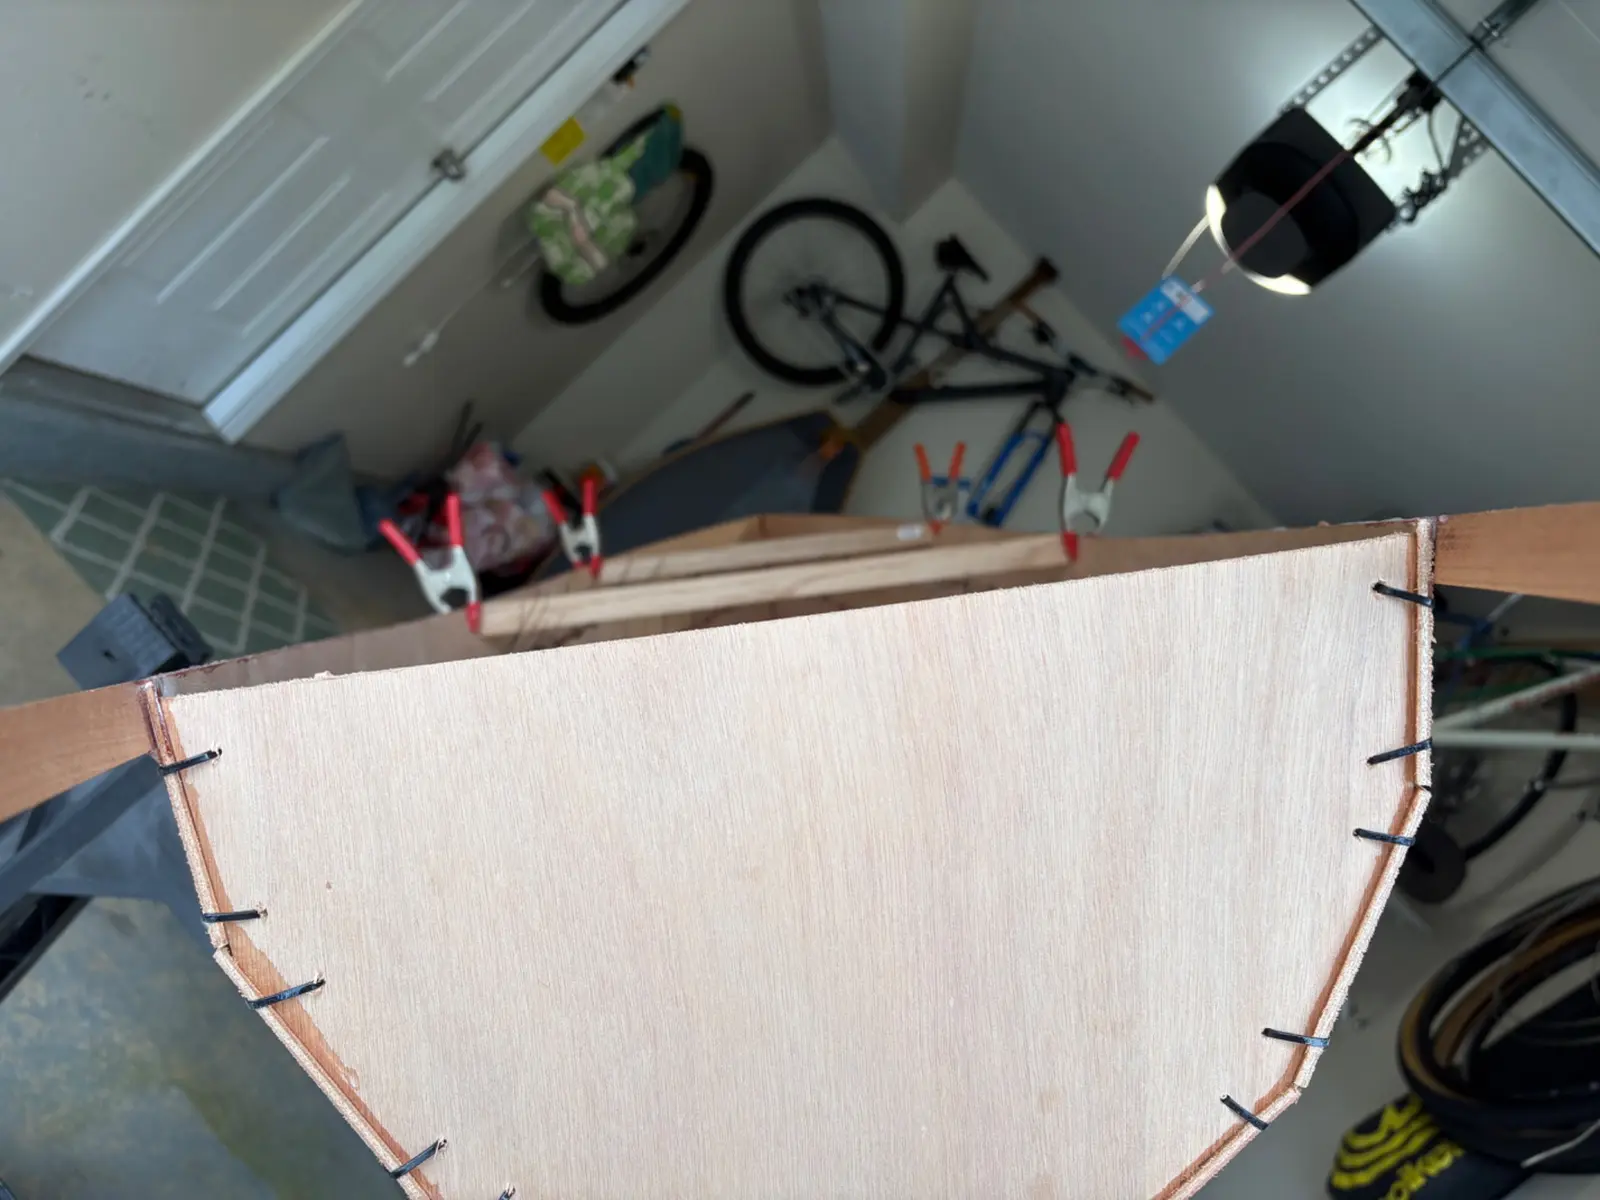
Stitched all hull panels with zip ties. Ran out of zip ties and had to run to the hardware store. Stitching took a lot longer than I thought - last time I had ~20ft of seams on a 5ft boat from 2-plank hull shape, this one has ~60ft on an 8ft boat from 4-plank shape.
Next time I would definitely shell out for a sheet of big box store plywood to use as a nice big table, working in the floor for the first 2hrs until each side was stiff enough on its own to bridge the sawhorses was painful.
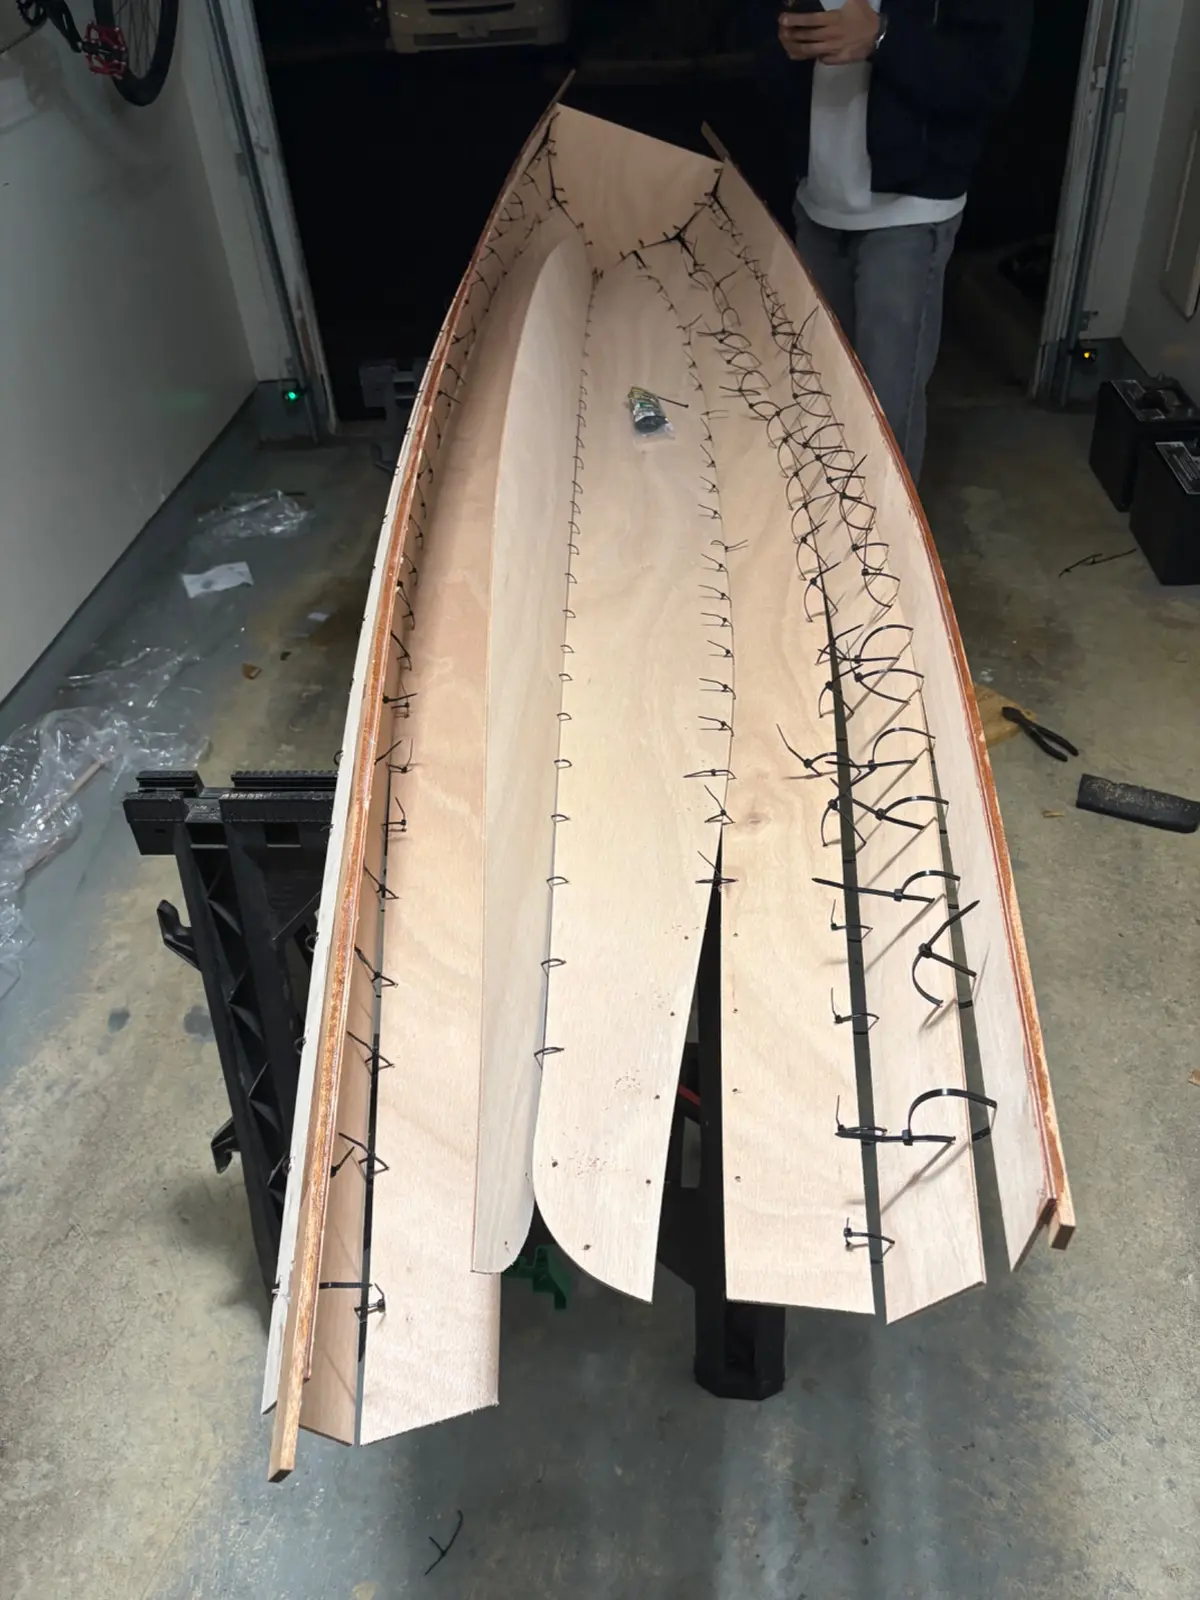
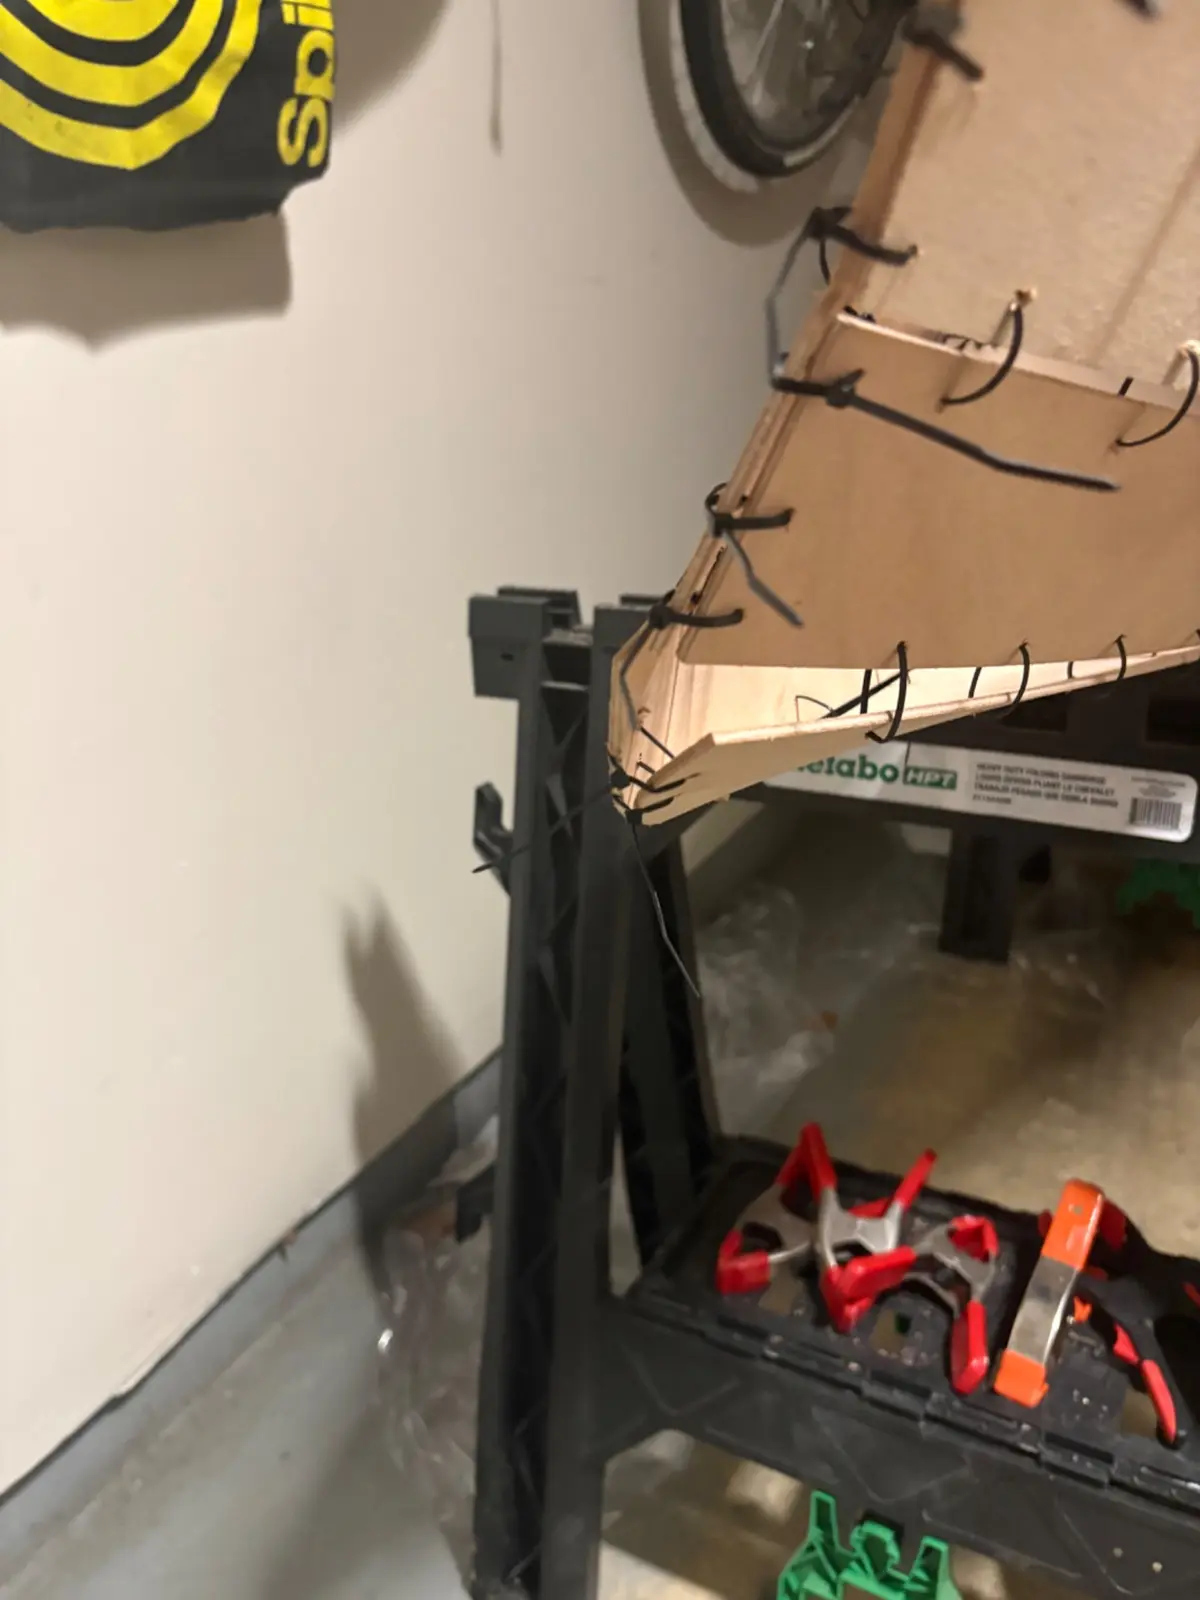
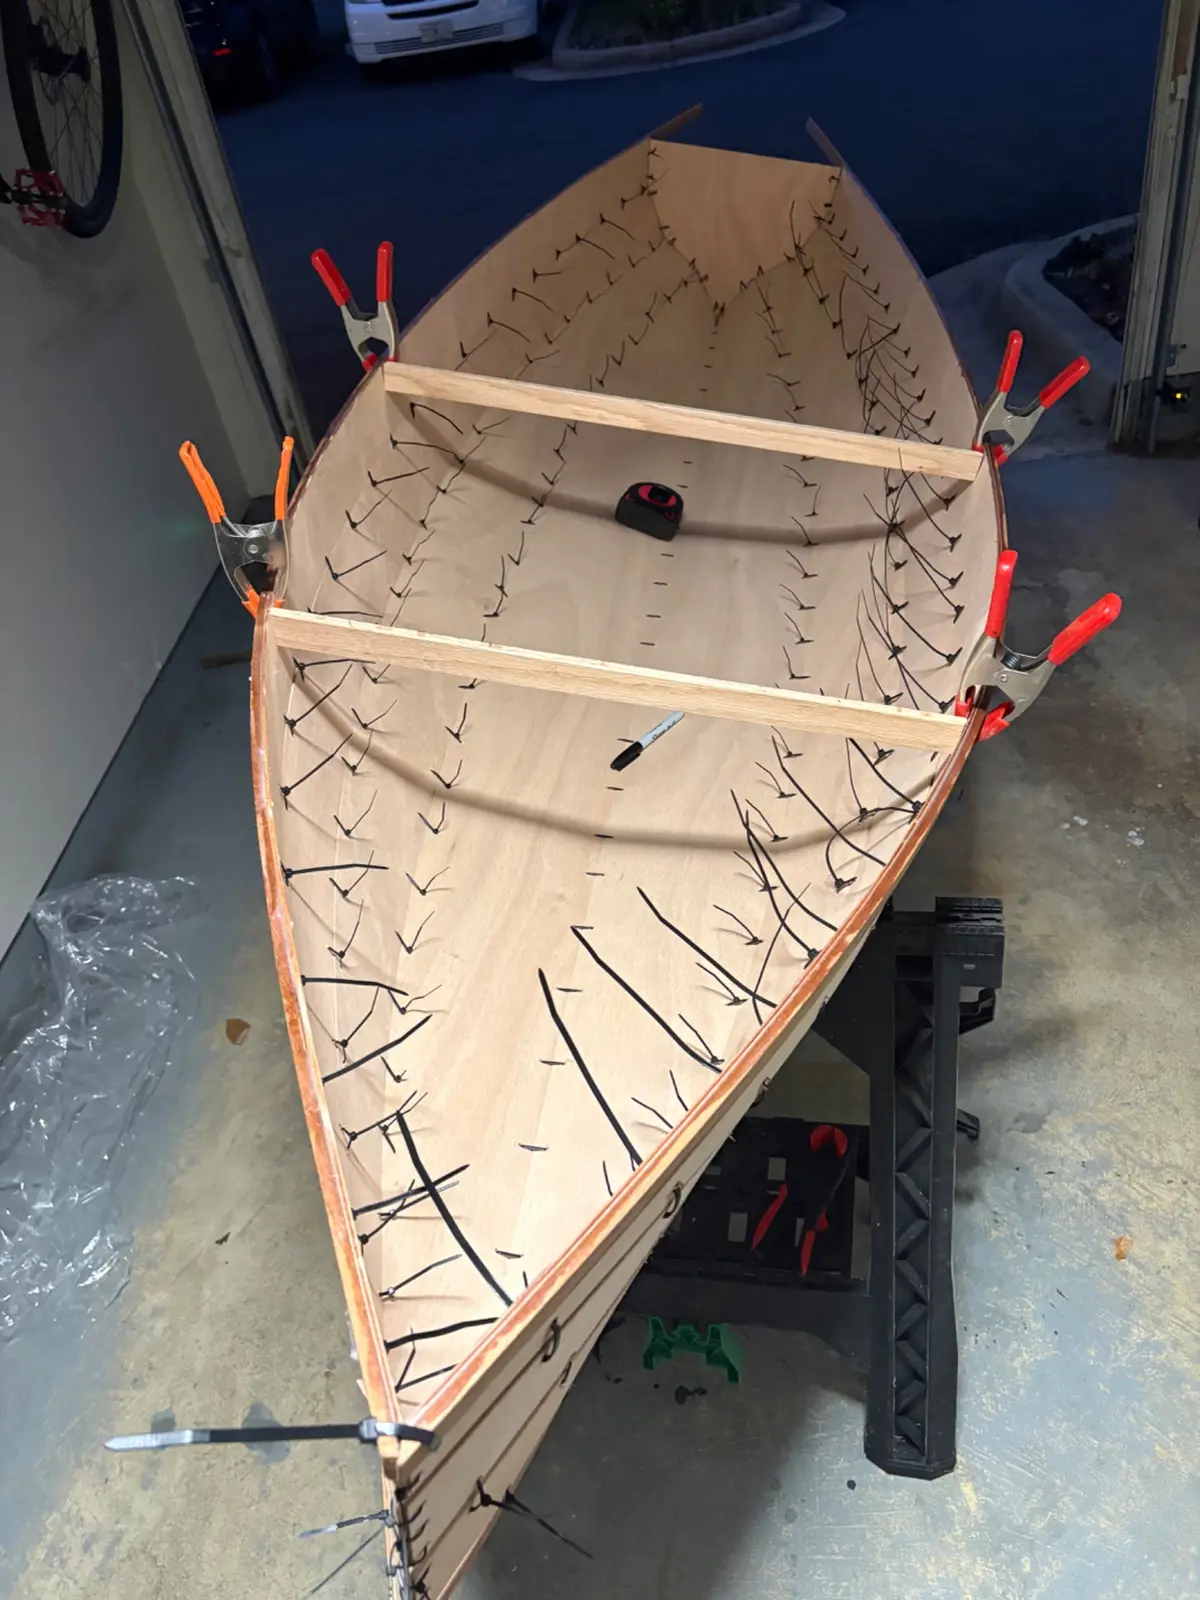
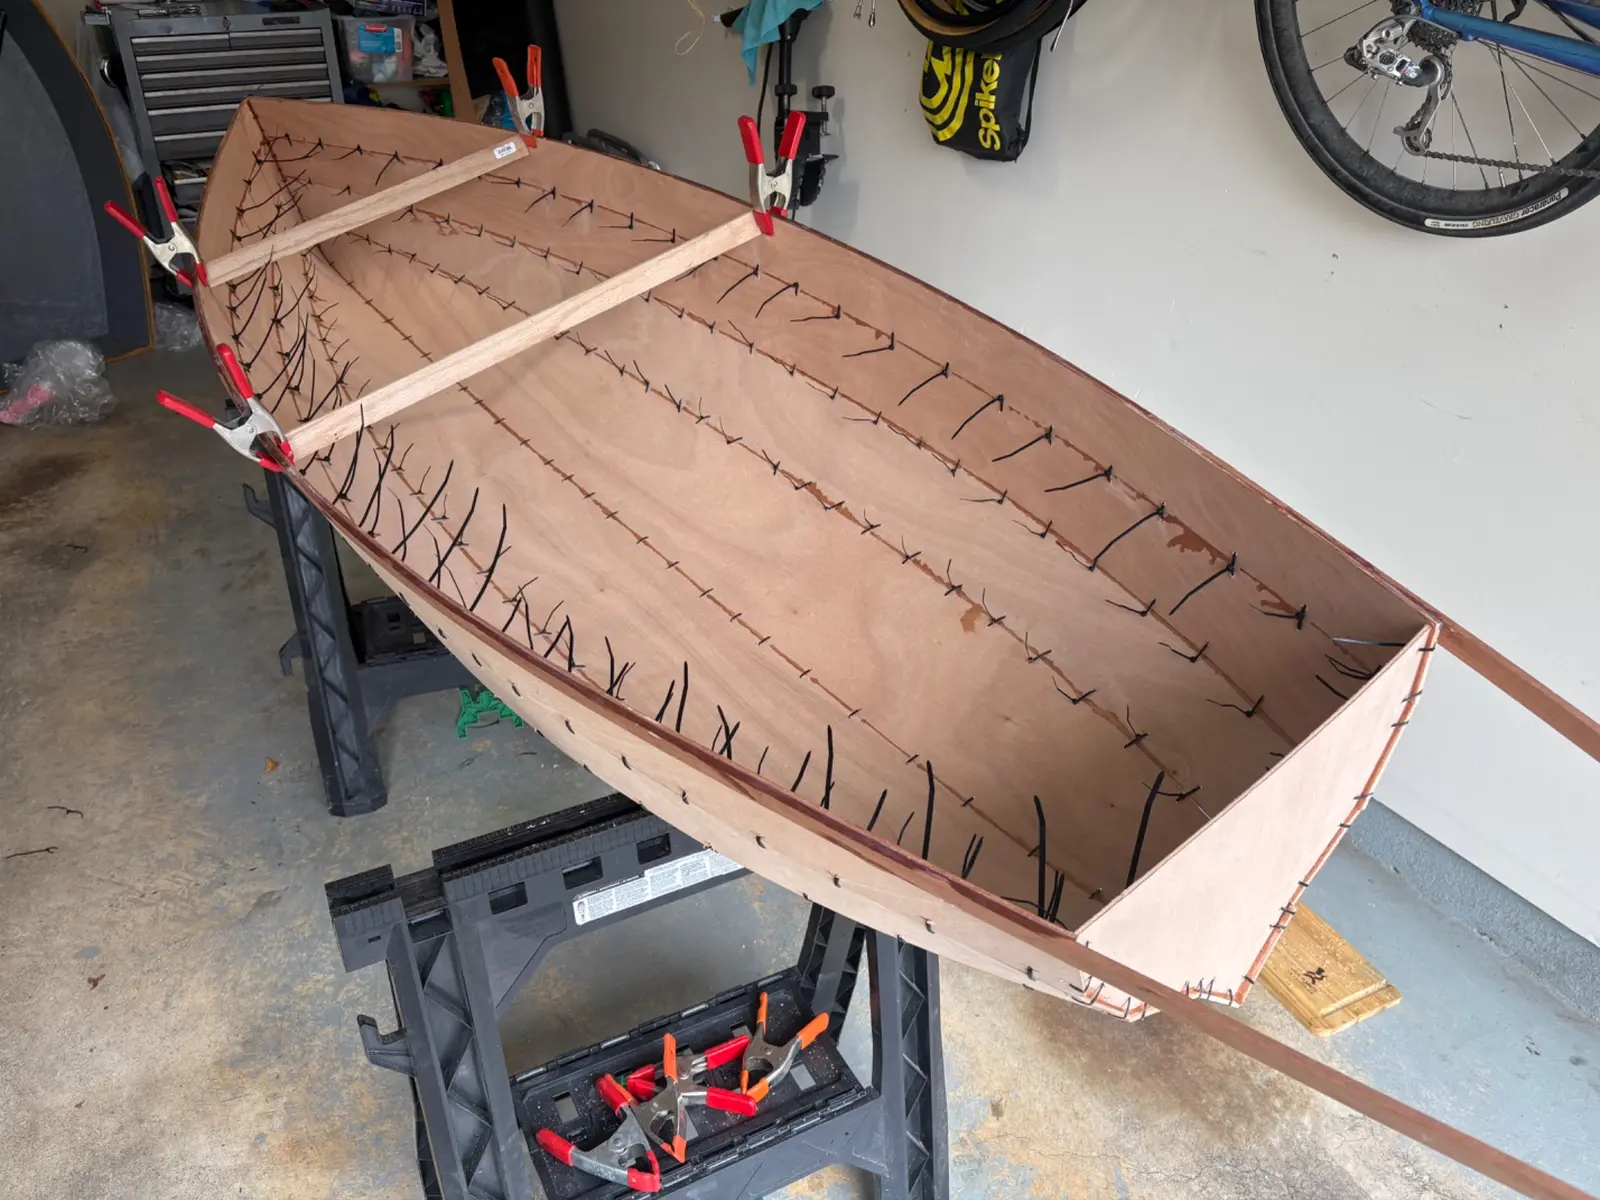
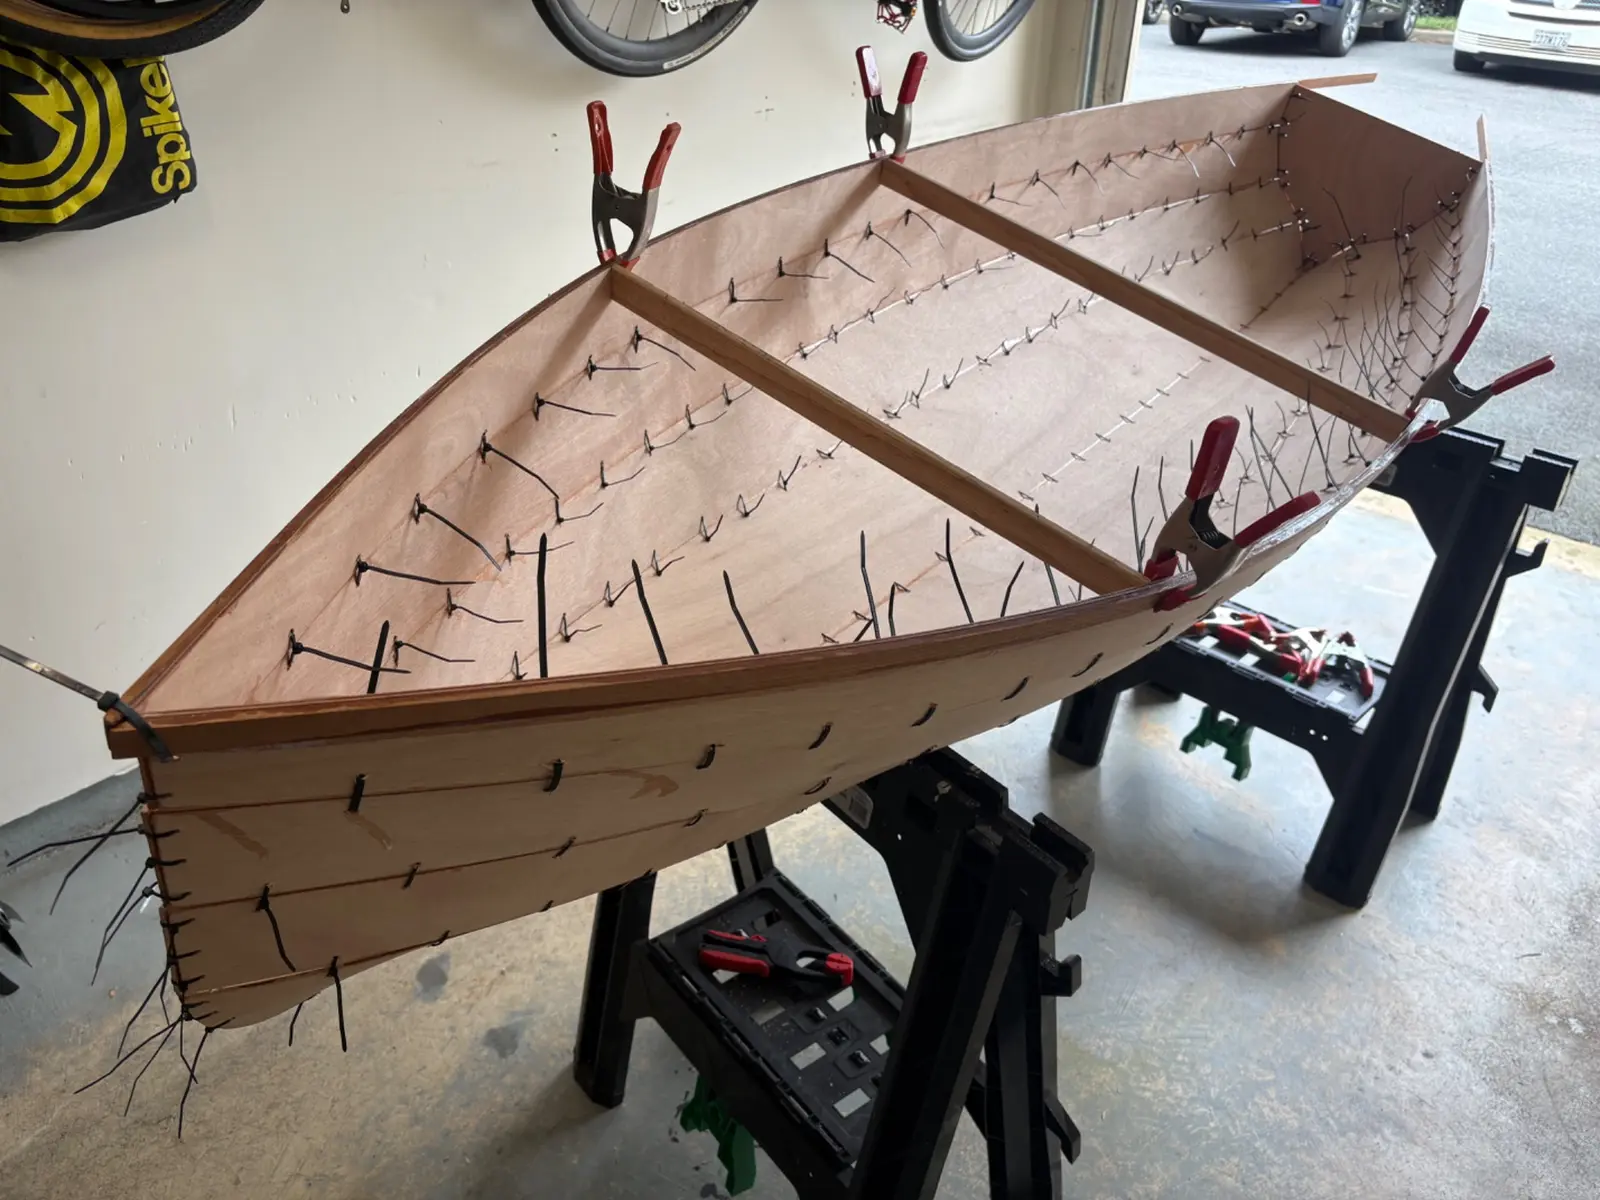
Went through boat and cinched all zip ties taut, then went through again and (where needed) cinched all zip ties tight. I bought a saw where before I had borrowed others. I used it to cut the tips off the overhanging front outwhale, allowing the top planks to meet flush at the bow. Also used saw to cut spare stick stock to make thwarts to seat correct beam of the boat. It looks a bit wide, and I may play around with this a bit later. Initial plan was to exclude thwarts from final design, but may change that plan if the boat doesn’t get significantly more stiff with fiberglass.
Most gaps closed, bow planks did not want to sit edge-to-edge so there are some ~3-4mm gaps between the top of plank 1 and bottom of plank 2, and decreasing in size to 0 between plank 3 and 4. There is a ~2-3mm gap for 200mm or so at the rear end of the plank 1-2 joint, where the concave transom inverts to a convex shallow v/roundish hull in the rear most ~400mm of boat length. All out-of-plane misalignment is less than the thickness of the panels, so will sand out when I go to sand the outside. I am tired of cinching zip ties. I am going to glue the seams.
CA glued all seams. Went heavier on the glue. Was told it might pop out, and wanted to prevent that, especially in high stress areas. The way I tilted the hull induced a very slight twist, which I can live with but would rather not, so I’ll try to “de-twist” by reversing the direction of the single support in the next step.
123456
Nobody else here is logging a Micro-Wherry yet.
See the boat.