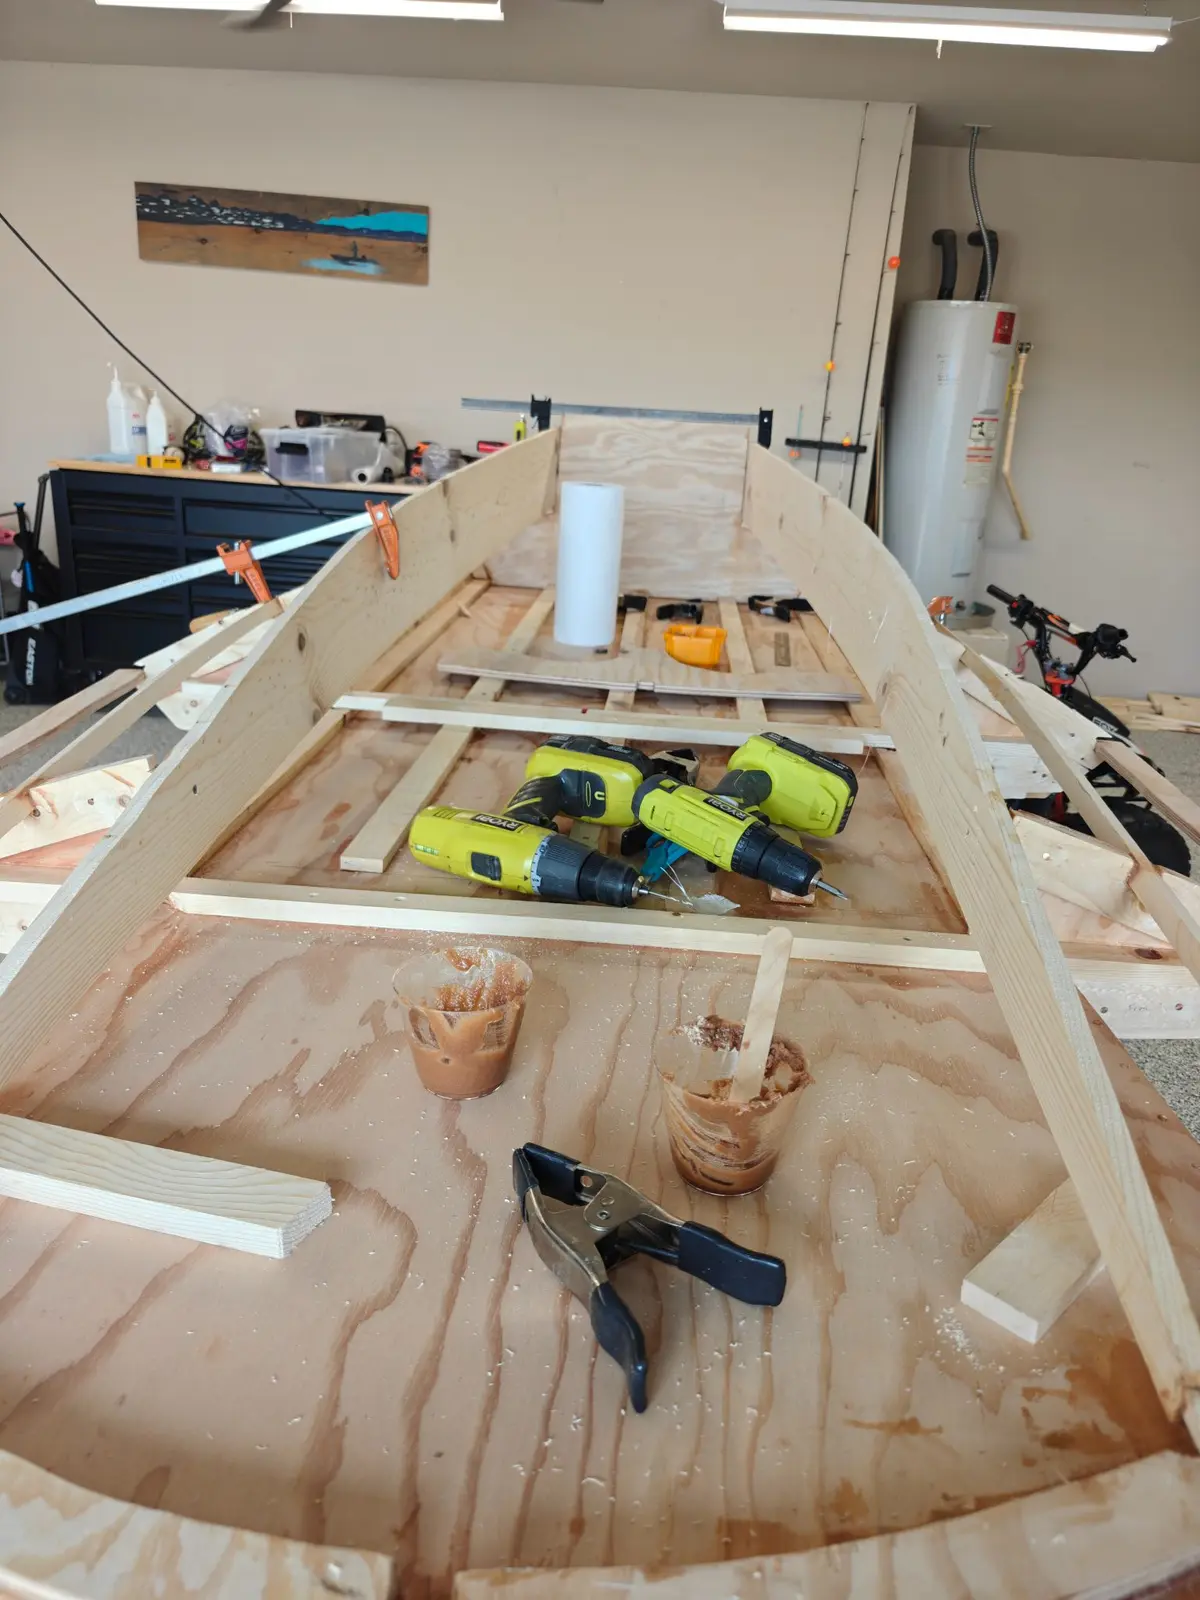
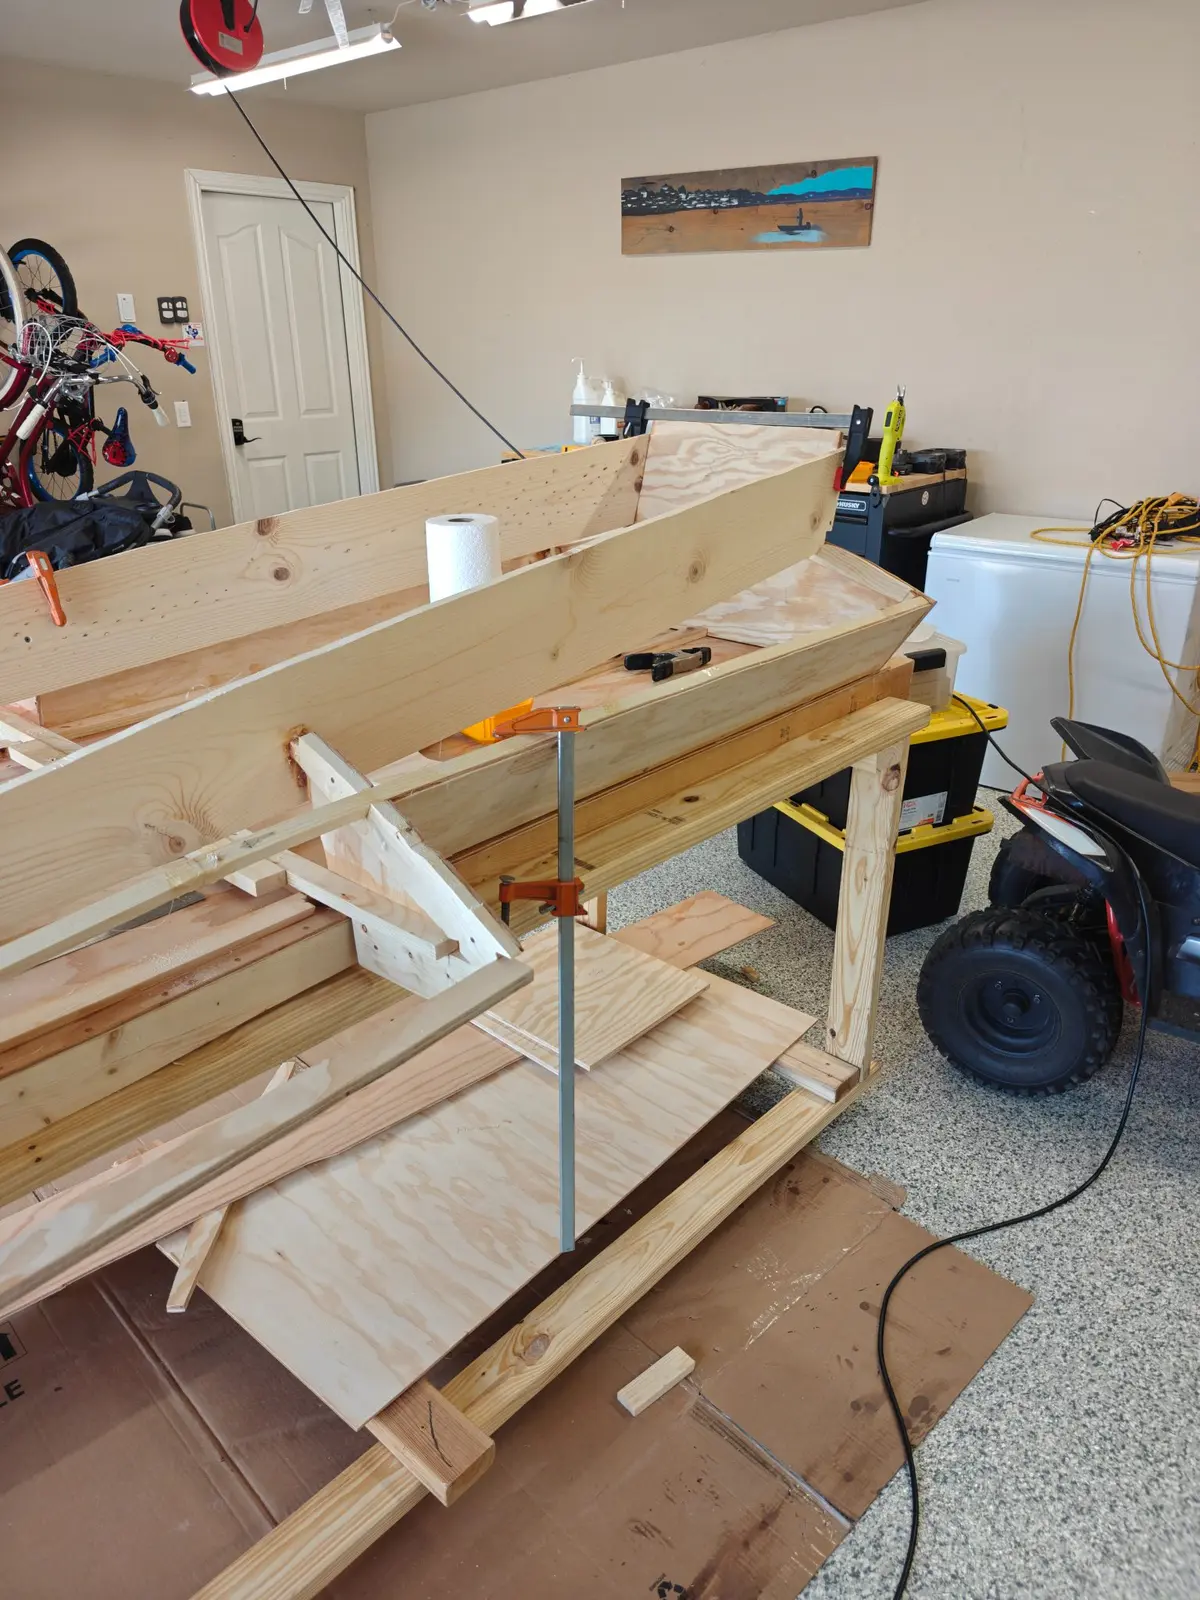
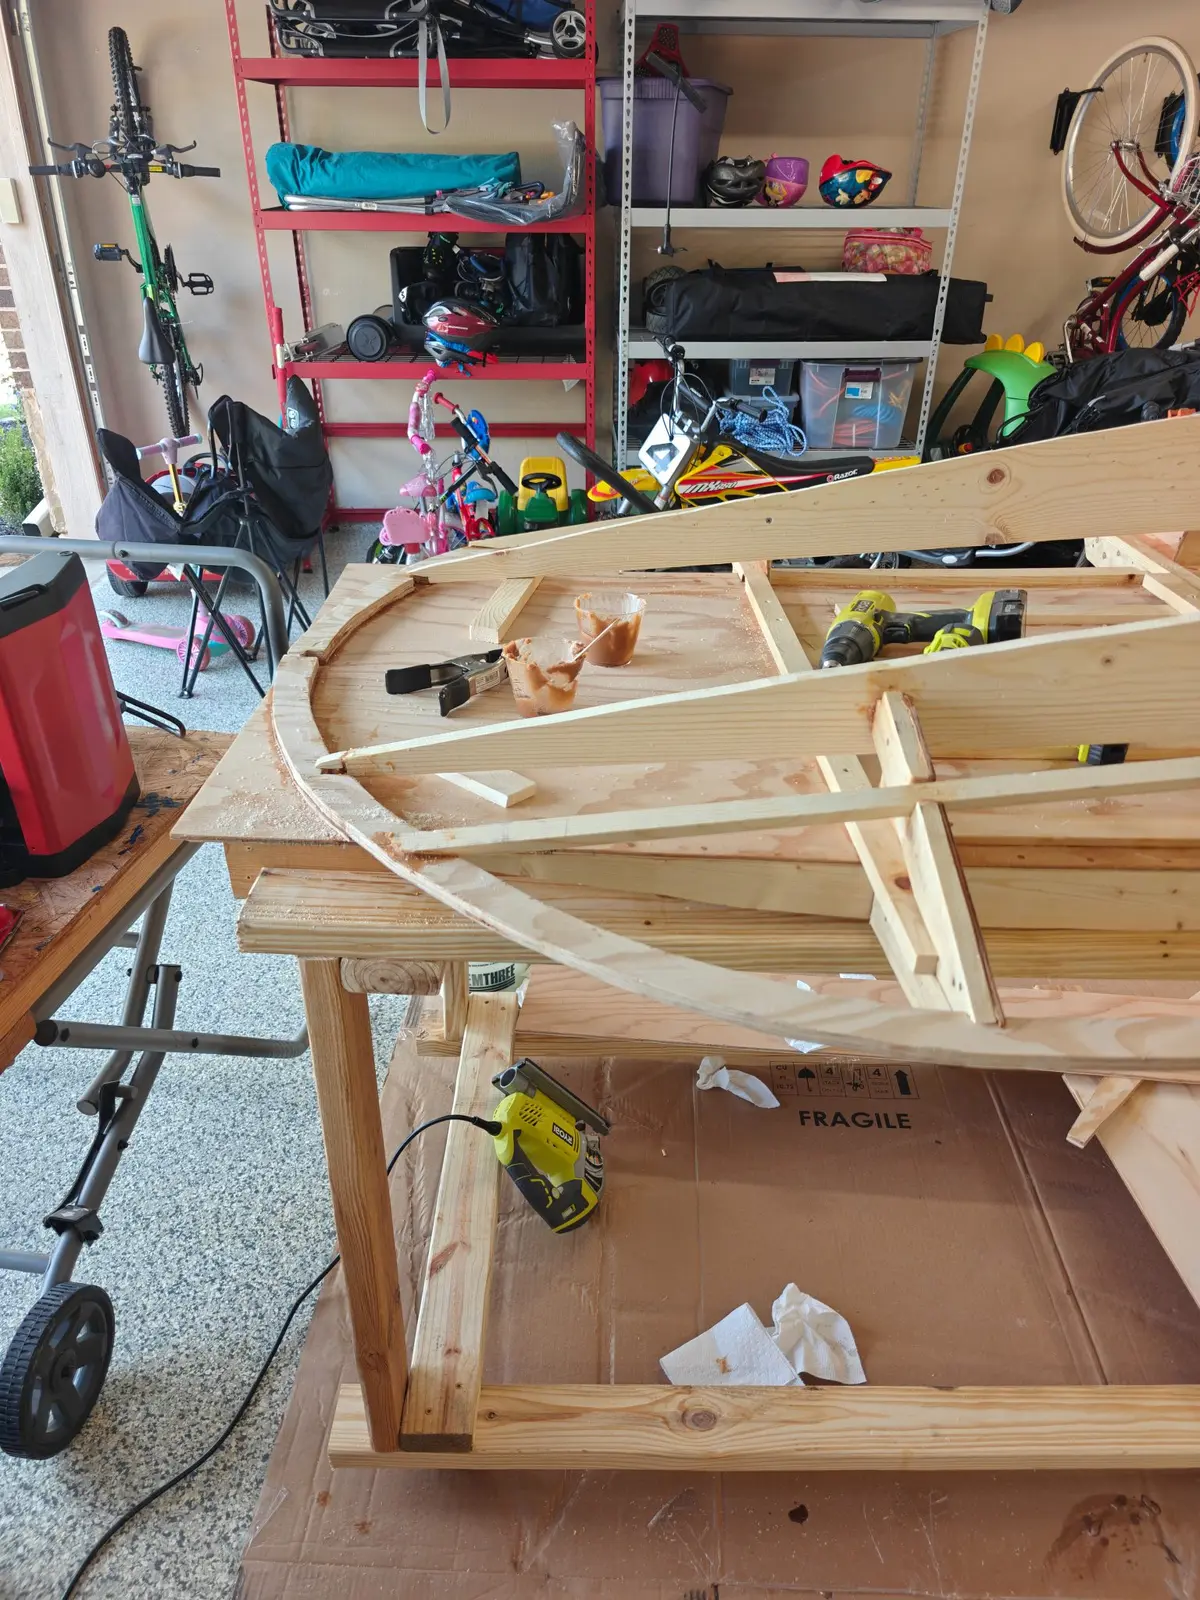
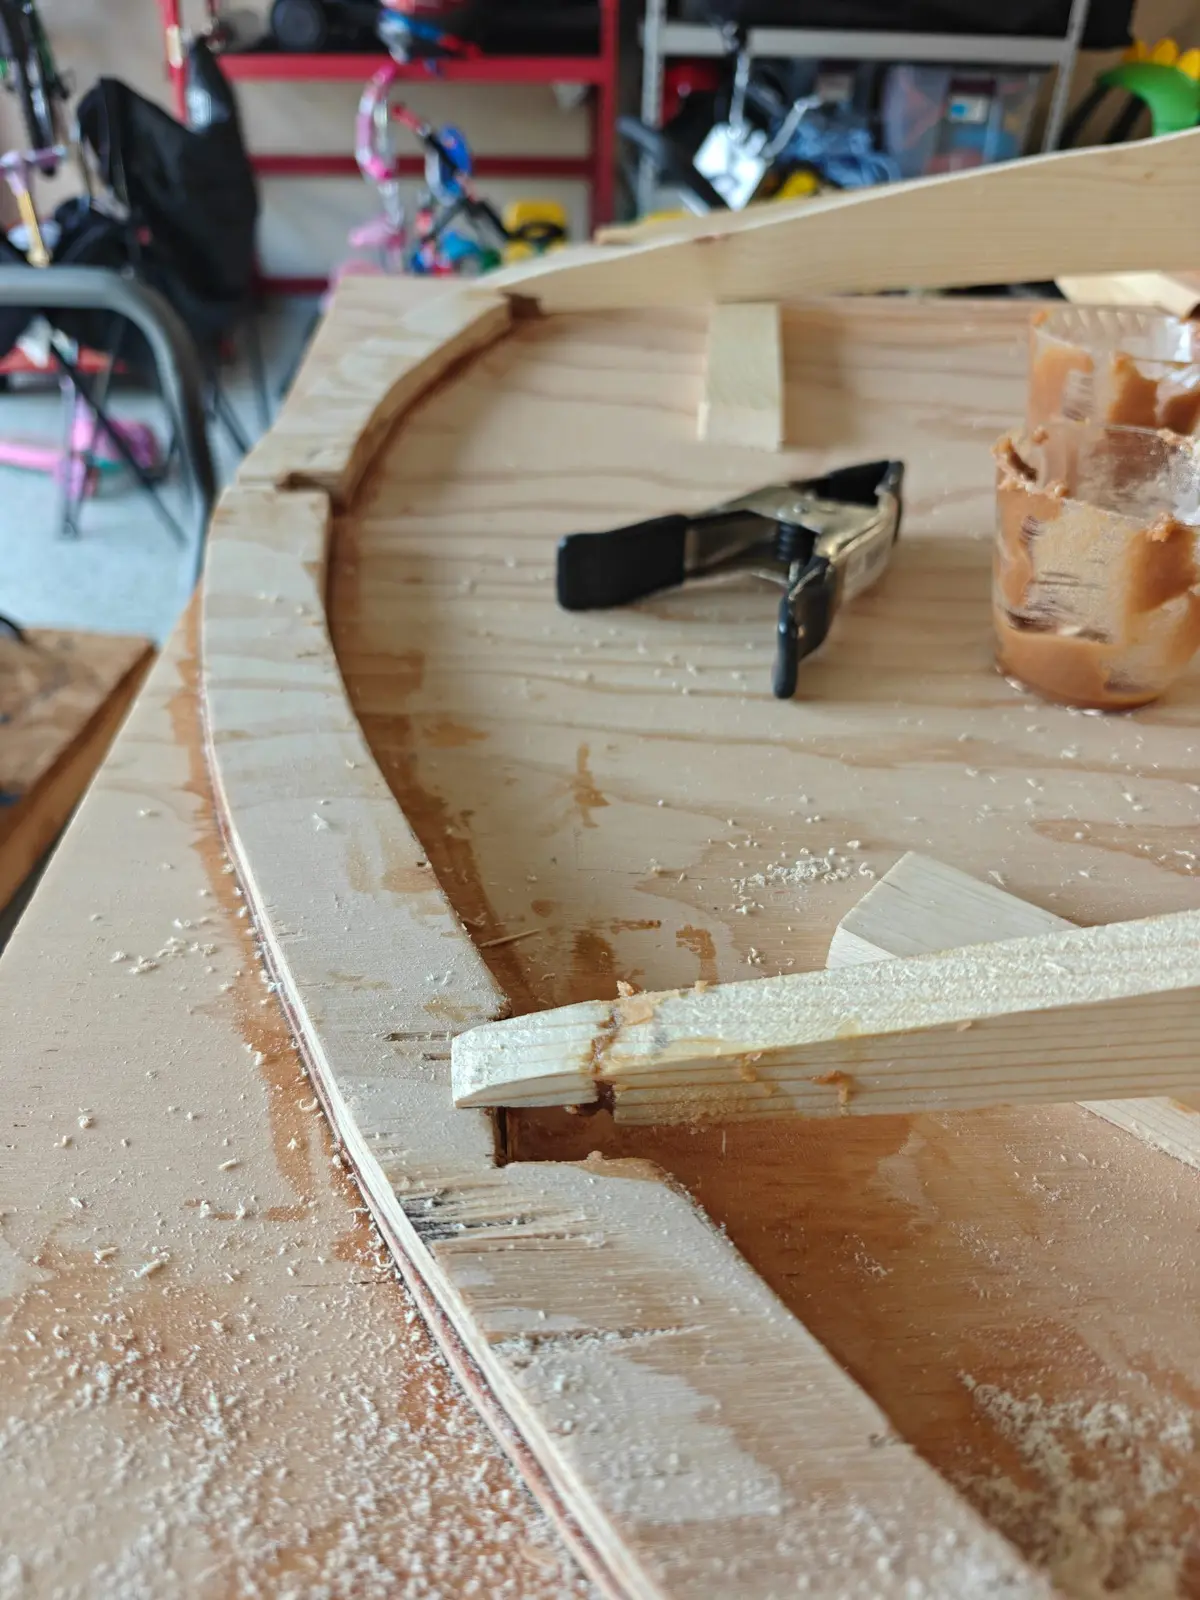
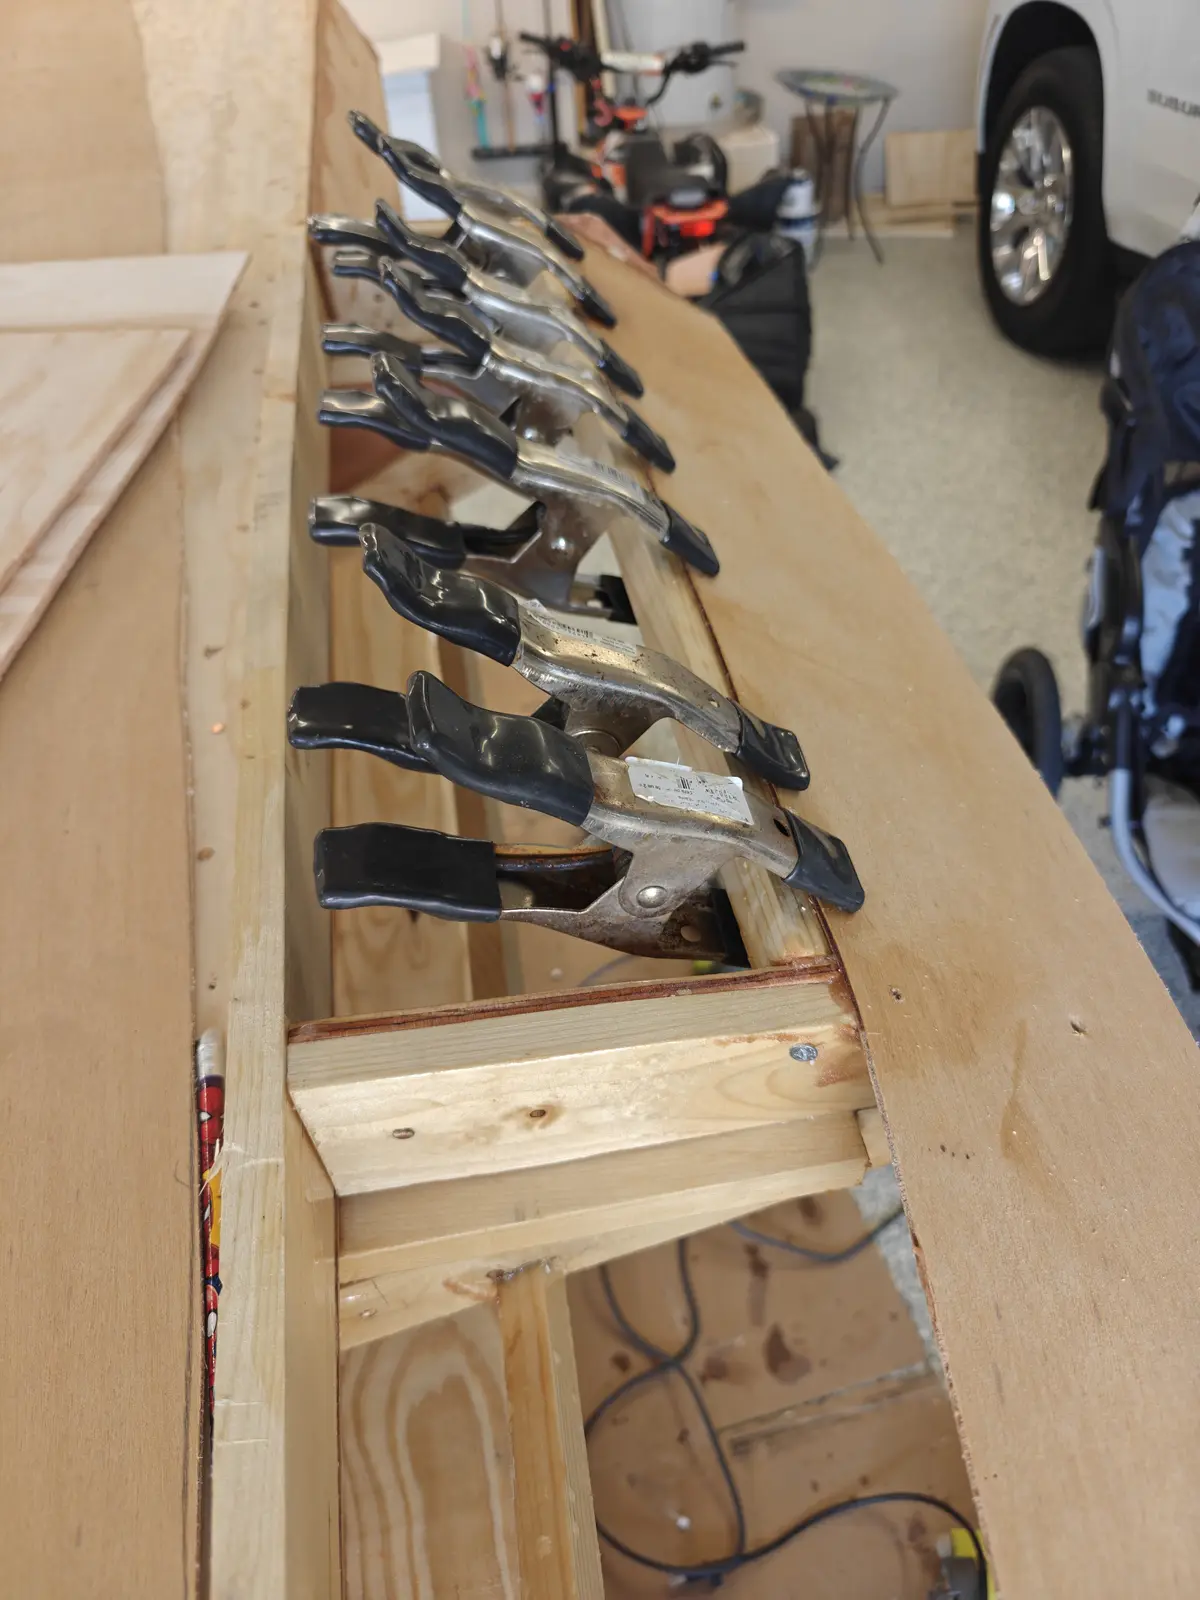
Finished mounting a few more pieces. Lots of wood flour to fill these gaps
Tiny Titan · new build
Building a small hydroplane for the kids to learn some basic boating skills on a fun boat!
See Deck & Coamings on other boats →
Finished mounting a few more pieces. Lots of wood flour to fill these gaps
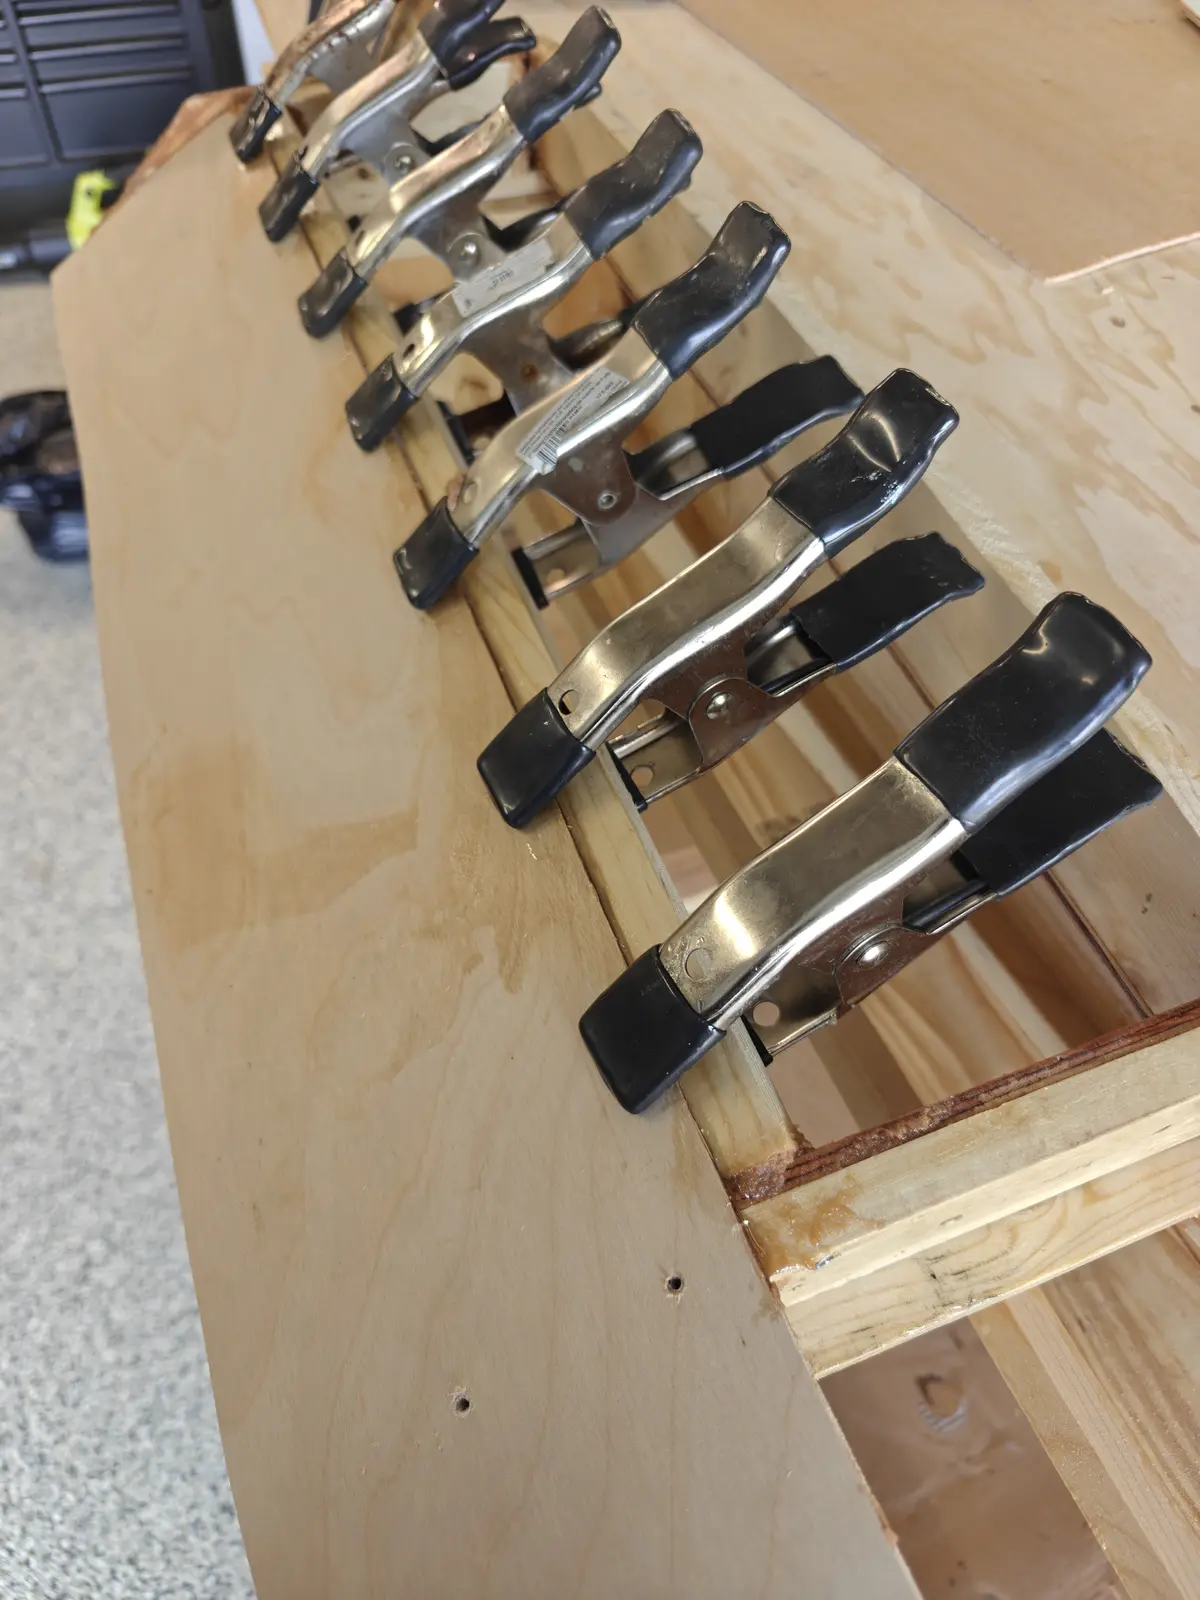
More glue and more clamping.
I fitted the carling on both sides of the coaming and glued in place. Lots of clamps and a few temporary screws for this step.
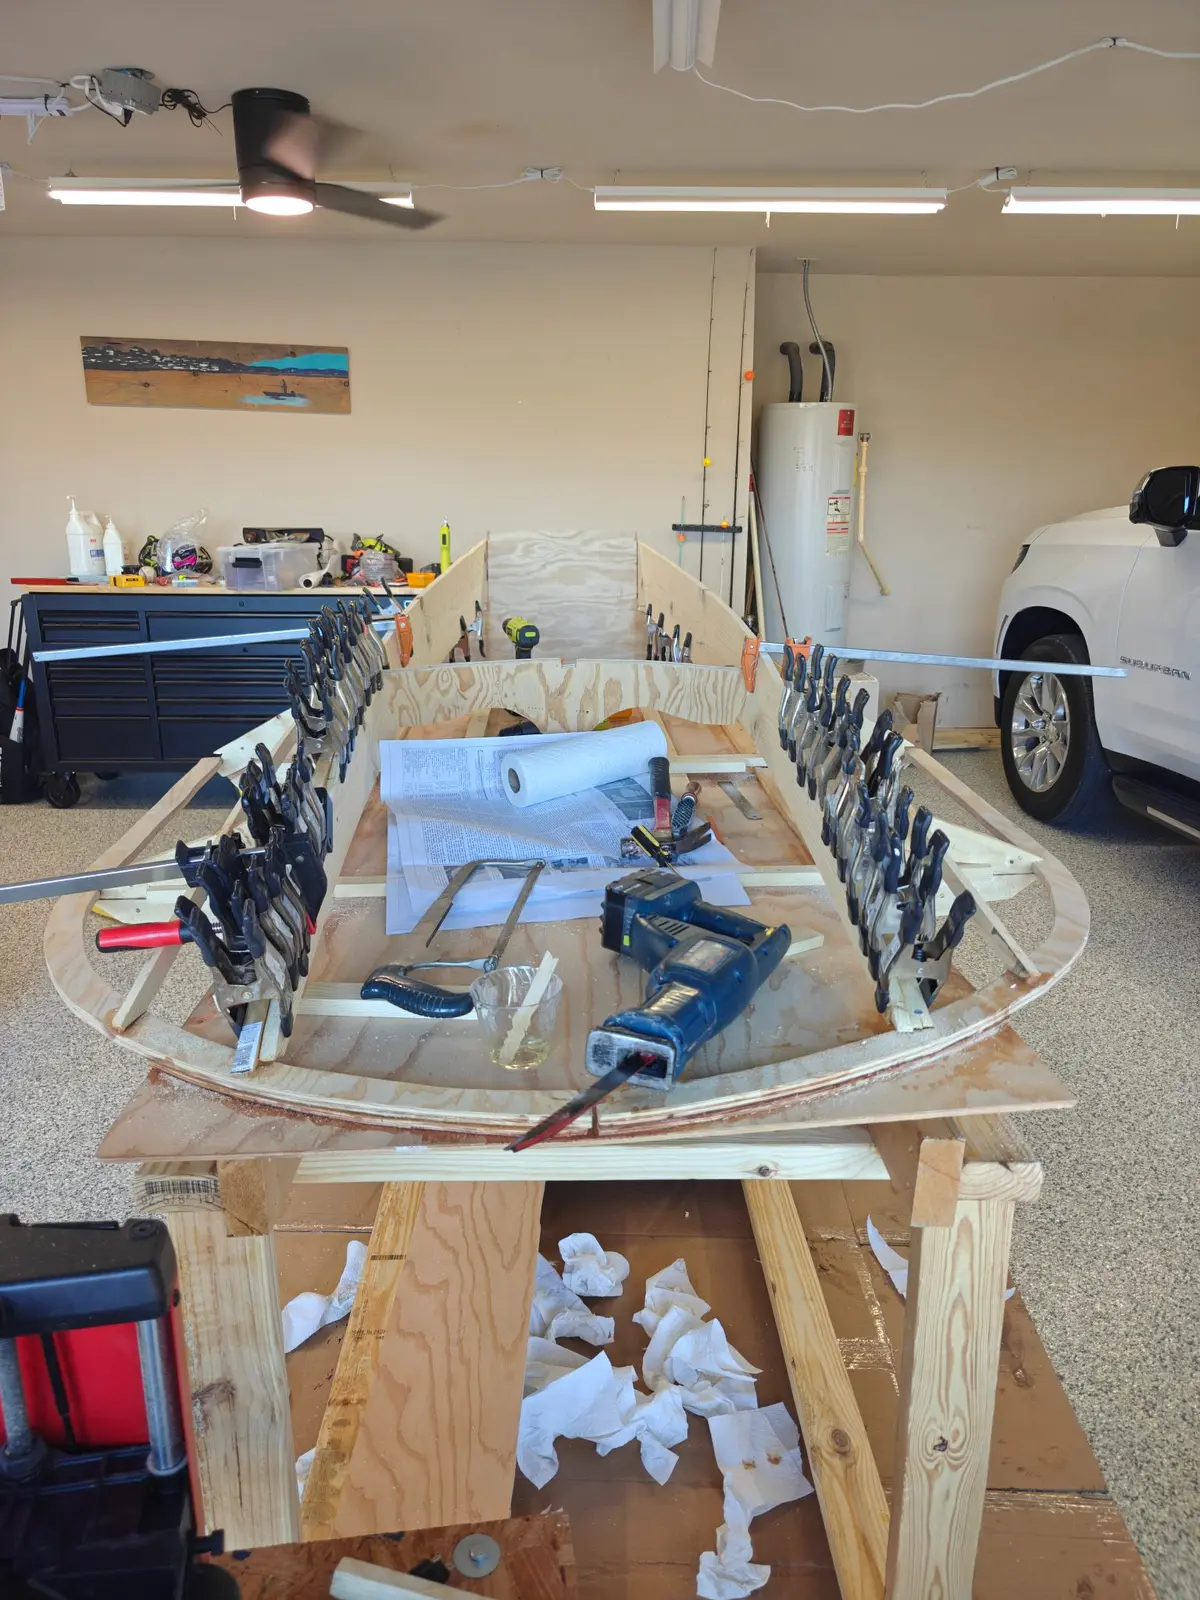
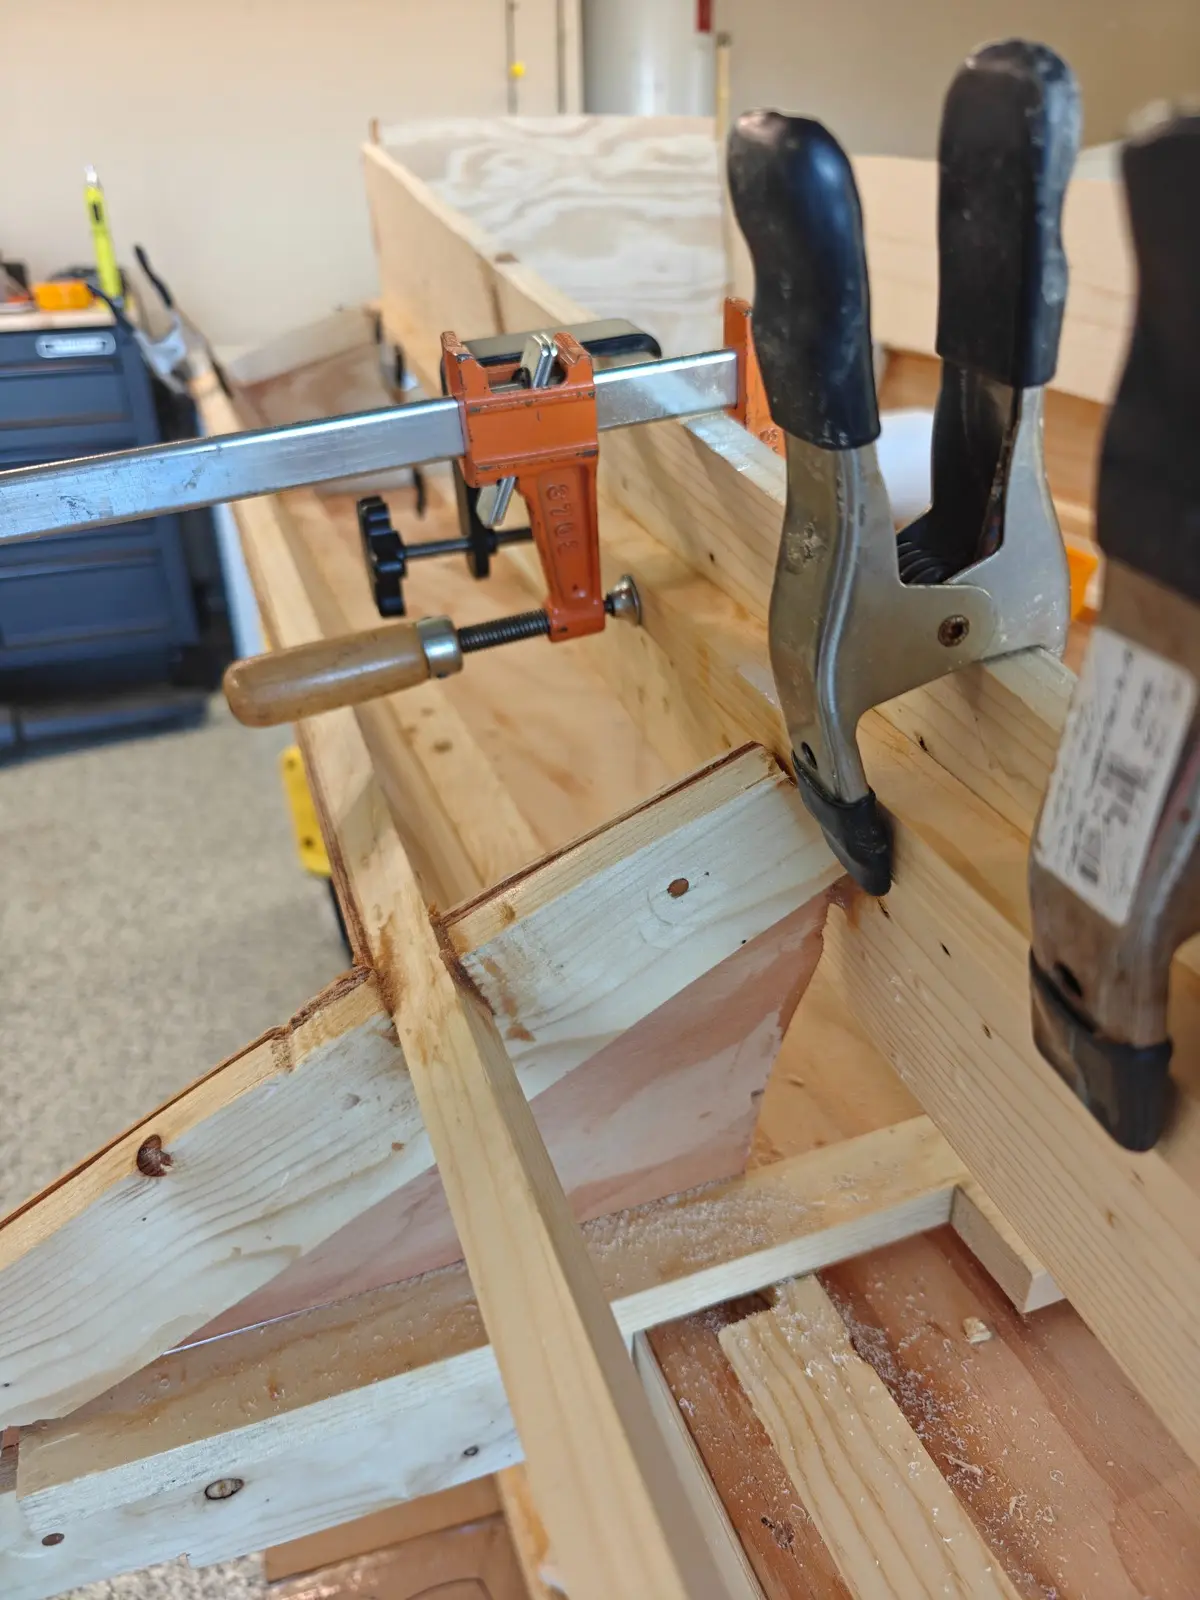
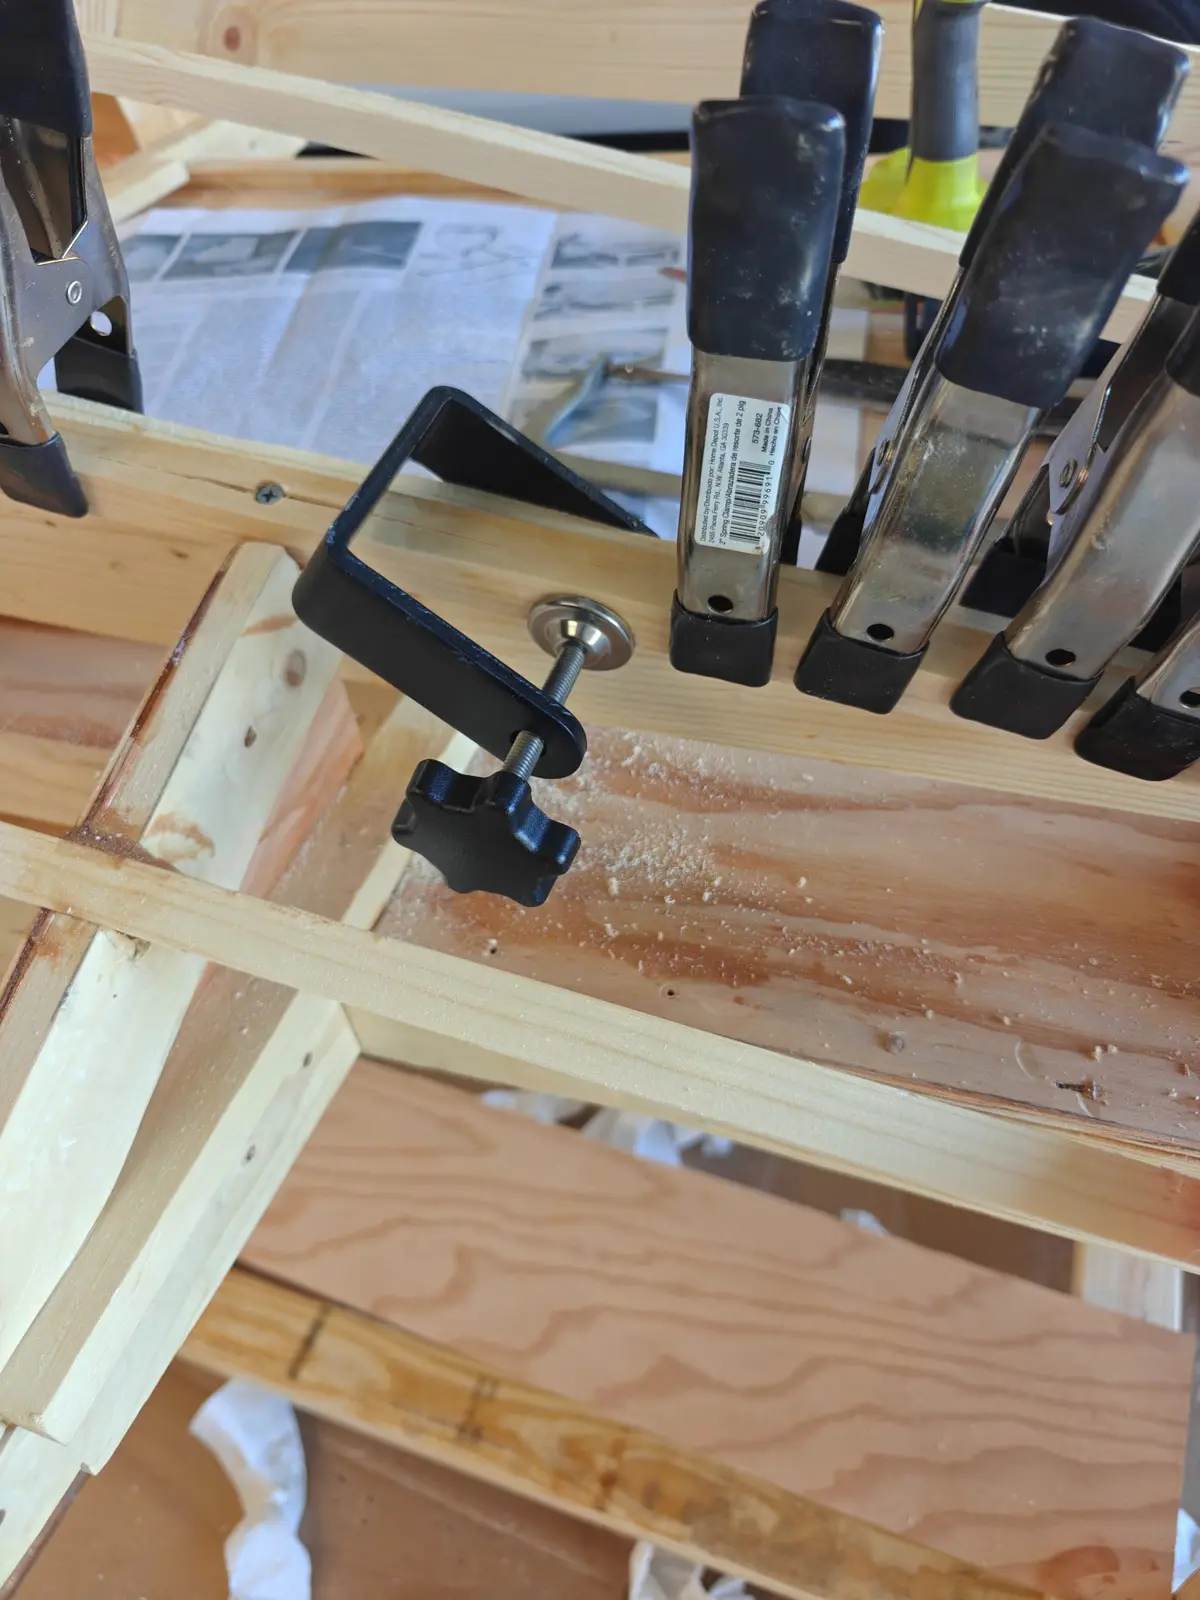
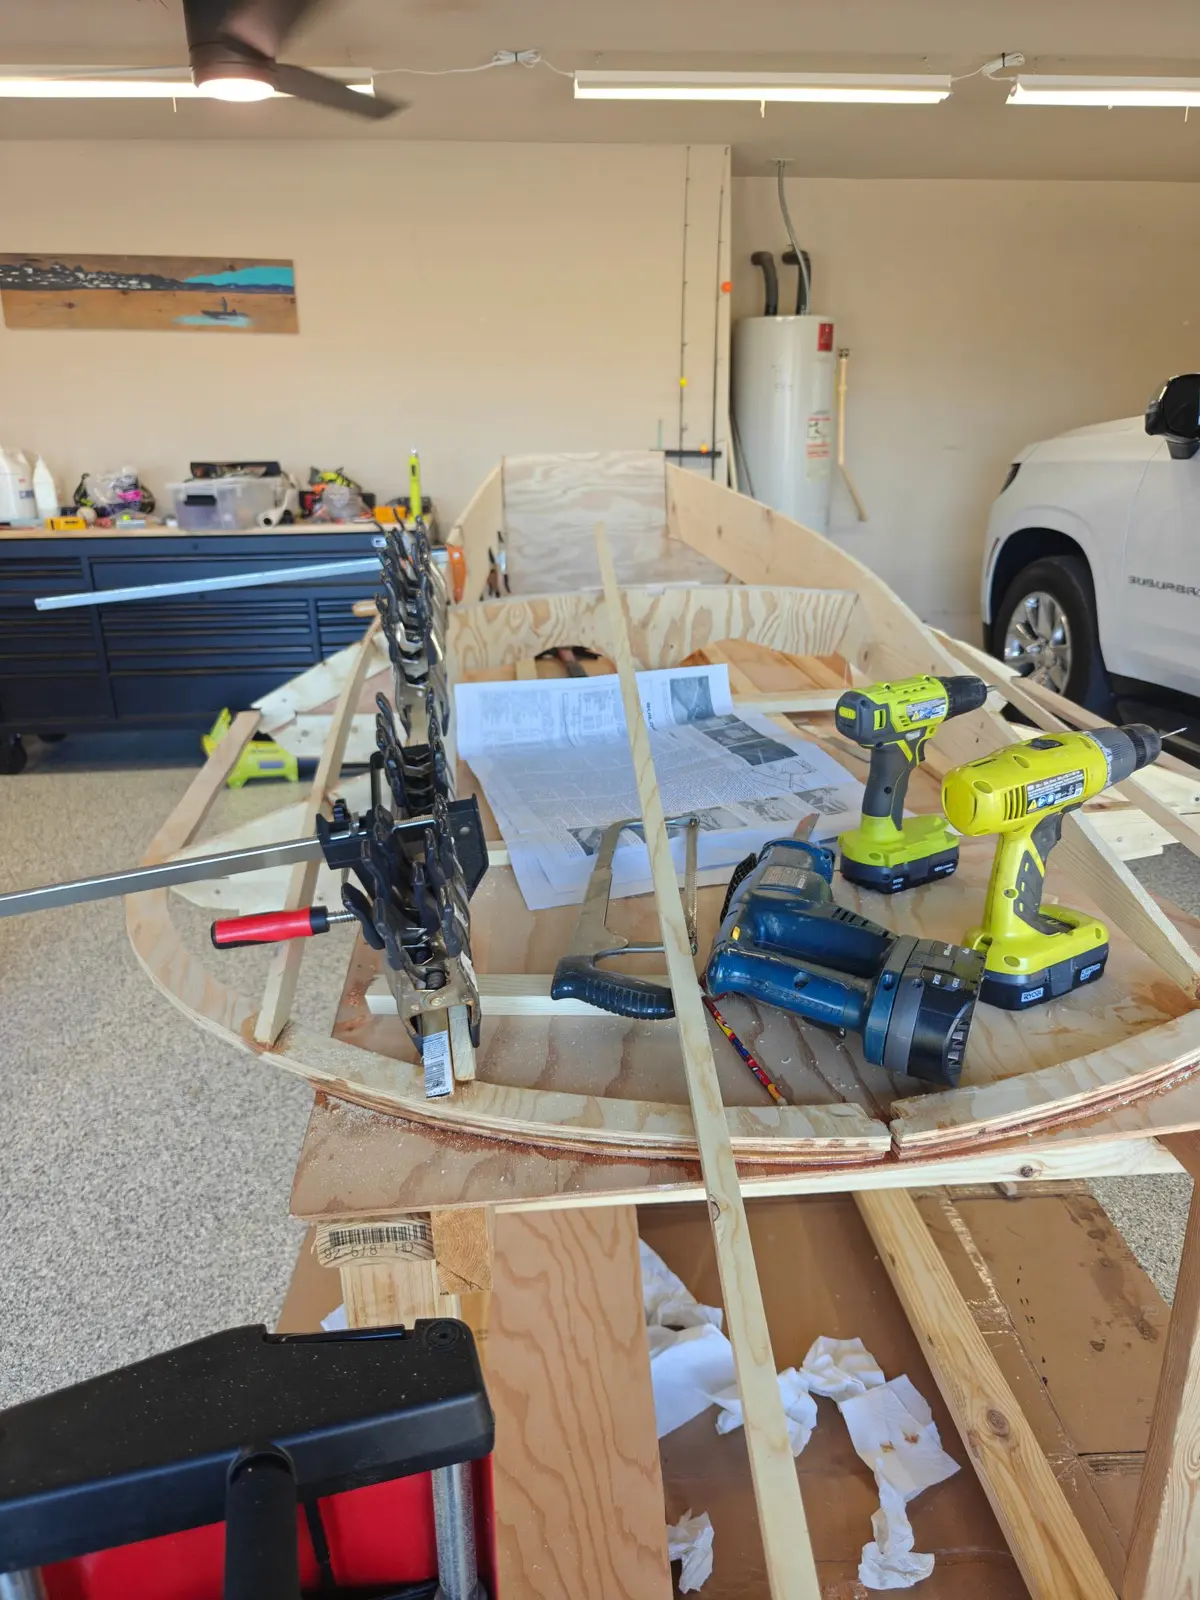
Today I flipped the boat over and started to prep the bottom. I can already see lots of holes and things that I will need to fix before I start on the final sanding before glassing.
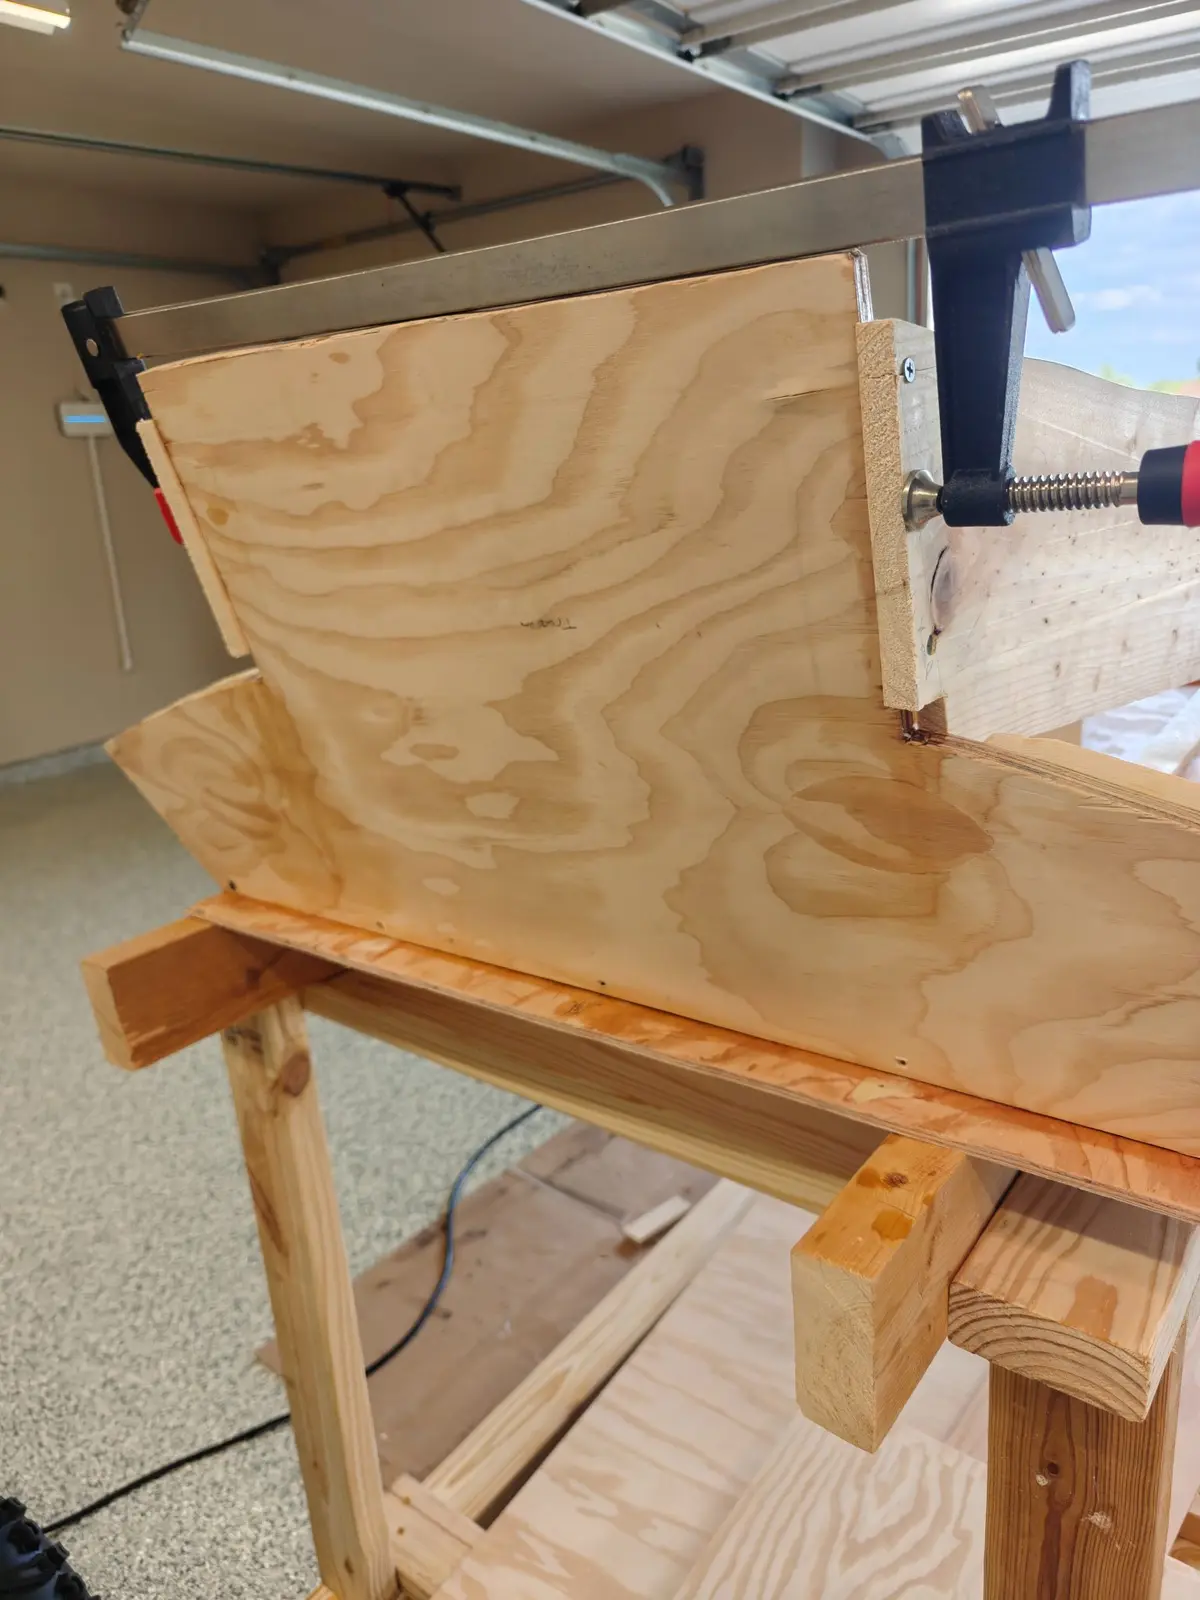
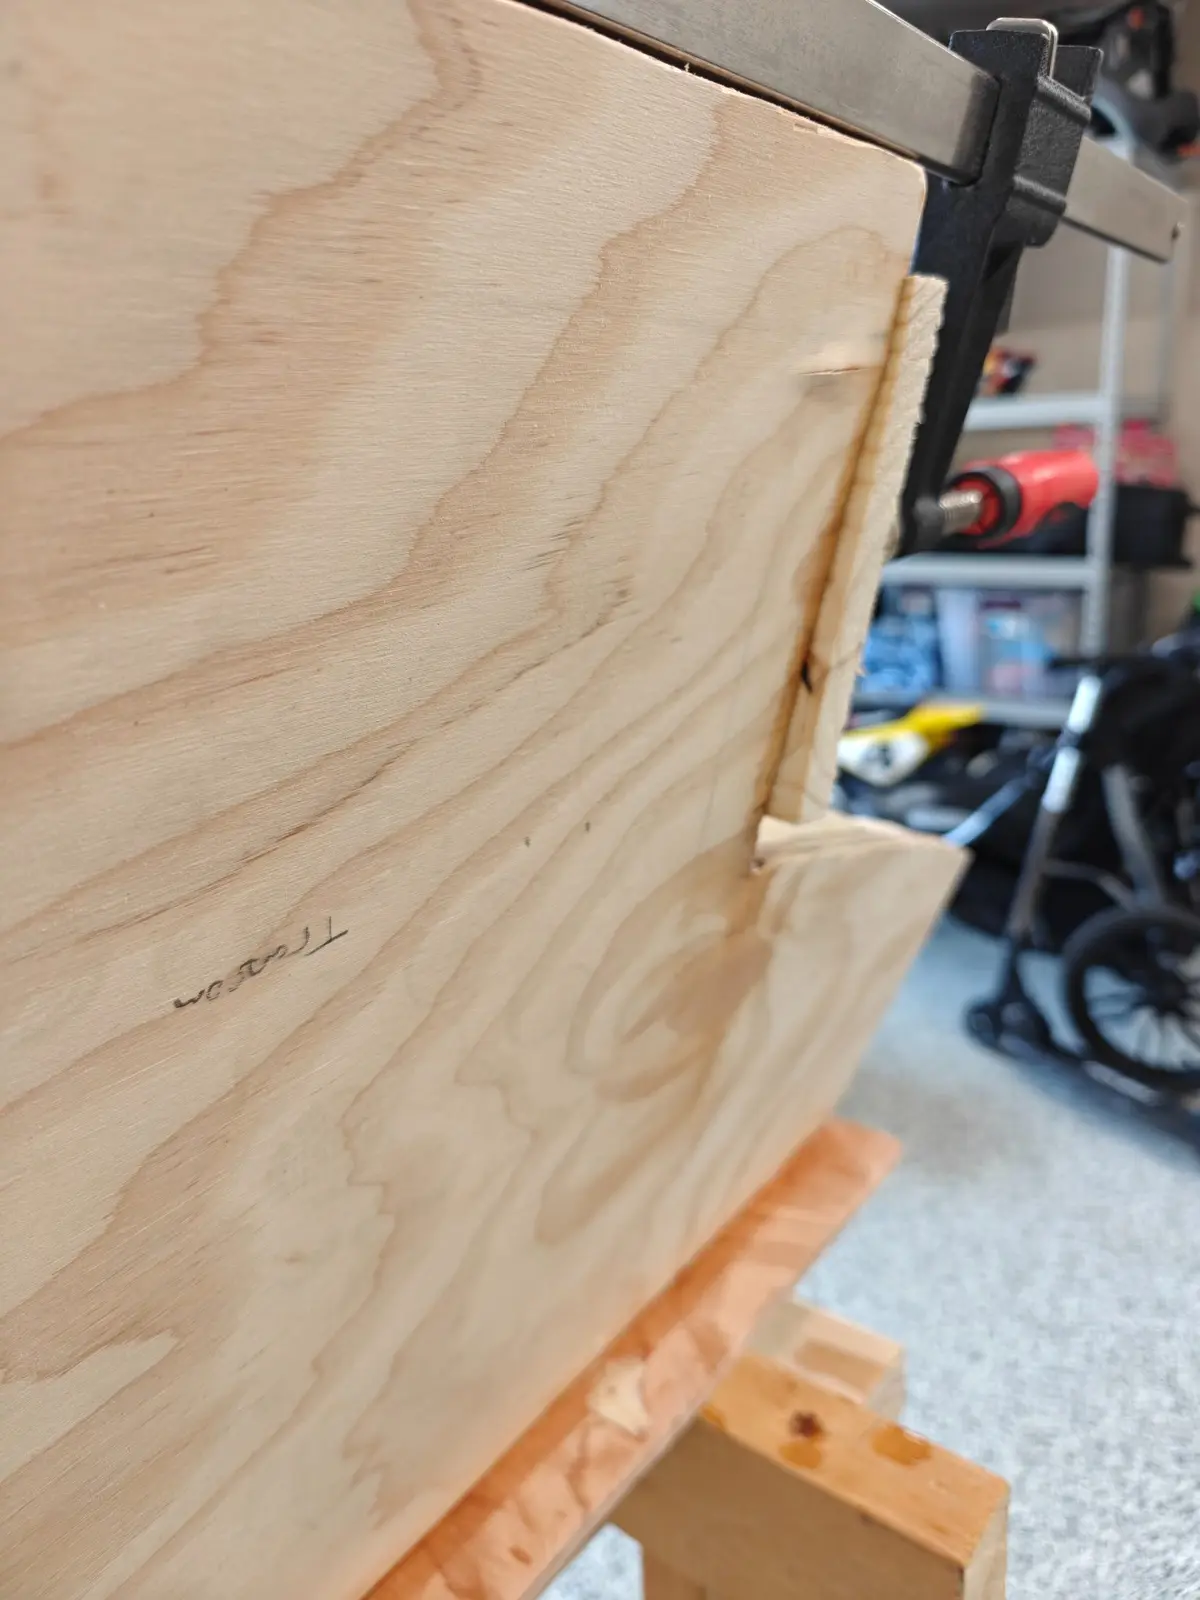
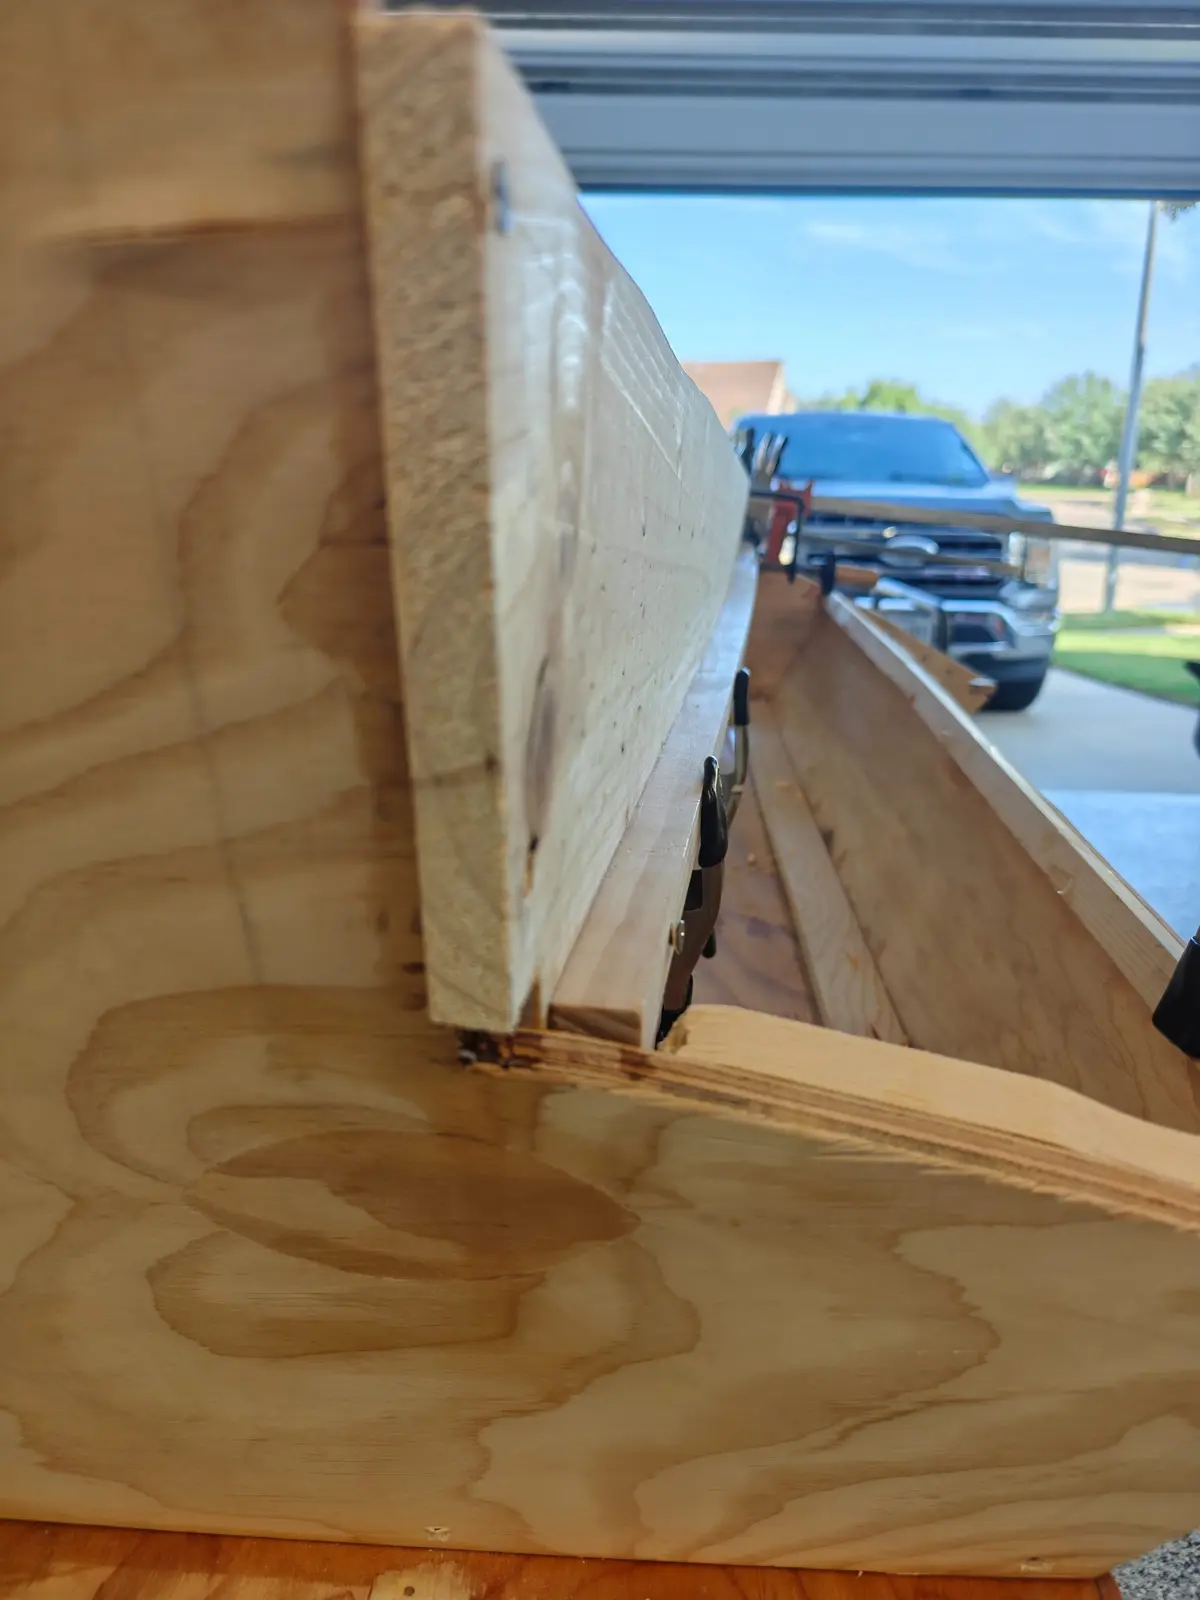
Oh and also I think I messed up on the sides. I know hundreds, rather thousands of people have built Glen L boats but honestly the pictures and descriptions I think are lacking, at least for amateur builders like myself. In any case I think I messed up. As you can see in the images I took the one quarter inch plywood and mounted it directly onto the side of the bottom pieces, they call this the non-trip planking. Anyway, I think they're supposed to be a thin piece of wood, like a batten that goes from one side all the way to the other. That would add strength and it would give you something to mount the plywood to. Well I definitely didn't do that, and everything is epoxy and it's too late now. After everything is glassed I expect this to be very very strong, but what I might do is add extra fiberglass tape on this area so that it's just a bit stronger. I might even just Mount the batten after the fact after I flip it back over. Anyway, at this point I'm not really following the plans anymore as I don't find them very useful and they're just as confusing as me trying to look at 40-year-old images on the Glen L photo archive.
Tomorrow I will put on the runner planking to finish up the bottom and once it all dries in a day or two I will start the heavy sanding to smooth it out all the rough edges. My plan is to Glass the entire bottom and do at least two coats of epoxy before I flip it back over to work on the top. I have intentionally left the top decking off for now, as I have purchased a steering kit for the outboard, and I want to dry fit everything after the boat is fiberglassed before I put on any of the decking, as it will be difficult to mount some of the hardware after the deck is on.
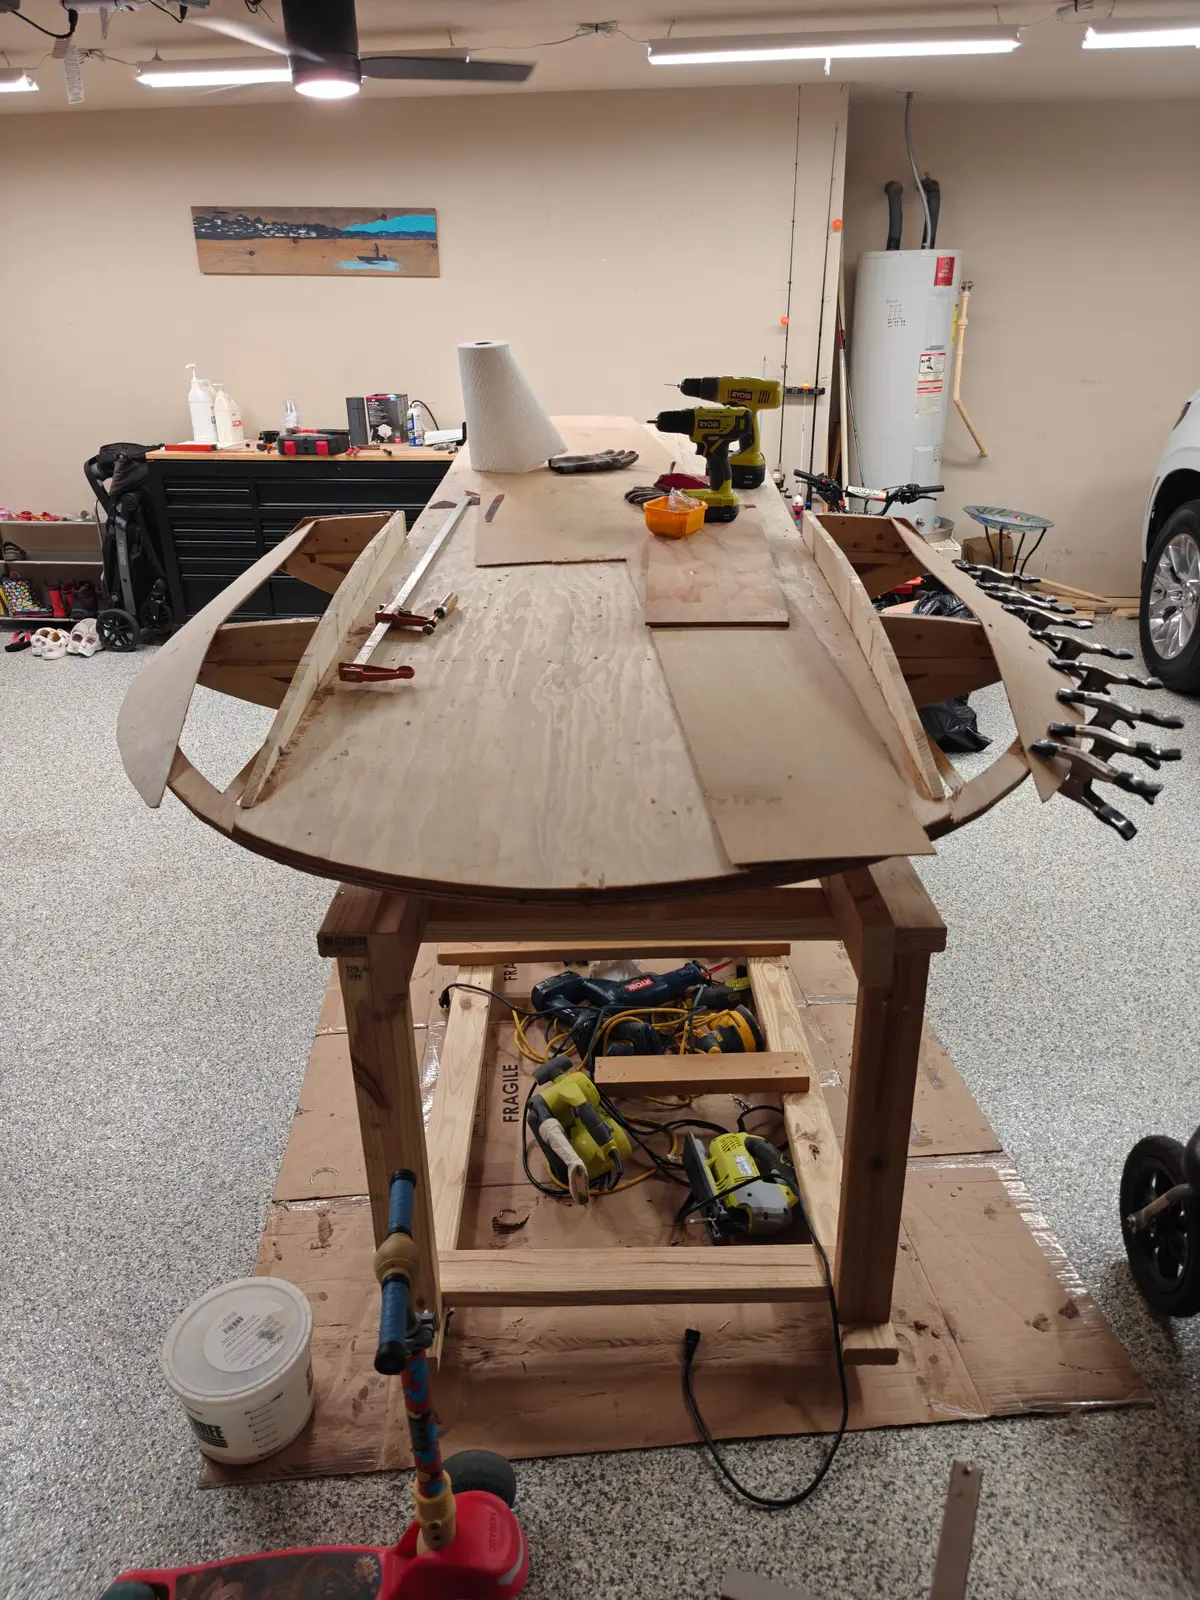
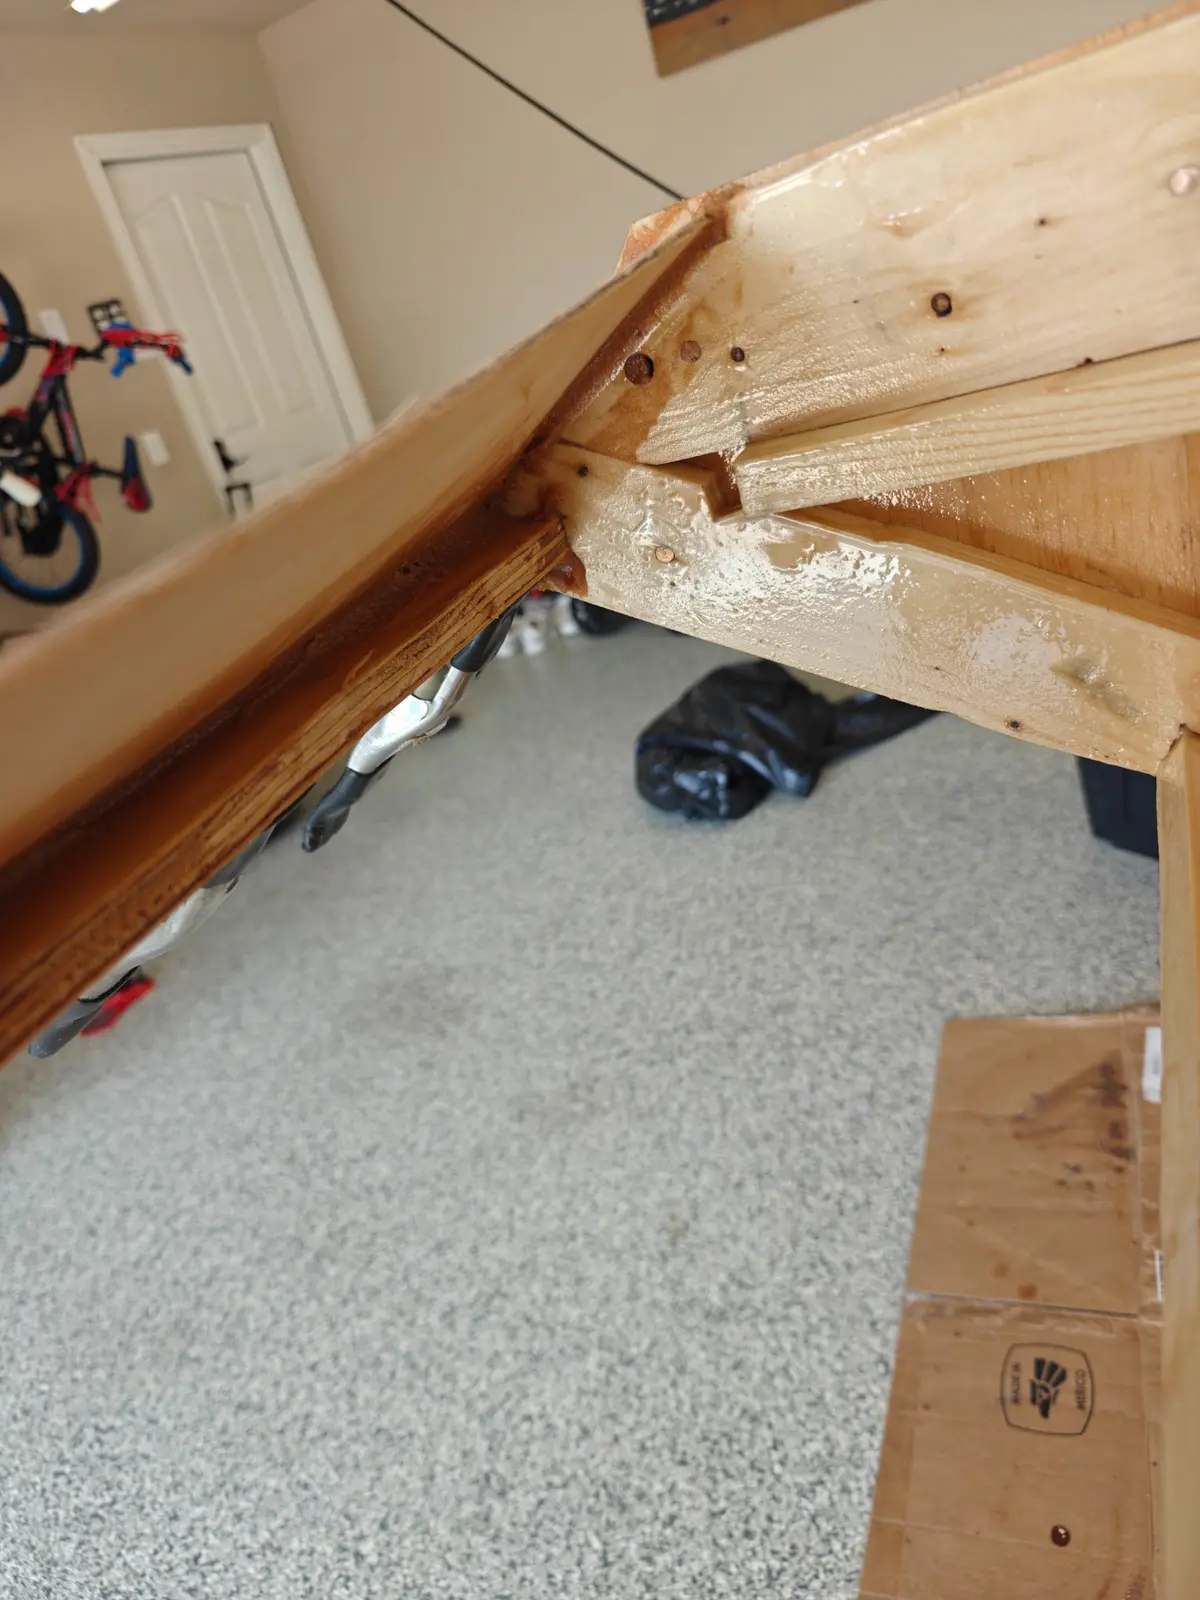
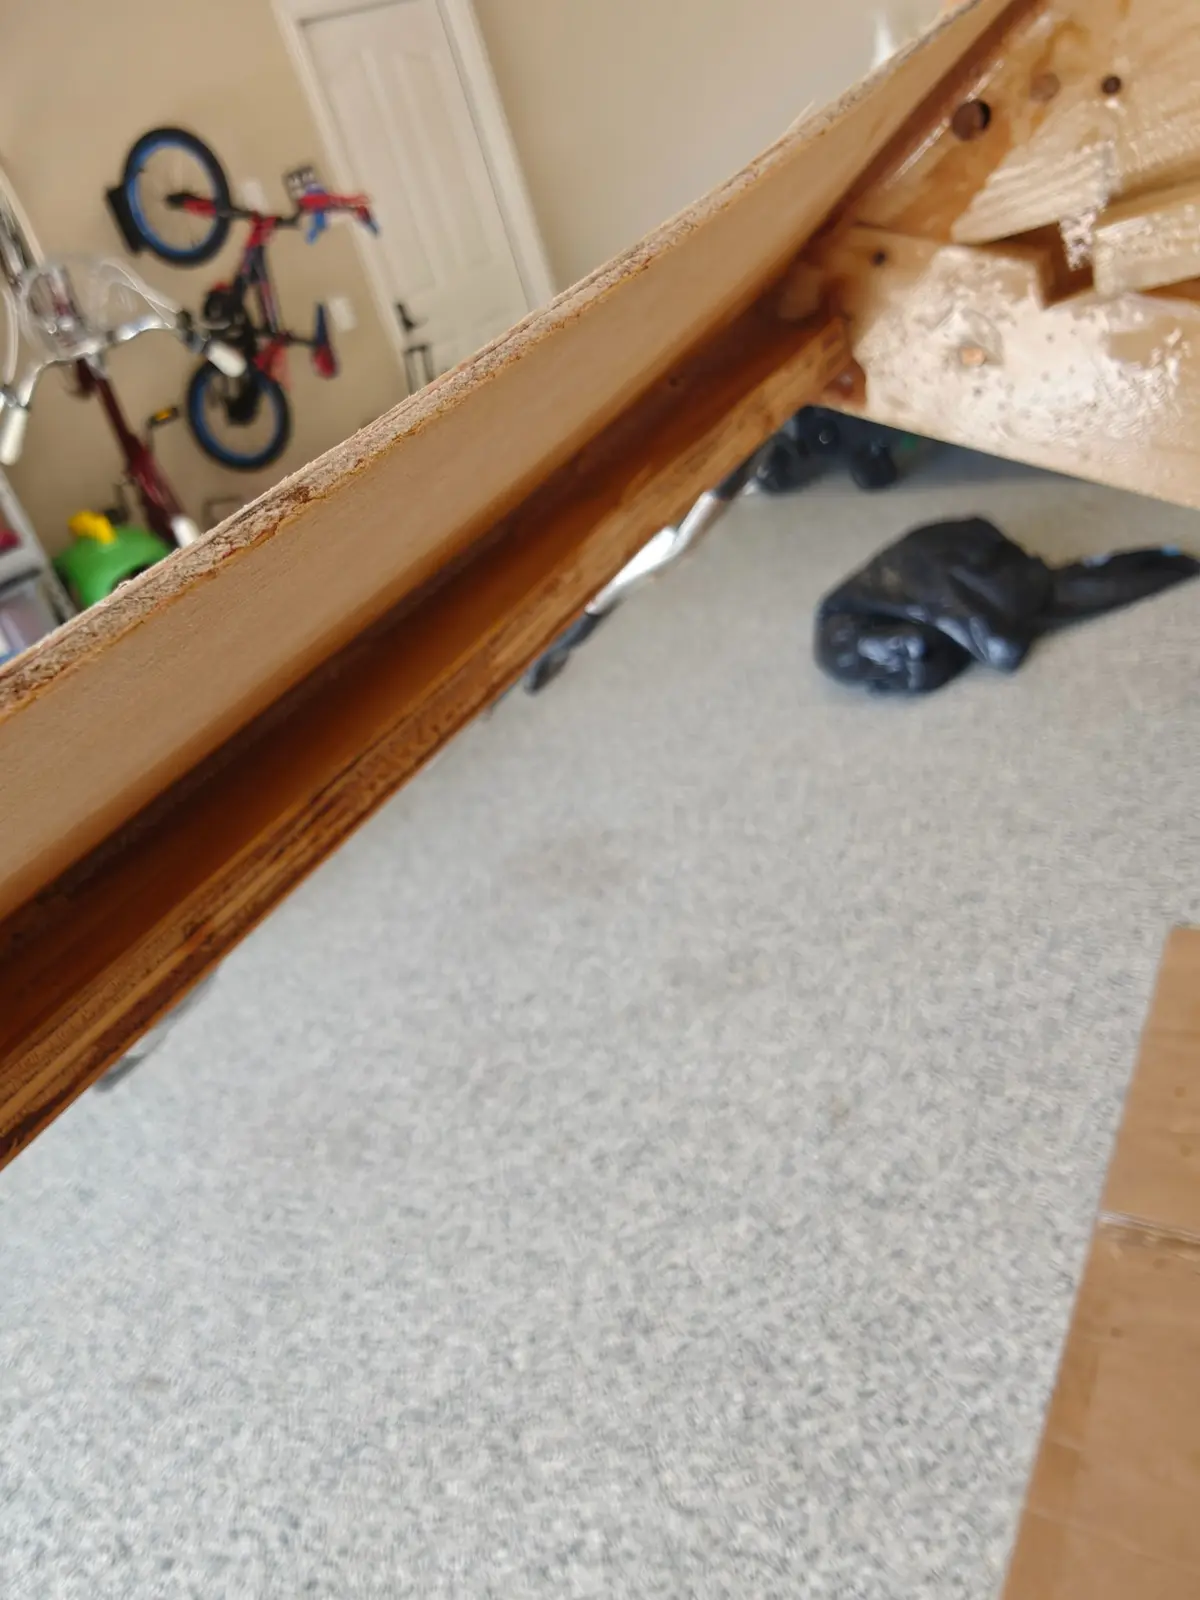
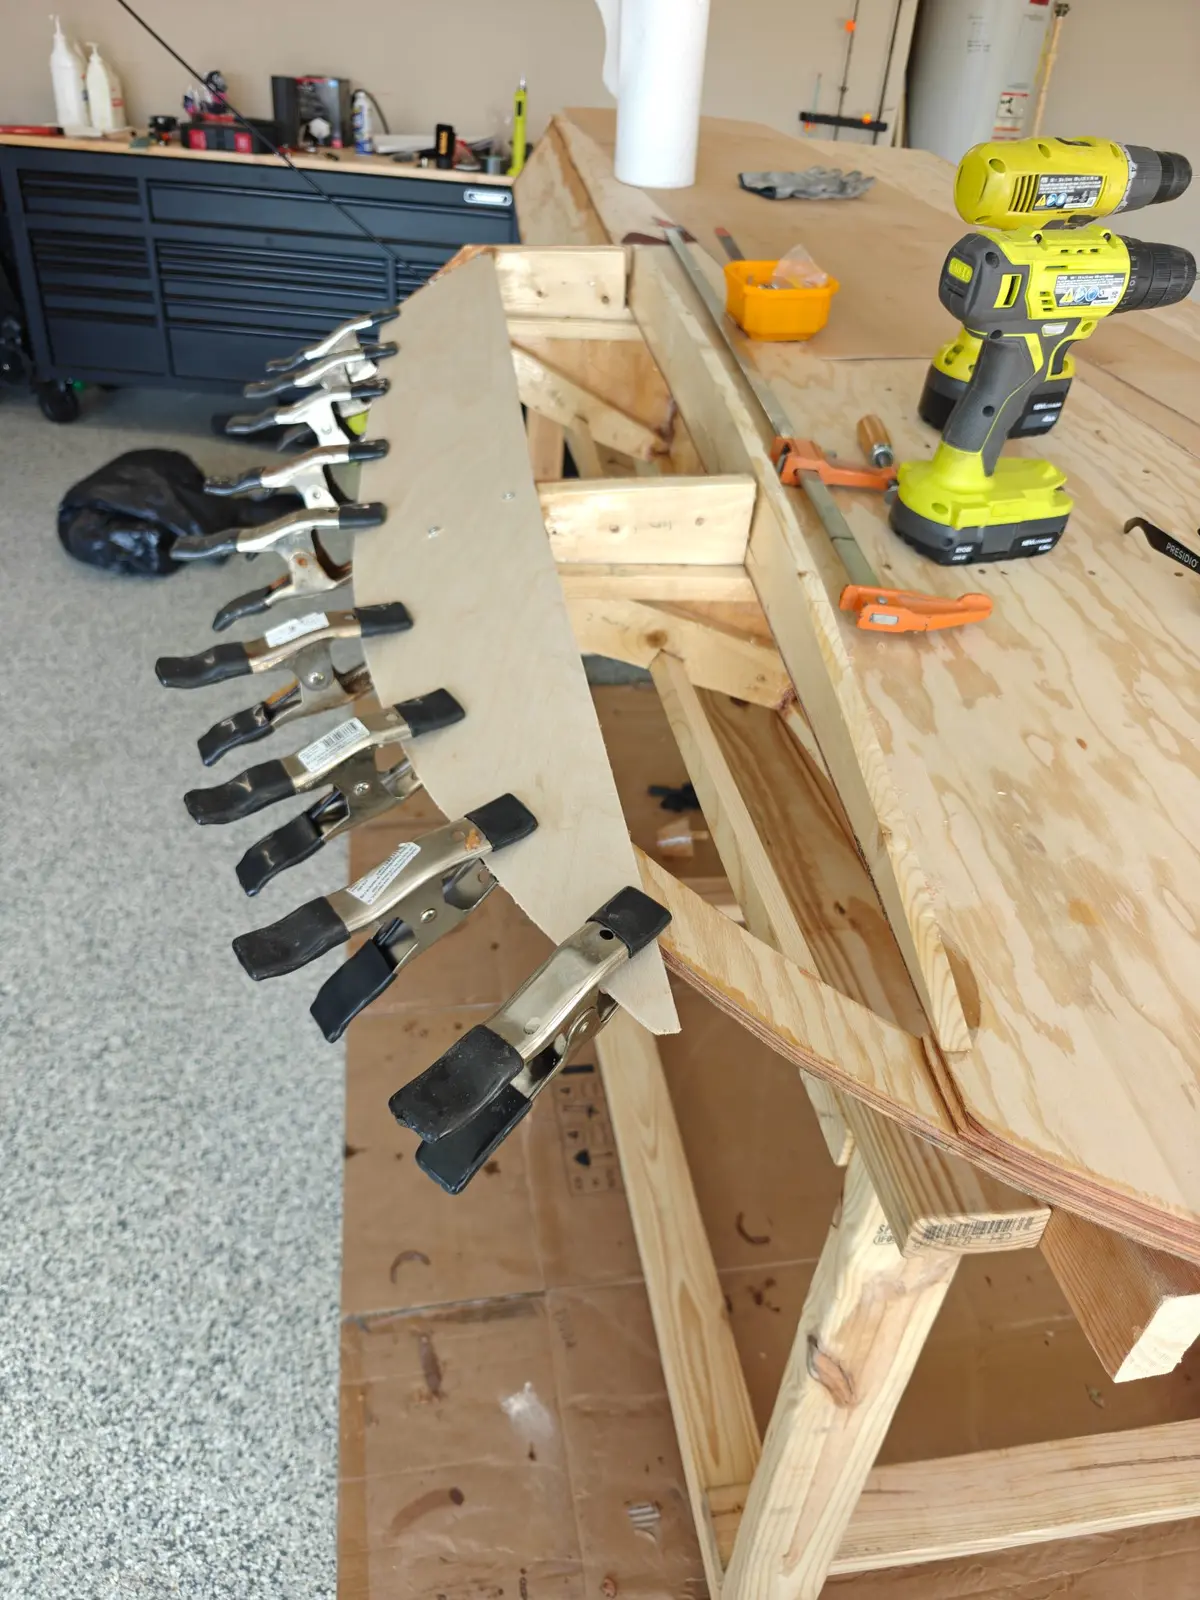
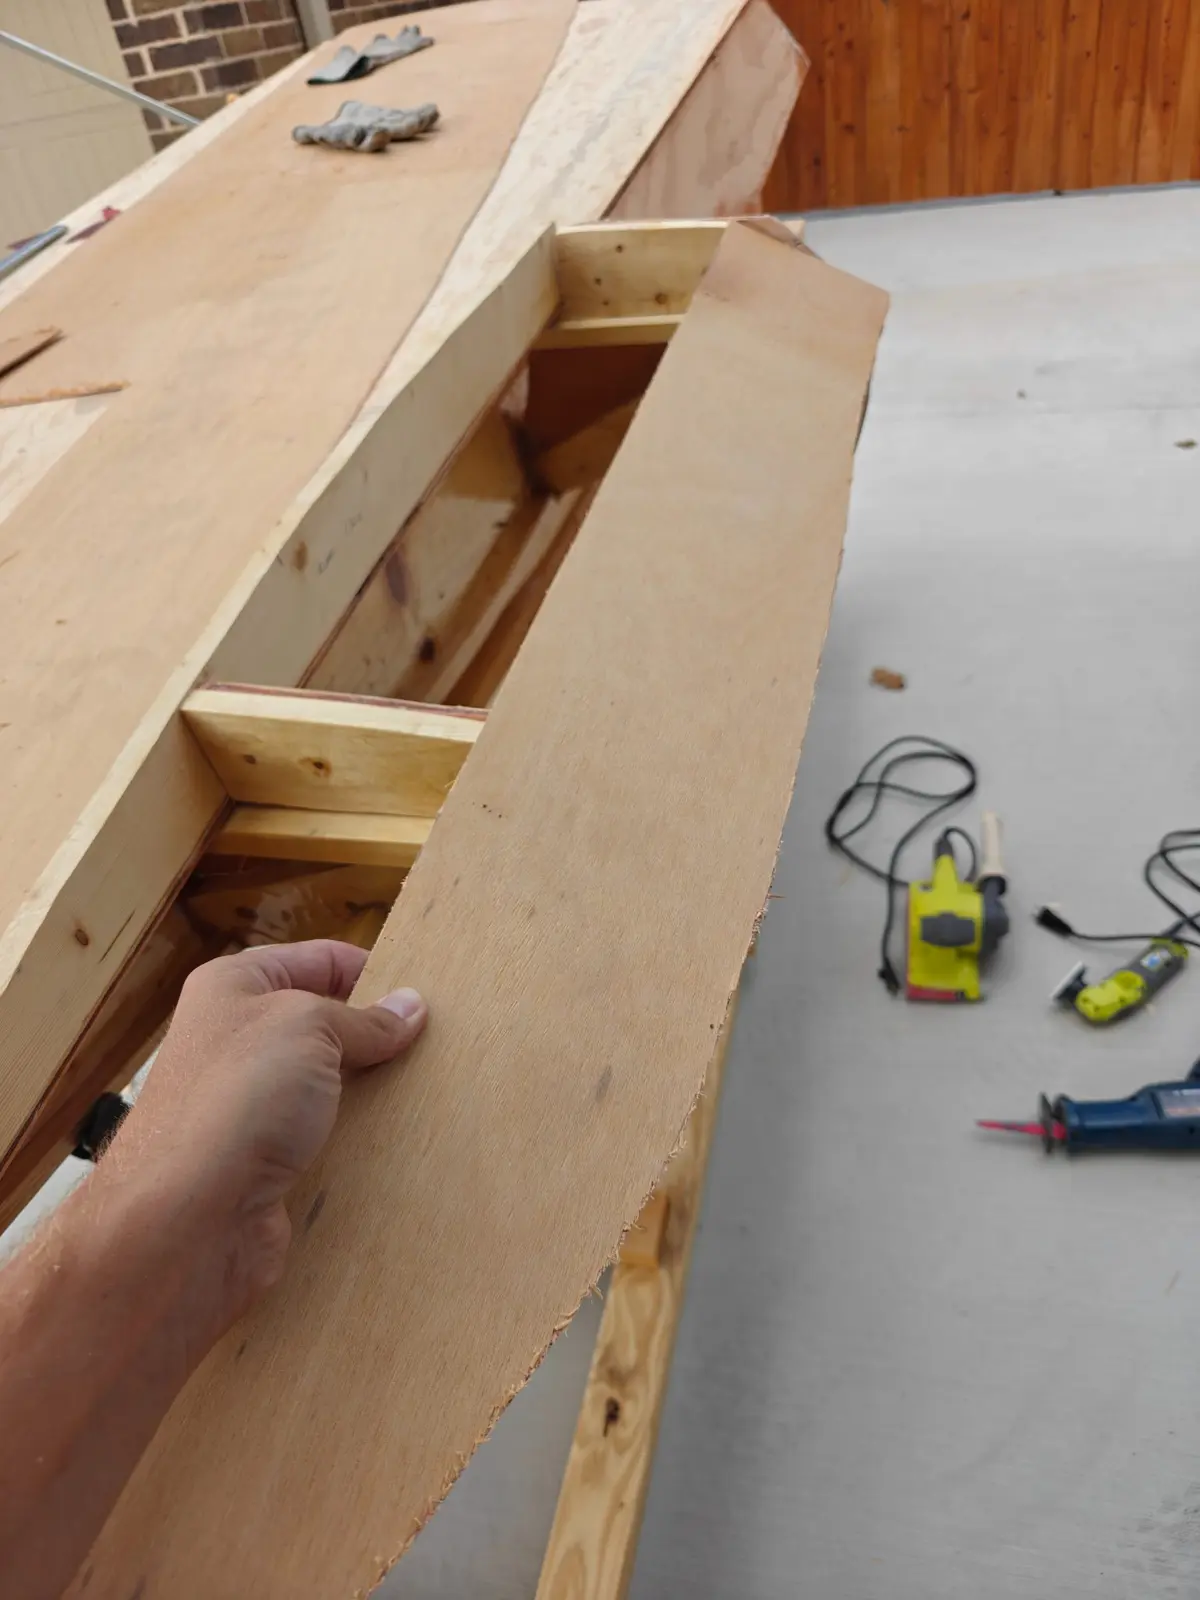
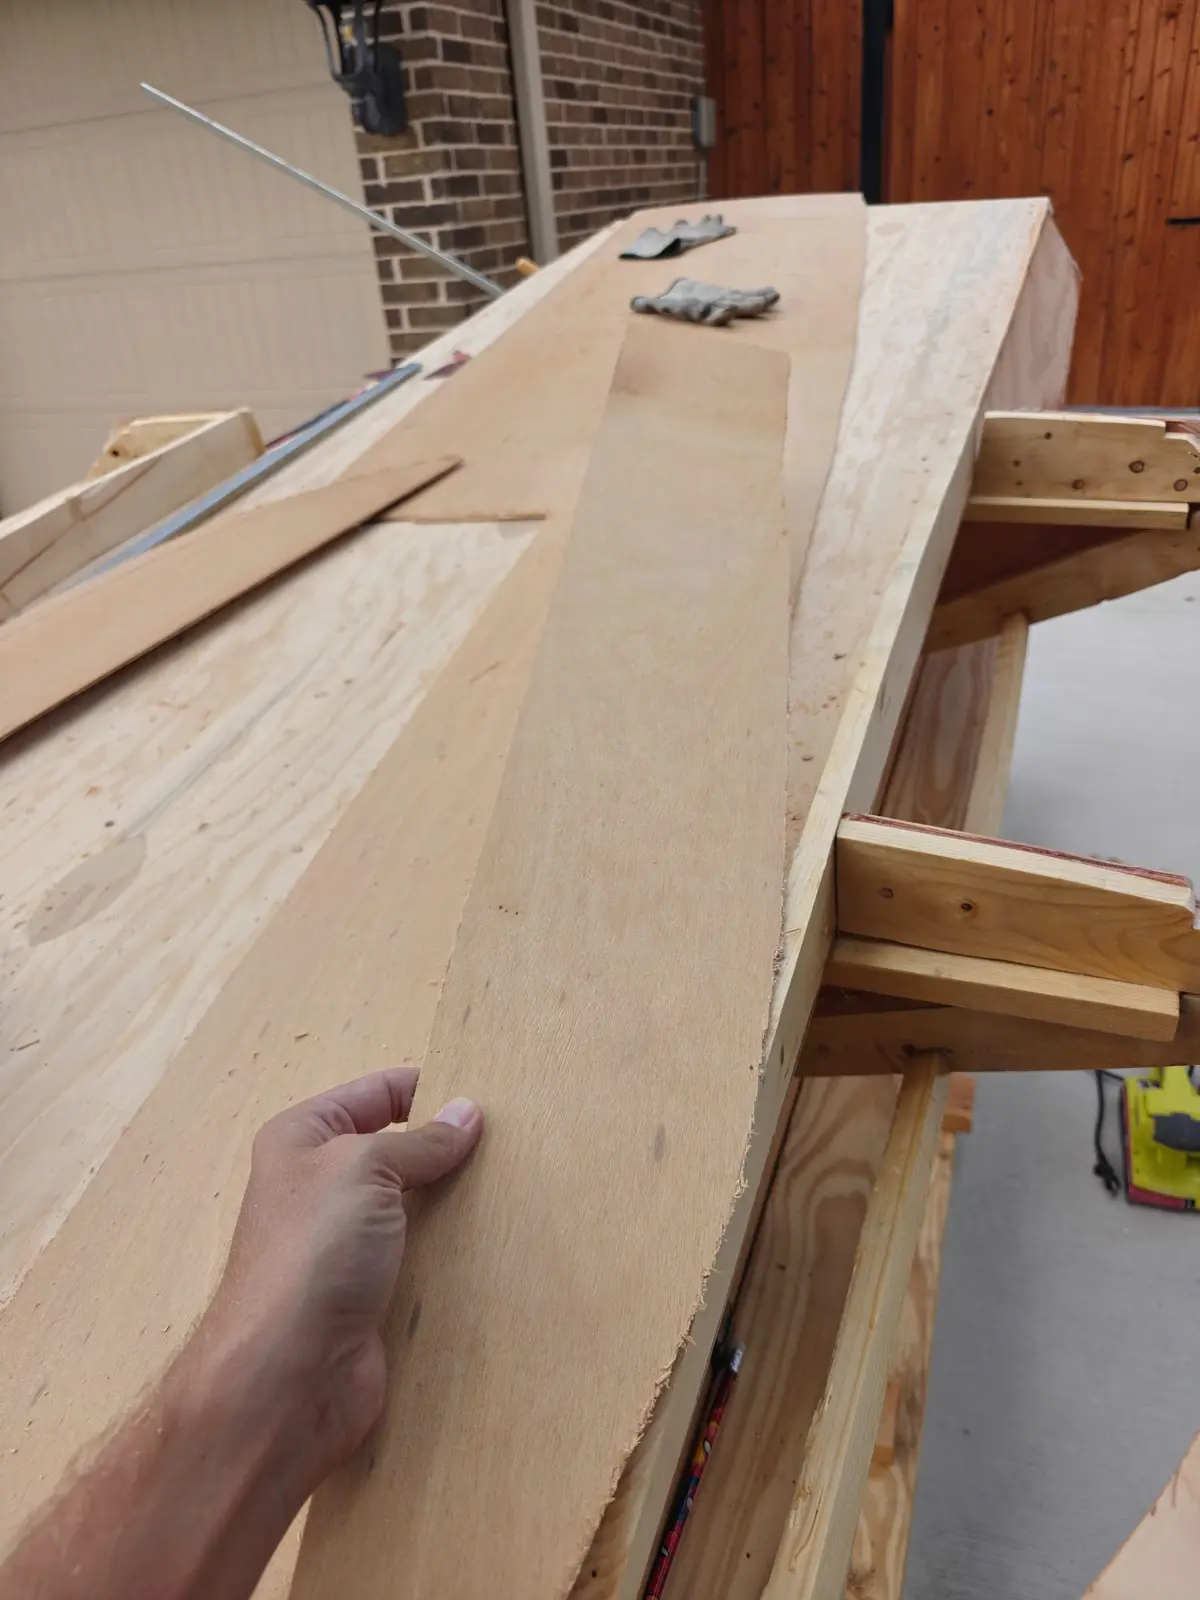
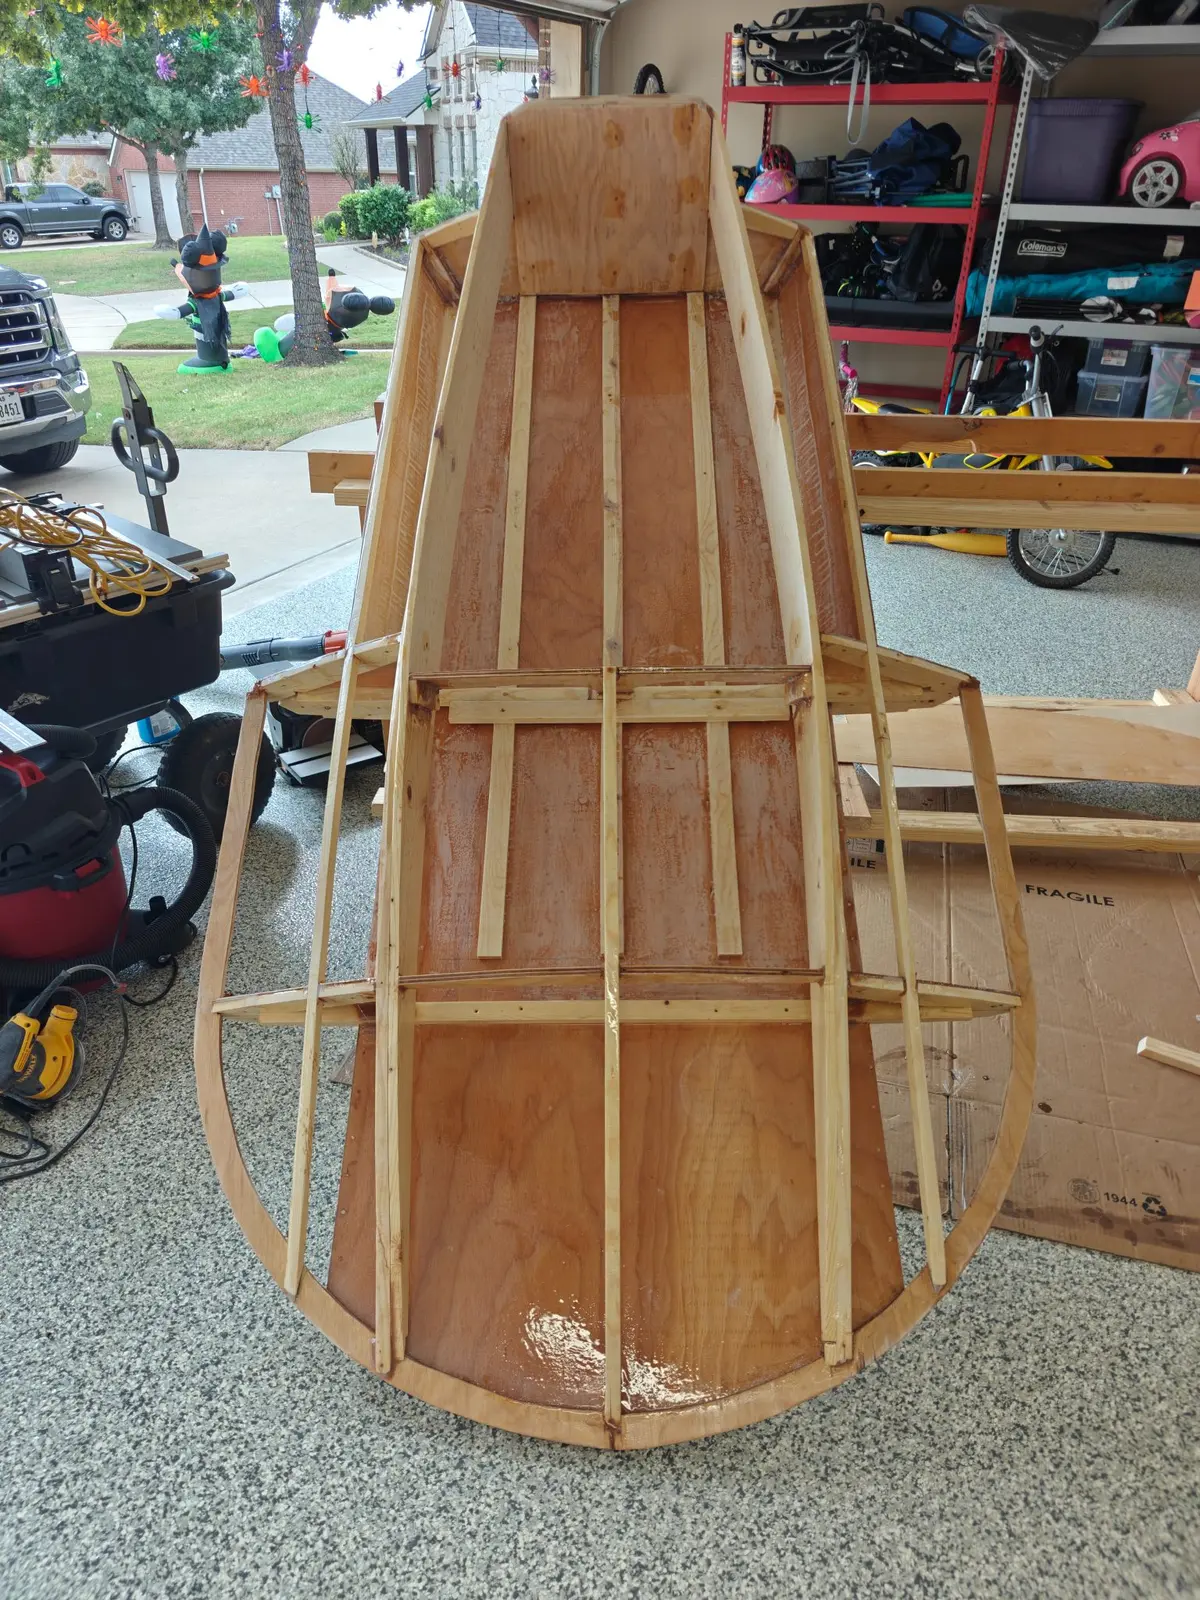
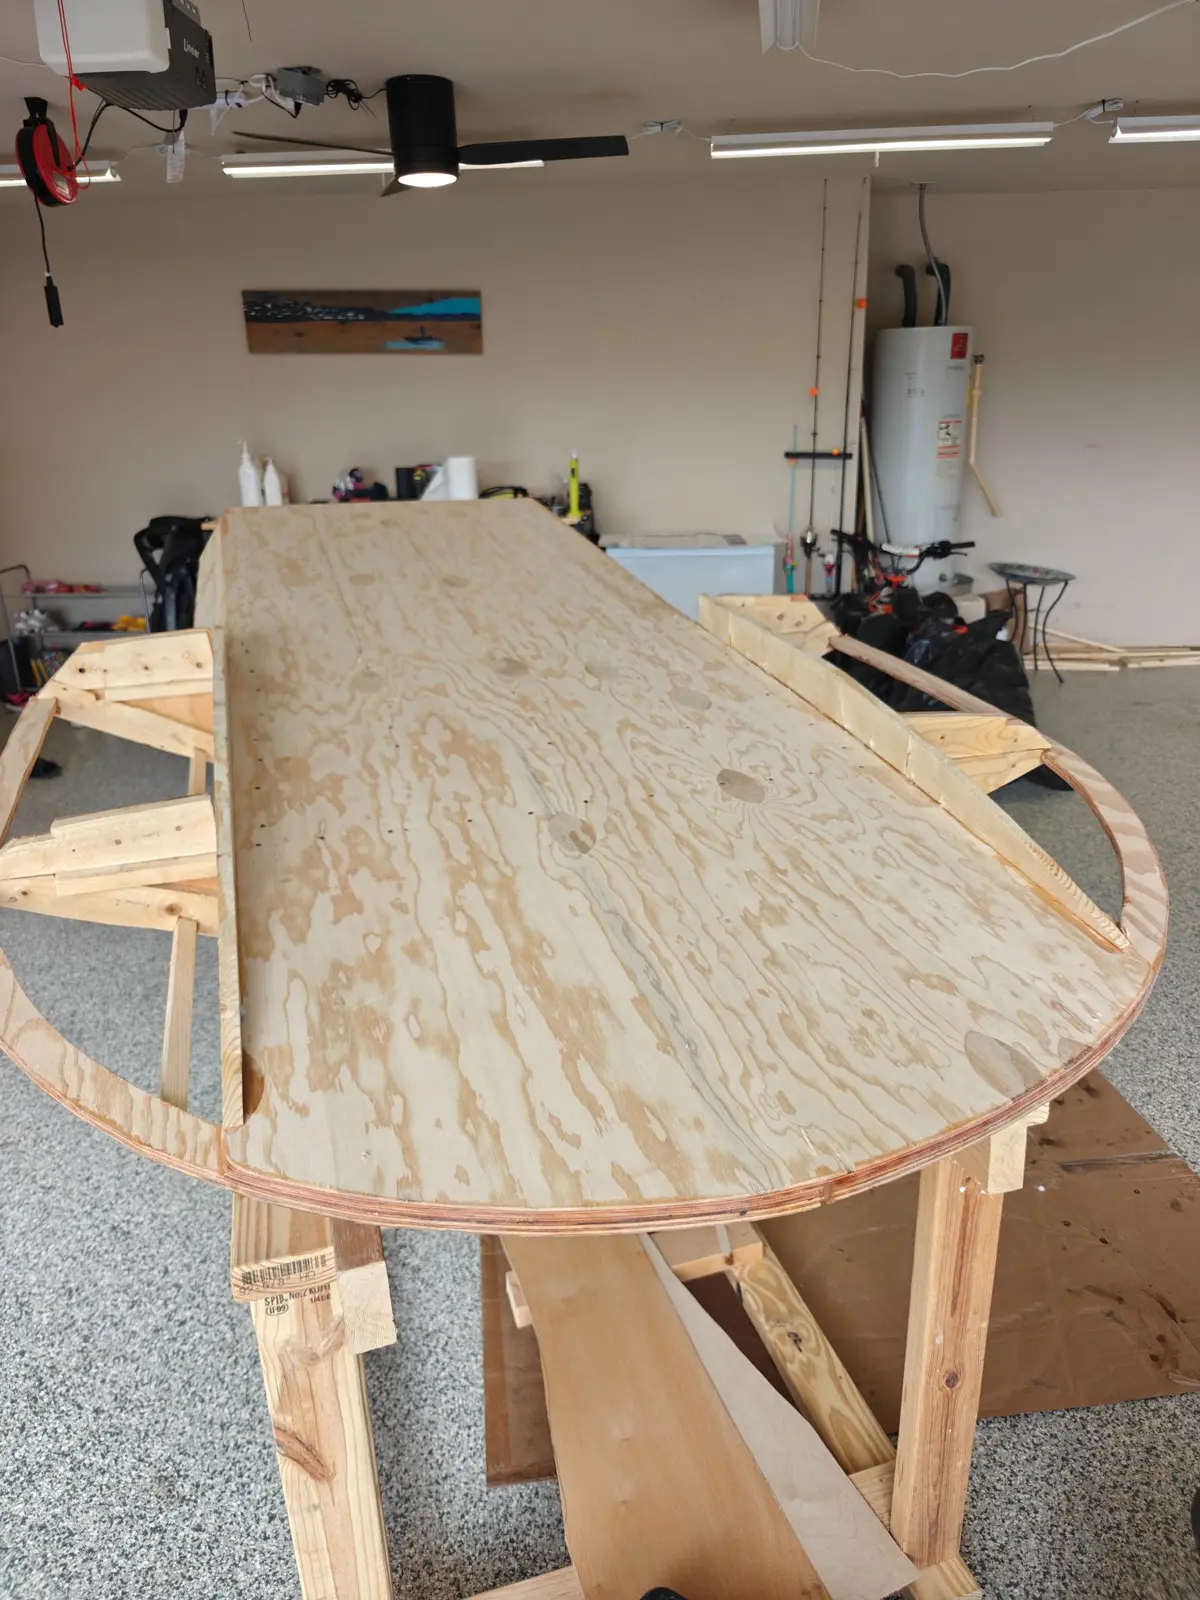
Arggggg, I made another mistake. If you look at the plans, all of the side and bottom paneling is supposed to be 1/4 inch. That means the runner planking I put on yesterday was 1/8 inch instead of 1/4 inch. Oops. I definitely should be looking at the plans, but at this point there are so few pieces left to go on the boat that I'm really relying on my knowledge, skills, and experience to get through the build.
Anyway, there are a couple of ways to fix this:
So anyway, today I added a runner chine, after the fact, underneath the paneling on the bottom. It's glued in pretty well, so I think it will add decent stability. Once everything has dried, I'll sand it flat so the top part of the planking makes contact with it as well.
Nobody else here is logging a Tiny Titan yet. See the boat.
| Item | Qty | Supplier | Cost |
|---|---|---|---|
| Boat Plans | 1 | Glen-L | $75.00 |
| Ryobi Plug-in jigsaw | 1 | Home Depot | $100.00 |
| lumber | 1 | Home Depot | $100.00 |
| Fir AB Marine 1/4" 4x8 | 2 | Plywood company | $200.00 |
| Fir AB Marine 1/2" 4x8 | 1 | Plywood company | $137.00 |
| Birch 1/8 4x8 Plywood | 1 | Plywood company | $35.00 |
| Craftsman planer | 1 | Home Depot | $329.00 |
| Fasteners and Fiberglass kit | 1 | Glen-L | $400.00 |
| 6oz Fiberglass Cloth Roll | 1 | Amazon | $15.00 |
| 6HP 2 Stroke Hangkai Outboard Engine | 1 | Hangkai | $575.00 |