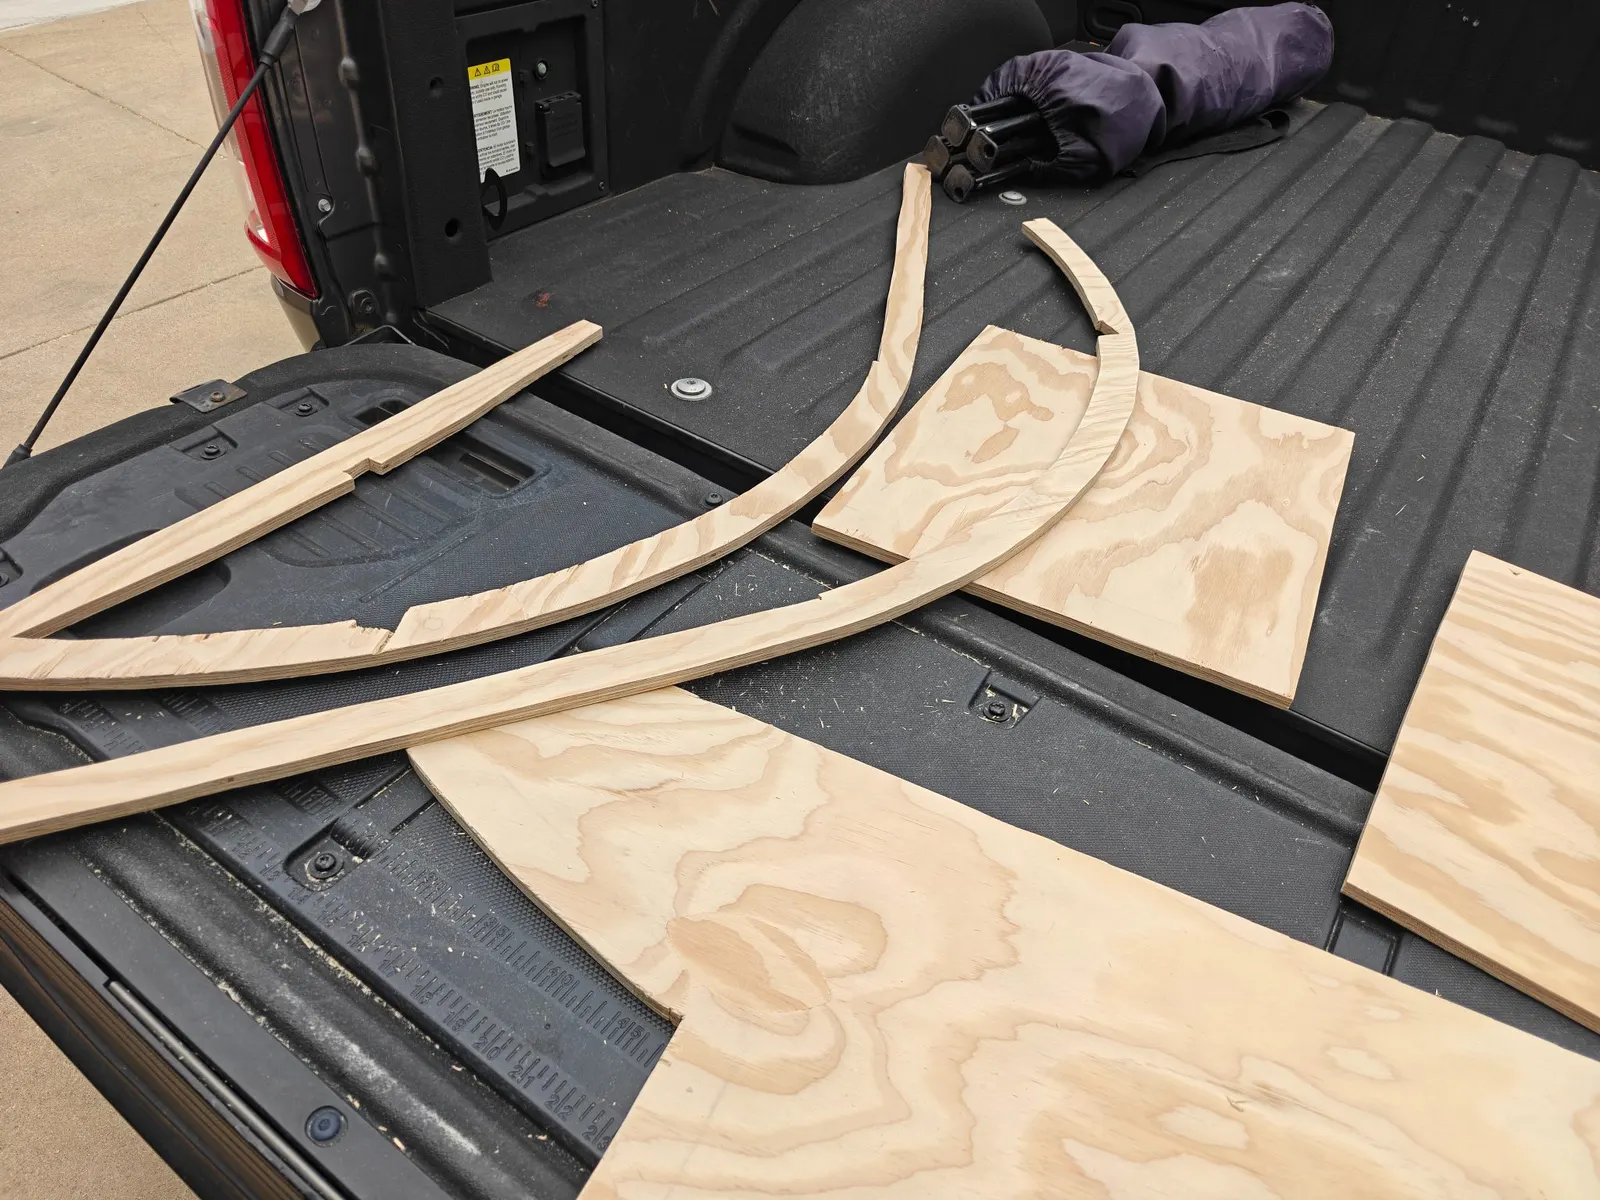
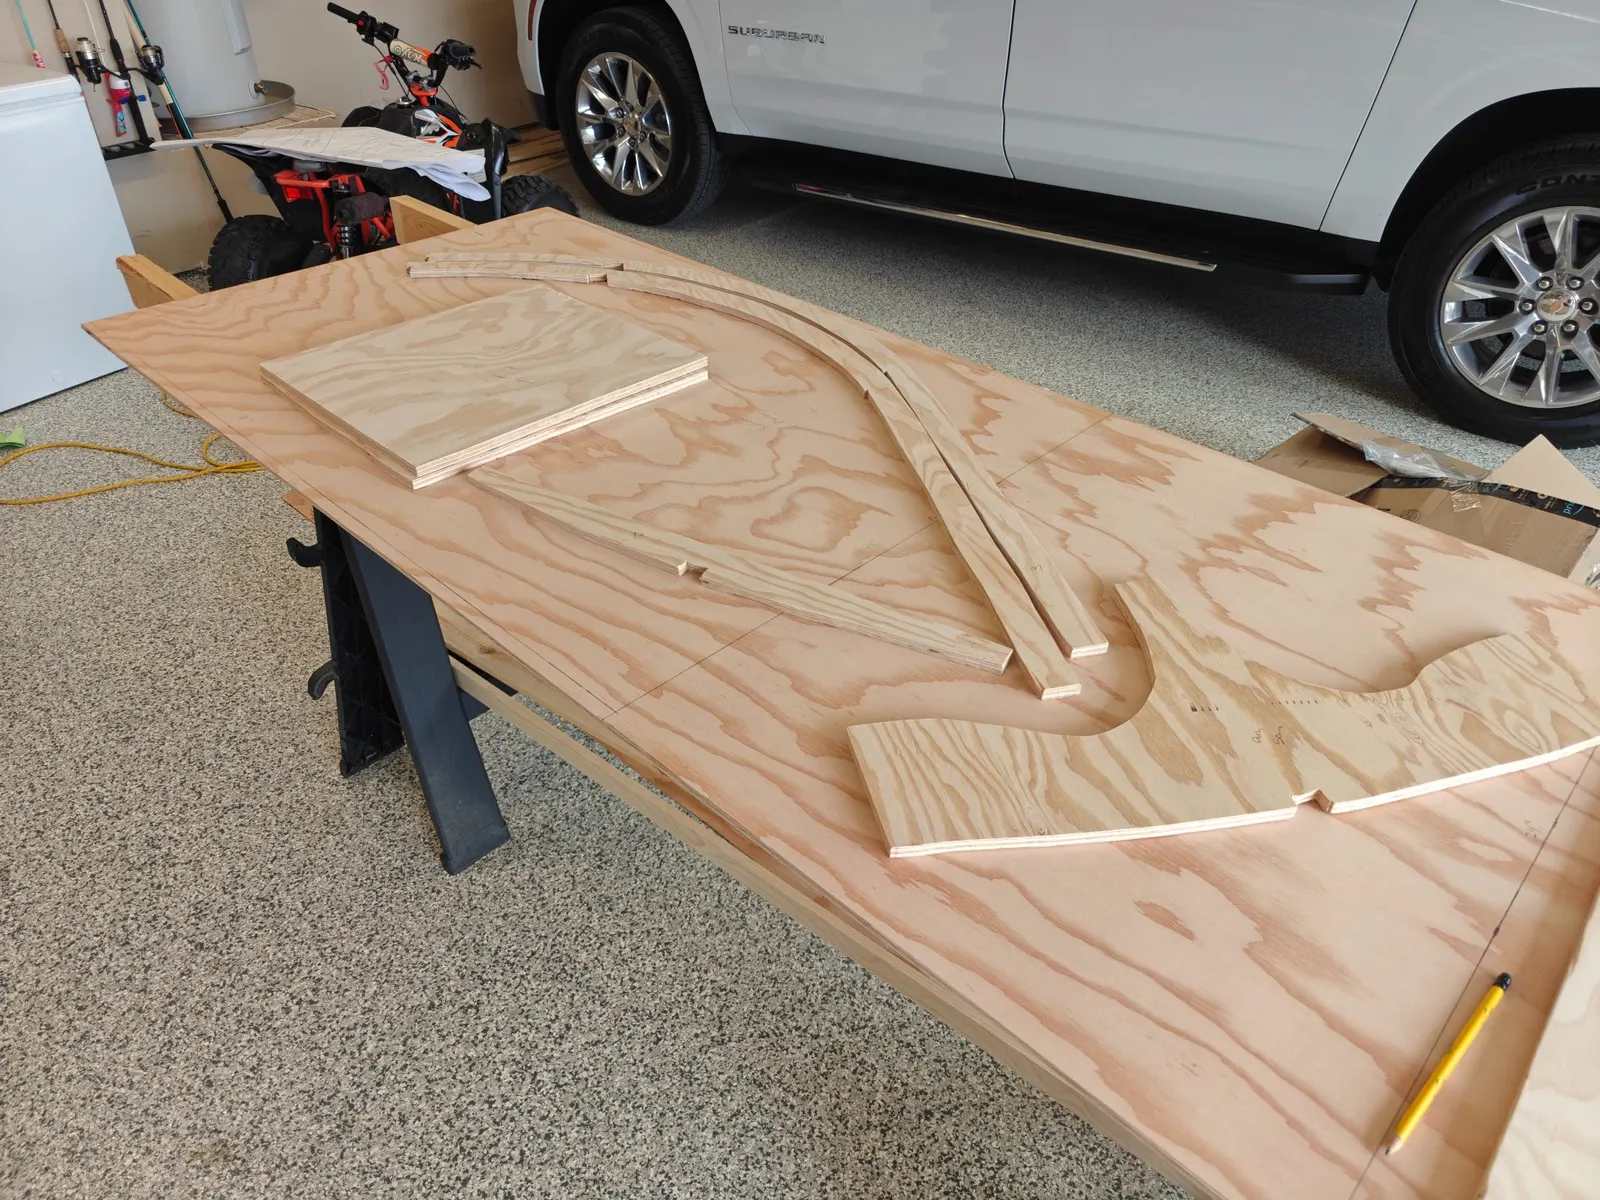
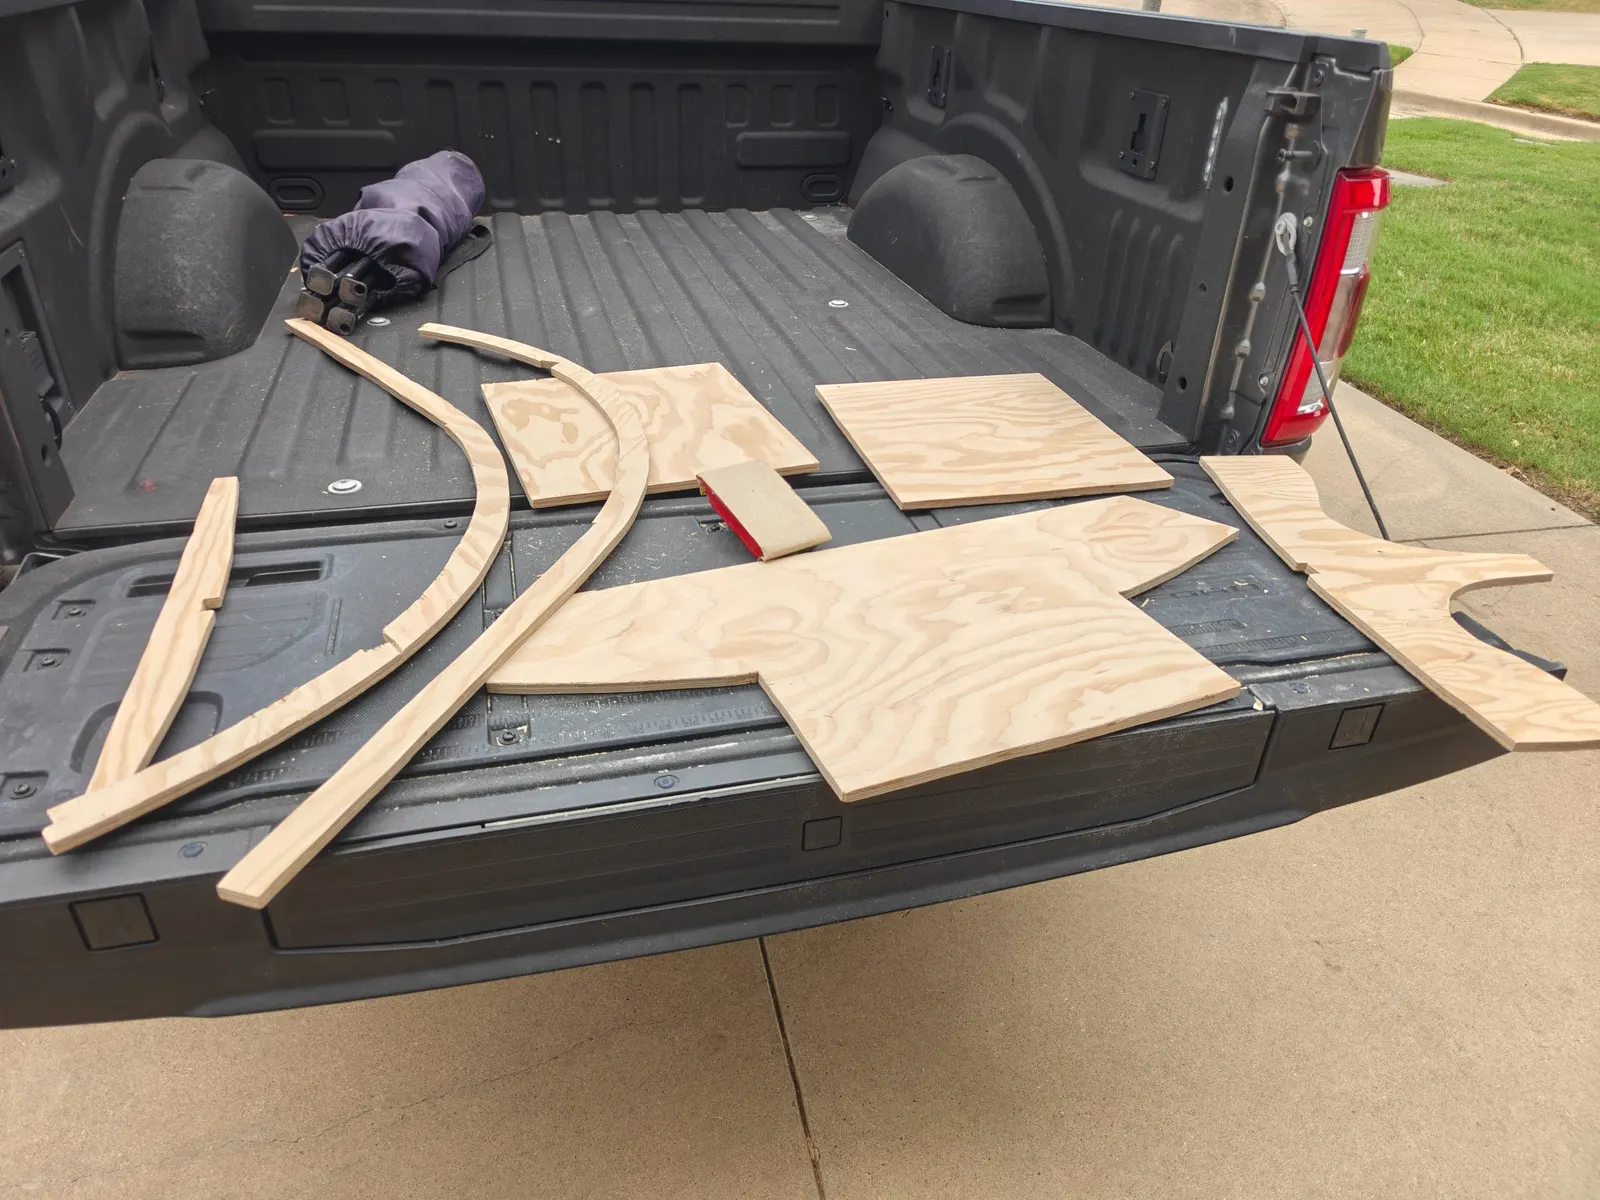
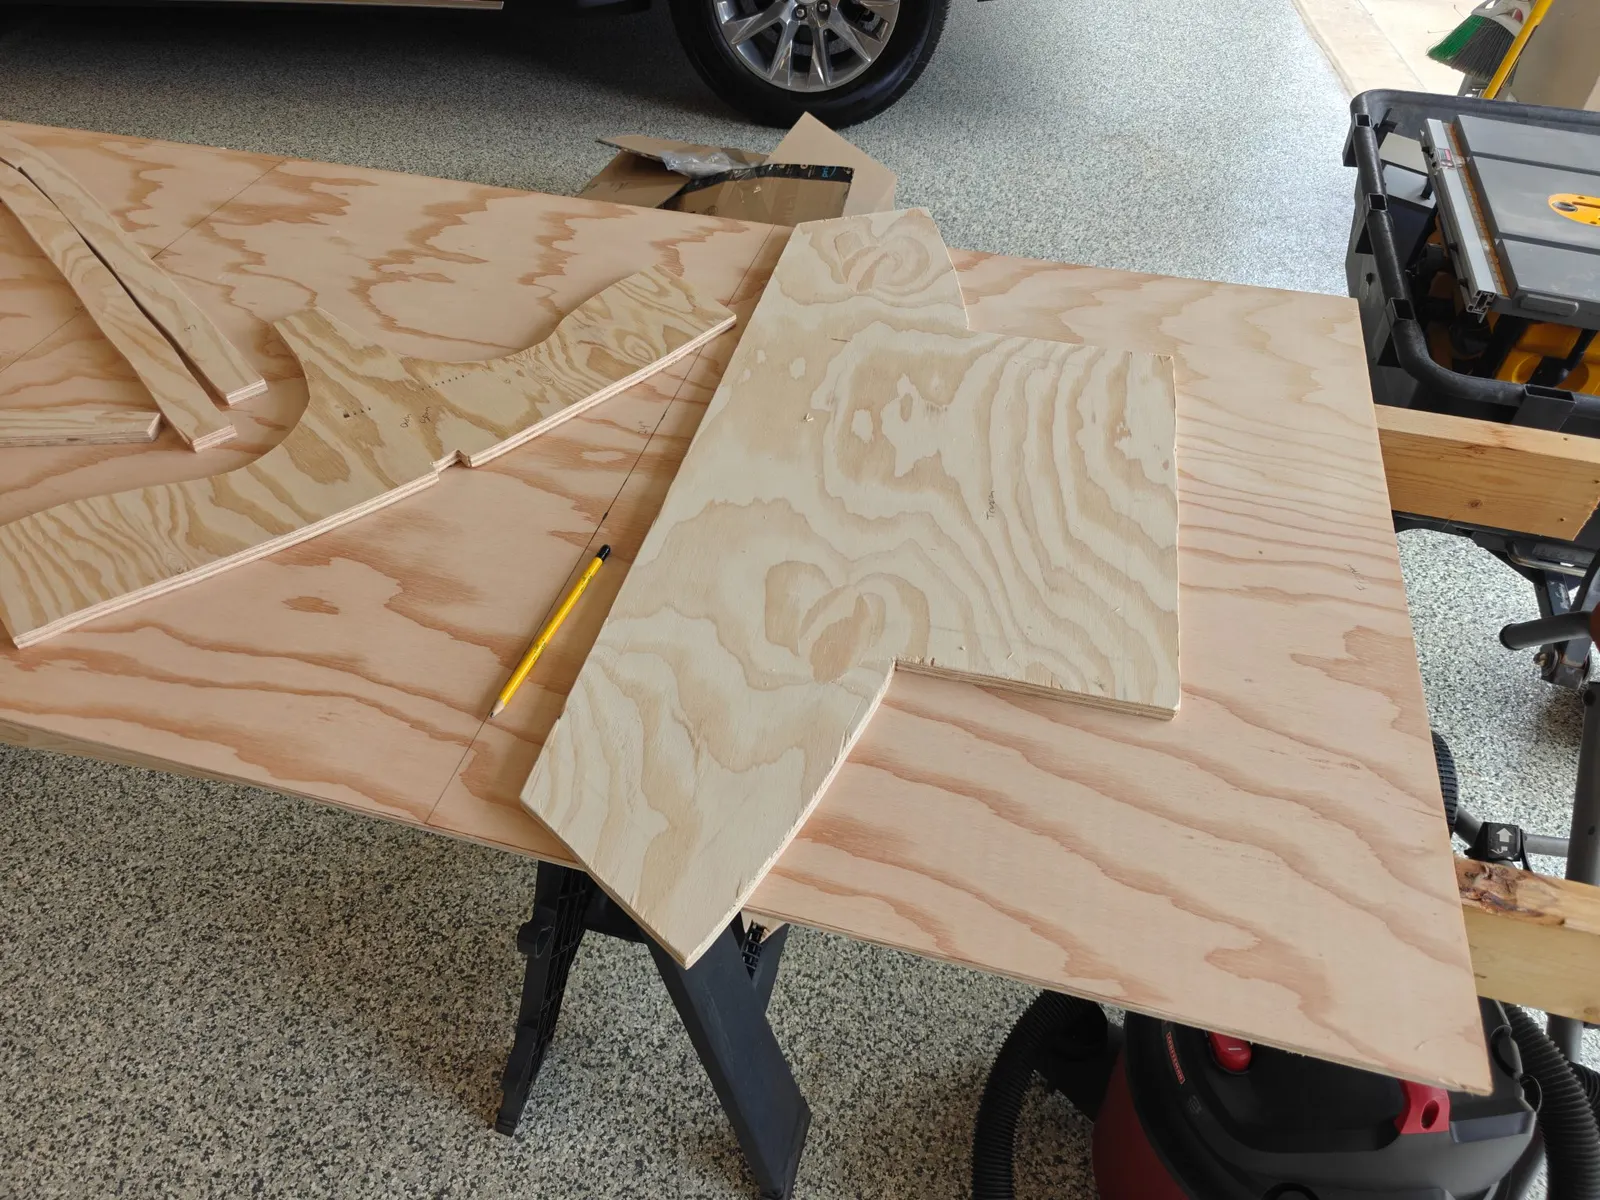
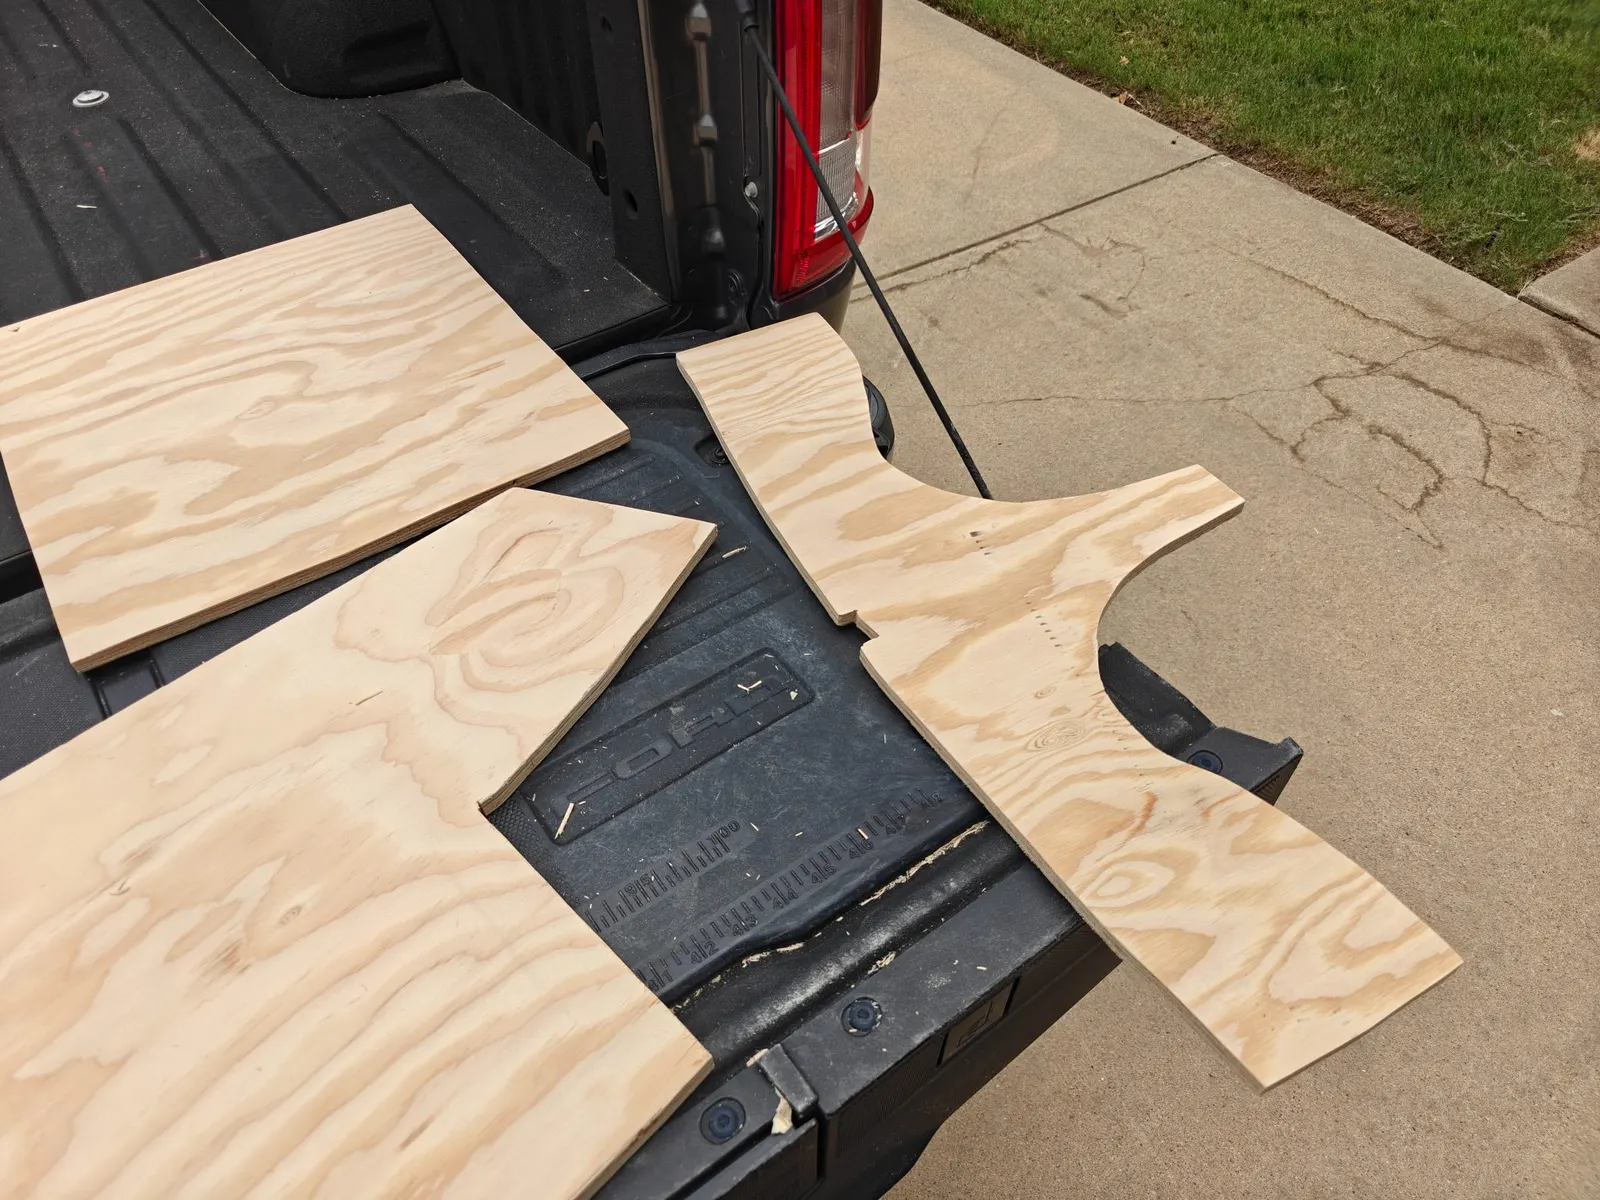
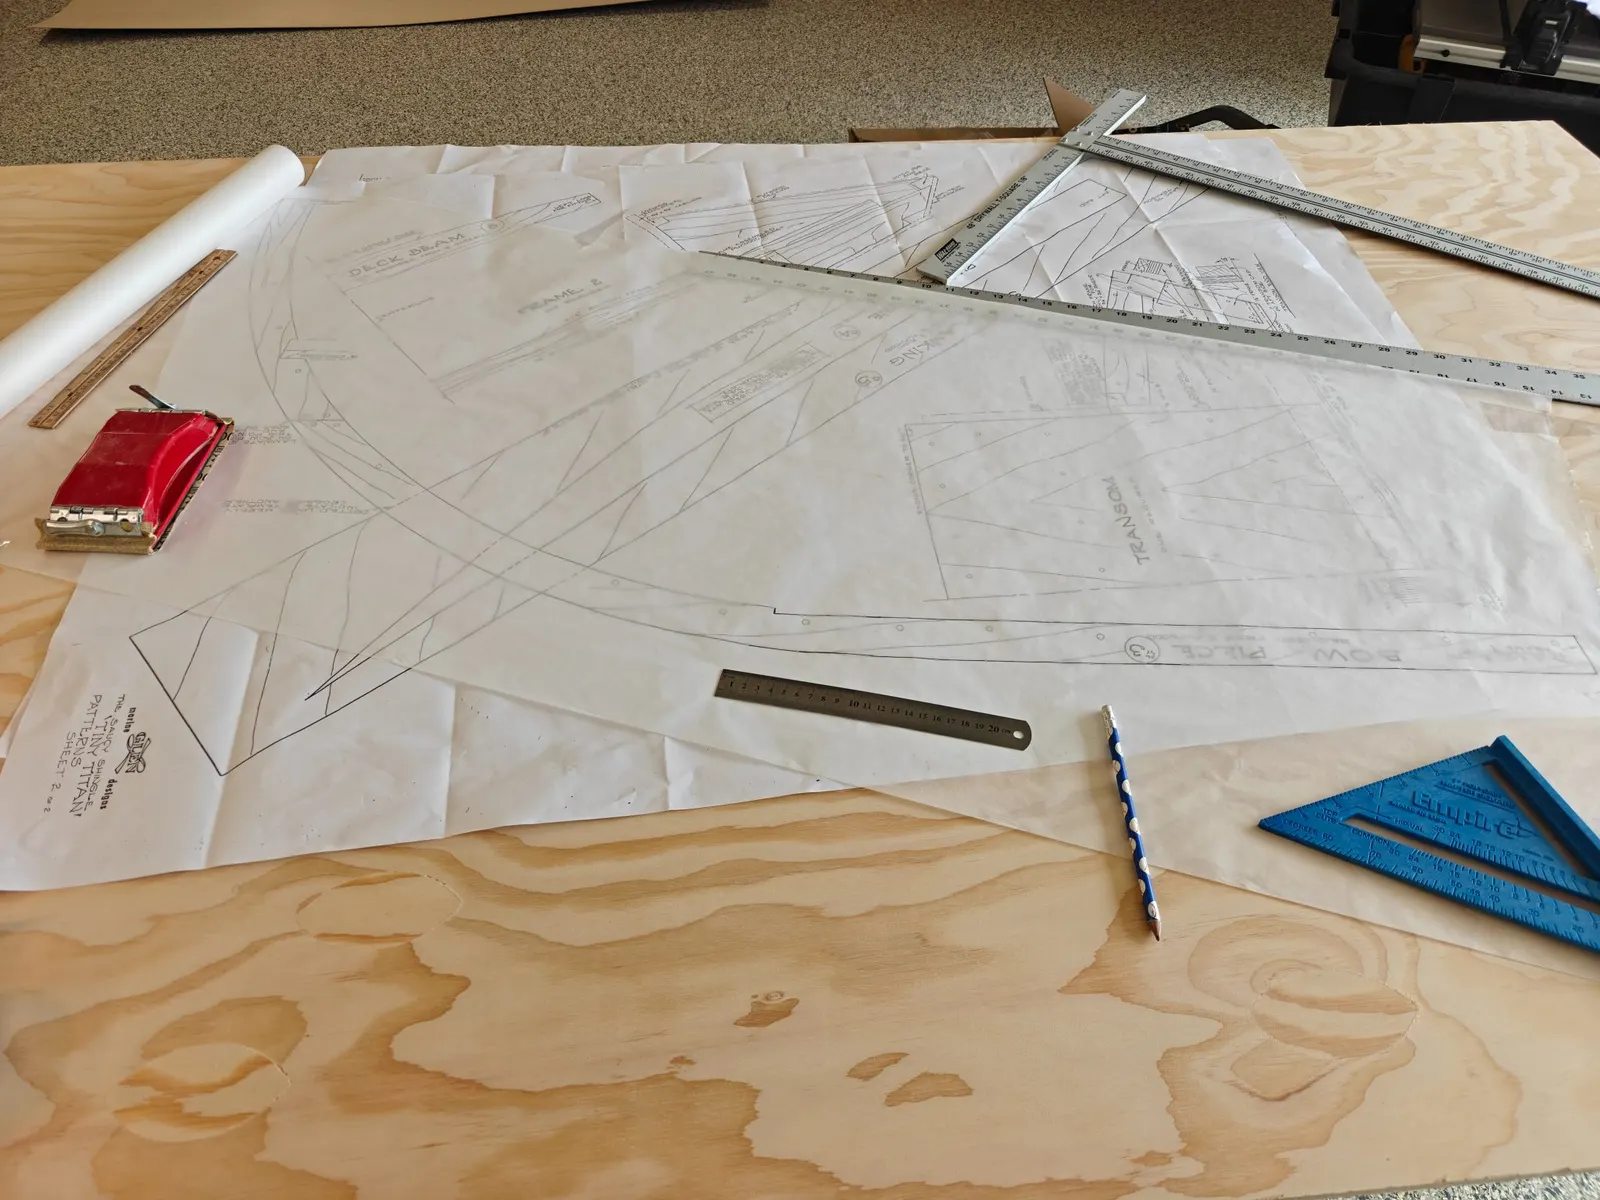
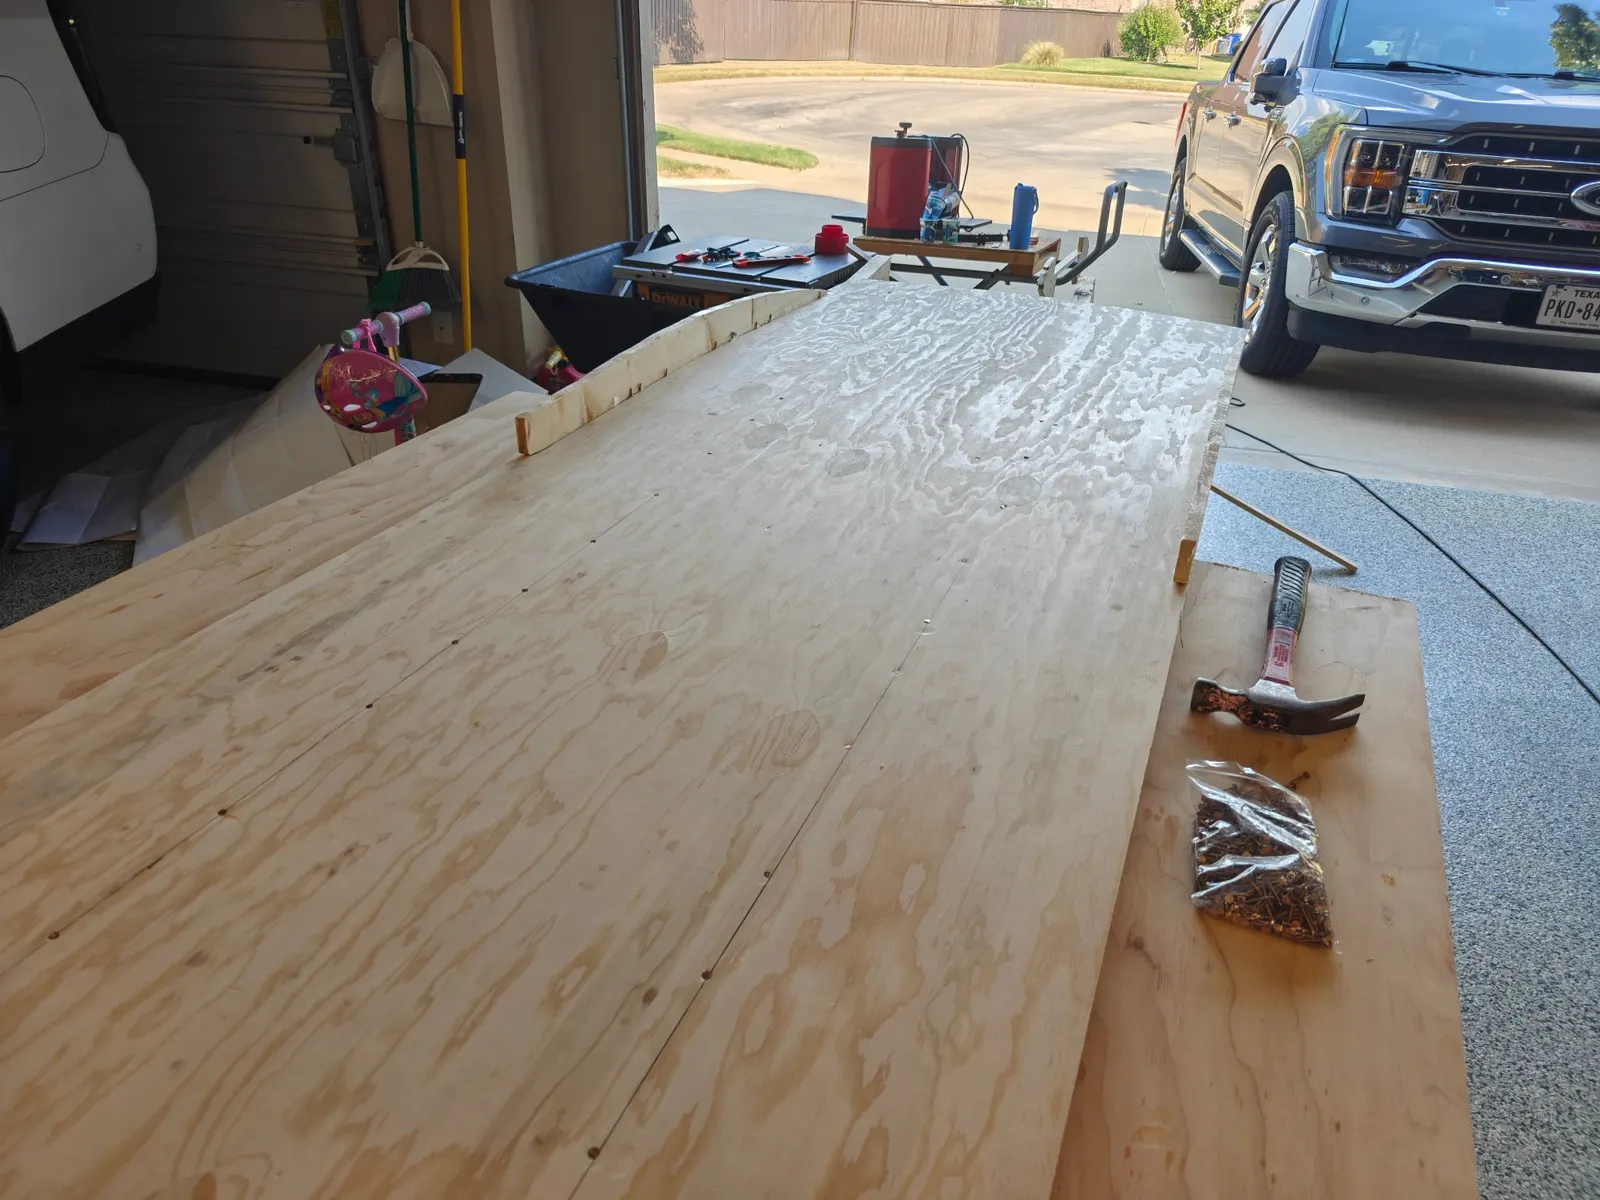
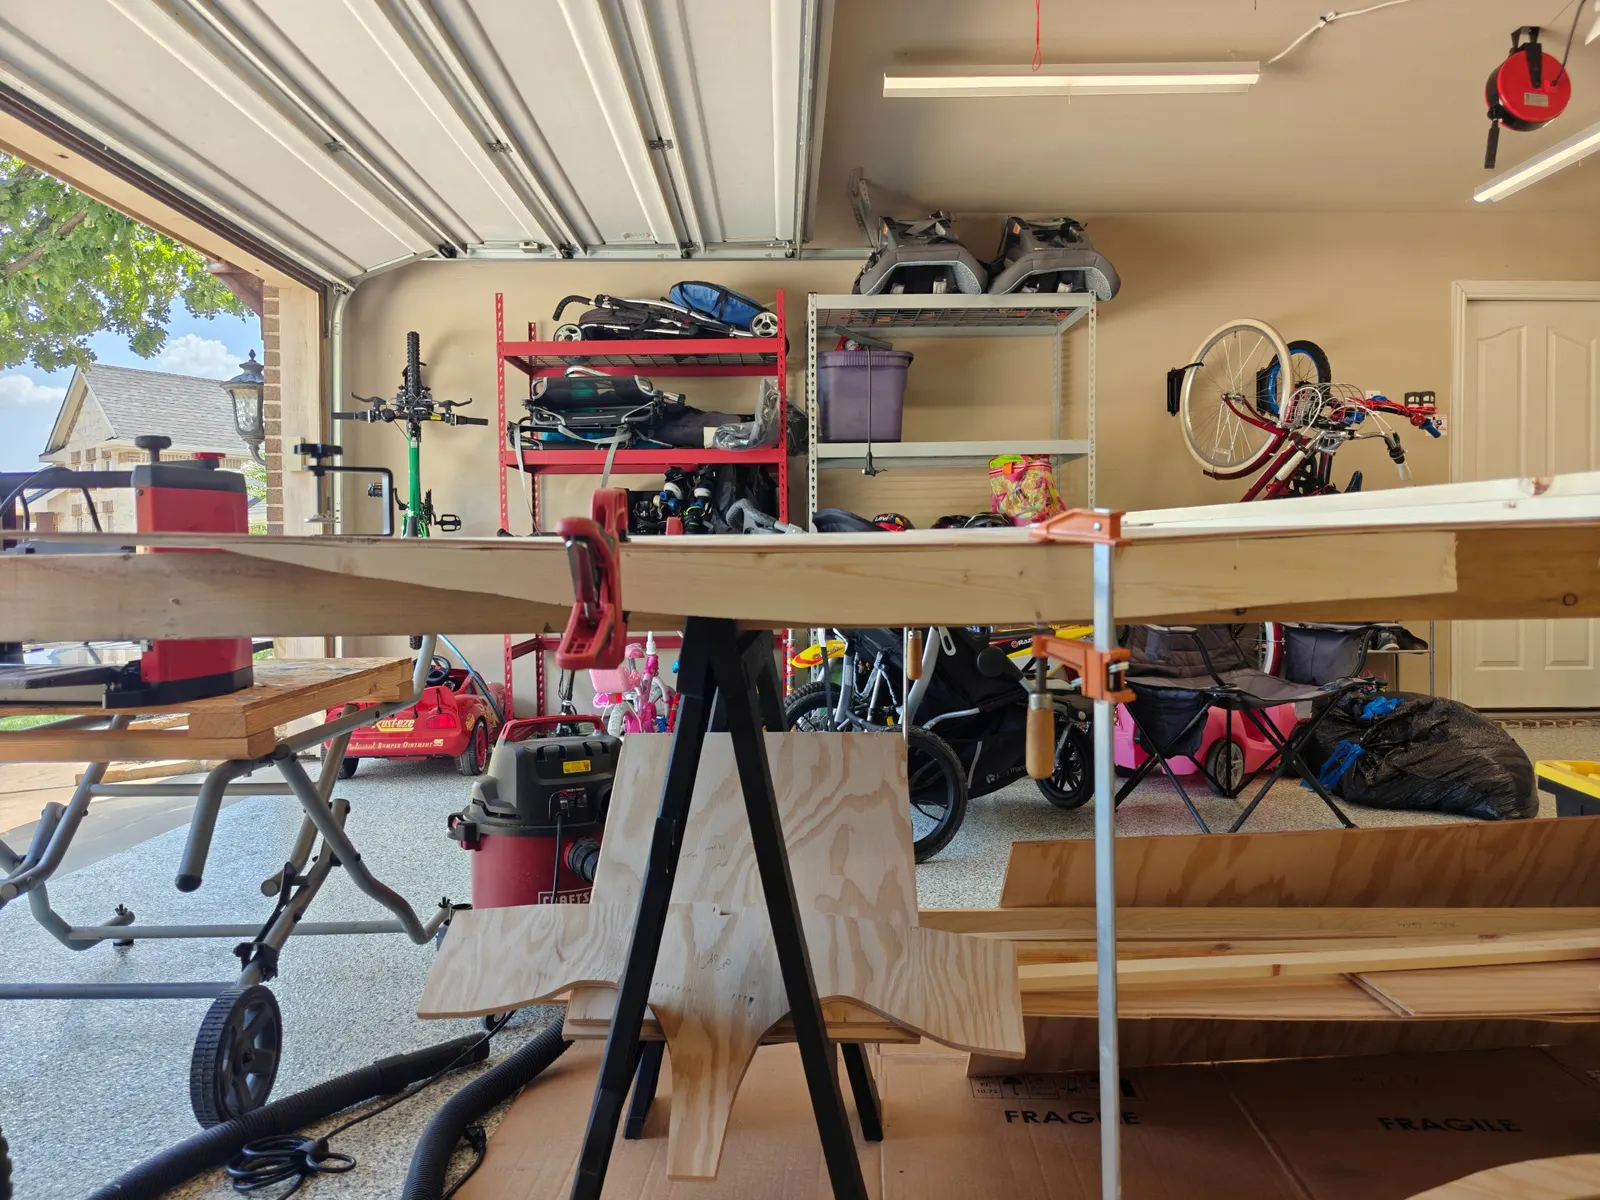
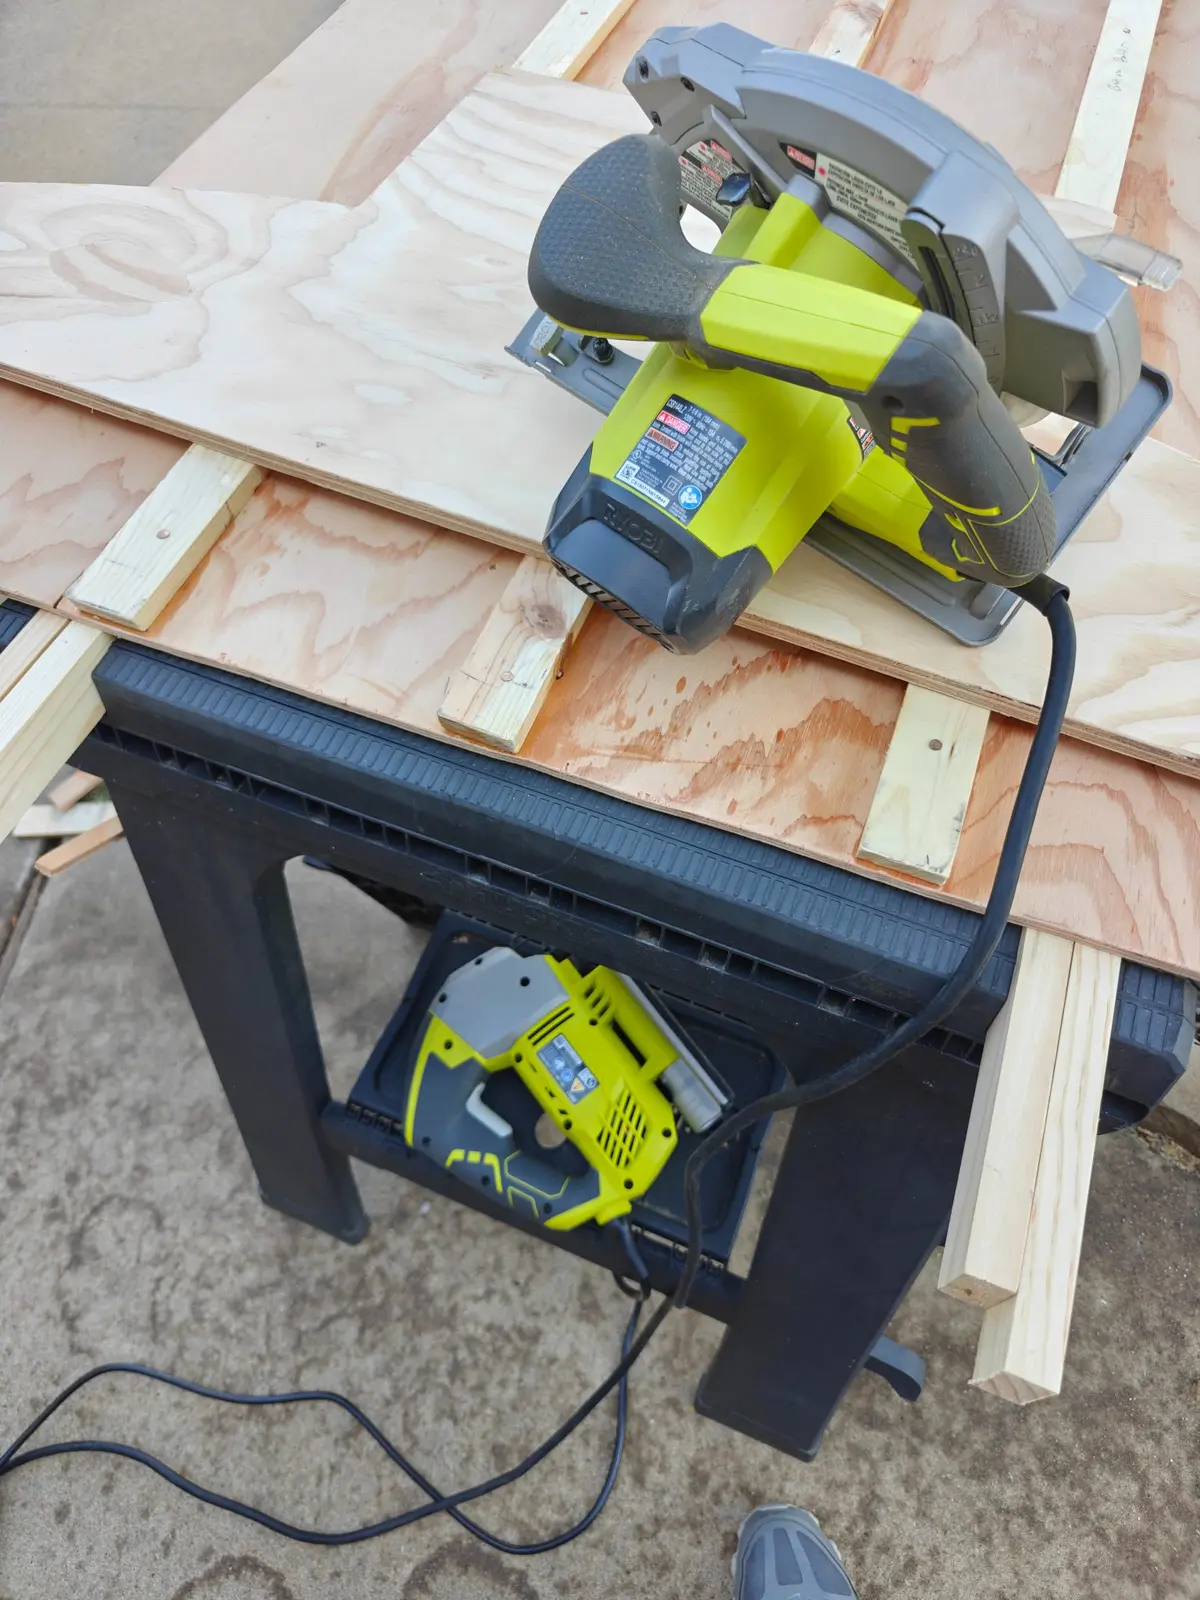
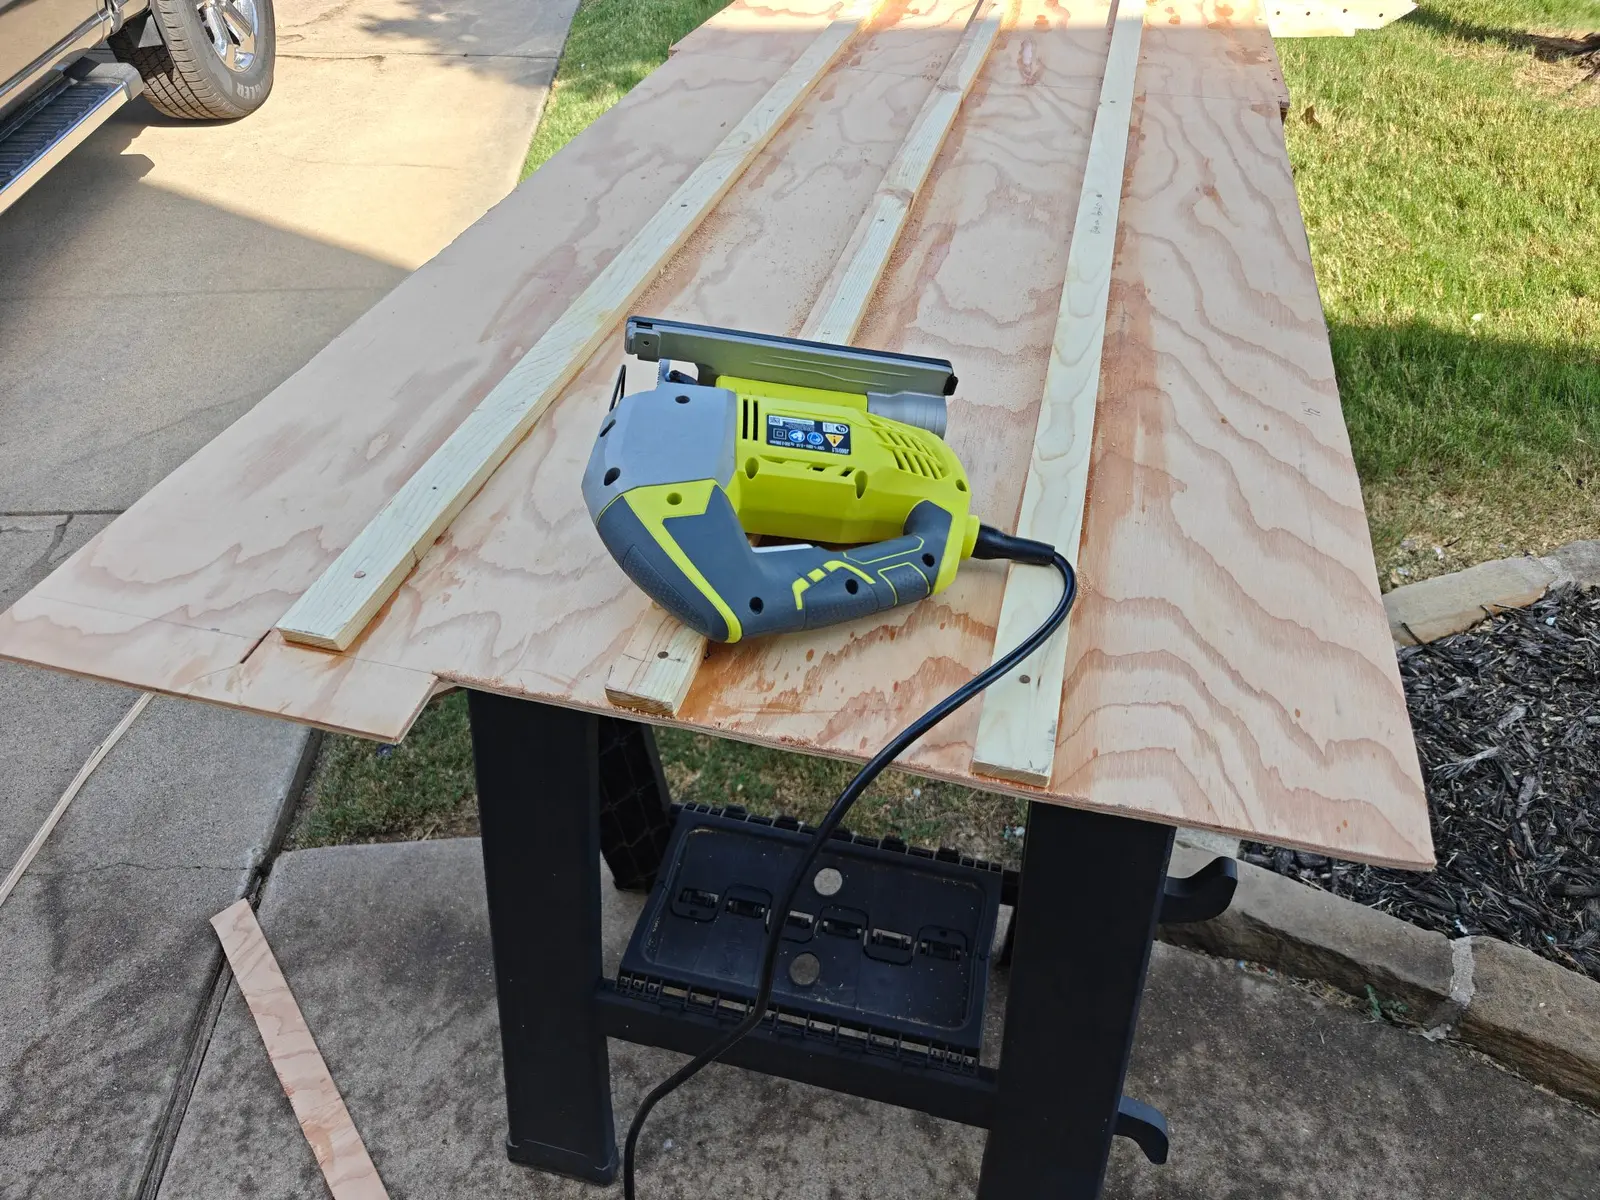
I spent a couple of hours today cutting out all of the 1/2-inch plywood pieces. There really wasn't anything too complicated about this step, other than making sure to use a steady hand with the jigsaw and stay as close to the lines as possible.
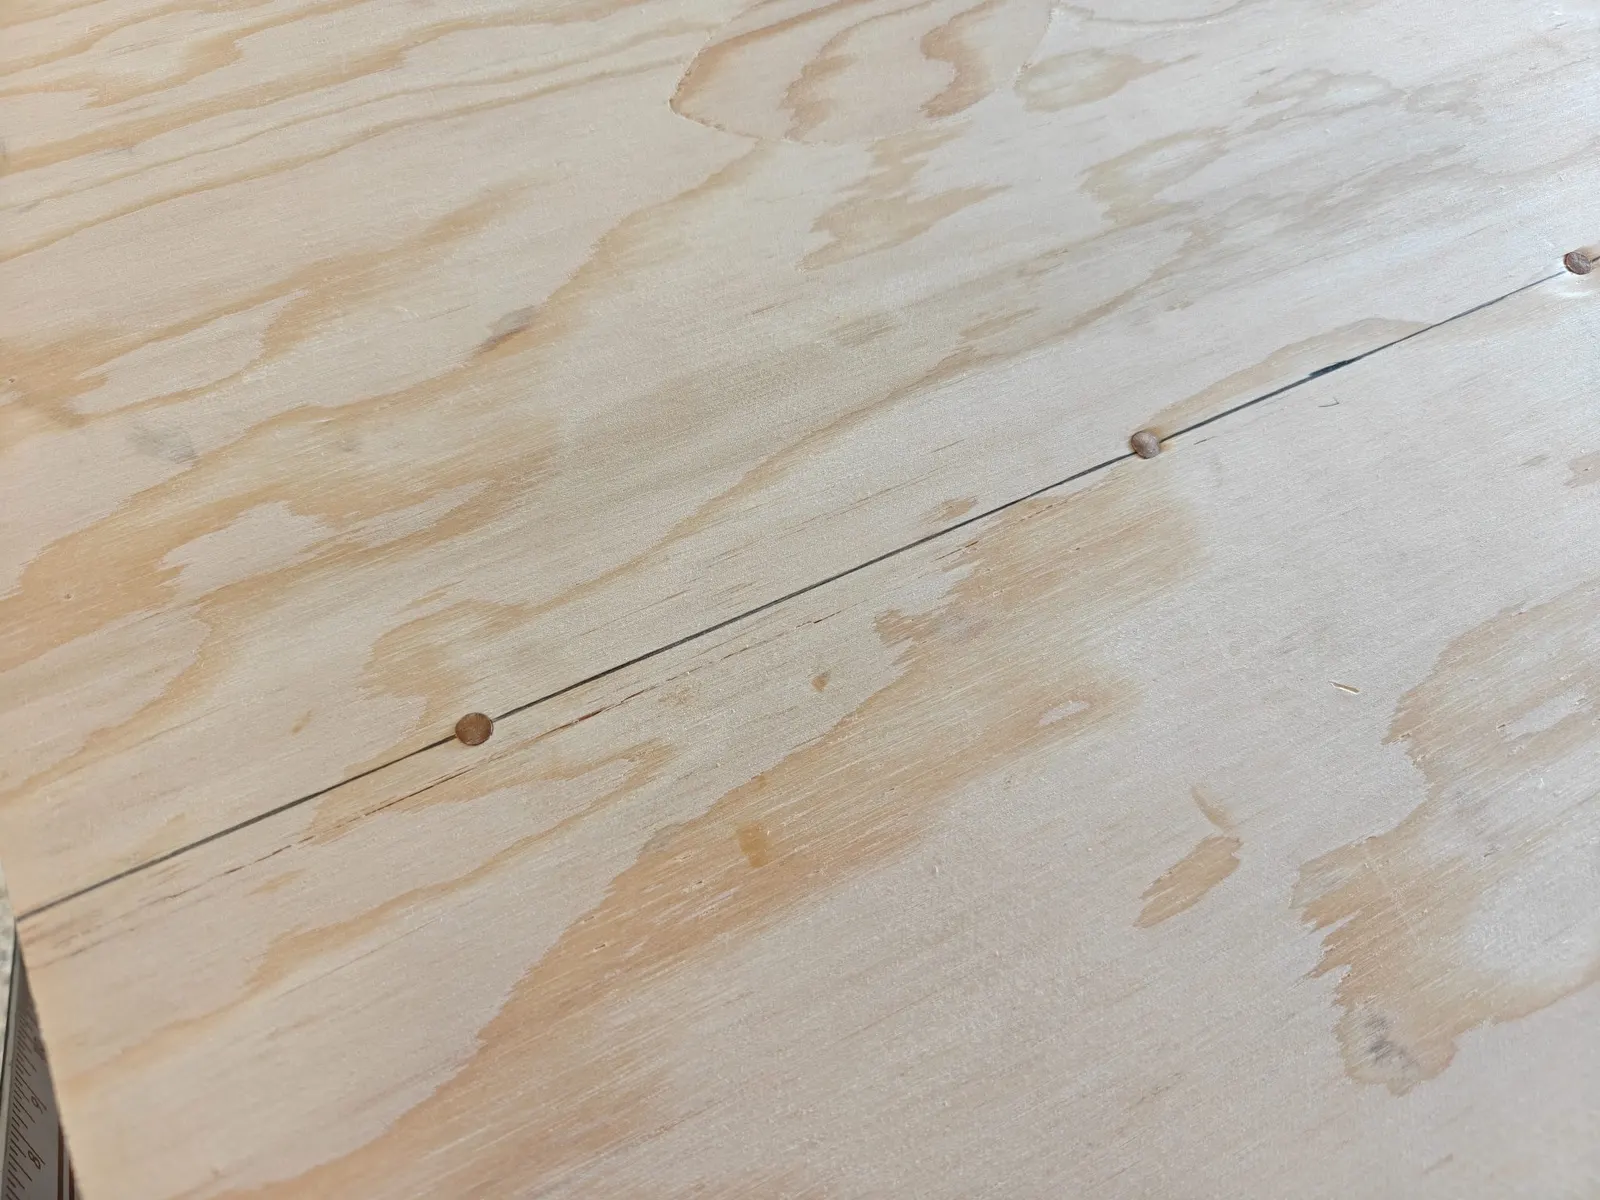
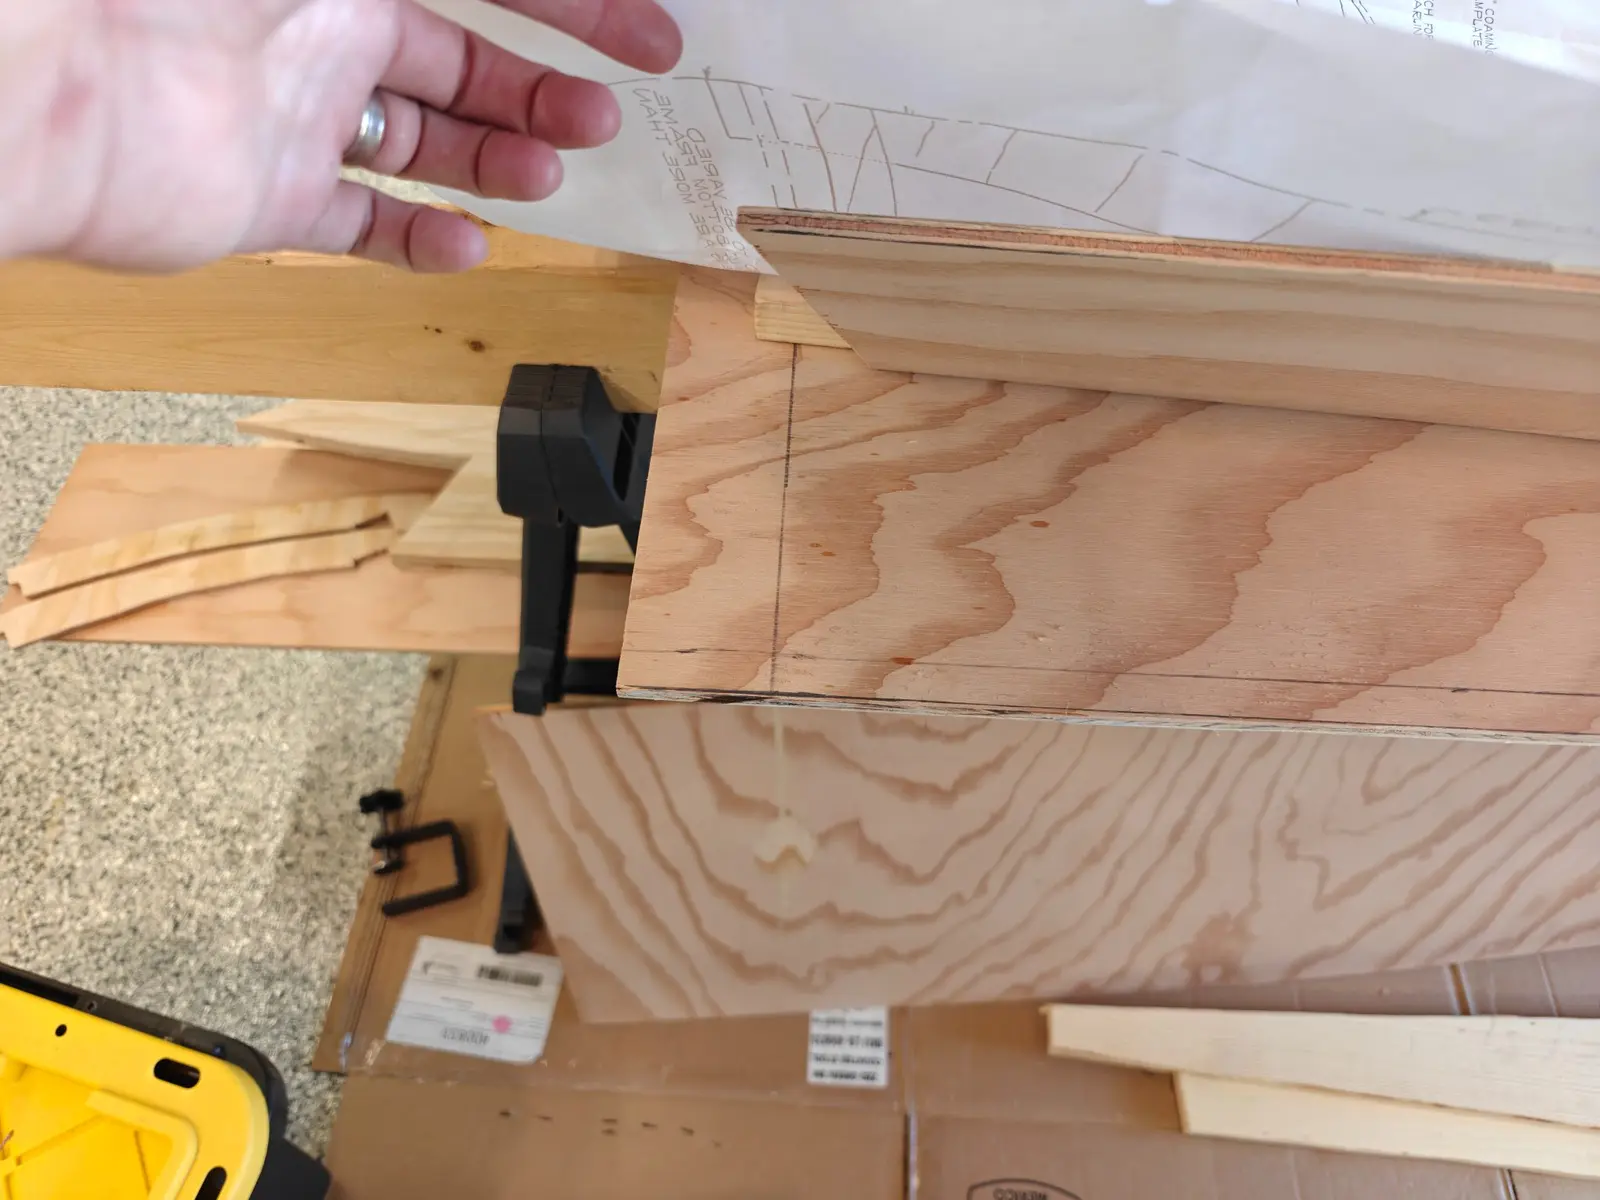
I went back and forth between using a pencil and a knife to transfer the outlines through the transparent paper and onto the plywood. I'm still not sure which method I prefer. Both seem to work, so I've been switching between them depending on the piece.
One thing that is important is to pay close attention to the plans where they show the template layout over the full sheet of plywood. Some of the individual templates only show half of a part, even though the finished piece needs to be full size.
For example, the transom template is only shown as one half of the transom. However, when you look at the plywood layout in the plans, you can see that the transom is actually one full piece.
That means when transferring the template to the plywood, you need to trace the template once, flip it over, and trace the other half so that you end up with the complete part.
It's a small detail, but definitely something worth checking before making any cuts.
Today's goal was to build the frames and start mounting everything onto the bottom planking.
Runner Chines
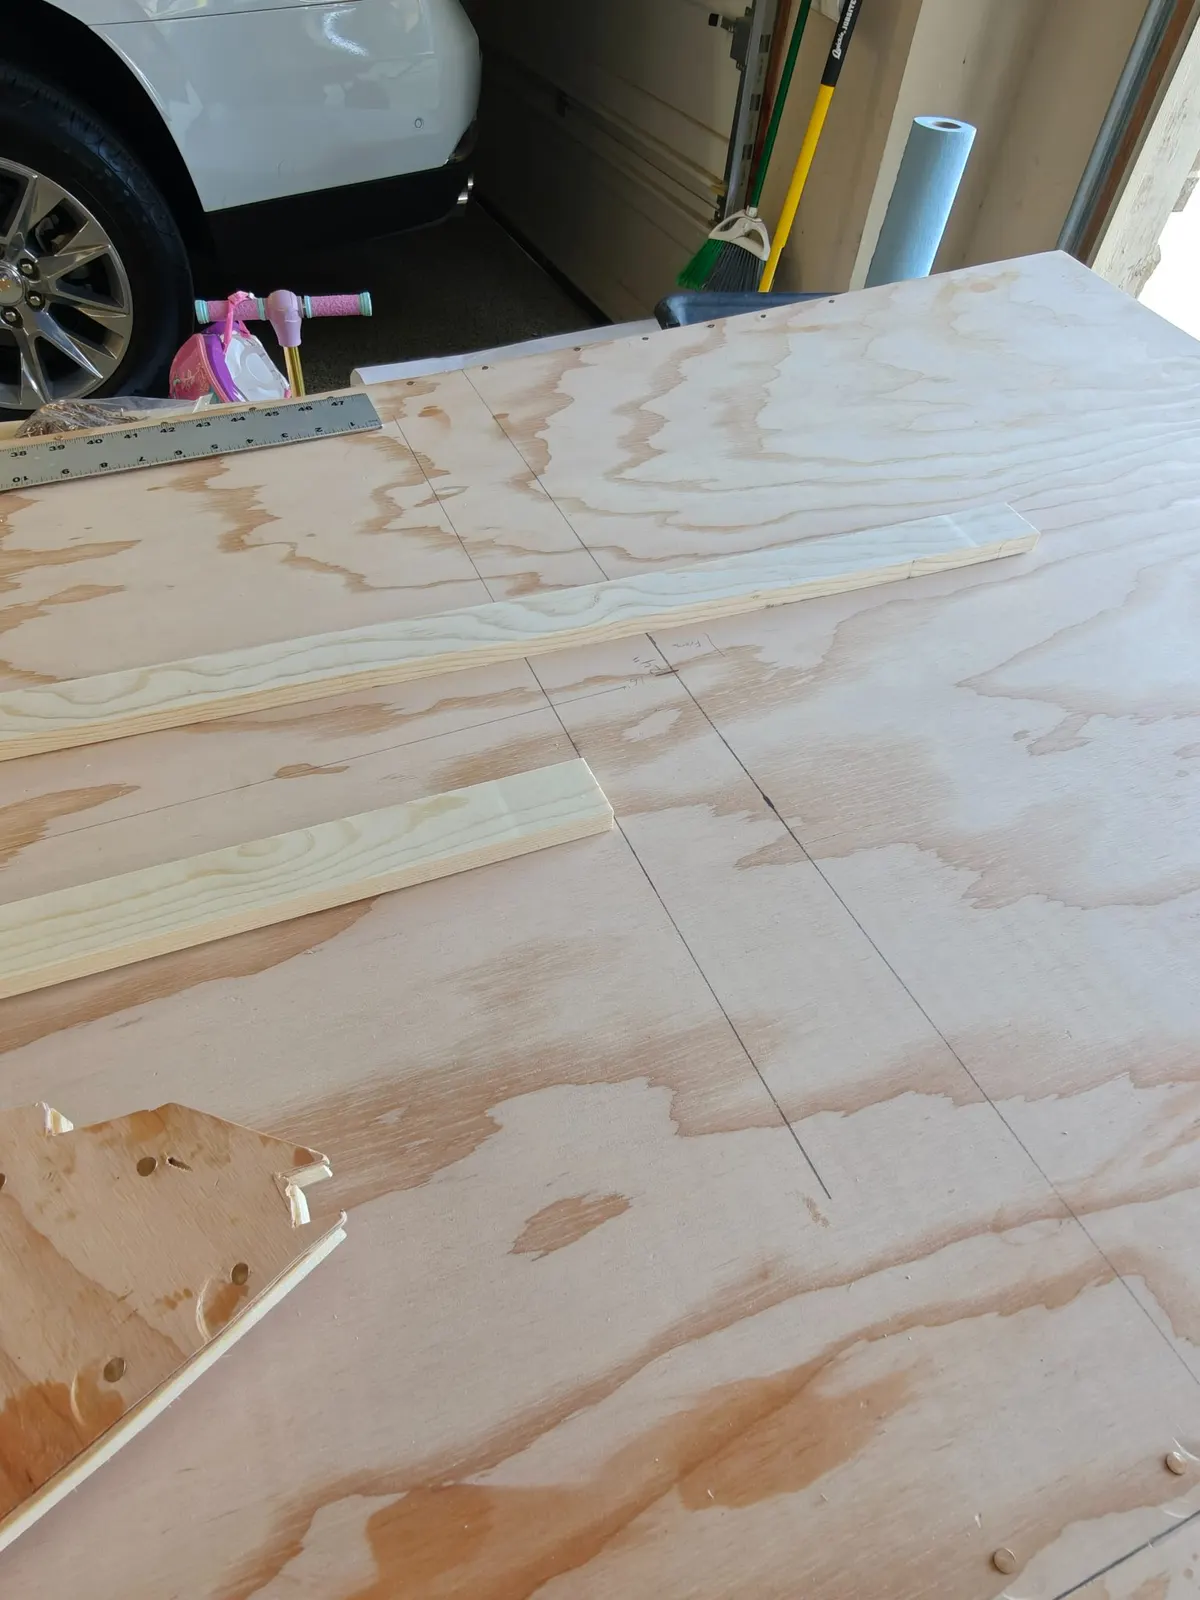
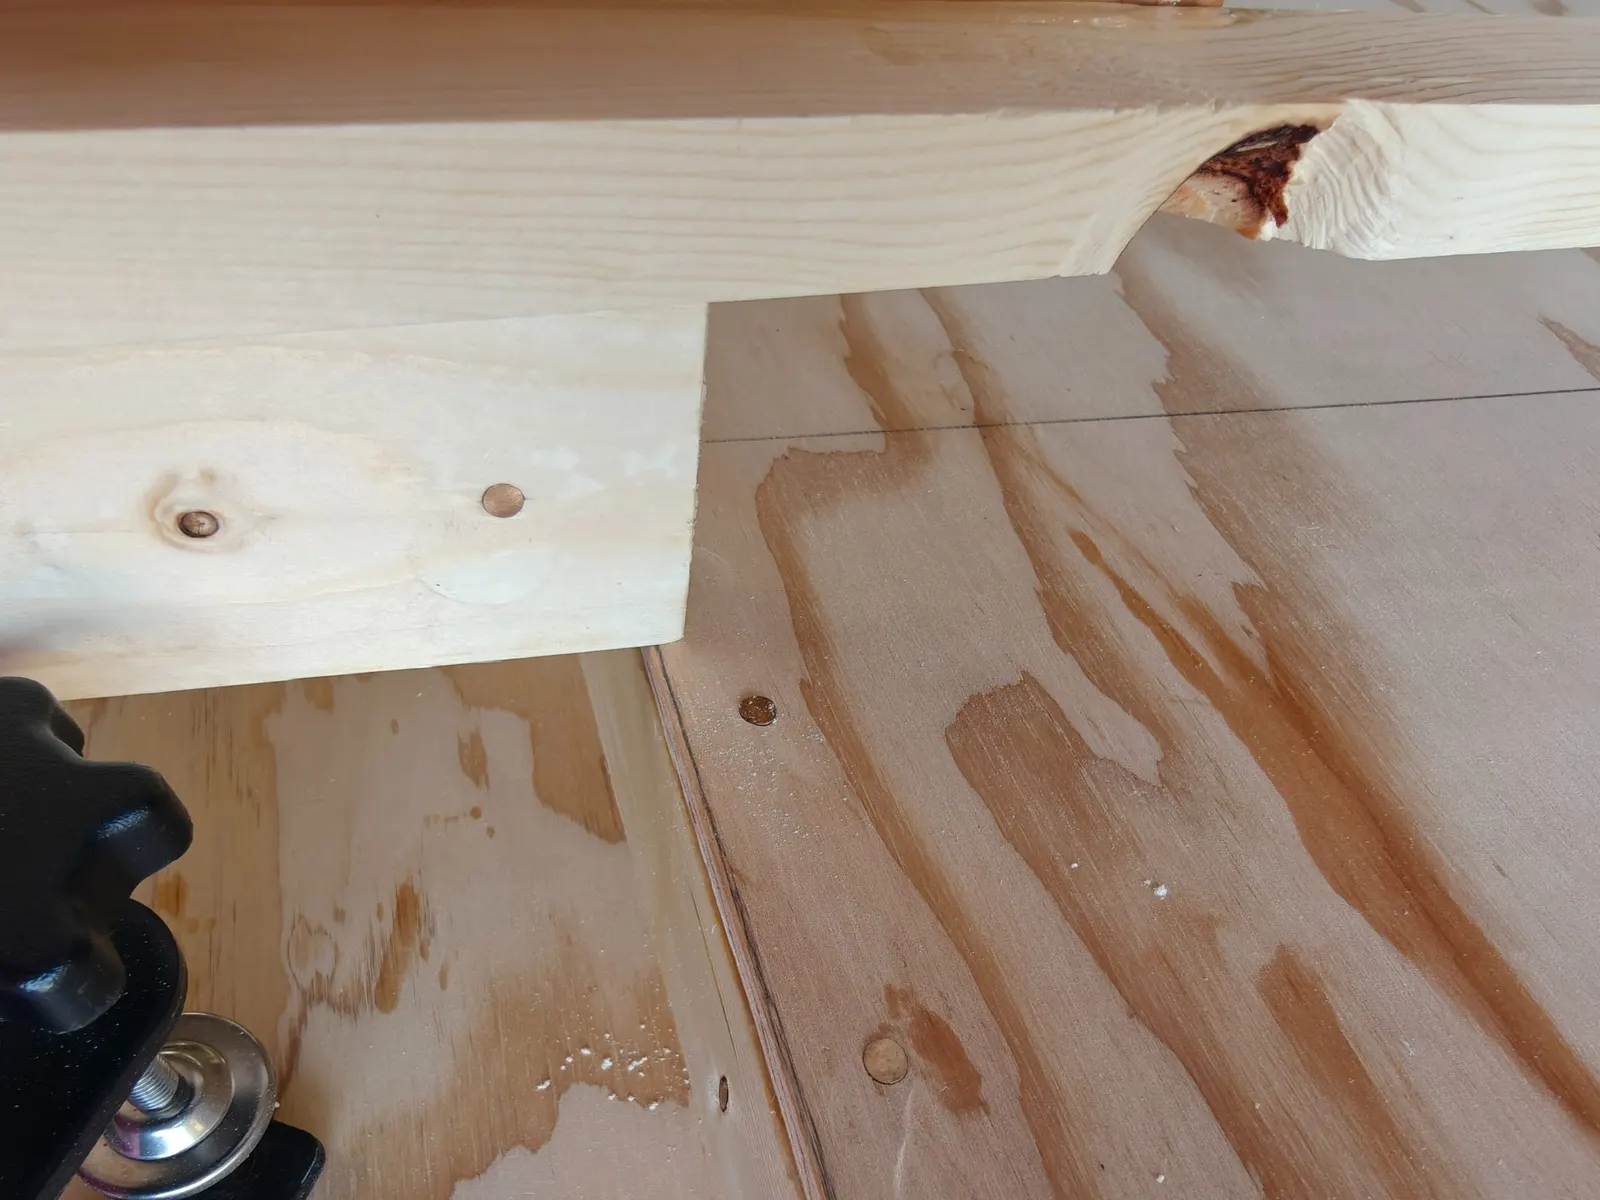
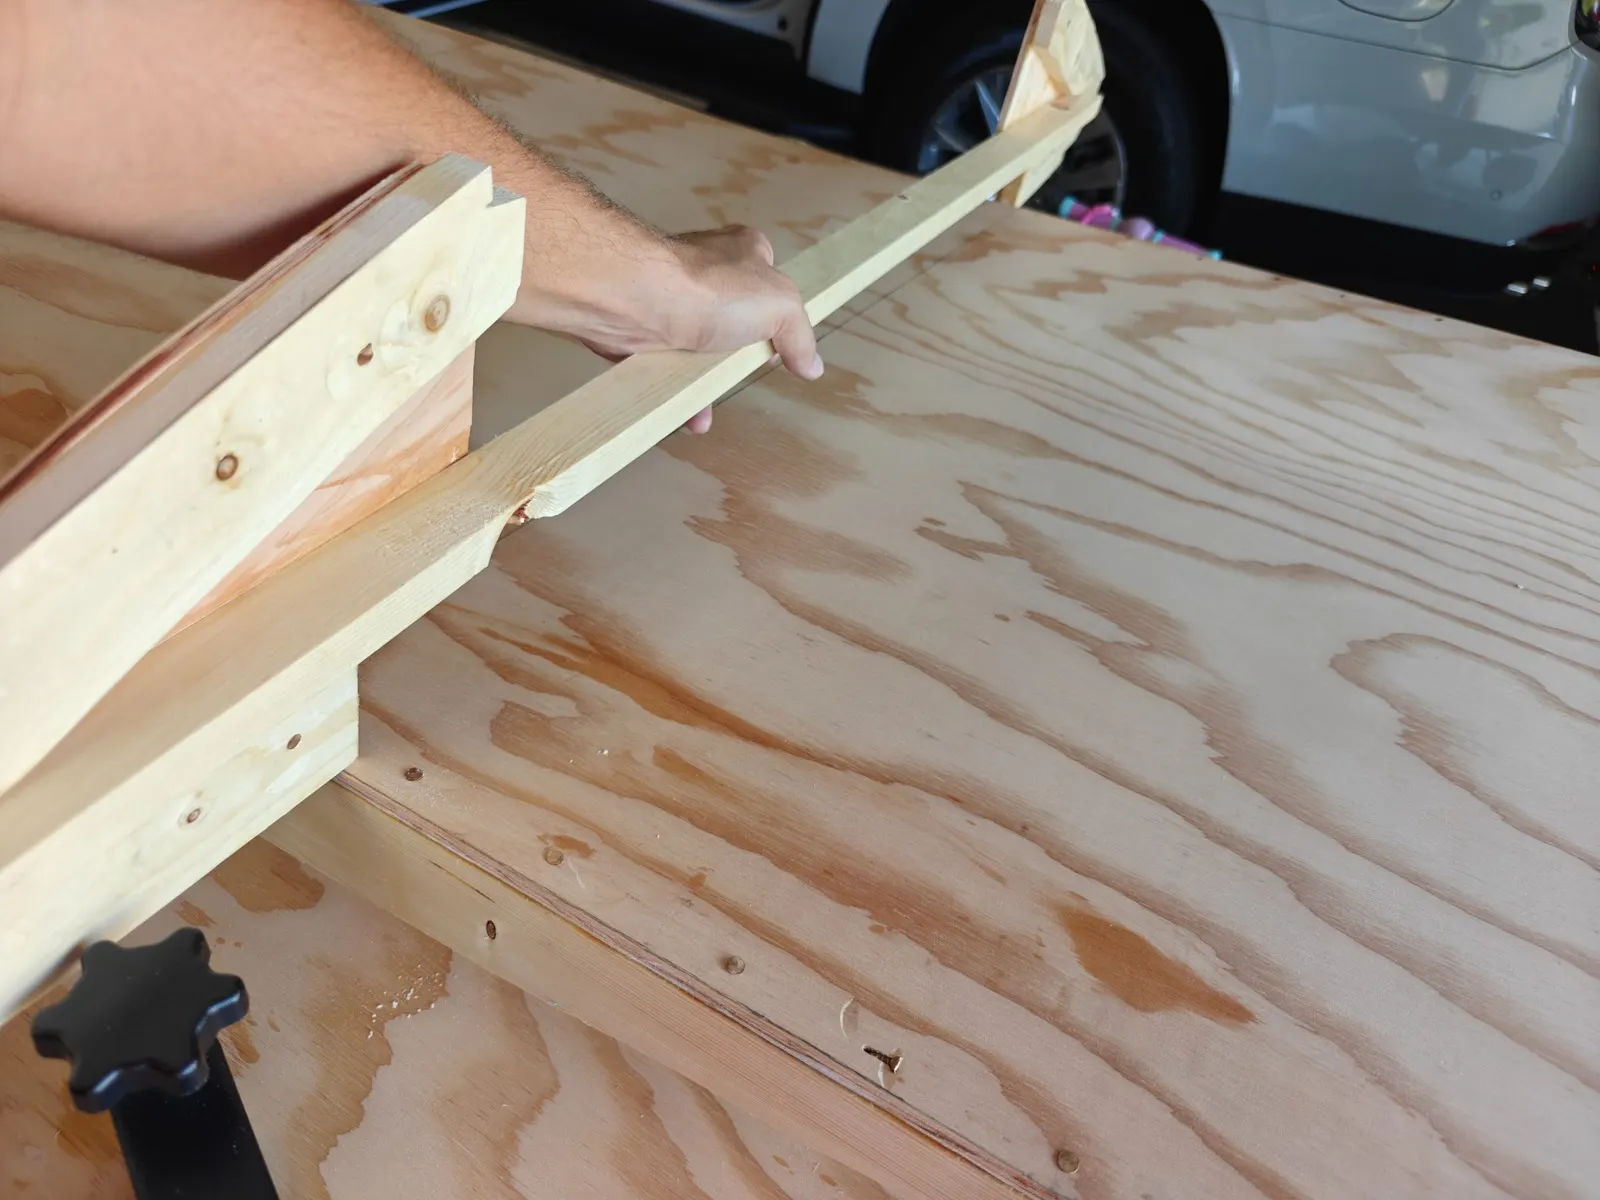
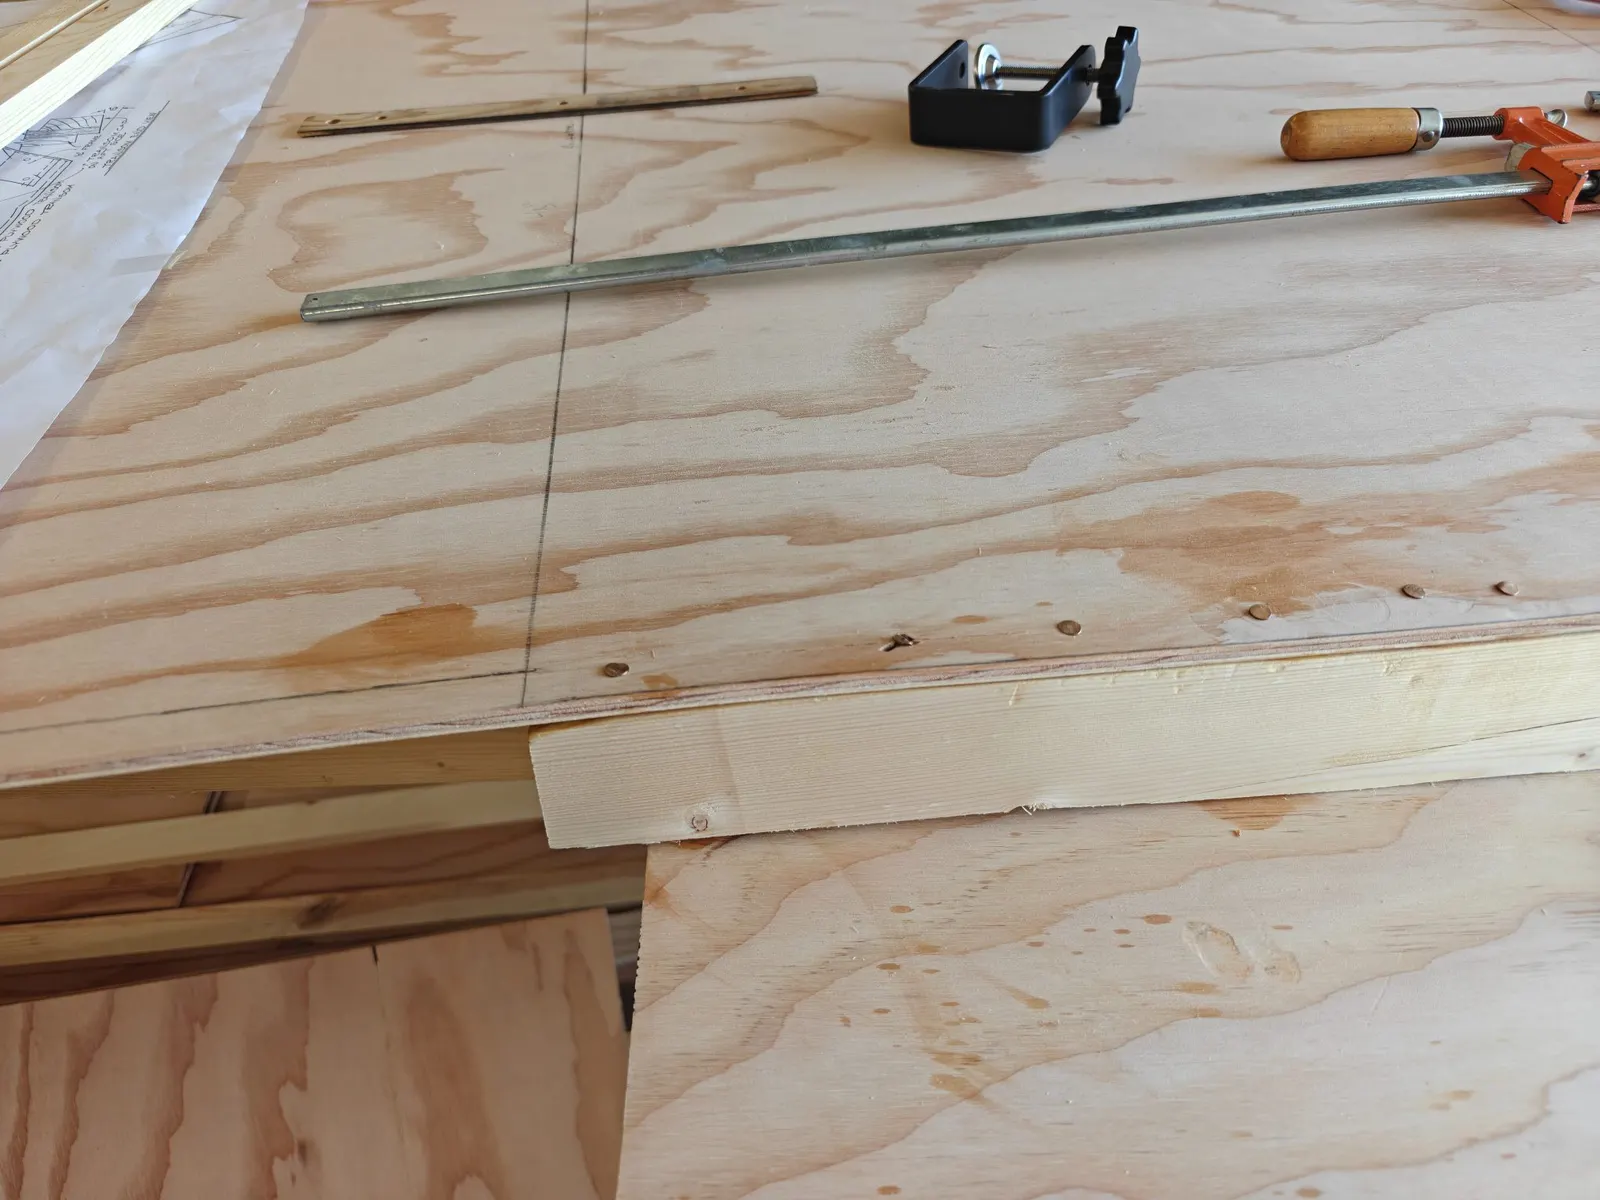
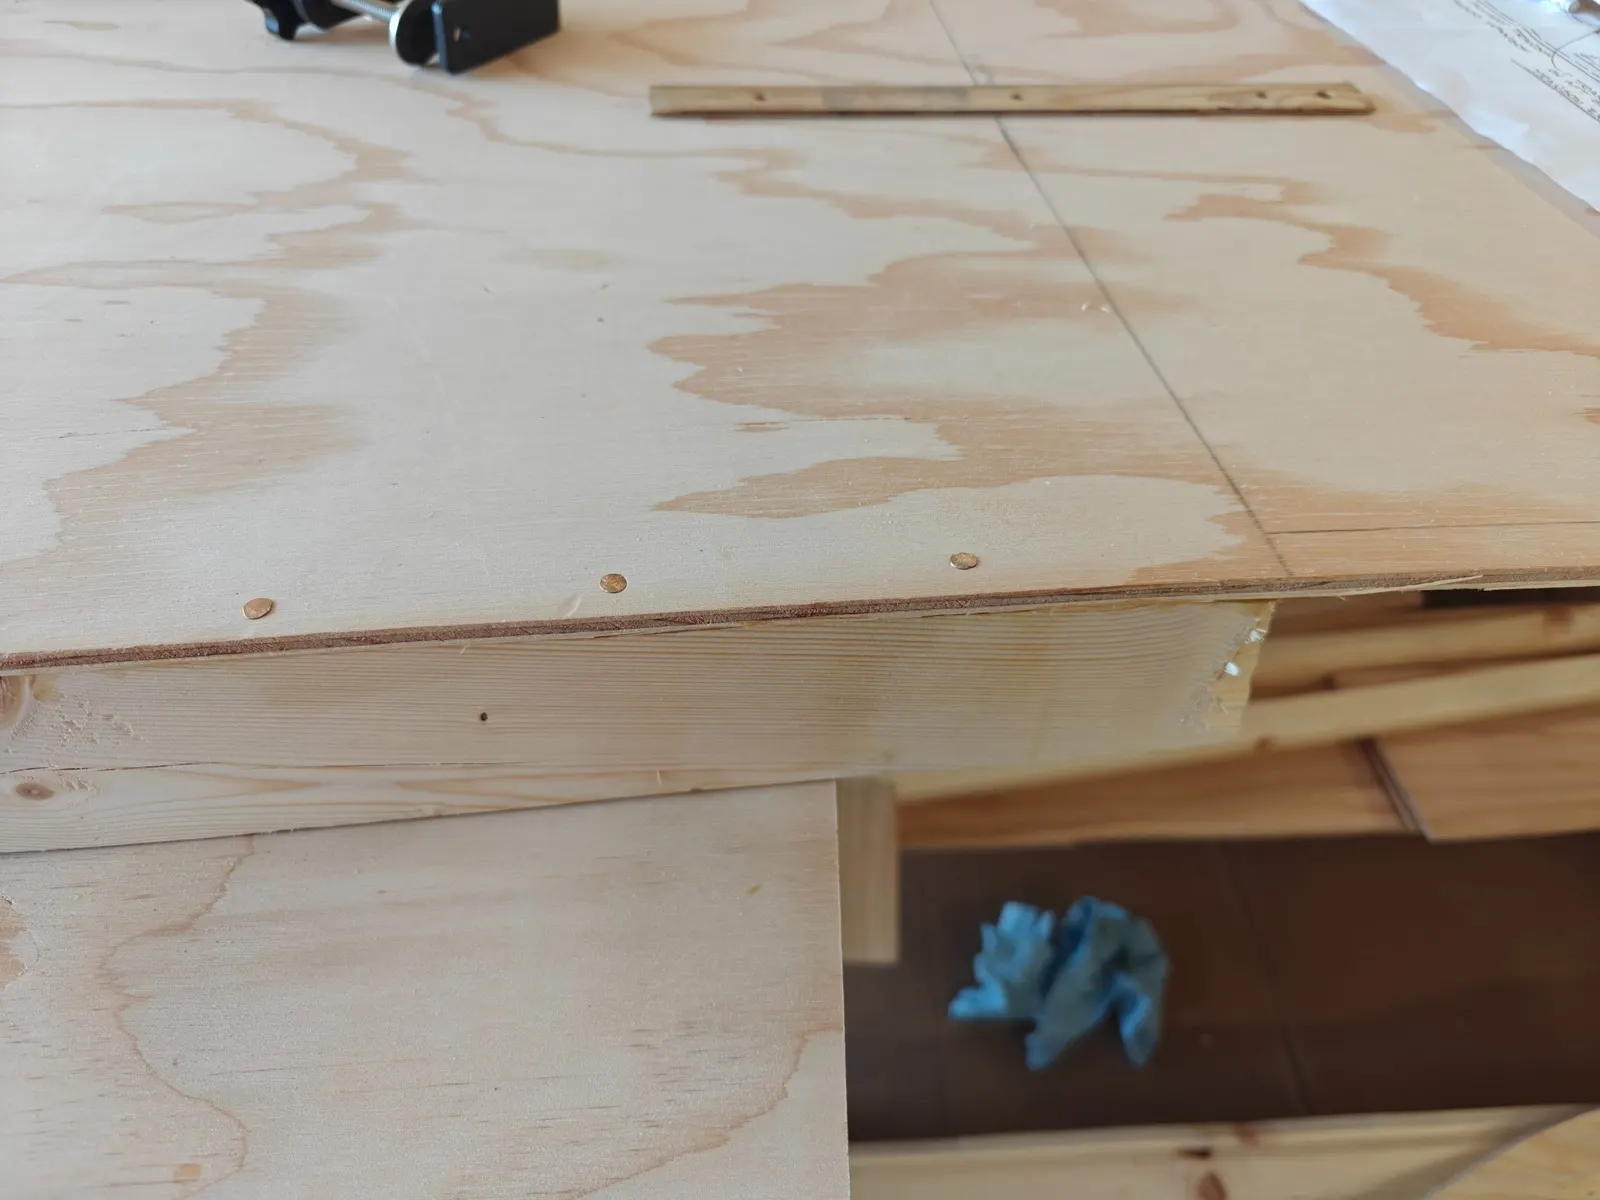
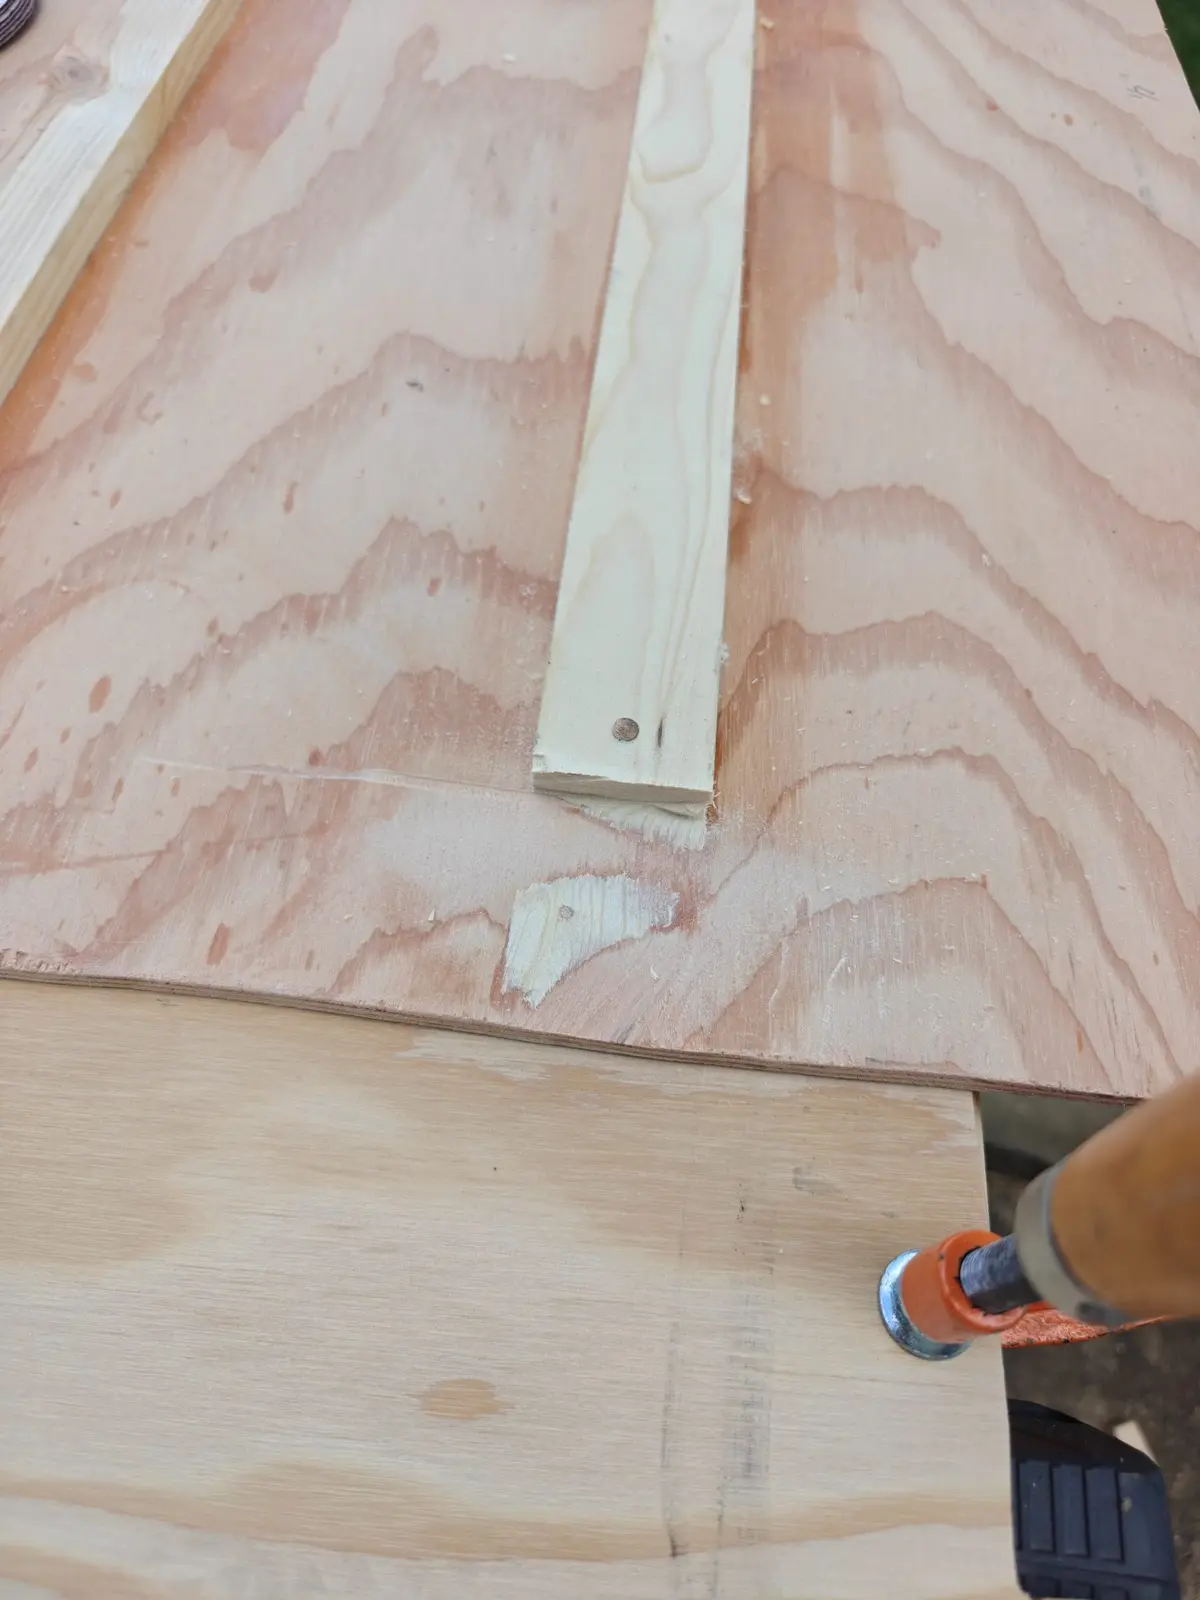
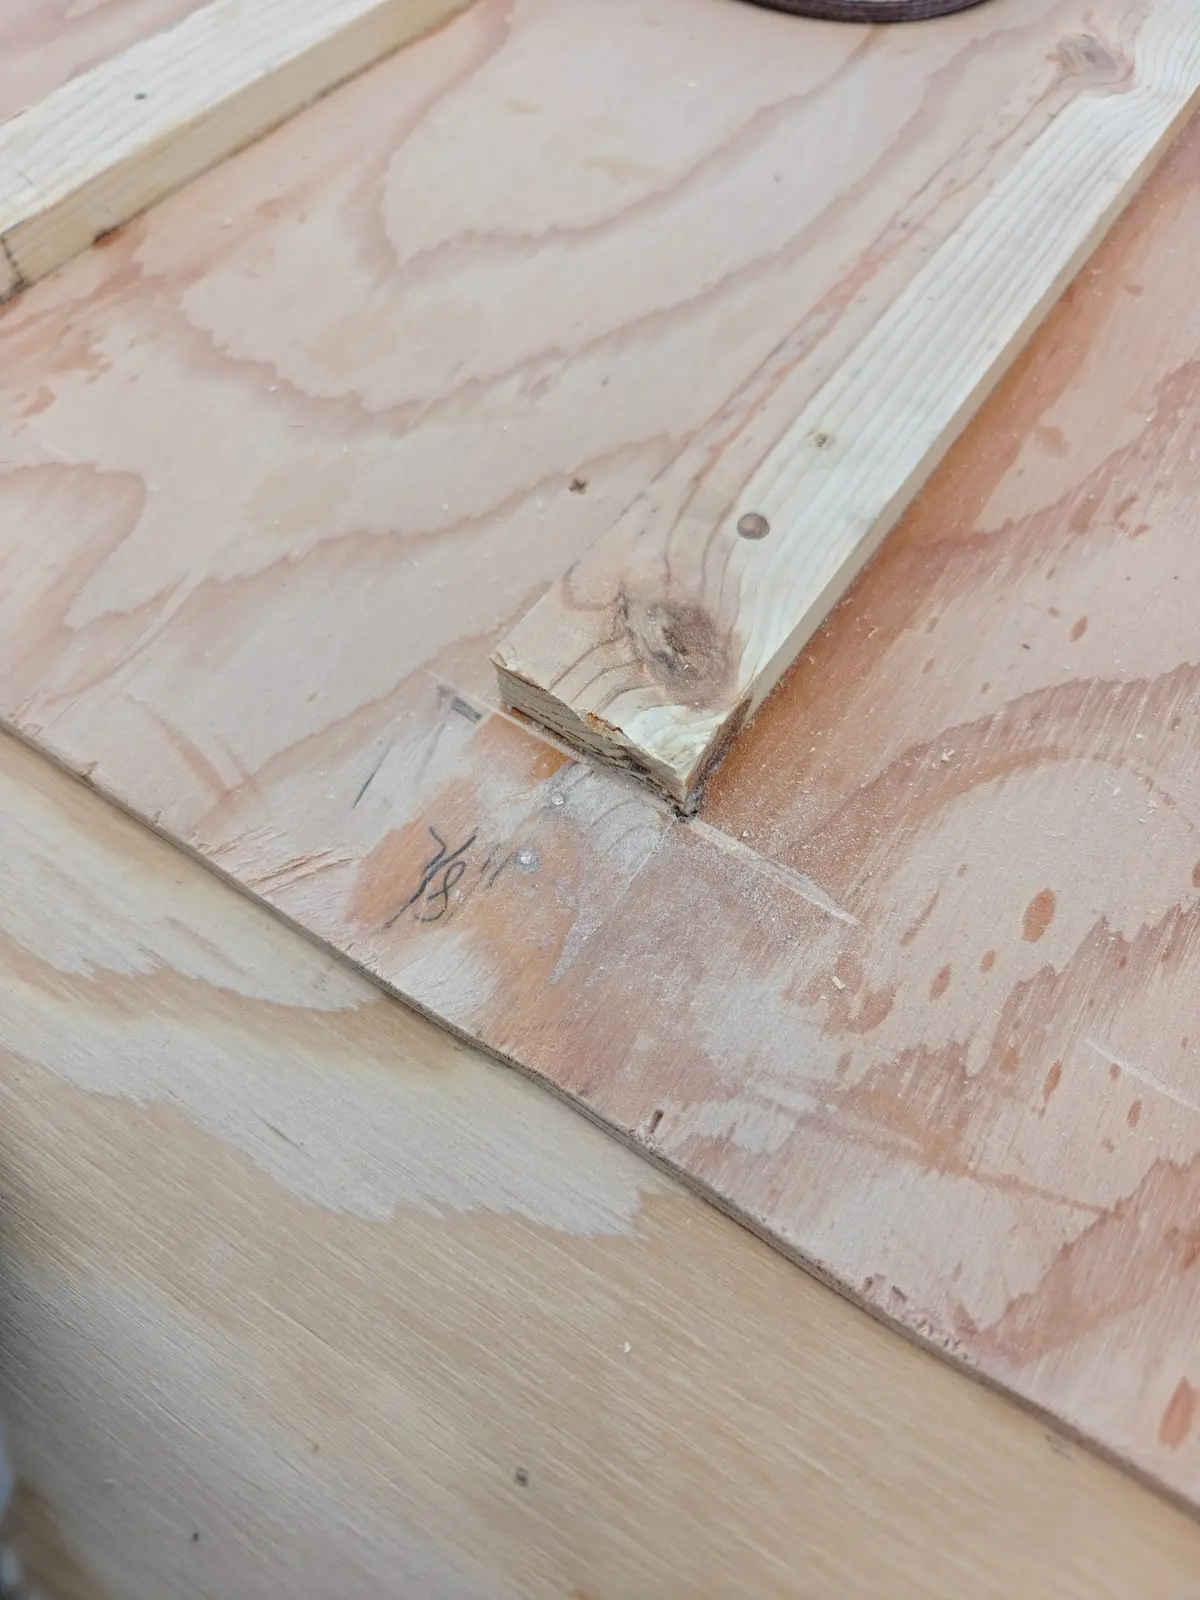
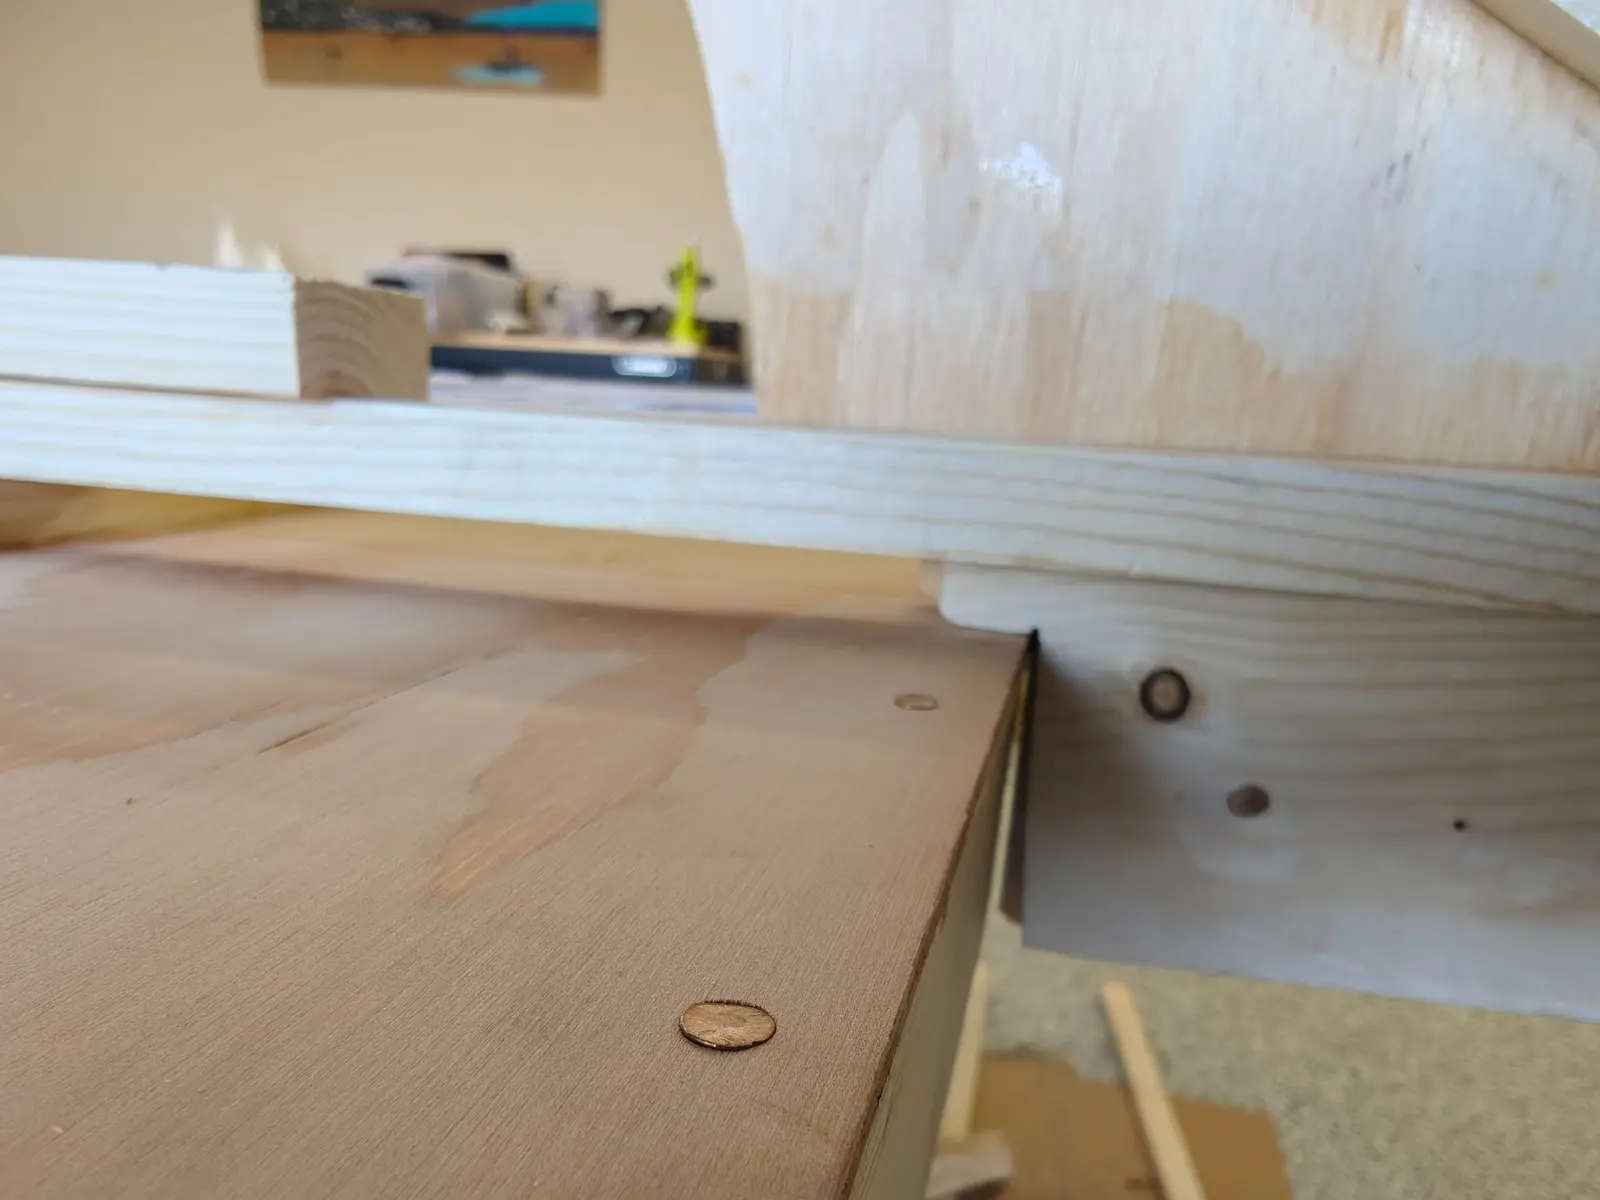
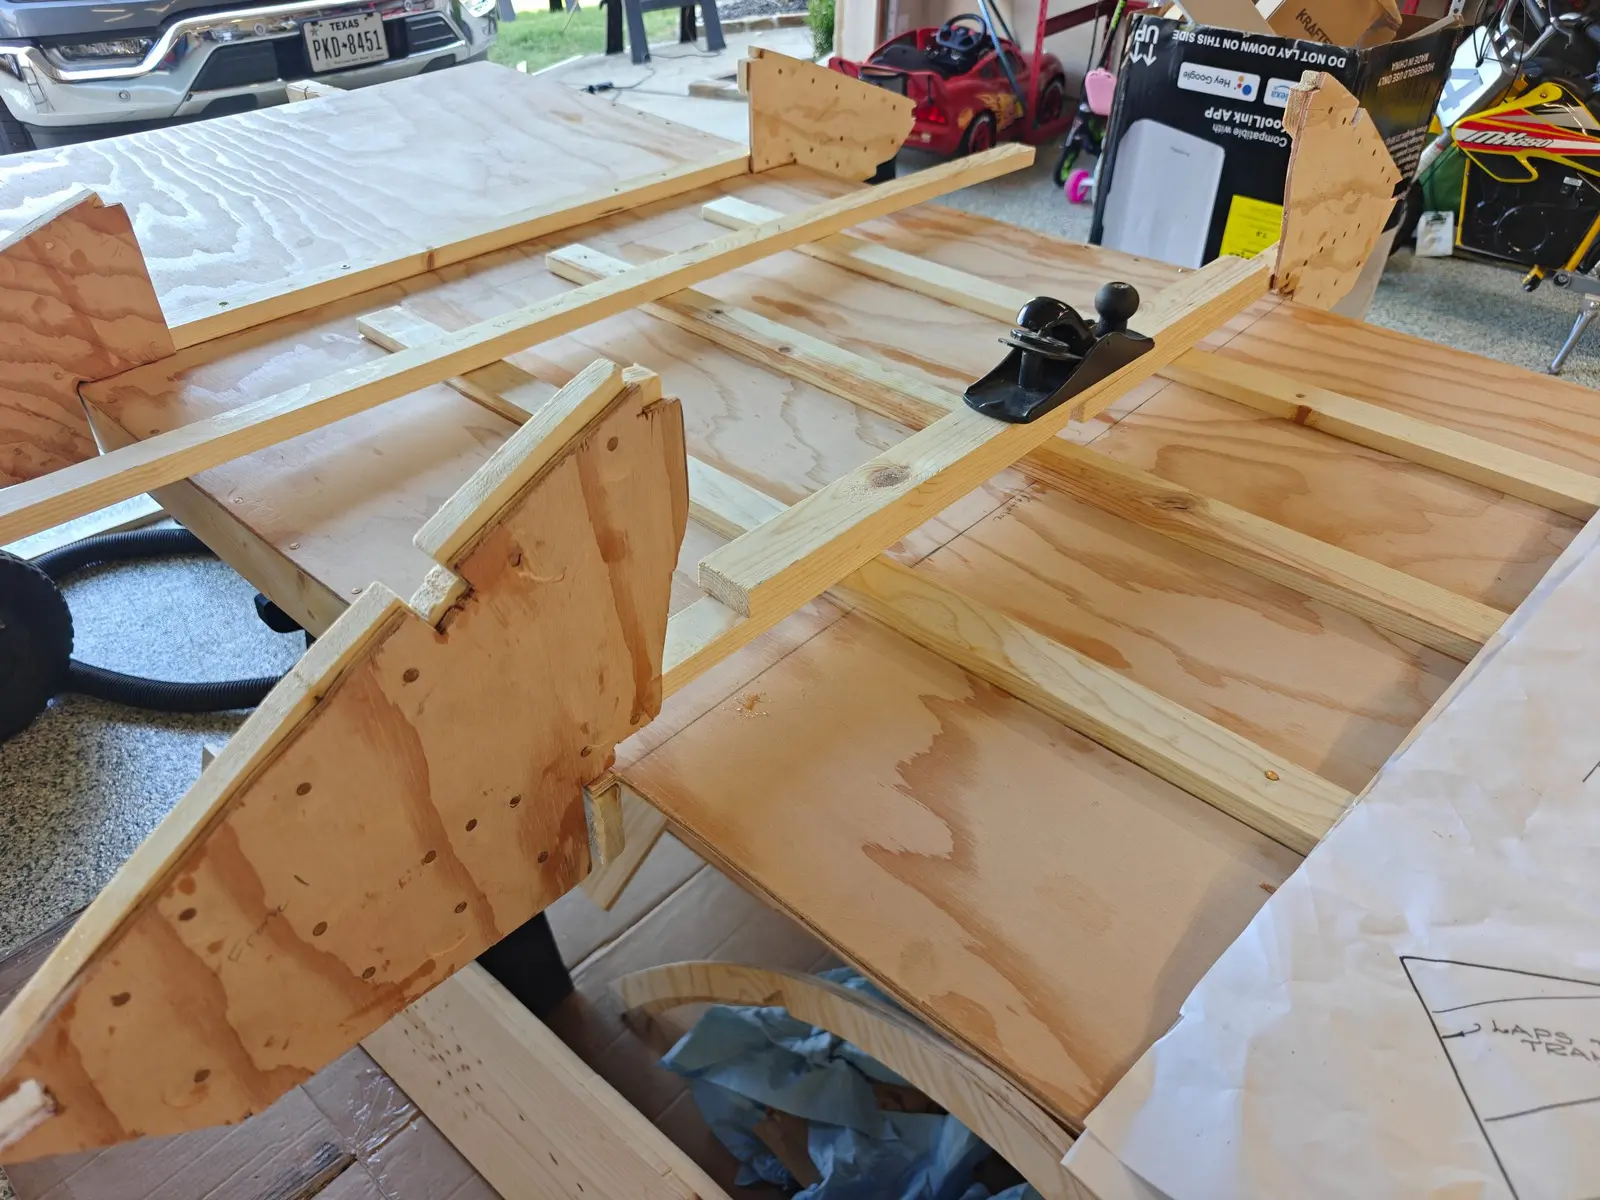
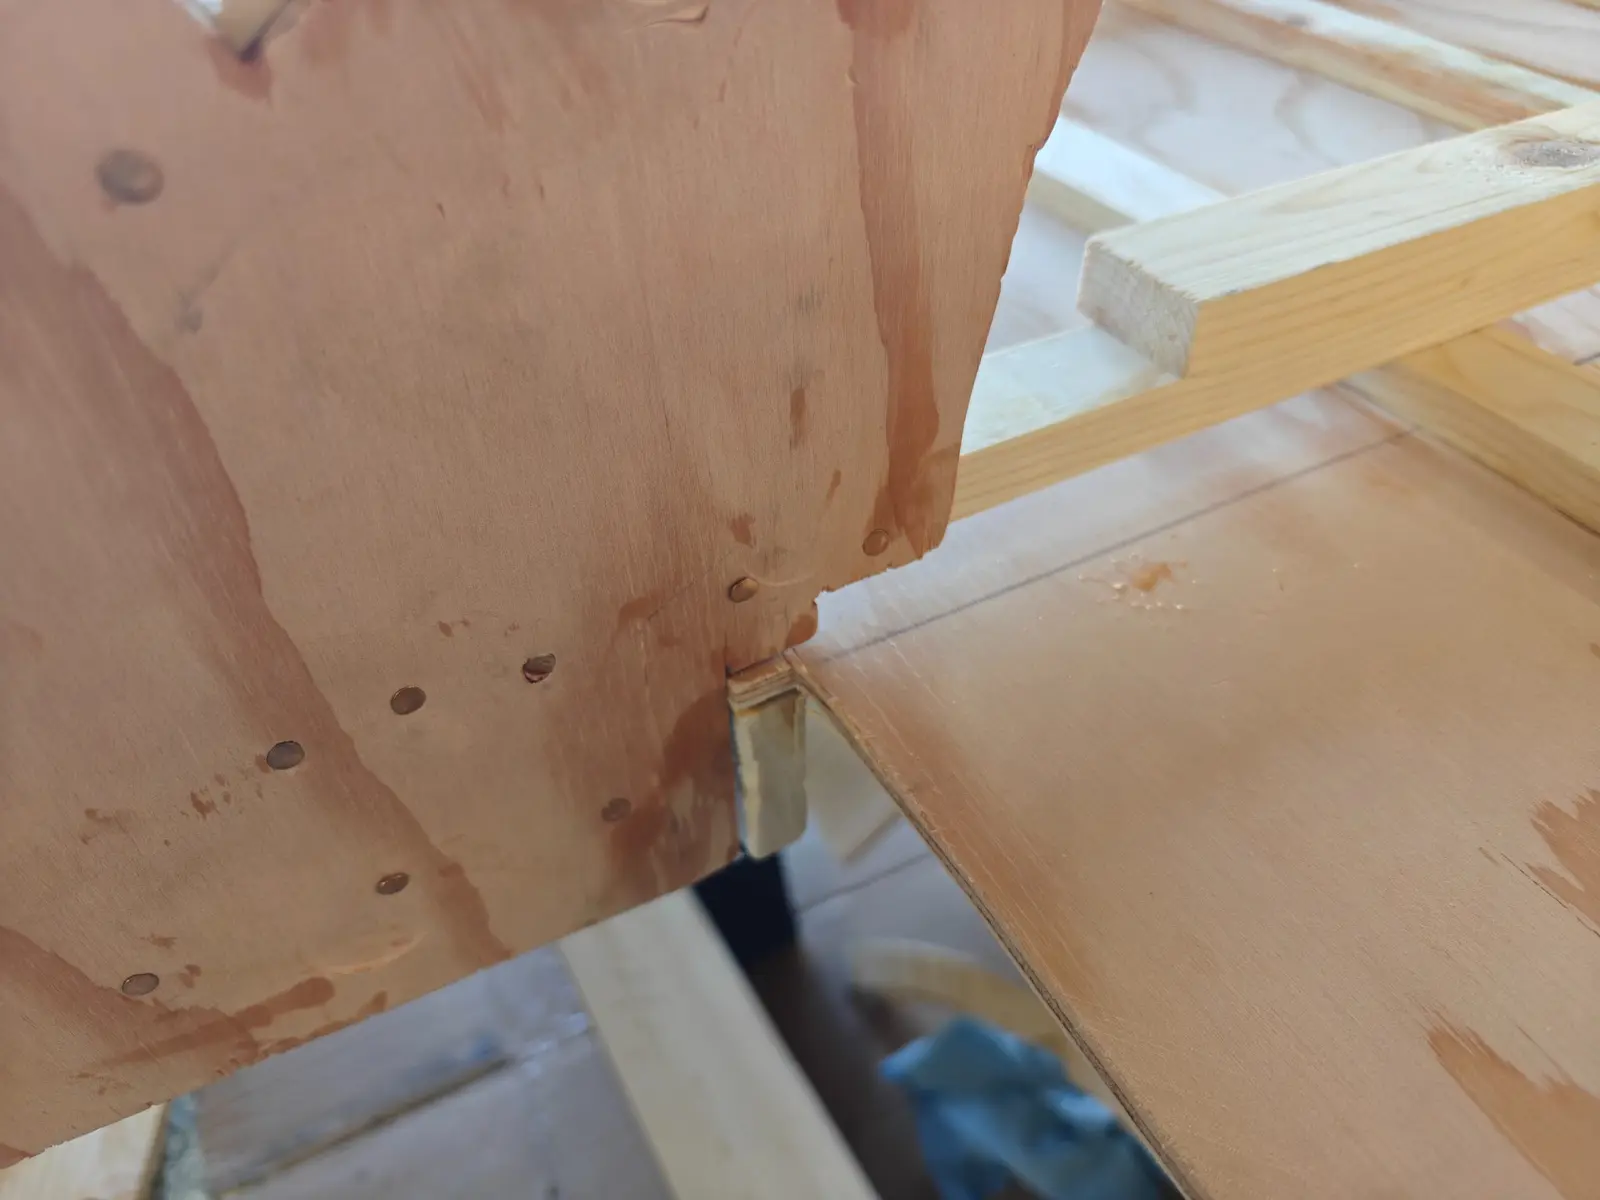
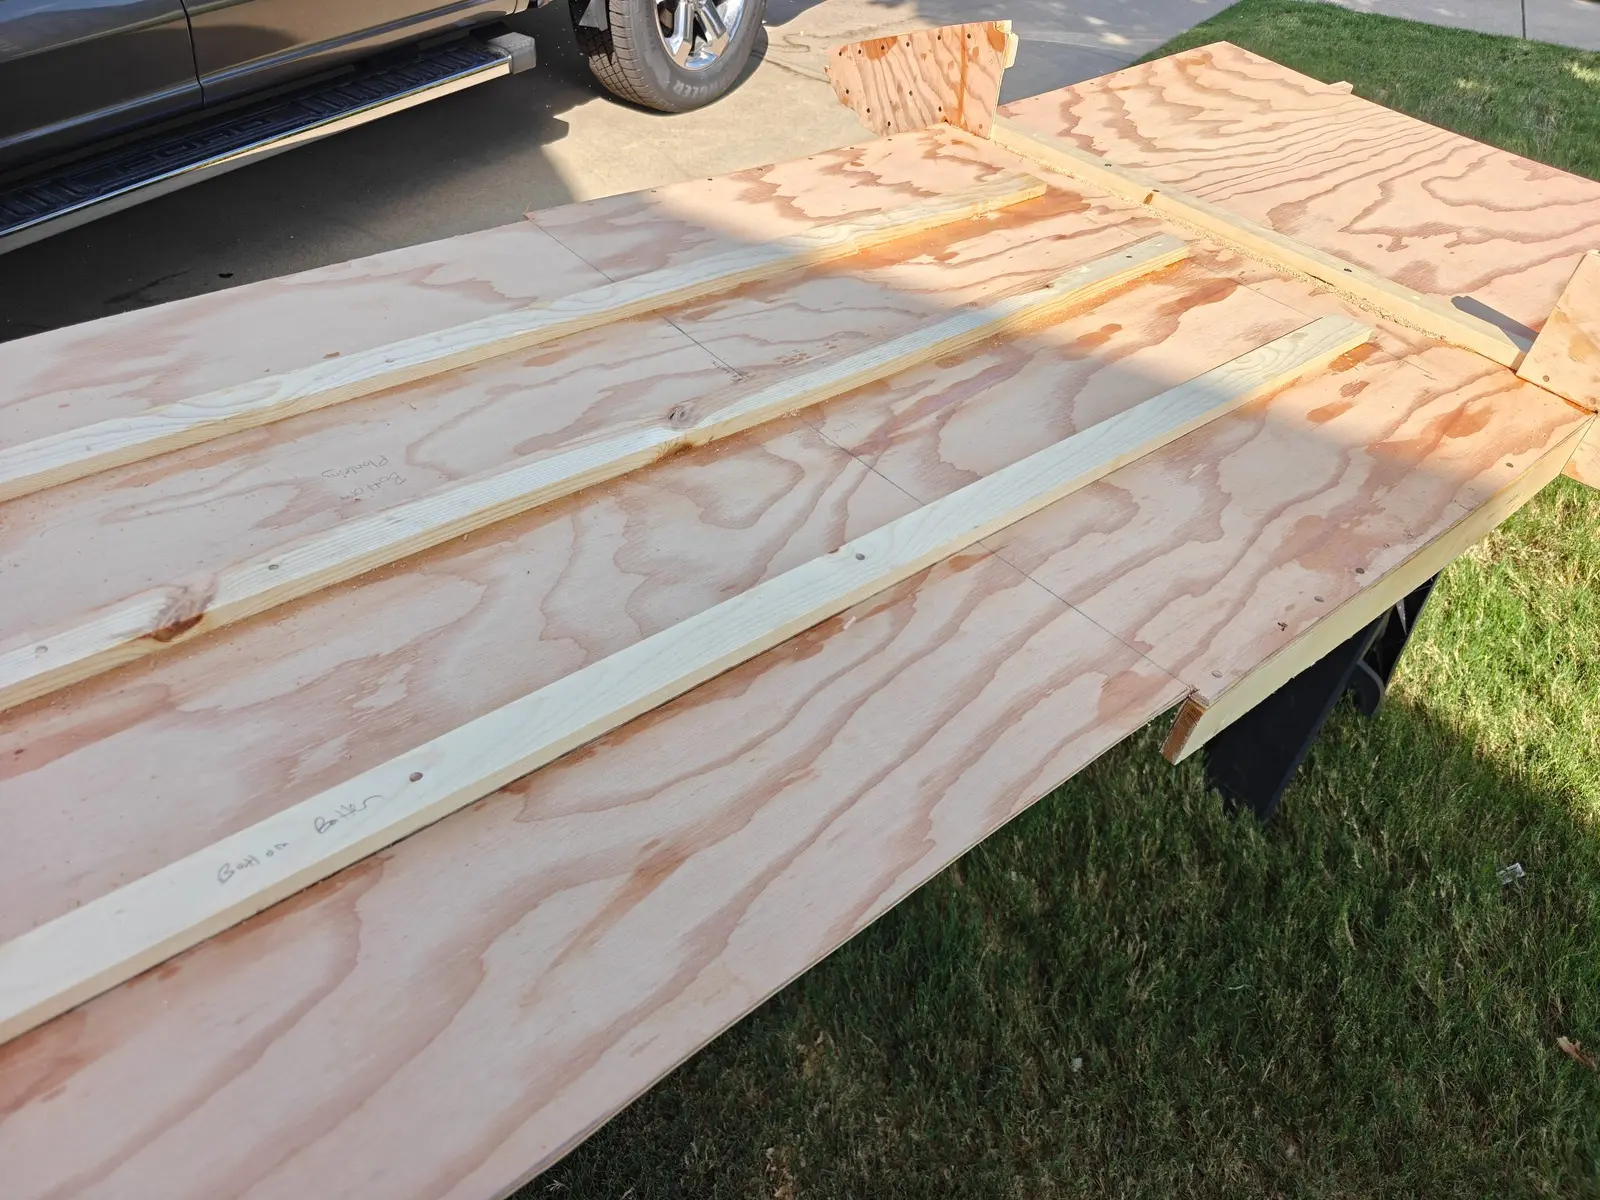
I started by getting the runner chines mounted on the bottom. This wasn't too difficult, though I wasn't 100% clear on the plans. The instructions say to mount the runner chines from frame number one forward on both sides of the outer edges but the line drawn on the plans is actually for the aft piece of frame one, which is where I placed the back of the runner chine (see photos). I wasn't sure if I was supposed to add the width of the actual frame to that measurement.
Frame Number Two
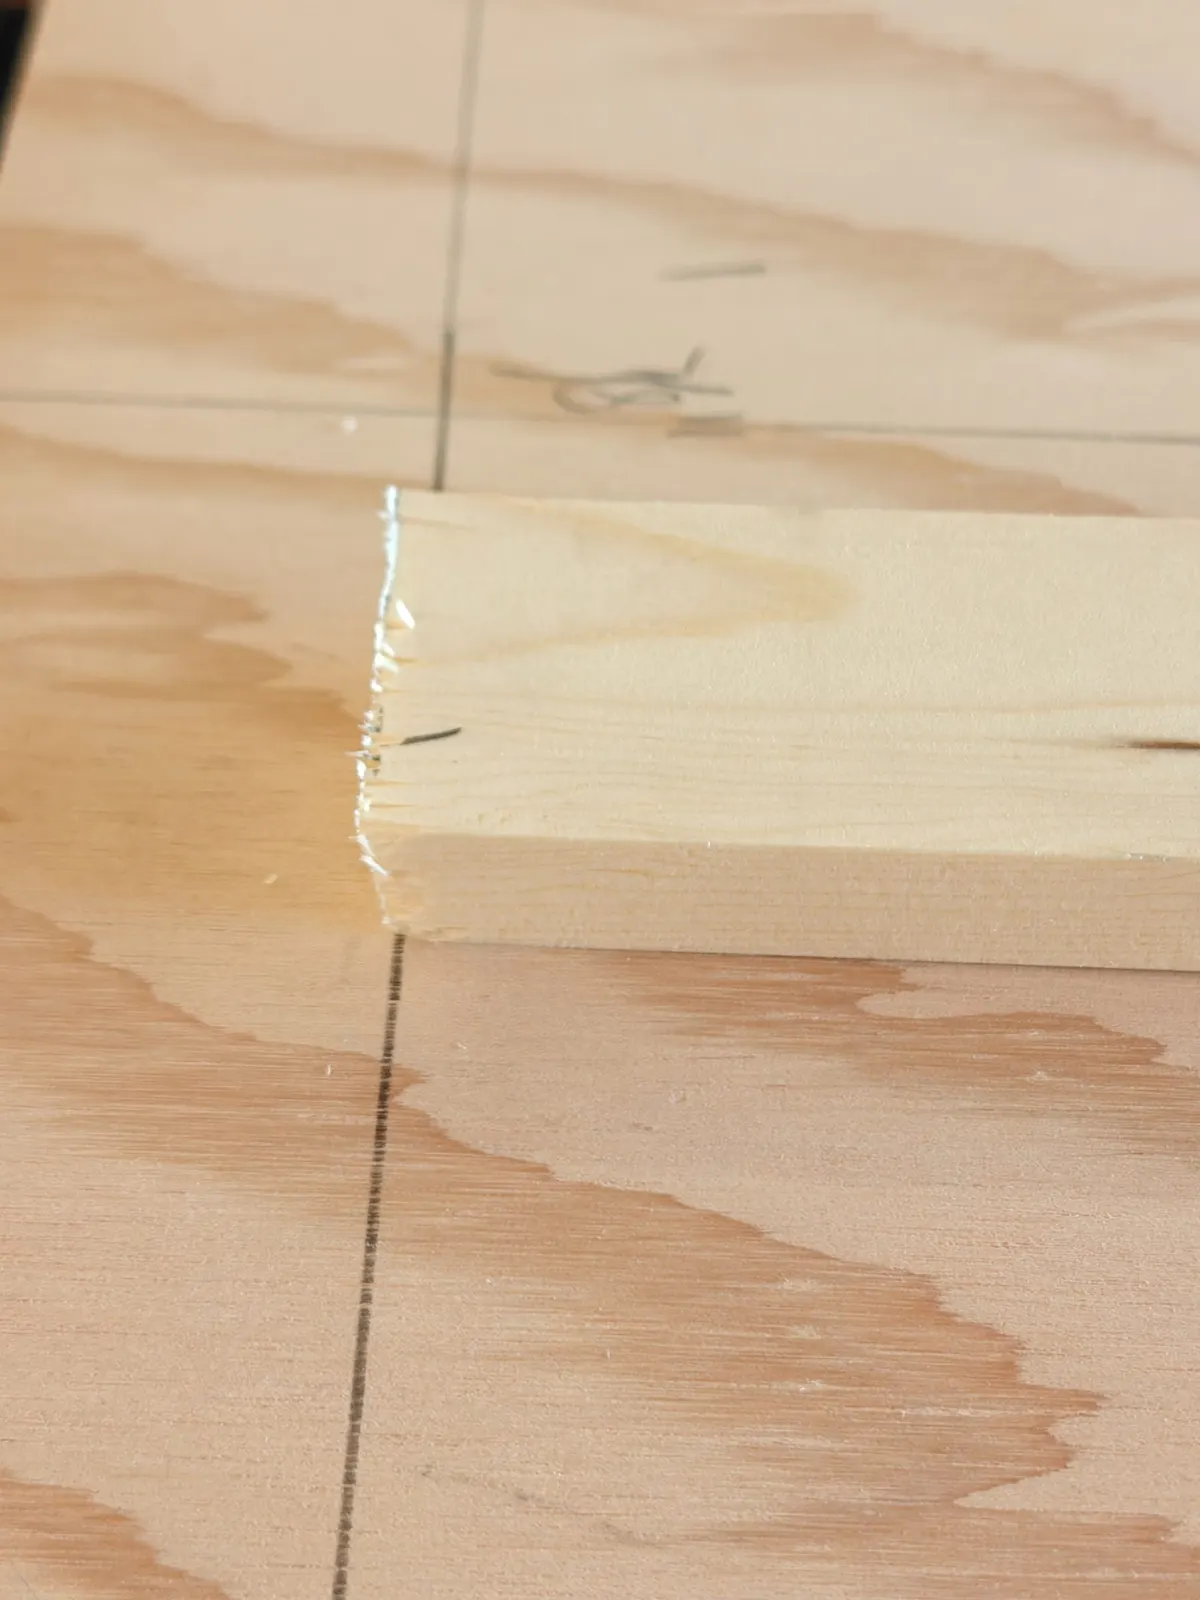
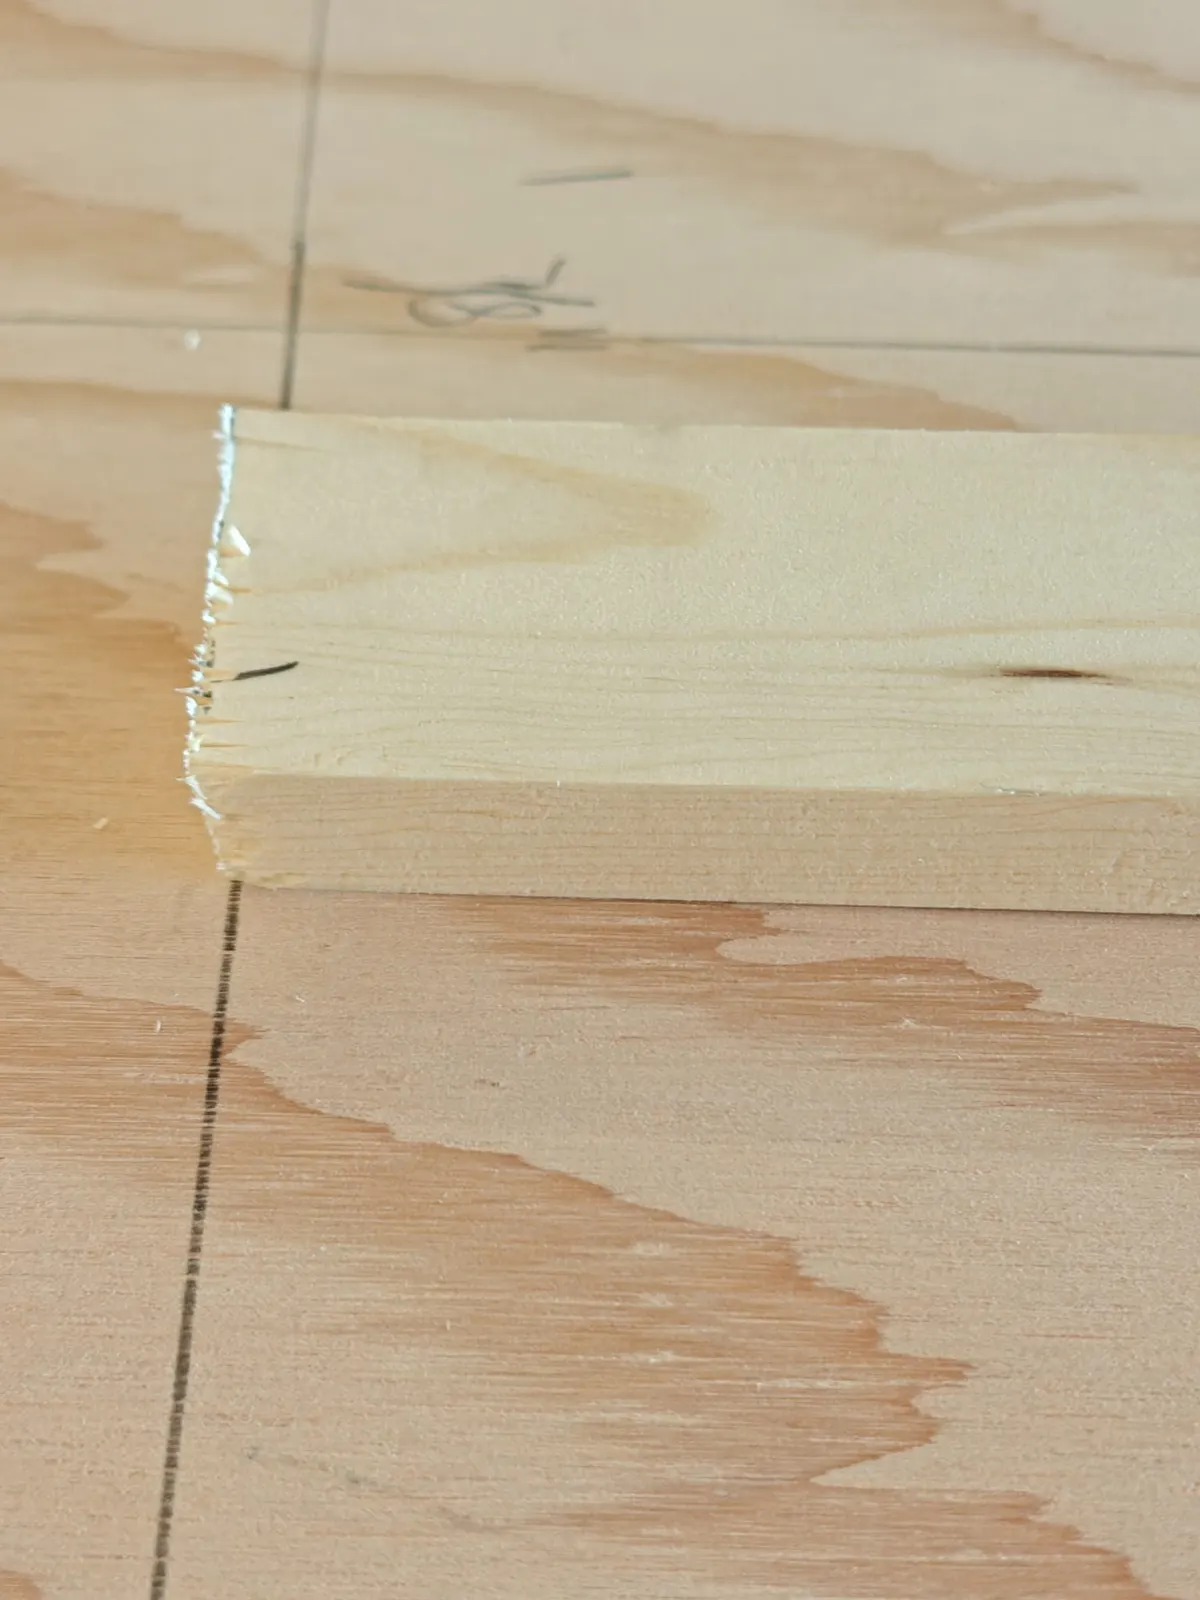
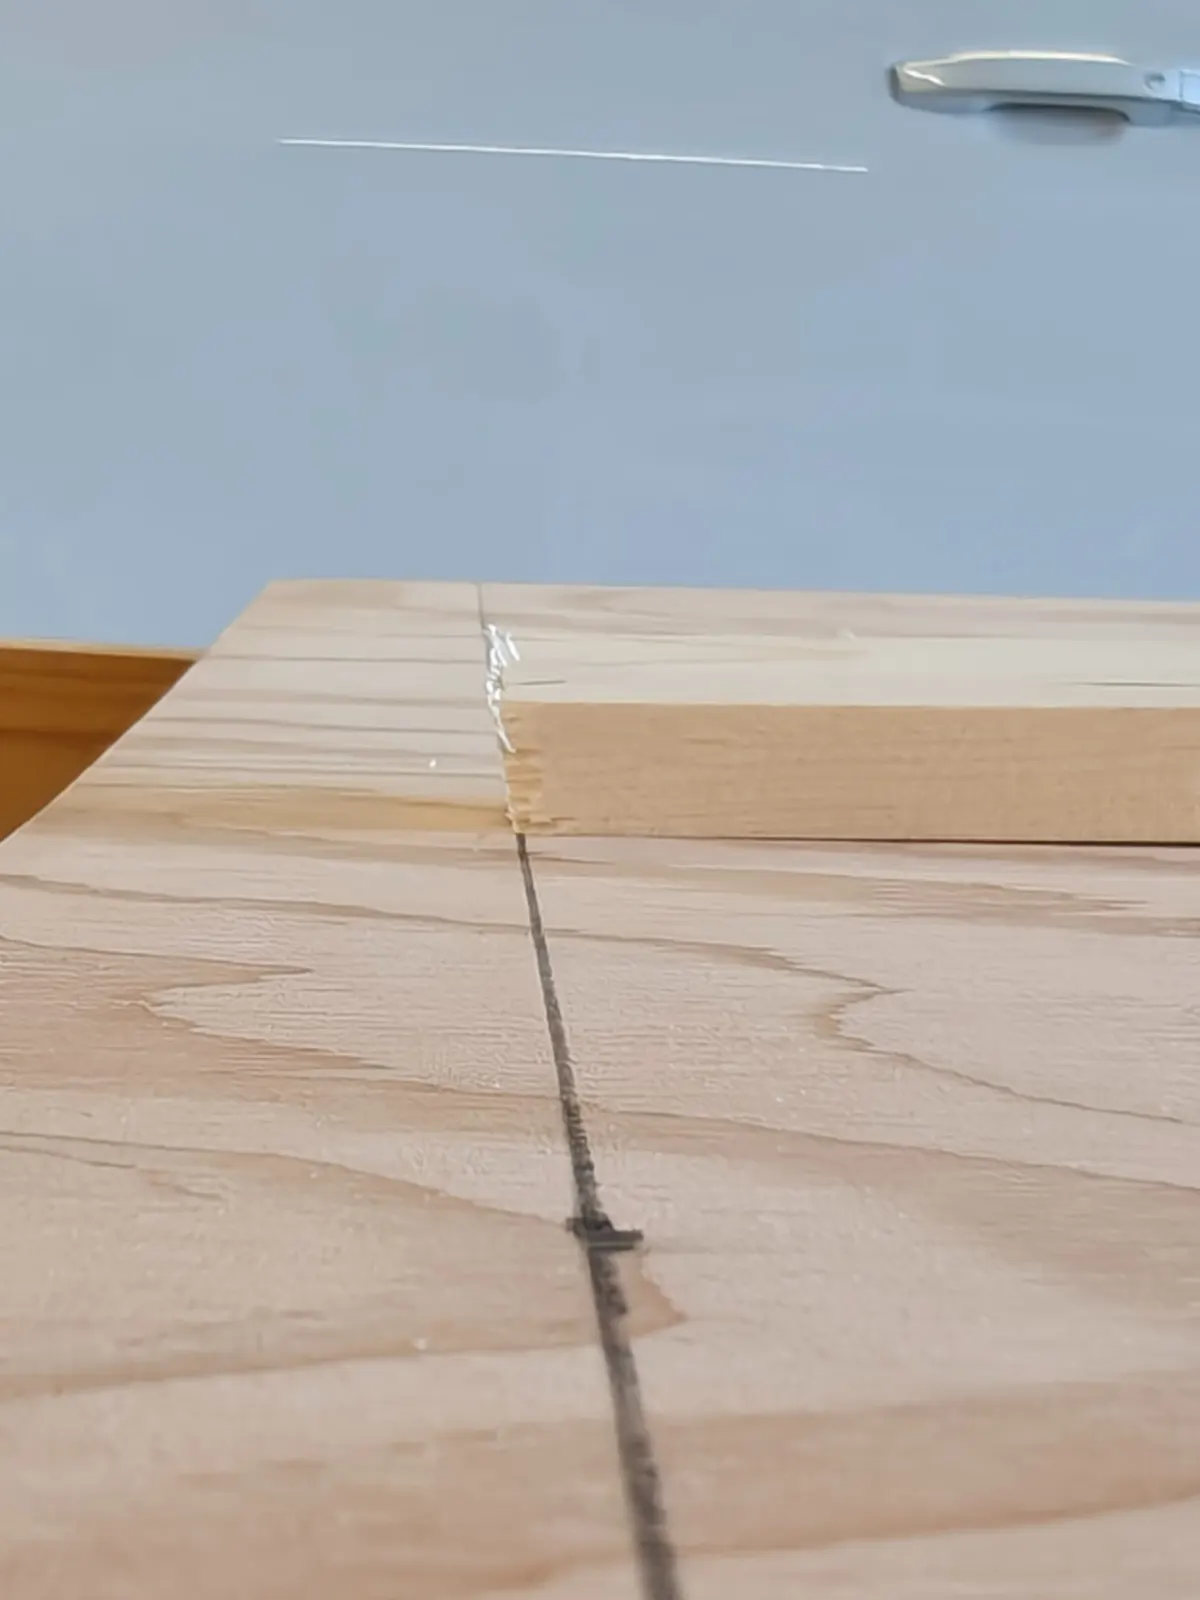
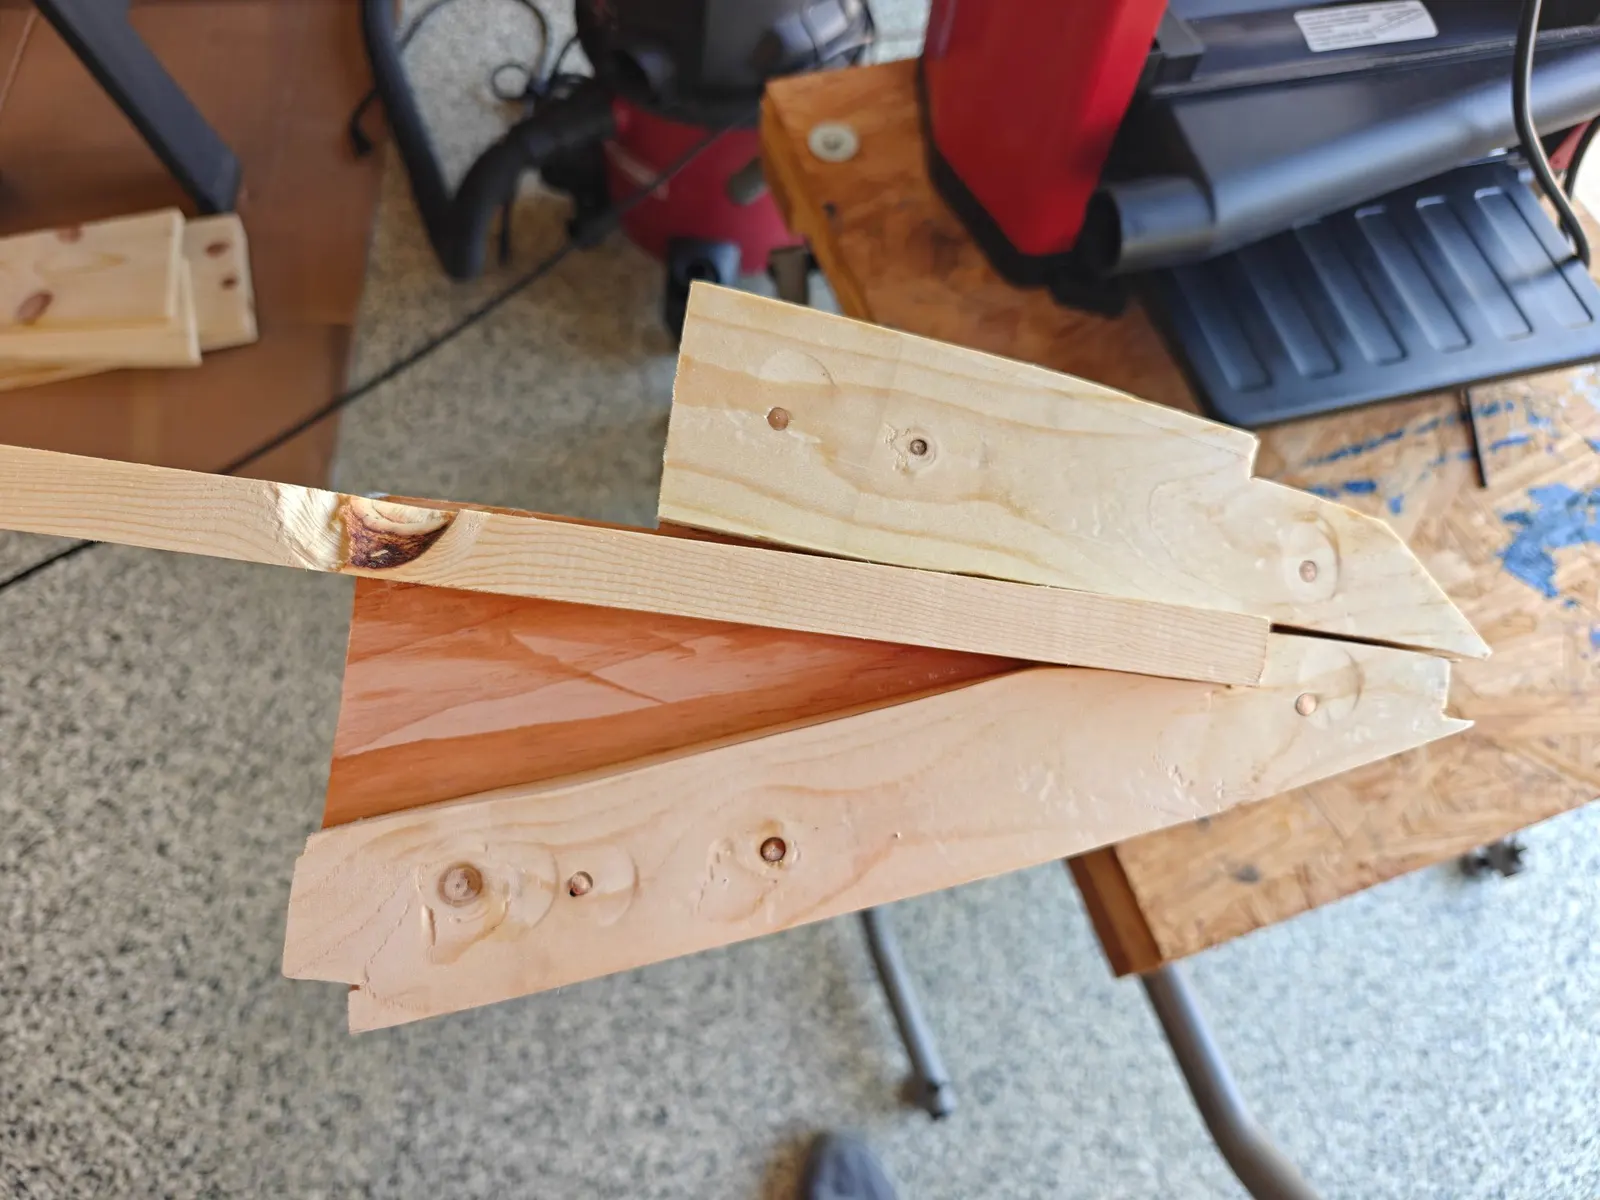
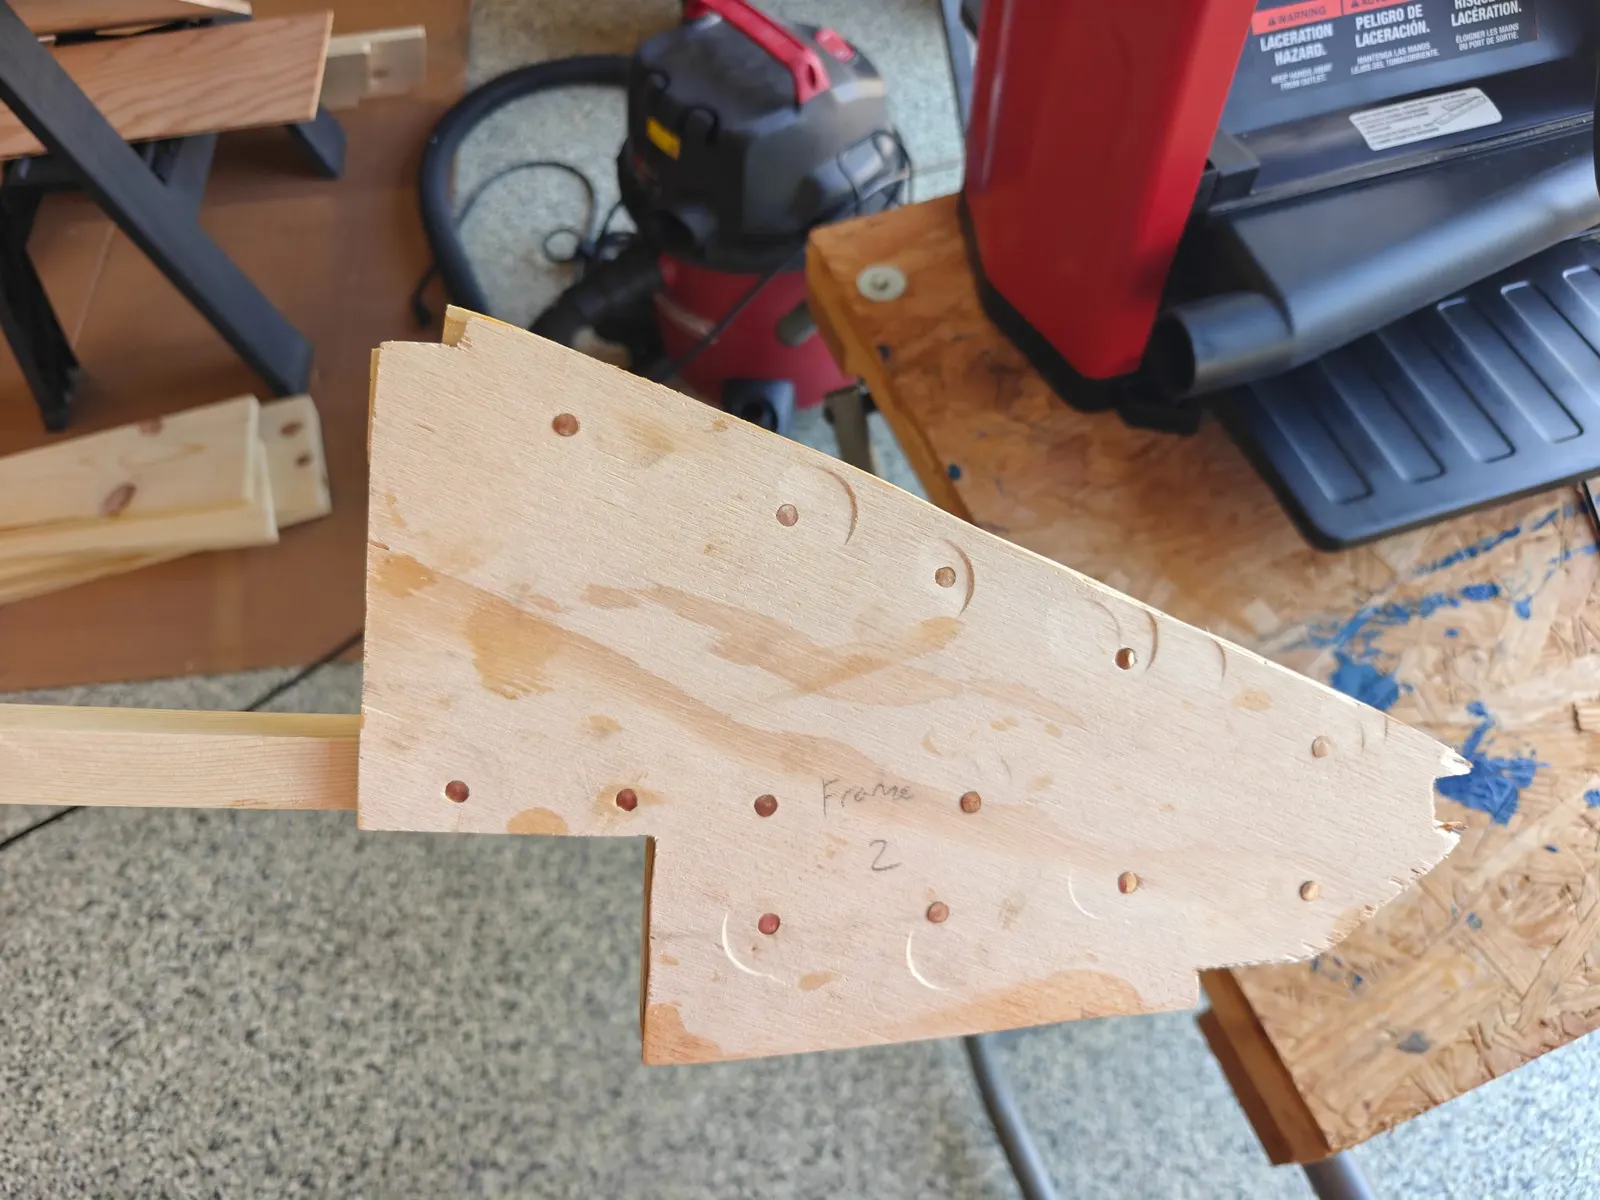
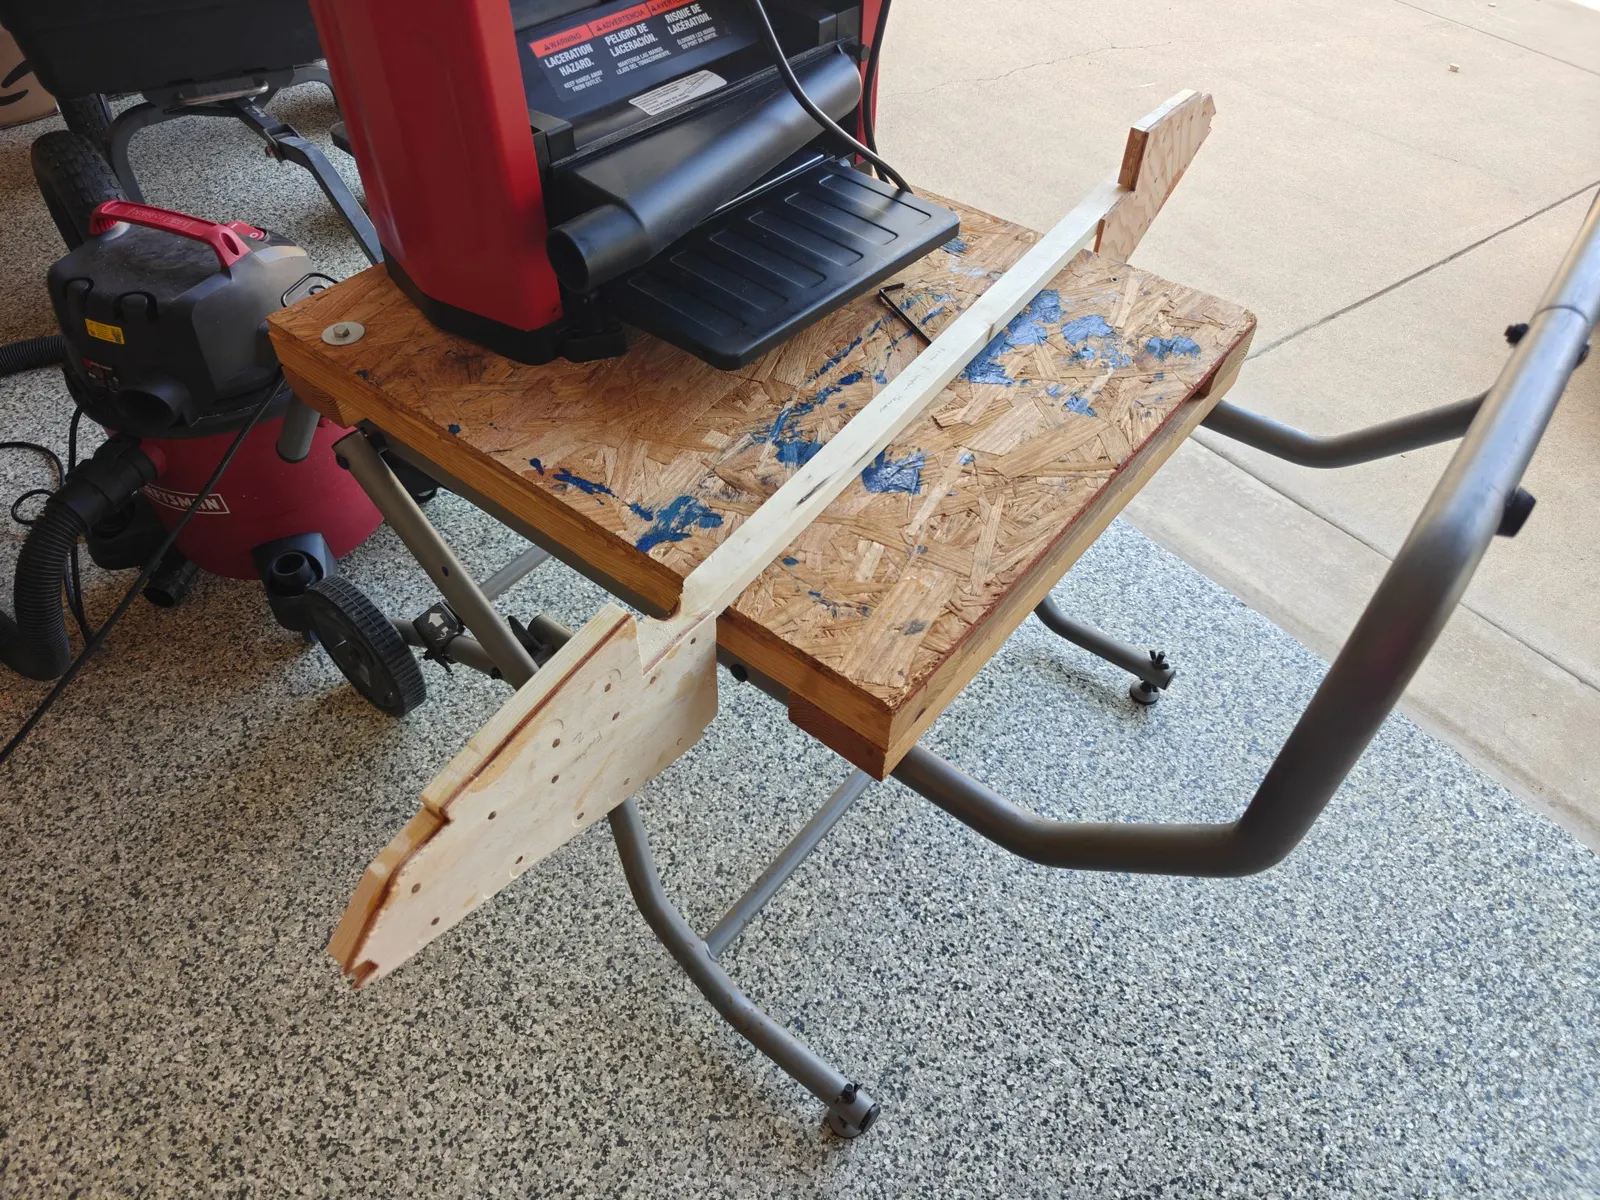
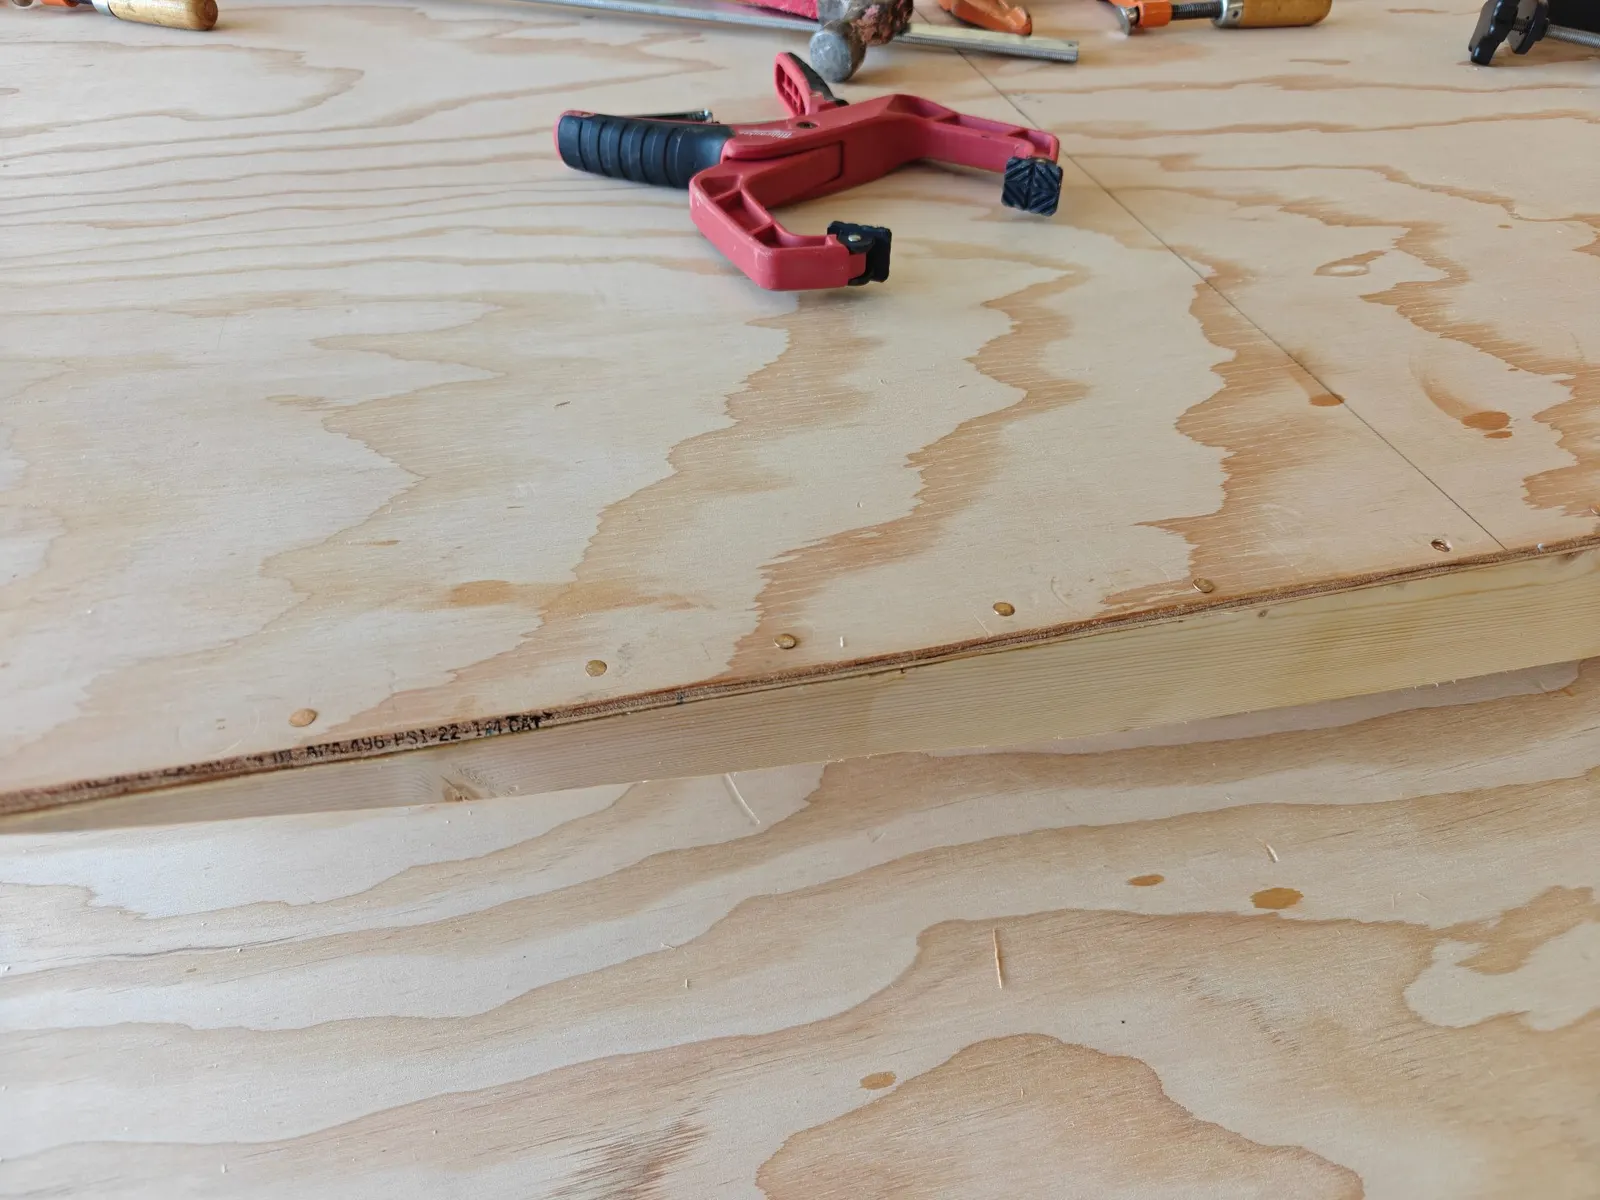
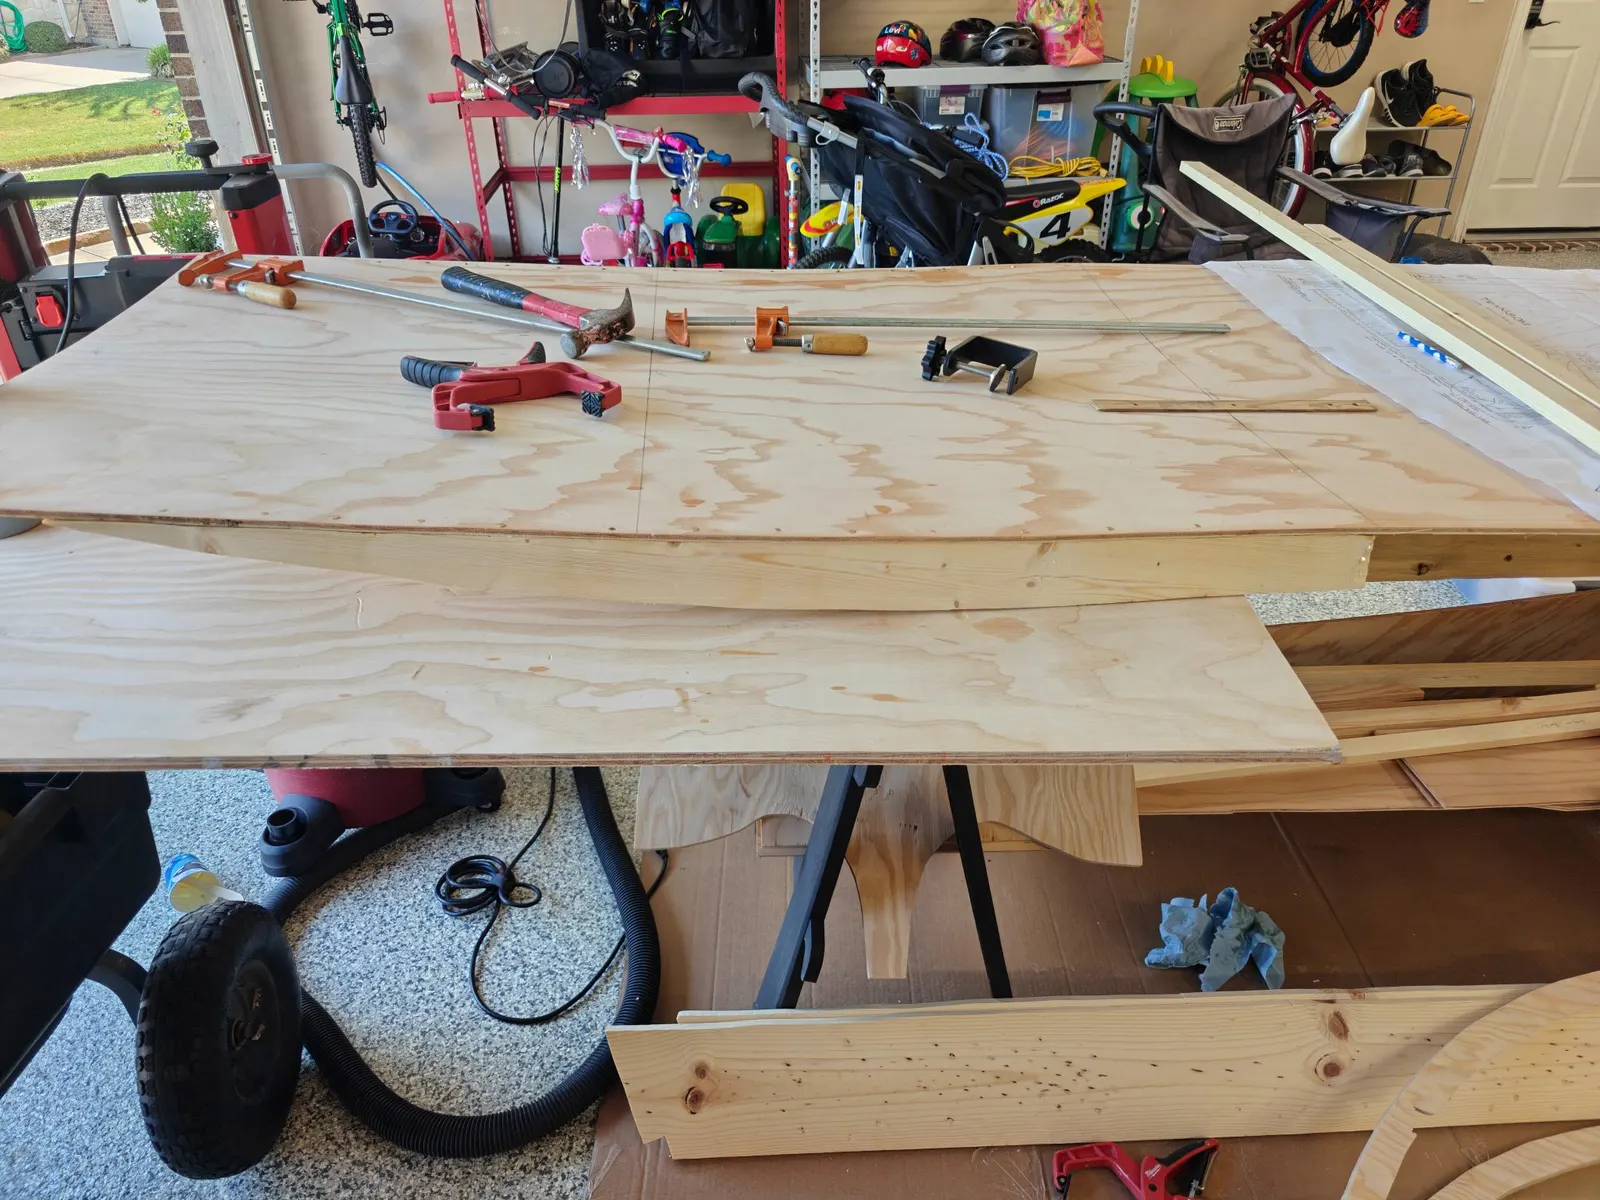
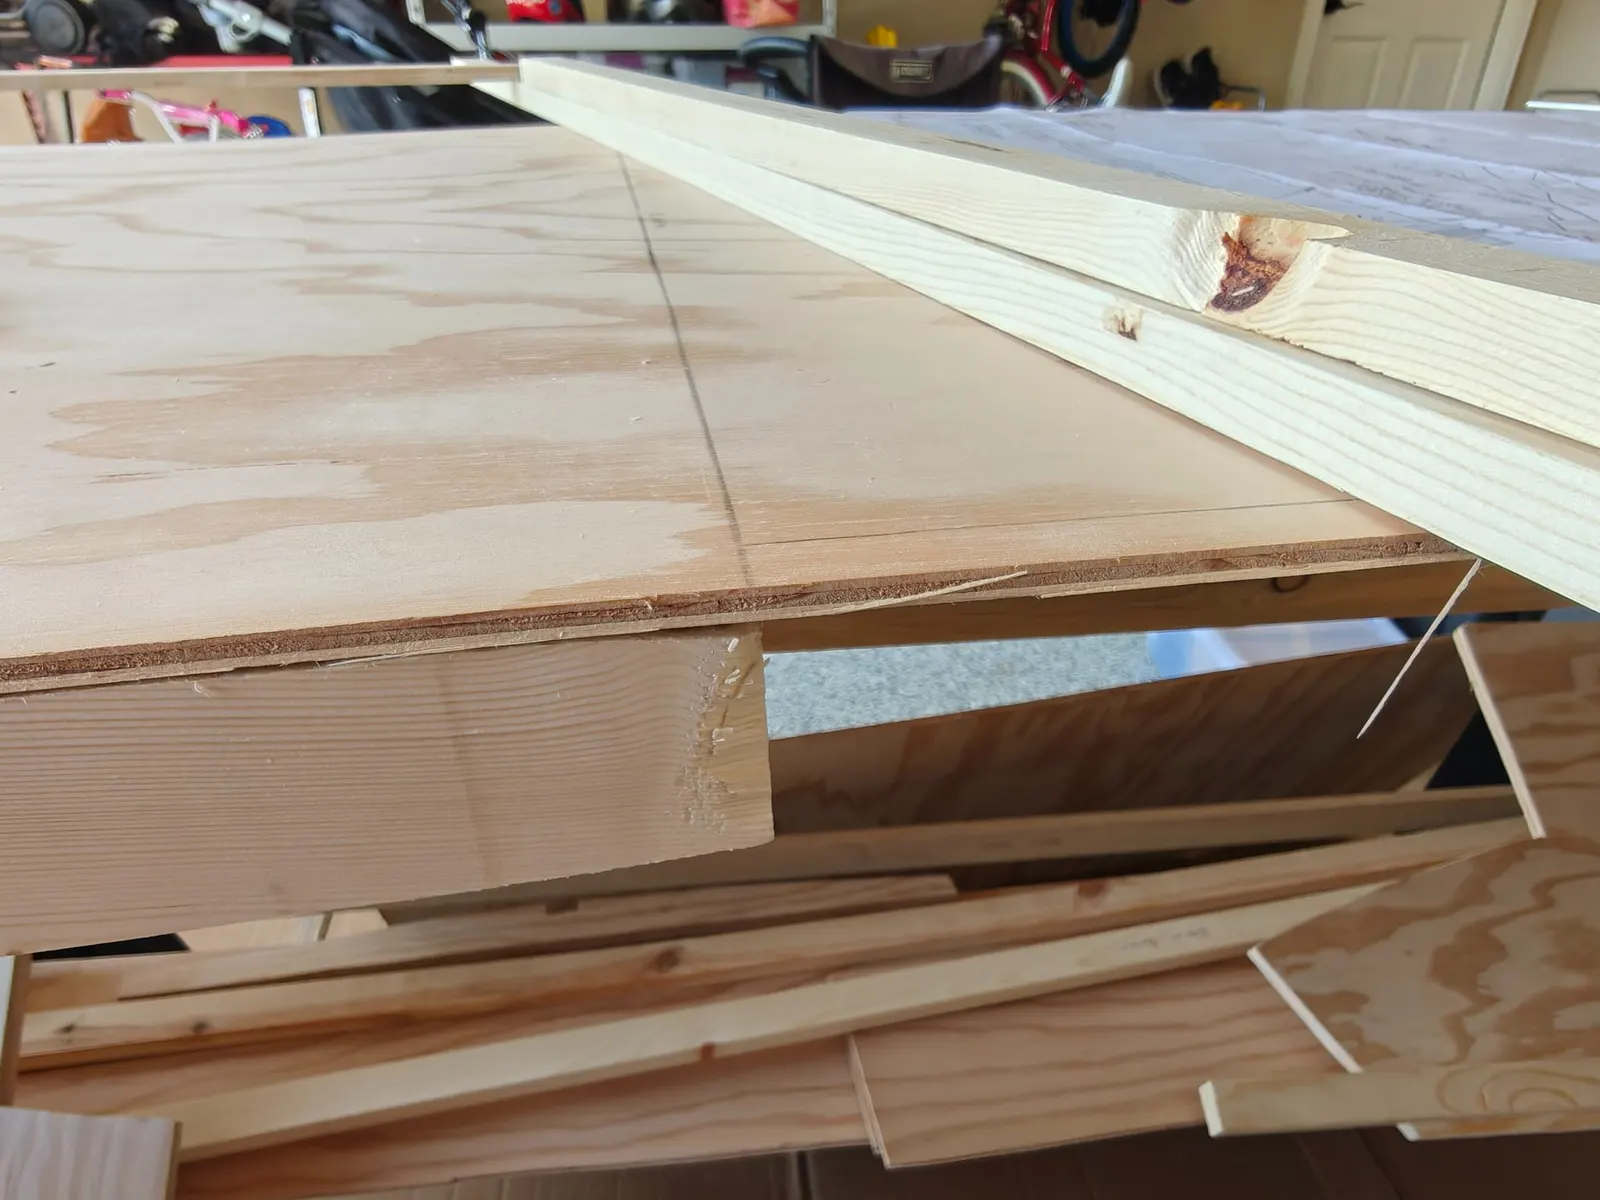
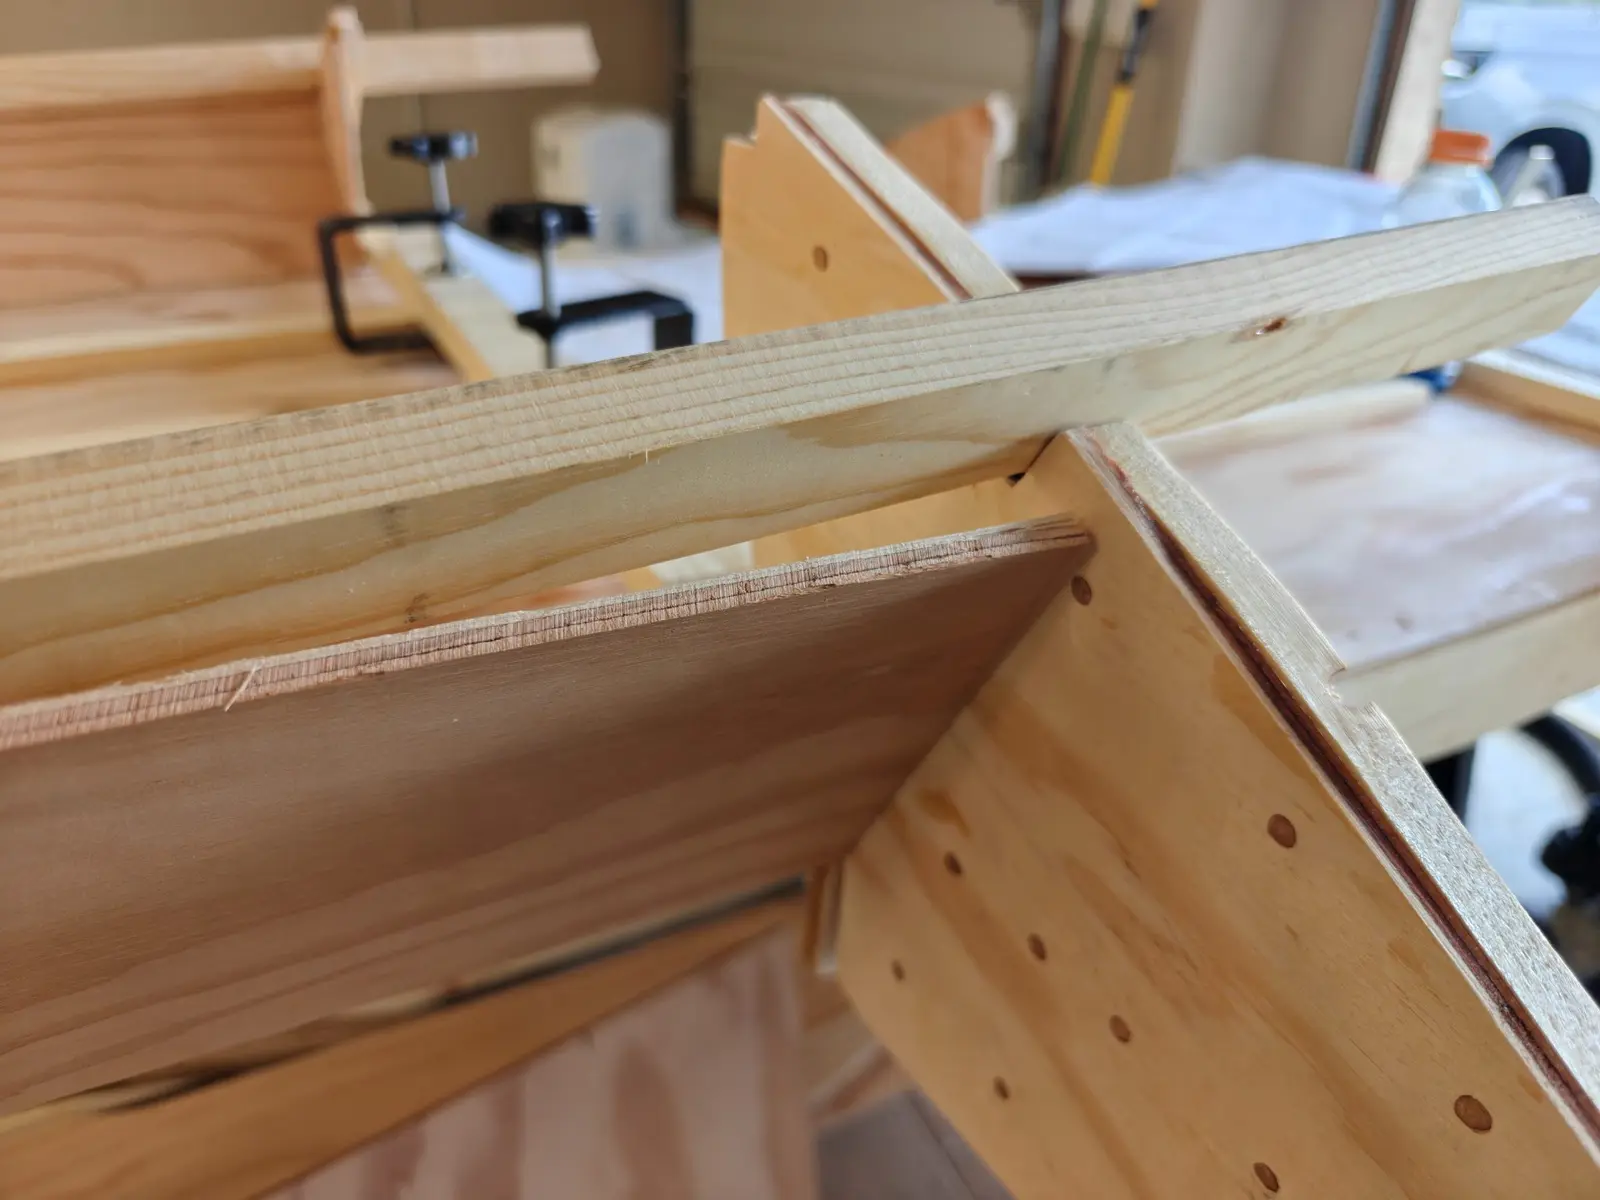
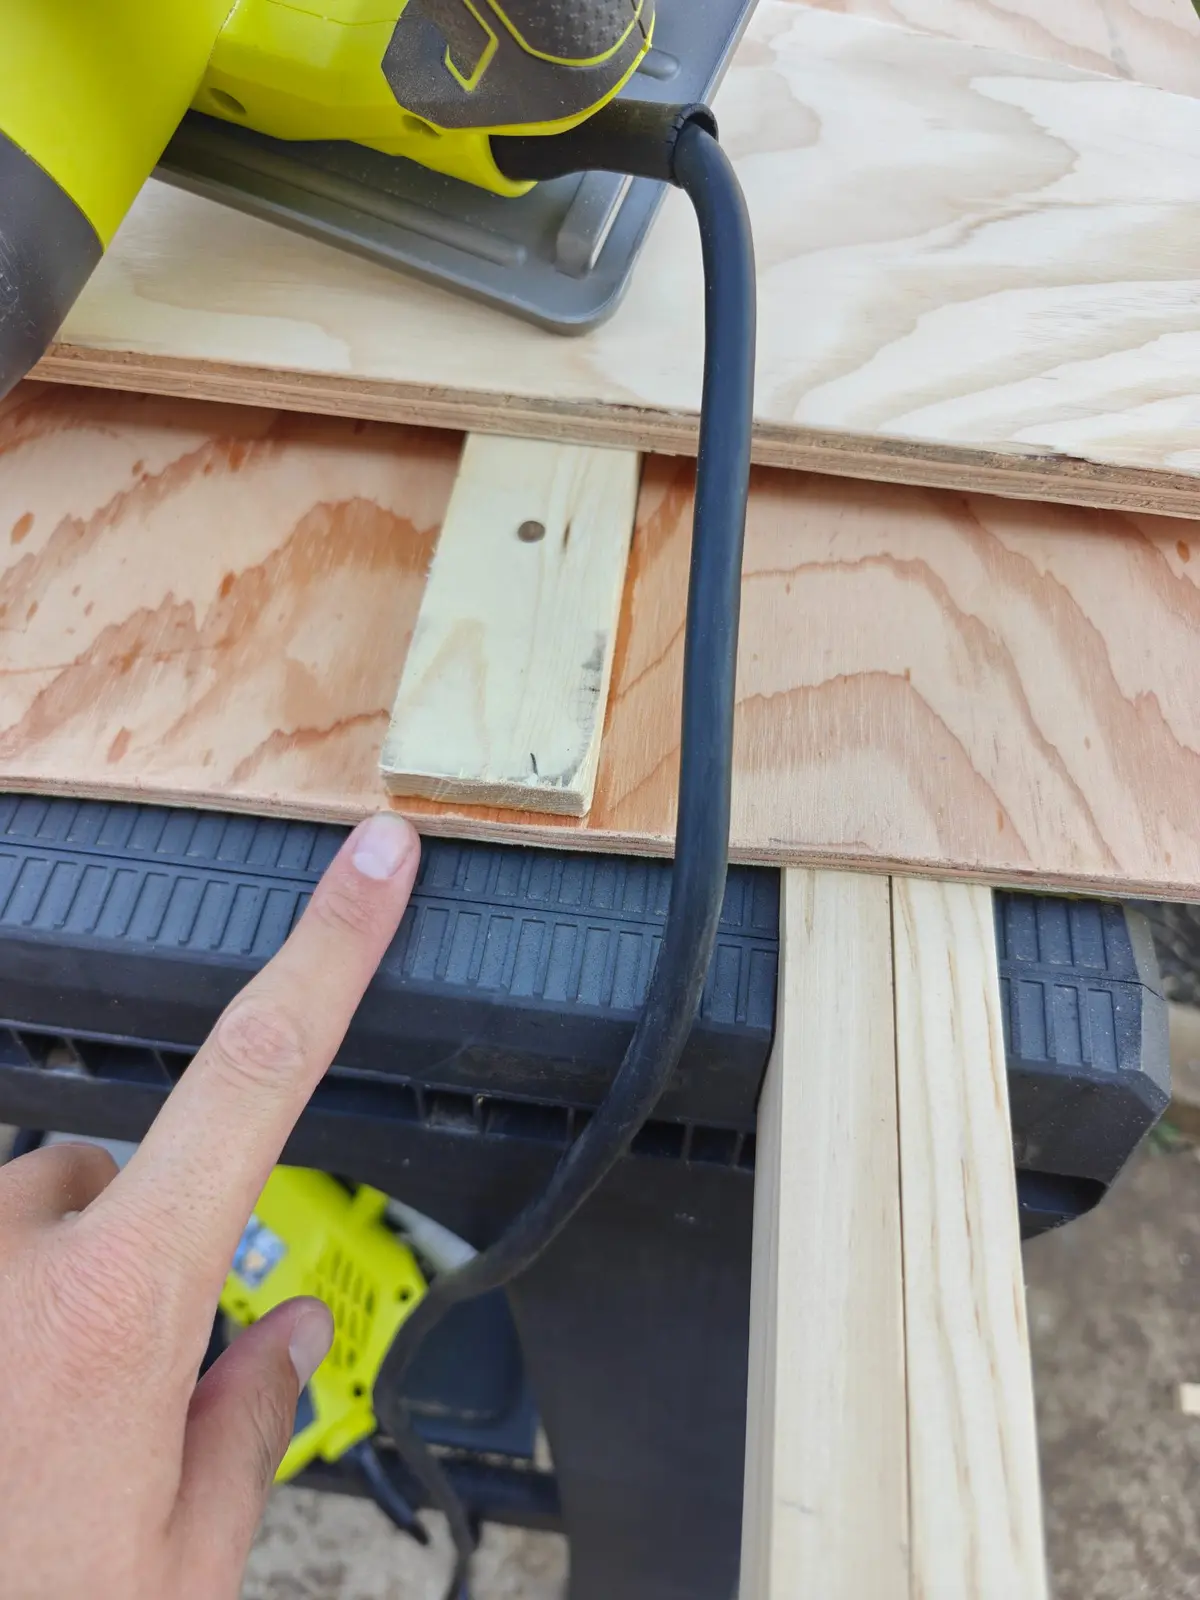
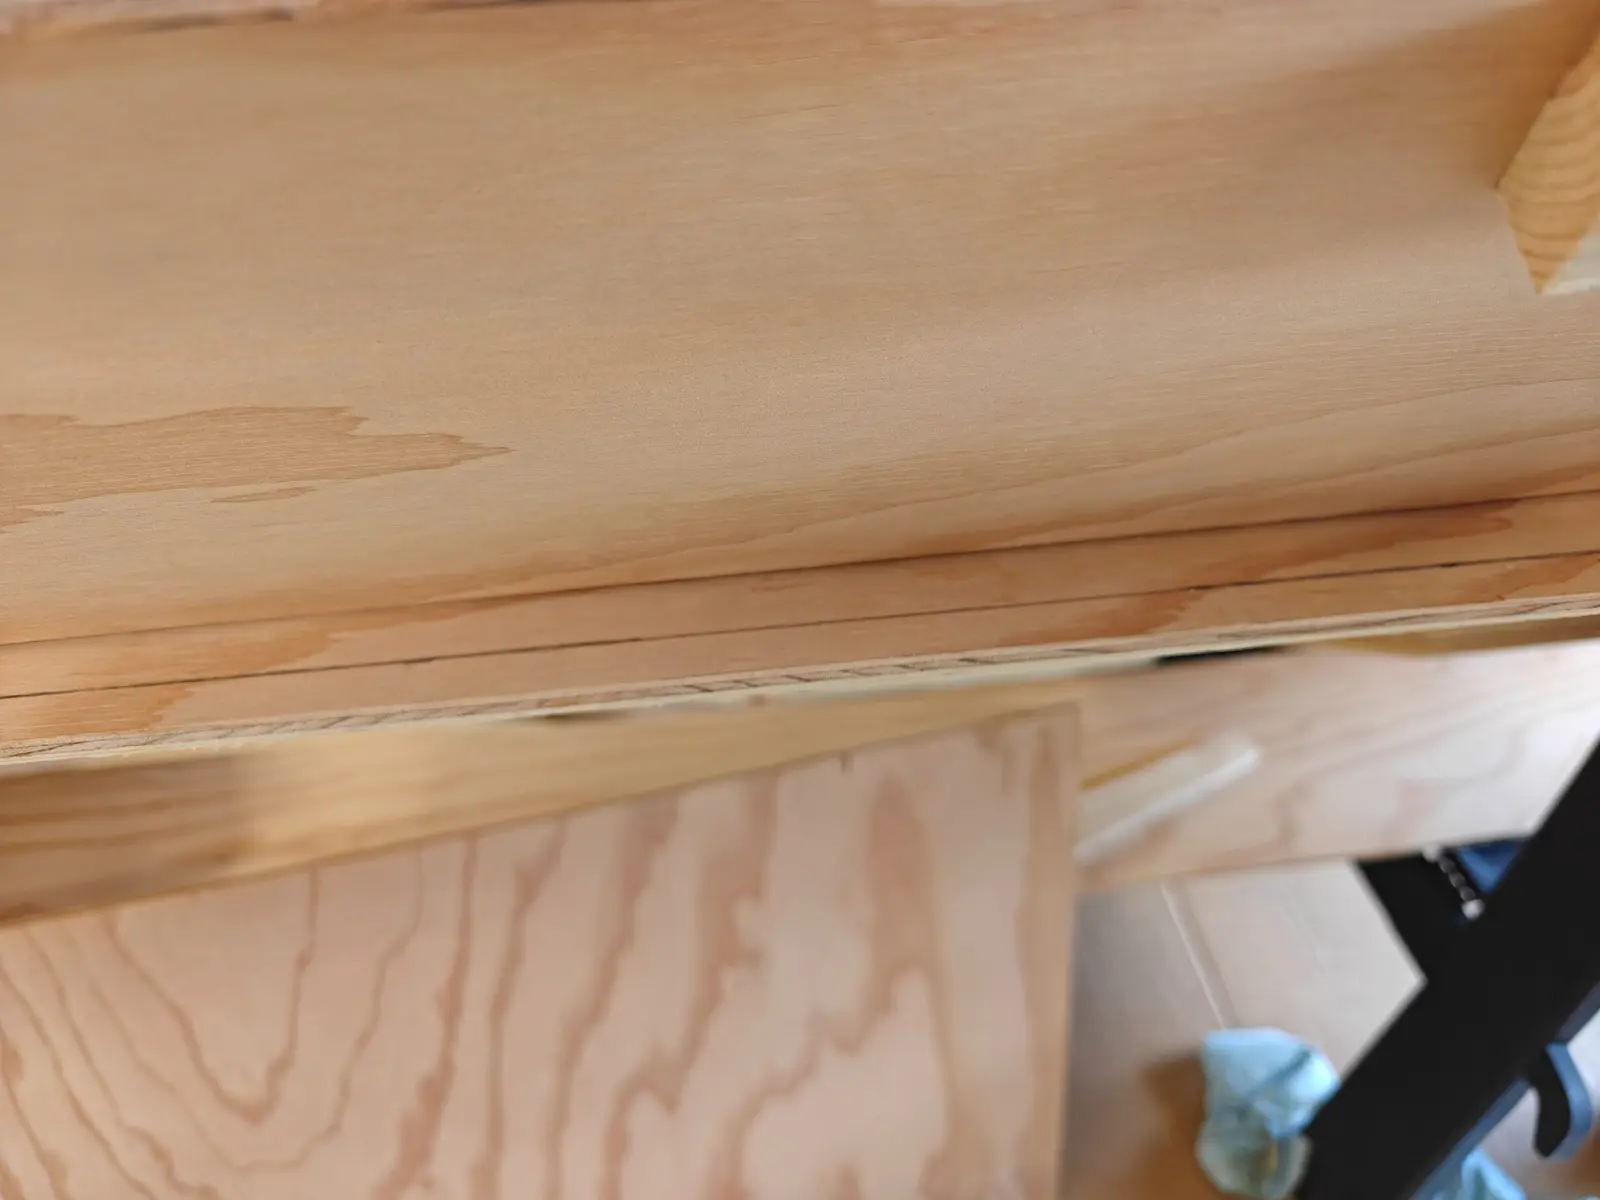
Everything else was pretty straightforward. Building frame number two was easy. The only issue was with the bottom frame member I glued and tacked it into place with nails, but it's about 1/8" or less too short to fit over the bottom planking (see photos). Tomorrow, after everything dries, I'll plane down the frame so it fits properly.
Bottom Battens
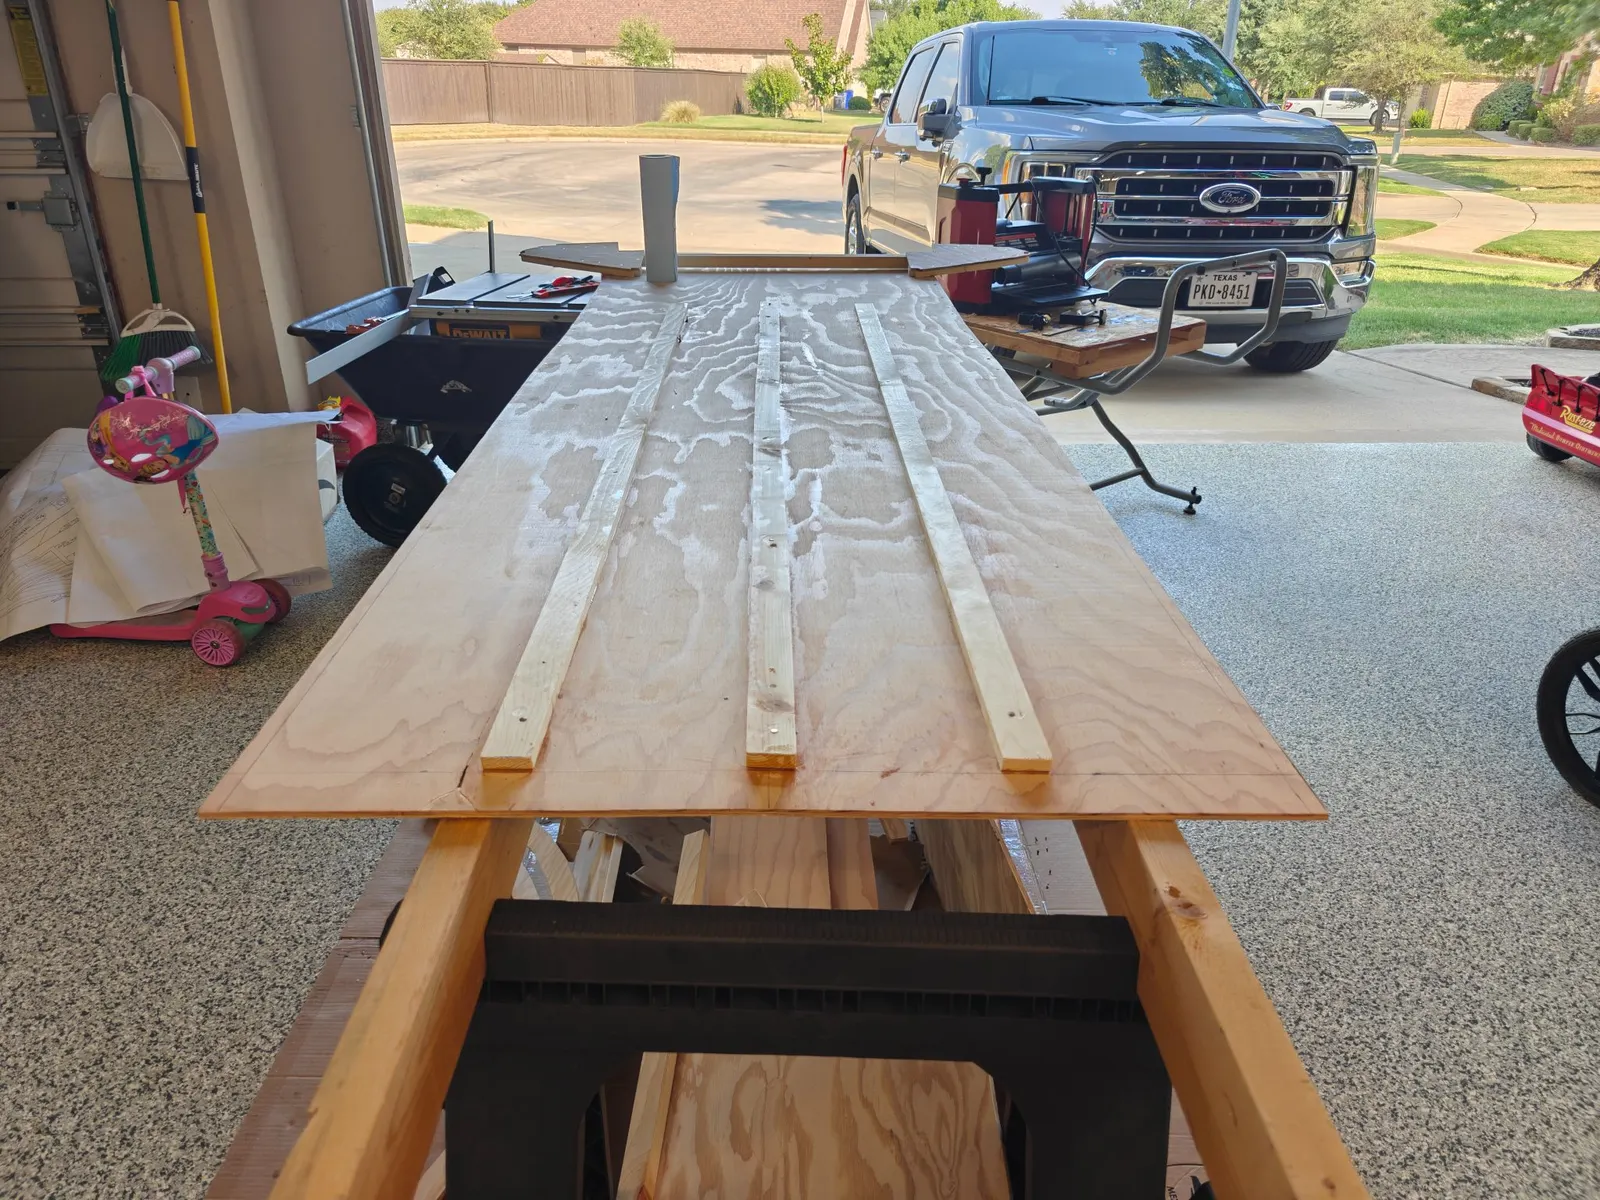
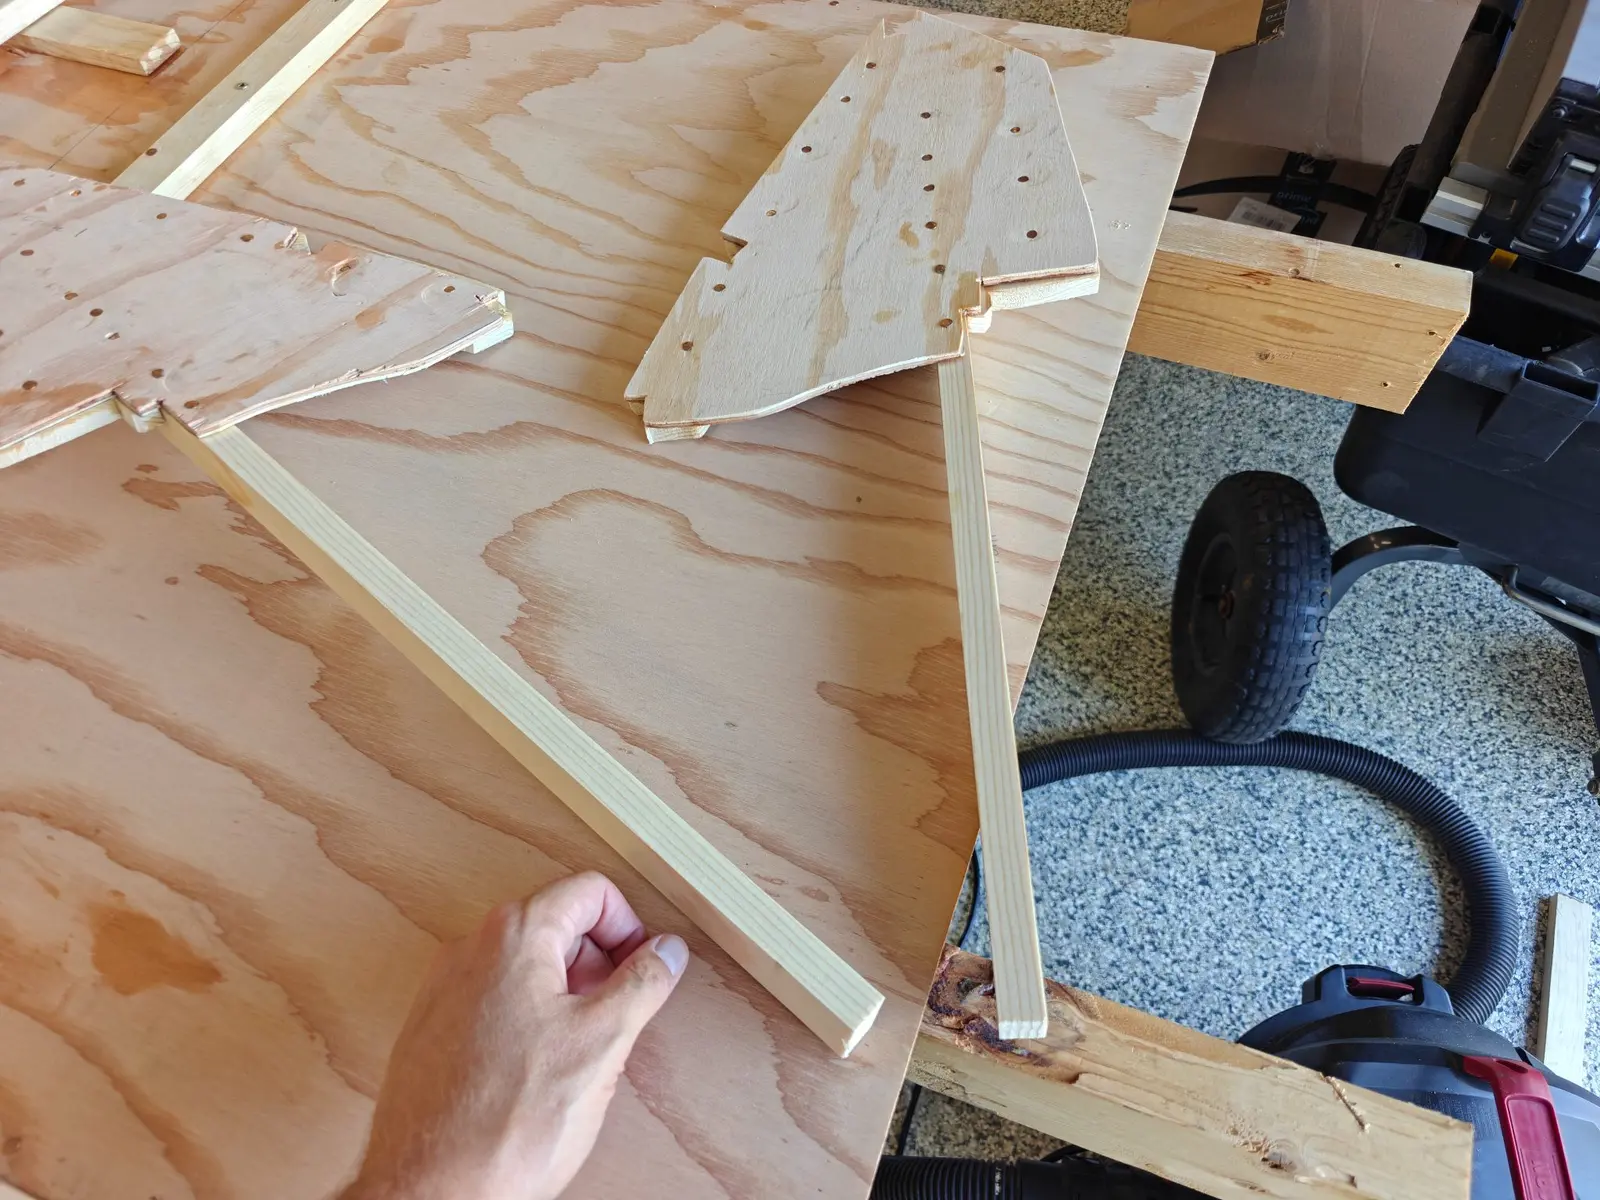
I had originally cut the bottom battens to 6 ft, based on what I saw on the plans, but the actual length needed is around 67 in, with a 15° wedge cut into the aft side (longer portion facing up see photos).
As for epoxying and securing the bottom battens, this was a bit of a challenge. If I could do it over again, here's what I'd do differently: after applying the epoxy and setting the batten while the boat is facing up, I'd use two or three screws to secure it into the bottom panel from the top first. Then, once it's secured from the top, flip the boat over and nail it from there.
It was a frustrating day. I'm still very much at the point where I'm trying to understand the plans, and the photos in the manual are many years old, low resolution, and hard to read. The best thing has been going online and looking at other people's builds. Photos help, but descriptions and step-by-step notes are much more useful.
What I got done today
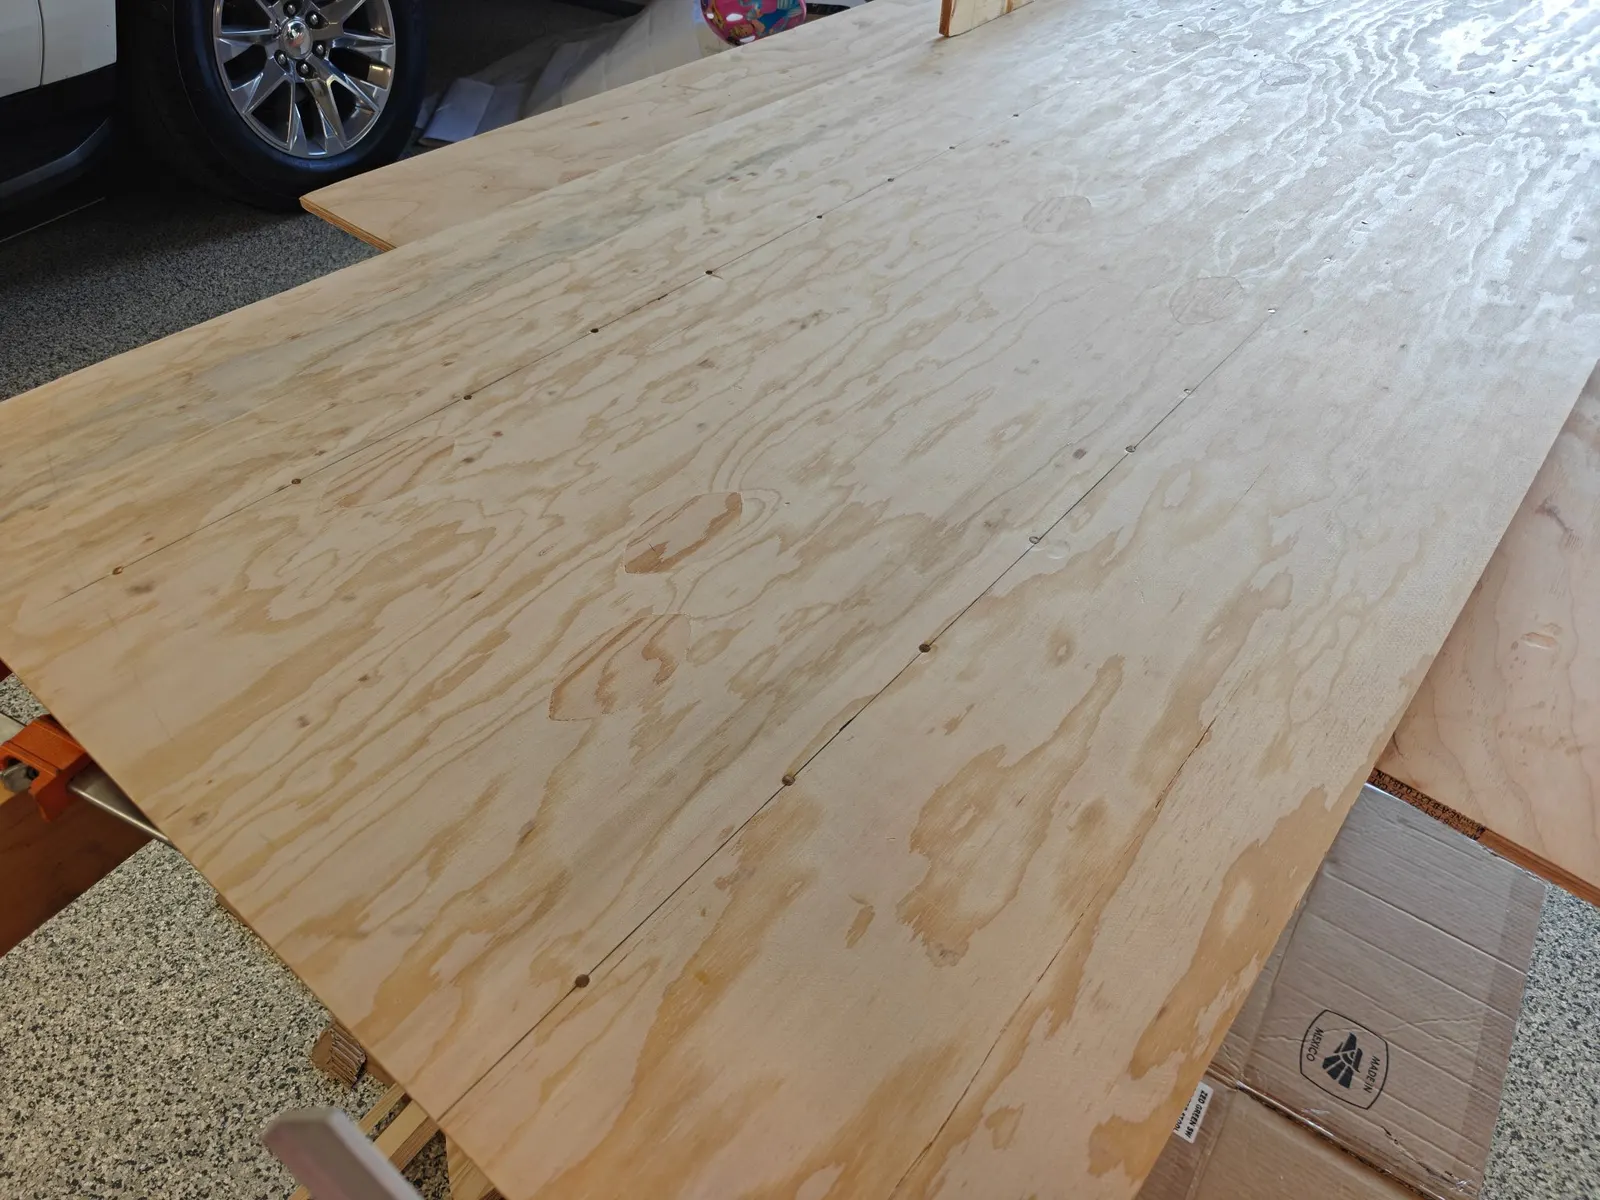
Bottom planking cutback. I realized I'd forgotten to cut the sides of the bottom hull panel after frame 2. From frame 2 all the way back to the transom, you're supposed to trim off about a half inch on each side. Not a big deal, I was able to do that pretty easily even with everything already in place.
Transom mark mix-up. While working on the bottom hull, I looked back at the plans and saw the transom end of the bottom plate marked at 1-7/8". I assumed that meant I was supposed to cut it off there. Turns out that's wrong. That line just marks where the transom meets the side panels; it's not a cut line.
Since I'd already cut it two inches short, I had to cut the side panels two inches shorter too, to match. Net result: the whole boat will end up about two inches shorter than spec. Nothing to be done about it at this point.
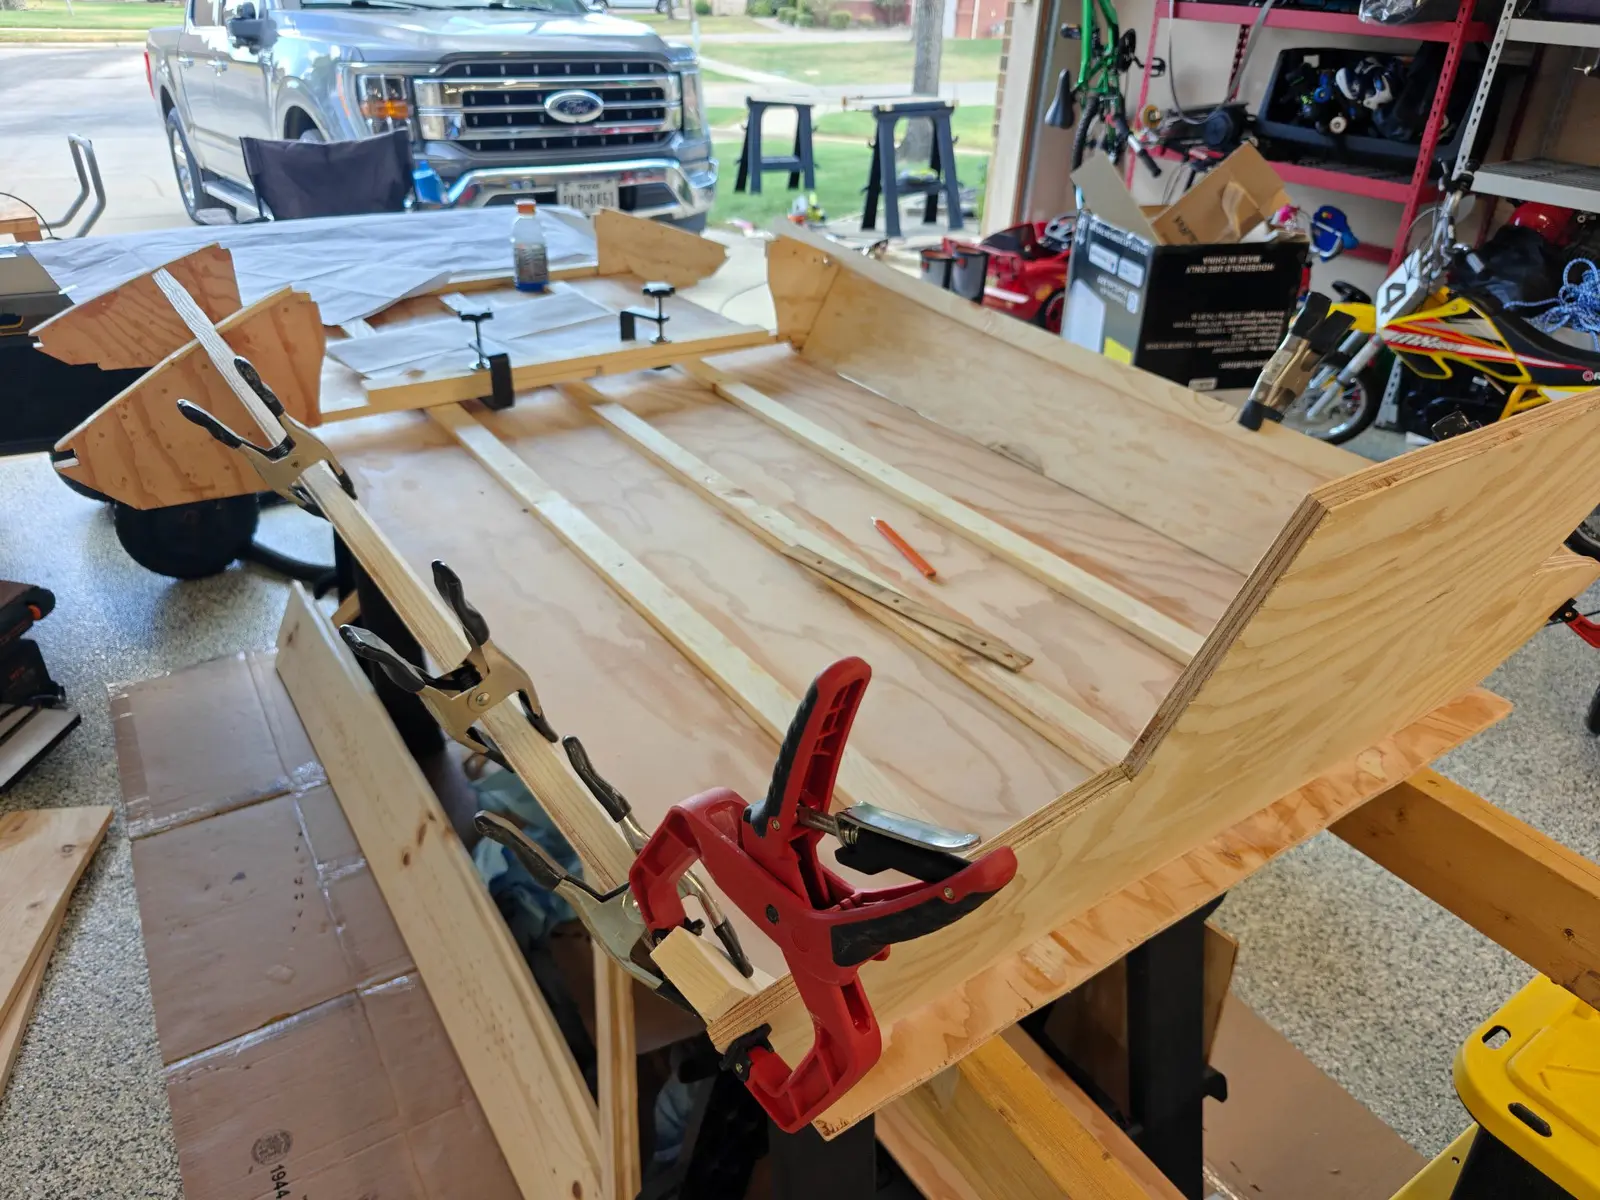
Frame 1 fit issue. Frame 1 wasn't sitting correctly, so I cut a new batten for it. The original one I'd sized turned out too short. The new batten was too long so I ended up cutting that batten in half and clamping the pieces together for now. I'll nail it properly once everything is in final position.
Bottom battens. Cutting the bottom plank back that 1-7/8" also meant trimming all three bottom battens back about two inches. That got messy with the old nails and glue, but after sanding it down, it looks decent.
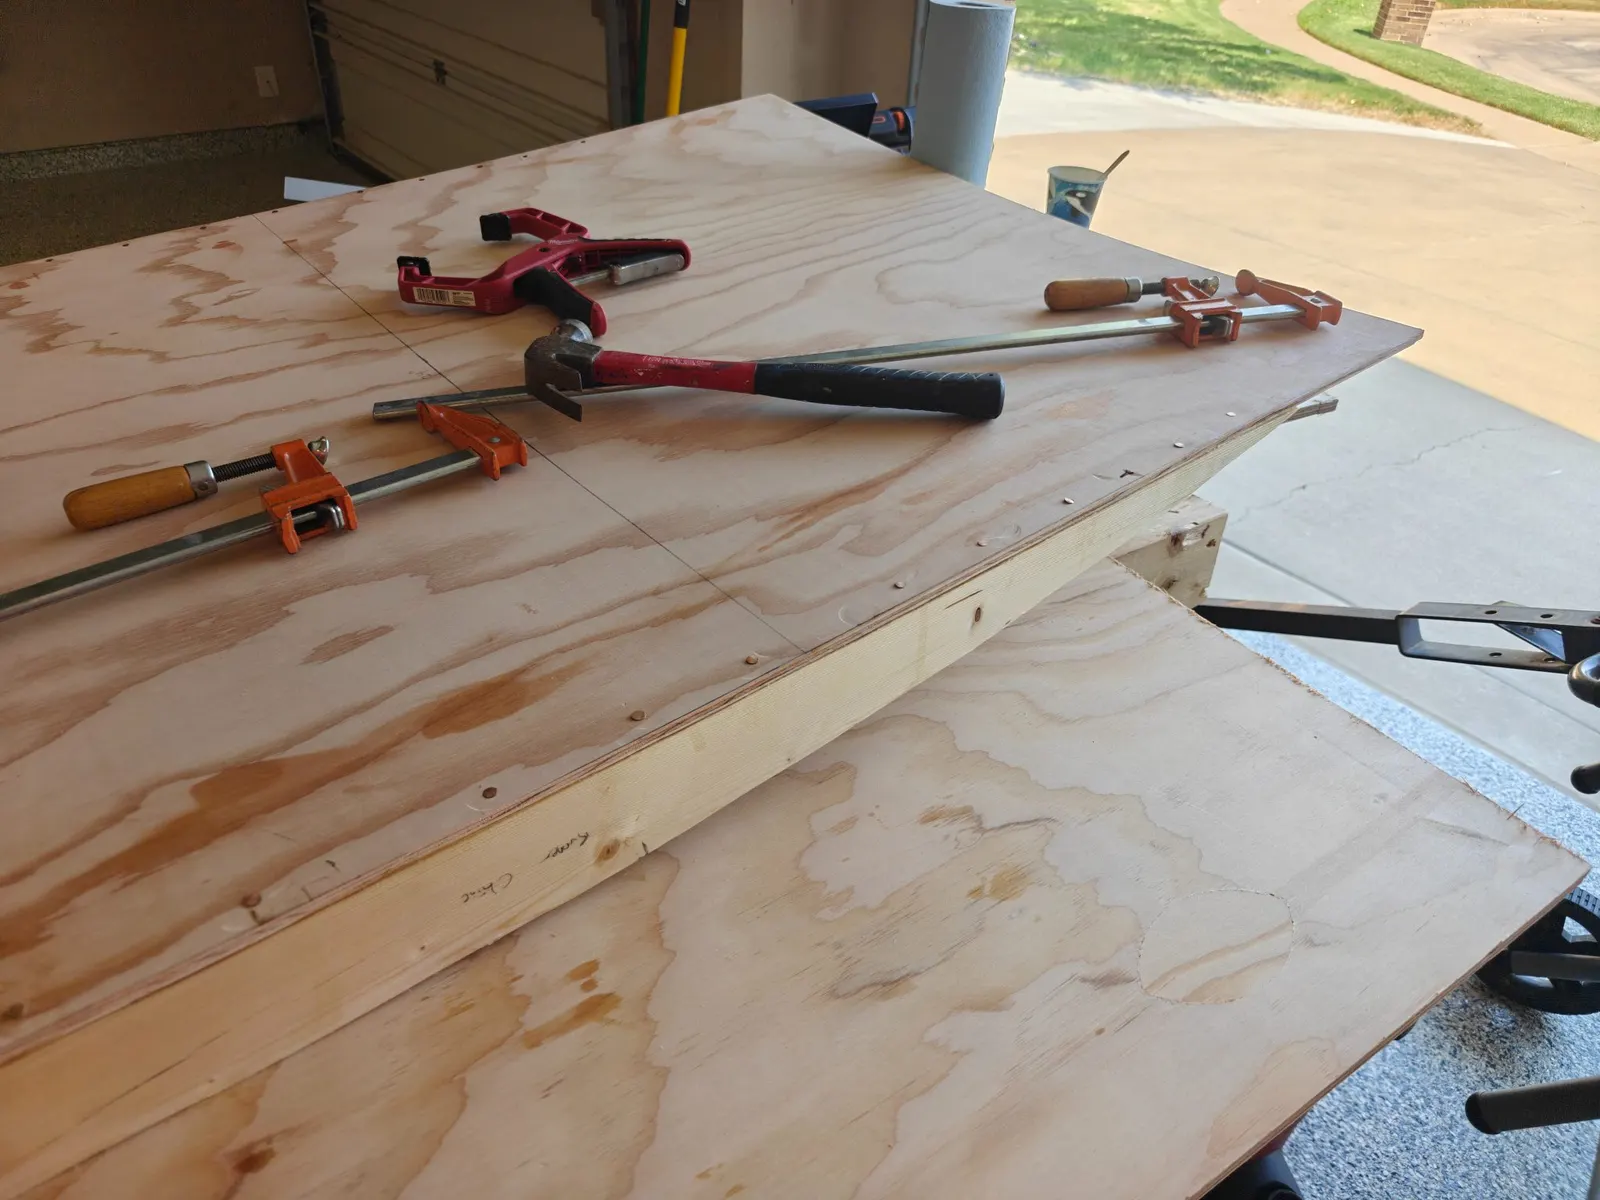
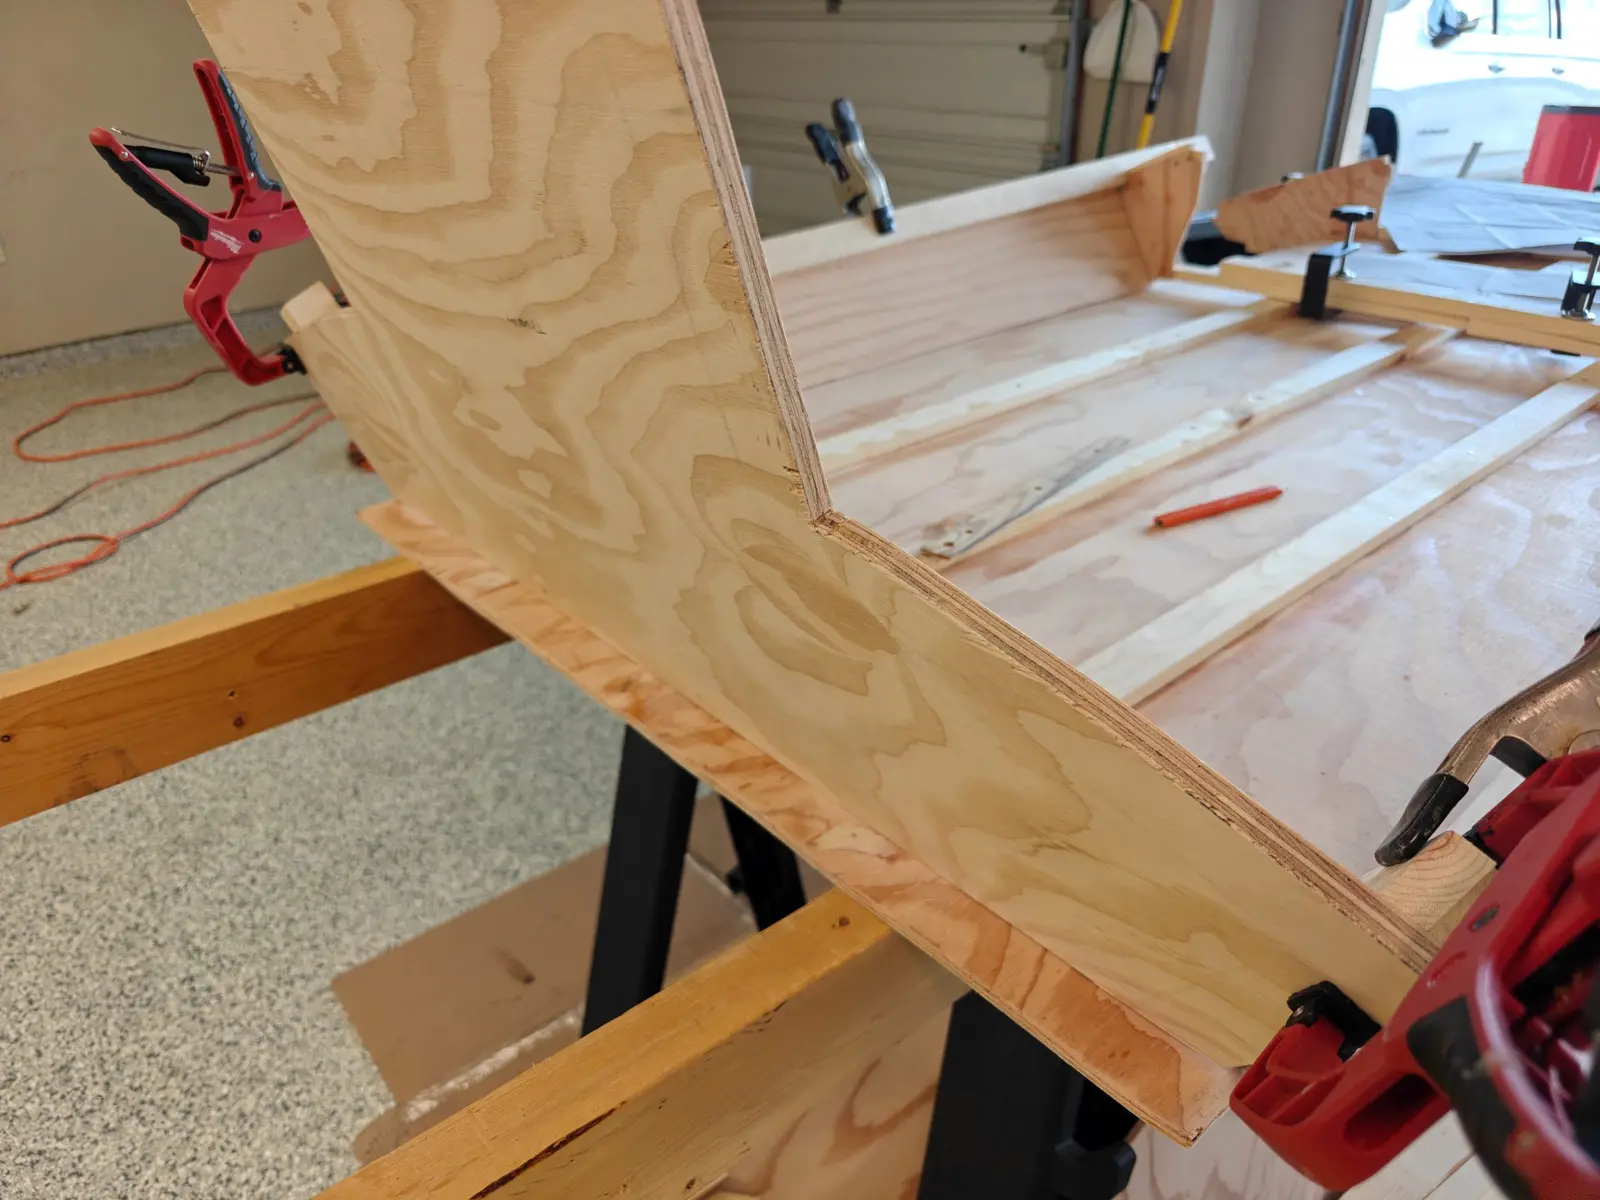
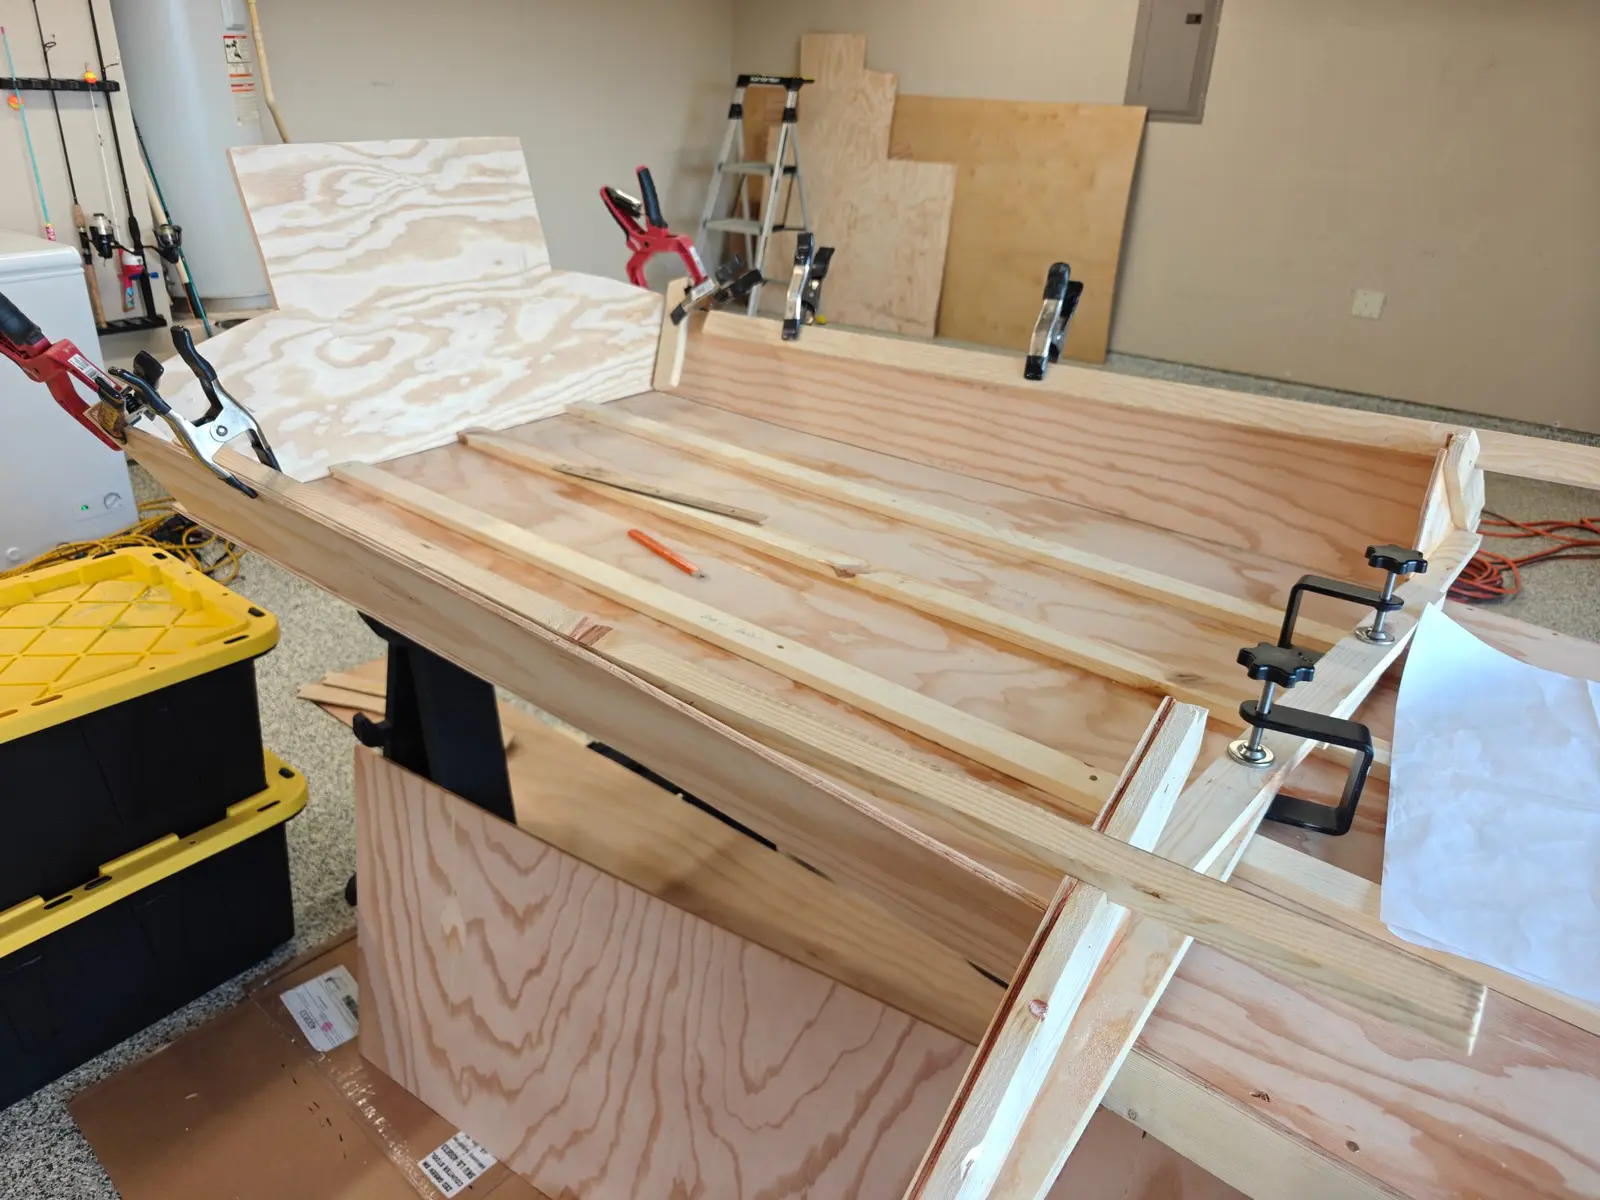
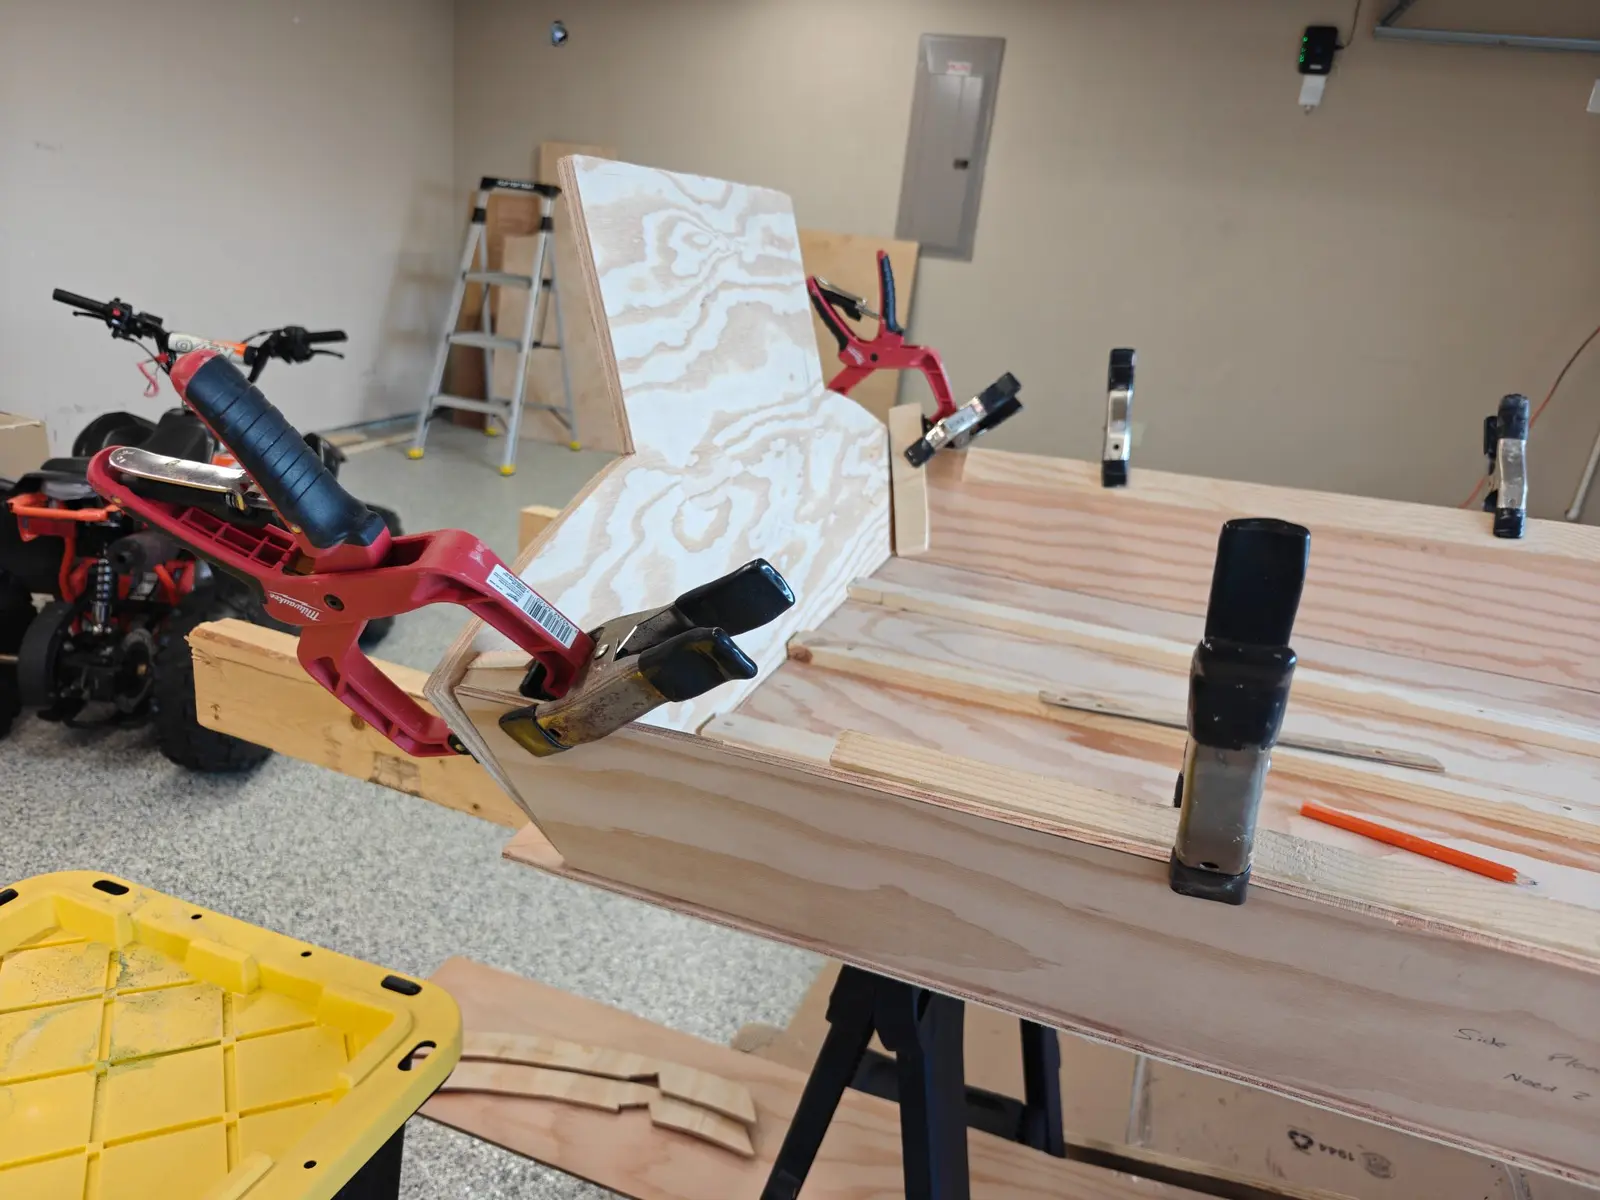
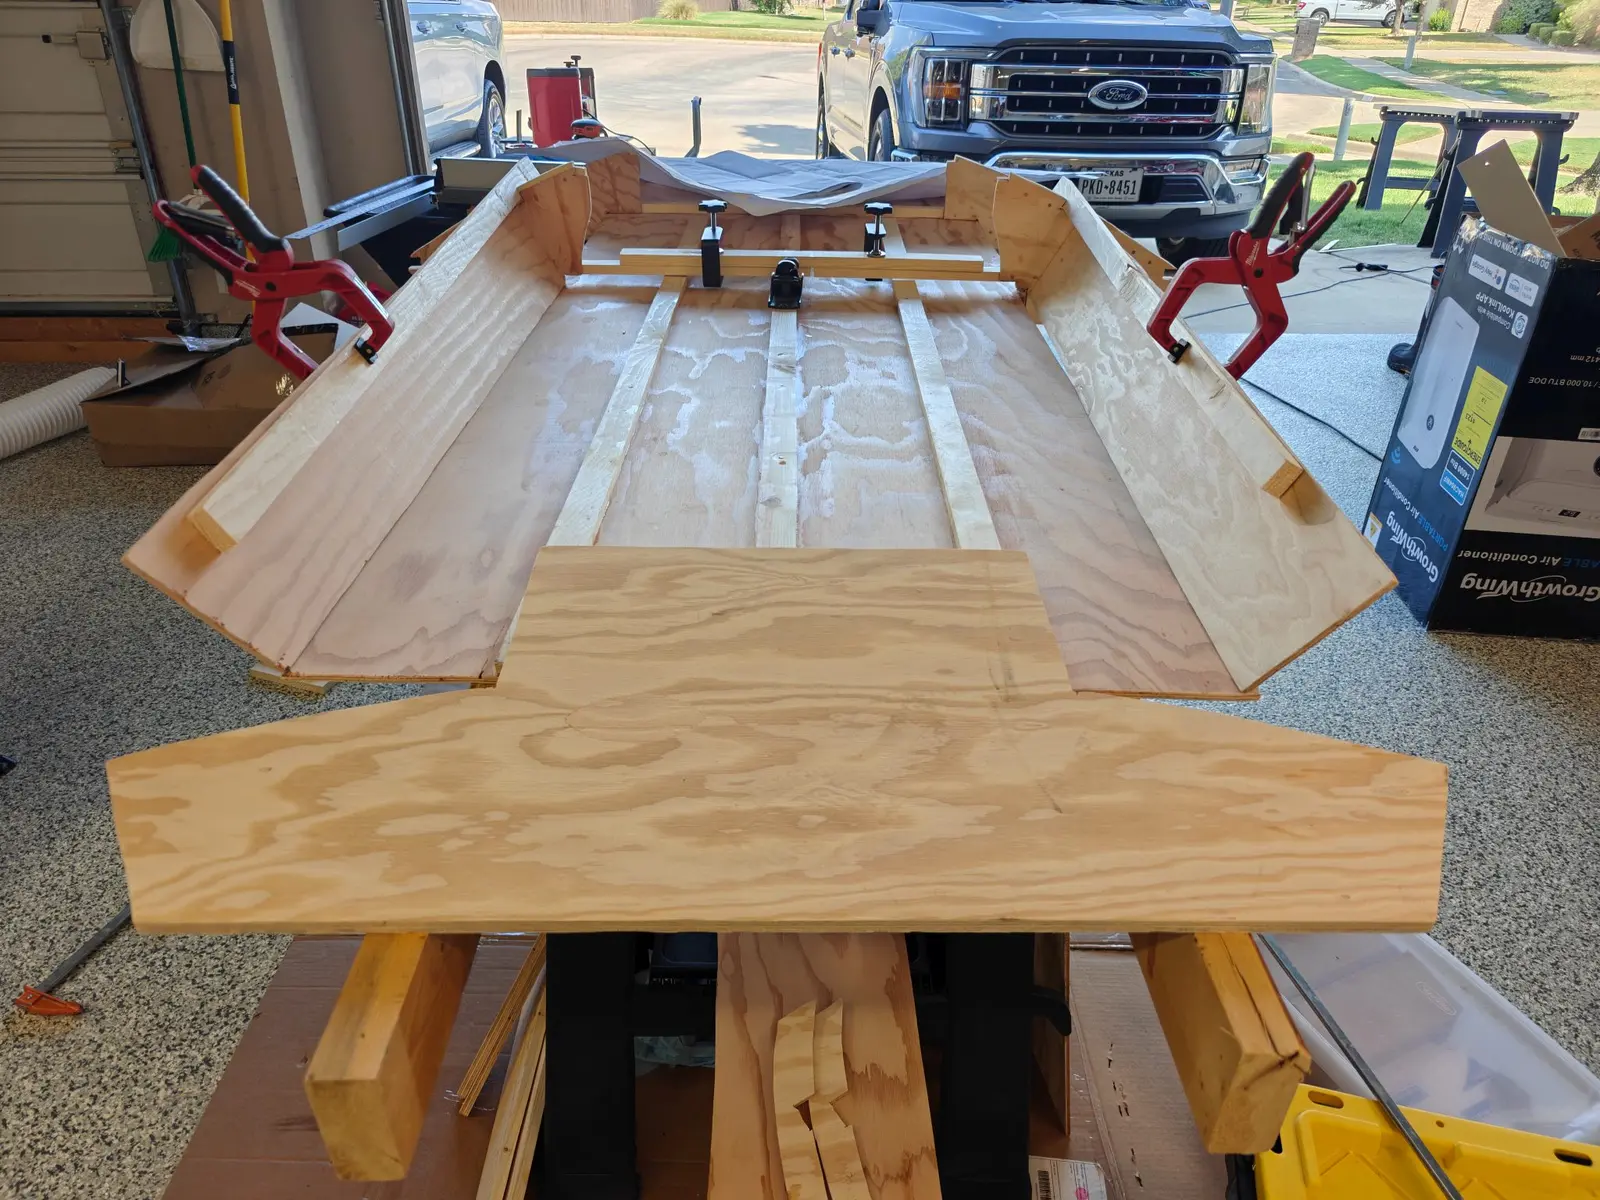
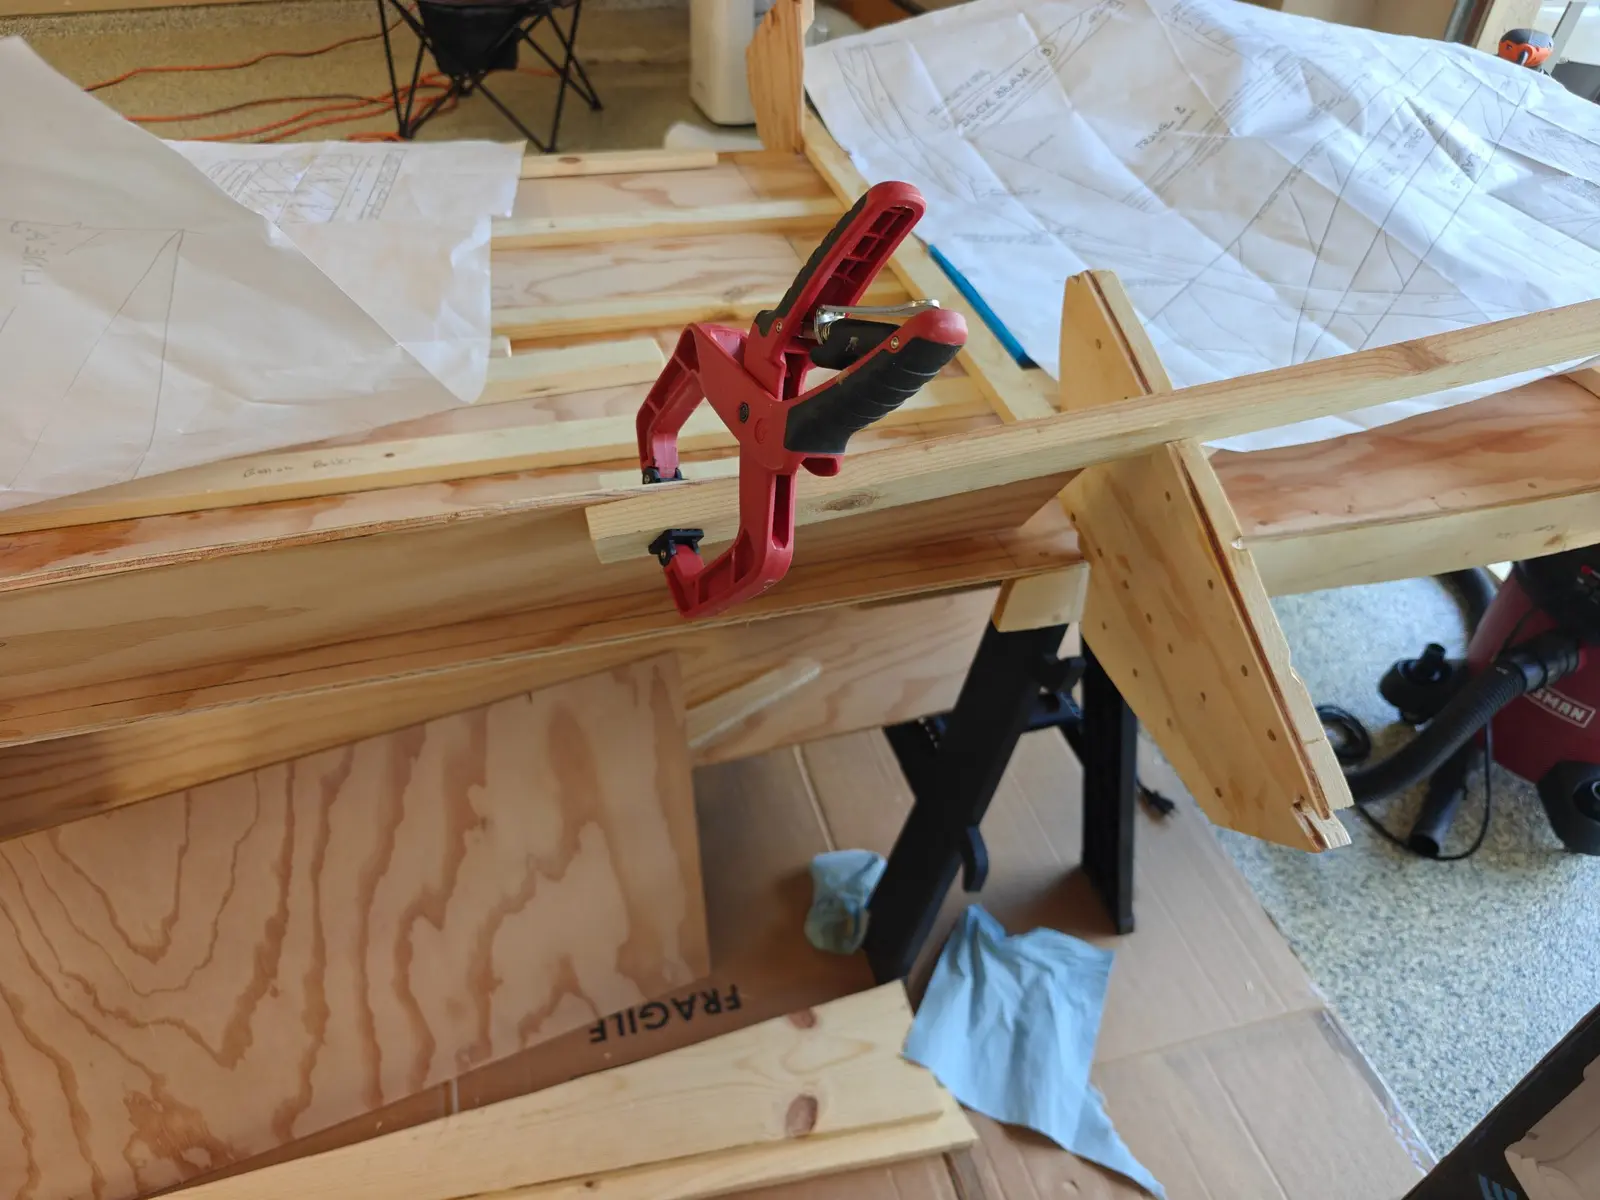
Dry fit. Laid out the side panels and connected them to frame 1 and the transom just to check the fit. Nothing glued yet, everything's just held with clamps (see photo).