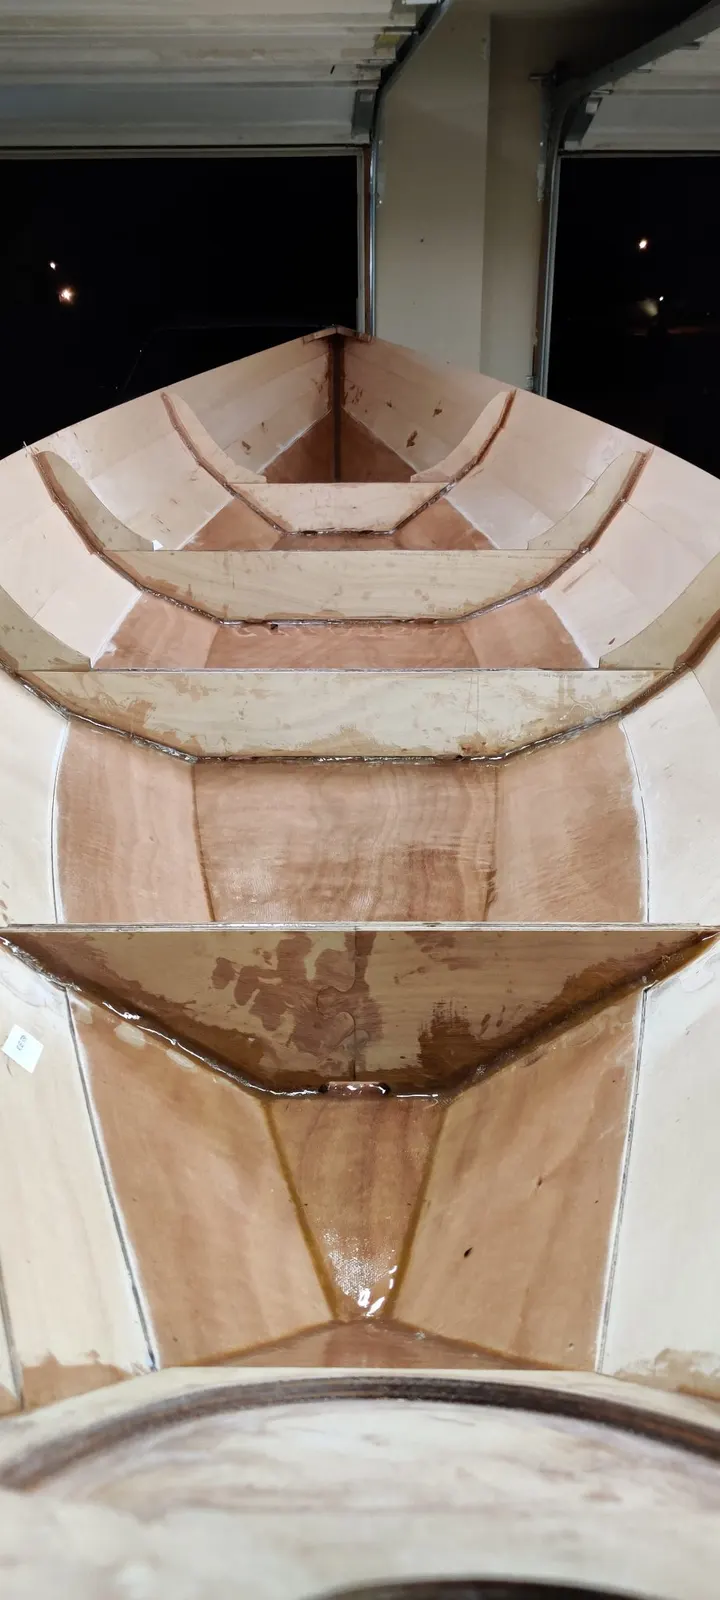
Fiberglass interior
Phase 5: Removing the Stitches
The next step is to flip the boat back over, right side up, and start removing all of the metal stitching.
It's possible that some epoxy will get stuck on the metal. That happened on one or two of mine. If you can't get a piece out, cut it as short as you can and sand it down as low as possible. Beyond that, there's nothing to be done. It stays part of the boat forever.
Phase 6: Fiberglassing the Bottom
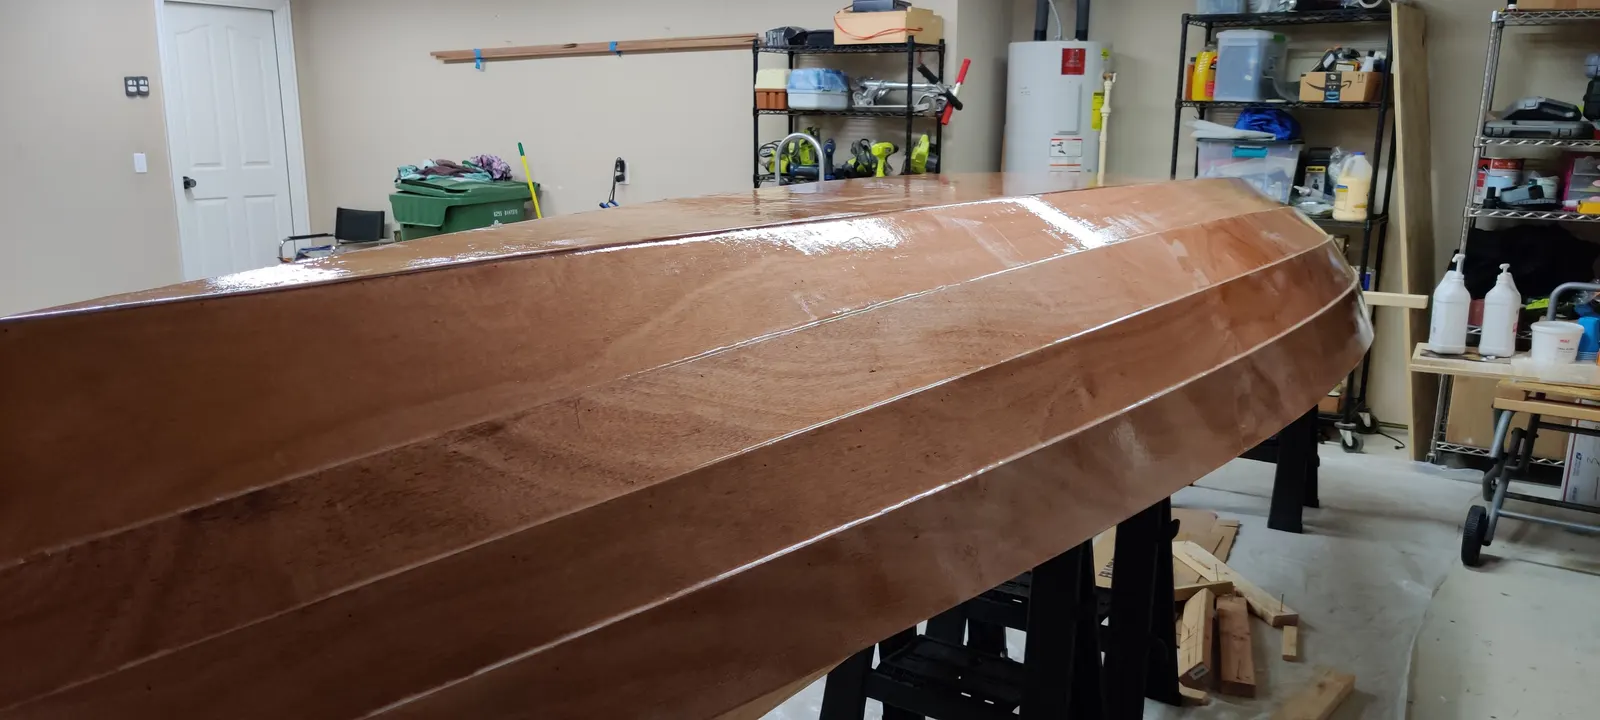
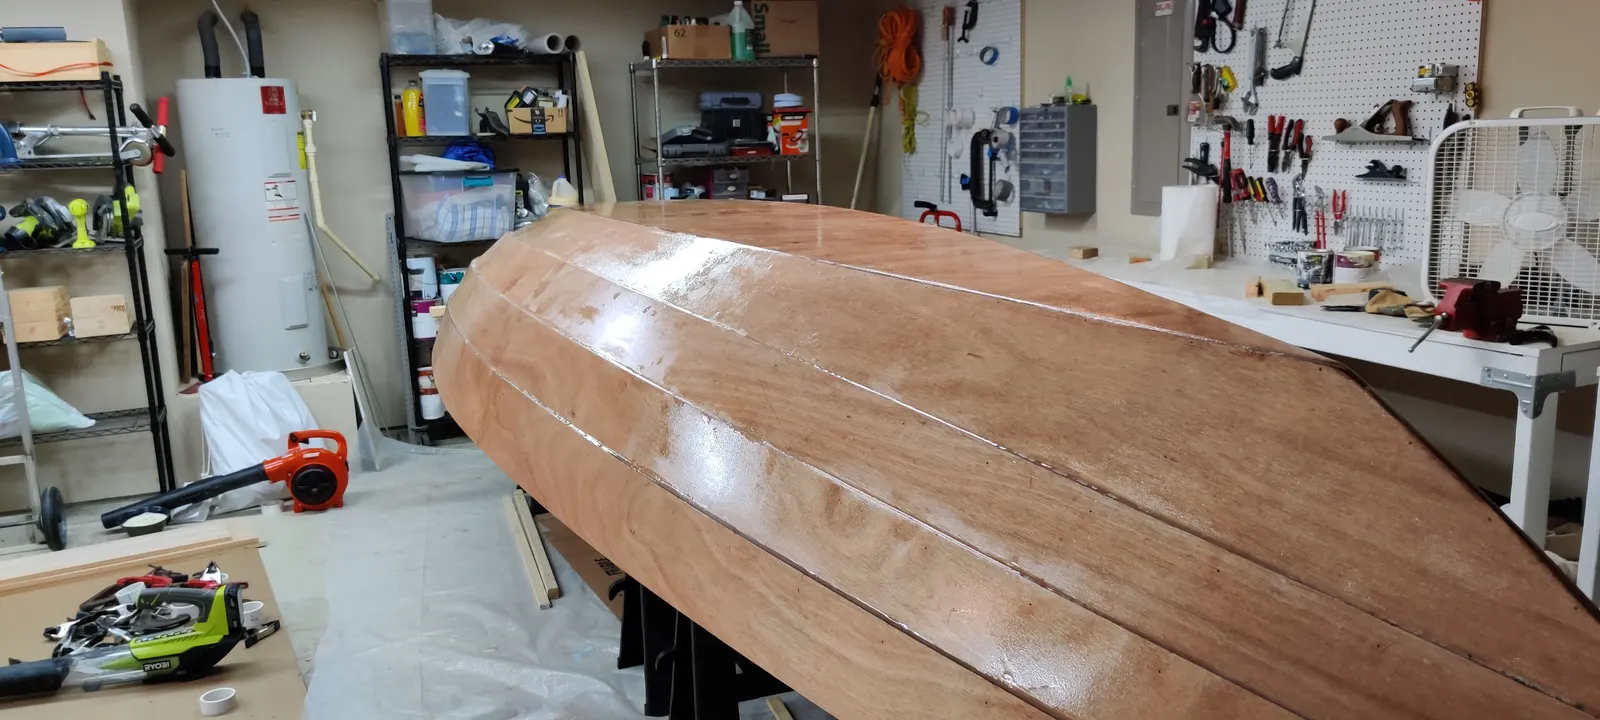
This next step is fiberglassing the bottom and the first panel. It's a lot easier than it sounds.
If this is your first time fiberglassing, you'll find the fiberglass is very similar to cloth, almost like a cotton shirt. It's pliable and easy to work with. Lay it out on each section as best you can. I put blue painter's tape above the second panels so I wouldn't get fiberglass onto that section, and it's a lot easier to sand off when it's on tape instead of the wood.
Lay out and cut the fiberglass to the best of your ability, then mix up some epoxy and apply it. Less is more here. You want just enough epoxy to saturate the cloth and no more. This is a hard balance to strike, especially on your first time using epoxy or building a boat. It's tempting to think more is always better, but extra epoxy just wastes money and adds weight to the boat.
One more note on temperature: if you start a pour early in the morning on a hot summer day, the temperature can climb ten, fifteen, even twenty degrees by the time it finishes curing. I've noticed that swing tends to add bubbles into the epoxy. It's much better to keep a steady temperature through the entire curing process if you can.