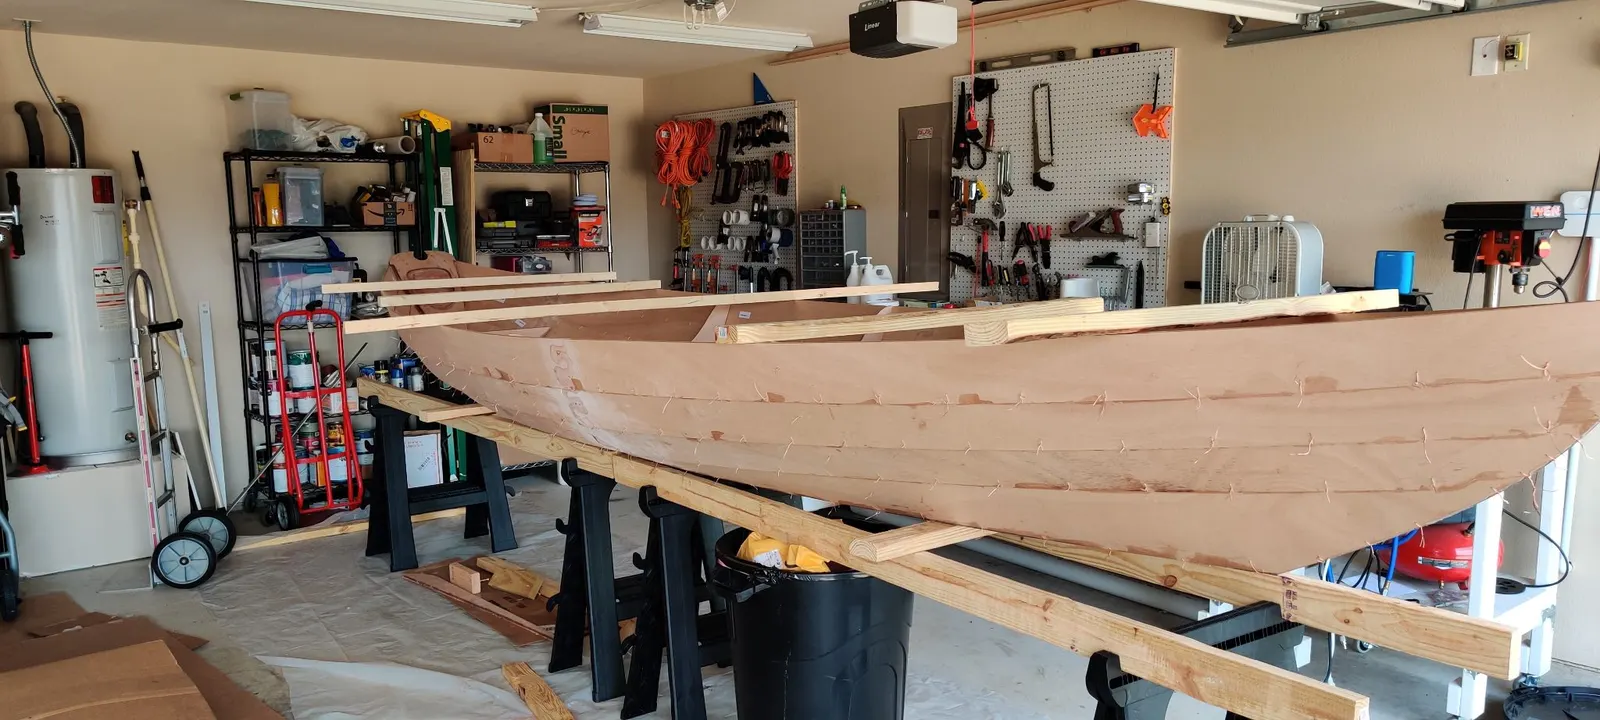
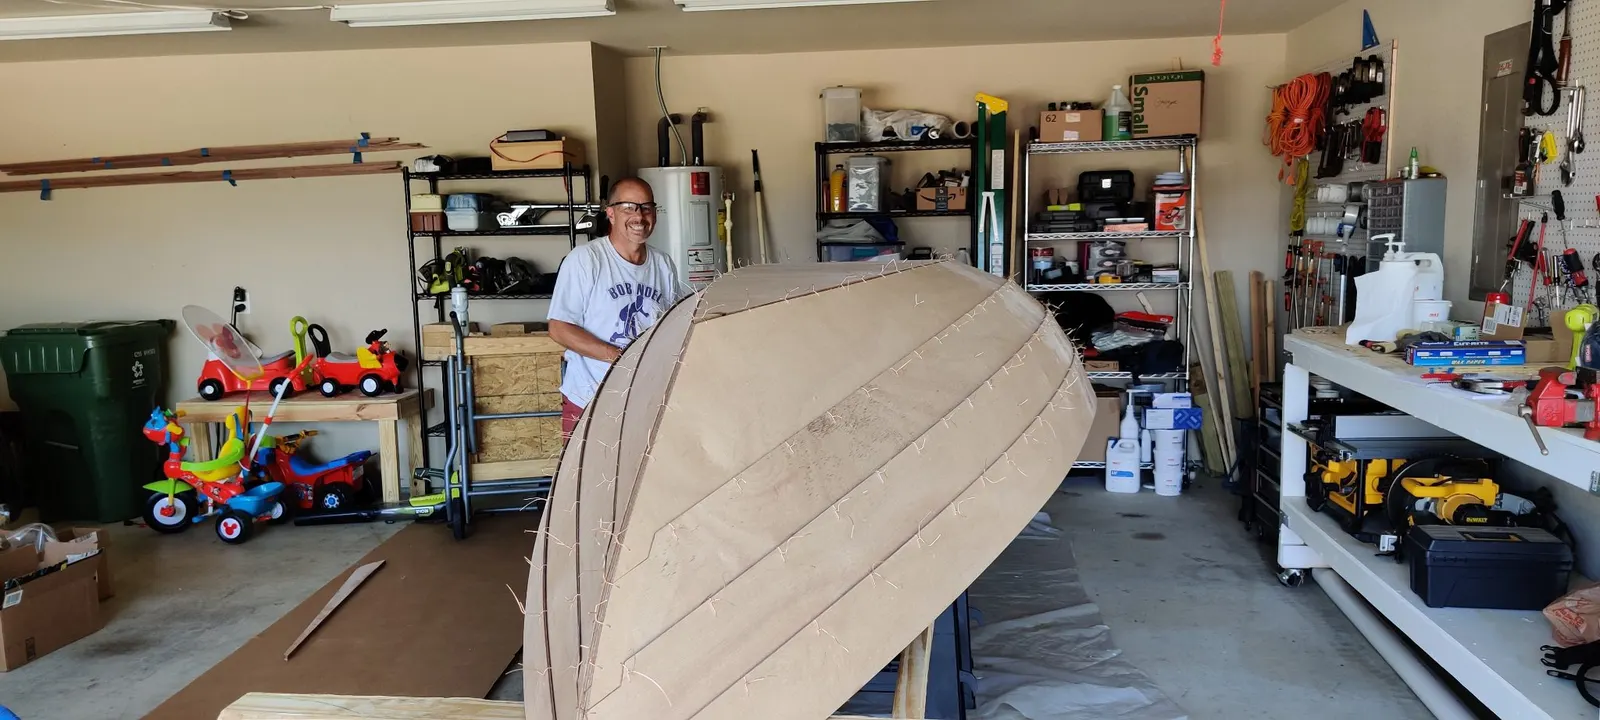
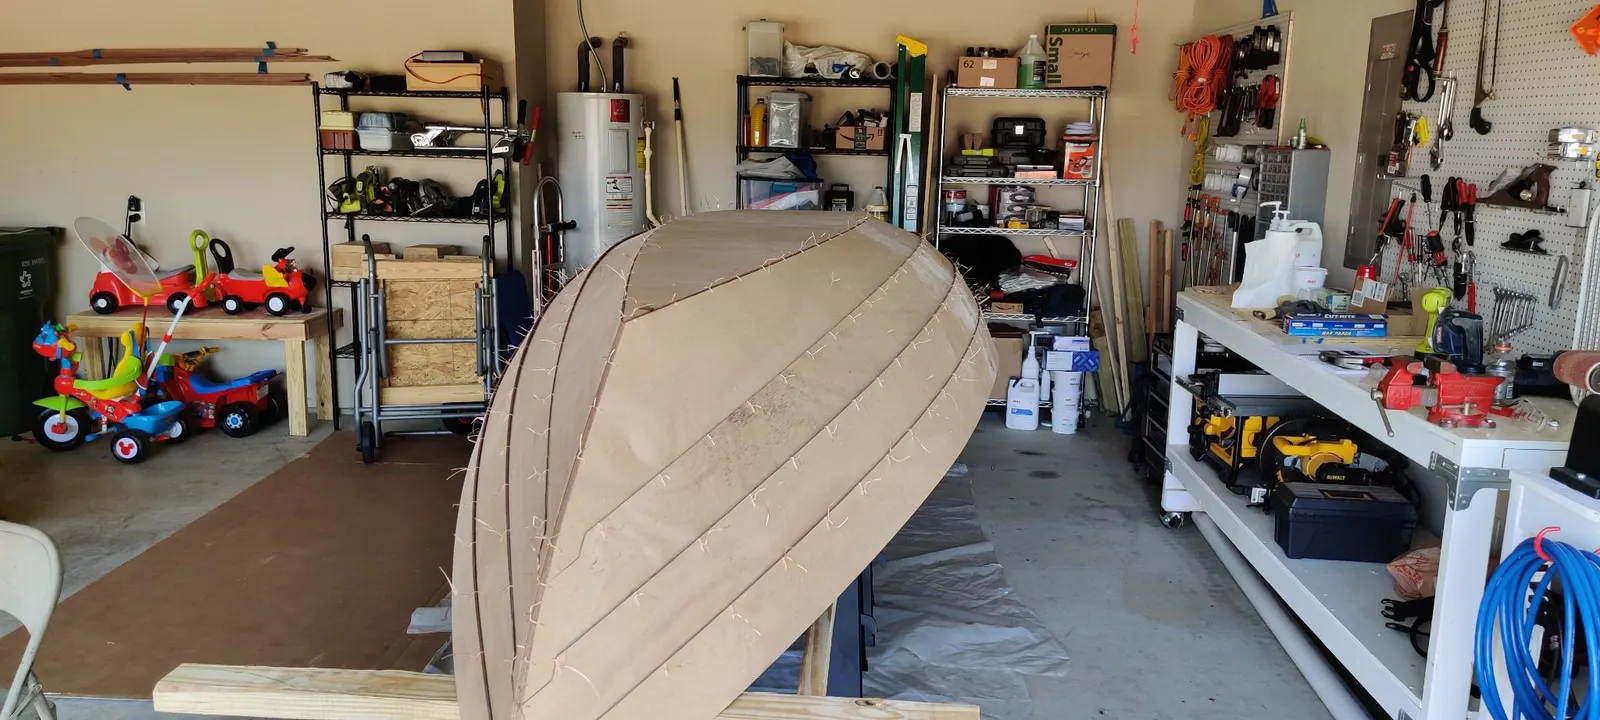
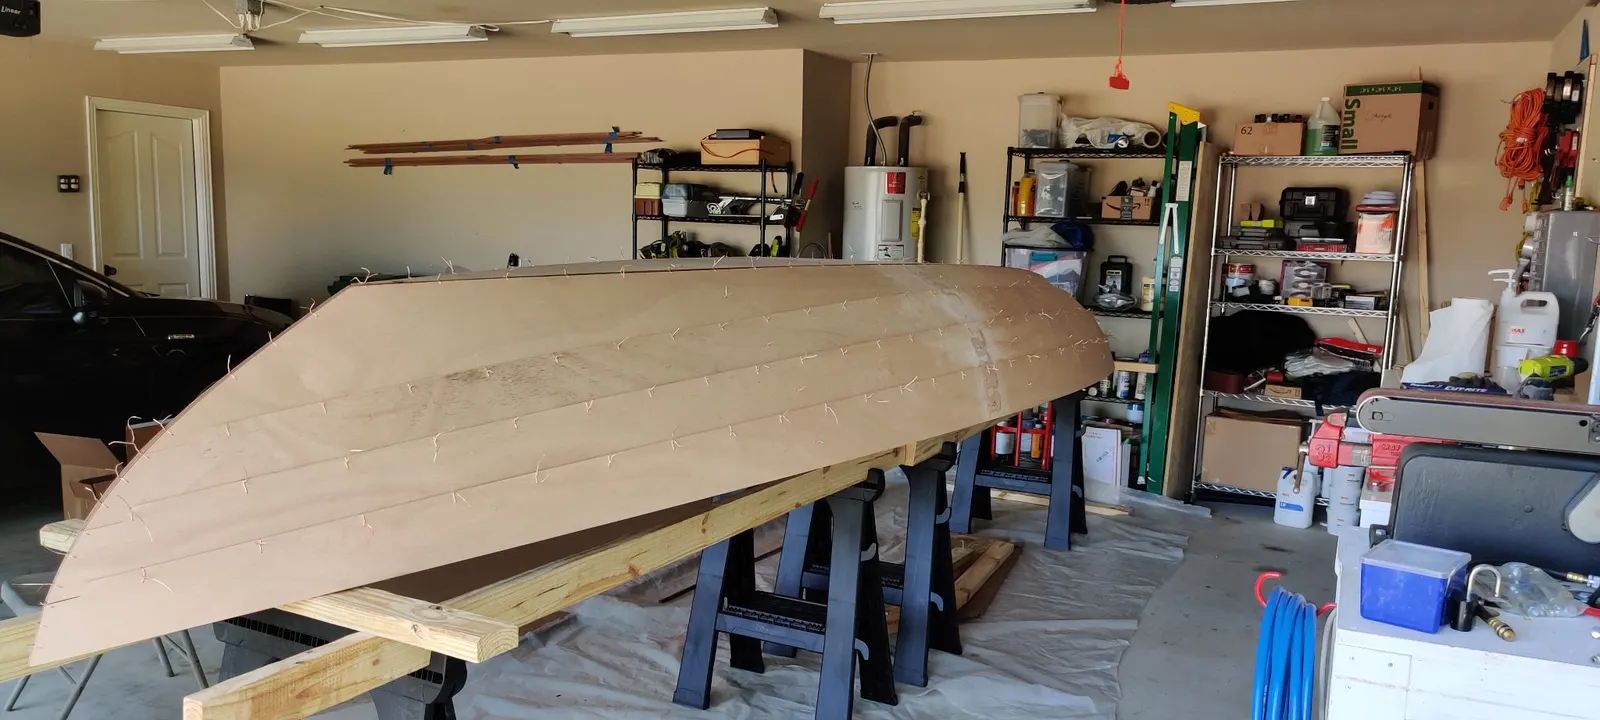
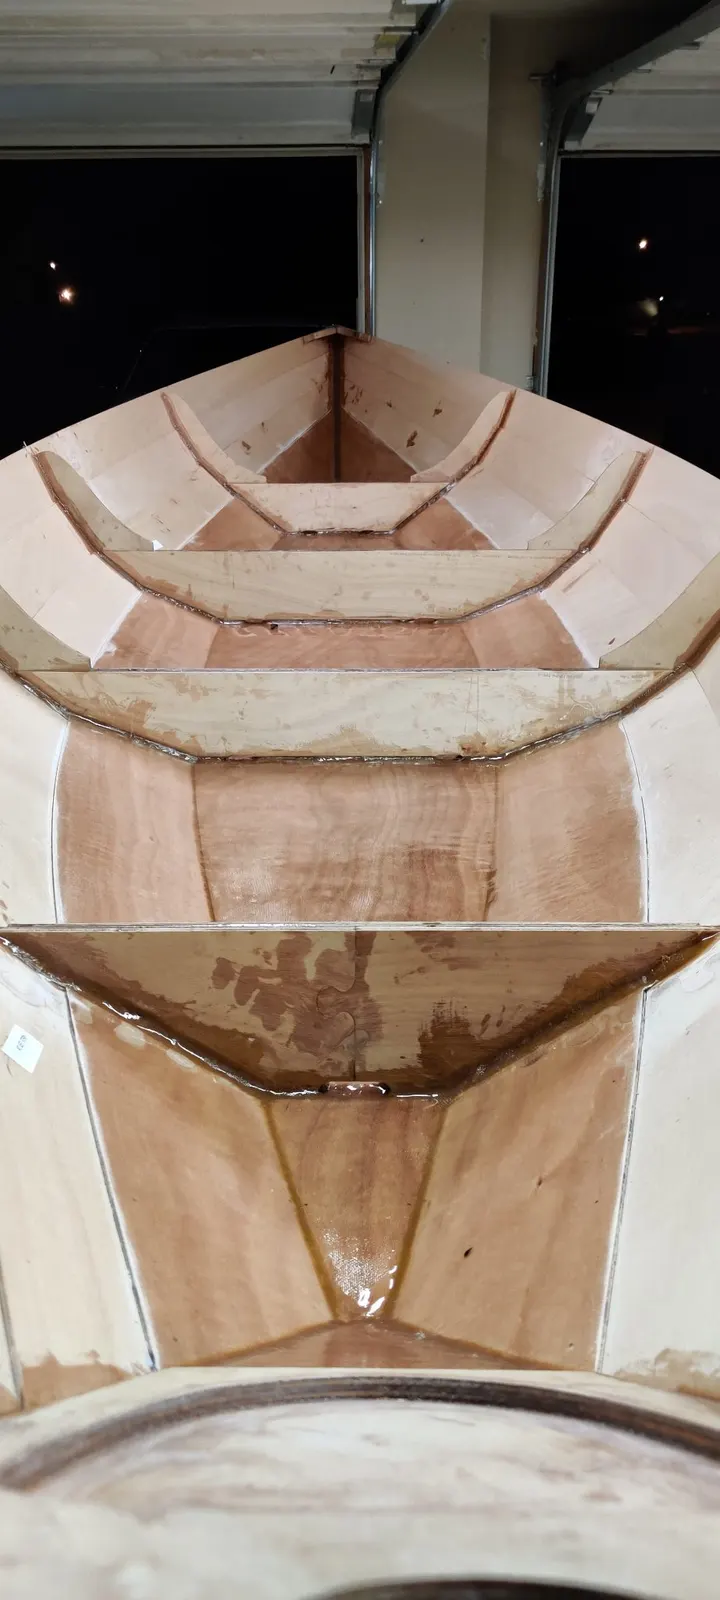
Tack Welding (Epoxing) the hull
Phase 4: Tack Welding
This next step is what I'd call a tack weld. Again, you'll need a helper, because you have to flip the boat upside down.
Before you start epoxying anything, look at the hull from multiple angles and make sure it's on a good level surface. If it's not level, it'll be much harder to fix once you start gluing, though you can still adjust it as long as you haven't fully glued it yet.
Once the boat is flipped over, you're basically mixing up epoxy and putting small blobs of it between all of the metal seams on the outside of the hull. This gives it enough strength that when you flip it back over, you can remove all of the metal and the boat will hold together well on its own.
A few lessons if you haven't worked with epoxy before:
Epoxy is very temperature sensitive. Don't mix it if it's too cold or too hot. If it's too cold, it may never cure correctly. If it's too hot, it cures very quickly. Cold is the riskier problem, and you can usually fix it with a heater in your garage. If it's hot, mix smaller batches at a time.
After you tack weld everything, let it sit for a full day before you flip it over and remove the metal stitches.