Fiberglassing the Bottom and exterior Panel
Phase 9: Sealing and Fiberglassing the Exterior
A quick note: I'm writing this narration six years after I actually built the boat, and I no longer have the plans since I gave them away when I sold it. So I'm not sure exactly where this falls in the official steps, but here's how I remember it.
The next step is to flip the boat over and start working on the outside. At some point, the plans call for applying epoxy with a filler into the gaps between all of the panels on the exterior. This seals up the outside, makes it watertight, and adds significant strength to the hull.
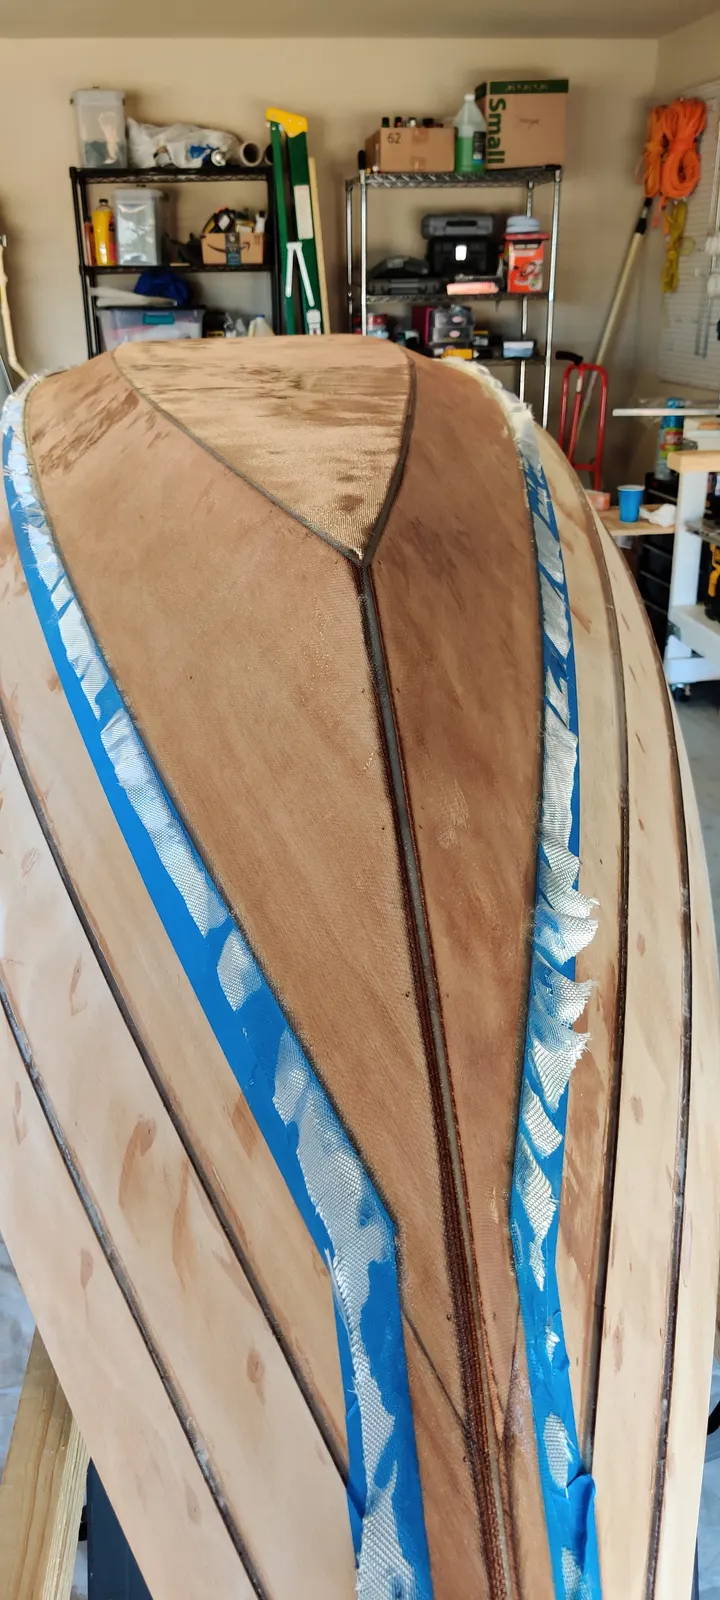
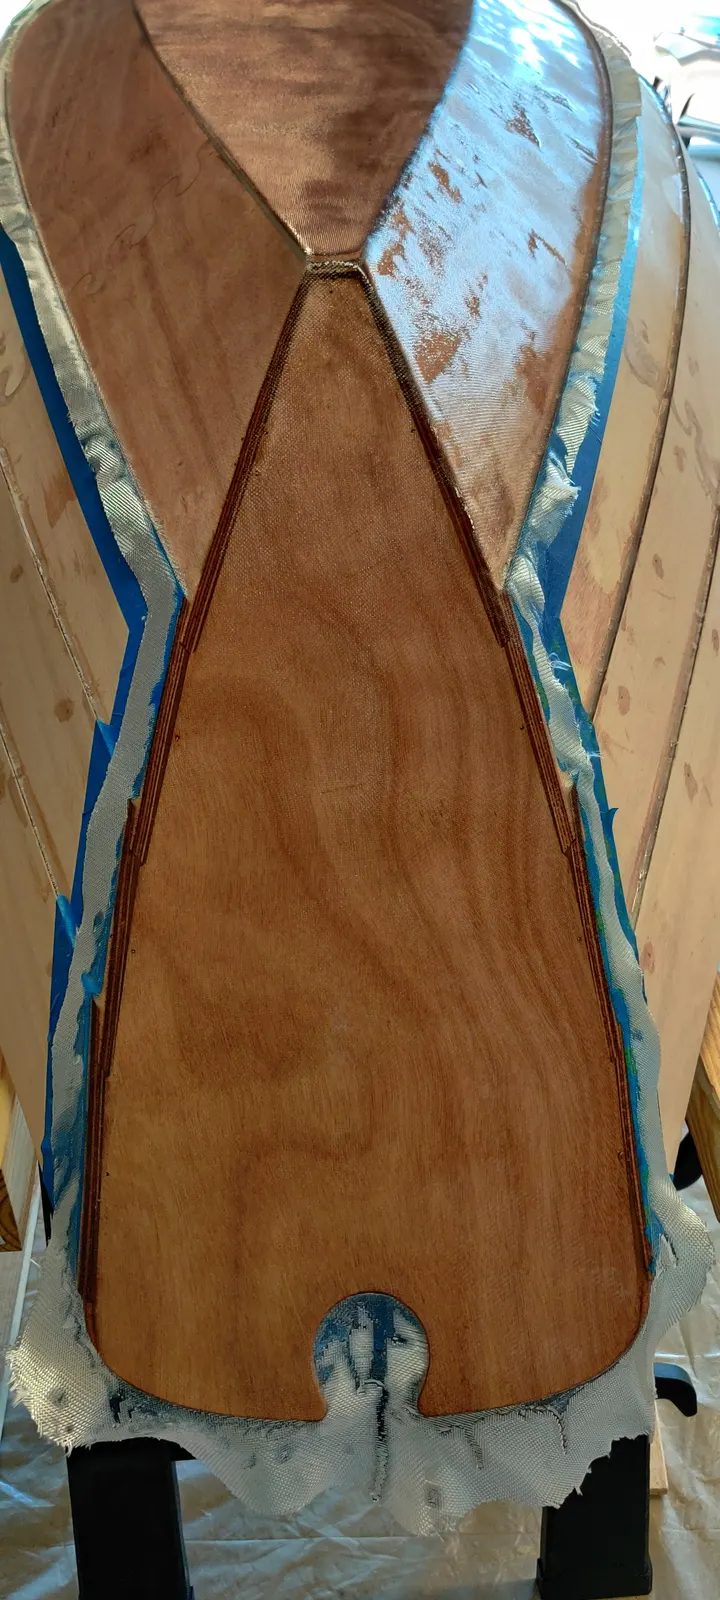
Once that's done, you can move on to fiberglassing the bottom and panel number one. As you can see in the photos, I used blue painter's tape to mask off the areas I didn't want epoxy on, then applied epoxy onto the precut fiberglass.
Lay out the fiberglass on the boat and cut it down to the best of your ability so it sits just over the bottom and side panel. Leave a section for the transom as well, as you can see here.