Purchase and pickup
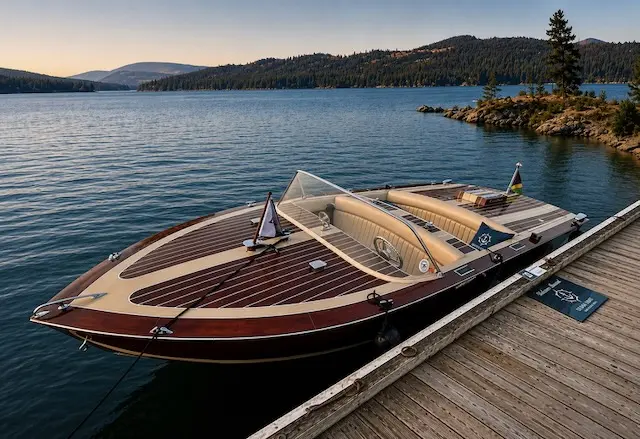
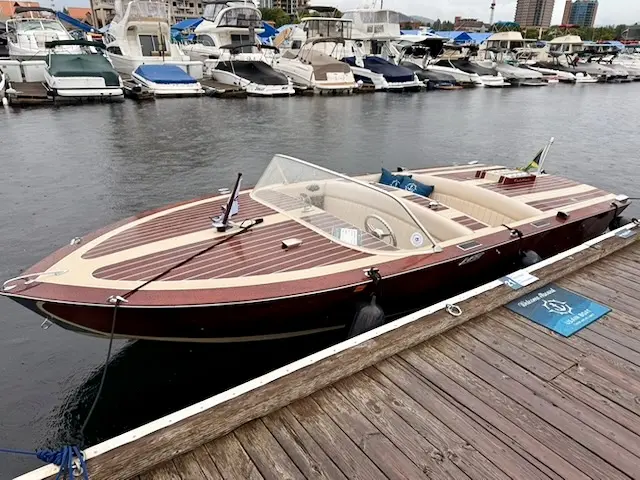
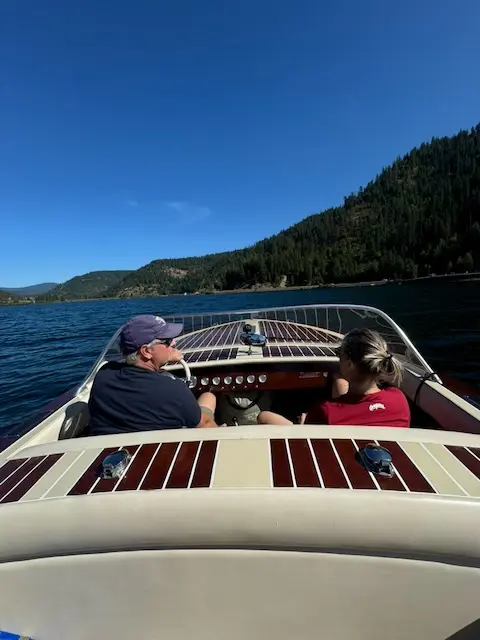
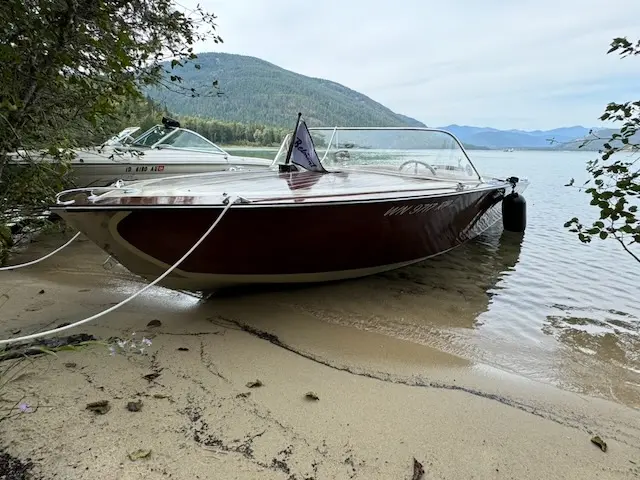
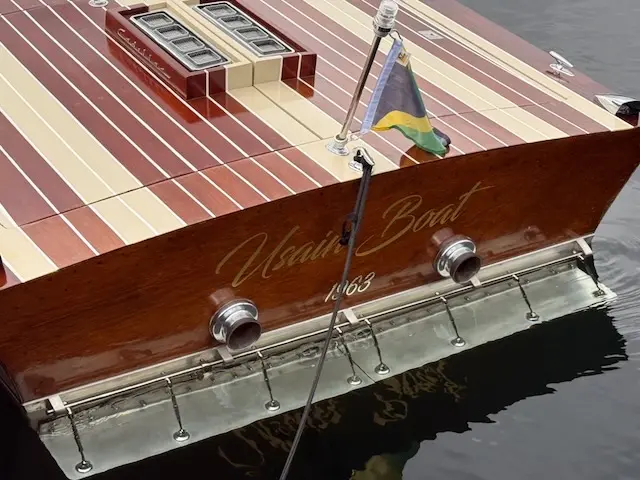
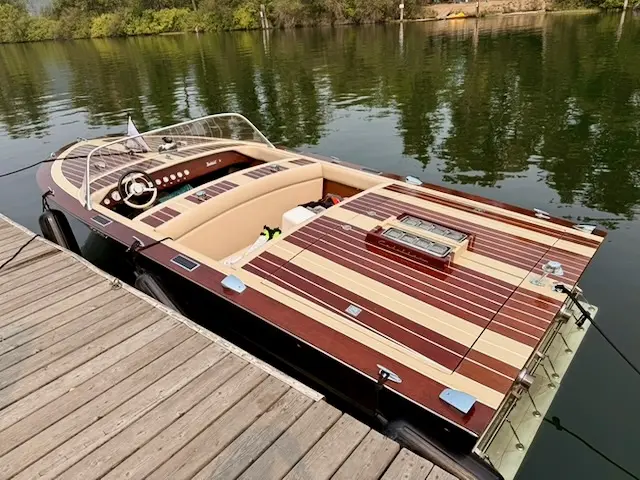
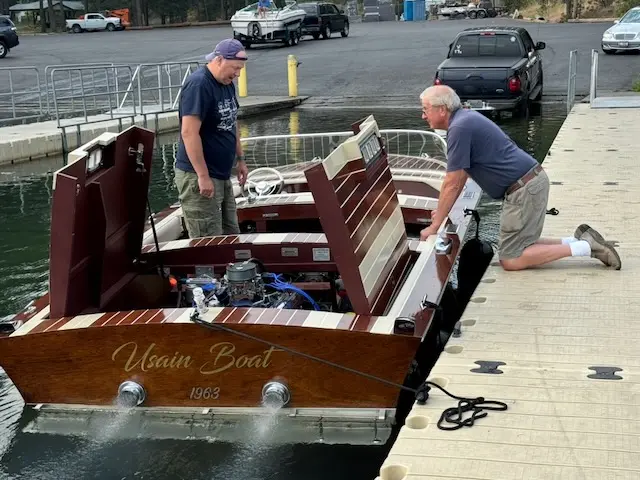
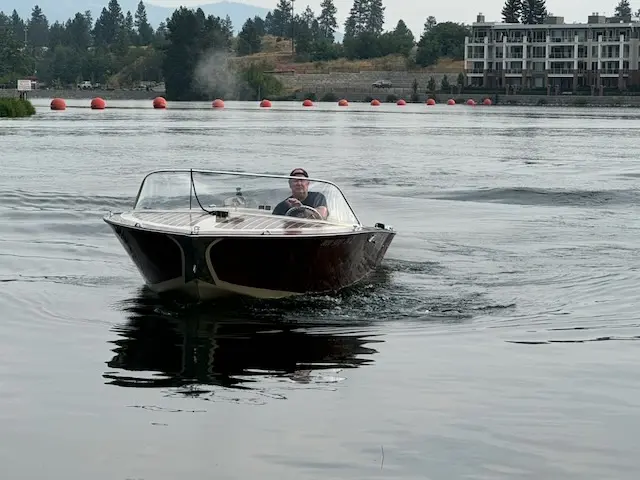
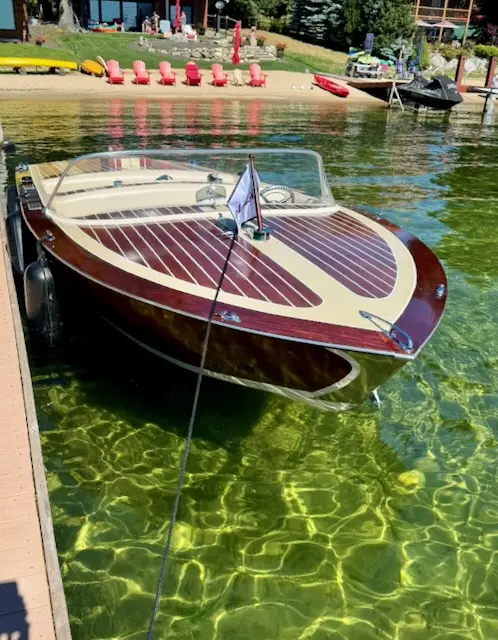
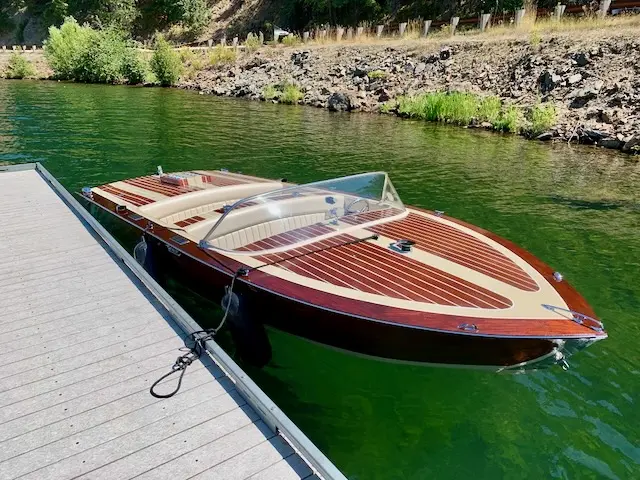
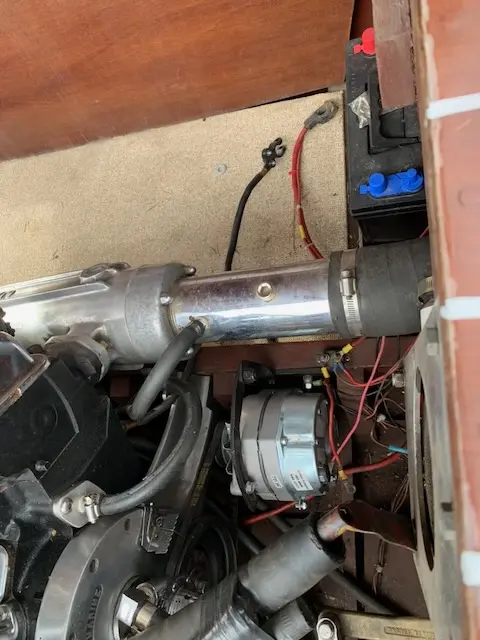
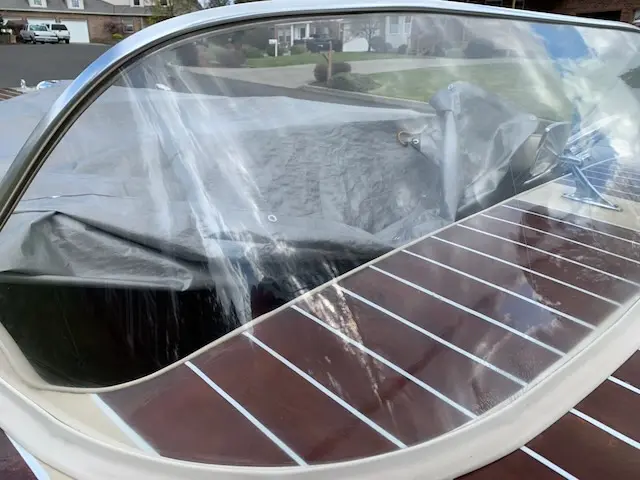
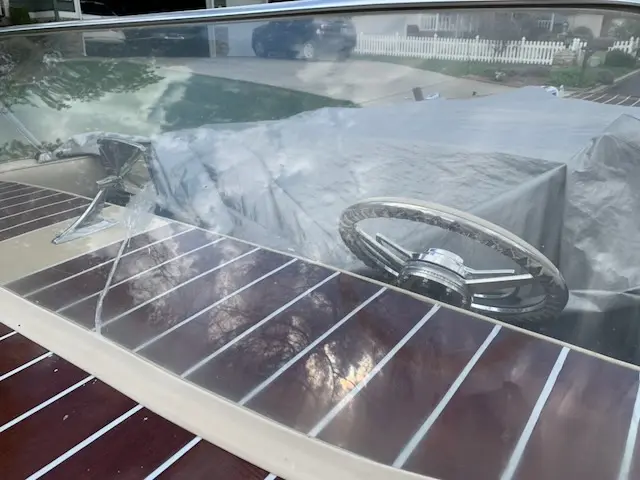
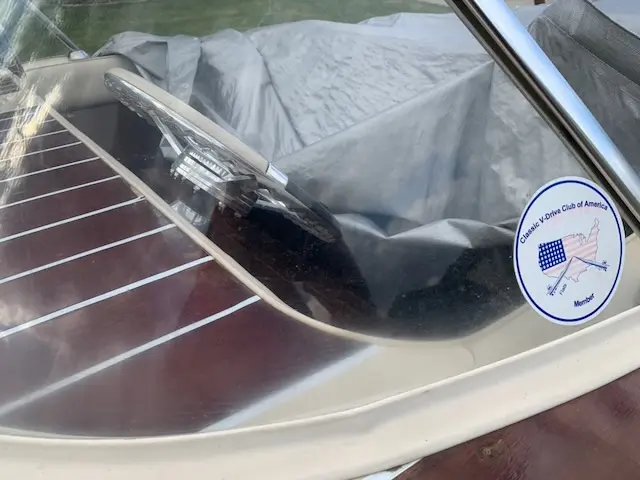
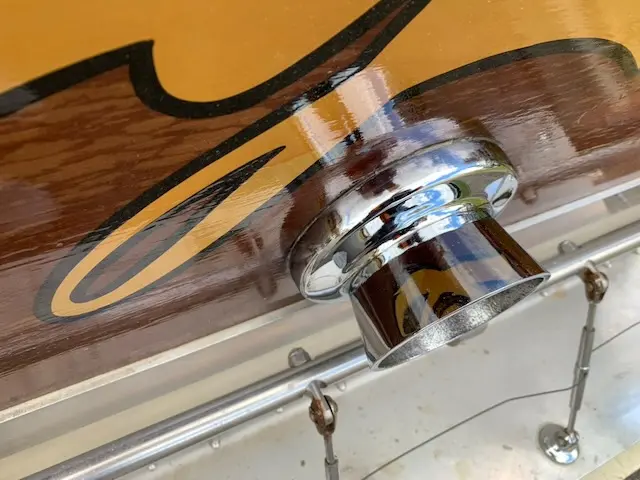
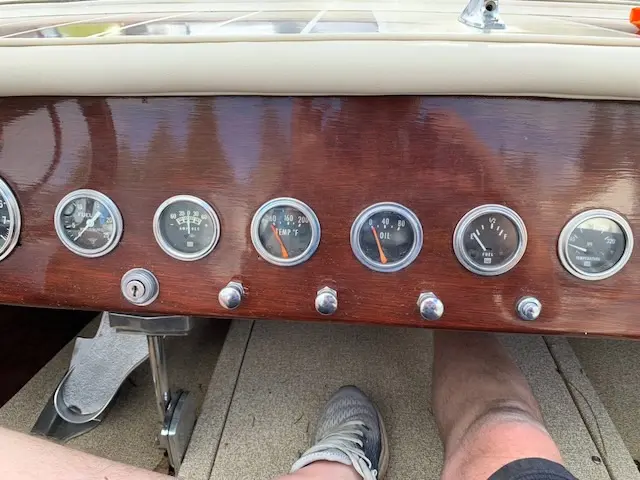
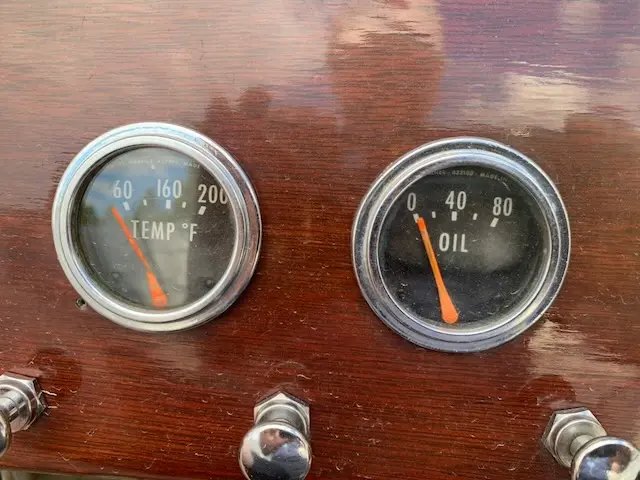
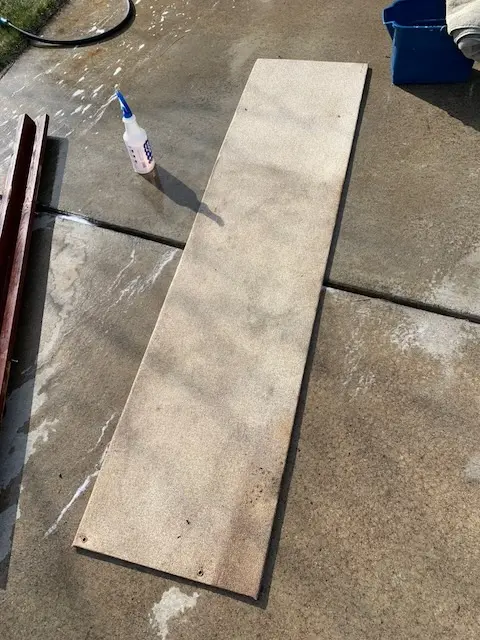
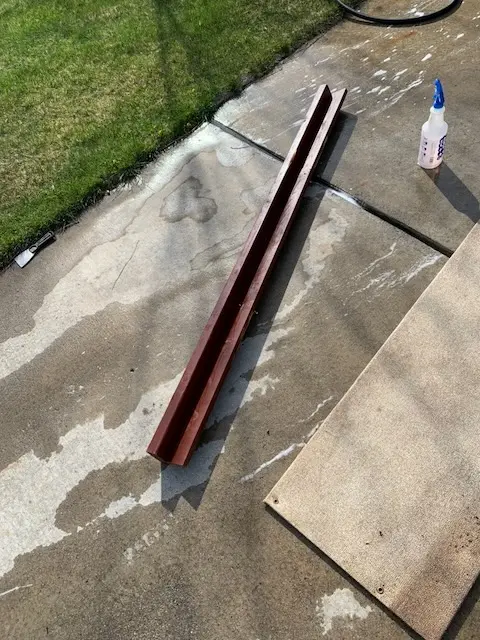
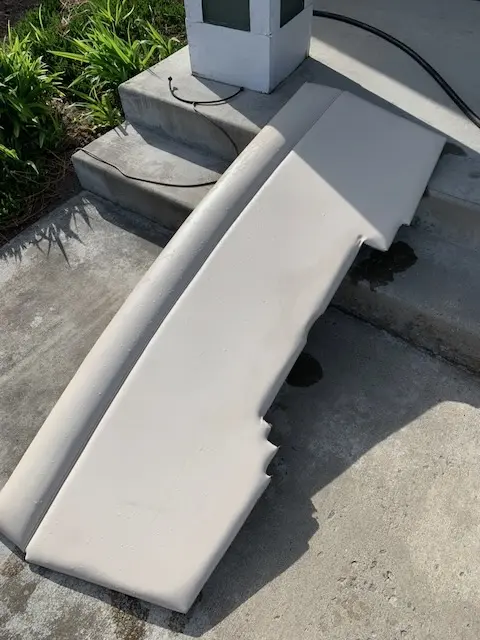
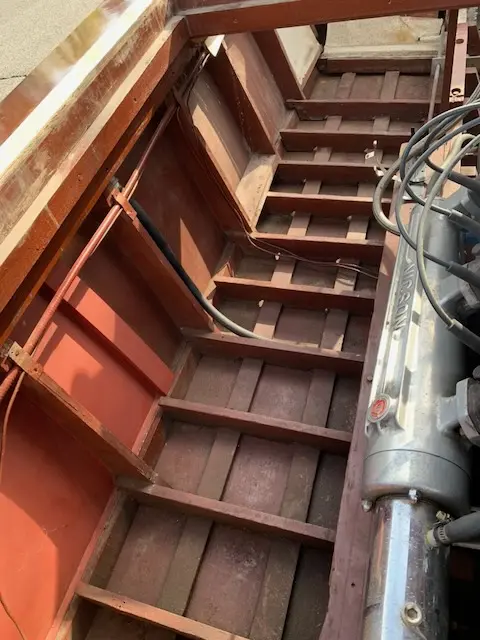
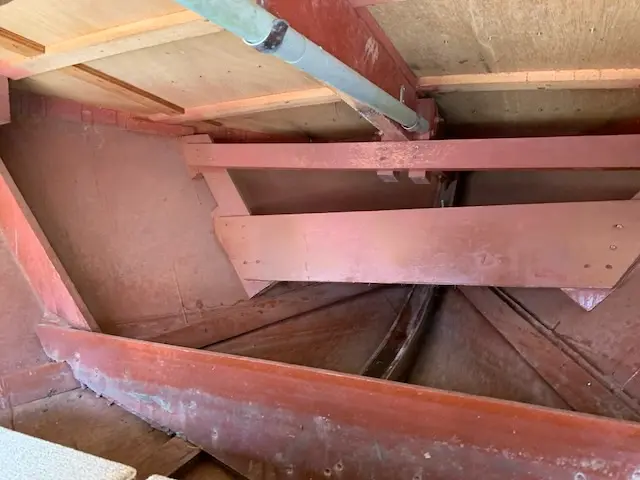
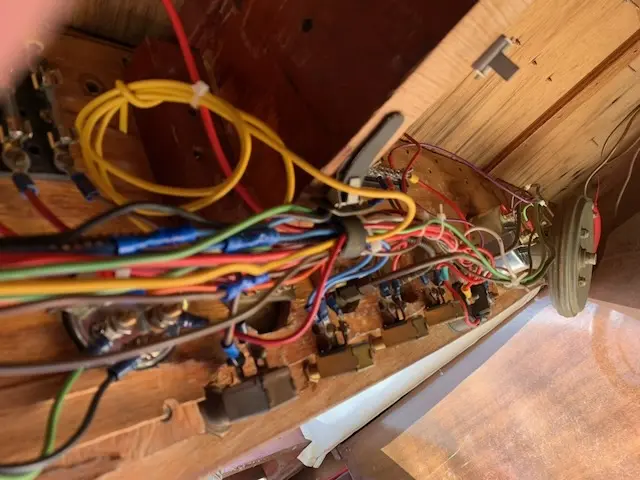
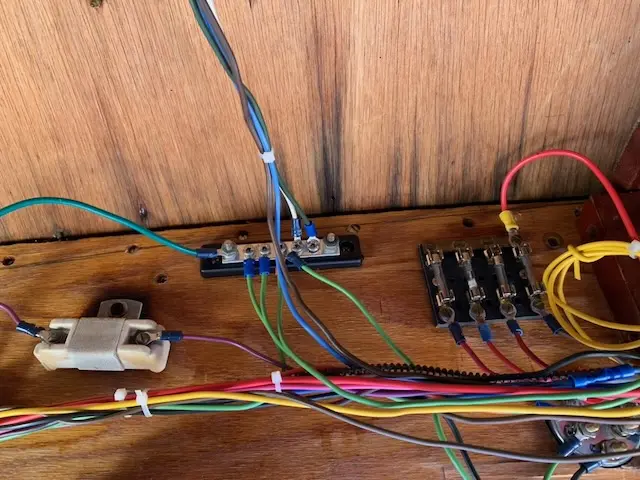
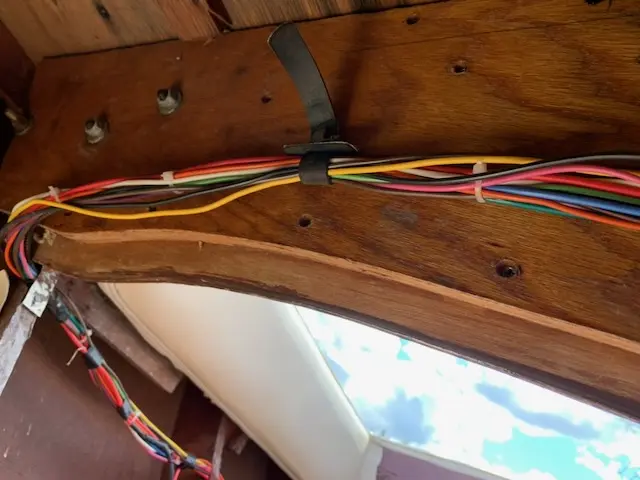
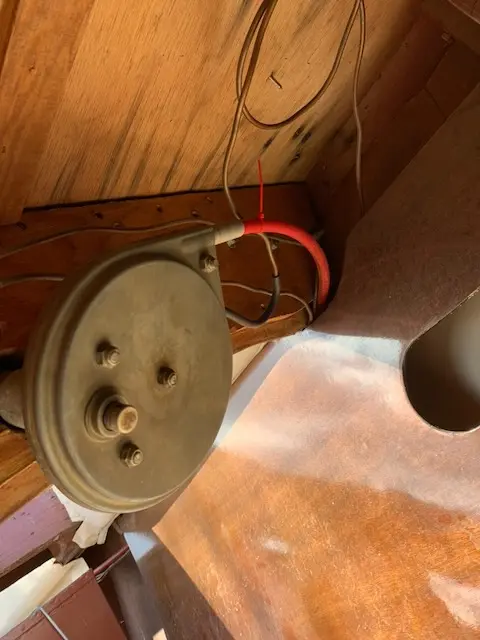
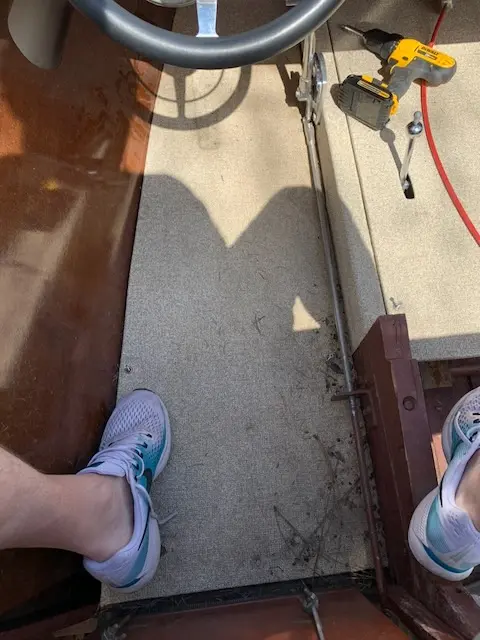
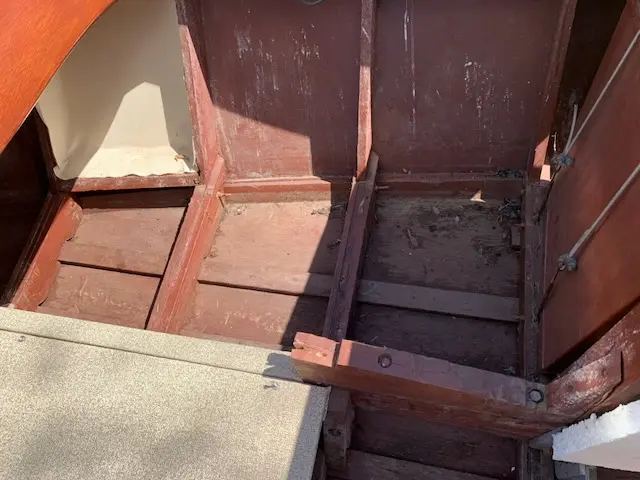
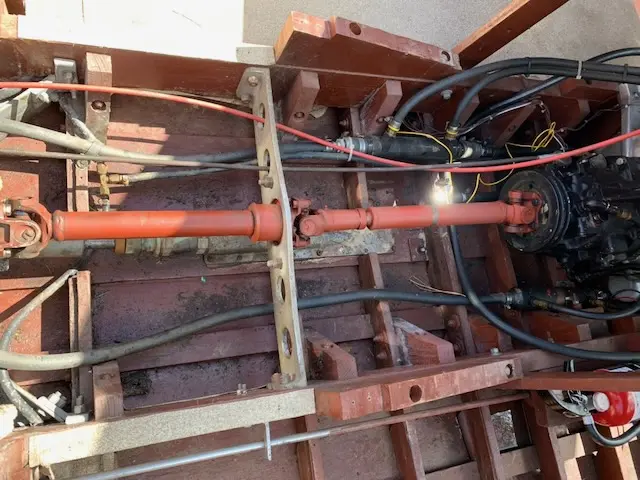
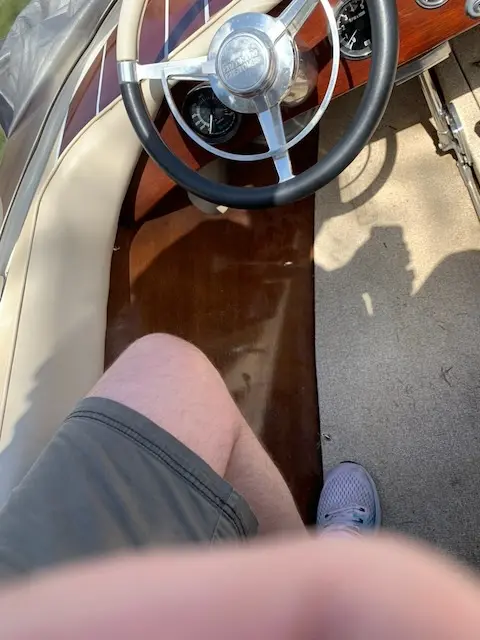
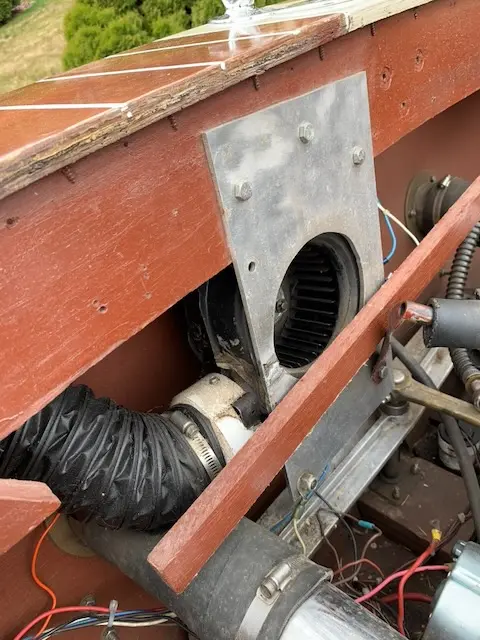
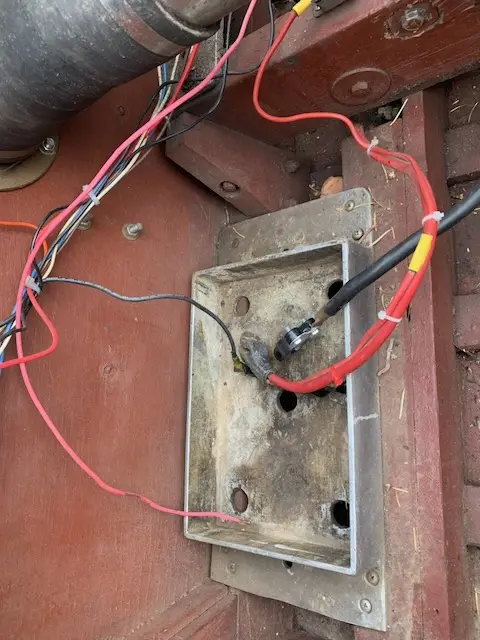
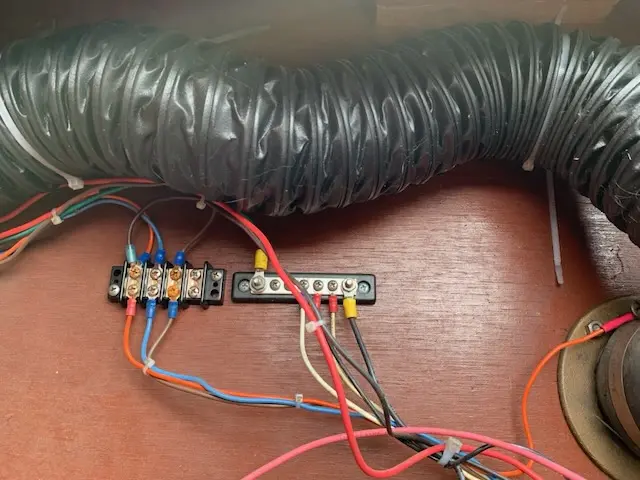
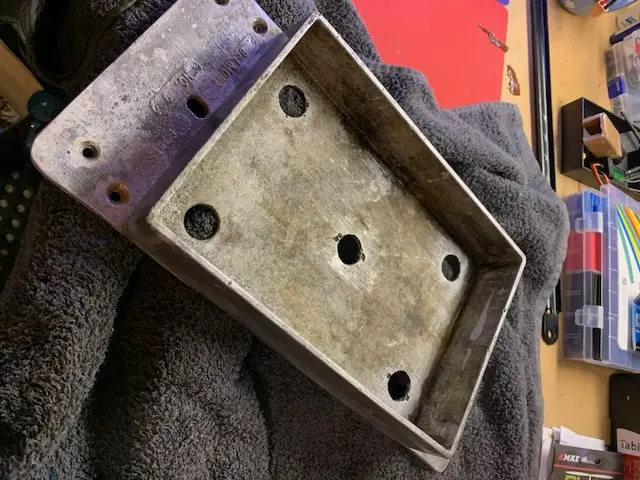
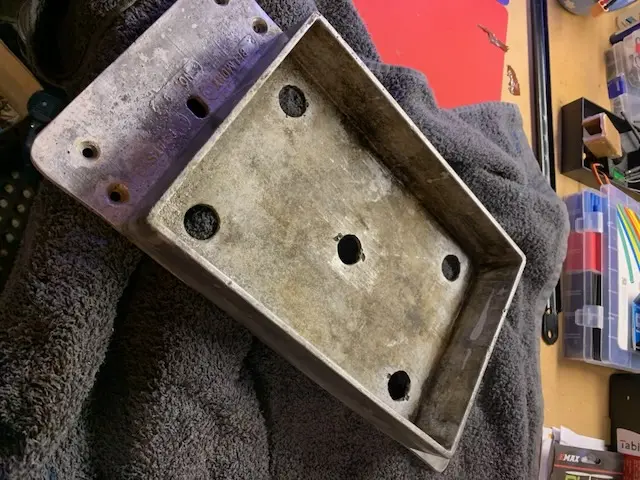
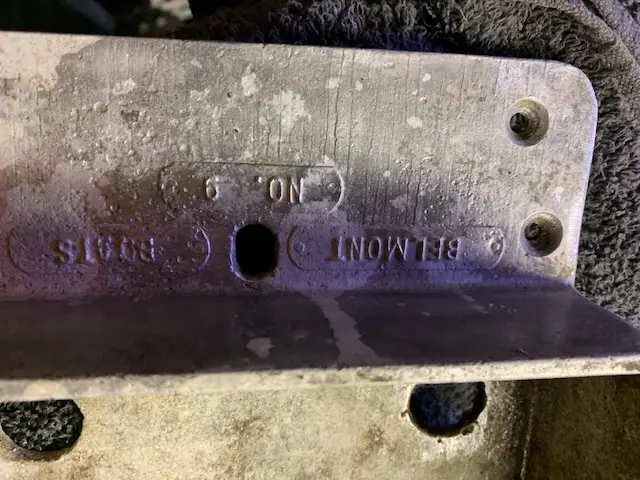
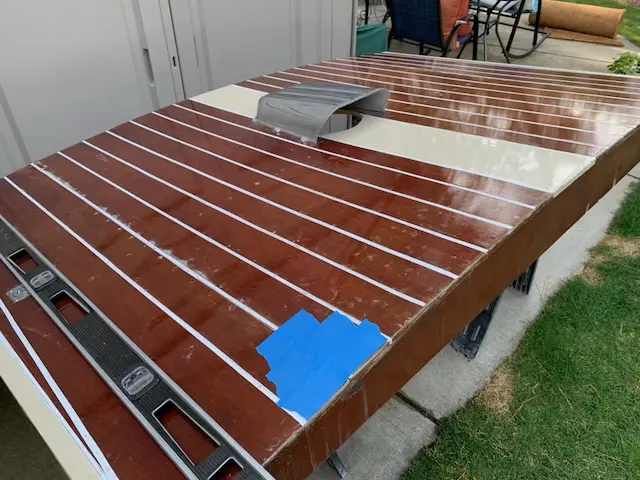
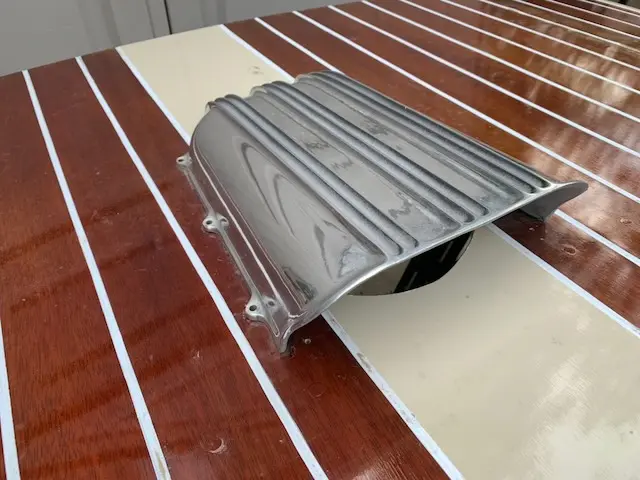
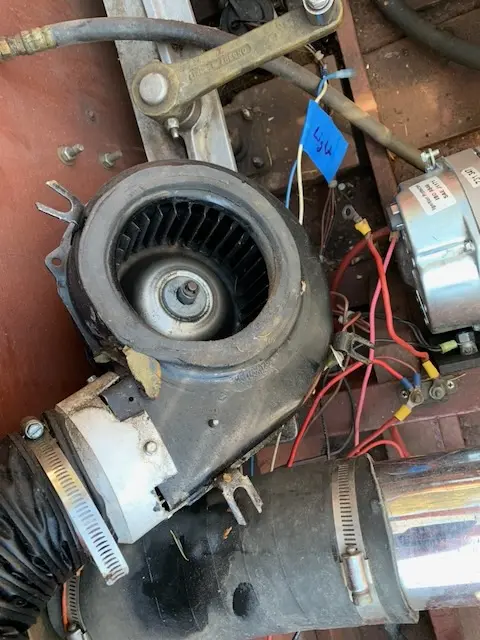
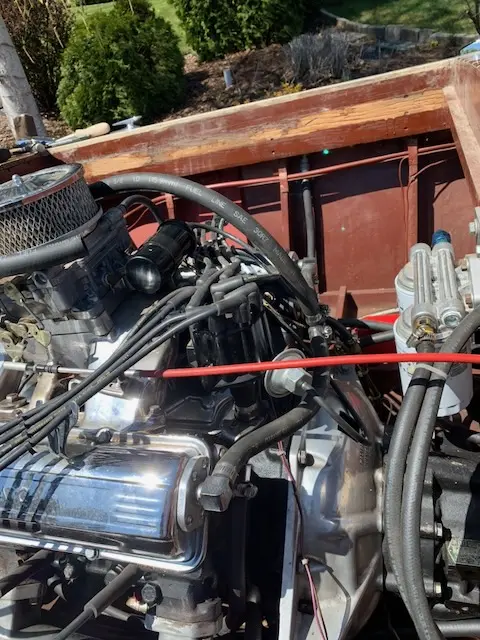
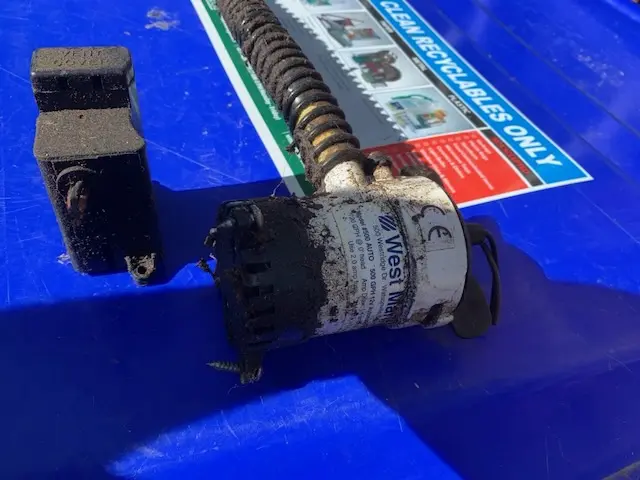
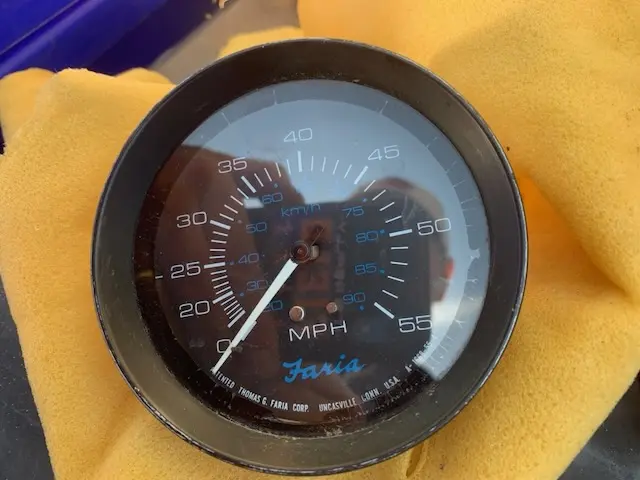
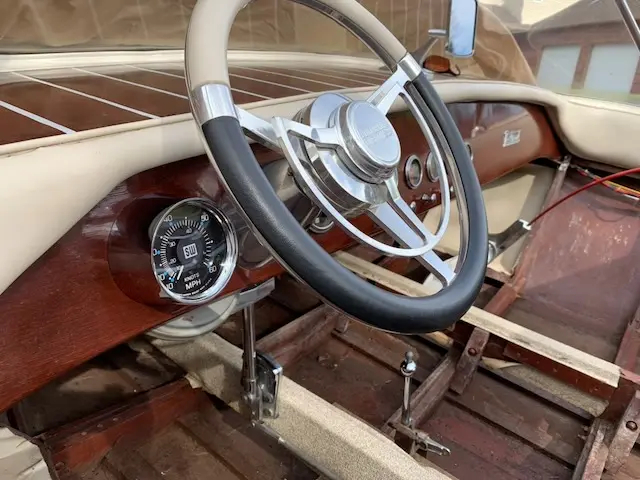
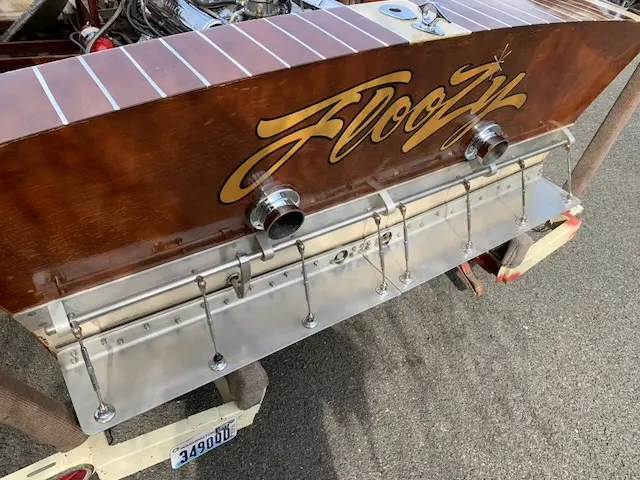
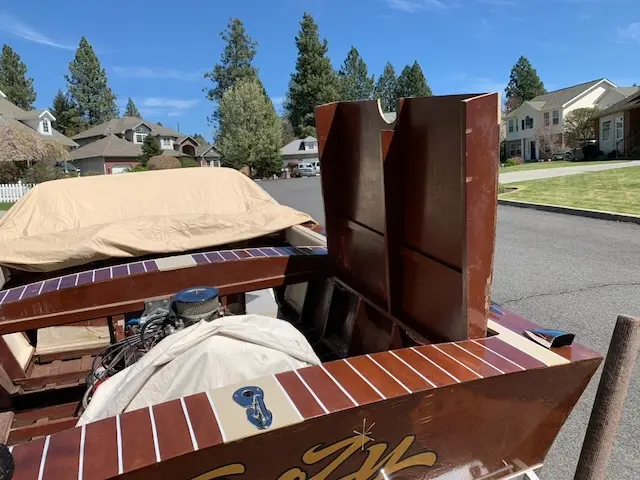
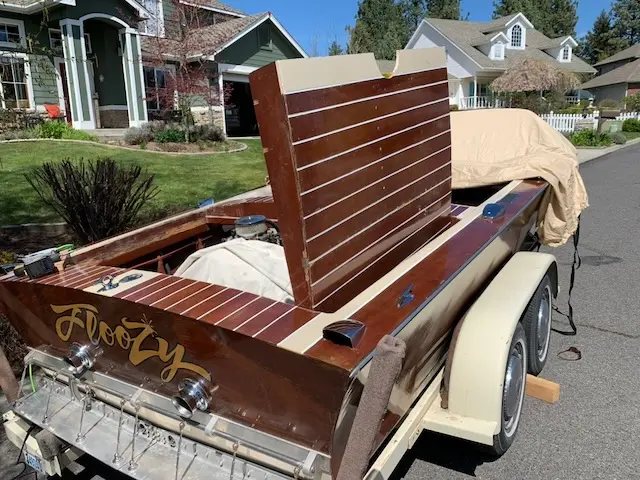
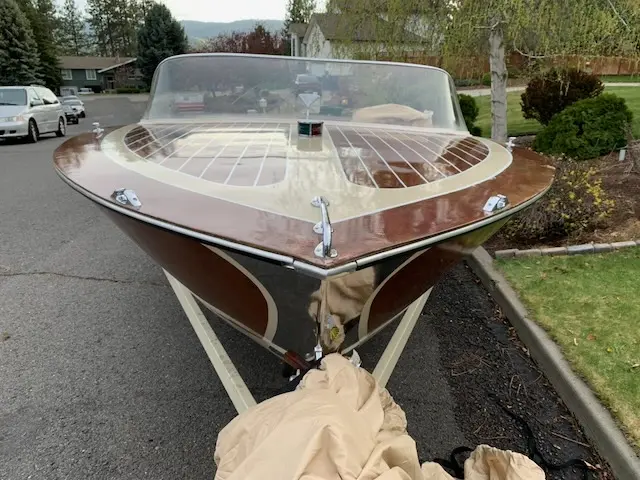
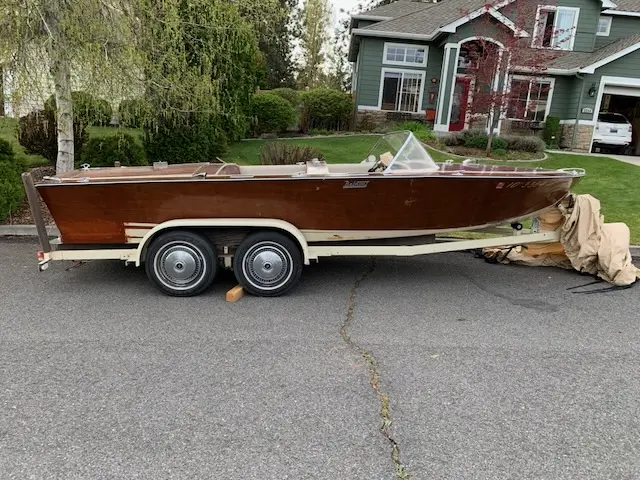
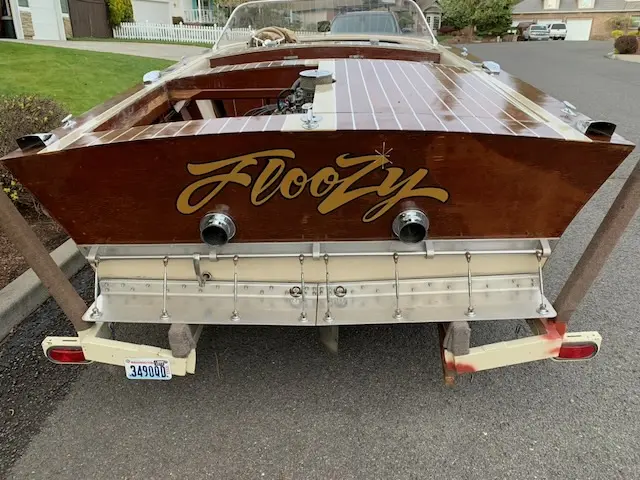
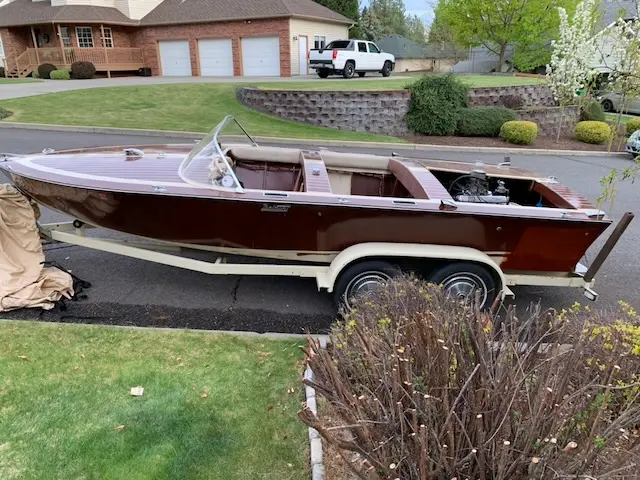
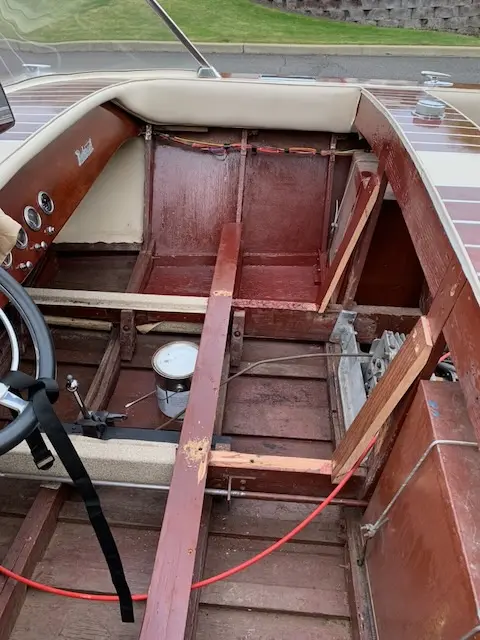
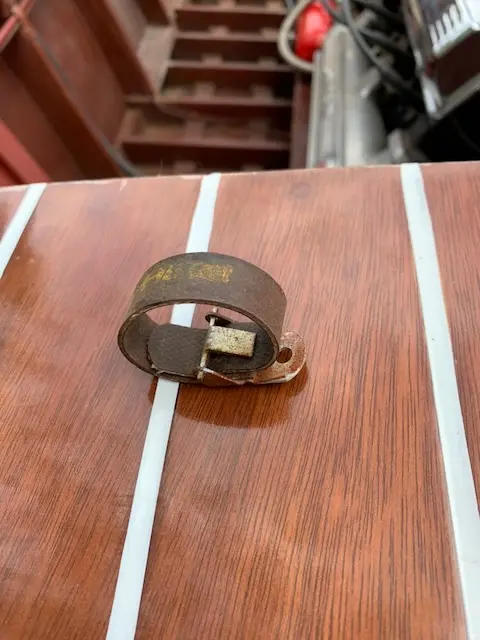
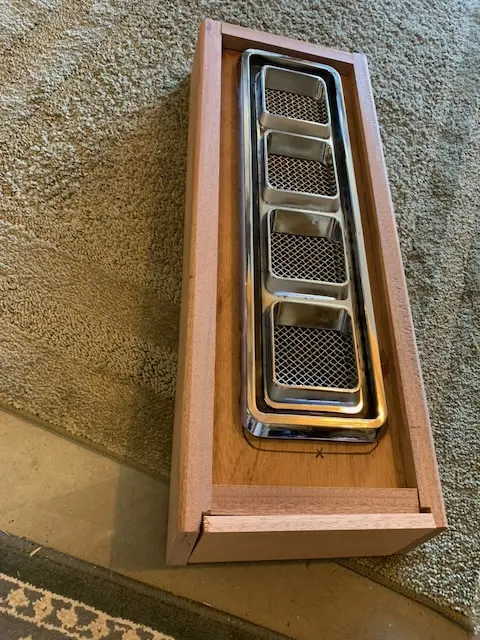
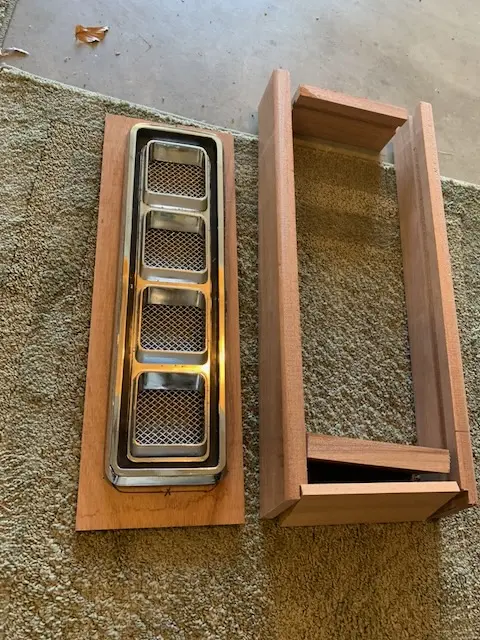
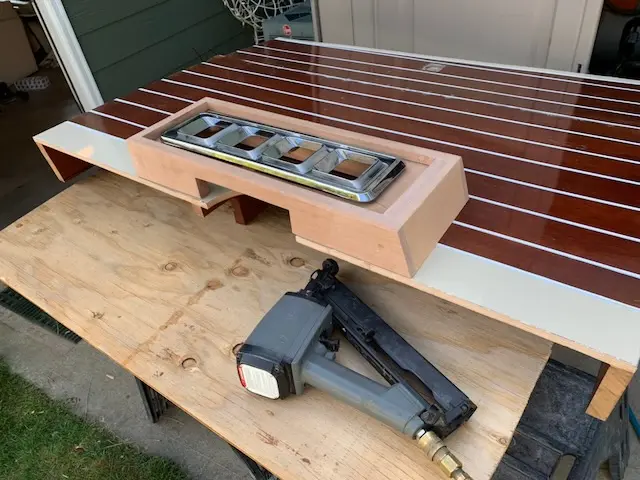
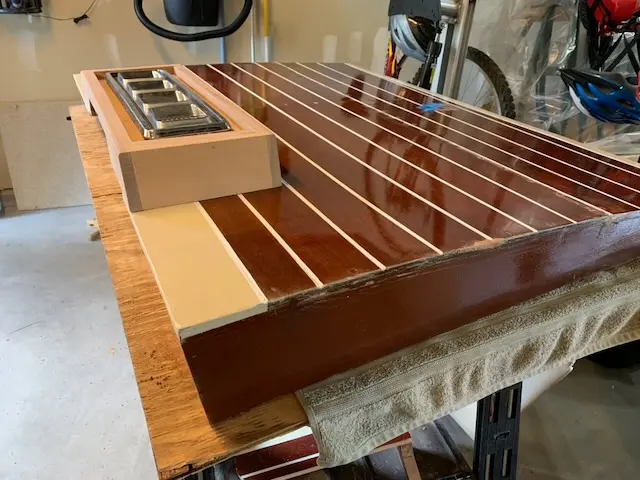
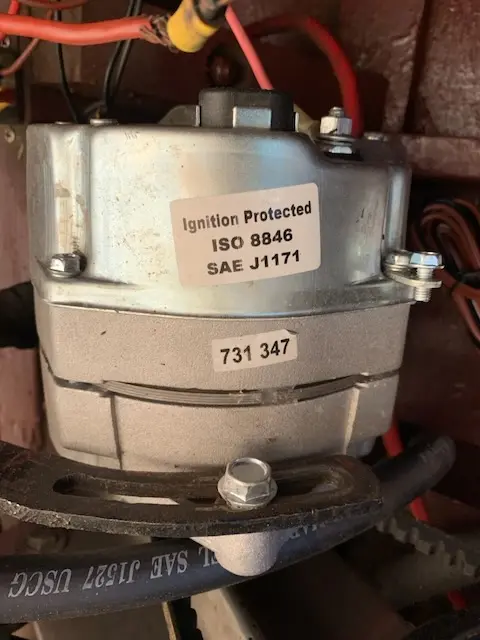
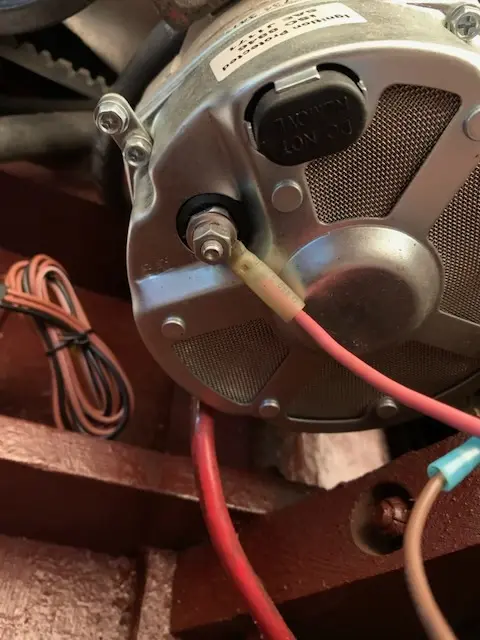
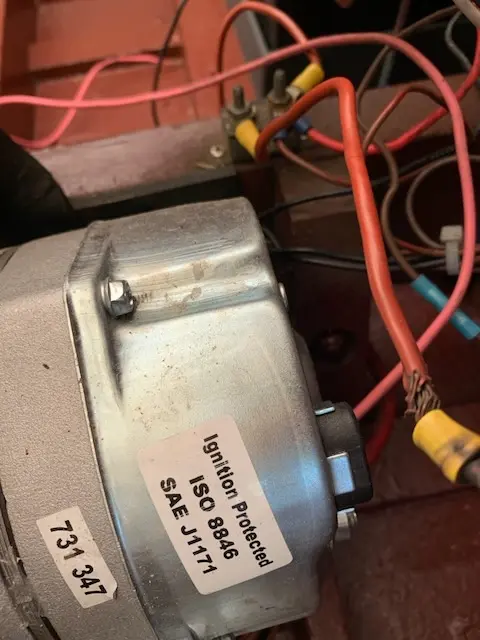
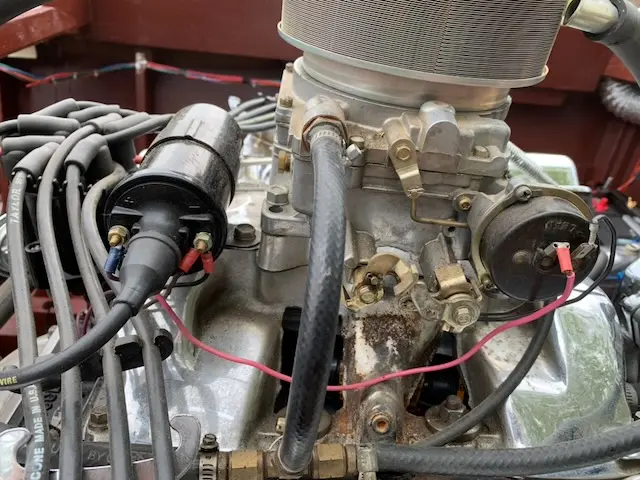
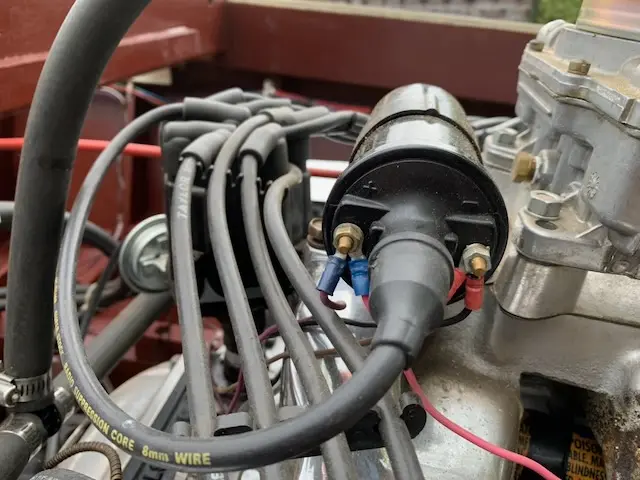
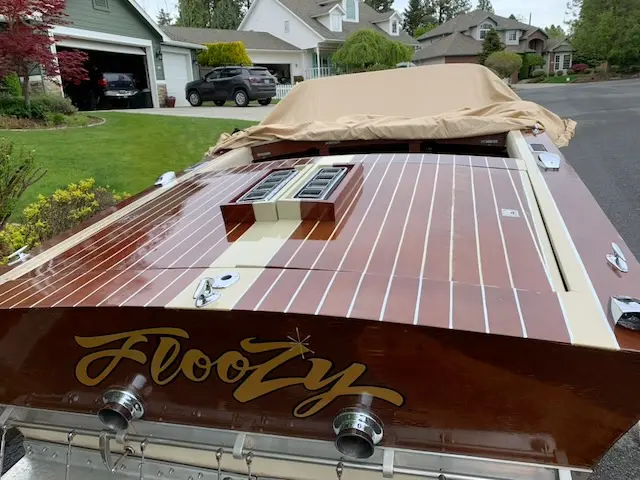
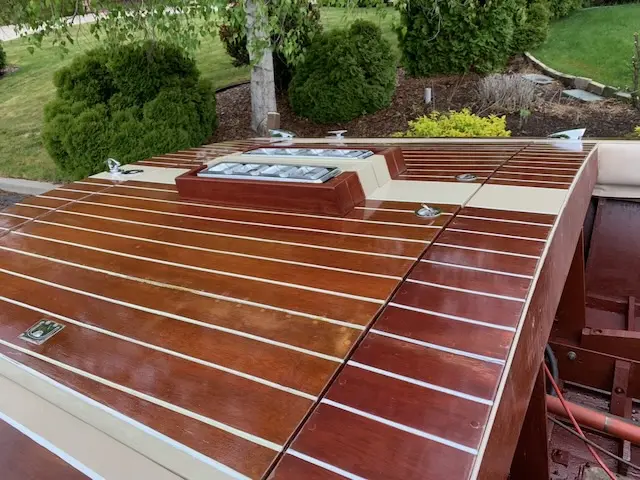
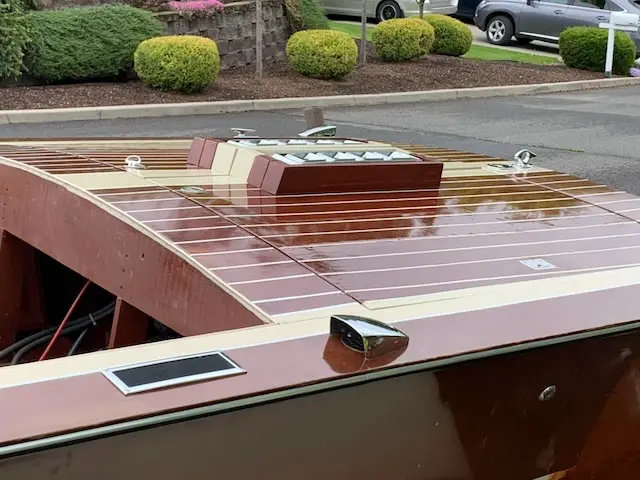
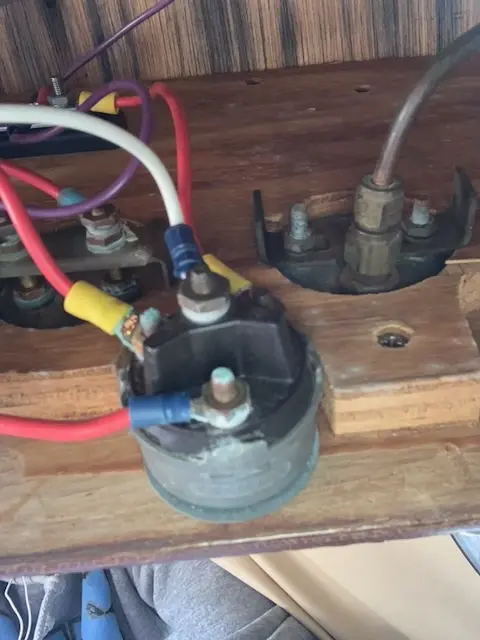
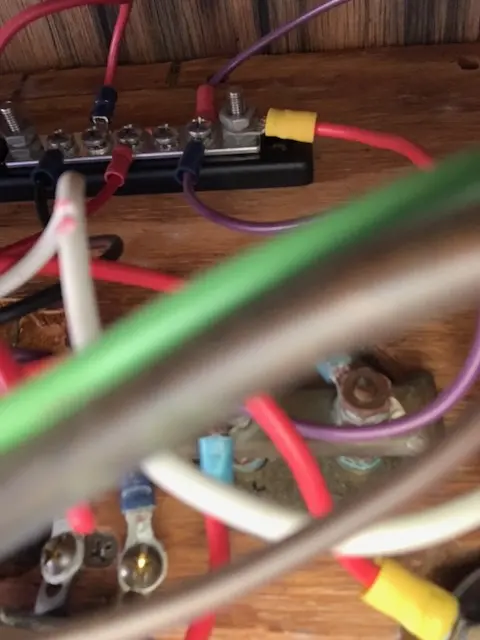
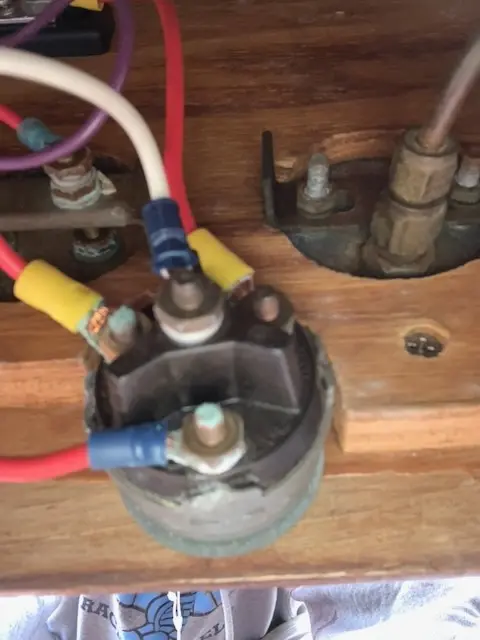
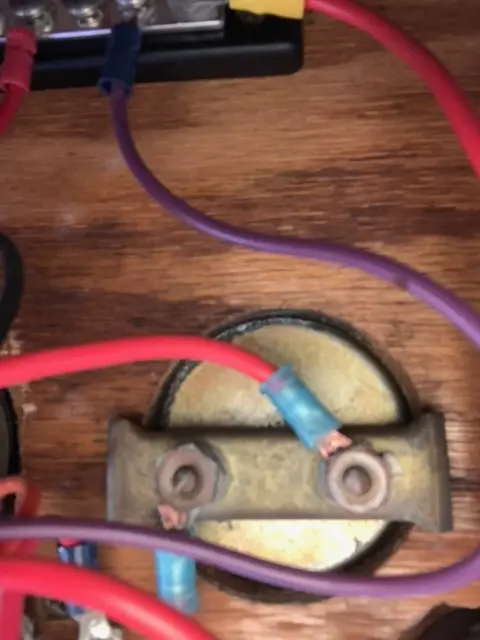
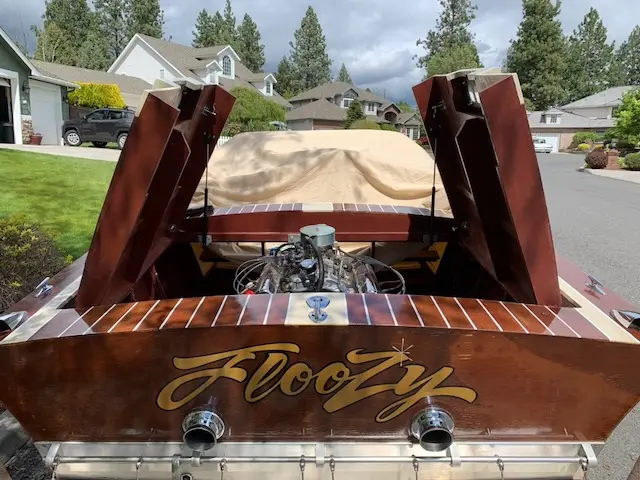
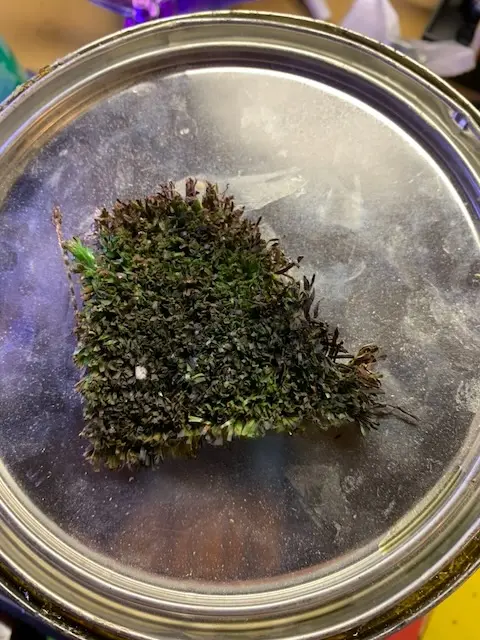
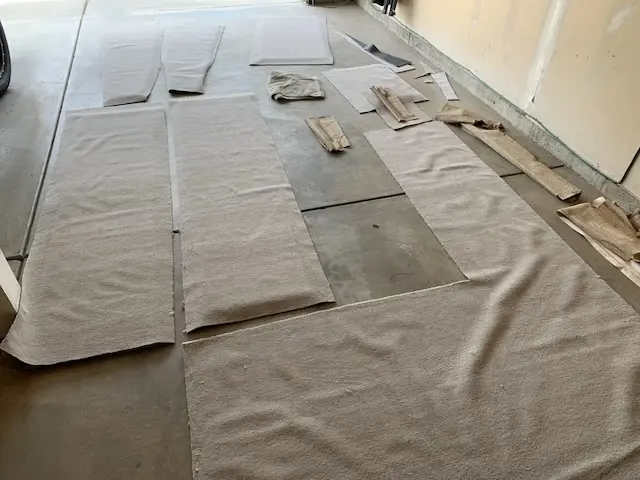
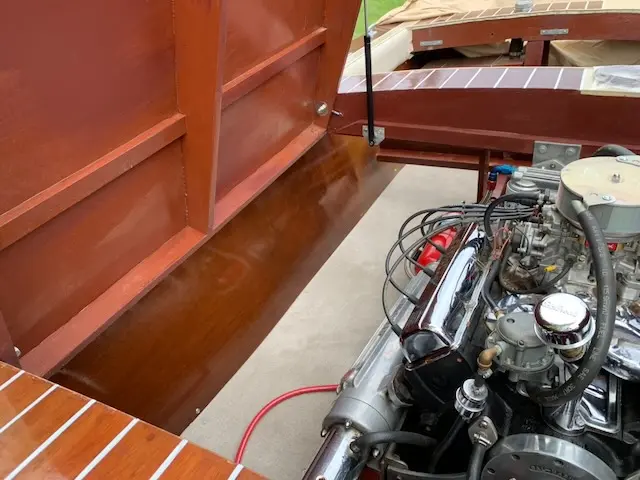
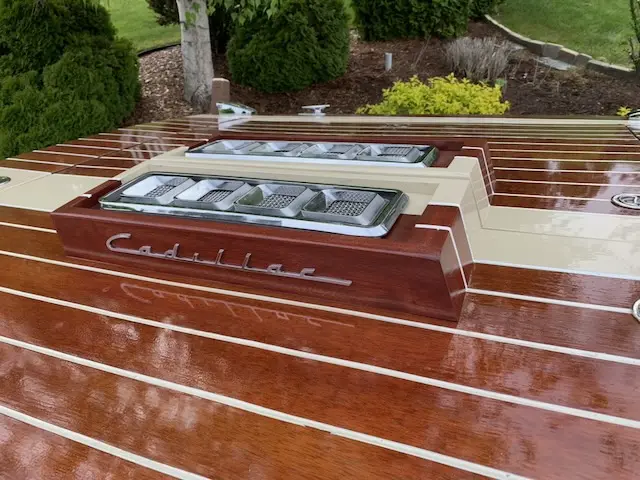
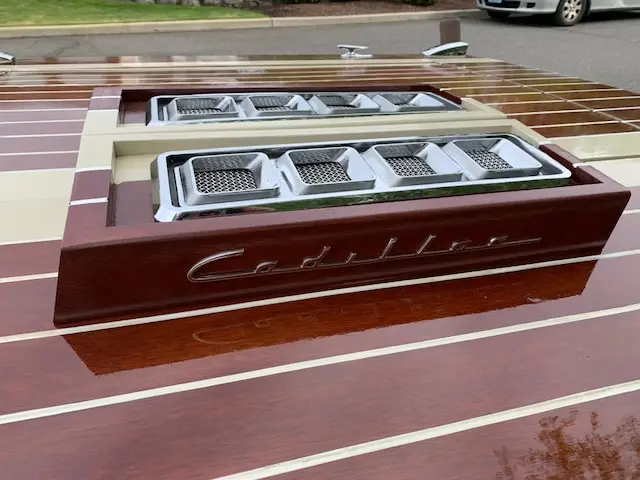
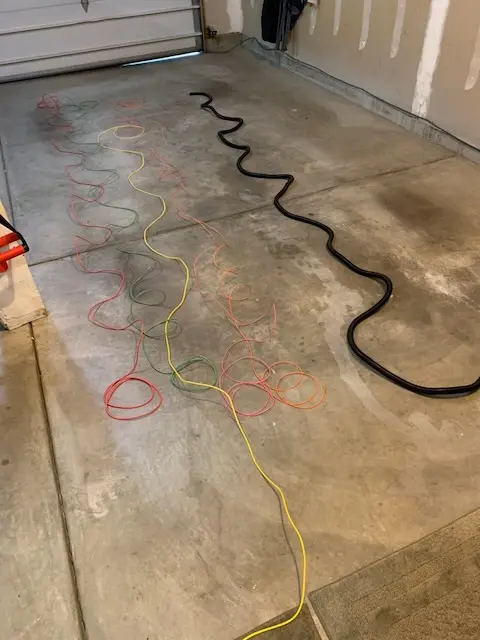
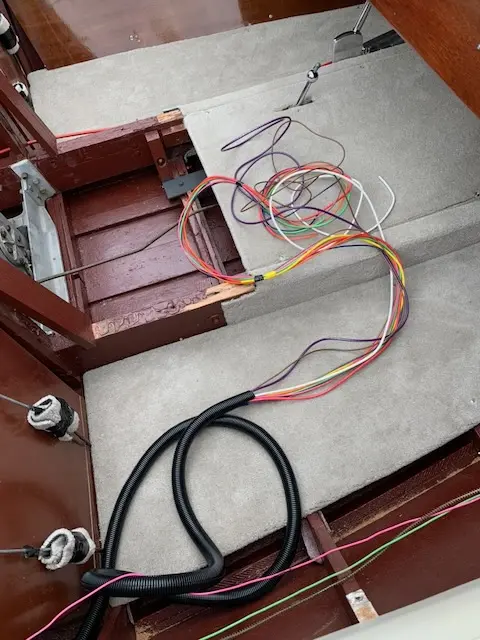
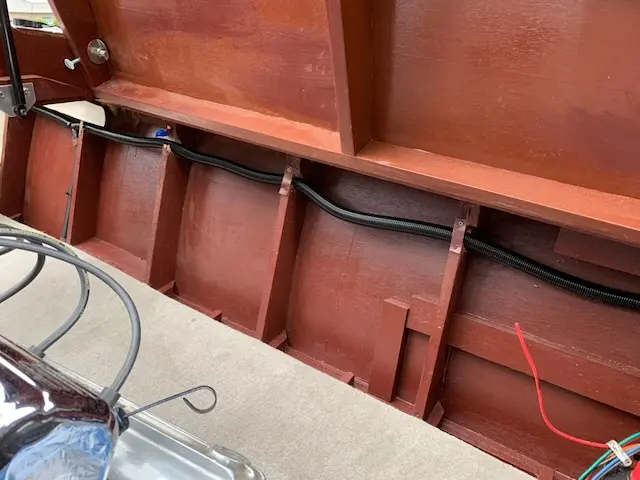
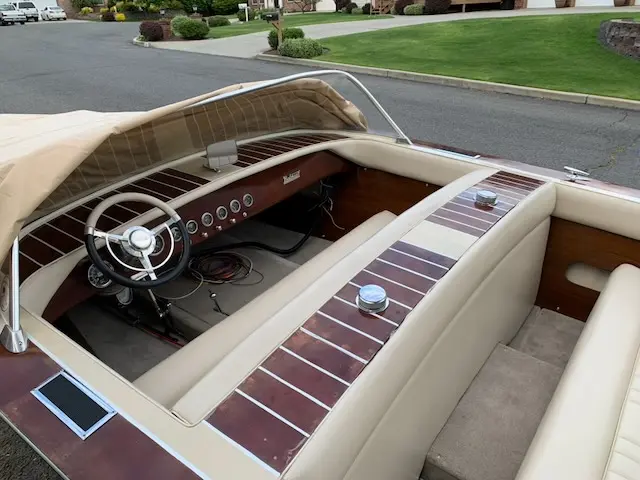
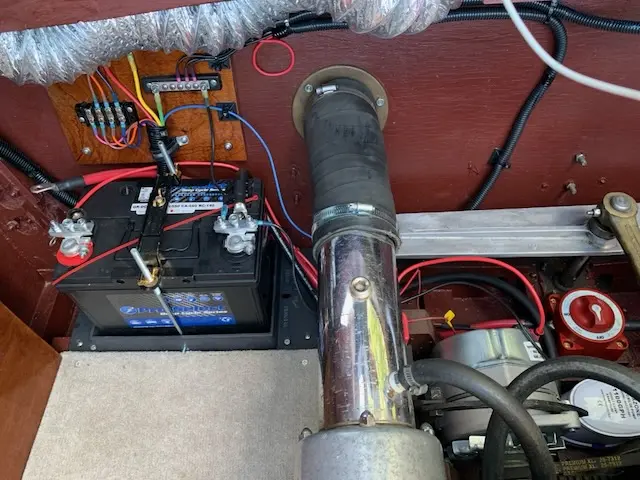
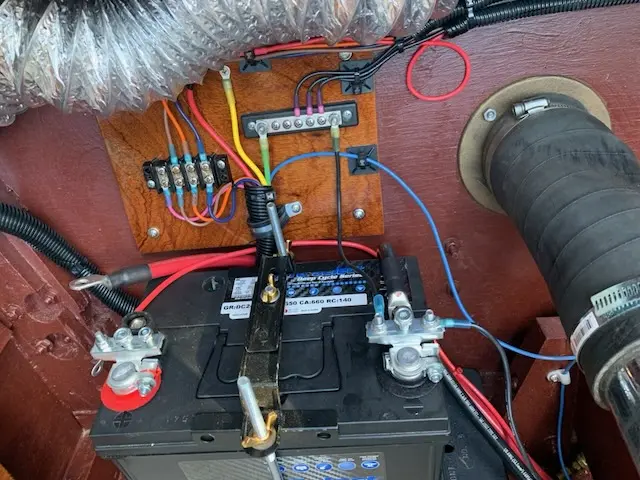
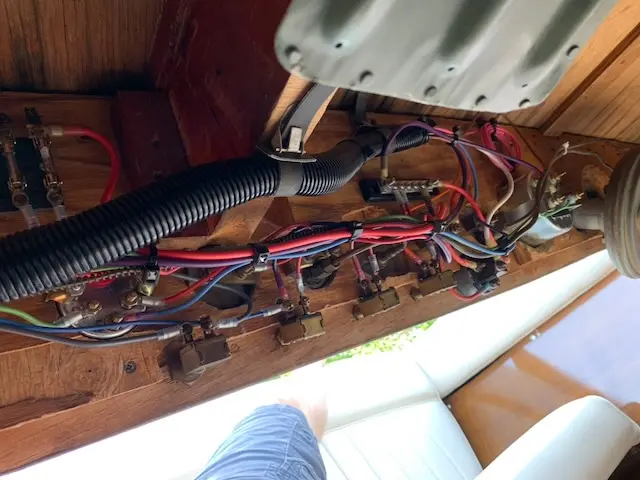
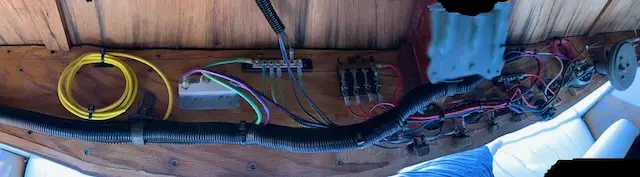
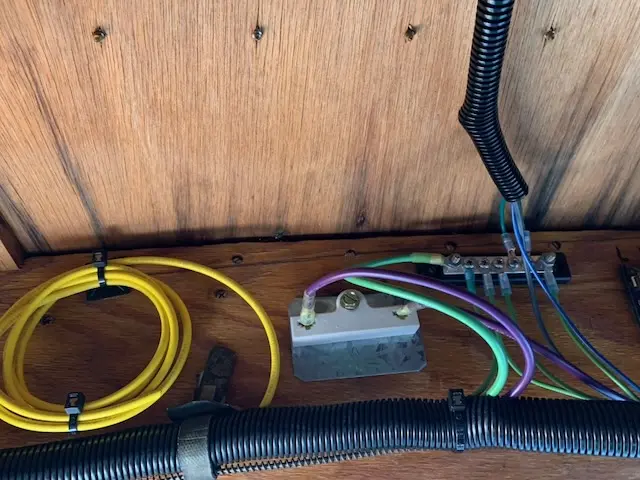
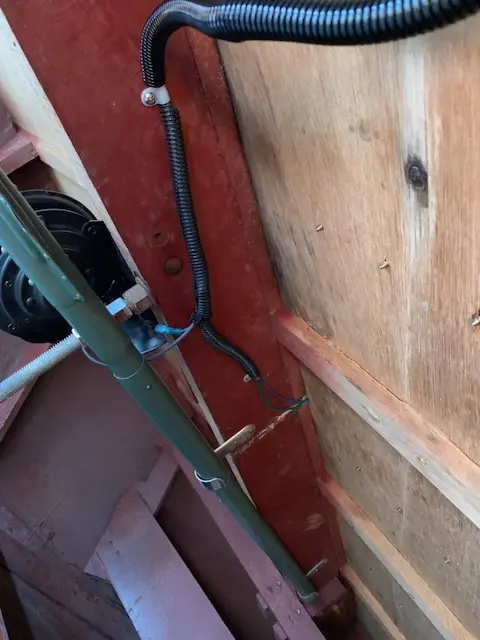
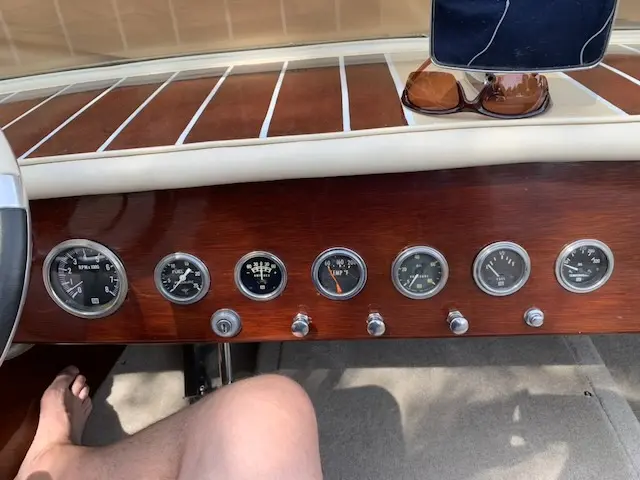
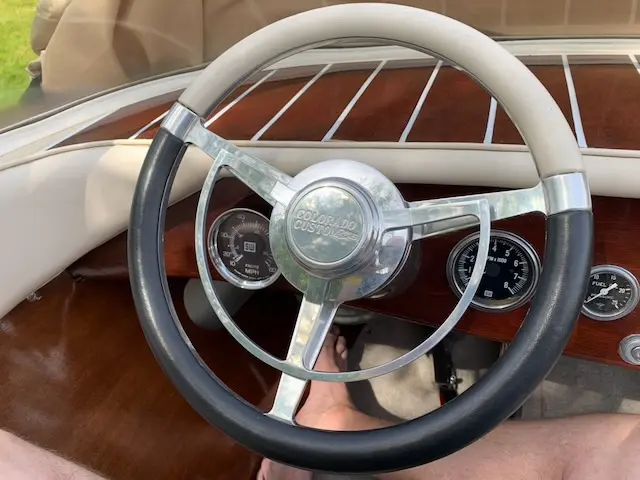
1963 Belmont Runabout I had seen this boat advertised in Boating USA for $20,000.00 and noticed it because it was in Spokane. About a year earlier, it showed up on Craigslist in Chattaroy with the price dropping from $13K to $11K, then $9K. I emailed asking for additional pictures and found out it was actually located in Elk, WA. I decided to check it out. It was sitting in a shop way off the grid, owned by a young man who decided that with two young kids, he didn’t need a wooden boat. He and his dad were very nice, though they didn’t have a lot of detailed knowledge about it. They thought it had a Cadillac 331, knew the back corners had been repaired in Coeur d'Alene (CDA), and had installed a new alternator and battery—though the boat hadn't run in years. Overall, it looked good: a scratched plexiglass windshield that could be fixed, about three coats of varnish, and a stock fiberglass-over-3/8" mahogany plywood bottom with frames on 8" centers under the engine and 12" centers forward. I talked to Glenn and Terry, who both knew the boat well. In fact, Terry had worked on it previously and mentioned that it won the Open category at the CDA Boat Show 12 years earlier. He advised, "Offer $7.5K, and if you get it for under $8K, it's a great deal." I offered $7K cash the next day, bought it for $7.5K, and towed it home. The trailer pulled great, though the tail lights didn’t work. First Inspection Once I got the boat home, a closer inspection revealed that everything was in better shape than I initially thought. One thing I noticed right away was that the top of the windshield hit me right around the nose. However, since the seat was raised 4–5" off the floor, I realized I could lower it. The large engine hatch, which lifted sideways, was extremely heavy and required you to be 6'6" just to lift it high enough to brace. After checking the serial numbers, I discovered the engine was actually a 325 HP, 390 cu in Cadillac big-block from 1962/1963. It was fitted with a Nicson exhaust system, a Colorado Custom steering wheel (likely worth 500–700), an Edelbrock 1407 marine carburetor on a high-rise intake, and several So-Cal Performance parts. Restoration Plan After finding an original magazine advertisement from 1963, I decided the theme for this project would be a StanCraft-style restomod. Stock specifications claimed the boat would run 60 mph without optional performance add-ons. Considering a new Cadillac car cost around $5,000 in 1963, a boat like this would easily sell for $50,000+ today. Through a research paper written by a Fresno High School student, I learned that these runabouts were produced from 1956 to 1966, with likely only around 50 total units built. The Belmont company primarily specialized in fiberglass-over-plywood flat-bottoms, V-drives, and jet boats. Founded by Smitty Weaks in 1956, Belmont of Fresno, CA set several speed records back in the day. The company still exists today, operating mostly as a repair shop run by Smitty's son. Stripping & Cleaning I removed the interior and gave it an initial scrubbing with Dawn dish soap, followed by leather cleaner and conditioner—the seats turned out great! Next, I removed the floor and side panels. After cleaning, the side panels came out so sweet that I plan to reinstall them as-is and lay down new marine carpet on the floor. The floors previously had vinyl over wood from an early 1990s restoration, along with evidence of tufted carpet at one point. I started polishing the windshield to see how much work it would require; it cleaned up very nicely, though it still needs attention on three deeper scratches on the passenger side. I planned to pressure-wash the interior, but the pressure washer broke down. Hatch Redesign & Engine Details The engine hatch had an Offenhauser hood scoop straight out of the 1990s. Because the heavy single hatch was cracking the seatback, bending the 1/2" mounting bolts, and requiring someone 6'6" to prop open, I decided to split it into a lightweight clamshell design. Engine Identification: Block serial number: 1962 J-model (62J156011 / 26K156212) 390 big-block. This was a 1962 390 intended for a 1962 Coupe de Ville "J". Cadillac produced 160,840 cars in 1962, placing production sequence #156,011 right near the end of that model year. Engine Unit # 26K156212: The 26K prefix from the 1962 Cadillac Shop Manual identifies it as an air-conditioned 390 engine for that year. Because model-year production typically ran from September through July (with August reserved for factory retooling), this late-VIN engine was likely manufactured around July 1962. This aligns well with the boat's timeline. Boat builders like Chris-Craft were famous for buying surplus engines, steering wheels, and gauges from Chevrolet and Ford at the end of model runs, and Belmont followed a similar pattern. Upgrades & Electronics The electrical wiring harness was in terrible shape; bending the wires caused the insulation to crack and flake off. I ordered new marine-grade wiring and cables, along with heat-shrink, waterproof connectors. I also ordered a couple of replacement gauges to match the original Stewart-Warner units. I completed the engine hatch modification by centering it in the opening and cutting it cleanly in half using a Bosch jigsaw with a new fine-tooth blade at 0°. I built support frames for both halves, then bored a 3/4" hole to accept a brass bushing, stainless steel bolt, and locking washers. The hardest part was leaving enough clearance without making the new vent stack excessively tall. I also won a set of 1968 Camaro hood vents on eBay that look like they were custom-made for this boat. For the finish, Kirby Paint Co. provided a paint match that was remarkably close (just slightly greener compared to the original yellow tint). I brushed it on using a foam brush; as it dried, it laid out smoothly and looked awesome. I'll give it a month to cure completely before buffing. Naming the Vessel According to the previous owners, there was a sister boat named ?. My wife made two things clear: she has to be able to drive the boat (meaning an adjustable throttle pedal), and the name must be changed from Floozy! Changing a vessel's name without consulting Poseidon risks invoking his wrath, so a proper purging ceremony is required to appease the sea gods and erase the old name from the Ledger of the Deep. For a new name, I came up with USAIN BOAT (a nod for the non-track-and-field folks to Usain Bolt, world record holder in the 100m and 200m). Or maybe CaddyDaddy? July Updates After finishing the bilge paint, I rewired the entire boat to eliminate the automotive connectors, spliced wires, and cracked insulation. BestBoatWire.com was a great source for 16 AWG marine wire in various colors. Working from aft to fore, I tackled the dash last; running one wire at a time and bundling them neatly turned out to be the cleanest approach. Wiring the one-wire marine alternator and installing a functioning ballast resistor took the most research. Next, I pulled up the old vinyl flooring and laid down taupe marine carpet. (It appears the boat originally had light gray carpet, followed by green AstroTurf, then beige vinyl in the mid-1990s). I also replaced the steering helm because the old one grew increasingly stiff in warm weather. Engine & Mechanical Setbacks After checking all fluids, I turned the engine over a few times without ignition to build oil pressure across the bearings and ports. Once verified, I connected the coil wire—and it fired up for the first time in 2 to 3 years! When I hooked up a garden hose to supply cooling water, it started right up, though it briefly stalled due to an alternator wiring mistake and a faulty ballast resistor. Once corrected, it ran smoothly for 10 minutes after a quick carburetor adjustment. However, when I shifted into gear and the propeller shaft began to spin, it started squeaking. I shut it down immediately, only to see the transmission blow a "strawberry milkshake" out of the vent. Both Glenwood engine and transmission oil coolers had failed internally, dumping cooling water directly into the oil of both systems. Steering Helm Upgrade As temperatures warmed up, the steering wheel became nearly impossible to turn due to a failed 20-year-old cable and helm. I replaced it with a SeaStar Teleflex (SSX17617) Tilt Xtreme NFB 16 ft Rotary Steering Cable & Helm Kit, which mated perfectly with the stock steering wheel. I decided not to activate the horn for now due to the difficulty of drilling through the dash for wiring, though the cable is routed if I decide to hook it up later. October & November Updates I refinished and reinstalled the engine cover with fresh paint and varnish, installed new Stewart-Warner gauges, and scored a great deal on original gas caps on eBay. During a test fire after rebuilding the carb, the battery went dead because the igniter wire had come loose at the starter. I also located the original stain formula: Bamboo Mahogany, which features a rich dark tint with subtle purple undertones. In November, I moved the Belmont to the school shop to work on it and use it as a project for virtual boat-building sessions on Wednesday nights. We lifted the hull off the trailer onto shop dollies and discovered significant damage on the sides behind the wheel wells. We prepped the area, laid down new fiberglass corners, and restored incredible strength to the structure. After it cured, I sanded it smooth and applied light layers of polyester fairing compound across the corners and bottom. Minor dings on the topsides were filled as well. December Stripping & Refinishing I stripped the hull sides using three generous coats of TotalBoat Stripper. The varnish lifted in about 15 minutes, while the underlying fiberglass resin required two coats and an overnight soak to dissolve. Areas that had never been exposed to sunlight remained very dark and required hand scraping and sanding down to bare wood. Because the mahogany veneer was paper-thin in places, it appeared this hull had been stripped at least once before. With the bare wood exposed, screw holes were filled with mahogany Famowood filler (or solid mahogany plugs where structural strength was needed). I applied Minwax Bombay Mahogany stain to recreate the original dark purple-tinted hue, followed by a heavy coat of penetrating sealer and 9 coats of clear marine varnish before dry sanding. January – Summer 2021 With the bottom paint complete, I sanded the 9 coats of varnish with 400-grit sandpaper at low speed to flatten the surface. Working in a 55°F shop (below recommended application temperatures) created "micro-runs" that required careful leveling. I followed up with 600-grit paper and light coats of clear gloss varnish prior to final buffing. When COVID-19 restrictions closed the shop in February 2021, Usain Boat went into temporary storage. Once the school year wrapped up in summer 2021, I unpacked the Belmont to prepare for its maiden lake cruise. Unfortunately, things didn't go as planned: Upon launching, the hull began taking on water due to a missing drain plug. The engine struggled to turn over. Inspection revealed the cylinders were completely hydraulic-locked with water. I tore the engine down to the block and realized that flushing with a pressurized garden hose through log-style exhausts had back-fed water straight into the engine. (In the future, I will use a bucket-and-water-pump setup). While the engine was out, I honed the cylinders and installed new rings. The engine had previously been rebuilt .030" over and showed minimal wear. Light surface rust from the water incident was cleaned up using a 230-grit ball hone. Rebuilding was a blessing in disguise, as it allowed me to correct several minor assembly errors, including issues with the starter. Uncovering Engine Origins While sourcing a marine starter, I uncovered the engine's true origins: The block was painted red underneath, whereas Cadillac automotive engines were dark blue. Search results for the starter design repeatedly pointed to Crusader Marine Engines, which used red engine paint. The block serial numbers, head stamps, positive vacuum valve cover components, chrome valve covers, and marine attachments (Nicson exhaust, Cal Marine timing cover, Halibrand bellhousing) matched Crusader specifications for a 1962 390 crate engine. Crusader Marine Co. sold 390 Cadillac crate engines in the early 1960s, which aligns with Smitty Weaks' practice of sourcing whatever high-performance engines were available. RAM Engine in Spokane, WA had rebuilt this engine .030" over in the 1990s, leaving behind their distinctive shop markings. Gauge Salvage & 2023 Launch Prep The old automotive gauges were rusted, so I replaced them with period-correct marine units. I listed the old gauges on eBay expecting 20–30 each. Surprisingly, an old Stewart-Warner oil pressure gauge with the classic winged logo and curved glass sold for $420! By summer 2023, the boat was ready for a Show & Shine event. However, upon dropping it in the water, the shaft log leaked so severely that the bilge pump struggled to keep up. Shaft Log & Covering Board Repairs The original shaft log used 12 studs protruding through the keel. Rust and old bilge paint made them nearly impossible to remove; two snapped off and four were completely loose. Upon removal, I found the original sealant had degraded to powder. I cleaned the mating surfaces, coated a new rubber gasket with Boat Seal, and reinstalled it using larger-diameter stainless steel screws. Unfortunately, the center of the aluminum plate didn't clamp down evenly, causing another leak. I repaired the mounting holes using expanding epoxy and toothpicks, but hitting lake waves broke the bond again. Meanwhile, the gunwale covering boards (the upper edges of the hull where you rest your arm) were in rough shape from dock impacts and weathered repairs. Option 1: Router out the entire 6" x 20' board and replace it with solid mahogany. (Too time-consuming for this season). Option 2: Remove the old plywood planks. (Ken Johnson, who restored the boat in the 1990s, confirmed they were glued down with 3M 5200). Option 3: Strip and refinish. (Chemical stripper failed on the sun-baked 3 oz fiberglass layer, and 80-grit belt sanding bit too deep into the thin top mahogany ply). Option 4 (Selected): Belt-sand the surface flat, block-sand, and veneer over the existing covering boards with 1/45" mahogany veneer using urea-resin and contact adhesive. I prepped the surfaces, taped off the white deck accent line, and sourced veneer and glue from VeneerSupplies.com. Aft sections were glued with urea resin, weighted under 3/8" boards, and set up flat. Midship and windshield sections were pre-glued to prevent the dry plywood substrate from absorbing all the adhesive. Forward bow curves proved difficult to clamp. After failed attempts with urea resin and Titebond III, I stripped the forward section back down and used 3M Extreme Contact Cement. Using dowel rods to align the veneer before pressing down worked like a charm. To trim the outer edges without splitting the grain, I treated the veneer with Super Soft 2 veneer softener, trimmed it with a veneer knife, and block-sanded the edges smooth. To recreate the 1/4" white deck accent line, I built an adjustable 6" fence plate for my trim router and routed a clean new groove along the rail. Old offset grooves were filled with epoxy and repainted. I stained the new veneer, sealed it with penetrating epoxy, and built up 10 coats of TotalBoat Halcyon spar varnish, followed by 5 coats of TotalBoat High-Gloss Gleam (sanding every 5 coats). Fuel Tank Restoration The dual 24-gallon fuel tanks mounted behind the seats developed a strong gasoline odor caused by missing vent lines and unvented replacement gas caps. Additionally, the fuel sending unit gave erratic readings because the float had sprung a leak. I drained 30 gallons of fuel, removed the tanks, and had Carlson Sheet Metal MIG-weld proper vent fittings onto each tank. After pressure-testing, I treated the rusted bottom of one tank with POR-15 tank sealer. Unfortunately, the POR-15 failed to adhere properly to the existing interior lining and began peeling. I had to un-seam the top of the tank, scrape out the failed liner, wire-brush the rust, rivet the top back together, and resolder the seams. I installed a 5/8" fuel equalization crossover line between both tanks, replaced all fuel lines with USCG Type A1-15 hose, converted the carburetor to a properly vented marine setup, replaced the fuel line from the pump to the carb with a hardline, and grounded both tanks to meet USCG safety standards. 2024 Season Debut We kicked off 2024 addressing three final items: Fuel Tanks: Over-tightening hold-down straps had cracked the seam epoxy. I relieved strap tension, reinforced the corners with angle iron, and re-sealed them. Transom Leak: Delaminated transom plywood was prepped, saturated with penetrating epoxy, sealed, and fairing compound applied below the waterline. Carburetor: The old Edelbrock carb was gummed up from ethanol fuel. I replaced it with a new Edelbrock Marine 750 CFM carburetor. On the morning of August 12, 2024, we launched Usain Boat. Aside from waking up a few cranky lakefront neighbors, she ran and performed beautifully!