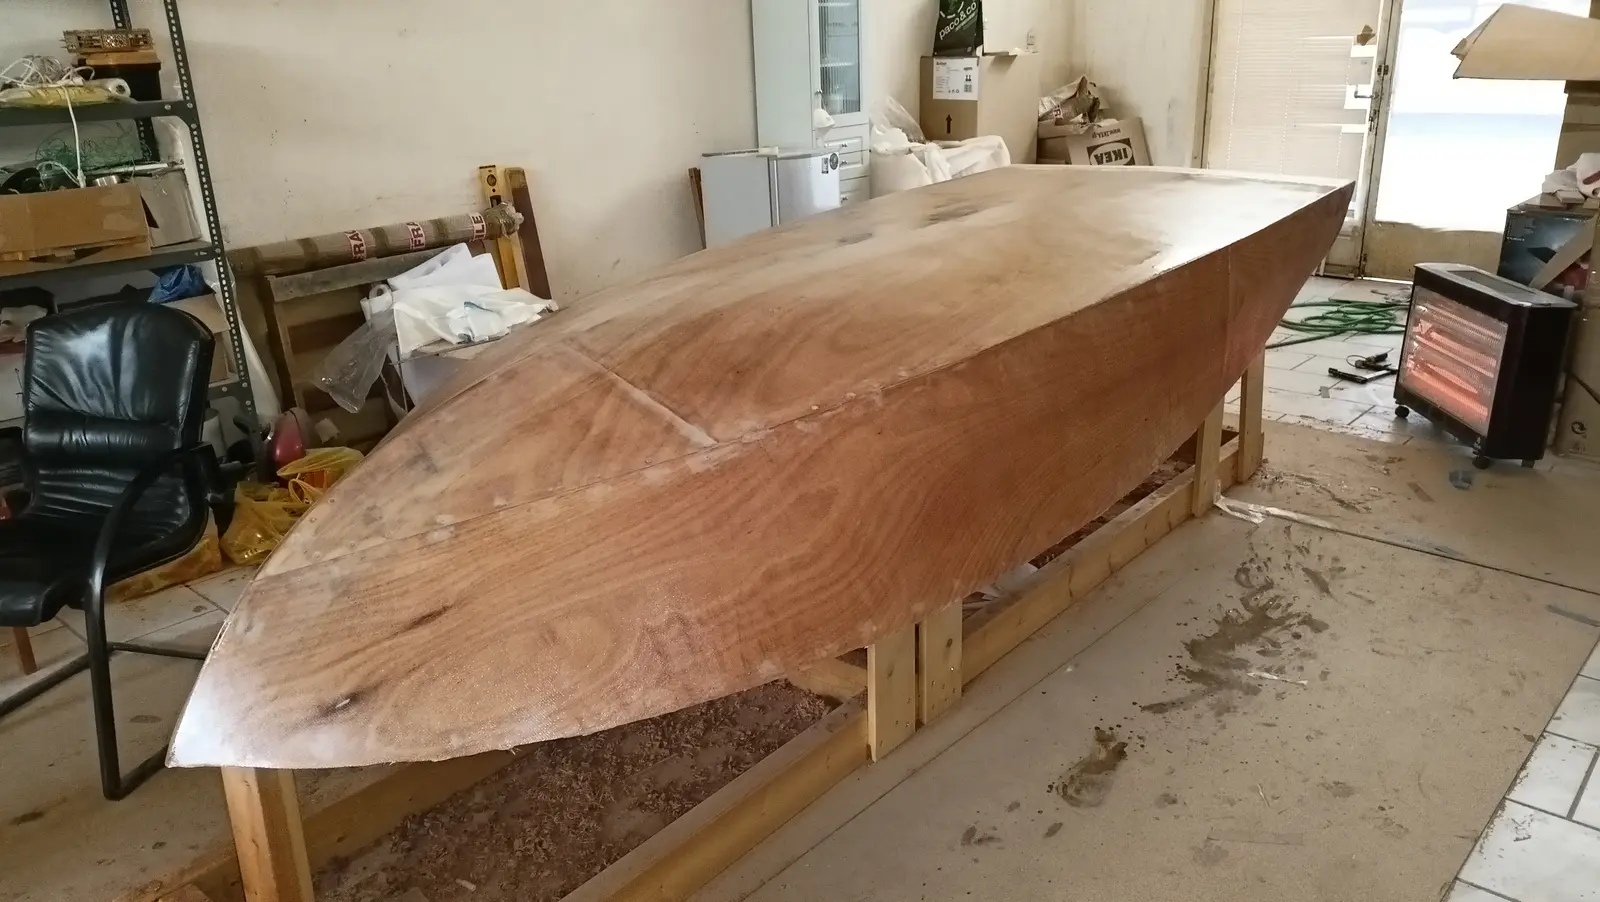
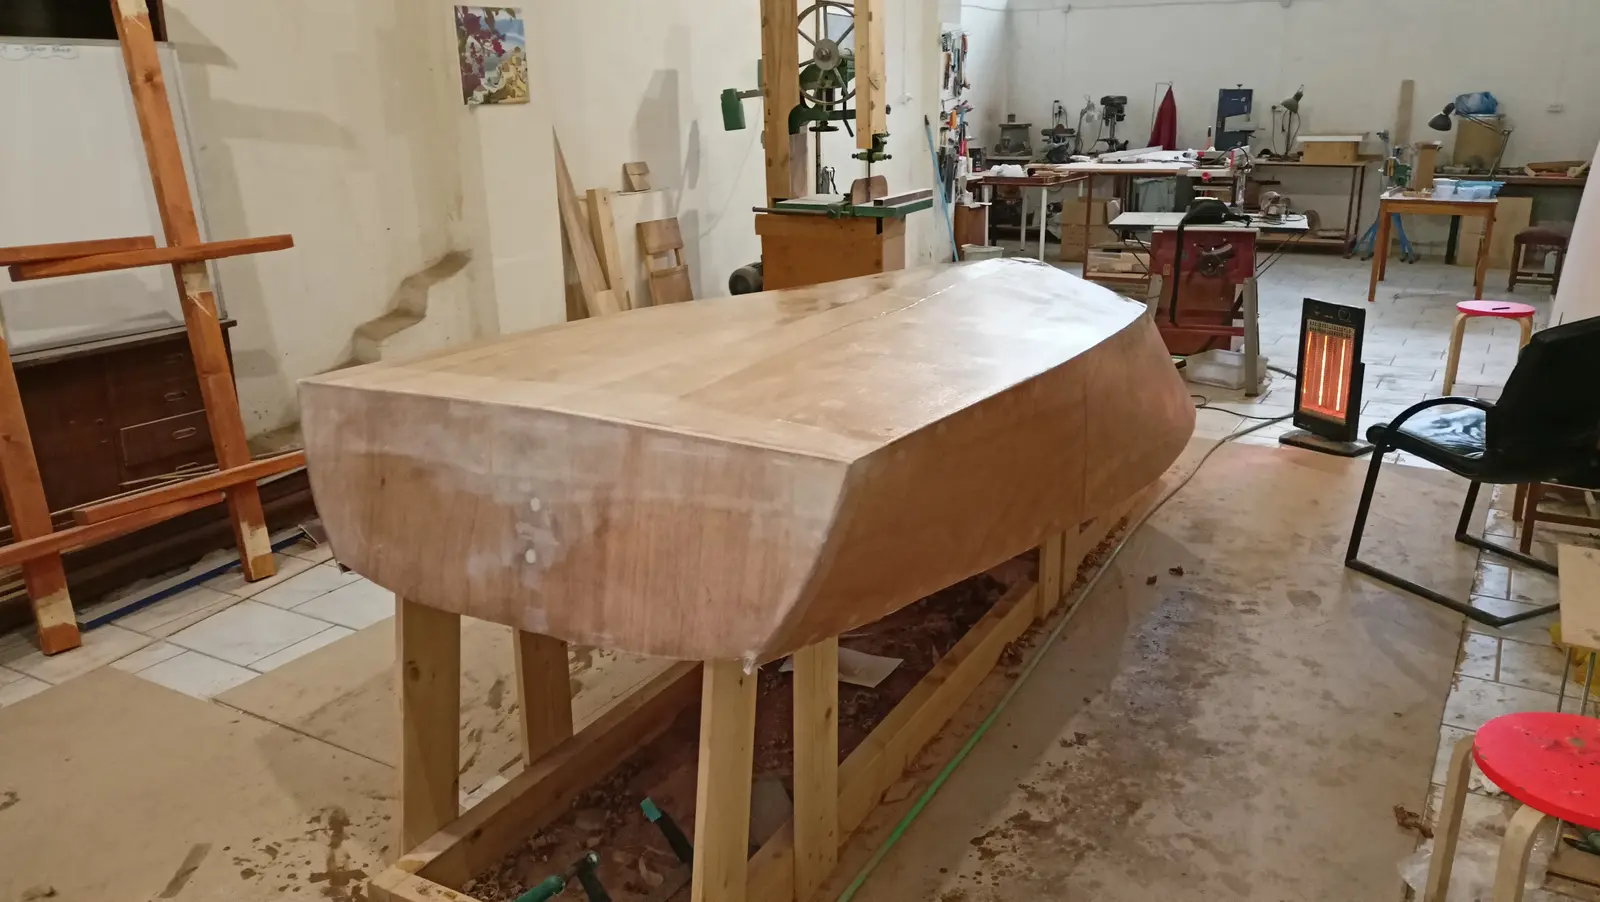
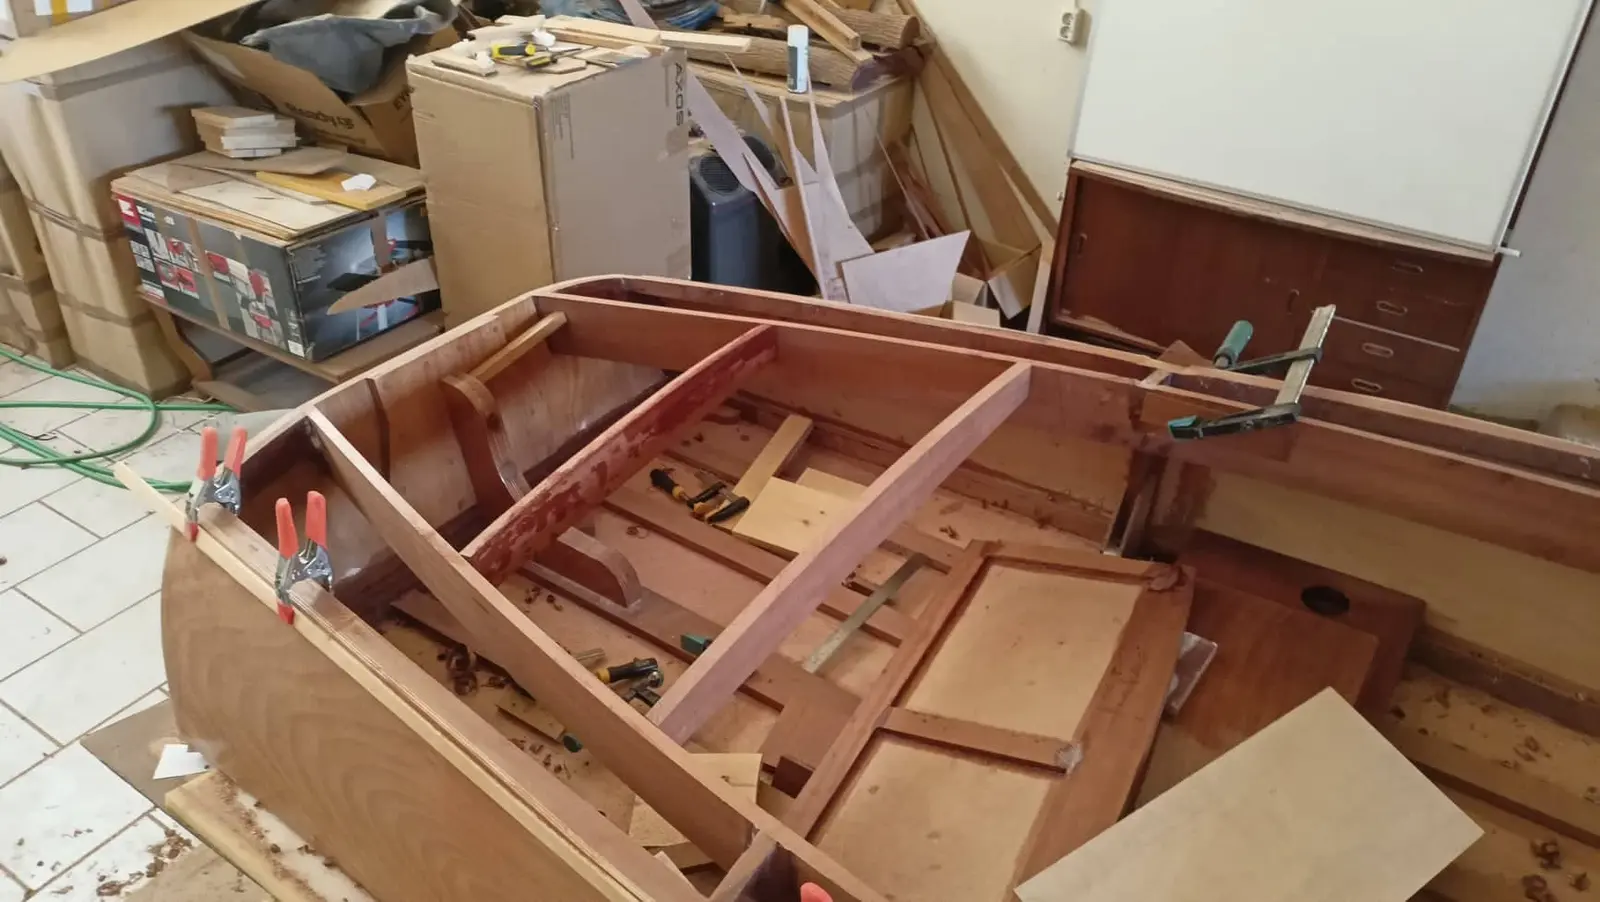
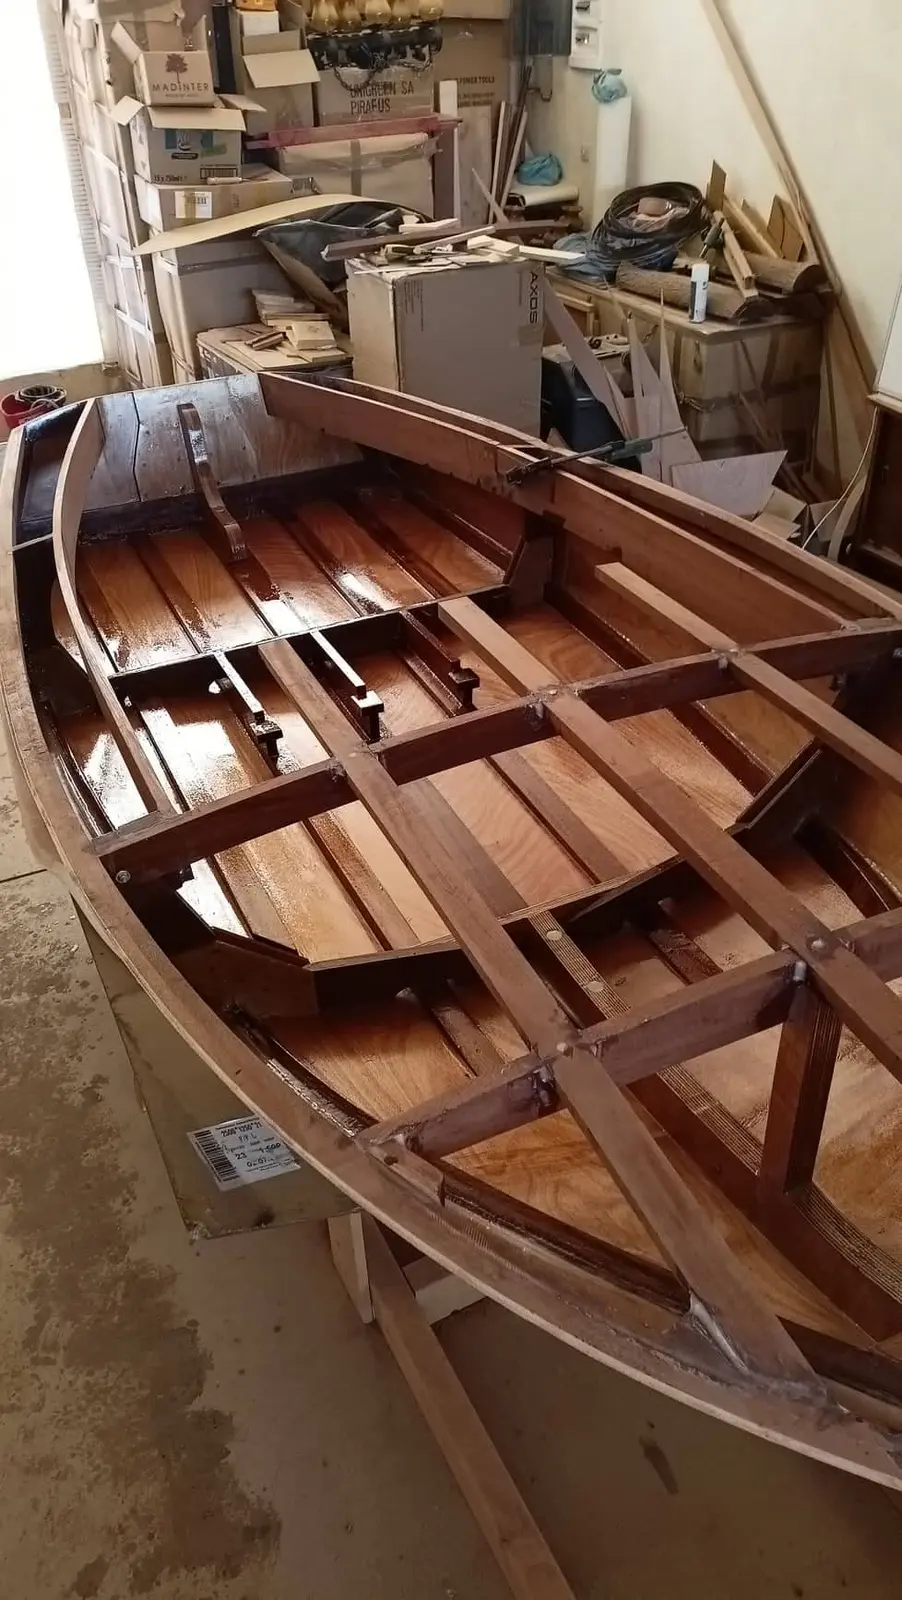
Planking the hull in plywood
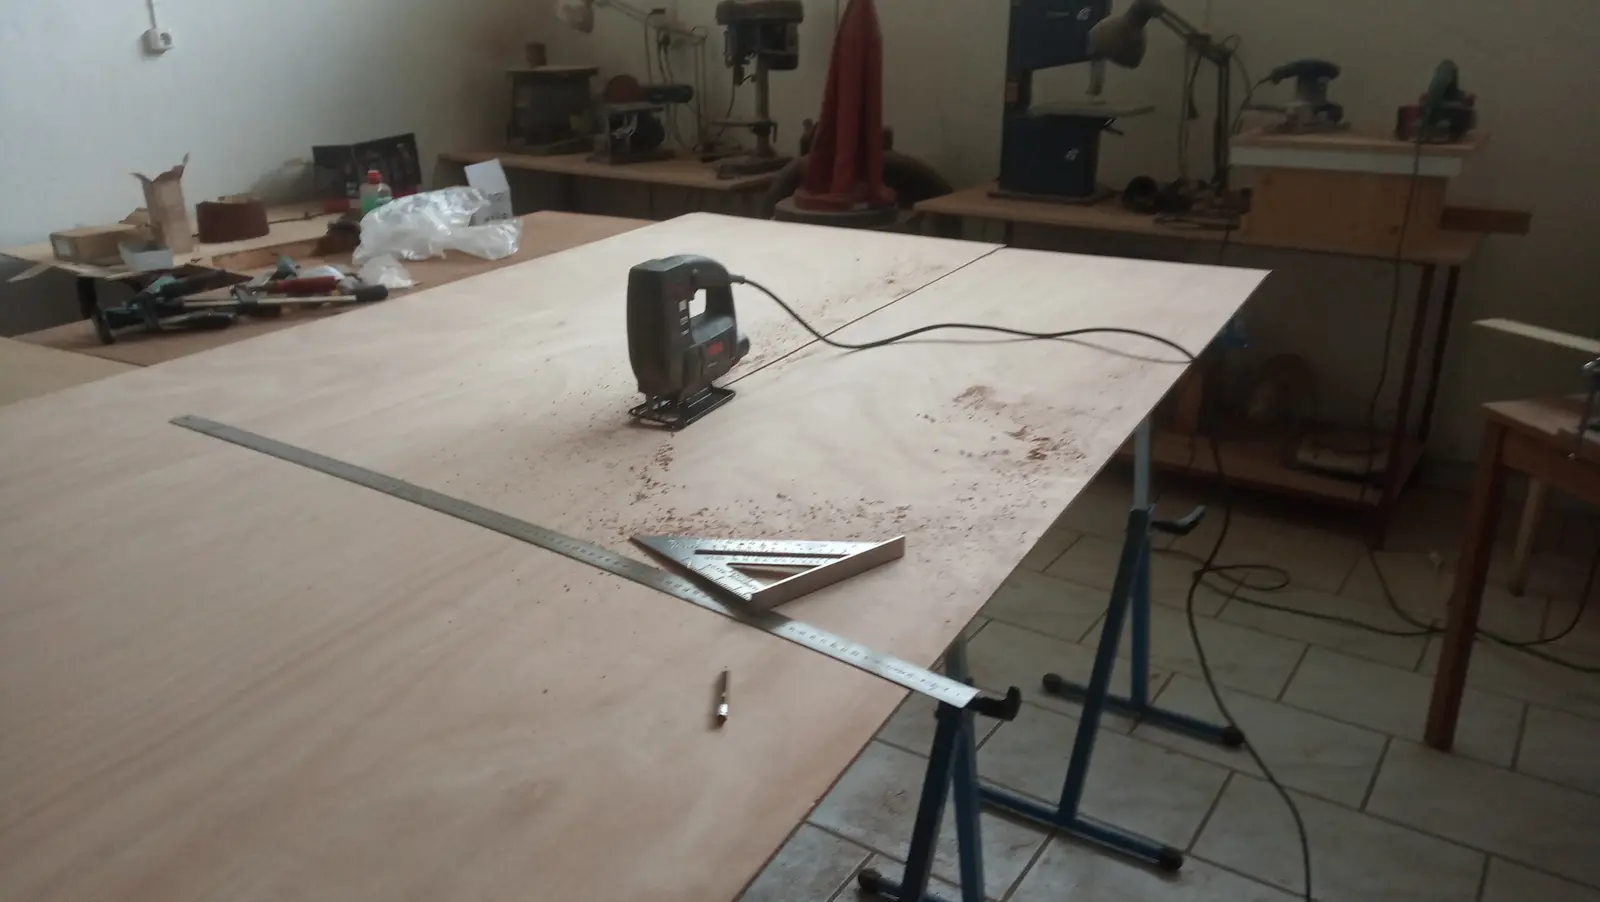
The next job is planking the hull. I am using 6 mm marine okoume plywood from Mourikis, the quality of which is excellent (and, unfortunately, twice the price of other imported stock). Unfortunately it is not made in lengths over 2.5 m, so two sheets have to be joined end to end.
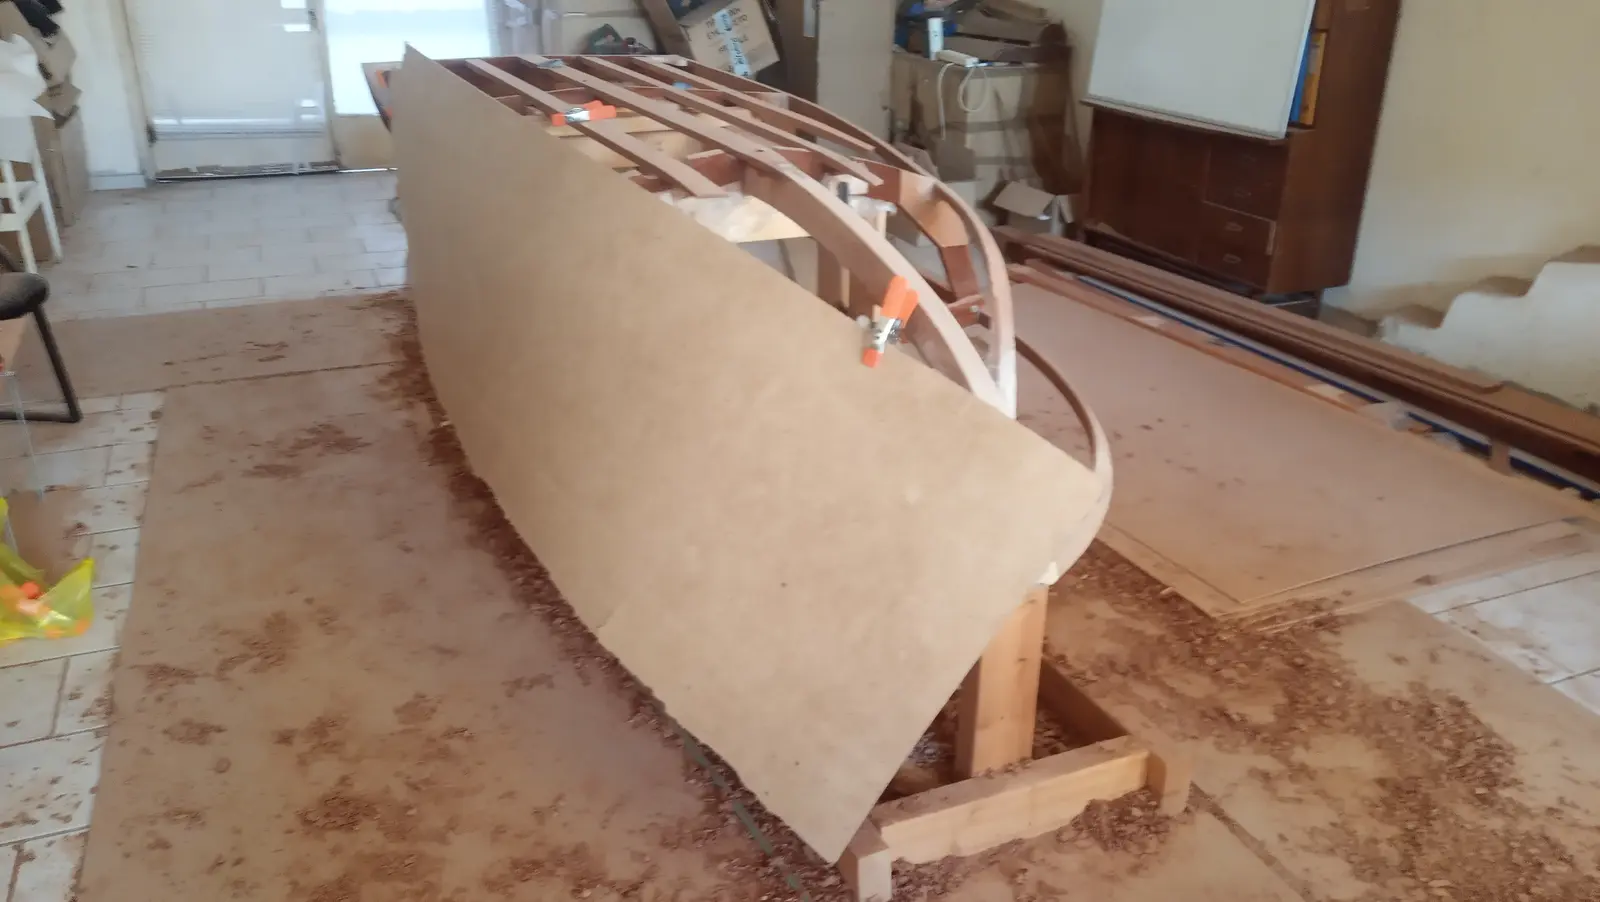
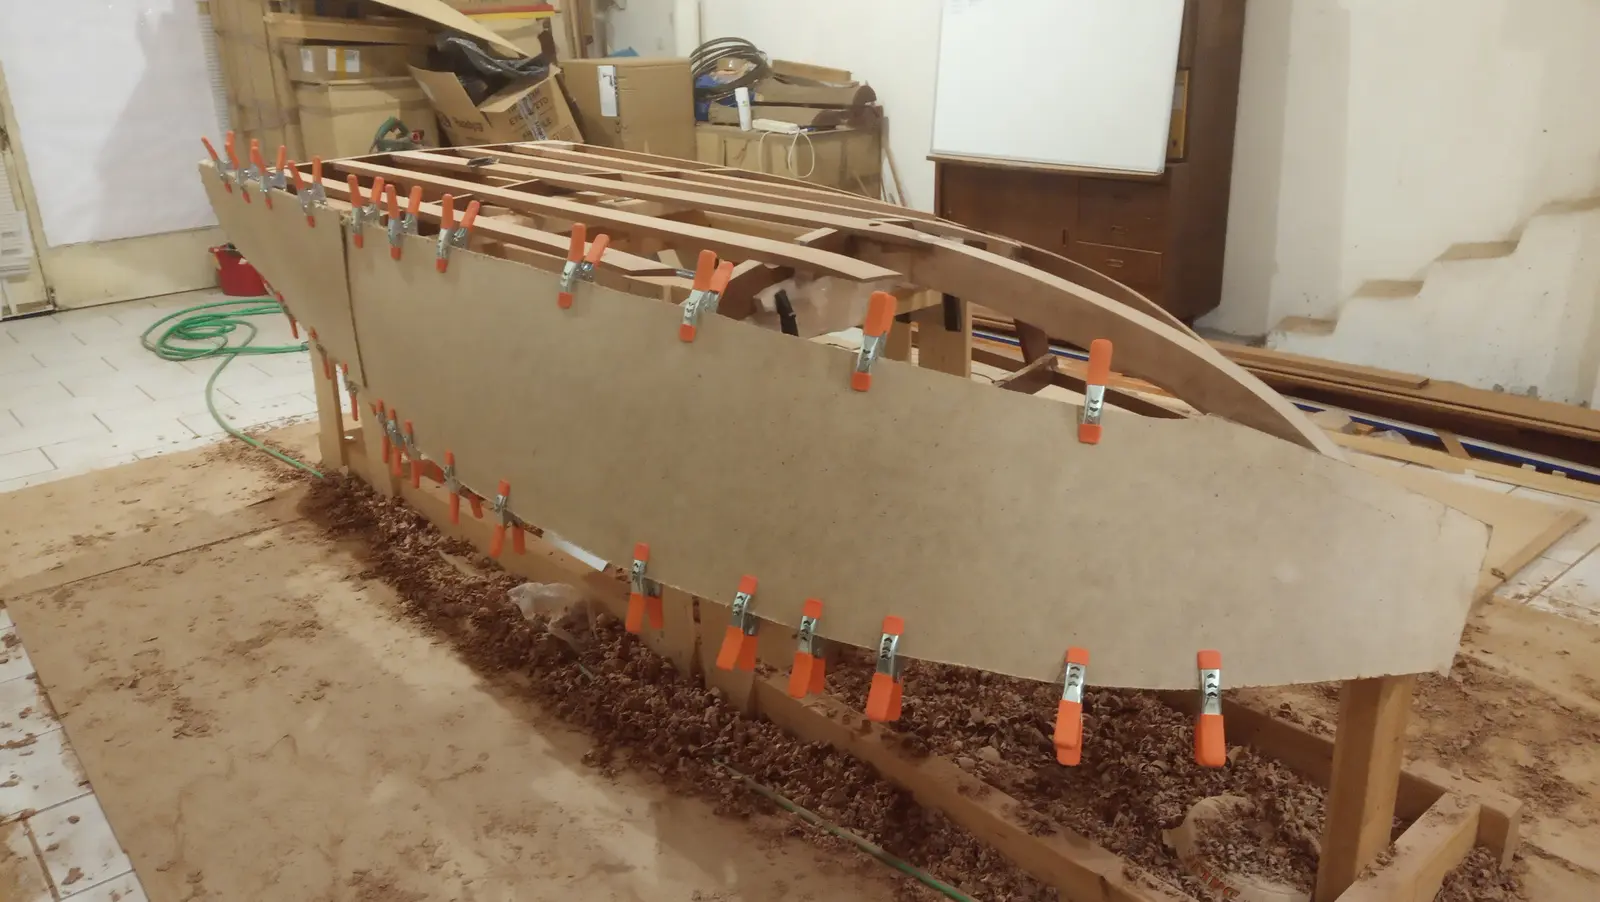
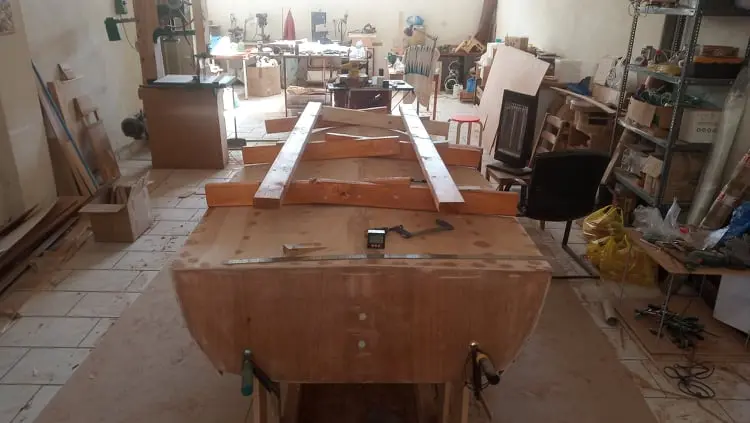
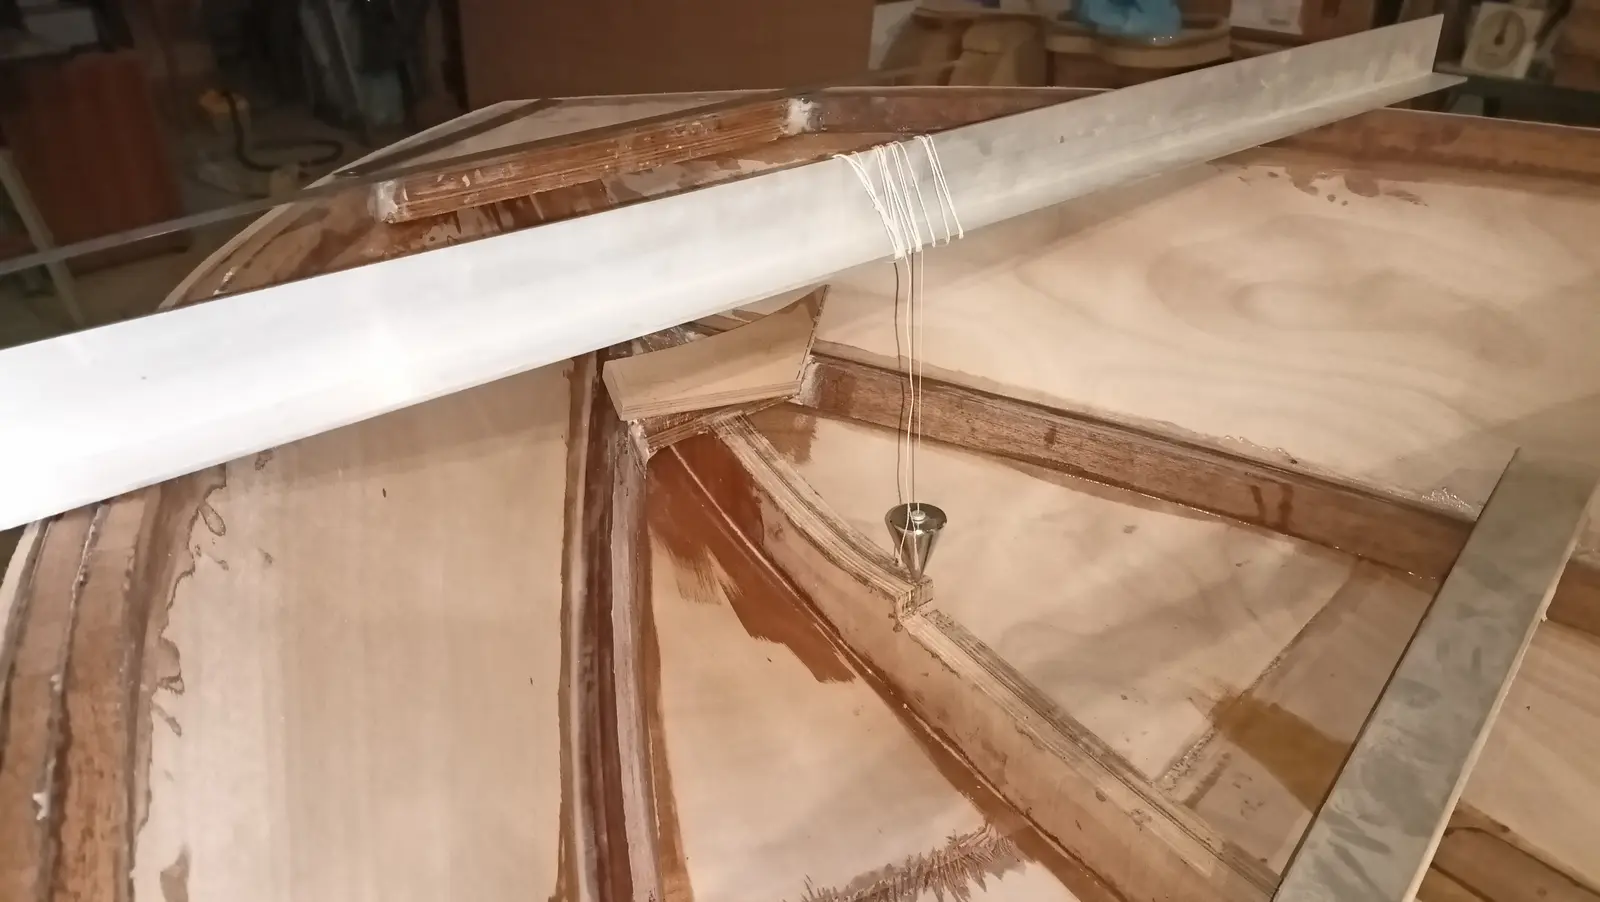
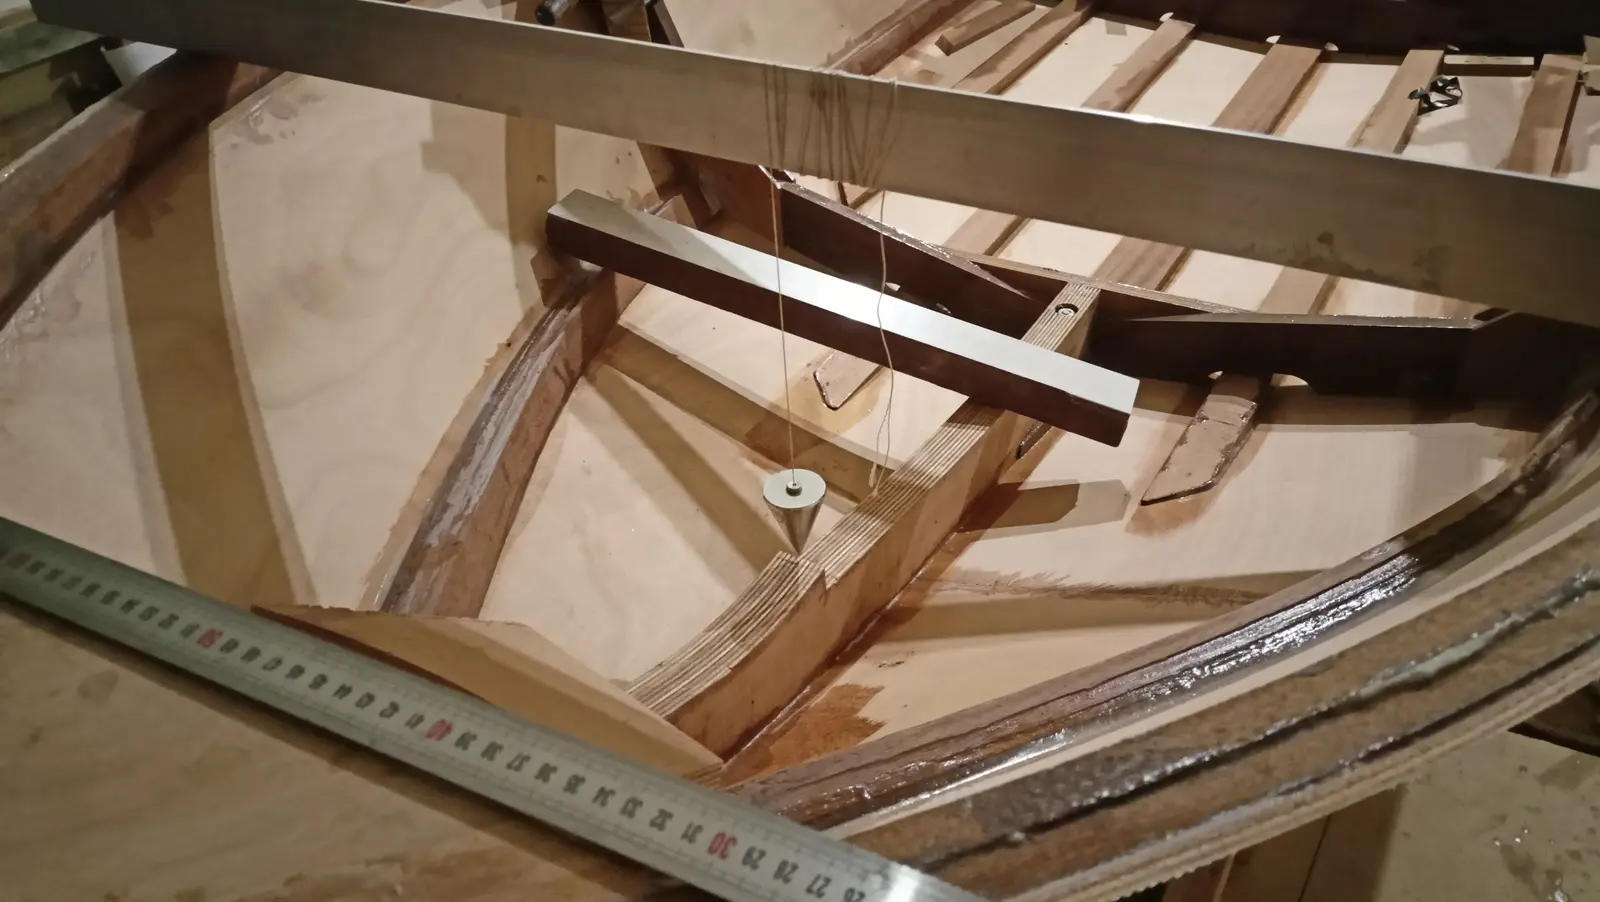
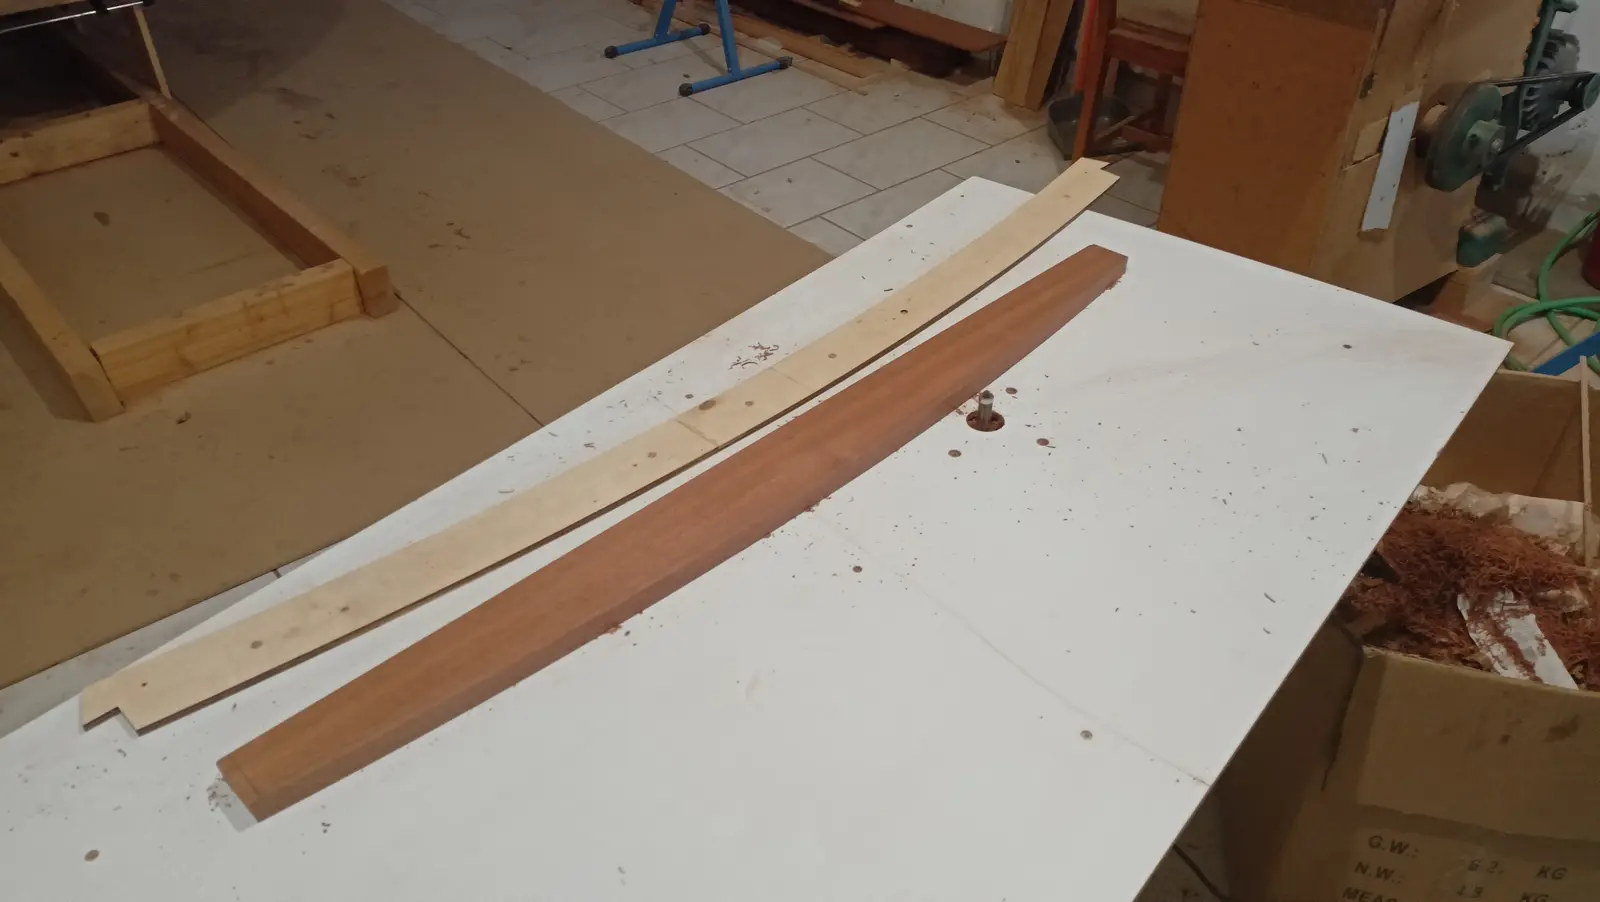
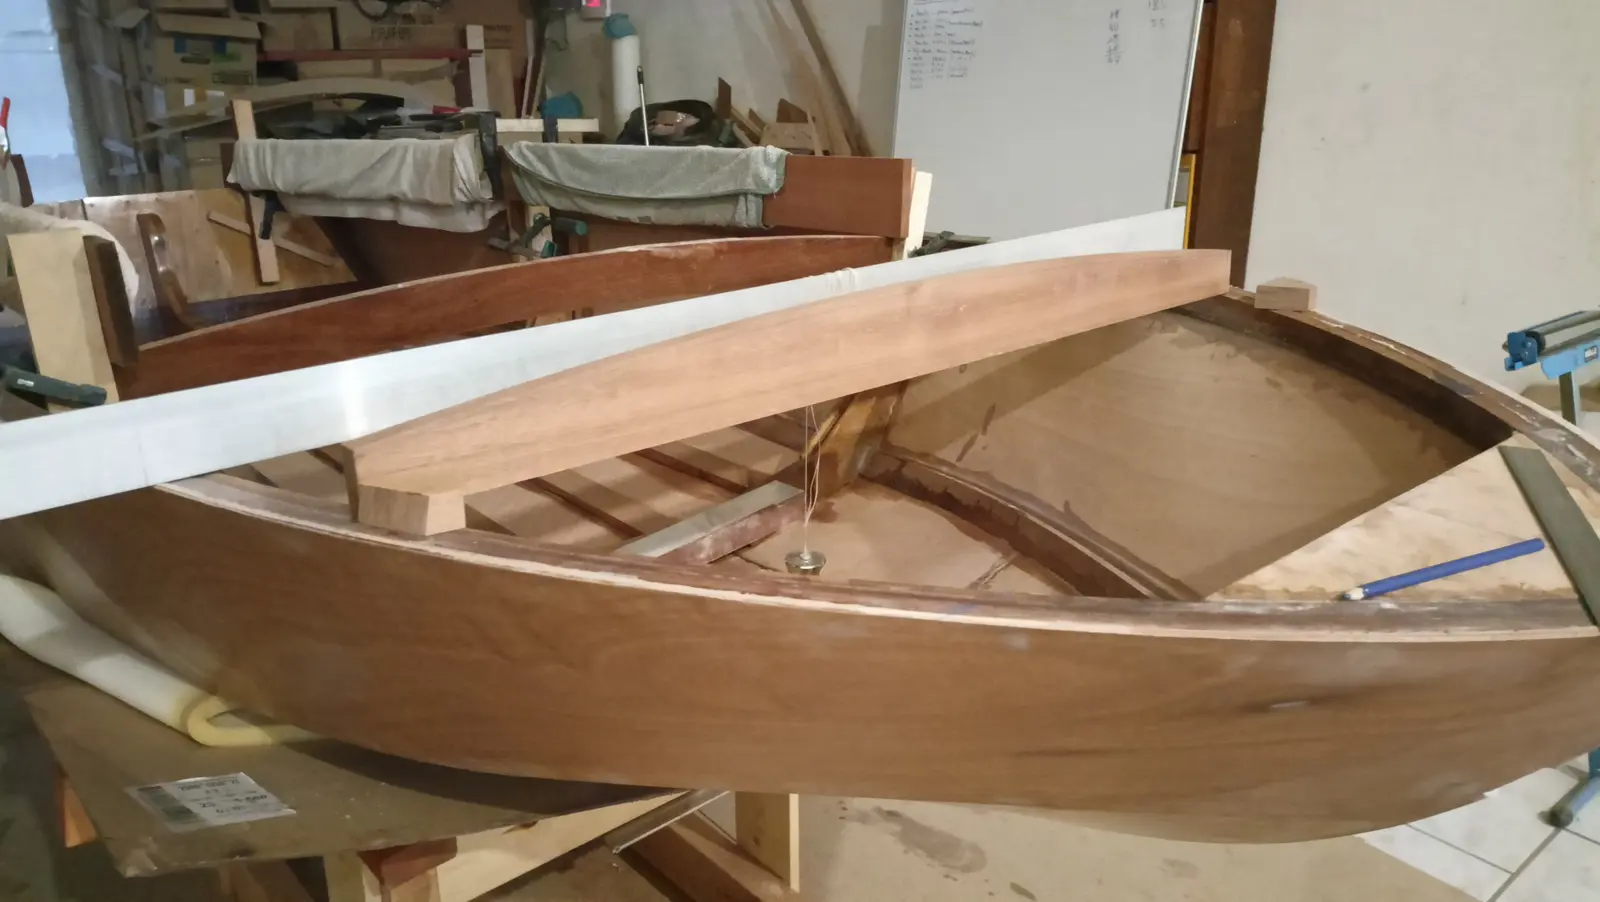
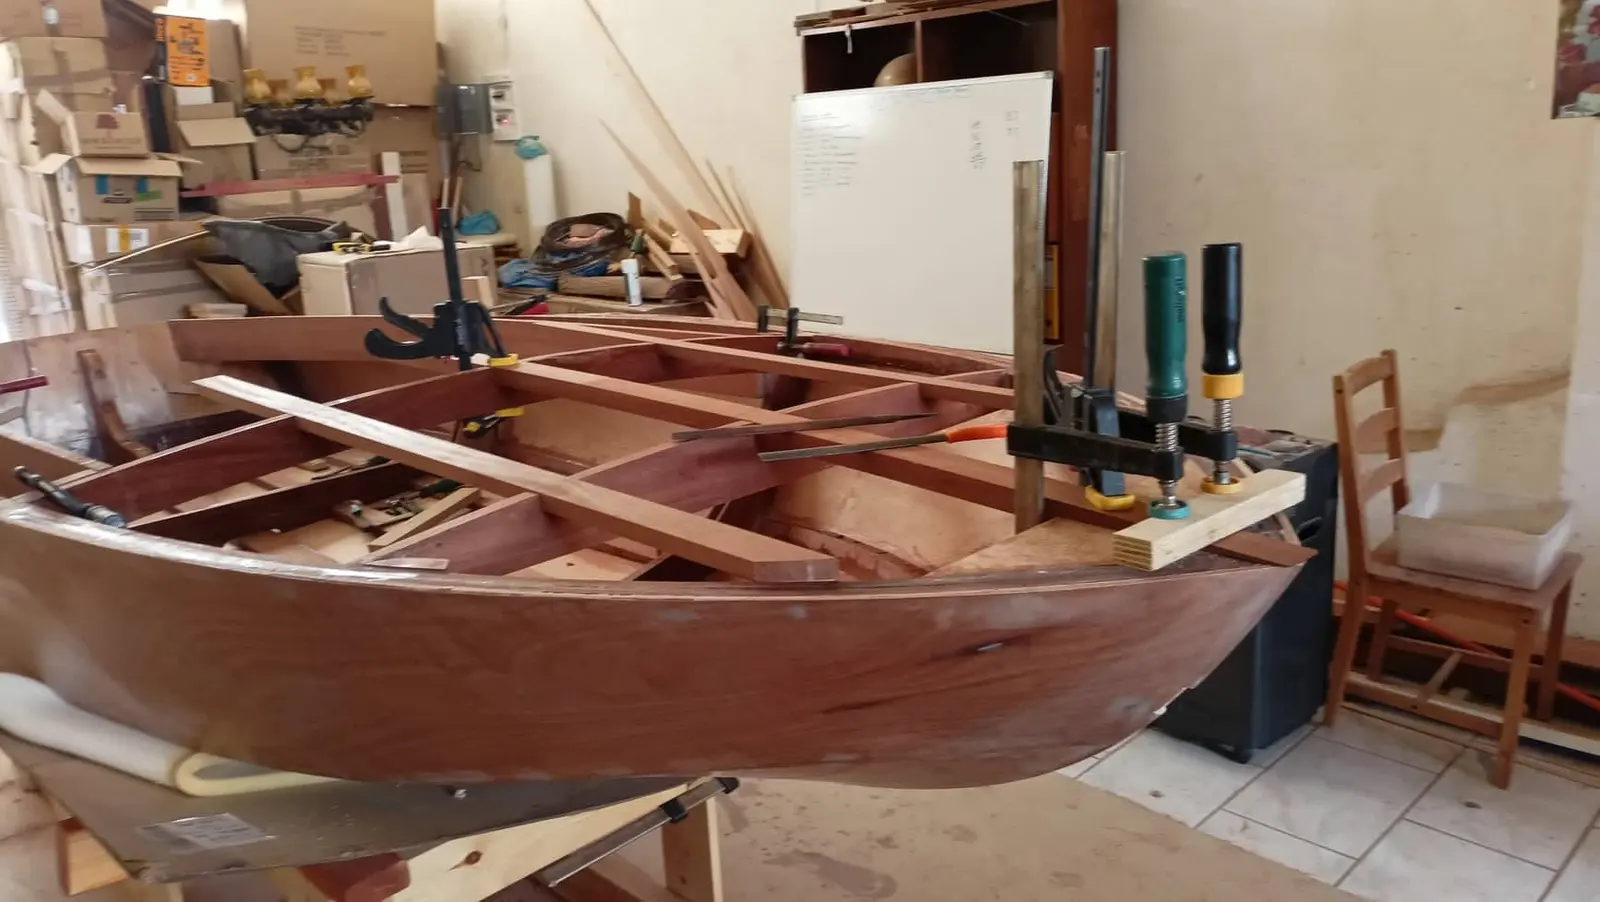
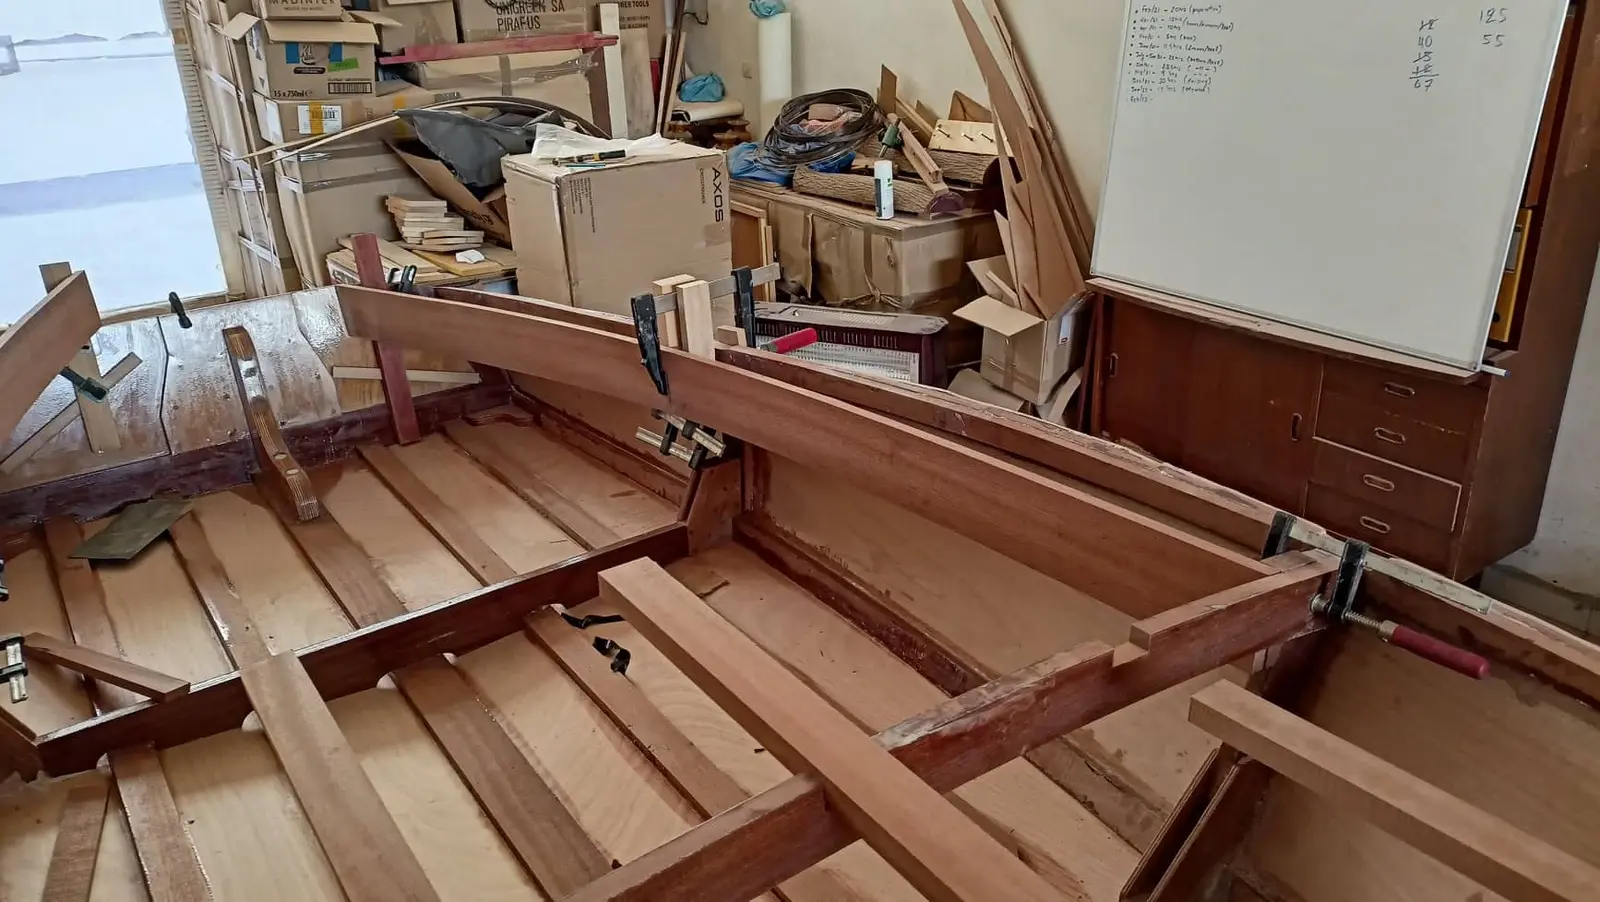
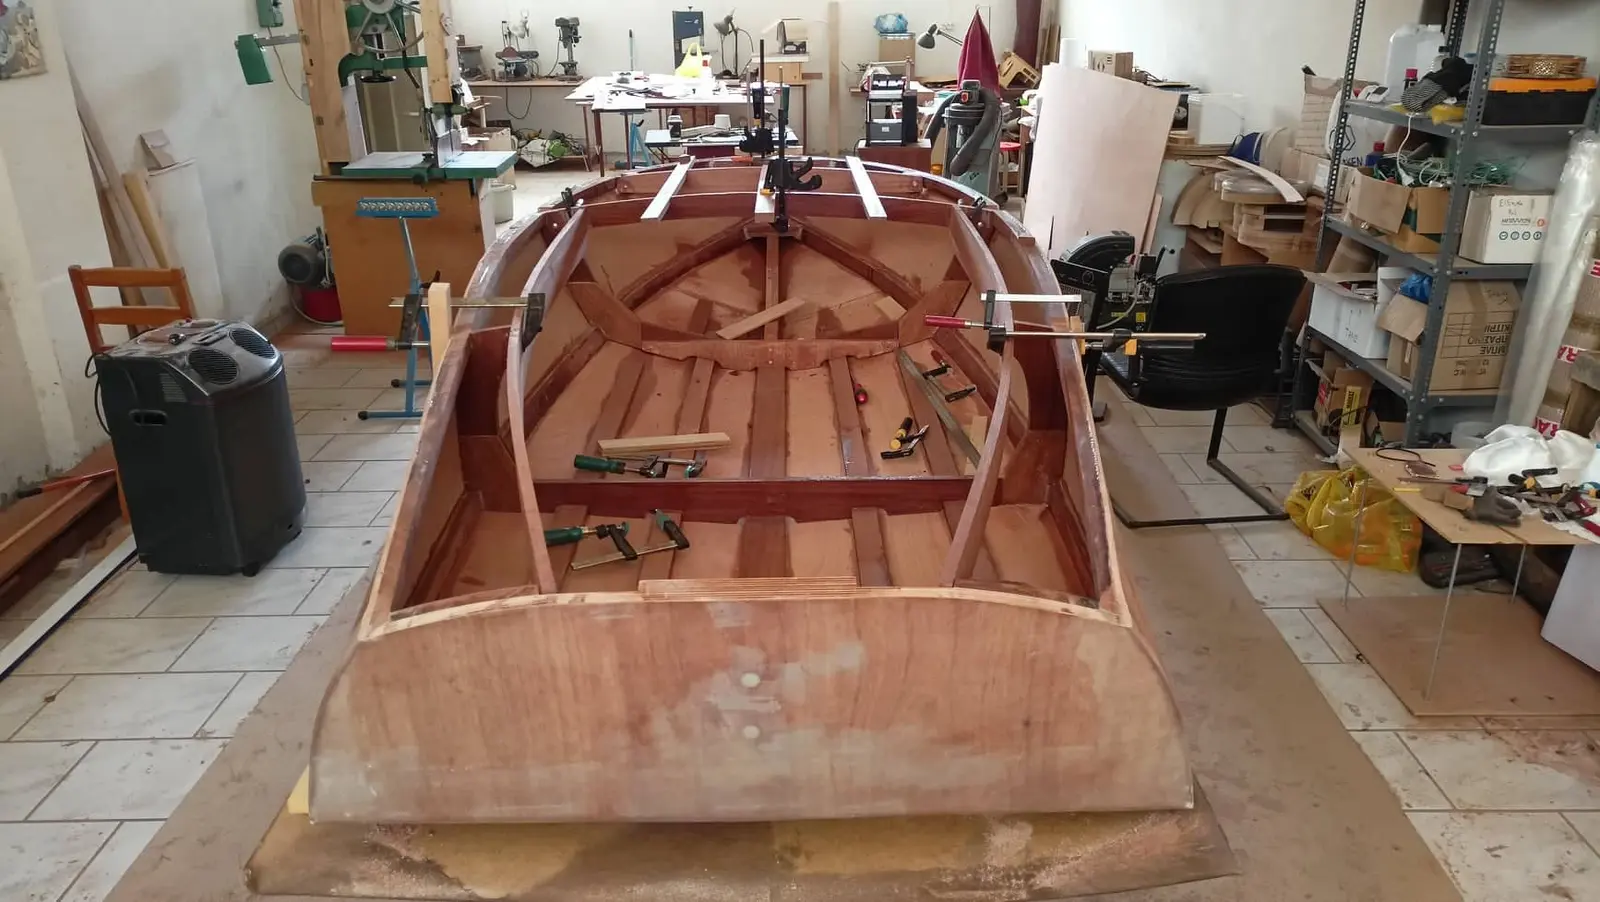
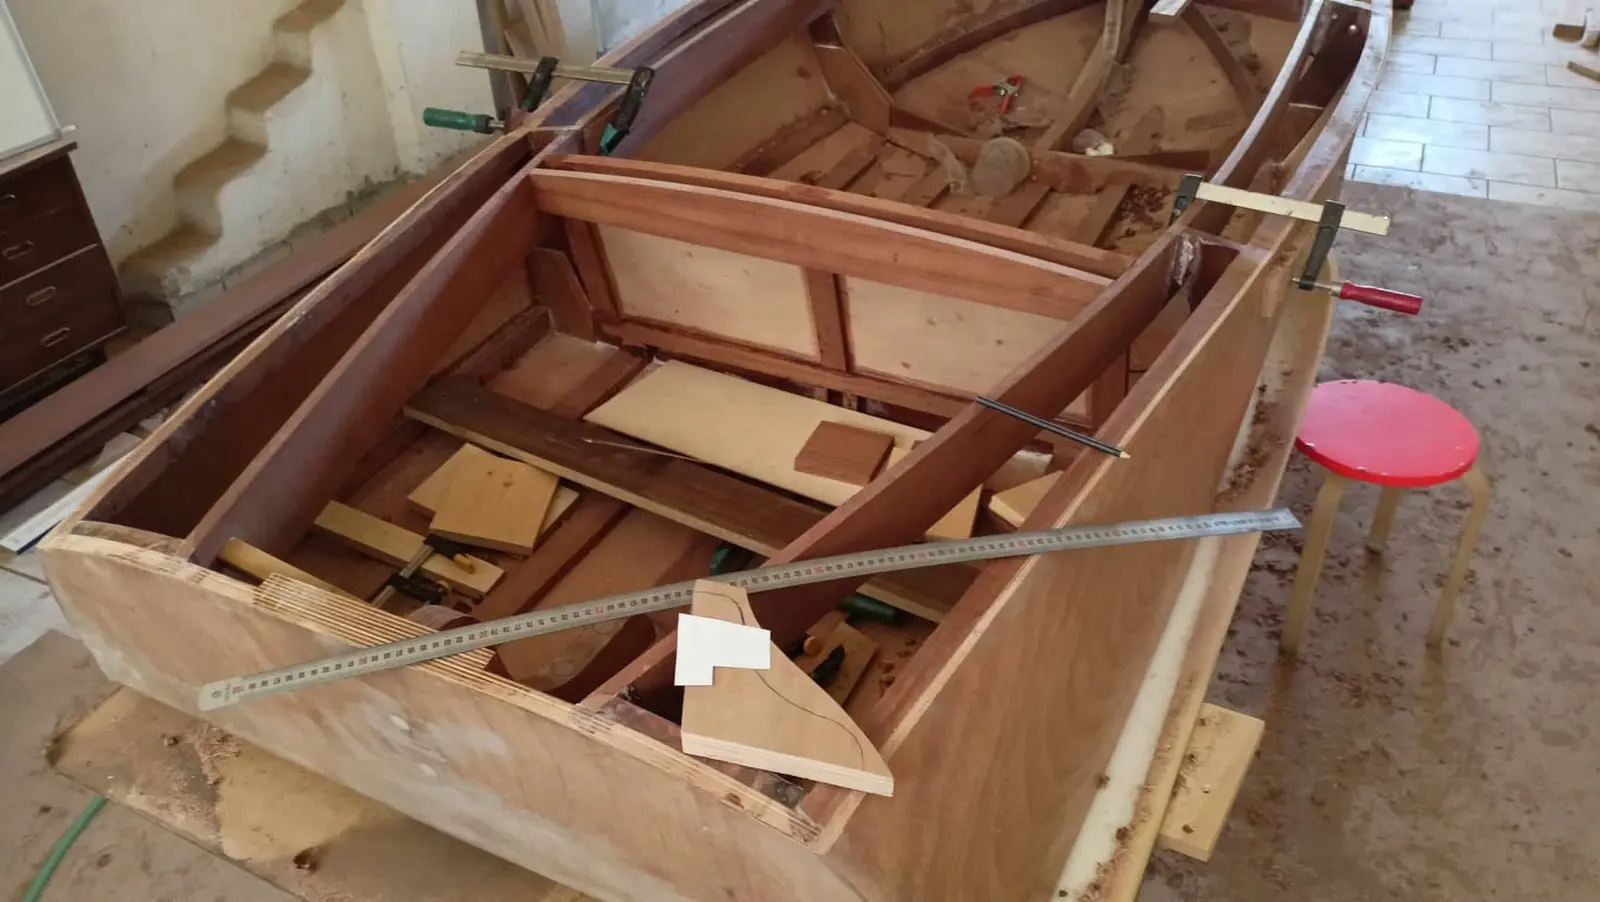
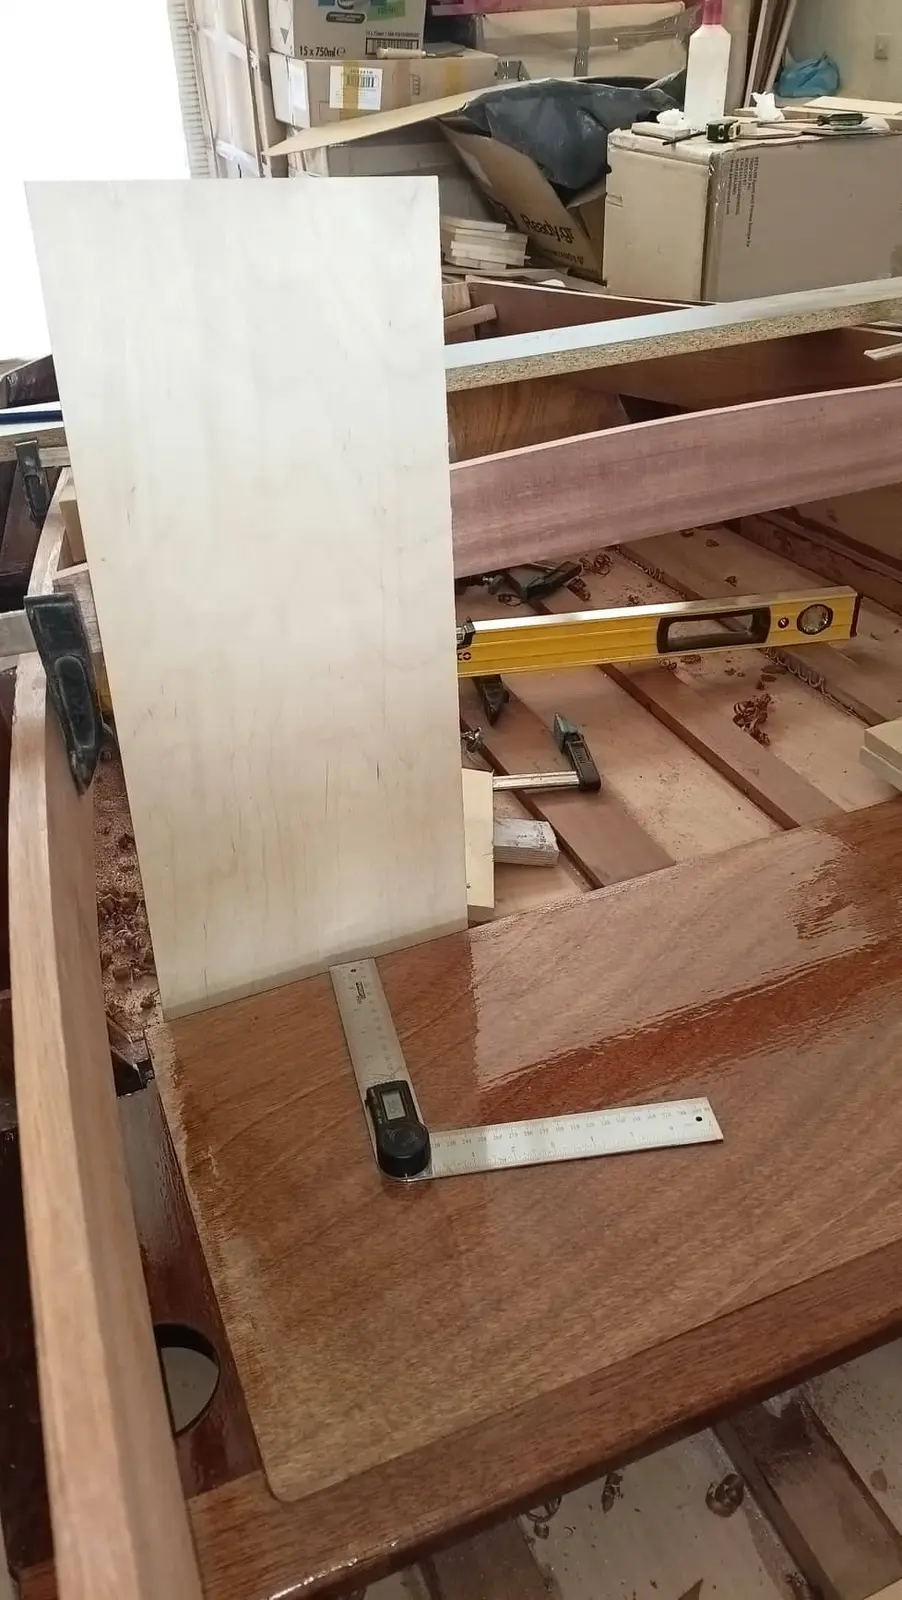
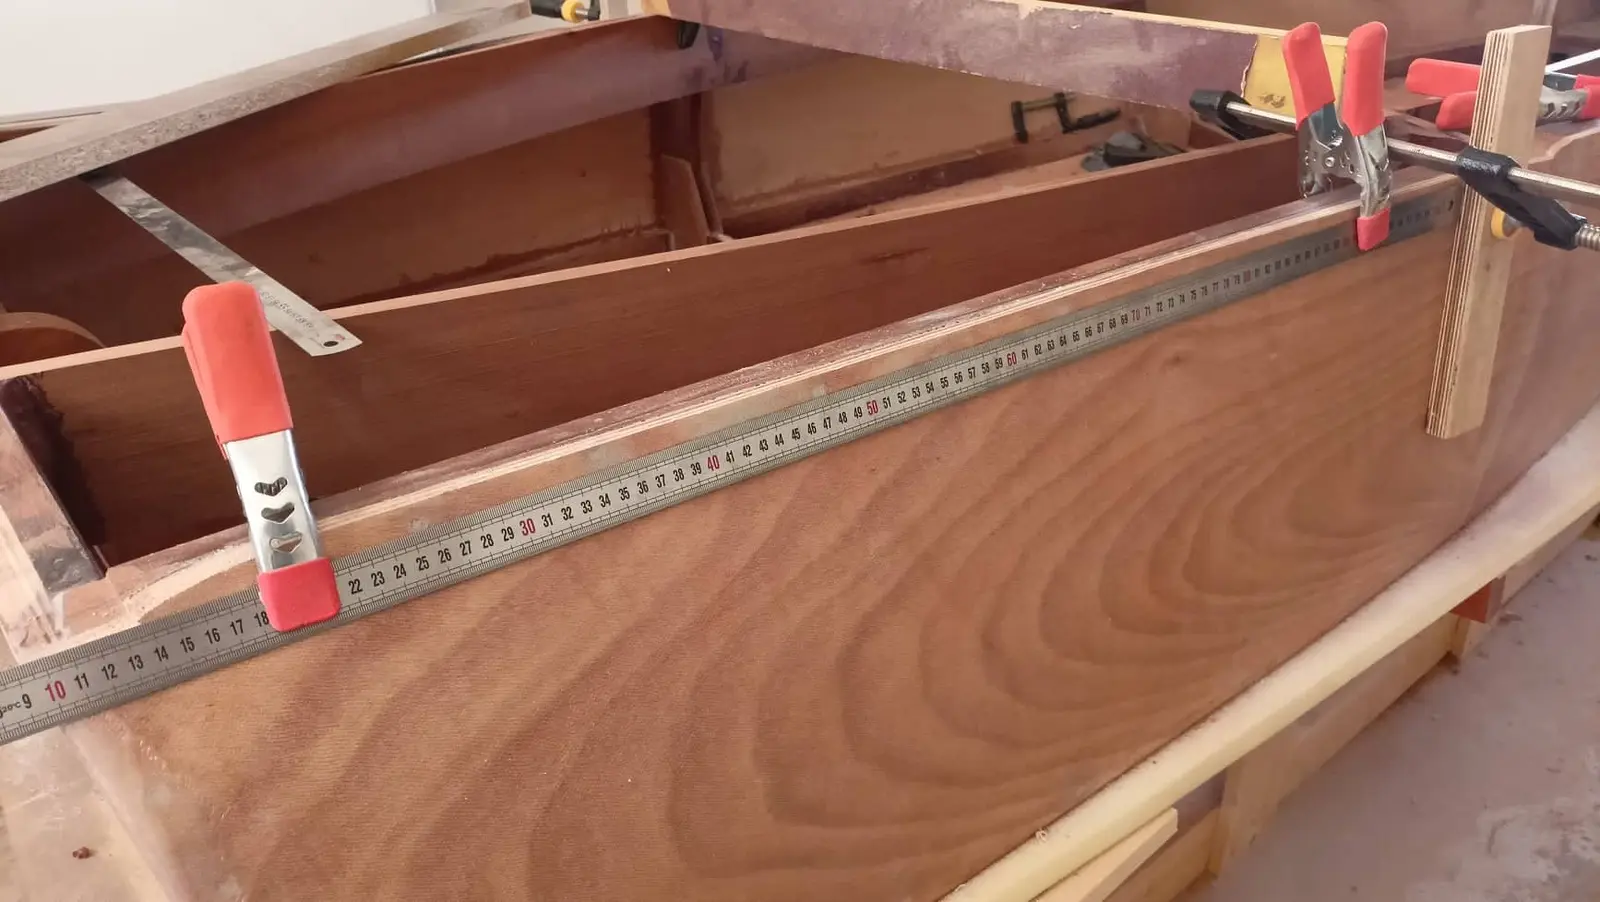
For the hull sides I need a length of about 3.60 m and a width of 48 cm. To work that out I roughly cut a piece of hardboard and clamped it onto the boat's framework.
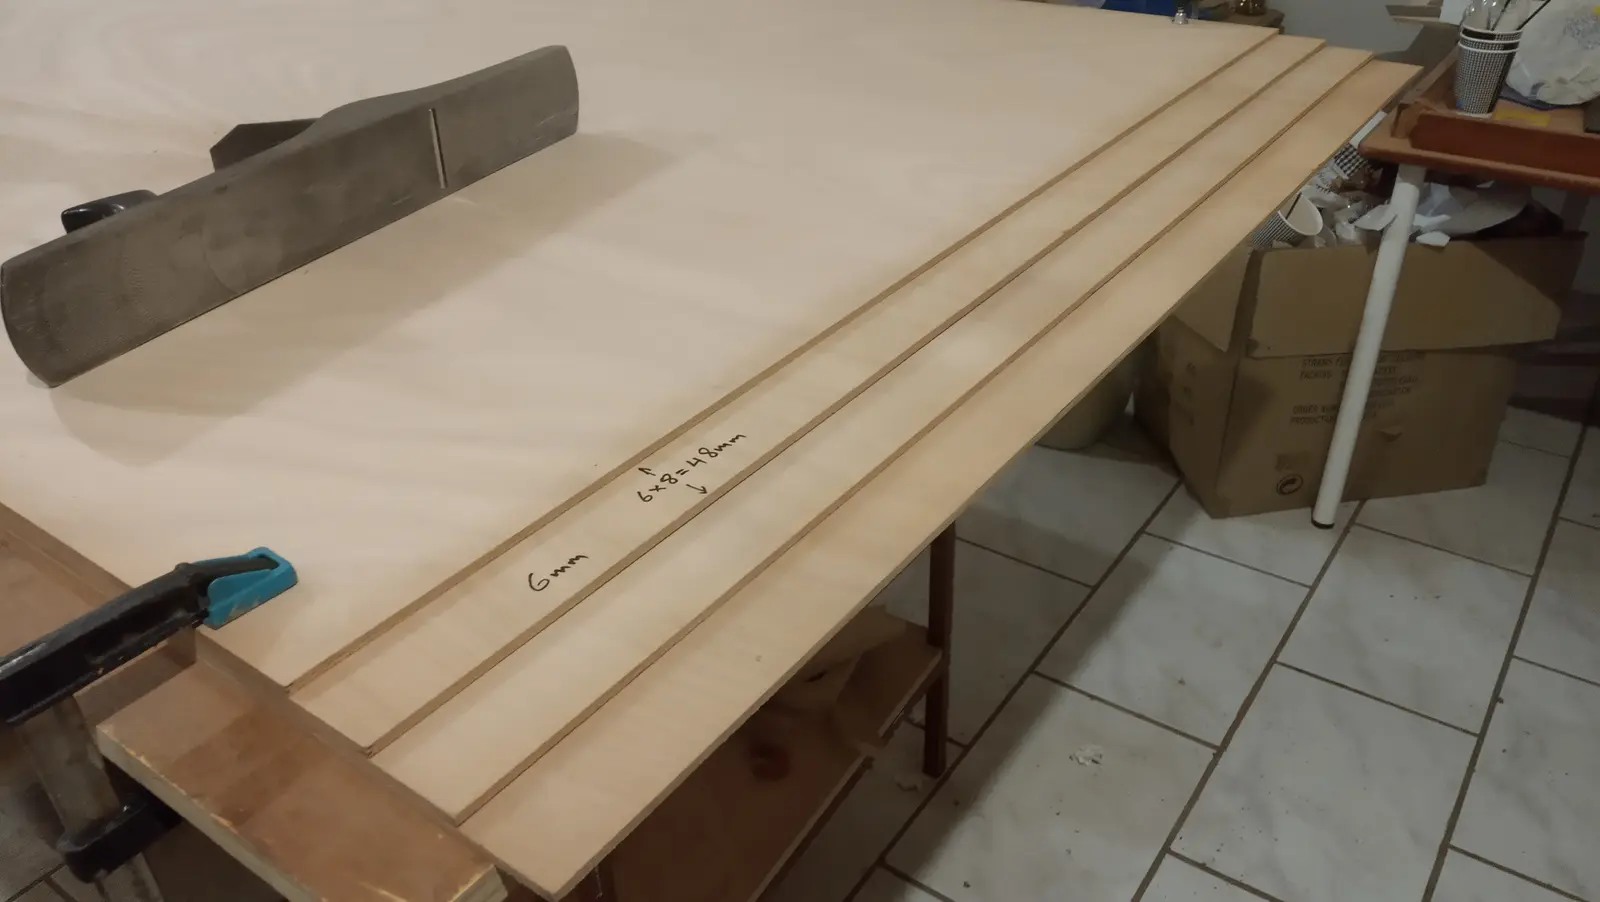
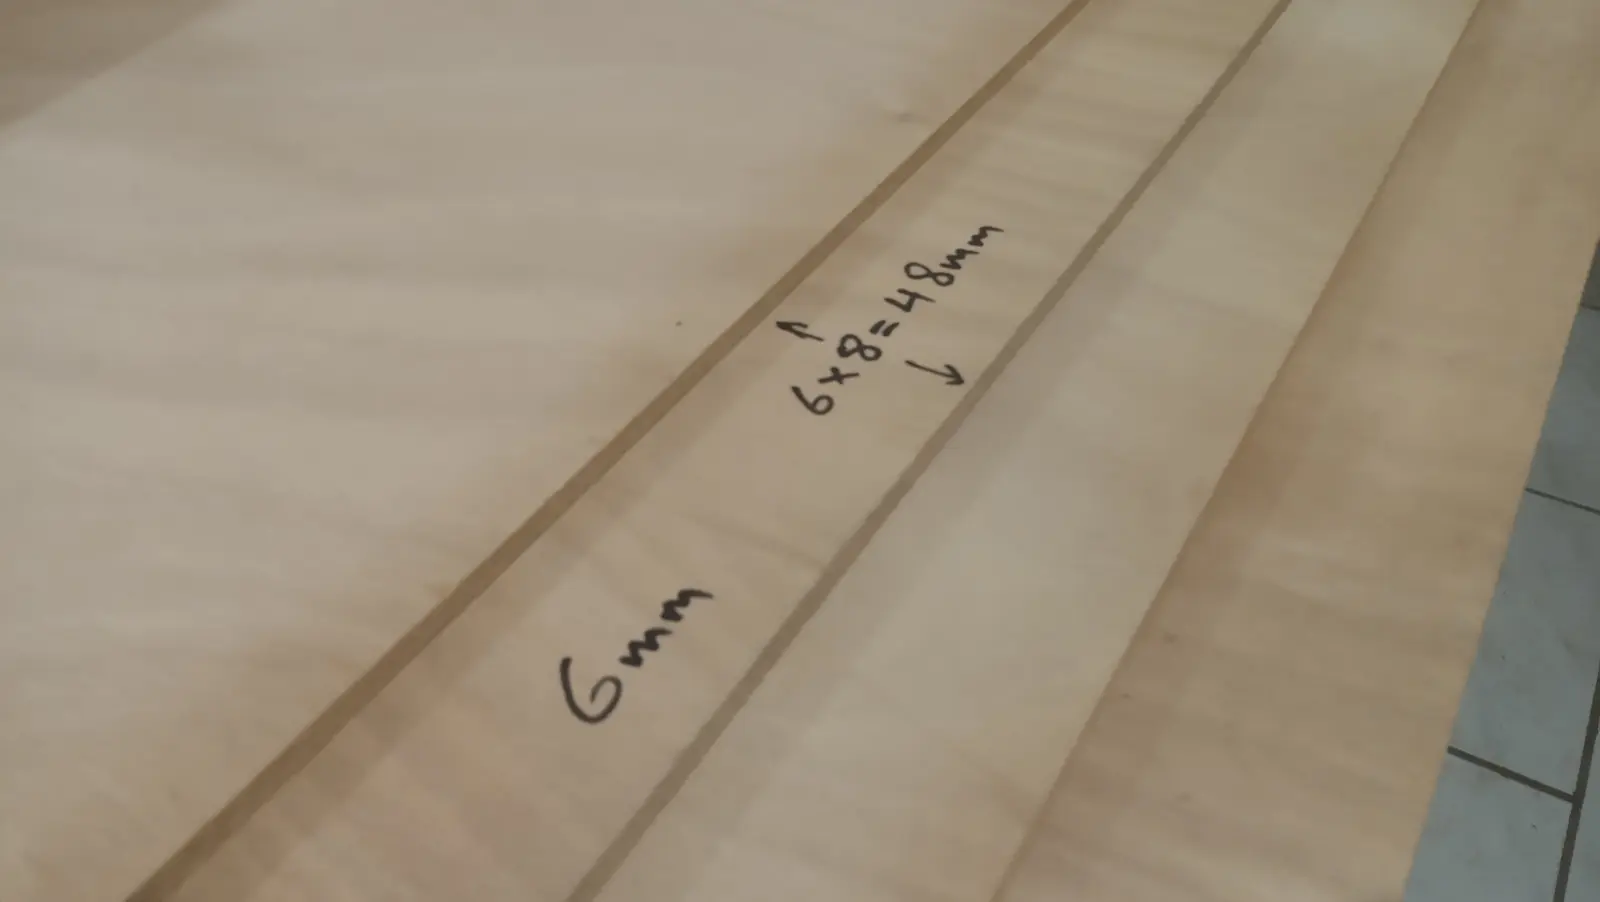
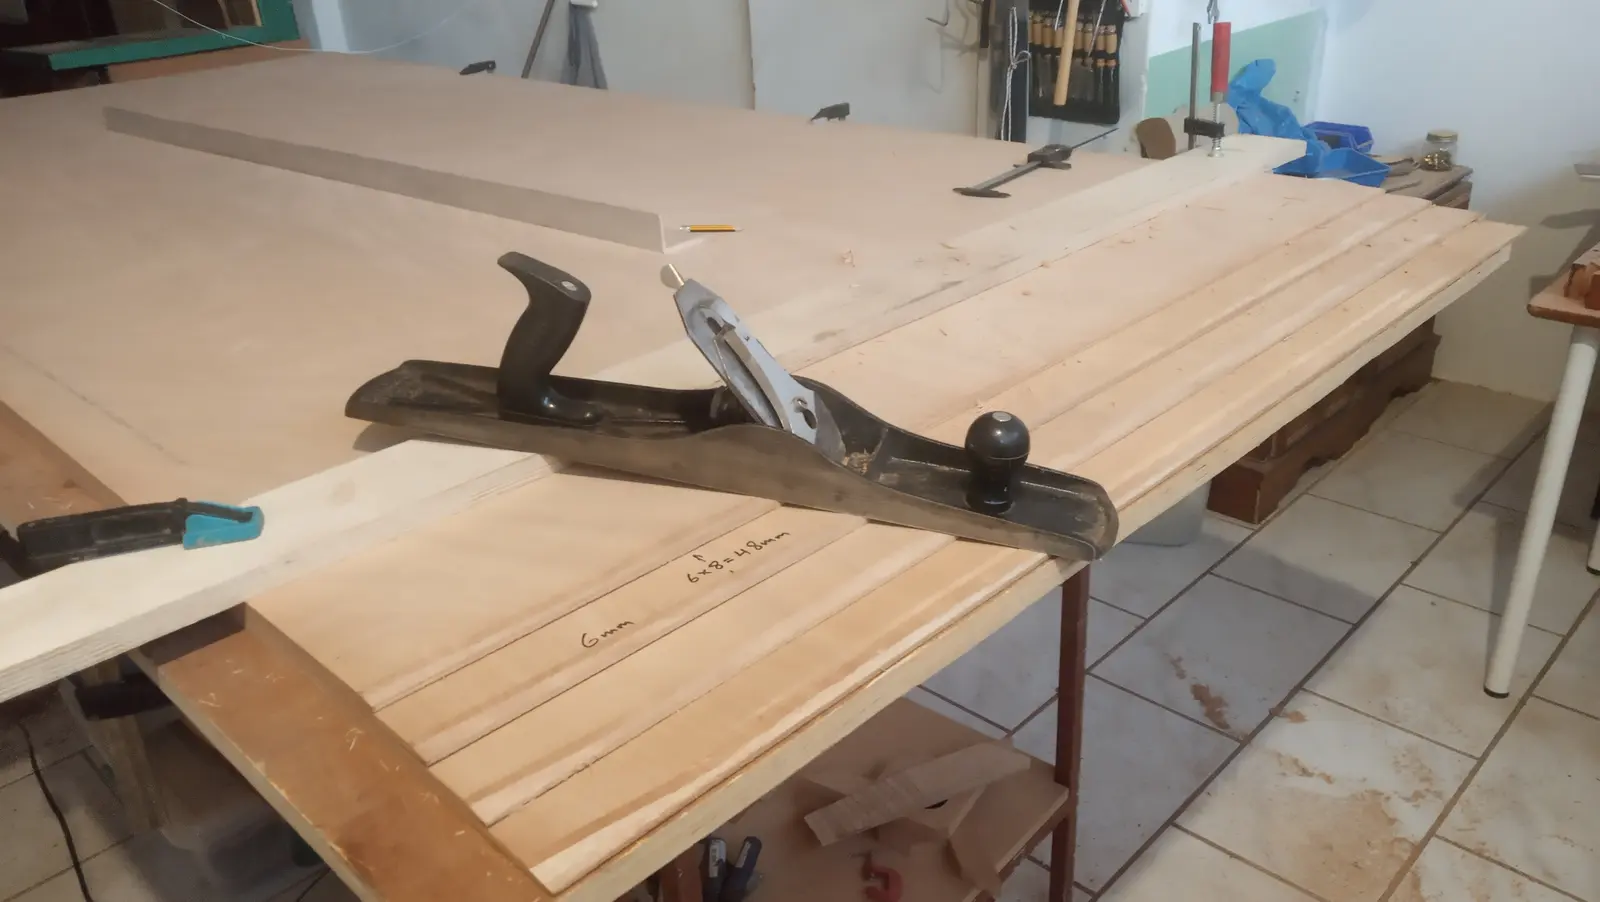
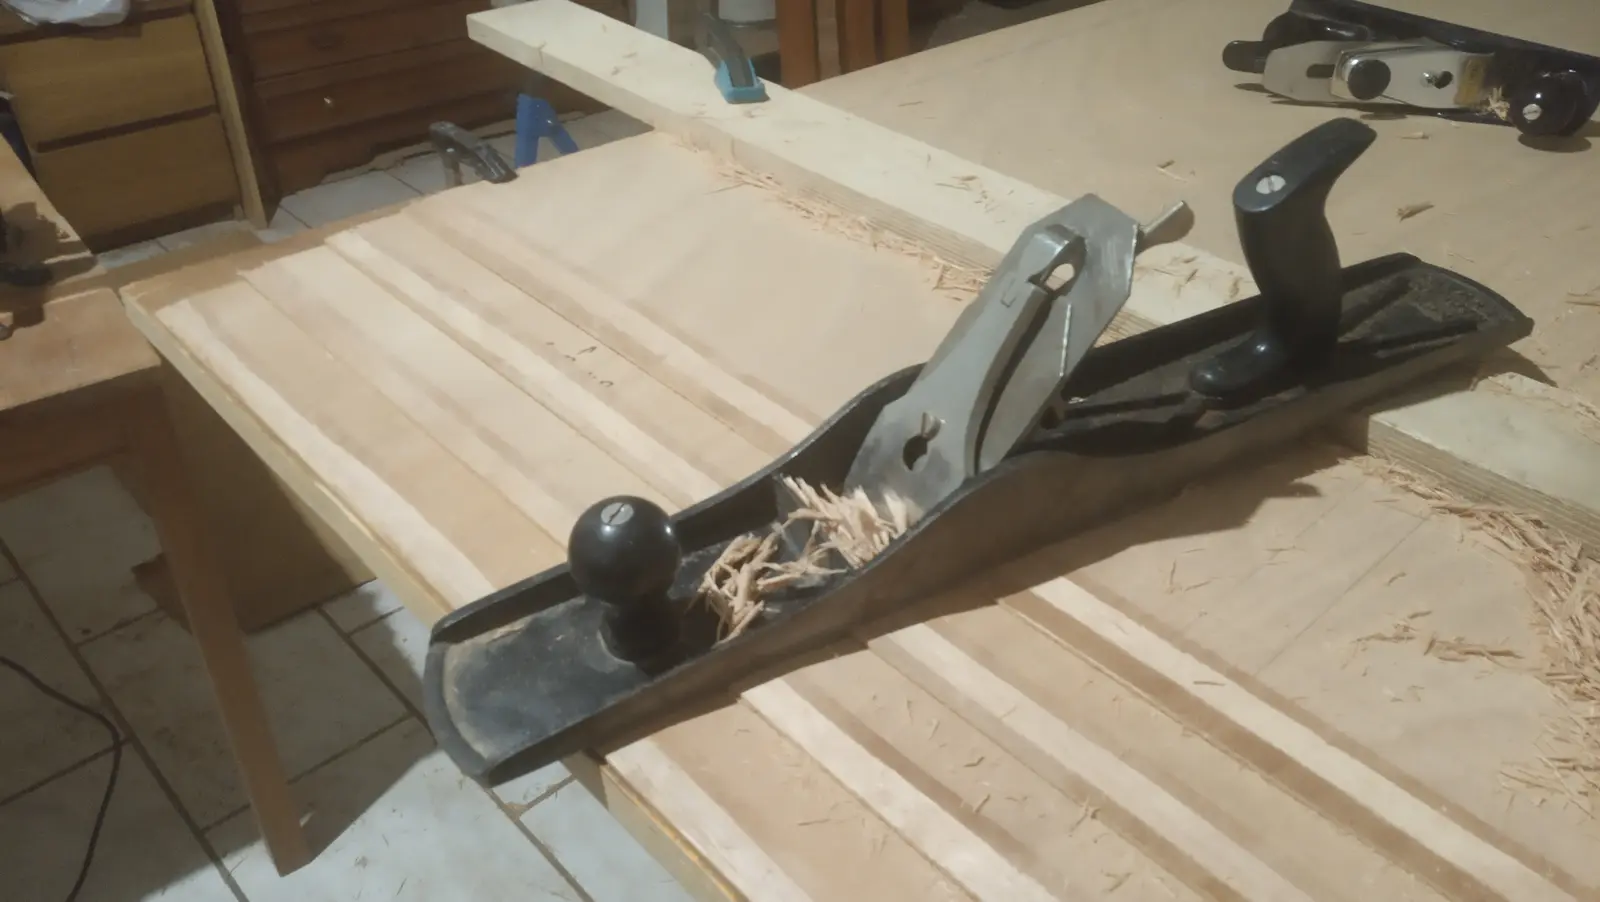
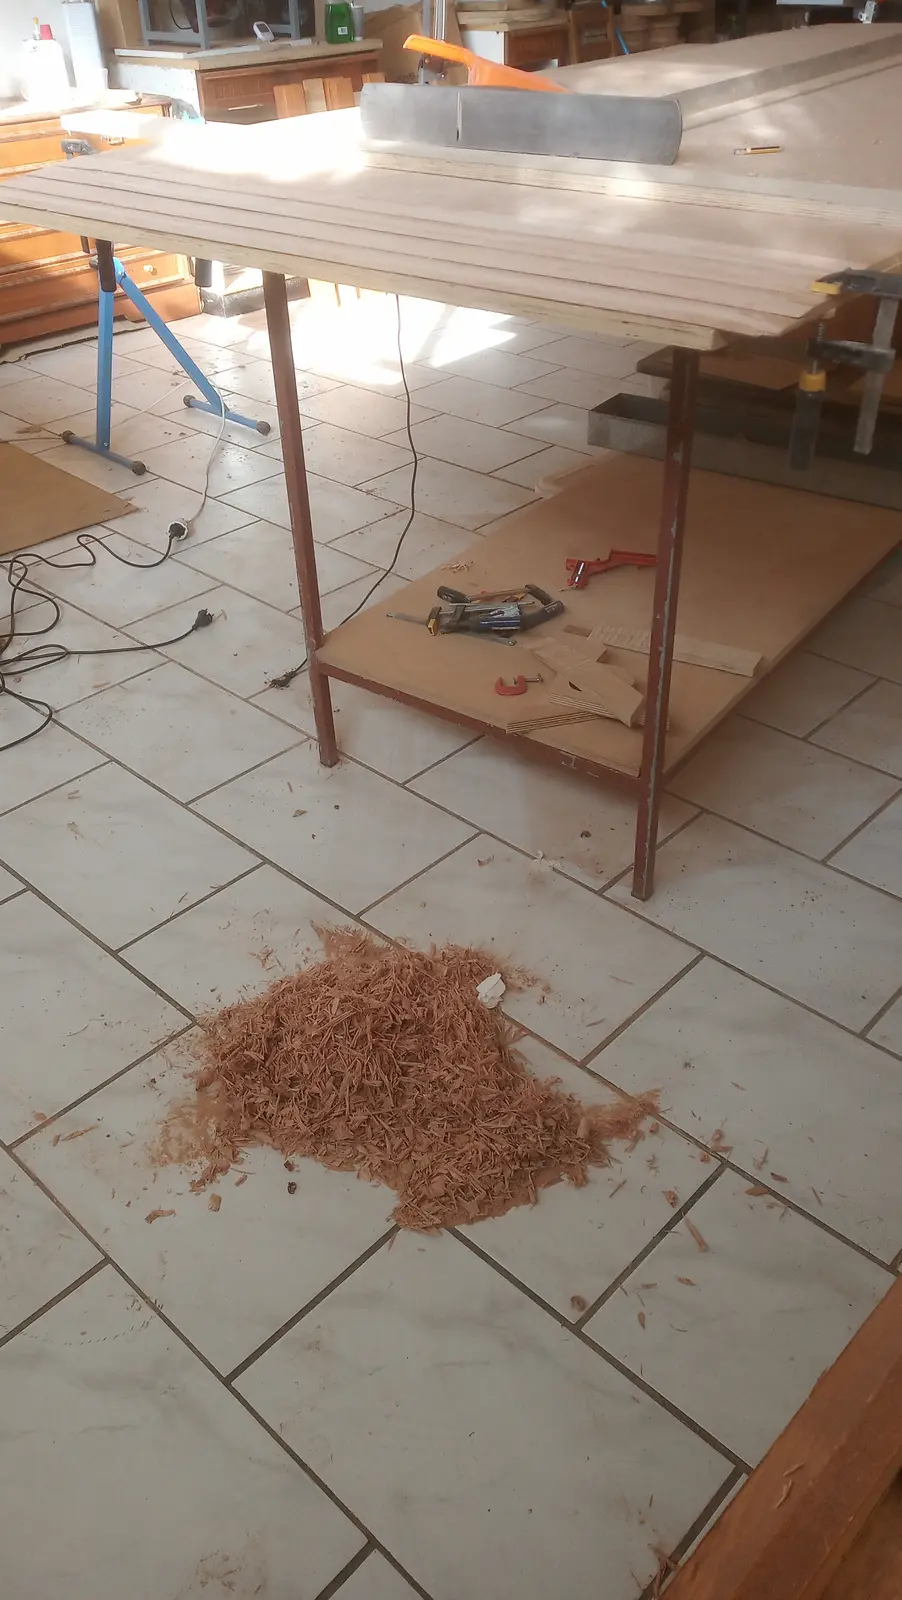
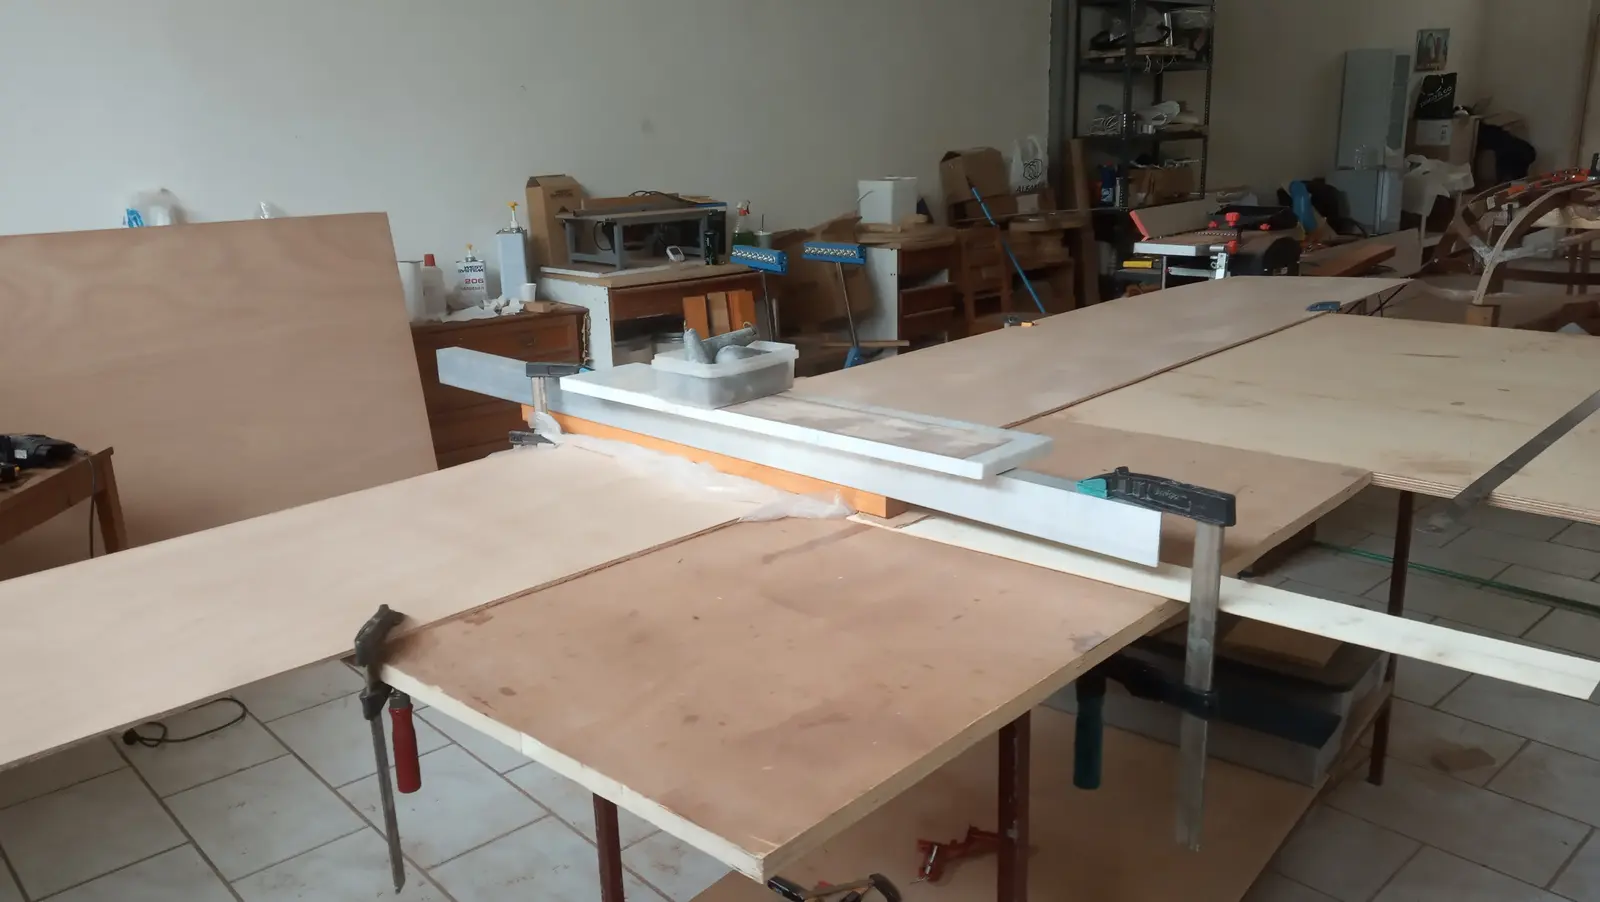
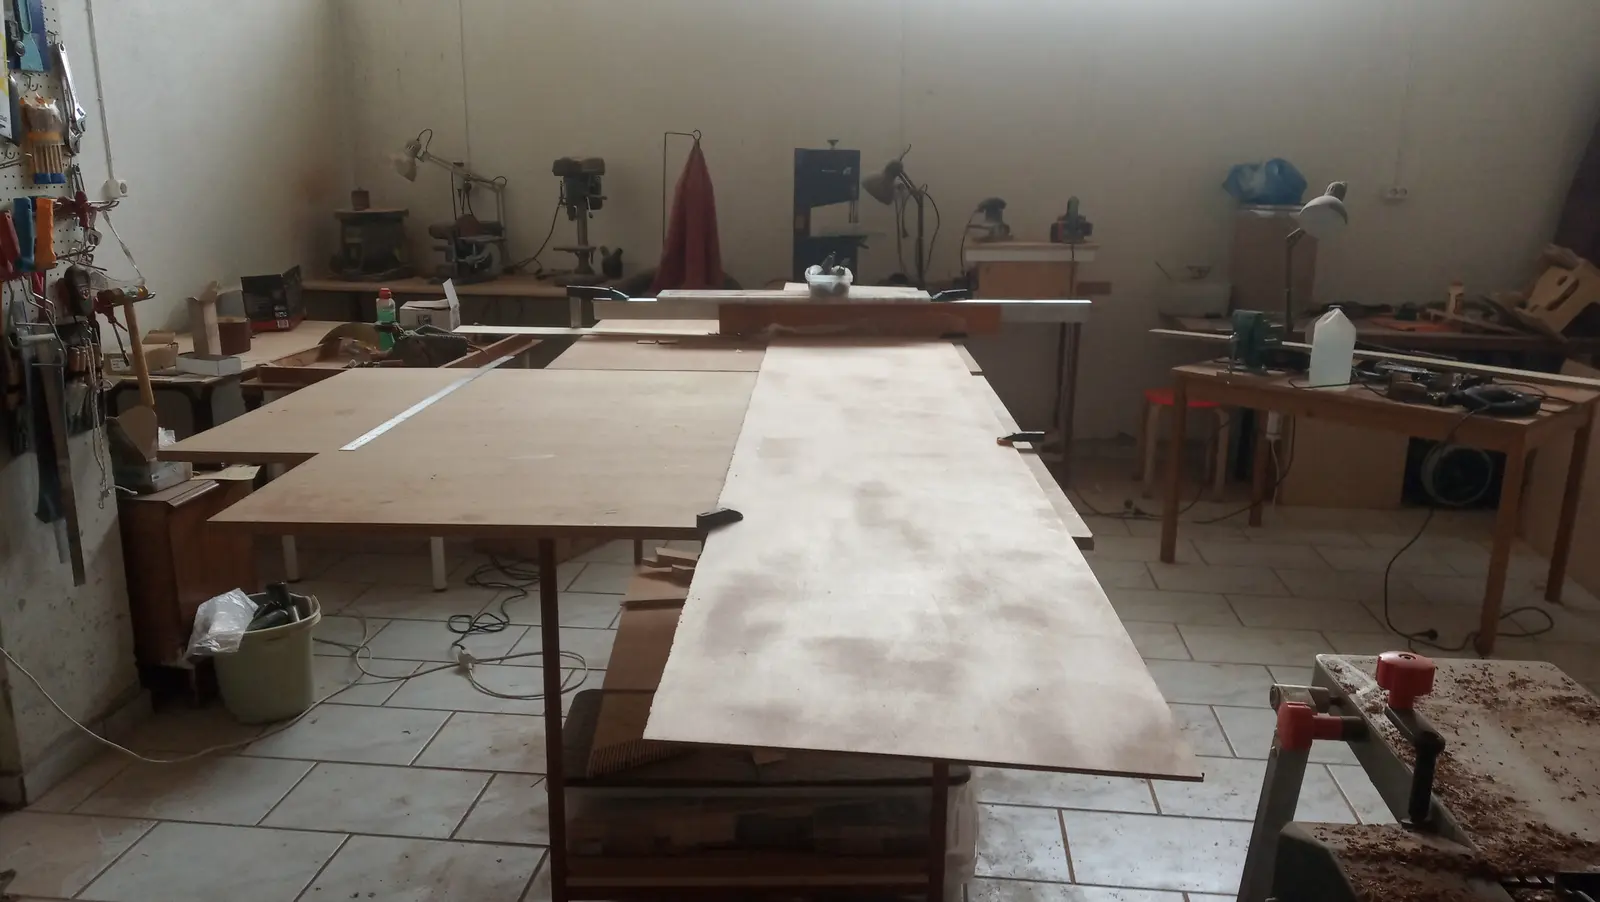
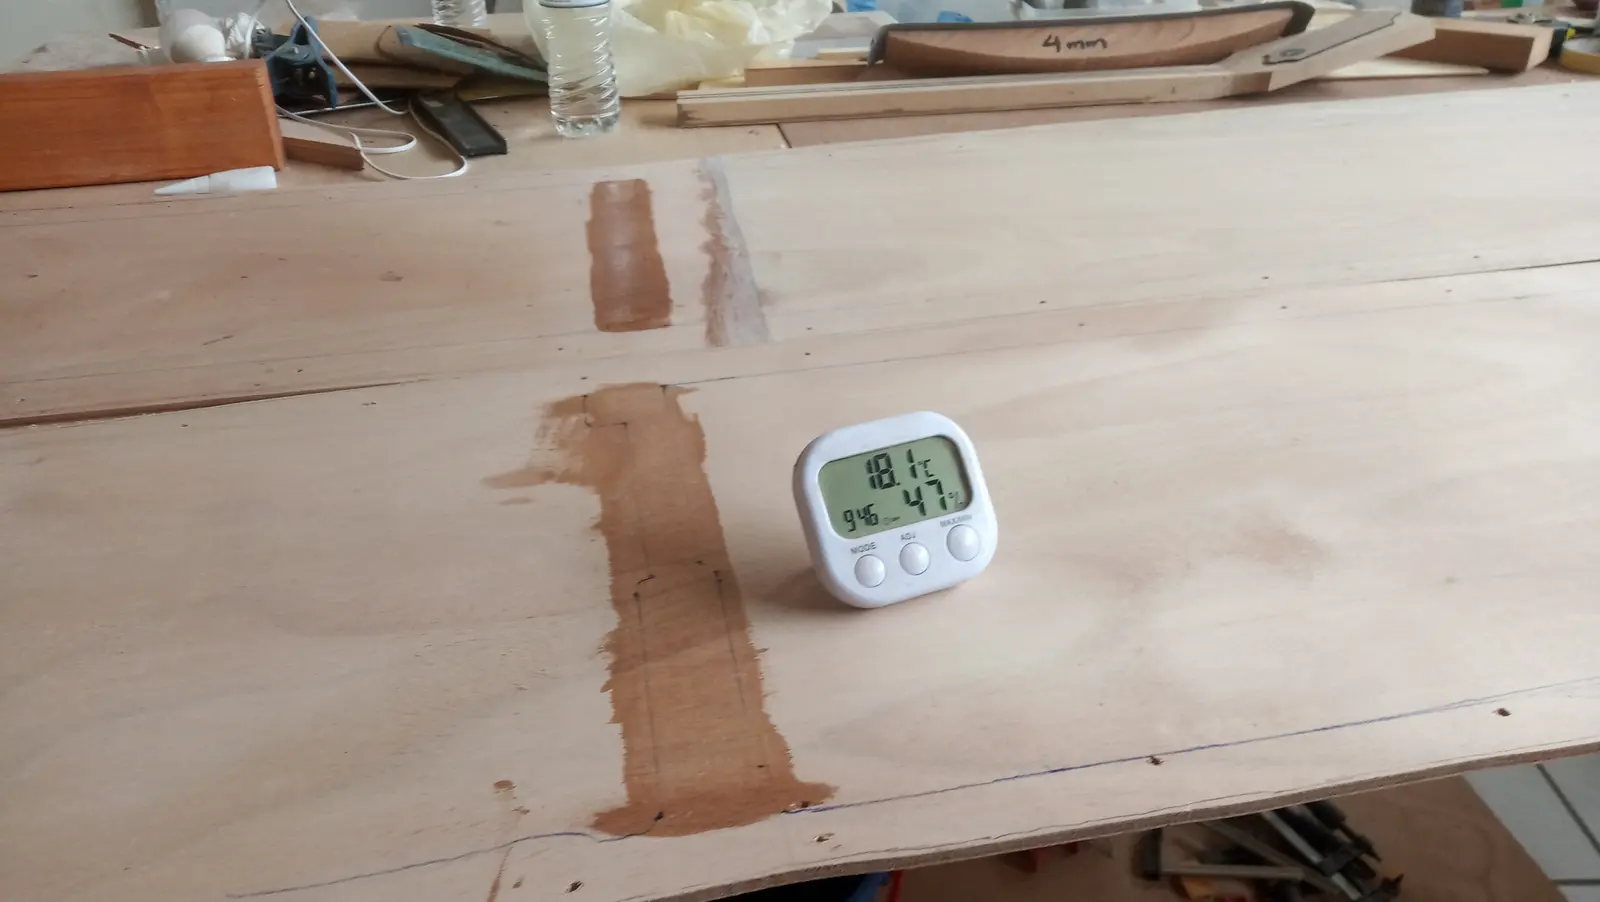
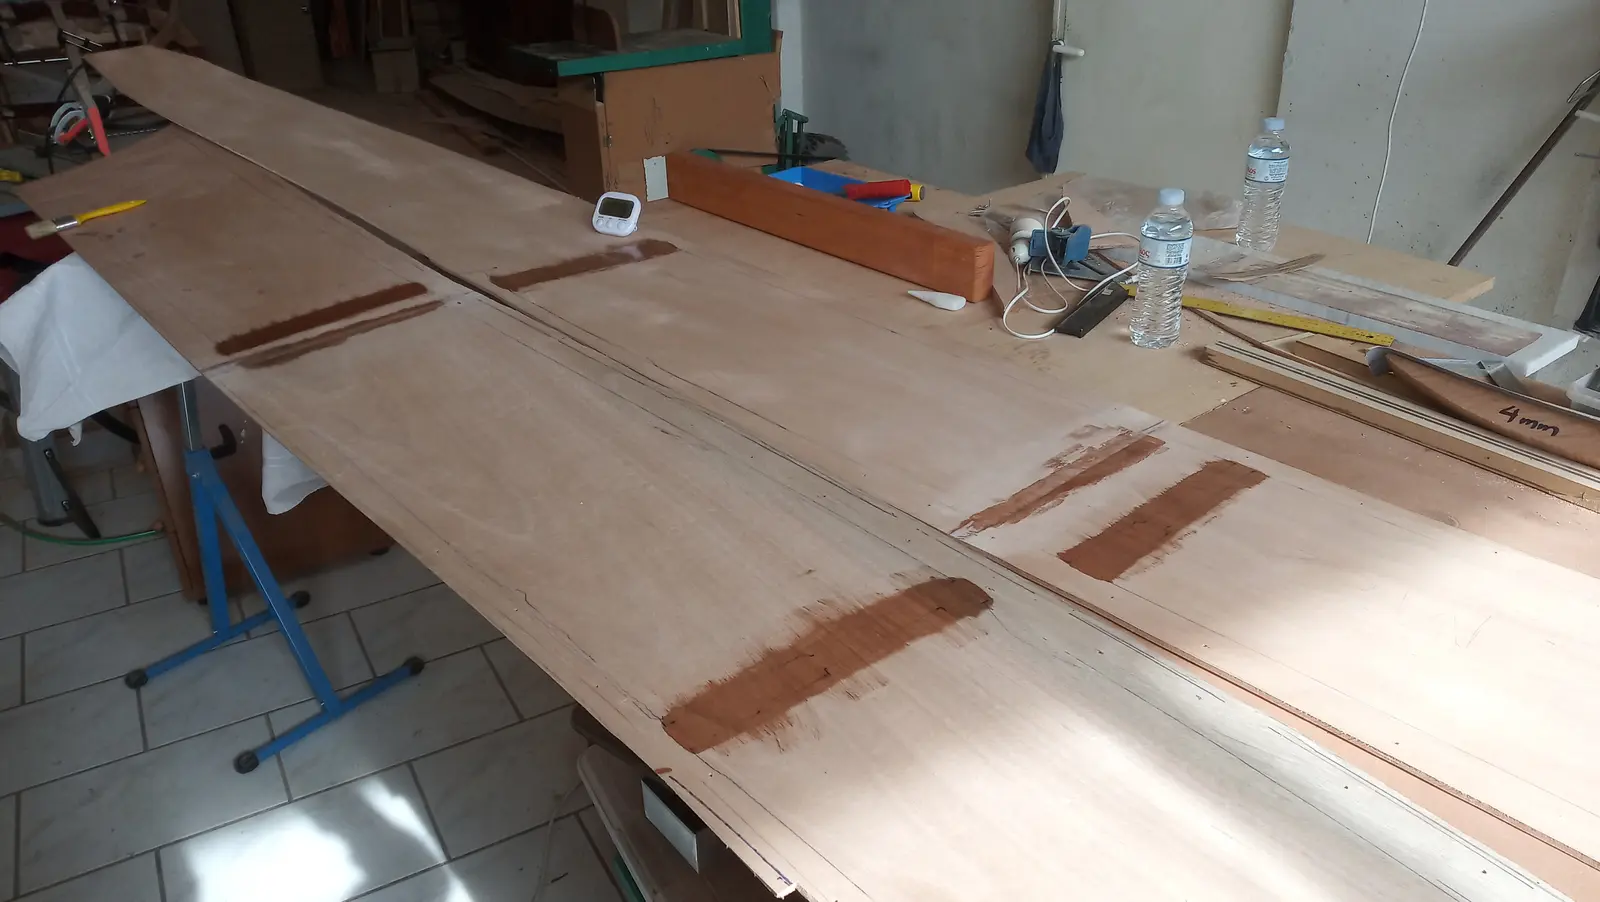
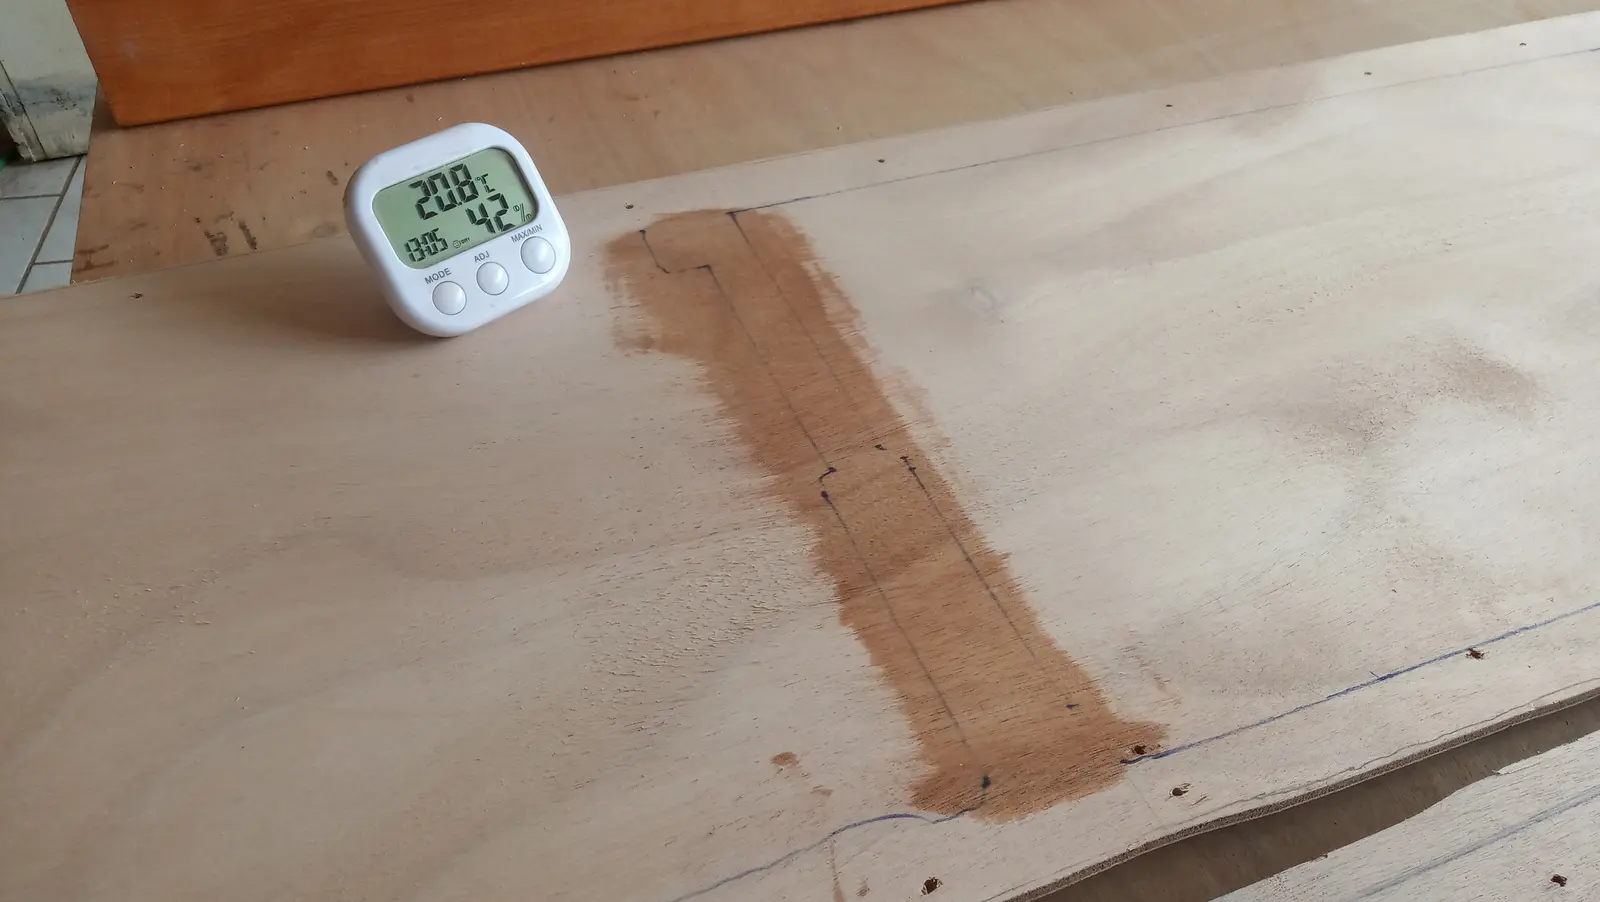
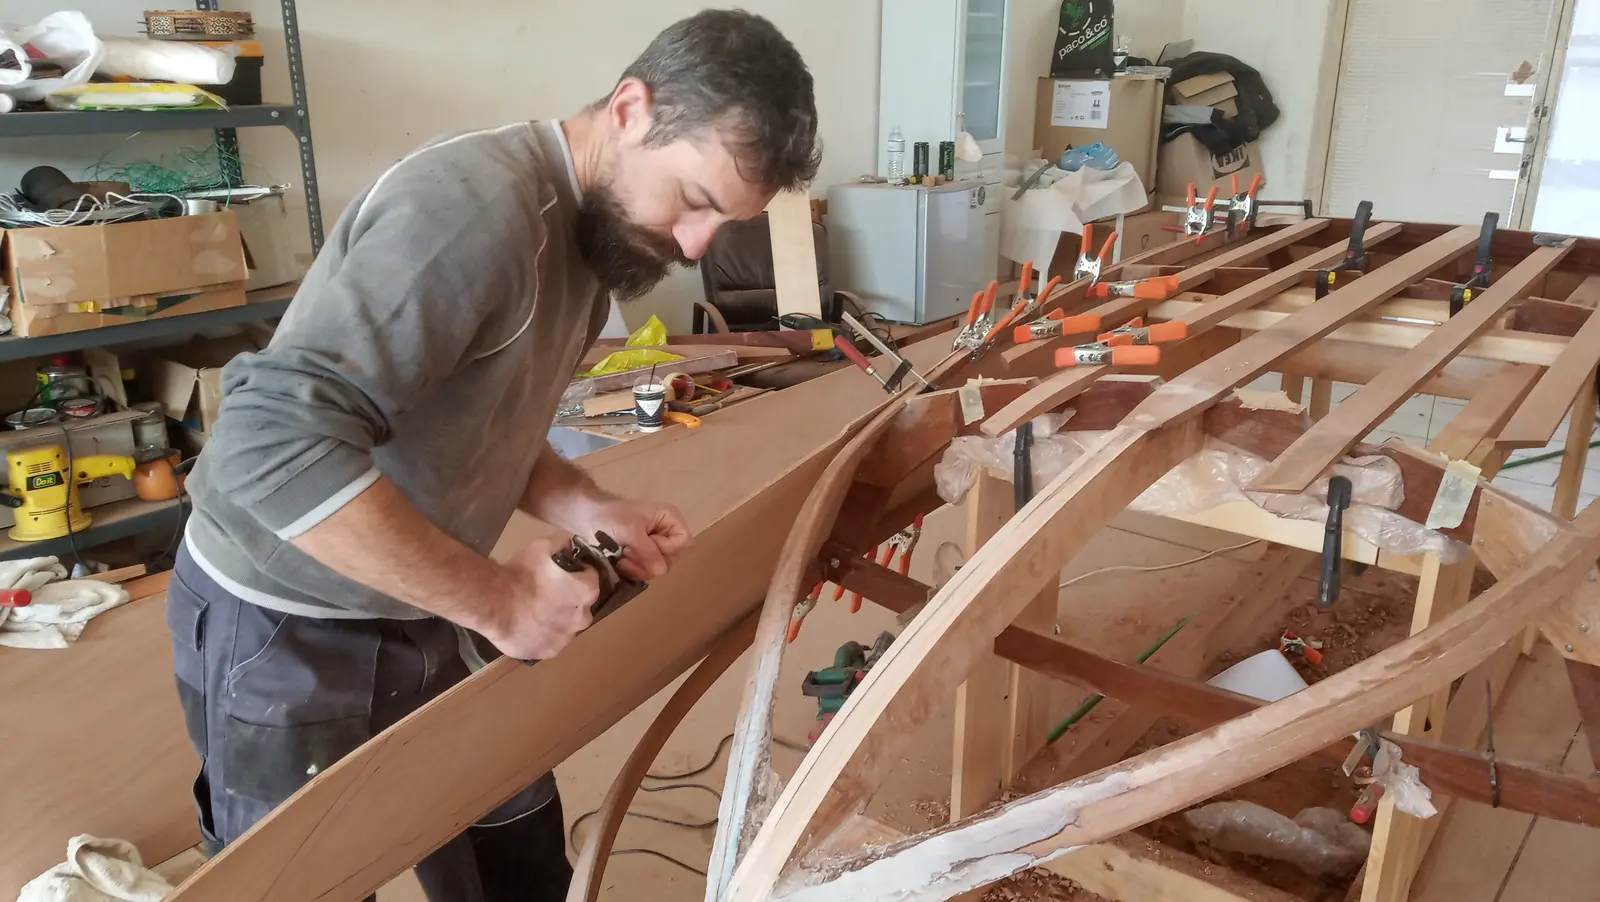
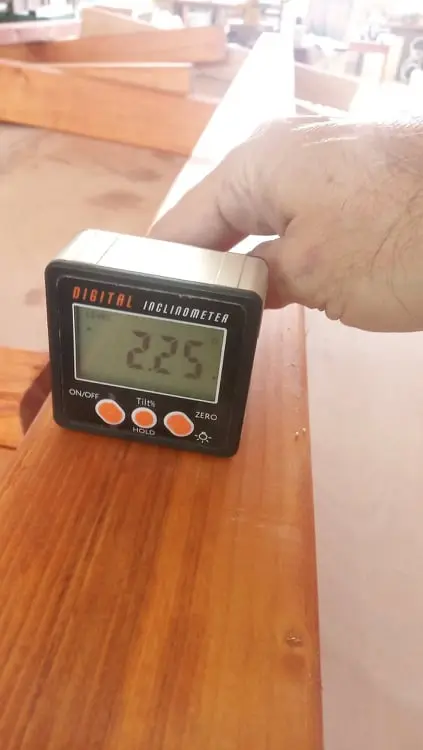
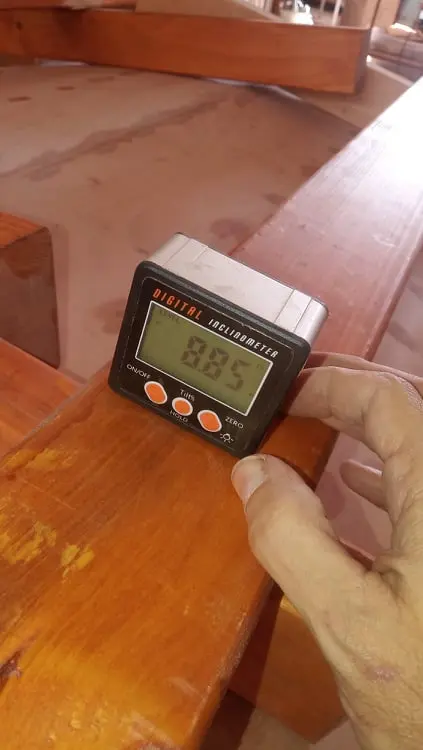
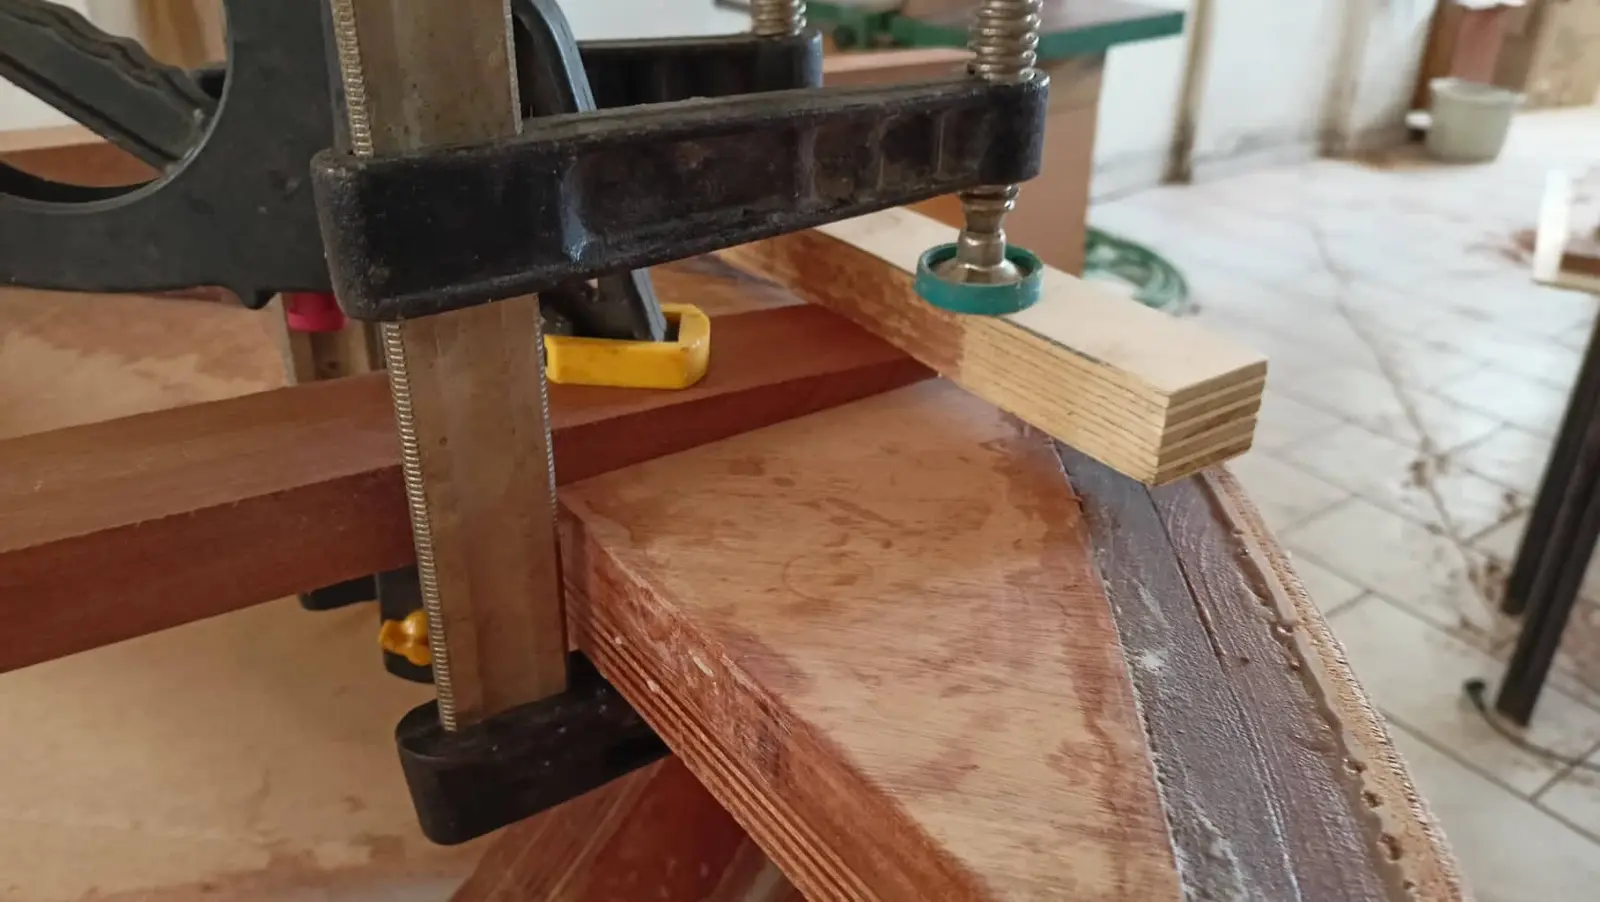
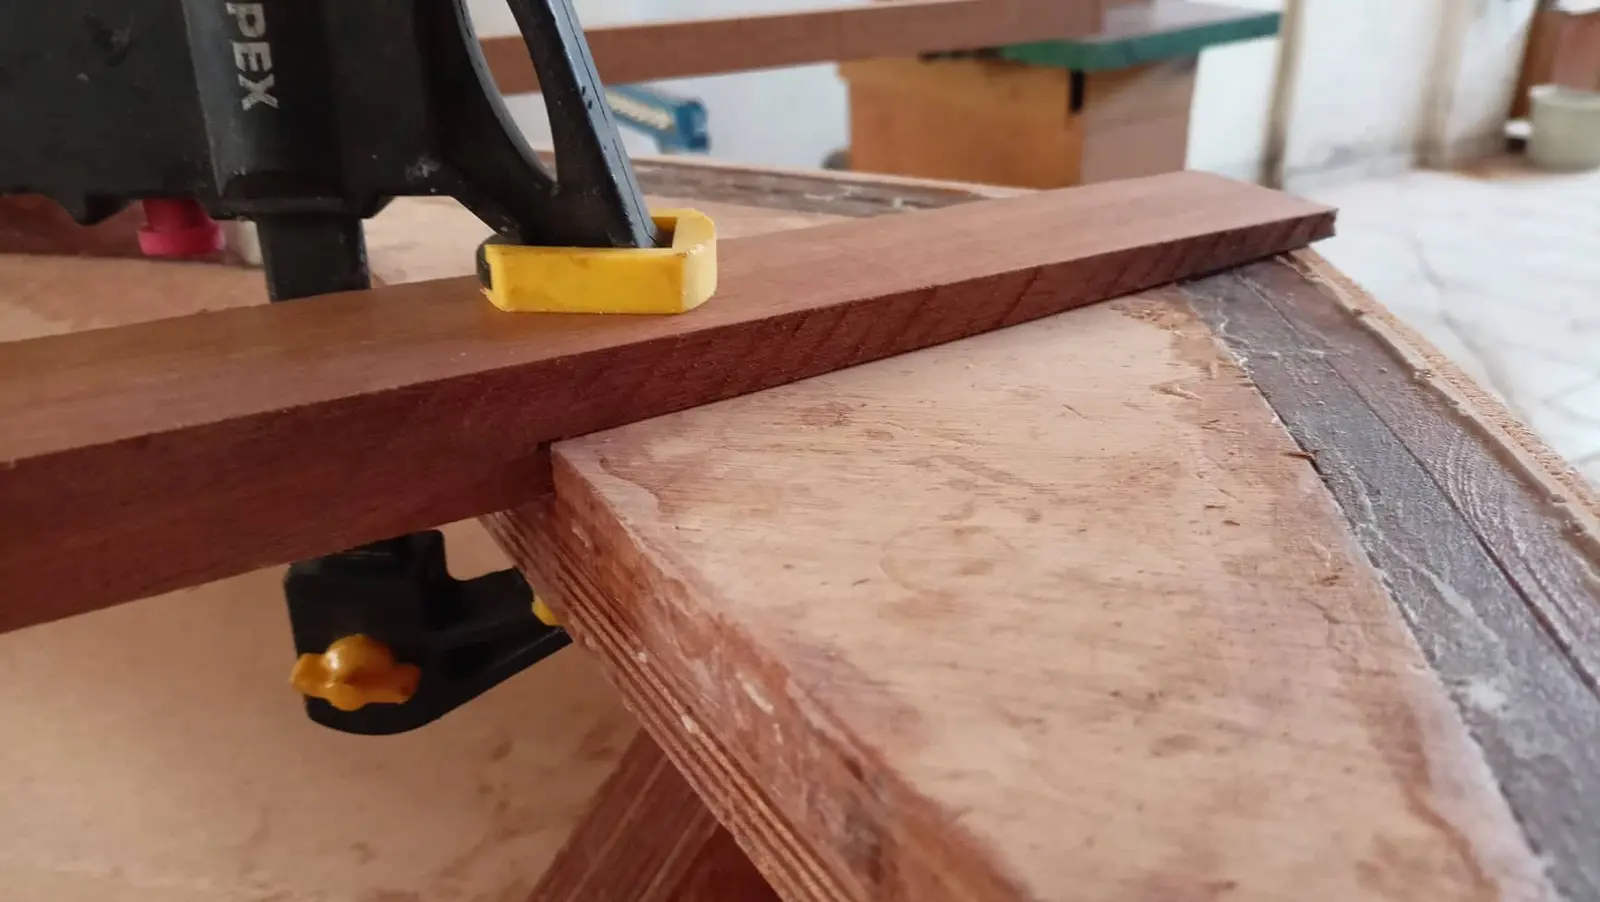
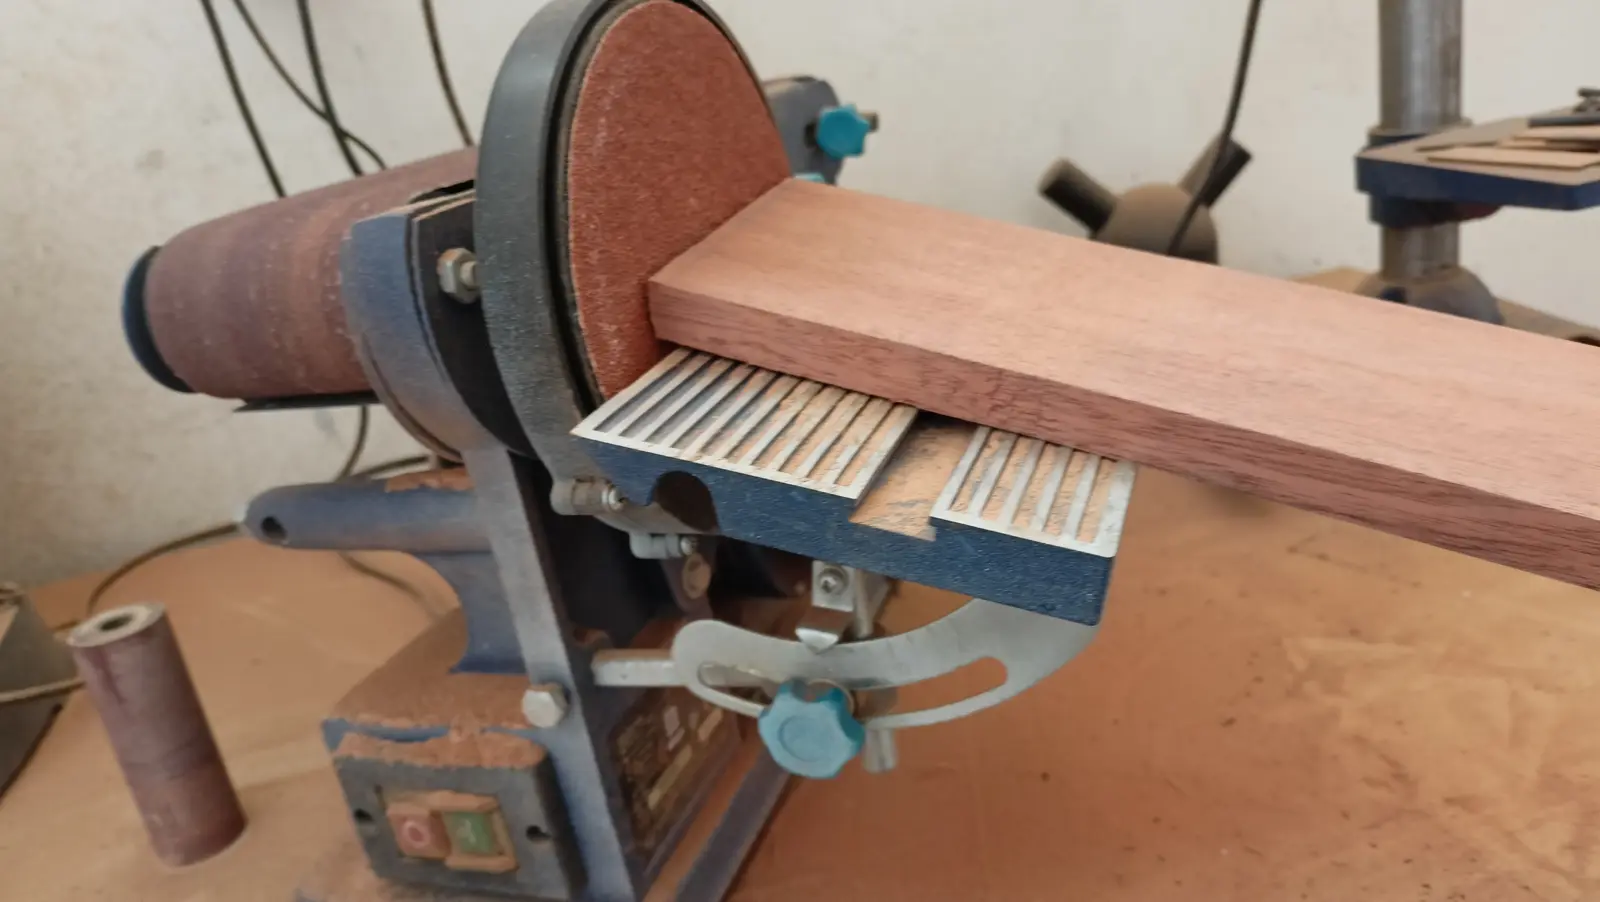
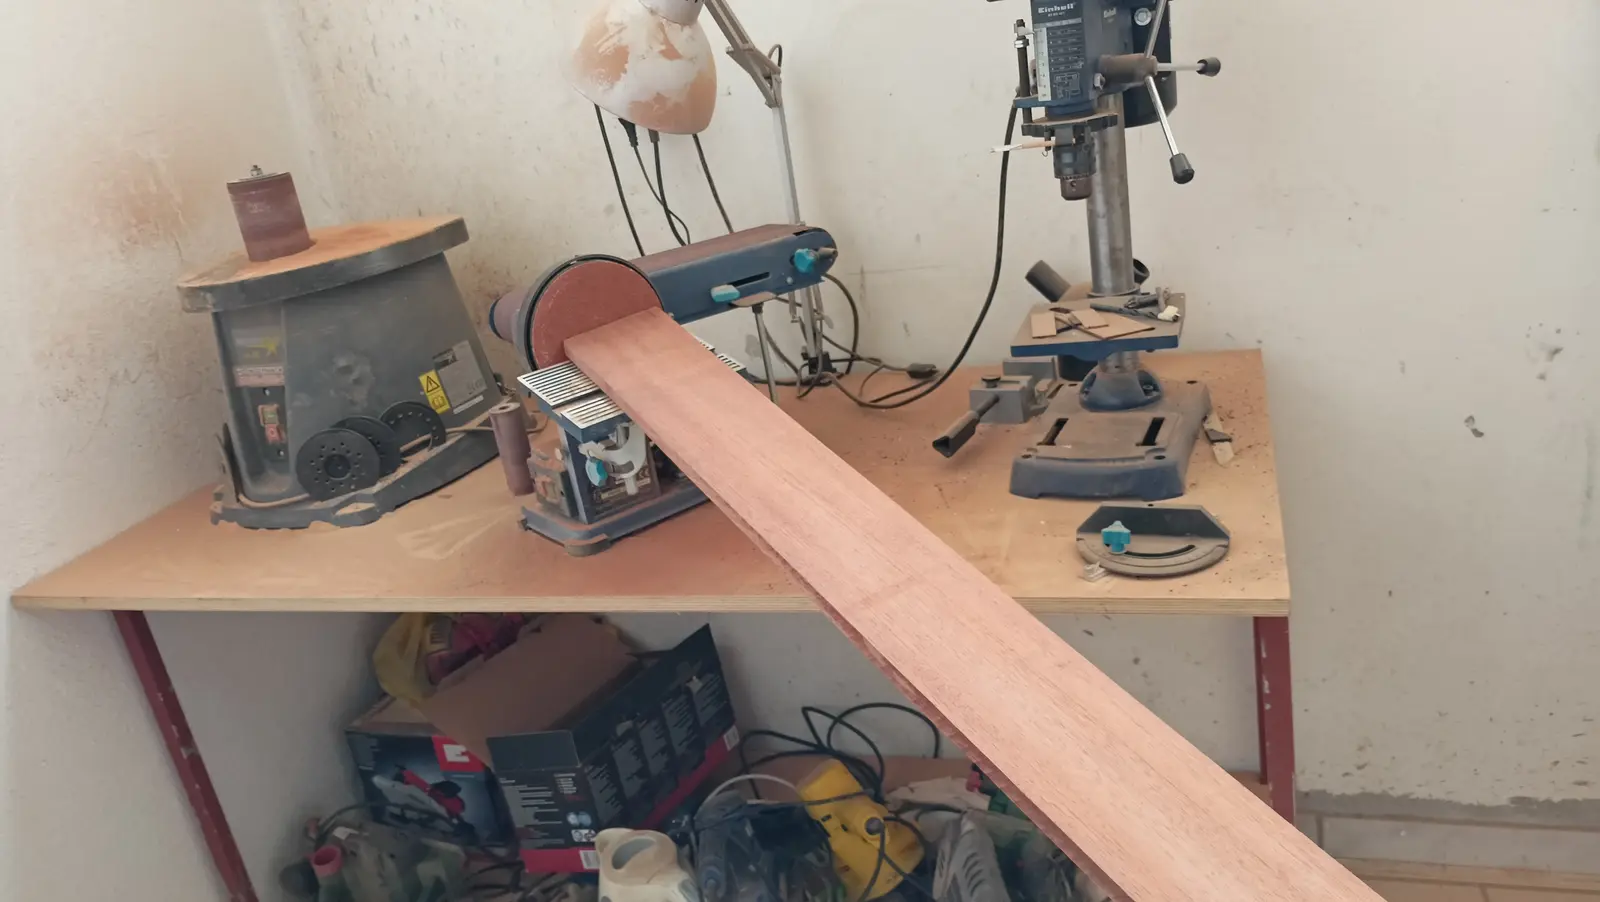
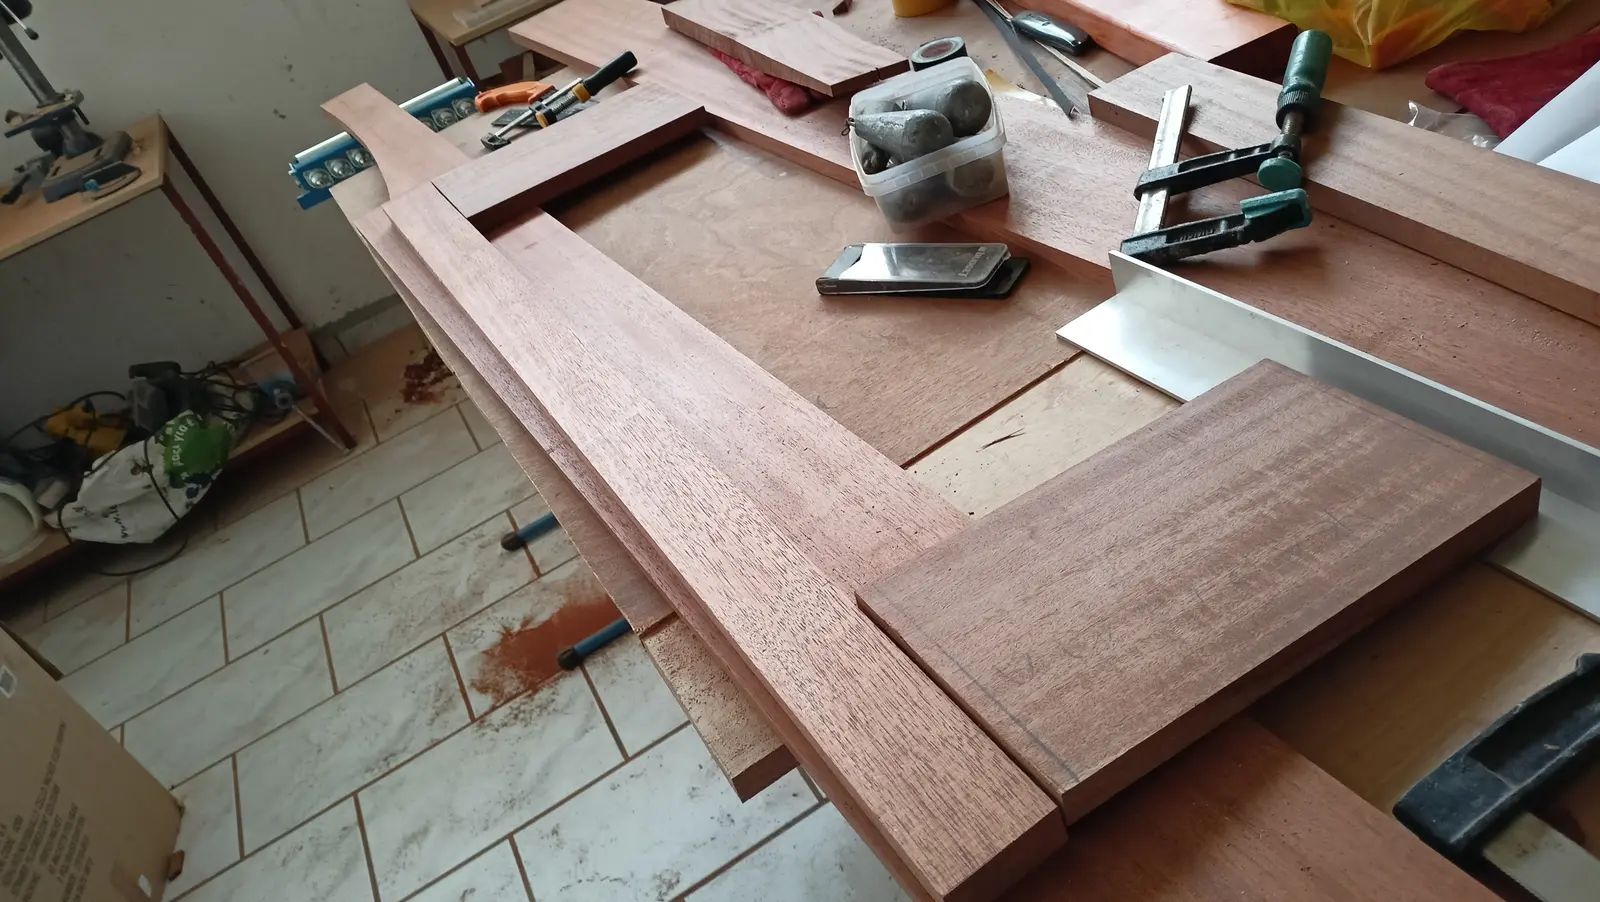
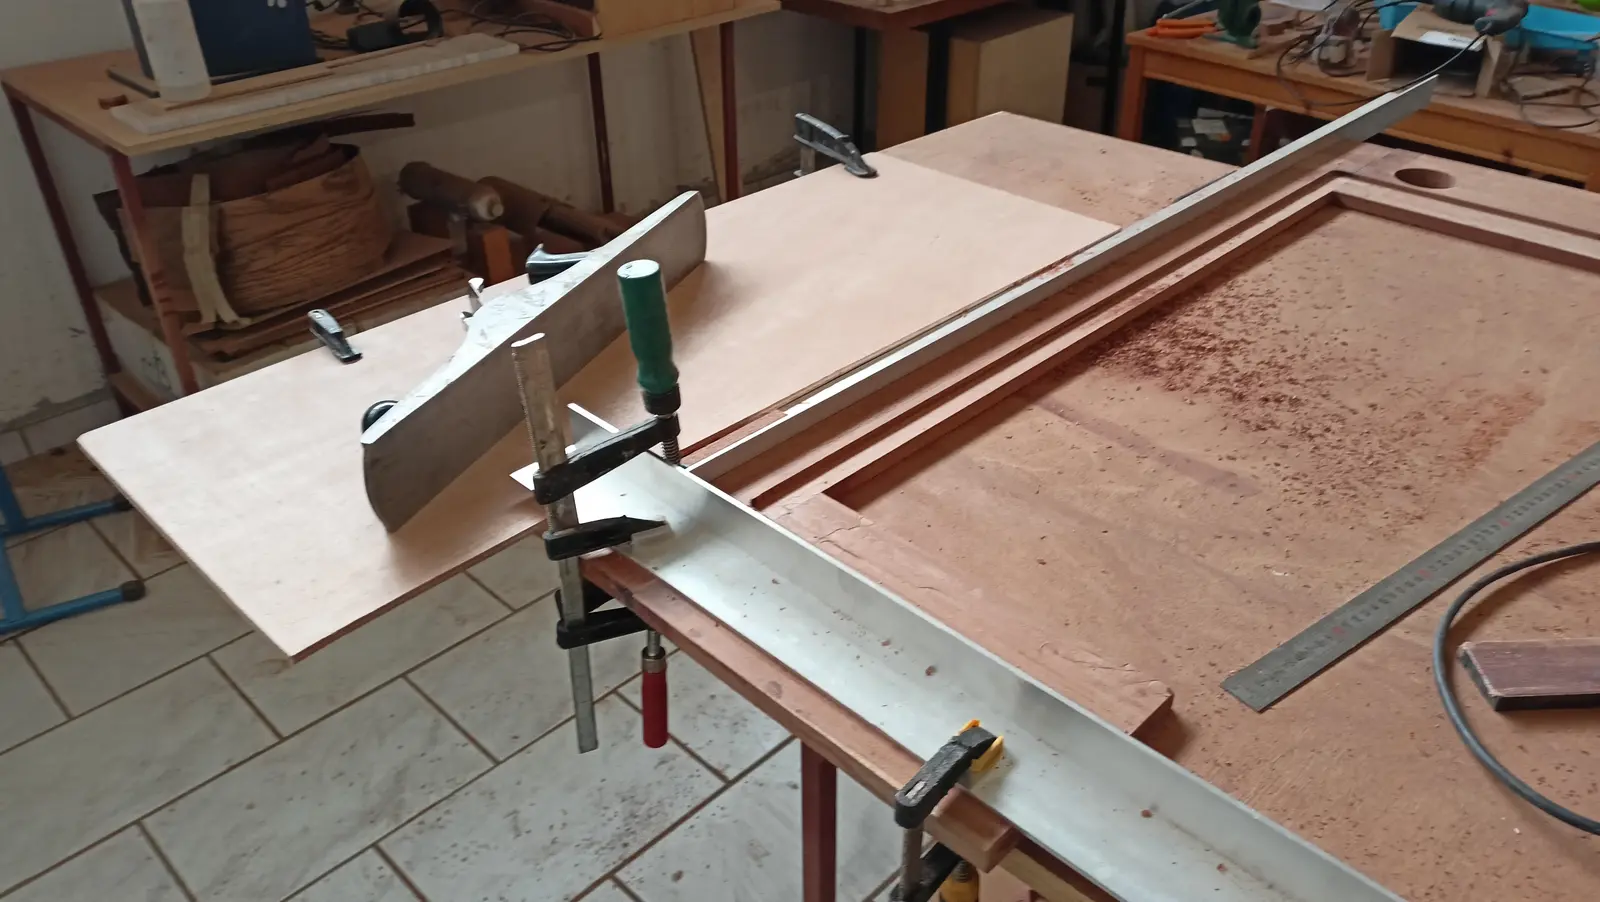
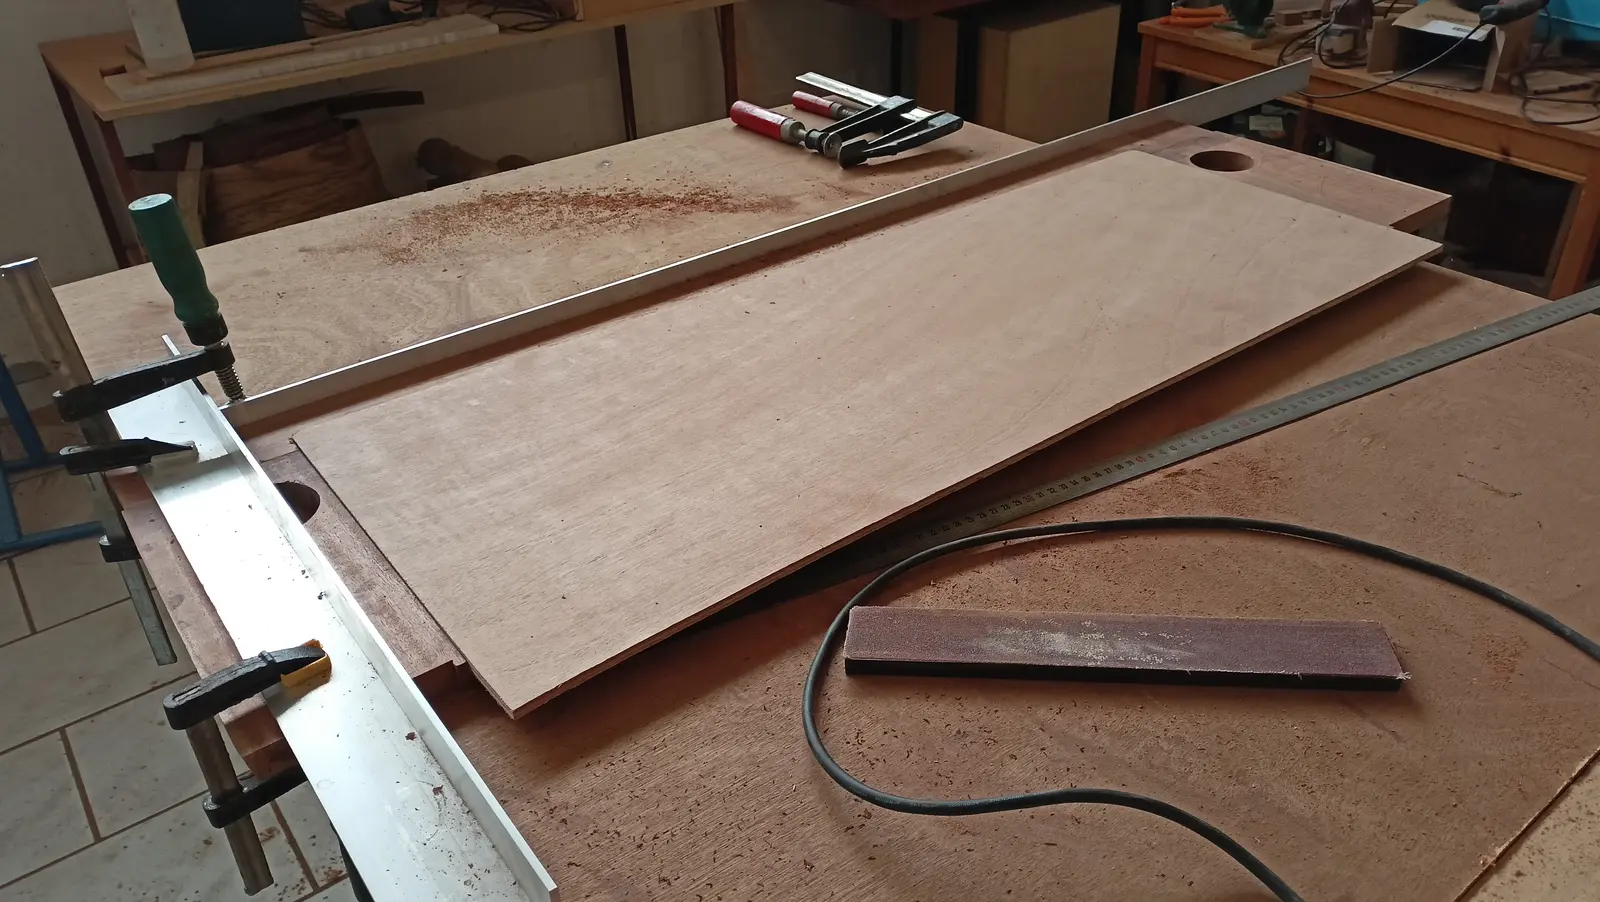
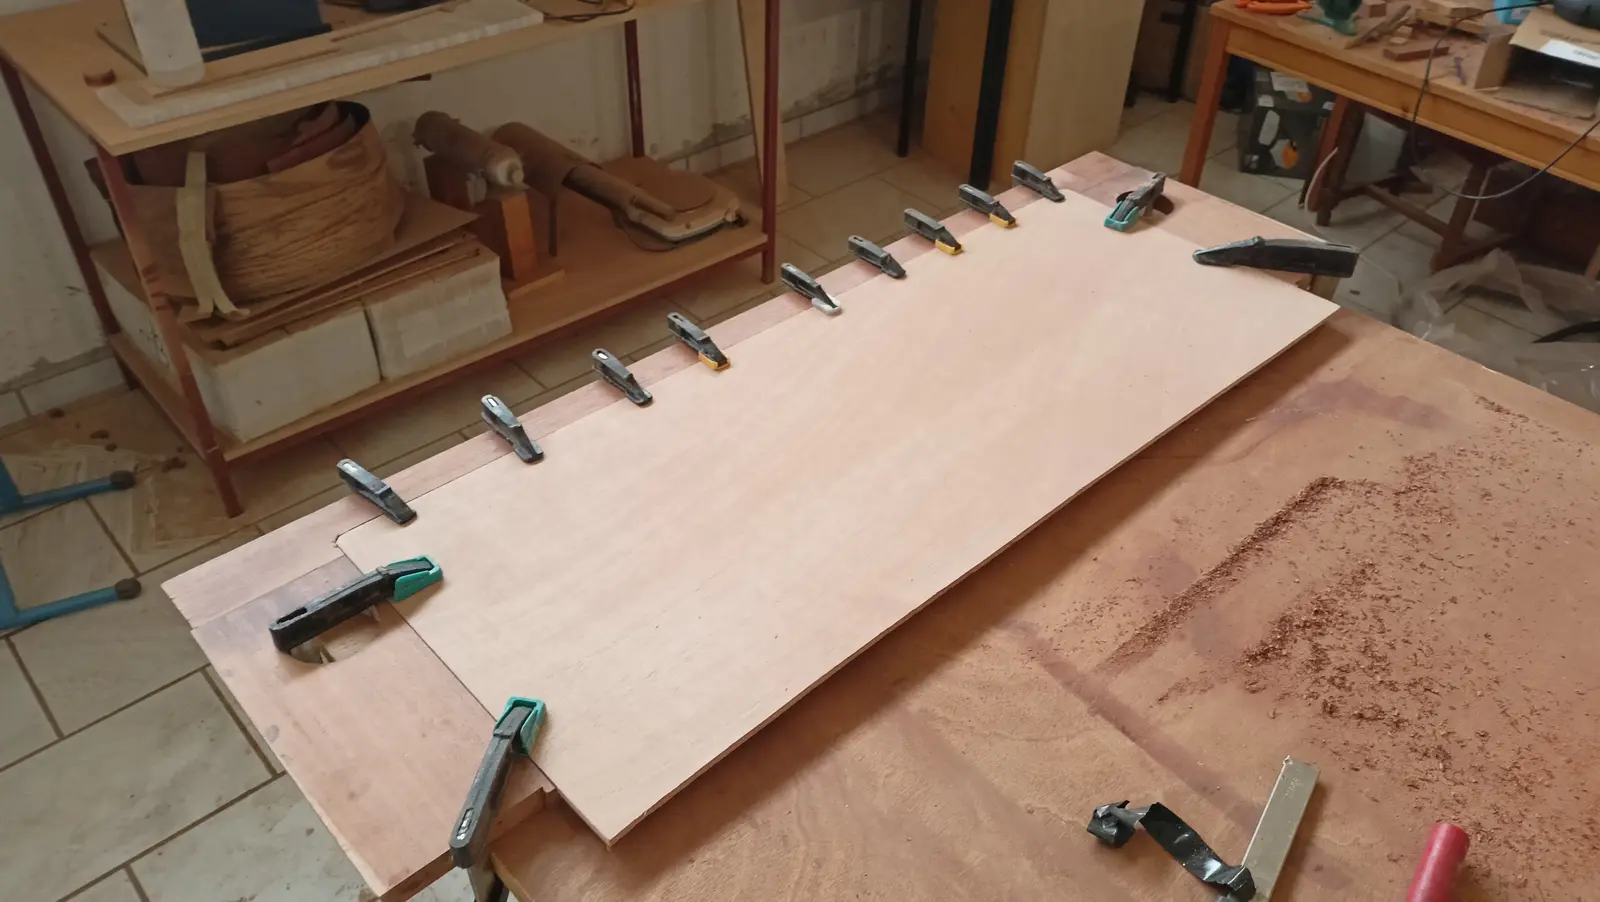
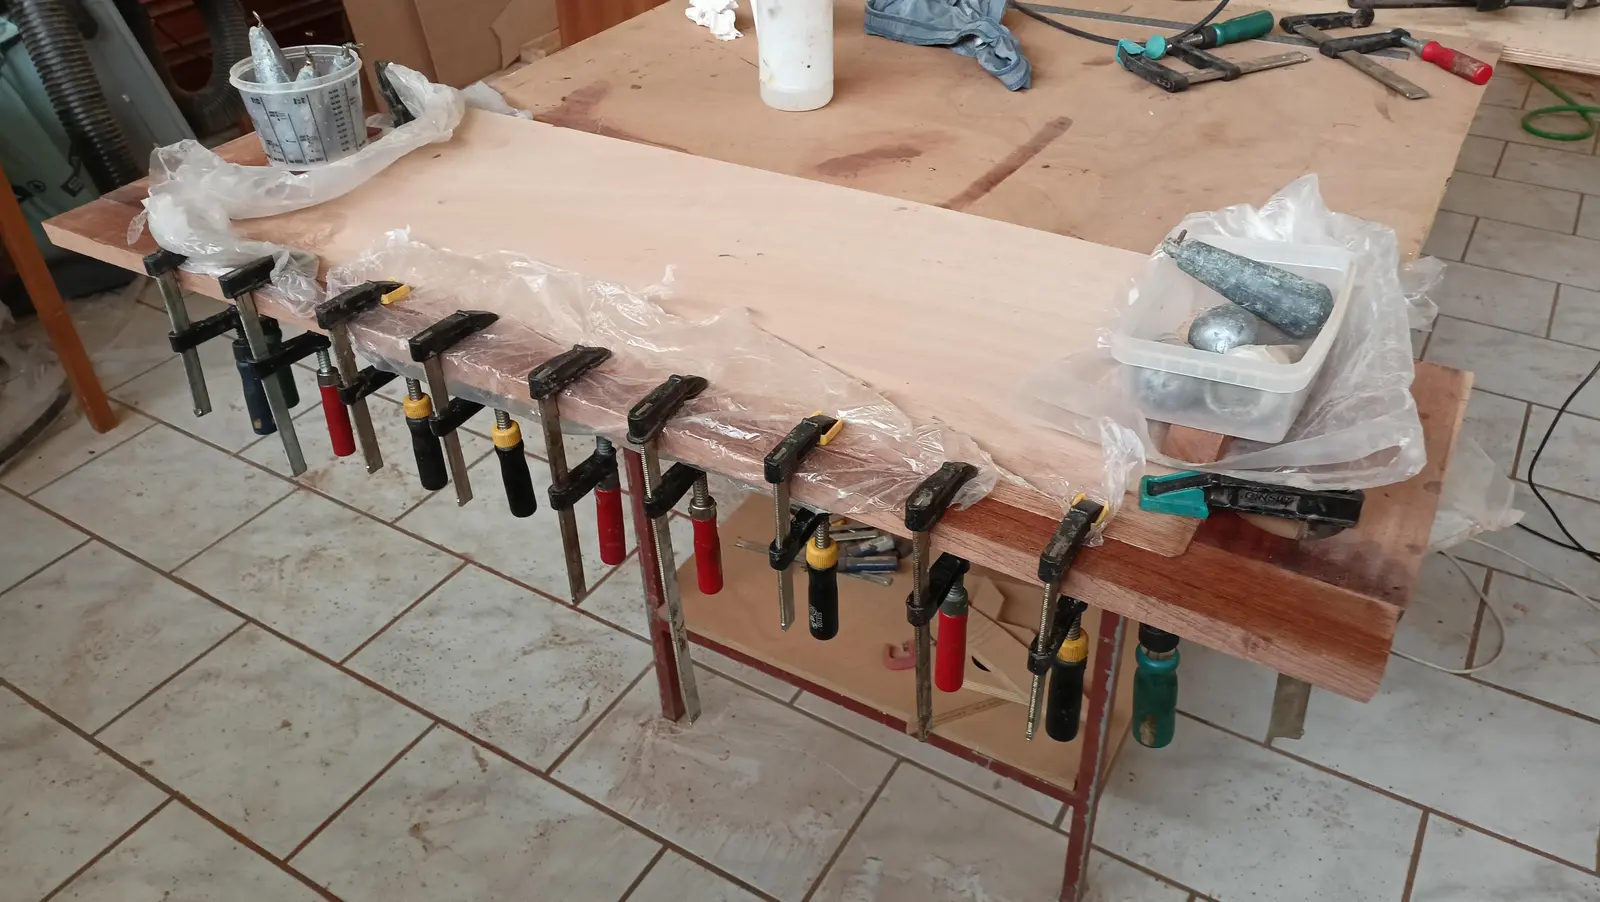
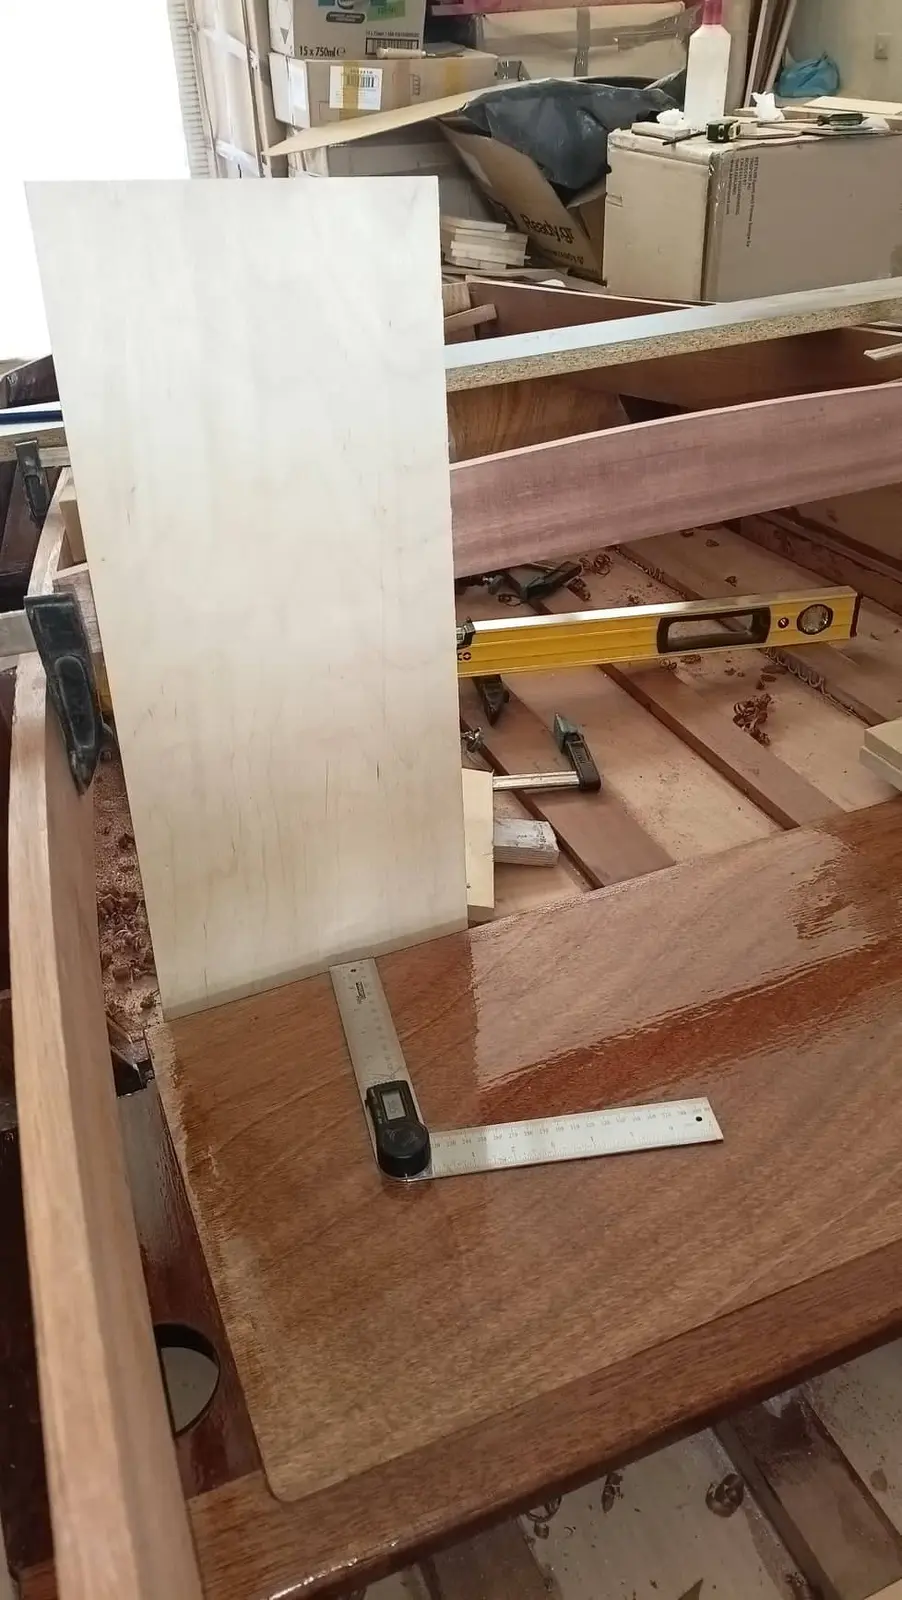
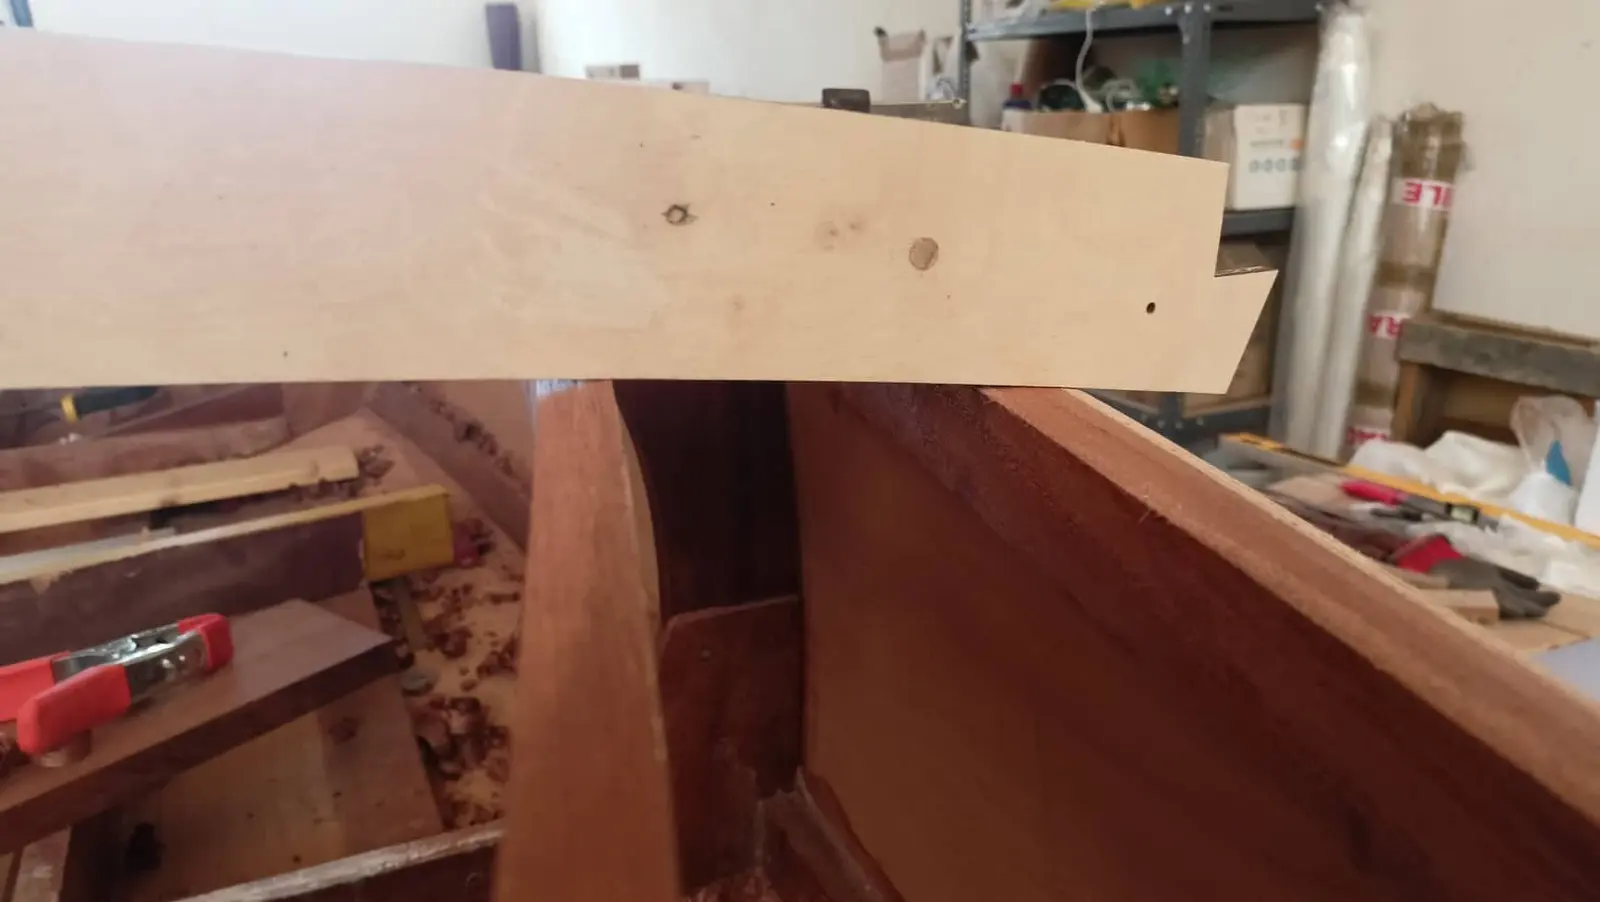
The plywood was joined with a scarf joint. The joint area needs to be about eight times the thickness of the material being glued. So for 6 mm plywood I made the joint 5 cm wide (6 x 8 = 48 mm). I stacked the plywood sheets on top of each other, each one set back 5 cm from the one below, and used a large hand plane to cut the taper. To keep the line straight I also used another piece of 18 mm plywood clamped 15 cm back from the last sheet. The process is shown in the photographs below.
The same was done for the rest of the hull panels, four in total. The joint was made a different way each time, to find the best one.
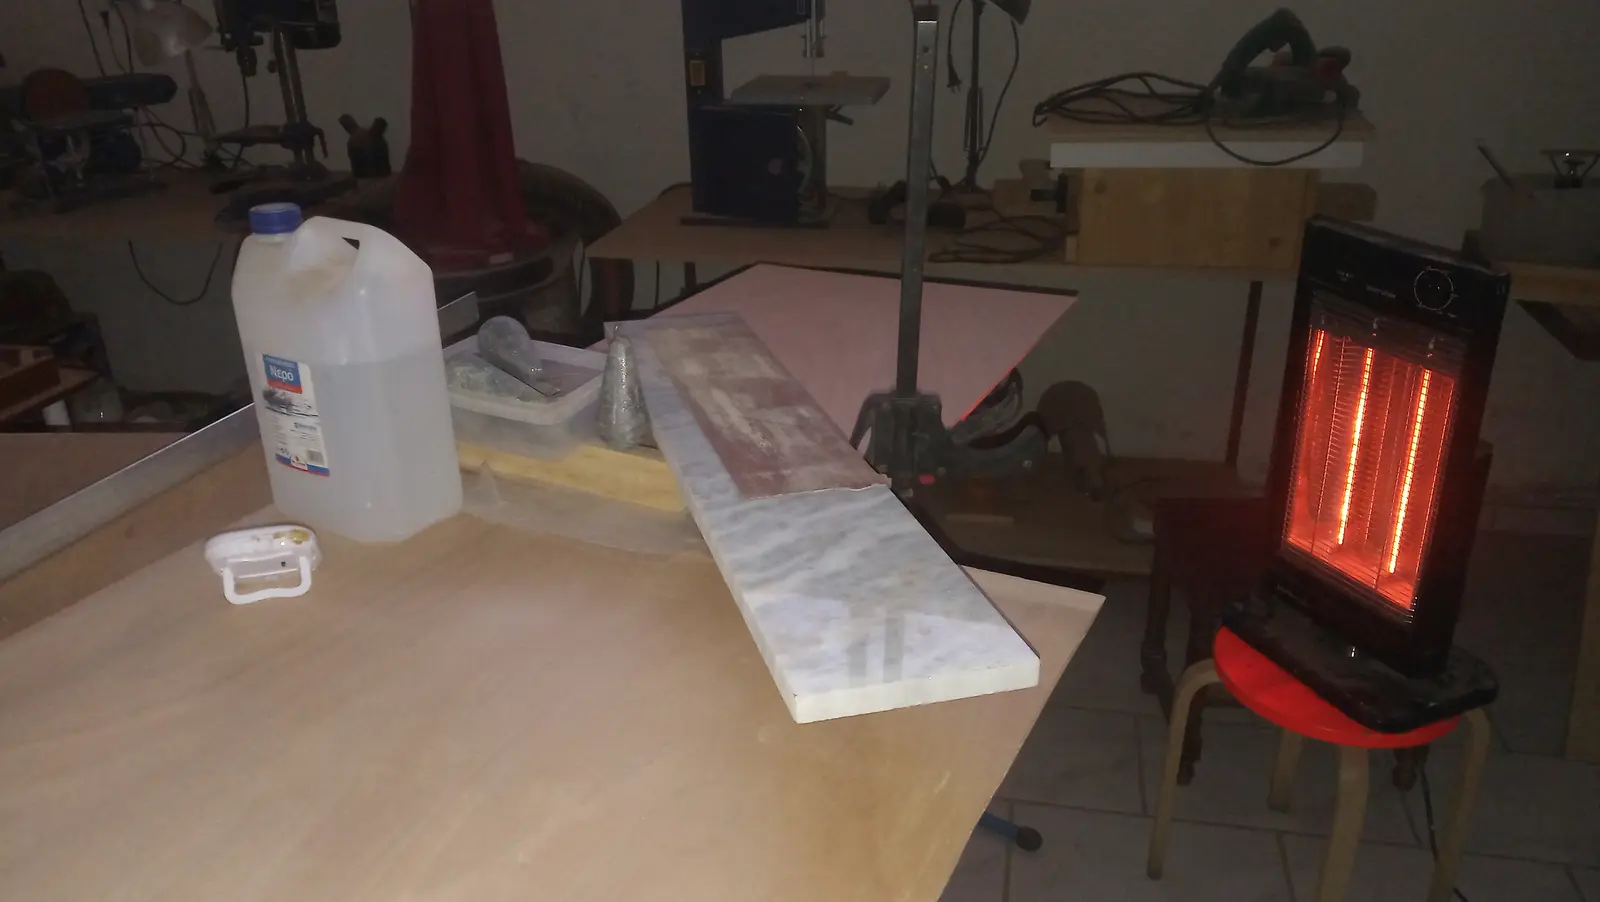
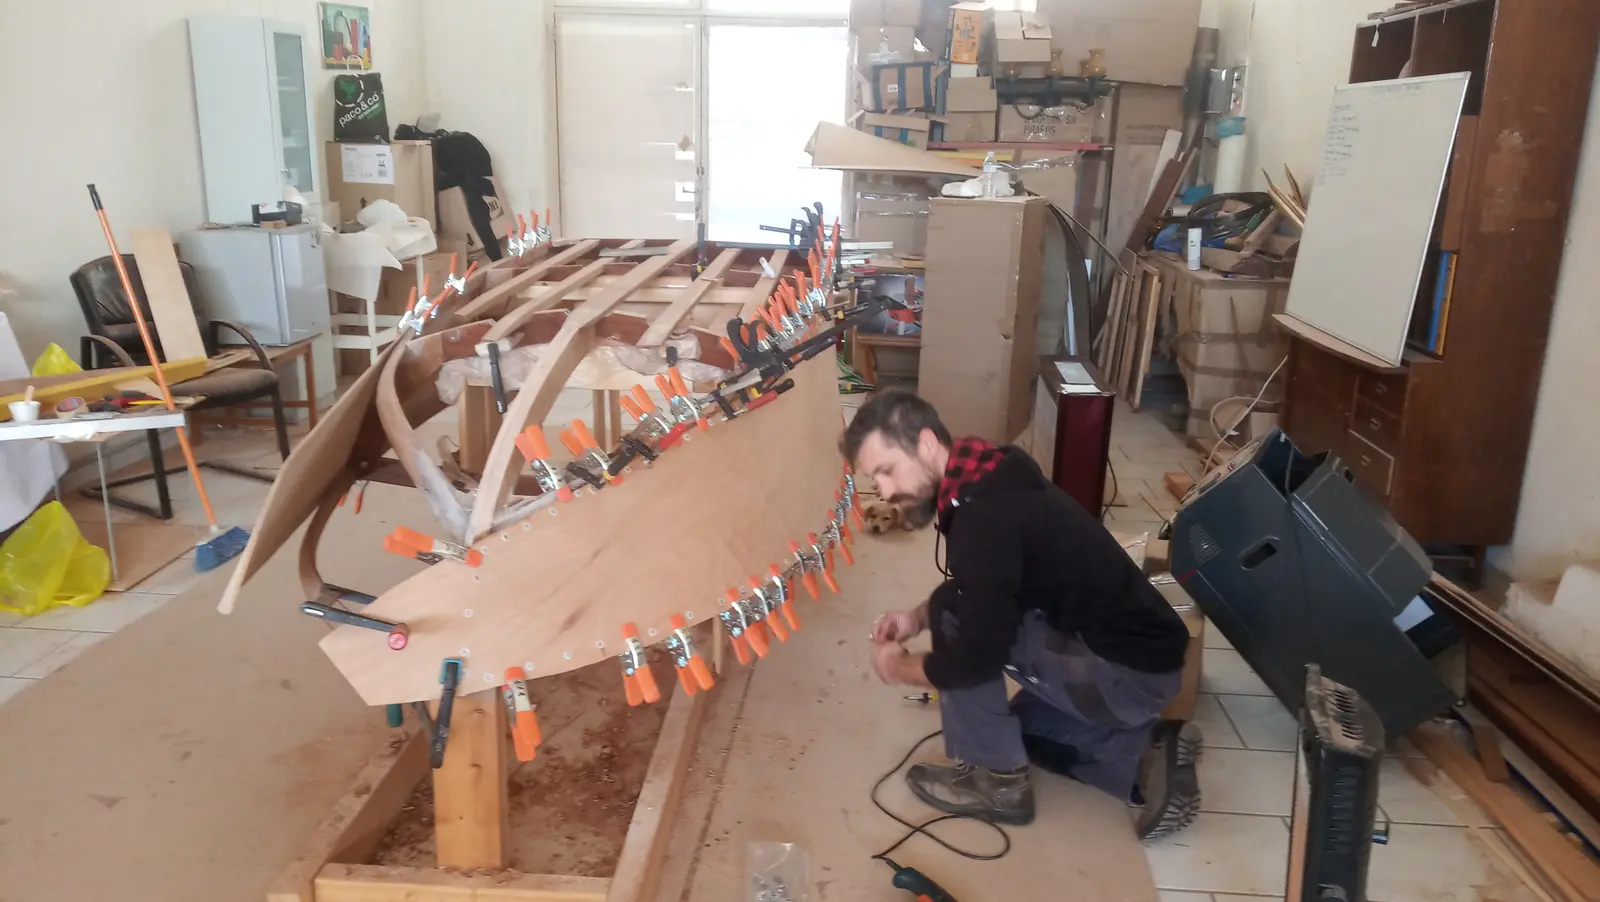
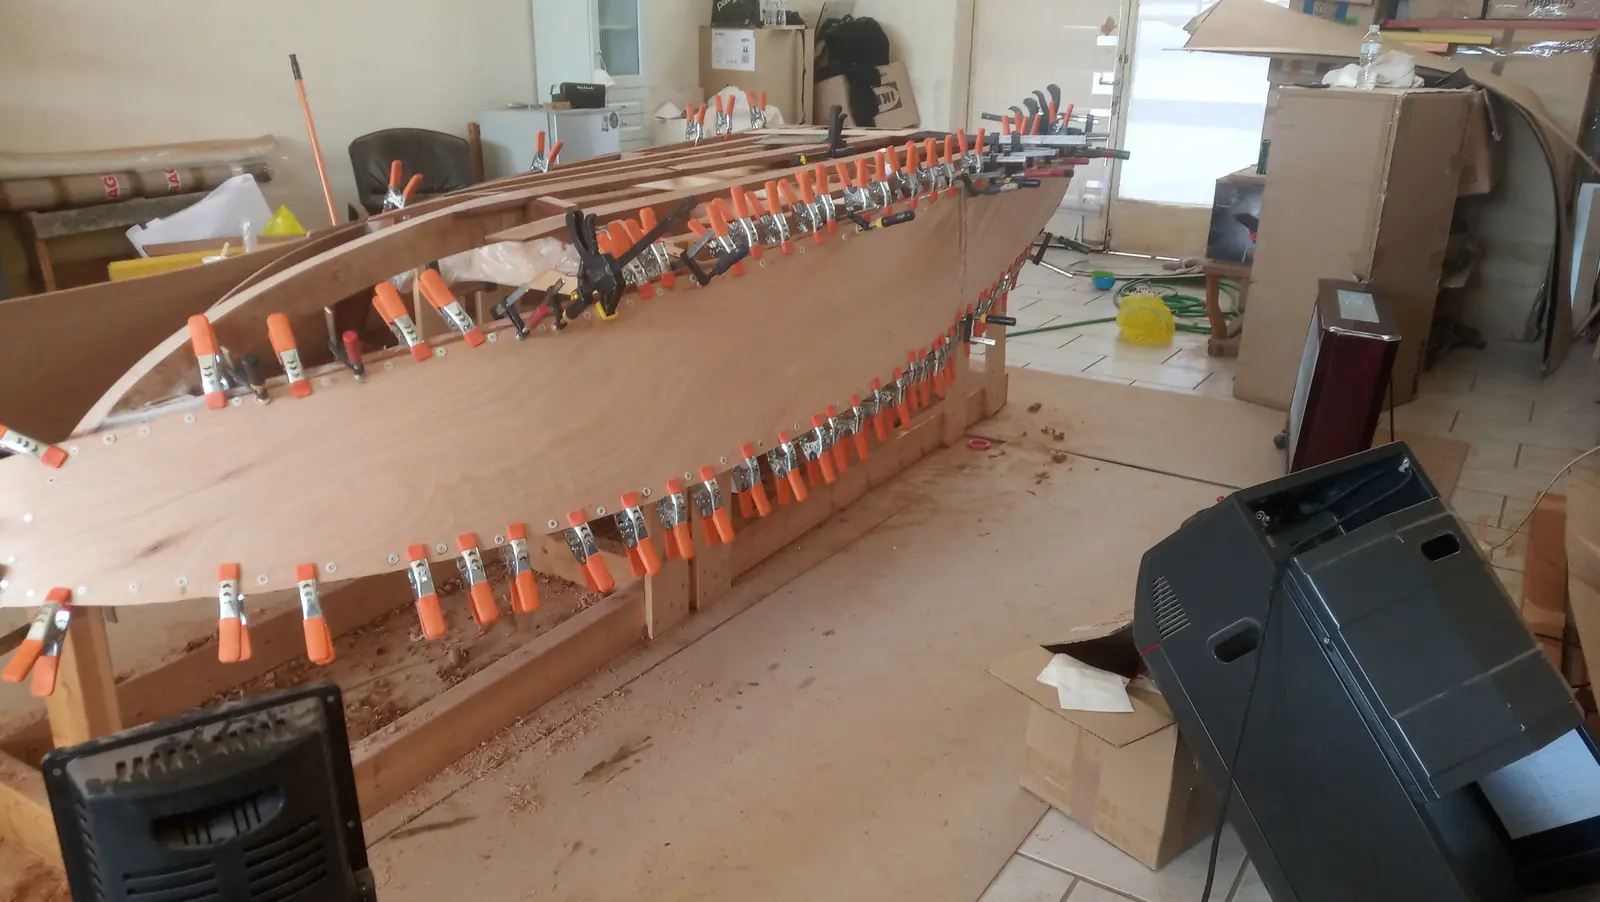
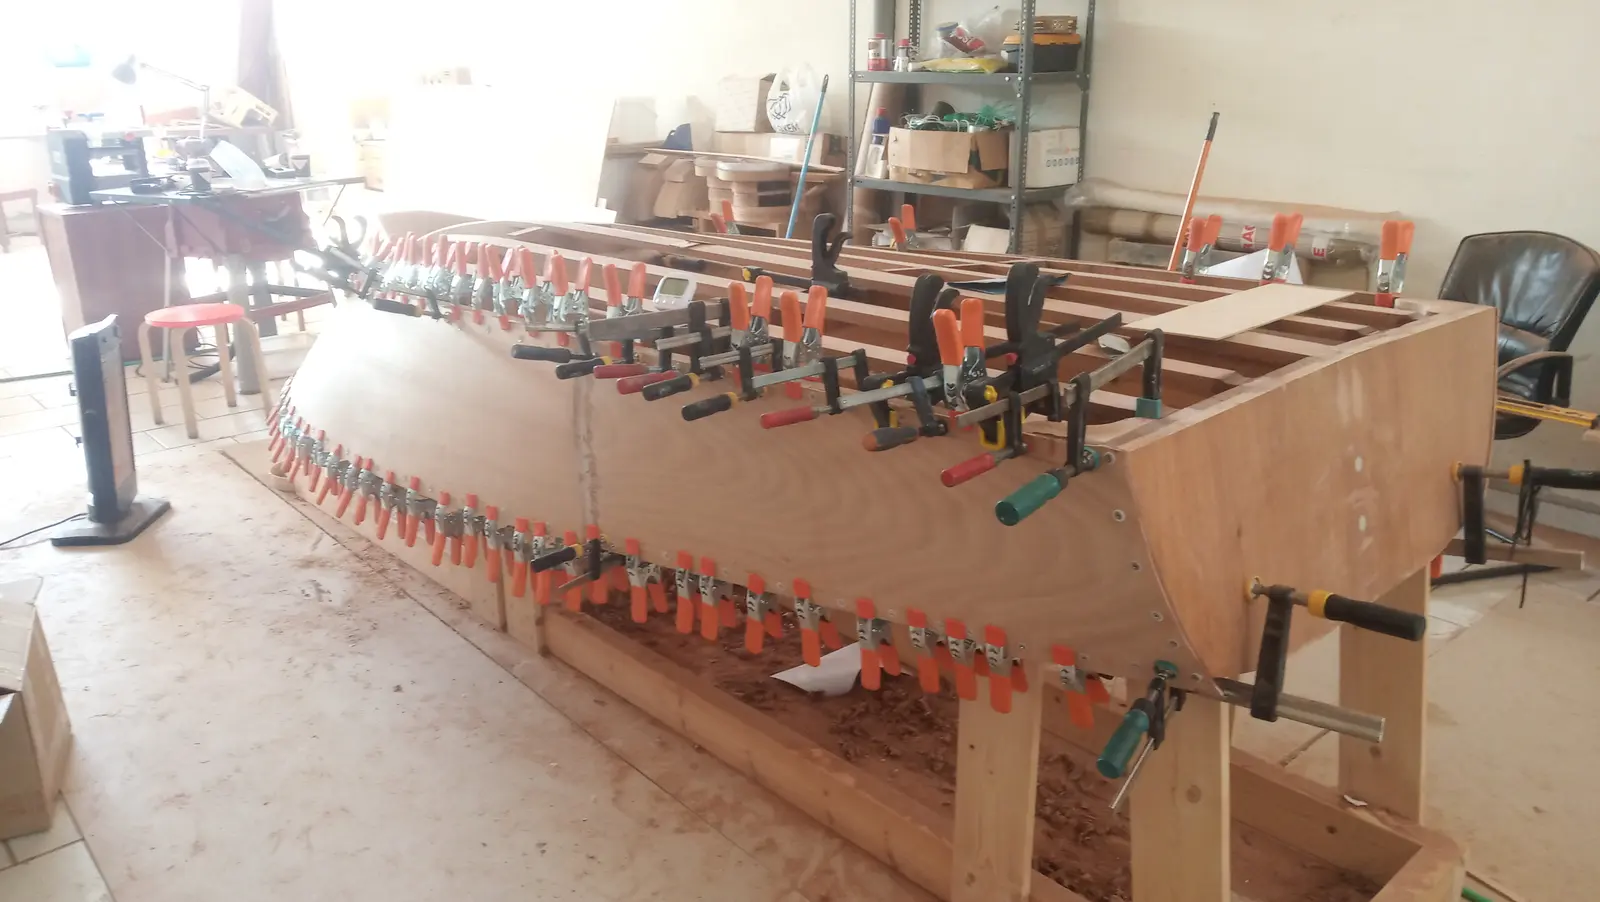
Heating is something that came up in the last days of January and the first of February, as the workshop is very cold, being old. West System resin with the slow hardener (206) has a minimum temperature of 16 degrees Celsius and the workshop got down to 12.5. Two halogen heaters and a fan heater were used for every glue-up.
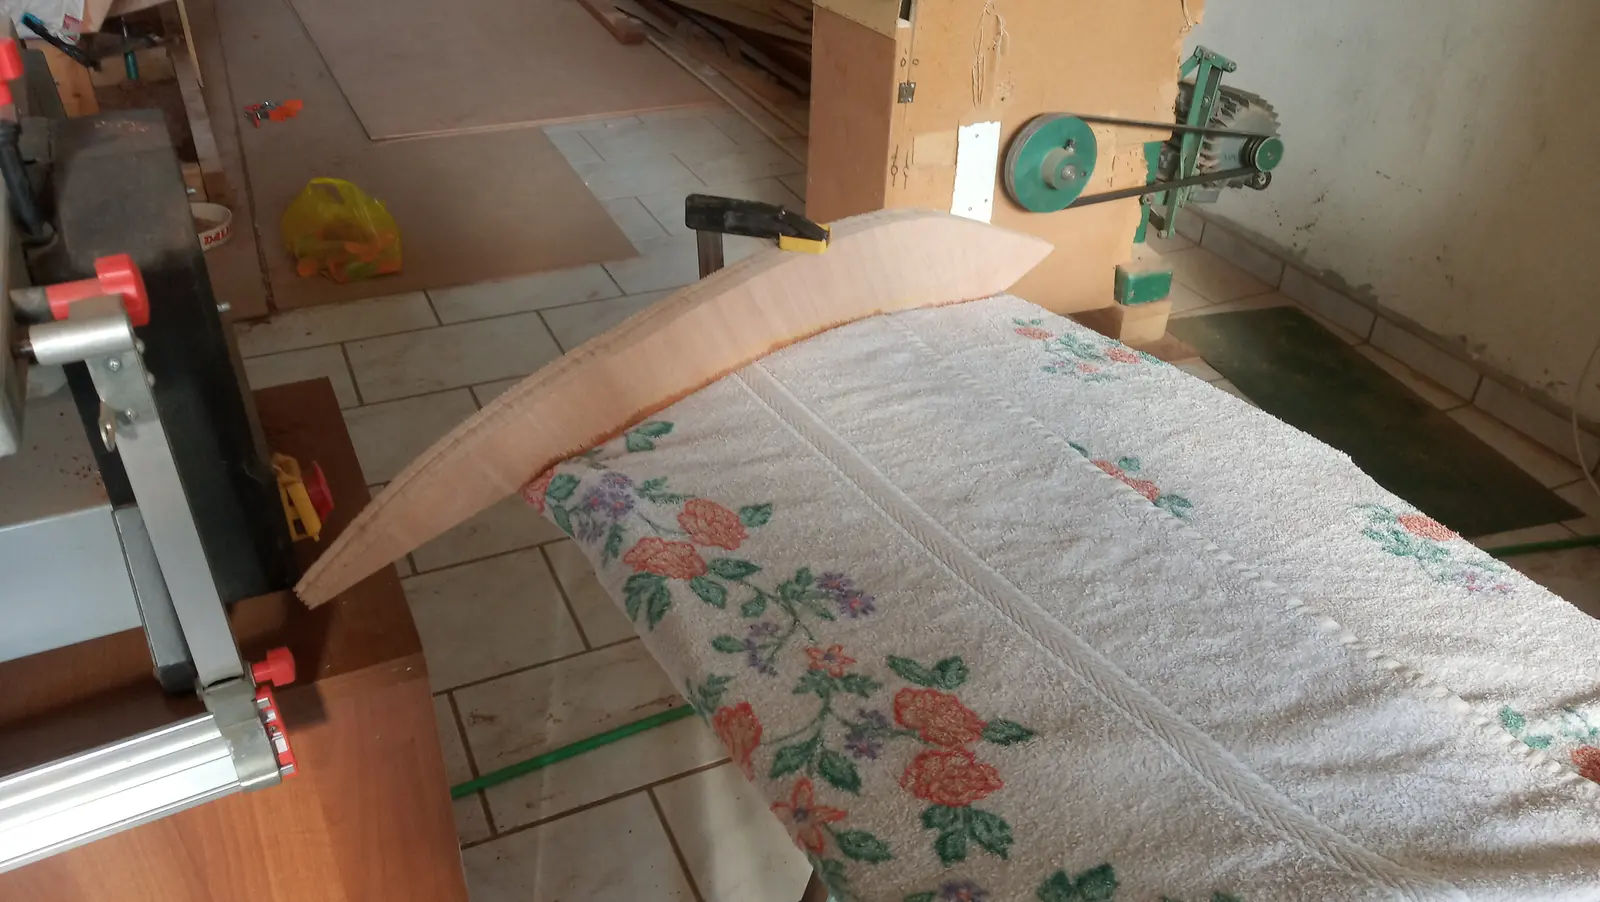
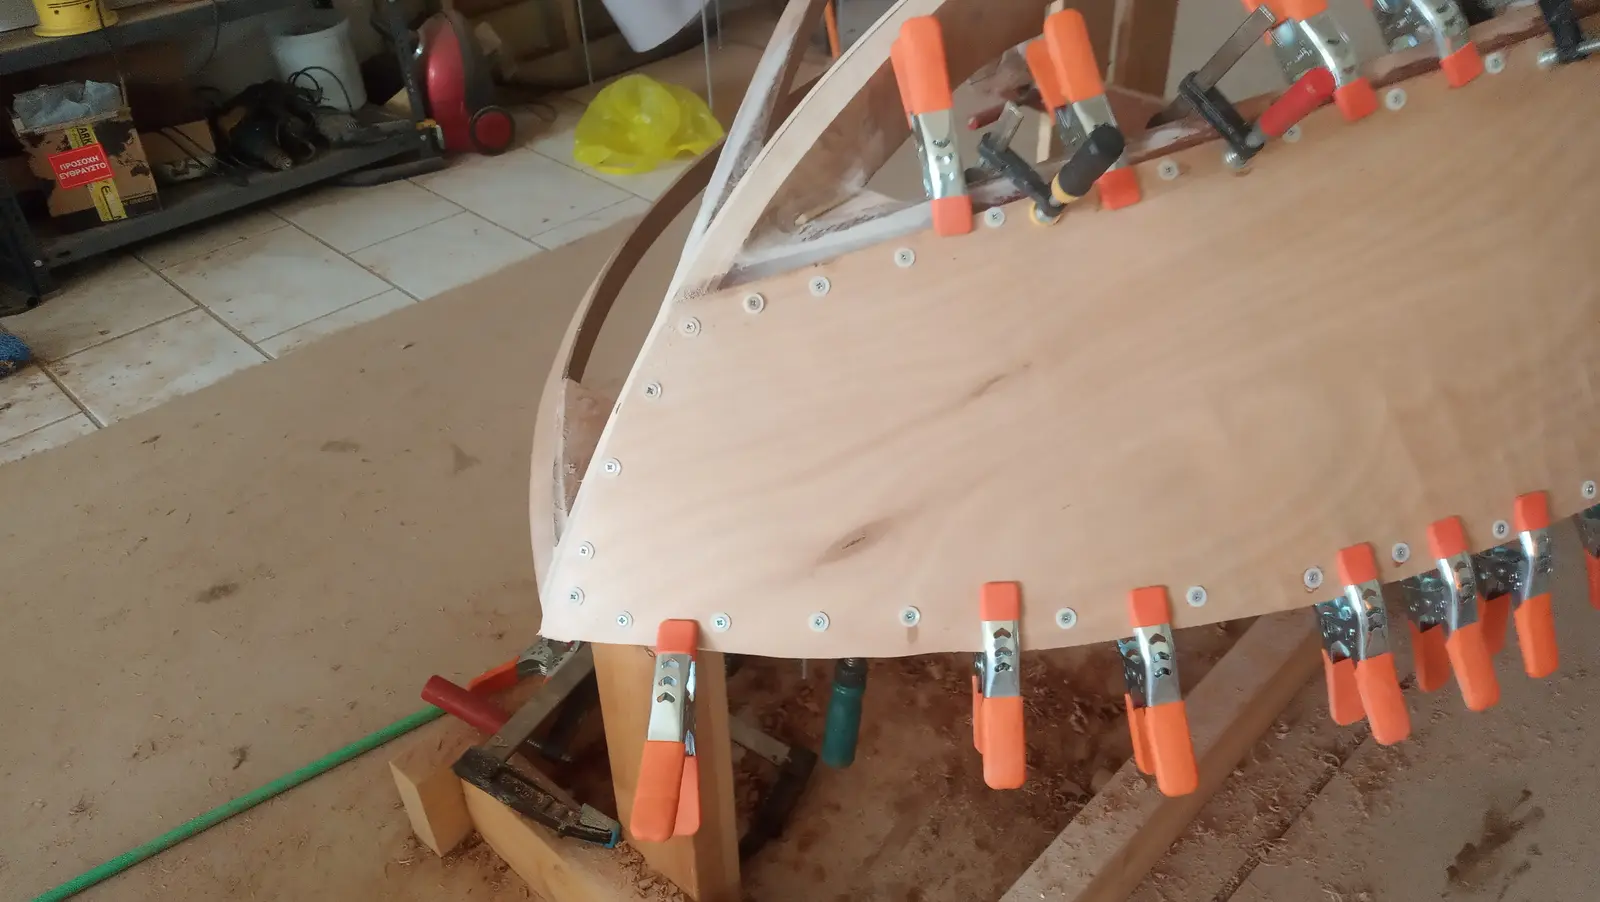
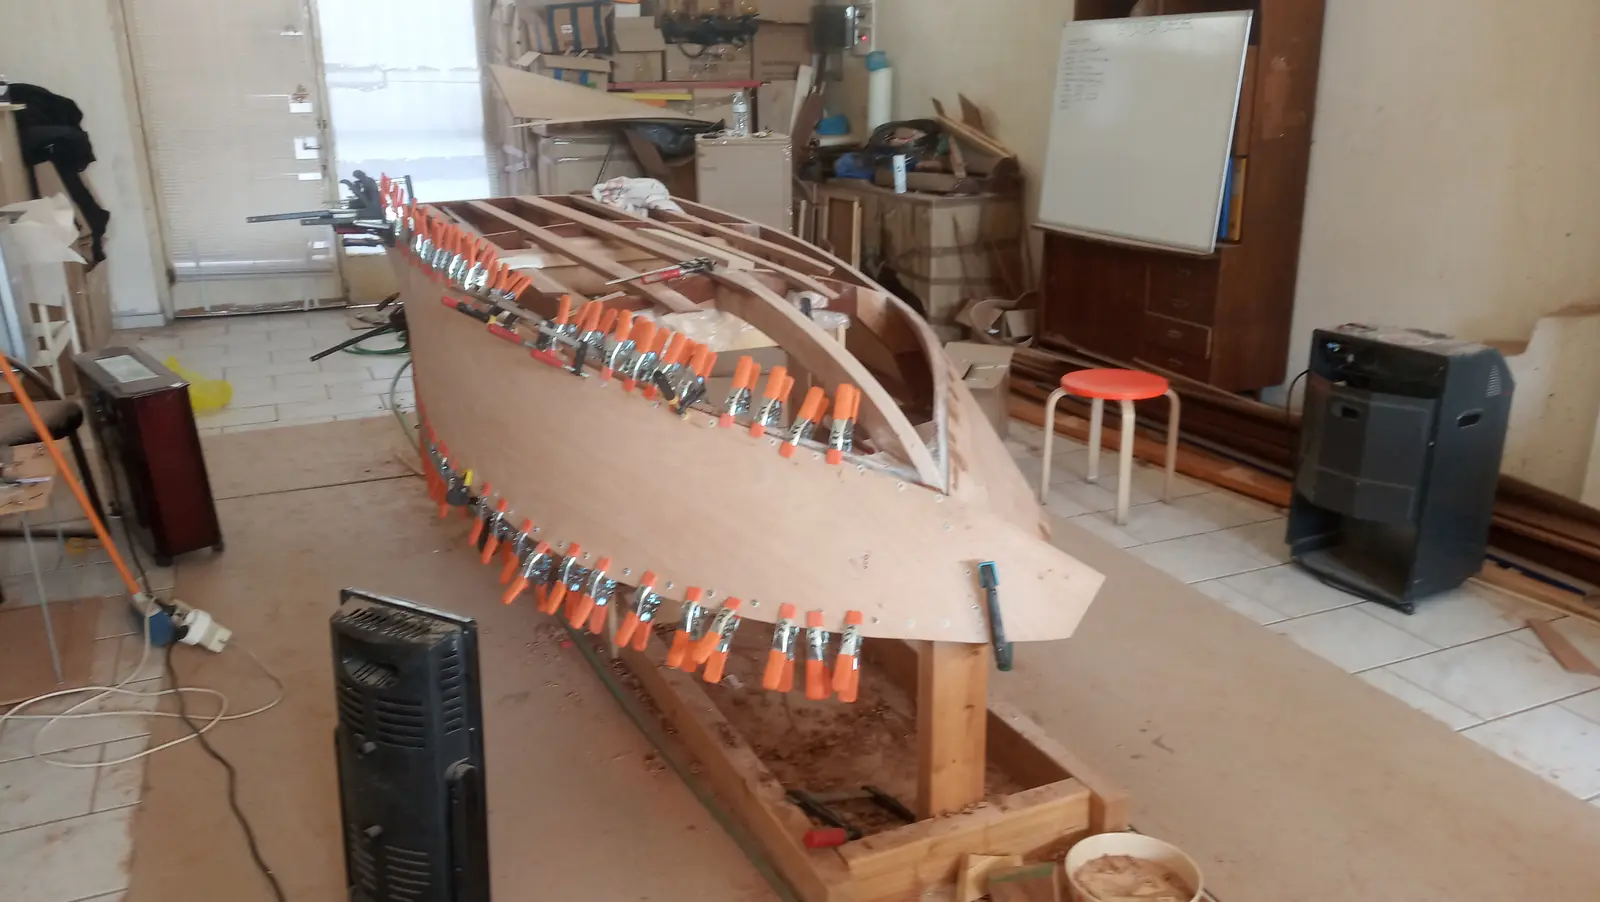
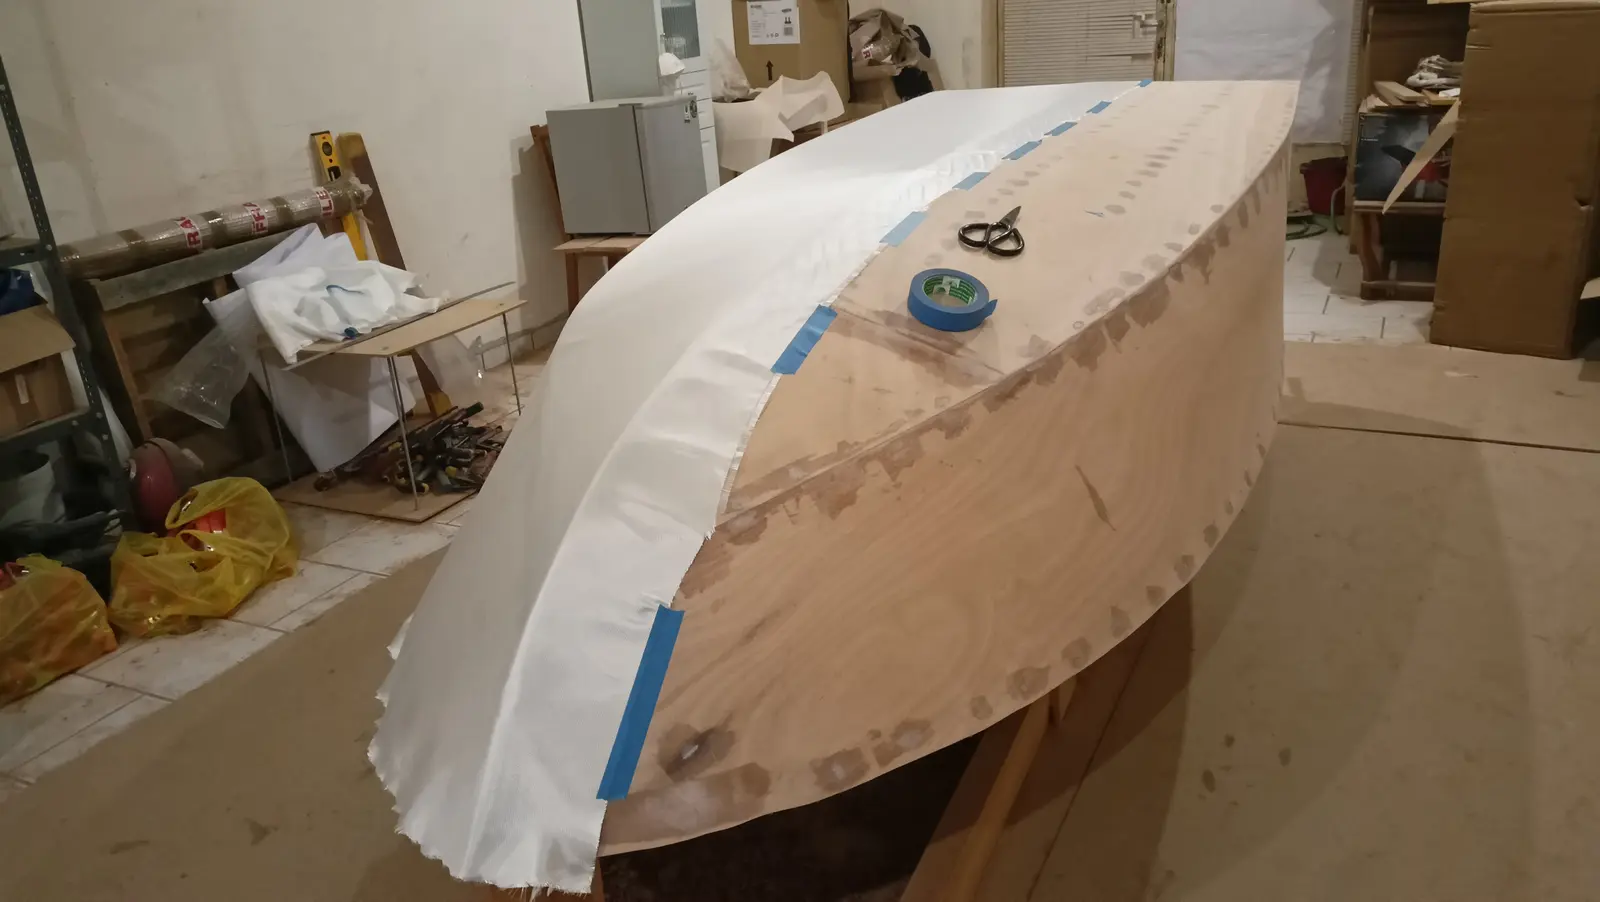
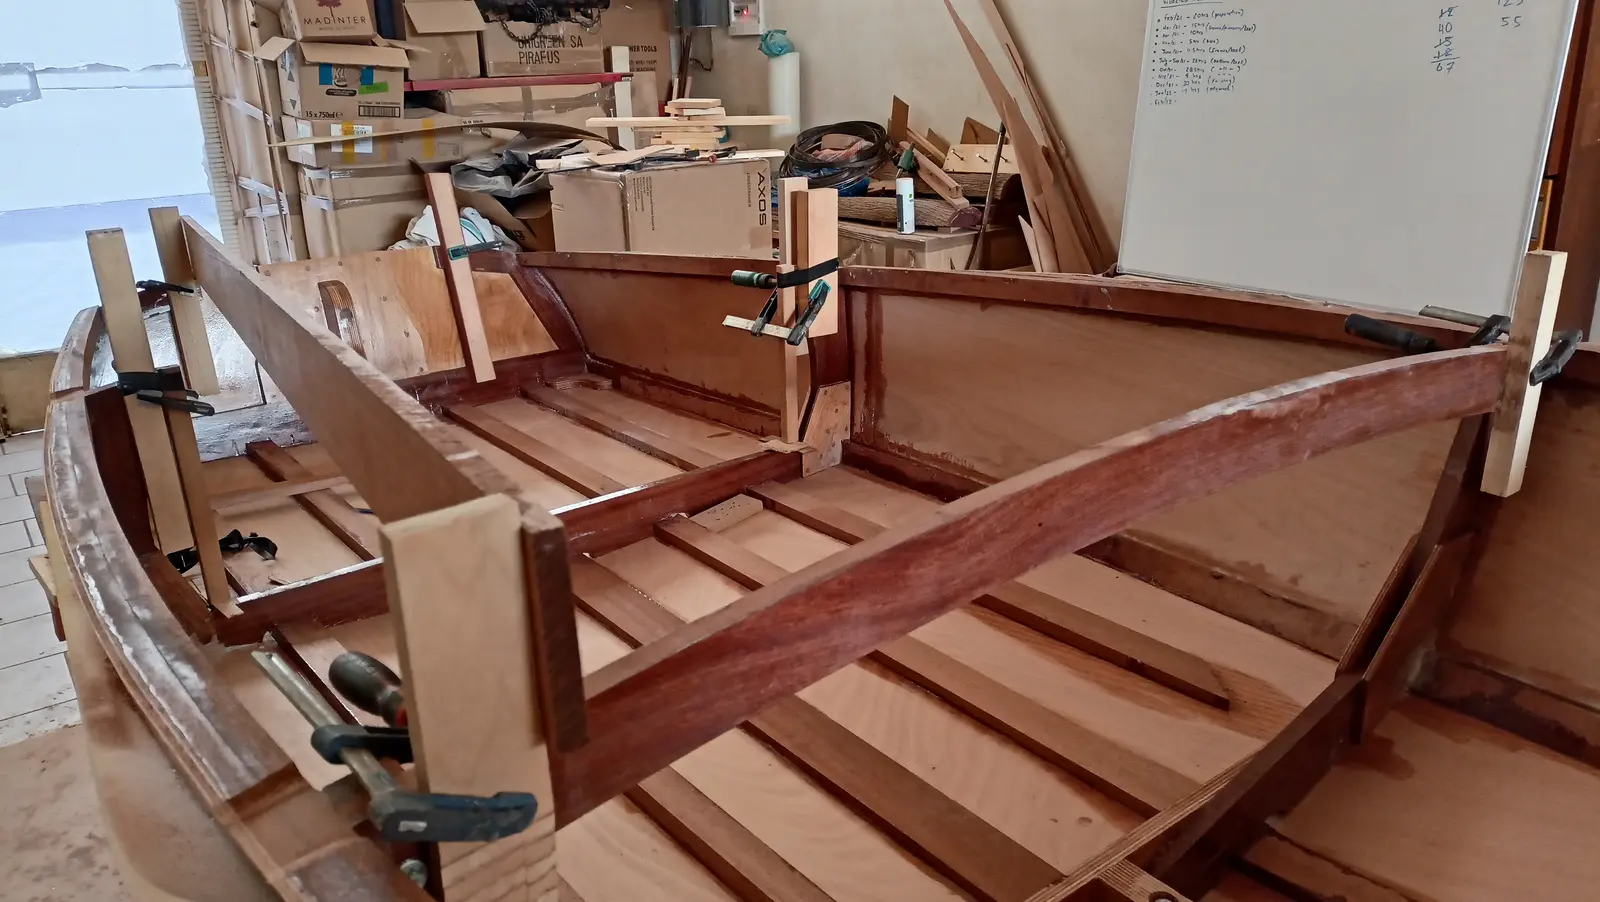
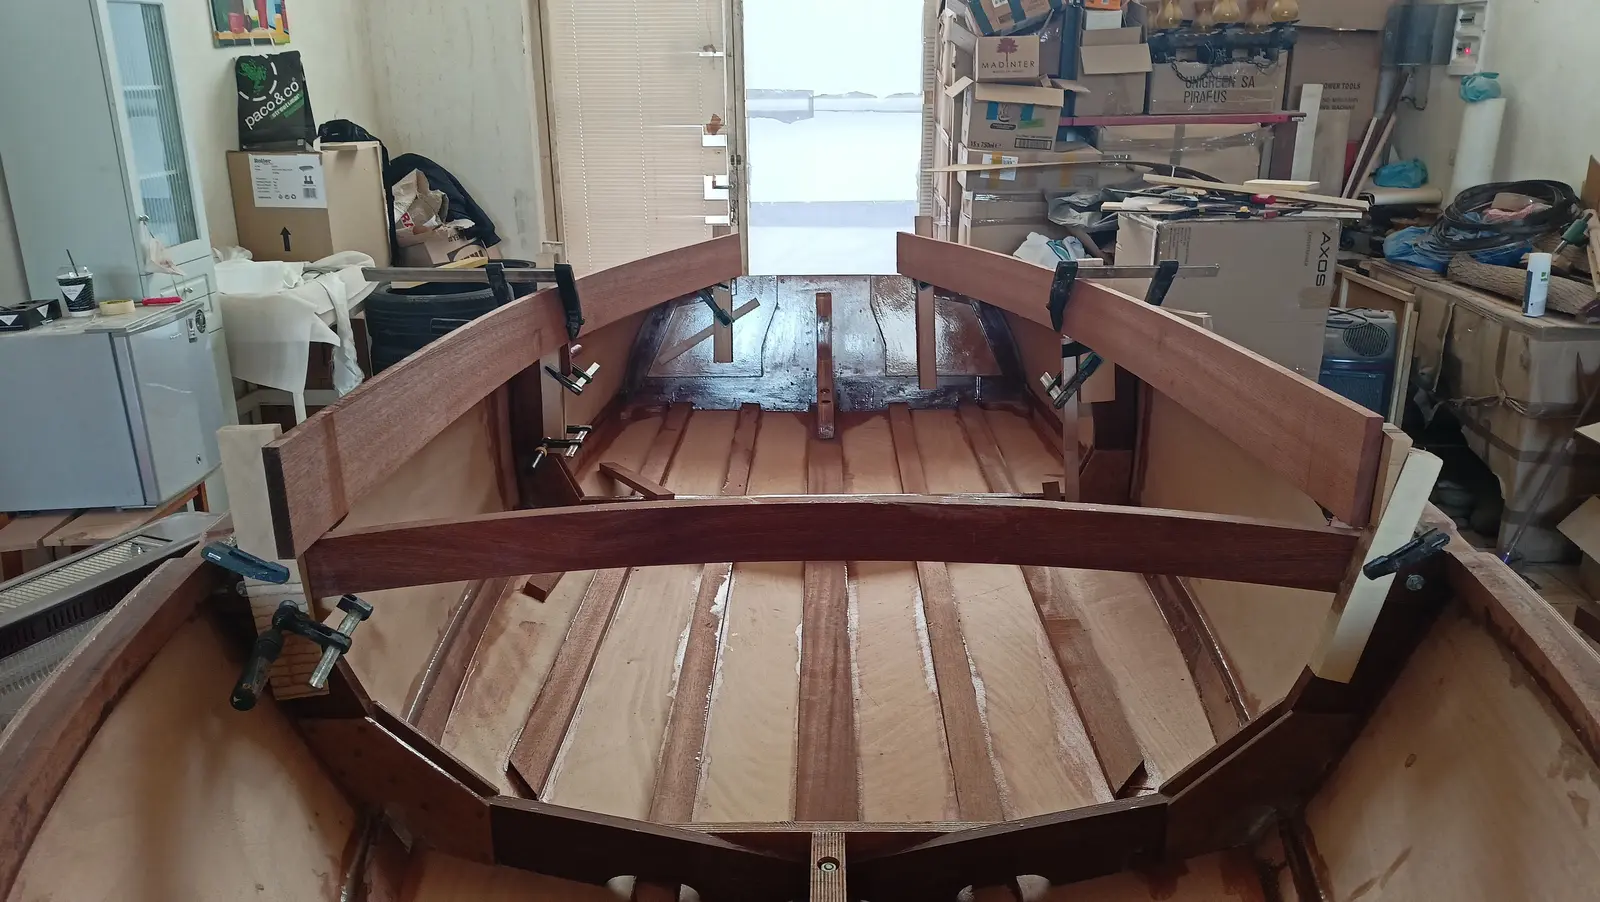
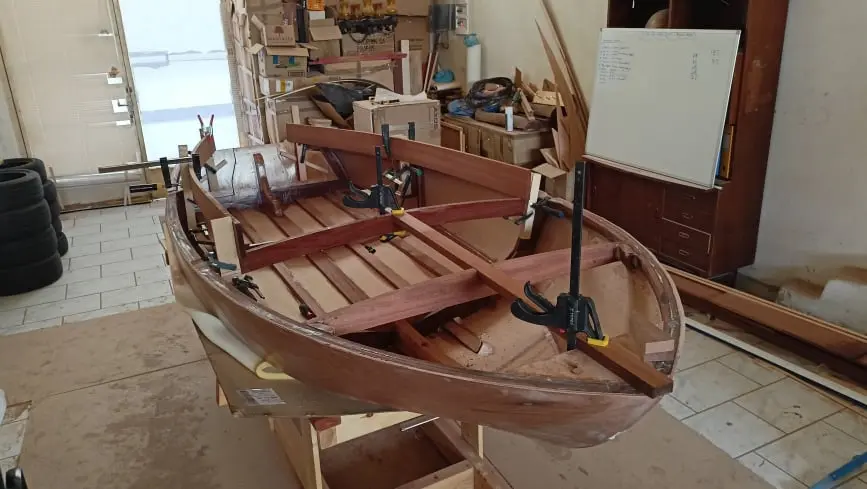
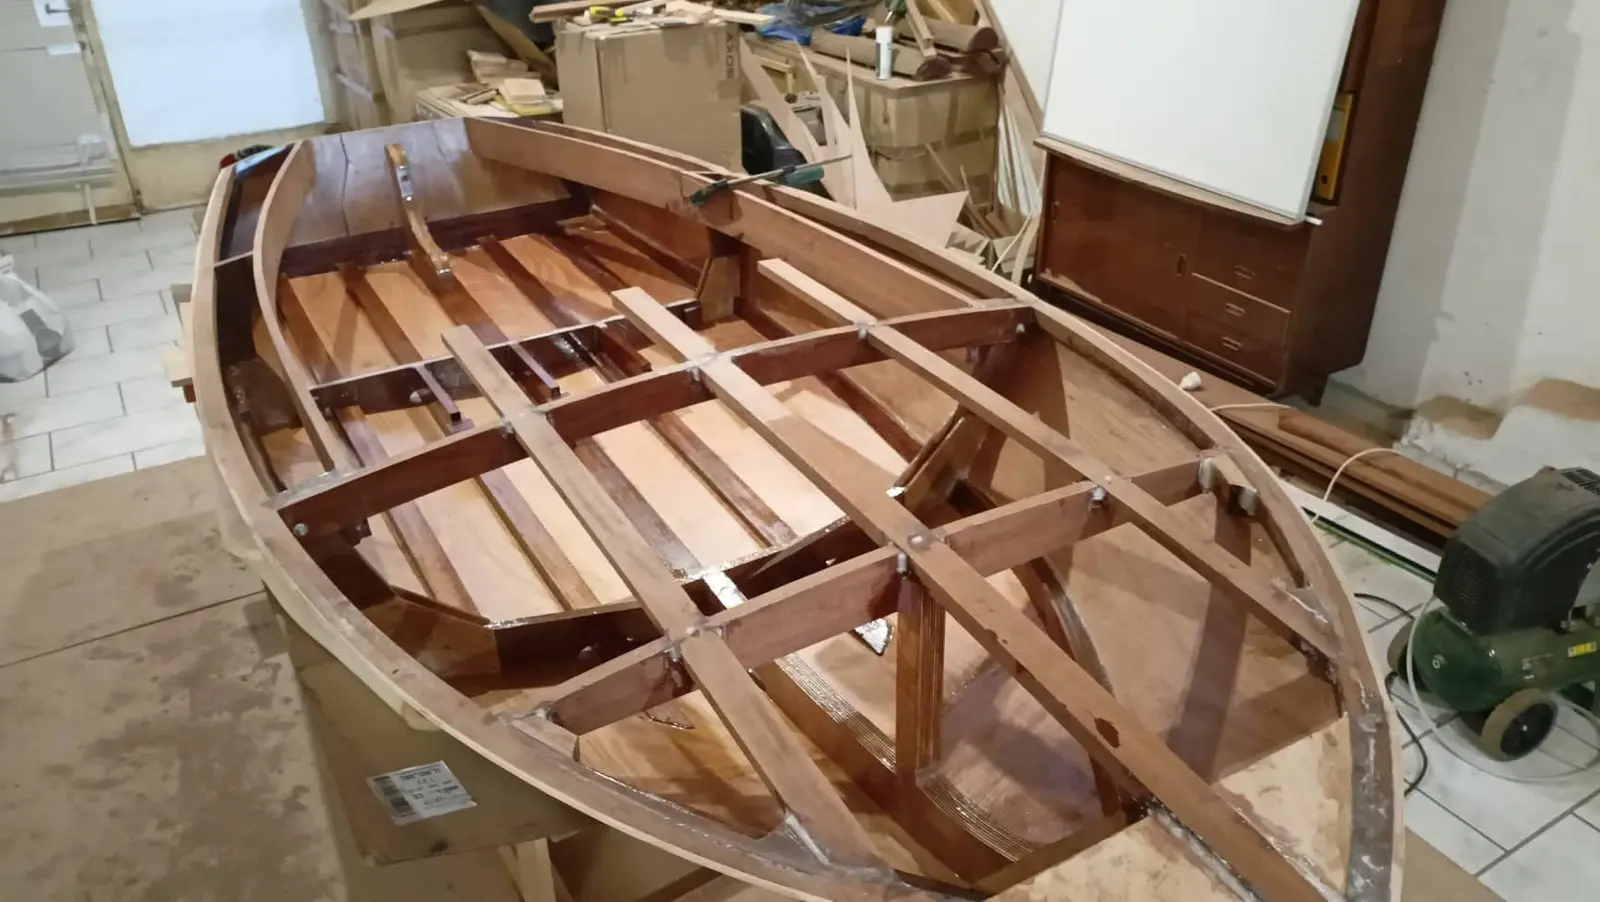
First the side panel was shaped and screwed temporarily onto the boat under construction. I found the curves were quite pronounced fore and aft, so I wetted them with towels, either on the boat or off it. When it had more or less taken the shape it needed, it was cut to the right dimensions with about two centimetres to spare.
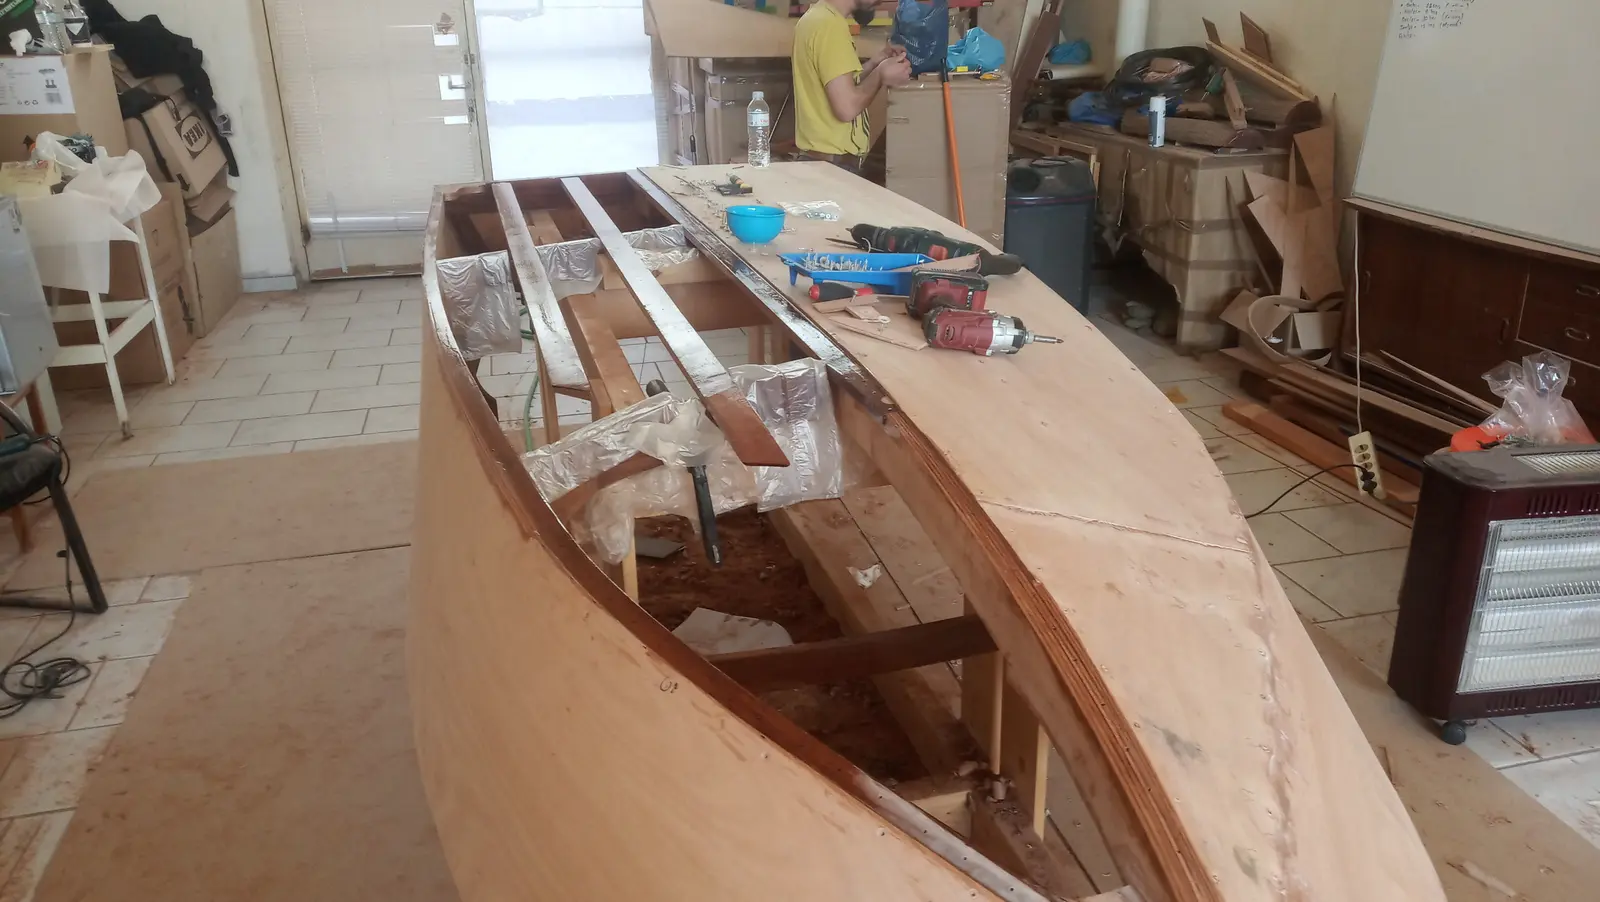
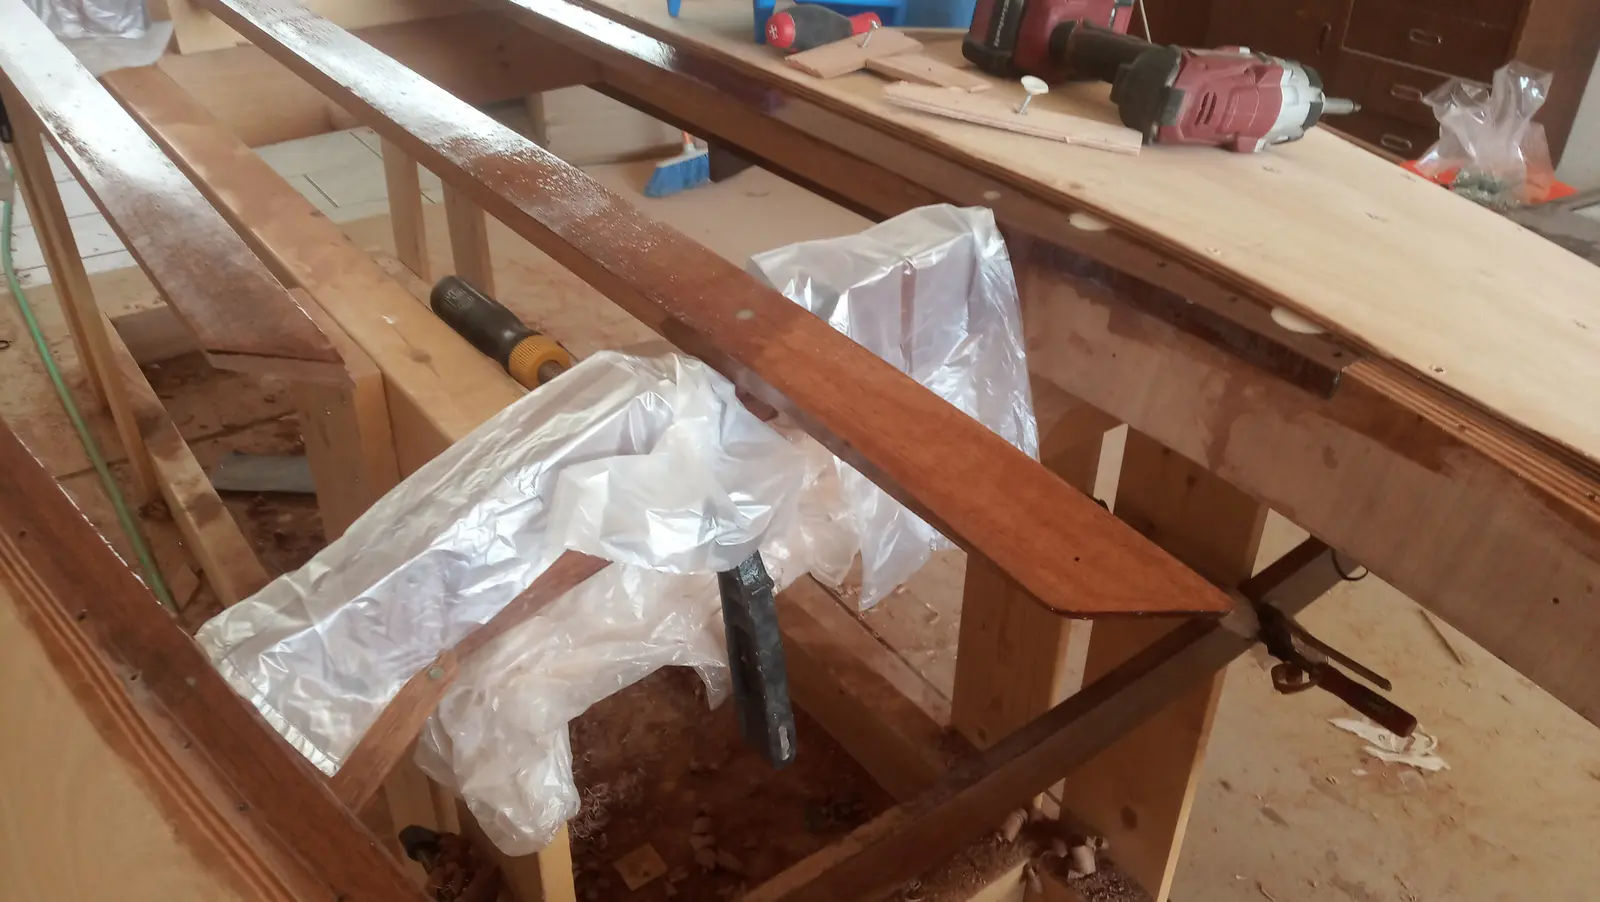
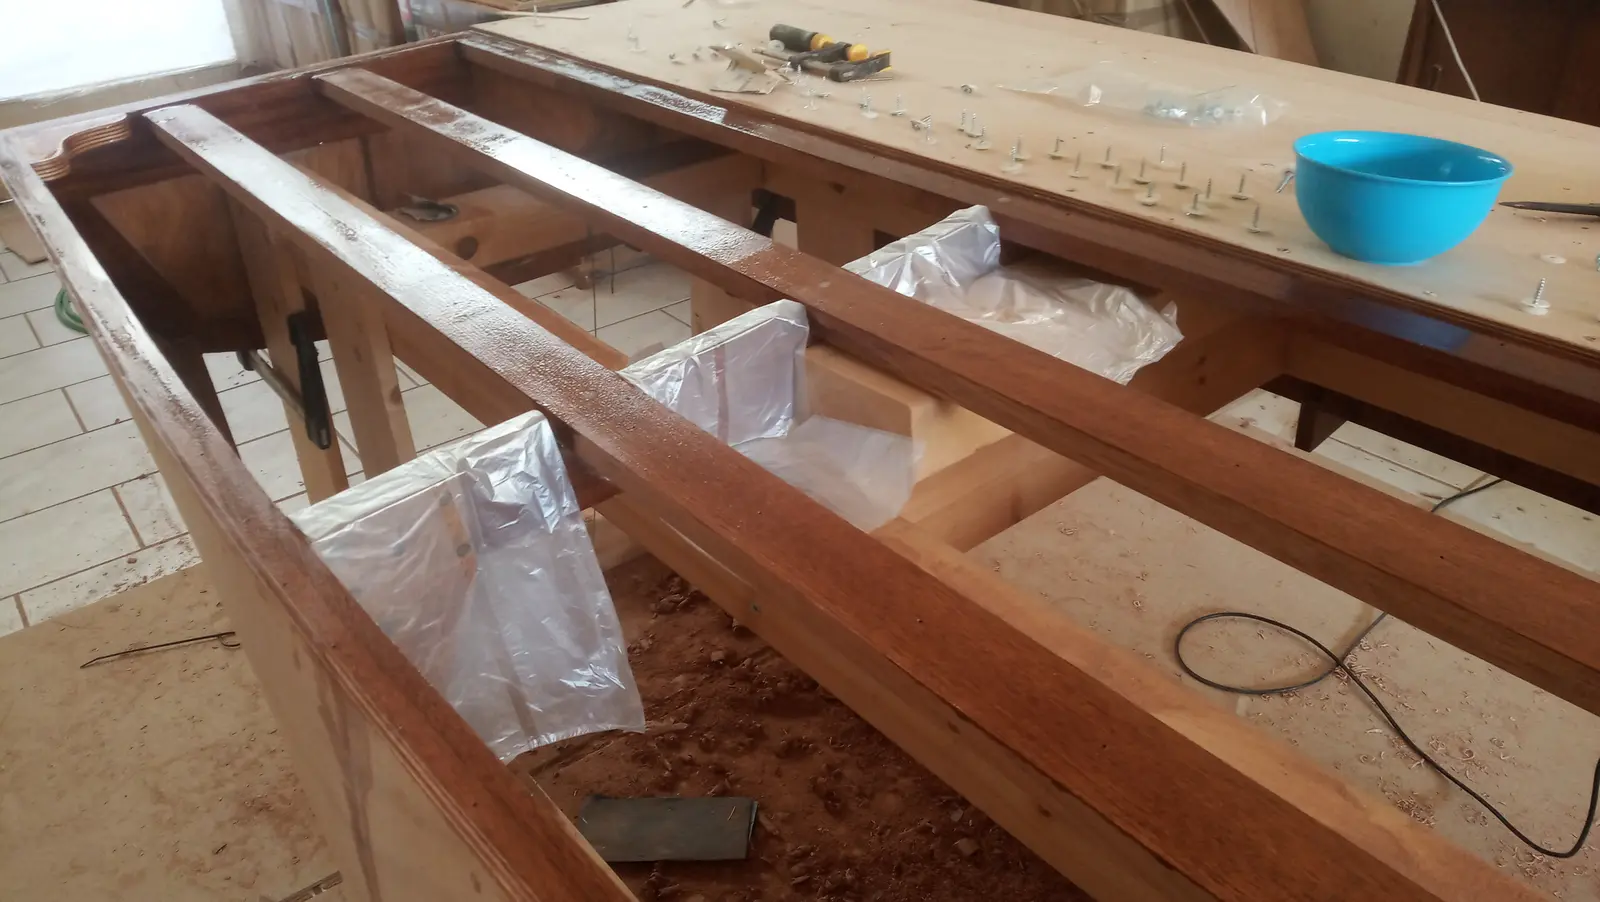
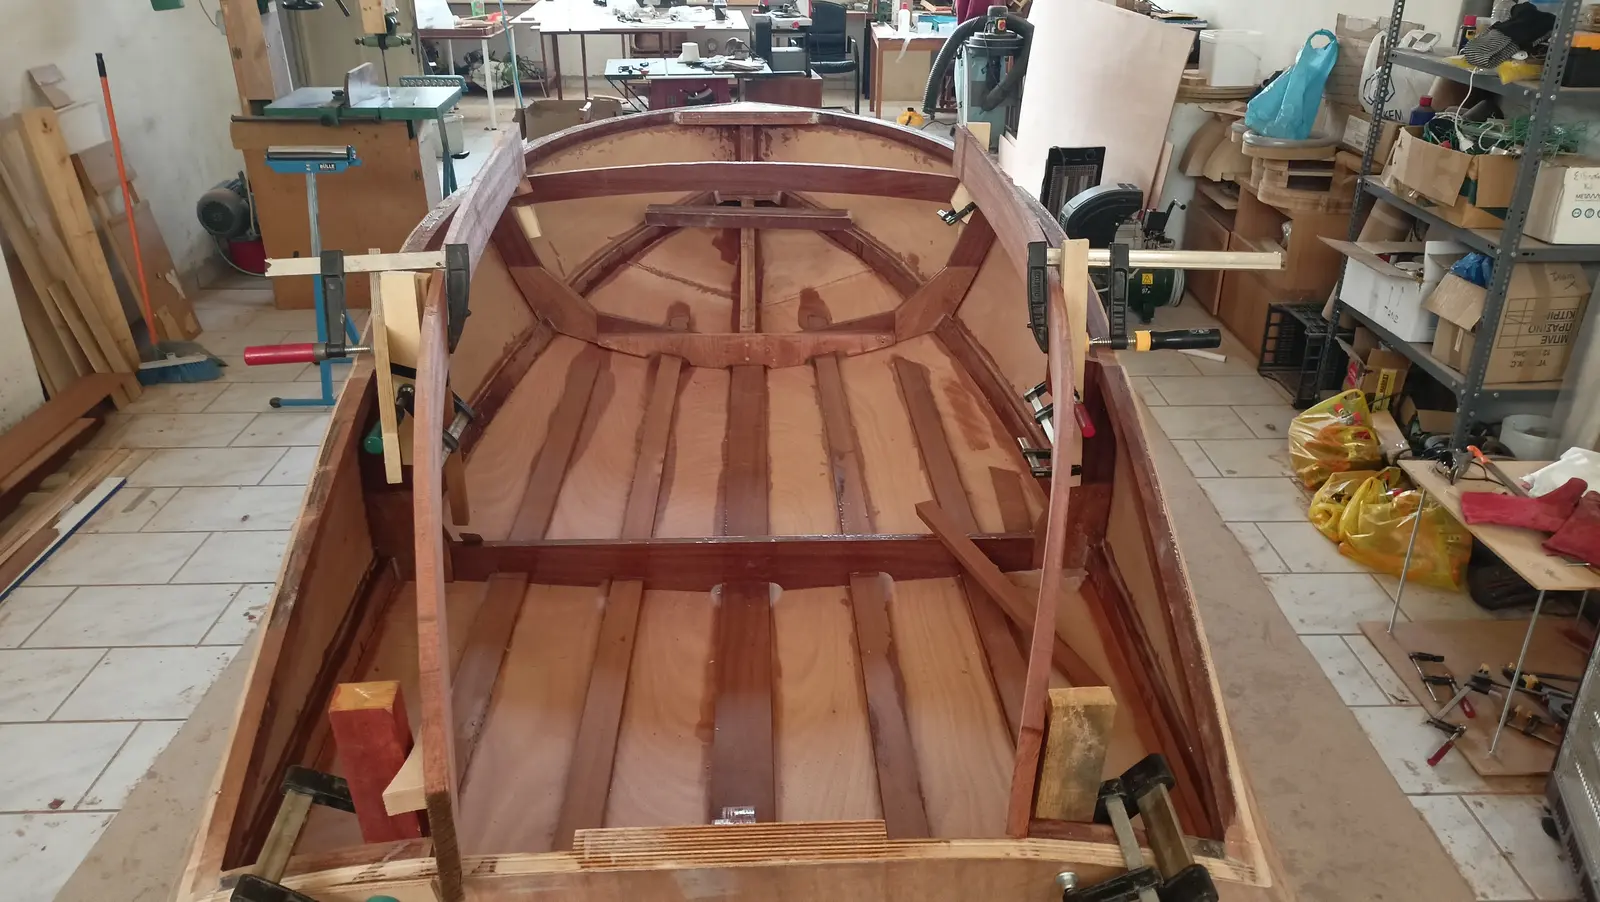
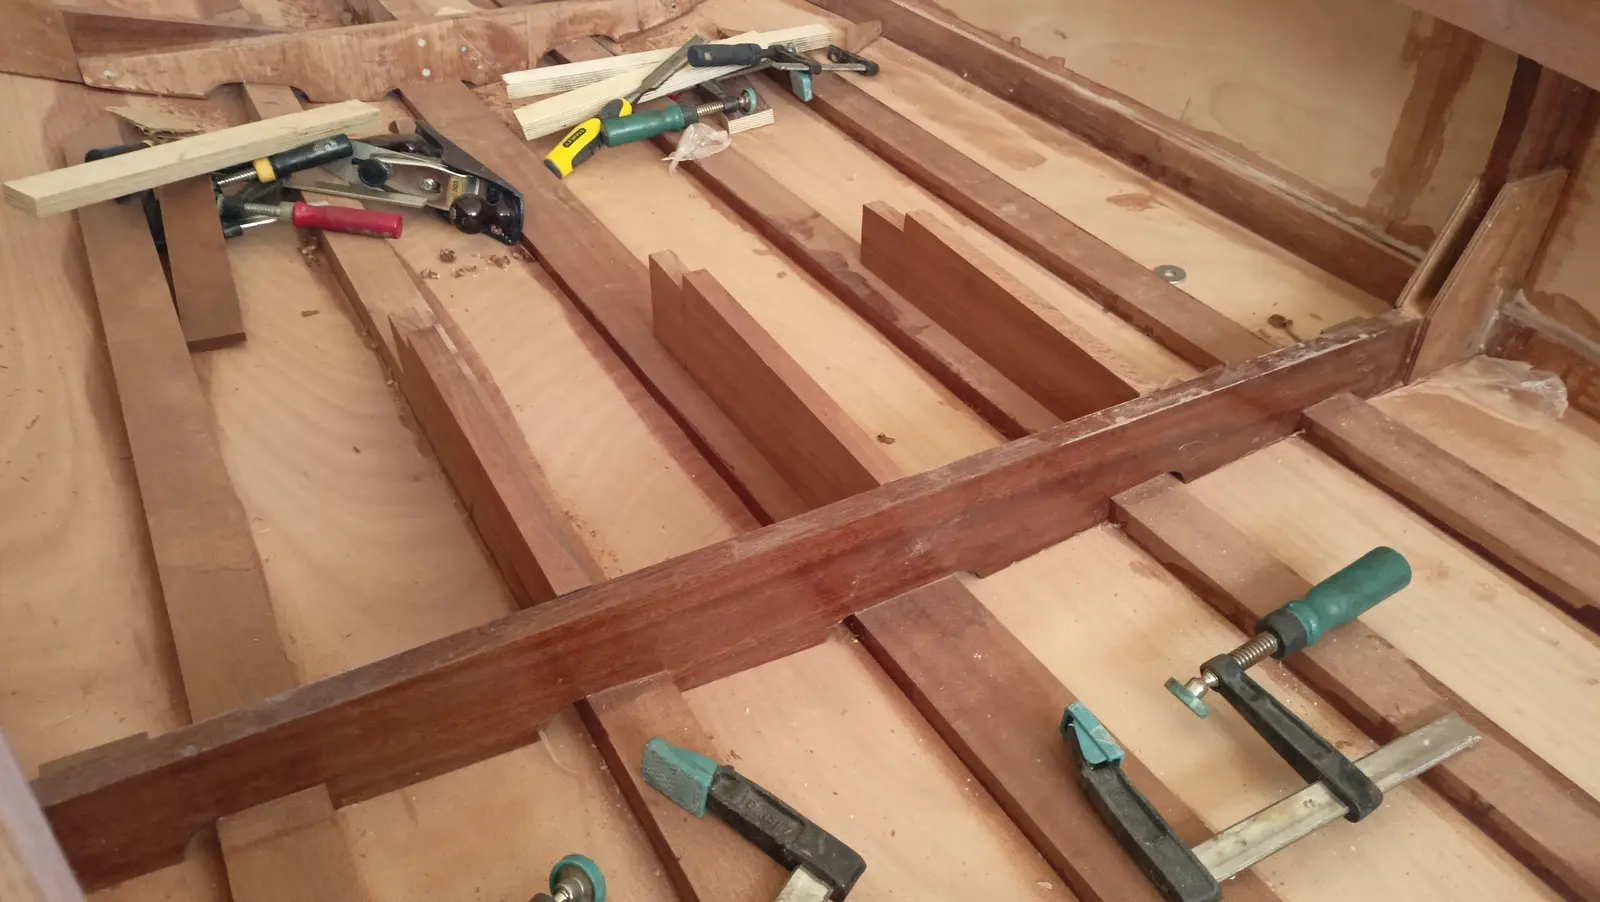
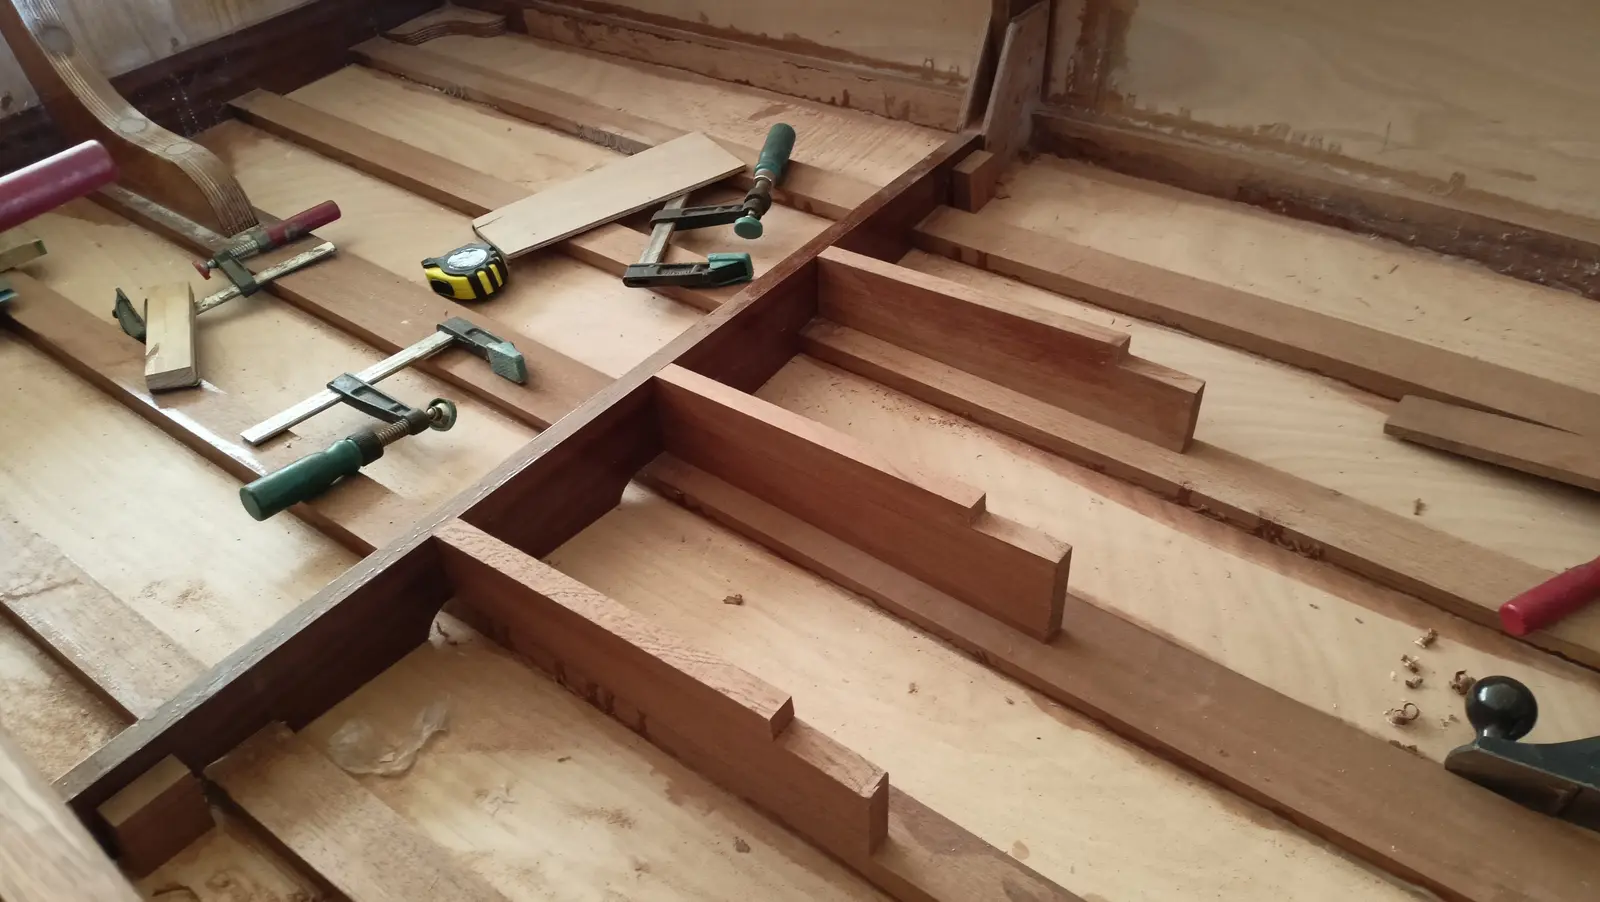
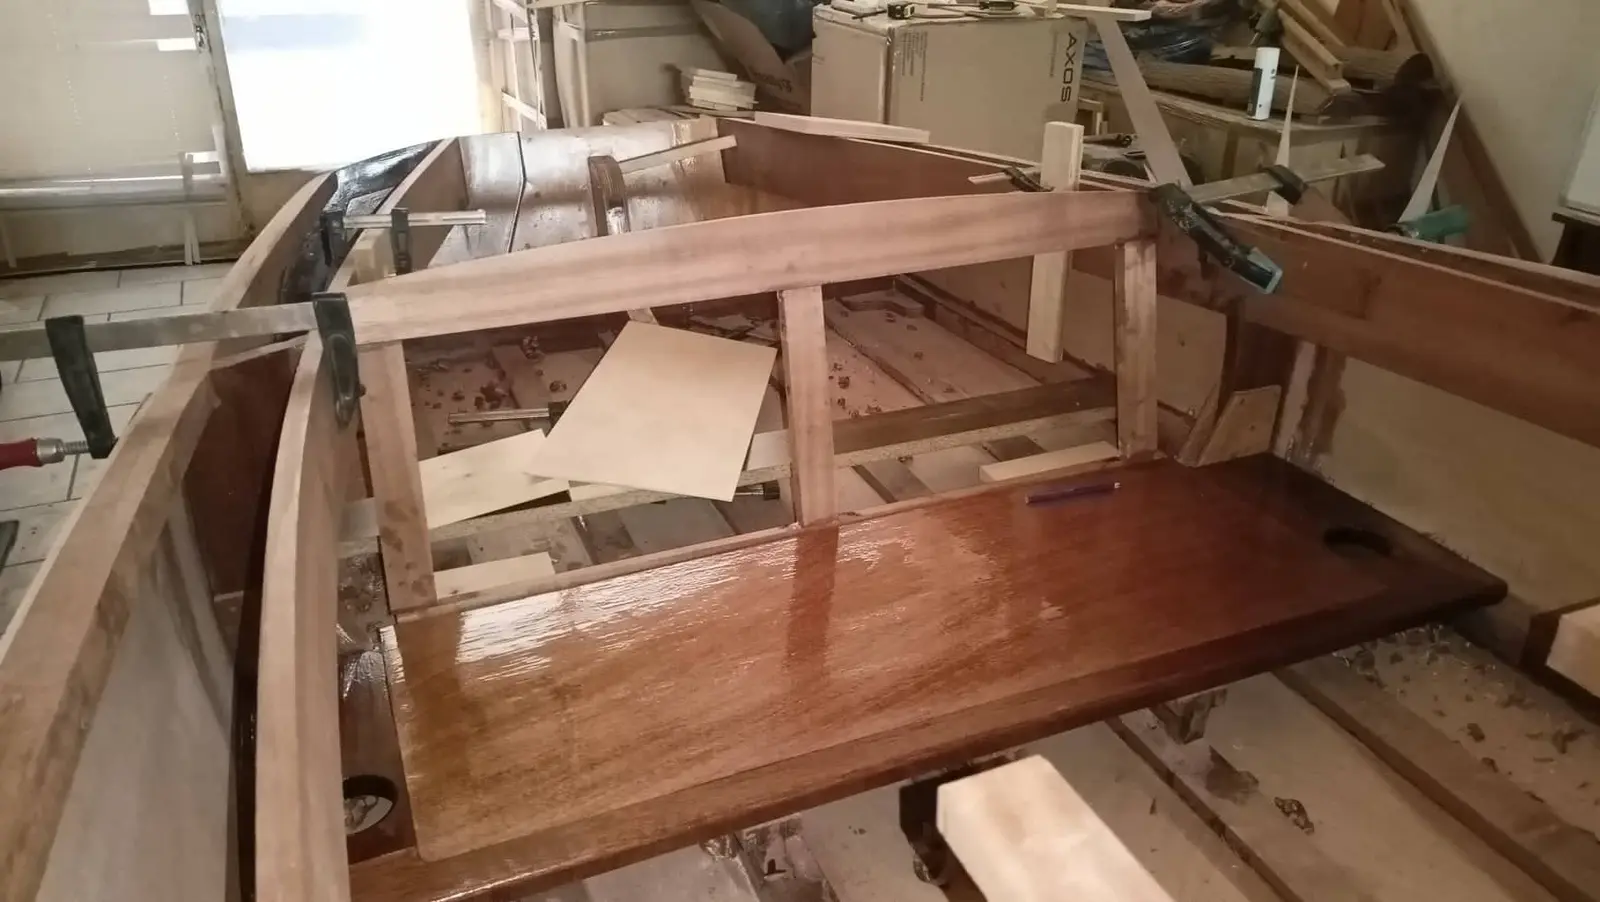
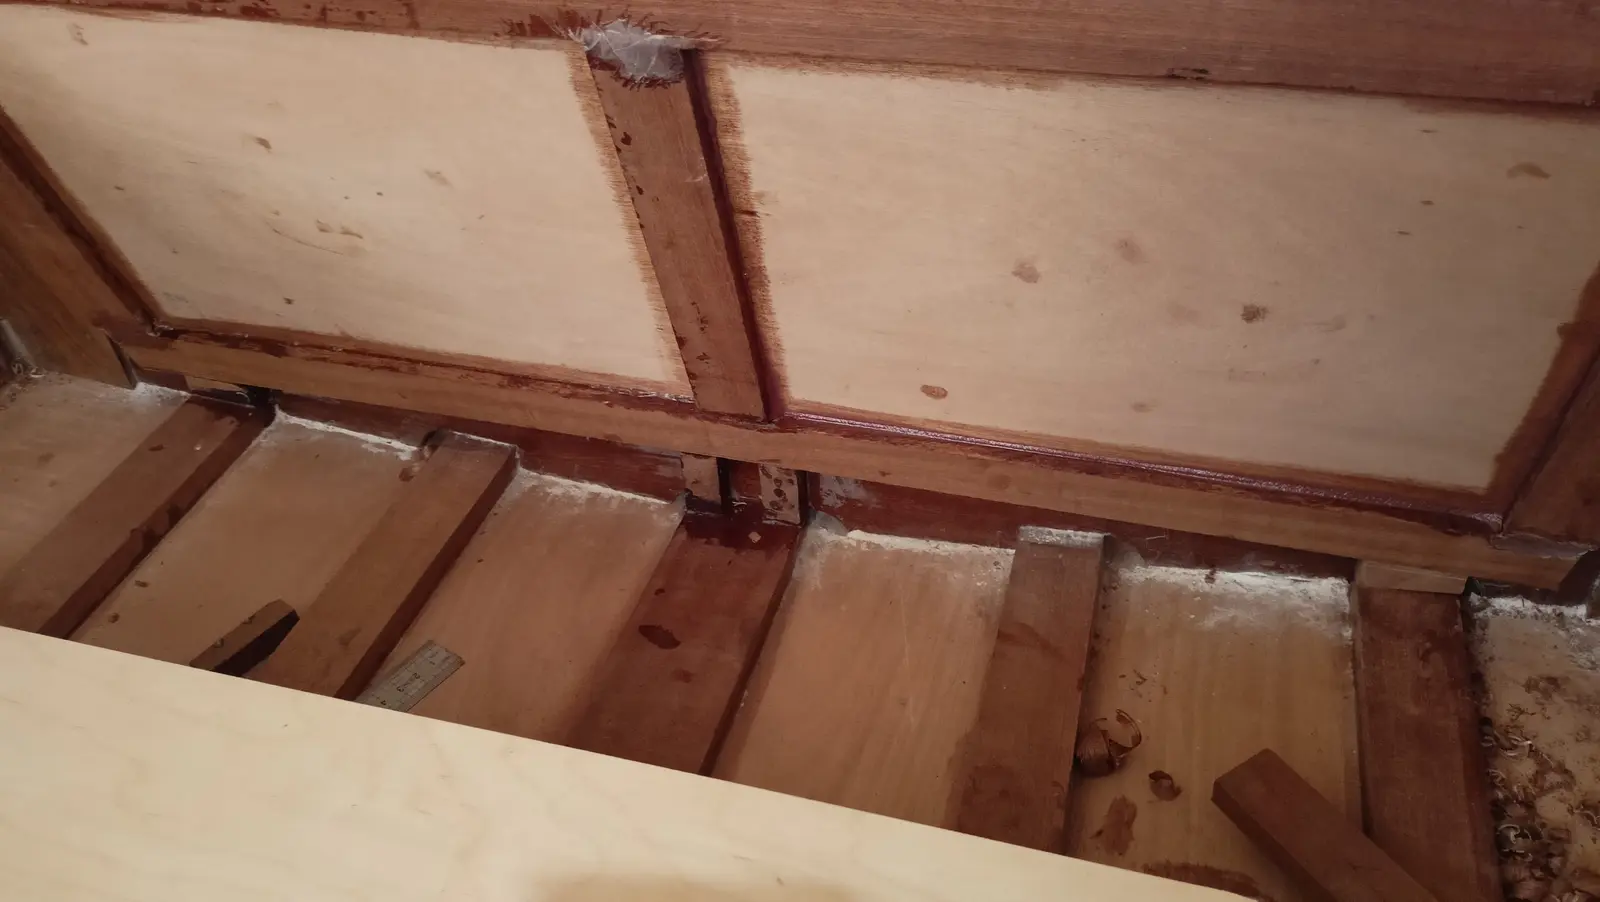
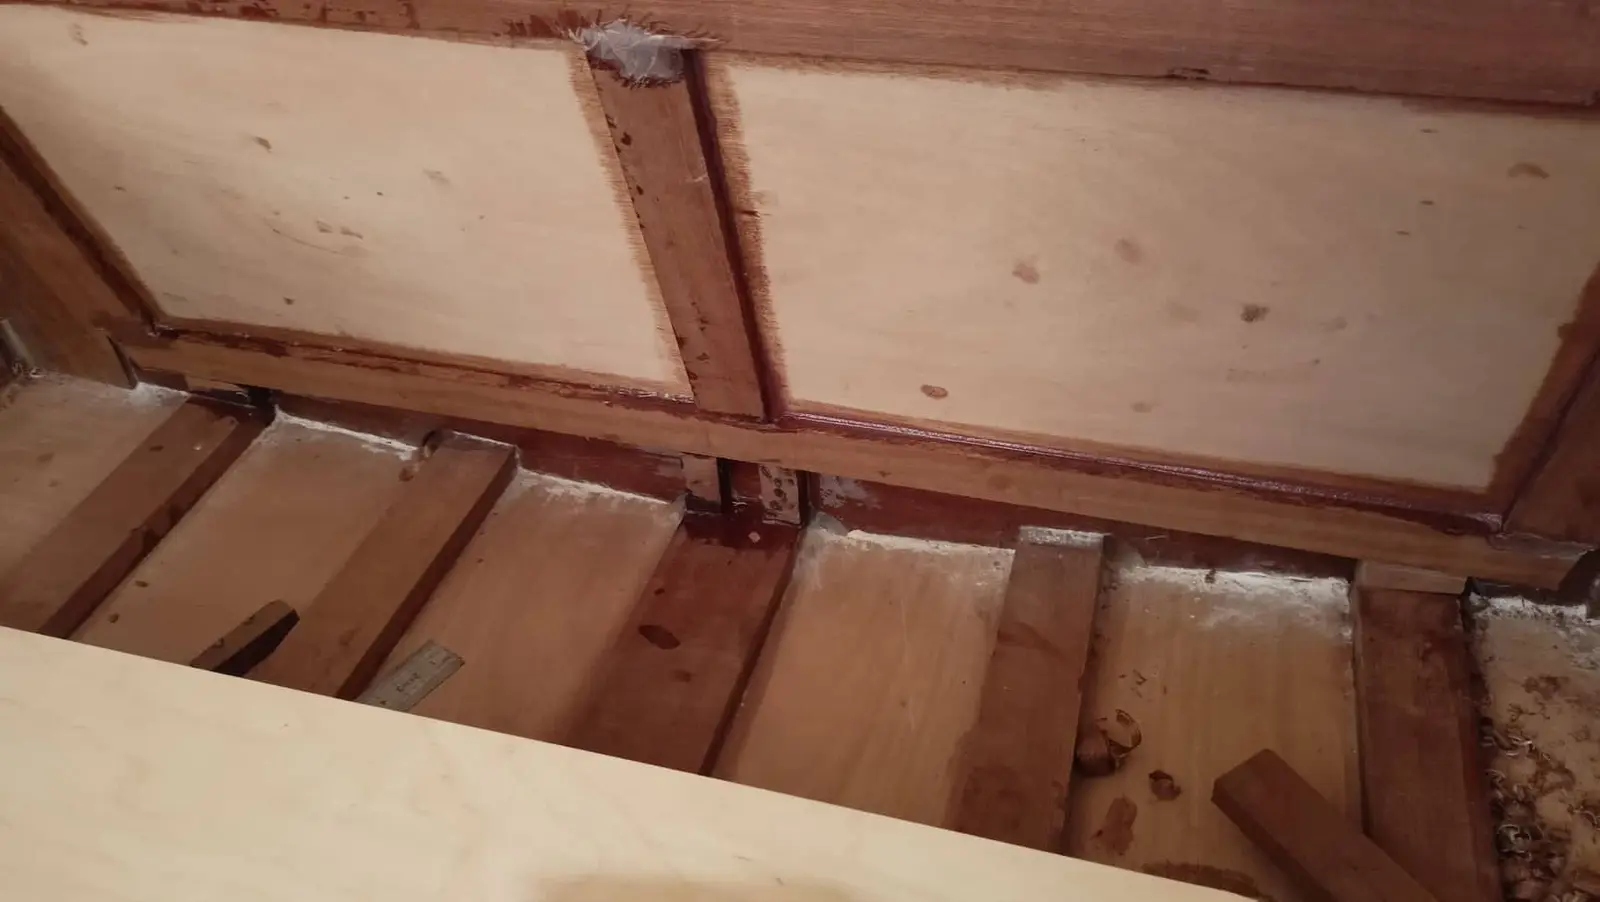
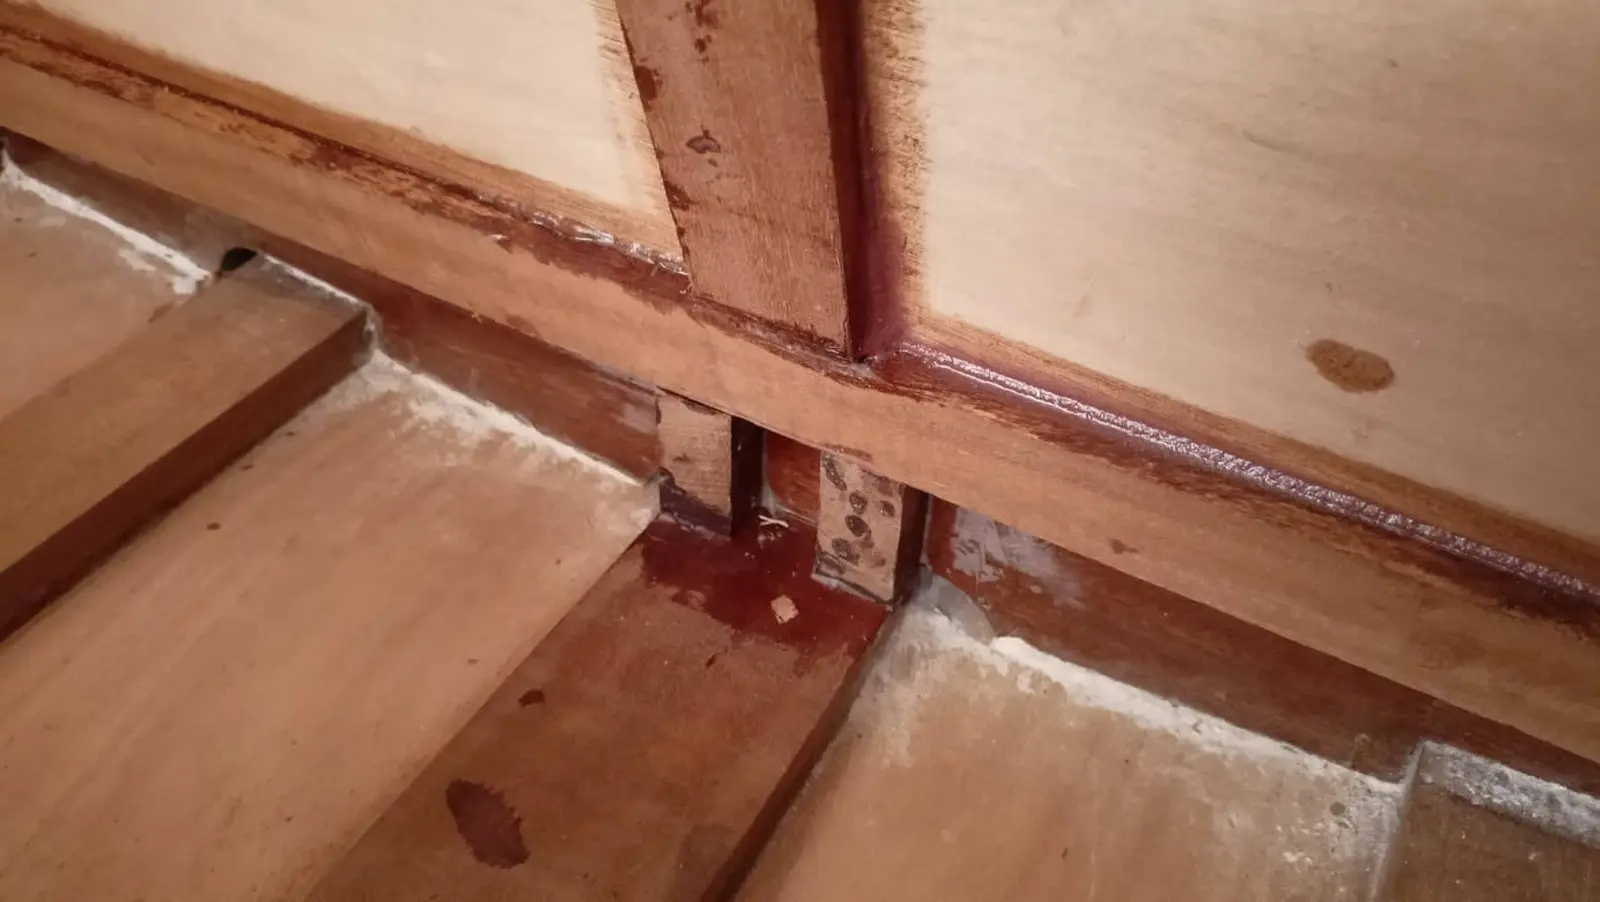
The plywood must NOT be glued to the frames, only to the boat's framework (the chines and sheers, the timbers that run lengthways). This looks odd, but it is presumably so that vibration is not transmitted into them. Because the areas under the frames cannot be coated with resin after gluing, and not easily with paint either, I gave them two coats of resin before gluing to seal them.
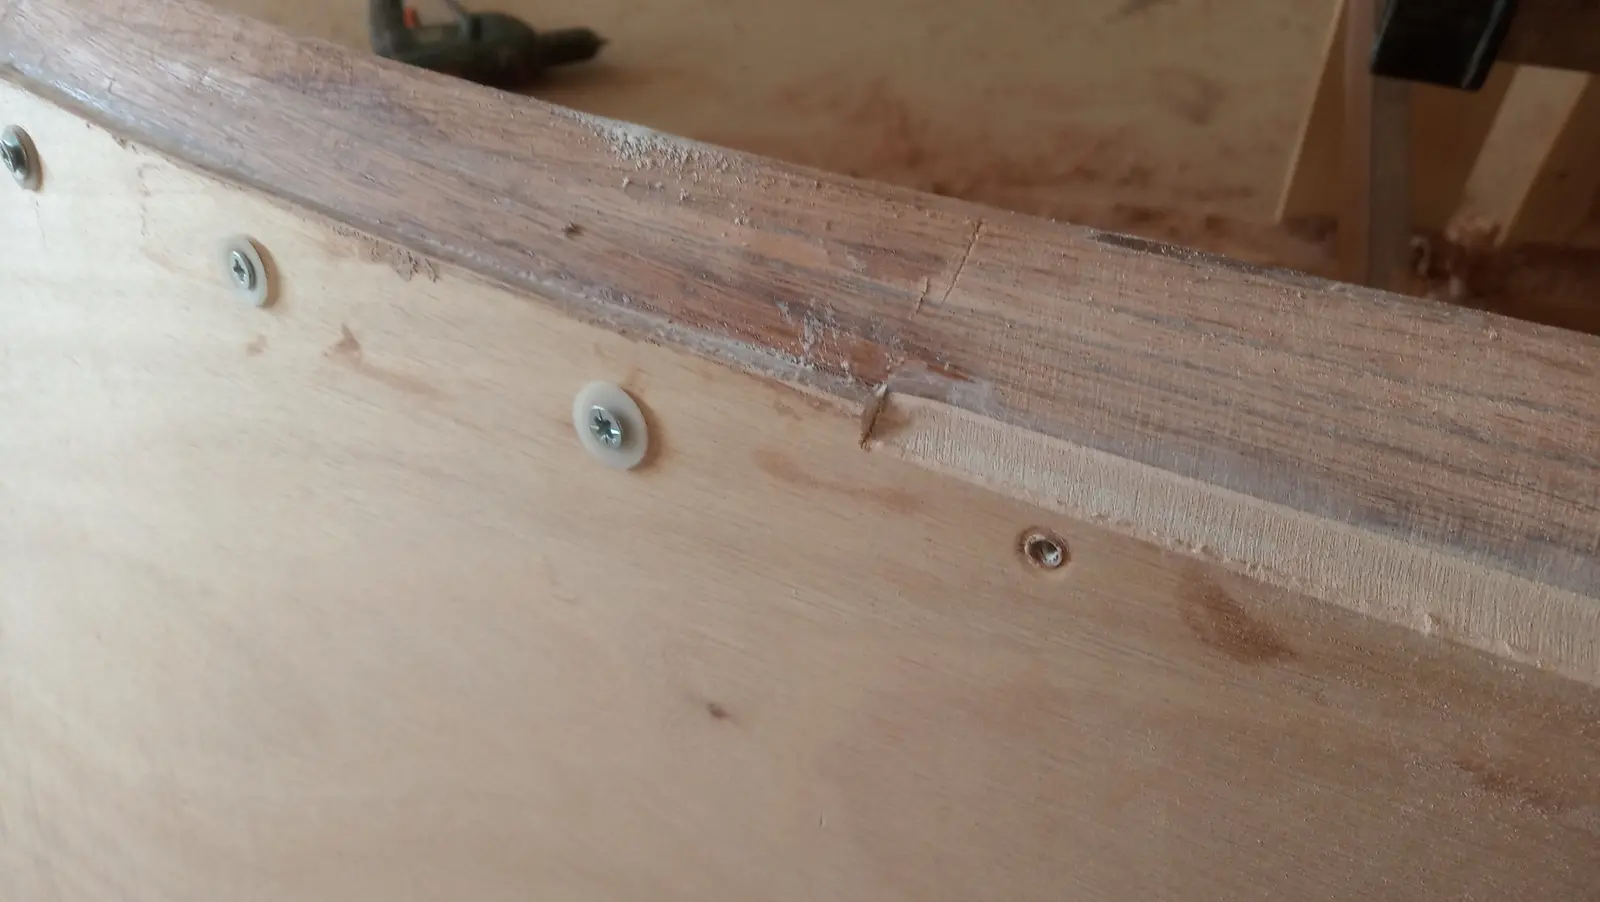
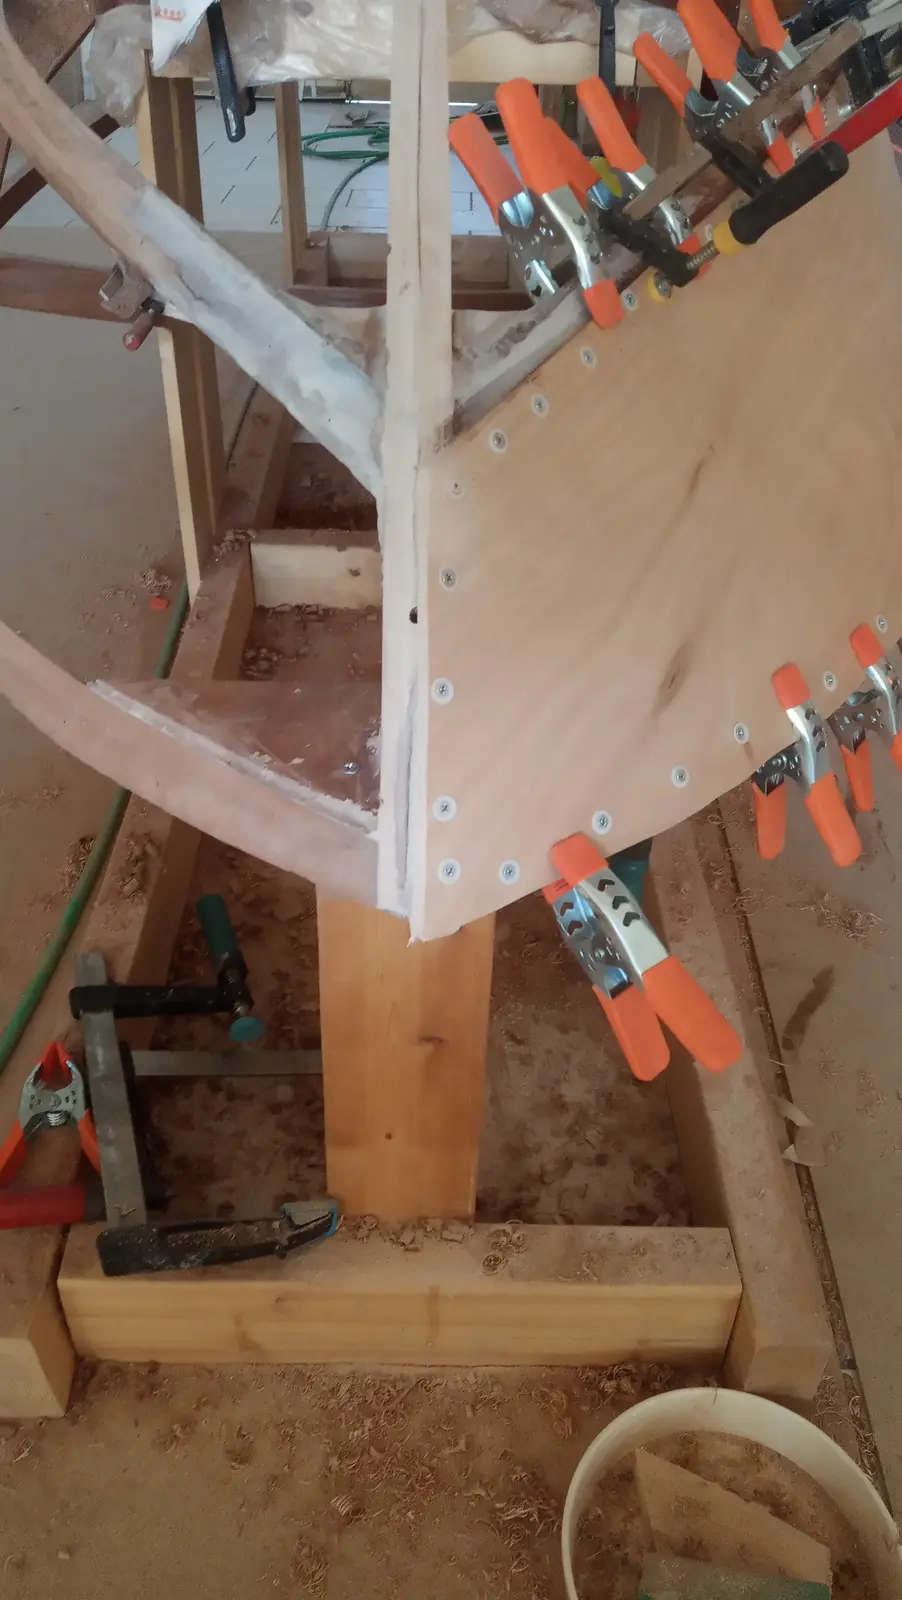
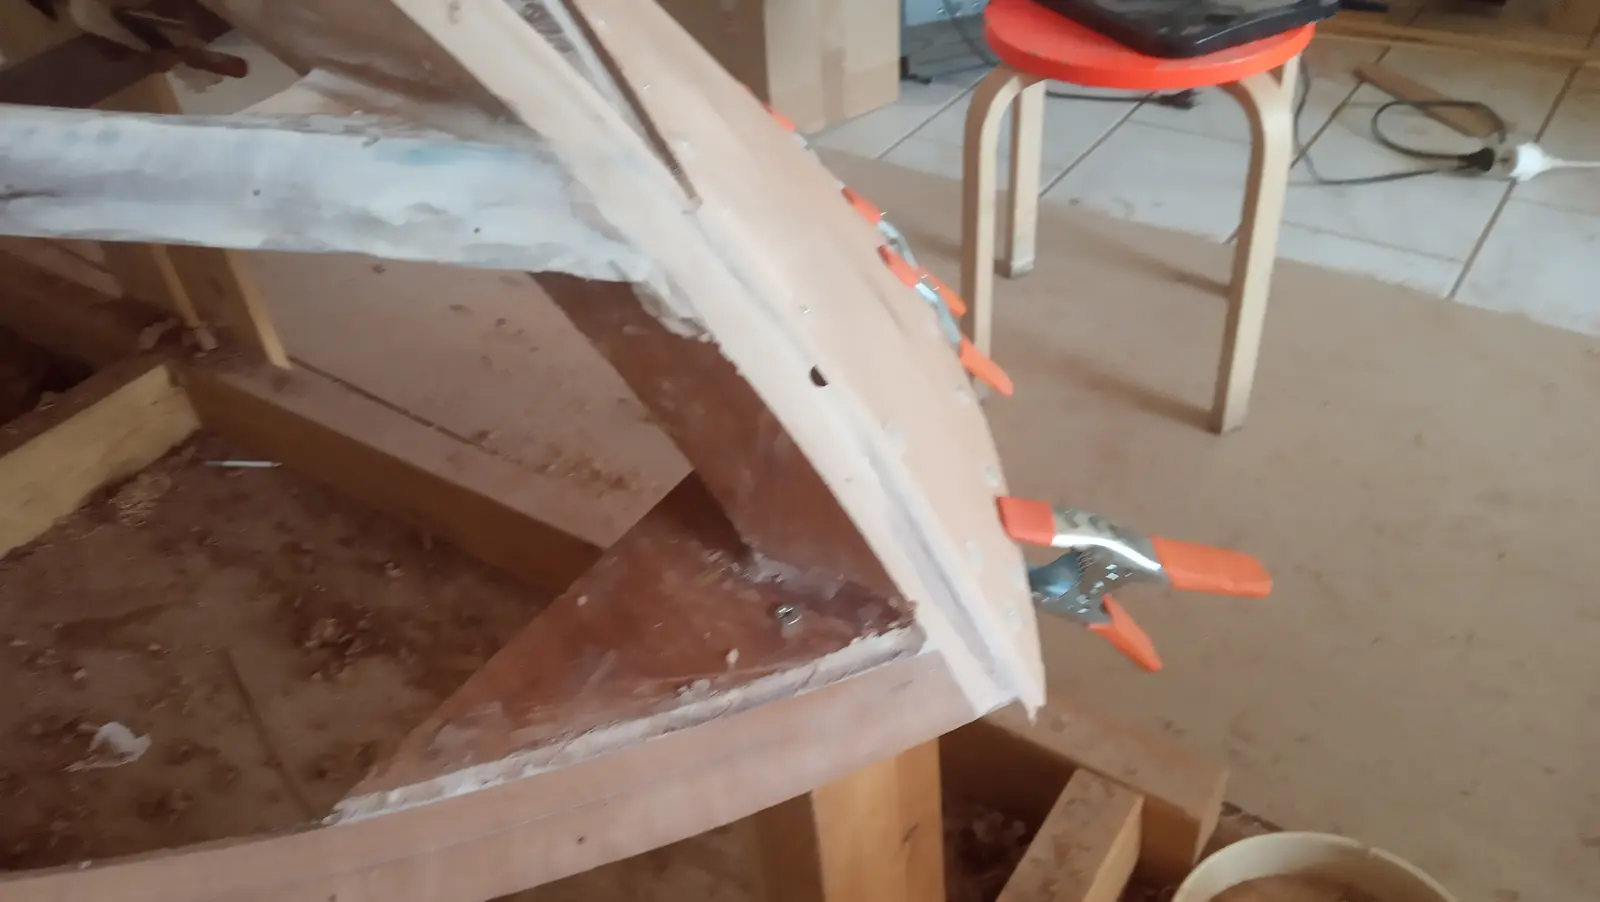
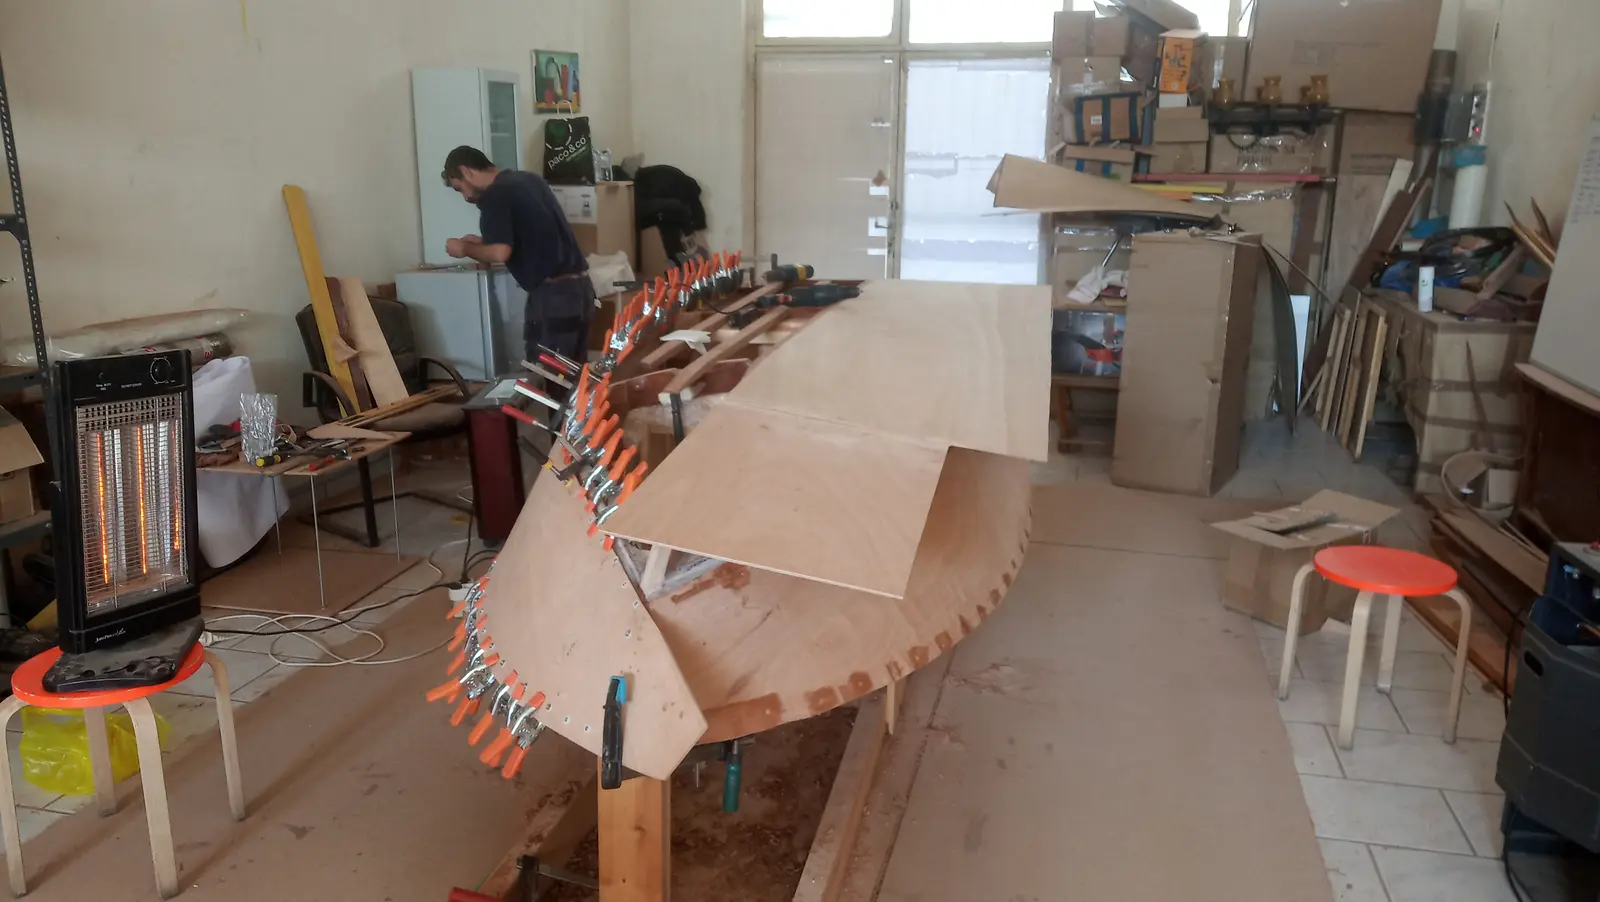
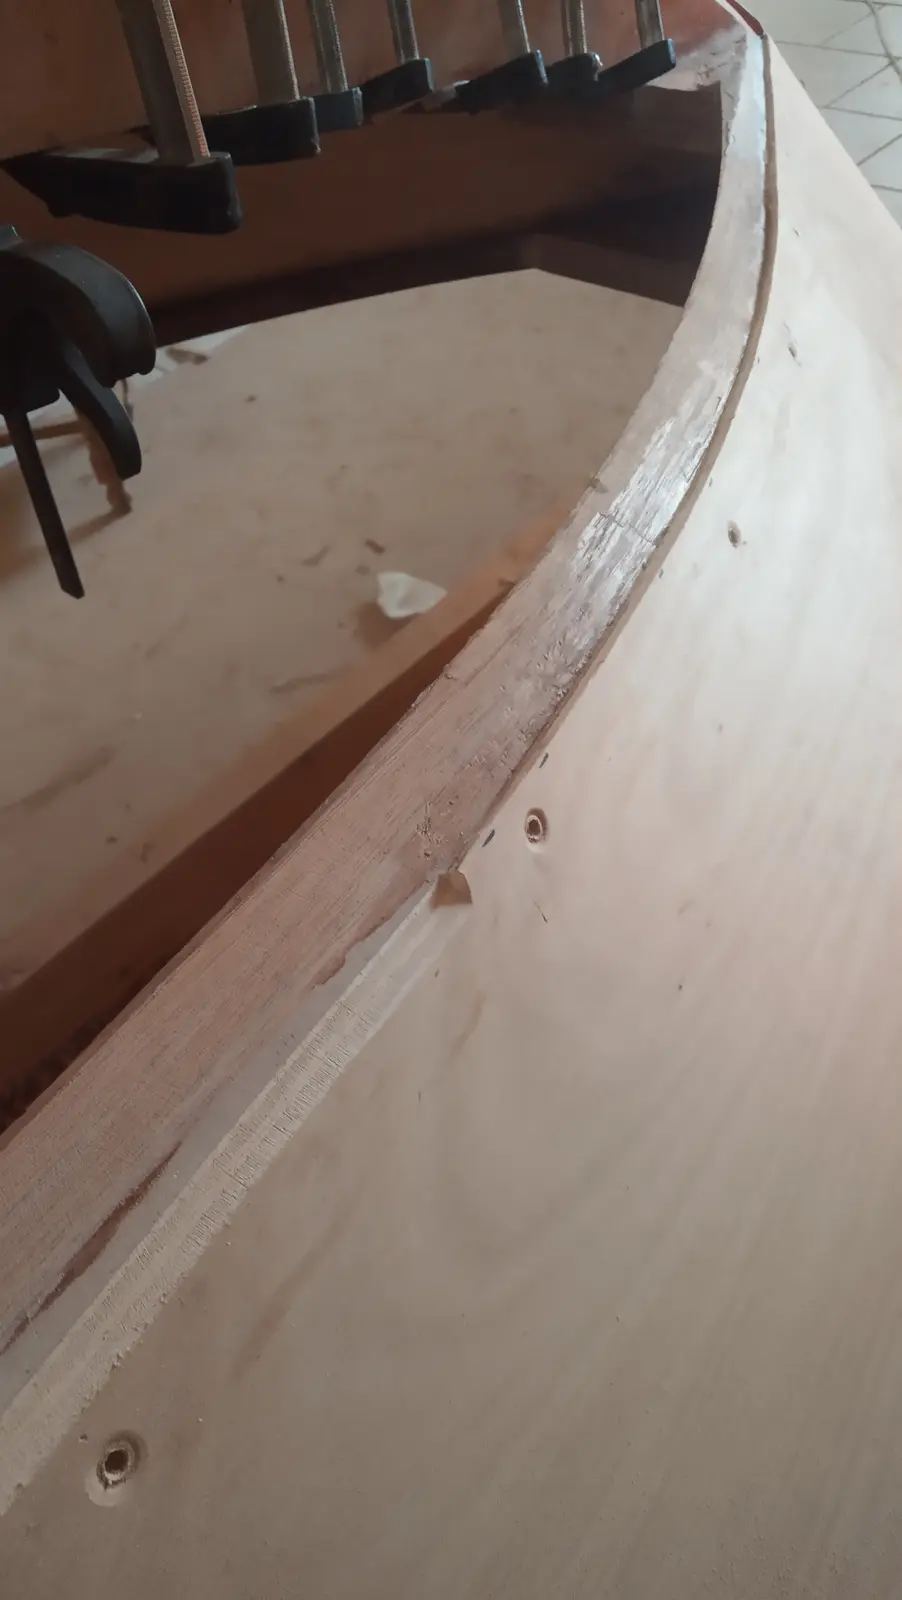
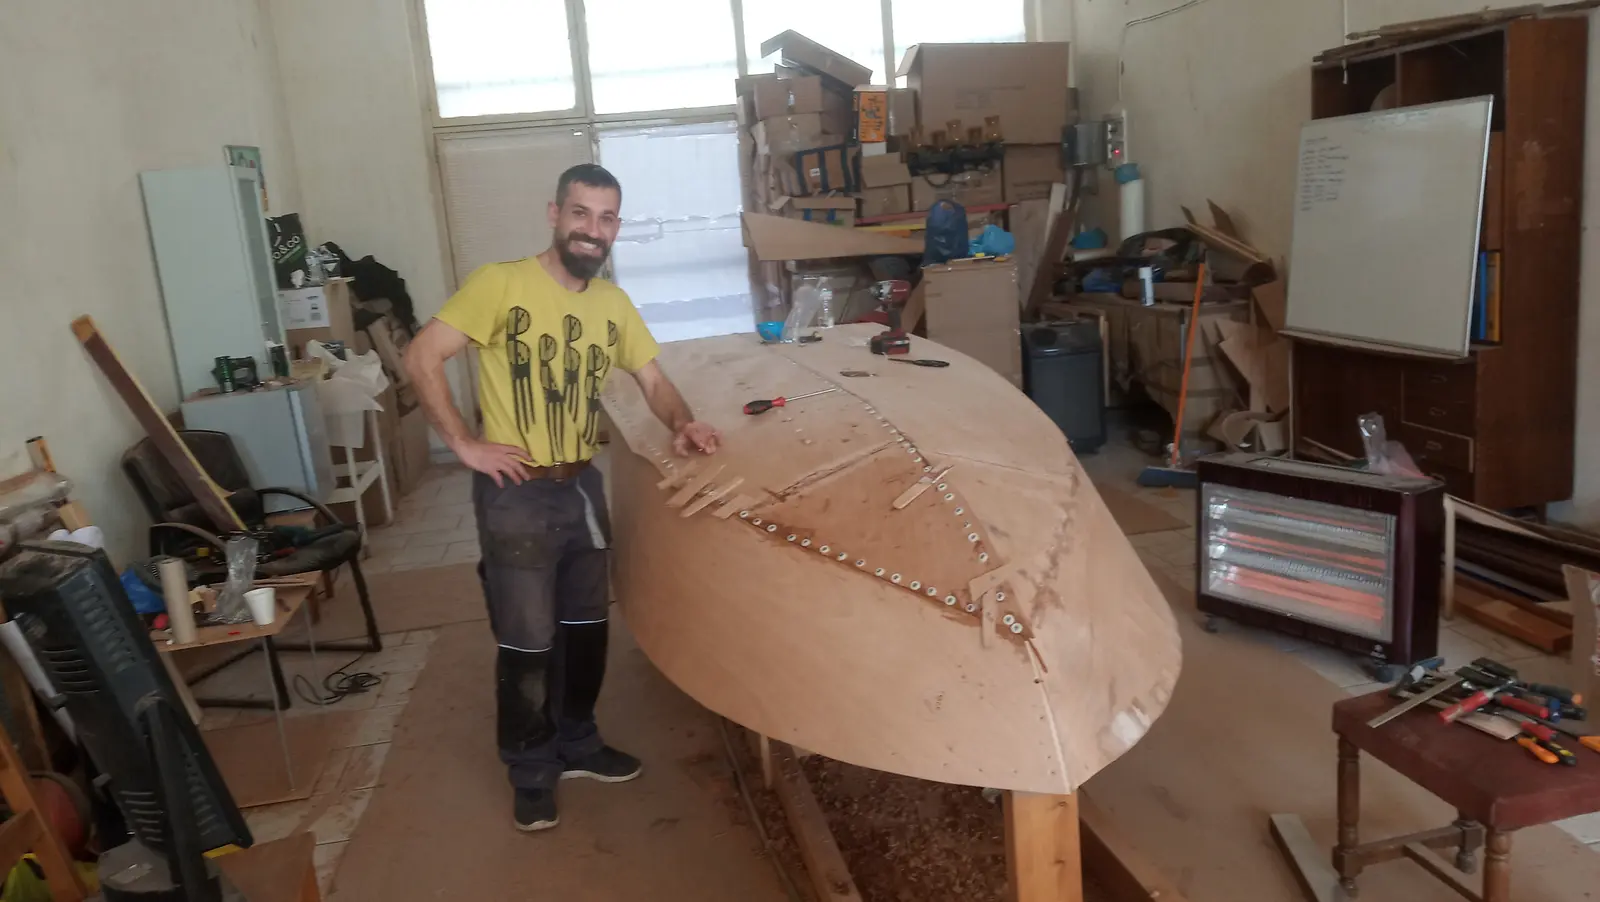
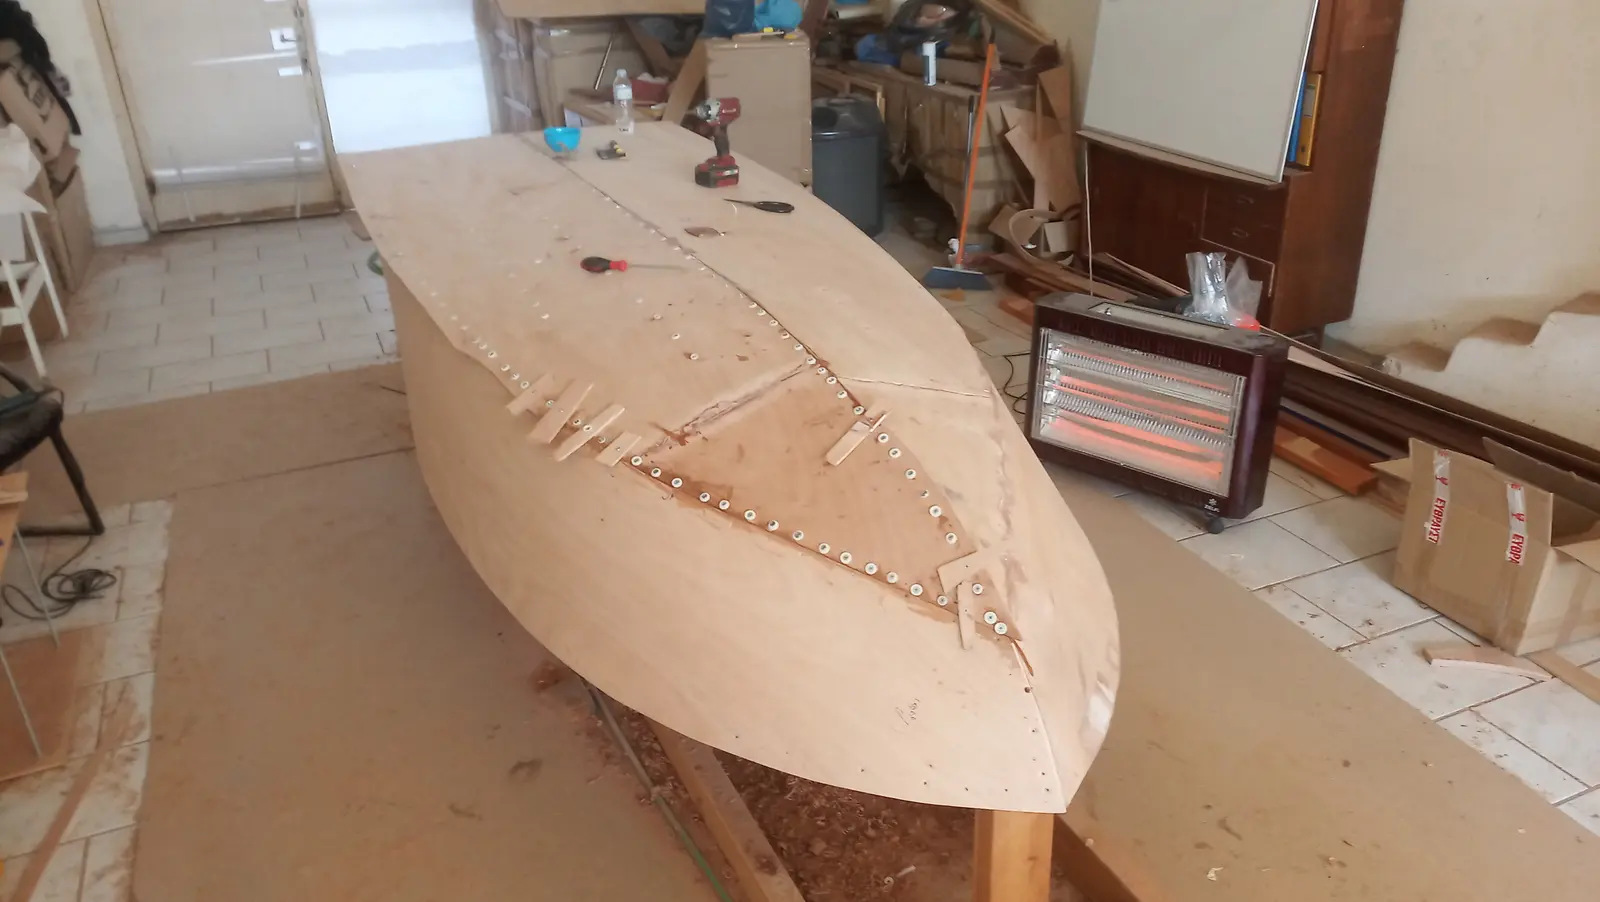
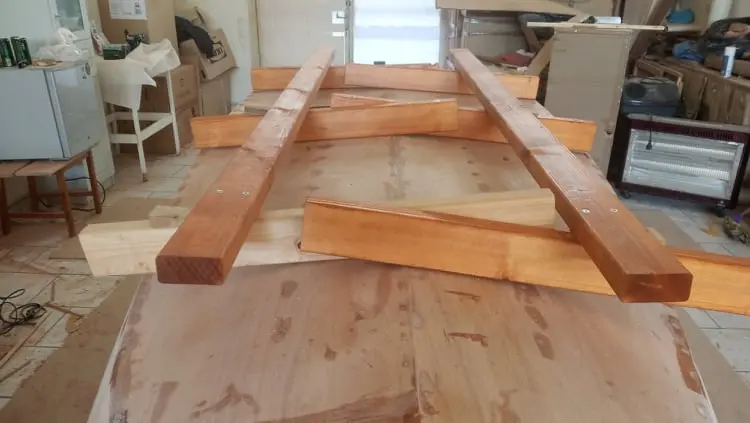
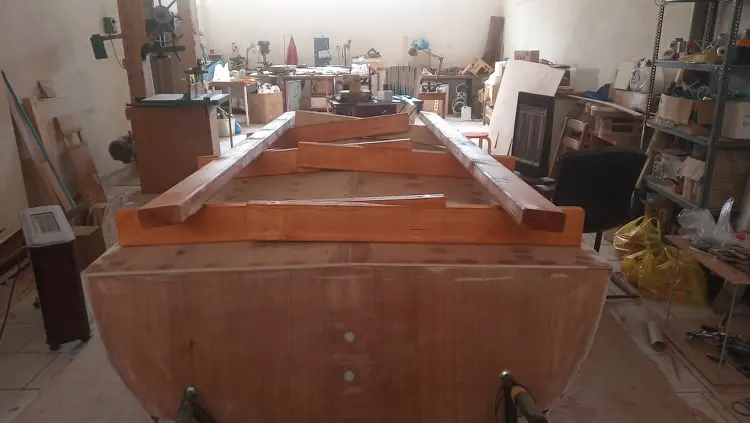
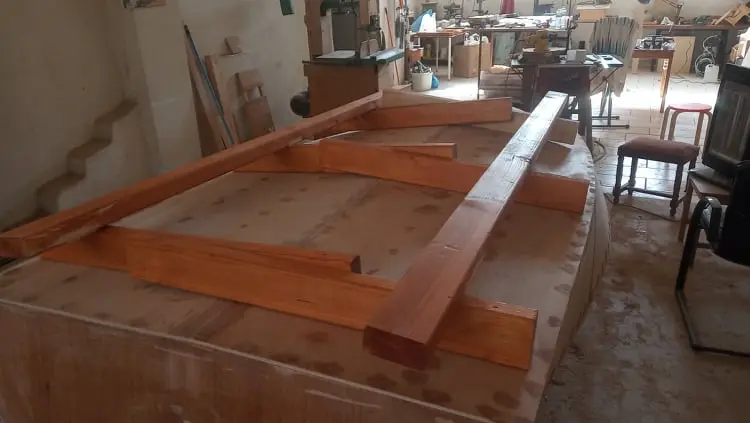
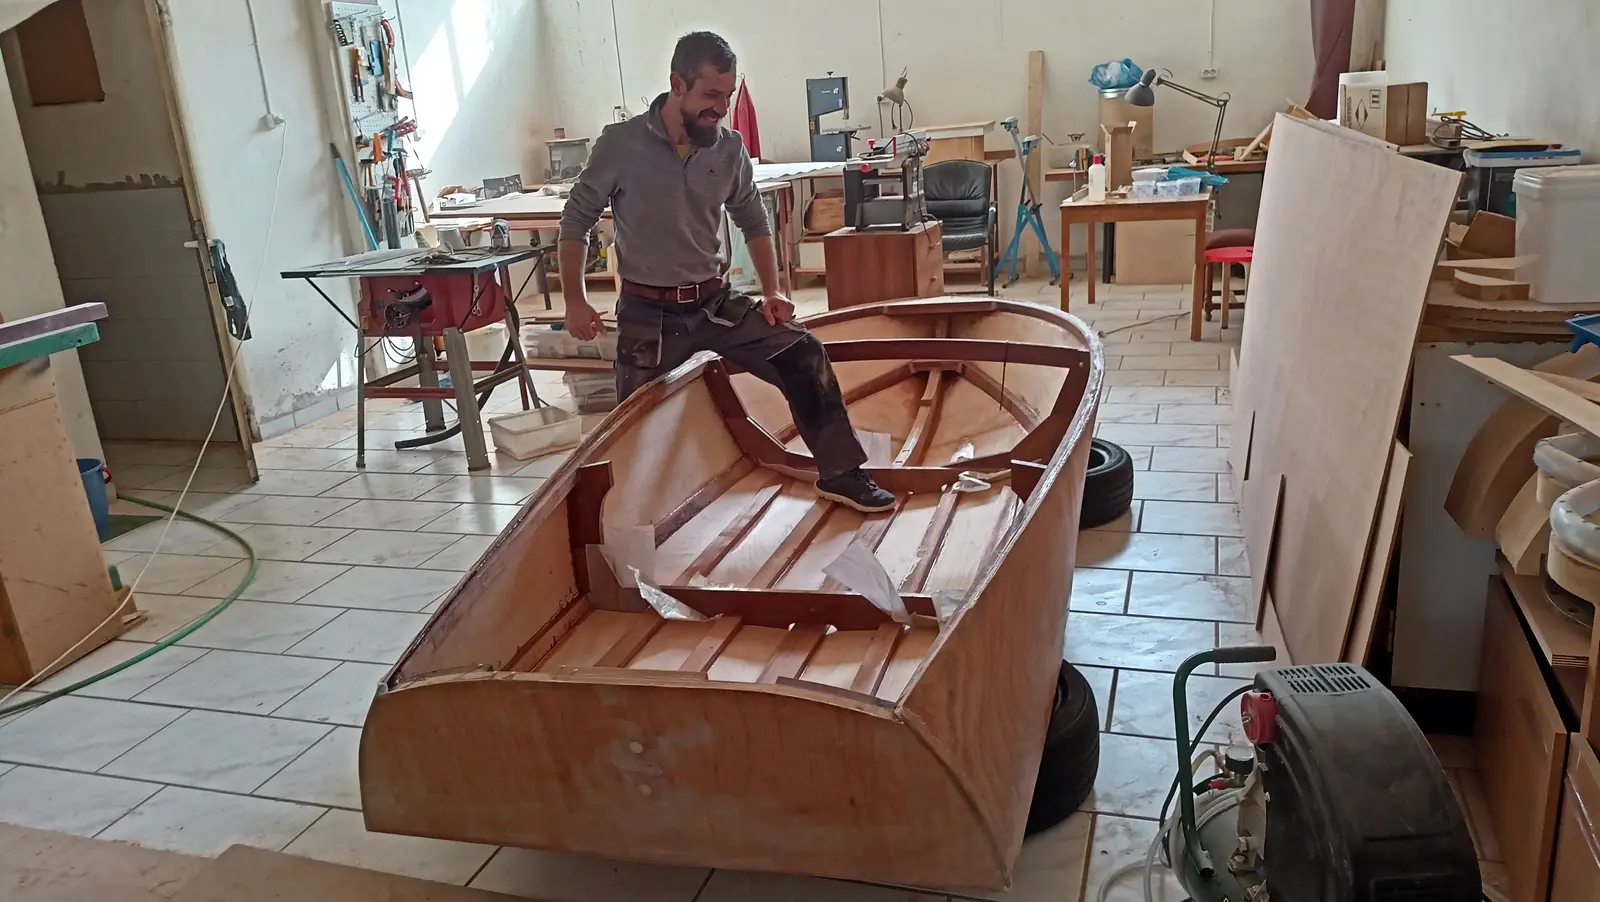
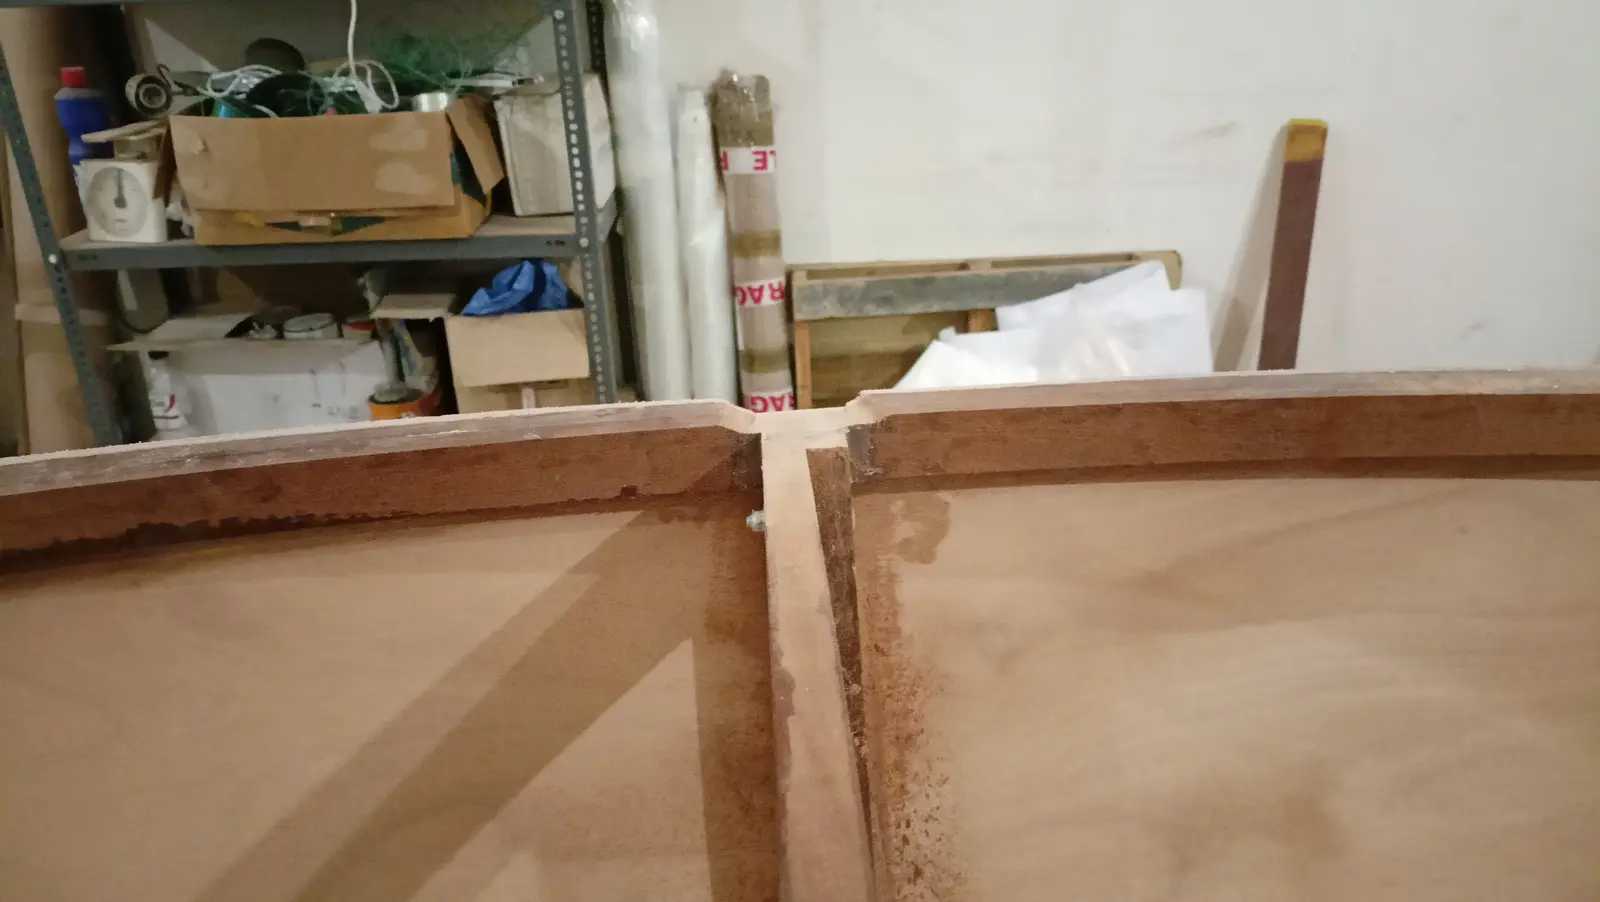
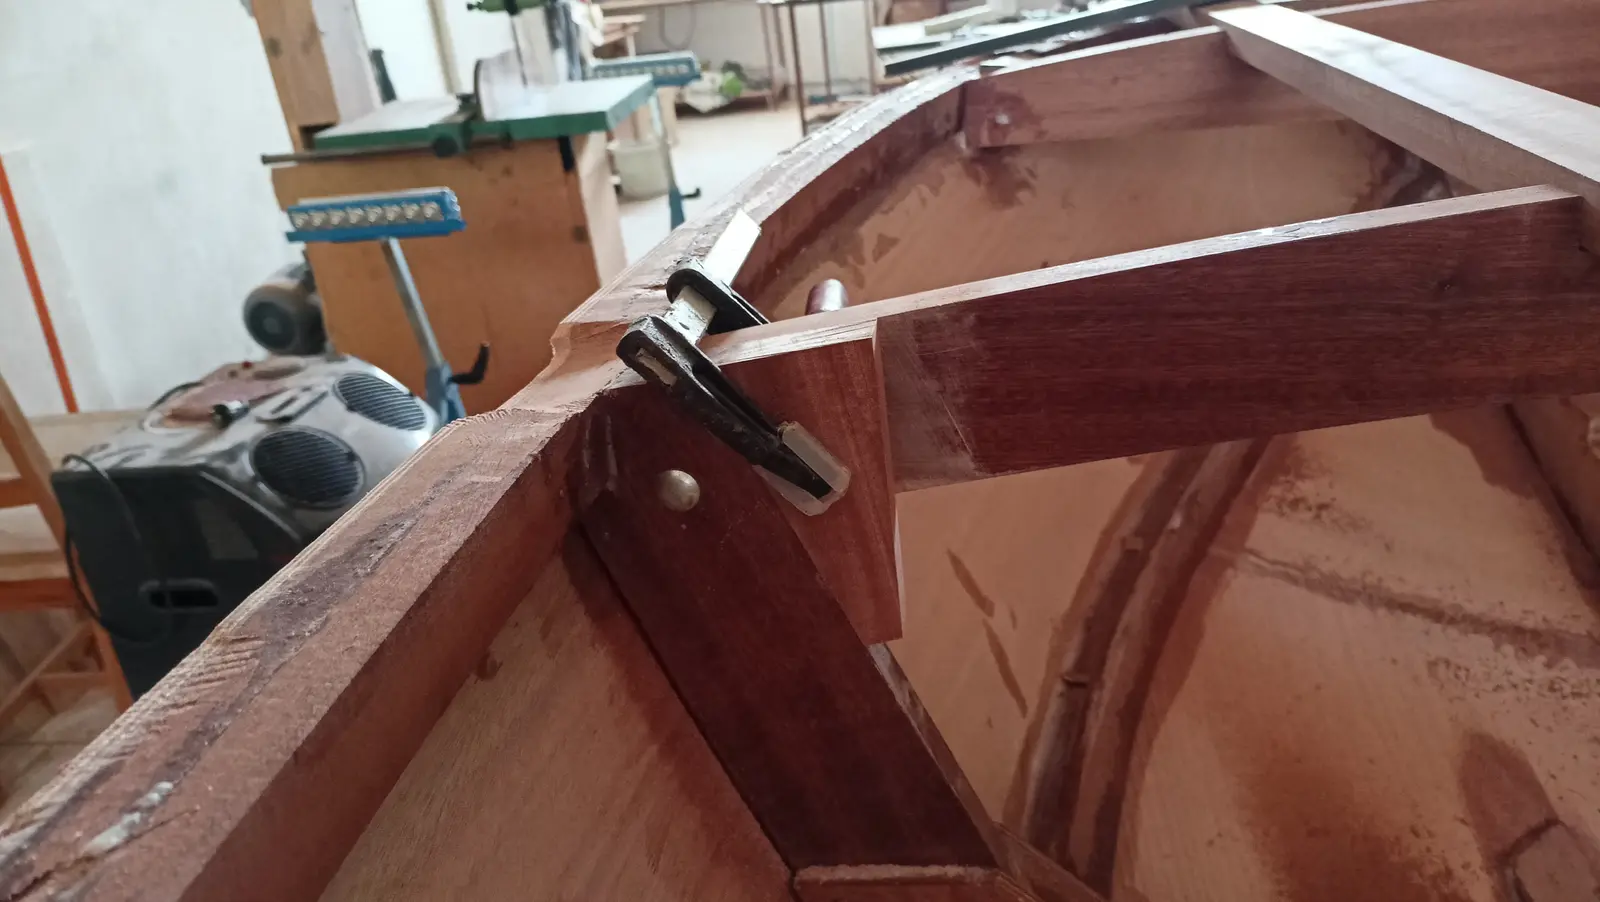
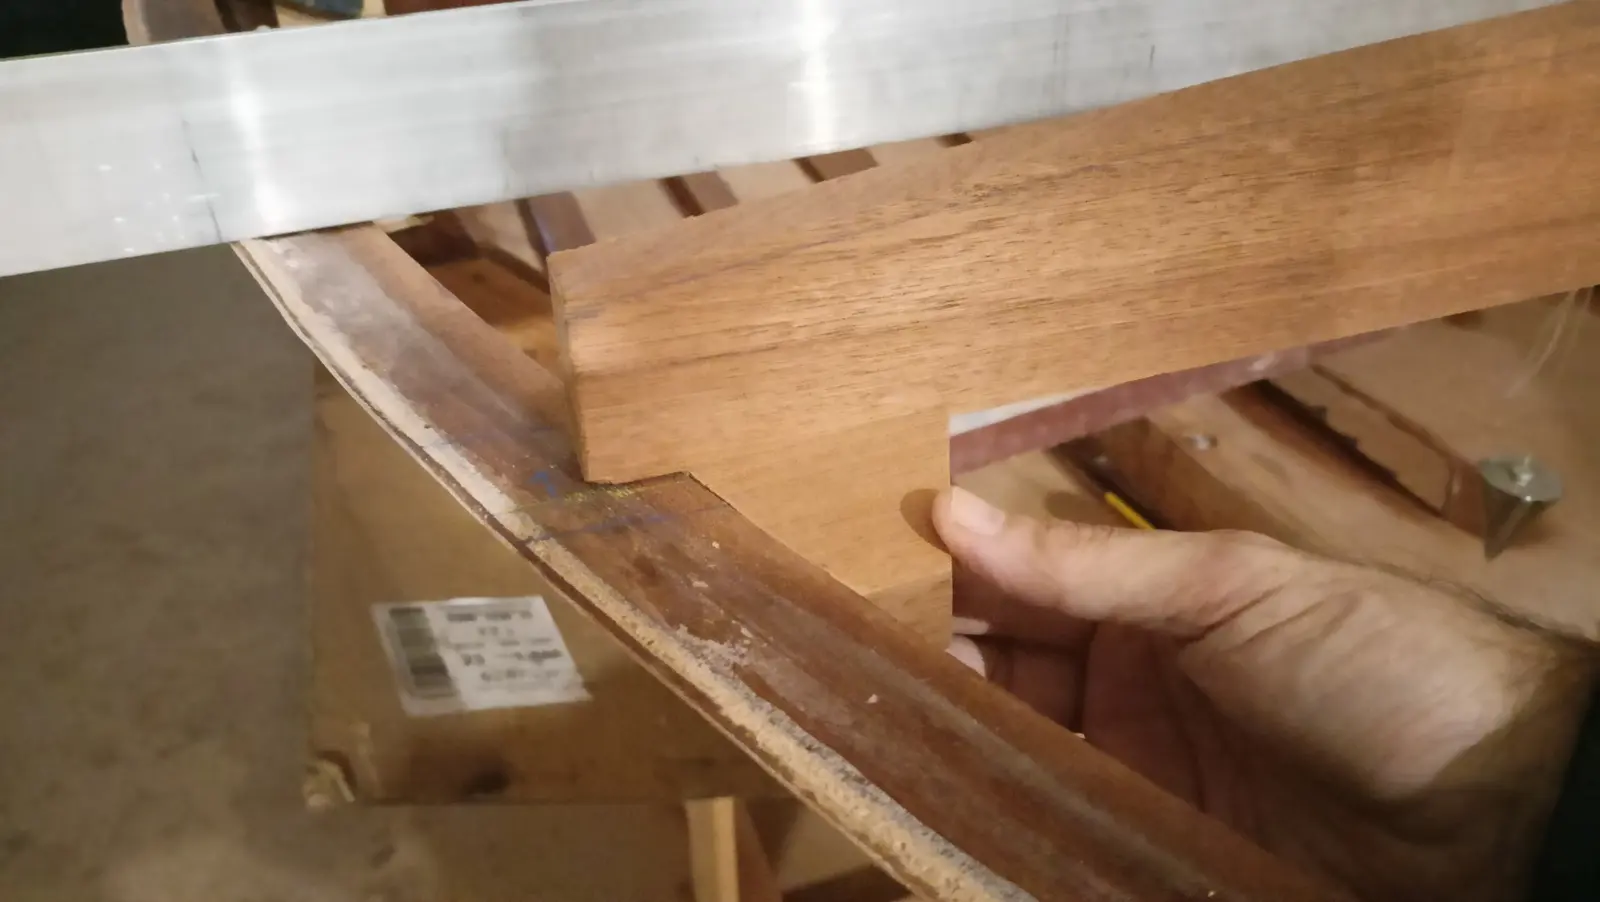
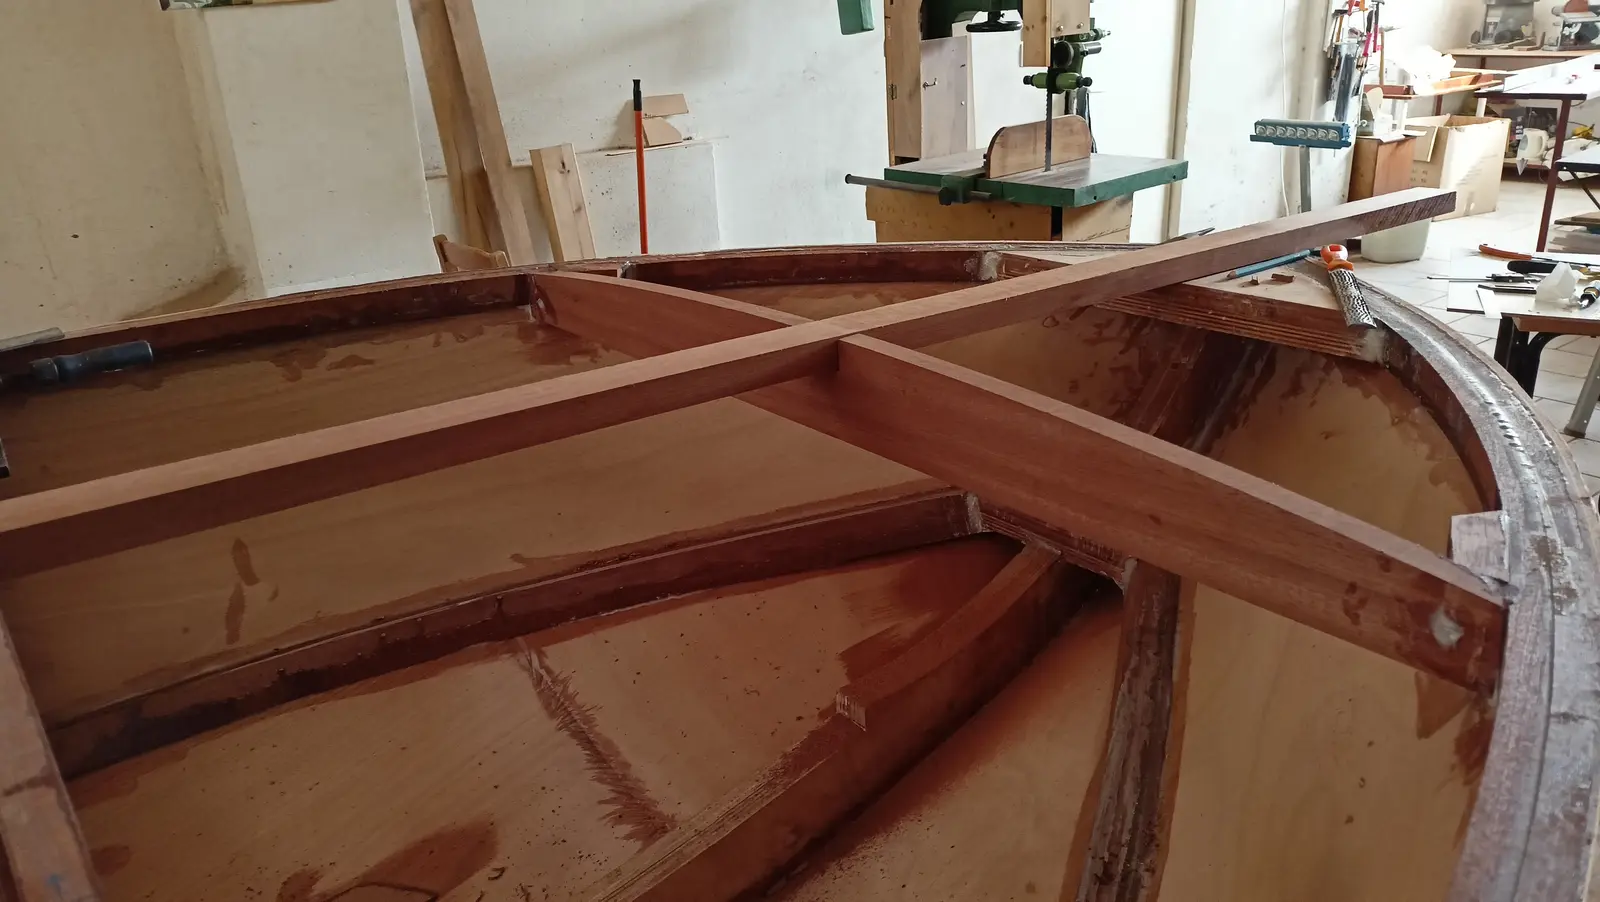
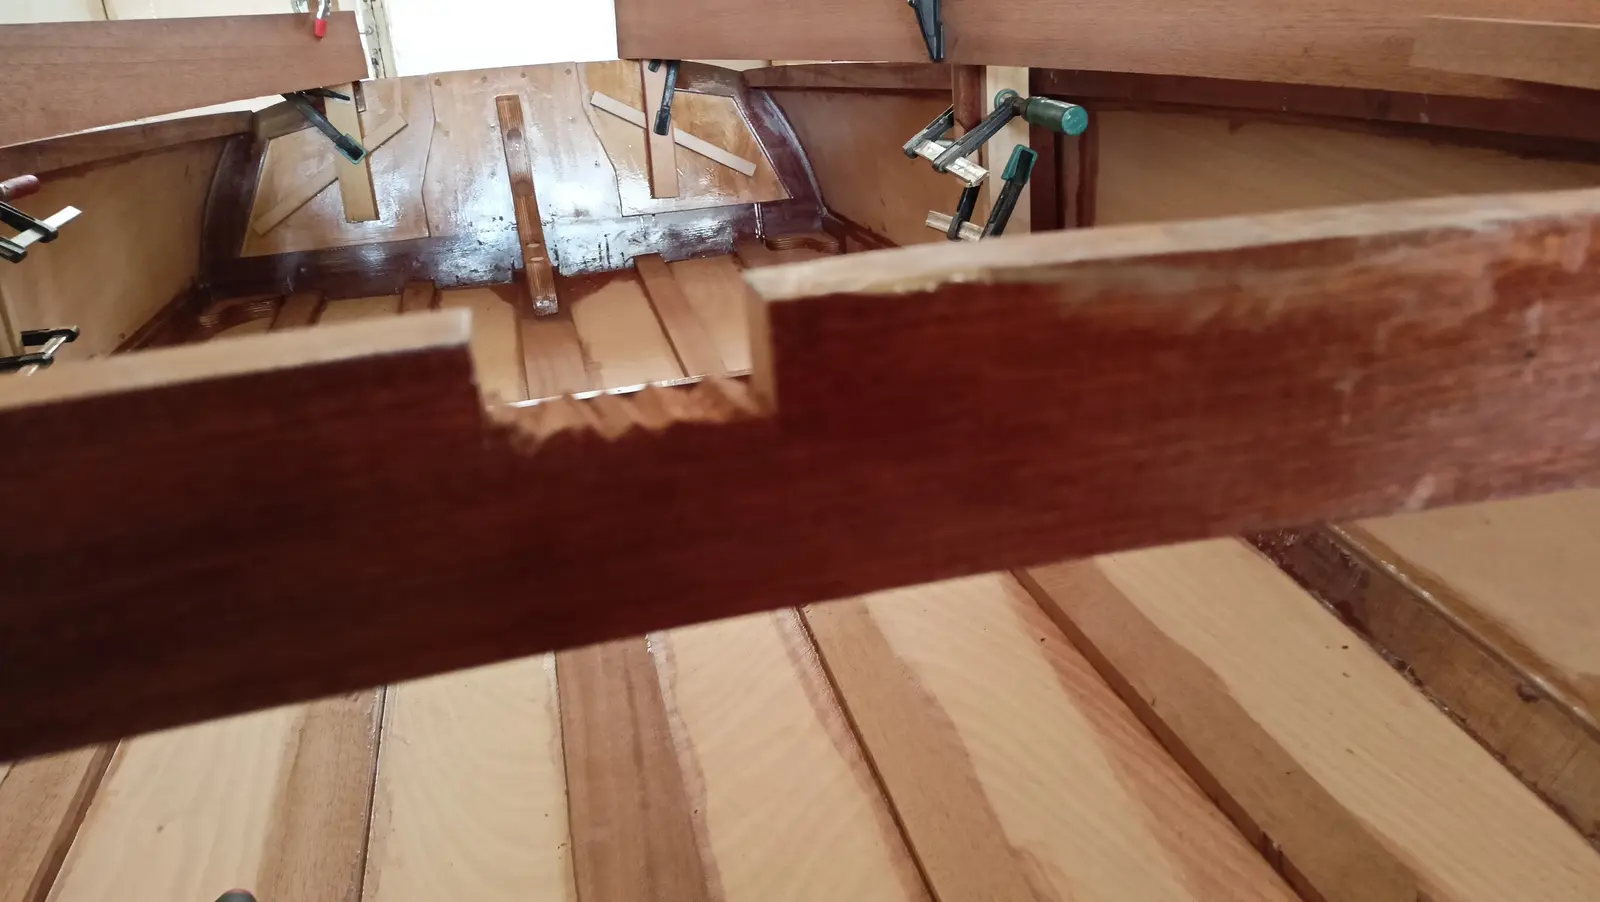
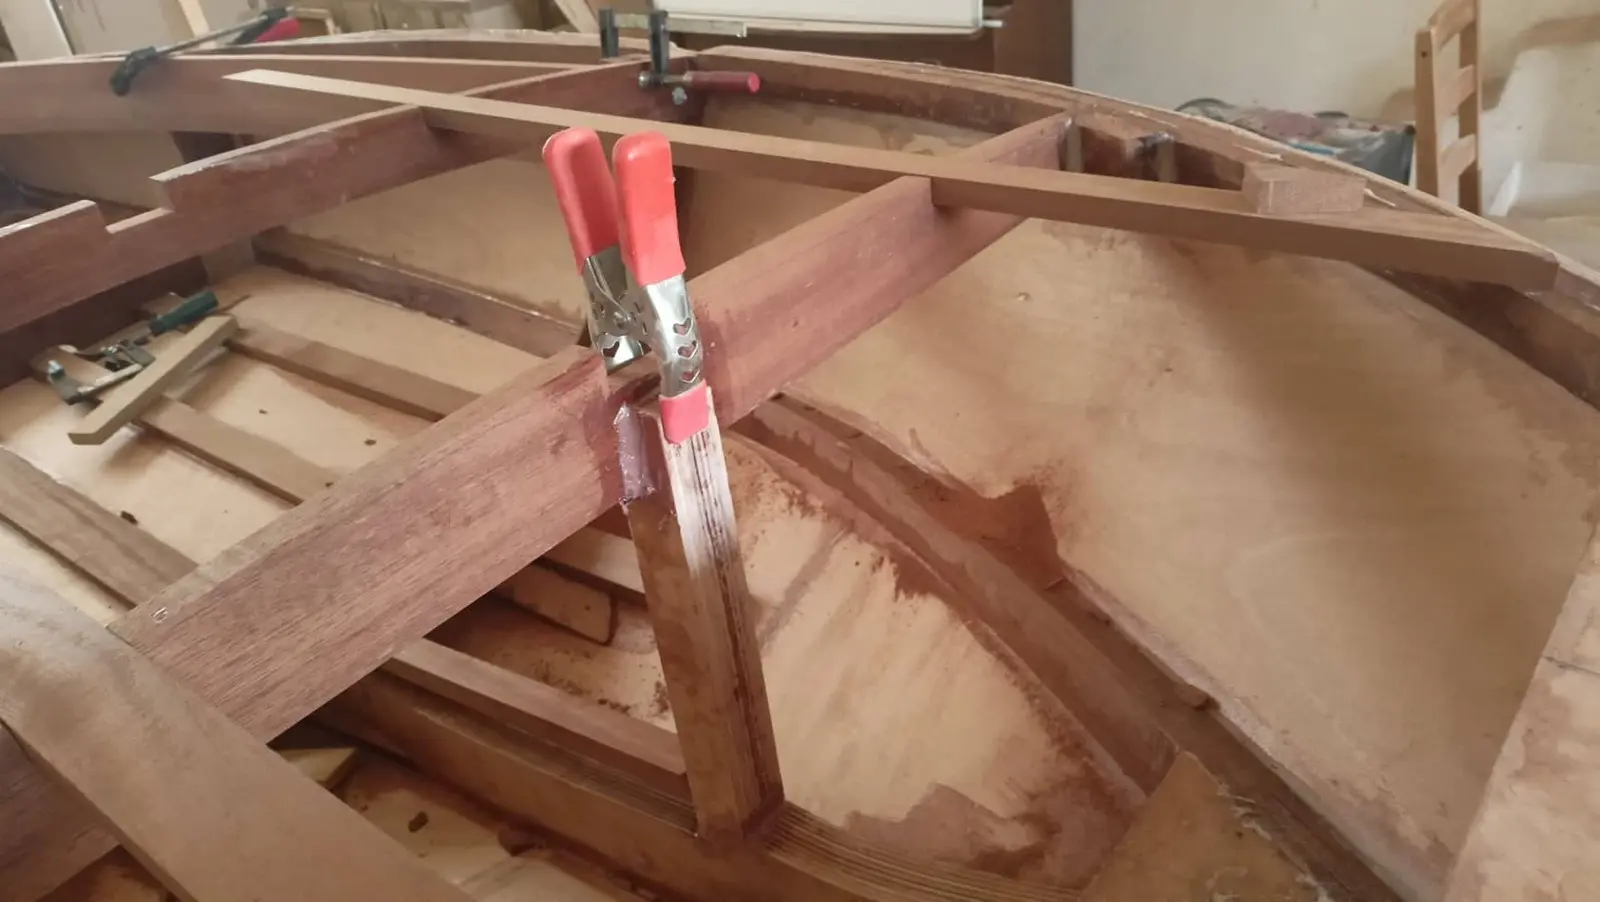
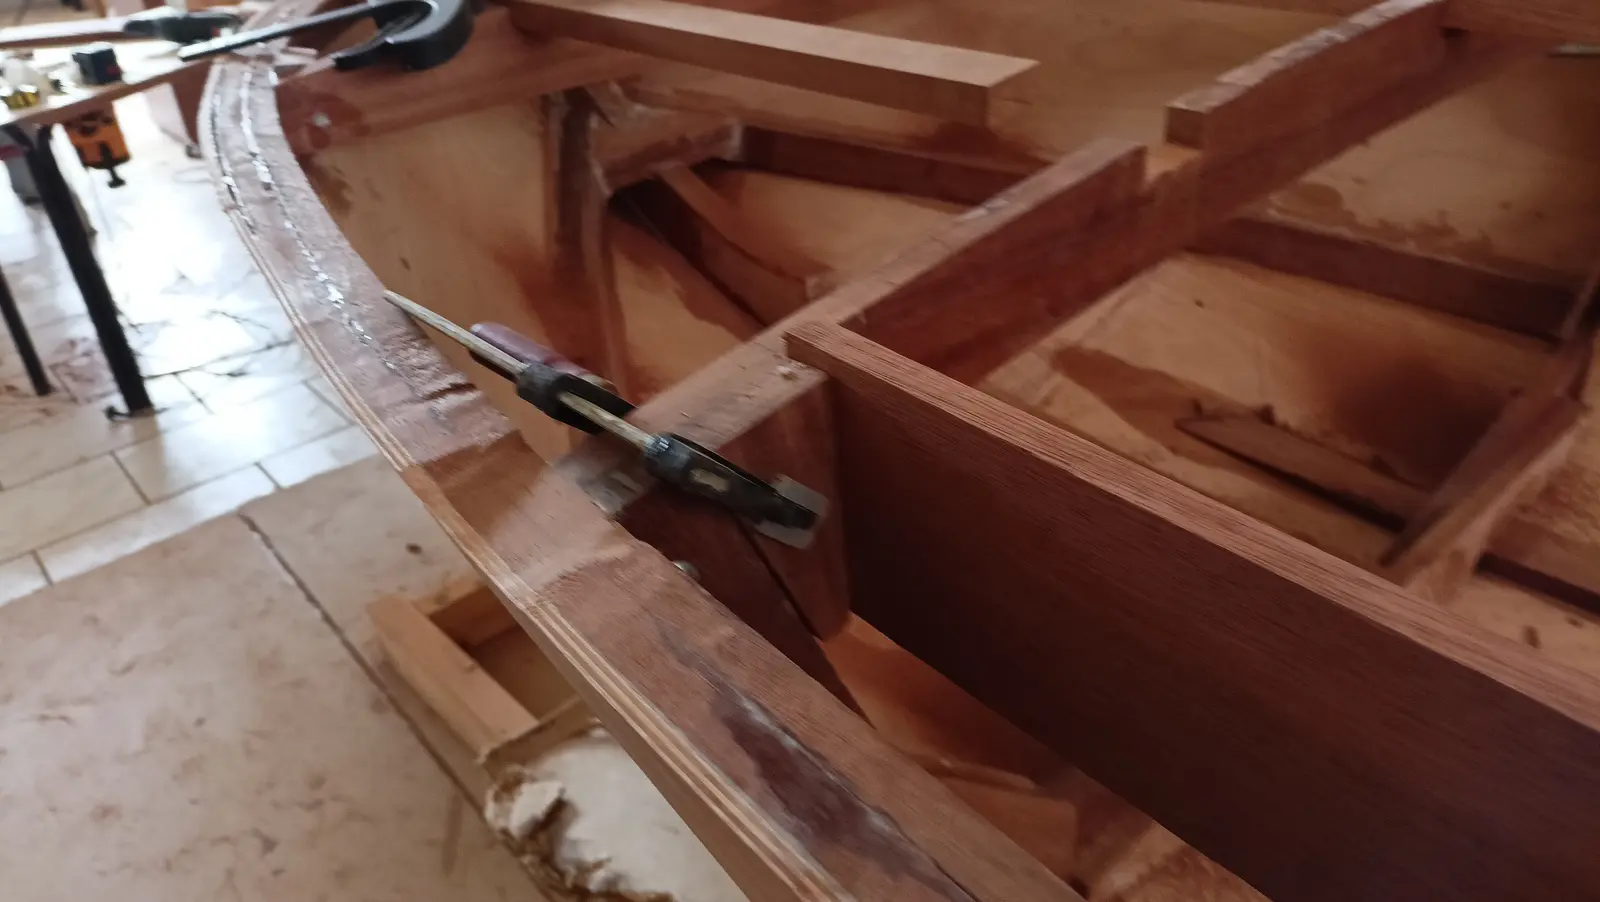
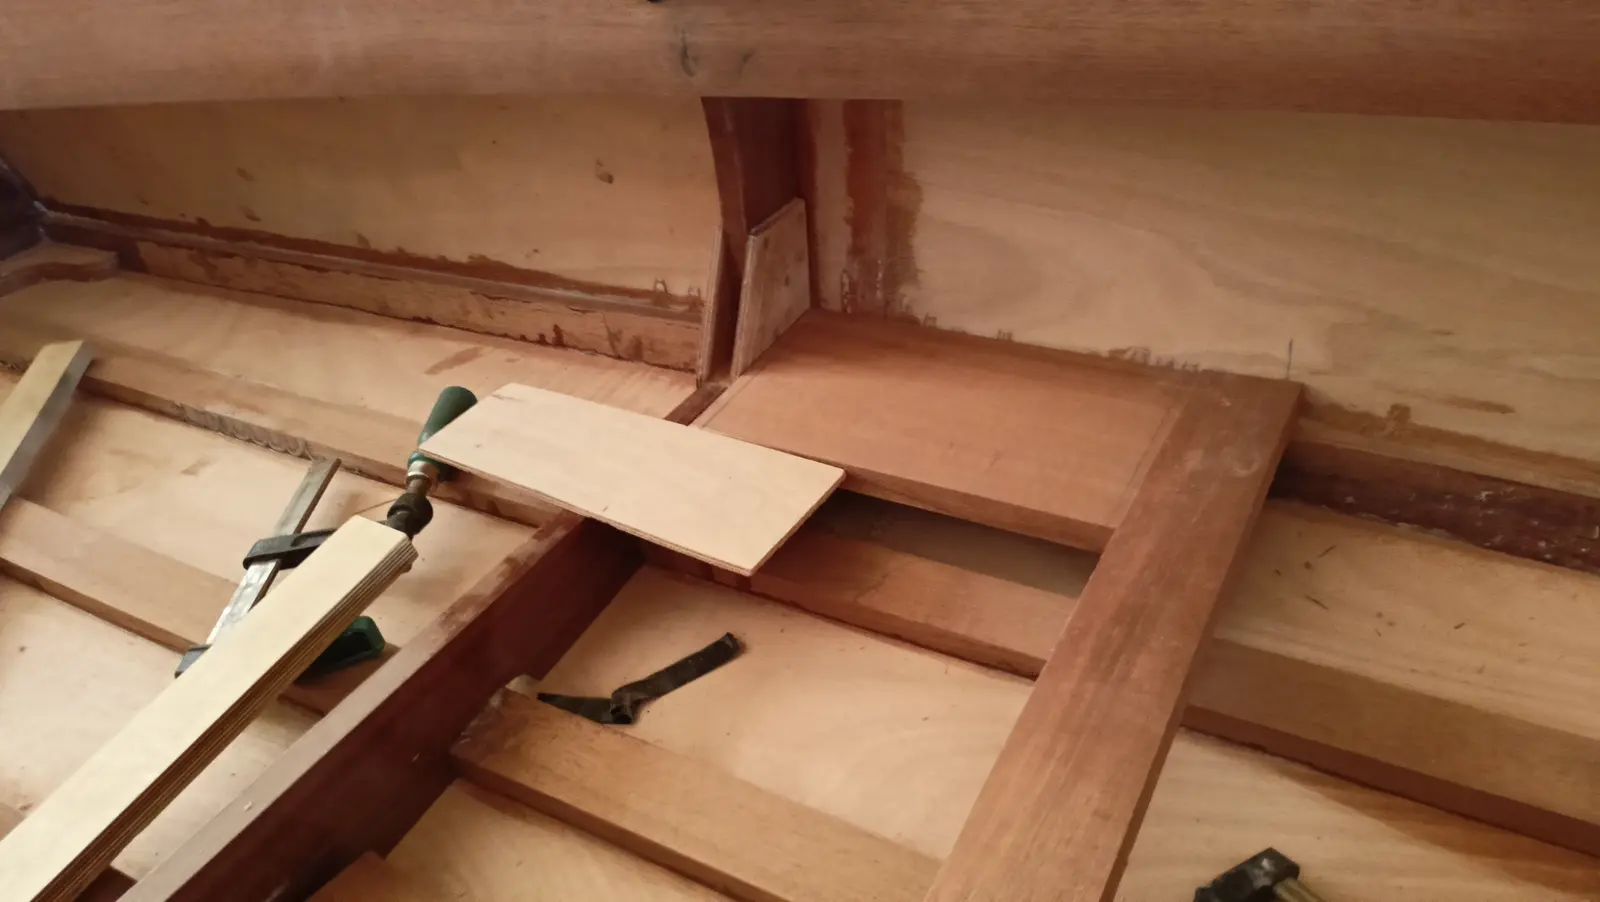
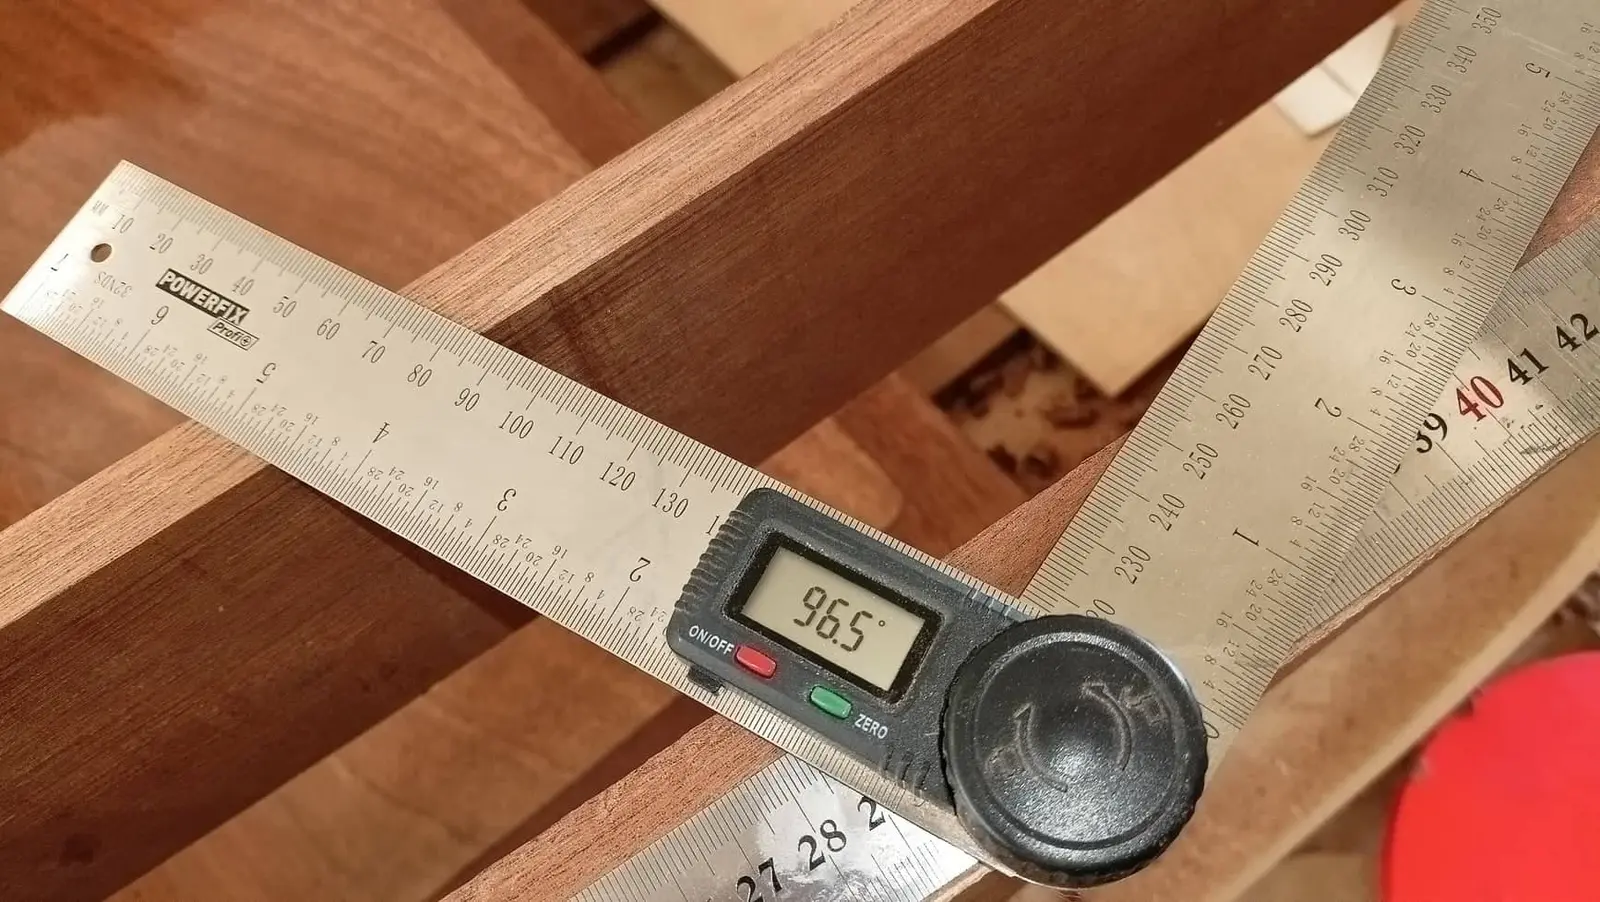
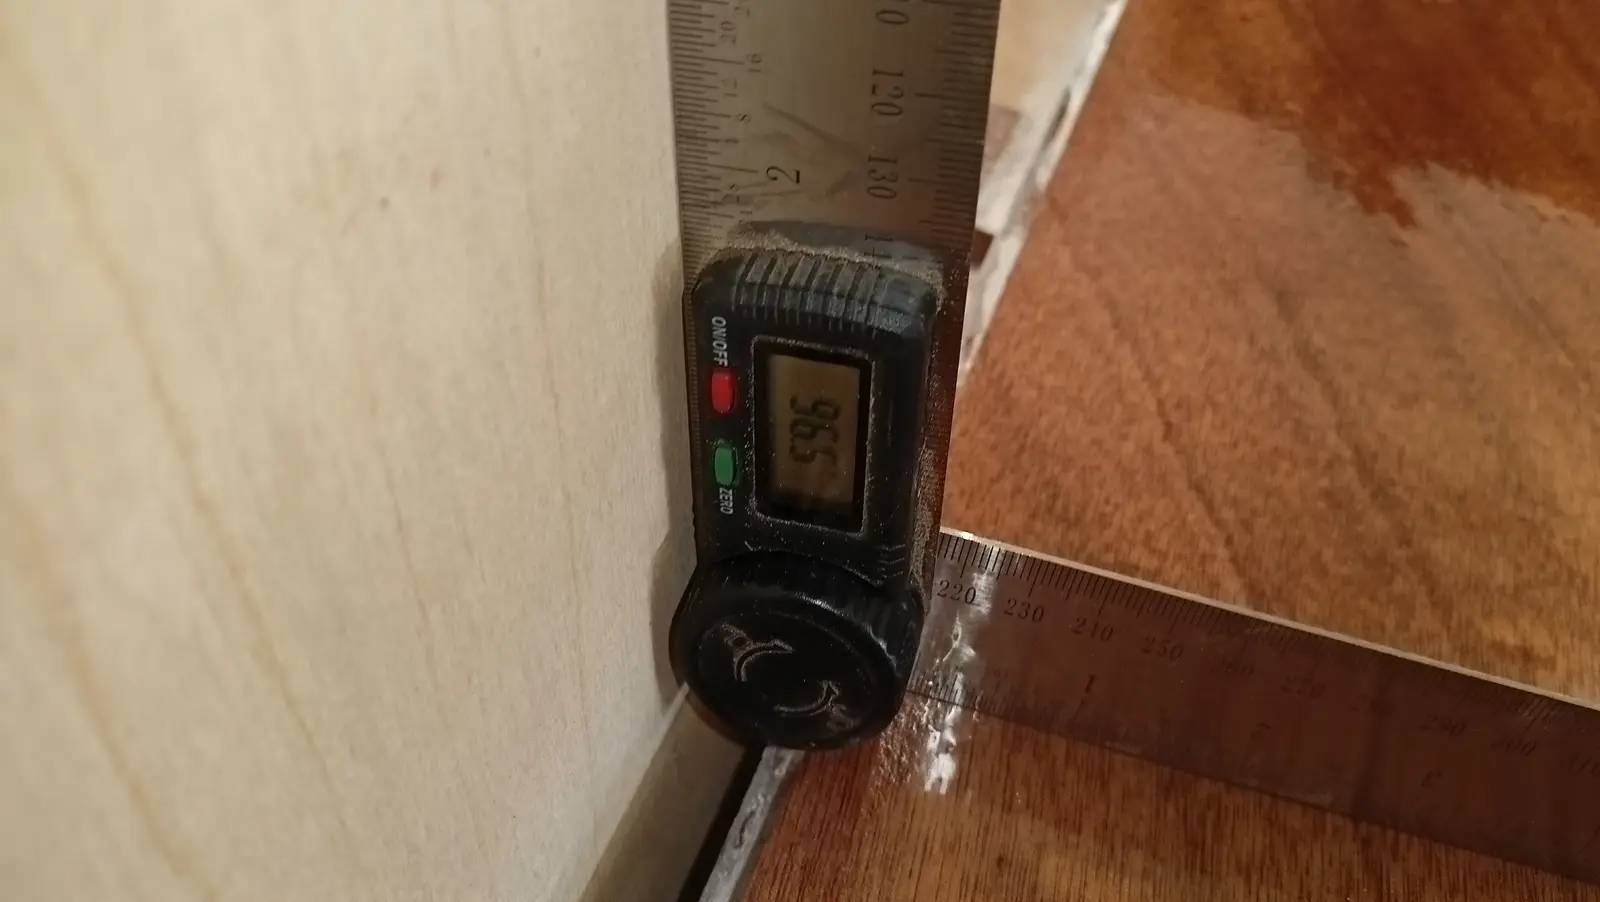
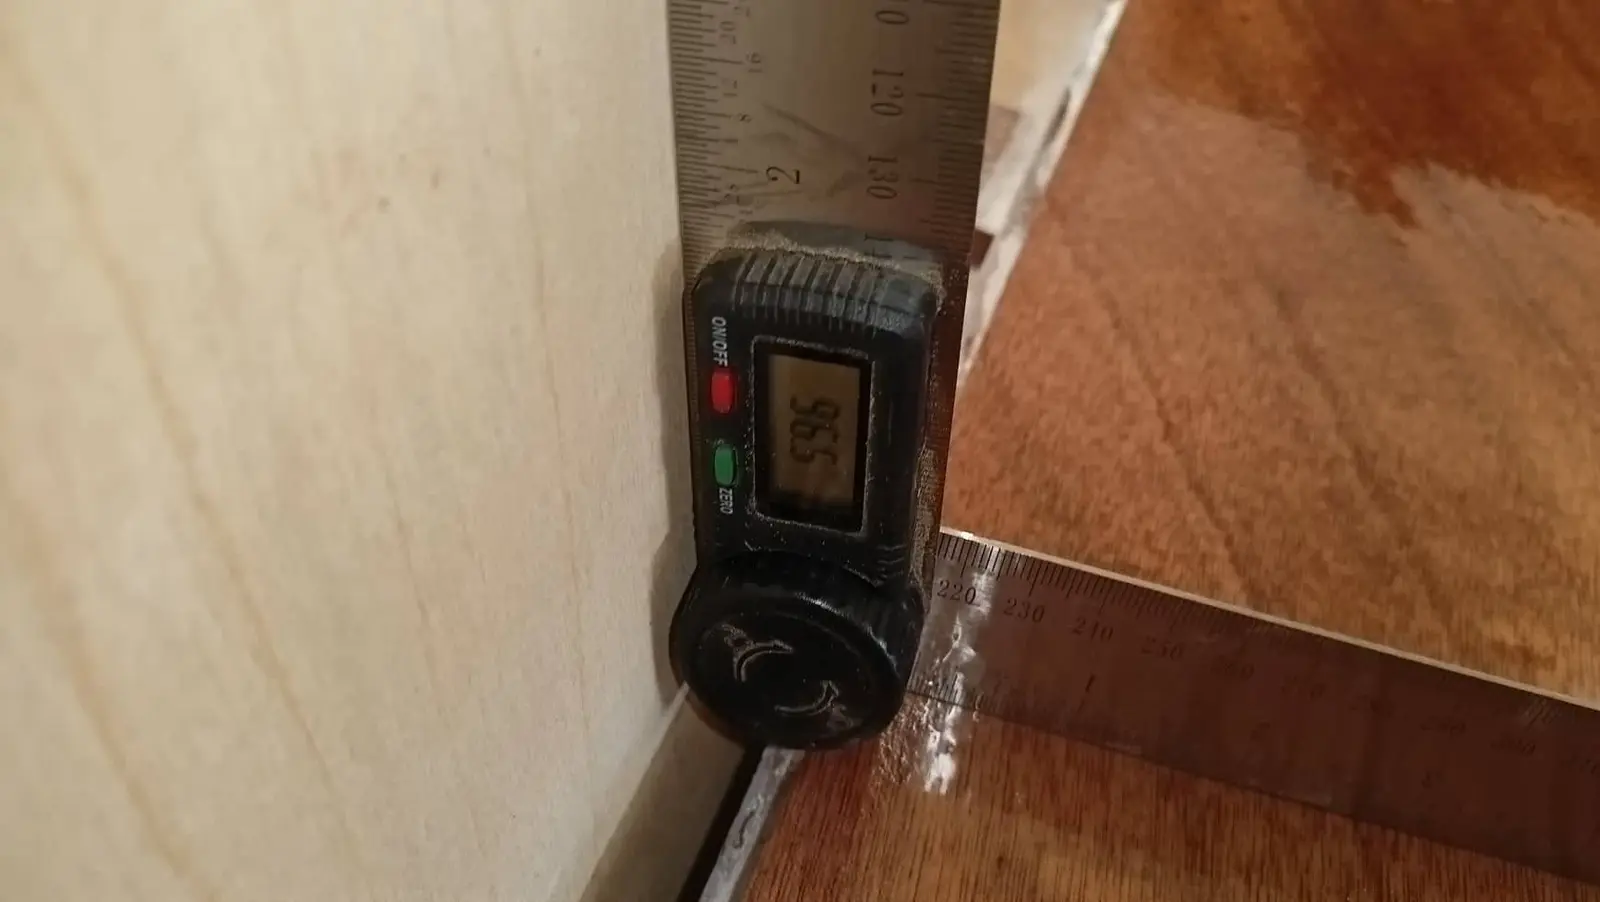
The plywood was screwed back onto the framework in its exact position. The fit where the side panel meets the bottom plywood will work like this: up to about 70 cm from the bow, the bottom plywood laps over the side. After that it changes and has to fit inside it and onto the framework. Look at the photograph where that changeover happens, and later, when fitting the bottom is described, it will make more sense with more photographs and video.
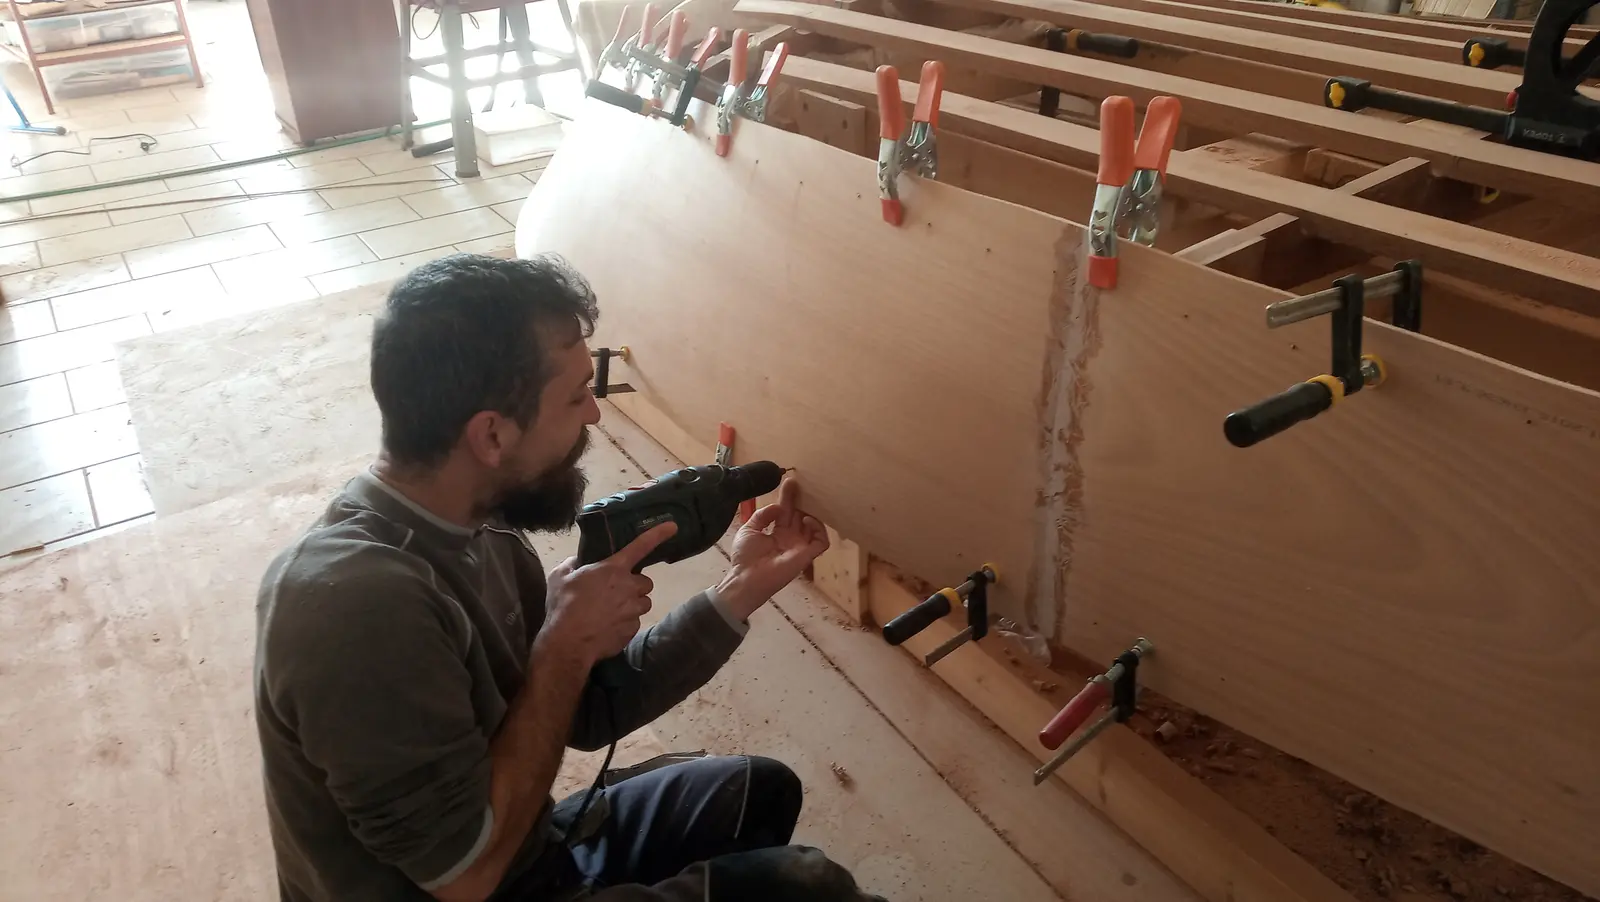
Because the bottom has to fit perfectly at the bow, the fit had to be right there too. My friend Stratos from Livadi in Arcadia (a village next to Leonidio) came to help with shaping and gluing the plywood, and his help was decisive!!!
After that work, the sides are ready to be glued one at a time, once the framework has been checked for errors in the fit.
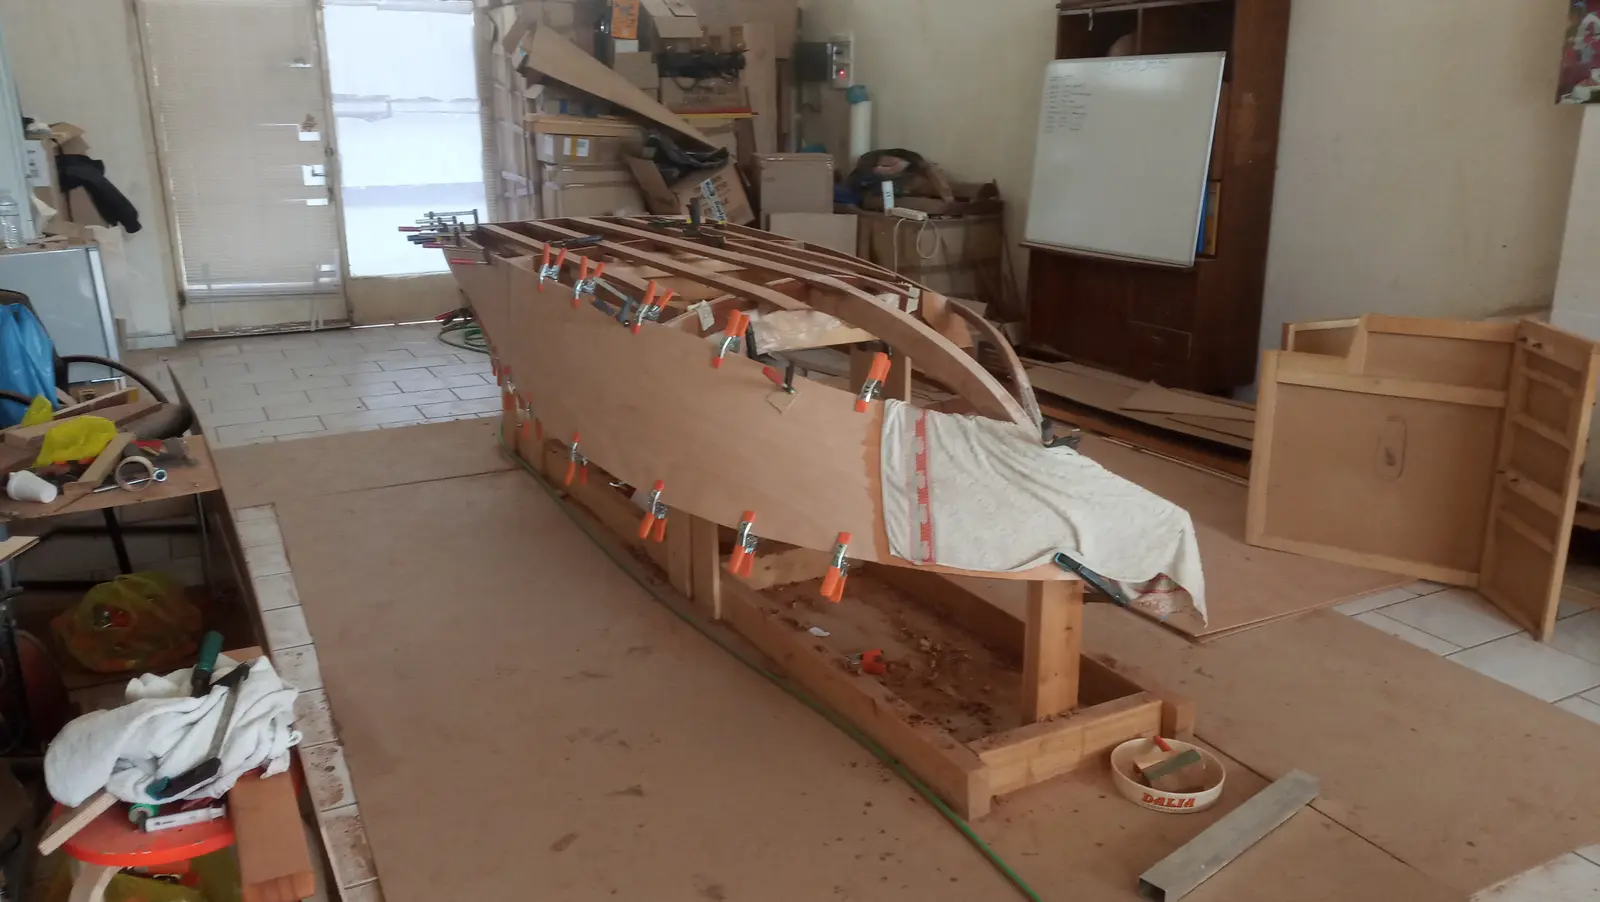
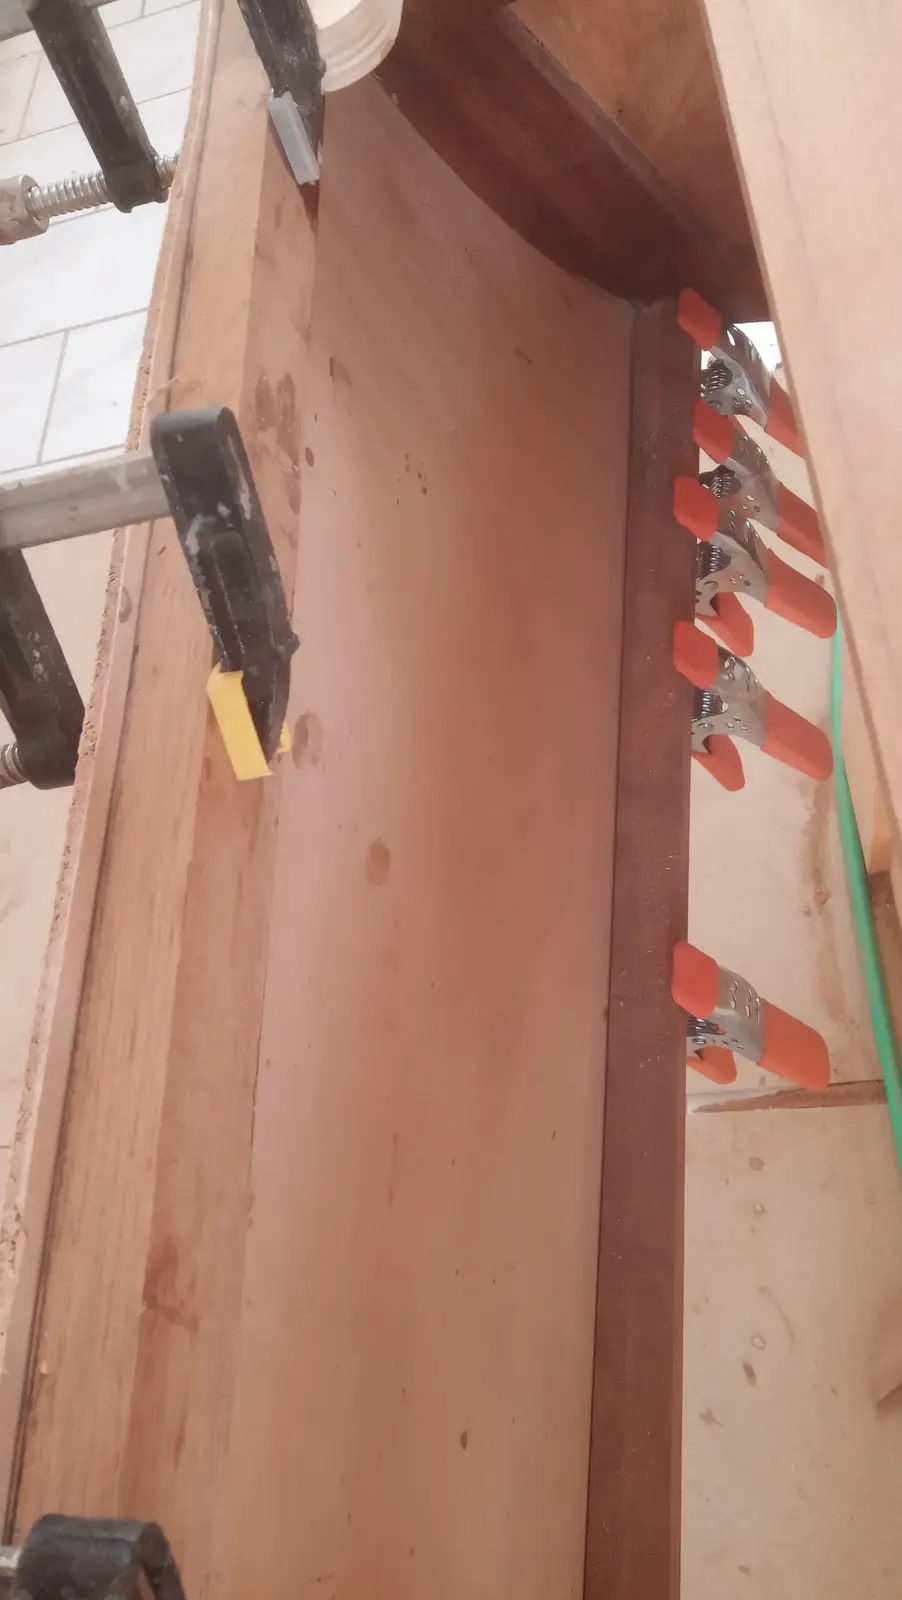
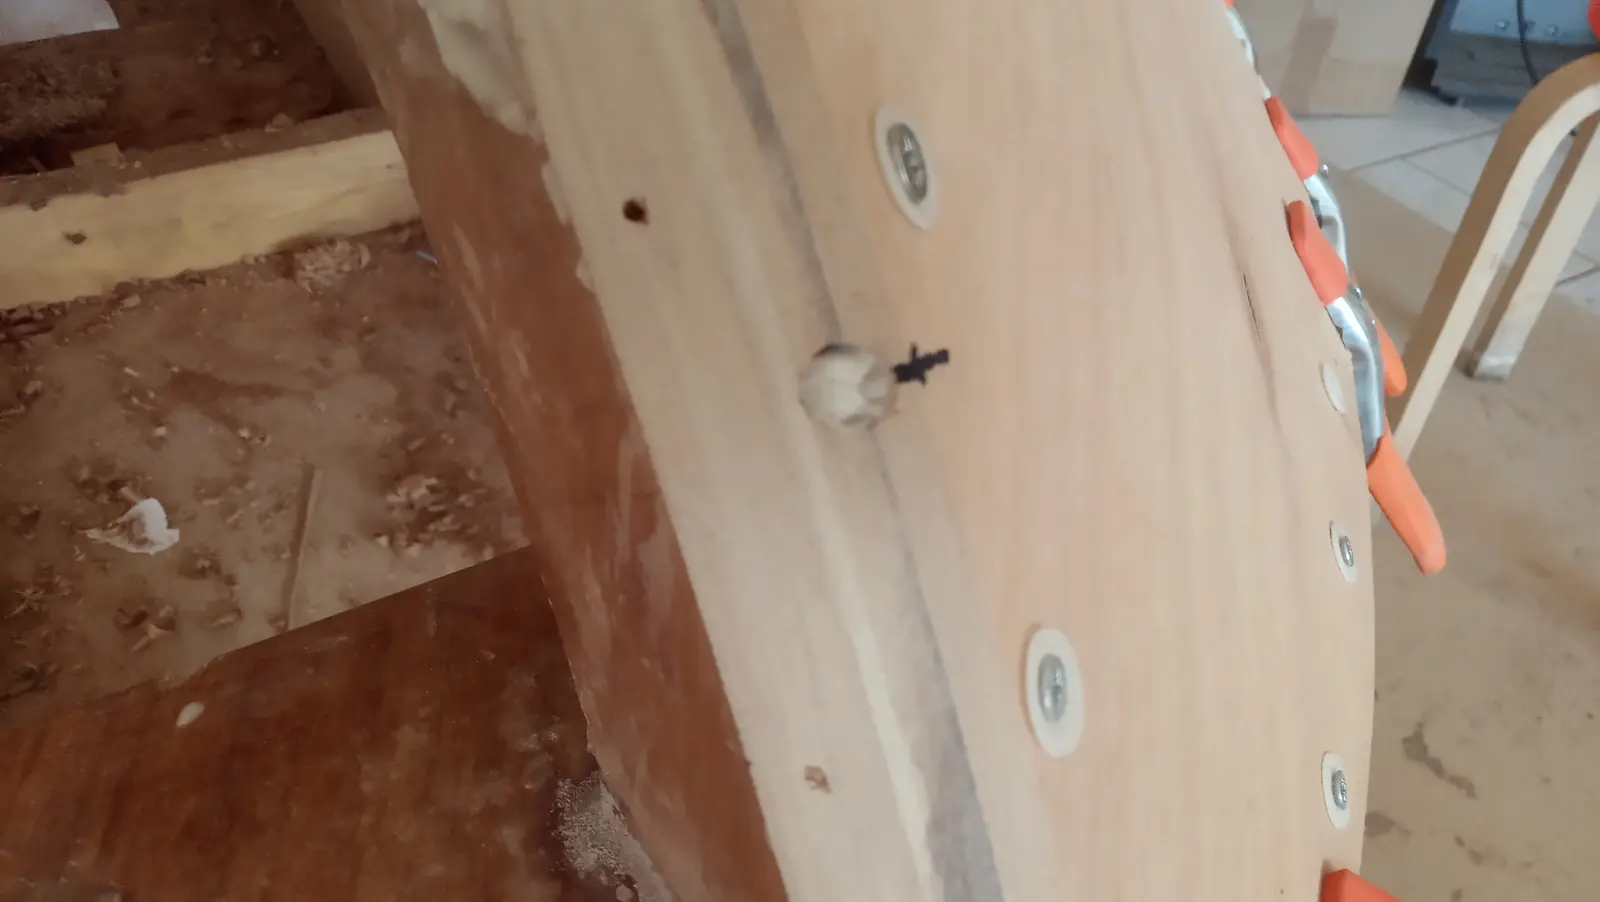
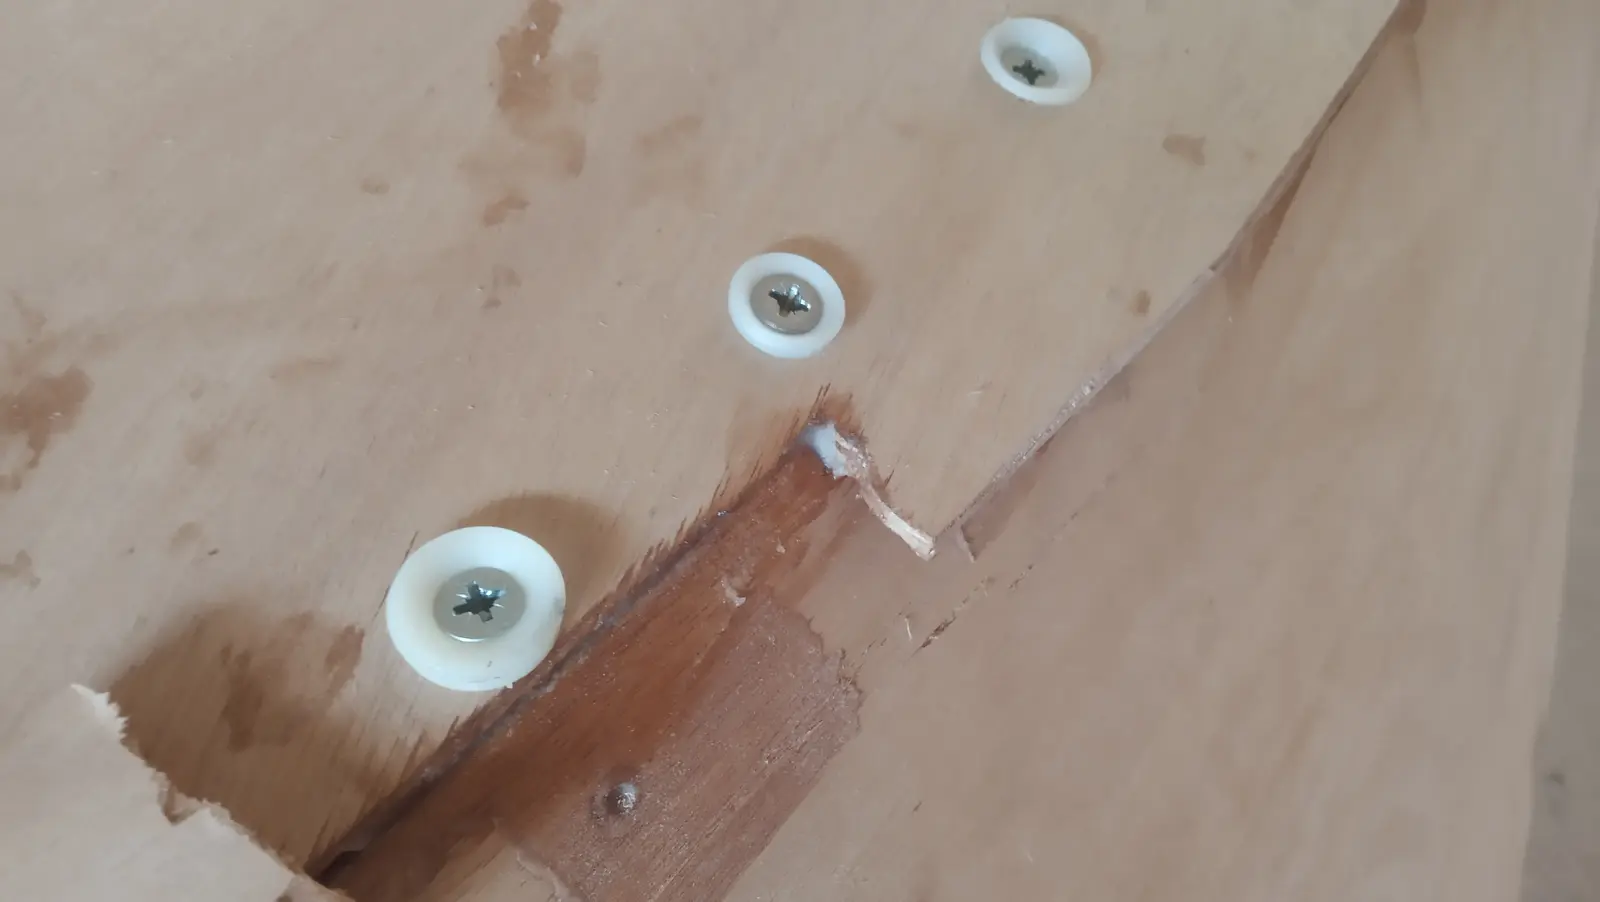
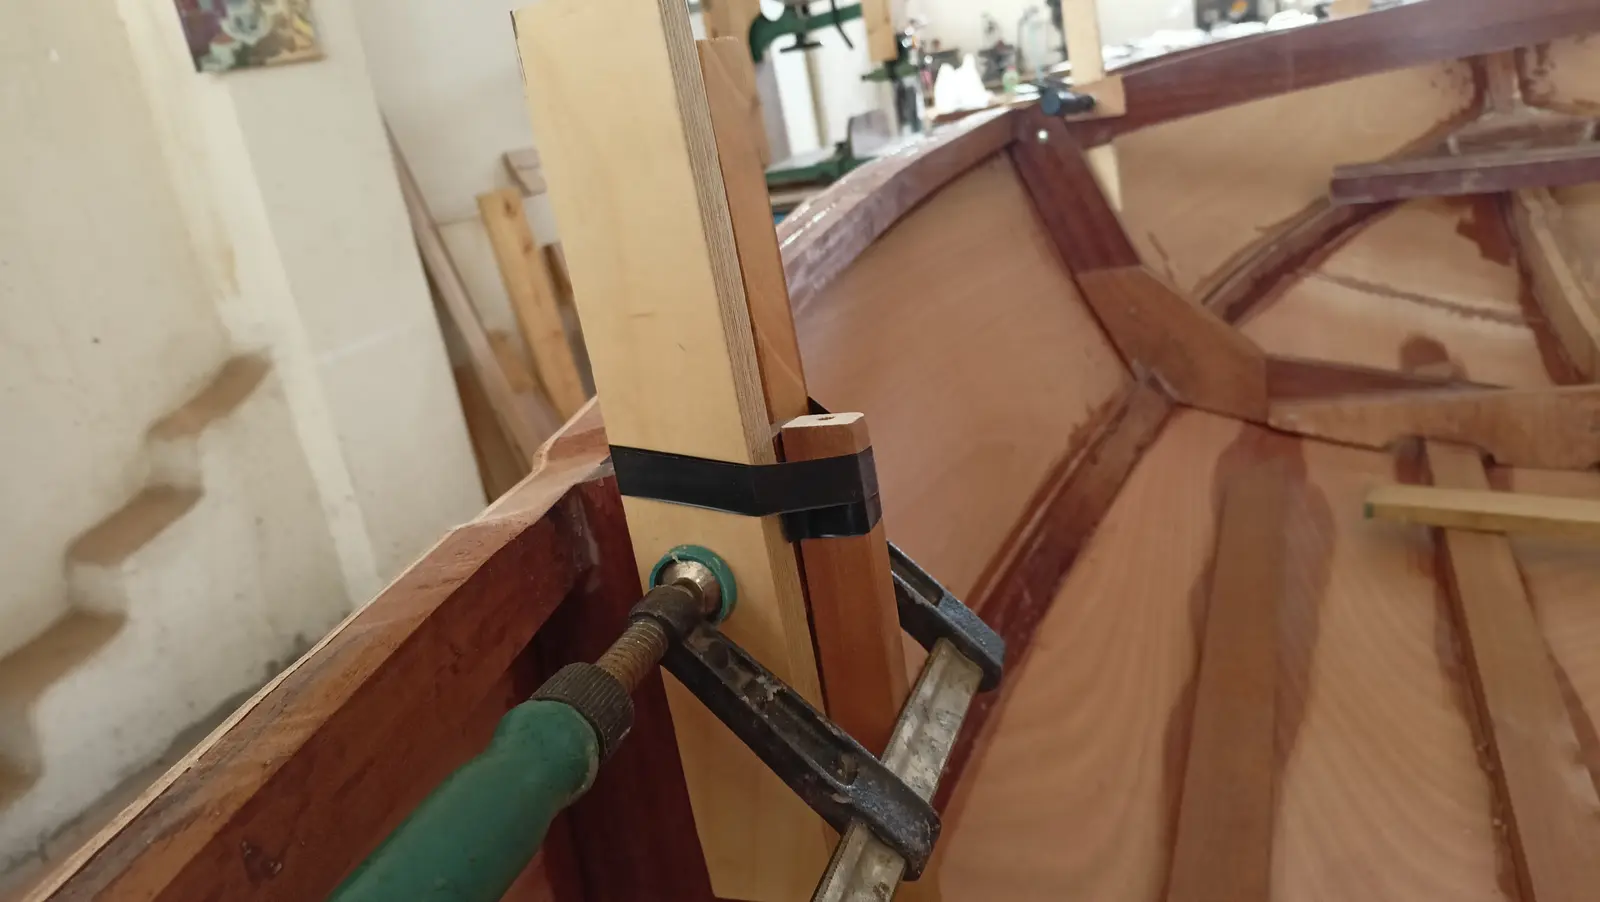
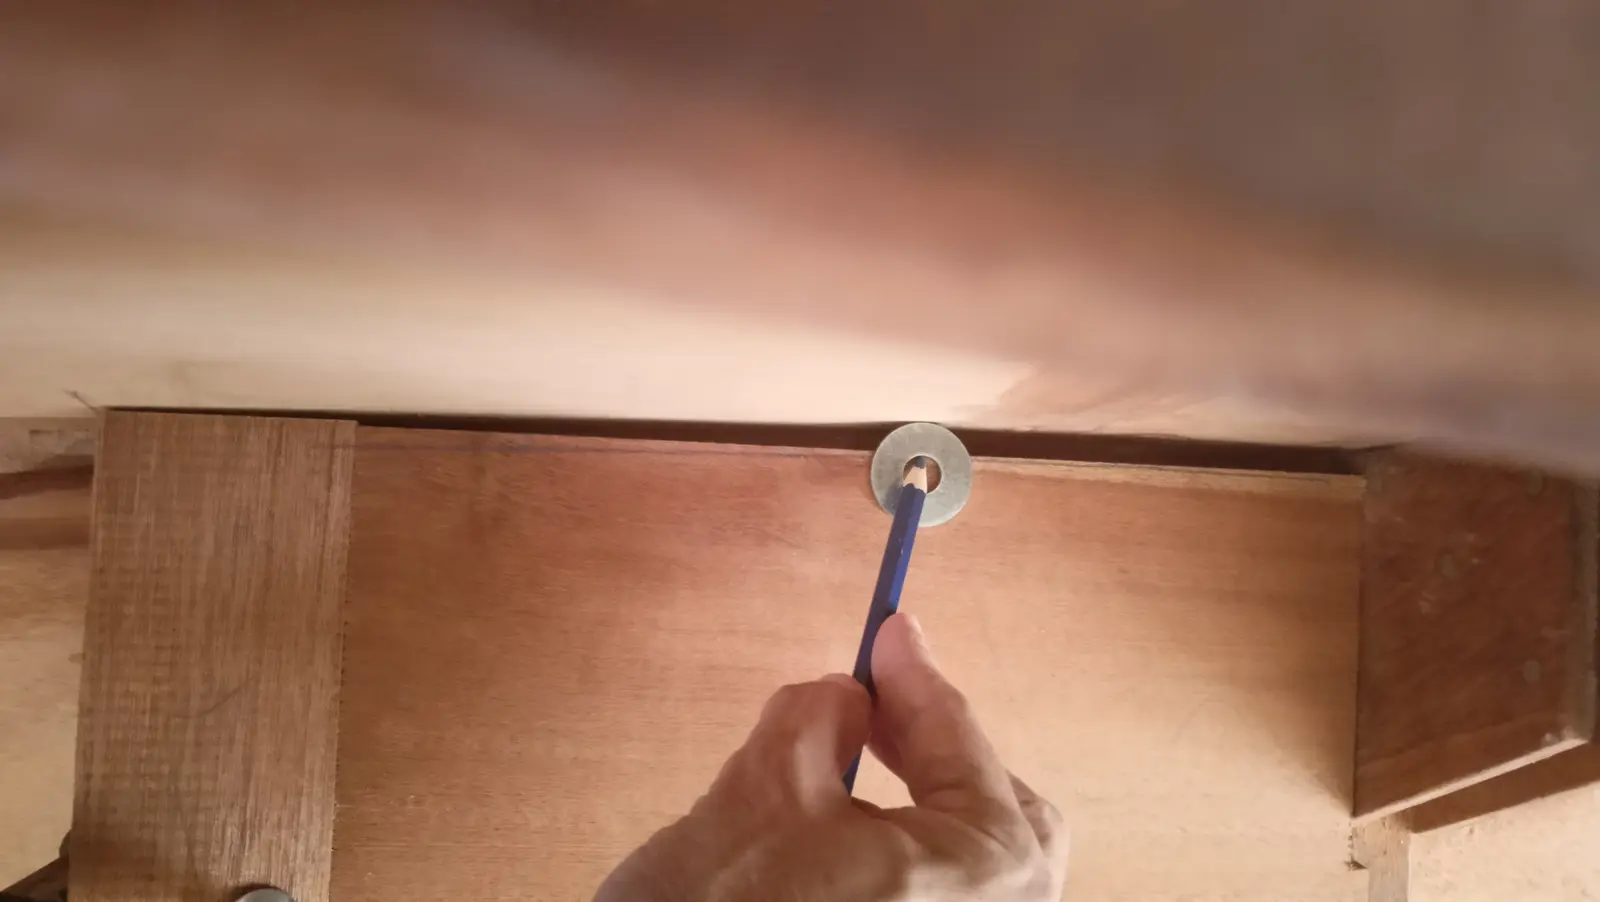
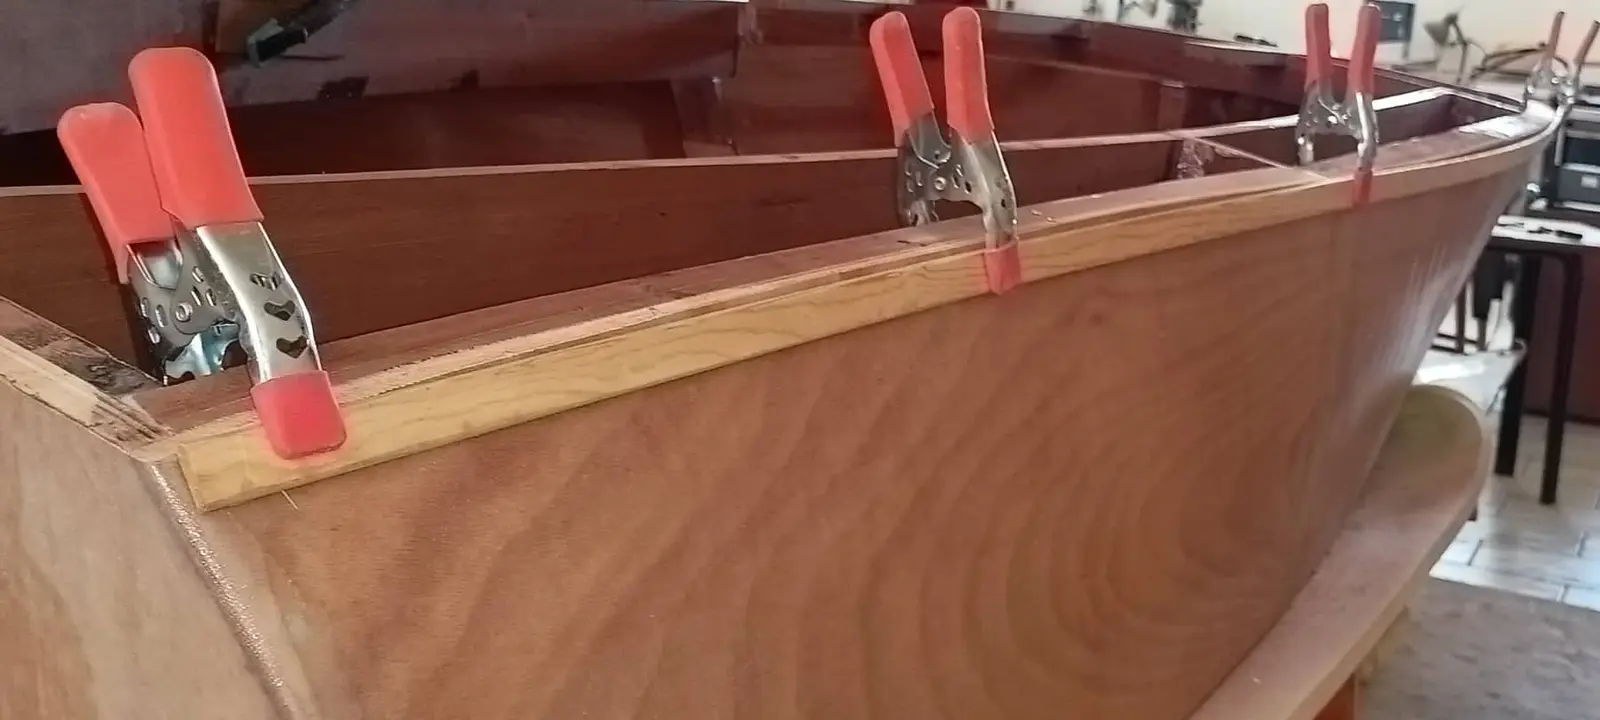
Plastic washers were used for the glue-up, for two reasons. First so the plywood is not damaged too much by the screw head, and second to reduce the chance of the screw gluing itself into the wood (keeping the resin inside the timber only). Ten to twelve hours after gluing I turned every screw half a turn to break it free (slackened and immediately retightened), before the resin got too hard. I had read that you can use some kind of lubricant (soap, wax and so on) to stop them sticking, and that it is a good idea to use stainless if the worst happens, but none of that is needed if the screws are turned a little at the twelve hour mark.
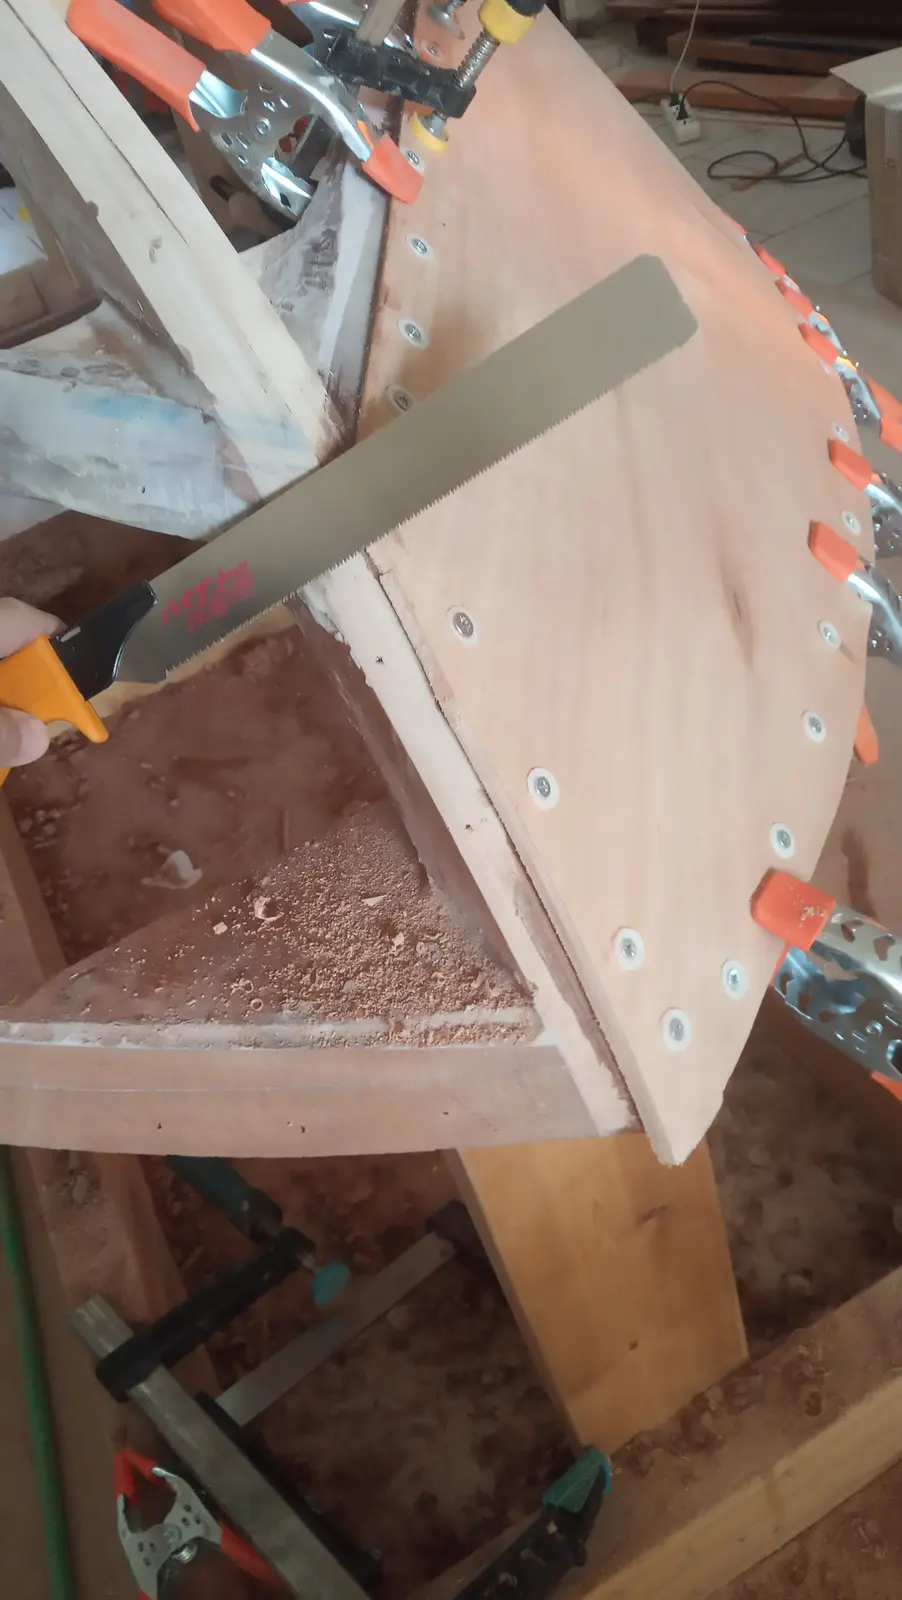
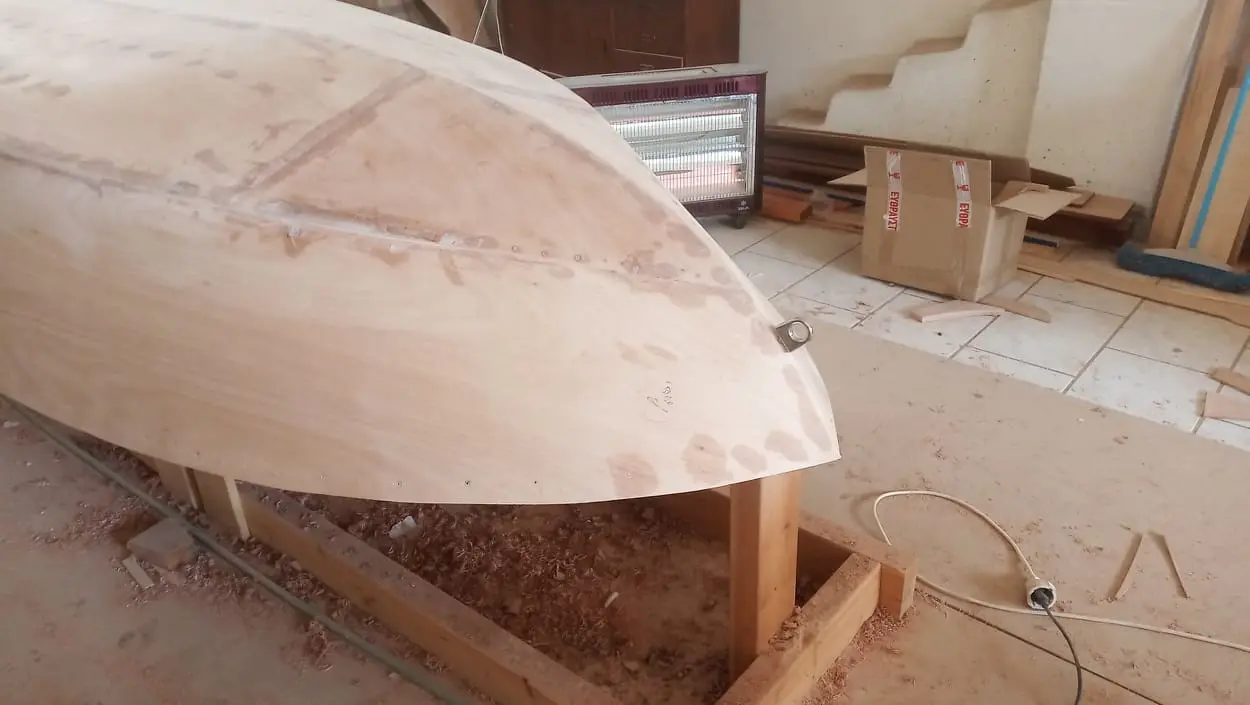
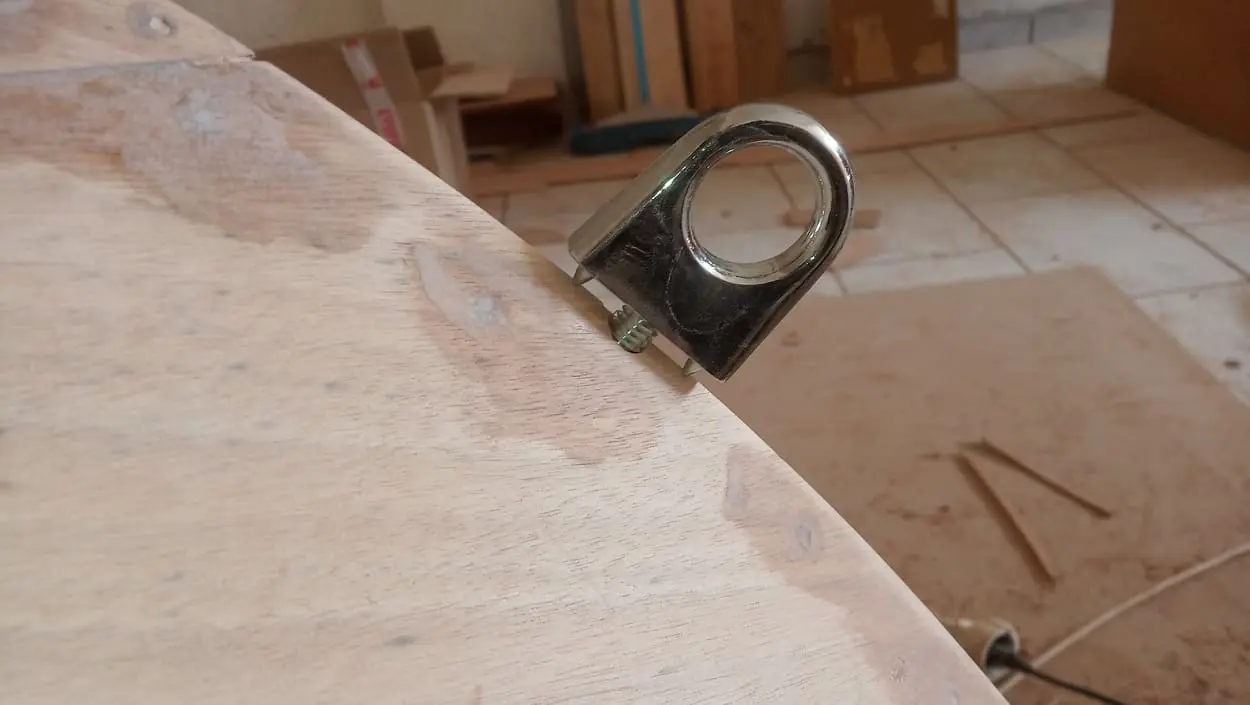
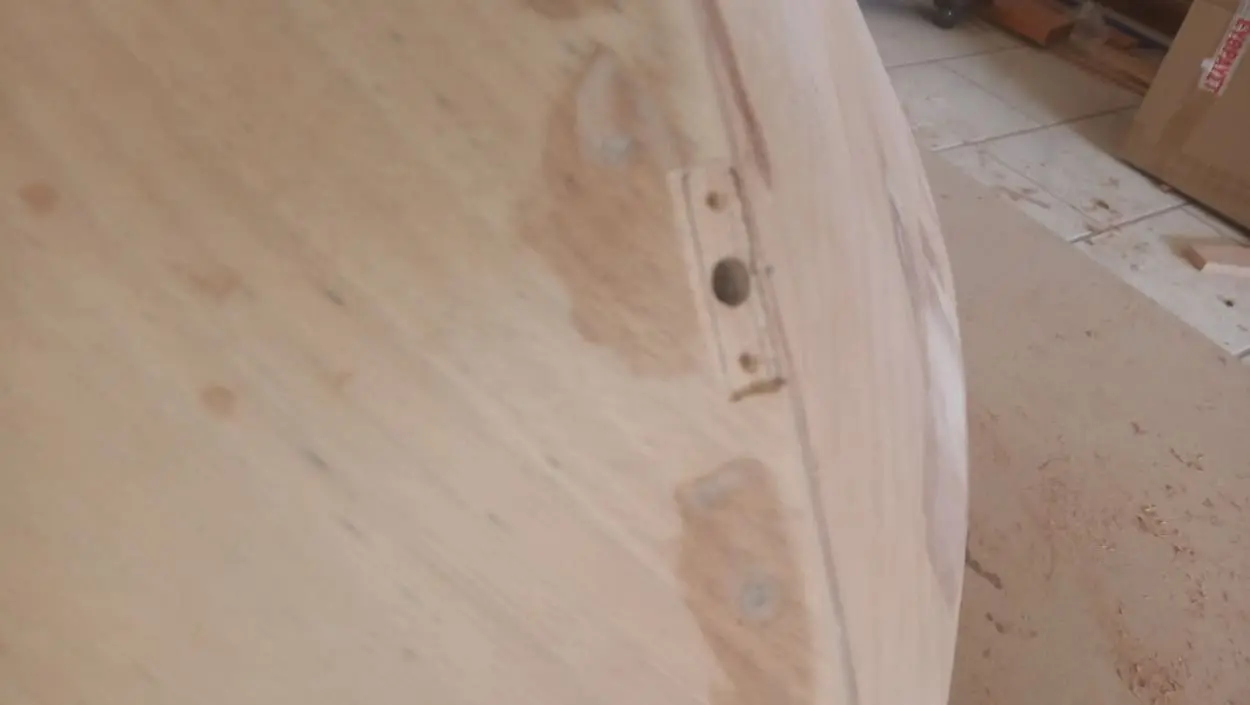
Then the excess at the bow was cut off so the second side panel would fit. It had not been cut from the start because it helped me follow the curve with a clamp resting against it. A hole was drilled in the plywood where the mooring cleat goes. The hole in the keel had been drilled earlier. It was then sealed with a plastic bag so it would not fill with resin.
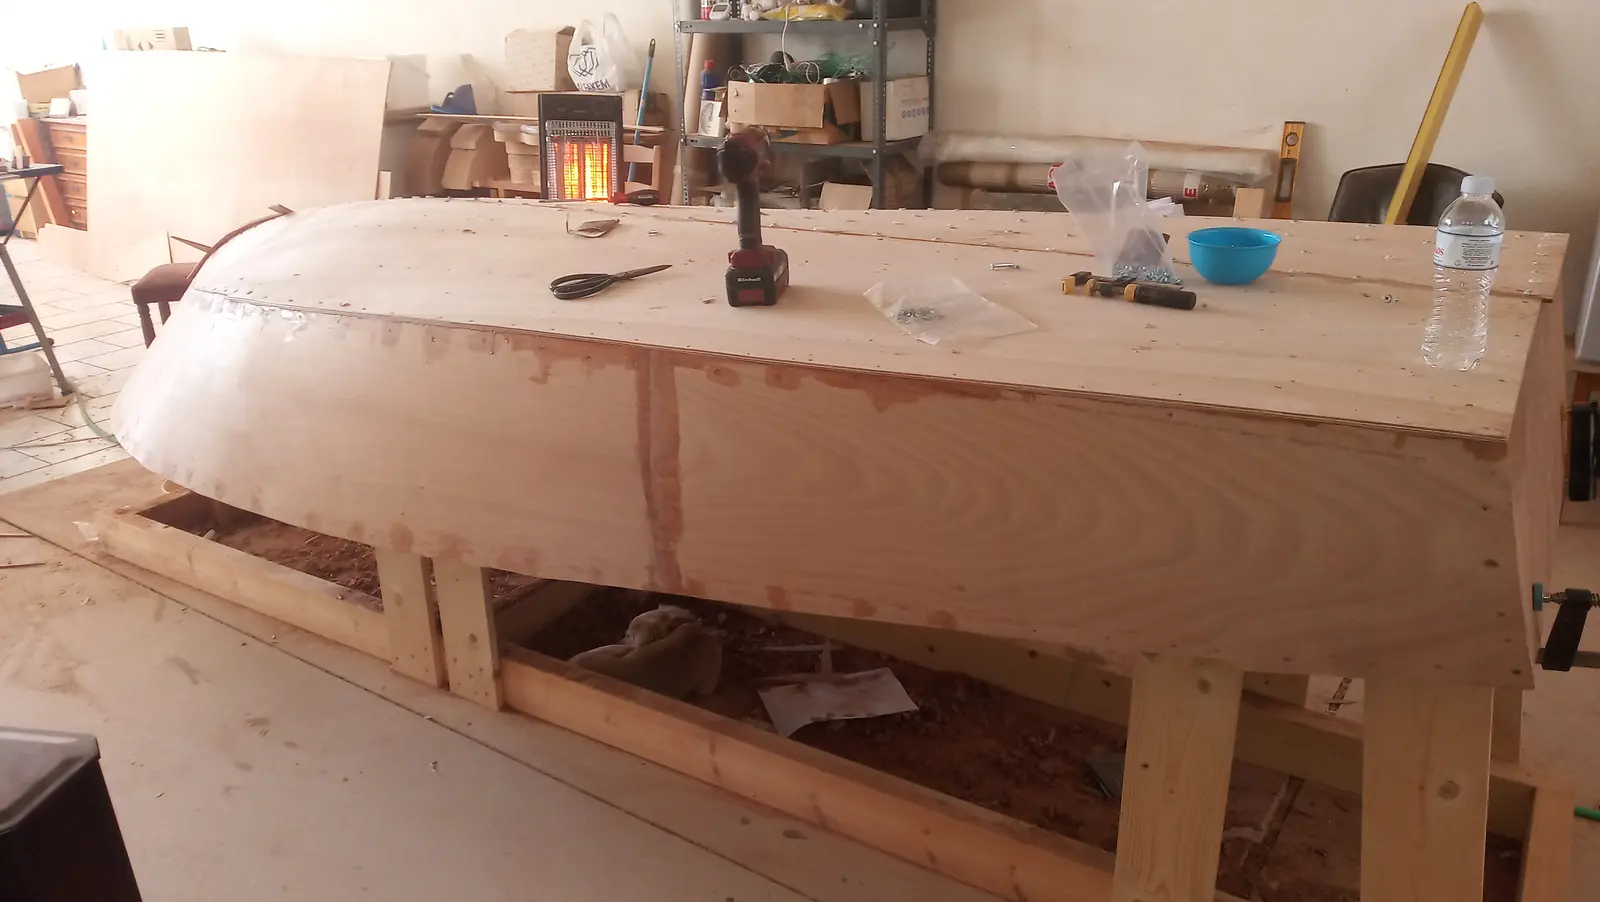
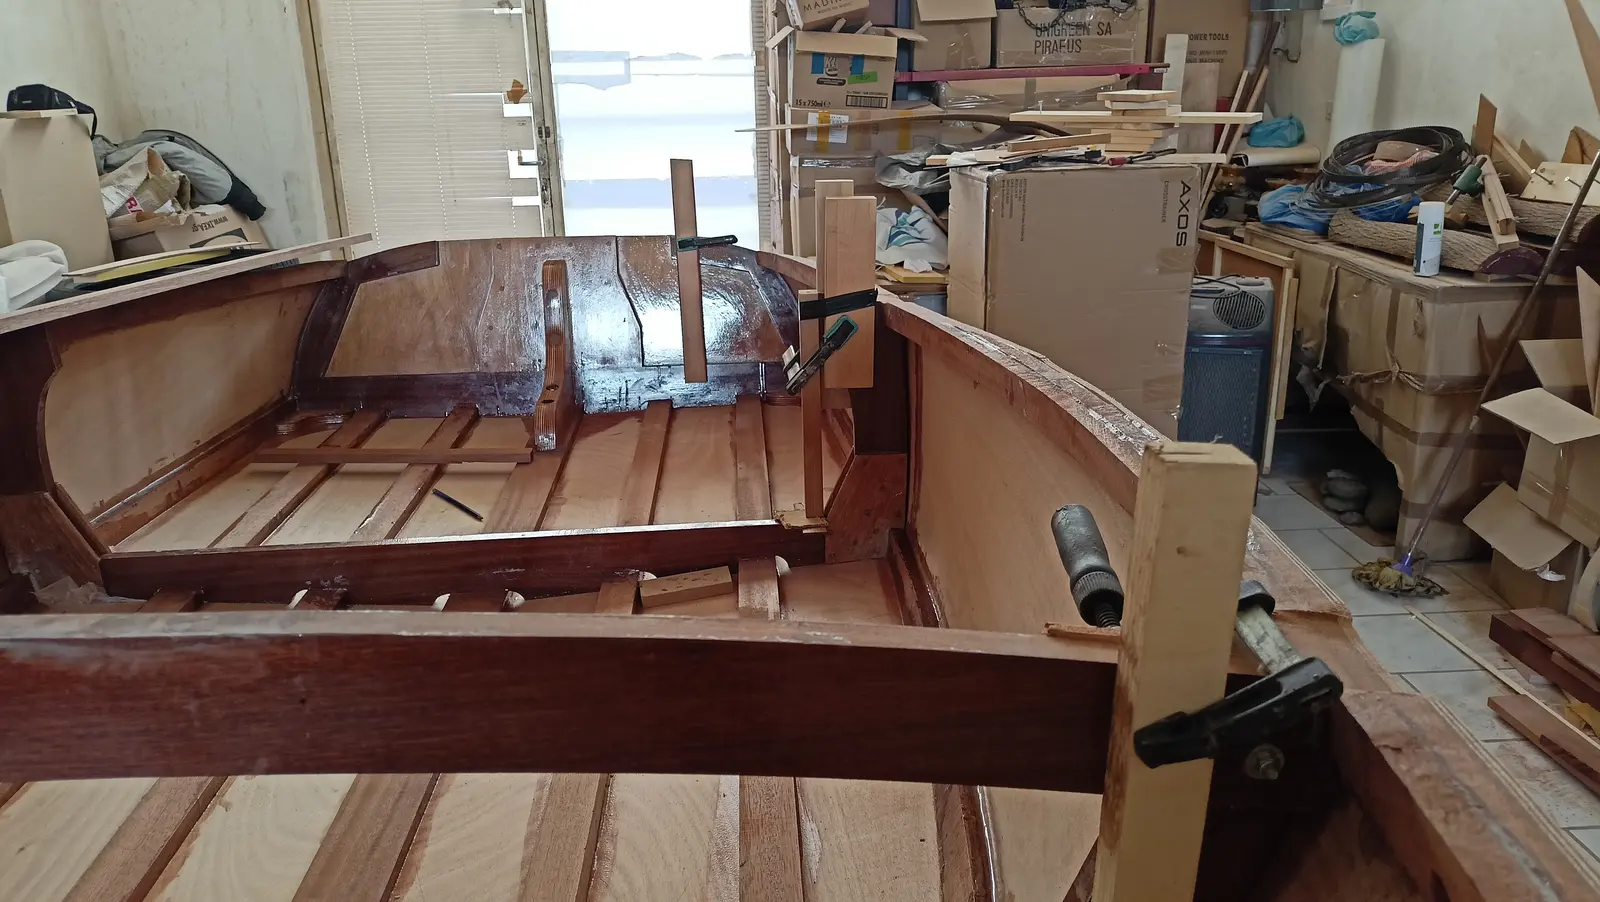
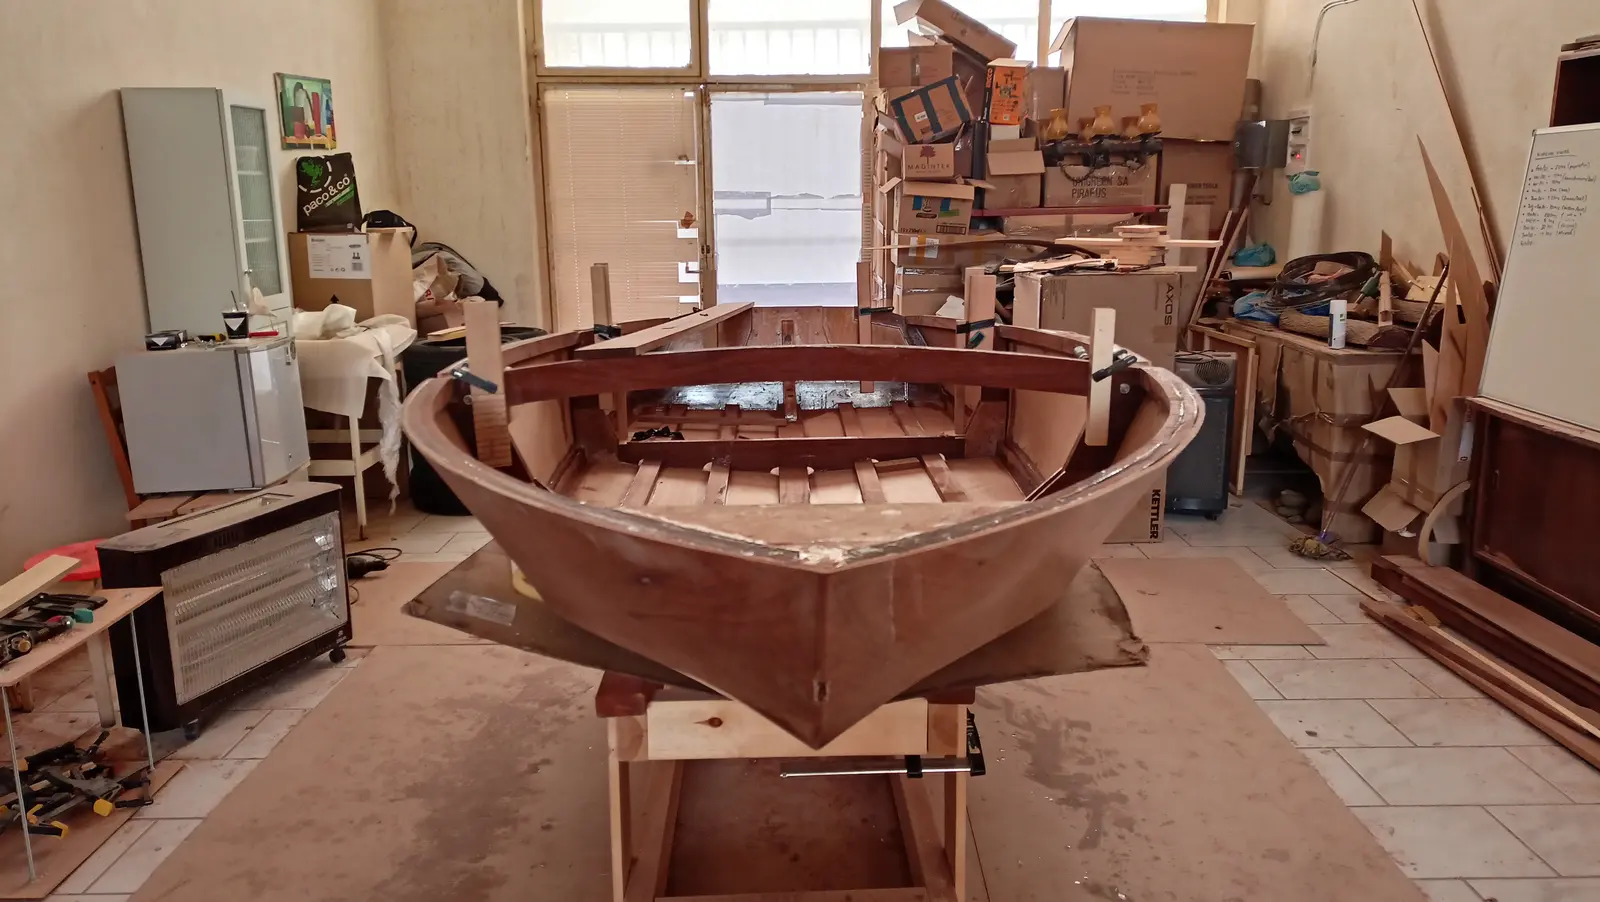
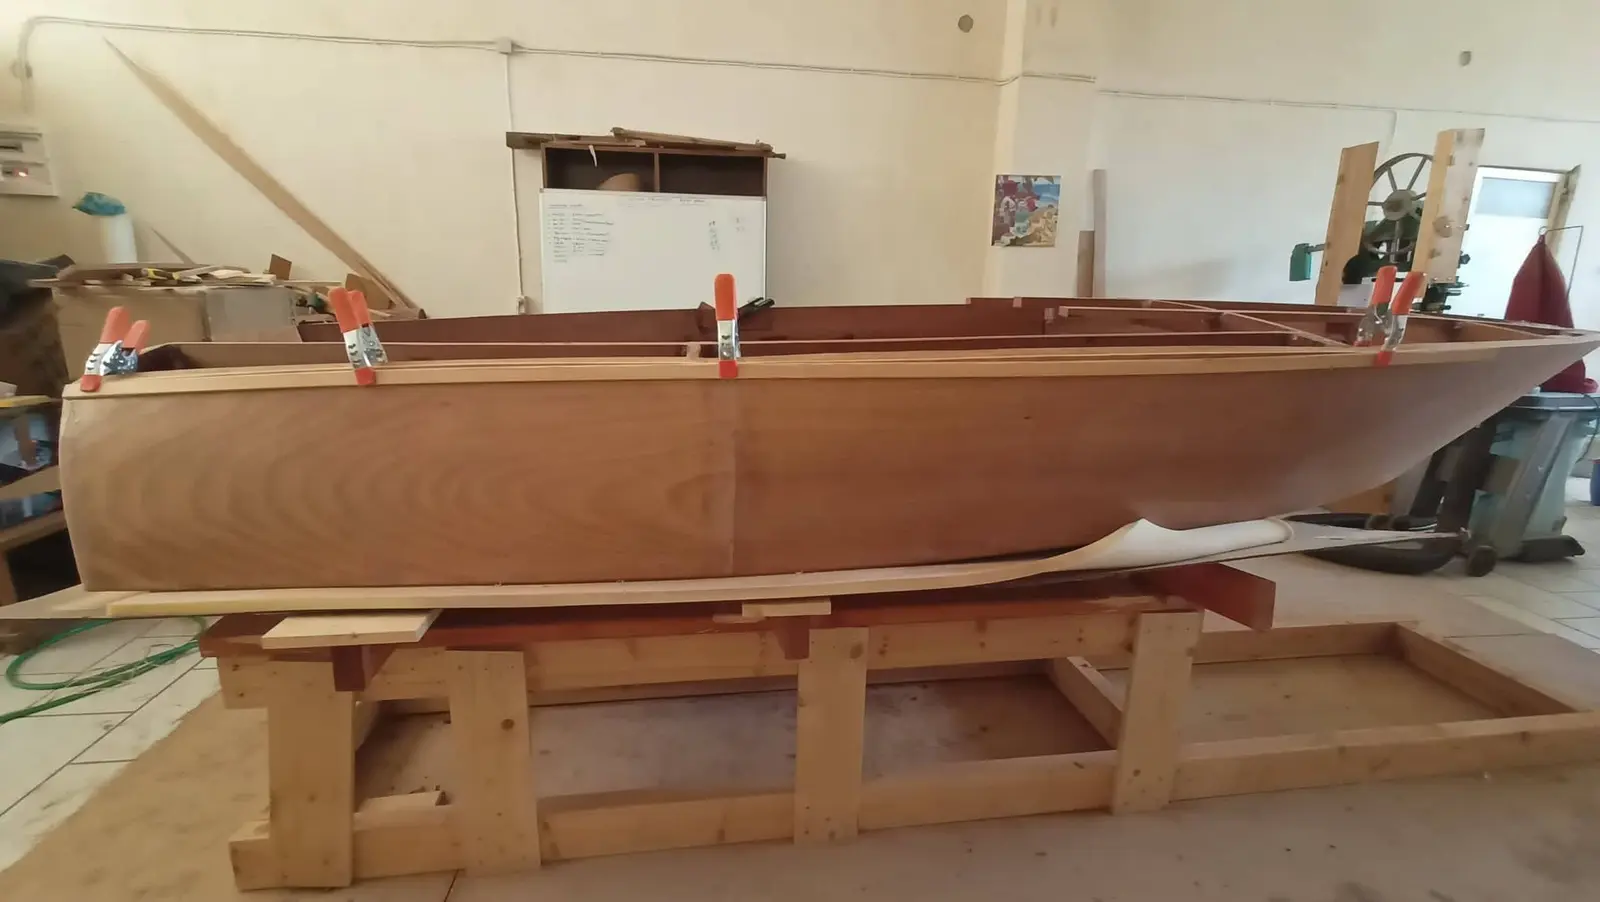
The same was done on the other side. A few more photographs, again with Stratos.
While the second side was drying, we cut the first half of the boat's bottom to the right dimensions (the top, as it sits on the base), having first cut off the excess from the side panel so it followed the bevels of the framework.
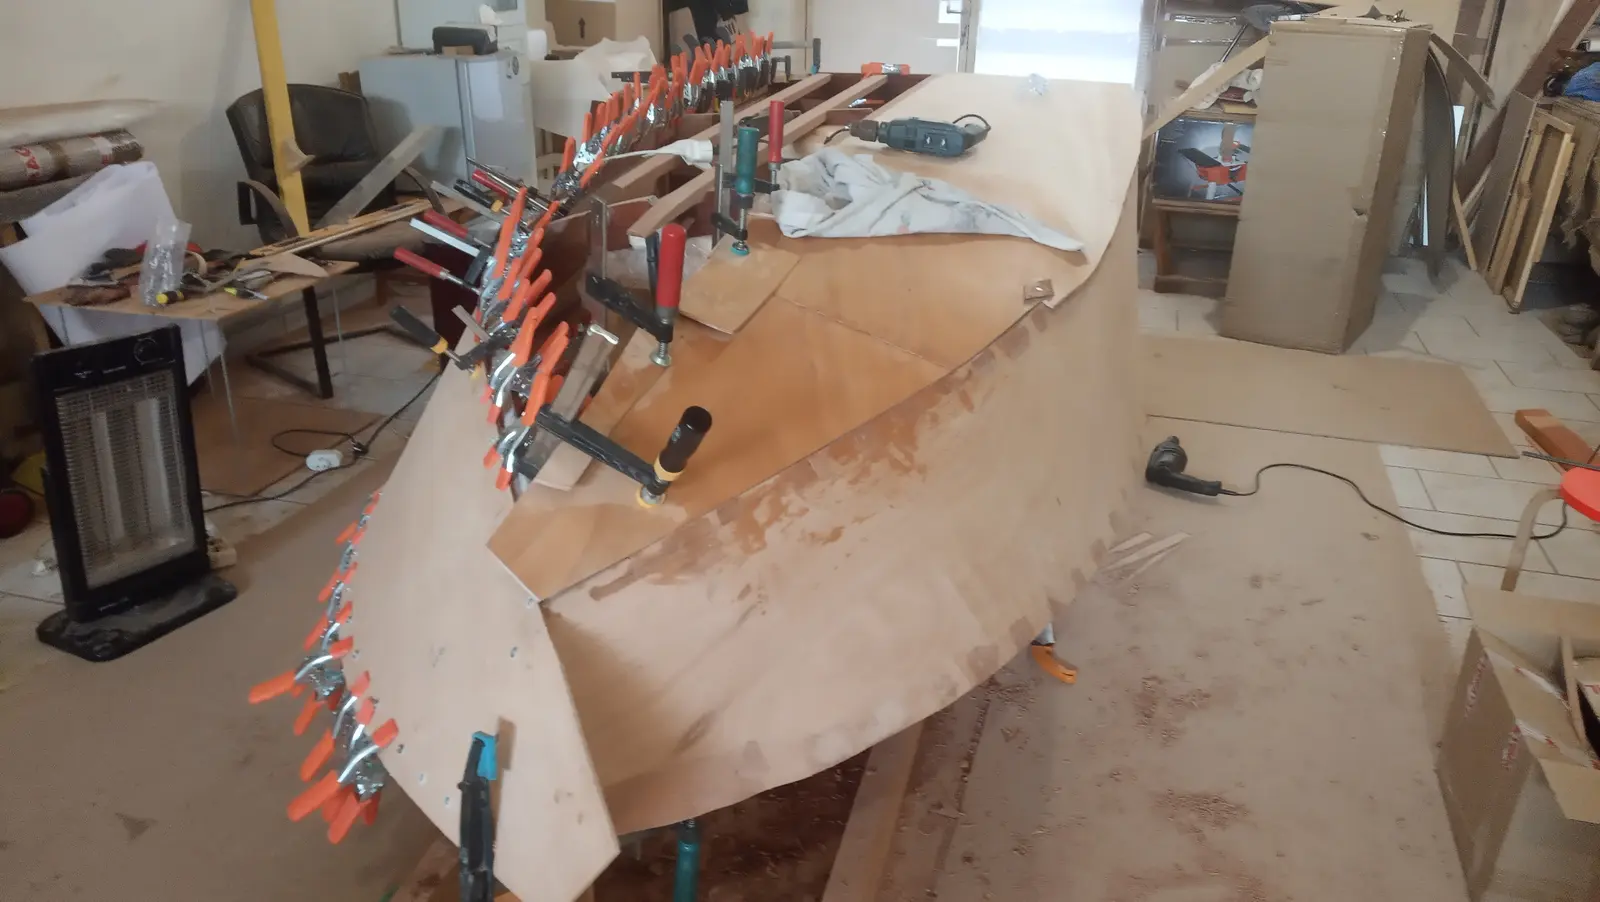
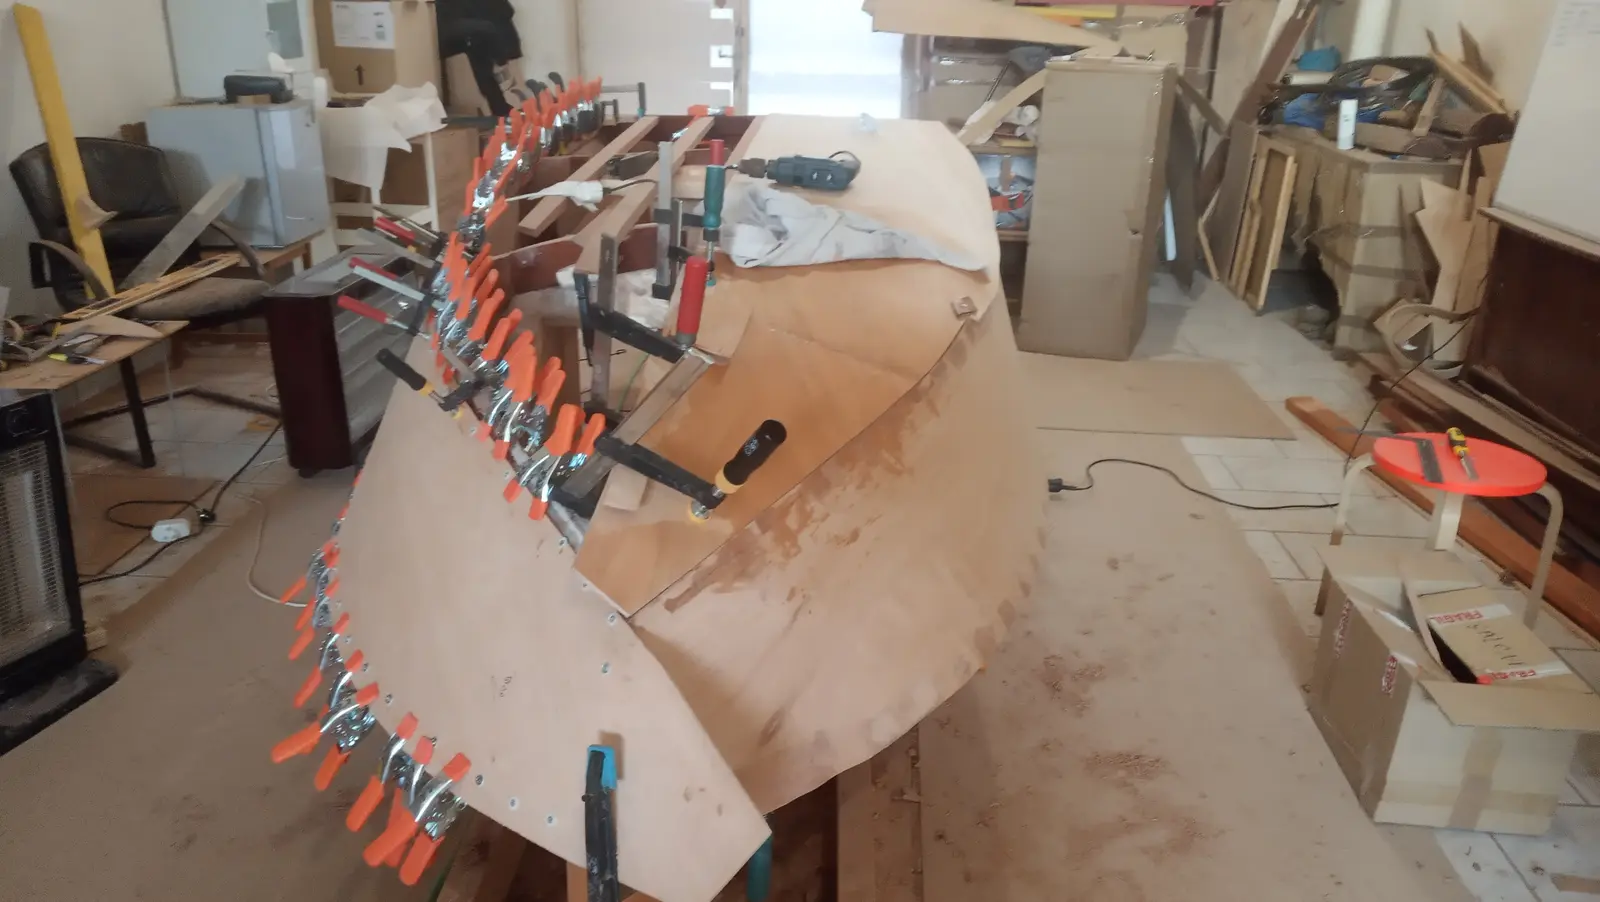
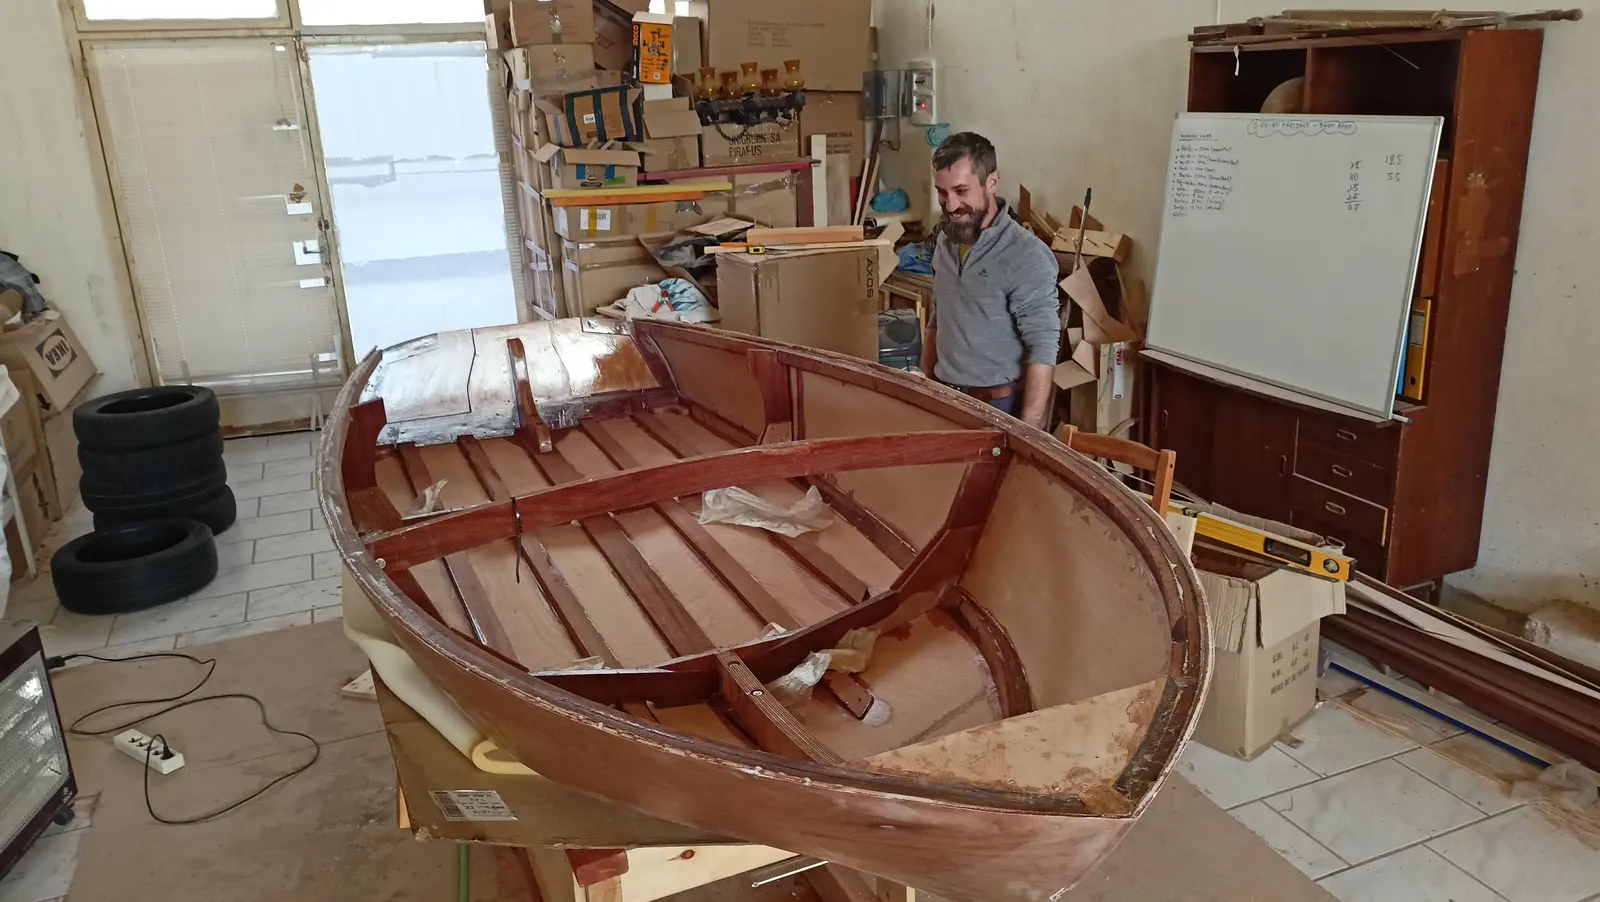
As written earlier, over most of the boat the bottom plywood laps over the side panel, so on the outside we have no problem, we simply leave a centimetre or two to spare. On the inside, up to the point where the curve of the keel begins, it is a straight line, so no problem there either. The difficulty is only in the forward section on the outside. On the inside I will probably have to follow the line, which gets lost because of the curvature of the keel. Below are some photographs of the fitting and a short video of Stratos with the hand plane. Until the side was properly glued and I could take the clamps off, it was wetted with towels so it would take the curves as easily as possible.
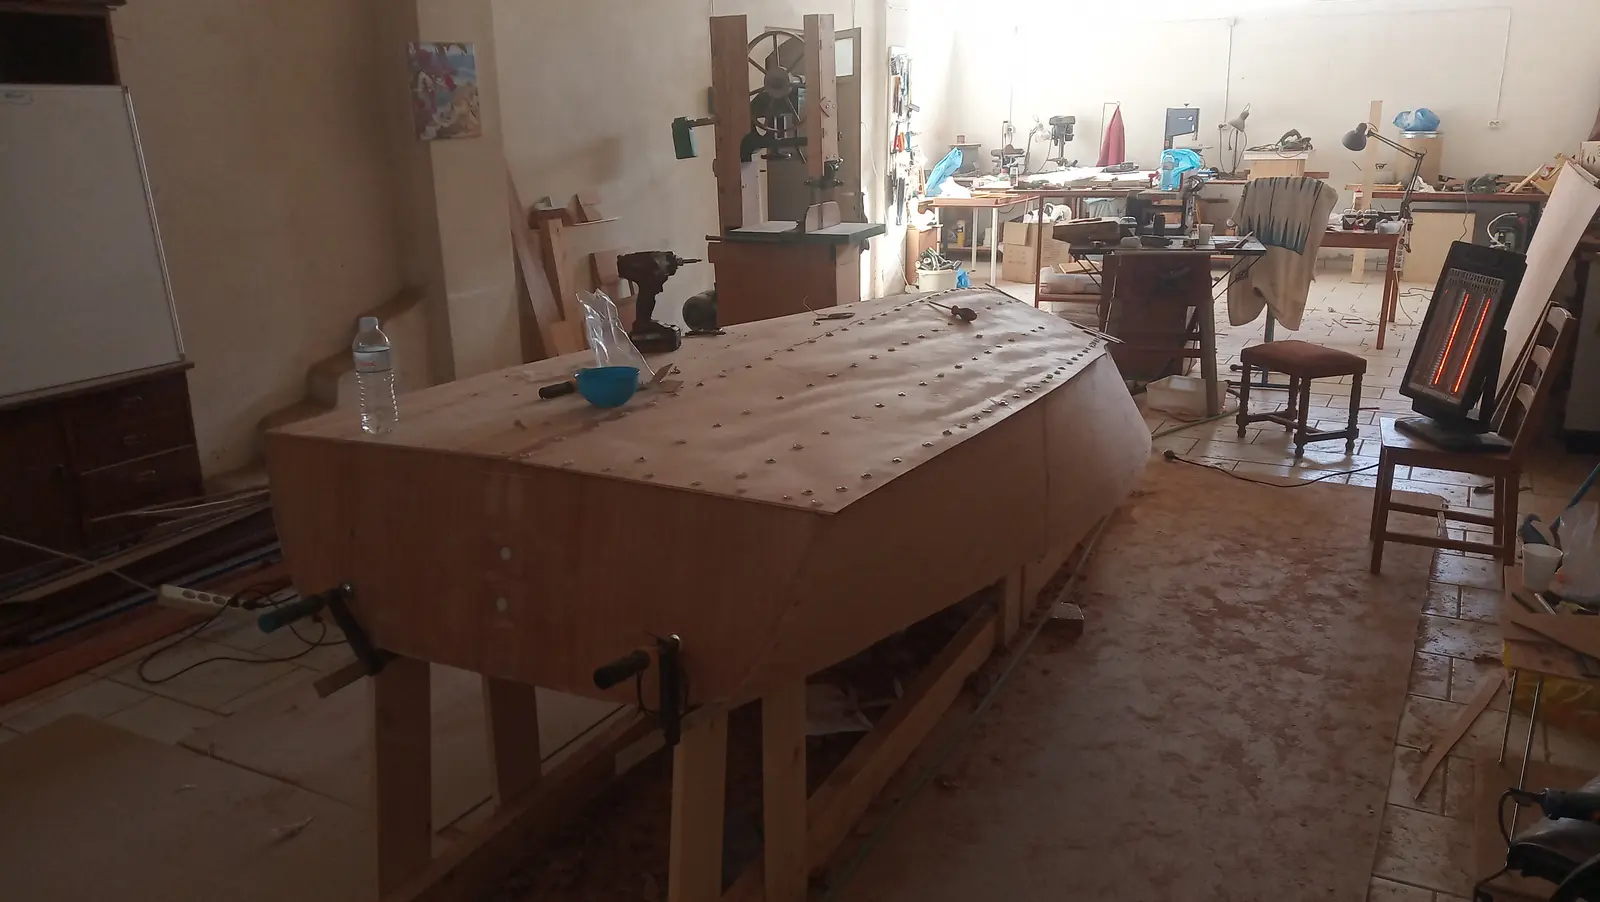
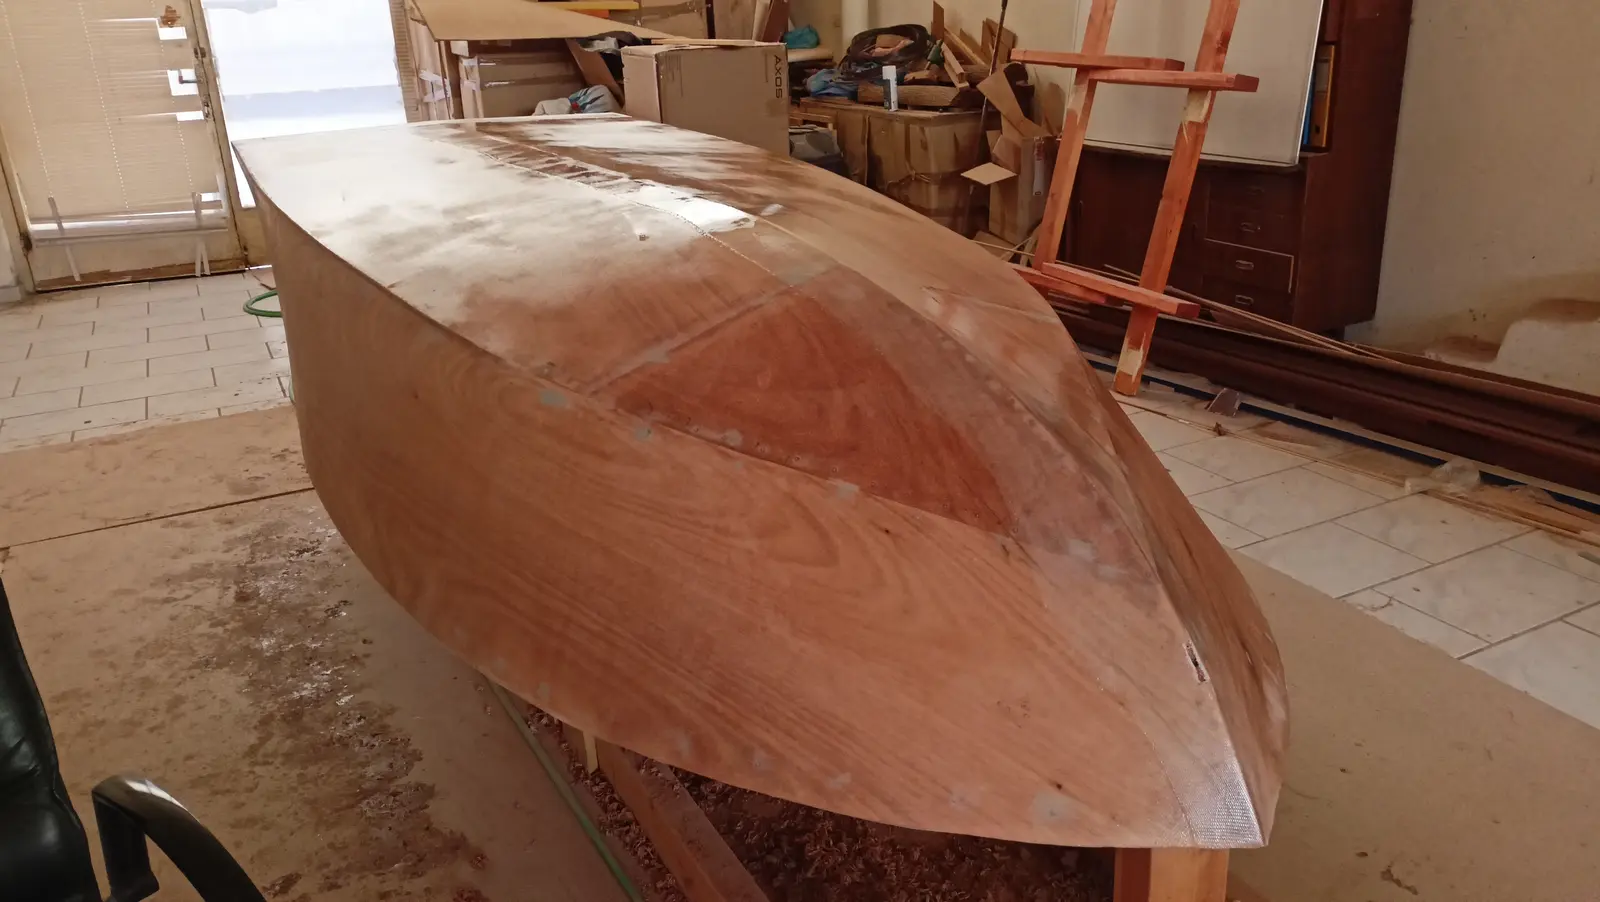
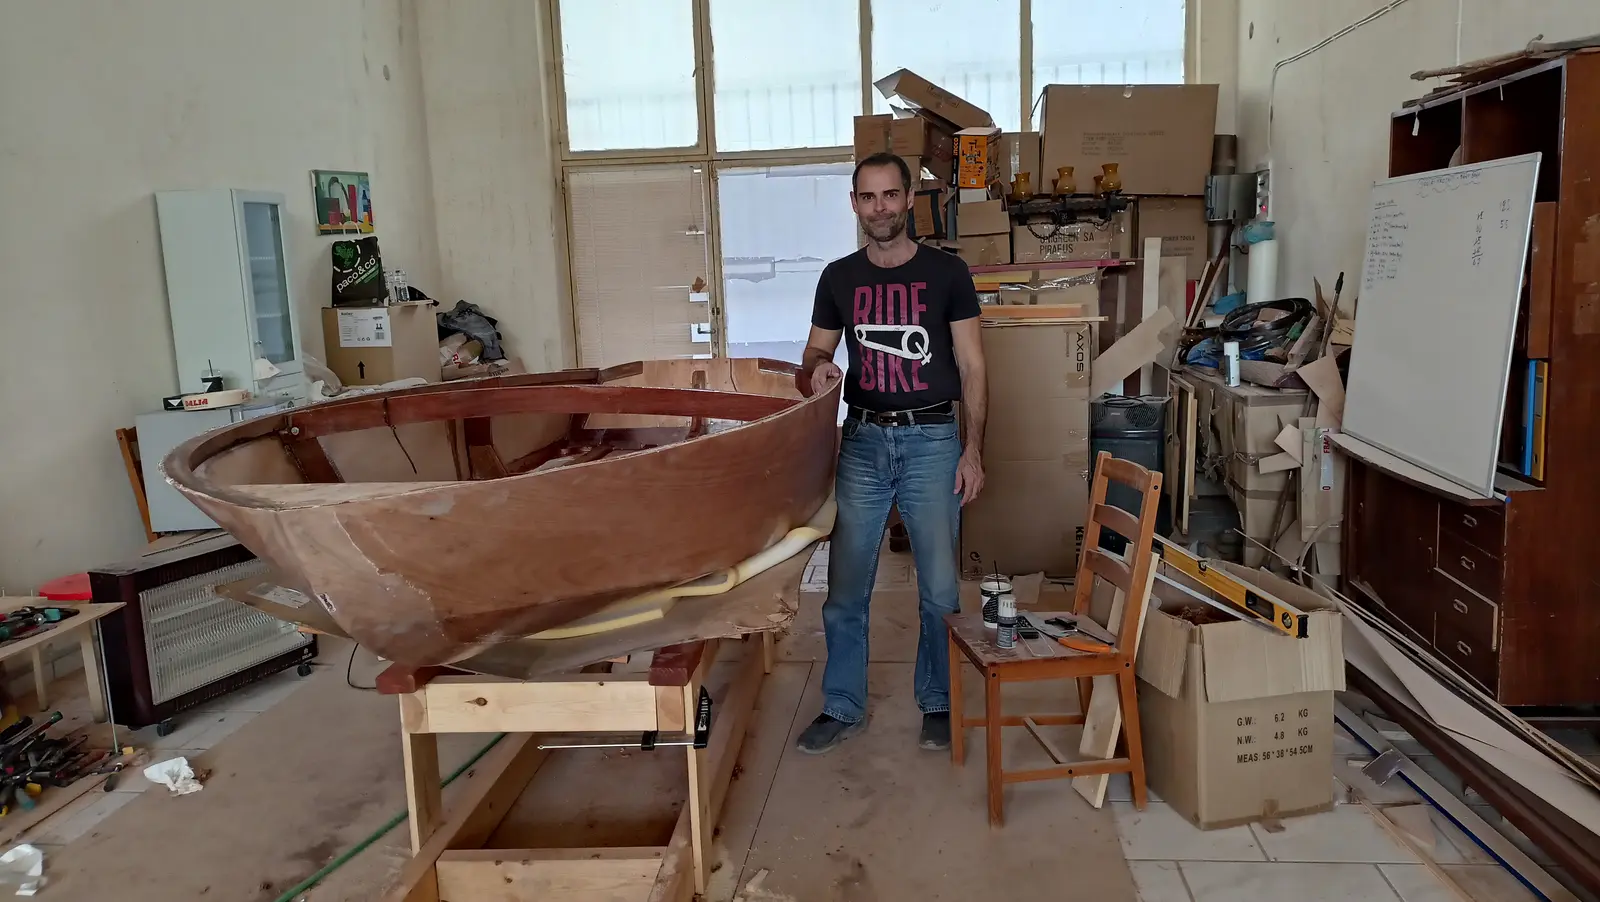
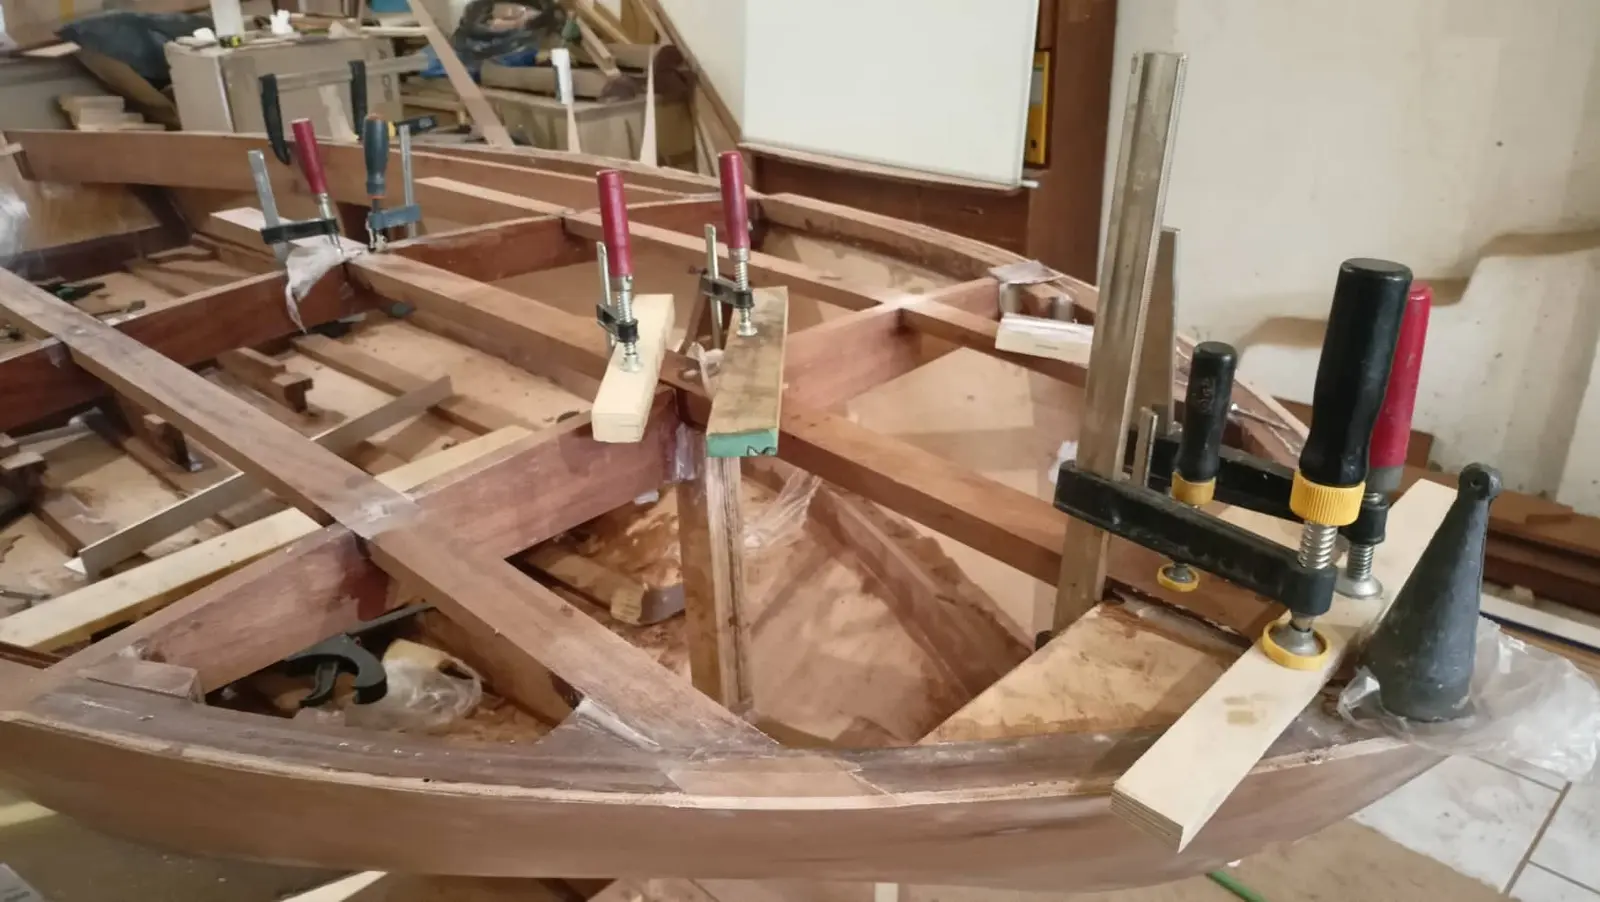
Once the third piece was glued it was shaped at its forward end. The method used is this: from the bow to about 70 cm back, the second bottom panel laps over the first. After that it changes and the two sheets run parallel. The opposite happens between the second bottom panel and the side. At the bow the bottom meets the side flush, while over the rest of the boat it laps over it. Fitting the fourth piece was the hardest, because it had to be shaped correctly on both sides. Some photographs of the fourth glue-up.